

|
Holy Shield. Put it on Silk or something for reimbursement from casting Angel everywhere.
|
 #
?
Nov 17, 2014 23:42
#
?
Nov 17, 2014 23:42
|
|

|

|
| # ? Apr 19, 2024 08:31 |
|
|
I like the idea of taking the Holy Shield and sticking it on a mage. Self sufficiency!
|
|
#
?
Nov 18, 2014 13:22
|
|

|
Silver shield!
|
|
#
?
Nov 20, 2014 22:20
|
|

|
If DEF can go above max with shields, Silver, if not, more HP regen on a mage is never a bad idea in FE2
|
|
#
?
Nov 21, 2014 21:16
|
|

|
Silver
|
|
#
?
Nov 21, 2014 22:03
|
|
|
Ryushikaze posted:If DEF can go above max with shields, Silver, if not, more HP regen on a mage is never a bad idea in FE2 I think max is 40 with or without equipment so it's rather unlikely that we'd ever hit it.
|
|
#
?
Nov 22, 2014 03:17
|
|

|
Holy Shield
|
|
#
?
Nov 22, 2014 19:25
|
|

|
Grabbing that Holy Shield and sticking it on a mage sounds like a good idea.
|
|
#
?
Dec 2, 2014 02:18
|
|
|
Chapter 4, Part 9: Doma's Gate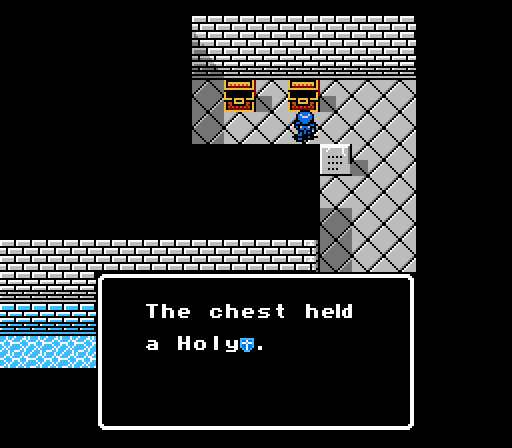 First order of business today - the vote was a tie, so I decided another healing item was more useful than a shield even if we don't face any threatening monsters the rest of the way. Alm makes his way back out of the Fear Shrine so that Celica can take her turn.  A group of witches form up near Alm when he sees daylight again. It's the same group he fought several updates ago. 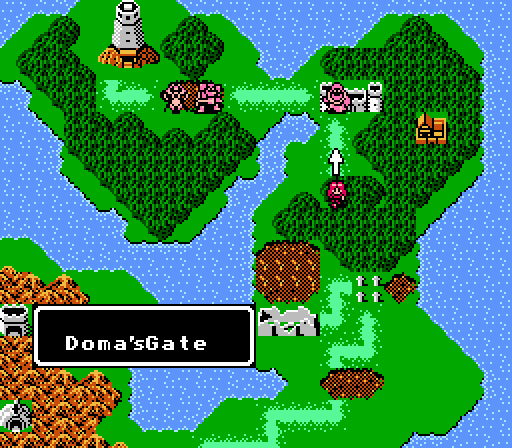 Finally, Celica charges Doma's Gate.  Probably Celica's most difficult battle so far, but the enemy lineup looks more threatening than it really is. Celica's army is a lot stronger after the Lost Woods. 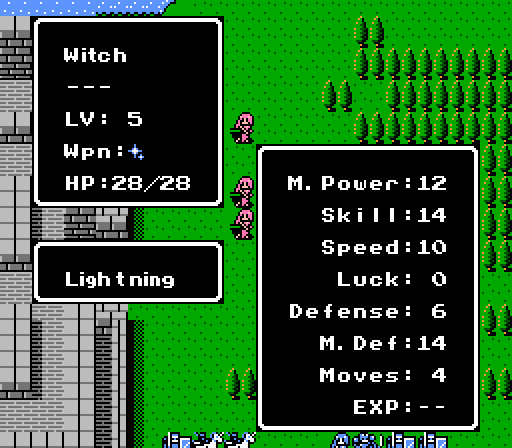 Nine level 5 witches are scattered outside the gate; they won't pose any real threat at this point. 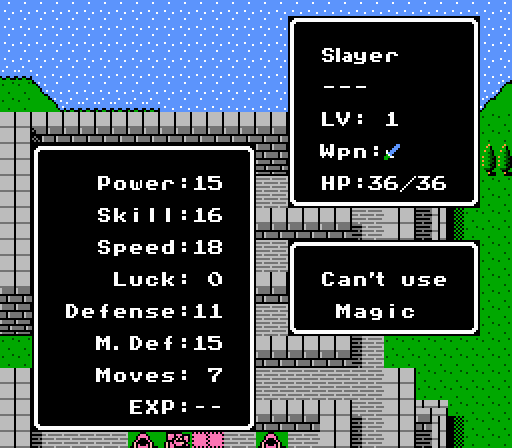 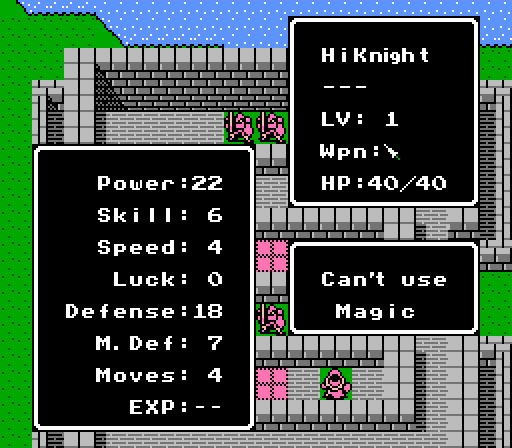 The five slayers are a little more concerning, but they layout of the gate will let us control when and how they reach us. The two high knights/barons won't be a problem, either, as we can have mages attack them safely from behind the walls. 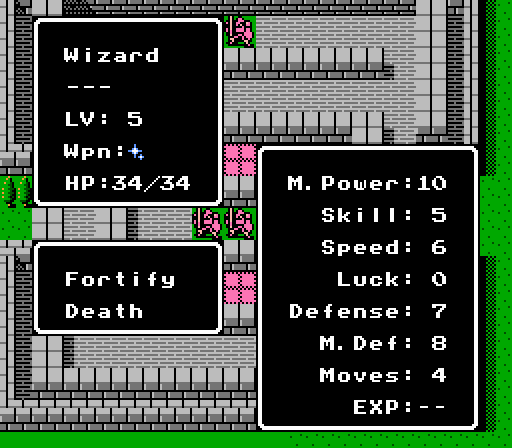 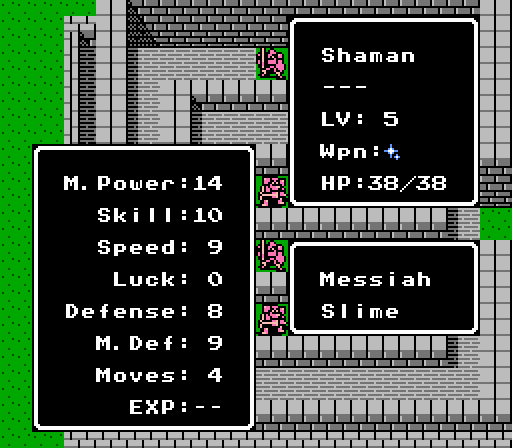 The wizards are all armed with Death, and their positioning will threaten anyone who tries to circle around to the south. The north side will be the best approach for physical units. The shaman summons gargoyles which aren't really a problem for us anymore.  The boss is Jamil, another wizard with some more stats. The easiest strategy for him is to pick him off from a safe distance with a sniper and a Magic Ring-armed magic-user. Turn 1 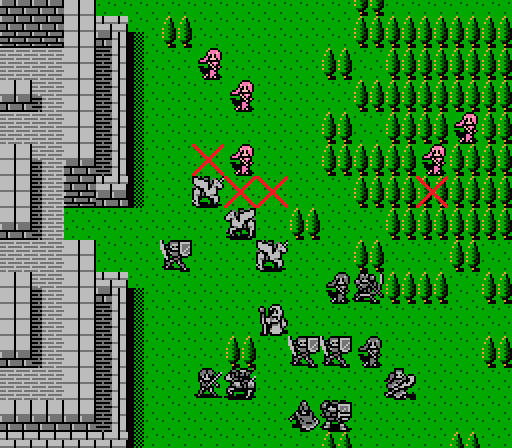 The fliers and Leo each take out a witch, immediately reducing the outside threat to almost zero. 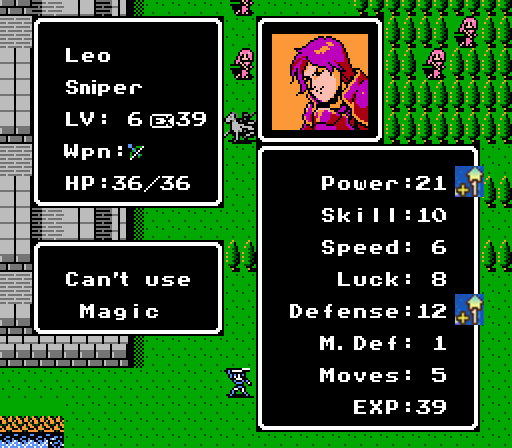 Leo even gets a great level out of it. 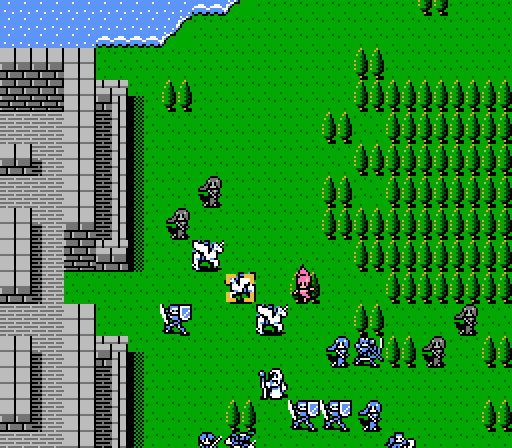 The witches try to get some revenge with attacks against Leo, Catria, and Est, but they're not very effective. Off-screen, the shaman summons a single gargoyle. Turn 2  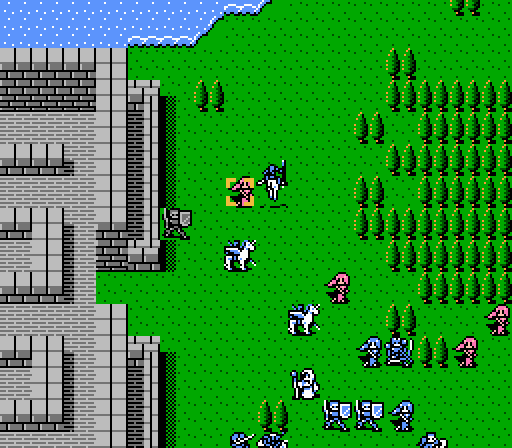 Saber and Est take out two more of the witches. The rest are hiding in trees so will take some more effort to dig out.  Meh. 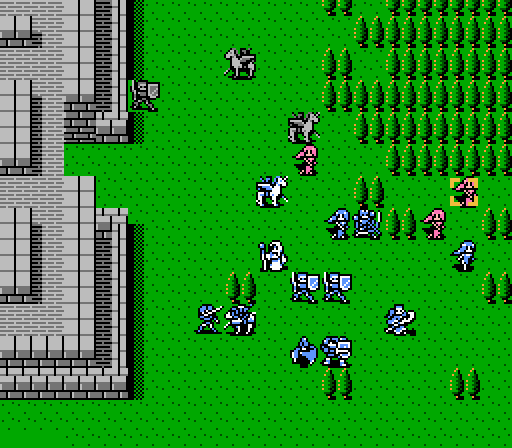 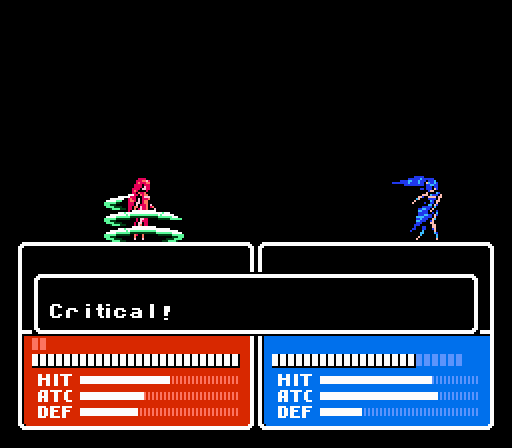 The tree doesn't help the witch hide from May's Aura.  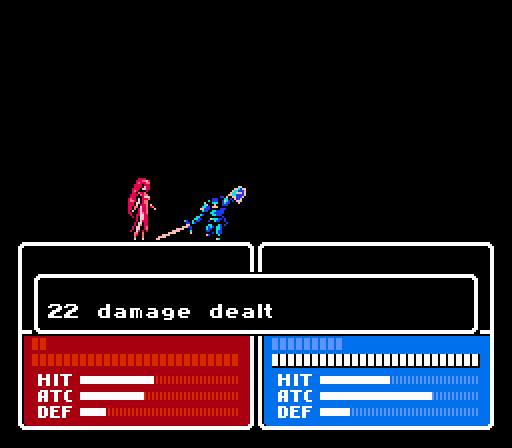 Jesse misses his first hit but nails the second, and with Sonia having softened up the witch that's enough for another kill. 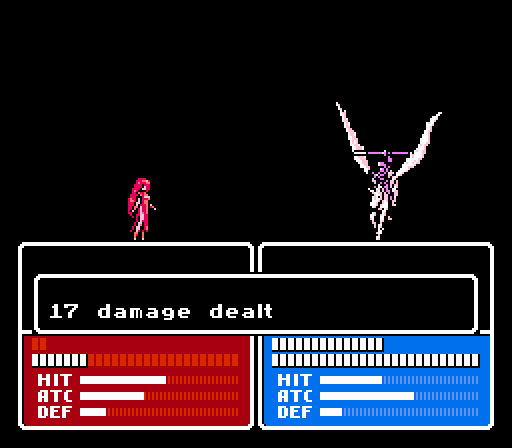  After Catria misses twice, Palla gets in one hit on the last witch. That's enough for Kamui to be able to take the kill.  Two turns in, and the witches are wiped out. Everyone left moves towards the complicated gate structure. 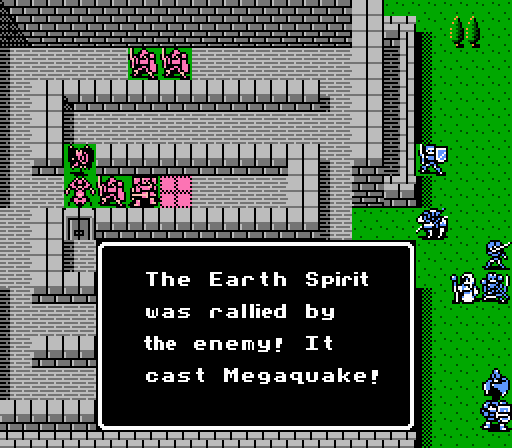 And another dick move, although a minor one. Randomly Jamil will be able to trigger a special extra ability - Megaquake. It hits all of our units for something like 8-12 damage. I don't think it can actually kill units that have less HP than that, but I didn't give Jamil any more opportunities to find out, either. 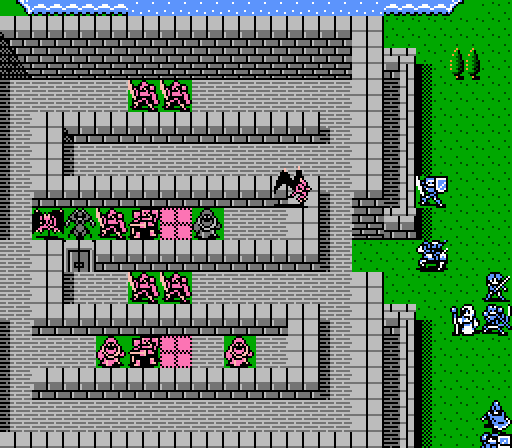 Another gargoyle is summoned, while the first one advances. Turn 3 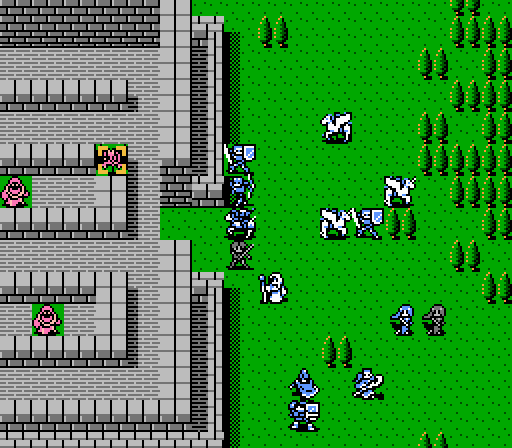 Leo shoots down the gargoyle with one shot. 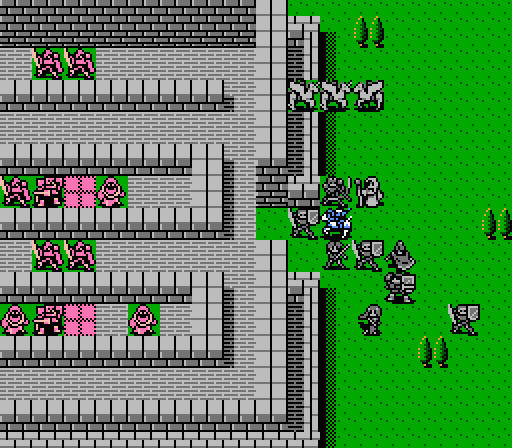 Saber lines up to draw out the first slayer, while the fliers head north. The rest of the turn was spent shuffling units around and healing up some of the quake damage.  - Chapter 4 Part 9 Battle 1.gif) Neither one can do much damage to the other. The slayer's high Speed doesn't make much difference when it can't do a lot of damage. Turn 4  Leo starts off the turn again with another gargoyle kill. The Silver Bow gives him just enough power to take it down in one shot.  The fliers move in to take on the northern pair of slayers. Palla and Catria have enough Defense to stand toe-to-toe with them, and Palla even gets in a shot with the Hand Lance.   Sonia and Boey try some magic against the lead slayer, but it doesn't deal much damage.  Saber takes the Hero Sword from Kamui to get in a little more damage on the slayer.  The slayers don't fare much better against Palla and Catria, but they're pretty dodgy so avoid both counterattacks.  The Hero Sword gives Saber a critical counterattack against his opponent on the enemy phase. 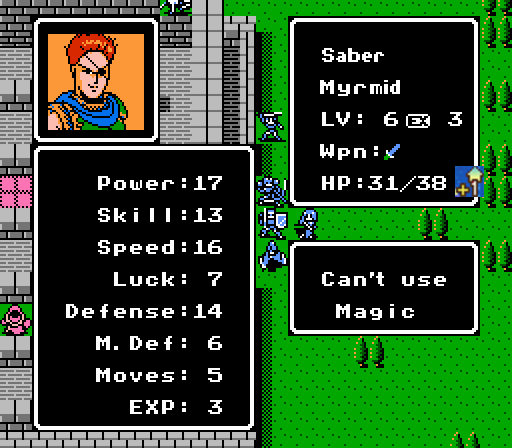 Saber's come back down to earth a bit since the earlier chapters, but his Defense is still top-notch. Turn 5 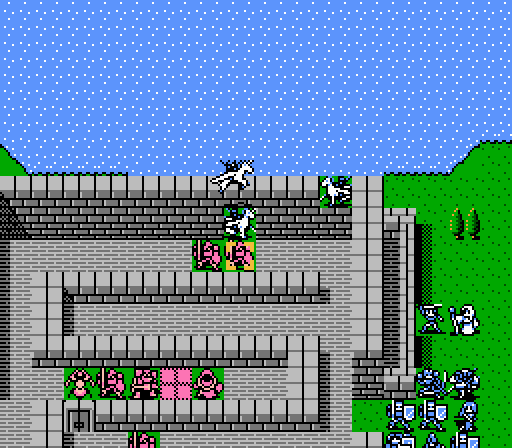 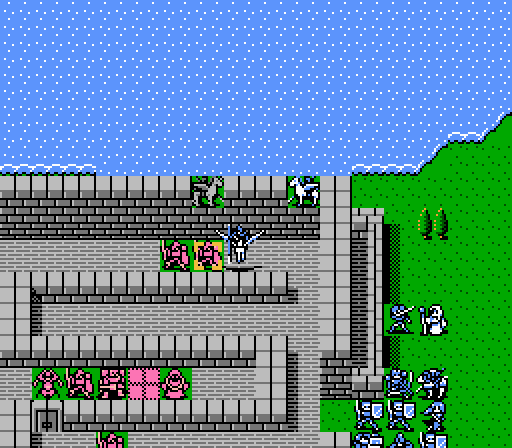 Palla and Catria are able to take out one of the northern slayers. 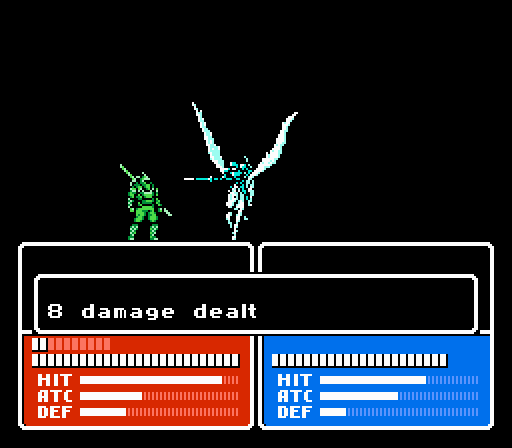 Est trades blows with the other slayer. She'll have just enough HP to survive the counterattack on the enemy phase.  The rest of the army streams into the gate, with Valbo blocking off the southern slayer. Carefully, no one is in range of a mage at the moment. 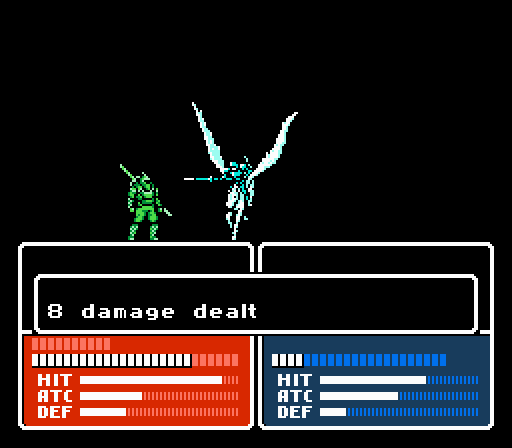 Est is the only unit in Celica's army fast enough to avoid a second attack from the slayer. Good thing, since she wouldn't survive another one.  Valbo takes a scratch in his guard duty. Turn 6 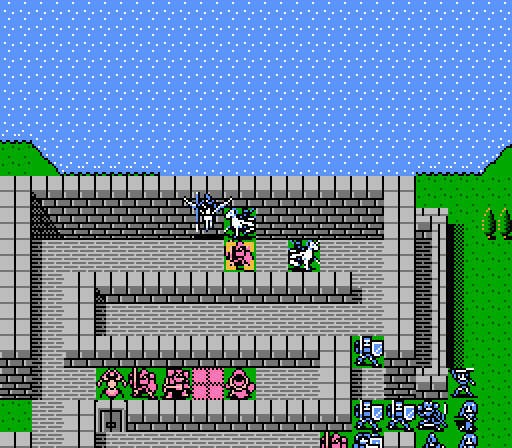 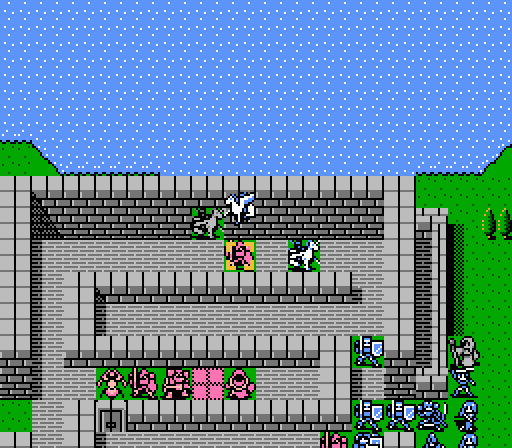 Palla and Est are able to take out the remaining slayer (after some remote healing from Jenny) and the northern path is clear. 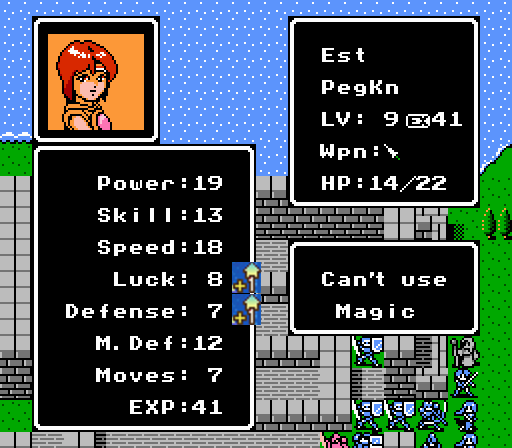 Pretty good level for her, but she'll get more than enough Defense when she can promote in a few more levels anyway. 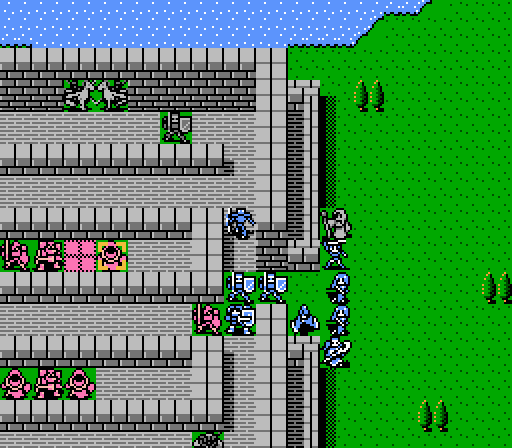  Leo uses his extra range to get in some early damage on Jamil, getting lucky and landing both hits.   Saber softens up the slayer a bit so that May can use Aura to punch through the slayer's high Magic Defense for 14 damage. The slayer still has 13 HP left, though. 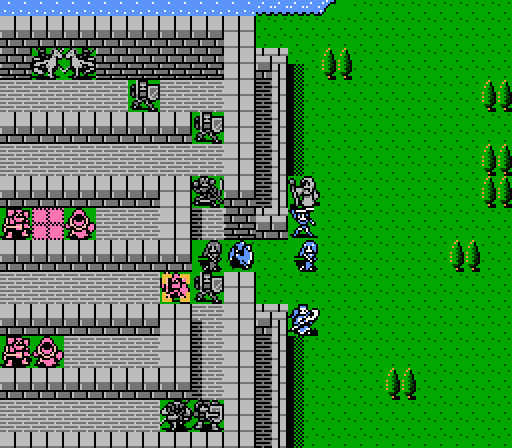 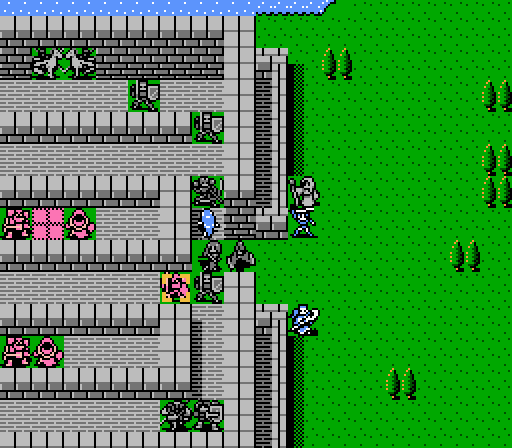 Boey and Sonia chip away for another 8 damage, ensuring Saber will have a chance at a counter-kill on the enemy phase, if the slayer should attack again. 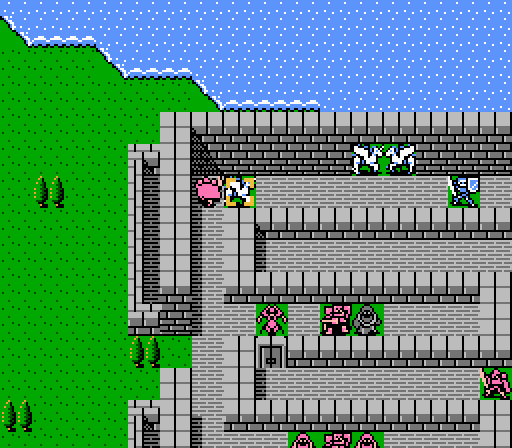  Catria draws the central slayer out and pulls out a crit for an immediate kill. Turn 7 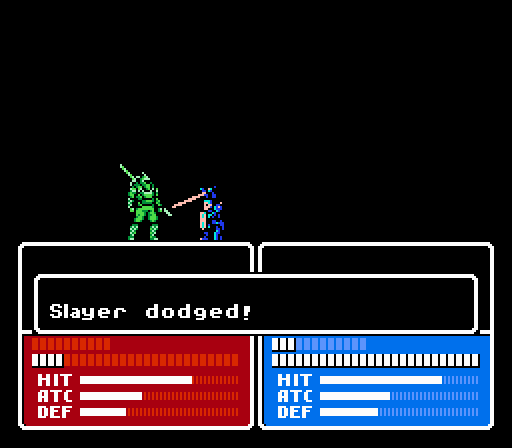 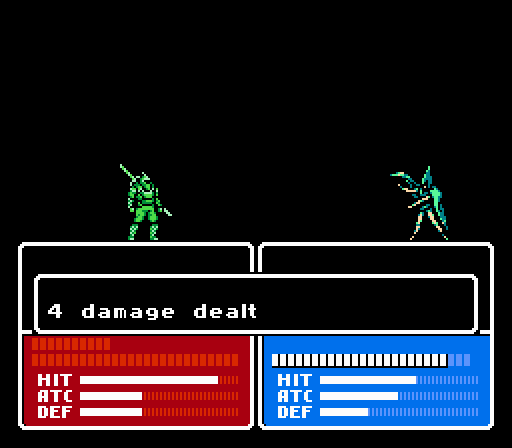 Saber tries to get the kill on the last slayer, but misses. Boey moves up to take the kill himself. 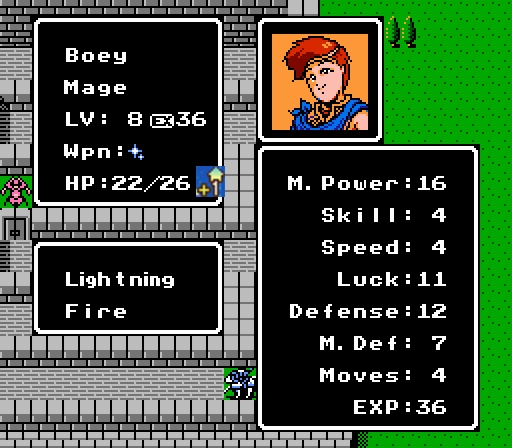 At this point I just want to get him to promote so that I have another healer, but I don't know if he'll even get that far. 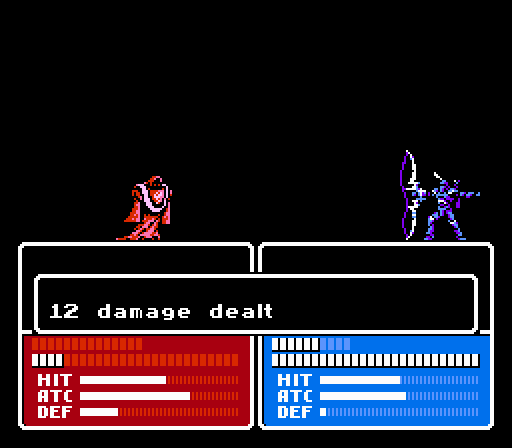 Jamil retreated to the healing tile but Leo pursues and lands one of his attacks for some more damage. 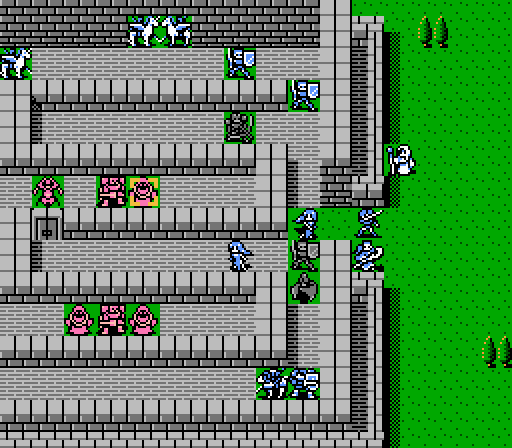 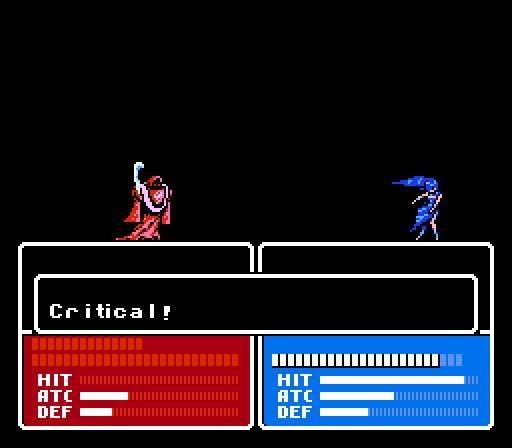 Sonia uses her long-range magic to finish off Jamil and prevent any more Megaquakes. 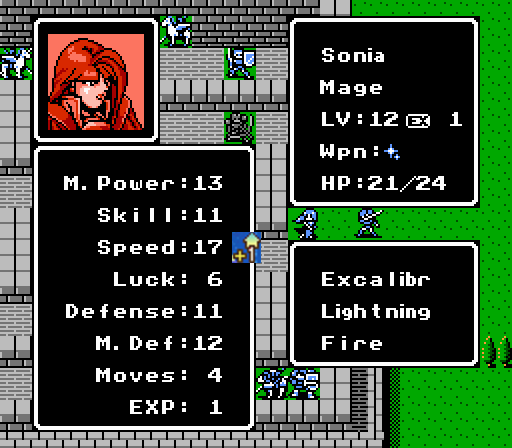 She gets a little faster but could really use some more Power instead. Really Celica's army is just missing that Angel Ring now that it's gone off to Alm's group. 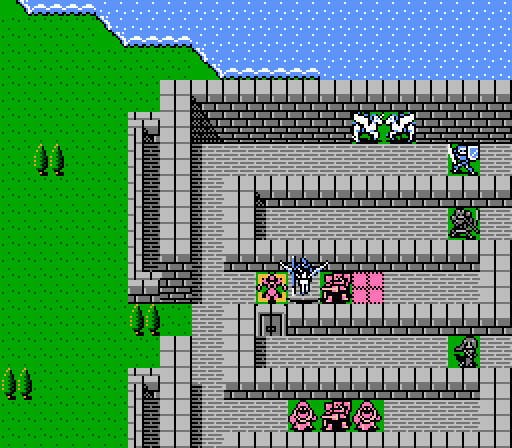 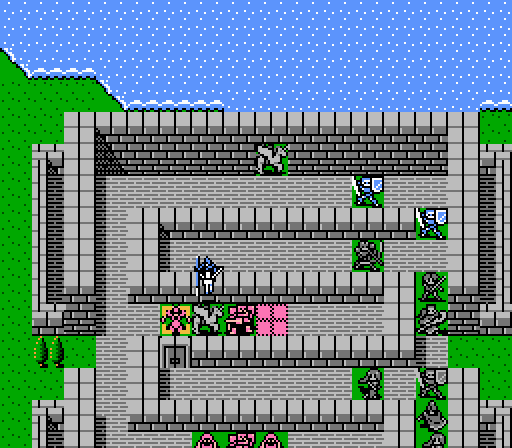 Catria brutalizes the shaman, and Est takes the Hand Lance from Palla to finish it off.  Catria will block off one baron, while May and Sonia draw out one of the wizards.  - Chapter 4 Part 9 Battle 2.gif) The baron whiffs on Catria, who makes it pay with a critical counterattack.  - Chapter 4 Part 9 Battle 3.gif) Meanwhile Sonia dodges the flying skull laser and roasts the wizard in return. Turn 8 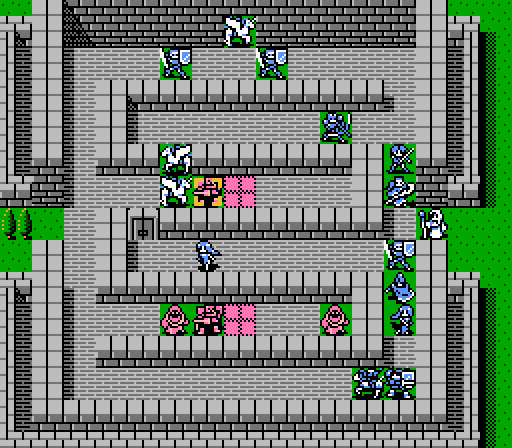 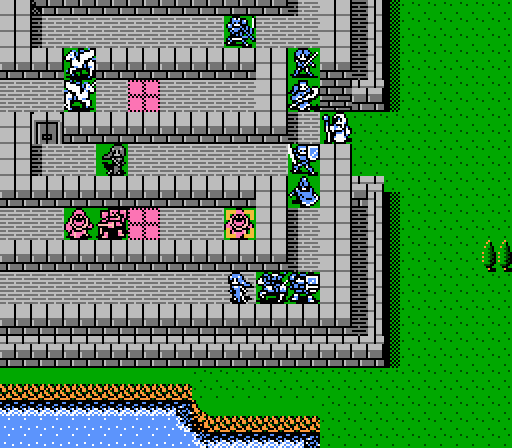 Sonia takes out the central high knight. Just a few units left in the southern branch now. May then finishes off one of the wizards. 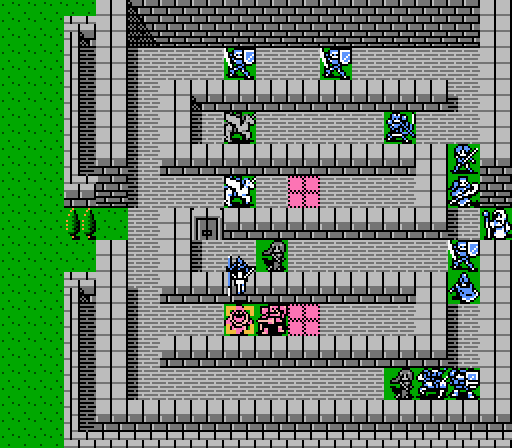 Est brings the remaining wizard down to 4 HP, which will keep it from casting anything on the enemy phase. 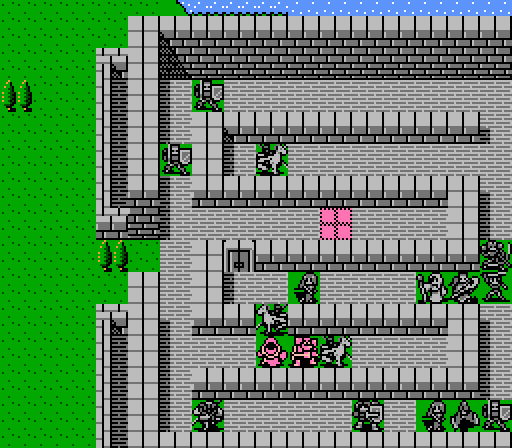 Two units left, and one of them can't attack. The baron goes after Catria, who dodges again, while the wizard tries to run away. Turn 9 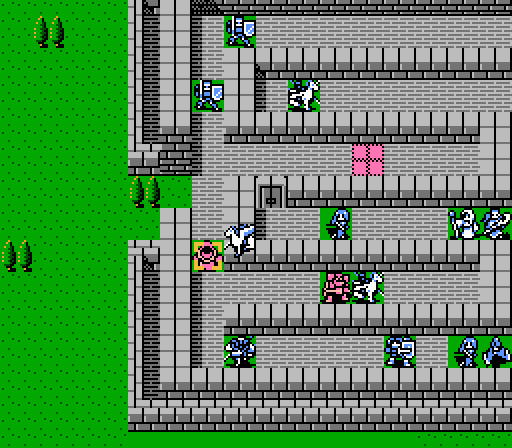 Est chases down and kills the last wizard. 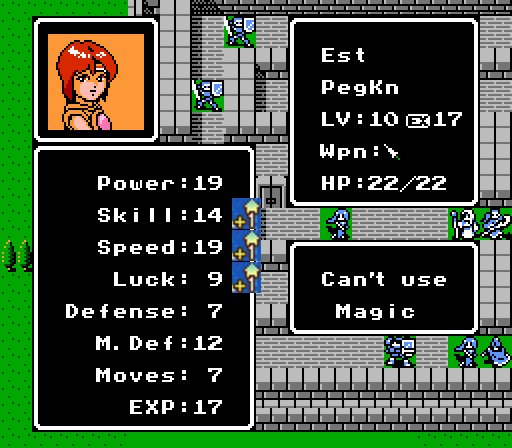 Can't complain about a three-stat level in this game. 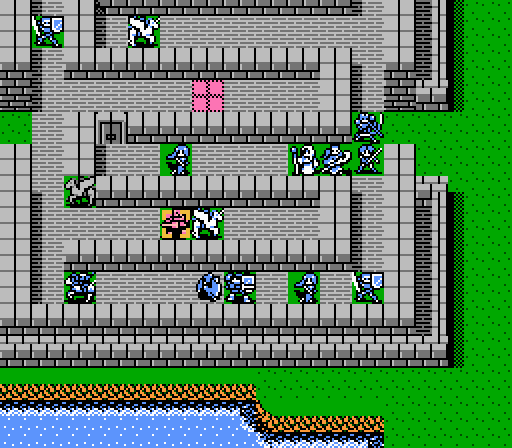 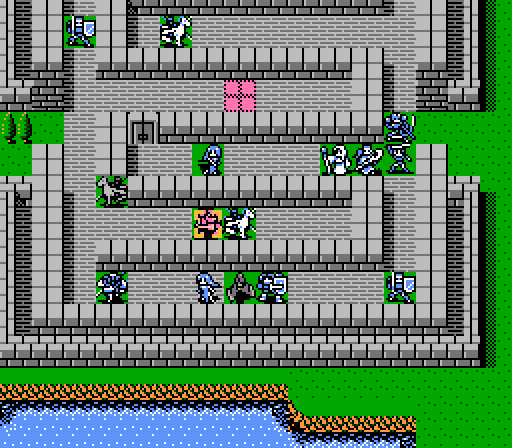 Boey and May then team up to wipe out the baron, ending the battle. 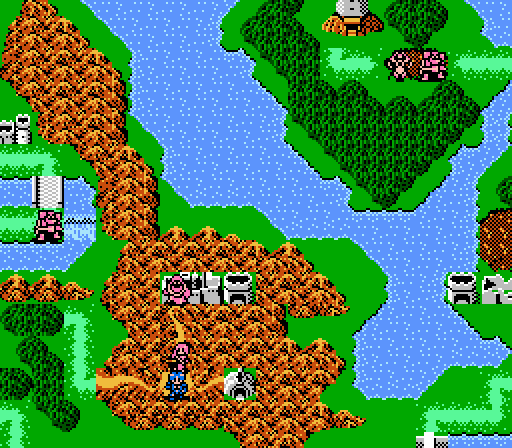  But we're not done yet! Once back on the world map, the witches that assembled at the start of the update move in and attack Alm!  Alm's army is much stronger than the last time they fought this same battle. A few low-level witches, wizards, and myrmidons aren't really a problem anymore. However Alm is a bit handicapped - I remove everyone's equipment between battles to update the rosters in the second post, so the only item this group has right now is the recently-acquired Holy Shield. Turn 1 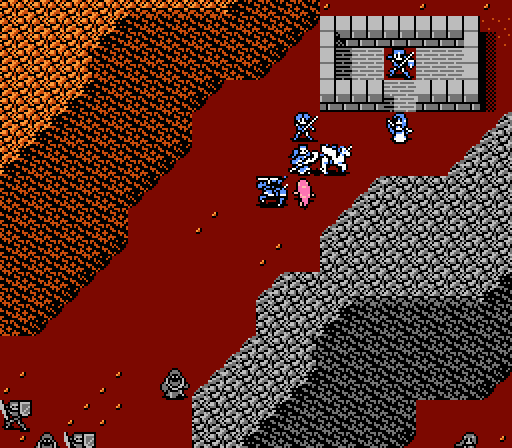 One witch teleports to the southern group and attacks Force, while the other warps up to attack Claire. Neither accomplishes much. 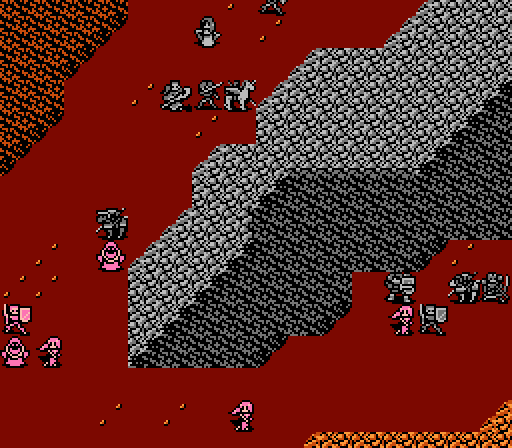 The biggest difficulty in this battle is making sure no one gains a level, since I don't have the Angel Ring handy. As such the southern witch is left alive as Robin can't reach and Force and Python would each gain levels from the kill. Claire was able to wipe out her attacker, while Matilda moved south to attack an oncoming wizard. Turn 2  - Chapter 4 Part 9 Battle 4.gif) A crit on a counterattack from Matilda takes care of one of the myrmidons. I almost feel bad for the guy.  Another witch had teleported in to attack the southern group. Robin finished off the weakened one from last turn, while Python and Cliff took care of the other one. 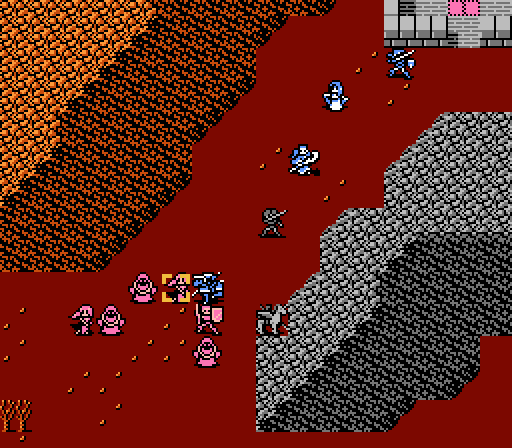 Matilda wipes out another witch to try and prevent any more teleporting shenanigans. 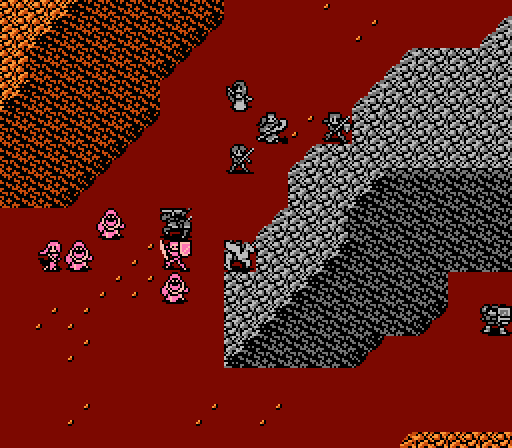 Bring it on. Turn 3 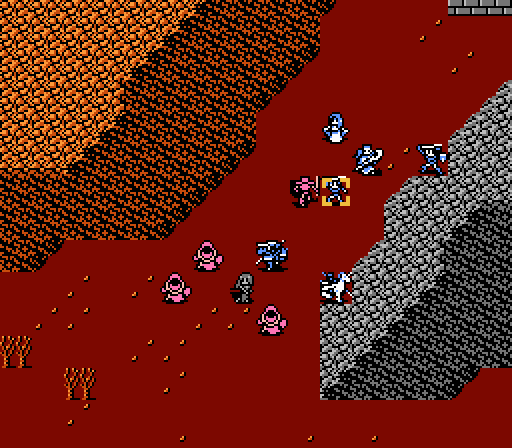 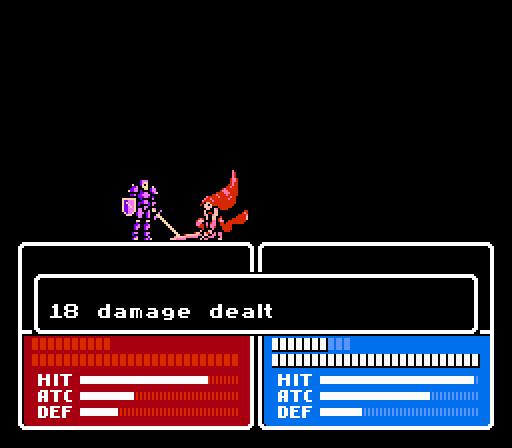 The myrmidon throws himself at Dyute, who last update promoted from a female mage to a 'priest', which happens to be the same as Celica's starting class. So now Dyute looks just like Celica and can use a sword, apparently. Seems a little strange to me. 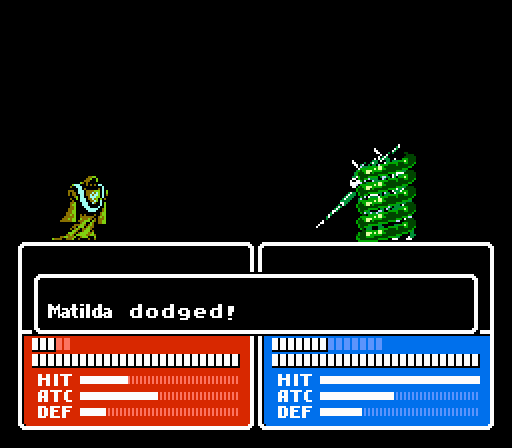 Matilda meanwhile dodges some more magic attacks, nothing she can't handle.  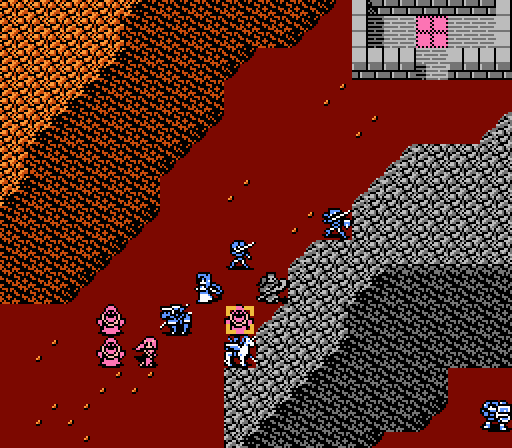 Ryuto and Silk team up to take out one of the wizards. 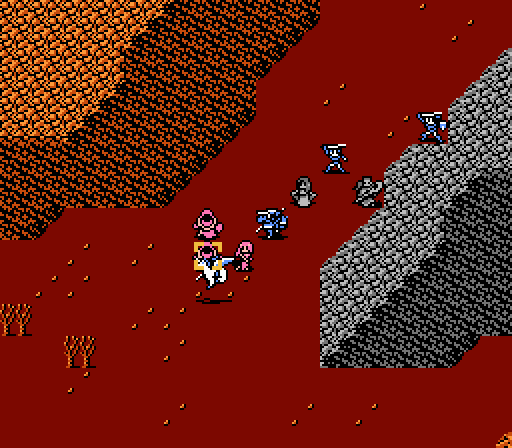 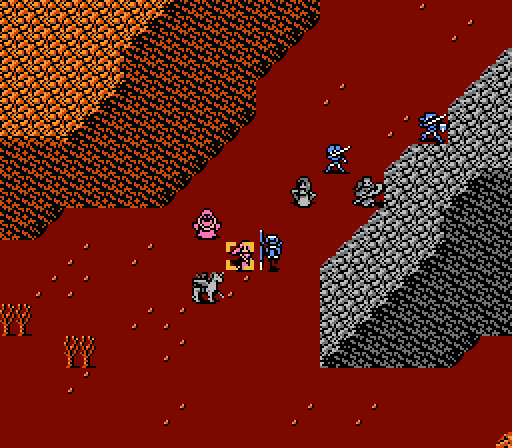 Claire and Matilda kill off two more enemies, leaving just one wizard. Dyute could kill it easily, but she'd gain a level in doing so and I'd rather hold off on that. Turn 4 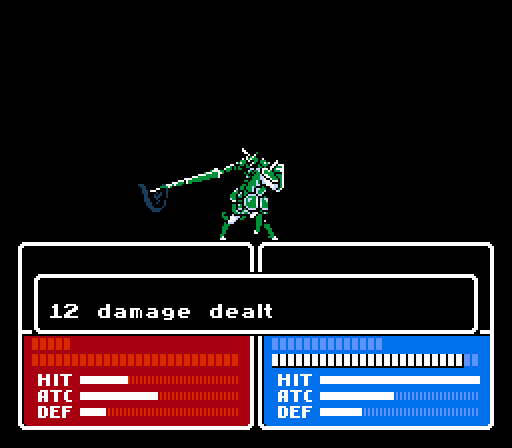 The last wizard traps Alm in some slime, but Matilda takes care of it to end the battle. Next time:  Alm and company head to Nuibaba Manor.
|
|
#
?
Dec 8, 2014 00:50
|
|
|
Oh hey, another thing Awakening used from this game!
|
|
#
?
Dec 8, 2014 01:59
|
|
|
It's even more amusing since the boss on that map is also named Jamil, although he's an Assassin there. 
|
|
#
?
Dec 8, 2014 02:00
|
|

|
Edward_Tohr posted:
My memory's a bit hazy, but didn't Awakening's map span two continents? Could be the first continent was from FE1/3, and the second was the one from Gaiden? They're supposed to be the same 'world' after all.
|
|
#
?
Dec 8, 2014 05:16
|
|
|
DKII posted:My memory's a bit hazy, but didn't Awakening's map span two continents? Could be the first continent was from FE1/3, and the second was the one from Gaiden? They're supposed to be the same 'world' after all. Correct. The continent's even renamed "Valm" after Alm. There's a lot of stuff referencing this game even ignoring the DLC.
|
|
#
?
Dec 8, 2014 05:53
|
|


|
Oh lord. Yeah, Matilda versus anything unarmored just looks painfully overmatched.
|
|
#
?
Dec 9, 2014 06:03
|
|


|
There's about 10 updates left in the game. Unfortunately one of them won't be up today - the holidays have taken up a lot of my time. I'll try for next weekend.
|
|
#
?
Jan 4, 2015 21:09
|
|
|
Completely understandable. I just hope you had a good holiday. ")
|
|
#
?
Jan 4, 2015 21:56
|
|
|
Chapter 4, Part 10: Nuibaba's Manor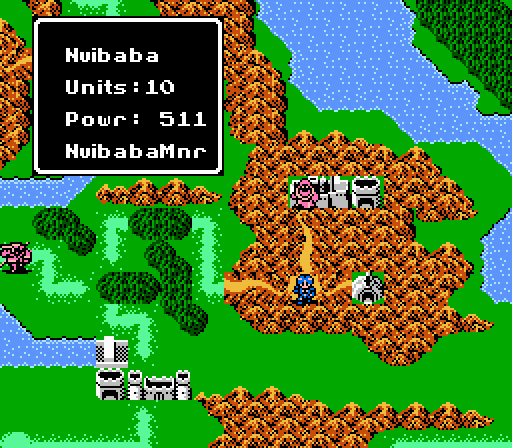 Time for Alm to charge into Nuibaba's Manor. To be honest, I don't really remember why we're here - wasn't Alm supposed to be storming Rigel's castle? 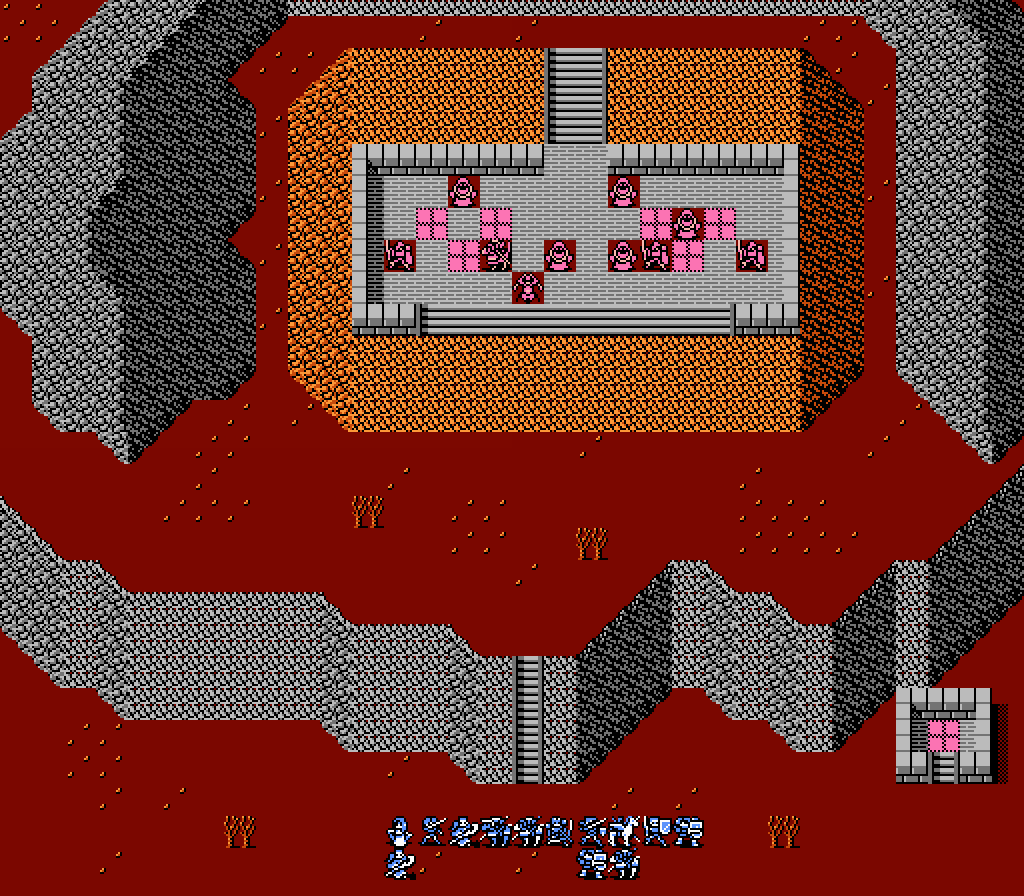 An interesting map - we actually outnumber the enemy here, but the manor's entrance is in the back and will require most of our army to circle all the way around. Light footsoldiers and mages can charge up the hill one tile at a time. 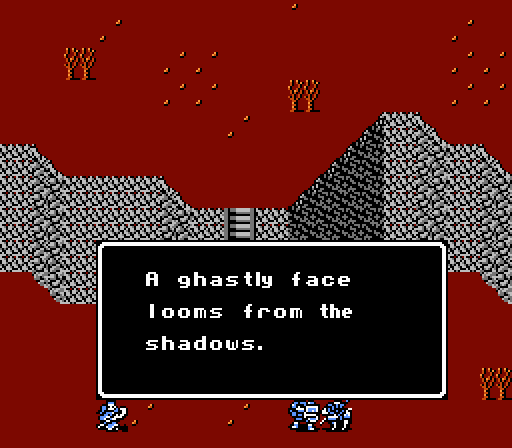 Kind of an ominous beginning. 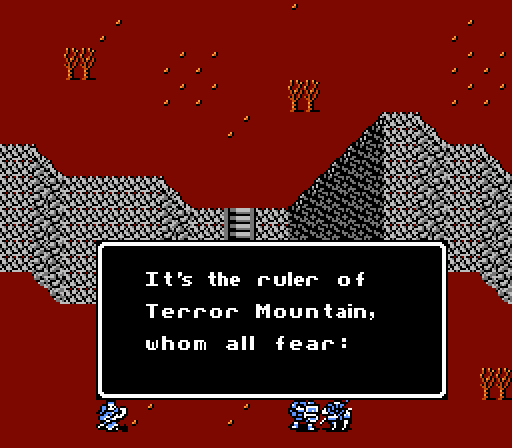 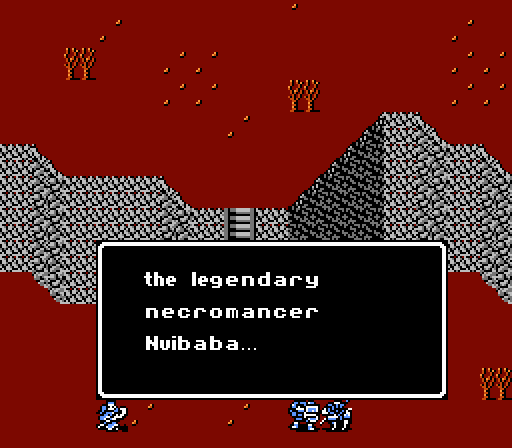 Legendary! Also is Terror Mountain related to Fear Mountain? Because we just conquered the gently caress out of that place.   Oh good, we get to face a new super-powered enemy-only spell.  Yup, sounds great.   I already told you, I don't remember! So that start of the map really dials up the drama. Let's see what we're actually facing here. 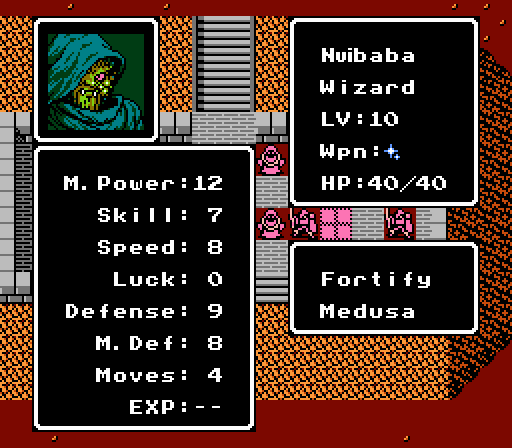 The necromancer himself isn't very impressive, but he does have a new spell. Medusa is patently unfair, as such only the enemy gets to use it. If it hits, it sets the target's HP to 1. Unless that unit already has 1 HP, in which case it just kills the unit. So since Nuibaba acts first, he can take our strongest unit down to 1 HP and then any other schmuck can finish it off. Fortunately there are some drawbacks. Medusa has a 70% hit rate, which is higher than I would like, and a normal 1-2 tile range. More importantly it has 13 weight so he'll never double-attack with it, and costs 7 HP to cast. The best strategy involves using our two anti-magic items - the Angel Ring, which sets the holder's Luck to 40 for a big magic evasion boost; and the Magic Shield, which sets the holder's magic evasion to 90%. Nuibaba also has a Magic Ring, giving him a large attack range with that Medusa spell. So he can reach any of our units as they slowly move around the hill to the back of the manor. That won't do at all. 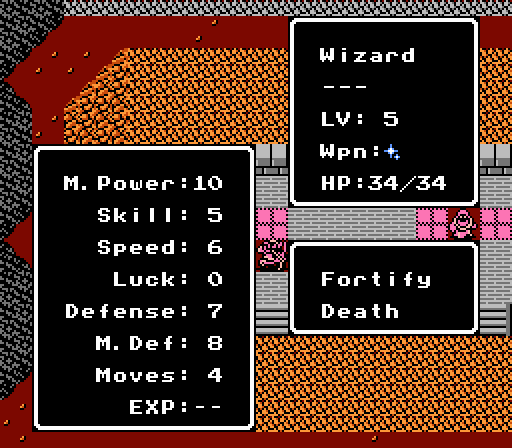 The other wizards have a high annoyance potential, with mass-healing and a powerful spell.   The bow knight and the slayers aren't nearly as terrifying as they were last chapter. There's also a gargoyle-summoning shaman. Turn 1  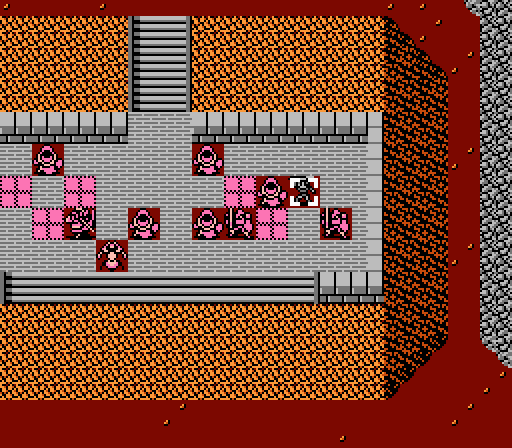 This map has the potential to turn into a long slog that just ends with someone dying due to Medusa anyway. So I'm going to cheat and send our superhero out alone with the Angel Ring. Dyute is sitting out on a recovery tile with huge magic evasion from the Angel Ring, and her naturally crazy-high Power and Speed making her a counter-kill machine. Worst-case, she dies and I lose one turn of effort in restarting. 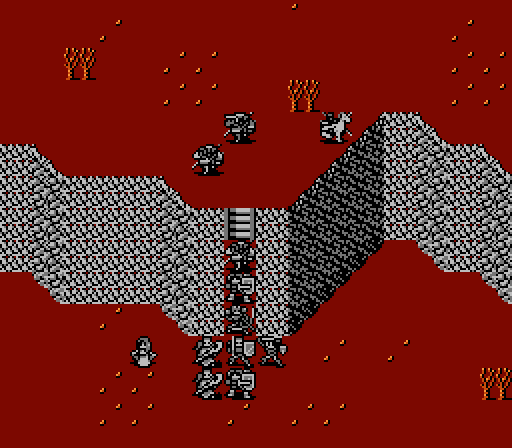 Everyone else makes the slow trek forward. 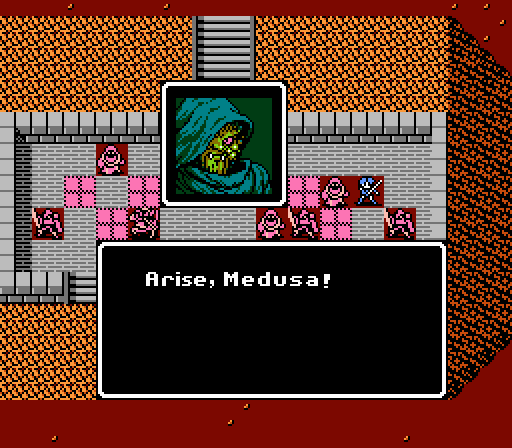 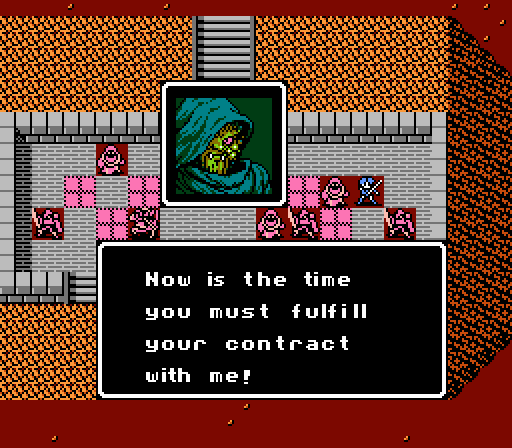 Nuibaba does a lot of talking for an optional mid-game boss. At least for this game.  - Chapter 4 Part 10 Battle 1.gif) I probably shouldn't be surprised that a spell named Medusa involves a flying snake-hair head that just hovers around and stares at you, but I am. Luckily the hit rate is miniscule so Dyute dodges and then punches back hard. If she hadn't missed her first attack, Nuibaba would've fallen on the first turn. If you're wondering, Nuibaba attacked from only two tiles away, allowing Dyute to counterattack, because the enemy AI prefers to have enemies attack from a recovery tile when possible. So I intentionally positioned Dyute so that the only recovery tiles within five tiles were within her counterattack range. Or I just got lucky; your pick. 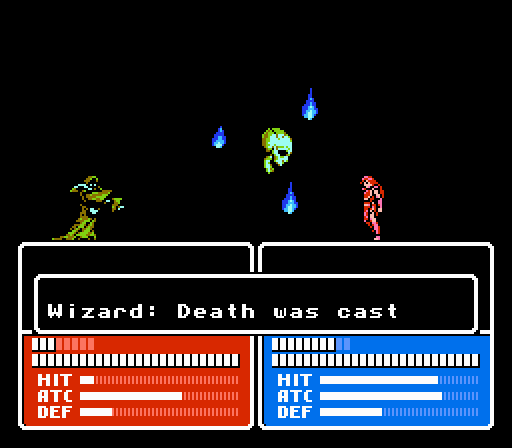 Of course, there are other wizards wanting to get a shot in on Dyute, with equally low hit rates. She dodges two out of the three attacks (which only hits her for 10 damage) and counter-kills two of the three wizards. 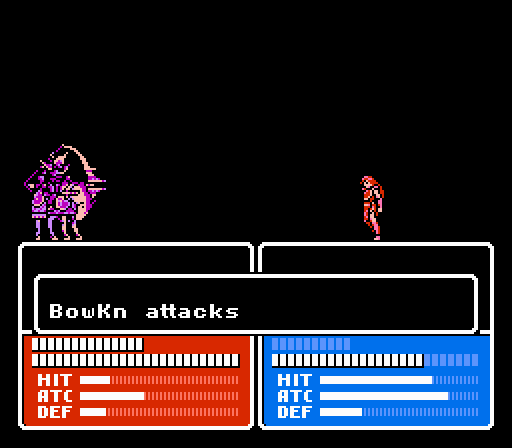 The recovery tile gives Dyute enough physical evasion to avoid the bow knight, the one enemy she can't counterattack. 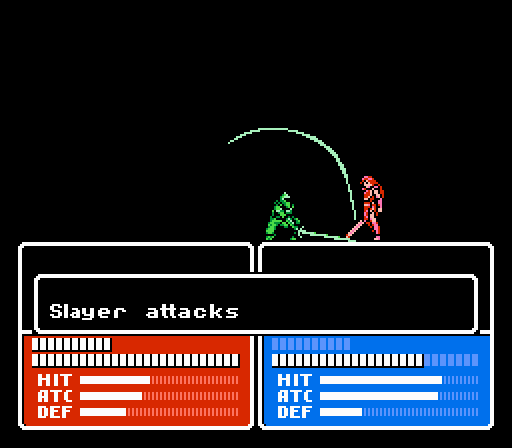 Two slayers also attack Dyute, a disaster for any other unit. But Dyute is fast enough to not only avoid double-attacks, but get in two attacks of her own. She dodges one attack, and takes some damage from the other. 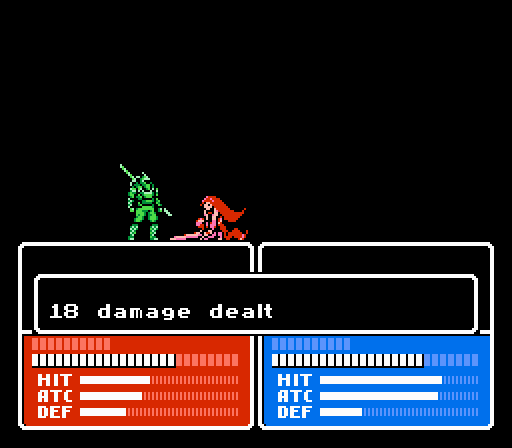 Since Dyute's promoted class is the same as Celica's initial class, Dyute now gets to make physical attacks and wield swords as well. So any attacks on her from one tile away get a physical counterattack with her base 29 Power. Since the slayer has a higher Magic Defense than regular Defense, the matchup works out perfectly for her - she counter-kills one slayer entirely, and cripples the other one. 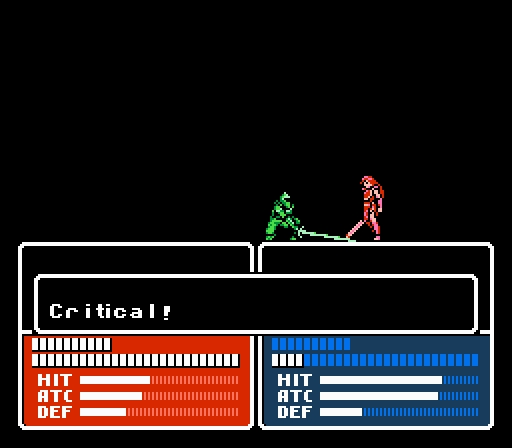 The second slayer's attack almost resulted in disaster as the enemy gets a crit. Dyute survives with 4 HP; the Angel Ring will add another 5 HP at the start of the next turn. Which is now.  Dyute gained three levels from all of her counter-kills, since her XP curve is the same as Celica's from the beginning of the game, rather than resembling that of a promoted class. The first level was Power/Skill/Speed, followed by two Luck-only levels, all doubled by the Angel Ring. Turn 2  The enemy forces have been severely reduced. However Dyute is down to just 9 HP so is a bit vulnerable - let's send her some reinforcements. 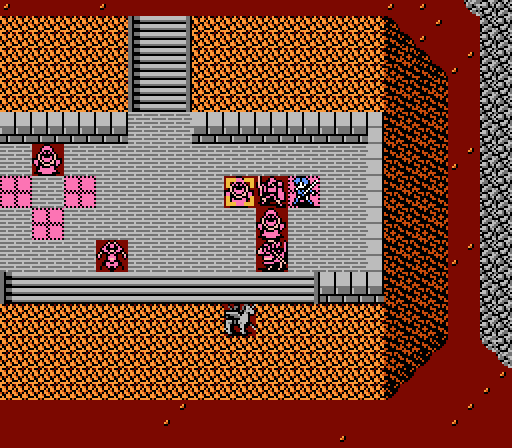  But first, Dyute spends a precious Hit Point to throw a fireball at the boss, turning Nuibaba to ash. Only proper way to dispose of a necromancer, anyway. 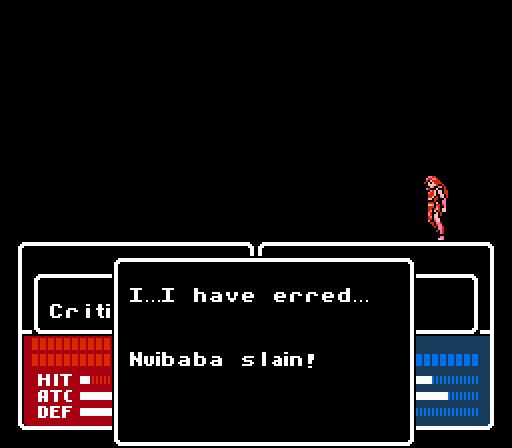 Don't worry Nuibaba, it'd take an end-game boss to stand up to Dyute at this point. The Magic Ring goes into storage. 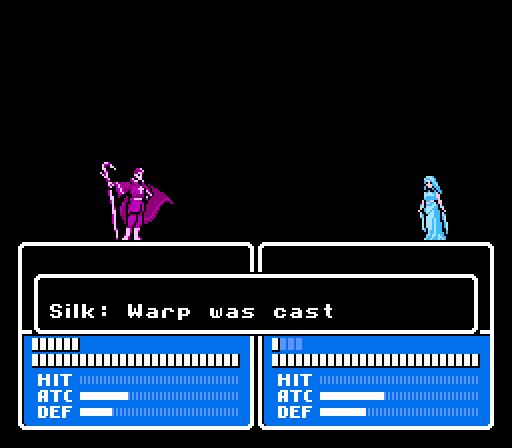 There's a recovery tile opened up near Dyute now. Who better to help her out than her brother Ryuto?  The slayer has too much Magic Defense and the bow knight has too much HP, so Ryuto instead takes care of the last wizard in the area.  Claire's available for support. Dyute has 8 HP left, which means she can survive either the slayer or bow knight hitting her, but not both. We're only on the second turn still so restarting wouldn't really be a problem if things turn out badly. 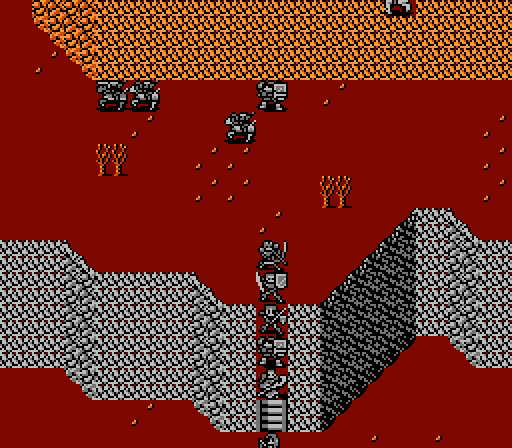 I don't think the rest of Alm's army is going to be much help on this map. 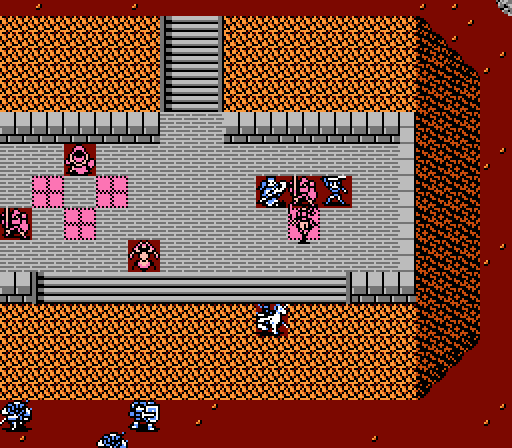 The bow knight moves onto the recovery tile, which brings it close enough for Dyute to counterattack. With two fireballs. Which cost her 2 HP, bringing her down to 6 HP total since the bow knight missed. And Dyute didn't even land either of her attacks somehow. 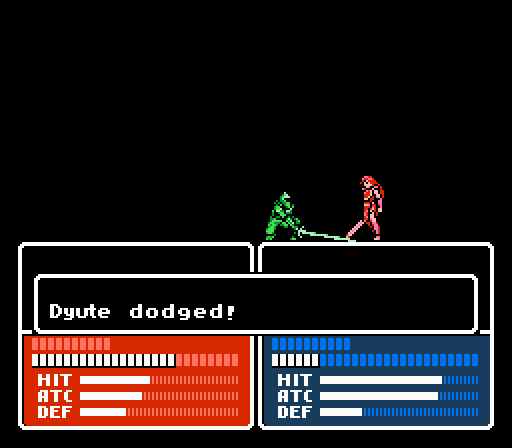 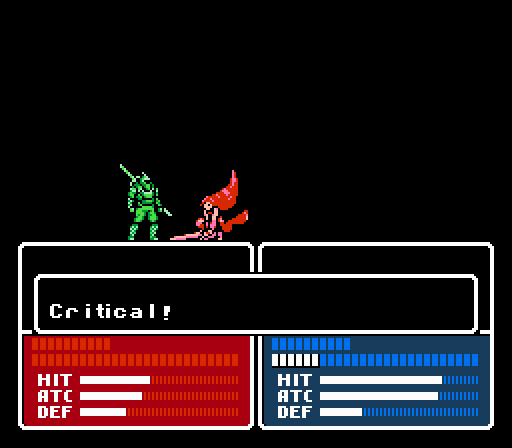 Dyute dodges the slayer however, so it's all good. She even gets a counter-crit to finish off the slayer. 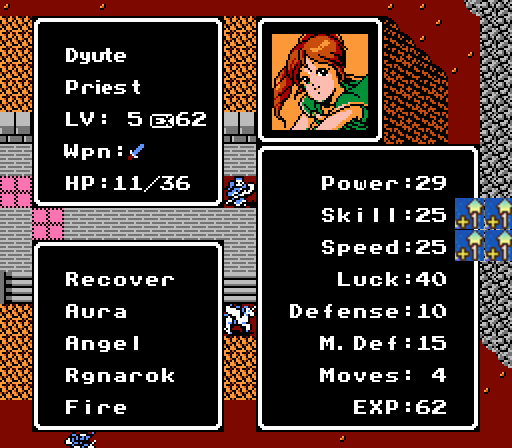 And she's now crazy-fast to go with crazy-strong. Turn 3  The enemy ranks have been reduced by 2/3. 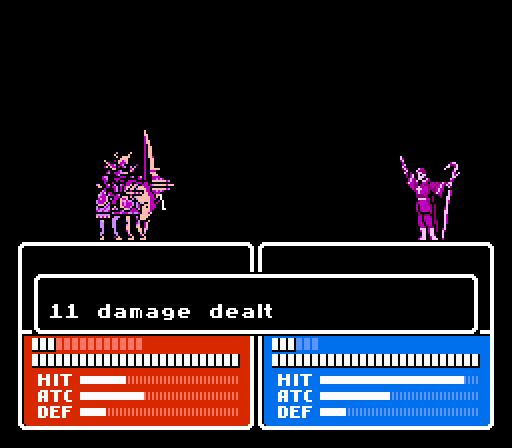 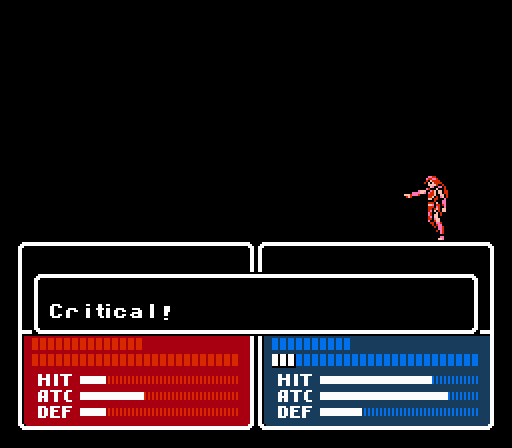 Ryuto attacks twice, hits once. Dyute doesn't need any help, anyway, even after getting hit by another attack with a sub-20% hit rate.  Seriously, she's just insanely powerful now. Five levels gained in this battle for Dyute. 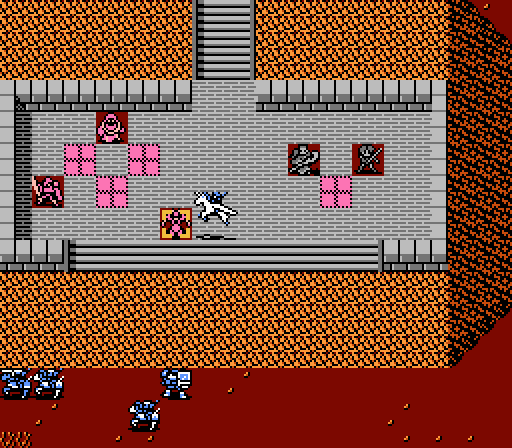  The shaman hasn't summoned anything yet, and Claire makes sure that it never will. 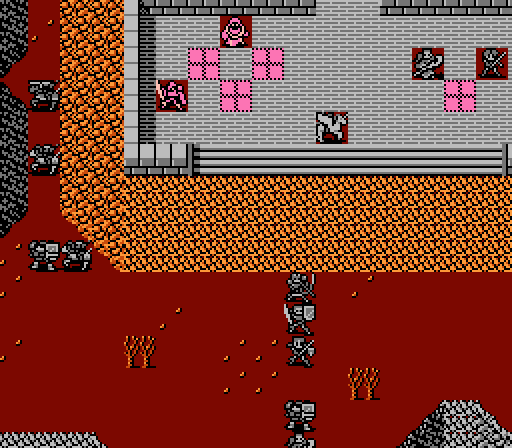 There's only two enemies left, the outside crew isn't going to make it in time. 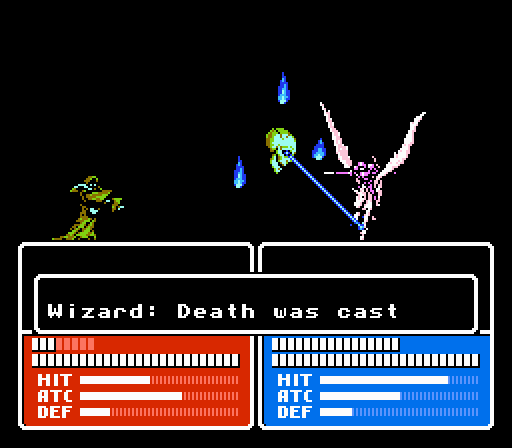 Flying horses beat flying skull lasers every time (Claire dodges). 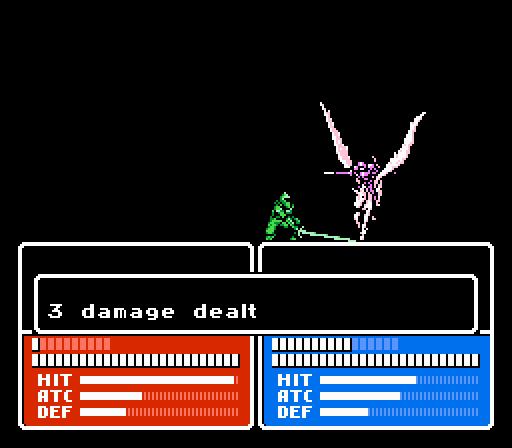 The last slayer gets in two attacks on Claire, but neither one hurts very much. Her counterattack does more damage (9). Turn 4 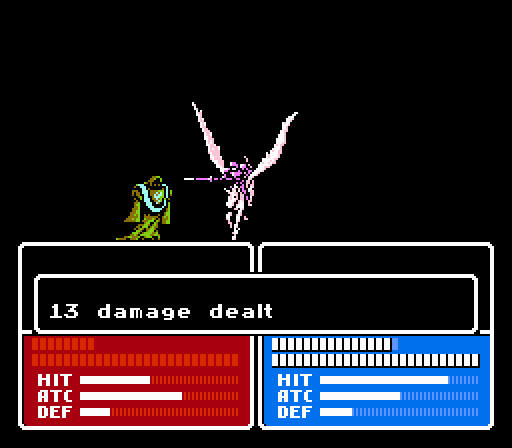 Claire starts out by crushing the laser-skull wizard. 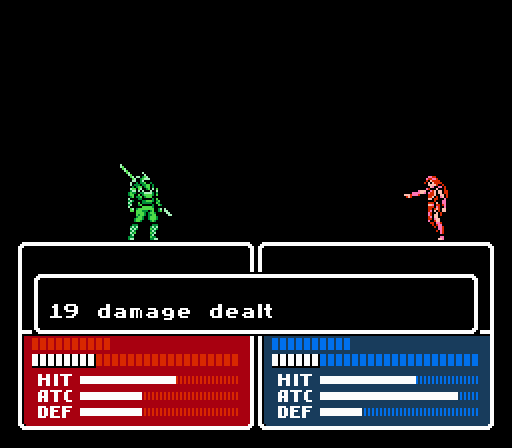 Dyute misses one attack or the map would already be over. 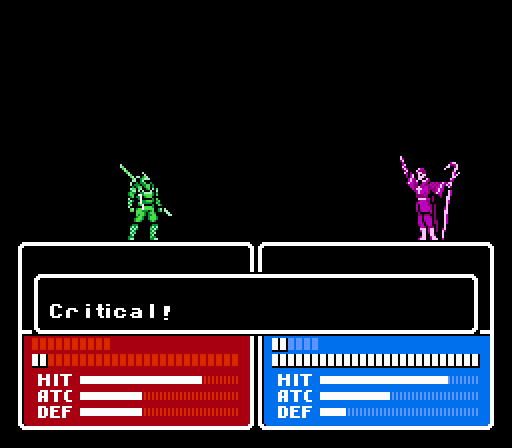 And even a crit can't give Ryuto the kill here. Guess it's one more turn. I could've warped in another unit to get the kill, but really, why bother at this point. 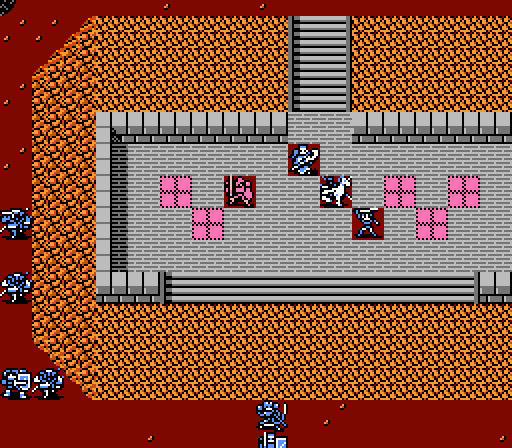 The slayer retreats to the recovery tile, for all the good it will do him. Turn 5  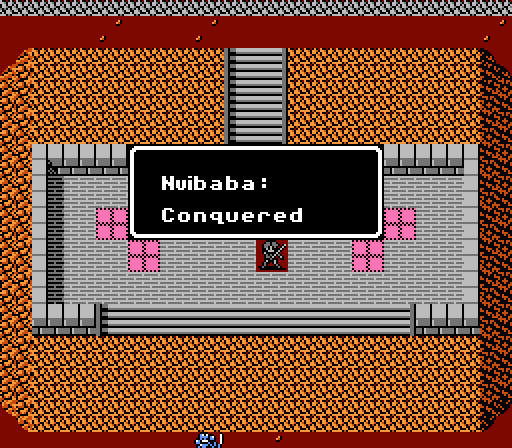 Claire gets the final kill, wrapping up the battle. Only four of Alm's units were needed (three combatants and Silk for warp-duty). 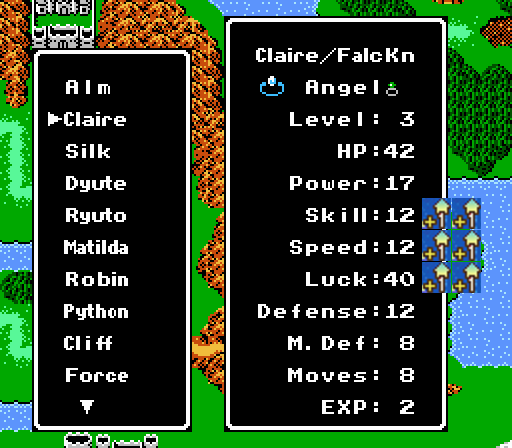 Claire gets the third three-stat level of the battle - I think that's a record. 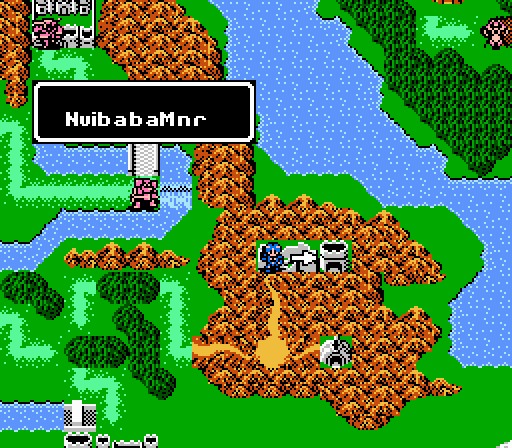 Time to head inside and figure out why we were here. 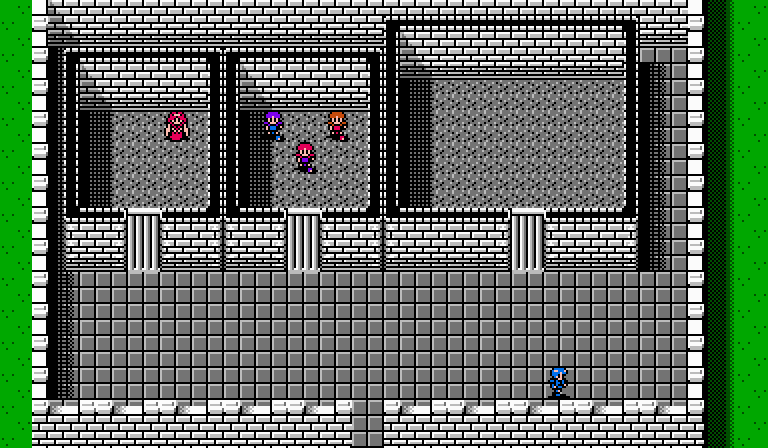 Nuibaba's home seems to be mainly a prison. 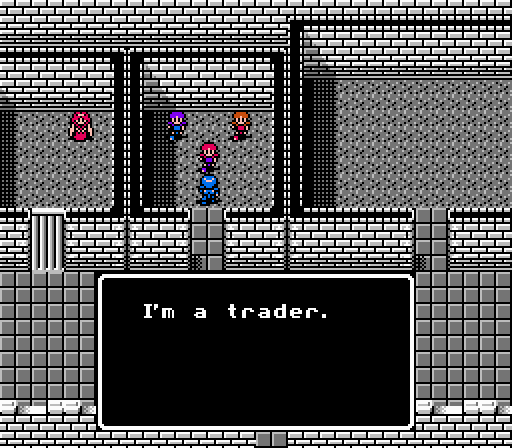  The center room holds three traders. So we could send the Angel Ring back to Celica's group if we were so inclined. I think Alm's going to stay greedy for a little while longer. Anyway, the real action is in the cell on the left. 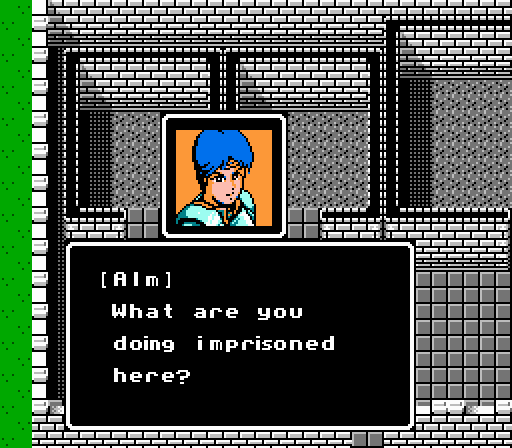 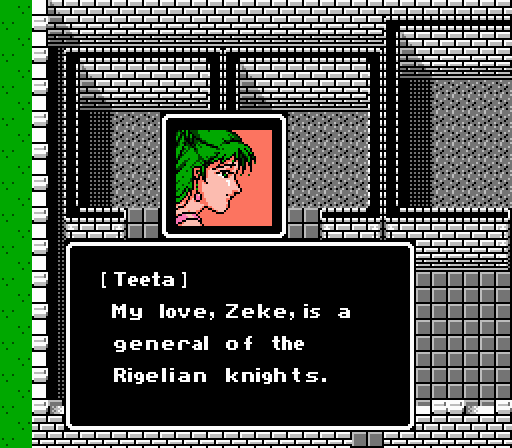  He opposed the war, however. To ensure he didn't rebel, I was taken hostage. If Zeke sees me rescued, I'm sure he'll gladly help you. He opposed the war, however. To ensure he didn't rebel, I was taken hostage. If Zeke sees me rescued, I'm sure he'll gladly help you. And with that, Alm gets another healer, and a pre-promoted one at that. 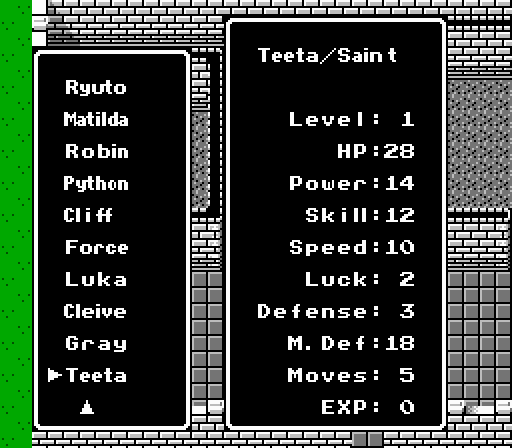 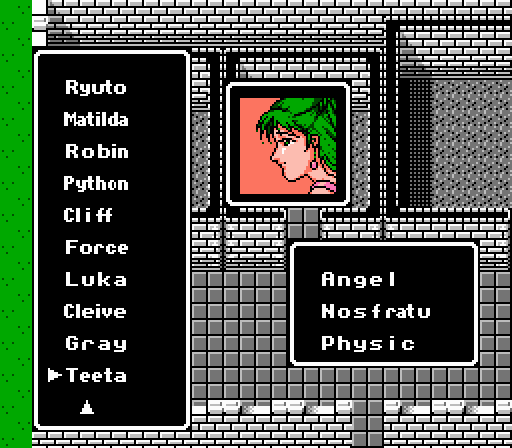 Her stats are kind of junk, except for that Magic Defense. But she has the Physic spell and enough Power to make it count, so she'll never have to be on the front line. Anyway, you're forgiven if you don't remember who Zeke is. We last saw him six updates ago. Back then, Alm didn't have enough firepower to take on both armies. Now he probably could, but it looks like he won't have to. New Characters Teeta is a better healer than Silk thanks to the Physic spell, which let's her stay away from the front line. Good thing, too - her stats are pretty terrible.pre:Stat Base L1 Growth HP 28 40 Power 14 10 Skill 12 15 Speed 10 15 Luck 2 20 Defense 3 40 M. Def 18 0 Moves 5 0 Quality 41 100 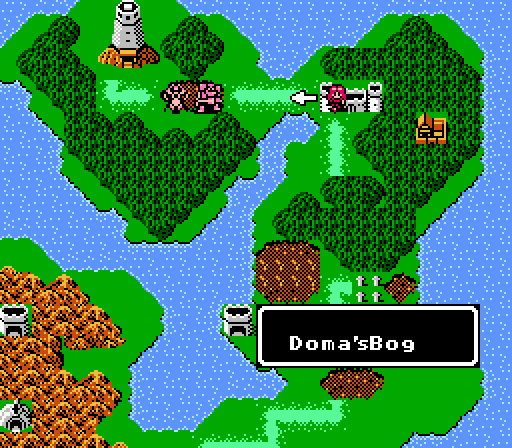 A couple of small but powerful armies wait in a bog for Celica. DKII fucked around with this message at 23:01 on Jan 11, 2015 |
|
#
?
Jan 11, 2015 22:59
|
|
|
I don't remember: do healers get XP for healing in this game or do they still have to level via axes to the face? (at least they can fight back to some extent now)
|
|
#
?
Jan 11, 2015 23:26
|
|
|
MR. J posted:I don't remember: do healers get XP for healing in this game or do they still have to level via axes to the face? (at least they can fight back to some extent now) Still the axe-to-face option. Though they only really get 1 XP for getting hit; you have to feed them slow Nosferatu kills (at a base 50% hit rate and 0 Might) to get any real XP. Saints are better off since they get Angel which is actually a real offensive option, especially against monsters.
|
|
#
?
Jan 12, 2015 01:45
|
|
|
You know, when Dyute joined you and didn't stay as a Witch, I felt disappointed that that power was locked away from the player's hands. Now I understand. It would be too much power. Dyute MVP.
|
|
#
?
Jan 12, 2015 03:18
|
|
|
Okay, those were some ridiculous levels on Dyute. So much luck!
|
|
#
?
Jan 13, 2015 01:00
|
|
|
Chapter 4, Part 11: Doma's Bog 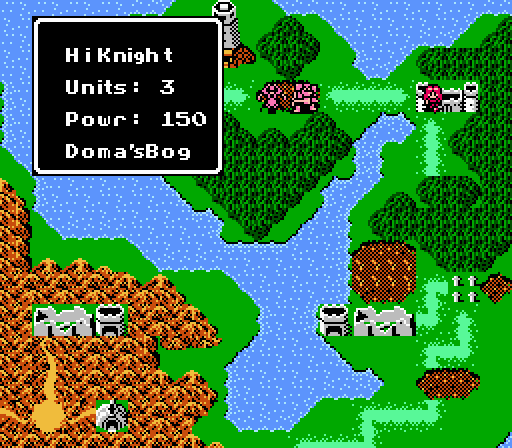 Today's battle is a strange one. Celica has to face two armies that have a total of only five units. It's not a bad idea here to start the battle and take a look at the map, and then immediately retreat to set up your lineup and item distribution according to the map layout. 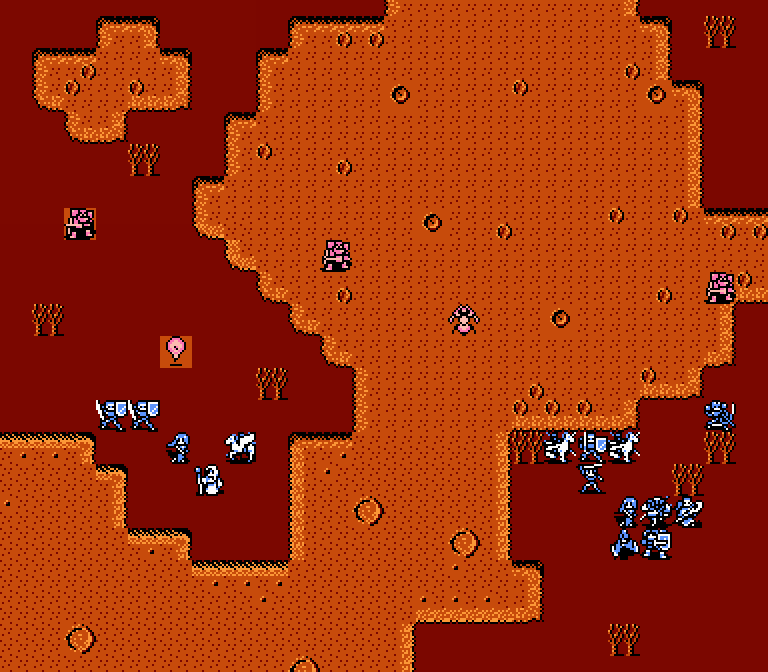 The three barons are there as expected. Judah's hanging out in the middle of the swamp. And there's some funny-looking new unit. 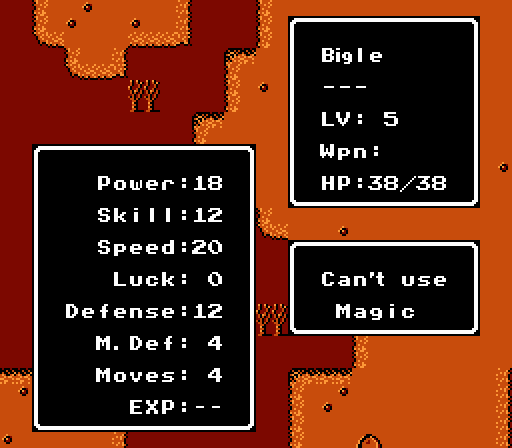 Meet the Bigle. High Power, Speed, and Defense. Like the armored units, magic is the easiest approach to taking down a Bigle. However watch out for that high Speed, as the Bigle will double-attack all of our units. Also the Bigle is a monster, so all of our monster-effective tactics apply. 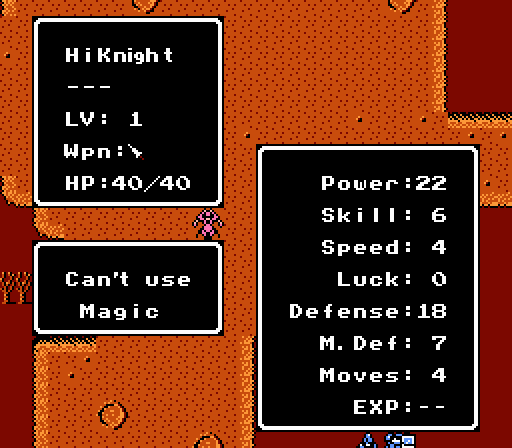 The barons/high knights are the same we've seen before. Easy to bring down with magic, just don't let them get close to squishy units.  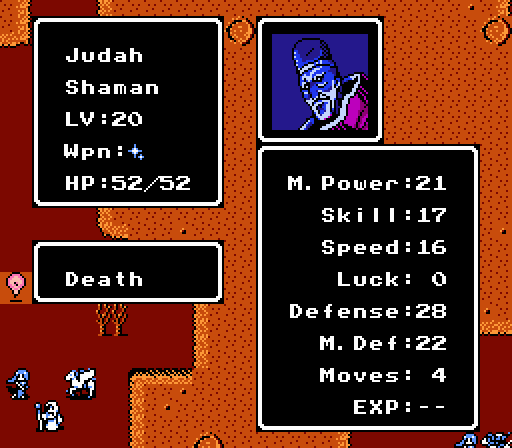 Judah is a trap. The last time we saw the Dragon Shield was back in the first chapter. Dozer was using it to scare Alm in the chapter finale, but ended up running away when one of his minions was defeated. There's a similar pattern here. 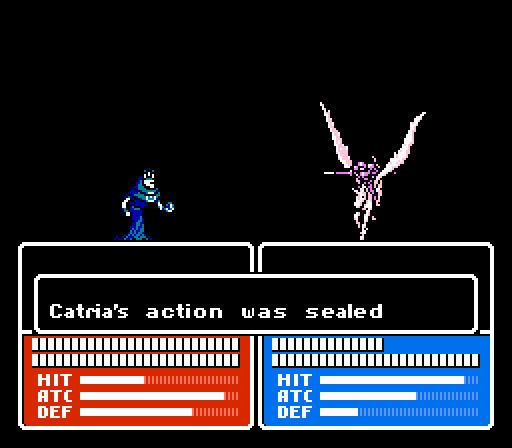 Unlike in the first chapter, where it's possible to defeat Dozer by bringing in severely over-leveled units, here Judah just straight out nullifies all incoming attacks. So even if you think you're clever and going to drain his HP by making him counterattack you over and over again, Judah still won't go down. The swamp will only bring him down to 1 HP rather than killing him, and he'll forego all counterattacks once his HP is too low to fuel the spell. 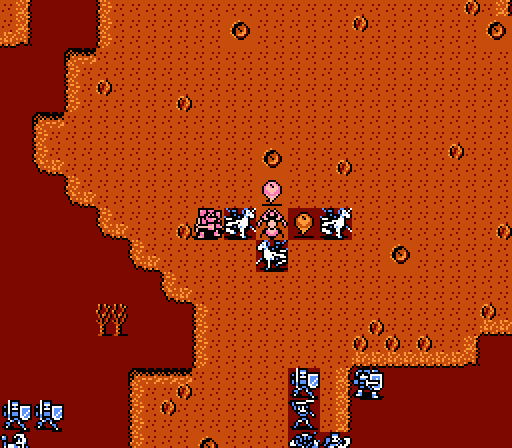 If that weren't bad enough, Judah can also summon more Bigles. 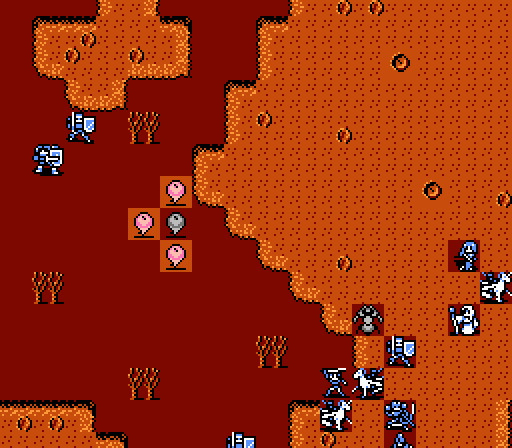 And if you leave a Bigle unable to reach anyone to attack, it can summon more Bigles as well. Clearly this battle can get out of control pretty quickly. 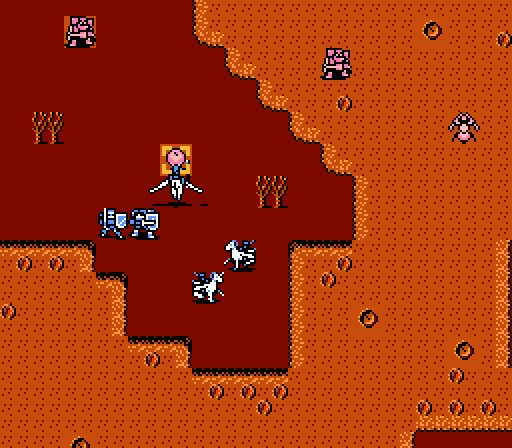 Since Bigles are monsters, however, there's an easy way to handle this battle if you have at least one of your pegasus knights promoted to a falcon knight.  - Chapter 4 Part 11 Battle 1.gif) See, falcon knights get crazy bonuses against monsters. That's Catria attacking with 20 Power and a Silver Lance - normally 28 total Attack Power, but it hits like 60 Attack Power instead. I'm not sure what the exact formula here is, but the point is the Bigle here falls in one hit. (It looks like either Catria's Power or her entire Attack Power is tripled for the effective bonus, but caps out at 60.) 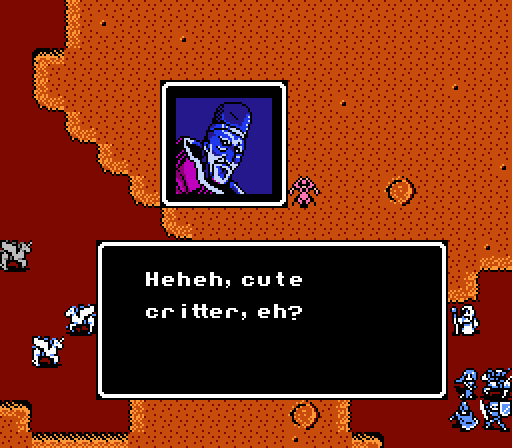 At that point, Judah gives a speech....  I didn't expect you to kill it so soon. That brat was named Alm, yes? If you do not wish to lose him, girl...climb the Tower of Doma. I didn't expect you to kill it so soon. That brat was named Alm, yes? If you do not wish to lose him, girl...climb the Tower of Doma. And then Judah leaves, and we have our entire army against just three high knights. Piece of cake, right? But also kind of boring. See, there's a glitch in play here.... Turn 1 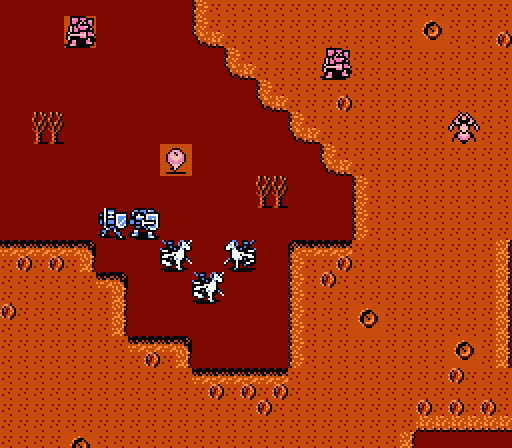 Before heading into the battle, I arrange my lineup so that the three fliers are on the left. Saber and Valbo are also here, each holding a shield for extra Defense. Units 5, 6, 7, 9, and 10 in your roster (numbered from the top) end up on the left side of this map. 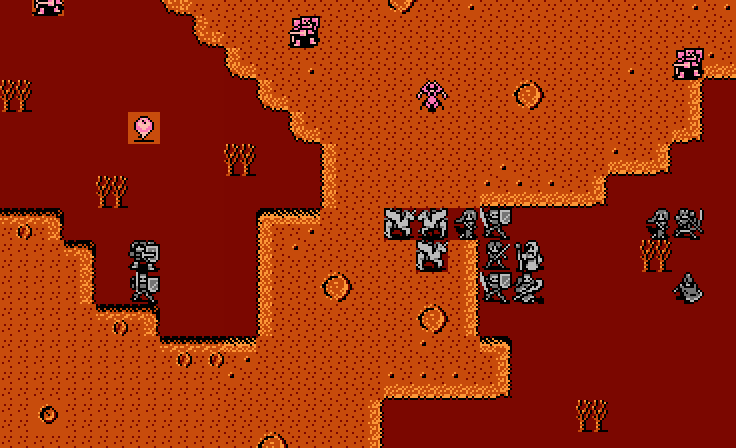 The fliers head east, while Valbo and Saber head south to draw the Bigle away. May, Leo, and Boey head east to handle the high knight on that side. Everyone else mashes together in the middle.  - Chapter 4 Part 11 Battle 2.gif) The Bigle bashes Valbo but with little effect. 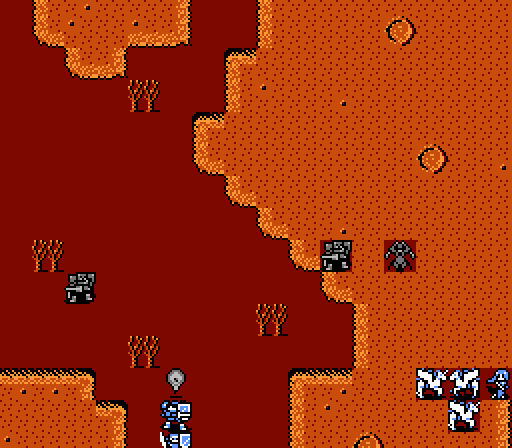 The high knights slowly head south, while Judah wanders west. Turn 2 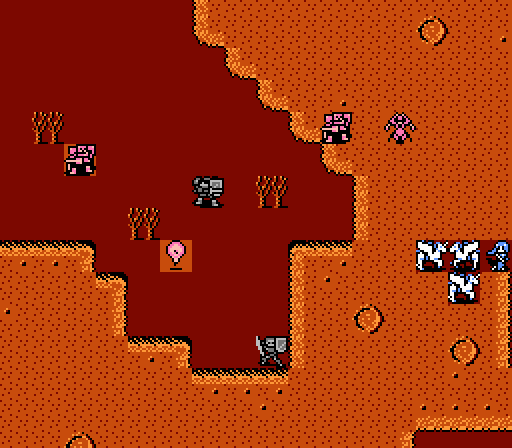 Saber stays out of the way, while Valbo is going to keep the Bigle and the high knights occupied. With the Steel Shield, Valbo has 18 Defense. 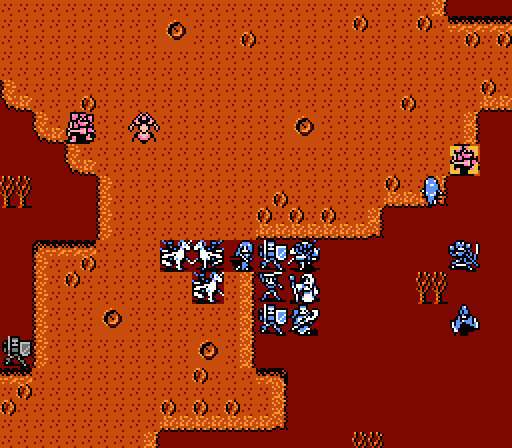  May and Boey team up to take out a high knight, clearing the east side of the map. 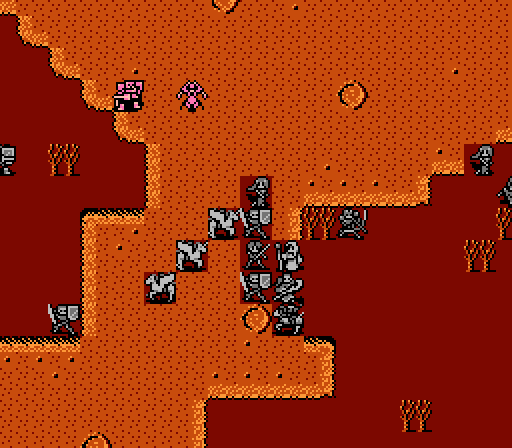 Everyone else is still clustered in the middle, with the fliers lined up so that the central high knight heads west towards Valbo as the closest target. 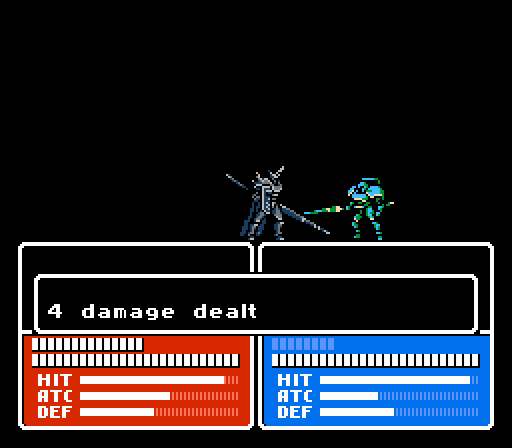 Valbo stands up to his twice-promoted counterpart rather well.  Four enemies all converging on Valbo. Turn 3 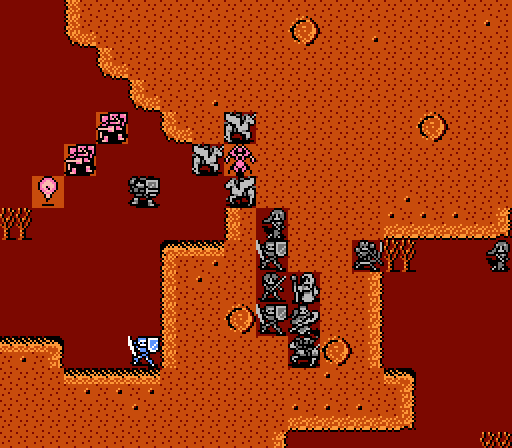 Here's where things get tricky. We need to keep Judah separated from the Bigle. At the same time we want to get the high knights out of the way. With this formation, the Bigle will stay stuck on Valbo, while the high knights will go after the fliers. That'll bring the high knights in range of our mages (eventually). Judah's movements are restricted, so he'll have to move back east a bit. At the same time, I start attacking Judah to get him to spend some HP fueling his flying laser skull (the Death spell).  Or Judah could summon a couple more Bigles. Poorly-timed summons can ruin this whole trick, really. 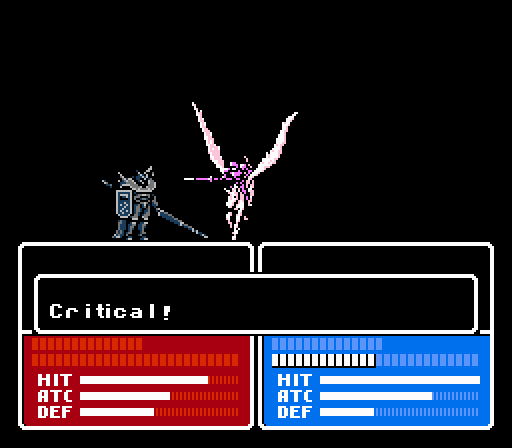 The strategy with the high knights pays off big time - both attack Catria, and both get counter-killed with a couple of crits. 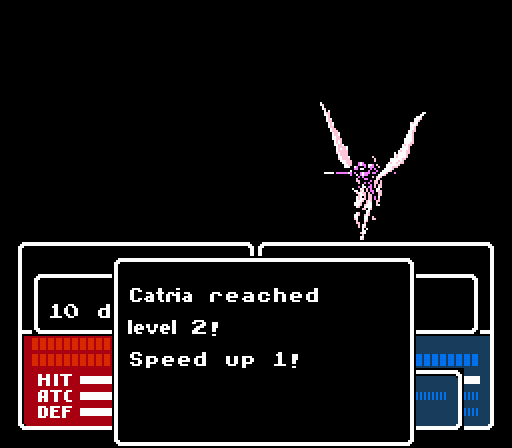 Catria gets even faster. I didn't get the full status screens this run, since I honestly didn't expect to keep it. A key part of the strategy is letting most of my army rot in the swamp and lose HP every turn, it's pretty ridiculous. Turn 4 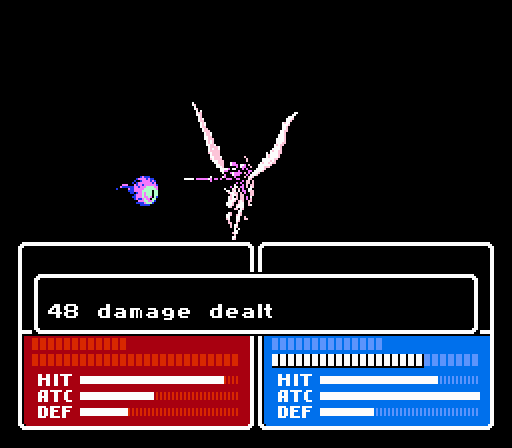 The falcon knights are very good at clearing the summoned Bigles, as Palla demonstrates. But Catria's still kind of hurting from the high knights and Judah's counterattack, so I'll need another tactic for the other Bigle. 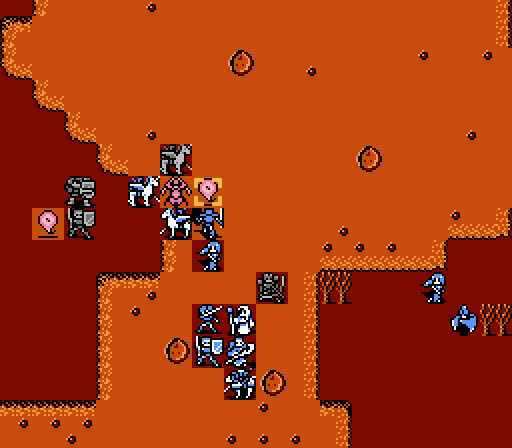 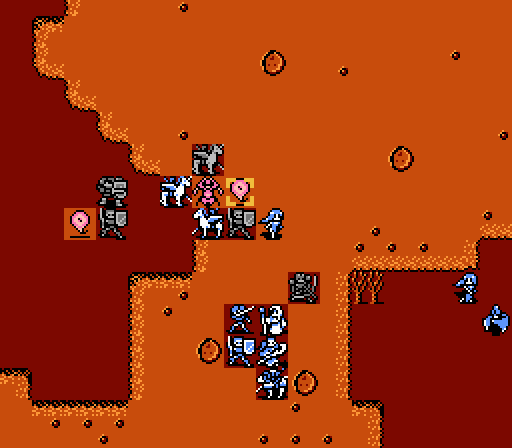 Leo takes the first shot for 9 damage. Kamui follows up with the Dark Sword for 15 damage. Then Sonia gets the finishing blow with Excalibur for 14 damage (adding up to 38, the exact amount needed). Kamui took 16 damage in a counterattack, but Celica's right there for some power healing. 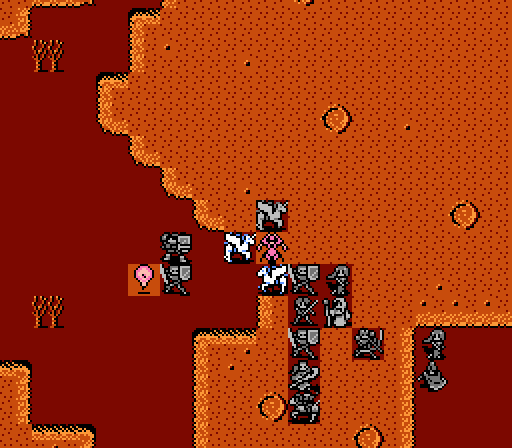 Down to just Judah and the original Bigle, now. Saber and Valbo are keeping the Bigle from getting to anyone else, and Judah is still walled off. 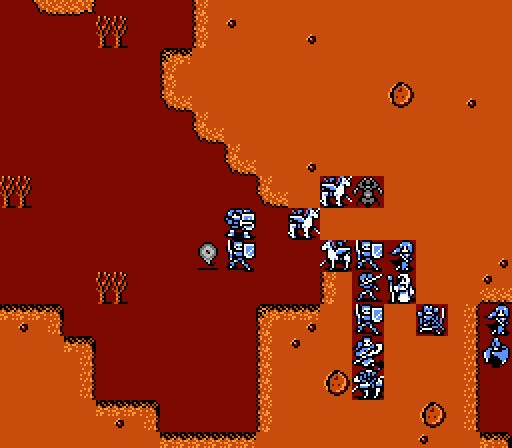 And as expected, the Bigle stays focused on the units in front of it, while Judah wanders a little bit. Turn 5 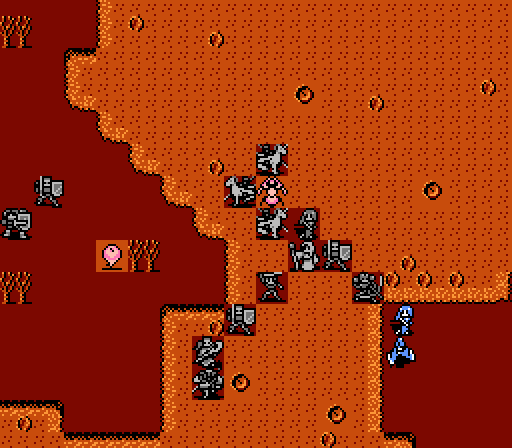 Now that the high knights are out of the way, and Judah and Bigle are sufficiently separated, I can execute the main part of this maneuver - luring the Bigle to the northwest while keeping Judah stuck in the swamp. Fortunately this group has three healers so I can keep up with the swamp damage and with Judah's successful counterattacks. 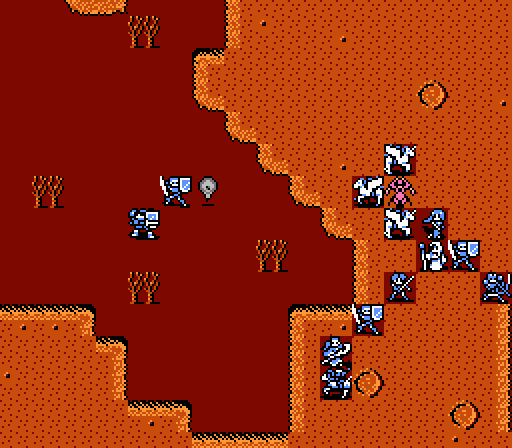 Judah stays put, but the Bigle takes the bait. Turn 6  Had to keep Saber in a blocking position so that the Bigle wouldn't go after Est. I also moved Sonia up a bit to encourage Judah to move east and south, away from the Bigle. 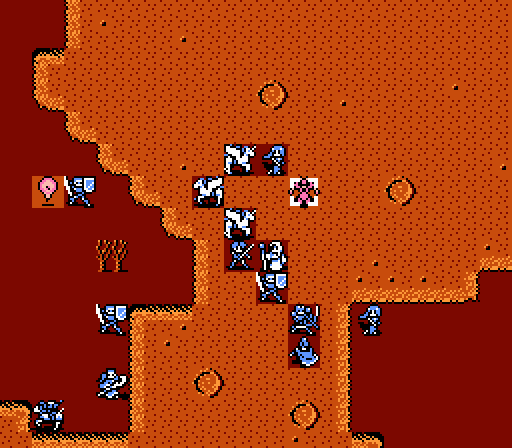 Good enough! Turn 7 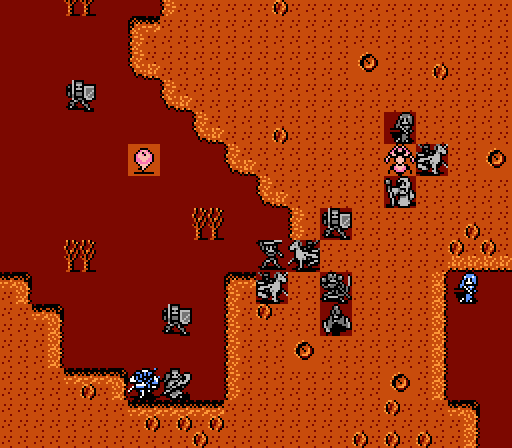 The Bigle is pretty much out of the way at this point now, which means I can start herding Judah towards where I actually want him to be. I've also been able to keep Judah's HP drained so that he can't summon anything and mess up my plans. Turn 8  You can tell I want Judah to head southwest here. The Bigle is still being lured farther away as well. Turn 9  The Bigle is now a non-factor. Judah is being rather carefully herded still. Turn 10 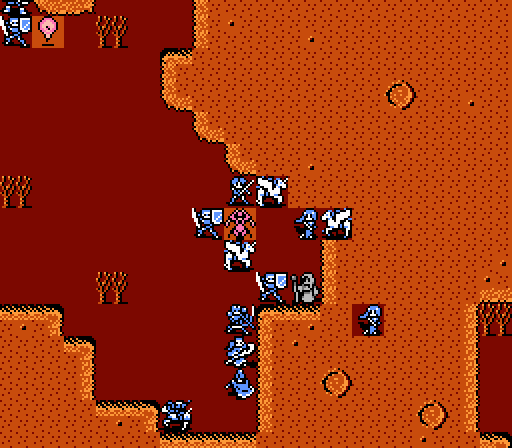 Okay that wasn't quite the right spot, Judah. Take the opening you see ahead of you, it's not a trap at all! Turn 11 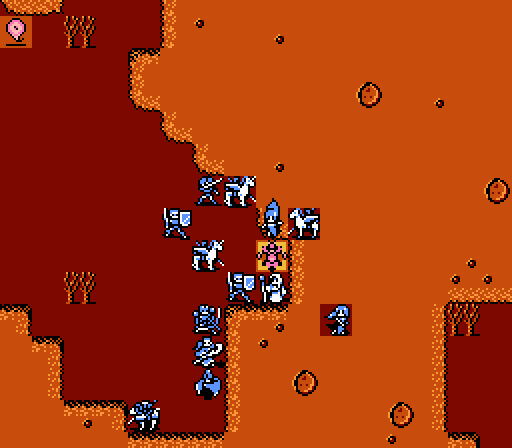 What's special about this spot, you say? Allow Sonia to demonstrate.  - Chapter 4 Part 11 Battle 3.gif) Somehow, Judah is vulnerable on this tile. Actually, this one and the one to the left of it. Possibly others; I only discovered this glitch by accident during a test run and wasn't even sure if I could reproduce it at all. 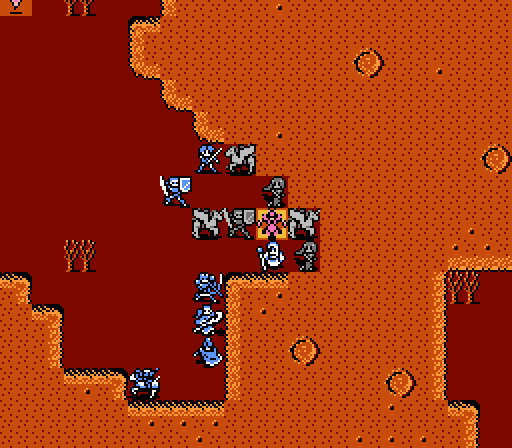 After some distance attacks to wear down the rest of Judah's HP, I think it'd be fun if Jenny got the final blow, don't you?  - Chapter 4 Part 11 Battle 4.gif) Jenny comes through, and we get the Dragon Shield! Since you probably don't remember the last time we saw it back in the first chapter, the Dragon Shield gives +5 HP per turn and increases both Defense and Resistance by 13 - huge. We can pretty much make one of our units all but invincible with this item now. 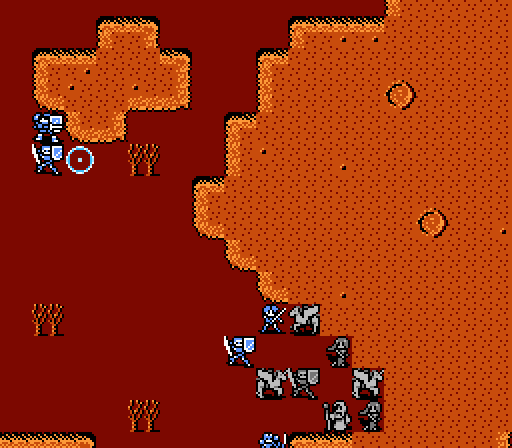 The Bigle was apparently summoned by Judah before the battle, because it disappears once Judah is defeated. 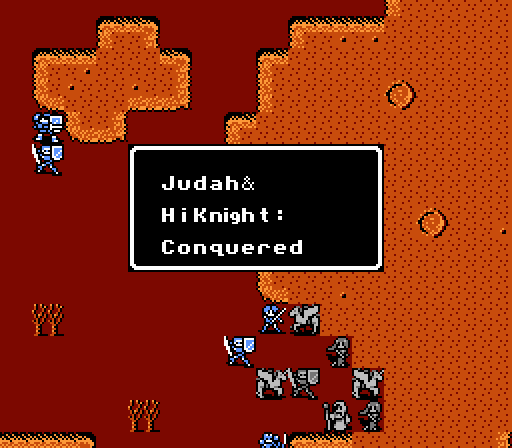 And that's how you can spend entirely too much effort defeating Judah and taking his Dragon Shield. Next time: 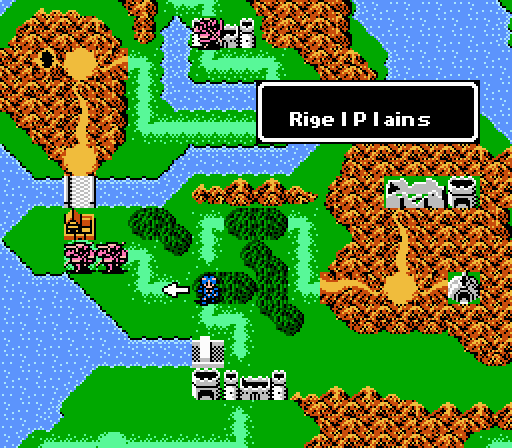 Alm finally makes it to Rigel Plains.
|
|
#
?
Feb 9, 2015 01:54
|
|
|
The effective bonus triples both the character's Strength and the weapon's Might, making exploiting weaknesses very easy even with weak characters.
|
|
#
?
Feb 9, 2015 03:13
|
|

|
That's actually kinda impressive that Judah has a death quote. I don't suppose, though, that the game actually acknowledges this feat after this?
|
|
#
?
Feb 9, 2015 19:14
|
|
|
Wow, that is an odd glitch. It seems like an artifact of good ol' engine limitations overwriting Judah's vulnerability pip or whatever, but I'm impressed how well the game handled him dying.
|
|
#
?
Feb 9, 2015 23:04
|
|
|
DKII posted:
 quote:

|
|
#
?
Feb 10, 2015 02:57
|
|

|
JamesBCrazy posted:The effective bonus triples both the character's Strength and the weapon's Might, making exploiting weaknesses very easy even with weak characters. That one's not always true; someone wielding a Holy Sword against a monster, for example, only gets the weapon's Might tripled, not his own Power on top of that. But it does seem to be the case for the Falcon Knight's inherent effectivity against monsters. Edward_Tohr posted:That's actually kinda impressive that Judah has a death quote. I suppose it's not really a surprise to say that you'll see him again later, and as far as I can tell there's no effect. Same if you killed Dozer back in the first chapter, he still shows up on time in the third chapter. DKII fucked around with this message at 04:06 on Feb 10, 2015 |
|
#
?
Feb 10, 2015 04:03
|
|
|
Ah, the proud Fire Emblem tradition of expending entirely too much effort for relatively little reward, because you can.  This is what it's all about. Actually, I suppose that's not limited to just Fire Emblem, is it? Just that the rest of the FE LPs did something similar at some point or another, I think.
|
|
#
?
Feb 11, 2015 13:18
|
|
|
Chapter 4, Part 12: Rigel Plains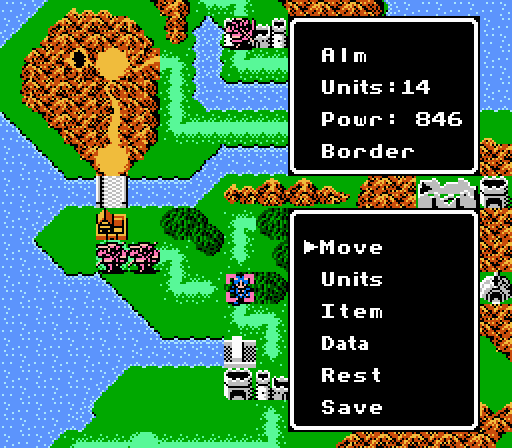 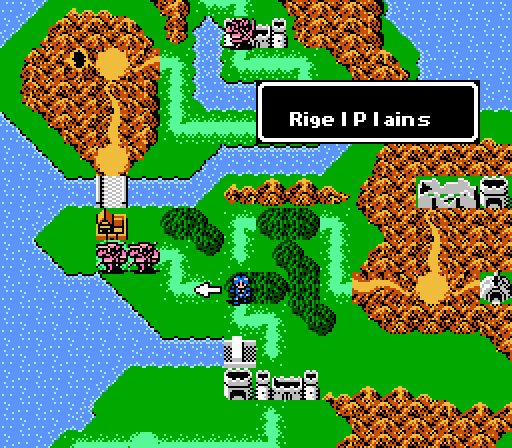 It's Alm's turn again, as he finally resumes his invasion of Rigel. 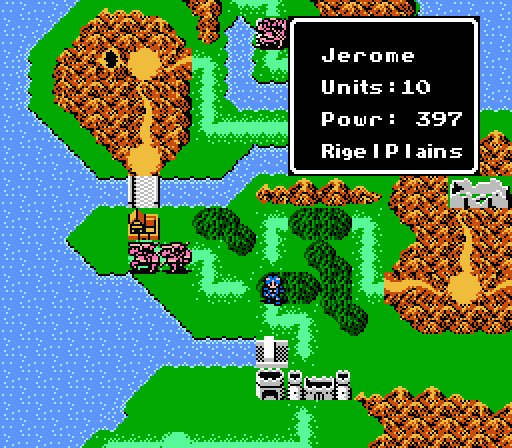  He's up against two armies, but after his side trip through the mountains he's actually strong enough to take them both on now.  But first, Celica has some unfinished business in the Lost Woods. It's relevant to Alm, trust me. 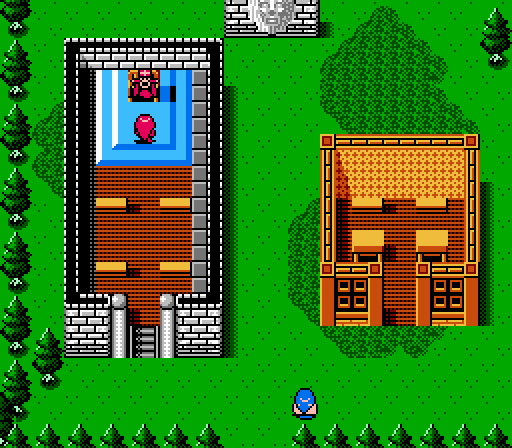 Back in the hidden village, I held off talking to the sage until later. It's now later. Technically 'later' was two updates ago but I forgot. 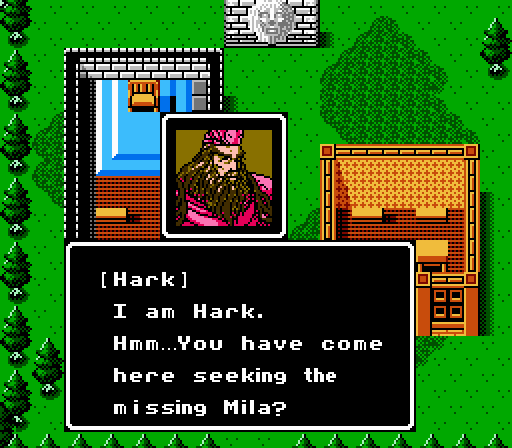 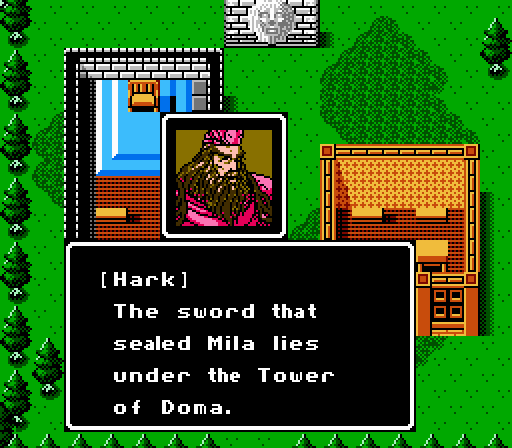 See that's why Celica was supposed to be headed to the tower in the first place. 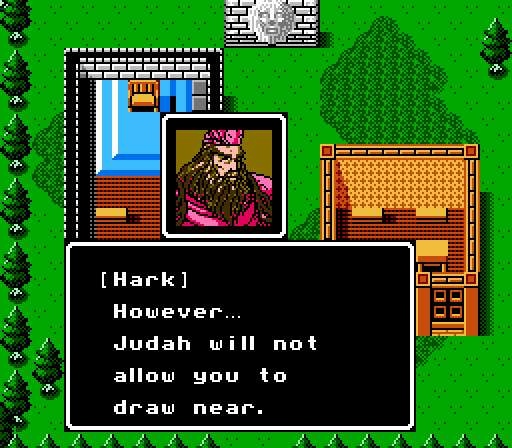 We noticed, he's kind of a dick. 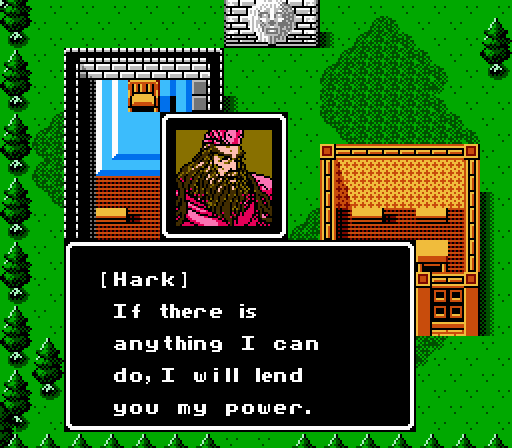 If you had a wish granted by an all-powerful sage, what would you wish for? 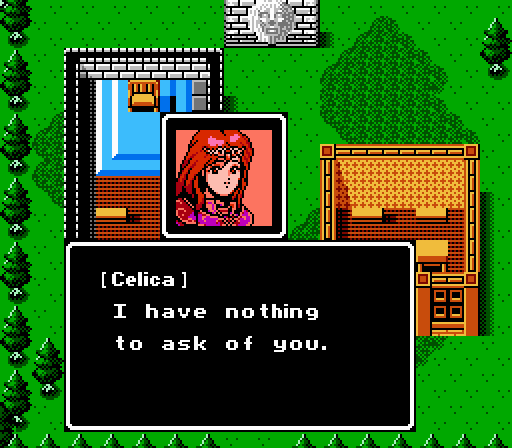 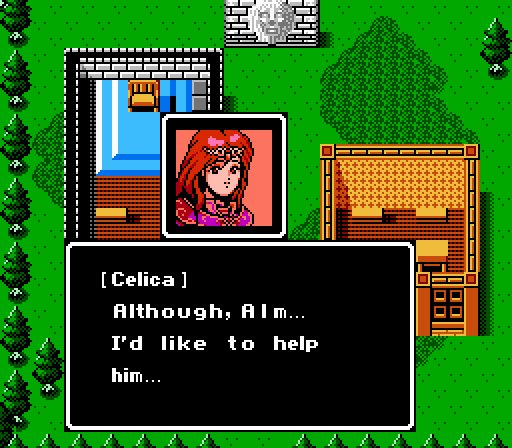 Celica doesn't really get the whole wishing-game thing. 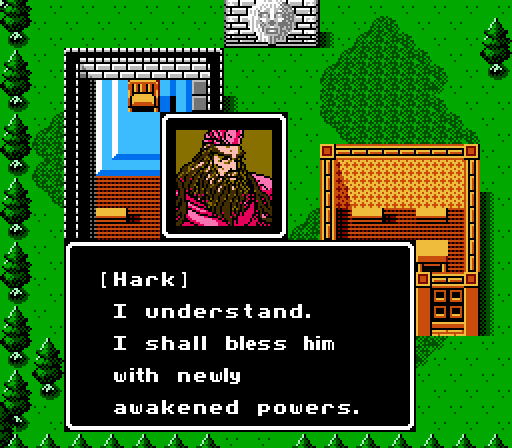 The screen flashes a bit, and that's the end of the conversation. Talking to Hark again just yields some generic warning text: 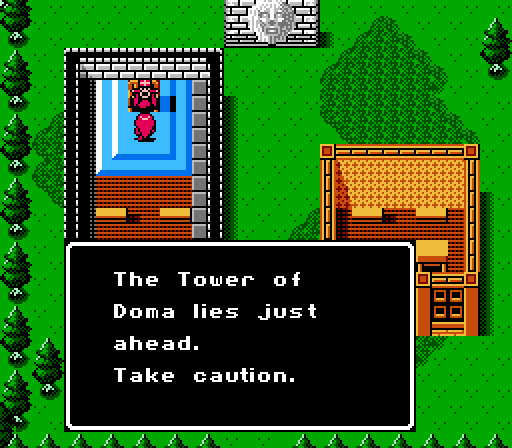 Also I made it through that entire conversation without once making a 'hark' pun. So, then, what happened to Alm? Let's take a look: 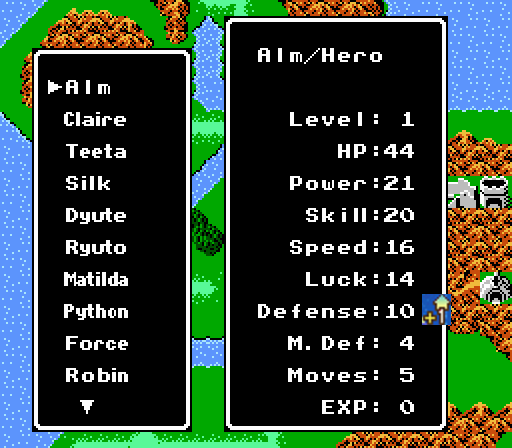 Hey, Alm finally got promoted! The bonus isn't much, but he's going to gain XP very quickly against all the promoted units we're facing now. Also, his Hero class is a precursor for similar classes in following games, as Alm can now use bows. You don't really ever want him using bows since he's got the Regal Sword to swing around instead, but gaining a ranged attack is never a bad thing. Anyway, on to the battle. 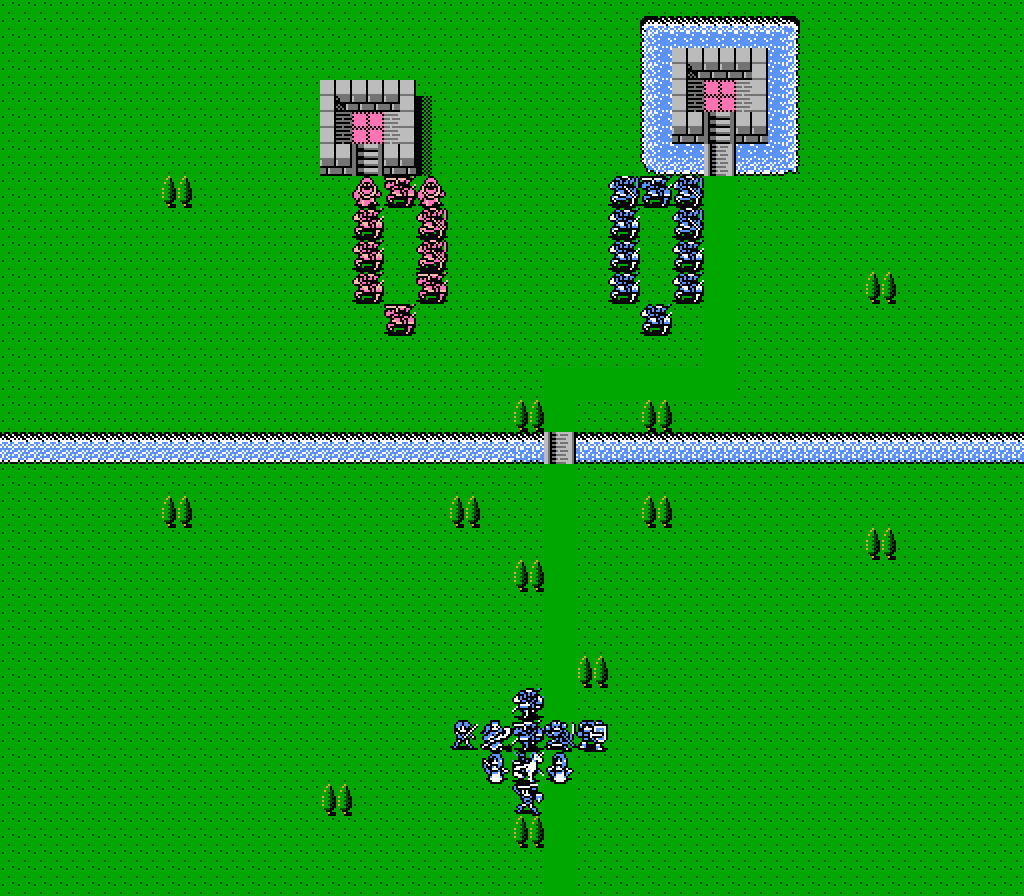 I showed off the map once before - we're facing two armies with a lot of promoted units. Also we only get to bring 10 of our own units, so we're vastly outnumbered. Or are we? 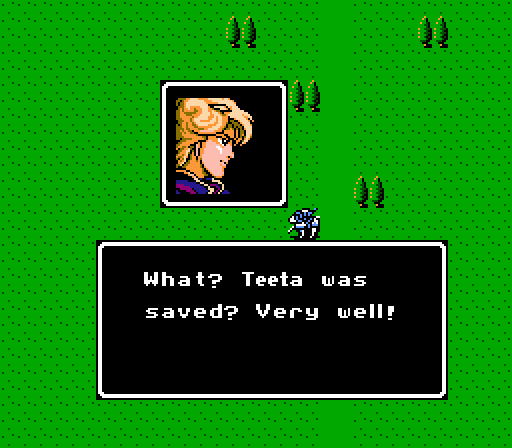  And just like that, Zeke's army (the one on the right) switches sides, becoming an allied army.  Zeke can hold his own pretty well. The rest of his army is outmatched, with Jerome's group having a couple wizards for healing and a few gold knights, but the scrubs don't really matter here. 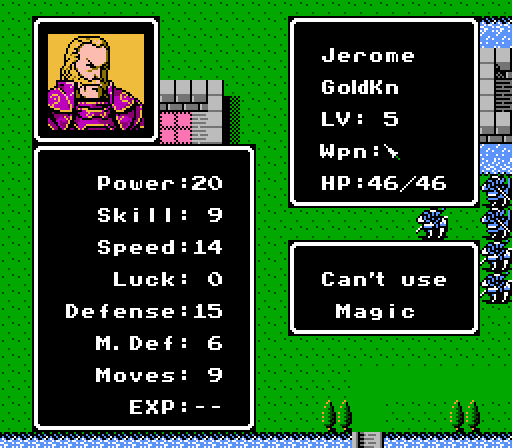 Jerome's a bit tougher, but nothing we can't handle at this point. Worst case Dyute can nuke him in one shot with Ragnarok against that low Magic Defense. 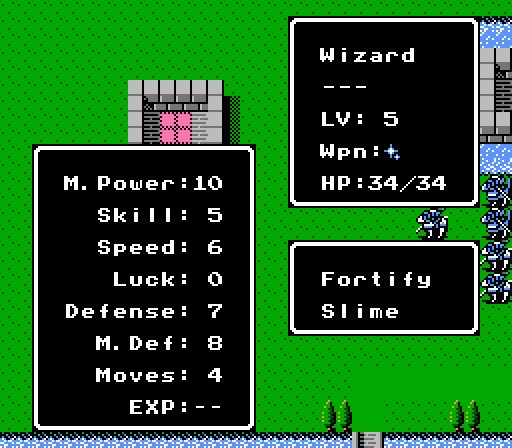 The rest of his army is pretty vanilla - wizards, gold knights, paladins, and bow knights. More third tier units than we're used to seeing, for sure, but we have a pile of cannon fodder to help us out. Turn 1 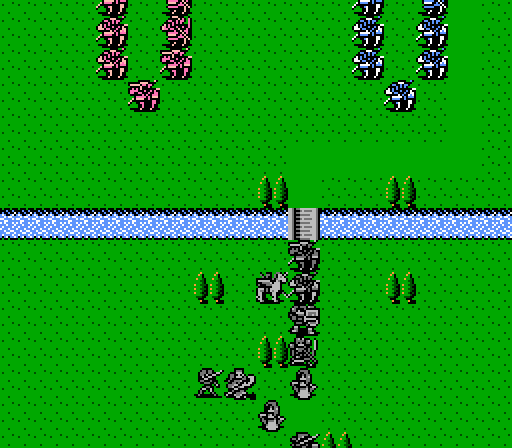 Matilda holds the bridge with the Knight Killer, while everyone else tries to move up into position.  An approximate representation of the enemy phase. Two of Zeke's paladins bit the dust before they could even react. So first strike gives Jerome's army even more of an edge. To top it all off, one of the wizards snuck back onto the healing tile and cast Fortify, healing every enemy unit. 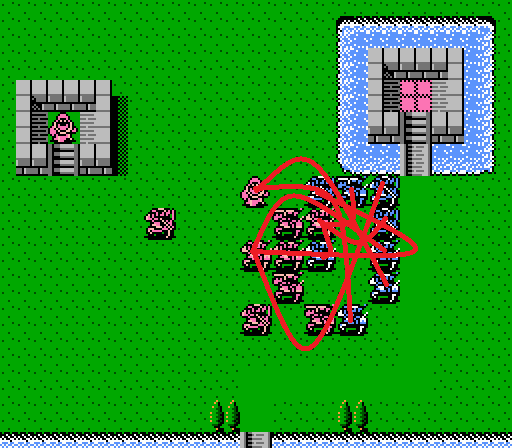 The ally phase here is a lot messier. The end result is the enemy paladin in the center got swarmed and went down, two allied paladins went after the wizard and took him out, and a few other allied units went after the rear paladin and crippled but failed to kill it. Turn 2 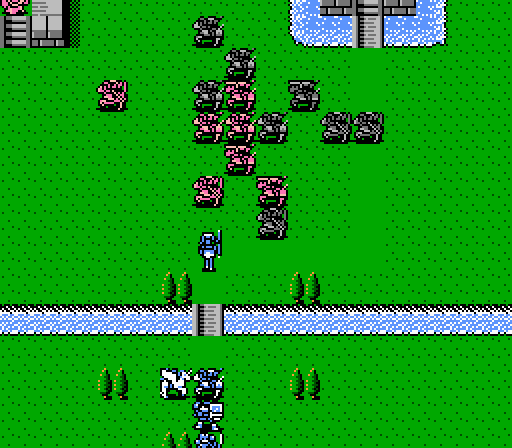 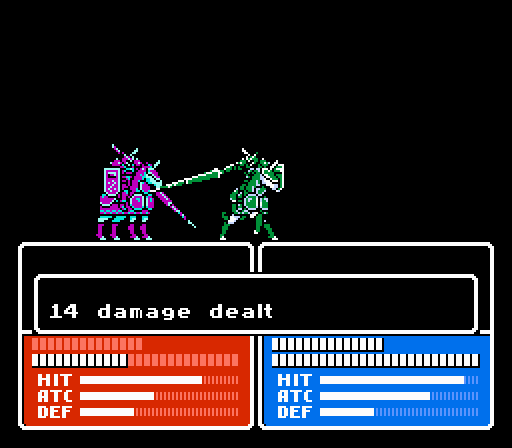 My sad color-blind rear end is having trouble telling the two armies apart here. Matilda can hold her own out there and she has the Knight Killer so she goes out after the nearest gold knight for major damage. 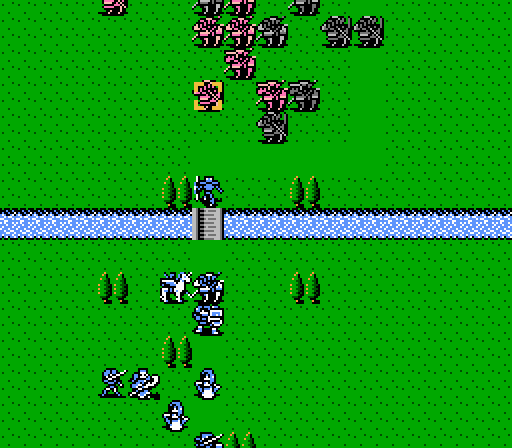 Sniper vs Bow Knight isn't really the matchup I usually want, but Python's sitting on 99 XP so I have him go tap the nearest enemy for an easy level. 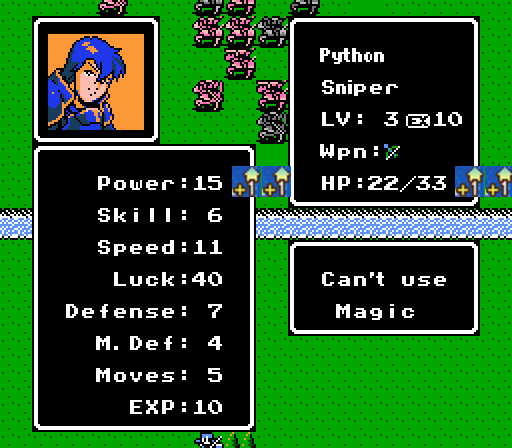 All he really needs. Now to get him some support so he doesn't get swarmed out there. 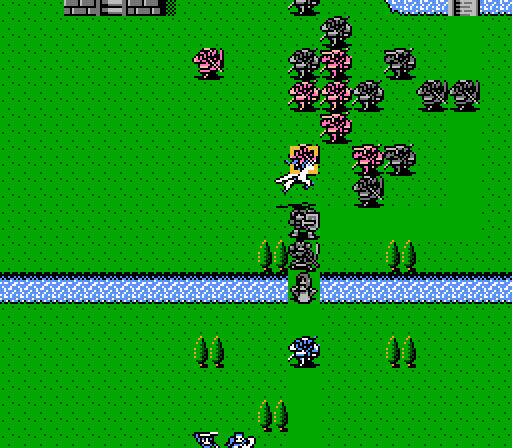 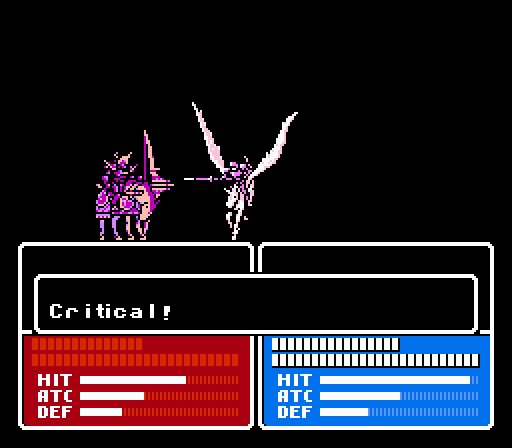 The bow knights with their 5 range are the biggest threat to our mages, so Claire flies out to try and weaken the south-most one. A lucky crit nets her a timely kill. 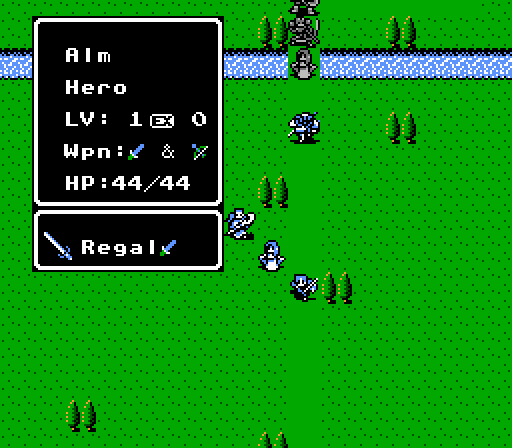 Alm's taking his time getting to the front, but notice how he now has two weapons listed. He can still only carry one item, though. 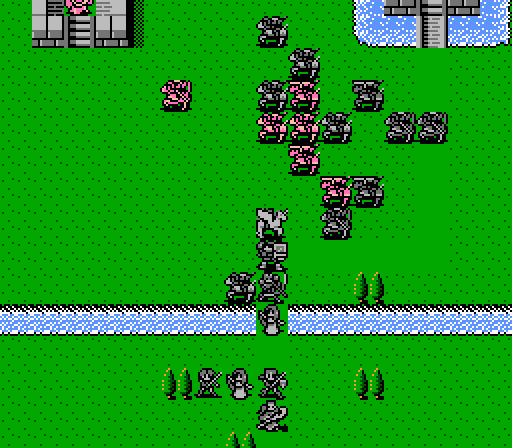 My squishy units are a little exposed to ranged attacks, but there's only one enemy bow knight left and the enemy wizard is too far away to make a difference. 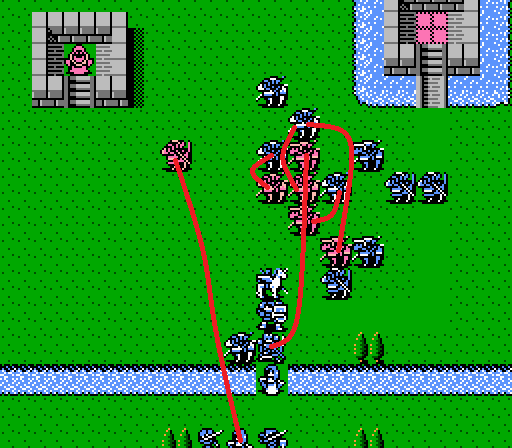 Jerome heads down for Python, the bow knight takes a shot at Teeta, and the rest tangle with Zeke's paladins but don't get any kills. The wizard heals up everyone again at the end of the enemy phase. 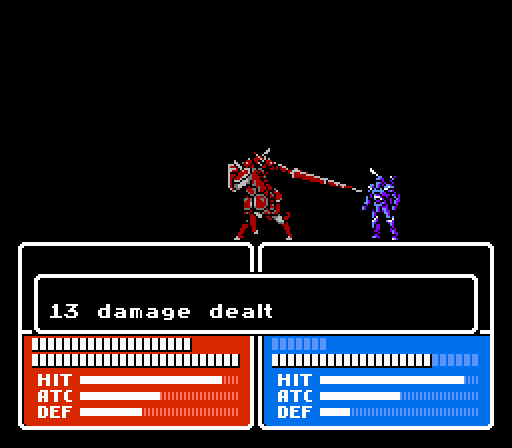 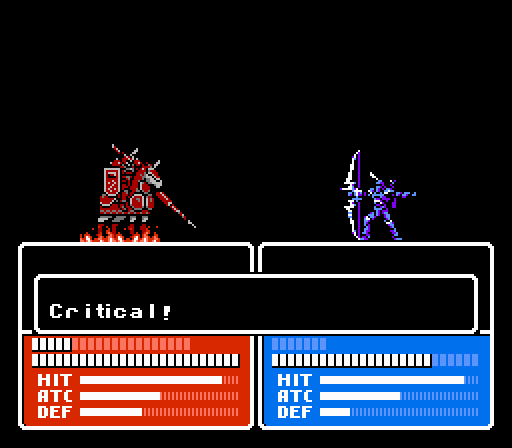 Python gets wrecked for 26 damage, but nails Jerome with a counter-crit. 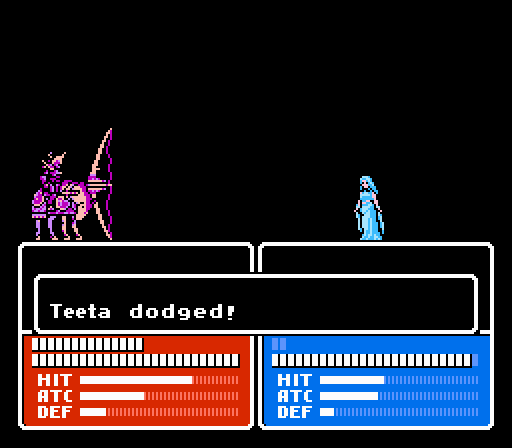 Teeta dodges the bow knight, the only other real threat this turn. 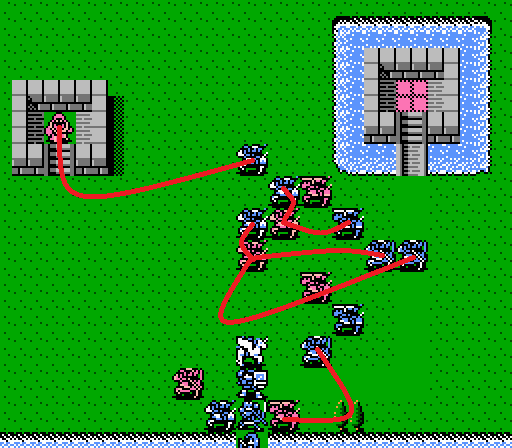 Zeke's group takes out another enemy paladin, brings down another to 2 HP, and harasses Jerome and the wizard. Turn 3 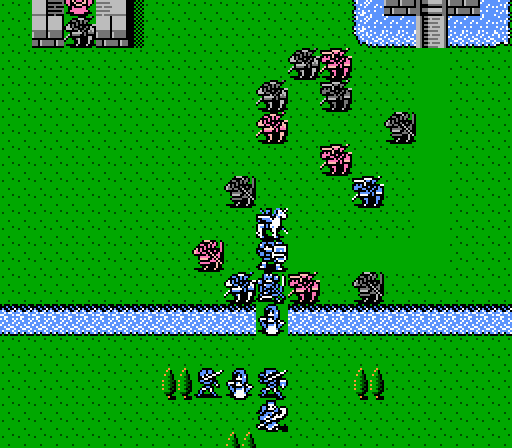 The top priorities for us here are Jerome and the bow knight, both nearby. 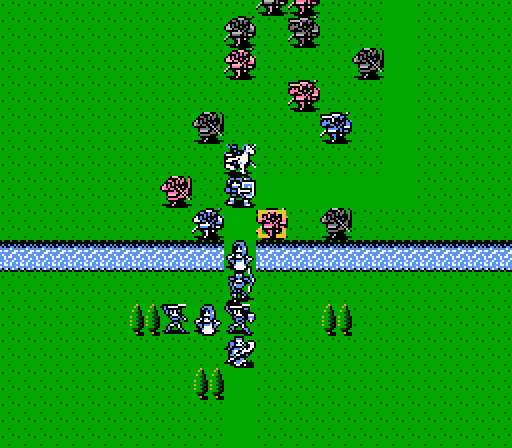  Python steps back to open up the turn with another crit on Jerome. 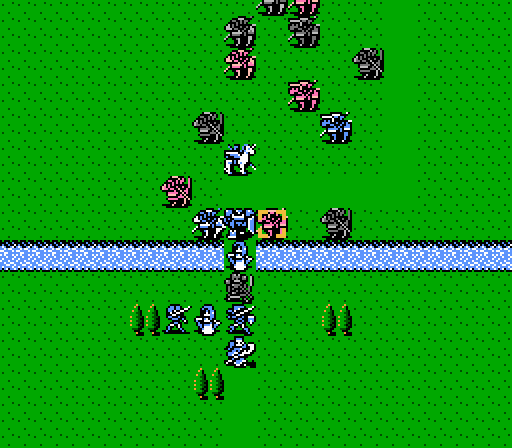 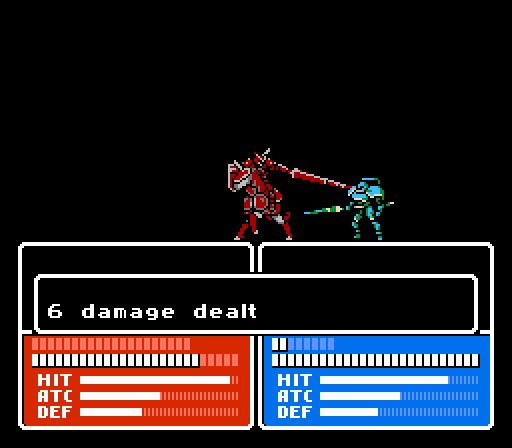 Another apparent mismatch here. Force was sitting at 99 XP, so I just wanted to push him over the top and scratch away at Jerome at the same time. 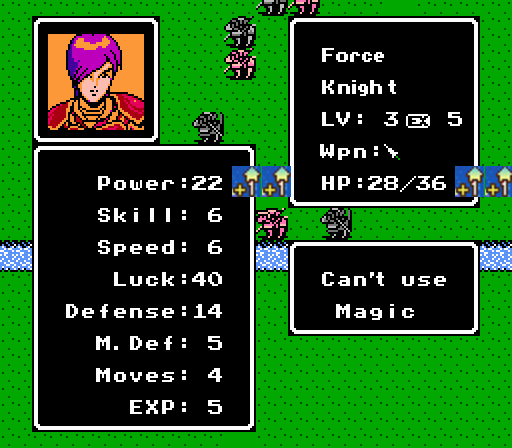 His Defense seems awfully low for a knight, but that Power is quite nice. 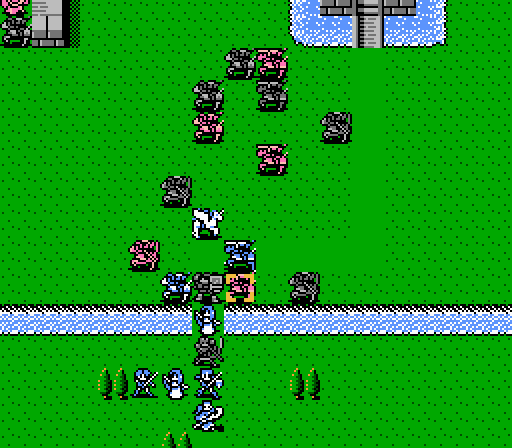 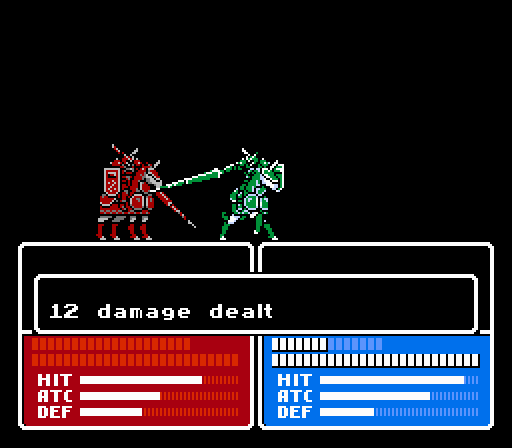 Matilda uses the Knight Killer to finish off Jerome. 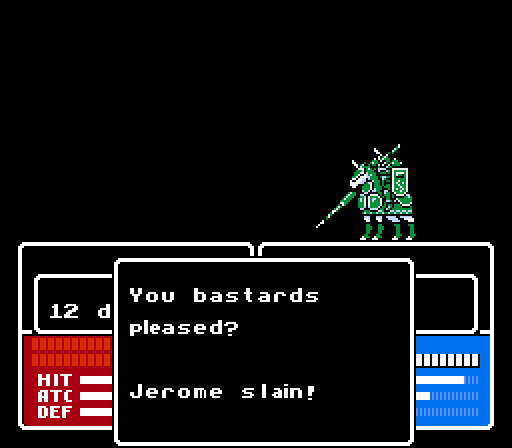 Jerome's kind of bitter about dying. I guess I can understand that. 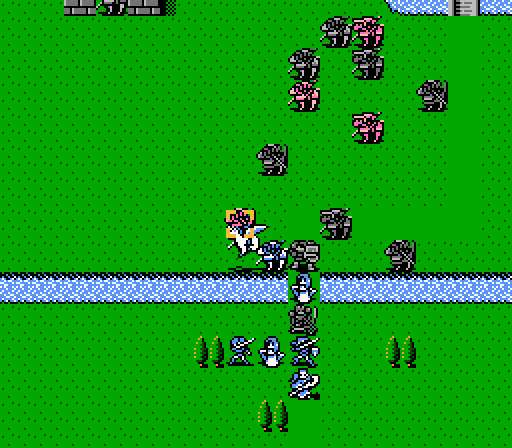 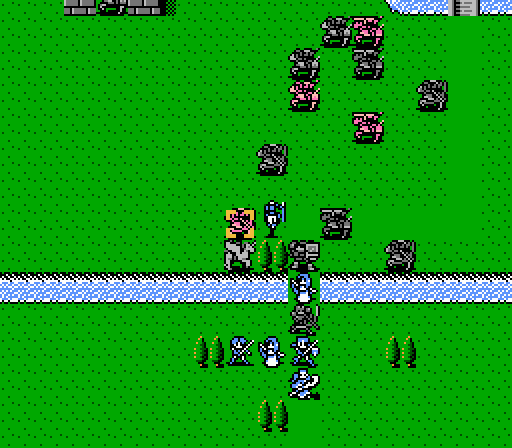 Claire and Robin attack the bow knight, but it's tough enough that it still survives. 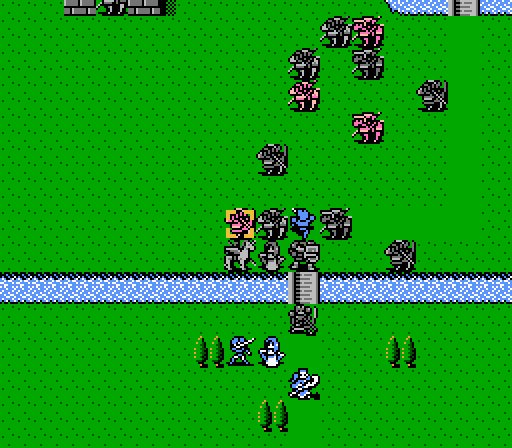 Is that Alm, attacking from range? Why, yes, it is.  - Chapter 4 Part 12 Battle 1.gif) Alm holds up pretty well as an archer, but the extra 7 Might from the Regal Sword (not to mention the extra accuracy and crit rate) only affects melee attacks so you won't see many bow shots from him. 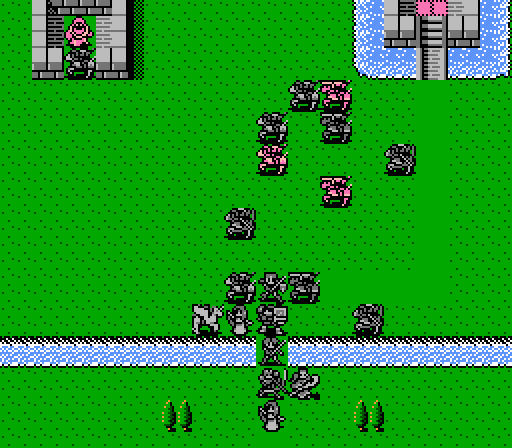 The enemy has two gold knights, a paladin, and a wizard remaining, and they can only reach our tougher melee units so no worries this turn. 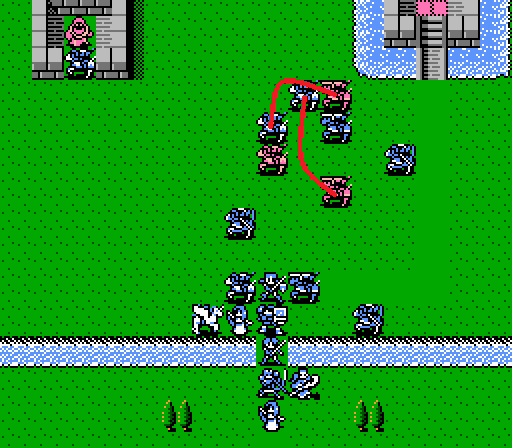 The gold knights waste their time killing two more of Zeke's paladins, while the enemy paladin makes a break for the other healing tile.  Zeke's army rightly avoids the remaining gold knights. They get a bit of the yips missing almost all of their attacks, but the enemy paladin does go down. Turn 4 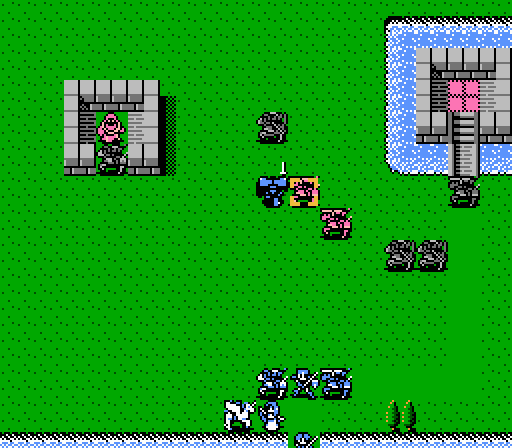  Force grabs the Quick Ring and marches across the battlefield to cripple a gold knight.  When in melee range, Alm gets to choose between using sword or bow. The option's there in case you really want to shoot at a target farther away, I guess; you'd never choose the bow over the sword otherwise. 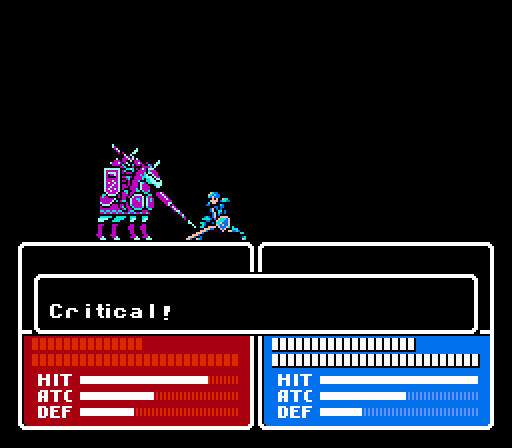 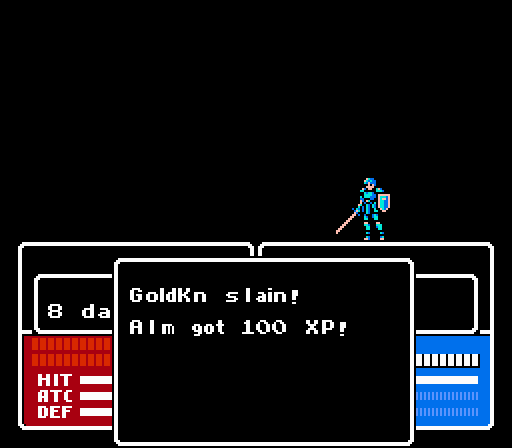 Alm's able to finish off the gold knight. His promoted class has the same XP multiplier as his original class, so he's gaining XP like he did in the very start of the game, except he's now fighting third-tier units. 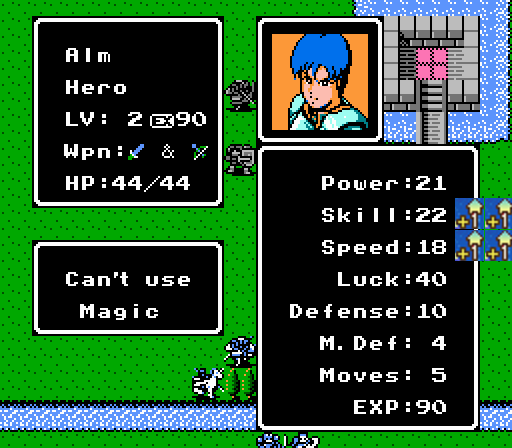 Get that boy some Defense and he'd be pretty unstoppable now. 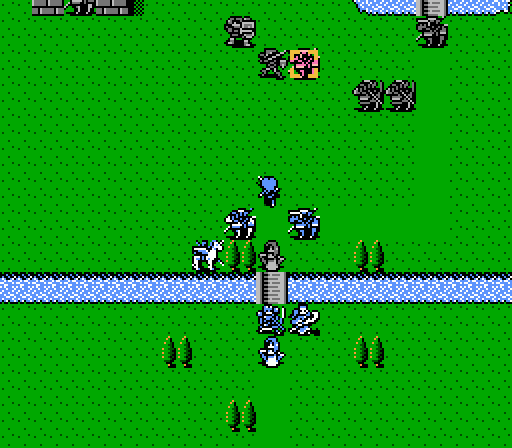 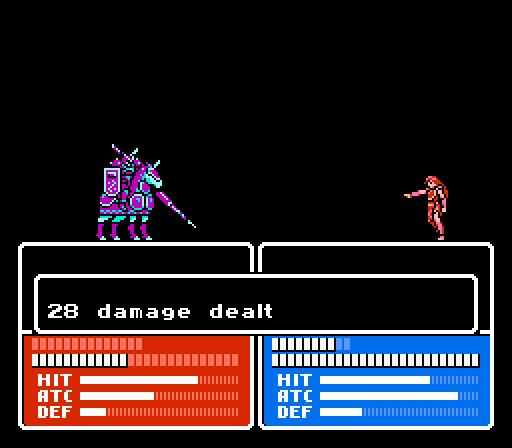 Dyute roasts the hell out of the gold knight with just a fireball, but missed the second attack. 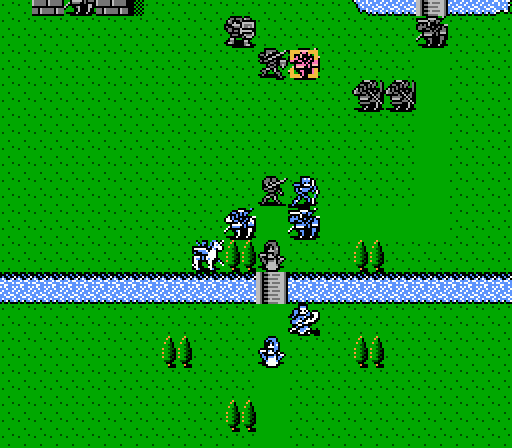 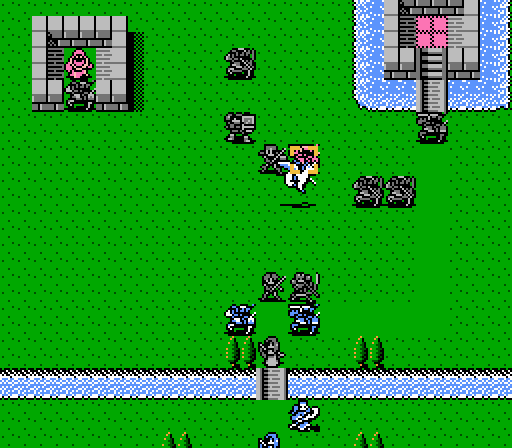 Python and Claire are able to take out the gold knight together afterwards.  No one else can reach the wizard with a ranged attack, and I didn't feel like having Silk warp anyone I guess. 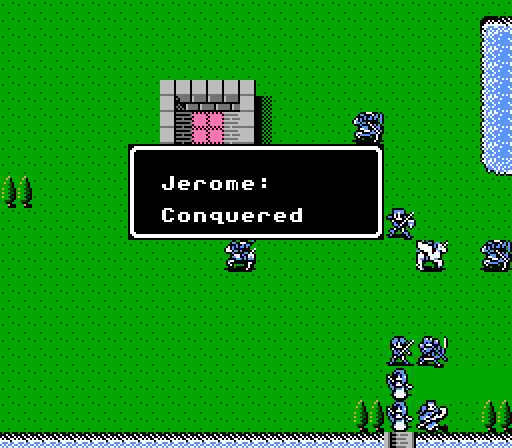 Zeke's paladin finished off the wizard on the ally phase. A bit anticlimactic, but whatever. 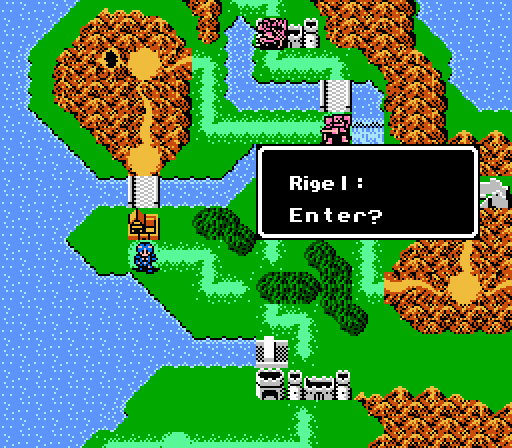 Time to head into town. I guess this place is the capital of the region, I bet it's a real megalopolis. 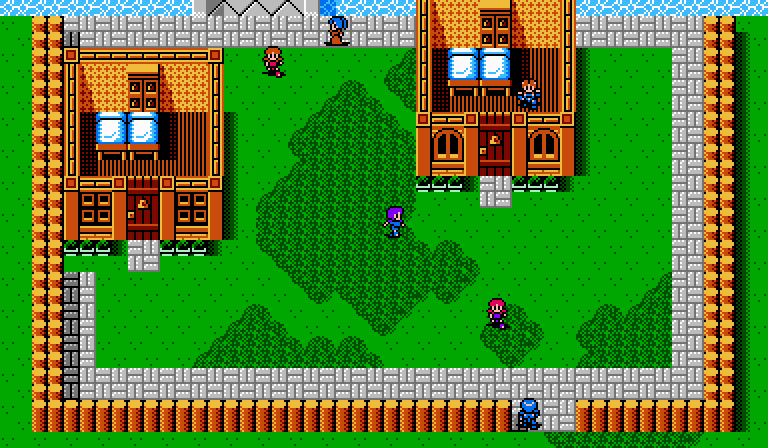 Guess not. Let's talk to the people of Rigel, Population: 5.  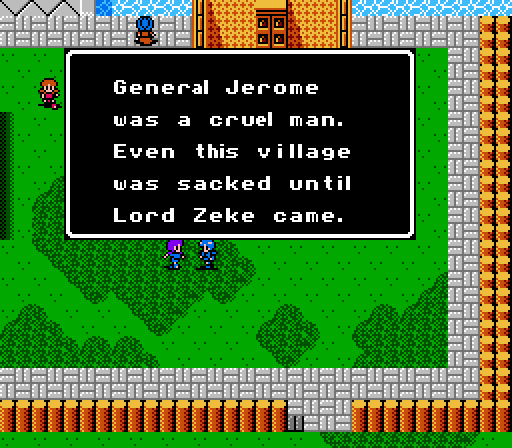 Zeke's a popular guy. That's the theme of this town. 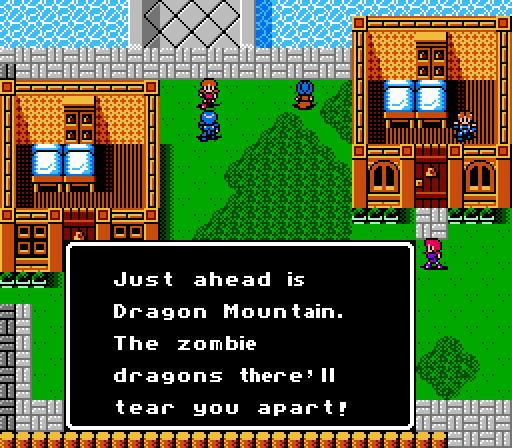 Alm can handle zombie dragons at this point. 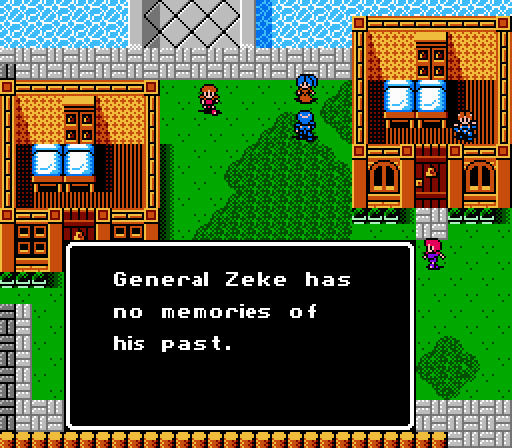 Lady Teeta found him washed ashore with an awful wound and nursed him back to health. Hmm.... 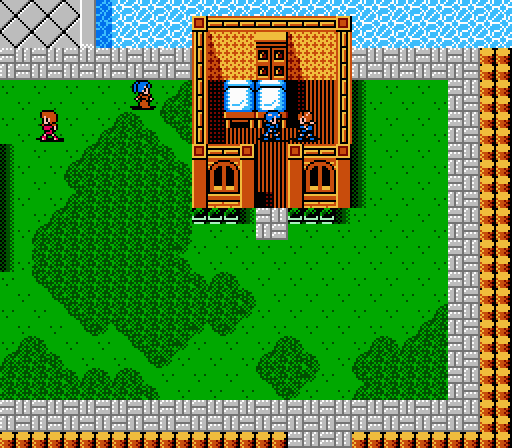 Zeke is waiting inside the house. He'll be here even if he doesn't make it through the battle. Though he won't be around if you just slaughtered both armies without saving Teeta first, obviously.   General Zeke, you oppose this war, correct? Please, join our cause. General Zeke, you oppose this war, correct? Please, join our cause.General Zeke, you're against the war, so now that you're free to do whatever you want why don't you help us fight in this war that you oppose.  I cannot. I only helped you fight Jerome because he made my people suffer greatly. Besides.... I don't know who I am. All I can remember is that I washed up on Rigel's shore. To my pitiful self, His Majesty Rudolf gave me a new life. I will not betray him. I cannot. I only helped you fight Jerome because he made my people suffer greatly. Besides.... I don't know who I am. All I can remember is that I washed up on Rigel's shore. To my pitiful self, His Majesty Rudolf gave me a new life. I will not betray him.Hey look, a character in a Fire Emblem game who isn't willing to switch sides at the drop of a hat. Also, this might be the most back story anyone but Alm or Celica has gotten in this game. I understand.... Apologies for my rudeness. No, not at all.... Hm!? Alm, what's that mark on your right arm?Alm walks around his battles in short sleeves now that he's a Hero. Or plot magic. Mark? ...Ah, I've always had this birthmark. What does it...? I see.... His Majesty Rudolf once told me: "Zeke, if you find the one with a cross-shaped birthmark on his right arm, you must dedicate yourself to that person. He will certainly become the savior of all of Valencia...." If this is His Majesty's will, then so be it! Alm, I shall fight with you!  So that whole sequence was not suspicious at all. Zeke is from somewhere else, but has amnesia. And the King of Rigel apparently told him to watch out for Alm and help him out. By the way, does Zeke look familiar to you? If you played the first game, he should - he's yet another cameo from that crew. Take a look:  The boss of Chapter 20 of the first game was Camus, general of Akaneia. He was forced to fight for the bad guys but managed to smuggle out Princess Nina and a magic tome to help out Marth on the sly. It's implied in that game that Camus was killed in the battle; yet here we're meant to believe that he fled in shame, crossed on ocean, and washed up in Valencia with amnesia. But wait, there's actually another relevant cameo in the next game (Fire Emblem: Mystery of the Emblem, which is a direct sequel to the original). There's a paladin in that game with a mysterious past who's helping out Marth, and has a girl he has to get back to in another land. His portrait?  You can draw your own conclusions from there. 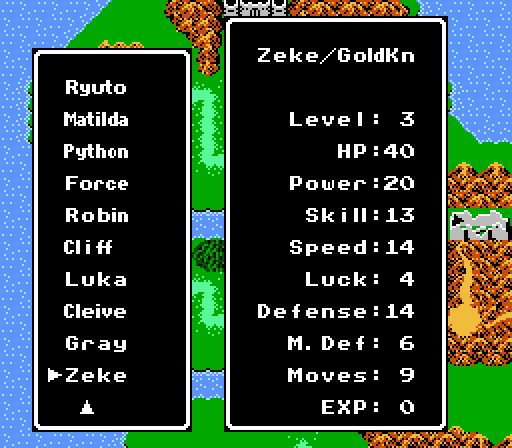 Zeke is a bit stronger and slower since he lost his memory I guess. Still he's about on par with Matilda right now which makes him an excellent addition to the team compared to some of the losers at the bottom of the roster. He actually has excellent growth rates as well, including the highest Speed growth in the game at 55%. Here's the full story: New Characters Unless you've been aggressively grinding extra levels for your entire roster, Zeke will make an immediate positive impact on Alm's team with high Power, Speed, and Defense. If you haven't done a lot of grinding, he could be the best unit on the roster right away, and his high growth rates will keep him viable all the way through the end of the game.pre:Stat Base L3 Growth HP 40 40 Power 20 20 Skill 13 35 Speed 14 55 Luck 4 30 Defense 14 30 M. Def 6 0 Moves 9 0 Quality 65 170 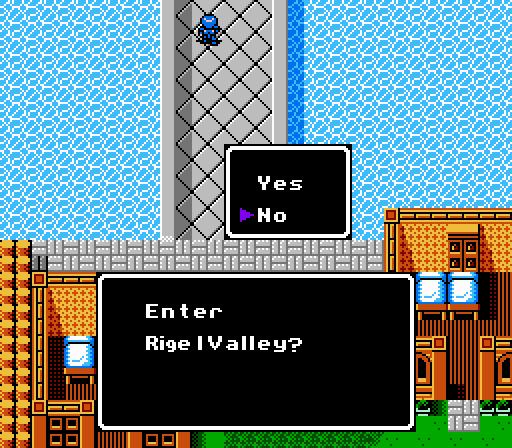 On the other end of town, Alm can enter Rigel Valley, a location not marked on the map. Nope, not suspicious at all.
|
|
#
?
Feb 23, 2015 01:58
|
|
|
Never seen this Fire Emblem before, I like the screen shot walkthrough. Very detailed.
|
|
#
?
Feb 23, 2015 02:28
|
|

|
The Zeke is a Char!
|
|
#
?
Feb 23, 2015 06:50
|
|
|
How many levels did Alm gain that map?
|
|
#
?
Feb 23, 2015 19:44
|
|
|
Well, just the one because I didn't want anyone gaining a level without the Angel Ring and I was spreading it around a bit. He got 190 XP, starting at 0 XP Level 1, so is now Level 2 at 90 XP (plus 9 bonus XP after the map ended to get to 99).
|
|
#
?
Feb 24, 2015 05:06
|
|
|
Chapter 4, Part 13: Doma's Tower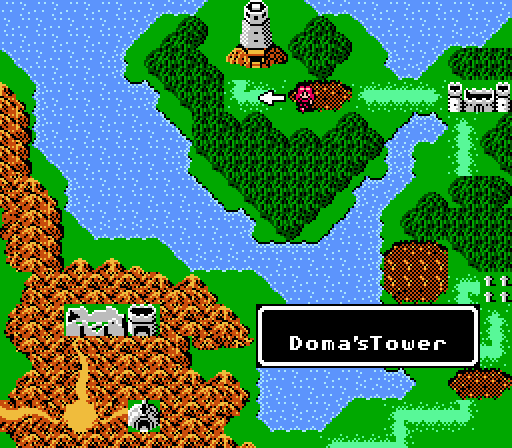 Celica's a bit ahead of Alm, ready to enter her final location of the fourth chapter. There's a reason for the difference in pacing, but you won't find out until next update. Music: Doma's Tower 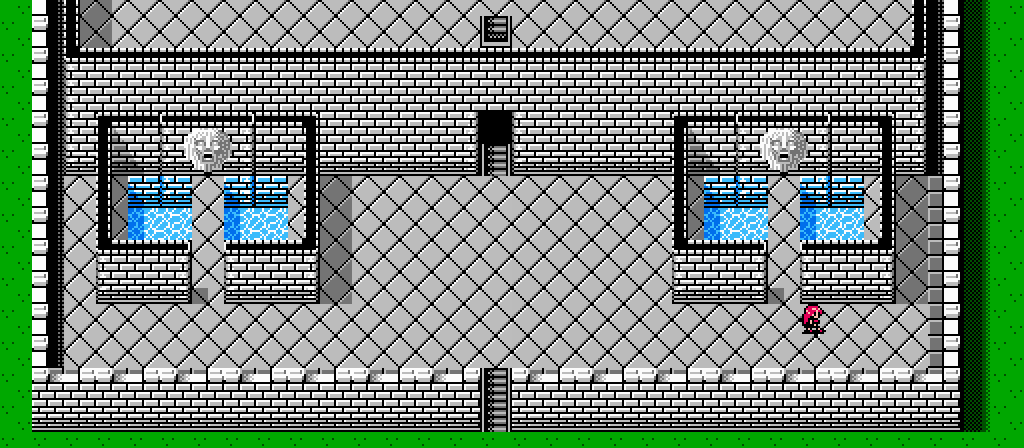 The first new music in awhile. Right away we have two shrines for some last-minute power-ups. 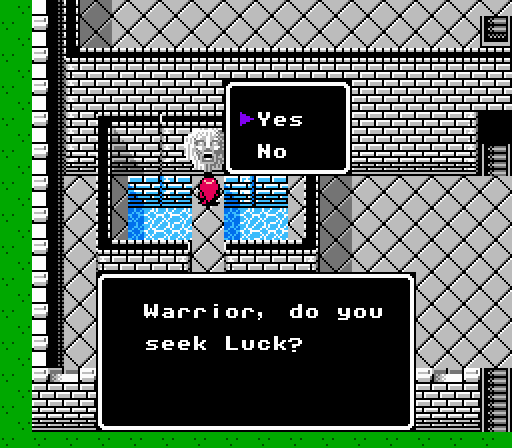 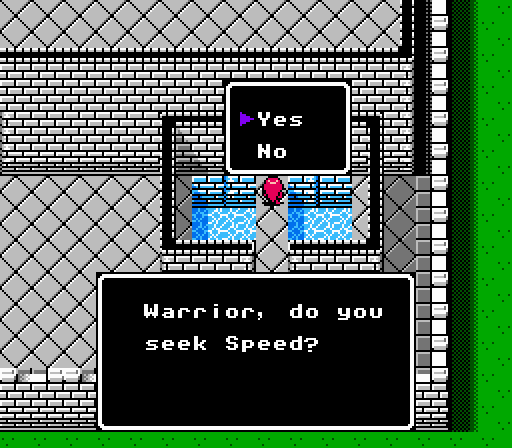 I don't think I have to tell you which one is better. Anyway, we'll pick these up later. 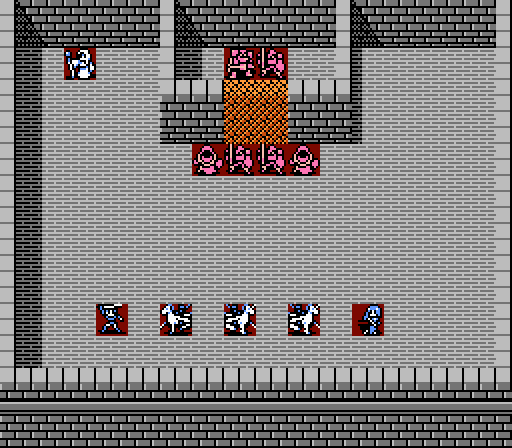 Door number one holds a small skirmish. You only get to bring six units with you (the first six on your roster), and you're rather exposed with no terrain or cover to help you out, so bringing the pegasus knights is recommended due to their high mobility and general awesomeness. Sonia's also here with the Magic Ring for extra range, and Jenny's got full-range healing with the Physic spell. It's an all-female army here. The strange barrier will lock in the high knight and the third slayer for a little while, but don't trust it. Turn 1   Est takes out the first wizard immediately with a crit. 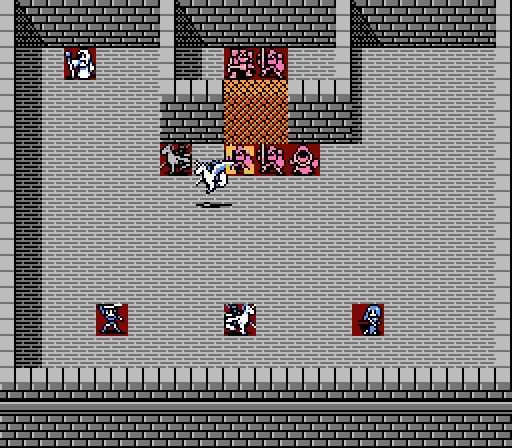 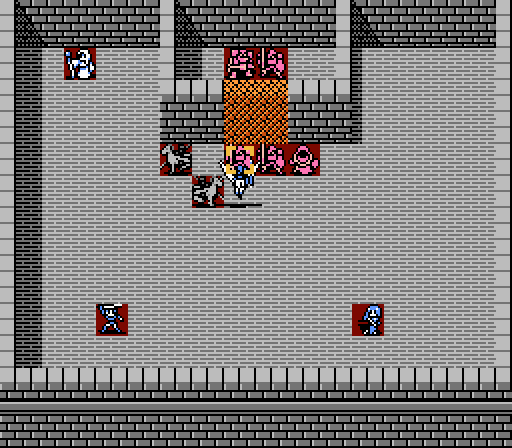 Catria and Palla team up on a slayer, but they're too slow to get in two attacks so it lives through the assault. 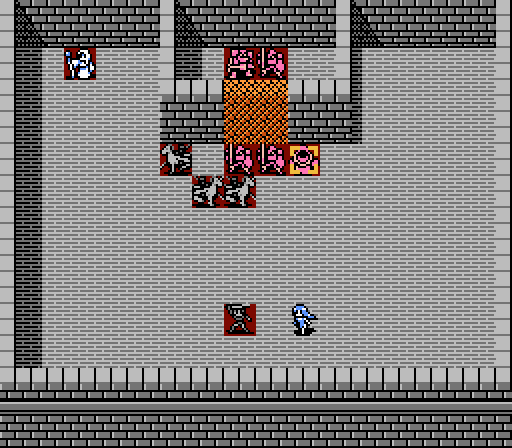 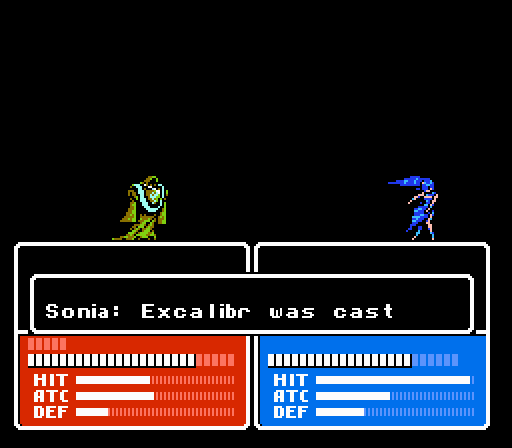 The slayers have a very high Magic Defense (15) so Sonia's going after the remaining wizard instead. Her second shot of Excalibur results in a killer crit.  Jenny heals up the HP that Sonia lost from casting Exclalibur twice, and the turn is over. The slayers can both reach Sonia, but she actually has a good enough Defense and Speed to fight them both off if necessary. 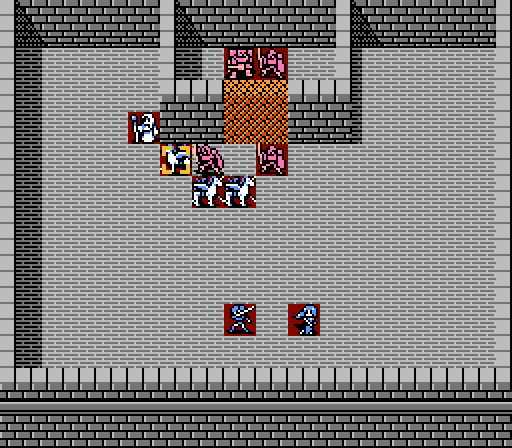 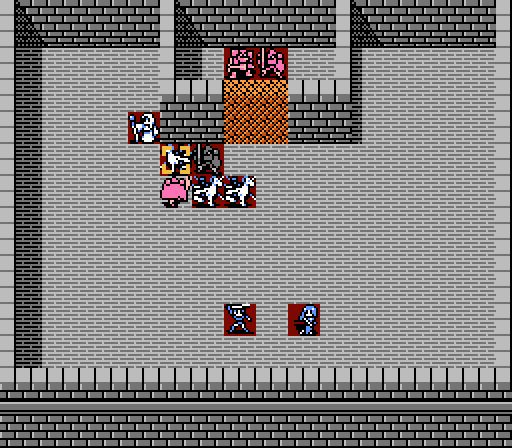 Est has a paper Defense so both slayers go after her instead. She's fast enough to get in two counterattacks but misses both on the injured slayer. Turn 2 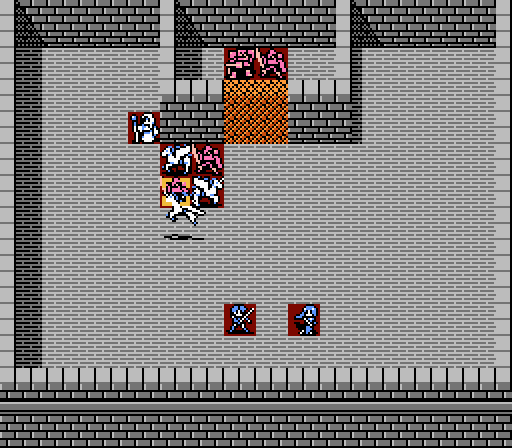 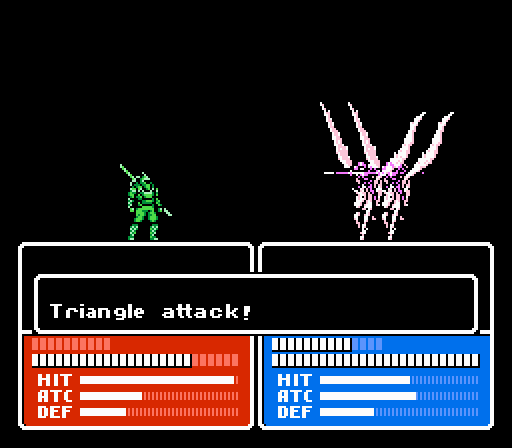 Palla sets up a special formation to eliminate the healthier of the two slayers. 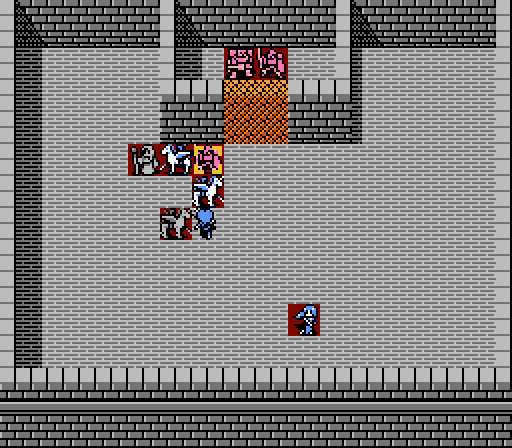  Celica gets involved with some Excalibur action of her own, weakening the slayer enough for Est to take the kill. 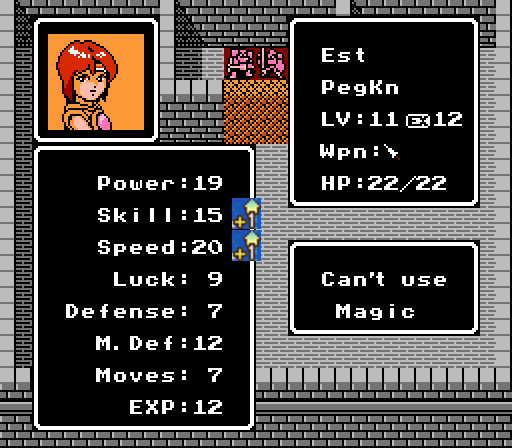 Faster and faster. She misses having the Angel Ring, though.  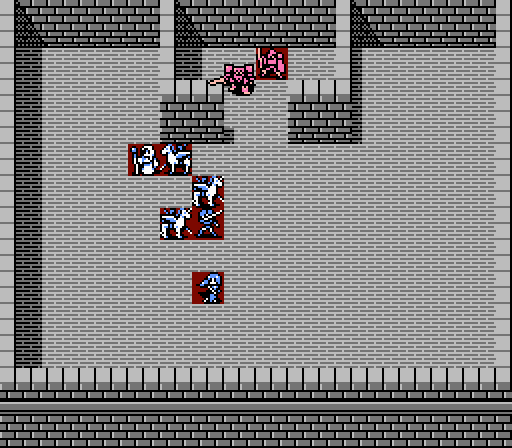 The barrier comes down suddenly at the end of the player's second turn, freeing up another two strong units for the enemy. Really it's better that they were divided up at the beginning, anyway. 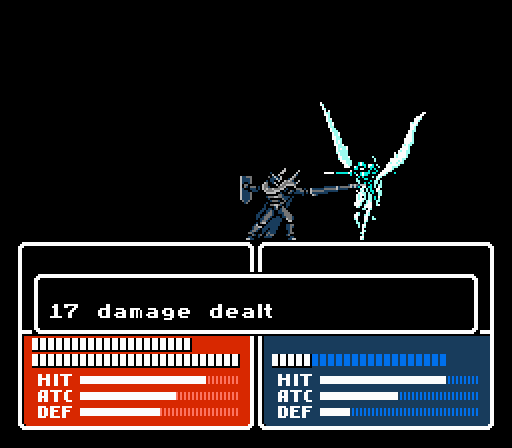 Est takes a big hit from the high knight but survives. 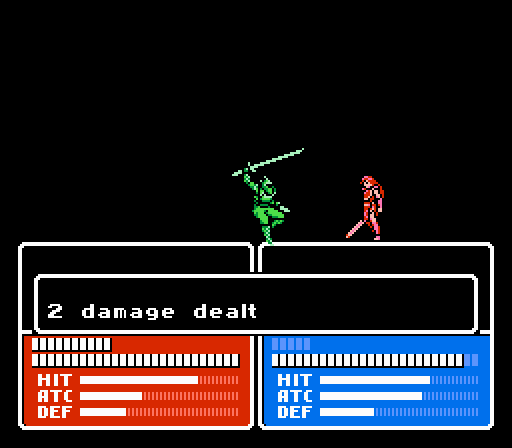 The last slayer scratches up Celica, who misses her counterattack. Turn 3 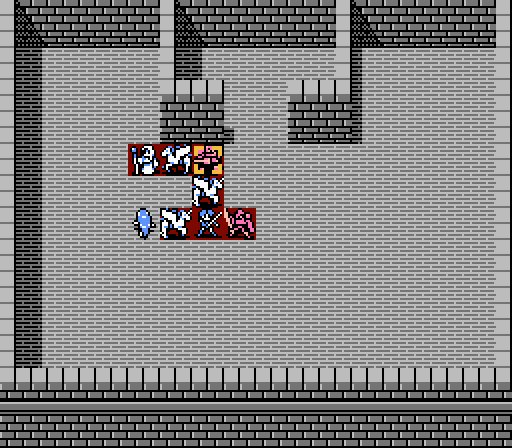 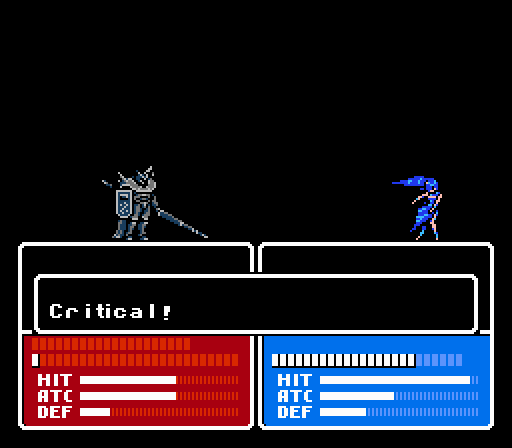 You should know this by now, but high knights are easily beaten with magic. Though getting another crit certainly helps. 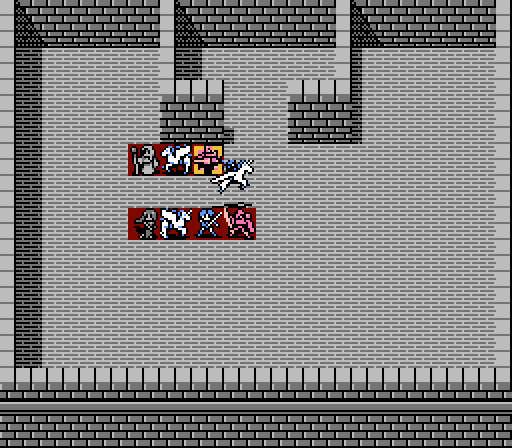 Catria finishes off the high knight from a distance here.  She continues to be great. 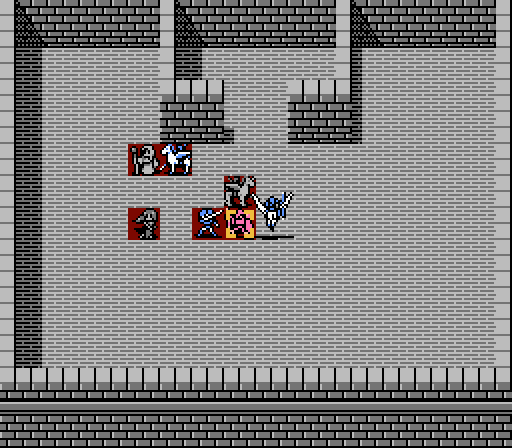 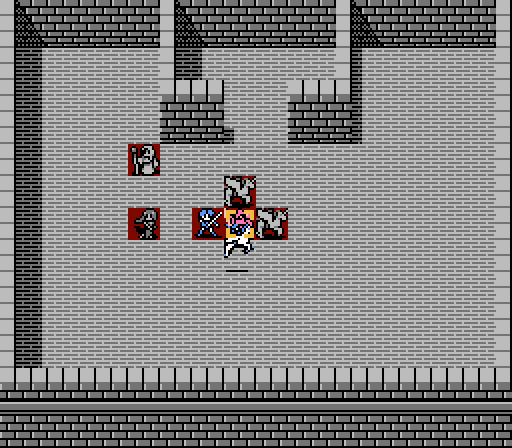 Palla and Est set up another triangle attack to end the battle.  - Chapter 4 Part 13 Battle 1.gif) Est makes it interesting by missing the first triangle attack somehow, but comes through with the second attack. 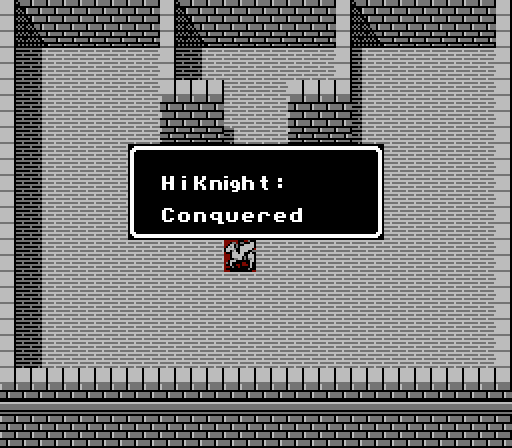 Round one complete! What, you didn't think that was all there would be in the tower, did you? 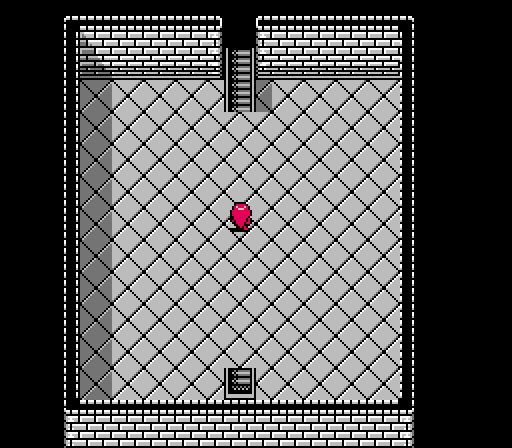 Time to move up.  Behold, the second floor of the tower. 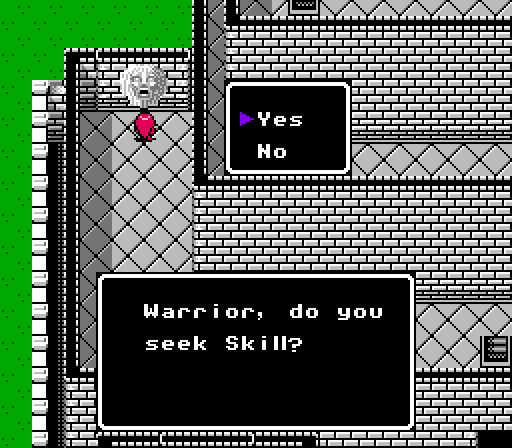 Skill is nice, but again I'll wait until the end for these. Anyway, the path forward is pretty obvious, just enter the next door and prepare for another battle. 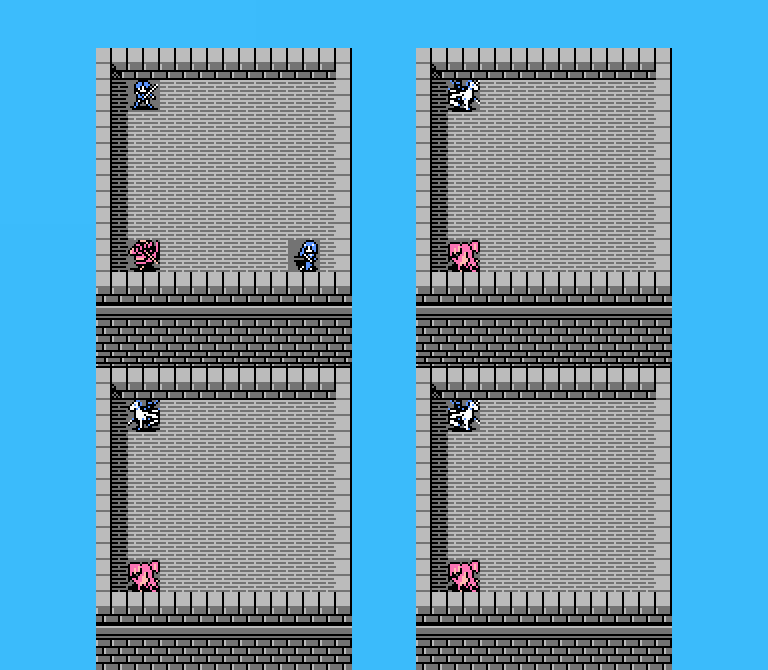 A bit of a gimmick battle, really. You get five units isolated to four towers. The intent is to have four mini-duels going on at the same time. However if you're clever and bring your fliers, you can ruin the whole setup since they can go wherever they want. As an added bonus, as falcon knights Palla and Catria can one-shot the dragon zombies, making this fight even easier. Turn 1 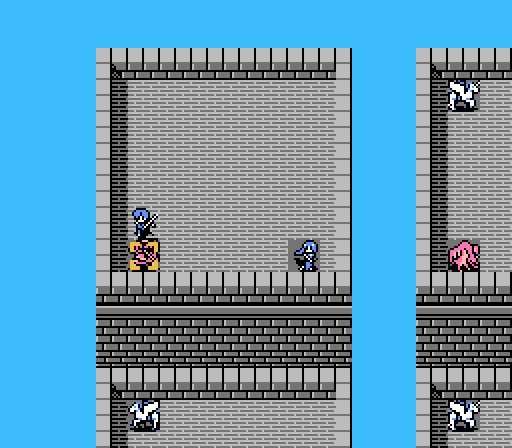 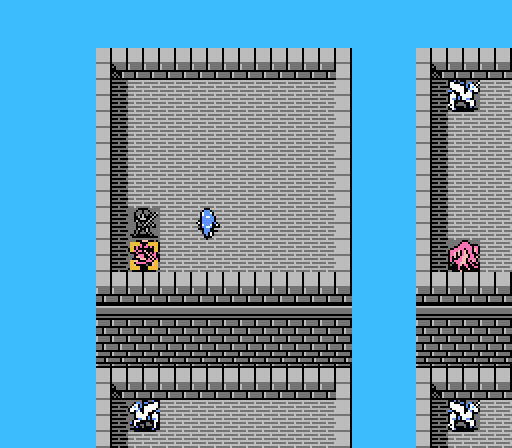 Celica and Sonia finish off their opponent quickly, with Sonia pulling out another Excalibur crit. 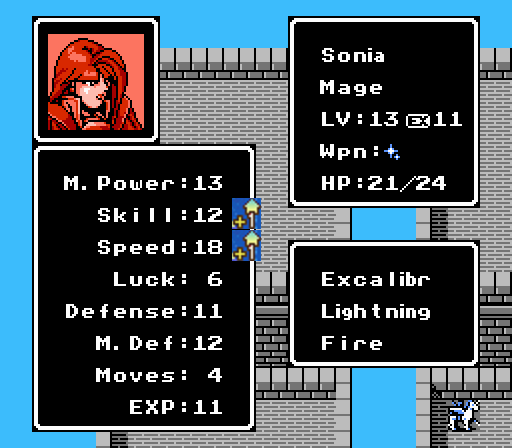 Speedy mage. 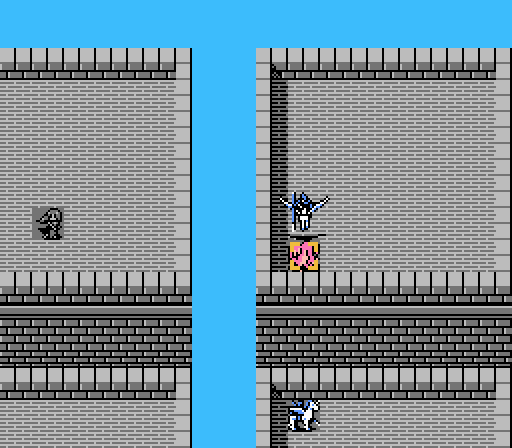 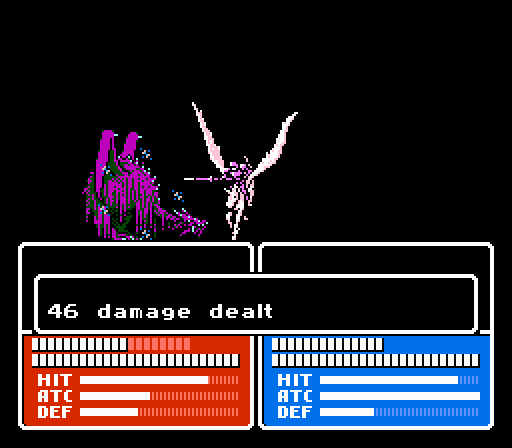 Palla wins her duel instantly. Note the little mini-angels (smaller versions of the effect of the Angel spell) whenever the falcon knights attack a monster - that's the sign they're getting an effective bonus in this case. 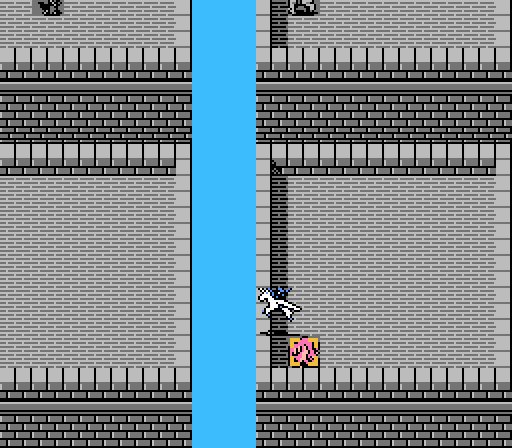 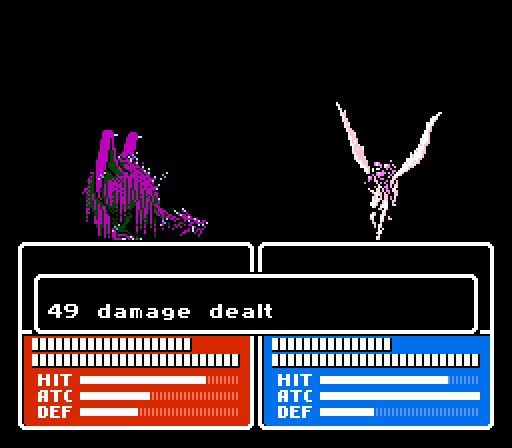 Catria does the same. 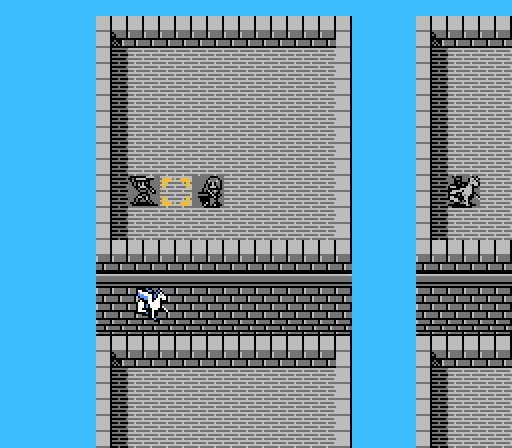 Est isn't promoted so can't really stand alone against her dragon zombie, so she retreats. 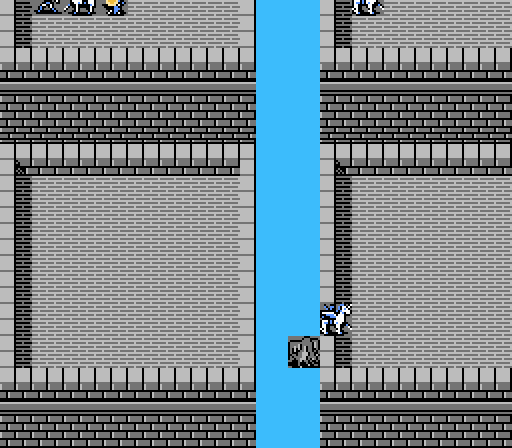 The last dragon zombie can't reach anyone, but kindly puts itself right in Catria's grasp for next turn. Turn 2 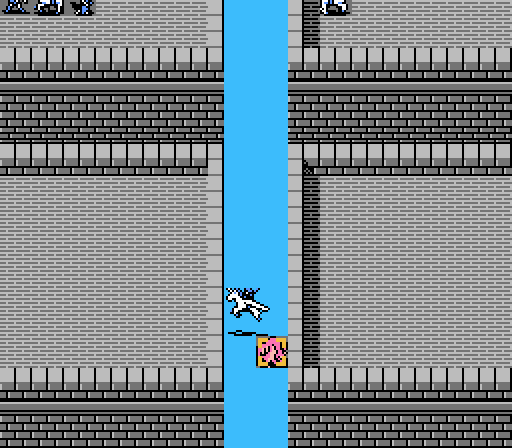 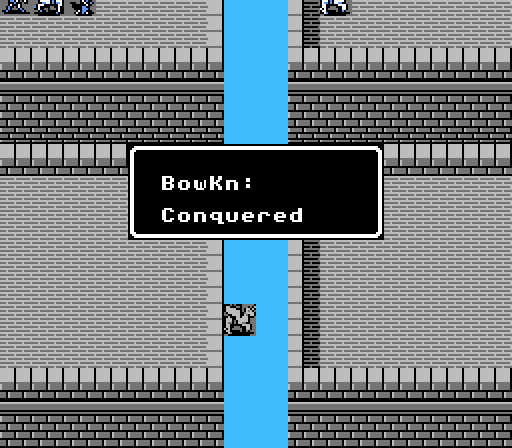 Catria one-shots another dragon zombie, and the second tower battle is complete. 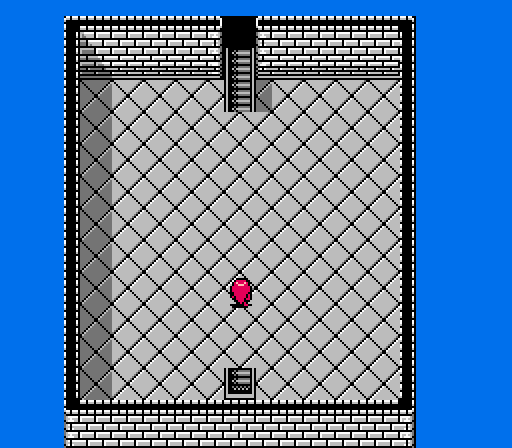 I'm not sure how there were four floating towers inside the second floor of the tower like that. Anyway, we head up to the third floor now. 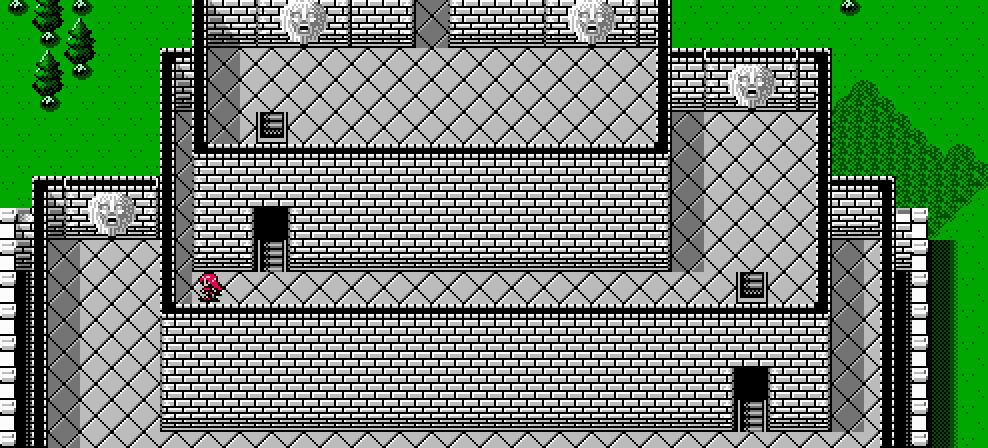 The third floor looks much like the second, just a bit smaller. 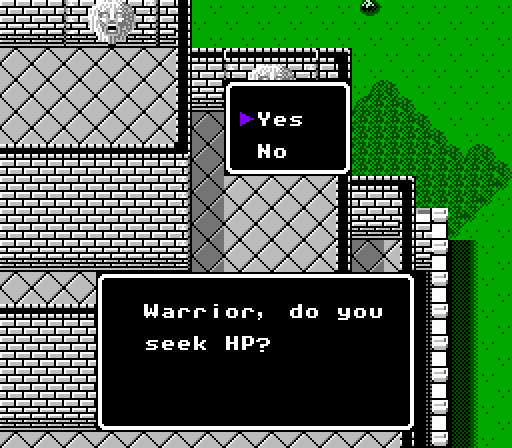 This shrine, which gives HP, shares its uses with the previous shrine, which gives Skill. If you didn't know better you probably used the shrine three times for Skill, and then got here to an empty shrine and just lost out on HP. Not really a big deal - Skill is usually better to have at this point, since most of our units are in the 30-40 HP range already. Anyway, enter the door for the third battle.  Similar to the second battle. We're down to four units now, facing four enemies on three different wall segments. Again you'll want your fliers to trivialize this battle. Turn 1 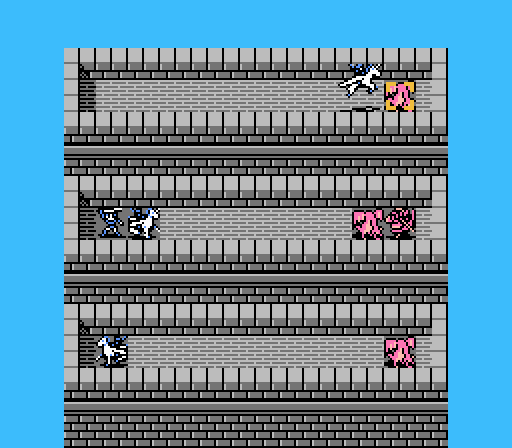 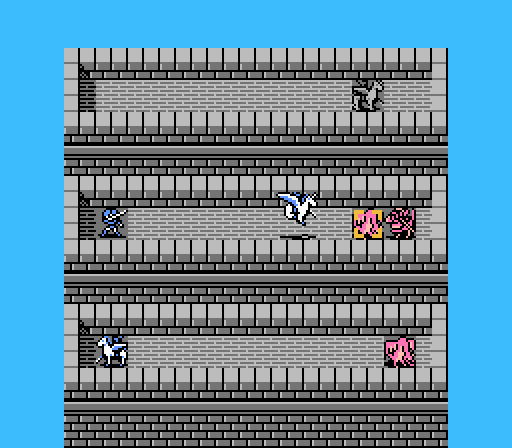 Palla and Catria immediately wipe out two of the dragon zombies. 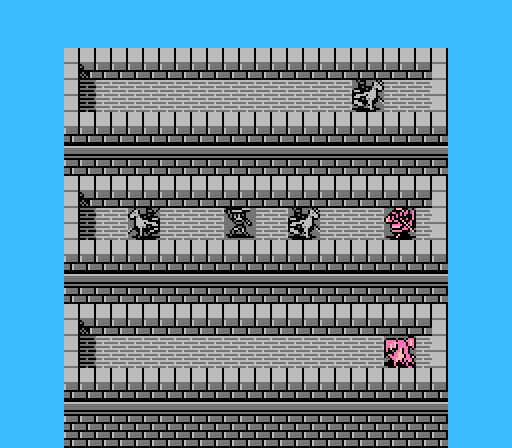 Celica moves up a bit, while Est hangs back out of the bow knight's range. 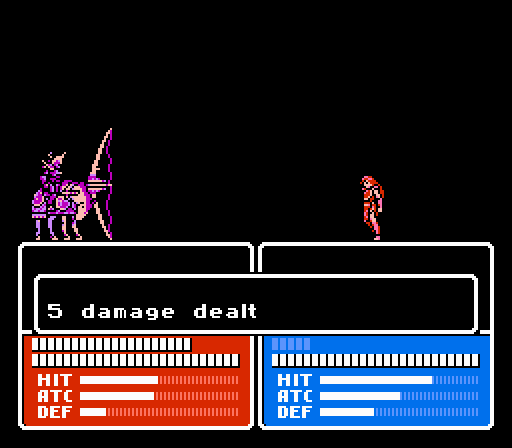  The bow knight and the last dragon zombie both go after Celica, but she's tough enough to take it. Turn 2 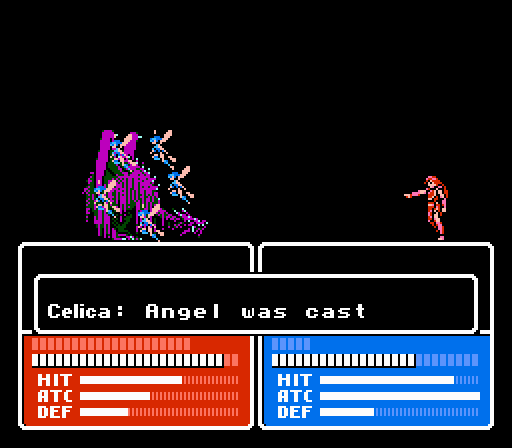 For a change of pace, Celica finishes off the dragon zombie with her Angel spell.  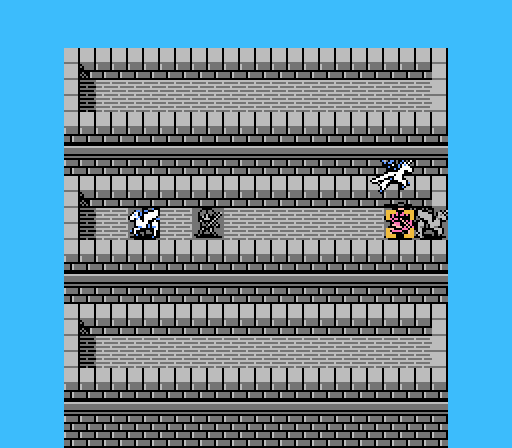 Catria and Palla should have been enough to kill the bow knight, but Palla somehow missed both of her attacks. 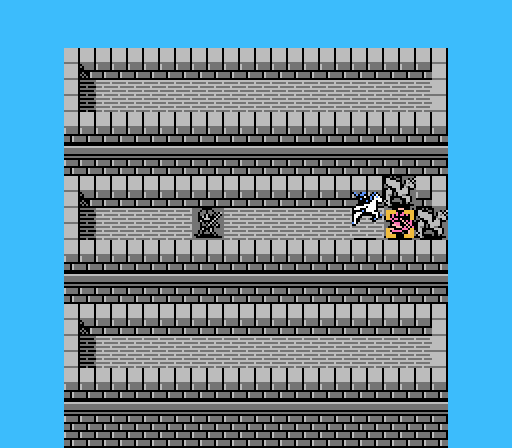 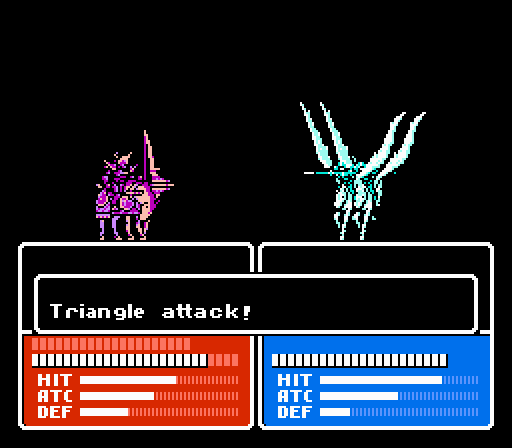 Not a problem for Est and the triangle attack, though.  And just like that, the third battle of the tower is complete. 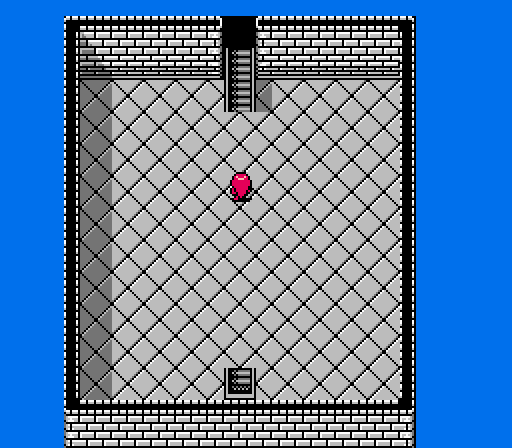 Continue up the stairs again. 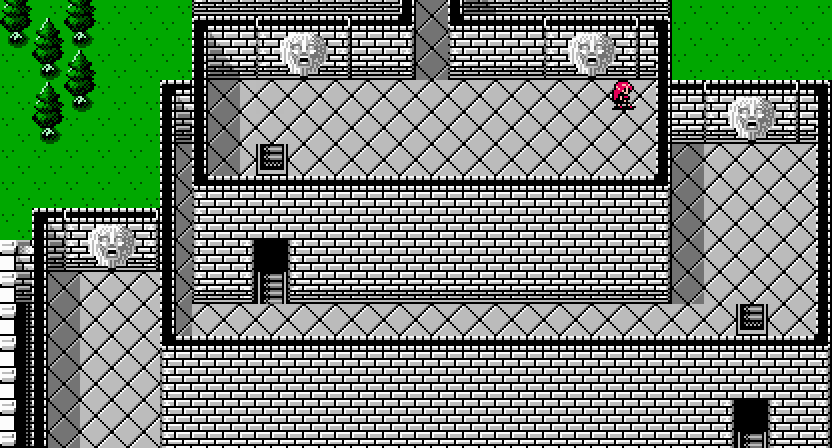 The fourth and final floor of the tower brings two more shrines and an open passageway leading...somewhere. 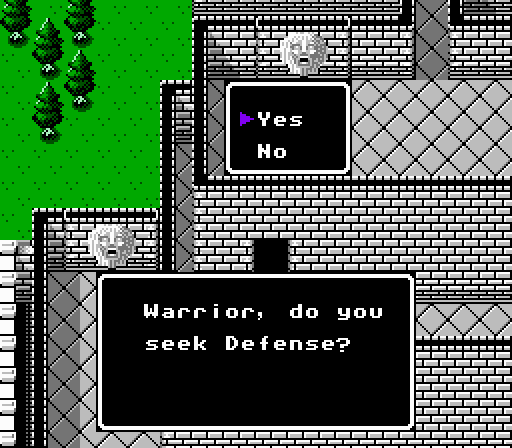 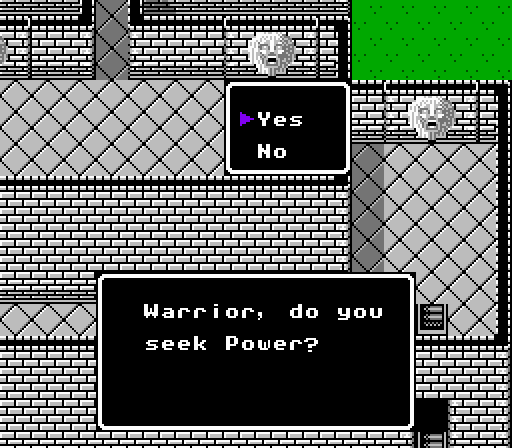 The last two shrines are the best. You'll get three increases of Power and/or Defense here. 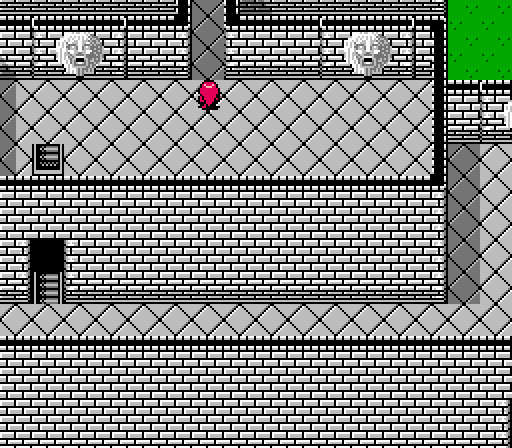 Going to stop at this point so that Celica can grab all of the shrines. Here's the recap of what's available: Shrine 1 (+Speed): VOTE HERE Shrine 2 (+Skill): VOTE HERE Shrine 3 (+Power and +Defense): VOTE HERE Apologies to Boey fans, but Celica only gets to use 10 units from here on out so the following units are permanently benched: May, Atlas, Noma, Boey, Jesse. Next time: Alm enters Rigel Valley.
|
|
#
?
Mar 22, 2015 20:25
|
|
|
That's a lot of power ups in the same place. That kind of generosity always makes me doubt video games, it can easily mean that whatever comes next will absolutely need them. Therefore give all to the Pegasus Knight sisters. Destroy everything from the skies.
|
|
#
?
Mar 22, 2015 20:45
|
|
|
I concur. All for the Peg. Knights! Hail Pegasus Knights!
|
|
#
?
Mar 22, 2015 21:20
|
|
|
Make sure you put your votes in the linked polls, it's a bit much to track for me to do it in thread voting. Having strong fliers that can go anywhere they want is never a bad idea.
|
|
#
?
Mar 23, 2015 01:49
|
|
|
Huh. Those were some interesting little gimmick battles.
|
|
#
?
Mar 24, 2015 04:00
|
|
|
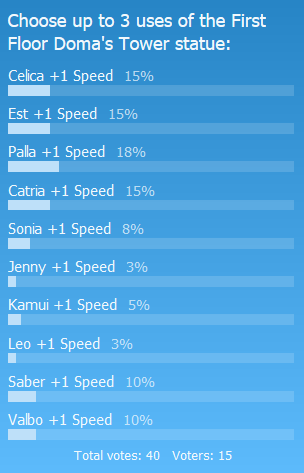 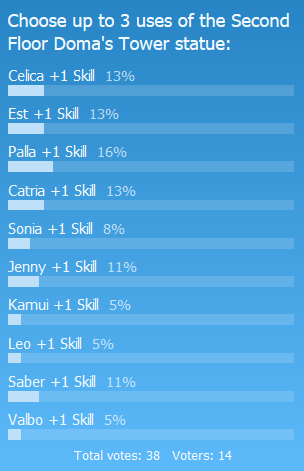 Two ties:  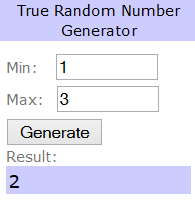 Celica misses out on the Speed, Est misses out on the Skill. Tough luck ladies. 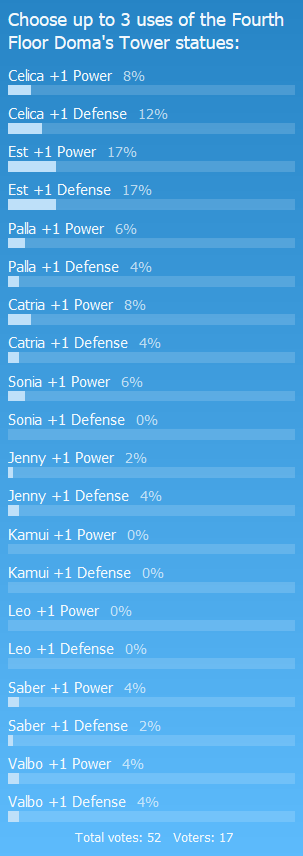 This one's straightforward. People like Est more in a split vote for some reason. Also the women get all of the stat boosts. No two polls had the same number of votes, either, because that makes sense. I'll work on an update today, no promises. ") Need one more post to make the update on the next page so someone say something profound. Need one more post to make the update on the next page so someone say something profound.
|
|
#
?
Mar 29, 2015 20:33
|
|
|

|
| # ? Apr 19, 2024 08:31 |
|
|
Maybe, the stat boosts were inside all of us, all along.
|
|
#
?
Mar 29, 2015 20:36
|
|