

|
   -----   Well, to be fair, we did make it back to Tazmily like what we planned. 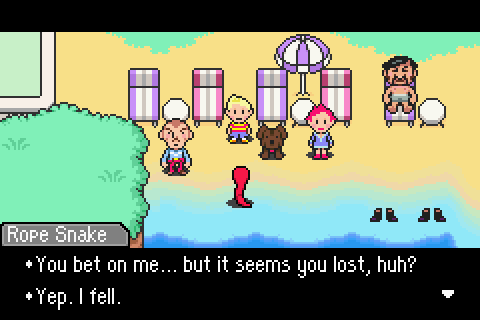  As did you, after you bet on me. I think that for a while, I'm gonna act like a fat worm and hide myself inside a hole. So don't talk to me. The heroic and cool Rope Snake you once knew is dead. In a tiny, quiet voice, I say... So long. As did you, after you bet on me. I think that for a while, I'm gonna act like a fat worm and hide myself inside a hole. So don't talk to me. The heroic and cool Rope Snake you once knew is dead. In a tiny, quiet voice, I say... So long. r.i.p. Rope Snake's ego.  Anyway, there's a few things we can check out before going on to the next needle. Like that arrow, for instance.   I'm a not-very-rare Imitation Crab! Real crabs try to copy our taste, color, and texture, but we just look the other way. What CAN'T be overlooked, though, is Tanetane Island south of here. You're headed there too, right? I pretty much knew before I even saw ya. You can wait all you want, but no ship's gonna come. You gotta walk across the ocean. First, talk to the sea. Get up real nice and close. And then everything'll start from there. I'm a not-very-rare Imitation Crab! Real crabs try to copy our taste, color, and texture, but we just look the other way. What CAN'T be overlooked, though, is Tanetane Island south of here. You're headed there too, right? I pretty much knew before I even saw ya. You can wait all you want, but no ship's gonna come. You gotta walk across the ocean. First, talk to the sea. Get up real nice and close. And then everything'll start from there. First off, we get an explanation on how to get to Tanetane Island, which is where we'll find the next needle. 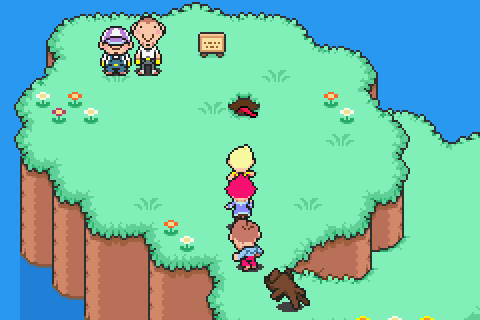 Next, we can see Rope Snake living up to his promise.  Earlier, I told you I was gonna act like a fat worm and hide myself in a hole...but snakes and worms are completely different things! Just because they're both long doesn't make them the same! Y'know?! Snakes aren't worms! I know I said differently, but I take it back now. Anyways, I hear everyone's heading into the city to try to make it big. I'm gonna go, too. Yessiree. Earlier, I told you I was gonna act like a fat worm and hide myself in a hole...but snakes and worms are completely different things! Just because they're both long doesn't make them the same! Y'know?! Snakes aren't worms! I know I said differently, but I take it back now. Anyways, I hear everyone's heading into the city to try to make it big. I'm gonna go, too. Yessiree.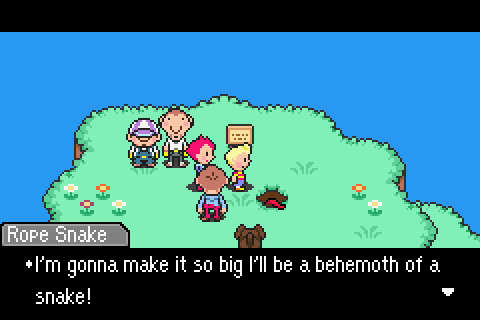 You're gonna freak out, I'm gonna be so huge! But don't worry. That behemoth of a snake will always be your friend. Well, catch ya later, in the big city! You're gonna freak out, I'm gonna be so huge! But don't worry. That behemoth of a snake will always be your friend. Well, catch ya later, in the big city!We can also check in on Wess, who has new dialogue now that we have Duster again.   Duster! So, you've finally remembered that you're the Duster? Wahaha-hahaha! I see! I see! That's great. Lucas... Thank you for going out of your way to tell me about Duster. Princess... Thank you very much. Say, Duster... Be thankful to Lucas and his friends. Make sure you're helpful to them. Anyways, let's meet again sometime. We'll kick up our feet and take it easy. Now get going already! This is embarrassing... Duster! So, you've finally remembered that you're the Duster? Wahaha-hahaha! I see! I see! That's great. Lucas... Thank you for going out of your way to tell me about Duster. Princess... Thank you very much. Say, Duster... Be thankful to Lucas and his friends. Make sure you're helpful to them. Anyways, let's meet again sometime. We'll kick up our feet and take it easy. Now get going already! This is embarrassing...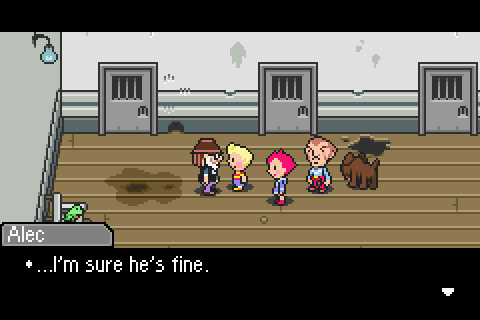 Though Alec's dialogue still doesn't change, even though Duster is right there. 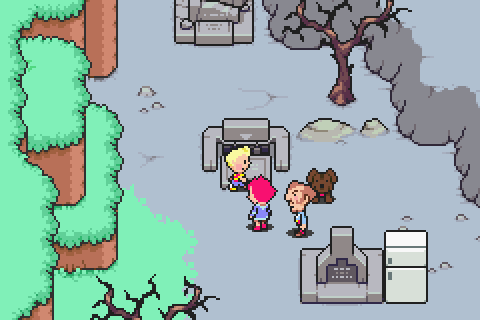 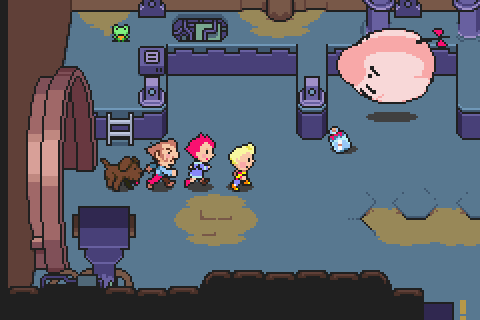 The last new thing is a brand new vehicle to replace that Mr. Saturn coffee table. 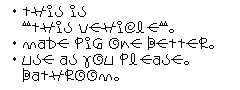 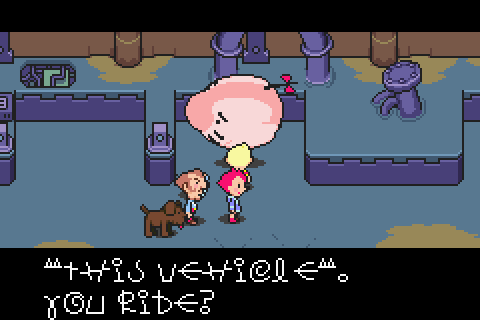  It's identical to the Pork Bean except you don't need to charge it. And that it looks much better. 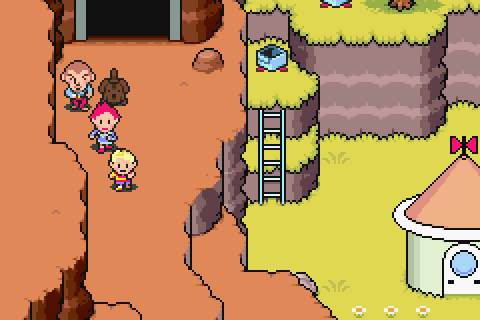 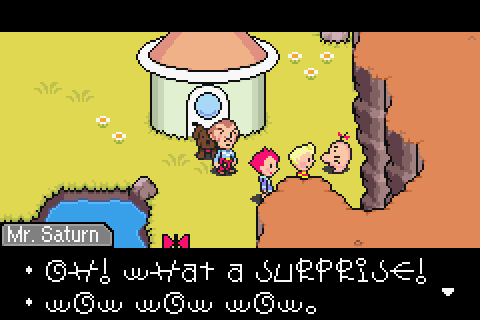 Also Saturn Valley is open again, though this is the only new dialogue there. 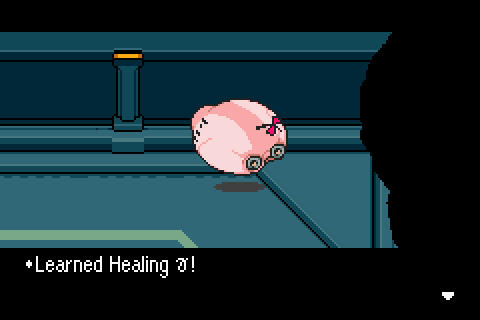 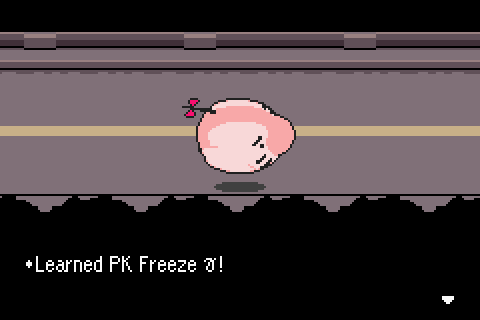 Beating up the enemies around Saturn Valley got me some levels and some new PSI, at least. Healing Gamma is for Lucas only, and is the same as Healing Beta except Gamma can revive KOed people. Very handy since Lucas will usually be last-man-standing anyway. Meanwhile, Freeze Gamma is the next step up for Kumatora, doing 320-350 single-target ice damage to an enemy for 18PP. It becomes Kumatora's main method of offense for most bosses and high-defense enemies. 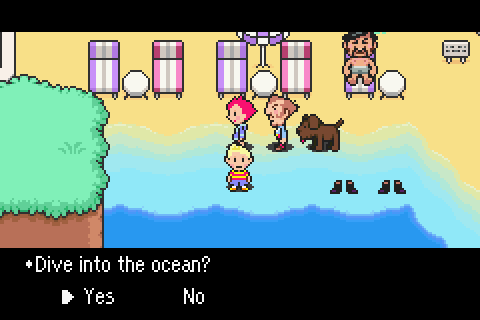 And with that, let's start our next adventure. 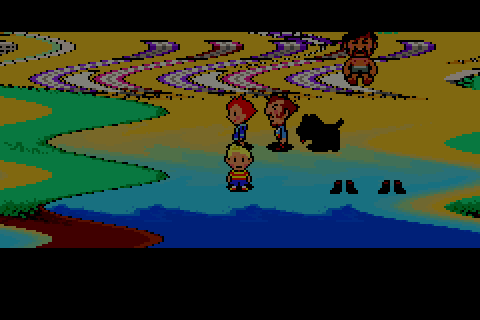   Welcome to the ocean floor.  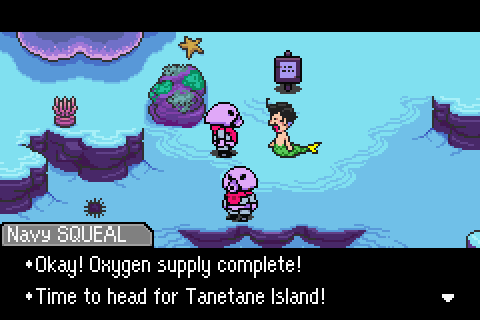  Whew... I know they supply us with oxygen, but these machines just aren't my thing... They're really demoralizing. Whew... I know they supply us with oxygen, but these machines just aren't my thing... They're really demoralizing.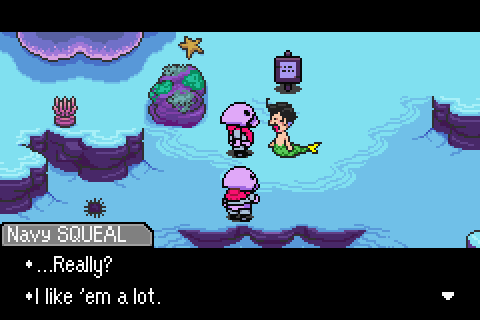   The theme of this entire section is "Interesting to watch, but a pain in the butt to play." First off, you have an oxygen meter since our heroes can't breathe water. If it runs out, you're swept back to the beach no matter how far in you are. Thankfully, there's no other penalty and you're right next to free healing (you can talk to the relaxing Bronson to heal) and a save frog, but that is progress lost. It definitely happens to me a few times while navigating this place, especially since there's a lot of side-paths with loot. 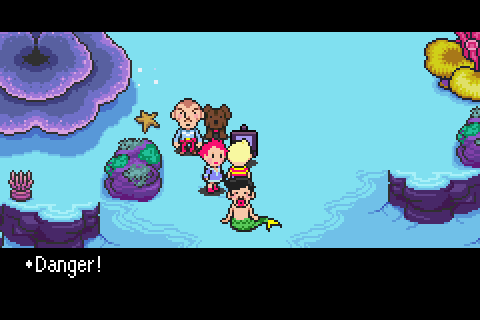 Don't forget to supply yourself with oxygen while underwater. Use the oxygen supply machines efficiently and effectively. Like pretty much any other game with a limited air mechanic, there are ways to replenish that air supply. 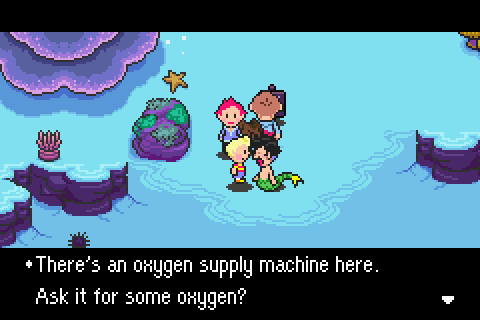  That said, this game has the most unique one I've certainly seen. It actually takes several seconds for the machine to refill each character under the pink background (you can tell by the kissy noises), I just edited out of the GIF for your convenience. It's time-consuming and rather annoying when/if the novelty wears off.  And of course there's some new enemies loitering around.   Rooound Fish are on the more annoying side of encounters. Their attacks are alright, and they can drain stats. 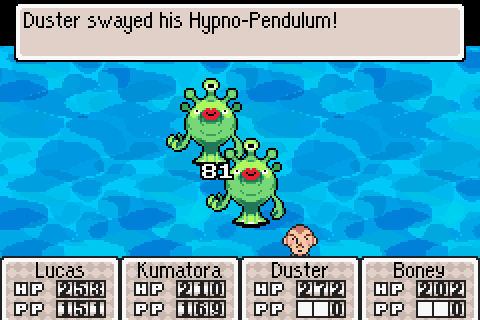 They are also incredibly susceptible to sleep, so that's handy.  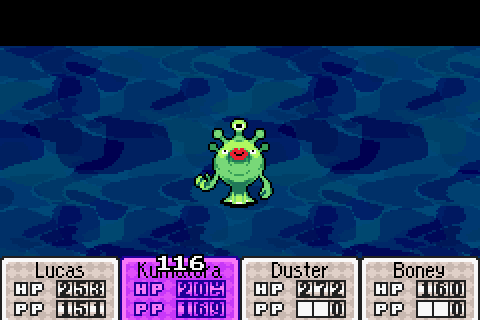 Their big thing is Freeze Beta, which hurts a good bit, so best to take them out quickly (Thunder helps in this area as you'd expect) and hope sleep sticks while you wail on them. 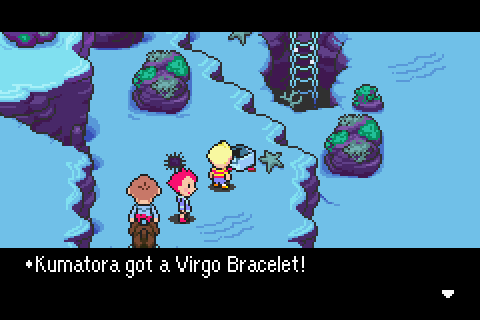 This place is big and pretty long, but it's also filled with plenty of goodies. The Virgo Bracelet is a nice upgrade for Kumatora with a bonus PP boost. 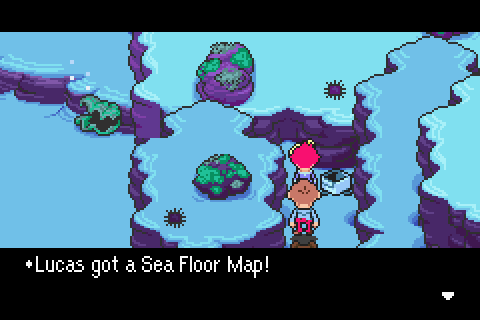 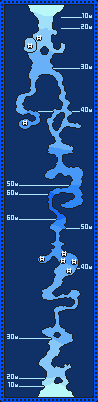 Seriously, look at how long this place is. 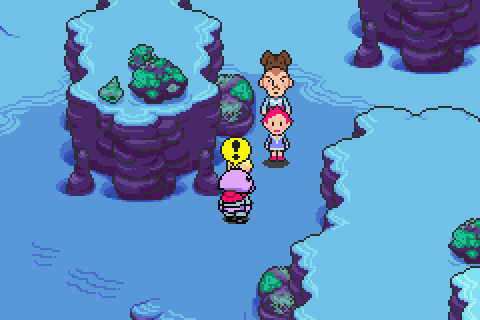  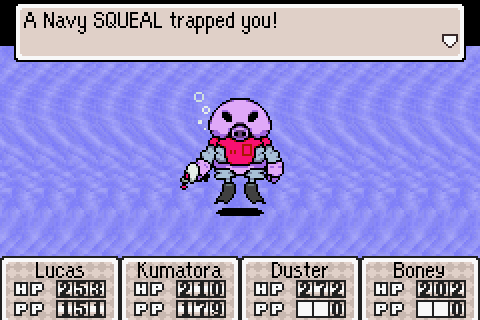 Next up are Navy SQUEALs. 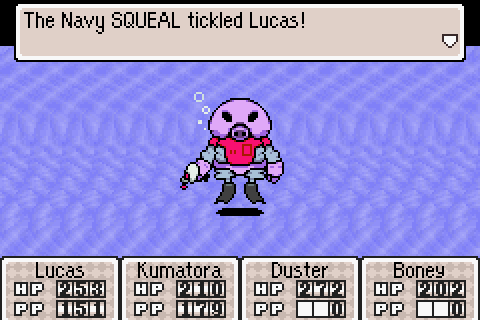 They can tickle characters and shoot beams and the usual Pigmask stuff. 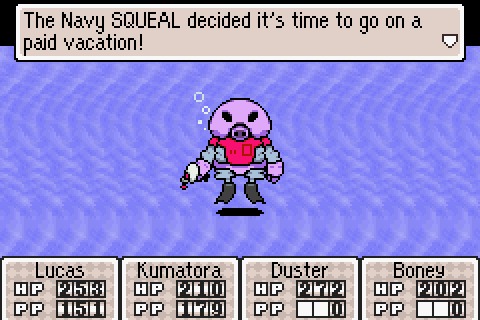  They can also just leave because why not. 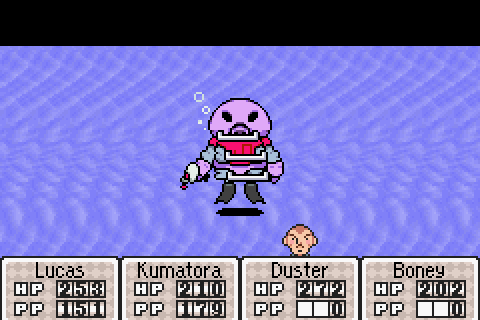 Wall Staples work pretty well on these guys though and will make fighting them a joke. 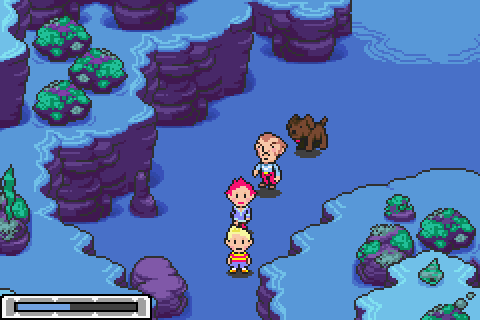 At the bottom of the first screen are two paths. The right one leads further into the dungeon, the left one leads to a pretty cool item.   I'm a real hard worker, so I'm gonna make it big in life. I'm talking BIG here! Maybe even bigger than a whale! I'm a real crybaby. All I ever do is cry. It might be my fault that the ocean's so salty. I'm a real hard worker, so I'm gonna make it big in life. I'm talking BIG here! Maybe even bigger than a whale! I'm a real crybaby. All I ever do is cry. It might be my fault that the ocean's so salty.There's also fish we can talk to. 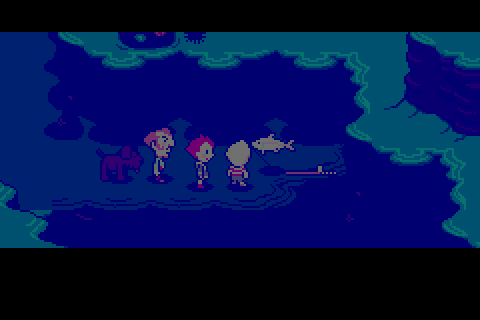  I lose oxygen before I could talk to that one. 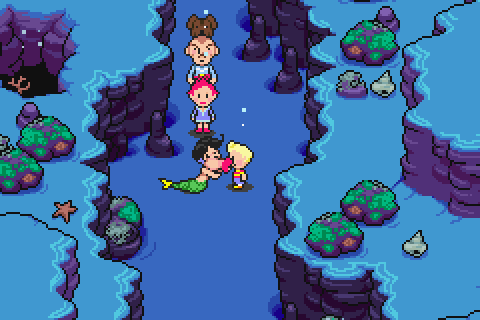 The trick is to go to the right path first and refill on oxygen there, as otherwise you won't have enough oxygen to do the left path. 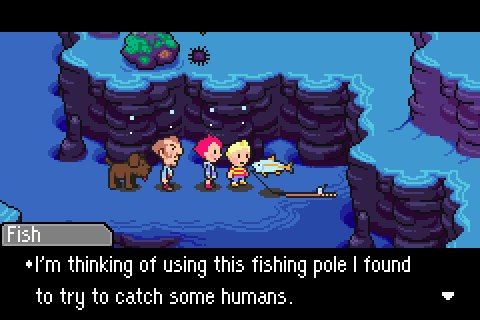 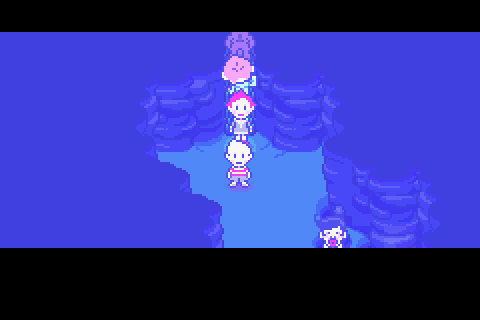 Of course, even doing so the timing is a bit strict to get to the next oxygen station. 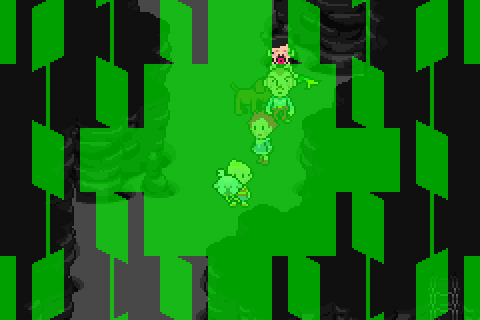  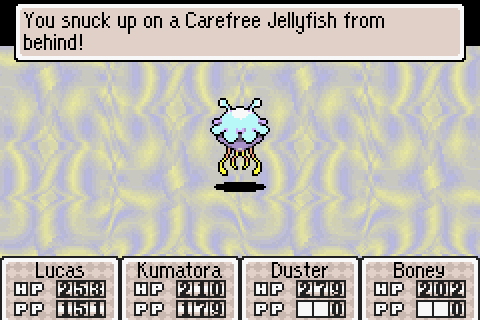 Carefree Jellyfish... OK, this one I never really fought fairly because it's incredibly easy to get back attacks on these guys. I never even saw one turn around, let alone get an attack off on me because they die quickly too. Think of them as free EXP. 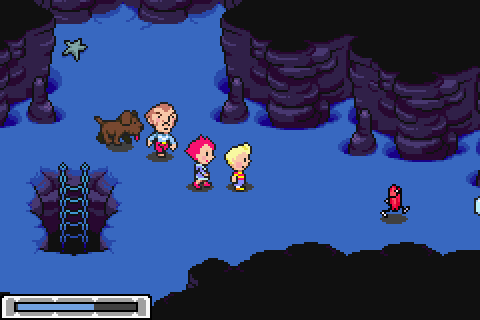 At the end of this side path is some nice treasure and a tougher enemy.  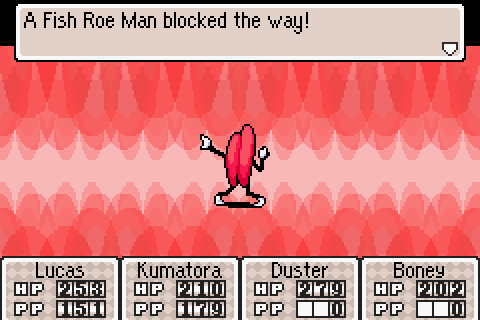 Fish Roe Man is essentially a mini-boss, with around 1800 HP and high offense. 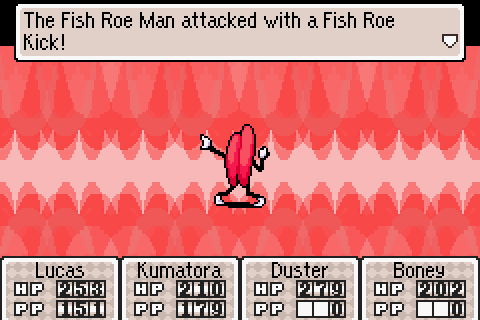 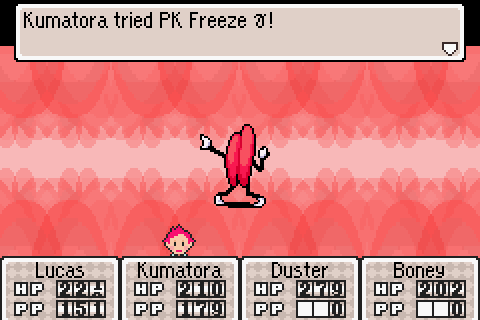  Here's Freeze Gamma in action. 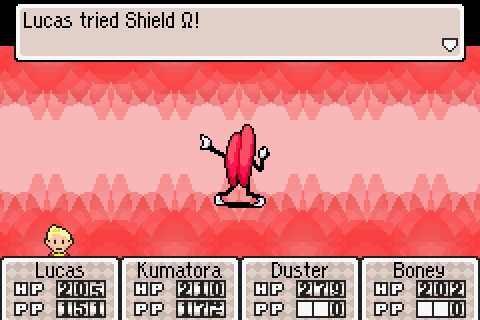 You'll want to use your Shields for this fight since this guy can hurt. 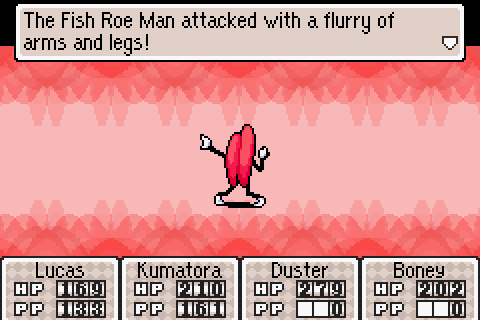 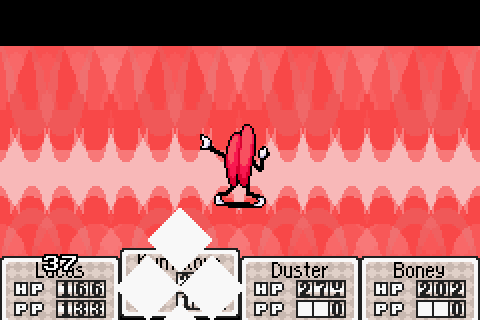 For instance, he can attack three different characters if he wants. 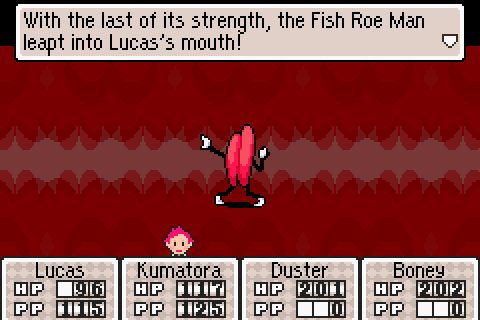  He also has the best death attack I've seen. 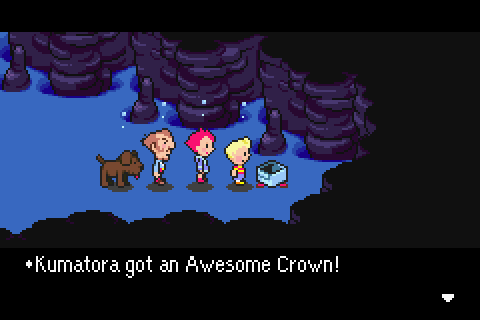 Anyway, Fish Roe Man himself isn't as interesting as the chest he guards, the Awesome Crown. It's the third-best headgear Lucas can get defense-wise, which is saying...not much, really.  The big thing is the 30PP Lucas gains on top of that. That's almost one extra casting of Love Gamma! Of course, it's also more PP for shields and healing and all that other stuff that Lucas excels at.  Are you an enemy? An enemy of all fishkind? Are you an enemy? An enemy of all fishkind?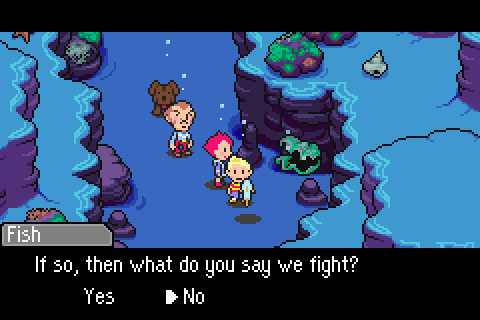 No: Huh? You're not going to fight? Even though we're enemies? Oh, well. Whatever.Yes: No, you shouldn't do that. Fighting isn't nice. It's like they say, "Claw me and I'll claw thee." Treasure the fish you catch. No, wait! Don't catch fish! Let's all get along. Well, later! Bye!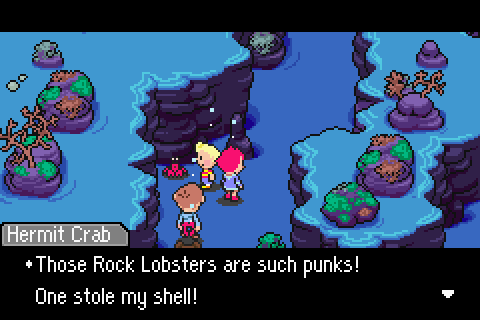  He was like, "You're such a loser! You deserve to crawl around the sea floor without a shell!" He was just so mean and hurtful! He might as well have just thrown saltwater in my eyes. He was like, "You're such a loser! You deserve to crawl around the sea floor without a shell!" He was just so mean and hurtful! He might as well have just thrown saltwater in my eyes.There's a small sidequest where we can be nice and get this guy's shell back. I'll do it because I have sympathy for a non-existent hermit crab represented in a video game. 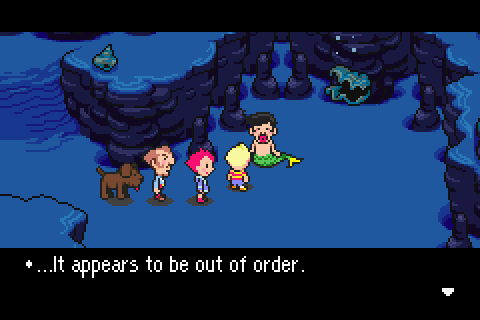 Further in there's a broken oxygen machine just to mess with you. 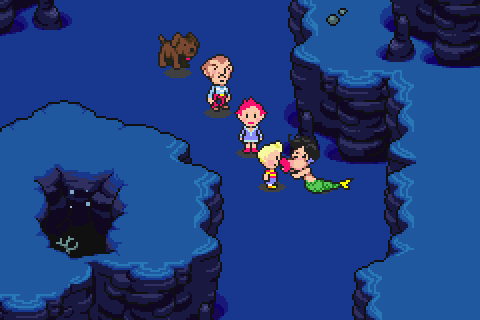 But there's a working one further in so it's all good. 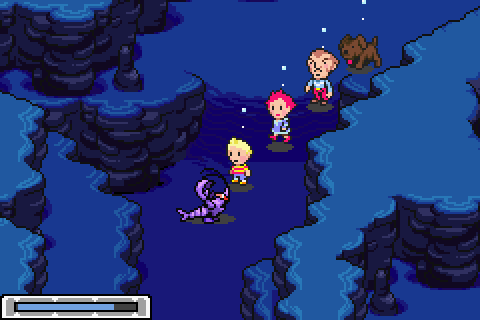  (Alternate Music) (Alternate Music) The last regular enemy is a Rock Lobster, which is the most annoying of the bunch due to its high defense and offense. 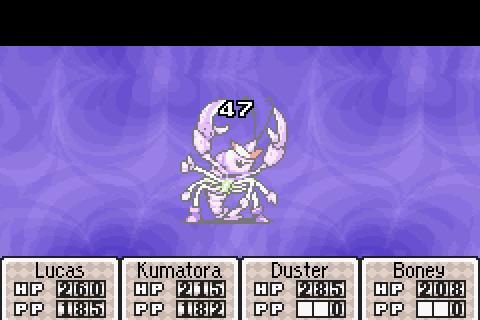 This is how much Duster and Boney do to it. It's good to have Duster lower their defenses while Kumatora uses Thunder Beta to fry them. 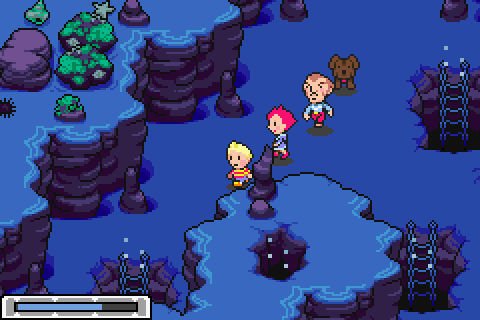 Near the end, there's an area with a bunch of holes with treasure in them.  The lower-left one should be your first visit since it has an oxygen machine. 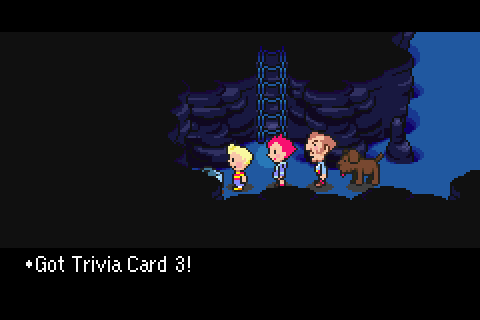 Most of these items aren't that exciting, though there's a ton of much-appreciated PP-recovery items in the area. 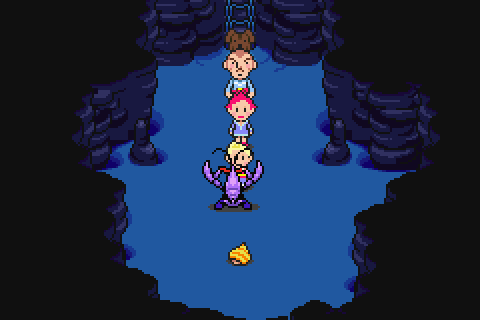 There's also the hermit crab's shell. 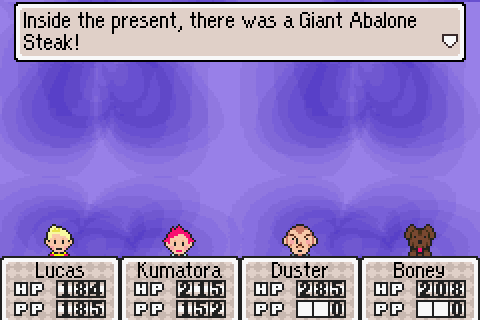 The Rock Lobster's same as the rest, but they all have a 10% chance of dropping this. It restores 180HP.  Anyway, let's backtrack and give this back.  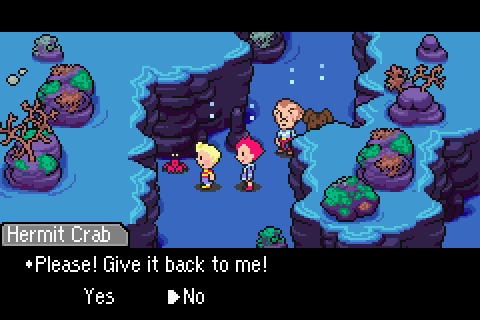 If we say no, I appreciate that. I'll use this opportunity to continue my cold and embarrassing training for a while more.But let's not be jerks and give it back.   I can't give you anything in return, but I do have some cash, if that's okay with you! How much shall I give you? 1000 DP or so? Please accept it! I can't give you anything in return, but I do have some cash, if that's okay with you! How much shall I give you? 1000 DP or so? Please accept it!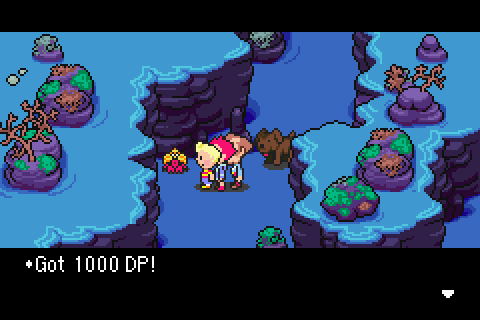 At this point, 1000 DP is like making $15. Not a big amount, but enough to be happy about it. 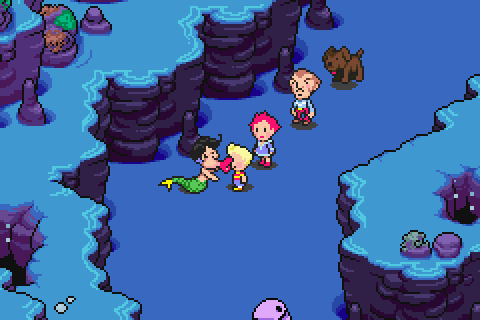 Anyway, we're finally nearing the end of this place. 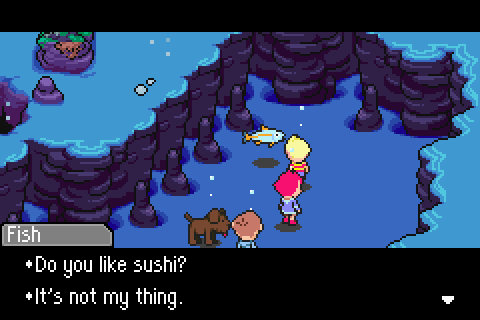  There, you'll find the forbidden... There, you'll find the forbidden... The forbidden... What was it again? There's a forbidden what-was-it-again there! There, you'll find the forbidden... There, you'll find the forbidden... The forbidden... What was it again? There's a forbidden what-was-it-again there!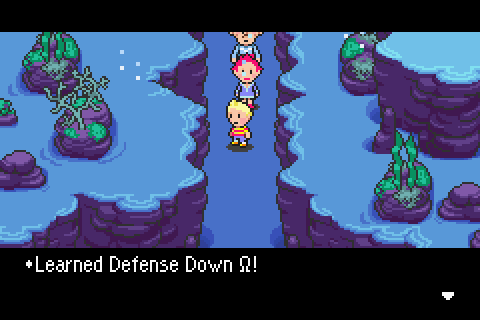 Kumatora picks up this, which lowers all enemies' defenses. See my argument against Offense Down Omega earlier. 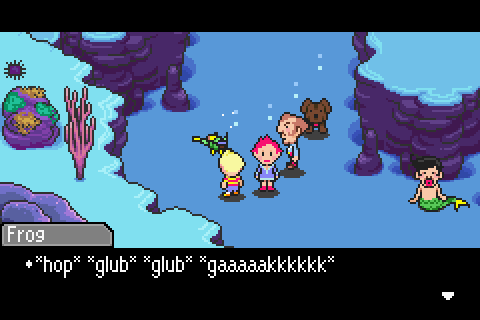  I am Frogman. *gaakkkkkkk* *blub* *blub* Save your game? I am Frogman. *gaakkkkkkk* *blub* *blub* Save your game?It's kinda hard to tell, but Frogman is a frog with a scuba suit on. 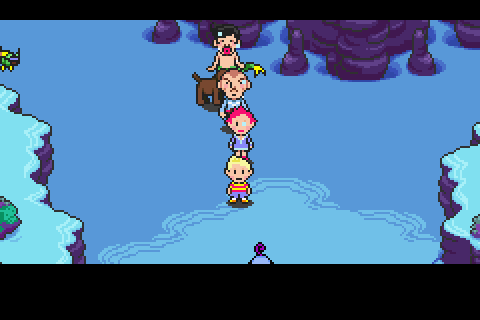 At this point, we get caught into a whirlpool.    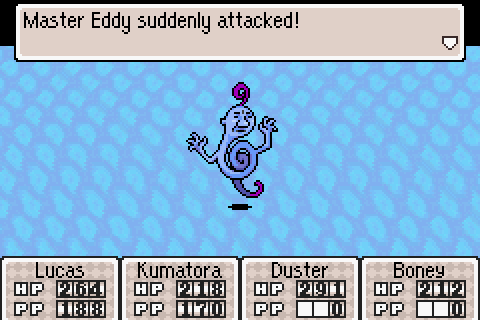 Master Eddy is the boss of this dungeon, and as usual the difficulty comes down to "Are you using buffs? If so, this boss is easy! If not, this boss is difficult!"   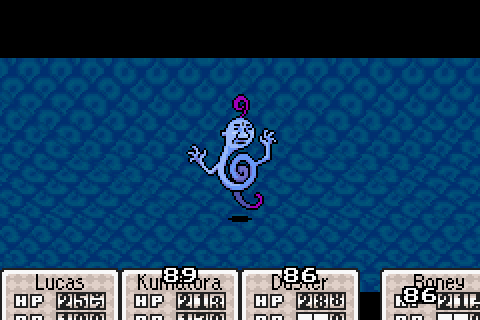 Master Eddy's main attack is a whirlpool that deals significant damage to all characters.  It's vulnerable to shields, though. Halving that damage obviously makes Master Eddy significantly less scary, albeit a boss I still have to use healing items on.  Duster and Boney should just attack while Kumatora uses Thunder and Lucas heals or reapplies Shields.  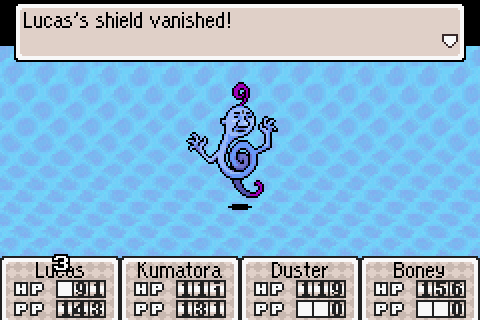 Master Eddy will also attack twice, though this is more an annoyance to get rid of shields than anything remotely threatening. 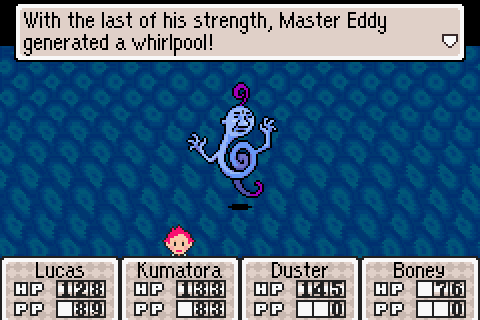 Master Eddy isn't too bad if you use Shields. Of course, once he goes down he has one final attack. 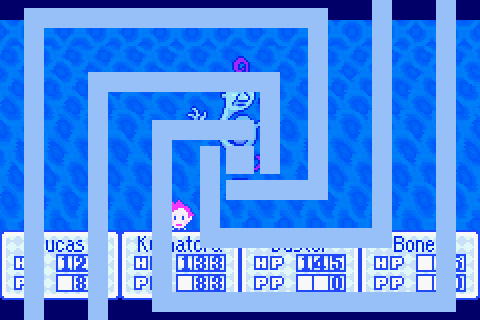 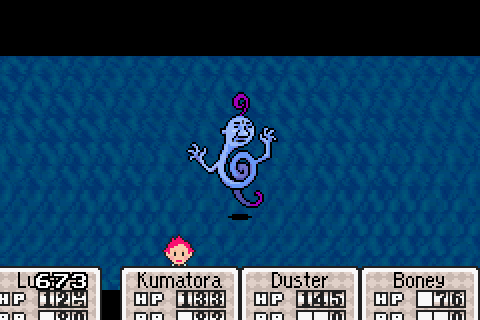 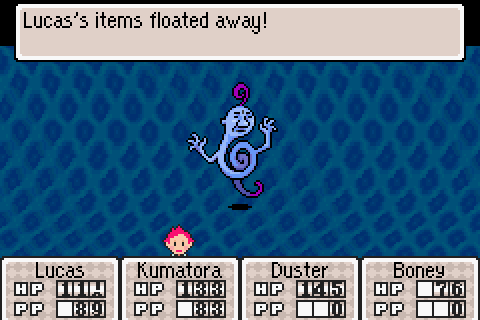  This attack does mortal damage and removes all of our items. Yikes! 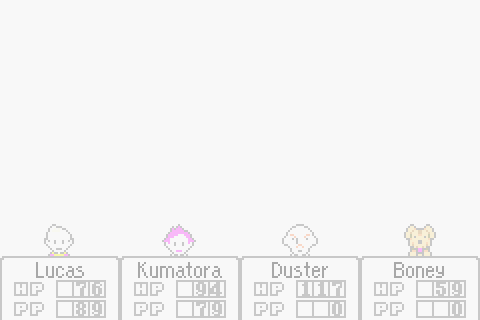  Next time, uh... Let's just hope there is a next time.
|
 #
?
Apr 11, 2015 15:58
#
?
Apr 11, 2015 15:58
|
|

|

|
| # ? Apr 24, 2024 11:14 |
|