


|
UPDATE ON LAST PAGE Yin's design is so good! I love her so much. I definitely didn't know that this fight was "Hard Mode Only" for lack of a better term when I did it. I did eventually get through it but it took a lot of experimenting and rough goes at it. I eventually settled on freezing Kina as much as possible while wearing Maki down so that she couldn't build up charges. Needle Pincer was definitely my bread and butter. I think I focused more on using Leif's buffs instead of stacking medals in that way, but that's why I'm not the all MP level up guy. I think the other new fight that was added I managed to beat on my first try. I have a lot of respect for Team Maki and seeing these more "reliable" strategies for taking it down that I had never even considered is humbling.
|
 #
?
Jan 25, 2023 16:45
#
?
Jan 25, 2023 16:45
|
|


|

|
| # ? Apr 27, 2024 23:35 |
|
|
Alxprit posted:Yin's design is so good! I love her so much. Honestly, she's pretty great, especially for how little screen-time she gets in the grand scheme of things. Alxprit posted:I definitely didn't know that this fight was "Hard Mode Only" for lack of a better term when I did it. I did eventually get through it but it took a lot of experimenting and rough goes at it. I eventually settled on freezing Kina as much as possible while wearing Maki down so that she couldn't build up charges. Needle Pincer was definitely my bread and butter. I think I focused more on using Leif's buffs instead of stacking medals in that way, but that's why I'm not the all MP level up guy. I honestly can't imagine what a huge wake-up call/difficulty spike it would feel like going into this fight at the end of a Normal playthrough. While I understand the impetus behind "forced Hard Mode" in these fights to some degree, it does strike me as a bit of a questionable design choice. I'm trying to remember how I fought them the first time; my first playthrough I balanced out my levels for a while out of a feeling of obligation (and also, I didn't use any of the Super Peppers or Iron Seeds, partially out of indecision and partially because I was doing fine without them), and I don't think I quite figured out how good stacking defence was until I was working through Hardest mode. I'm pretty sure it ended up being a very long, drawn-out fight in which I burned through a pile of Queen's Dinners. I definitely remember taking out Maki first, I think I used Electric Needles a fair bit to keep him immobilised (that was absolutely a crutch for me, back in 1.0.5 before they nerfed Numb duration). Alxprit posted:I think the other new fight that was added I managed to beat on my first try. I have a lot of respect for Team Maki and seeing these more "reliable" strategies for taking it down that I had never even considered is humbling. I should just say, I really don't want you or anyone else to come away from this feeling inadequate, and I'm sorry if the LP is making you feel that way. I've had a lot of practice with this game and I absolutely did not play nearly this well my first time through! It is a very different experience trying to figure out these fights the first time, and building strategies for them while already knowing how they work. (I probably shouldn't have said the fight is easy; everything's easy when you already know the answer.) That said, I'm really curious to see how I experience the next fight this time. In my memory it's easily the hardest fight in the game, but I've never actually played it on Hard; I was well into higher difficulties when 1.1 came out, so I played it on Hardest first and I expect that's messing with my recollections.
|
|
#
?
Jan 26, 2023 03:58
|
|

|
Don't worry about making me feel inadequate - obviously as an LPer, especially in screenshot form, you have to show the most optimal and best ways to do that. It's "Let's Play" after all - in a way it's a form of helping those of us with less of a mind for this sort of thing get the advice they may need. I'd be the same way about things if I were LPing. Some might find it boring to only show the correct way to do something and would rather laugh at failures or whatever, but there's room for all sorts of methods and audiences here. I guess what I meant moreso by "humbling" was I'm a bit incredulous that a reliable strategy even exists for this fight. Like I actually couldn't fathom it. But it only speaks to how intricate the systems are at their core!
|
|
#
?
Jan 26, 2023 07:15
|
|
|
Alxprit posted:Don't worry about making me feel inadequate - obviously as an LPer, especially in screenshot form, you have to show the most optimal and best ways to do that. It's "Let's Play" after all - in a way it's a form of helping those of us with less of a mind for this sort of thing get the advice they may need. I'd be the same way about things if I were LPing. Some might find it boring to only show the correct way to do something and would rather laugh at failures or whatever, but there's room for all sorts of methods and audiences here. If it makes you feel any better, I washed out of hard mode around the bandit lair. This game expects a lot of system mastery!
|
|
#
?
Jan 26, 2023 12:23
|
|

|
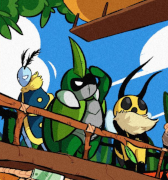
77: Slack Off, Slack On 17 - Ant Kingdom 17 - Ant Kingdom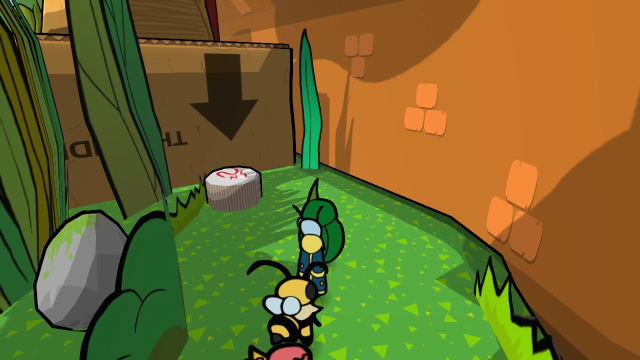 Welcome back! Last time, we helped Team Maki usher Yin through her metamorphosis, then fought them in an intense but "friendly" sparring match. Today... we have one sidequest left. 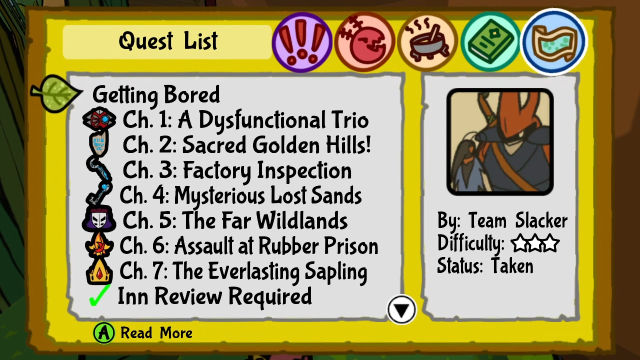 Team Slacker wanted to see us, and heavily implied they're also interested in sparring. Let's take a quick look at our medals before we meet up with them. 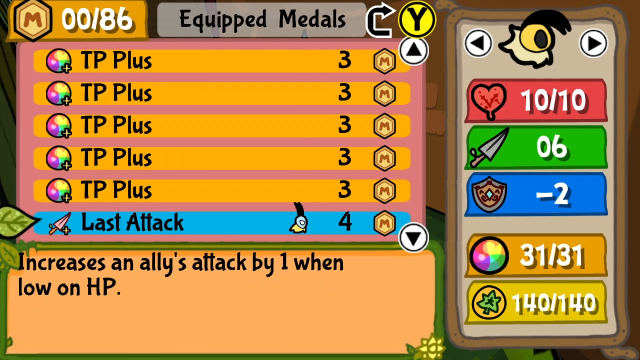 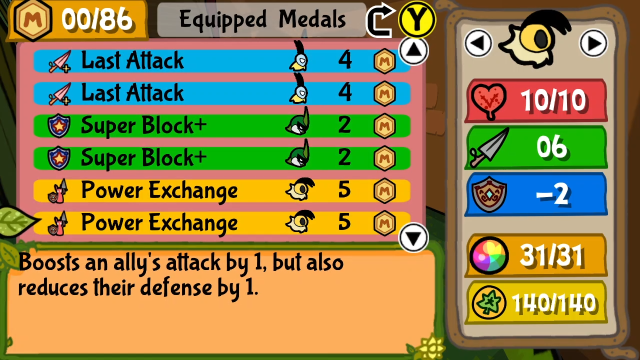 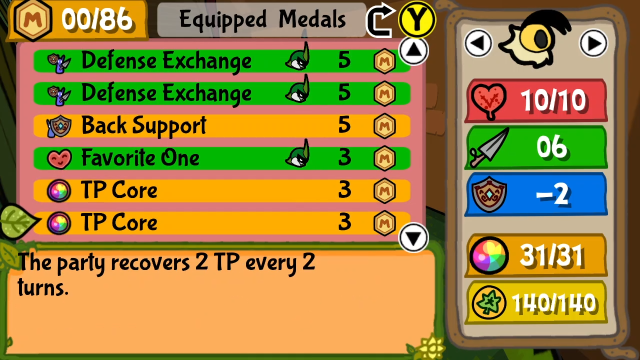 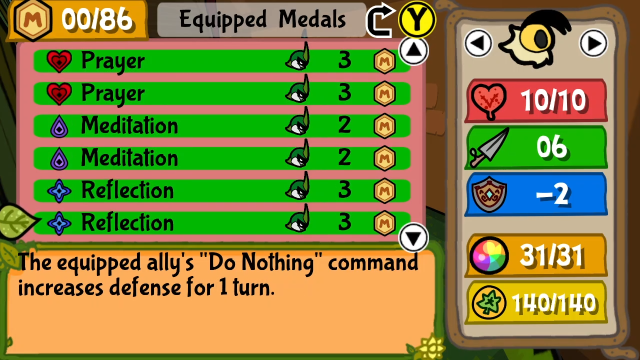 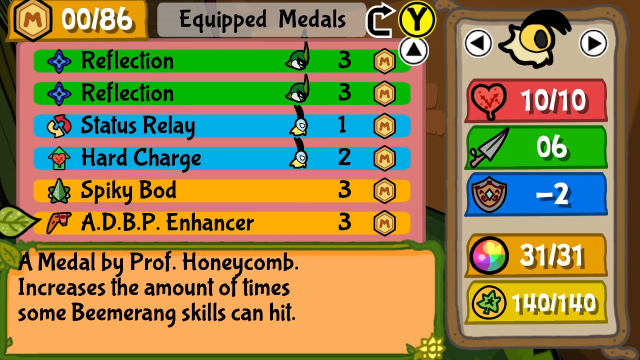 This isn't anything new; I'm going to be fighting them with the same build I used for the first go-round with Maki. (I did spend some time trying to think of a more clever or novel approach to use, but didn't really land on anything. I do have some new builds to show off next update when we tackle B.O.S.S., but I couldn't think of anything special for this one.) 34 - Dodgy Business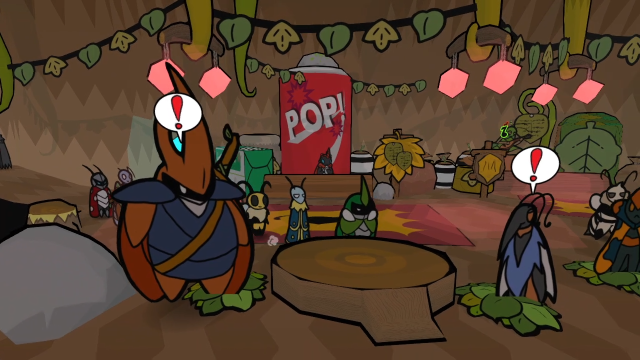 Stratos and Delilah are waiting right where we left them. 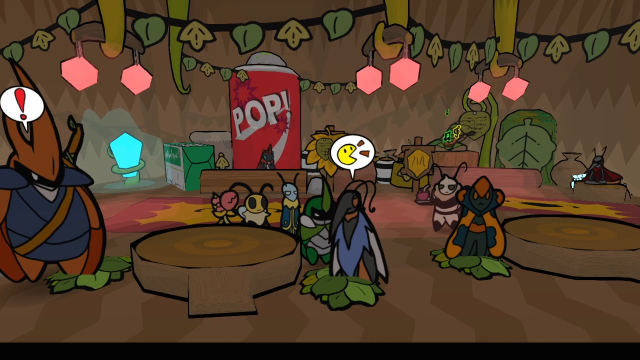 We can talk to either of them to start this conversation. 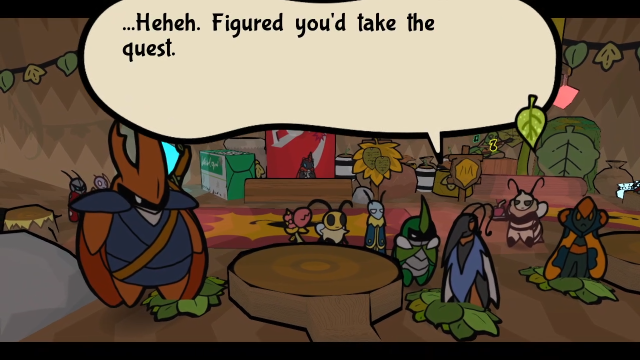  You've come to... "entertain" us? You've come to... "entertain" us? If Doppel won't mind a broken table or two. If Doppel won't mind a broken table or two. Loser pays the repairs, heheheh... Loser pays the repairs, heheheh... I-Isn't everyone being a bit too eager for violence... I-Isn't everyone being a bit too eager for violence... Hey, it's just banter! Although I do agree with the loser paying for repairs. Just holler when you're ready to fight, alright? Hey, it's just banter! Although I do agree with the loser paying for repairs. Just holler when you're ready to fight, alright?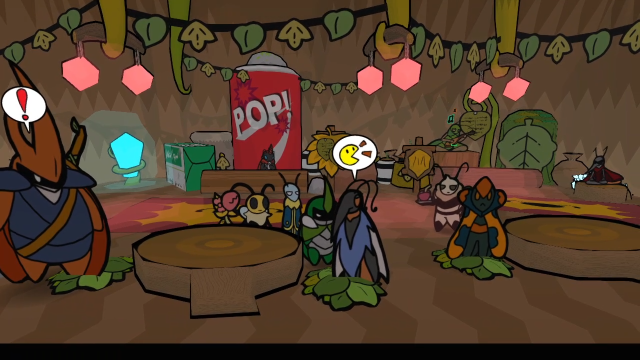 Yep, looks like we're in for some more "friendly" sparring. 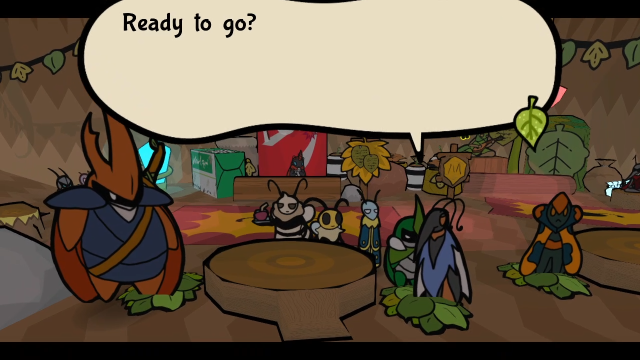 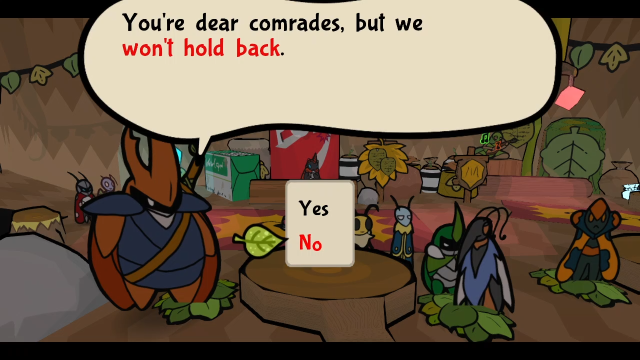 Just like Maki before them, they give us the "we won't hold back" warning, and allow us to decline the fight. (And, again, this should be taken as a hint that they don't have non-Hard-mode stats. This is another superboss.) Take your time! A rushed fight's no good.If we do, Delilah will say this. They're pretty sensible about the whole thing (aside from, you know, deciding to do this in the middle of a crowded pub in the first place).  We're ready. Let's go. 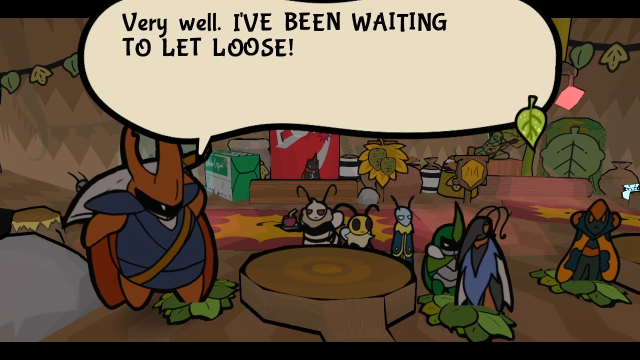   Click me for video! Click me for video! 35 - Reckless For Glory! (Bonus Boss) 35 - Reckless For Glory! (Bonus Boss)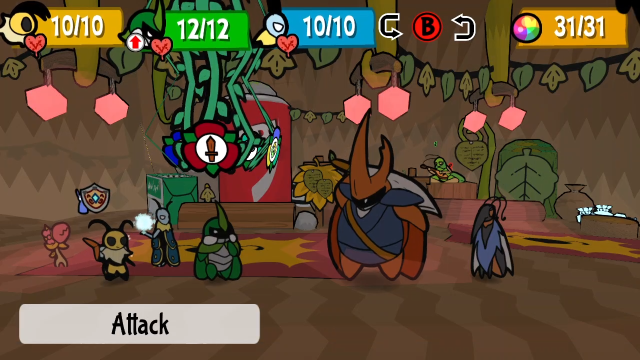 Heh, looks like everyone's cleared out, except Tristan's still playing his music in the background. 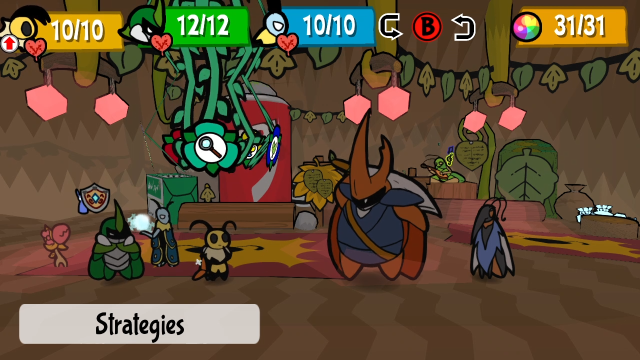 First things first, let's rearrange our formation. We definitely want Kabbu in the back and Vi in the front for this one. Once that's done, let's get to spying. 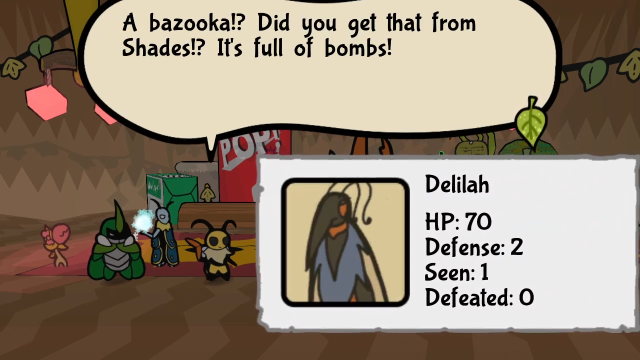 Woah, that's a sticky bomb! We can't use items if that hits, they cost a fortune! Woah, that's a sticky bomb! We can't use items if that hits, they cost a fortune!This is worded kind of weirdly (I don't know why Vi is talking about the price of anything), but it's an important hint that the rare status effects are going to be in play in this battle. Delilah's got a lot of tricks up her sleeves, which we'll see soon enough. 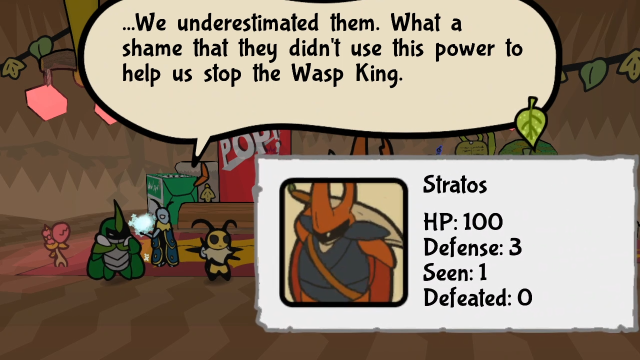 Stratos can fire shockwaves from sheer strength... it's not even magic. What a guy. Stratos can fire shockwaves from sheer strength... it's not even magic. What a guy.Stratos, meanwhile, is big and strong. He's got his fair share of trickery, too, but he's even bulkier than Maki was. 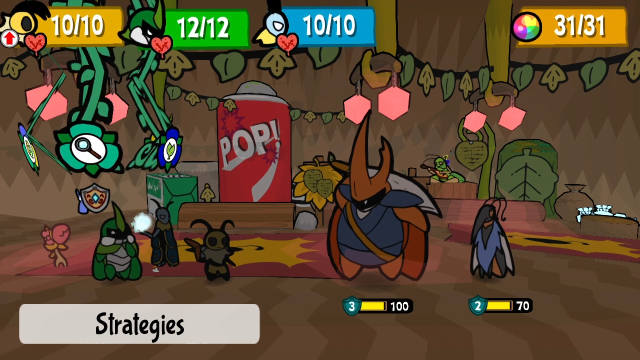 Here's their combined stats. We're going to have our work cut out for us; even Delilah, as the squishier of the two, has 70 HP and 2 defence.  We still have Kabbu's action, so let's start out by taunting them. He won't be able to use Do Nothing and boost his defences further this turn, so there's some mild risk in this, but it's significantly safer than not doing so. 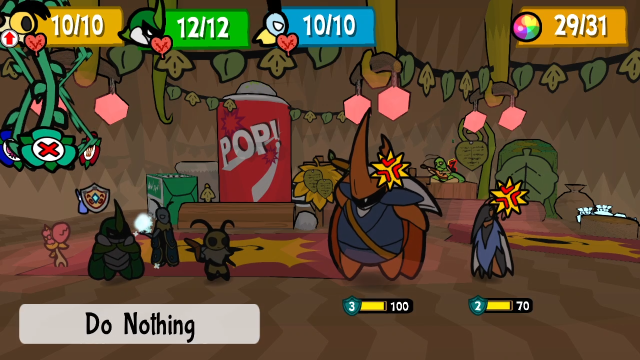 Chompy will be doing nothing for the entire fight again. That said, this fight is actually a good candidate for the Venom Ribbon; Stratos has extremely low poison resistance, so you can keep him poisoned for the entire fight if you want. I don't think this is an efficient use of TP, but you can totally do it (and I did record an alternate version of the fight to show that off and a few other things, stay tuned for that).  For his first attack, Stratos launches a shockwave. This attack deals 6 base damage and has no other effects; it's probably the least threatening thing he does, and it's not too hard to time blocks for. It looks cool, though.  Delilah, meanwhile, pelts us with darts. These are actually the same sprites as the dart items we can use, she's using Poison Darts here but she also has Numbnail Darts. Each dart deals 3 base damage and can inflict 2 turns of the associated status if not blocked. When Delilah is below half HP, she'll throw four darts per volley instead of two. Also, note the tell: when her eye gleams before attacking it always means darts are coming. 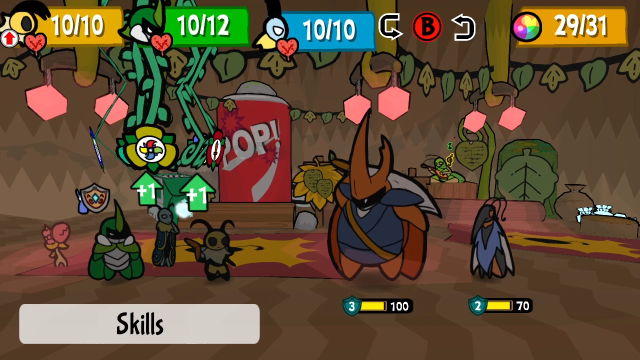 Right, turn two. Time to start actually fighting back. 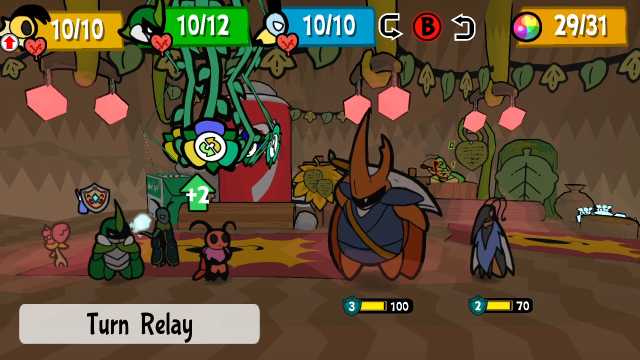 We'll use the same Status Relay trick we used last time to consolidate the charge-up bonuses. 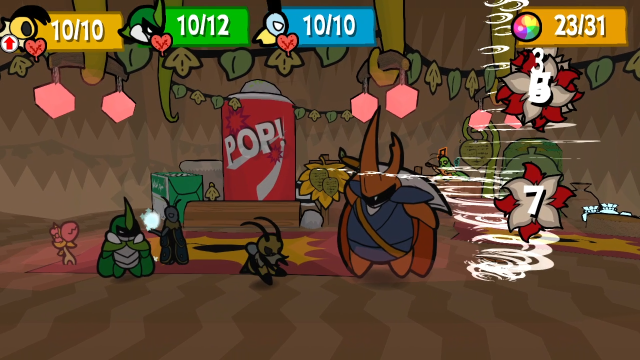 Then Vi can hit Delilah with a Hurricane Toss. 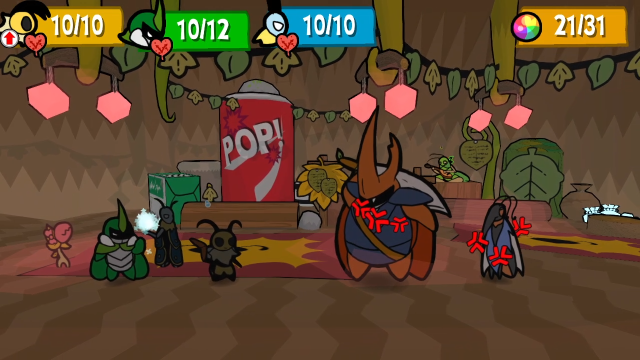  Then we'll have her relay to Kabbu so he can both Taunt and Do Nothing. 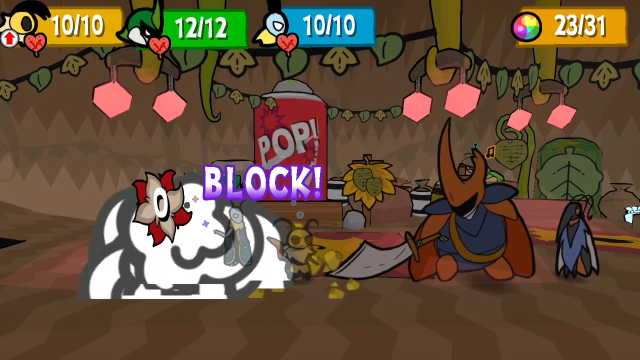 Kabbu blocks another shockwave from Stratos.  Delilah shows us a new attack, though! Her dive hits for 4 base damage, then she attacks again for 3 base damage and heals equal to the damage done. (I don't think bugs have blood for mosquitoes to suck, but let's just go with it?) 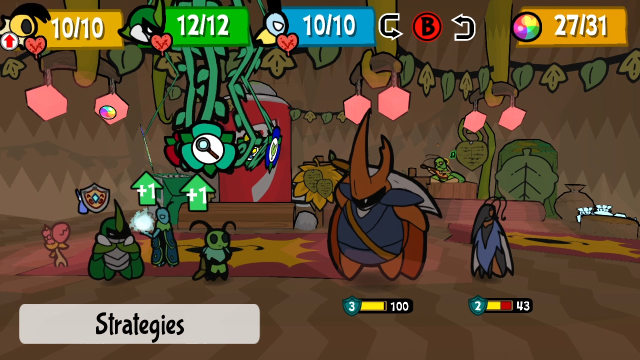 Right, let's keep going. We'll consolidate the boosts again, first off. 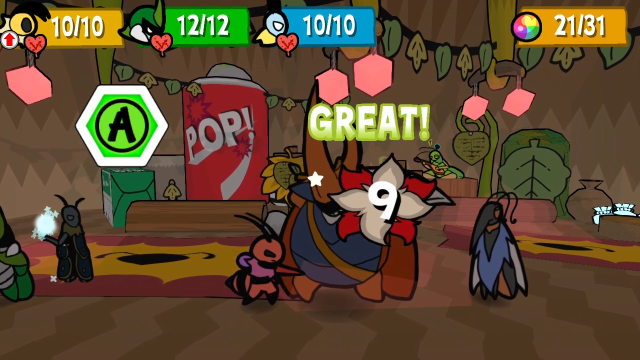 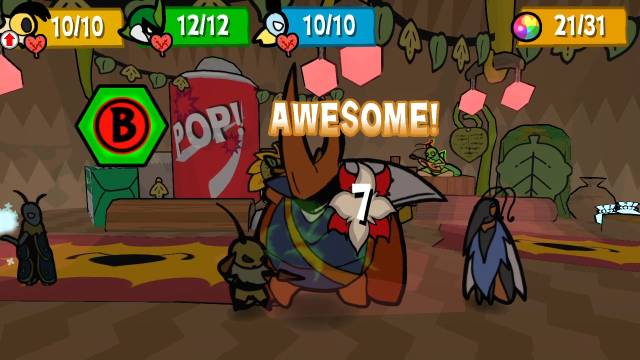 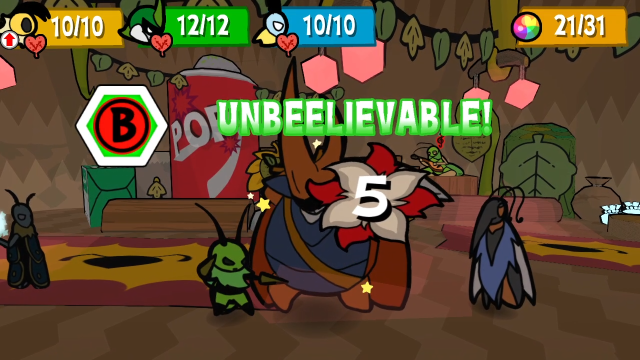 This time, we'll hit Stratos with a Needle Pincer instead. Let's be equal-opportunity about this? (Just like with Maki, piercing damage is convenient here.) 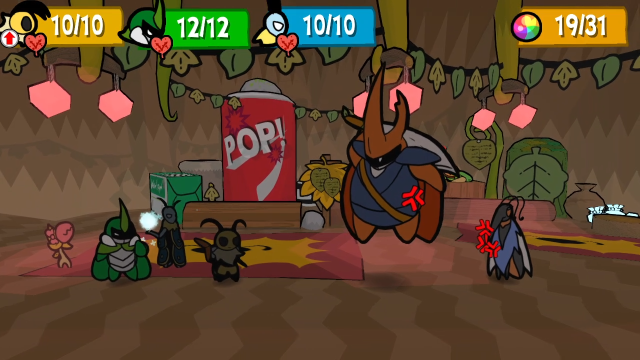 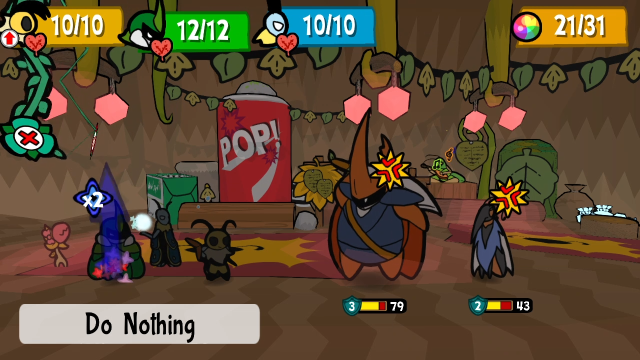 Kabbu does his dance again. 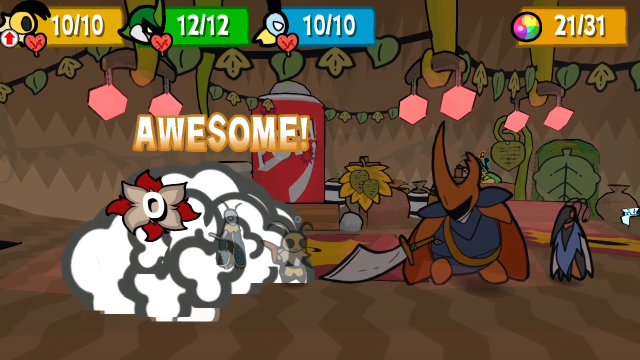 Stratos seems to have a one-track mind today. He does have other moves than this!  This is new, though! A lot of Delilah's abilities revolve around items. This Longleg Summoner is exactly the same as the ones we can use, dealing 6 base damage. 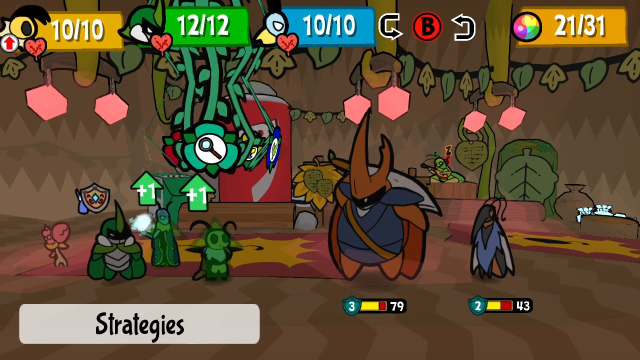 Let's keep going. 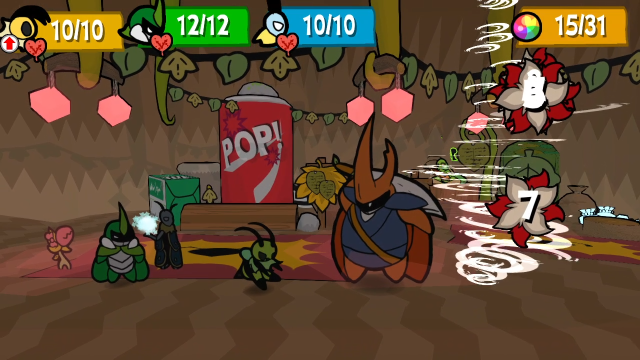 Delilah's turn to be hit. 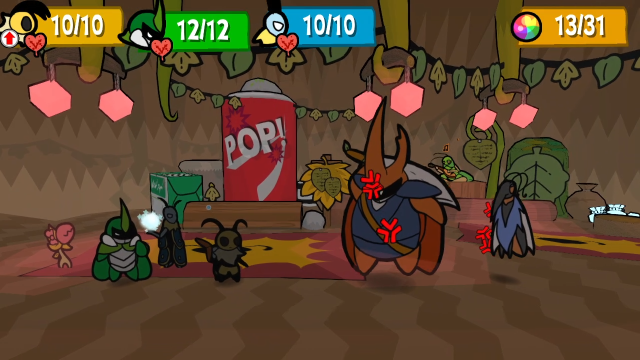 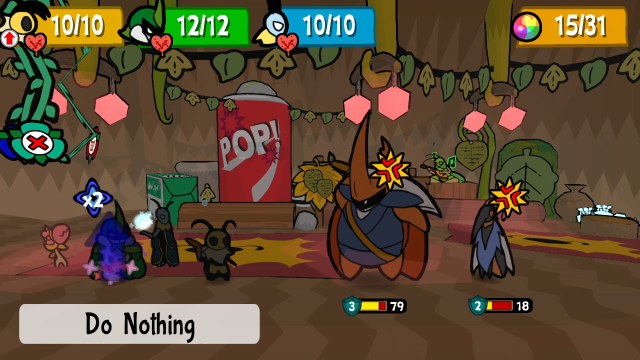 And we'll have Kabbu keep doing this. (Leif's definitely playing support this time around; he might be unobtrusive but he's contributing.)  Stratos finally pulls out a new attack! This overhead sword bash deals 7 base damage and inflicts Defence Down. A lot of his attacks inflict debuffs, which can definitely be irritating.  Delilah, meanwhile, powers up and gains a second action for each turn going forward. She'll do this at the start of her first turn below half HP.  Then she pulls out a Berry Jam and uses it on Stratos! This acts like you'd expect from Berry Jam, giving him Attack Up and Defence Up for two turns. She won't use this on herself, only on Stratos; in fact, this will be the case for most of her beneficial items.  She gets to take the second action right away, too, and it's a doozy. She's quite literally hauling out the big guns here. That's a lot of projectiles! And, uh... was one of them a potato?! Delilah's bazooka attack is easily the most dangerous thing we have to contend with in this fight. She can fire anywhere from 3 to 12 times, the shots come out very rapidly, and the effects vary wildly depending on the type of projectiles that come out (you'll be inflicted with all sorts of status effects if you don't block successfully). Let's break down all the projectile types. 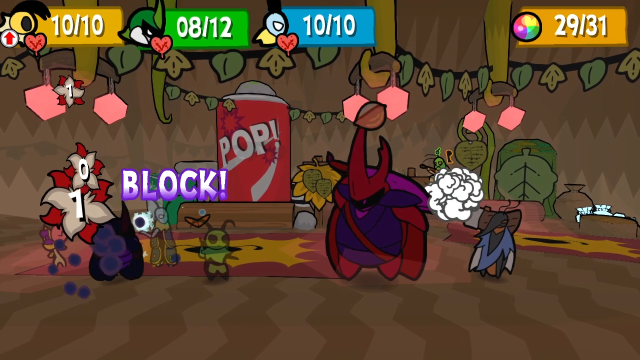 Hard Seed. 5 base damage, no other effect. 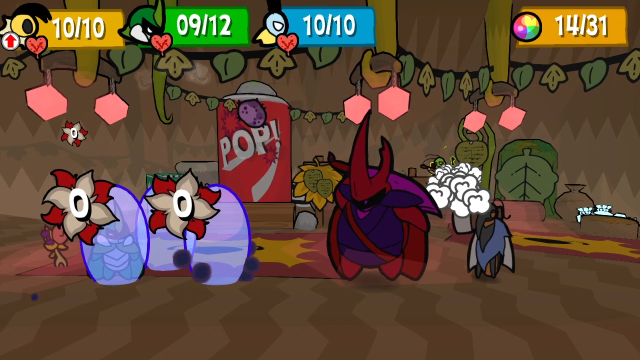 Danger Spud. 4 base damage, 2 turns Poison. 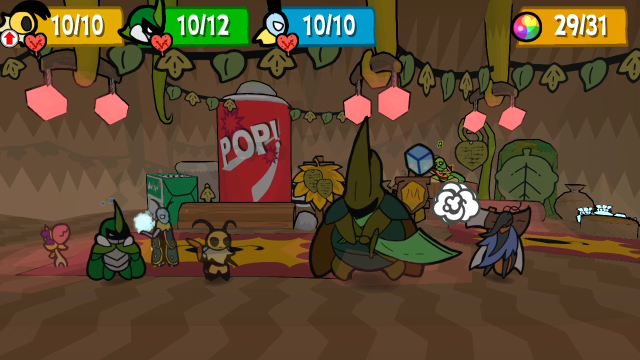 Magic Ice. 4 base damage, 2 turns Freeze. 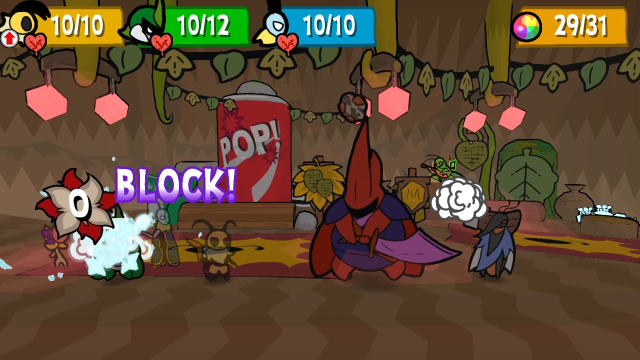 Flame Rock. 5 base damage, 2 turns Burning. 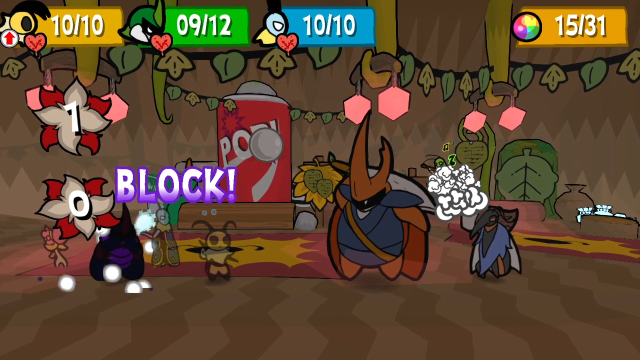 Sticky Bubble. 3 base damage, 2 turns Sticky. (If you don't remember what Sticky does, since we've seen it in exactly one fight prior to this, it renders the affected character unable to use items.) 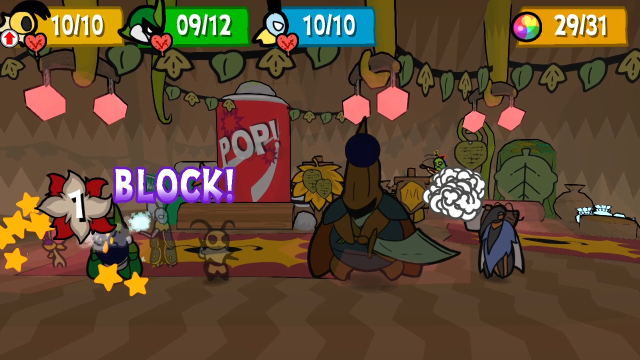 Ink Blob. 3 base damage, 2 turns Inked. (If you don't remember what Inked does, it makes the affected character unable to use Skills.) Getting inflicted with Sticky or Inked can seriously mess up some strategies, especially if you aren't prepared to deal with them. (If you're already on the back foot, being unable to heal up with items when you need to can be the thing that makes you lose the fight, for instance.) This attack is seriously nasty. It can be even worse if you're not using Taunt, and she can spread her fire across the entire party. 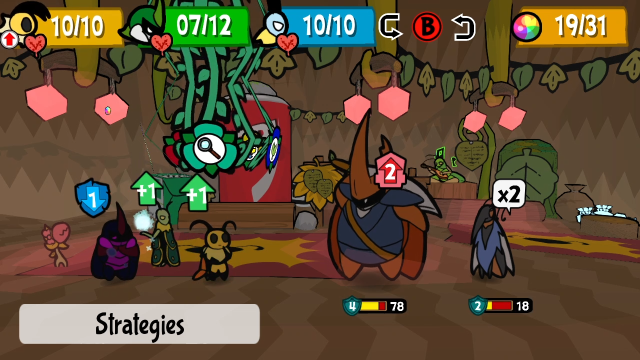 Right, then. Let's take stock for a moment. Delilah's low on HP, at least; maybe we should just take her down to keep her from doing that again. On the other hand, Kabbu's been inked, which takes Taunt out of play; that could be a problem. 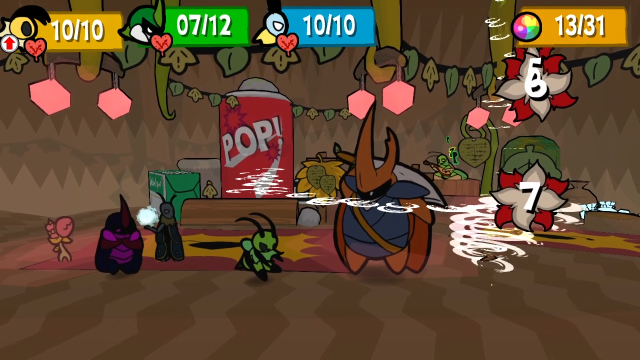 Let's just take Delilah down. 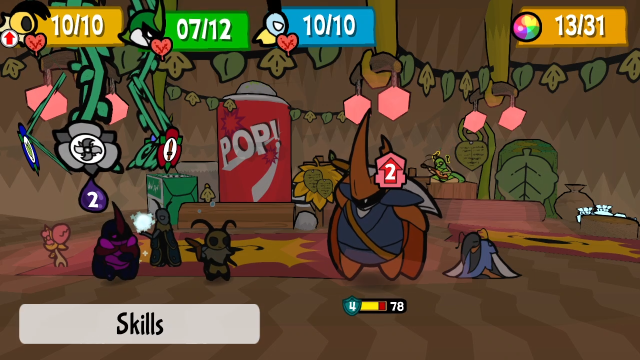 Kabbu can't taunt, so what are we going to do? 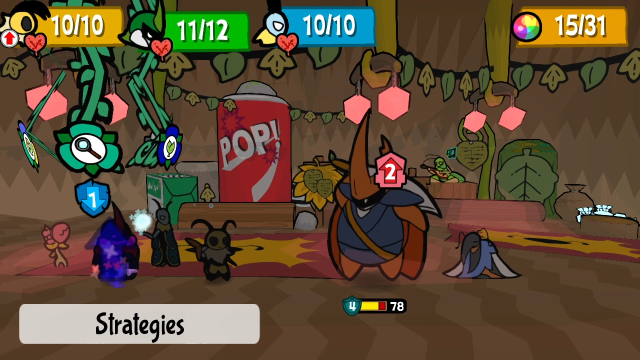 He can still use Do Nothing for the recovery, at least. 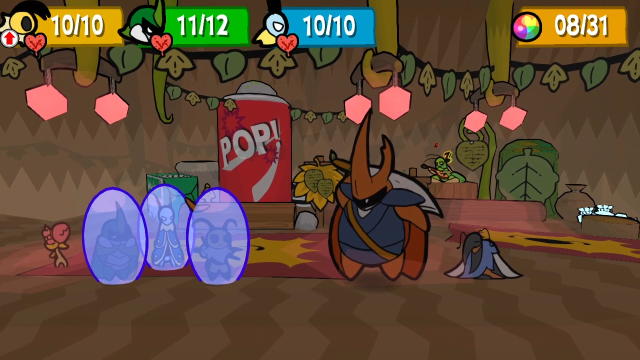 And Leif can use Bubble Shield. 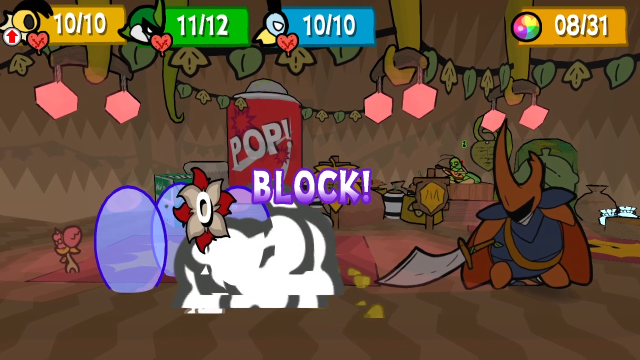 It feels a bit wasteful when all we end up taking is a shockwave from Stratos, but it's better to play it safe. 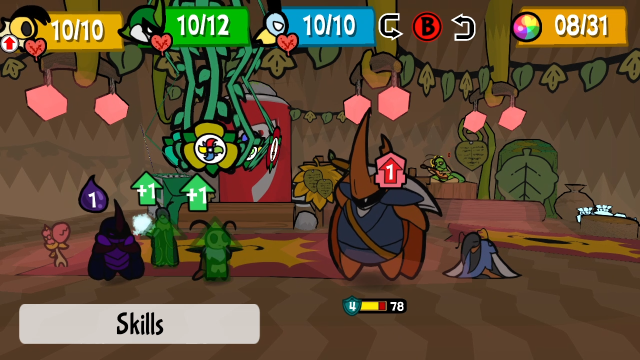 One more turn of ink to deal with. 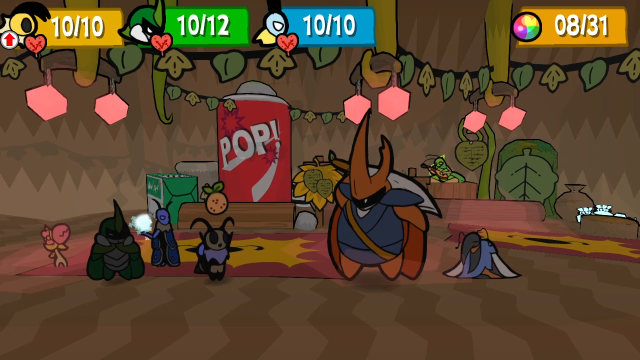 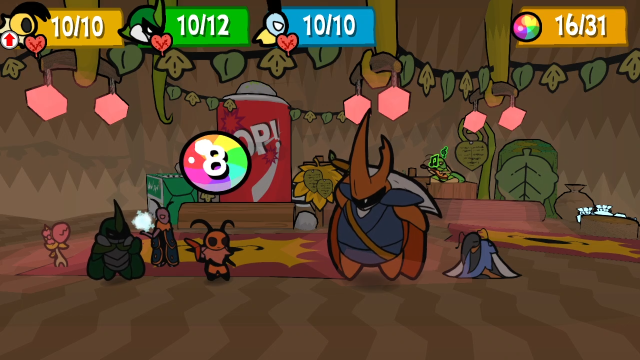 Let's recover a bit of TP, we still have a few of these Tangy Berries left. 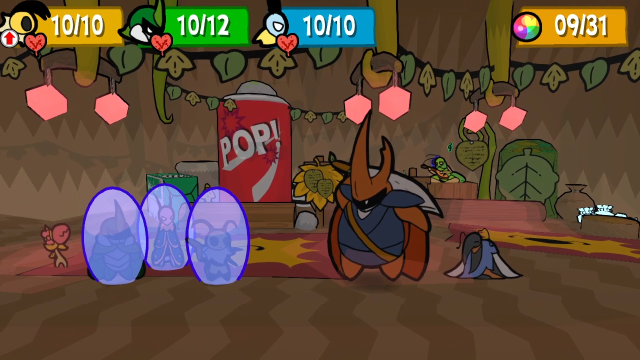 And we'll just stall another turn; relaying to Leif lets him use Bubble Shield again. 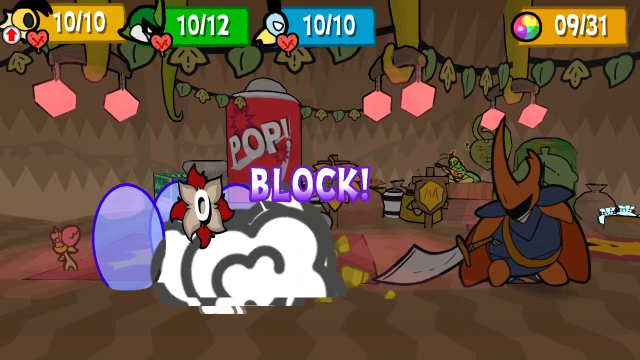 Come on, Stratos, do something else already!  All right. The ink is gone, so we can get the plan back on track. 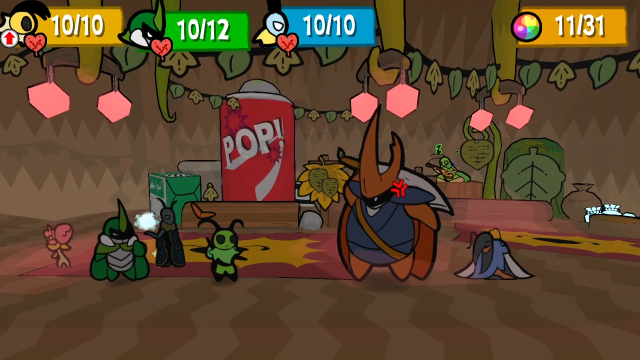 Kabbu taunts. 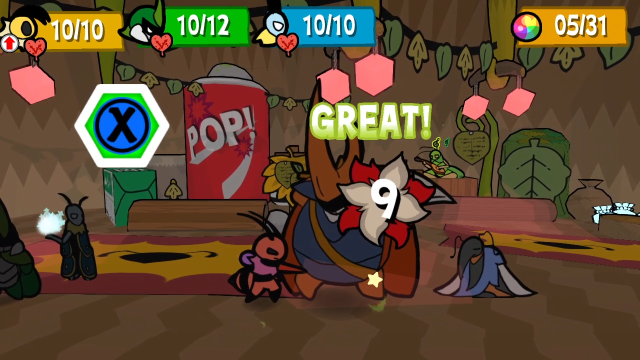 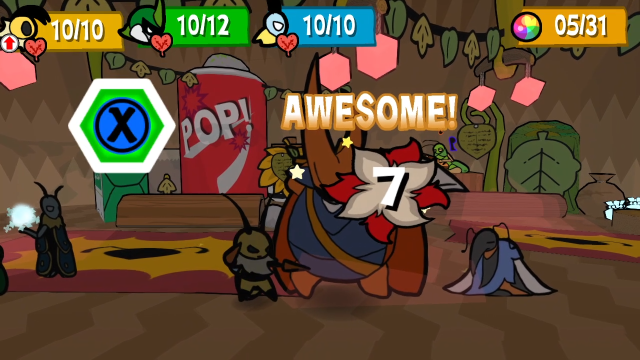 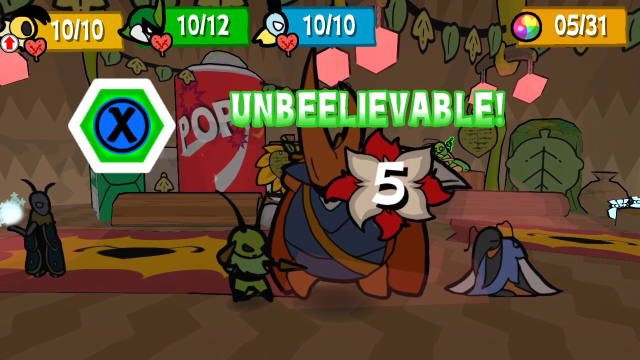 While Vi goes for Needle Pincer again. It'd be a bit safer to have Kabbu do nothing, but I'm less worried about him when he'll only be taking a single attack from Stratos, so I'd rather keep the momentum up a bit. 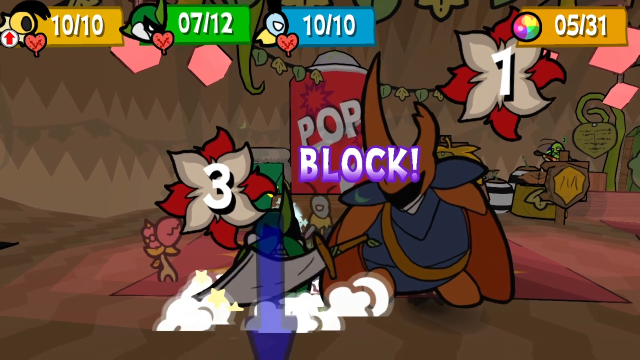 Stratos bashes Kabbu again. 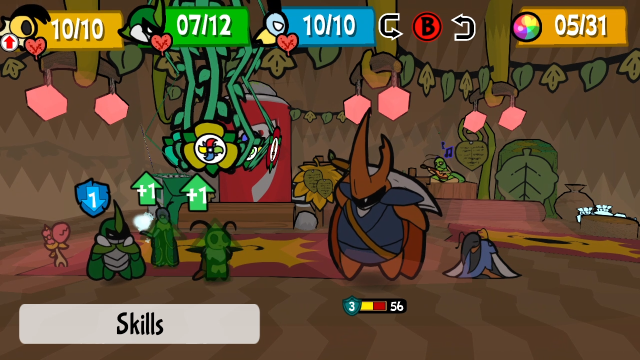 Okay. We're doing fine. A bit low on TP, though, so we should probably deal with that; we can't afford another Needle Pincer. 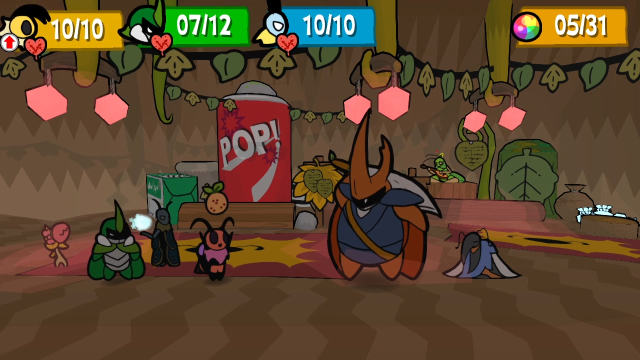 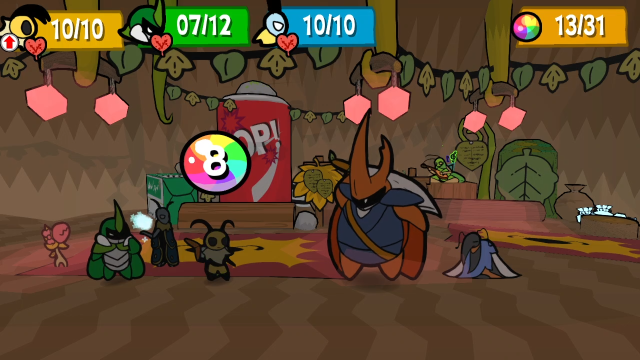 Vi uses another Tangy Berry.  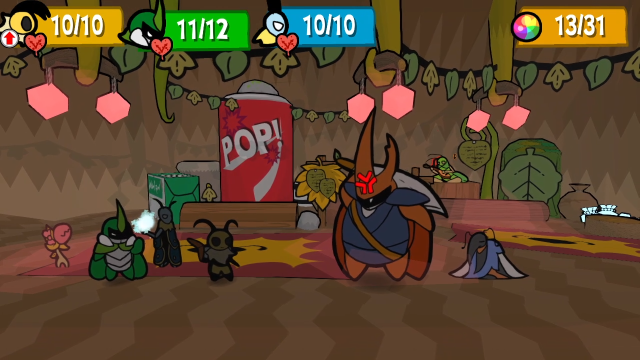 Kabbu does nothing and then taunts again. (Also, I had Leif pass his charge-up to Vi even though she didn't use it; she'll be able to attack with +3 next turn.)  Here's a new attack from Stratos! This charging horizontal slash deals 7 base damage, and inflicts Attack Down. 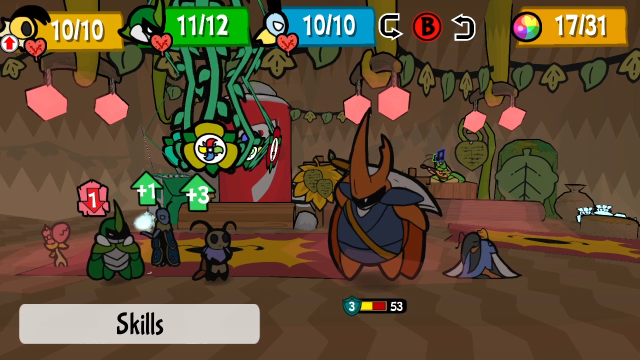 Here we go. Let's do some serious damage. 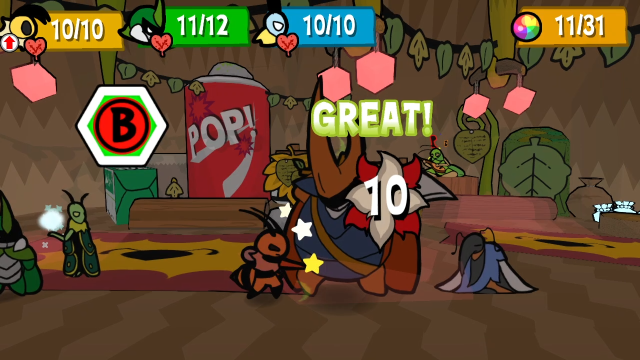 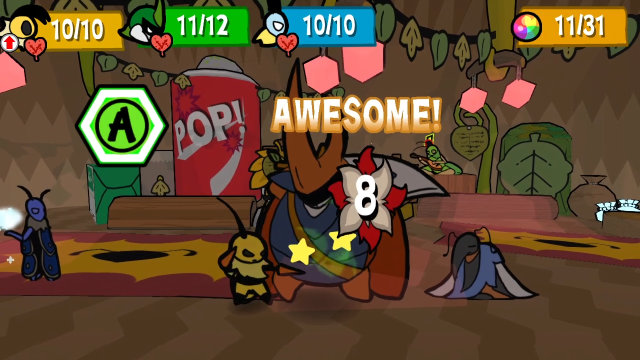 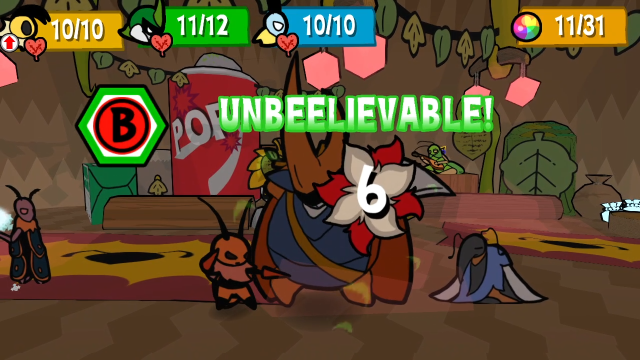 That's better. 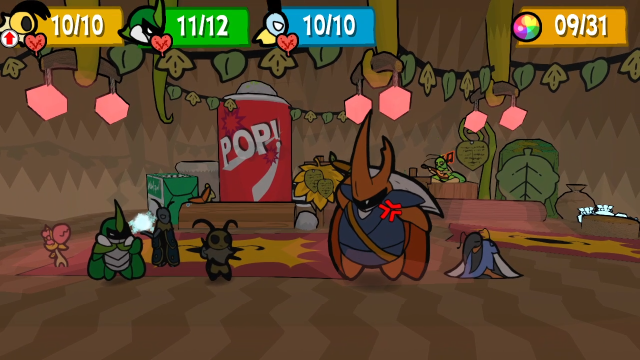 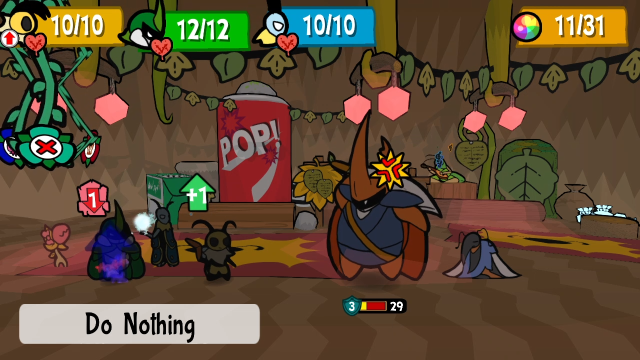 Also, we'll keep doing this.  Like Delilah, once Stratos is below half HP, he powers up and gains an extra action each turn. 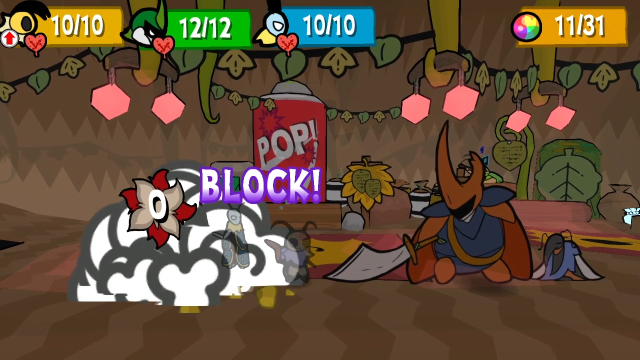 He wastes the first on a shockwave.  But the second is something new: he has a charge-up move. He gains +2 charge, and queues up a specific attack for the next turn. 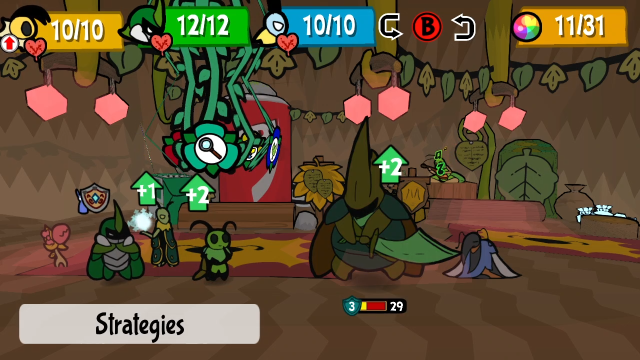 Well, let's prepare for this as best we can! 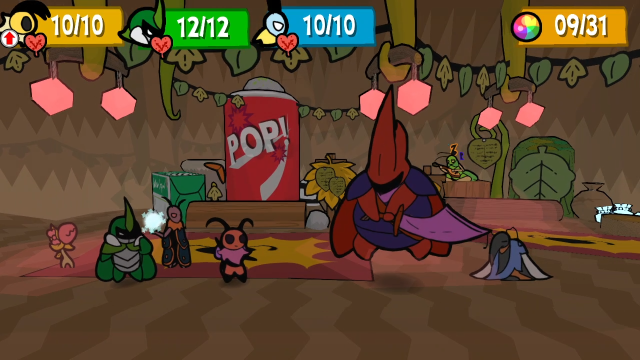 Out of sheer habit, I have Kabbu taunt. This looks very silly. 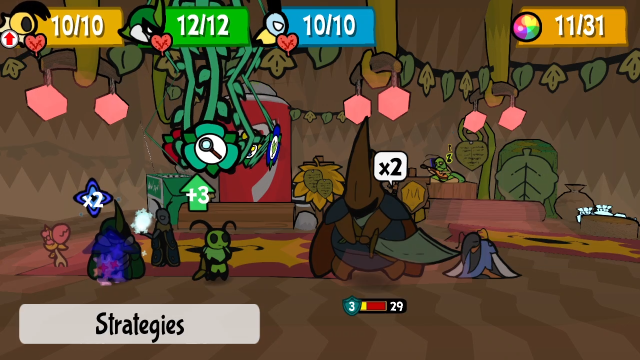 Kabbu can still use Do Nothing for the recovery and defence boost. Also, let's pass Leif's charge-up to Vi. 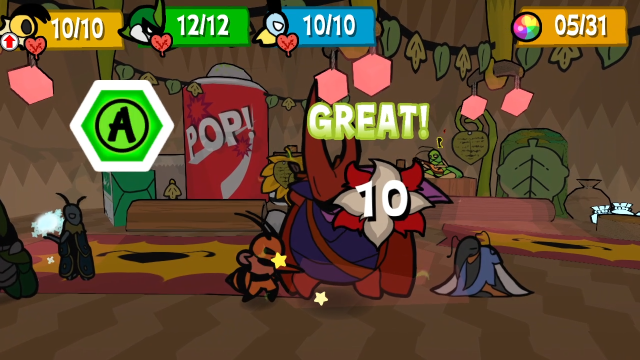 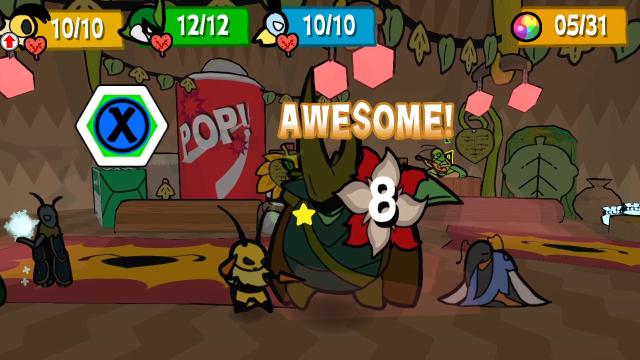 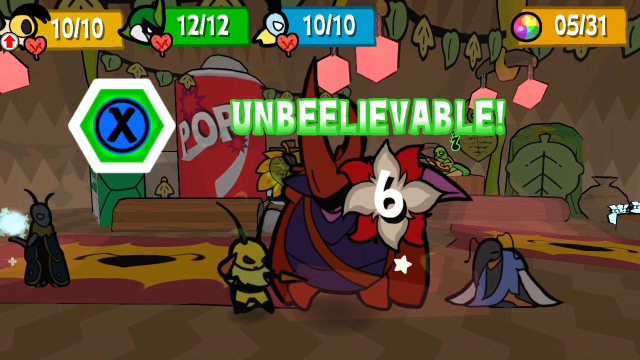 This isn't quite enough damage to finish things, but it's close. Let's see what's in store, then.  The turn after charging, Stratos will use this leaping slam attack that hits the entire party. The base damage is 6, though 2 of that is from the charge-ups; it also inflicts Defence Down for 2 turns. This can also be pretty dangerous, though a bit of the threat is mitigated by the fact he always gives you fair warning it's coming. 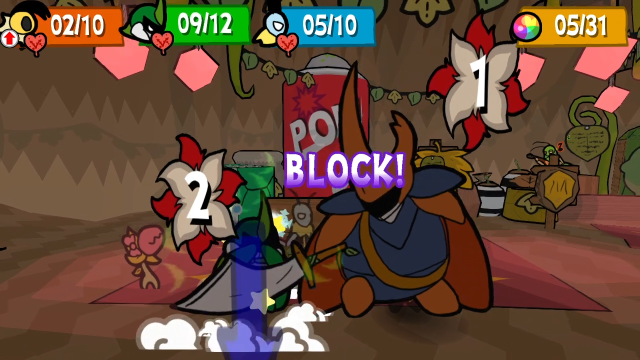 After that, he also attacks normally. 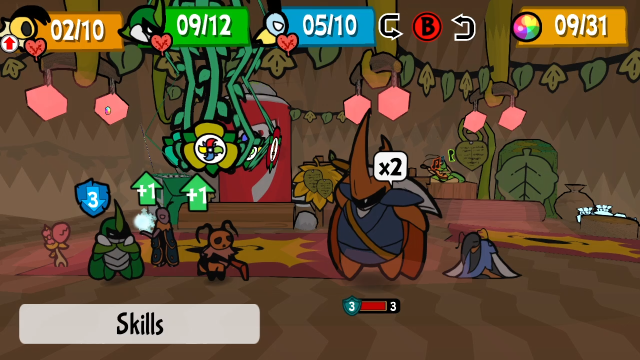 Right. Team Slacker fought valiantly, but this is over now. 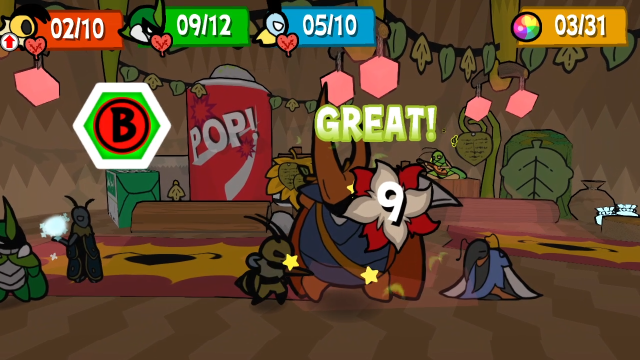 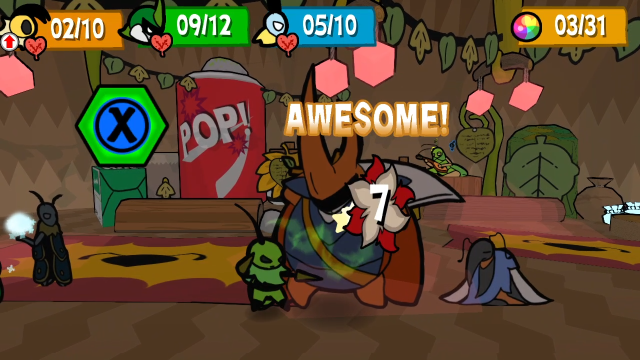 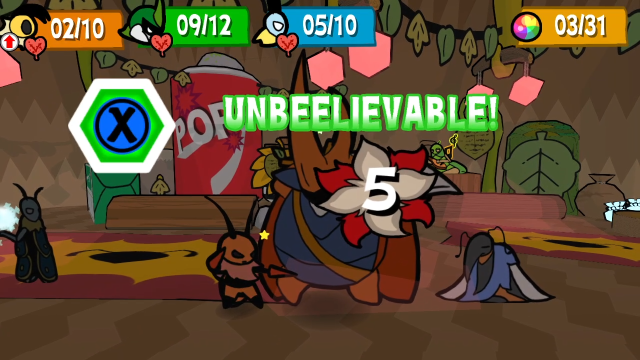 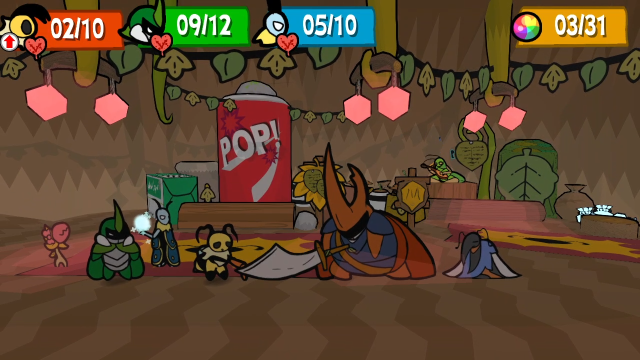 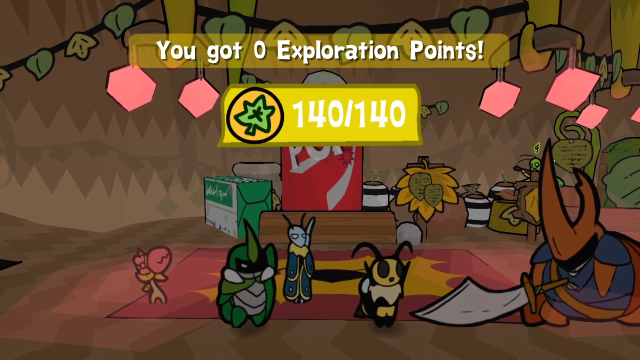 There we go! This fight's a lot of fun, and there's definitely a lot going on in it. We didn't see nearly everything they can do that time, though (and in some ways I got a bit lucky there), so let's take a look at the rest of their moves. Here's an alternate version of the fight, if you want to watch that. In this one, I stalled a bit to give them a chance to show off more. (Also, this one shows off the strategy of having Chompy keep Stratos poisoned.) Click me for video! Here's Delilah throwing four darts, as she does whenever she's below half HP.  Stratos also has this 3-hit combo. Each hit deals 3 base damage, but the delay between the first hit and the follow-ups makes the block timing pretty tricky (especially since the animation starts out the same as the bash, so it's easy to mix them up).    This is the big one. Stratos and Delilah each have an unlimited supply of Magic Seeds and Queen's Dinners. (I wasn't able to catch Delilah using a Magic Seed on-camera, but she has them too.) Even if you KO one of them, they're not out of the fight because the other can revive them at any time. (The revived character will take one action immediately after getting up, then go back to taking two actions per turn afterward. I'm not sure if they'll go back to taking one action per turn if they end up healing to more than half, though.) This is quite a lot of healing potential, and means that if you get unlucky (and/or are running a lower-damage-output setup), this fight can go on for a long time. I've seen people go in without the DPS to keep up with it, and end up losing the fight to sheer attrition. Their Queen's Dinners don't seem to restore status, though.  That said, Delilah does have Clear Water for that. She doesn't use this very often, though; she'll only use it if Stratos has a bad status, and not always then.  Delilah also has Clear Bombs, which remove all status effects from everyone (both them and us). This is another one it was tricky to get her to use.  Mite Burgers certainly seem to be popular! Delilah has these too; it heals Stratos for 6 HP and grants him regeneration for two turns. Supposedly, Delilah can also use Hustle Berries to give Stratos extra actions, but I don't think I've ever seen it and I wasn't able to get her to do it when recording for the LP. (Also, interesting side note. I noticed while recording the alternate fight that using a Queen's Dinner healed us from Ink and Sticky; I think this must have been fixed in 1.1.1 or 1.1.2, as they definitely weren't curable before.) I really enjoy this fight. It challenges you on a lot of different axes, and they have such varied movesets that you never quite know what to expect. In particular, the Sticky and Inked status effects can really throw you off, which seems fitting for a capstone fight like this, but even aside from those, this fight throws a huge variety of status effects at you and forces you to deal with them. It's also fun seeing them turn so many of our tricks against us; Delilah's moveset is composed almost entirely of items we also have access to, that behave the same as when we use them. Like most fights, stacking enough defences goes a long way toward trivialising it and it's not particularly hard if you have a cohesive strategy, but as we saw here it can still keep you on your toes by disrupting you with status, and some of these attacks will definitely catch an unprepared player by surprise if they don't know what's coming. 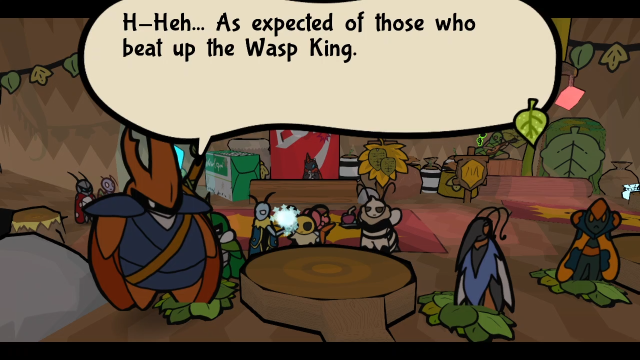 Aww... I was really hoping we'd win, you know... You're pretty good! We can go again anytime. N-Not anytime! Let's rest a bit! Time to pick up the tab. Oh, you can have this too! Aww... I was really hoping we'd win, you know... You're pretty good! We can go again anytime. N-Not anytime! Let's rest a bit! Time to pick up the tab. Oh, you can have this too!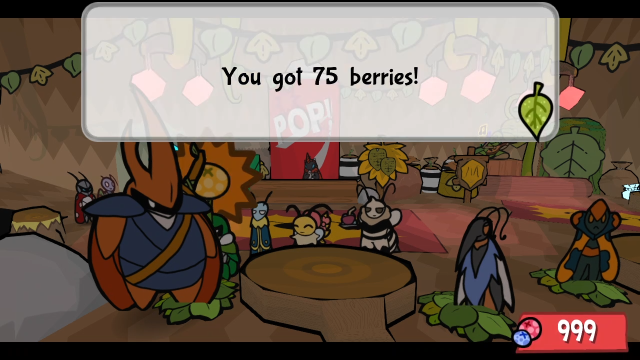 Thanks for the fun time. Thanks for the fun time.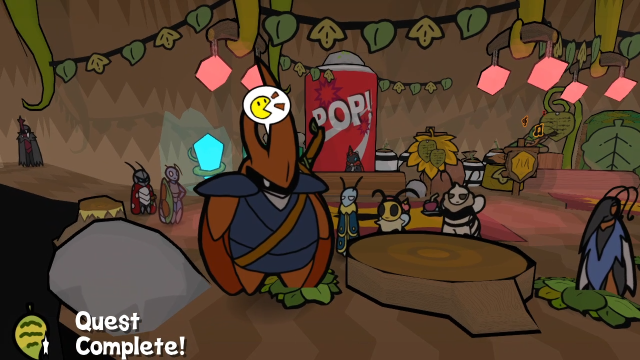 The quest complete notification pops up very quickly, but is overtaken by... 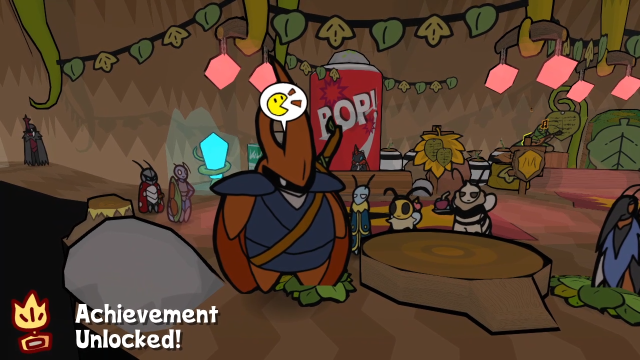 the achievement unlocked notification. We actually got several achievements at once here; let's take a look. 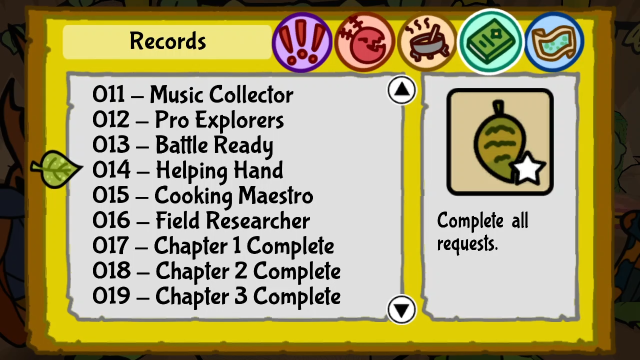 That was the final sidequest, so we've now completed all of them. 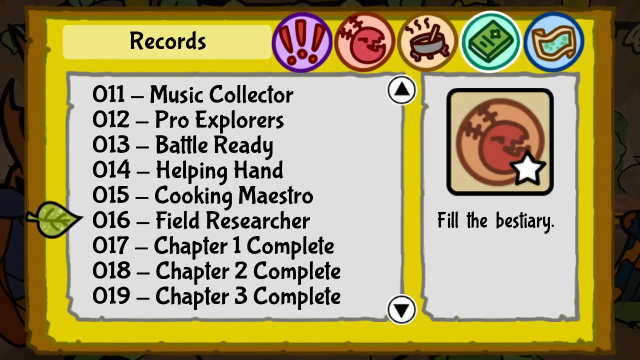 Also, Stratos and Delilah were the final two entries we needed for the bestiary, so that's complete as well. Which means... 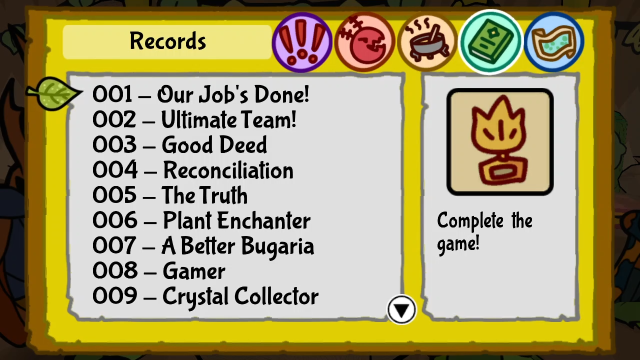 We also get "Our Job's Done!", the 100% completion achievement (in technical terms, you get this for having all of the other achievements). Our job isn't actually quite done, we do have a bit of content left to see still (and I have a few odds and ends I still want to cover before wrapping up the LP), but none of that counts toward this. That said... what would have happened if we'd lost to them? 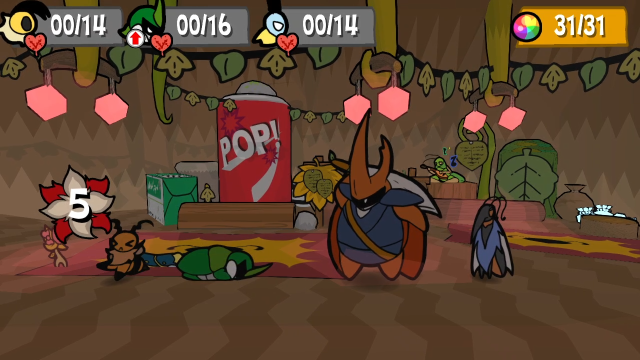  Ngh... That's gonna cost us... What power... No wonder they can afford to slack... Ngh... That's gonna cost us... What power... No wonder they can afford to slack...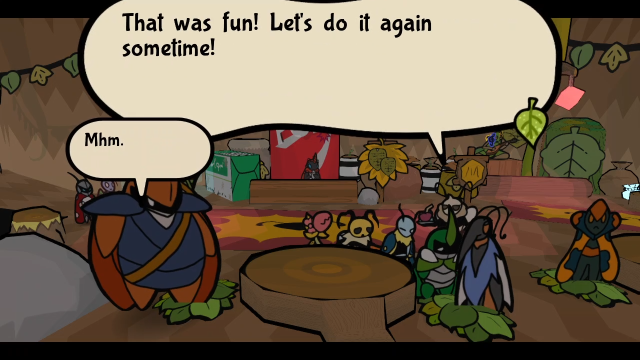 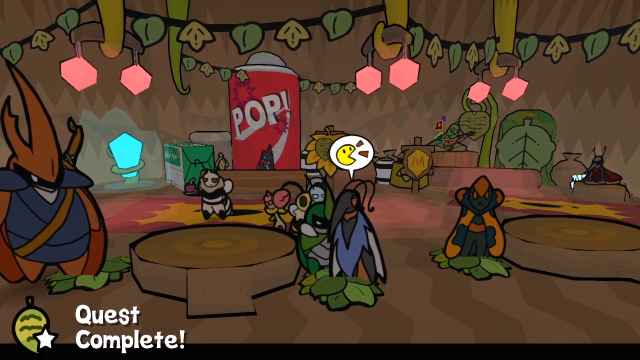 They don't actually take any money from us for the repairs, despite the conceit. Interestingly, you actually get quest completion even if you lose (though not if you run away from the fight, weirdly, you do actually have to let them beat you up), so technically speaking, winning this fight isn't necessary for completion. You can still get the "Our Job's Done!" achievement (as long as you spy on them for the bestiary). This is probably because this fight is technically DLC, it was added in the 1.1 patch and wasn't part of the game when they were designing the achievements. Unlike Team Maki, Team Slacker don't have any new dialogue if we fight them again, win or lose. It's still fun to fight them again if you want to, but all you'll ever get is 75 berries per win. 17 - Ant Kingdom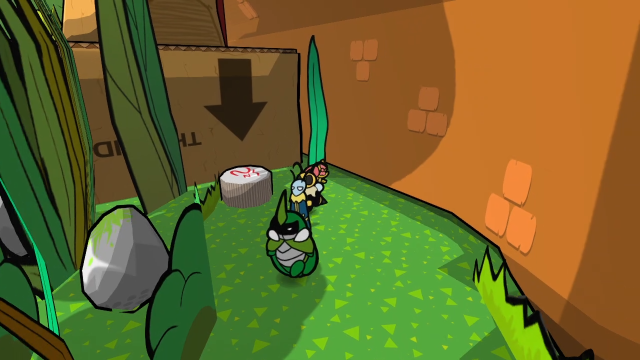 Before we finish for today, let's wrap up a few more things. 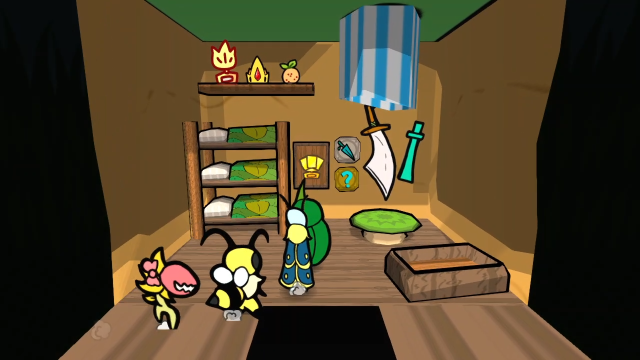 If we stop in our house, we now also have a replica of Stratos' sword on the wall! (And on the left side of the top shelf, the same crown/trophy we saw for the completion achievement.) 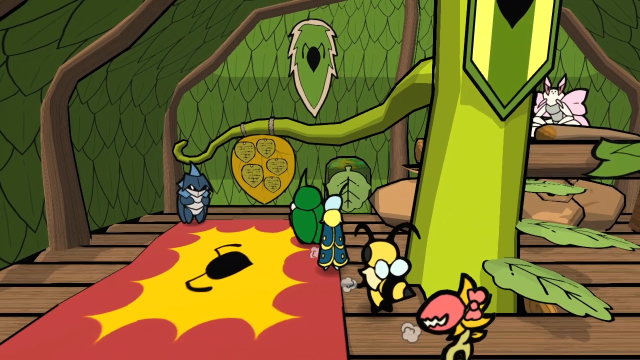 Finally... now that we've completed all the sidequests, let's go talk to Eetl. 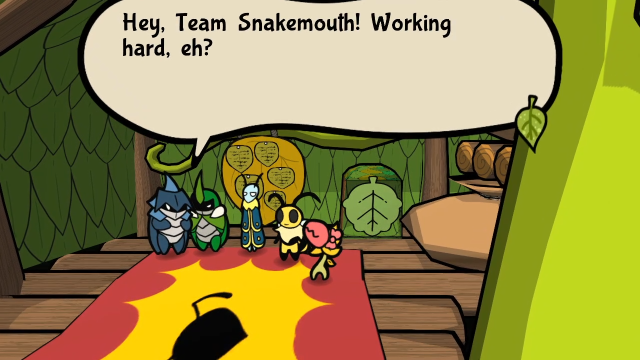 Have you noticed anything lately? Have you noticed anything lately? Hmm? Well... there ain't any quests coming in, really. Yup! All us! Hmm? Well... there ain't any quests coming in, really. Yup! All us! It's not proper to boast... but yes. We've helped many. It's not proper to boast... but yes. We've helped many. Yep. Yep.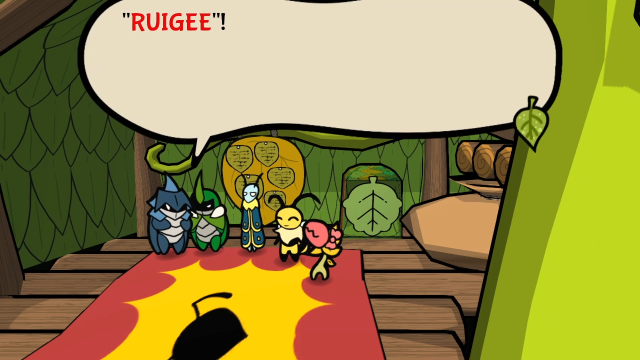 "Ruigee" who? Artis told me to hand out this "menu code" to the explorers of the month! That's gotta be you, eh? T-Thank you! Although... this "menu code"... what could it mean? "Ruigee" who? Artis told me to hand out this "menu code" to the explorers of the month! That's gotta be you, eh? T-Thank you! Although... this "menu code"... what could it mean?Talking to Eetl after completing all the sidequests nets us the final Menu Code. RUIGEE is an interesting one, and a bit tricky to explain, so I'll take an in-depth look at it in a separate post momentarily. The name is interesting in itself, because it's a reference to the Paper Mario modding community. Specifically "Luigi's Challenge", an optional mode you could enable in Paper Mario: Pro Mode, and then Paper Mario: Master Quest, two prominent ROM hacks (which some of you are no doubt familiar with). In those mods, you could talk to Luigi at the very beginning of a playthrough to enable this mode, which disabled levelling up but allowed Mario to equip a fixed number of badges (64 in Pro Mode, or 16 in Master Quest) regardless of their BP cost. RUIGEE mode in Bug Fables is very similar to its inspiration. It changes the equip cost of all medals to 1 MP. You start with 4 MP instead of 5, and instead of having a choice, each level-up always gives 1 MP and no other stats. Also, you don't gain EXP naturally; instead, you purchase Rank Ups manually from Eetl for berries (which makes this mode ideal if you want to do some kind of low-level challenge run, too). You can also combine this with any of the other menu codes, because they're not mutually exclusive. If you want a thoroughly different replay experience without upping the difficulty, for instance, try combining MYSTERY? with RUIGEE to mix up medal locations and costs simultaneously. Also, now that we've learned the final menu code, let's talk about the "secret" one. While it's not mentioned anywhere ingame, there's actually one more menu code: "TUFFBUGS". This one's strictly for convenience: it's the same as combining HARDEST, RUIGEE, MOREFARM, and FRAMEONE, but you only have to enter a single code. If you want to crank the game's difficulty up as high as you can, try this one out. (You can also combine this with MYSTERY?, of course.) I know I've said it before, but I really do love the way Bug Fables starts to offer all sorts of variant replay modes as the game wraps up. If you're satisfied with the experience after a single playthrough, that's all well and good, but if you want to keep going it's more than happy to oblige you, and the codes let you keep mixing things up to keep new runs fresh. Regardless, I'm going to wrap things up here for today! Next time, we'll wrap up the main content of the LP with the boss rush. We won't be quite done after that, I do have some odds and ends left to cover (among other things, let me know if there are any Spy Card decks you want to see), but we're definitely starting to wind things down now. Thank you all for spending all this time with me and our buggy friends.
|
|
#
?
Feb 8, 2023 07:33
|
|
|
Bonus: A Quick Look at Ruigee (Luigi's Challenge) Mode 01 - Bug Fables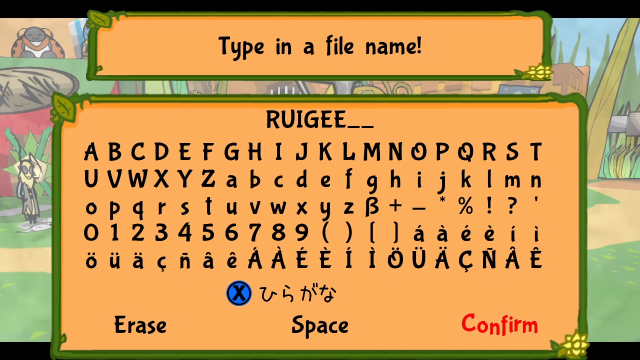 Let's take a quick look at RUIGEE mode. We'll start by creating a new file and entering RUIGEE, after which we enter a file name as normal. 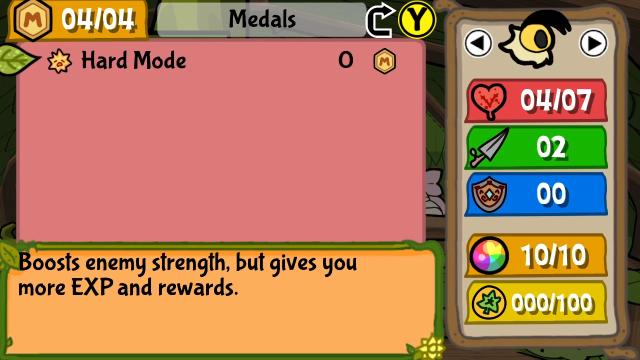 After the intro, we immediately notice our first change after getting the Hard Mode medal from Artis. Our starting pool of MP is 4, not 5. (I'm not sure of the exact reason for this, but I suspect it was to make the MP at max level come out to an even 30.) 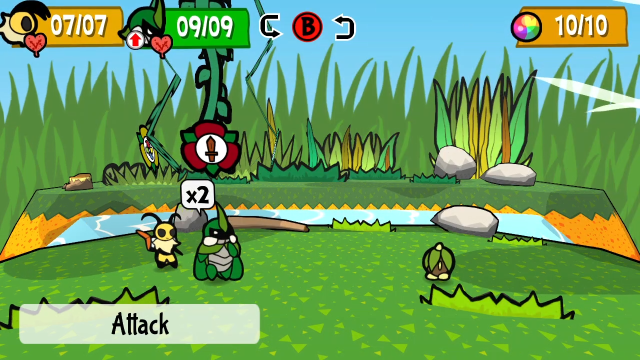 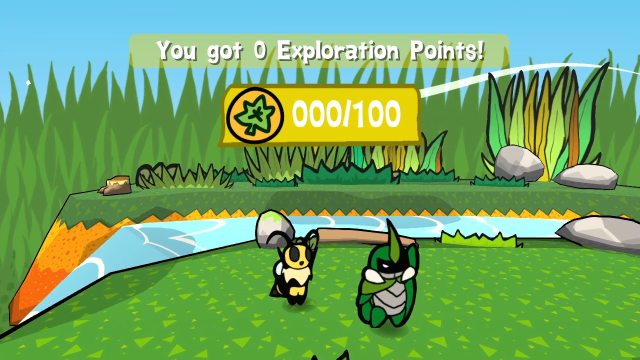 Fighting our first Seedling reveals another change - battles always give zero EXP. There's no way to Rank Up naturally. This does also mean that you have to complete Chapter 1 before you can gain levels. It's not a huge difficulty increase relative to vanilla, but it is a change. Right, let's go speedrun Snakemouth Den so I can show how this process works. 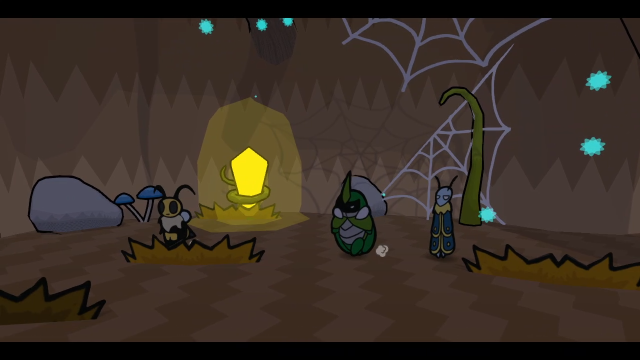  This is interesting - I found a scene I'd never seen before! It turns out that if you skip talking to Levi and Celia and having them explain save crystals, Leif will interject and explain them to us after we meet him. Is something the matter?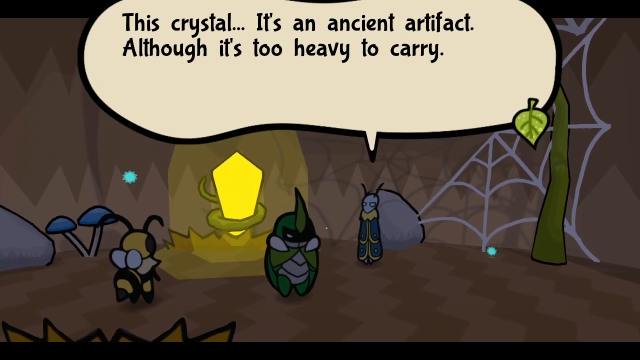 It was used to record where people have walked through. Since this one is yellow, it will heal our HP and TP too. Try smacking it sometime. Alright. Now let us depart for real! It was used to record where people have walked through. Since this one is yellow, it will heal our HP and TP too. Try smacking it sometime. Alright. Now let us depart for real!It's nothing particularly special, but I still thought it was pretty neat they included that. (Though speedrunners might not appreciate the interruption, I guess at least it's shorter than the original conversation.) 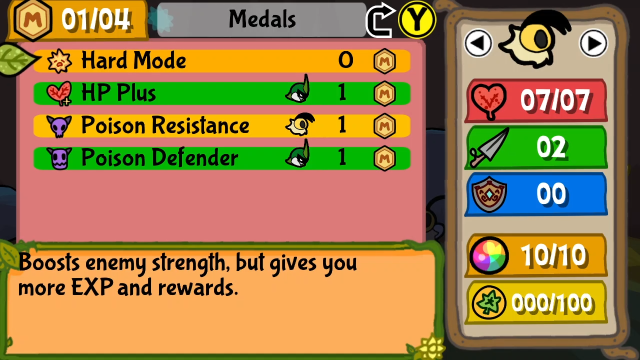 After we find our first few medals, we can see the changes. HP Plus and Poison Defender both now cost 1 MP instead of the 2 we'd expect. All medals in this mode cost 1 MP. This will definitely change how you evaluate your medal choices. Just looking at these, for instance, HP Plus is a much harder sell when it costs a full level's worth of MP. On the other hand, something like Front Support (which costs 8 MP normally) might actually be worth considering. 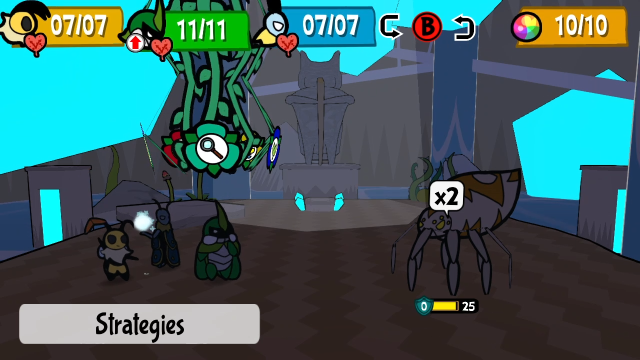 Interestingly, Spuder has reduced max HP in this mode. Mar has said in the Discord that they did this for both Ruigee and Hardest, to make sure the fight is still possible. (I don't actually think it's that bad, but maybe he was worried about the fact that you don't have access to Vi's Secret Stash since you can't level up and have to rely on items for healing.) 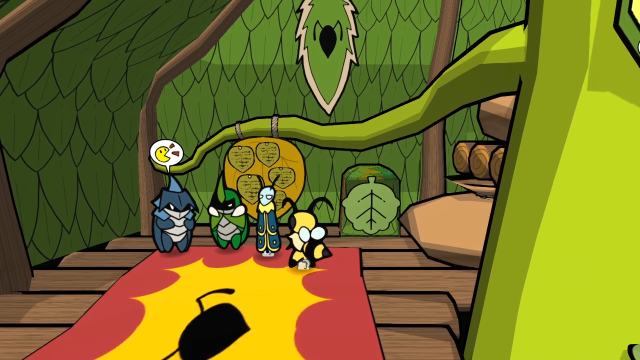 Once we've finished the chapter and gone through all the cutscenes, let's talk to Eetl.  Uh, what? How're you still Rank 1!? Is that... not normal? It's not! You're not gaining EXP from battles! Maybe some mysterious force is preventing it... Probably magic. But eh, we're doing fine... You're doing fine NOW! Without ranking up you won't learn skills or expand your item pouch! We're missing a bunch of rewards! How do we fix it!? Uh, what? How're you still Rank 1!? Is that... not normal? It's not! You're not gaining EXP from battles! Maybe some mysterious force is preventing it... Probably magic. But eh, we're doing fine... You're doing fine NOW! Without ranking up you won't learn skills or expand your item pouch! We're missing a bunch of rewards! How do we fix it!? Uh, can't you do it for free? Sorry. Keeping the Association running has its own costs. You get it, right? So don't be cheap! Come to me for ranking up, we'll discuss what happens from then on! Uh, can't you do it for free? Sorry. Keeping the Association running has its own costs. You get it, right? So don't be cheap! Come to me for ranking up, we'll discuss what happens from then on!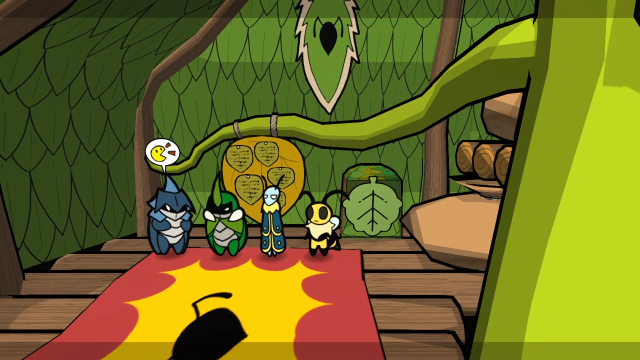 So, yeah. Paper-thin explanations aside, if you want to gain Ranks in this mode, you have to pay Eetl for them. 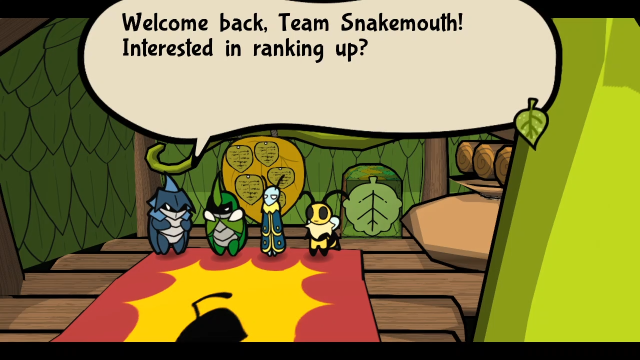 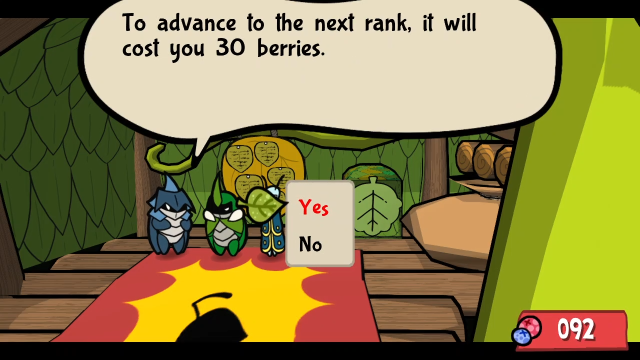 Alright, with my powers as the Association's Caretaker, I hereby promote you, Team Snakemouth, to Rank 2! This rank grants you 1 more MP so you can equip more Medals! Oh, hey! This rank grants you the Secret Stash battle skill! If you want to rank up again, come talk to me. Alright, with my powers as the Association's Caretaker, I hereby promote you, Team Snakemouth, to Rank 2! This rank grants you 1 more MP so you can equip more Medals! Oh, hey! This rank grants you the Secret Stash battle skill! If you want to rank up again, come talk to me.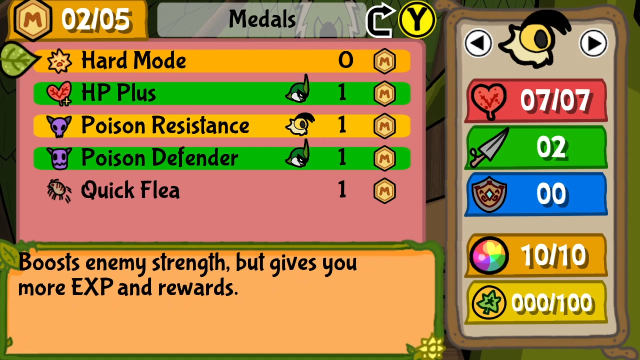 And there we go, we have 1 more MP now. If you decline his offer, Eetl will just say this: Don't go too long without ranking up!And if you try to rank up but can't afford it: S-Sorry, but I can't just submit the forms without berries...As you may expect, Eetl has a bunch of new dialogue in this mode. I won't be showing any more of it, as most of the rest is just "you got these things for levelling up"; I think he does have a few comments when you reach max rank, but I don't have a convenient way to show it. One thing worth noting is that you do not get any of the stat bonuses from level-ups that you would get in the vanilla game. Skills and inventory ugprades come at the same times as usual. The stat-up berries (Heart Berry, Bond Berry, Super Pepper, Iron Seed) still exist and work the same, but because the bonuses are gone and you cannot raise them on level-up, the party's maximum potential HP and TP is slightly lower in this mode. If you combine RUIGEE with MOREFARM, that will increase the amount of berries Eetl asks for (instead of the EXP threshold to Rank Up). So, that's a quick look at RUIGEE mode! It's a neat way to shake up the game balance and make things feel fresh for another playthrough. It's also ideal if you want to do some kind of low-level challenge, since it gives you complete control over if and when you Rank Up. It's not exactly identical to Luigi's challenge from the Paper Mario mods, but it's definitely close enough that it feels very similar, which is a nice little nod to the community. If it sounds interesting to you (and you're in the mood to replay Bug Fables), give it a shot!
|
|
#
?
Feb 8, 2023 07:33
|
|
|
Having seen all this, I'd say� Bug Fables is a pretty cool game! (I've been thinking of adding a second challenge mode to Master Quest. Maybe one where you always are refilled to max HP/FP/etc after each battle, but... ...well, haven't got the drawback figured out yet. Or the special parameters. But maybe someday.)
|
|
#
?
Feb 8, 2023 08:32
|
|


|
Quackles posted:Having seen all this, I'd say� Bug Fables is a pretty cool game! The idea of a �go all out constantly� mode is pretty awesome. Maybe just make it full-on rocket tag and make enemies hit harder/decrease player HP or Def so both sides are throwing out massive offense constantly?
|
|
#
?
Feb 8, 2023 10:08
|
|
|
Good fight! I liked that things got... sticky... in some situations. ") Like I said before, I found this fight easier than Team Maki. Maybe it's the lower amount of targets, or maybe it was just that Maki gave me a wake-up call to consider different strategies more intently and I had the experience already set. In any case, it was nice to have an extra challenge to do in a game update! I'm curious how you're going to handle the boss rush stuff now, though - I never found that stuff super fun, just cause it wears down on you over time, but there's bound to be lots of different ways to tackle it efficiently.
|
|
#
?
Feb 8, 2023 19:29
|
|
|
FYI, I should probably warn everyone that I expect the next update to take longer than usual. I've got some travelling to do over the next couple of weeks and don't anticipate having much time to work on the LP, so that's going to set me back a bit and I wouldn't be surprised if I don't post another update until March. We're definitely in the home stretch now. Here's a rough sketch of what I still plan to cover: Boss rush (next update is the final "content" update, so to speak) Spy Card showcase (I want to mess around with a few different decks and show off things people might not normally try, especially if they're trying to complete it earlier in the game. Please suggest decks you might want to see, I've got one or two ideas but could definitely use more.) Demo differences and the Test Room April Fool's content and the Aphid Festival minigame ...That might be everything, unless I can think of something else fun to do. Quackles posted:Having seen all this, I'd say� Bug Fables is a pretty cool game! I'm glad you've been enjoying it. (If you have the time, I think you'd enjoy it, and that it'd still be worth playing even with the fact I've kind of spoiled everything for you already.) Quackles posted:(I've been thinking of adding a second challenge mode to Master Quest. Maybe one where you always are refilled to max HP/FP/etc after each battle, but... The tricky thing about this would be finding a drawback that wouldn't mess up the balance of boss fights, because they'll be unaffected by any benefits you get in this mode. (Off the top of my head, the first idea I came up with was "no items allowed except in boss fights", but I don't know how much I actually like that. It won't change all that much, except make grinding reasonably effortless, and make it easier to get to bosses with the exact item loadout you want. This could work as a quality of life thing, though; maybe as another medal like Junior's Emblem?) Also Star Powers would probably be completely busted in a mode like this, so they'd probably need rebalancing too. I remember thinking about this a lot back when I was playing through MQ the first time, because the attrition can get really punishing in that game unless you run back to heal between battles (and run from encounters frequently); it clashed with my default play style in this kind of game (fight everything I encounter, don't go back unless forced), which I found frustrating until I made the necessary mental adjustments. On the other hand, this style of game doesn't work quite as well without at least some attrition/resource management across encounters; otherwise every fight just becomes a puzzle, and that has serious drawbacks unless you deliberately lean into that as a design style (and don't have encounters be repeatable because that just wastes the player's time). BassMug posted:The idea of a �go all out constantly� mode is pretty awesome. Maybe just make it full-on rocket tag and make enemies hit harder/decrease player HP or Def so both sides are throwing out massive offense constantly? That said, maybe with the right kind of balancing, it could feel like this instead. I just don't quite know how you do that. Alxprit posted:Good fight! I liked that things got... sticky... in some situations. Yeah, I can see this. I can definitely see how beating Team Maki first would make this one feel less intimidating; once you've worked out a plan that works well enough for them, it'll probably be good enough for this fight too. The reason I generally think this one is harder is because it's a lot less predictable, and the Ink/Sticky status effects don't have much counterplay to them (or they used to, anyway; they're apparently curable by items now, which takes a bit of the edge off). I think there's a decent argument to be made that Delilah's bazooka attack is the single most dangerous attack in the game, but if you ignore it (and it might not even happen if you're aggressive enough about taking Delilah down first), this fight's not that different from Team Maki. I will say that Stratos' Attack/Defence Down debuffs on most of his attacks can cause a lot more problems if you're not aggressively taunting them. The other thing is that (at least if you get unlucky), their Queen's Dinner spam can represent a real DPS check and punish people who play too cautiously. Alxprit posted:I'm curious how you're going to handle the boss rush stuff now, though - I never found that stuff super fun, just cause it wears down on you over time, but there's bound to be lots of different ways to tackle it efficiently. One thing I really appreciate about the boss rush in this game is that they never require you to engage with it. It's there if you want it, if you enjoy that sort of thing or if the game hasn't yet exhausted your appetite for more content/more challenges, but the only thing you get for completing it (aside from Spy Specs/Detector, which don't take much to unlock) are a few plaques for the house and a harder version of the boss rush. Also, I appreciated the way it forced me out of my comfort zone and encouraged me to try different strategies; in some ways it's a different sort of challenge to the rest of the game, even compared to the Cave of Trials. My first playthrough I relied a lot on poison strategies with Weak Stomach (as I think many people do), and they're a lot less sustainable in a long sequence of fights. When you have to spend an item to get poisoned and you have 15 item slots, a sequence of 15 battles puts serious pressure on your inventory, so I found myself running out of steam. I've got at least two strategies I want to show off (I've been teasing Miracle Matter for a while, for one thing), though I haven't fully decided how I'm going to handle it yet.
|
|
#
?
Feb 10, 2023 00:12
|
|
|
This is unfortunately not an update, but I wanted to let you all know I'm still alive. I'm very sorry, everyone. I thought I'd have found time to work on this by now, but I just haven't been able to muster the energy; work bullshit has been pretty overwhelming, and I've been having some mental health struggles on top of that. If I'm going to be honest, I've been on the edge of a breakdown for the last couple of weeks. Please don't worry about me too much, I'm sure I'll get through it, but I'm not exactly in the best place right now. This game deserves better than for me to phone in the rest of the LP; If I'm going to do this, I want to do it right, and I don't produce my best work when I'm gritting my teeth and forcing it. I'm not abandoning this project by any means, but I also can't give an honest estimate of when I'll be feeling up to working on it. Thank you for your patience. For now I'll leave you with a couple of fun articles about bees playing games, I've been meaning to link them at some point since I first saw them and this is as good a time as any: Ball-Rolling Bumblebees Just Wanna Have Fun (Scientific American) Do Bumble Bees Play? (Animal Behaviour, via Science Direct)
|
|
#
?
Mar 21, 2023 02:06
|
|
|
Zero worries explopyro, this thread should be bottom priority.
|
|
#
?
Mar 21, 2023 03:22
|
|
|
I've been going through similar things lately, so just wanna say I'm right there with ya, don't stress, and you'll get there when you get there.
|
|
#
?
Mar 21, 2023 04:17
|
|
|
This is one of the best LPs on the forums. Don't worry about taking a break, we'll be waiting for you anyway. I just hope things improve for you soon ")
|
|
#
?
Mar 21, 2023 06:56
|
|

|
Happy (?) April 1 (?) Please enjoy this video of the latest update from the Bug Fables team.
|
|
#
?
Apr 1, 2023 17:49
|
|
|
78: B.O.S.S. Me Around 17 - Ant Kingdom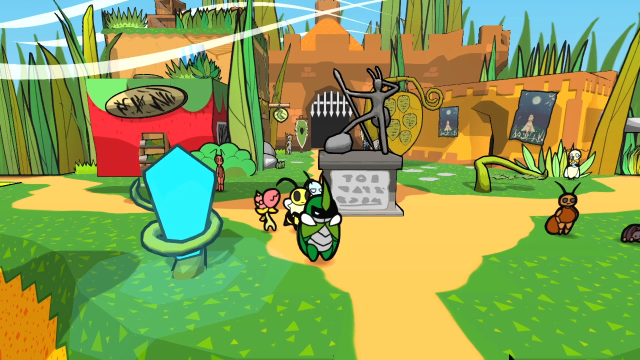 Oof. It's been a while, hasn't it? I'm sorry about that. I don't want to overshare (as this really isn't the place), but I've been struggling with a major depressive episode and it's been difficult to find the energy to work on this. I think I'm finally starting to do a bit better, for whatever that's worth. Anyway. Back to Bug Fables! I've really missed this game. By most measures, we've already achieved 100% completion, but there's one major bit of content left that we haven't completed. It's boss rush time. 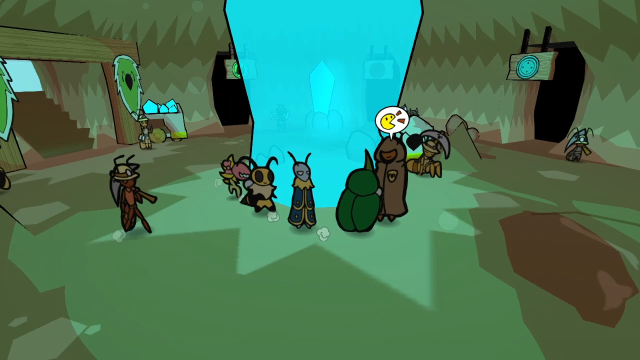 A quick detour first, though. Remember this cloaked ant in the Mines who offers shortcuts? I genuinely can't remember if I've shown this before. 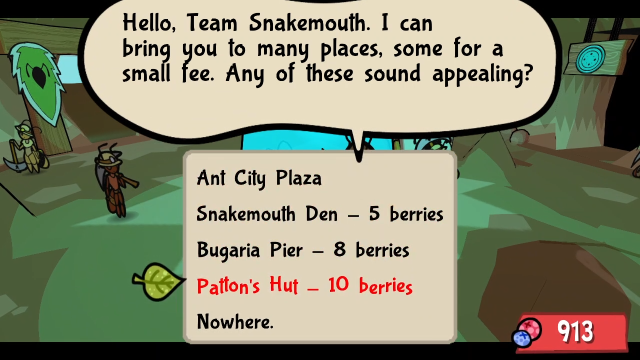 After we've unlocked it, one of the locations she'll take us to is Patton's Hut, and that's very convenient.   It takes us right there!  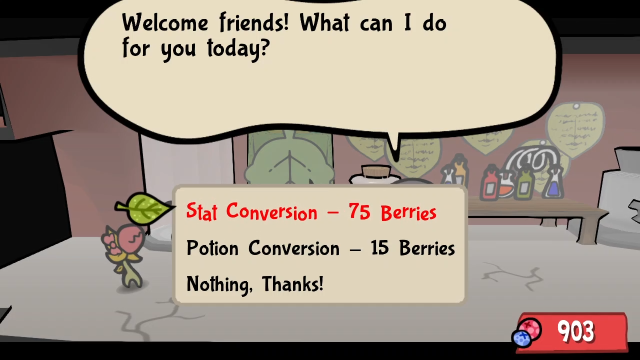 I won't show the entire process (as it can be a bit tedious), but I want to do a bit of stat redistribution first. I could clear the boss rush with any of the builds I've shown, but I want to do something a bit different here, and showcase some of the game's truly degenerate builds. I've been holding back for a lot of the game so that all the enemies could show their various behaviours, but these are all fights we know already, so I think it'll be more fun to take the gloves off. 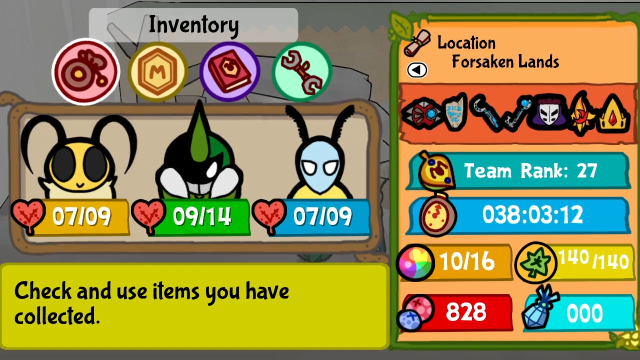 As you can see here, our HP is slightly different. We're still on an all-MP build, I just redistributed the stat-up berries. Here's what each bug got of the discretionary ones: Vi: +2 HP, +2 Attack Kabbu: +5 HP, +2 Defence Leif: +2 HP Put differently, each bug gets the equivalent of the level-up boost to HP, and 1 Heart Berry each, then Kabbu gets the remaining HP boosts. Vi gets all the attack, Kabbu gets all the defence. We'll be going with this for the first build I want to demonstrate. 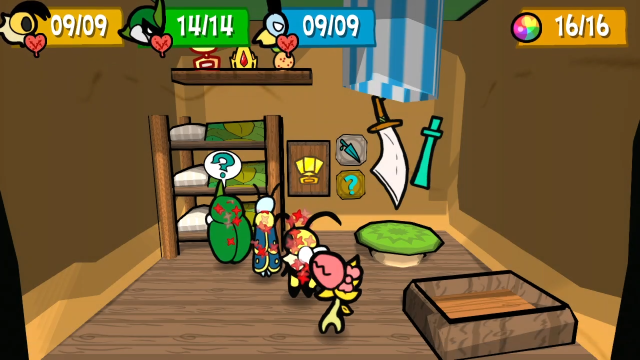 We'll stop at home to heal quickly; after shifting the max values around, there tends to be a minor need for healing. 40 - High Above, Bee Kingdom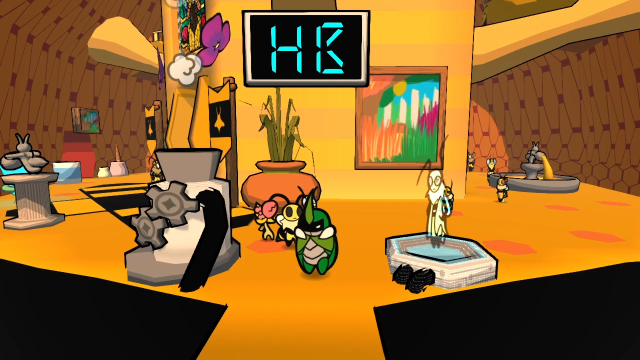 And then it's straight to the Bee Kingdom. The B.O.S.S. machine is in Doctor HB's lab, in case you've forgotten (it's been a while since update 27!).  Here we are. 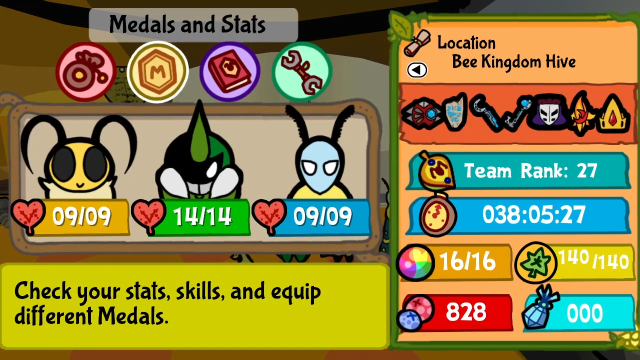 Now, let's take a look at our medals. 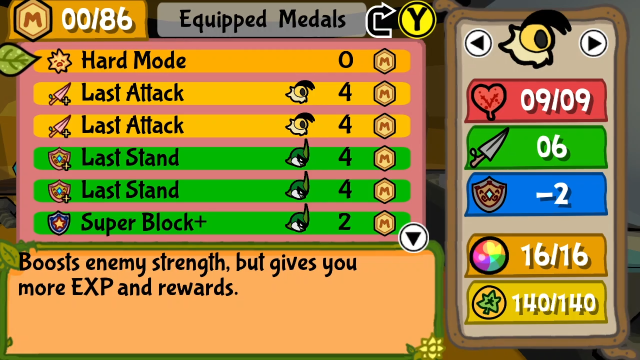  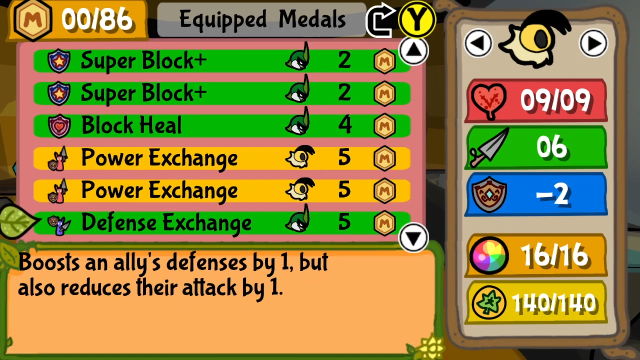 So far, this should look pretty straightforward. Vi's got all the attack boosts (including Last Attack), Kabbu's got all the defence boosts. (Vi tends to be the better attacker in a vacuum because her basic attack can hit the largest percentage of enemies.) 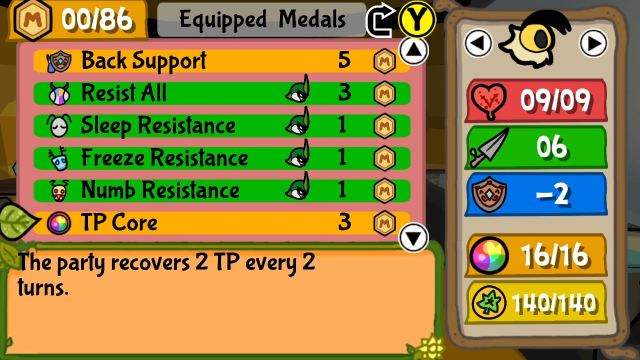 Also, we're spending 6 MP on resistance medals for Kabbu. This combination gets him 100% resistance to all of the disabling status conditions, which is important because he's the linchpin of this strategy and we don't want him to be unable to act. (He'd probably survive, but we're going to be relying on Taunt, and a chunk of his durability comes from Do Nothing, so he'd be significantly more vulnerable when statused.) 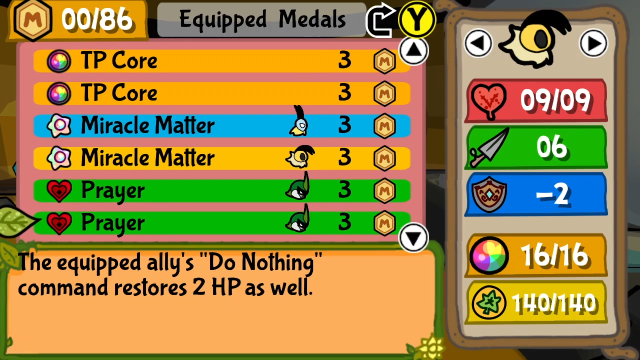 Here's the biggest new thing - Miracle Matter! Leif and Vi each get a copy. There's other ways to do this (which we'll see shortly, too), but this is the most straightforward way, and actually the way I like best. We'll make Kabbu functionally immortal, and the other two can get auto-revive. As an added bonus, Miracle Matter revives with 2 HP, activating Last Attack. 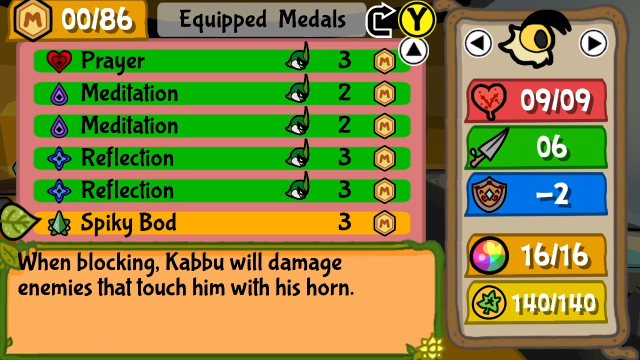 Finally, Kabbu has the full complement of Do Nothing medals, as well as Spiky Bod. We're going to be using Taunt constantly, so Spiky Bod can rack up a lot of passive damage. This strategy is honestly pretty simple. We stack defence on Kabbu, enough to practically nullify incoming damage (he's at 2x Iron Seed + 2x Defence Exchange + Back Support, then +2 from Reflection when doing nothing, effectively 7 base defence, and that's before factoring in Super Block+ or the fact he'll gain an additional 4 from Last Stand if he somehow gets low on HP). With 2x Prayer he regains 4 HP per turn, mitigating anything that does get through (and there's Block Heal on top of this if my timing is decent). Meanwhile, Vi does the damage whenever she gets an opportunity (TP Core fuels her skills), and Leif is mostly on relaying duty so Kabbu can use both Do Nothing and Taunt each turn. Basically, when Vi's alive, she does damage. When Leif is alive, he relays to Kabbu to enable Taunt (which mostly keeps the other two alive), or to Vi for extra damage. Kabbu pretty much always uses Do Nothing and Taunt. If the others are dead, Kabbu can just keep using Do Nothing and regenerating until Miracle Matter kicks in. There are some subtle choices you can make from turn to turn if you know what you're doing (e.g. to manipulate your TP), so it's not completely mindless to play, but it'll also work if you just follow the loop. (The most annoying thing about this build is that we have to swap Vi's and Leif's positions at the start of each fight.) This strategy isn't 100% foolproof, technically: some piercing attacks do exist, a few attacks do do enough damage to get through if we don't block well, and with Hard Hits equipped (and/or with HARDEST active) more attacks will reach that threshold. But the numbers work out that we can nullify the vast majority of threats and out-regenerate the rest; you shouldn't die as long as you're paying attention. This is the build we'll be using for our first run at the boss rush. 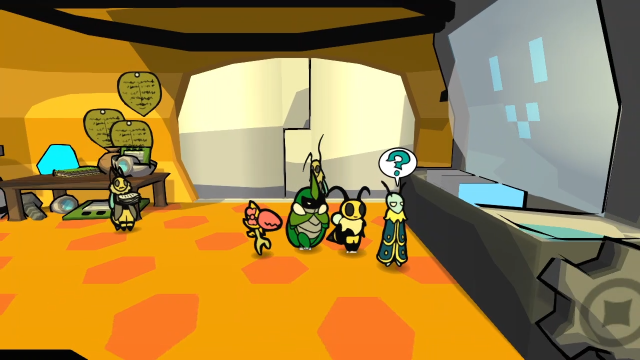 Let's get started. 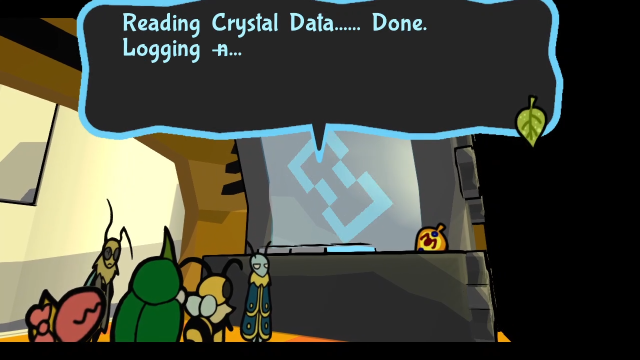  Welcome, Vi, Kabbu and Leif! This is the B.O.S.S. terminal! Welcome, Vi, Kabbu and Leif! This is the B.O.S.S. terminal!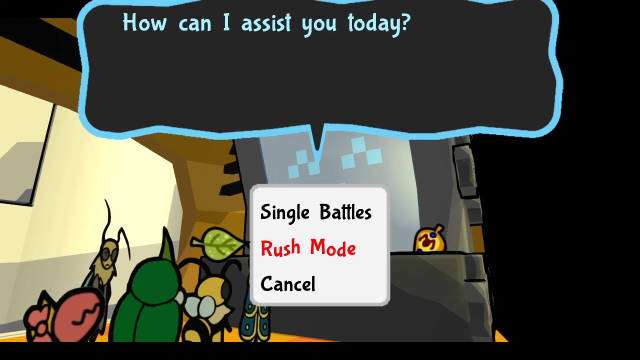 Let's pick Rush Mode.  We'll tackle the Mini-Bosses first. 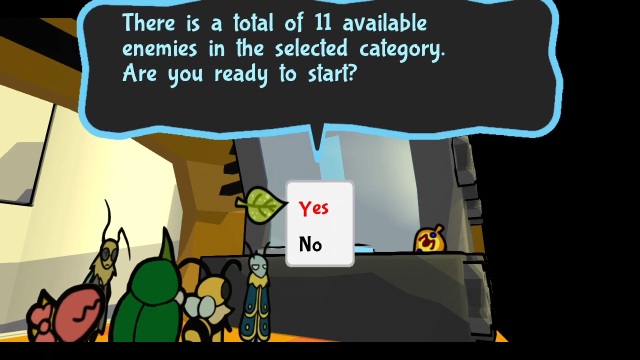 There are 11 fights total in this rush. The one oddity is that some of the Chapter 6 minibosses don't appear: The termite soldiers Cross and Poi and the Primal Weevil can be refought in the Termite Colosseum, so I guess the devs figured you didn't need to be able to fight them in multiple places? Otherwise, the gang's all here. Let's get started. Very well! Please proceed to the Arena to battle! Let's go, everyone! Let's go, everyone! 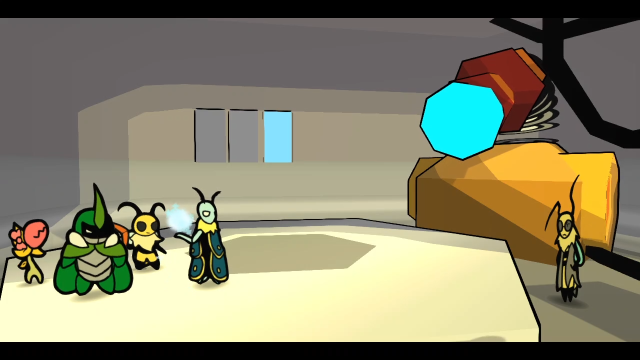 The machine whirrs and comes to life...  If you want to see this strategy in action, I do strongly recommend watching at least some of the video; it'd be tedious to give a detailed play-by-play here, and I genuinely don't know how I'd be able to make that interesting. 29 - Team, This One's Stronger! (Miniboss) Up first is Acolyte Aria. It's been a very long time since we've seen her! She's not very threatening to us in our endgame state, though it is kind of noteworthy that (as I believe I mentioned last time we refought her here) this isn't a perfect recreation of the original battle circumstances since all three of our team members are here. Some of the fights are slightly changed in B.O.S.S., which I'll point out as we get to them; this is just the first.  After defeating each enemy, the Doctor will tell us how many rounds still remain, and give us the option to heal (which we can do at most 3 times). With this strategy I shouldn't ever need the healing, but it's good to have for some other approaches (especially if you're playing fair). Alright then, here it comes!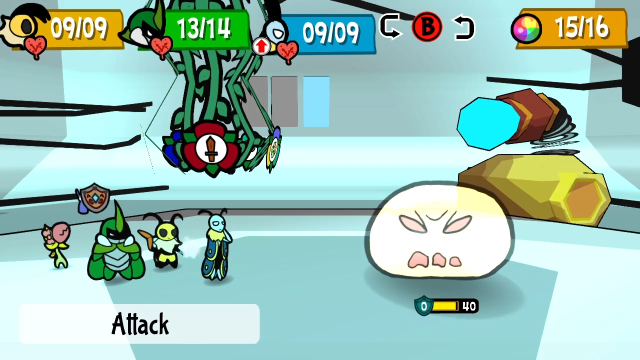 Up second is Ahoneynation. It looks even sillier while transparent, and doesn't put up much of a fight. 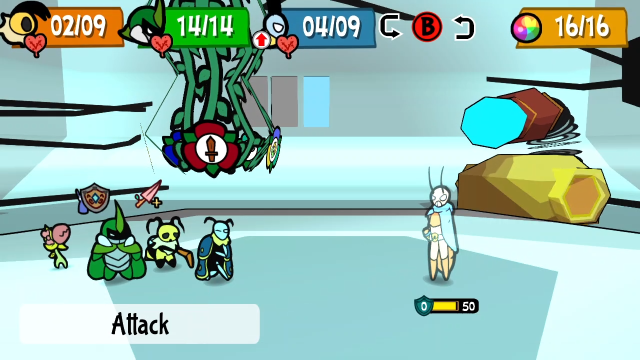 Up third, Astotheles. He still has his gimmick of destroying your items before you can use them, so some strategies can get tripped up here (e.g. if you aren't aware when he comes and are somehow low on resources after the first two fights). With this build, he literally can't hurt Kabbu. 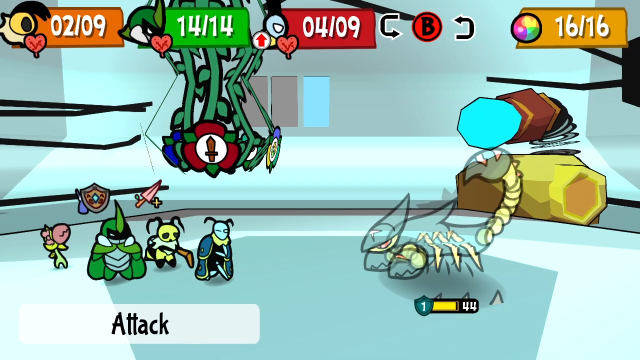 Fourth, Dune Scorpion. Perhaps notably, it doesn't come with a Psicorp ally the way the original fight did. 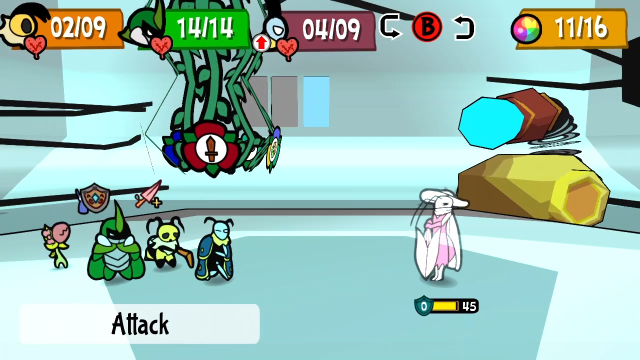 Fifth, Monsieur Scarlet. He's a lot less threatening with the tools we have now, especially considering what a roadblock a lot of players find him to be early on. 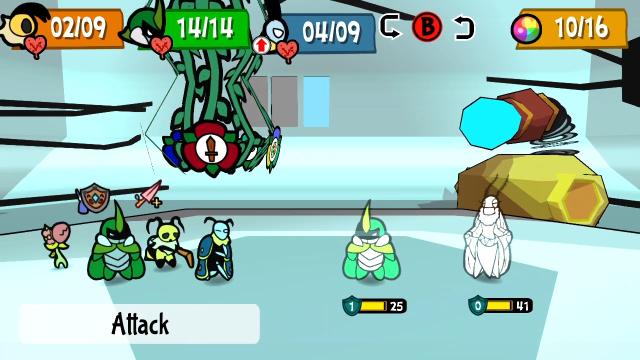 Sixth, Kabbu and Kali! This one's definitely different, considering we have a Kabbu fighting for each side! Otherwise, they fight the same way as they did before; NPC Kabbu is the damage-dealer while Kali just plays support for him. The scripting is still in place to end the fight early if Kali dies, so you can ignore enemy!Kabbu and just focus her down. Also, yes, you can have Kabbu spy on himself, and it's pretty funny: ...I can't believe I did that...(You can also see this line in the bestiary entry, of course.) 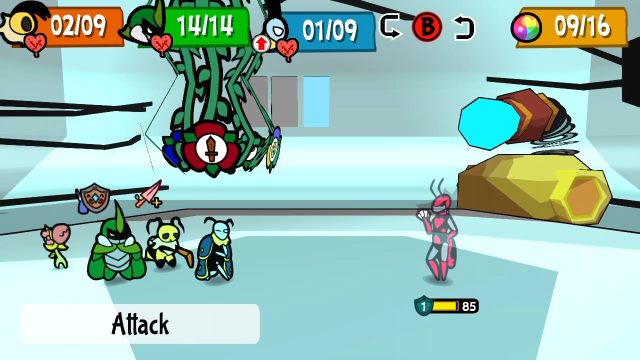 Seventh, Carmina. This fight is unchanged from last time we saw her, just as gimmicky and random as ever. 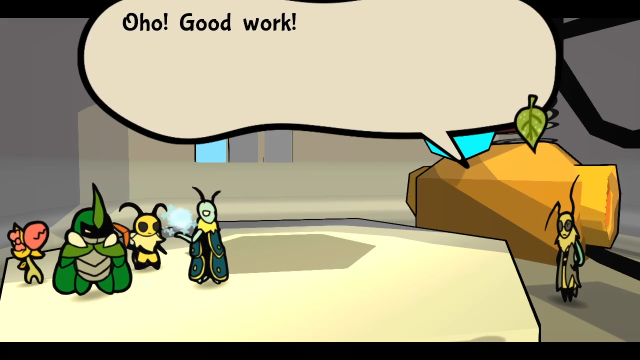 Awesome work! Seems like you're just breezing through, huh? Awesome work! Seems like you're just breezing through, huh?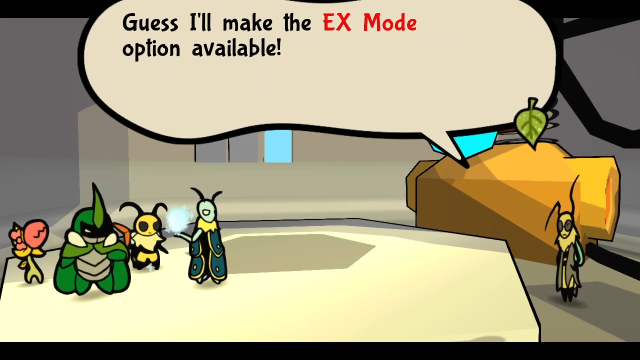 Just start another session with the B.O.S.S. after this one is over to try it out! Just start another session with the B.O.S.S. after this one is over to try it out!The first time we complete seven fights in a row, Doctor HB interjects with this and makes "EX Mode" available! This is the final bit of new content the game will offer us; ultimately, it's a "we made all the numbers bigger" option that you can apply to any of the various modes in B.O.S.S., and we'll check it out before we're done here today. Completionists need not apply, there's no meaningful reward for it, it's really just for fun if you still want more to do. 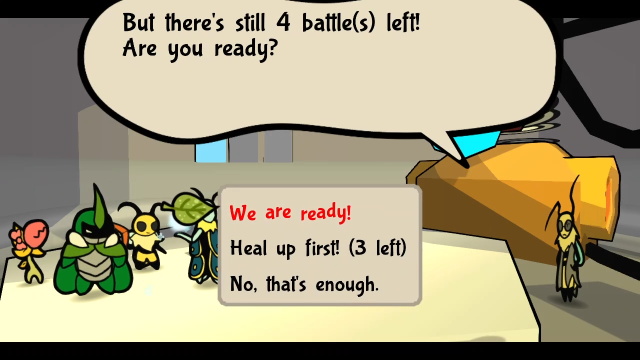 Alright then, here it comes! Alright then, here it comes!On we go. 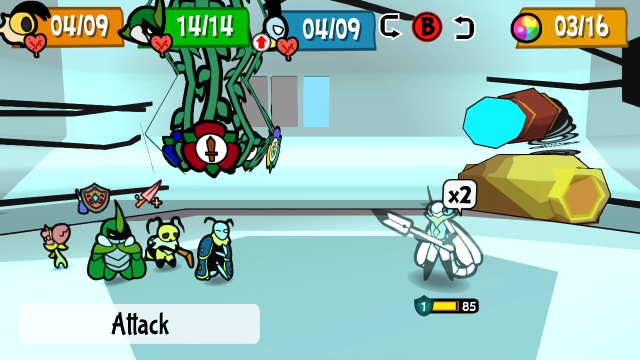 Next up, battle eight is Riz. 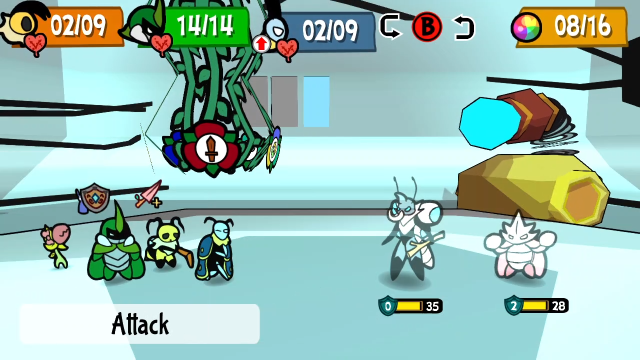 Ninth is Cenn and Pisci. I'm not quite sure how they decided on the order for these fights, because it doesn't really correspond with the order most players tend to encounter them in. 24 - Oh No! WASPS! Battle ten is General Ultimax, with his two cronies, the same as the battle we fought in the throne room. The Wasp Kingdom battle theme plays for this one. 66 - Mothiva's Grand Stand!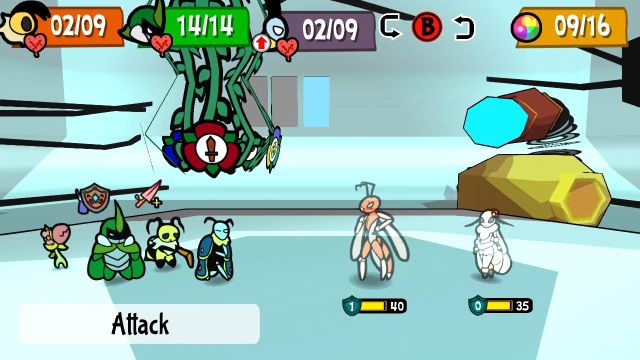 And finally, battle eleven is Team Mothiva, complete with her unique battle theme. This uses their Chapter 6 stats, now that we're past that encounter; they're always the last fight in the sequence no matter when you come here, but it will use their Chapter 2 stats if you haven't fought them for the second time. 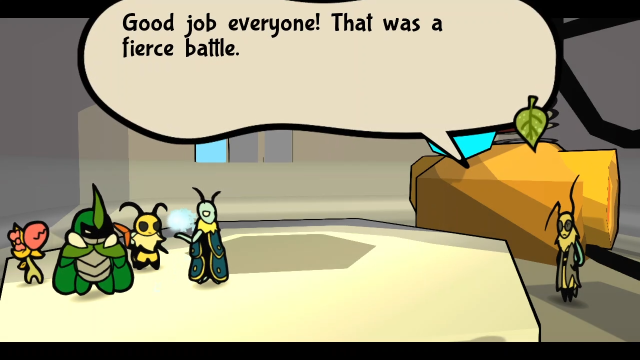 Here is something for your trouble! Here is something for your trouble!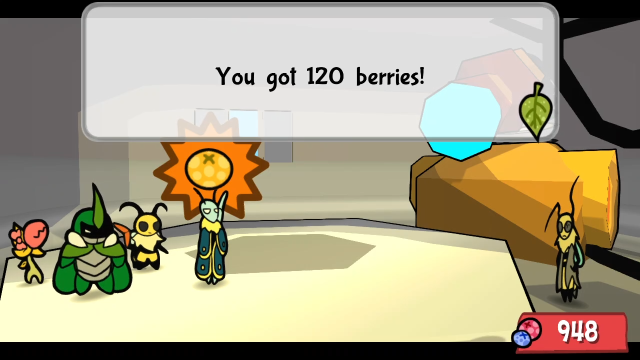 Our reward for completing the rush is berries. If you want to try again, just start up the B.O.S.S. once more! Can't wait to see how you will perform next time!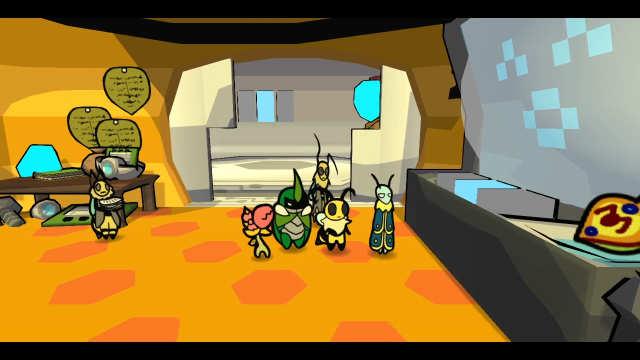 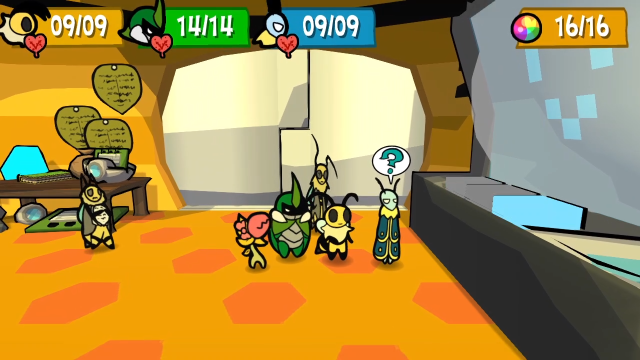 That's the Mini-Boss Rush. 11 fights in a row, largely unchanged aside from a few minor things. It can tax your resources a bit if you aren't using a build with more or less unlimited sustainability (like the one we're using), but most of these fights aren't all that threatening when you go in with all the endgame tools. Let's take a quick little detour before we dive back into the next one.  If we head back to our house...  It turns out there's another reward. For completing the Mini-Boss Rush, we get a little medal of B.O.S.S.'s smiling face to hang on the wall, just above our Card Trophy. 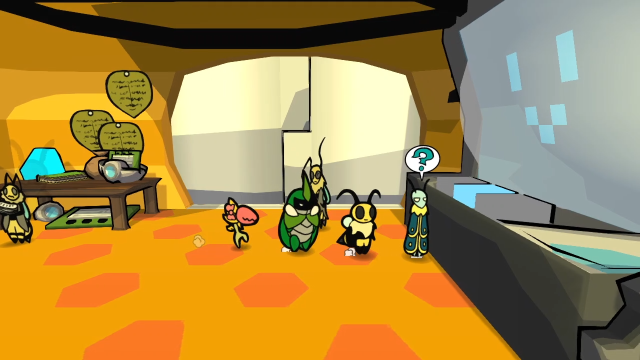 Right, back in we go!  Welcome, Vi, Kabbu and Leif! This is the B.O.S.S. terminal! Welcome, Vi, Kabbu and Leif! This is the B.O.S.S. terminal!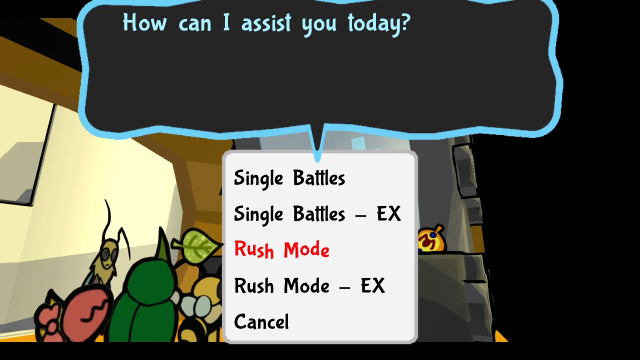 This is new, we can now see the EX Mode options we unlocked. We can choose it for either single battles or rush mode, it's the same fights but with boosted stats. For now, we'll do the standard boss rush. 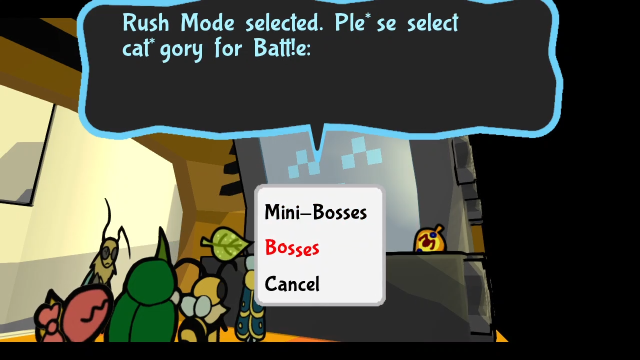 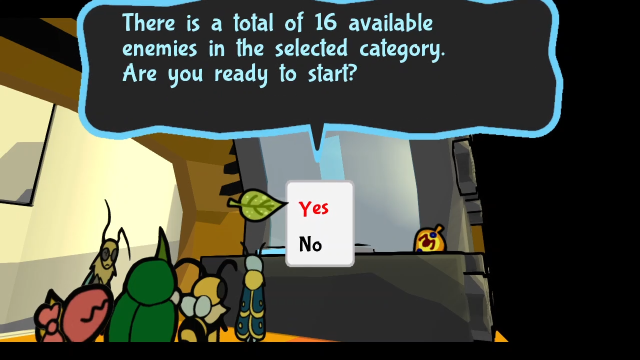 This one's 16 fights in a row. It includes not just the chapter bosses, but all of the ingame optional bosses, as well as the Bounties. (Perhaps thankfully, the postgame superbosses are excluded. You won't fight Team Maki, Team Slacker, or Tangybug here.) Very well! Please proceed to the Arena to battle! Let's go, everyone!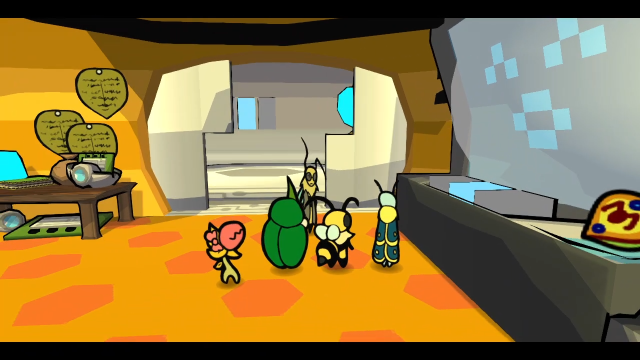 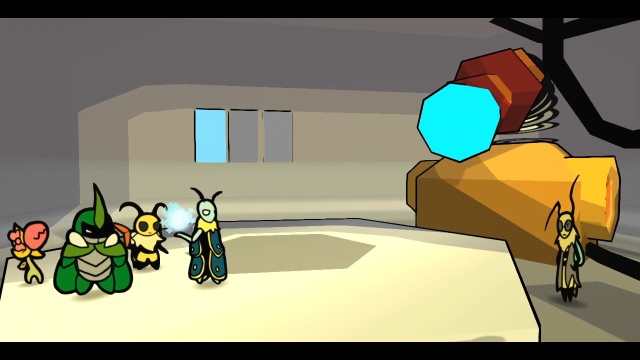  Here we go! Once again, if you want to see the strategy in action, I recommend watching the video. I'm going to try to respect the time of everyone involved here and not go into too much detail. 14 - His Friends Call Him Spuder (Don't Call Him Spuder)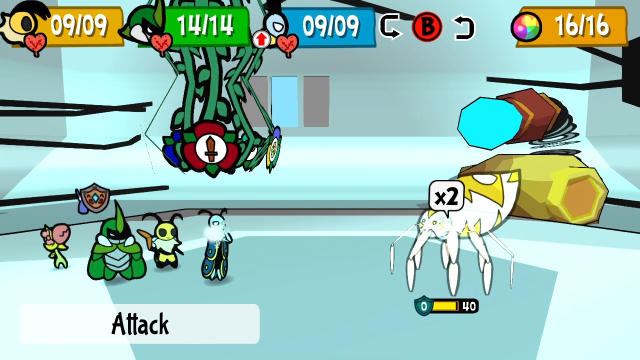 Up first is the Spider, or "Spuder" to his friends of course. Wow, that fight was a long time ago! (Another fun perk of the boss rush is that it takes you through a sort of greatest-hits of the music; the boss themes are definitely among my favourites.) 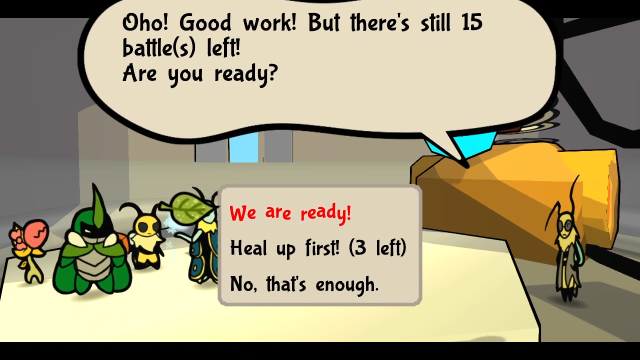 We get the same options between each fight as we did in the previous mode. If you're playing this fair (and not using a surfeit of regeneration medals), you might have to be pretty careful with how you ration these three full heals. 32 - Frenzied Sunflower Dance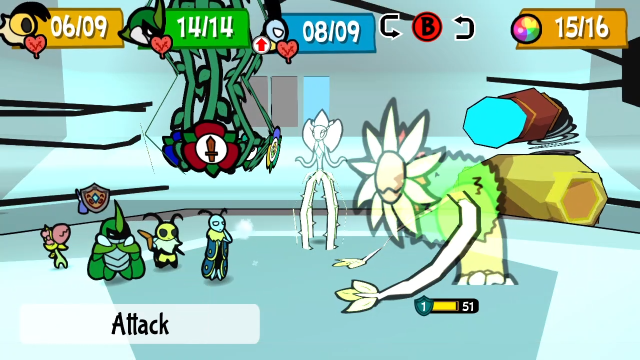 Next up is Venus' Guardian. There's not much I can say about this fight; with the kind of damage we can put out now, it's pretty easy to skip entire phases. (On the other hand, I always enjoy getting to hear this song again. I think it's one of the more underrated boss themes in Bug Fables.) 45 - MECHA BEE DESTROYER BLASTLORD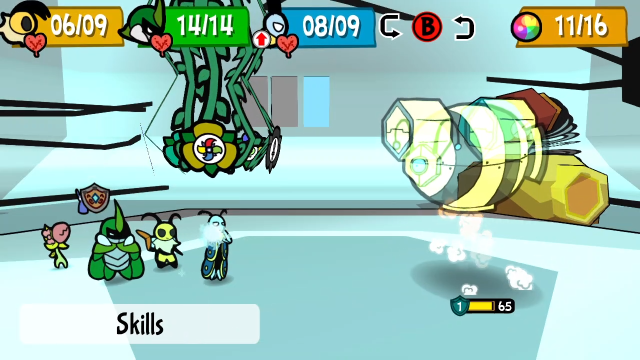 Battle three is Heavy Drone B-33. When you factor in the tools available at the time you fight it, there's a decent case to be made that this is the hardest main story boss. (At least the music's an absolute banger.) 51 - The Watcher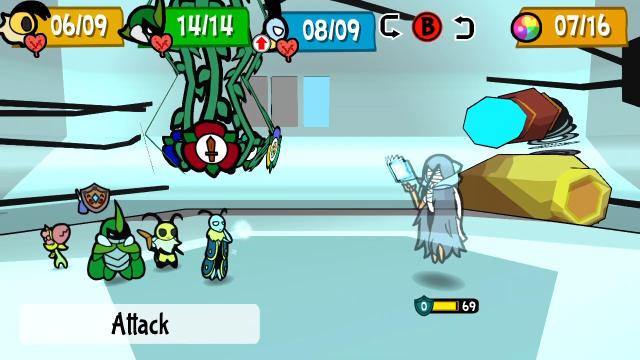 The Watcher. (Yes, we're taking all the chapter bosses in order for now.) 59 - Cruel Beast, Devourer of Journeys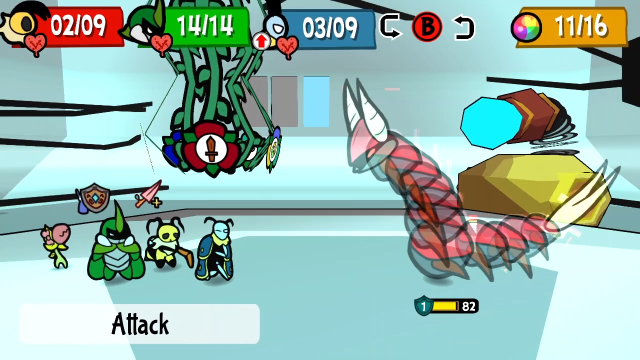 The Beast. This fight actually is slightly changed from the main story, in that the scripted sequence near the end no longer occurs and you can fight it normally. Other than that, it's the same fight. (And another boss theme I think I appreciate more every time I hear it.) 76 - Battle Against Ultimax, Who Has A Tank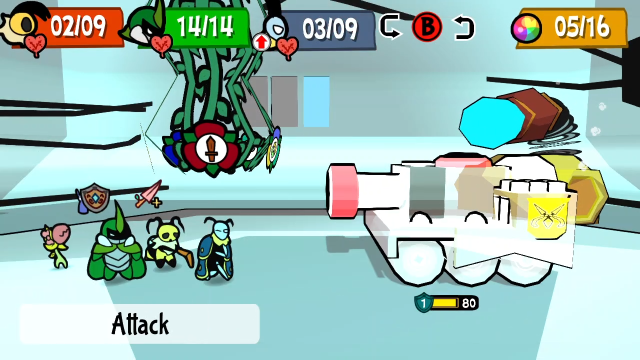 Ultimax Tank. No changes to this fight, even down to the General being ejected from the tank after it goes down and fighting us immediately. 35 - Reckless For Glory!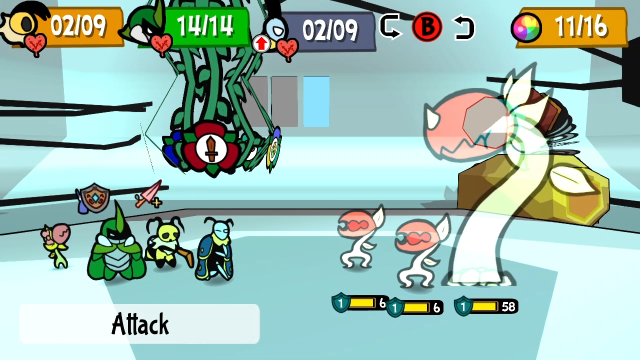 Mother Chomper. Did you think it was going to be the Wasp King next, after all of the chapter bosses were in order? 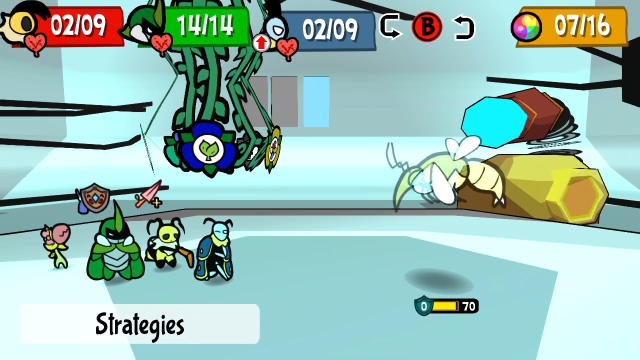 Midge Broodmother. Honestly, I tend to forget this boss exists. It's one of the more irritating ones for this kind of strategy, actually, because the spawned Midges' counterattacks can easily knock out Vi (and aren't subject to Taunt since they occur during your turn). This doesn't make it hard, though, just tedious. 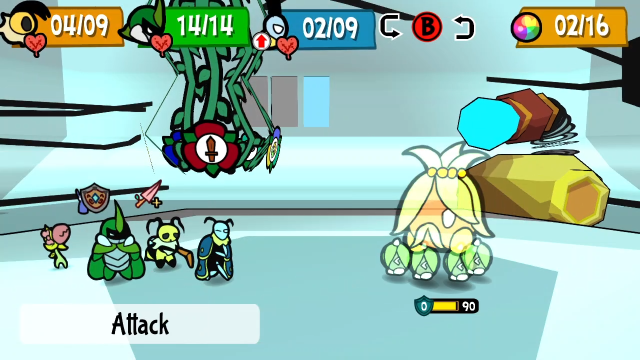 And now we're into the Bounties! It's the Seedling King. (I think these bosses might actually be sorted by music, to some degree, because we're going to fight everything that uses the "Reckless for Glory!" theme in a row.) 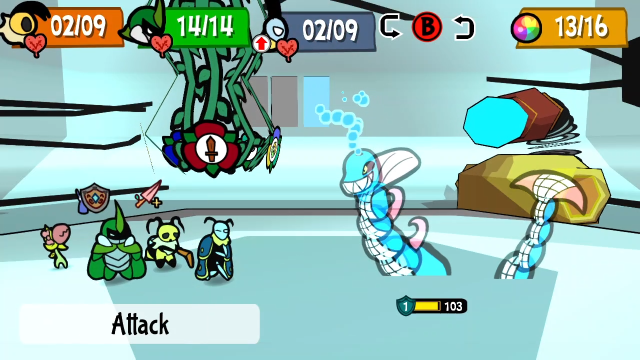 Tidal Wyrm is next. I found it interesting that when I did the maths, it ends up making sense to attack the tail during the first turn to maximise the damage you can get in before the boss gets any actions (since it only takes two hits to KO the tail). On subsequent turns, I don't think it's worth the bother. 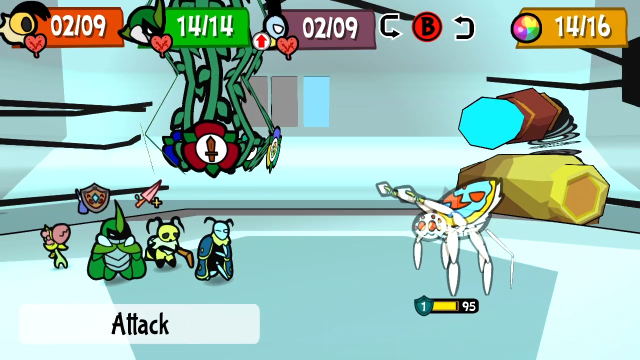 Peacock Spider. The order these fights appear is interesting to me, because Peacock Spider is the last Bounty to become available, but it's third here. I'm not sure if that could reflect a development change, and maybe they originally expected players would fight it earlier?  False Monarch. Another late-game Bounty, it makes sense you'd fight it here though it does surprise me they didn't put it before Peacock Spider. 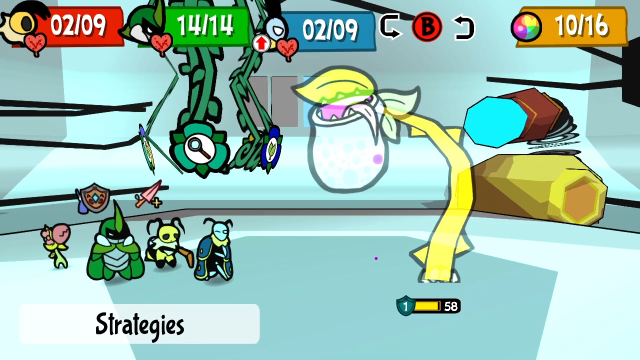 And to round out the Bounties, the Devourer. With it appearing last, it does make me wonder whether how early you can encounter this fight was an oversight of some kind. (It was the last one I fought in my first playthrough, I'll admit.) Its maximum HP is low enough that it doesn't present nearly as fearsome a threat as when we first encountered it, but this is still a fight that can end your attempt at the boss rush if you're not ready for it (e.g. if the wrong character gets eaten). With this strategy, we actually have the option of perfect counterplay: as long as Leif and Vi are both low enough on HP that the Head Slam will KO them both, it's no threat, because the Devourer won't eat anyone if there's only one conscious bug after the attack deals its damage. In earlier playthroughs, before I was aware you could do that, I tended to equip Electric Needles just for this fight, and try to win by disabling it. It's not perfectly reliable, but it helps even the odds in your favour. Of course, you can also just fight through it, it's not nearly as threatening now and between its low HP and our damage output it goes down quickly. 74 - The Other One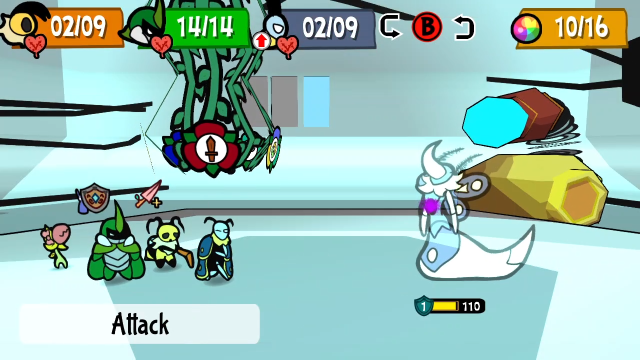 After the Bounties are done with, Zommoth is up next. This fight is changed a little, in that the scripting is removed from the opening turns (Leif doesn't start out immobilised, and Zommoth isn't guaranteed to use its charge-up attack on turns two and three). 80 - The Usurper, Grasping For Power And now we're back to chapter bosses, with the Wasp King. Interestingly Hoaxe's two forms are considered separate bosses for the purpose of this boss rush. 81 - Transcending, Overpowering, Everlasting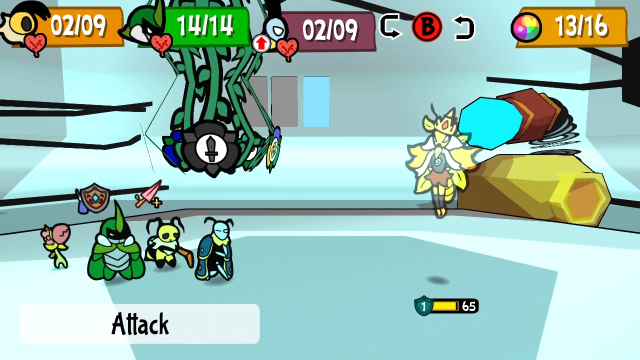 Which means that, like the main game, the boss rush ends with the Everlasting King. This fight is still excellent, and marks a satisfying end to this sequence. 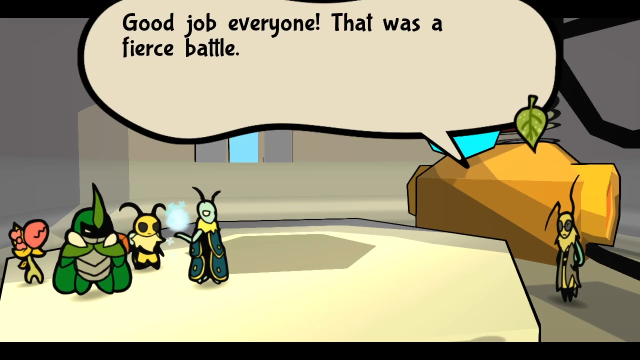 Here is something for your trouble! Here is something for your trouble!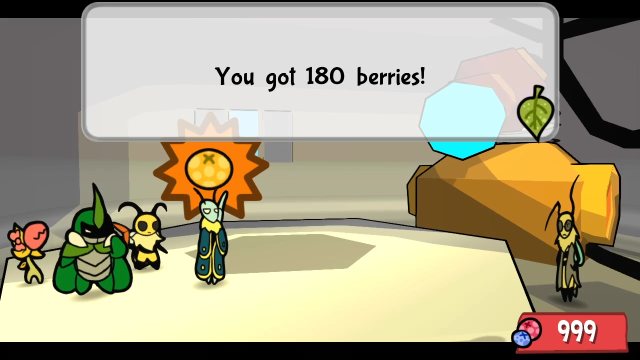 We get more berries for this than the miniboss rush, though it's still just berries, which are useless to us at this point. If you want to try again, just start up the B.O.S.S. once more! Can't wait to see how you perform next time!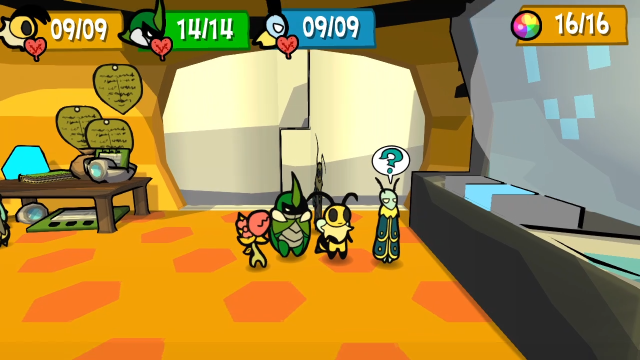 Right. That's the boss rush done! Before we check out EX Mode, let's once again take a quick detour back home. 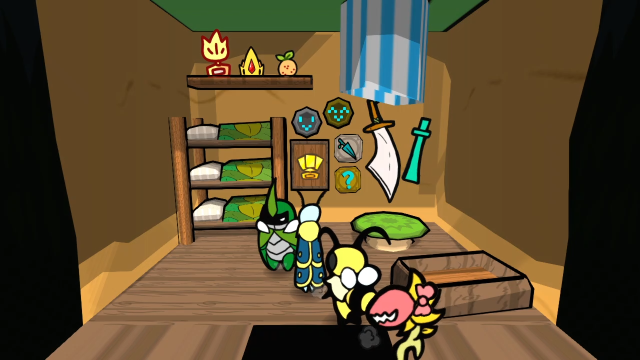 For completing the Boss Rush, we get a second medal of B.O.S.S.'s face on our wall next to the first, with an even happier expression! This is the final object we can collect for our house, which means that wall is finally complete! (If you include the wall trinkets in your definition of 100% completion, rather than just the achievements etc, this would be the true 100% completion point. Of course, that's not going to stop me from showing the rest of the content.) So. EX Mode. It's the same sequence of fights, but with increased stats across the board. Everything is substantially more durable, and I think possibly might hit harder? (I'm not sure about the damage increase, since I tend to play this with heavy mitigation builds...) Otherwise, though, they're the same fights, just longer. In the interest of being less monotonous... let's switch to another build! Possibly one even more degenerate than the last! 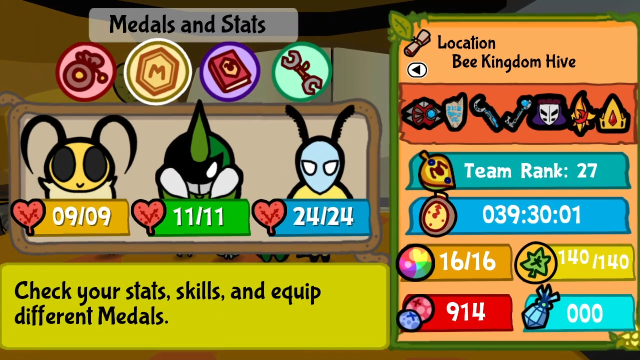 As you can see, I've redistributed stats again with an off-screen visit to Patton. This time, Leif's gotten the surplus HP bonuses, as well as both points of Defence. 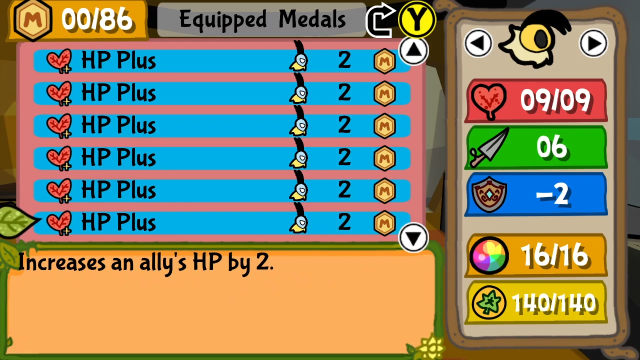 Leif also has all the HP Plus medals on, as you may expect from how high his HP was in the previous screen. 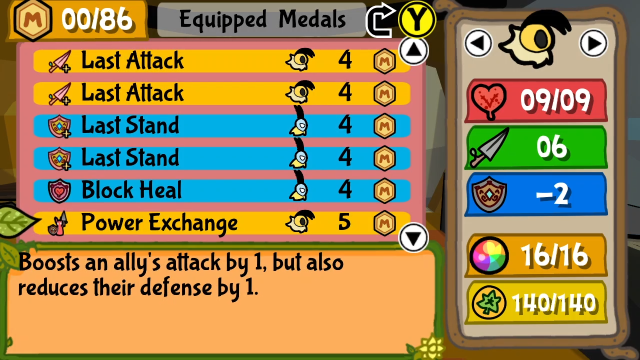 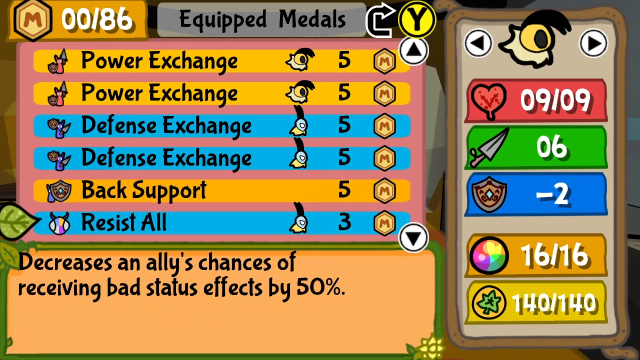 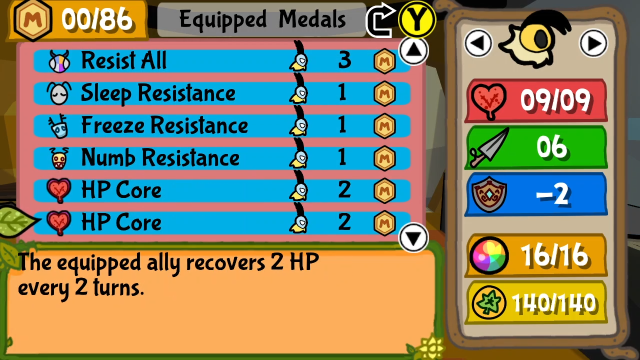 Vi's still got the attack boosts, but this time, Leif's the one who's going to be stacking defences and doing the tanking. More on this in a bit. 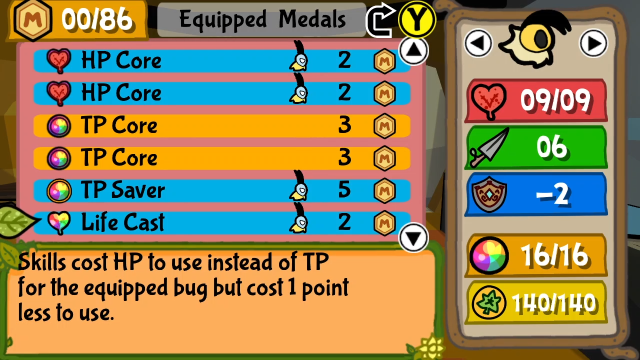 Here's the real core of this build. Leif is equipping TP Saver and Life Cast, which together reduce the cost of Bubble Shield Lite to 1 HP. With two HP Core medals equipped, he'll regenerate 4 HP every 2 turns, meaning he can cast the shield four times during that period. Bubble spam is a nearly-perfect defence, and we can sustain this indefinitely. (Leif has the HP Plus medals mostly as a failsafe, but he can still lose HP occasionally due to the timing of recovery intervals, so it's good to have some padding.) 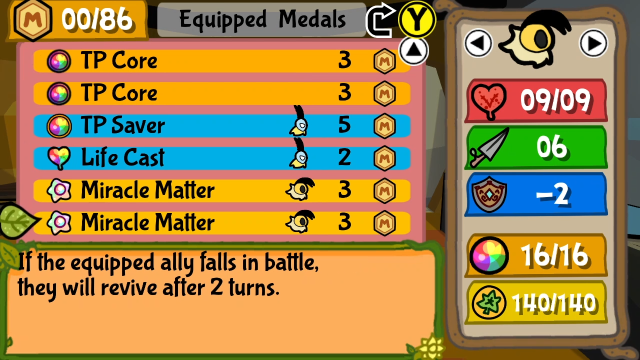 And the other wrinkle: Vi is equipping both Miracle Matters this time. Doubling up on them reduces the respawn time from 2 turns to 1 turn. So, the plan here is, again, pretty simple. Leif will shield himself every turn, and possibly Vi if Kabbu is around to relay to him. Vi does the damage, funding her skills via TP Core, and whenever she does happen to go down... well, she'll be back soon enough, so it doesn't really matter whether we shield her or not. The advantages over the previous build is that, because we're relying on Bubble Shield, it really doesn't matter how much damage the enemies do, we can be impervious regardless (with a few exceptions I'll get to), and don't even have to care about blocking. And it's just as sustainable as the previous build, at least in terms of resources. There are a few disadvantages, though. For one, I find this sequence of actions feels clunkier to execute (though that may just be because I've spent less time playing with it), but that's a fairly minor thing. More significantly, without Taunt, we're subject to the RNG determining where the enemy attacks. That means we don't have much control over when Kabbu takes damage, and once he goes down, our damage output tends to decrease since we can no longer shield Vi. Between that and the fact we don't have passive damage from Spiky Bod, fights tend to take longer with this build (especially against enemies who can heal themselves). Also, because we're relying on a skill, our defences can be shut down by Leif being Taunted or Inked. These status conditions aren't very common, but they're a real threat and can't be prevented, and the main reason we've stacked so much defence on Leif. (I think it's probably better to get the Do Nothing medals onto Leif for these circumstances, rather than e.g. Last Stand and Block Heal, but I wasn't going to go back and record the entire boss rush again.) (It might also arguably be better to divide the Miracle Matters between Vi and Kabbu, to keep access to relay available in longer fights, but I'm genuinely not sure, and regardless I wanted to show what happens when a character equips both of them.) Right. Enough talk, let's see this in action. 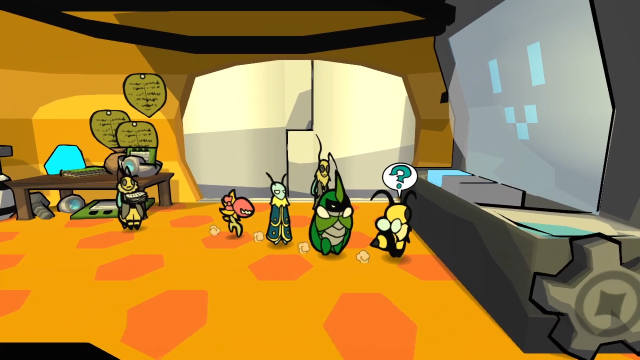 We've got Leif in the rear this time, which conveniently puts Vi in front and means we won't need to change our formations in battle. 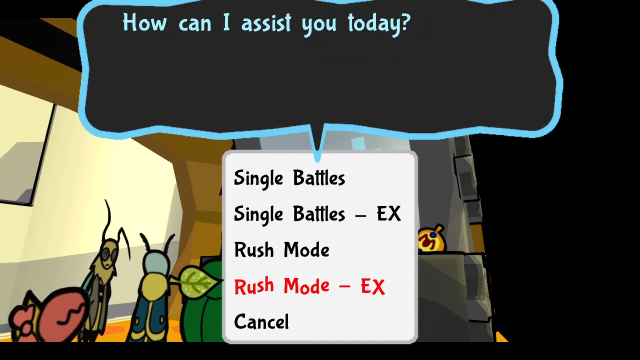 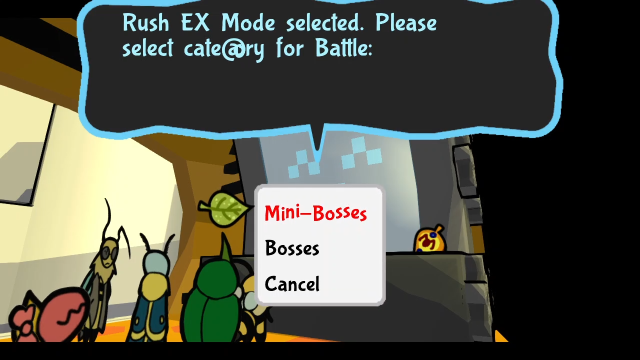 Let's tackle the Miniboss Rush first. 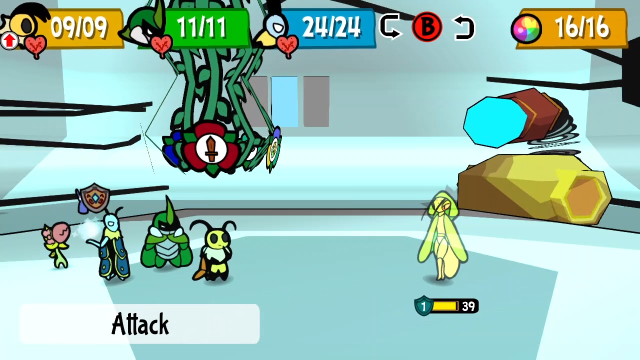 Immediately, we can see the difference. Aria EX has 39 HP and 1 defence.  Also, the Venus' Bud she summons has 15 HP and 1 defence now! It isn't just the bosses that get powered up, many of their adds do also. That said, this is a bit inconsistent: not every summoned enemy gets a boost, and I haven't noticed any pattern among the ones that do or don't. I've taken screenshots and will make note of the ones I did see, though not every boss that could summon other enemies did during this run so I don't have footage of them all. 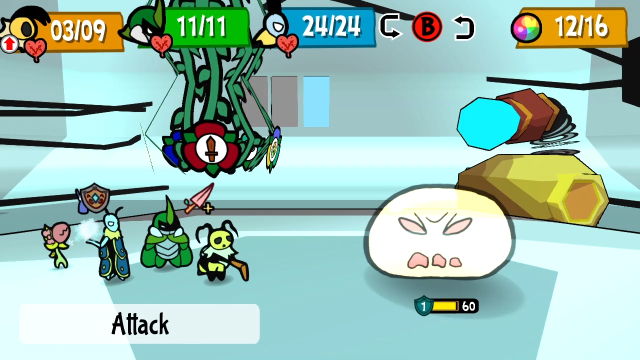 Ahoneynation EX has 60 HP and 1 defence. 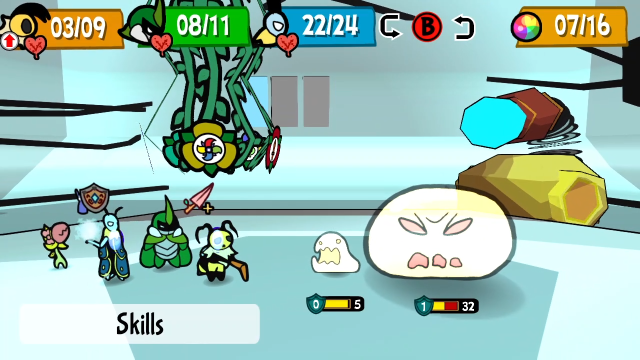 The summoned mini-Abomihoneys now have 5 HP and 0 defence, as opposed to 3 HP and -1 defence.  Astotheles EX has 75 HP and 1 defence. I really hope whatever build you're using doesn't need items to outlast him! 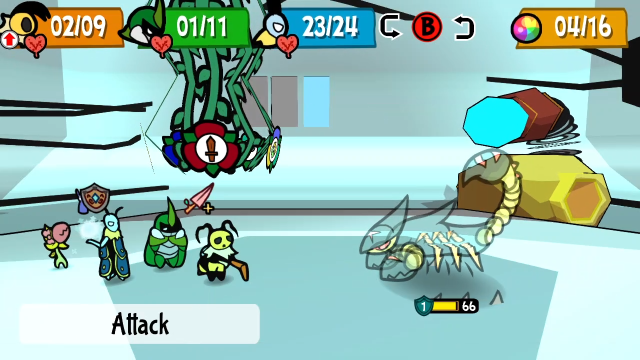 Dune Scorpion EX has 66 HP and 1 defence. 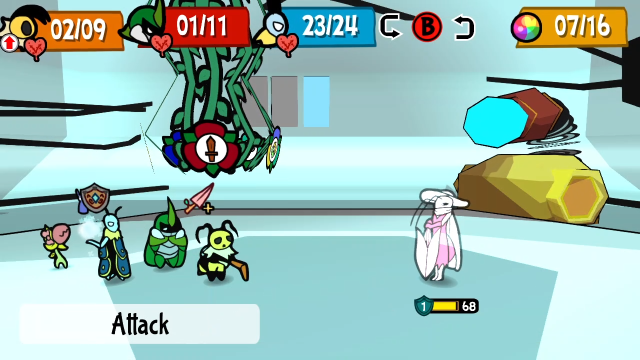 Monsieur Scarlet EX has 68 HP and 1 defence. 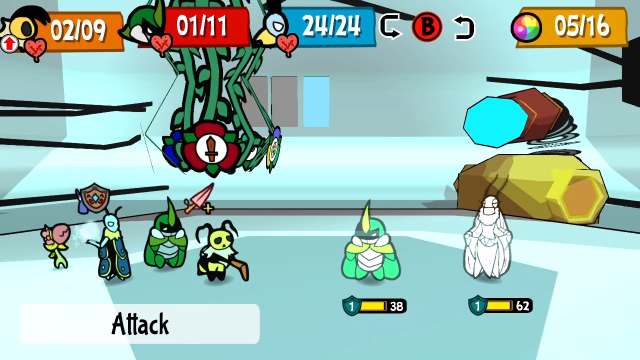 Kali EX has 62 HP and 1 defence, and Kabbu EX has 38 HP and 1 defence. 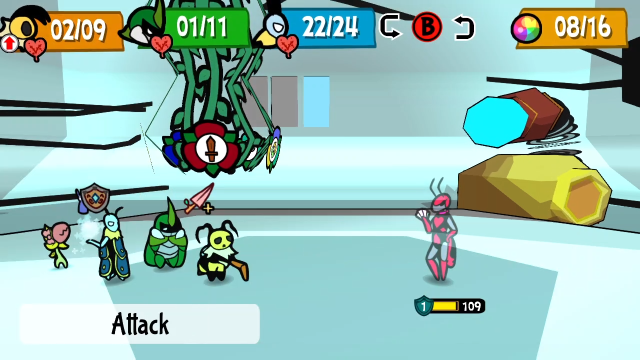 Carmina EX has 109 HP and 1 defence. This fight actually proved one of the most problematic for this build... 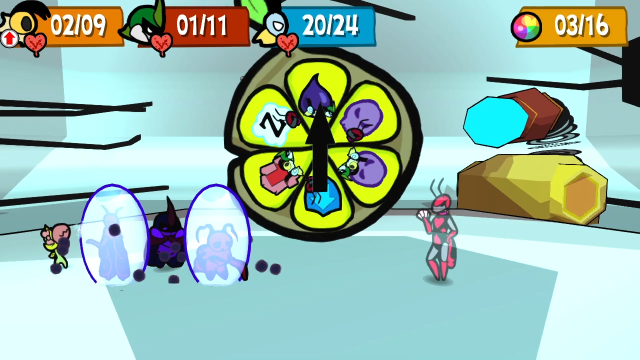 Carmina's roulette can inflict Ink on the entire party, and is completely unblockable. (Other sources of ink, such as Riz's attacks and bombs, and Delilah's cannon, can be blocked to avoid the status, but not this!) Thankfully, Carmina doesn't have the damage output to meaningfully threaten this Leif even without access to his shield, but it does disrupt the strategy (and would be a real threat if we were relying exclusively on Bubble Shield).   Also, as it turns out, Carmina's Dice Bombs go right through Bubble Shields! Ouch. I never knew about this before, and as far as I know, they're the only attack in the game that does. So much for the reliability of this strategy! Neither of these things makes Carmina actually threatening per se, as long as you're paying attention, but they certainly do make her annoying! It was quite interesting to see, especially since I'm used to thinking of her as more or less a pushover. 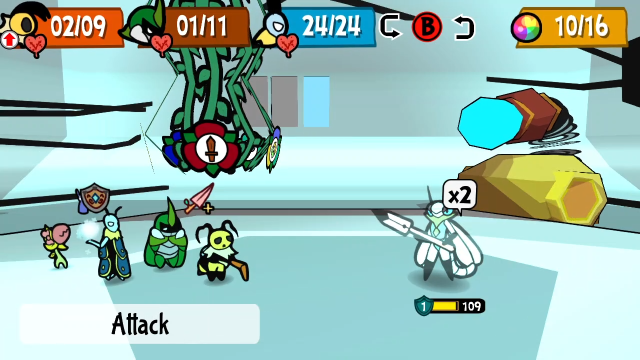 Riz EX is up next, with 109 HP and 1 defence. Two fights that can inflict Ink in a row!  Here we have Cenn and Pisci again. Cenn EX has 53 HP and 1 defence; Pisci EX has 42 HP and 2 defence. Weirdly, Pisci didn't get a defence boost, which just goes to show that this isn't a blanket increase across the board; someone appears to have deliberately chosen these numbers, though I don't necessarily have any insight into the reasoning behind them. 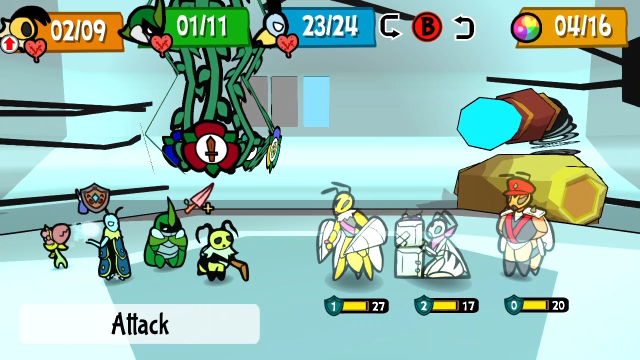 General Ultimax and cronies. This one's interesting in a different way: the general himself is completely unchanged, but the minions get a substantial boost.  Finally, we have Zasp and Mothiva. Zasp EX has 53 HP and 1 defence (apparently not getting a defence boost), while Mothiva EX has 45 HP and 1 defence. 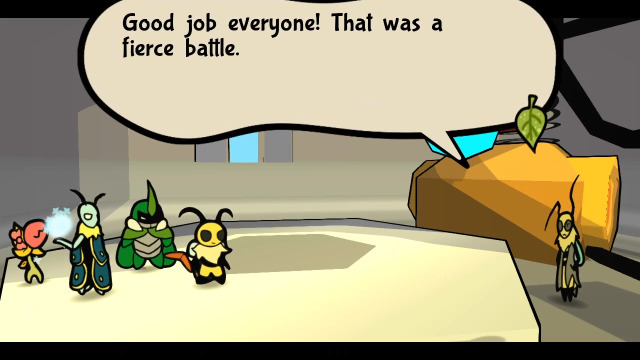 Here is something for your trouble! Here is something for your trouble!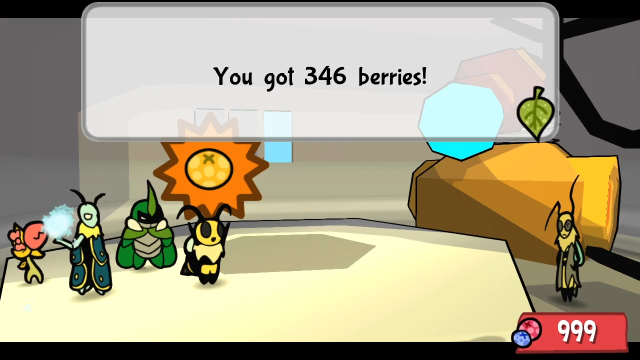 The berry rewards are substantially increased on EX mode, for whatever that's worth. If you want to try again, just start up the B.O.S.S. once more! Can't wait to see how you will perform next time!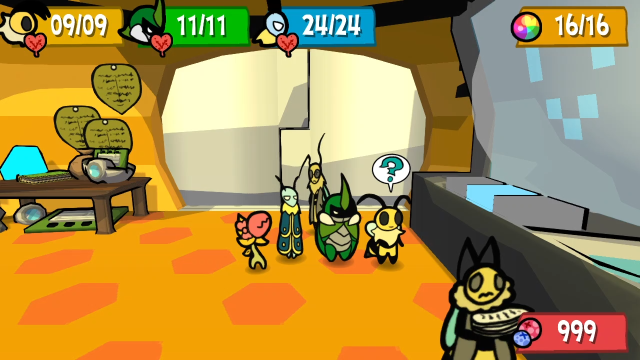 Right. That's that done. Let's do the proper boss rush on EX mode now. 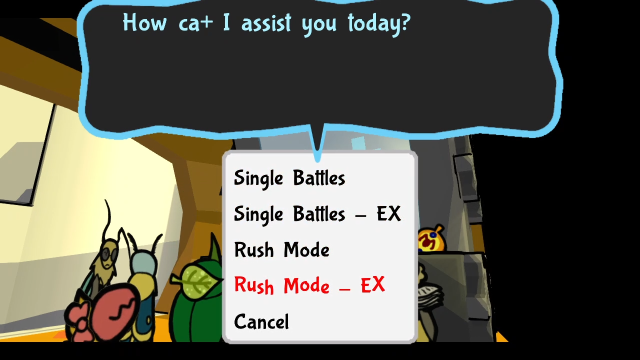 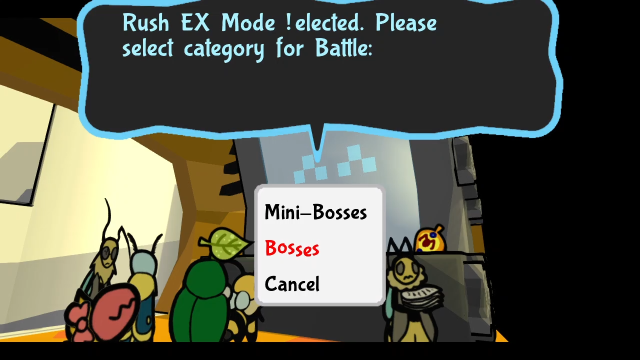 Let's do this. We'll use the same build once again for this one. 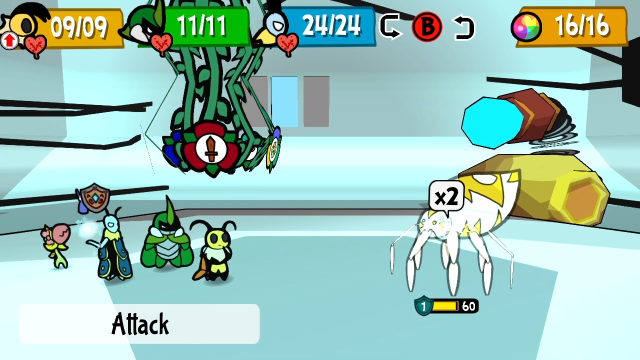 Spuder EX has 60 HP and 1 defence. (I didn't see whether the adds had boosted stats, since I ended up killing it before it had a chance to spawn them.) 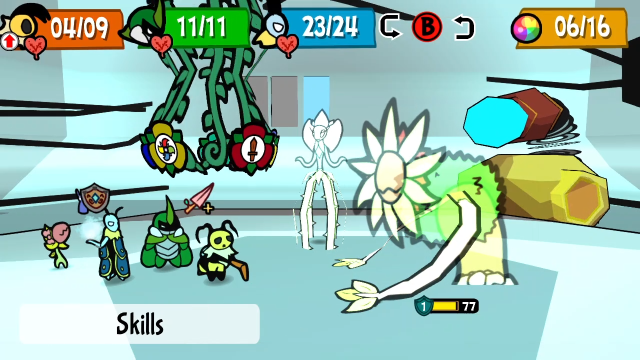 Venus' Guardian EX has 77 HP and 1 defence.  Heavy Drone B-33 EX has 84 HP and 1 defence. (I find it weird that this one doesn't get a defence boost.)  I did see some summons this time around; looks like the Bee-Boops do come with boosted HP. 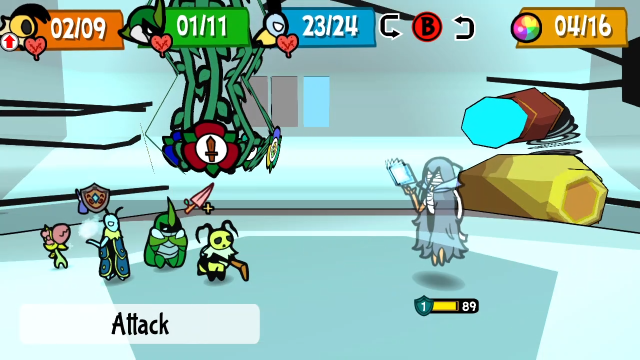 The Watcher EX has 89 HP and 1 defence. 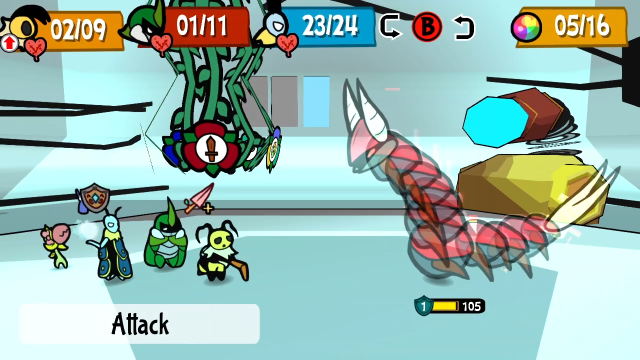 The Beast EX has 105 HP and 1 defence. 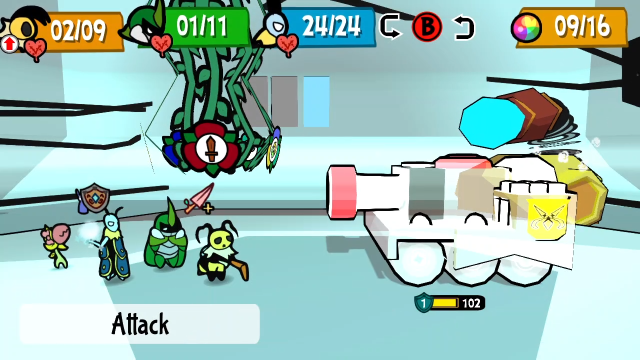 Ultimax Tank EX has 102 HP and 1 defence. 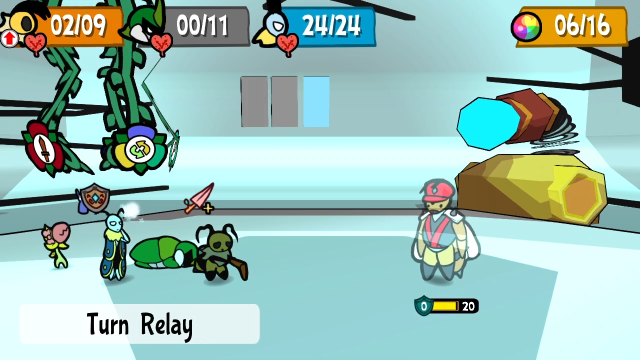 Like before, General Ultimax himself (when he comes out of the tank) has completely unchanged stats. 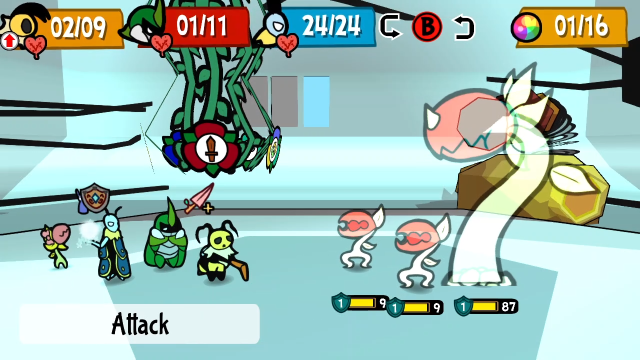 Mother Chomper EX has 87 HP and 1 defence, and all of the small Chompers in this fight are boosted.  Broodmother EX has 90 HP and 1 defence. 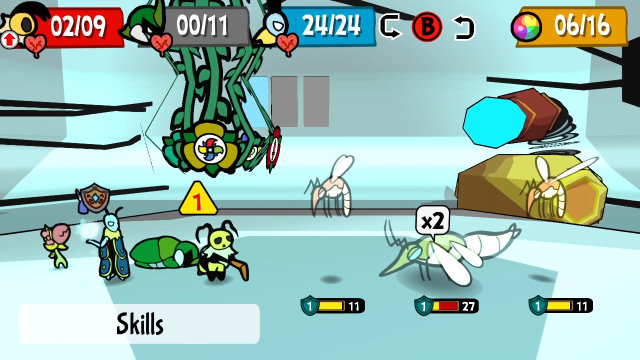 She also summons Midges with a substantial durability boost, which can get annoying pretty quickly! 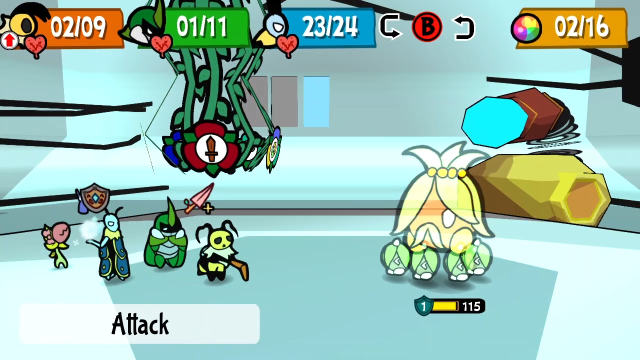 Seedling King EX has 115 HP and 1 defence. 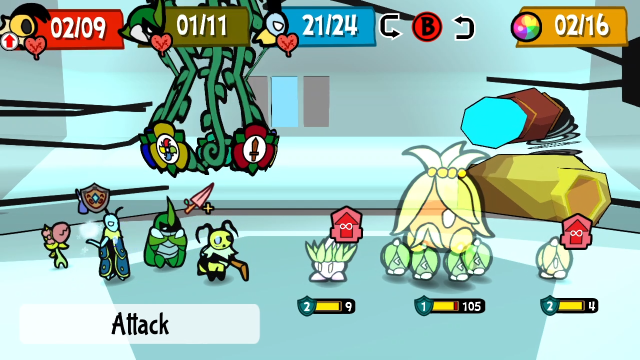 And the seedlings he summons have pretty substantial boosts, even if ultimately they're still Seedlings. 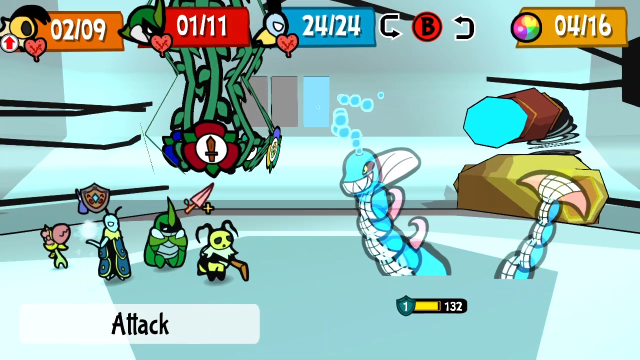 Tidal Wyrm EX has 132 HP and 1 defence. The tail's HP is also boosted to 15 here, though coincidentally you may not be able to tell from the video here (as I just happened to do exactly 15 damage from hitting it twice with Vi). 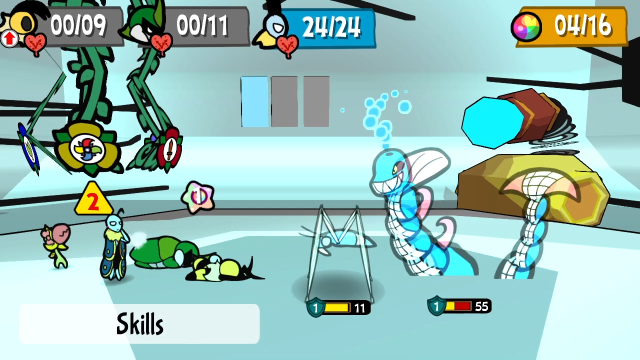 The summoned Water Strider's stats are just weird, frankly; its HP is even lower than normal, but the defence is boosted, so I'm not really sure what's going on with it. 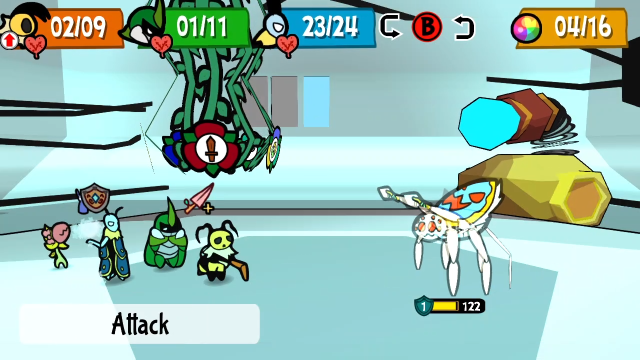 Peacock Spider EX has 122 HP and 1 defence. 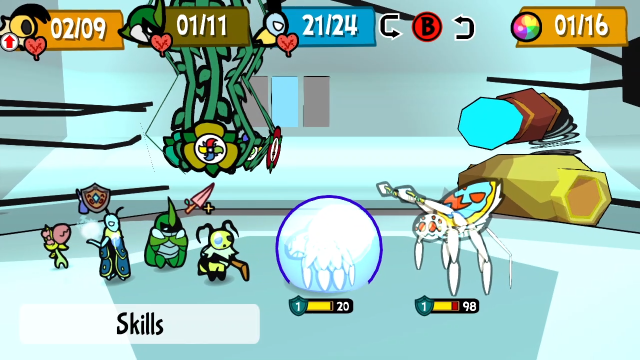 The spiders it summons are seriously durable - this is a Diving Spider with 20 HP and 1 defence! (This certainly drives home that the best strategy in this fight is just to ignore the summoned spiders and focus on the boss.) 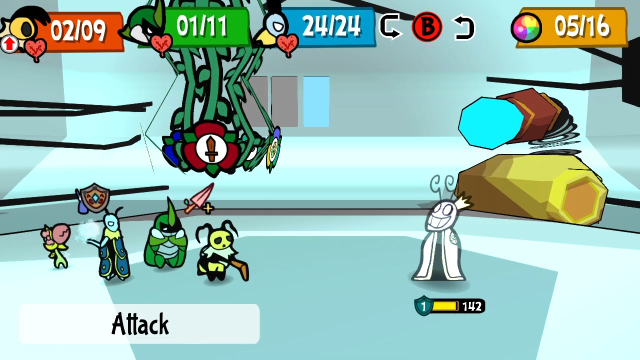 False Monarch EX has 142 HP and 1 defence.  The Mothflies it summons are also significantly stronger, at 7 HP and 2 defence each. This also means they're capable of healing it by larger amounts, since its healing is based on their current HP when they merge into the main body. 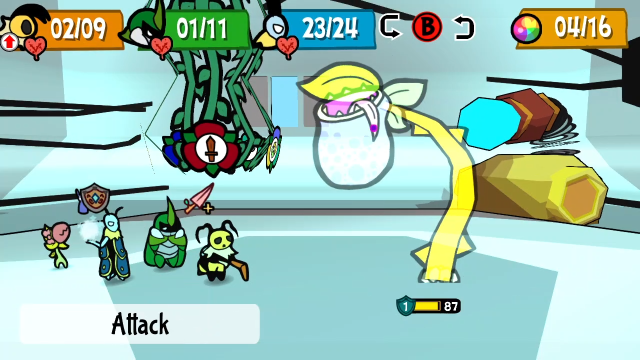 Devourer EX has 87 HP and 1 defence, making it trickier to blitz down. 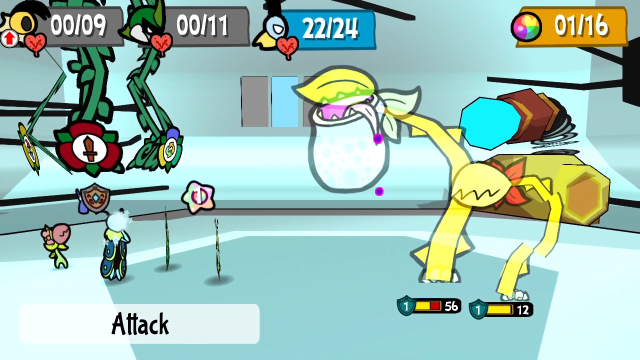 The flytraps also have received some boosts.  Zommoth EX has 141 HP and 1 defence. 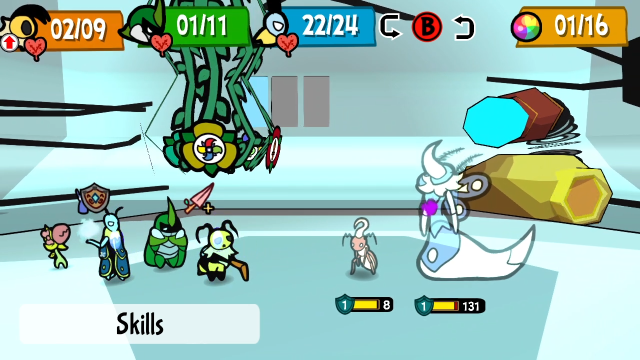 I didn't see every enemy it's capable of summoning, but I suspect they'll all be boosted if this Zombiant is.  Wasp King EX has 135 HP and 1 defence. 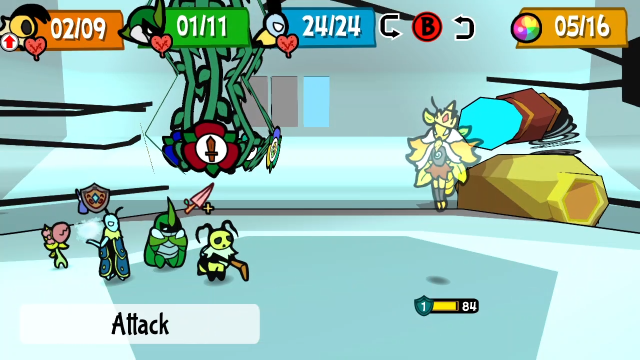 And finally, Everlasting King EX has 84 HP and 1 defence (and heals more between phases). 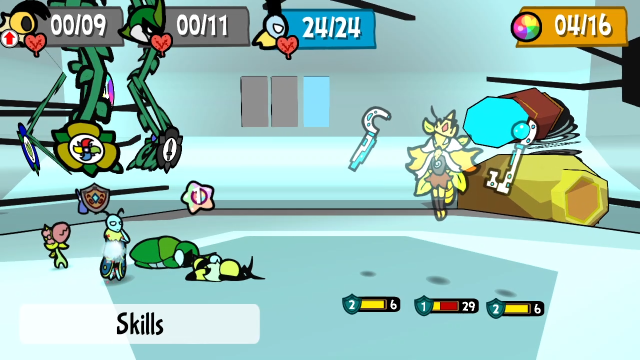 The artefacts don't appear to have gotten any boosts, though. 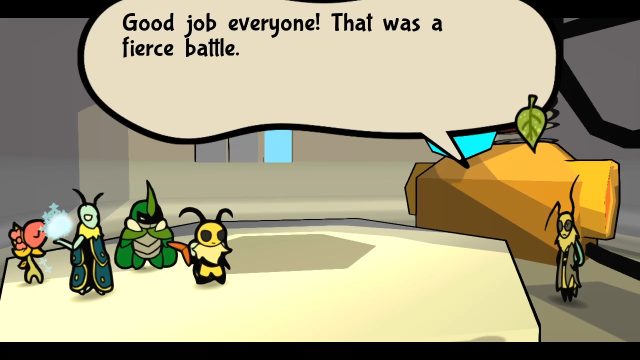 Anyway, that's EX mode! What do we get? Here is something for your trouble!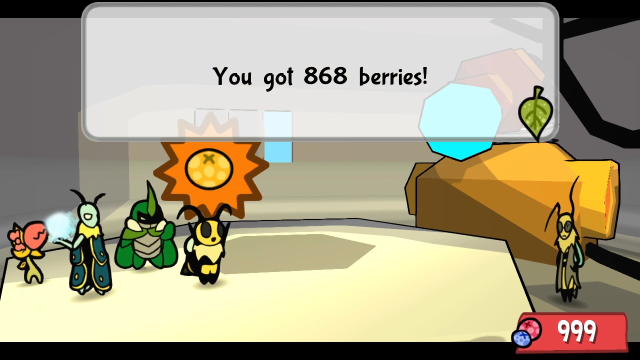 An enormous amount of useless berries. I did say this mode is just for fun and doesn't count for anything. I enjoy it, but I wouldn't necessarily recommend playing this unless you've finished everything else in the game and are still feeling desperate for more content.  ...I think we'll be okay, Doctor, but thanks. 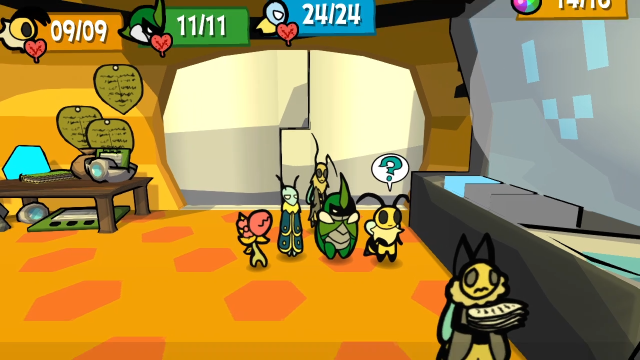 Right. That's B.O.S.S.! It lets us refight any of the bosses and minibosses we can't encounter again elsewhere, either singly or as a rush. If nothing else, I hope you enjoyed seeing some of these absurd builds. I've honestly only scratched the surface here, there are a lot of variations on these strategies. I really do appreciate that this is here, and also that the game is pretty clear about having no intentions that most players will complete it. As something optional to have fun with, for the kind of person who's into it, this is great; if it were mandatory, most people would probably consider it tedious and annoying. If you want to experiment with various builds or do challenges, this offers a way to get quick feedback without having to do an entire new playthrough, which is also a really nice feature for the game to have! Also, fighting old bosses again is one of the best ways to get a sense of how much either the party has grown ingame, or you've grown as a player, or both. (I also appreciate that there is still plenty of gameplay you can engage in even on a 100% completed file.) While playing through it this time, I actually ended up feeling almost like I was in some kind of zen state and forgetting I was recording. Before I close out the update, I want to share a few other videos. Devourer Never Attacks Here's a video I recorded shortly after doing the Devourer update (update 14! that's ages ago) but never really found a place to fit in. Since we focused so much on defensive strategies in the boss rushes, let's contrast it with some all-out offence that literally kills the Devourer (at its most difficult: this is EX Devourer on HARDEST) before it ever gets a turn. Devourer, No Devouring Here's another video I made shortly after the original Devourer update. This one demonstrates the way it will never eat the last character standing, which I think is particularly useful to know if you want to make reliable strategies for getting past it during the boss rush (as I do think it remains the encounter most likely to derail an otherwise successful run). We did see this behaviour in the boss rush videos I recorded, but this is a shorter demonstration that I hope is more accessible. Finally, here is a video (not by me) of someone showing off the Bubble Shield Lite/Life Cast/TP Saver strategy in the boss rush more effectively than I did, with a plethora of challenge settings on top of that (TUFFBUGS, Hard Hits, EXP Booster, EX Mode, and not even using Chompy!). Stay tuned, I'll be back momentarily with a design interlude inspired by this update, also. It's been a while since we've had one of those. Explopyro fucked around with this message at 05:46 on Apr 21, 2023 |
|
#
?
Apr 21, 2023 05:44
|
|
|
Design Interlude: Degenerate Strategies Let's take a brief interlude to talk about game balance and degenerate strategies. (Before we start, though, a brief digression about terminology and an exhortation to be careful with your language. We'll be using the word "degenerate" as a term of art in the context of algorithms and game theory, an extrapolation from the concept of degenerate cases in mathematics. Outside this context, this is a word with a lot of negative connotations and is usually an expression of bigotry. If someone says "this strategy is degenerate", they are making a descriptive statement with a specific meaning, not a value judgment on any person employing that strategy. If someone uses the word "degenerate" as a noun, such as "that person is a degenerate", they're probably a Nazi. This has been a public service announcement.) So what do I mean by a "degenerate strategy"? Broadly speaking, what I mean by this is a pattern of play that is fully generalisable to win in a way that renders the game's mechanics irrelevant (and usually wasn't planned for by the game designer). More succinctly, it is often defined as a course of actions a player can take which will lead to victory irrespective of the game state. This might mean different sorts of things in the context of different games: it may or may not involve optimal/perfect play, it may or may not be the most efficient way to win, it may or may not apply to every challenge in the game, and so on. (There are potential gradations here, and I sometimes find it useful to distinguish between strategies being "partially degenerate" or "fully degenerate" based on how much player input or skill is necessary to execute it, how much of the game content it applies to, how many mechanics it obviates, etc.) This is related to the concept of a solved game, though I don't often see that term applied to video games, or for that matter to single-player games. They're not precisely the same thing, though: a game can be solved without that solution necessarily being degenerate, for instance. For a simple (if potentially controversial) example: in many RPGs with experience mechanics, level grinding is a degenerate strategy. Spend long enough fighting the easiest enemies in the game, and your stats will be high enough to beat any enemy without effort, rendering all the combat mechanics irrelevant. (And you'll have enough money to buy anything you want without having to think about trade-offs, obviating another mechanic.) Though, notably, we can see the other side here too: even if it technically works, most players will not bother using this kind of degenerate strategy because it's boring and time-consuming to execute. Or, perhaps, let's look at an example closer to home. The "Danger Mario" build in Paper Mario: TTYD is a classic one. Reduce Mario's maximum HP to 5, then stack loads of the badges which activate when he's on 5 HP or less (Power Rush for attack power and Close Call for evasion), and you can win most encounters instantly with a multi-hit attack, while also being functionally impossible to hit if an enemy somehow gets a chance to attack you. It takes some tedious work to set it up (e.g. gathering the badges), but once you do, you can win every fight in the game with zero effort. In my experience most players don't use this for long, because the game becomes unsatisfying once the novelty of seeing it work and produce huge numbers wears off, but it certainly works. (Staying with TTYD for a moment, I also think there's an argument that Superguarding is a degenerate mechanic, in that executed perfectly it invalidates all of the other combat mechanics. The skill threshold to actually do that is so high, though, that it doesn't behave that way in practice. I bring this up because, for all that the concept may seem simple, there are a lot of shades of gray and there can be room for disagreement about what is or is not degenerate.) It's often considered a game design mistake if degenerate strategies are possible, especially if those strategies are obvious and/or easy to execute. That said, it isn't always: like glitches, sometimes designers intentionally leave them in if they think they're cool or funny. One interesting and potentially instructive example here is Pokemon. Arguably, a degenerate strategy in those games is "give all the experience to one Pokemon, often your starter, and solo the game by outlevelling your opponents". You can almost completely ignore the type-matchup, switching, and even move-selection mechanics if you overlevel enough. Nearly everyone I know who played Pokemon as a child did something like this in their first playthroughs, and in this case it ends up functioning as a sort of soft difficulty-selection or accessibility option: the game is more fun and interesting when you don't play this way, but this kind of strategy existing makes it possible for young children to succeed and enjoy playing the game (often even if they can't read the game text). Speedrunners will also frequently employ this tactic, but that's a different conversation entirely. The biggest downside of an obvious degenerate strategy existing is that it turns engaging with the mechanics as intended and playing the game normally into a sort of challenge run. If a player is constantly thinking about having to intentionally play suboptimally or under self-imposed restrictions, e.g. "X move is clearly the best here, but I'll choose not to because the game's better if I don't", or "this equipment combination is too overpowered, let's not use it", it can really ruin their immersion and enjoyment. This is the biggest reason to avoid them: they can often make a game less fun even if the player chooses not to employ them. So let's bring this conversation back around to Bug Fables, and more specifically its boss rush. As we've been seeing in the last few updates, once you reach the endgame and have access to all the medals (and, thanks to Patton, access to the largest possible MP pool regardless of your earlier choices), it's possible to put together some degenerate builds, especially in terms of obviating resource systems. I'll go so far as to say that the boss rush and the Cave of Trials even encourage you to think about doing so as a sort of puzzle. You can absolutely finish the boss rush playing "normally" (I have done this), but it'll put a strain on your inventory and resource management. This is even more the case on the bonus difficulty settings. In particular, it's hard to maintain poison-based blitz strategies, which a lot of players fall naturally into during the course of the main game. And which, incidentally, I'd consider a kind of degenerate strategy in their own right, at least when it comes to winning one fight in a vacuum. But when you need to spend an item to activate poison in each fight, and have 15 item slots for 16 fights, this starts to have issues. I quite enjoy the texture this gives to the endgame and postgame gameplay. There's an extent to which the question the game starts asking at this point shifts from "can you break the game?" to "which texture of broken gameplay do you enjoy?", or even "which flavour of broken gameplay best suits this particular challenge?", and that's another way to promote creativity. Also, some of these strategies still require you to take different actions situationally or turn-by-turn, so they're not completely mindless to execute. That helps keep them fun to play, at least for a while. I wouldn't want the entire game to be like that, but as a reward for reaching endgame (and for system mastery) I think it works. (Put differently: a game's core systems being solvable doesn't strike me as a problem if the act of solving them is an interesting and satisfying puzzle. It does become a problem if the puzzle isn't interesting, perhaps because it's too easy, or if the solution becomes widely shared such that players can use it without working through the discovery. It can also be a problem if the act of executing the solution once found ends up not being fun. Mileage is going to vary here.) This can also create replayability, on a different axis than the menu codes do. If you played through the game without finding any degenerate builds, going back for a new playthrough with that knowledge will make the game feel very different. (As I learned from doing this LP!) And if you did... well, you can go back and do challenge runs, and see how different things feel when you don't exploit the arbitrages. There are definitely downsides, though. For instance, difficulty scaling stops being particularly meaningful, except in terms of how quickly it pushes you in the direction of using degenerate builds and how much you'll struggle if you don't. (With the builds I've shown, for instance, the EX boss rush isn't any more challenging, it just takes longer.) I think what I'm trying to say here, ultimately, is that Bug Fables taught me that at least in single-player games, it can sometimes be good design to leave in unbalanced mechanics for players to exploit, even if taken to an extreme that can produce degenerate strategies. Finding and taking advantage of a mechanical arbitrage makes players feel clever. (There's no feeling quite like that eureka moment when you put the pieces together, then test it out and see it actually work.) I think balancing a game too perfectly might be an even worse failure mode: when every option is equally viable, a game's strategic choices can all start feeling false, and there's no real point to engaging in any kind of theorycraft. (Of course this philosophy should go out the window when creating competitive multiplayer games. It's more important to be careful about balance there.) This is not an argument for deliberately taking these kind of imbalances all the way to degeneracy, but I think if you consider the failure modes of each approach, emergent degenerate strategies existing is a better gameplay experience than every choice being equally monotonous. While they're not exactly pertinent to this discussion of endgame and the boss rush, I do think it's worth addressing a few other cases of possibly-degenerate mechanics in Bug Fables: There's a case to be made that "pick MP every level" is at least partially degenerate as a strategy. I don't personally mind this one, because ultimately there can still be valid reasons to make other choices (and the game is still enjoyable if you do), and this particular decision being mostly-uninteresting still leaves the player with plenty of other impactful choices to make. Also, I think it's less of an issue because the correct choice also tends to be the most fun. That said, mileage definitely varies here. Also, the bank interest mechanic is squarely in this space. "Leave the game running overnight to get arbitrarily large amounts of money" is absolutely a degenerate strategy. I would not call it fully degenerate, in part because the game is seemingly designed with the intent that money eventually becomes irrelevant and this just accelerates the timing (and unlimited money only gets you so far), but it definitely qualifies in that it's an unintended play pattern which obviates a core system of the game. In any event, this is a useful concept to have available in conversations about game systems, and Bug Fables definitely helped me crystallise a lot of my thoughts here.
|
|
#
?
Apr 21, 2023 05:44
|
|
|
Explopyro posted:Design Interlude: Degenerate Strategies This entire writeup was excellent, and succinctly explains an elelent of game design I knew about but didn�t have all the words to articulate. This particular paragraph makes me think of FE3H�s Warp Abuse strategies, and the sheer optimality of using Lysithea/Constance over whatever mages your house started with. Your later point about the sort of dichotomy between �let them optimize� and �optimizing too much� kind of makes me think of how MMBN�s balance works: you�re expected to start showing system mastery regarding deckbuilding around the midway point of each game. The game pushes you via tankier and more aggressive enemies to start putting together faster and stronger decks to push back; but the right options can push back so hard that the game just plain snaps (Gater.) Game design really is an art.
|
|
#
?
Apr 21, 2023 08:10
|
|
|
Those are some very powerful builds. One somewhat sad side effect of the generally very cool turn relay system is it incentivizes making one of your party members irrelevant - both of these strategies boil down to "make one bug invulnerable, one bug kill the world, and one bug gets to turn relay every time". I'm not really sure what they could have done to avoid that, besides scaling exhaustion penalties or having exhaustion matter for non-attacks, which have their own issues. Thanks for showing off this very optional content! It's cool of the devs to include stuff like this for the really dedicated players.
|
|
#
?
Apr 21, 2023 09:47
|
|
|
When it comes to OP strategies I can think of only one game that truly illustrates the point, and that's Super Mario RPG. Slap the Lazy Shell and Safety Ring on Toadstool and there is almost nothing in the game that can defeat you through your sheer power of attrition with her heals (weak as they are with the Lazy Shell's power debuff) and revives. This is super boring to me though and I've taken to a more balanced approach on future playthroughs where I try to use every character in situations where they shine. Sunken Ship has large groups of enemies that can be wiped out by Mallow's Thunderbolt, so I like using him there. Other areas might have slightly beefier but still large groups - that's where Geno's big AOEs come in. And speaking of Geno, he's invaluable in early boss fights when he gets his buffs, making you both harder to kill and killing them harder in one fell swoop, which really makes them go by in a snap. Bowser is of course good at giant single-target physicals, and Toadstool can still be useful in areas where status effects or instant death are prevelant. You don't need to think about SMRPG's battle system that much, but I find that thinking about it makes the experience more interesting on repeat playthroughs. There are lots of other games I've played where I either embrace the OP strategies (like Xenoblade 3's instant-use superpowerup after Chapter 6, or any number of trivial builds in Final Fantasy V) or do my best to resist them, depending on what aspects of the game are the most fun for me. Like if it's a game where exploring, collecting treasure, and checklisting things is important, then I don't care so much about the combat being trivialized. In the case of Bug Fables, the number of possible ways to build your team is frankly overwhelming, and so stumbling into OP strategies is just not something I end up doing a majority of the time. I know a lot more now, I'm sure, but I probably would still not go full MP or anything because there's other ways for me to feel fulfilled, and as long as the battle is won, who cares how easy or hard it was? That's the kind of approach I take (and also why I hate games that rank how well you did).
|
|
#
?
Apr 21, 2023 20:49
|
|
|
While I'm thinking about it, a quick question for everyone, as we start approaching the end of this LP. Where do you think the design interludes should go when I submit this for archival? In the current TOC, I have them bunched together at the end in their own section, but it might make more sense to go back and have them come after the post that inspired them (since they're generally commenting on something that just came up, that might flow better).BassMug posted:This entire writeup was excellent, and succinctly explains an elelent of game design I knew about but didn�t have all the words to articulate. This particular paragraph makes me think of FE3H�s Warp Abuse strategies, and the sheer optimality of using Lysithea/Constance over whatever mages your house started with. Thanks! I appreciate the feedback. I haven't played Three Houses so I'm not familiar with how Warp works in that game, but it makes sense, that's definitely a mechanic I can see breaking very easily. (I'm guessing it's no longer a finite resource, in some way? It was pretty broken even in the earlier games, but the limitation of needing to decide where and when to use it helped keep it interesting, at least...) BassMug posted:Your later point about the sort of dichotomy between �let them optimize� and �optimizing too much� kind of makes me think of how MMBN�s balance works: you�re expected to start showing system mastery regarding deckbuilding around the midway point of each game. The game pushes you via tankier and more aggressive enemies to start putting together faster and stronger decks to push back; but the right options can push back so hard that the game just plain snaps (Gater.) This is a really great example. The game wants you to optimise for ending fights quickly... but Gater ends up being so consistent and so effective that it's just an "I win button" a lot of the time and doesn't ask anything of the player to execute. The combo itself is pretty egregious, but as I understand it it's exacerbated further by having perfect consistency due to being able to get * codes for all the pieces. They definitely learned from this and tried to be more judicious about * codes in later games, from what I can tell. I wish I liked the Battle Network games. I bounced off them hard when I first tried; I really enjoy a lot of the LPs and it's fascinating to watch played well, but the feel of the gameplay just didn't click with me (I didn't enjoy the pace, between how twitchy the battles can get and being expected to optimise for speed). Qrr posted:Those are some very powerful builds. One somewhat sad side effect of the generally very cool turn relay system is it incentivizes making one of your party members irrelevant - both of these strategies boil down to "make one bug invulnerable, one bug kill the world, and one bug gets to turn relay every time". I'm not really sure what they could have done to avoid that, besides scaling exhaustion penalties or having exhaustion matter for non-attacks, which have their own issues. I've thought about this a fair bit and I agree that this tends to be an inevitable result of the way the relay system works (at least once attack boosts are available), I'm not sure how to fix that either. That said, you could remove Turn Relay and still have these strategies work: you'd just do something more like the second one, put 2x Miracle Matter on the attacker and not bother protecting them at all, then just stall for time and let them do the damage when they pop up. Miracle Matter is the real culprit IMO, and to a lesser extent all the regeneration medals that build up to let you ignore the resource systems. Ultimately, I think the Turn Relay mechanic had about the right amount of room to breathe in a game of this length, but might not have the design space left to support much more. (I wouldn't be surprised if this is one of the reasons the Moonsprout team have said the eventual sequel will have a new battle system and be much less reminiscent of Paper Mario.) This is one of the reasons I personally prefer having Leif be the character who does the relaying, because at base he still has quite a few useful support/utility spells (both Bubble Shields, Icefall/Frigid Coffin for freezing, Cleanse, etc) that are worth pulling out in some situations, so he feels more like a full member of the party still than the others do in strategies like this. Alxprit posted:When it comes to OP strategies I can think of only one game that truly illustrates the point, and that's Super Mario RPG. Slap the Lazy Shell and Safety Ring on Toadstool and there is almost nothing in the game that can defeat you through your sheer power of attrition with her heals (weak as they are with the Lazy Shell's power debuff) and revives. This is super boring to me though and I've taken to a more balanced approach on future playthroughs where I try to use every character in situations where they shine. Sunken Ship has large groups of enemies that can be wiped out by Mallow's Thunderbolt, so I like using him there. Other areas might have slightly beefier but still large groups - that's where Geno's big AOEs come in. And speaking of Geno, he's invaluable in early boss fights when he gets his buffs, making you both harder to kill and killing them harder in one fell swoop, which really makes them go by in a snap. Bowser is of course good at giant single-target physicals, and Toadstool can still be useful in areas where status effects or instant death are prevelant. This is another great example, especially because it's one where the explanation is largely "a few numbers were overtuned somewhere" (though not exclusively; status immunity is the other big culprit, and it's the combination of universal status immunity with the overtuned defence that does it). It's interesting because my instinct would be to assume they put the Lazy Shell in as a sort of secret difficulty select/accessibility option (e.g. "if you're struggling to finish the game, use this", like the Temmie Armour in Undertale), but it's the reward for an obscure sidequest so the players who might need it probably don't find it without a guide. Alxprit posted:There are lots of other games I've played where I either embrace the OP strategies (like Xenoblade 3's instant-use superpowerup after Chapter 6, or any number of trivial builds in Final Fantasy V) or do my best to resist them, depending on what aspects of the game are the most fun for me. Like if it's a game where exploring, collecting treasure, and checklisting things is important, then I don't care so much about the combat being trivialized. This is also a good point! Games often have a lot of different systems and gameplay loops that don't overlap much, and if the others are enough fun, it may not detract from the experience if one of them can be trivialised as long as the rest is still interesting (and might even be a bonus if a particular player happens to not enjoy, e.g., the combat). Alxprit posted:In the case of Bug Fables, the number of possible ways to build your team is frankly overwhelming, and so stumbling into OP strategies is just not something I end up doing a majority of the time. I know a lot more now, I'm sure, but I probably would still not go full MP or anything because there's other ways for me to feel fulfilled, and as long as the battle is won, who cares how easy or hard it was? That's the kind of approach I take (and also why I hate games that rank how well you did). I think this is probably the experience most people have, especially if they're not going in with prior knowledge from having played the Paper Mario games to death. There are lots of ways to enjoy the game, and I'm pretty sure it would still be a good experience even without taking a single level of MP. There are definitely a lot of permutations and I haven't shown nearly everything that's possible. I tried to show a pretty good variety over the course of the LP, and I hope I've done more than scratch the surface, but there's still a lot I couldn't fit in and/or don't know about. I've been told, for instance, that Frostbite is a popular medal among challenge runners, but I don't know in what circumstances they use it or how the strategies work. That said, at some point I really do want to get into challenge running so I can force myself to think outside the box and see what other kinds of things I can discover.
|
|
#
?
Apr 23, 2023 17:45
|
|
|
Explopyro posted:
Yeah, essentially that. Warp refreshes every map, and you get 2 charges in most classes (4 in Gremory.) It still scales off of Magic, and it�s attached to the single most busted mage in the game (prior to DLC,) Lysithea von Ordelia. She has like a 70-something magic growth before class bonuses, so this girl can hurl a unit all the way across the map sometimes, leading to a lot of degenerate/abusive strategies boiling down to �drop a wyvern lord behind the boss.� or �get to the current objective NOW, and screw whatever was supposed to contest you.� Like you said, the change from Warp charges being a campaign level resource to a map level one makes it utterly insane, to the point that the next game, Engage, cheekily acknowleged this by designing a FE3H themed challenge map around the enemy army warp spamming you for a change. This is made worse by Lysithea being all around busted. Her spell list is huge and features some of the best offensive magic in the game, she has a huge speed growth, and is compatible with Thyrsus, a relic staff that grants something like +3 or 4 range to spells. She�s basically an RNG-proof walking nuke. It wouldn�t so had if other mages were even close to being in her league, but the only mage in direct competition with her is Constance from the DLC, who can spam bottomless siege magic if she gets lucky. Both are squishfests, but there isn�t a 3H mage who can take a punch anyway, so only comparative speed/Mag/spell lists matter. The game wants you to focus on your house�s units, but 90% of the time it�s easier and stronger to just recruit those two and ignore your generally less powerful mages. Degenerate strats! Or degenerate army building, anyway. And I completely get bouncing off of MMBN, it is a beautiful but often frustrating game. EDIT: To bring it back to Bug Fables, it was interesting as hell to see the kind of big brained strats/loadouts MP builds let you use! I don�t have the head for it, so I ran a pure TP build on my playthrough. It led to entirely different strategies that didn�t really scale well into postgame� but it�s so cool that the game allows it. I wound up with essentially nuker Leif, white mage Vi, and high damage Kabbu. BassMug fucked around with this message at 22:47 on Apr 23, 2023 |
|
#
?
Apr 23, 2023 22:41
|
|
|
It helps that you learn several new skills that don't have anything to do with medals throughout the game as you get your traversal skills and general level up bonuses. I feel that's something Paper Mario et al lacked in its progression.
|
|
#
?
Apr 23, 2023 23:54
|
|
|
79: Not the De-Bug Room! 01 - Bug Fables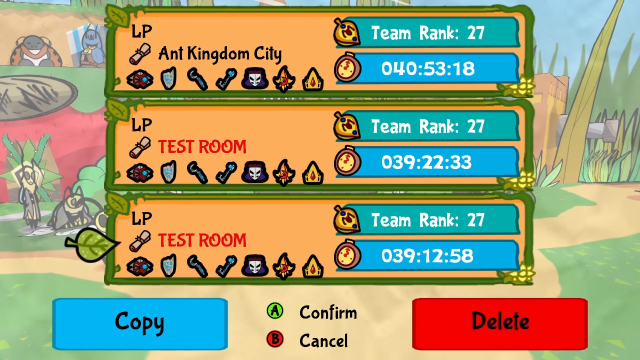 Oh no, what's happened to my save files? A few of them have their location mysteriously showing as TEST ROOM?! (In red text, even!) Okay, so, clearly we're doing something a bit different today. I've made use of the Bug Fables Save Editor to manually change our location, so we can check out the test/debug room which is still in the game. (As I understand it, there may be ways to glitch in, but I don't know how, and the clip I saw of someone doing so a while back looked like it required frame-perfect menu inputs. That's well beyond my capabilities, so save editor it is. If you want to explore it yourself, set "Current area" to "Bugaria Outskirts" and "Current map" to "Test Room".) There's some neat stuff here, and most players will never see it because it's completely inaccessible via normal gameplay. Also, I'd never been to this area before recording for this update and only vaguely knew about it, so for once I'm flying blind. 21 - Fry it Up!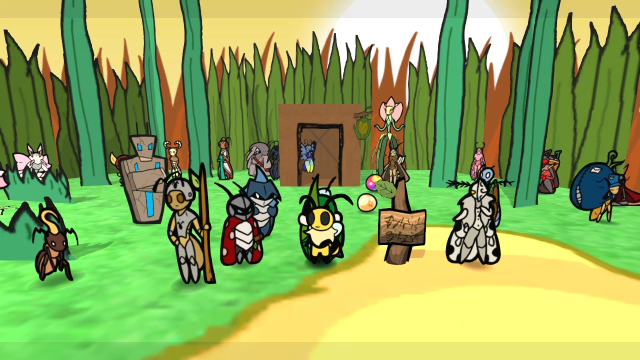 Here's what it looks like. It's a big open area with lots of NPCs around. Also, the music that plays here is Fry's theme for some reason. We can check for a banter, and there actually is one here: This is the test room. Not much here. Just some NPCs and props to see if everything is working without needing to walk miles and loading for ages to test properly. Expect this place to fill with more stuff later.Even if it is just some placeholder/explanatory text. This is the only banter here; there aren't any for the NPCs or anything, but it's still cool to see they put one. Let's have a look around. 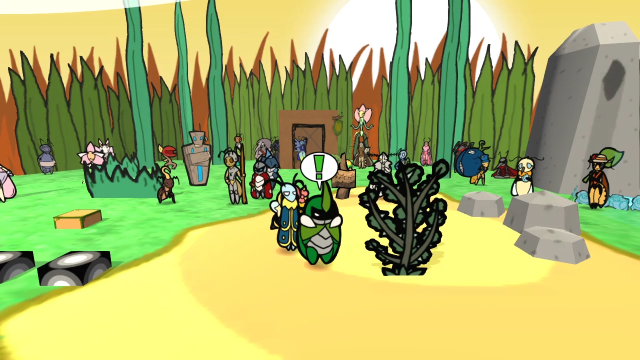 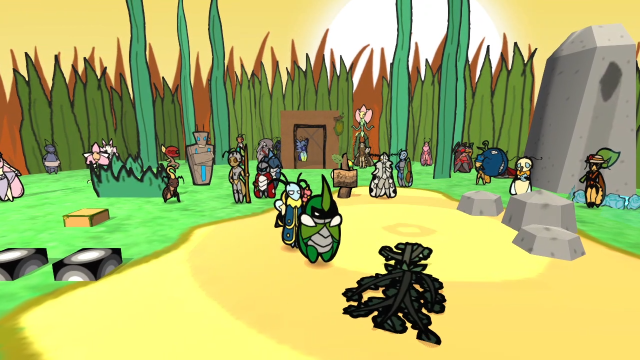 There's a cuttable plant here with nothing in it. 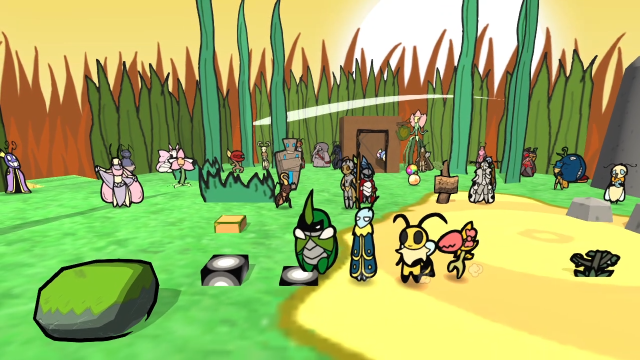 These black-and-white things seem to be some kind of floor switch we can press down by standing on them. They don't do anything other than make a clicking sound. I don't remember seeing any switches that look like this in the main game, so I think they're probably an early design that was discarded. 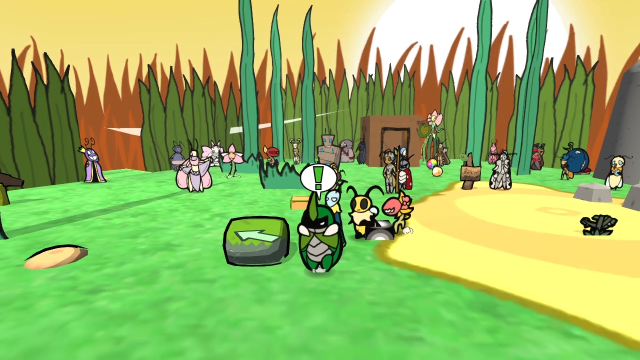 There's a moveable rock. 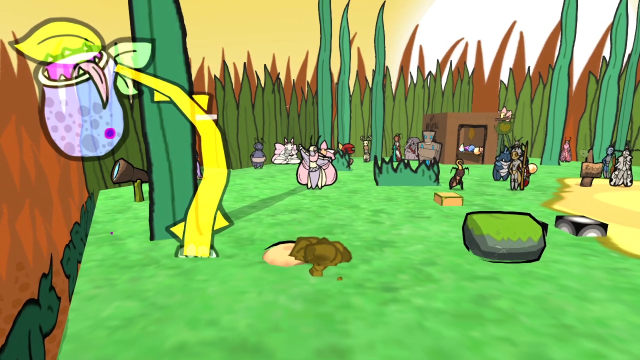 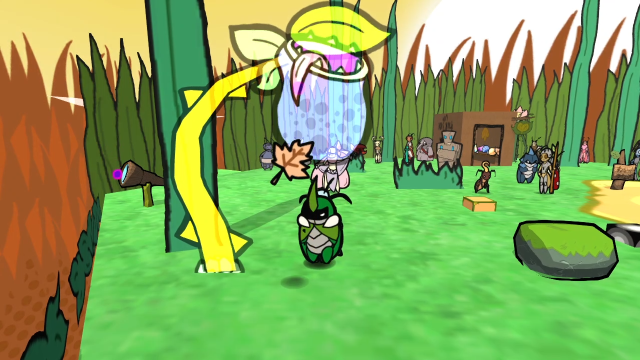 And a dig spot which has a Crunchy Leaf in it. It's pretty clear this part of the area was used to demonstrate object interactions. 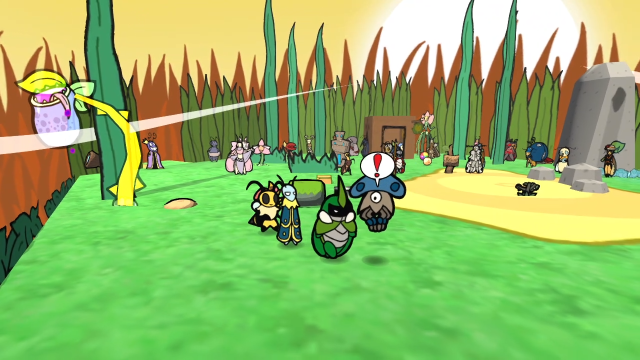 There are also a handful of enemies around! This Jellyshroom is fully mobile and will aggro and chase after us. 04 - FIGHT!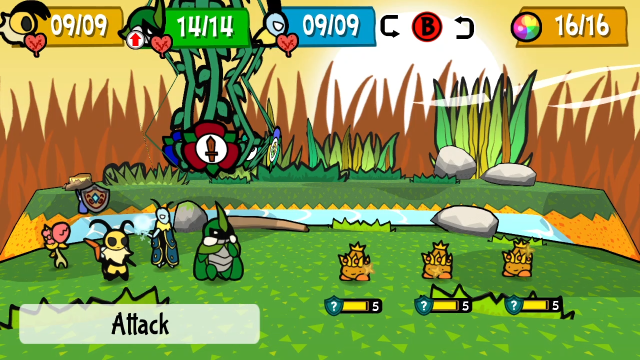 Once we get into combat, though, it turns out it's not actually a Jellyshroom at all, it's three Golden Seedlings! 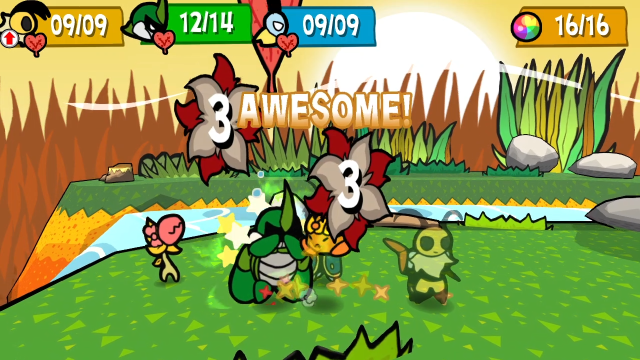 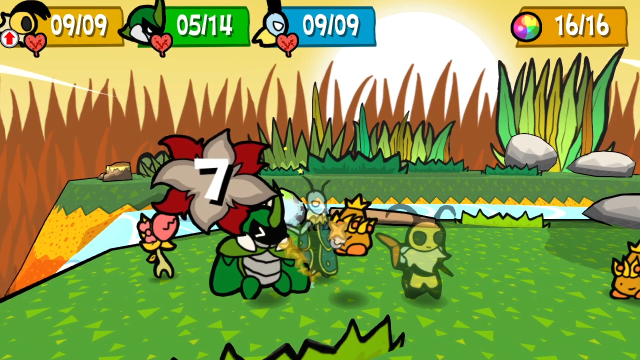 Incidentally, these still do enough damage to be kind of threatening to max-defence Kabbu, so that build isn't 100% impenetrable to everything. Just everything you're likely to encounter in normal gameplay and/or the boss rush, and he's still durable enough to tank them. 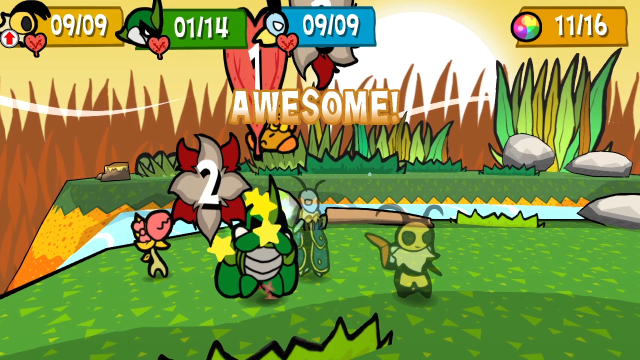 Also, since it happened, here's a demonstration of immortality via Block Heal! Kabbu was on 1 HP before getting hit in this screenshot, and he's still on 1 HP after damage, even though 2 damage should have killed him. 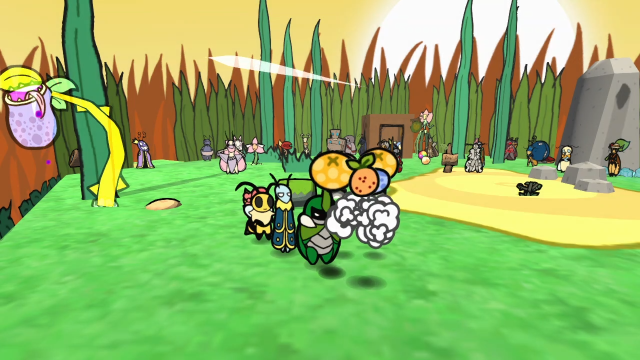 Winning that fight causes a huge pile of items to appear, which always includes 3 Tangy Berries and a Crunchy Leaf. 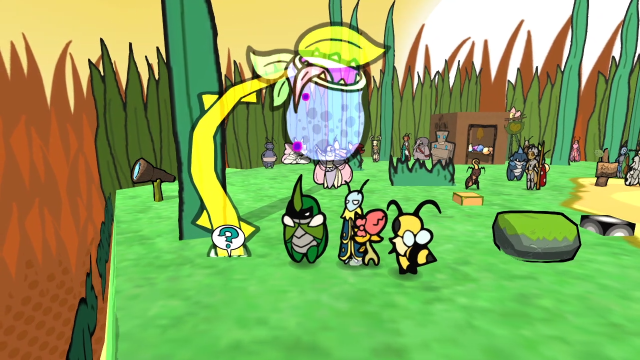 Right, what's this Devourer hologram thing? 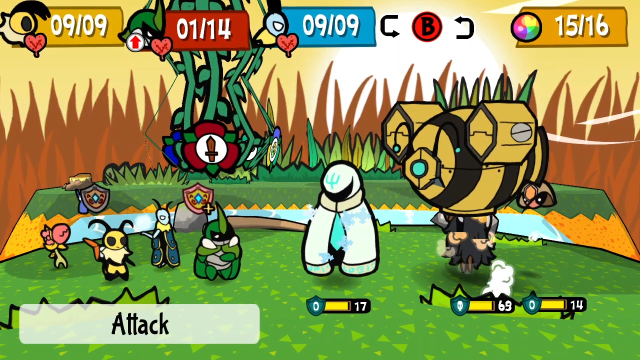 Um. Well. This is... certainly an interesting formation... Haunted Cloth, Heavy Drone B-33, The Watcher, Warden. Yes, two chapter bosses at once, and yes, their sprites are overlapping, they clearly weren't designed to be on-screen at the same time. The battle totally still works, though! It looks a bit odd at times, and it's not always easy to tell which enemy you're targeting, but you can fight them just like you would any other enemies. If you want to see it in action, I did record it.   Click me for video! Click me for video!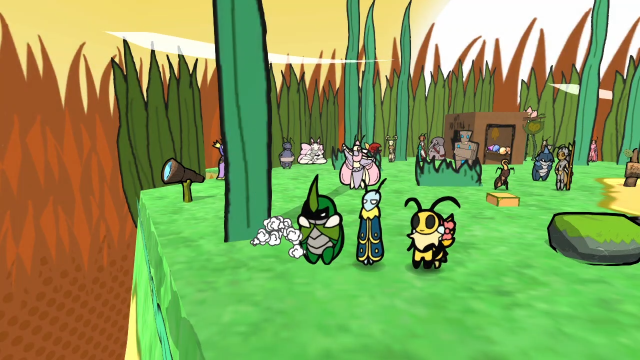 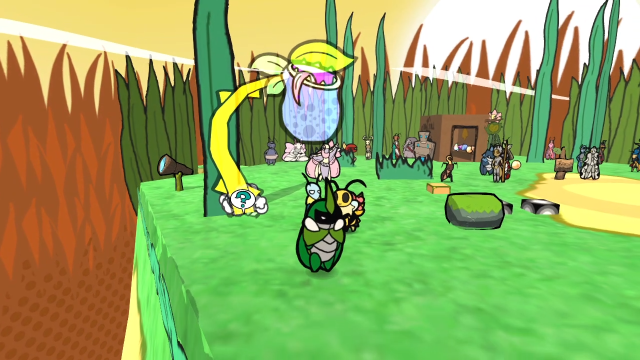 After beating it, it disappears very briefly and then respawns. 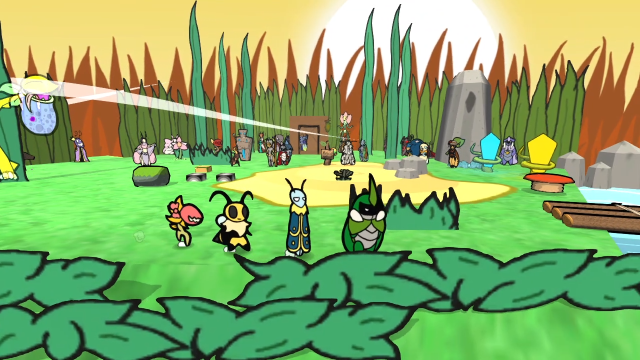 Past there, we're at the edge of the area. This place isn't that big, although there's clearly another region across the bridge to the east. Don't worry, I'll show the whole thing. 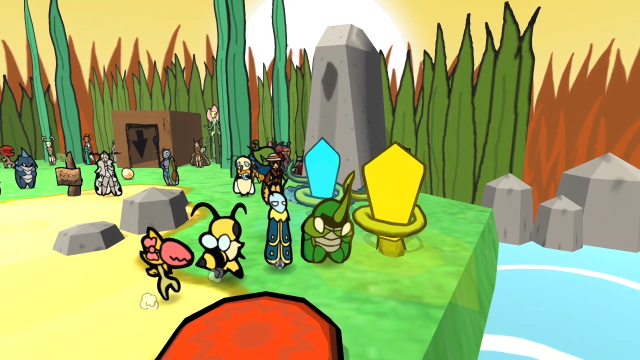 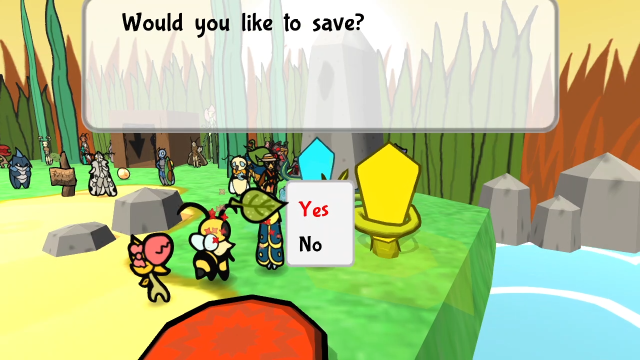 There are both kinds of save crystal here, and they function normally. This does mean you can save here if you somehow get here without using the editor (and, thankfully, you won't be trapped, there is an exit back to the normal game world which we'll see eventually). 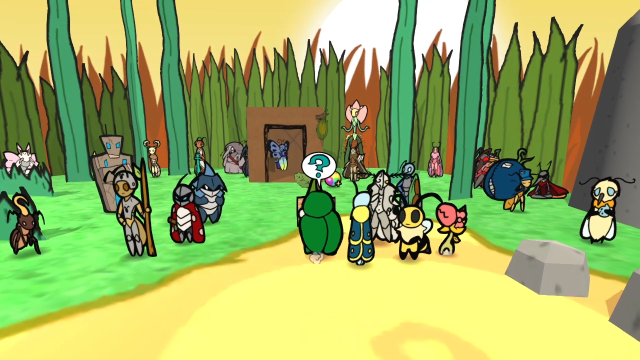 Before we start talking to the various NPCs, let's check out this conspicuous sign. 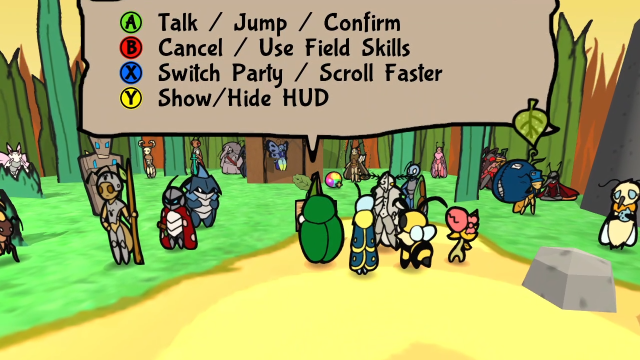 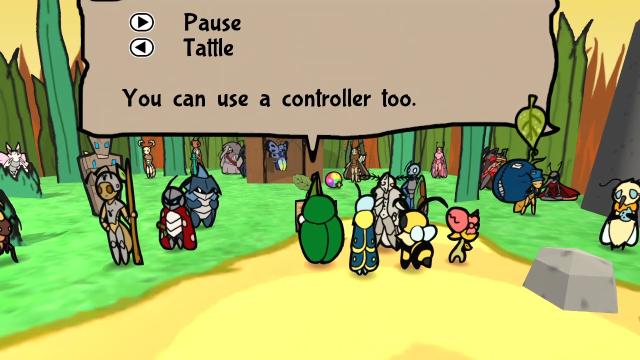 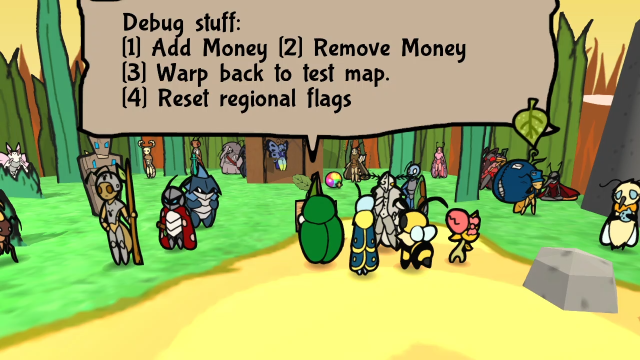 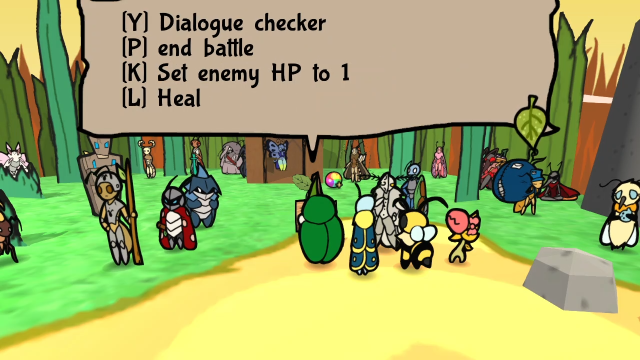 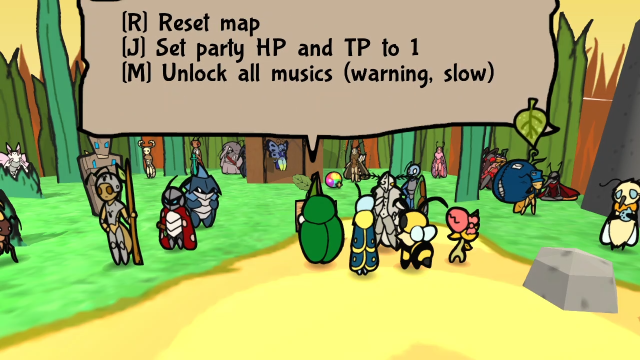 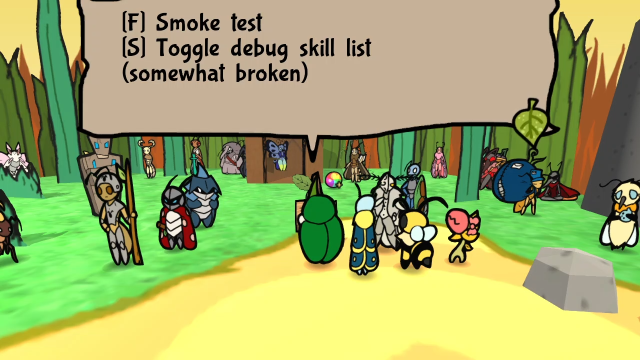 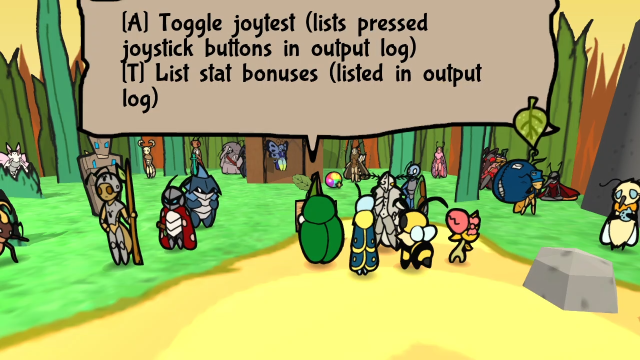 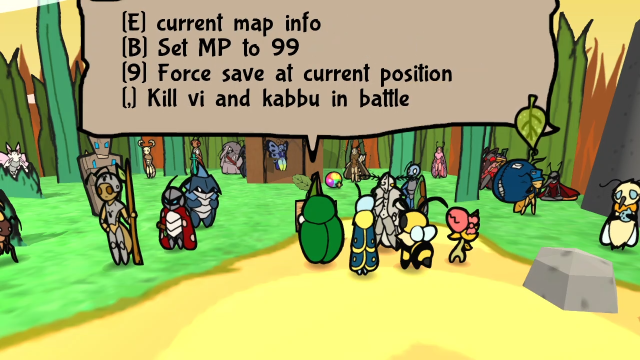 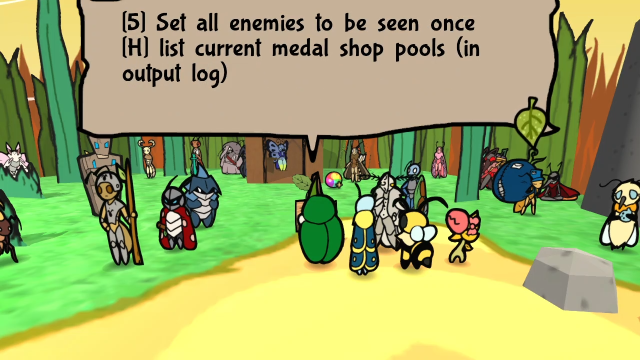 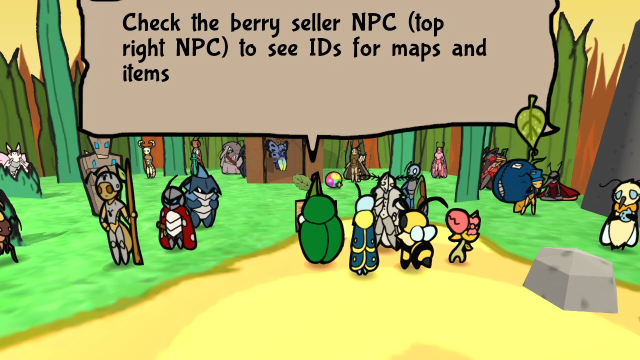 That's a lot of options! (Sorry for not transcribing that, but I think it's more interesting to see how it actually appears in the game.) That said... I tried pressing the indicated keys, and I couldn't get any of these options to work. I'm not sure if I was doing something wrong, or if the functionality's no longer enabled, they may have worked in a prior version. Right, let's check out some of these NPCs! 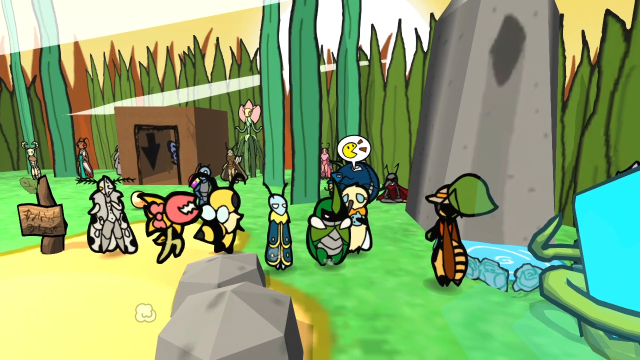 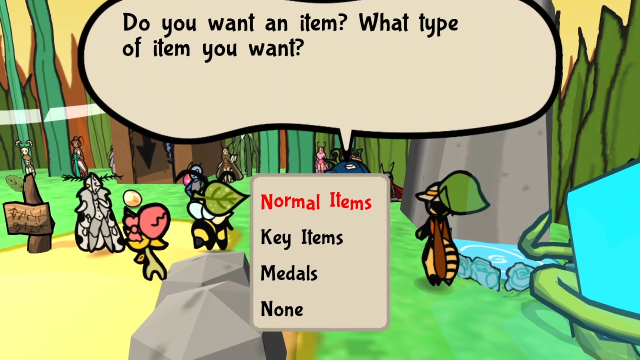 Samira gives us a menu that lets us generate arbitrary items, key items, and medals in our inventory. 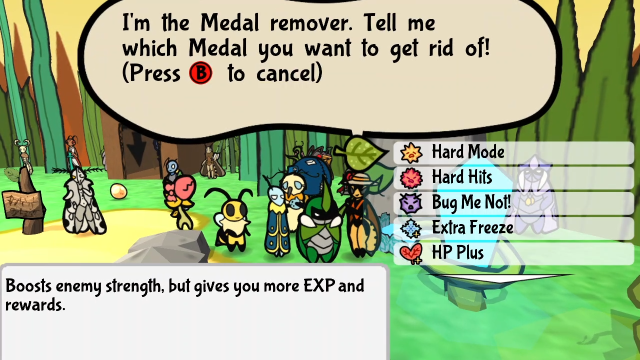 Madeleine lets us remove medals. 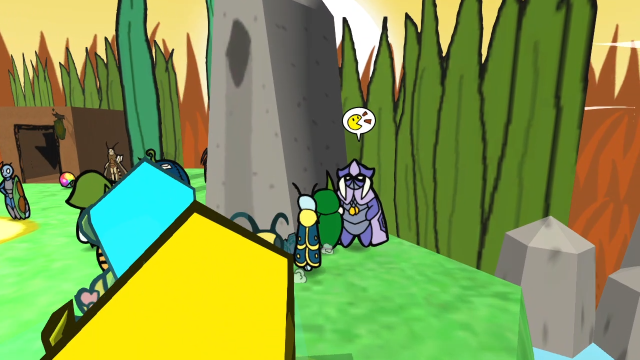 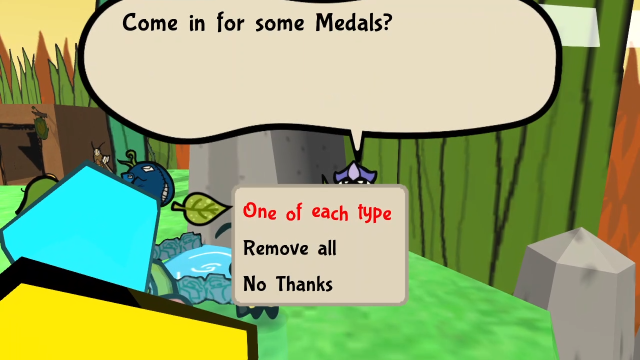 While Merab lets us get medals in bulk if we want. 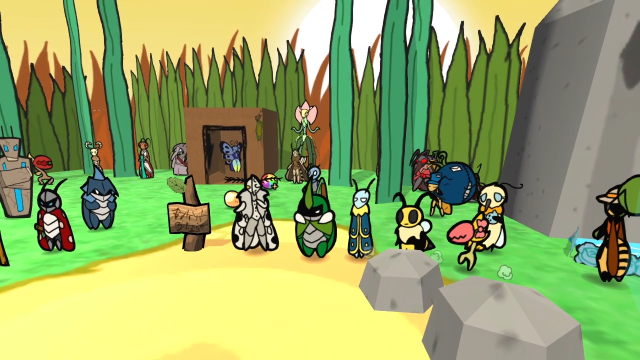 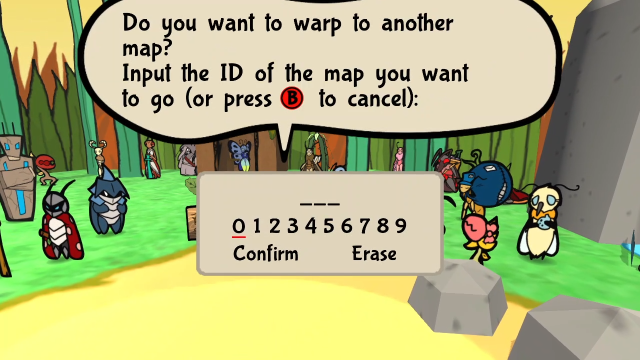 M.M. gives us the option to warp to arbitrary locations, but we'll need to know the map IDs. 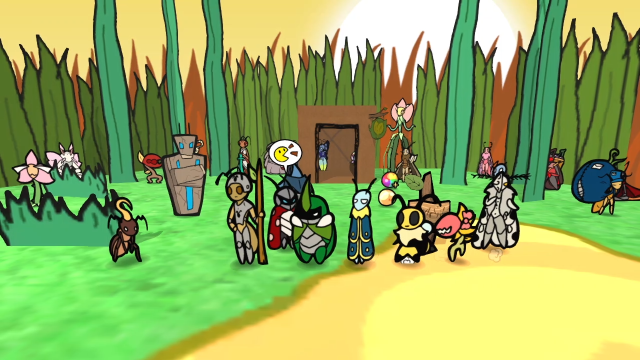 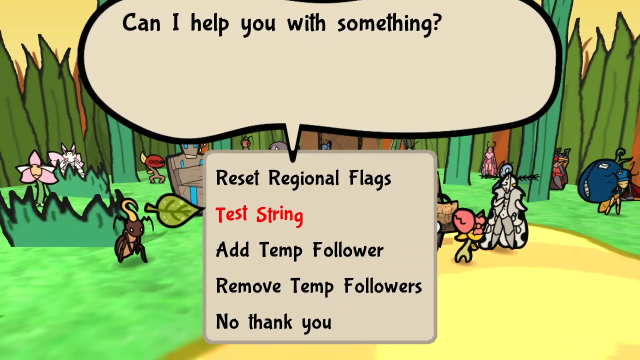 Levi has a bunch of options, including letting us get whatever temporary followers we want. I didn't mess around with this much (it gives a message that the followers won't show until you reload the map, which is a real pain in this area), but I'm sure you can create some silly looking scenarios if you want. I don't know what "reset regional flags" does. What's the test string?  It demonstrates a bunch of the text/font effects! I chose not to make GIFs of the text effects because it would've been way too much work, but they do add a lot of charm to the game, so I did one here for once. 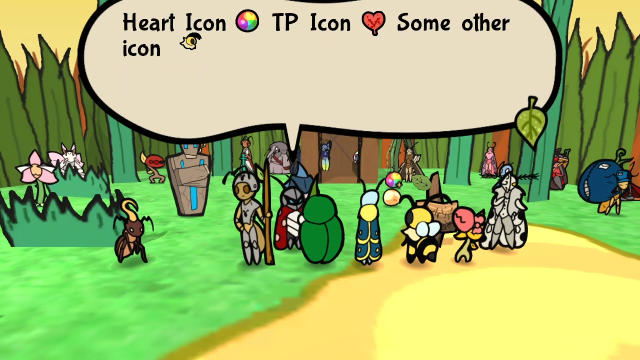 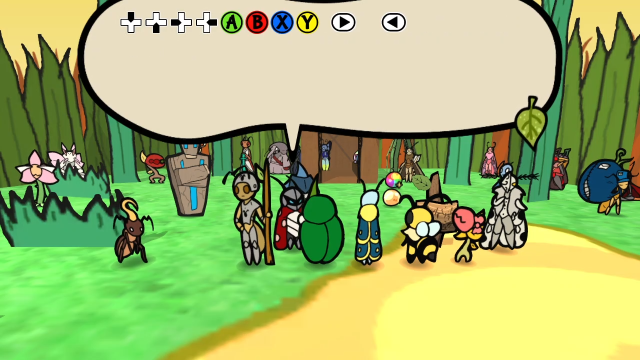 It's followed up by a bunch of symbols. Does this remind anyone else of when a print job would get corrupted and the printer started spewing out pages upon pages of random characters? (When I was a kid I loved pretending to decipher the gibberish from these.) So, yeah, this is clearly meant to test the game's various text effects and make sure they display properly.  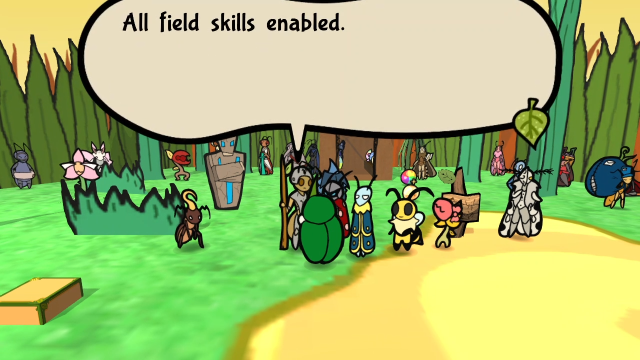 Talking to this ant toggles something. I tried to figure out what this does and, from the best I can tell, this might be the flag that's used in the Bandit Hideout to take away Vi's Beemerang; I was still able to use Kabbu's and Leif's field skills regardless. 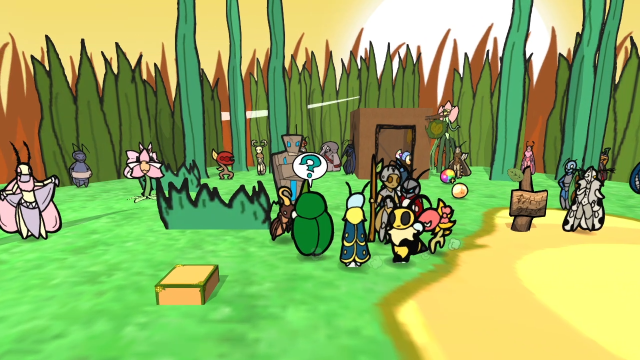 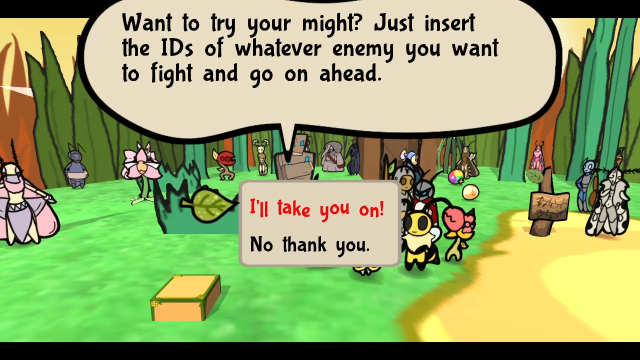 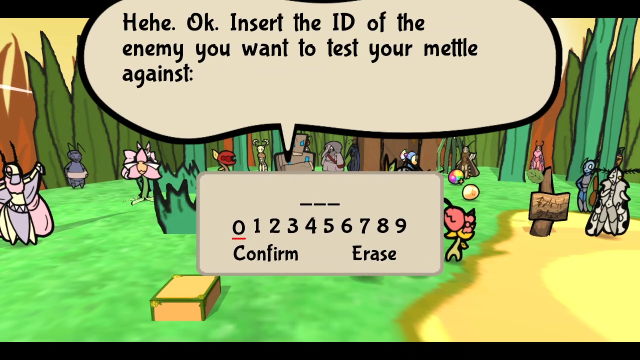 This Zombiant's pretty interesting! It'll let us input enemy IDs (if we know them) and fight anything we want. 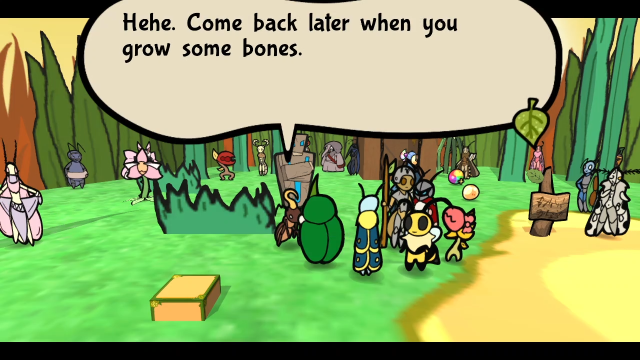 It also insults us if we decline. How rude. 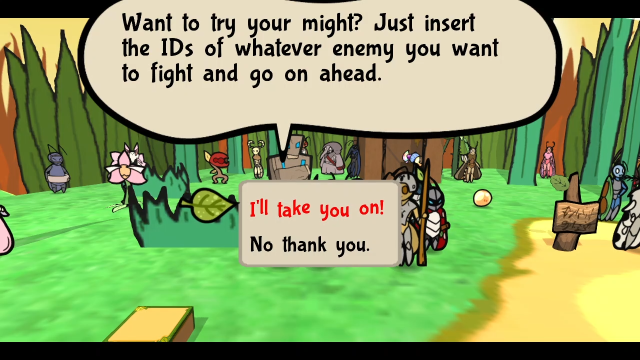 Right, let's do an experiment, shall we? 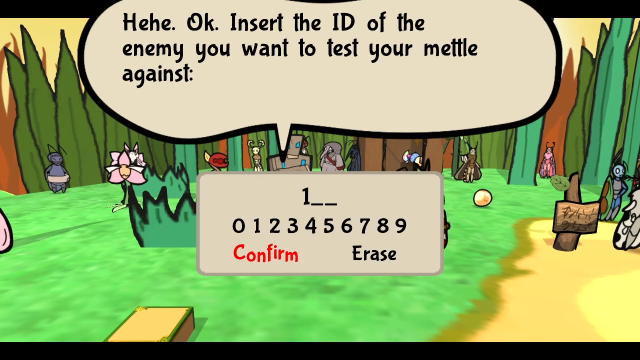 Let's arbitrarily pick ID 1, that's bound to be something, right? 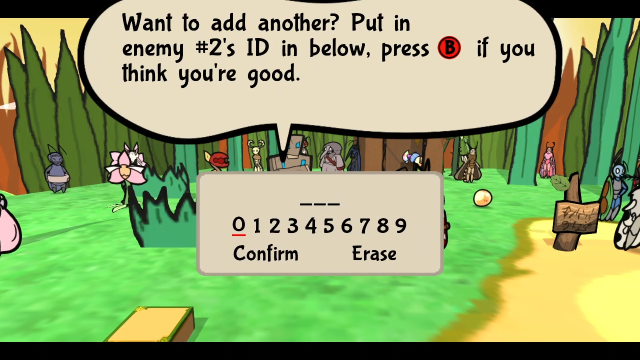 It immediately asks for another one!  Okay, let's try 2 then. 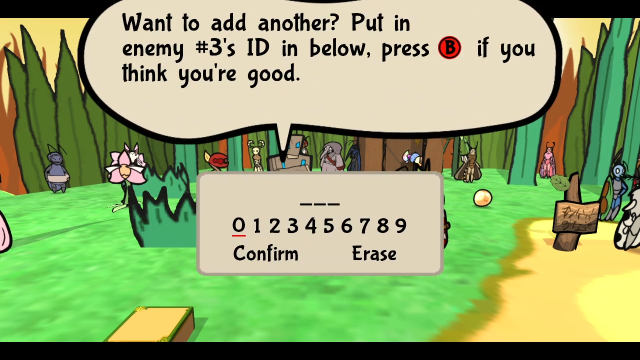 It keeps going, too. I didn't test to see if there's any kind of limit on this, or whether we could make a formation arbitrarily large, but for now let's stop here. 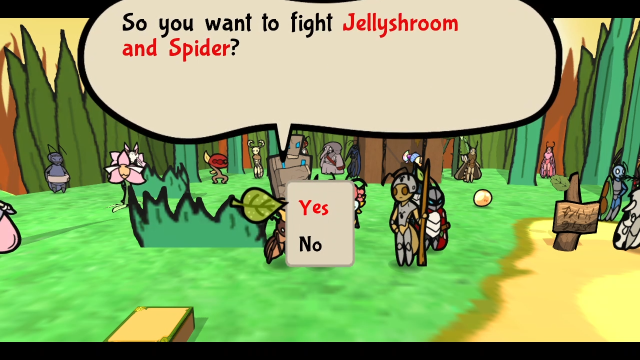 Oh, okay, it makes sense that low-numbered IDs would be early-game enemies. 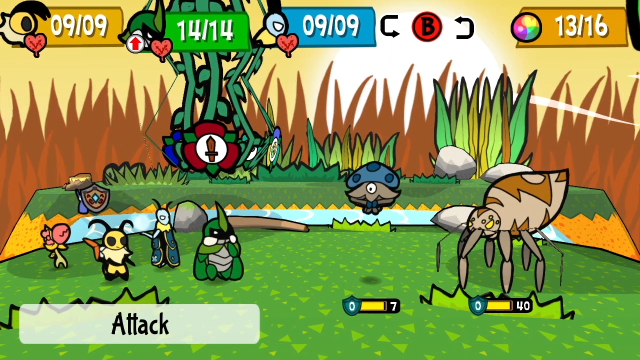 And indeed it puts us in a fight with a Jellyshroom and the Spider. Presumably, we could use this to build any kind of arbitrary formation we wanted (provided we knew all the enemy IDs, anyway; that information is definitely out there), which is pretty cool! I will, however, note one caveat: running away is disabled in these encounters, so this could get weird if you end up putting in an unbeatable cutscene boss or something. There might be some possible softlocks here. 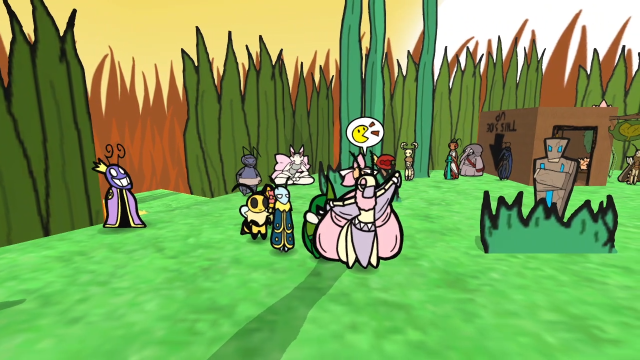 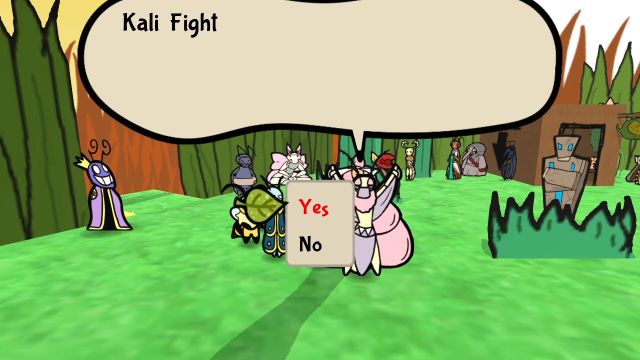 Over here is Kali, and the menu just offers us to fight her. 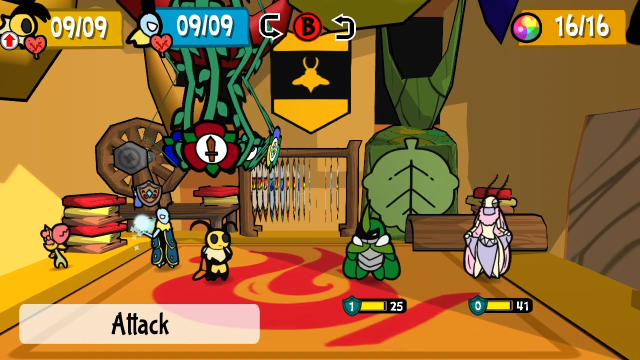 It warps us into the exact Kali fight we saw during her sidequest, complete with Kabbu on the enemy side. I wonder if this being here is an indication that it took them longer to get the scripting working right, or something, that they'd want it easily accessible for testing? 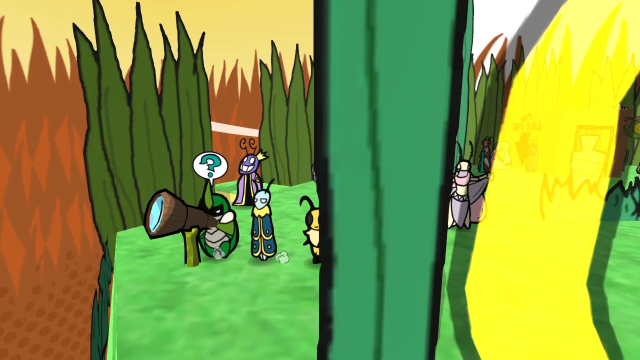 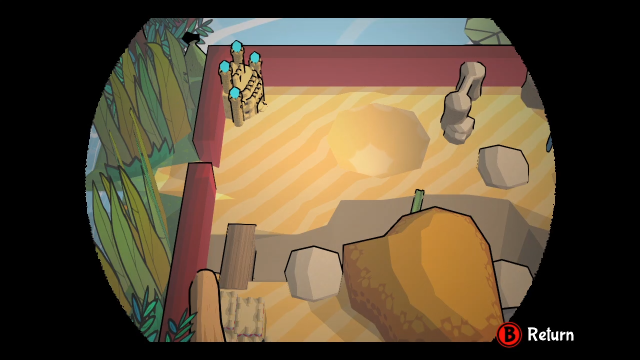 Over here on the far west edge of the area is an interactable telescope, that shows us the same view as the one in the Bee Kingdom. 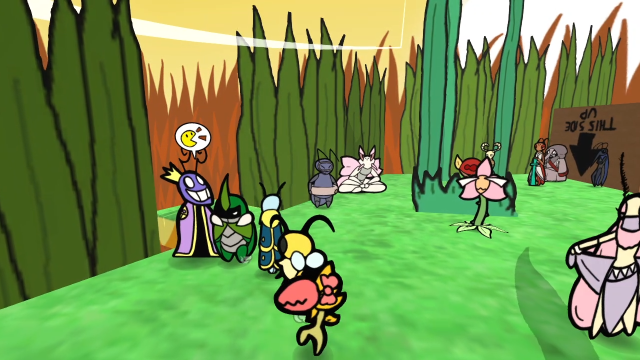 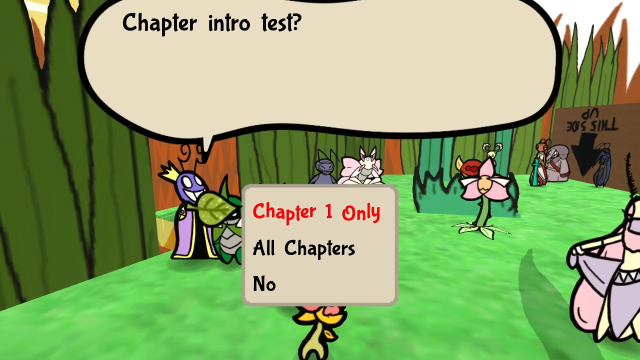 Talking to the False Monarch here lets us view the chapter intros. 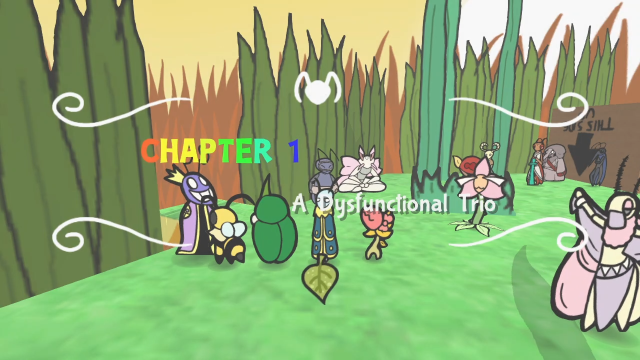 Specifically, it plays the musical sting and shows the screen overlay banner thing. 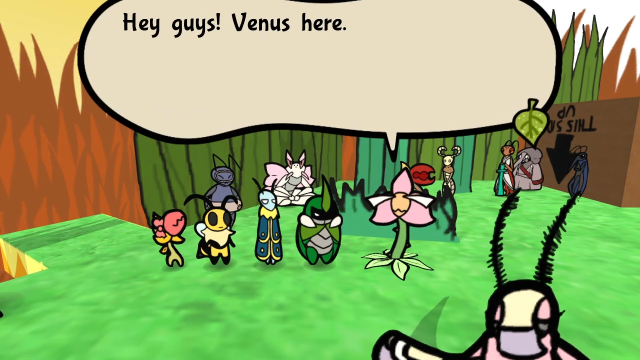 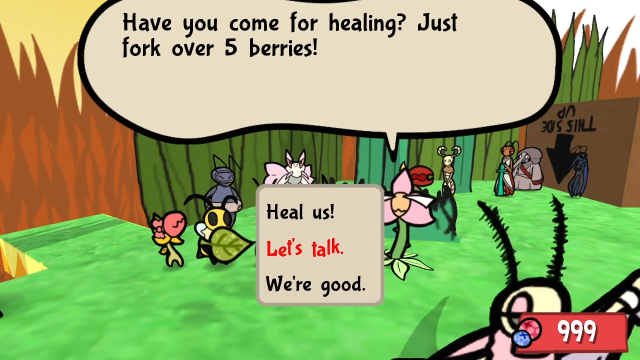  The area ahead seems dangerous... But if you need to heal, just leave it to me. The area ahead seems dangerous... But if you need to heal, just leave it to me.The Venus Bud here just has her usual dialogue and healing offer; we've seen this line before, and I think it might just be the one from her normal Bugaria Outskirts location. 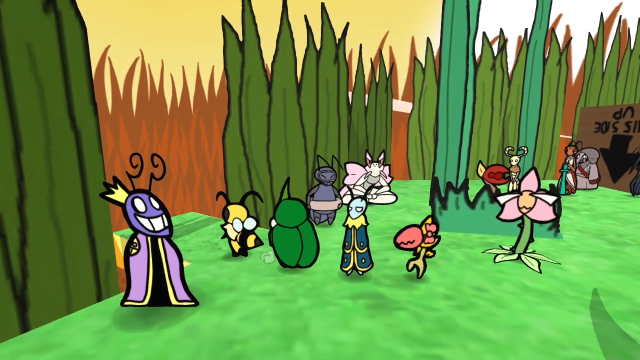 Also, there's an exit over here to the west, which is how you can get back to Bugaria proper (without using the Ant Compass, anyway). 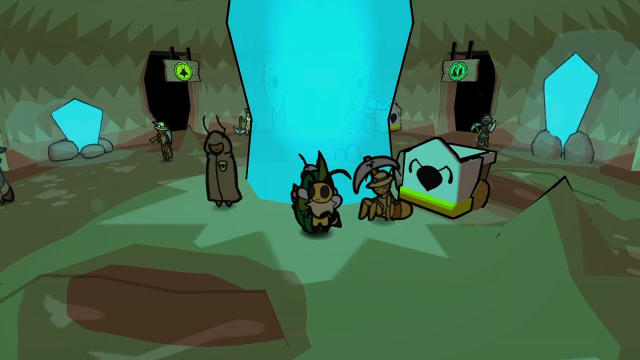 It ends up putting us here in the Ant Mines, the same place as the compass would. (Give me a moment to get back to the test room so we can see the rest...) 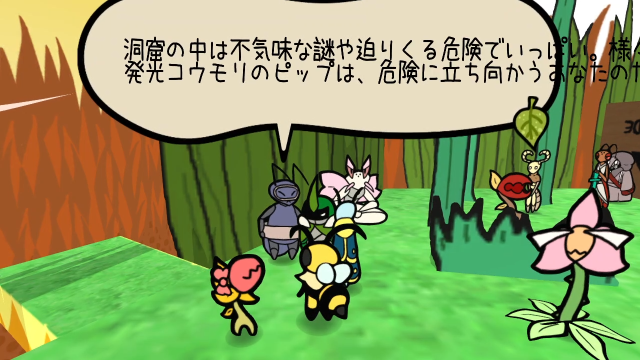 The diver ant seems to be testing Japanese characters. I don't know what this says. 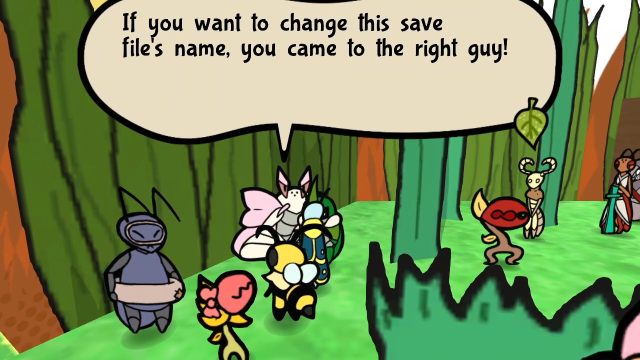 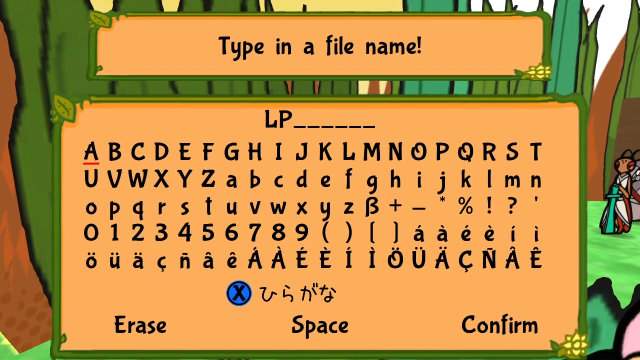 Artis lets us edit our file name, something we wouldn't otherwise be able to do. 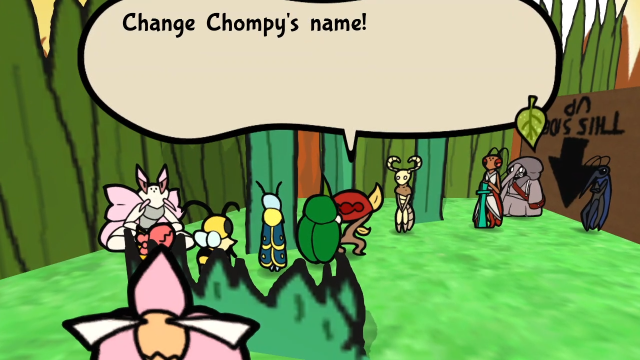 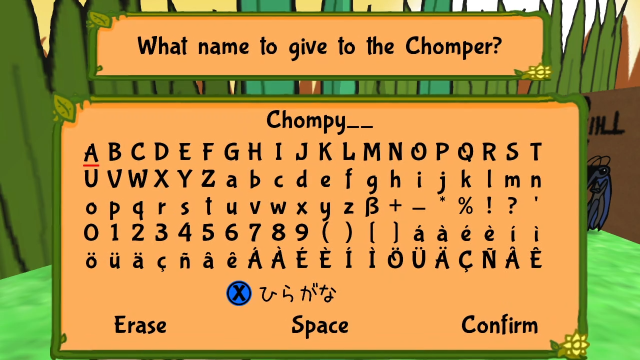 And this Chomper lets us edit Chompy's name. That, we could normally do in the lab. 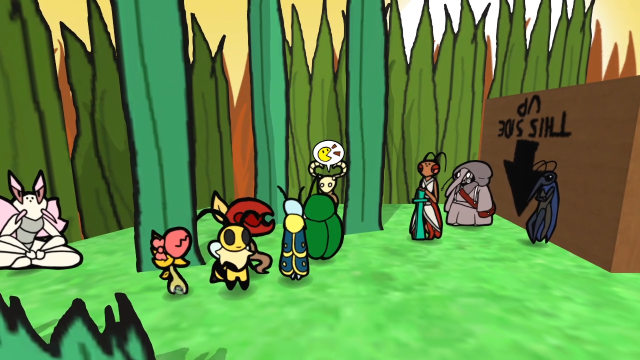 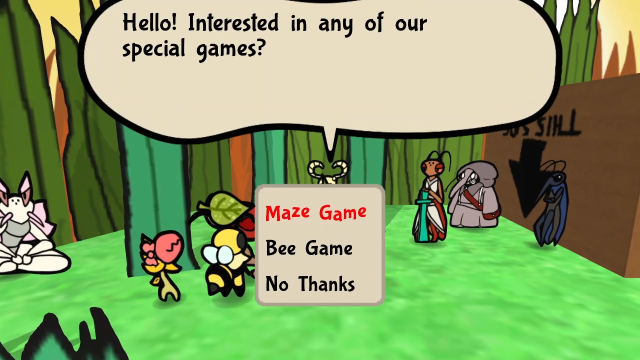 This termite lets us play the Termacade games. 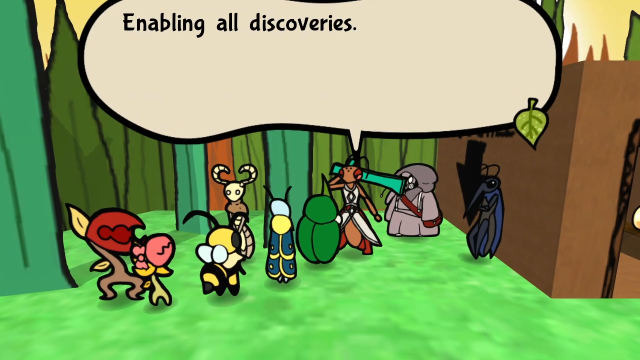 Talking to Maki just gives this message, but I suspect this fills in the discovery log? 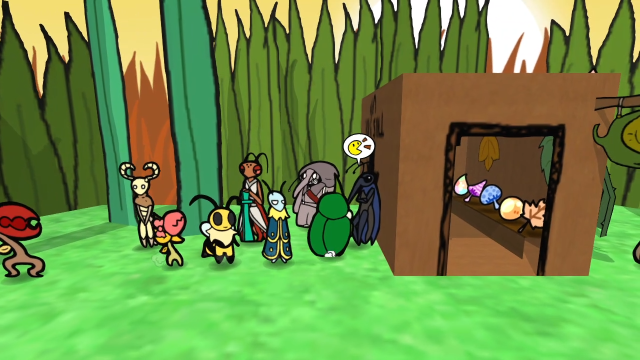 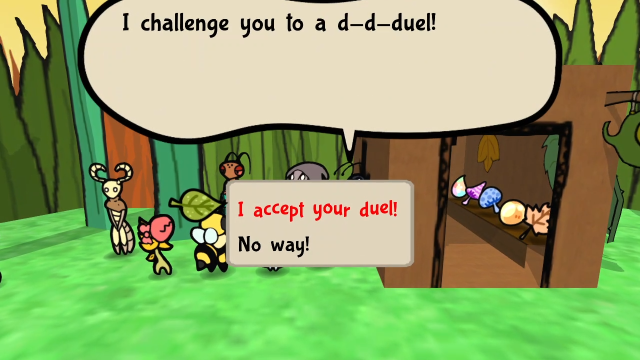 Shay challenges us to a duel. 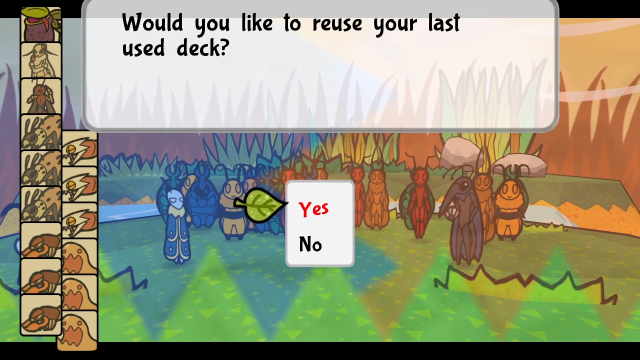  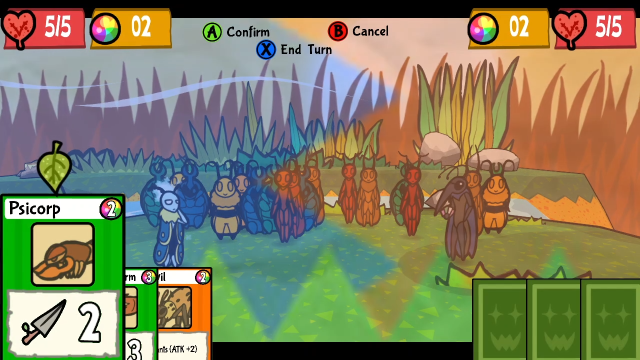 It's the Spy Cards minigame, of course. But it does use the current area background; in the game proper, we played against Chuck here, but Shay used a different background since he was in Defiant Root. 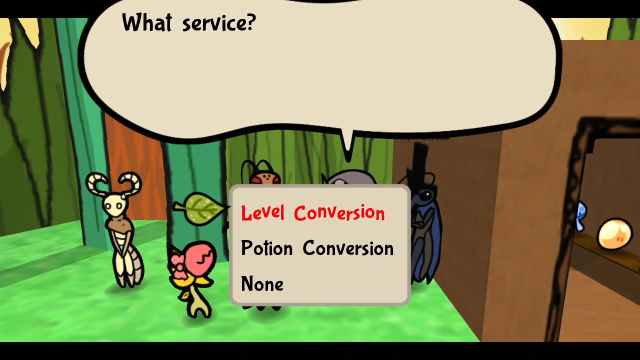 Patton's here with his usual services. 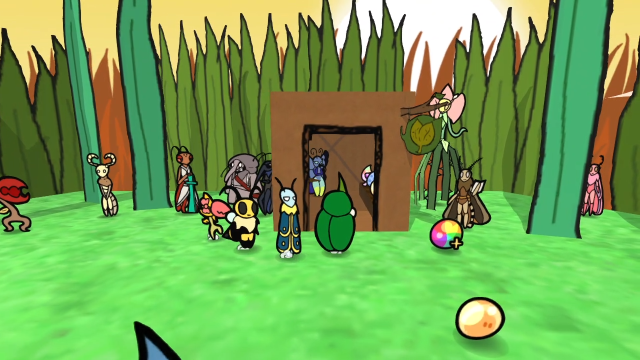  ...And trying to go into Madame Butterfly's shop is apparently a softlock. We get stuck in the entry and literally can't move or put in any other inputs, I had to kill and restart the game. Right, back in a moment. 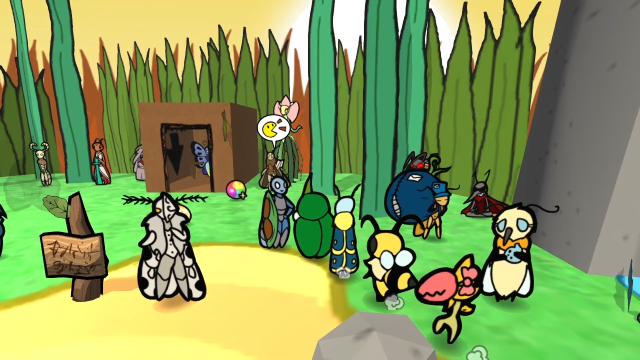 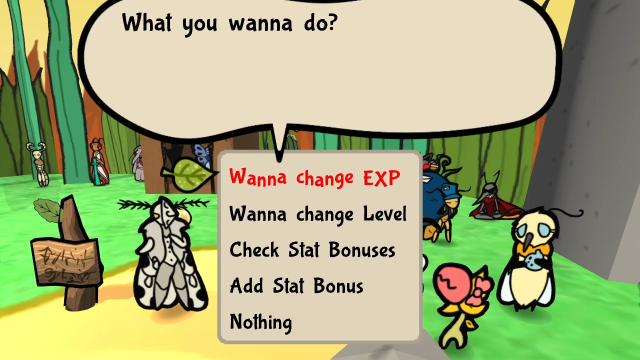 Celia apparently lets us just arbitrarily edit our stats. I'm not going to mess around with this here, but you can make the numbers absurdly big if you want. 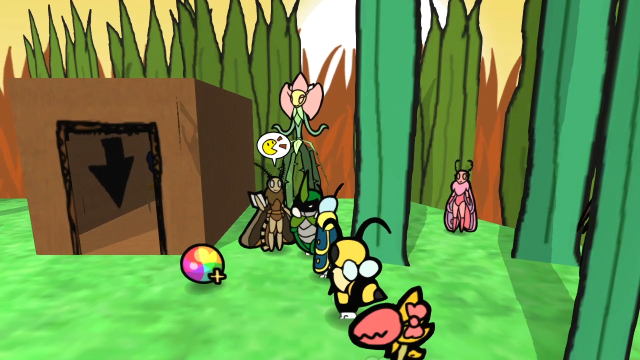  Neolith apparently lets us edit various flags in the save file. I wouldn't know where to begin with this without appropriate documentation. 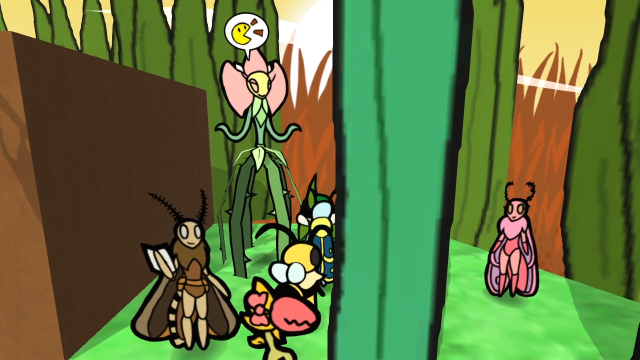 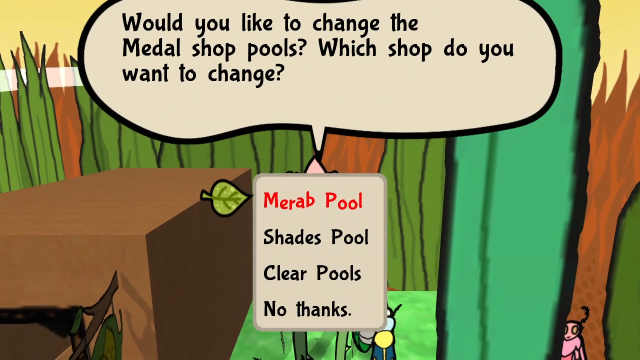 Venus gives us some options to rearrange the shops. I also didn't mess with this, and I'm not sure what it would even do since we're on a completed file where everything has already been bought... 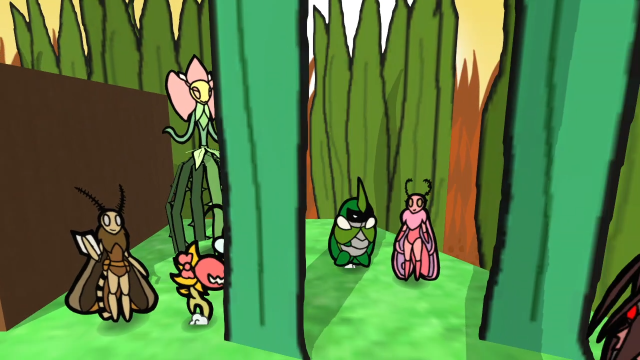  Talking to Muze has her put "one of each item" into our inventory. She doesn't even ask! 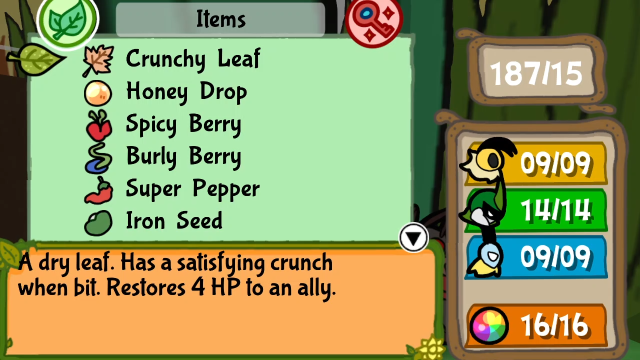 Yes, this breaks the item limit; as you can see here, we're carrying 187 of a maximum 15. This screenshot shows the result if you go to her empty-handed; if you're carrying stuff, you'll still have it, with all of this just coming after. And as you can clearly see, this also includes a whole bunch of key items being dumped into the normal-items inventory. Some of them (like the stat-boosting berries and potions) can be used normally and work fine from that menu; others just don't do anything. You can get rid of them by picking up another item, which will trigger the "inventory is full" menu and let you drop them. 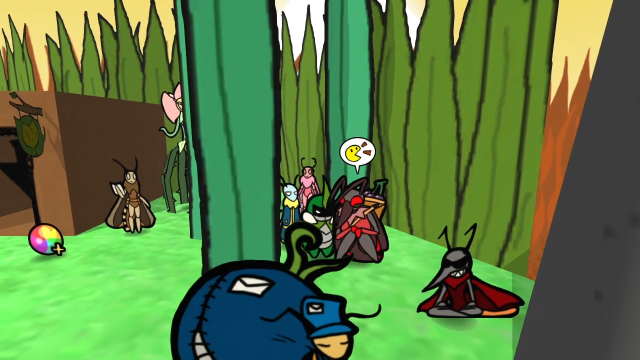 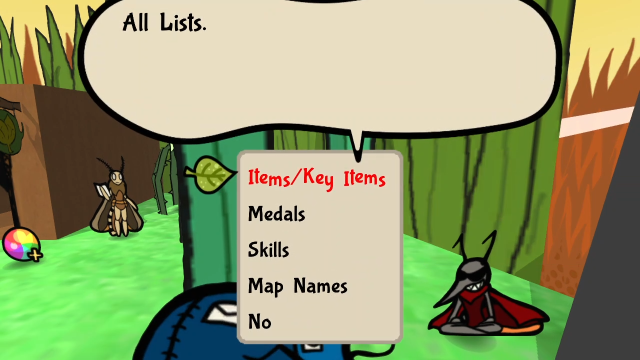 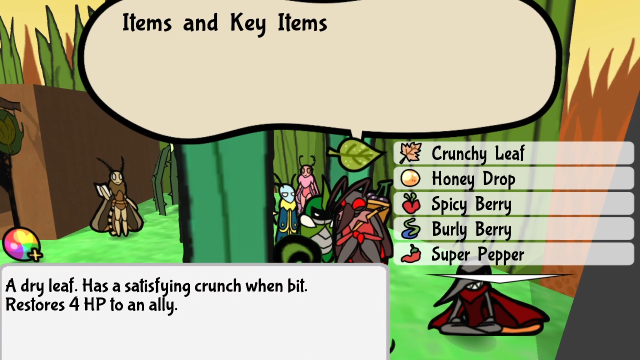 Talking to the Dark Cherry Salesman gives us this menu; he'll let us pick an object from the list and be told its ID number. 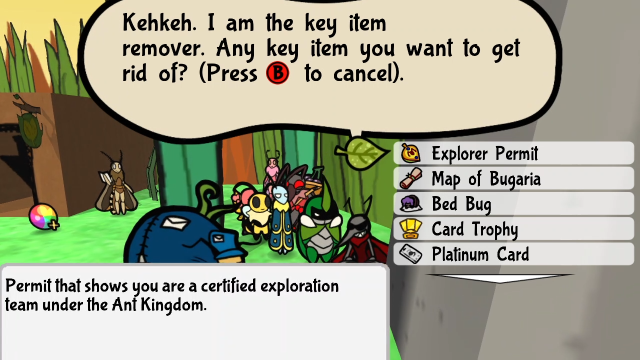 Judie lets us get rid of unwanted key items. (I forgot to screenshot talking to Amber here, but she just has her normal dialogue and lets us access the item storage as normal.) 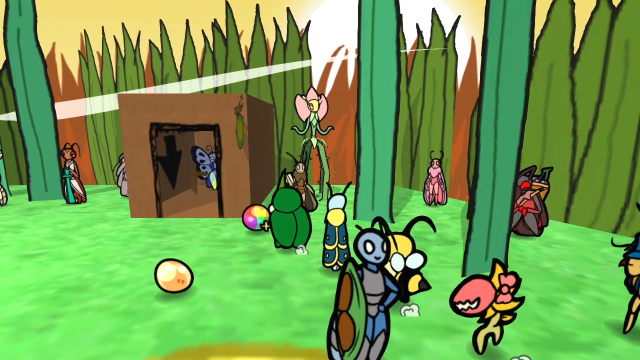 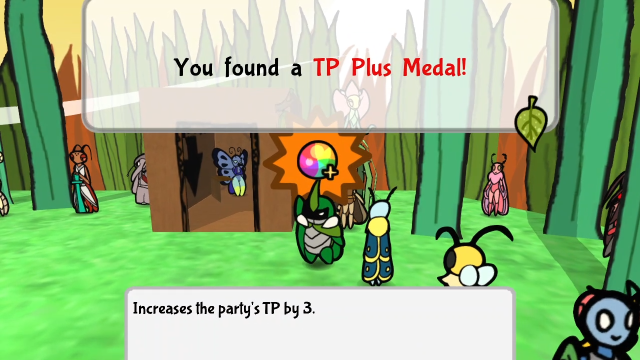 The TP Plus medal lying around here is real and we can pick it up. 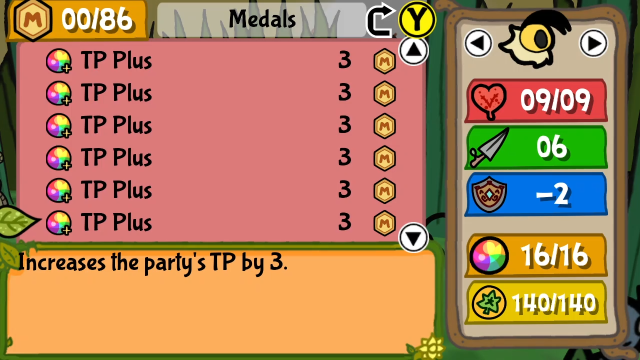 And now we have six! This means the medal list is implemented somewhat dynamically and we could potentially get multiples of anything (including from that earlier NPC who'd give us one of each). I haven't experimented with unintended duplicates of anything, but it could be fun to mess around with at some point. 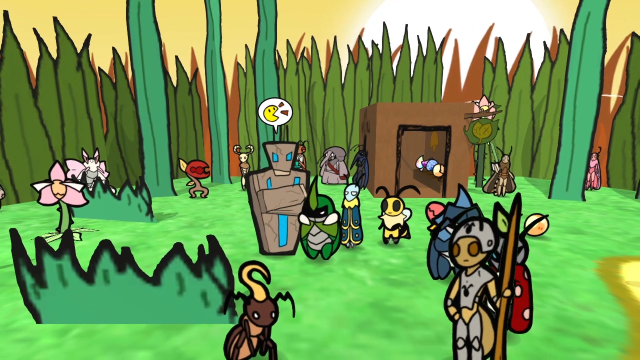 What's this thing over here? 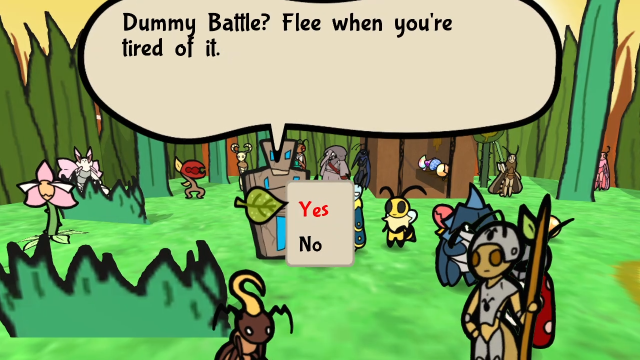 Hm. Let's have a look.  Meet Mr. Tester. It's some kind of training dummy thing that looks like it's made of rock, and appears nowhere else in the game. I'm pretty sure this is something they mocked up to test the combat system. 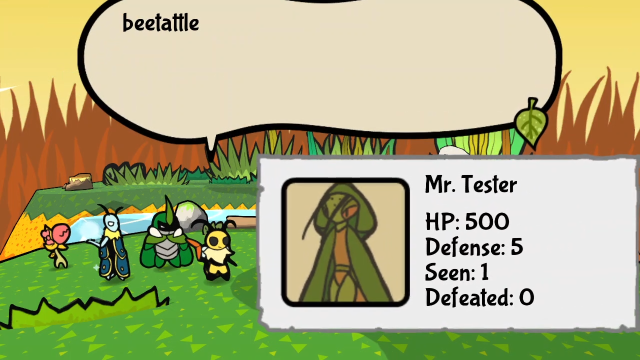 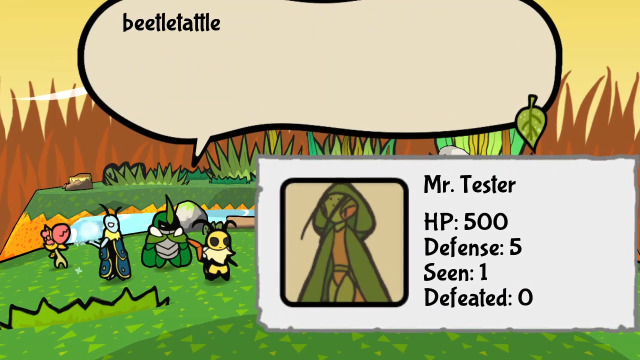 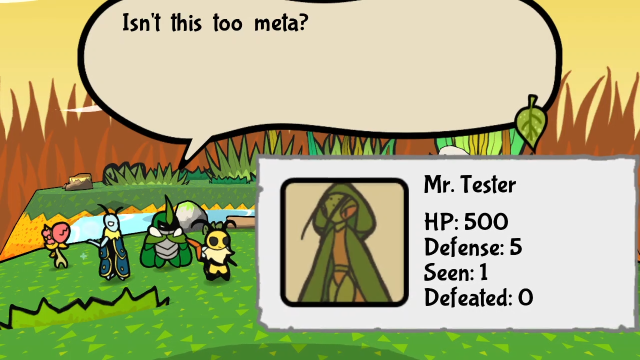 It has Spy dialogue in place, though it's clearly just placeholder text, and uses images of Aria instead of its own sprites. It has 500 HP and 5 defence. (Though it actually has 0 resistance to all status effects.) It can take a lot of punishment, which is helpful if you're going to be practising on it...  And actually, it's even sturdier than just its stats would suggest. This is its only move: every turn, it heals itself by 500 HP and restores 99 TP to us. That's pretty much unbeatable; this thing's clearly designed to be useful for testing, not as a proper enemy. ...But. Are you thinking what I'm thinking? We've got to find a way to kill it, right? This seems like it has all the pieces to be an interesting challenge. We'd have to prevent it ever getting a turn once we start doing damage... the zero status resistances seem promising, but even that comes with an implicit time limit since they'll increase each time it gets successfully inflicted with something. It might be possible, but it's going to be pretty tricky. I'll leave you to mull that over for a bit while we explore the rest of this area, but we'll be back. 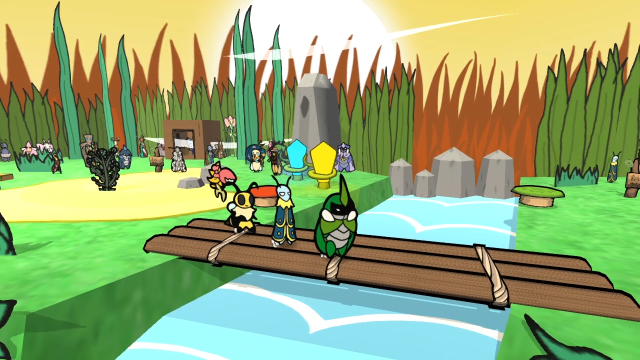 We still need to check out the eastern half. 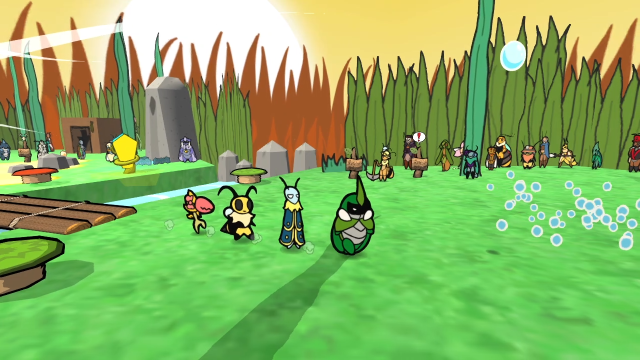 There are a bunch of water droplets constantly falling here, for Leif to freeze. 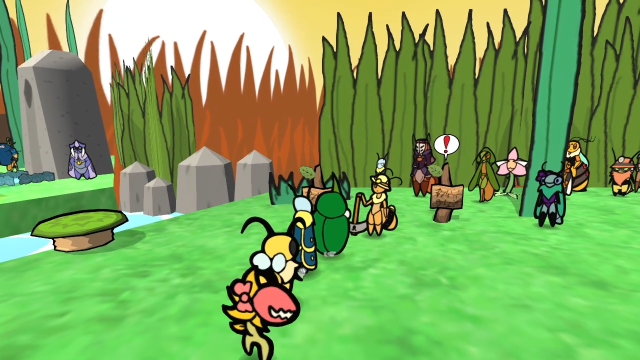 There's a huge row of NPCs here, as well as some signs. 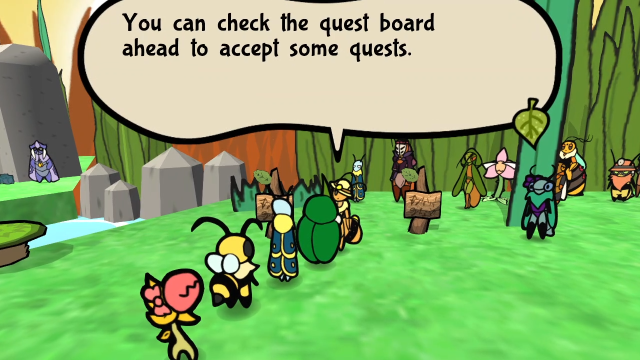  Selecting one from the completed or taken category here will delete it permanently. Selecting one from the completed or taken category here will delete it permanently.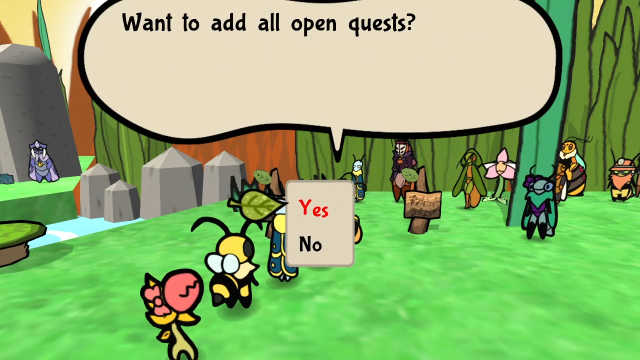 This seems to be the quest progress area. Let's not add any quests, though. 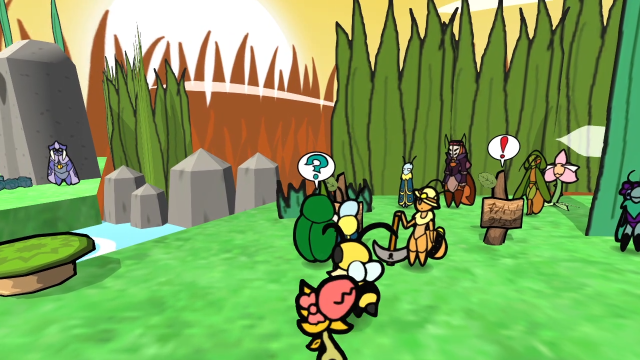 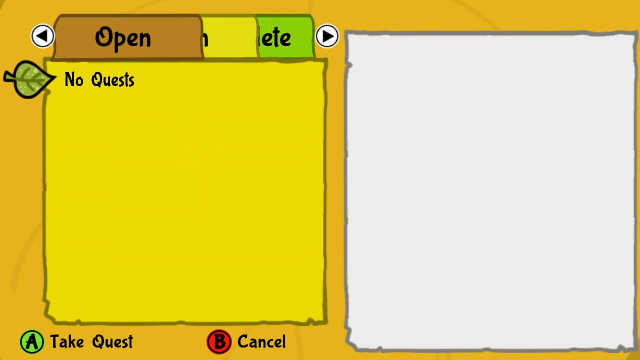 The left sign is the quest board. 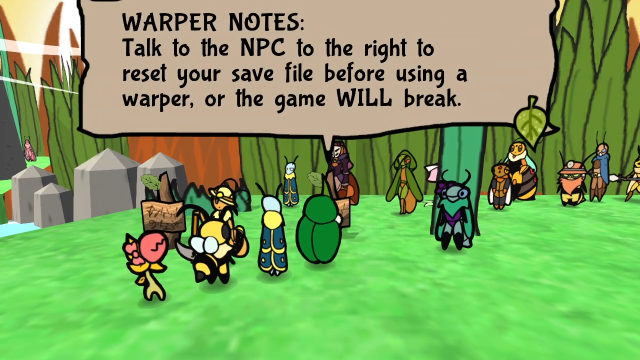  The flags triggered are the ones only needed for the specific part so any other parts of the game could break as well. The flags triggered are the ones only needed for the specific part so any other parts of the game could break as well.The sign with the (!) above it gives us a pretty dire-sounding warning. Looks like this area lets us manipulate the story progress flags. 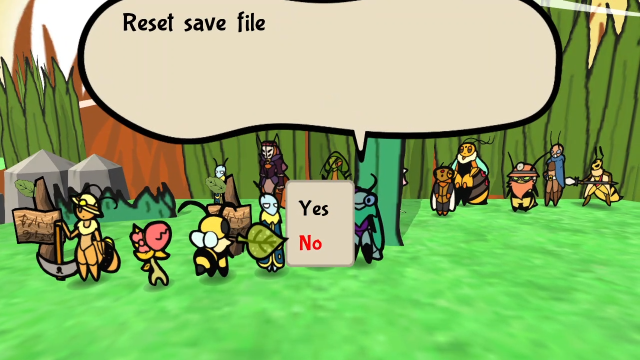 Talking to Rizza gives this option. I haven't tried using it, so I'm not exactly sure what it does. 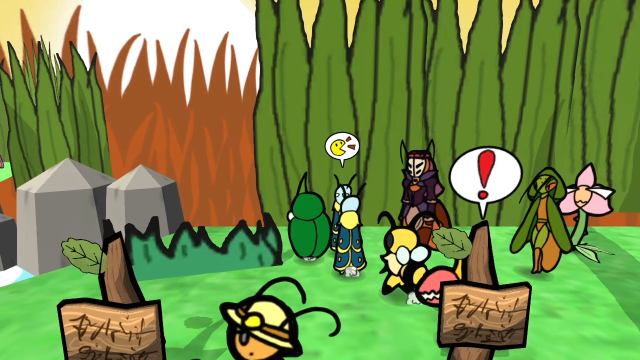 There's a second Leif here? 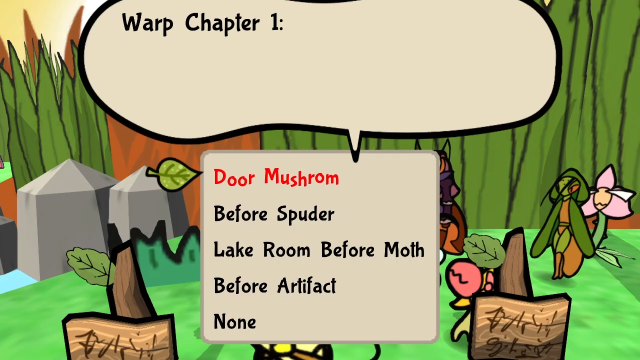 He gives us various options to set our story progress within Chapter 1. 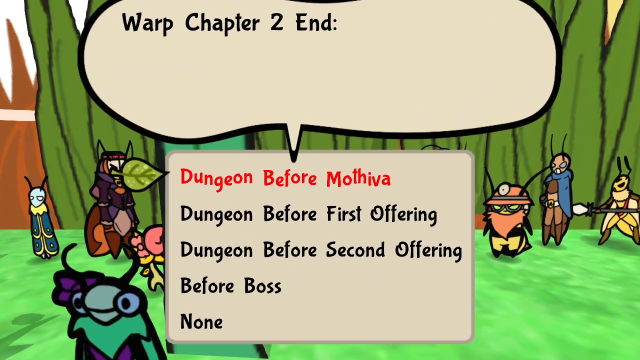 Here's another one giving us options for the latter portion of Chapter 2. There's a pretty specific granularity here, encompassing most of the progress flags for the main quest.    All of the NPCs here are like this, and they're organised in a vaguely thematic order. 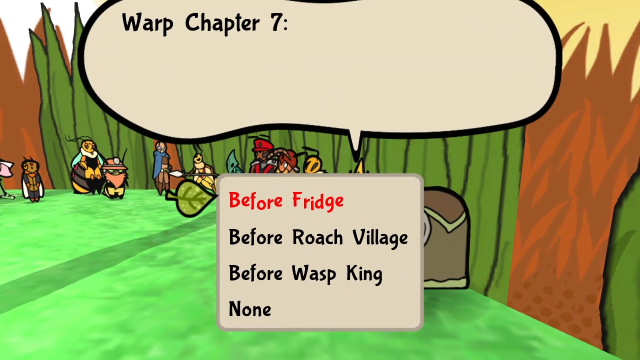 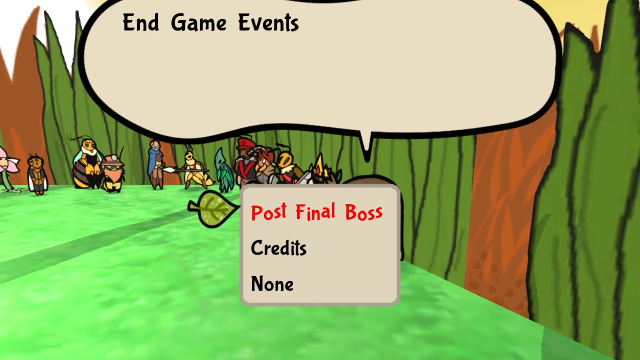 Ending, finally, with the Wasp King and Roach Elder with the endgame areas. This seems pretty neat if you want to replay certain parts of the game (or maybe for challenge runs to access late-game areas with a low-level party?), though I haven't actually tried it so I'm not sure if this all actually works or if some things will break.  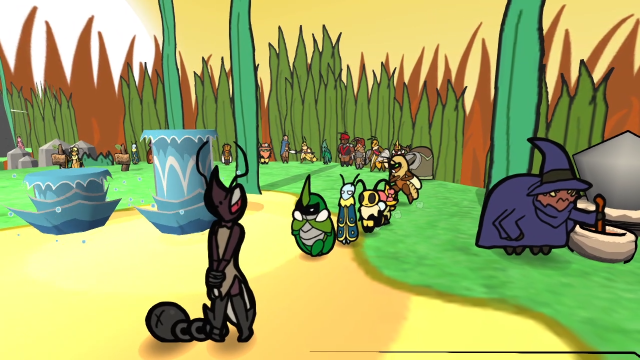 Past the "warpers", there's a bit more to see. There are some bandits walking around here, they act like enemies but don't actually trigger encounters if you touch them. 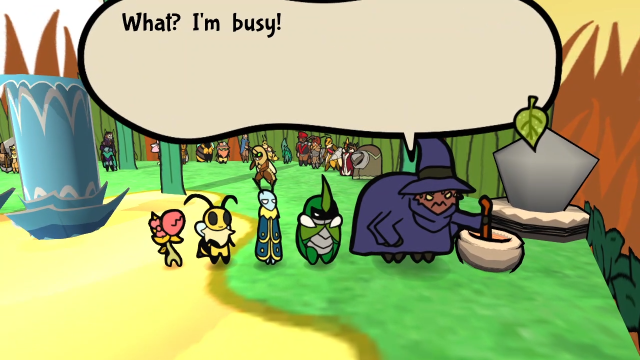 The Wizard doesn't really have anything to say. 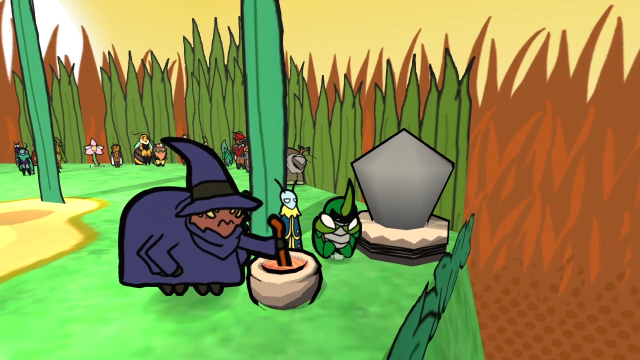 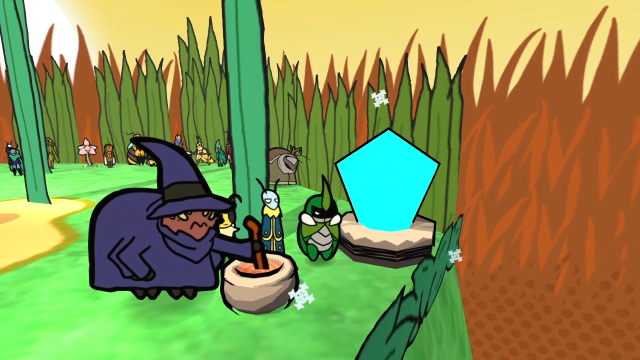 Hitting this crystal toggles an icy effect, like the ones in the Sand Castle, but has no other function. 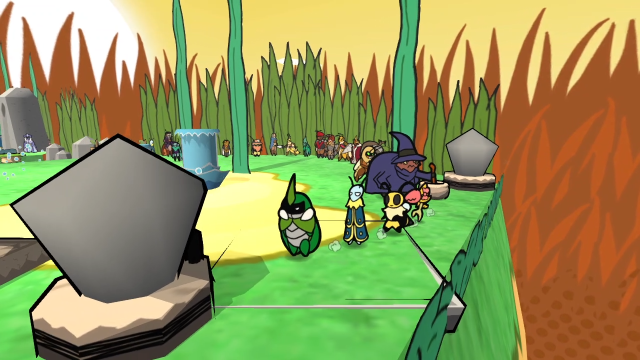 This looks a bit weird, there's a platform embedded in the ground? 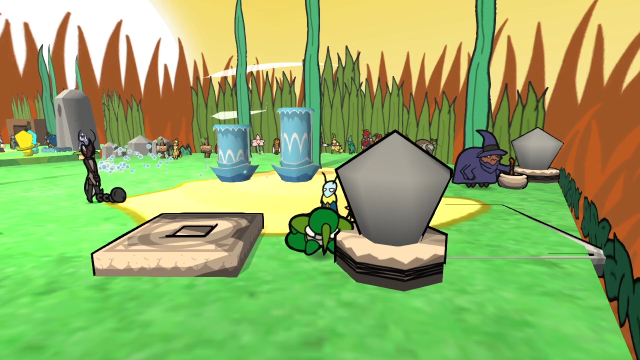  Hitting the crystal turns on the elevator. 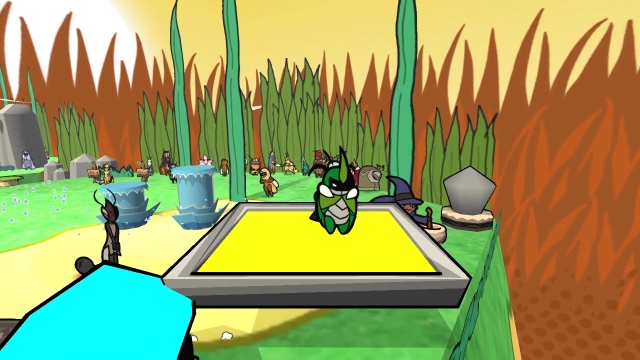 It's one of the shocking ones, like we saw in the Honey Factory and Rubber Prison. We can ride on it, but it just bobs up and down and doesn't really go anywhere. 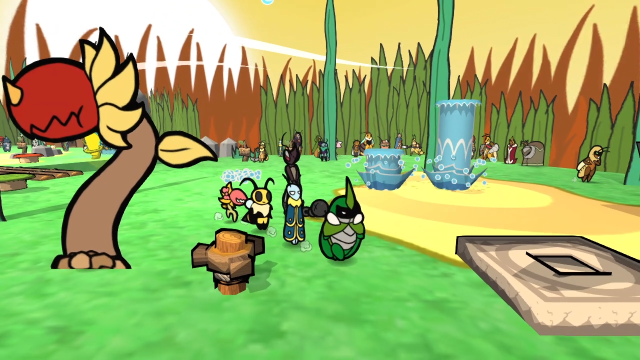 There's also a crank here which can be turned with the Beemerang. 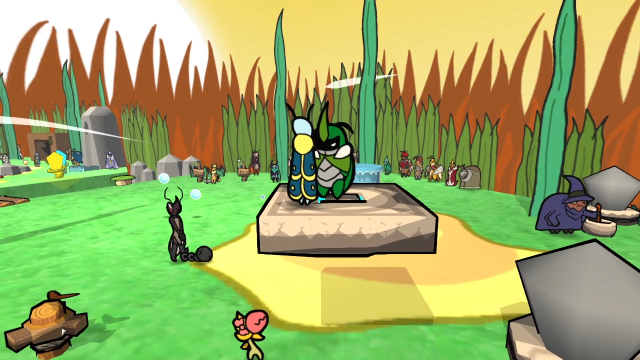 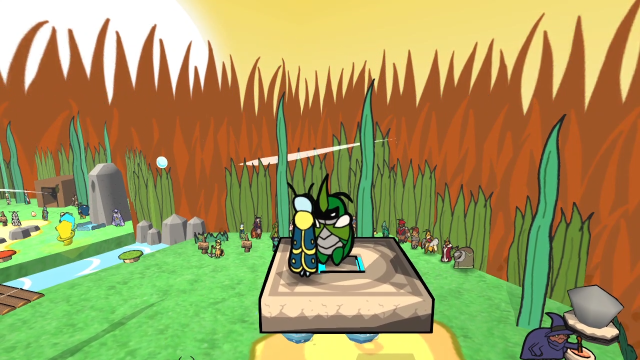 This one takes us up pretty high, and gives a nice view of the area (even if there's not all that much to see, really). 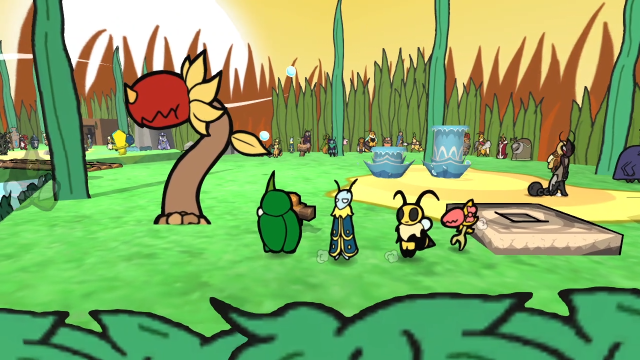 Also, there's a Mother Chomper here. 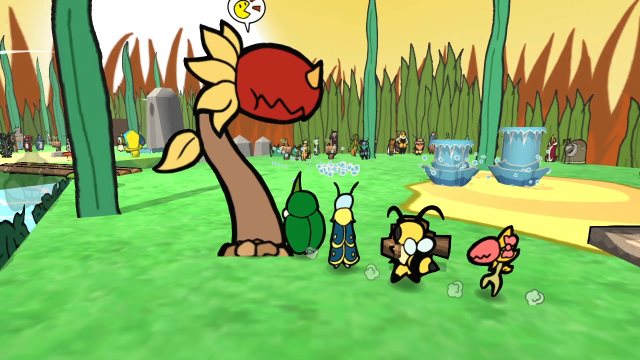 We can talk to it? 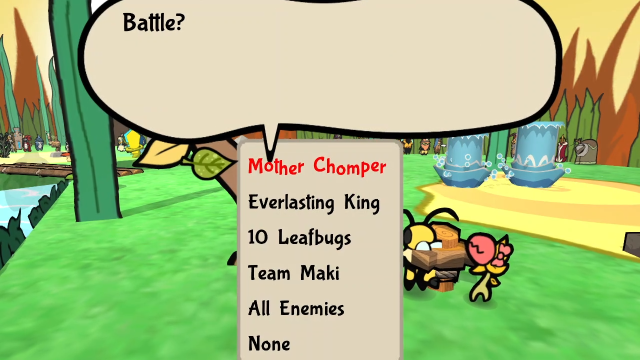 This menu's pretty terse, but offers some potentially interesting options! Any one of these we pick will send us into a battle immediately. (Also, because there's so little text, it's very easy to accidentally end up in a fight, if you're in the habit of pressing A to speed up the text. And you can't run from these fights because they're treated like bosses.) 32 - Frenzied Sunflower Dance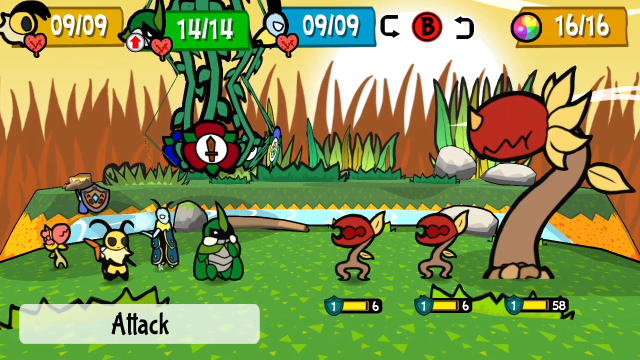 The first option puts us in a battle with Mother Chomper. It's exactly the same fight as in the normal game, but it uses the Outskirts area background and plays the Venus' Guardian boss music instead of the Bounty theme.  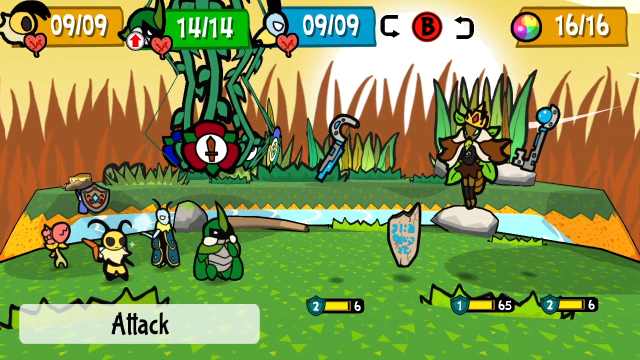 The second option is the Everlasting King. He starts with all the artefacts in play instead of having to summon them, which does change the fight up a bit, but otherwise it's the same (including the two scripted heals at 10 HP). Once again, the Venus' Guardian music plays. 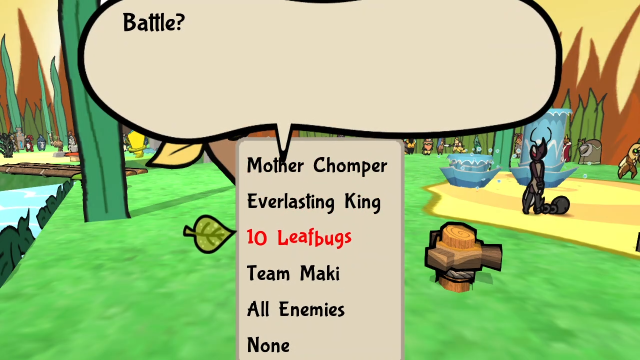 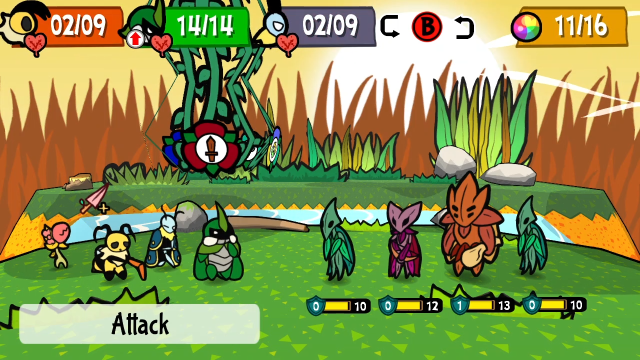 "10 Leafbugs" is the sequence we fought in the postgame sidequest to help Yin evolve (and unlock the Team Maki battle). And, again, Venus' Guardian battle theme. 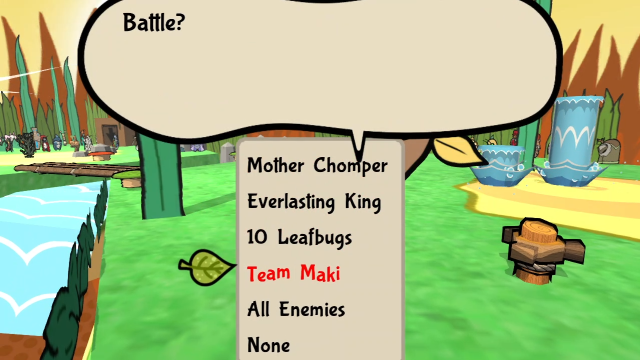 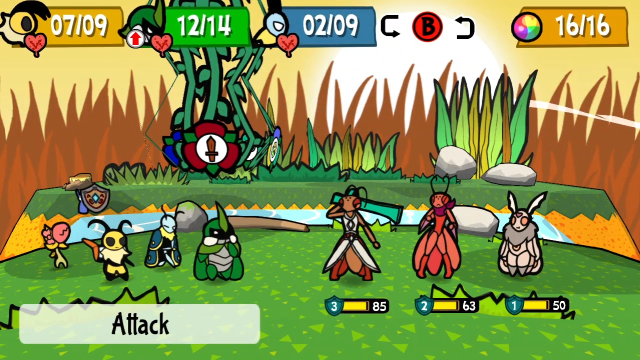 The Team Maki option, naturally, throws us into that fight. Aside from the background change, and the music (it's the Venus' Guardian music again), it's the exact same fight.  Finally, we have "all enemies"? That sounds intriguing! Could this be an even harder boss rush? Or maybe all the enemies at once somehow? 81 - Transcending, Overpowering, Everlasting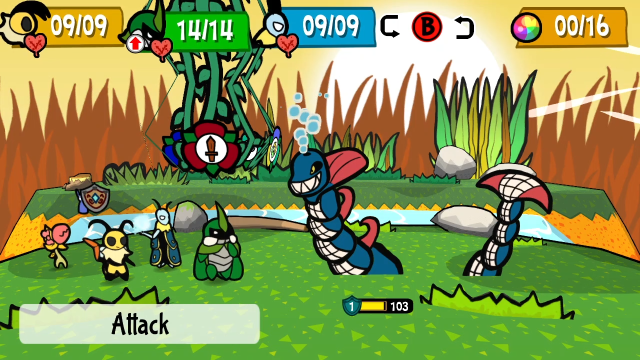 Unfortunately, whatever you were expecting or hoping for, this one's just an outright lie. It ends up just being a fight against Tidal Wyrm, but with the Everlasting King's battle theme. Anyway, it's pretty neat that this is here, though I'm not sure why these specific fights are the options (or what the logic is behind the music choices). Maybe these are just fights they needed easy access to for testing purposes? 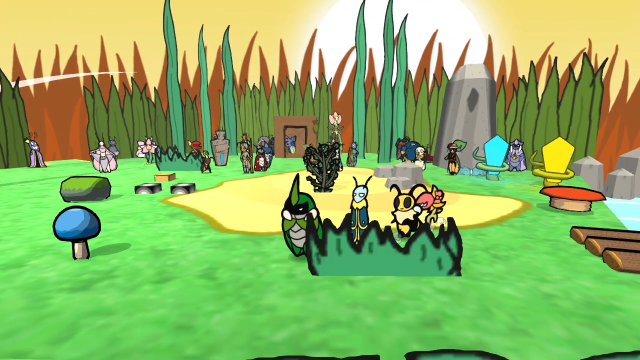 Let's head back... 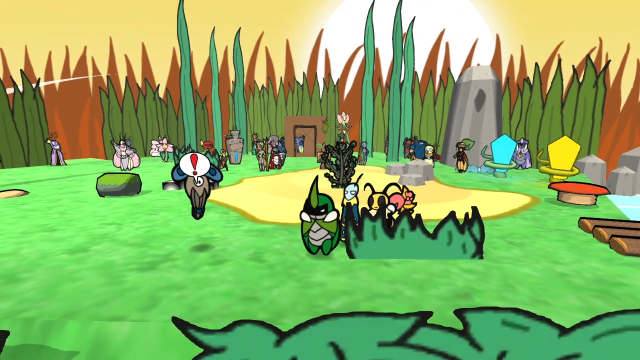  Oh, right, this thing was here. (It's respawned because I had to reset after the softlock, otherwise it would have stayed dead.) 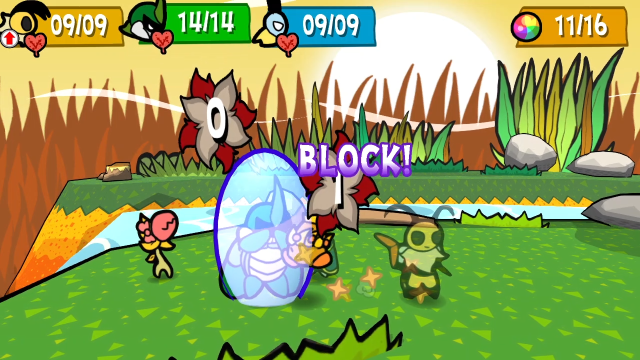 I'll take this opportunity to quickly demonstrate that the Bubble Shield strategy works out a lot better against these, and if you use it on Kabbu combined with Taunt and Spiky Bod, you can wear them down with the counter damage at no threat to yourself. 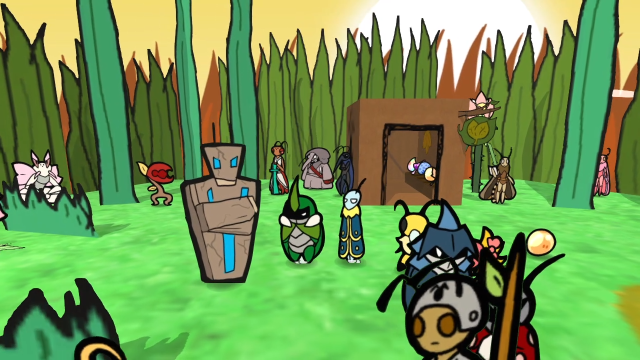 Right. Now that we've seen everything else here, back to Mr. Tester. I spent a couple hours messing around with this thing, trying various strategies. The core concept is fairly straightforward: inflict a status effect on it every turn, to keep it from getting to take any actions, and use attacks that ignore defence. The devil's in the details, though. Recall that every time you inflict a status, the enemy's resistance to that status increases. On Hard, the increase is 18% for Freeze, 15% for Numb and 13% for Sleep. Even starting from 0 resistance, an enemy can at most be subject to 6 freezes, 7 numbs and 8 sleeps. So, no matter what approach we use, we're up against a time limit (two, in fact: the hard time limit of full immunity, and the soft limit imposed by the increased vulnerability to RNG). One of the first things I tried was Frigid Coffin, and quickly ran into some issues. First off, as it turns out, Leif's ice attacks won't freeze enemies unless they do nonzero damage. I don't think I ever realised this before, because with Leif at base attack Frigid Coffin does 4 damage, but this enemy has 5 defence, so he'd need attack boosts to get through. And if we give attack boosts to Leif, then we can't give them to Vi; we need her piercing damage or it's just going to be too slow (and every action we spend fishing for freezes with Leif once resistances start building is one Vi isn't doing damage, and then we can't do damage after freezing or we'll break it). I think this is a dead end. So, instead, we're going to go with a variant of the strategy often called "rainbow needles" or "needle flash" (which, incidentally, is a strategy I've been wanting to show off but couldn't find a way to fit into the LP before this, so that works out nicely). That said, this was still pretty tricky and required some finagling, I had quite a few unsuccessful attempts before working out the kinks even with the medal setup that ended up getting there. 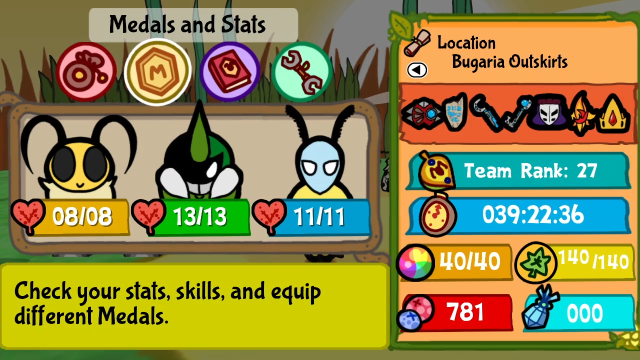 First off, I redistributed some stats. It ended up being very important for Vi to have 8 or fewer maximum HP, and I also reallocated three levels from MP to TP, as there ended up being a surplus of MP and no further medals that would contribute. 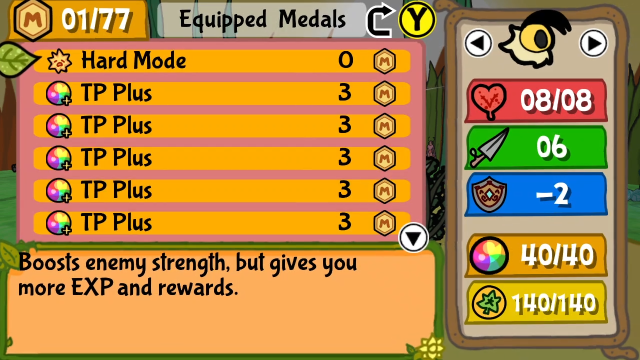 We start off with every copy of TP Plus, we're going to need the TP to keep up with our skills. (Mr. Tester may offer us TP refills, but it will stop doing so once we paralyse it. If it ever refills our TP, we've failed.) 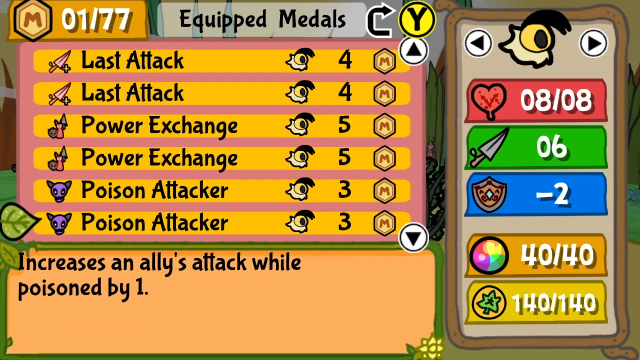 As you may imagine, I'm pulling out all the stops to maximise Vi's attack power. We'll be using the poison boosts on top of everything else. 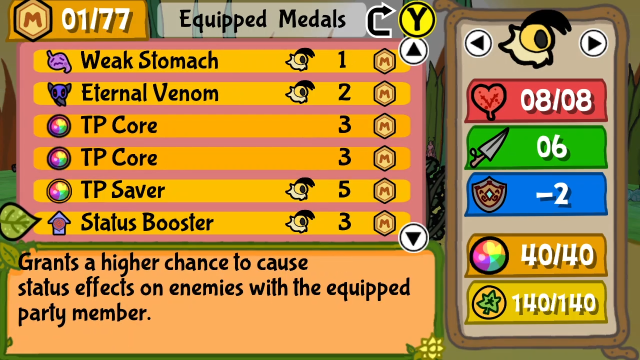 TP Core will help us keep up with the skill output needed, though we'll definitely be outpacing it. TP Saver is along similar lines (though it's actually what necessitated 8 HP: it reduces the cost of Hard Charge as well, so a Hard Charge at 9 HP wouldn't put Vi into Last Attack range with this). I experimented a bit with using Life Cast + Life Stealer on Vi as well, but even with this much attack power, it didn't restore enough HP to be fully self-sustaining and ended up being counterproductive (Life Stealer comes with a 1-point attack drop, and I was losing some turns to having to heal Vi when she ran out of steam). Status Booster on Vi is also very important, for obvious reasons. 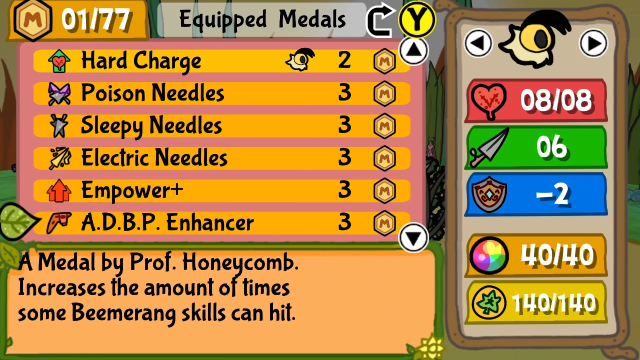 Finally, Vi has all three status needle medals, as well as Hard Charge and ADBP Enhancer. Yes, the status medals stack. Each hit of Needle Pincer has an independent chance to inflict each of these status effects. (In addition to the extra damage, this is why ADBP Enhancer matters, because it gives us an extra hit.) Now, these multiple hits are a bit of a double-edged sword, because while they give us more chances to fish for status effects, if we succeed more than once, we'll build the enemy's resistance faster. That's a risk, but on balance, it's worth it. Also, if you inflict Sleep on the first hit, the later hits will wake the enemy back up... but it actually doesn't matter, because of the sleep glitch. I think I've mentioned that before: if you hit a sleeping enemy, it wakes up early but still skips its turn. I find this a bit cheesy in normal gameplay, so I don't normally use it, but for better or worse it's the secret sauce that makes this strategy works, and for this particular application, we need it. And we have Empower+ for Leif, a convenient way to sneak another attack boost in. (In retrospect, I think I might've wanted to also equip Break or Break+, because after Empower, that would've gotten Leif to the breakpoint for freezing with Frigid Coffin from the back lines. That would have been a very useful fallback plan for when the status needles stop working. But I didn't think of it until after the successful attempt, which didn't end up needing it.) Also, not shown in the screenshots, I have Spy Specs on, and Leif has Strong Start. Neither of these actually mattered, so I could have redistributed another level into TP. 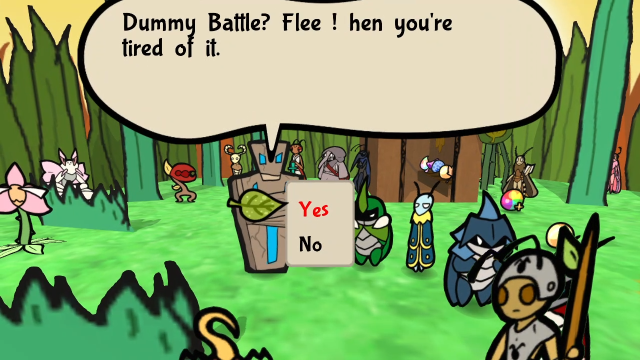 Right, let's go! (Also, seen here, Mr. Tester's dialogue box uses the same glitchy text effect as many of the computers in the main game.) Please watch the video if you want to see the full fight; I'm not going to do the full blow-by-blow here because a lot of it gets repetitive. 04 - FIGHT!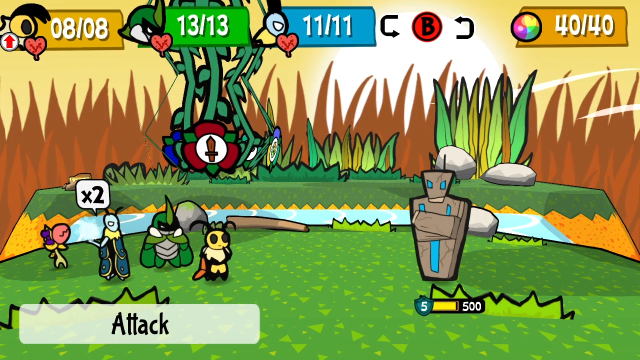 This is going to be a lot of HP to chew through. That said, we're not going to start on that just yet. One advantage we do have is that its recovery doesn't matter until we actually start doing damage, so we can take advantage of the free TP recovery to do as much setup as we like. 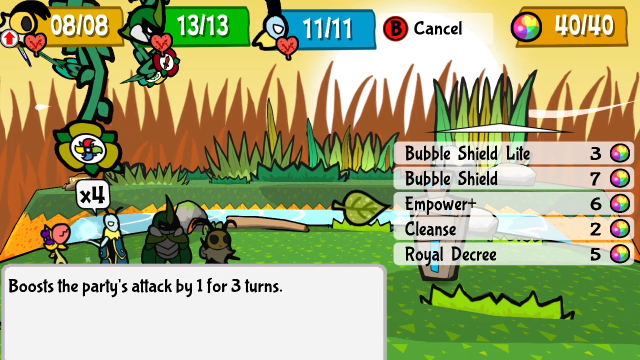 So we'll spam Empower+ with all of our actions for, uh, several turns, to build up a duration that will last the entire fight. (As I said earlier, I think in retrospect I'd also have incorporated Break or Break+ here, reducing its defence to 4 would let us use Frigid Coffin to freeze it in an emergency.) 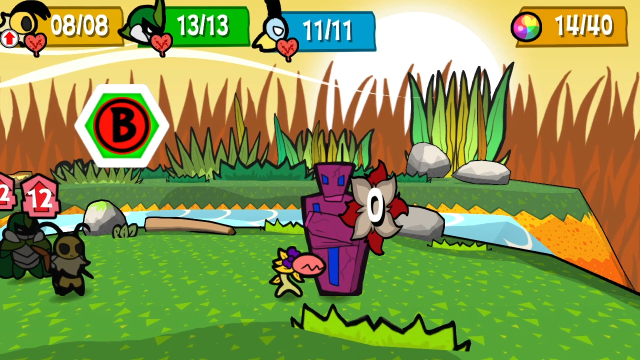 This is also why Chompy's got the Venom Ribbon equipped, we'll let her stack some poison turns on the enemy. It might not do much (especially since Vi will be inflicting poison once we start attacking), but I'm taking no chances here, any tiny edge could end up mattering. 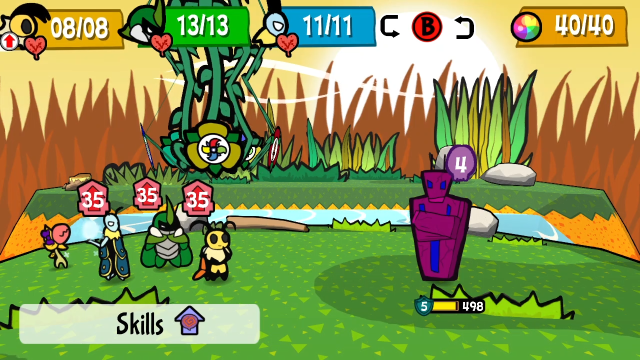 Right, that should probably be enough. That said... we're not quite done setting up. We've got to get Vi poisoned and low on HP, after all. 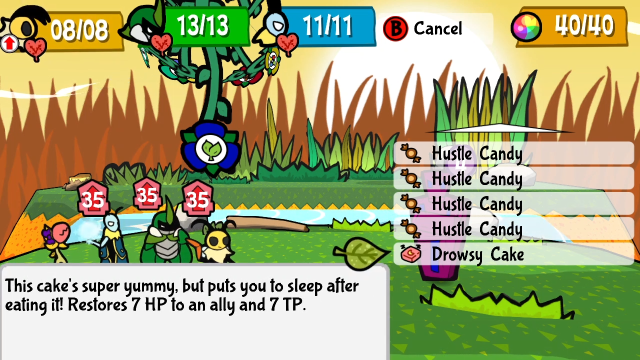 But that's not all, we're going to do another trick too. We'll use a Drowsy Cake to set up our Weak Stomach poison, and also put Vi to sleep for 2 turns.  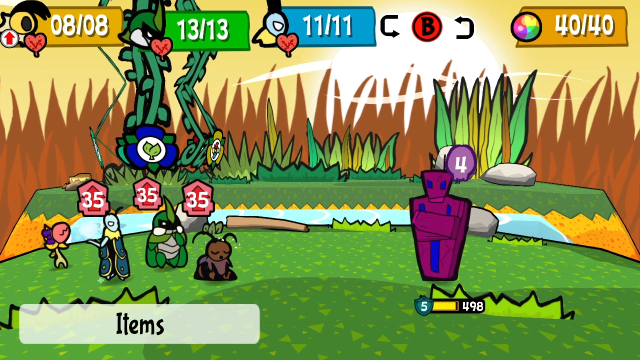 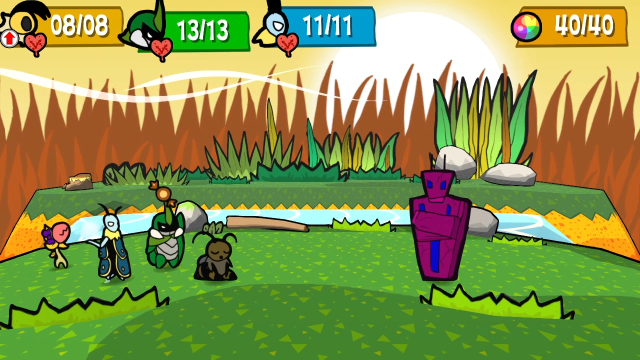 Then, once she's asleep, the others start force-feeding her Hustle Candies. I have no idea how she eats them while she's sleeping, but this lets us build up extra actions on her beyond the normal limit (since as long as she's asleep or otherwise immobilised, they won't be converted from extra "hustle" actions to actual turns, and we can keep stacking them).  I didn't think it was worth going beyond this, but if we'd used another Drowsy Cake or similar status item, we could have extended the sleep and kept going (Hustle stacks to a maximum of 9). 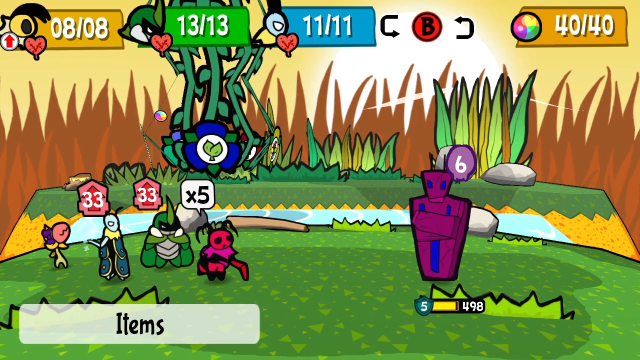 Right, that's the preparation part done. 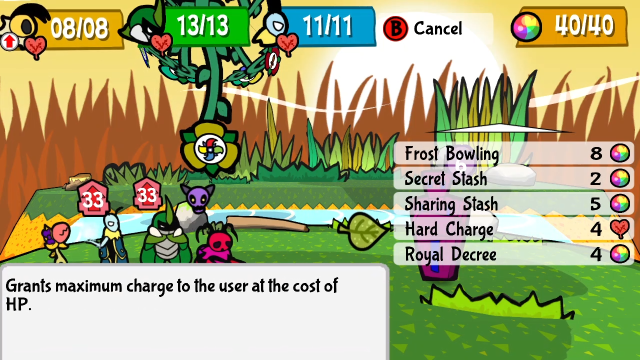 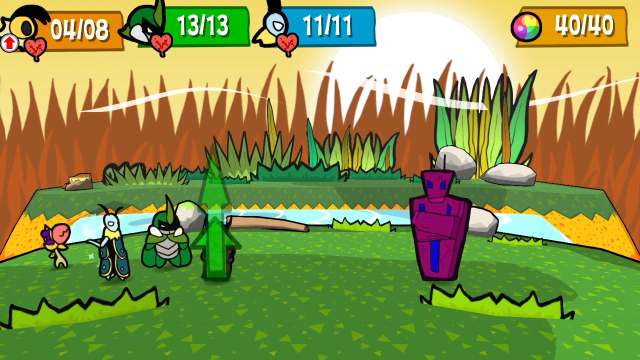 Vi starts out with Hard Charge to activate Last Attack. This does build exhaustion, but it's still worth doing, and we couldn't do it earlier because the Drowsy Cake healed Vi. (In retrospect, I think next time I'd have her use Ice Cream instead, for a 2-turn freeze that doesn't heal. Then we could set up Hard Charge first and start this turn without exhaustion. I didn't think of this at the time; you're seeing my first successful attempt.) 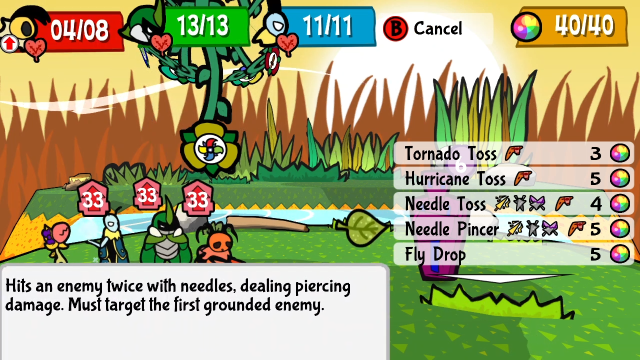 Now we finally start using our fully-enhanced Needle Pincer.  Flashy! (This is why people often call combining these effects needle flash or rainbow needles.) And we've definitely inflicted Numb and Poison at least; I think Sleep has been too, just not visibly. This does burn through a lot of resistance, but it gets the job done. We're off to the races now. 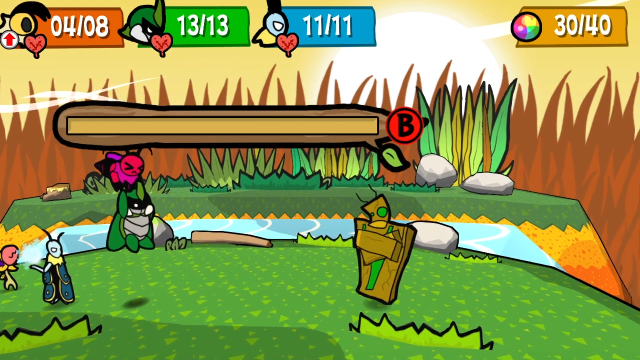 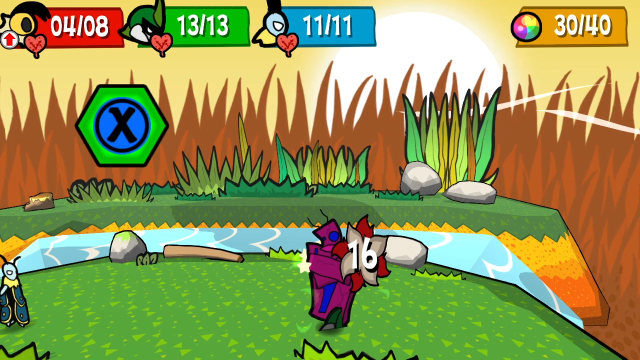 Now we'll spend the rest of our actions spamming Fly Drop for piercing damage! Yes, Fly Drop. Bet you never thought that skill would end up being relevant! Continuing to use Needle Pincer does put out more damage, but every attempt where I relied on it exclusively ended up failing well before we managed to get the kill (usually with around 150-200 HP still remaining), because it was chewing through the status resistances too quickly. And Hurricane Toss runs afoul of the 5 defence, it's not nearly as effective as I'd like. Fly Drop is the only option for a piercing skill that doesn't inflict status. On this turn, while we're using all the Hustled actions, it also has the benefit of distributing the exhaustion penalties between Vi and Kabbu; Vi spamming needles for 5 turns straight makes the last few uses less impactful, while Fly Drop (being one hit, and using both characters' attack values) weathers the penalties better. From here on out, it's just a matter of repeating this process: use Needle Pincer until a status gets inflicted (which might require some relaying), then Fly Drop if actions remain, or sometimes Hustle Candies and/or possibly a Berry Smoothie to stay on top of the TP costs. 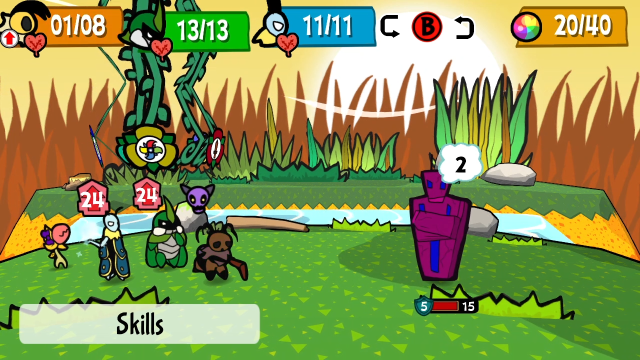 Eventually, we manage to wear it down before running out the status resistance timer. (I think the resistance building is actually a blessing in disguise here, to some degree; once it's built up a bit, you're at least less likely to waste multiple inflictions in a single Needle Pincer series.) 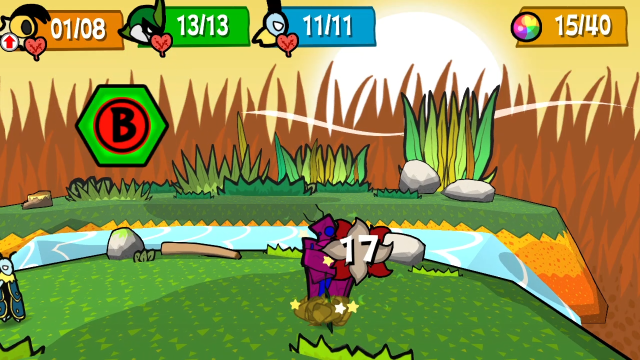 And one final Fly Drop ends the fight. 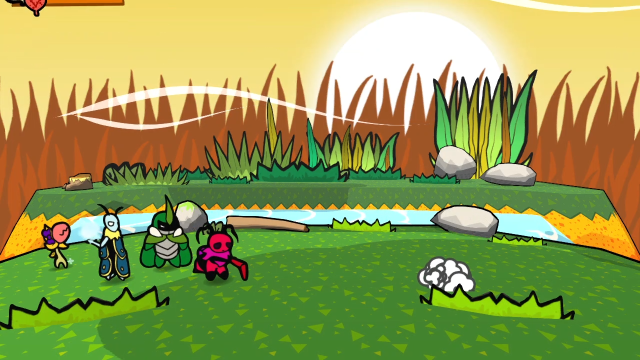 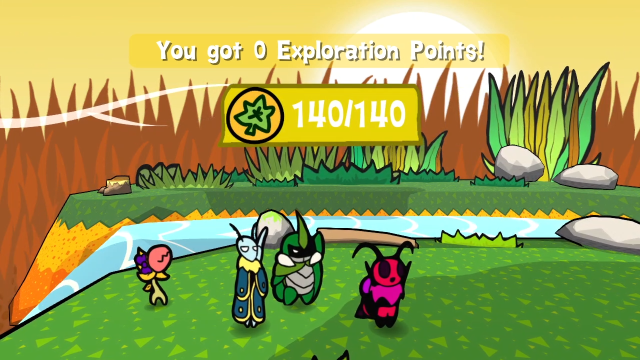 The fight ends normally. 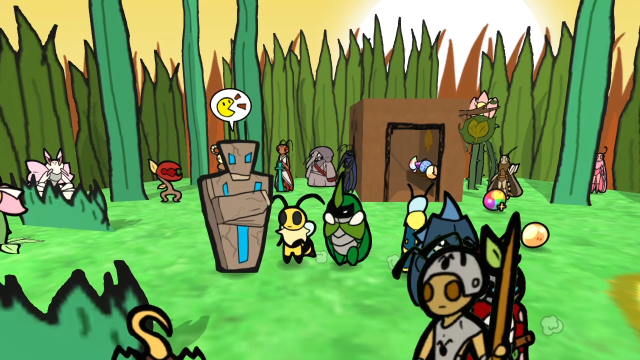 And we're just returned to the Test Room, to find Mr. Tester is still here. Absolutely nothing special happens. That was very silly, and ultimately pointless, but it was a lot of fun to solve; it presented some unique challenges not seen elsewhere in the game, and it's been a while since I got to work through an encounter I genuinely wasn't sure I'd be able to beat. (As I said, I thought of some ways to improve the strategy afterward, but I thought it'd be more fun to show my actual first successful attempt.) Of course, you may be thinking that this was even more pointless than I'm admitting, because you can use some of the NPCs here to increase your attack power arbitrarily. Which I will absolutely admit is true. Still, I did this using only the tools we legitimately have access to on a completed file, and that made it a fun challenge. I hope you were able to get some of the same enjoyment out of it that I did. Anyway, this concludes our jaunt into the Test Room! It's neat that they left it in the game, and there are plenty of things to mess around with if you feel like it. I've barely experimented with a lot of the features here, and I'm sure you can dive in a lot more deeply if you want to. That said, I will absolutely recommend making a backup copy of your save file before messing around here yourself, because a lot of things here feel unstable and can permanently mess up your file. Explopyro fucked around with this message at 21:30 on Mar 17, 2024 |
|
#
?
Apr 29, 2023 19:37
|
|
|
This is just a heads-up, for anyone who might be interested in messing with the save editor, aldelaro apparently updated it a couple of days ago (I think literally the day after I posted the update). The link in the update goes to the github and should now take you to the updated version, but I wanted to mention this in case anyone might've downloaded it when I first posted. There is also now an in-browser version, which is significantly more user-friendly than the old release.
|
|
#
?
May 2, 2023 23:15
|
|
|
Hi, sorry for the thread revive, I just wanted to say thank you for an excellent LP that I'm a little sad I missed while it was ongoing; I was playing the game myself and didn't want to be spoiled... and then I burnt out in Rubber Prison on that goddamn gym puzzle. But seeing Vicas and Vprisoner stream the game made me want to go back to it, and I just beat the main game tonight (though it still seems like I've got plenty to do! Going to keep out of those parts of the thread until I'm ready though). But yeah, all in all this LP is wonderfully comprehensive and a great example of an informative SSLP! Now to use it to track down all the Lore Books I've missed... 
|
|
#
?
Aug 24, 2023 22:49
|
|


|
Paul.Power posted:Hi, sorry for the thread revive, I just wanted to say thank you for an excellent LP that I'm a little sad I missed while it was ongoing; I was playing the game myself and didn't want to be spoiled... and then I burnt out in Rubber Prison on that goddamn gym puzzle. But seeing Vicas and Vprisoner stream the game made me want to go back to it, and I just beat the main game tonight (though it still seems like I've got plenty to do! Going to keep out of those parts of the thread until I'm ready though). But yeah, all in all this LP is wonderfully comprehensive and a great example of an informative SSLP! Now to use it to track down all the Lore Books I've missed... No need to apologise for reviving the thread! Honestly, it's a good reminder; I've been pretty overwhelmed these last few months and just haven't had the energy to work on this, but I'd had plans for another two updates or so (not to mention doing a bit of cleanup for archival) that I never quite got to and I should get back in the saddle. (Also, I should just say, it's great seeing you here and I'm glad you've been enjoying this. I've really appreciated your Advance Wars LPs over the years, even if you probably wouldn't know since I wasn't actively commenting at the time.)
|
|
#
?
Aug 25, 2023 19:26
|
|
|
Explopyro posted:No need to apologise for reviving the thread! Honestly, it's a good reminder; I've been pretty overwhelmed these last few months and just haven't had the energy to work on this, but I'd had plans for another two updates or so (not to mention doing a bit of cleanup for archival) that I never quite got to and I should get back in the saddle. It's hard to know what to say other than just general gushing about the game. Elizant II's character arc in particular is remarkable in the way it plays with the player's expectations about potential betrayal, before serving up a complex, well-intentioned but insecure character. The lore and setting ties everything together brilliantly, from "... the desert's a sandpit, of course it is" to "wait, wasps don't have kings - oh. ohhhh", while still leaving plenty of questions unanswered (just what exactly did happen to the Giants? And, uh, are there any of us left? We may never know). And of course, Vi, Kabbu and Lief all bounce off each other and the people they meet along their journey brilliantly.
|
|
#
?
Aug 26, 2023 20:37
|
|
|
So I beat all the superbosses as well (it's a weird feeling that I've beaten Team Maki, Team Slacker and TANGYBUG but will probably never "see all there is to see!" because I'm terrible at Flower Journey and Mite Knight...) and I started a second playthrough with Hard Mode turned on but also the RUIGEE and MYSTERY? codes turned on as well. I just thought I'd give a trip report on how this is playing out so far for me (have reached Defiant Root but I've yet to travel up to the Hive). There's obviously the headline-grabbing part of Luigi's Challenge, only getting 1MP per level but every medal costing 1MP, but in some ways the most impactful thing so far has been the way you level up by paying Eetl. First of all, the fact that money and experience are now the same "currency" and the way that levelling up is a voluntary experience brings to mind the Dark Souls system for levelling, which is definitely a big twist on the game's standard formula. You might be choosing to spend money on levels or other things like the Heart and Bond berries or gambling (what with MYSTERY? being turned on!) that Merab might be selling a cool medal. I'm also pretty sure enemies are dropping more berries to make up for the fact that they no longer give XP - for instance, even now Golden Path encounters often drop multiple red berries or even the occasional orange berry worth 20 berries. The second big thing is that if you think it's a bit too easy to earn money in this game, what with the bank's very generous interest rate and so on, then boy howdy is this the mode for you - at ten extra berries per rank, those administration costs for levelling add up quickly. Sure it's 30 berries to get from rank 1 to 2, but that quickly becomes 100 berries to go from rank 9 to 10, and eventually 280 berries to get from rank 26 to 27. Across the entire game, you'll be spending 4030 berries if you want to get to max rank. The pre v1.1 bank could easily have kept up with that of couse (exponential vs. arithmetic progression, and all that), but the way interest now caps out at 75 berries per half hour makes it a much more even race. One shudders to think what these numbers would get like with MOREFARM turned on as well... As you might imagine, the lack of the free full heals from level ups also make things trickier. Temporary points of no return also give a lot more trepidation - the main reason I'm currently hesitating on starting the Honey Factory because I know I won't be able to get a level up from Eetl until after beating B-33, so I kind of want to get "ahead of the curve" a bit right now, so to speak. As for MYSTERY?, well naturally my experience is going to be different from everyone else's! The seed definitely wants me to go down a Poison Build route though - Weak Stomach was the very first medal I picked up, Todd gave me Poison Attacker for finding his ball, and I picked up Reverse Toxin and Poison Defender on my journey through the desert. A couple of other notable finds include getting Strong Start as only my third medal (now that's what I call a str-  ), and TP Saver(!) for delivering a Queen's Dinner to Venus (how's that for a divine reward?). ), and TP Saver(!) for delivering a Queen's Dinner to Venus (how's that for a divine reward?).
Paul.Power fucked around with this message at 12:43 on Sep 25, 2023 |
|
#
?
Sep 25, 2023 12:36
|
|
|
I am still alive, and yet for better or worse this is still not an update. (I have not abandoned this! At least not in my head. There are still a few minor extras I want to cover and I do want to do a final thoughts post before submitting this for archival. I have just been very overwhelmed with life things most of this year, and have not had the energy to dedicate to doing it properly. I am still holding out hope I may be able to cobble something together before the end of the year, but right now I can't make any promises.) That said, why am I breaking my silence now? I received an email a few days ago alerting me that there's a new run of Bug Fables Makeship plushies going on now, featuring Zasp and Mothiva this time. Both are fully funded now, there's about 11 days remaining in the campaign (I think it'll be ending on 5 Dec), I thought it'd be worth mentioning here in case anyone wants to get in on it. (Yes, of course I'm getting them, I feel obligated to complete the set.) Hope everyone's having a good holiday season, and hopefully I'll have something more substantial for you soon.
|
|
#
?
Nov 25, 2023 01:31
|
|
|
Necroposting to echo everyone else in thanking you for such a thorough and in-depth LP of this game. All of the extras and test features have been cool to explore - I didn't have the patience for a full 100% with the boss rush like you managed, and drat, I've not seen such a solid grasp of the game's mechanics outside of speedrun/mod community posts. Even if this is where it ends, you've got a project to be proud of, here.
|
|
#
?
Feb 27, 2024 09:29
|
|

|
80: What a Long Way We've Come (Exploring the Demo) (Part 1) We're doing something a bit different this time. I thought it might be interesting to take a jaunt through the free playable demo, and take a look at what's changed since early builds of the game, as well as some content that's exclusive to the demo. (Please note, I'm putting this together from footage I recorded nearly 9 months ago. Hopefully I'll remember everything I was trying to show when I recorded it... sorry it's been so long.) 01 - Bug Fables Right away, we notice some differences! The demo has a slightly different title screen. Demo v0.4.5h is the version available for free download on itch.io. This is the last demo they released before the full game came out, and contains the full Chapter 1 and some extra content. The Chapter 1 content was mostly locked in at this point, though as we'll see there were definitely changes between this and the final release. This is not the first demo they released, but earlier ones are more or less lost content; at least, I haven't been able to track any of them down. Some documentation of one of the earliest (and most cursed) does survive in this youtube playlist, but I wasn't able to find much else.  Also, there's another minor difference on the file select screen. Selecting a file starts the game immediately, without any option to name the file (or enter menu codes). 02 - The Everlasting Sapling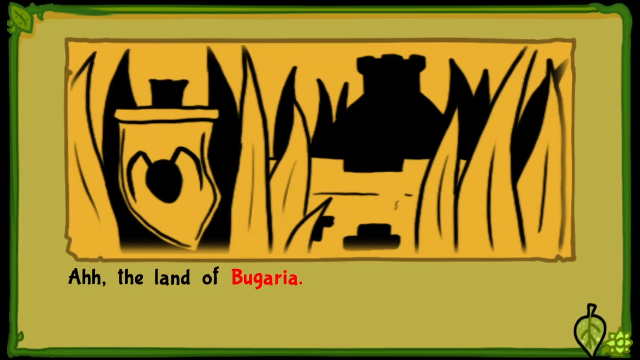 The intro is mostly the same as in the final game, albeit with some minor edits to the text. (There are a lot of minor textual differences between the demo and the final version. I don't intend to show all the text in the demo, nor all the differences, just where there's something interesting.) 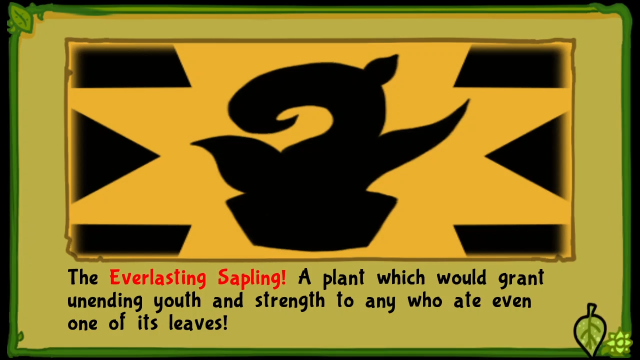 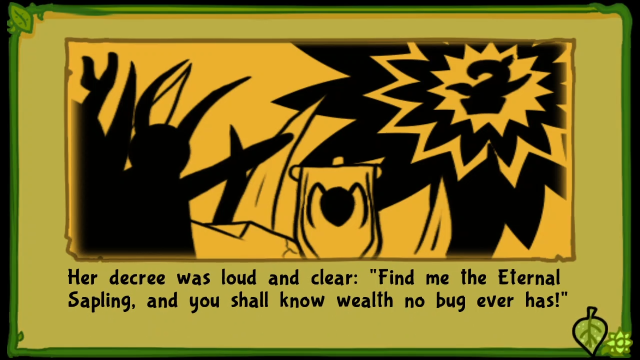 Such as this - apparently the Everlasting Sapling was once going to be named the "Eternal Sapling"! It looks like they'd already decided on the name change before this demo, but missed replacing it in this part of the text crawl. 03 - Where Adventurers Gather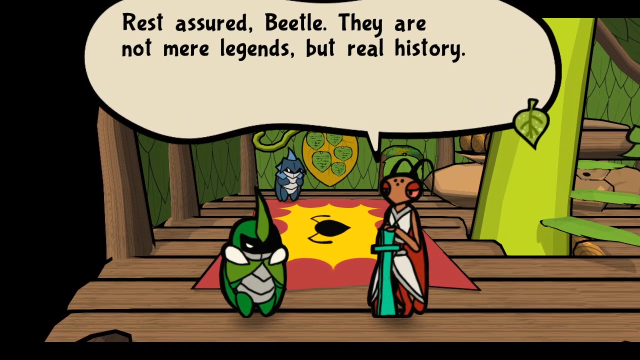 The opening scene in the Explorers' Association is very similar, too. But here's a surprising thing: Team Snakemouth didn't have their names yet in this demo! In the original concept, Vi, Kabbu, and Leif were just going to be Bee, Beetle, and Moth, and this lasted surprisingly long into development. 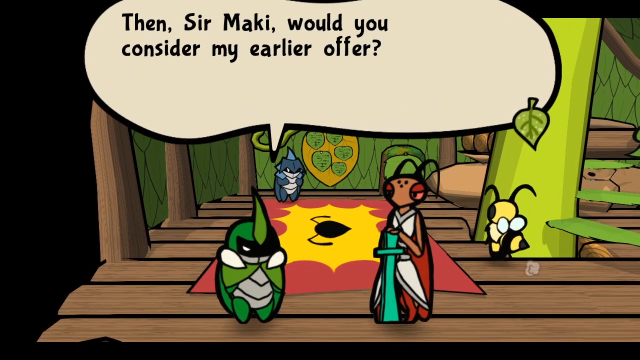 Even as the characters around them all had personal names! Maki was never called anything like "Mantis". (Although in the earlier demo, the prototype of Levi was just "Ladybug Knight", so this did extend beyond the main trio.) 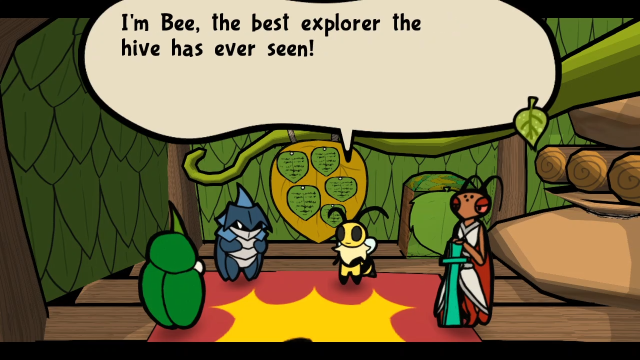 As we see, Vi was still just "Bee". (I'll still be calling them by their proper names. Using the demo names just feels wrong to me, especially after so long.) 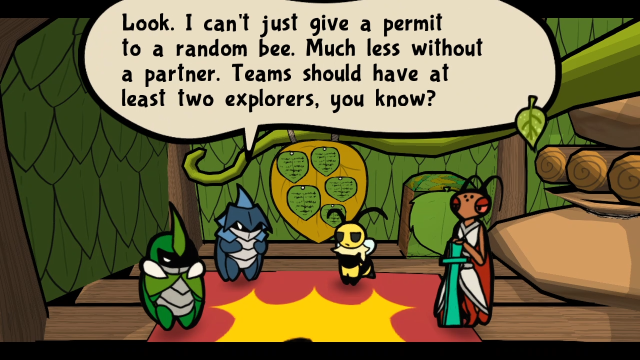 This is an interesting change, where I think the earlier line works better ("at least two explorers" became "a duo of explorers"). Presumably they changed it so that Team Snakemouth having three members would be more explicitly unusual? 04 - FIGHT! 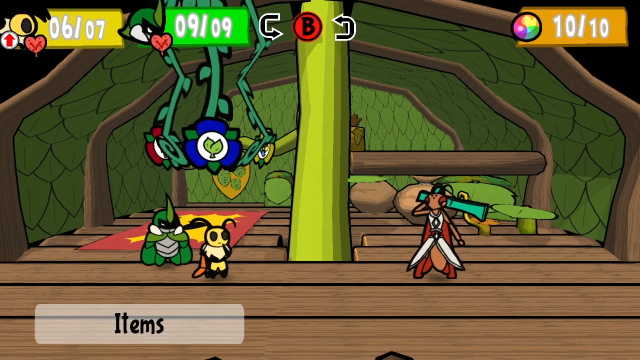 Into the tutorial fight with Maki. It's almost exactly the same fight, but take a look at the interface here, the colours are a bit brighter and the font clearly hasn't been finalised yet. It doesn't look bad, but the release version definitely looks a lot more polished.  Instead of "Great!", we get "Okay!" as the base-level success message for action commands. ("Okay!" does persist in the final game for the first hit of some multi-hit attacks, so it's not completely gone, but it's much less common.) 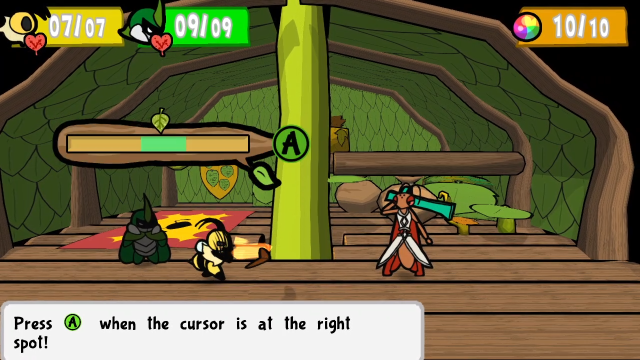 And here, the action command bar for Vi's basic attack is a bit more crudely drawn, the black outline on the success zone is missing. 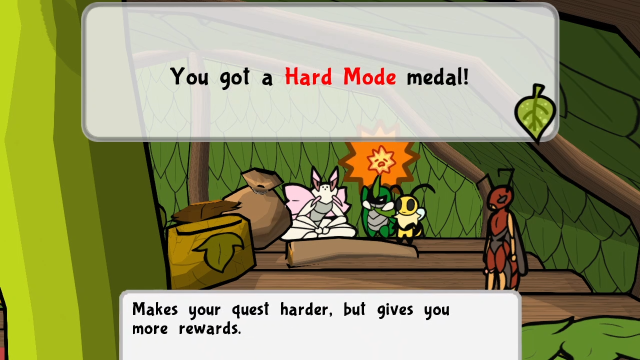 Artis still gives the Hard Mode medal. 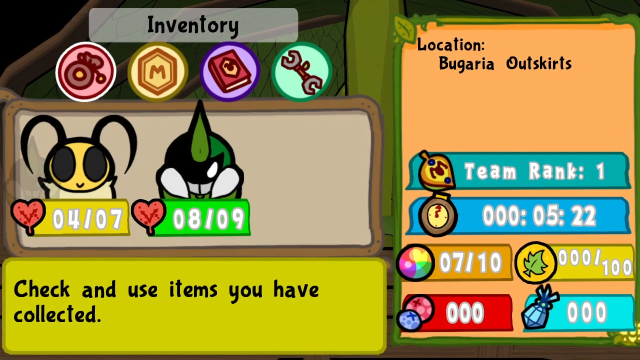 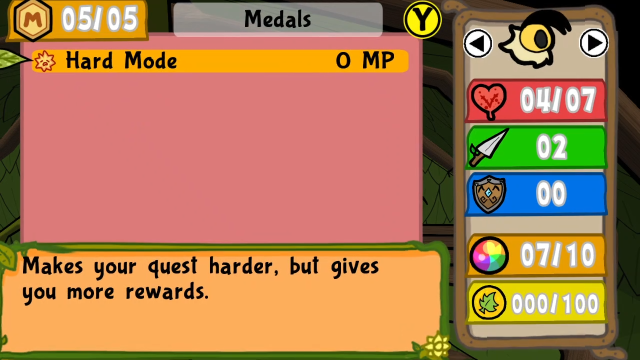 The menus look pretty close to the final version, albeit missing that same polish. And the medal description text hasn't been finalised yet either. (I'll be using Hard Mode for the demo also, I have to keep it at least somewhat interesting to play.) Once we gain control, I definitely find myself noticing this demo just feels a bit sluggish compared to the final game. I'm not sure if everything just moves a bit more slowly, or if there are performance issues that would be later fixed with better optimisation. (I don't think it's framerate issues, because this does have the 60 FPS setting.) I do know the walking speed was increased after this demo, so that's probably part of it, but it feels like a more widespread thing than just that. 06 - Outskirts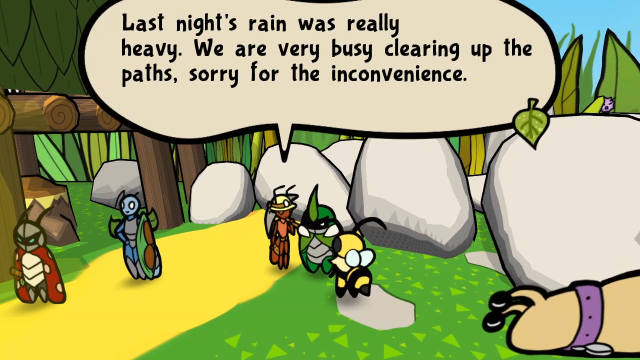 Here's a line I forgot to show back in the very first update. This ant's still around in the final game, I just somehow missed talking to her. Time to head toward Snakemouth Den, there aren't any other differences to show in the starting area. 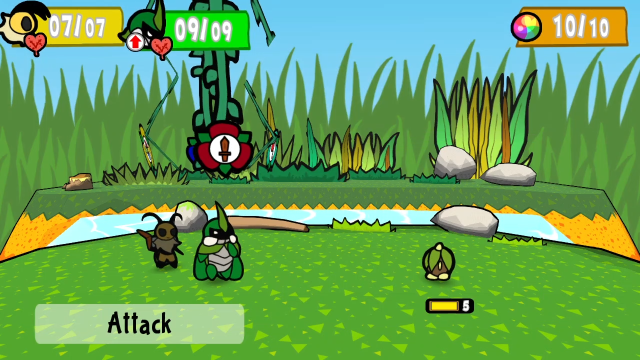 Here, we can see enemy health bars look slightly different after Spying. The defence icon actually wasn't added until v1.1, so this is how it looked for a while (barring some minor font changes).  Also, here's a pretty sizeable mechanical difference: this demo doesn't have Super Blocking! (Maki also didn't mention it in the tutorial conversation.) I don't know when they decided on the concept, but it didn't make it in here. (Some of the battle sound effects, such as when you get hit or block, also clearly haven't been finalised yet. But you'll have to take my word for that for now; I did record the boss fights, so you may hear the differences later.) 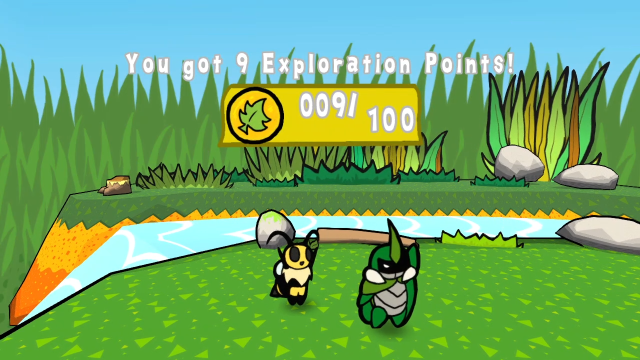 The earlier font just weirds me out on this screen, for some reason. The number scrolling was also sped up significantly in the final game, a definite improvement. Also, another difference. We'll see it more clearly later, but the level-up thresholds don't change in the demo; it's always 100 EXP (like Paper Mario was). 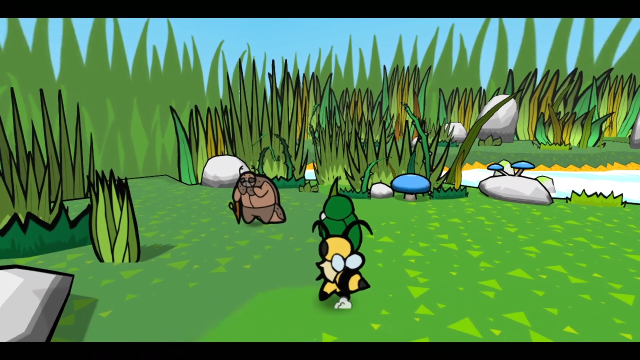 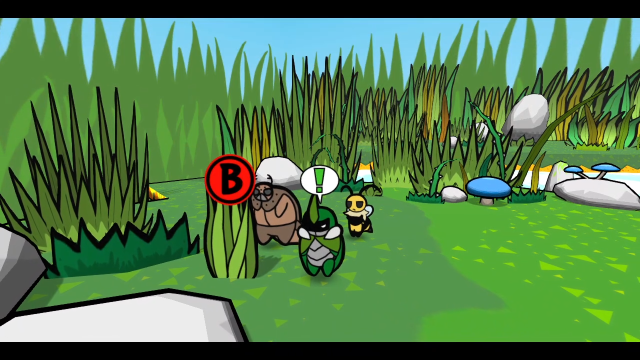 The scene where we help Chuck cut grass is mostly unchanged. (Though as I believe I noted earlier, here as well as in release versions prior to 1.1, this scene is what unlocks using Kabbu's horn in the overworld. You can't cut grass or first strike enemies until after this scene.) 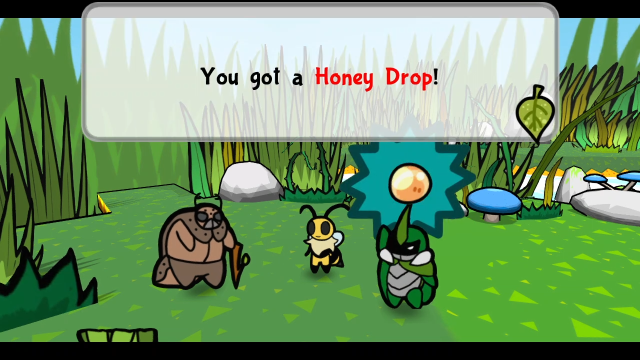 That said, the reward is different! Instead of 10 berries, Chuck gives us a Honey Drop. (In the release version, there's still a Honey Drop you can find on this screen by cutting grass.) Ah, honey. Wonderful honey! Eat it if you're having a rough time. Alright? Eat it if you're having a rough time. Alright?The dialogue afterward is also slightly different, of course, teaching us about honey instead of berries. 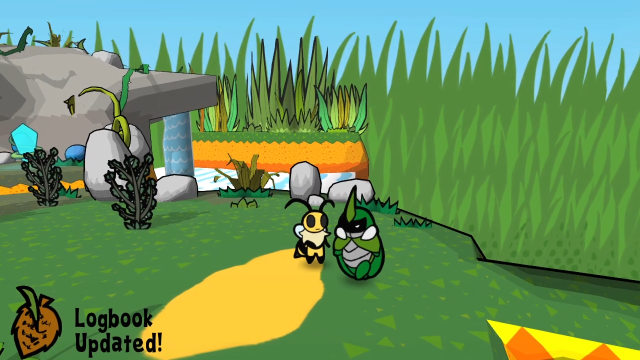 On reaching Snakemouth, the same conversation plays and we get a discovery, but here we can see an older version of the "logbook updated" icon. Most of the icons were redrawn between this and the final version, and they switched to white text which is a lot easier to read. 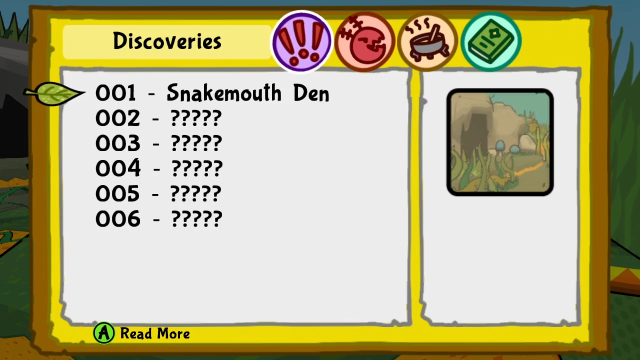 The discoveries menu is fully functional, and the description text is largely unchanged. Though we'll note there are only 6 to find in the demo.  This is still here, too. There's no explanatory message on finding the first one, and also these don't do anything yet outside of achievements (yes, the demo has achievements) because Shades' shop doesn't exist. 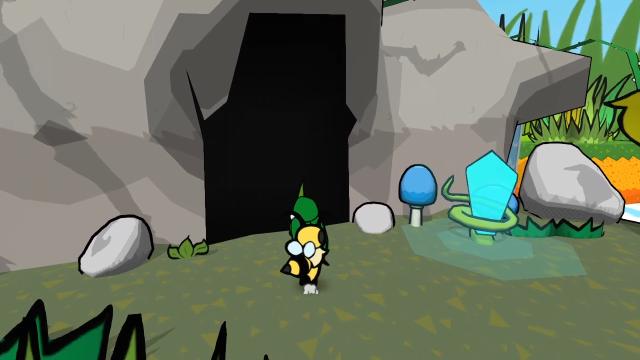 Into Snakemouth. The dungeon layout is almost identical to the final game, so I'm only going to show the highlights. 12 - Snakemouth Den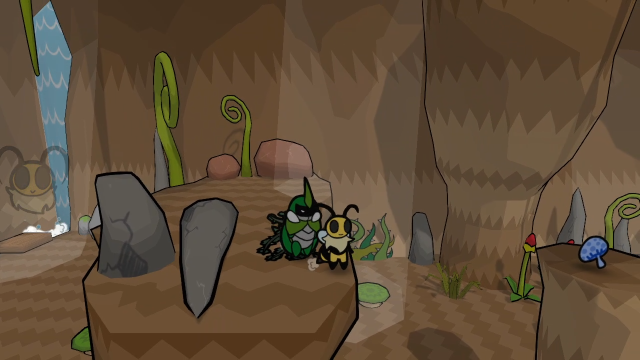 I'm pretty sure I mentioned this the first time, but we can't get this mushroom the first time we see it (and couldn't in versions prior to 1.1). 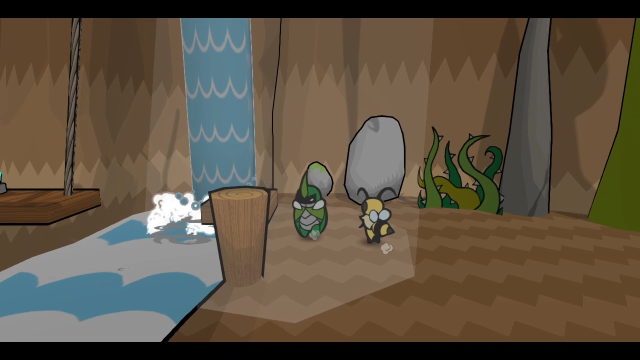 First, we have to see this scene, which unlocks the Beemerang for field use. 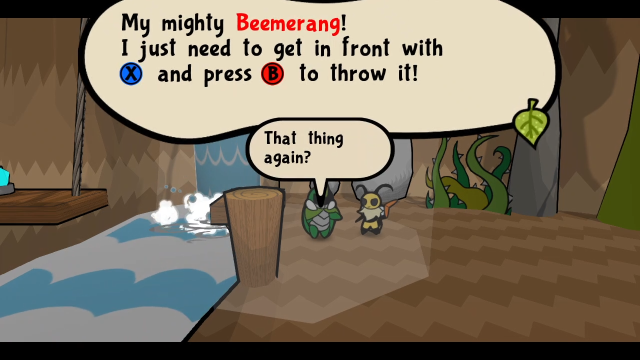 Then we can go back and get the mushroom. (It still kind of baffles me that they changed this, and I remain unsure whether or not it was intentional.) 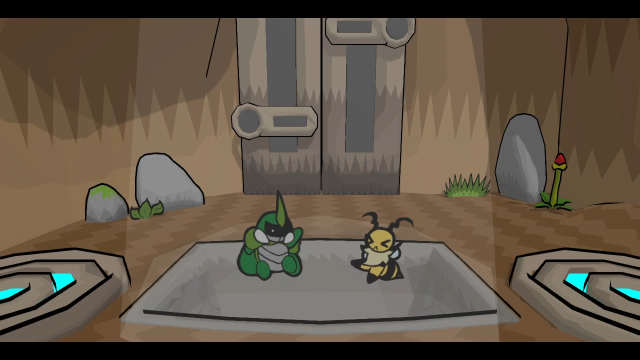 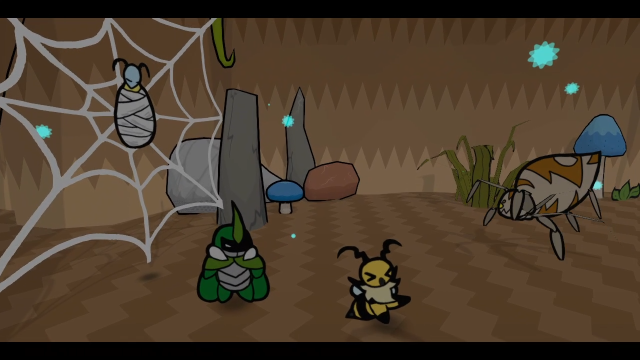 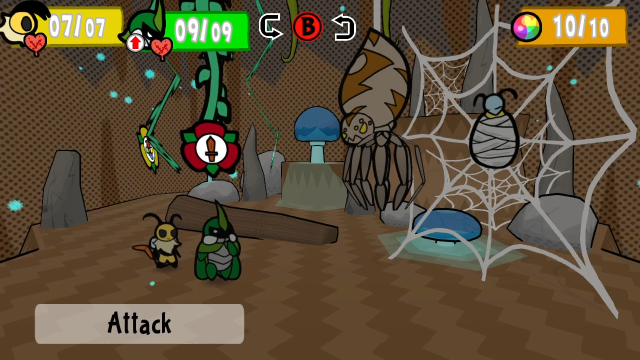 Everything proceeds more or less identically to the final version. 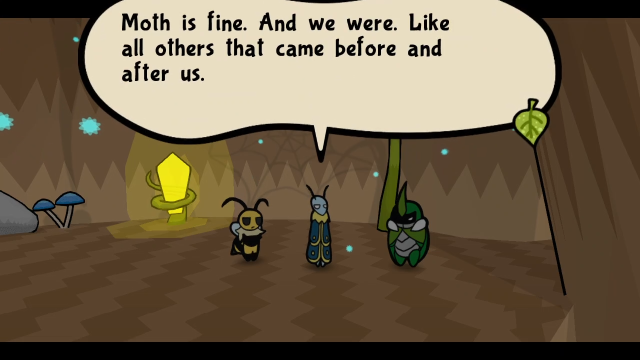 Although Leif introduces himself as "Moth", of course. (The wording of his introduction fits a bit better when he's calling himself something generic, I think.) 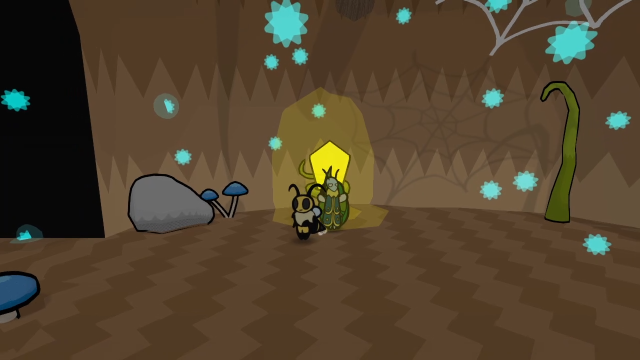 Let's take a brief break at this save crystal to see something else. 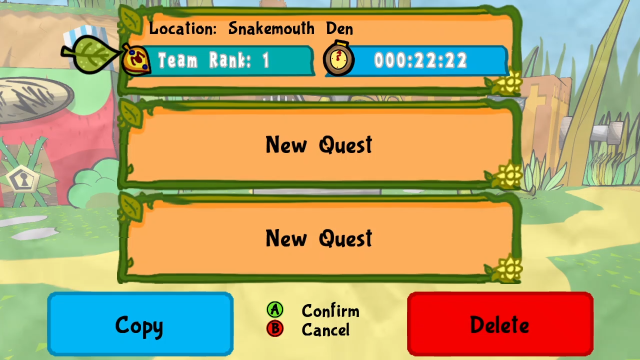 Here's the file select screen when there's actual data. The demo doesn't have file names or any of the progress indicators for the various chapters, all of that would get added later. Back into it. 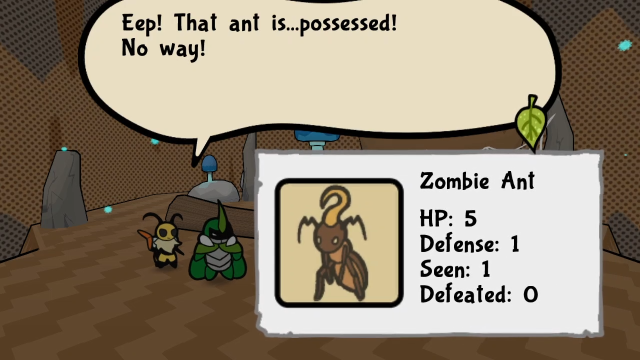 The enemy known as Zombiant in the final game is just called "Zombie Ant" here. 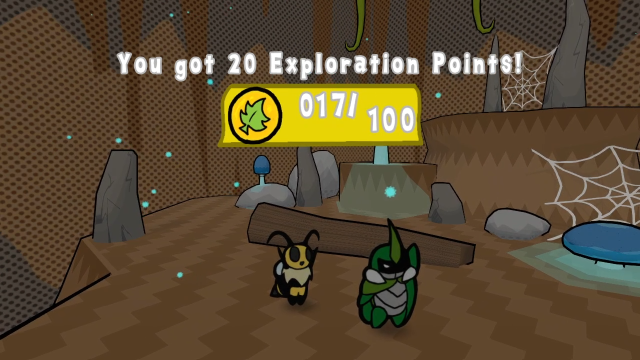 Levelling up for the first time in the demo. 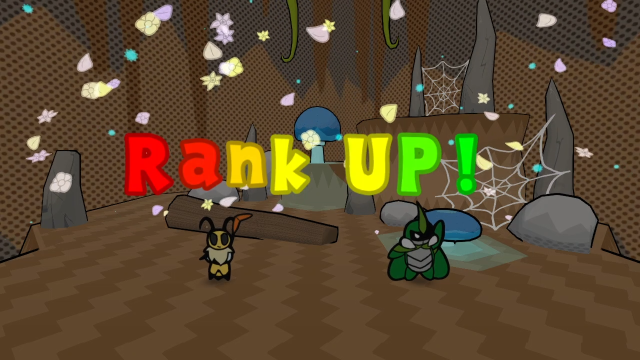  The choices here are the same as in the final game. I'll take MP. 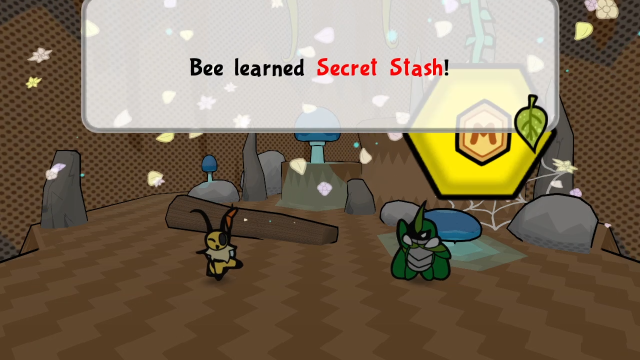 And at Rank 2, Vi still gets Secret Stash. This skill is unchanged here.  This Crystal Berry is in the same location in the final game. 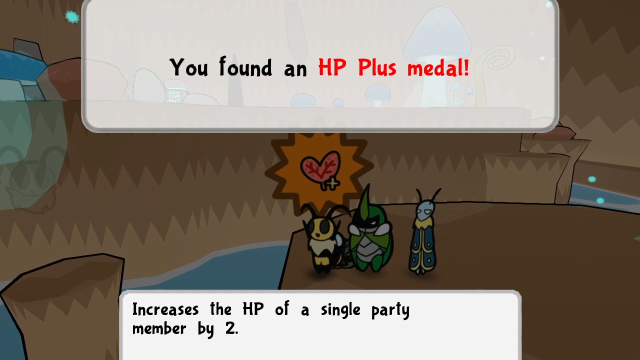 As is this HP Plus medal. (Some of the medal and item locations are different in the demo, so I'm also pointing out the ones that aren't.) 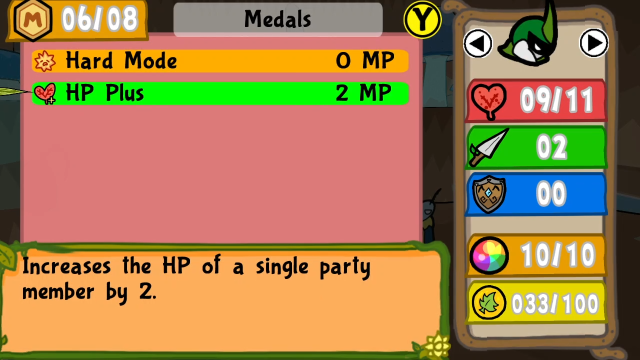 Here's another change that would be made - the colours highlighting equipped medals for each of the bugs is less eye-searingly bright in the final version. Also, the final game has icons for the characters' faces in addition to the colour to show who's wearing the medal; this is definitely an improvement for things like colour-blind accessibility. 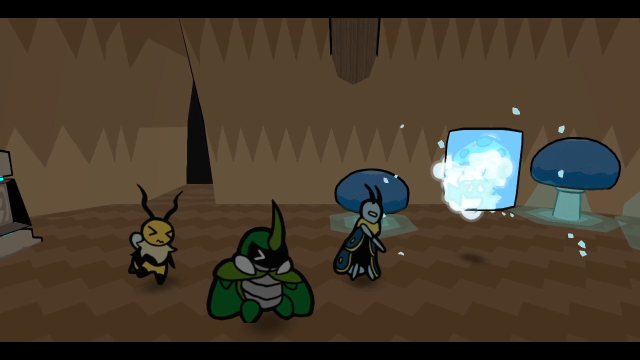 This scene plays out the same as it does in the final game. Leif joins as a combatant and Turn Relay becomes available. 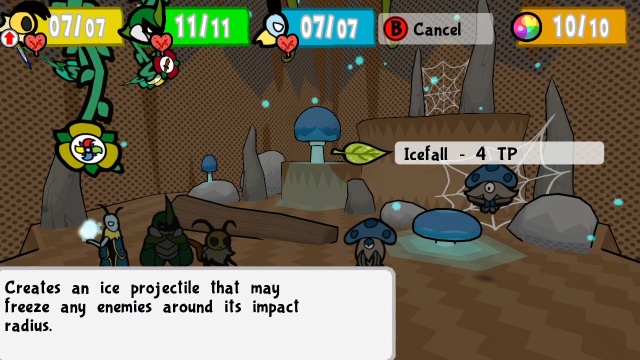 Leif's Icefall appears the same as in the final version... 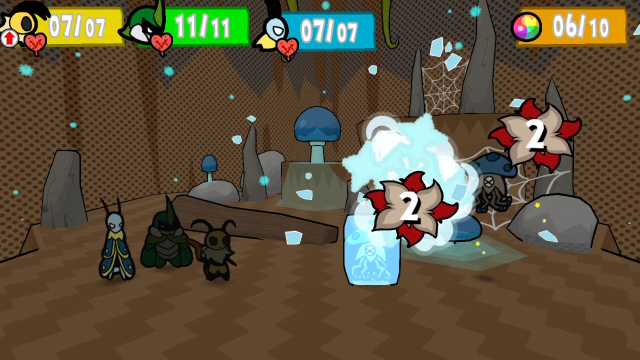 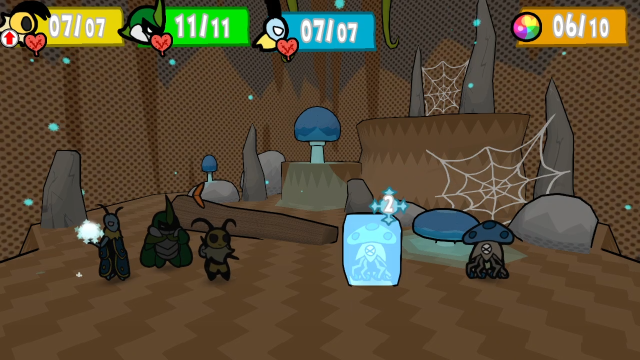 ...Except it inflicts a 2-turn freeze. In the final game, only Frigid Coffin did that!  Here's a shot of multiple enemies frozen by it after a single casting. This version of Icefall is absurdly strong, and nerfing it was probably a good idea. 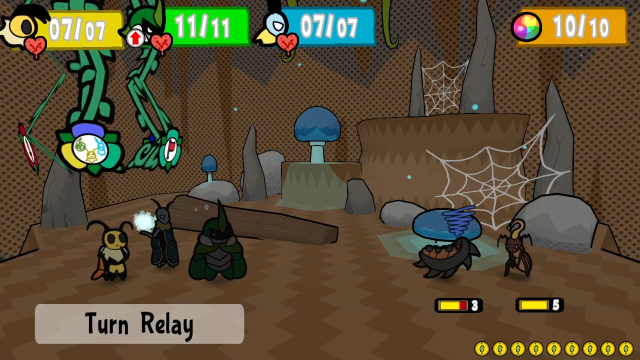 Here's the Turn Relay icon from the demo. It's got little sketches of the characters' heads on it! The final version just uses circular arrows; it's definitely cleaner and easier to read, but this one's cute. 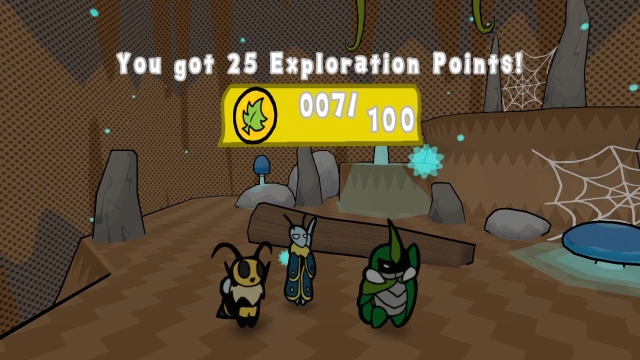 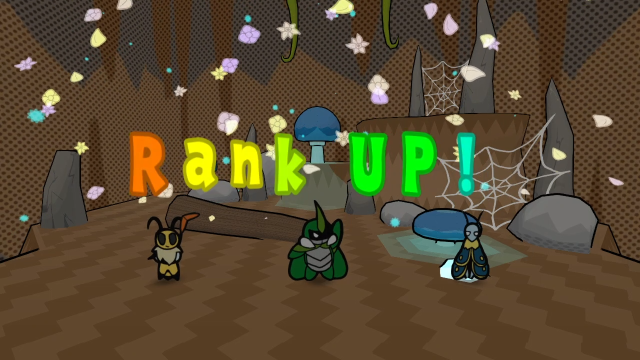 Eventually we level up again. 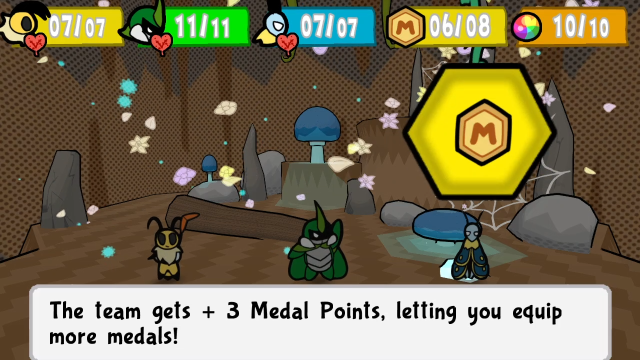 I take MP again. 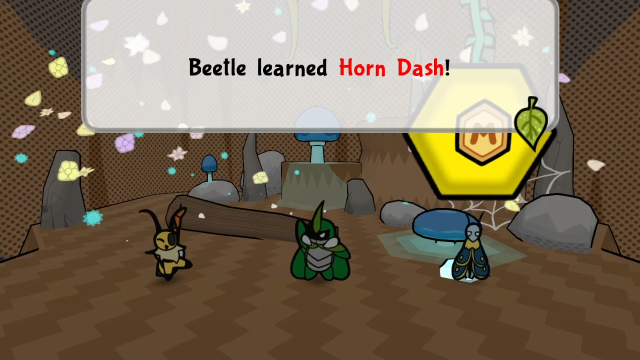 This is different, though! At Rank 3, Kabbu learns "Horn Dash". In the release versions, you don't get any skill at Rank 3, and he learns Heavy Strike at Rank 4. 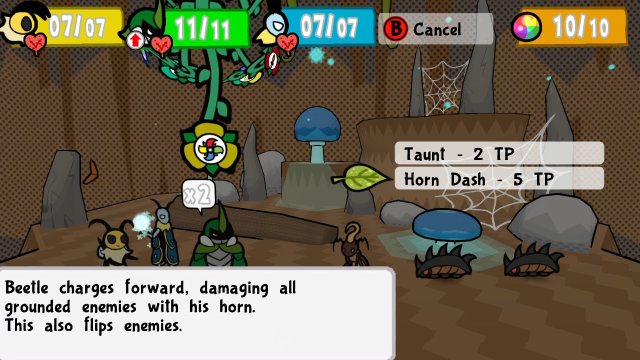 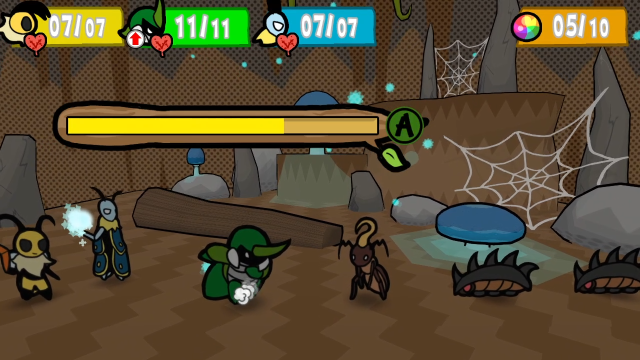 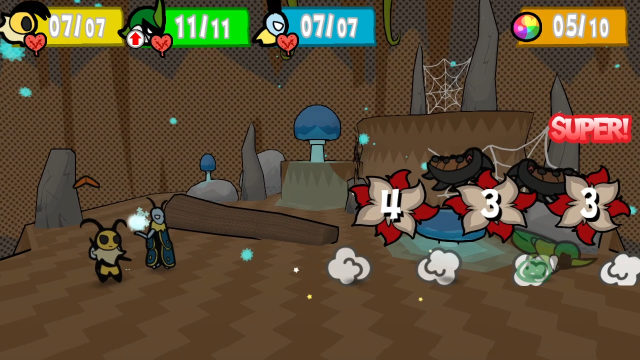 This is Dash Through from the final game. This skill's moved around a lot, hasn't it? From the beginning of the game in the demo, to Chapter 5 in the Wild Swamplands (release versions up to v1.05), then to Chapter 3 at the Lost Sands entrance in v1.1 and later (with the "Horn Dash" name returning once it gets upgraded in Chapter 5 to smash boulders). It's interesting to think about from a design perspective. Playing through the demo you can get the sense some encounters here are designed with it in mind (e.g. the one in the screenshot with multiple flippable enemies, where you can 1-turn the fight if you get a first strike and use it). But 5 TP is a lot at this point in the game, so it feels reasonably balanced since you probably can't afford to spam it. On the other hand, it also makes a lot of sense as a thing to have unlock later. Bug Fables is pretty stingy with attacks that hit all enemies, and Dash Through/Horn Dash trivialises a lot of these early encounters with multiple flippable targets. By the time you get Dash Through in the game proper, it feels like another tool in your arsenal rather than a nuke. On the other other hand, Kabbu's attacks in the early game feel kind of samey, since his normal attack and Heavy Strike use very similar action commands; early Horn Dash does give a nice sense of variety. I don't know if this placement in the demo actually reflects something they were considering, or if it was just to add that variety since the demo is otherwise short. If I had to commit to an opinion, I think the final placement in Chapter 3 probably is the right one. Anyway. 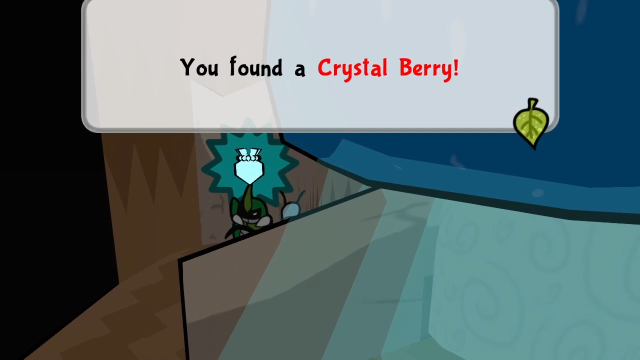 This Crystal Berry is also in the same location as the final game. 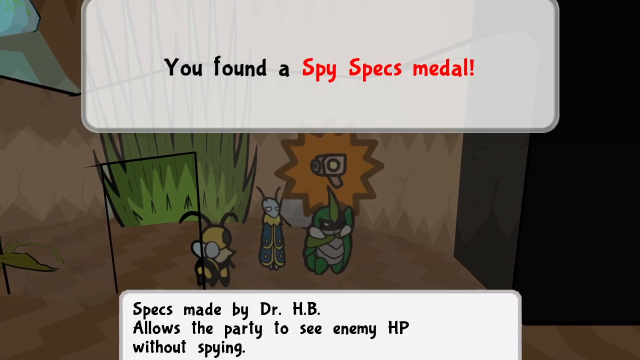 This is different, though! The final game has Poison Defender here. 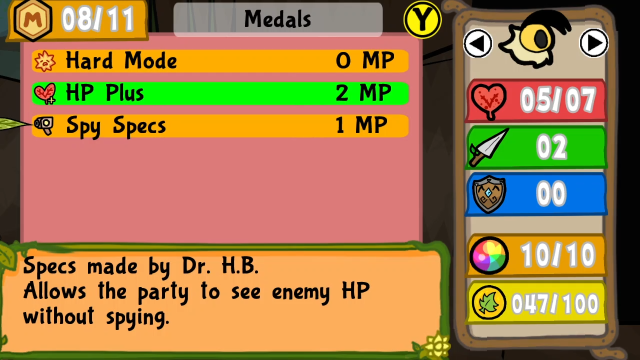 I think this placement probably was just for the demo; considering the demo mentions being made by Dr. HB, it would make sense if they'd already done some of that concepting and it was always planned to be gotten from her. That said, this medal works a bit differently in the demo, and doesn't have the secondary function of making Spy actions not cost a turn.  This Magic Seed is still here in the demo, too. 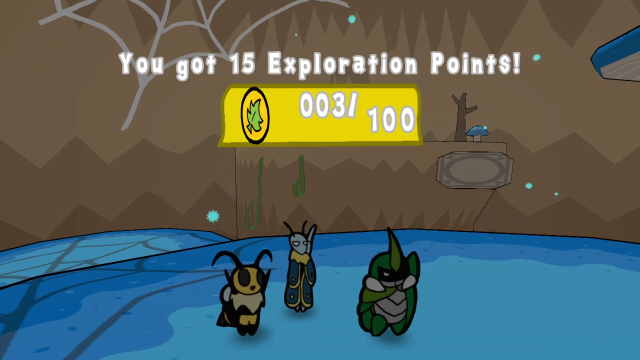 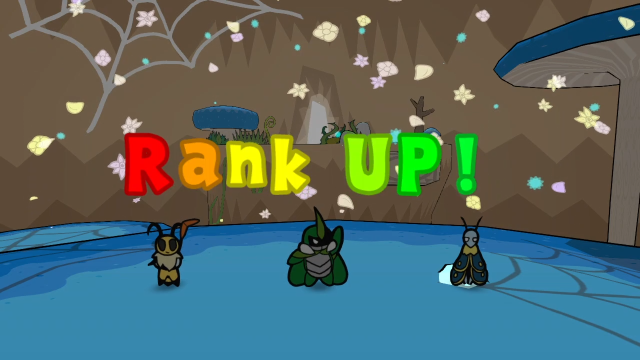 Rank 4! 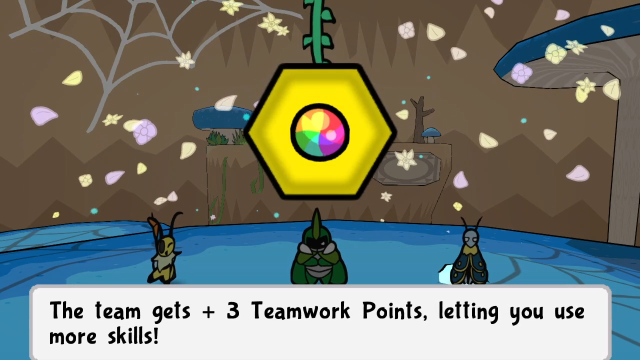 I'm actually going to take TP for once! (My thinking was that there are only so many medals available in the demo. That said, you can still go MP only if you want; as we'll see, there are some expensive ones later on.) 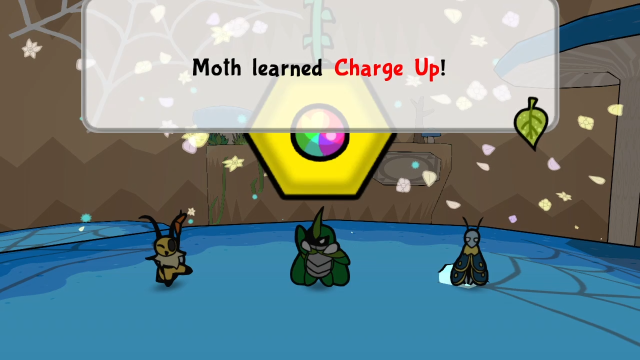 Leif learns Charge Up. In the final game, this skill requires a medal, which you can't get until after Chapter 3 (it's found on the roof of the house Team Snakemouth can buy). Rank 4 does give you a skill, but it's Kabbu's Heavy Strike. When you get it for free, this is something you might actually consider using! Especially since this skill is the only source of charge-ups in the demo; I'm not sure if they knew at this point that it would become one of the game's major mechanics. In the final game, it's just not worth the medal slot when there are so many other sources of charge. There's one major difference with the skill, in that the charge-up icon (green arrow) hasn't been implemented yet, so you don't get a clear visual indication of how many charges a character has. 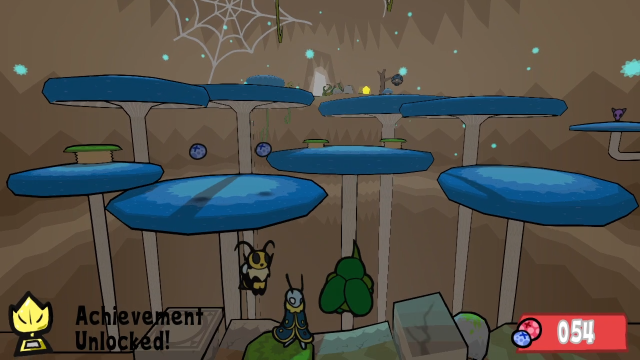 We also get an achievement? (Our first achievement so far in the demo.) 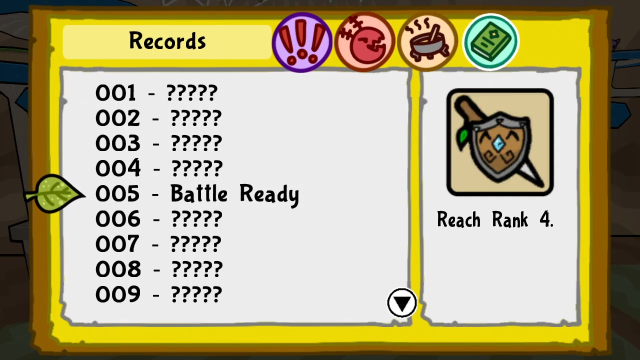 It's an achievement for reaching rank 4. This isn't the level cap, but it does mark the point at which we don't learn any new skills or get bonuses other than the one we choose; I don't actually know what the level cap in the demo is. (In the final game, this achievement will be repurposed and used as the one for reaching the level cap.) 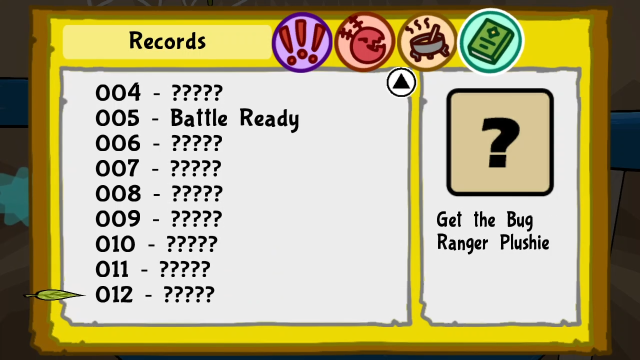 Here's a good opportunity to take a glance through the menu, and observe there are 12 achievements we can get in the demo. 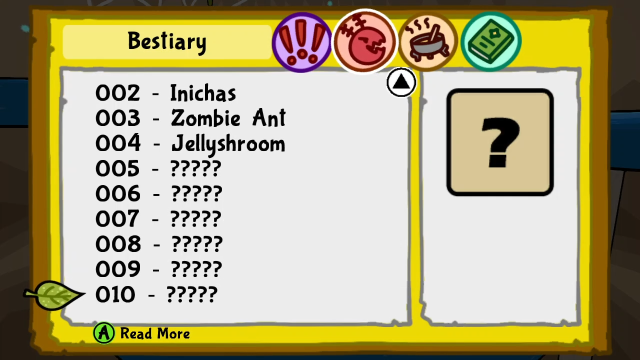 Also, the demo bestiary has 10 entries.  And the recipe book has 15. (Yes, the demo does have cooking.) 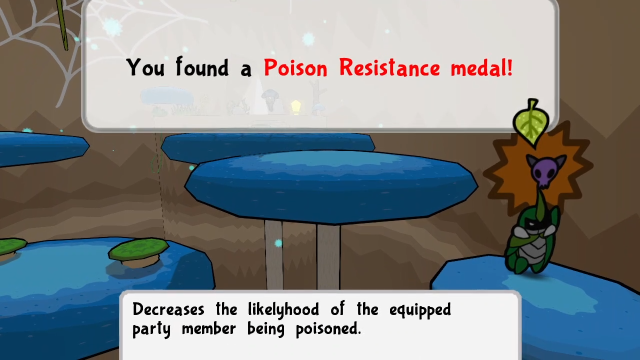 There's still a Poison Resistance medal here. 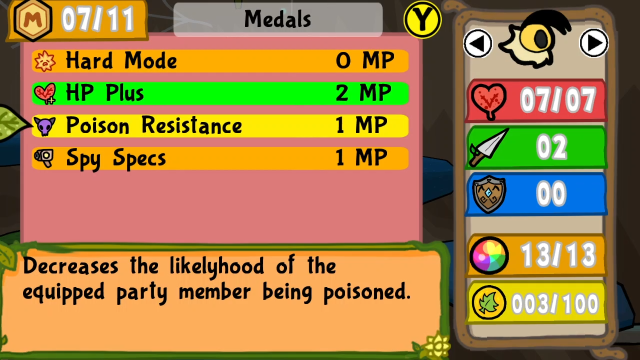 It's largely unchanged. (I'm showing this so you can see the yellow colour for medals equipped to Vi. It's also brighter than the shade chosen in the final release.) 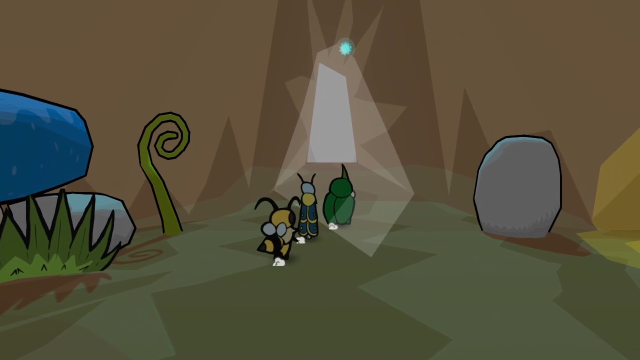 Onward to the Spider. 13 - It's Getting Scary!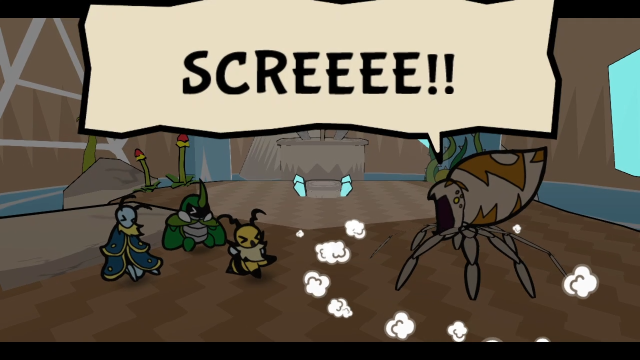 This scene doesn't change much. 14 - His Friends Call Him Spuder (Don't Call Him Spuder) Click me for video! Click me for video!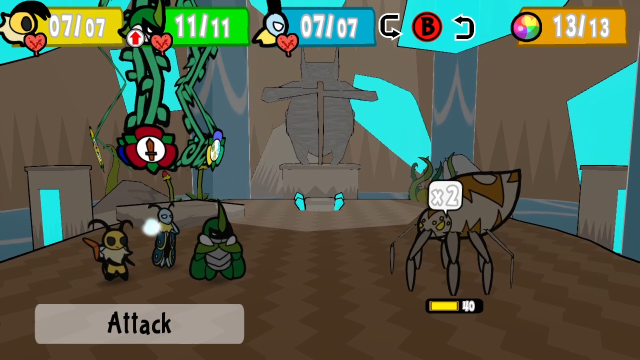 Nor does the fight, really. This fight was pretty tightly designed even back when this demo came out; it does a good job of testing all the skills the game's expected you to learn by this point, and gives you ways to use most of your abilities.  That said, there is one reasonably major change! The poison breath attack is just blocked like any other attack, instead of having a mash action command. (It also just deals less damage.) Like super blocks, it seems like they may not have come up with that mechanic yet when they made this demo. 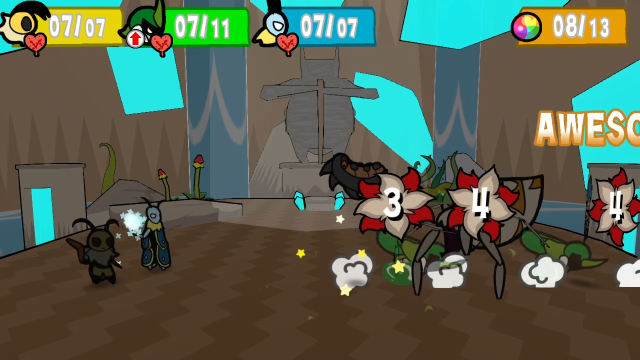 Also, Horn Dash is a pretty elegant way to deal with the minions it summons, so that's another way the fight is potentially slightly easier in the demo. 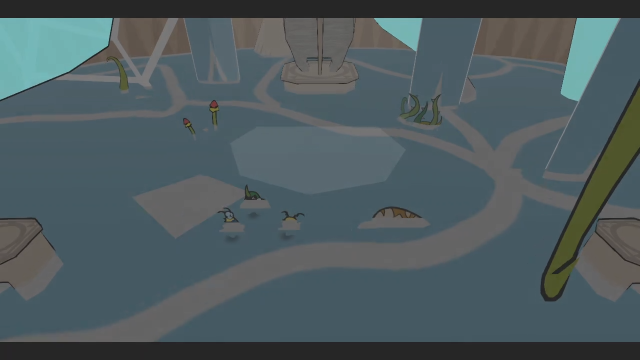 After defeating the spider, this scene plays out just like in the release version...   But this is different! Instead of the end of chapter message, we get this. I appreciate that they make it explicit the rest of the demo content isn't canon. (That said, as we'll see, in practice a lot of the content here did make it into the final game in some form...) Instead of finding ourselves in the Outskirts like in the final game, we'll fade in and see everyone gathered in the Ant Kingdom plaza. 17 - Ant Kingdom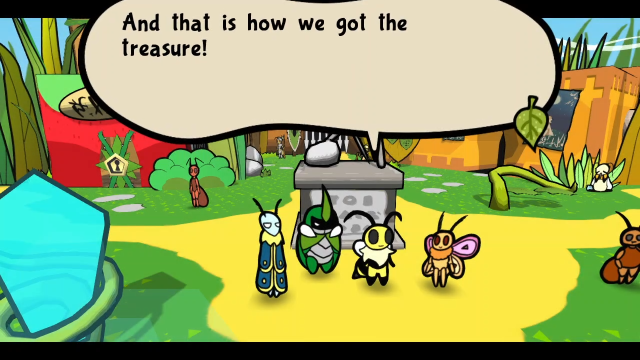  Wow! Cool! ...That's not how it went, Bee. Eh, close enough. Not really... But eh, what should we do next? What SHOULDN'T we do next!? There's lots of treasure to find! Indeed. Let us depart! Wow! Cool! ...That's not how it went, Bee. Eh, close enough. Not really... But eh, what should we do next? What SHOULDN'T we do next!? There's lots of treasure to find! Indeed. Let us depart!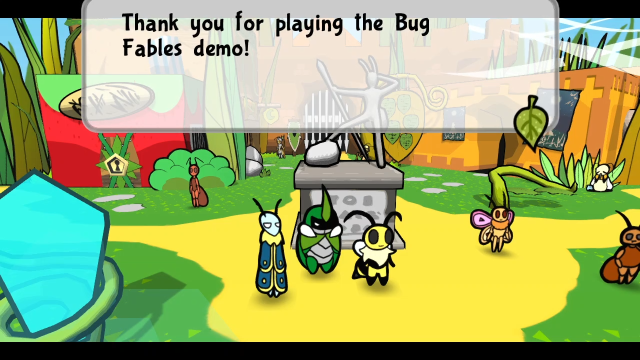 It means a lot to us that you got this far. If you're still full of energy, try to complete the side quests and Library! It means a lot to us that you got this far. If you're still full of energy, try to complete the side quests and Library!In case we didn't already get the idea, the rest of the demo is pretty sandboxy. There are some side quests available, but otherwise we're just meant to mess around and fill out the various achievements. 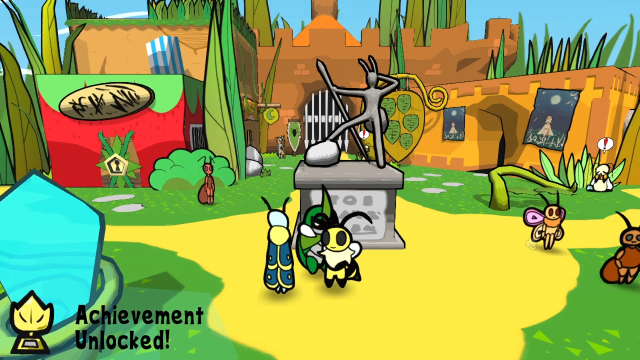   Two of which we'll be awarded right away. (Like the final game, there's an additional achievement for beating bosses with Hard Mode equipped. It seems they thought of that pretty early.) 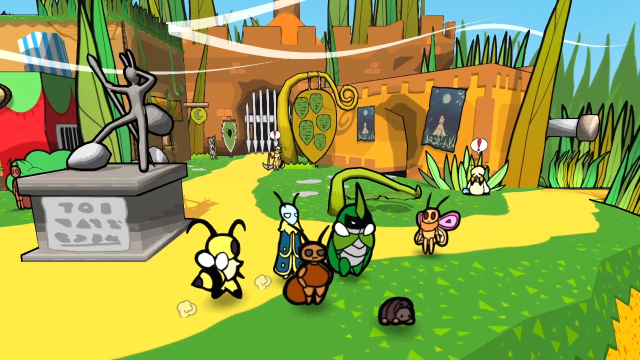 And with this, we're free to explore the plaza. I'm going to skip any of the dialogue that's unchanged in the final version. 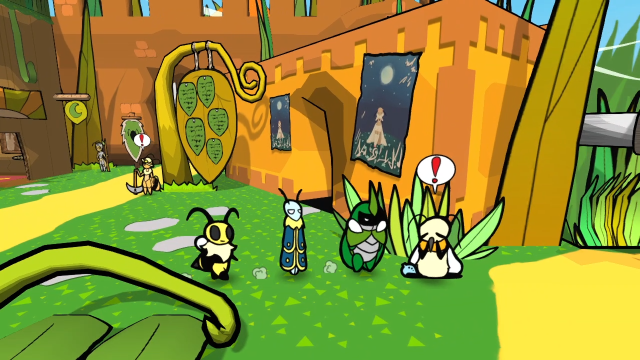 The scene when first talking to Samira is unchanged. 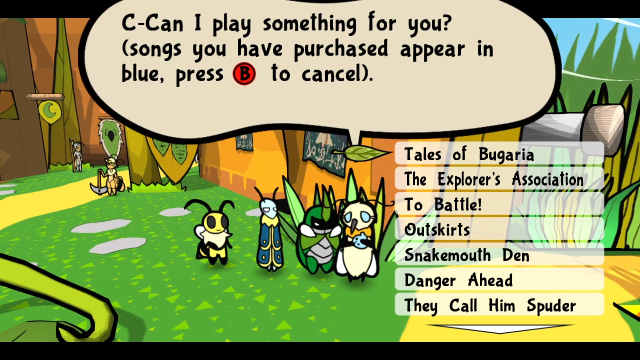 As is how she works generally, although the songs are more expensive in the demo (5 berries each!). Also, there's no option to buy them all at once, so it's a bit more tedious to do here. One of the achievements is for buying all the songs (as in the final game as well), we'll get to that eventually. 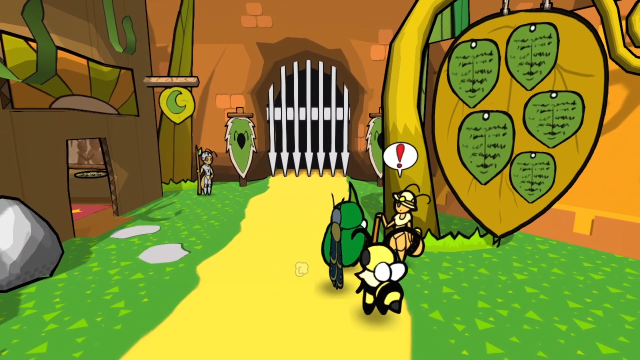 Instead of Utter, Vivi is manning the quest board. (In the final game, she's in the mines, and gives us a side quest to buy her a hat from the Bee Kingdom.) That said, the initial conversation with her is identical to the one we'd have with Utter in the release version. She does get a unique banter though. Vivi helps with the Notice Board. She makes sure to keep the board in pristine shape, and alert others of new posts. I hear she sometimes helps out people herself. She is an outstanding citizen.Let's take a look at the quests. 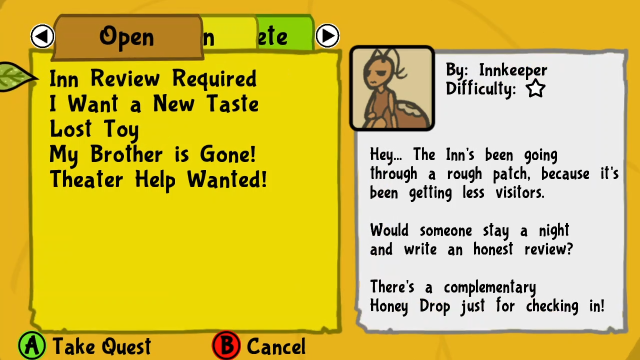 This one's identical to the final game. 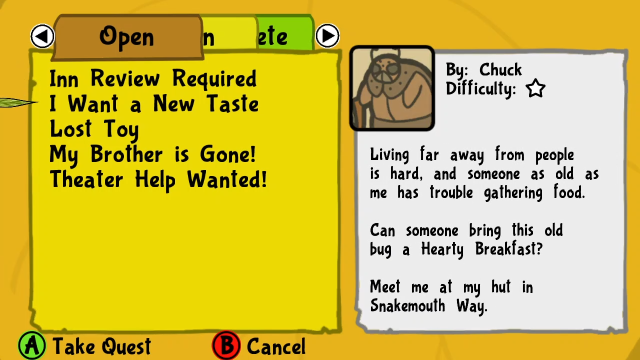 As is this one, although as we'll come to see, the reward is different. 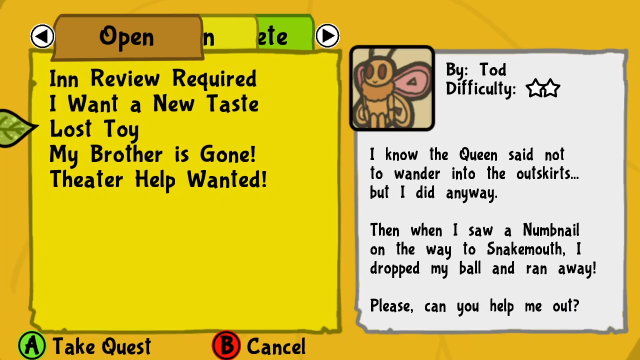 This mentions "on the way to Snakemouth" instead of the cave leading to Golden Settlement. The core concept is the same, but the execution's a bit different. 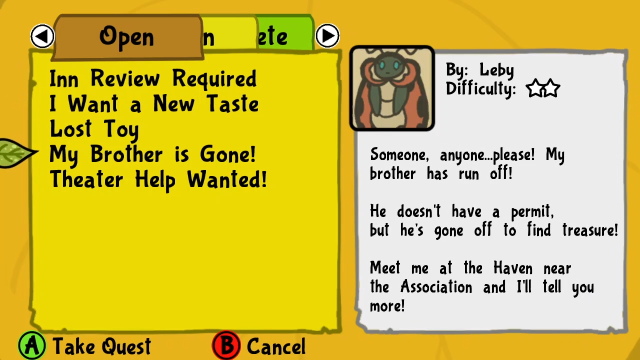 This quest made it into the final game pretty much unchanged, though it comes along much later and the reward is different.  And this one's probably the most interesting one in the demo; the quest itself made it into the game, but a lot of the dialogue is quite different. 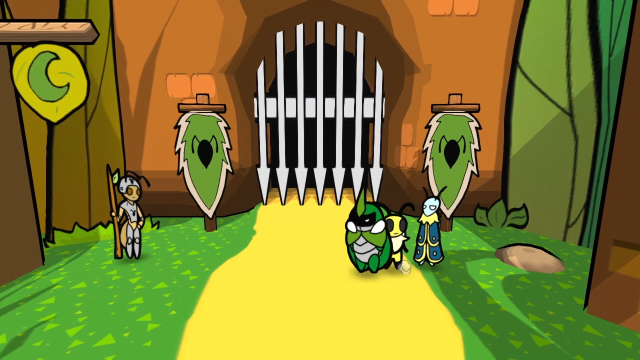 Here we can see a few interesting things. They were already thinking about placing the dirt mounds with buried items, even though there's no way to dig them up yet in the demo. The gate to the north is locked; they didn't implement the Ant Palace yet. And the guard here actually has a banter unique to the demo: I think this is Ant Guard... seven? Ant Guard number four used to occupy this post, but management must have switched them around. She probably won't have an issue with us, well behaved as most of us are. I heard that!I'm not going to show the Inn Review quest, since it's completely unchanged from the final game. In the course of getting it, though, we can get the rest of the discoveries: 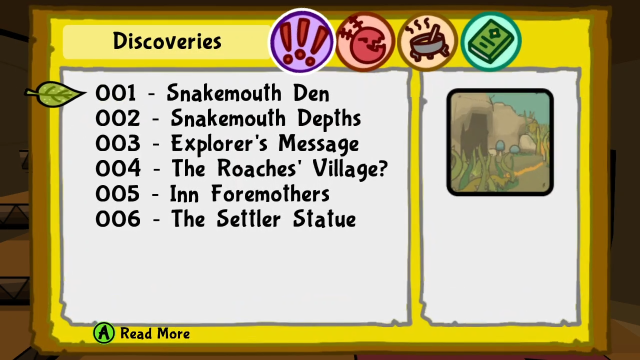 The first four are in Snakemouth Den, then we have the painting in the inn and the statue in the plaza. (I'm not showing the text because there are no noteworthy differences.) 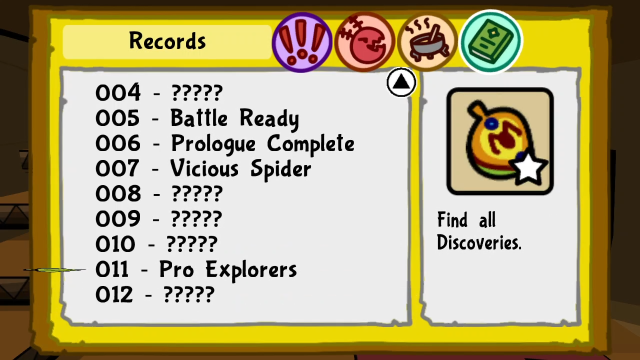 Getting all the discoveries qualifies us for one of the achievements. 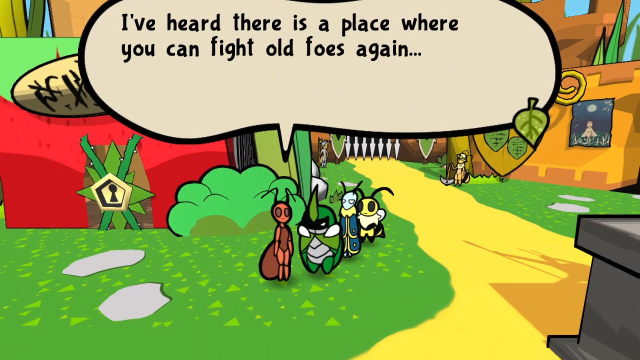  I wonder where that place is. I wonder where that place is.Janet has dialogue unique to the demo; this is hinting toward a way to refight the Spider, since otherwise the Hard Mode achievement would be missable. We'll see what she's talking about fairly soon. 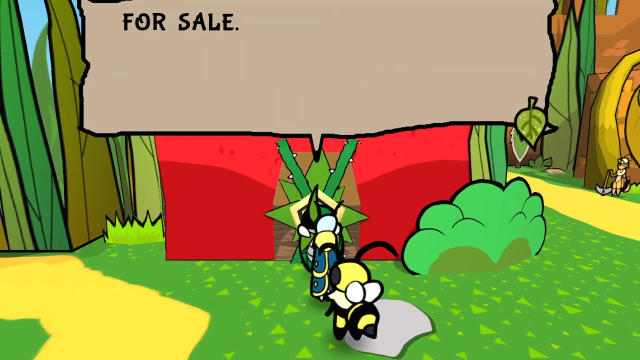 Also here's text you never see in the final game, because this lock brings up a Key Items menu prompt instead. 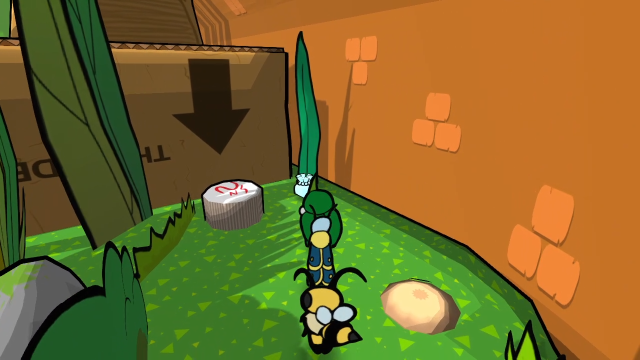 The Commercial District looks pretty much the same as in the final game. Interestingly, they put a Crystal Berry here where the Underground Bar will eventually be; otherwise, there aren't any scenes here and you can't interact with the lid covering the entrance. I definitely get the sense they were already planning ahead with the design elements (we've got the arrow on the box pointing at the lid, the buried item spot, etc all hint this place is meant to be important), but nothing's implemented yet. 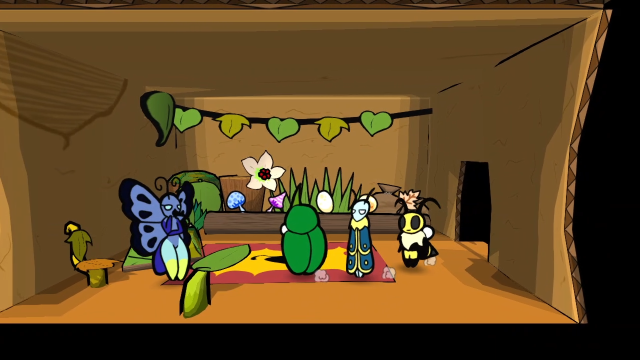 Madame Butterfly's shop has the same inventory as in the final game. 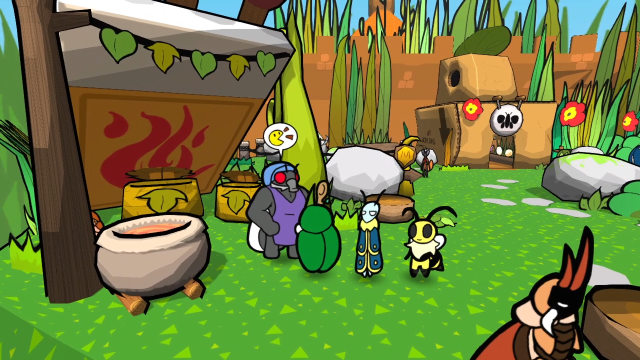 And here's Fry. His dialogue's pretty much the same as in the final game, and he works similarly (you can cook one or two items). You can't speed up his animations, though; in fact, that feature wouldn't be added until v1.1. We'll be back here later to go through all the recipes that existed in this version, since completing the recipe log is one of the achievements. Some of the items were changed a bit (stats, sprite redraws, etc). For now, I'll prepare a Hearty Breakfast for Chuck, since we still need that. 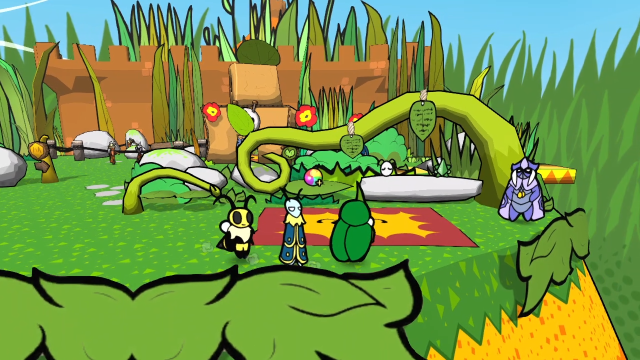 Merab's shop is here as well. 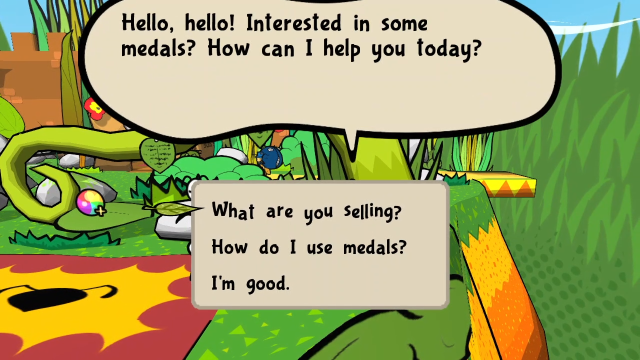 Though he doesn't offer the option to reshuffle his inventory, I guess they hadn't thought of that option yet. (It also doesn't reshuffle after you make a purchase, you have to leave and reenter the screen. This is how it worked in Paper Mario... but the final version they landed on is definitely a nice improvement.) 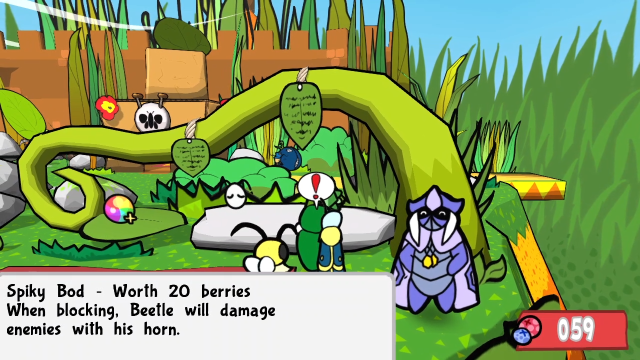 Most of the remaining medals in the demo are here (basically, everything that isn't a quest reward). At this point in the recording I didn't have enough berries to buy everything, but I did pick up the ones showing here. I'll show the full list soon enough, but perhaps most noteworthy is that Poison Attacker and Poison Defender are in his list. That concept definitely seems to have been in the game from very early on. 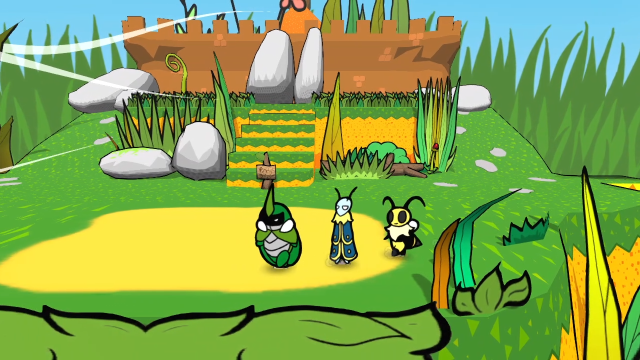 This area's different. This will become the Residential District in the final game, but in the demo there's some kind of stage here? 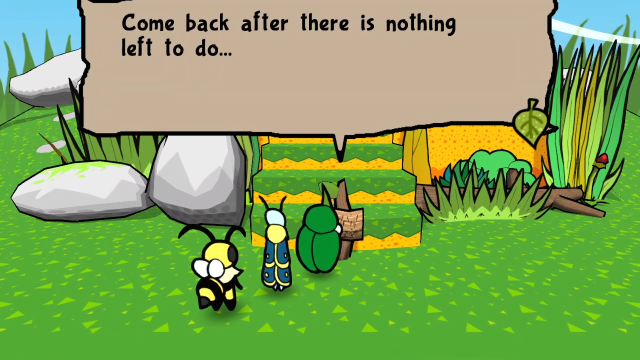 This sign is intriguing. This is why I'm fixating on getting all the achievements: once we do, this sign goes away and there will be something to see here. 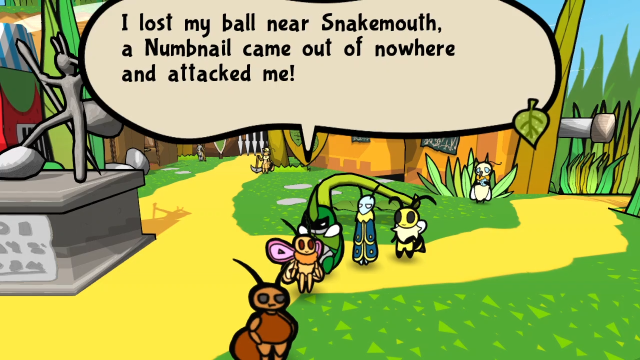 On our way out of the plaza, I stop to talk to Tod briefly (since his lines are a bit different to reflect where the ball is in the demo). 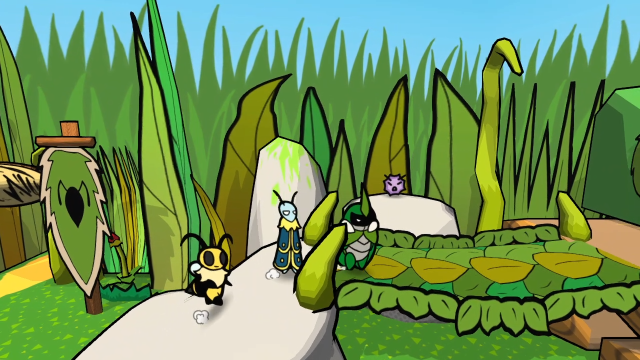 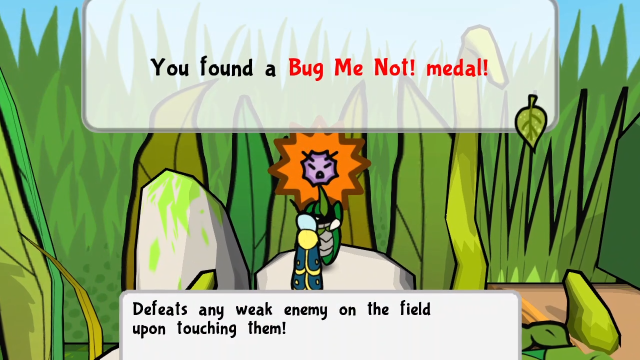 Instead of in the Residential District, Bug Me Not! can be found here in the Outskirts, by Madeleine's house. 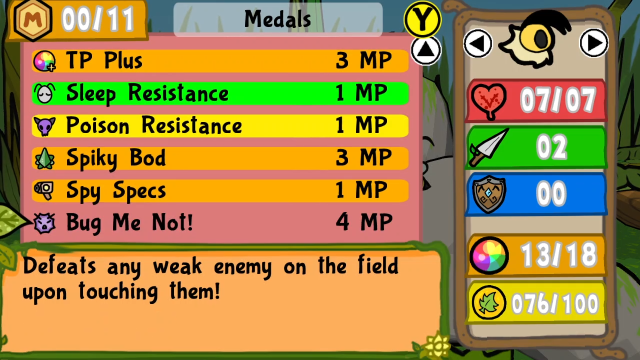 It costs 4 MP here, though (as opposed to 1 in the final release). This is more in line with its Paper Mario counterpart, though I do approve of it being lowered in the final game as a quality-of-life thing. For the most part, you're not going to be making meaningful tradeoffs when equipping this, considering most medals apply mainly in combat and you use this to skip combat. 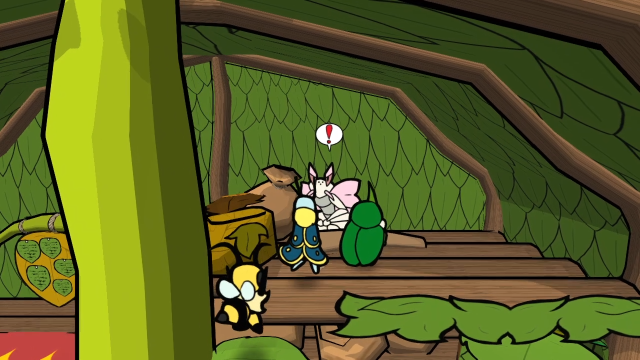 Artis has a reward for defeating the Spider on Hard Mode. 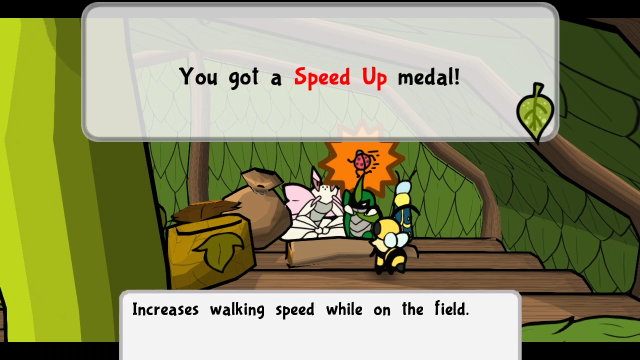 This is different! This is the first (and actually only) instance of a medal that was completely removed in the transition from this demo to the full game. 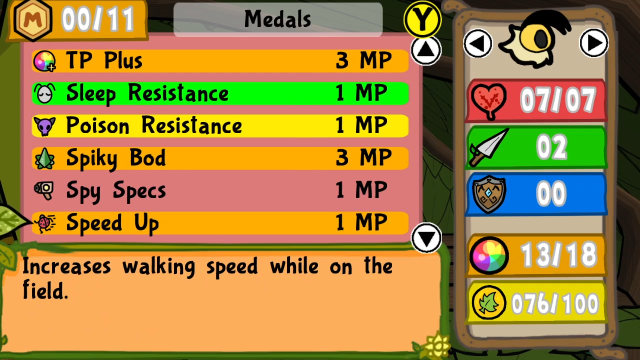 Speed Up cost 1 MP and increases overworld movement speed. I can't quantify by exactly how much, but it feels like the speed with it equipped is the same as the walking speed in the final game; moving around without it in the demo feels a bit sluggish. In essence, they seem to have realised this didn't make a whole lot of sense as a mechanic, as it was essentially "lose 1 MP to not be annoyed" and didn't add anything interesting gameplay-wise. This isn't a medal anyone is going to miss (although the icon is cute). 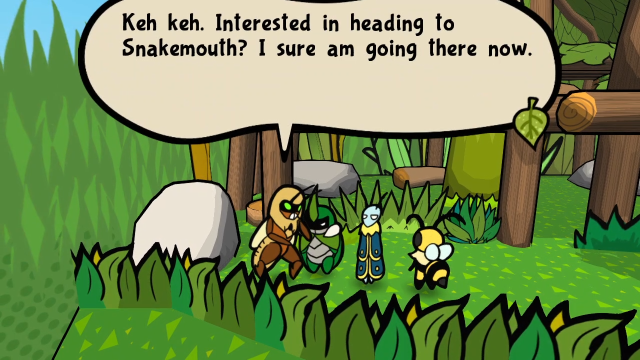 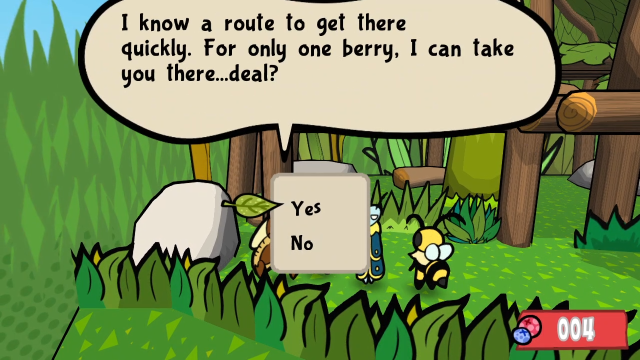  This bandit's not in the final game, though there's a character with a similar function in the Ant Mines. I won't be using the shortcut, but it's nice that it's here. He does get a banter though: This guy looks super shady. It's not like we look any better. Nonsense. I look trustworthy and approachable! ... ... H-Hello?This one's kind of cute. They were putting the charm in these right from the start. 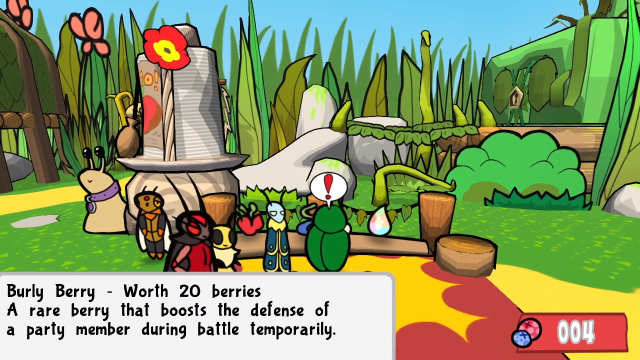 The caravan shop is unchanged. 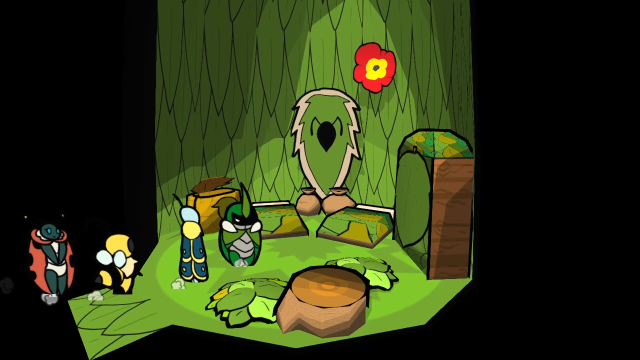 After picking up Leby for the escort quest, I checked in their house. No Mistake for us to steal here, that must've gotten added later. 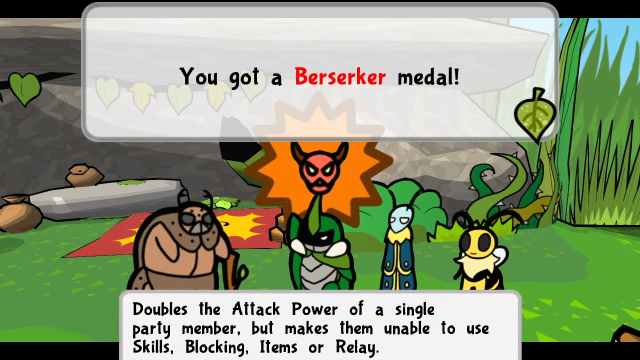 For giving Chuck his Hearty Breakfast, we get Berserker instead of Mighty Pebble. That's different! His lines are different to reflect it, too: That'll make you really angry, but really strong! Just like me when I don't have food...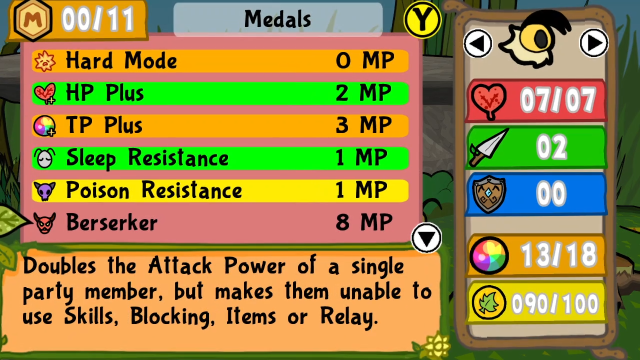 The way Berserker works is a bit different, but the concept stays the same. That said, the order of operations is a bit disappointing: to the extent I tested it, it seems to double the base attack value, and bonuses from Attack Up, Poison Attacker, Charge Up, or being in front apply afterward. In practical terms, this is just giving +2 attack, so the version in the final game is actually stronger at +3 (as well as costing fewer MP, it's 6 MP in the final game). 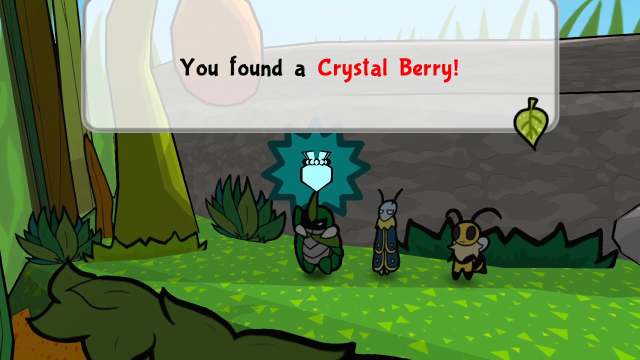 This Crystal Berry behind Chuck's never moved, although in the final game there's a boulder blocking the way to it that isn't here in the demo. 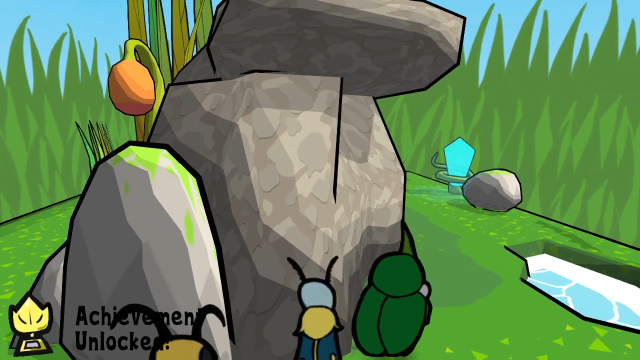 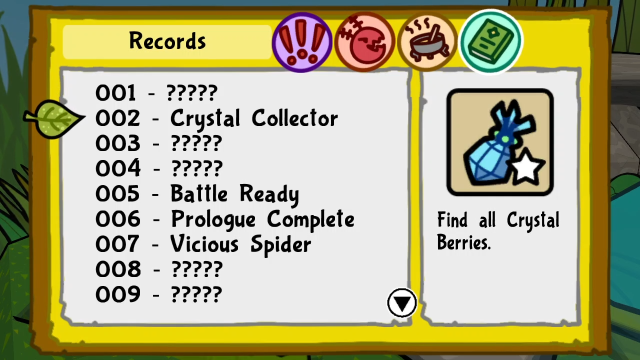 That's the fifth and final Crystal Berry in the demo, so we get the achievement. 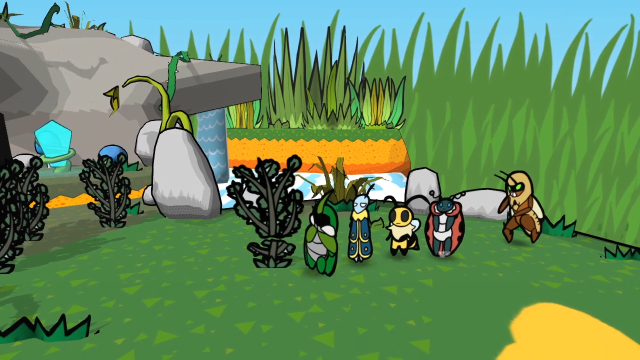 Here by Snakemouth Den, we can see the bandit again, so this is where he'd have taken us.  Over this way, we can spot a Numbnail. Getting close to it starts a cutscene. 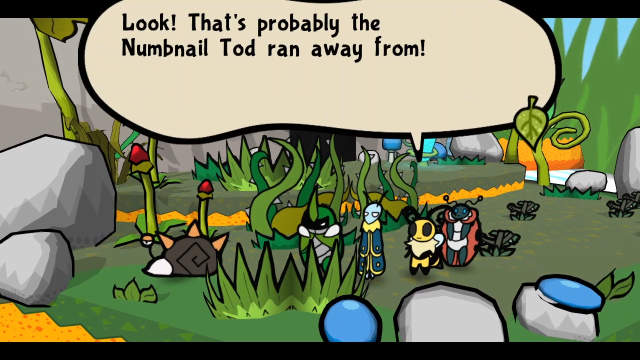 Do you think it has the kid's ball? Only one way to find out... Do you think it has the kid's ball? Only one way to find out...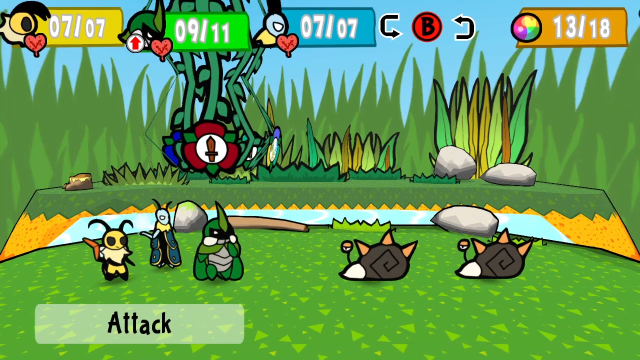 Then we're thrown into battle with two Numbnails. They're very similar to the enemy in the final game, but they have more HP here (11 HP, as opposed to 7). (These Numbnails don't respawn, but if you forget to spy on them here, there's also one in the play, so the bestiary entry isn't missable.) 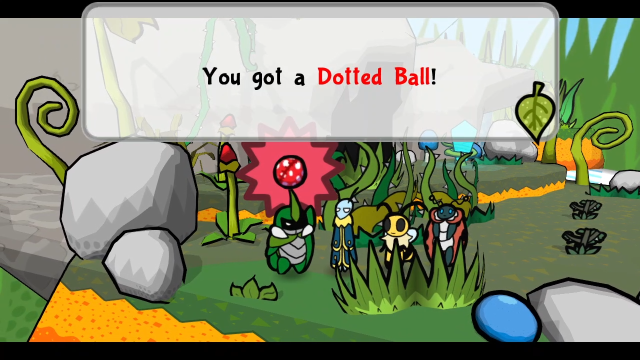 Winning the fight immediately gets us Tod's ball. 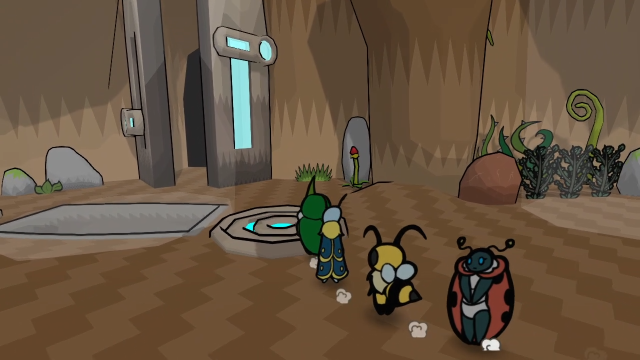 Onward, as we trek through Snakemouth again (we still need to find Dib), we can be reminded these doors are open now. I still think it's a great bit of subtle design that they use the Leby and Dib sidequest to get you to backtrack here and notice the doors have opened. 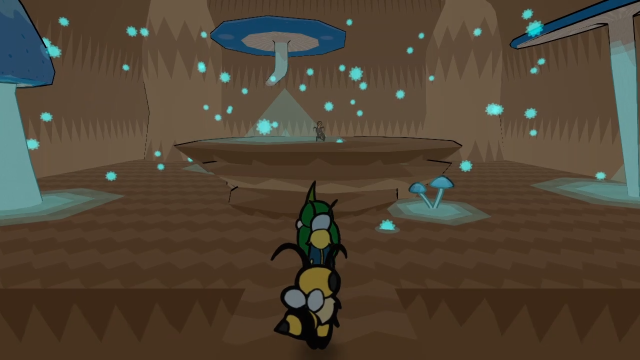 This room's different! Of course, in the final game, the entrance to the Lab is through here. (If this room looks like anything, it looks a bit like the Cave of Trials room in the final game.) There's a Zombiant up on the pedestal there. 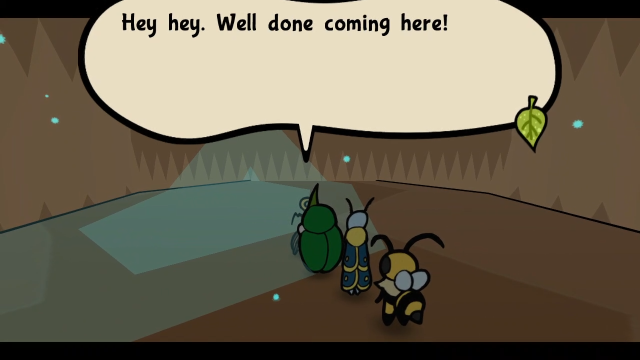  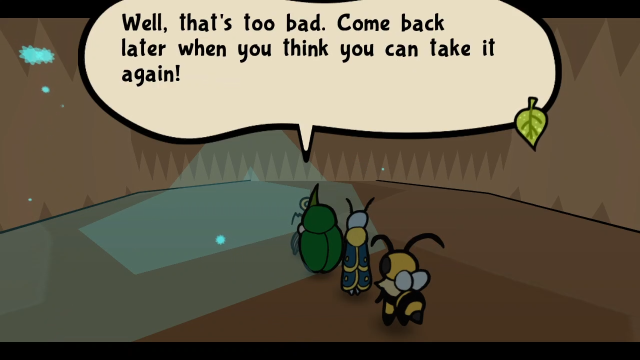 If we talk to it, it gives us the option to refight the Spider. (This is clearly what Janet was hinting at earlier.) You can fight it as many times as you want, but there's not much to see from our perspective. For the purposes of the demo, it's really nice to have this as a way to play with all the medals and try out different builds. There's also a banter. This ant is different from other ants we saw. How so? For once, it is not trying to kill us. Maybe we should talk to it to see what it wants.Sure, all right then. 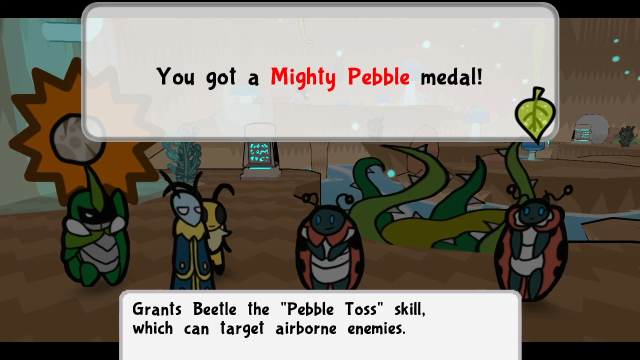 Finding Dib isn't any different, but he gives us Mighty Pebble instead of the Lore Book we'd get in the final game. (I'm not sure if they'd decided to have a second major collectible yet at the point they made this.) 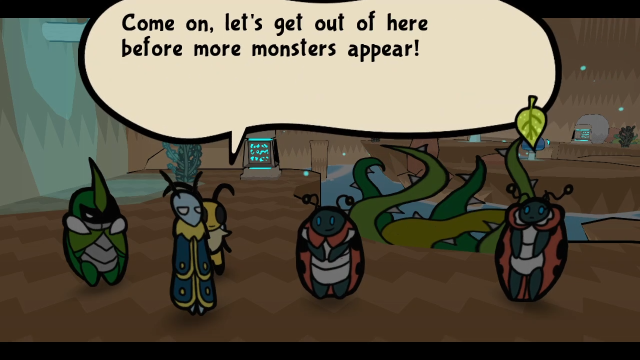 Here's one minor difference, though: we're forced to warp back to the Outskirts after completing the quest, instead of being given an option to stay here if we want. 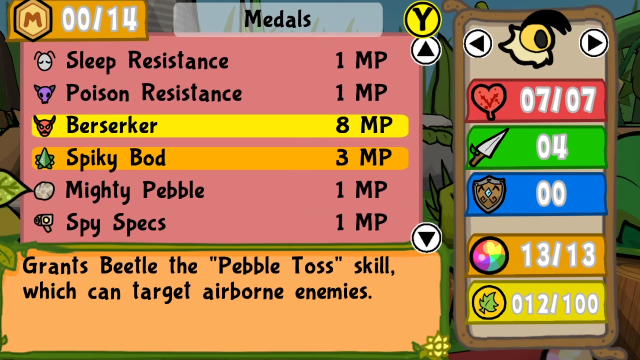 Mighty Pebble hasn't changed. 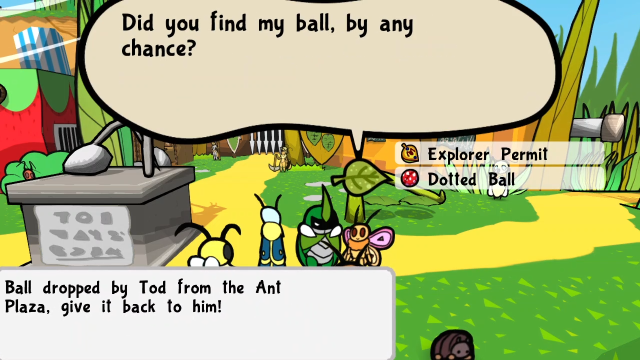 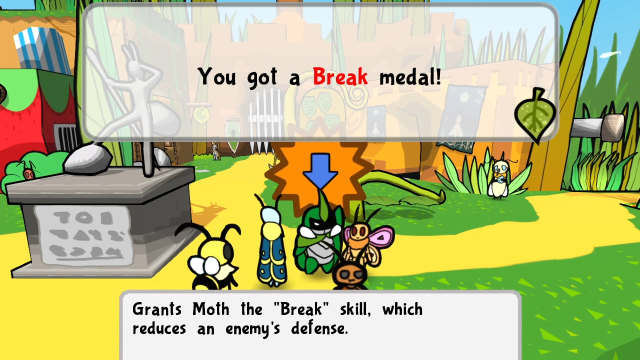 Returning Tod's ball gets us Break, instead of Sleep Resistance. 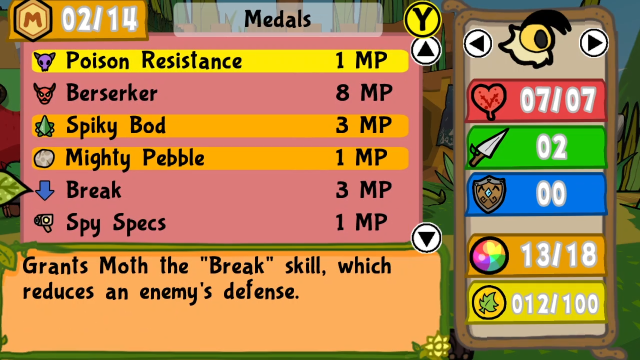 The cost to equip this will be reduced from 3 MP to 2 in the final game, and Break costs 3 TP to cast in the demo compared to 2 in the final game, but it's otherwise the same medal we know. For character limit reasons, I have to split the post here. Back momentarily with the rest of the demo content! Explopyro fucked around with this message at 14:56 on Mar 23, 2024 |
|
#
?
Mar 19, 2024 04:46
|
|
|
80: What a Long Way We've Come (Exploring the Demo) (Part 2) 22 - Fine Arts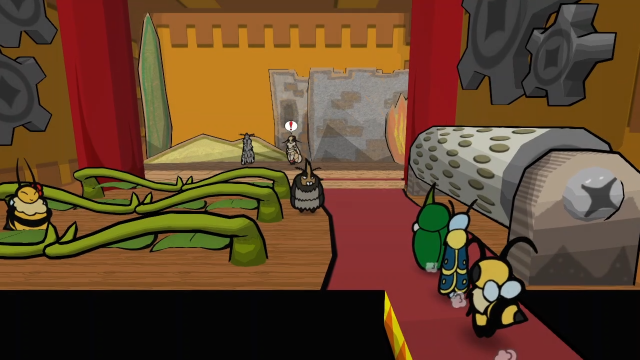 Our final quest is in the theatre, and there are some other things to see there too. 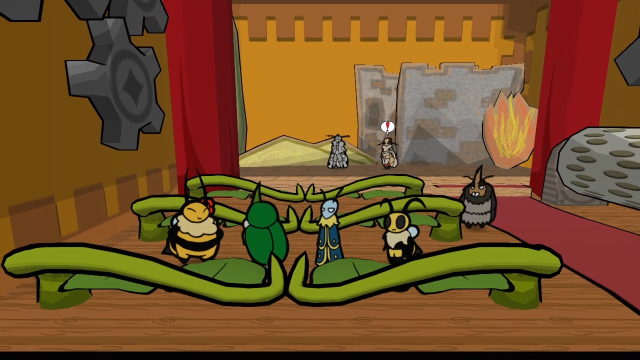 First up, despite not being an actor yet, Chubee is still here. Let's talk to her. 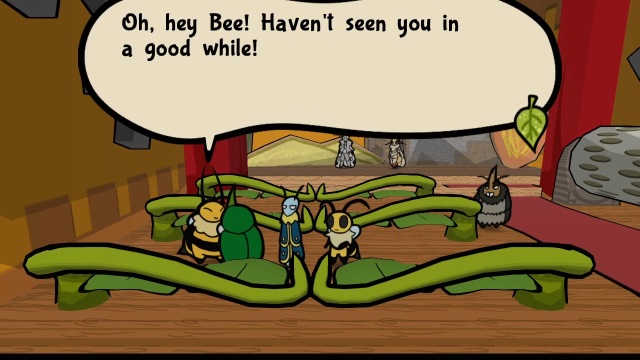 Heya, Chubee! Come to see the play? Heya, Chubee! Come to see the play? Yup. Bugaria is just full of talent! These your friends? They look cool! Yes. C-Cool? I mean, yes! Uh, yeah. We explore and stuff. Awesome. Let's go grab a bite later, Bee. Heheh. It's nice to see that Bee has friends. ...Uh, just as expected. Yup. Bugaria is just full of talent! These your friends? They look cool! Yes. C-Cool? I mean, yes! Uh, yeah. We explore and stuff. Awesome. Let's go grab a bite later, Bee. Heheh. It's nice to see that Bee has friends. ...Uh, just as expected.This is a fun little conversation. We of course got some like it in the game proper, but there isn't really any place this particular one would fit. (It does seem that Chubee being friendly/a fan of the party was an early idea.) There's also a banter: That's Chubee! She's always traveling and looking for the best foods and shows! You seem to care for her. Eh. When you get to know Chubee, you can't help but like her! You'll have to introduce us, Bee. I don't know about that...Seems like Chubee was a bit more of a one-note character at this point; I like that in the game proper she gets to be an actor and have interests other than food. 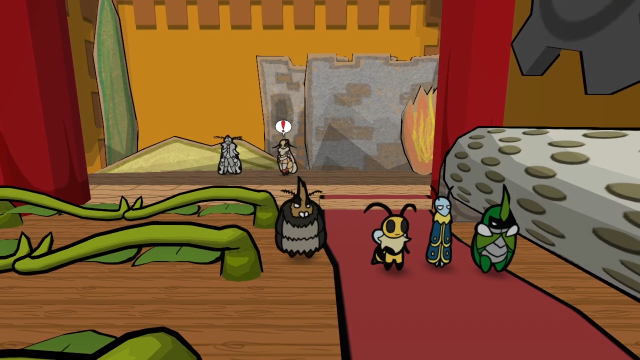 The drum over here isn't interactable in the demo. (In the game proper there's a Crystal Berry hidden here if you spin it enough, one of the more well-hidden ones in my opinion.)  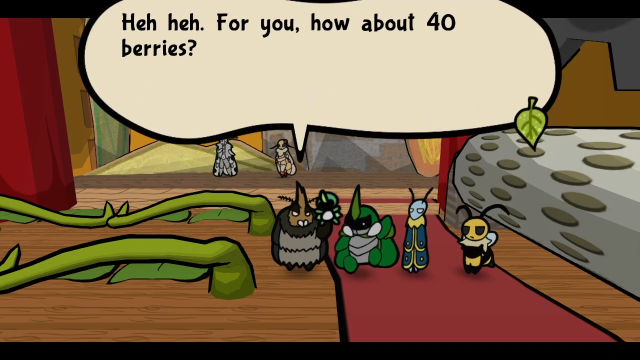 Fuzzo, of course, is here to sell the Bug Ranger plushie. This conversation's pretty much unchanged in the final game. 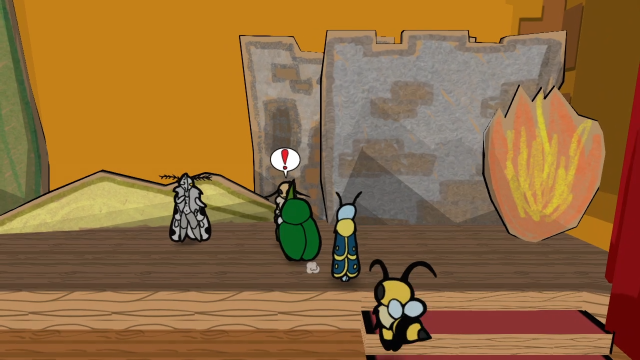 And on stage is Mothiva. Before we talk to her, there's a banter: It's Mothiva! She is super popular! Even I have heard of her from my homeland, it is such an honor to be here near her in person! ...We do not see how she is that special. Come on, Moth! Even you must have heard of her, wherever you came from! ...Heh. Let's talk to her. 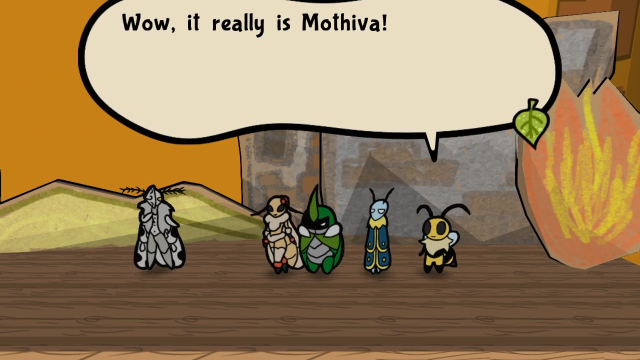  Oh, who might you three be? We saw your listing for help. We are at your service. (We only wanted to watch...) Oh, really? Hmm... Oh, who might you three be? We saw your listing for help. We are at your service. (We only wanted to watch...) Oh, really? Hmm...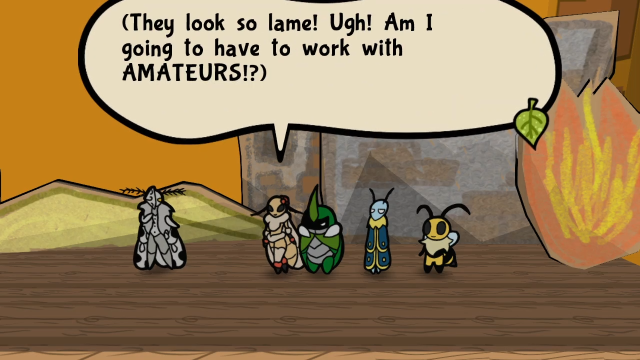 That's great! When can you start? We have to rehearse! No audition? Shush Moth, don't ruin this. We can start as soon as you are ready. That's great! When can you start? We have to rehearse! No audition? Shush Moth, don't ruin this. We can start as soon as you are ready.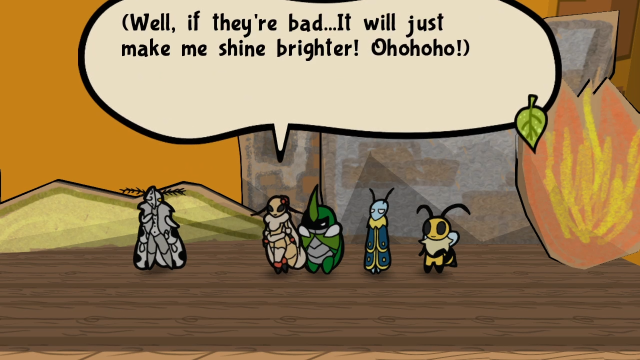 Let's begin! Mothiva's training regimen! Let's begin! Mothiva's training regimen!   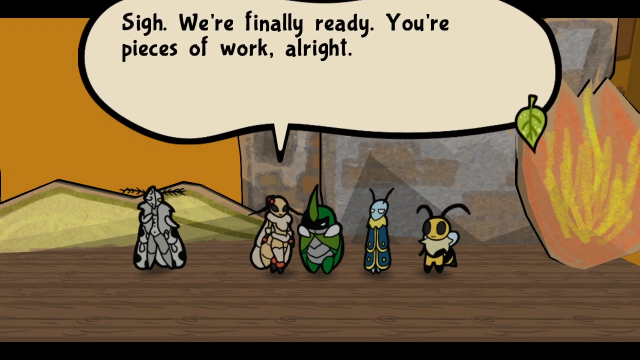 Look. People are coming in. Don't ruin this! Just talk to me when you are ready to start the play. Look. People are coming in. Don't ruin this! Just talk to me when you are ready to start the play.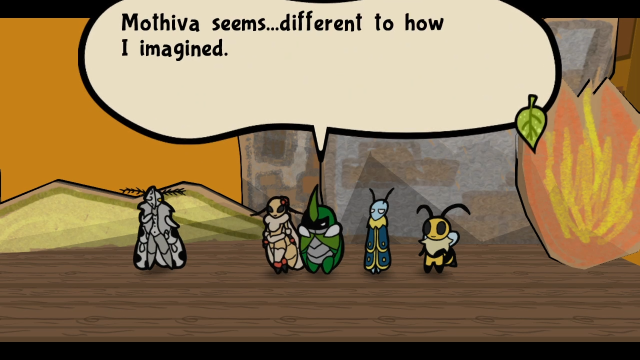 She's "a piece of work", alright. This is why you shouldn't meet your idols. Still, let's do our best. This play carries a lot of people's efforts! And we're actually getting paid. Let's do this! She's "a piece of work", alright. This is why you shouldn't meet your idols. Still, let's do our best. This play carries a lot of people's efforts! And we're actually getting paid. Let's do this! So, yeah, as you might expect, having to work with Mothiva in the play leads to very different dialogue than when Chubee was the lead actor. This is a lot of fun, though I also quite like the version in the final game. We get a break here after the scene, we have to talk to Mothiva again to start the play. 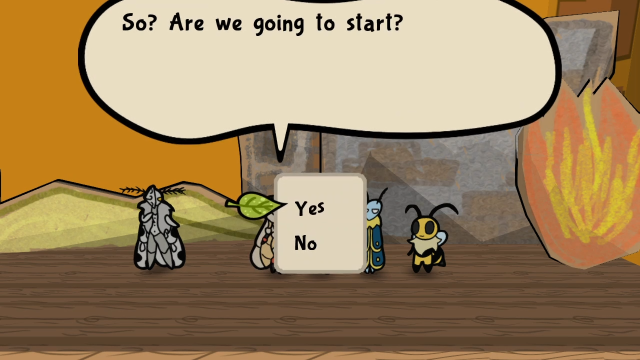 Let's do it. 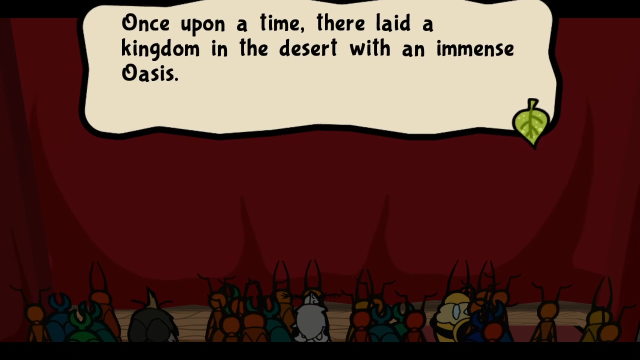 Travelers from all over the world wished to visit. For its clear water and its beautiful ruler. The princess would greet all who came with smiles and hospitality. It was so, how an evil prince fell in love... Travelers from all over the world wished to visit. For its clear water and its beautiful ruler. The princess would greet all who came with smiles and hospitality. It was so, how an evil prince fell in love...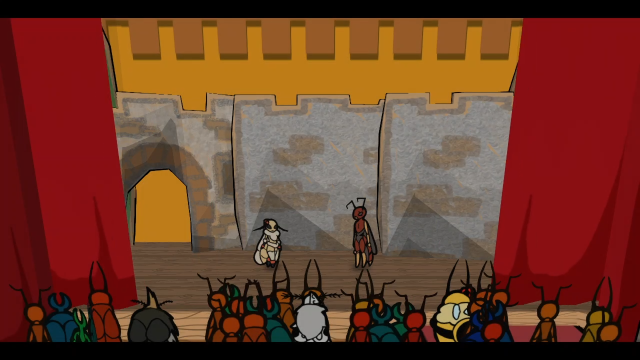 (Most of the text in the play isn't changed, but IMO the tone feels a bit different when the leads are Mothiva and Zasp, so I'm going to show it all even though it might not, strictly speaking, be new content.)   Oh, how I wished for thee to make this easy. You have left me no choice! Oh, how I wished for thee to make this easy. You have left me no choice!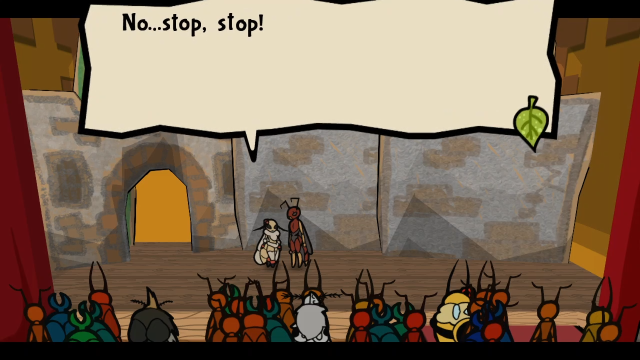 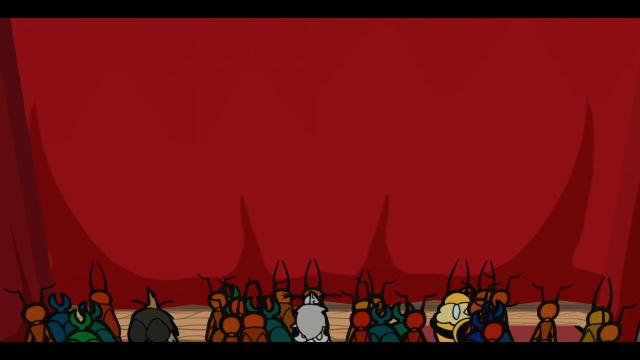 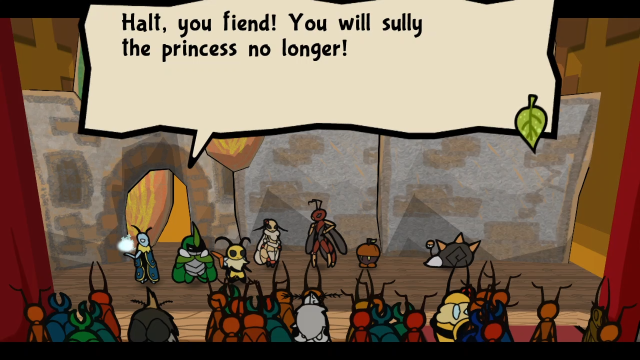 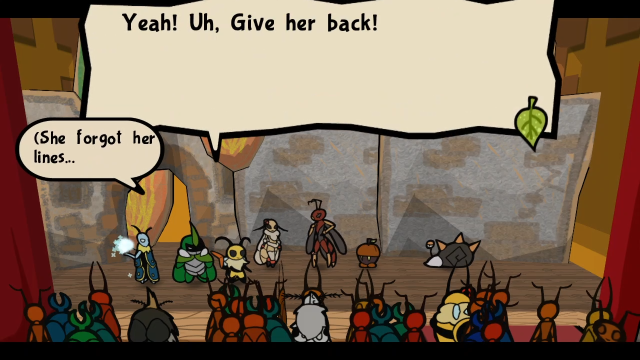 W-We will stop you! W-We will stop you!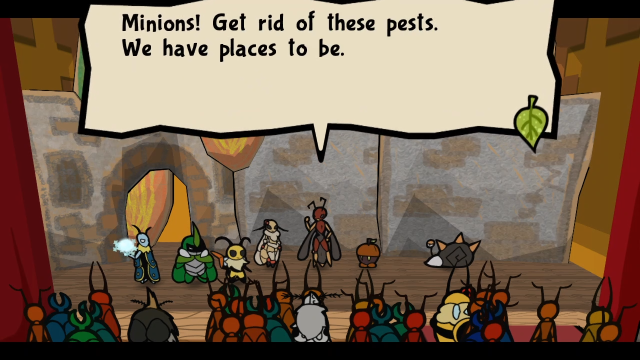 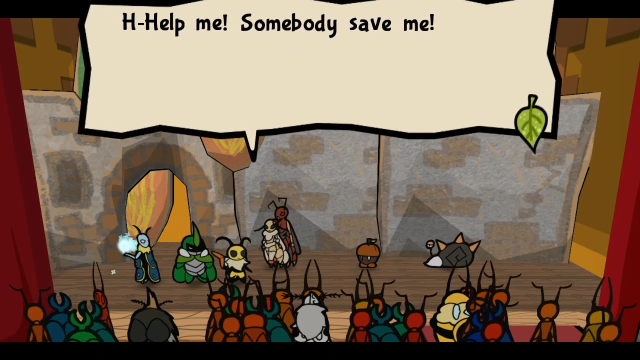 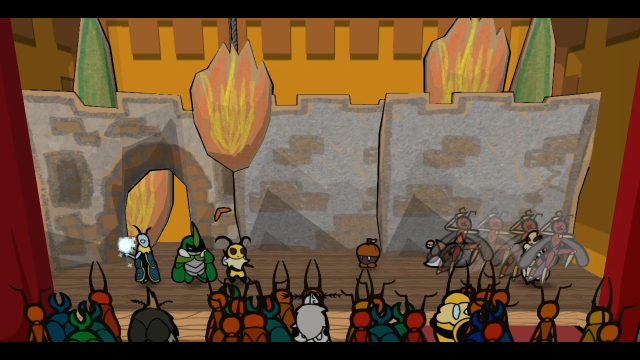 (Zasp's animations have a bit more personality to them than the Burglar's, which helps here. It's otherwise exactly the same scene.) 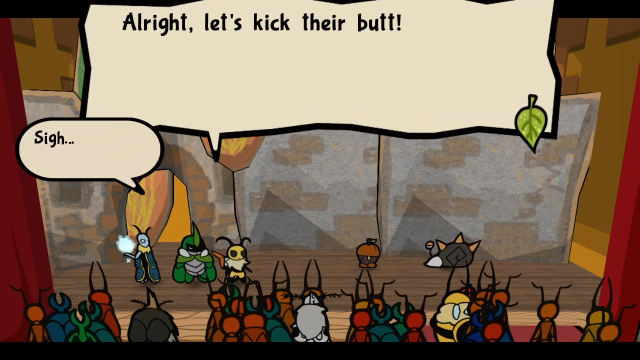 You freakish beasts, you dare stand between us and the princess!? You chose poorly. Prepare yourself! You freakish beasts, you dare stand between us and the princess!? You chose poorly. Prepare yourself!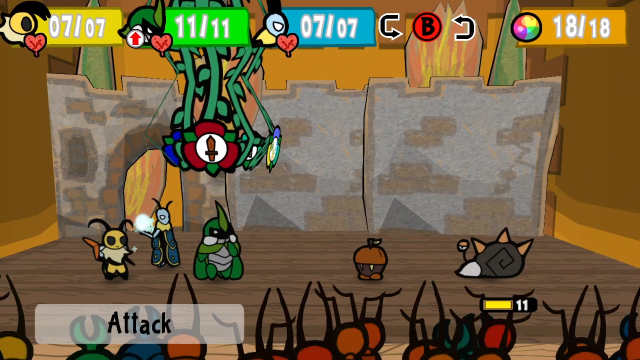 This enemy formation survived to the final game (although as mentioned earlier, Numbnails' stats got tweaked a bit). This is the only Acornling in the entire demo. It has 8 HP instead of 7, but otherwise is pretty much identical to the final version (although I think in the game proper, they have two different attack animations and can fake you out; I've only seen one in the demo). 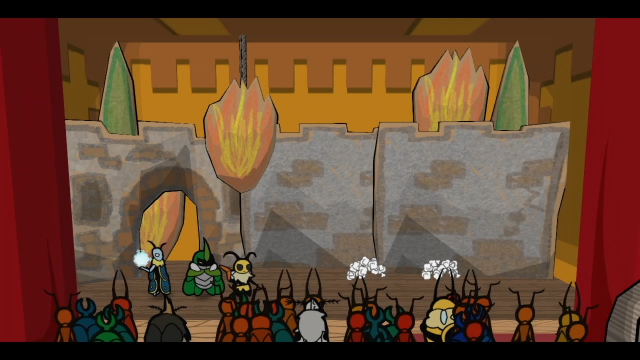  Whatever shall we do now? How will we face the people!? We will get her back! After them! Whatever shall we do now? How will we face the people!? We will get her back! After them!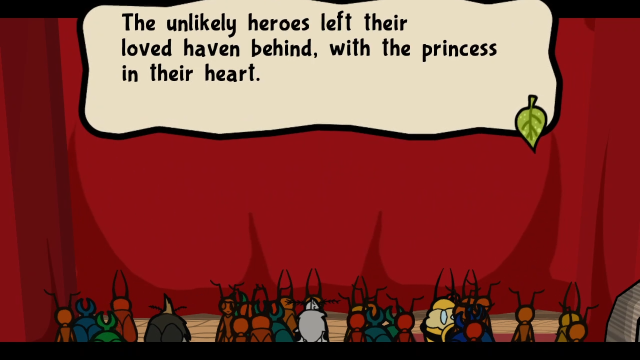 The journey was long, and the desert unforgiving... The journey was long, and the desert unforgiving...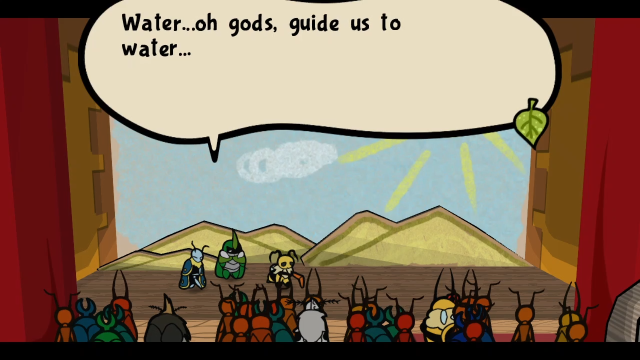 Do not complain! Our suffering is slim, compared to what the princess faces. Do not complain! Our suffering is slim, compared to what the princess faces.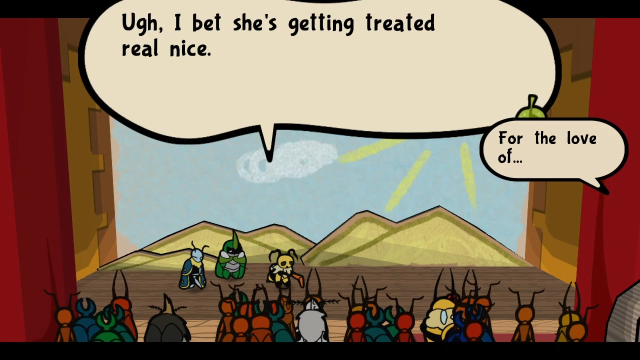 (I think it's pretty clearly implied here that Mothiva is the one griping off-stage. This line's actually nicer in Chubee's version!) 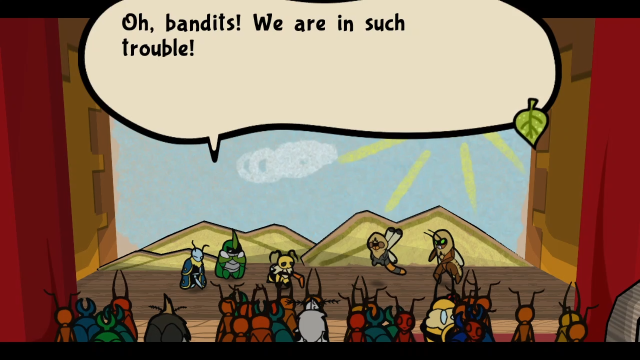 Out of our way, scoundrels. We have no time for thee. Yeah! Or face my beemerang! I mean, blade! Out of our way, scoundrels. We have no time for thee. Yeah! Or face my beemerang! I mean, blade! Nyehehe. You shouldn't have come to the desert... Nyehehe. You shouldn't have come to the desert... In such expensive clothes! Your greed knows no end... prepare yourself! In such expensive clothes! Your greed knows no end... prepare yourself!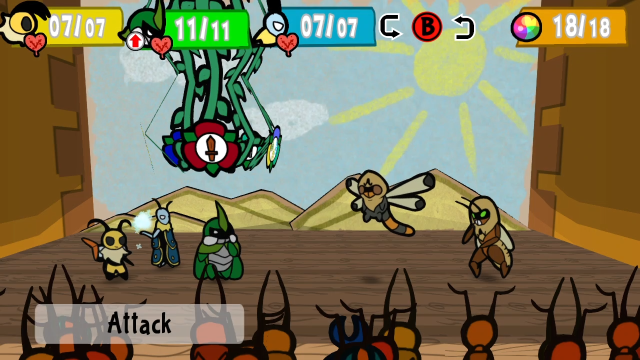 This fight is also very similar, albeit with adjusted stats. The Bandit here has 7 HP and 2 Defence, instead of 11 HP and 1 Defence in the final game. 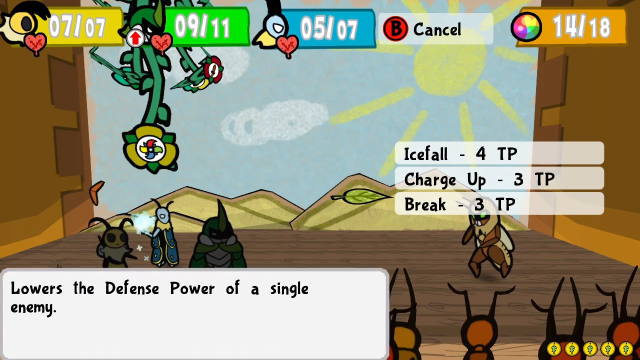 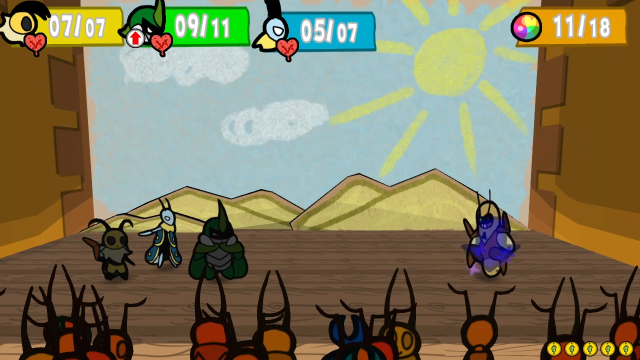 The Bandit does provide a decent opportunity to try out Break, though. We can see Leif's full demo moveset here, and Break has the same animation as in the final game. They have all the moves they do in the final game, though they can't steal items yet, and the Thief's wind attack uses a regular action command instead of button mashing (just like the Spider's poison breath earlier). 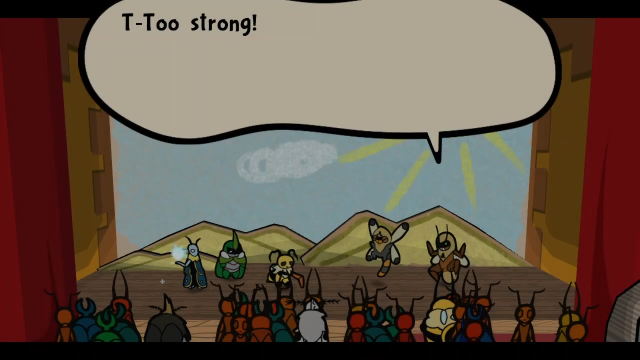 Let's get outta here, boss! Let's get outta here, boss!  It's our lucky day! Eat quickly, for there is no time to celebrate. We must reach our liege with haste! It's our lucky day! Eat quickly, for there is no time to celebrate. We must reach our liege with haste! And now, it was time to take back what they had lost... And now, it was time to take back what they had lost...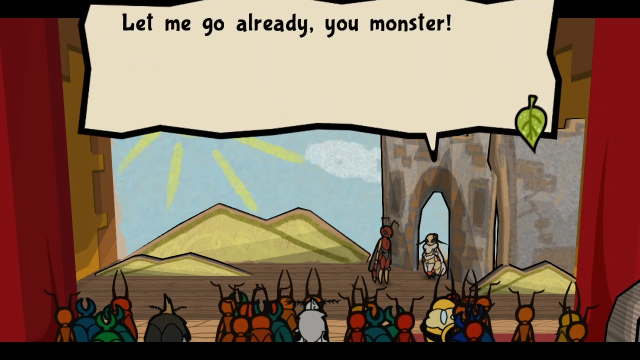 Even with all my riches, with the grandeur of my land... You would still reject me!? Even with all my riches, with the grandeur of my land... You would still reject me!?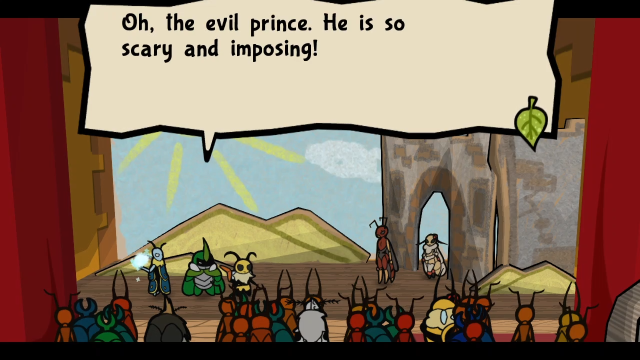 Hey! Give the princess back! You will pay for your crimes! My knights! You've come to my aid! Why... why must fate work against me? Hey! Give the princess back! You will pay for your crimes! My knights! You've come to my aid! Why... why must fate work against me?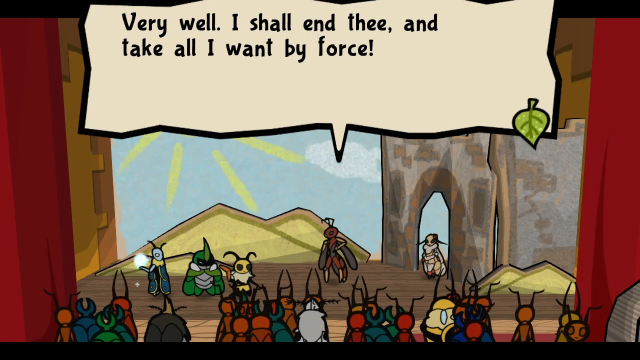   Click me for video! 04 - FIGHT! Click me for video! 04 - FIGHT!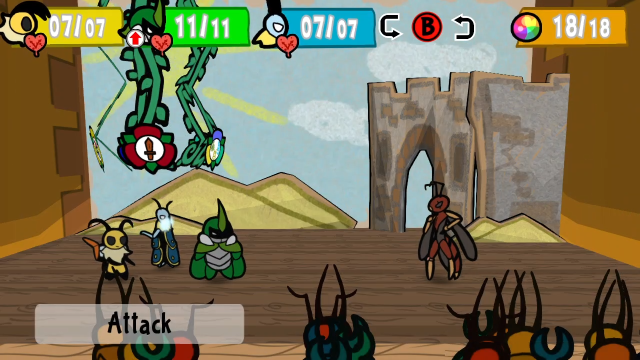 So, Zasp is actually more or less the final boss of the demo. This is a very different fight from the Burglar. 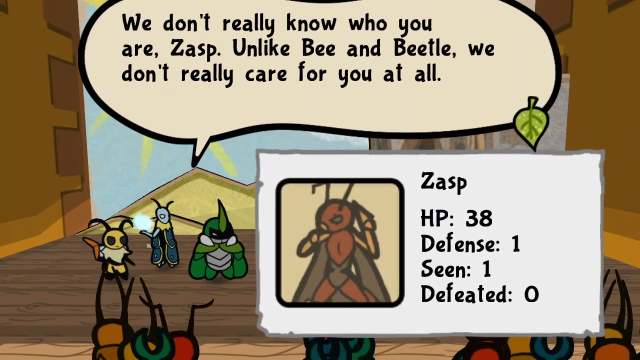 Here's the stats you see if you spy him. 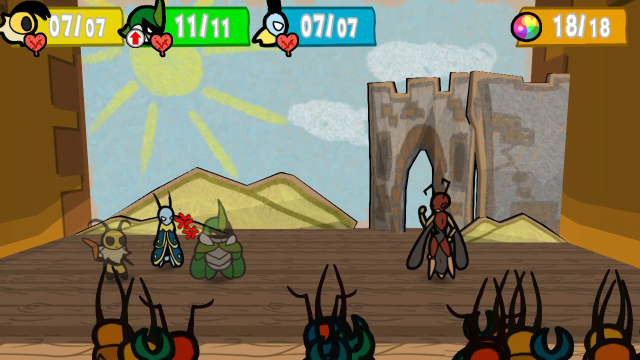 He has Taunt. 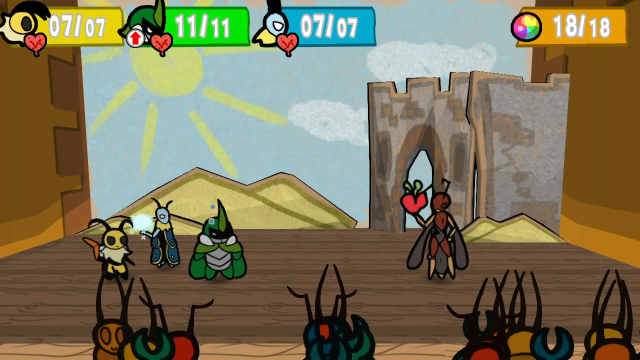 He has his Spicy Berries.  He has his needle salvo.  And he has his martial arts combo. (I think only 1-2 hits, though.) This is very similar to Zasp's moveset in the final game, though of course it's different fighting him without Mothiva. Despite that, I think he's a bit scarier in the demo, because he can output a lot of damage quickly and you don't have that many mitigation options available. That said, this fight isn't terribly hard as long as you're paying attention and have some decent items. Also, it definitely seems like they want you to think about the tools the demo's given up to this point: he has defence, so you can use Break; he has enough HP that you might want to mess around with Poison Attacker or Charge Up; he hits hard enough that you might consider stacking defence and using Taunt, etc. It's the most challenging fight the demo has to offer, but ultimately we're still in demo-land here. I don't think it's interesting enough to give a full play-by-play, but if you want to see the entire fight, the video's there for you to watch.  Also, here's something that was odd. This is Vi's Tornado Toss after 3 Charge-Ups from Leif; I'm not sure why the damage drops from 4 to 2. I don't know whether the damage calculations for Tornado Toss were intentionally changed, or this is some kind of glitch. 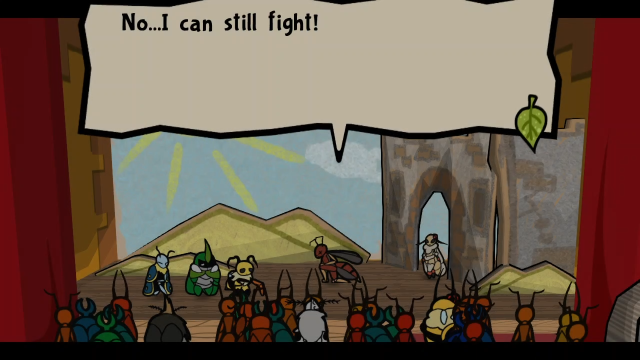 I will show you my true power! No... we are too drained from the fight! Is this the end for us...? Hey, I can still fight! I will show you my true power! No... we are too drained from the fight! Is this the end for us...? Hey, I can still fight!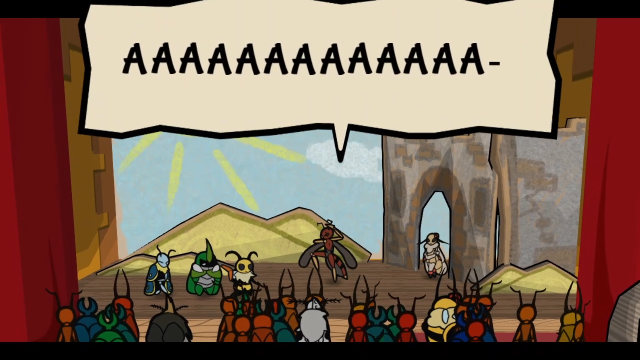  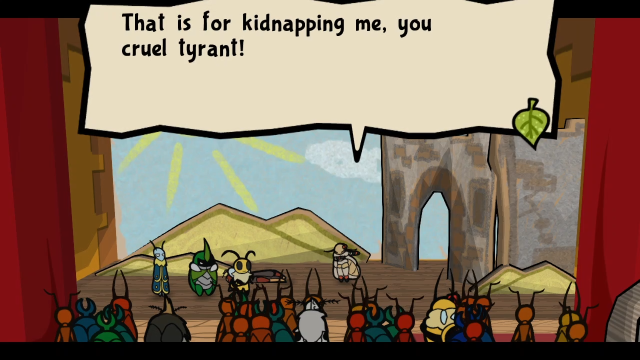 Again, this worked fine in the game proper, but I definitely get the impression it was written with these animations in mind. 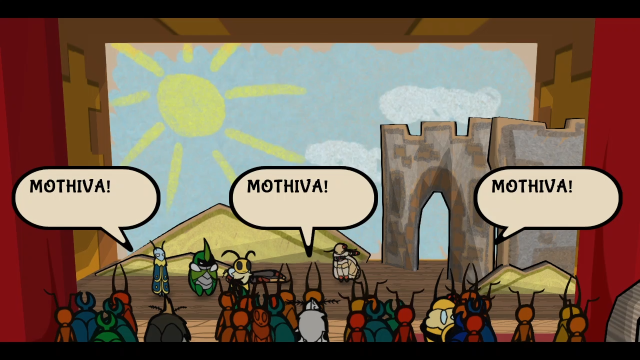 Instead of generic cheers, the crowd's all shouting Mothiva's name. 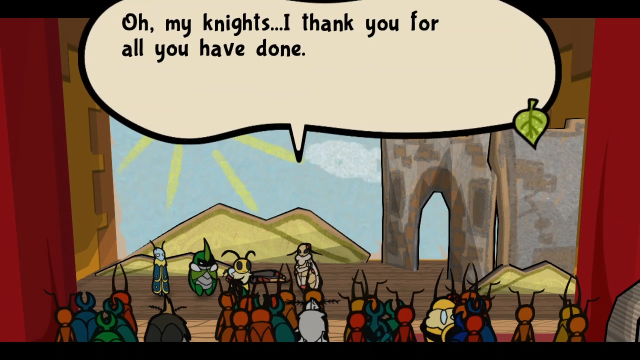 In the name of my mother, the Queen... I grant you the highest honors. To stay by my side as right hand bugs, as we restore our kingdom. It was all for you, Princess. In the name of my mother, the Queen... I grant you the highest honors. To stay by my side as right hand bugs, as we restore our kingdom. It was all for you, Princess. 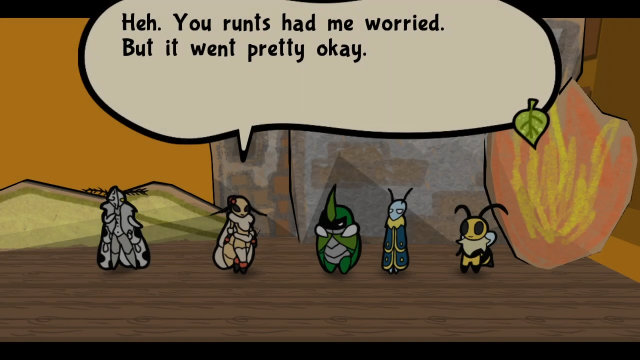 It went way better than okay. I didn't really like my role... but I managed. It was super easy. Now, for payment... It went way better than okay. I didn't really like my role... but I managed. It was super easy. Now, for payment...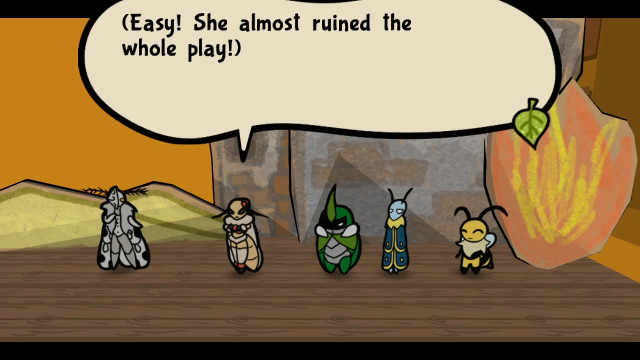 (Good thing the audience is happy just seeing me...) Well, the play succeeded, so fine. Here is your reward. (Good thing the audience is happy just seeing me...) Well, the play succeeded, so fine. Here is your reward.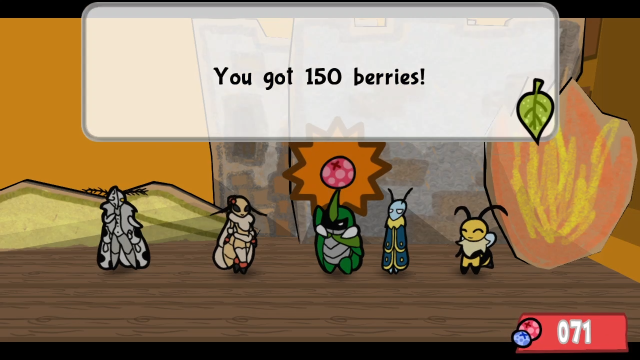 (This is significantly more lucrative than in the final game! Of course, it serves a different purpose here. This is basically meant to give you as much easy money as you want, since this is pretty much the end of the demo content and you may want to buy everything you haven't gotten already.)  Honestly, a lot of people are asking for an encore. Feel free to talk to me if you want to go again. Honestly, a lot of people are asking for an encore. Feel free to talk to me if you want to go again. 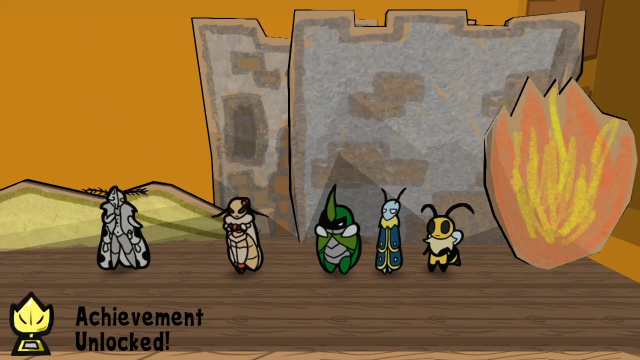 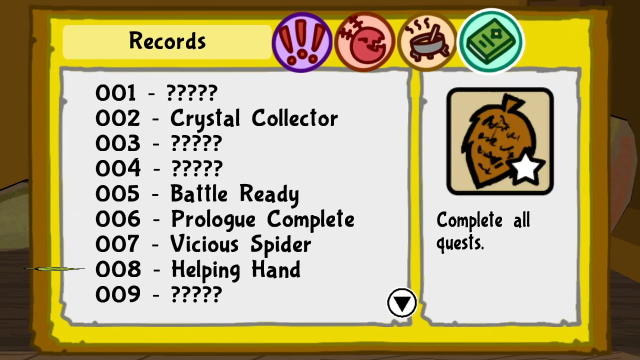 One of the achievements is for completing all the quests. 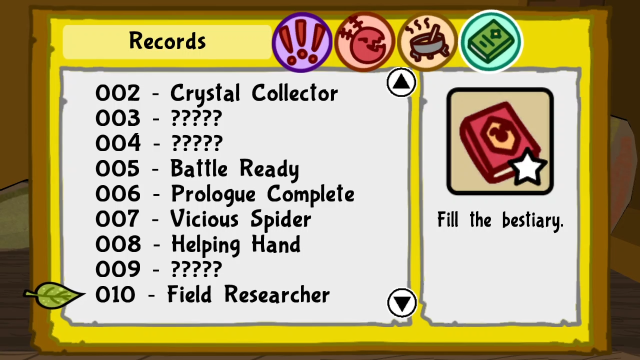 And another is for filling the bestiary, which we've coincidentally also done. 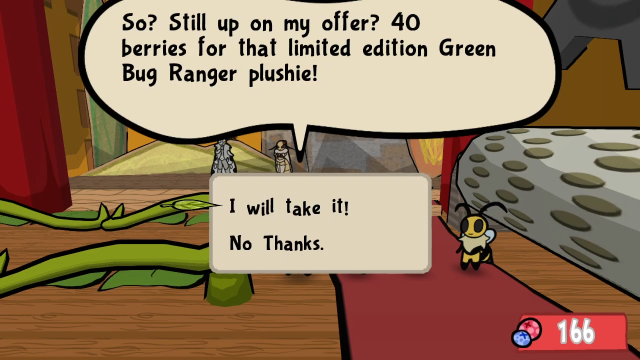 Of course, we can also afford the Bug Ranger plushie now. 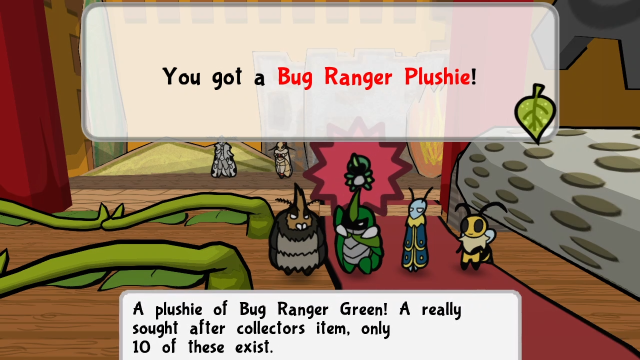 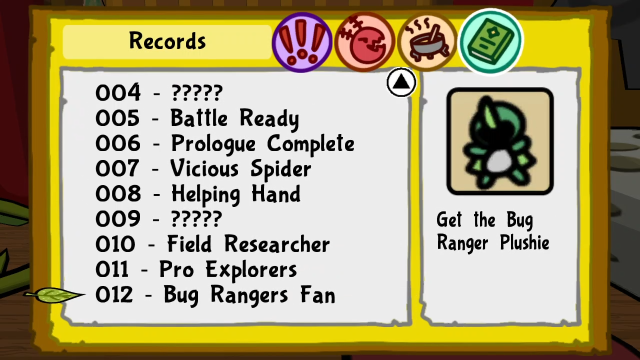 Buying this is also one of the achievements, naturally. Unfortunately, for better or worse, it doesn't serve any other purpose here. (In case you were wondering... yes, I've tried doing the demo content in a different order so I could give the Bug Ranger Plushie to Tod, and he doesn't have a special reaction. And there aren't any other NPCs you can give a key item to. I don't think they'd come up with that functionality yet... oh well.) 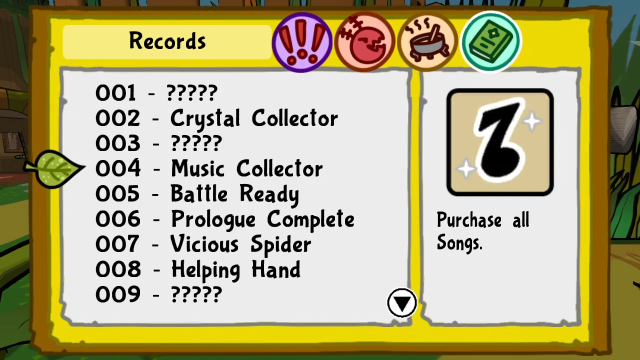 We can get this for buying all of Samira's songs. (This is a bit more tedious than in the actual game, since it has to be done one by one.) 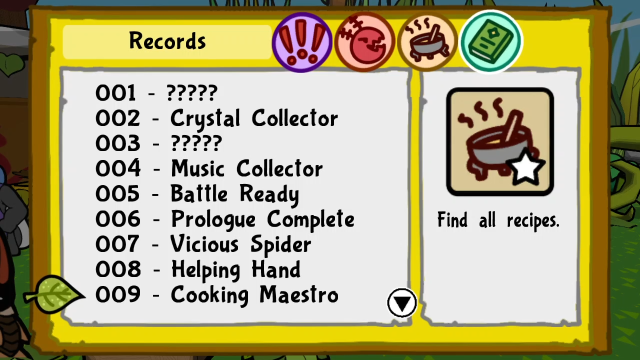 Next up, if we cook all of Fry's recipes, we can get this one. 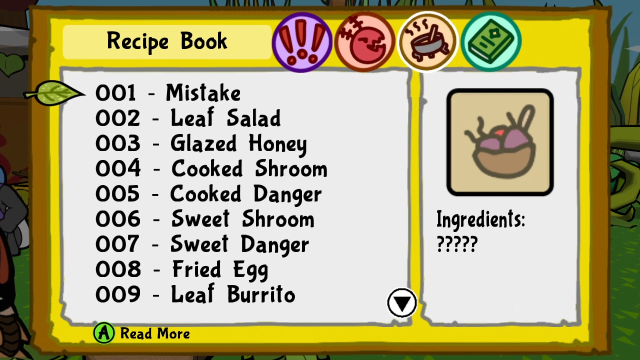 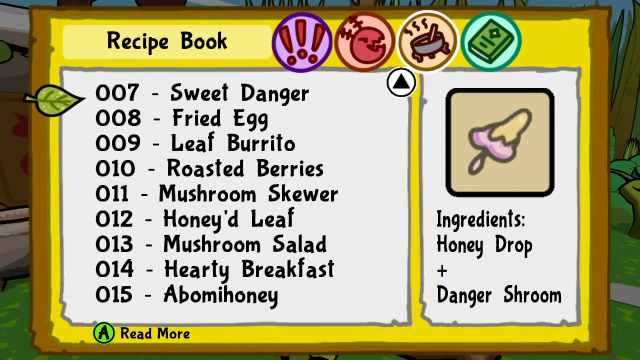 There are 15 recipes in the demo, and ingredients-wise these all made it into the final game. The only combination that works slightly differently is Spicy Berry + Burly Berry; since there's no Berry Jam, that combination ends up yielding Roasted Berries instead. There's also no Big Mistake yet. Some of the items' stats got tweaked between this and the final release, though, so let's take a quick look at those: 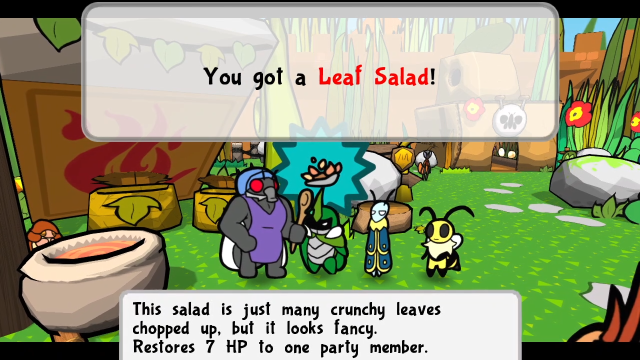 Leaf Salad recovers 7 HP, instead of 6. 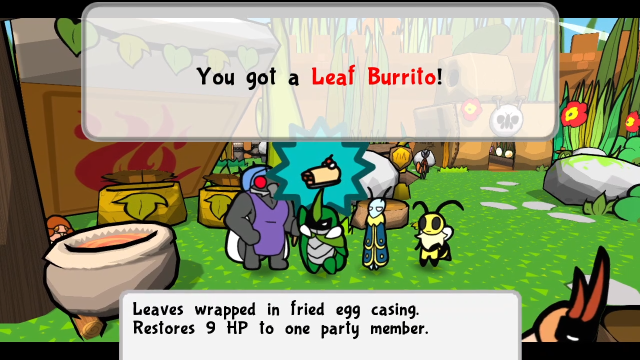 This item is called "Leaf Burrito" in the demo, it would eventually be renamed to Leaf Omelet although everything else about it stayed the same.  Mushroom Skewers got severely nerfed, in the final game it's 6 HP and 3 TP. This would have easily been one of the best healing items for most of the game, otherwise. 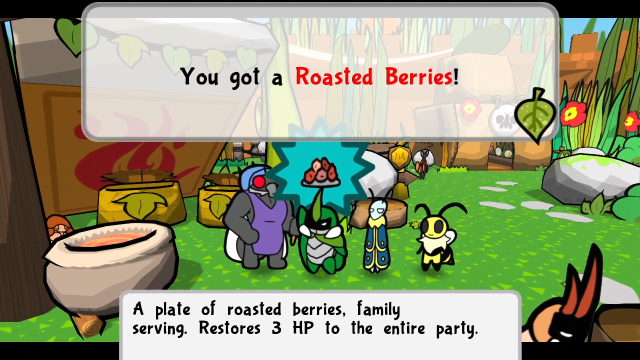 Roasted Berries heals the party by 3 HP here; this would be reduced to 2 HP in the final game. This earlier sprite also looks pretty different. 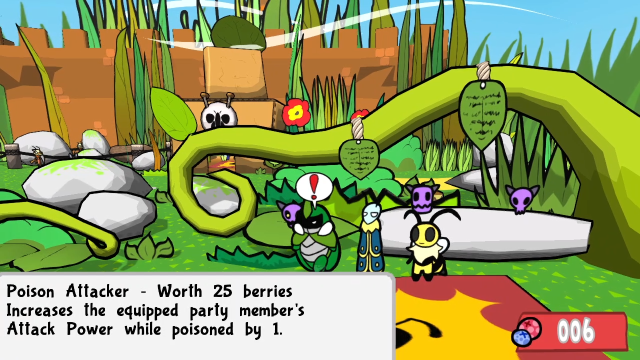 Finally, we'll buy all the medals Merab has left. (This might well necessitate another run through the play, the 150 berries doesn't go quite as far as you might expect.) 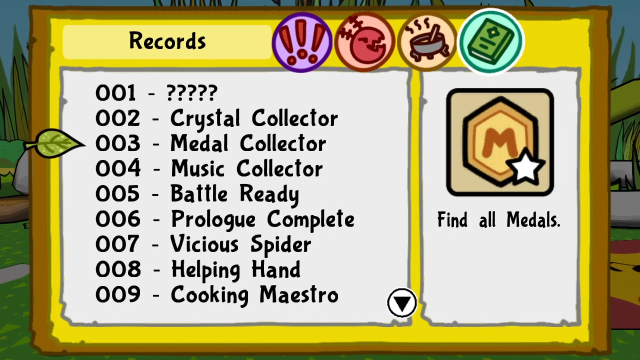 We get this for collecting all the medals. 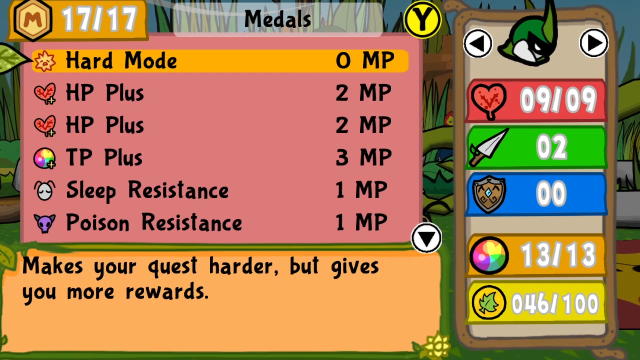 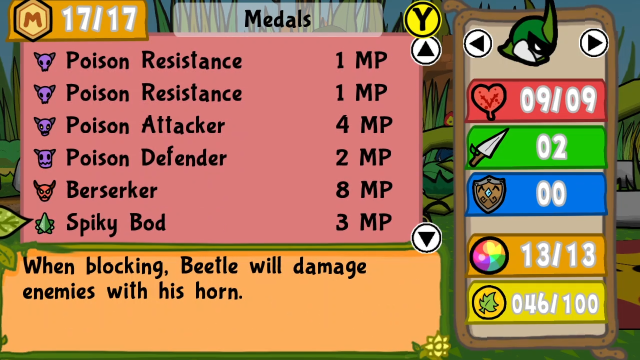 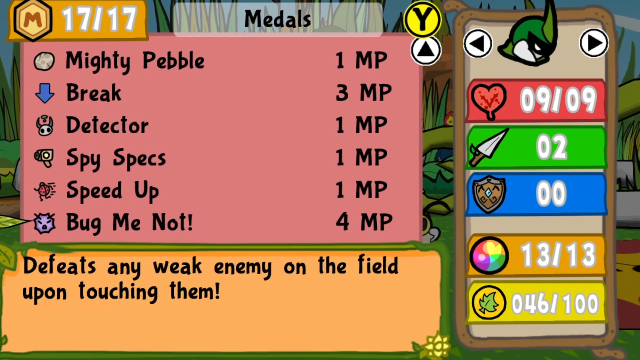 Here's the full list of medals available in the demo. Most of them aren't drastically different from where they end up in the final game (though we've already discussed a few numerical tweaks; in addition to those, notice Poison Attacker costs 4 MP in the demo, and would eventually be reduced to 3 MP). 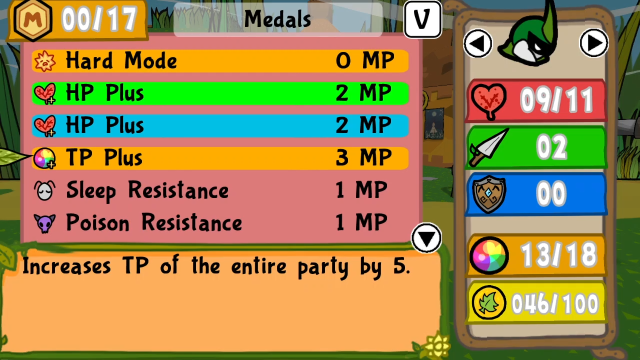 This is quite different, though. The demo version of TP Plus actually gives 5 TP, making it actually more efficient than putting a level into TP! This definitely makes sense to have rebalanced later. 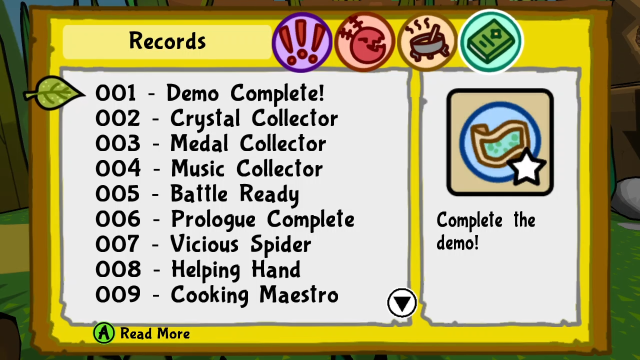 Once we have all the other achievements, it updates to add this one (it took a few moments for the game to notice). 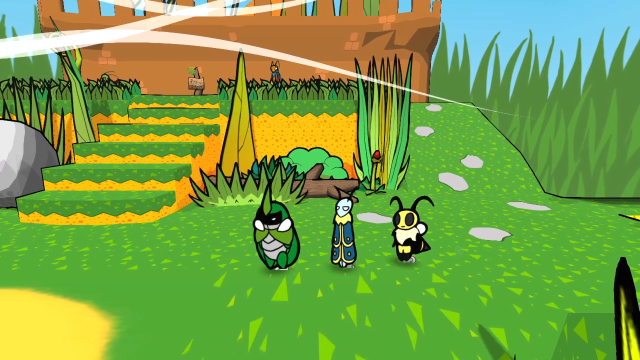 And once we have the completion achievement, the sign's no longer blocking the stage here! 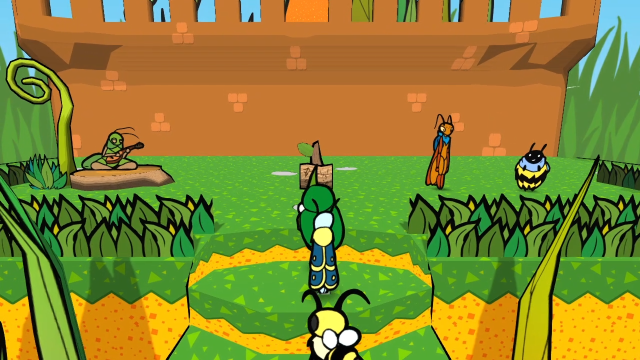 Tristan, Mar, and Genow are hanging out here. It's an early dev room! 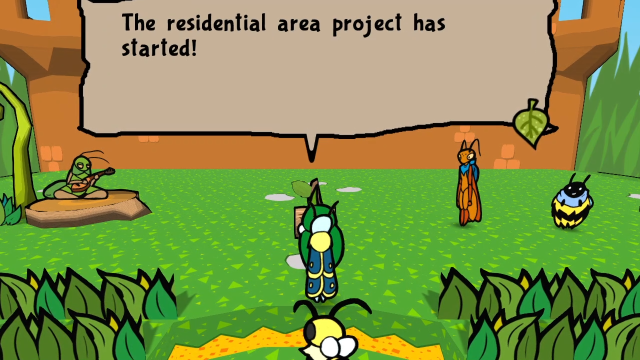 In honor of Marcio, Jose, Tristan, Poppy and Stefan... whose efforts make this kingdom better every day! In honor of Marcio, Jose, Tristan, Poppy and Stefan... whose efforts make this kingdom better every day!This might've been the entire team at this point, I'm not sure. Anyway, let's talk to them! 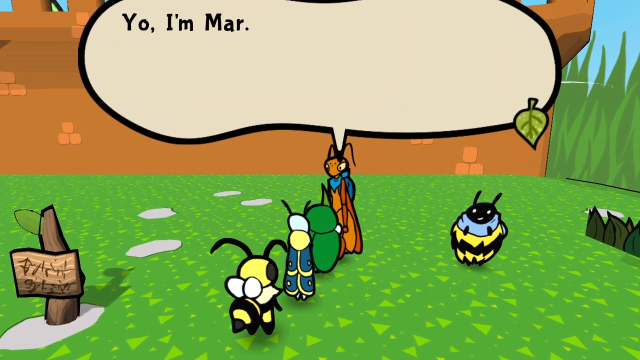  I am the Programmer, Artist, Modeller, Animator, etc. I run the crew, so to speak. Thanks for playing the game. It means a lot to us. I hope you enjoyed yourself. Please look forward to more stuff coming in the following months. I am the Programmer, Artist, Modeller, Animator, etc. I run the crew, so to speak. Thanks for playing the game. It means a lot to us. I hope you enjoyed yourself. Please look forward to more stuff coming in the following months.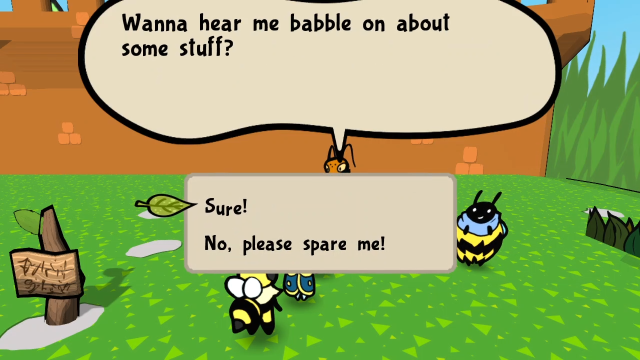 Gen and I started this project back in 2015 based on a silly comic we made about explorer bugs. Bee, Beetle and Moth were the characters we used then, and after reaching a point in the comic, we thought: "Hey, why not make this a game?" You probably played b1, the first demo with badly made graphics. I wanted to get all systems coded before I finished it, but the code was such a mess that I decided to start over from scratch. This also meant making new graphics, so there wouldn't be much trouble and wasted time redrawing the placeholders. I hope you like this new look. I am satisfied with what we have in this new version, and I hope you are as well. We still have a lot of work ahead, but I am sure we can do it! Thanks for hearing me out. It was a bunch of random stuff, but I felt like saying it. Gen and I started this project back in 2015 based on a silly comic we made about explorer bugs. Bee, Beetle and Moth were the characters we used then, and after reaching a point in the comic, we thought: "Hey, why not make this a game?" You probably played b1, the first demo with badly made graphics. I wanted to get all systems coded before I finished it, but the code was such a mess that I decided to start over from scratch. This also meant making new graphics, so there wouldn't be much trouble and wasted time redrawing the placeholders. I hope you like this new look. I am satisfied with what we have in this new version, and I hope you are as well. We still have a lot of work ahead, but I am sure we can do it! Thanks for hearing me out. It was a bunch of random stuff, but I felt like saying it.Mar actually gives a fairly succinct explanation of the early concept and development history here. That first demo he mentioned was much, much rougher; I haven't been able to find a playable version myself, but there's some footage of it on youtube, as I mentioned near the beginning of this post. Also, here are some screenshots I pulled out, just to give you the idea:  The early demo still used the first working title of "Paper Bugs"!  The leaf animation looks fully hand-drawn, too. (These were animated, though, even back then! The concept was strong from the beginning.) 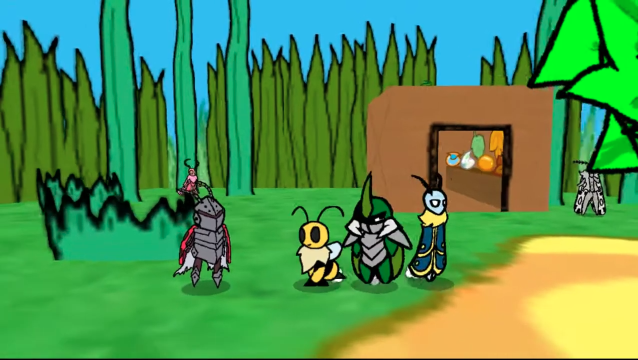 The Ladybug Knight here would eventually become Levi. Just look at these early designs. The rough spritework is weirdly kind of charming, though I'm glad the actual game doesn't look like this. (Also, the layout of this area is an early version of what became the Test Room.) 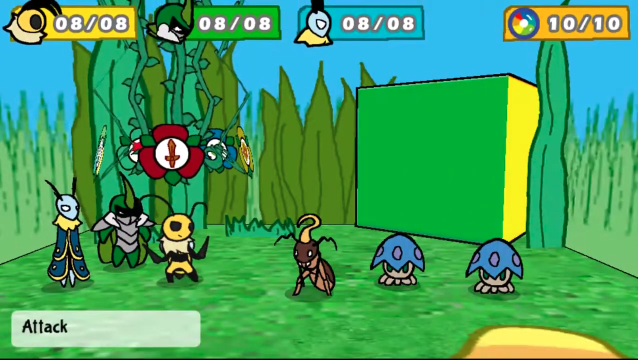 An early battle screen, showing early versions of the Zombiant and Jellyshroom. Also, Vi's battle stance here is wielding needles, the Beemerang concept came along later. 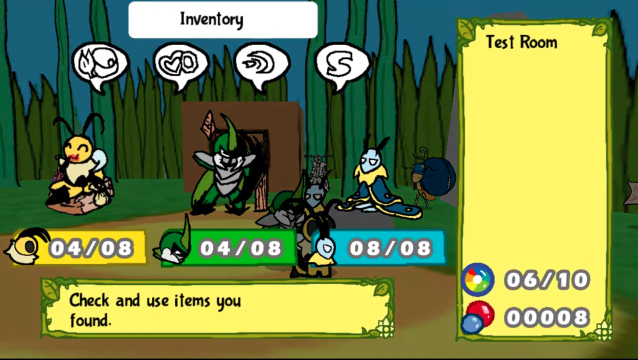 And an early pause menu, with some very goofy sprites. I think that's more than enough of this; if you really want to see more of it, check out the video footage. 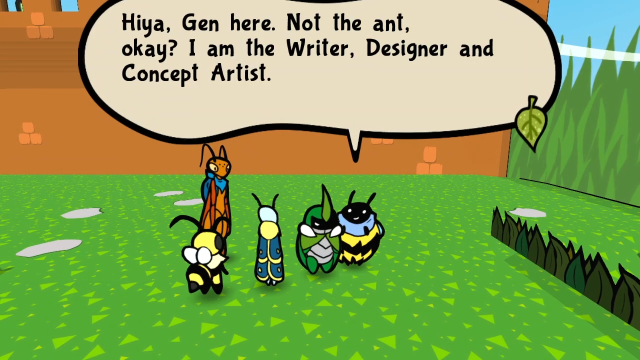   Oh my goodness! I'm sorry! I've really been trying to fix all of them as I find them... Just send a message on social media, and I promise to fix it! Oh my goodness! I'm sorry! I've really been trying to fix all of them as I find them... Just send a message on social media, and I promise to fix it! It really is, isn't it? Sometimes, when life gets really hard... you need to appreciate the nice things around you! It really is, isn't it? Sometimes, when life gets really hard... you need to appreciate the nice things around you!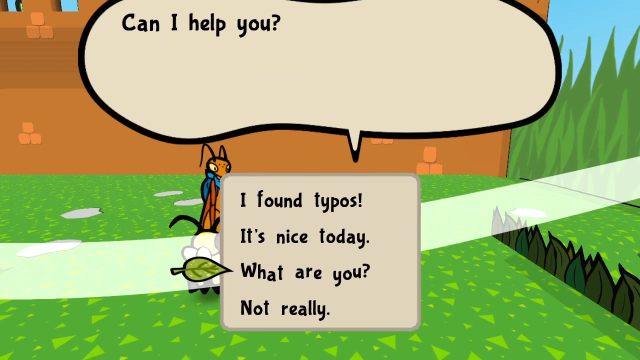 I'm a bumblebee! The cutest, right? I'm a bumblebee! The cutest, right? 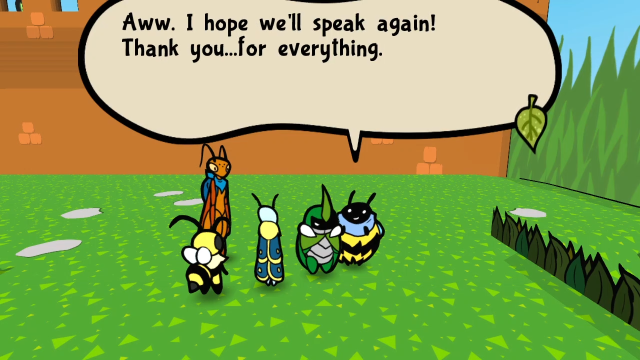 Some nice messages there from Genow. (As far as I can tell, he really did make an effort to correct all the typos that were pointed out to him. A few did remain in the full release, at least last I checked, though they might well have been fixed in one of the small patches that came out since I started the LP.) 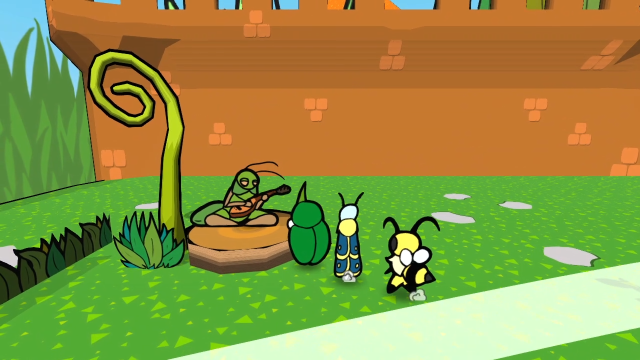 Finally, we have Tristan. 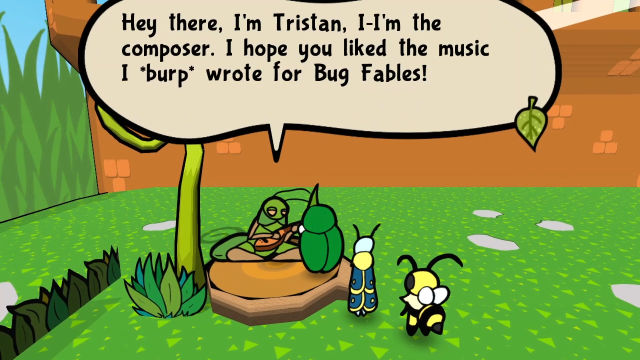   R-really? Thanks, that *burp* m-means a lot to me! ... R-really? Thanks, that *burp* m-means a lot to me! ...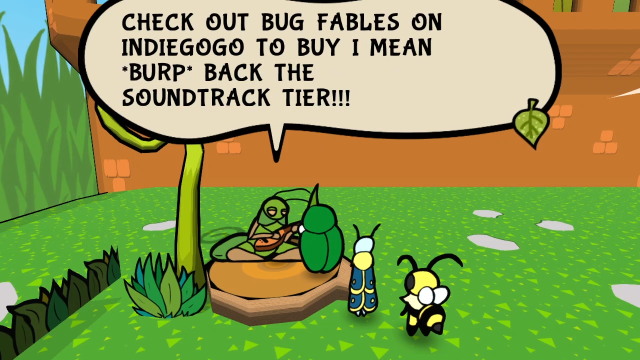 ...S-Sorry. ...S-Sorry.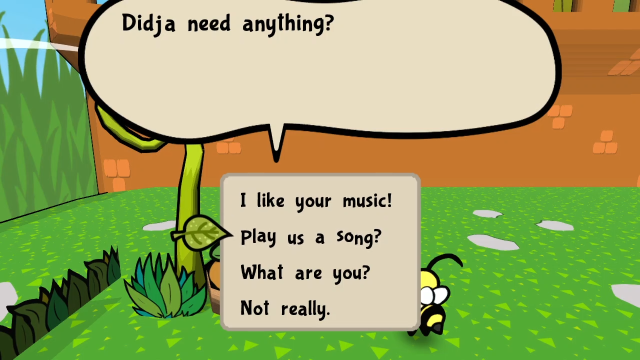 S-sure kiddo, let a pro *burp* show you how it's done. 83 - A Virtuoso's Tribute S-sure kiddo, let a pro *burp* show you how it's done. 83 - A Virtuoso's Tribute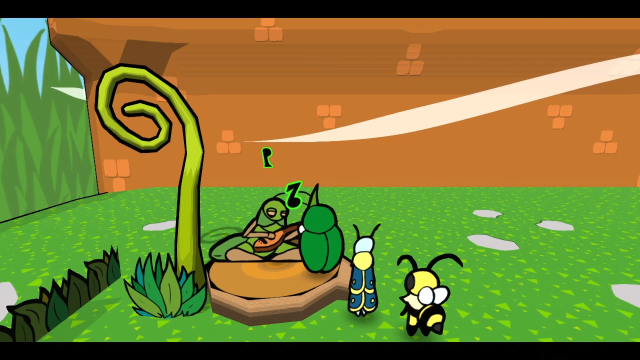 Wait, no, that's... Hold on I g-got this... Wait, no, that's... Hold on I g-got this...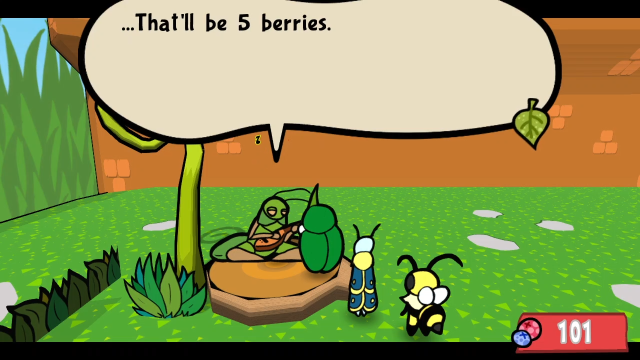 What? You finished the demo. You don't need these. I DO. What? You finished the demo. You don't need these. I DO.(This got a chuckle out of me. This gag returned in the final game, Tristan can play this "song" if you find and talk to him during the ending sequence.) 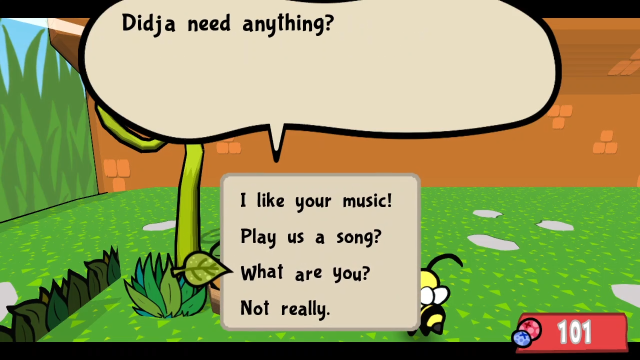 I know what you're thinking. "Cricket musician? That's kind of lazy, isn't it?" I-I'm a grasshopper, okay? Not a *burp* cricket! I know what you're thinking. "Cricket musician? That's kind of lazy, isn't it?" I-I'm a grasshopper, okay? Not a *burp* cricket! 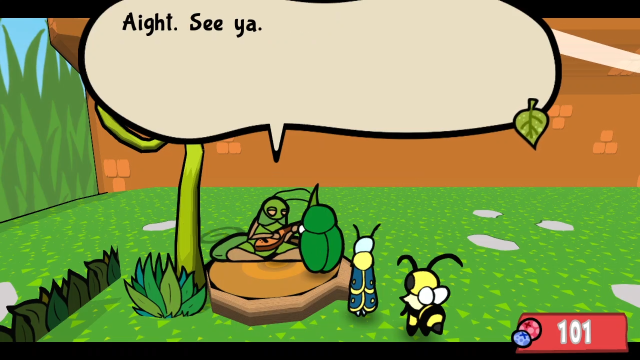 Also, if we try to check a banter for any of them, we'll get this: I can't grasp the true nature of these bugs...!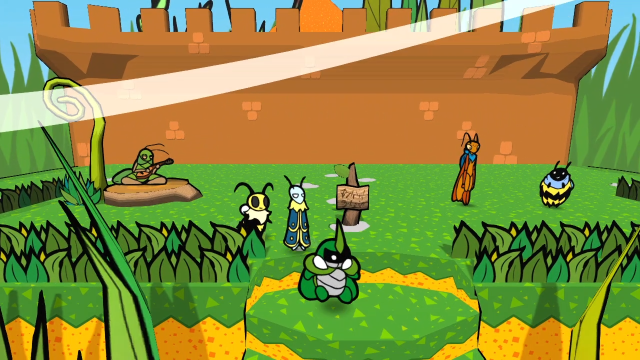 That's all the content in the demo! I hope you found at least some of this interesting; it was kind of neat to take a walk down memory lane and see an earlier version of the game. Honestly, playing this now, I'm pretty impressed by how much of a strong concept they already had in place here; it isn't hard to see how this grew to become the game I love so much. The mechanics feel surprisingly coherent and hold up: combat already feels strategic and interesting (e.g. you can find moments to feel clever for swapping positioning around, taking advantage of ice weaknesses with Leif, using Turn Relay, and so on), and they've already shown some creative medal concepts (such as the start of poison builds, and medals with big drawbacks like Berserker). And the charm and personality are already taking shape. It feels like a lot of what makes Bug Fables great is already here. I've played a lot of game prototypes/demos that felt more like a proof of concept than an actual satisfying gameplay experience, but this definitely isn't one of them. Explopyro fucked around with this message at 14:56 on Mar 23, 2024 |
|
#
?
Mar 19, 2024 04:47
|
|
|
So, this was a long time coming. I didn't die! I genuinely meant to get this update done last year, I recorded the footage somewhere around last April or May and then just... ran out of energy. My job's been taking a lot out of me, and that hasn't been good for my mental health; I've barely had the energy to play games, let alone analyse them. Maybe with this update I've broken through the mental block and will be able to start posting more again? (I hope.) While I'm at it, I think this avatar change is long overdue, even if I do have to do it myself. Gertrude Perkins posted:Necroposting to echo everyone else in thanking you for such a thorough and in-depth LP of this game. All of the extras and test features have been cool to explore - I didn't have the patience for a full 100% with the boss rush like you managed, and drat, I've not seen such a solid grasp of the game's mechanics outside of speedrun/mod community posts. Even if this is where it ends, you've got a project to be proud of, here. Just wanted to say I really appreciate getting comments like this, and everyone's engagement in the thread while I've not been providing content. It really makes me feel like I've done something worthwhile. (I had no idea how much work this project would be when I started it!)
|
|
#
?
Mar 19, 2024 05:06
|
|
|
It's cool to see the demo! I was watching someone stream it a long while ago but I realized I just wanted to play the game pure so I stopped around the time Leif joined. No idea there was all this other sampling of content after the end. I'm also glad they gave the party real names, that bothered me too.
|
|
#
?
Mar 19, 2024 06:11
|
|
|
Great to see you back! And cool to see some of the game's evolution through its demo versions. Seems like they put a lot of effort into making the demo its own thing, too, which is always nice to see.
|
|
#
?
Mar 22, 2024 07:52
|
|
|
I made a few minor edits to add comments on some minor medal and skill cost tweaks I didn't notice the first time through (that's what I get for waiting so long to do the update, my recollection of all the numbers isn't as clear after so long). Nothing significant enough to warrant rereading the post, but I felt guilty for having missed them.Alxprit posted:It's cool to see the demo! I was watching someone stream it a long while ago but I realized I just wanted to play the game pure so I stopped around the time Leif joined. No idea there was all this other sampling of content after the end. I'm also glad they gave the party real names, that bothered me too. Yeah, the name thing is definitely the weirdest aspect of the demo. I guess I could understand the devs having gotten stuck on the original names and not thinking to change it? I wouldn't be surprised if it was either seeing the dissonance of those names in this demo, or getting feedback about it from players, that ended up being what prompted the change, though I'm only speculating and have no idea whether this was actually the case. I also have to say that I think the generic names might have felt less off in a webcomic, back when that was what they were planning. I think the additional content in the demo was also a really good decision, because having access to the sidequests, shops, and cooking does a much better job of establishing the overall gameplay loop than just fighting through Snakemouth Den would have. Paul.Power posted:Great to see you back! And cool to see some of the game's evolution through its demo versions. Seems like they put a lot of effort into making the demo its own thing, too, which is always nice to see. I'm glad you think the demo was worth showing off, because I think one of the factors delaying the update was that I kept thinking there wasn't enough actual substantive content (and feeling unenthusiastic about trying to cover it). In some ways it's its own thing, but I was also struck by how much of the demo content did end up making it into the game in some form (and I'm genuinely curious how much of that the devs were initially planning to reuse when they were making it for the demo; I don't know how much of the later content they'd had in mind when they made this). In other things, I mentioned having posted this update in the LP Discord, and in subsequent conversation Blarghalt confirmed Reeves was their creation and gave some behind-the-scenes info on the backer character creation process. I hope they don't mind me reproducing their comments here with minor edits: Blarghalt posted:I'm a backer character in that game! I noted the spelling discrepancy back during the credits roll, because the "Revees" spelling appears there, but I guess I got it backward which was the error! (The more you know!) I have to admit I think "Reeves" sounds better as a name.
|
|
#
?
Mar 23, 2024 15:19
|
|

|
Thanks so much for all your hard work on this LP! I think the improved characterization makes the tradeoff of the play change worth it.
|
|
#
?
Mar 24, 2024 09:03
|
|
|
81: Fool Me Once... Fool Me Too Many Times (April Fools Gags) Over the years, even before the game released, the Moonsprout Games/Bug Fables team have consistently done yearly April Fools gags. Some of them were fairly minor, but others ended up being fully-playable minigame releases. So that's what we're going to be looking at today. This wiki page is my primary reference for this material and the chronology. I knew about some but not all of these before doing research for this post. 1. "Actual Bugs" (2017) The devs made this Tumblr post declaring their intent to change the game from "Paper Bugs" to "Actual Bugs" and that it would delay the release of the game.  It includes this image, which I'm reproducing here for posterity. 2. Demo v0.4.1 (2018) This Tumblr post announced the release of a new demo, claiming they were changing direction based on feedback from the Indiegogo backers. "This demo has the game�s new prologue, alongside two endings." "Demo v0.4.1" is still available for download on itch.io, if you want to try it. (For some context here, the naming scheme is very similar to the official demos that were coming out at the time, the v0.4.5 demo that is still publicly available released a few months before this. Though you may notice the numbering for this one is off, I think it's meant to be intentionally suspicious.) As for what this is, uhh... let's take a look at it? 21 - Fry it Up! Well, that's certainly a title screen, isn't it? Why is there a human here? Who is this, anyway? ...Yeah. This is an anime-style visual novel thing made in Ren'Py. main.mp3(There are a couple of music tracks in this which aren't part of the official OST. I don't know if these were made especially for this, or whether they're stock music or something. And I don't think these were composed by Tristan, per the end credits of this thing. Regardless, this fairly short track loops through most of the early scenes.)  Featuring redesigned human versions of a bunch of the main cast. Here's Bee (Vi), the protagonist of this thing. This doesn't have much of a plot, and most of the dialogue is intentionally cringeworthy and grating (either poking fun at romance VN cliches, or wink-wink-nudge-nudge isn't it weird we aren't bugs). I'm going to abridge this below and do only minimal commentary, because torturing myself with secondhand embarrassment is not my idea of a good time. If you want to see the whole thing, I did transcribe it, or you can play it yourself since it's fairly short. That said, the reimagined character designs are kind of fun (in a bizarre sort of way), so let's breeze through this and look at them all.  Here's Chubee. (I continue to be surprised at how prominent a character she appears to have been in these early materials.)  Here's Professor Neolith.  The main thrust of that scene (aside from way too much silly nonsense dialogue) is that Neolith wants us to deliver a letter to Fry. This choice here of where to go looking for him is the one actual choice/gameplay decision in this entire thing; every other dialogue forces us to exhaust all the options before moving on. 03 - Where Adventurers Gather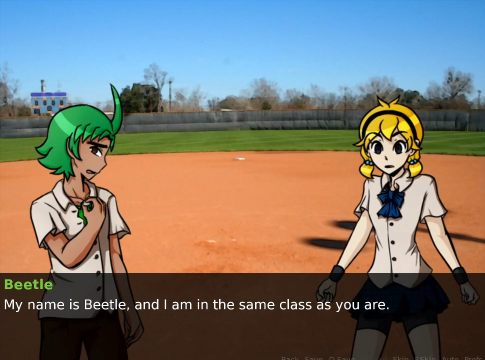 If we choose the track field, we meet Beetle (Kabbu), and the music changes to the Explorers' Association theme. It does amuse me the way they gave him a big spike of hair to look like a horn. 15 - The One Left Behind (Leif's Theme)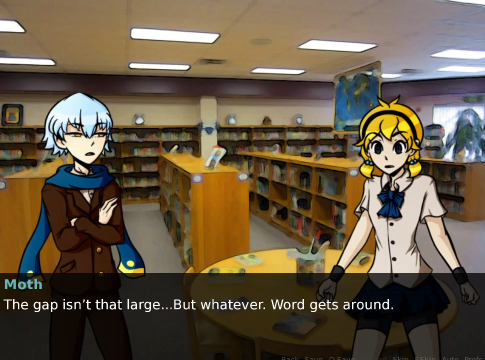 And if we choose the library, we meet Moth (Leif) instead, and hear Leif's theme. After exhausting the dialogue with whichever of those two we run into, the paths recombine. 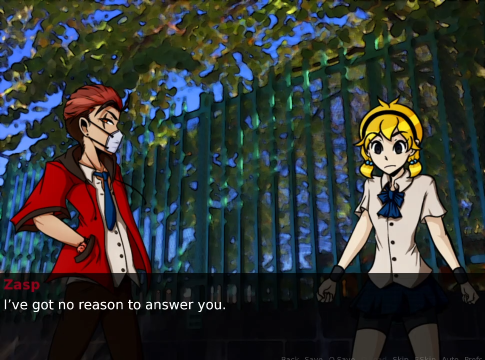 A few scenes later, we run into Zasp. (There's a line where he says he has a cold and he's wearing the mask to not get people sick, which is I guess vaguely amusing in retrospect?) 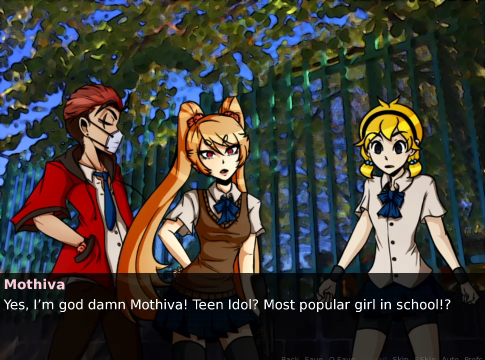 Then Mothiva shows up. gun.mp3 And pulls out a gun? Shortly after this, the screen just goes black (though the narration points out the gun never went off, and Bee/Vi was struck in the head with a blunt object). "TO BE CONTINUED..." And credits roll, with a bunch of concept sketches. end.mp3    This one looks to be a version of the theatre proprietor M.M.?  This is Fry and Neolith, I think?  ree.mp3 ree.mp3 And the credits end with this charming little animation, set to silly music.  After I finished the first run through this, I saw this alternate version of the title screen. This one features Bee/Vi with plushies of the rest of the main cast; I think the first one was meant to be Mothiva with a bunch of Zasp plushies? I think that's more than enough of this one. 3. Nintendo 64 port (2019) The devs made this Tumblr post announcing their intent to make a N64 port of the game and that this would delay the release. 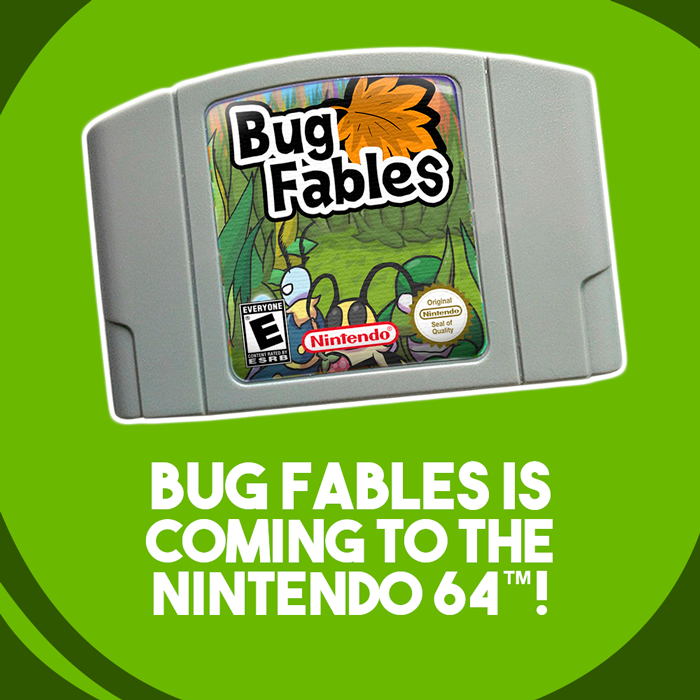 It includes this image of a mocked-up Bug Fables N64 cart, which I'm reproducing here for posterity. 4. Bug Fables: The Everlasting FIGHTERS! (2020) This one was announced on Twitter, saying the following: "Bug Fables: The Everlasting Fighters is coming February 30th, 2420! Get the prequel to know the cast better here!: (link to Bug Fables on Steam)" The post also included a short teaser trailer (which you can still watch on youtube).   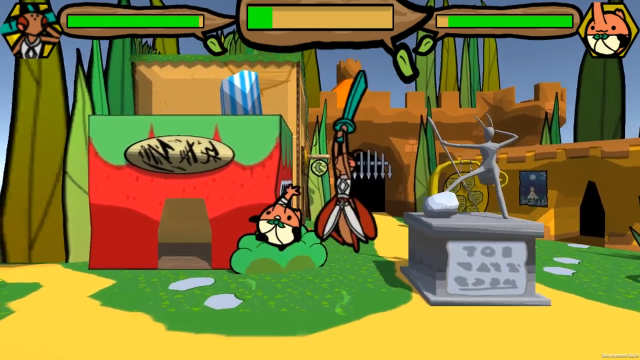 It's got a more or less standard fighting game interface, and Maki fighting Tanjerin. 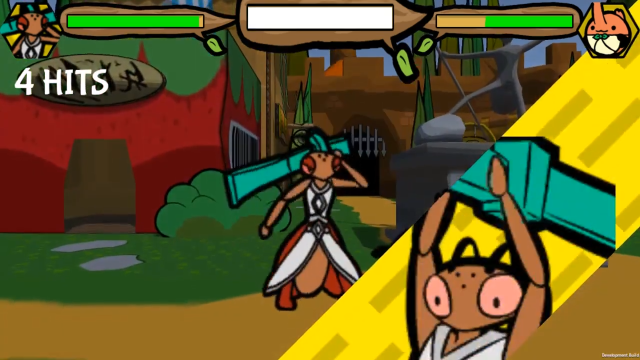 There's some kind of special move/combo thing with a cut-in of Maki's face.  Then Tanjerin blows up the world. 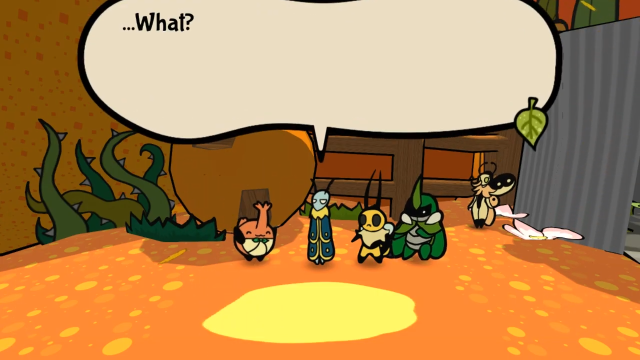 The trailer just ends with this. Is Tanjy just telling tall tales here? Honestly, I thought this one was pretty funny. There's also a wiki article on The Everlasting Fighters, which includes a lot of notes based on dev comments and speculation about what this game could have been. It seems that the team may have actually planned to make this fighting game spinoff at one point, but according to this Twitter thread, eventually abandoned it due to some combination of scope creep and the pandemic. I don't get the impression this ever made it out of the concept stage, but there are some prototype images floating around (e.g. on that thread) in addition to the trailer. 5. Bug Fables: Aphid Festival (2021) This one was also announced on Twitter, with the claim that "Bug Fables 2 is finally here! And it's... an Aphid Farming Game!?" This is another fully playable one. "Aphid Festival" is still available for download on itch.io. Let's take a look at it. 26 - Golden Lands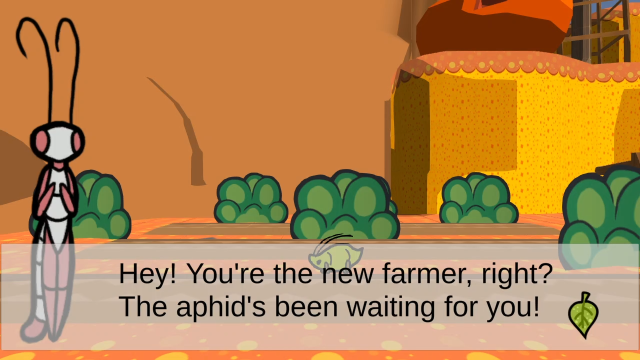 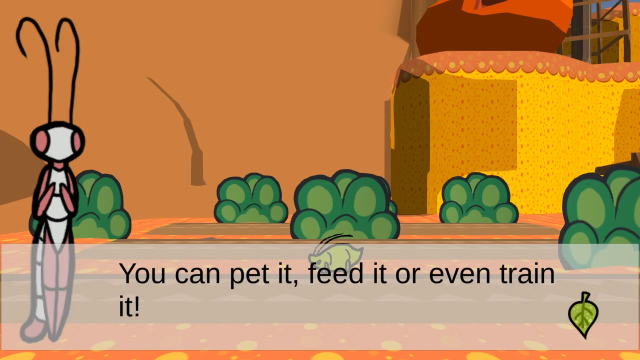 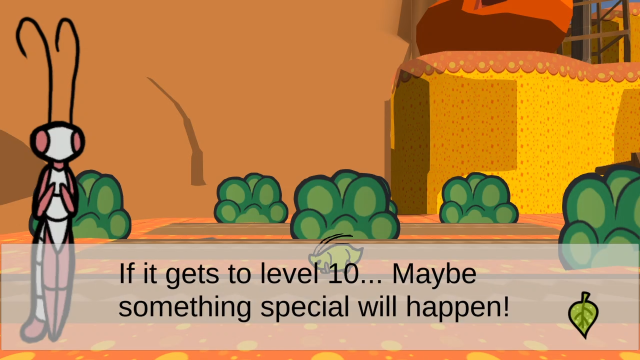 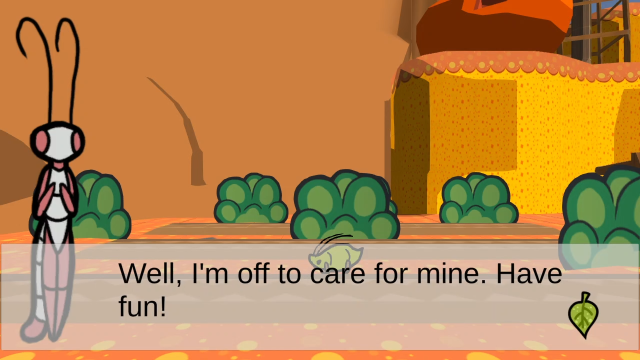 We get this brief intro to the concept.  And then are immediately dropped into the game. This is basically one of those idle/clicker games, and is played with a mouse. The berry counter slowly ticks up, and you can get more berries faster by clicking the aphid to pet it (it twitches a little and squeaks each time). There's also a bunch of menu icons we can click to go to other screens. 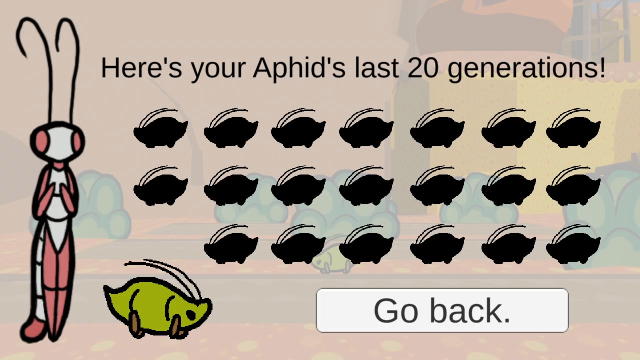 The !!! icon in the upper left opens this screen. Nothing to see here yet. 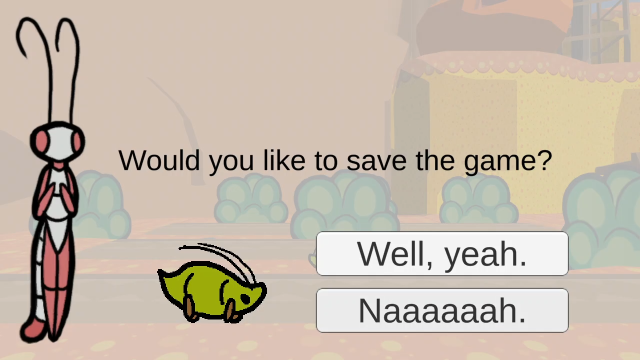 And the book icon in the lower left corner takes us to this saving screen. 27 - Kut it Up!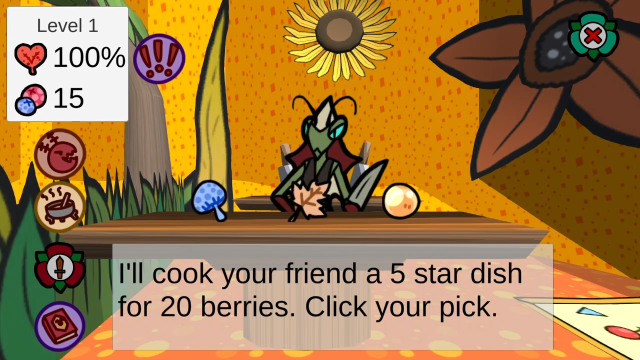 The stewpot icon brings us to Kut. We can click on any of the three ingredients to have him cook them (for a fee of 20 berries).  Here's the cooking animation. It's similar to the one he has in the actual game, though not identical. 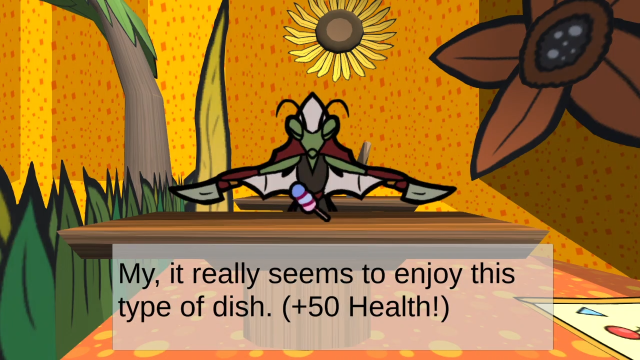 The icon of the cooked dish appears to be a random food item from the game that can be made with that ingredient. Here we picked a mushroom and got a Mushroom Skewer. Each aphid has a preferred type of food (in this case, mushrooms). If you prepare it the preferred food it recovers 50% HP. 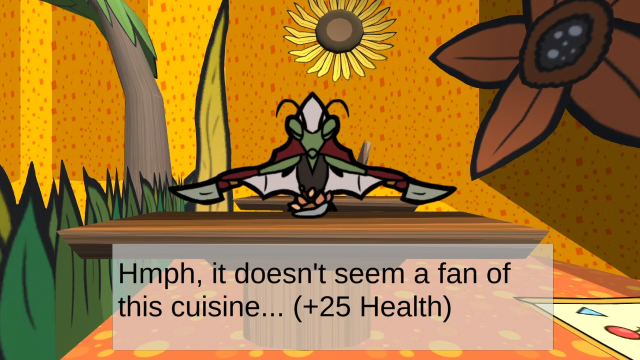 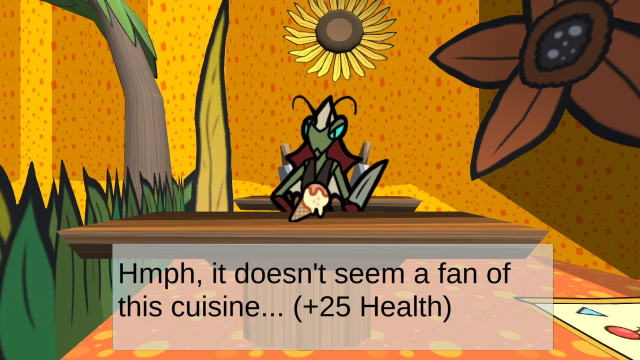 Whereas the other two foods will restore 25% HP instead. (I didn't see it happen while recording, but as a curiosity, the wiki claims one of the items Kut can end up making here if you choose honey is a Crisbee Donut, which he can't make in the actual game as it's Crisbee's speciality.) When we're done cooking, clicking the red face icon takes us back to the main screen. 04 - FIGHT!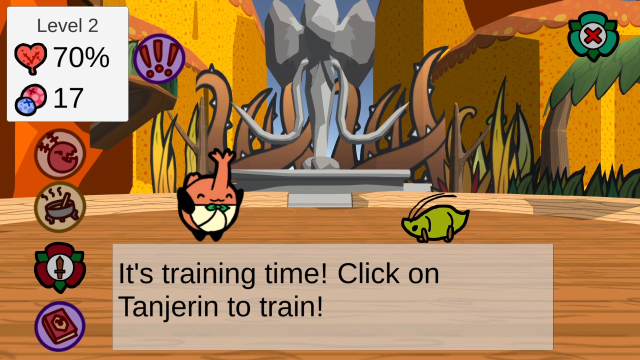 The Attack icon brings us to the training screen.  Each time we click on Tanjy, the aphid will attack him, gain a level and lose a bunch of HP. (The amount of HP loss varies, I think maybe depending on level? I'm not completely sure, but from full health you tend to get 4 attacks in.) 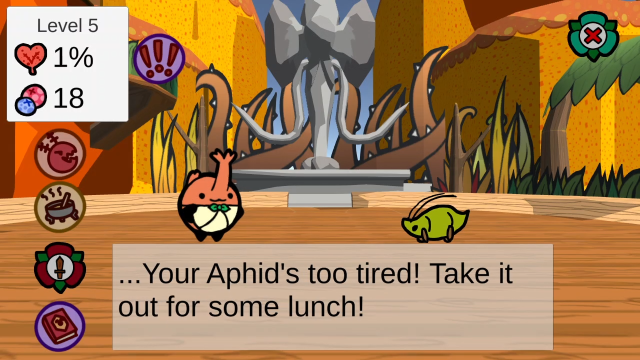 Once the aphid runs out of HP, you can't attack any more, and you have to go back to Kut to feed it more. (Maybe after a detour to the main screen to pet it and get berries.) 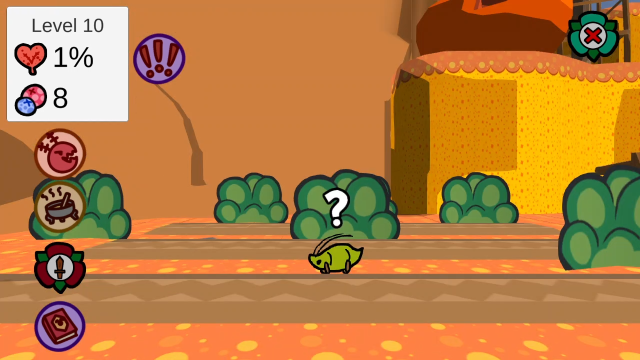 Once the aphid is level 10, this ? icon appears. 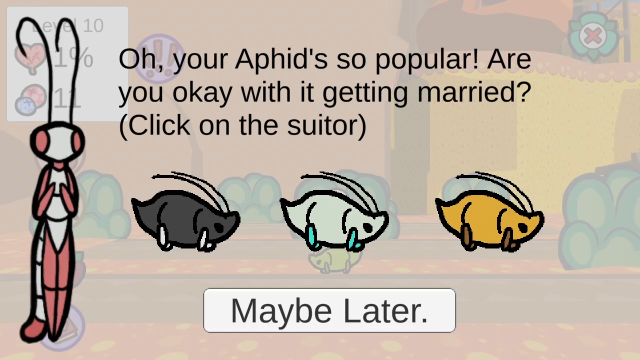 Clicking that opens up this screen, where we can choose a mate for our aphid. 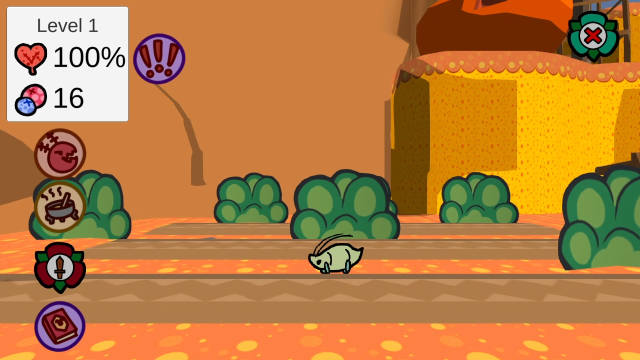 And then we're brought back here, but with a new level 1 aphid of a different colour to start the process all over again! 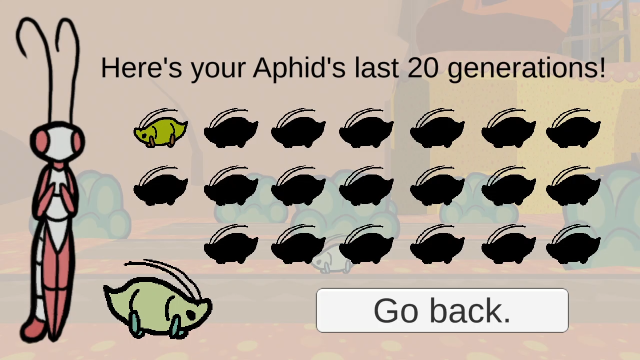 If we check the ancestry screen now, it'll show our previous green aphid as the first generation. If we keep playing, we can keep raising aphids to level 10, then mating them to produce new generations and fill this out. I haven't played with this that extensively, but as far as I can tell, the colours are at least somewhat random (and don't necessarily correlate with the parent you choose). Each new aphid might have a different preferred food; as far as I can tell that's randomly determined also. This is a cute little game, but there's not a whole lot of depth to it and it gets old pretty quickly. Aphid Festival also has its own page on the Bug Fables wiki, although it mostly just describes the game. 6. Vi Simulator (2022) "Vi Simulator" was announced on Twitter with a short trailer. This is also still available for download on itch.io.  There's a 3D model of Vi, and a cursor moving back and forth over the bar. When we click... 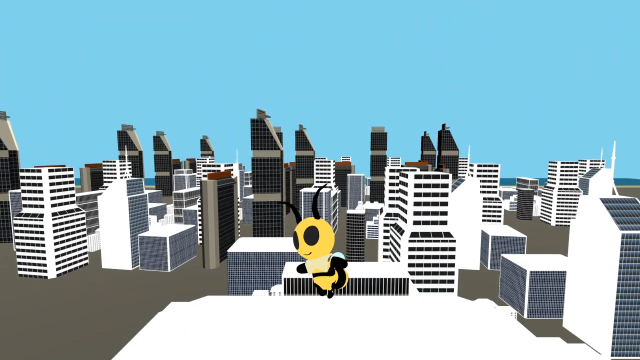 It launches her. 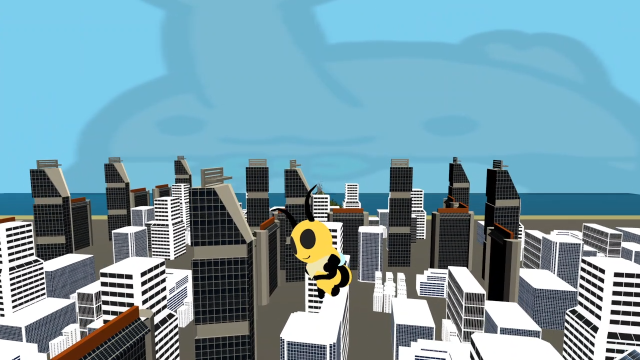 This giant image of Tanjerin appears in the sky.  And eventually she'll crash in some way with exaggerated giant explosions and ragdoll effects. I was able to get 3 different outcomes here, which I've tried to capture animations of (I couldn't get these to fit under 2MB in a gif, so I had to use webp, hopefully you'll be able to see them). The wiki says there are 4 possible endings, but I've only ever seen these.  First outcome: she doesn't launch high enough to clear this first skyscraper, crashes into it, then bounces and ragdolls around for a while. (This thing is using some kind of physics engine in Unity; the exact outcome of this isn't predetermined, and can often end up looking pretty weird. The only constant is smashing into the building.)  Second outcome: she clears the tall building, the Tanjerin image appears in the sky, and she eventually crash lands on this pile of junk and explodes.  Third outcome: she flies even further, clears the pile of junk... 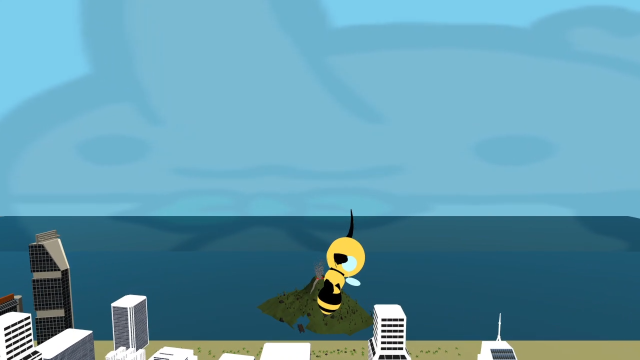  A button prompt appears (which as far as I can tell is completely futile no matter what you do)  Vi lands in the volcano...  ...gets launched into space...   ...and explodes after landing on the sun.  Yeah, this is... this sure is a thing that exists. 7. Pay to Vin! (2023) They released a Youtube video purporting to announce a new update to the game adding a feature called "Pay to Vin!". ("Skip life's hardships with Fungible Termacade Tokens!") This sketch is short enough I'll just reproduce it here in screenshots. 65 - DineMite Beats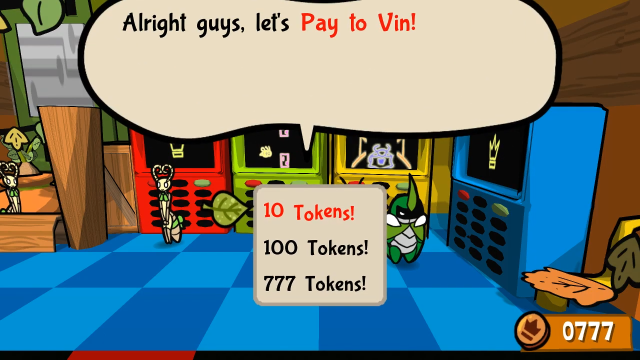 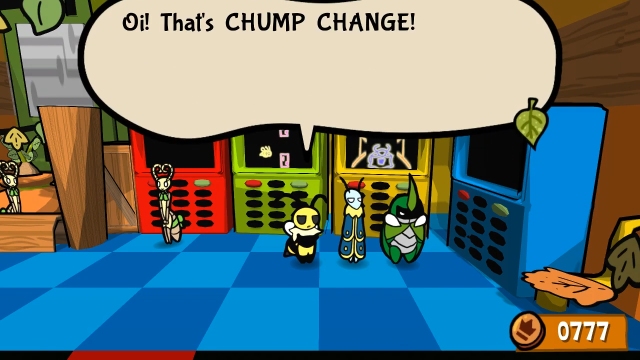 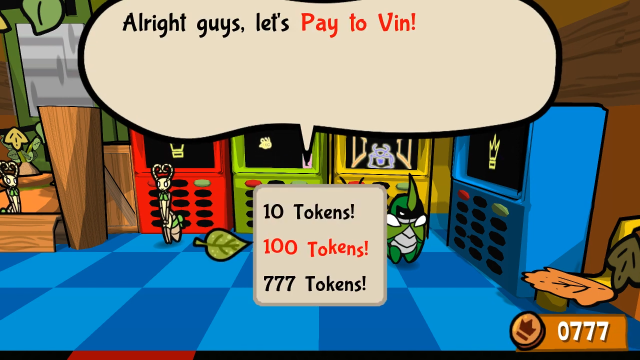 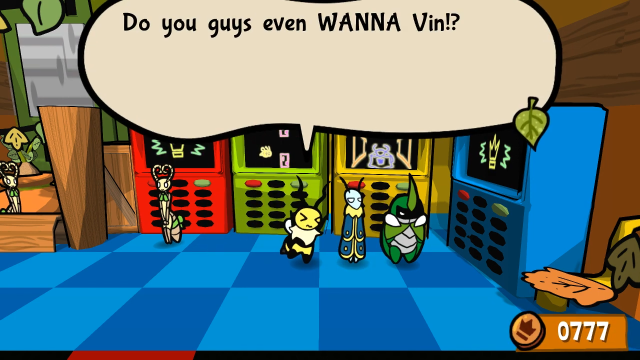 Err... What's 'Vinning', exactly? Winning. But cooler! Alright then... Err... What's 'Vinning', exactly? Winning. But cooler! Alright then...   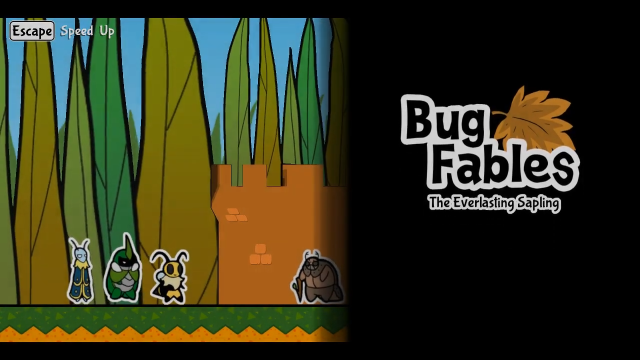 So, yeah, they just bought a credits warp with Termacade tokens. That's all there was to this one, it's a very obvious parody of modern microtransaction-laden game design. It's a low-hanging fruit at this point but I'll take it, it's not as though the criticism isn't well-deserved. 8: Snails...? (2024) No new game for 2024, but there appears to have been an announcement from Genow on Discord?  Okay, what's this on his profile?  code: He's been saying a bunch of goofy stuff on Discord, including this. Although as far as I can tell the PUSHROCK thing is also a prank, there isn't a new patch or anything. 9: Future pranks...? They may well keep going with these, they've done at least something every year thus far. Anyway, there we have it, the Bug Fables April Fool pranks! A lot of these are pretty amusing, and the earlier ones do provide a little insight into the development history, and maybe some in-jokes between the developers and the backer community. Explopyro fucked around with this message at 18:09 on Apr 7, 2024 |
|
#
?
Mar 31, 2024 19:42
|
|
|

|
| # ? Apr 27, 2024 23:35 |
|
|
I know that the VN/Dating Sim April Fools thing was just a silly side thing. But I like how the characters are somehow recognizable as the characters they would become, even if it's just a silly side thing. Like, Beetle mentions a tragic past, Moth is still older than the others, Bee still wants to explore and do stuff like that. Neolith is still a professor, an archeologist. I sincerely hope Mothiva isn't a yandere, but I would believe it. It makes me wonder if this was some kind of test run where they played around with the writing, or if the writing was already solid and they just used it for the VN. I don't know why low-quality, April Fools Day VN is so funny to me, but it is. Also the human-sonas for the bugs are surprisingly cute. I mean, Beetle could bulk up a bit, but they look surprisingly good in my opinion glwgameplayer fucked around with this message at 00:11 on Apr 1, 2024 |
|
#
?
Apr 1, 2024 00:00
|
|