


|
Go to Mazewood to acquire the Medallion of Eres Find Captain Silver's treasure Geckling cave, I guess yeesh 20k at least we get a shortcut out of the deal.
|
 #
?
Jan 8, 2024 06:49
#
?
Jan 8, 2024 06:49
|
|


|

|
| # ? Apr 27, 2024 20:52 |
|
|
I am eyeing the whole Ice Sword thing why yes I am, lol. Let's go - find Captain Silver's treasure - poke at Isthmus Keep - poke at Mt Scurve
|
|
#
?
Jan 8, 2024 18:30
|
|

|
Voting is now closed.
|
|
#
?
Jan 12, 2024 03:14
|
|


|
Welcome back, everyone. Today we're going on a trip to the jungles of Walon Isle.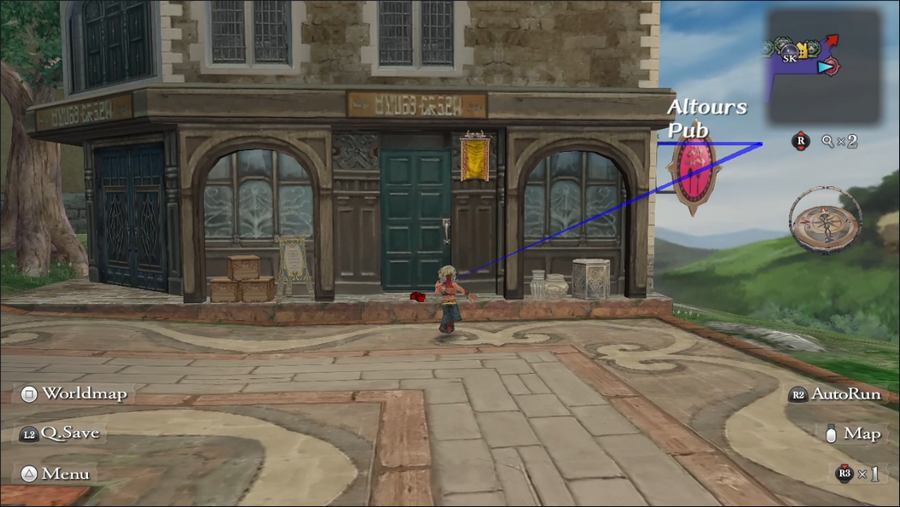 But first, we have a brief errand to take care of, and it happens to be in the Altours pub. 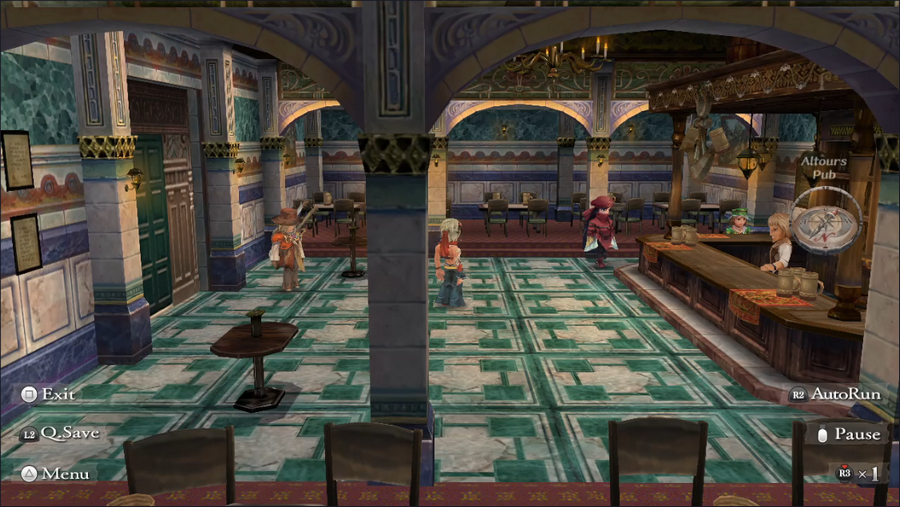 There's a familiar raven-tressed woman here. 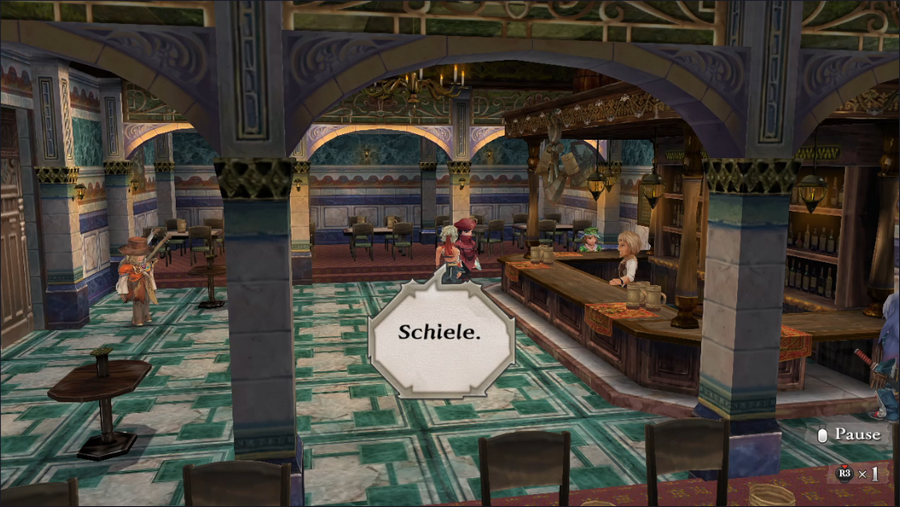 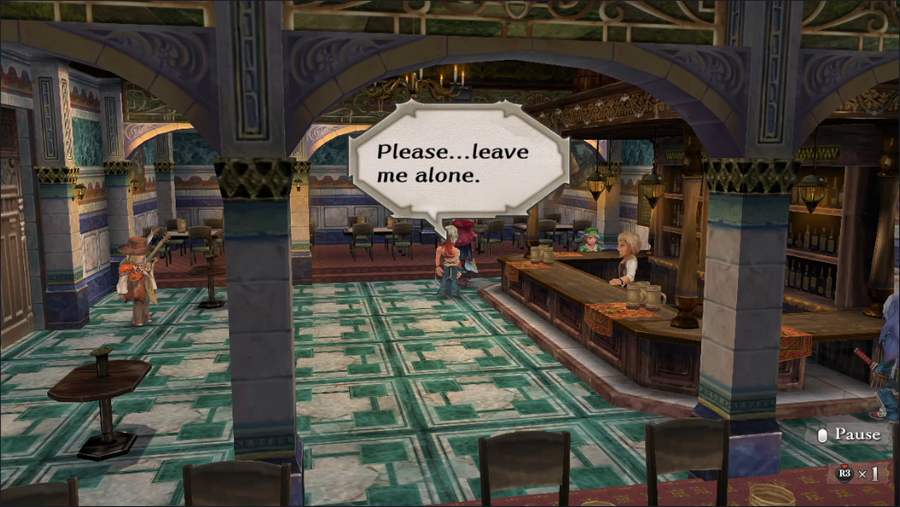 Unfortunately, Schiele still won't talk to us. Maybe she'll open up if we stay persistent. 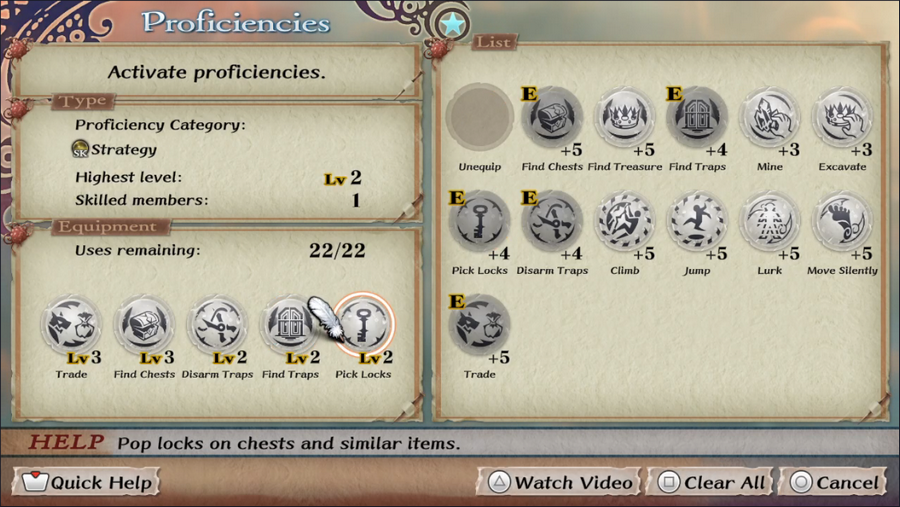 With that done, we can set out. For today's tasks, this is the proficiency setup we're using. Find Traps and Disarm Traps are both particularly important. Find Chests and Pick Locks didn't come up, though they could have. 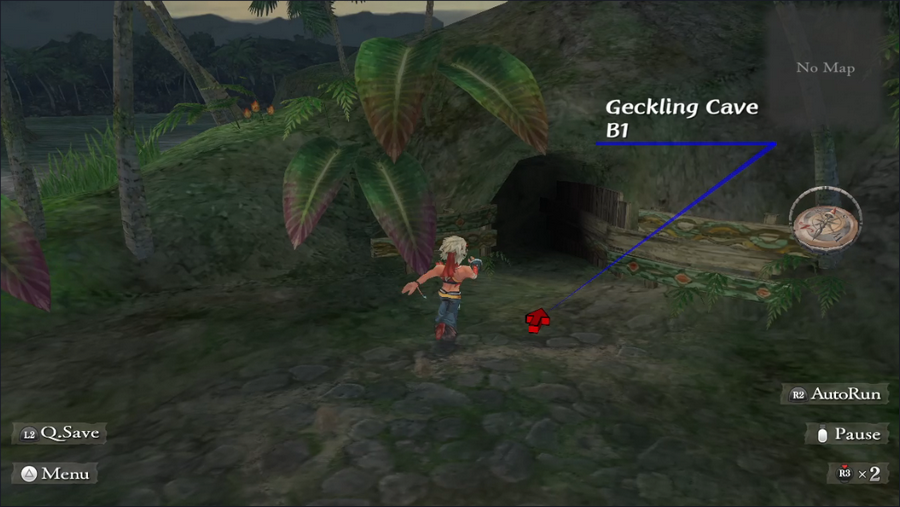 Our first stop is the Geckling Cave. Votes were split evenly between this and finding Captain Silver's treasure, and this is by far the quicker and easier task. 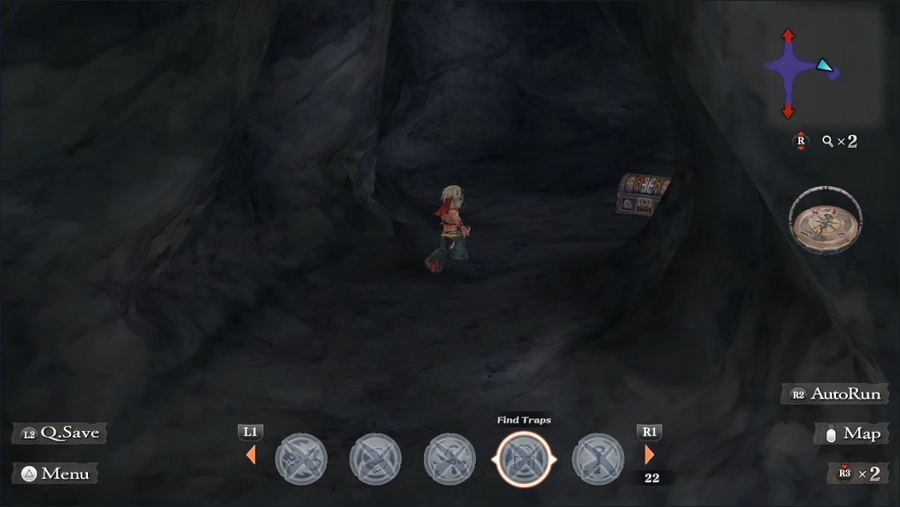 First up is this trapped chest we couldn't deal with previously. 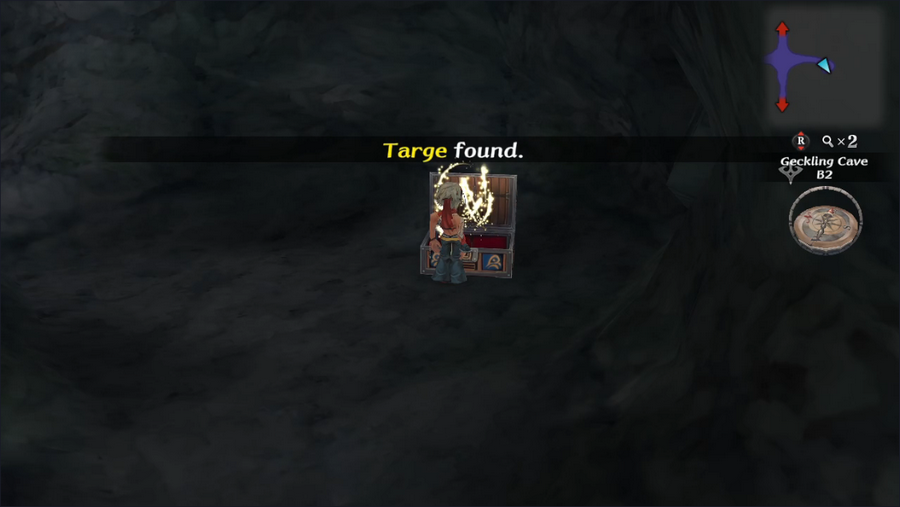 It is, somehow, no longer trapped. A targe is a pretty weak prize, but I guess it's free.  Opposite that chest is a strange wall, which is my cue to finally show off Find Traps. 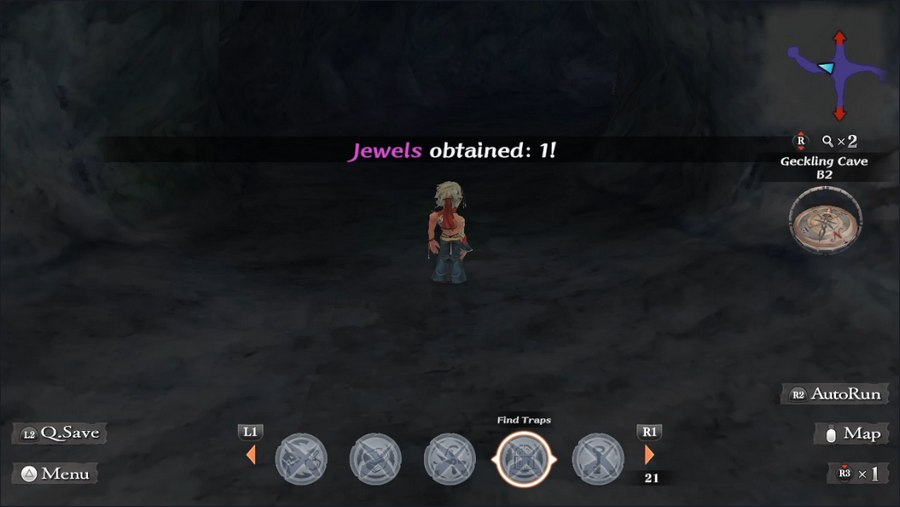 Despite its name, it actually reveals fake walls. 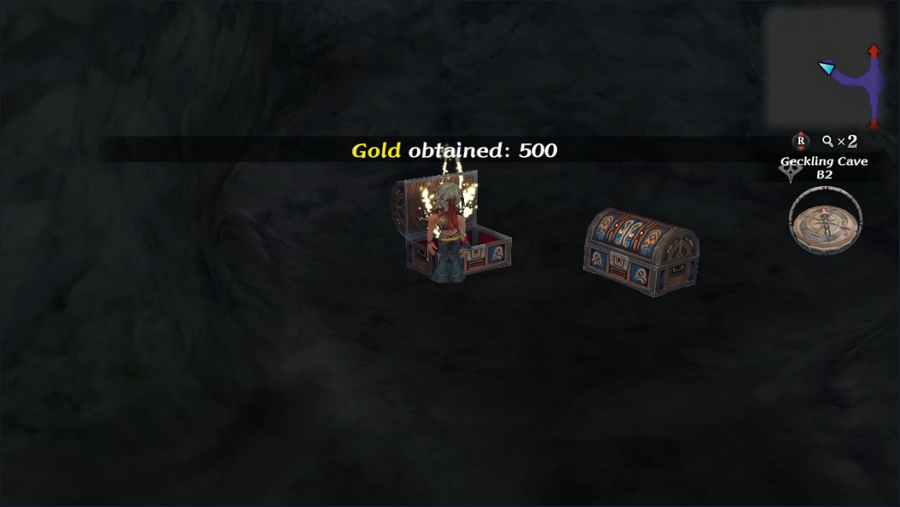 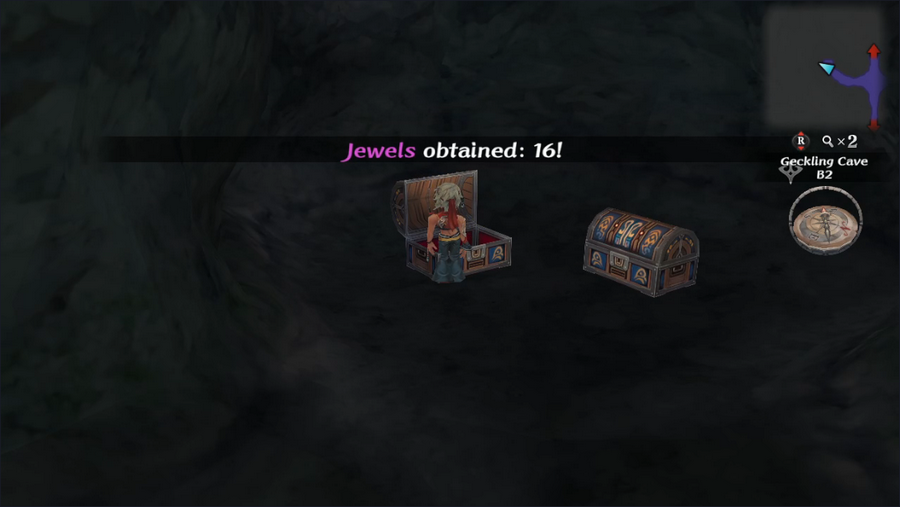 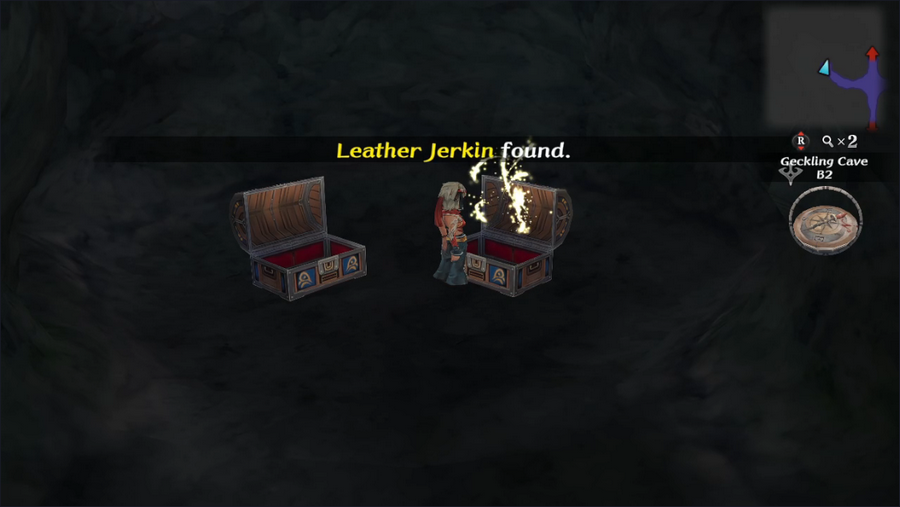 We don't get much from this either, but again, it's free.  After exiting the cave and refreshing our proficiency uses, we had over to the geckling boatman. 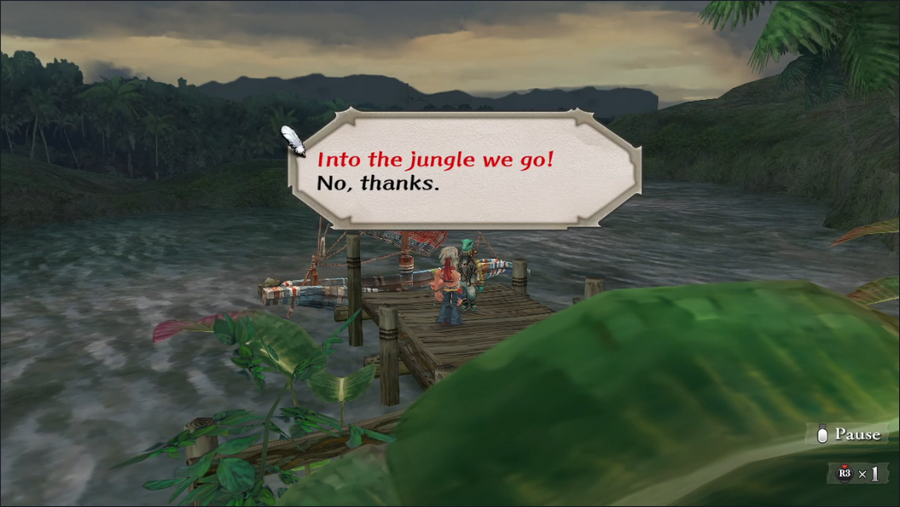 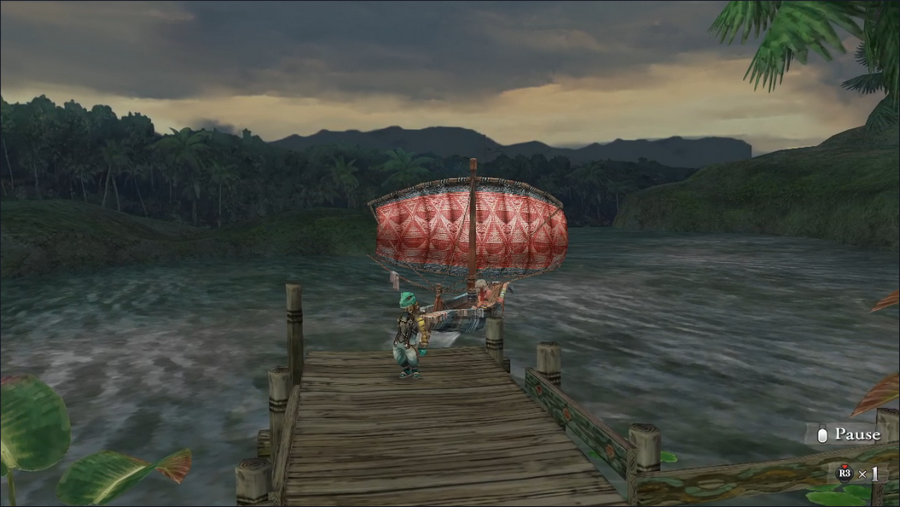 Wait, didn't he say he was heading into the jungle? Well, whatever. 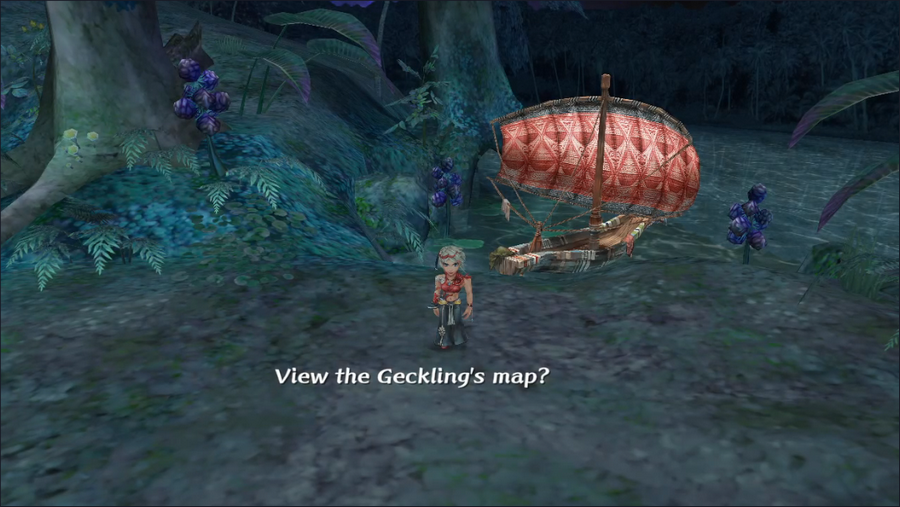 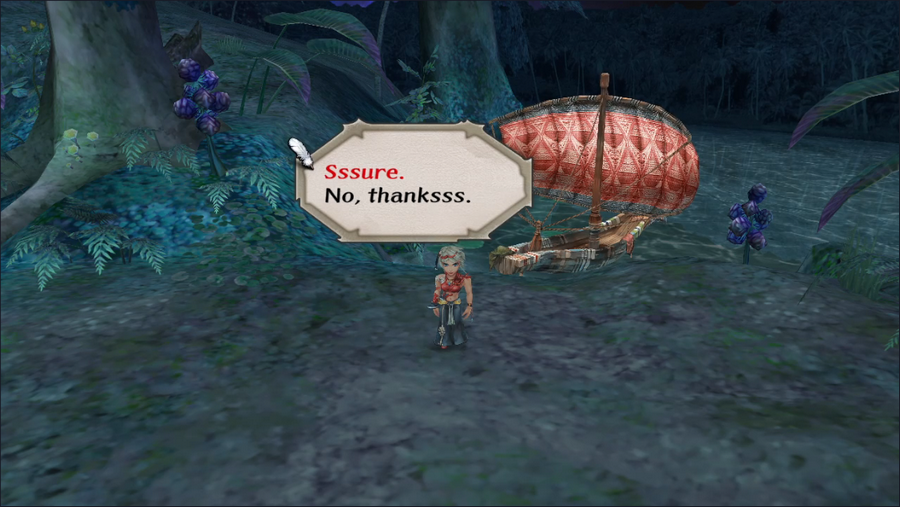 Once we arrive in the deep jungle, we have a chance to look at the map we got way back when. 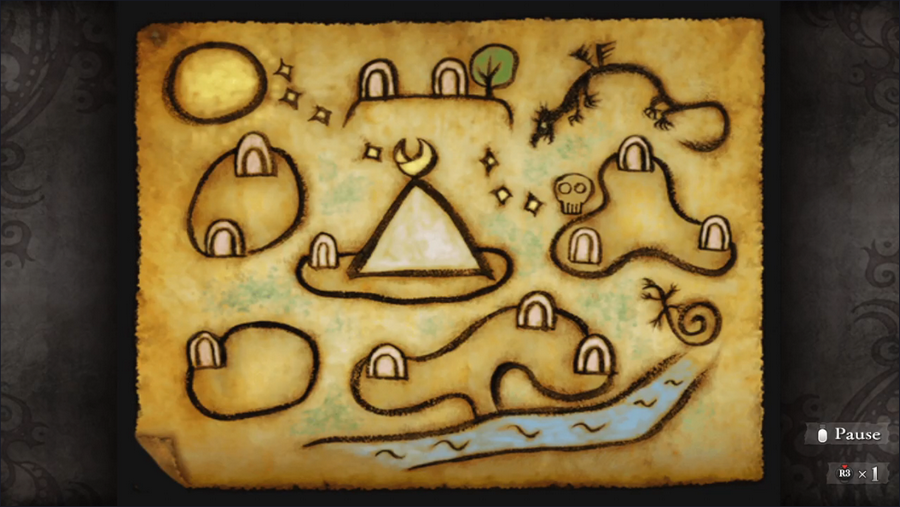 It's cool looking, but pretty much completely useless as a map. 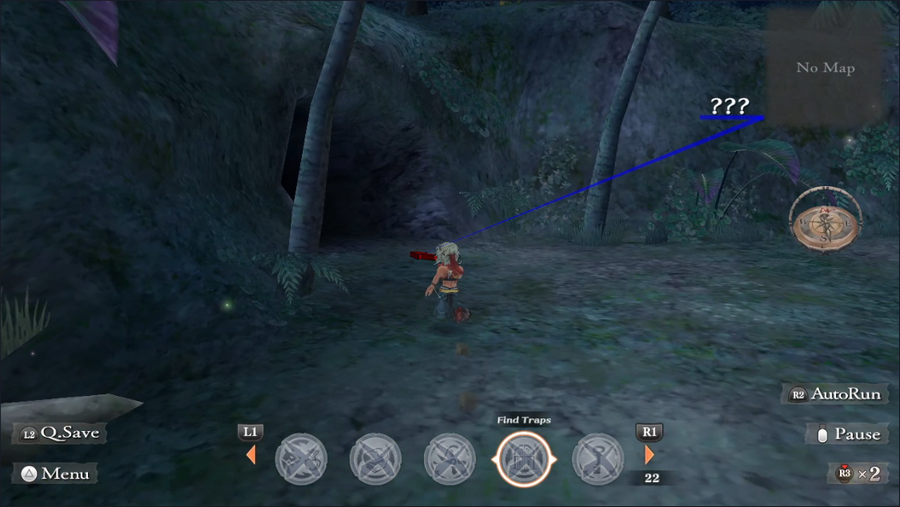 There are three caves leading away from the dock. We're taking the middle one, Cave B. 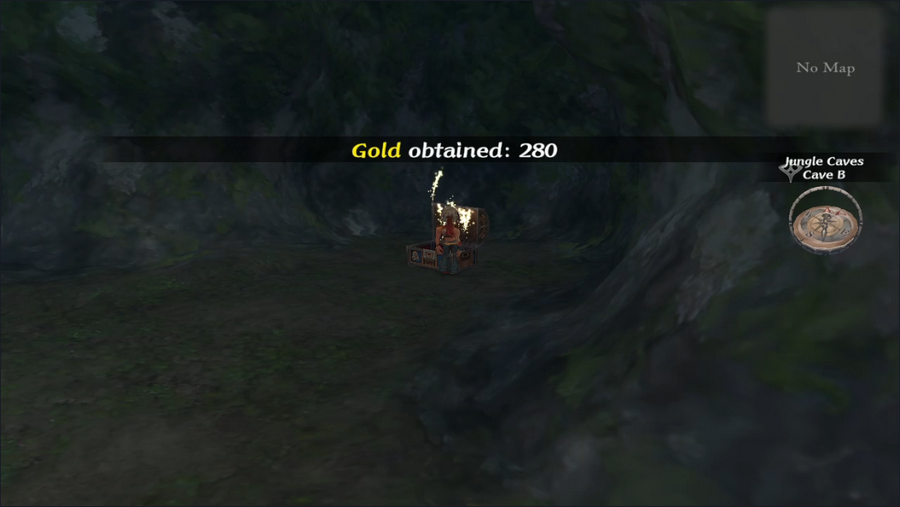 There's a chest here containing a token amount of gold.    Otherwise, it's pretty simple. Apart from a single branch near its end, it's a straight shot to the exit.  We come out in another part of the jungle. 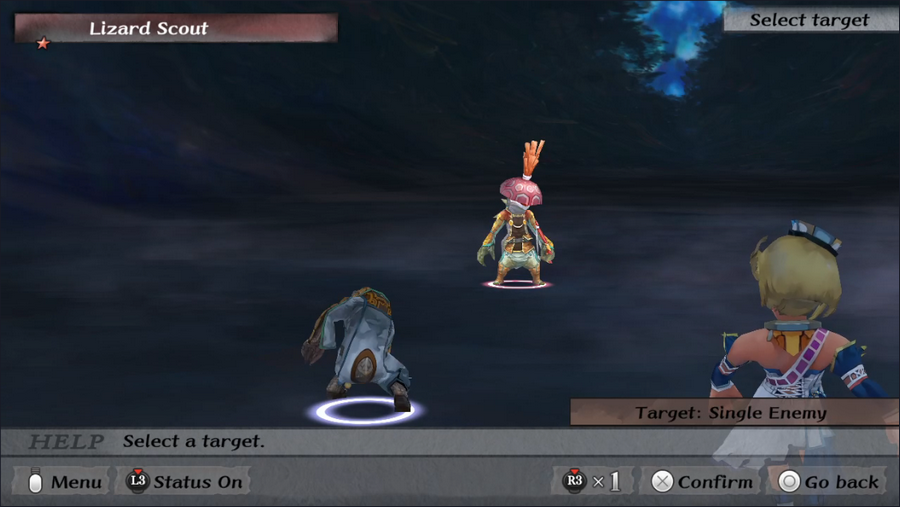 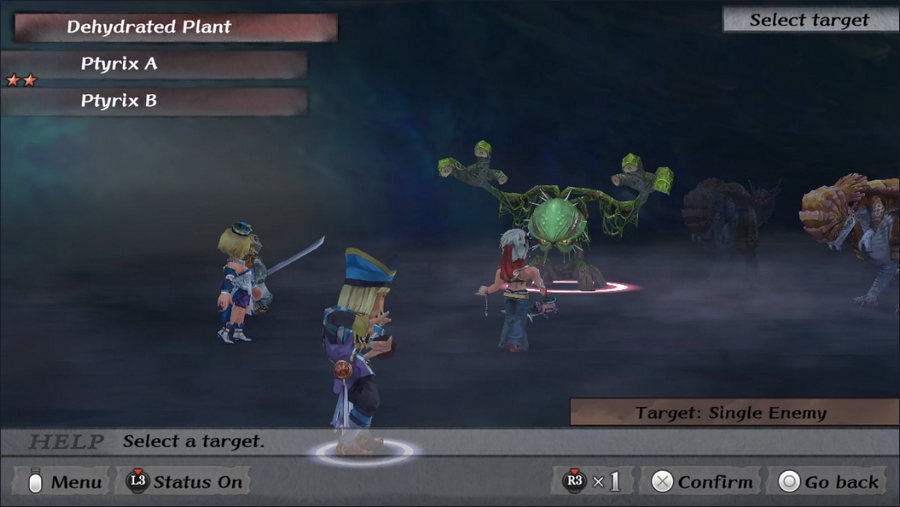 We face a couple of new enemies here. Well, new and "new" - we fought a Lizard Scout in the Abandoned Keep boss fight, but now we're at the point where it's a normal enemy. We're also starting to run into Dehydrated Plants, which look and behave like Ligau's Dinosaur Growths but are much tougher and stronger. 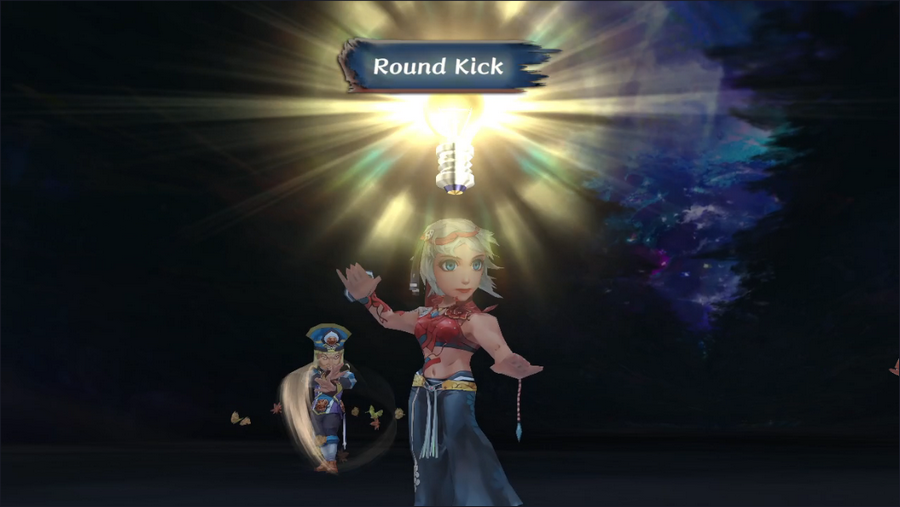 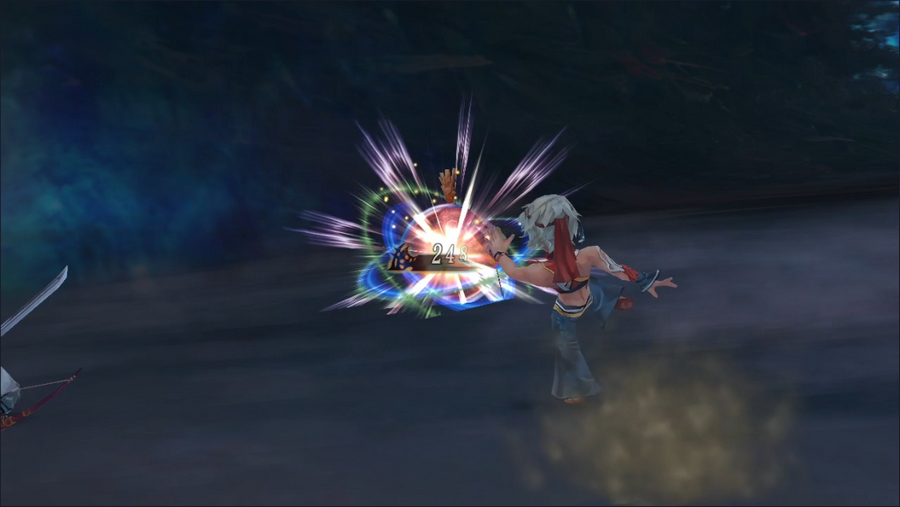 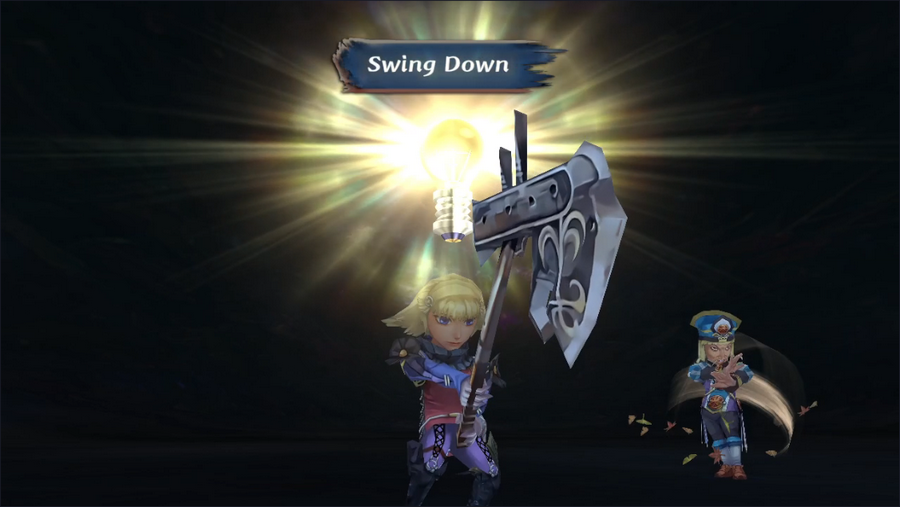 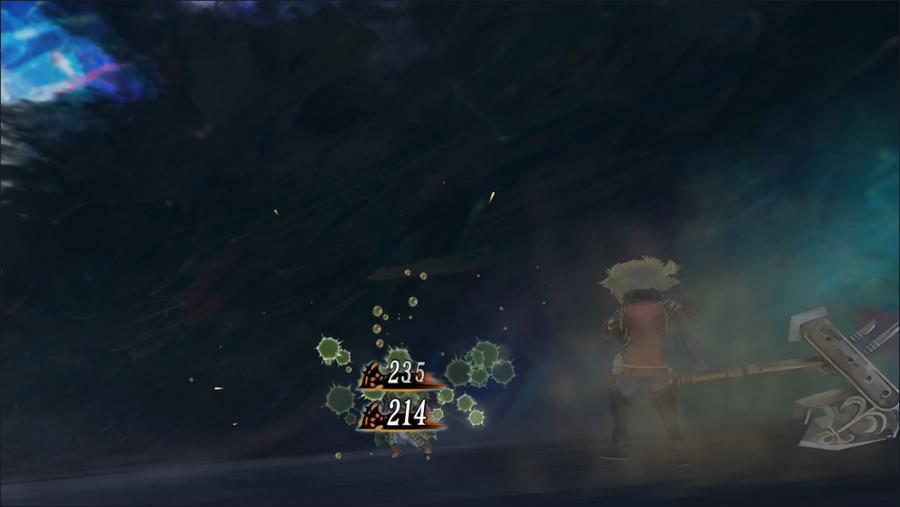 We also manage to Glimmer a couple new techniques in this area. Round Kick is a basic, single-strike attack, while Swing Down is an absolutely brutal two-hit combo that deals a ton of damage. 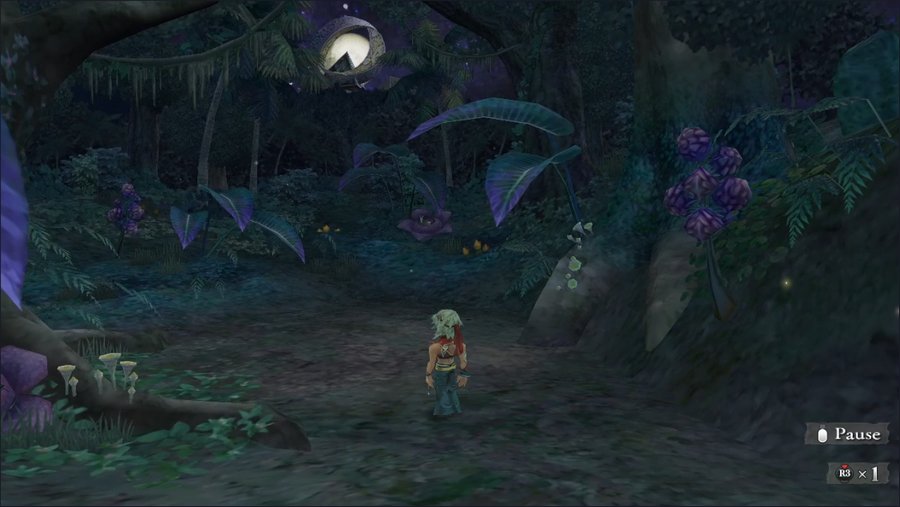 This area has no exits apart from the one by which we entered, but if we head to the side opposite the entrance... 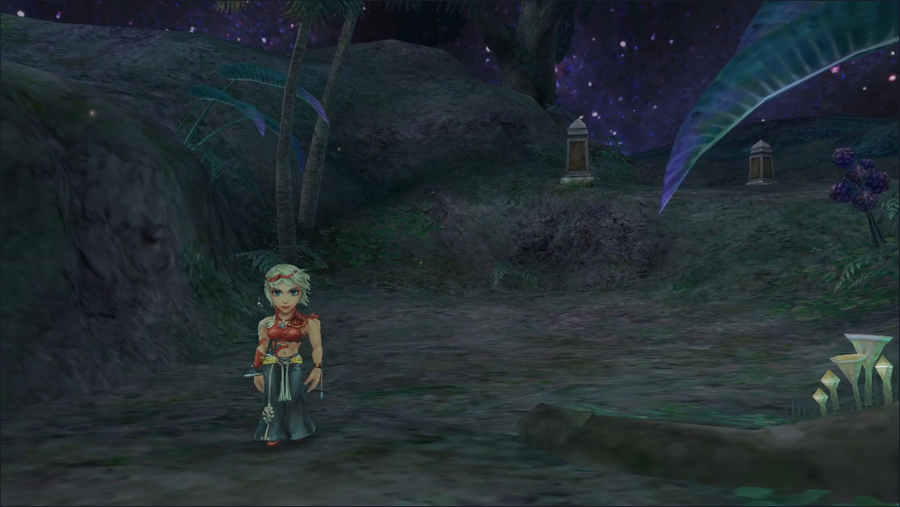  ...the camera swings around to reveal a hidden cave!  It looks like we've found where the notorious Captain Silver hid her treasure.  The path almost immediately leads to a four-way intersection. From the camera perspective, we need to head right.  There's a fake wall here we can get by using Find Traps. Without that we'd just run in circles on the first floor and never get anywhere. 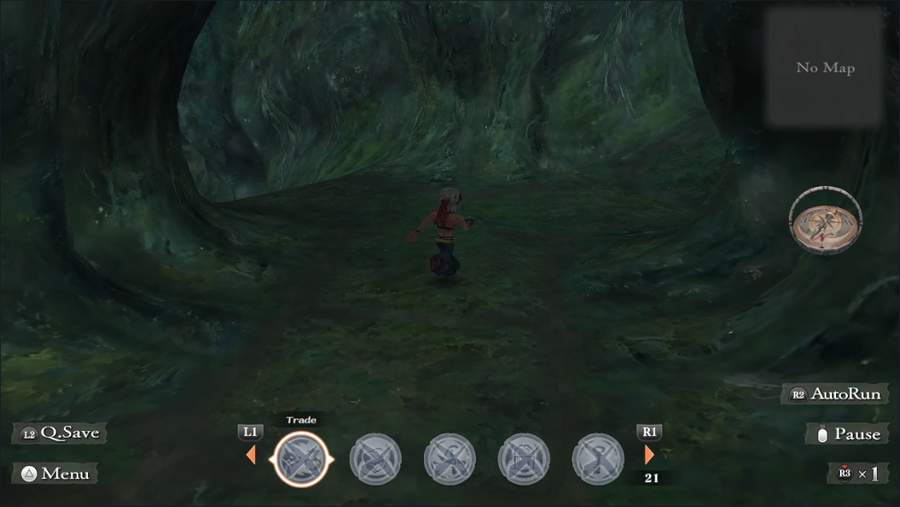 Past that is a two-way intersection with ramps leading up and down. 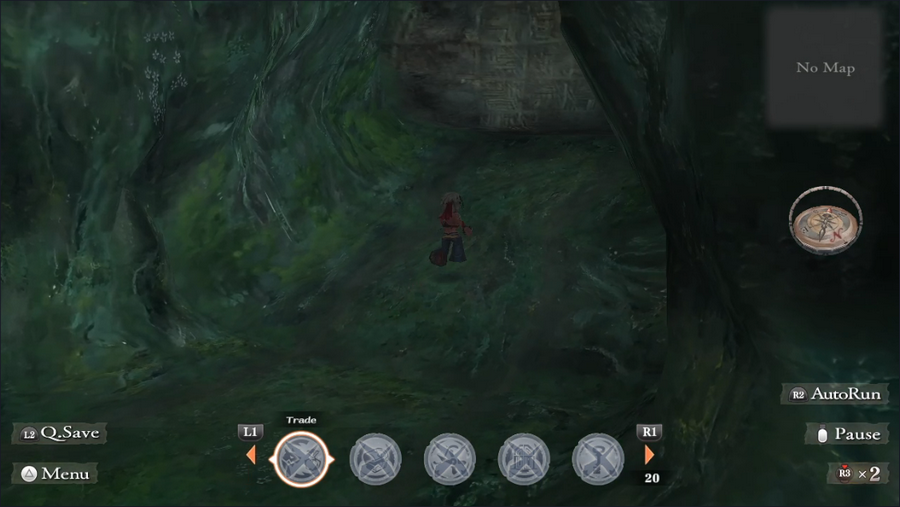 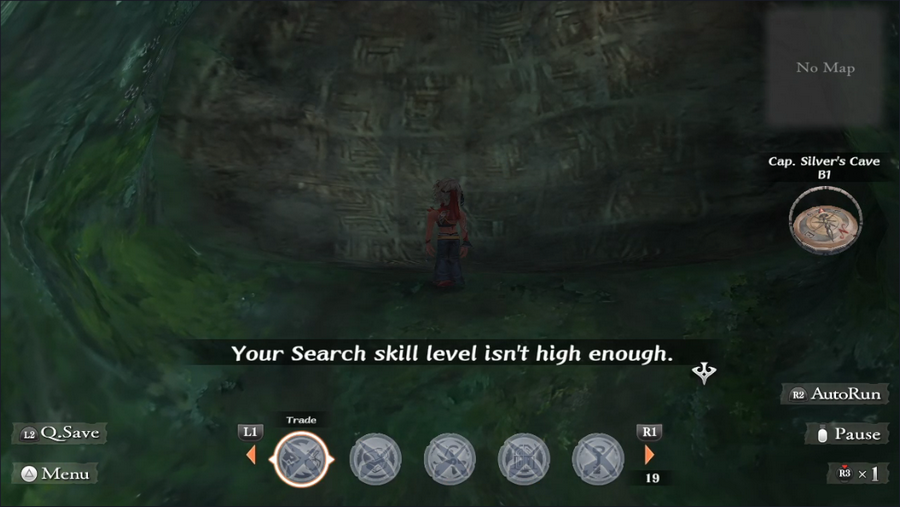 The right-hand path leads up to another fake wall, but our Find Traps level is too low to bypass it. Luckily, this isn't the path to the end. 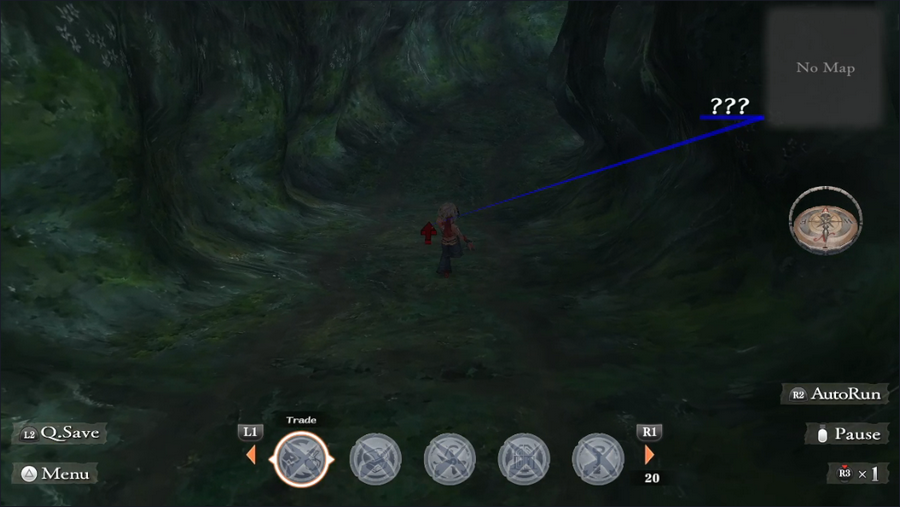 To the left, past some monsters, is the way down. But those monsters are worth mentioning, because they get us an extremely good Glimmer. 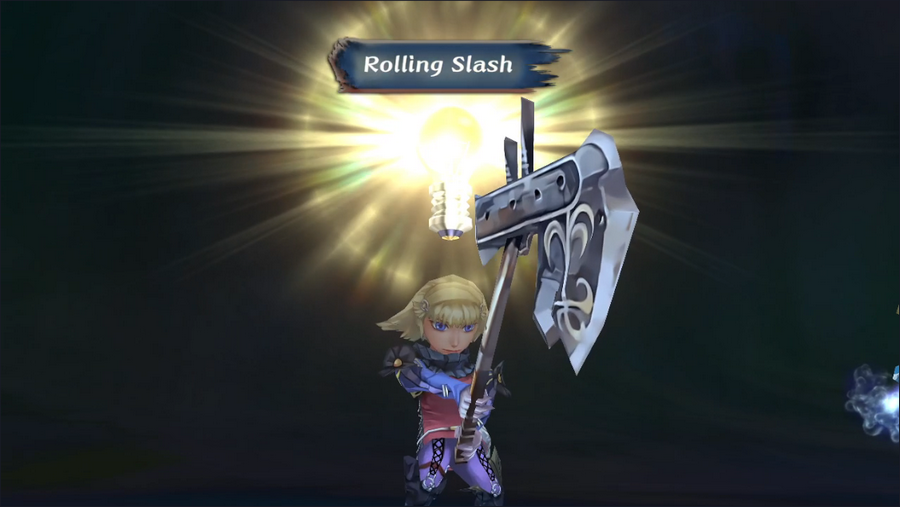 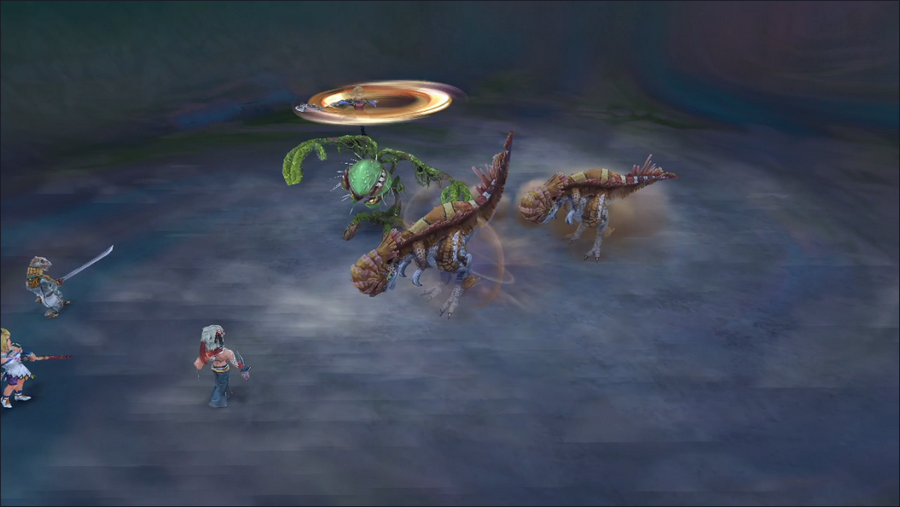 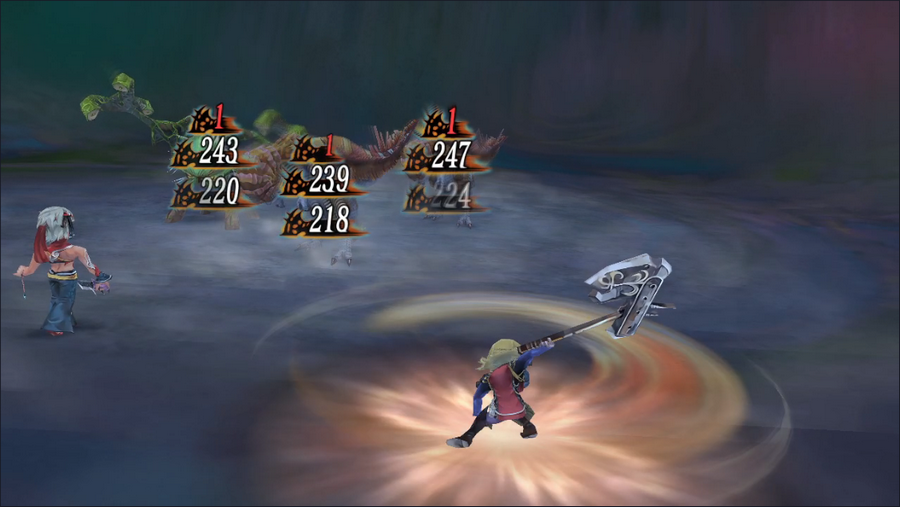  Rolling Slash is a powerful axe attack that hits all enemies. It's more expensive than Rapid Volley, but it's also more accurate and uses generally more powerful weapons. Monica's starting BP is too low to use it on round 1 unless we get an ambush, but once that changes it'll be very useful for dealing with crowds of powerful monsters. Rolling Slash is a powerful axe attack that hits all enemies. It's more expensive than Rapid Volley, but it's also more accurate and uses generally more powerful weapons. Monica's starting BP is too low to use it on round 1 unless we get an ambush, but once that changes it'll be very useful for dealing with crowds of powerful monsters. Heading down to B2, we're greeted with a path leading straight toward a chest. 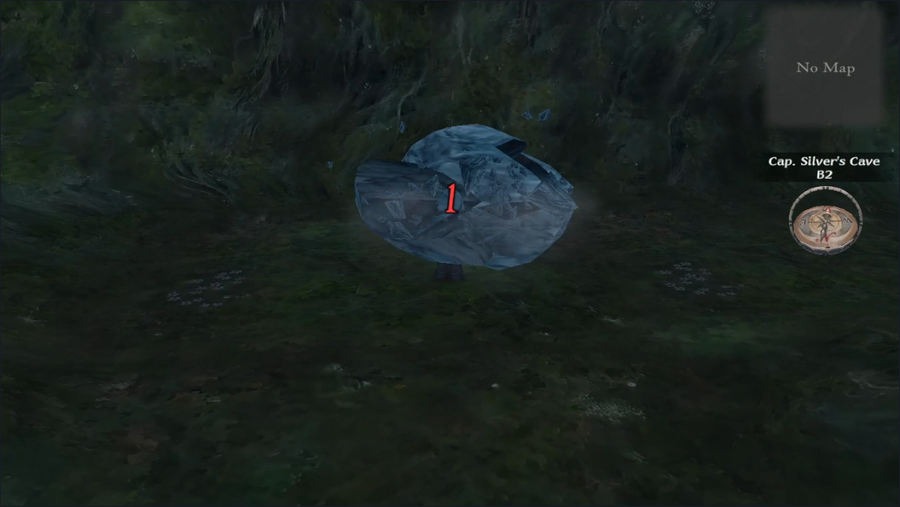 And like suckers, we let it lure us into the dungeon's unique gimmick: an invisible falling rock trap. These are all over the remainder of the dungeon, but only appear in the center areas of rooms, so we can avoid them by hugging the walls. 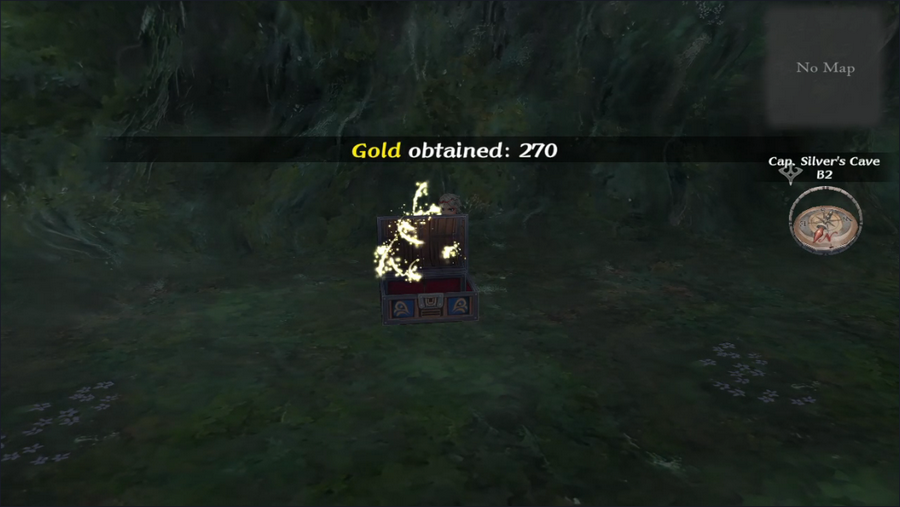 As an extra kicker, the chest doesn't even have anything that good. 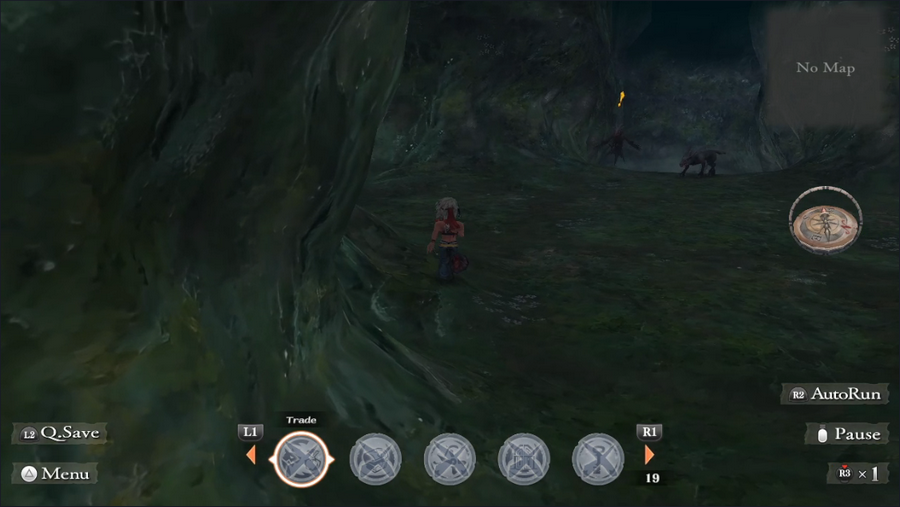 Around the corner is another room with a four-way intersection.  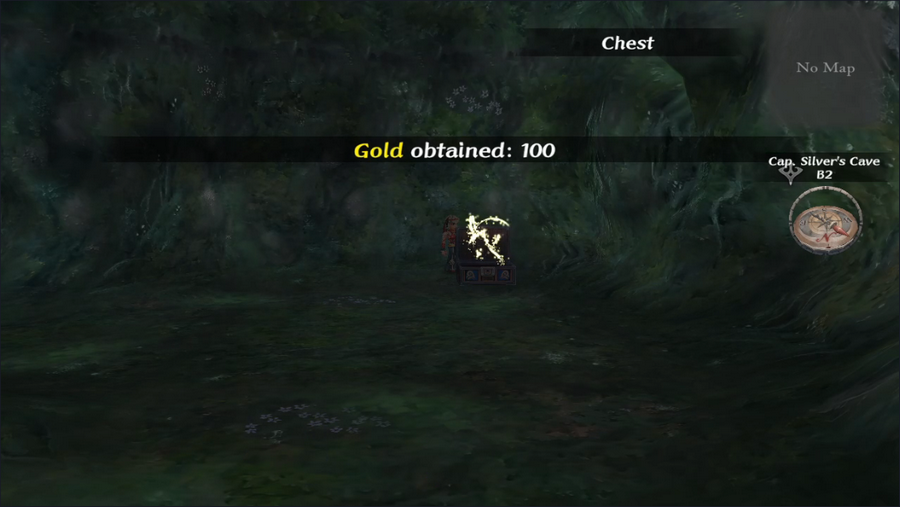 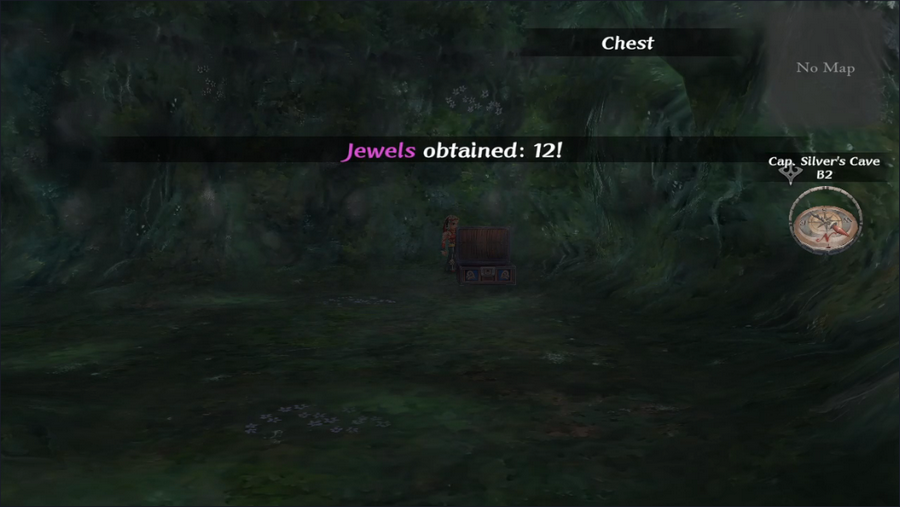 To the left is a chest containing an ambush trap and a disproportionately terrible prize. 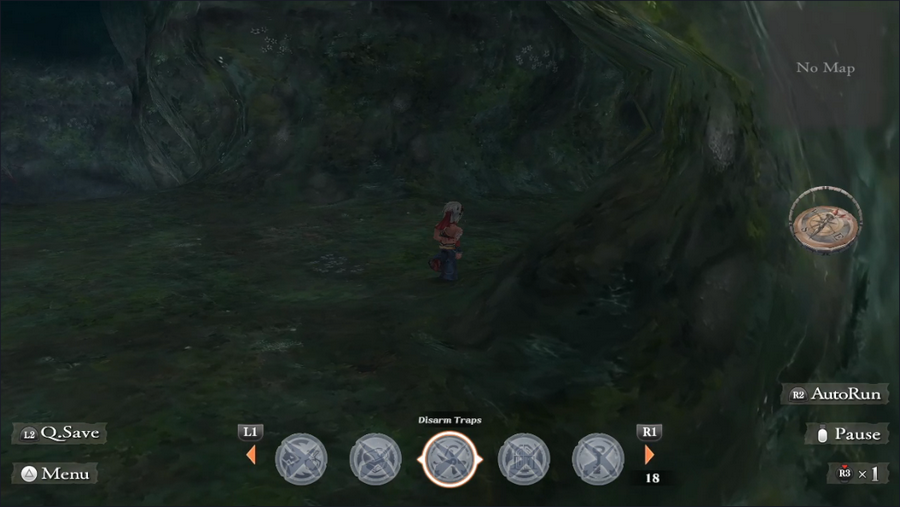 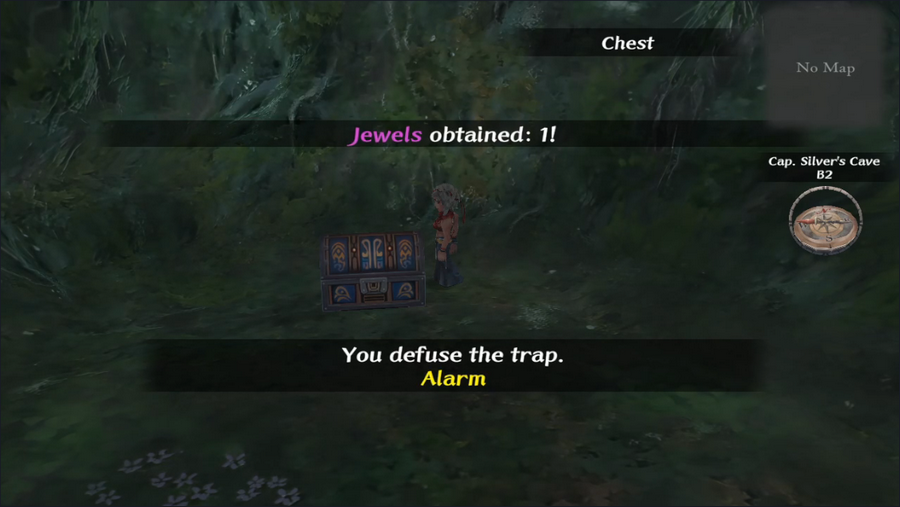 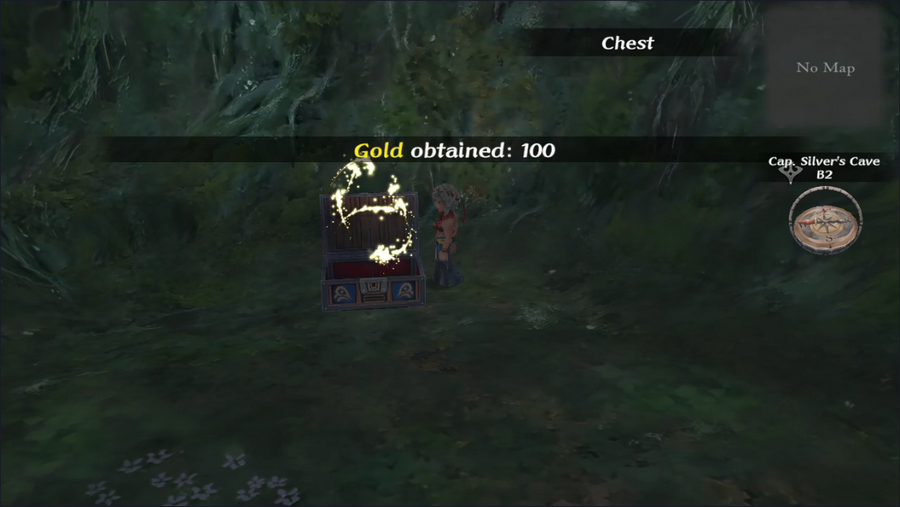 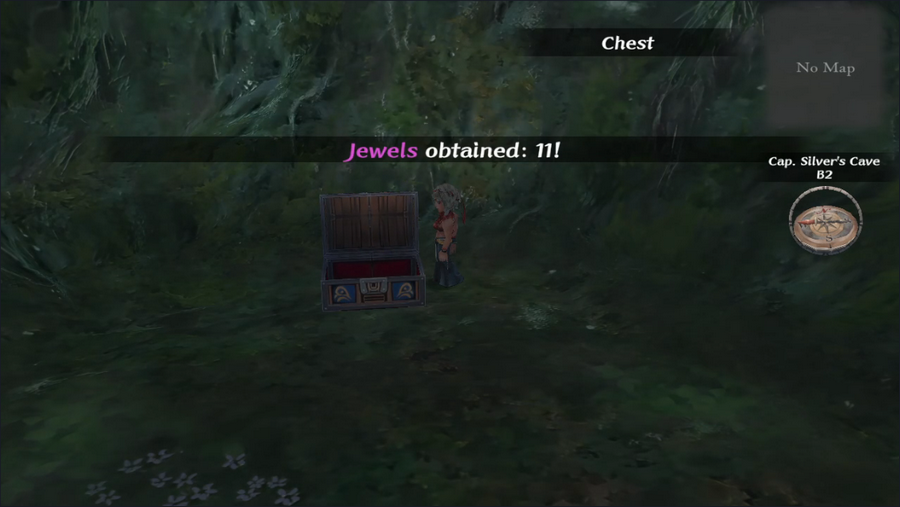 To the right, the same. 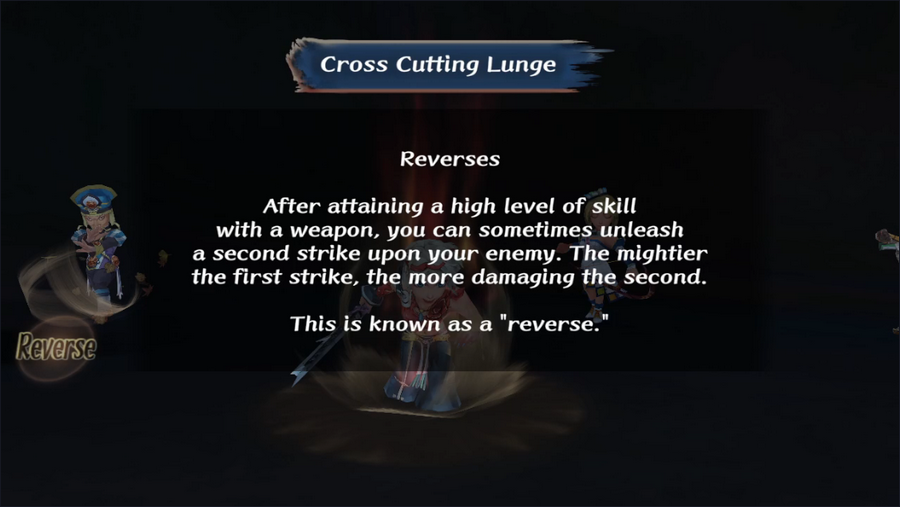 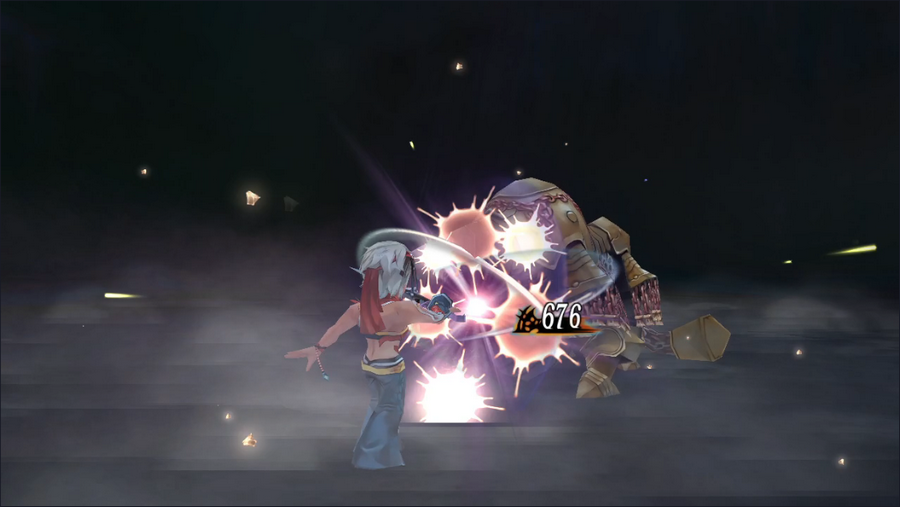 As we head back through the intersection, one of the fights triggers yet another new mechanic. Reverses, like Surges, trigger randomly when certain techniques are used. Despite what the description says, they don't add an extra hit; instead, they simply increase the damage dealt. A very few attacks can also trigger both a Surge and a Reverse at the same time, an event appropriately called a Surge-Reverse. I mention this here because we're not likely to see it in this LP - only a tiny number of techniques can do so, and the odds of it happening are minuscule. 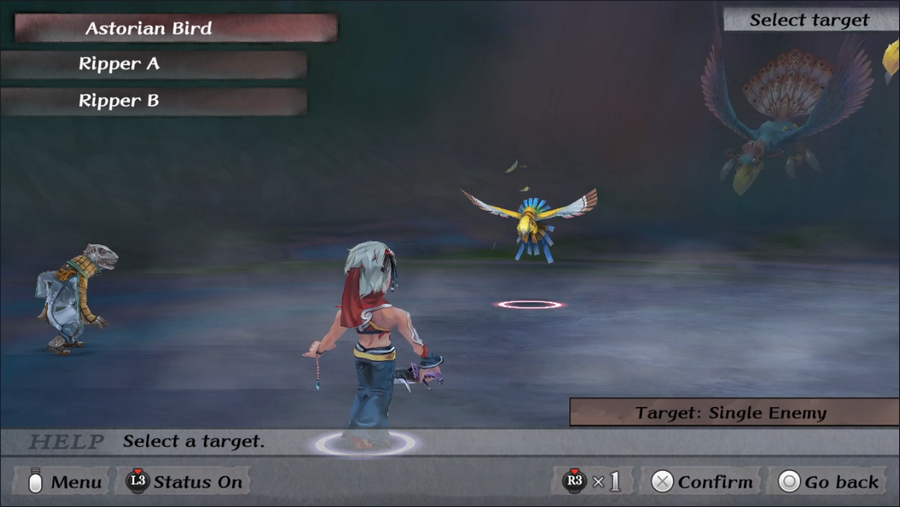    We also fight a handful of new monsters in that cavern. Astorian Birds are fast, but they're weak and fragile enough that they're not dangerous. Stray Peggies are (I think) regular Valhallan Peggies found outside Valhalland. They're negligible. The Coral Crab we fought as a mini-boss not long ago is now a regular enemy, and fairly dangerous. An Manslicers are scorpion-like enemies with no notable traits.  Oh and Guella Ha follows Barbara in Glimmering Round Kick.   Once the monsters are handled, we head down the last remaining passage, which leads to B3.   B3 is quite simple. We head straight, past some monsters, and take a right turn.  This brings us to a group of monsters placed in such a way as to indicate that they're a (mini-)boss fight. Luckily, three Prima Donnas aren't an issue.  But three Prima Donnas plus five Man-Mushrooms could be a problem.  That is, if we didn't have multi-target attacks.  As it is, we can deal with this in a single round, and easily.  The monsters fade away, and we can move on.  Jackpot! Looks like we've found the captain's treasure.  The first chest contains a new accessory. 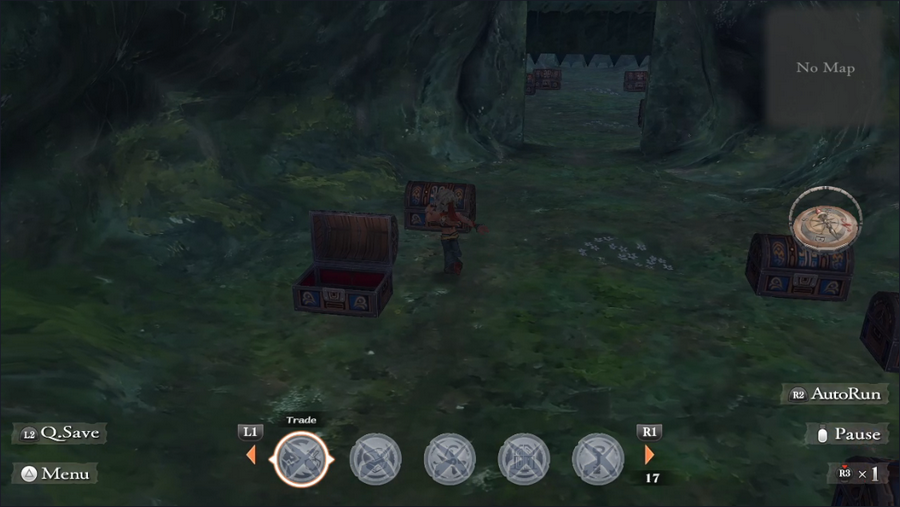 Opening it also opens the door at the back of the chamber. 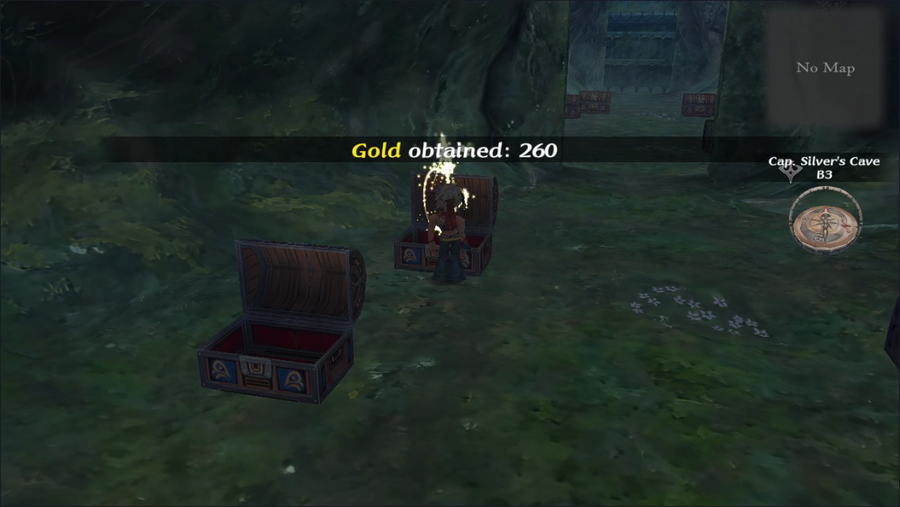 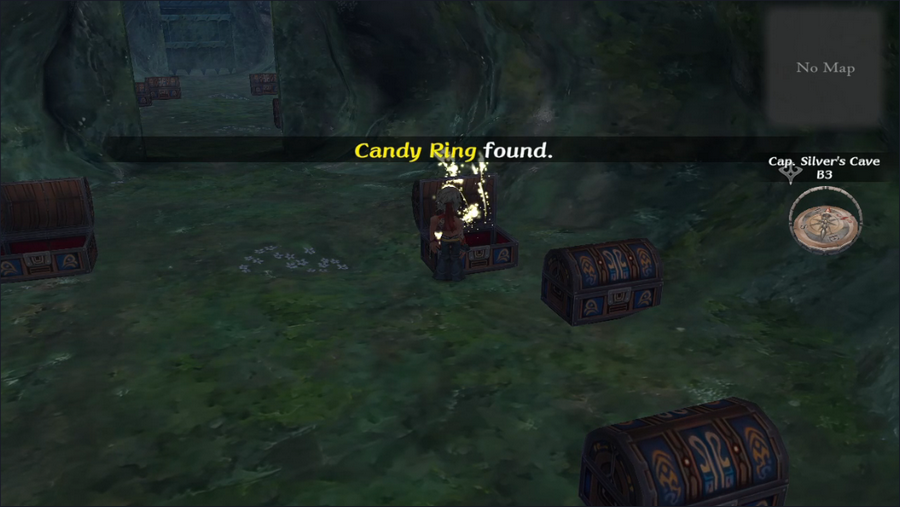 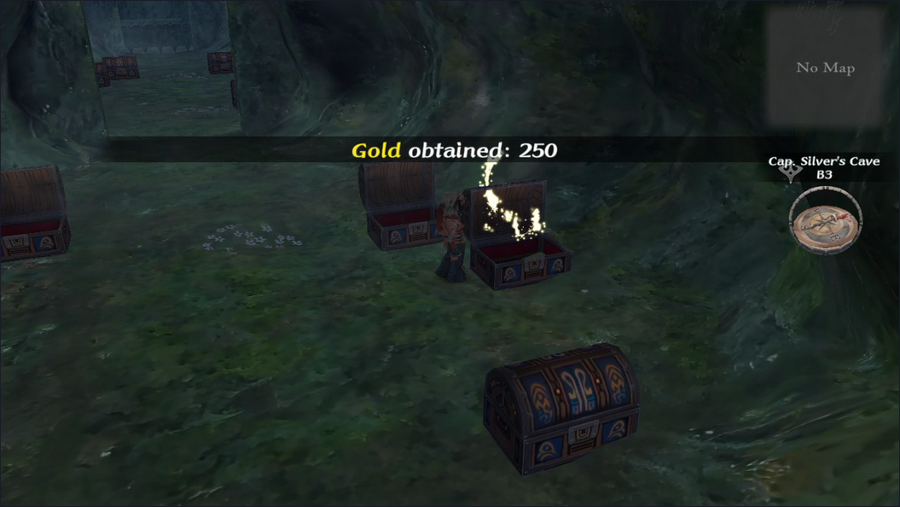  The rest of the treasure is okay, but still kind of lackluster. Also, about half these chests are trapped, some of them twice. I'm not showing them all off because this is enough images as it is.   Also, we get to waste an extra proficiency use because Disarm Traps can fail.  Maybe the next chamber will have better loot. 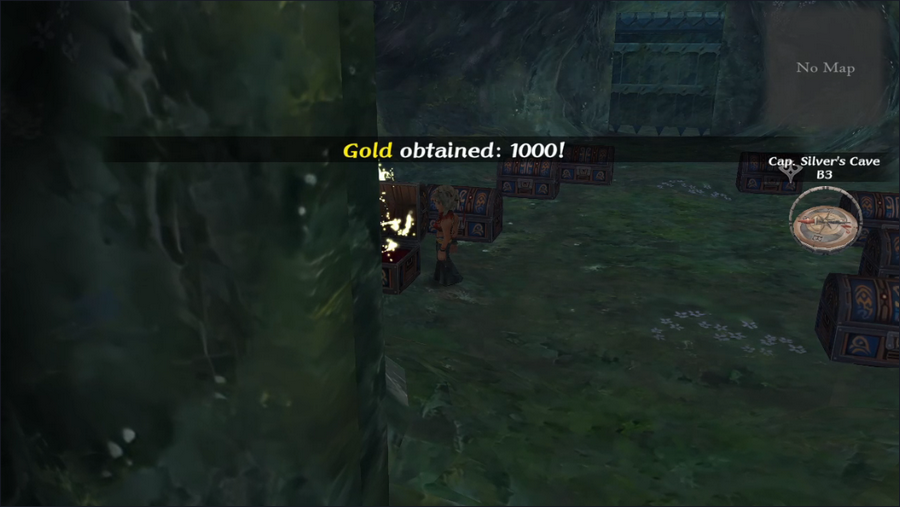 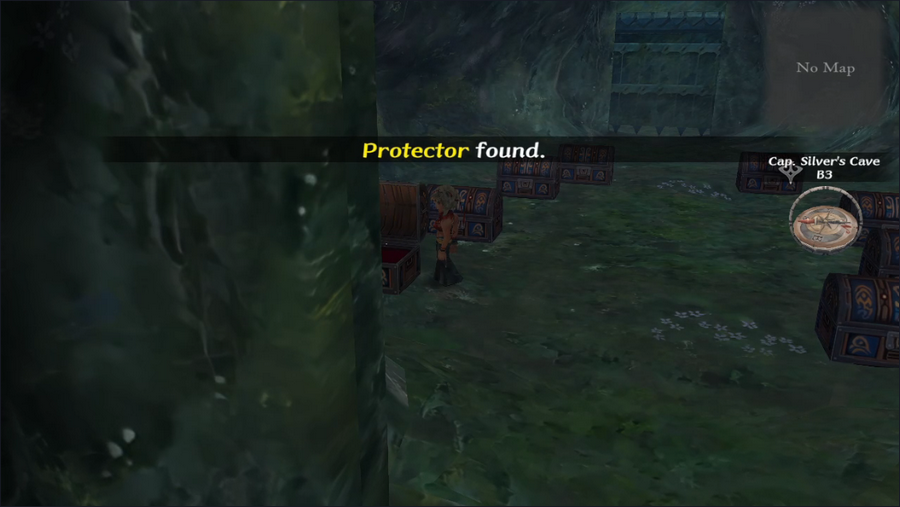  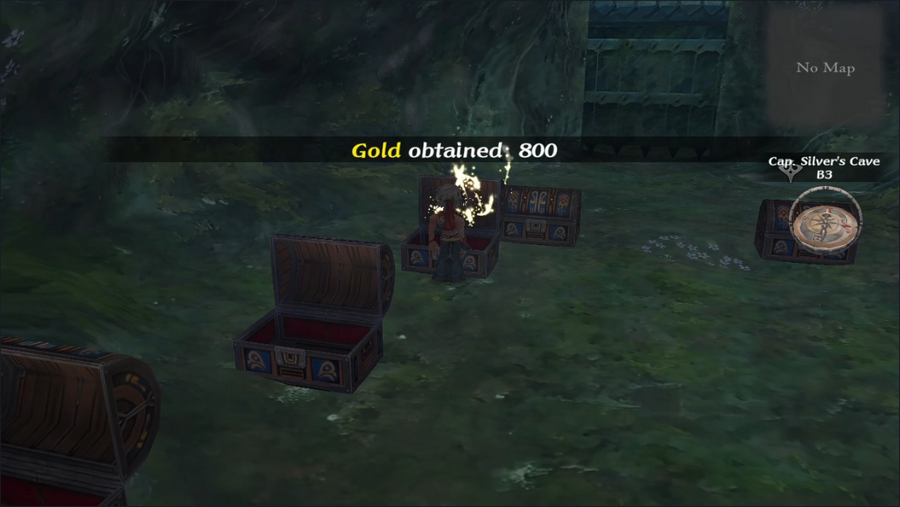 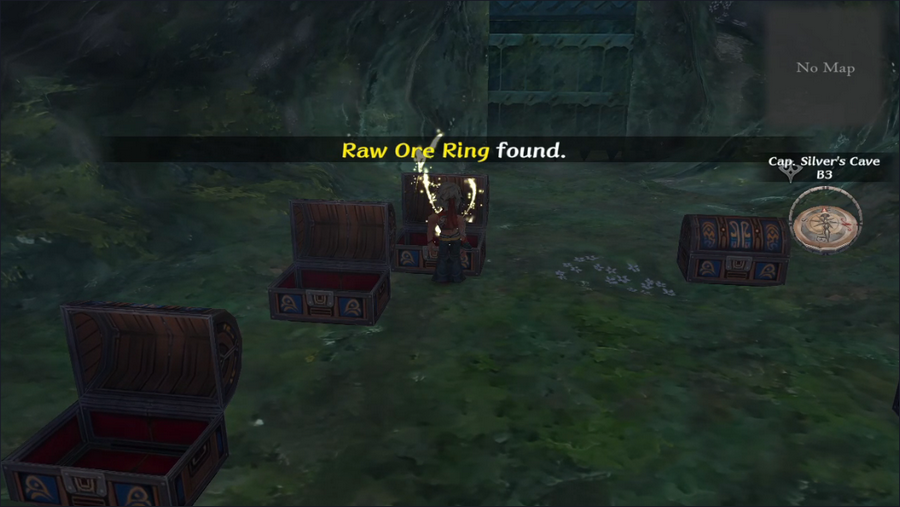 Now this is more like it!  The fourth chest opens the door, revealing something we're going to pointedly ignore for the moment.       The treasure here is way better, especially the gold. Special mention goes to the Stone Clogs, which have excellent defense at the cost of tanking the wearer's Agility. Patrick is already quite slow, so it won't hurt to let him wear them.  Also, Disarm Traps sometimes fails spectacularly. Luckily I know the value of quicksaving and can reload when the RNG tries to spite us.  Okay, so. That's obviously a dragon. We'll quicksave before this fight just in case, but we've gotten a lot stronger since the start of the game. Maybe we can do this.  The dragon, surprisingly, can speak. The mention of a Fatestone isn't surprising, since the Minstrel mentioned that Captain Silver stole the Opal of Wind from Bafal.   Unsurprisingly, Captain Silver got a Silver Dragon to guard her greatest treasure. Music Highlight: Wicked Melody/Melodies of Good and Evil The Fatestone battle theme alternates between slow, ominous organ music and a fast, drum-centric tune. It's got a great epic feel to it.  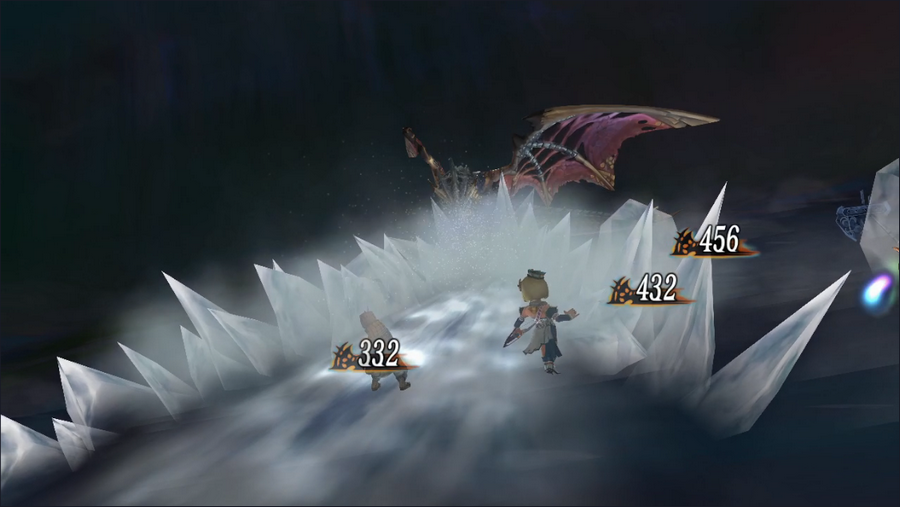 Oh, this was a mistake.  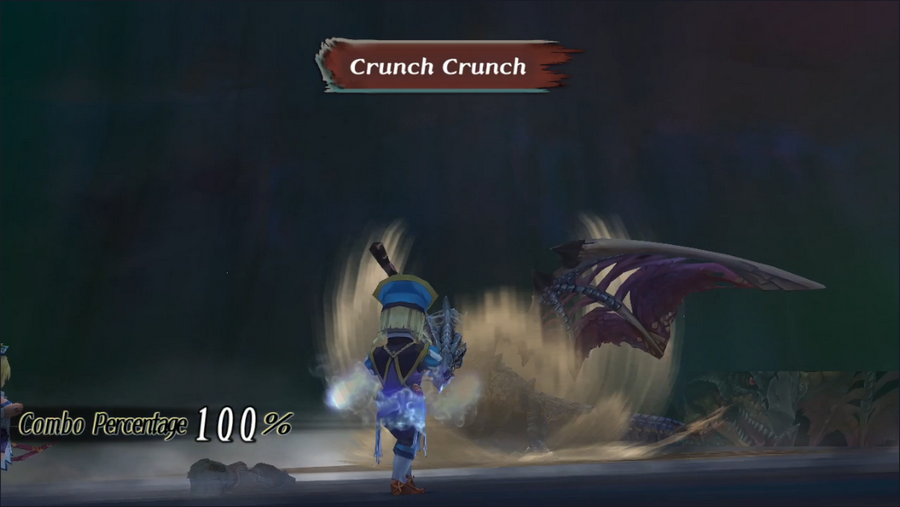 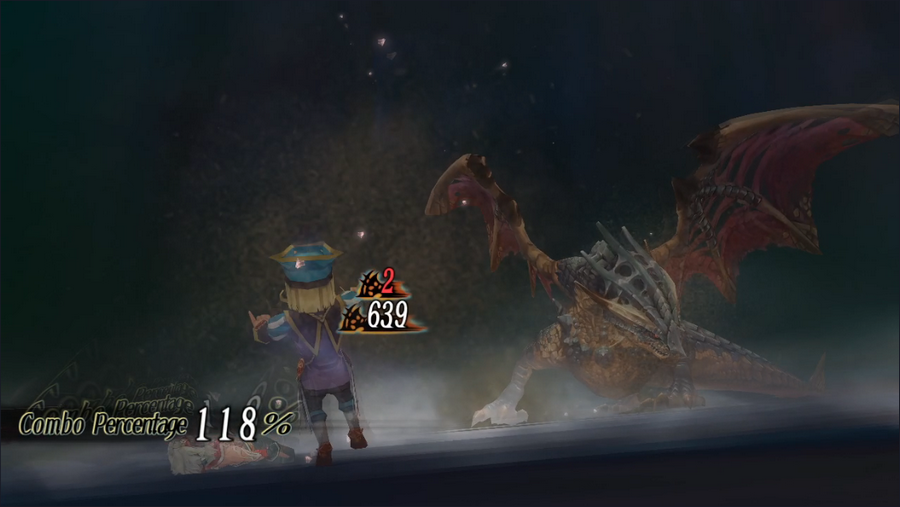 ABORT.    Yeah, this was no contest. Even the fight against Pyrix didn't end this quickly.  This is another fight in which losing is not a game over. The dragon simply insults us and leaves us to wallow in our lack of strength. We have a long way to go before we can manage this, I'm afraid. 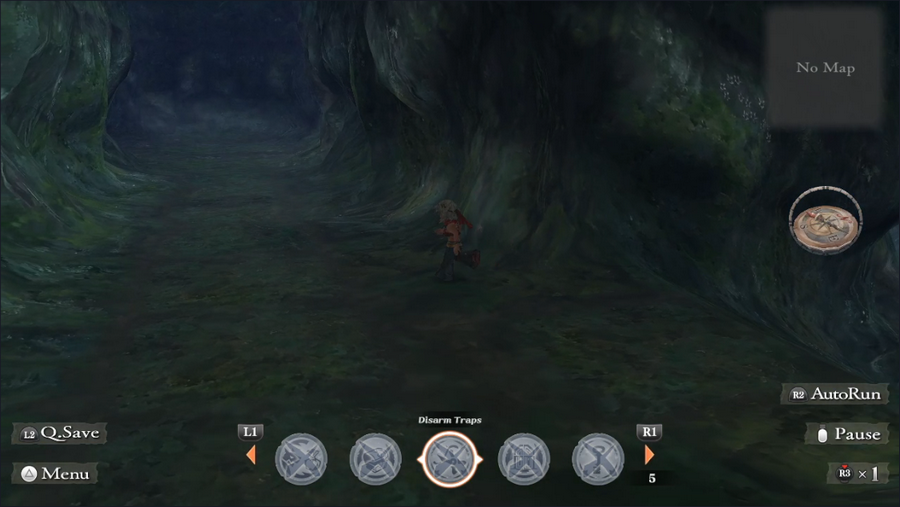  Luckily, the initial path on this floor leads right to a shortcut to the exit. 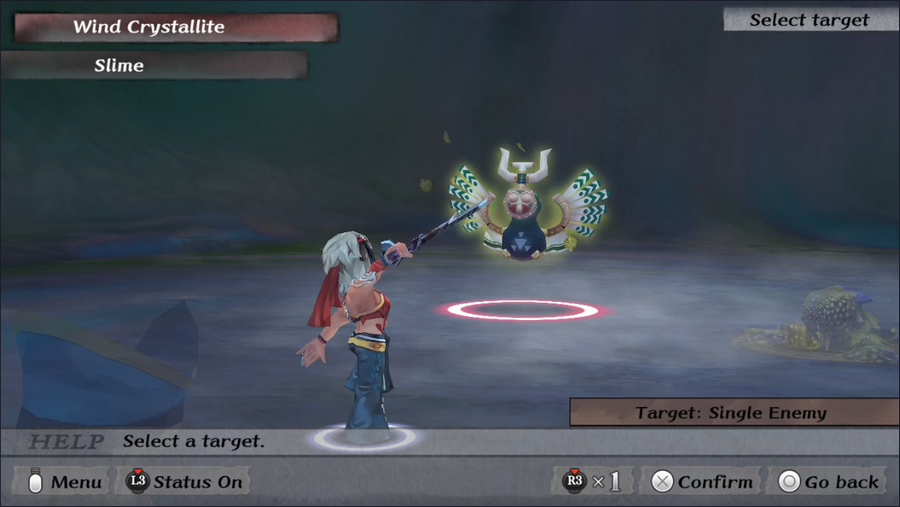 On our way out of the jungle, we run into another new enemy, a Wind Crystallite. Crystallites are basically elementals, and the wind variety is the weakest (though by a narrow margin). We ran into a group of crystallites once when we triggered an Ambush trap, but they're much less dangerous now (especially when encountered alone).  Let's get out of this terrible place. 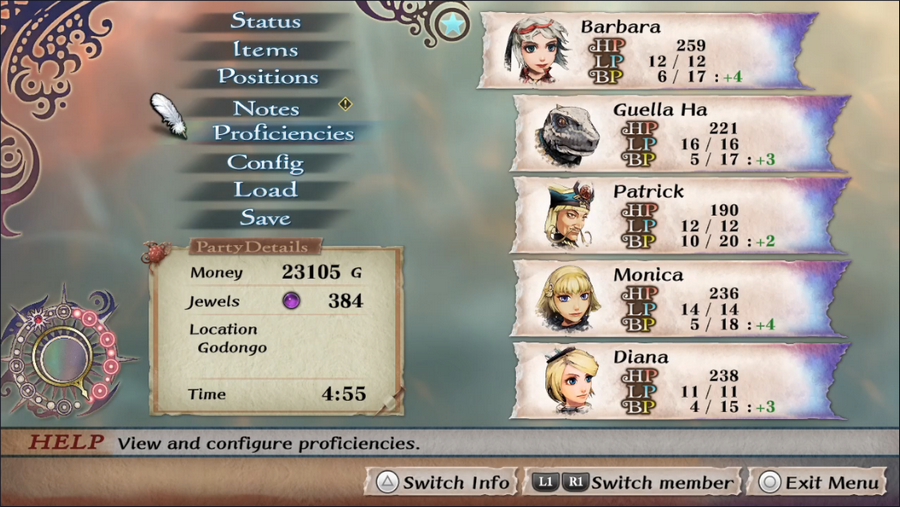 Now, the good news is that this trip wasn't for nought: we actually have enough money to buy the Ice Sword. So we may as well do that before I start thoughtlessly spending. 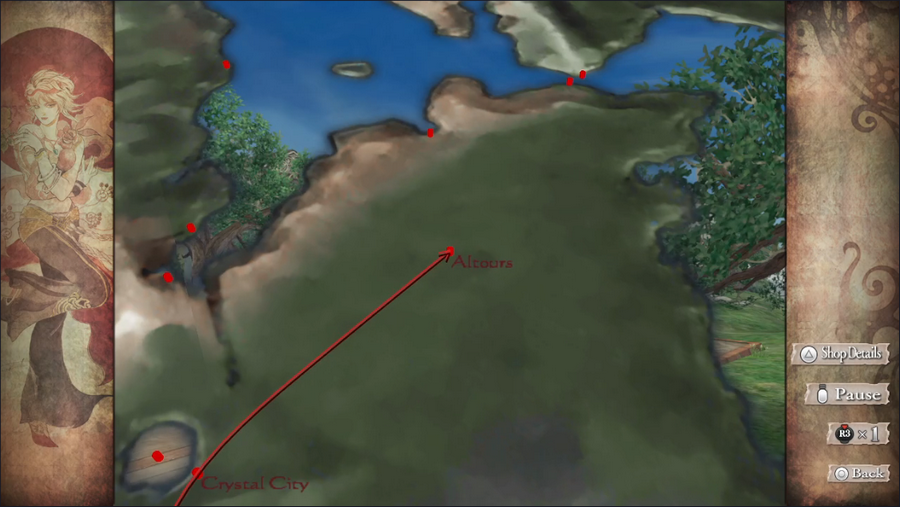 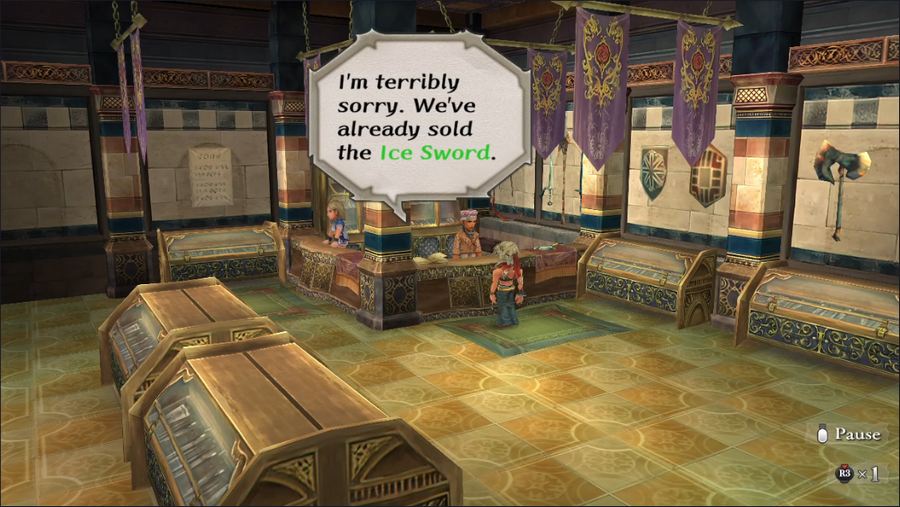 EXCUSE ME. 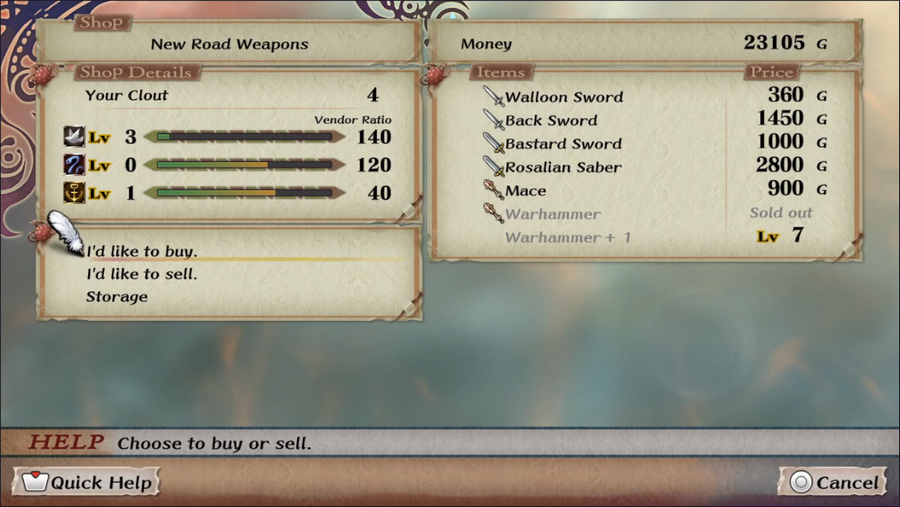 As the man says, the Ice Sword isn't even shown on the shop's inventory list. 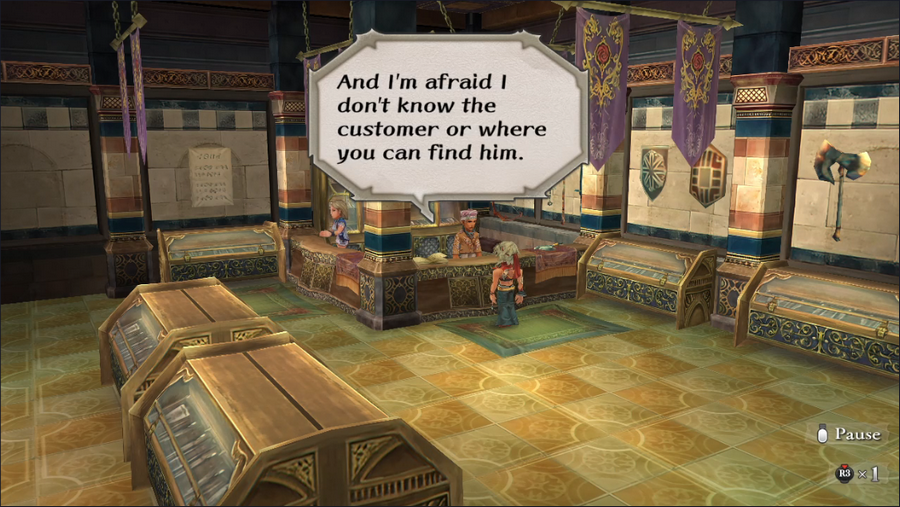 Well, that is entirely unhelpful! 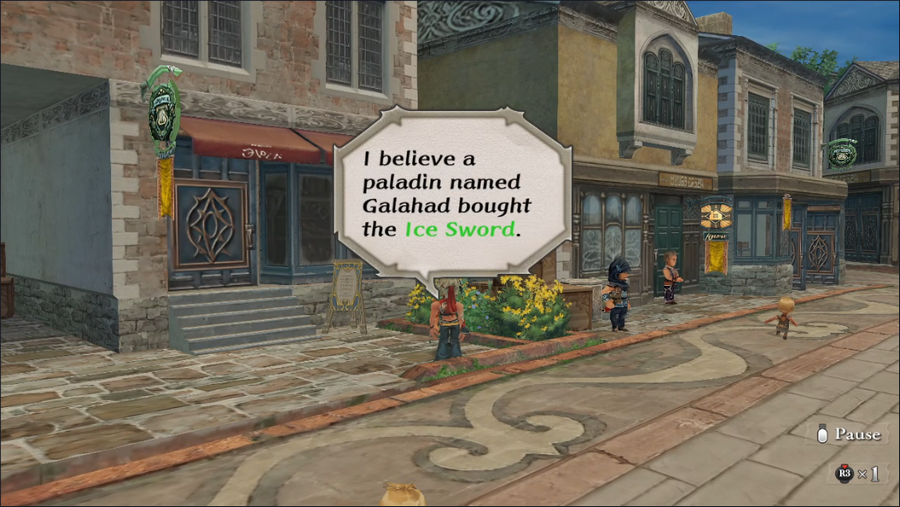 Luckily, a woman outside knows who bought the weapon. Turns out it was Galahad. He must have really put that treasure hunting money to good use! Galahad normally hangs out outside the temple of Mirsa in Crystal City. However, after buying the Ice Sword, he can no longer be found there.  Instead, if we leave Altours and return, we can find him standing near the north exit. 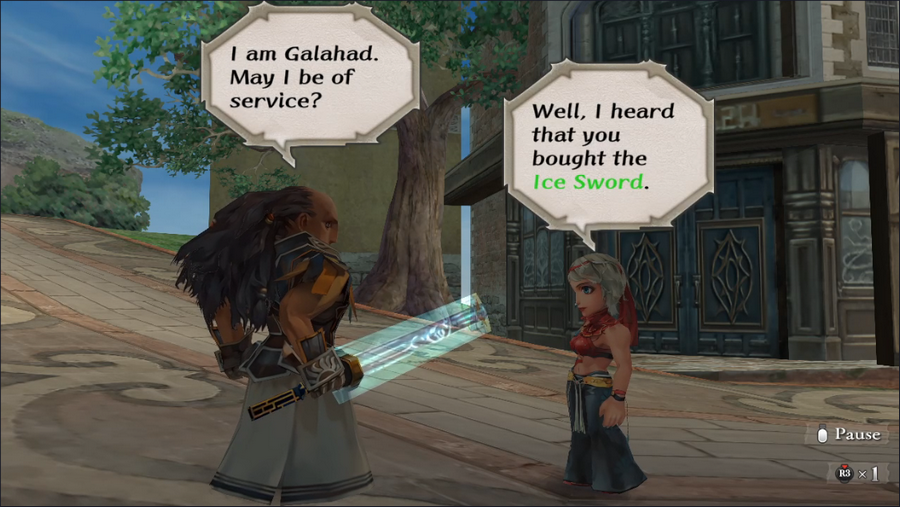 "Also I see you holding it." 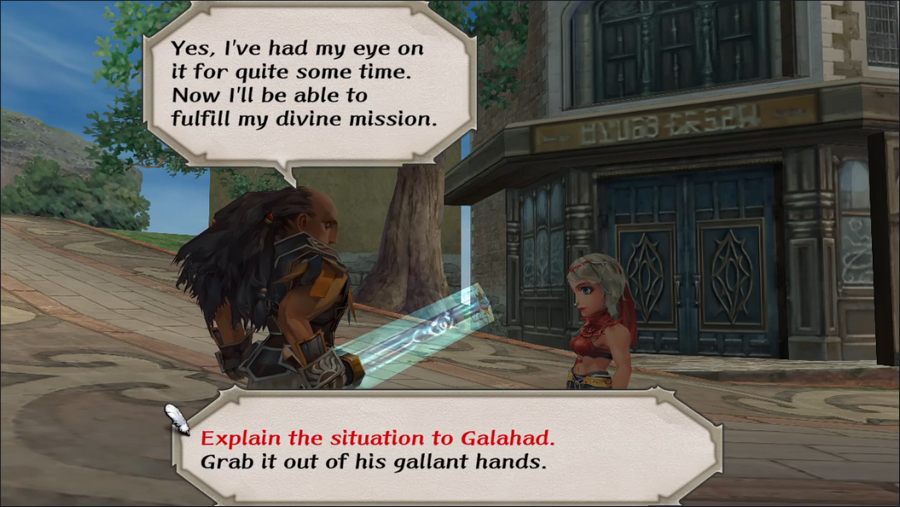 He doesn't want to give it up, and I can't blame him. We could try and talk him out of it, or we could just... take it. But for now we will do neither, so you all can decide. Instead, we're going to go off and grab a couple more quest leads. 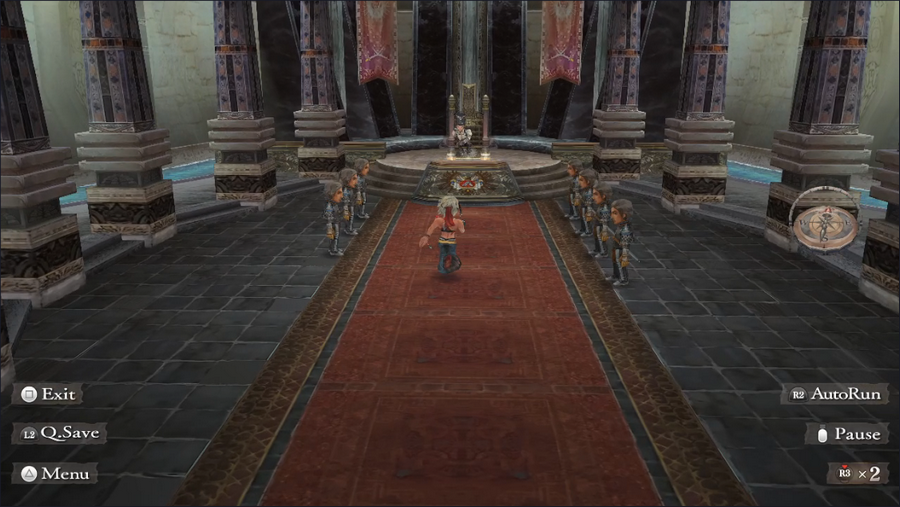 First, we head to Eugenstadt to speak to Lord Heinrich. Curiously, Raphael is no longer here. 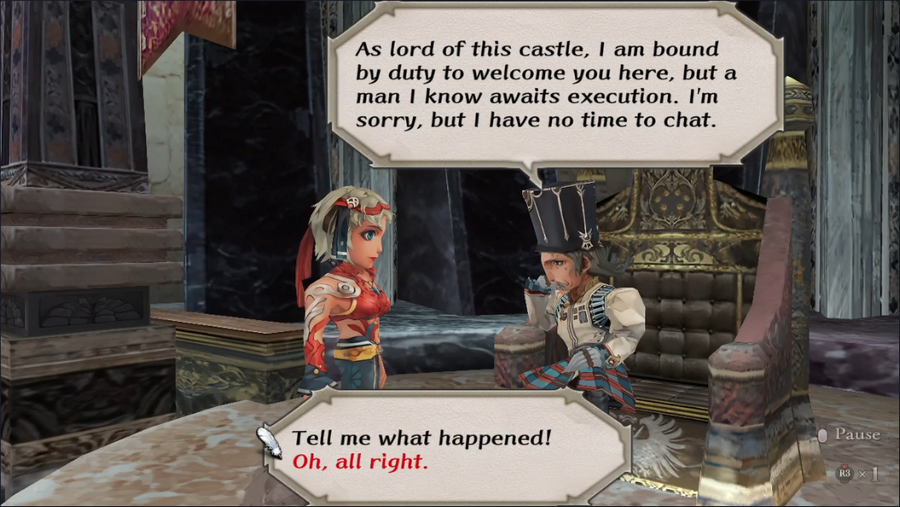 More troublingly, Heinrich tells us that a man he knows is facing execution. Given his concern about this, it seems likely the man is a friend. 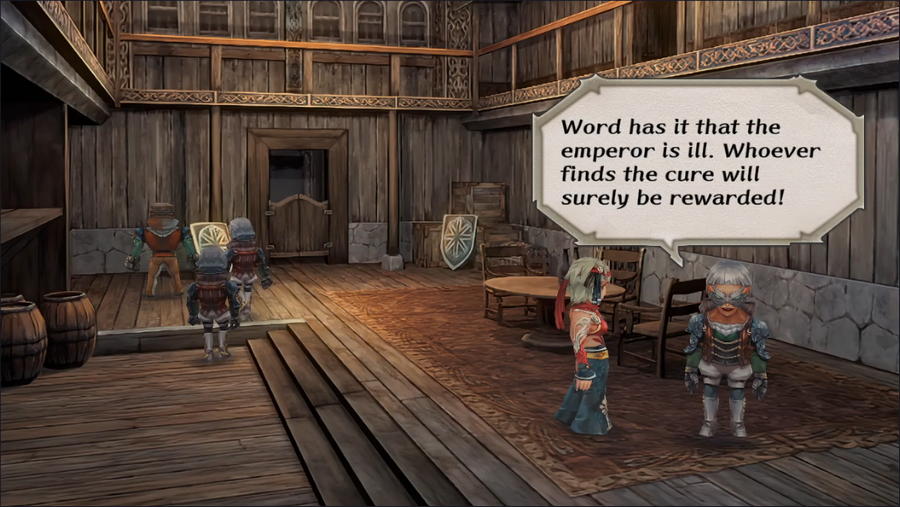 Meanwhile, in Melvir, we check in with the police, who tell us that the emperor has fallen ill. He seemed like a decent guy when we met him, so saving his life is probably worth the time. And that's it for today! Next time I'll likely use our saved-up gold to do some shopping, but anything beyond that will be decided by your vote. Current Event Rank: 9 Things to Do Retrieve the Aquamarine from Crystal Lake - We weren't strong enough for this as of ER2 Kill the bugs in the Altours orchard Find Captain Silver's treasure - We weren't strong enough for this as of ER9 Go to Mazewood to acquire the Medallion of Eres Get the Ice Sword from Galahad... ...by diplomacy ...by force Kill Pyrix - We weren't strong enough for this as of ER8 Save Lord Heinrich's friend from execution Find a cure for the Bafal emperor's illness Places to Explore Estamir sewers Melvir sewers Bayre Plateau Isthmus Keep, or what's left of it The Walon Isle jungle The Ligau caves Mt. Scurve Crystal Lake - We weren't strong enough for this as of ER2 Yassi Cavern Abandoned Keep Saoki Cavern Treasure Maps Jungle, Level 1 Steppes of Galessa, Level 1 Kaklim Desert, Level 1 Bonus: Glimmer Showcase https://www.youtube.com/watch?v=qb3HqYxKEFA
|
|
#
?
Jan 14, 2024 23:56
|
|
|
Well that's a few new urgent things to do. Get the Ice Sword from Galahad by diplomacy Save Lord Heinrich's friend from execution Find a cure for the Bafal emperor's illness
|
|
#
?
Jan 15, 2024 03:50
|
|


|
5-Headed Snake God posted:Get the Ice Sword from Galahad... 5-Headed Snake God posted:Get the Ice Sword from Galahad... 5-Headed Snake God posted:BY FORCE You know what, diplomacy seems like a reasonable solution. ") Save Lord Heinrich's friend from execution Find a cure for the Bafal emperor's illness
|
|
#
?
Jan 15, 2024 05:12
|
|
|
Look, grabbing a prized possession out of someone's hands definitely counts as "by force" in my book. As with most decisions in the game, there's a reason for choosing it, though I'm not surprised to see the votes swing toward the diplomatic option.
|
|
#
?
Jan 15, 2024 13:37
|
|
|
Well that was a face full of scales and ice -- ice was kind of a theme this post, ha. Let's see ... Save Lord Heinrich's friend from execution Find a cure for the Bafal emperor's illness And let's see how it goes now for: Retrieve the Aquamarine from Crystal Lake
|
|
#
?
Jan 15, 2024 16:20
|
|
|
SIGSEGV posted:Well that's a few new urgent things to do. This. I figured that boss was above us for the moment.
|
|
#
?
Jan 15, 2024 21:04
|
|
|
5-Headed Snake God posted:Look, grabbing a prized possession out of someone's hands definitely counts as "by force" in my book. As with most decisions in the game, there's a reason for choosing it, though I'm not surprised to see the votes swing toward the diplomatic option. Oh, I'd say for those of us who know, the urge for murder was there, but we tried to clamp down on our murder hobo tendencies and be somewhat reasonable. That said, I wouldn't be averse to you just offing Galahad for his shiny sword anyway. :v
|
|
#
?
Jan 16, 2024 14:57
|
|
|
Gilgamesh255 posted:That said, I wouldn't be averse to you just offing Galahad for his shiny sword anyway. :v It is a really cool sword.
|
|
#
?
Jan 17, 2024 01:00
|
|
|
Fun fact: There is a way to purchase the Ice Sword, but it requires a bit of luck or grinding. See, the minute you have enough money to purchase the Ice Sword, Galahad will buy it, even if you've not done the Ecology quest yet, to prevent you from bypassing the moral dilemma. However, this event can't happen if you happen to be inside the Altours weapon shop when you get the cash. In other words, if you bank enough dough to be just shy of affording the Ice Sword, then sell a couple things at the weapon shop, you can buy it immediately with no hassle, and Galahad won't even show up. There's one other method of obtaining the Ice Sword without dealing with Galahad, but it's a spoiler and there are other, equally spoiler-y things that make it complicated.
|
|
#
?
Jan 17, 2024 01:54
|
|

|
SIGSEGV posted:Well that's a few new urgent things to do. Thirding this
|
|
#
?
Jan 17, 2024 16:01
|
|

|
Voting is now closed.
|
|
#
?
Jan 19, 2024 00:56
|
|
|
Welcome back everyone. The snow kept me home yesterday, so how about an early update? The votes were close this time around - we nearly had a three-way tie! But in the end, the tie only went two ways, leaving me to break it.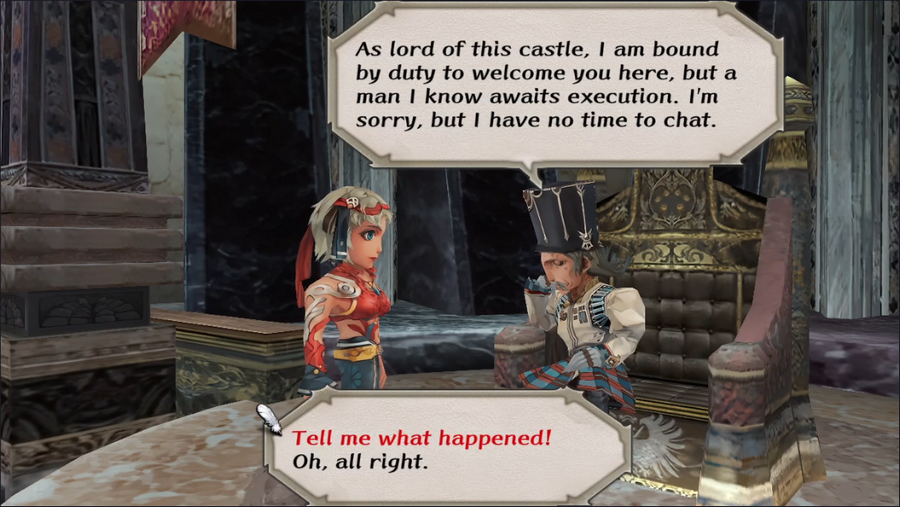 We're going to help out Heinrich. 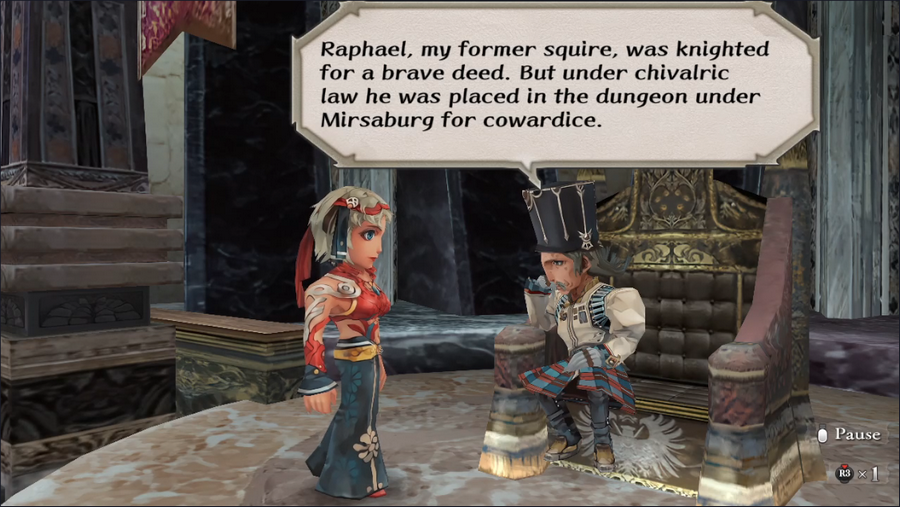 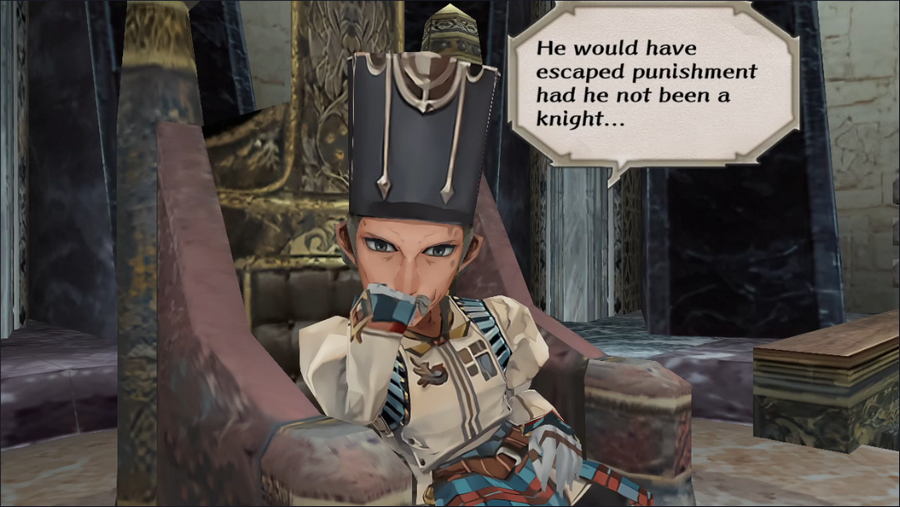 Well, that sounds dire. It certainly explains why Raphael is missing from the throne room. 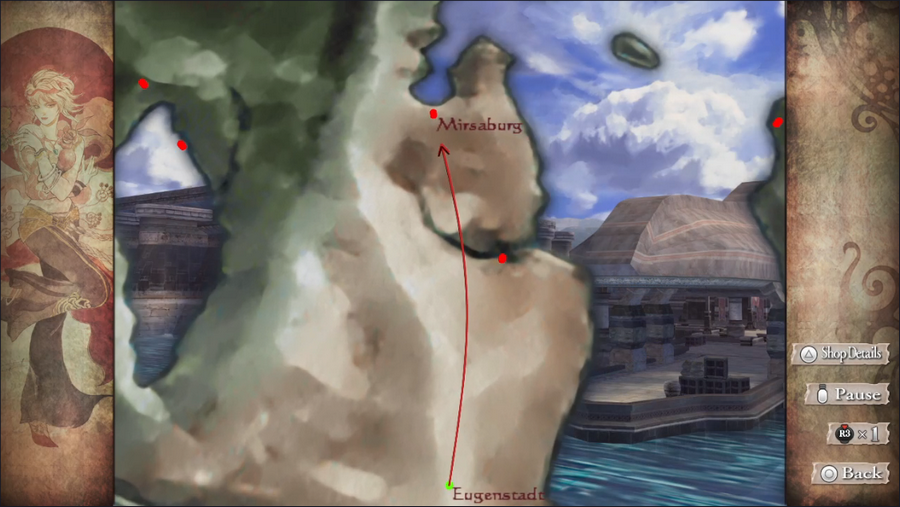 Since he's imprisoned at Mirsaburg, that's our next destination. 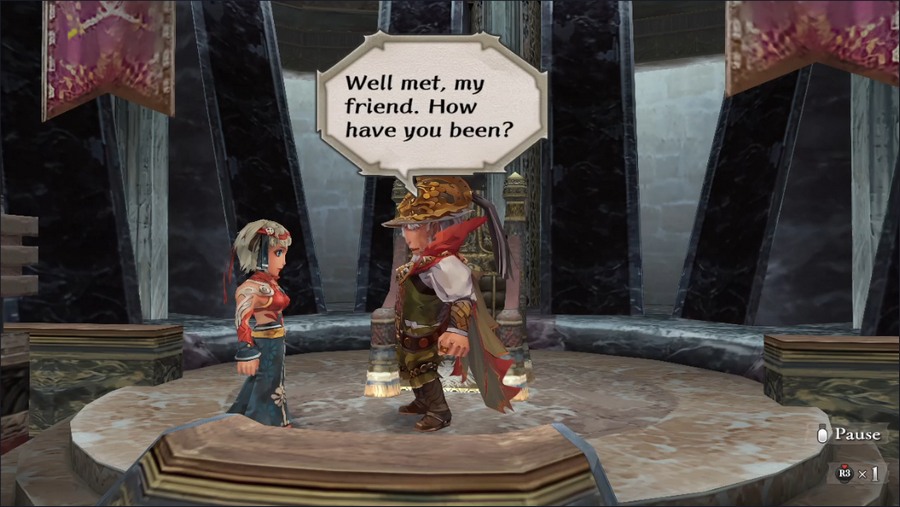 Theodore sheds no light on the issue. He doesn't even acknowledge that anything unusual is going on!   So we head down into the depths of the castle to find the dungeon. 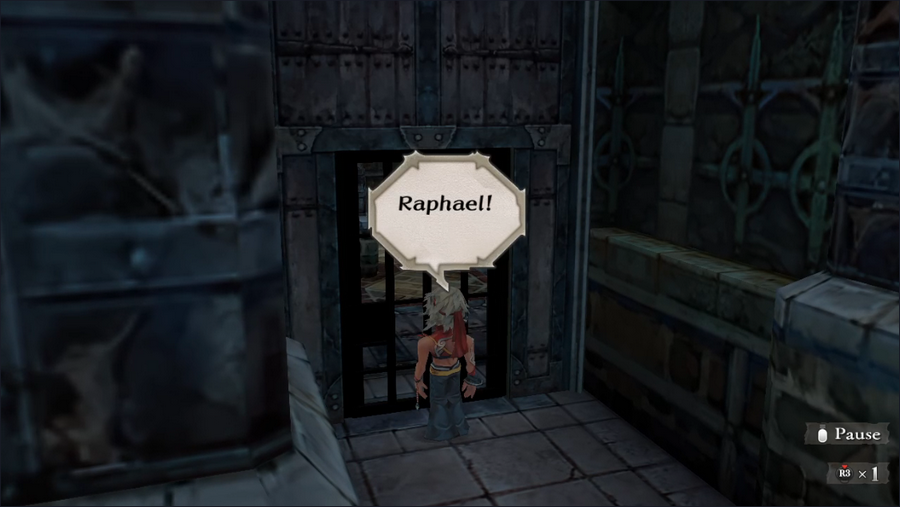 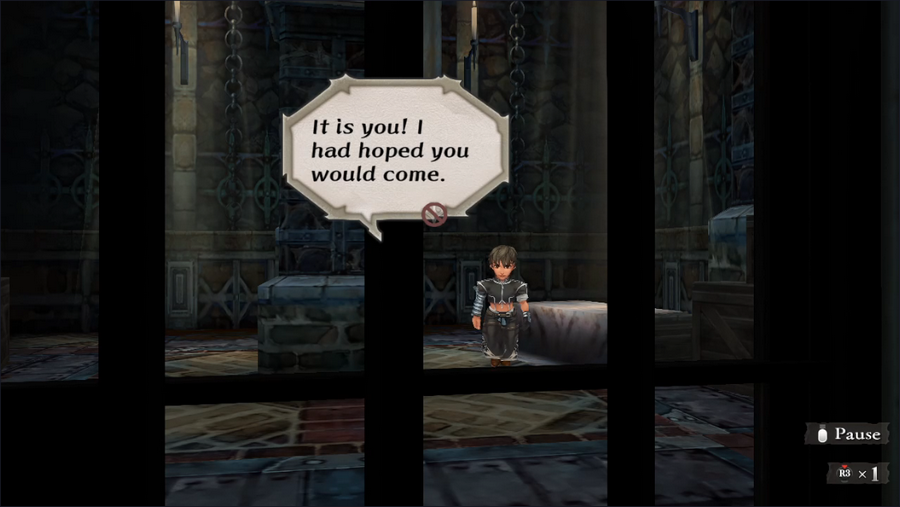 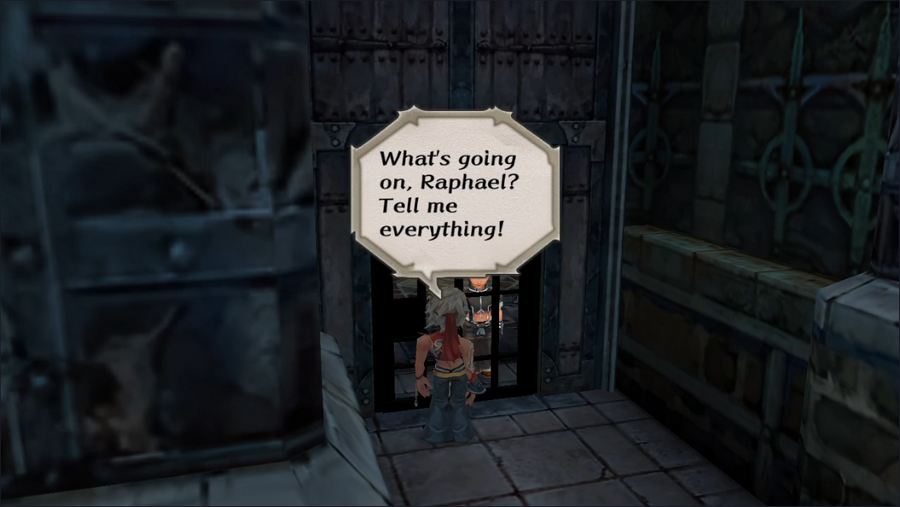 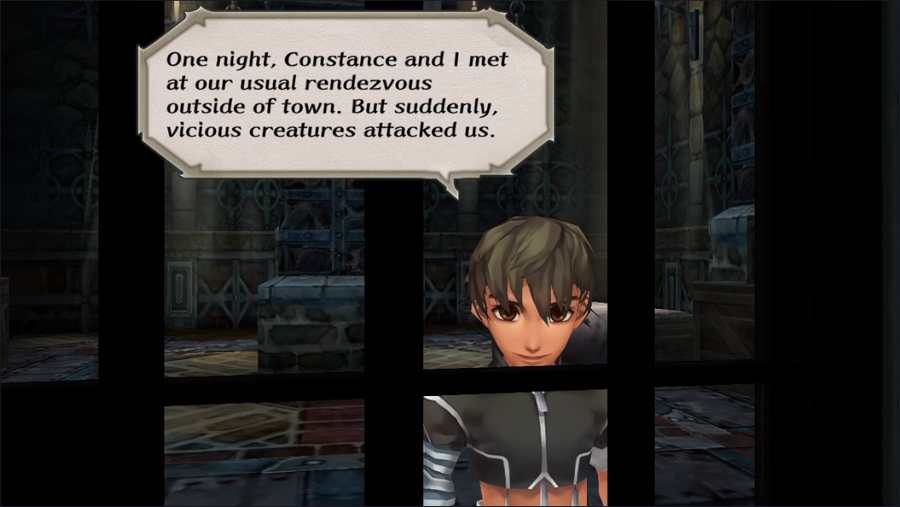 Turns out Raphael has a bit of a fling going on with Theodore's daughter.  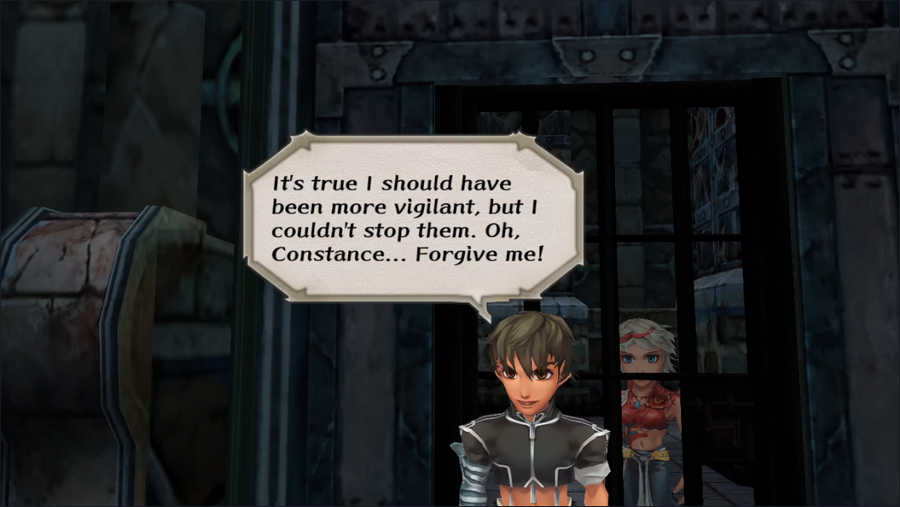 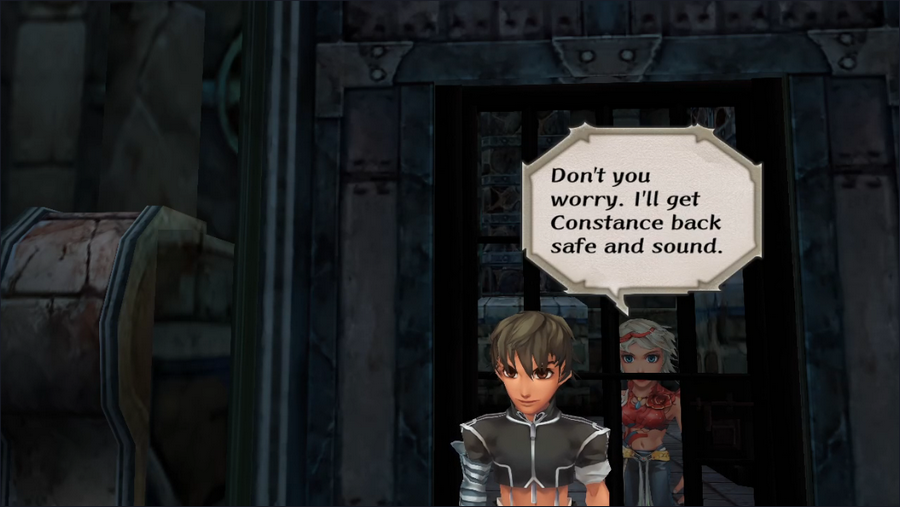 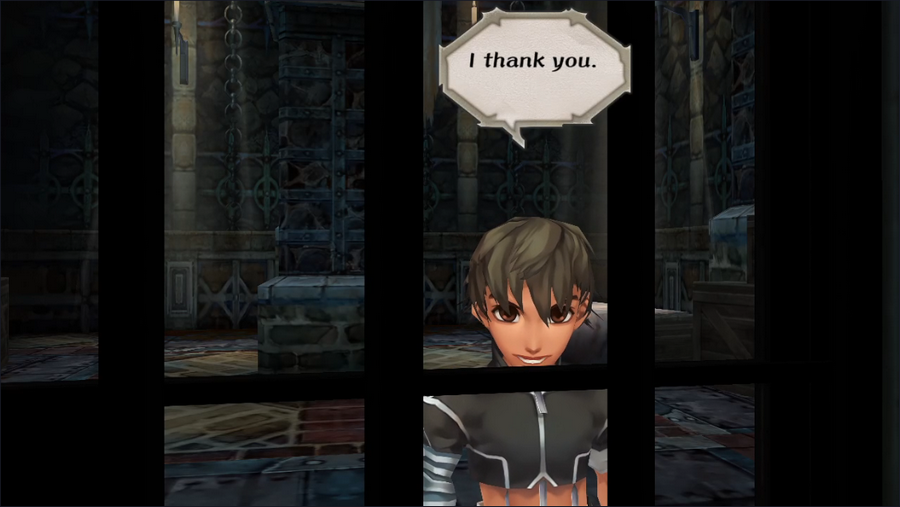 So now we have more information, but we still don't have the full picture of what's going on. What happened to Constance, and what exactly is Raphael's sentence? 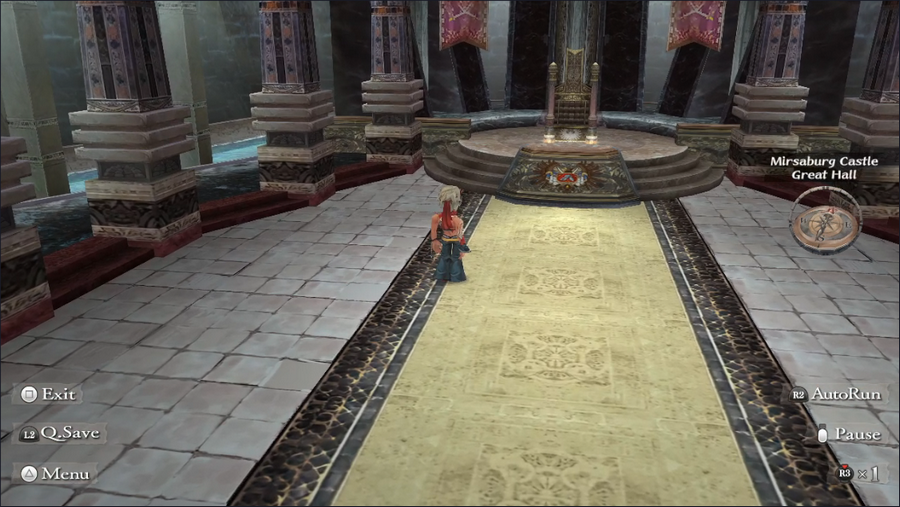 We return to the throne room to see if perhaps Theodore will tell us now, but he has disappeared entirely. 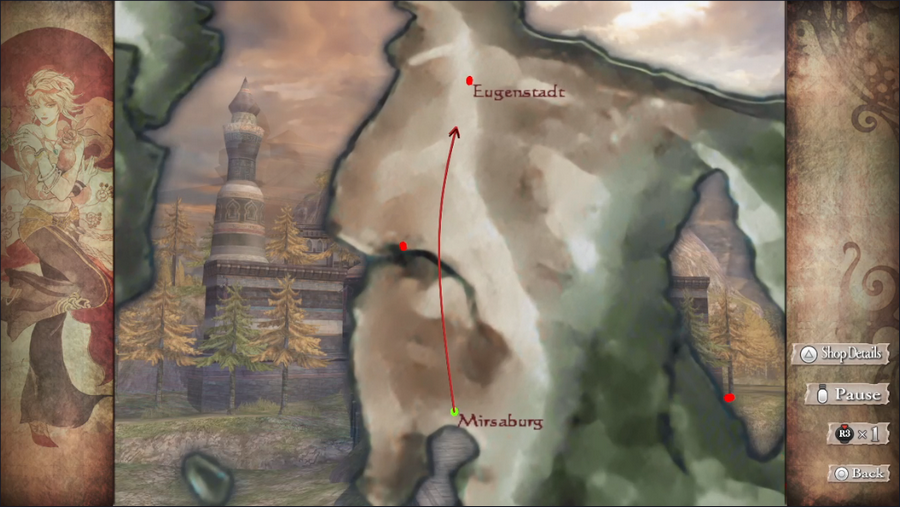 So we head back to Eugenstadt to see if Heinrich can tell us anything new. 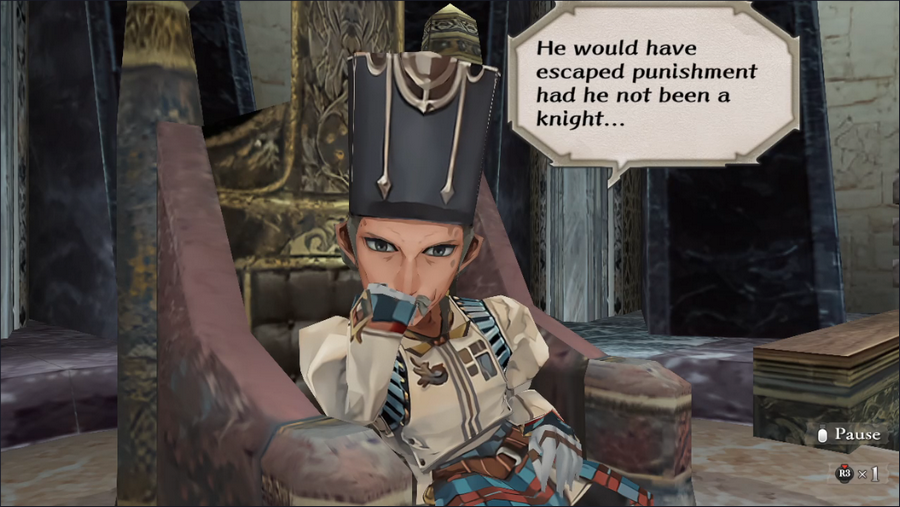 Yes, you said that already. 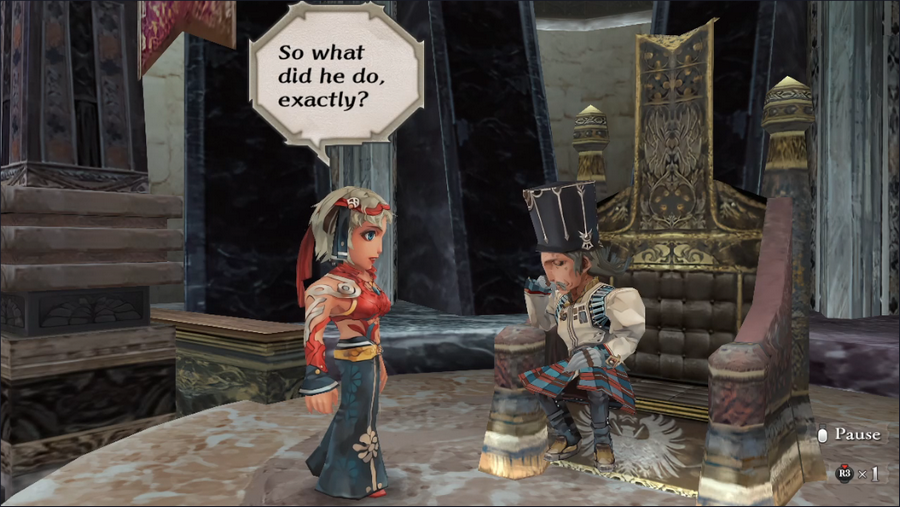 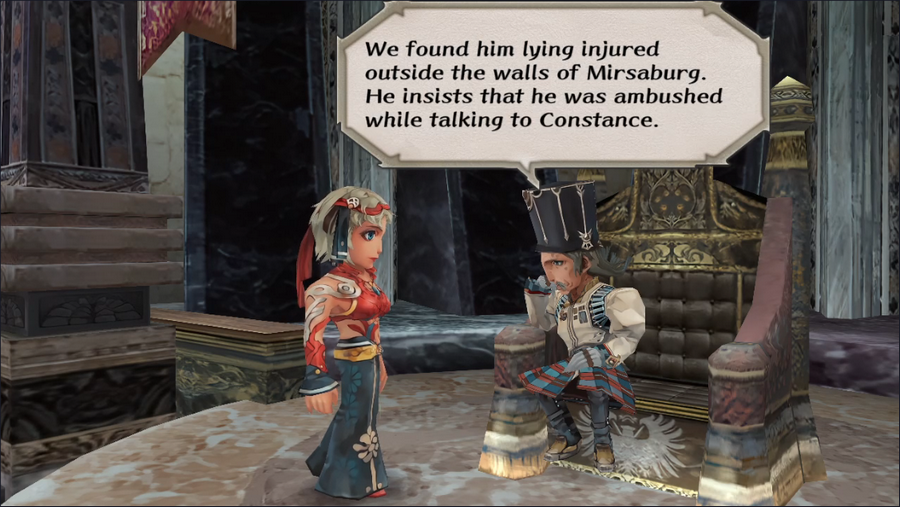 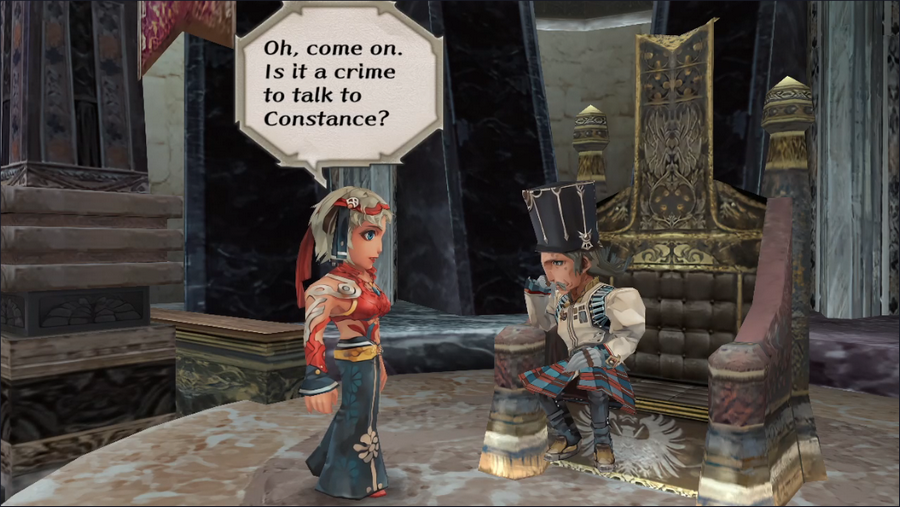 You might expect this to be headed toward a revelation that Theodore is an overprotective father, but that's actually not what this is about. 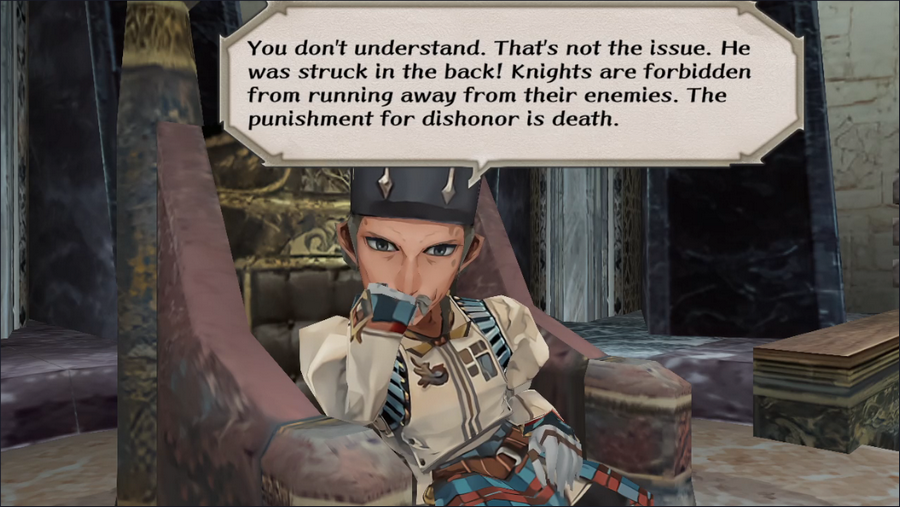 That seems... a bit extreme. 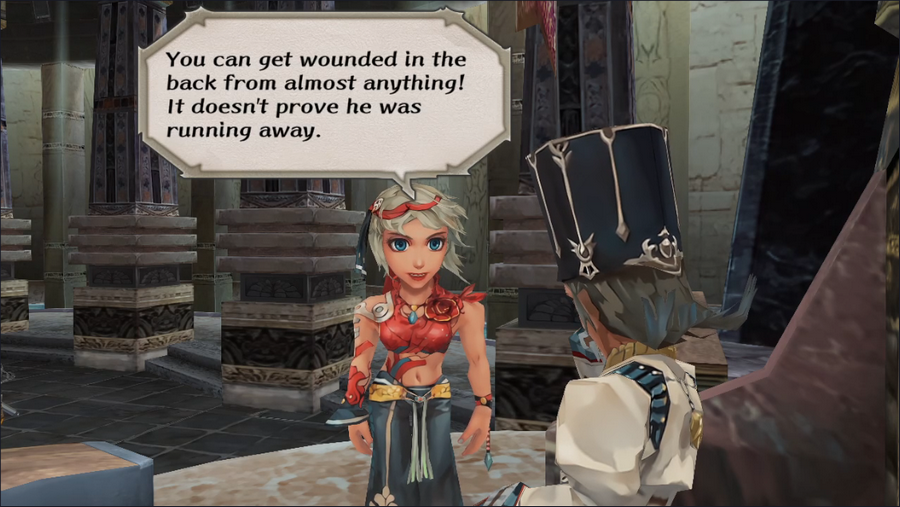 Even Barbara can tell this is ridiculous. 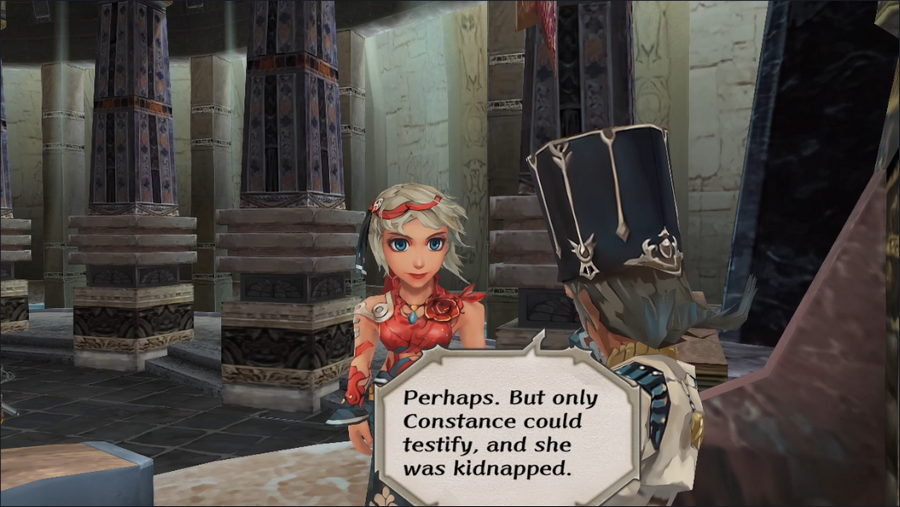 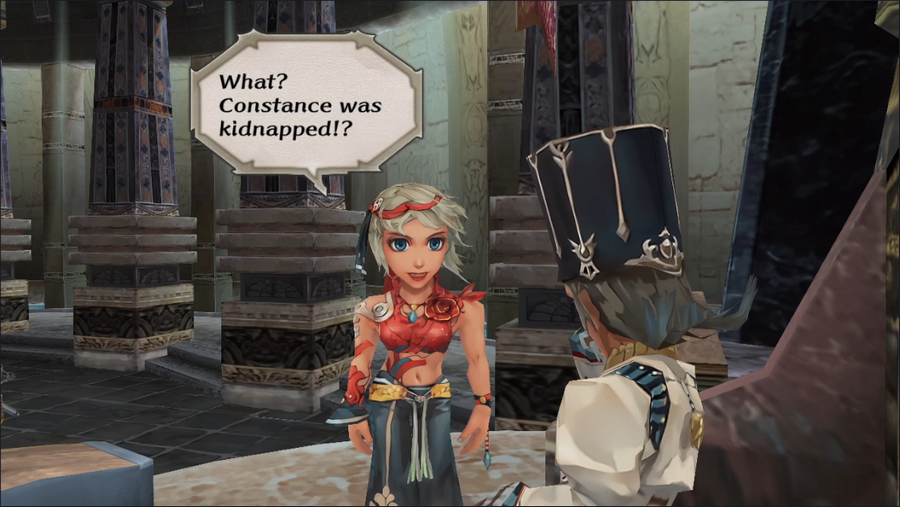   Barbara, you've been wearing one of the things for literally the entire game.   But our heroine's skepticism is necessary, as it's the catalyst for unlocking our next destination: Weiserheim. You might remember Flammar from our first quest in the Dominion, in which she spoke at the council of knights.  Off we go. 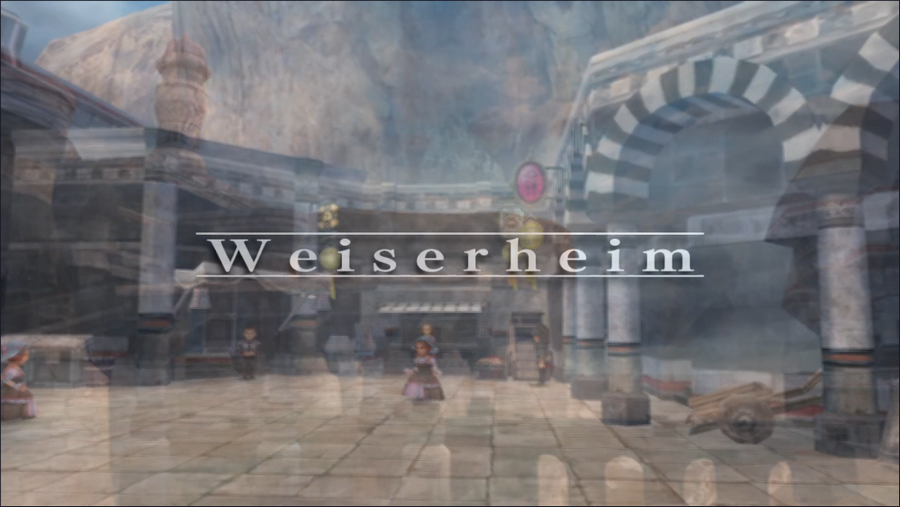 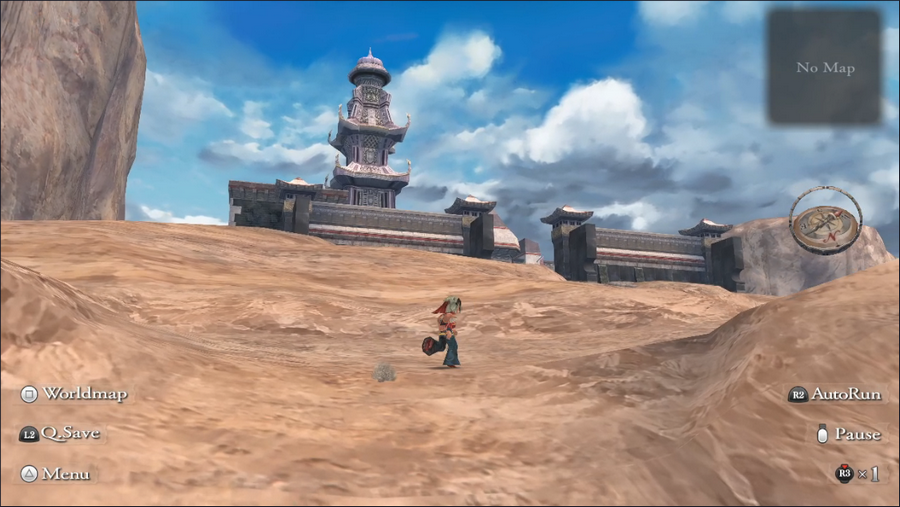 Weiserheim is situated atop a large hill, making the approach rather intimidating. 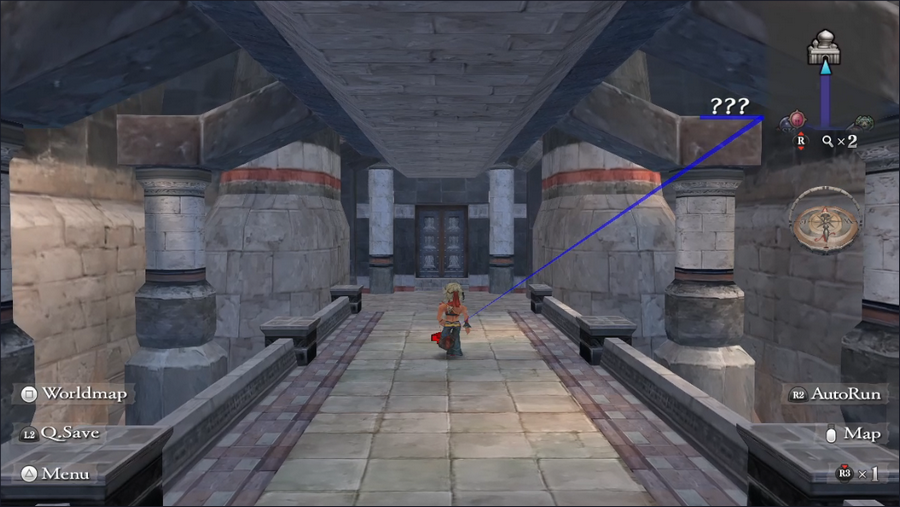 After grabbing a map, we head straight for Flammar's tower.  The tower's entrance is small but has two noticeable sigils on the floor.  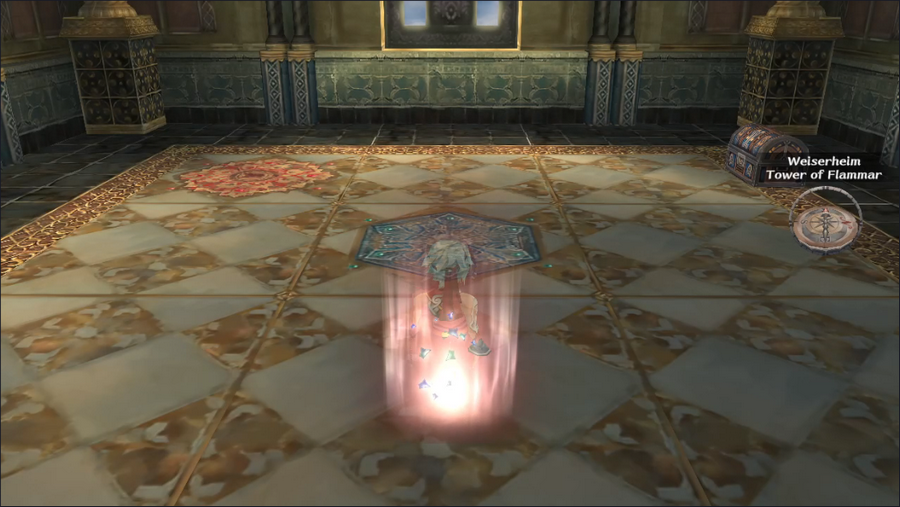 Stepping on one teleports us to another area.  There are chests here, but they're locked. 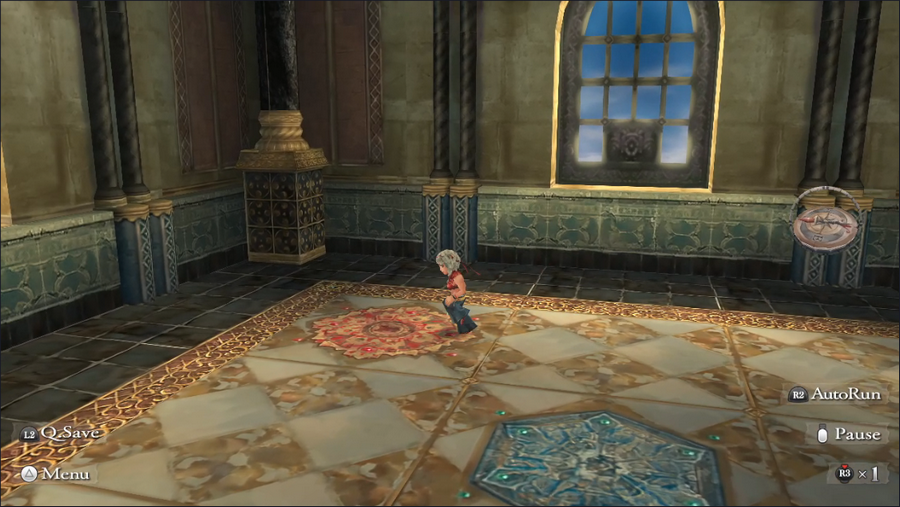 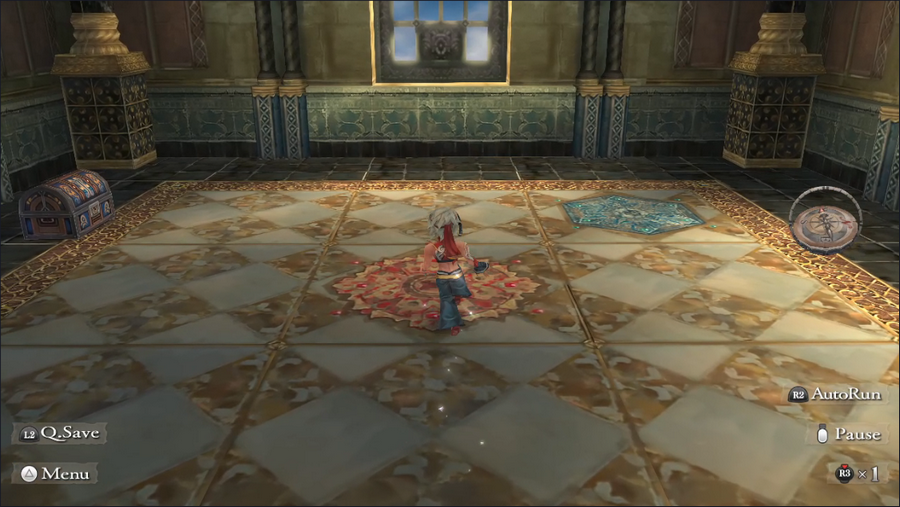 Luckily, reaching the top of the tower is simple: we just need to step on the same color of teleporter three times. 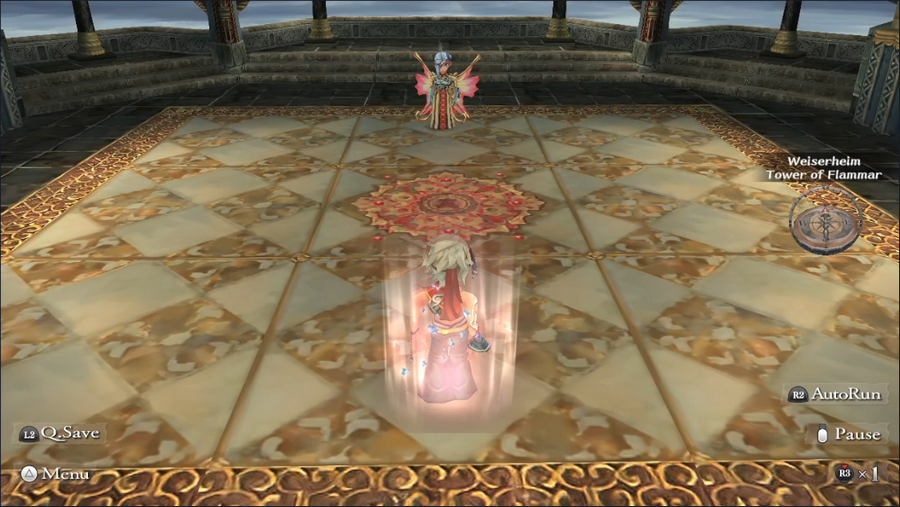 And presto. 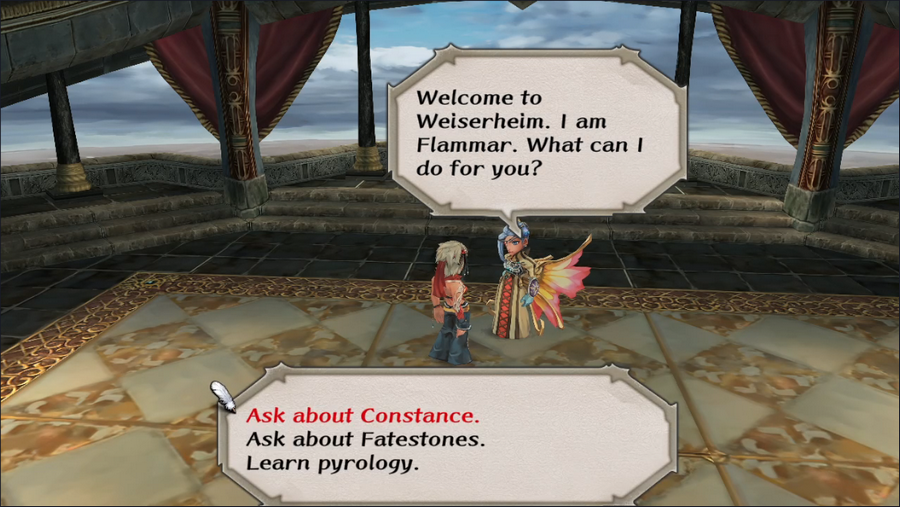 We finally get to speak with the Dominion's resident wizard, Flammar. She's voiced by prolific voice actress Barbara Goodson, who's probably most recognizable as the voice of Rita from the original Power Rangers series. We can ask Flammar about a number of topics, but let's start with the most pressing. 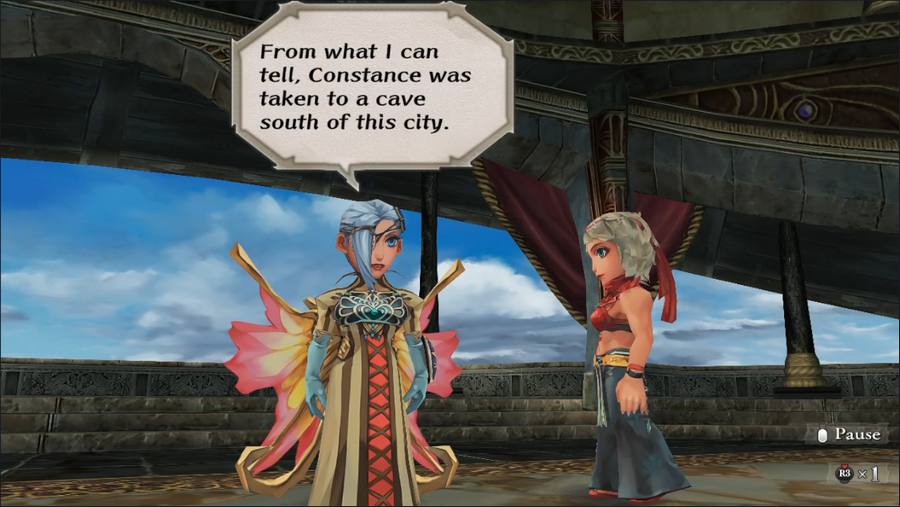 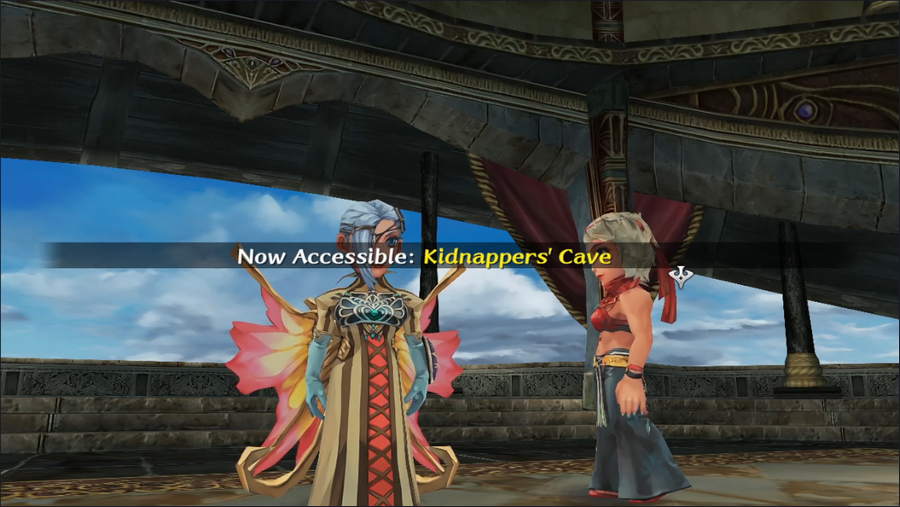 Well, that was easy. 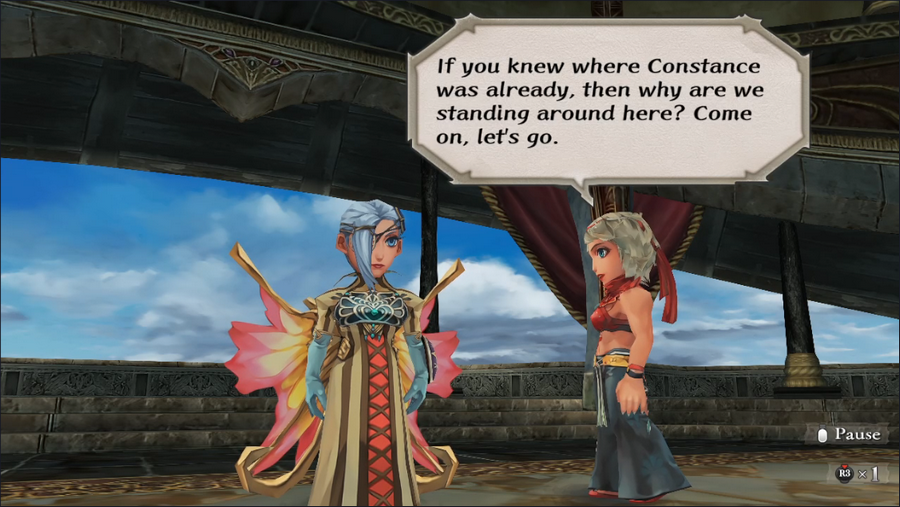 This is a good point. We don't know exactly how powerful Flammar is, but odds are good she could effect this rescue herself. 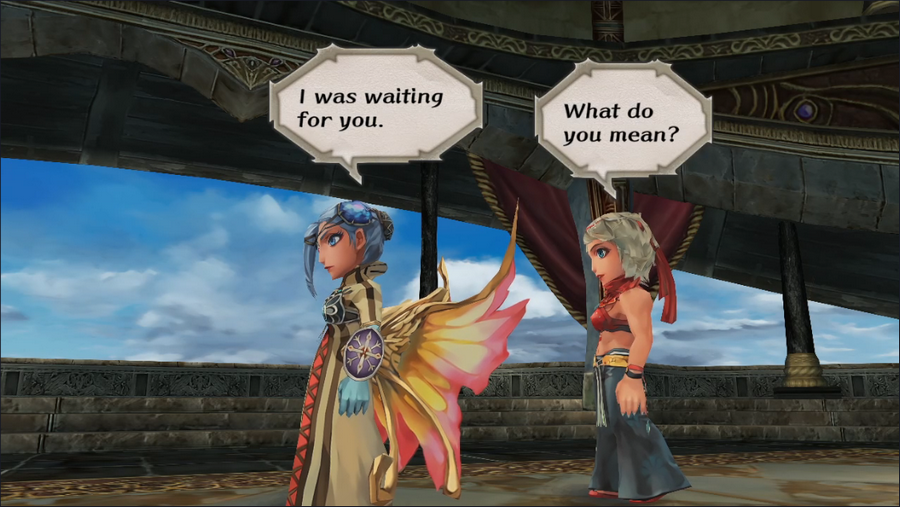  And here, finally, in this missable side quest, we finally have the goal of the game: to fight and defeat Saruin. Not that it's hard to figure out, but it's still a little wild to me that this is the first reveal.  Barbara has no time for it.   We can choose either option here, but the first one is by far the better choice. 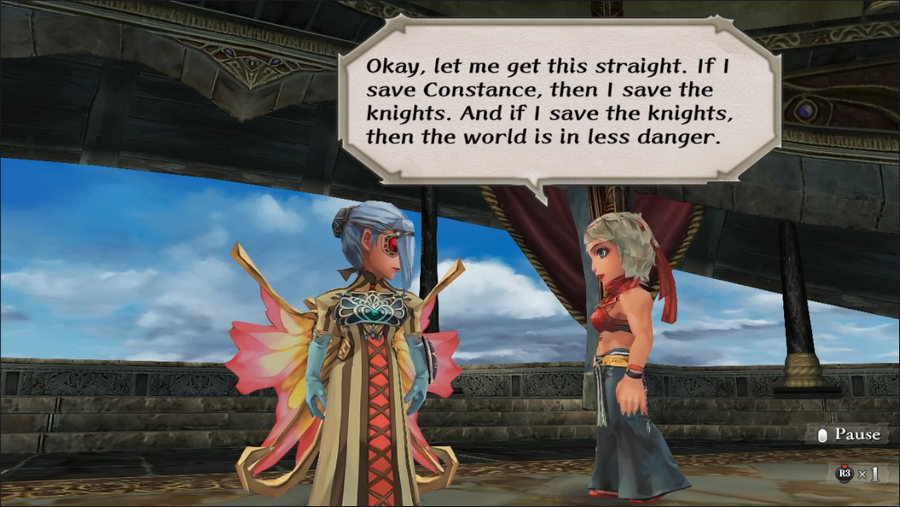 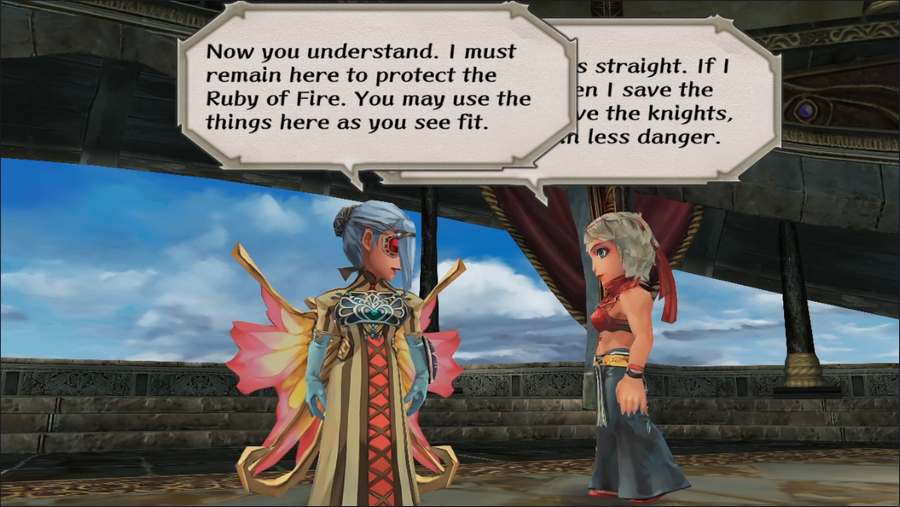 Choosing it lets us open the three chests in Flammar's tower. 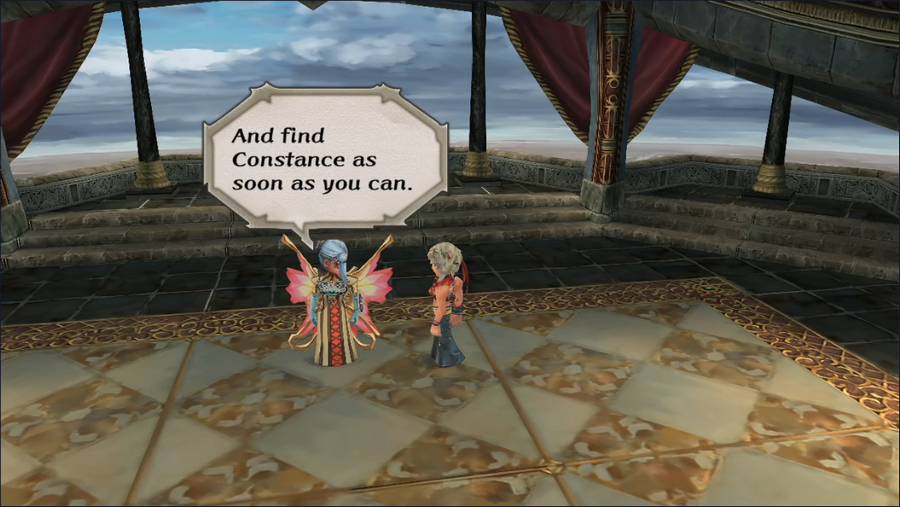 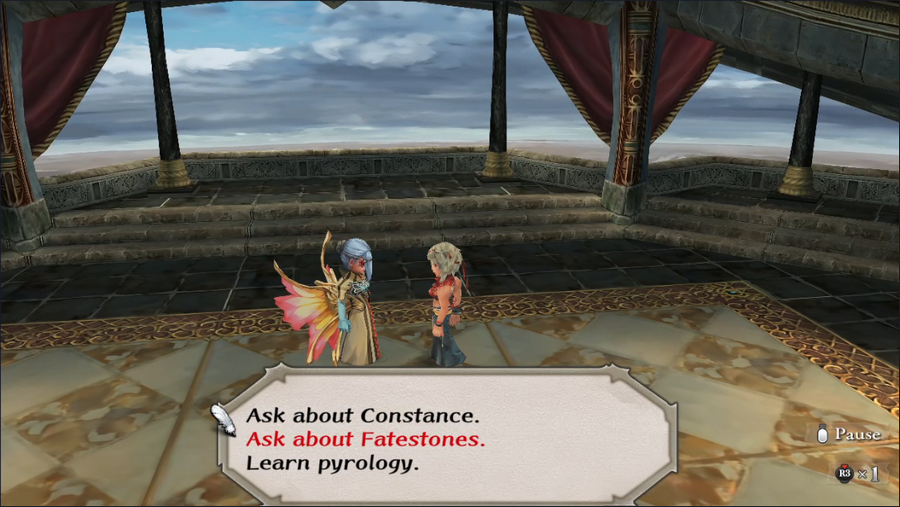  If we ask about Fatestones, we get a single box of dialogue. Nothing exciting.  If we ask about pyrology, we can buy spells. Flammar offers every pyrology spell in the game, and is the only source of its two most powerful spells, Bird of Flame and Revive.  For now, we'll buy Self-Immolation for Monica, for reasons that will soon become apparent.    The treasures in the tower are actually quite nice. 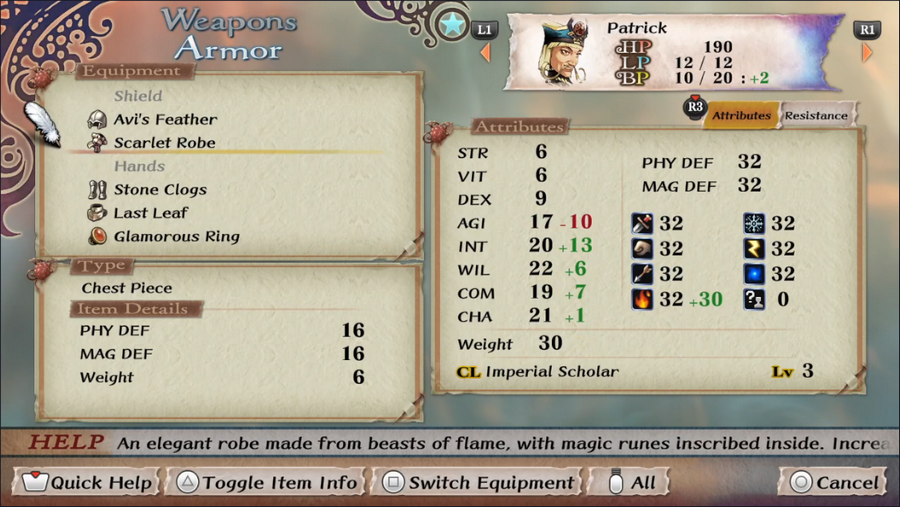 The robe and staff give Patrick a significant boost to his Intelligence. 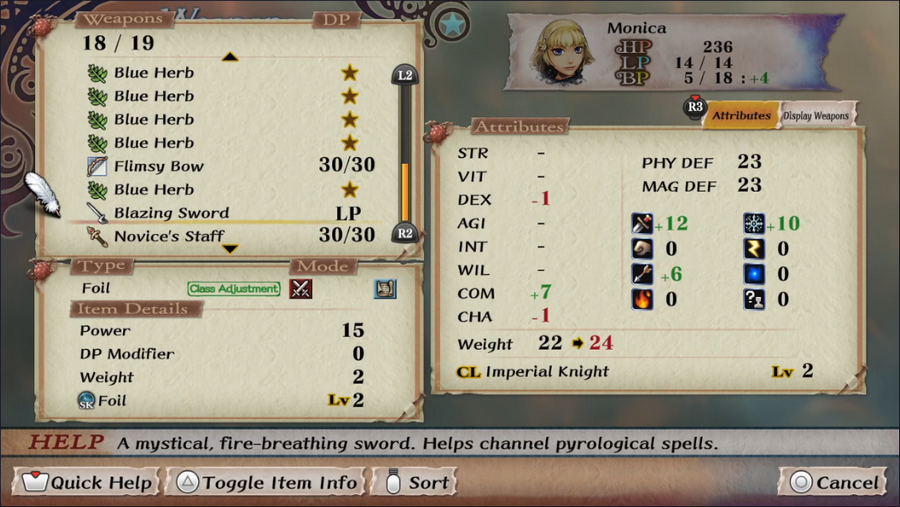 Meanwhile, the sword, while not especially strong, is our first spell-channeling weapon. Such weapons have a particular school of magic (pyrology, in this case) that they channel. The wielder of the weapon can use it to cast spells of that school using their weapon skill in place of the normal magic skill. Since Imperial Knight can use foils, Monica can now cast pyrological spells as though she had Pyrology at level 2. 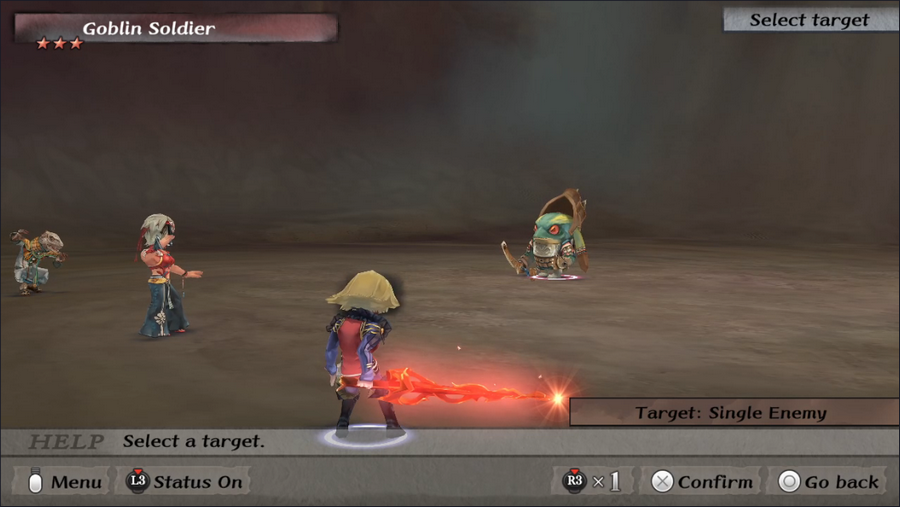 As a bonus, it looks cool too. 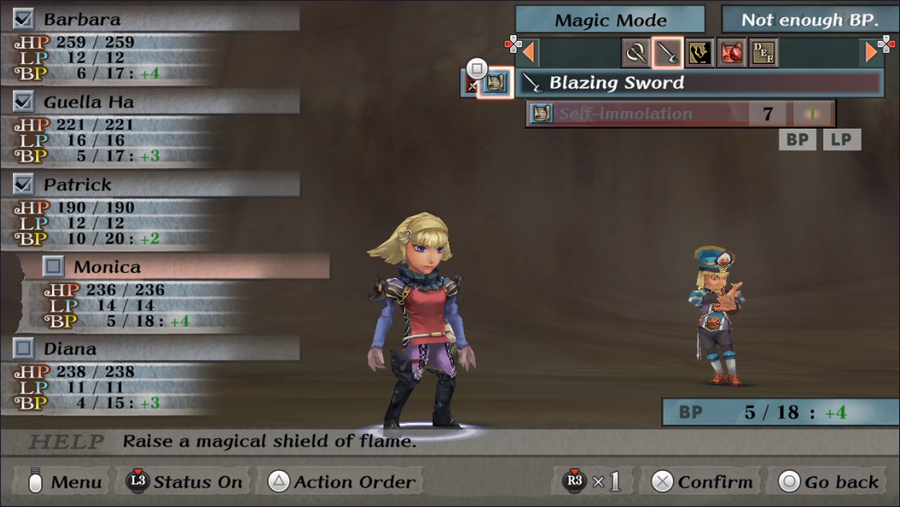 Unfortunately, Self-Immolation is expensive, costing 7 BP and potentially 1 LP as well. Still, we'll get use out of it as the game goes on. 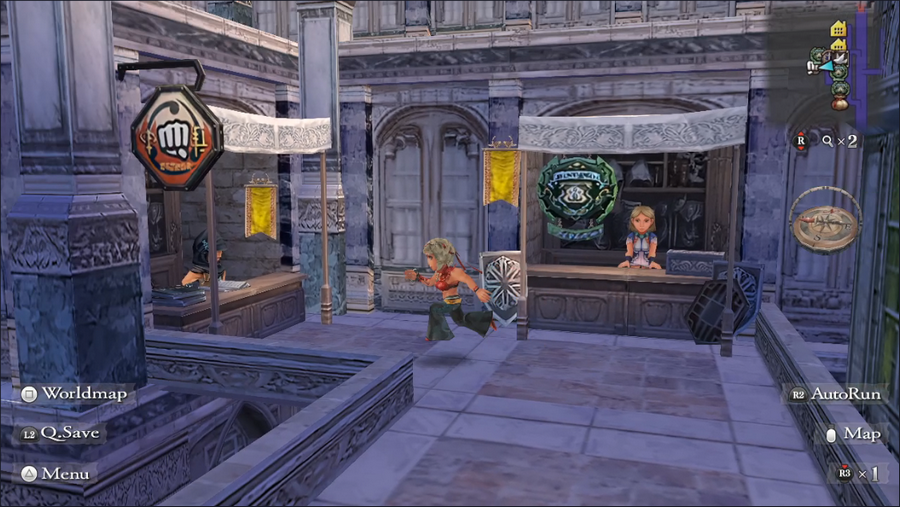 Before we set out, we have a few more errands to run as well. First, we're going to change our two martial artists' attack modes, which leads me into a brief game mechanic explanation. You may have noticed that techniques each have a symbol next to them:  This represents the style of the technique (from left to right: Attack, Defense, and Trick). Each of these gives its techniques a different benefit: Attack style deals more damage, Defense style raises defense, and Trick style is quicker to act. Weapons and martial arts have their own mode (typically Attack unless changed at a blacksmith or martial arts trainer), and techniques that match that type both deal more damage and are easier to Glimmer. They can even have multiple types which the player can swap between, though this lowers their overall power. This represents the style of the technique (from left to right: Attack, Defense, and Trick). Each of these gives its techniques a different benefit: Attack style deals more damage, Defense style raises defense, and Trick style is quicker to act. Weapons and martial arts have their own mode (typically Attack unless changed at a blacksmith or martial arts trainer), and techniques that match that type both deal more damage and are easier to Glimmer. They can even have multiple types which the player can swap between, though this lowers their overall power.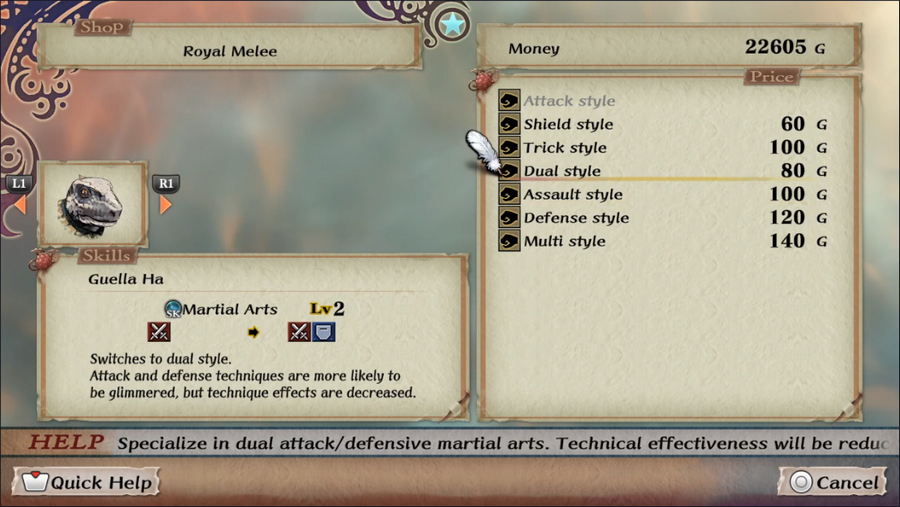 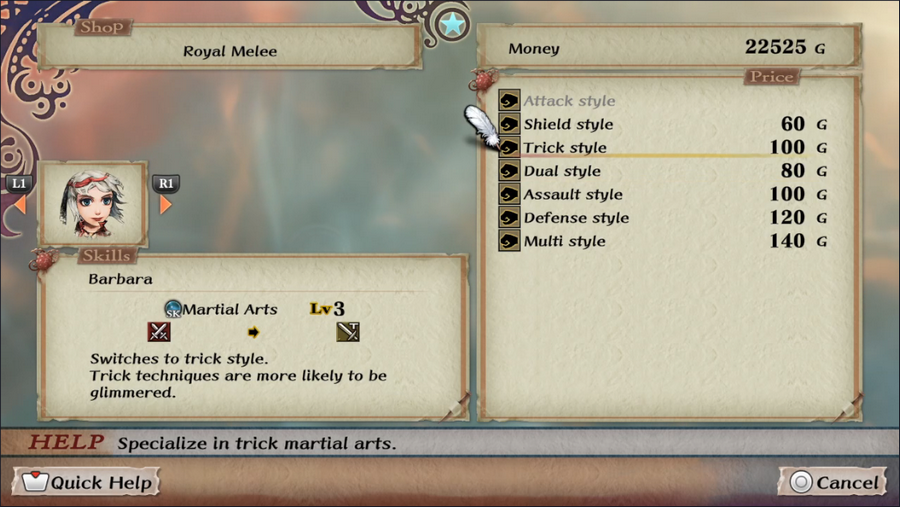 We're giving Guella Ha's martial arts a mixed Attack/Defense style, and Barbara's a Trick style. This covers all three bases and differentiates the two a bit. It won't affect much in the long run, but I like the variety.   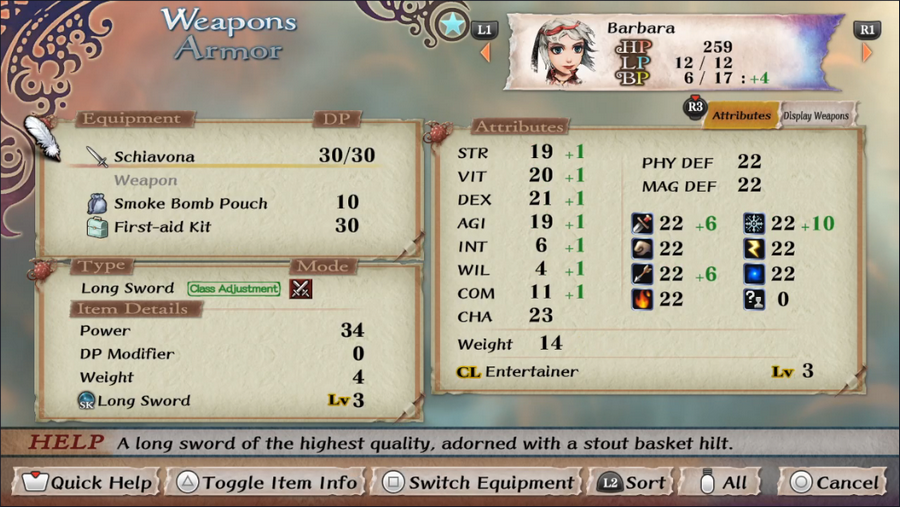 We're also buying some new offensive options for some of our characters. Patrick is getting a couple new spells, while Diana and Barbara are getting the best weapons I can buy: a Battle Bow and a Schiavona. Guella Ha already has the best katana money can buy, and the best purchasable two-handed axe isn't in stores yet due to our shop level being too low. The Battle Bow isn't the best bow sold in shops, but I doubt we'll get to a high enough clout level to be able to buy the best, so it'll likely see use until the end of the game. 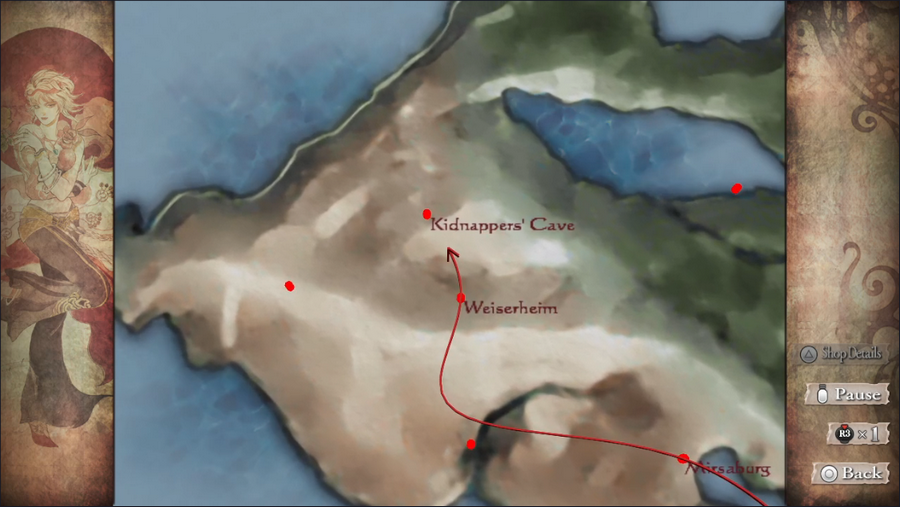 With those chores done, we're off to the Kidnappers' Cave. 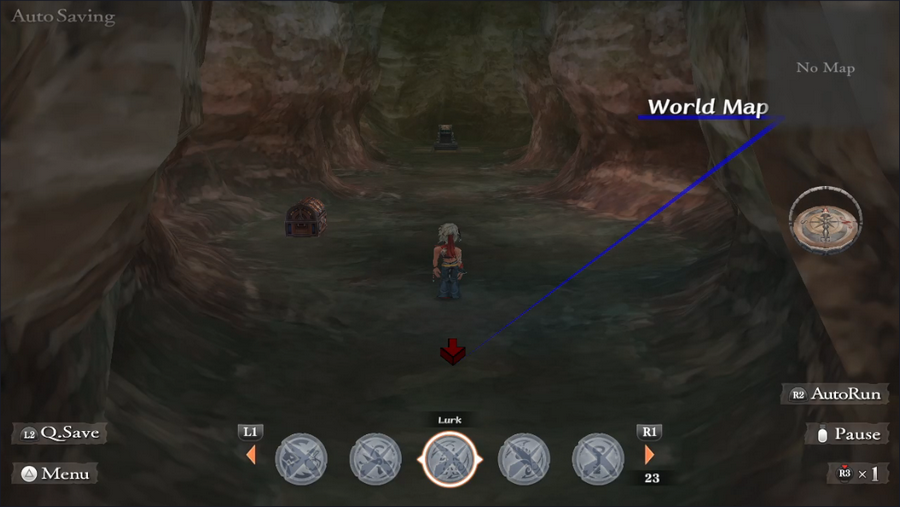 The cave is a pretty ordinary-looking place. It's short, but it has an interesting gimmick.  The chest at the start contains nothing but a few jewels. Lame. Now, before we dig into the dungeon itself, let's talk a bit about the fights. The Kidnappers' Cave is a short dungeon without a ton of monsters, but quite a few interesting things happened during our trip.  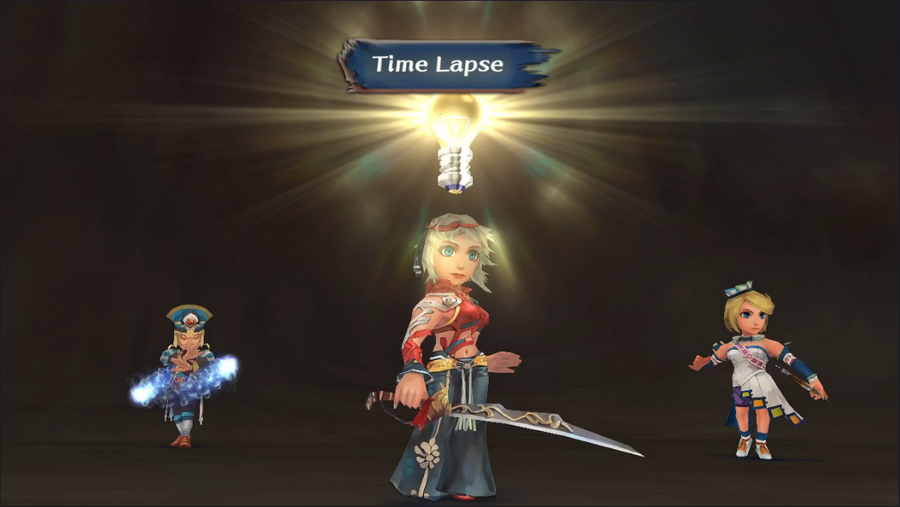 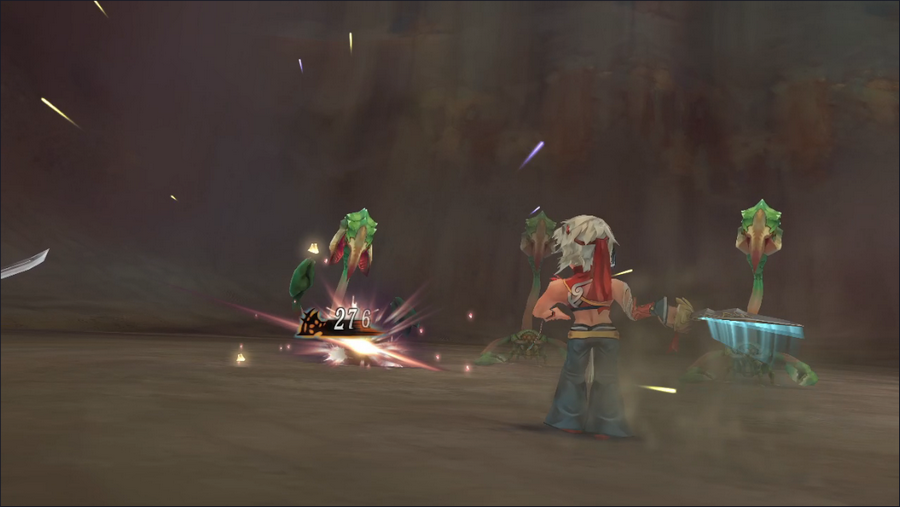 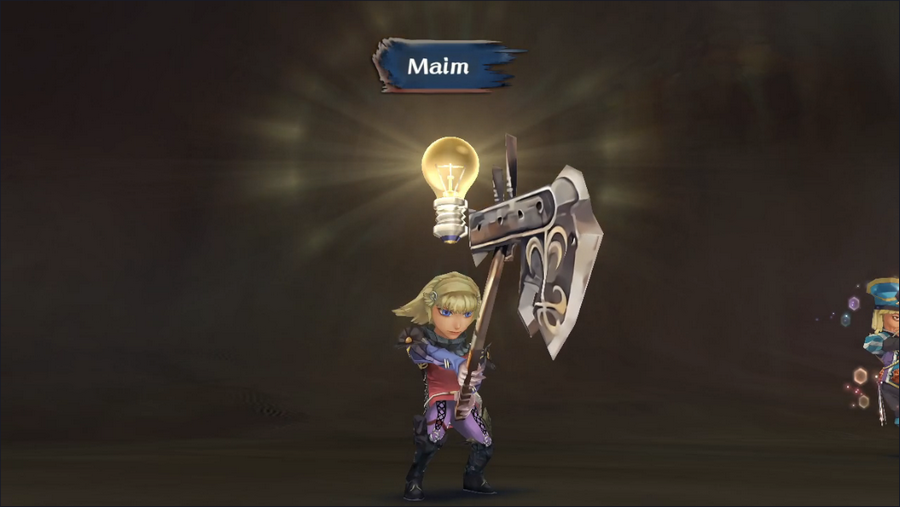 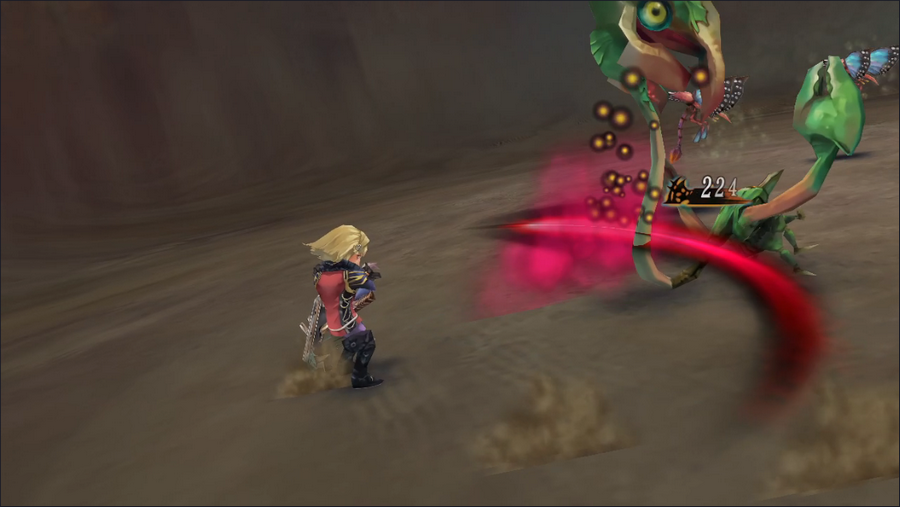 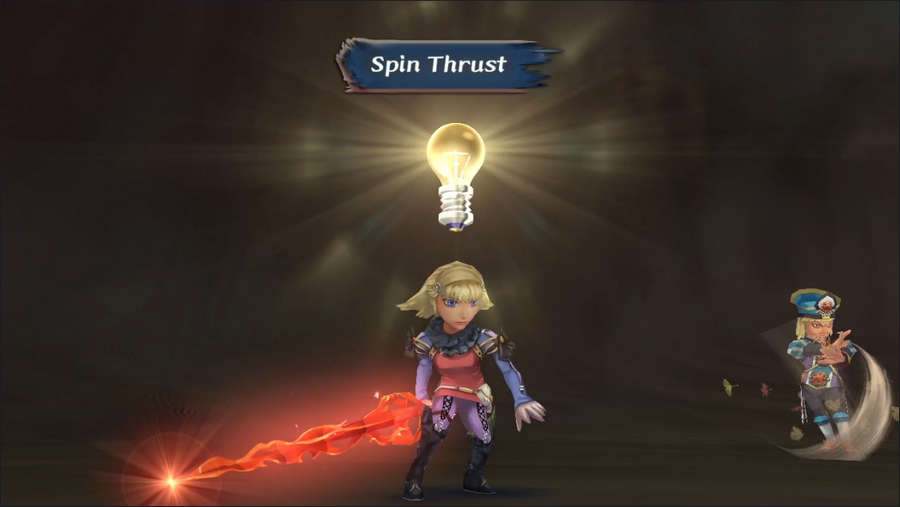  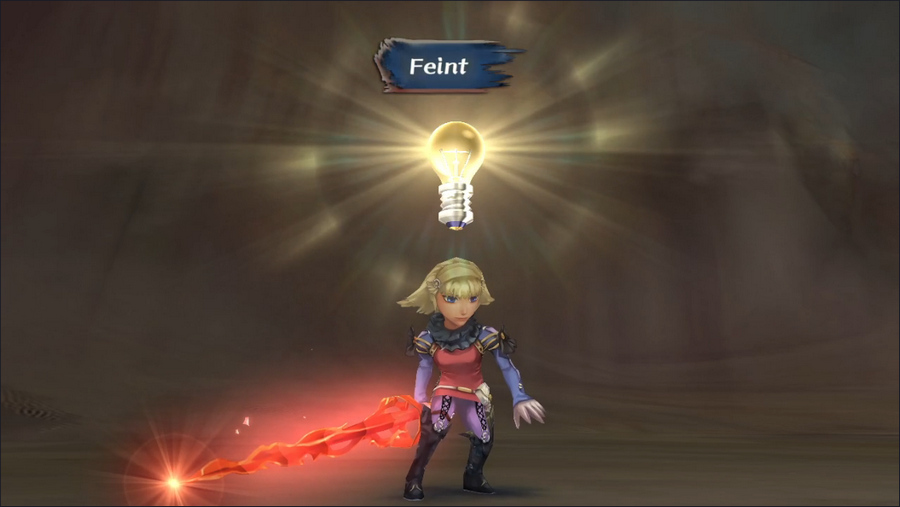 Like Glimmers! We got quite a few techniques here, mostly thanks to Monica doing some training with her fancy new foil. Time Lapse is a basic strike that almost never misses. Maim deals decent damage and can lower enemy Agility. Spin Thrust is a basic foil technique with decent damage. And Feint is a non-damaging ability that can inflict Stun; it's not terribly useful. 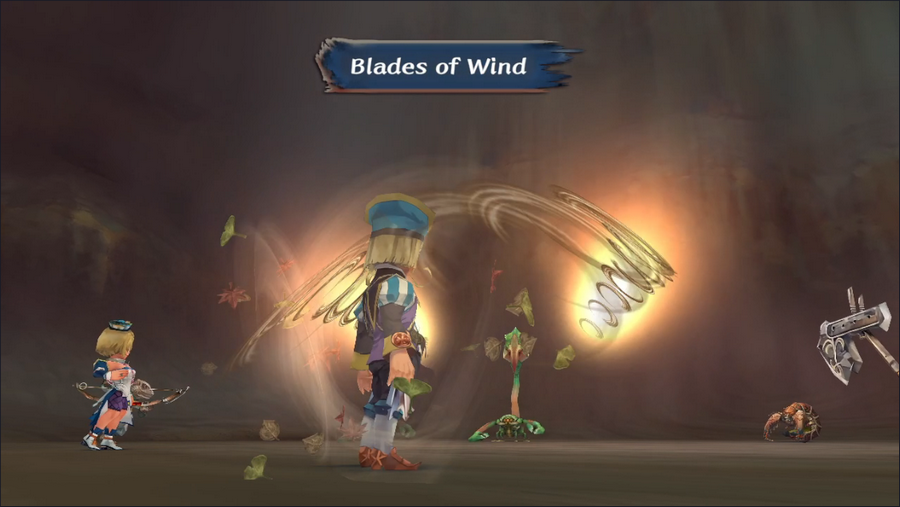 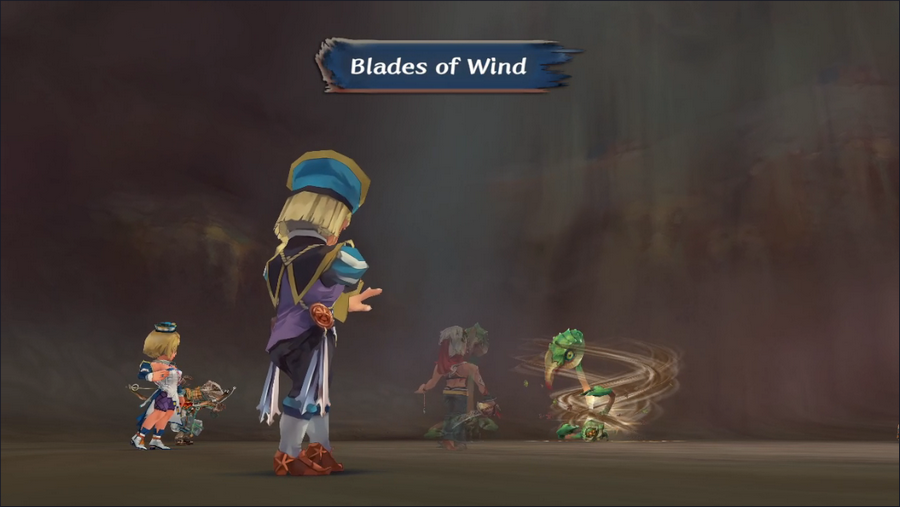 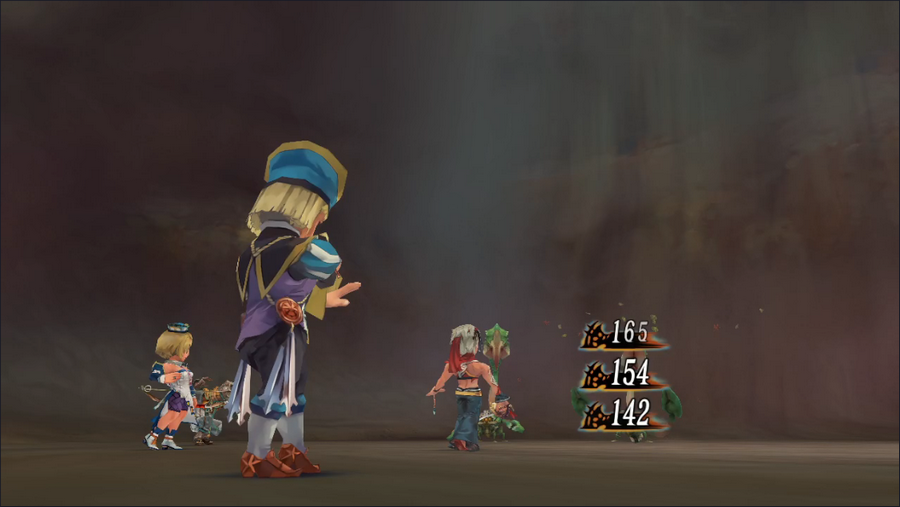 Patrick, meanwhile, is casting his usual spells, but this is a much different effect than we've seen previously. At certain Intelligence thresholds, some spells get upgraded with more impressive animations and greater damage. Thanks to his new robe and staff, Patrick has passed that threshold. I've included these new spells in a Showcase video at the end of the update - it's worth watching just for the new and improved Water Blast. 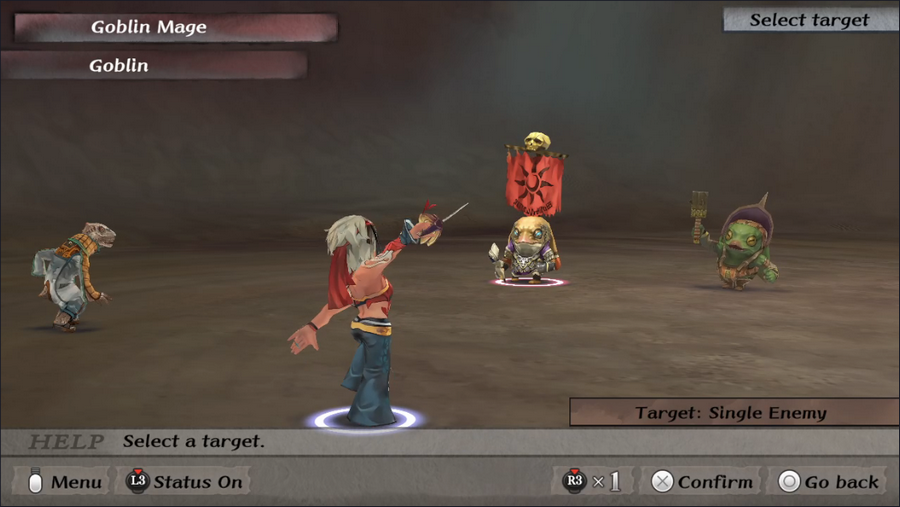 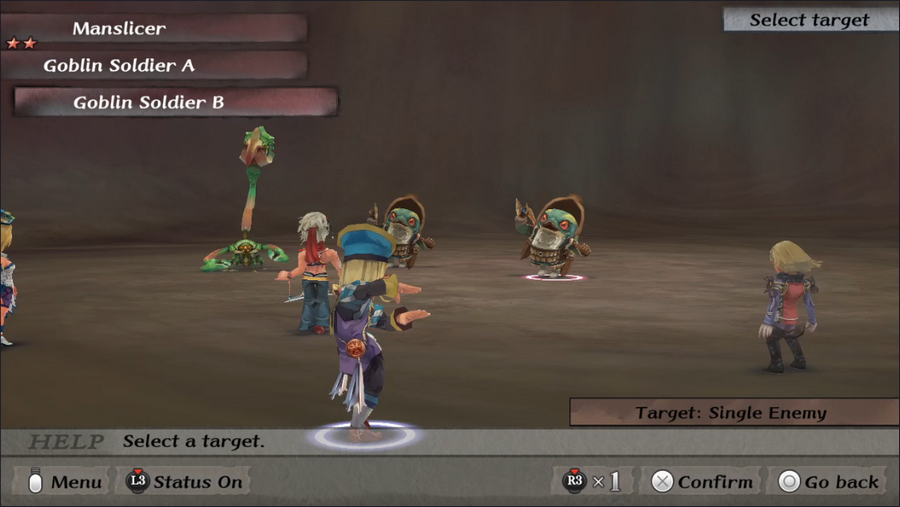 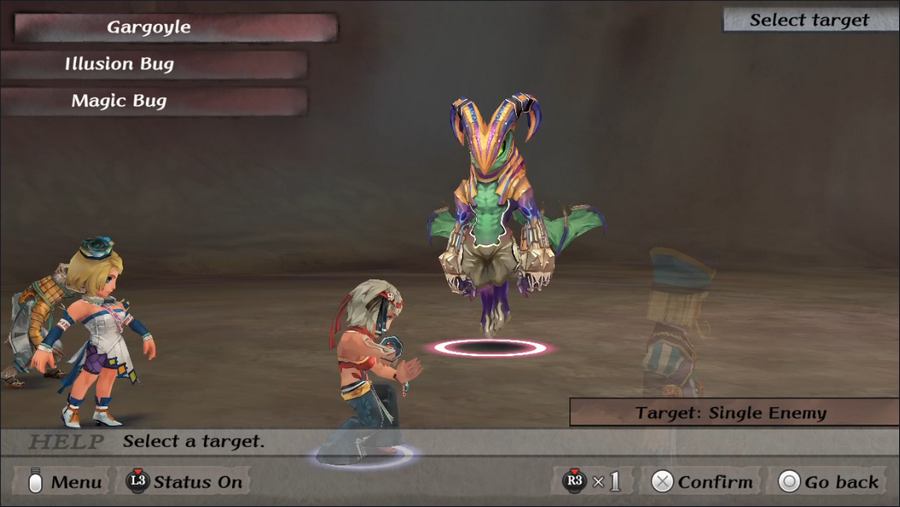 We fought a few new monsters here as well. Goblin Mages are weak spellcasters that can use the basic terrological attack spell, Pulverize, but not much else. Goblin Soldiers are essentially tougher Goblins, but they also have a Stink Bomb special attack that can inflict damage and blindness in a small area. Finally, Gargoyles are demons with a selection of moderately dangerous attacks. 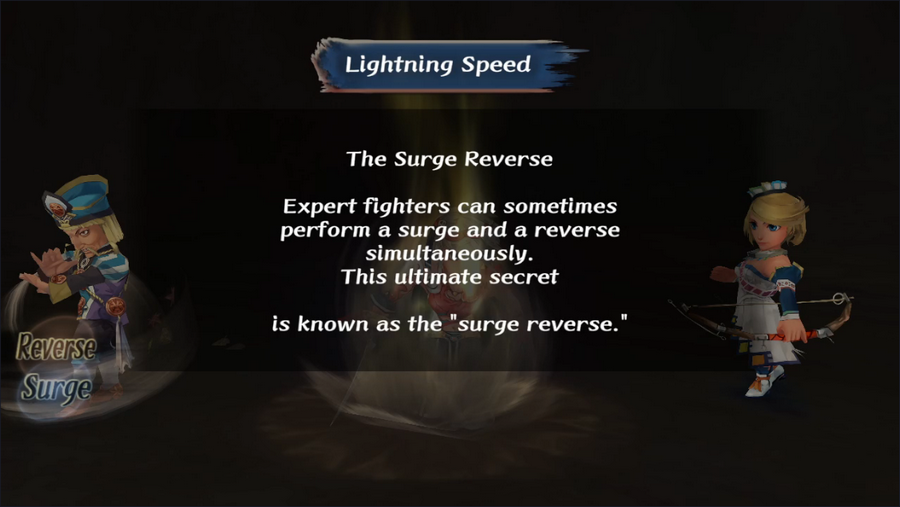 And finally, that thing that I said in the last update would probably never happen in this LP? It happened. I'm wondering if the remaster made Surge-Reverses easier to perform, because even as much as I've played the game I've almost never seen one. 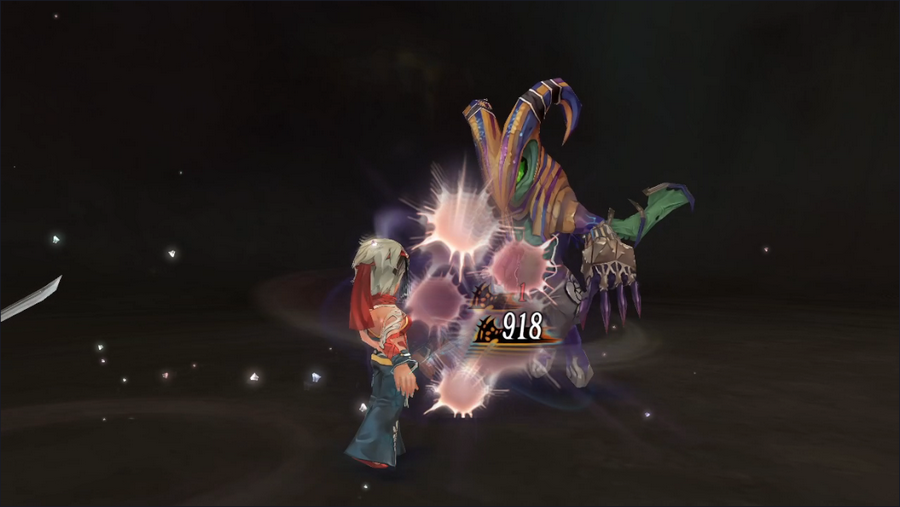 They still probably won't happen often, but an unavoidable 900+ damage strike for 4 BP is really good when we can get it. 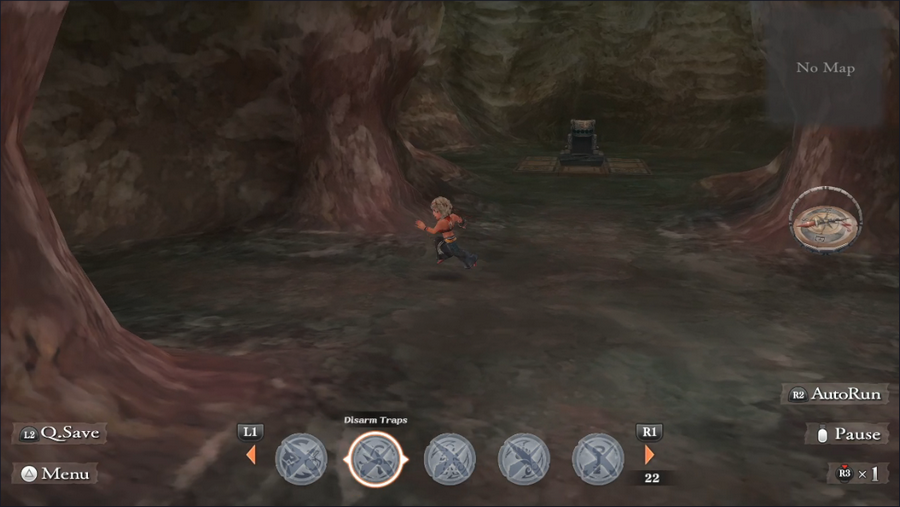 So, with that out of the way, let's talk about the dungeon itself. Straight ahead from the entrance is a weird statue, but we'll ignore that for now and head left.   There are three doors this way, all of them currently closed.  If we head the other way, we meet some monsters.  There's also a platform similar to the one the statue is on, plus another pair of closed doors.  With nothing else to do, we head back to the statue.  Pushing it onto one of the raised corners causes the screen to briefly shake. 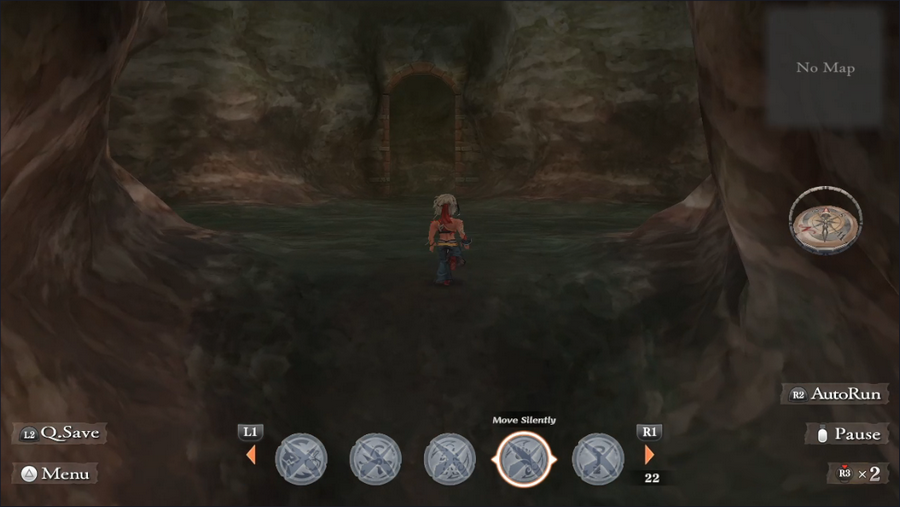 If we head back to the dead-end with the three doors, we can see that one of them has opened. 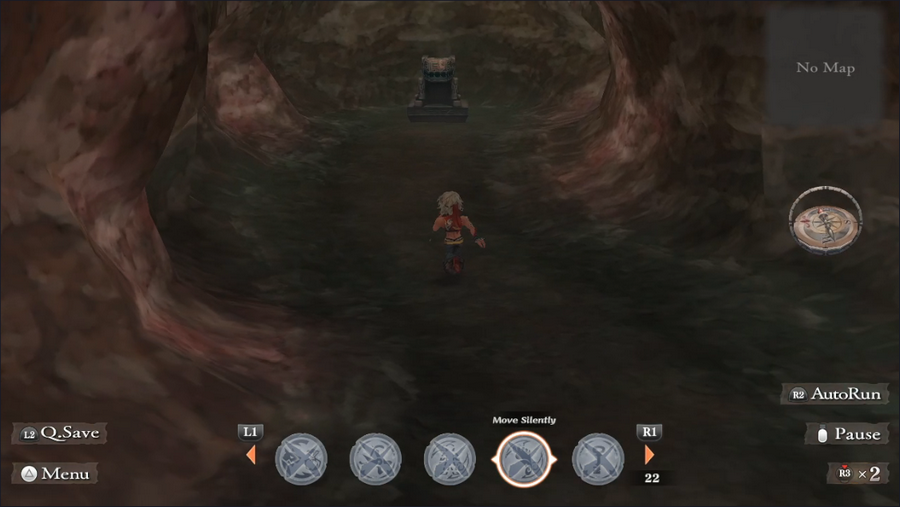 Inside is another statue.  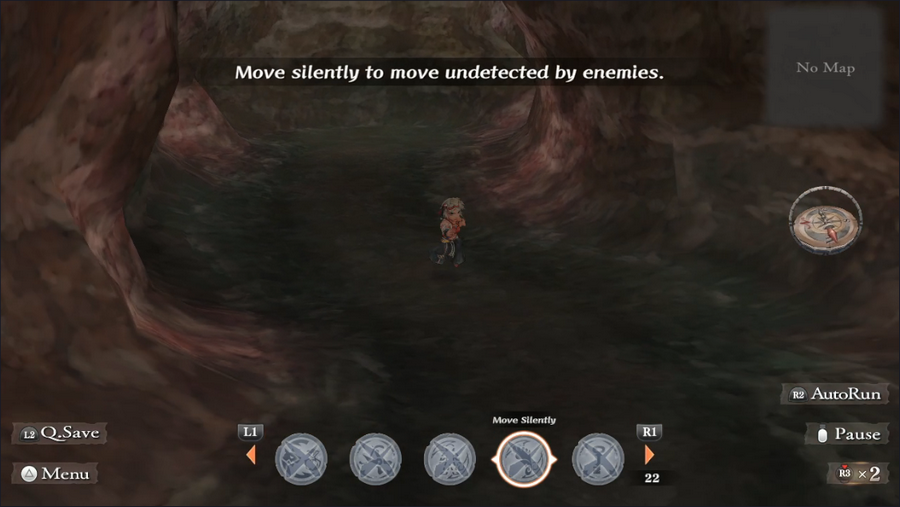 Touching it causes it to disappear in a flash of light, but you can probably guess where it is.   Pushing the statue to the southwest corner opens another door, this one with a bunch of monsters behind it.  There's also a chest containing the dungeon map.  As I said, this dungeon is pretty short. 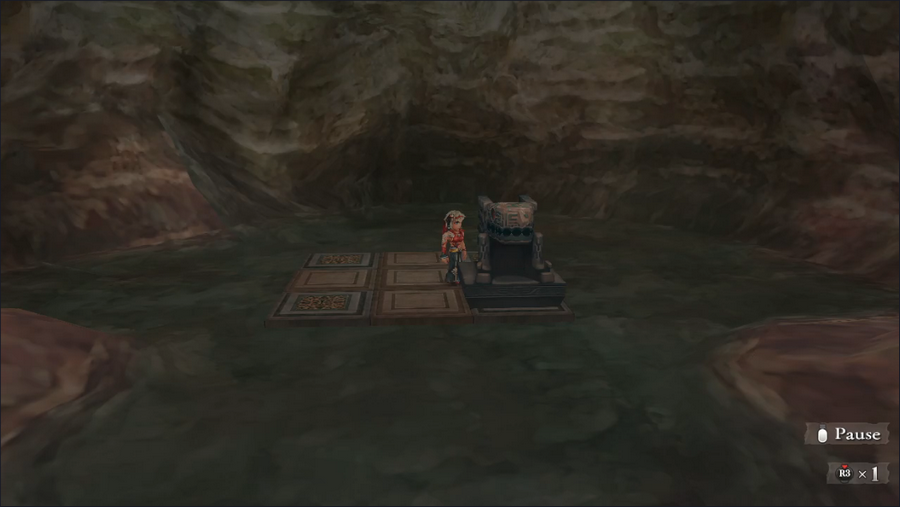 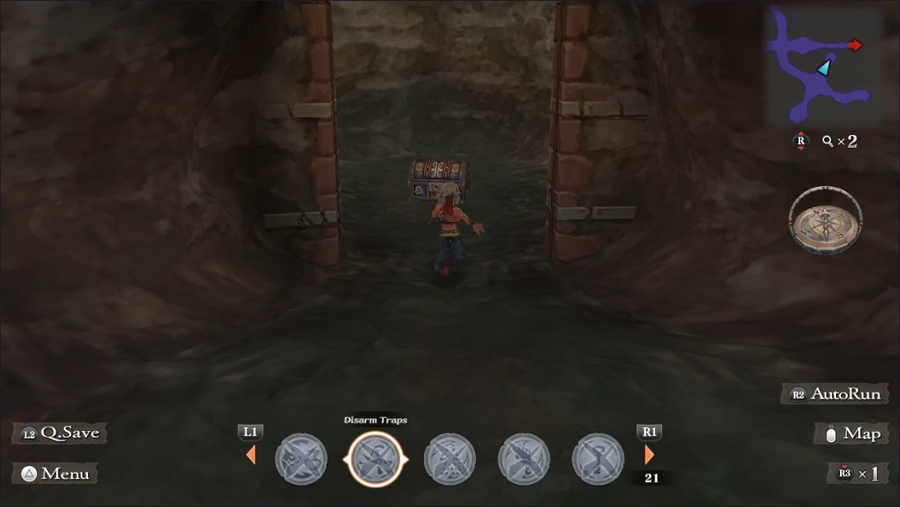 Pushing the statue into the northeast corner opens the third door, which contains a chest but no monsters.  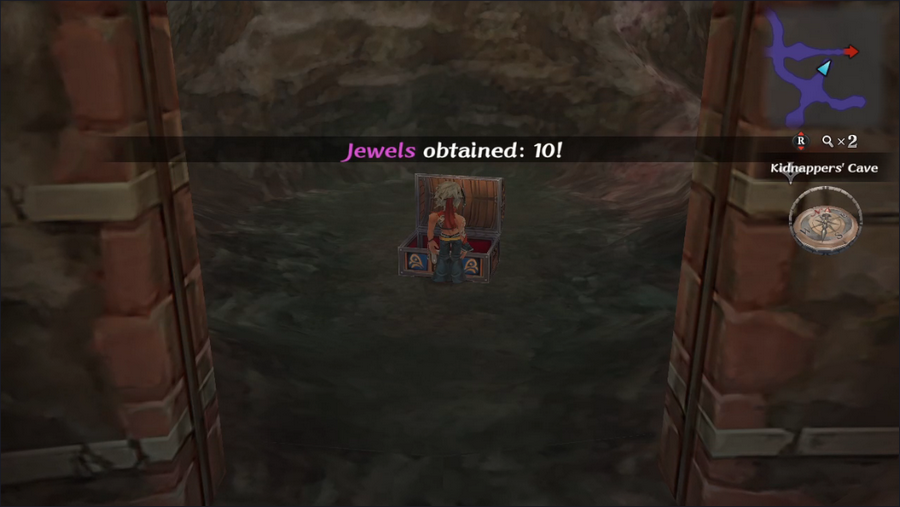 The prizes aren't amazing, but 1000 gold and some jewels for no real effort is a good enough deal. 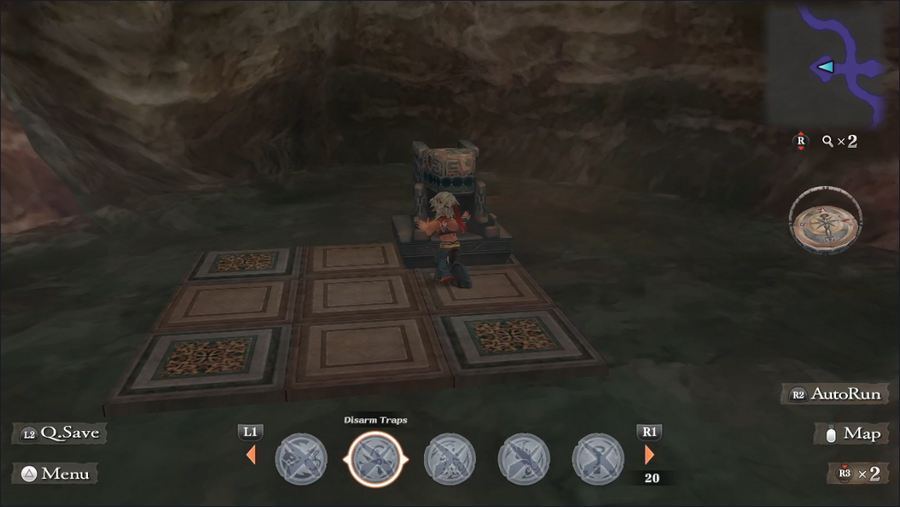  And finally, pushing the statue onto the northwest corner spawns a group of demons to fight us.  Jams are slightly above our battle rank, but not especially difficult. They primarily cast spells like Wracking to damage and stun our party.  Heading back down the north passage, we can see that the statue has appeared on the other platform.  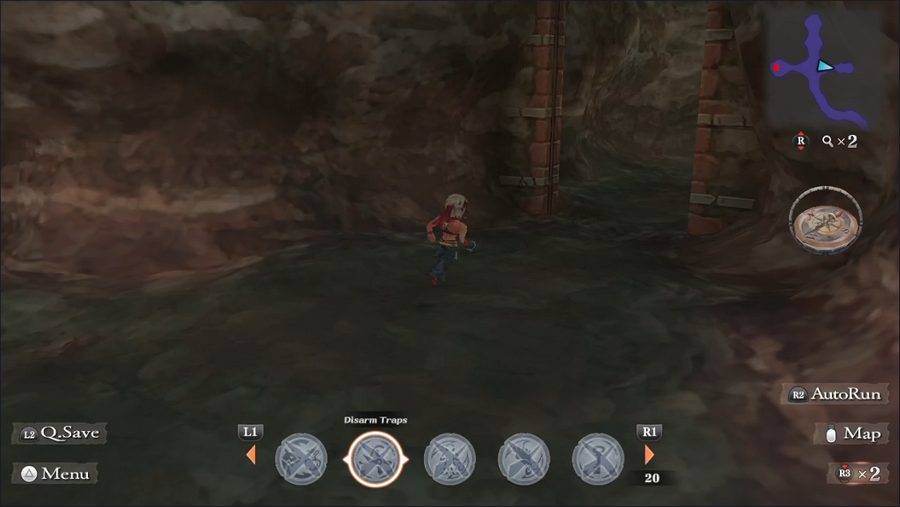 Pushing it to the east opens the eastern door. 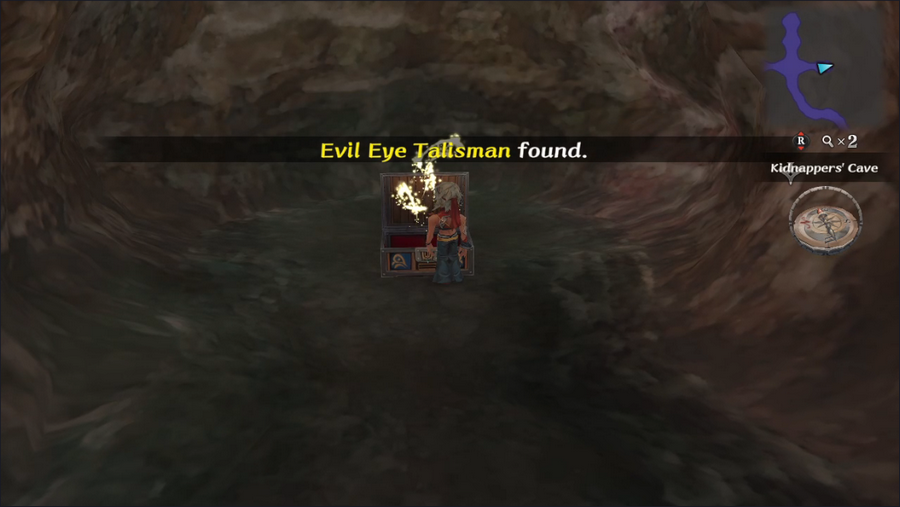 Inside is a chest containing an Evil Eye Talisman, which lowers the wearer's Intelligence and Willpower but makes them immune to gaze attacks. Those are rare but can be rather nasty. 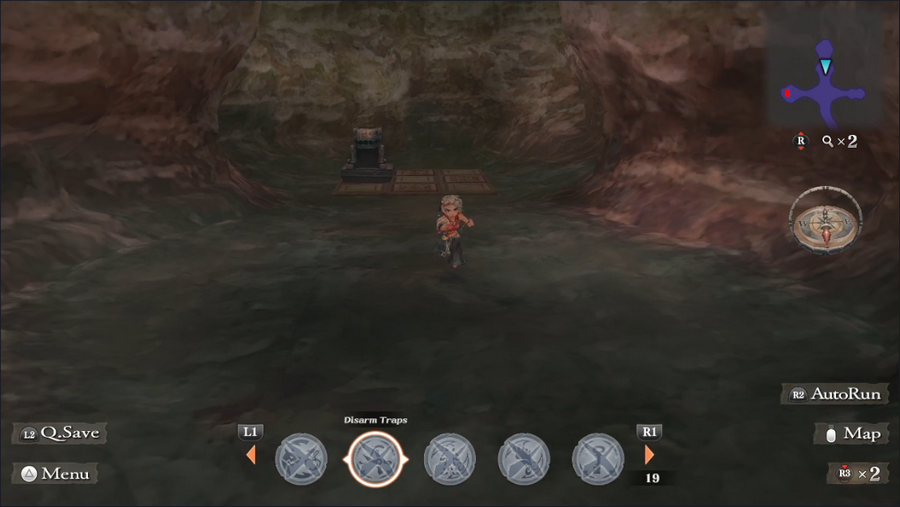 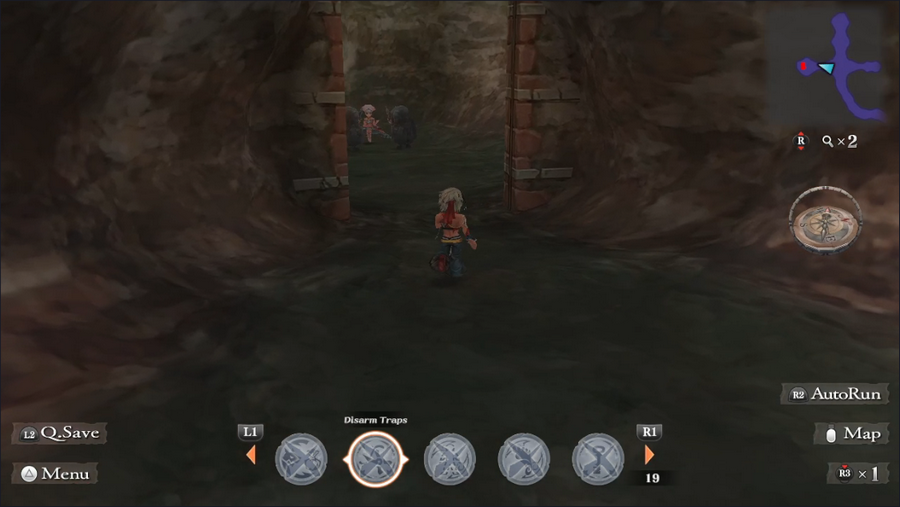 If we push the statue onto the western space, we unlock the western door, which contains Constance and a couple of monsters. 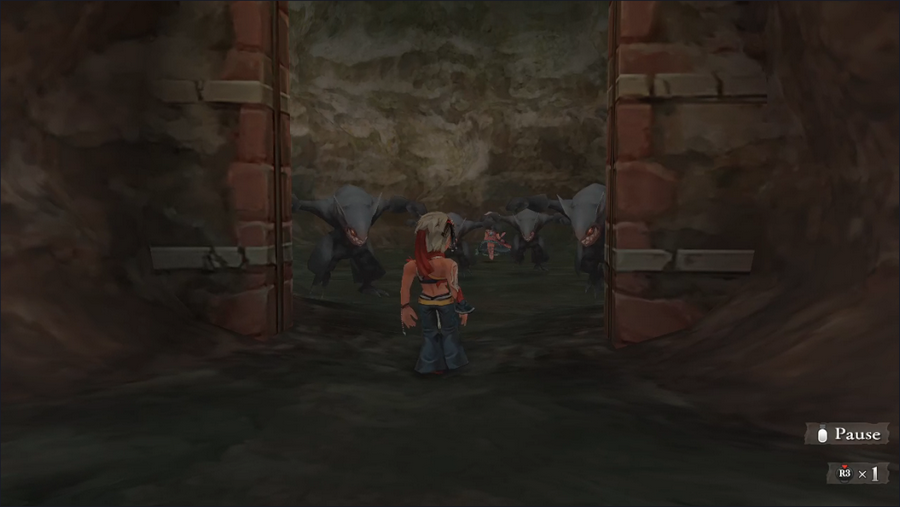 Upon our arrival, they rush us, as do two more that were hidden behind the walls. Boss Fight: Ogres & Goblins Mages https://www.youtube.com/watch?v=uvTVsD52g1M 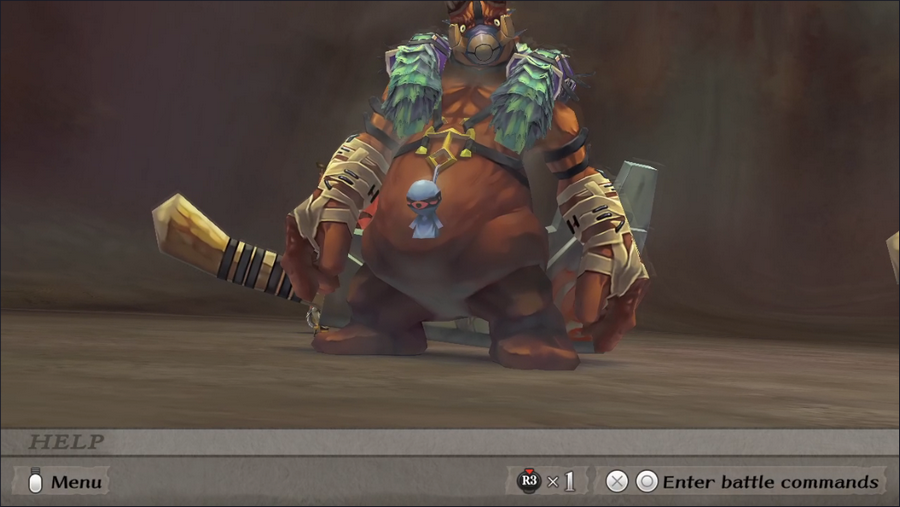 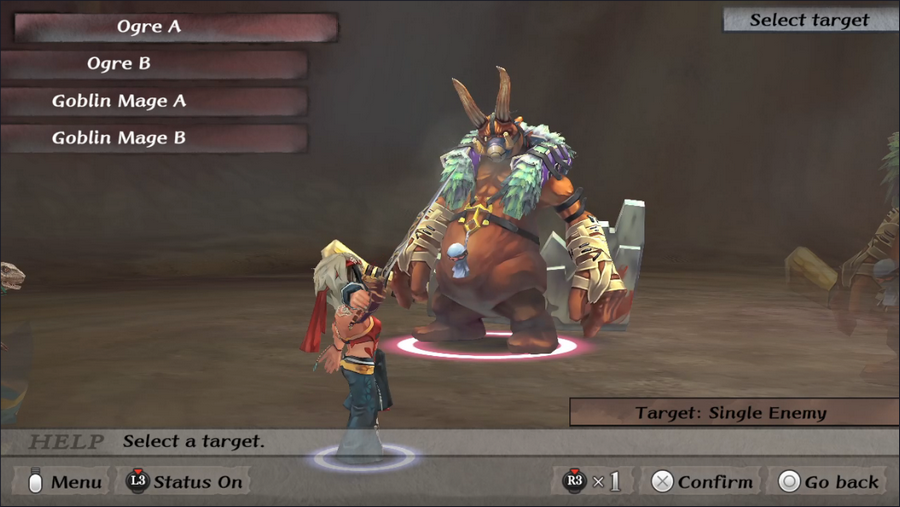 This is another boss fight against a group of regular enemies. We've even seen Goblin Mages before, but Ogres are new. 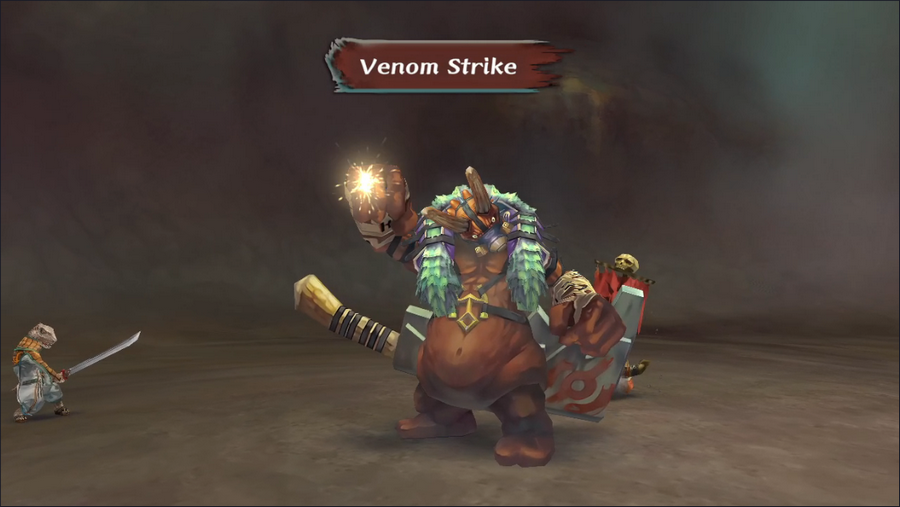 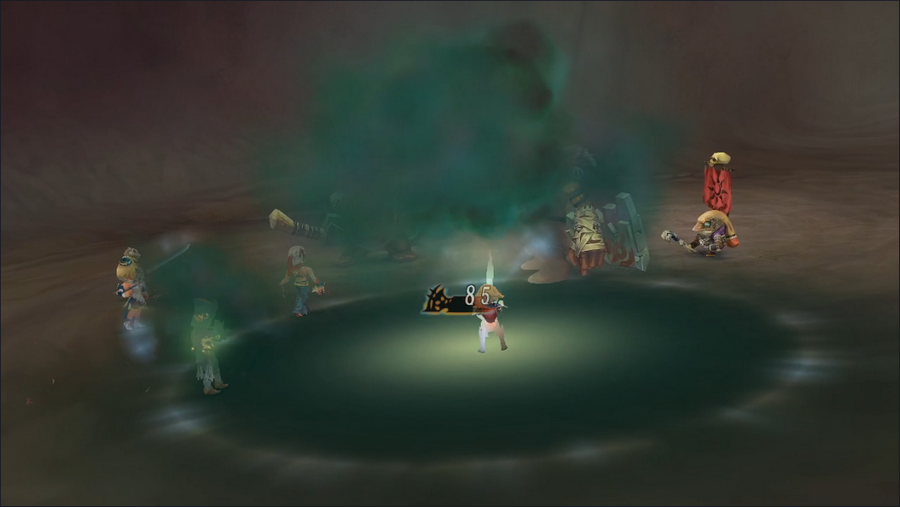 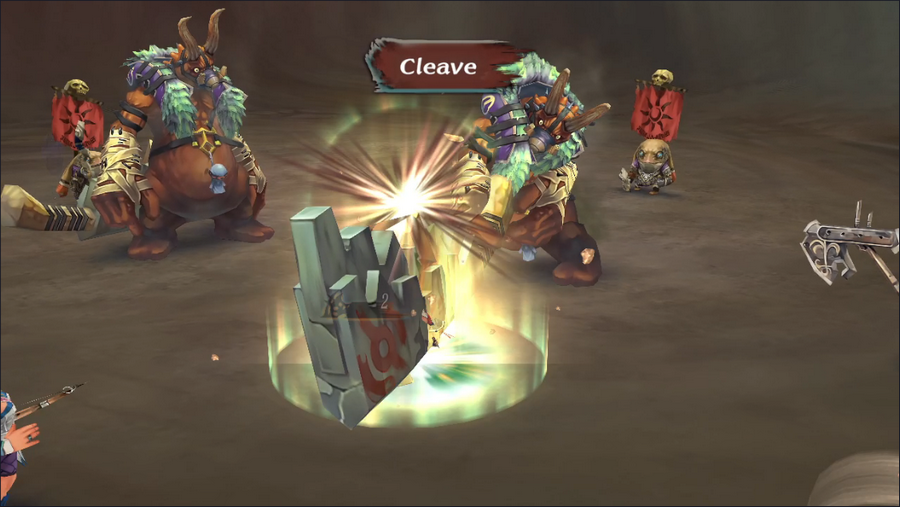 They can use Venom Strike, an AoE poison attack, as well as a couple of pretty powerful physical strikes. Luckily, we didn't see the more dangerous of the two in this battle.  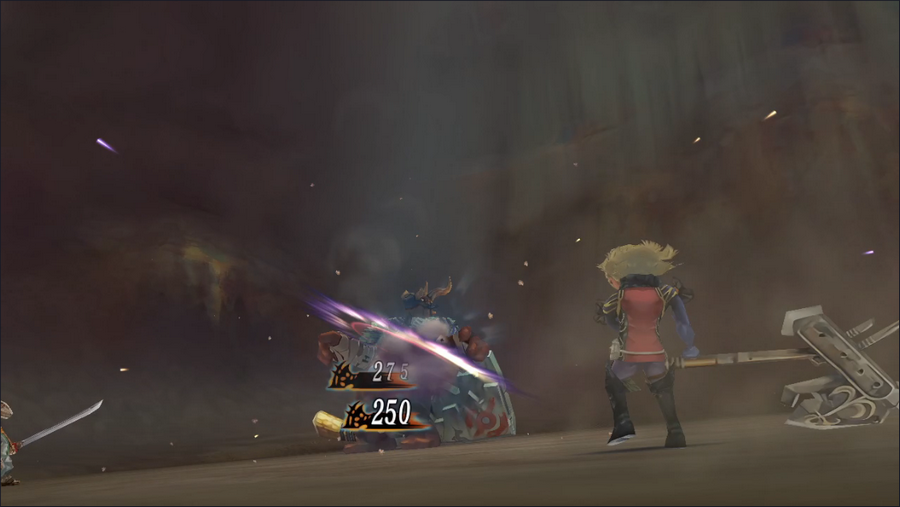 Monica managed to Glimmer another new technique in this fight, Cross Break, which is pricey but does very good damage. Apart from that, the battle was pretty uneventful - you can check out the video if you want to see the whole thing, but we won in two rounds. 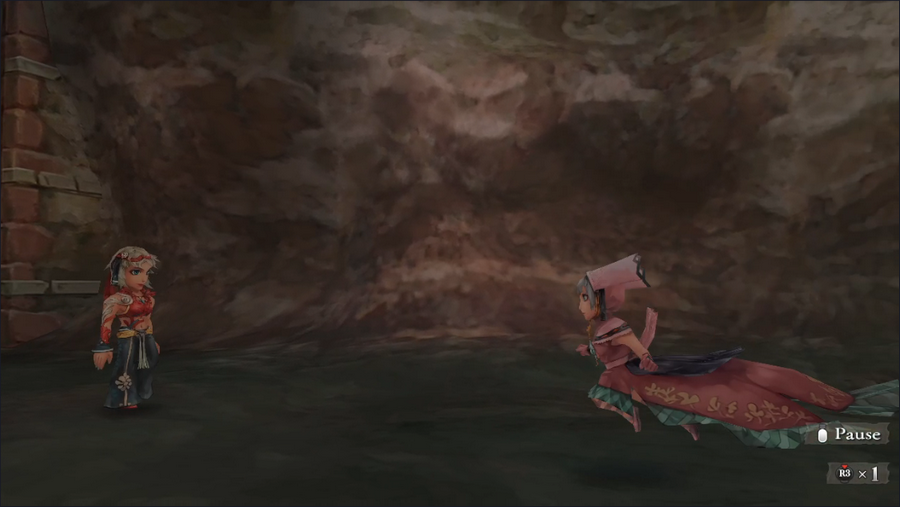 With the monsters defeated, we enter the room, and Constance runs toward us. 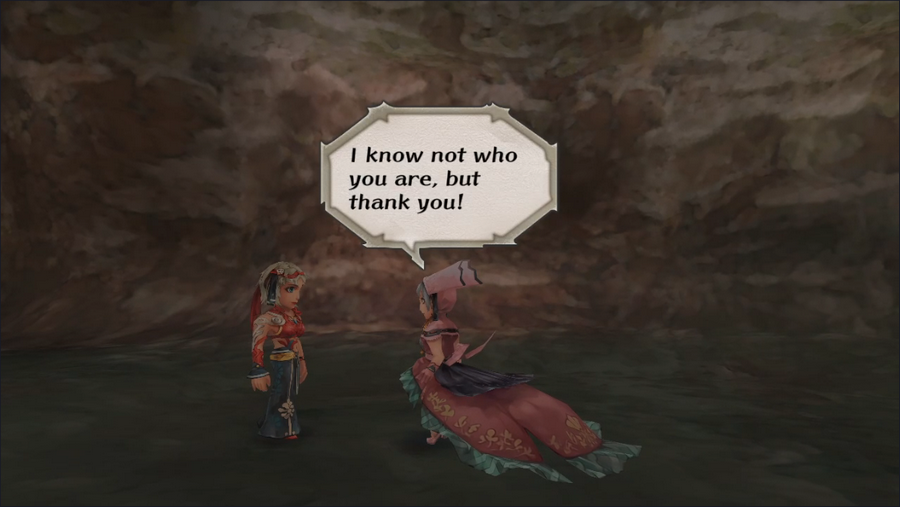 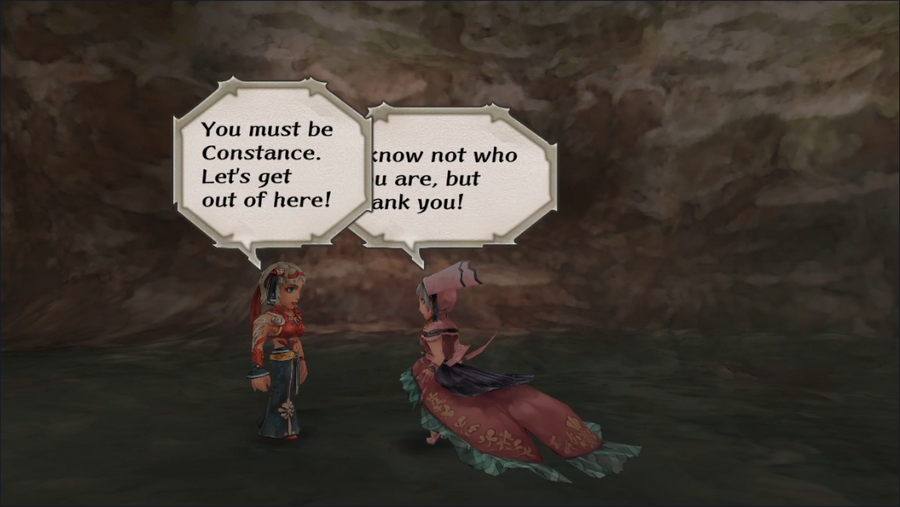 We've actually met, though I can't blame either woman for not remembering the other. 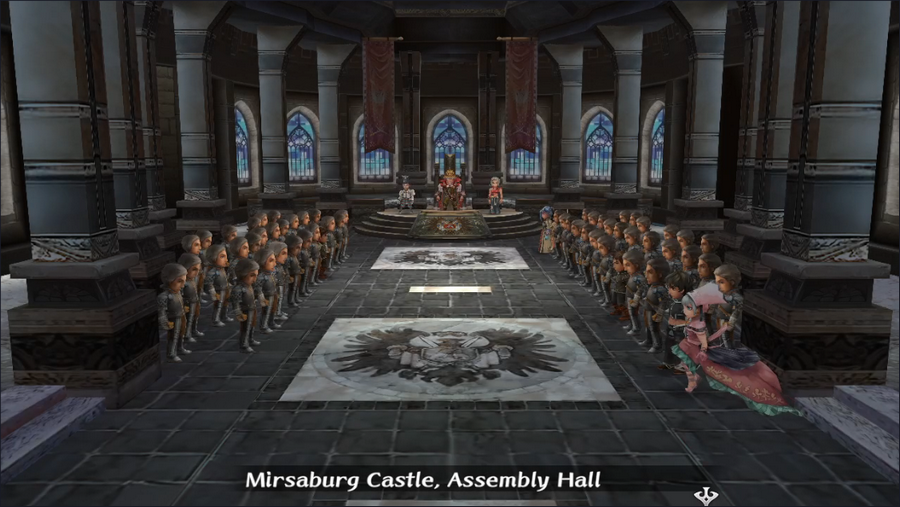 We're instantly taken back to Mirsaburg's hall. 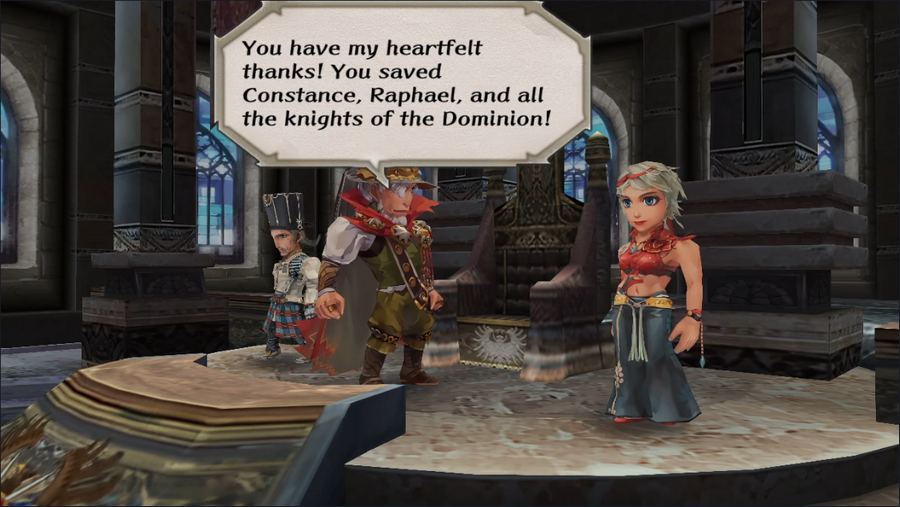 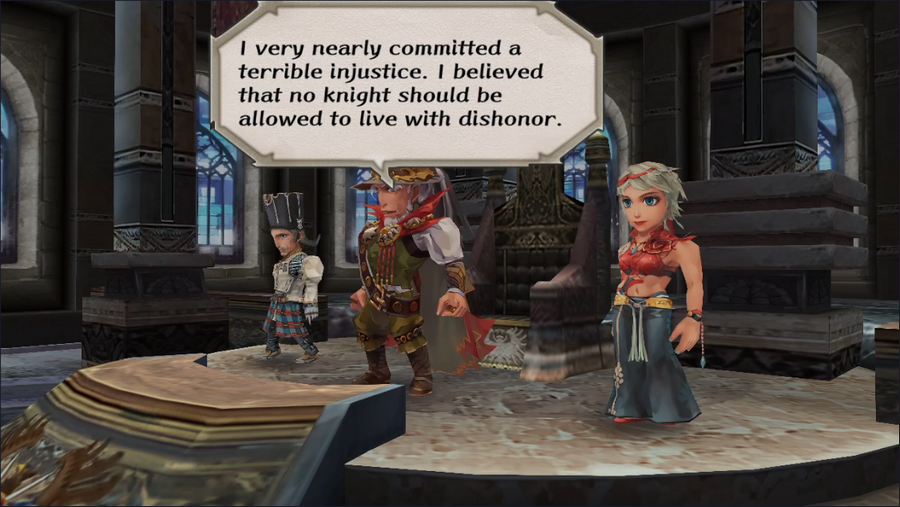 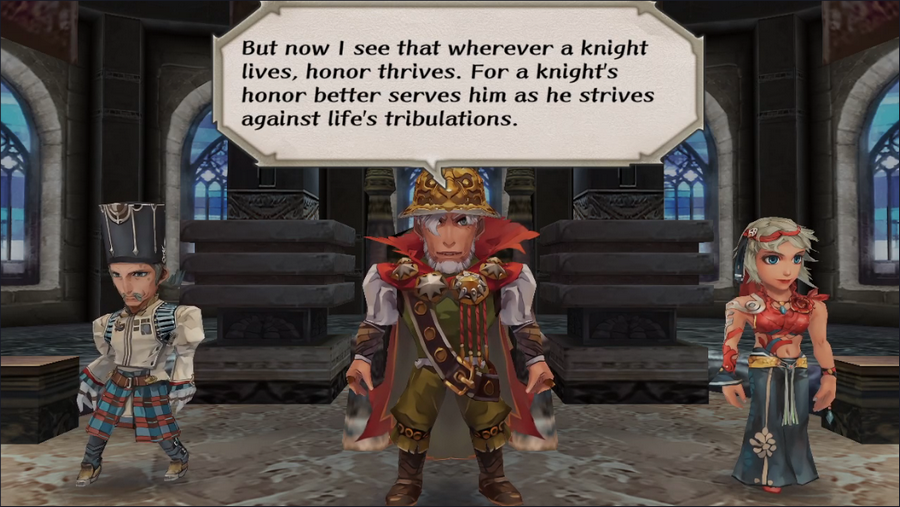 Theodore gives us an impassioned speech, recognizing that his law was really dumb and that a true knight is always honorable. 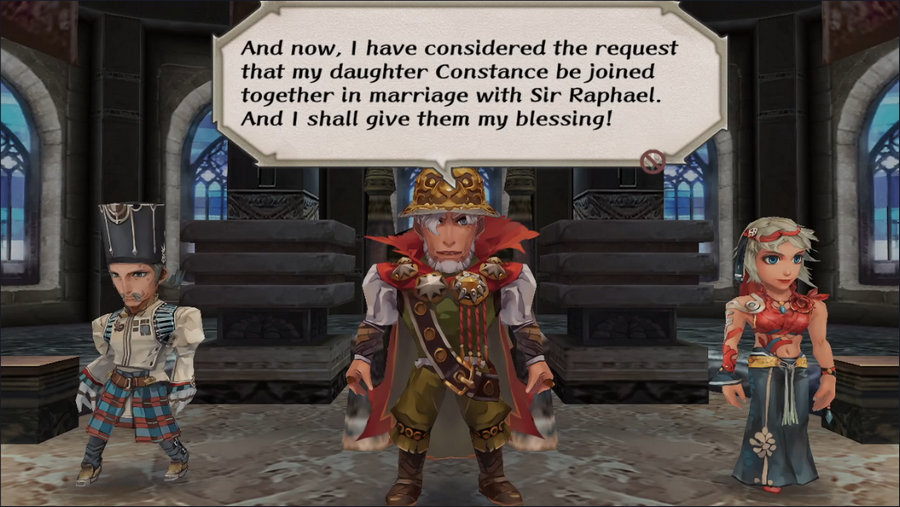 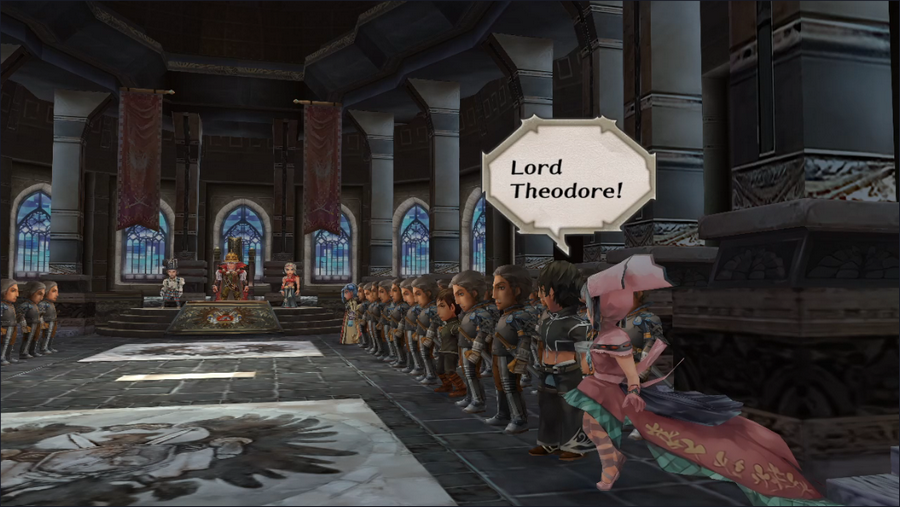 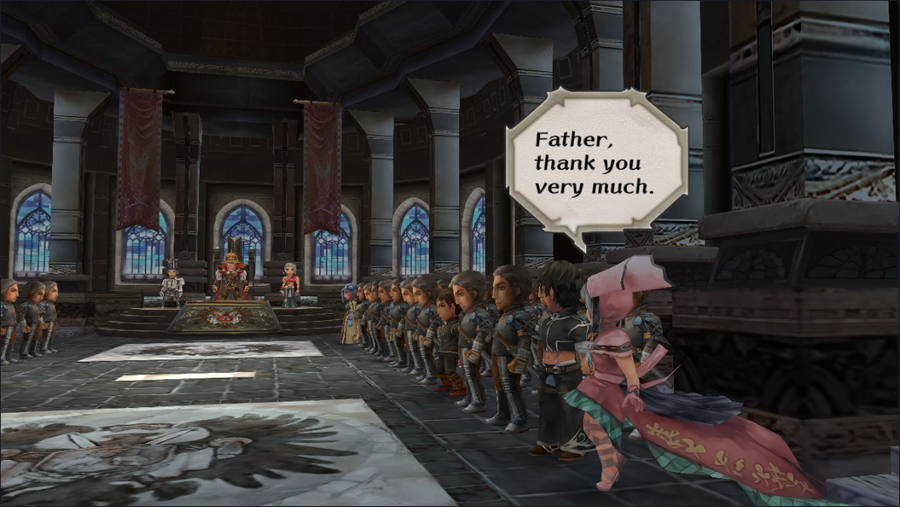 Aww.  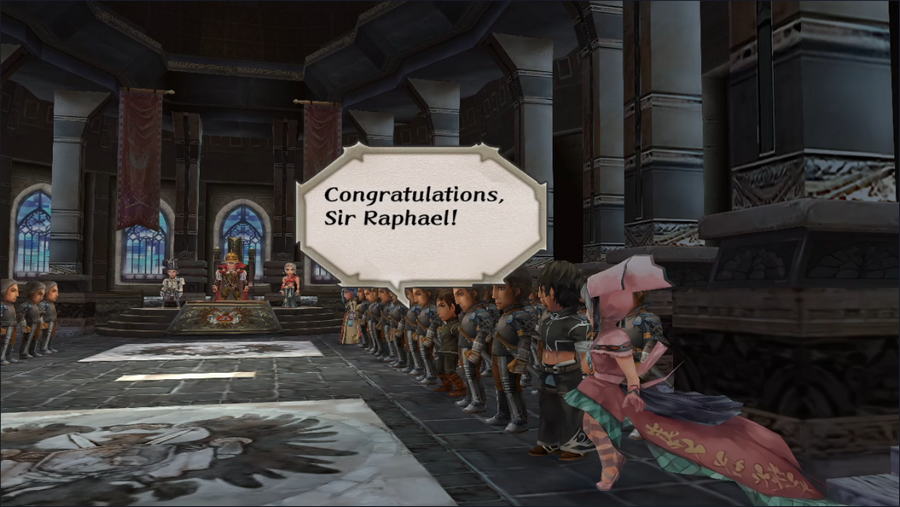 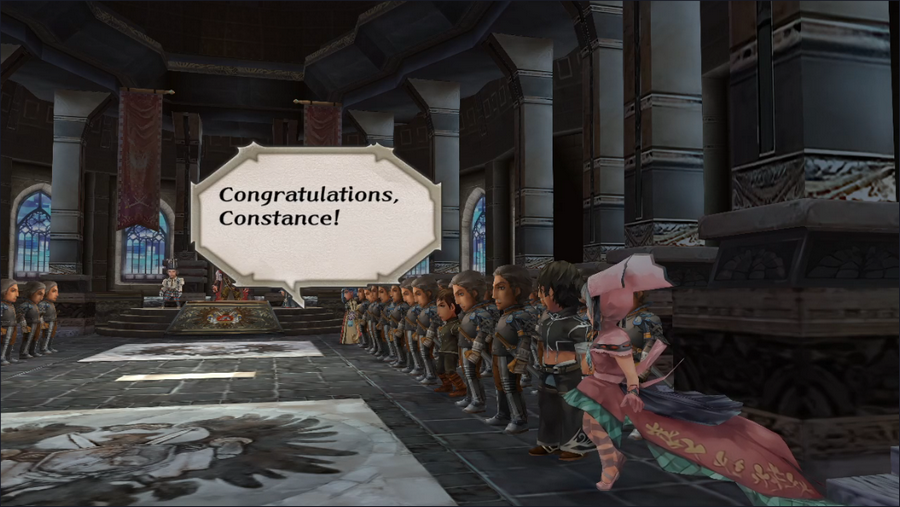 This is quite a turnaround from when they were yelling at Raphael to shut up during the council.  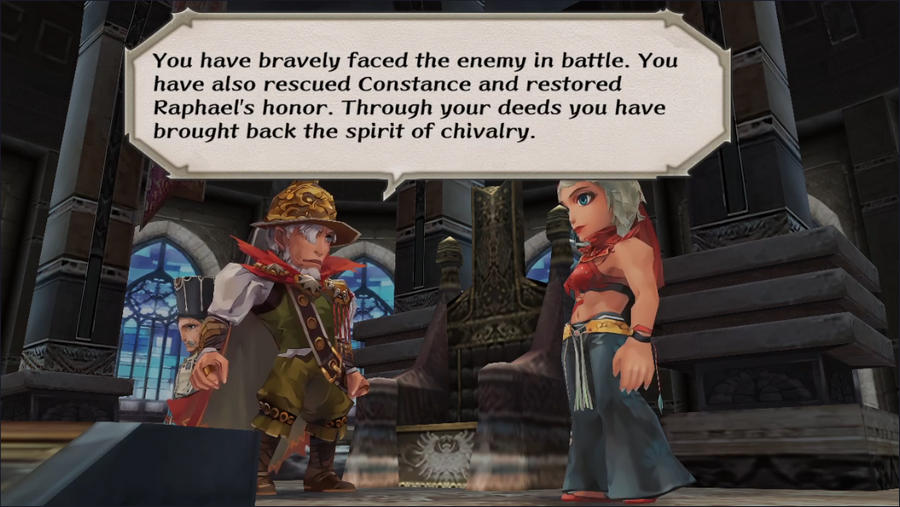 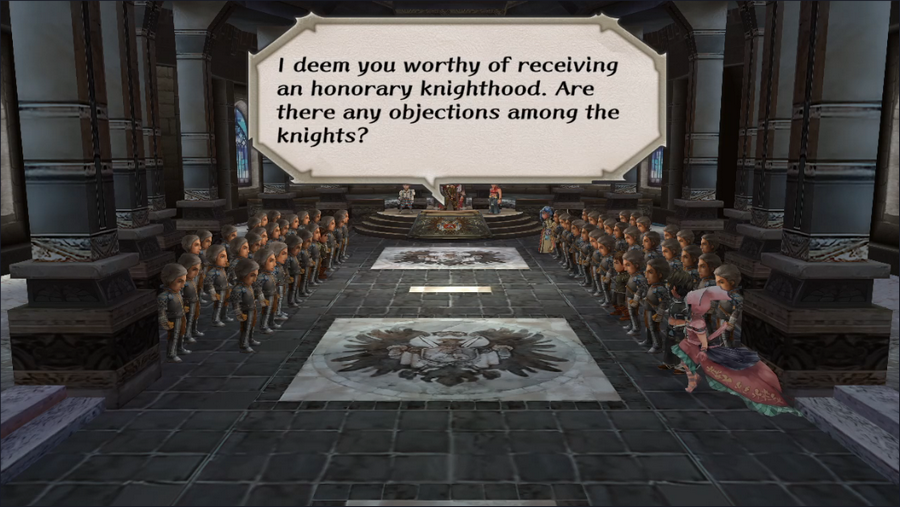 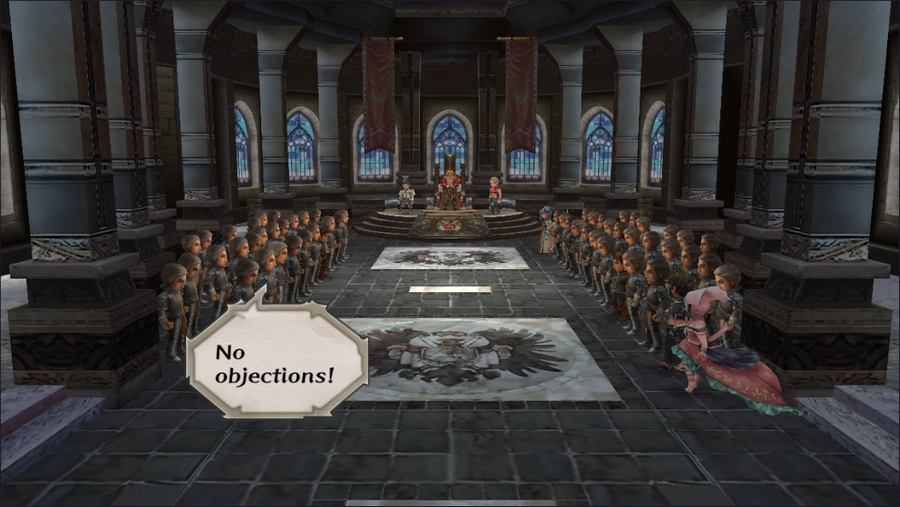 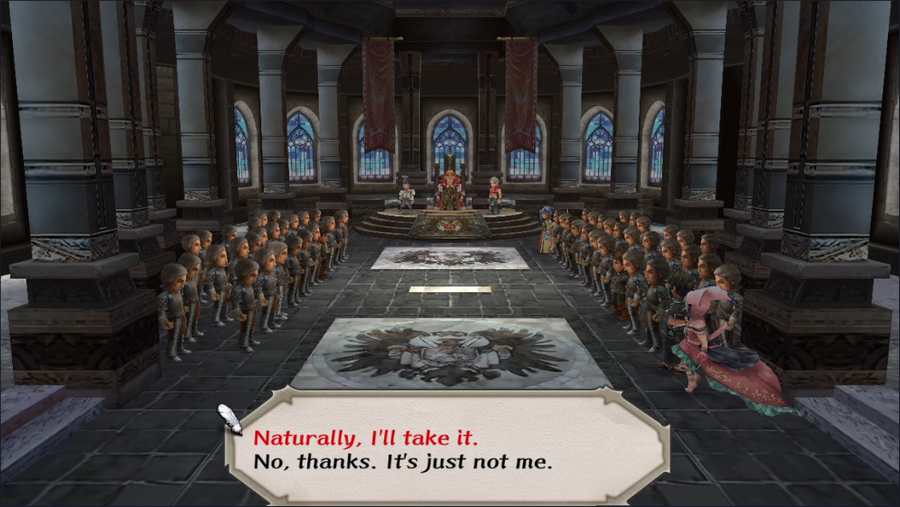 We're offered an honorary knighthood! I'm unsure if there are any material consequences to refusing, but why would we?  After a lengthy musical fanfare, we're given our title. 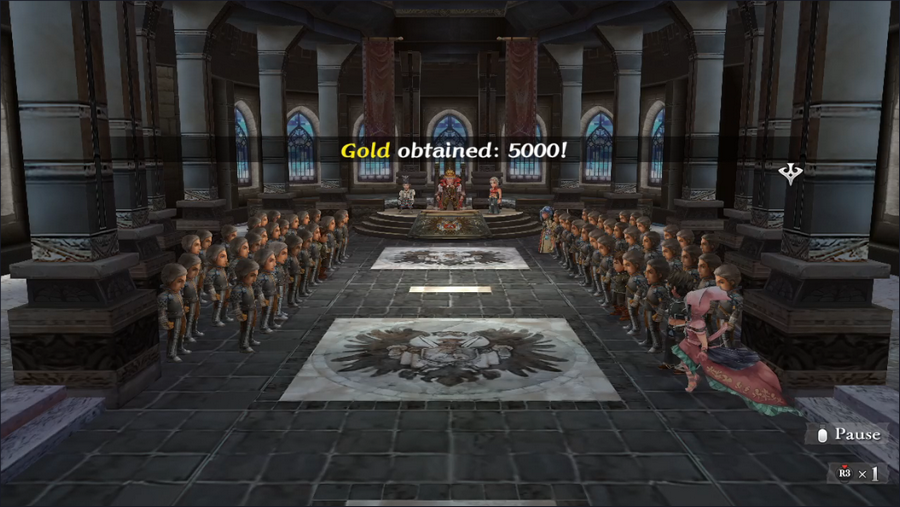  Also, some gold and jewels.  We're done with this quest, but we still have some errands to take care of.  First, since we have the jewels, we'll raise Monica to class level 3. Only Guella Ha remains at level 2, but it shouldn't be long before we can level him as well.  Second, we need to head to the Steppes of Galessa. 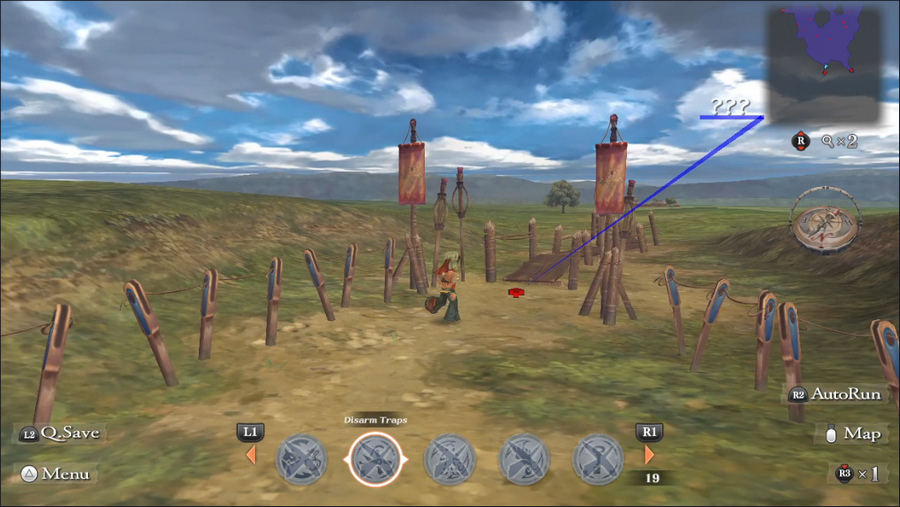 Specifically, we're checking out the Taralian Camp. I could have actually done this a while ago, but the guide I'm using lists this event out of ER order and it slipped my mind entirely. 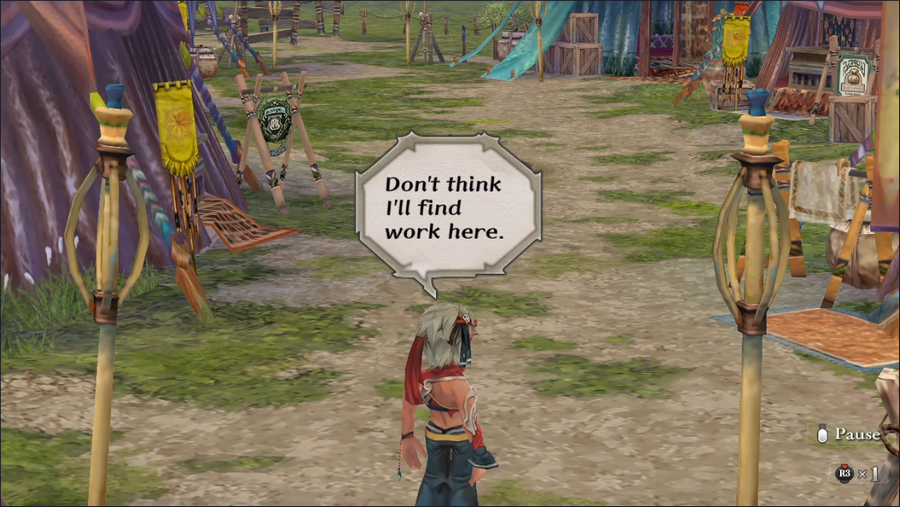 We arrive to find the place entirely abandoned. Barbara doesn't have much to say about it, but Aisha would obviously be quite distraught. 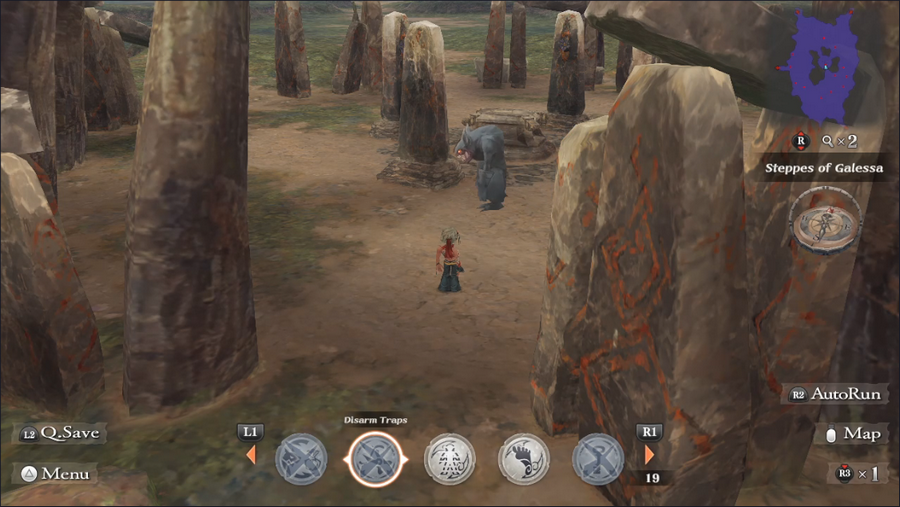 We can also find a lone monster running circles around the stone structure in the middle of the Steppes, but we can't interact with it in any way. Still, it's a curiosity. 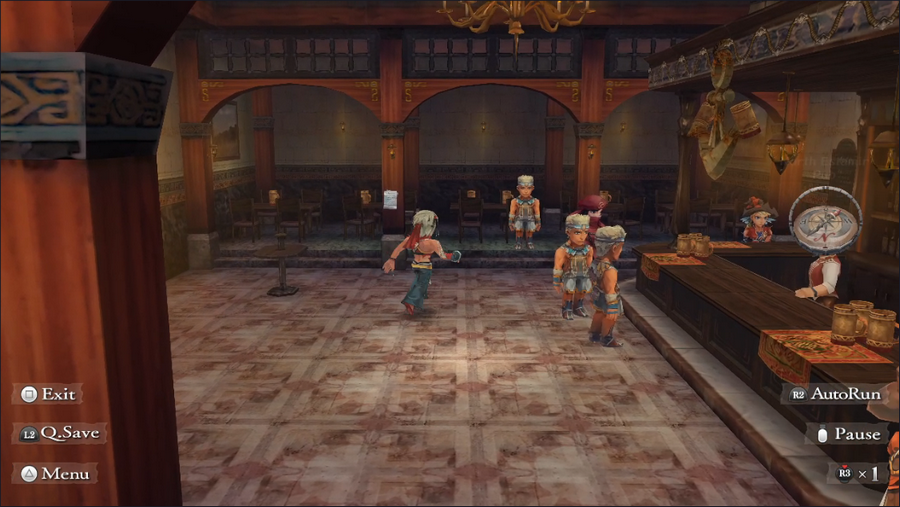 In the North Estamir pub, we spy a familiar face yet again. 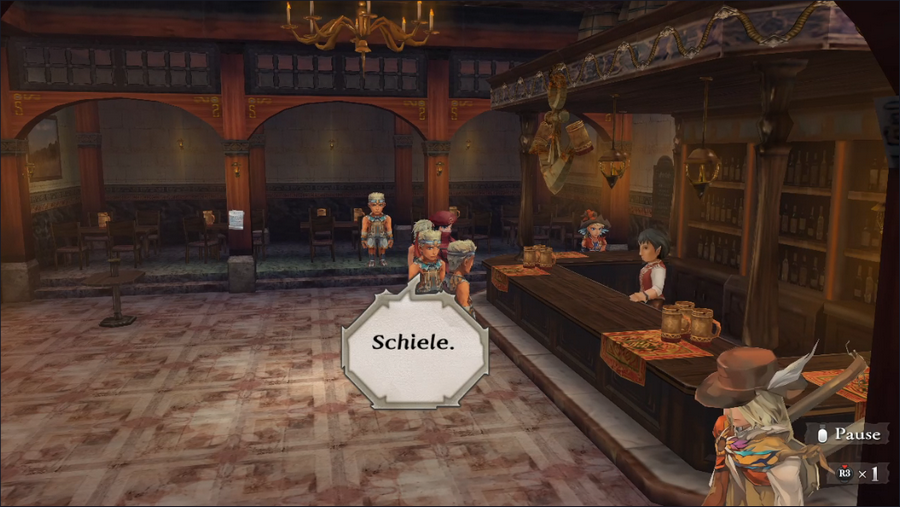 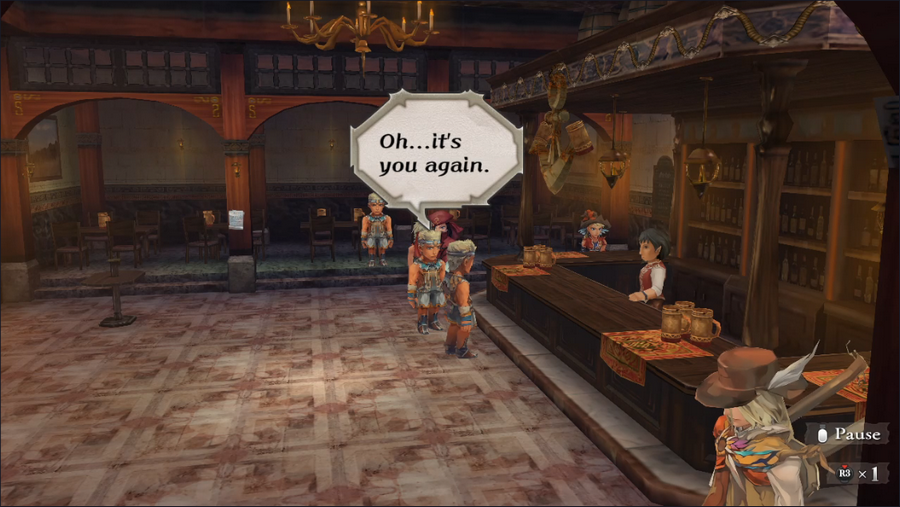 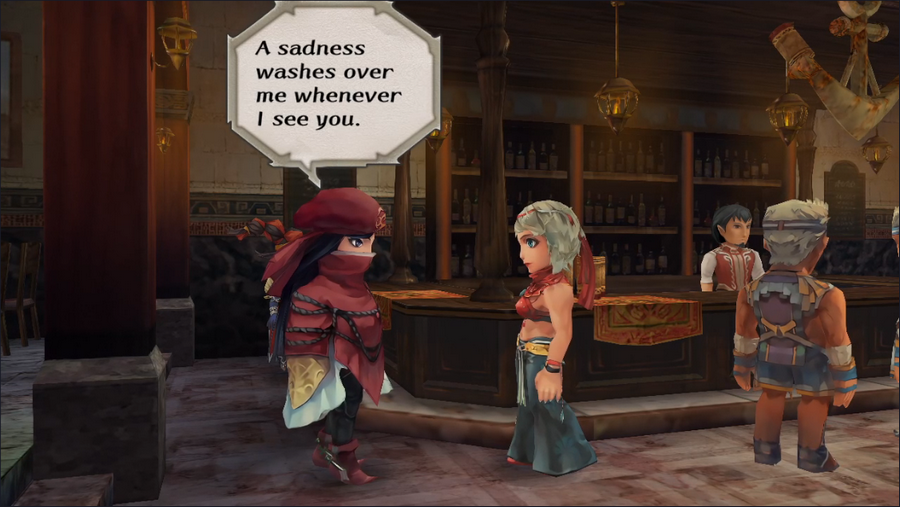 She's actually willing to talk to us now! 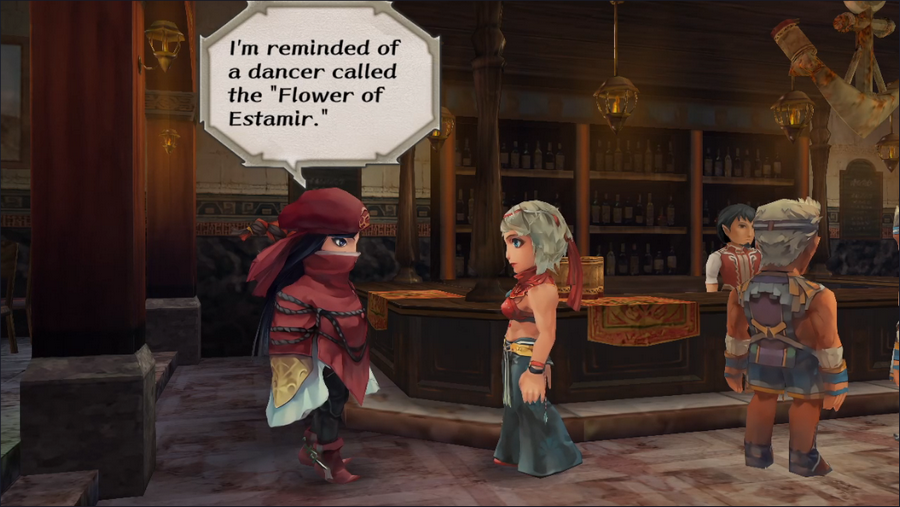 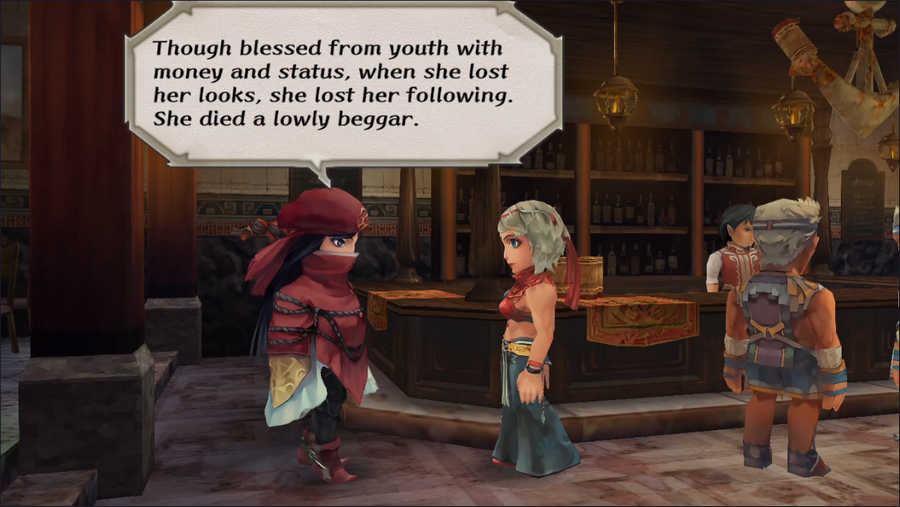 Well that's a downer. 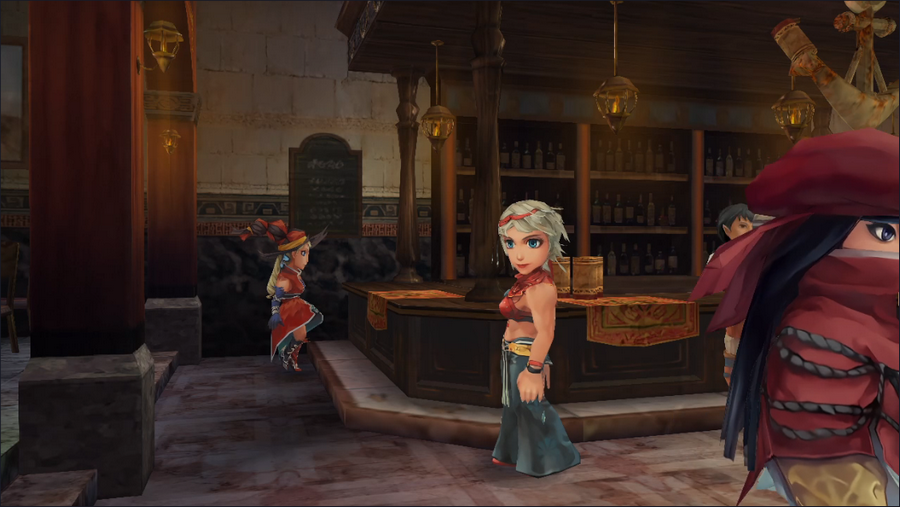 Having gotten us depressed, Schiele leaves again.  There's a note on the pillar here. There's not a lot of info to go on, but we may want to check it out. 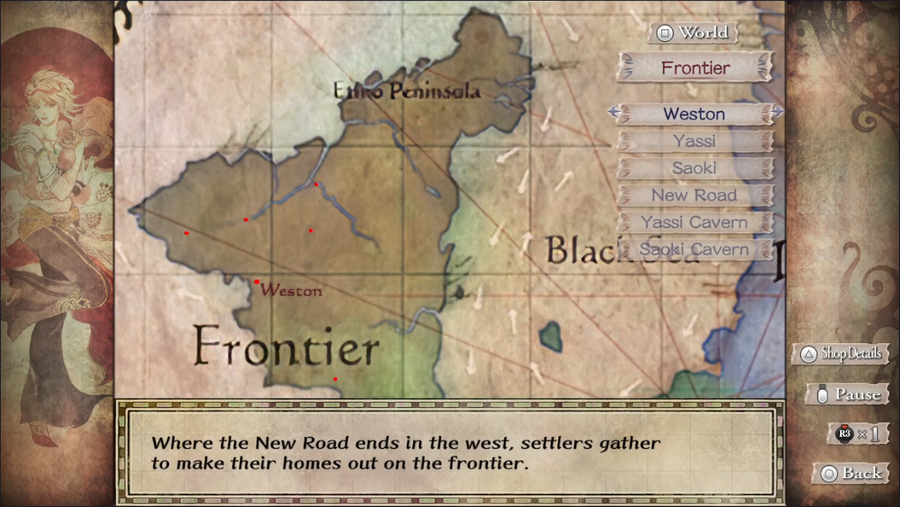 And finally, we're headed back to the Frontier. 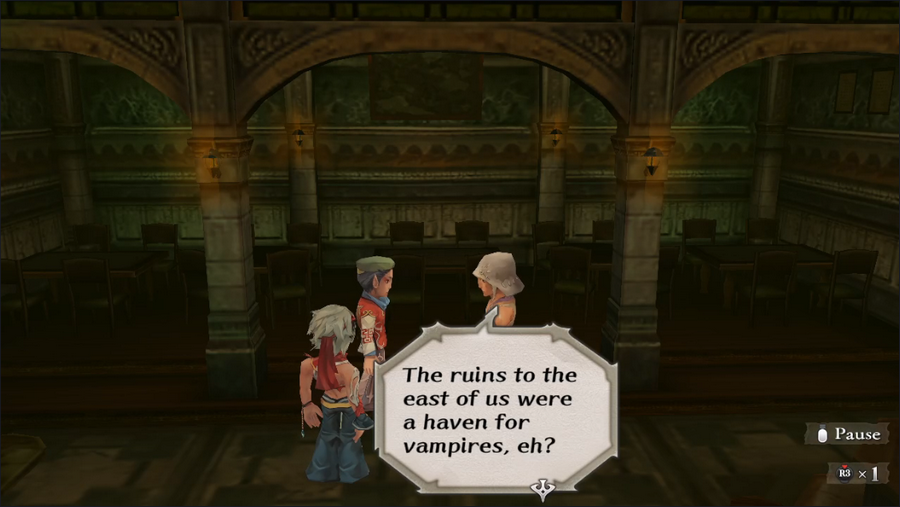 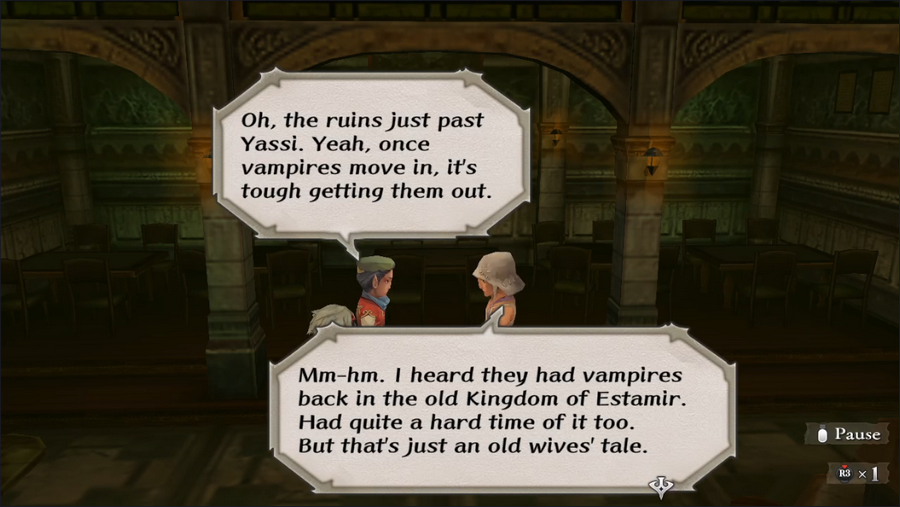 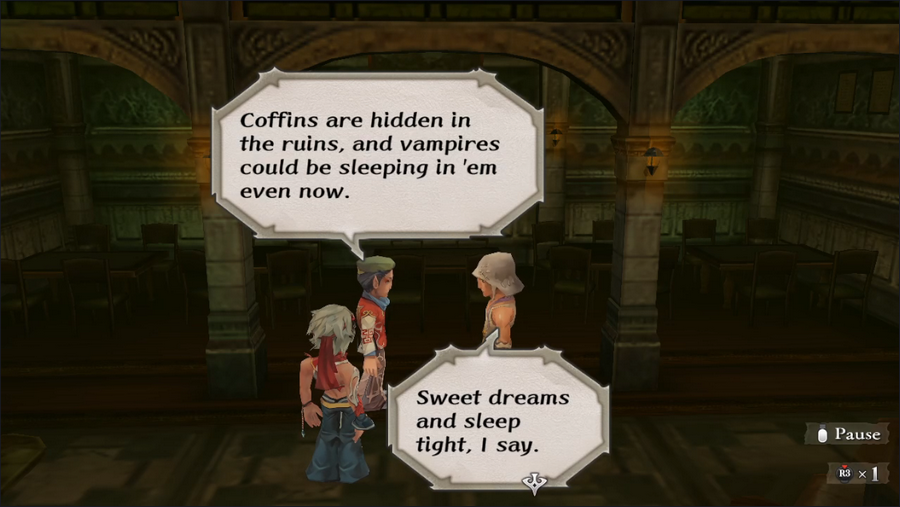 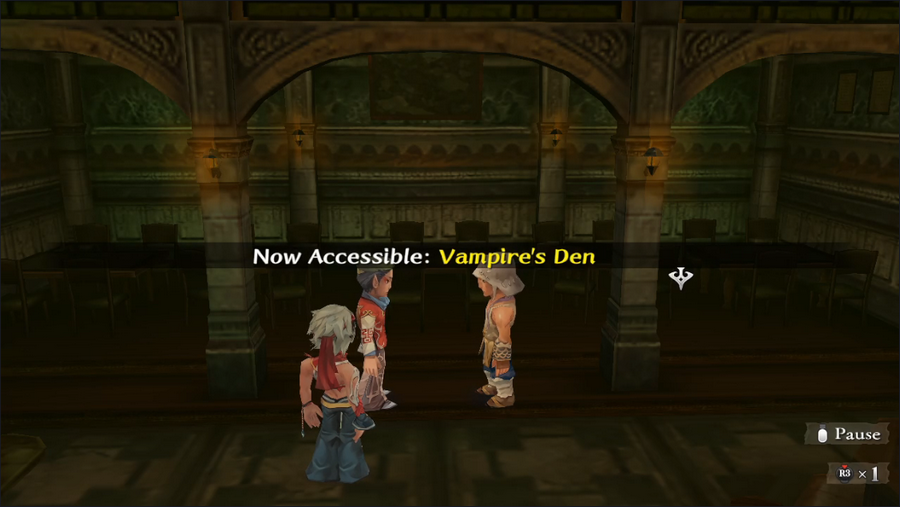 A couple of guys in the Weston pub mention that there's a vampire lair nearby. They don't seem to think the creatures are actually there, but... maybe we should make sure. 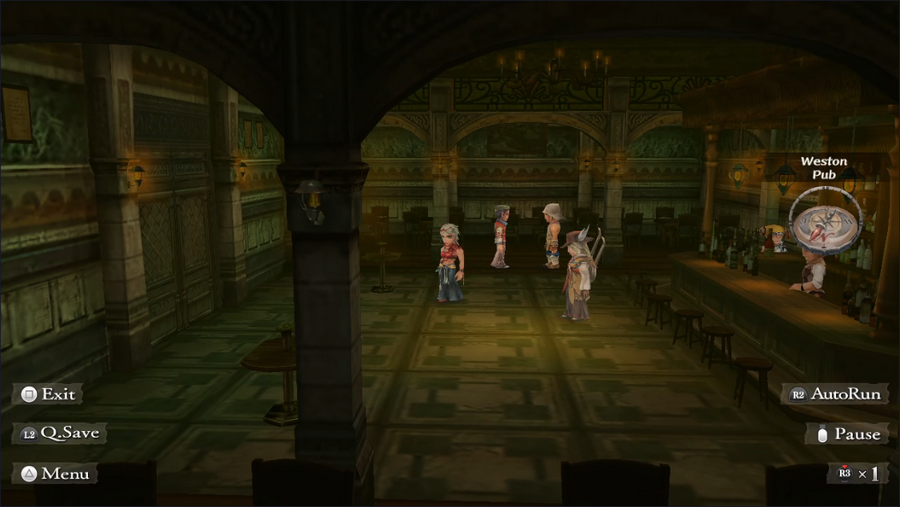 And that it for today. There's a lot to do right now, so be sure to cast your votes! Current Event Rank: 10 Things to Do Retrieve the Aquamarine from Crystal Lake - We weren't strong enough for this as of ER2 Kill the bugs in the Altours orchard Find Captain Silver's treasure - We weren't strong enough for this as of ER9 Go to Mazewood to acquire the Medallion of Eres Get the Ice Sword from Galahad... ...by diplomacy ...by force Kill Pyrix - We weren't strong enough for this as of ER8 Find a cure for the Bafal emperor's illness Find out what happened to the Taralians - We have no leads "My daughter went to Tarmitta and hasn't come home yet." Investigate the return of the vampires Places to Explore Estamir sewers Melvir sewers Bayre Plateau Isthmus Keep, or what's left of it The Walon Isle jungle The Ligau caves Mt. Scurve Crystal Lake - We weren't strong enough for this as of ER2 Yassi Cavern Abandoned Keep Saoki Cavern Treasure Maps Jungle, Level 1 Steppes of Galessa, Level 1 Kaklim Desert, Level 1 Bonus: Glimmer & Spell Showcase https://www.youtube.com/watch?v=lqZepXQXiGg 5-Headed Snake God fucked around with this message at 23:29 on Jan 20, 2024 |
|
#
?
Jan 20, 2024 15:14
|
|
|
Gotta wonder what Mirsa would think of his adherent's antics, honestly. Let's go -- Find a cure for the Bafal emperor's illness Investigate the return of the vampires and check out Isthmus Keep!
|
|
#
?
Jan 20, 2024 16:27
|
|
|
Get the Ice Sword from Galahad... ...WITH MURDER!  Screw it, giving in to the dark thoughts for the shiny sword! Screw it, giving in to the dark thoughts for the shiny sword!Let's also give Crystal Lake another go, see if we've beefed up enough. And finally, a cure for the Bafal Emperor.
|
|
#
?
Jan 20, 2024 18:36
|
|
|
Get the Ice Sword from Galahad by diplomacy Find a cure for the Bafal emperor's illness Gotta keep the vampires in mind but they might be involved in task 2.
|
|
#
?
Jan 21, 2024 00:21
|
|
|
taichara posted:and check out Isthmus Keep! I gotta say, I respect your dedication to this. You clearly know what you want. Gilgamesh255 posted:Let's also give Crystal Lake another go, see if we've beefed up enough. To clarify, are you suggesting an exploration of the area or an attempt to get the Aquamarine?
|
|
#
?
Jan 21, 2024 01:54
|
|
|
5-Headed Snake God posted:I gotta say, I respect your dedication to this. You clearly know what you want. Good question. While tempting to just outright grab the Aquamarine, it's probably best to explore the area and see what we can find, as well as gauge if we can actually tackle the enemies.
|
|
#
?
Jan 21, 2024 05:56
|
|
|
5-Headed Snake God posted:I gotta say, I respect your dedication to this. You clearly know what you want. I have great affection for certain characters and places in MinSaGa and I won't deny it, lol That and one especial bit is locked out by initial character choice so I stick with others.
|
|
#
?
Jan 21, 2024 08:13
|
|
|
Gilgamesh255 posted:Good question. While tempting to just outright grab the Aquamarine, it's probably best to explore the area and see what we can find, as well as gauge if we can actually tackle the enemies. Gauging enemy strength isn't really an issue, since all random battles will use our current Battle Rank, and we'll have to fight a fixed encounter to get in regardless of which we do.
|
|
#
?
Jan 21, 2024 18:09
|
|
|
Gonna go with; Get the Ice Sword from Galahad......by diplomacy Find a cure for the Bafal emperor's illness "My daughter went to Tarmitta and hasn't come home yet." I love the *idea* of playing SaGa games way way more than I like actually playing them, generally - I've got a lot of nostalgia for FFL2 but the next game I tried was Unlimited and lol. The storytelling often feels like someone telling you a D&D anecdote; like they give you the broad strokes but it's lacking in exact detail.
|
|
#
?
Jan 22, 2024 09:48
|
|
|
Complete_Cynic posted:I love the *idea* of playing SaGa games way way more than I like actually playing them, generally - I've got a lot of nostalgia for FFL2 but the next game I tried was Unlimited and lol. I get this. I love Minstrel Song but I've bounced hard of nearly every other SaGa game I've played. I've been chasing the enjoyment I got from this game for years.
|
|
#
?
Jan 22, 2024 13:24
|
|
|
Voting is now closed. And if I can get an update out by Monday it'll be a miracle because this is a big one.
|
|
#
?
Jan 26, 2024 00:22
|
|
|
Welcome back, everyone. You asked for it: today we're doing one of the longest, most involved, and most important quests in the game. We're going to cure the Bafal emperor. Our first stop is the Temple of Elore in Melvir. 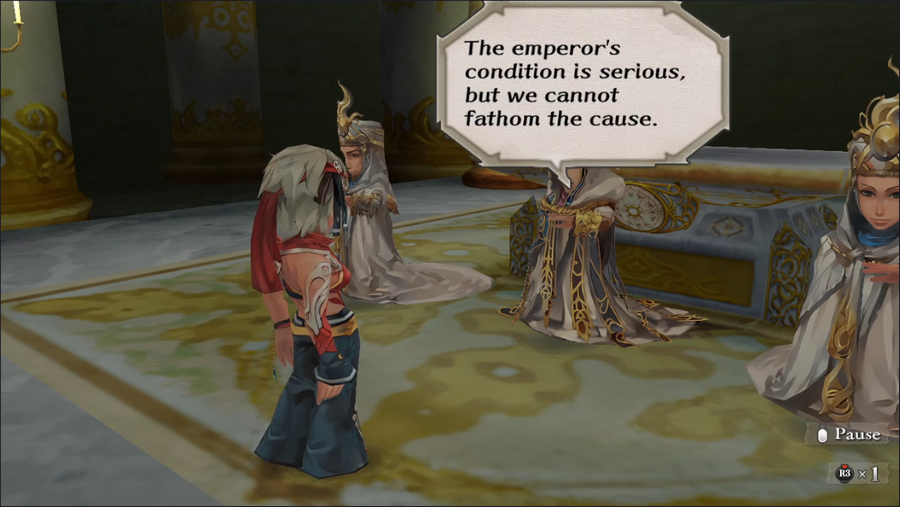 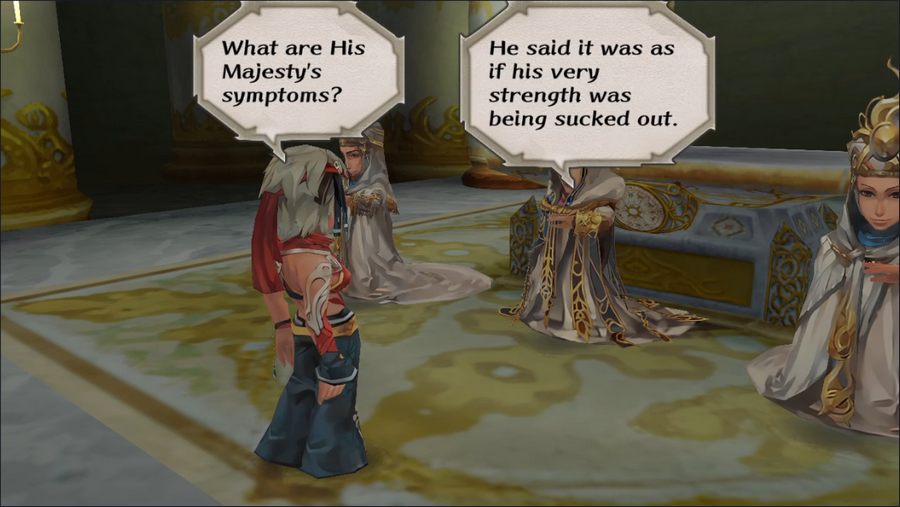 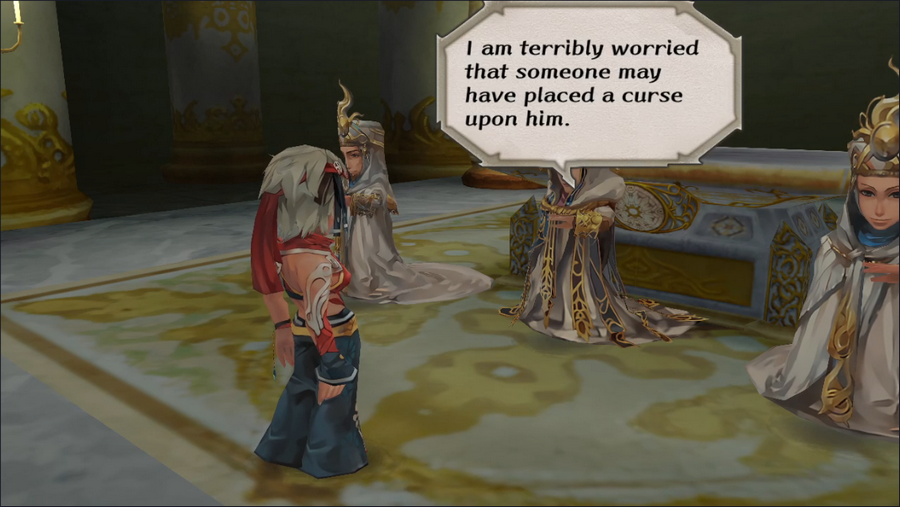 The head priestess gives us some information about the illness, but nothing that tells us where to go to get the cure. In fact, nothing in the game actually tells us where to go, save for the quest updates. 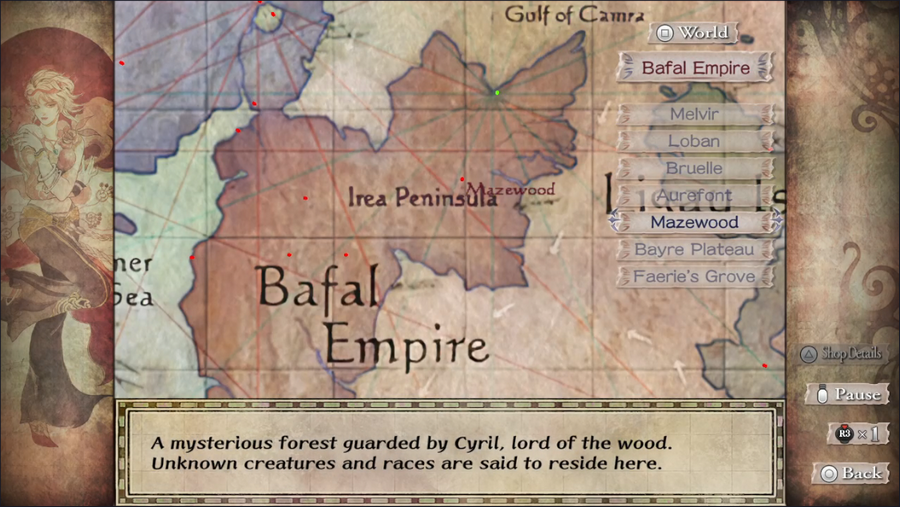 Our first stop is actually Mazewood, as we require the Medallion of Eres to proceed with the main quest. 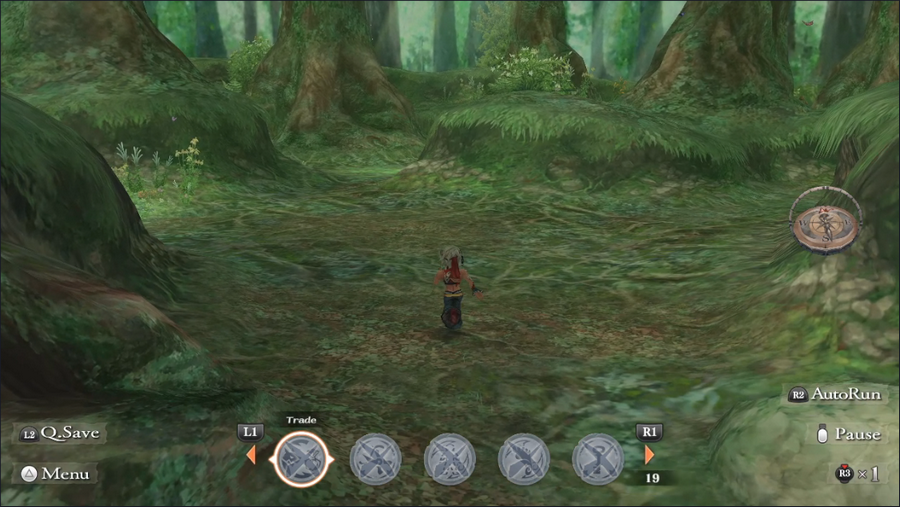 Because we're here for the Medallion, it's daytime, and the monsters aren't out and about. We can make our way through the forest in complete safety. 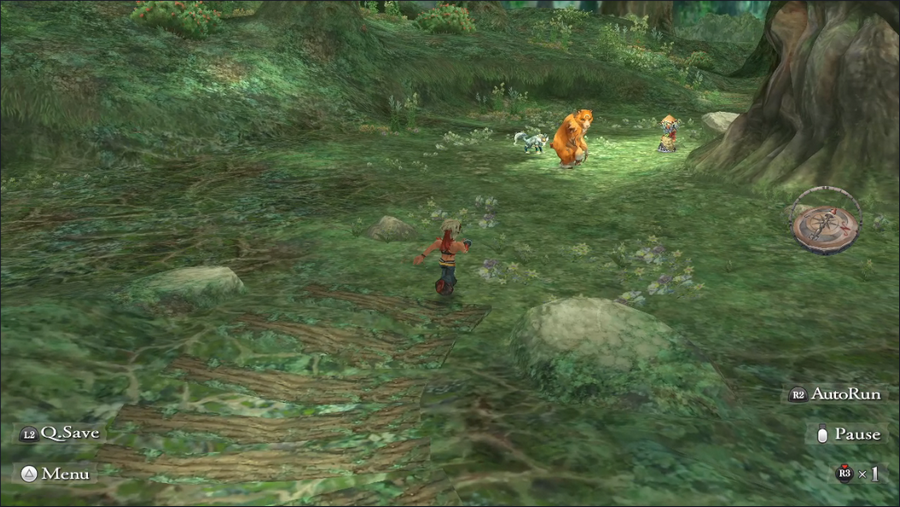 At the end of the line are Eule, Sylvan, and Brau. 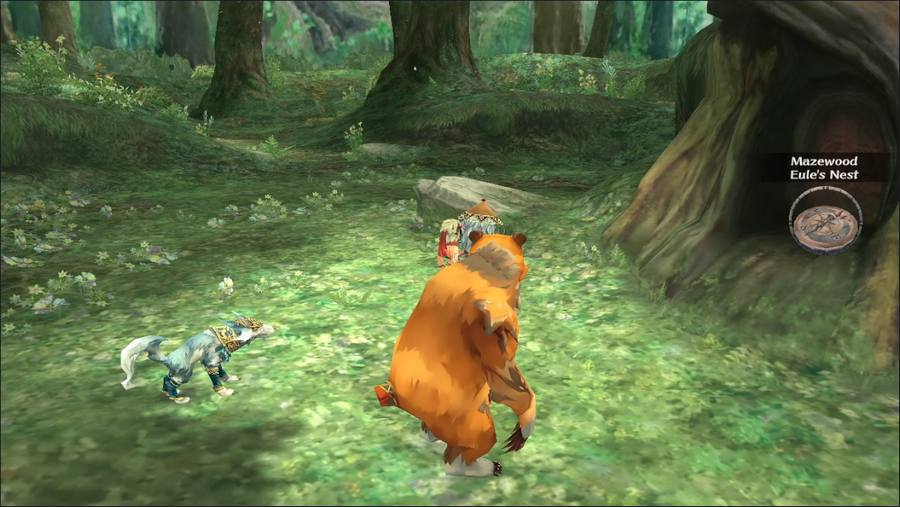 None of them will talk to us, and Eule turns her back to us if we try. No doubt Claudia could provoke more of a reaction, but she's not here so we'll just have to move on. 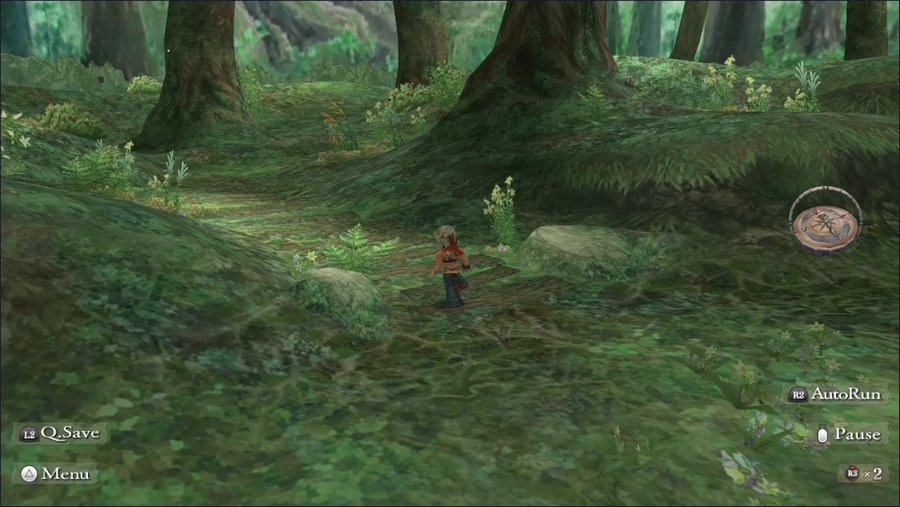 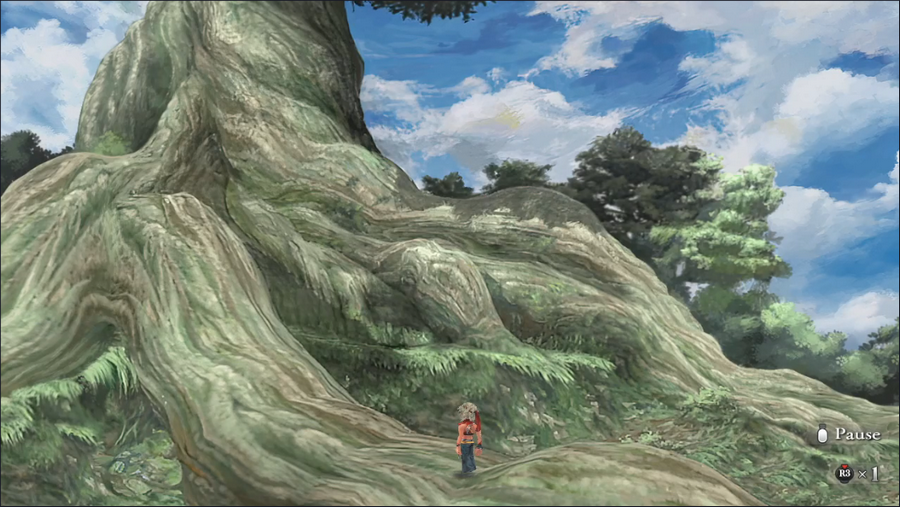 At the back of the glade is a path leading to the base of a massive tree. 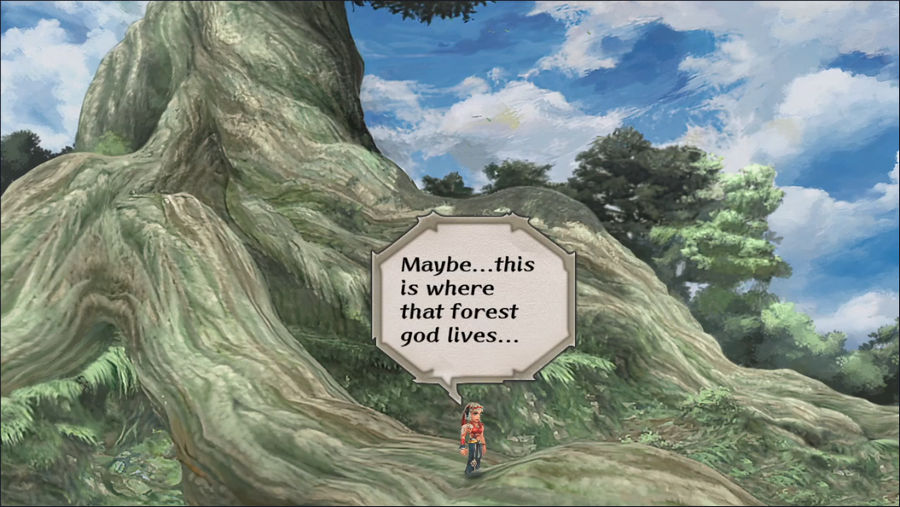  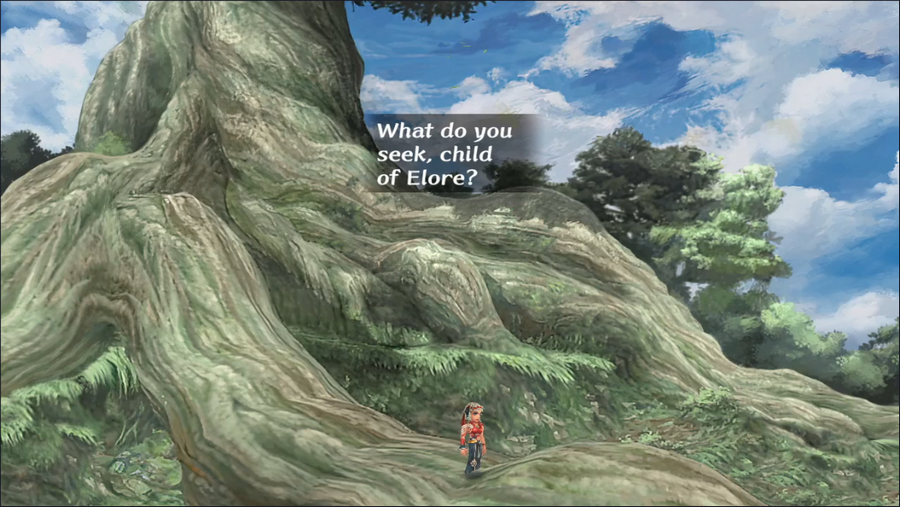 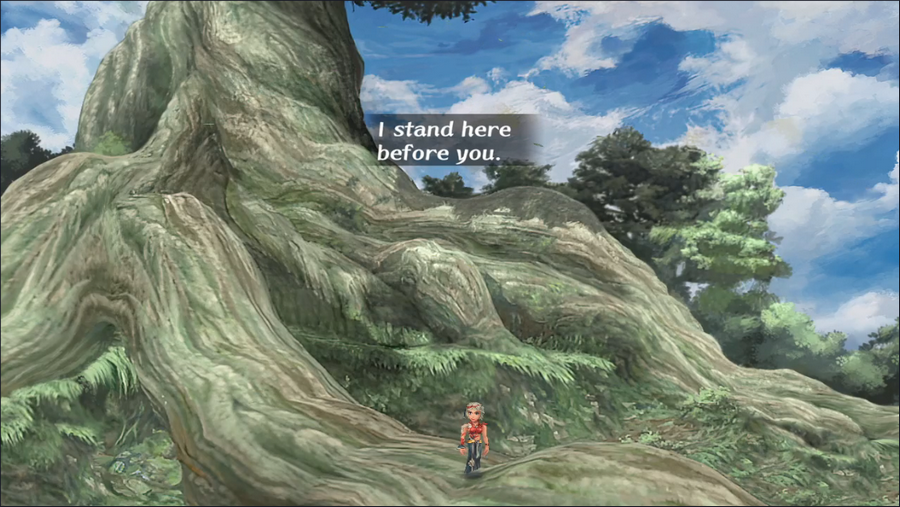 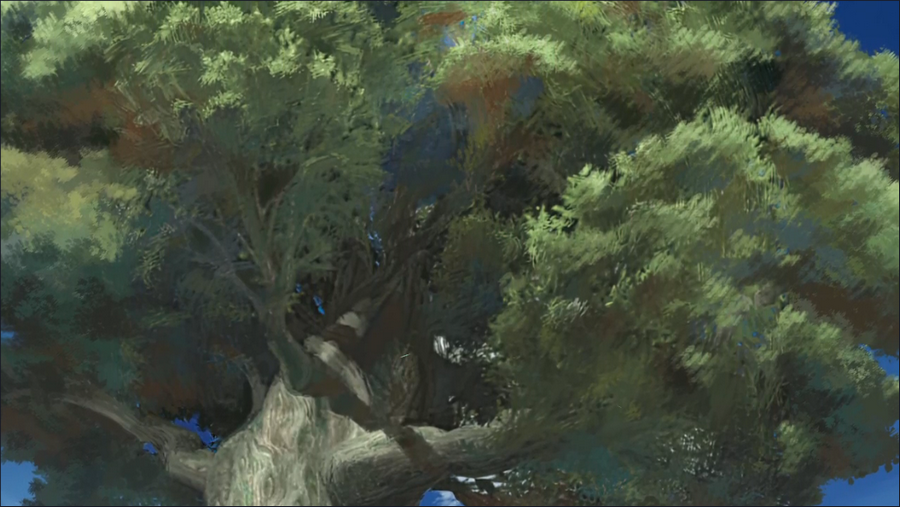 It seems that this tree can talk, and what's more, it seems to be implying that it is, in fact, Cyril himself. 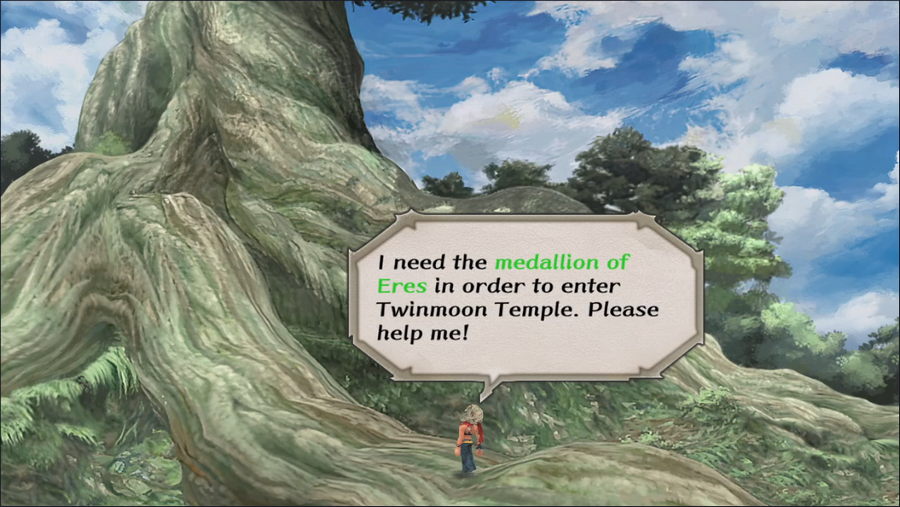 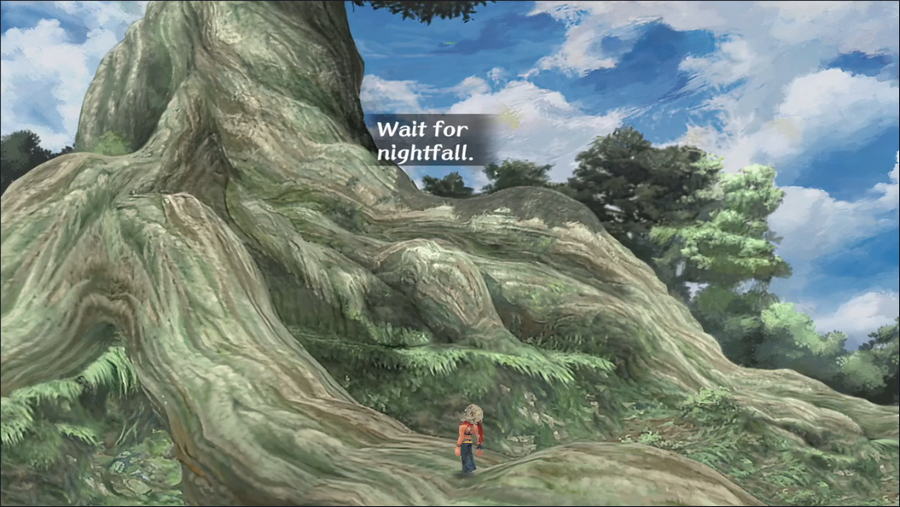 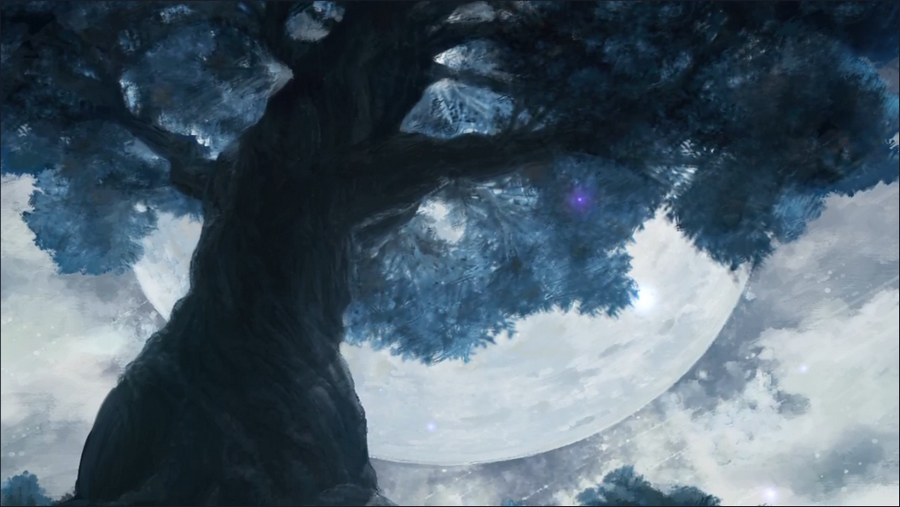 We follow the god's instructions, staying where we are until the enormous moon is out. This is one of those times when the game's art really shines. 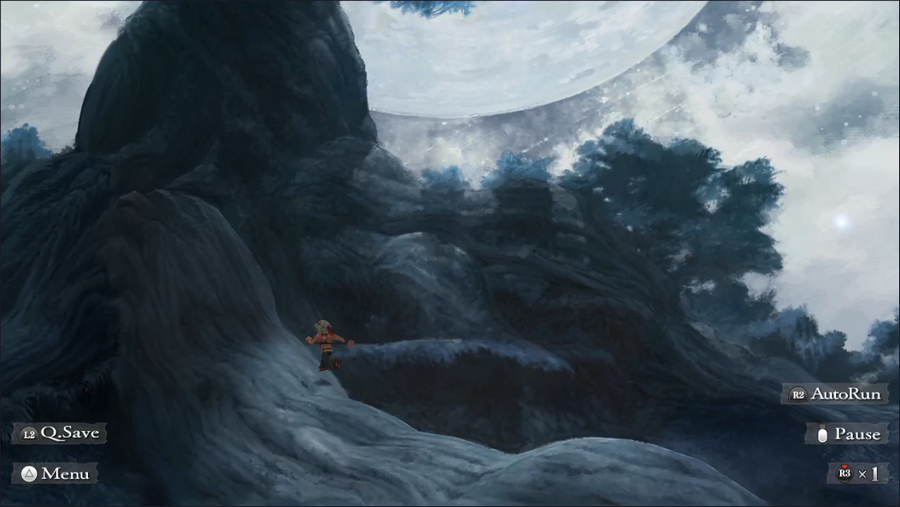 We head up the root to the base of the trunk.  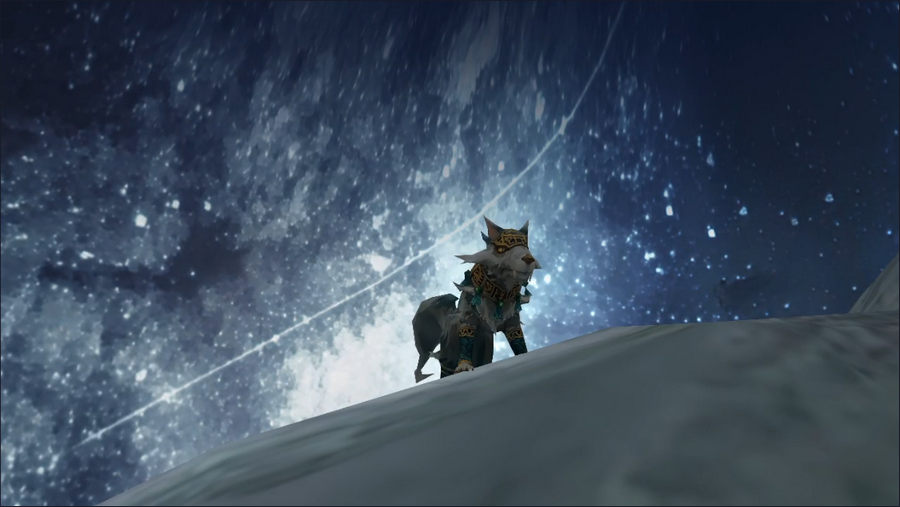 Barbara hears a noise, and looks up to see a wolf perched on one of the roots. Since we've played Claudia's intro, we know this is Sylvan. 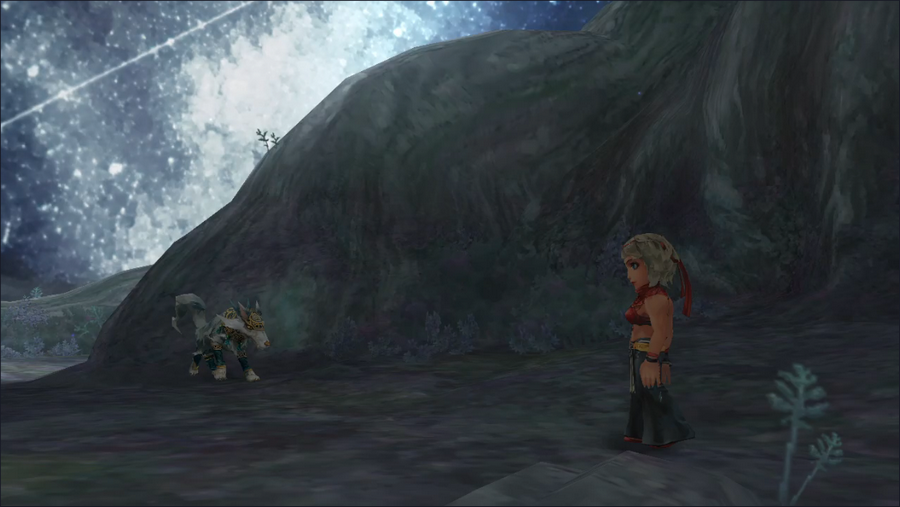 She leaps down and approaches. 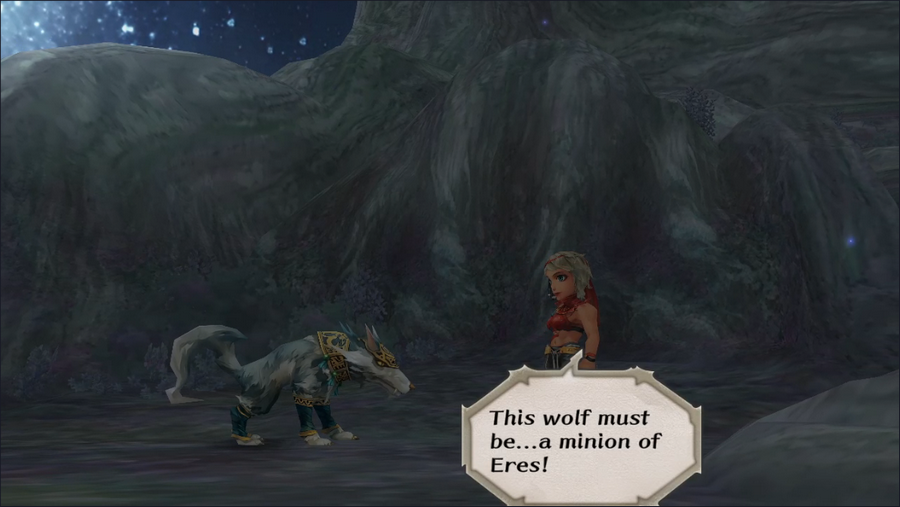 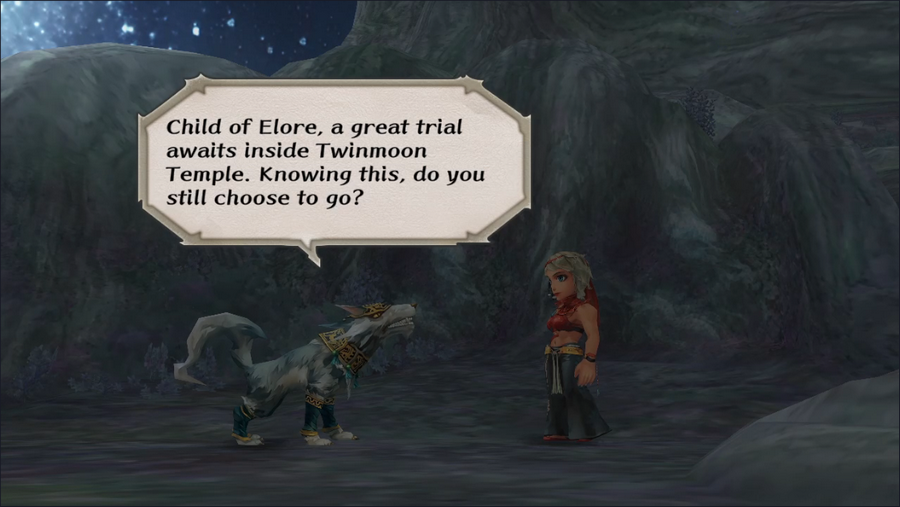 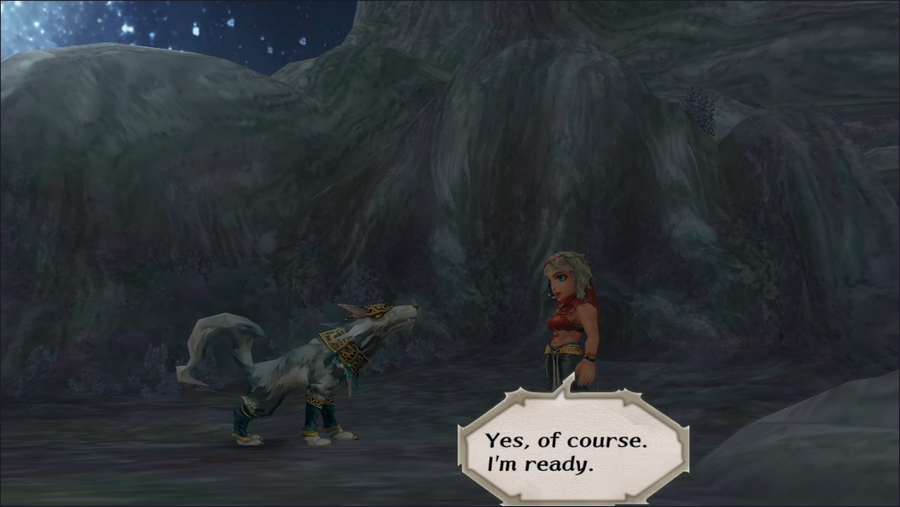 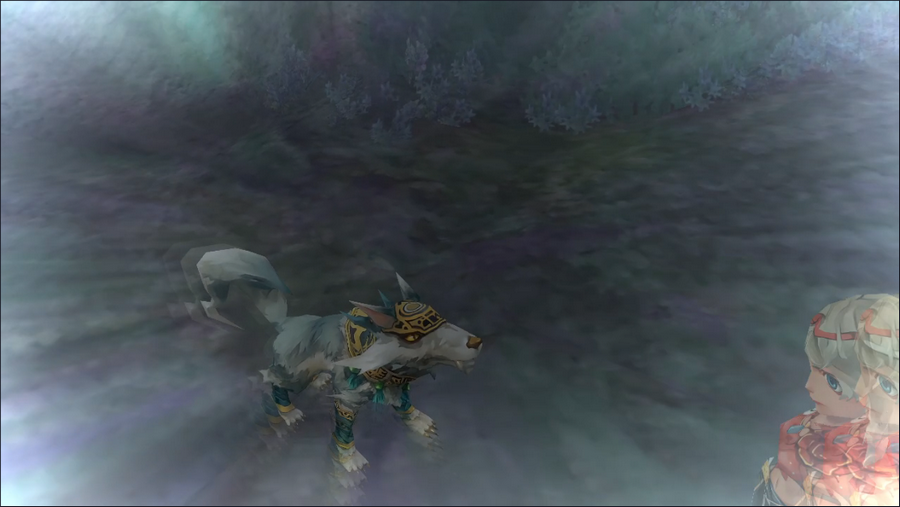 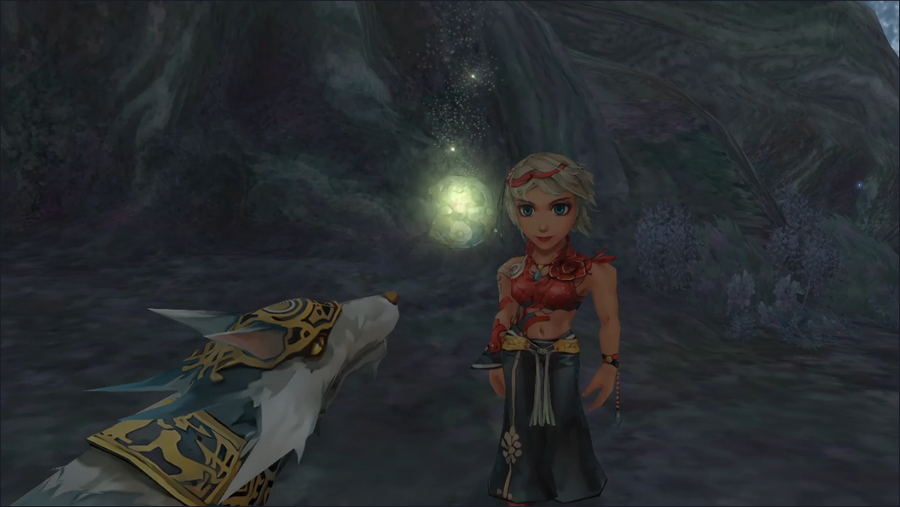 The wolf seems satisfied with Barbara's answer, as she summons the medallion we require. 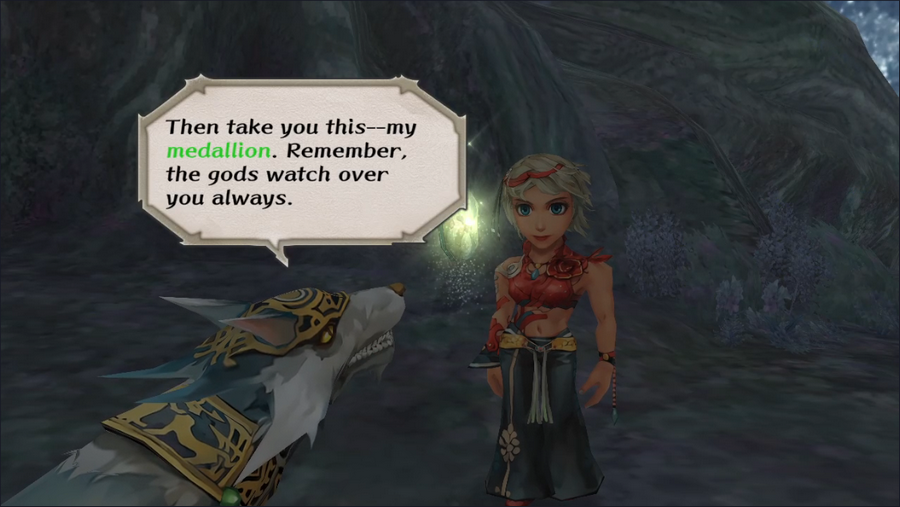 Now this... this is a very significant line. "My medallion" implies that Sylvan isn't simply a minion of Eres, but instead is Eres herself. 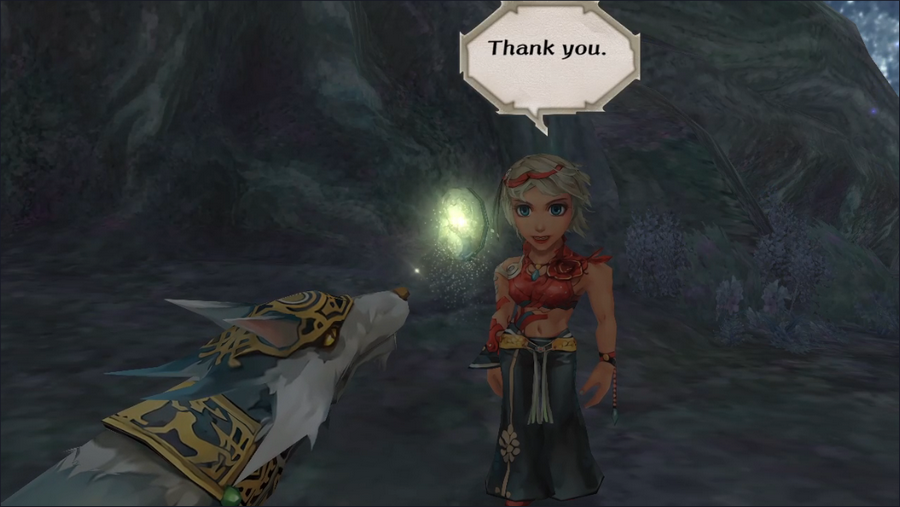    Barbara doesn't seem to notice the implication, however. She simply takes the medallion, thanks the wolf, and departs.  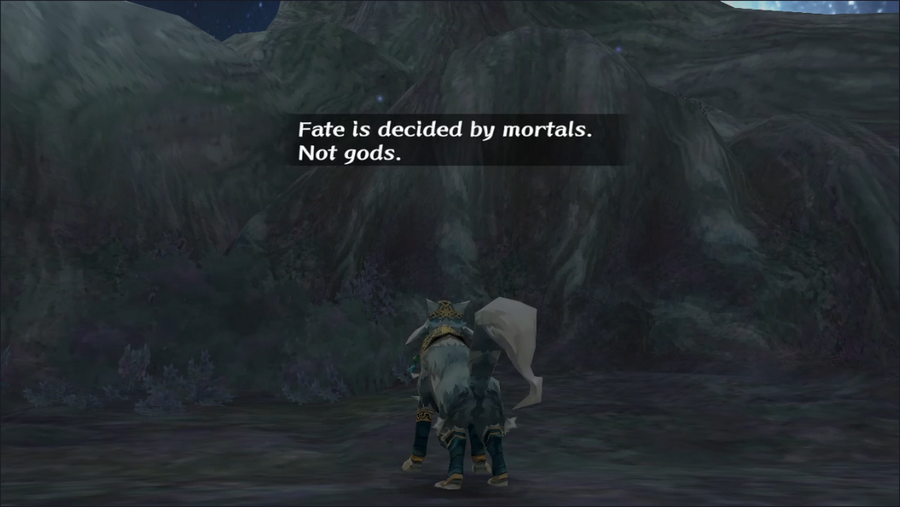 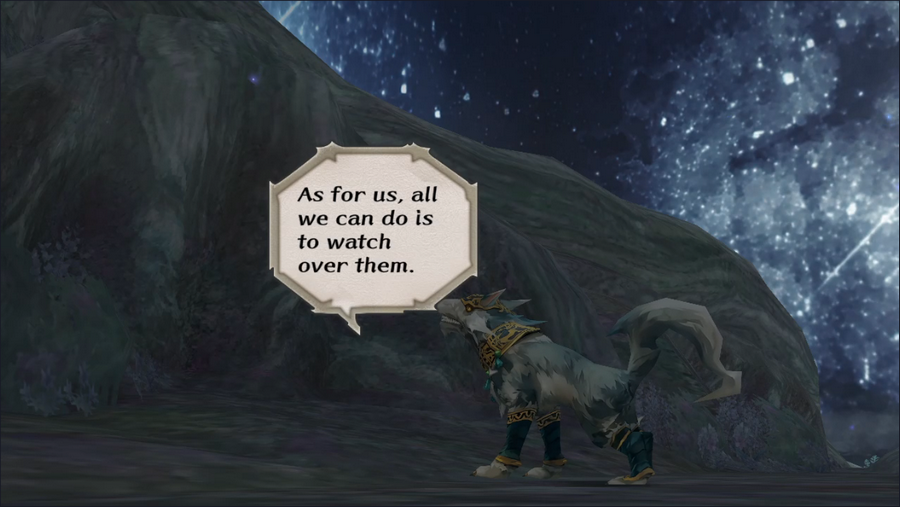 In case you were in doubt, this line more or less confirms it. She must really be holding back when fighting by Claudia's side. 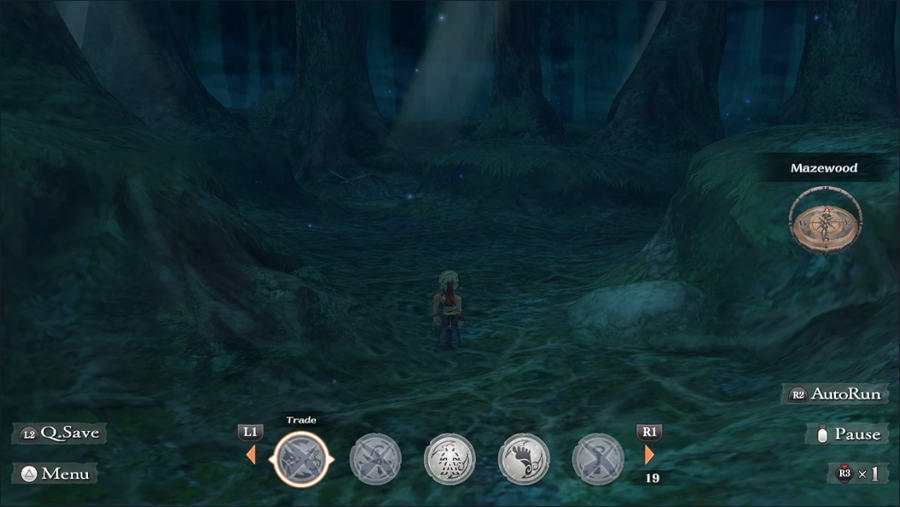 In any case, we're sent back to the entrance of the forest. It's night now, but we have no further business here. 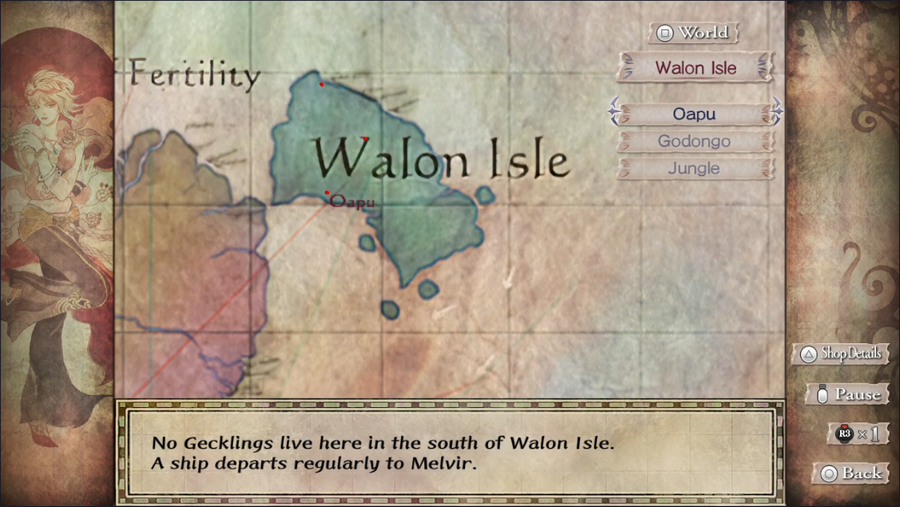 With both medallions in our possession, we're off to Walon Isle. 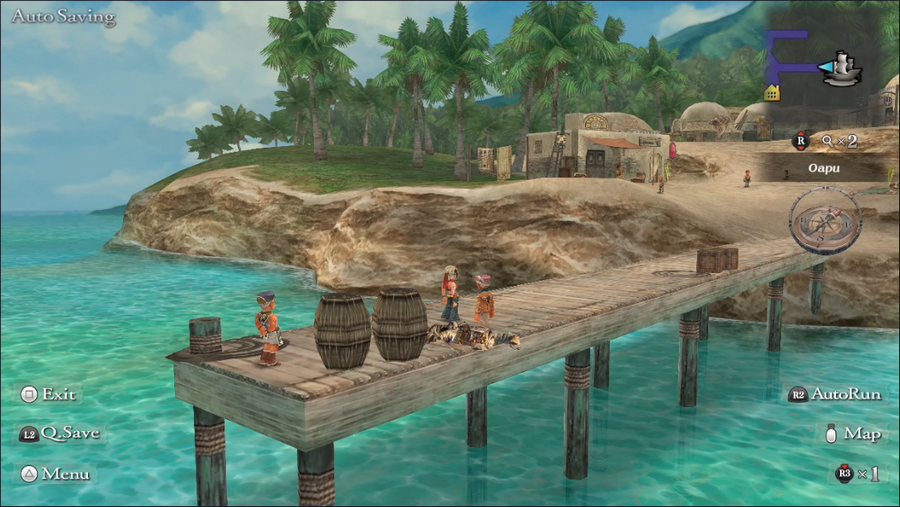 The tomb raider has made his way all the way here, mummy still in tow. Maybe we ought to check in with him at some point - when we're less busy. 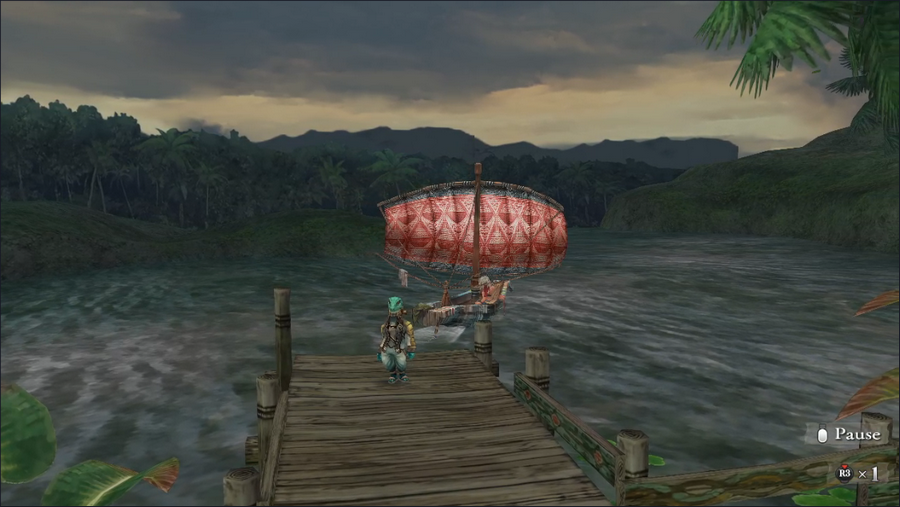 We head off into the jungle once more. 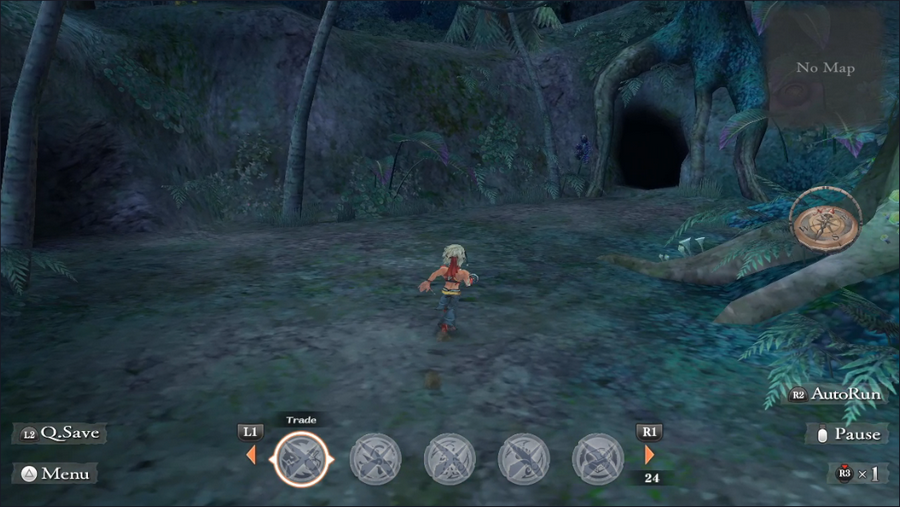 Our path takes us through this cave at the northeast part of the jungle entrance. 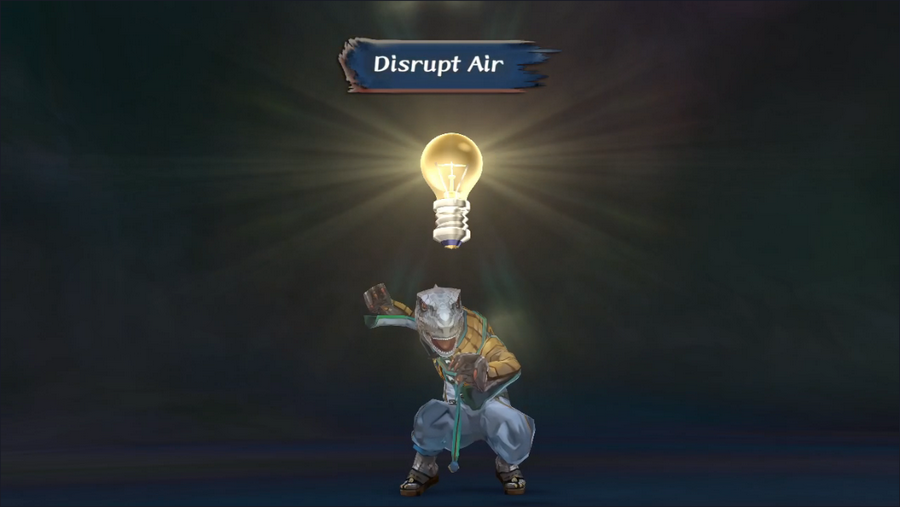 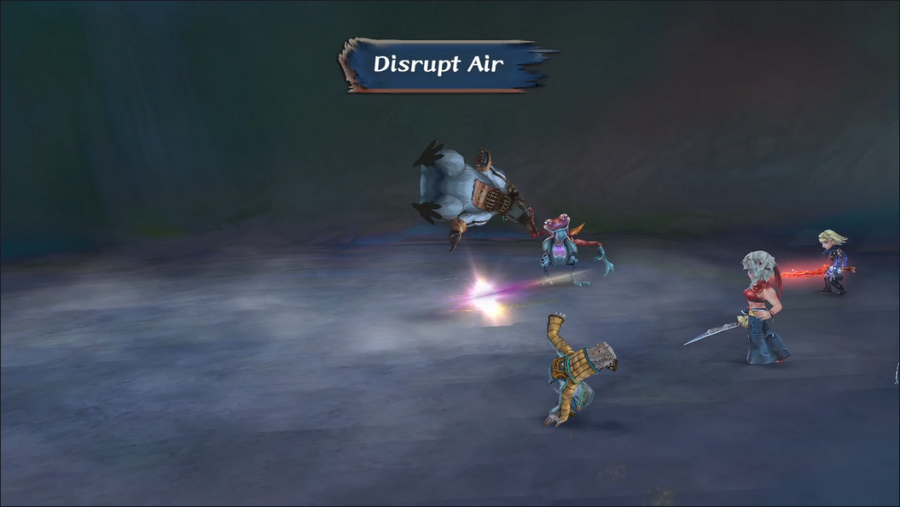 The trip through the cave is short, but we do get a Glimmer for Guella Ha. Disrupt Air does a small amount of damage and has a chance to inflict Stun. It's not too useful, though I do get some mileage out of it in this update.  In the clearing on the other side, we come upon a pair of pillars.   Barbara runs past them, apparently winded from her trip, but she sees something of interest. 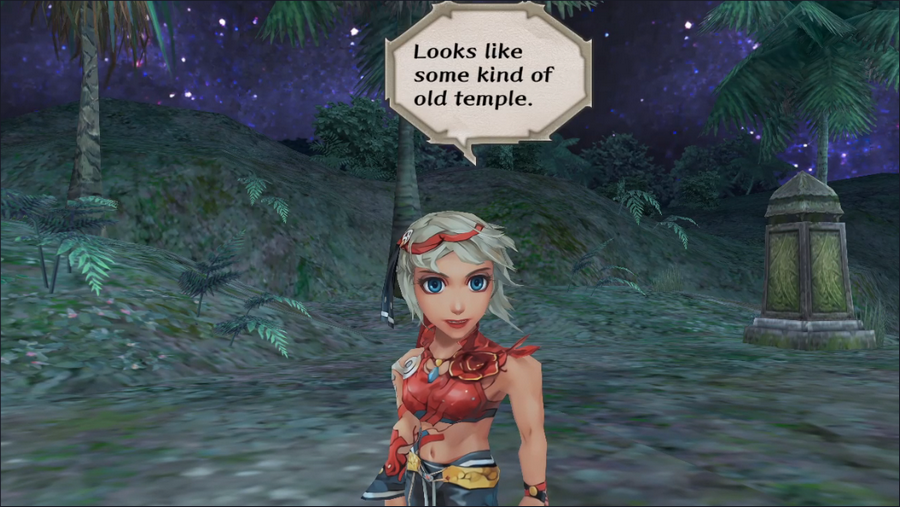 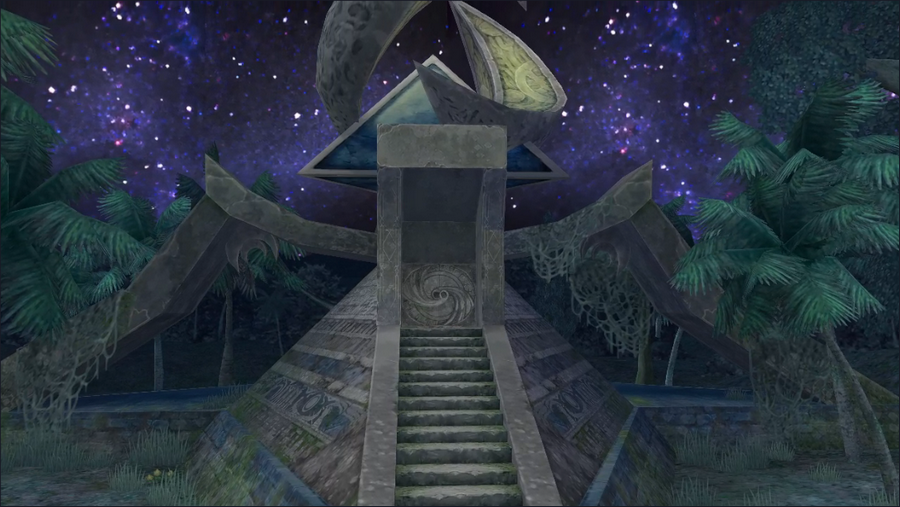 Yeah, this looks like Twinmoon Temple. 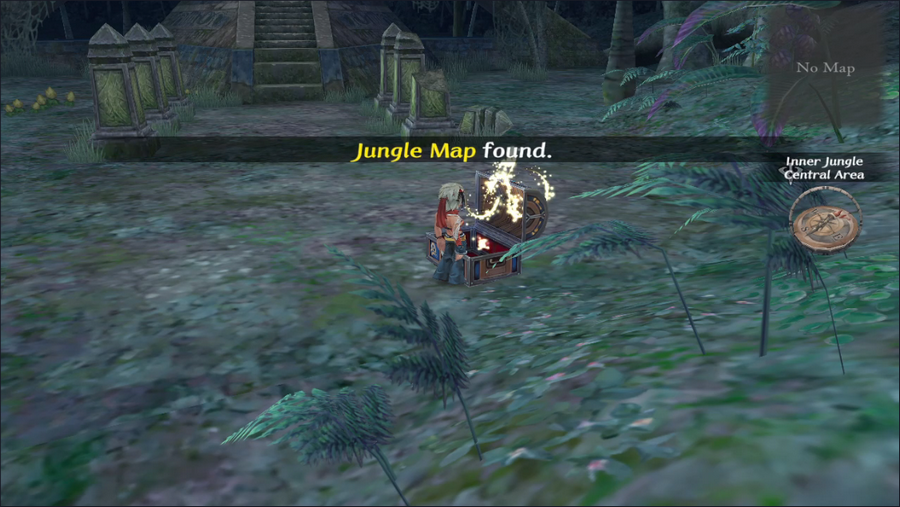 (There's also a chest here with the area map, which is nice.) 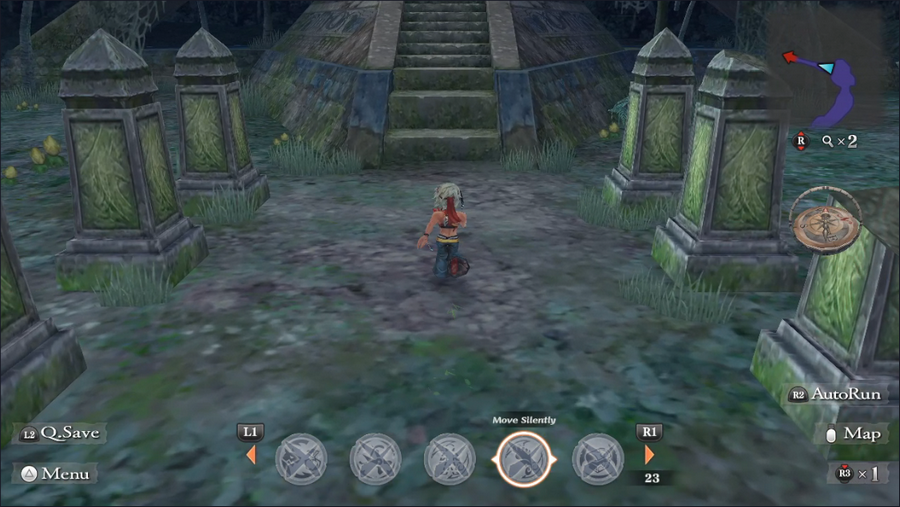 We approach the temple, but getting in isn't quite that easy... Boss Battle: Scorn https://www.youtube.com/watch?v=NvCiP8s5haY I recommend at least watching the start of the video - Scorn knows how to make an entrance. Music Highlight: Passionate Rhythm/Ardent Rhythm The minions' battle theme is another strong contender for best song in the game and my personal favorite. Just listen to it. 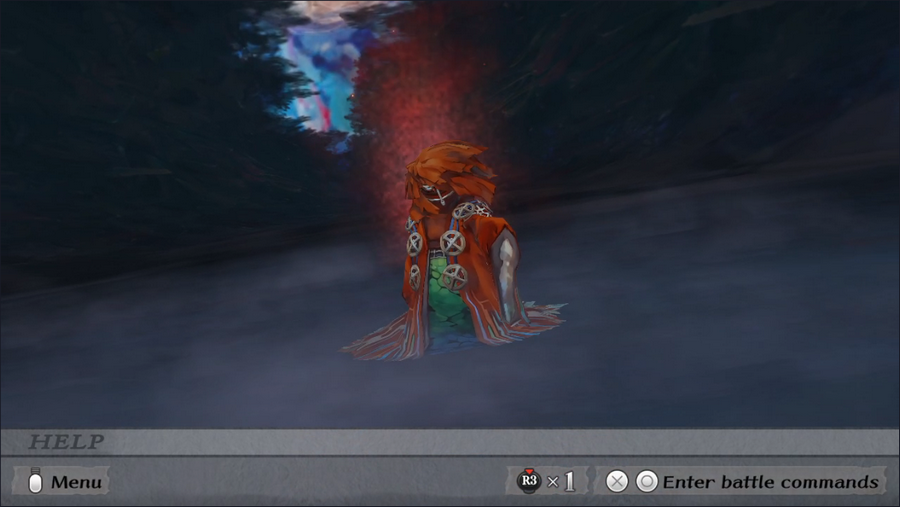 Apart from the Silver Dragon, I believe Scorn is our first proper boss (as opposed to a collection of regular enemies). His appearance is rather modest, but don't be fooled: he's a tough opponent who hits quite hard. For those interested, he's voiced by Quinton Flynn, best known as the voice of Raiden in Metal Gear Solid. 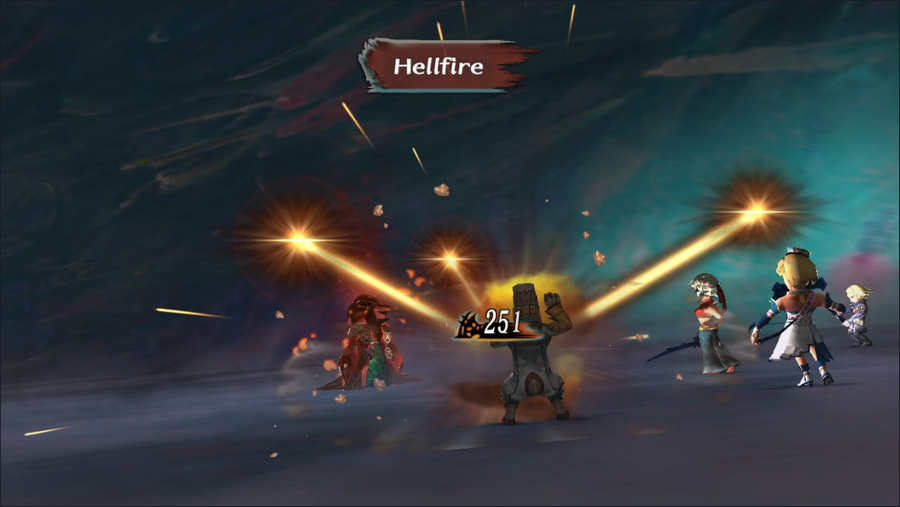 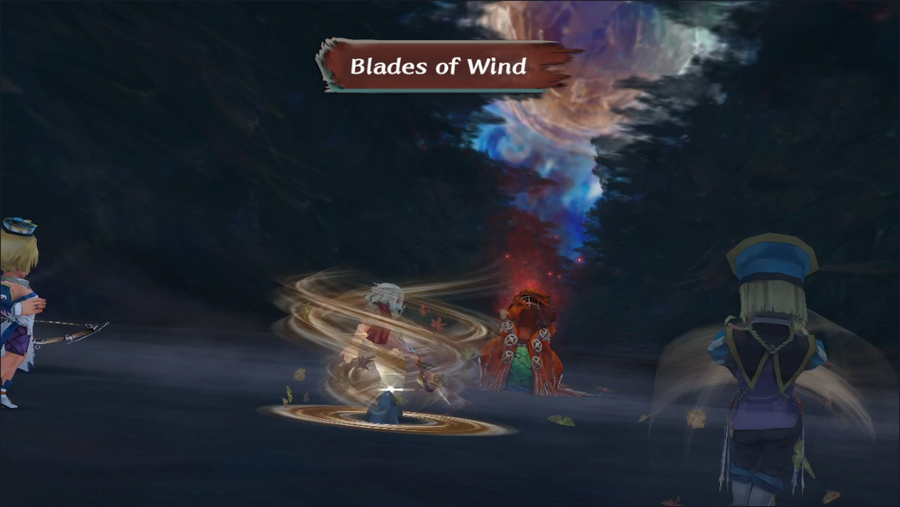 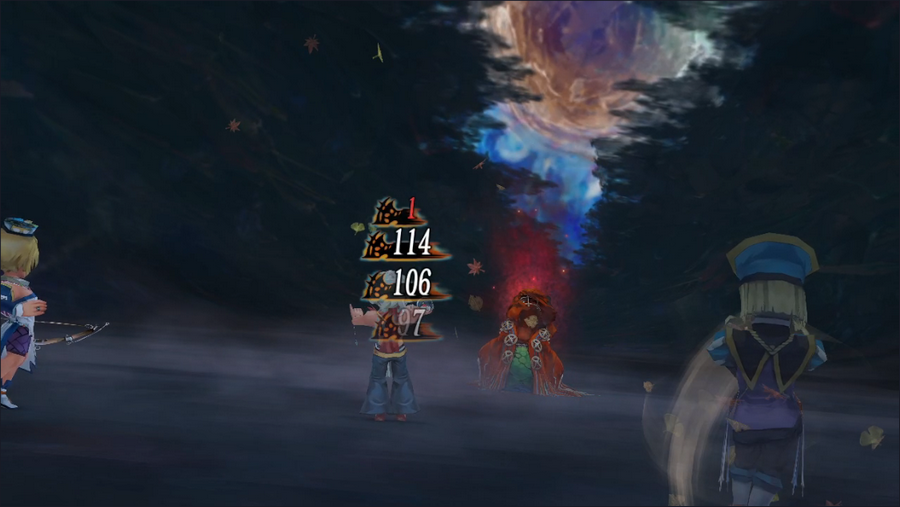 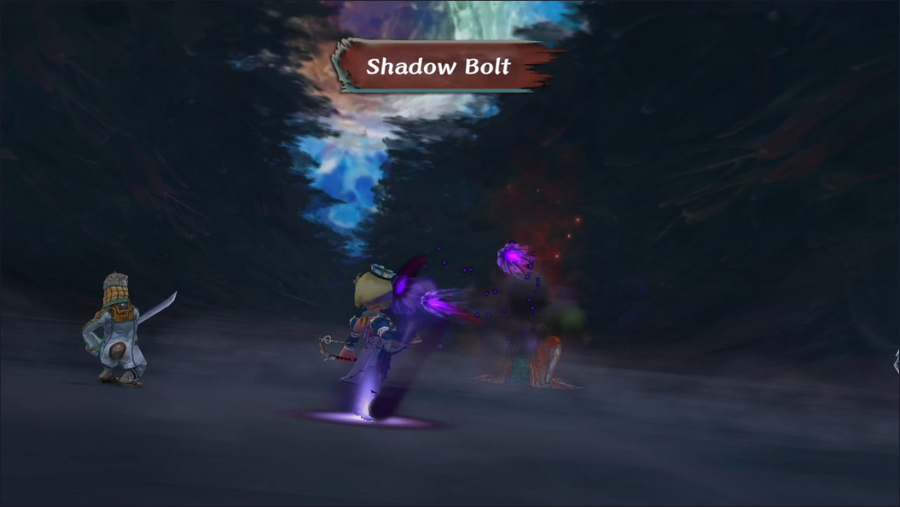 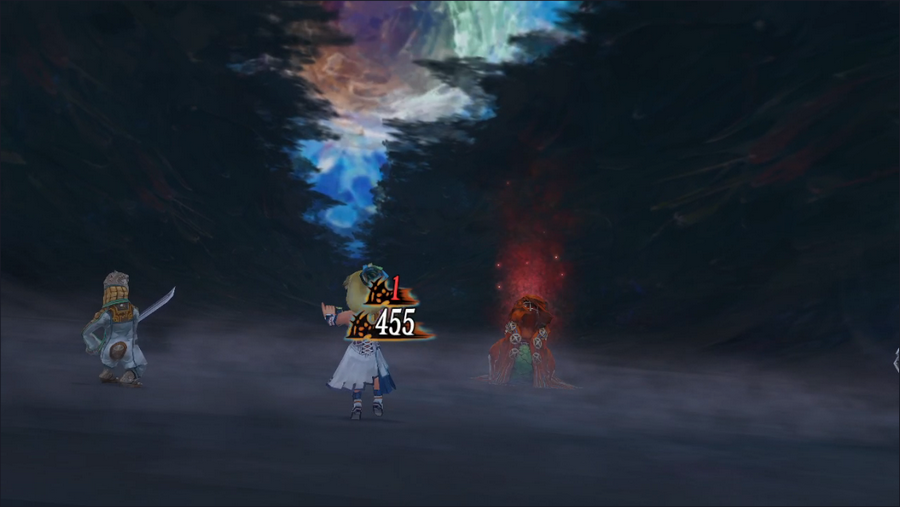 Scorn eschews all physical attacks to focus exclusively on spellcasting. He can cast Hellfire, Blades of Wind, and their Sorcery equivalent Shadow Bolt. All of them do enough damage to one-shot any of our party members, and he'll sometimes cast two spells per round. Having the right Fatestones equipped can negate these spells for a character, but unfortunately we lack all of them. 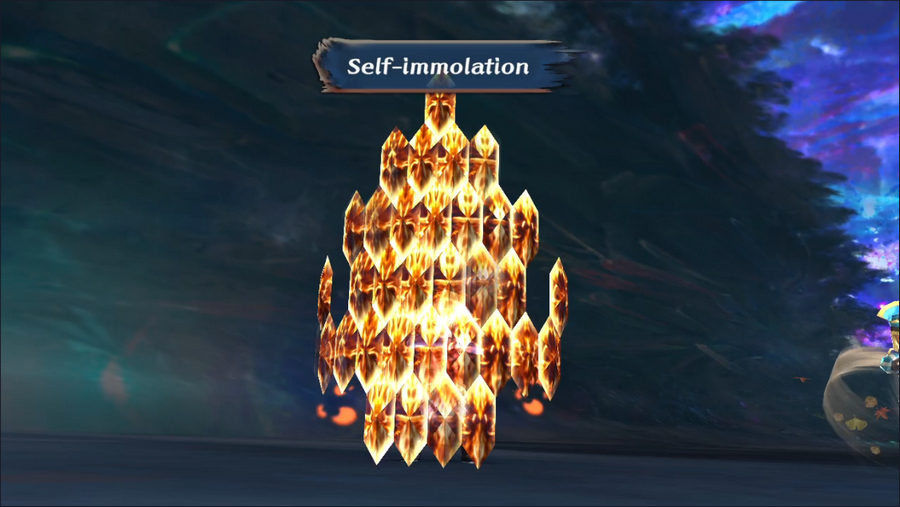 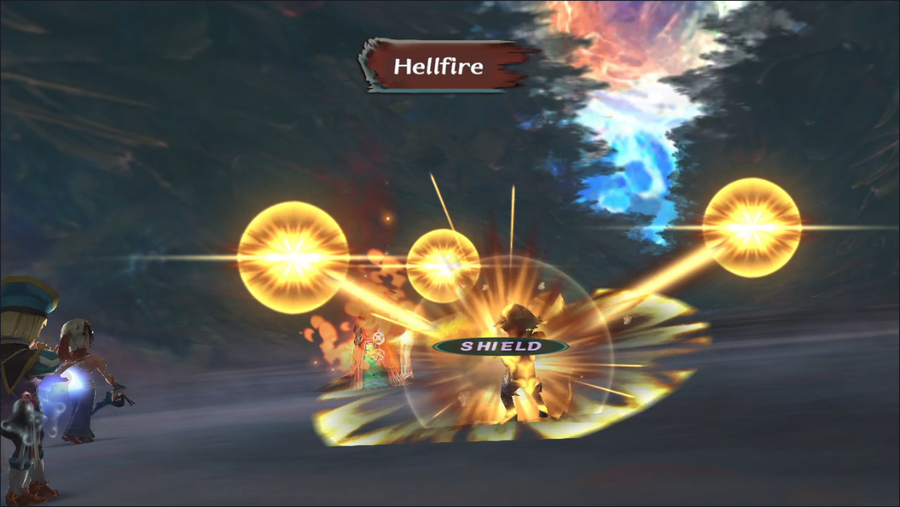 Self-Immolation, at least, can prevent Hellfire's damage.   Scorn can also cast Enhance Spells to boost his Intelligence, but since he's already one-shotting us, this is a waste of a turn for him. We got incredibly lucky in this fight, as he used it way more than he normally does.  Apart from using Self-Immolation and praying for Scorn to waste his turns, our strategy here basically just amounts to hitting him as hard as possible while Patrick heals the wounded. The fight is ugly, but with persistence and luck, we're able to take him out without too much LP loss.  If Scorn does win the fight, it's not a game over, but he takes the medallions, locking us out of the temple and causing us to fail the quest, so a reload would have been in order. 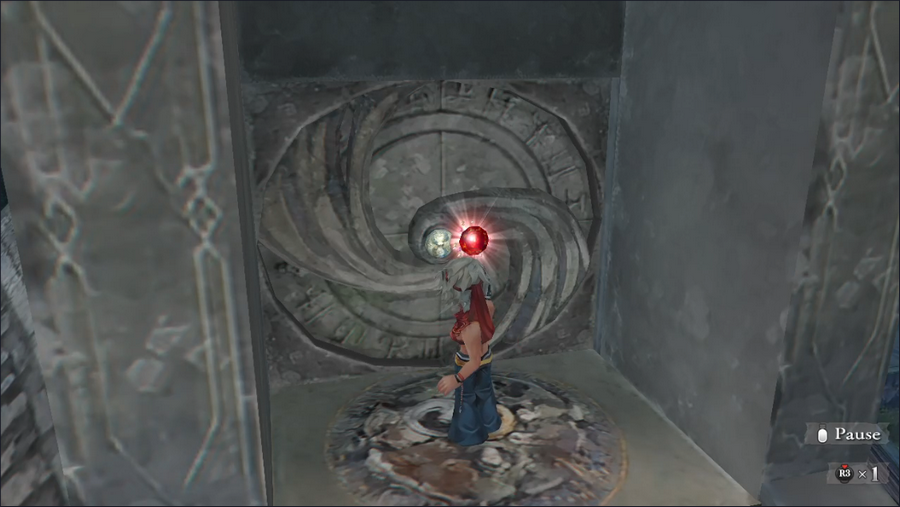 Since we won, we can insert the medallions into the obvious slots on the door... 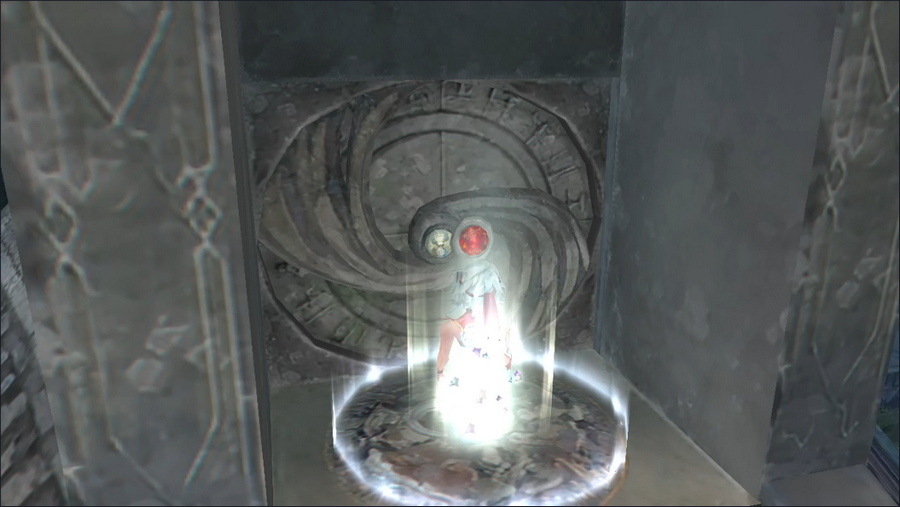 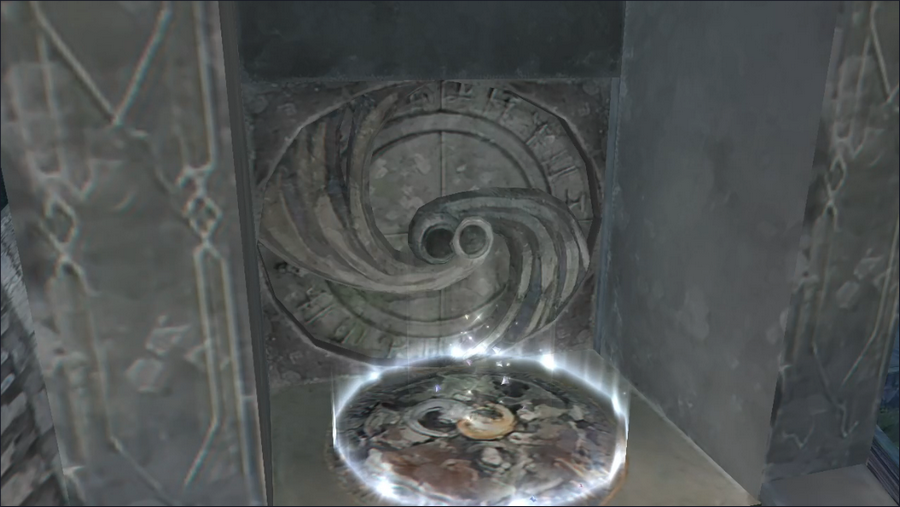 ...at which point, rather than opening the door, they teleport us inside. 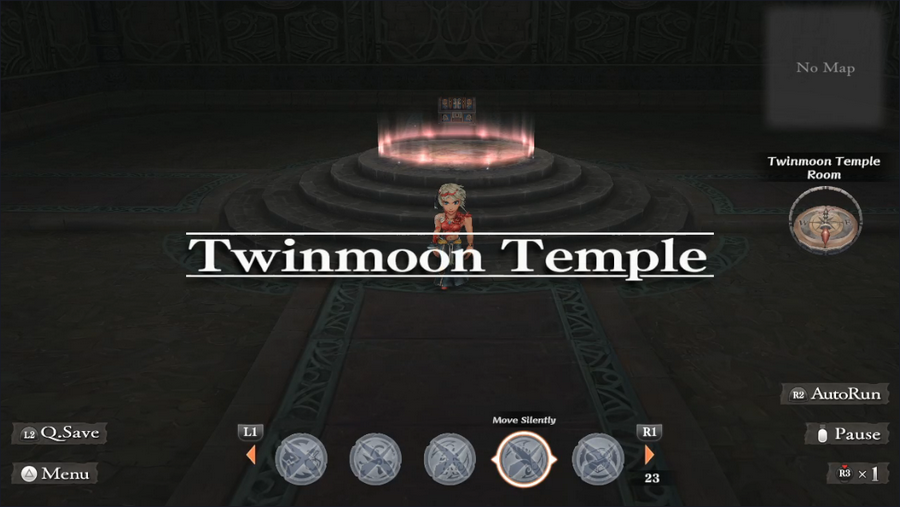 This quest has only just begun. Welcome to Twinmoon Temple.  Immediately behind the exit teleporter is the dungeon map, though it's not an especially important find.  After heading south through the door, we find ourselves atop a platform.  As we move forward onto a brown tile, it lowers into a set of similar tiles, forming a small room full of monsters.  Although the map shows two other exits, there doesn't seem to be any way to reach them.  However, if we come in contact with one of the Unknown monsters, we get a boss battle transition.  We even get boss music for the ensuing fight, though the battle itself isn't much tougher than a standard encounter.  When we win, the Unknown fades away slowly, and the screen rumbles.   Now, when we step on one of the tiles at the edge of the room, we can activate it to ride it up like an elevator.  Of course, with multiple exits, not all of them will contain the teleporter to the next floor. But this room isn't empty.   As we enter the room, a disembodied voice offers us a challenge.  If we accept, the room is filled with monsters. Like the Unknown earlier, the game presents these as boss fights.  Winning them all causes a treasure chest to appear. 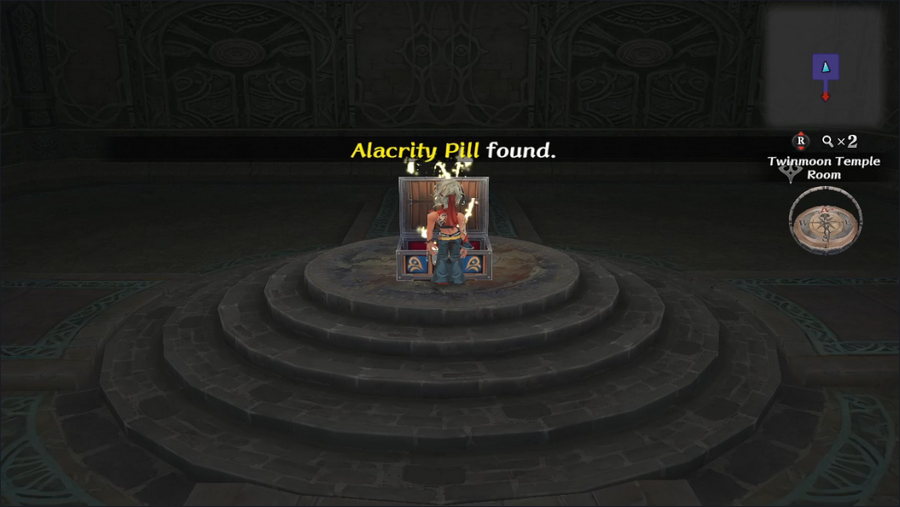 Some of the treasures, like this Alacrity Pill, are quite lackluster, but there are some unique pieces of armor to be had as well. However, these fights can be taxing on our resources, and ultimately I decided to skip most of them since I was worried about being ready for the temple's real boss. We'll be getting some armor upgrades soon anyway. 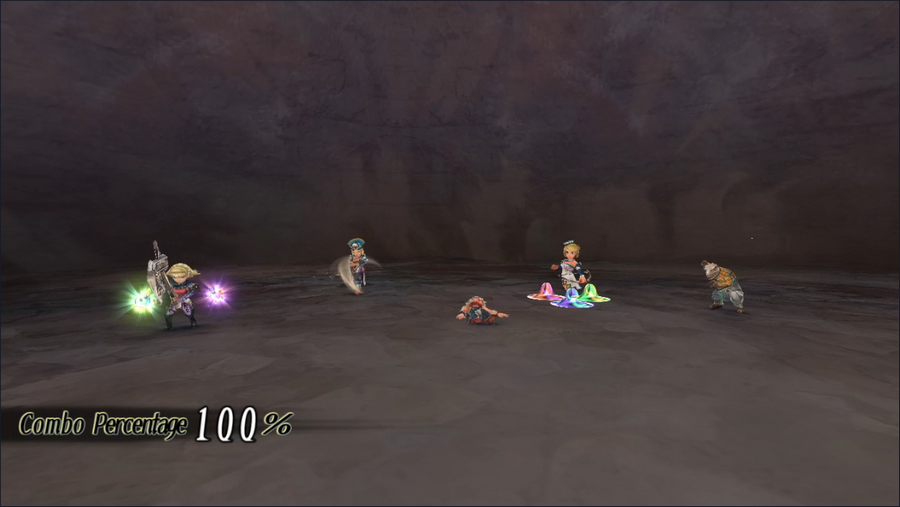 It's in one of these treasure rooms that we encounter yet another new game mechanic. 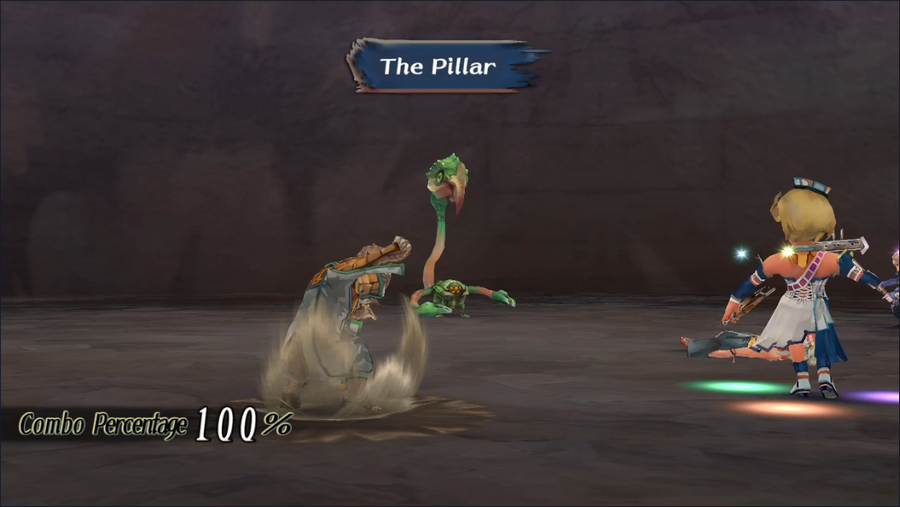 We trigger a three-person combo, but instead of the standard combo name, we just get "The Pillar". 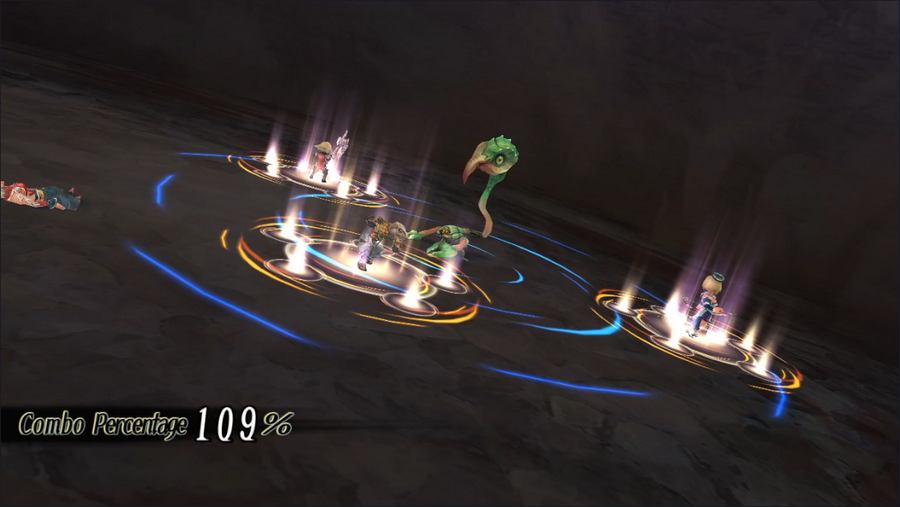 Our characters surround their target, and a strange formation appears on the floor.  A Vortex occurs when character perform a combo in specific positions and/or using specific kinds of attacks. The Pillar only triggers when all three characters use moves that don't have any forward movement. Apart from The Pillar and one other Vortex, The Scissors, most Vortexes have such stringent requirements that they're nearly impossible to trigger unless the player makes a concerted effort. A four- or five-character combo is hard enough to trigger on its own; add in the requirements of a Vortex and you can probably understand why we'll likely never see them in this LP. 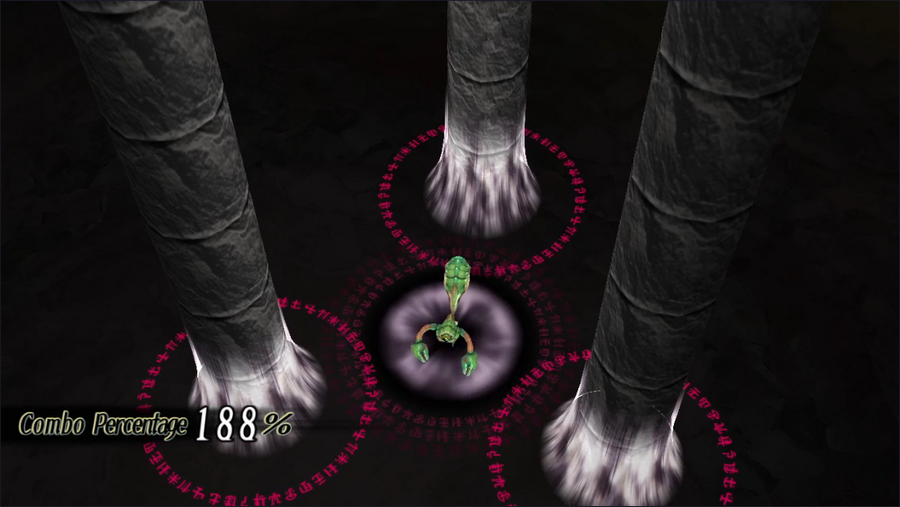 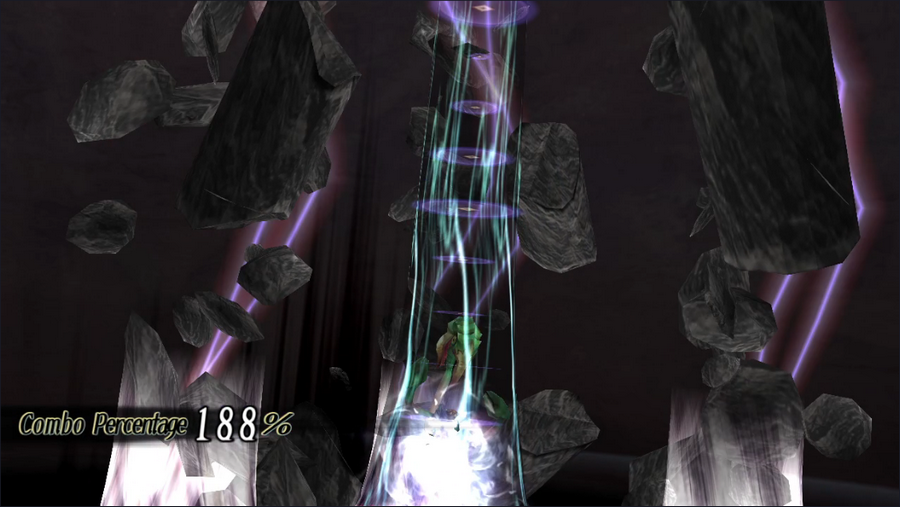 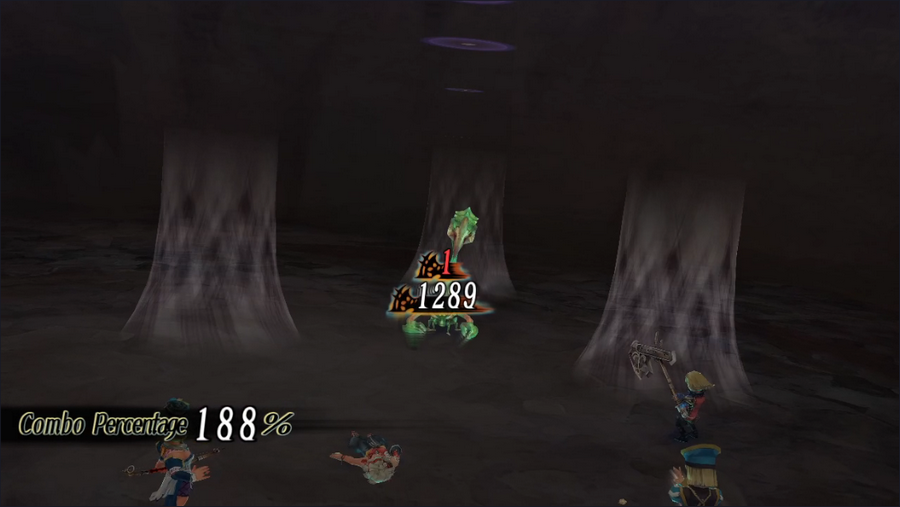 In addition to the impressive damage boost, each Vortex raises our favor with one or more gods, though only by a single point. The Pillar is favored by Saruin, Death, and Shirach.  If we head back to the main chamber and defeat the other Unknown, we unlock the other elevator tile, which leads us to the next floor.  The layout here is much more confined, making it harder to avoid enemies.  In addition, not all of the exits require us to defeat enemies, though some do.  On this floor, Insect enemies unlock the elevator tiles. A trio of manslicers is dangerous, but not deadly. 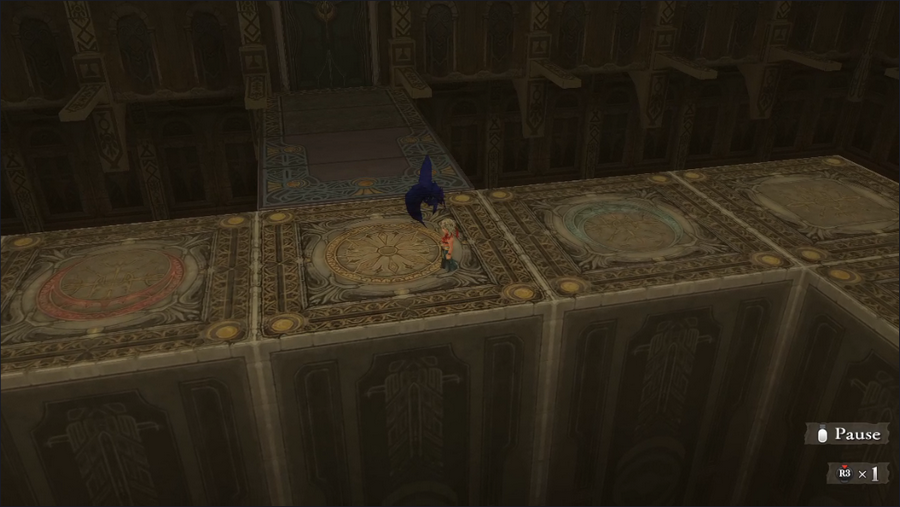 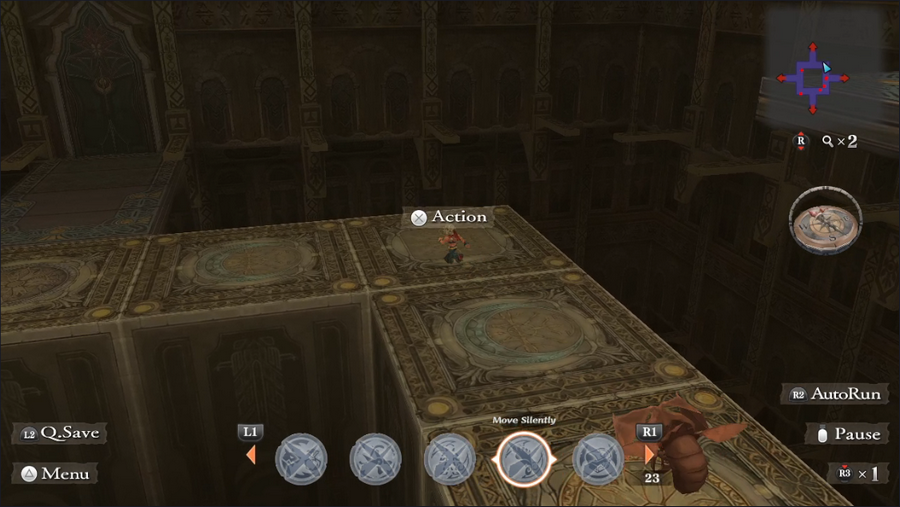 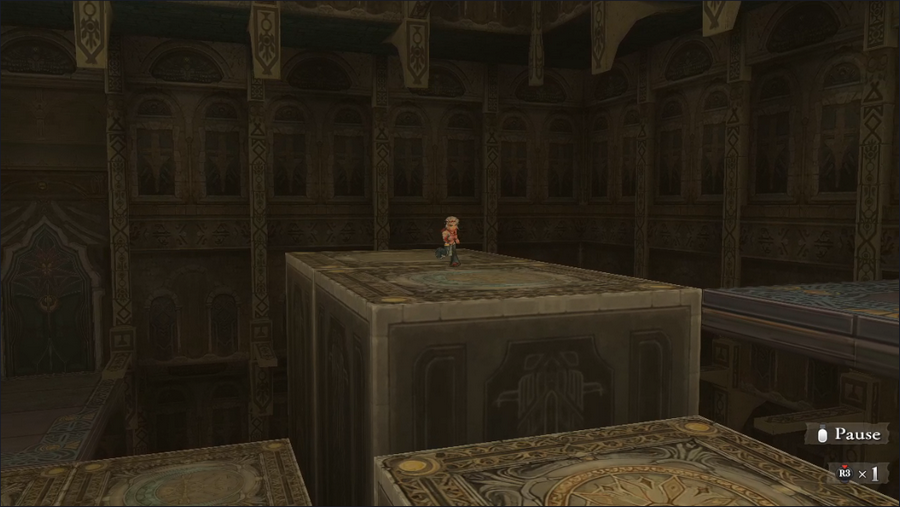 The elevator tiles aren't always next to the exit, often raising an entire series of platforms leading to an exit. This makes finding the activated tiles half the challenge, since they can be anywhere in the room.  This particular path leads us to the next floor.  This layout is similar to the last - a bit smaller, but still confined thanks to the hole in the middle.     Our battle rank seems to have gone up around this point, as we start encountering some new monsters. Ghosts have high resistance to physical attacks, but don't deal much damage. They're a bit of a pain to kill but ultimately not very dangerous. Peas like to open fights with Grind, which deals no damage but hits the party with Shock. They're mostly dangerous when teamed up with other monsters. Mountain Men are Beastmen that don't do anything special, but they hit hard and have a lot of HP. And Aqua Drakes are powerful Aquatic monsters that can hit for a lot of damage; I believe they're actually above our current BR as they were only encountered in the fake boss fights.  It's a good thing too, as their Aqua Ball attack can one-shot our characters. 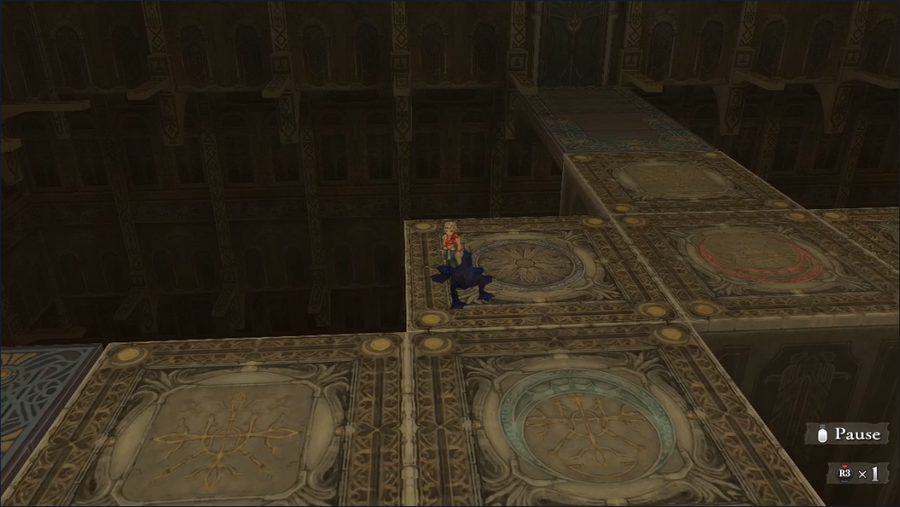 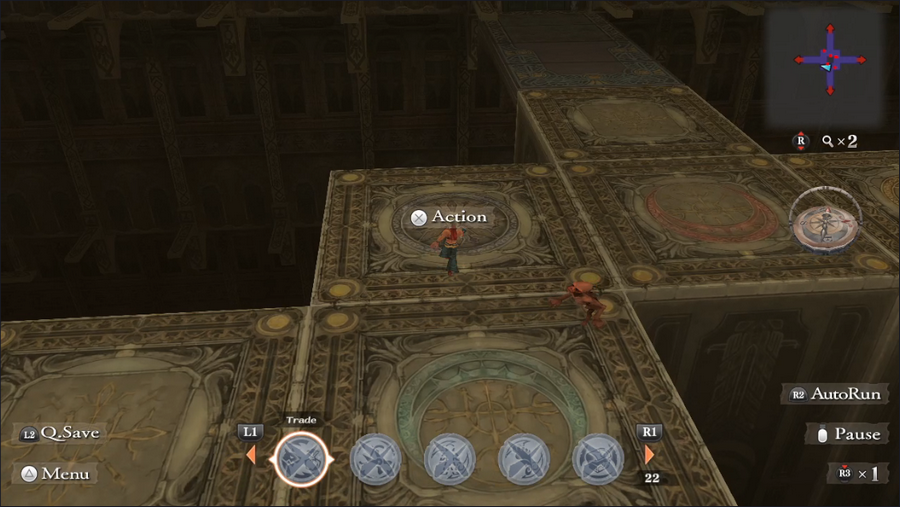 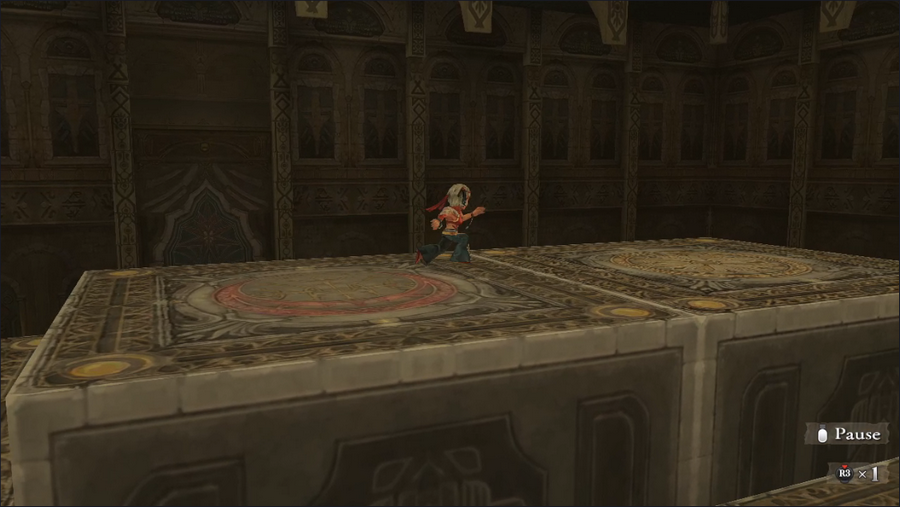 On this floor, killing Reptiles unlcoks the elevator tiles. 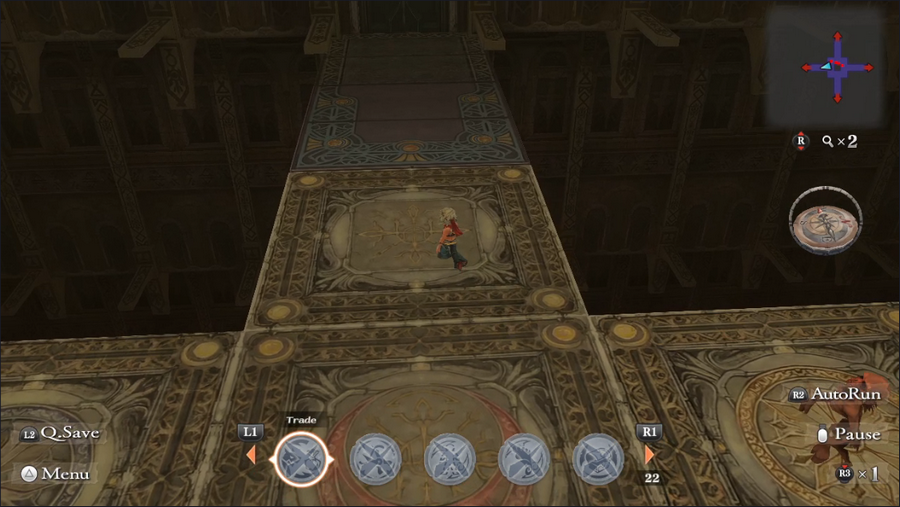 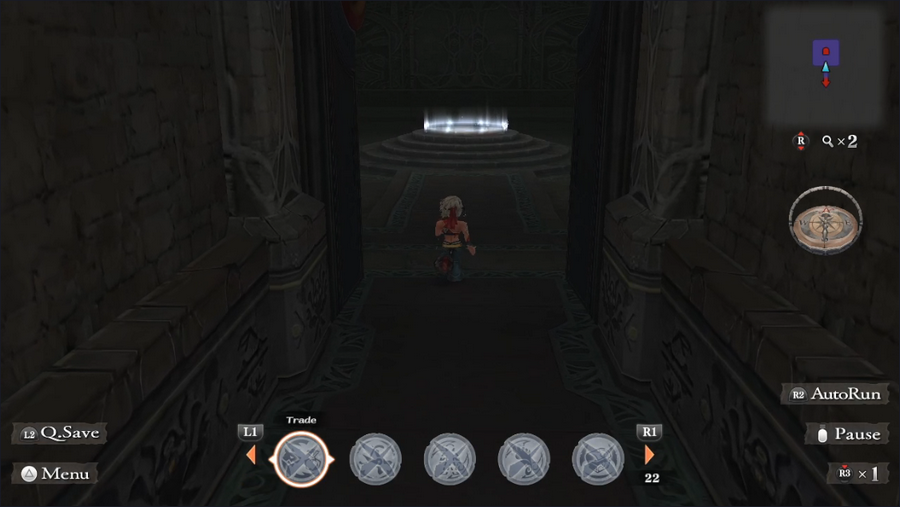 However, it's actually a trick, as the exit is at ground level. 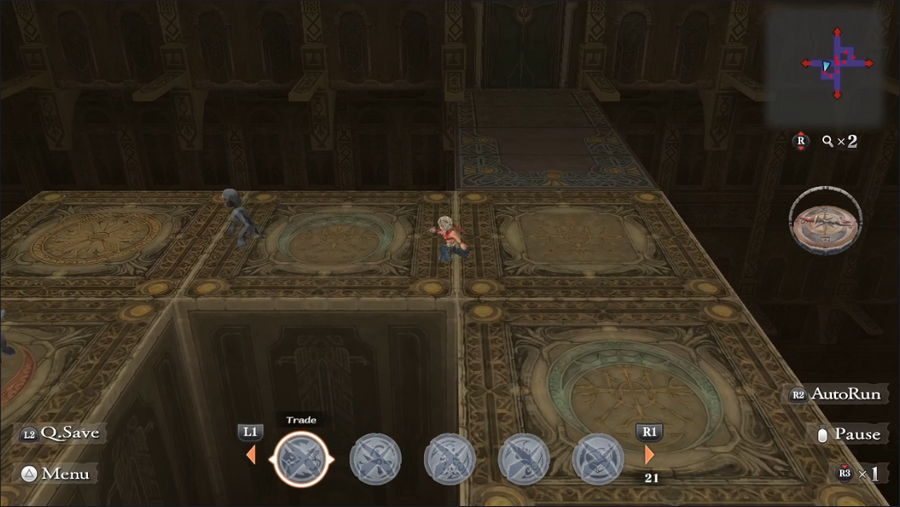 The next floor is another confined space set up in a figure-8 pattern. 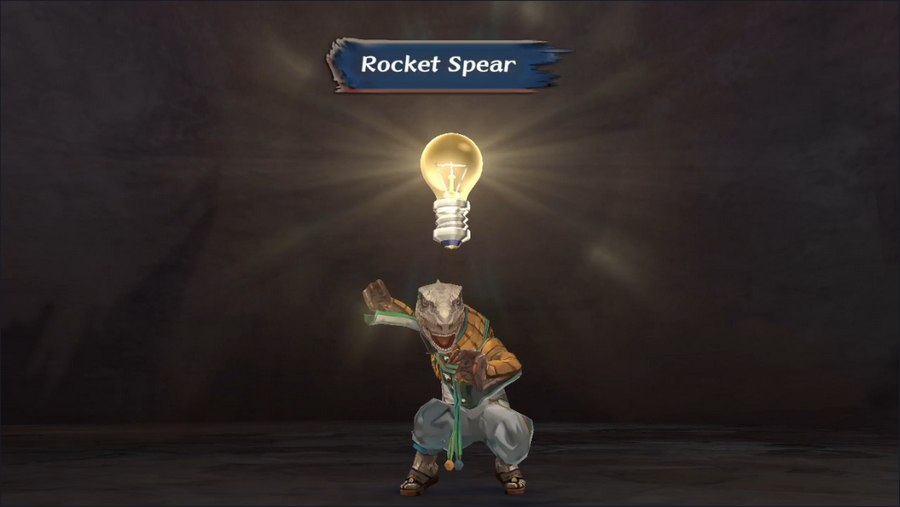 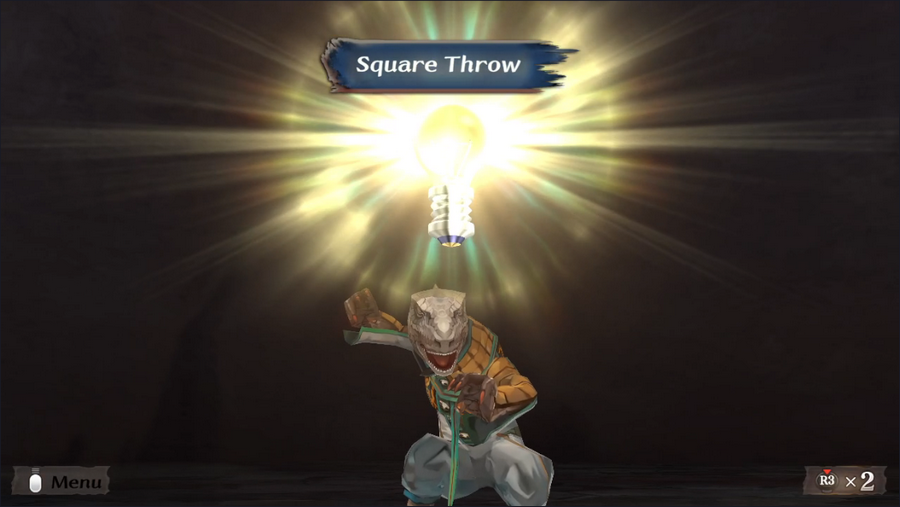    This floor gets us a few new Glimmers. We've seen Rocket Spear and Impact Slash, but Guella Ha also learns Square Throw, which does decent damage and can lower an enemy's Strength.  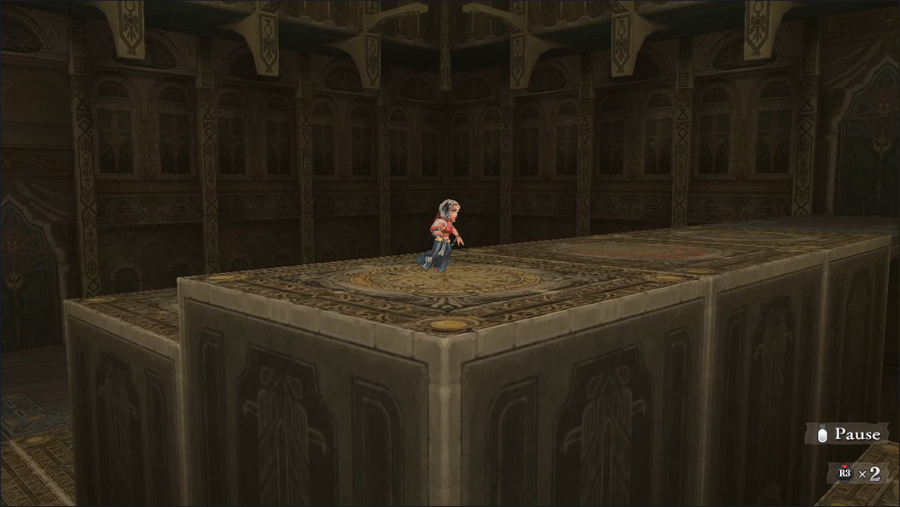 Killing Undead raises the elevator tiles on this floor. 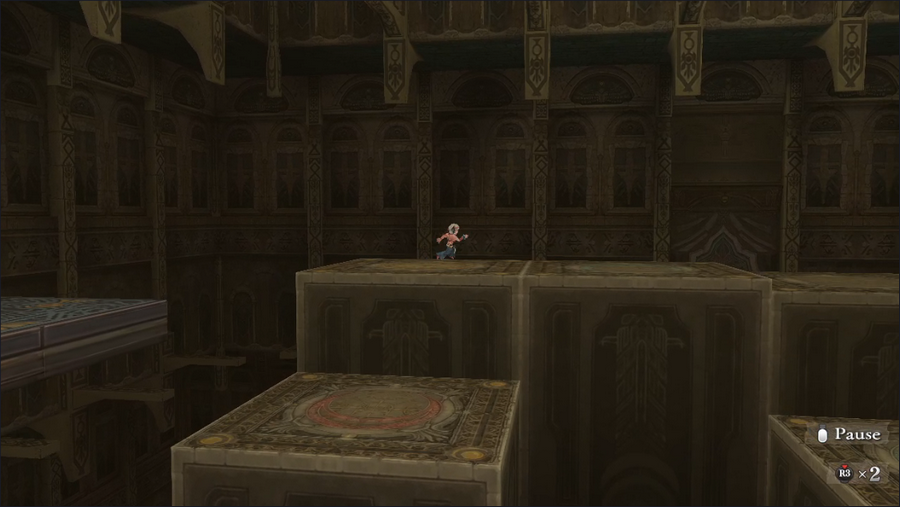   The path leading to the exit is a full square, which is a little silly. 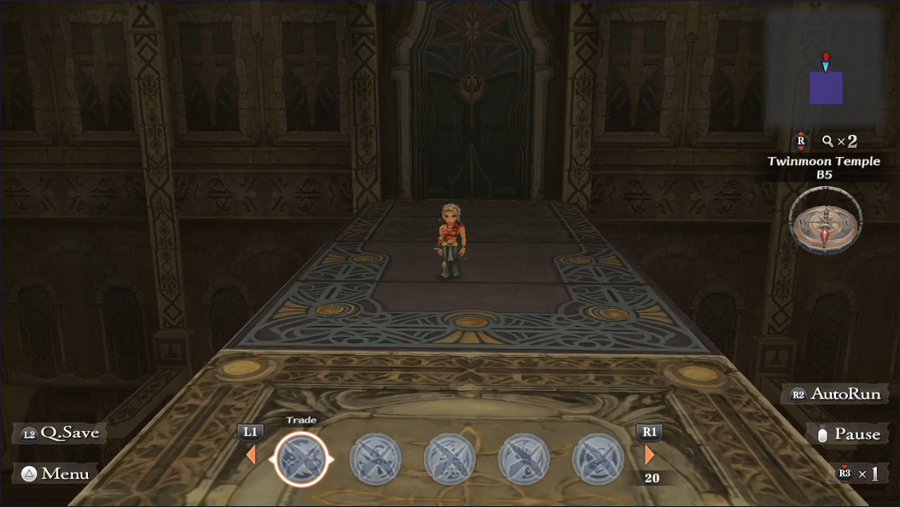 According to the map, the next floor has no exit. 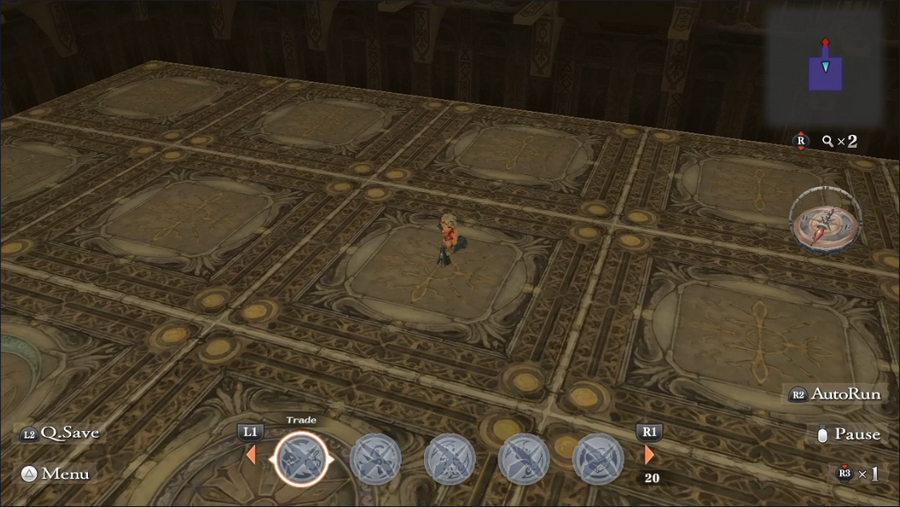 The large chamber is devoid of monsters and obvious exits, but anyone who makes it this far should know what to do. 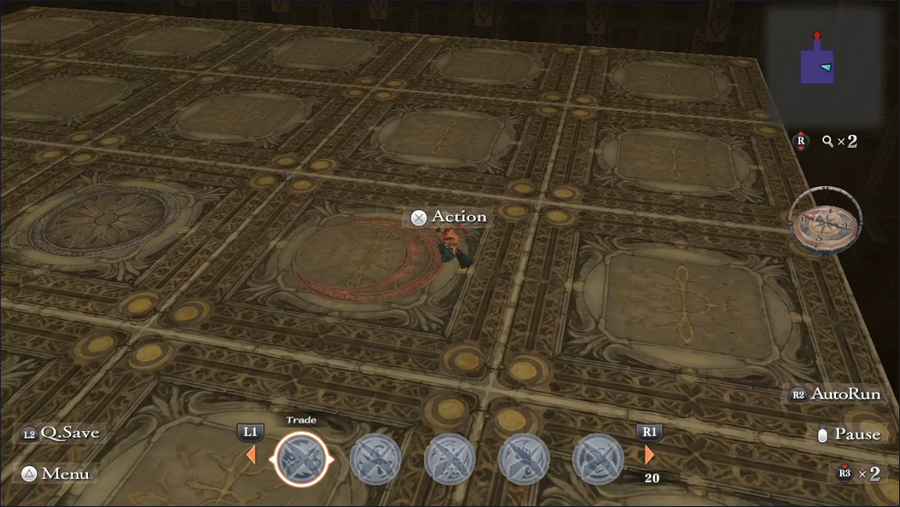  Activating this red moon tile takes us down to the next floor.  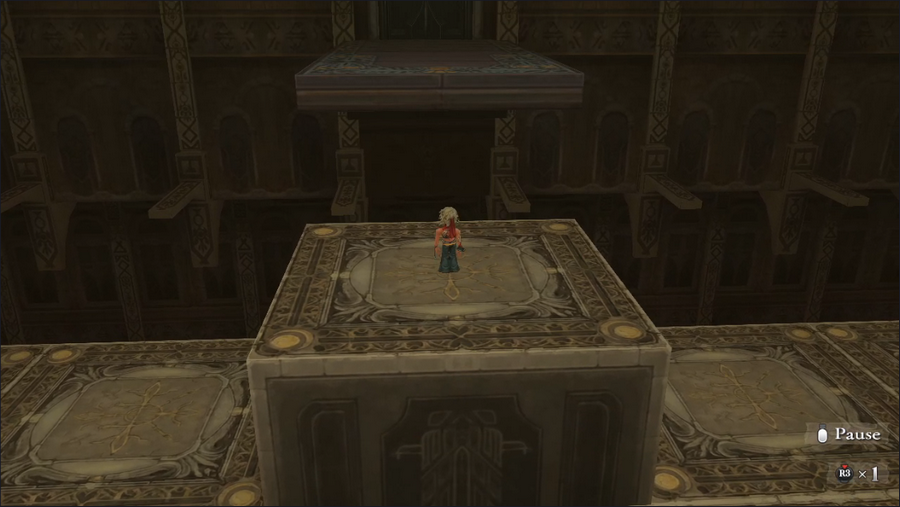 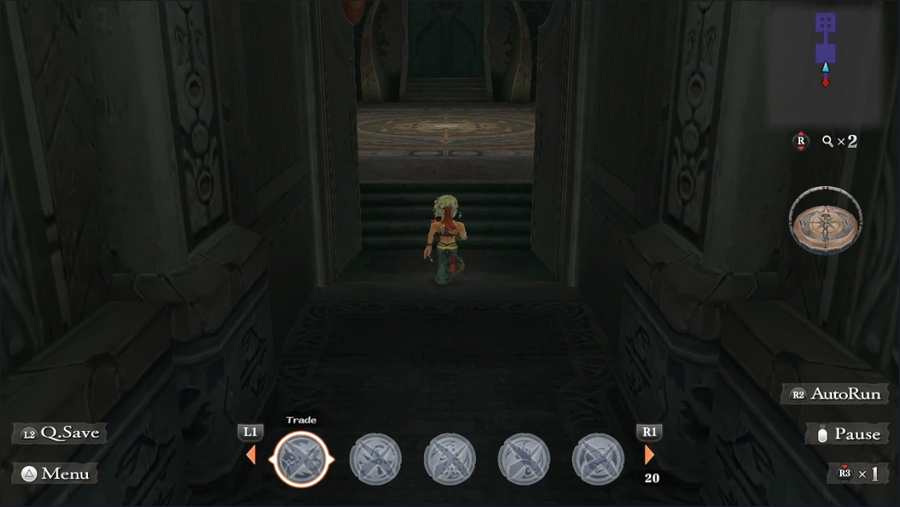 From there, we take another rile up and into a much smaller chamber. 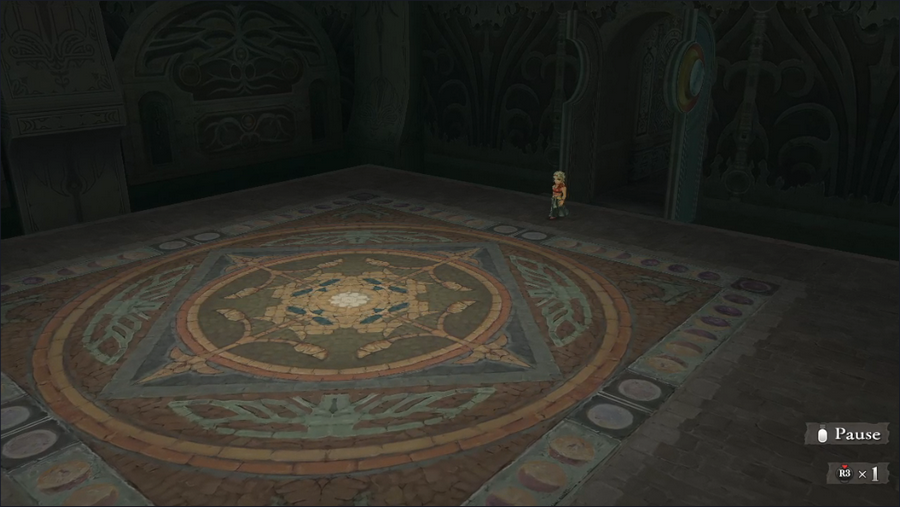 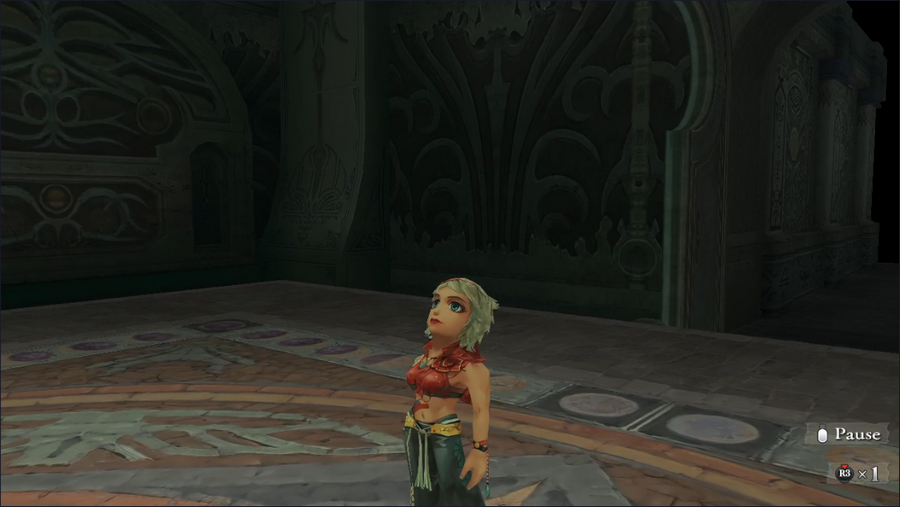 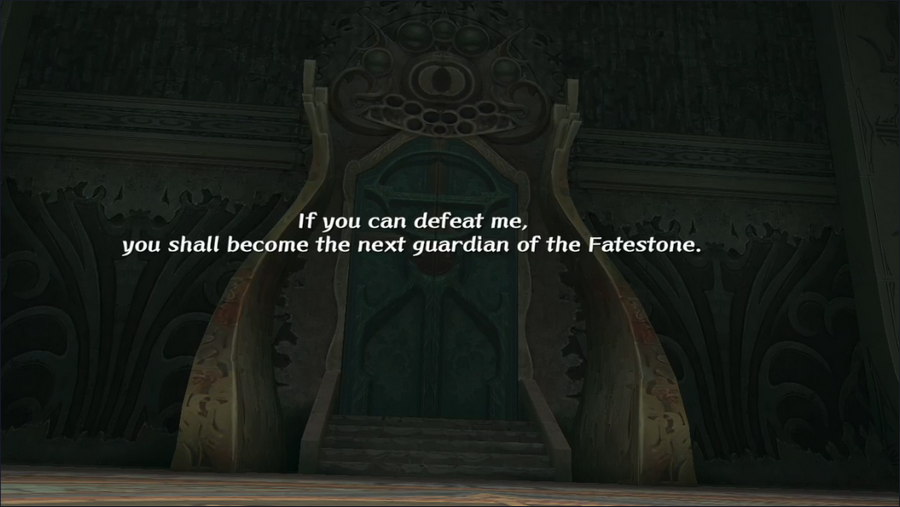 The disembodied voice speaks to us one last time. 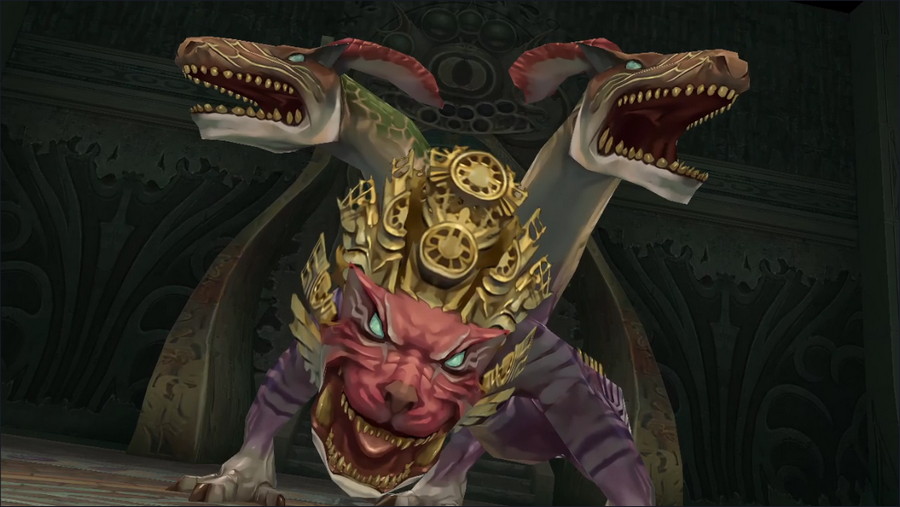 And then a chimera-like creature drops down from above. Boss Battle: Zodiac https://www.youtube.com/watch?v=-YvZeduagX0 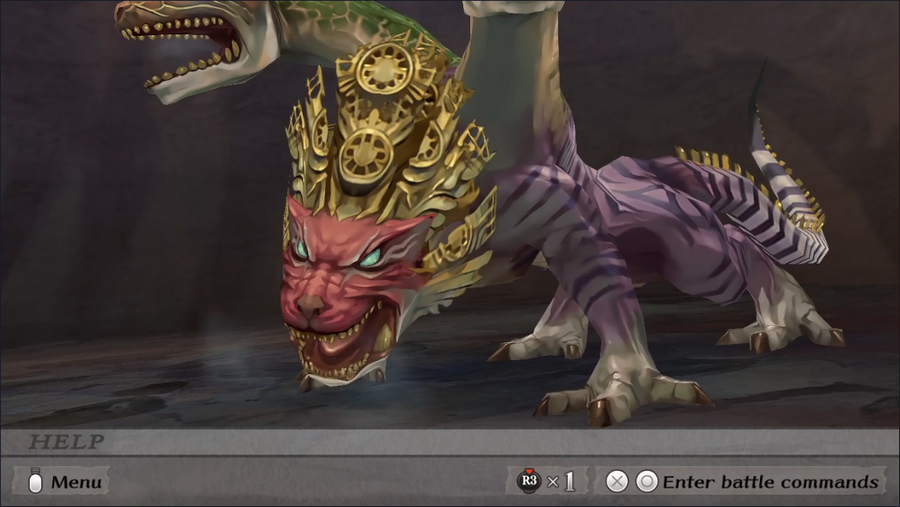 Zodiac is a big, imposing boss. It's not quite as tough as it looks, but it's not a simple fight. 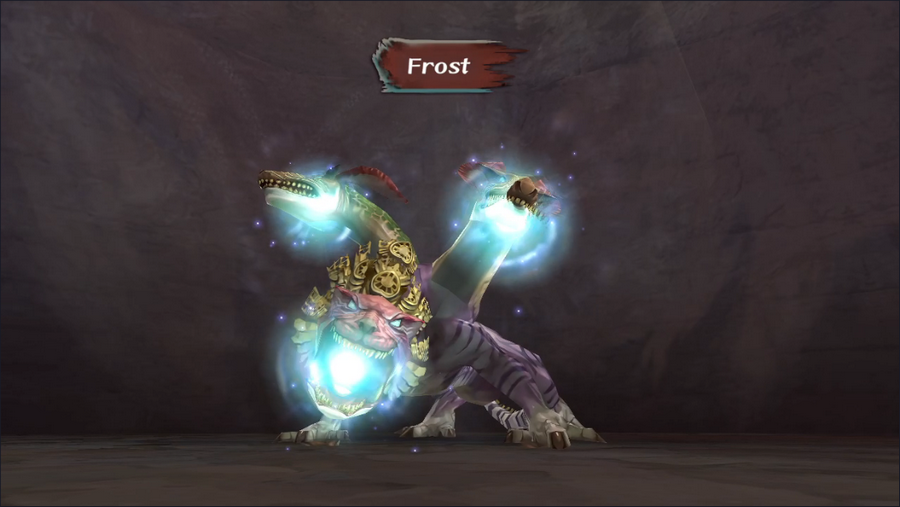 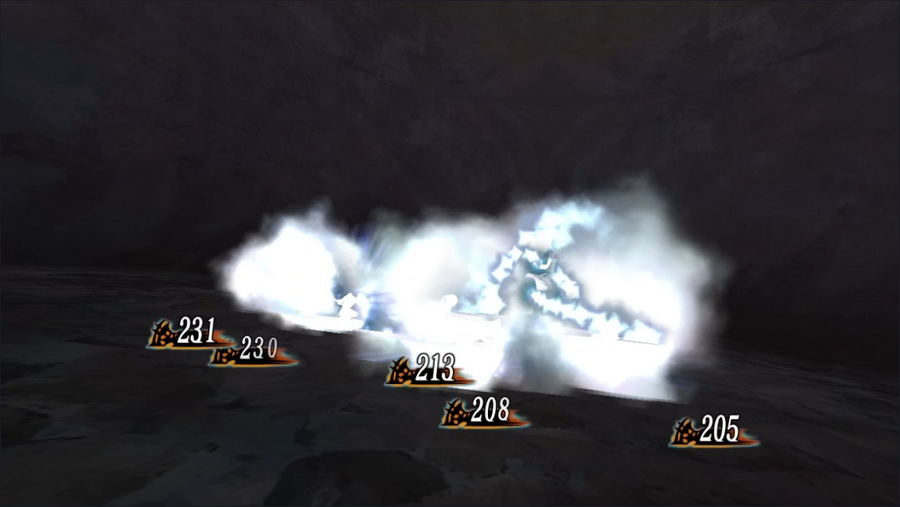 It opens the battle with Frost, hitting our entire party. It doesn't do this again, making this essentially an HP check: a player who gets here too early will lose their party to this attack and be unable to take the Fatestone. 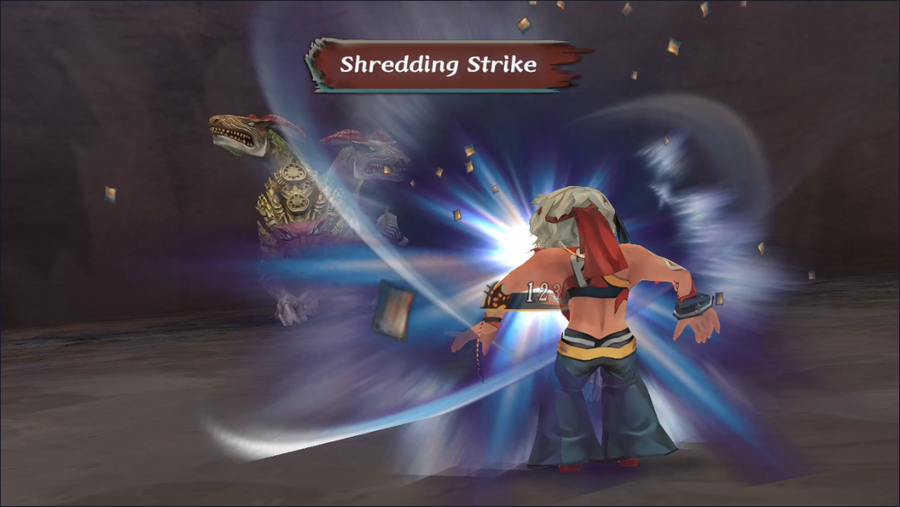 After that, Zodiac switches to primarily using Shredding Strike, which it can do twice per round. A well-healed character won't go down to this unless they're hit by both strikes, but with everyone hurting from Frost, this can do some real damage.   Thankfully, Zodiac decides to aim quite a few hits at Monica, who can tank them thanks to Self-Immolation.   Zodiac can also use Maul, which does considerably more damage, but it only gets the one action when it does so. 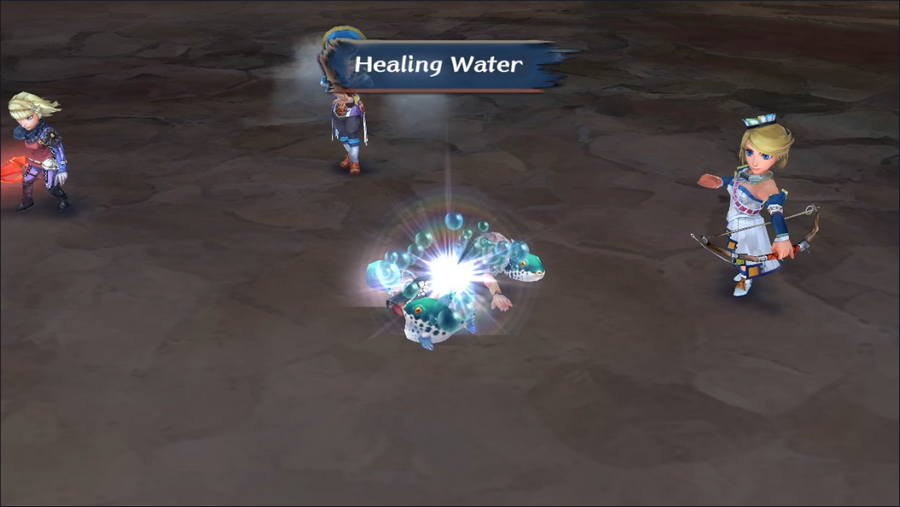 Our strategy is to use Patrick to heal anyone who goes down while the rest of the party attacks - basically the same thing we did against Scorn. Monica also tries to keep Self-Immolation up as much as possible to mitigate some of Zodiac's attacks. 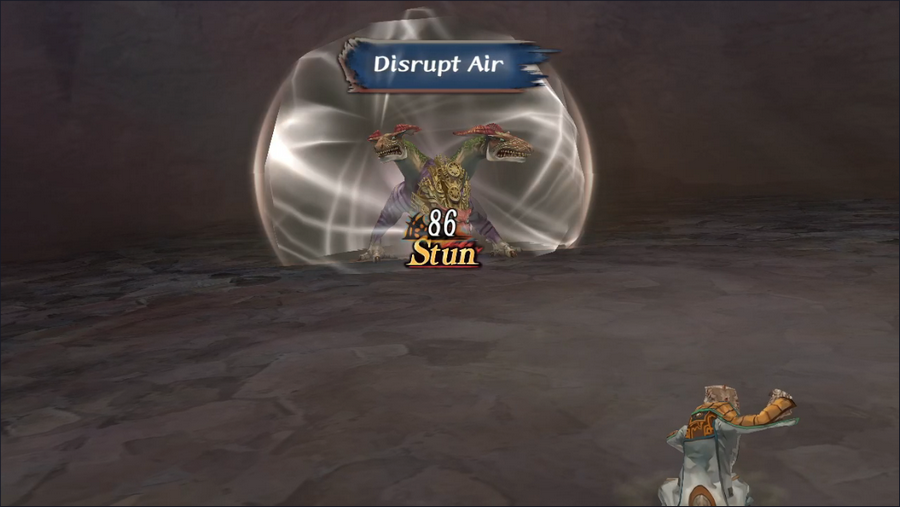 Disrupt Air is probably not the wisest attack to use here, but we get a Stun out of it so I guess I can't criticize my gameplay too much. 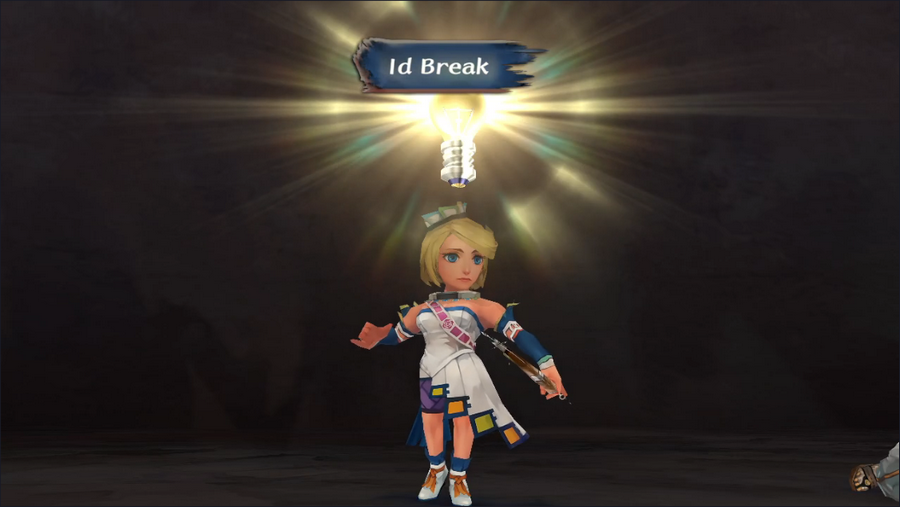  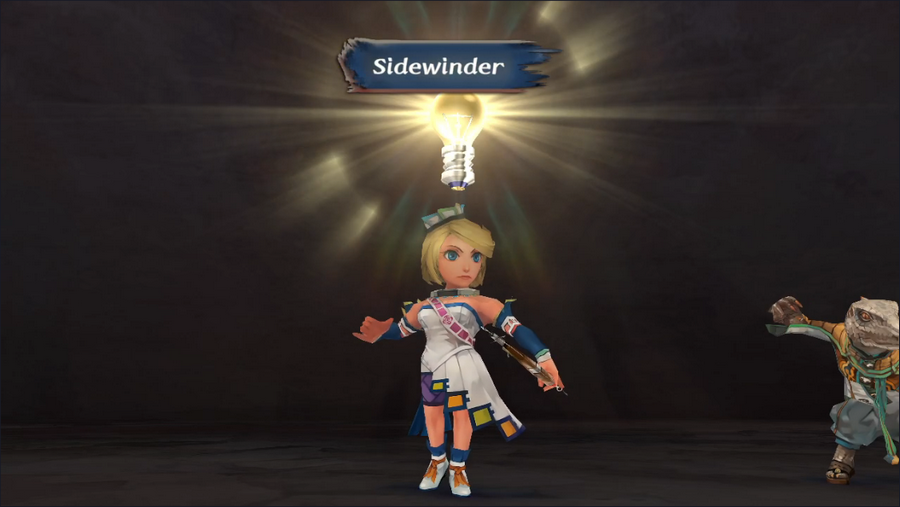  Being a boss, Zodiac has a decent Glimmer rate, and Diana gets a couple of new techniques. Id Break deals damage and lowers Intelligence, making it great against spellcasters. Sidewinder just deals solid damage, but at a fairly high BP cost. 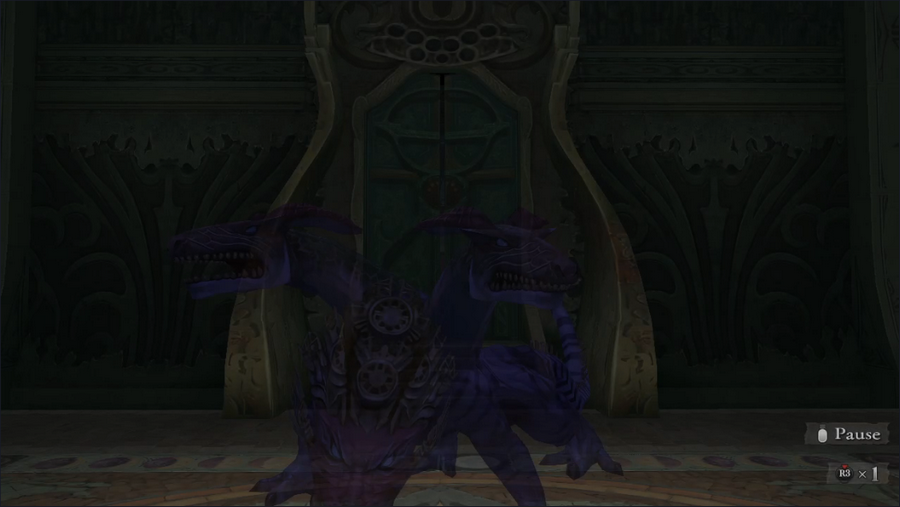 Ultimately, our strategy pays off, and Zodiac is defeated. 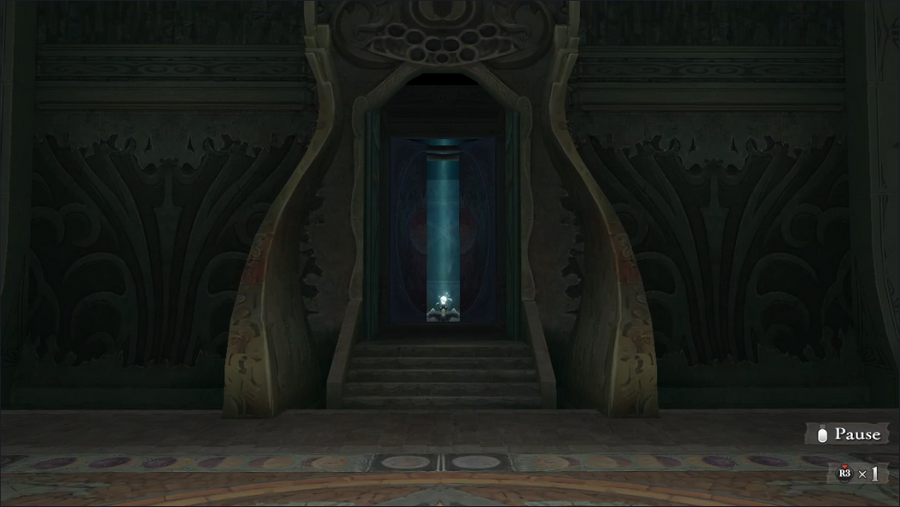 The doors behind it open, revealing a chamber with something shining within.  It's our well-earned prize. 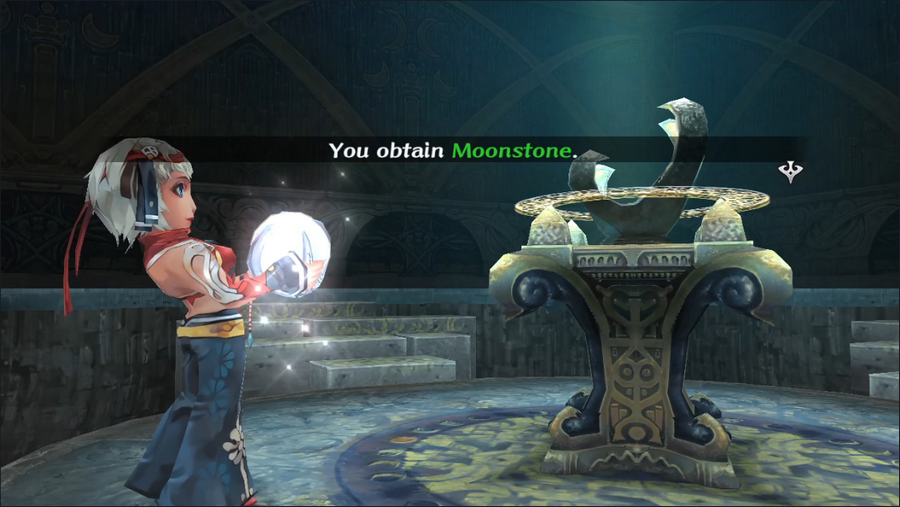 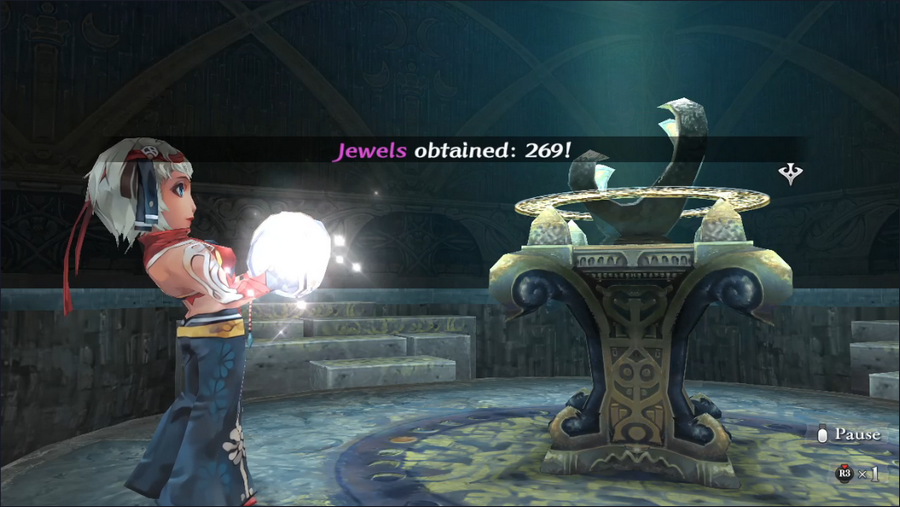 Finding a Fatestone is always worth a ton of jewels. 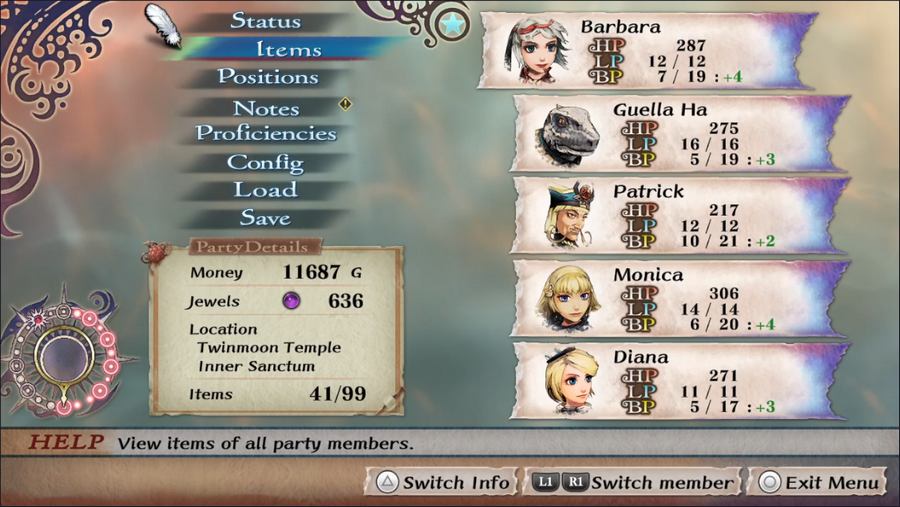 It also fully heals our party. 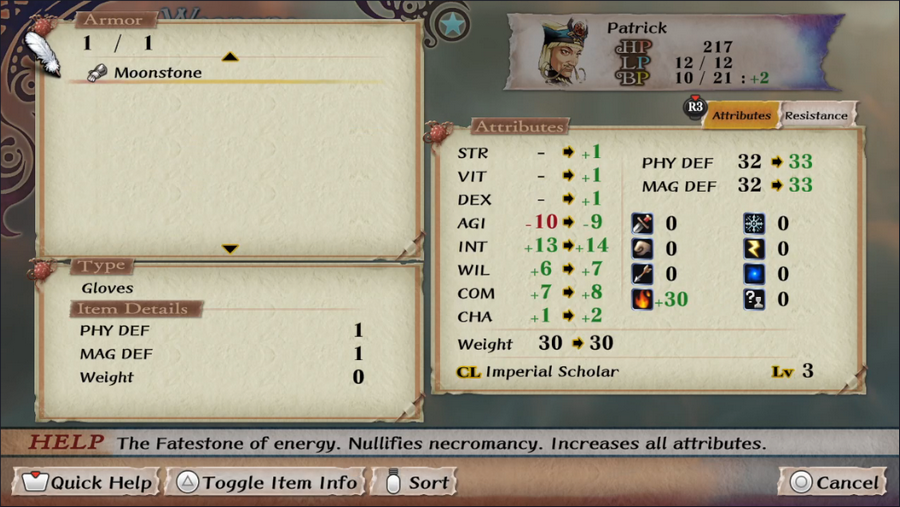 The Moonstone nullifies Necromancy, which doesn't come up often but is incredibly valuable when it does. We'll give it to Patrick for now, though odds are good that it will go to someone else eventually.  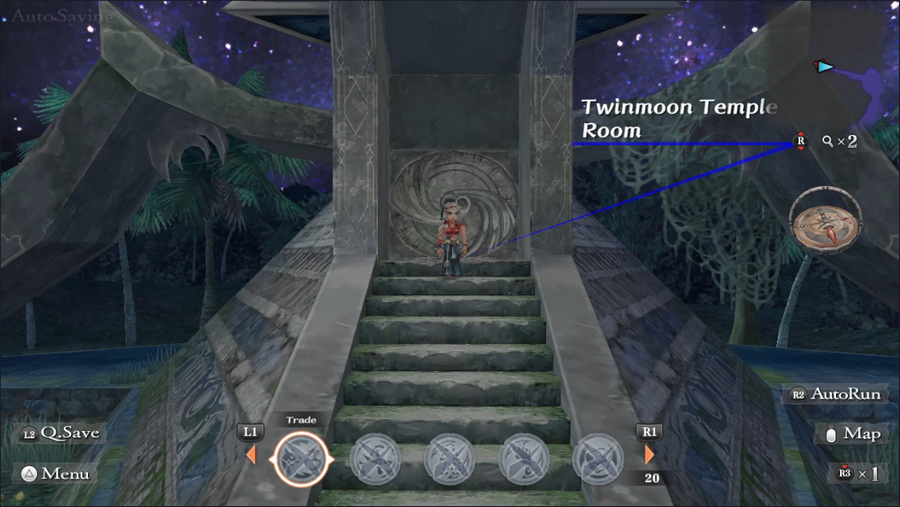 Leaving the boss chamber takes us back outside the temple. 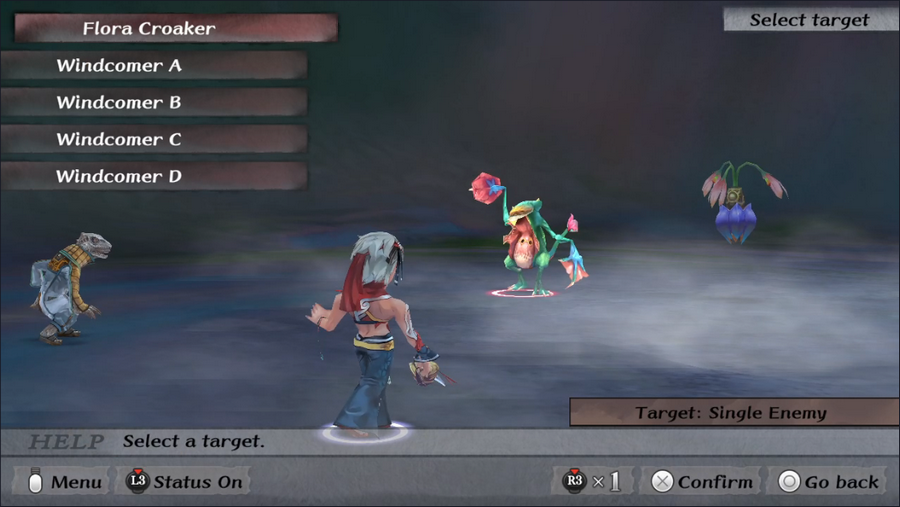  Apart from an encounter with another new monster type, the Flora Croaker, we get out of the jungle without incident. (Flora Croakers have an attack that lowers Defense, but they're fairly fragile and don't do much damage.)  Before returning to Melvir, we make a quick stop in South Estamir to raise Guella Ha's class level to 3.  Then it's off to the temple of Elore. The priestess there sends us to the palace.  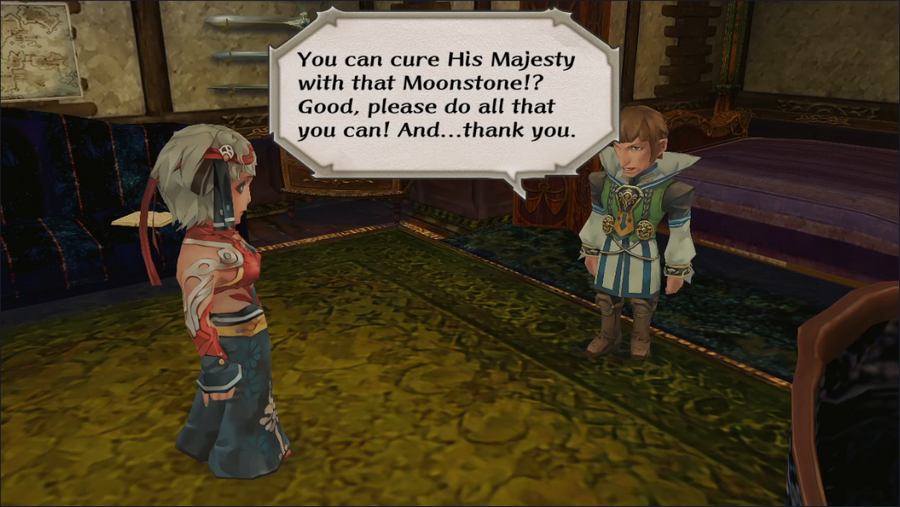 We make a quick stop to grab Neville as well. 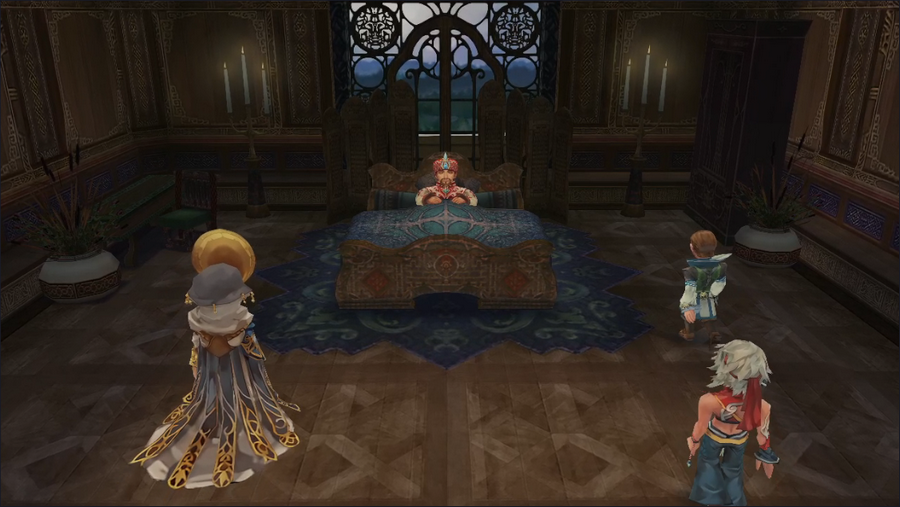 And so the high priestess of Elore, the imperial spymaster, and a traveling dancer enter the emperor's bedchamber. 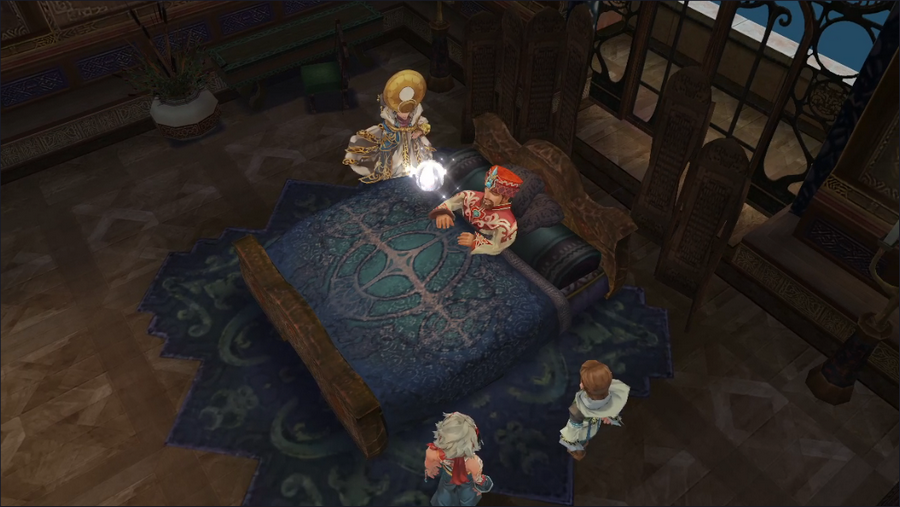 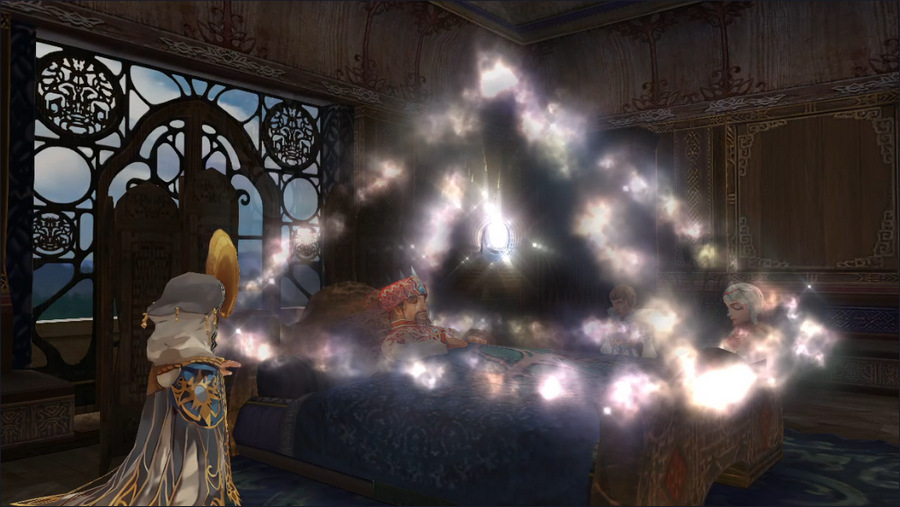 We place the Moonstone over the Emperor, and it creates a pyramidal barrier around him. 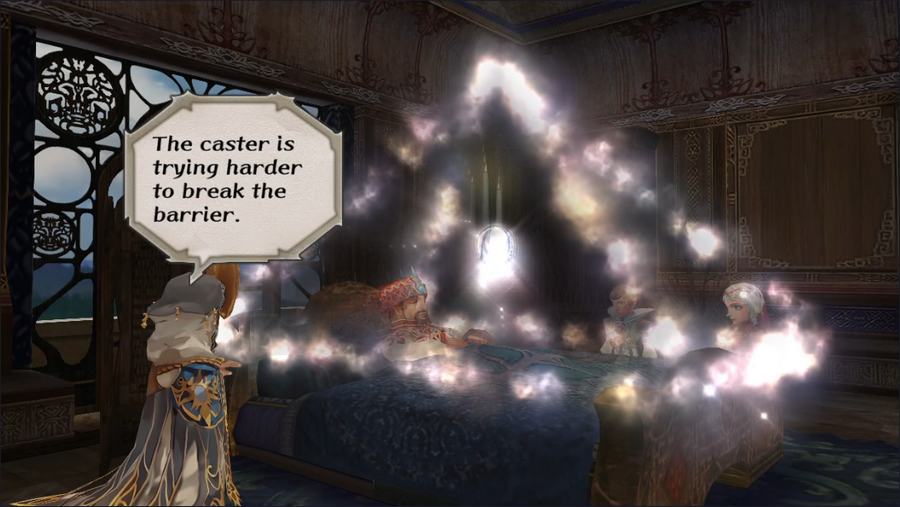 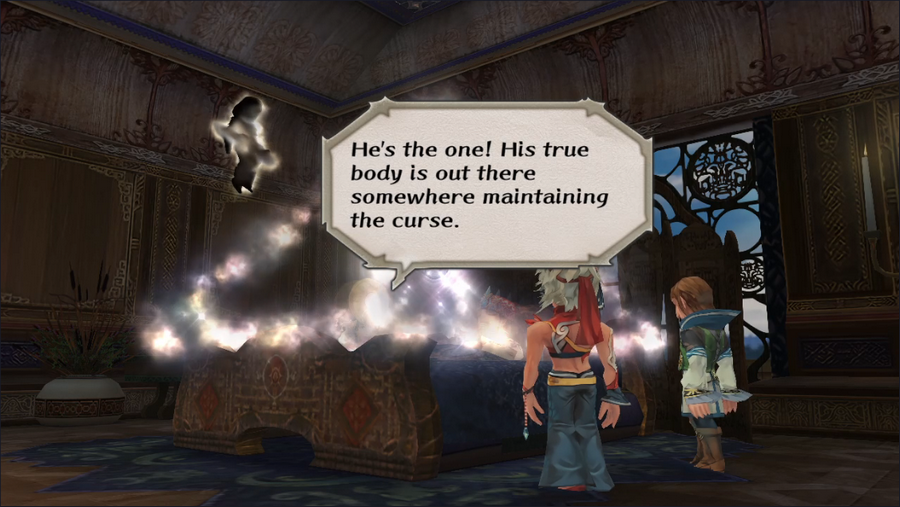 It turns out it really is a curse, and the person maintaining it appears in silhouette. 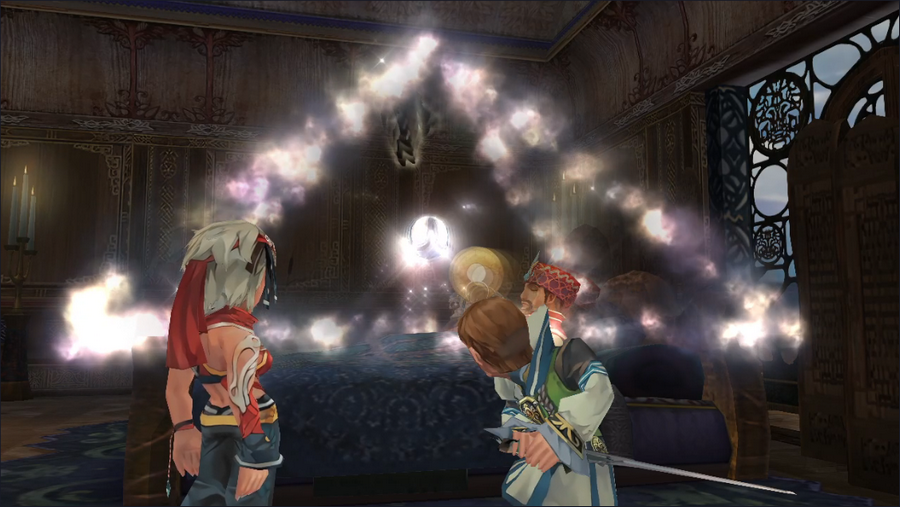 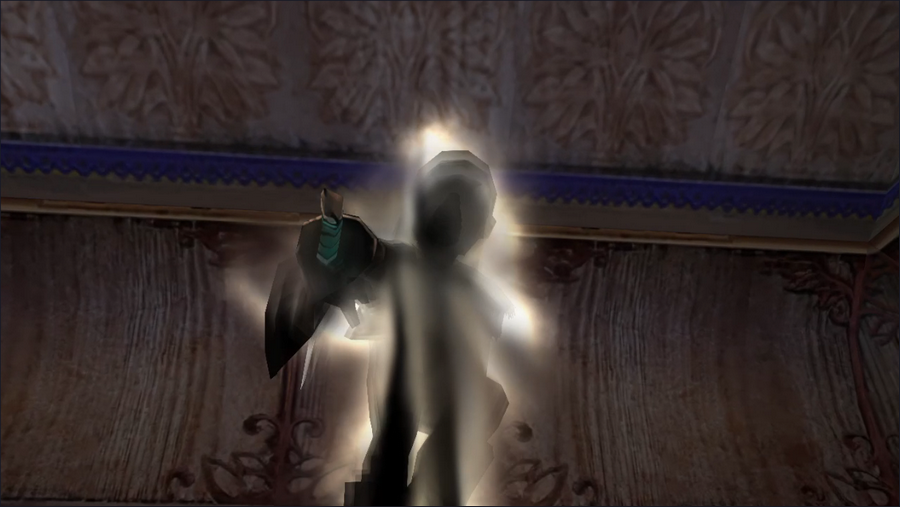 Lightning fast, Neville draws his sword and throws it at the enemy, striking their arm. Haven't we seen someone who looks like that?  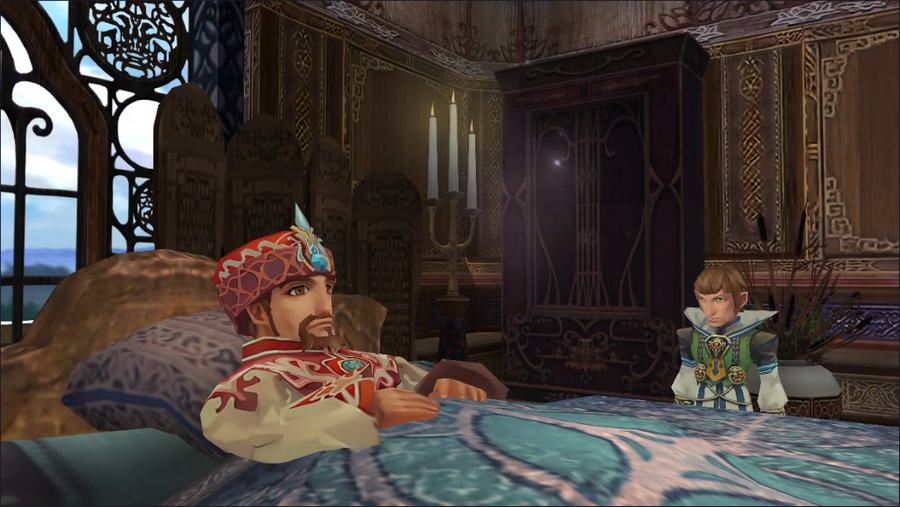 The caster disappears, and the emperor awakens. 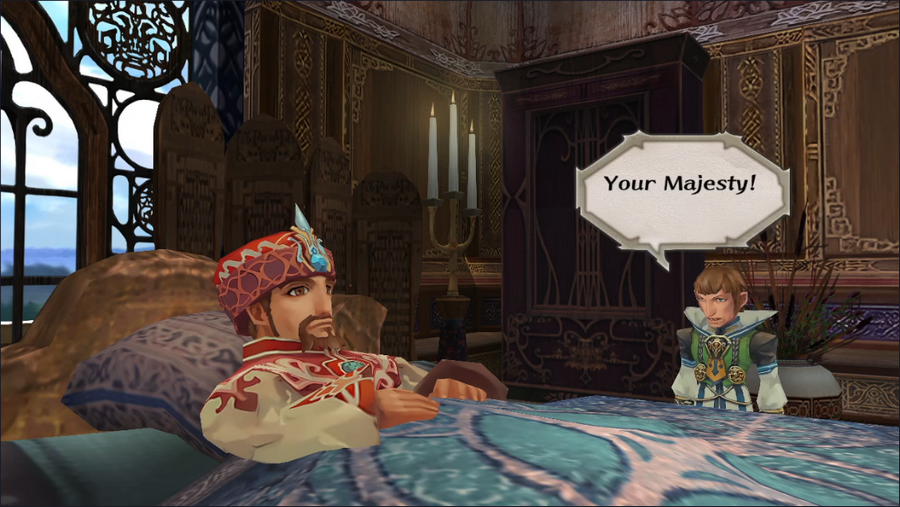 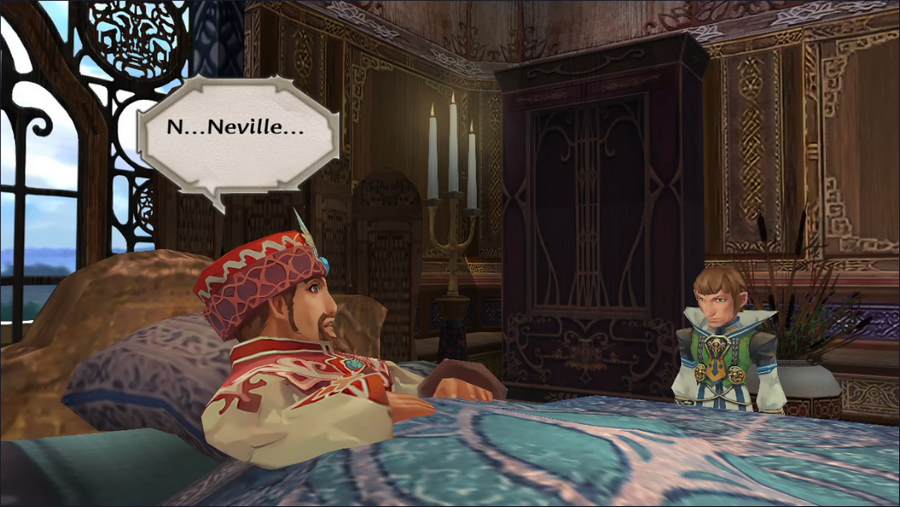 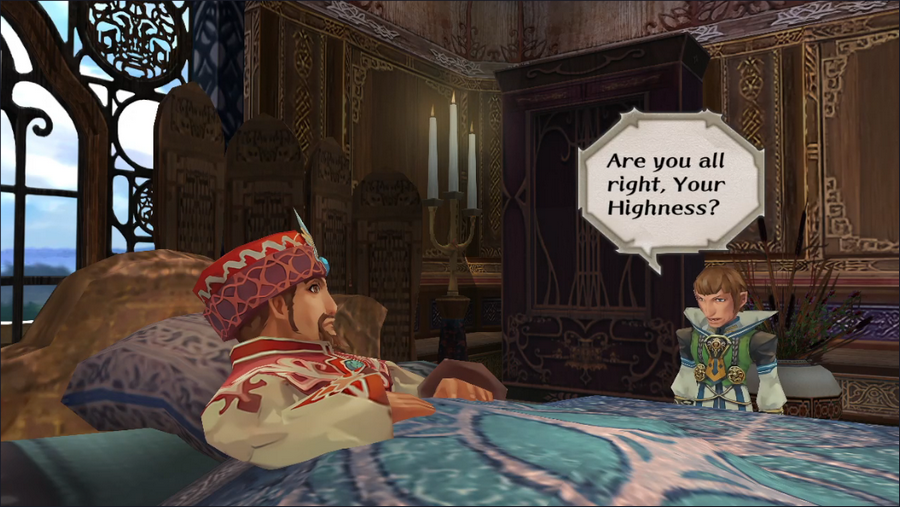 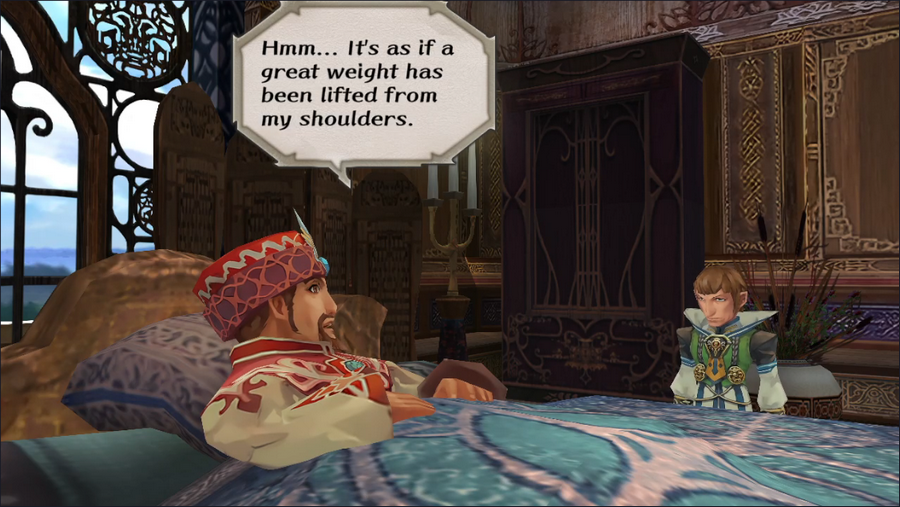 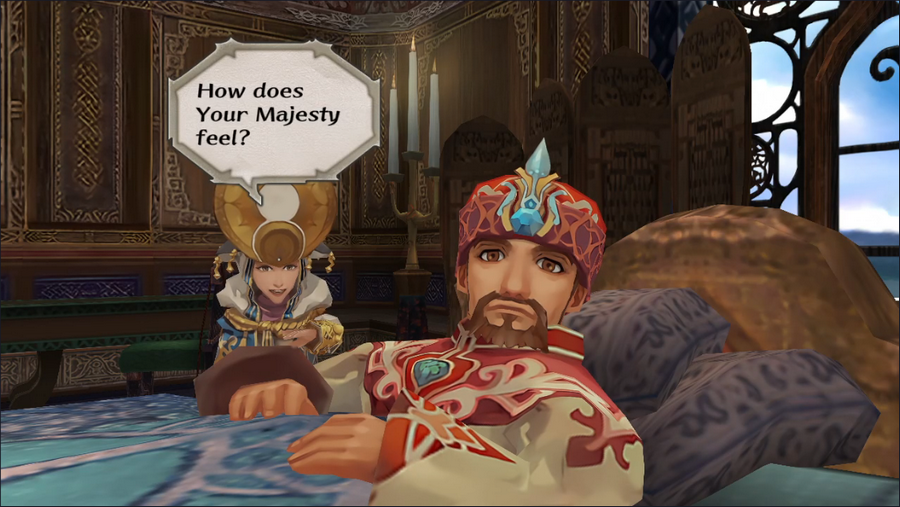 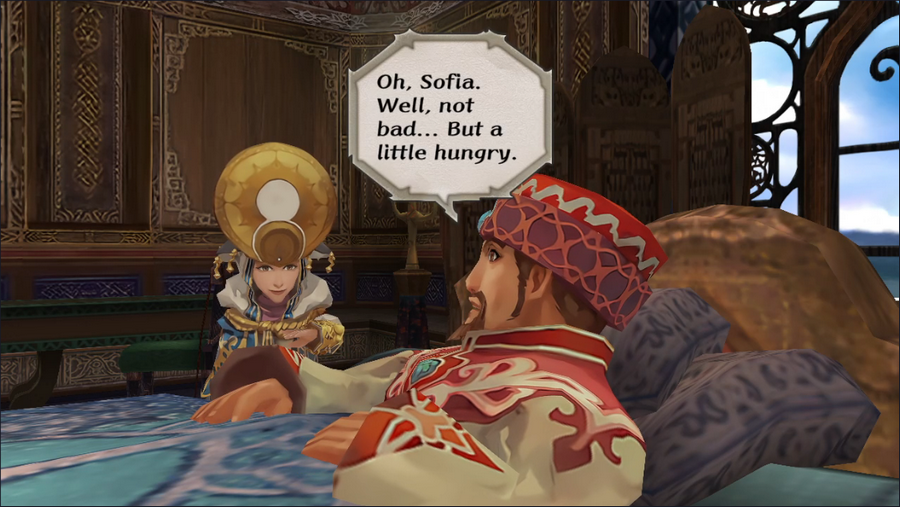 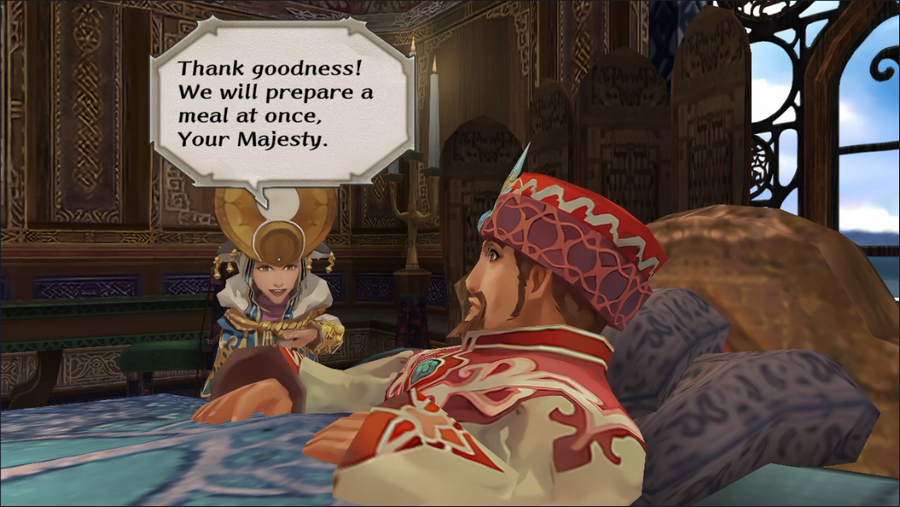 It seems he's okay. That's a relief. 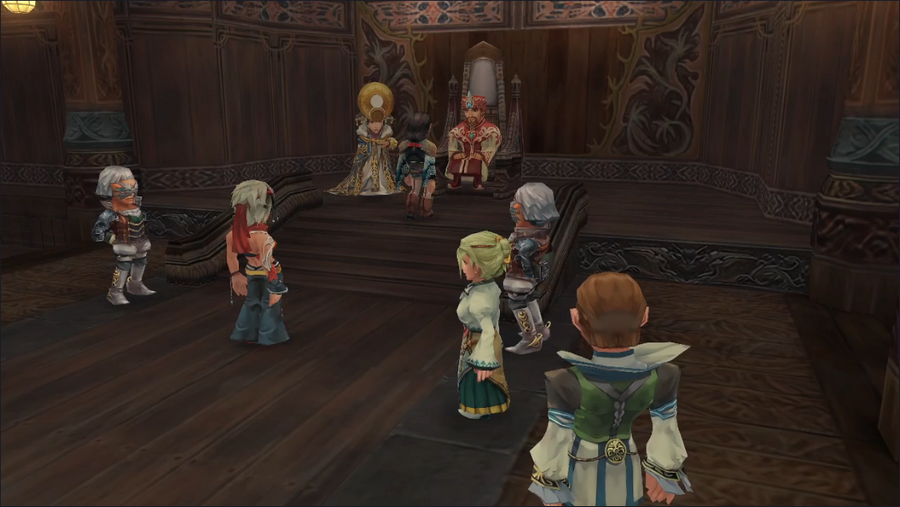 Following this excitement, we skip ahead to the throne room, where the emperor is once again holding court. 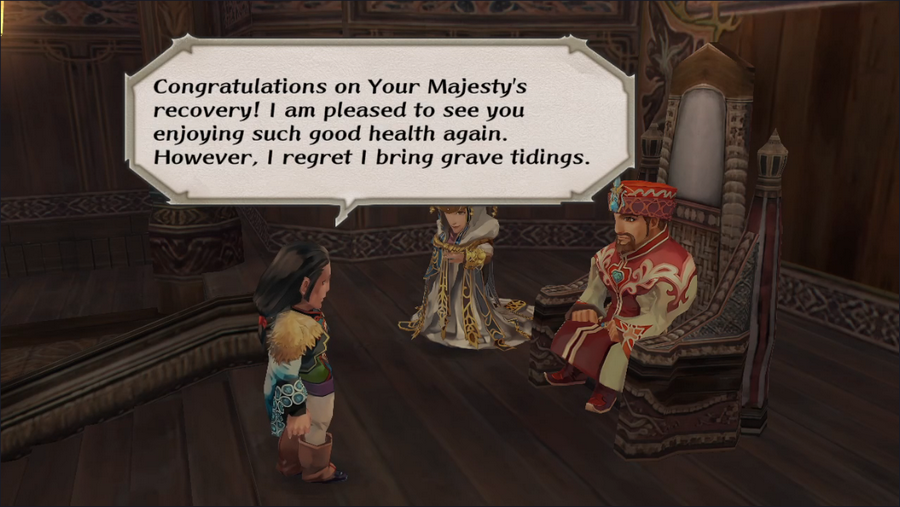 Oh. That's why the silhouette looked familiar. Is anyone surprised the Duke of Loban was behind this? 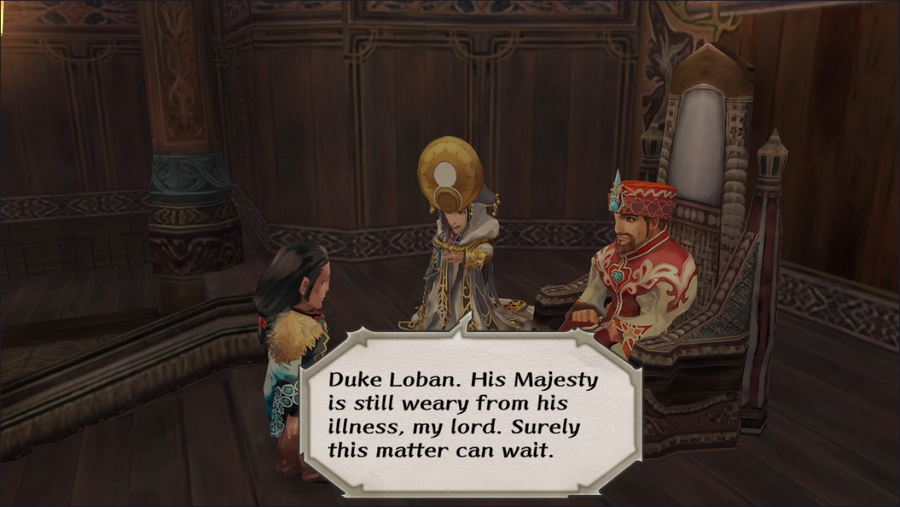      Interesting that he's aware of the infighting among the pirates. This suggests that the duke might be the Butcher's contact in the Empire.  You'd think Neville might have briefed his liege on the Duke's activities. Knowing what we do, this seems like a very bad idea!   As if we need further evidence, Neville also notices that the duke's arm is injured.   The two trade jabs, and the duke leaves. He's gotten what he wanted. 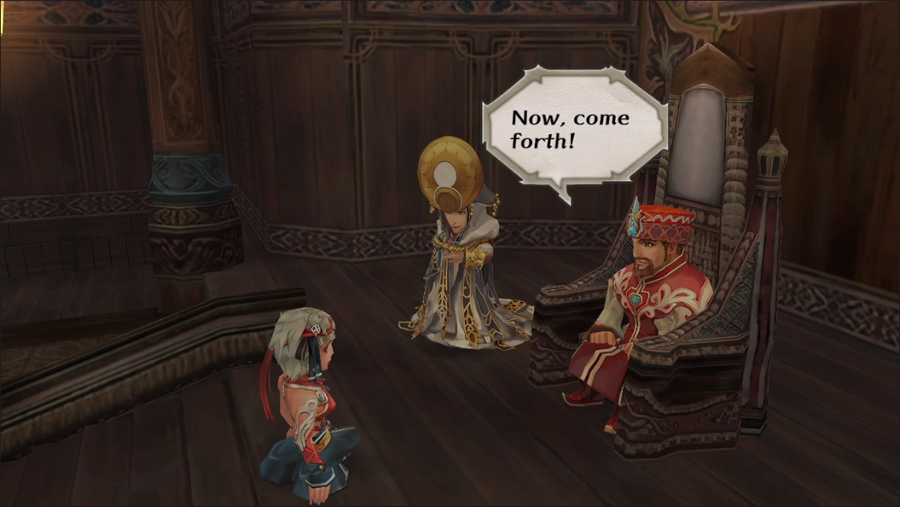 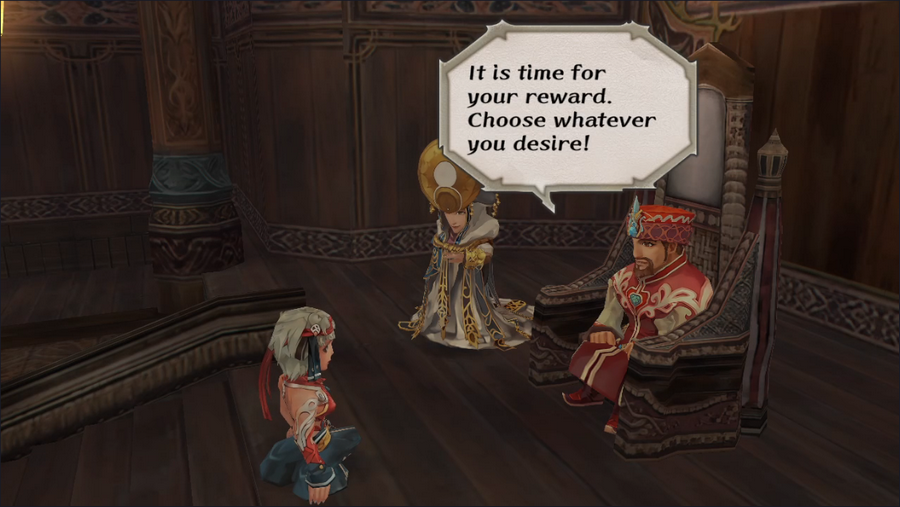 But never mind him - it's time for our prize! 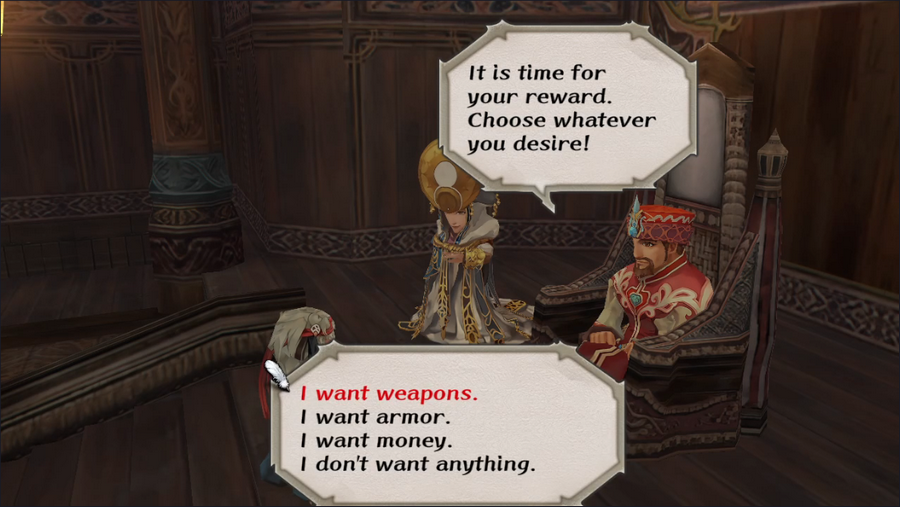 All the prizes here are handsome (except for refusing a reward, which probably raises favor with Elore or something but is absolutely not worth it). Asking for a weapon gives us the Espada Ropera, an extremely powerful foil. Monica could use it, but she's more focused on her axe. Asking for money gives us 10,000 gold, which is good but not really amazing. We're going to take the armor. 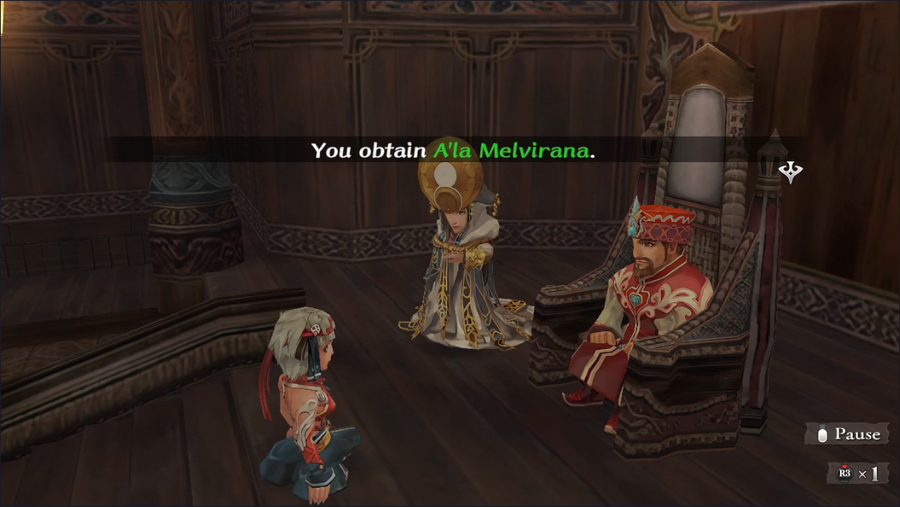 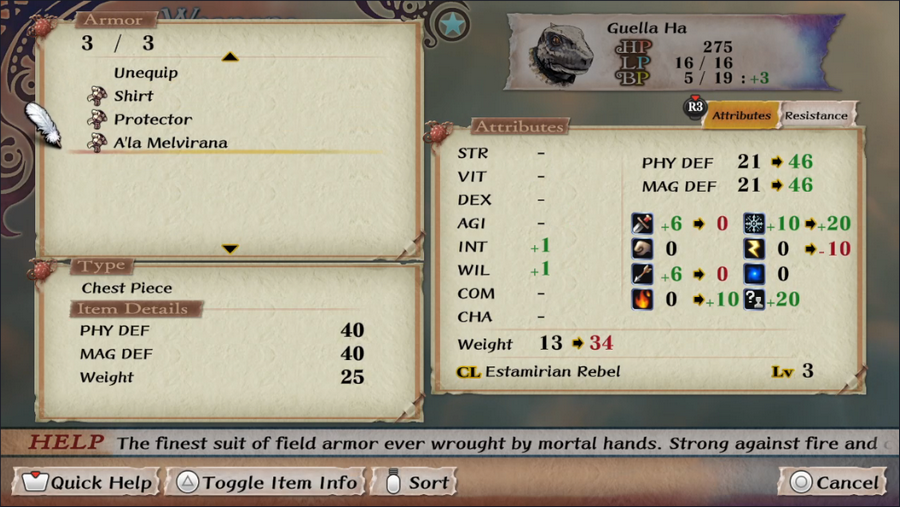 The A'la Melvirana is a unique piece of armor that offers stellar defense, as well as resistance to fire and cold. 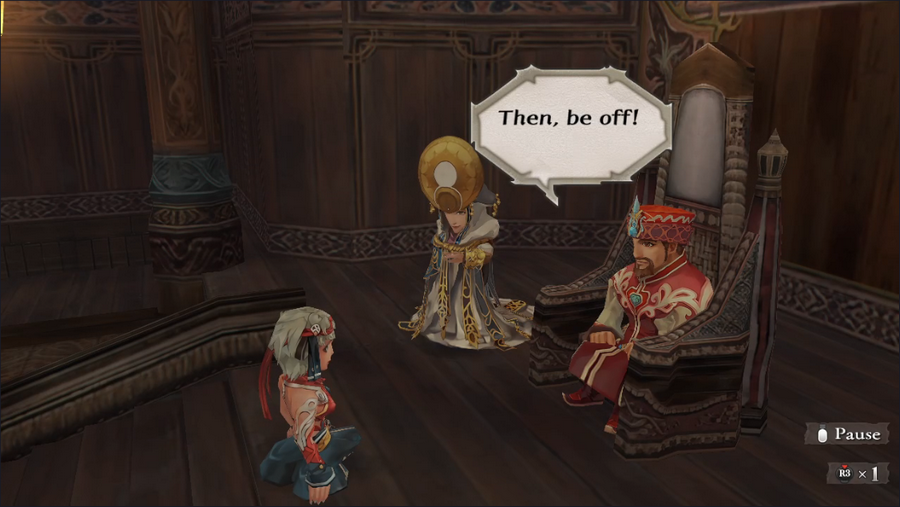 Now that we have our reward, we are dismissed.  But we're not done yet! Let's go back to the temple and talk to Sofia. 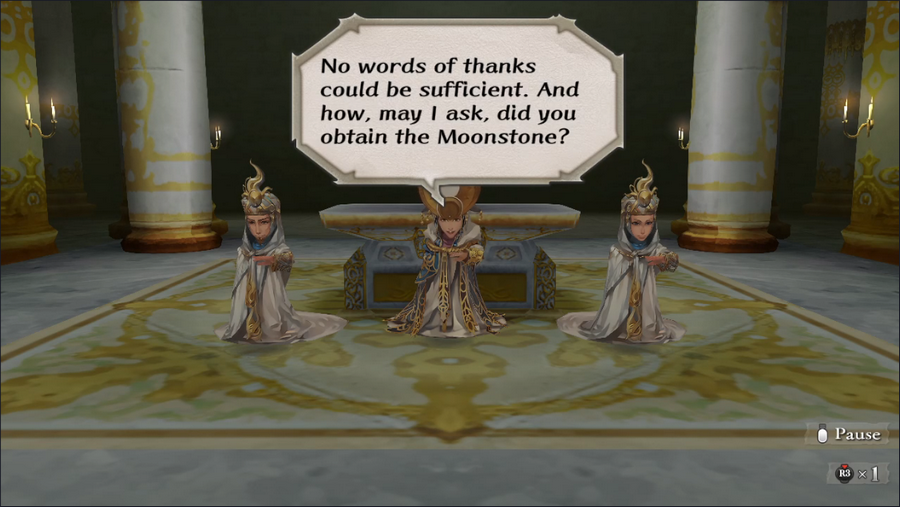 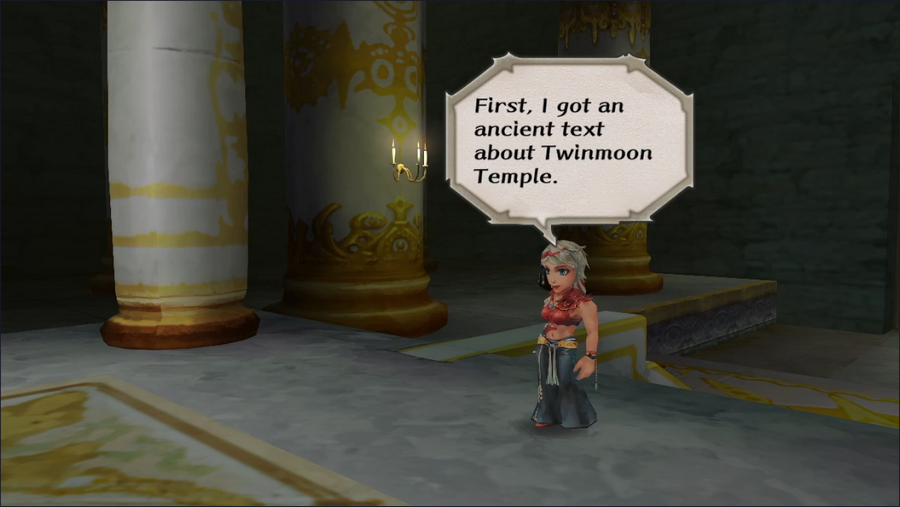 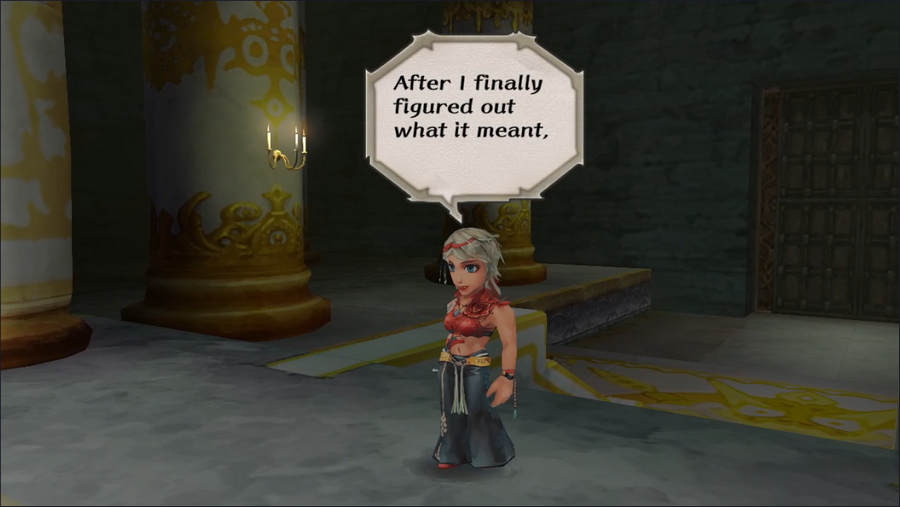 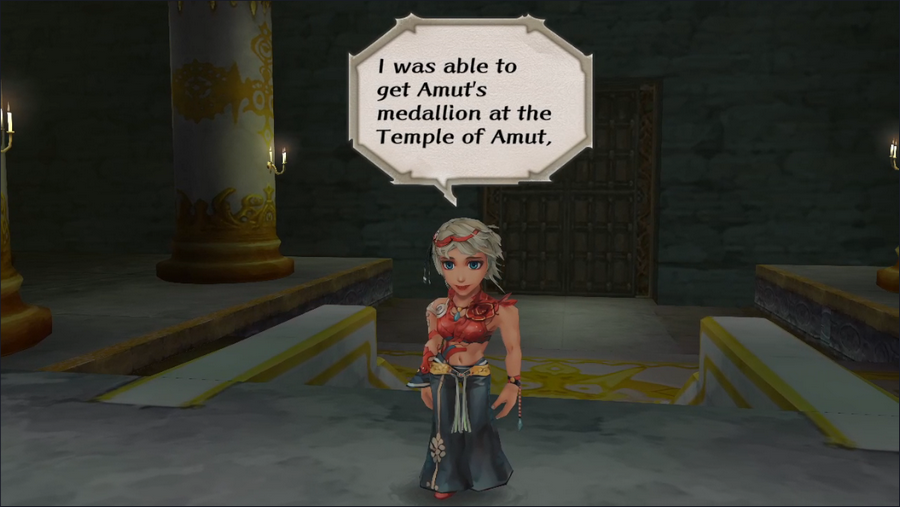 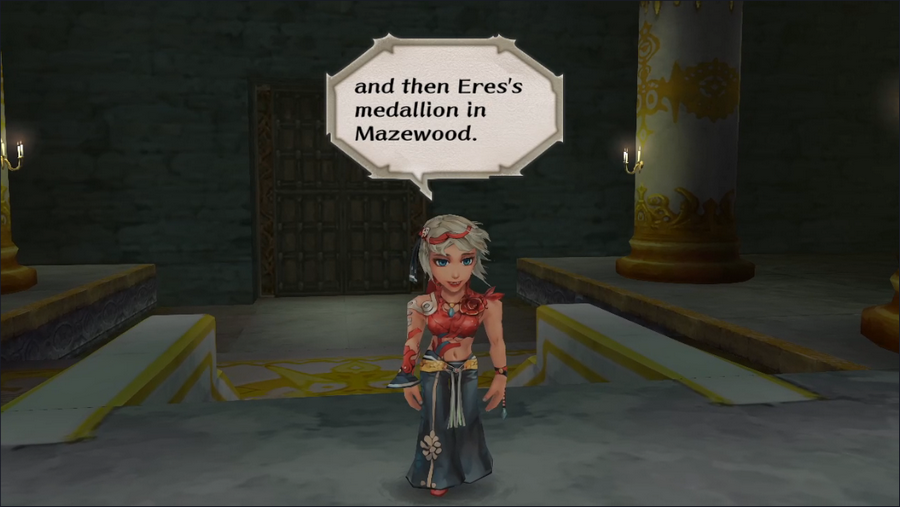 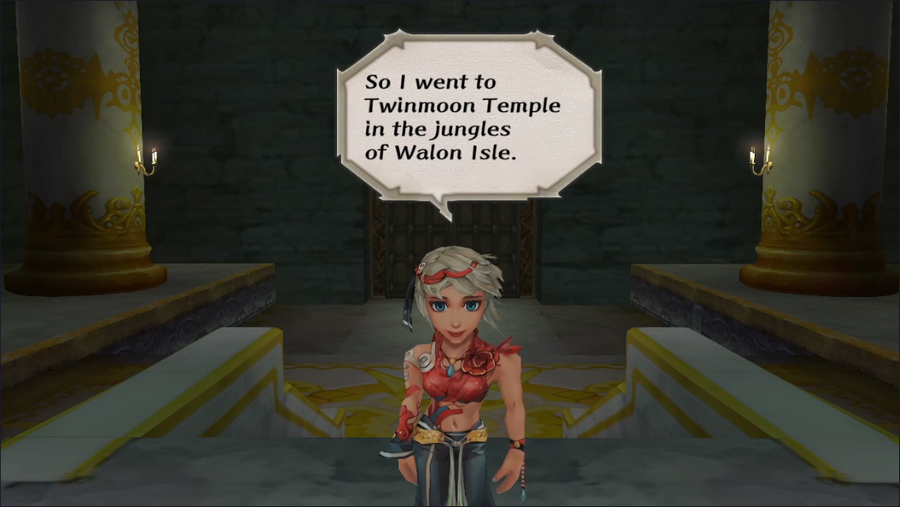 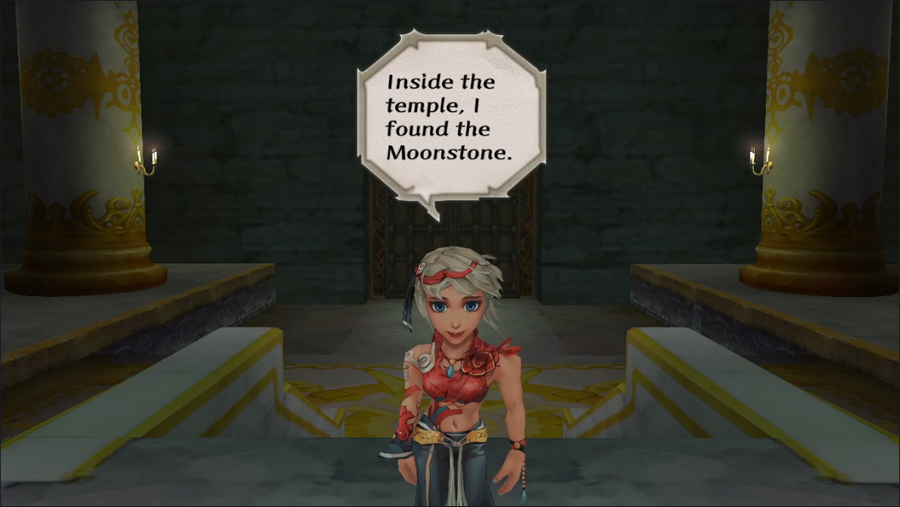 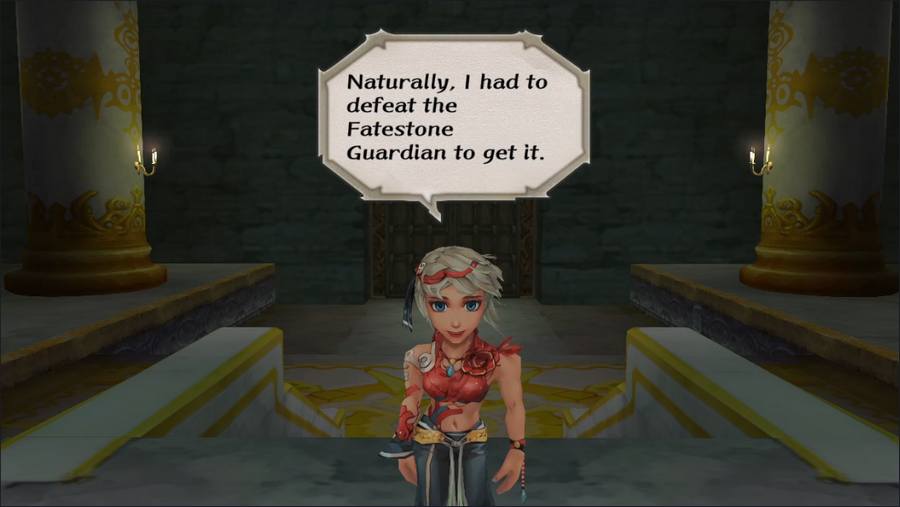 When you consider that all this started with freeing some enslaved gecklings, it's actually been quite a journey. 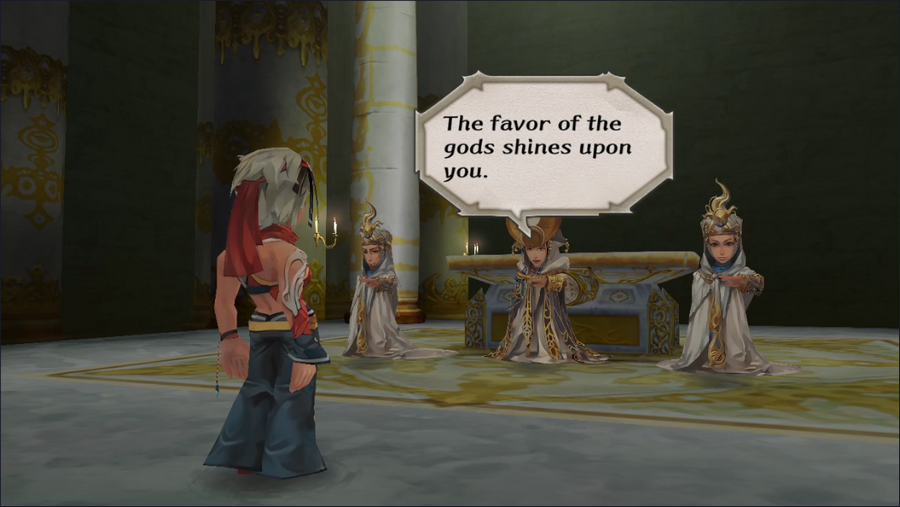 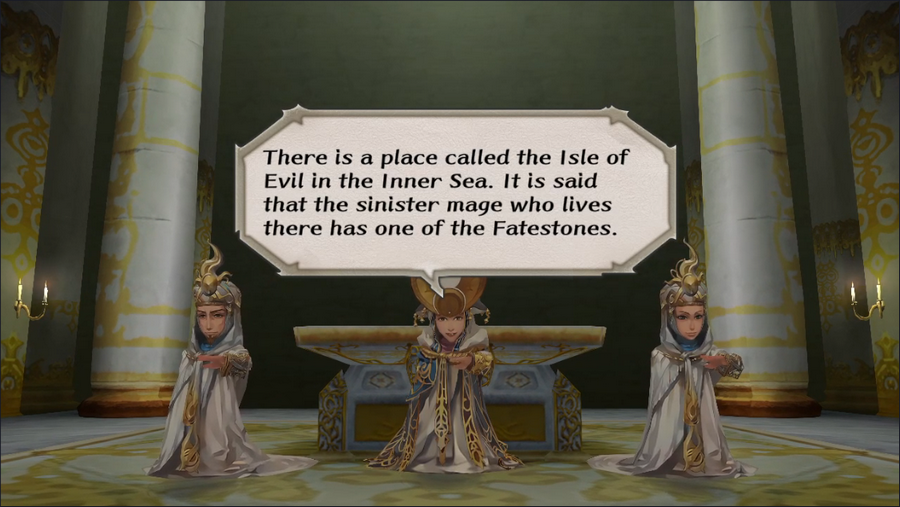 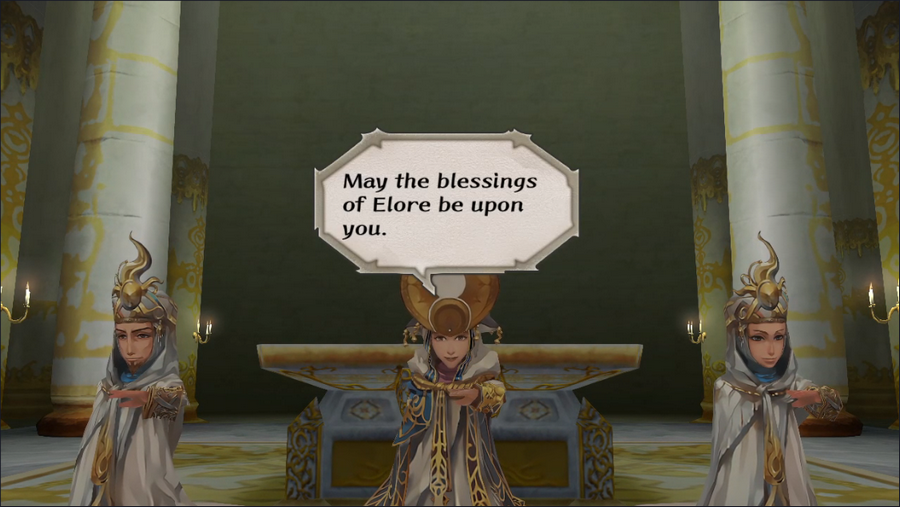 A place called the "Isle of Evil" doesn't exactly sound pleasant. But for a Fatestone, it might be worth checking out. 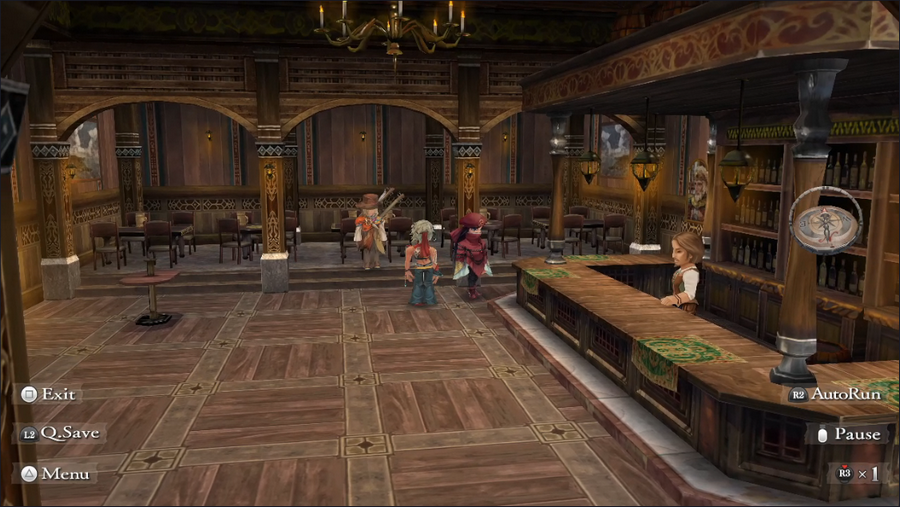 Meanwhile, in the Aurefont pub, we find Schiele. 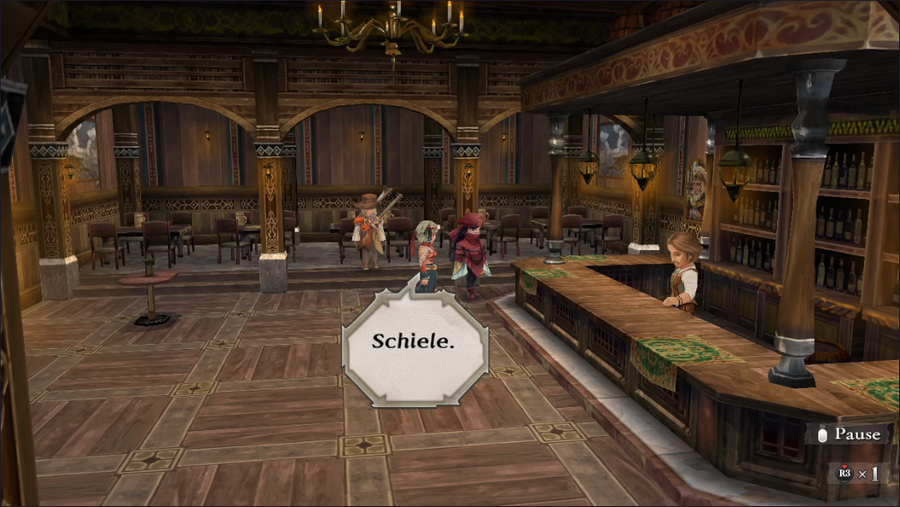 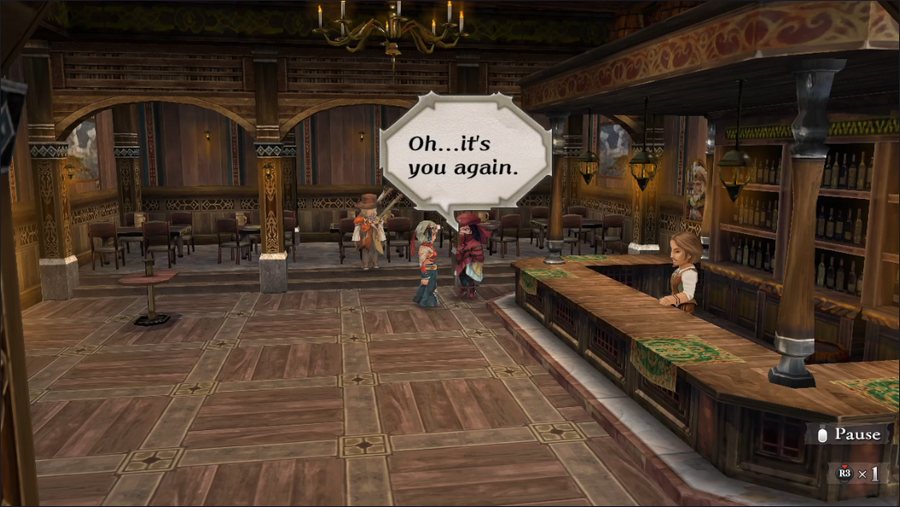 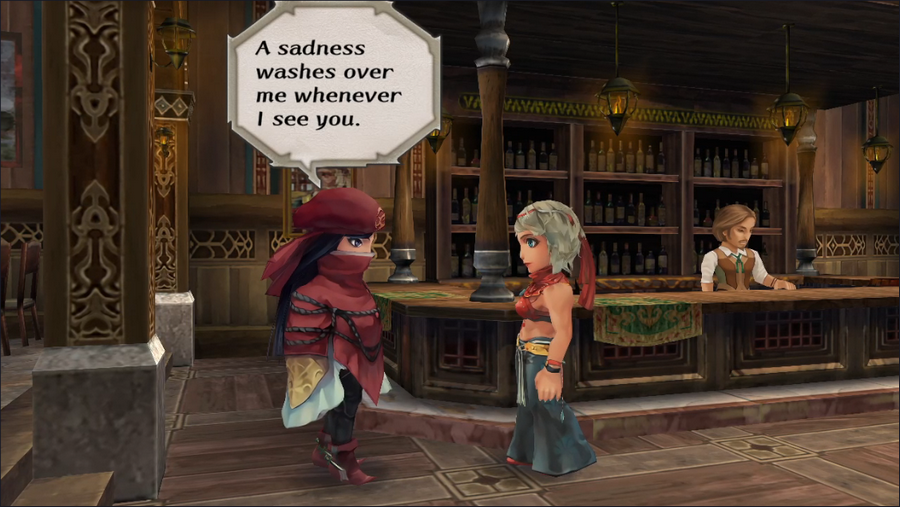 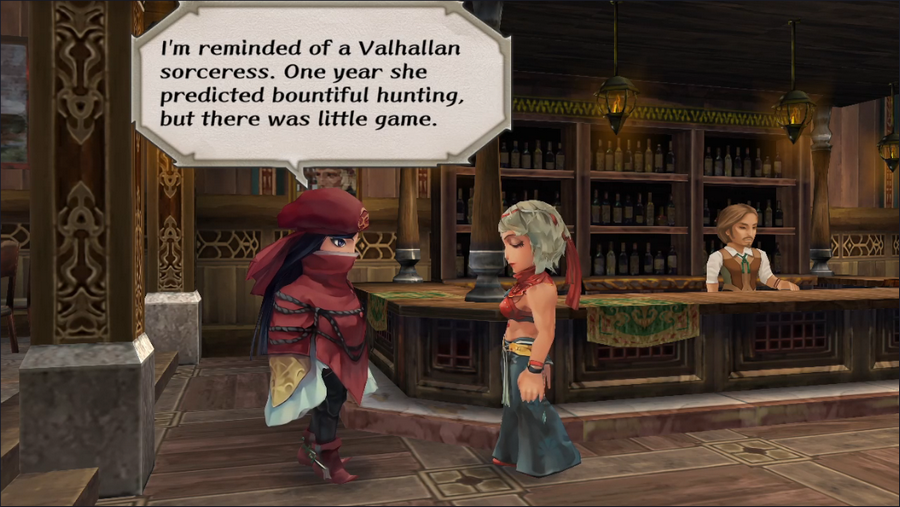 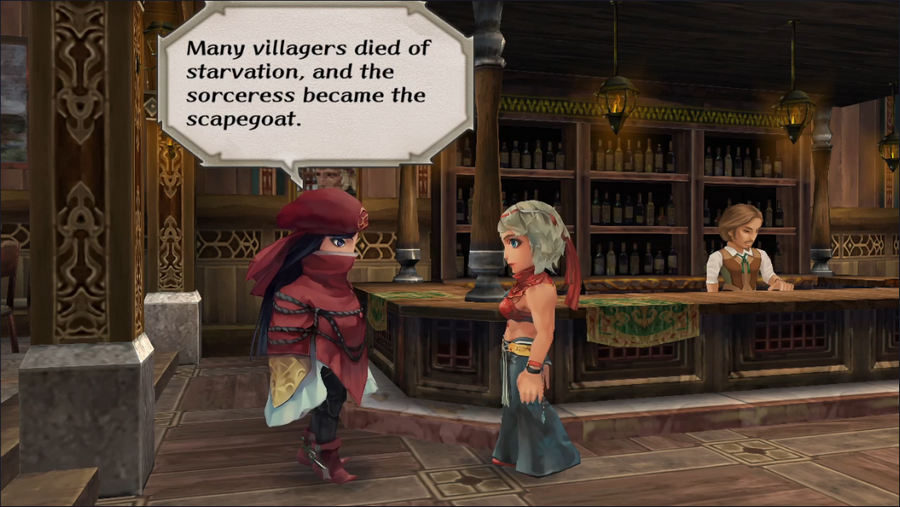 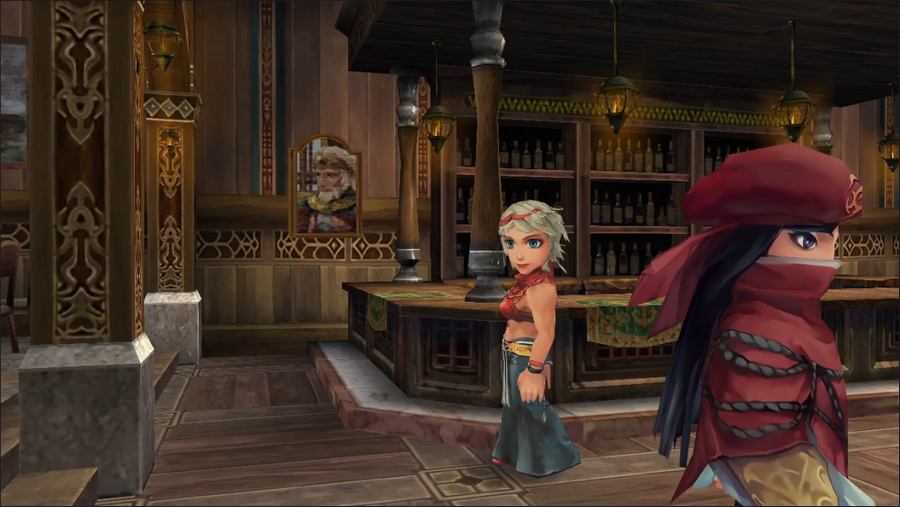 After relating another joyful tale, she leaves.  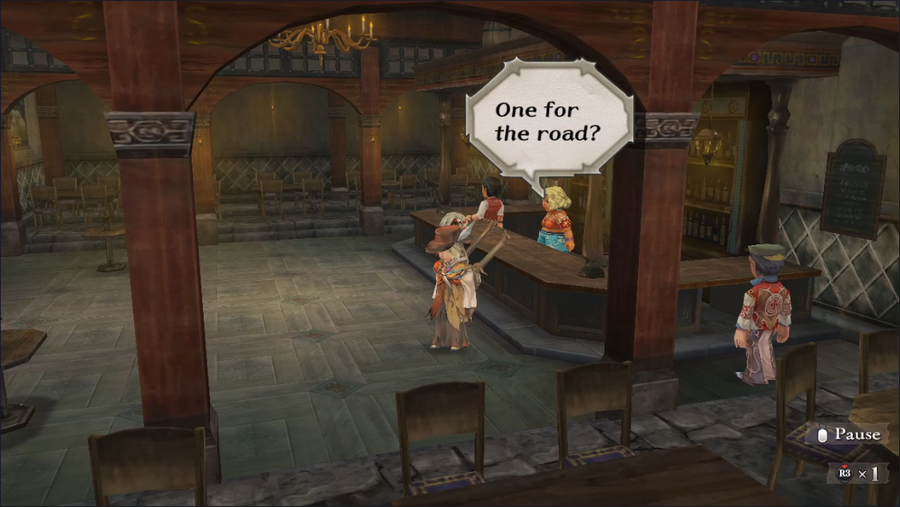 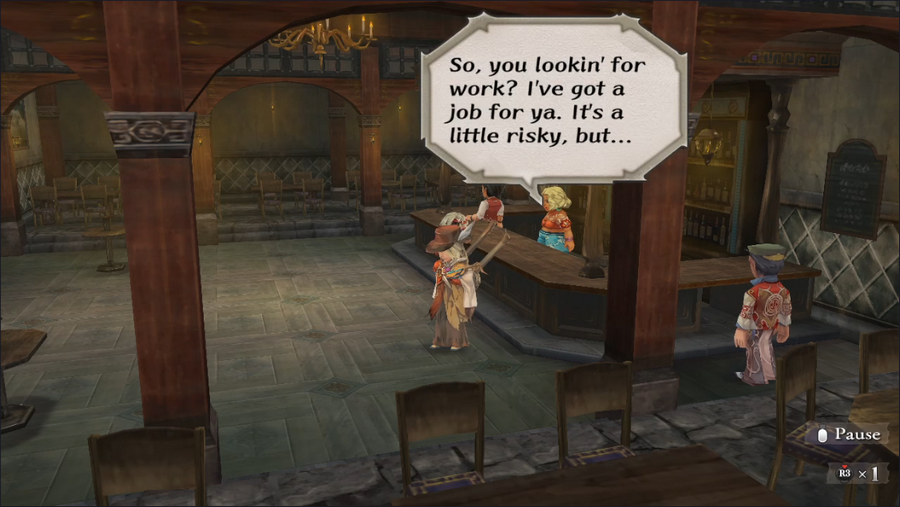 Finally, in South Estamir, the lady at the pub has another job for us. Could be worth our time. 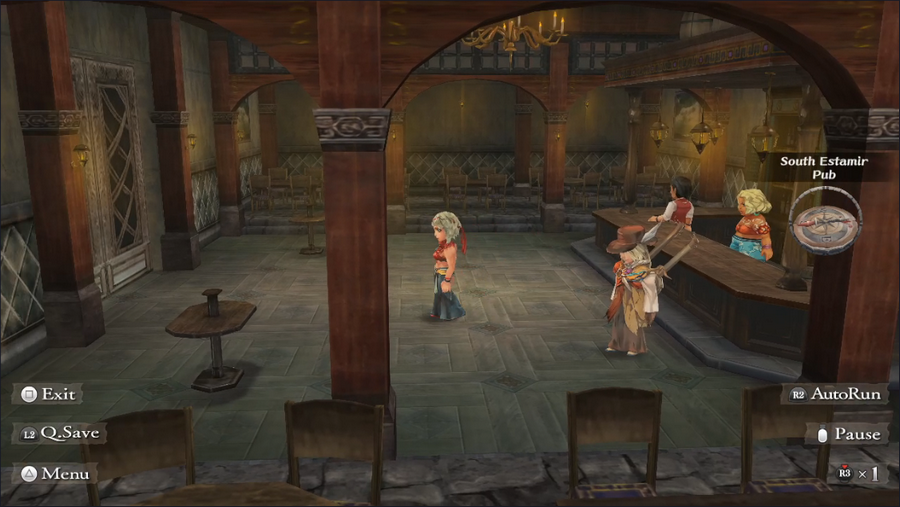 Today's was quite the adventure - it even gained us two full Event Ranks. But now it's done and we need to move on. Cast your votes! Current Event Rank: 12 Things to Do Retrieve the Aquamarine from Crystal Lake - We weren't strong enough for this as of ER2 Kill the bugs in the Altours orchard Find Captain Silver's treasure - We weren't strong enough for this as of ER9 Get the Ice Sword from Galahad... ...by diplomacy ...by force Kill Pyrix - We weren't strong enough for this as of ER8 Kill Avi Find out what happened to the Taralians - We have no leads "My daughter went to Tarmitta and hasn't come home yet." Investigate the return of the vampires Check in with the mummy salesman Get the Fatestone from the Isle of Evil Take the job at the South Estamir pub Places to Explore Estamir sewers Melvir sewers Bayre Plateau Isthmus Keep, or what's left of it The Walon Isle jungle The Ligau caves Mt. Scurve Crystal Lake - We weren't strong enough for this as of ER2 Yassi Cavern Abandoned Keep Saoki Cavern Treasure Maps Jungle, Level 1 Steppes of Galessa, Level 1 Kaklim Desert, Level 1 5-Headed Snake God fucked around with this message at 17:48 on Jan 29, 2024 |
|
#
?
Jan 29, 2024 15:22
|
|
|
Retrieve the Aquamarine from Crystal Lake Get the Ice Sword from Galahad... ...by force  "My daughter went to Tarmitta and hasn't come home yet."
|
|
#
?
Jan 29, 2024 20:00
|
|
|
That was productive. Get the Ice Sword from Galahad... ...by diplomacy. Barbara is nice. "My daughter went to Tarmitta and hasn't come home yet." Investigate the return of the vampires The situation is slightly less critical.
|
|
#
?
Jan 30, 2024 02:17
|
|
|
It's a funny thing about the Mardian gods, yep ~ And let's see, hm ... How about -- Retrieve the Aquamarine from Crystal Lake Investigate the return of the vampires and Isthmus Keep is of course still waiting ~
|
|
#
?
Jan 30, 2024 17:52
|
|
|
Gonna go with; Get the Ice Sword from Galahad......by diplomacy "My daughter went to Tarmitta and hasn't come home yet." and what the hell, Take the job at the South Estamir pub
|
|
#
?
Jan 31, 2024 13:59
|
|
|
Voting is now closed.
|
|
#
?
Feb 2, 2024 01:47
|
|
|
Welcome back, everyone. There was a two-way tie in the votes this time around, but since one of the tasks is pretty quick, let's do both!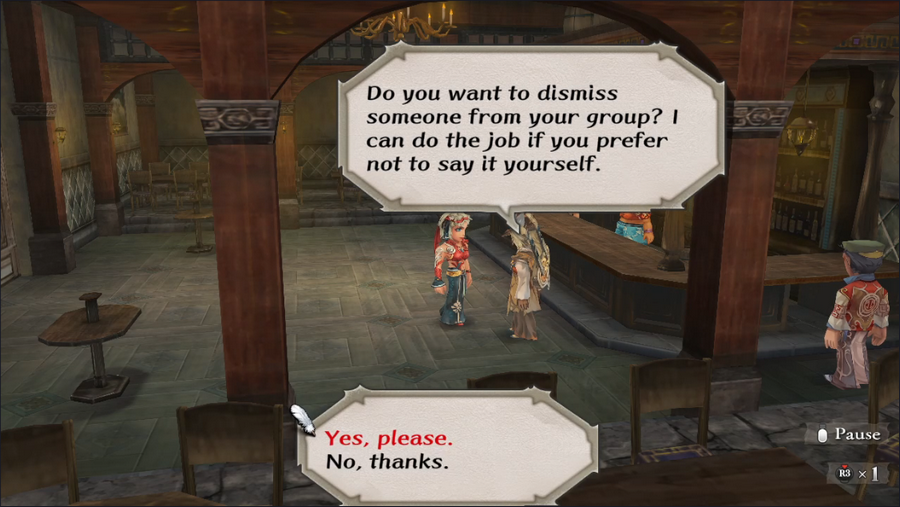 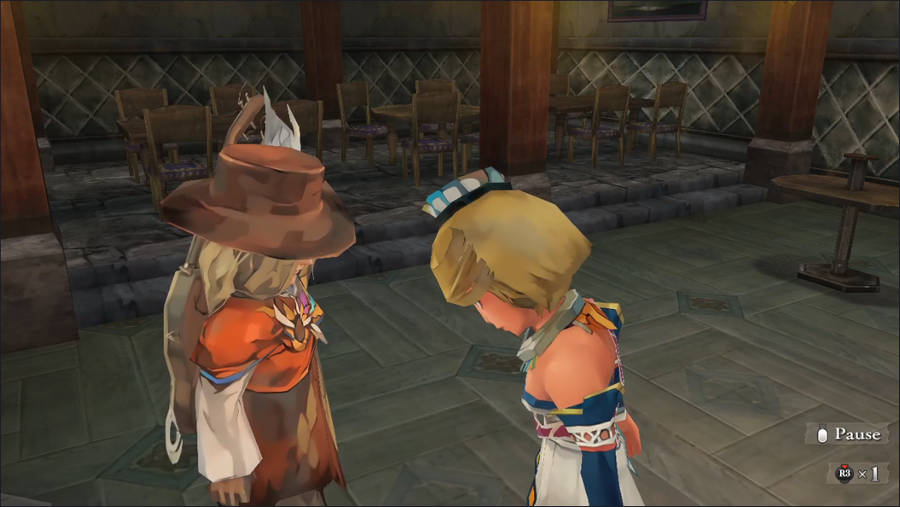 The first thing we have to do is ditch Diana again, though she won't be gone too long. 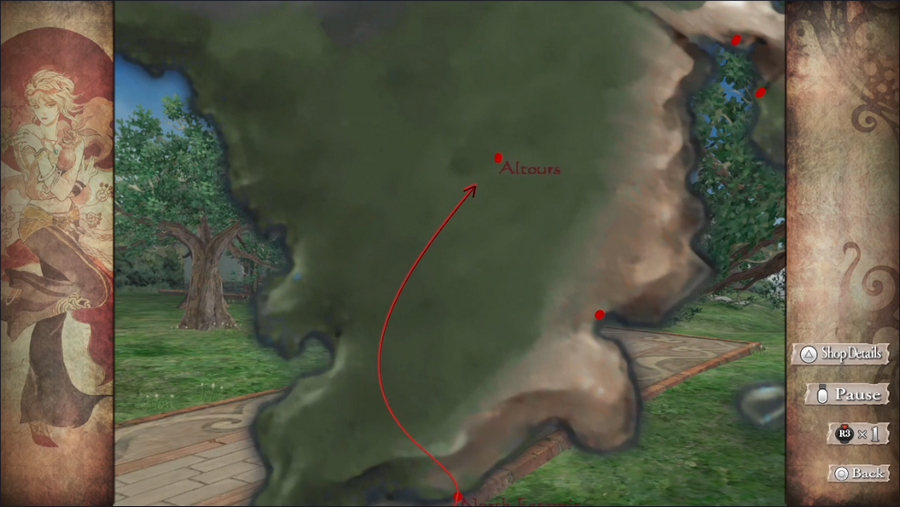 Then we're off to Altours. 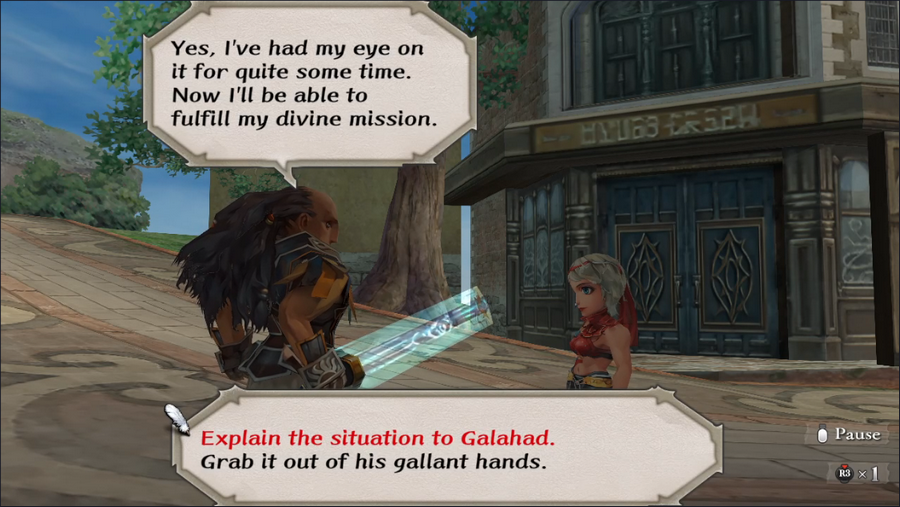 Of the votes to get the Ice Sword from Galahad, the majority of you wanted to do it diplomatically, and so we shall. 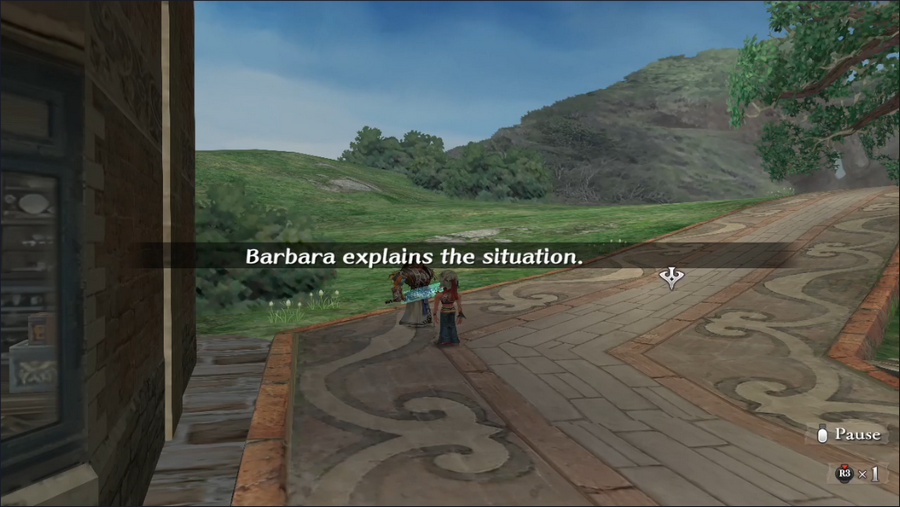 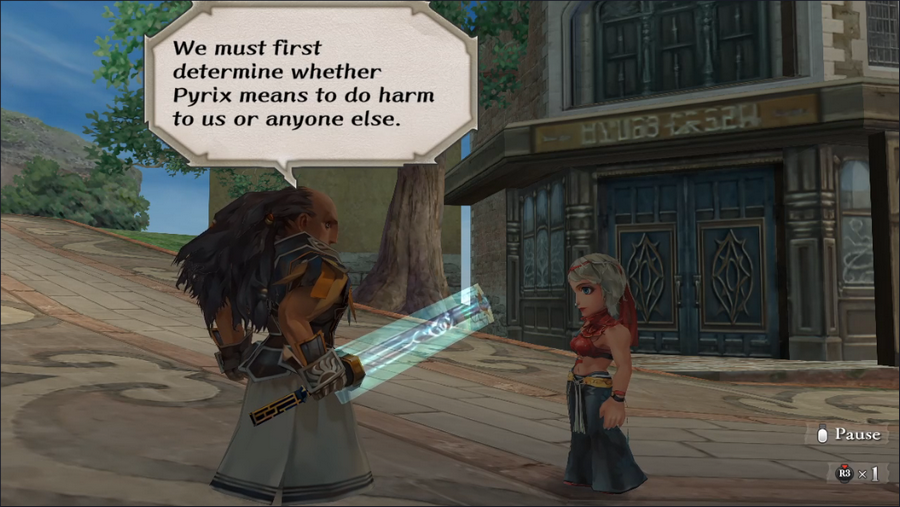 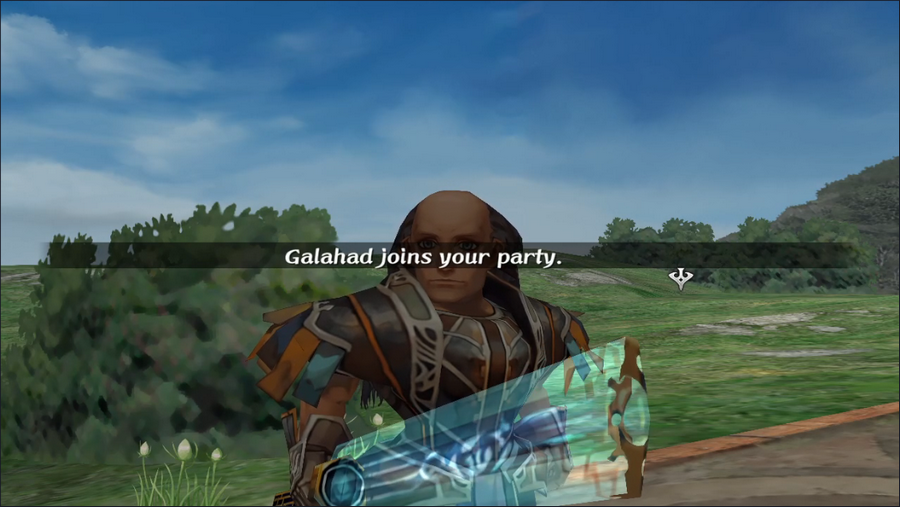 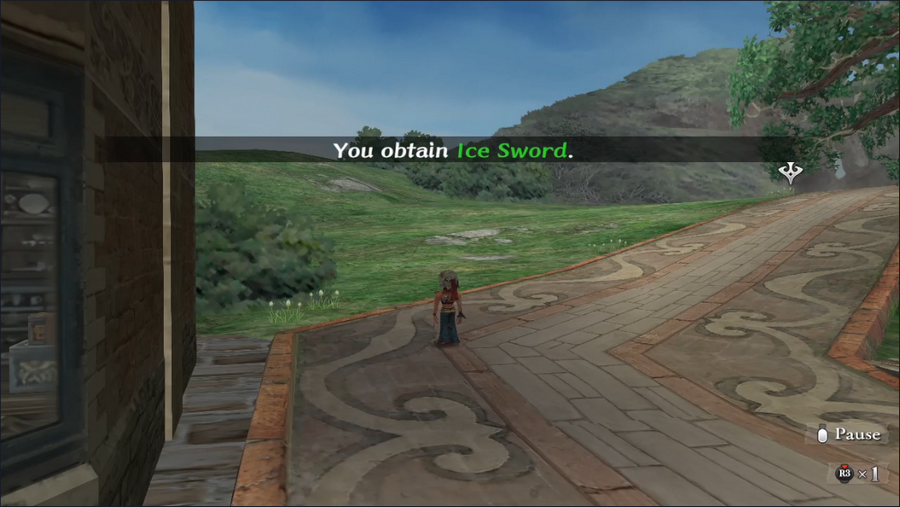 This is why we had to remove a character: Galahad forces his way into our party for this. We get the Ice Sword as well, so as with Hawke and the ancient scroll, we could kick him back out immediately. There's no harm in letting him come with us to see Pyrix, though, so we'll do that.  The sword itself is a really good item, so there's a compelling reason to keep it rather than delivering it to Pyrix. It's powerful, it channels Aerology, and it deals bonus damage to fire monsters. However, none of our characters use two-handed swords, so we have no reason not to give it away.   Sword in hand, we head back to Mt, Tomae.  This line is kind of silly given that we're in the depths of a volcano. Pyrix says it every time we show up.  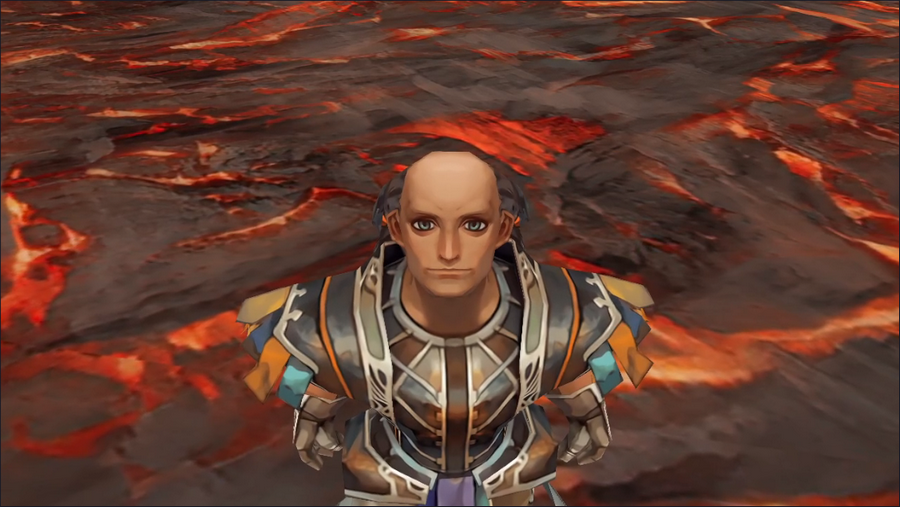 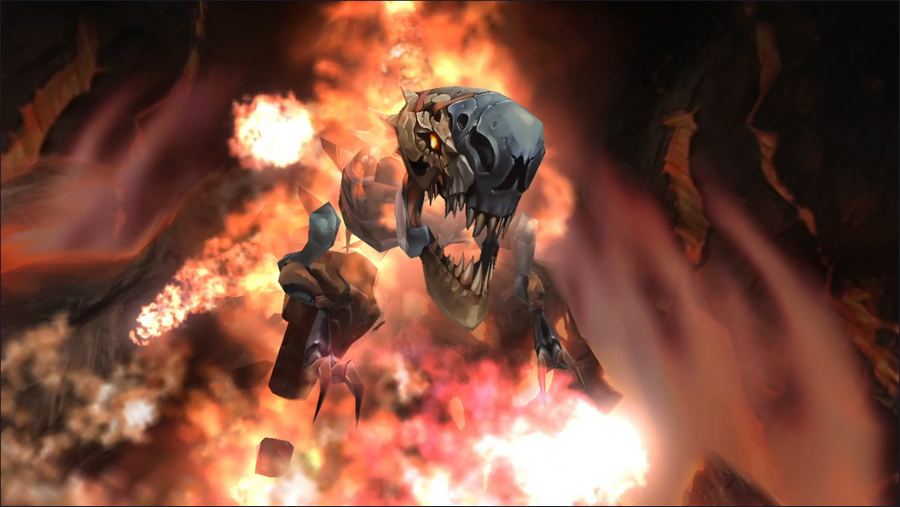 As we give Pyrix the Ice Sword, he and Galahad exchange looks. Neither speaks. 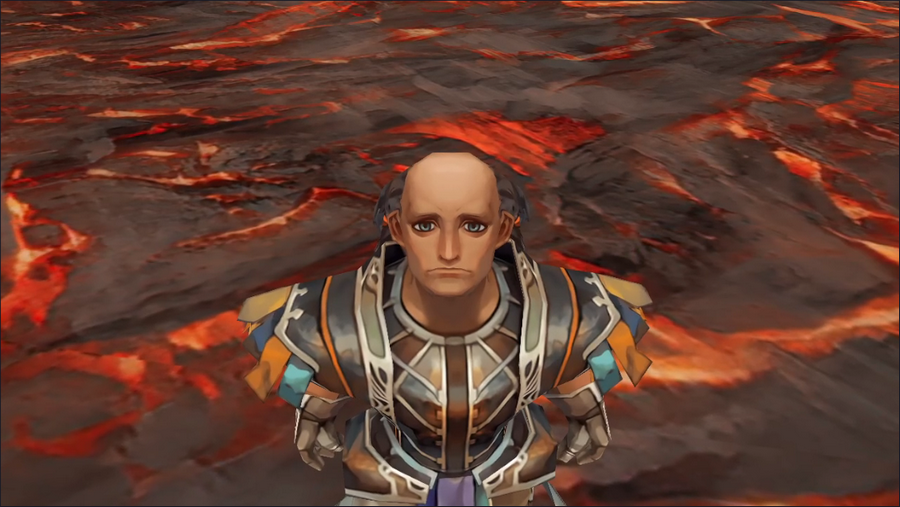  That remains true as Pyrix takes the sword and it disappears, but Galahad's feelings are obvious. He saw the Ice Sword as a way to fulfill is gods-given purpose in the world, and now it's gone. He's done the right thing, but the personal cost was steep.  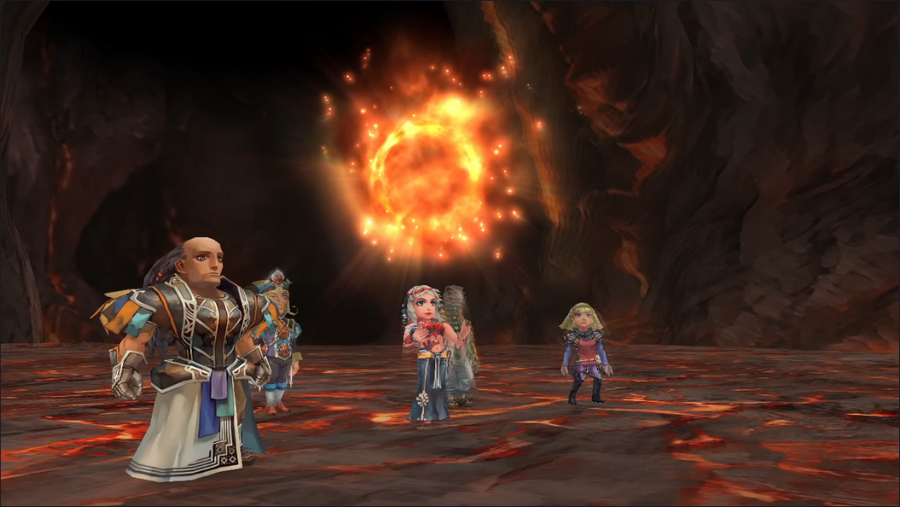 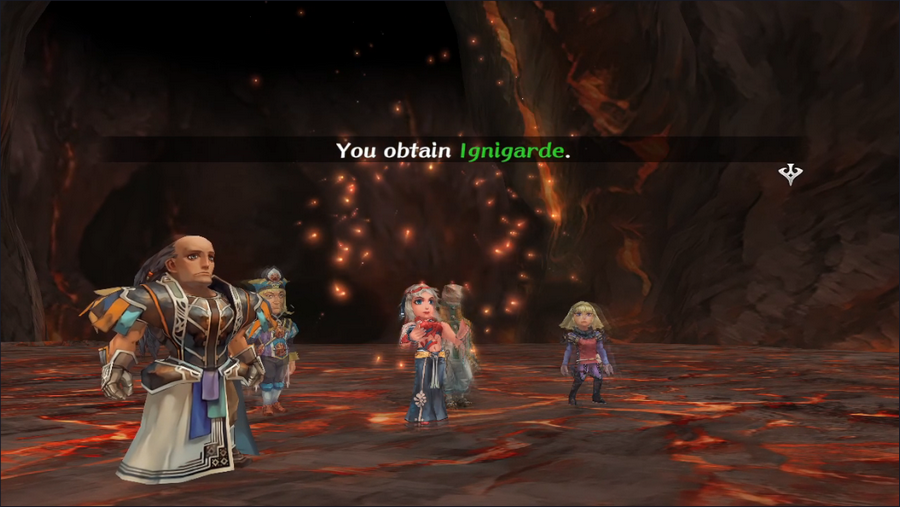 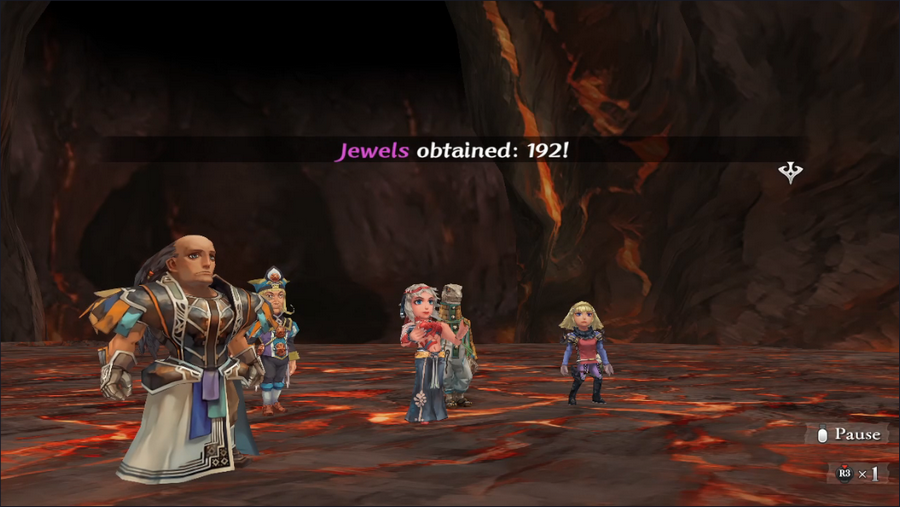 Barbara doesn't really seem to care about that though, as she's got the Ignigarde and a decent number of jewels. The Ignigarde is headgear that provides fairly little defense but gives almost complete immunity to fire, so like the Ice Sword, there's a compelling reason to keep it. Until such time as you all vote to give it to Avi, you can bet we're going to use it.  Following this scene, we're sent back to the entrance to Mt. Tomae, but we're actually going to go back and speak to Pyrix again. 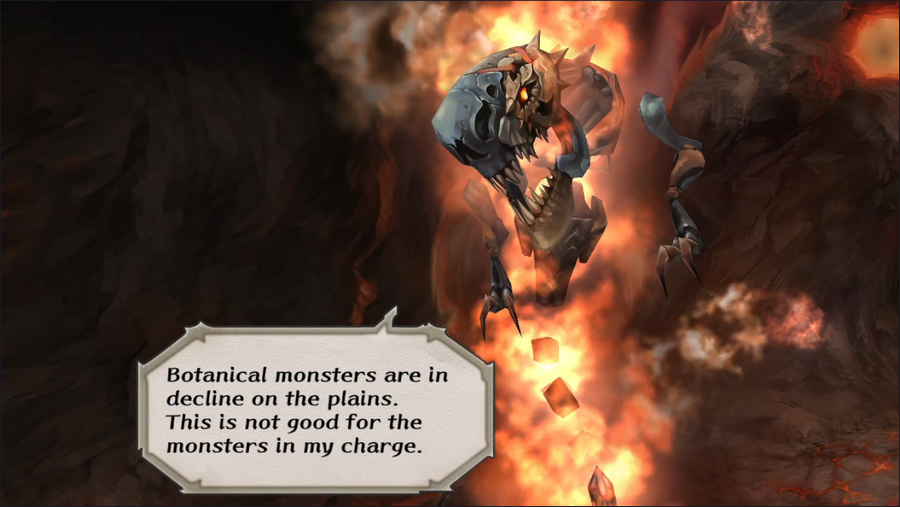 Turns out he has another task for us. 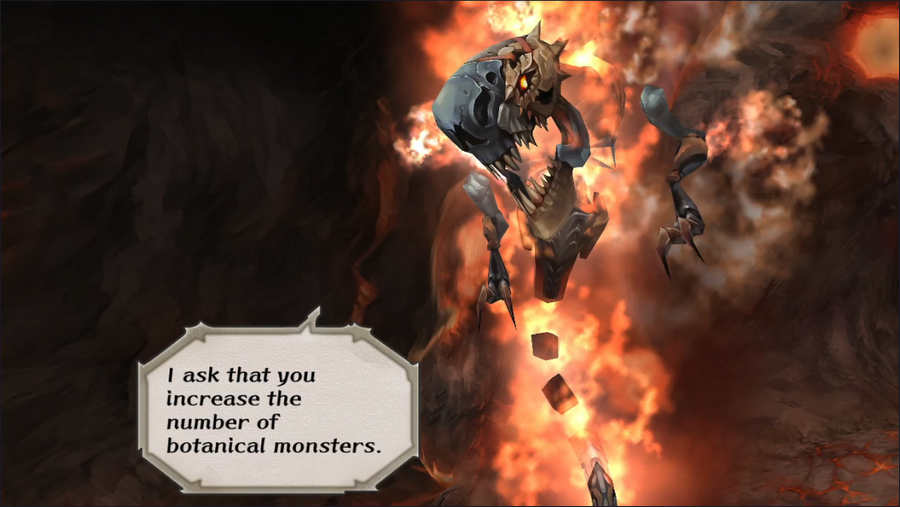 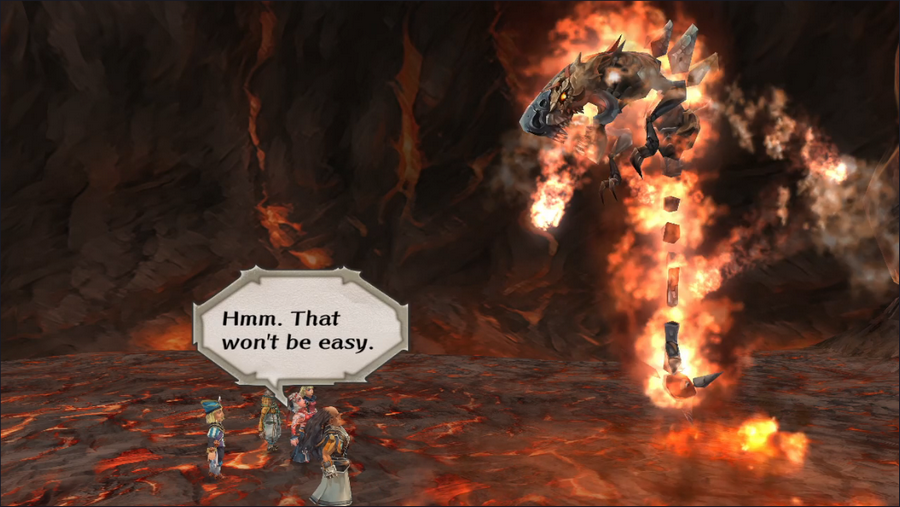  He wants us to increase the number of Plant monsters on Ligau. What an unusual request. 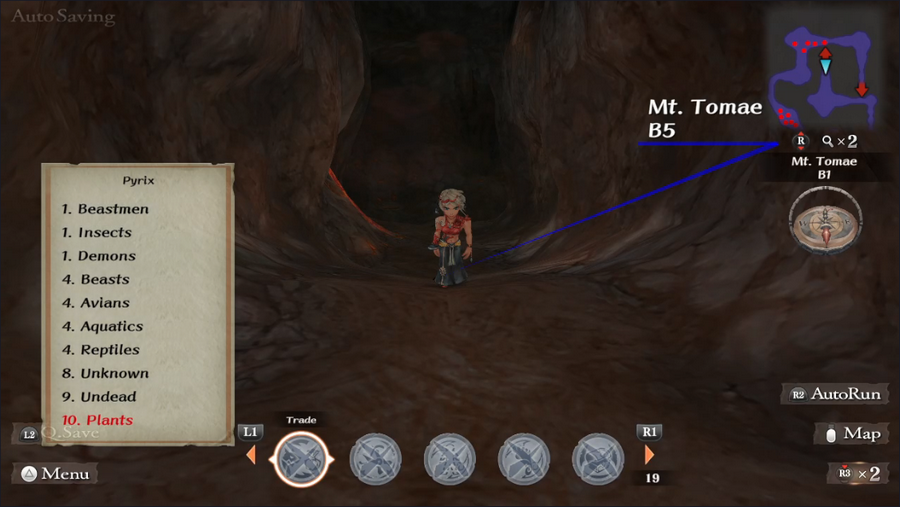 Until the mission is done, every time we end a battle or change areas on Ligau, we get a list of monster rankings. (This was added in the Remaster; in the PS2 version we'd have to go see Pyrix for the list.) Our goal is to get Plants to the top of the list - but that's a task for another day, if at all. 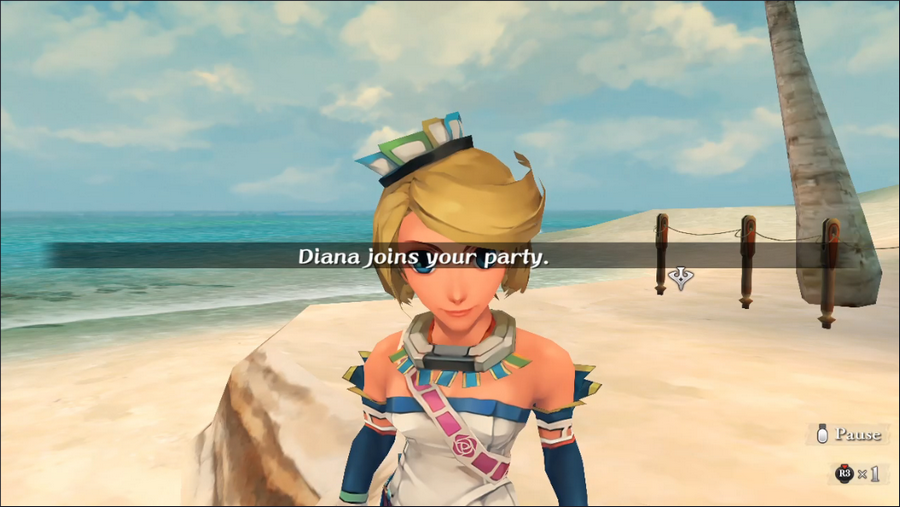 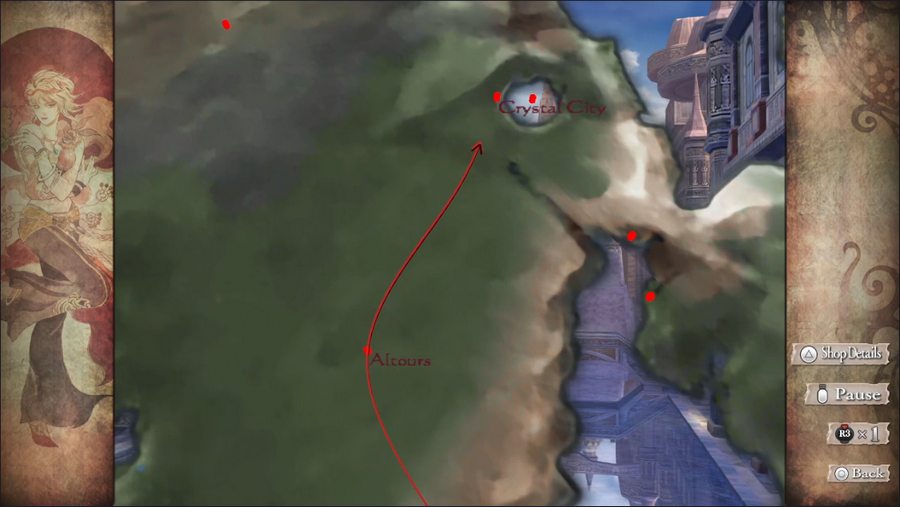 After picking up Diana (and forgetting to move her out of the front row for the rest of the update  ), we're off to Crystal city. Our party could really use some new armor. ), we're off to Crystal city. Our party could really use some new armor.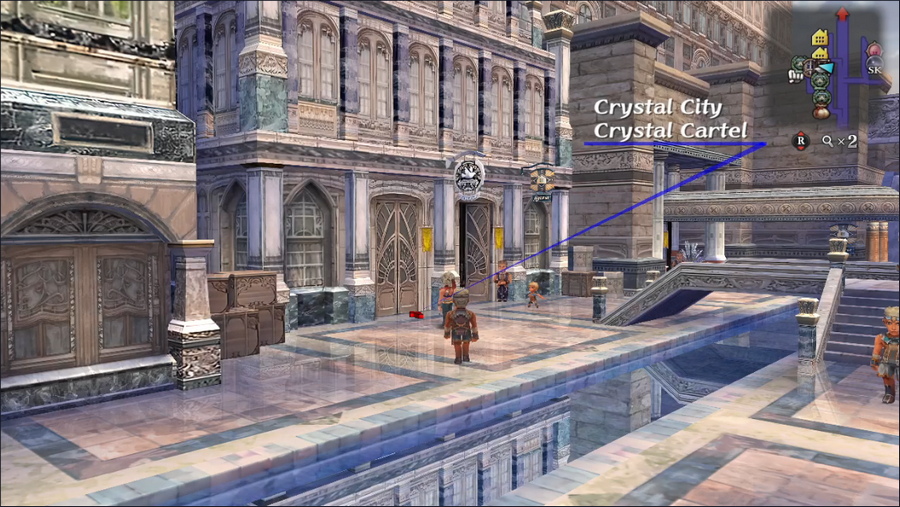 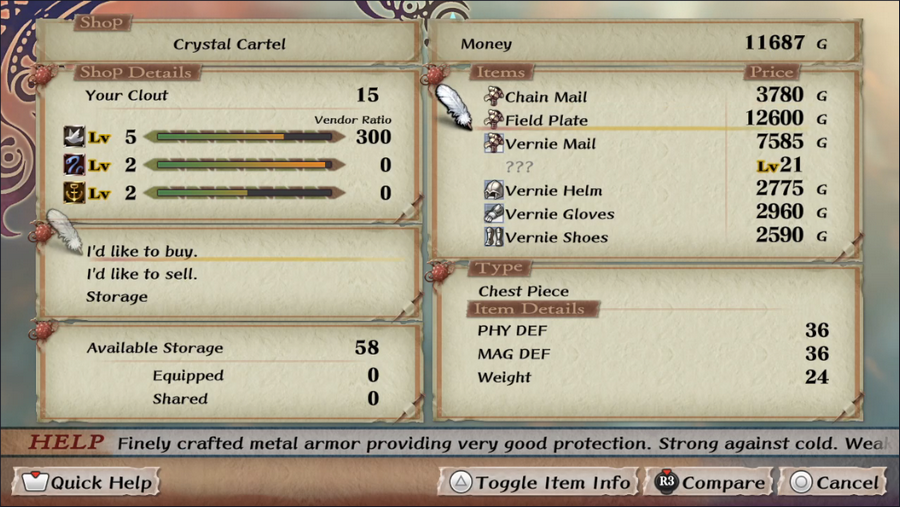 The city's Crystal Cartel sells some of the best armor in the game. We'll eventually want a few suits of Field Plate, but it's well out of our budget right now.   Apart from some minor armor purchases, we're also going to start tempering our weapons. Neither Barbara nor Diana are likely to get anything better over the rest of the game, so we'll begin the process of improving their armaments.  Next, we're off to Tarmitta. Someone's daughter is missing and we need to see if we can find her.  The guy who initially told us about Lake Malar has some new information: the local viceroy has decided to sacrifice a virgin to the water dragon! That's... probably bad.  The next step in the quest is pretty unintuitive, but we actually have to sleep at the local inn. Our only clue to do this is a warning at the top of the screen.  We awake from our rest at night, and the streets are deserted.   For some reason, the palace moat is also empty, giving us access to a concealed entrance.  Here we are in the depths of Sekhet Palace. 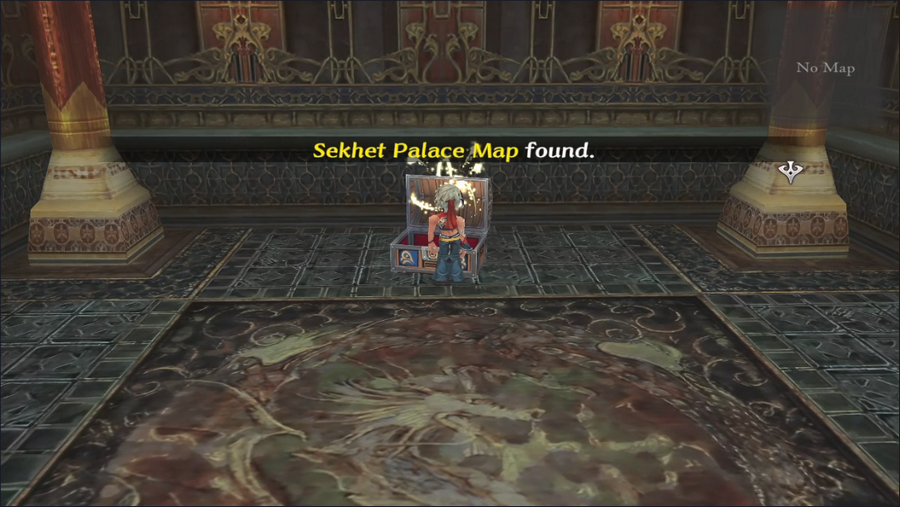 There's a map conveniently located right by the entrance. 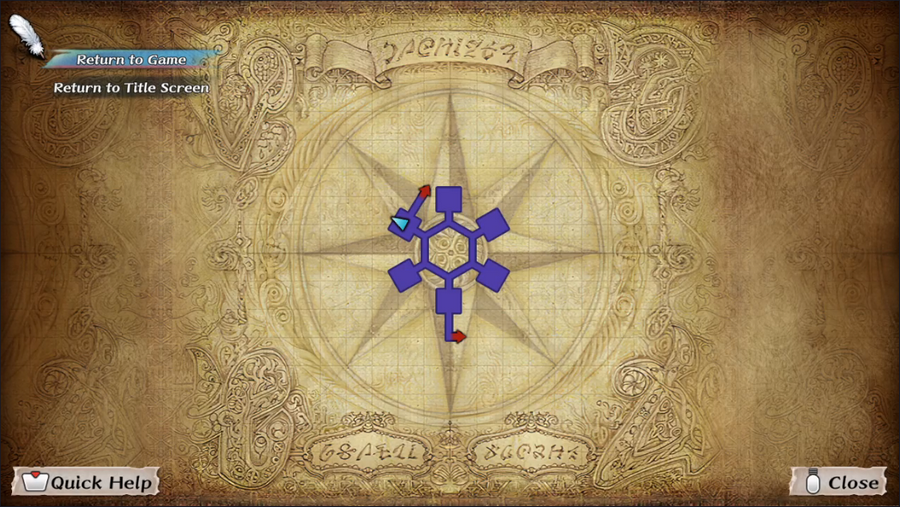 This area is a hexagonal hallway with rooms branching off at the corners. This raises the obvious question of why we need to cover the two-thirds of it on the east side. 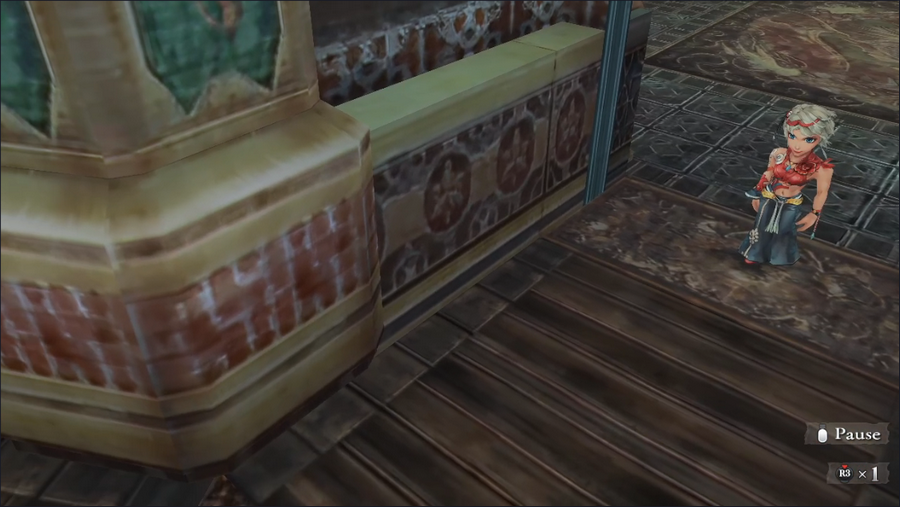 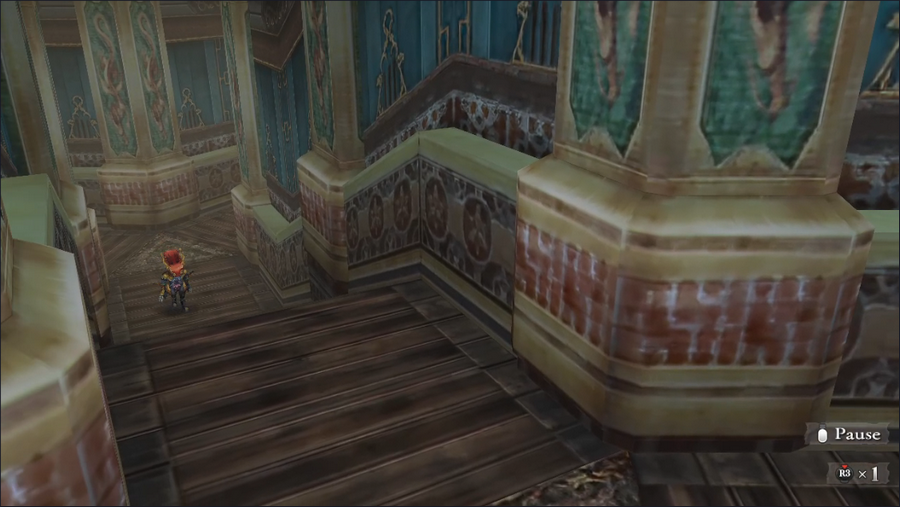 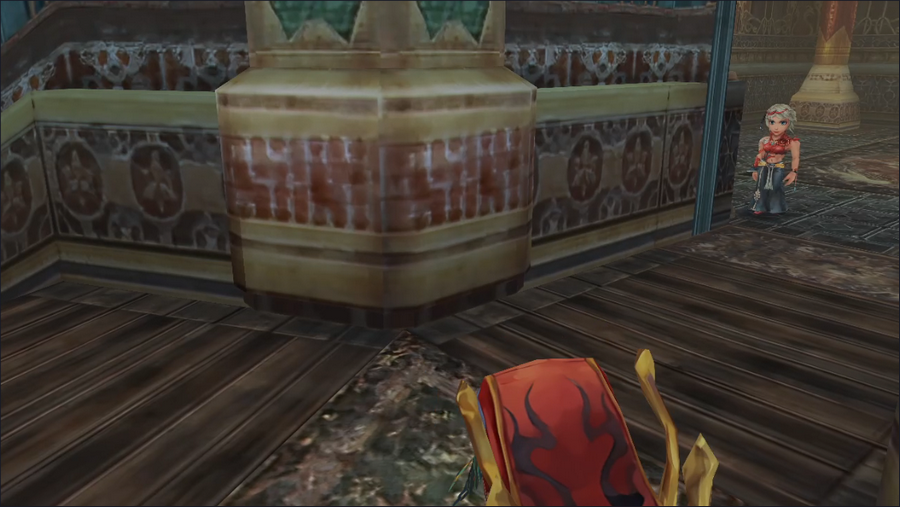 It's because there are guards patrolling. If we try to head counterclockwise, we'll run into one of them.  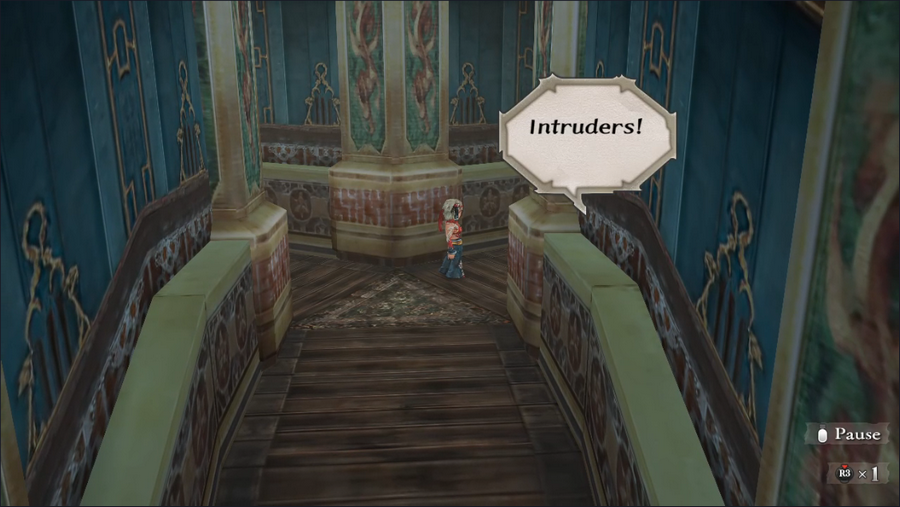 Unfortunately, due to the camera angles, it's hard to see where they are, and we end up running into them anyway. 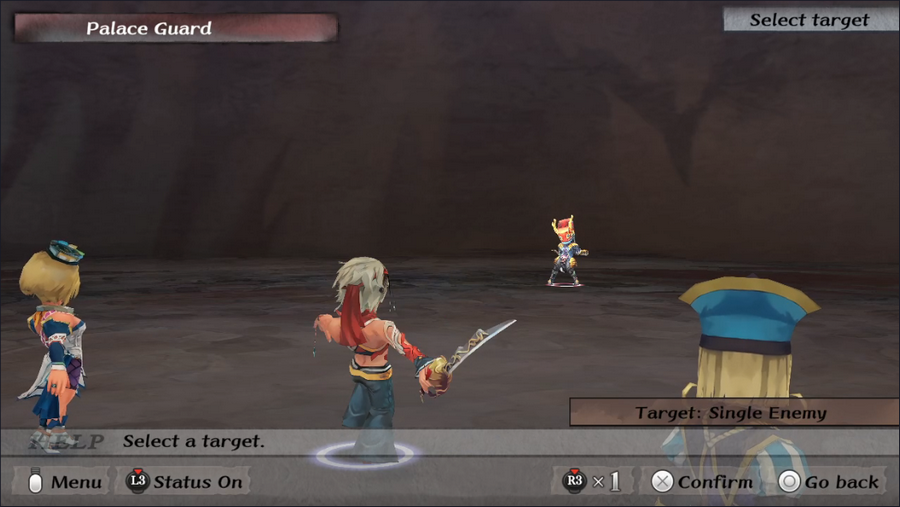 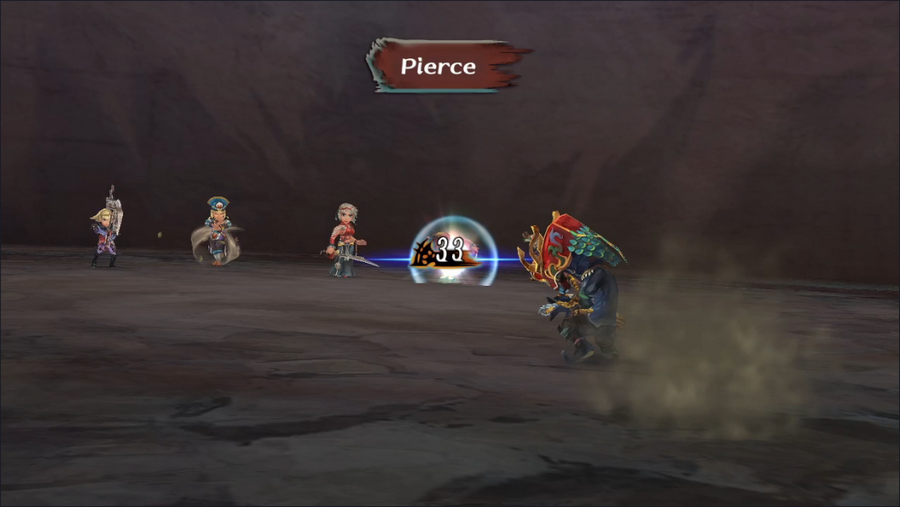 It's annoying to have to progress our ER and BR like this, but at least the Palace Guards are almost completely harmless.  So what's in the side rooms? 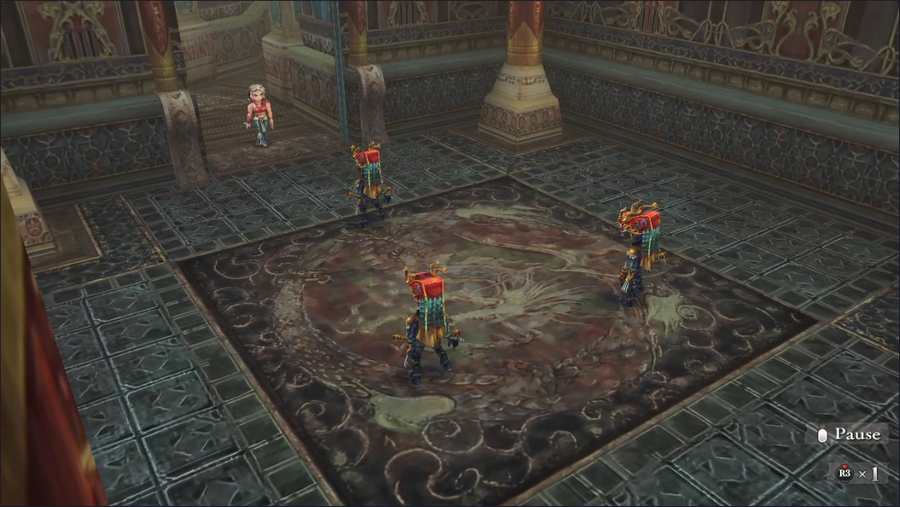 Mostly more guards. 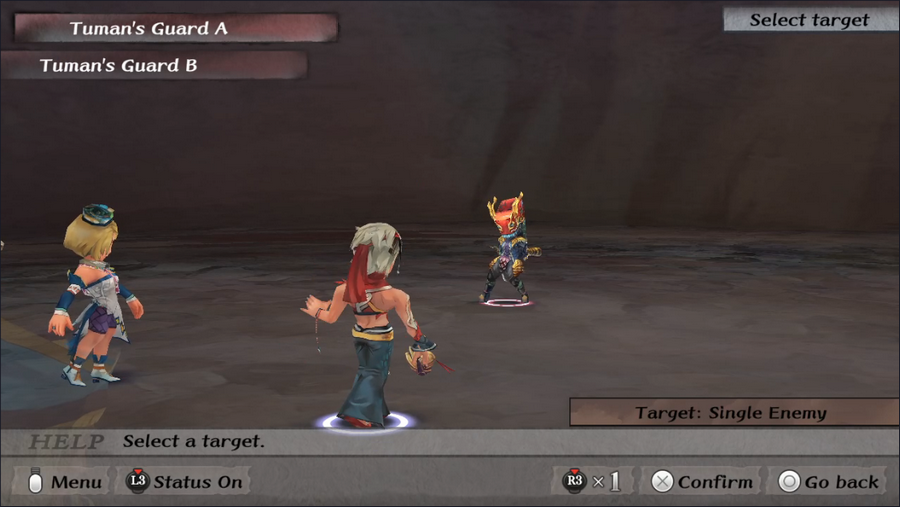 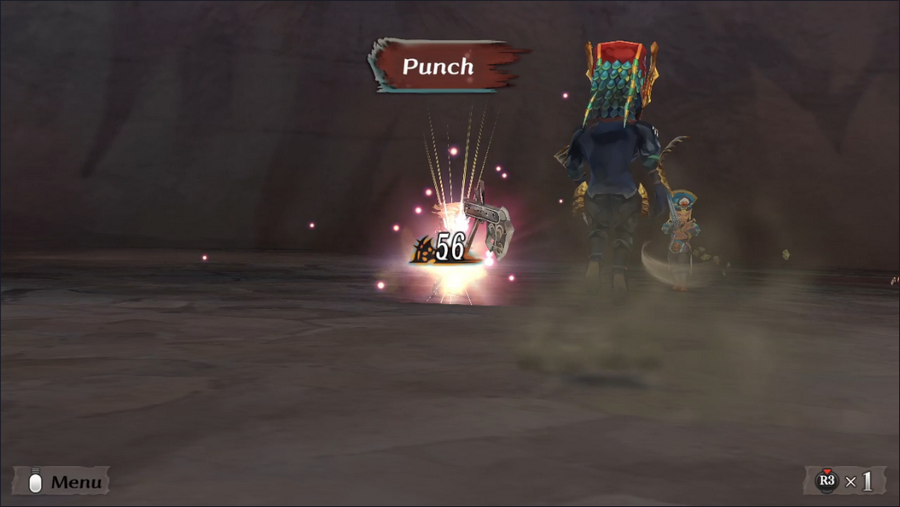 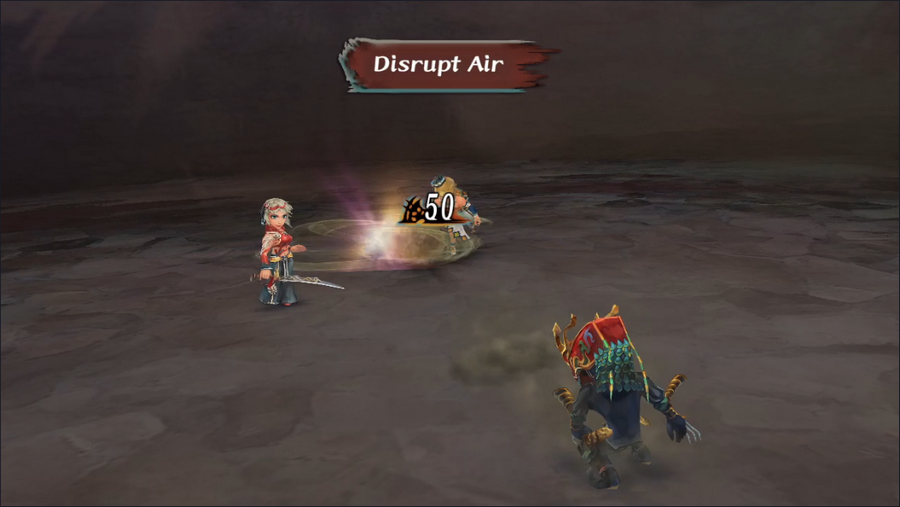 Tuman's Guards aren't much more dangerous than the Palace Guards, but they do know a few martial arts techniques, including Disrupt Air, Square Throw, and One-Two-Three. 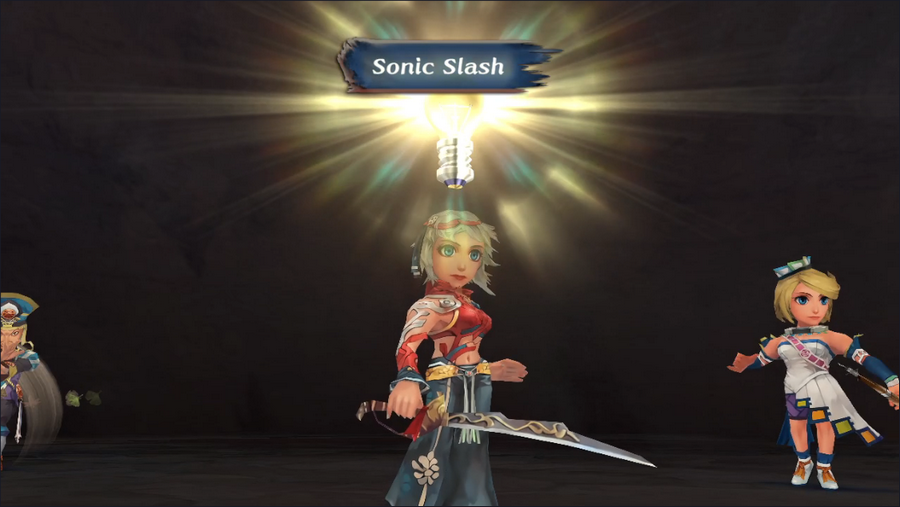 The fights in the palace don't get us much, but we do get a couple Glimmers. I'm kind of surprised Barbara didn't get Sonic Slash before this, and it's not a big deal. But the other new technique? 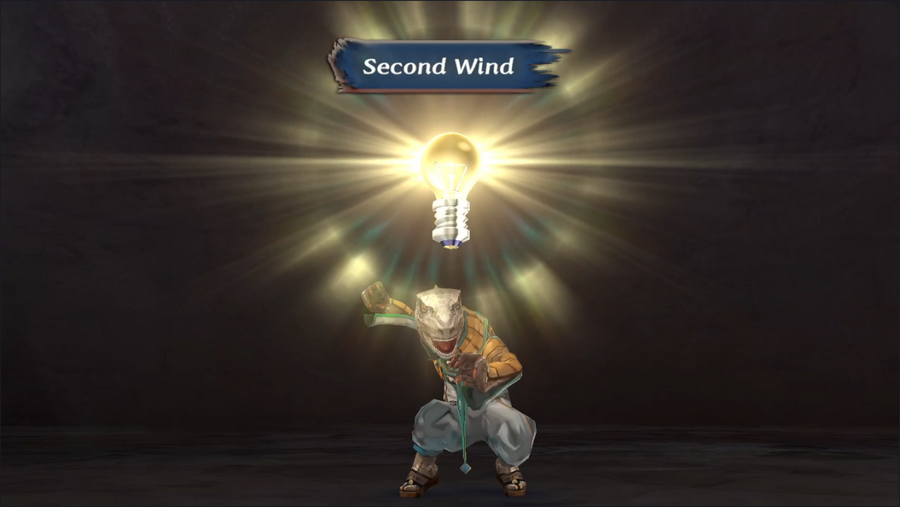 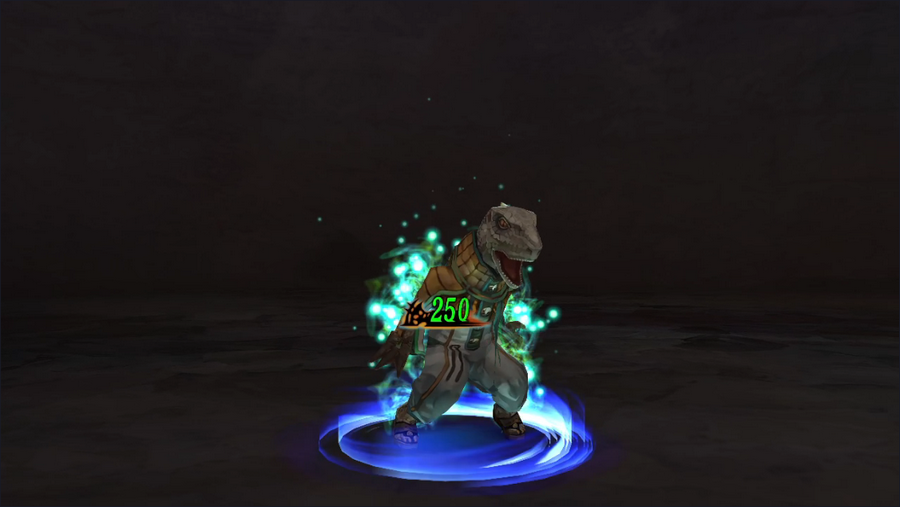 Second Wind is pretty much the reason to invest in martial arts. It restores a solid chunk of HP and, as a bonus, it adds a regenerative effect. Second Wind is pretty much the reason to invest in martial arts. It restores a solid chunk of HP and, as a bonus, it adds a regenerative effect.  As we head up to the next floor, we immediately see another guard patrol ahead. Note that this floor has a different layout that forces us to navigate the whole thing.  Most of the rooms are still filled with Palace Guards.  We do find one with a treasure chest, but its contents are barely worth our time.   At the end of this floor, we move onto the "Innermost Area", which is clearly a throne room. 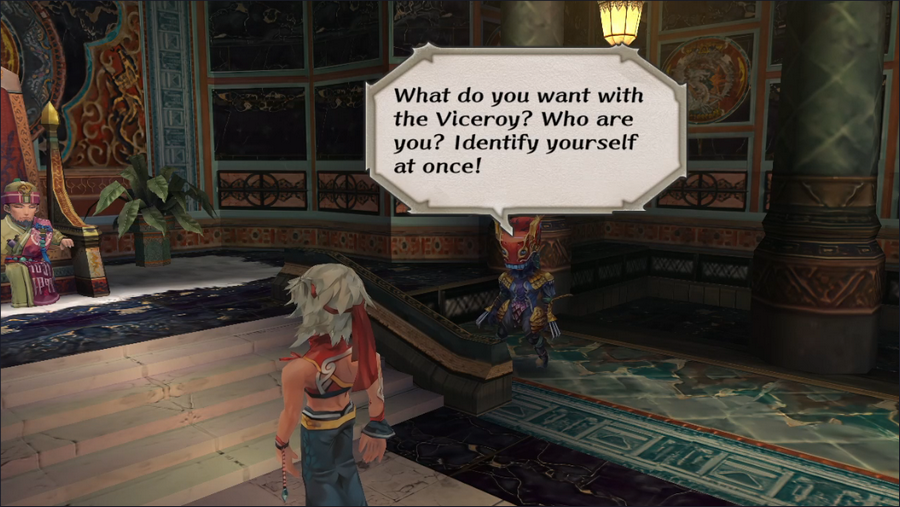 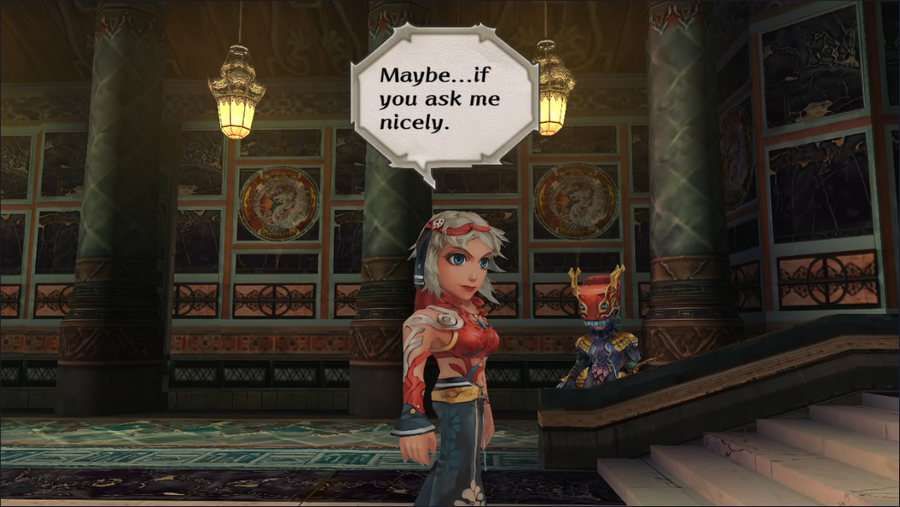 The guards accost us, but Barbara is really in a mood. 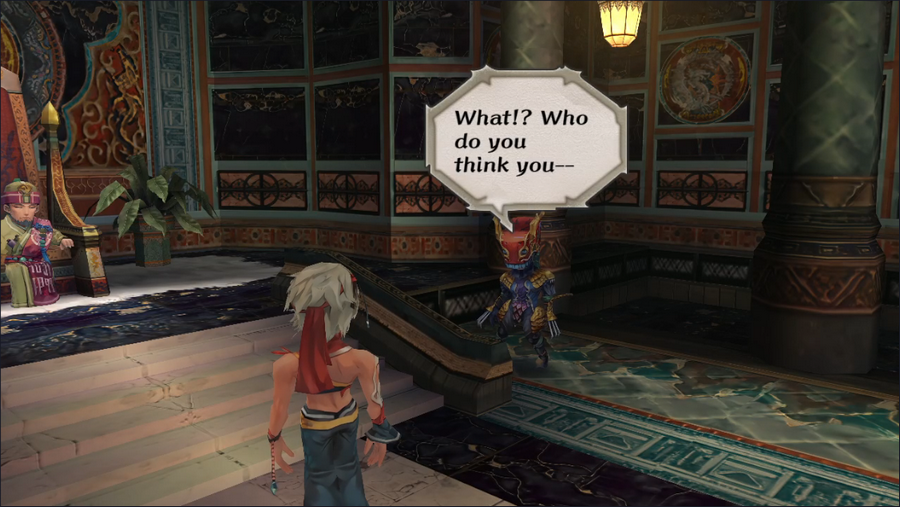 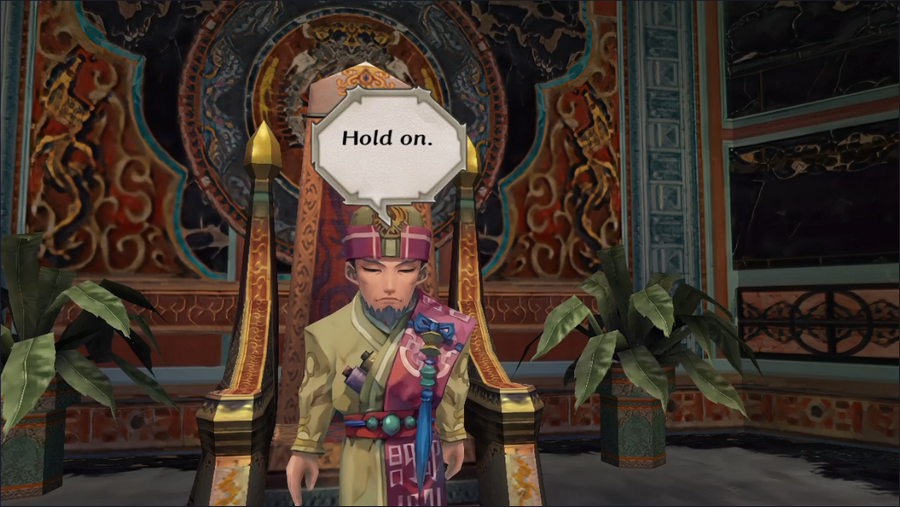 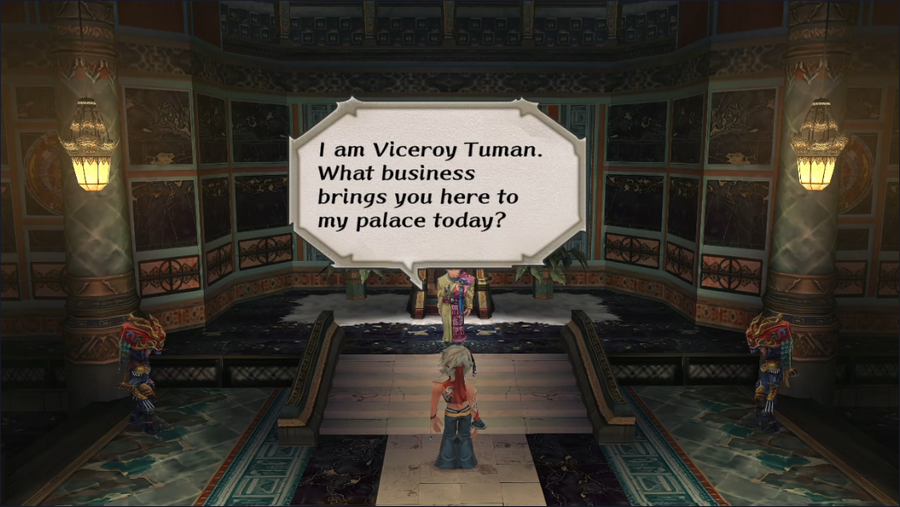 He seems genial, at least. 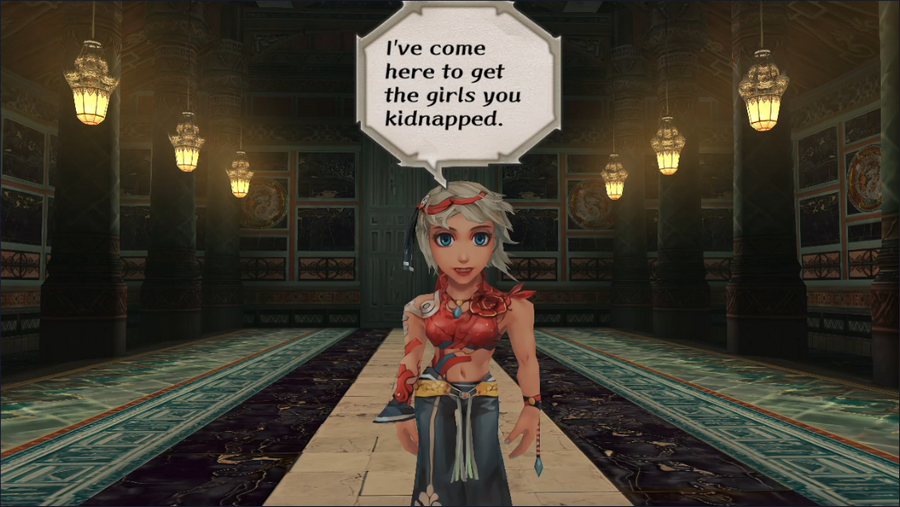 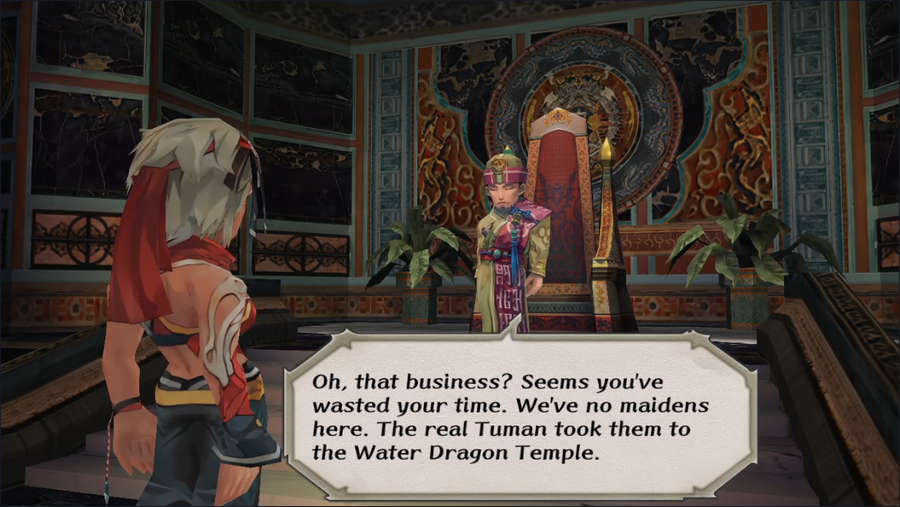 Unfortunately, it seems he's not actually the viceroy. 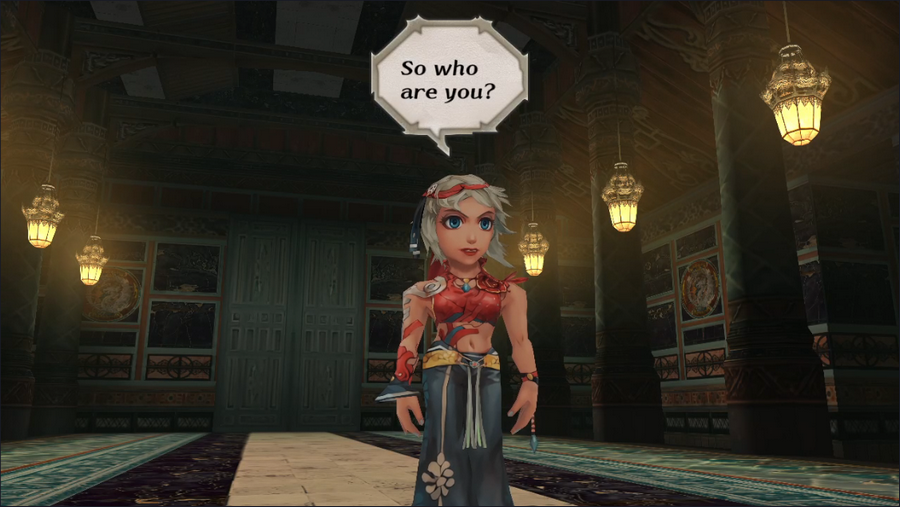 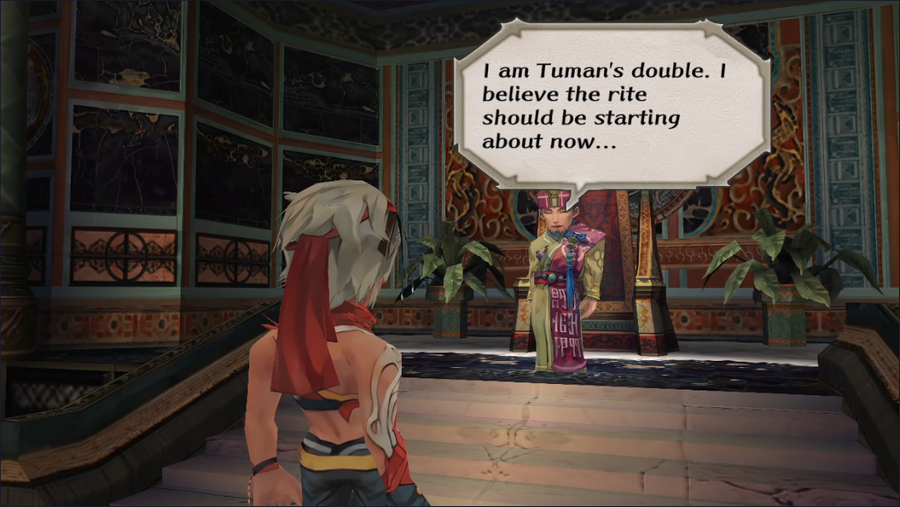 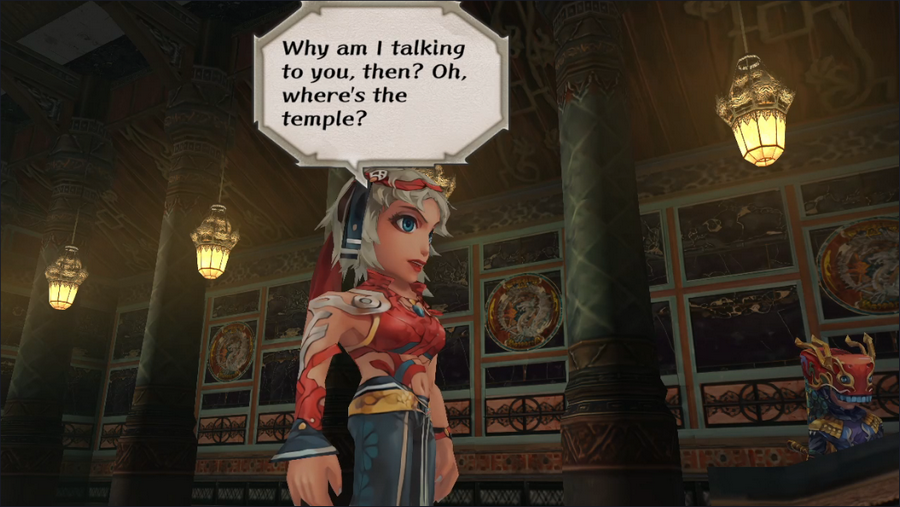 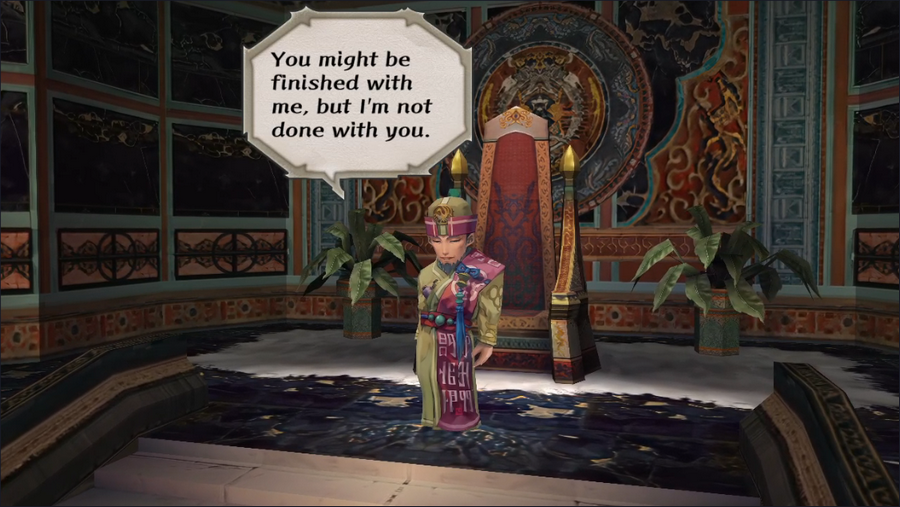 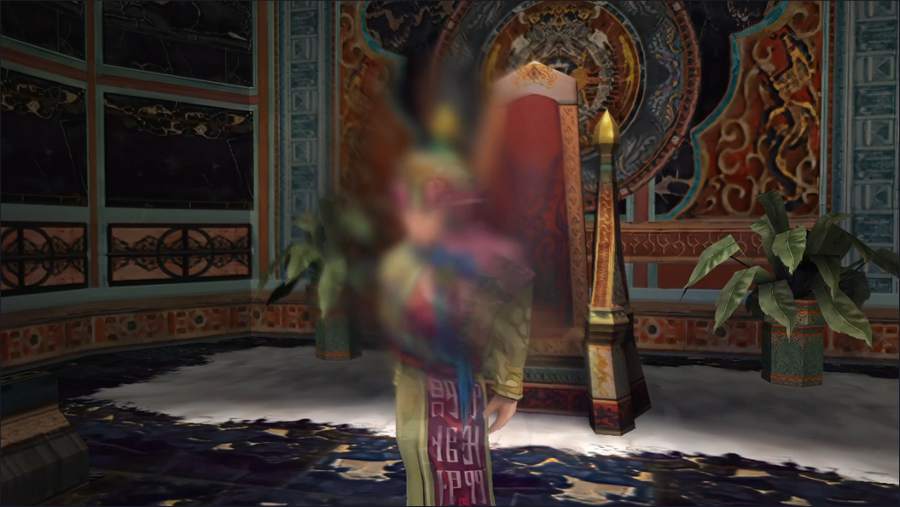 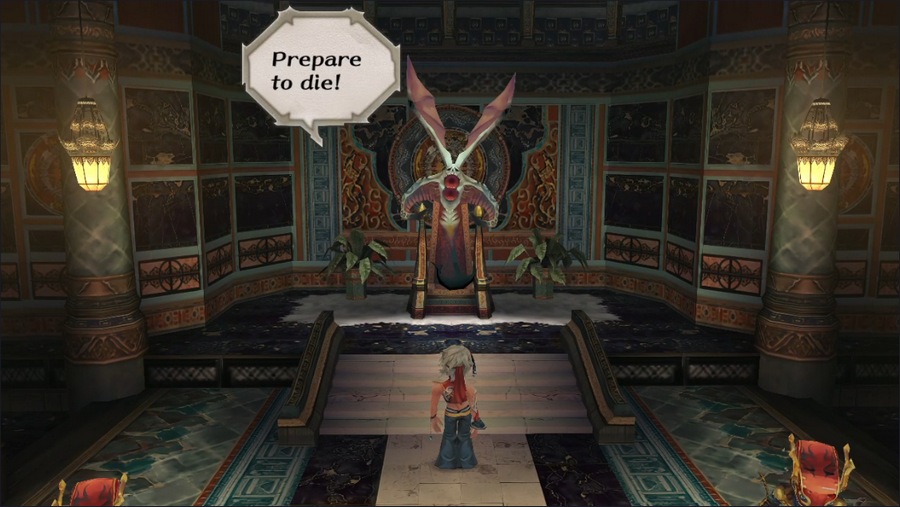 The fake Tuman's image shifts, and he transforms into a demon! Boss Fight: Tuman's Double https://www.youtube.com/watch?v=twkFlUoJbtE 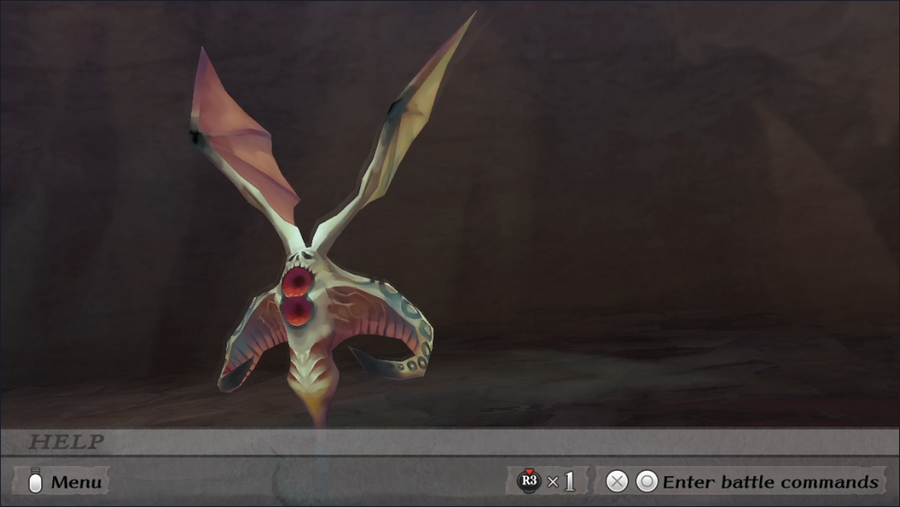 Tuman's Double has a basic Magic Bug model, but he's substantially more dangerous than such a basic enemy. 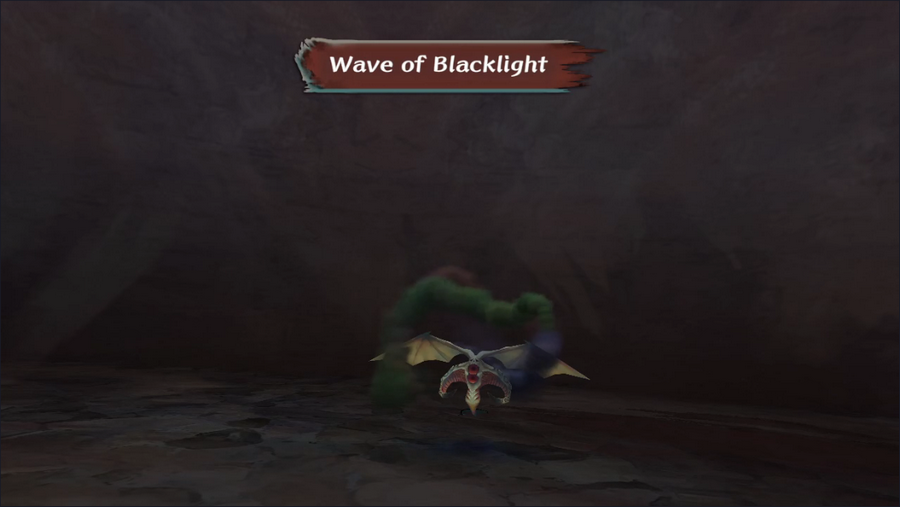 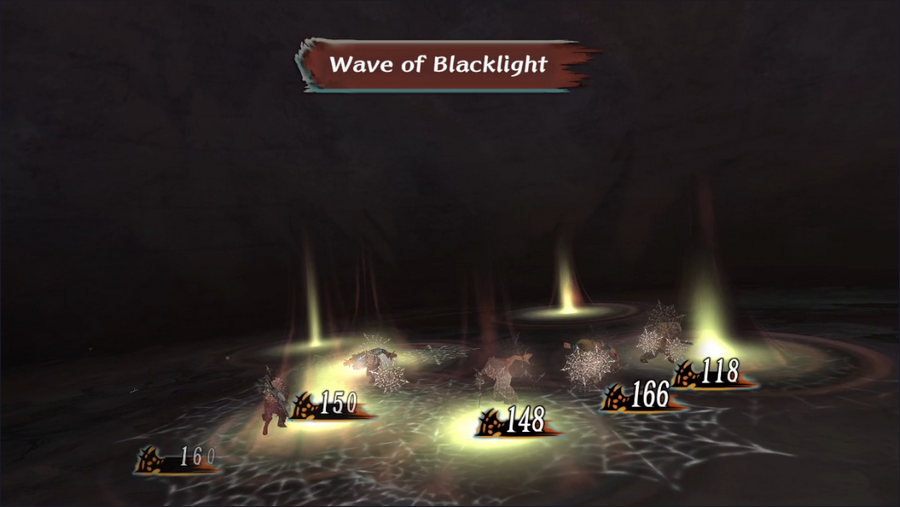 He's primarily a spellcaster, using spells like Wracking and the new Wave of Blacklight to damage our party. 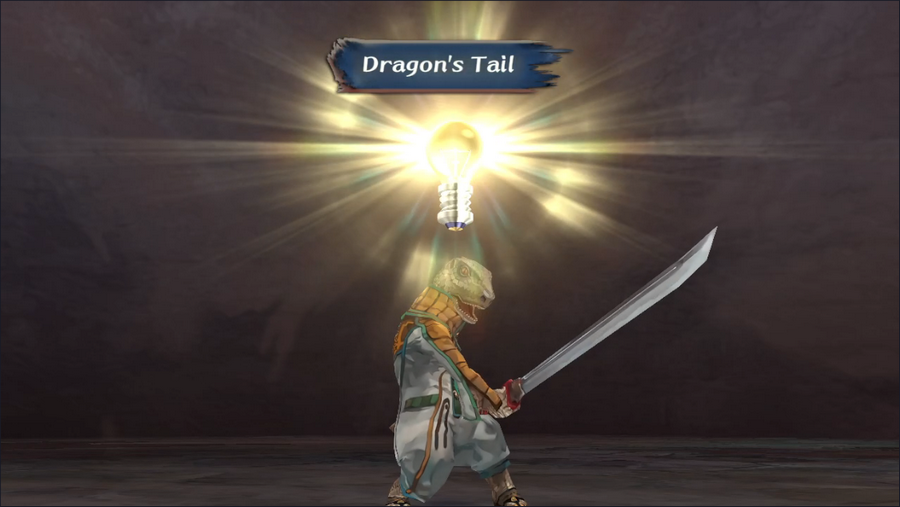  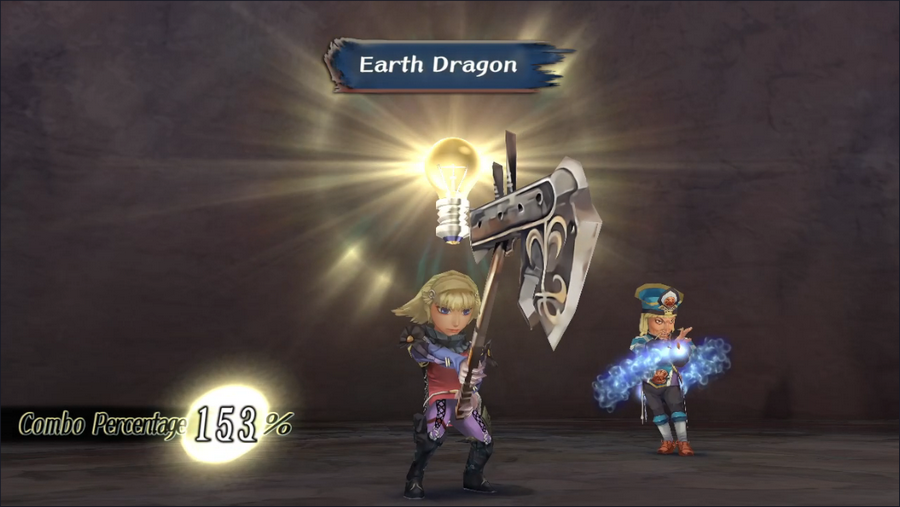 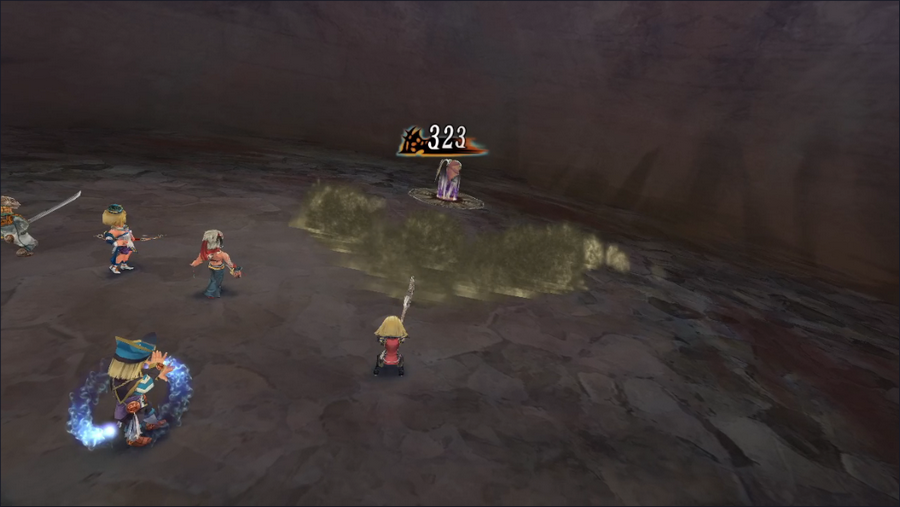 We get a couple of decent dragon-themed Glimmers from this fight. Dragon's Tail is a strong is costly attack that deals two hits, while Earth Dragon damages a small area and has a chance to inflict Snare. 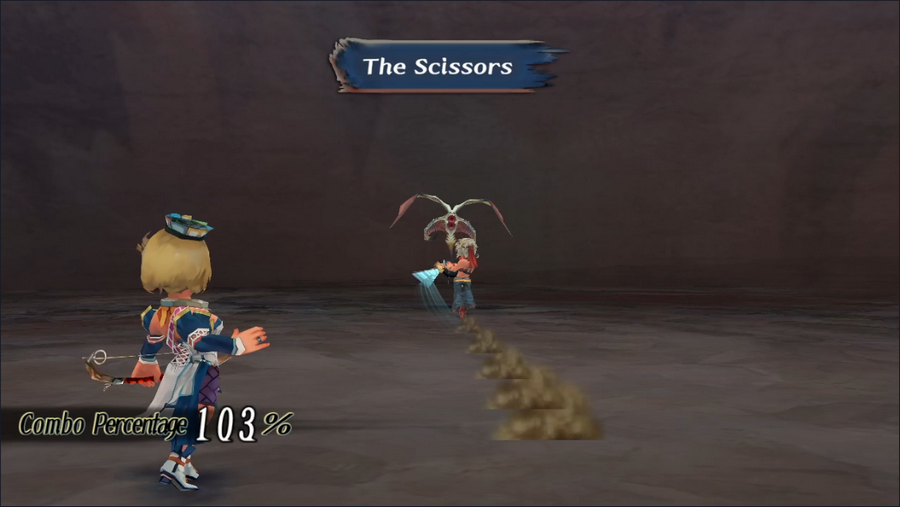    We also get to see a new Vortex here, the Scissors. This one earns favor with Amut and Eres and is by far the easiest to pull off.  Between the Glimmers, the Vortex, and regular damage output, we're able to defeat the double without too much hassle. 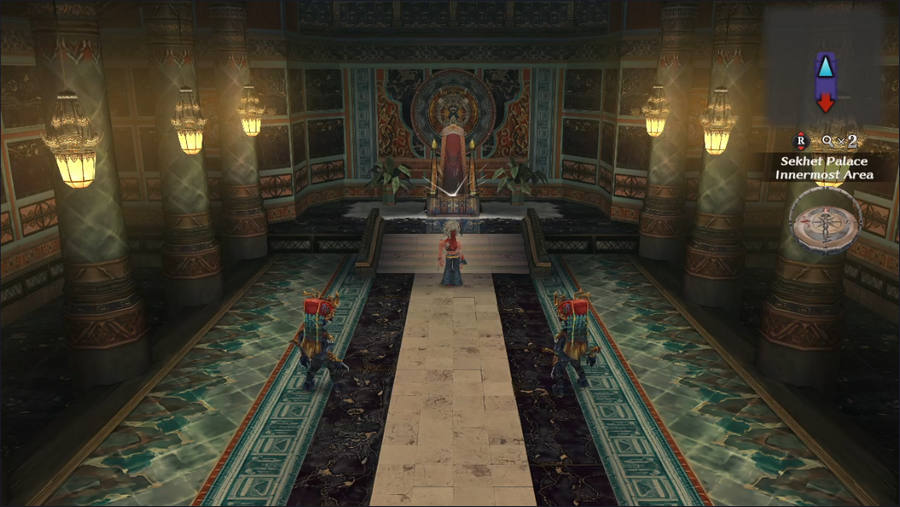 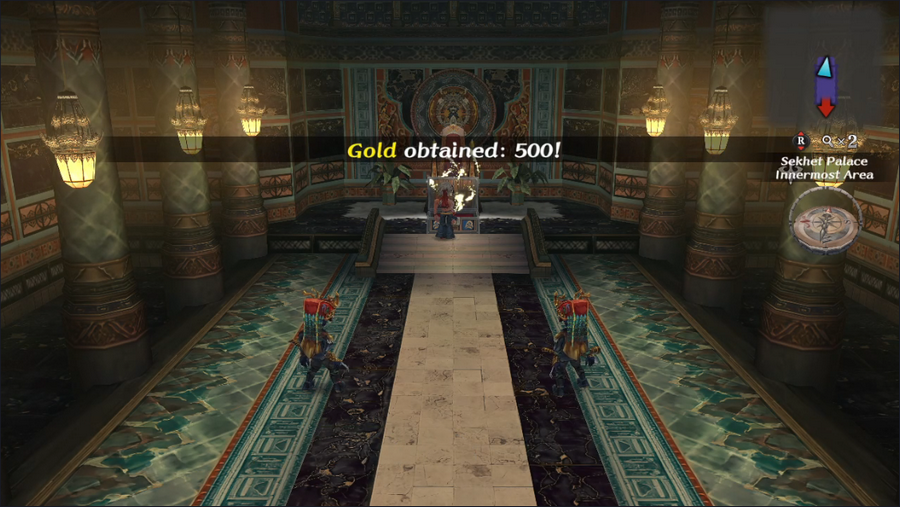 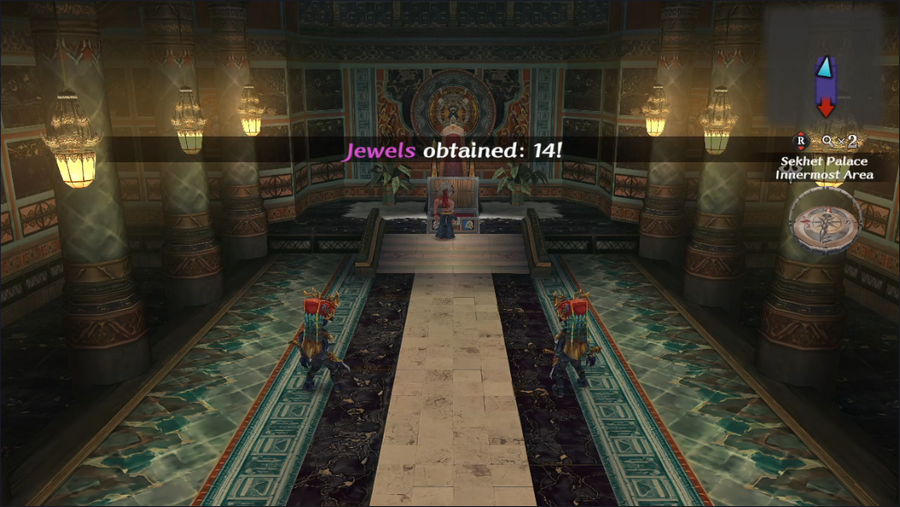 He leaves behind a chest containing some gold and jewels. I'm not sure why this doesn't just drop at the end of the fight, but whatever. 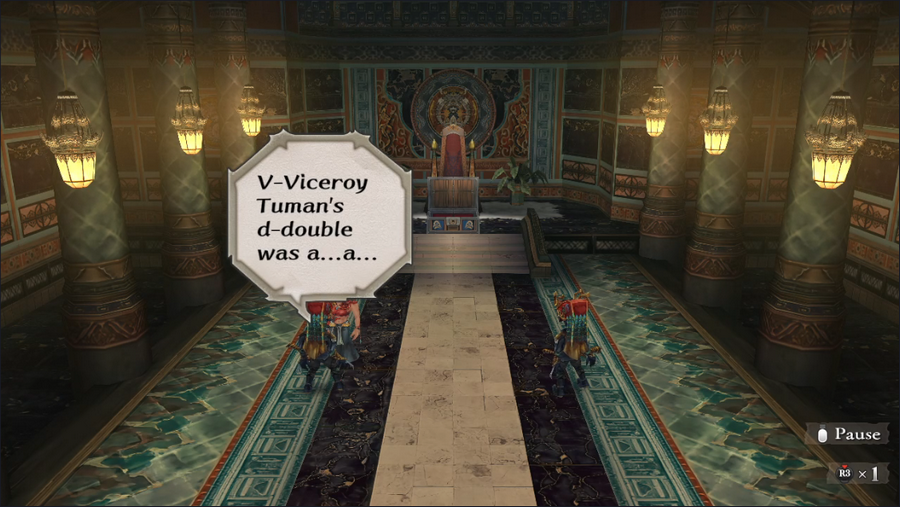 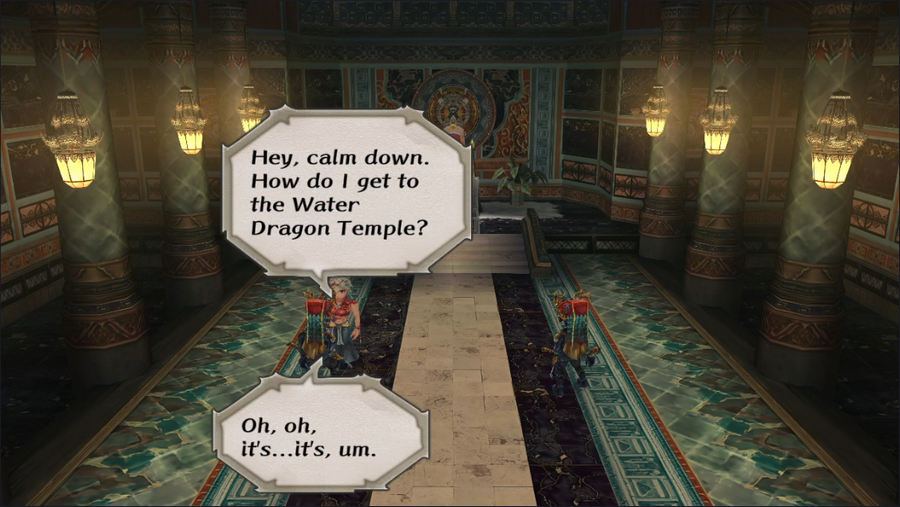 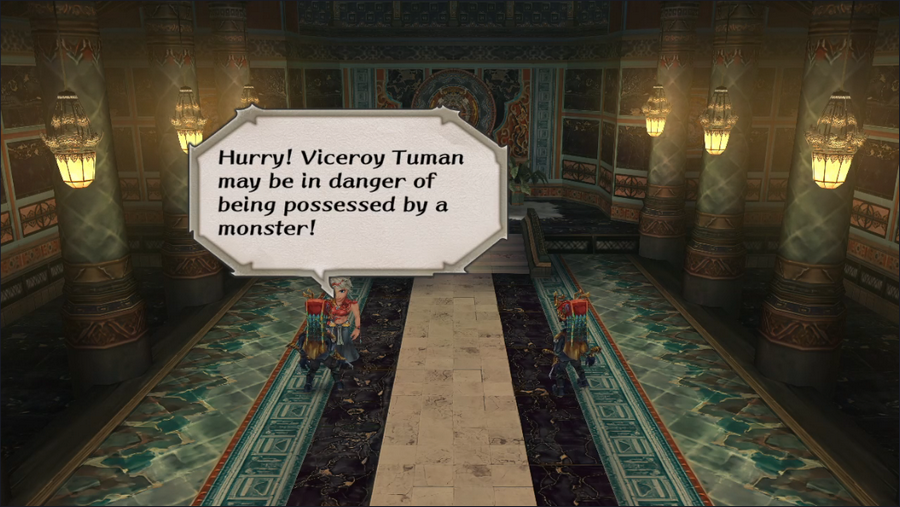 Yeah, I'm sure that's the danger here. 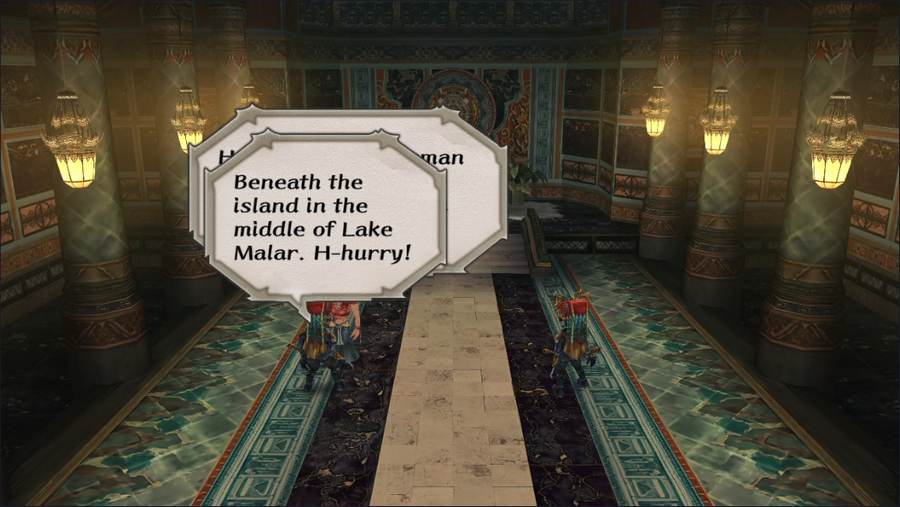 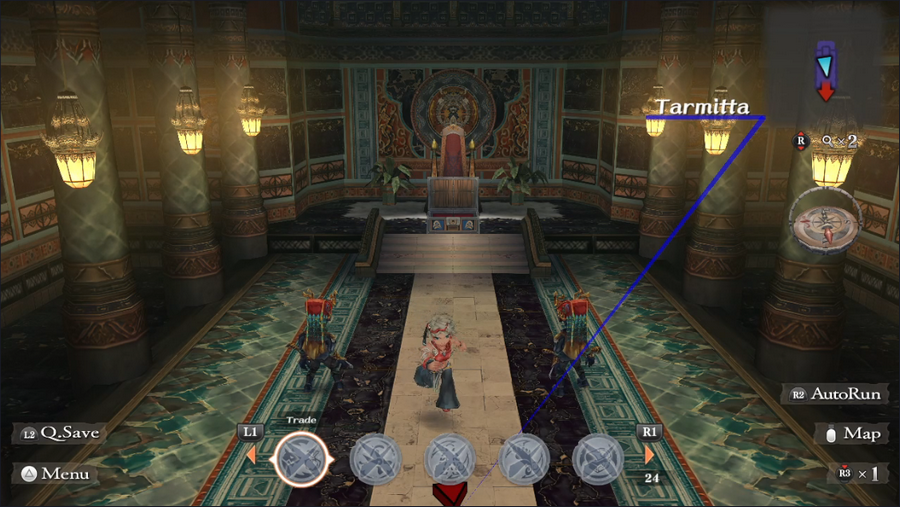 We've got our information. Time to go.  When we come out of the palace, the sun has already risen. 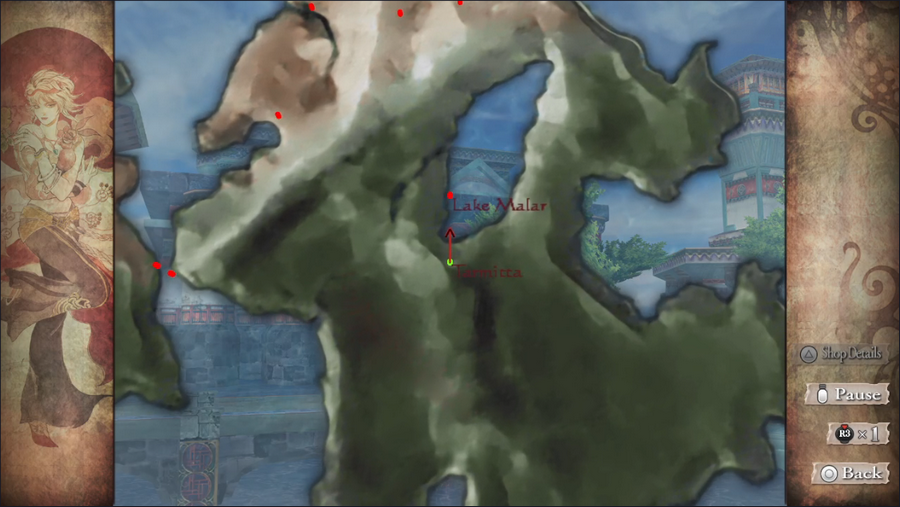 Off to Lake Malar. 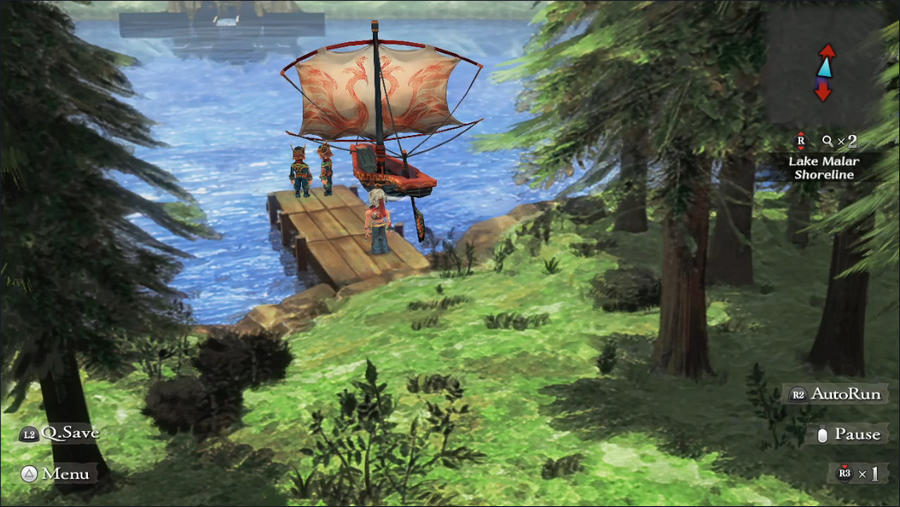 Just like the first time we came here, there are guards stationed on the dock.  But this time, we can push them into the water and take their boat. 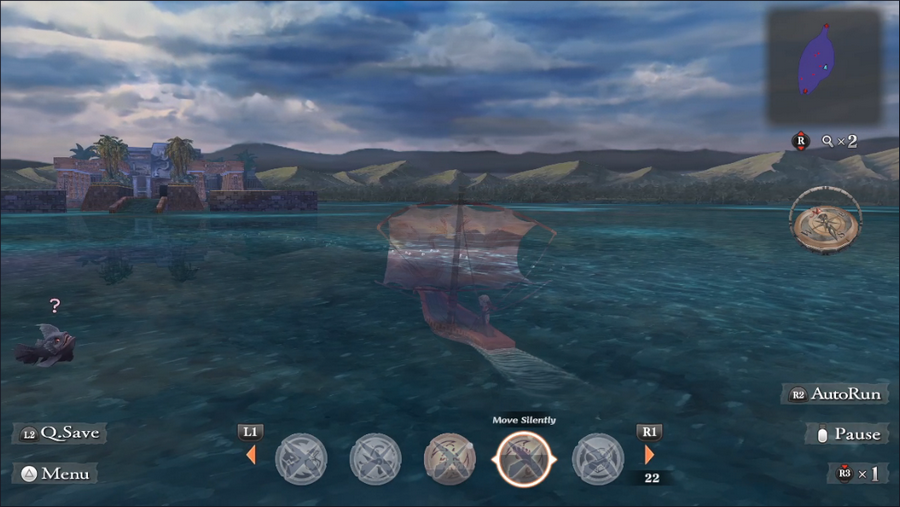 The surface of Lake Malar is populated by Aquatics and Avians - mostly the former at the moment. We can use Move Silently to cross without attracting their attention. 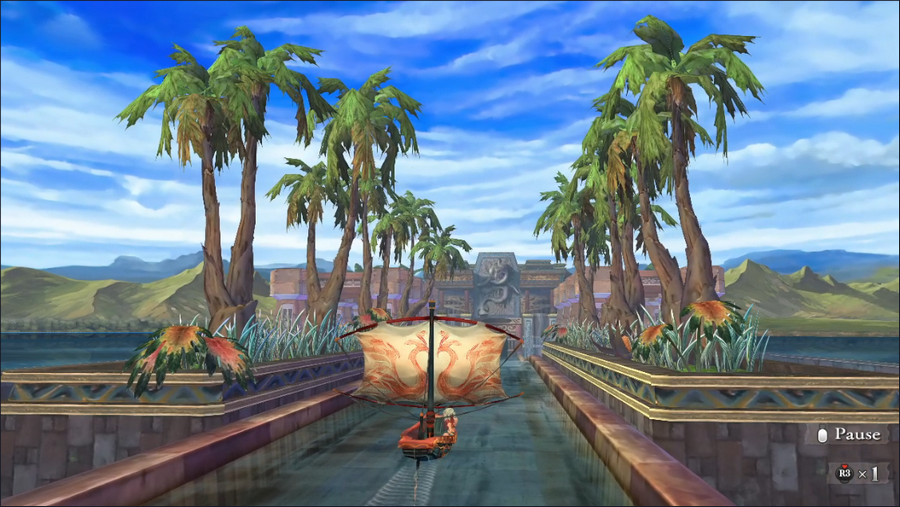 Didn't the throne room guard say the temple was "beneath" the lake? Sure doesn't look like it. 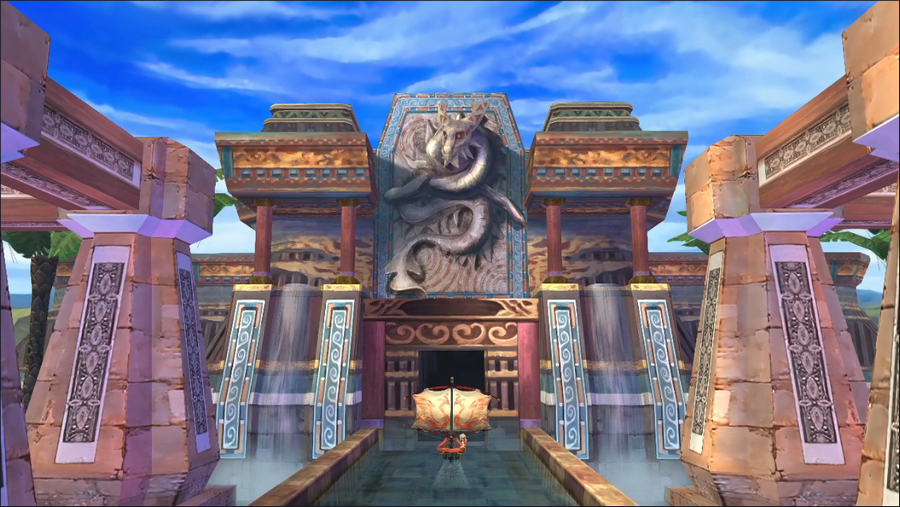 We can sail right in, through an entrance set beneath an imposing carving. 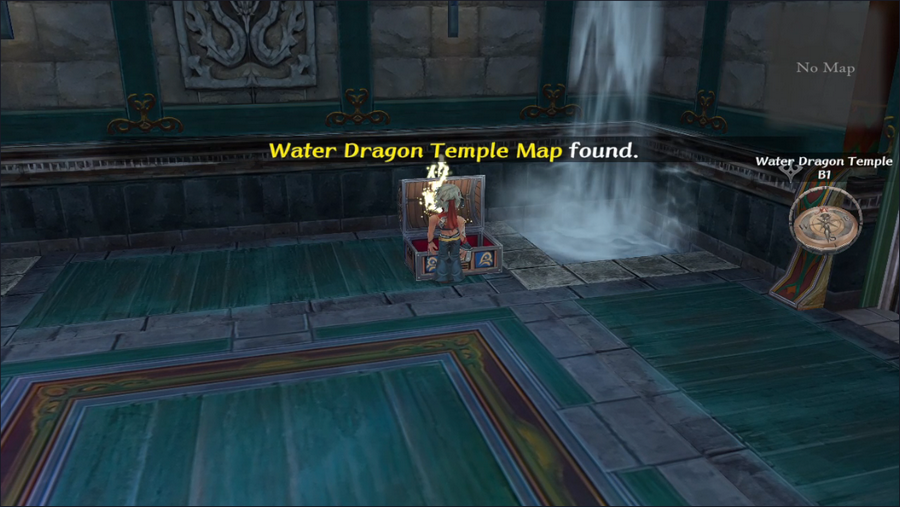 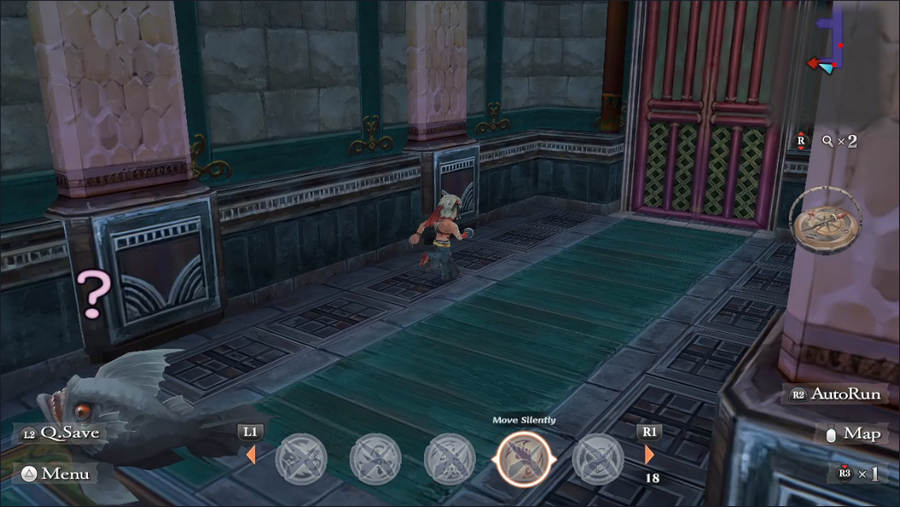 The map is, once again, right at the start. The area has a basic "C" shape, with small alcoves containing doors that we can't open. 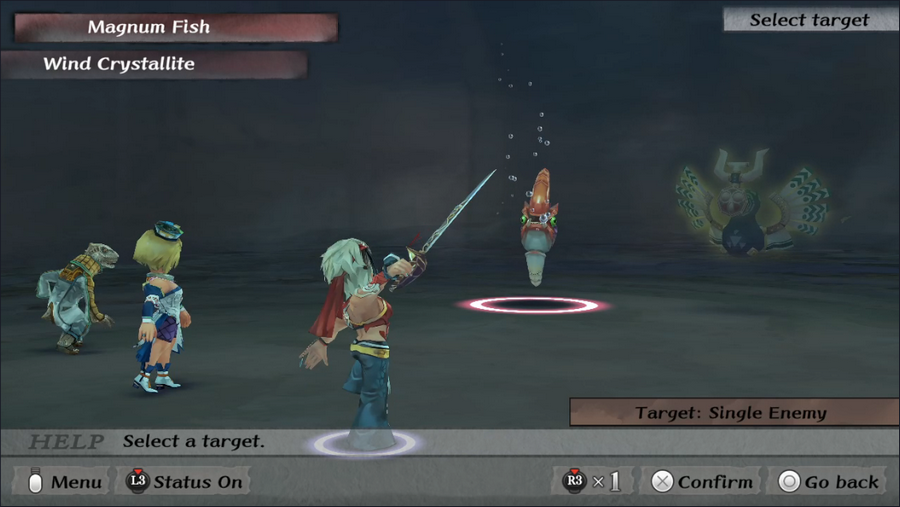 We do get into a few fights here, and encounter a new enemy, the Magnum Fish. They have an interesting multi-shot water attack, though this one didn't use it. 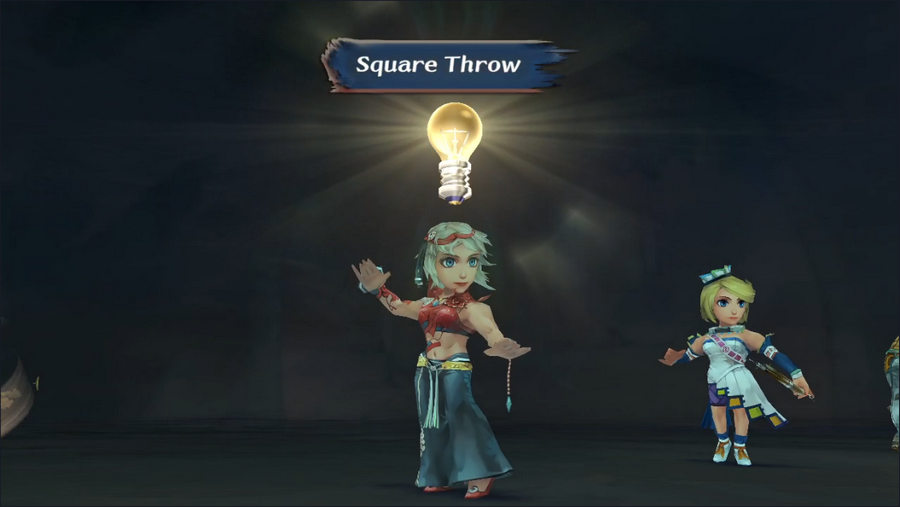 Barbara Glimmered Square Throw against it, but that's the only interesting event. 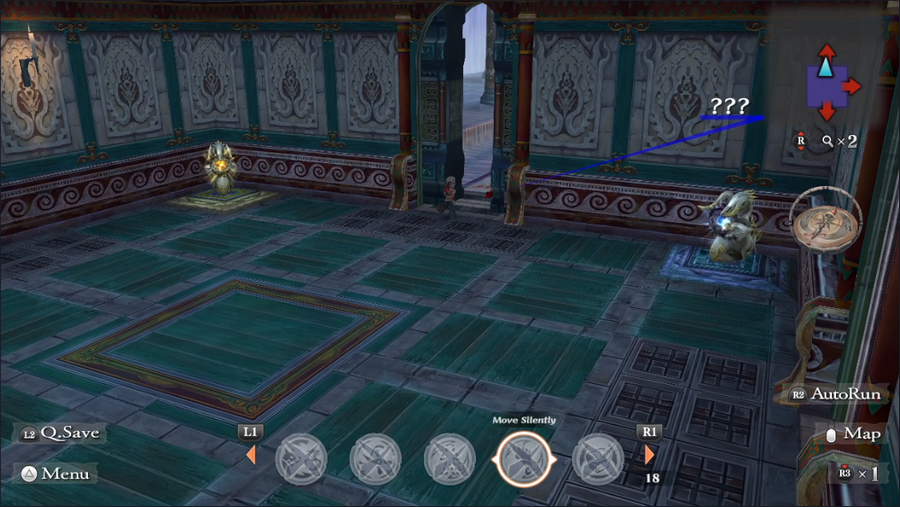 The door at the end of the first area leads us to a square room with a statue in each corner. Each statue holds a different-colored glowing orb in its mouth. The door is open, so we'll head in. 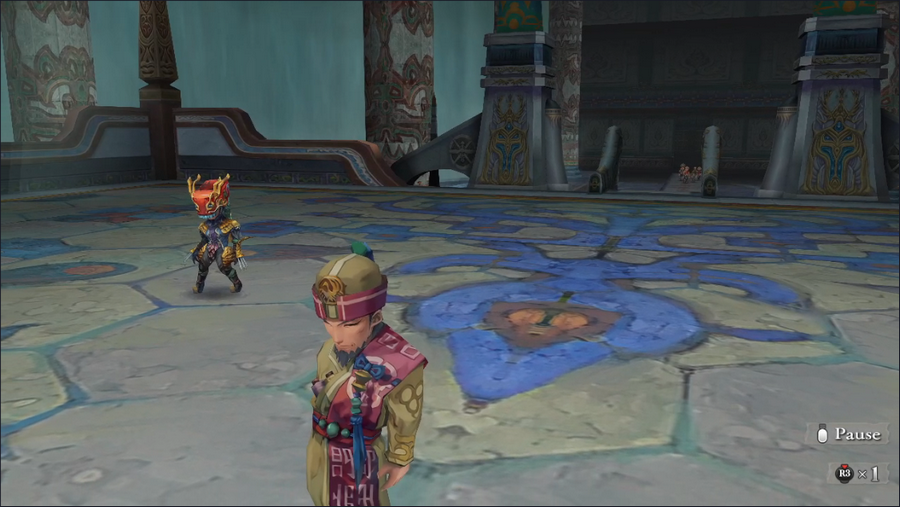 The camera pans over to Tuman, but you can see our party coming in the background. 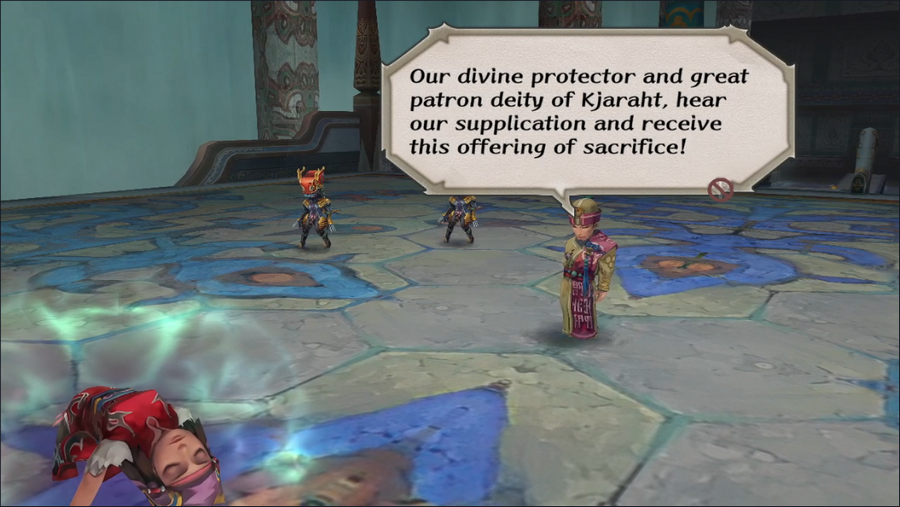 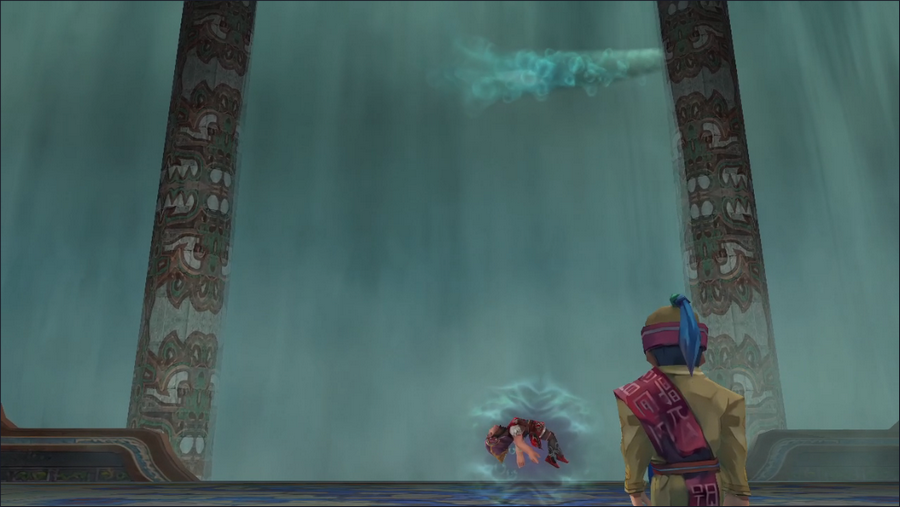 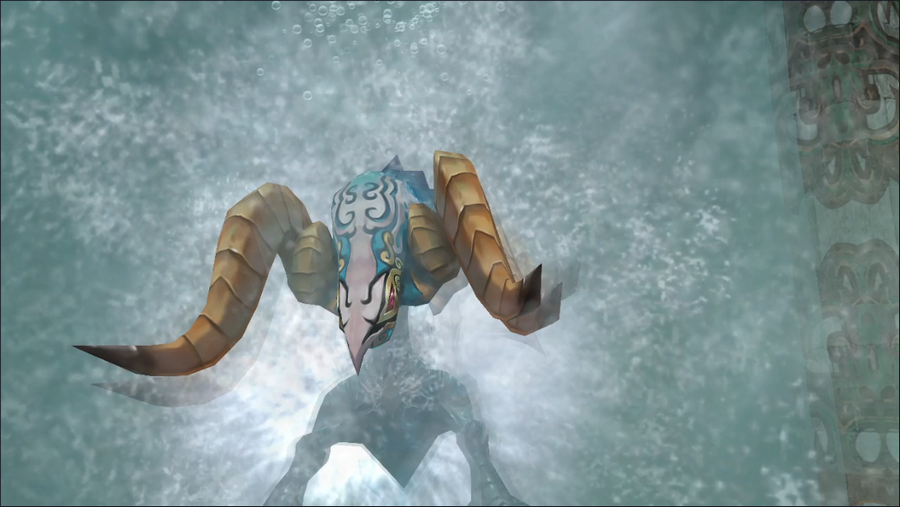 At Tuman's plea, the area rumbles and a creature bursts through the curtain of water. This must be Strom, Serpent of Water. 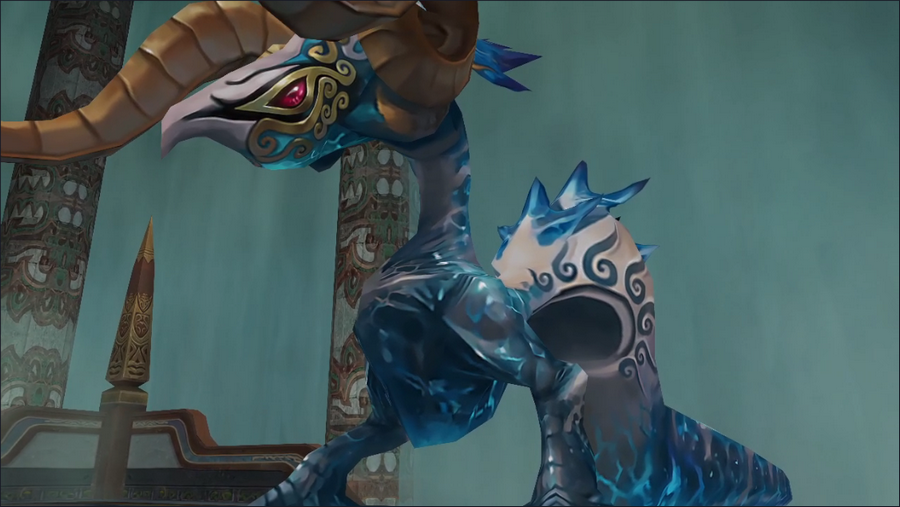 He's got quite a unique design. 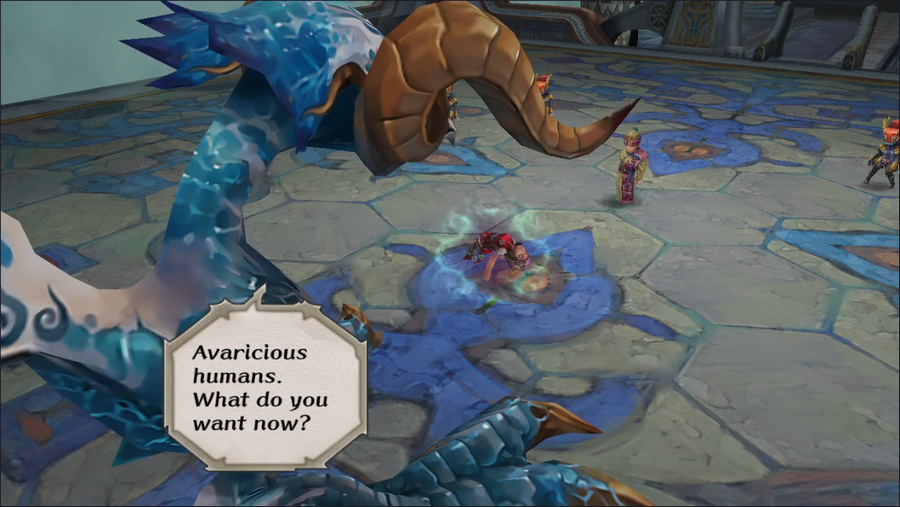 Unlike Avi and Pyrix, Strom seems more resentful of humans than welcoming. 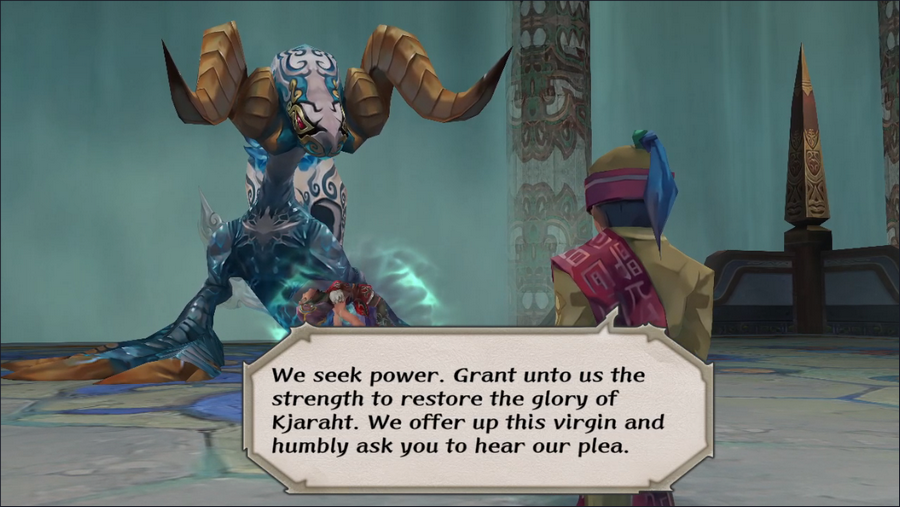 The Kjari Empire used to be a great world power, but it's gone into decline in recent years. It's not surprising that there are some who'd be upset about that. Though admittedly, Tuman strikes me more as an opportunist than a patriot.  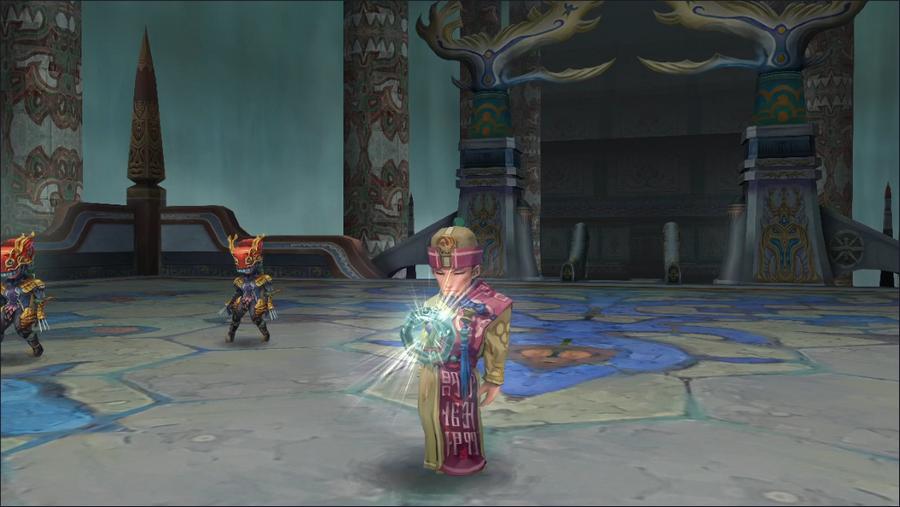 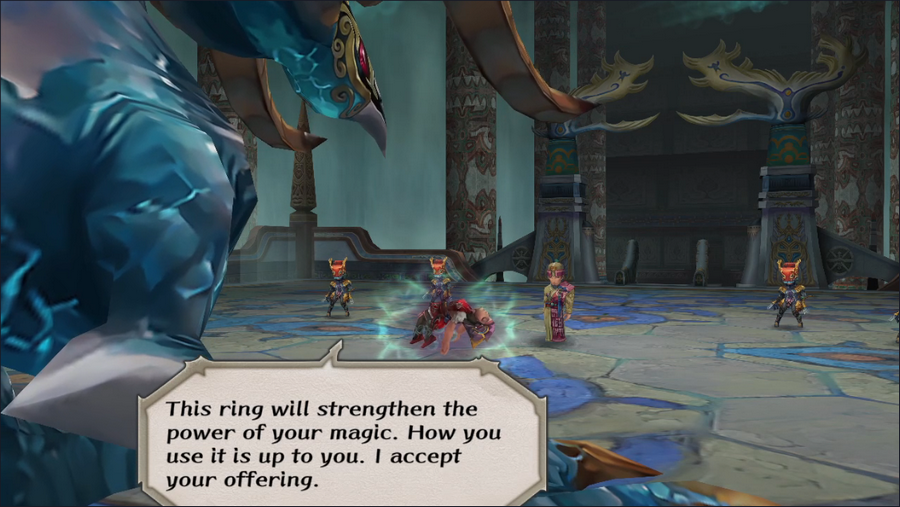 Strom may not care for humans, but he still seems okay with human sacrifices. 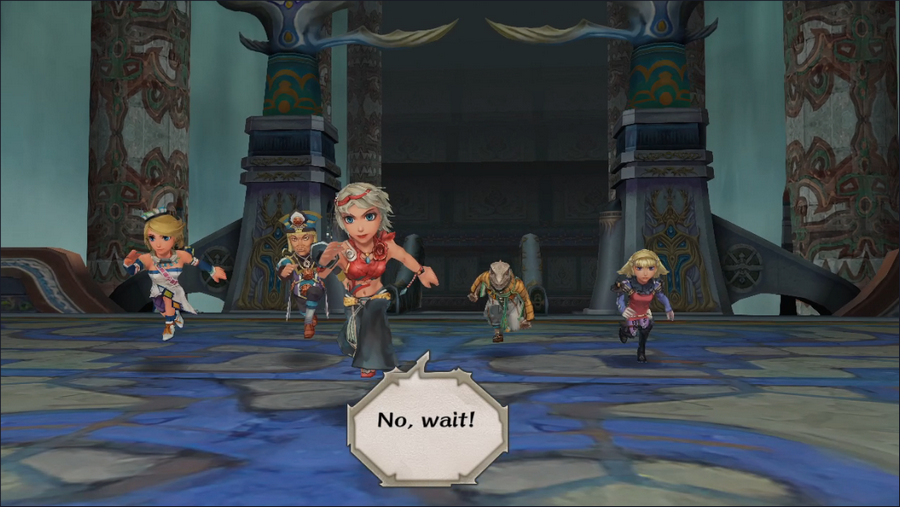 We, however, are not. 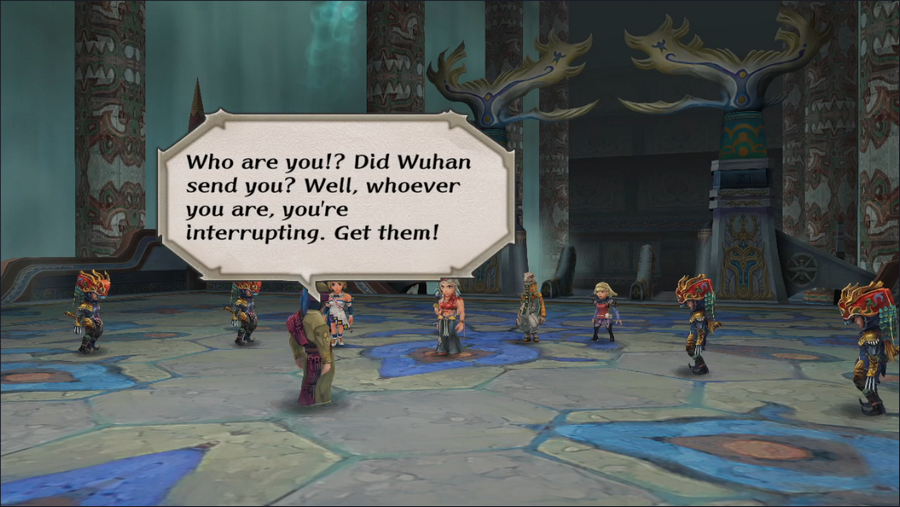 Wuhan? You would think the viceroy would be aware that his nation's leader was recently assassinated. 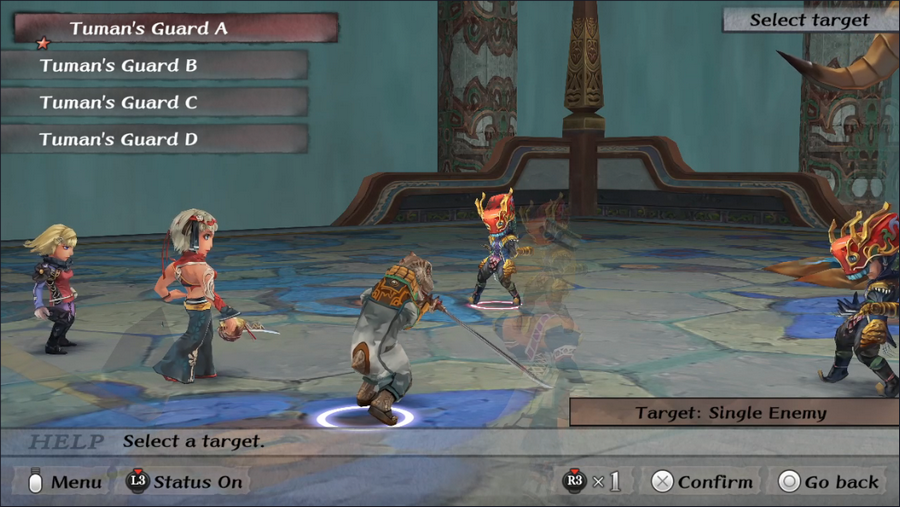 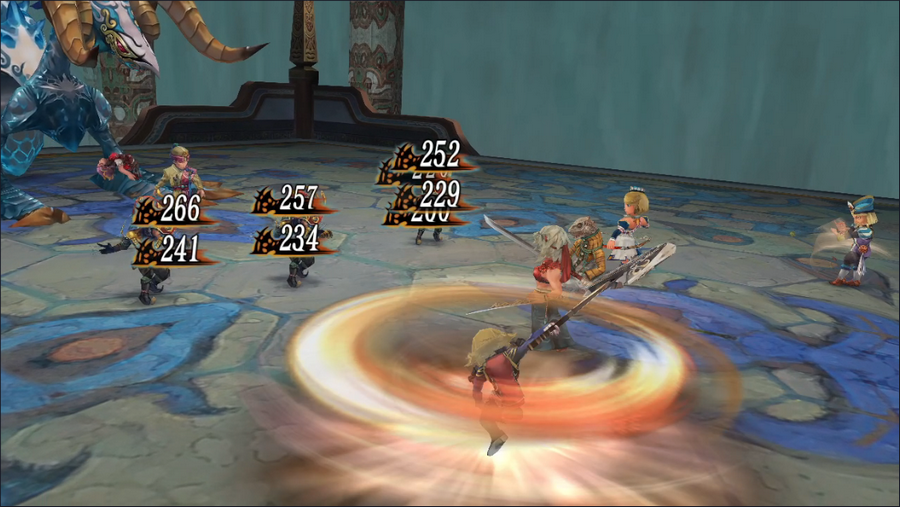 What follows is a fight against four of Tuman's Guards. Rolling Slash is overkill here, but I was tired of fighting them.  Tuman offers us a job, but we refuse. (Accepting just causes him to damage the party's LP and mock us.) And again with the mention of Wuhan. What's up with that? It's because if Wuhan is alive, the sacrifice is actually his daughter.  Naturally, he thinks he can take us. Boss Fight: Tuman https://www.youtube.com/watch?v=2mQ6_OXrHJU  Our next fight is with Tuman himself, with Strom watching curiously in the background. Like his double, Tuman is a spellcaster, though he's substantially more dangerous.    He uses several single-target attack spells, including Lightning Illusion, Water Blast, and Wave of Life, the sole offensive Bewitchery spell. None deal a huge amount of damage, but this is just leading up to his big trick. 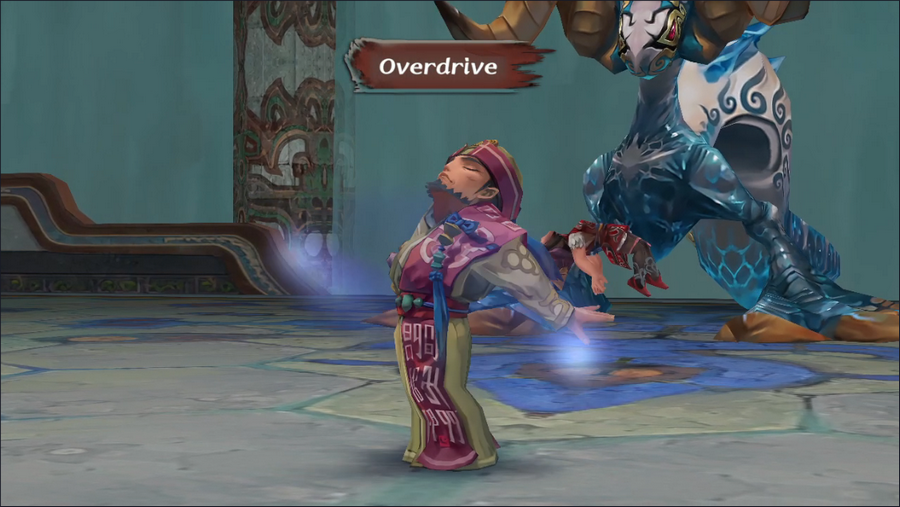 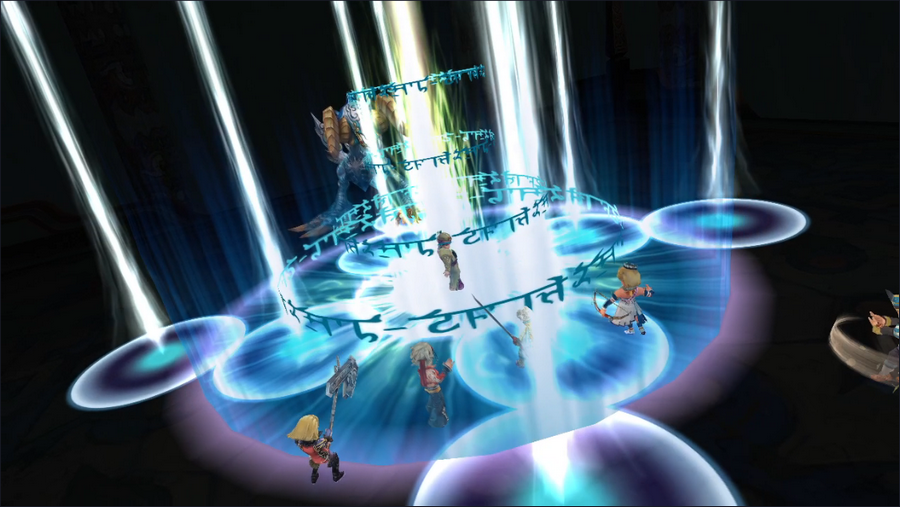 Overdrive is a spell available to the player via spell fusion, though only the Rosalian Scholar class, which combines three spells into one, can use it. 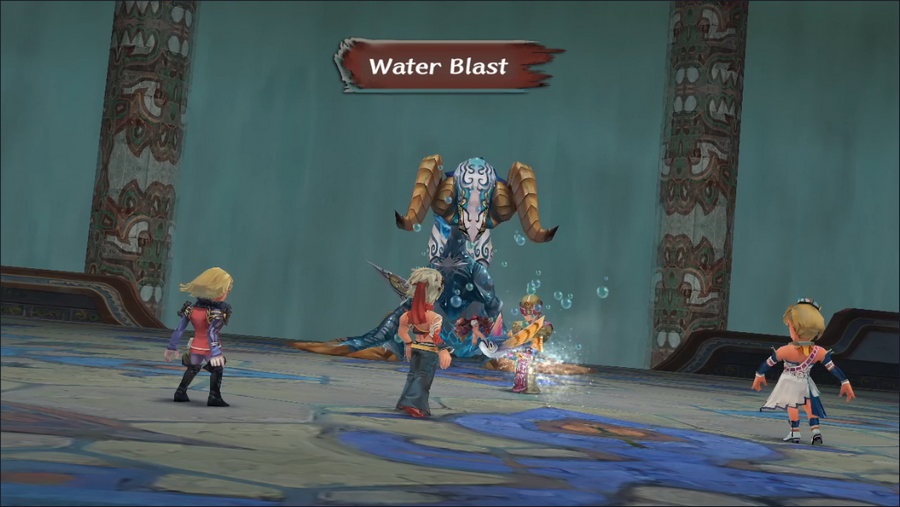 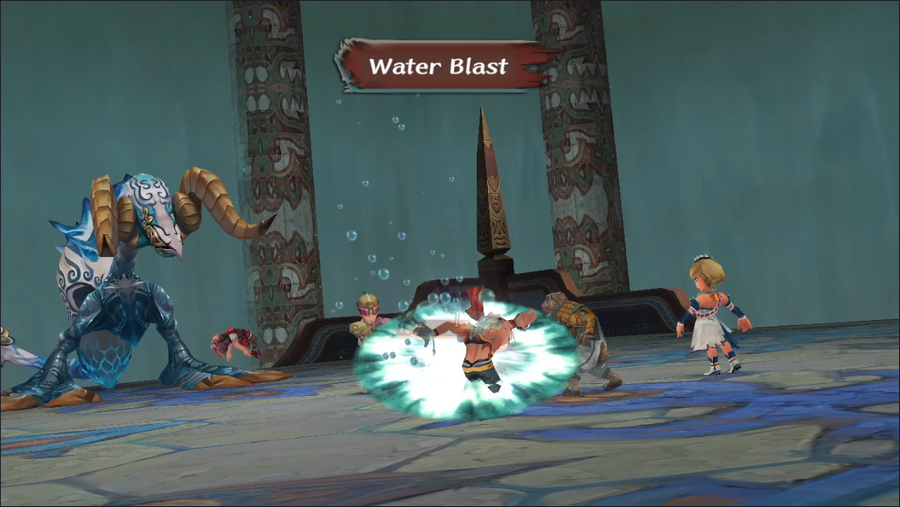 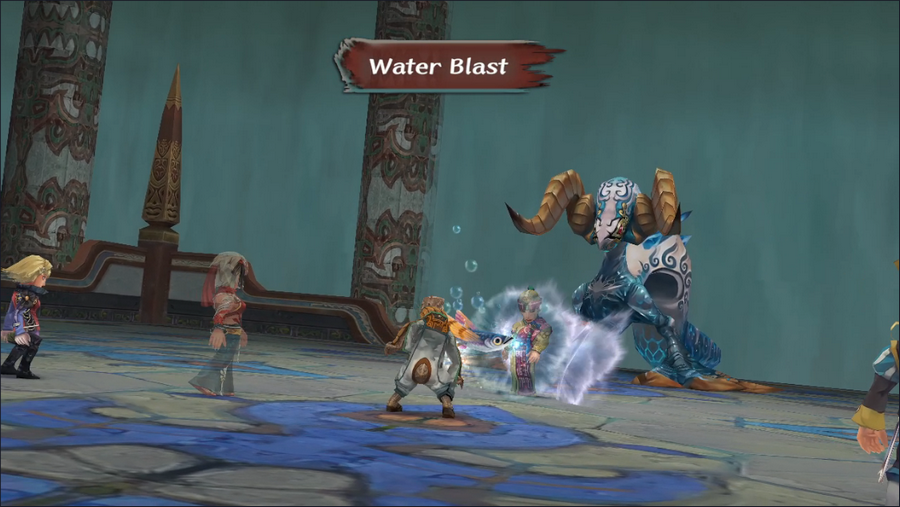 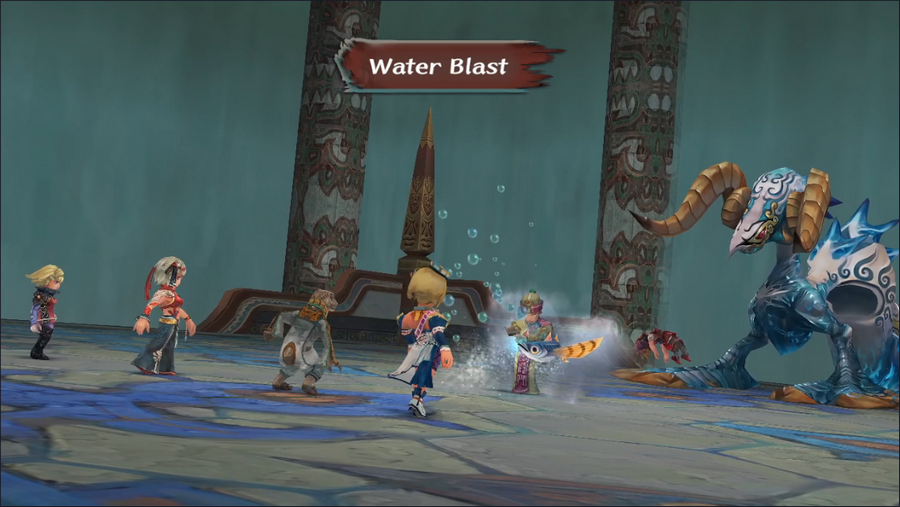 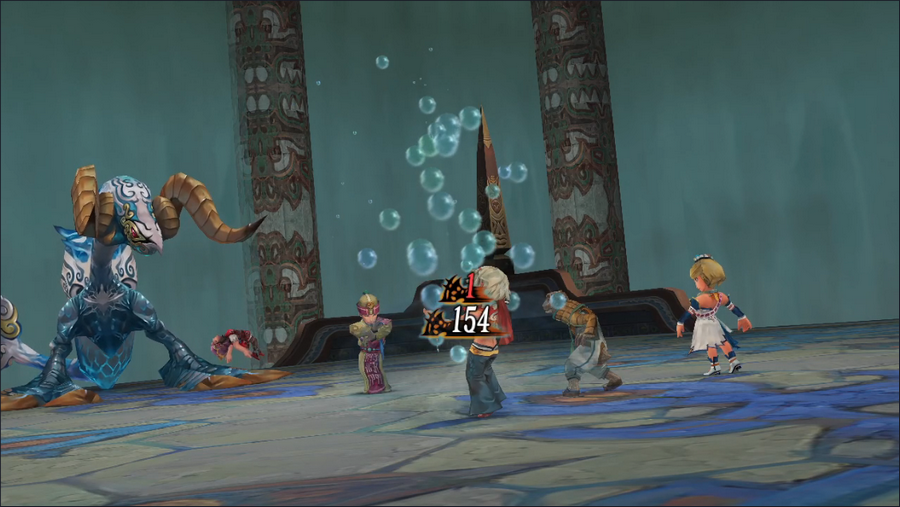 It's similar to the old-school D&D version of Time Stop, giving the caster five free actions. Tuman uses this for offense, which he luckily spreads out among the party, so only Barbara goes down. 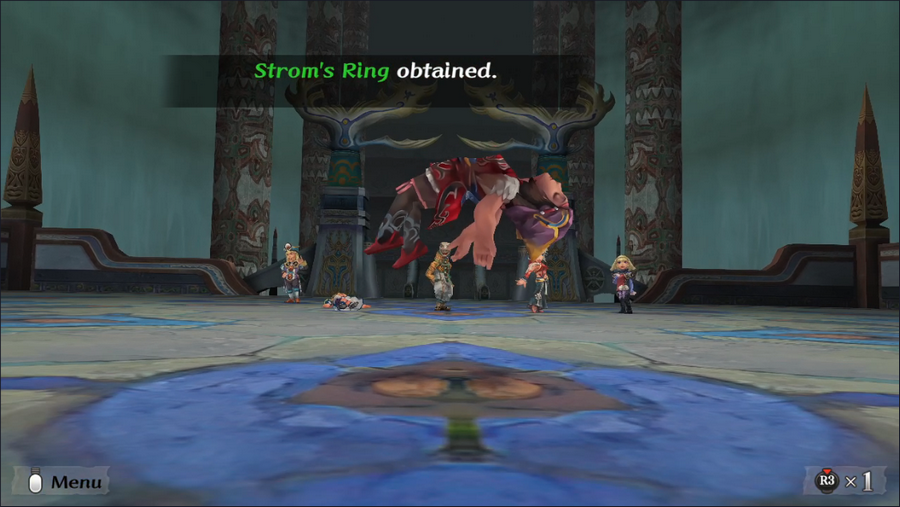 Overdrive is Tuman's only real dangerous trick, and he only does it once. Since it doesn't patter our party too badly, we're able to pull out a win fairly easily. We even get nis new ring, which is great for Patrick. 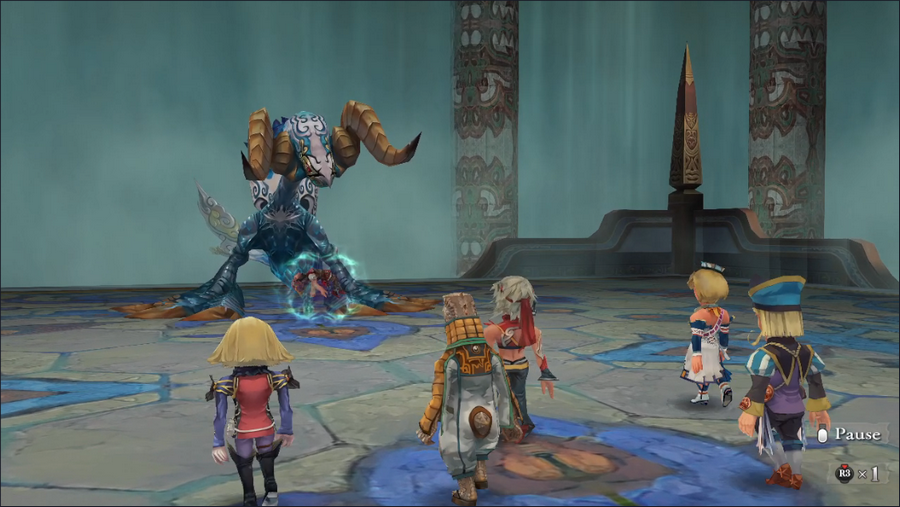 Time to rescue the girl.  But of course, Strom has other ideas. 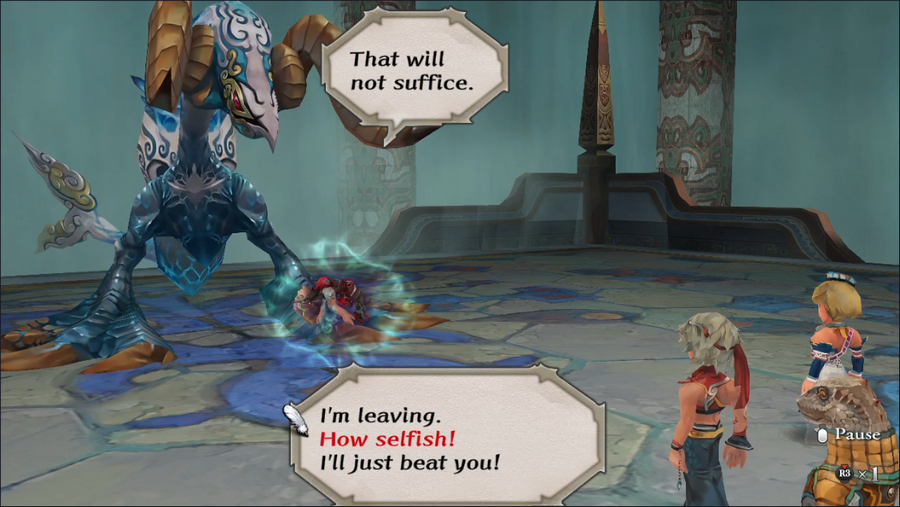 I'm not in the mood to fight a probably losing battle against Strom after facing Tuman and his guards. 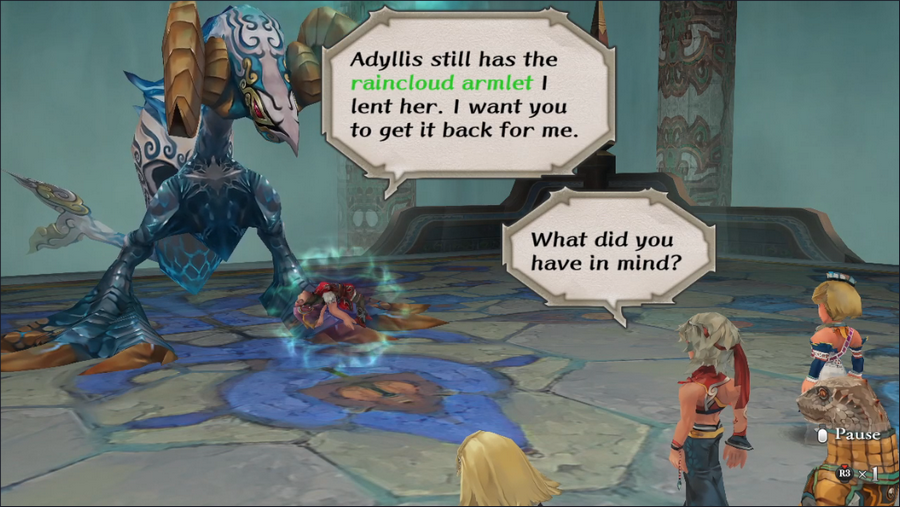 Oh, the elemental lord wants a rare piece of equipment? Who could have seen that coming?  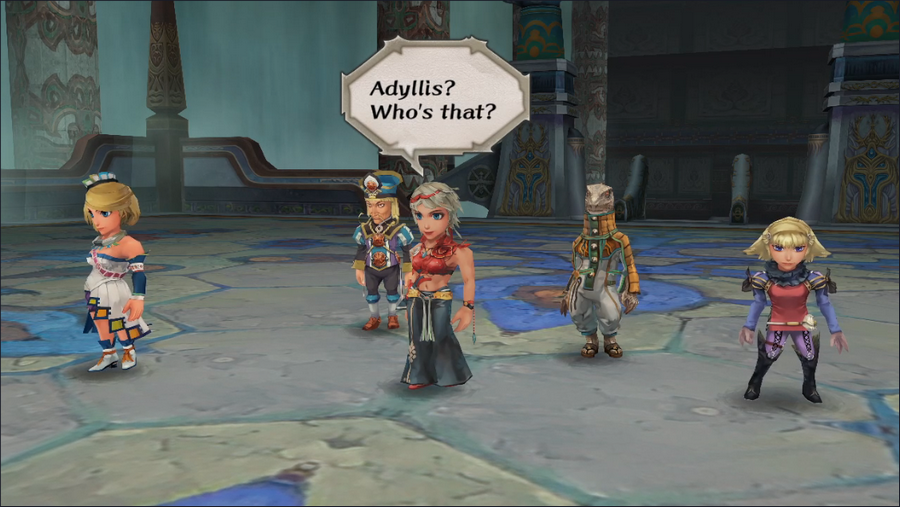 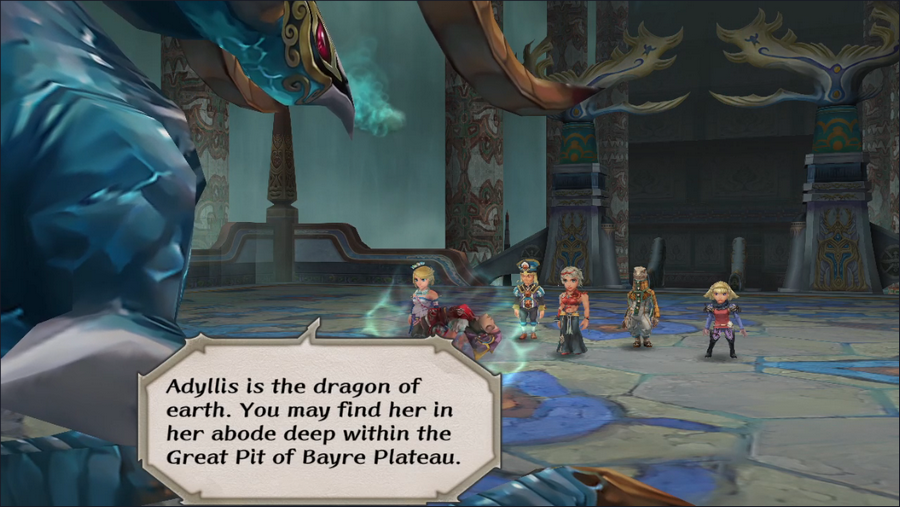 Pyrix mentioned Adyllis, but now we have an identity and a location for her: Bayre Plateau, and the Great Pit that lies beneath it. 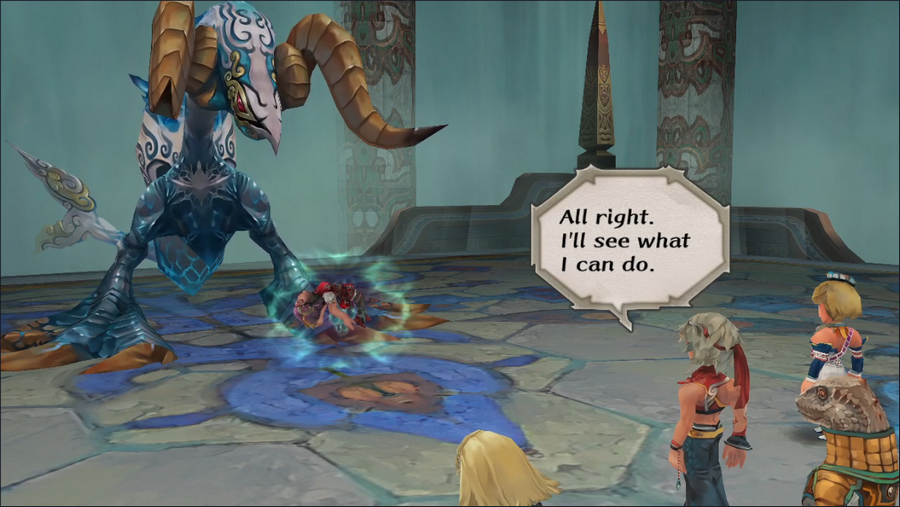 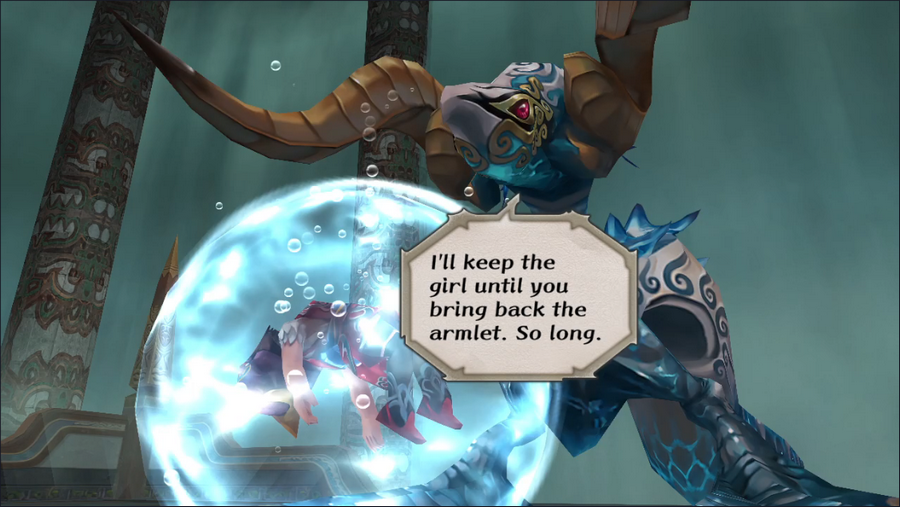  And with that, we're back in Tarmitta. As usual, cast your votes for what to do next. Current Event Rank: 12 Things to Do Retrieve the Aquamarine from Crystal Lake - We weren't strong enough for this as of ER2 Kill the bugs in the Altours orchard Find Captain Silver's treasure - We weren't strong enough for this as of ER9 Find out what happened to the Taralians - We have no leads Investigate the return of the vampires Check in with the mummy salesman Get the Fatestone from the Isle of Evil Take the job at the South Estamir pub Restore the Plant monster population on Ligau Deliver the Ignigarde to Avi Get the Raincloud Armlet from Adyllis Kill Strom Places to Explore Estamir sewers Melvir sewers Bayre Plateau Isthmus Keep, or what's left of it The Walon Isle jungle The Ligau caves Mt. Scurve Crystal Lake - We weren't strong enough for this as of ER2 Yassi Cavern Abandoned Keep Saoki Cavern Treasure Maps Jungle, Level 1 Steppes of Galessa, Level 1 Kaklim Desert, Level 1
|
|
#
?
Feb 11, 2024 14:44
|
|
|
I know I'm predictable, but I'm here? Lol Let's -- - retrieve the Aquamarine from Crystal Lake - deliver the Ignigarde to Avi and of course - Isthmus Keep is still waiting ~
|
|
#
?
Feb 11, 2024 15:43
|
|
|
Five-Headed Snake God posted:Didn't the throne room guard say the temple was "beneath" the lake? Sure doesn't look like it. I think the key word is "was". Who's to say it wasn't recently risen from the lake? As for what to do: Deliver the Ignigarde to Avi Get the Raincloud Armlet from Adyllis Retrieve the Aquamarine from Crystal Lake Also, gotta feel sorry for Galahad. Sure, he did the right thing, but it definitely cost him.
|
|
#
?
Feb 11, 2024 17:17
|
|
|
Gilgamesh255 posted:I think the key word is "was". Who's to say it wasn't recently risen from the lake? Here's the exhange: That reads as present tense to me.
|
|
#
?
Feb 11, 2024 23:10
|
|
|
Given that this is a SaGa game, there's a significant chance that killing Strom might be really really hard, oh and also have unforeseen effects. Deliver the Ignigarde to Avi Get the Raincloud Armlet from Adyllis Investigate the return of the vampires
|
|
#
?
Feb 11, 2024 23:51
|
|
|
IIRC the Ice Sword also ignores Pyrix's self-immolation shield, so it's a great weapon if you want to kill him. But why would you want to kill him? He's so nice  We've got a clear quest hook here so let's Get the Raincloud Armlet from Adyllis Deliver the Ignigarde to Avi and Check in with the mummy salesman
|
|
#
?
Feb 12, 2024 03:39
|
|

|
Huh, I did not know that. Makes his fear of it way more justified.
|
|
#
?
Feb 12, 2024 04:07
|
|
|
5-Headed Snake God posted:Here's the exhange: ...Flub in the script/story it is, then. 
|
|
#
?
Feb 12, 2024 07:22
|
|
|

|
| # ? Apr 27, 2024 20:52 |
|
|
Gonna go with; Take the job at the South Estamir pub Deliver the Ignigarde to Avi Get the Raincloud Armlet from Adyllis
|
|
#
?
Feb 13, 2024 10:23
|
|