|
Update the Thirty-Fourth: In Which Will Does NOT Walk Like an Egyptian Pyramid Theme 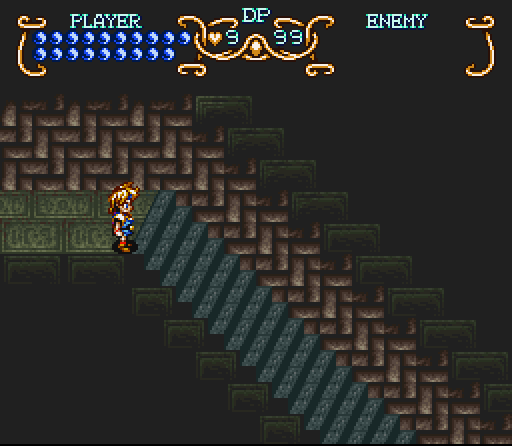 So, when we left off we were starting the penultimate (kind of) dungeon of Illusion of Gaia. It’s a sprawling mostly vertical area that was confusing enough that I had to play through it twice to get a good set of shots.  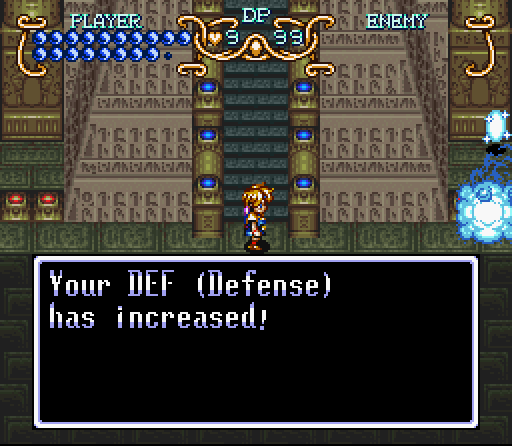 Right off the bat we’ve got our first enemies, the Mystic Ball. They’ve got 20 HP and shoot unblockable lasers. The only ways to avoid them are to approach from above or below (they can’t shoot up or down) or to exploit long range attacks and invincibility frames for Will’s attacks to get past them. Clearing out a pair of them gets us an upgrade and a Dark Space. 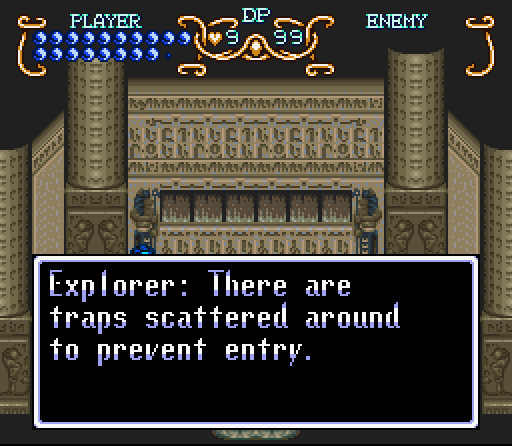 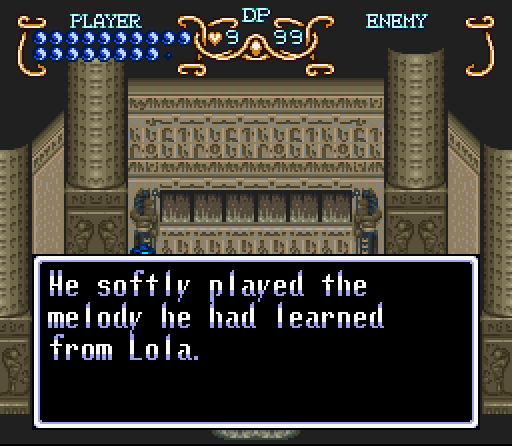 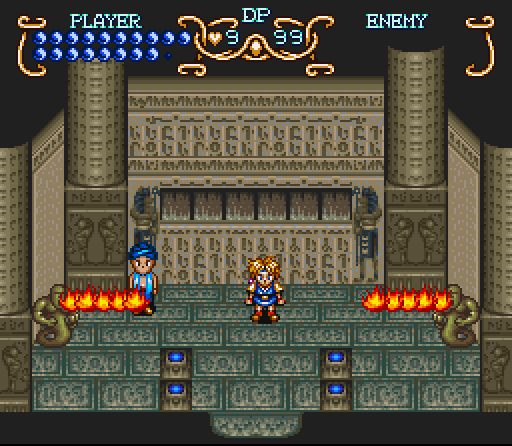    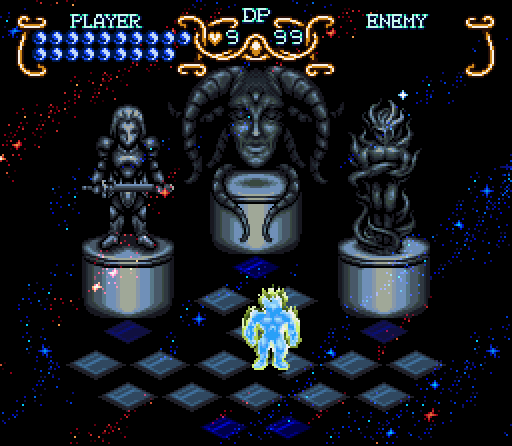  So this is our final form. Shadow isn’t big, but it packs a heck of a wallop (slightly more damage than Freedan) and has a crazy reach. Other than that, Shadow only gives us the Aura and a special move we’ll see in the last dungeon. In the meantime, we want to head to the right side of the first level (it leads back outside) and the use Aura to sink in. 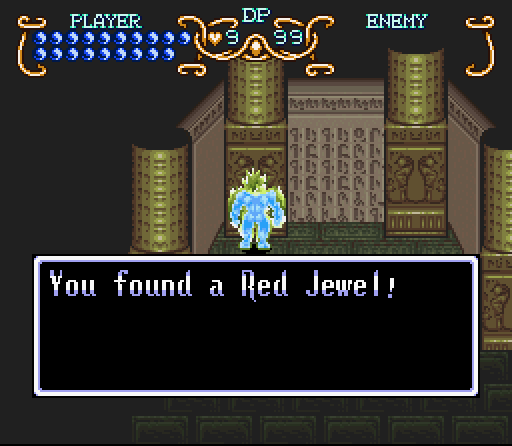 The prize is a Red Jewel, and after that we can use Aura to keep going down. 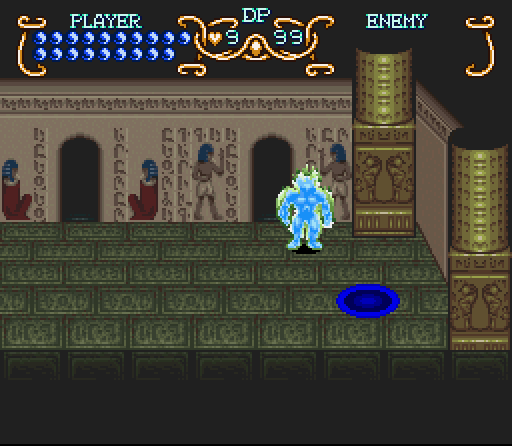  The lower part of the temple is a series of different passages, with the blue circle you can see in the first image being a warp back to the beginning of the temple. We’ve also got a Dark Space available to change forms freely, which will be kind of necessary.  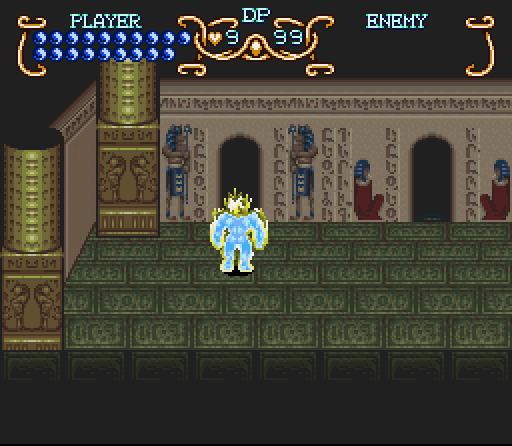 The overall layout of the lower section is six separate pathways. You have to change forms to address different pathways, but you don’t necessarily know which form to take in which pathway. For my first run at this dungeon I went as far as I could in each branch using Shadow, but that turned into a confusing mess as far as explaining what was going on. So instead, we’re going from left to right and coming out to change forms as necessary. This is a huge enough dungeon that it's going to take about three updates to cover it. Pyramid Gameplay Video  First up we have the leftmo  About ten seconds later, we reach our first “stop and switch characters” point. The first path requires Will to do his spin and jump some ramps to progress, but in the meantime we can still kill a few enemies with Shadow. 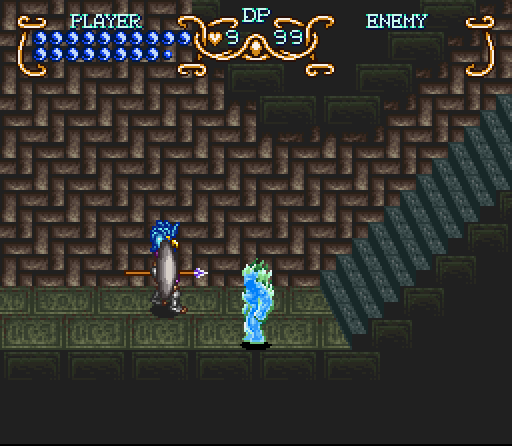 Down another set of stairs we have a Tuts. The shield actually does protect them from attacks from the front, but you can swing around from the side and back to get them. In addition, there’s a brief window of vulnerability when they stab you. They’re tied for the highest non-boss HP total in the game, but now we can pretty much tear right through that. 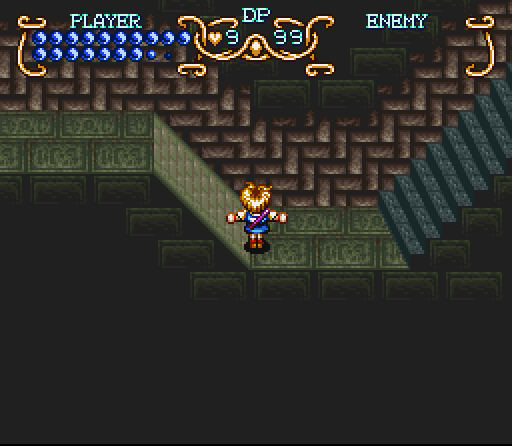 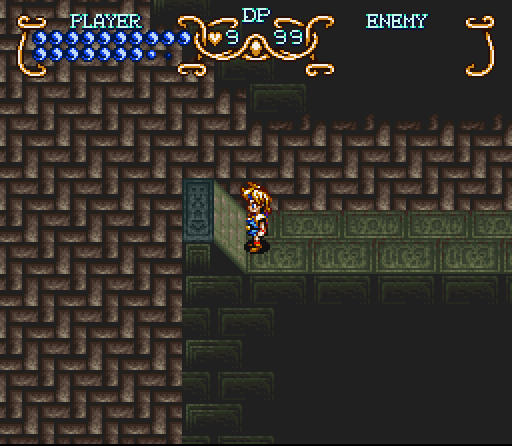 After dealing with the Tuts (weird that it’s a singular term that ends with an s) and a couple of hangers on it’s pretty much time to get back to Will and send him spinning recklessly up ramps and over long gaps. 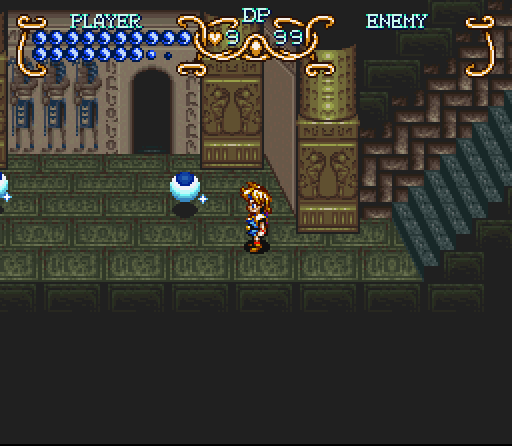 The other side consists of a pathway to this door and a couple more Mystic Balls that finish off the room and get us a DEF upgrade. We’re not done with this path, just with the current screen. That’d be way too easy. 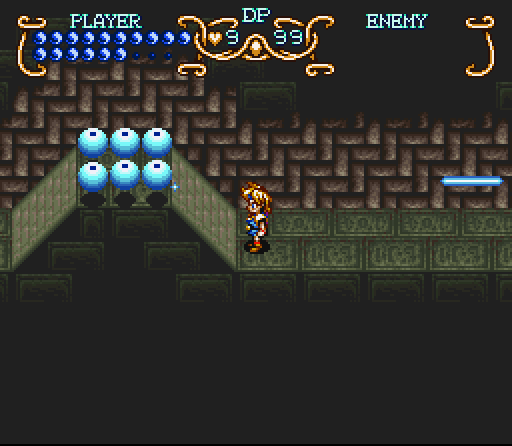 Up next we have a test of patience and just how much you want another upgrade. These Mystic Balls can’t actually reach us from where they are, and we can’t reach them without using the Spin Dash. Spinning through them doesn’t cause enough damage to kill them, so if you want all six of them dead you’ll have to spin back and forth a couple of times. Needless to say, I wanted all six of them dead. 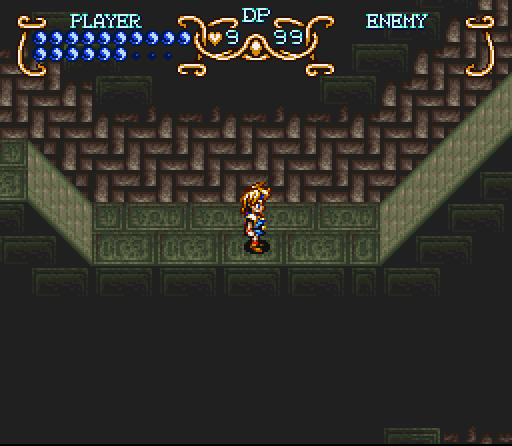 The final real trick on this path is a ramp that’s too high to spin up directly. You actually have to climb the ramp to the left, go a bit further over, and then spin from there to get a running start and a boost from going down the short ramp to climb the longer ramp. After that, it’s just a couple of enemies for another DEF boost and our goal: 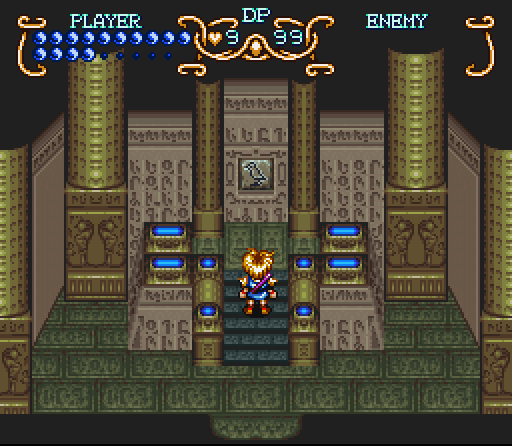 The end of each path has a single tile that we can pry off the wall and add to our collection for the central puzzle, located in the room where we set a man’s crotch on fire. There’s a slow scrawling message when you pick one up and a victorious fanfare. 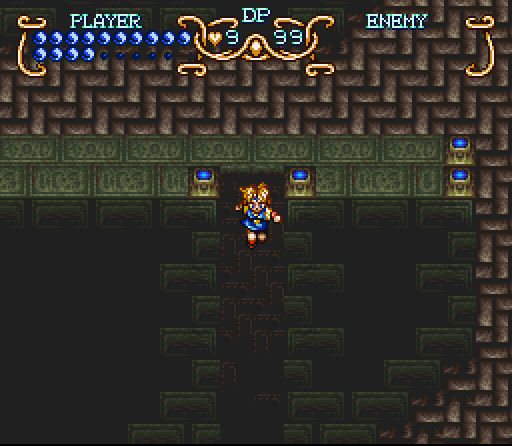 Once we’ve gotten our loot there’s a blue teleporter that could take us back to the entrance of the Pyramid, or you can just hop down this conveniently placed mineshaft and walk through the enemy free halls to the central area and turn back to Shadow. 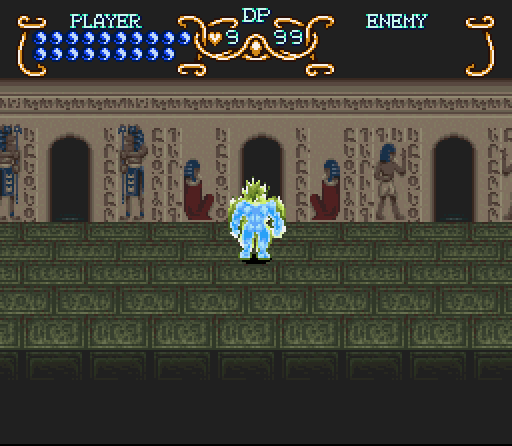 You’re going to want to do that, since the second pathway from the left is one of the ones that absolutely requires him to succeed. 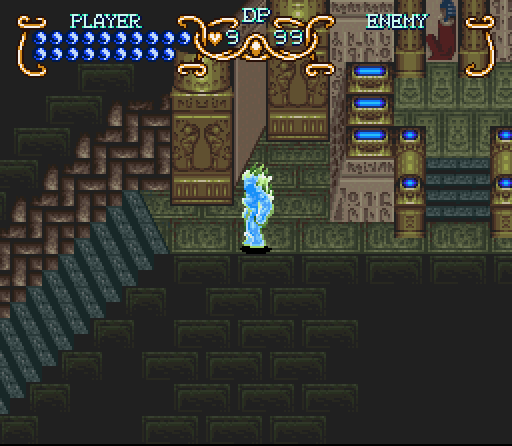 The general sign that you’re in a Shadow pathway is directly below him right here. Aura lets you drop down through the floor only in select locations, and the network of bricks shows that there’s a path here. If you use Aura in a place where there’s nothing below to get to then Shadow just puddles on the ground for a second and stands back up. 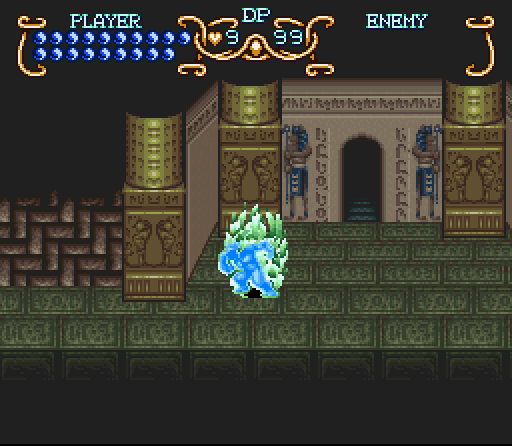 A couple of Aura uses later and we end up at the doorway to the next screen. It’s possible to avoid enemies fairly easily on the Shadow paths, so you actually have to make an effort to chase them down. Clearing out this section gets us our fourth DEF increase of the dungeon. It’s kind of nuts. 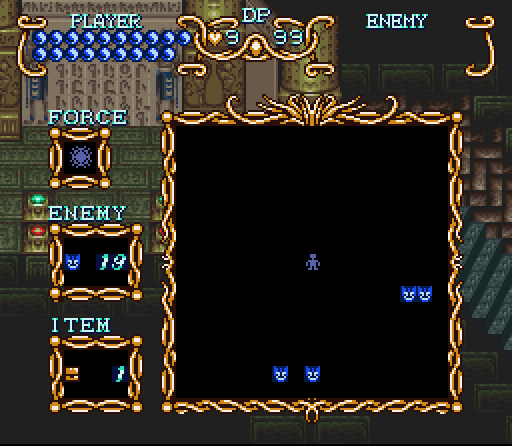  The next section on this path is chock full of enemies, and that treasure chest isn’t showing the Tile we’re after either. This dungeon loves packing the area full of groups like these four Mystic Balls, but they’re actually less threatening than you’d think. Shadow’s basic attack is long enough to hit all four of them if you’re positioned correctly.  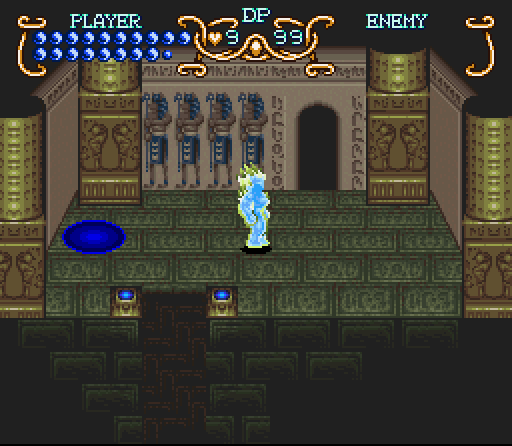 Dropping right down from here actually puts us at our goal for the path (and this is about the only good image I got of Aura in use) but that still leaves a bunch of monsters and that treasure chest unaccounted for. 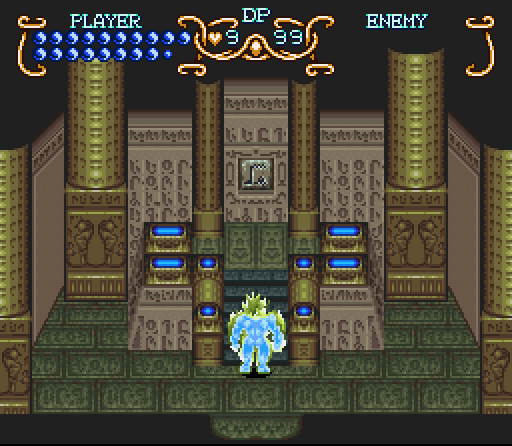 That said, there’s no reason not to grab our second hieroglyphic tile and then explore. It’s not like you get warped back to the entrance of the dungeon immediately when you grab them.  Jumping down the hole afterward actually puts us pretty close to the treasure, but as you can see we’ve got a problem. Those hieroglyphic tiles actually take up inventory space, and we’re going to need to collect six of them.  Luckily at this point we can toss things like the Russian Glass Player’s will and other one time plot items that are no longer necessary to clear up some space. We can also place some of the tiles in the puzzle, but that requires a trip back to the entrance. 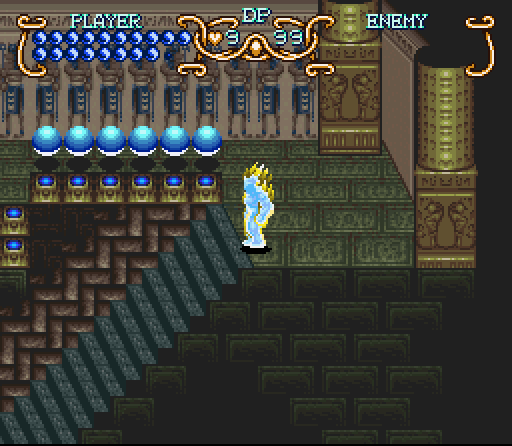 Treasure in hand there’s just a gauntlet of encounters like this crazy six Mystic Ball wall and some Tuts to keep us from collecting a STR upgrade and leaving this path. Six of these enemies on screen at once is enough to slow down the game and pretty much guarantees that you’re going to take some damage. Next Update: Of course there are mummies. ddegenha fucked around with this message at 14:37 on Jun 25, 2015 |
| ← # ? Jun 25, 2015 14:13 |
|
Register a SA Forums Account here!
JOINING THE SA FORUMS WILL REMOVE THIS BIG AD, THE ANNOYING UNDERLINED ADS, AND STUPID INTERSTITIAL ADS!!!
JOINING THE SA FORUMS WILL REMOVE THIS BIG AD, THE ANNOYING UNDERLINED ADS, AND STUPID INTERSTITIAL ADS!!!
You can: log in, read the tech support FAQ, or request your lost password. This dumb message (and those ads) will appear on every screen until you register! Get rid of this crap by registering your own SA Forums Account and joining roughly 150,000 Goons, for the one-time price of $9.95! We charge money because it costs us money per month for bills, and since we don't believe in showing ads to our users, we try to make the money back through forum registrations.


Powered by: vBulletin Version 2.2.9 (SABB-v2.24.04)
Copyright ©2000, 2001, Jelsoft Enterprises Limited.
Copyright ©2024, Jeffrey of YOSPOS
Copyright ©2000, 2001, Jelsoft Enterprises Limited.
Copyright ©2024, Jeffrey of YOSPOS