

|
Last Celebration posted:You could jut do reclaassing like a normal JRPG with class changing where it adjusts your stats but not your level and you get class EXP for fighting in that class. Adds a ton or replayability to the game without breaking the difficulty curve. Basically like Shadow Dragon and New Mystery, then. I'd go a step further and fix skill unlocks to the class you are currently in. If you reach level 10 as Knight and swap to myrmidon, your trade your Defence +2 and Indoor Fighter skills for Avoid +10 and Vantage. That way you always do the things your class is good at, like Thieves having guaranteed access to Locktouch, without needing to reset levels. What makes that character unique in that class is going to how their stats grew--so growing as that knight is going to make you a slow, but tanky, swordie. But enough dreaming about what could be; we still don't know how If is going to really do things--they seem to be tweaking a whole bunch of poo poo. marshmallow creep fucked around with this message at 04:34 on May 20, 2015 |
 #
?
May 20, 2015 04:23
#
?
May 20, 2015 04:23
|
|


|

|
| # ? Apr 16, 2024 14:57 |
|
|
 12x is the second legendary weapon sidequest chapter and the second fog chapter. Like almost all the legendary weapon chapters, it has a random trap gimmick which is not very well implemented or very interesting. This one is basically the cruddy prototype of the still mediocre The Berserker. It also marks the inappropriately timed ending to the pointless and annoying Western Isles filler arc. Much like with 8x before it, there is totally no time to drop everything and go on a random sidequest but Roy will do it anyway. And once again, the consequences will be nearly disastrous. This chapter really should have occurred before 12 when we didn�t know that trouble was brewing in Etruria and that Lycia could be invaded any second. Plus that would have let the writers put in some kind of appropriate scene about Roy offering terms to the colonial government and them refusing violently or something else that would make him not look like a war criminal. Chapter Summary: Ignoring all warnings and information about how Bern is probably about to attack Lycia, Roy decides to go in person with his whole army to the cave where the legendary Armads is resting. Once again a giant army of bandits is hanging out there. Once again, they�re completely ignoring the legendary weapon. And then the plot finally starts moving again. 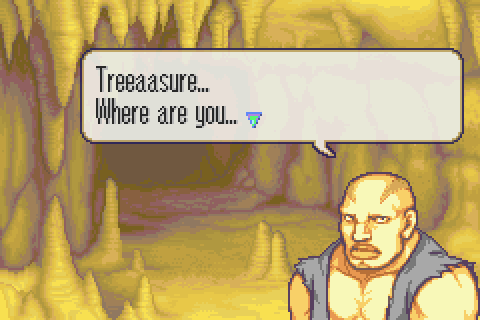 It�s another random crazy lookalike dude!  The group had been ordered by Bern to seal off this cave, but they�re ignoring those orders. 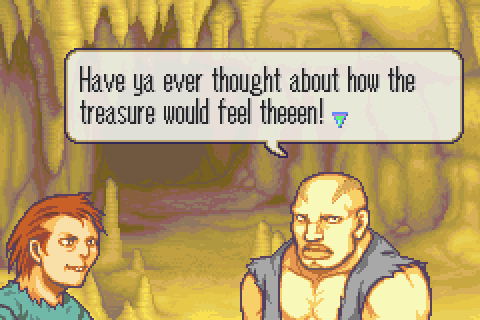 I�m really not sure how to interpret what this guy is saying. Is he singing? That�s always what I assumed. Anyway, he�s yet another weird crazy guy with this face. This game alone has 2 more of him. 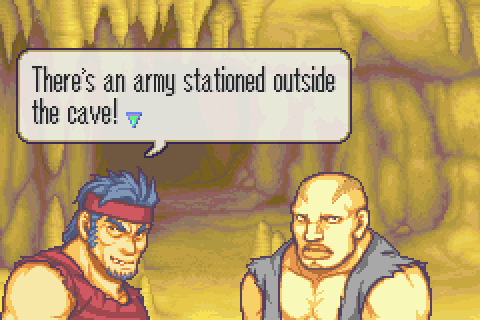 Once again, a pack of hapless bandits are being approached by an army. 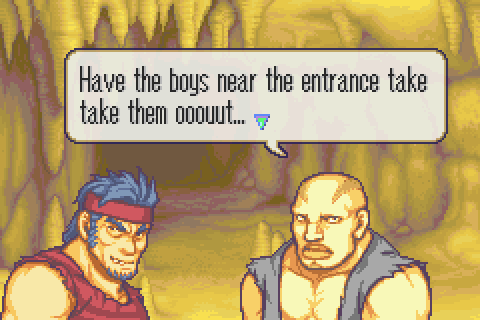 Once again, the pack of bandits inexplicably thinks a giant army of professional soldiers is no problem.  Why is this cave even full of treasure chests to begin with? 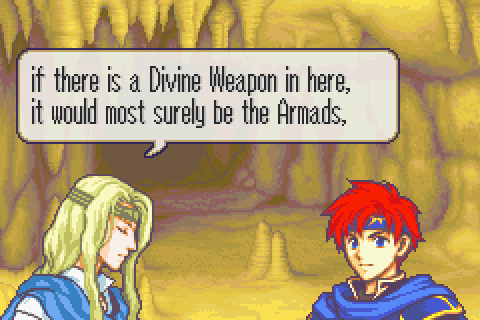 Duh. We�ve been over that and that�s a really, really basic bit of their history/mythology. But once again, Roy is amazingly ignorant. 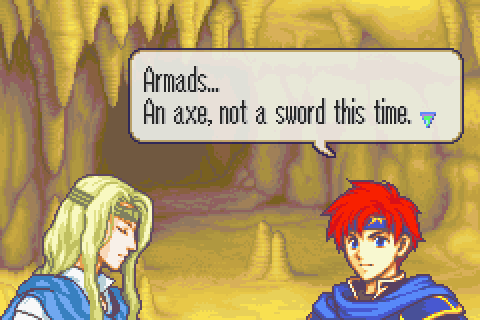 Yes, dummy! 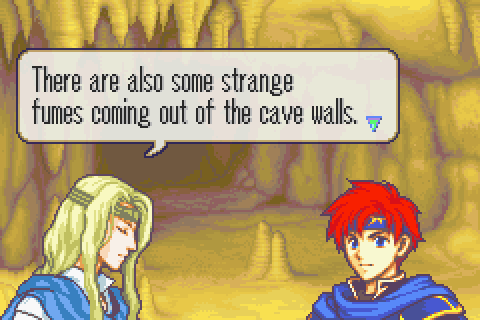 That must be the random trap gimmick du jour! Slugfest Preparations & the Map: 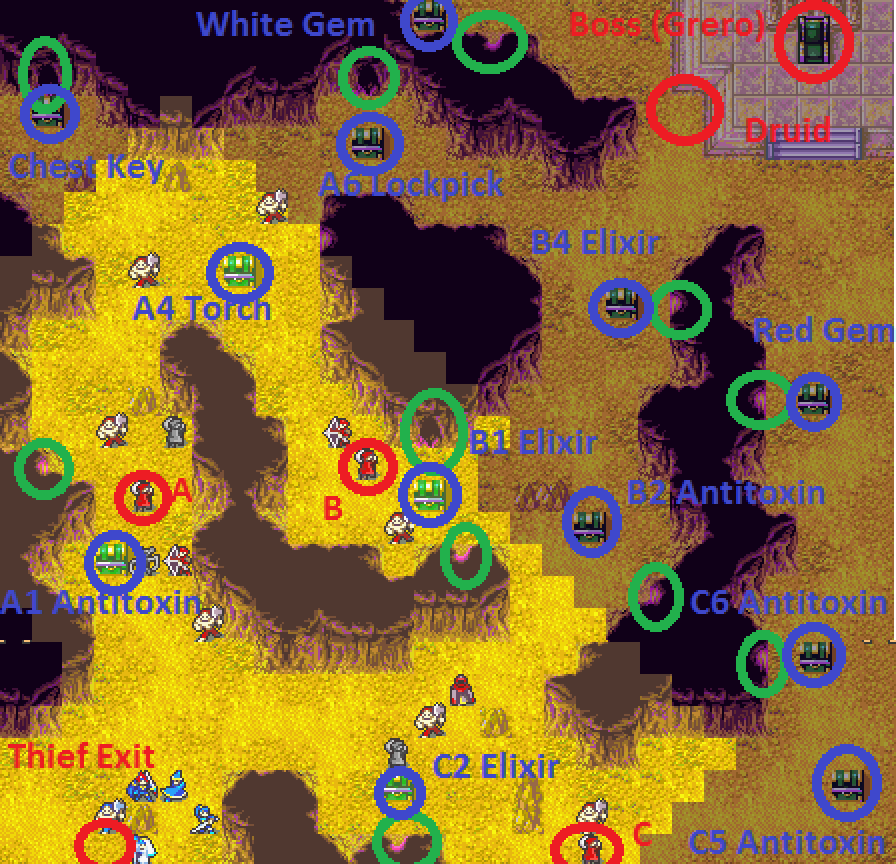 Secondary Objective: Acquire the� screw it, I�m not listing these separately. Get all 12 treasures. Secondary Objective: Steal all 3 lockpicks Reinforcements: None. Turn Limit: 20. Actually pretty tough considering the sheer number of spread out chests and lockpicks to steal Another huge, empty, boring slugfest. Ugh, the level design in this game is annoying. Even the fog chapters are dull because there are so few enemies that you�re never really ambushed by anything. I�ve circled the trap spots in green. Just like in The Berserker, they actually fire a poison beam 3 squares long. You�ll note that a lot of them are positioned to cover treasure chests, whereas that was not the case in- wait. Wait. I just realized something. Why are the ghosts in The Berserker looting their own cave? What�s up with that? Why in the world are there ghost thieves stealing from the chests in that place? Well nevermind that. Unlike in The Berserker, these poison jet things don�t fire every turn. I�m not sure what the pattern is, but it doesn�t matter because they�re totally avoidable and not a problem at all. Kind of like how the 8x lava tiles were not a problem, unlike the Valorous Roland version. Now the enemies on this chapter are completely not a threat. There are few of them (The ones I was able to reveal in this set of screen shots are more than half of them), they�re spread out, most are of non-threatening classes, and they�re really low level. Maybe even lower than the ones last chapter who were weaker than everything since 9 or so. Oh and not all of them even move at all. 2 guys near the boss are armed with melee weapons but won�t even move to kill guys with 4 HP 2 spaces away. The only dangerous one is a powerful druid near the boss armed with Nosferatu (but fortunately also with Eclipse) However, there are a LOT of chests and several are completely impossible to get to first under any circumstances. The real challenge is acquiring maximum possible treasure while also training up weak characters on these easy enemies. Doing that is all about understanding the thief AI, which I talked about a bit in the War Room part 8 (http://forums.somethingawful.com/showthread.php?threadid=3701153&pagenumber=2#post441683415). As I said then, the thief AI on each chapter is different. In FE6, enemy thieves never steal your stuff but they also don�t drop any of their own stuff on death, so you can NEVER let them open a chest with a weapon in it. Fortunately, every single chest on this chapter has an item. And you can steal items back. Now on this chapter, I studied the Ai carefully and discovered a few key things. First, the thief exit point is in YOUR starting area. Fleeing thieves will always take the shortest un-blocked route to this exit square. This means there�s no need to chase after thieves to prevent them getting away. With decent planning it should be possible to let them open many chests but not escape. Second, every thief has 3 open inventory spaces. This means each will open 3 chests and then leave if not interfered with (On the map I�ve given each thief a letter and marked the turn each of them will open their 3 chests. Third, a thief which has never reached a full inventory (because you stole some of their items) will continue to open more chests, going for the closest unopened ones. However, a thief whose inventory has filled up even once and then had something stolen from them will flee and never try to open another chest. Now notice that though hallways on this chapter are generally fairly wide, their unevenness means that there are a few key areas where 1-2 people can block passage. Control these areas and you can almost completely control the motion of fleeing enemy thieves, redirecting them wherever you want or even making them run back and forth in one spot until you�re ready to deal with them. By careful manipulation of the thief AI, I am basically going to make these 3 enemy thieves play for my team instead of just rushing out and trying to kill them. This will let me get more XP, acquire every single item, and bring weaker troops to the chapter. 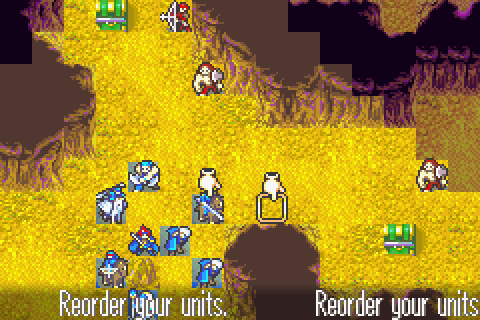 Units Allowed: 7 + Roy. Very few. Units Brought: 1) Roy. Required and I�m bringing mostly really weak people so he�ll actually be one of my best units. He�s so bad that even a lot of these pitiful enemies can wreck him though. 2) Chad. My best unit on this chapter, plus obviously necessary for stealing all the loot. 3) Astol. Not as good as Chad, but there�s no way to beat this chapter efficiently without two thieves. Plus they gain XP easily and Astol is low level. 4) Noah. He�s terrible but he�s low level so he�s coming. 5) Geese. He�s lowish level and (barely) usable. 6) Tate. I need to train her a ton very fast. She�s pretty darned good so she�s trainable even on this wall-filled chapter of archers and brigands. 7) Sue. I really don�t want to bring her since I�m having a hard time keeping my pegasi more trained than my nomads at the moment, but she�s low level. 8) Ellen. The lowest level healer. Notable Units Rejected: 1) The knights and archers. These are the lowest level people on the team, but they are pretty much totally unusable. At least under circumstanes like these where I have too much other stuff to do and can�t bring enough people so the map isn�t under control. 2) Other healers. I�m not allowed to bring enough people. 3) Good characters. I need to train low level guys. The XP requirement on this chapter is insane too. Not bringing anyone good will make dealing with the boss really hard, but I think I can manage it. 4) Lalum. She�d be very helpful, but the thing is I�m pretty sure she�ll get to level 20 eventually regardless, so it�s ok to not bring her on chapters like this where I don�t need her. Additionally, I�m bringing so many pitifully weak people that I can�t control the enemy well enough to keep Lalum safe here. My thieves have only iron swords, no lockpicks. Most other people are also carrying very little other than basic weapons. I need to steal 15 things, so it�s essential that I have tons and tons of available empty inventory space. Unfortunately this means I can�t bring any good gear, which will make dealing with the boss harder. There�s little to say about my formation other than that. Everyone here is a terrible fighter and they�re all in over their heads and they�ll just kind of split up whichever way I need them to go. Exact positioning matters little other than that this formation lets enough people attack immediately that I can kill the two nearby enemies. The Characters: 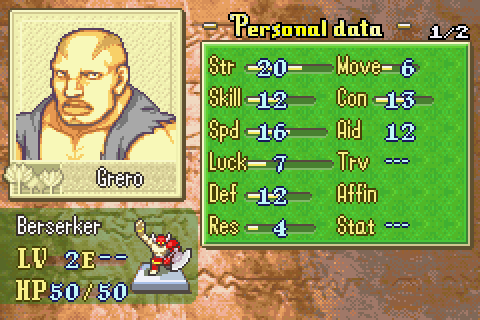 Here's the boss. He�s a scary dude. As I�ve said before, berserker bosses are a ridiculously huge threat and there�s pretty much no way to not have to face a high % chance of instantly losing every time you fight one. This one is very fast, quite accurate, and fairly sturdy. And on a throne. It will be extremely hard to kill him with this weak team but I believe I can manage it. I have run out of things to say about random weirdos with this face. Intelligent Systems has also run out of things to say with them, but that hasn�t stopped them from including more in nearly every game. 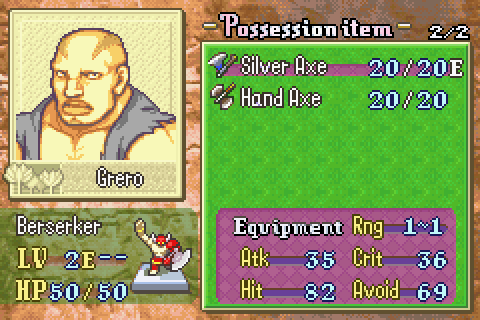 The only way this could be worse is if that was a tomahawk. There�s no way to attack him safely due to that handaxe and most people will be instant killed at close range. Playing Through: 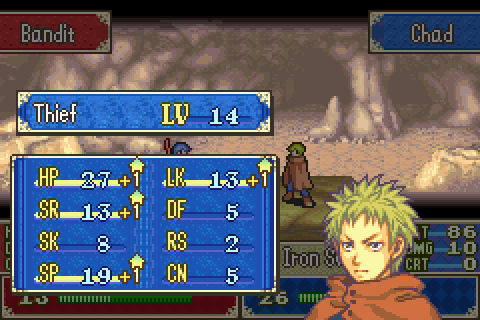 The chapter opens with a classic Chad level. He�s weakening the nearby archer. 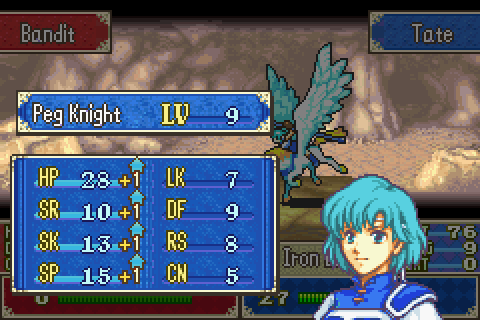 Tate flies up and finishes it for a very nice level. 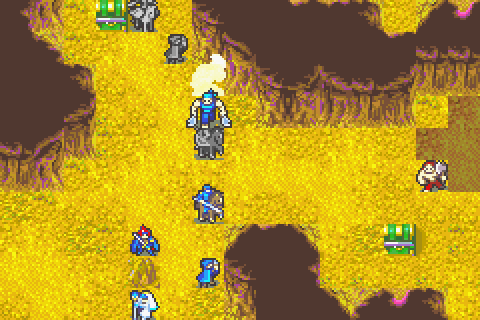 Geese and Sue take the brigand. I�m trying to avoid giving kills to Sue and instead having her mostly soften targets for people who I�m more willing to train. 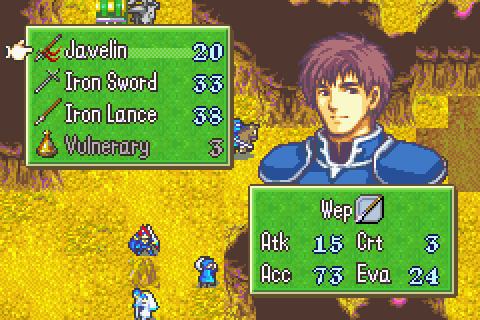 There�s a shaman juuuuust out of sight here. Noah moves in with his javelin to this exact spot. The brigand can�t hit him but the shaman can, which means the dangerous shaman will take enough damage that I can finish him next turn. When you�re using weak characters, it�s often very important to try to arrange things so that fights start on the enemy turn instead of yours. That gives you the extra damage and flexibility you need to finish foes who are otherwise too tough or fast to take down efficiently. Additionally, it lets you heal the injuries they inflict before attacking them again while keeping your healers safe. 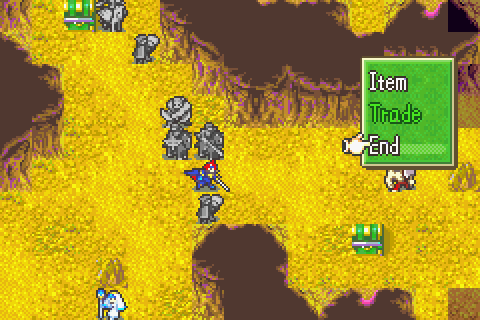 Roy and Astol are positioned carefully too. Only Noah can be attacked by the shaman and only Roy by the brigand, which ensures both will be killable easily next turn. Plus Astol can immediately move up and steal from the thief coming this way if he wants. That�s basically the turn. 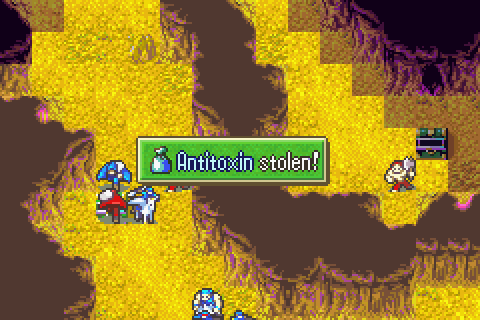 Chad steals the first antitoxin. Antitoxins are probably the second-least stolen item after door keys because they�re only slightly more valuable than vulneraries but are totally useless. However, I am determined to steal every single item on this chapter, not just the valuable ones. For glory! 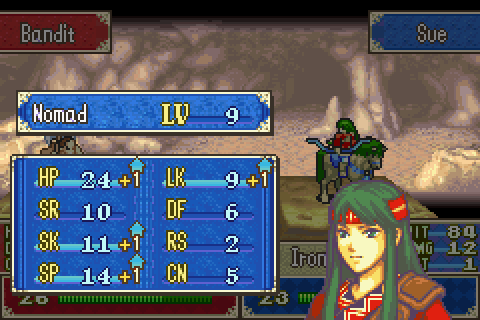 Sue misses and gets a generic Sue level as she moves up to weaken the next approach enemy. Because of how spread out they are, enemies on this chapter are pretty much fought one or two at a time even though almost all of them charge your way. 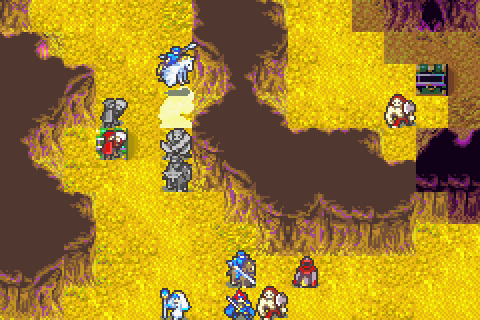 Tate grabs the kill and gets out of the way so the enemy thief can mode up to the next chest. As you can see, it took me 3 units to kill a single brigand here. 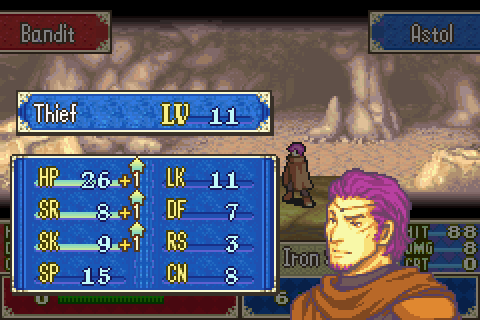 Astol finishes the shaman and gets a fairly good level. 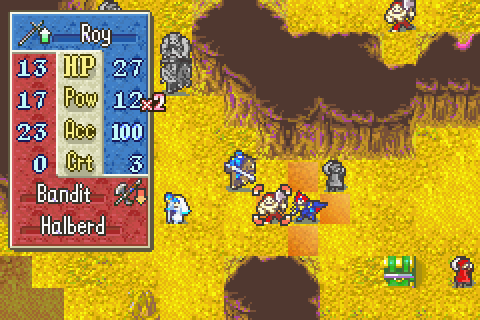 Noah is so bad that he can�t actually beat even a brigand at 1/3 HP. I have no choice but to give the kill to Roy.  Ellen heals Astol of the injury from the shaman counter for a classic worthless Ellen level. 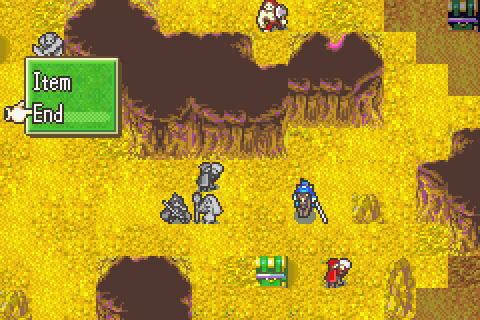 And Noah just moves up and waits for the coming wave of enemies. 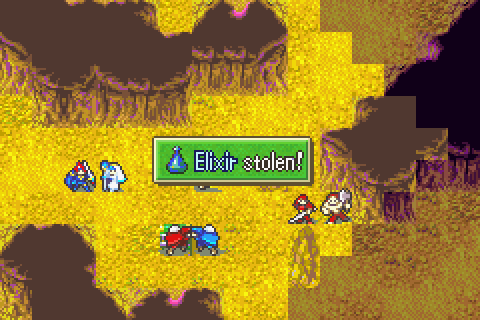 Next turn, Astol swipes the first elixir. 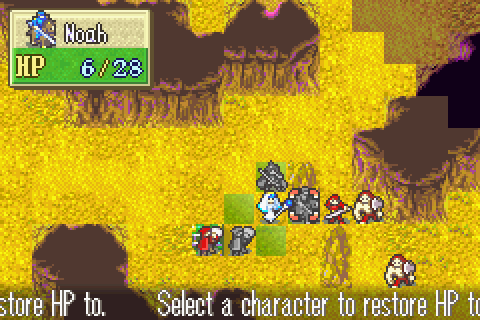 Noah attacks the myrmidon and is completely wrecked, so Ellen heals him. In this position he�s actually safe since those brigands don�t have handaxes, which is good because that myrmidon doubles everyone here (even Astol) and leaves most of them with 1-6 HP. 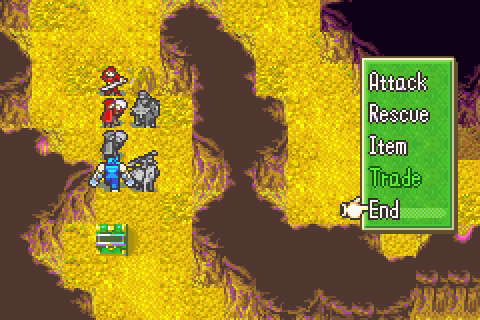 A myrmidon is causing trouble up here too. I still don�t really trust my understanding of what order enemies move in in this game (the FE7 trick of finding the boss in the R list and then paging down does NOT work here), but I did notice last turn that the thief moved after the myrmidon. That means the thief will still be in that spot when the myrmidon moves, so the myrmidon should have no choice but to attack Chad instead of Sue. That�s important because this top group has no healer. Anyone hurt has to basically be retired. 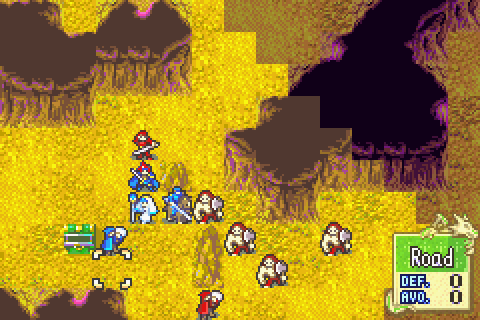 On the bottom front I�m in a bit of a tight spot. The myrmidon could kill anyone here, each of the brigands is a serious threat, and the enemy thief is scampering off. These are some of the worst people in the whole game I�m using, so even these pitiful enemies are a real challenge. 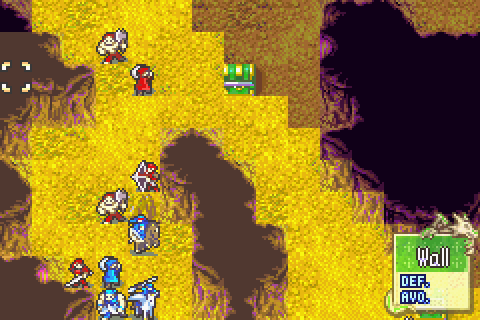 The top front is also having some trouble. This is the critical turn. If I make it through this, I�ll be able to win eventually unless the boss gets lucky.  First, Tate kills the myrmidon for another sweet level. 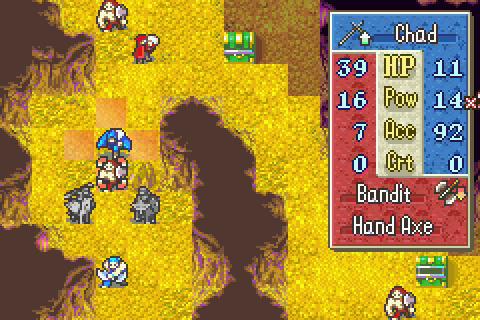 Sue finishes the archer, then Chad demonstrates that he's by far the most powerful unit in the field today. 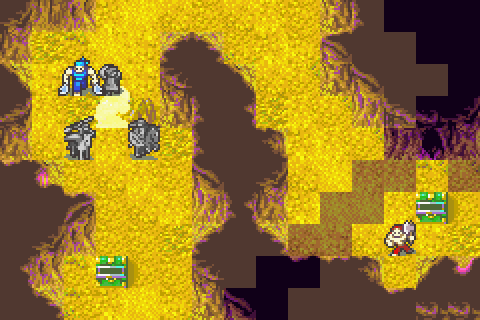 And Geese gets a kill while also covering for Tate. 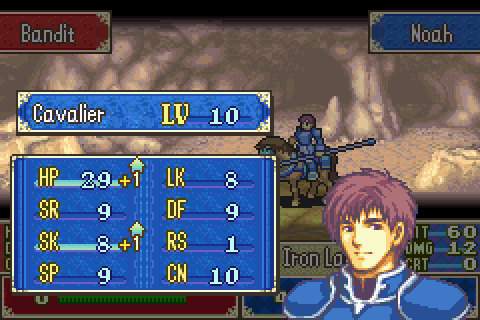 On the bottom front, Noah finishes the myrmidon but gets a sucky level. As expected. 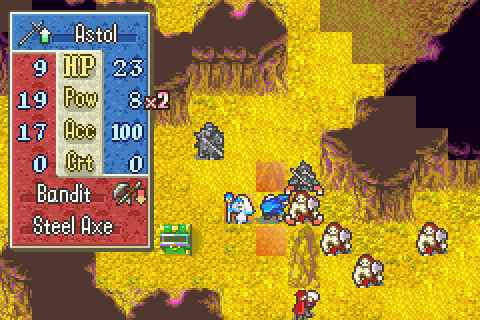 With that threat dealt with, Roy and Astol can pin these brigands at the chokepoint.  Ugh. 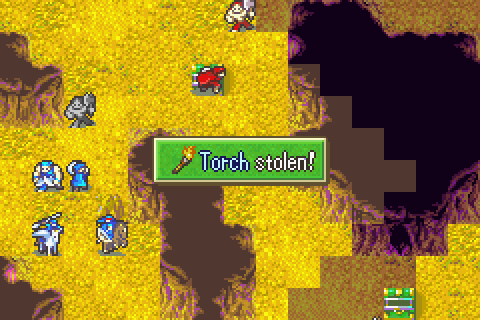 The first torch of the game! 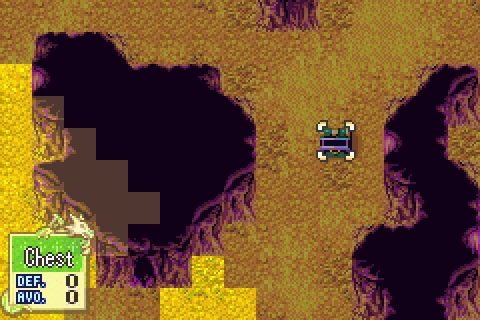 The as yet unseen middle enemy thief must be out here in the darkness. This is his third chest, so he�s done and will now start returning. 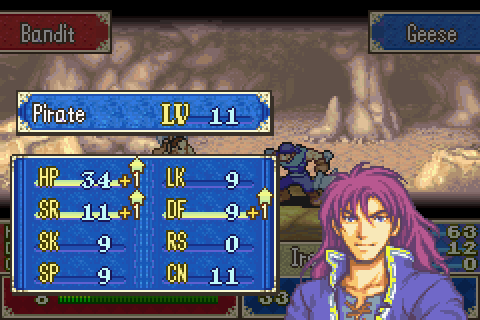 Geese�s first level is fairly good. 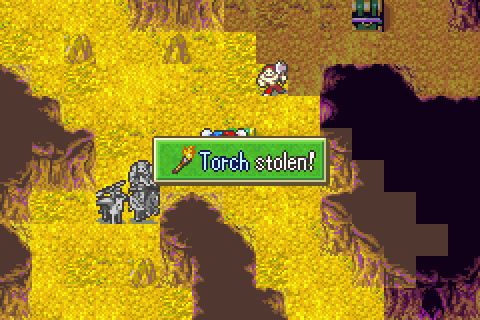 I�m glad to finally have one of these, even if I don�t need it this chapter. 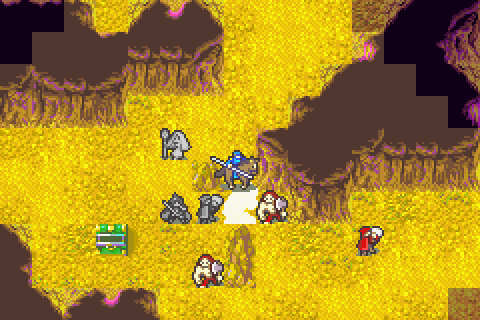 On the bottom front, I�m pretty much stymied. I can�t beat these brigands any faster so the enemy thief is getting away. That�s alright though since I know he has to come back eventually. It just means I won�t be able to beat the chapter as fast as if I�d gone with him and stole everything along the way.  Up north it�s now smooth sailing for a while. 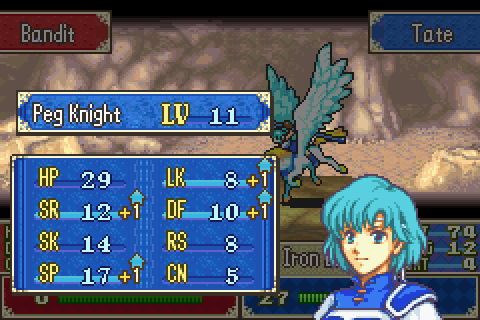 Best Tate I�ve ever seen so far. She might actually earn herself a promotion.  Down here there�s still trouble. That myrmidon is just as fierce as the first one, and I still have brigands to deal with. 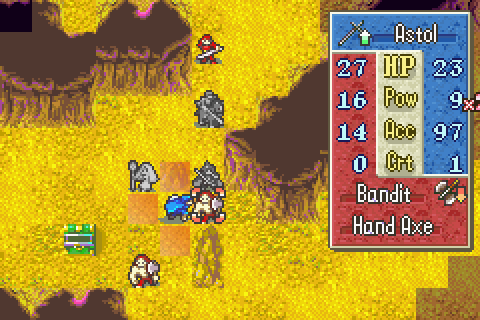 And these brigands have handaxes. Fortunately, that means Ellen can juuuust barely take a hit from one.  Suck for the suck god, fail for the fail throne! 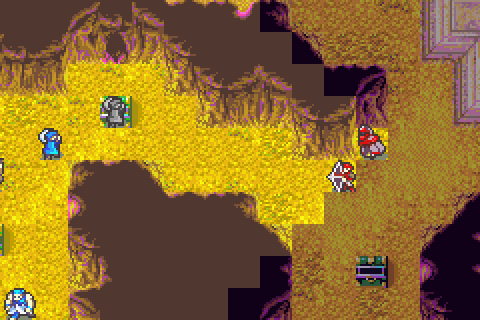 Up top, the druid moves out of hiding to cast eclipse. This druid is a serious threat with Nosferatu. As long as he keeps using Eclipse I�m in no danger though. 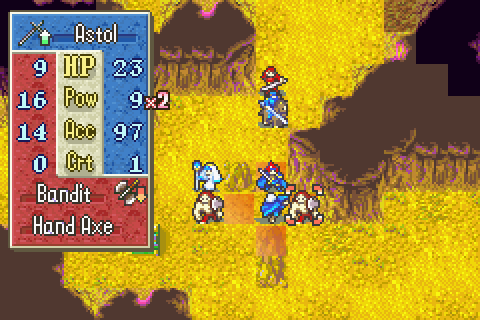 Brigand one finally bites the dust. 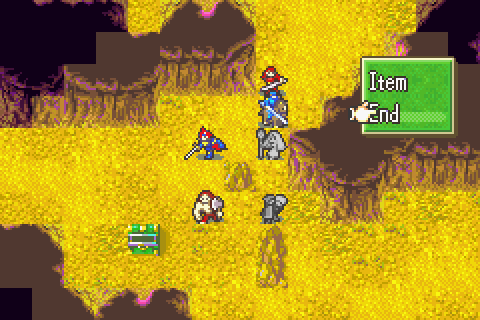 And block, Ellen is safe.  There was a lockpick in that chest, so Chad stole it. Now normally this is where this thief would be finished and leave, but because I stole his stuff all this while, he�s still never hit a full inventory. Consequently he�ll stay and go for other chests- first the one in the top left. 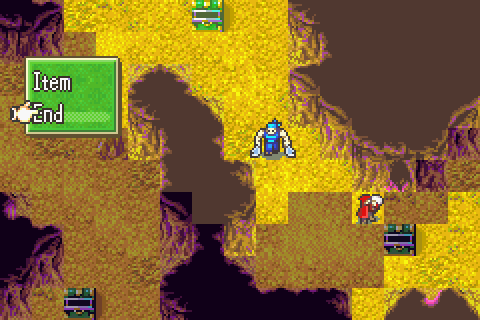 The middle thief is trying to escape. I can�t allow that, so Geese stands here in this chokepoint. With Noah in the other one, this thief now has no choice but to run right and then up and then left toward Chad, right where I want him. This also gives me a chance to have Geese take out a stationary brigand leftover here. 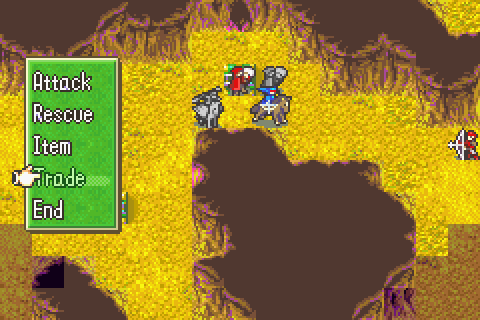 Sue moves into archer range and also frees up a bunch of inventory space for Chad with a trade. 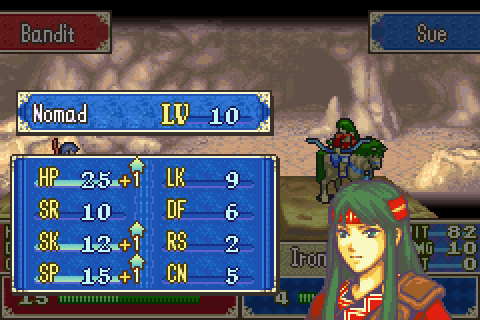 Hitting the archer on the enemy turn gives her a pretty bad level for Sue. 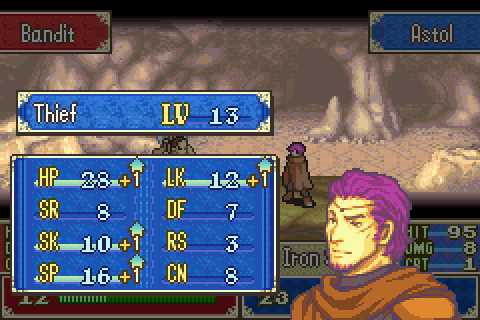 Astol is also doing fairly poorly for a thief. Really everyone�s levels are pretty sucky overall except for the fantastic Tate. 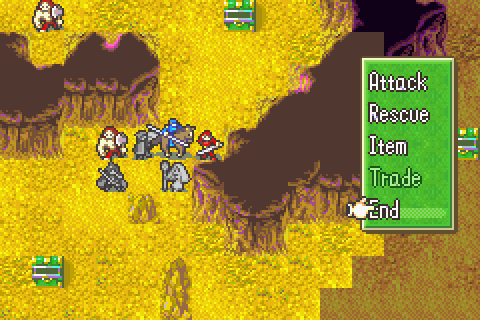 Noah keeps missing and keeps getting hit twice, so I can�t make any progress here. 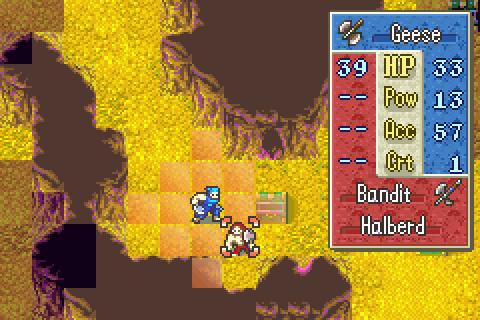 This brigand is REALLY stationary, so Geese has to actually leave his chokepoint spot to aggro him. But I can just move back.  Tate finishes the archer and moves into druid range. 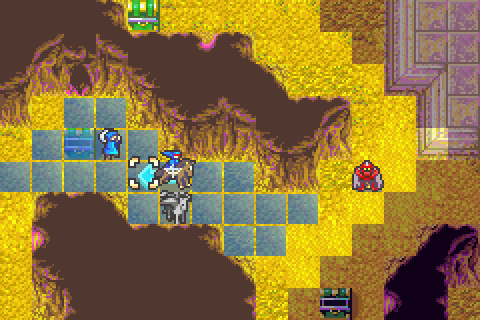 Sue gives her back her javelin and then moves back. This is critical. See, the enemy loves to attack in a way that can�t be countered- even if the attack has a 0% chance of hitting, like Eclipse. It loves not being countered even more than actually inflicting heavy damage with something like Nosferatu. But it loves getting a kill even more than that, and it could kill Sue with Nosferatu. So as long as Sue stays back, it will do an Eclipse, which will let Tate run up and hit it while it has Eclipse equipped next turn. But if Sue moved up, it would switch to Nosferatu and move in and kill her. It would also move in and Nosferatu Tate if she didn�t keep the javelin out to counter it. 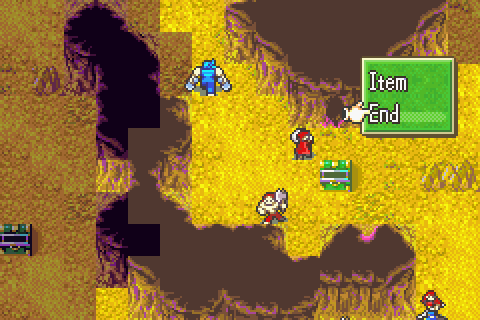 The instant the chokepoint was unblocked, the thief can running back as expected, but now the brigand is aggroed so I can move back and block it. 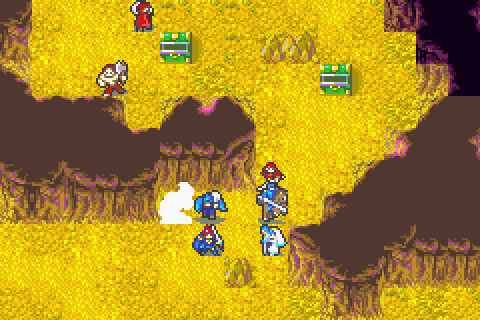 Finally! Now there�s just the pesky myrm which has dodged Noah�s iron lance again and again and again. 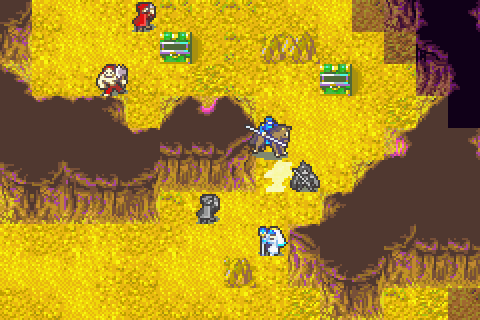 I took risk here, but I need to get moving and I�m honestly also just sick of sitting there watching no progress occur. This is a really boring chapter. 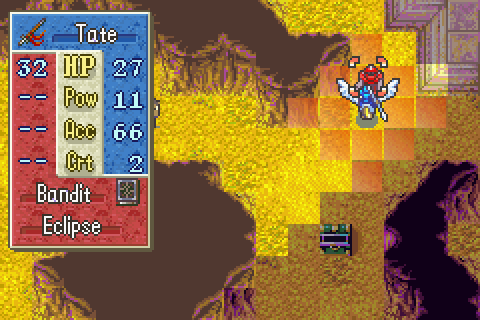 The choice of weapons here is critical. If Tate uses an iron lance, she�ll double-hit but then the druid will switch to Nosferatu and heal off the injury on its turn. But with the javelin, the druid will stick with Eclipse to keep getting counter-less attacks. 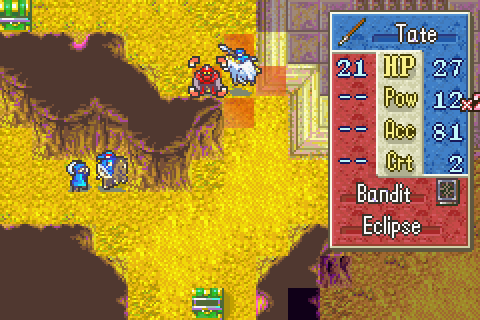 And that�s exactly what happens on the next turn.  Fantastic. 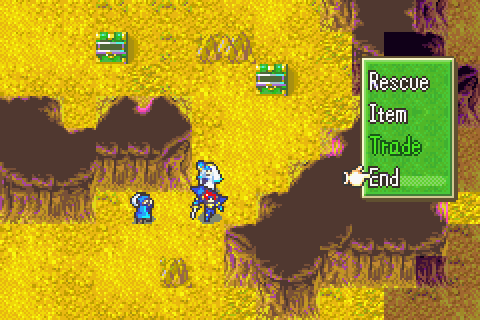 Roy maintains the block over here to keep the middle thief running up toward Chad. 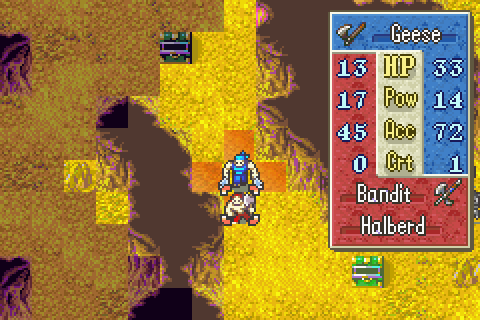 Geese maintains it over here (and doesn�t take this attack for safety reasons). 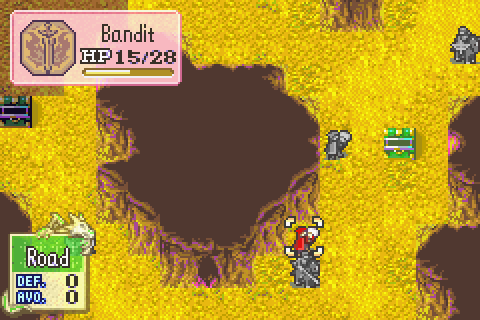 So the thief is driven toward Chad, with Noah weakening it for someone else to kill when all its stuff is gone. 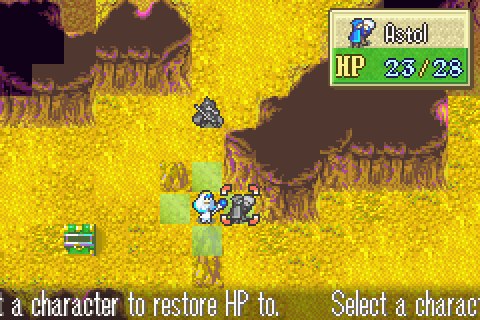 Astol is healed up as he prepares to move after the bottom thief who is currently on his way back after getting his third chest.  Here he comes. 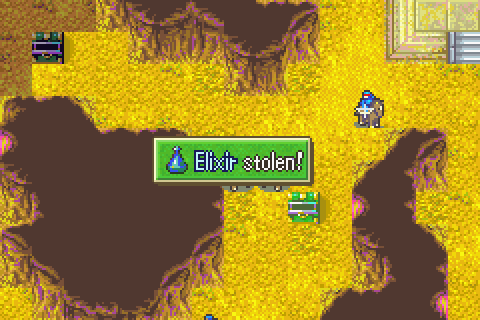 Chad gets to work on the middle thief. 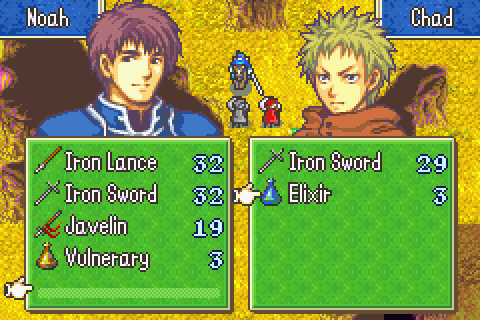 Noah ensures Chad never runs out of space. 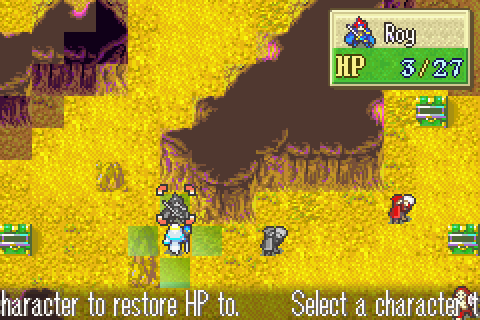 Roy moves out of the chokepoint so that the middle thief will come back this way rather than fleeing too far from the boss immediately. He also gets into position to block the bottom thief from escaping with Ellen�s help. 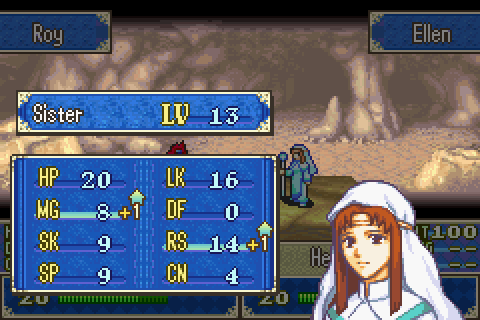 Well that�s non-terrible. But still bad. The worst part is that this isn�t even a particularly bad Ellen. 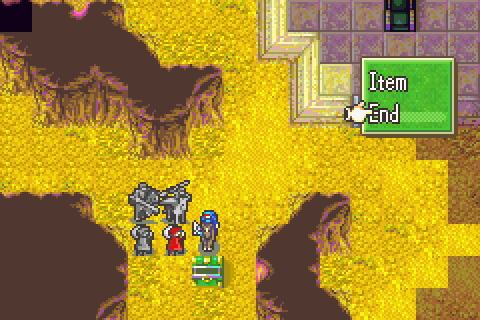 Most of the top crowd has little to do but manipulate thief movement at the moment. 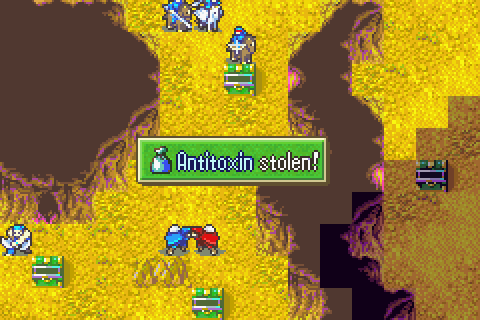 Another theft. 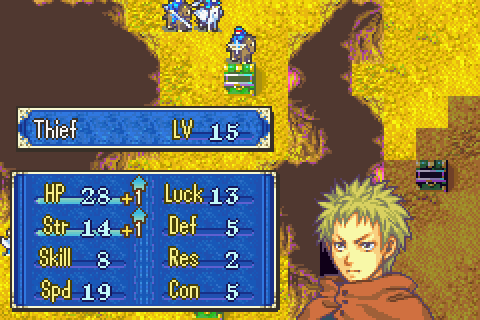 Nice. 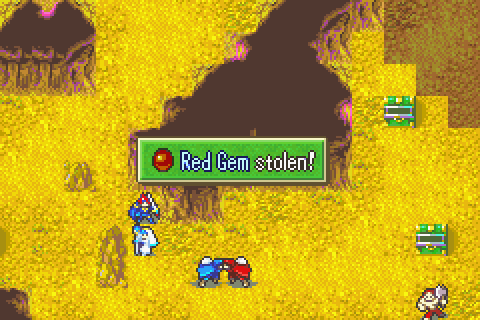 And more theft.  Ellen and Roy send the bottom and the middle thief bouncing around where I want them by blocking and unblocking chokepoints. In this fashion I keep the enemies more or less stationary in good positions to take all their stuff at leisure. 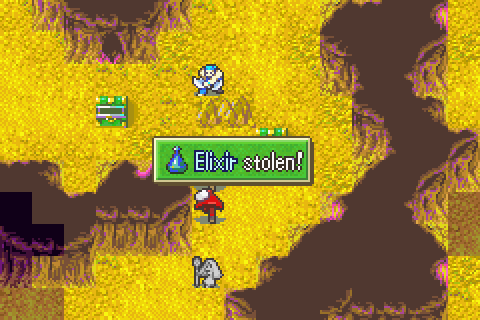 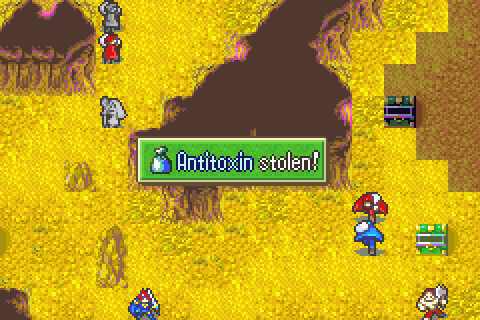 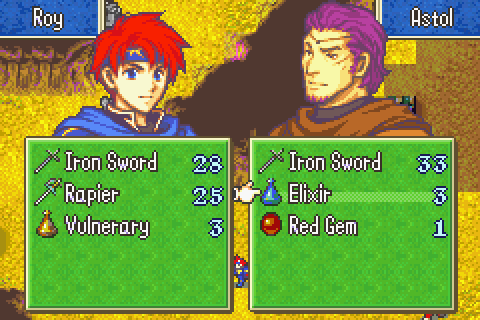 And more space is freed. 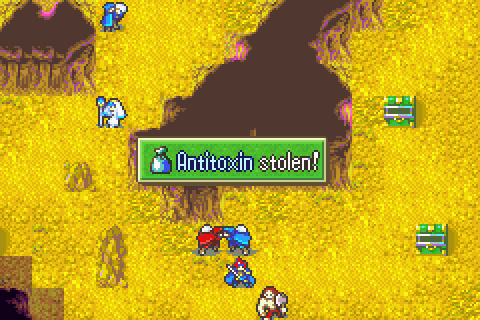 I aggroed this brigand early to have something to do.  Blocked again. 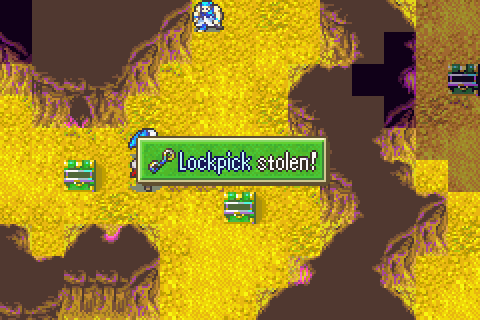 That�s the last theft from this middle guy. 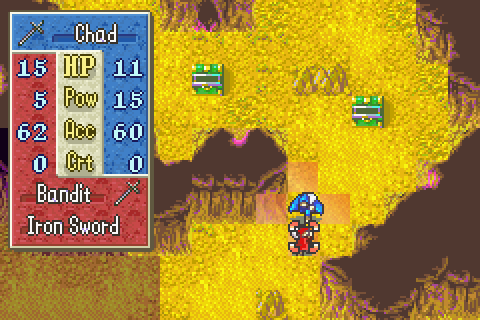 And now it�s time to finish him. 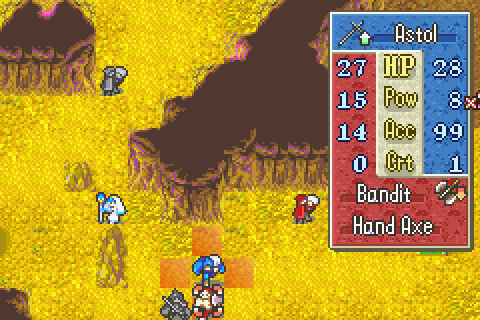 Astol weakens this brigand with Roy. 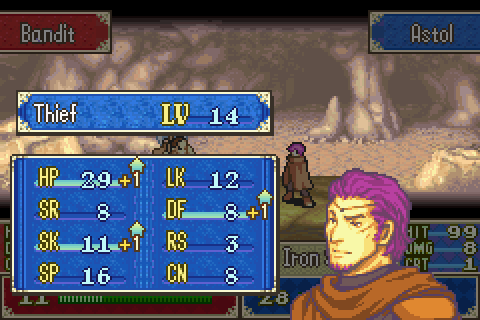 Decent. Astol is the tough thief and this helps him at that job. 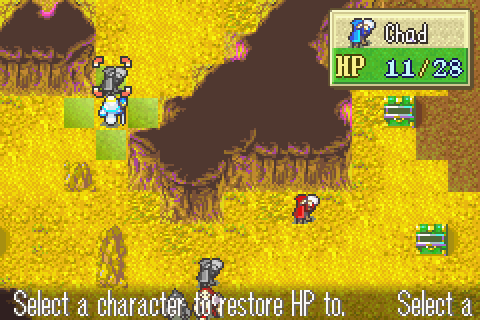 It�s time for Ellen and Chad and also Roy to start moving north soon. 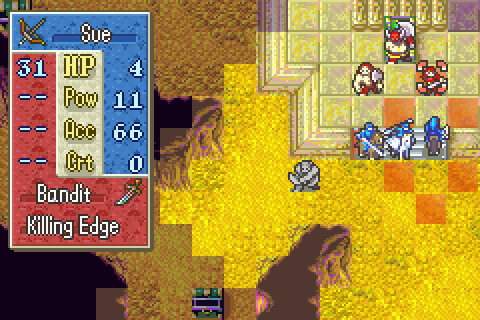 The north group is taking down these 100% stationary no matter what enemies. 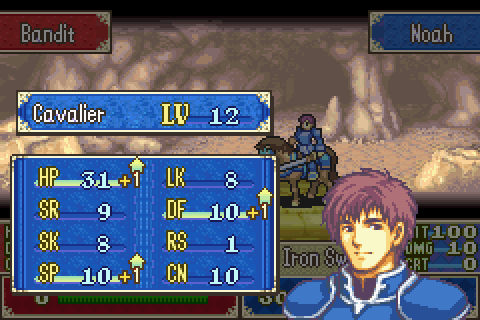 Finally a pretty good level for Noah.  Chad heads on up. There�s going to be more stuff to steal soon and I need him to kill the boss too. 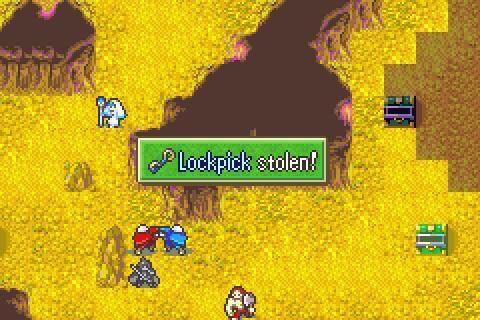 The lockpick is the final steal down here, then Ellen pins him in place.  The myrmidon is eliminated. 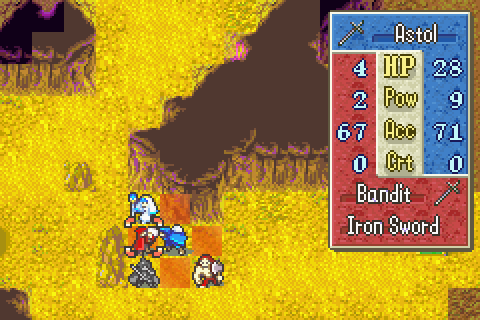 The bottom thief is killed. That leaves only the top one (who was allowed to walk away to get the top left chest a while ago and should be returning shortly)  � what? Man, they had a chance to have him say something funny there with all his singing to the treasure but they completely blew it. 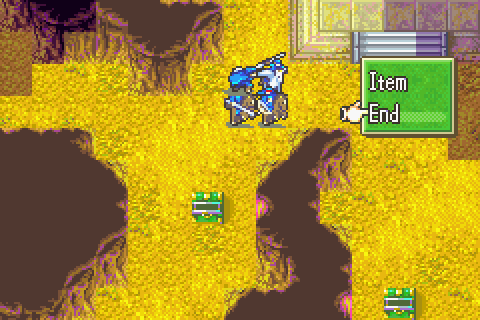 Now while all this has been going on, the top thief walked all the way to the top left chest and now all the way back to the top middle chest and will soon be coming this way with his new loot. Astol gets another fairly solid level from the final bottom enemy. This is a pretty bad Astol all in all. In particular he�s substantially slow, which cost him some potential doubles this chapter. 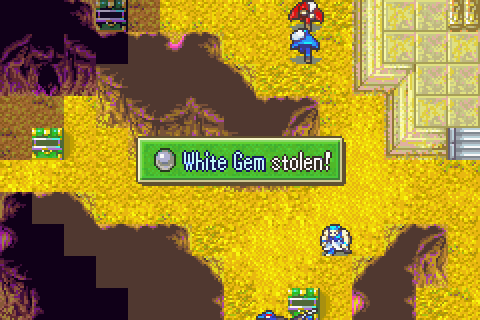 The white gem is mine. 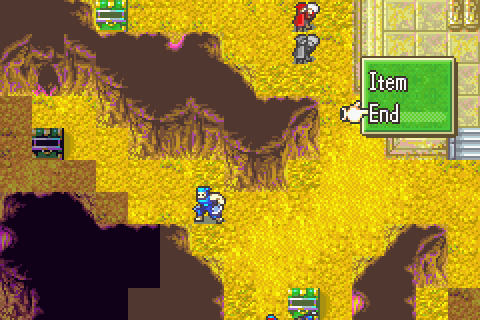 Geese steps here to redirect that thief. 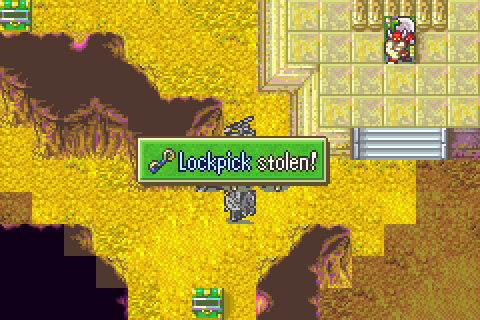 And then on the next turn he moved where I could pin him and keep stealing. 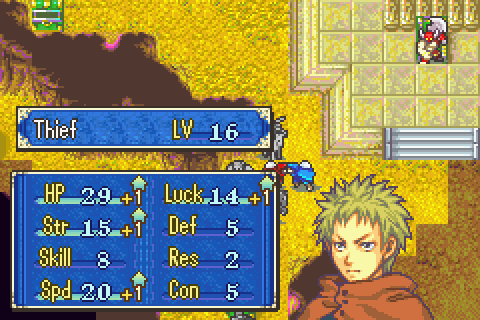 Chad scores another very nice Chad level. I�m telling you, he�d be the best unit in the game if he could just promote. 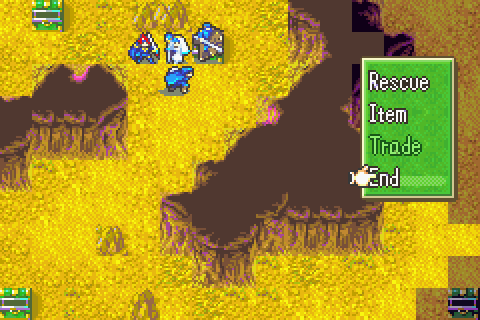 Astol moves in, Ellen heals him, and then Noah carries her away. 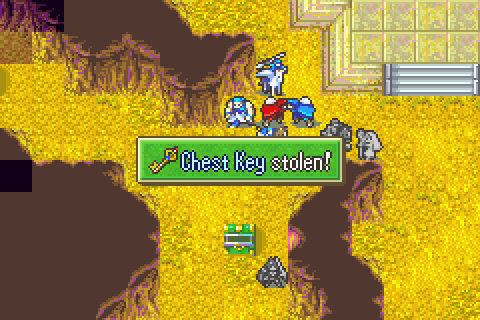 Chad swipes the last item. 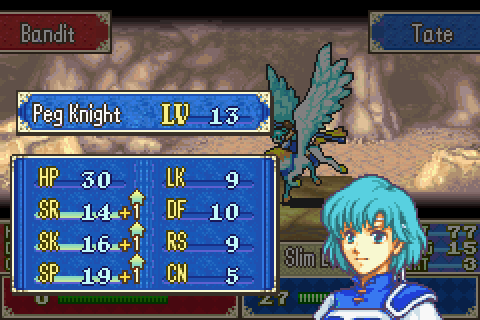 Tate kills the last thief for yet another great level. 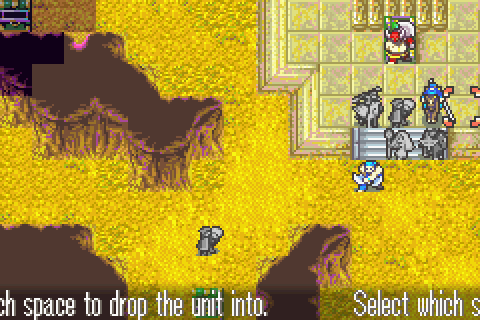 The team is rescued in. 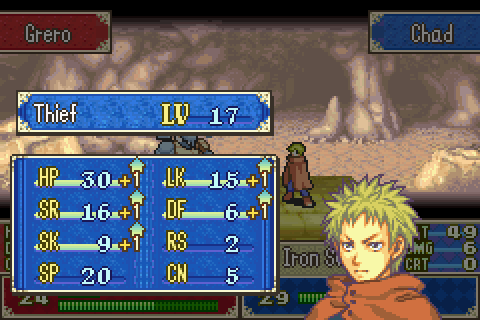 And Chad starts fighting. This is gonna take a while. 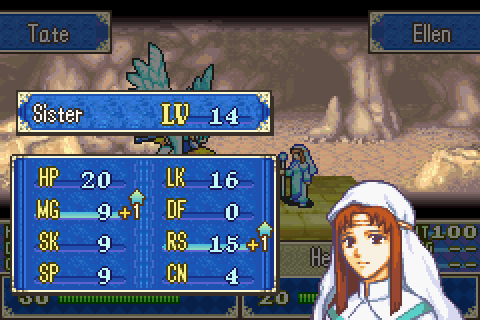 Meanwhile Ellen heals everyone. 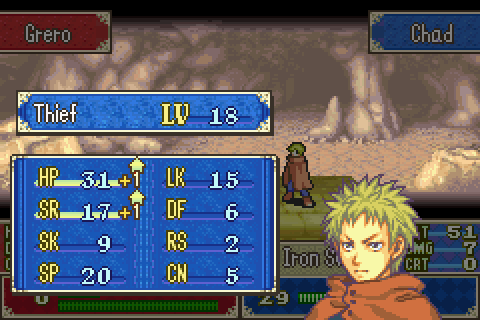 And Chad eventually wins, scoring yet another point of strength. Man, this is a crazy strength bless. Too bad it�s not on someone more useful. 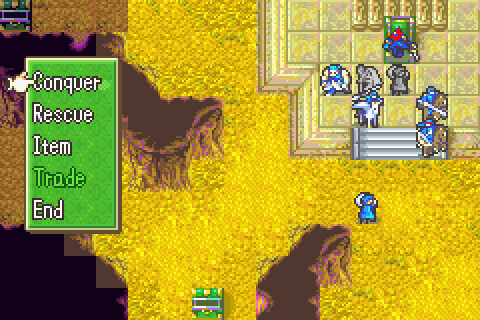 And on turn 27 I win. 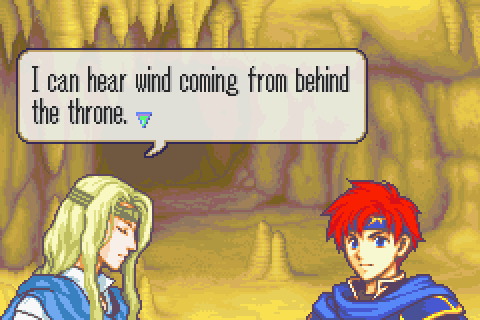 That makes no sense unless there�s another entrance directly to the Armads chamber. Actually it just makes no sense regardless because if Armads�s secret hiding spot is that easy to find, why didn�t the bandits or anyone else just find it already? 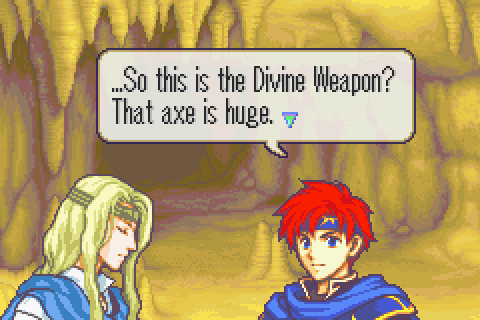 We were told that it would be several times, yes. Also Durandal is huge already. Why is this a surprise to you? 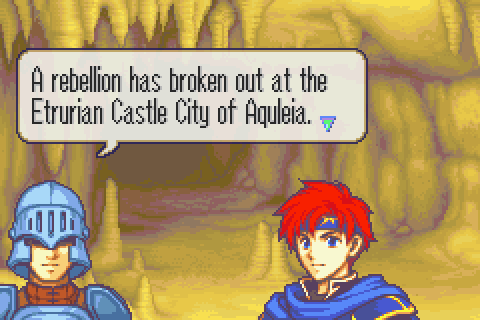 Wow, the plot is happening! Can someone remind me which country we�re supposed to be fighting again? Daein or something? I don�t know, it�s been 10 or 11 chapters since they actually did anything big. But surely they�re going to get involved again now, right? � right? 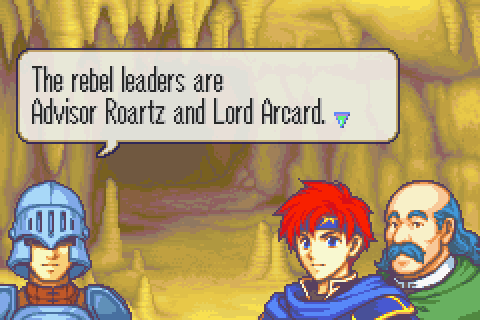 No surprise there. At all. For anyone. Including the people they rebelled against you would think, particularly since Roy sent Cecilia a letter detailing their secret criminal activities and suspected ties with Bern long ago. Apparently nothing was done about that. 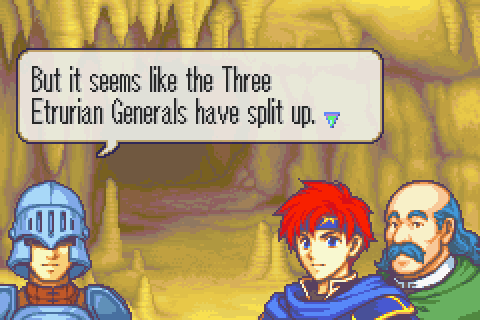 And Percival and Douglas joined the traitors for reasons that can be best described as astoundingly irresponsible. So that�s the chapter. And the Western Isles arc. I�ve said before that the western isles arc isn�t terrible as a self-contained story, it�s just absurdly out of place- as commented on by the characters- and serves as nothing but a filler arc to pad out the plot. Actually, so did like 80% of the game up till now. What�s even more aggravating is that even the plot threads and connections that could and should have gone somewhere- like finding the lost Prince Mildain or uncovering Arcard and Roartz�s treachery before their rebellion or especially being manipulated into leaving Lycia at the mercy of Bern never really go anywhere. No, seriously. The whole point of sending Roy to the western isles was to leave Lycia undefended. But even though Roy falls for it and Etruria is embroiled in a civil war and thus can�t possibly defend Lycia, BERN DOESN'T INVADE. And that�s what really cements this arc�s status as completely indefensible filler. I took a pretty big hit on my turns ranking here, but that was more or less inevitable. It�s a big map with lots of really spread out objectives and I�m not allowed to bring enough people to cover them efficiently. Furthermore, I brought not a single decent character, which meant it was going to be tricky to complete at all, let alone fast. Despite that, I did acquire every single available item right down to the antitoxins. And by using the very worst and weakest characters who aren�t knights or archers, I was just barely able to exceed this chapter�s enormously high XP requirement. It�s getting really hard to keep up with the XP ranking when the chapters have almost no enemies on them and I�m running out of low level people. In fact, it�s becoming more and more evident as I play that this game�s requirements just were not thought through at all. There�s a generic 6000 funds per chapter requirement that�s alternatingly completely impossible and completely trivial and is then completely borked by a gigantic bug lowering the requirement to 84,000 for the whole game, chapter XP thresholds that are sometimes outright impossible even if every enemy somehow gave 100 XP, and turn threshholds so huge that I�ve sat around doing nothing but build support for something like 50 turns total now and am still not far below the max rank requirement. Total Restarts: 3 (Not counting the one where I just sat there for 8 turns and watched what order the thieves went to chests in) Turn Surplus: -16 (I took a big hit here and last chapter too after having almost eliminated this deficit) Things I Regret Missing: A couple of uses of Marcus�s silver lance on Rude, a Chapter 5 nomad Marcus had to kill, two Chapter 12 fighters I couldn�t kill since I needed supports built elsewhere Melth fucked around with this message at 21:32 on Aug 8, 2015 |
|
#
?
May 24, 2015 17:57
|
|

|
I was wondering where this LP had gone. Tate seems like she wants a promotion pretty badly. It's a shame Assassins aren't in this game, because Chad would be a pretty good one. Or some better promotion with higher caps.
|
|
#
?
May 24, 2015 20:44
|
|
|
Noah how are you this bad?
|
|
#
?
May 24, 2015 21:54
|
|
|
Lotish posted:Noah how are you this bad? He needs to get put on the bench so he can steal it for his boat.
|
|
#
?
May 24, 2015 22:21
|
|


|
On the subject of xp requirements, is it possible they expected arena abuse to make up some of that difference?
|
|
#
?
May 24, 2015 22:40
|
|
|
Lotish posted:On the subject of xp requirements, is it possible they expected arena abuse to make up some of that difference? I'm 90% sure they just had no idea what they were doing and didn't really think it through, figuring no one would care.
|
|
#
?
May 24, 2015 22:49
|
|
|
Melth posted:I'm 90% sure they just had no idea what they were doing and didn't really think it through, figuring no one would care. Looking at the requirements I'd say that's a pretty fair guess. See the fact that there exists simultaneously a requirement for levels gained and experience gained.
|
|
#
?
May 24, 2015 22:51
|
|
|
Lotish posted:Noah how are you this bad? he has the same growth rates as most promoted units so... easily.
|
|
#
?
May 24, 2015 22:55
|
|

|
Onmi posted:he has the same growth rates as most promoted units so... easily. It's also a matter of distributions. His worst stats are important, his best stats are worthless.
|
|
#
?
May 24, 2015 23:02
|
|
|
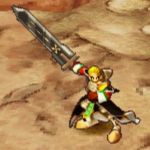
So, been a while since one of these but lets cover the new Chapter 20x. So, getting into the lore of it all would be probably awkward, but the short of it is sort of a mental trial for Roy that the player gets to look in on. The first map has two versions so far.  Version 1  Version 2 So... the basis for this map is that all the generic units are your recruited allies to this point, so 2 Cavaliers, 3 Armor Knights, 2 Thieves, 1 Rogue, etc. etc. And in version 1 Lilina upon the throne, and in Version 2, Lilina is on one throne and Guinevere on the other. It's set up in such a way you don't know what you're fighting unless you're paying extreme attention (since Fog of War) This is not really a 'difficulty' map because of course it's basically a solo effort. Regardless, upon seizing the throne, you go into part 2 of the map.  On this map, the dead begin to rise as skeletons and zombies and Roy is completely alone, on version 2, you must Run to the throne in the shrine. On version 1 you'll start there. From there, the idea is to go into one of a few scenarios. In one, the other Lord you killed on the previous map will return and basically have a heart to heart with Roy allowing him to overcome the doubts that has been pulling him down, with the lord you didn't kill spawning in as an NPC to fight the monsters. In another it'll be his 10 support partners. But regardless this triggers Roy's promotion.  By taking the Fire Emblem in hand, he overcomes his doubts and fears and emerges a new man. A long year of hardships paying off and now it's time for Roy to stop the running and start fighting back. Promotion-wise Roy gains Dark Magic, mostly to round out the weapon triangle going on between the three lords (Lilina is Anima/Axes, Guinevere is Lances/Light) as you can see in the animation, he casts from the emblem itself which comes as a usable weapon. A lot of the details on this map are still up in the air, because I'm kind of moving into uncharted territory for it, previously it's been talked about if it's too jarring a tone shift for the game till that point or Fire Emblem in general. I intend to release it as a stand-alone hack to gauge potential criticisims however. Inspiration wise, places like Jawsons Bog in Bastion played a lot into the idea of doing a chapter where the protagonist is essentially on a drug trip and confronting themselves. The events here are also, technically, used in Arch's Elibian Nights in the 'Zephiel's Tale' section. As during that maps development we'd been chatting about my concept for Roy's promotion chapter. Just much more different. Because Zephiel of course doesn't have Roy's fears and failings.
|
|
#
?
May 24, 2015 23:46
|
|
|
Another arc down. At the end of this one the otherwise useless Elphin has begun offering a clumsy prototype of the rankings check you can do much better with Marcus/Oswin in FE7. So I took the opportunity to check in with him for a mostly unhelpful summary and then also crunched the numbers in more detail on XP and funds. I probably won't do a status update like this after every arc, but it seemed appropriate after just getting the augury ranking check option. First of all, I remain behind on turns. That's largely because of the last two chapters actually, I'd easily been reducing that deficit to 0 before they hit. I remain confident that I can get into the positives any time I want, but I should start working on that since I would like to exceed the requirement by a lot. The big problem is usually that a lot of reinforcements don't spawn until at or near the final allowed turn, so getting a good XP ranking requires me to wait around a long time. As usual, power is exactly the same as XP so you'll see how I'm doing there when I get to XP. Survival is a triviality. Now, unexpectedly, I actually do NOT have max rank in combat at the moment. Elphin's status update is kind of ambiguous but I THINK when he says I'm doing "Very well" he means I'm at a 4 star level basically. This is a VERY hard ranking to improve. It was usually just in the bag in FE7 but here the enemies are tougher and my units are weaker, plus I need to train huge numbers of really weak people every chapter. The result is that I actually can't kill many enemies in one round. And some bosses take a huge number. There's just no one on my team who can reliably one-round enemies. Only Gonzalez has the strength (barely) and he doesn't have the accuracy. So what about XP?  That chart ranks each character by XP gained. You can see that absolutely everyone has actually been used at least a little. And the results are good; my lead has widened (despite several impossible requirement chapters) to 7600 instead of about 4800. This is nice, and actually even better than it sounds really. See I've looked ahead on the charts and it looks like FE6, unlike FE7, doesn't have any chapters with absolutely massive XP requirements. Nothing ever requires more than 2000 or 2500. Even 2500 is really rare, it's mostly 2000 and a few 1500s. That's majorly different from FE7 where in the final 8 chapters or so the requirements suddenly went through the roof with absurdities like 6150 on Victory or Death. If you went into that chapter with less than a 4000 or so surplus, you were completely done for and you didn't even know it. Plus I'm still going to get a few more fairly usable low level people. That's good because I really, REALLY don't want to have to try to train Wolt or the armor knights. Or Ward. But just the thought of trying seriously to give levels to Wolt makes me shudder. So I certainly can't relax just yet, but I can maybe bring out some more good units. That should help me salvage my combat and tactics scores. Now because Elphin's augury kind of sucks, the best way to figure out my funds is still to tabulate the value of everything. So here's a giant chart: 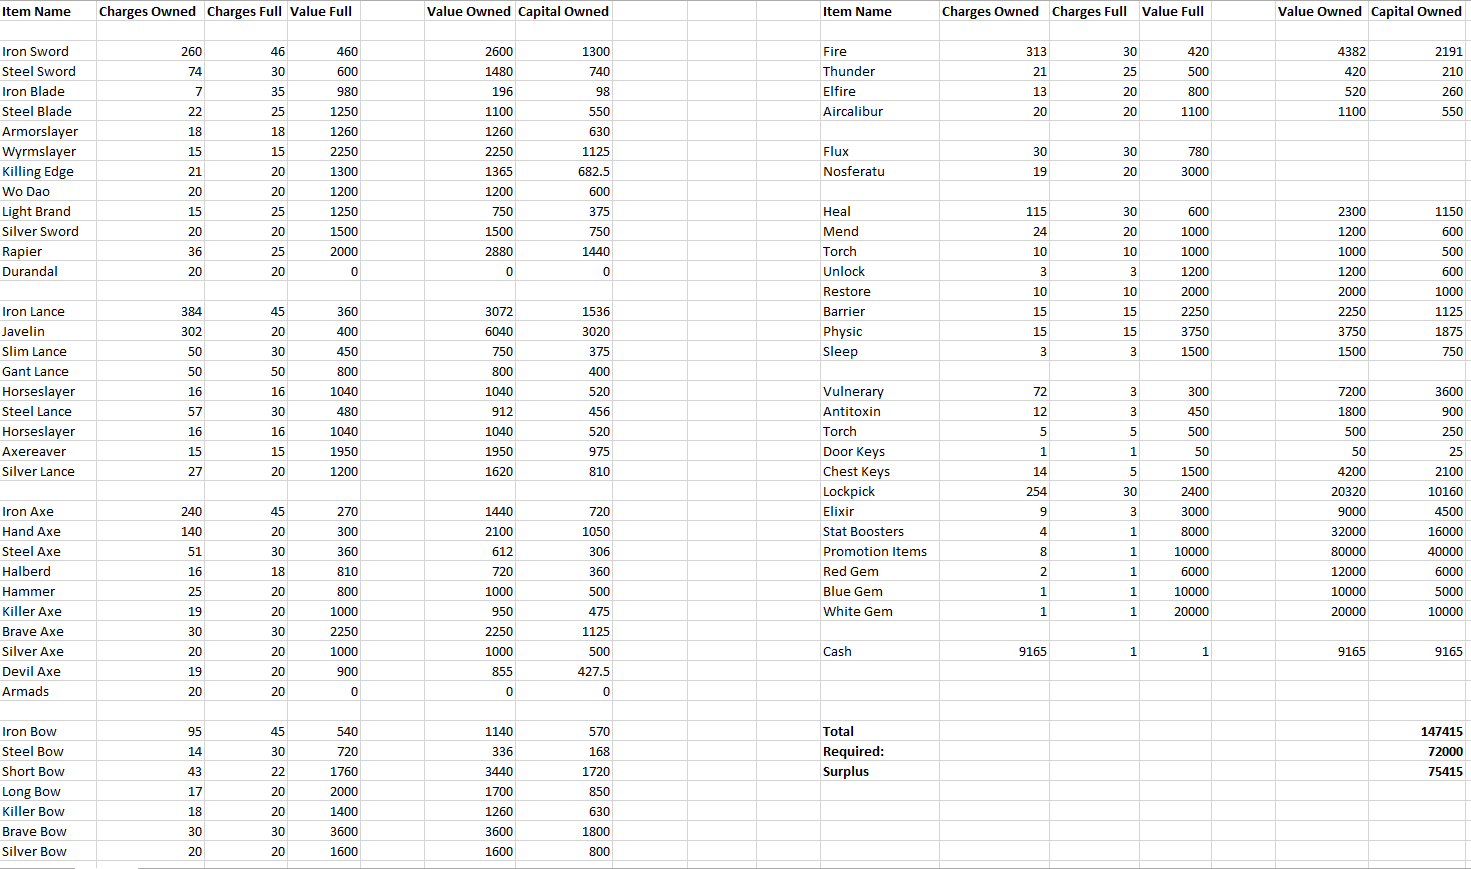 We're drowning in treasure. I mean, 12 chests last level? And a bunch before that. And then like 11 villages or whatever on chapter 11. And 8 chests or something in Ostia. And 10 villages or something. And then there were a giant number of chests in the one with Wagner too. And so on. And I've acquired everything, right down to vulneraries and antitoxins, and been moderately frugal with weapons, so I'm now sitting pretty on more than 75,000 in excess capital. And that's after promoting Alan. Unless I miscalculated something, that actually means I can promote 15 characters if I want to right now. So... I'm done with funds. And not even just for the lame glitched 84,000 requirement. This is for the intended 150,000. Wait, holy cow, I'm nearly AT that requirement already aren't I? It's like the designers had no idea what they were doing at all! Someone check my math on this one. So I'm pretty much in the clear with regards to funds. If that's the case, my XP worries will also be alleviated somewhat. That will mostly leave combat (and actually turning tactics around). Melth fucked around with this message at 06:16 on Aug 9, 2015 |
|
#
?
May 25, 2015 00:50
|
|
|
Melth posted:I'm 90% sure they just had no idea what they were doing and didn't really think it through, figuring no one would care. Yeah, the numbers seem pretty arbitrary. In my current playthrough, XP and tactics haven't turned out to be problems. I've been done with the final XP requirement for a few chapters, but this may have been a mistake. I've come to the sad realization that I may not succeed at Combat. Enemies have been pretty tough (since hard mode bonuses scale with chapter), and many are loaded with ranged weapons. Funds is easy though. Promote people, and use your stat boosters! Ah, I see that you've posted your current status, and you have the same issue with combat rank. 
NeoRonTheNeuron fucked around with this message at 01:02 on May 25, 2015 |
|
#
?
May 25, 2015 00:59
|
|

|
The weird between-paragraphs spacing on that last post made me reload the page if there were images I was missing, but I quoted the post and there only seem to be the EXP/Funds charts. You should probably standardize that part.
|
|
#
?
May 25, 2015 02:20
|
|
|
Glad that you're still ahead of the XP requirement despite the impossible terms. And that funding rank is hilarious. Onmi posted:
This is very cool, but the bolded bit especially makes me very interested. marshmallow creep fucked around with this message at 05:39 on May 25, 2015 |
|
#
?
May 25, 2015 05:35
|
|
|
Yeah...I'm kind of sketchy about Lilina wielding axes myself, just because she really doesn't look like someone who'd rely on strength like that. So unless you edited her sprite so that she has a lot more muscles and stuff (cuz women CAN get pretty muscular), I can't imagine that really happening. If anything, if you wanted to round out the weapon triangle, I'd just invent a new character entirely. Like, maybe Lilina has a brother, or perhaps Marquess Thria has a son who ends up being important, or something like that.
|
|
#
?
May 25, 2015 06:40
|
|
|
Fionordequester posted:Yeah...I'm kind of sketchy about Lilina wielding axes myself, just because she really doesn't look like someone who'd rely on strength like that. So unless you edited her sprite so that she has a lot more muscles and stuff (cuz women CAN get pretty muscular), I can't imagine that really happening. well.  Magic is a helluva drug EDIT: oh man I've had this gif for ages and had the animation for ages and I just noticed the fist clench for the axe sparking. Temp you beautiful bastard come back soon so we can finish these. Onmi fucked around with this message at 07:35 on May 25, 2015 |
|
#
?
May 25, 2015 07:07
|
|
|
Onmi posted:well. this rules
|
|
#
?
May 25, 2015 07:13
|
|

|
Onmi posted:well. 
|
|
#
?
May 25, 2015 07:13
|
|

|
"whosoever can lift this axe, Wolf Beil..."
|
|
#
?
May 25, 2015 07:25
|
|


|
Shouldn't the magic triangle go backwards? I know the Lords can't fight each other anyway, but what's the point if Eliwood has the advantage over Lilina physically and magically?
|
|
#
?
May 25, 2015 08:24
|
|
|
SonicRulez posted:Shouldn't the magic triangle go backwards? I know the Lords can't fight each other anyway, but what's the point if Eliwood has the advantage over Lilina physically and magically? Not really, because it's mostly about rounding out that the two lords together can take on all comers. Also because Lilina is heavily known for Anima. She can't exactly dry/burn everything with black tentacles.
|
|
#
?
May 25, 2015 09:18
|
|
|
Onmi posted:Not really, because it's mostly about rounding out that the two lords together can take on all comers. Also because Lilina is heavily known for Anima. She can't exactly dry/burn everything with black tentacles. No opinion on whether or not it's a necessary change, but you could achieve the same effect by swapping Roy and Guinevere's dark/light, which you could argue makes sense as Roy's the hero and Guinevere is betraying her country.
|
|
#
?
May 25, 2015 10:18
|
|

|
Roy's grandfather is (probably) Nergal, and the Fire Emblem itself is associated with the Shrine of Seals, AKA the place Brammimond hung out at and Apocalypse was sealed. The weapon triangle doesn't really work out, but it makes the most sense to give Roy dark magic.
|
|
#
?
May 25, 2015 10:20
|
|
|
AlphaKretin posted:No opinion on whether or not it's a necessary change, but you could achieve the same effect by swapping Roy and Guinevere's dark/light, which you could argue makes sense as Roy's the hero and Guinevere is betraying her country. On the other hand, I personally think that it makes the most sense this way- giving Roy Swords/Light would be giving him the Swords of both weapon categories. The current stratification gives each Lord a unique combination of weapon types vis-a-vis accuracy vs. power.
|
|
#
?
May 25, 2015 10:21
|
|
|
Those are excellent points and I'll concede them. Like I said, I'm not too fussed either way.
|
|
#
?
May 25, 2015 10:24
|
|
|
Also Guineviere exists as a unit in the game code, and she's a sage who uses light magic.
|
|
#
?
May 25, 2015 10:53
|
|

|
Is Guinivere gonna get a wyvern when she promotes?
|
|
#
?
May 25, 2015 11:12
|
|
|
cheetah7071 posted:Is Guinivere gonna get a wyvern when she promotes? No, getting Wings of Light on her crit are not out of the running though. I didn't want any one lord to beat the other on pure utility as a unit (And also keep the same speed) So Roy's promotion chapter also comes with the other twos promotion items. Kajeesus posted:Also Guineviere exists as a unit in the game code, and she's a sage who uses light magic. Yup, originally she was a Sword-Light user but then I was just "That's stupid" and since Temp said he'd do one. http://puu.sh/hZL06/8bd35065e7.webm
|
|
#
?
May 25, 2015 11:39
|
|
|
This game really does not call for or encourage interesting tactics.
|
|
#
?
May 25, 2015 21:59
|
|
|
Onmi posted:well. Okay, you win. This is what convinced me I need to play this hack when it's done.
|
|
#
?
May 25, 2015 23:06
|
|
|
 Alright, it�s time for a real chapter at long last! For the first time since arguably chapter 3, Bern is actually doing something. Now what they�re doing doesn�t make a ton of sense, but nevermind that. It�s just good to have the plot moving again at last. This right here is FE6 at both its best and its worst. On one hand it�s yet another absurdly huge and empty map with nothing to do. And almost all of its difficulty comes from massive waves of surprise reinforcements from silly locations. Plus the plot is full of holes and the villains are ridiculously dumb. On the other hand, Guinevere is finally back and saying cool stuff. She�s a thousand times more interesting than Roy- let alone Merlinus- and removing her from the party made every conversation on the western isles wretchedly dull. There�s a fair amount of story progress and character development on this chapter. I think it has more conversations than pretty much any other one in the whole game. And at long last the difficulty is about right. Enemies are a serious challenge, but the party has grown strong, so with good tactics you can defeat them without much luck. And the terrain lends itself to at least a few interesting skirmishes, even if things are mostly empty. Also things are finally back to being pretty. There have been way too many maps with ugly color schemes recently. Chapter Summary: The obviously treacherous Arcard and Roartz who had already clearly betrayed the king of Etruria and whose criminal and treasonous activities were exposed by Roy have somehow nonetheless been allowed to kidnap the king and begin a rebellion with Bern�s backing. They completely crush the loyalist forces almost immediately and Roy barely arrives in time to save them at all. 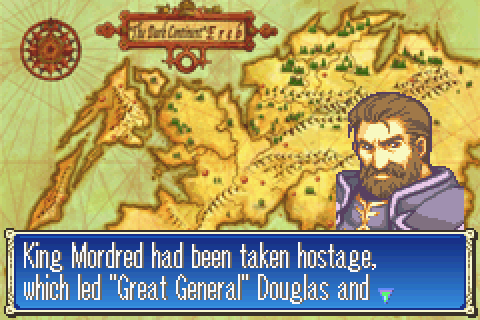 Both Douglas and Percival join the rebels because the rebels have Mordred hostage. This is both horrifyingly irresponsible and astonishingly stupid, and more so the more you think about it. Douglas in particular is a total jerk because he knows full well that Prince Mildain is alive and that therefore the rebellion could be quashed easily but he hasn�t even told the king that. That the king has gone mad with grief is really entirely Douglas�s fault, and that�s the origin of this whole sorry state of affairs. The worst part is that even if you have Mildain walk up and talk to him, Douglas will still try to kill you and prevent you from saving the king he�s thrown his whole country away to try to save. 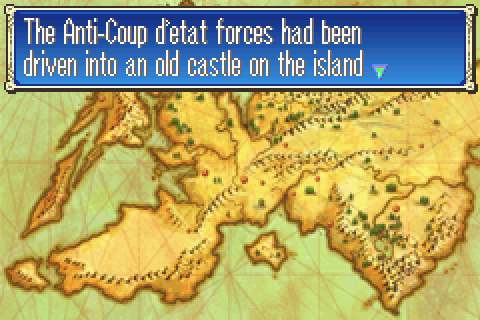 Within 1 week or something the loyalist forces are apparently pushed straight out of Etruria and somehow clear across like 500 miles of the Nabata desert to that island in the far southwest. Maybe that�s also an Etrurian colony? That would make the most sense, but it�s not stated. 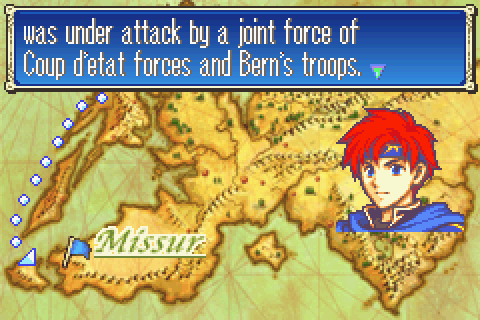 I have something of a pertinent question: how did Bern get there? They didn�t conquer Lycia and they barely even have a sea-cost (and it�s on the wrong side of the country). If they went by ship, it looks like a journey of thousands of miles along the uneven coasts through waters controlled by their enemies. If they went by land, it�s even worse since they�d to walk just as many thousands of miles through at least partly hostile and rugged territory like Sacae or Ilia. And I�m pretty sure wyverns can�t fly across oceans. And it�s not like they just have a handful of wyverns here anyway; besides this force fighting the Etrurians, they also somehow marched a gigantic army right into the middle of the desert. And the king himself too. Clearly Zephiel is the greatest logistician of the age. Most translators would probably have gone with �fallen�. 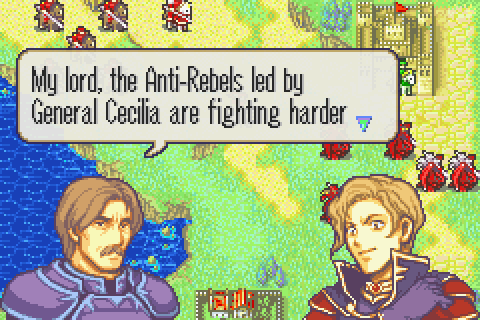 There are several particularly noticeable translation peculiarities in this chapter other than that one too.  Why is he surprised? No, seriously. This war has to have been going on for minimum a week for Roy to have sailed here, possibly several weeks. She�s the only enemy leader of note. Why is he surprised that it�s her leading the forces at their last stronghold?  Good question. More to the point, HOW did you arrive?  Now in this scene he�s totally eager to get his hands dirty fighting the enemy in person just for fun and exercise. This makes it even more ridiculous how he heard you guys storming through the castle in chapter 3 but then just walked away and let you conquer it and find all about his secret plans from Hector. And how he does basically the same thing here while you have his sister and the fire emblem. The War Room, Part 45: Way back in the War Room Part 21 (http://forums.somethingawful.com/sh...9#post442132013) I introduced the basic mechanics of the all-important rescue command. More recently, in Part 45 (http://forums.somethingawful.com/showthread.php?threadid=3716259&userid=0&perpage=40&pagenumber=8#post444925952), I talked about why rescuing is valuable. It�s finally time to start discussing a few of the basics of how to actually DO rescues and rescue-drops well. This is, of course, a bit late to be starting with this since you�ve already seen many of these fairly basic techniques in action, but oh well. For planning and execution purposes there are fundamentally two sorts of rescue-drops: strategic and tactical. By strategic rescue-drops I refer to those planned out from Battle Preparations. These are the rescue-drops you know you�re going to do before you start the chapter. They probably serve a very important purpose, completing or allowing your units to easily complete one or more of the jobs needed to achieve your goals. Accordingly, you can devote whatever resources are necessary and appropriate: bring any characters and put them in any position in battle preparations to make sure everything is as you need it to be. Tactical rescue-drops, on the other hand, are those you didn�t plan on to begin with. When you started the chapter you didn�t know exactly who would hit and who would miss, how the enemy would move, etc. So you didn�t know this exact situation would arise, but now it has and you want to do a rescue-drop to gain one of the benefits I outlined in Part 41. In this situation, you have to work with what you�ve got. Characters are where they are, enemies are where they are, and you probably have other stuff going on. The way you plan and execute those types of rescue drops are significantly different. I�m going to start with some examples of strategic rescue dropping based on this chapter. You may find this map helpful: http://www.fireemblemwod.com/fe6/guiafe6/cap13.htm As you can see on that map, the recruitable paladin Percival is very far away in the top-rightish area. He and his units are red but don�t seem to actually be hostile. They will all leave on turn 8 if Lalum/Elphin doesn�t speak to him. Lalum sure can�t walk that far in 8 turns- but you can make it if you do rescue-drops. Here�s one good way to set up for that strategic rescue-drop: 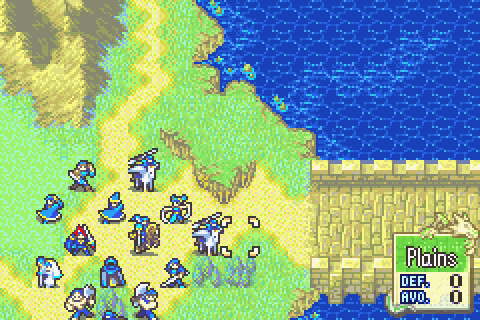 First of all, even if Lalum wasn�t the one being carried, she should still be in the front. Your dancer should pretty much ALWAYS be in the position furthest toward the rescue drop destination. Ahead of the people actually doing the carrying even. That�s how you maximize your distance. Relatedly, the people being carried should probably not be in the front if the carriers are cavalry. Put the dancer in the very front, the carriers not far behind, and the carried somewhere behind them. All that�s important is that they can move next to the rescuer. Of course with all-infantry rescue drops it�s different and both the carrier and carried need to start toward the front. 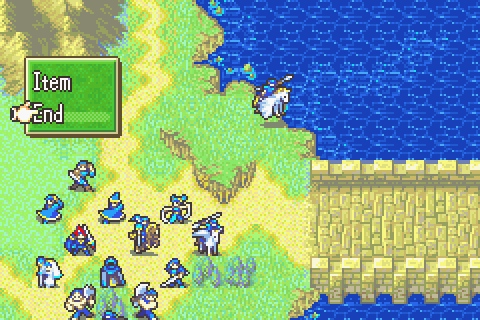 So the rescuer (Tate) moves to this exact spot. That�s because this is the furthest spot toward the goal that Lalum can dance for. And notice, of course, that I don�t just pick her up and carry her. 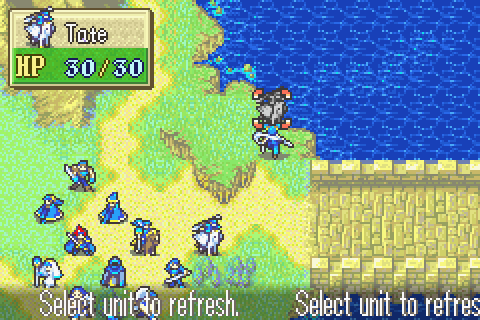 So Lalum dances for Tate as planned.  Ah ha! NOW Tate is ready to rescue her.  And she then flies as far as she can to a square that�s out of enemy range. 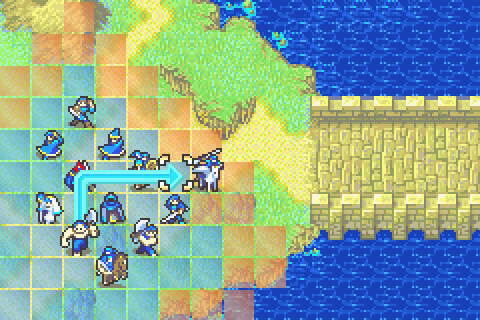 But this is going to be a double drop. Percival�s area is crawling with enemies and Tate and Lalum will definitely need some backup (Plus bait. If Gonzalez is dropped somewhere and the pegasi are out of reach, the enemy will run after him and possibly leave Percival unguarded). As you can see, Gonzalez was put way in the back and his carrier is right in the front.  Off she goes with him.  Now this part is fairly important. Tate is going to move here (it�s safe, but barely) and then drop Lalum even though they�re far from their goal. 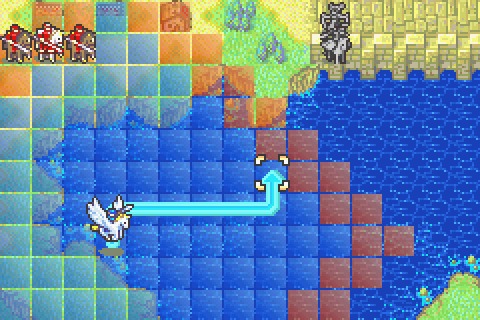 Thany just follows. 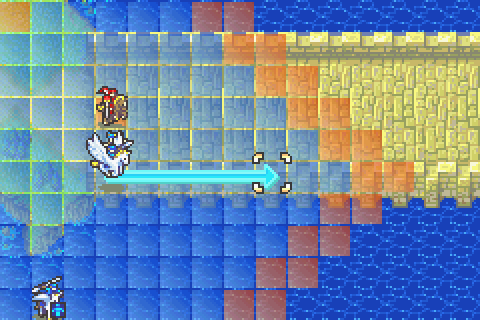 Next turn, Tate and Lalum are both ready to go. So Tate moves only this far. 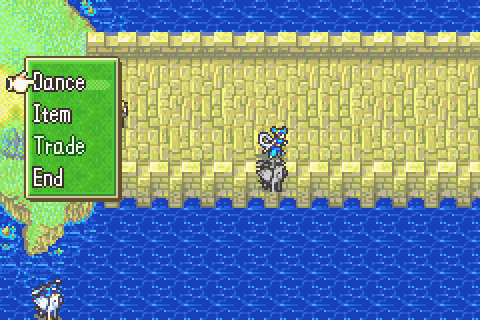 Thus Lalum can dance for her again. I could also have had Tate move 1 up and 1 right from here, but that seemed less wise given the current enemy move patterns. 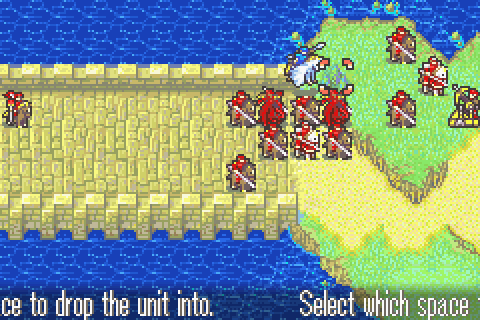 So on turn 4 I could drop Lalum into this death trap. It would be moderately safer if I loitered and waited for one more turn because Thany has now dropped the distraction to the west, so the cavaliers will leave. Anyway, that�s the speediest way to approach this possible drop. It�s not a good idea to do it though since Percival can be much more easily recruited and is stronger in a few chapters. So let�s consider another strategic rescue-drop on this same chapter. There is a crowd of dangerous cavalry in the top left and a pile more reinforcements coming from that direction. Conceivably you might want to defeat those cavaliers as safely as possible with minimum investment of characters so that your other troops can hurry east instead. In that case, the best available choice is Gonzalez. Only he can be placed on Peaks, and with their massive bonuses he�ll be invincible. The trouble is that the only peaks he can reach are dangerously close to your start position. That may just lure the enemies to the rest of your forces. It also obviously leaves him in a poor position to kill the top left reinforcements quickly after they spawn. The solution is a quick rescue drop to one of the peaks along the left edge. 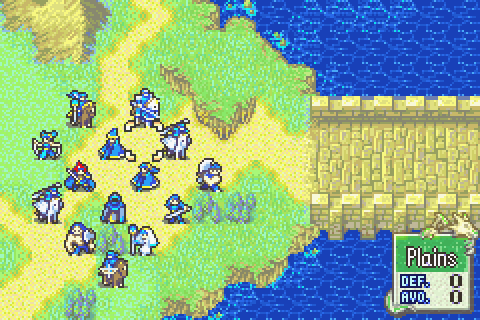 This formation is probably ideal. 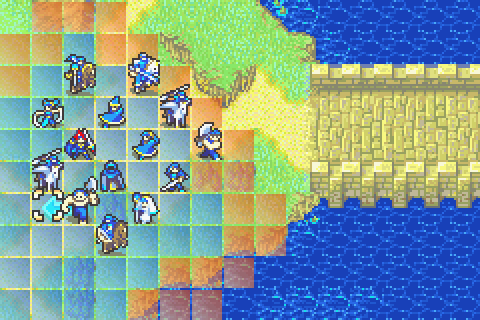 First Gonzalez- who started in the back relative to this destination- moves next to the carrier.  The carrier wasn�t even particularly close to the drop area but she didn�t need to be. She only needed to reach this spot. 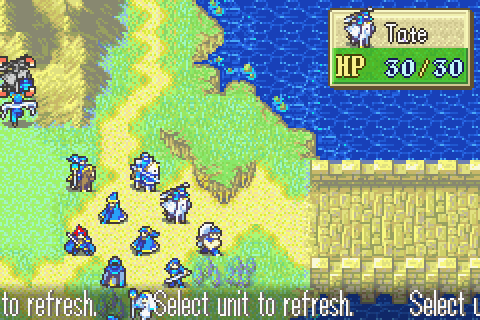 That�s as far as Lalum can go to dance.  Now Tate here doesn�t fly all the way up to the top left peak. There�s no need for that. Gonzalez can safely walk on his own next turn with no harm done and 2 spaces of movement for Tate gained. 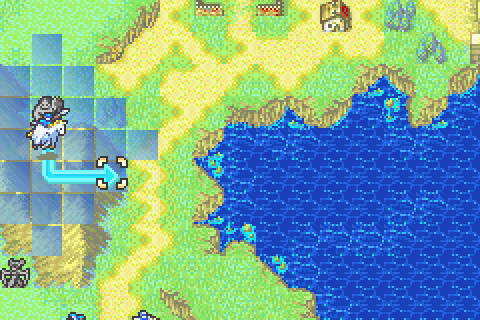 She flies back toward the action. 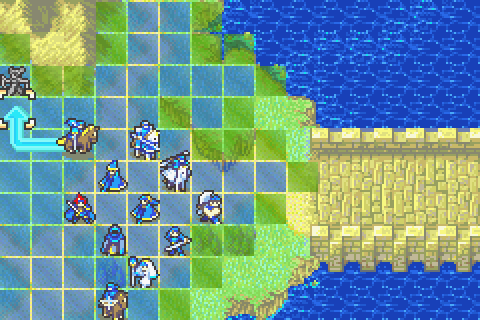 And now you see why everyone else was positioned as they were. It would be wasteful not to have my dancer near the front lines, so Clarine hoists her up. 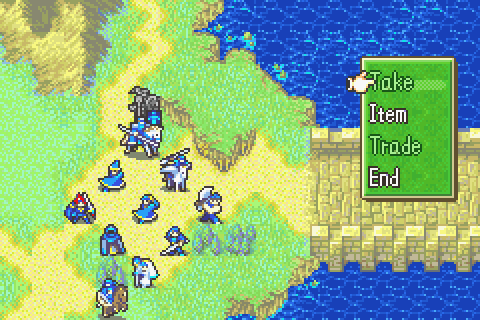 She can move exactly next to Alan, who then takes the dancer. 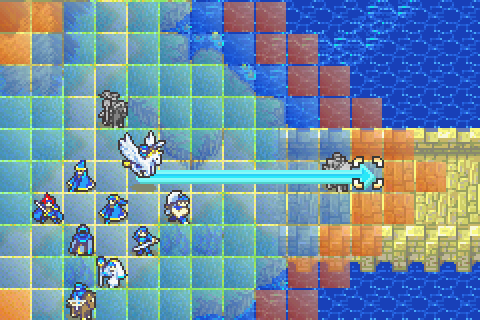 And then because Alan had 8 move but started behind, Thany is able to perfectly move just past him. 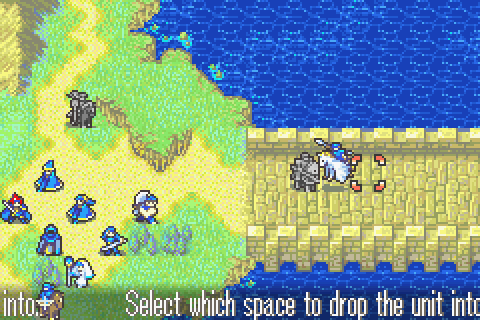 And take and drop Lalum anywhere on the front lines you want. Now no one but Clarine and Tate was even mildly inconvenienced by this whole double rescue and Lalum is in position to help out next turn. Another case of strategic rescue-dropping which takes even more preparation is setting up giant rescue chains. My Whereabouts Unknown one is a classic example. 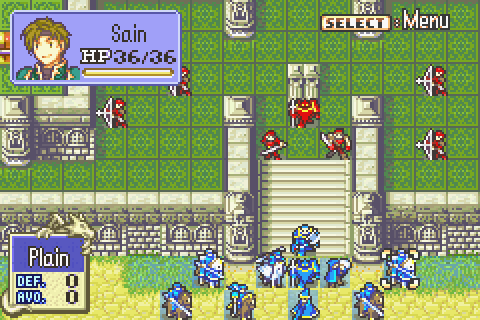 Before the map began I had to decide that my strategy would be a cavalry blitz to the top with Matthew along for the ride, followed by Matthew looting the top chests, followed by rescue-chaining him all the way back to the lower chests. Then I had to count the distance and figure out how many mounted units I would need to carry him that far. It turned out to be basically all of them. 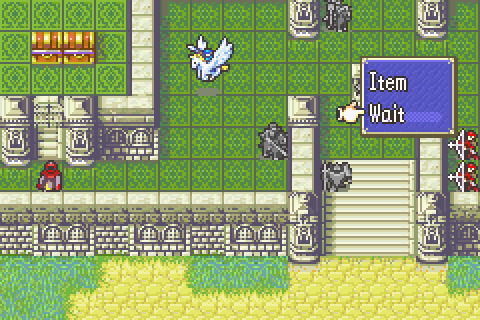 The next important thing was to decide who to leave behind. The chain had to be set up over the course of heading north by leaving one person at a time behind to do little else for the rest of the chapter. I decided to drop Florina first both because she was a good choice for downing this shaman and because she couldn�t fight anything else effectively.  Kent, the worst fighter among the cavaliers, was next. I counted the squares and found this to be the spot he should wait in.  Lowen was next, again put in the exact spot my square-counting said he needed to be in. And thus when the time came, everyone was where they needed to be and the gigantic chain was executed without a hitch and without unduly compromising my ability to kill the other enemies on the chapter. What about tactical rescue drops though, the ones where you can�t plan everything in advance? Well it�s a little bit harder to talk about how to set those up since it�s as much an art as a science. With practice you get better and better at recognizing when you could execute a minor rescue-drop mid-battle to improve your position. There are a few cases, like chapter 8, where you need to think things through more carefully though.  This situation was one of them. I wanted to make sure that archer was killed easily next turn and didn�t block the free movement of most of my people back here. I also wanted to help Astol (currently behind the combat forecast) catch up again. 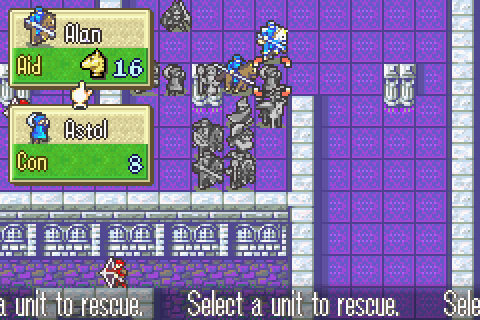 So step one was to leave Alan and Zealot un-used all turn long so that they could help out at the end and step 2 was to have Astol walk next to Alan to be rescued.  Then I had to think carefully. If I did the natural thing and moved Alan as far as possible, Zealot would have no choice but to end in the square currently selected, which meant that Astol would be in archer range wherever he was dropped. The only way to let Alan and Zealot form a proper wall of javelins was to have Alan stop one square short. 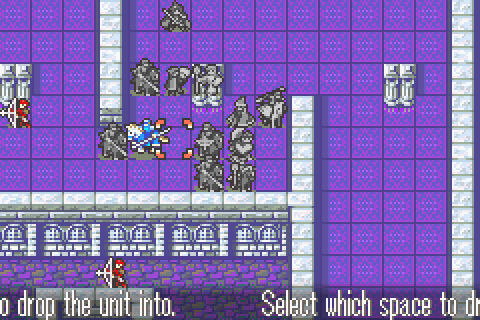 Then Zealot could interrupt his move here and drop Astol to a slightly less advanced but much safer space. 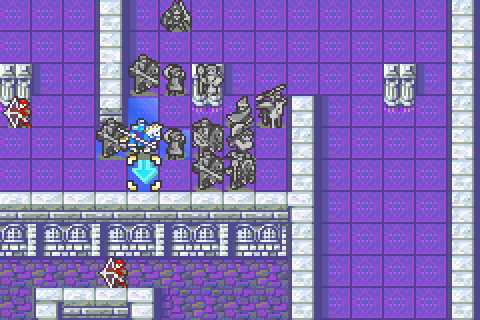 And then block. Now the archer can�t attack anyone who doesn�t have a javelin. Plus Lance and Alan are in support range. The key was to first recognize that a rescue-drop would be helpful for Astol, second notice that Alan and Zealot were the best men for the job given their positions and therefore have them stay put all turn, and third notice that if I wanted to take out that archer, I couldn�t go with a conventional move full distance and drop approach. Another important aspect of tactical rescue-dropping is considering whether there�s enough space in your formation.  In this part of chapter 11 I was mass-dropping my whole army into this small area, starting with ranged people along the wall. 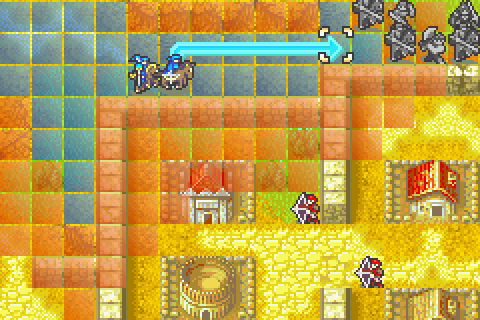 Space was at a premium, so it was critical to realize that Shin needed to move here and drop north rather than move full east and then drop west. The latter would leave the north space completely inaccessible and thus force Clarine to drop her passenger a space further back.  Instead I was able to do maximum pack-in and not waste any movement. Think before you drop, and think about leaving spaces open in your formation when moving your other troops. Other than that, there�s little else I can say that isn�t better learned with practice. Just look for possible rescue-drop advantages at all times and you�ll start to see them. And then your playing will improve by leaps and bounds. Battle Preparations & the Map: What on earth were they thinking? This is an actual screencap of the map on turn 1 as I was stitching together my map of the whole level. This whole screen�s worth of the level is completely empty- and it�s hardly the only giant empty space. What�s more, no one will ever walk across this bridge. You should never send any of your own units there and no enemies will ever cross it if you don�t. Its existence is entirely pointless and so is the map�s hugeness in general. Almost every map in this game would have been better if it was 50-75% smaller. 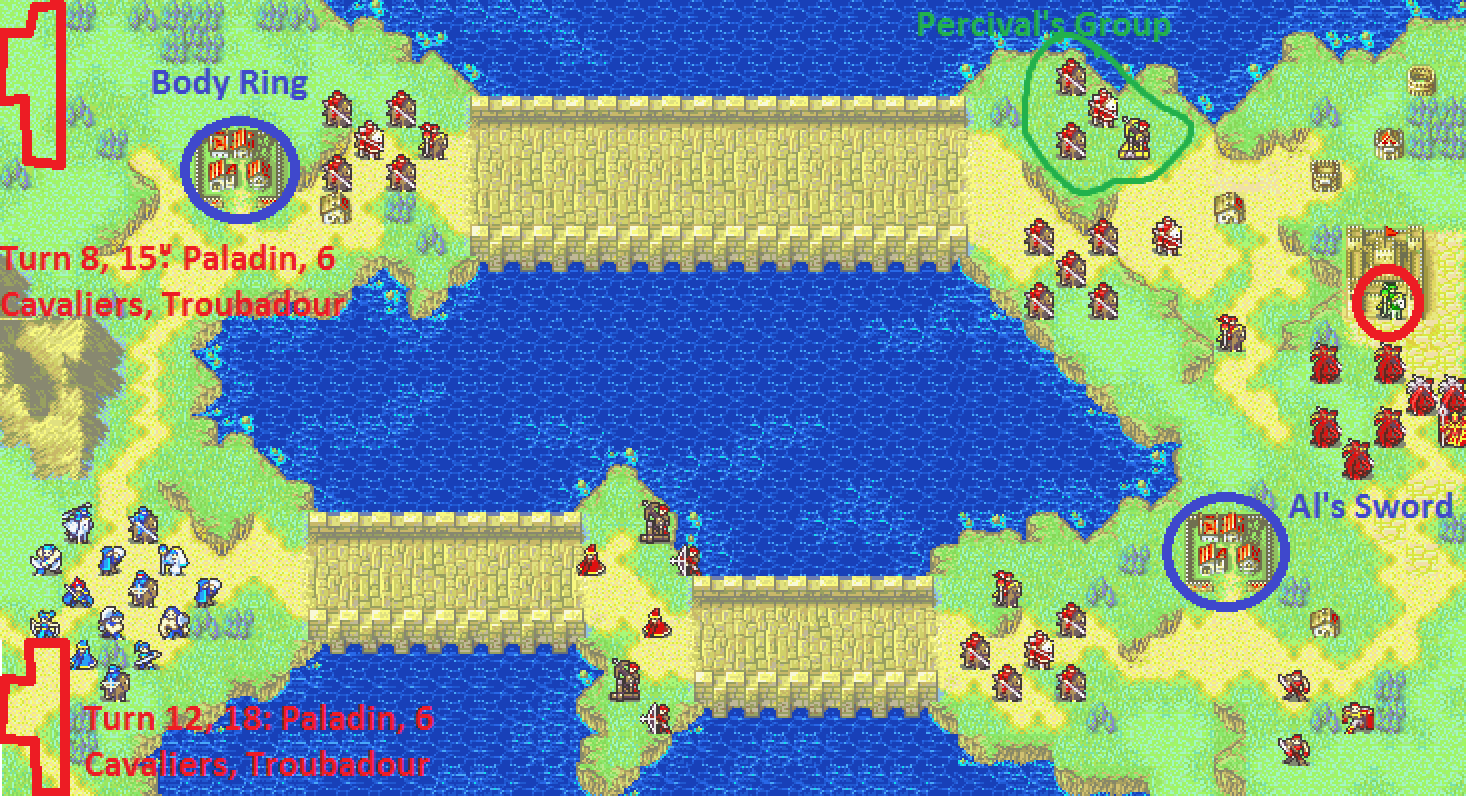 Secondary Objective: Recruit Percival by talking to him with Lalum before turn 8 Secondary Objective: Get the Body Ring from the top left village Secondary Objective: Get Al�s Sword from the bottom right village Secondary Objective: Do some shopping Reinforcements: 4 waves of 6 cavaliers, a paladin, and a troubadour. They spawn from the northwest on turns 8 and 15 and from the southwest on 12 and 18. They�re quite powerful and very dangerous with their good weapons and are completely unannounced. There isn't even a pattern to their spawning. Very obnoxious. Turn Limit: 20. Easy. However, if you want to harvest all the reinforcements you have to wait till turn 19. It�s not enough that the map is 50% ocean with almost no flyers, even the land is rather bare of troops. This is supposed to be a giant joint army of joint B�arnaise and Etrurian rebel forces fighting the army of Etrurian loyalists. But instead it�s like 25 spread out guys (and 5 of them don�t even fight) fighting one person. On a map so huge that the small army looks even smaller. Whole turns will be spent just walking with no fighting going on. Oh well, at least it�s pretty. The first thing to understand about this map is that most of the enemies �and some of the story events- are proximity triggered. Almost no troops come towards you until you come within a certain distance. This means you can control who you fight and when and where pretty well. The next important thing is that the standing forces on the map will be outnumbered and outgunned by the giant waves of unannounced reinforcements. Which are all from the west for no reason. I mean, that island is the one the Etrurian loyalists are still fighting to defend. Why do the rebels already have it? It makes no sense. Anyway, every wave of reinforcements has the exact same gear: the paladin has a silver lance, one cavalier has an axereaver, one has a killer lance, and the rest have a steel lance and a javelin. Now the enemy standing forces will be cut by roughly 50% within the first few turns as a few groups of them run at you, making the reinforcements to come outnumber the remaining enemies even more. The upshot is that you should actually have about 60-75% of your army stay in your starting area and only send a smallish force east to deal with the tiny number of enemies. It�s silly and there�s no way to know that going in. Also, ignore Zephiel and Narshen over there on the right. And Cecilia. The boss of the chapter is Flaer. You just don�t get to know that for sure until you�ve walked onto the eastern half of the map. Oh and Percival and his group won�t fight you and will leave on turn 8. In terms of giving you the information you need to actually strategize, this is a terrible chapter even for this game. Besides the fighting, there�s really not much going on in this map. The villages are completely safe, the ballista operators (one is a sniper with a silver bow) will generally abandon their ballistae prematurely, and there�s no time crunch of any kind really. Plus you can bring a ton of guys again. 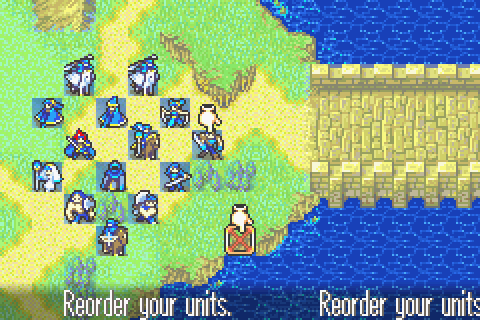 Units Allowed: 13 + Roy + Miledy (on turn 2 or so). That�s a ton; more than enough. Units Brought: 1) Roy. Required. Not useful. And too high level. 2) Miledy. Required and amazing, she�s instantly one of my better units. And it�s a pretty good map for flyers once the initial ballistae are dealt with. 3) Tate. After her great levels last chapter, she�s a very valuable unit. Plus I want her to be stronger for next chapter and I need to train her more to get the Ilian route. 4) Thany. Like Tate but not as good. 5) Lugh. He�s overleveled, but I�ve decided I actually want to get him to 20 and promote him this chapter so he�s more powerful on 14 and can help with healing. Also I want to build support with Ray. 6) Ray. Weak for his level but a good unit when he gets going, Ray is at least fairly usable here. And I want to train him for next chapter. 7) Dieck. Remains a good unit, though the enemy have leveled past him. He�s moderately effective here and he has supports to build. I�d also like to promote either him or Rutger soon, though it seems it won�t be in time for next chapter. 8) Rutger. Like Dieck, only better. 9) Gonzalez. His lousy accuracy is beginning to annoy me, but there are few better units nonetheless. He�s quite handy here in particular due to the abundance of lance-wielding cavaliers and the peaks he can stand on. 10) Lilina. Like the other magic users, I want her very powerful going into the next chapter. Plus more support with Gonzalez would be good. 11) Lot. Reprising his role as my favorite anti-cavalry man, Lot has gotten a bit weaker from disuse but is still fairly effective. 12) Shin. I�m trying not to overuse him, but he�s still one of my best ranged attackers so he�s coming along to help other people get kills at the very least. 13) Lalum. Always a fantastic unit and good for my XP ranking. 14) Ellen. The lowest level healer, she�s going to see a fair amount of use as I rotate Clarine and Saul to try to get everyone to reach max level at the same pace. 15) Clarine. Mobility is more important than toughness here, so she�s going to ride along with the group heading east while Ellen stays with the starting troops. Notable Units Rejected: 1) Saul. He�s now the highest level healer and he doesn�t have any supports to build. Plus I only really need 2 on a fairly tame chapter like this. 2) Alan. Too high level now that he�s promoted and kind of overkill here. 3) Lance. If Alan isn�t coming, Lance probably isn�t either. 4) Treck. I�d like to bring him to build Gonzalez support, but he�s just not good enough at fighting cavaliers to be worth a spot. 5) Sue. I need to use the nomads less and the pegasi more to get the Ilian route. Fortunately, the next few chapters are good pegasus territory. 6) Oujay. Not good enough vs cavaliers to make the cut. Unlike Rutger and Dieck, he doesn�t have many supports to build (except with Lilina, who will be busy). 7) Fir. Too high level. There are two parties here: one moving east to sweep up a few enemies, do some shopping, and seize the throne and one staying behind to deal with the real enemies. The combat A-listers will mostly be the ones staying put: Gonzalez, Lilina, Tate, Thany, Shin, Lot, and Ellen for healing. Dieck and Rutger are good but not particularly good for this level, so they�ll be going east with Roy and Clarine. Ray and Lugh will provide ranged support (and Lugh will be the best unit and the one I�m counting on to take out the boss), while Miledy will also provide some helpful backup when she arrives. Since that�s the group that needs to move more, Lalum will go with them. Besides both Gonzales and Lot having an array of different axes, Gonzalez has the halberd to kill these troublesome cavaliers. Tate has the horseslayer. As usual, Rutger and Dieck have 8 different swords between them which they�ll pass back and forth as needed. Lalum and some others in the right party are holding the 4 gems I�ve recently collected to take to the store and sell. Roy has an iron lance and javelin for Miledy. Oh and Lugh has a Guiding Ring and a heal staff so he can promote and then get to work. I won�t be trying to recruit Percival because that�s nearly impossible without a much stronger Tate and Lalum and also because he�ll join much more easily- and with better stats- on chapter 15 and is useless on 14 and 14x anyway. The Characters: 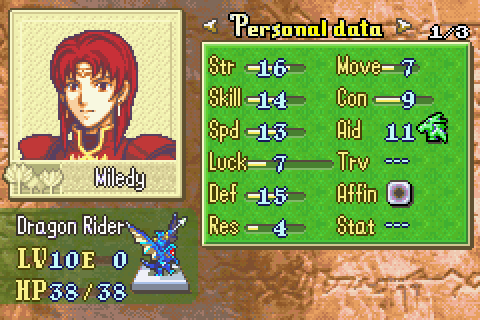 Miledy is Guinevere�s personal knight whom Guinevere abandoned to sneak out of the country alone. Since then she�s been searching for her mistress with the help of high-ranking B�arnaise officers like Gale and apparently Murdock and Narshen. As it turns out, she�s loyal to Guinevere personally rather than to Bern and is totally willing to turn around and start hacking through the armies of her homeland at Guinevere�s command. She appears to be somewhat gullible since she has at least twice fallen for complete lies from people claiming not to know where Guinevere is as she searched across the continent. Also she somehow ended up on the Western Isles when Guinevere was definitely not there? As a character, she�s mostly defined by her relationships to other people: Gale�s love-interest, Zeiss�s sister, Guinevere�s guard. She gets some good lines but not a whole lot of characterization in her own right. She�s one of the best units in the game, no doubt about it. Wyvern riders are pretty much always amazingly good, and Miledy is even better than normal because of her mammoth HM bonuses. On average she gets about +8 HP, 4.5 str, 3.5 skill, 3 speed, 2.5 luck, 2.5 def, and 1 res. Mine actually has just about the worst bonuses possible, but she�s still really good. So she�s a flyer with fantastic stats where it counts and enough Def to take serious hits even if her growth isn�t that good. What more could one want? 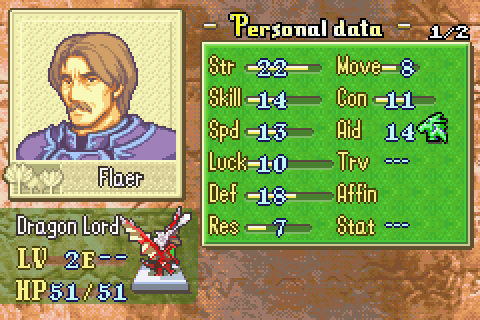 Although the game won�t actually tell you for sure until turn 8 or so or whenever you get into the right side of the map, Flaer is the boss. He�s Narshen�s lackey, seen previously in Chapter 12. And he�s arguably as incompetent and inexplicably stupid as his commander. On 12 he just left for no reason as you were attacking to� give a report on that battle. Instead of waiting 2 minutes to see how it actually went before reporting. And then he apparently just reported that it was a victory and Roy was wiped out without checking any intelligence about that matter. How in the world no one heard that Roy actually won when Bern rules the skies is completely inexplicable. The notion that they would have no idea he was coming here with his army is just absurd. Anyway, Narshen once again pulls a Narshen and ditches out when he could totally win if he stayed and thereby damages his career by not defeating you� while talking about how he has to save his career by defeating you. And to make things even dumber, he abandons Flaer and his men here to die pointlessly just in the hopes that they�d weaken Roy�s group. Not that he ever tries to follow up on that by making any attempt whatsoever to finish Roy�s group off. Why in the world they introduced Flaer in 12 and had him leave just so he could die immediately thereafter in 13 I have no idea. 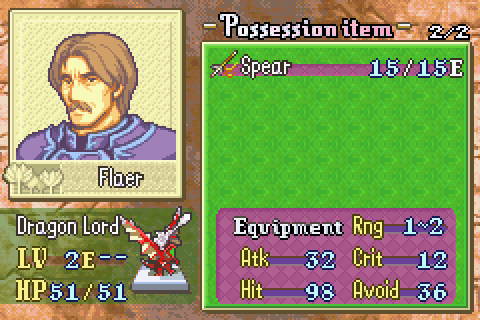 He�s got a spear and decent stats, but nothing special. And since he�s a flyer, the gate doesn�t help. The upshot is that if you have a mage who can take a hit from him, he�s incredibly easy to kill. 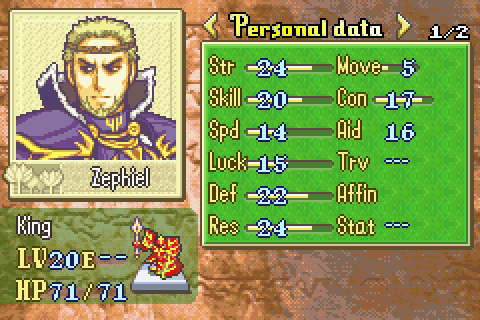 Oh, for silly reasons Zephiel is here too. He�ll once again leave for no reason even though he could guarantee his success by staying and fighting. And even though Narshen flagrantly disobeyed his orders the last time they were in this exact situation and consequently the alliance army got away, he�ll once again trust Narshen to stay and finish things. And even though not staying and finishing things caused huge trouble for Narshen before� Narshen will still make the same dumb mistake. This is chapter 3 recycled. They�re probably trying to make Zephiel cool by having him show up and wreck Cecilia, but it�s not really impressive since she�s a sucky unit and he gets a scripted crit anyway so that it�s clear the fight wasn�t legit. So all that happens is we see his stats and realize we already have guys who could beat him. Melth fucked around with this message at 06:46 on Aug 9, 2015 |
|
#
?
May 27, 2015 08:06
|
|
|
Playing Through: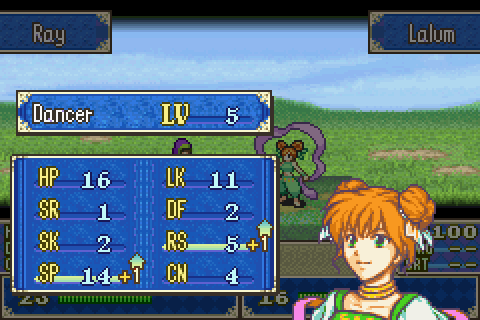 Lalum gets a pretty bad level helping Ray move into a good forward position. 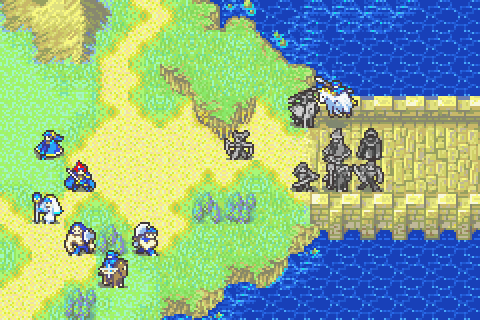 So with her help everyone just moves forward in maximum support formation. Tate and Thany drop Lugh along too, though they�ll be heading back the other way. Ray- and only Ray- is in range of the enemy mage. 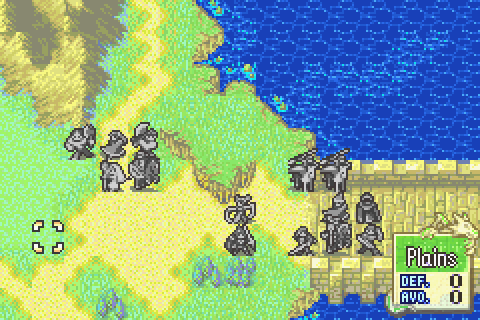 The top group just moves in too; it�s a pretty slow turn. 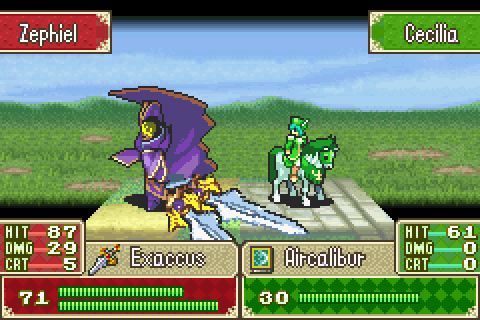 After turn 1, Zephiel shows off his really dumb animation attacking Cecilia 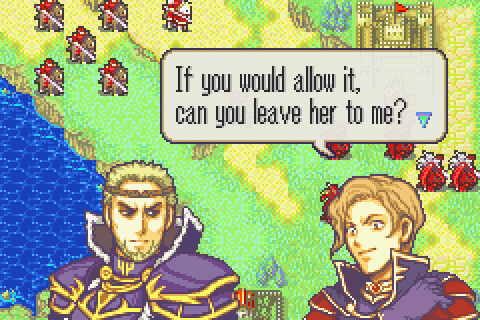 And Narshen wants to rape and torture her because he�s Narshen. Same as with Clarine. Your chapters are numbered, Narshen. 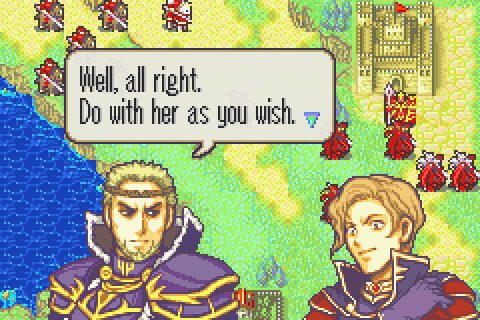 And Zephiel gives him the green light, making him just as bad. Zephiel is arguably the worst guy in the world but he has the nerve to say other people are the evil ones. He�d be a much less annoying villain if he was actually honorable and somewhat decent or something, but he�s a total hypocrite. For that matter, it�s on his orders that a lot of the stuff he says is evidence people are fundamentally bad happens. 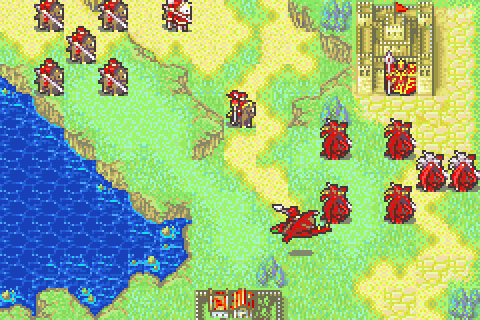 Boss fakeout number 1, Zephiel now stands on the gate for a while. 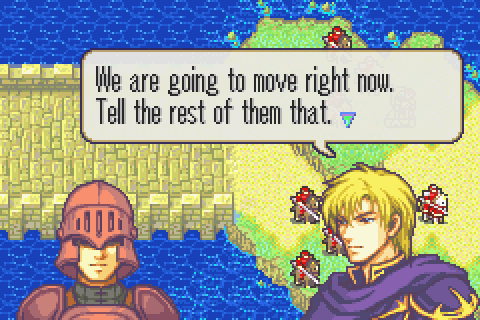 This� is just a lie. He and his group don�t move. Certainly not now. What is he talking about? Also he totally just watched his friend and comrade Cecilia get cut down in cold blood and he did nothing and shows no reaction. 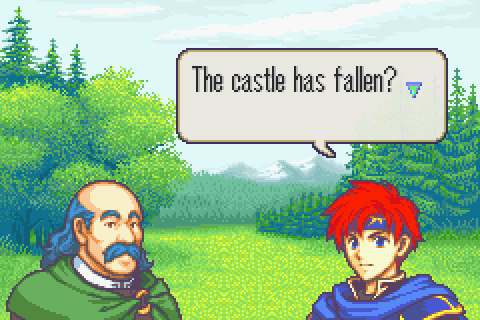 If we know this, either we have scouts who ran out and saw it and then came back or we can see over there. In either case, how don�t they know that our army- which is already fighting them- is here yet? I need to take out these ranged people quickly so that I don�t have them sniping at me from behind cavaliers next turn. 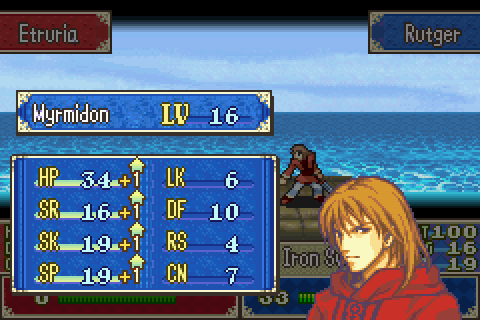 Nice! 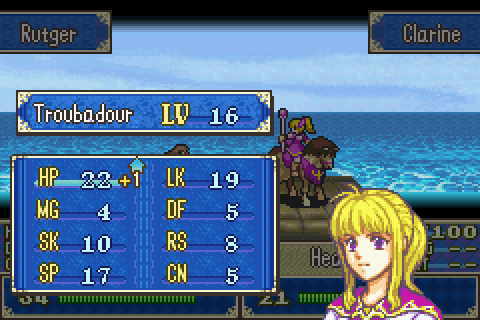 Awful! 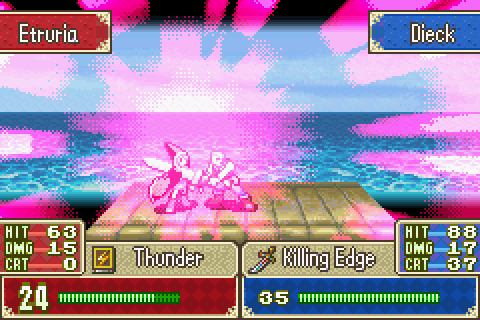 I�m going for as many 1-round kills as I can now to try to improve my combat ranking. 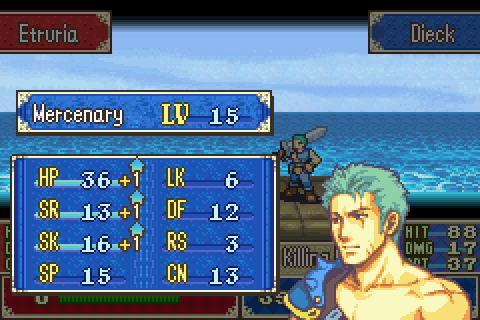 Not bad at all.  Nosferatu is a very handy weapon for Ray at this point. 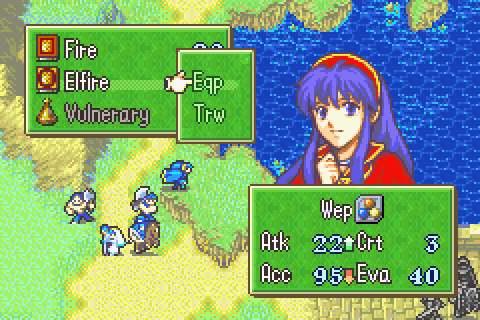 Lilina moves into position so that exactly one cavalier can hit her and equips Elfire for the OHKO. 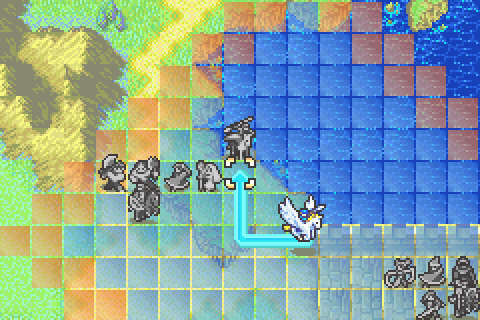 And the pegasi fly that way too so everyone is ready when the cavalier wave arrives. 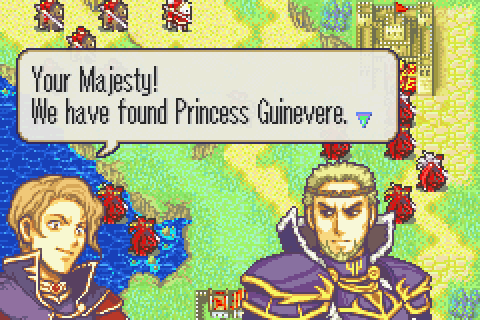 She was hiding in a plot hole! No, really. See, Roy left her with Cecilia. Then in chapter 11, Oro explicitly states that he lied to Miledy about not knowing where she is: Arcard and Roartz had captured her and were overjoyed to have got such a valuable and important hostage. Then the next thing we know, she�s never been captured and is still with Cecilia here with no explanation. It�s like nothing said in the Western Isles is canon. 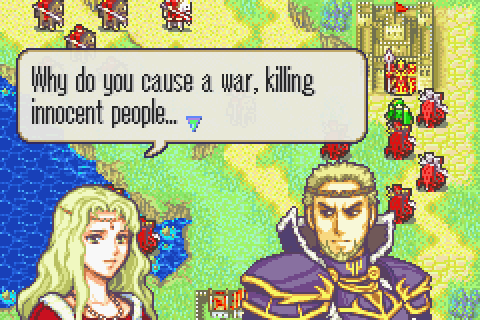 She asks him why he�s doing all these terrible things. 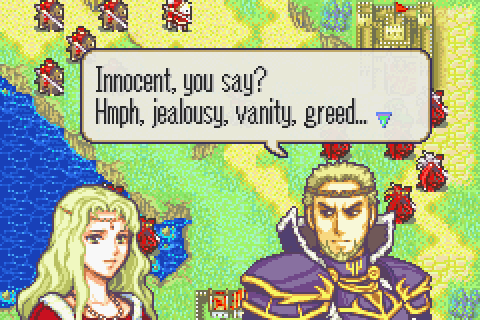 He responds nonsensically, saying all people are awful. 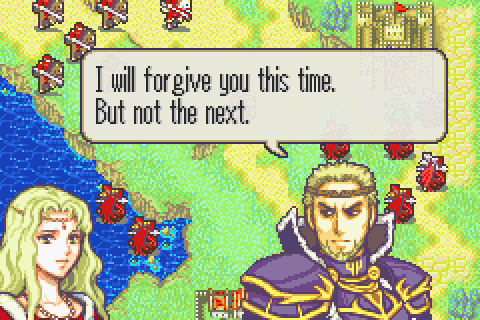 He�s apparently jerkish enough to kill even her if she causes more trouble in his bid to kill all humans. Actually what was he planning to do with her if he DID win? Just let some dragon eat her? 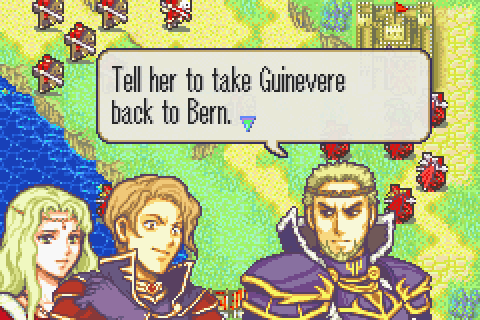 He tells Narshen to make sure Miledy takes his sister back to Bern safe and sound. This, above all else, is proof that Zephiel is insane. 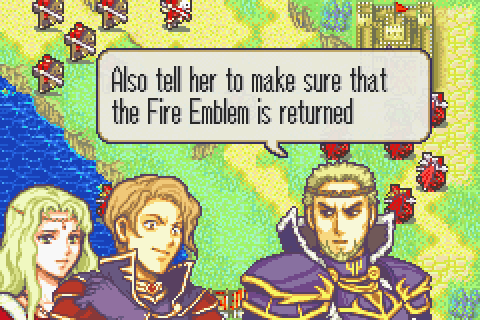 And in an unbelievably stupid moment, he doesn�t take the Fire Emblem. He was really determined to get the Fire Emblem back, he was terrified of it falling into enemy hands, he knows she ran away with it to give it to the enemy, and he doesn�t take it back. He treats it like it�s not important at all suddenly. Guess what? Guinevere gives it right back to Roy again. The whole �Guinevere is captured oh no� subplot here is resolved 30 seconds after it begins with no player action whatsoever and affects absolutely nothing in any way. What a pointless waste of an interesting plotline. 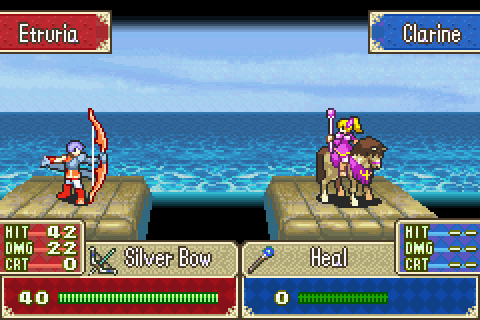 � huh. So it turns out archers can disengage from ballistae for free in this game. I�m pretty sure it took your turn in 7. Either way, no ballistician in any point in either game up till now would ever choose to get off the ballista before it was out of ammo. So� this was pretty much unpredictable. Oh well, time to restart. But first I think I�ll show the cutscene that immediately followed. 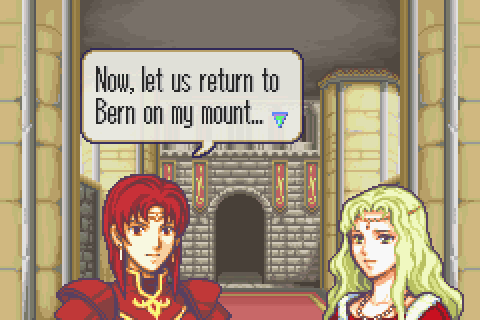 Narshen actually did obey orders for once and send Miledy to collect Guinevere.  Guinevere apparently grabbed a sword to try to force her way past Miledy. Or maybe threatened to kill herself with it? Either way, Miledy thinks only the princess will be hurt. 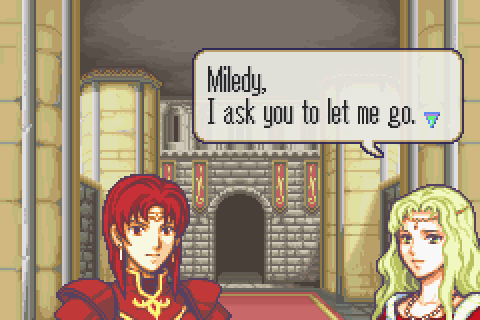 She�s determined not to go back to Bern. 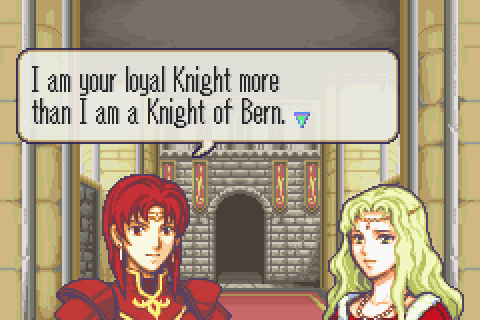 MIledy reveals that she�s totally cool with that, but is kind of miffed that Guinevere didn�t just ask her to come along the first time. 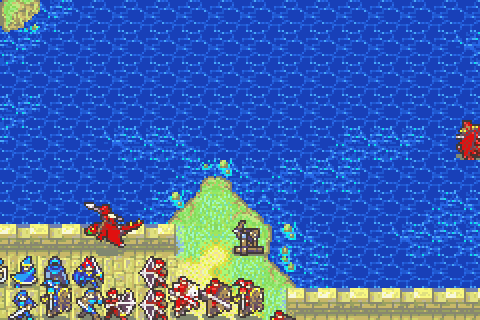 That was pretty much Guinevere�s best moment in the game. Now Miledy flies her over. And neither Narshen nor Flaer nor Zephiel nor anyone stops this second flagrant defection. Even though she still has the precious Fire Emblem.  Miledy just flies right for us and asks to join. She�s not being very careful with her charge. 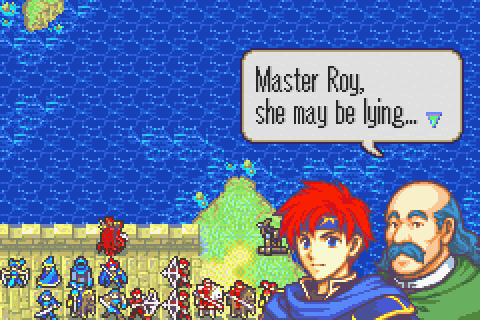 That settles it; she�s completely trustworthy.  And they�re reunited. And then Guinevere promptly vanishes. Ok, now it�s time to restart. As per my usual pledge, I have to have at least a slightly different strategy this time (even besides just not putting Clarine in range of a sniper I didn�t know could get off the ballista). 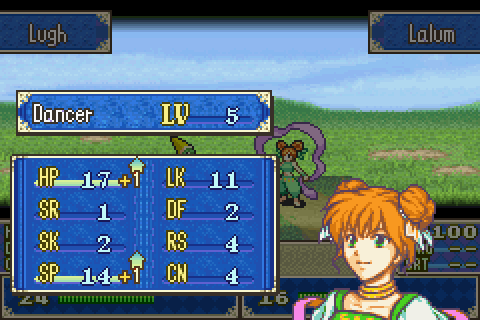 This time my starting formation and equipment is a bit different and it�s Lugh, rather than Ray, who�ll take the lead and the rescues executed will be different. For some reason Lalum gets a different level. Maybe I burned an RN while choosing where to move last time?  So this time Lugh will be the one the mage goes for. 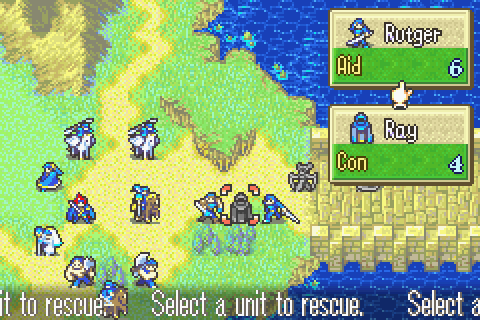 Instead of pegasi rescue-dropping, this time Ray move as far as he can and then Rutger picks him up. 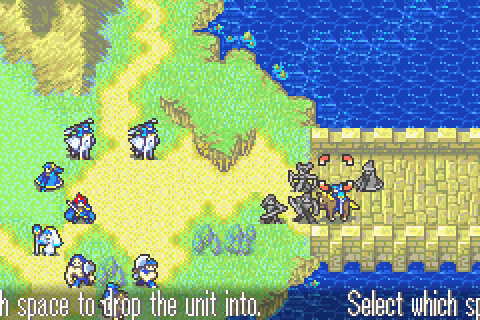 Then Dieck takes him and then finally Clarine moves in and drops him, ending all 5 of them in support position. 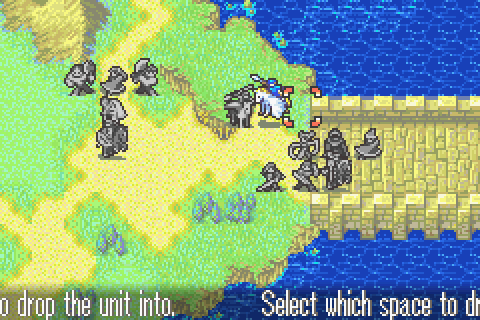 And Roy is dropped by the pegasi instead. 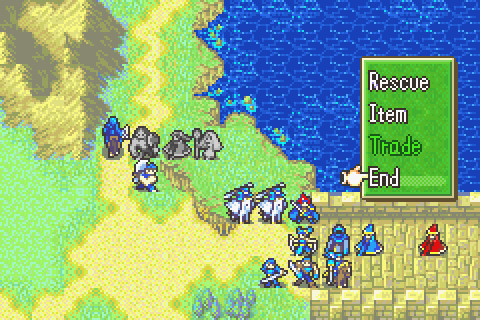 Next turn the top group waits with Lilina ready to fire away on the lead cavalier. 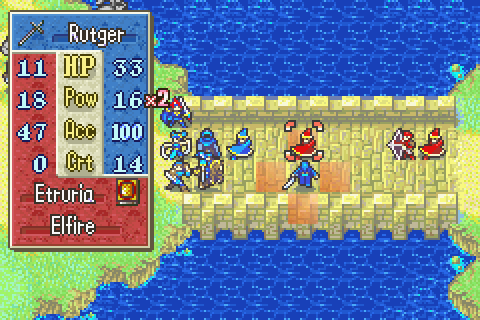 Although my troops are in a different order and got there in a different way, a similar situation ultimately ensues with the bottom group. 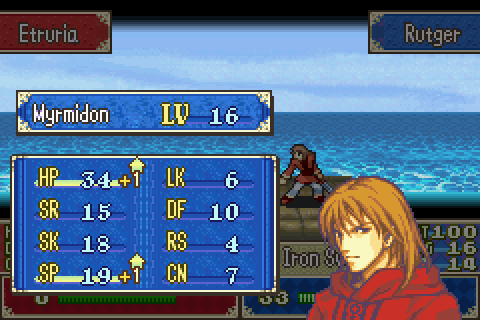 Darn, Rutger gets a much worse level. 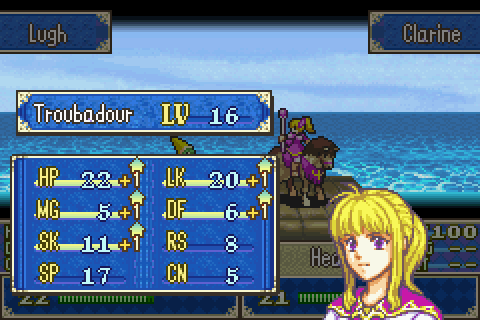 And an amazing level is wasted on Clarine instead. 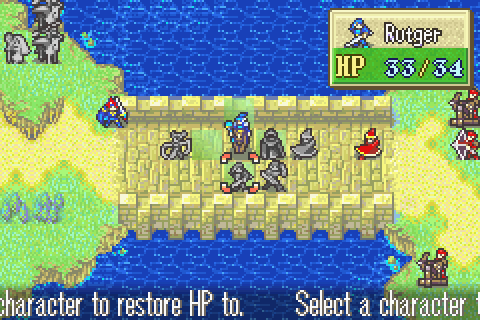 As usual, Lalum dances for the healer and my forces crowd in. This time the only fragile guy in sniper range is Ray, who�s armed with Nosferatu and thus able to take the heat. 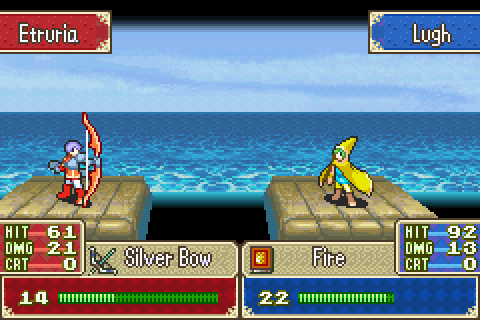 But in a more pleasant surprise, the sniper goes for Lugh and misses (not that it mattered much since everyone else�s hit odds were really small). 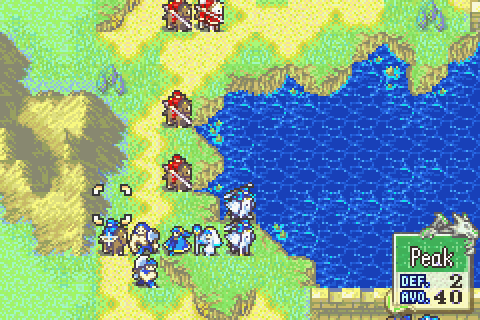 However, Lilina missed one attack on the western front, so I lost my chance at a one-round kill there. Oh well. 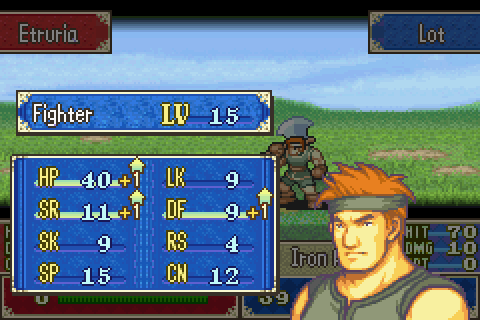 Lot finishes that cavalier for a good level. This is the weirdest fighter I�ve ever seen, but apparently this is fairly normal for him. 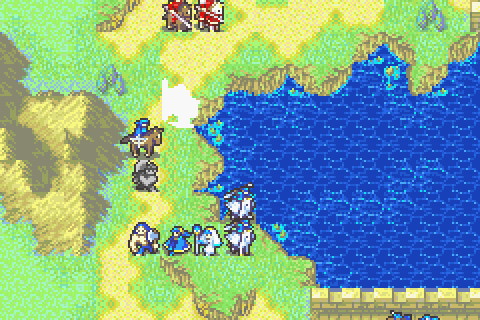 Now that I know my funds ranking is in the bag, I�m much more liberal in my use of the killer bow to secure instant kills. 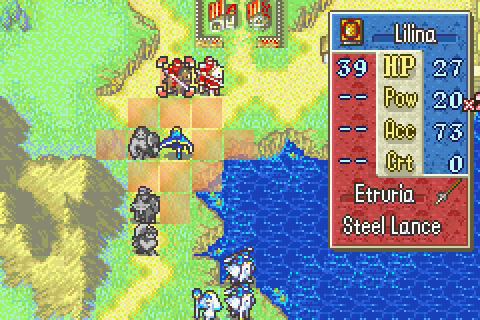 Elfire too. I also happen to know I can buy more of these things from the shops here and I�m planning on it. 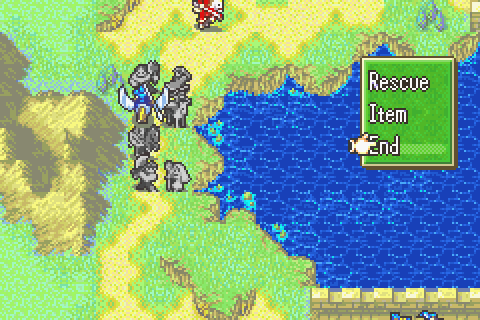 I can�t take out the paladin but all his henchmen are gone, so I just go with this safe setup instead. 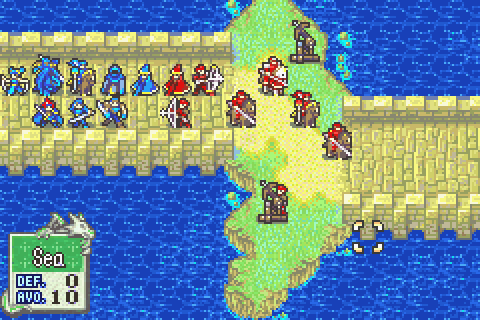 Alright, bridge team time again. The most important thing really is to take out these ranged people. If I can do that and make sure no one is killable by silver lance + ballista then I�m in the clear. However, I suspect I can do much better than that. 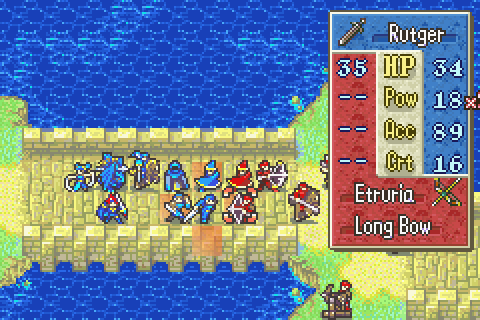 It�s a little tough to break through, so Rutger borrows Dieck�s iron blade again. 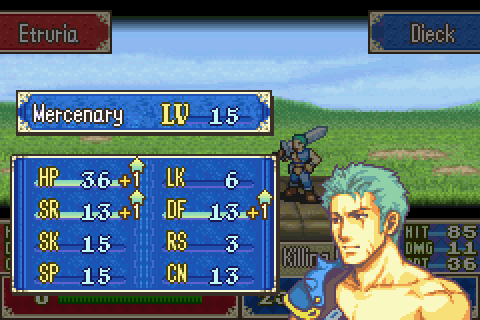 Nice. Dieck does pretty well with Rutger�s killing edge. More one-round kills for me. 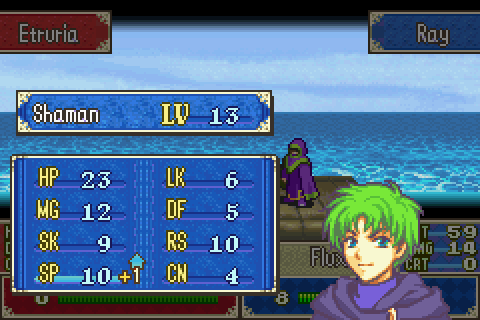 Ray finishes the sniper. At first glance this is a bad level, but really Ray does mostly just need speed right now, so I�ll take it. 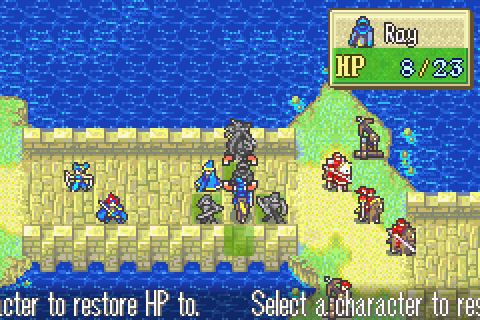 He�s healed and I�ve broken through the enemy ranged attackers with 3 characters to spare. 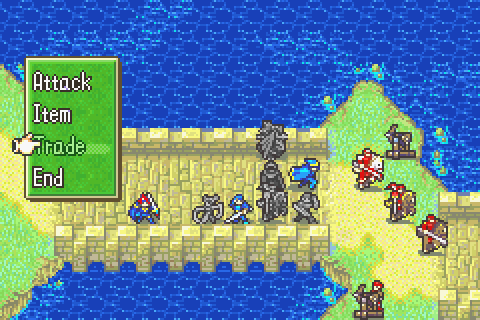 Lugh steps up, takes the killing edge, and then fires away.  Not bad, not bad. My Lugh is seriously strong, but average or below average in most other places. 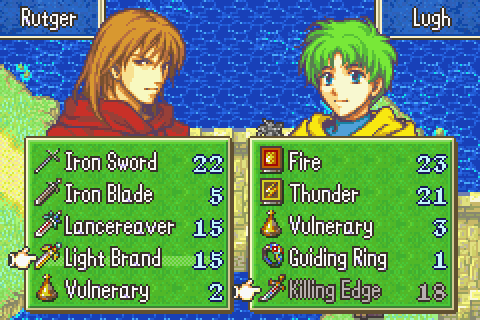 And now you see why Lugh took the killing edge. It was so Rutger could get it back while stepping into range to kill the paladin. 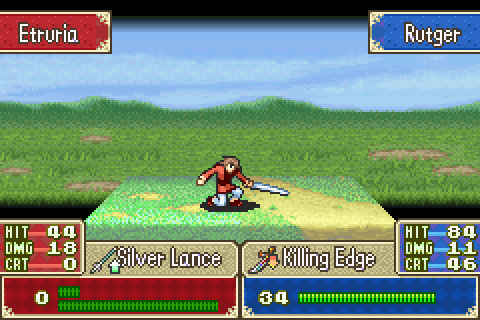 Victory! 2-round kill on a promoted enemy is pretty awesome. 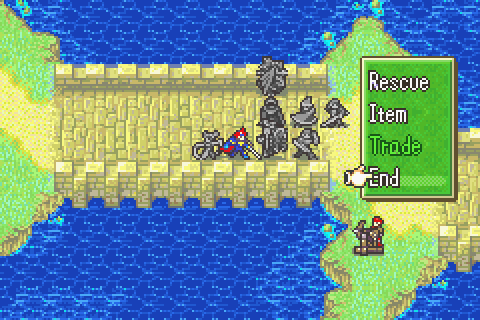 So many enemies have been killed that my whole group is safe. 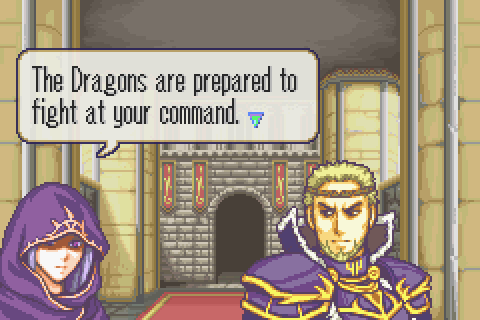 Alright, they finally know we�re here. They should totally know we have Guinevere. I mean, Miledly just flew straight towards us with her and defected. So we have the Fire Emblem. And we�re heading right for them. If we�re defeated here, Zephiel wins the war completely. And if we�re not defeated here, he�s in deep trouble because we now know his army�s secrets, have the fire emblem, have his sister, and will have given the Etrurian loyalists a chance to turn things around. So of course Zephiel will fight us, right? Afterall, he likes to fight just for the exercise of it, even besides the fact that it�s clearly best for him to take the field to ensure victory here. 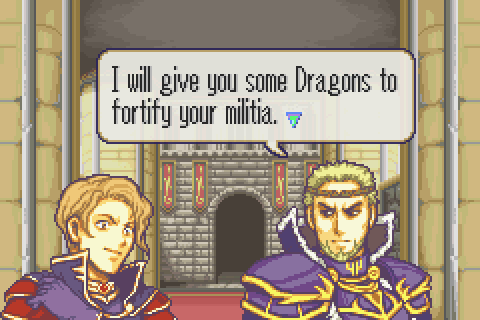 But� no. He�s just leaving. Also he just referred to the army of Bern as a militia. Either the translators chose a terrible word there or that was a serious insult. 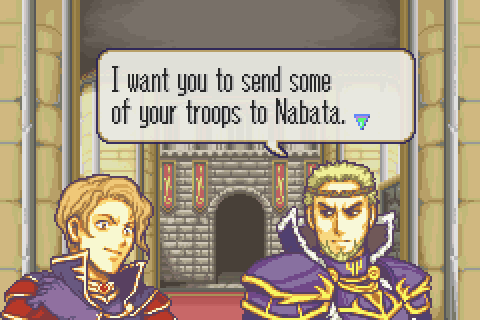 Yeah, he�s ignoring us. He�s not only ignoring us, he�s commanding Narshen to not even fight us seriously. What an idiot.  Somehow he heard about Arcadia! Actually it�s a wonder more people haven�t heard about it considering how many people know about it and that Sophia blabs all about it to everyone all the time.  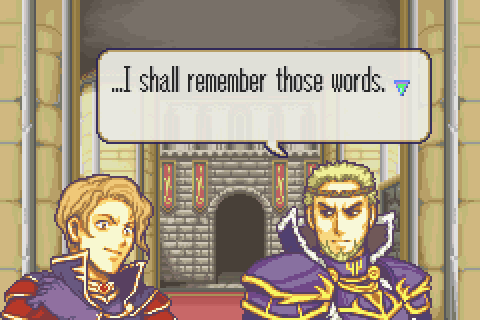 Apparently Zephiel won�t because despite having disobeyed all orders and completely failed every mission in the past, Narshen still isn�t even really punished when he epic fails this one too. Heck, he�s still going to be allowed to keep his post even as the capital of Etruria falls to the loyalists provided he does his job there! Does he have embarrassing childhood pictures of Zephiel from when he wasn�t evil or some other blackmail hold with which to retain his status as general despite never, ever doing his job? 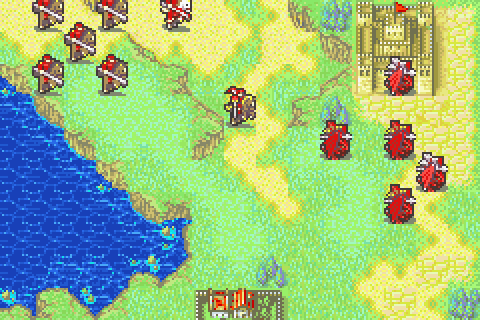 Zephiel leaves and Narshen takes over in boss fakeout number 2. 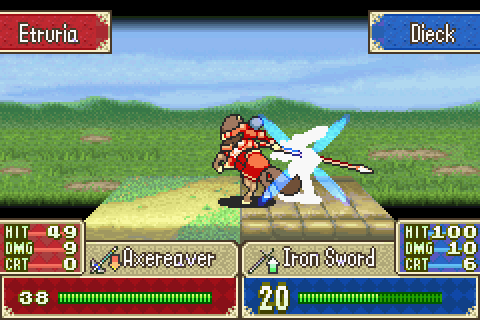 Every 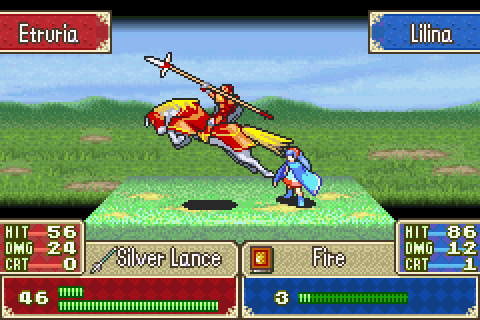 Enemy 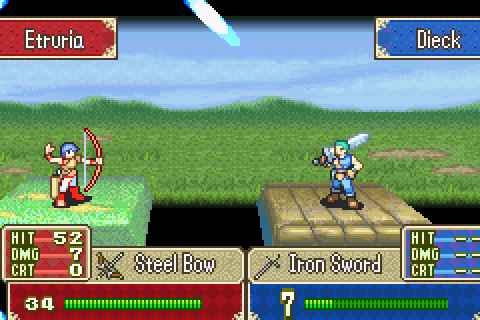 Hits. It�s a good thing there weren�t many people besides these 3 left in range, because every single enemy hit every target this turn. 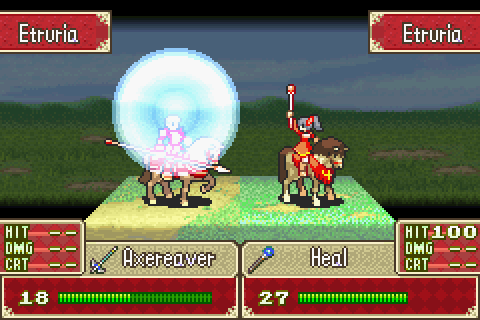 Oh and the enemy healer gets to work. Troubadours do NOT count as cavalry so the horseslayer and halberd don�t work on them. This is problematic because they can�t be instant-killed without those, can�t be doubled by most things (some have at least 17 speed, so nothing unpromoted can double them at all), and dodge really well.  Another story scene mid-battle; this chapter has tons of them. Cecilia wakes up to find she�s alive because 1) Narshen apparently forgot about her just like he forgot about Clarine and 2) Sophia here bandaged her up and treated her injuries. Why Sophia had medical supplies in her prison cell is never explained. Actually why these 2 were put in the same cell at all is a mystery. Sophia knows important secrets the B�arnaise shouldn�t want anyone else to find out. Why put Cecilia with her?  Sophia shares some cryptic nonsense.  And she immediately reveals her secret village�s name. And then starts spilling all the secrets about it. This is probably how Bern found out. Sophia just runs around telling everyone everything about Arcadia. 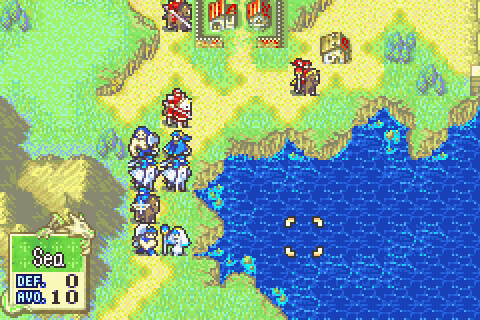 Alright, next turn. There aren�t many enemies but they�ll be hard to kill because the paladin is tough, the cavalier is in a chokepoint, and the troubadour is fast and distant. 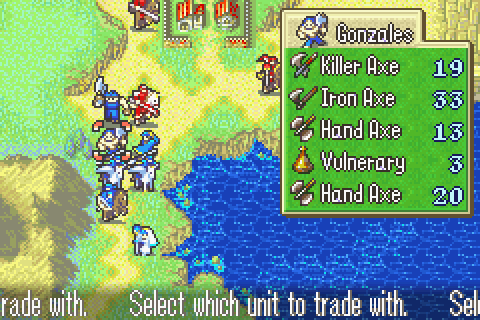 First, Lot moves in and gives Gonzalez the halberd. 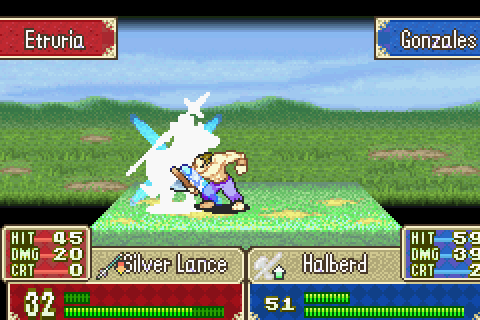 Gonzalez gets the instant kill (I didn�t have Lot attack because he couldn�t instant kill and I want to boost my combat score). 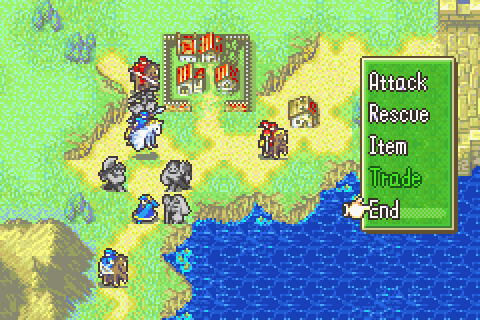 None of the others can be OHKOed this turn, so I won�t try it for now. 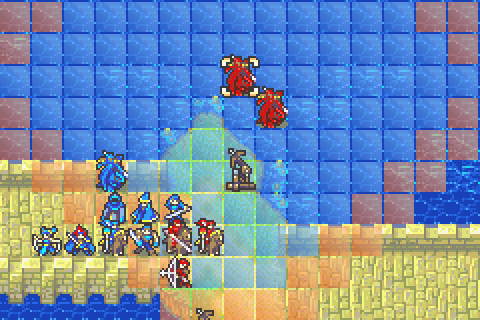 Now down here I have a bit of a dilemma. I can�t beat those wyverns now and what I�d like to do is just pull back a few squares so that they have to come to me- or to some bait I�d leave. The trouble is that if I do that, these other enemies will not die this turn and my combat ranking will suffer. I think it will be better to just find a way to kill them and set up a formation such that the wyverns will die easily next turn.  Lugh opens fire with thunder for the instant kill. 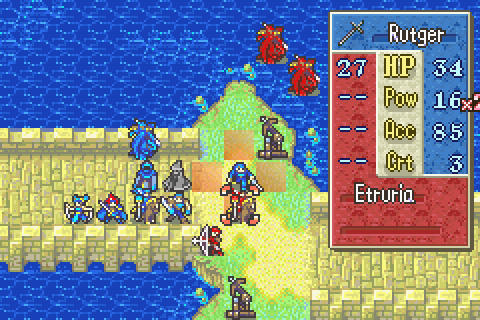 Only Rutger can double this speed troubadour, and you can see she has remarkably high odds of dodging even Rutger with an iron sword and supports.  A wall is formed and people are healed. 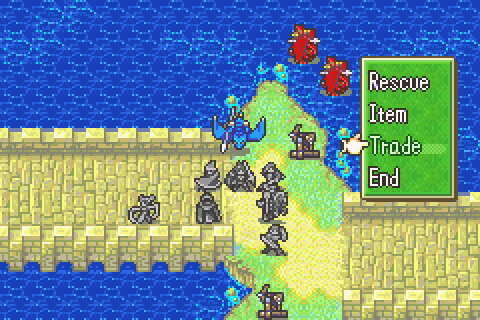 And more wall. No one who can die in 2 hits can be hit twice. 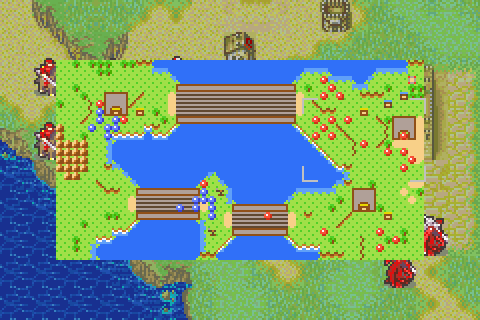 Next turn, you can see that the map is already more than half empty (especially since some of those are still Percival�s group or other enemies who will leave). 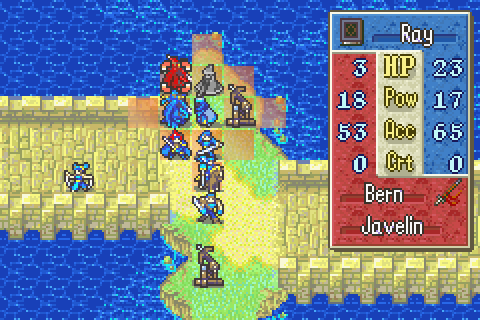 The other wyvern actually suicides straight into Lugh, so Lugh softens this one up for Ray. 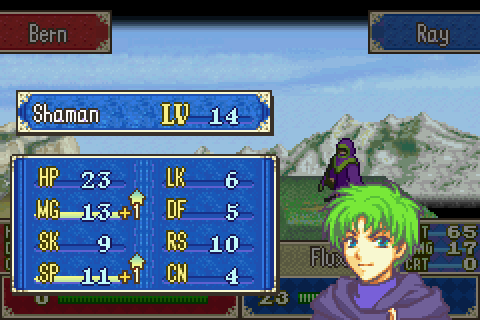 Nice, he�s doing well on offense. 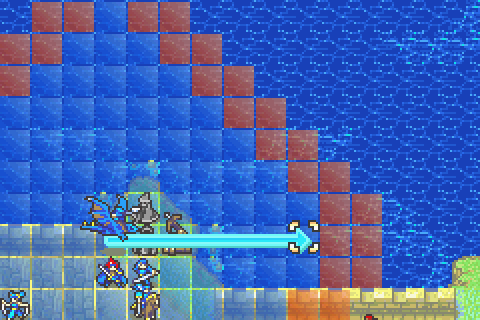 Weird. Ballista tiles slow air units. That�s 2 FE6 ballista peculiarities I�ve learned today. 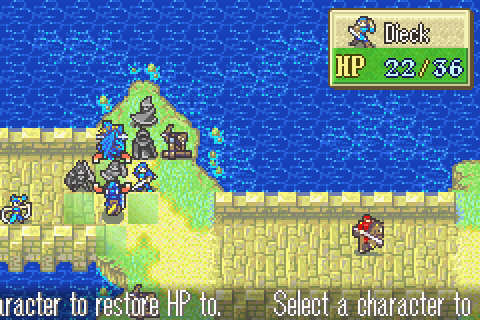 More healing for Clarine.  Miledy, camouflaged against the ocean, moves in to ambush the cavalier next turn! But seriously, I pulled everyone out of range so that I can just slam the guy with an OKHO next turn, or maybe give him to Ray as a 2-hit kill.  The army which has been tearing apart their troops is finally recognized. How did they not know we were coming?  This anger is completely justified!  You�re both morons! And once again, WHY did he leave that all-important battle to report to Narshen? Why not stay to actually see how it ended and THEN report it? I mean, even if the dragon was actually invincible, Roy and his group could have just walked away and remained a threat. 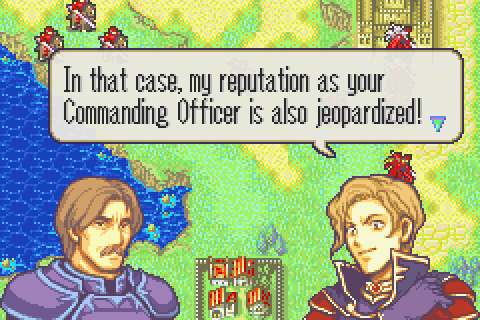 That�s right! All your stupid blunders up till now jeopardized it too! Take this opportunity and do something that makes sense for once! 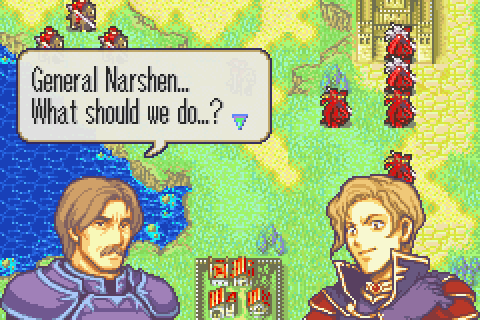 Now�s your chance, Narshen! For once in your life, don�t make this game�s plot ridiculous. 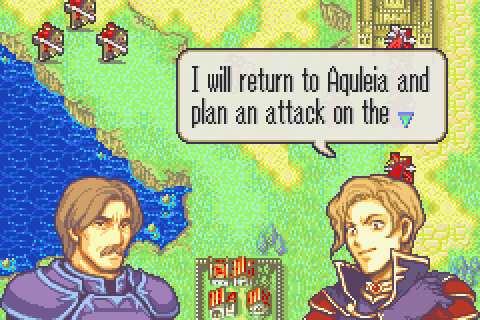 �. Yeah. So he�s going to deliberately choose to fail EVERY objective. Not only will he not take down Roy, he won�t actually take care of Arcadia either. What�s more, he never actually DOES plan the attack against Roy that he says he�ll go do. He takes no further hostile action against you all game, it�s just you attacking his forces again and again. I absolutely hate this game's plot. Every time I have to read another line of this insufferably stupid and absurd story I want to put the game down and never play it again. 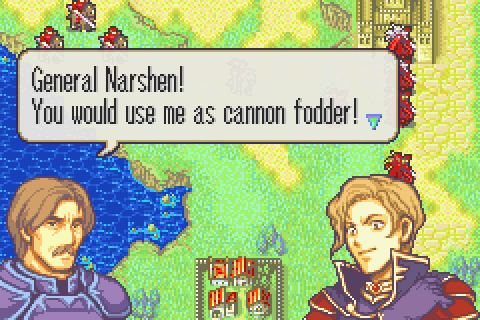 And for no darned reason! Narshen doesn�t even gain anything by doing this; in fact he hurts himself badly! 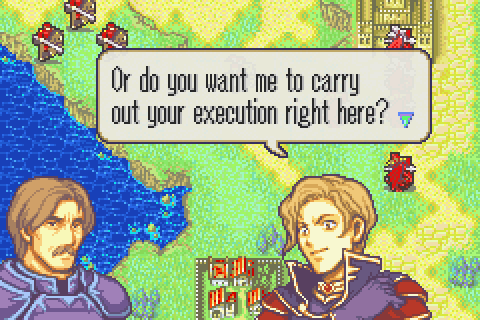 It makes no sense! 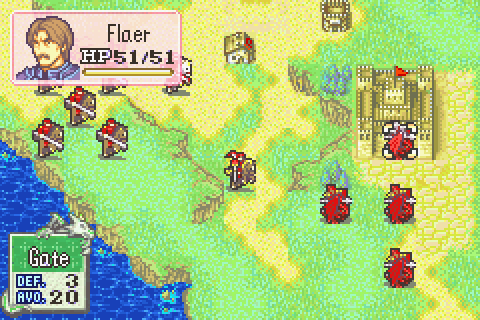 So at last we see the true boss. Why he doesn�t just defect at this point is beyond me. He claims it�s because he�s a �Knight of Bern� but he has displayed 0 sense of duty or national loyalty or even personal pride in his work up till now.  Now I can take these guys out fairly easily. 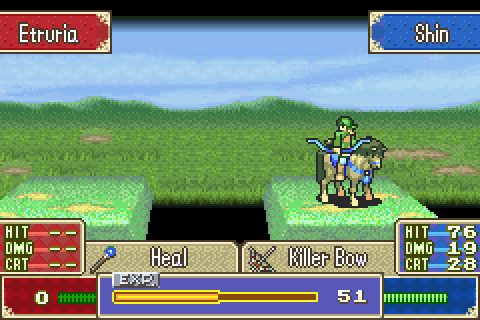 The killer bow is the only way to down the troubadour though; it�s one of those ones with 17 speed. 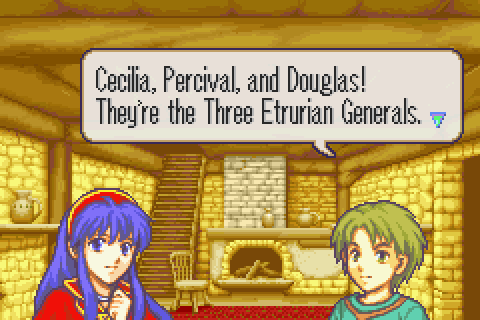 Wow, that�s really old news. I think we learned that 7 chapters ago. Thanks random house! 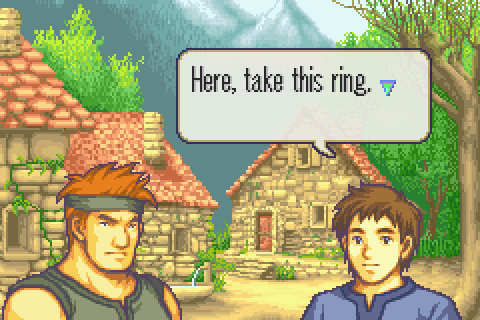 Lot visits the village and is given a Body Ring for no reason. 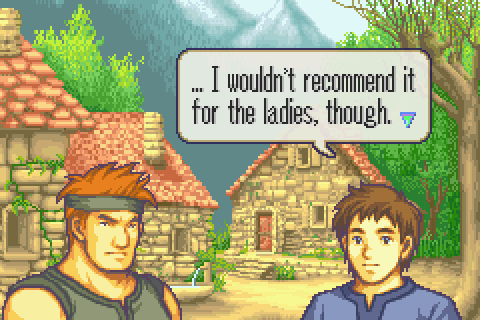 Along with this terrible advice. The female characters are generally the ones who benefit the most from the Con increase. 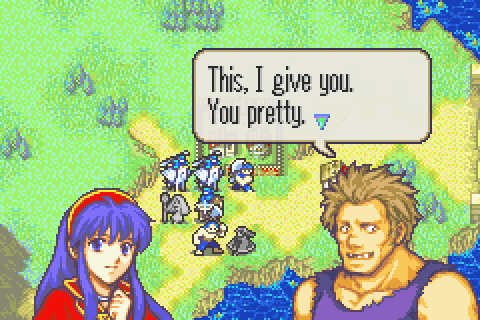 Gonzalez and Lilina have earned their B support. 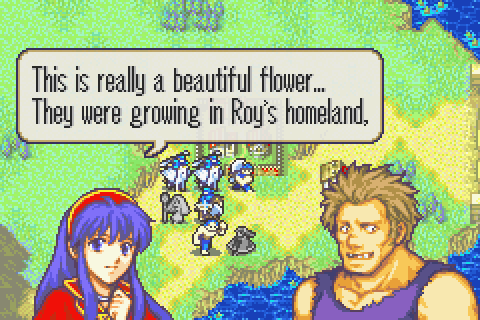 She likes the flower he picked for her and mentions Roy. 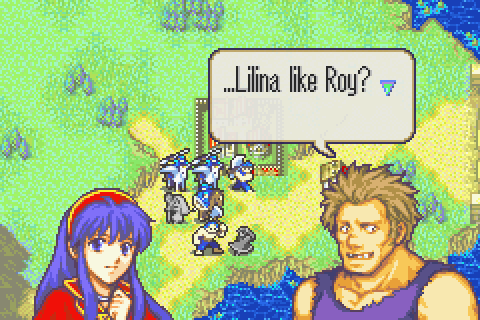 Uh oh� 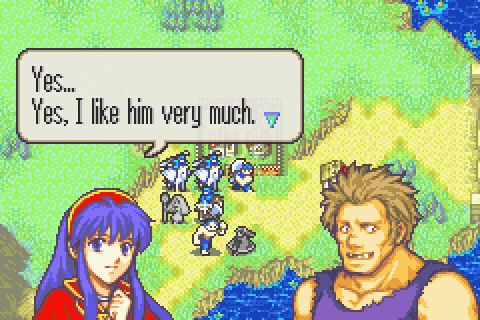 Darn. 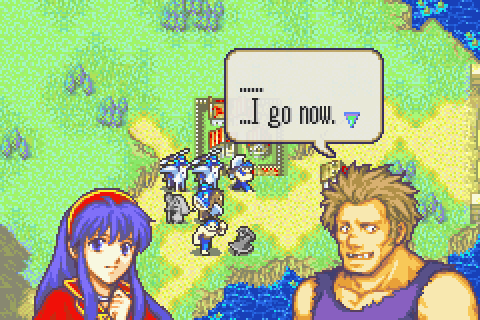 Awkward! 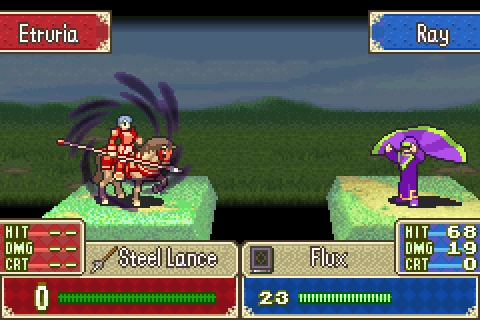 Another Ray kill. You can see that shamans have some accuracy issues in this game. That�s a severe problem for Sophia in particular. 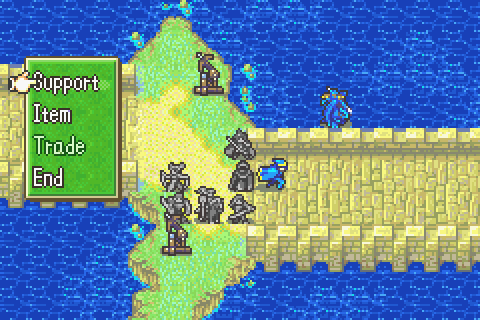 Ooh, Lugh and Ray earned their support too. 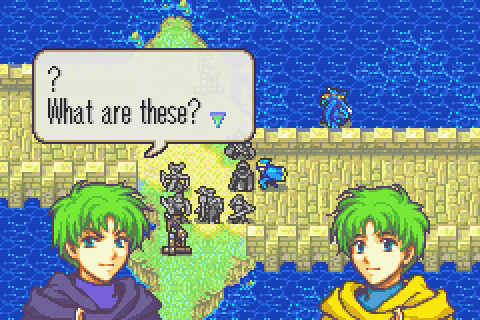 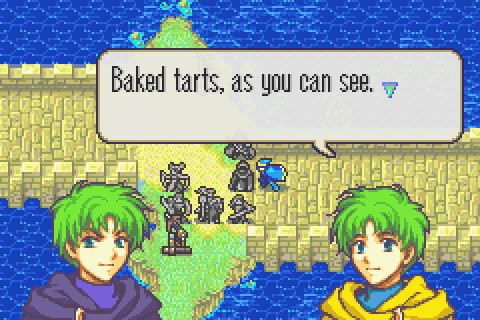 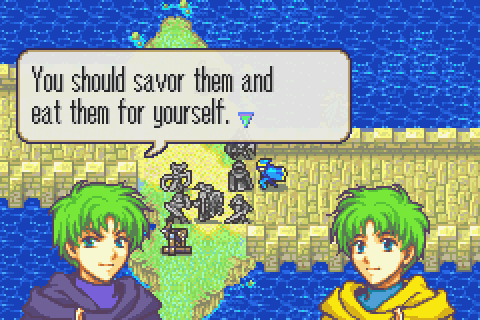 Ray is still too rude to thank anyone for anything but he�s at least not a complete jerk with Lugh. Although Lugh points out that it was kind of obnoxious of him not to respond when Lugh was calling for him at the beginning of the support. And Ray grumbles some insults when Lugh leaves. 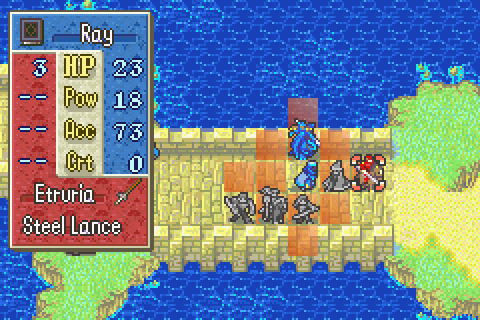 Well another dull turn of just walking forward ends with Ray getting another kill. 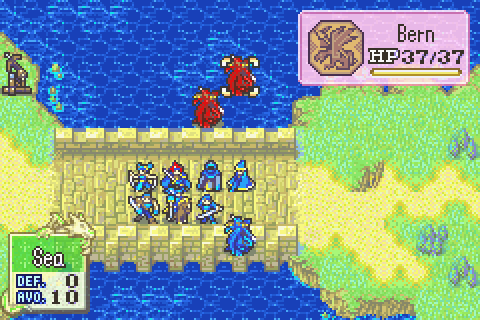 Now these guys over the water are pests. 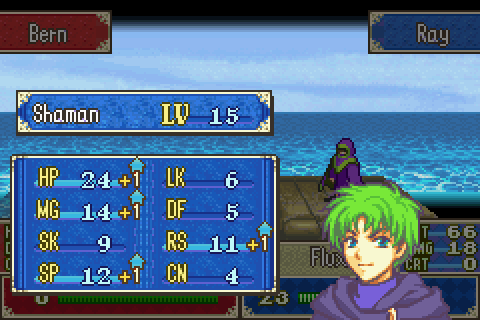 With some dancing help, Ray kills one for a great level. 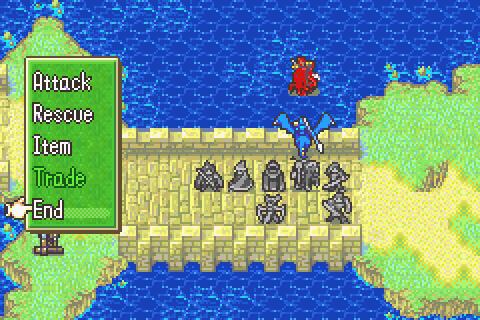 Then a wall is established to keep the dancer safe.  Meanwhile, this group has had a turn and a half or so to just set up and lie in wait for the reinforcements. 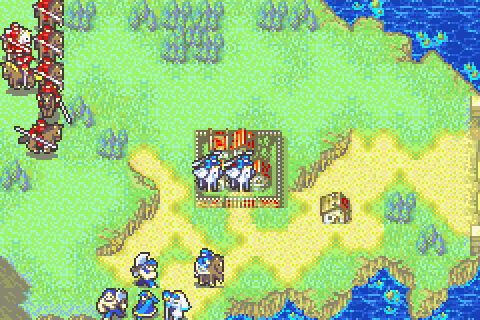 Poof! Giant unannounced reinforcement wave out of nowhere! If you play a conventional strategy on this chapter, this wave is pretty much certain death. See, the obvious move is to send a small party up here while your big group charges over the bridge. The small party would have taken the village a couple of turns ago and then begun heading east. This wave here is precisely timed so that they will then cut off your retreat and pin you with no possible help and then slaughter your small party. It�s really jerkish map design of the kind this game is rightfully infamous for. 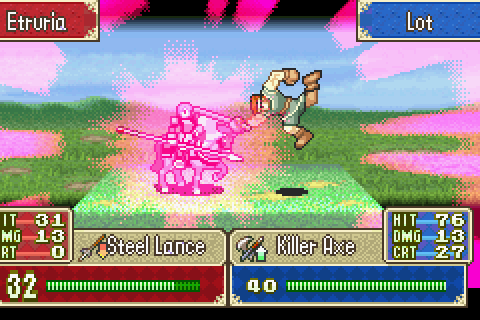 But I was ready. 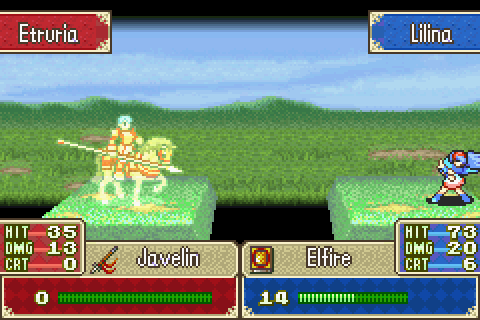 And Lilina guns down another. 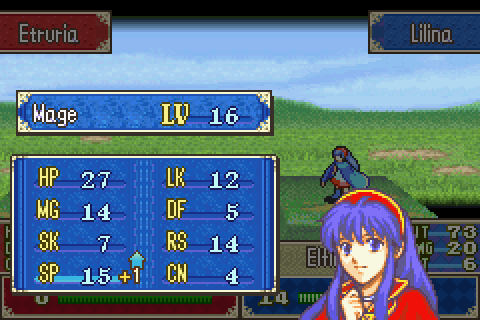 This is a wonderful Lilina. All she needs is speed. 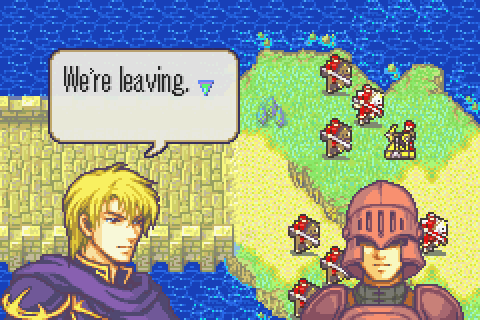 Hey, Percival, remember when you told them you guys were moving immediately 7 turns ago? Anyway, now they�re just going to walk off because Bern�s behavior here is somehow an �insult to Etruria�. Apparently he�s ok with Bern killing Etrurians, imprisoning their king, and preparing to dismantle the whole country eventually but NOT with whatever this insult was. What�s more, apparently he�s not at all afraid that the rebels will do anything to the king if he disobeys them by just leaving here at this critical battle. If that�s the case, why does he ever obey them at all? 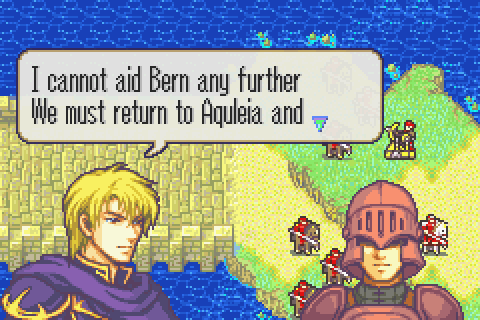 We must return to Aquleia and�. aid Bern further. Next time we see him, he�s working hand in hand with actually B�arnaise troops to kill you personally. 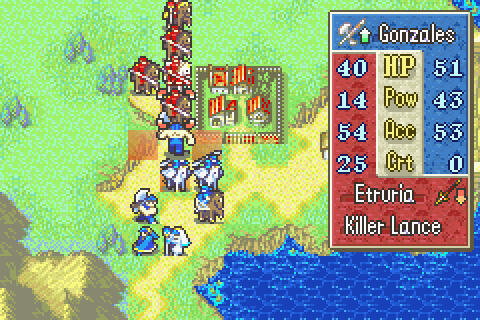 The other cavalry all went this way for some reason. Makes it hard to engage them quickly, but I�m not in a huge hurry. 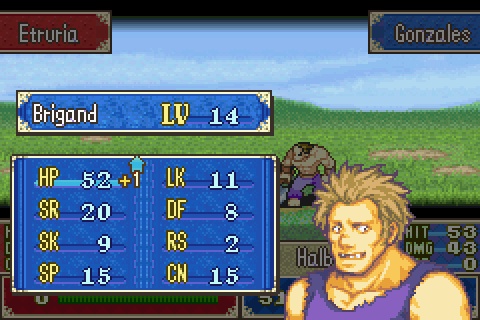 Man, my Gonzalez has gained 3 HP only levels so far. Oh well, at least he hit. 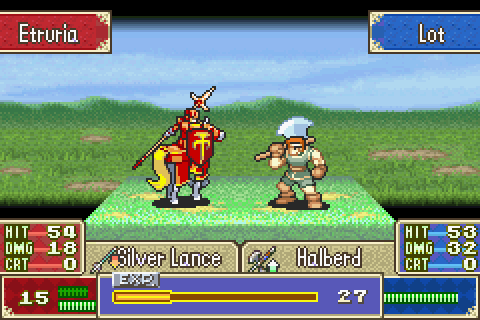 So then Lot moves in and borrows the Halberd back to attack the next enemy down the line. 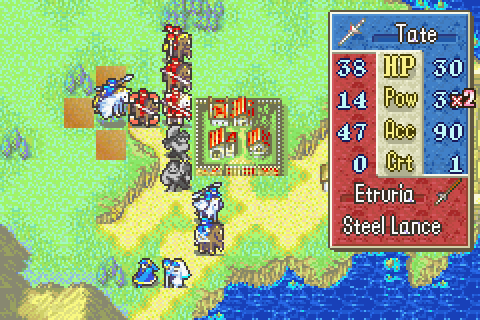 Tate horseslayers another. 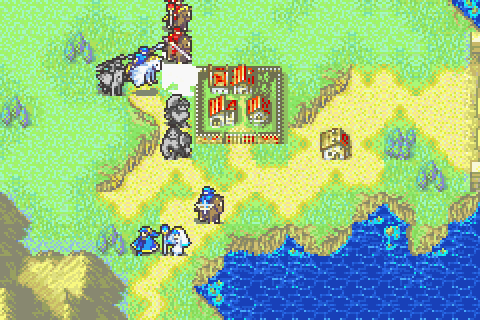 Which lets Thany take the horseslayer to finish the paladin.  Shin runs in and grabs Lot in an offensive rescue. 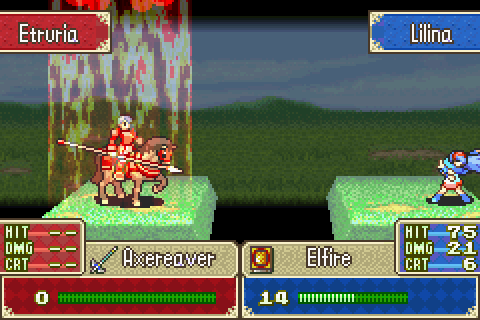 Clearing up a space for Lilina to finish the last attacking enemy! That was an awesome turn! 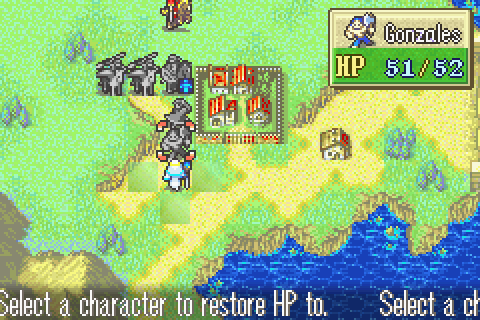 The whole attacking wave was completely vaporized! True it relied on some luck, but those maneuvers were pretty cool nonetheless. 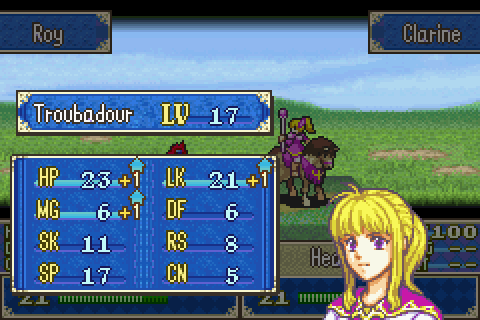 Clarine is suddenly gaining a ton of magic.  The bottom group has little to do but move with a few rescues. Miledy goes to lure the first enemy mercenary. These guys are stationary unless you go in their attack ranges individually. 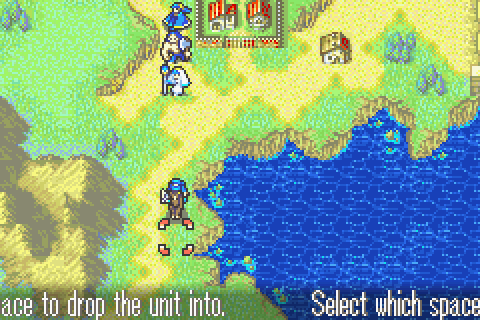 The top group hurries south, using mounted people to drop the slower ones. 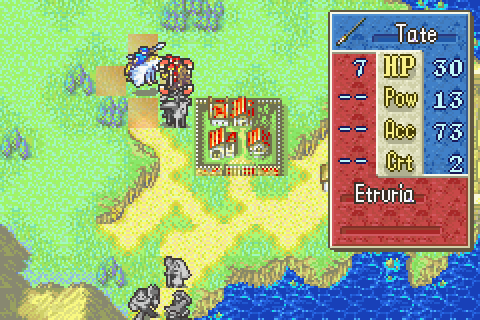 Tate and Thany finish the annoyingly fast troubadour. 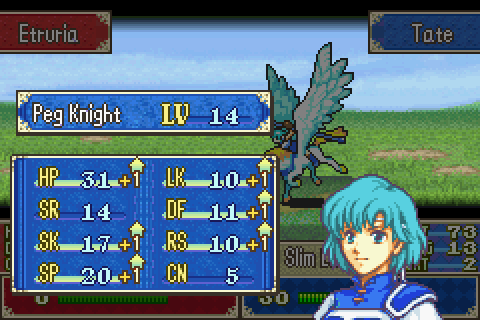 Well that awesomeness makes up for the annoyance. 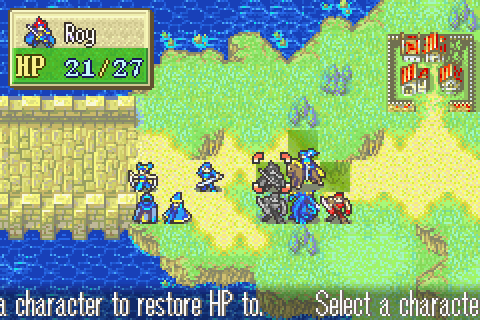 That Clarine has such awful Mag really helps her get more XP sometimes since she can�t heal any moderately serious wound in one go. 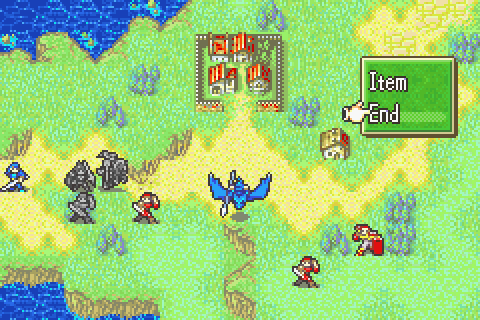 Time to lure the others. 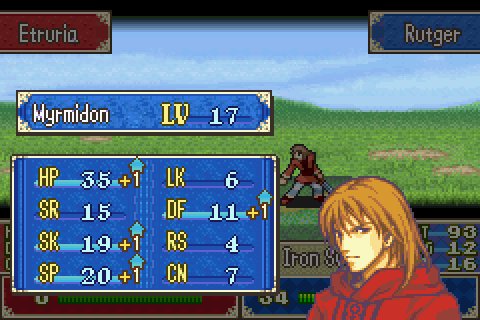 Nice. Rutger finishes the one left behind. Mine has been doing horribly in skill and speed, but his Def and Str are good and that�s what counts. 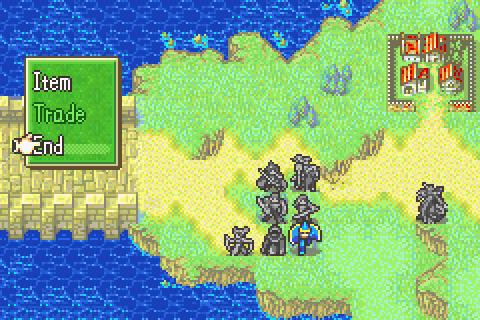 Everyone else just advances in support formations. 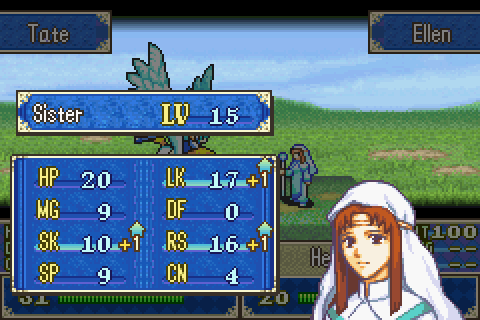 [insert comment about Ellen having terrible stat growths here] 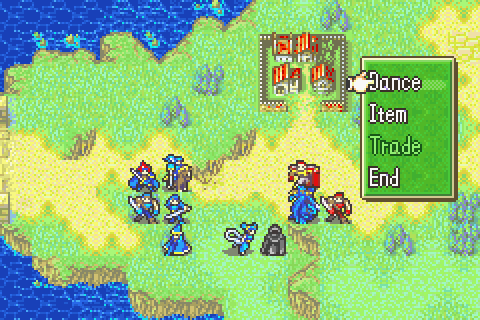 Now these enemies are actually tough. The hero has 18 speed and hits hard. 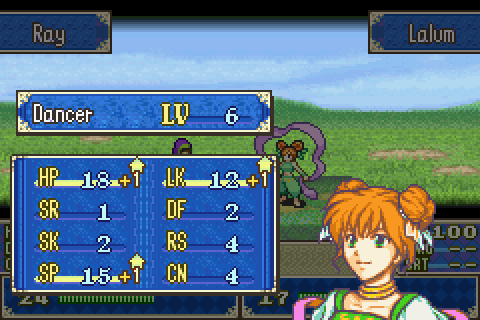 Not a bad level for Lalum. 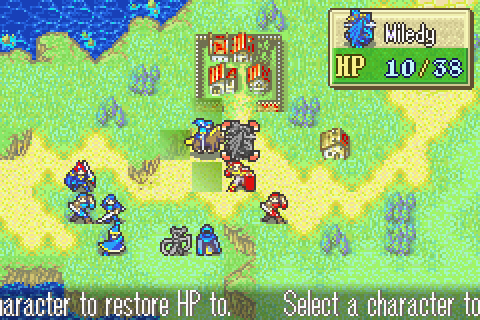 Miledy has survived 4 hits from this powerful hero and is still fine.  A hero so powerful that he survives a crit from a supported up Rutger. 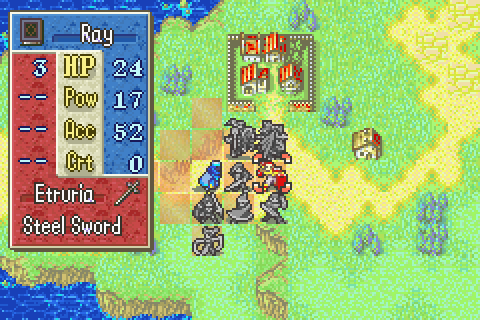 Ugh, it�s probably not going to work and will only hurt my combat score, but I�m going to go for it anyway. The possible profit is too high to ignore. I missed, but the enemy will still die in the next battle anyway whoever it picks. 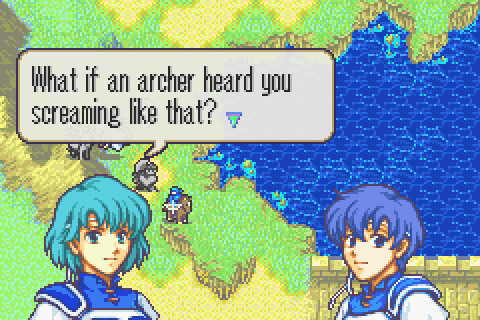 Thany and Tate have also earned their first support. Did you know Thany is vulnerable to archers? 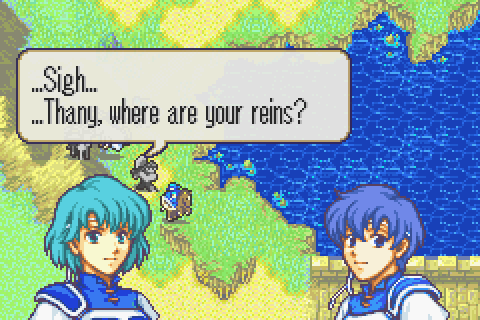 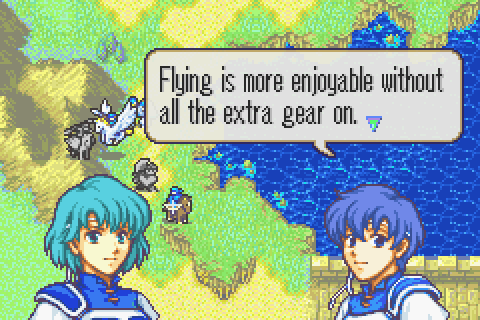 How was this idiot allowed to become a pegasus knight? I mean, Ilians are concerned enough about their national reputation that they would rather die than betray their employers; why are they not concerned about buffoons like Thany and Treck dishonoring them with their incompetence? 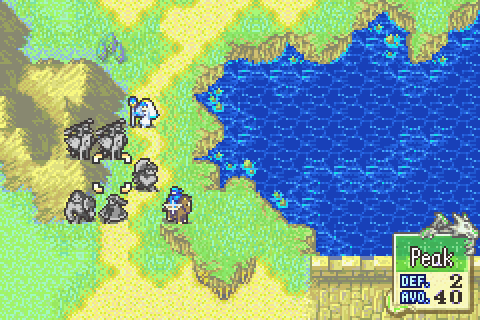 Well here�s my turn 12 setup as the reinforcements are about to spawn. Only Lilina and Gonzalez, both fully capable of OHKOing their enemies, are in range while everyone else loiters just out of it. 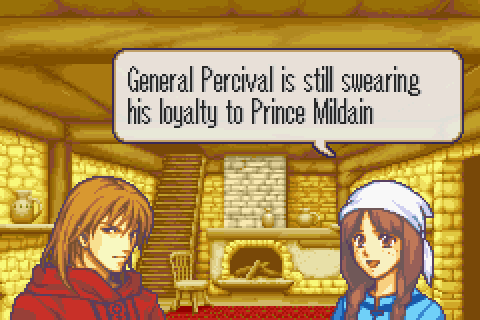 Next turn, Rutger visits a house and this woman talks about how Percival is still swearing loyalty to Mildain even though Mildain is supposedly dead. Why hasn�t Douglas told him Mildain is still alive? For that matter, why doesn�t Mildain make that clear now? Now is a good time for it. He�s in completely safe hands- and Roy already knows who he is if you take the Bartre route. And if he reveals himself, the rebels will be defeated almost immediately since Percival will definitely change sides and even Douglas might. And national sentiment will definitely turn against the plotters since they can�t claim any legitimacy- especially not when the king�s spirits revive. Heck, their rebellion could quite possibly have been stopped before it began. In that case the king would never have been in danger. Even now, he�d be safer if Mildain revealed himself than if he doesn�t because the rebellion would collapse and the plotters would have only the king as a bargaining chip to save their own lives. If the rebellion succeeds and Bern takes over, the king will surely be disposed of eventually. And if Roy just starts defeating the rebels, the king is in the same supposed danger as if Mildain reveals himself and the rebels defeat themselves. So� nothing is gained by this secrecy and thousands of Etrurian lives are lost. On the other hand, Mildain is kind of a jerk so this is in character for him. 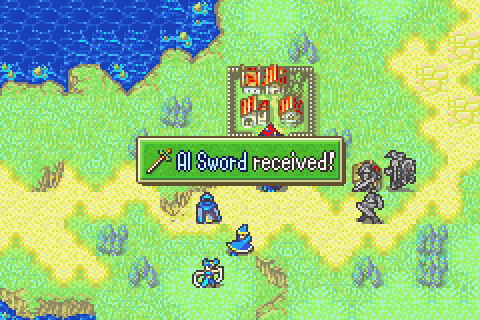 Like the Gant Lance, it�s a reference to a character in the manga adaptation that I know nothing about. And statistically it�s somewhere between an iron and a steel sword, so it�s pretty bad. 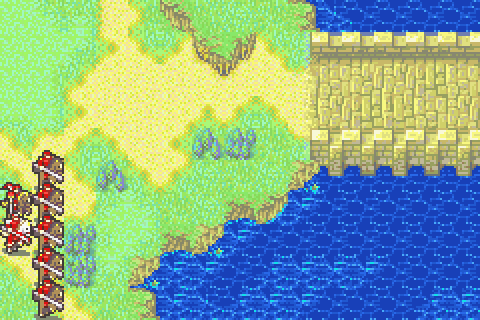 Here�s another giant army out of the south. 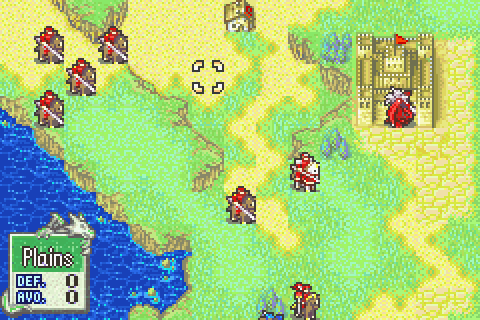 Now on the right front, I apparently triggered only the paladin�s proximity alarm, so most of his troops are staying put. 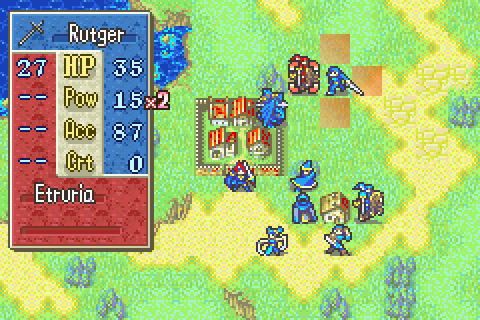 This troubadour only has 16 speed, so Rutger takes it down. 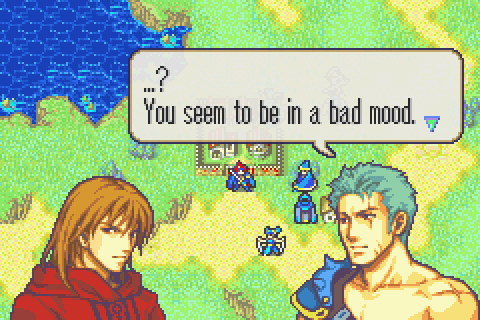 And Dieck supports him again. Rutger apparently once again tries to kill him for no reason. That is clearly nonsense because we did not fight any B�arnaise troops at all in the �last battle� that you mentioned. The last battle these guys were in was 11, which definitely had no one from Bern. 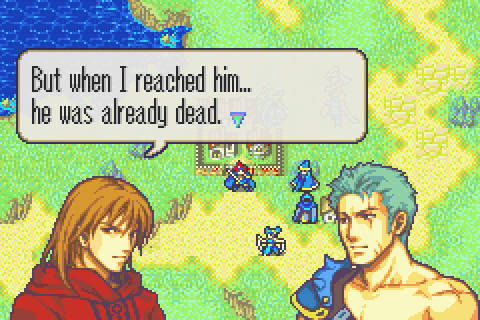 For that matter, the most recent battle of all was just a bunch of bandits. Definitely no one from Bern or they would have made the bandits do their job. But anyway, he�s mad because Dieck killed the guy he wanted to kill. 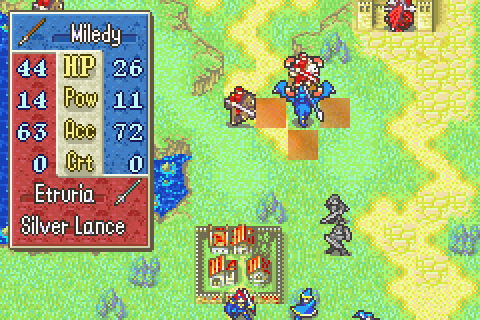 Miledy is disturbingly close to parity with this promoted guy at her join level. 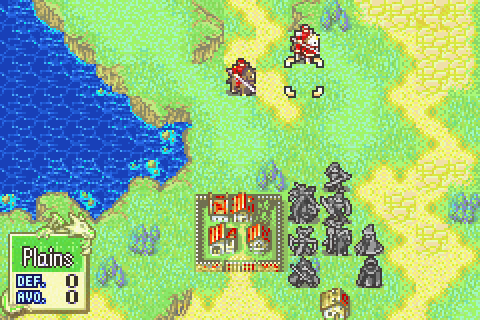 But instead of attacking him, everyone just crowds up in support formation.  On the left, I got greedy and gave Lilina fire instead of Elfire so now I have more to do than I should have had. 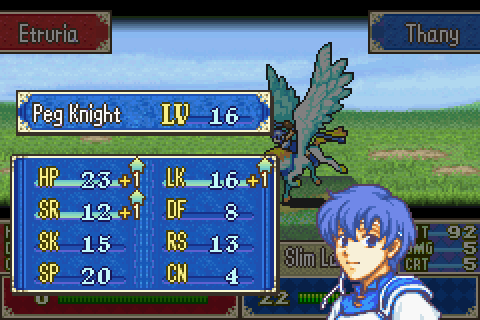 Well Thany finishes one of the damaged guys easily and Tate takes the other. 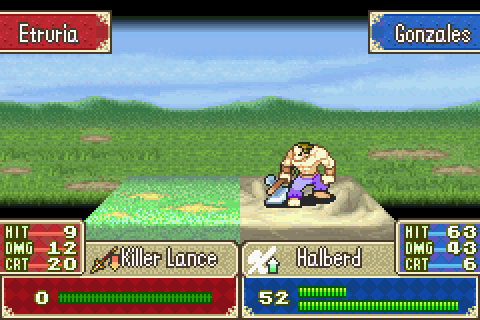 Gonzalez takes down the killer lance guy from full again.  Then Lot borrows the halberd to fell the next one, as usual. 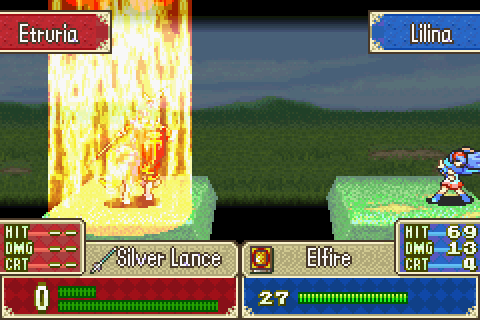 Lilina and Shin drop the paladin. 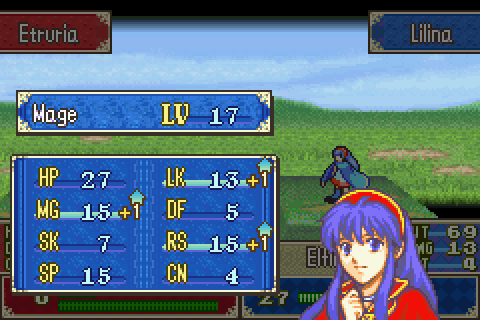 The classic Lilina level. That leaves only one enemy who can attack. Not bad. 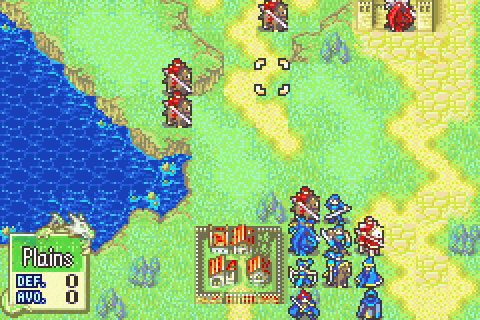 Now the right side. The other cavaliers are finally coming, but this will be easy. 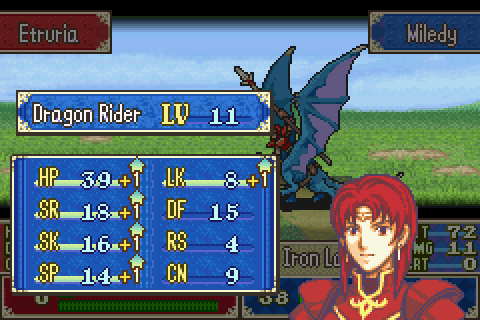 Miledy scores a great level dropping the paladin. 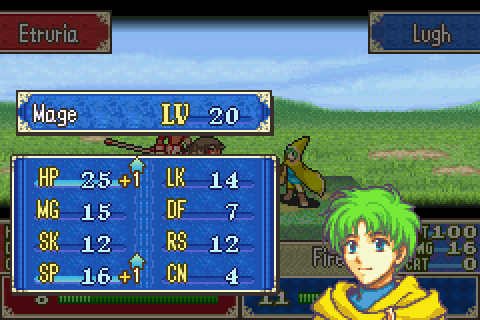 Lugh gets some speed weakening the cavalier. Speed is good. 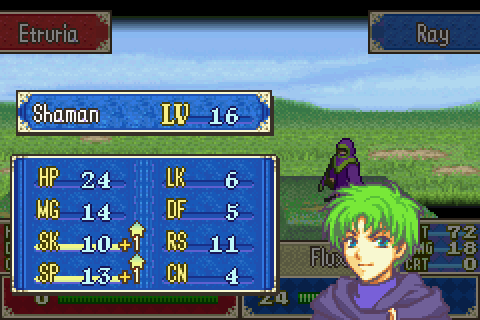 Wow. This is an improbably fast Ray. Yeah he�s sucking in most other stats, but speed is what he needs. 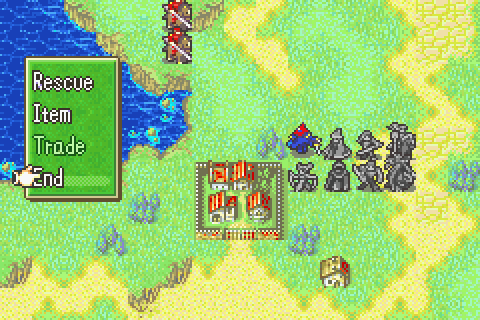 The wall is completed. 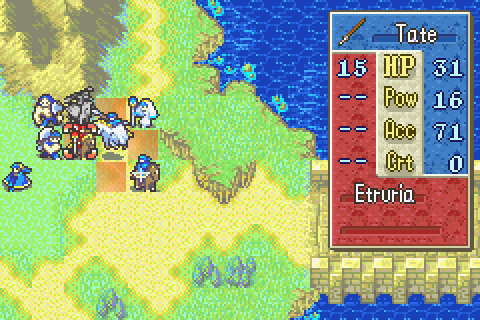 On the left, the troubadour is killed. 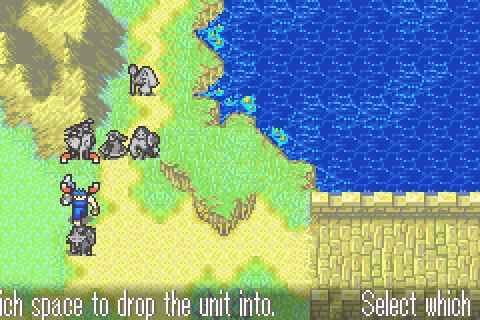 Because there�s not much else to do, Shin and Lot then drop her next to her sister for more support. 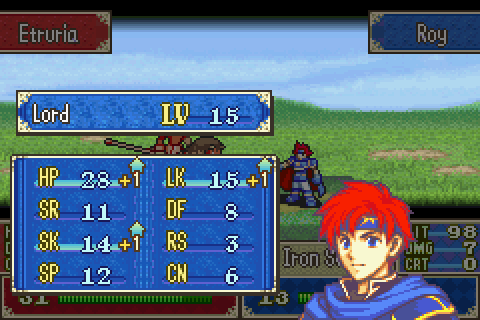 Roy continues to suck. The map is basically empty. And as far as I know, I have a whole 6 turns to the next reinforcement wave. 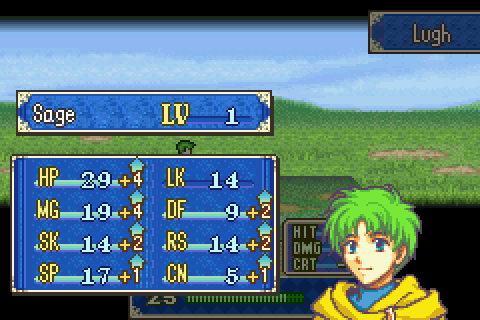 Next turn Lugh promotes. His promotion gains are just fantastic. I mean 4 mag and 4 HP and 2 def? Amazing. My Lugh has had WAY above average Mag. For an average Lugh, this is something like a 40% increase in Mag all at once. 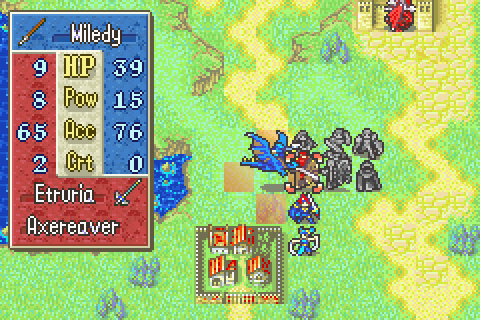 Miledy drops the last cavalier as everyone moves in.  Other than her Def, this mostly makes up for mine having sub-average HM gains. 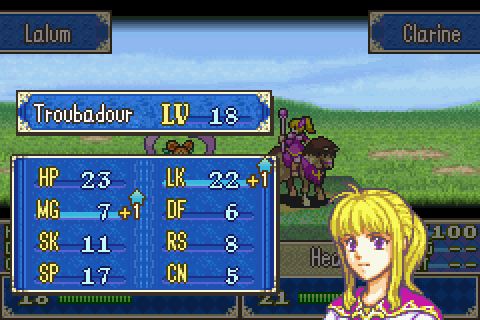 Wow! Clarine has gained 3 mag this chapter! She gained 2 over the course of the whole rest of the game. 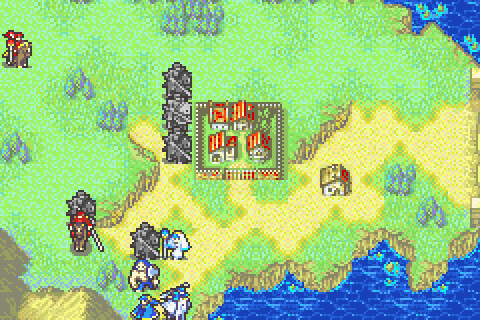 AGH! I did NOT know about this reinforcement wave. I thought there were only 3 (top, bottom, top on turns 8, 12, and 18). I had no idea that there were 4 waves with the 3rd being here on 15 and the 4th being from the bot. You can see that despite all my preparations, my significant foreknowledge, all my tactics, and having the capability to easily slaughter these waves; I STILL nearly lost just because I didn�t know exactly when one was coming. It�s a horrible chapter that way. All guess and check. 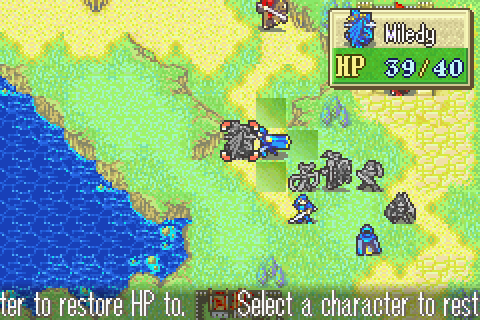 But I didn�t lose immediately, so I�ve got this. On the right side Lugh tries out his new ability to heal. 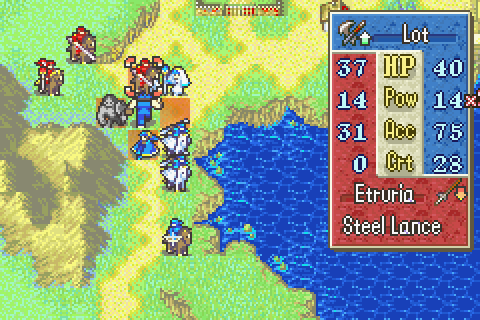 Damage control time, hop to it people! 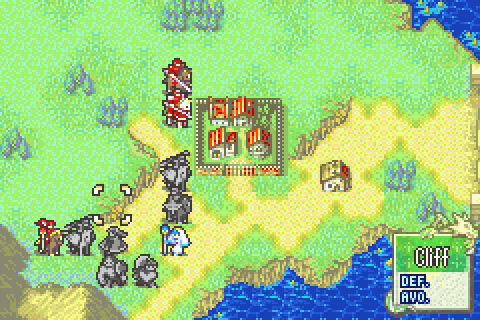 Alright, the situation is stabilized. If I�d known these guys were coming, I could have hurried and been in position already. This is costing me combat ranking and also jeopardizing my ability to be ready to kill the final wave. There�s only 2 more turns to be down there and waiting. 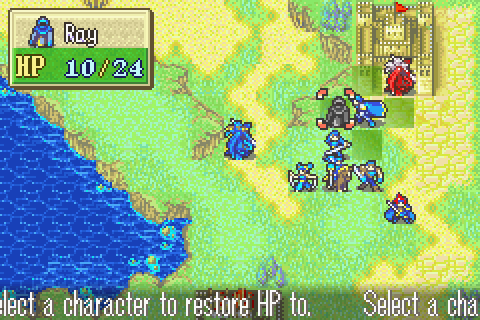 Lugh gets ready to work on the boss. 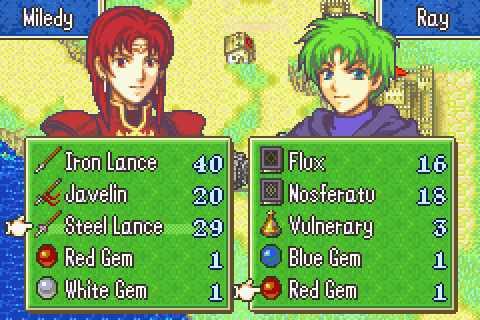 With no enemies left, everyone gives Miledy the stuff to sell. 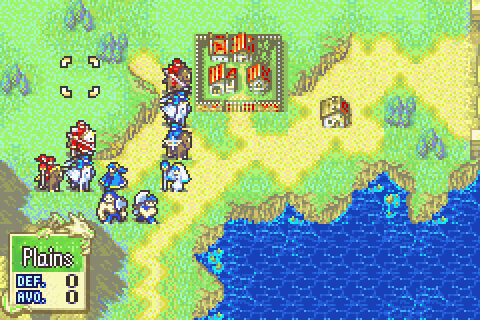 So turn 17, it�s a bit of a mess here. I must end next turn in position to deal with the bottom reinforcements I�m now sure are coming on 18. 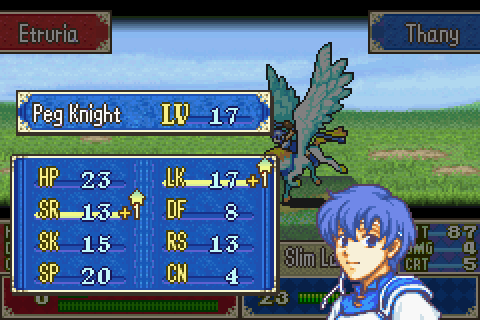 Thany finishes the paladin off. She has such a huge Str bless. 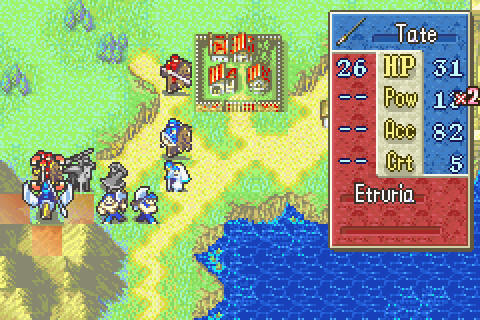 And Tate drops the troubadour who luckily only has 16 speed.  Shin finishes the last enemy. Nice def there. 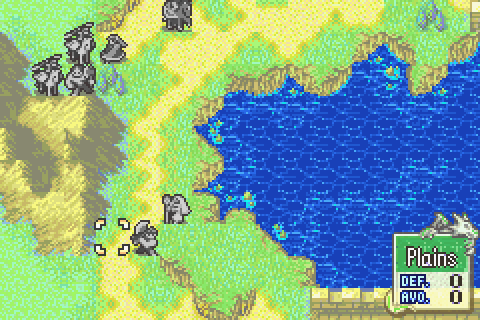 And I�m good to go. I�ve got some rescues set up that will get everyone where I need them. 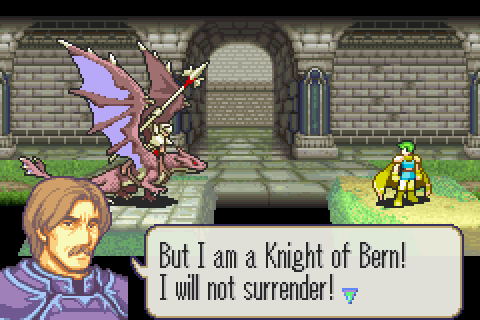 Where was that pride when you just skipped out on chapter 12 for no reason? 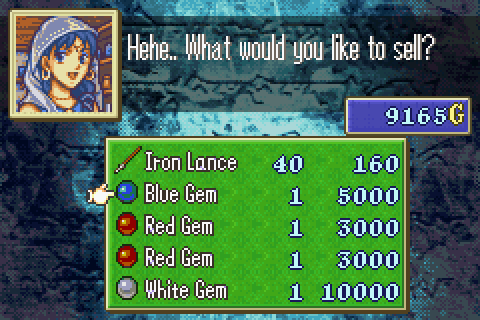 This creepily giggling shopkeeper takes these gems off my hands. Then I purchase tons of heals, elfires, fluxes, torches, and �most importantly- restores. This is an extremely valuable store for preparing for both next chapter in particular and the rest of the game in general. 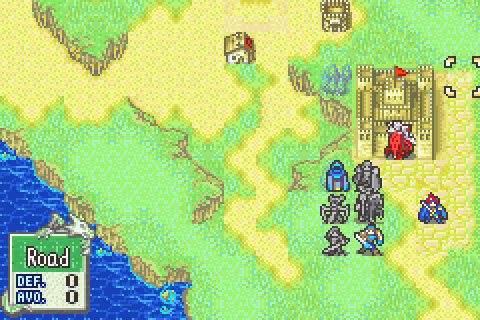 Everyone else mostly just heals. The boss will be killed by Lugh�s next counter. 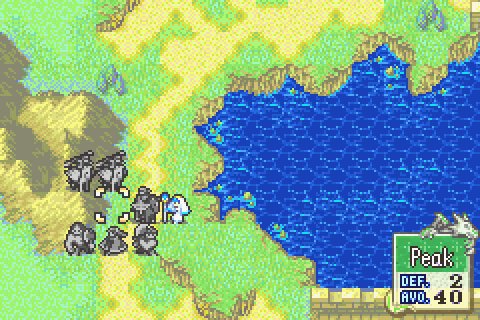 And on turn 18, several rescue-drops get Lilina (with Elfire) and Gonzalez in position.  Turn 19, it�s go time! Shin slays the paladin immediately with his excellent killer bow skills. 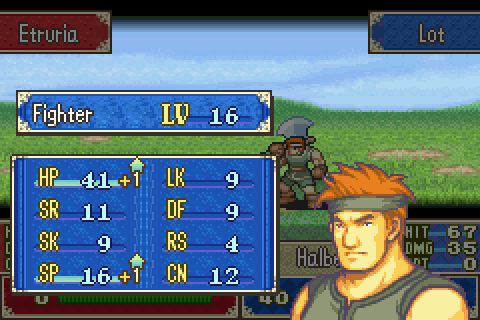 Lot takes another and gains even more speed. 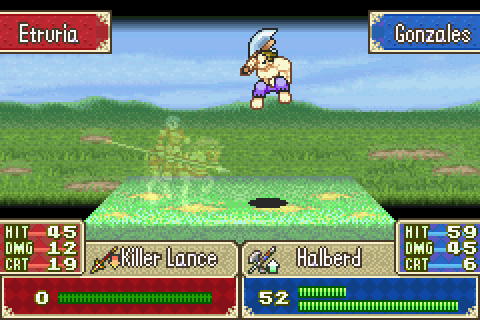 Gonzalez drops the killer lance guy as usual. 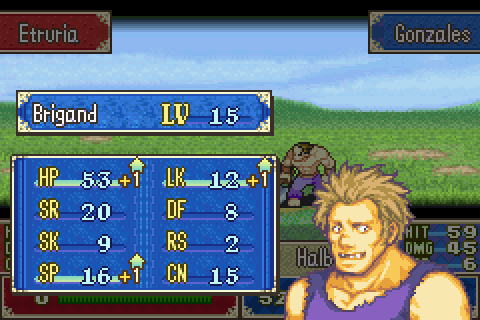 Not bad. 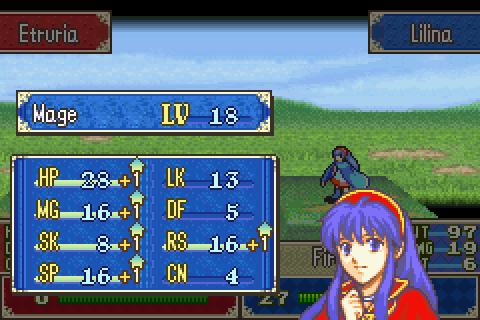 Best Lilina ever!  Def is very nice. 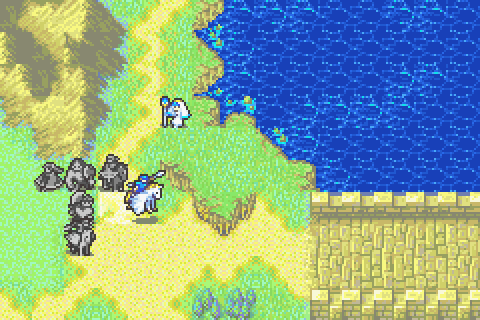 Exterminated! I got every last one of them in one turn. 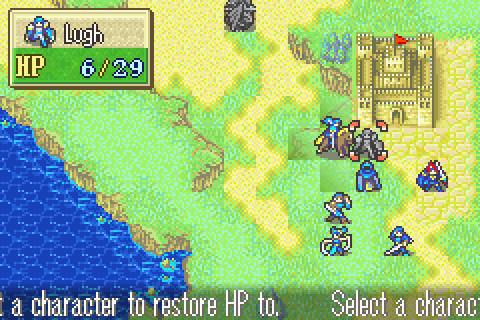 And on the right there is healing and dancing and more healing. Meanwhile Miledy visits the armory and picks up some more killer weapons now that I know I have infinite money. 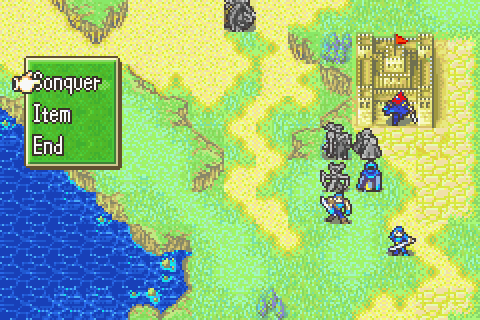 Turn 19. That�s the best possible win time. This was a pretty awesome victory, more or less ideal. And fairly smooth and clever in its details despite the terrible surprise of the chapter 15 wave. I�d say this was actually the first time ever that I had fun playing this game. 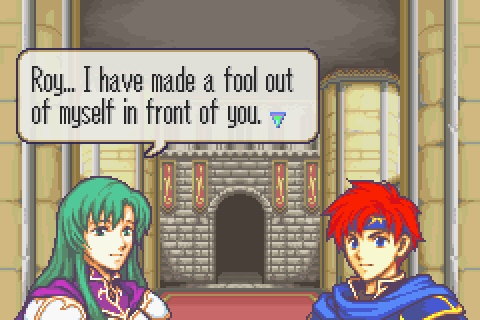 Yeah, you totally did. I mean you lost the whole war in like a week. And you completely ignored all of Roy�s warnings apparently. 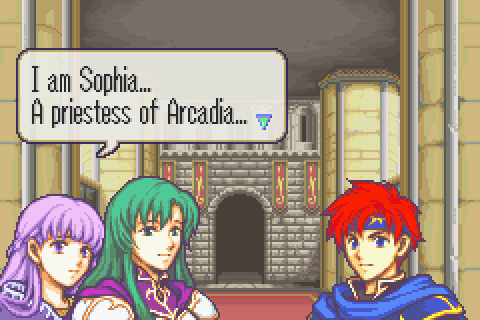 Wow, you�re just telling everyone aren�t you? 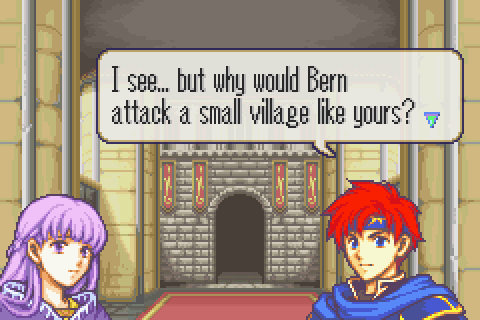 You mean besides that they�re attacking every village because they�re taking over the whole world? Other than Lycia of course. They�ve made it clear that they never intend to invade Lycia. 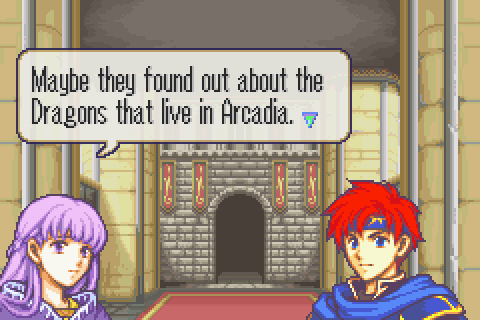 Probably because you blab about them to everyone too! Forget Fa, why is Sophia allowed to wander around if she can�t keep her mouth shut?  Yeah this might have been a cool surprise if Zephiel didn�t already explicitly talk about it. It would have been much better if he just alluded to them in some kind of circumspect manner.  That settles it; it�s entirely true. I continue to hate how Merlinus has no role in any conversation other than to pop up and trust all traitors and disbelieve all honest people. Alright, there�s a very special chapter coming up. I believe it�s the ONLY chapter in the whole game where we actually see Bern doing something proactive with their army on their own. Total Restarts: 5 (Besides the ballista surprise, I also lost one time when a mage 2% critted Ray) Turn Surplus: 15 (Gained 1 turn, the maximum possible while killing all reins. Not bad.) Things I Regret Missing: A couple of uses of Marcus�s silver lance on Rude, a Chapter 5 nomad Marcus had to kill, two Chapter 12 fighters I couldn�t kill since I needed supports built elsewhere Melth fucked around with this message at 01:28 on Aug 10, 2015 |
|
#
?
May 27, 2015 08:07
|
|
|
i would edit the first post so that the image of the map is in the [timg] tags, not the [img] tags. right now it's big enough that it breaks tables and makes reading the update difficult.
|
|
#
?
May 27, 2015 08:36
|
|

|
I wish I had more to say about this game. Mainly I've just been thinking that maybe Sacred Stones wasn't that bad after all.
|
|
#
?
May 27, 2015 08:46
|
|

|
Really it always strikes me how mediocre to poor the statlines of all the GBA dark magic users are. In fact, while they may have decent averages at 20/20 they all seem to come with poor bases for some reason (or in Sophia's case, underleveled as hell, lacking in the most important stat for getting her up to par (speed), and using very sub-par weapons except for the expensive Nosferatu - not as big a problem outside ranking runs but still limiting). Obviously Sophia's badness has been harped on repeatedly, but Ray's got bad bases even if his Mag saves him long-term, Niime is useful as a healbot but has so crummy defenses she can't even make use of the only non-S-rank Dark tome worth a poo poo in FE6, Canas is a great unit but mostly on the back of Dark being ridiculous in FE7 as his stats are again unimpressive, and Knoll is basically identical to Ray offensively, but made of paper, and Lute/Artur basically have you covered on magic anyway even without taking Saleh/Ewan into account. If I was making a GBE FE hack I'd give the Shaman ridiculous bases like Dieck or HM Rutger (probably not HM Gonzales tier though)  That said my Shamans always seem to be blessed so I won't complain. Sophia ended up at +4.6 Speed from growths and I additionally had dropped her a Speedwing at level 1 when I decided what the hell, I'll use her anyway. She also almost capped Skill and was above average in all stats but Res (who cares) and Mag (still capped) with no other boost items. Last time I played FE7 I got monster-mode Canas too.
|
|
#
?
May 27, 2015 10:00
|
|
|
Insurrectionist posted:Canas is a great unit but mostly on the back of Dark being ridiculous in FE7 as his stats are again unimpressive. Hey! Canas has arguably the best all-around stats of any magician in that game (For that matter, Pent has close to the same stats as him and people go on and on about how great Pent is). He's doesn't have the best mag, but he has enough to 2-hit kill things with flux. He doesn't have the best speed, but he has enough speed to double just about everything once he gets a few levels. And he's nearly the most durable magic user in the game, one of very few you can trust to take hits on the front lines. Also he has the best affinity and a fair amount of room to grow above his averages, for what those things are worth. Even on HHM he wrecks the enemy right out of the starting gate and is thus extremely easy to train. So don't knock my man Canas! Francis posted:Mainly I've just been thinking that maybe Sacred Stones wasn't that bad after all. It's totally not. Second best FE in my opinion. The story and characters are unusually good for this series, the villains are pretty awesome, the level design is generally well thought out even if the difficulty is too low, there's a ton of fun post-game content, and if you did no grinding on hard mode you could at least have enough of a challenge that you had to think about what you were doing - unlike 9, for example. Plus the addition of the Tower of Valni was a good way to let inexperienced players modulate the difficulty for themselves and experiment with different characters. Cake Attack posted:i would edit the first post so that the image of the map is in the [timg] tags, not the [img] tags. right now it's big enough that it breaks tables and makes reading the update difficult. I did this, but I'd be interested in learning more about what "tables" are. Someone mentioned them in the previous thread I think.
|
|
#
?
May 27, 2015 10:19
|
|
|
Melth posted:It's totally not. Second best FE in my opinion. The story and characters are unusually good for this series, the villains are pretty awesome, the level design is generally well thought out even if the difficulty is too low, there's a ton of fun post-game content, and if you did no grinding on hard mode you could at least have enough of a challenge that you had to think about what you were doing - unlike 9, for example. Plus the addition of the Tower of Valni was a good way to let inexperienced players modulate the difficulty for themselves and experiment with different characters. You're talking about the U.S. "Hard Mode" though, right? If so, I hear that there's a Maniac Mode patch with an english translation and everything. You ever tried that at any point?
|
|
#
?
May 27, 2015 10:22
|
|
|
Melth posted:I did this, but I'd be interested in learning more about what "tables" are. Someone mentioned them in the previous thread I think. Message boards are just complex tables (in the graphic design sense) of information. The frames will stretch to accommodate elements. If you have a post with an image that's 1500 pixels wide, then your post's frame will stretch to fit. However, this is the same frame that is also automatically linebreaking paragraphs for you. The result is that a large image such as in your most recent update or the ranking update will make the text stretch beyond the limits of some resolutions and zoom levels, making the user scroll left and right. This is annoying and unnecessary. Now, Something Awful's a bit better about this than some older forum software. First, each post is its own table as opposed to the entire page, so one annoying image doesn't ruin all the other posts on the page. Secondly, and this is what Endorph suggested, you can put large images in a [ timg ] [ /timg ] tag, which will automatically thumbnail it unless clicked upon, which will thus avoid stretching the text when the image doesn't need to be looked at. Please avail yourself of this.
|
|
#
?
May 27, 2015 10:42
|
|
|

|
| # ? Apr 16, 2024 14:57 |
|
|
The biggest challenge in fe9 maniac mode is not falling asleep during the ten minute enemy phases. Like, it's tricky, but won't be bad for someone of melth's skill.
|
|
#
?
May 27, 2015 10:45
|
|