


|
Have you thought about getting the team corrective eye surgery once they escape?  Anyways, let's switch Beast to Prince because of his poor showing and keep exploring
|
 #
?
Mar 28, 2021 03:56
#
?
Mar 28, 2021 03:56
|
|


|

|
| # ? Apr 18, 2024 04:33 |
|
|
Slaan posted:Anyways, let's switch Beast to Prince because of his poor showing and keep exploring Agreed!
|
|
#
?
Mar 28, 2021 05:20
|
|

|
Keep exploring, agreed, and I'd say swap Sebille for Prince. Those were some long clusterfucks of fights, but interesting ones all the same.
|
|
#
?
Mar 28, 2021 06:15
|
|
|
Wow, both those fights were an utter clusterfuck. Kudos for salvaging them. The miss chances seem really unfair, I think we really need to find some accuracy boosts somewhere ASAP via either skills or equipment. I say we keep exploring. Once we've been everywhere and looted everything, we should probably take the grate and save the girl, Han can get away by himself. Slaan posted:Anyways, let's switch Beast to Prince because of his poor showing and keep exploring Works for me. Red Prince got that cool staff last time that might be handy.
|
|
#
?
Mar 28, 2021 09:49
|
|


|
Maple Leaf posted:Oh, well, perfect. And I have only two Resurrection scrolls lefts. Can you close doors that you've lockpicked? If so, does that lock them? Are pickpocketed items marked somehow? If not, can you sell them back to the person you stole them from?
|
|
#
?
Mar 28, 2021 13:05
|
|


|
Xander77 posted:Q: You can close doors again, but it does not lock them. Opening the door costs one AP so you're just being annoying. Pickpocketed items are marked as Stolen in your inventory. You can sell them just fine, but if you're ever searched for a crime you may or may not have committed, and they find stolen items on your person, they'll either be confiscated, or you'll be sent to jail (unless you bribe/kill/convince the person searching you). Gold is never marked as Stolen so go ahead and help yourself to that if you're nervous. If you go to jail to do your time, all of your equipment and inventory is confiscated and you're stuck in there until you or your party breaks you out. Those empty chests that we found in the prison block would be where all my stuff would go if I was ever caught.
|
|
#
?
Mar 28, 2021 14:50
|
|

|
Explore some more and switch Beast for Red Prince. Beast won that fight in the Flenser's Playground, now Red Prince needs to step up. Also, I think those Silent Monks in the Kniles battle have some sort of version of the Unstable Talent, which means they will always blow up on death. Killing Kniles is also the trigger to make the Meat Golems and Silent Monks go aggro on each other, it seems.
|
|
#
?
Mar 28, 2021 21:02
|
|


|
So, when I booted up the game to record the next session, the controller I had plugged in (a Switch Pro) apparently bugged out and started spamming one of the buttons, I think the B button, at lightspeed, which led the game to bringing up the profiles and then deleting the only one I had in there. Which deleted not just my LP's saves but the saves I had of a campaign I was trying to get through with my friends. Does anyone know of a way to roll this back? I tried a system restore and according to my Steam cloud (via browser), there's nothing in there. The LP was about ten hours in; it'd be great if I didn't have to do all that again.
|
|
#
?
Mar 29, 2021 03:22
|
|
|
The LP curse strikes again.
|
|
#
?
Mar 29, 2021 03:28
|
|

|
Yeah, looks like I'm hosed. Well, I love this game, so I don't mind doing it all a second time. I would just... strongly prefer that I didn't. Luckily this happened when we're """only""" ten hours in. So... next update's not going to be for a while.
|
|
#
?
Mar 29, 2021 04:31
|
|
|
God drat, that is an amazingly unfortunate series of events. Uh... I guess keeping an off-site backup going forward? Yeesh...
|
|
#
?
Mar 29, 2021 04:50
|
|
|
Maple Leaf posted:Yeah, looks like I'm hosed. Nobody will mind if you rely on a couple cheat mods to quickly get back to where you were.
|
|
#
?
Mar 29, 2021 07:50
|
|

|
Maple Leaf posted:Yeah, looks like I'm hosed.
|
|
#
?
Mar 29, 2021 08:06
|
|
|
Just wanted to say thanks for doing this. Working my way through the thread. I�ve started this and stalled out in the second half of the first act. But this has made me want to pick it up again. Lots of neat things I didn�t know. I knew you could dip arrows, but didn�t know blood and oil actually had effects, for instance. And I wrote off bloodsucker, too, but it looks more useful than I gave it credit for. This clearly takes a lot of effort to put together. Just wanted you to know I appreciate it. E: Oh poo poo, hope you get it sorted.
|
|
#
?
Mar 29, 2021 21:29
|
|

|
Just wanted to say I just binged this and hope you're able to keep going. It's been a great read! I just started playing a few weeks ago. Almost to the end of act 1 and it's super interesting to see all the things I missed. Also there's a cool trick for the Kniles fight (spoilered just in case) - If you teleport one of the golems out of a cage before it can destroy the door you can teleport Kniles into it and trap him. He even has special dialogue for it! Anyways thanks for all you've done so far and I hope it gets sorted out!
|
|
#
?
Apr 8, 2021 21:44
|
|
|
I believe you can skip the Kniles fight if you still have Atusas body part. You give it to him and he gets creepy with it. Good lp so far!
|
|
#
?
Apr 8, 2021 23:30
|
|

|
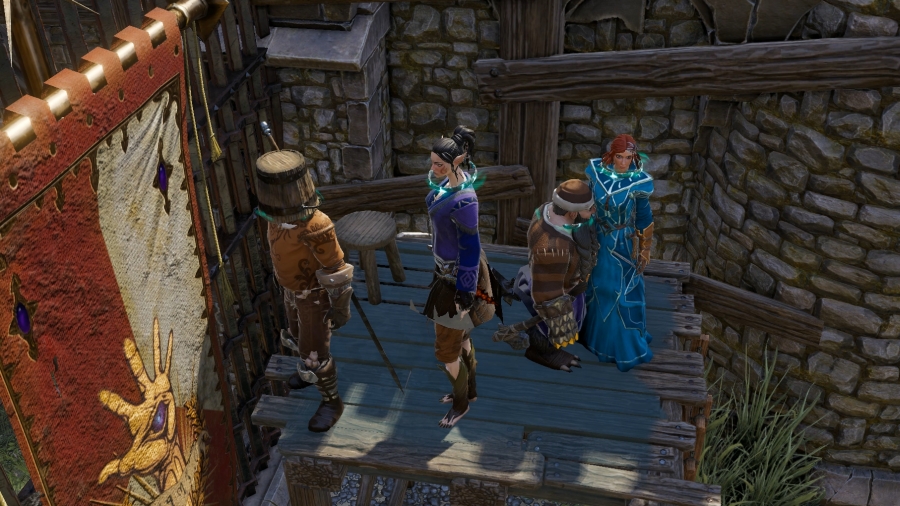 Okay! So, to start this update: after the previous update, and after the thread had made their votes on what to do next and who to bring in, I went to record another session of Divinity: Original Sin 2. I have a Nintendo Switch Pro controller plugged into my computer at all times. Usually, it doesn�t give me any issues, and Steam needs to be specially configured, and it needs to be in Big Picture mode, to even natively recognize it. However, this time, the little blue light on its Home button lit up, meaning that it was active. The best that I can describe what happened was that the controller must have fired the B button rapidly, which is the button that brings up in-game profiles, and then it is also the button that deletes them. So, due to a glitch with my controller, the game immediately deleted my profile and every save that I had on it, including at least two campaigns with my friends and the LP�s. Steam cloud saves update to match in-game saves almost immediately on change, so my saves in the cloud were toast too. So, the LP save? Totally gone. Everything that we had was up in smoke. Now, that�s not such a big deal. After all, we were only (only) ten hours into the game, and I had the sense to write down every single thing I had done for the sake of this LP, right down to things like allocating stats on level up, and listing what skills I got and when. So, within six hours, I had gotten the save back to exactly as I had it before. Stingtail is dead; Griff is our best friend; I had rescued the elf psion Daeyena; and, as of the last update, I had killed Kniles and I had busted down the front door to Fort Joy from the inside. Also, going forward: before every session, I make drat sure to unplug my Switch controller, and after every session, I back up my save on an external USB stick. Better safe than sorry! Functionally, nothing should be different. I tripped all the same flags and followed all the same steps, right down to showing Withermoore his own Soul Jar before I smashed it. What unfortunately separates this save from the old one is the loot and items I had found: unfortunately, due to how the game handles item spawns, and especially with the randomness involved with Lucky Charm, there�s just no way to accurately replicate all those sweet-rear end items I had found. That fire staff with +6 Initative? Vanished. That awesome elven crossbow that outclassed the Houndmaster�s by a country mile? Dissolved. But it�s not like we�re starting again with nothing! 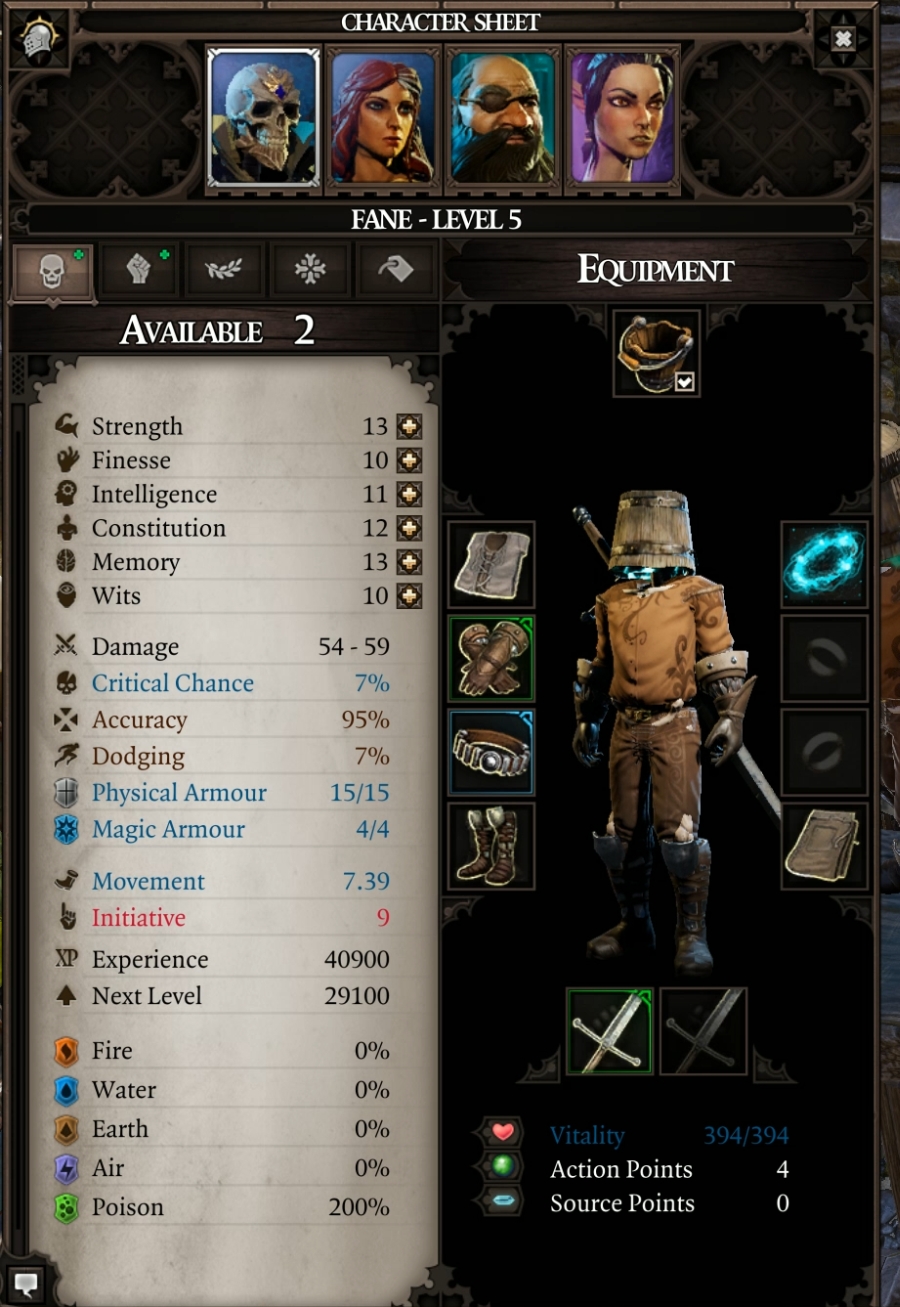 Fane�s still rocking his iconic bucket, and he found a better belt than the one he had before, giving Withermoore�s to Lohse. He also swapped his big ol� hammer for a big ol� sword. And I also found another crossbow, for if we ever take Ifan back on � it�s not as good as the elven one we had, but it�s still no slouch. At the end of the previous update, we had leveled up mid-fight with the Magisters keeping the gate. Because I was sure to trip the same flags and fight the same fights, this update also opens with us leveling up. We�re on level five, which is one of the boring ones that doesn�t come with a civil skill or a Talent. I put Fane�s two attribute points into Constitution and Memory. We�ll be needing lots and lots of Memory, and more Constitution is always a good idea for our tank, especially one that�s difficult to heal. I also put his one combat point into Necromancy, putting it up to three, tying his Warfare stat. Lohse puts her one combat point into Hydrosophist � the healer needs to be good at her job above all else � and her two attribute points also go into Memory and Constitution. Beast�s points go into Memory, Strength, and Geomancy; and Sebille�s points go into Polymorph, which gives her an additional attribute point to spend, and she spends them on Constitution, Memory, and Wits. Transcribing these level-ups has a more important meaning now that I�ve had to start again  The vote from the previous update was to continue exploring the fort � but it was also to swap out Beast. His kit was having a hard time synergizing with the rest of the team�s. 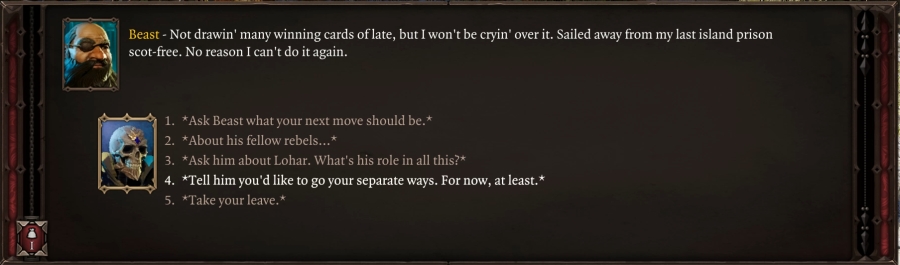  : If we have different paths to take, you and I, so be it. : If we have different paths to take, you and I, so be it.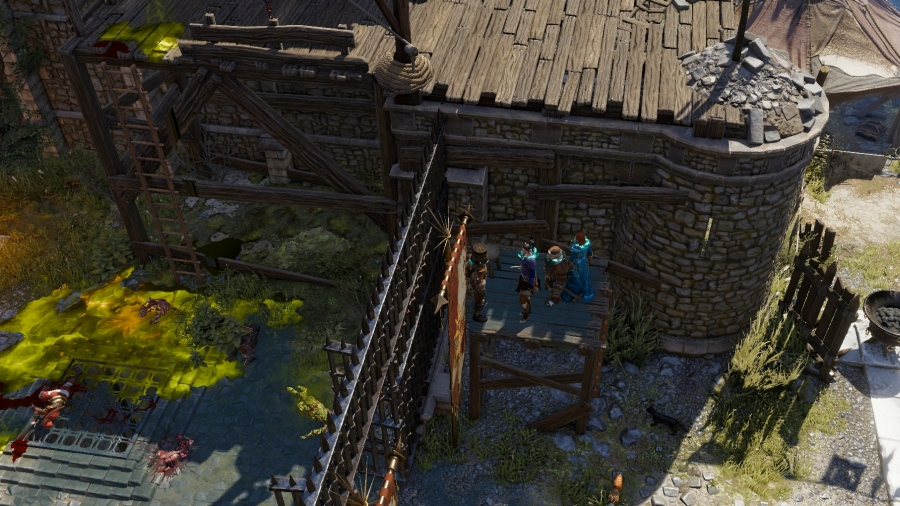 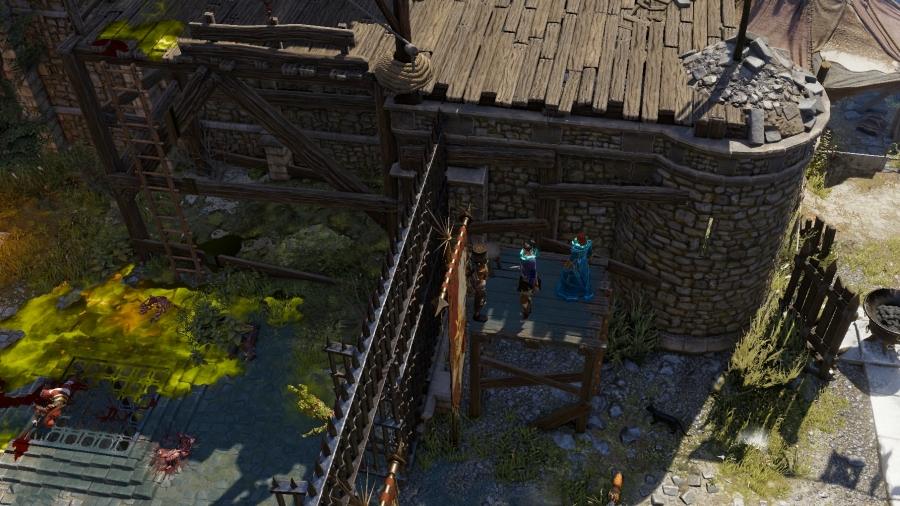 And then he just� vanishes. Like he was never there to begin with. We had voted to bring our first partner back in: the oh-so-loveable and extremely relatable Red Prince, heir apparent to the throne of the lizard empire. He is now a dirty bum wearing rags and staring listlessly at an ocean he nearly drowned in. 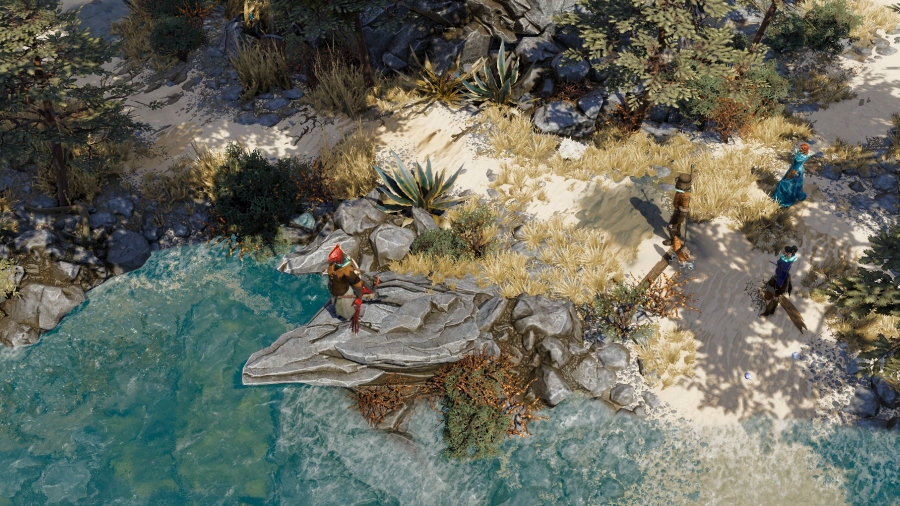 A quick jaunt later, and he�s exactly where we last left him. 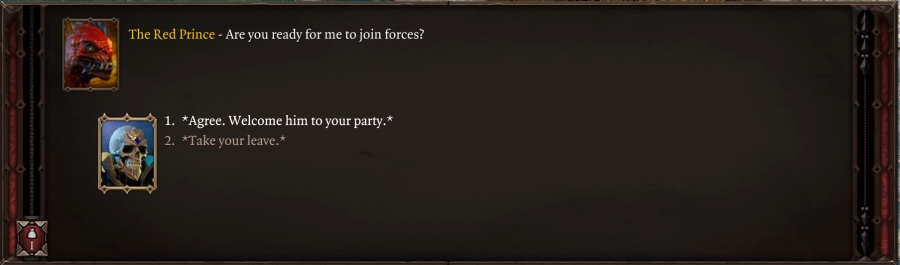  : Off we go then! : Off we go then!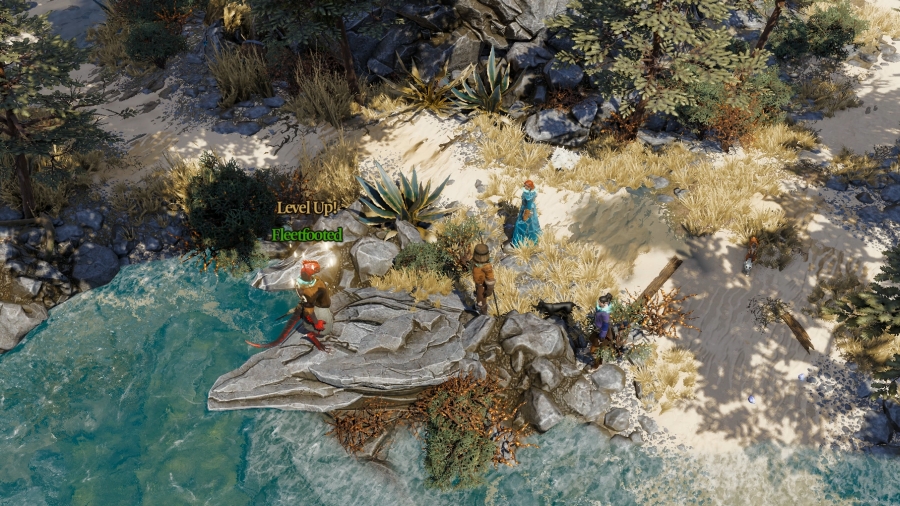 Prince immediately takes every single experience point we�ve accrued since he last left our party, shooting him straight from level two to level five. He has a ton of points to go throwing around. Way back when I first explained classes and styles and what each person hopes to accomplish within their role in the team, I asked the thread if we wanted to keep the characters as their default classes. And we voted yes for everyone but Prince: we wanted to turn him into a Pyromancer mage that doubles in Warfare. Anything that Fane can do with a two-handed sword or hammer, Prince can do with a two-handed staff. This is an interesting idea for a build! I�ve never done it before on any of my normal playthroughs and I�m excited to give it a try. Prince has six total attribute points to spend, and I spend three on Memory; two on Intelligence; and one on Constitution. He also has three combat points, and I put one into Pyromancy (putting him up to two) � and I put the other two into Summoning. I know this isn�t quite what we wanted him to be, but my reasoning is that, over the course of the game, a character will typically get enough combat points that they can reasonably triple-dip into three schools, and, well, I wanted to show off Summoning. It�s a very powerful school and, frankly, Prince getting some underlings to boss around sounds like something he�d enjoy doing. To that end, I put his one talent into Pet Pal. 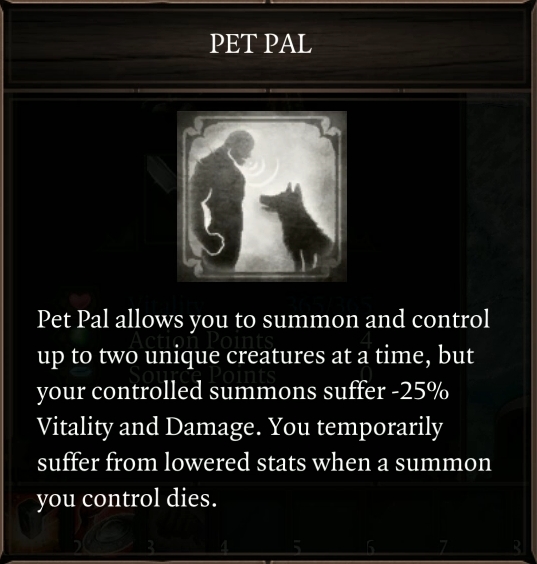 In the base game, Pet Pal allowed you to talk to animals. Like I said earlier, it was considered an integral part of the experience of Divinity: Original Sin, both 1 and 2. It�s so important that one of the Larian Gift Bag mods gives it to you for free; taking the Talent with the Gift Bag mod active instead sets your attitude with all animals to 100. In the base game, summons disappeared after ten turns, and that timer counted down outside of combat (roughly one turn every eight seconds). Summoners were encouraged to summon their dudes, give them as many buffs as possible, and then enter battle � this was considered to be a cheesy tactic to help win fights. In the Divinity: Unleashed mod, summons now last infinitely (until they�re killed, anyway), turning this cheese strategy into a legitimate one. They also disappeared when their summoner died in the base game � in the mod, they instead go Mad and can potentially hurt allies if their summoner dies before they do, putting a strong incentive on keeping the summoner alive. Also, Divinity: Unleashed massively overhauled the Pet Pal Talent, as you can see. With Pet Pal, Prince can summon up to two unique creatures (so he can�t summon two Incarnates, the most common type of summon) � but in exchange, they suffer HP and damage penalties, and if either of them die, then Prince takes a pretty serious debuff himself. Summoning is an extremely powerful school that can synergize well with every other kind of school in the game � you�ll see how later. The Divinity: Unleashed mod makes a lot of adjustments to it, making it more powerful in exchange for being more fragile � a very �glass cannon� type of school that emphasises the bond a master can have with their pets, and how badly it can hurt once that bond is broken, as opposed to the base game, where summons were more like expendable soldiers. With these changes, the Summoning school can rip enemies apart, but it has a hard time keeping itself together once a hole is ripped in its seams. So yeah! I�m excited to give that a look. Prince is easily the most unique build I�ve had yet! 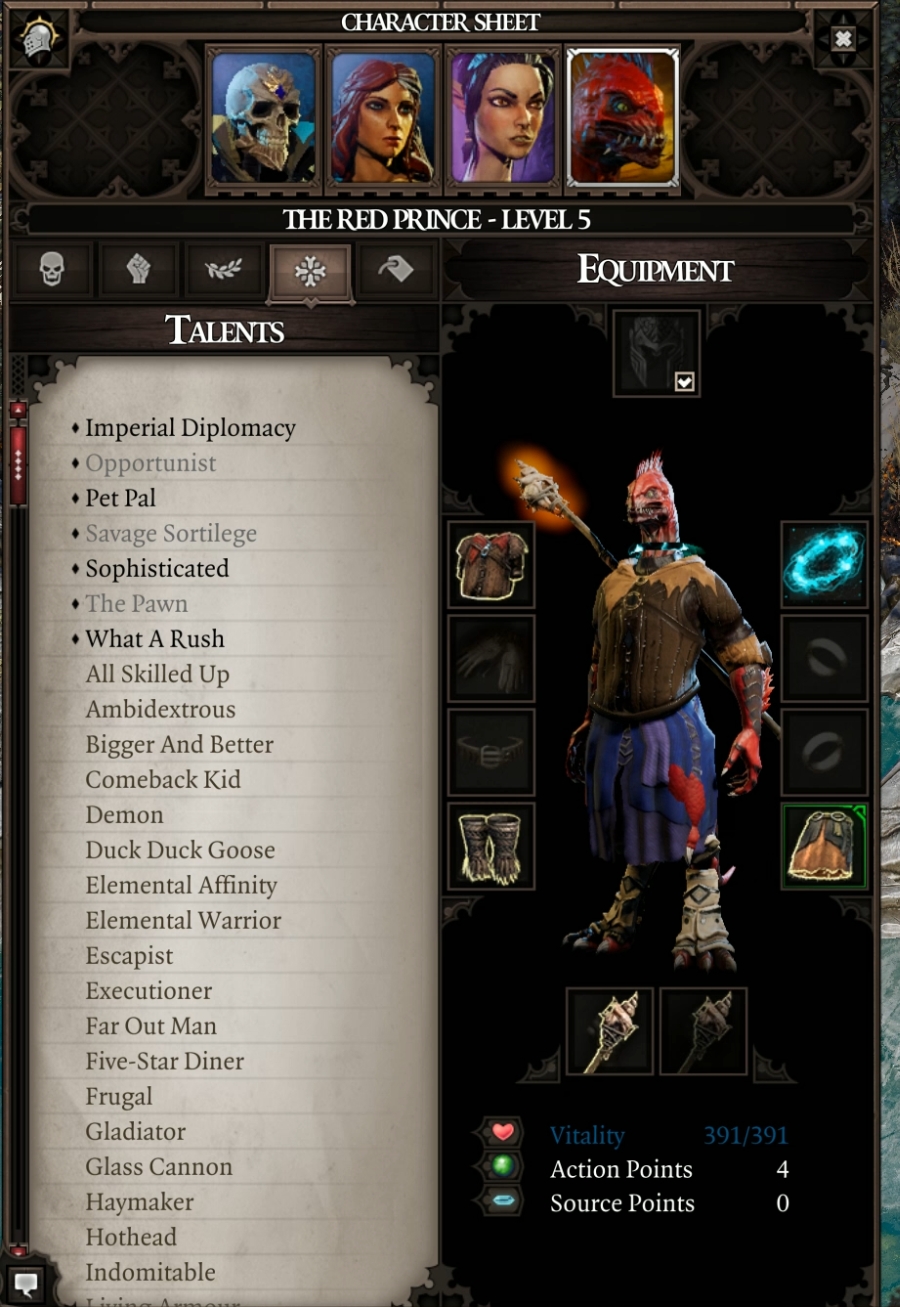 In this new save file, I did happen to find a new fire staff, but it doesn�t have anything special � it�s just a staff that attacks with fire, nothing more. Now that we have a direction to move Prince in, he just needs some skills. 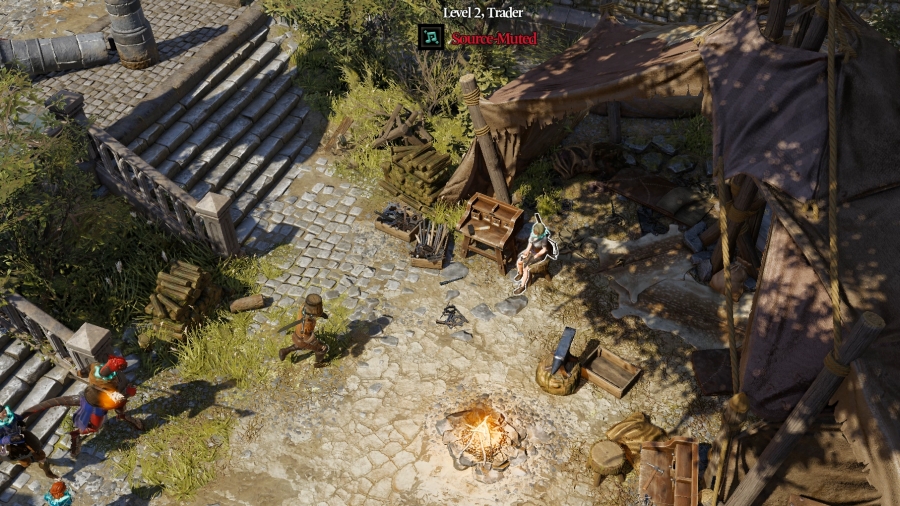 Nebora, the blacksmith that we tried to commission for a Face Ripper, actually deals in Summoning. Since Stingtail is dead, she�s the person we�ll want to speak with first. While Sebille pickpockets her. 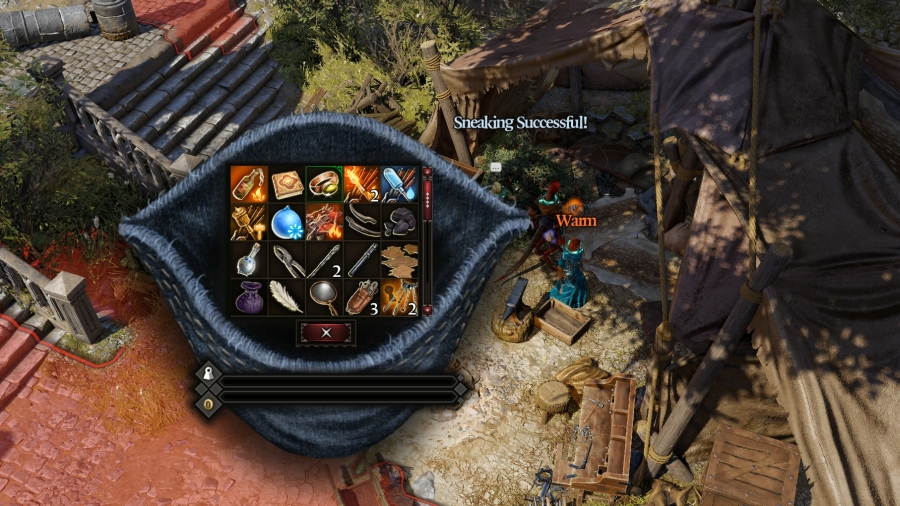 She takes Conjure Incarnate and Elemental Totem � two of the absolute musts for any Summoner build. You can�t very well focus on your summons if you can�t summon anything! With the rest of her gold value allotment, she just takes a handful of cash. 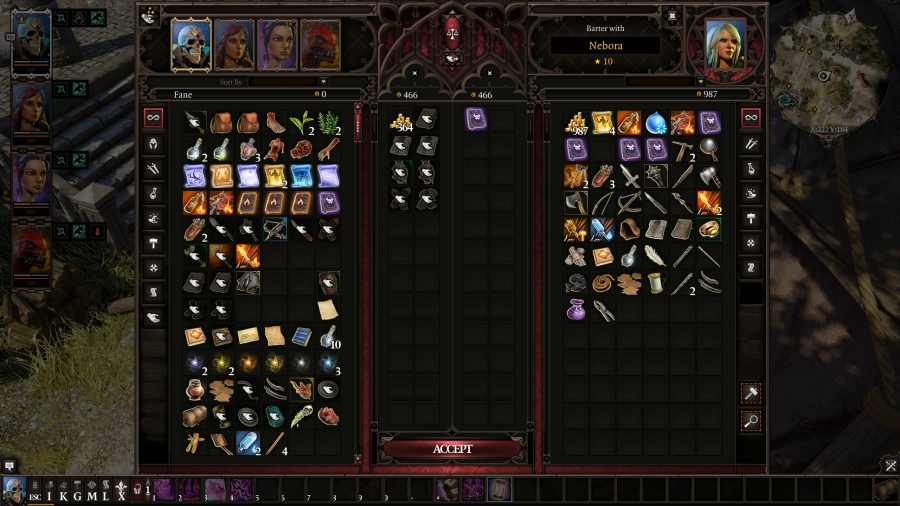 Fane, more legitimately, purchases the Power Infusion skillbook from her before he runs out of money. I have more wares to sell, but Kalias would give us a better deal for them, so it�d be more cost-efficient to run to him to offload my junk. In this save file, I also happened to pick up a Farsight Infusion skillbook, so that�ll help save us a bit of money. 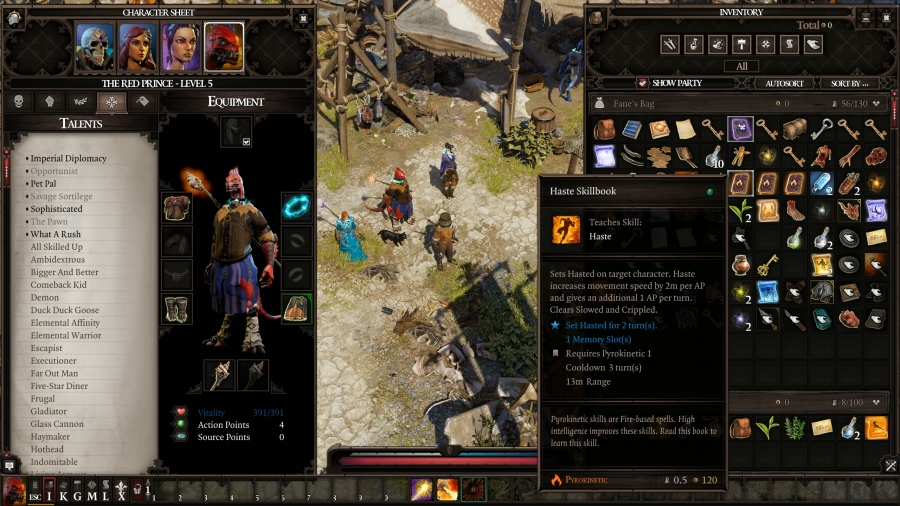 On the way there, I�ve been lugging around a set of Pyromancy skillbooks that I had knicked from Stingtail�s dead body and I had wanted to give them to Prince ever since. I�m holding onto Haste, Ignition, and Peace Of Mind. In the old save file, I also had Searing Daggers, but this new file wasn�t so lucky  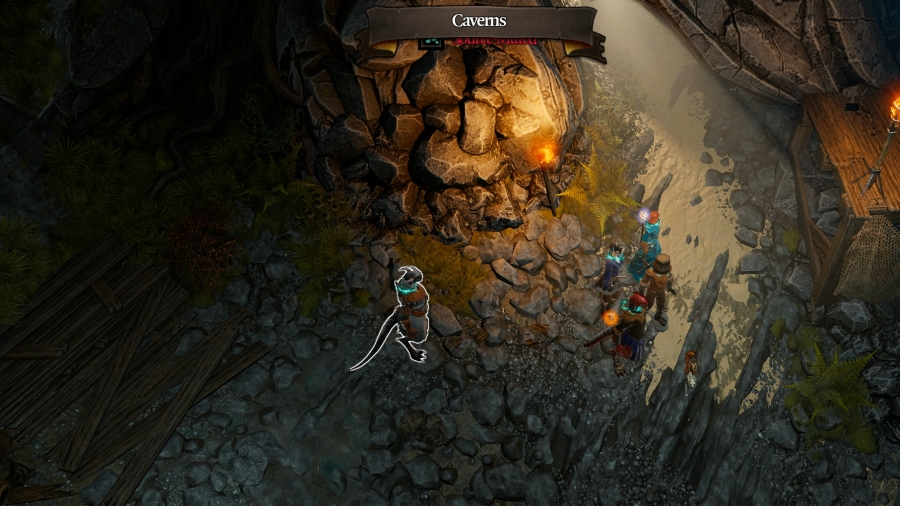 Back in the elven cave, there�s Kalias, waiting to trade. 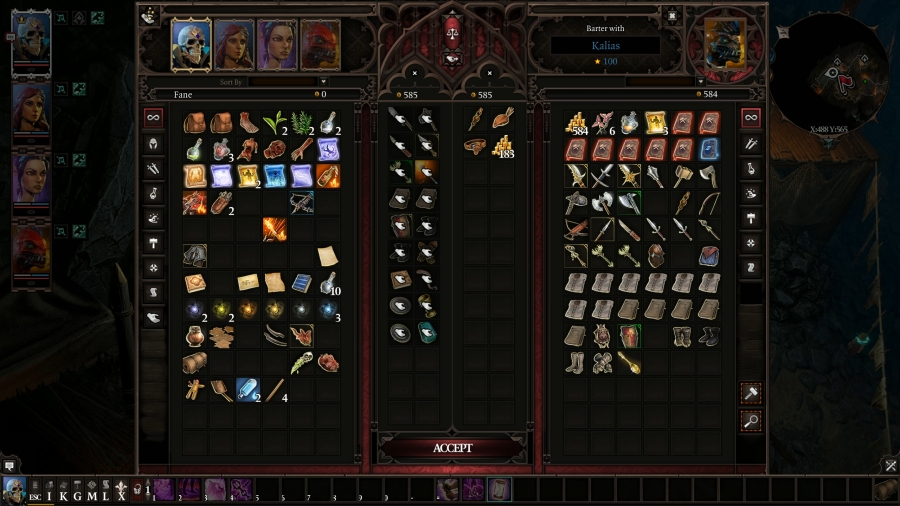 He�s willing to trade all of my junk in exchange for a better fire-shooting staff than the one Prince has now, as well as a regular hat; a belt; and 183 coins. It�s a pretty good deal for a bunch of junk! 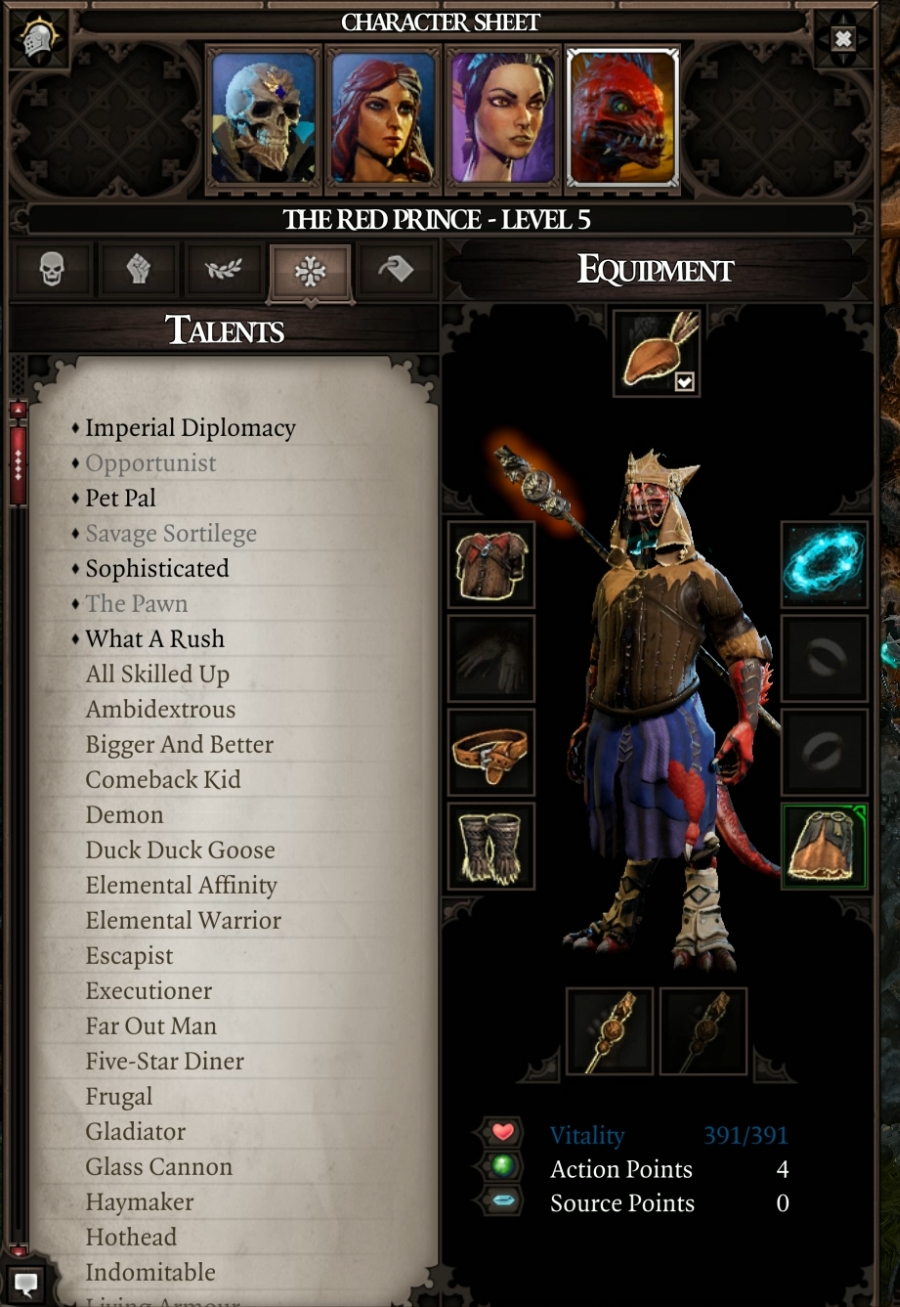 It�s a very dignifying hat. With my shopping trip done, let�s take inventory of the skills I had equipped for Prince:  Haste: Increases a character�s movement speed, allowing them to travel farther while spending less AP, and grants one additional AP per turn. Clears Slowed and Crippled. Haste: Increases a character�s movement speed, allowing them to travel farther while spending less AP, and grants one additional AP per turn. Clears Slowed and Crippled. Peace of Mind: Increases Strength, Finesse, and Intelligence by 2 and Wits by 3 for three turns. Clears Blinded, Terrified, Charmed, Taunted, Sleeping, Enraged, and Mad. Peace of Mind: Increases Strength, Finesse, and Intelligence by 2 and Wits by 3 for three turns. Clears Blinded, Terrified, Charmed, Taunted, Sleeping, Enraged, and Mad. Conjure Incarnate: Summon a personal elemental that matches the surface you summon it on � for example, conjuring it on fire will give it fire elements and properties. Incarnates can receive all kinds of buffs from different skills over the course of the game. Summon it with a 10 or higher in your Summoning skill for a big surprise! Conjure Incarnate: Summon a personal elemental that matches the surface you summon it on � for example, conjuring it on fire will give it fire elements and properties. Incarnates can receive all kinds of buffs from different skills over the course of the game. Summon it with a 10 or higher in your Summoning skill for a big surprise! Elemental Totem: Target a surface and conjure a turret of that surface�s element that will fire once per turn at a random enemy within eyesight. Automatically dies after four turns (even in Divinity: Unleashed). Elemental Totem: Target a surface and conjure a turret of that surface�s element that will fire once per turn at a random enemy within eyesight. Automatically dies after four turns (even in Divinity: Unleashed). Power Infusion: Bestow an infusion of power onto any allied summon (not just incarnates), giving them additional HP, strength, and physical armour. Also gives them the Battering Ram skill, plus one other skill, depending on the summon. Power Infusion: Bestow an infusion of power onto any allied summon (not just incarnates), giving them additional HP, strength, and physical armour. Also gives them the Battering Ram skill, plus one other skill, depending on the summon. Farsight Infusion: Bestow an infusion of farsightedness onto any allied summon, giving them additional strength and magic armour. Also gives them a long-distance projectile skill that matches the element of the summon. Farsight Infusion: Bestow an infusion of farsightedness onto any allied summon, giving them additional strength and magic armour. Also gives them a long-distance projectile skill that matches the element of the summon.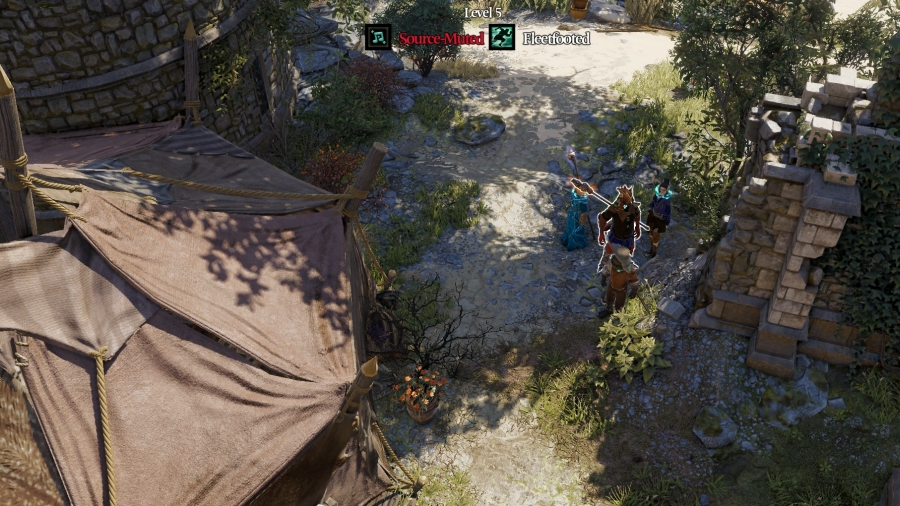 We�re just about ready to head back into the fort and explore it some more � but first, let�s check in with Prince. It�s been a while! 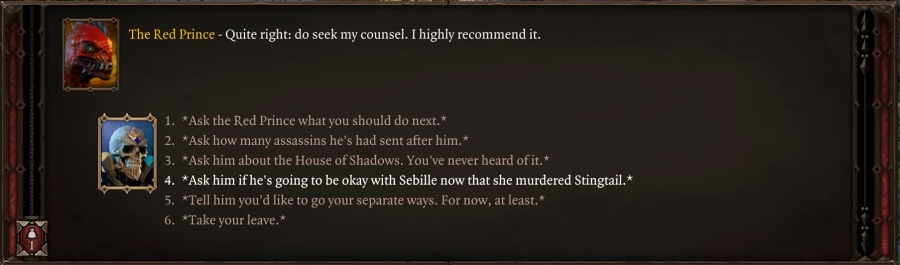  : If you have any issues with traveling with Sebille after what she had done to your Dreamer, now would be the time to voice them.: Bah! I should whip her �til she�s as red-skinned as I am, then leave her for the birds to peck clean. But there are broad waters between should and shall at the present, and I�m nothing if not a patient prince.: It�s forgiving that I�ve more trouble with. : If you have any issues with traveling with Sebille after what she had done to your Dreamer, now would be the time to voice them.: Bah! I should whip her �til she�s as red-skinned as I am, then leave her for the birds to peck clean. But there are broad waters between should and shall at the present, and I�m nothing if not a patient prince.: It�s forgiving that I�ve more trouble with.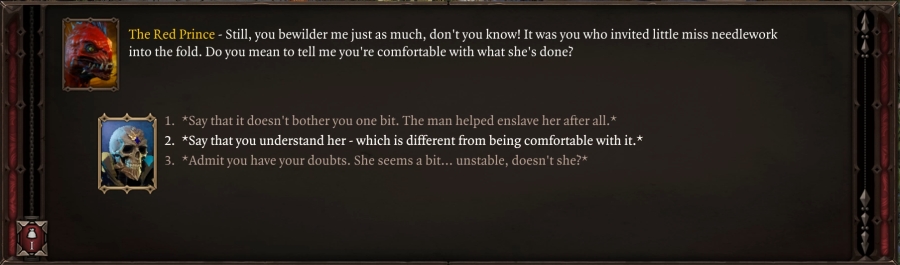 : Just as there are �broad waters between should and shall,� there�s a thick line between �understand� and �comfort.�: You understand her, do you? You understand that she murders a man because he did like he was bid to by a Master; by a higher force than he? : Just as there are �broad waters between should and shall,� there�s a thick line between �understand� and �comfort.�: You understand her, do you? You understand that she murders a man because he did like he was bid to by a Master; by a higher force than he?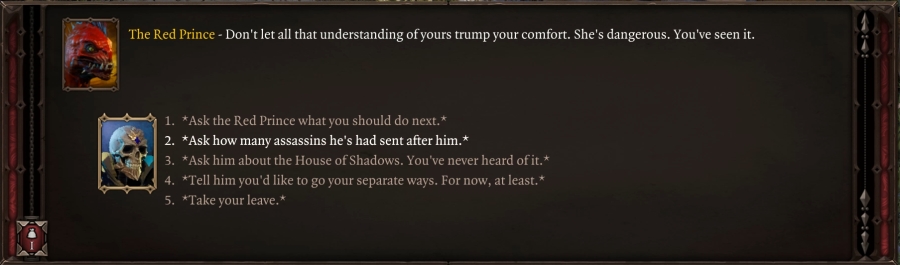 I wonder who�s more dangerous between Sebille and Prince. : You handled that crazy renegade on the beach rather casually. How many assassins have you had to deal with so far?: Dozens, I should imagine, but if we�re talking about the ones that came after my exile, this would be number five.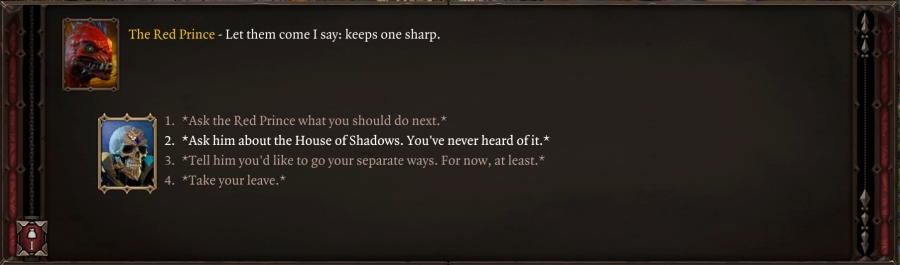 : After your dream with Stingtail, you had mentioned something about a �fabled House of Shadows.� Can you tell me anything more about it? After that assassination attempt, I feel I should be as well-equipped as I can be, if we�re to travel together.: That�s the whole idea I�m afraid. Even I myself thought it myth. See, the Ancient Empire consists of three houses: the noble houses of War and Dreams, and the upstart House of Law. : After your dream with Stingtail, you had mentioned something about a �fabled House of Shadows.� Can you tell me anything more about it? After that assassination attempt, I feel I should be as well-equipped as I can be, if we�re to travel together.: That�s the whole idea I�m afraid. Even I myself thought it myth. See, the Ancient Empire consists of three houses: the noble houses of War and Dreams, and the upstart House of Law.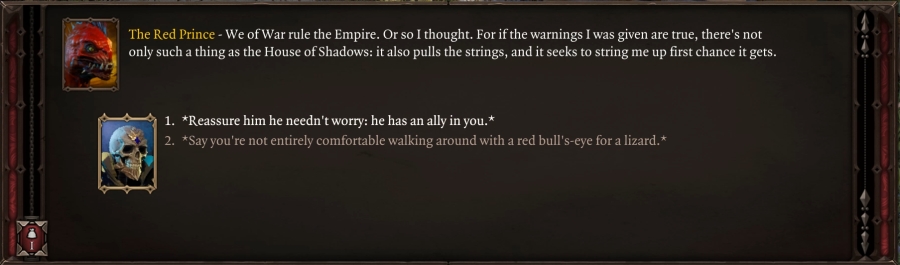 : At the least, you�ve so far proven to be an ally to me, and I in turn intend to prove that you have an ally in me.: And you in me. : At the least, you�ve so far proven to be an ally to me, and I in turn intend to prove that you have an ally in me.: And you in me.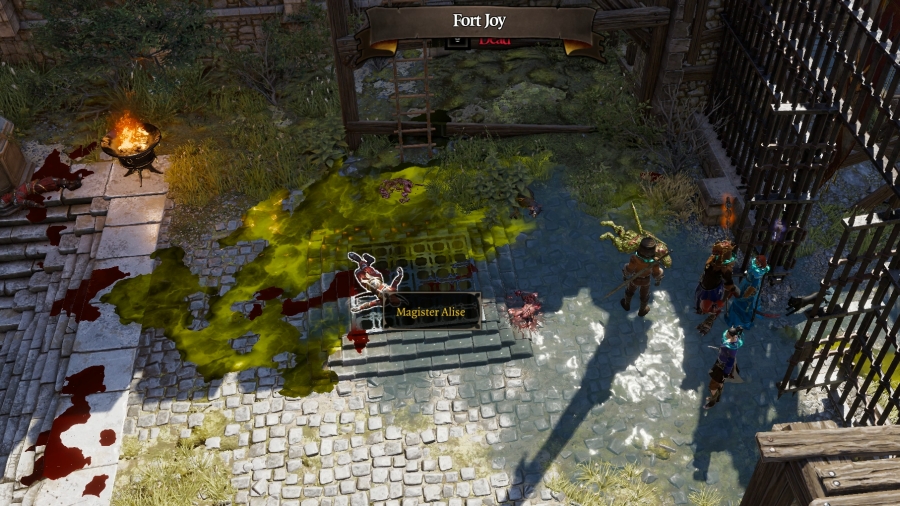 Moving back to the scene of the fight � well, rest assured, it�s just as messy as it was in the previous file. I haven�t had a chance to loot the bodies yet, so, might as well get started on that. 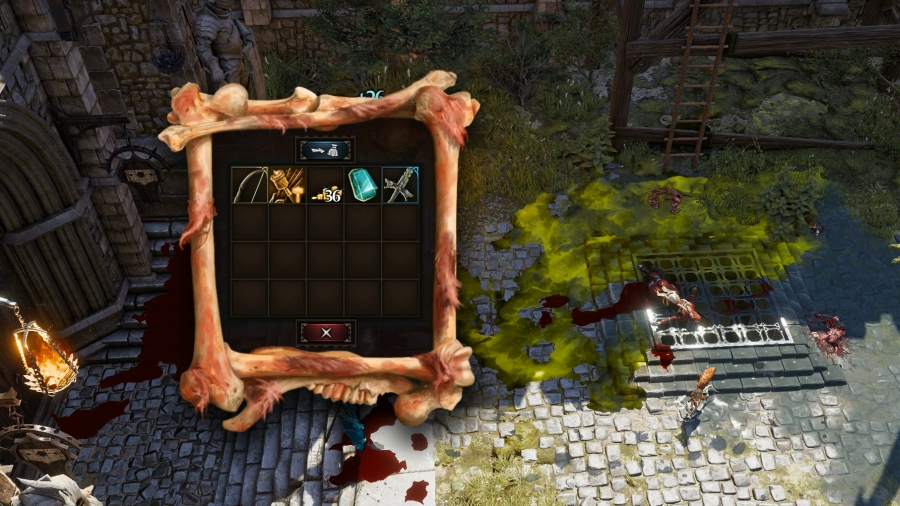 One of the archers had a poison flask and Borris had some spare cash, but Holind, one of the tanks from the fight, has all the goodies. 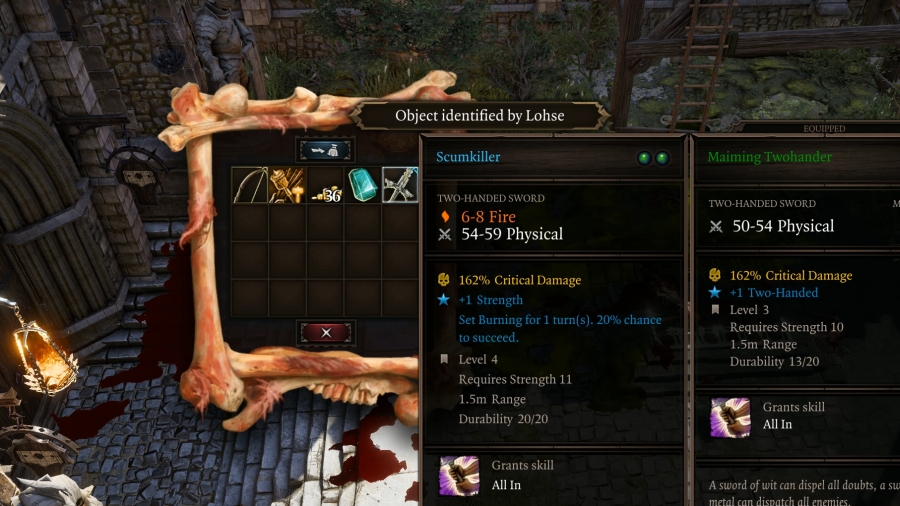 Whoa that sword, the Scumkiller, is not loving around. That is a powerful sword for the level I�m at. Yes please! The gem is good to sell; the arrow requires an archer in our party; and the bow, despite being unique, doesn�t actually have any bonuses to it. It�s worth 400 big ones, so it�s excellent vendor trash, at least. 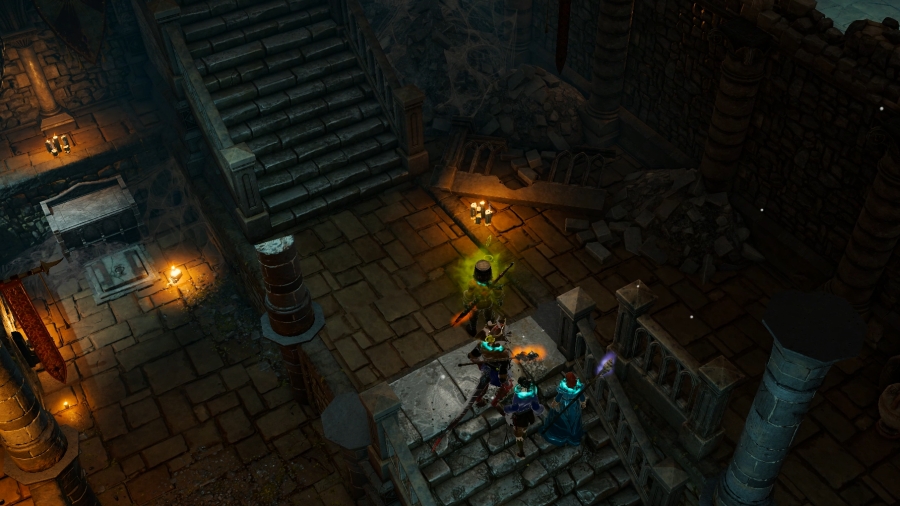 We�re back at this crossroad inside in the fort. To our east is the dog pit; the Houndmaster�s room; and Kniles� playground. To our south is Han and the escape boat. To our west is the foyer and the front door to the fort. That just leaves whatever�s up these stairs�. 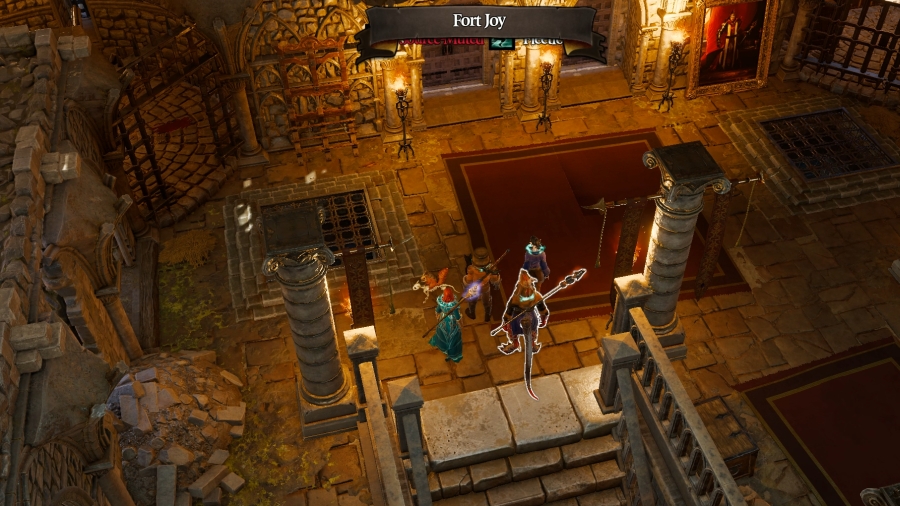 Oh. This isn�t so bad. I have no idea where I am. Given that I�m inside the Magister fort, on what is presumably the ground floor, I�m probably surrounded by them, even if they aren�t in this room specifically. I can hear voices directly to my north, though�.   : I demand entry. You can�t hide what you�re doing forever! : I demand entry. You can�t hide what you�re doing forever! : This has nothing to do with the Paladins � go and tell your Grandmaster that.: It�s everything to do with the Paladins! You sully the Divine�s name with this place!: The Divine would want the world free of Voidwoken.: Sourcerers are like the Divine�s children � if you�re harming them in here, we�ll�: You�ll do what? You�re weak. Only we have the will to do what�s necessary. Goodbye. : This has nothing to do with the Paladins � go and tell your Grandmaster that.: It�s everything to do with the Paladins! You sully the Divine�s name with this place!: The Divine would want the world free of Voidwoken.: Sourcerers are like the Divine�s children � if you�re harming them in here, we�ll�: You�ll do what? You�re weak. Only we have the will to do what�s necessary. Goodbye.Before I get myself involved with whatever that mess is, I might as well take a look around the room I�m in. It�s pretty clean and fancy, but it also appears to be some kind of storeroom � there�s chests and bags all over the place, ripe for the taking. 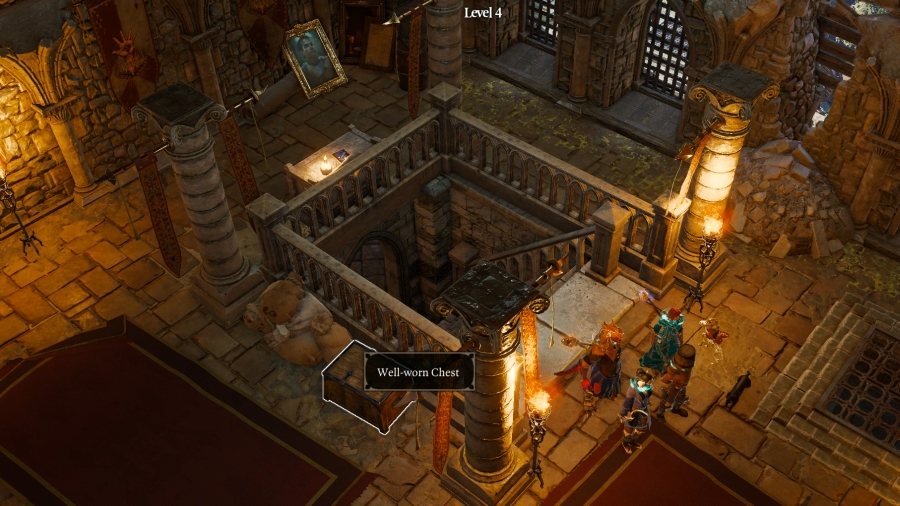 This chest has some money and a Winter Blast skillbook. I already know that spell, unfortunately, but it has decent resale value. 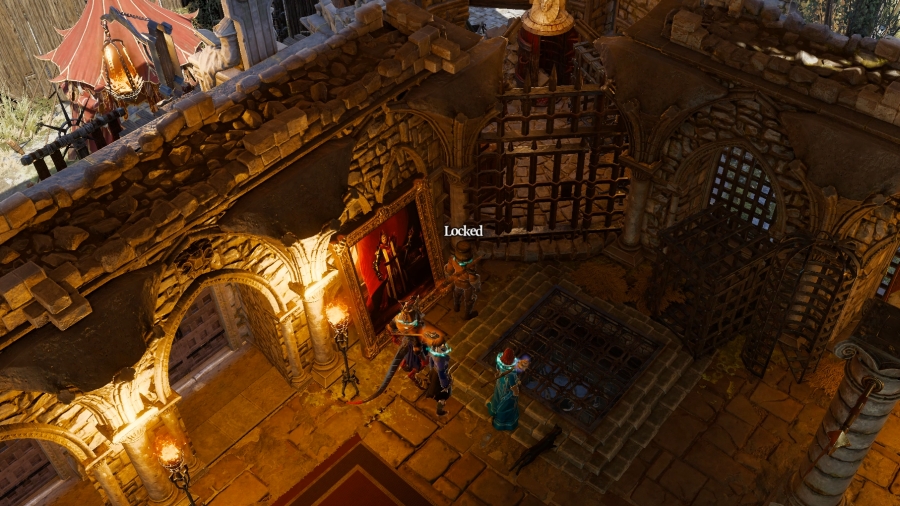 This room has two towers in its corners, each of them barred off. One of them is empty, save for a puddle of blood and a bucket, and this one has an iron maiden in it. Always a good sign. It�s always good when your captor tries to convince you that they�re helping you while they hide away the blood splatters and iron maidens. 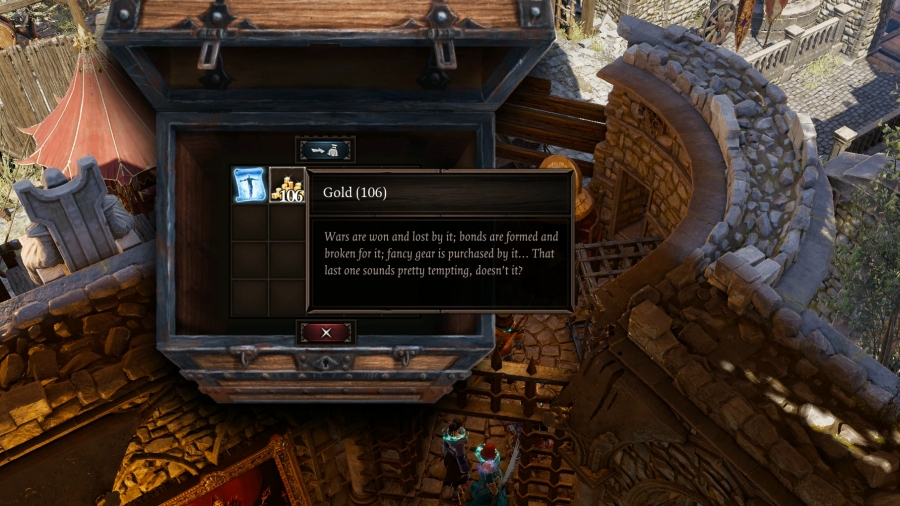 The iron maiden room has a chest with even more money and a Restoration scroll, which are always in demand. I may only have one dedicated healer, but that doesn�t mean the others can�t do their part if they can. This room also has an interesting book in it. 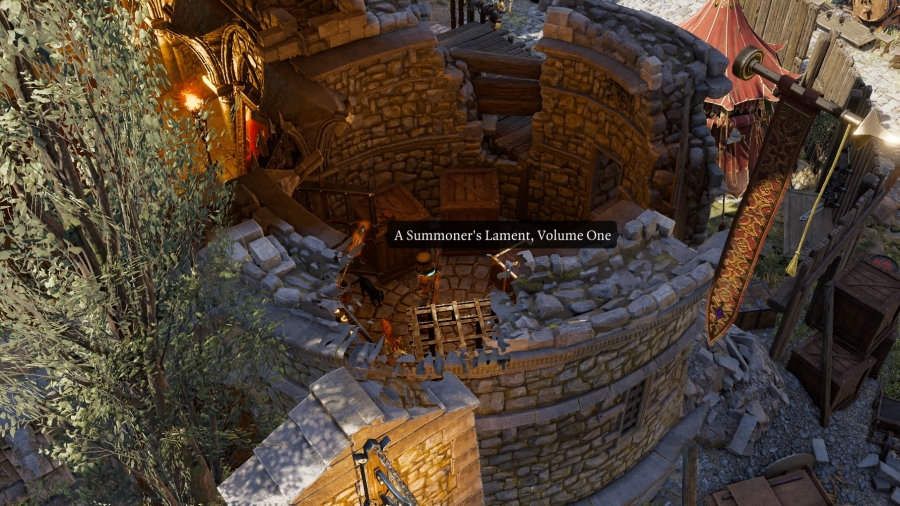 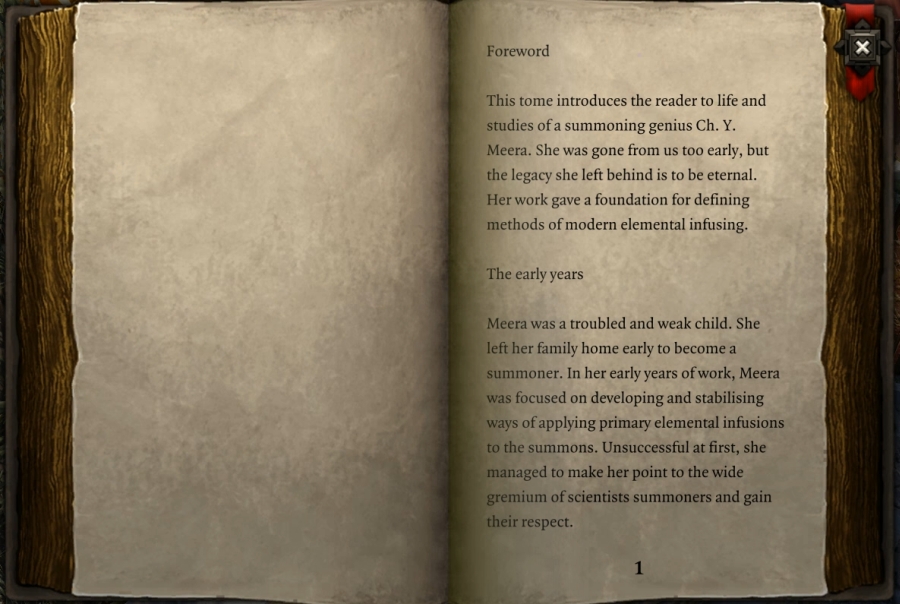 This book in particular is interesting because it teaches us some very special crafting recipes � namely, a way to create elemental infusion spells for summons, turning them into differing elements. Normally, when someone like Prince wants to summon a helper, the element that helper corresponds to goes with whatever surface they�re spawned on � a fire surface will spawn a fire elemental, for example. With these recipes, we can craft spells that can change their element at will. We can create them by combining any Summoning skillbook with any elemental skillbook � say, Summoning plus Aerothurge equals Aerothurge Infusion. But what�s more important about recipes like this is that it implies that we can combine skillbooks at all to create something more powerful. This will be hugely useful later. 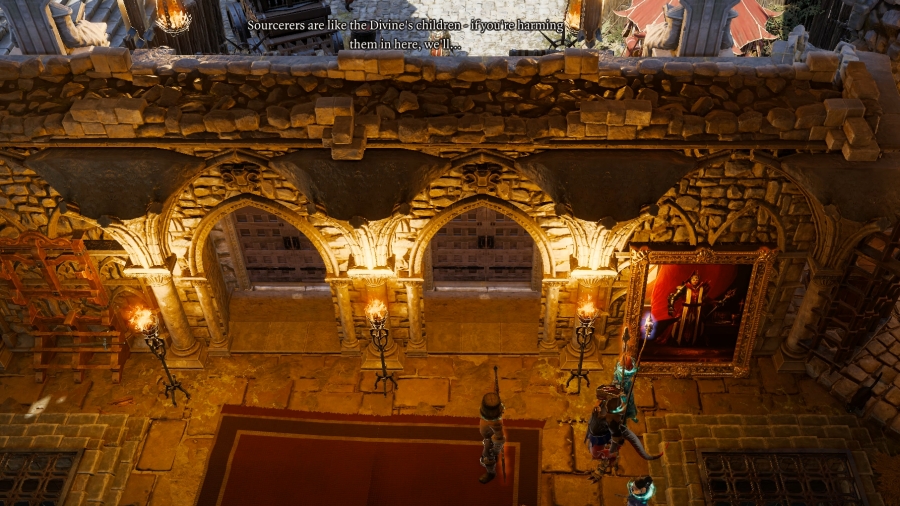 There are two ways to engage this fight: the first is to waltz right out the front door and engage the Magister and whoever the Paladin is right then and there. 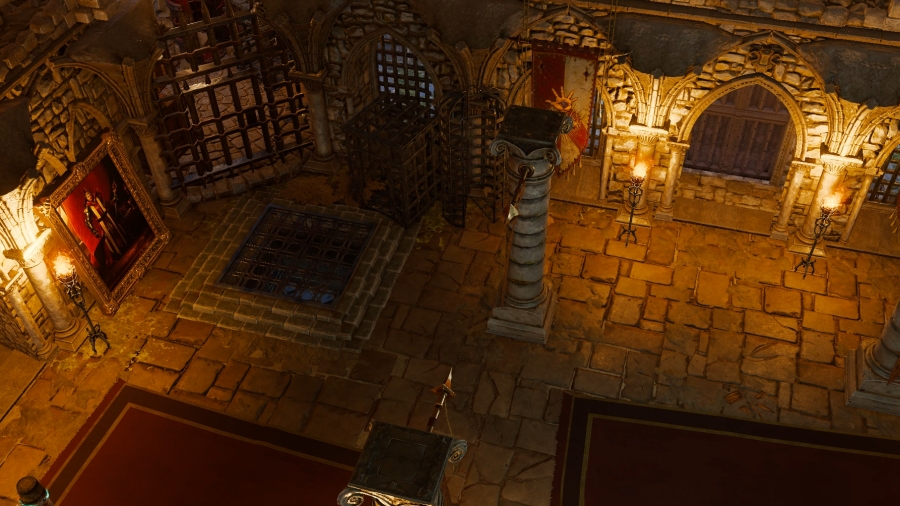 The second is to take this door to the east, which will route you towards the back side of the outer rim of the fort. There�s only one way forward from this door, meaning traveling through Magisters will be slow, but they�ll also be funnelled into you, meaning you can handle them one at a time, if you�d rather. I, of course, do not, and I will be taking the main exit, thank you. 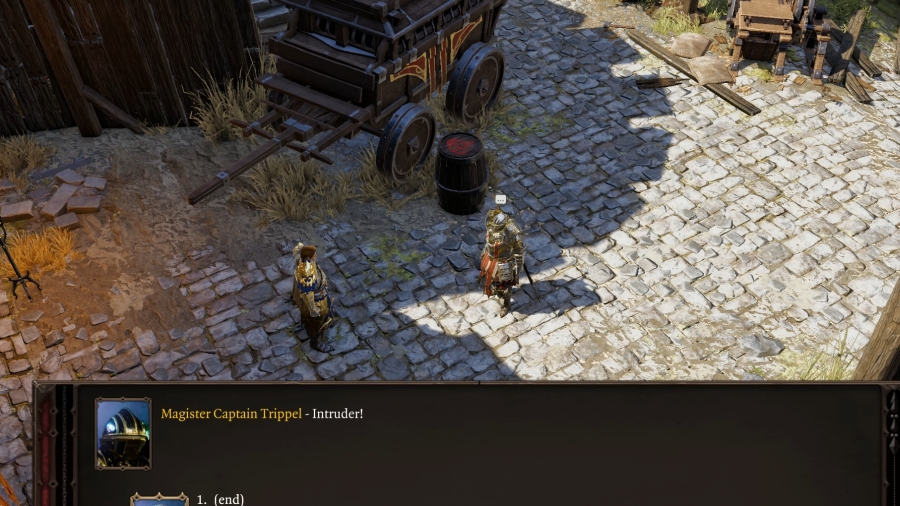 : Intruder! : Intruder!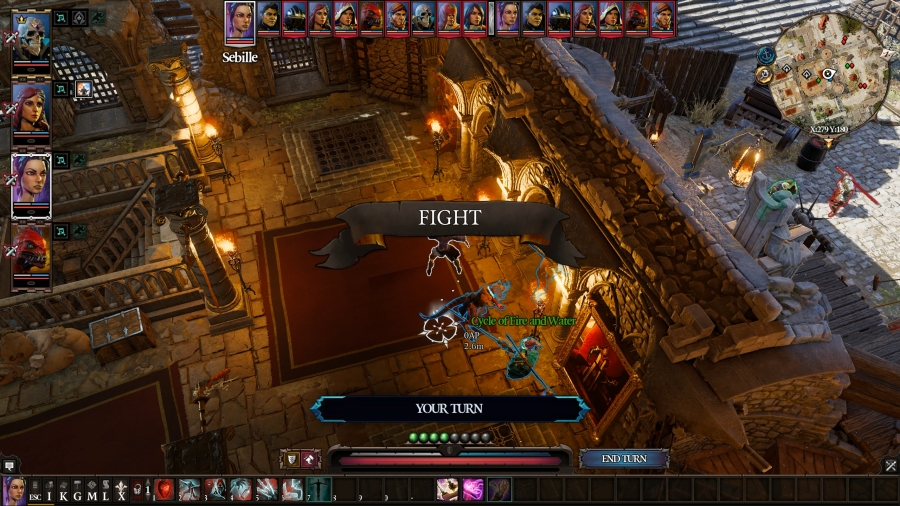  : Dancing With The Source : Dancing With The Source : Put A Cork In It : Put A Cork In ItTurn 1 Cork, the Paladin speaking with the guy in full armour, is highlighted in green, meaning he�s an ally for this fight. He�s arguing directly with a Magister, and he�s specifically not called a Magister, so maybe he really is on our side. But we can figure that out later. 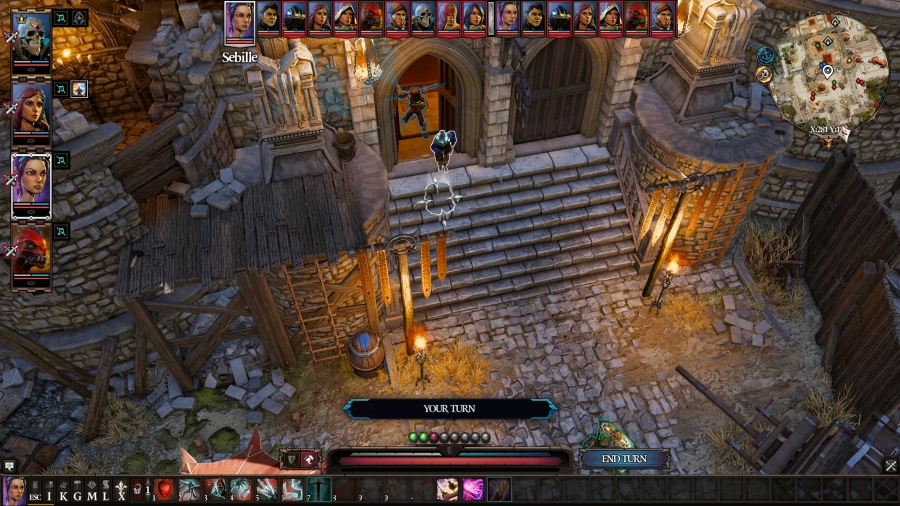 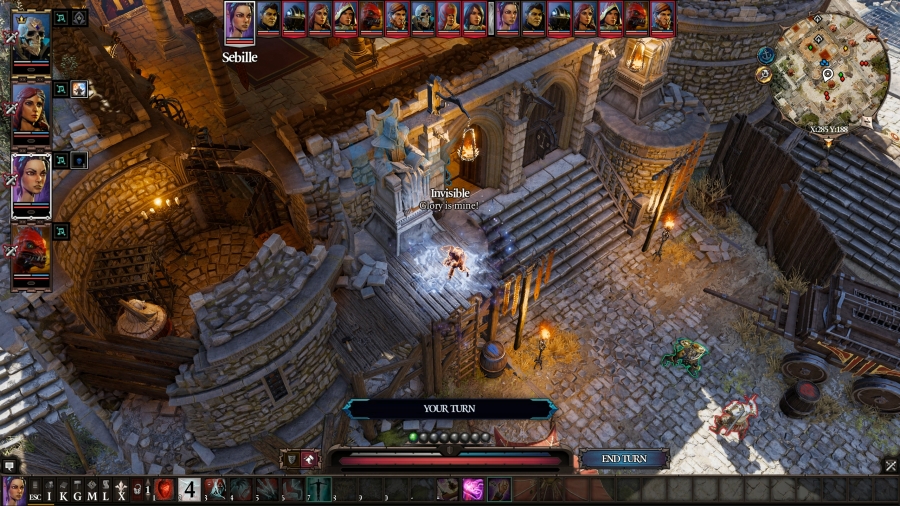 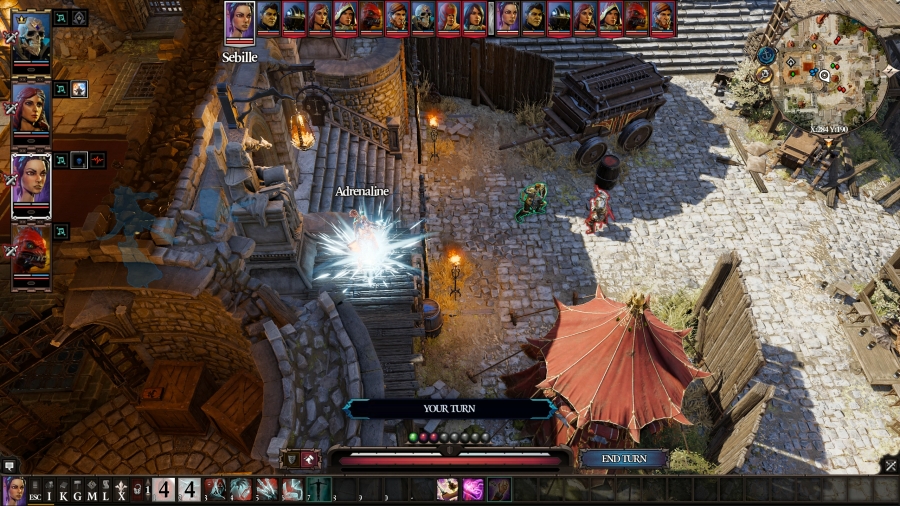 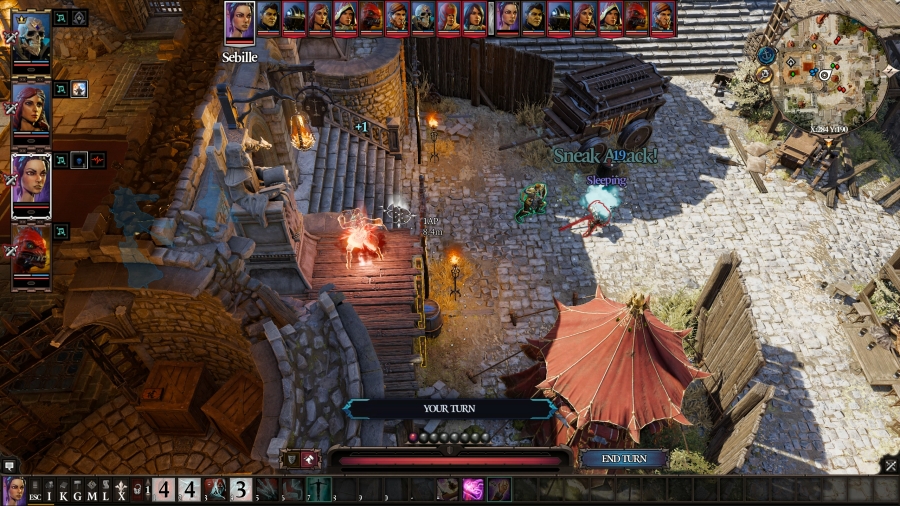 Sebille moves first, as usual. There�s scaffolding just to the right of us as we leave the room and enter the front yard, giving us a height advantage and a clearer look at the battlefield, so, she spends one AP to approach, and then she uses Cloak And Dagger to teleport up there. From there, she uses Adrenaline for a quick AP kick, and then Chloroform to knock out Trippel for a turn. I considered Flesh Sacrifice instead, but the Bleeding would break the invisibility that Cloak And Dagger gave me. Then, she passes, saving one AP.  Cork uses Shields Up, a skill that comes for free with any build equipped with a shield. In both the base game and in the Divinity: Unleashed mod, Shields Up increases the character�s physical and magical armour � the difference being by how much, since the base game and the mod play by such different numbers. After that, Cork passes, saving what I think is two AP. Trippel goes next, and he spends his turn waking up and shouting orders. : Subdue them! And make sure Cork doesn�t leave.It�s Lohse�s turn next, but Prince and Fane are blocking her path; it would take her three AP just to step out of the door. So she delays. 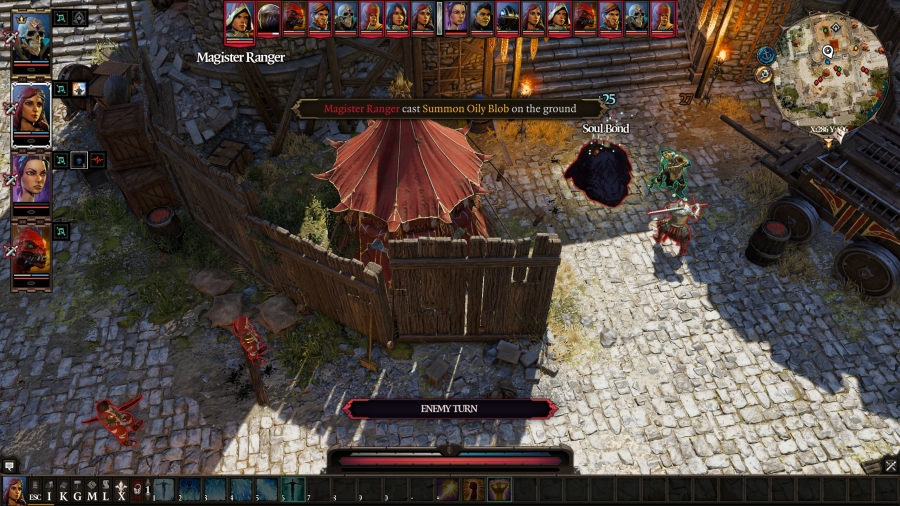 This nameless Ranger chucks a thick glob of oil at Cork, spawning an Oily Blob on top of him. It�s considered a summon and can act independently. She then passes her turn. 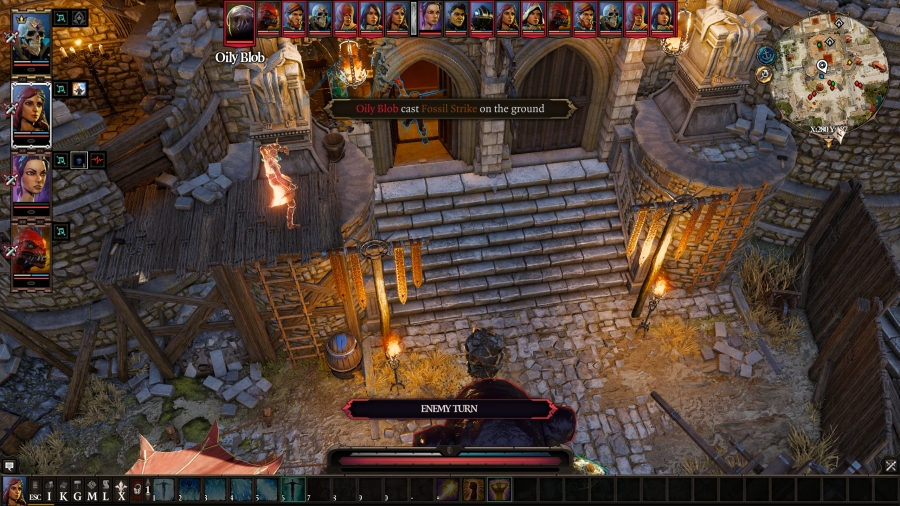 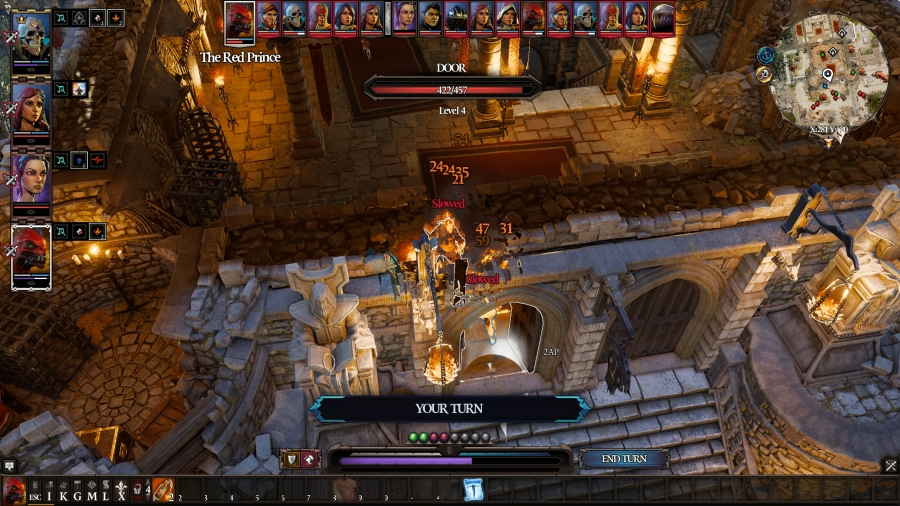 Summons always go next immediately after they�re summoned, and The Blob uses Fossil Strike on Fane and Prince. The oil touches a nearby lit torch, igniting it all and doing extra fire damage on top of the strike itself, putting both of them down to about two-thirds of their HP in one hit. 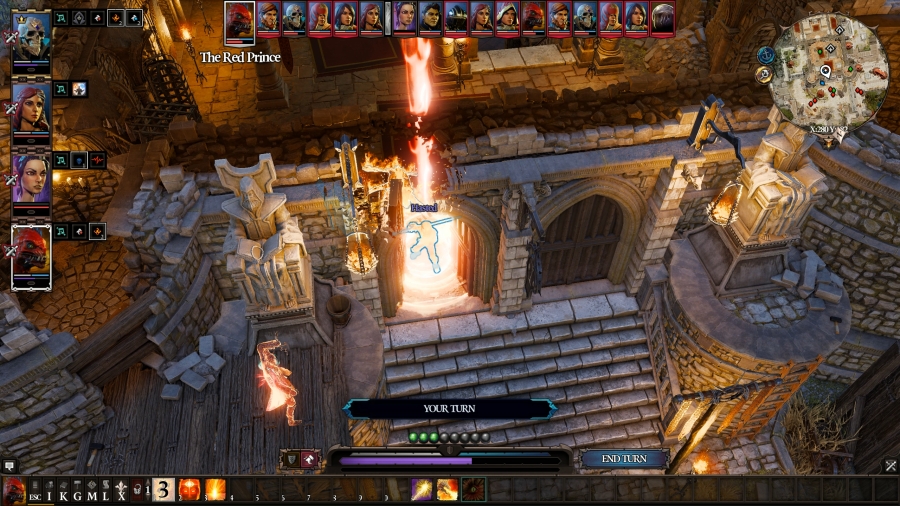 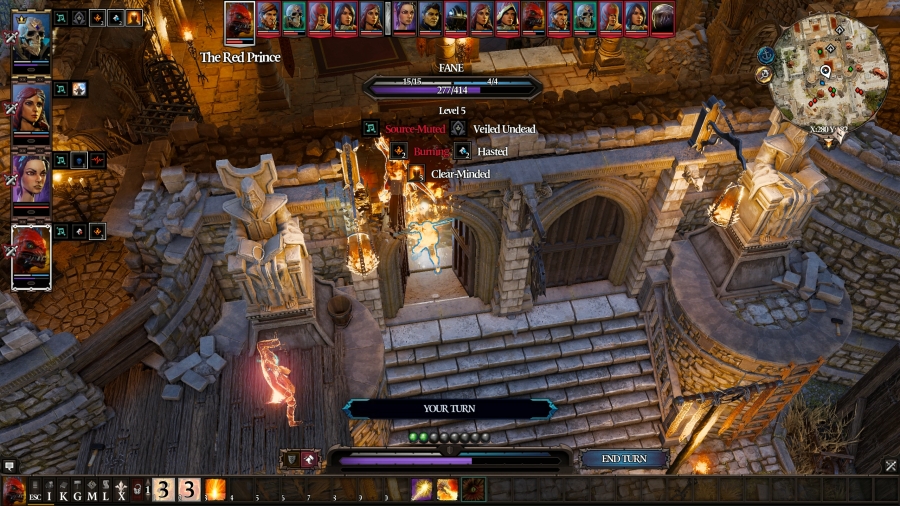  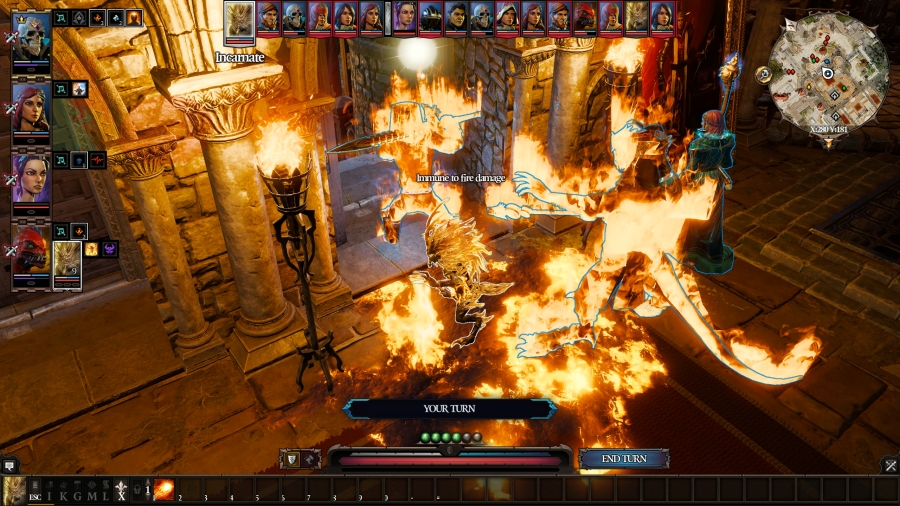 Prince shows off all his fancy new talents by buffing Fane with Haste and Clear Mind. Fane was Slowed thanks to the Fossil Strike, but now, he�s fast, and since the oil ignited, he doesn�t have to worry about losing it this turn. Clear Mind also buffs all of his stats by a fair chunk, so now Fane is ready to run in and murder a dude. And then Prince, with his two remaining AP, summons his Incarnate on the fire at his feet. This makes the Incarnate a fire elemental � it�s totally immune to any and all fire damage, but is weak to water. Any damage it does will be fire-based, and it gets access to the mid-level Pyromancer spell Fireball for free. There it is � our first Incarnate. It�s a scruffy, fidgety little doof of a creature, but summons can be serious business in this game if you�re willing to invest the points into them. Any good pet needs a name, though! What should we name our Incarnate? And for that matter, is it a boy or a girl? For the time being, I�ll call him Boy, inspired by an anime I recently watched. Boy�s turn is next, but he delays because Fane is in his way and it�d cost him too much AP to move. 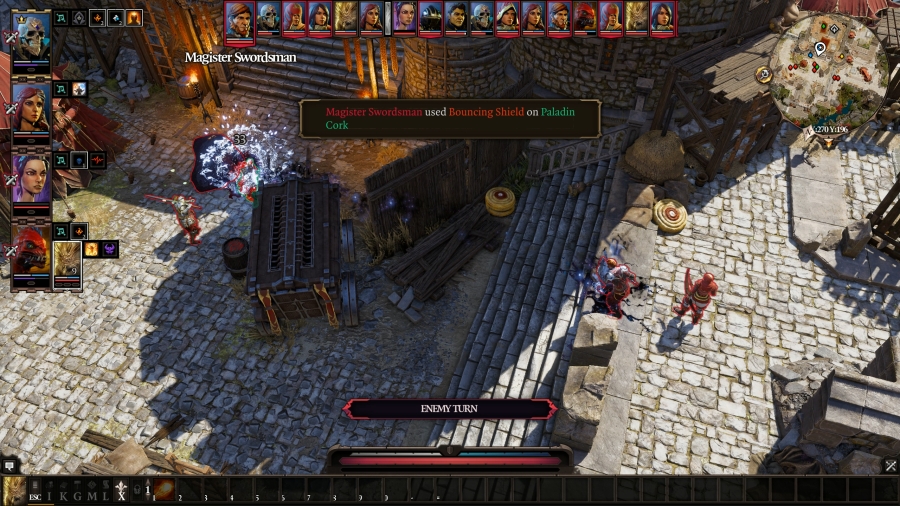 This nameless Swordsman approaches a bit, and then hurls his shield at Cork before passing his turn. Cork has a huge amount of HP and armour, but he�s still surrounded by enemies, and I don�t know if he has any method to heal himself. I should get in there and help. 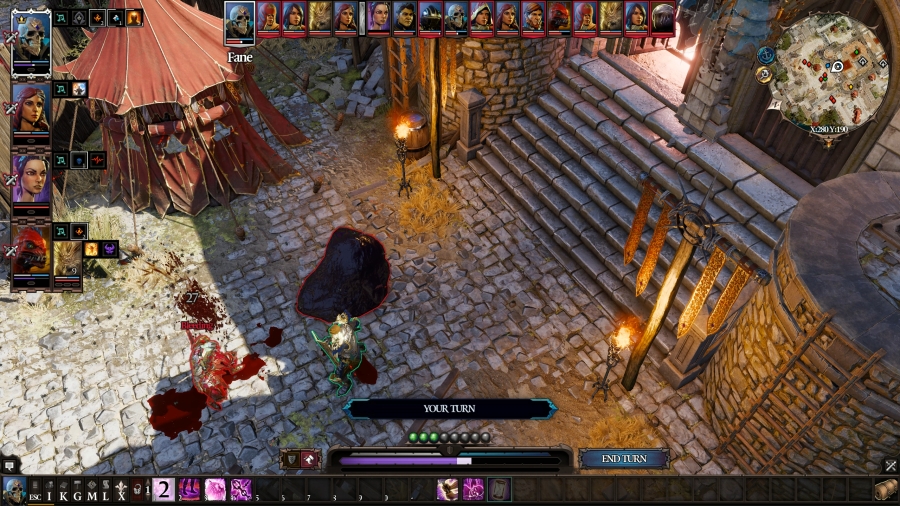 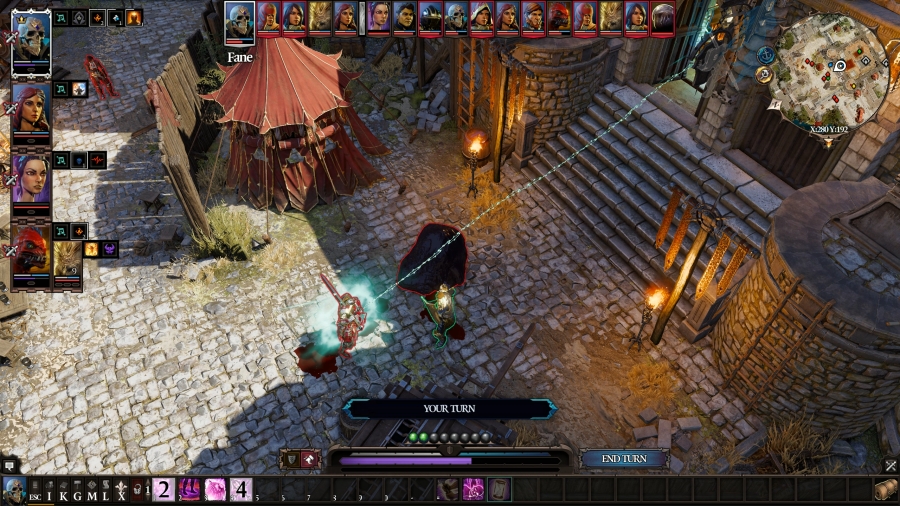 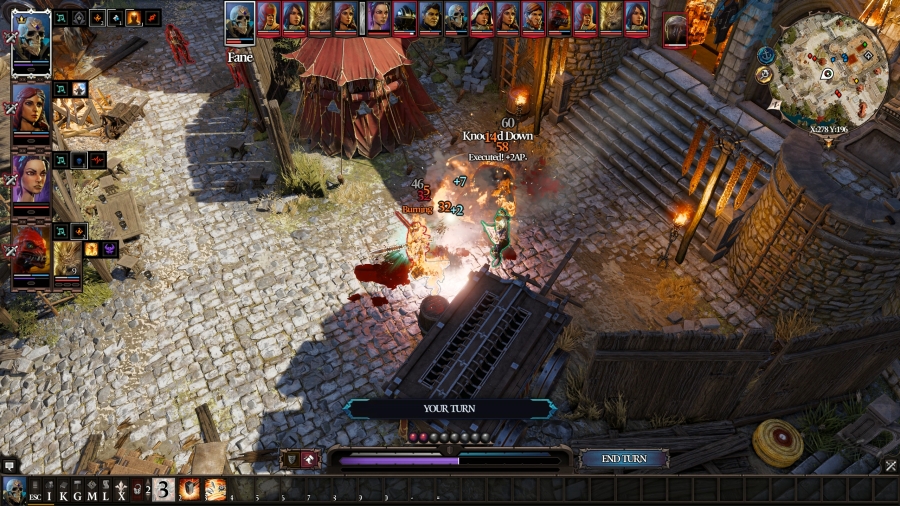 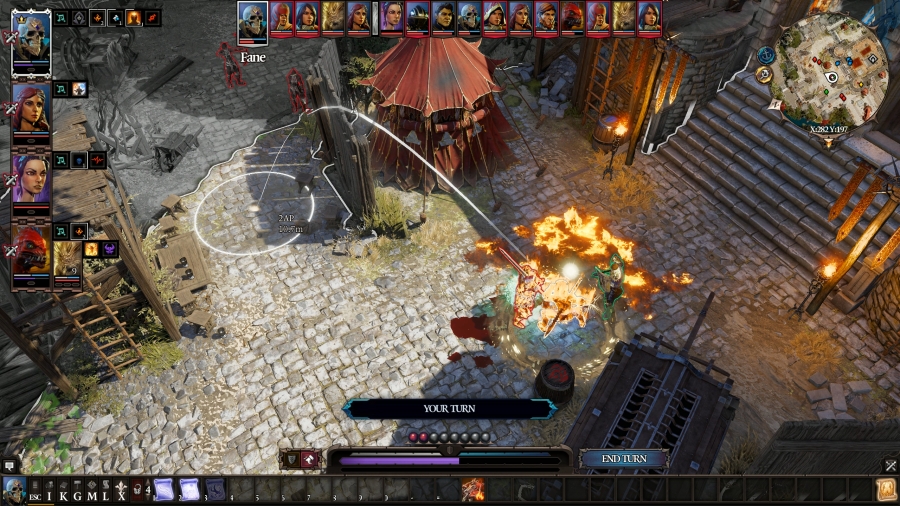 Fane is all kinds of buffed up. He has five AP to play with thanks to his Haste, and Clear Mind makes him stronger and smarter (and wittier, not that his razor sharp tongue needed to be any deadlier) on top of that. He uses Mosquito Swarm and Shackles Of Pain on Trippel; and then he Battering Rams both Trippel and the Oily Blob. Battering Ram kills the Blob, which, thanks to Executioner, grants Fane two more AP. He spends them throwing down his second and final bear trap on the ground between himself and the Rangers to the east, ensuring that if they want to approach, they�re going to have to wade through fire to do it. That was seven AP worth of value, right there! 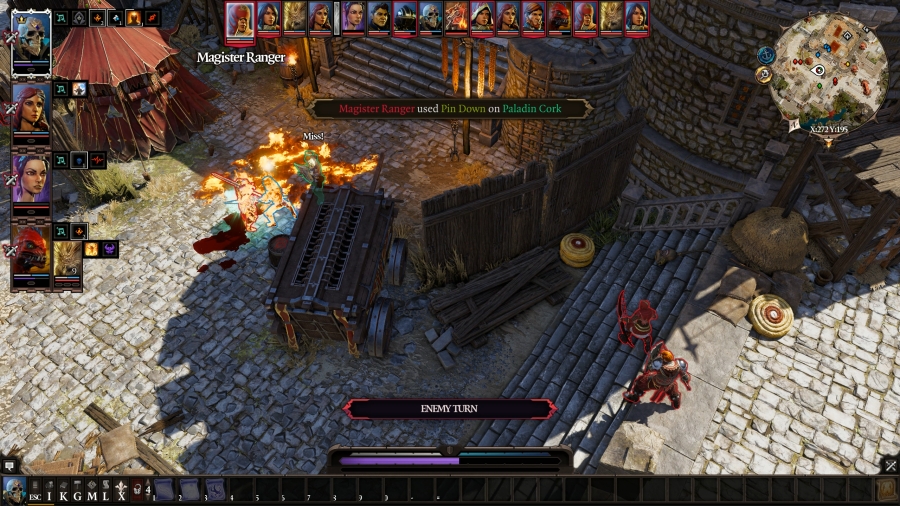 This other nameless Ranger tries to shoot Cork in the ankles, but he�s lighter on his feet than he looks. 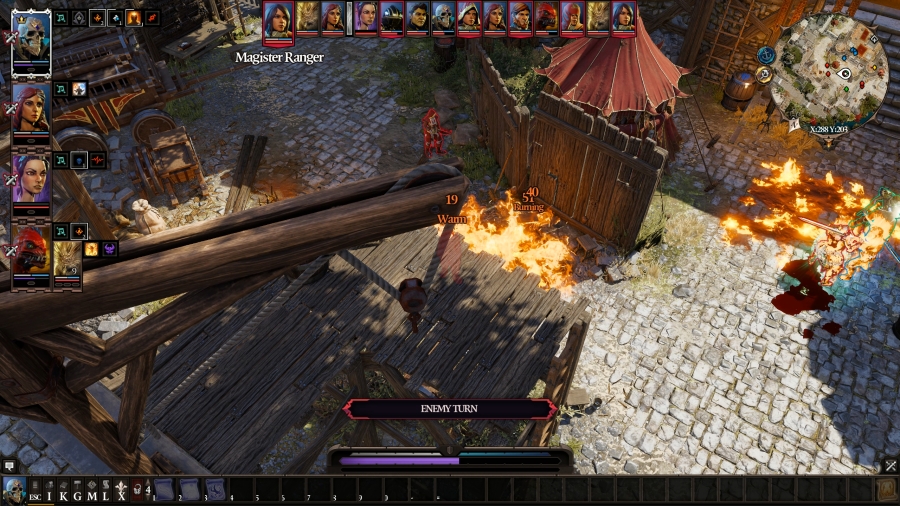 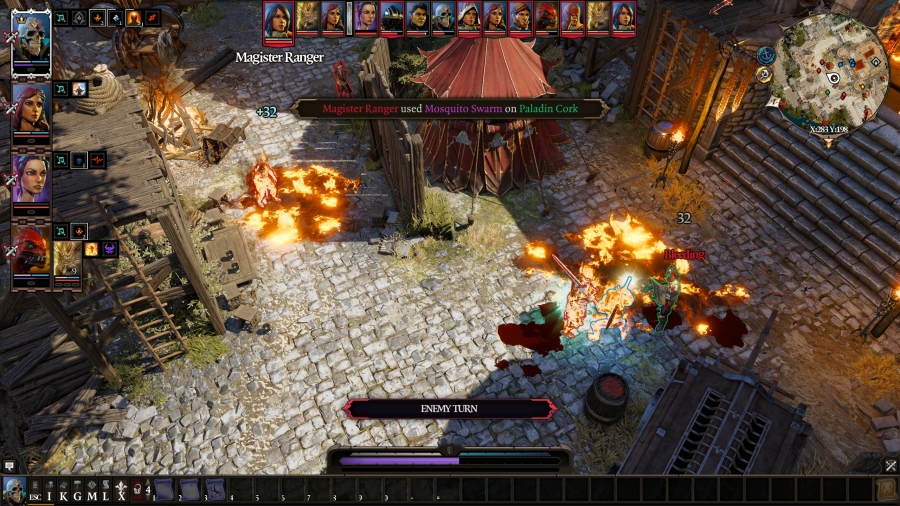 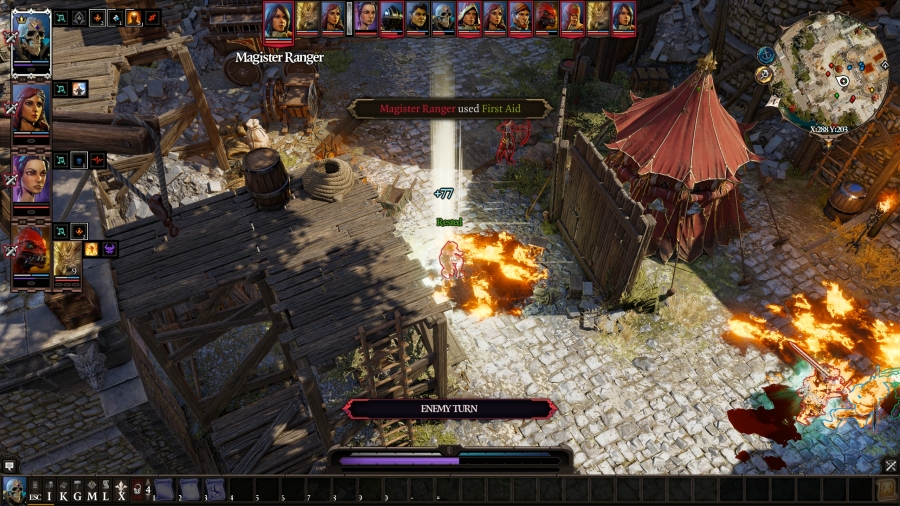 The third nameless Ranger approaches and sets off Fane�s trap, cutting off that area of the yard with a thick wall of fire. It doesn�t deter her too badly, though: she uses Mosquito Swarm on Cork and then First Aid on herself, healing all the damage done and putting herself out. She�ll ignite again if she moves, at least. 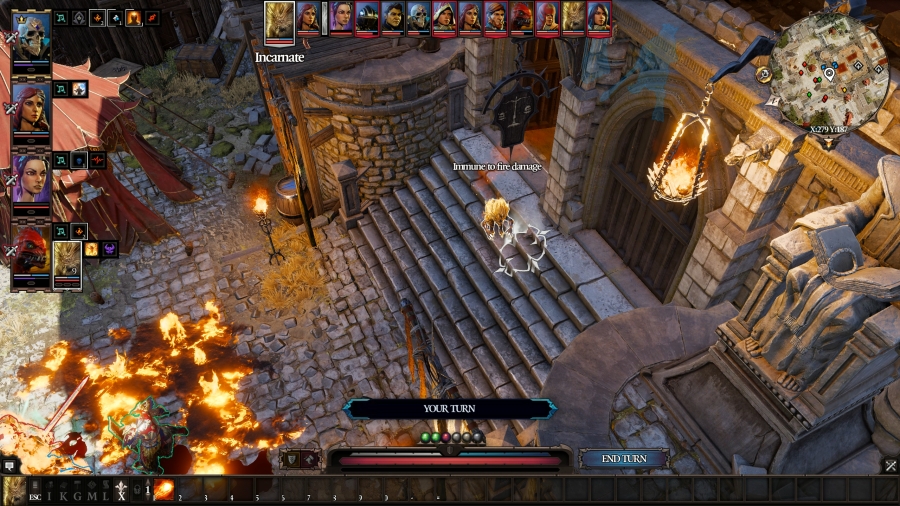 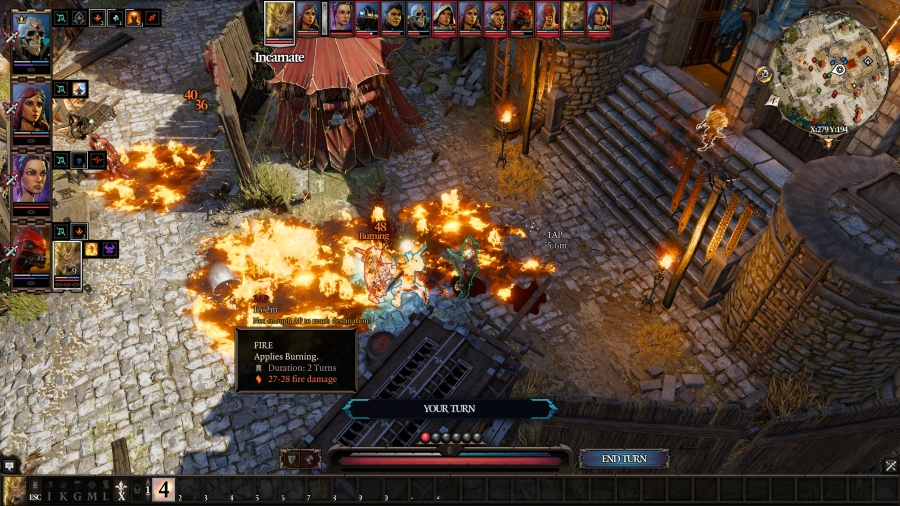 Boy repositions a bit now that Fane�s out of the way, and he hurls a Fireball just a bit behind Trippel, hitting only him and bathing the area in even more fire. Fire is a very common surface in this game that has the potential to get worse in a hurry. Or better, depending on your viewpoint. 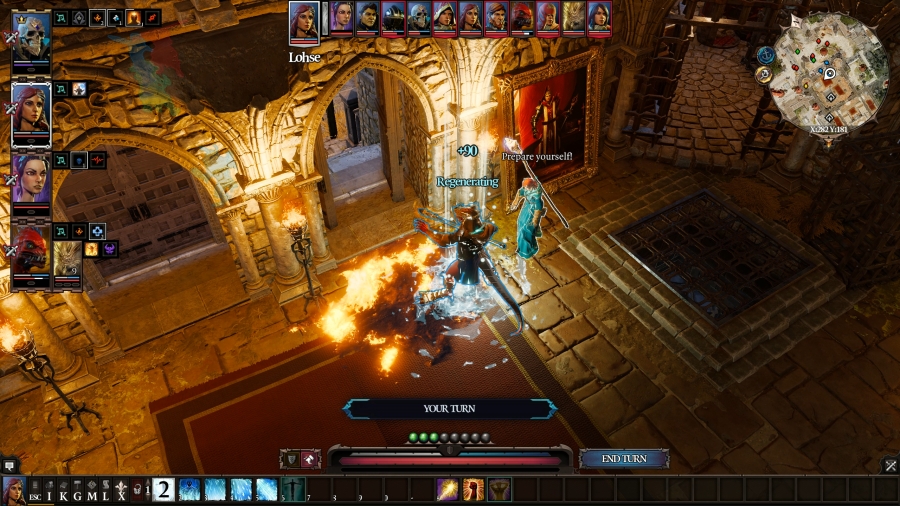 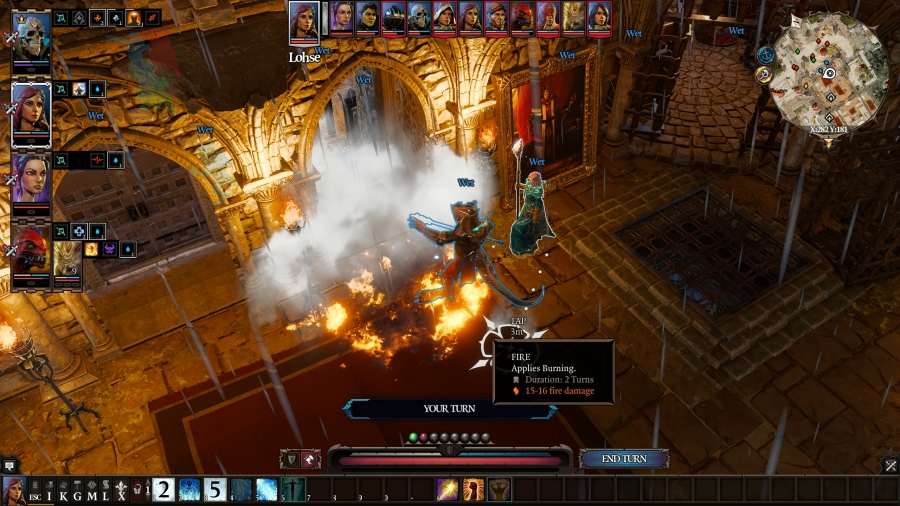 Lohse spends her delayed turn healing Prince and then performing a rain dance, putting out every fire in the room, including the torches. At least it�ll be safe to leave. Turn 2 Sebille only has three AP thanks to Adrenaline, and thanks to Lohse�s rain dance, she�s no longer Invisible. She doesn�t have a ton of options right now, so she delays. 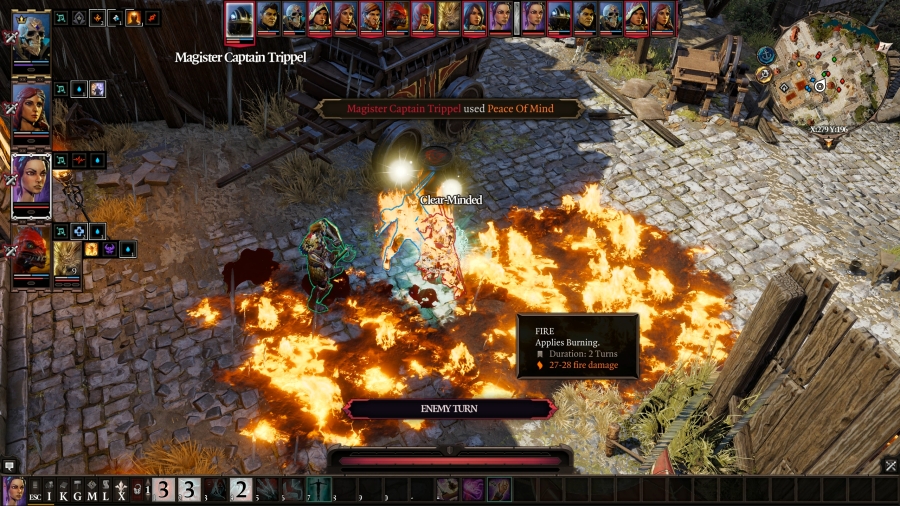 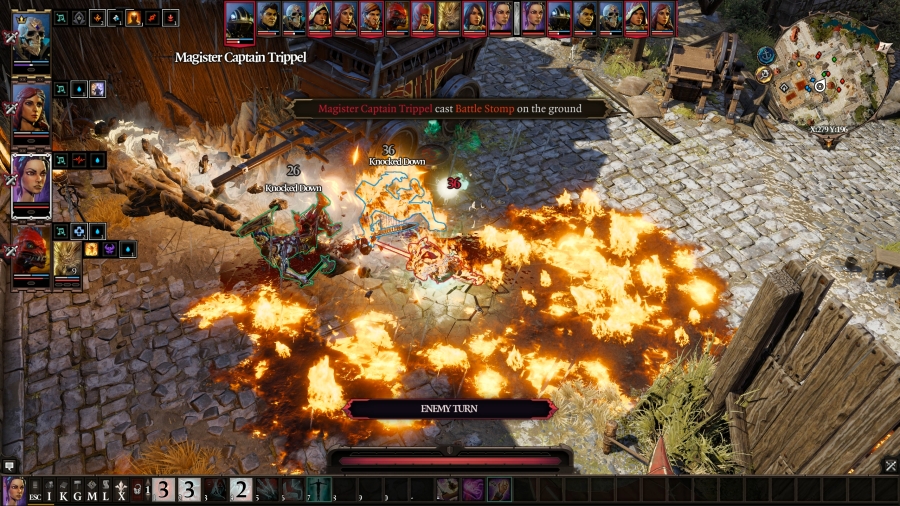 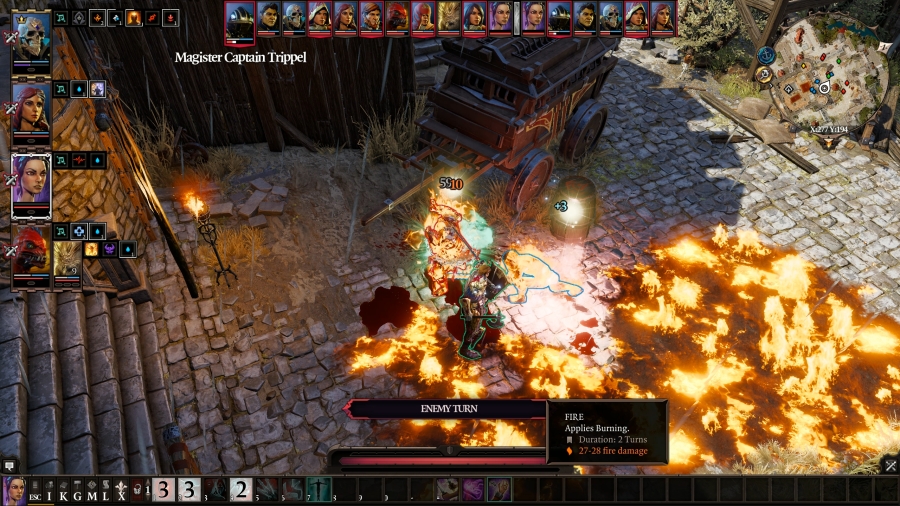 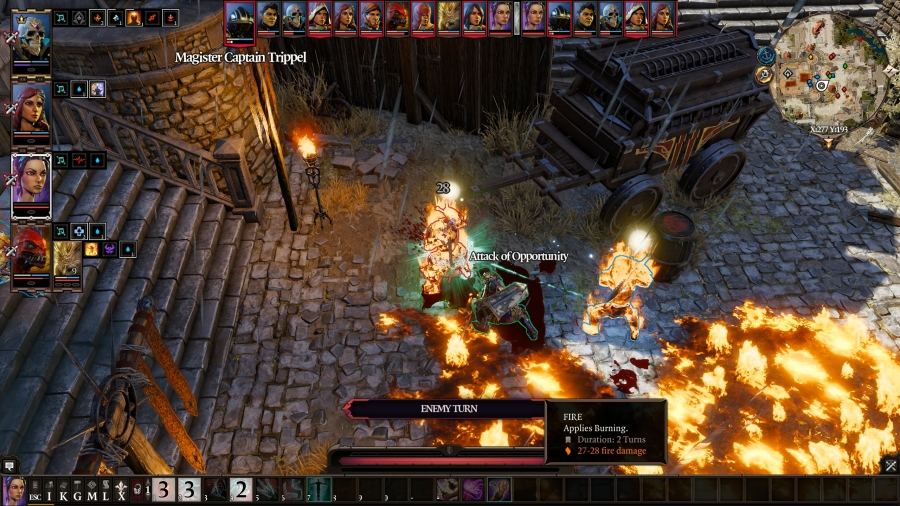 Trippel, realizing just how neat a skill like Peace of Mind is, decides to use it on himself before hitting Fane and Cork with Battle Stomp (and dealing damage to himself thanks to Shackles Of Pain). He then runs past them both, taking an AoO from each of them as he goes. He�s only got maybe an eighth of his HP after everything (namely from the bleeding and the fire), so he shouldn�t get another turn to his name. 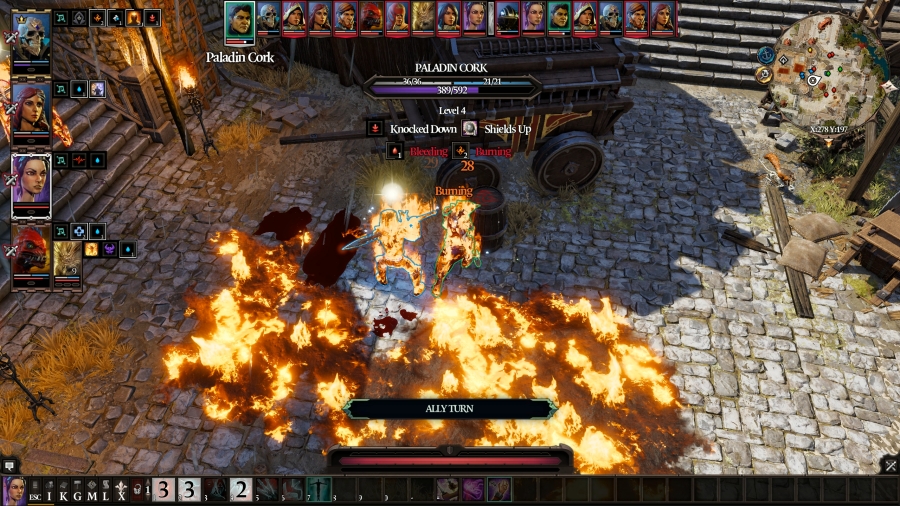 Cork decides that he must move over here. It�s imperative that he, a man that is currently on fire, reposition himself next to a barrel full of oil. The fate of the Paladins depends on it. And then he passes. 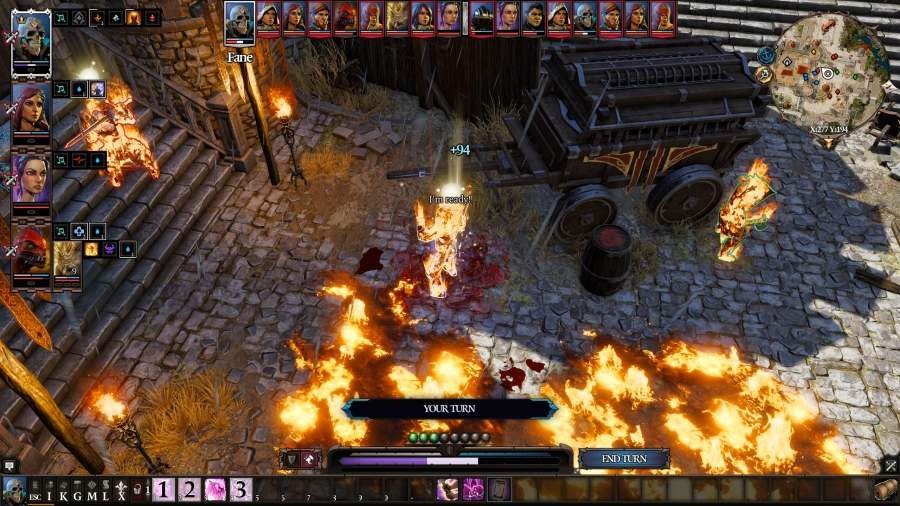 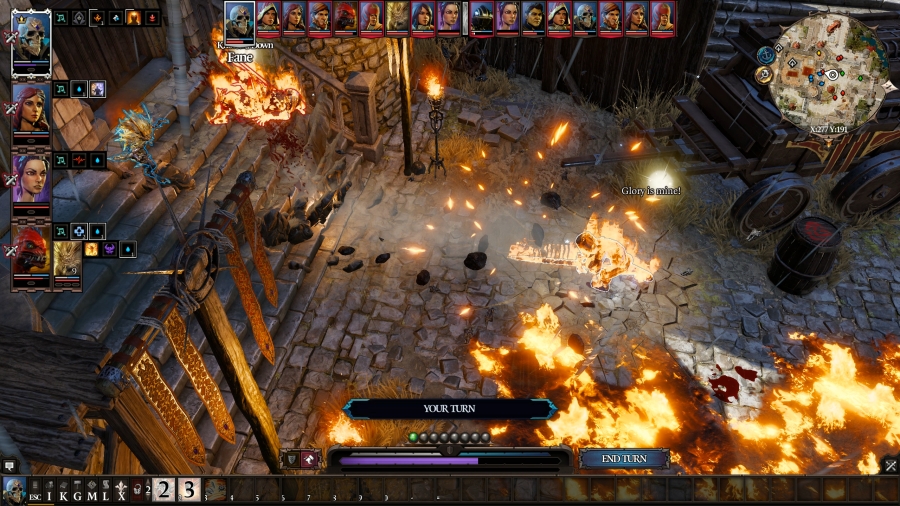 Fane is still Hasted, but Knocked Down cancels out the extra AP he gets for it, putting him back down to four. Armed with my better knowledge on how to use Blood Sucker, Fane repositions slightly to suck up as much blood as possible before hitting Trippel with a Battle Stomp of his own. 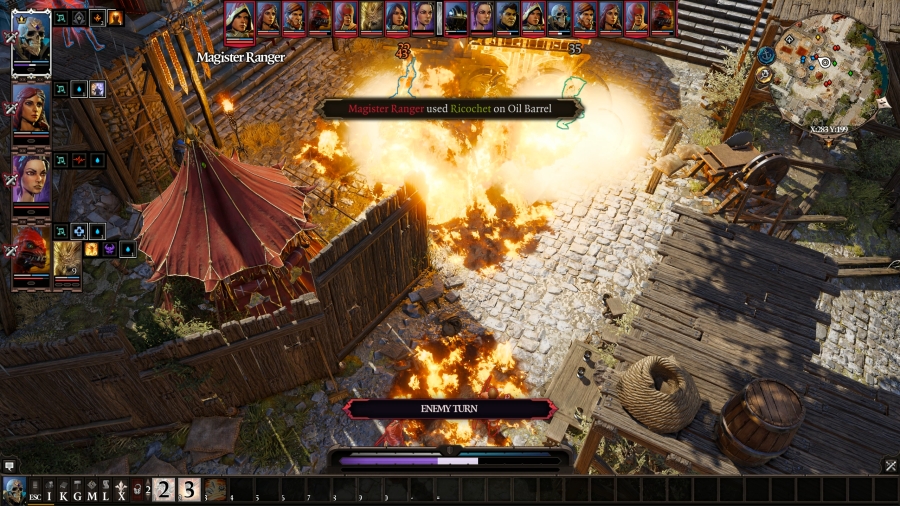 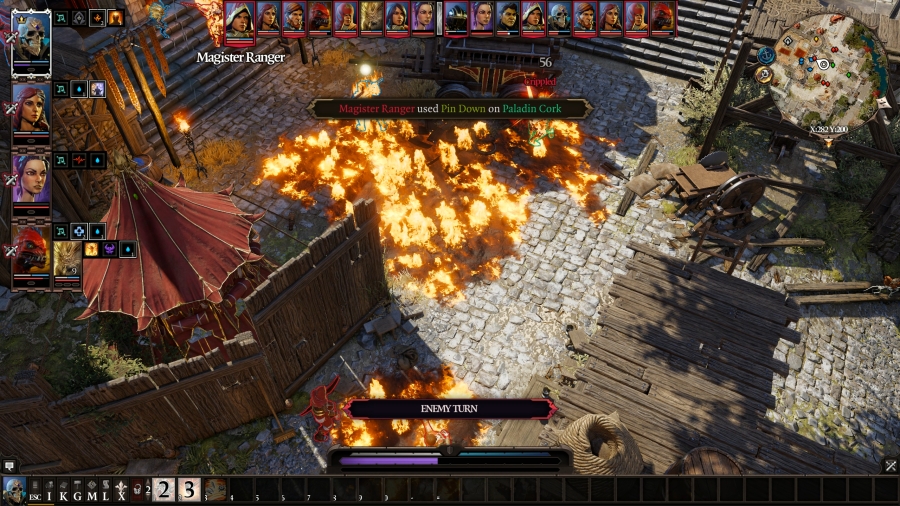 This Ranger gets as close to the fire as she dares before using Ricochet on the oil barrel, causing it to spill its oil onto the fire beside it and detonate, doing massive fire damage to Fane and Cork (and the arrow bounces to hit Cork). Then, she takes aim at his right ankle, as her predecessor did, except this time, her aim was true. Cork is bleeding, on fire, crippled, and knocked down. If I want him to live, I need to move quickly. It�s Lohse�s turn, but Prince is still bodyblocking her, so she delays. 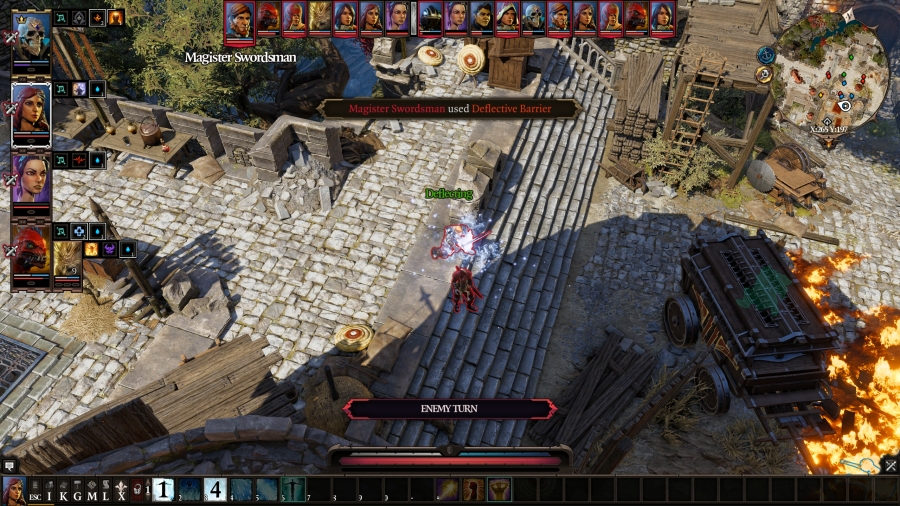 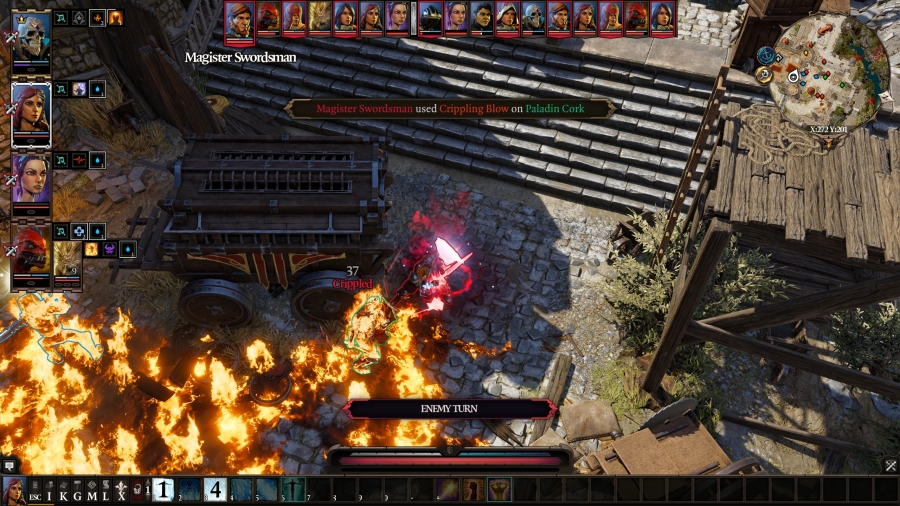 This Swordsman raises his shield to deflect projectiles, and then he approaches Cork to blow out his left ankle. Thankfully, Crippled can�t stack, but the duration can be refreshed. 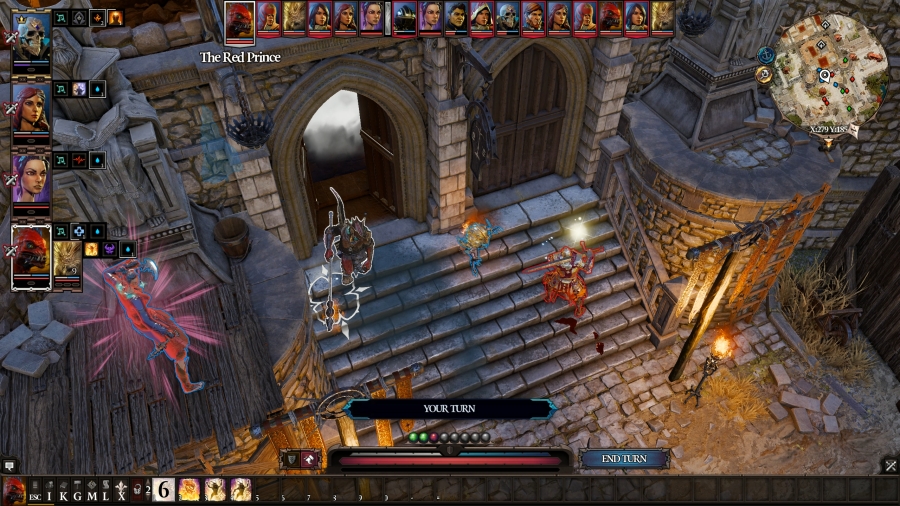 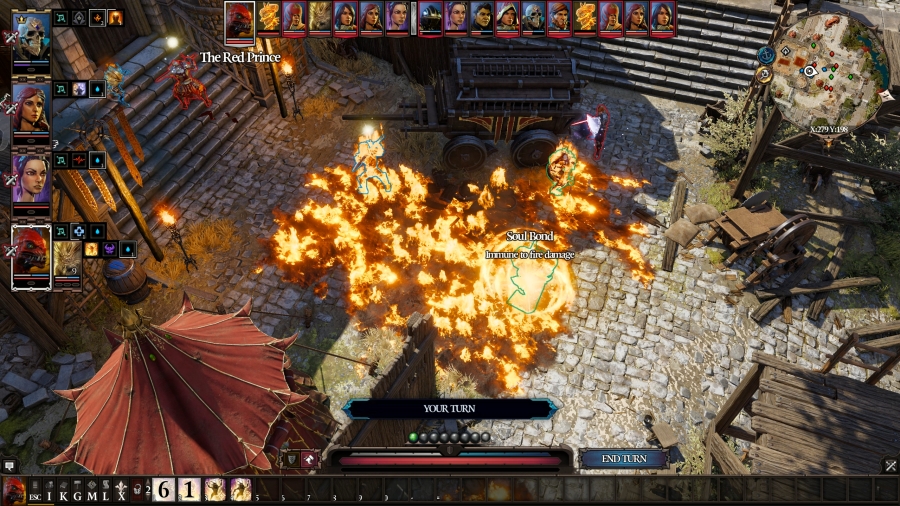 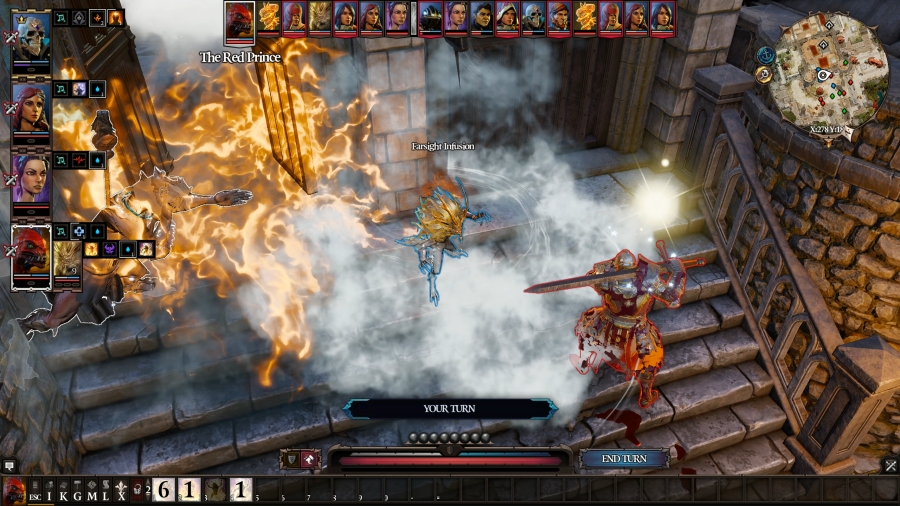 Prince finally gets out of Lohse�s way, and then he puts down another Summoner specialty: an elemental totem. Totems, like Incarnates, can be summoned on any surface, and they�ll take the properties of that surface. They are turrets that, when their turn comes, will fire randomly at any enemy NPC within its eyesight (I don�t believe a poisonous totem can fire on friendly undead, but I may be wrong). Totems have very little HP and no armour. The cooldown for summoning totems is only one turn, meaning you can summon one totem on every turn, and you can technically have unlimited totems on your team, but each totem will self-destruct after four turns. If you have a team of four summoners, you could easily have sixteen totems all rapid-firing projectiles at nearby enemies. Prince ends his turn by buffing Boy with Farsight Infusion, giving him additional magic armour; a 25% damage spike; and a long-distance projectile attack. 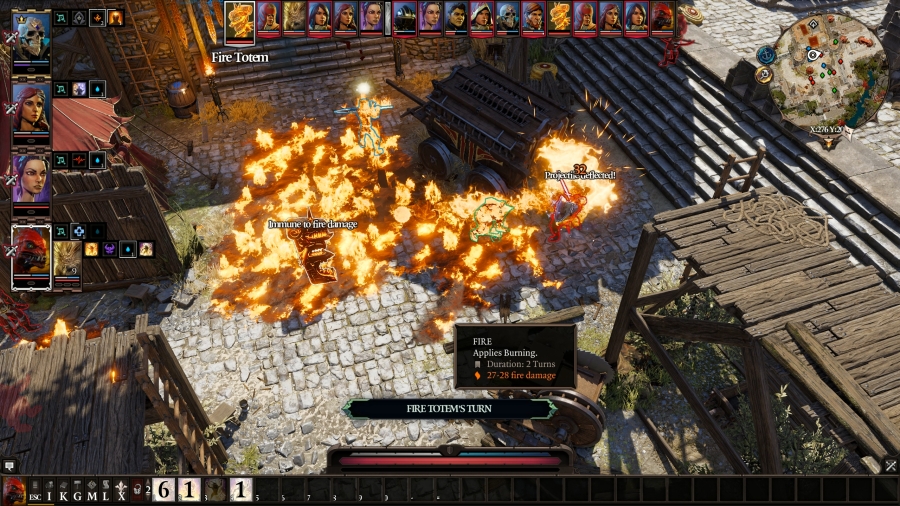 The newly-spawned fire totem shoots a fireball at the Magister pressuring Cork. His shield deflects the fireball right back, but the totem is immune to fire damage. 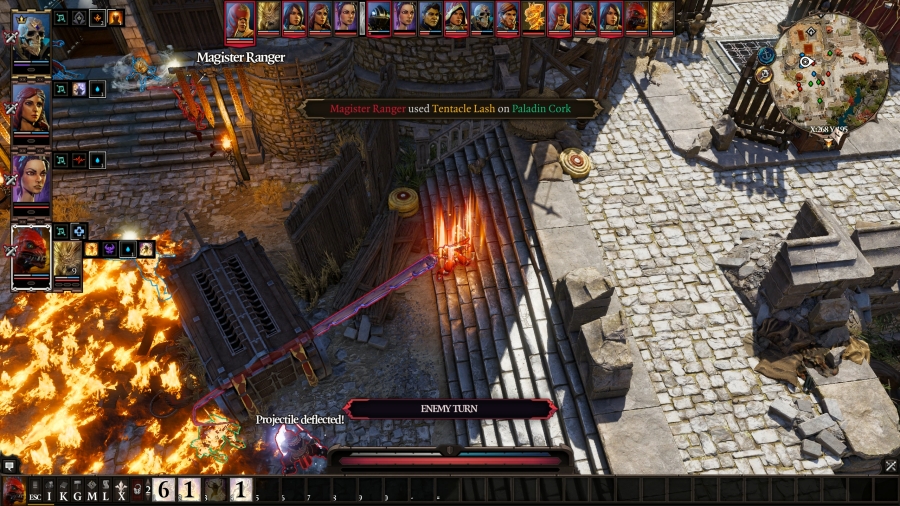 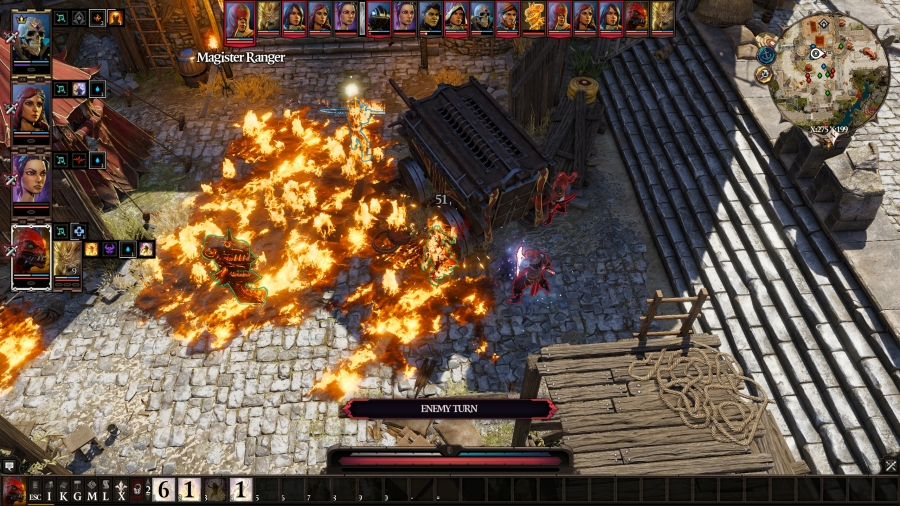 The Ranger closest to Cork hits him with Tentacle Lash, forcing him to drop his weapon and his shield, before shooting him once with an arrow. Cork only has maybe a fifth of his HP remaining � I�m cutting it close. 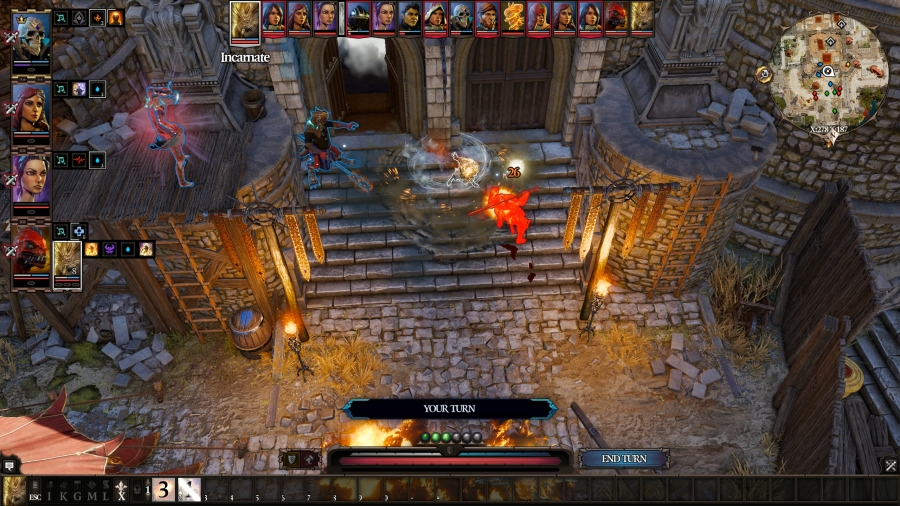 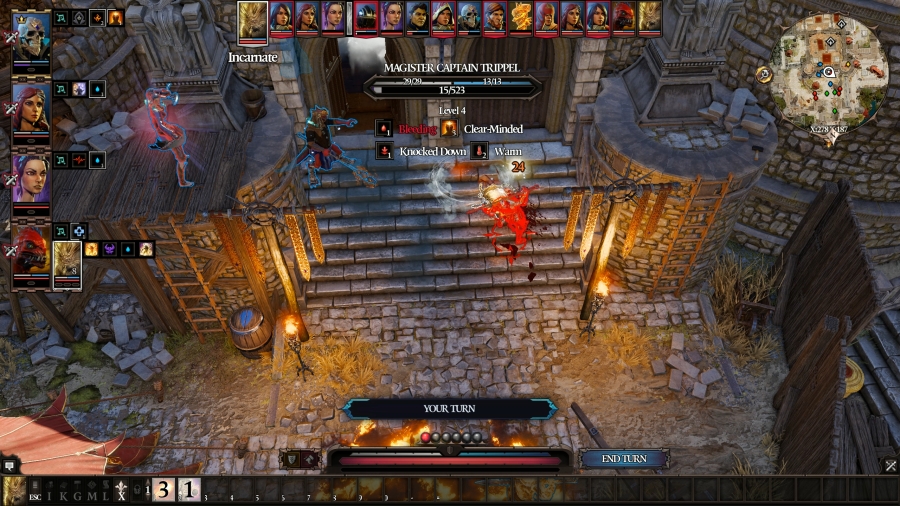 Boy uses his turn by hitting Trippel with his new long-ranged attack, and then he takes two steps and hits Trippel with his claws. The long-ranged attack did two HP more damage, so, chucking whatever it was he threw is the more-damaging move, if you want to min-max your options. Trippel is still bleeding from Mosquito Swarm last turn, and he only has about 14 HP left, so, he should die at the start of his next action. 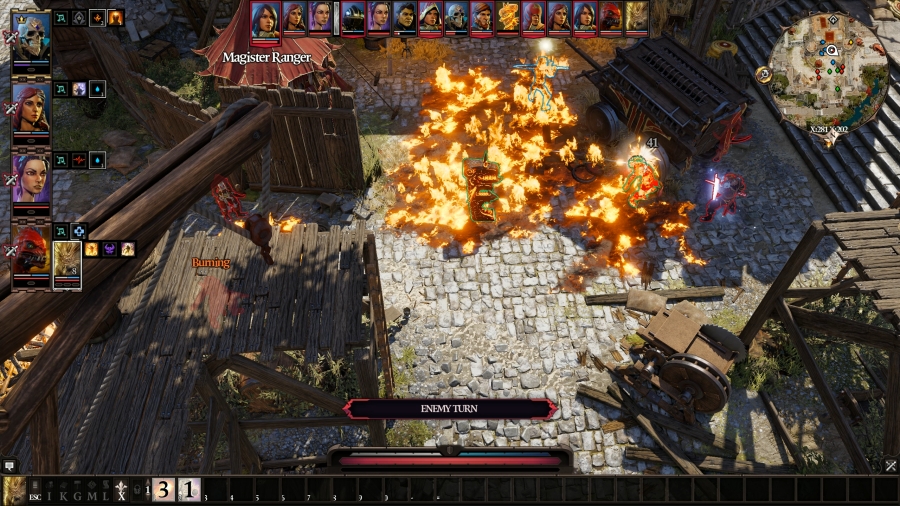 This one Ranger takes two more shots at Cork, putting him down to 61 HP. 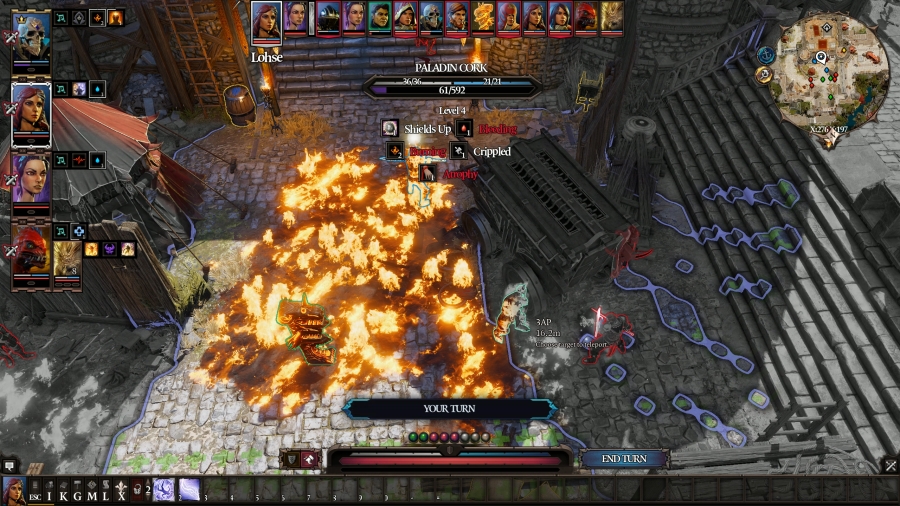 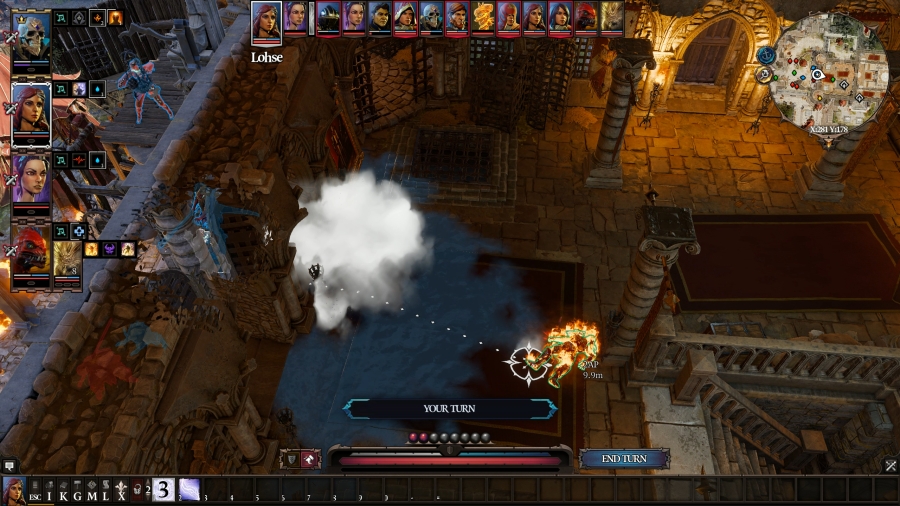 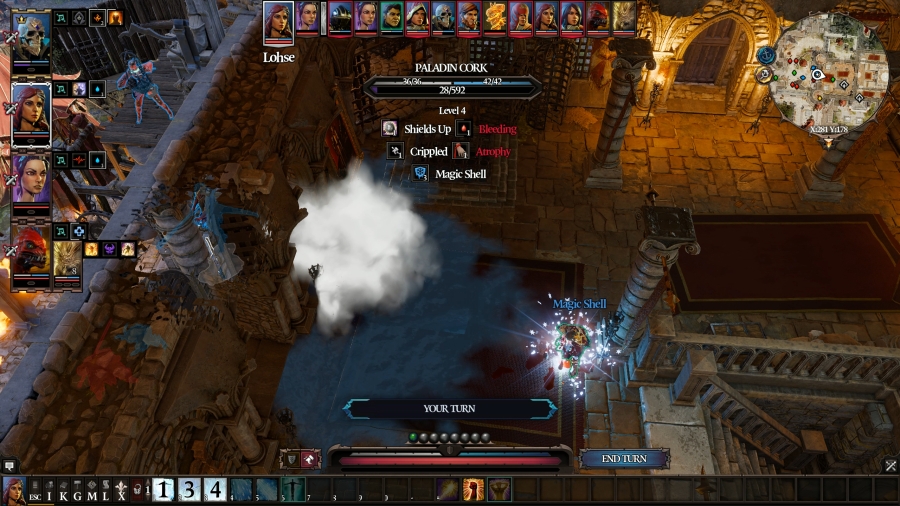 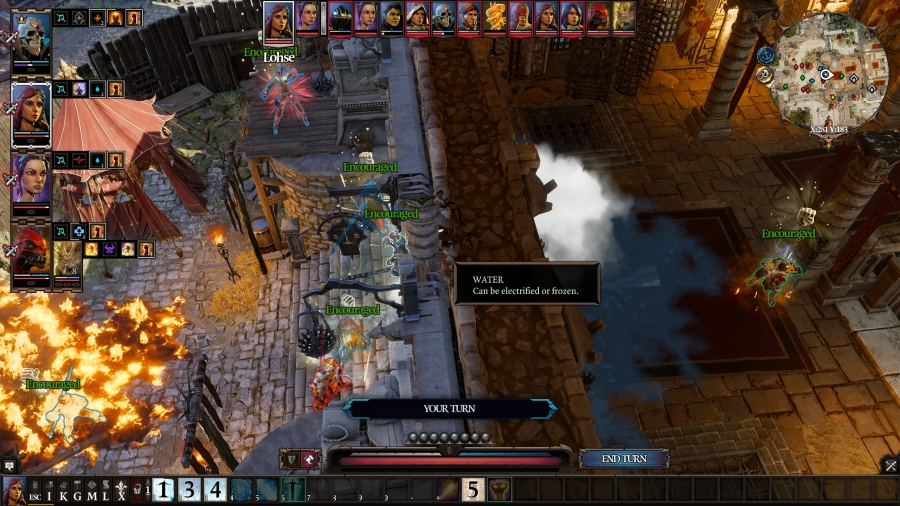 Lohse has six AP to play with, but Restoration is still on cooldown for another turn. Cork is going to die if I don�t do something right now. She spends one AP to reposition, finally getting herself out of that drat door. Then, it�s risky since Cork is so close to death, but, she Teleports him behind her, into the room she just came from. It hits him for 33 damage, putting him down to 28 HP. Cork is on fire and he�s bleeding, meaning he�ll die from his statuses, and Lohse can�t heal him. But she can use Armour of Frost on him � it�ll put out his fire, but it won�t stop the bleeding. I don�t know if that is enough to kill him, but it�s uncomfortably close if it doesn�t. Finally, she uses Encourage, hitting everyone on the team, including Boy and including Cork. Encourage provides a big, temporary buff to Constitution � it doesn�t heal him, but it increases his current and his max HP, making him tankier. Hopefully that�s enough to keep him alive for one more turn. 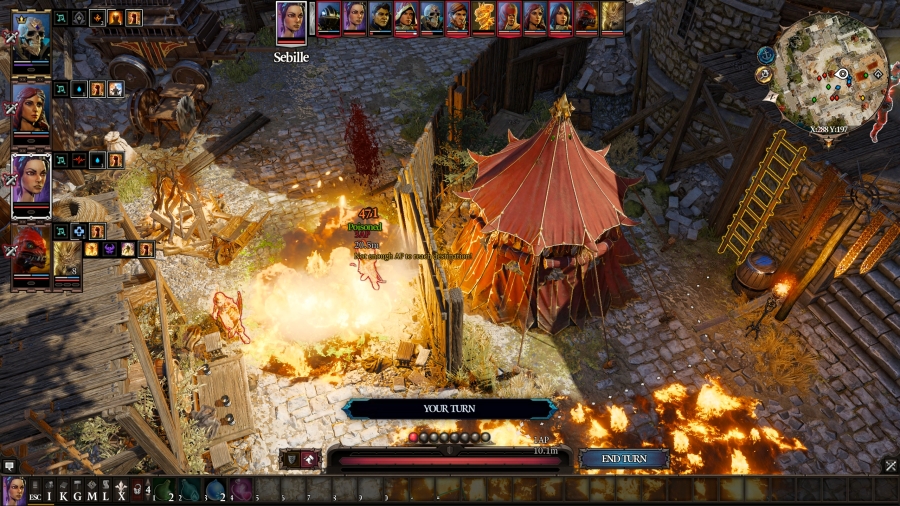 Sebille�s delayed turn comes around. She doesn�t have the AP, the skills, or the eyesight on the Rangers over the barricades to do much damage to anybody � so she just throws a poisonous grenade at the two Rangers directly to her north. The blast radius isn�t large enough to get them both, but it poisons one before the ooze ignites and sets them on fire, so, honestly, it did all I could have asked for. 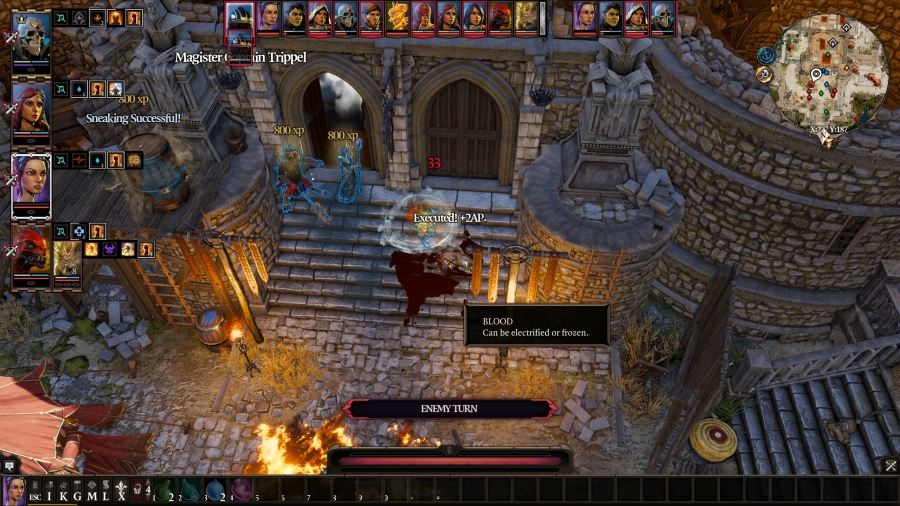 Turn 3 Trippel opens his turn by dying. Bold strategy. It says that Fane executed him and that he gets two additional AP. It�s technically true � Trippel died from the Bleeding that Fane caused with Mosquito Swarm � but it�s not currently Fane�s turn. We�ll see if he opens with more AP to play with than usual. Sebille delays her turn. 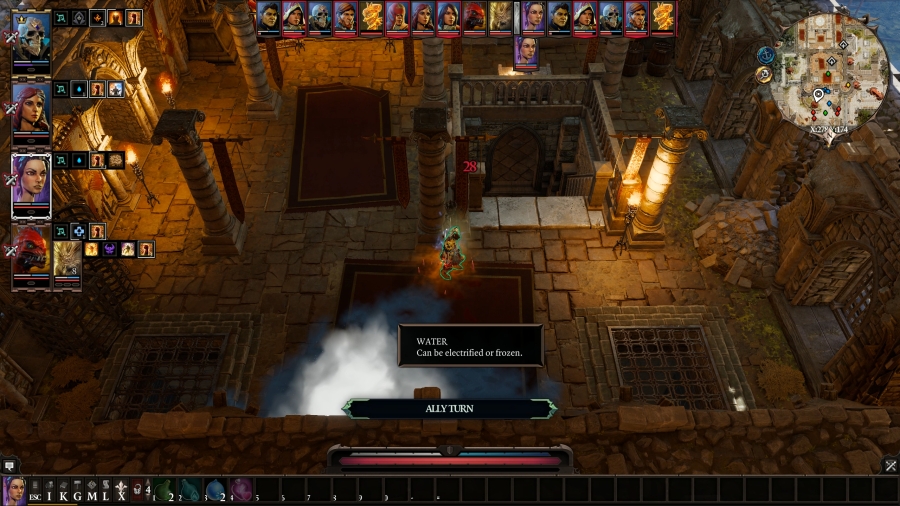 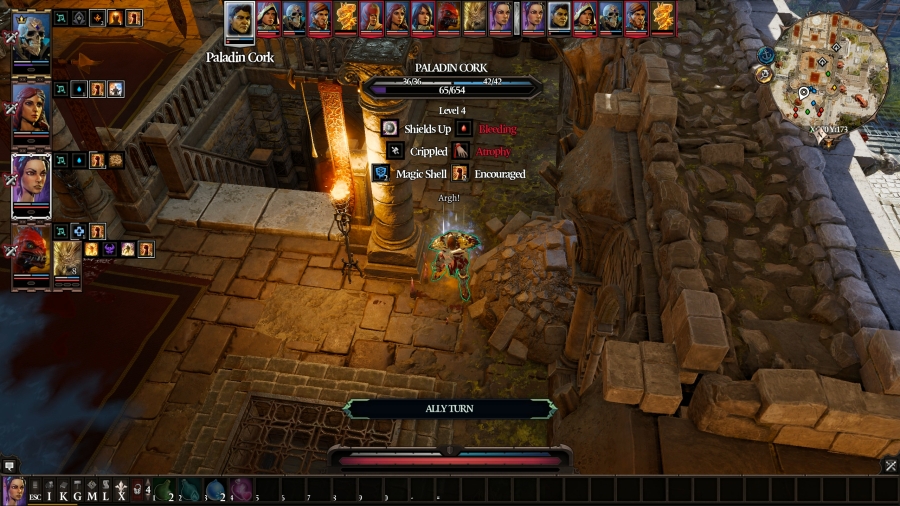 Cork takes 28 HP from his Bleeding � which would have been exactly enough damage to kill him if he wasn�t Encouraged. Really cheated death on that one! He�s Crippled and Atrophied; he can�t walk very far and he couldn�t attack anyone even if he could reach them. So he tucks himself into a corner and yells in frustration as he tries to keep himself from bleeding out. 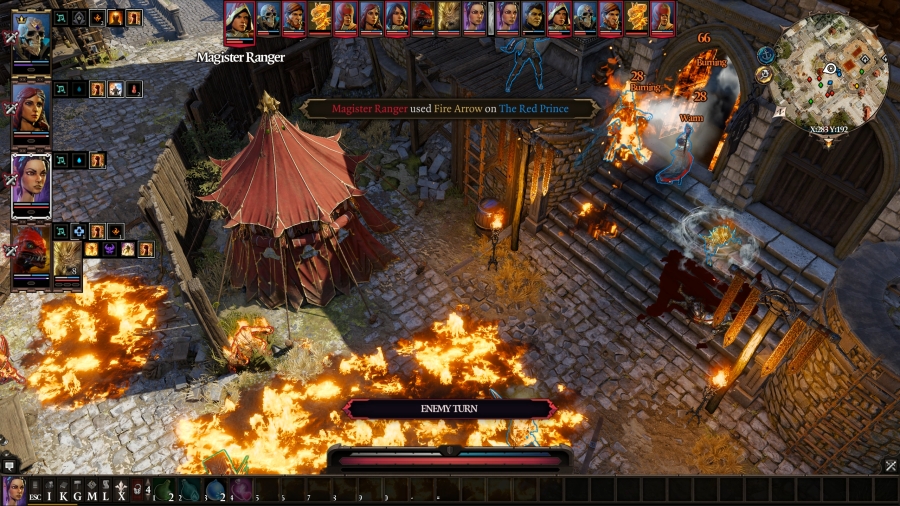 The Ranger that Sebille poisoned repositions slightly, walking through the fire to do so, before firing a Fire Arrow at Prince and Lohse, plus one more regular arrow at Prince. 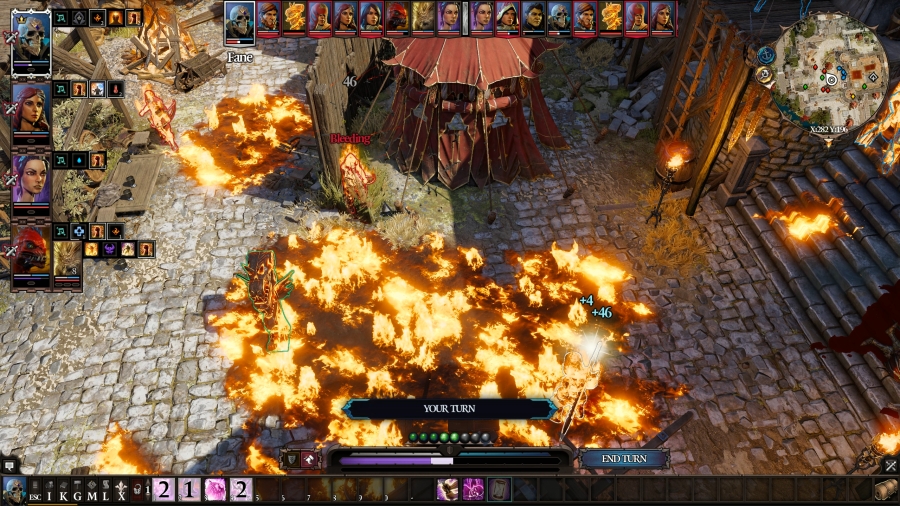 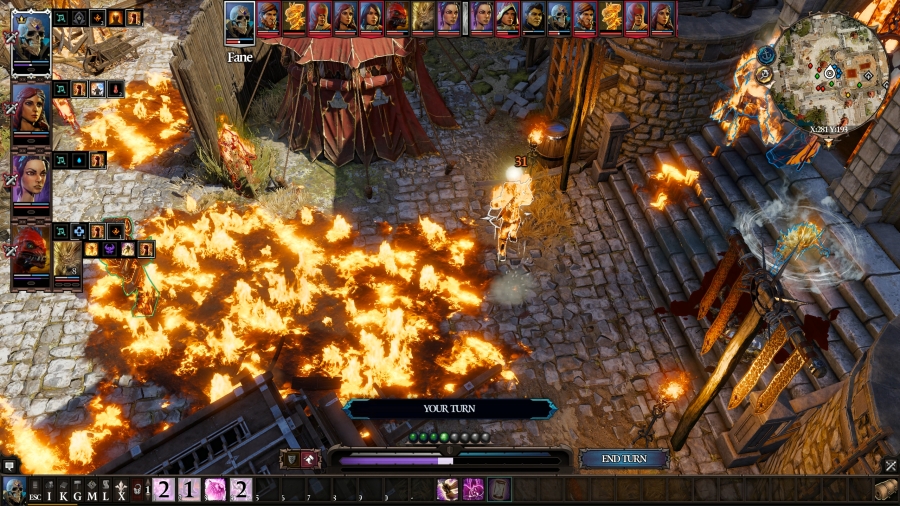 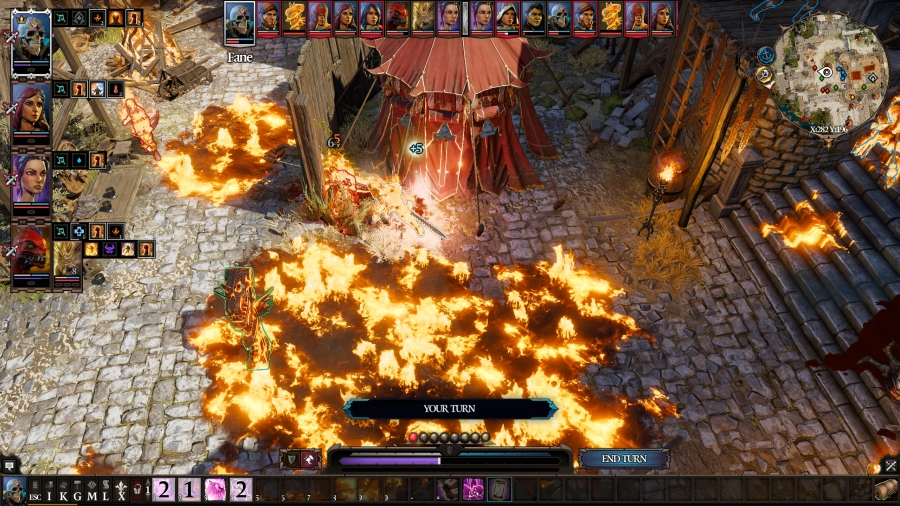 It turns out, since Trippel died from the Bleeding that Fane caused, he does get the benefit from Executioner, and he has seven AP to use. He�s down to less than half of his HP, so he uses Mosquito Swarm on the Ranger that just attacked � and he gingerly walks along the fire�s edge to reposition closer and hit her with his fancy new sword. He has one more AP to use, but he passes. 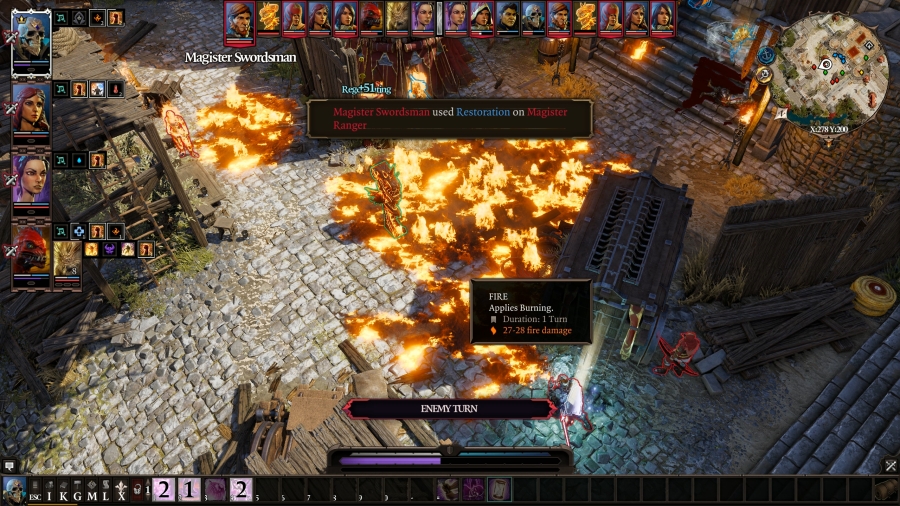 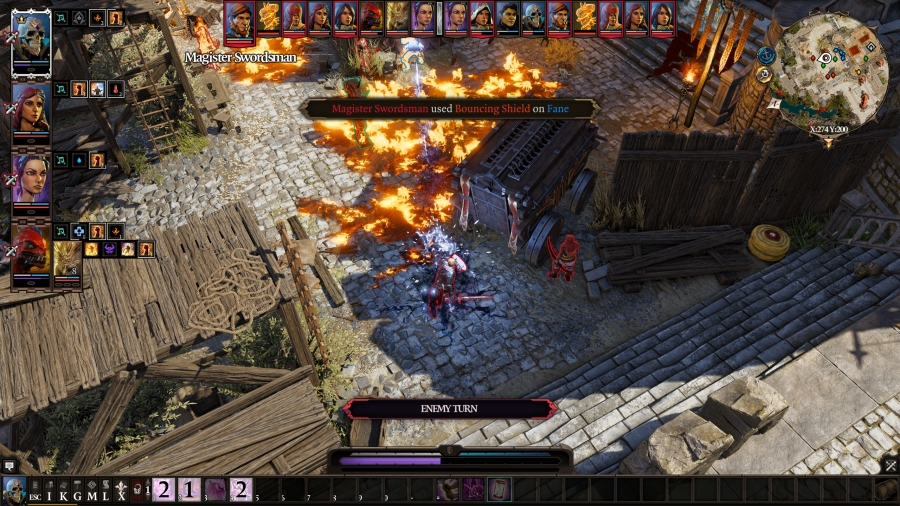 The Swordsman uses Restoration on the Ranger I�m targeting, which puts out the fire she�s on as well, before hitting Fane with his Bouncing Shield. 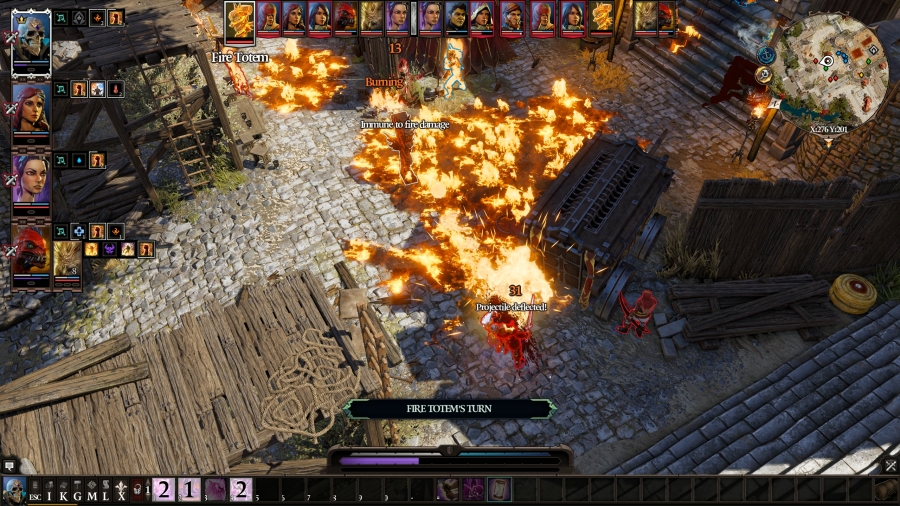 The totem fires on that same Swordsman once more, not giving a drat about his reflective shield. 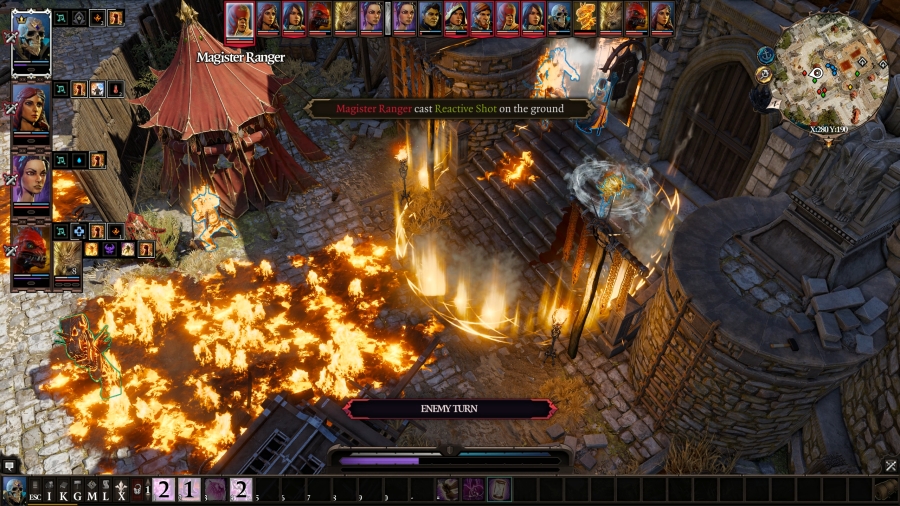 The second Ranger, standing next to the Swordsman that just moved, performs the world�s most common and regular skill and places an area of Reactive Shot around the door. This isn�t a great time to use the attack because she only has a very narrow field of vision on the door, peeping between two haphazard barricades. She needs to see us enter Reactive Shot in order for it to take effect, and her field of vision is very narrow, so this is far less threatening than it looks. 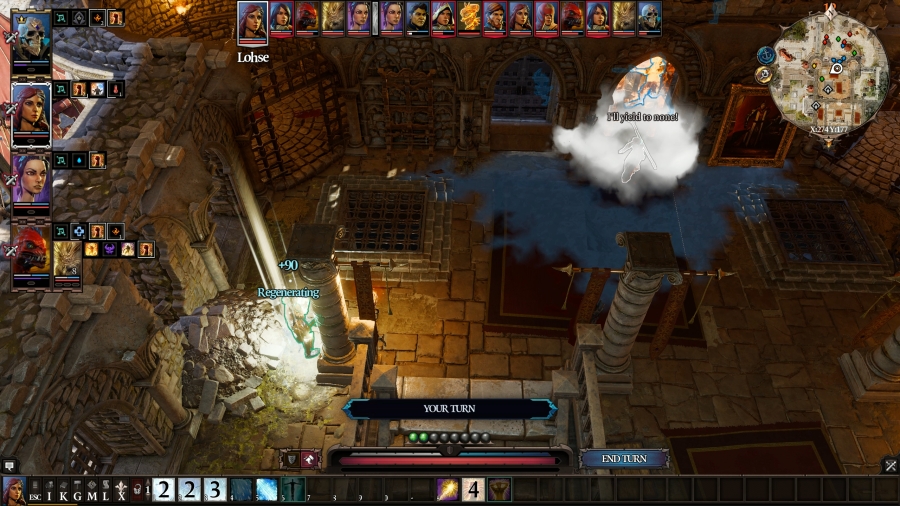 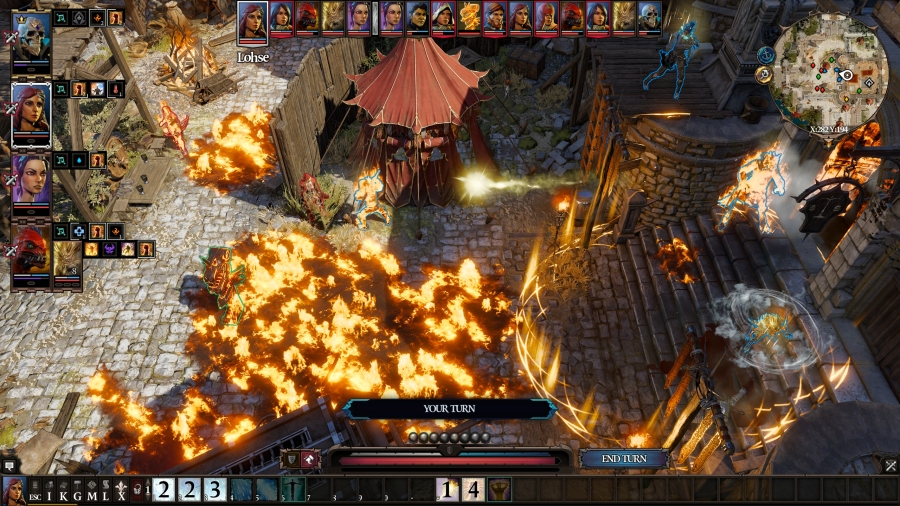 Case in point: Lohse walks right out of its range since the Ranger doesn�t have line of sight on her. She heads back into the room to heal Cork before firing a Staff of Magus at the Ranger Fane is trying to focus down. 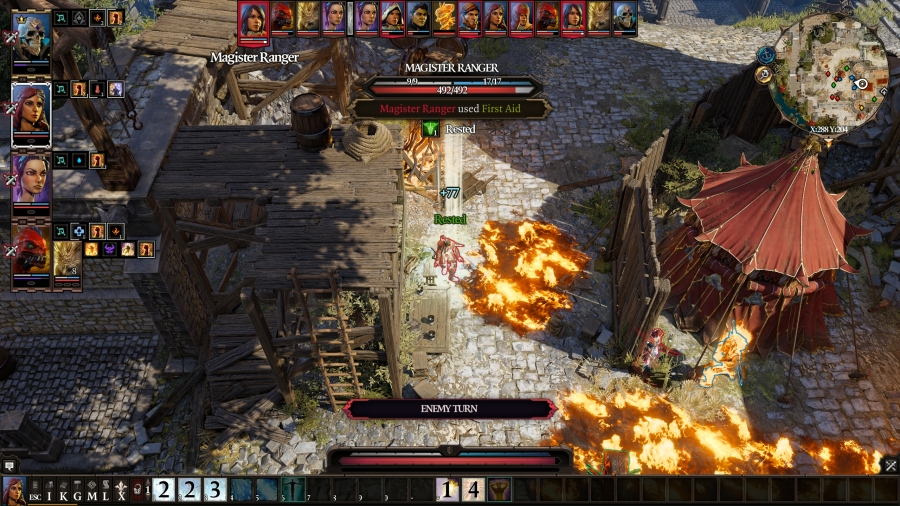 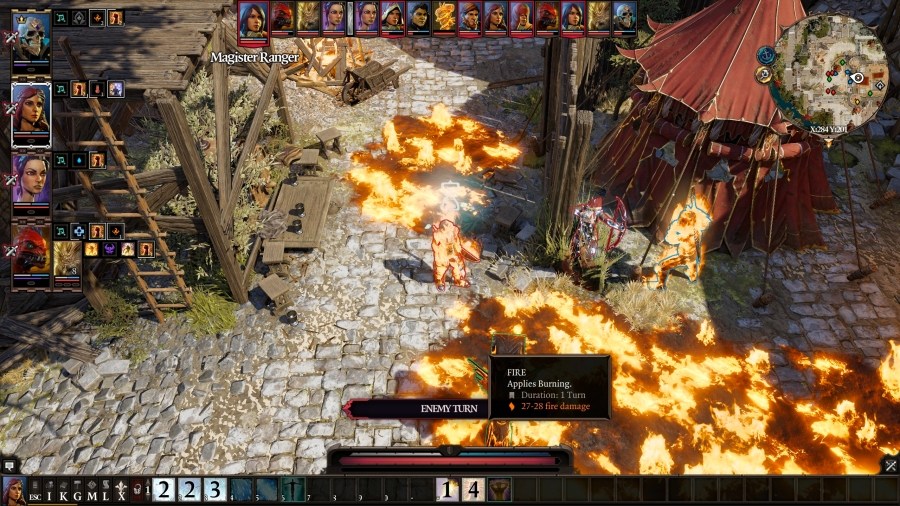 This third Ranger uses First Aid on herself, primarily to put out the fire she�s on, before she walks right through the fire and ignites once more to take four steps and pass her turn. She accomplished essentially nothing. 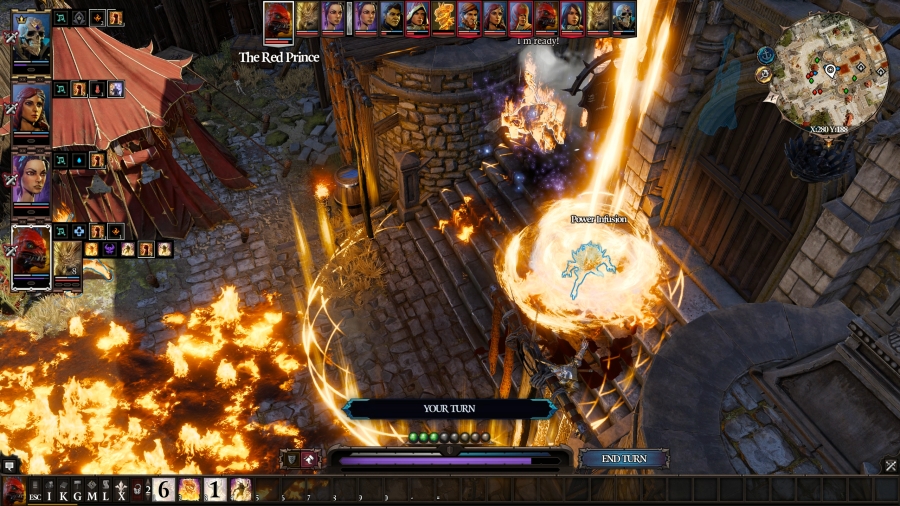 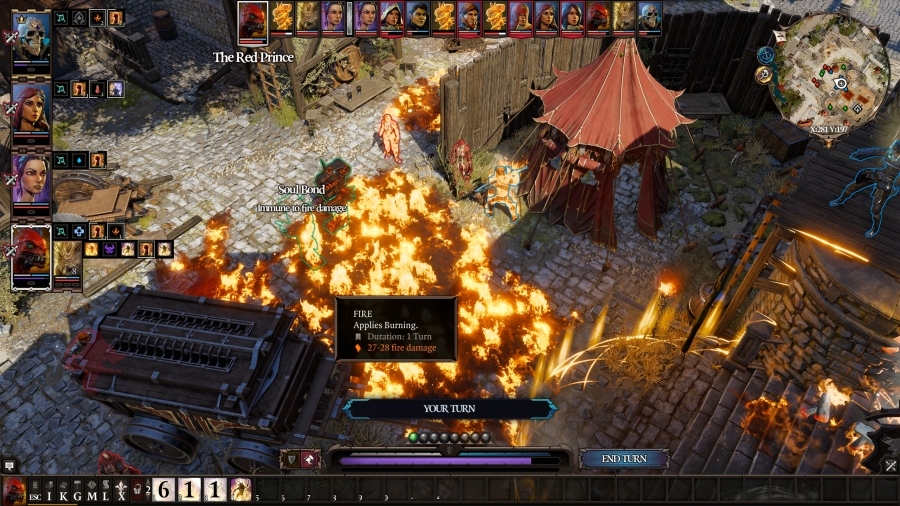 Prince casts Power Infusion on Boy, giving him additional physical armour and another 25% damage boost, putting him up to 50% overall, before summoning another fire totem. 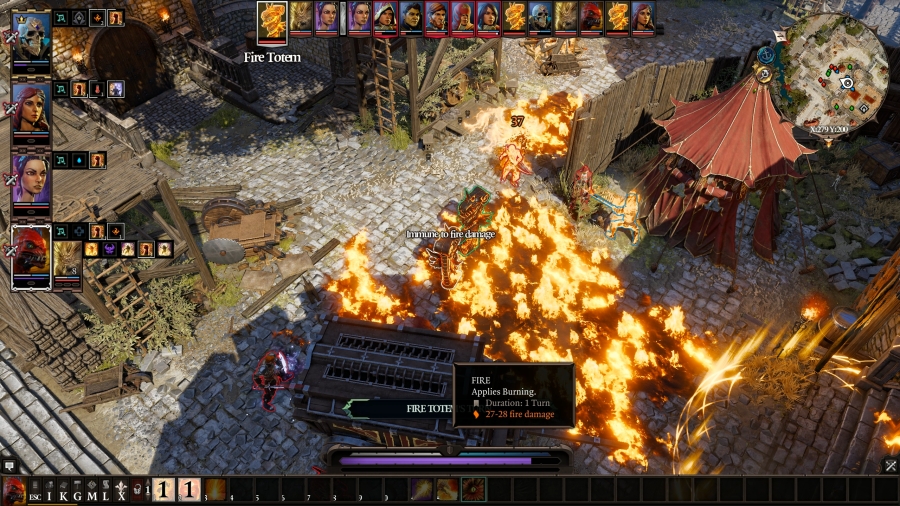 Which promptly shoots at the third Ranger, the one that just wasted her turn. 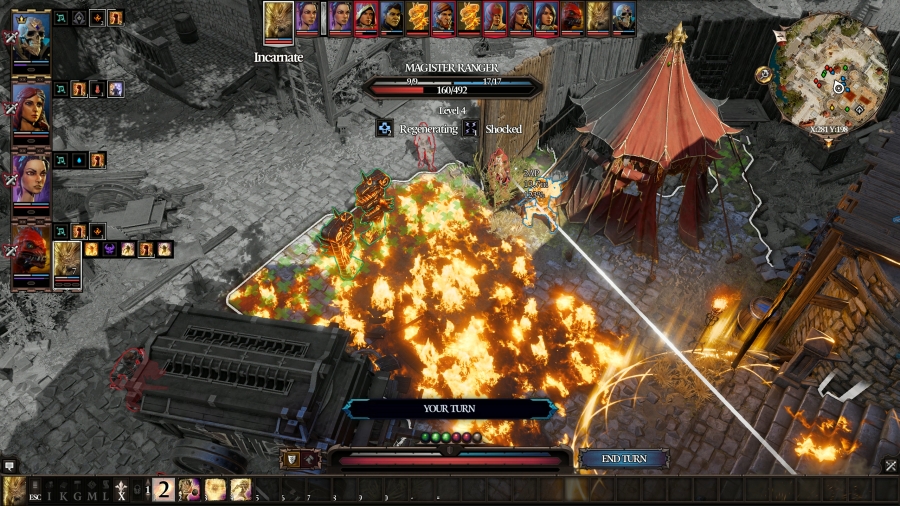 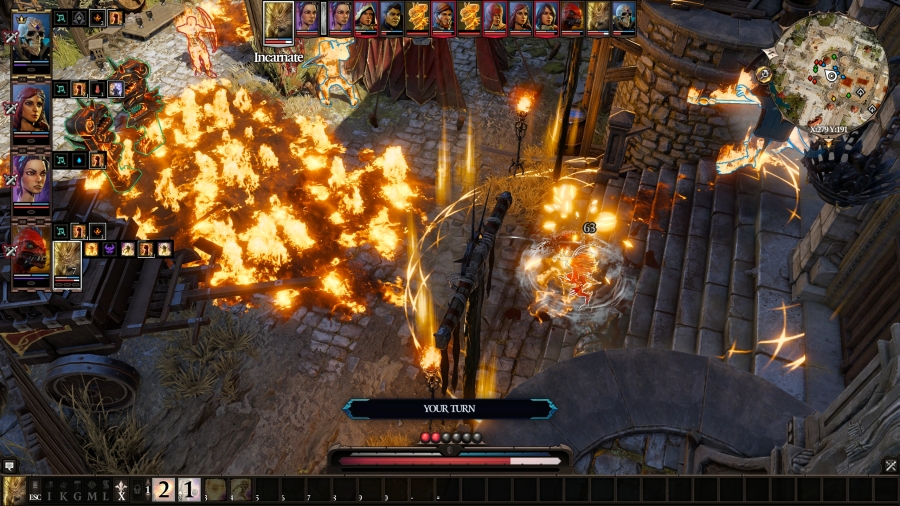 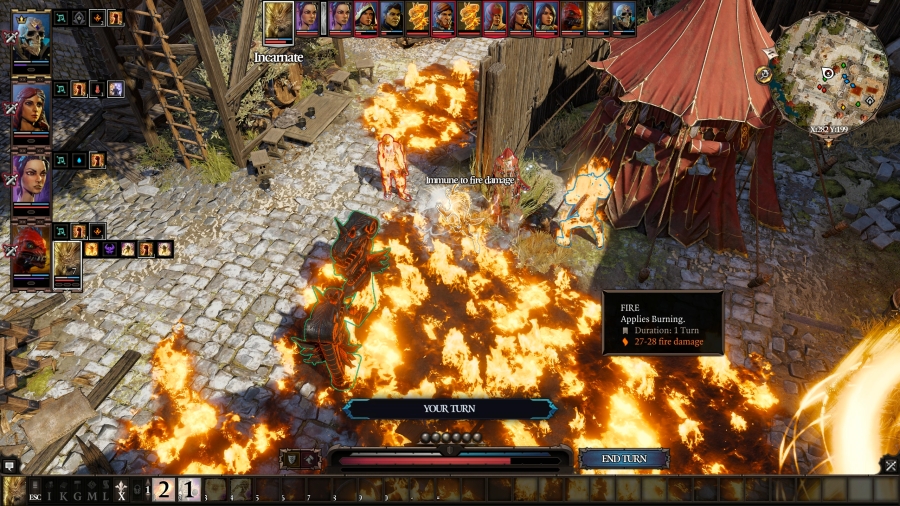 Boy fires his long-range projectile at the first Ranger, and then repositions (taking a shot from Reactive Shot for it) between Fane and the two Rangers beside him. There are too many Rangers in this fight and none of them have names, which makes transcribing this fight a little messy. 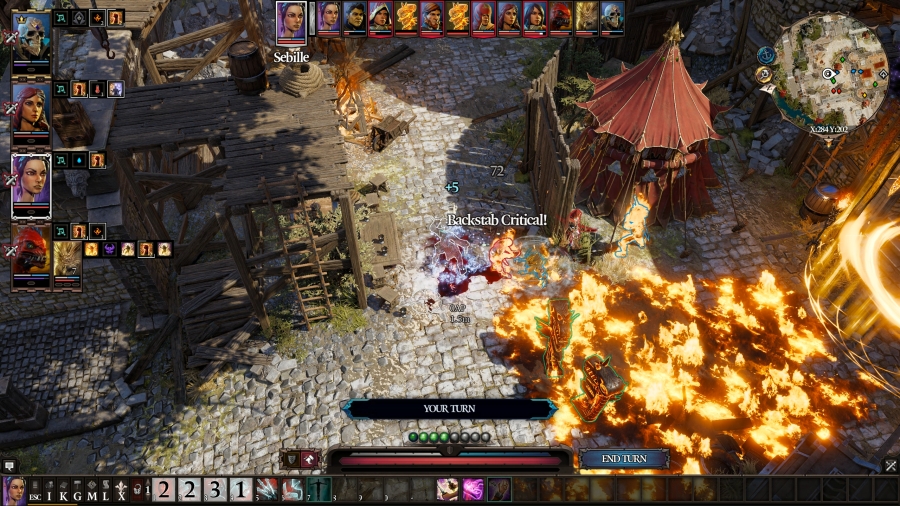 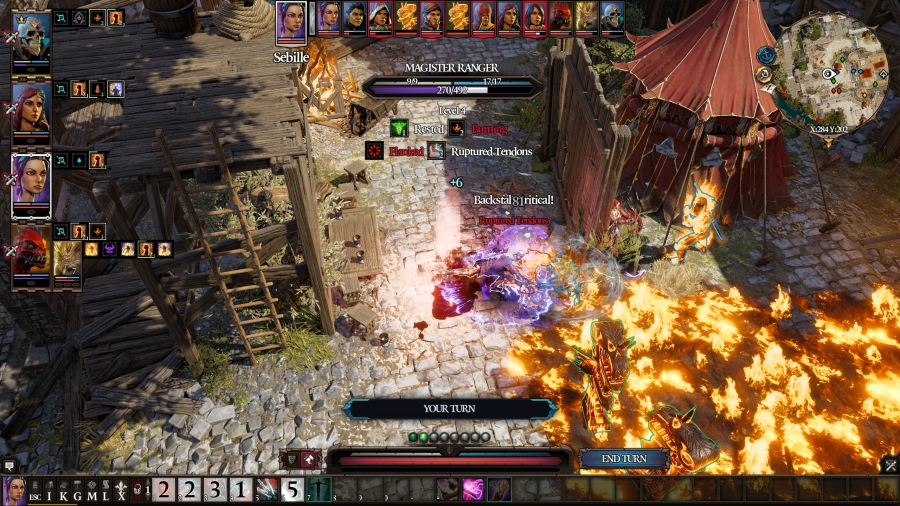 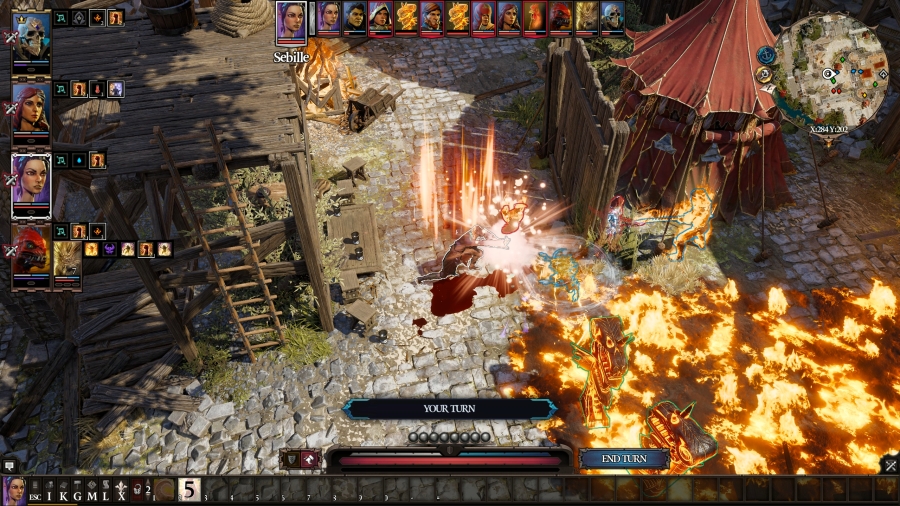 Sebille takes her delayed action by using Backlash on the third Ranger, and then hitting her with the tried-and-true Ruptured Tendons into Chicken Claw. The Ranger is down to about half HP and she�s currently on fire, so, depending on how far she runs, this could be a killing blow. 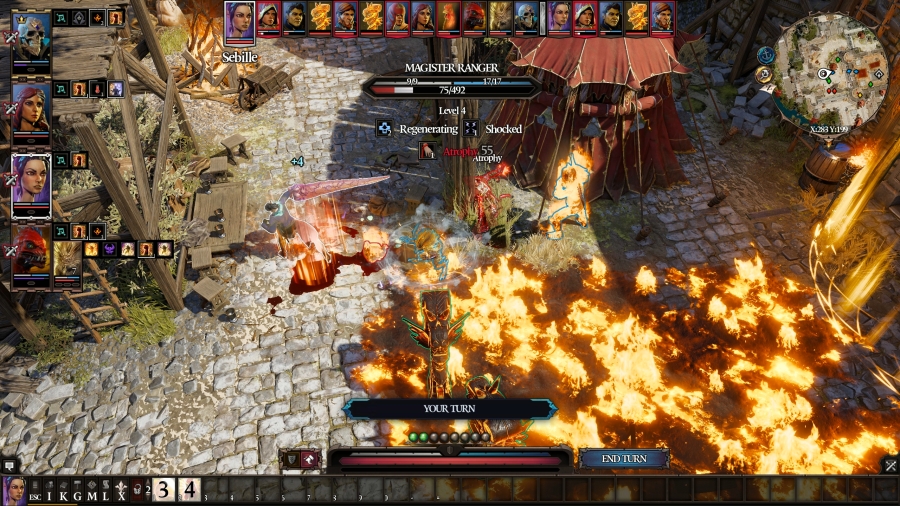 Turn 4 Sebille immediately gets to go again, because her Initiative is so much higher than everyone else�s. She hits the Ranger in front of Fane with Tentacle Lash, forcing her to drop her bow, and then she passes, saving two AP. I considered using Chloroform on the Swordsman, but he still has Reflective Barrier up, and it�d bounce the bottle right back and put Sebille to sleep, too. 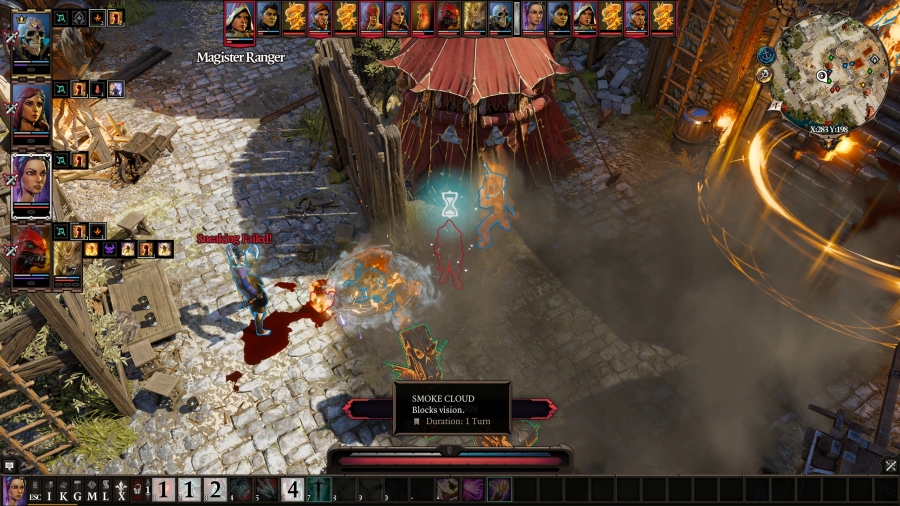 The fire taking up most of the yard puts itself out on this turn, turning to smoke. Smoke has no adverse effects when you walk through it, like some other clouds or surfaces, but it acts as a wall that characters can�t see through as long as it lingers: mages can�t target through it and archers can�t shoot through it. If you�re inside the smoke cloud, your effective range is reduced to your arm�s distance, meaning you gotta get right up to a guy if you want to melee strike him. The first Ranger, freshly Atrophied, takes one step into the smoke cloud, promptly gets lost, and passes her turn. Not like she could do much else. 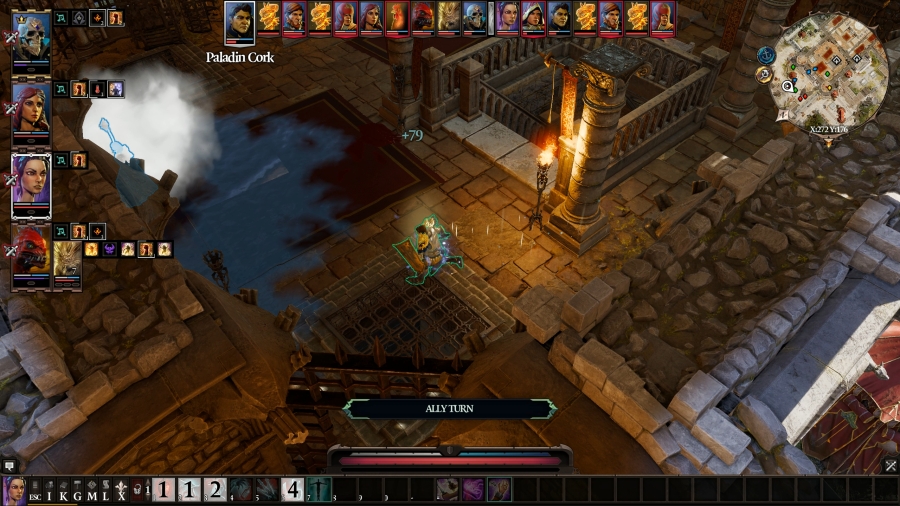 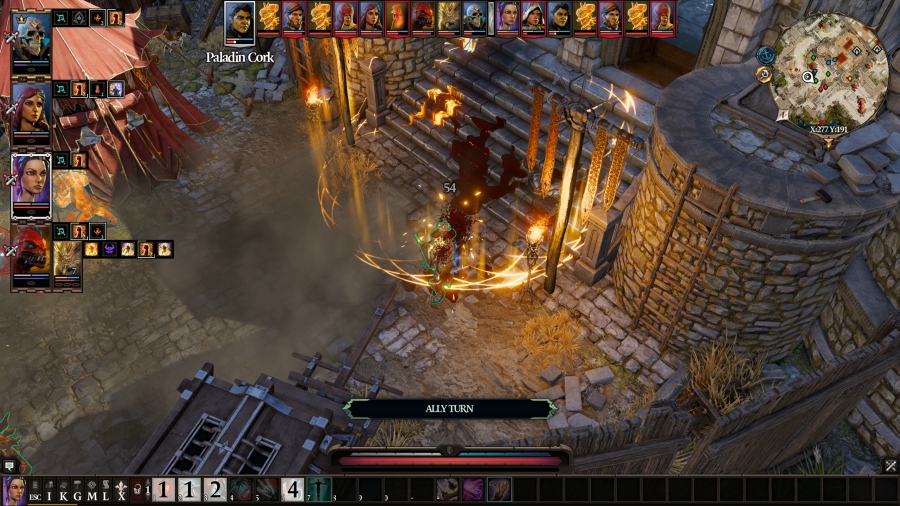 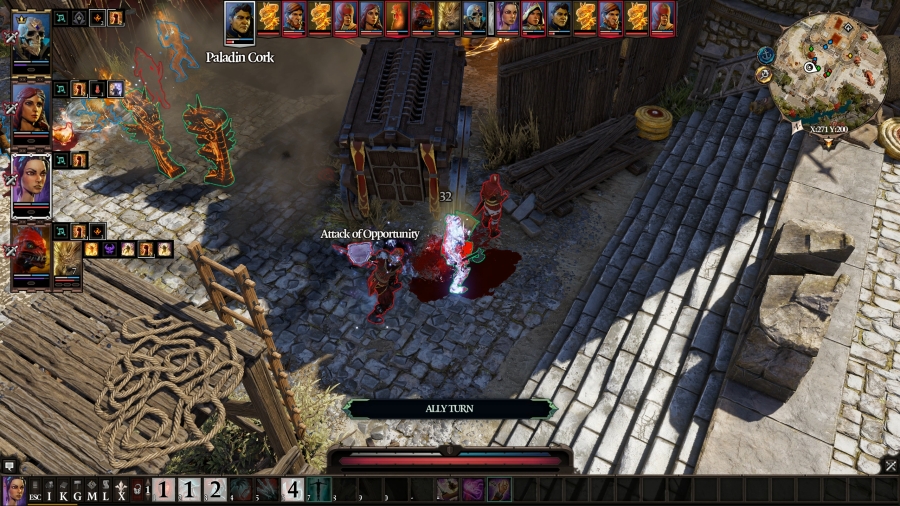 Cork�s feeling a bit better, and he�s saved up a ton of AP, so he runs right out through the door to the building; through the ring of Reactive Shot and taking an arrow to the neck for it; next to the Swordsman, taking an AoO for it; and then does absolutely nothing. Dude, I need you to help me help you. It�s one of the totem�s turns next, but it�s in the smoke and can therefore not see any targets, so it passes. 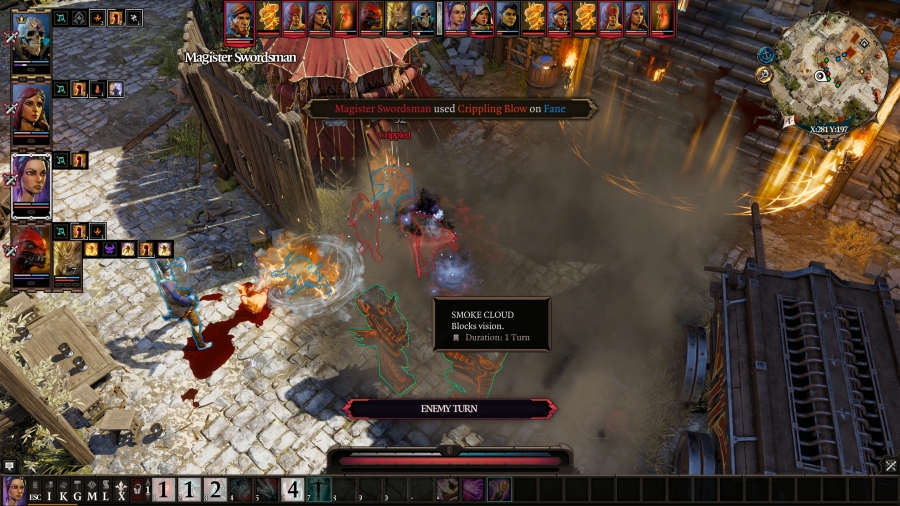 The Swordsman that just hit Cork runs through the smoke and happens to find Fane, so he hits him in the tibia and Cripples him. The second totem�s turn is next, but it, too, can�t see anybody. 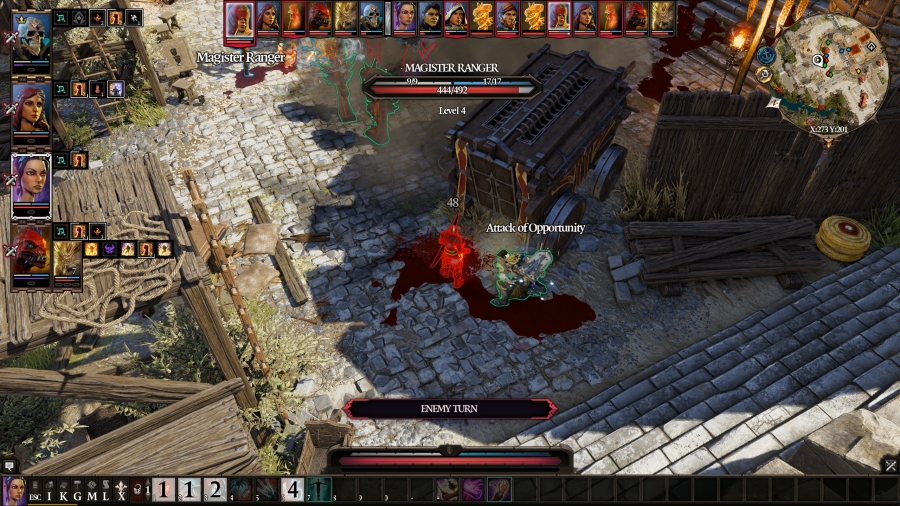 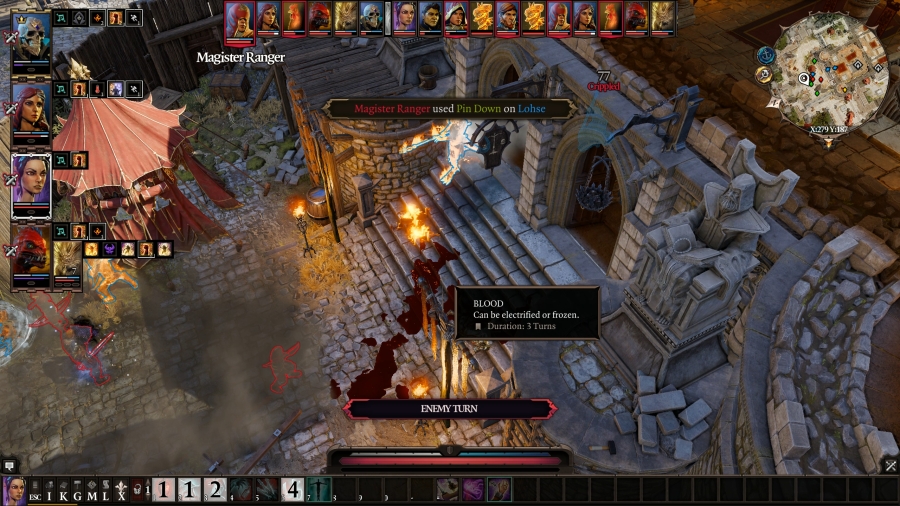 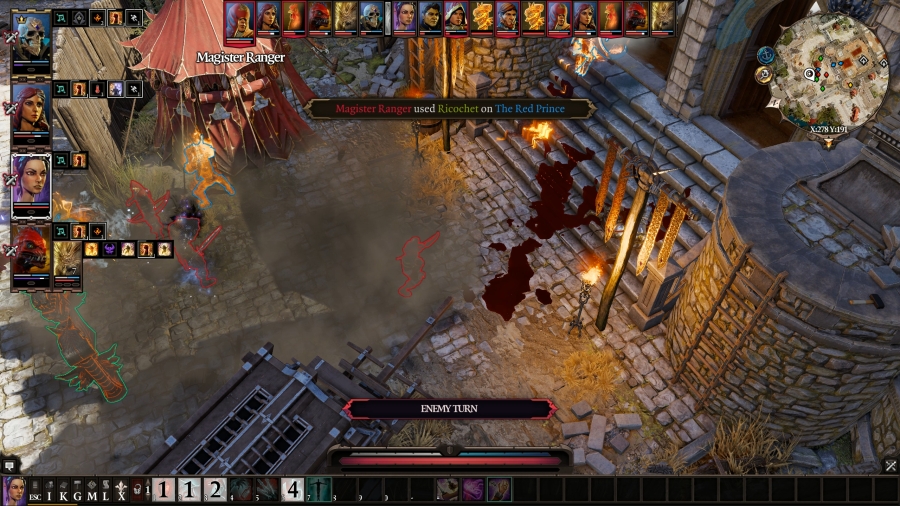 The� I think this is the second Ranger in the turn order? The second Ranger runs past Cork (and he finally does something useful by chopping her in the shoulder for it), then she runs through the smoke to its edge so she can see Lohse and fire an arrow straight into her foot, Crippling her as well. Then, she fires another arrow at Prince, Ricocheting it off his body and into Lohse�s hip. 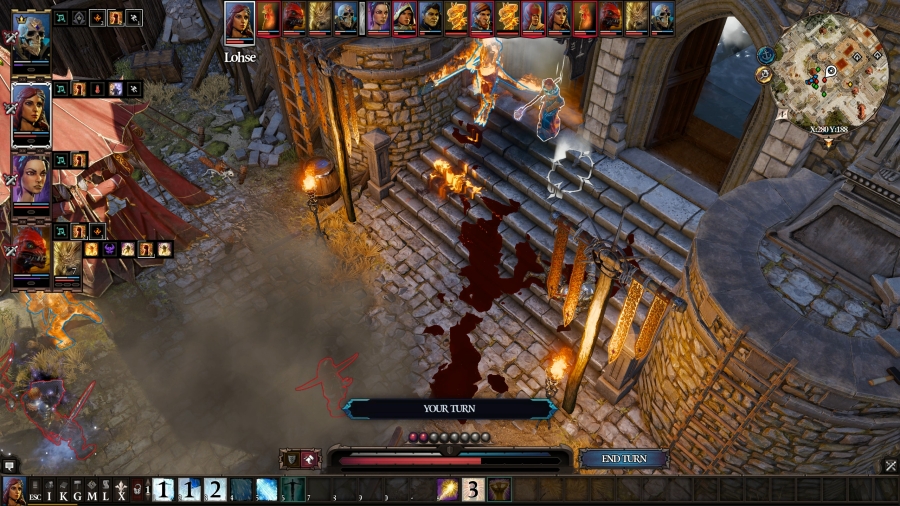 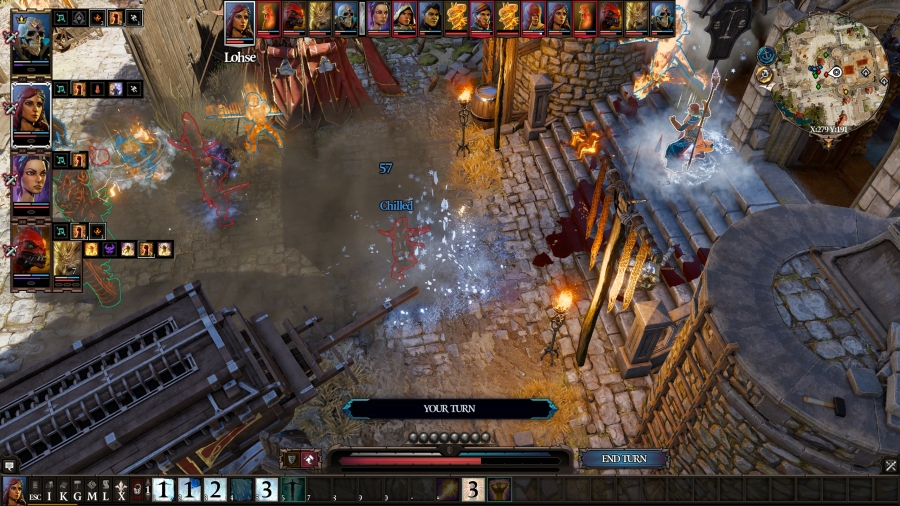 Despite being Crippled, Lohse runs back out of the building, spending two AP for a distance that should barely have cost one, and then she casts Winter Blast on the second Ranger, Chilling her. 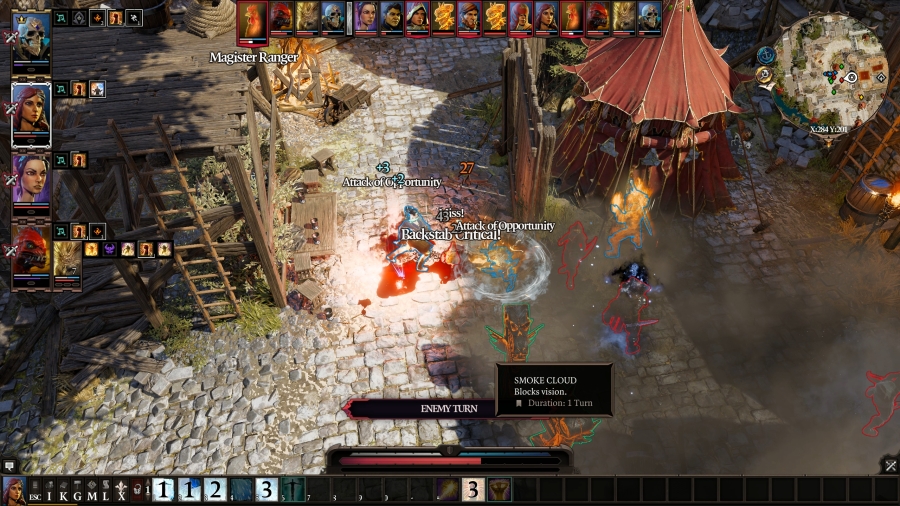 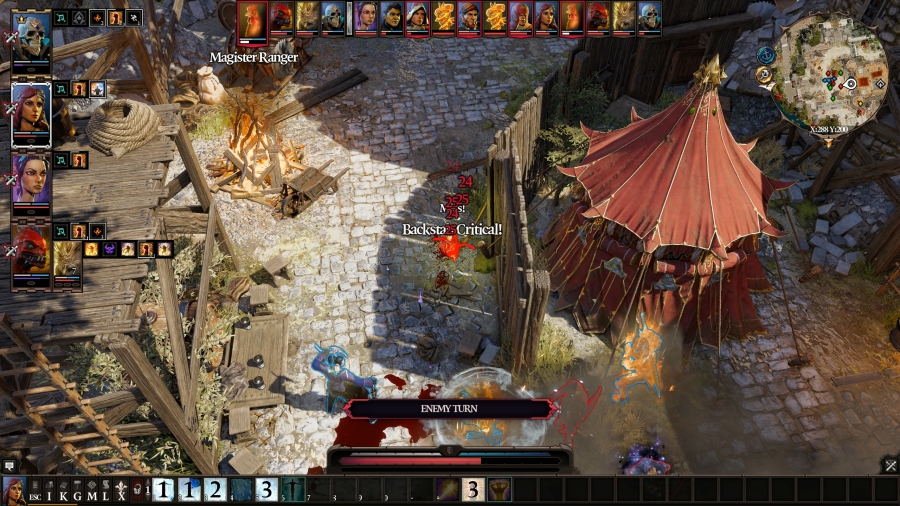 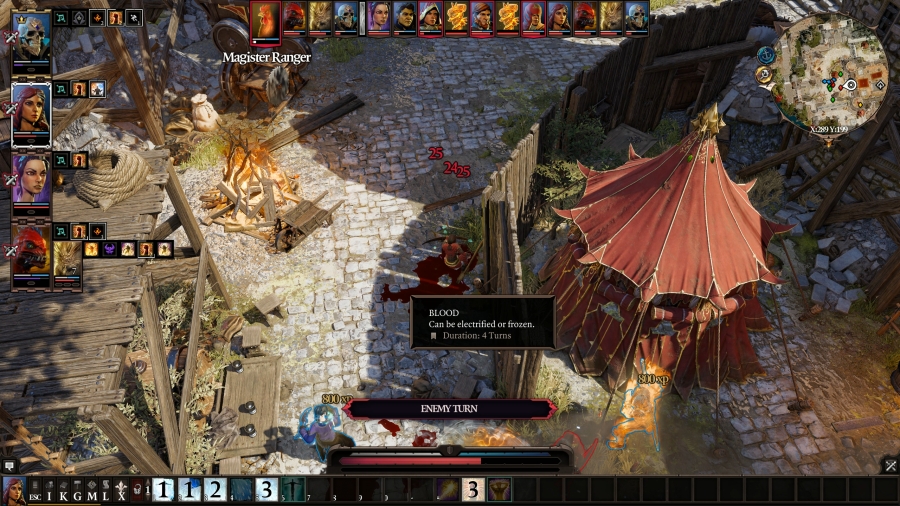 The third Ranger, the one that�s a chicken, tries to run, and immediately takes an AoO from both Sebille and Boy. Boy whiffs, but Sebille strikes true. She hauls rear end as far and as fast as she can go, and after just a few paces, her tendons bleed out from underneath her, and she dies on the spot. 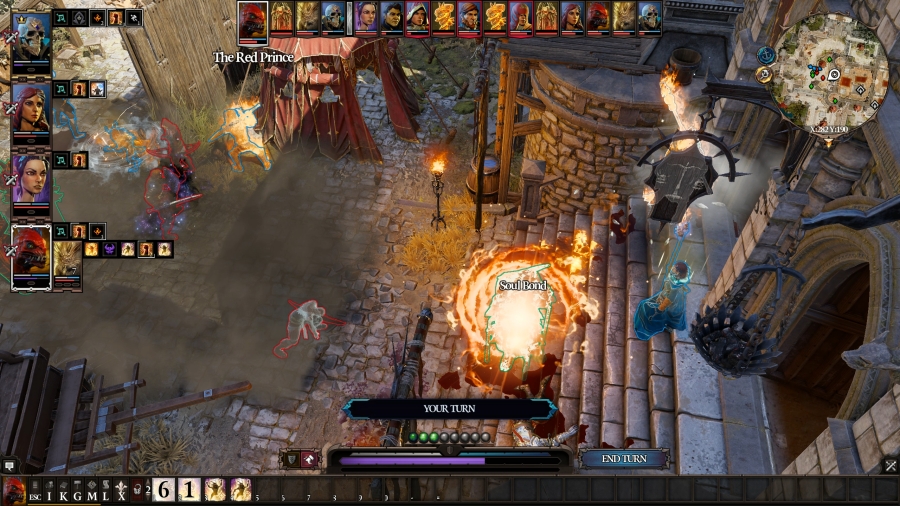 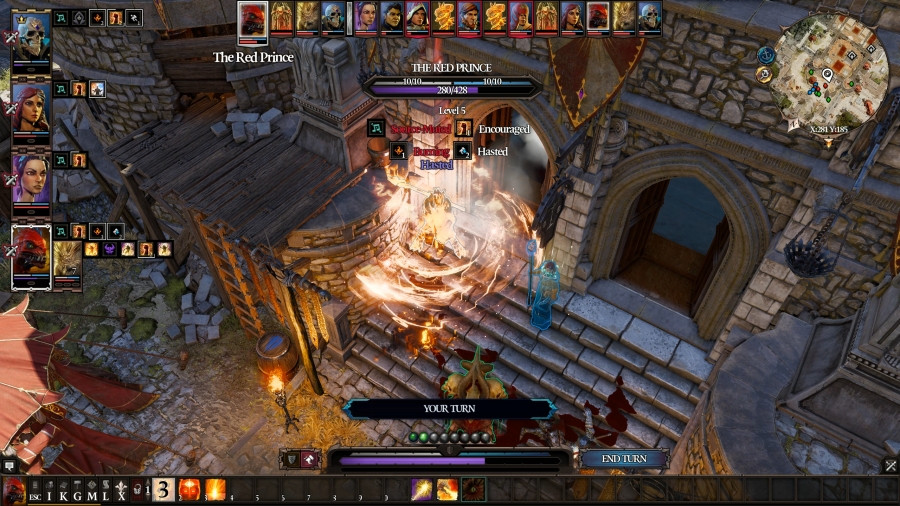 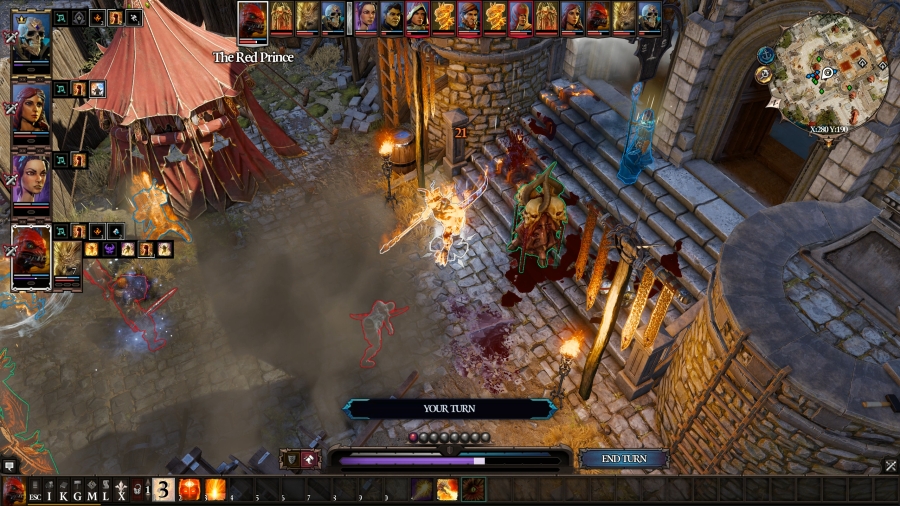 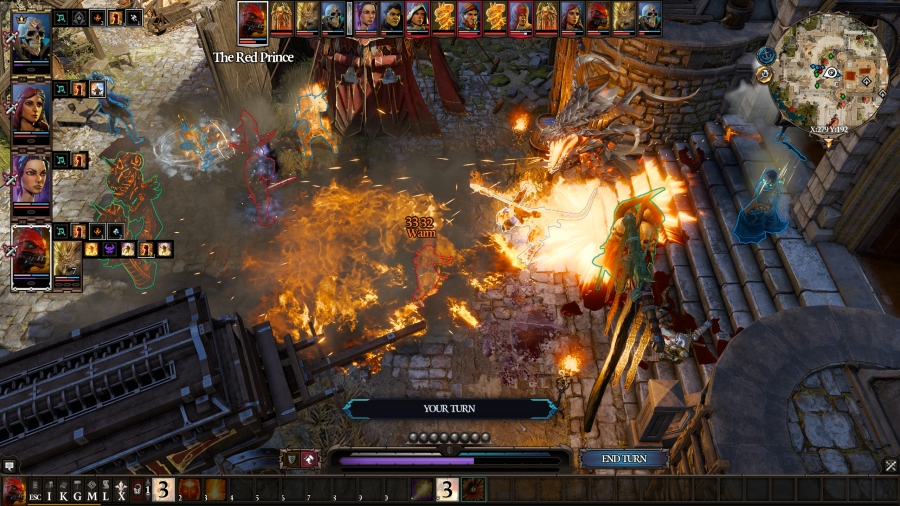 Prince spends his turn putting down a third totem � this time, on a puddle of blood left by Trippel�s dead body. Totems spawned on blood will do increased physical damage and will cause Bleeding on hit, making them the most damaging variant of totems, but depending on your opponent, that�s not necessarily the best option. He then casts Haste on himself before running forward a bit and breathing a lake of fire on the second Ranger, setting her ablaze. Which cures her Chilled, at least! 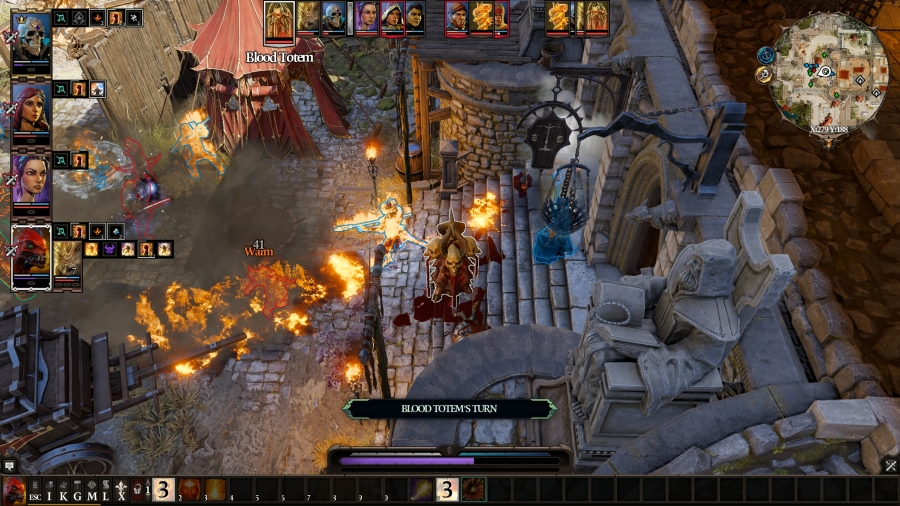 The blood totem takes its shot on the second Ranger. 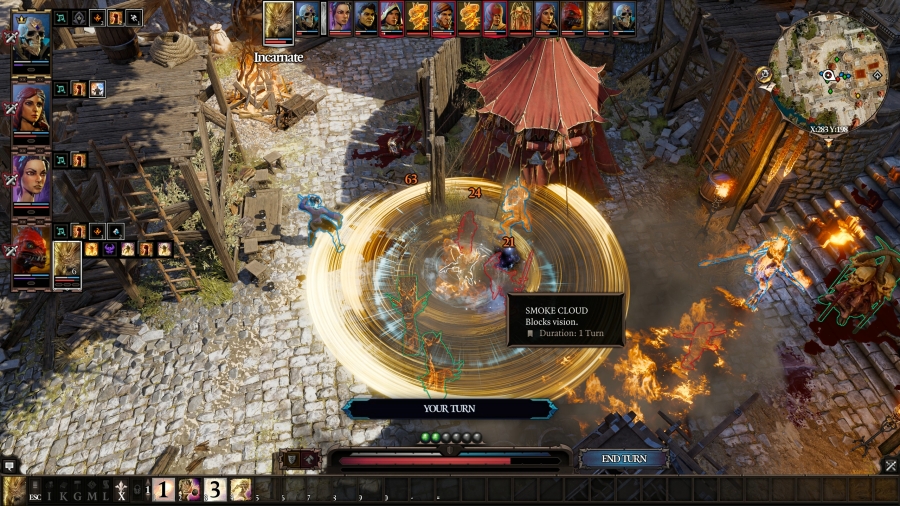 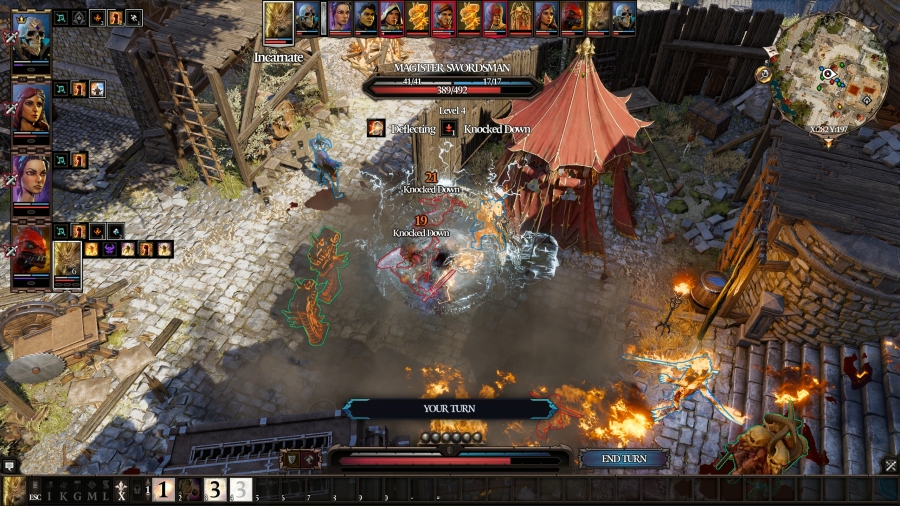 Boy repositions slightly and uses Whirlwind, granted to him by Power Infusion. Looking at his animation, his arms are a lot bigger than you�d think! He ends his turn with Battering Ram, hitting the Swordsman and the� the first? I think that�s the first. He hits the Swordsman and the first Ranger with Battering Ram, knocking them both down. 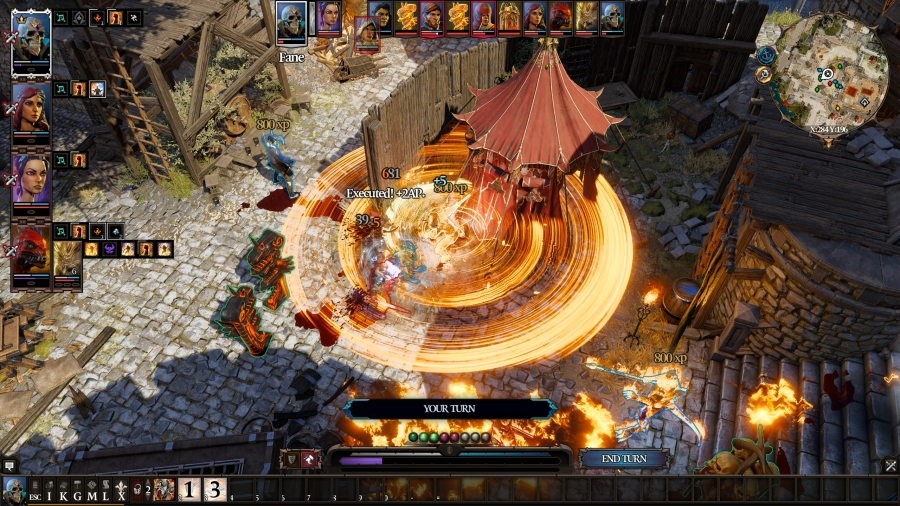 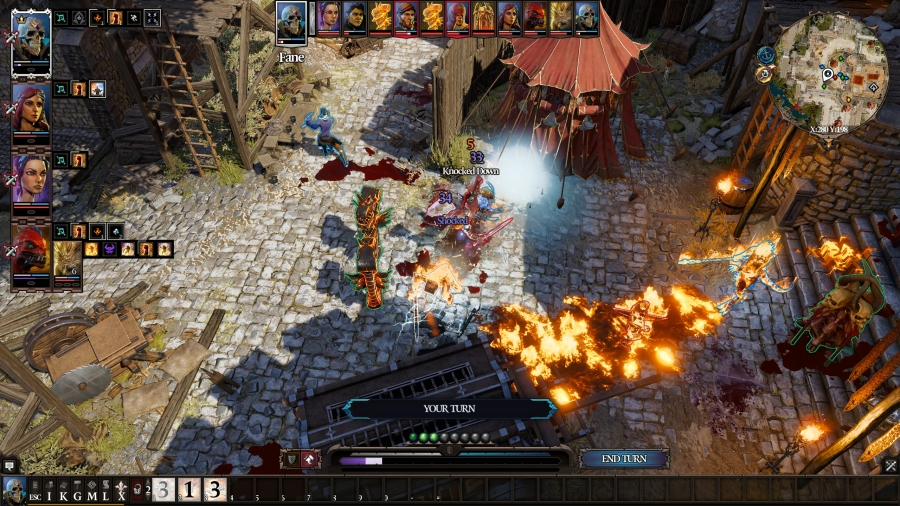 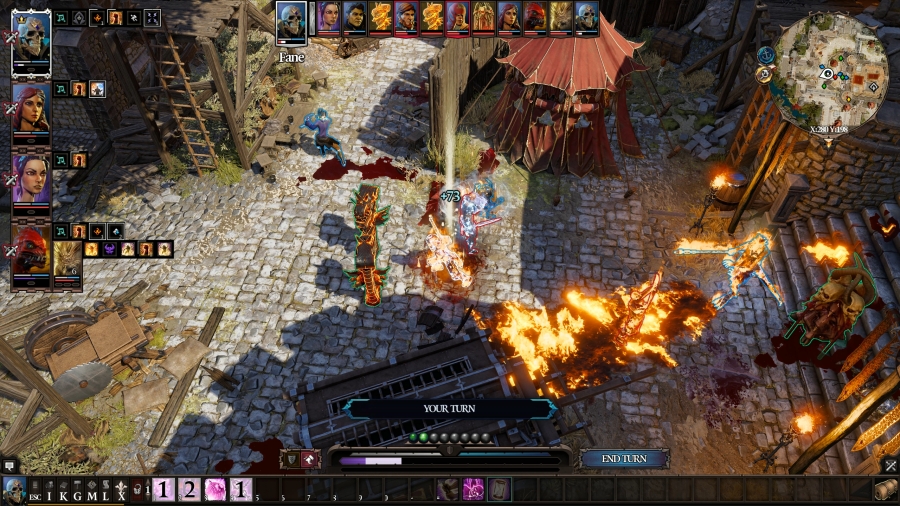  The smoke clears on Fane�s turn, giving everyone a clear line of sight on the whole yard � at least until the fire that Prince breathed turns to smoke as well. Fane�s been hovering around an eighth of his max HP for a while, and he�s still on fire, so he�s not doing great. His plan is to try and make the two Magisters surrounding him bleed as much as possible � to start, taking a page from Boy�s book, he uses Whirlwind on them both, which kills the first Ranger and refunds his two AP. Then, he uses Battering Ram, primarily to reposition behind the Swordsman to get more of that tasty, tasty blood. Then, standing on as much blood as possible, he uses Blood Sucker to replenish his own HP, putting him up to about a quarter. Finally, he ends his turn by whacking the Swordsman with his own Big Bitch two-hander. 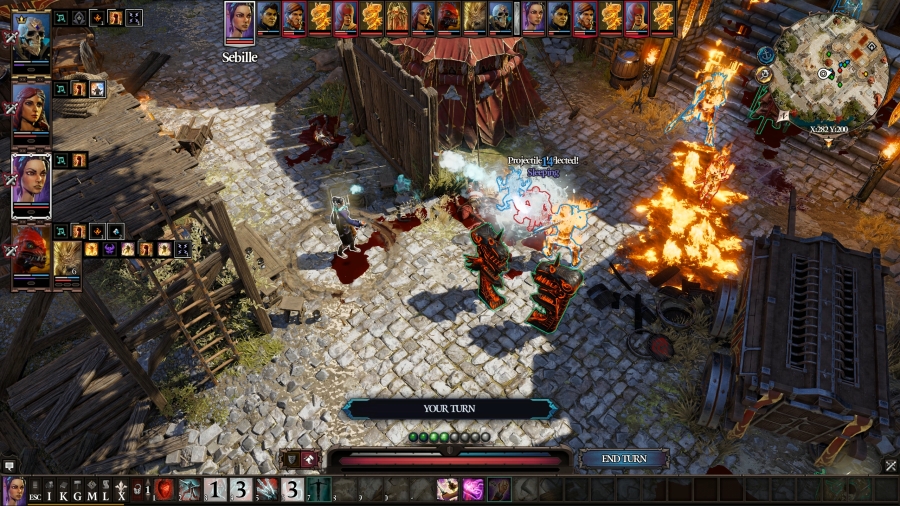 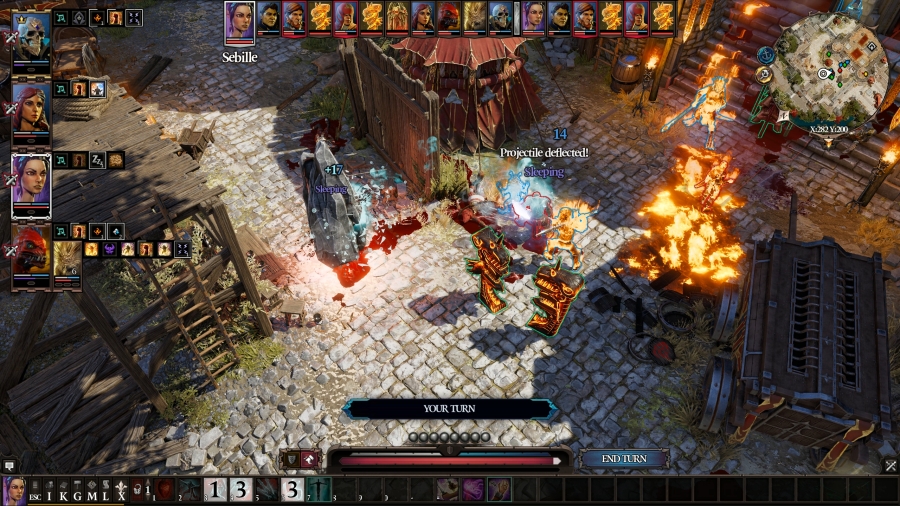 Turn 5 It�s Sebille�s turn, and she�s got a boatload of AP to work with! She hits the Swordsman with Chloroform. His Reflective Barrier is still up, and it bounces right back to her, putting her to sleep. That was Sebille�s turn! 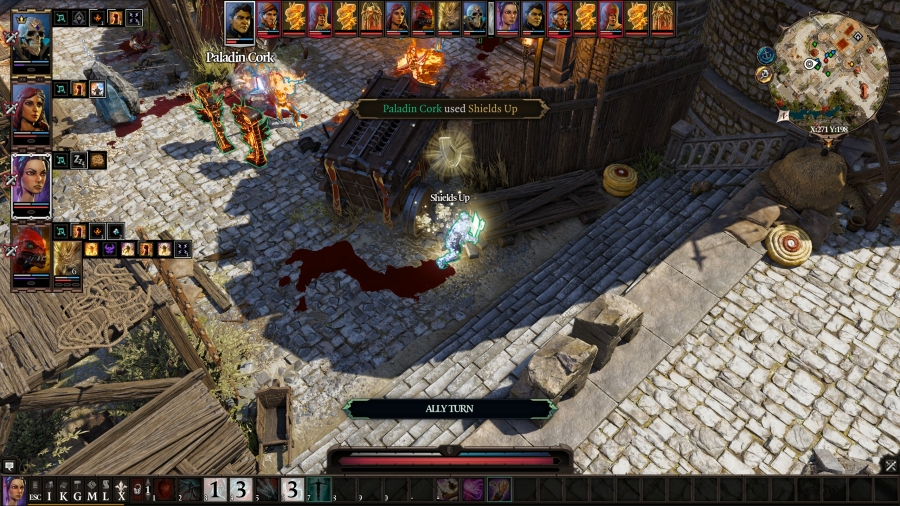 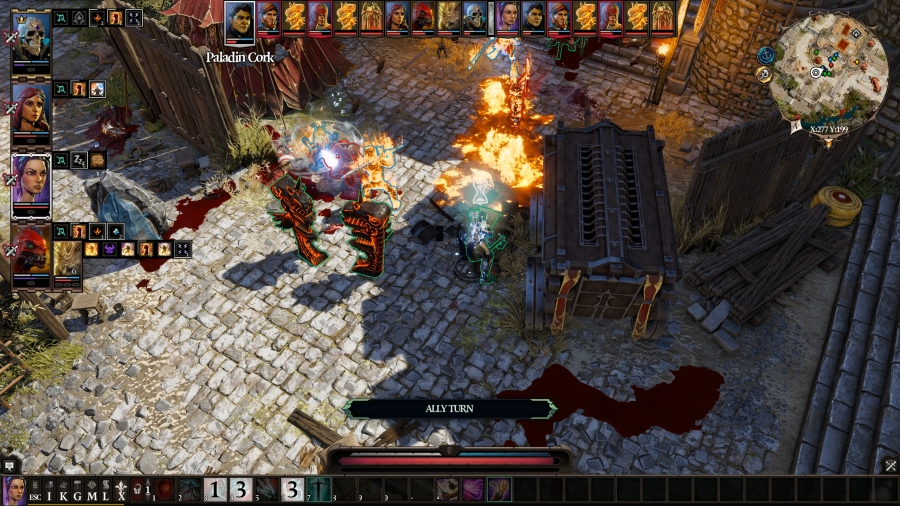 Cork uses Shields Up, then attempts to run at the final remaining Ranger, but only remembers at the last second that she�s standing in a big-rear end lake of fire, so he reconsiders and passes. The Swordsman spends his turn waking up. 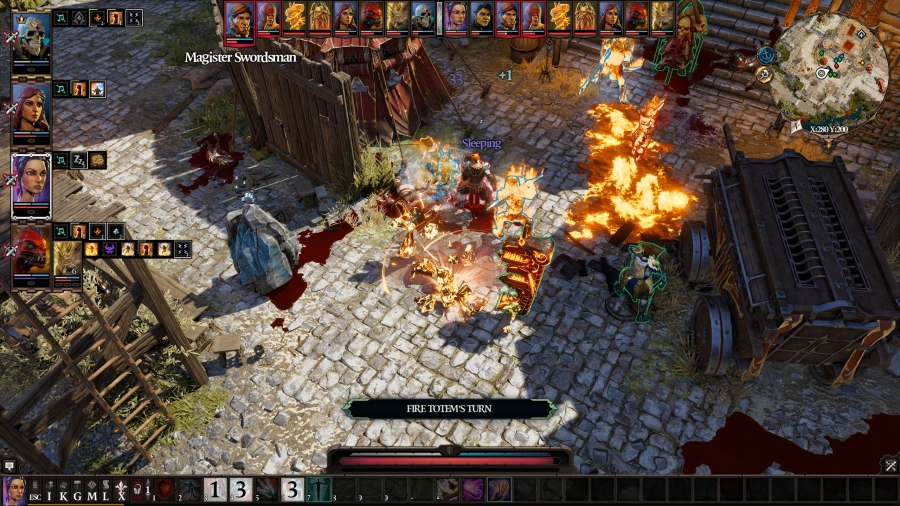 Four turns have passed since this totem was spawned, so it self-destructs. 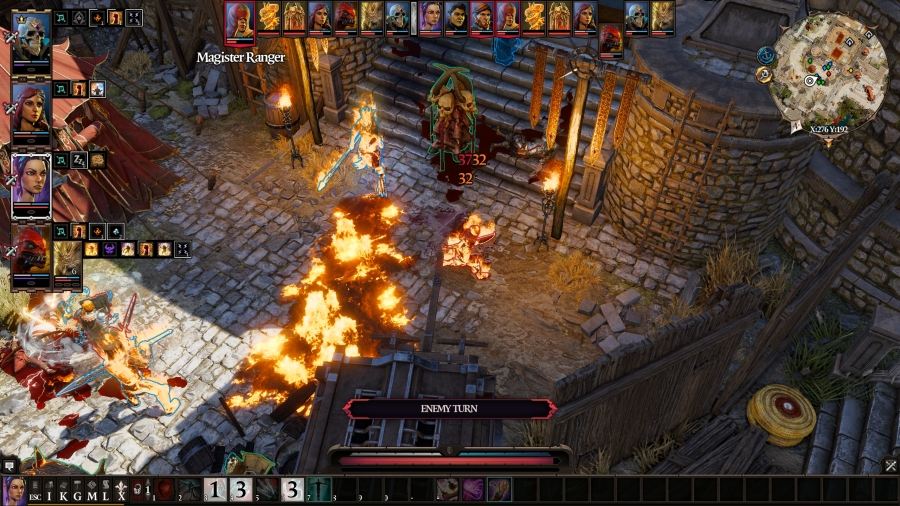 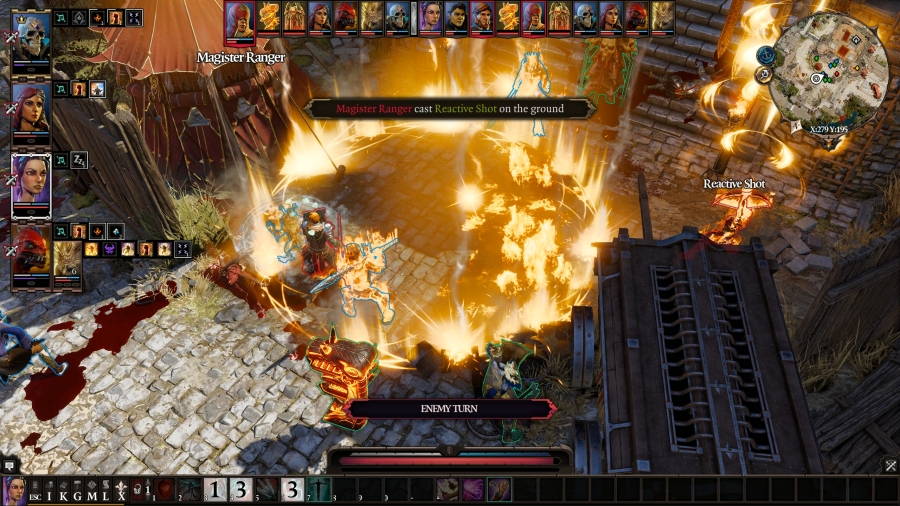 The Ranger repositions slightly, probably just to get herself out of the fire, and then casts � what does she cast? Come on, you know the words! She casts Reactive Shot! Despite almost certainly having some more AP in her, she passes after that. 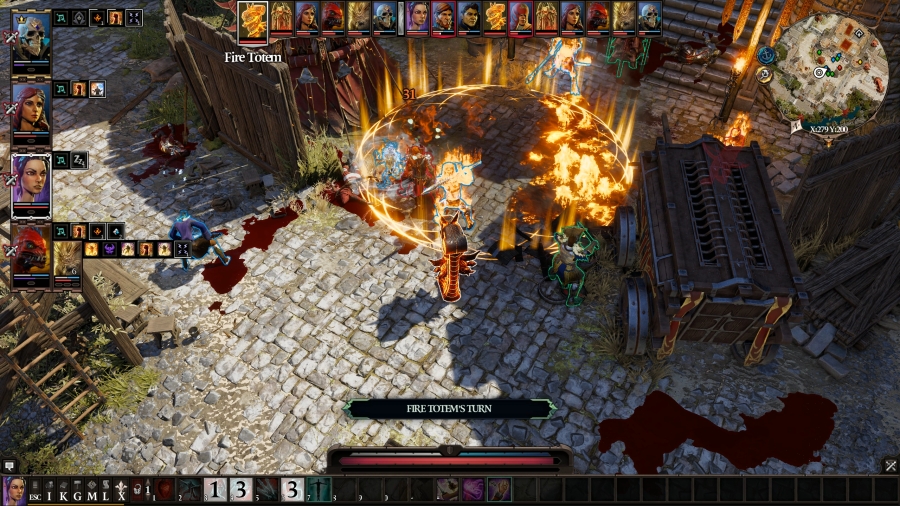 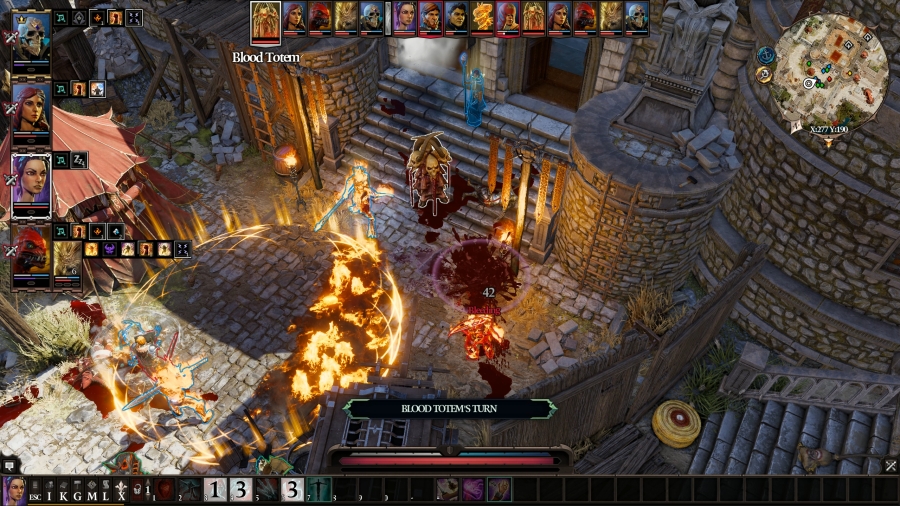 The remaining fire totem and the blood totem shoot at the Swordsman and the Ranger, respectively.  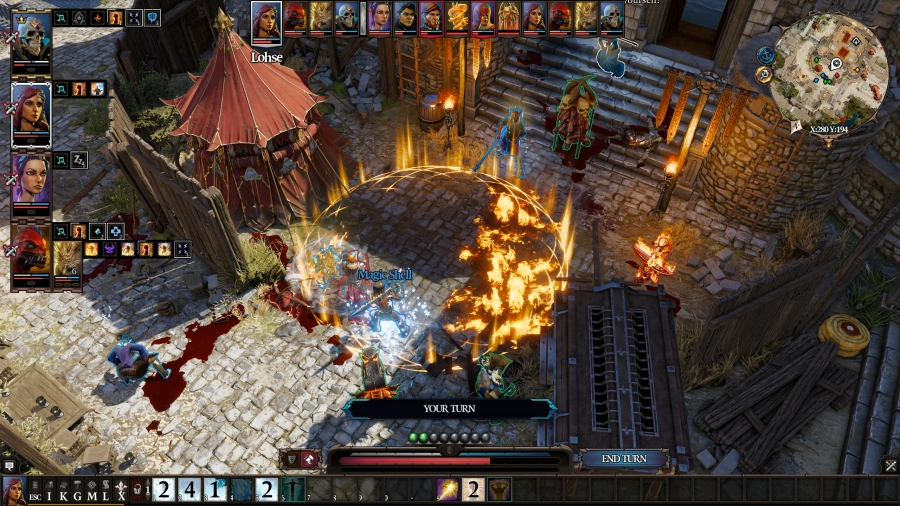 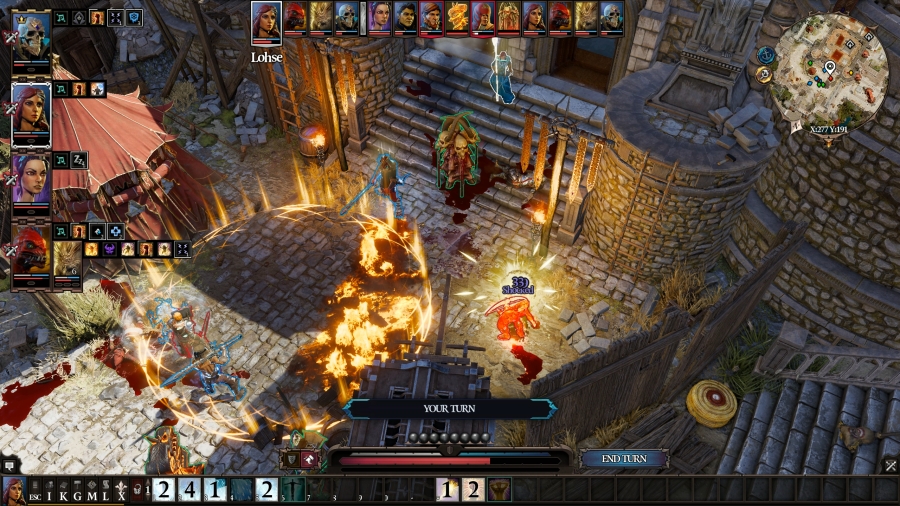 Lohse spends her turn healing Prince; casting Armour of Frost on Fane, putting out his fire; and then firing a Staff of Magus at the Ranger. A fairly productive turn for her. 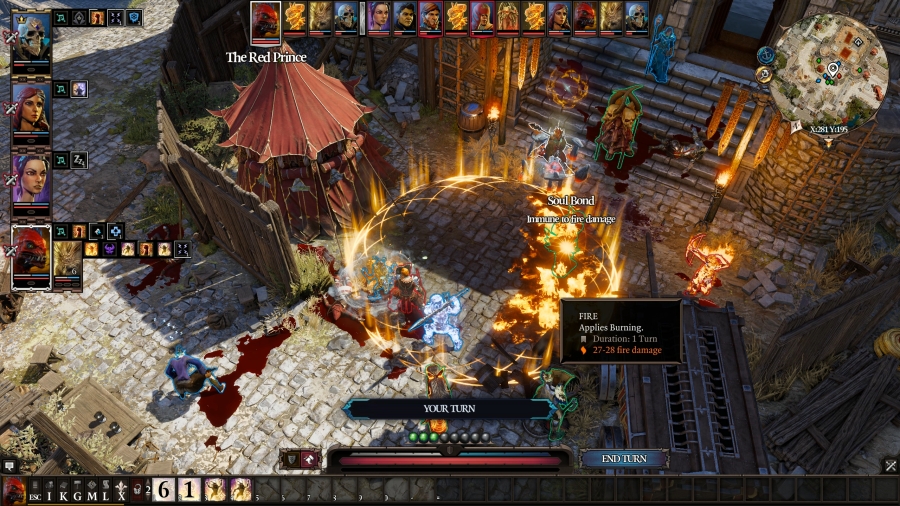 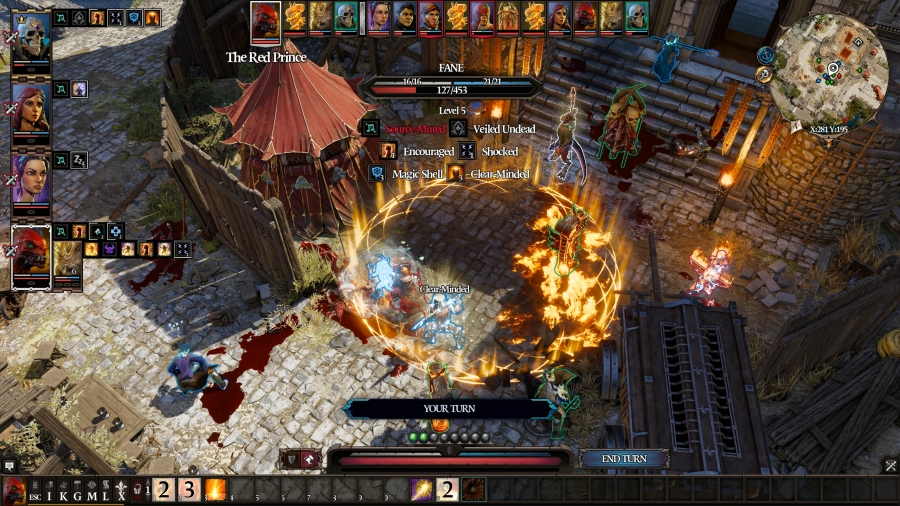 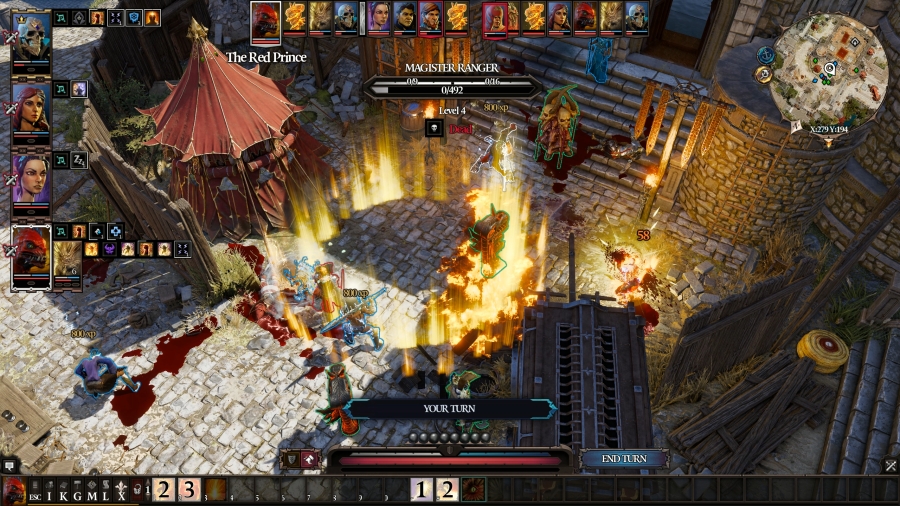 Prince, flexing his Summoner�s muscles, puts down one more fire totem before casting Peace of Mind on Fane, and then firing his own Staff of Magus at the Ranger. It does 58 damage, and she only has 56 HP remaining, so that puts her down, leaving only the Swordsman left. 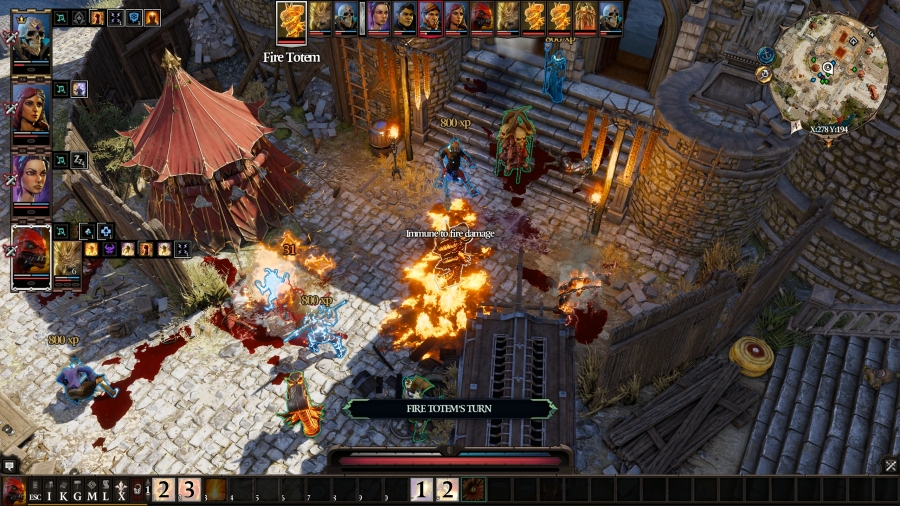 The newly-minted fire totem takes a shot at him. 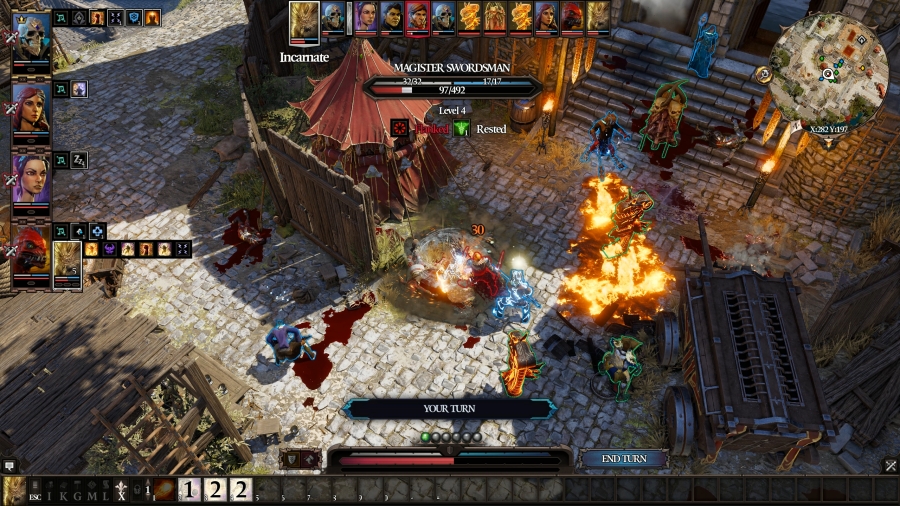 Boy hits the Swordsman with his long-range attack. We�re just taking potshots at him at this point, but it just so happens that I don�t have the AP to do anything substantial to make this final blow happen sooner  Fane uses Mosquito Swarm, healing himself and causing the Swordsman to Bleed, which should hopefully expedite things a bit. 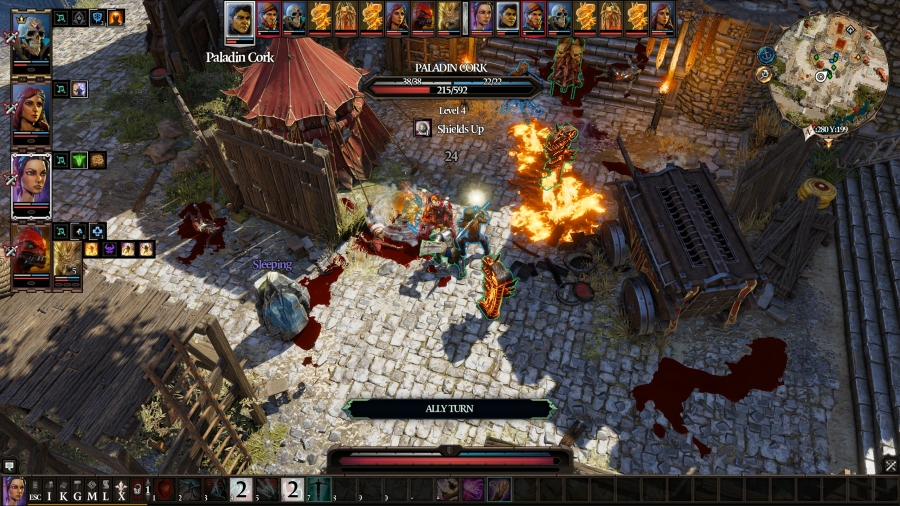 Turn 6 Sebille spends her turn waking up from her self-inflicted nap. Cork hits the Swordsman twice, but that doesn�t kill him � but it puts him down far enough that, when his turn rolls around, the Bleeding takes over, and that kills him. Cork very nearly stole my kill  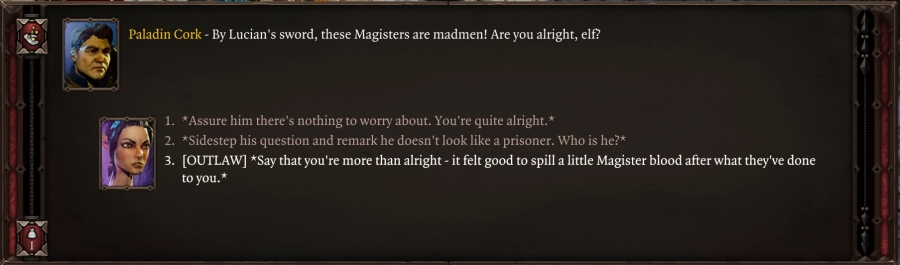 Cork decides to strike up a conversation with Sebille, despite her not being the closest to him and despite her being in sneak mode thanks to Guerrilla. I guess the in-game logic is that Cork was facing her?  : �Alright?� Mmm, there�s nothing quite like the thrill of a fresh kill and spilling a bit of blood from your enemies. I daresay that I am more than alright.: Well� good, I suppose� : �Alright?� Mmm, there�s nothing quite like the thrill of a fresh kill and spilling a bit of blood from your enemies. I daresay that I am more than alright.: Well� good, I suppose� : He pauses a moment to wipe a thick mixture of sweat and blood from his brow before continuing. : He pauses a moment to wipe a thick mixture of sweat and blood from his brow before continuing.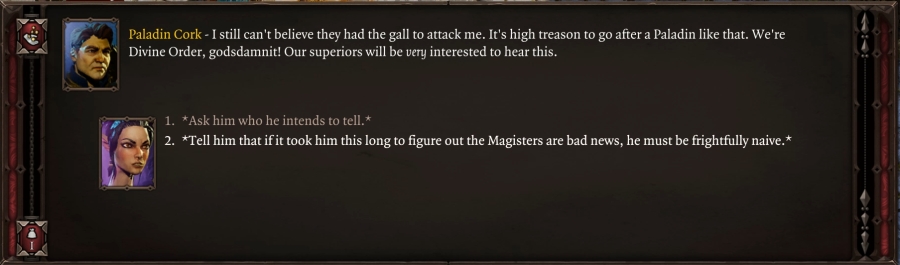 : Treason is only the latest in their long laundry list of little misdemeanours. If it�s only now you�re realizing that the Magisters might not be on the straight-and-narrow, you must be� awfully trusting.: I wouldn�t be so certain of that! They�ve got most folks on the mainland properly fooled. I never would have believed what goes on here until I saw it with my own eyes. : Treason is only the latest in their long laundry list of little misdemeanours. If it�s only now you�re realizing that the Magisters might not be on the straight-and-narrow, you must be� awfully trusting.: I wouldn�t be so certain of that! They�ve got most folks on the mainland properly fooled. I never would have believed what goes on here until I saw it with my own eyes.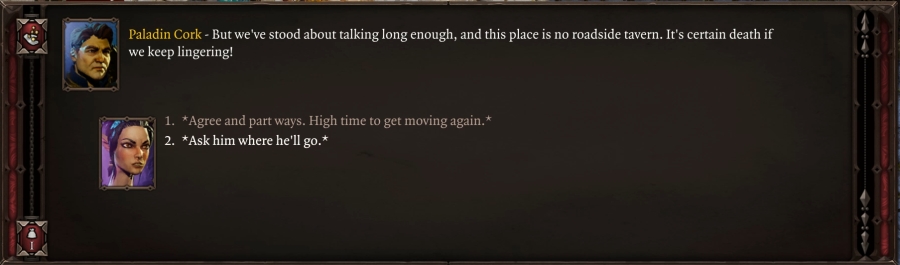 : And where will you be headed?: First things first: I need to get the lay of the land inside Fort Joy. I was sent here to make an official report on what exactly goes on here, and I don�t intend to run away now.: After that though, and without the Magisters� help� there�s nowhere to go but the Hollow Marshes. They say they�re haunted, but I don�t believe in bogey men.: (Perhaps you should.): I was once told there�s an old harbour on the far side of the island. And where there�s a harbour, there may be a boat�: I must be off, and so should you. Best of luck to you! You deserve better than this place. : And where will you be headed?: First things first: I need to get the lay of the land inside Fort Joy. I was sent here to make an official report on what exactly goes on here, and I don�t intend to run away now.: After that though, and without the Magisters� help� there�s nowhere to go but the Hollow Marshes. They say they�re haunted, but I don�t believe in bogey men.: (Perhaps you should.): I was once told there�s an old harbour on the far side of the island. And where there�s a harbour, there may be a boat�: I must be off, and so should you. Best of luck to you! You deserve better than this place.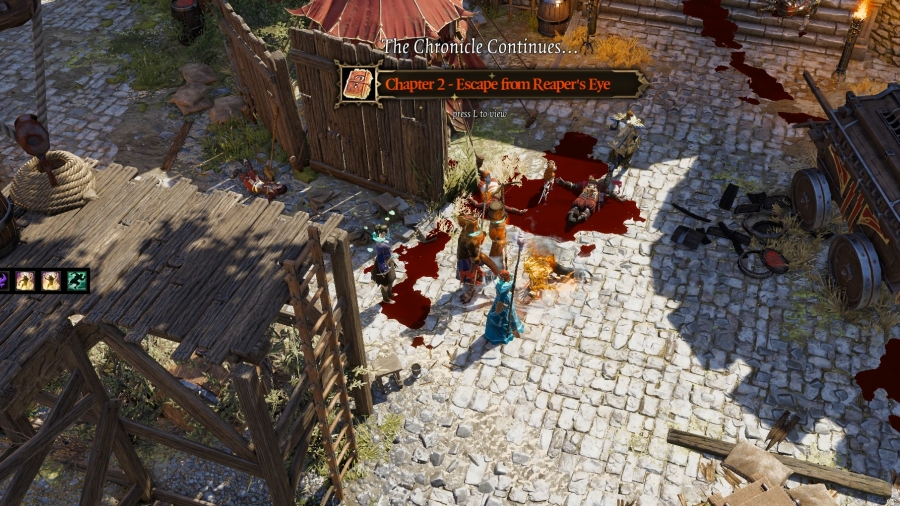 And then he runs straight back into the fort. Perhaps not the wisest decision, based on how he handled himself in that fight. Well, that�s one more fight for the books. Time to loot the bodies and see what my cold-blooded murder has won me. Maple Leaf fucked around with this message at 07:40 on Apr 14, 2021 |
|
#
?
Apr 14, 2021 07:22
|
|
|
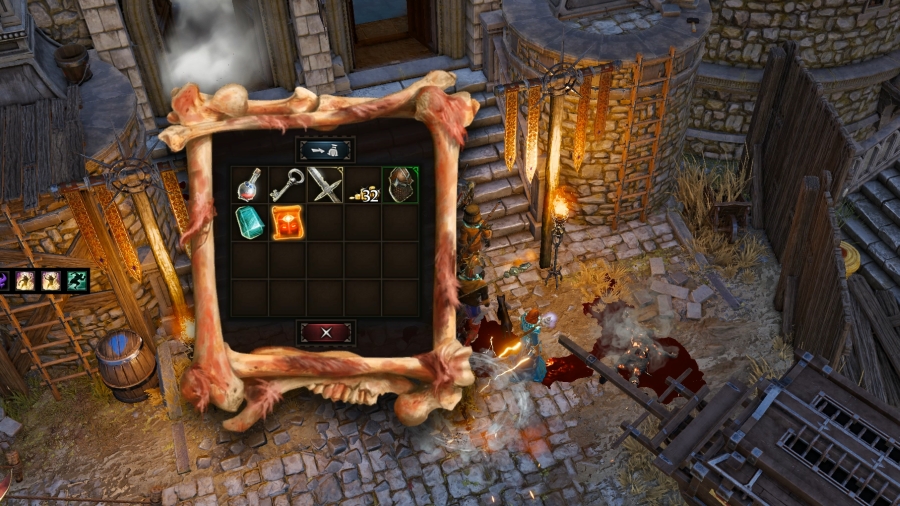 Predictably, most of the corpses have consolation prizes in them � some crafting ingredients, an oil flask, and some money. Trippel, though, had the jackpot. Which is to say, it�s still not a lot. The gem is good for extra cash and I don�t know what the key goes to. That helmet, though�. 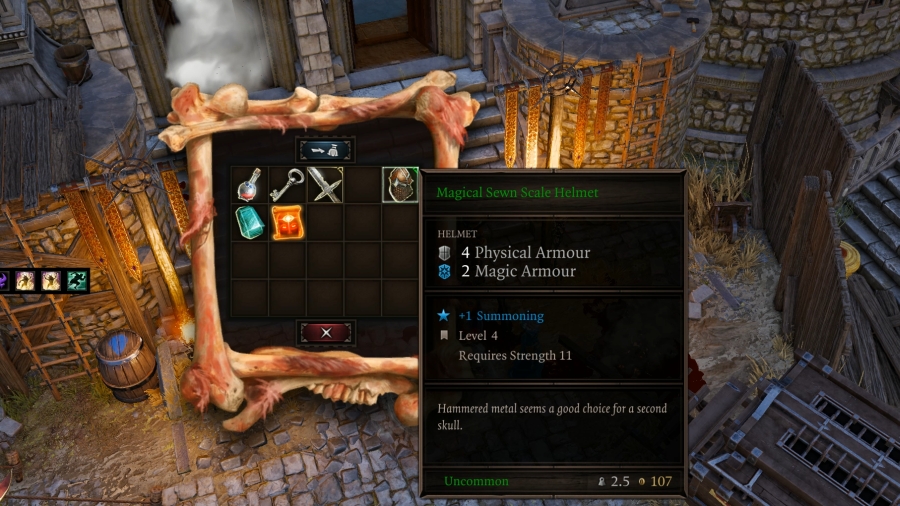 That�s not a bad helmet, particularly since it grants Summoning +1. And we just happen to have a brand new summoner on our team. Fane�s still rocking the bucket, and as funny as it is and all, it gives him -1 Initiative, so I�d like to swap it out soon. But this helmet would go better on Prince � his �helmet� is just a fancy hat, after all. 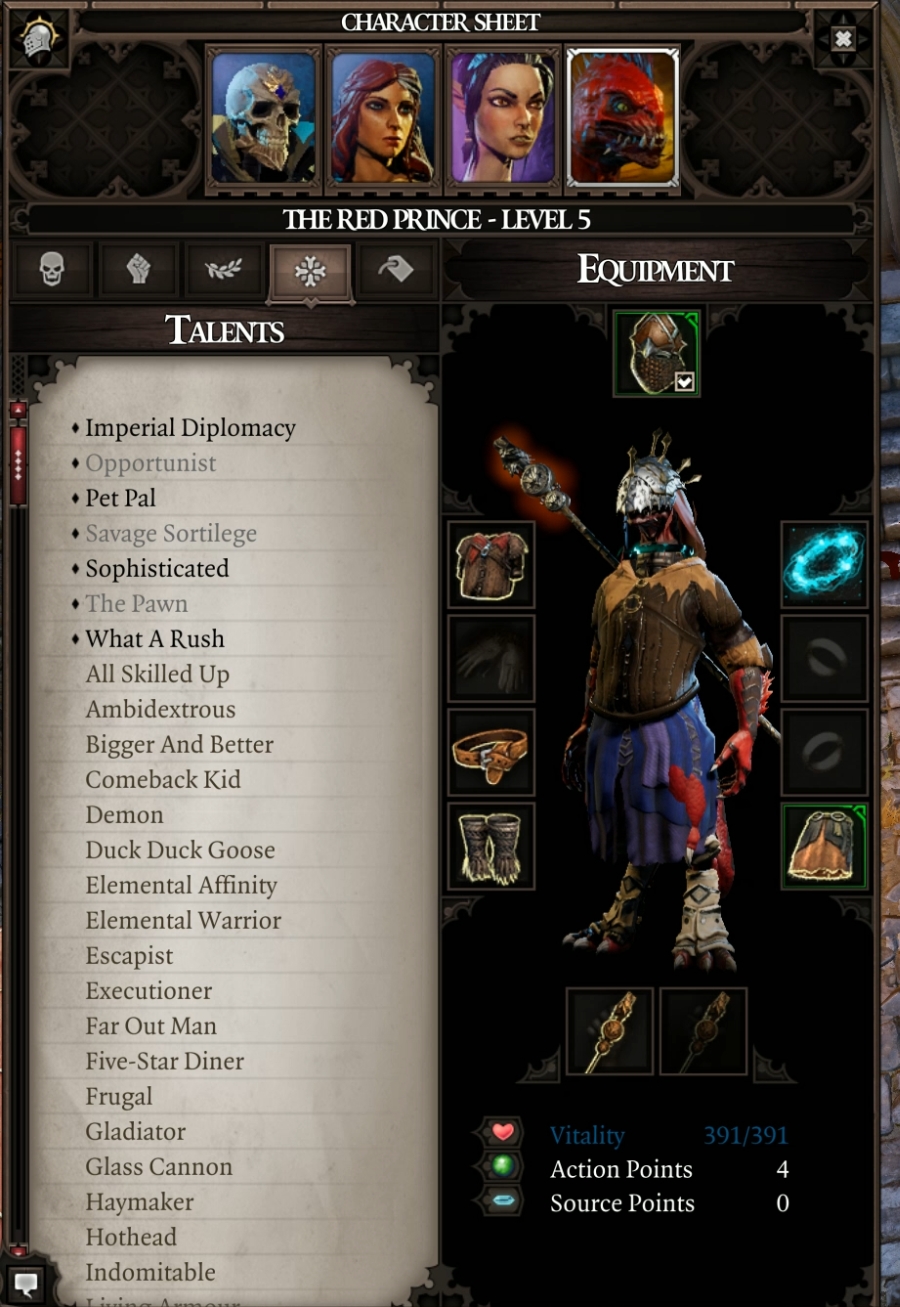 I can�t imagine he can see very well through that, but hey, you don�t wear armour for its practicality. You wear them for their numbers. Just ask any female character in a CRPG. 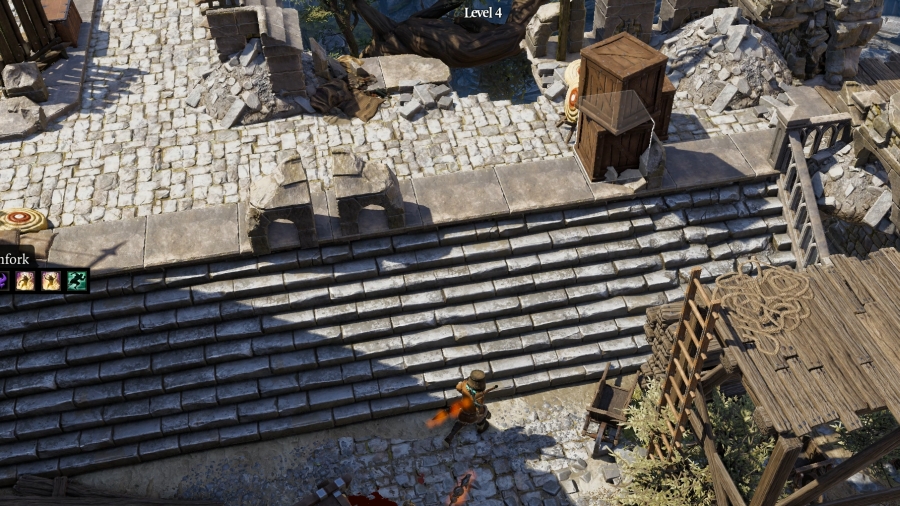 I�m outdoors, beyond the gate to the fort, on what appears to be the fortress�s walls. There�s quite a lot going on up here: boxes are stacked next to targets; tents are set up nearby; it even looks like they were trying to do some upkeep on the walls, given the scaffolding near the scene of the fight. None of my characters have Lucky Charm, meaning all of my looting through these boxes isn�t going to net me any goodies. Which is a shame, and I don�t know who I�d try to make into our charmer � everybody�s Civil attributes are already mapped out. Fane�s the persuader; Prince is the barterer; Lohse is the loremaster; and Sebille is the thief. Nowhere to allocate those extra points into Lucky Charm 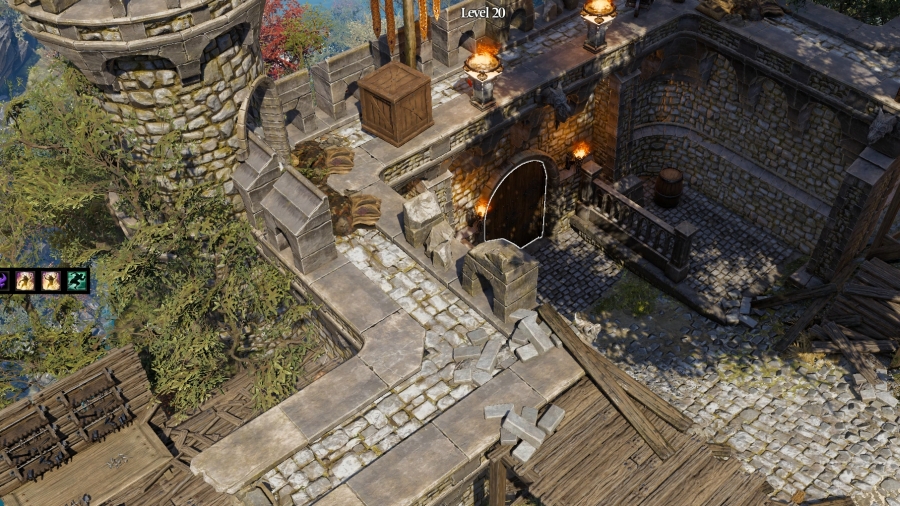 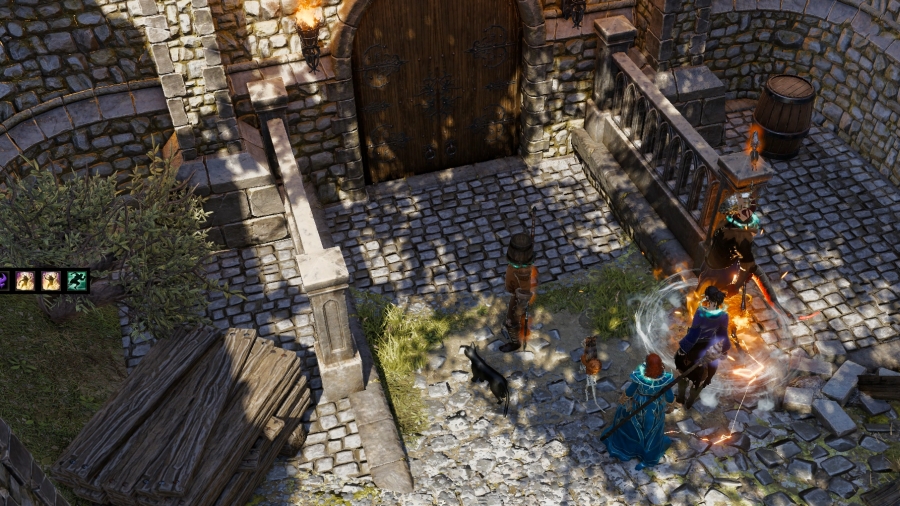 Along the northern wall is a giant door that leads out of the boundaries of the fort.  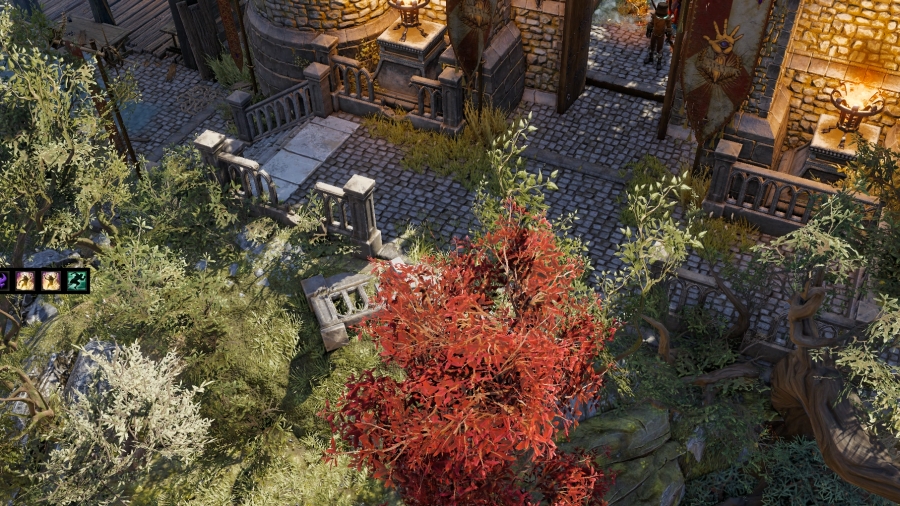 I bet this is what Trippel�s key went to. Just beyond the door is a cliff, with a paved road leading to the east. I recognize this place � this is where I had teleported Gawin to, way back when, and he left me stranded in that gorge as thanks for helping him out. If I were to follow this path downward, there�s a decent chance I�d be able to track him down. This �backdoor� to the fort is one method of escaping Fort Joy. What do YOU think? Should I escape Fort Joy via the backdoor and chase down Gawin?  While I consider that, there�s something I�d like to test real quick. I didn�t realize this at the time of recording, but, at the time, I knew that Red Prince could have multiple summons � but I forgot that they needed to be unique, and that he couldn�t have two Incarnates. I wanted to test that and find out for myself, though, and I figured that a water Incarnate would be a good compliment to a fire one. 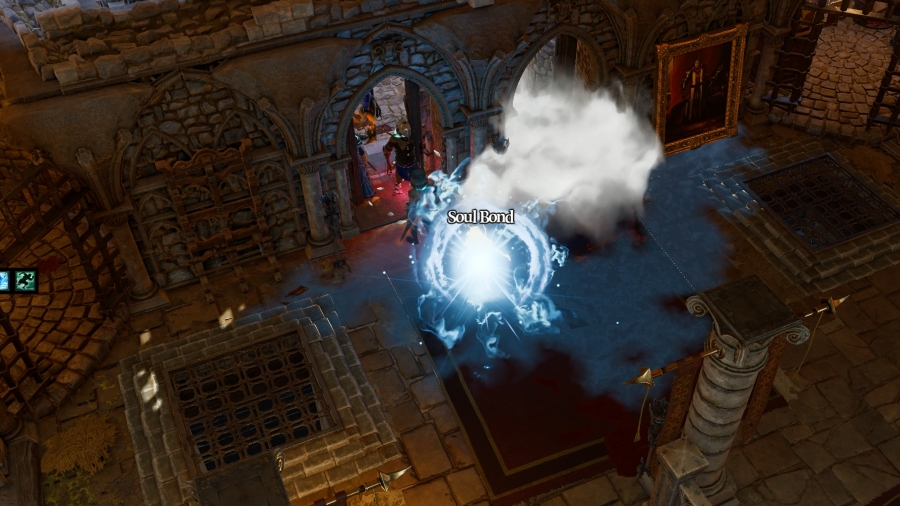 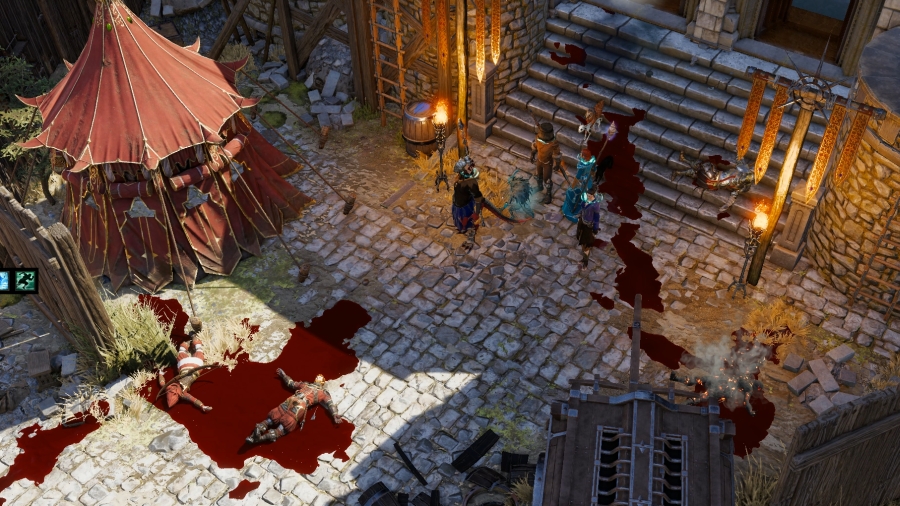 Here is Boy, remade into a water Incarnate. He now does pure water damage per strike. He can still learn the projectile attack as well as Battering Ram and Whirlwind, but instead of Fireball, he now knows Restoration, making him a backup healer in a pinch. 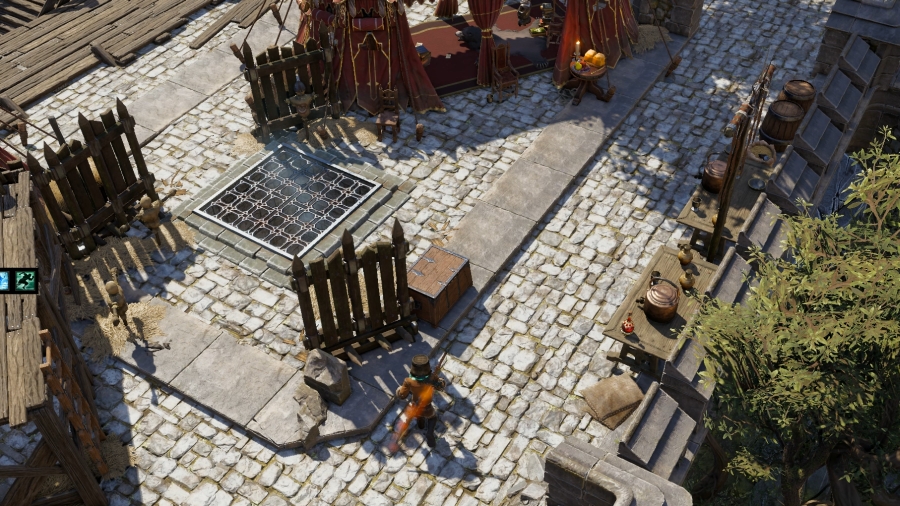 Exploring west of the backdoor, I come across what looks to be some kind of casual area for the Magisters. There�s a kitchen with a pantry; some kind of covered lounge; there�s tons of books sprawled around; there�s some training dummies for swordplay� they had a pretty nice thing going here, it looks like. I�d better rob them blind, just in case. 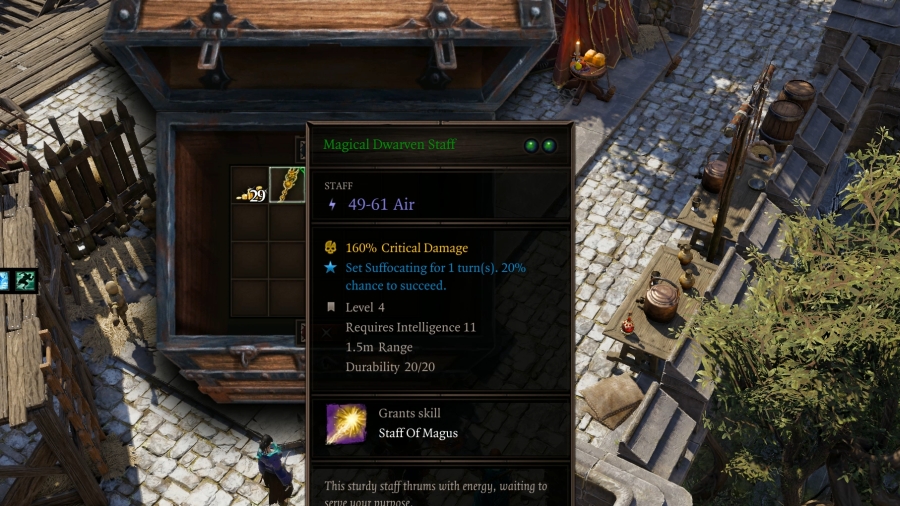 Ooooh, that�d go real good on Lohse. 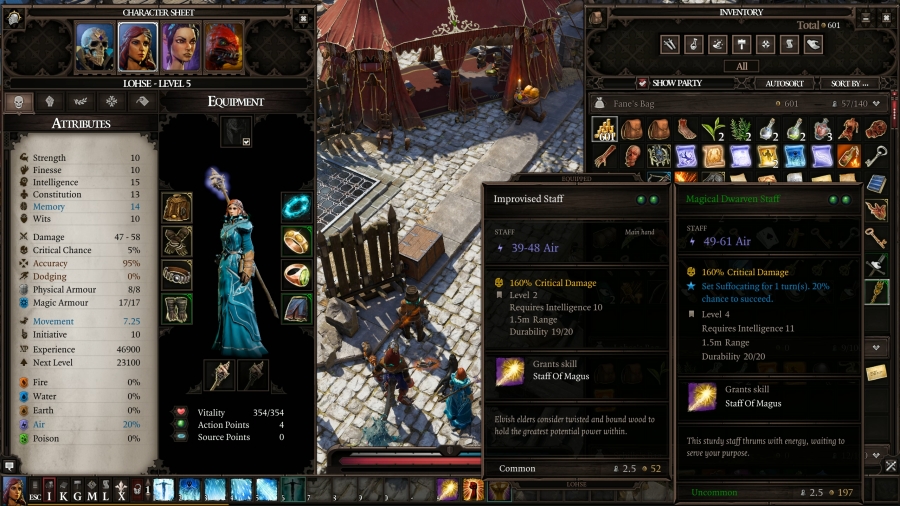 Yeah, the difference isn�t even close. 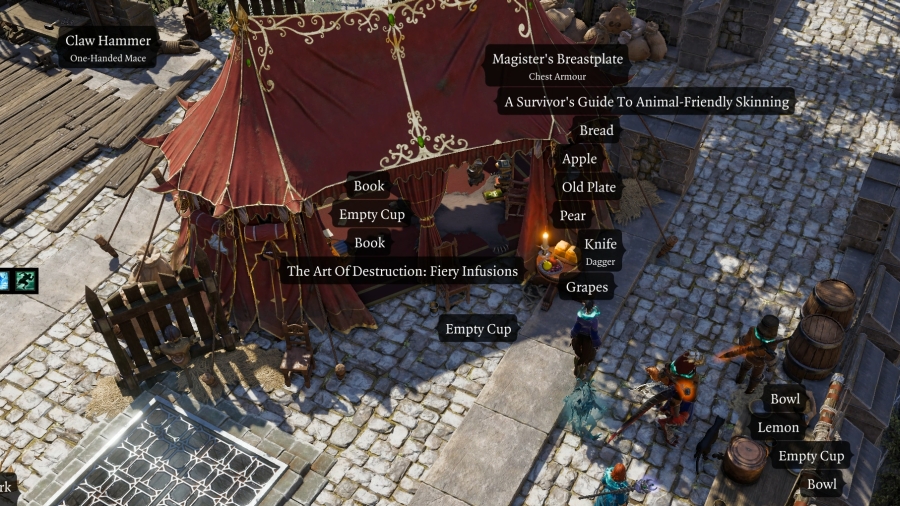 There are a few books here that could be useful in teaching me more recipes, and that breastplate might be useful. 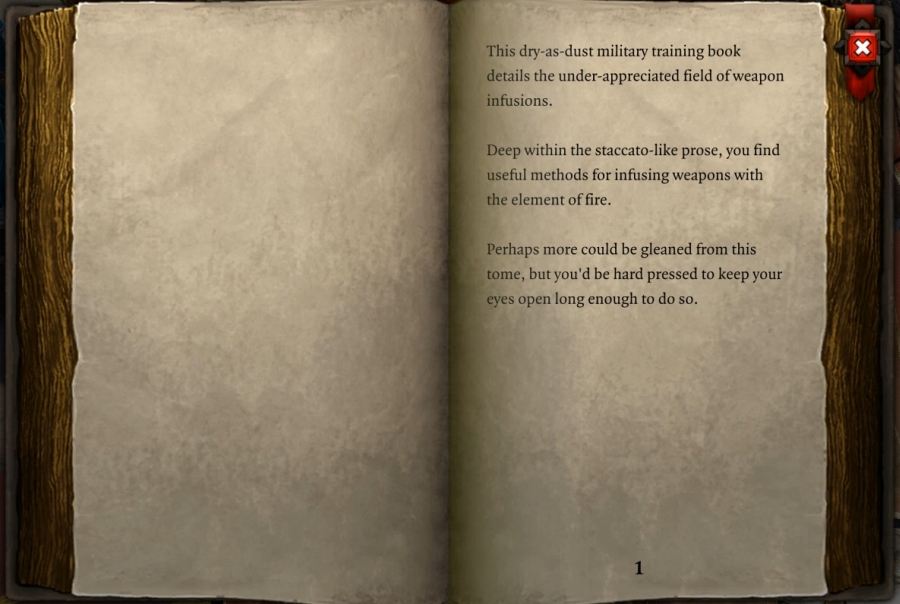 Yeah, reading is boring and lame. Who would sit there and read when they could do other stuff? I better not catch any of you guys reading. Anyway, that book taught me 36 different recipes for scrolls, so, that�s nice. 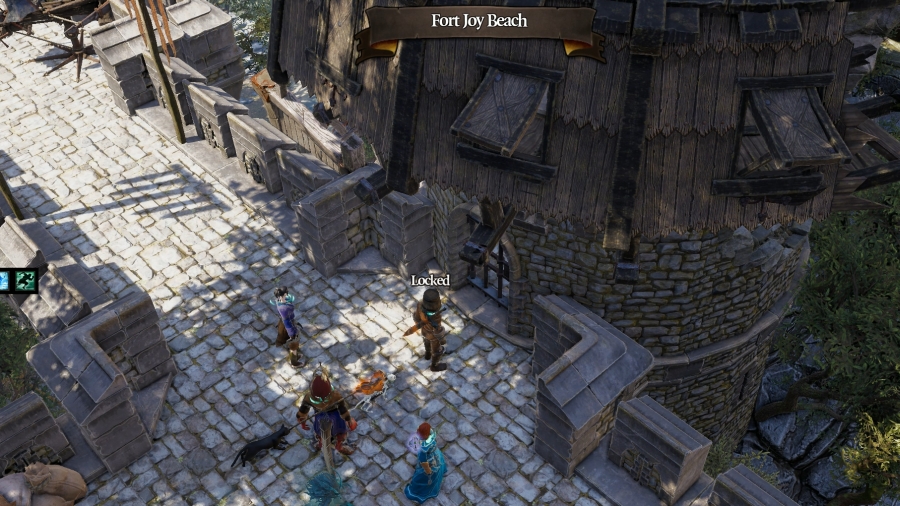 There�s one tower in particular that stands out from the rest built into the walls of Fort Joy. This one is half-destroyed, but it�s also armed to the teeth with ballista and murder holes for archers. There looks to be some decent loot to be had in there� 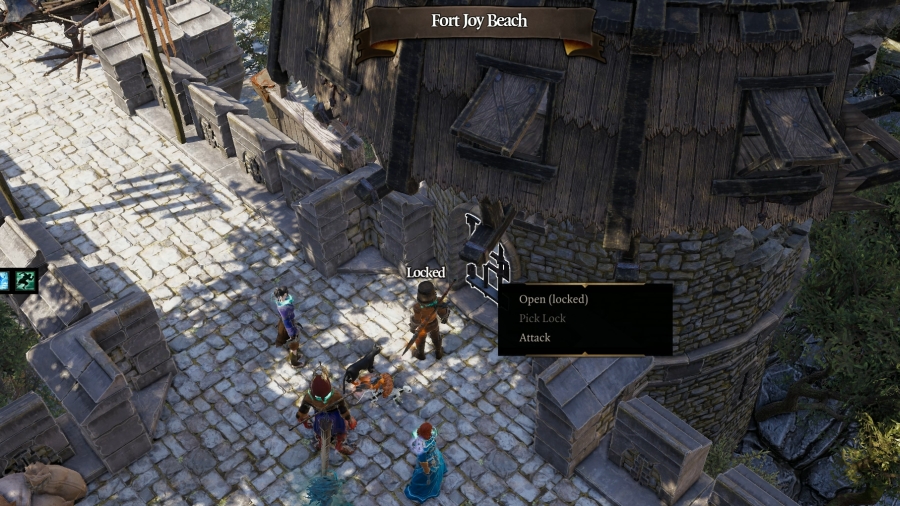 � but wouldn�t you know it, I�m fresh out of lockpicks, and I lack the ingredients to make more. I guess I�ll be back later. 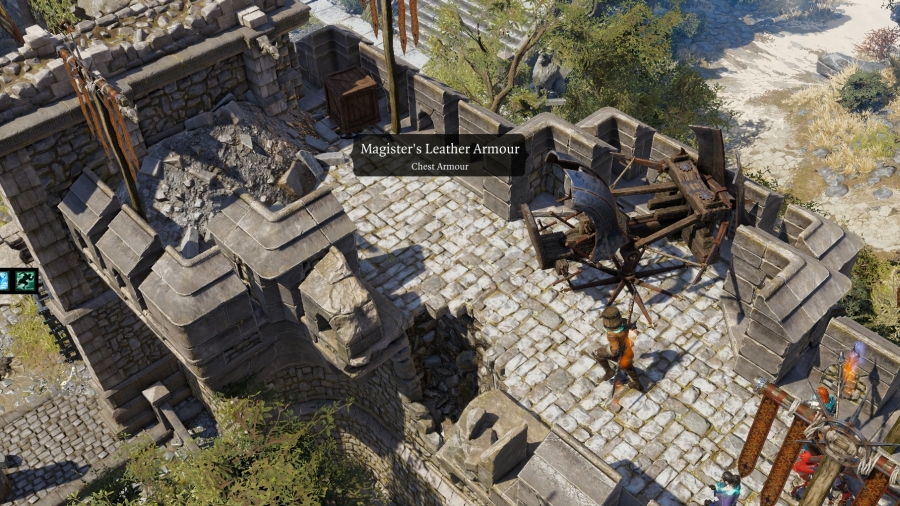 Heading further west, I�m on top of the wall over the front gate to Fort Joy. Just beneath us, we saw Dallis kill Atusa. There�s some leather armour there that looks interesting. Medium-weight armour like leather requires Finesse to wear, meaning it�d fit on Sebille. 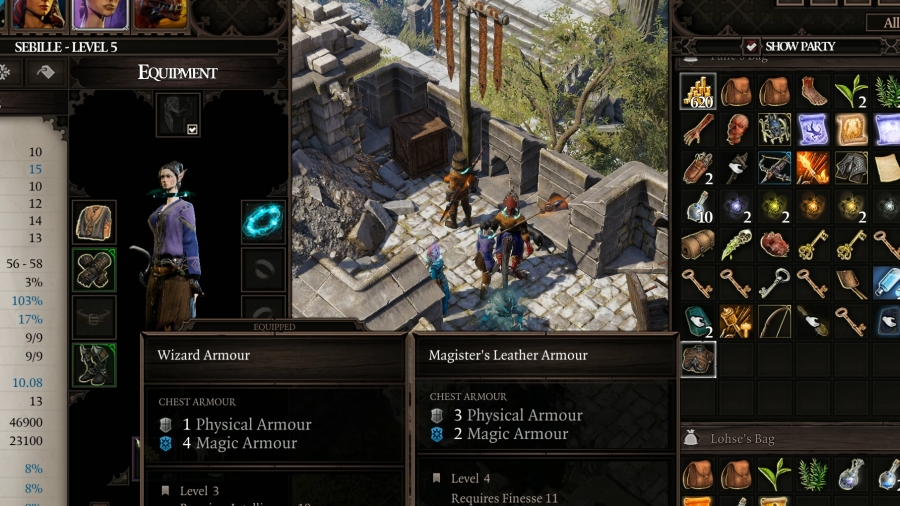 Strength equipment has tons of physical armour, but little magic armour. Intelligence armour is the exact opposite, and Finesse armour tries to split down the middle. I hesitate to say it�s better than what Sebille has right now, since the stat total is the same, but it�s spread out more evenly. I figured, though, that Sebille, as the thief, is going to be in the fight more often than she isn�t, meaning she�d be more often vulnerable to physical hits, so it makes sense that she should have more physical armour. 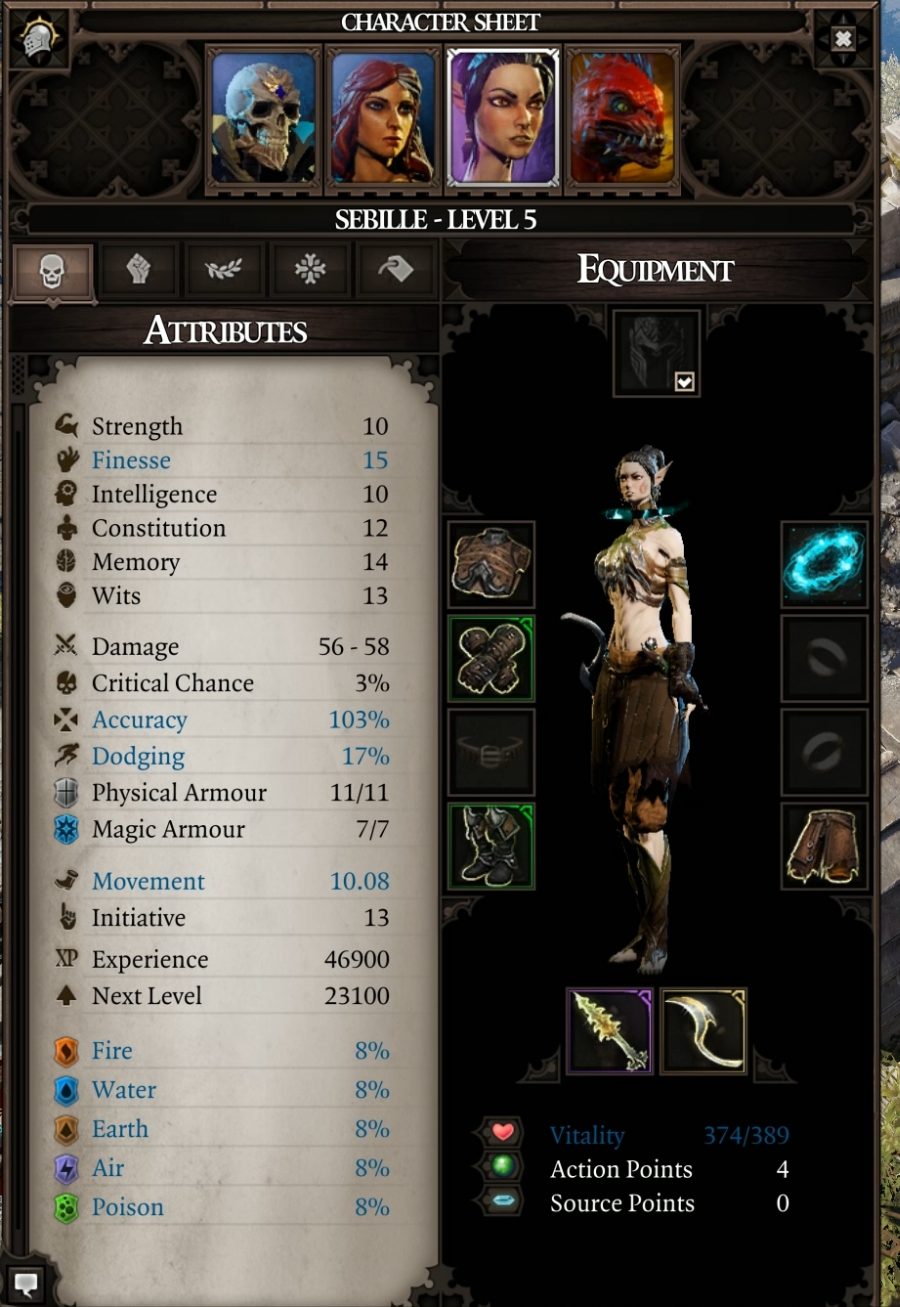 Remember: it�s not about aesthetics, it�s about the numbers. She�s fuckin� shredded, though, holy moley. 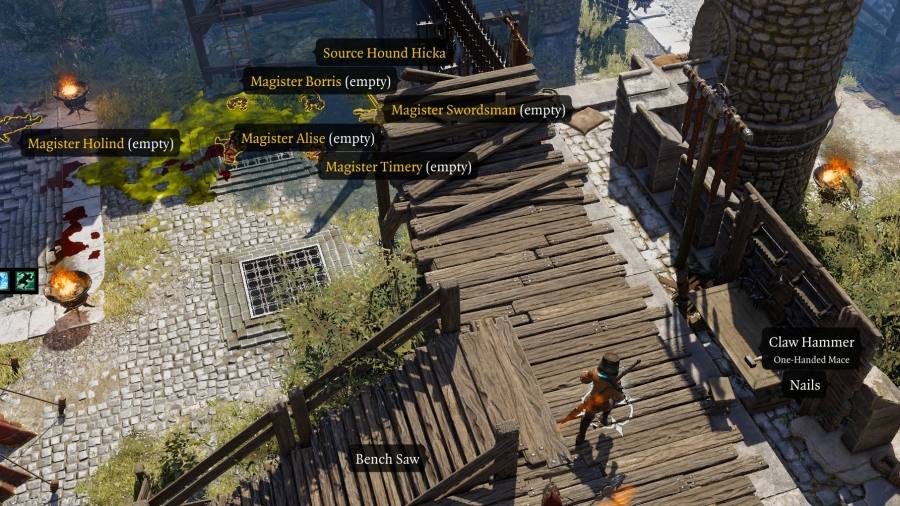 I continue my unabashed raiding of the Magister�s resting area, looping back around to the covered lounge. Just south of that big tent is the front gate to the fort � you can still see the blood puddles and poison lakes and dead bodies strewn about. Unfortunately, there isn�t actually that much more to loot. There�s a bunch of crates and bags and boxes that I can open, but there�s nothing noteworthy in any of them. I�ve just about picked the place clean. 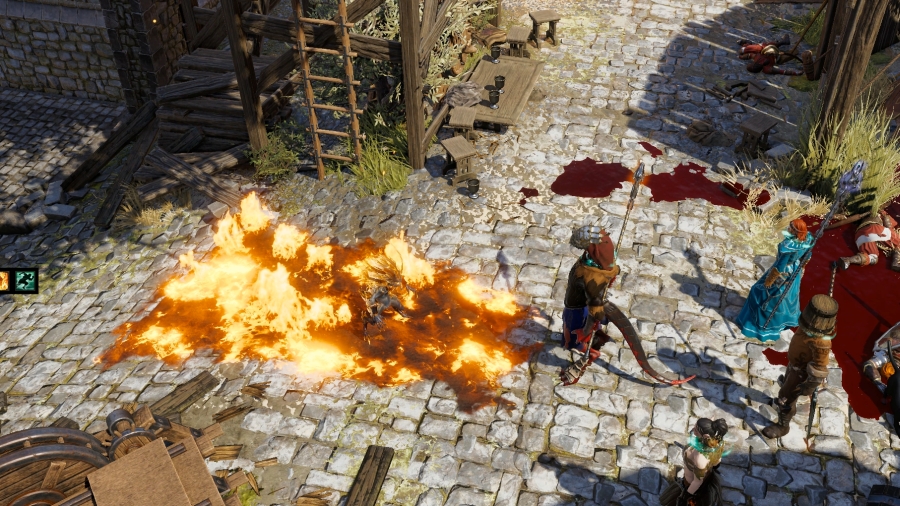 I head back to the backdoor to the fort, and the scene where I fought Trippel and his goons. I figured I might as well also take the time to change Boy back to being a fire type.  I�ve only explored about half of the wall; from the backdoor, I start looping around east. There�s a campfire; some kind of cart; and, on the ramparts, there looks to be some kind of blacksmithing area, filled with nails, hammers, anvils, and the like. Nothing I can make lockpicks with, unfortunately. 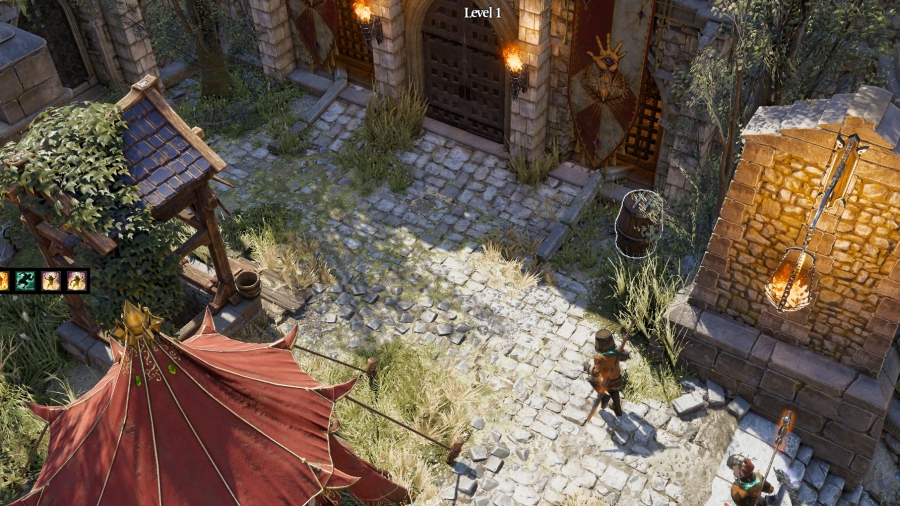 This is the other side of that door in the fancy room that I said we could leave from if we wanted to approach the fight from a different angle. There�s a well here, next to an empty tent that looks like it was used to store hay. 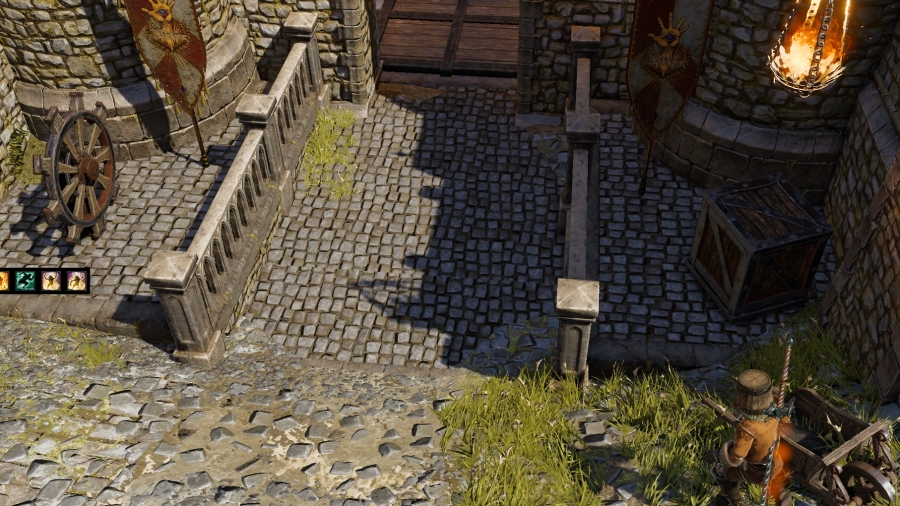 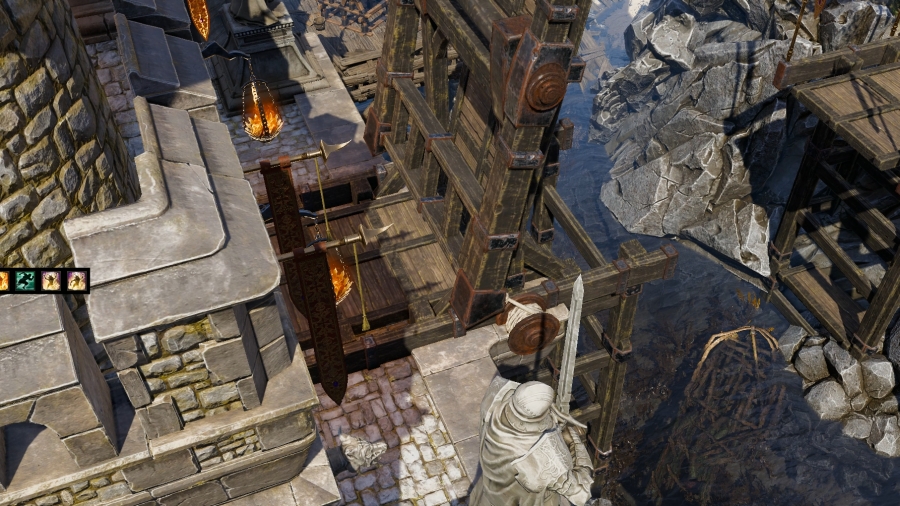 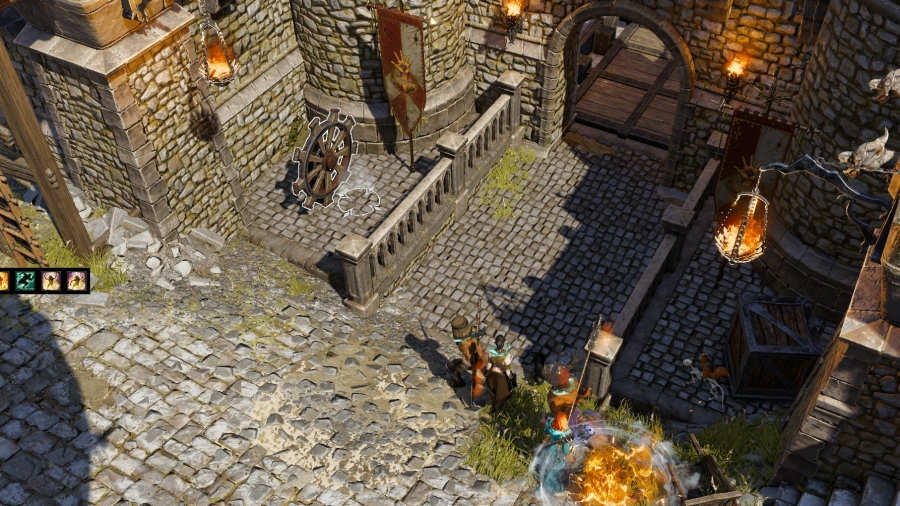 At the very westernmost edge of the fort is a massive drawbridge that�s currently up, but the wheel to lower it is right next to us. There�s nothing stopping us from giving it a spin.  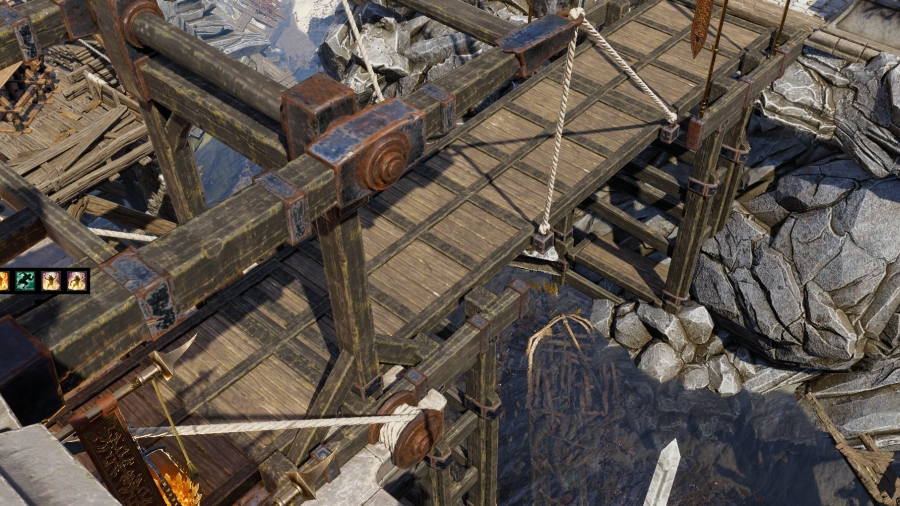 With a little turn of the wheel, the drawbridge is lowered. From the looks of things, this bridge will take us straight into the adjacent area � the place that some folks have been calling the Hollow Marshes. Supposedly, it�s haunted. This is yet another method to escape Fort Joy. What about this one? Do we want to escape Fort Joy via the drawbridge? 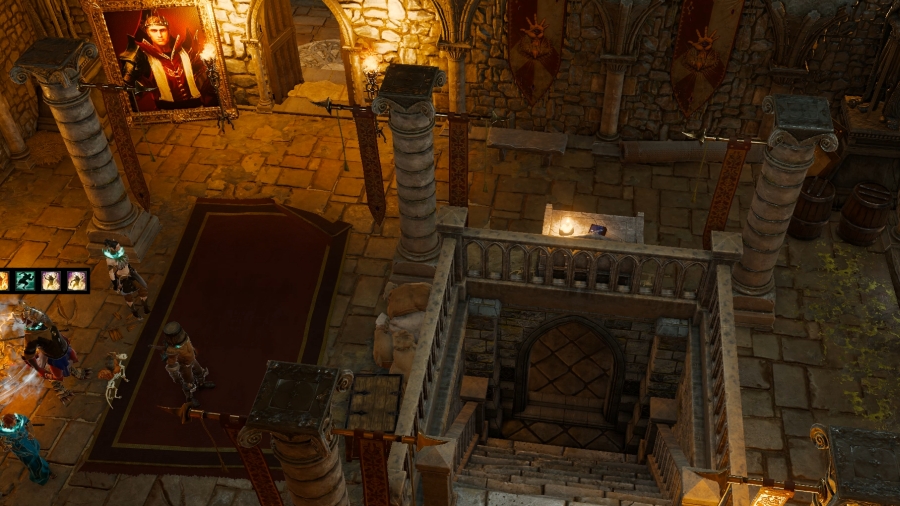 Finally, that brings us full-circle, back to the fancy room we started in.  There�s just one last place to explore: straight south and into the courtroom of Fort Joy, overseen by an elaborate painting of Bishop Alexander. This is the very heart of the fort: inside this door is the highest ranking Magister in the operation that is Fort Joy. If the outside was crawling with toadies like Trippel, then the courtroom is probably going to be packed with them. Good. More Magisters to fight means there will be less Magisters in the world when I�m done.
|
|
#
?
Apr 14, 2021 07:23
|
|
|
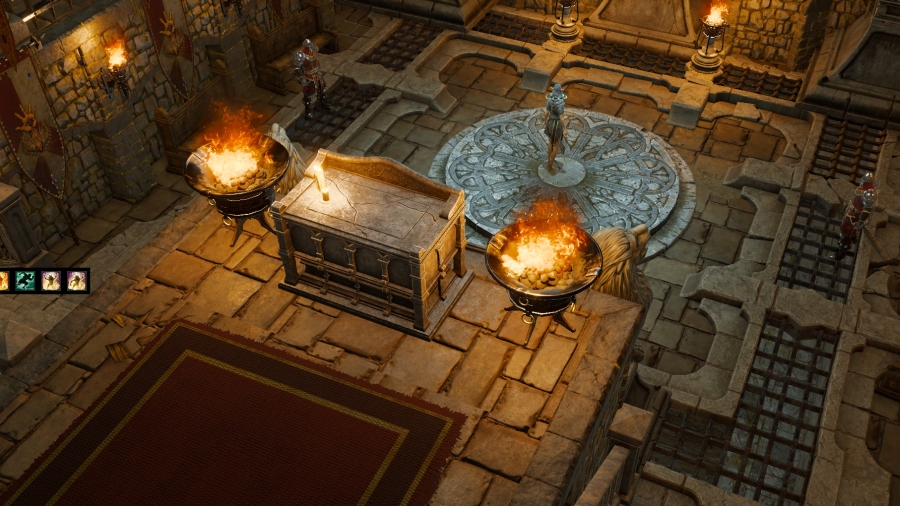 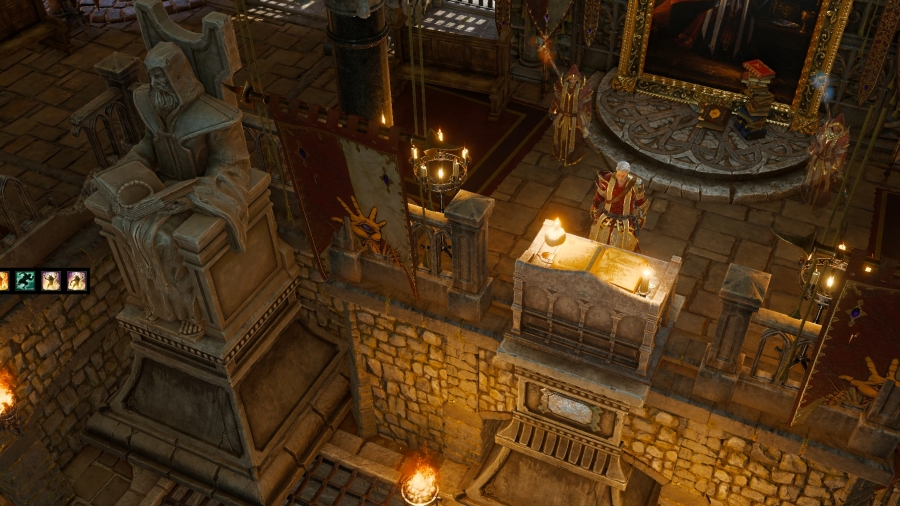 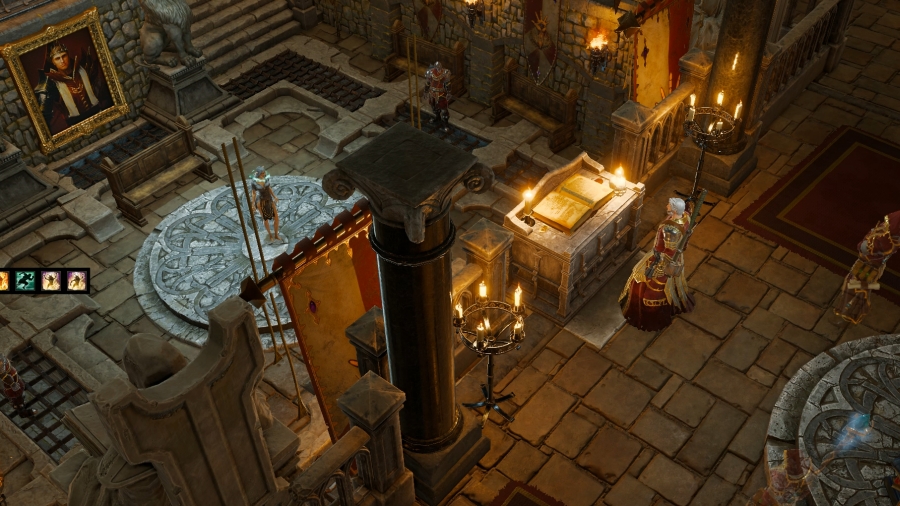 : Hall Of Penitence : Hall Of PenitenceStanding in a sunken pit, surrounded on all sides by Magisters, is an elven woman wearing rags; there�s a pew behind her, possibly a place for any jurors to sit, if there were any, and behind that, the omnipresent, unblinking stare of Bishop Alexander oversees her judgement. Standing above and in front of her is an ornately-dressed man, flanked by a pair of inquisitors, reading from a comically oversized law book.  : Pay attention! *Sigh* A shame they become so� docile.: Regardless, it�s important you know why this must be done. We are of the Divine. We � I � would never harm you. My methods will bring you closer to his perfect will. Yes, your Source will be gone. But your sacrifice will mean the salvation of hundreds � thousands! You will be cured of something entirely dangerous.: We don�t know from whence these beasts came, but we do know Source calls them. But Dallis, in her great wisdom, granted us a gift. A gift. A sacrament, a cure, in one. : Pay attention! *Sigh* A shame they become so� docile.: Regardless, it�s important you know why this must be done. We are of the Divine. We � I � would never harm you. My methods will bring you closer to his perfect will. Yes, your Source will be gone. But your sacrifice will mean the salvation of hundreds � thousands! You will be cured of something entirely dangerous.: We don�t know from whence these beasts came, but we do know Source calls them. But Dallis, in her great wisdom, granted us a gift. A gift. A sacrament, a cure, in one.We know full well what Dallis� cure involves. They�re using magic invented by an insane Sourcerer to rip the Source right out of a person. For this guy to be insisting that they�re doing something good, in a courtroom where this elf is being judged for the crime of being born, and the solution is to use a torture device invented by some crazy guy hundreds of years ago�. 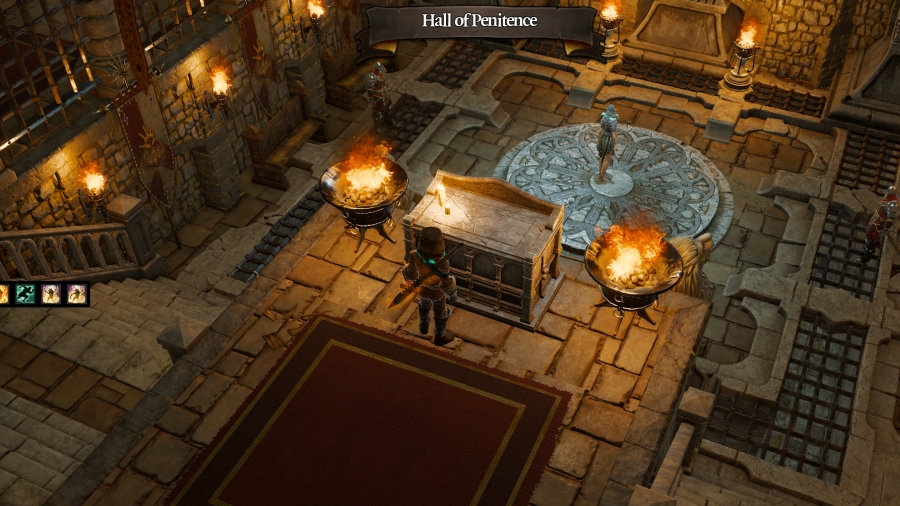 Well. I�d better introduce myself. : What�s this? Guards, what is this prisoner doing here? : I beg your pardon, Your Honour! He must have slipped his watchman. : I beg your pardon, Your Honour! He must have slipped his watchman.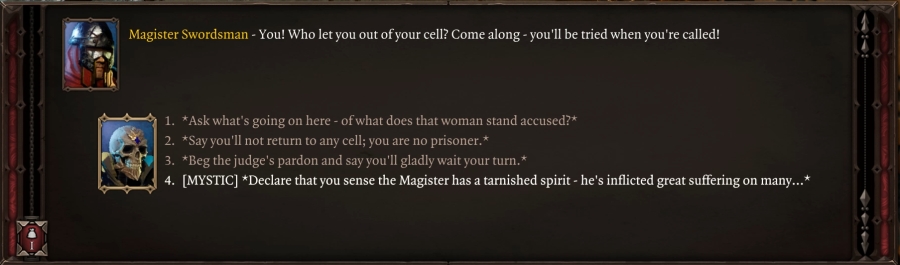 : I can sense the puss of your spirit from here, Magister. The suffering you�ve inflicted on countless Sourcerers clings to you like a greasy film.: The Magister flushes with indignation. He lays a hand upon his sword.: It�s for their own good. It�s for the good of us all! If you can�t understand that �: Let�s not be hasty, Magister. This ought to be an education for all of us. Tell me, Sourcerer � what did you hope to gain by interrupting these proceedings? : I can sense the puss of your spirit from here, Magister. The suffering you�ve inflicted on countless Sourcerers clings to you like a greasy film.: The Magister flushes with indignation. He lays a hand upon his sword.: It�s for their own good. It�s for the good of us all! If you can�t understand that �: Let�s not be hasty, Magister. This ought to be an education for all of us. Tell me, Sourcerer � what did you hope to gain by interrupting these proceedings? : If you want my honest answer: I was searching for a way to escape the fort and I figured that this door was as good as any.: Escape the fort? Hah! To what end? To return to your home and lead a Voidwoken straight to those you love? : If you want my honest answer: I was searching for a way to escape the fort and I figured that this door was as good as any.: Escape the fort? Hah! To what end? To return to your home and lead a Voidwoken straight to those you love?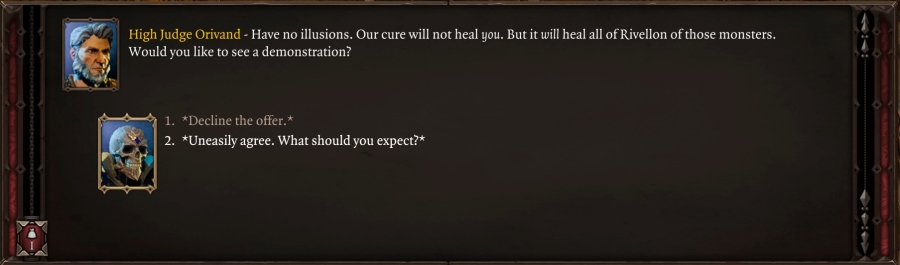 : �: The scholar within me would never forgive myself if I declined. � What should I expect?: Hmm, how to explain it. You see, with this wand, I can leech the Source from within you. You�ll no longer attract Voidwoken. Rivellon need no longer fear you.: All this talk! Why don�t I just show you? Madam, please do hold still. : �: The scholar within me would never forgive myself if I declined. � What should I expect?: Hmm, how to explain it. You see, with this wand, I can leech the Source from within you. You�ll no longer attract Voidwoken. Rivellon need no longer fear you.: All this talk! Why don�t I just show you? Madam, please do hold still. : No! Animal! Beast! Slug! Please � no! : No! Animal! Beast! Slug! Please � no!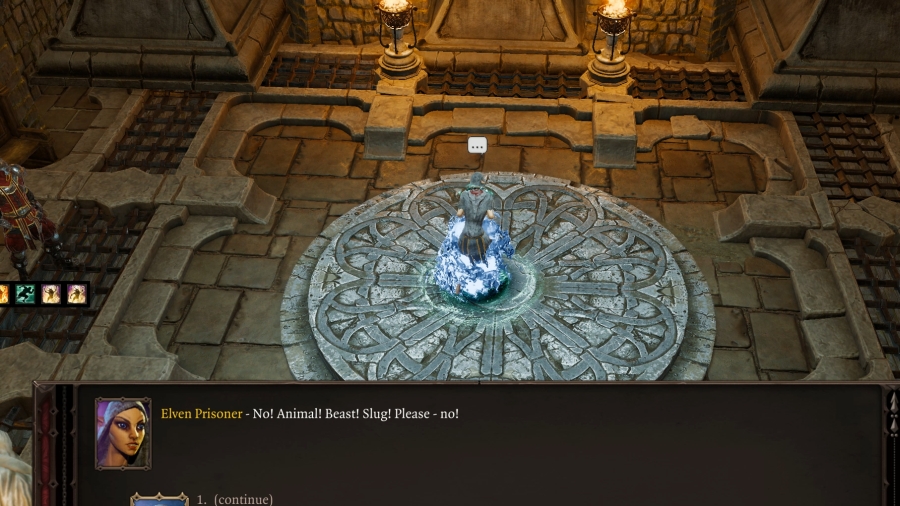 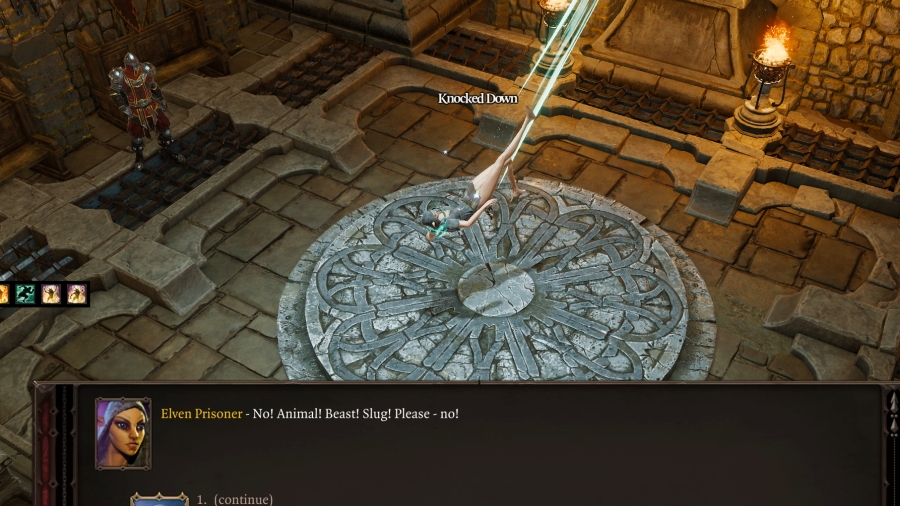  : *Groan.* : *Groan.*She�s been turned into a Silent Monk. All of those monks in the basement, in the prison block � those were Sourcerers. They were normal people that have had their Source ripped from them. They were the ones before us that were �cured.� 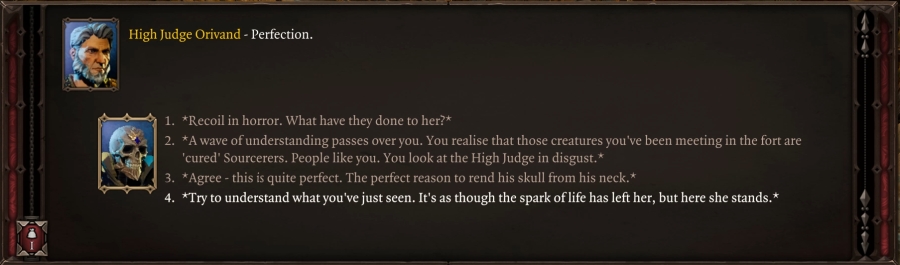 : This is�: � Fascinating. Here she stands, living and breathing, and yet� she doesn�t appear to live. It�s as if the spark of life � what makes us individuals � has been ripped from her.: I imagine it�s quite hard for you to fathom. I don�t suppose I�d look forward to this fate, myself. But you must understand � if your kind are left well enough alone, the Voidwoken will destroy us. All of us. : This is�: � Fascinating. Here she stands, living and breathing, and yet� she doesn�t appear to live. It�s as if the spark of life � what makes us individuals � has been ripped from her.: I imagine it�s quite hard for you to fathom. I don�t suppose I�d look forward to this fate, myself. But you must understand � if your kind are left well enough alone, the Voidwoken will destroy us. All of us. : A hero? You�ve reduced her to little more than skin wearing rags. You haven�t created a hero � you�ve created a monster. An� abomination.: *Sigh.* I would have loved for you to have seen our point, my friend. It would have made your transformation all the more rewarding for both of us. But the Divine Order doesn�t need you to understand. It only needs you to accept.: Now it�s your turn to repent, my friend. I�m so glad you joined us here today. Even if you can�t admit it to yourself, perhaps now you realize how crucial you are to our salvation. : A hero? You�ve reduced her to little more than skin wearing rags. You haven�t created a hero � you�ve created a monster. An� abomination.: *Sigh.* I would have loved for you to have seen our point, my friend. It would have made your transformation all the more rewarding for both of us. But the Divine Order doesn�t need you to understand. It only needs you to accept.: Now it�s your turn to repent, my friend. I�m so glad you joined us here today. Even if you can�t admit it to yourself, perhaps now you realize how crucial you are to our salvation.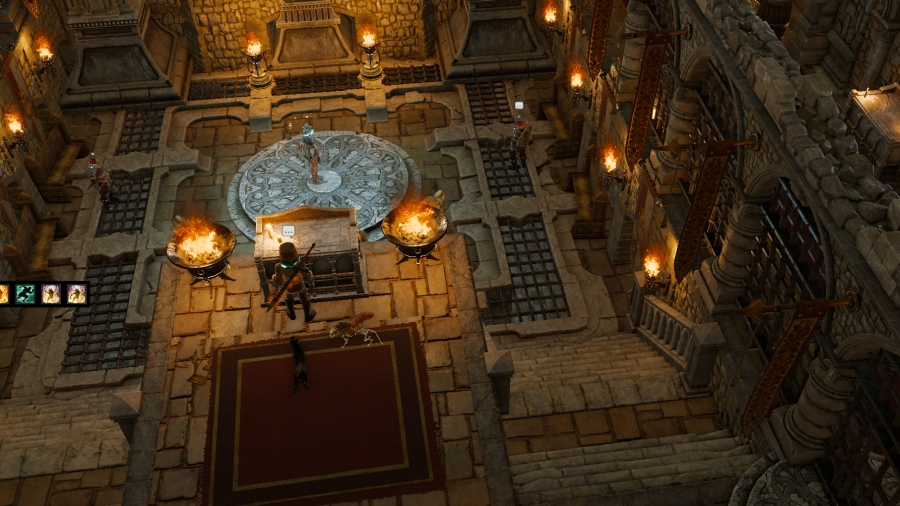 If you watched the cinematic from way, way back, of the kraken tearing the ship apart, then you�ll remember that it ended with High Judge Orivand writing a letter to Dallis saying that the ship had been destroyed and the prisoners and crew presumed dead. Well, in Fane�s case, he�s half right. Orivand is the first major boss in the island prison of Act One, and as soon as I end this conversation, the fight�s going to begin. I�d better get the others into position. 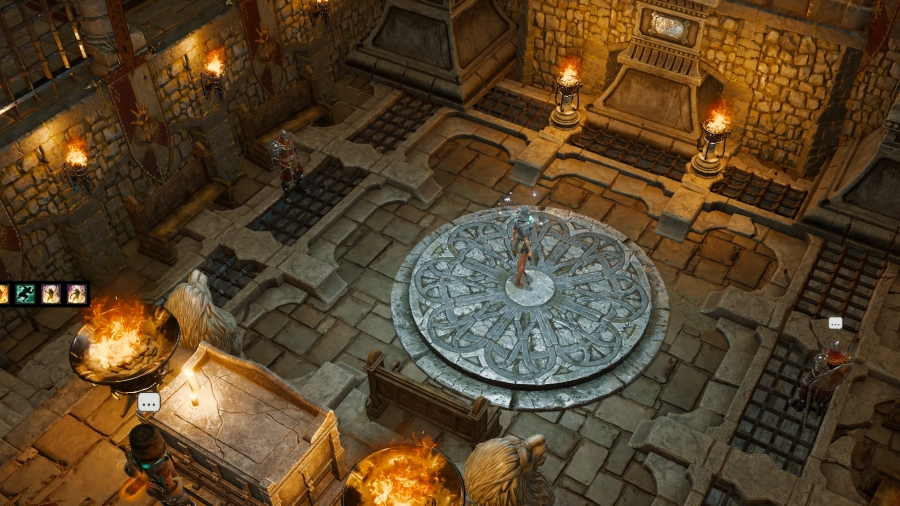 The center of the room is recessed into a pit, where two Magisters and the now-Silent Monk stand. The only way down into the pit is by a pair of stairways on either side of me, meaning Orivand and his two inquisitors don�t have a way to easily access the pit from where they are. Perhaps that�s a good thing. 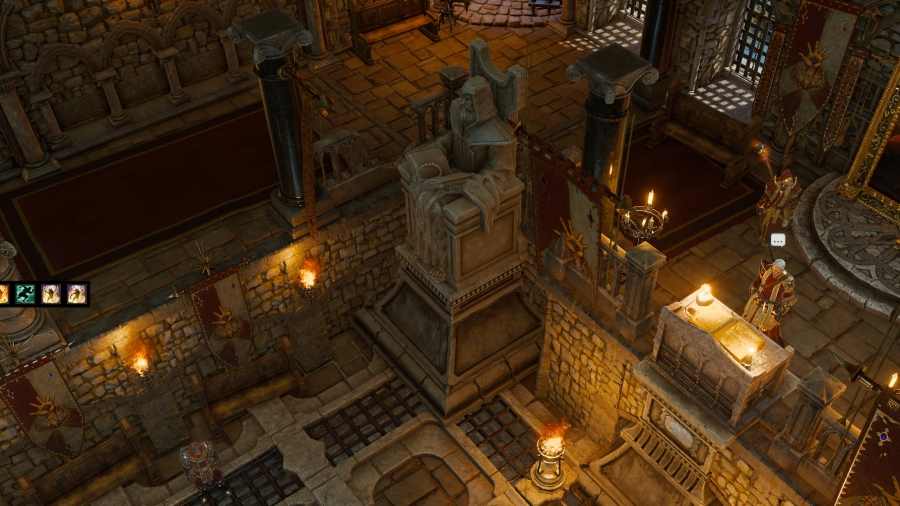 The walls on either side of the pit are grated, which, despite the fact that you can clearly see through them, will block line of sight for long-ranged spells and attacks. But there�s a wide gap between the two ornamental pillars on either side of Orivand and the grated walls, meaning, if I want high-ground advantage and I don�t want to stand right next to Orivand, I�ll still need to get awfully close. 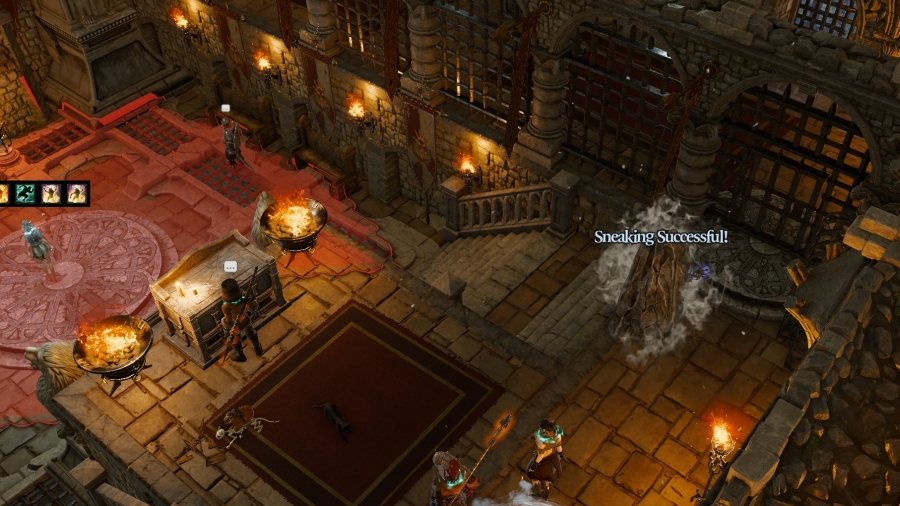 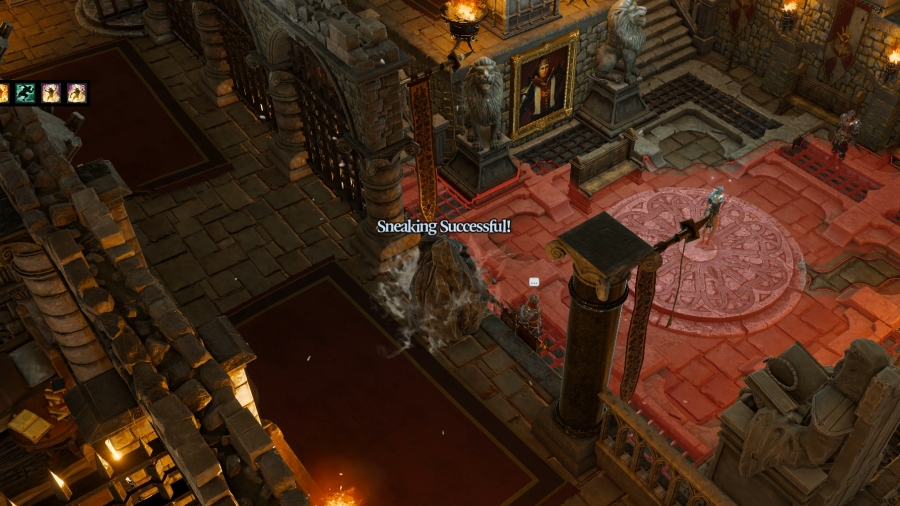 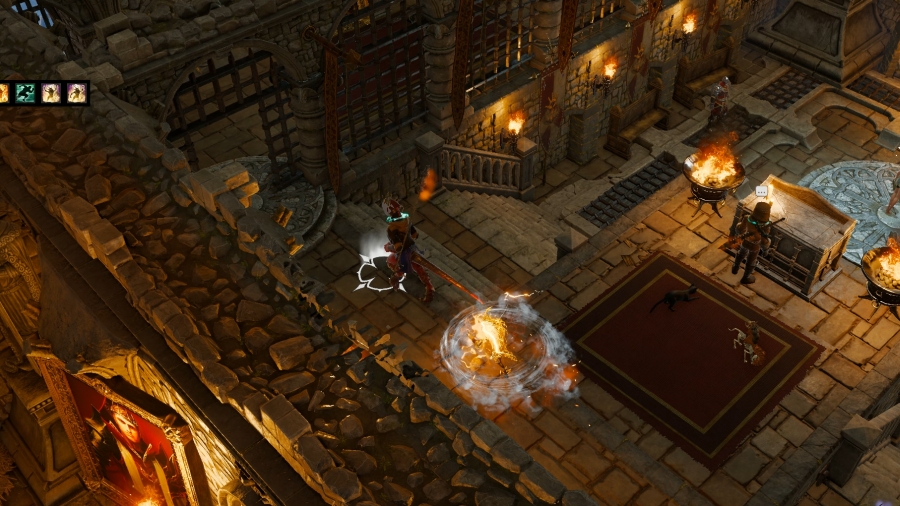 Lohse and Prince put themselves at the top of the stairways on Fane�s left and right, while Sebille gets much closer, putting herself next to one of those gaps that I just mentioned before she goes into hiding. I�m about as prepared and positioned as I can hope to be. Let�s dance, Orivand. 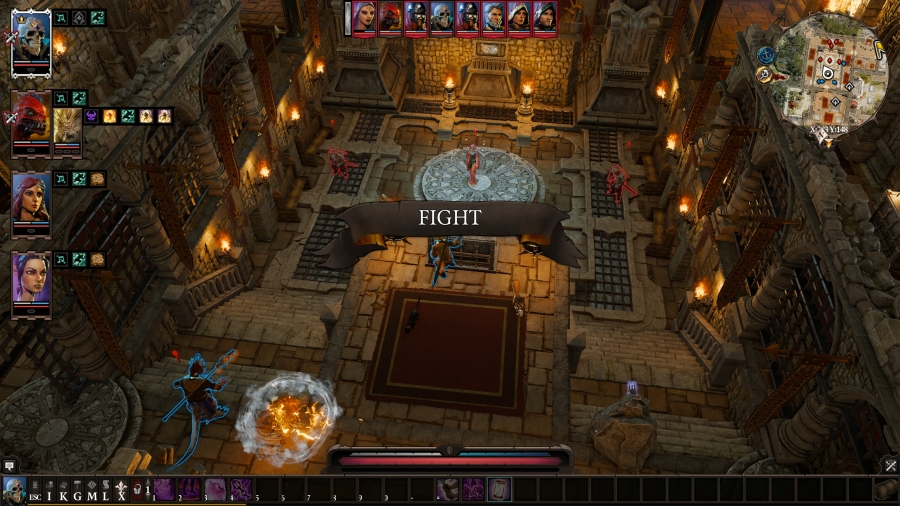 : Dancing With The Source: Boss Battle: High Judge Orivand : Dancing With The Source: Boss Battle: High Judge OrivandTurn 1 The Silent Monk is completely unarmed and she only has a little bit of magic armour to her name. She goes first, but she passes her entire turn, meaning she�ll be loaded with the whole eight AP on her next. 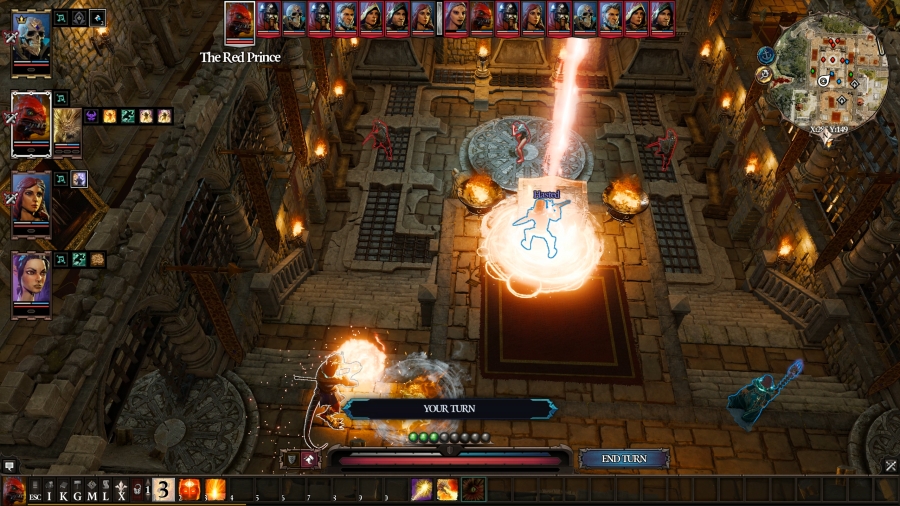 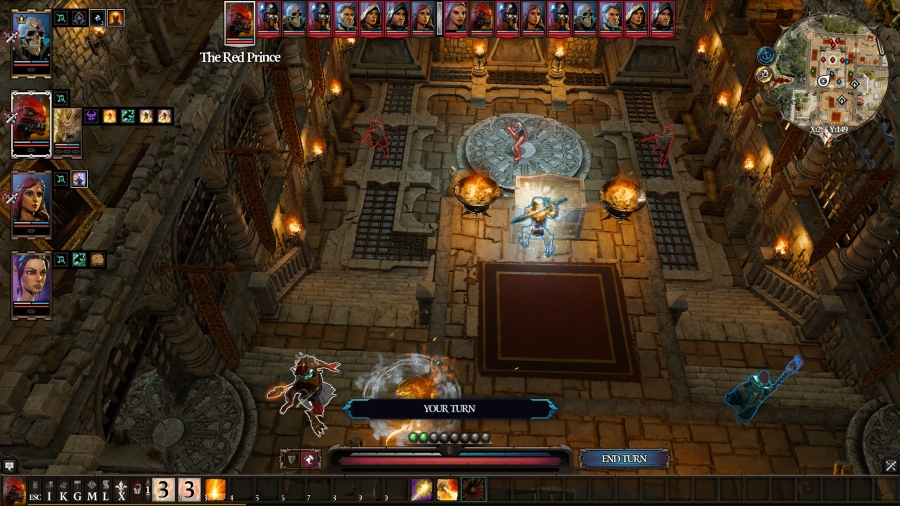 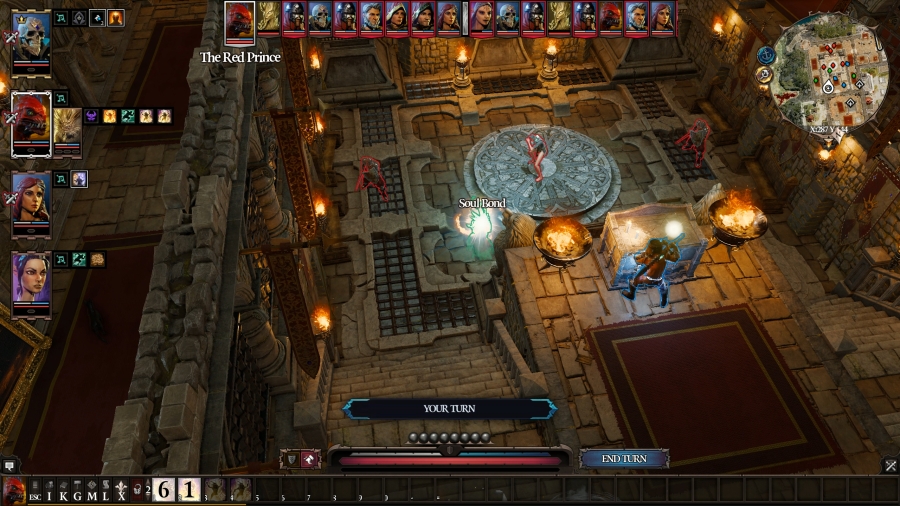 Prince spends his turn buffing Fane by giving him Haste and Peace Of Mind, and then he summons a totem in the pit. When a totem isn�t spawned on a surface, it�s a plain ol� wooden totem that fires a dart that does physical damage. It�s the weakest of all the totems by far. The only reasons you�d ever want to specifically spawn a wood totem is if your opponent has very little physical armour, or if you have no other option. 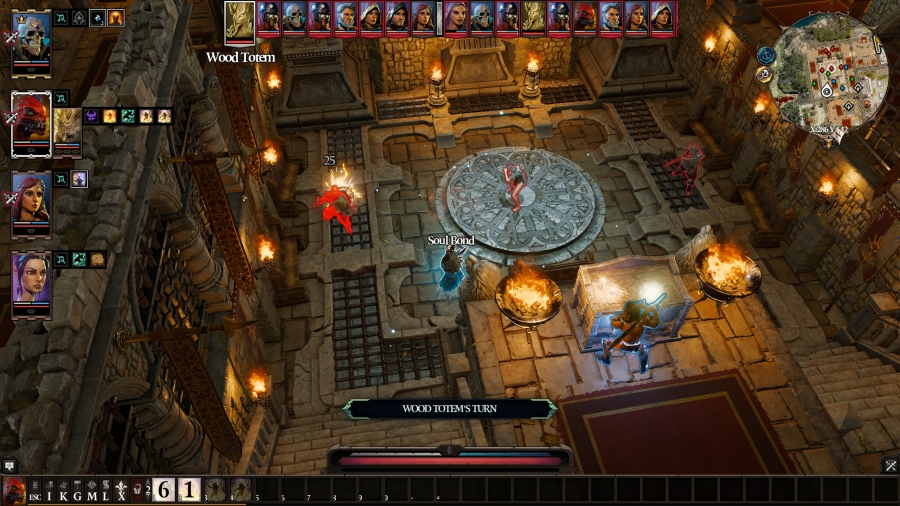 It immediately gets to work by firing a dart at Swordsman 1, to its left. 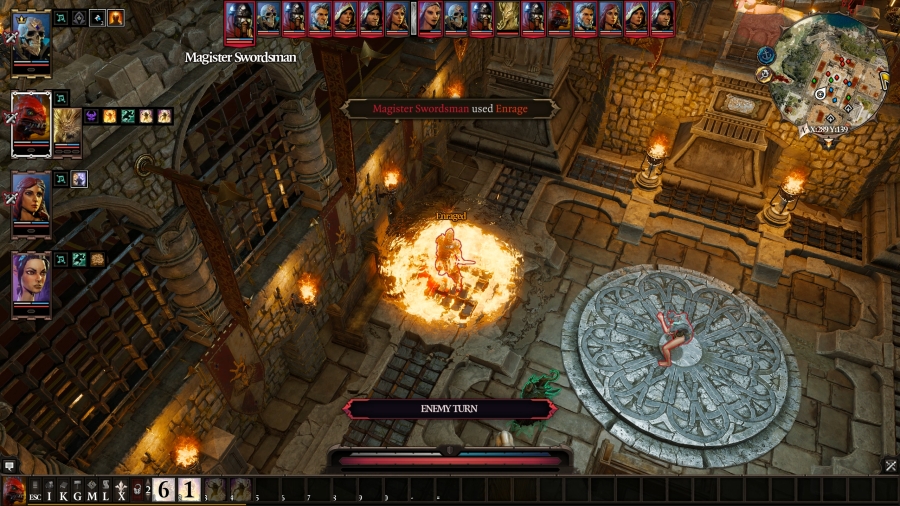 Swordsman 1 uses Enrage on himself, then passes his turn, meaning he�ll have six AP on his next. 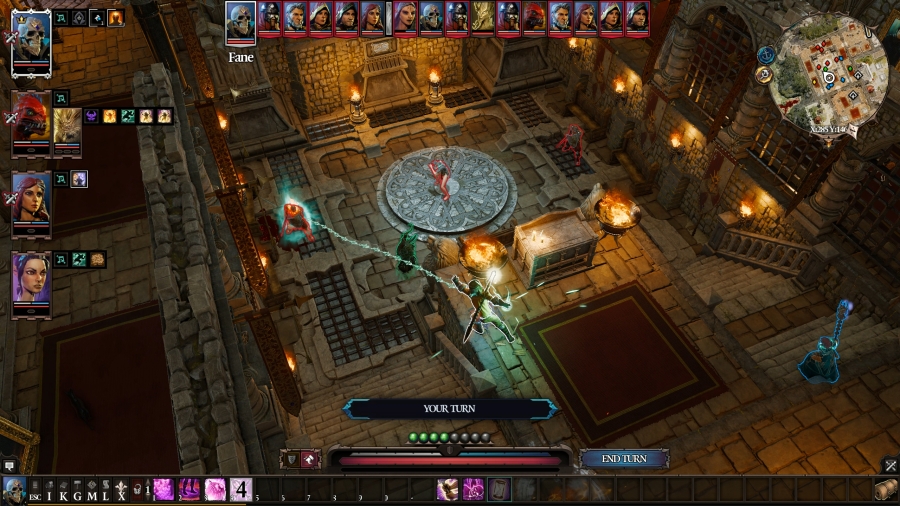 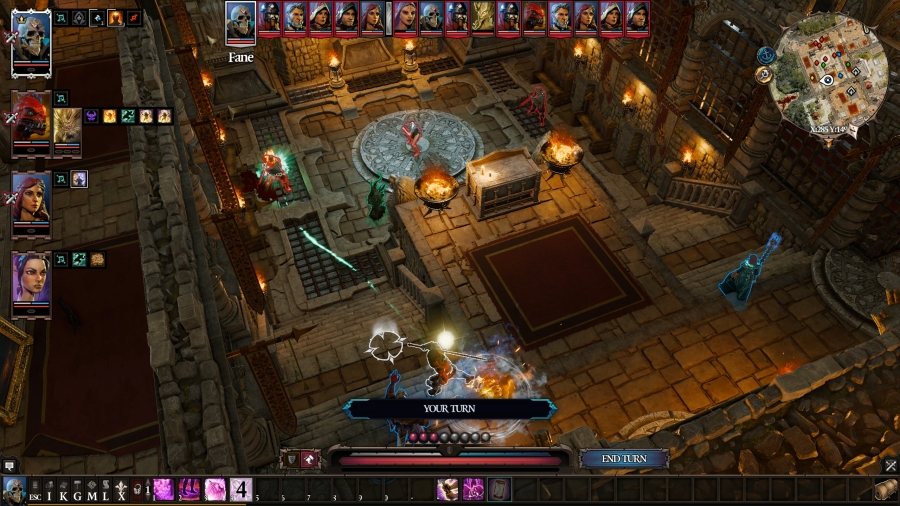 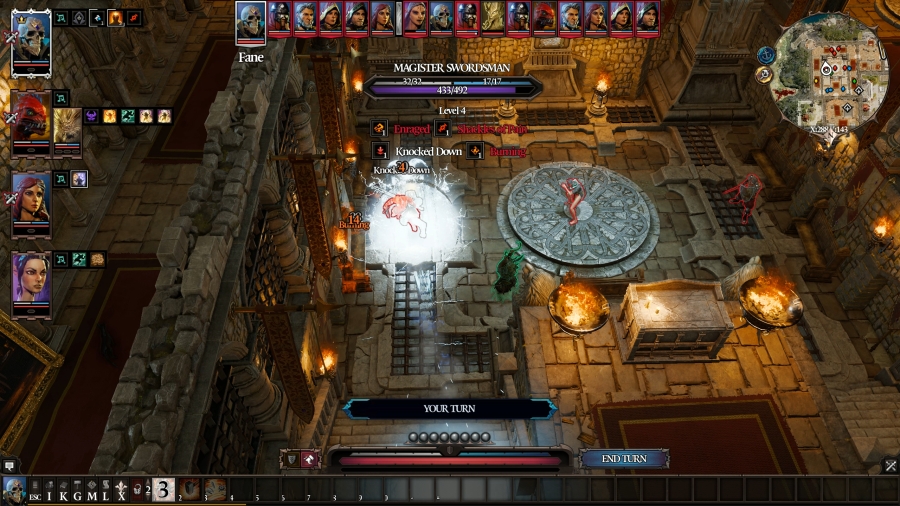 Fane, armed with a bunch of buffs, uses Shackles Of Pain on Swordsman 1 before repositioning and jumping straight into the pit with Battering Ram. This is a hell of a ballsy play because the inquisitors beside Orivand are magicians, and they have the high ground on the pit, so he�s essentially inviting them to beat him up while he focuses down this swordsman. 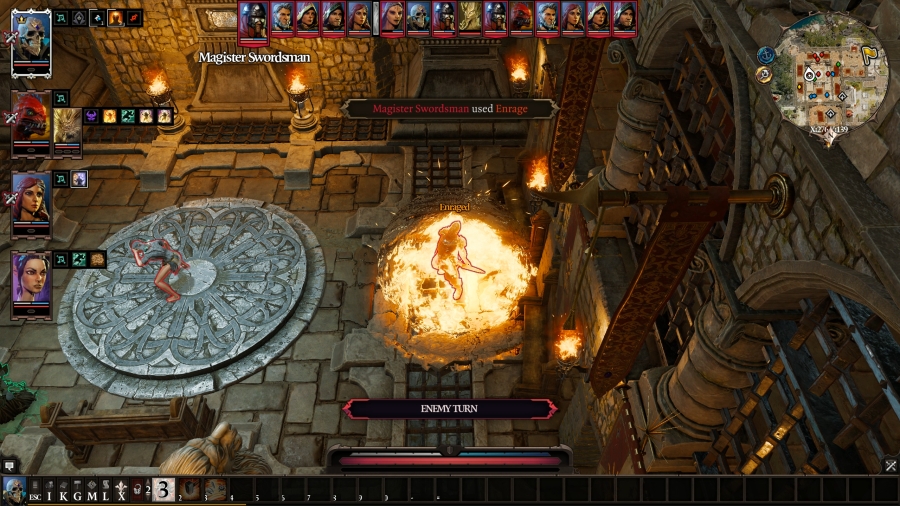 Swordsman 2 liked Swordsman 1�s moxy, and he casts Enrage on himself before he, too, passes. 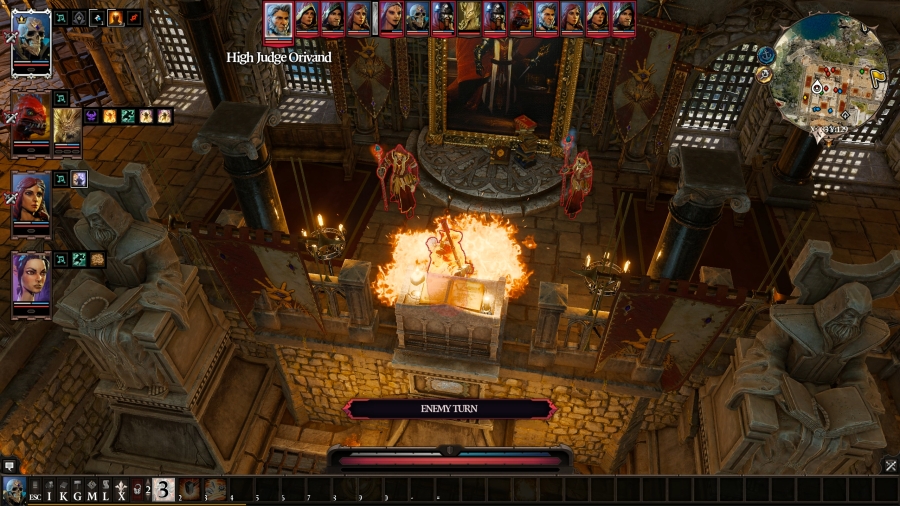 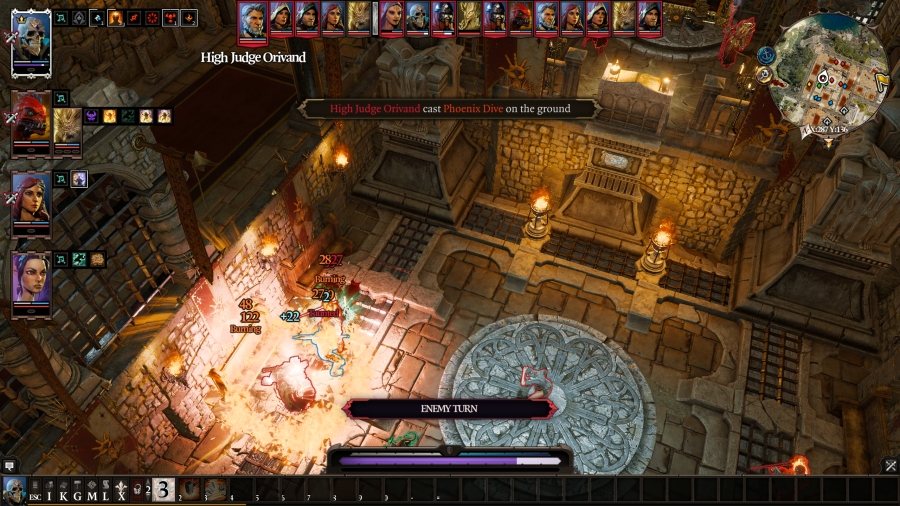  Orivand isn�t one to just sit there on his bench and watch the fight play out: he uses a Warfare technique called Phoenix Dive to jump right into the action, putting himself next to Fane. Phoenix Dive is a Warfare self-teleport skill that conjures of a ring of fire around wherever the caster lands. In the Divinity: Unleashed mod, it also Taunts any enemies. In the base game, if you were Taunted, you lost all control of your character as they would try and blindly swing at whoever Taunted them. In the Divinity: Unleashed mod, you still have control over your character when you�re Taunted, but if you try to target anyone other than whoever Taunted you, your chance to hit is 0%. That�s fine with me: Fane versus Orivand, man-to-man. Orivand ends his turn with Battle Stomp on Fane, which does damage to Swordsman 1 thanks to Shackles Of Pain. 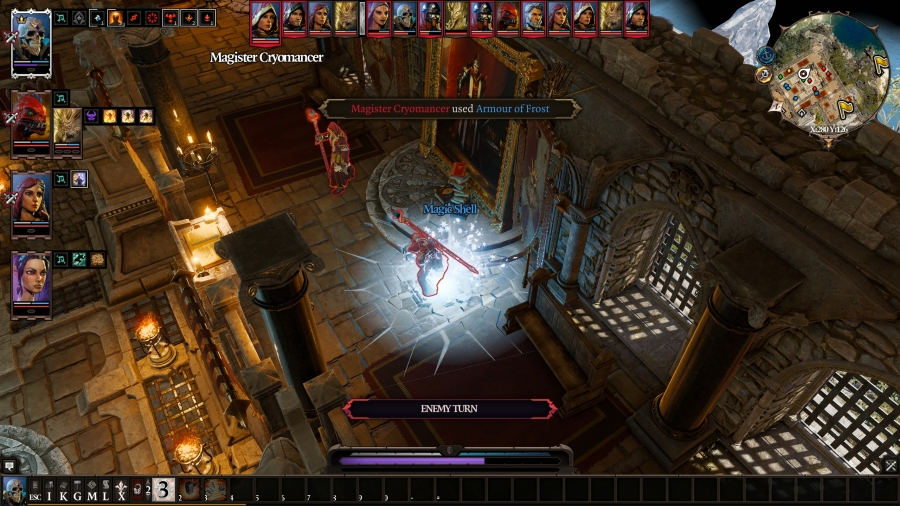 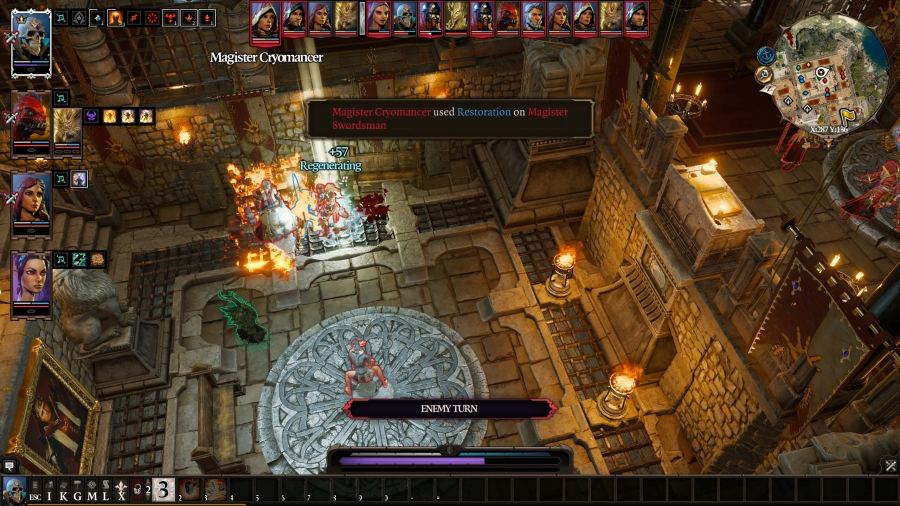 One of the inquisitors, a Cryomancer, uses Armour of Frost on herself, and then Restoration on Swordsman 1, healing him and dousing the fire that Orivand put him on when he Phoenix Dove into the pit.  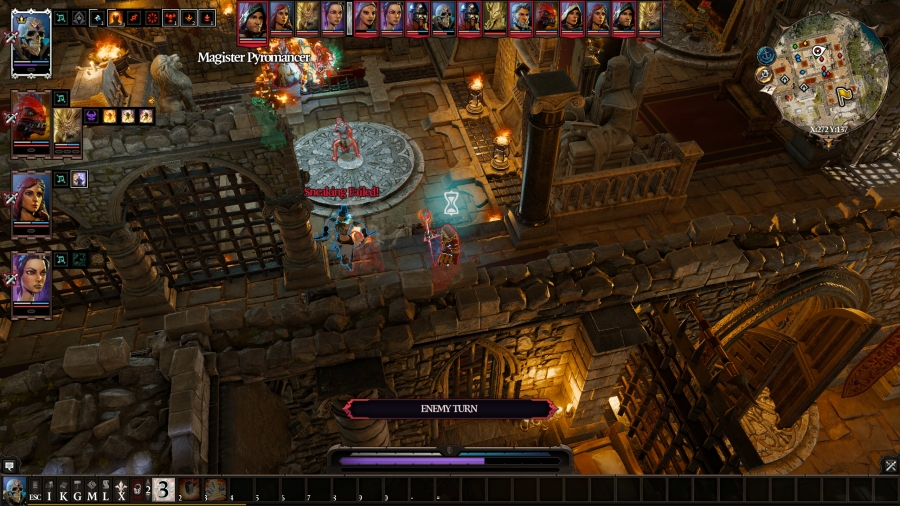 The other inquisitor, a Pyromancer, uses Haste on himself � and then he runs directly into Sebille, saving her the trouble of having to approach him herself. That was convenient. 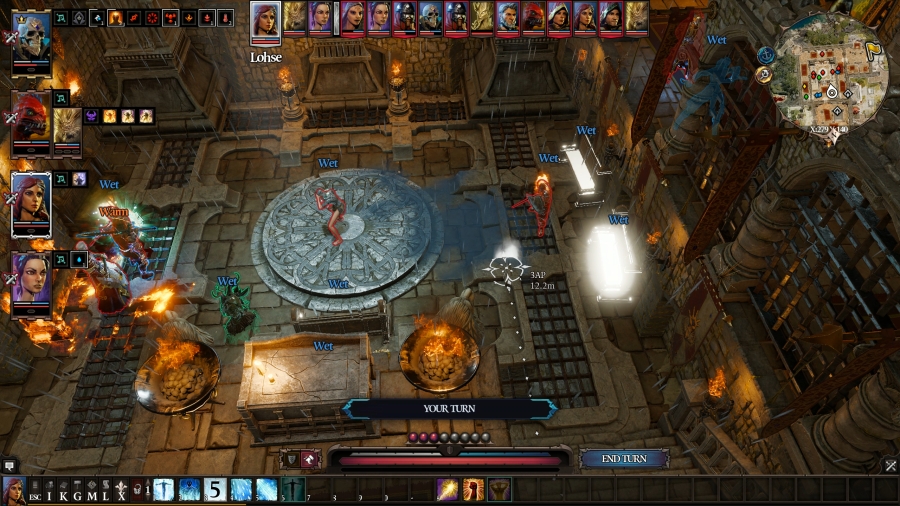 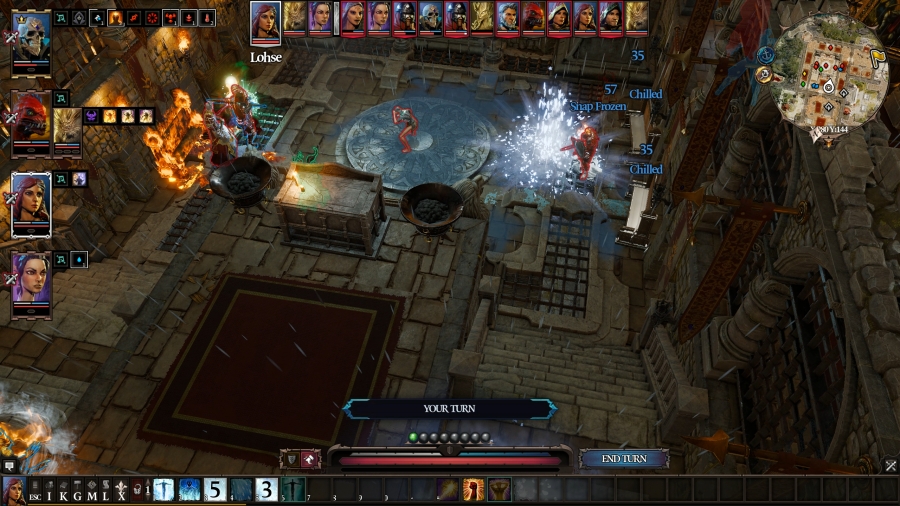 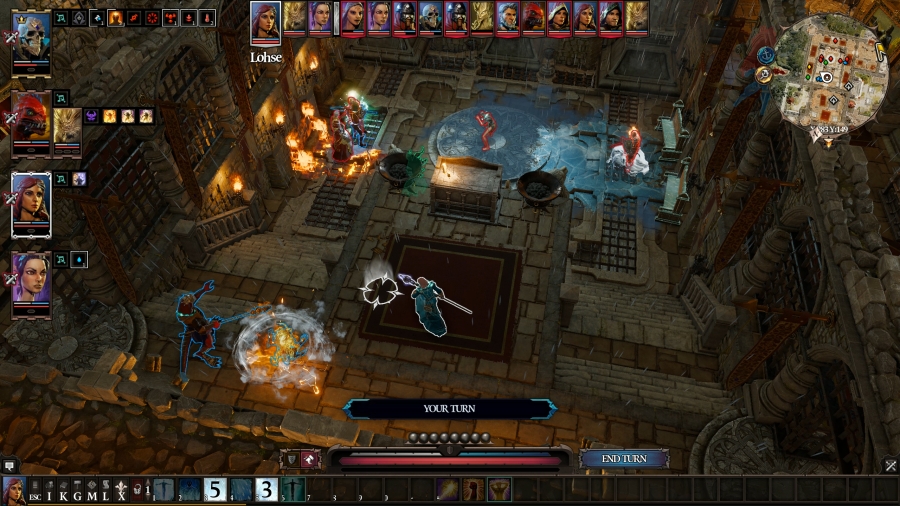 Lohse performs a rain dance, and then hits Swordsman 2 with Winter Blast, freezing his feet in place. Enraged will be wasted if he can�t run up to somebody to hit them. She uses the last of her AP to reposition to the altar that Fane was standing near at the beginning. This is mostly to keep herself out of line of sight from all the enemies. 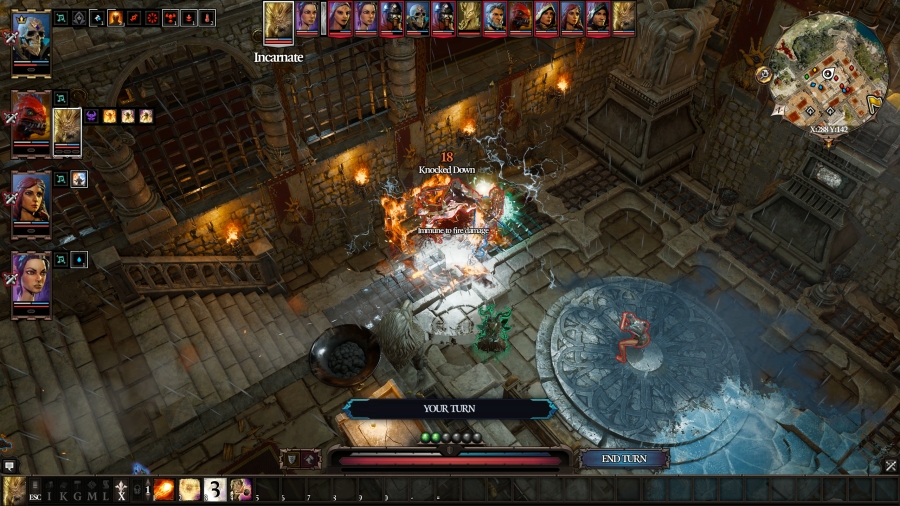 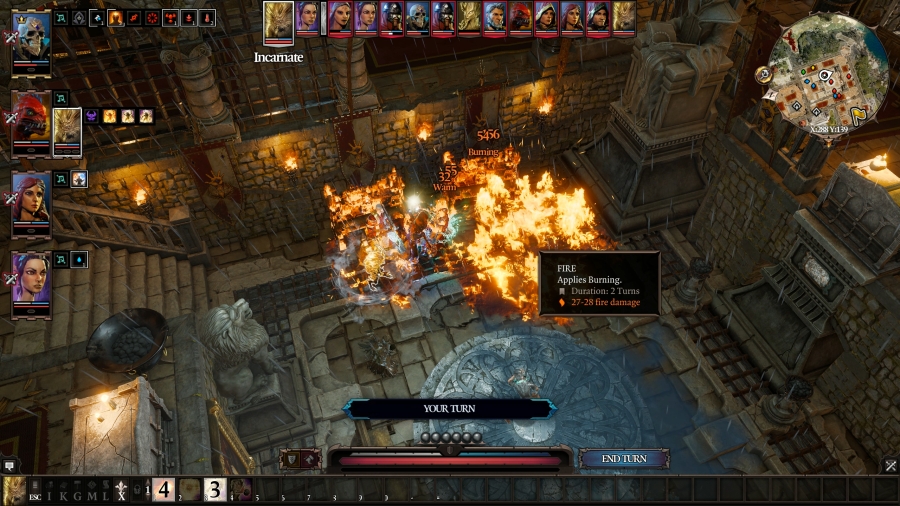 Boy uses Battering Ram on Orivand. It doesn�t do a lot of damage, but it puts him in the fight with Fane, and it knocks Orivand down, which will cause a ton of debuffs. After that, he uses Fireball on Swordsman 1, sitting him and the bench beside him ablaze. There�s quite a lot of fire in this area � and Fane, somehow, is only Warm, but he isn�t on fire. 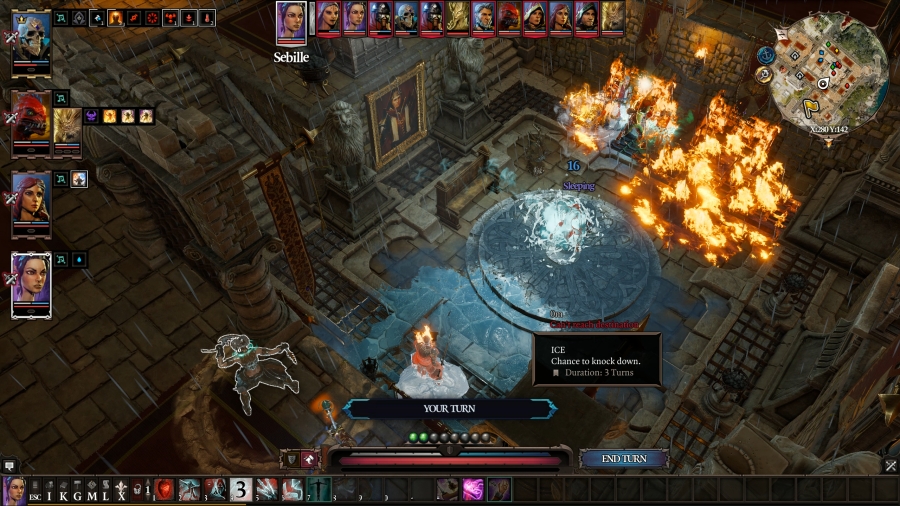 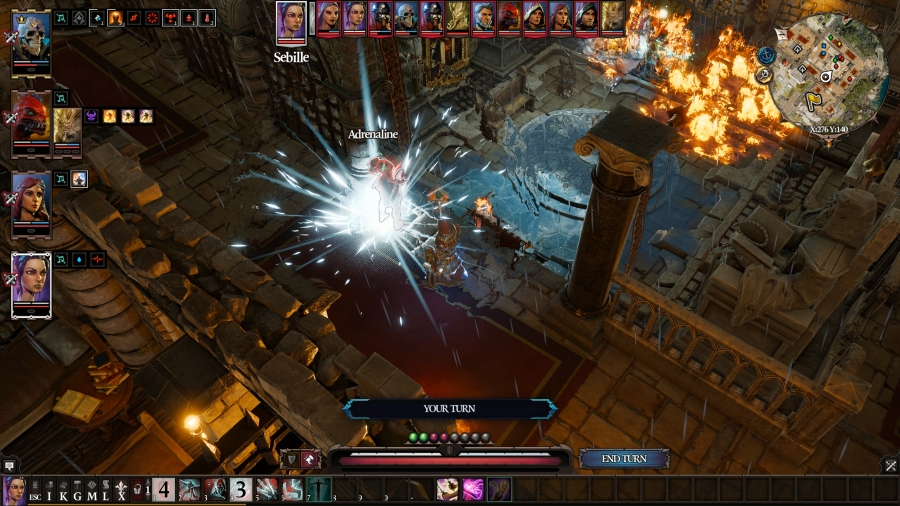 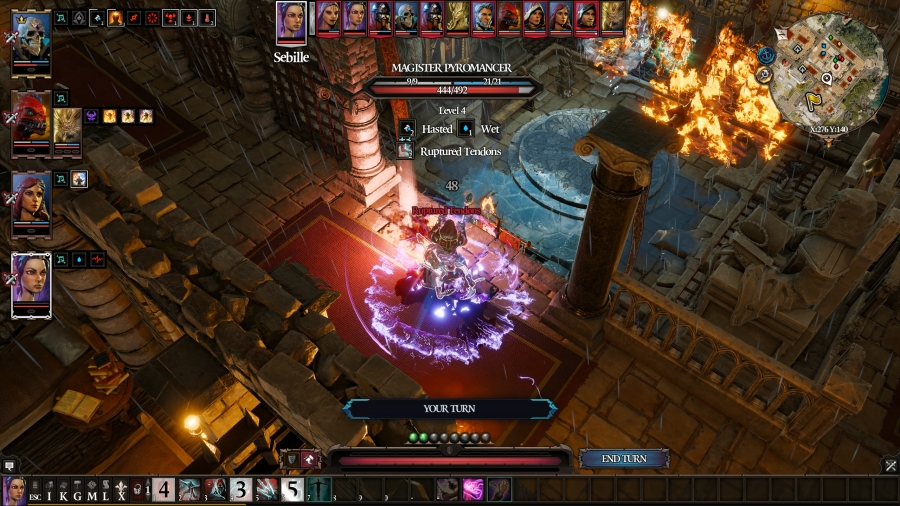 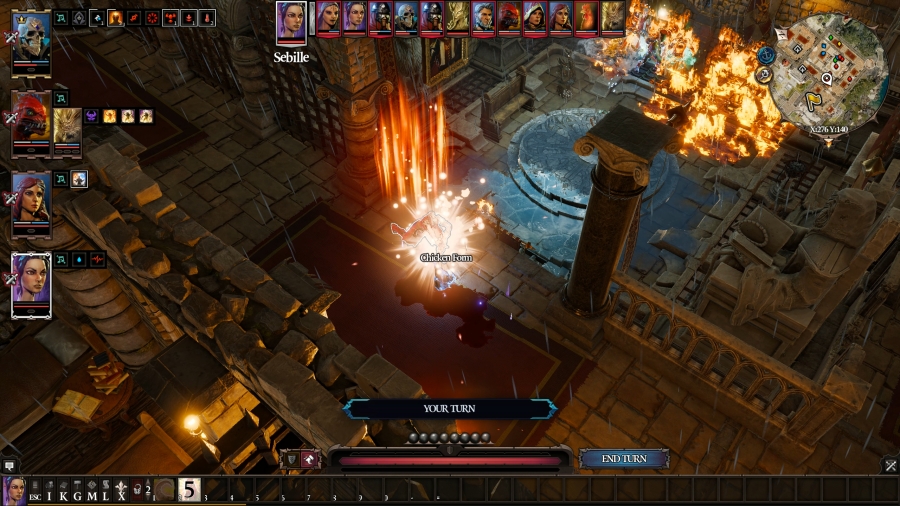 Sebille entered the fight last, and she is the last one to go for this turn before she�s shuffled into the turn order by her Initiative. She opens with Chloroform on the Silent Monk, who has the highest Initiative of all and is guaranteed to go first next round; she uses Adrenaline on herself; and then, the juicy one, she does the standard Ruptured Tendons plus Chicken Claw combo on the Pyromancer. He�s Hasted, which means he clearly likes to run � run for me, chicken. Run as far as you can. Turn 2 The Silent Monk spends her turn waking up. That eight AP she had saved up isn�t going to be spent just yet. 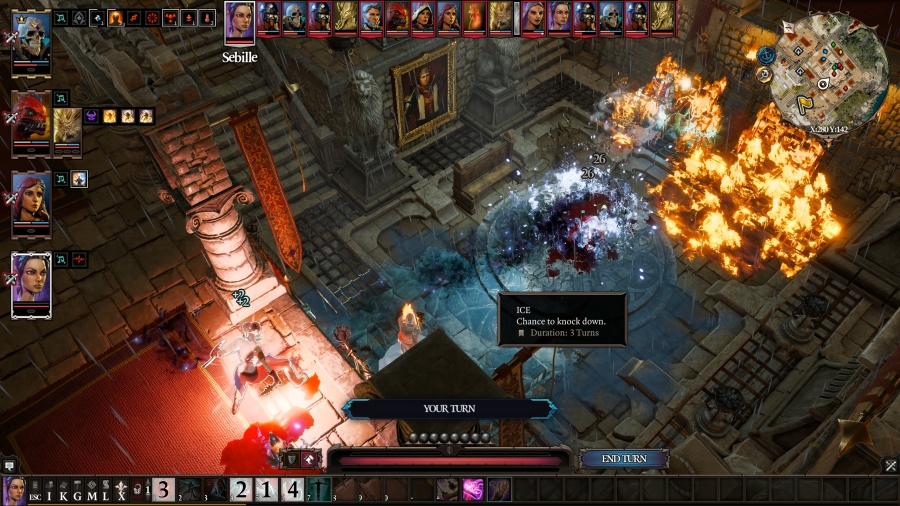 Thanks to Adrenaline, Sebille only has two AP to use, so she uses her Throwing Knives skill on the Silent Monk. She has height advantage, and Throwing Knives can backstab, so, it seems like a good way to burn some AP to me. 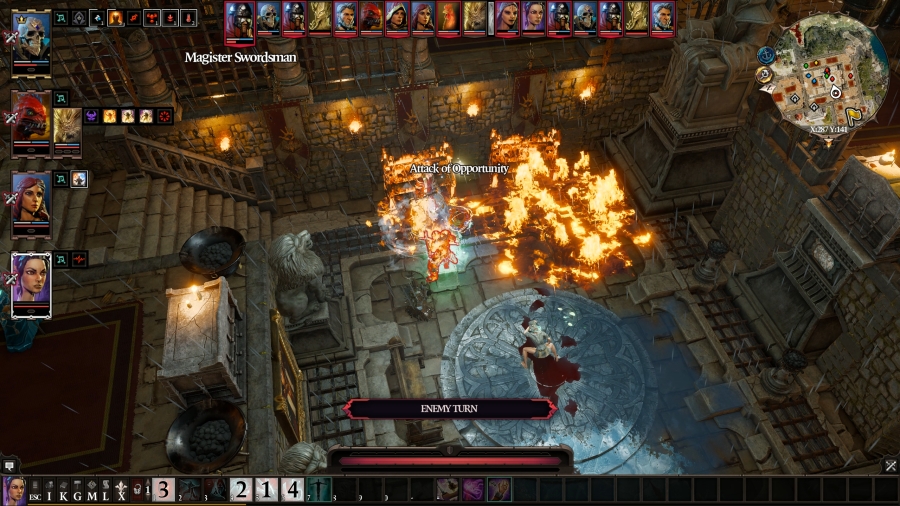 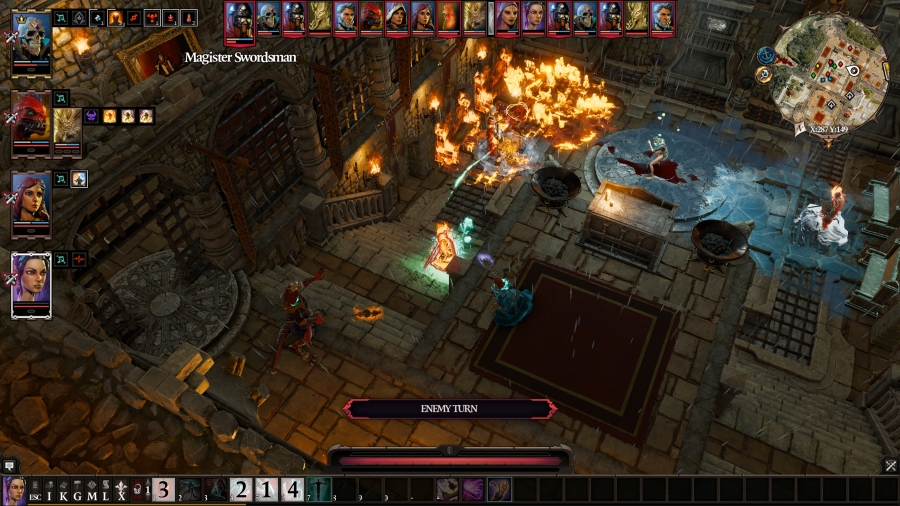 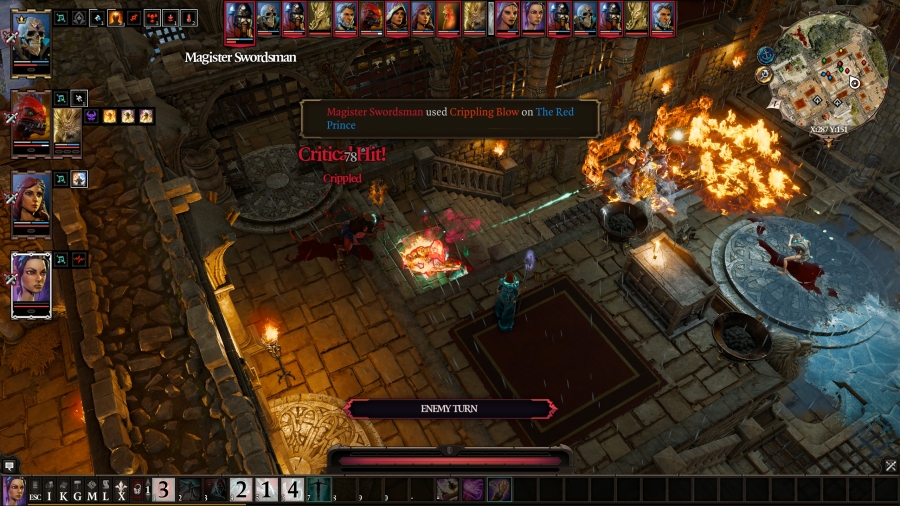 Swordsman 1 gets started on repositioning, and he takes an AoO from Fane � but he blocks it with his shield. Shields have a small chance to block 100% of any melee damage taken at any time, and it just happened to pull through for him here. He repositions all the way up to Prince, and then he swings at his ankles, breaking them both in one hit. Lizards have really angular ankles, and Prince is only wearing some leather on his feet, so, that hurt a little bit. Luckily, as a caster, he�s not too concerned with moving very far. 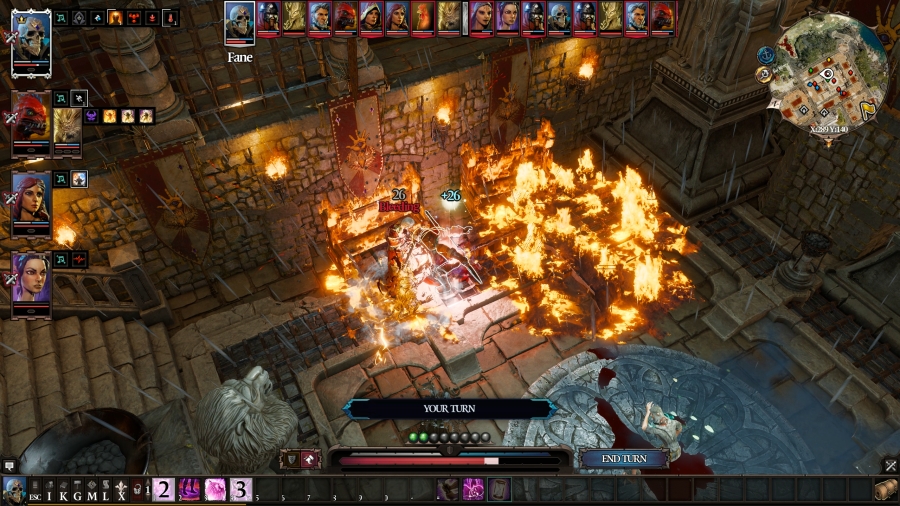  Fane squares up against Orivand and casts Mosquito Swarm on him, and then he hits him with Battle Stomp right back. Which might have been a bit of a misplay � Orivand is already knocked down, and statuses don�t stack with themselves. Oh well. 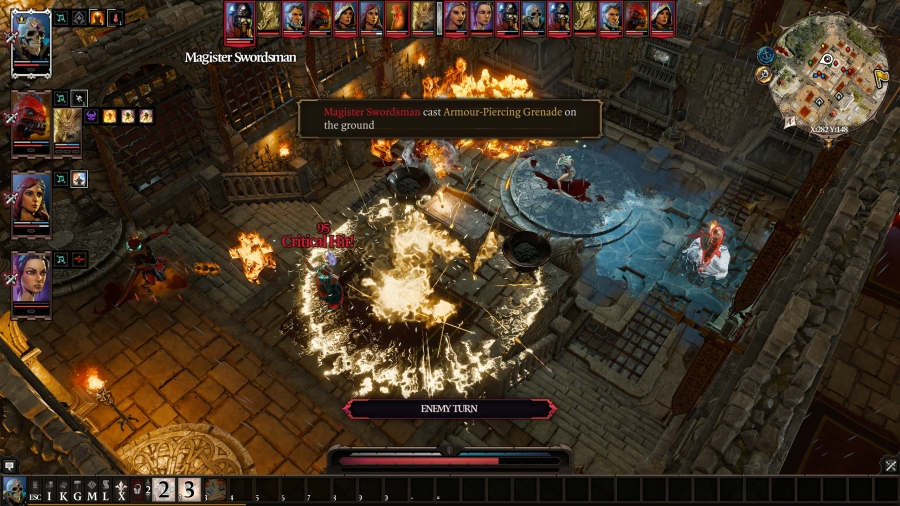 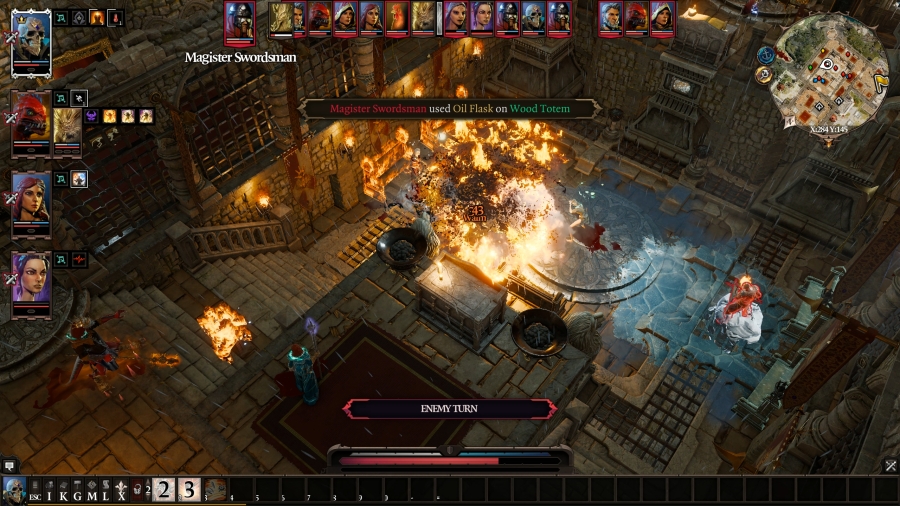 Swordsman 2 might not be able to move, but he has a handful of grenades to his name. He throws an armour-piercing round at Lohse, getting a critical hit on her, and then he throws an oil flask onto the wood totem, which creates a puddle large enough to touch the fire, causing it to ignite and destroy the totem. Finally, since he�s got the AP to burn, he chugs a potion and heals 240 HP after he took what was only about 30 HP from Winter Blast. 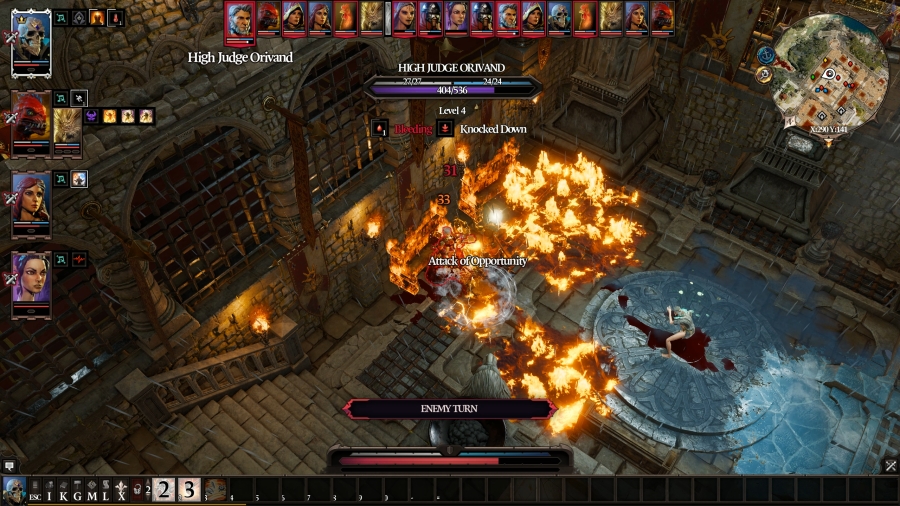 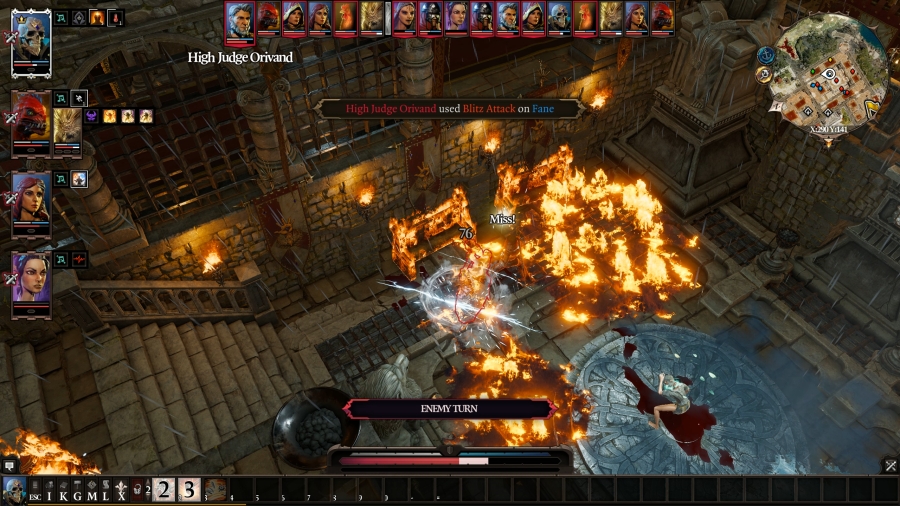 Orivand repositions slightly, taking an AoO from Boy for it, and then he uses Blitz Attack on Fane and Boy � another Warfare self-teleport skill, but it requires a target, whereas skills like Phoenix Dive do not. It hits Boy, but it whiffs on Fane, who saw it coming. Need I remind you that he�s wearing a bucket on his head. 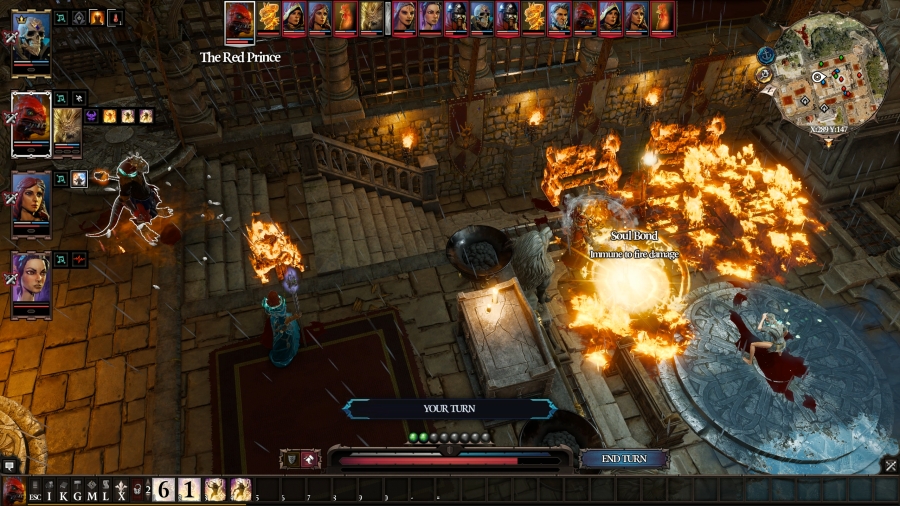 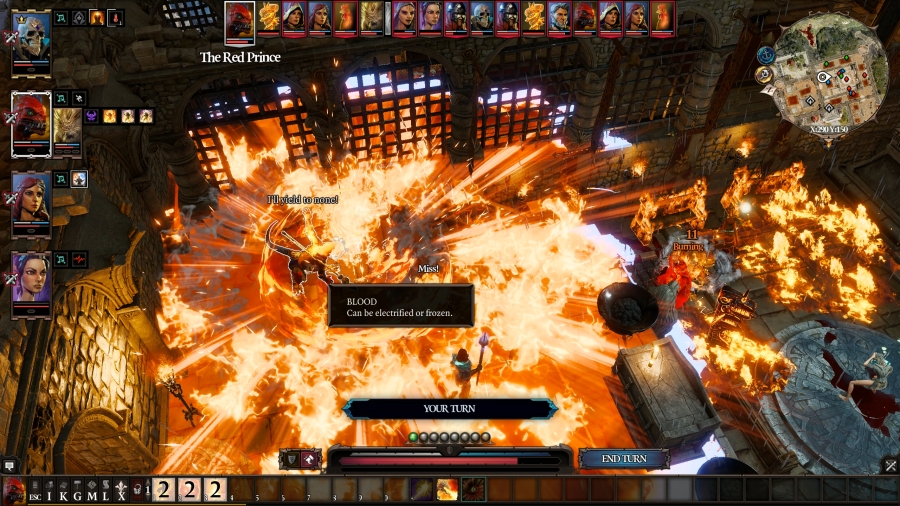 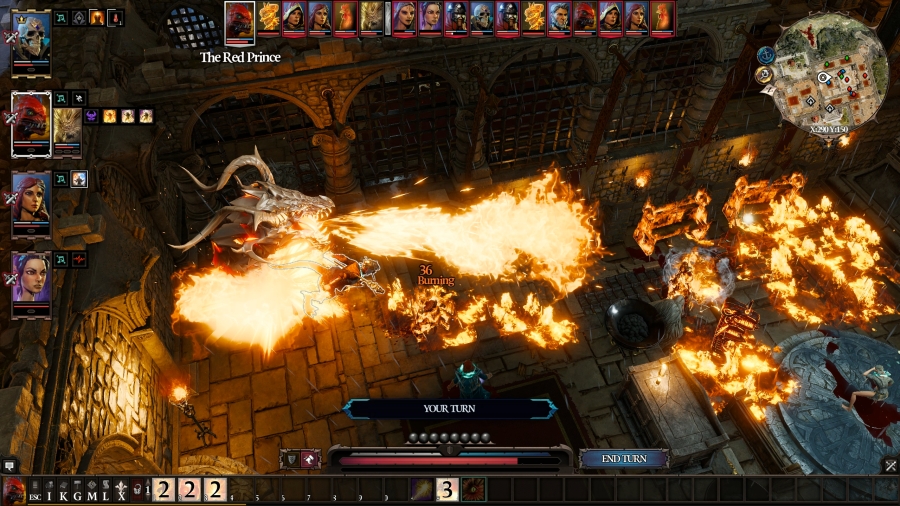 Prince replaces the destroyed wood totem with a fire one before he casts Ignition, which detonates enemies and ignites susceptible surfaces. It�s a big move and it reaches all the way to Orivand, but it whiffs on Swordsman 1. So, instead, he just breaths fire on Swordsman 1. Dodge that. 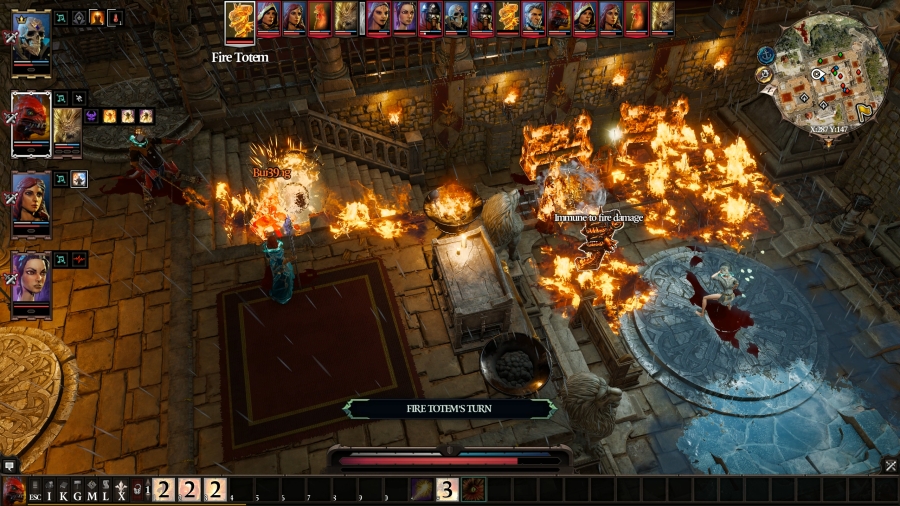 The fire totem takes a shot at Swordsman 1. He�s pretty close to death; he probably won�t survive another turn. Maybe not even this turn. 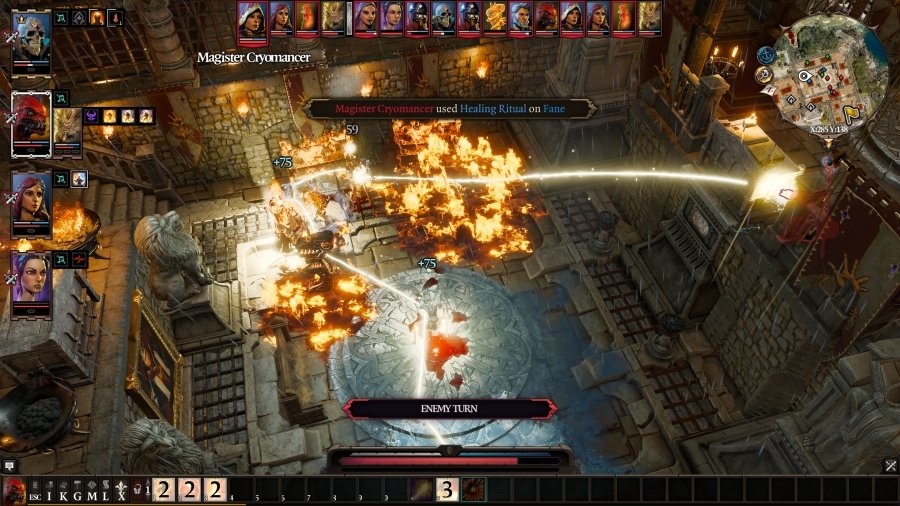 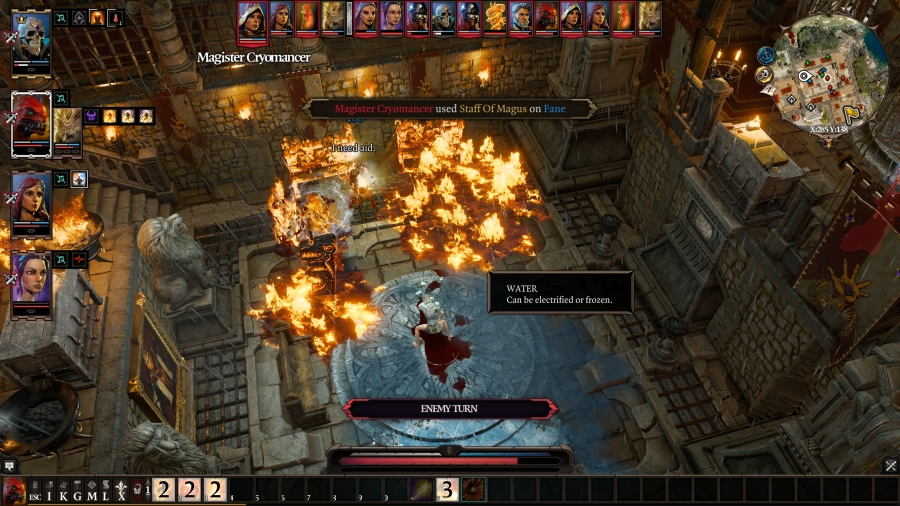 The Cryomancer whips out a new skill: a healing technique called Healing Ritual. A beam of light will travel to up to four targets, healing each of them. It�ll prioritize allies, but if an undead enemy is within range, it�ll jump to it to deal damage. Healing Ritual is a strong AoE healing spell, but it only heals for 80% of the caster�s Hydrosophist potential, meaning Restoration is a stronger single-target option, and it doesn�t heal additional extra HP over time like Restoration does. Healing Ritual hits Fane, Orivand, the Silent Monk, and Swordsman 2. After that, the Cyromancer uses Staff of Magus on Fane, which does a whopping 100 water damage, putting him to near death, just like that. 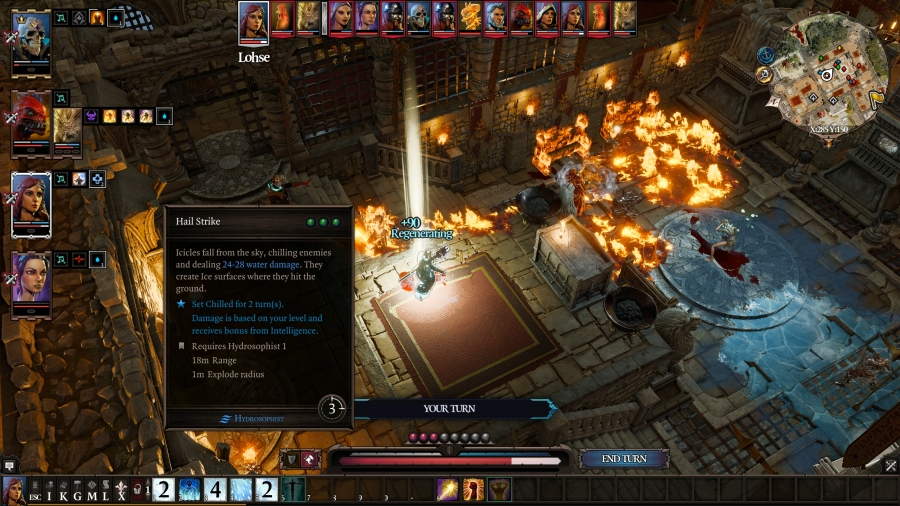 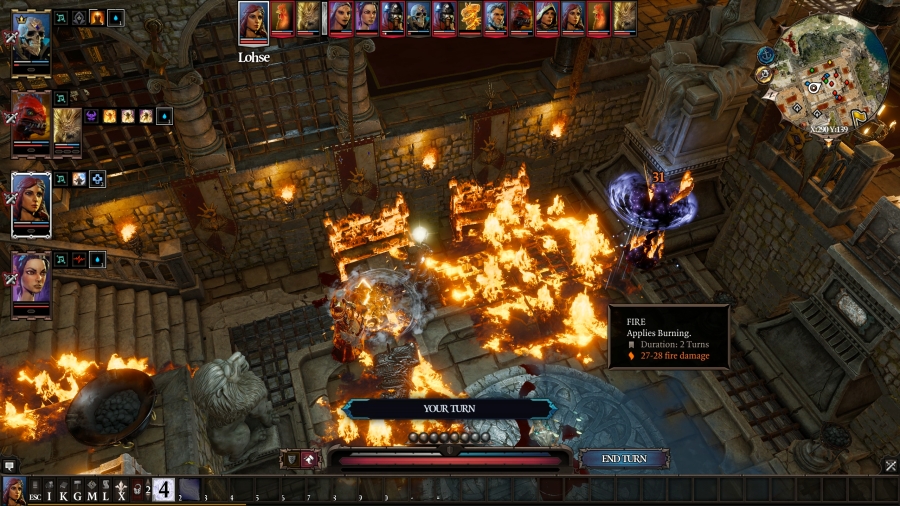 Lohse heals herself, and then Teleports Swordsman 1 away from Prince, throwing him back into the fire at the opposite end of the room. 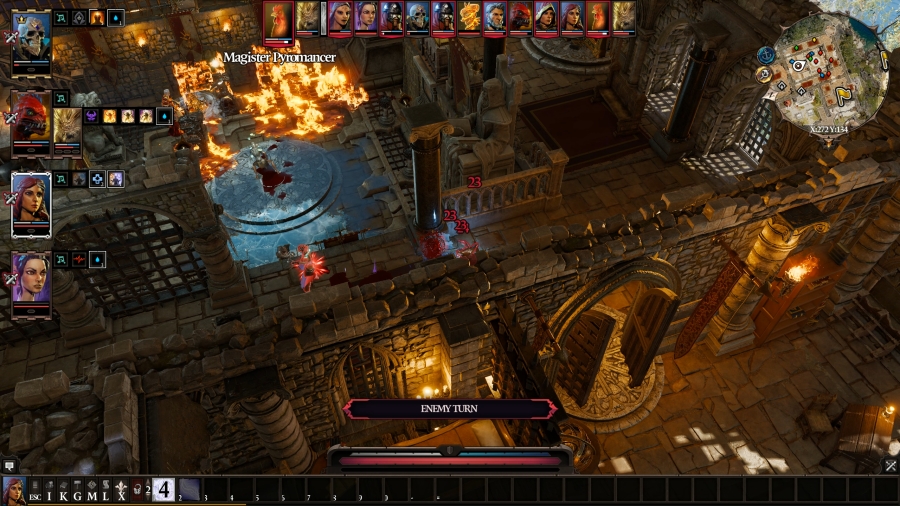  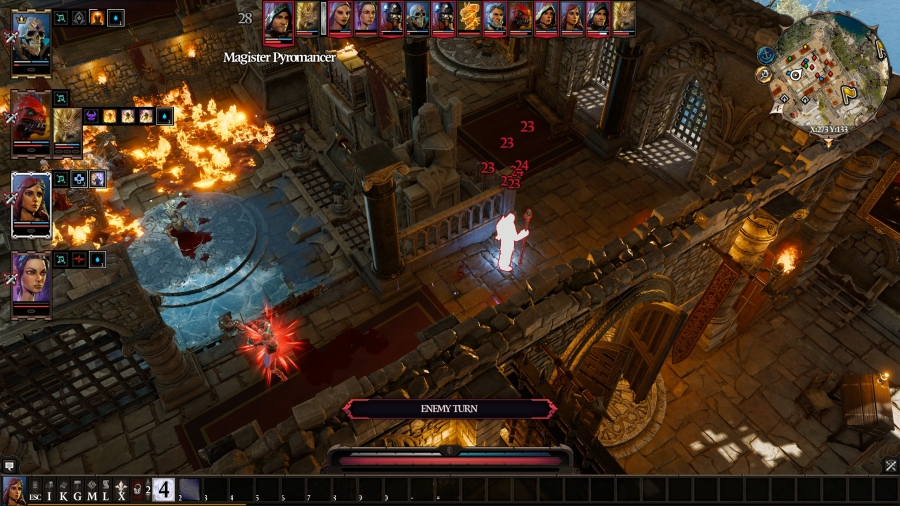 Aw, that wasn�t very far at all. Still, that one turn brought him down to about half his health. Maybe Sebille can handle him on her own. 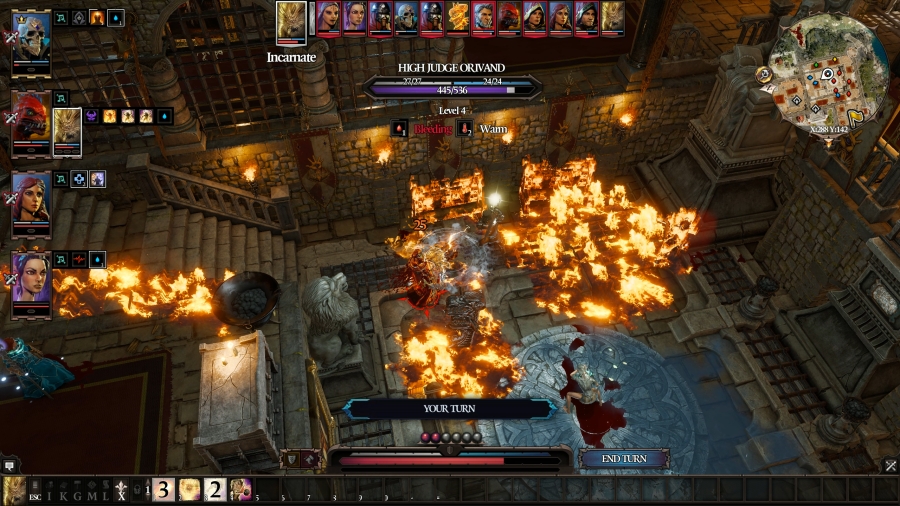 Boy moves last, and he doesn�t have a ton of options, so he just claws at Orivand twice. 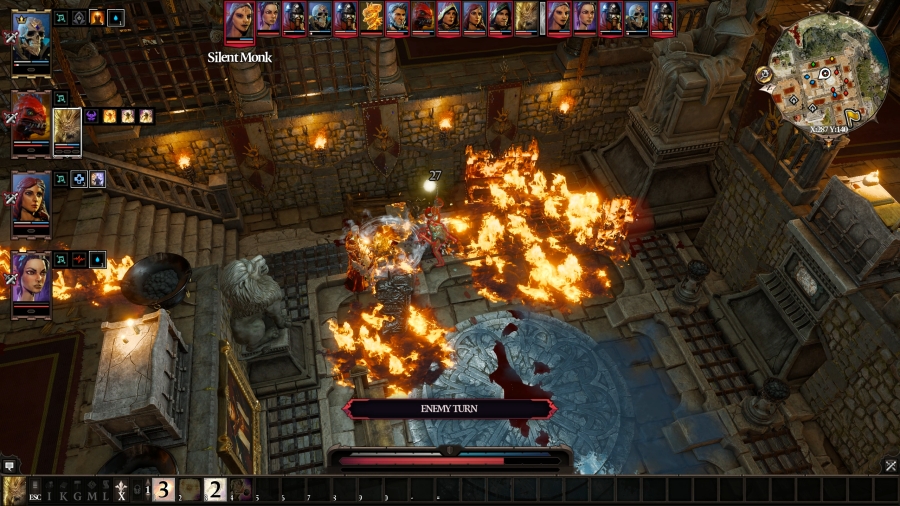 Turn 3 Finally, the Silent Monk gets to perform an action! She runs right up to Fane and then kicks him once. Good job, Silent Monk! 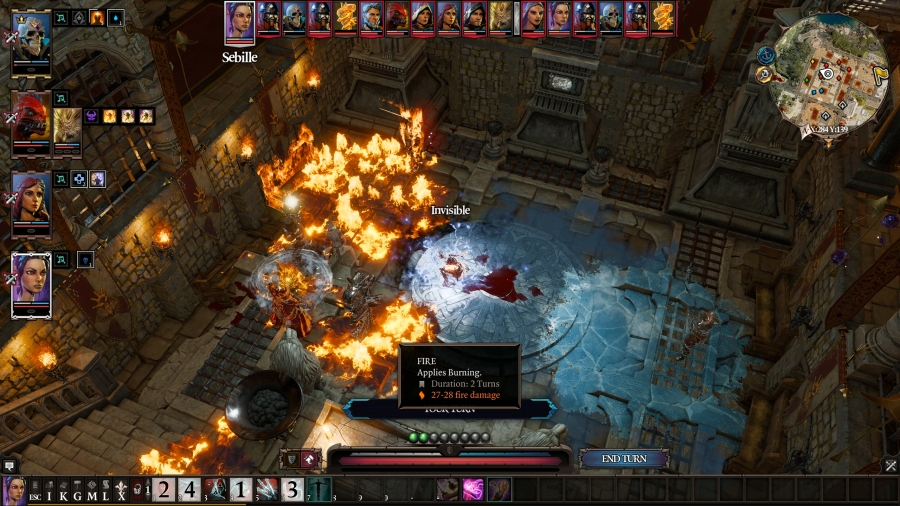 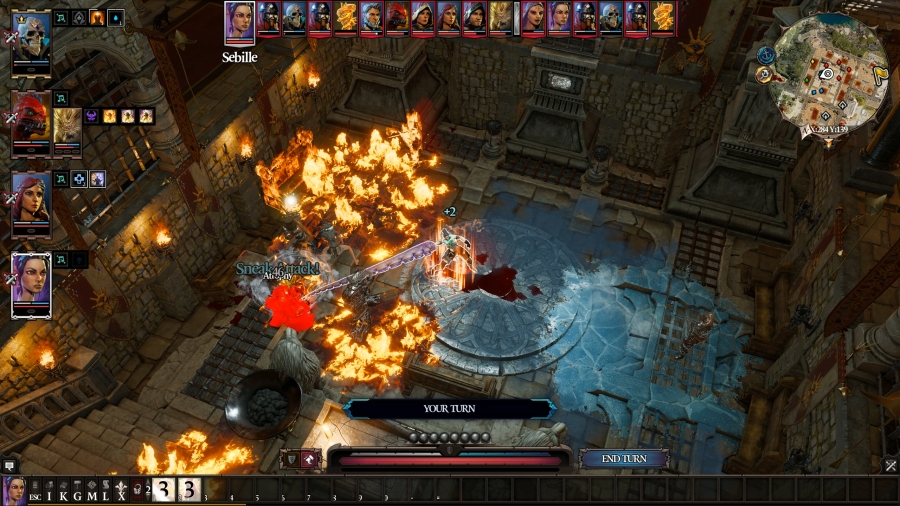 After deliberating a bit on what Sebille should do next, I figure the best course of action isn�t to try and fight the Pyromancer one-on-one. Although he isn�t a chicken anymore, his tendons are still ruptured, and he�s still Hasted � maybe he�s dumb enough to solve that problem for me. Instead, Sebille uses Cloak And Dagger to join the mosh pit, and then she uses Tentacle Lash on Orivand. Fane�s not looking too hot; hopefully this will buy him a bit of time. 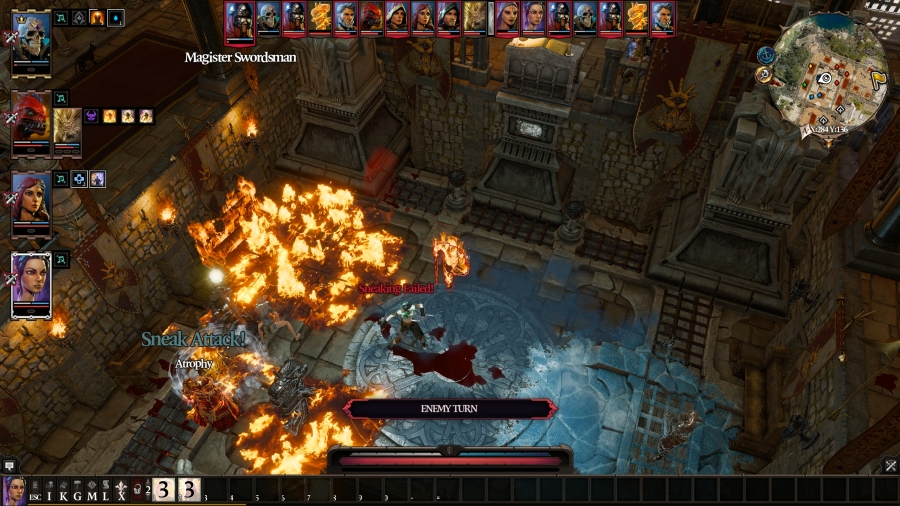 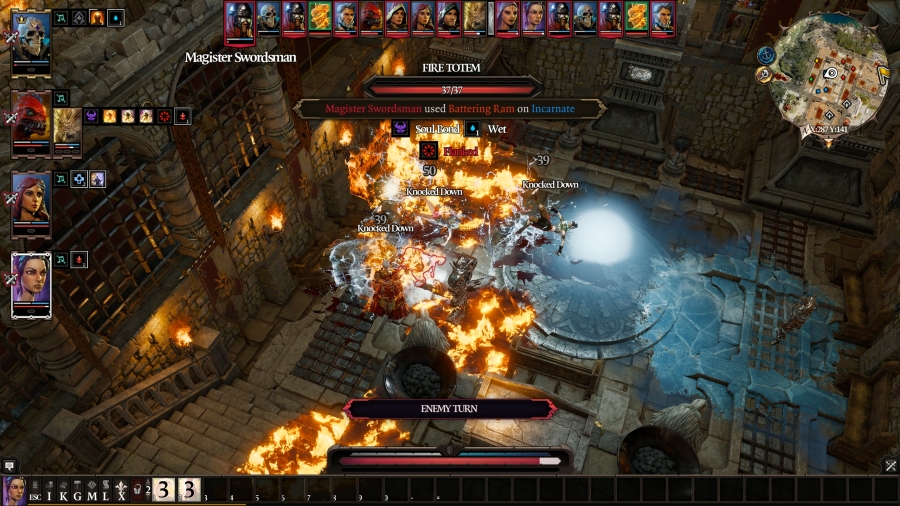 Swordsman 1 clings to life just long enough to reposition behind Sebille so he can use Battering Ram to hit her, Boy, and the Silent Monk (who, clearly, isn�t on his side) � but, thankfully, his charge goes wide on Fane. Not that he could have aimed at Fane anyway because the Silent Monk is in his way. 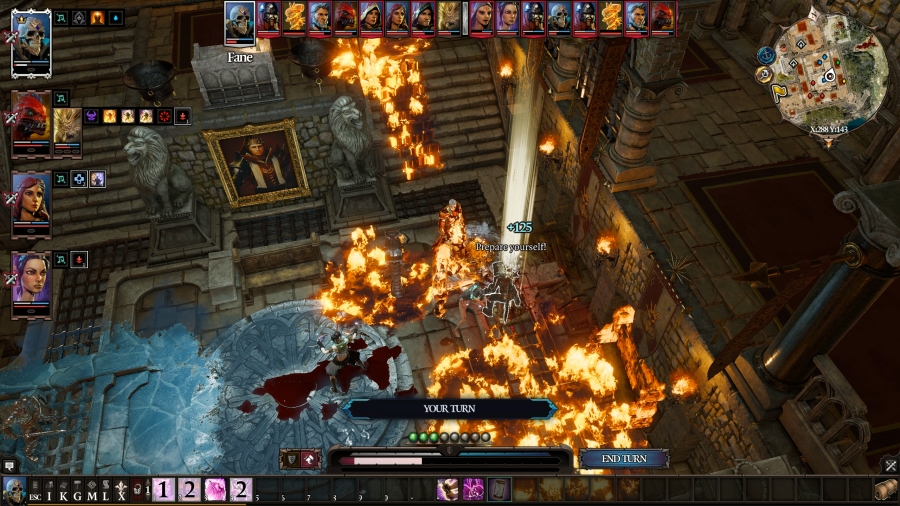 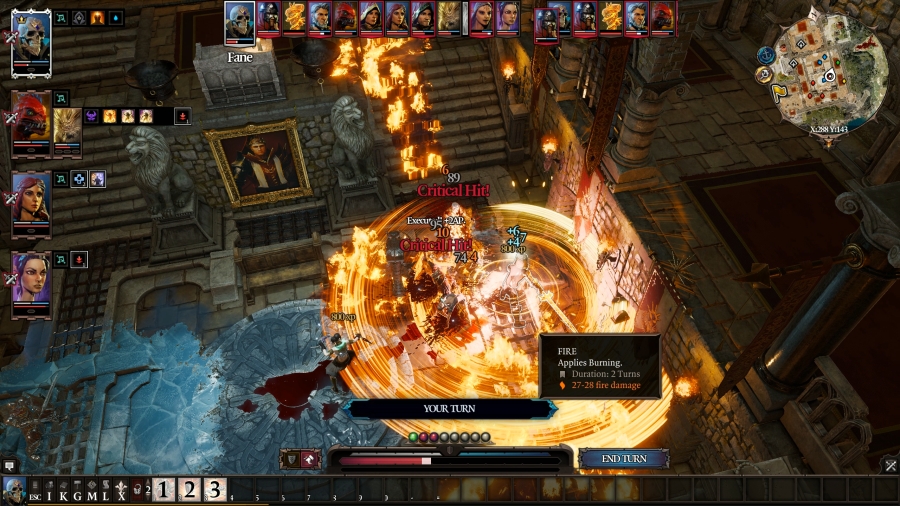 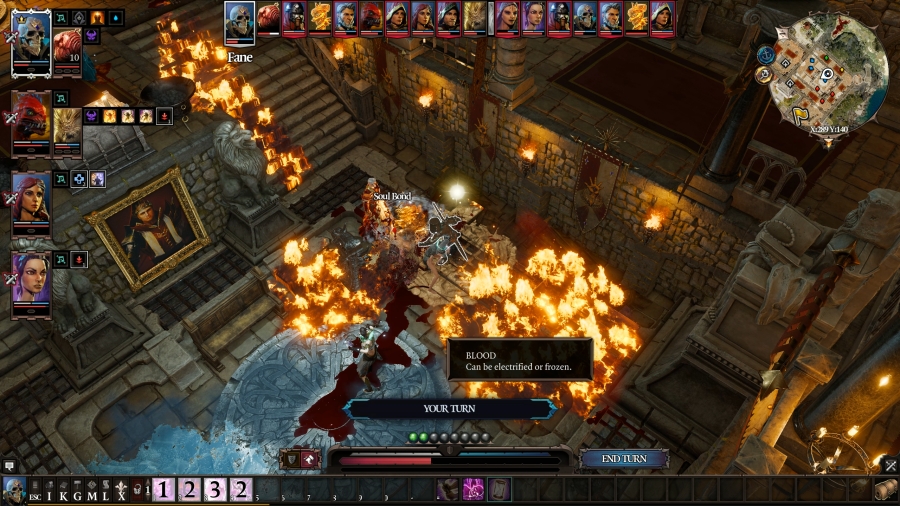 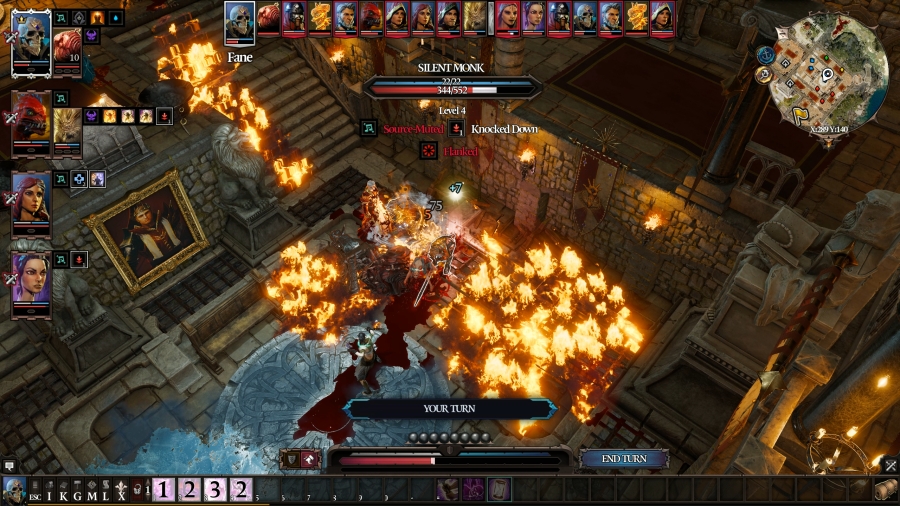 Fane has himself a fun turn: he uses Blood Sucker on himself to keep himself at least modestly healthy. After that, he uses Whirlwind, which hits Orivand, the Silent Monk, and Swordsman 1, which takes him out and grants him two more AP (it would have been better to use Whirlwind first, which would have put down more blood for him to suck, but, you know, hindsight is 20/20 and all that). With his extra AP, Fane spawns Splodey on top of Swordsman 1�s fresh corpse, and finally, he ends his turn with a good ol� whack to the Silent Monk�s noggin. 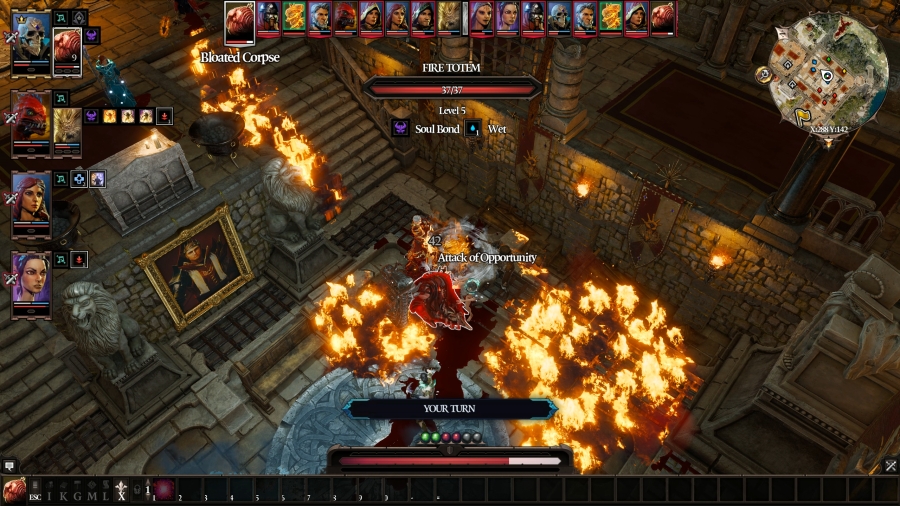 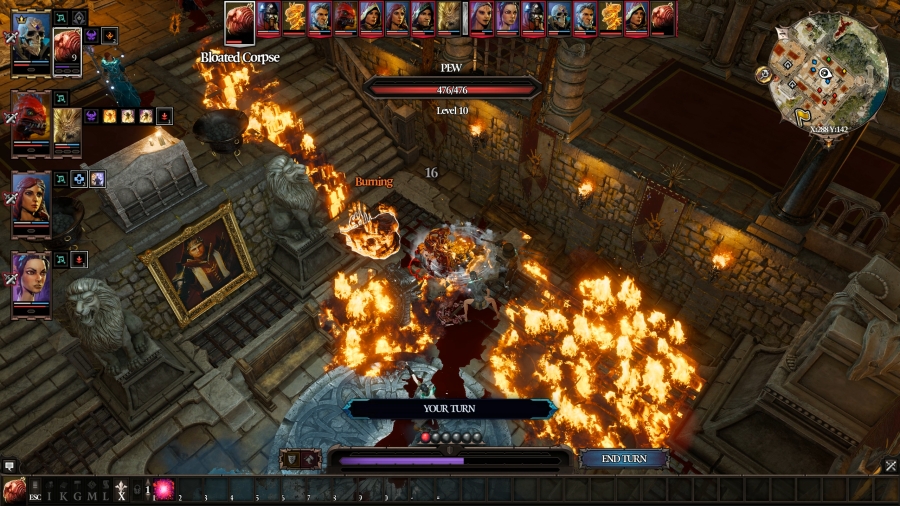 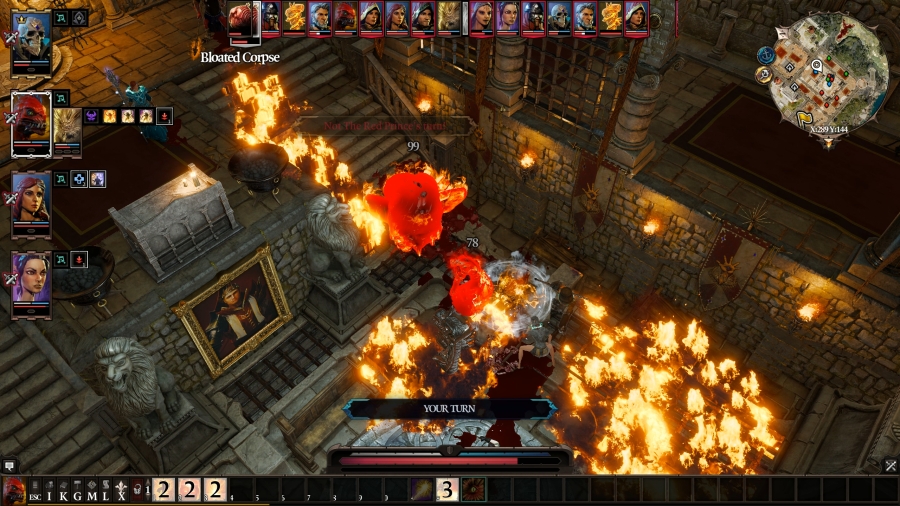 Splodey�s self-destruct skill can friendly fire, meaning it�s not exactly in the best position to be exploding, right next to Fane and Boy. Repositioning causes the Silent Monk to hit it with an AoO, but it manages to get behind Orivand and hit him with its weird, stubby non-fist before exploding just far enough away that it only hits Orivand. 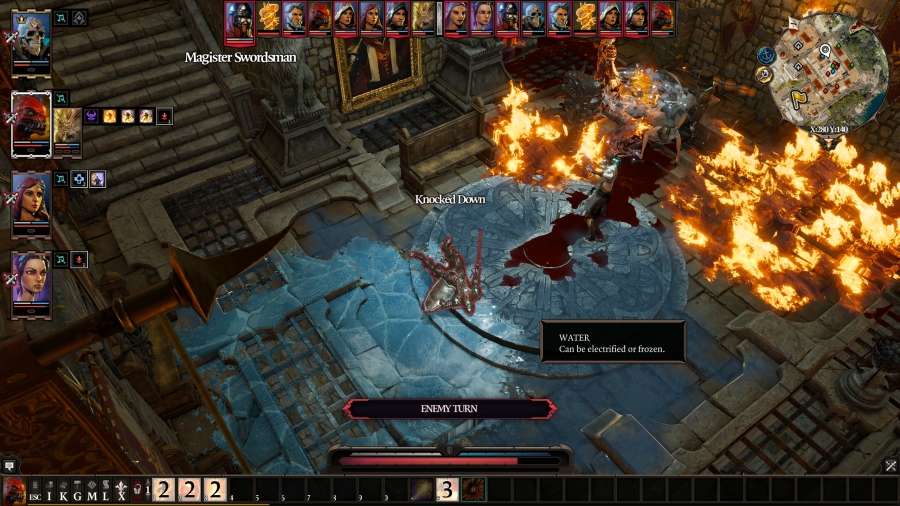 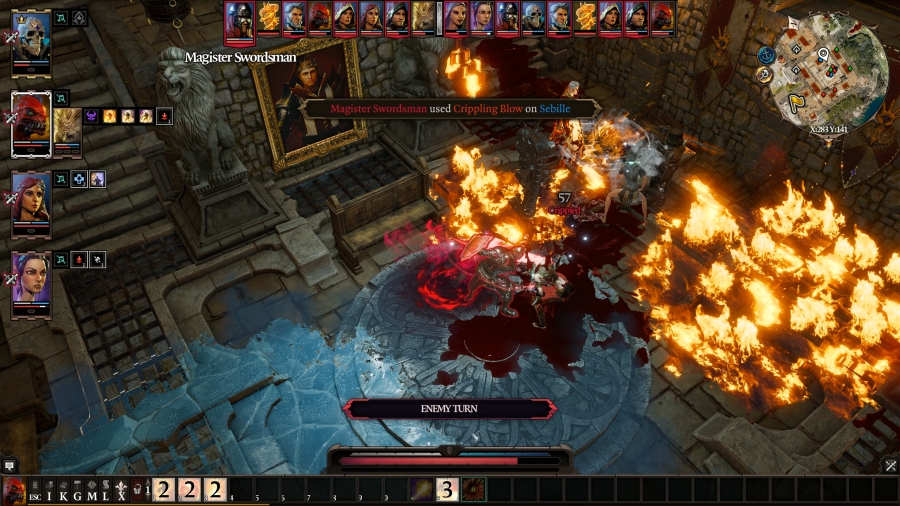 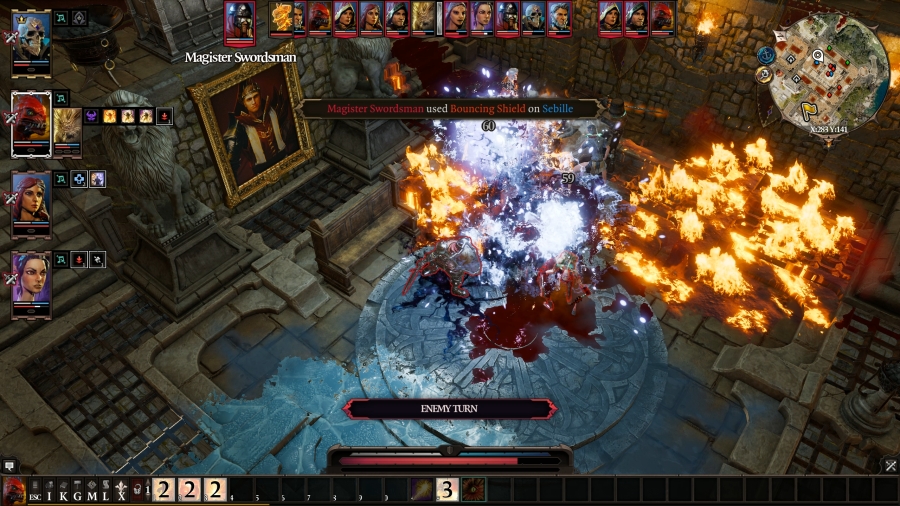 Swordsman 2 attempts to get closer to Sebille, but he lands flat on his rear end because of the slippery ice, giving him Knocked Down. He has a ton of AP saved up, though, and he still has enough to Cripple Sebille and then chuck his shield at her, which bounces to the totem, destroying it in one hit. 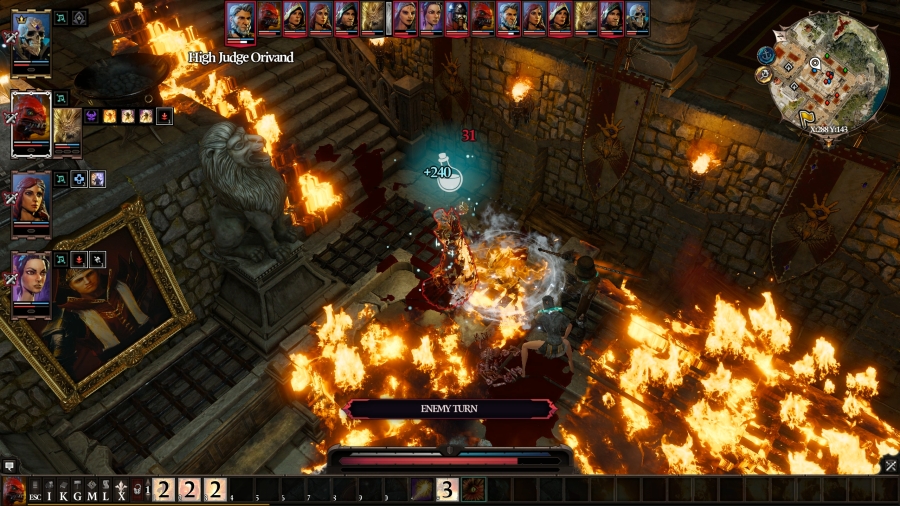  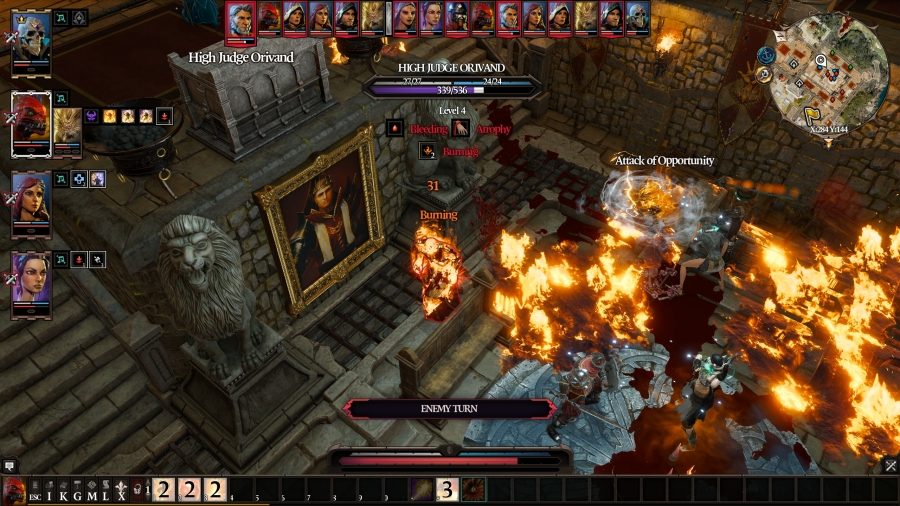 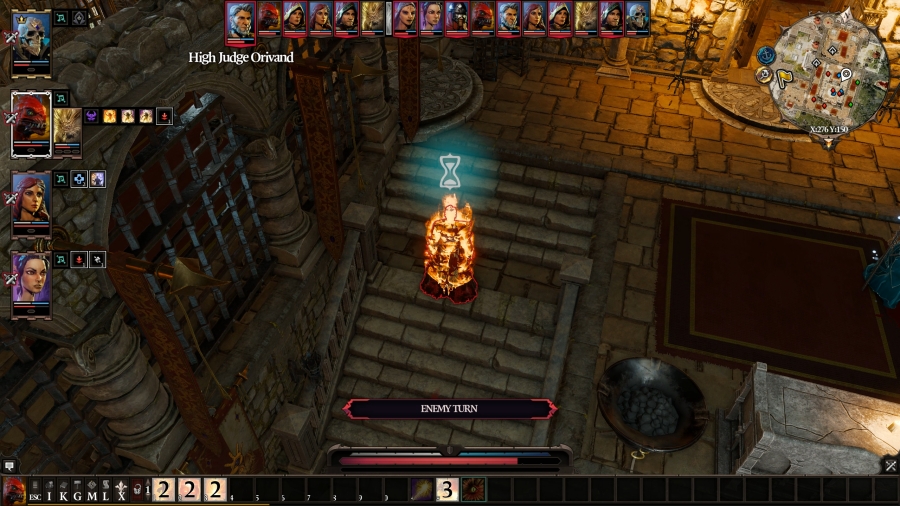 Orivand is Atrophied and he can�t do any actual damage to anyone on this turn. He chugs a healing potion (isn�t it such bullshit when a boss can heal itself? It�s good and cool when you do it though) and then runs away, which lets Boy get in an AoO. Rather than run in a direction that Fane could potentially follow, Orivand instead runs through the fire so he can go up the stairs on the opposite side of the room. This is a really scary place for him to be because he�s right next to Lohse, and he�ll be getting his hammer back next turn. 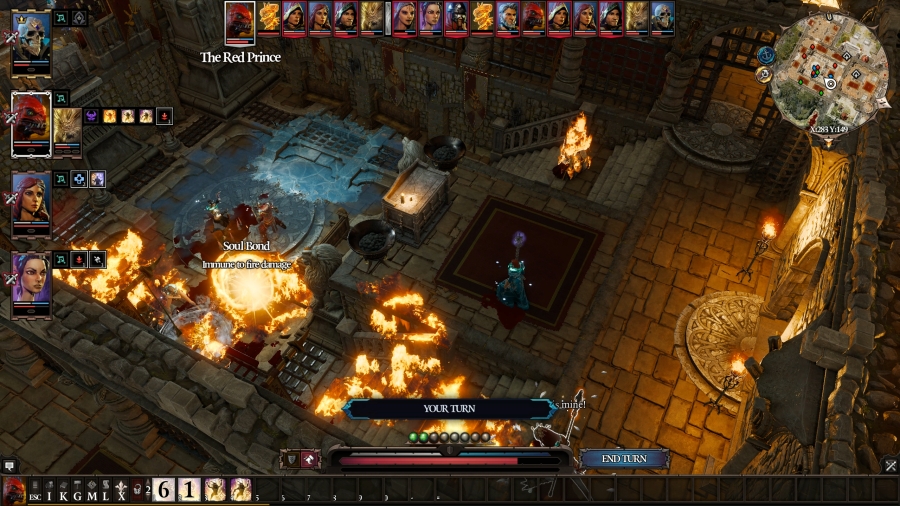 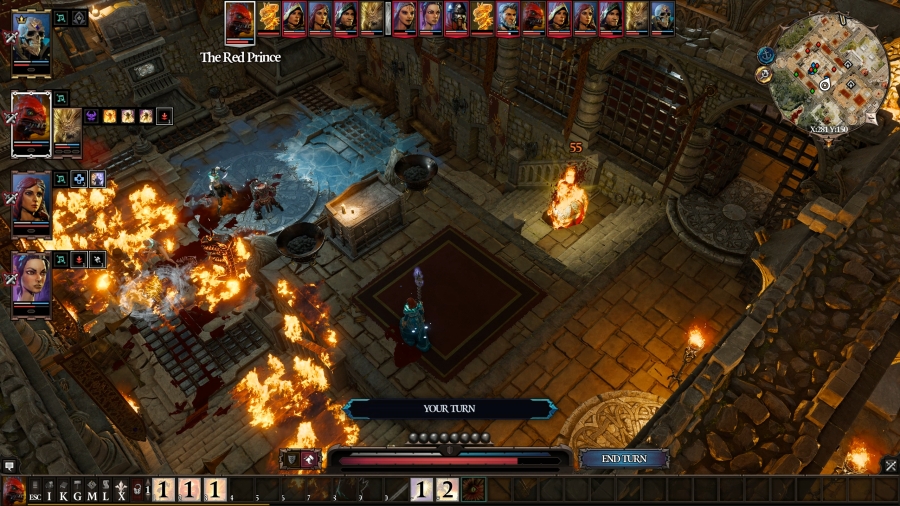 Prince puts down another fire totem � keep breaking them, guys, I can literally do this all day � and then hits Orivand with Staff of Magus. It�s pretty likely that he and Lohse are going to have to kill him. 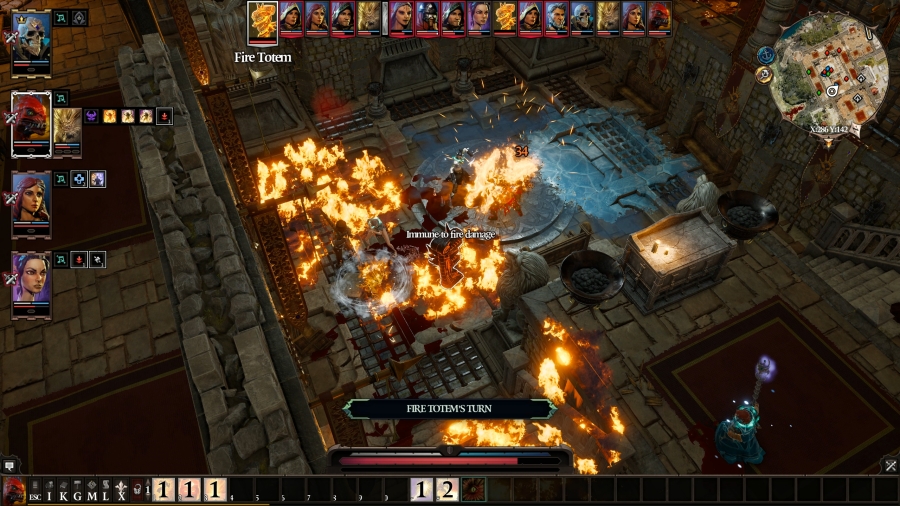 The brand new fire totem avenges its older sibling by firing a shot at Swordsman 2. 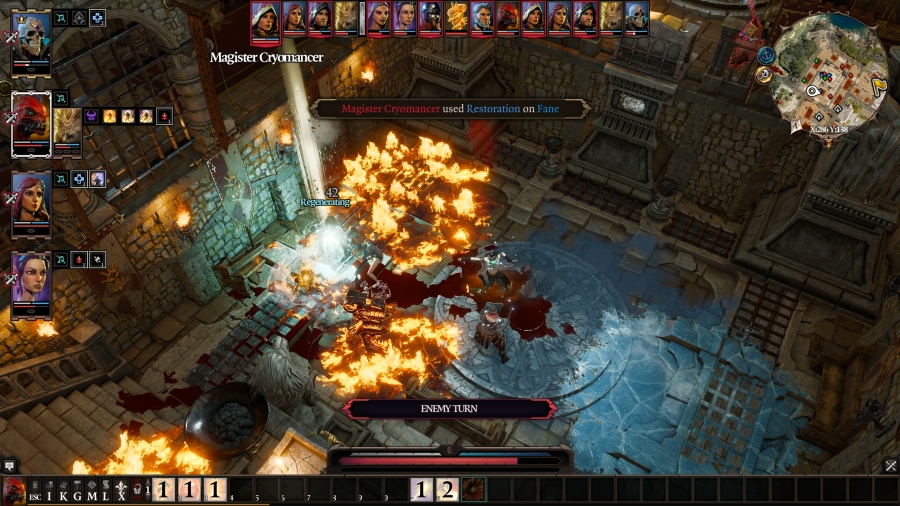 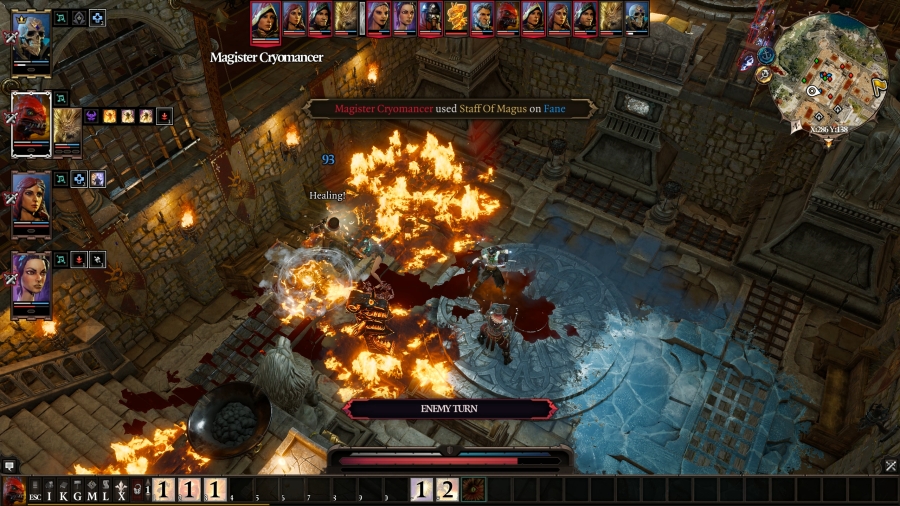 The Cryomancer hits Fane with Restoration, which is like Poisoning for undead characters, and then hits him with another Staff of Magus, putting Fane right back down to critical condition.  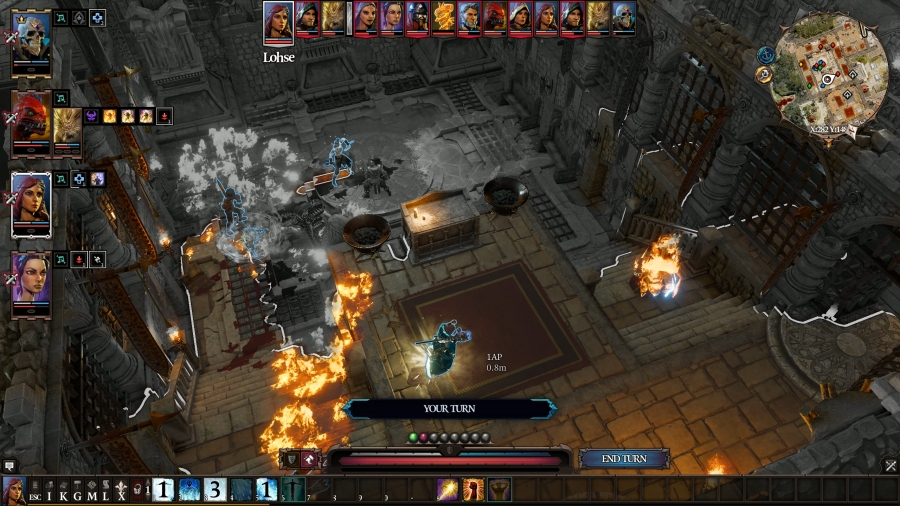 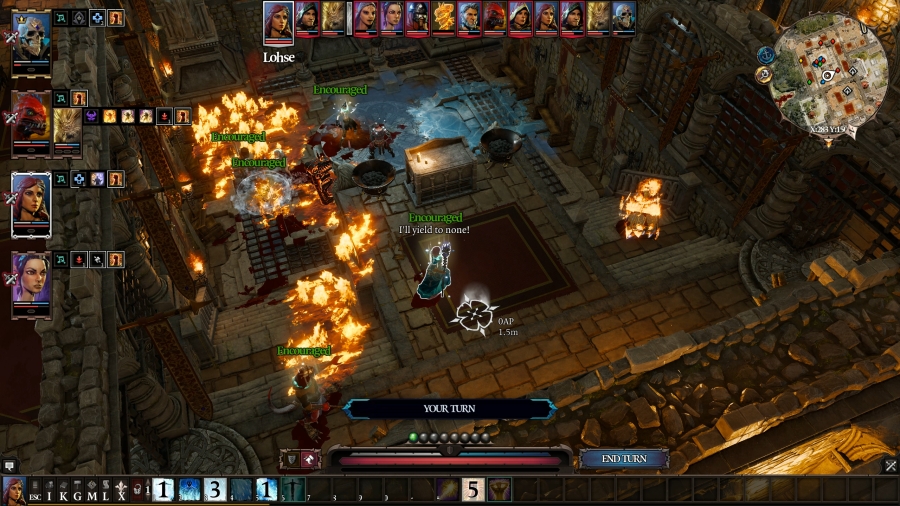 Lohse hits Orivand with Electric Discharge, causing him to be Shocked, which will lower his AP for next round. If I�m lucky, he won�t be able to move and attack. To end her turn, she uses Encourage � which, in the second screenshot, you�ll see that she just barely and very comically has exactly the right amount of eyesight on every person on her team. She even manages to encourage Boy. 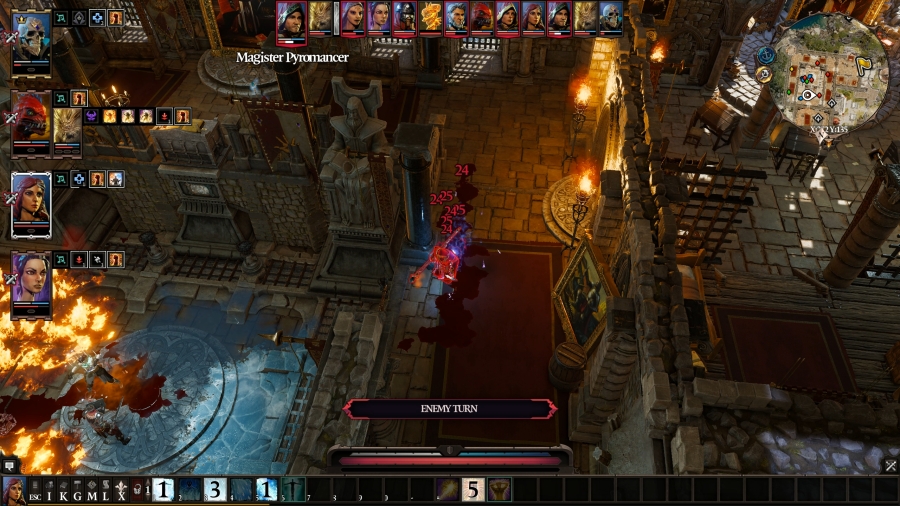 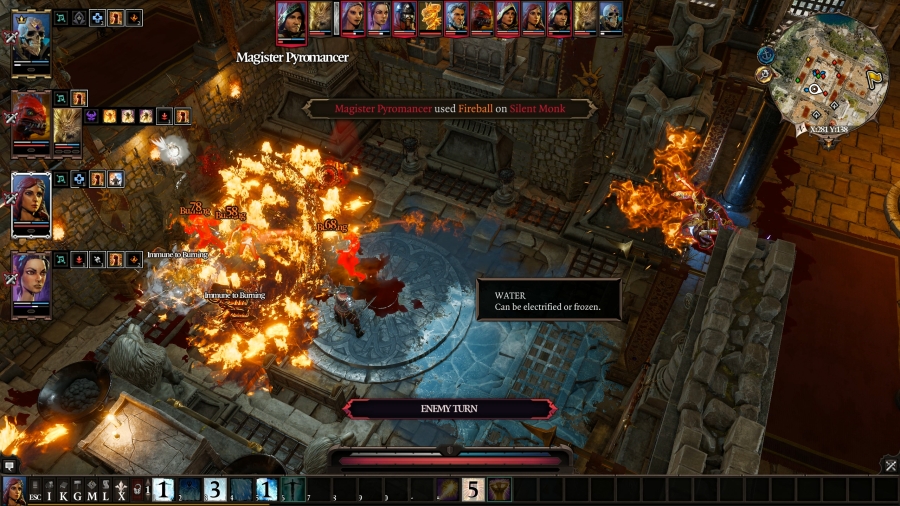 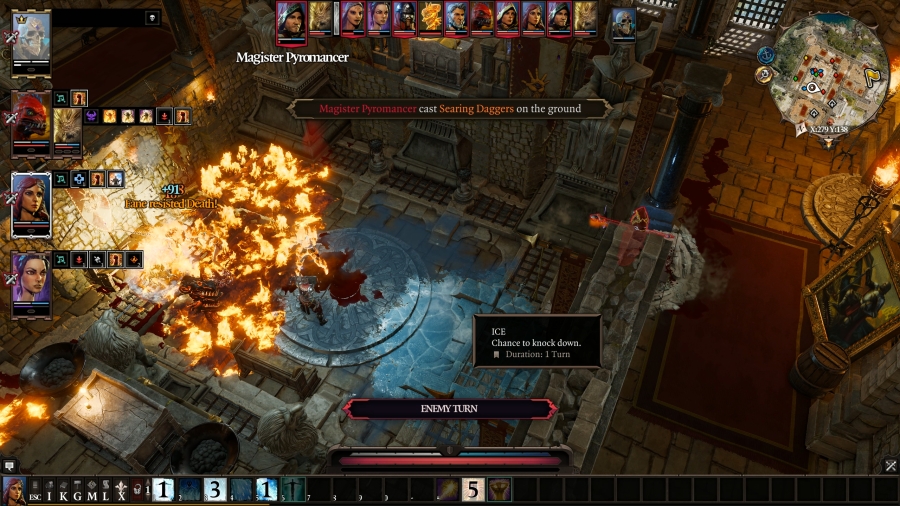 The Pyromancer, still bleeding out from his ankles, repositions towards the gap and then casts Fireball directly on top of the Silent Monk, hitting her, Fane, and Sebille. It doesn�t kill Fane, but it puts him down to single digits. He then uses Searing Daggers, which fires three fire-based projectiles at up to three targets. You can choose to dump all three daggers onto one target if you�d like. Fane dies from the first dagger, which causes Comeback Kid to kick in and resurrect him, only for the other two daggers to take him out immediately. My tank is dead. 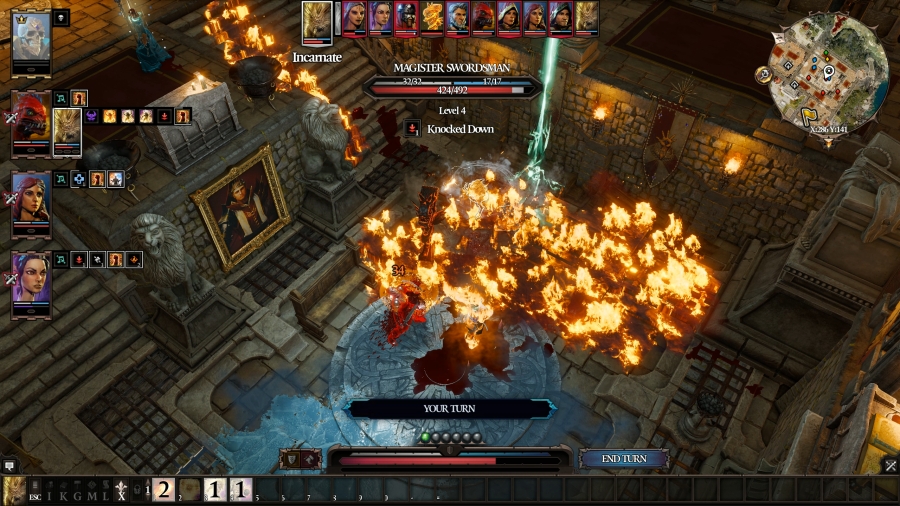 Boy�s been knocked down, so he only has three AP to use. He flings a projectile at Swordsman 2 and calls it a day. 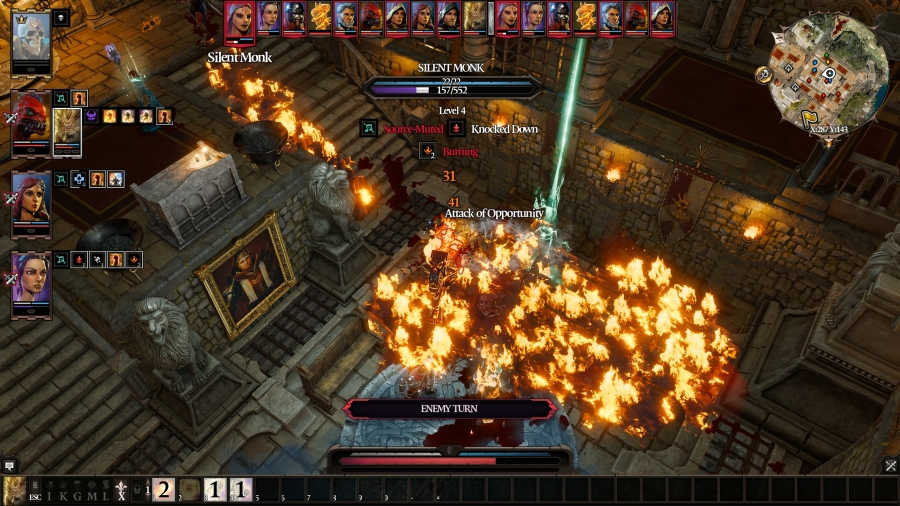  Turn 4 The Silent Monk repositions towards Prince with dangerous intent, but because she was knocked down, she can�t make it very far. At least Boy gets in an AoO on her. 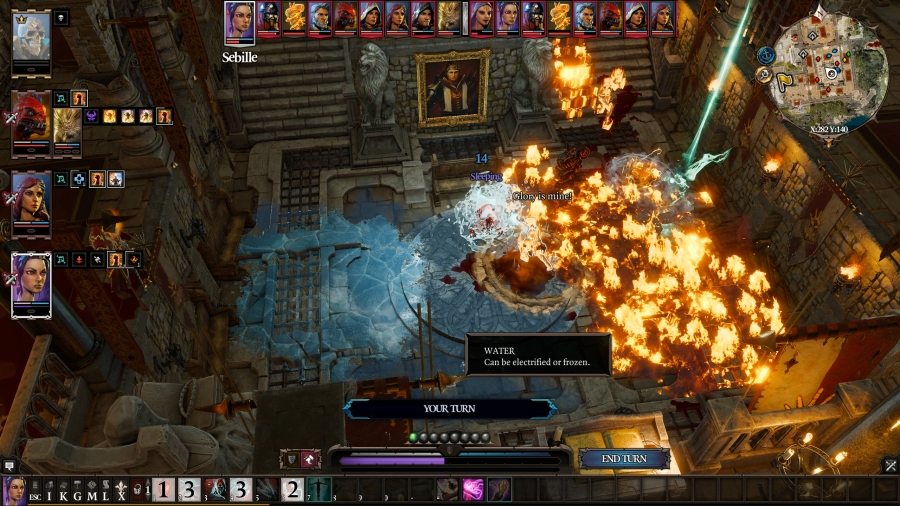 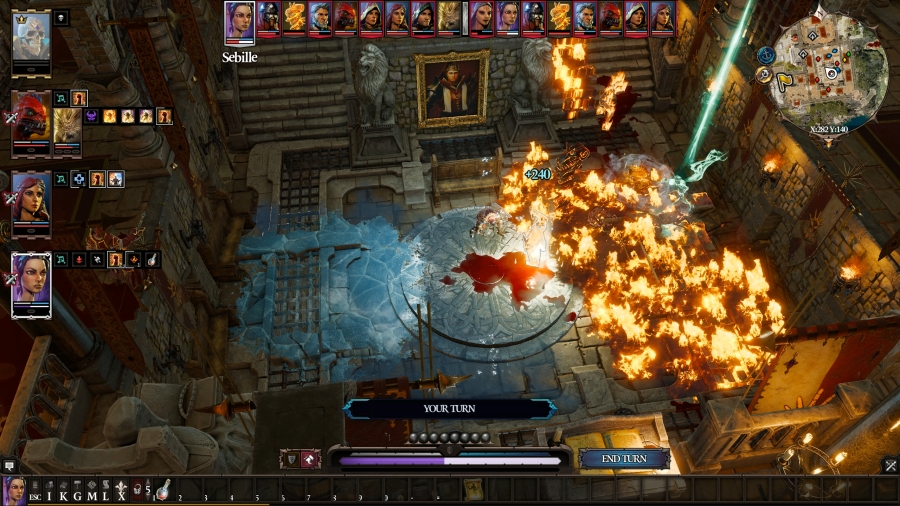 Sebille is Crippled and Knocked Down; she�s not about to run anywhere. She buys herself a moment of respite by hitting Swordsman 2 with a bottle of Chloroform, and then she chugs a potion, putting her back up max HP. Swordsman 2 goes next, but he spends his turn waking up. 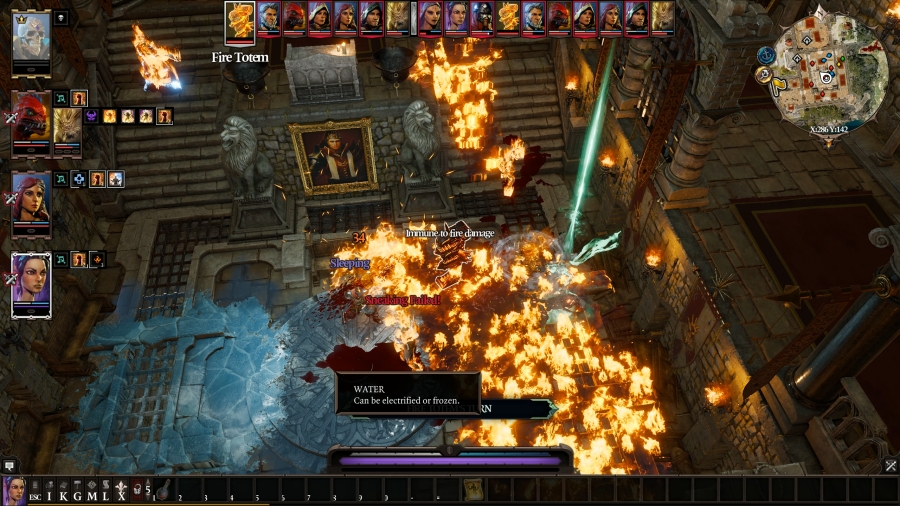 Just in time for this fire totem to lob a fireball at him. 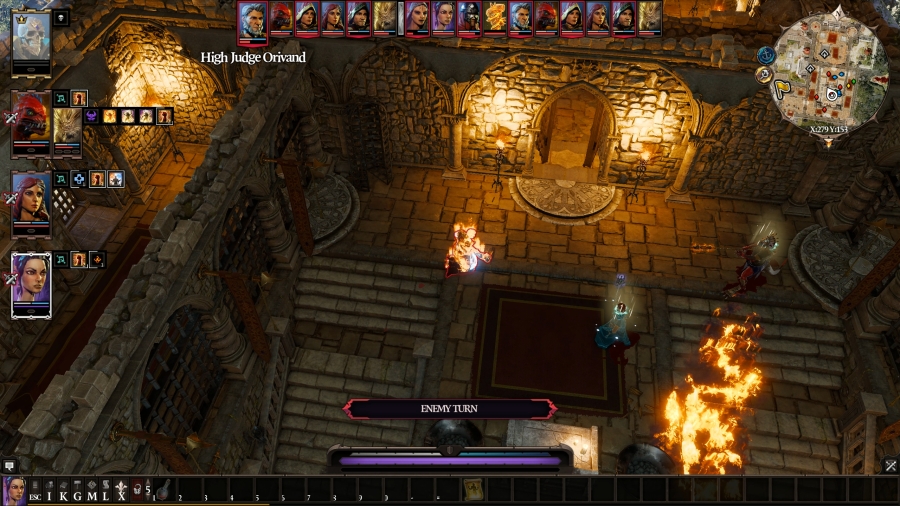 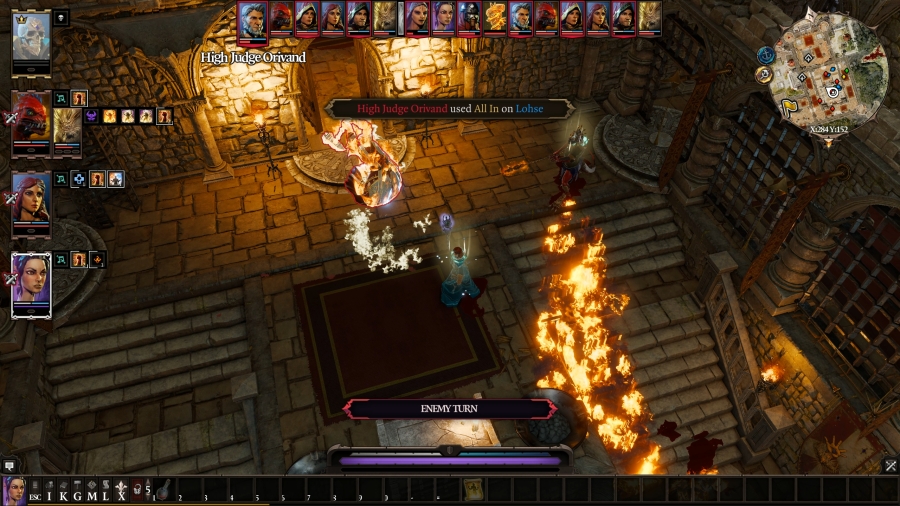 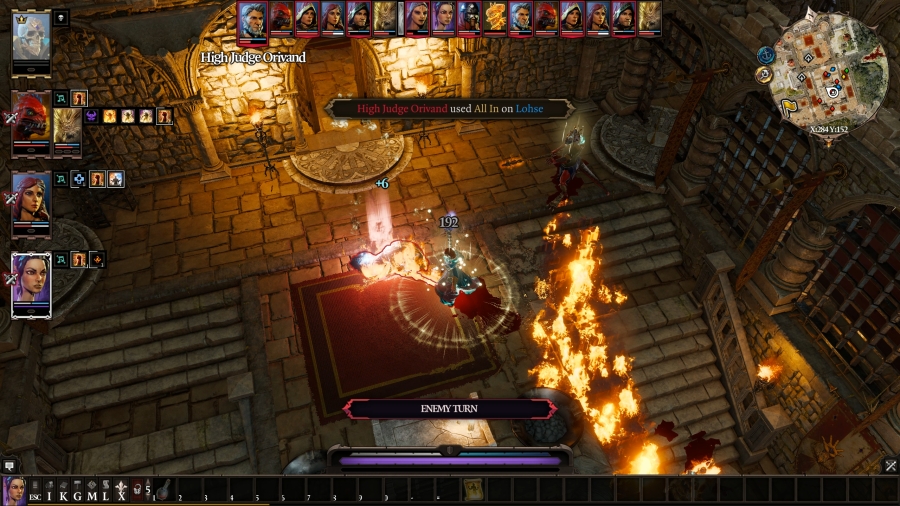 Orivand goes next: he approaches Lohse, and he apparently has the AP to hit her with an All In strike. Lohse has little physical armour and Orivand is using one hell of a meat tenderizer of a hammer; that one shot brought Lohse from max HP to just half. 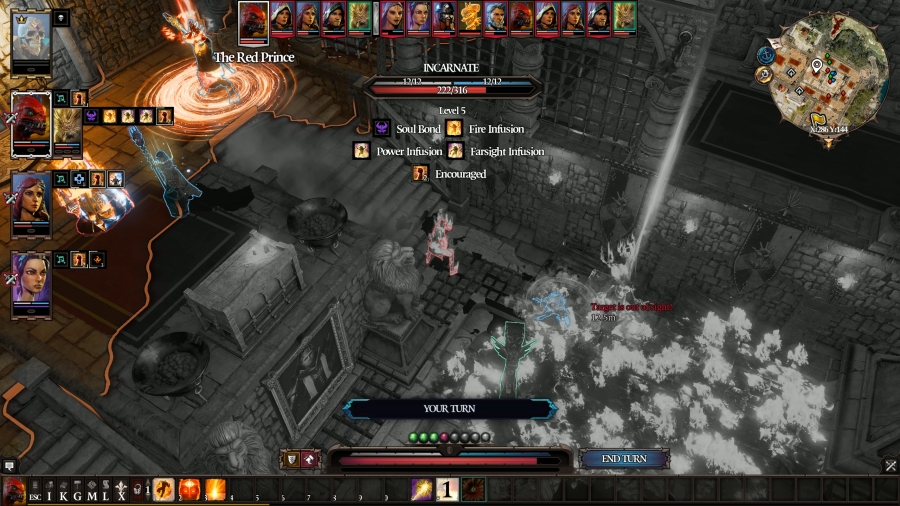 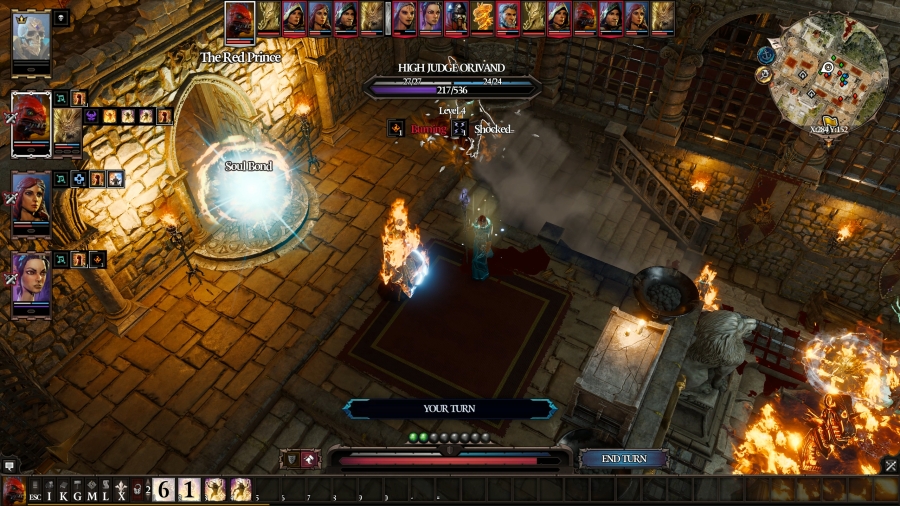 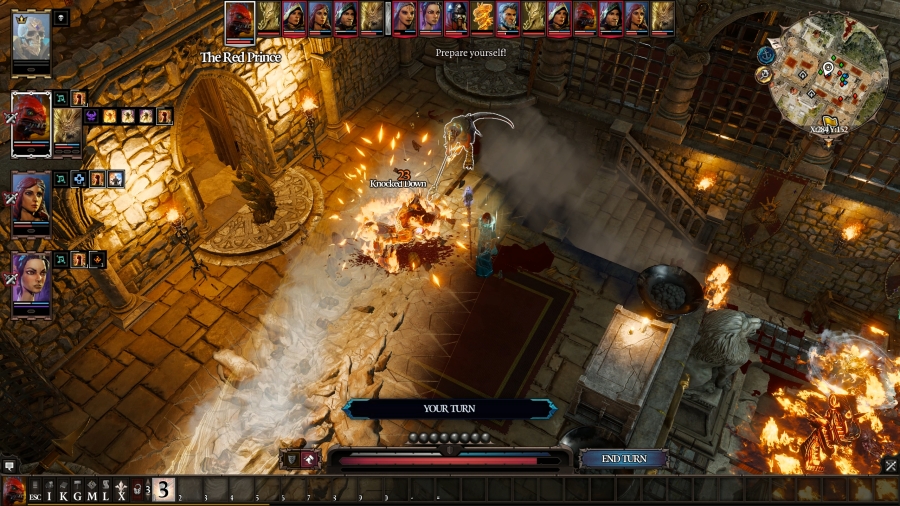 Prince wants to buff Boy with Haste and Peace of Mind, but the fire he had blown to strike Swordsman 1 extinguished itself this turn, creating a wall of smoke that he can�t see through. So, instead, he puts down a wood totem at the door to the courtroom, and he hits Orivand with Battle Stomp. That�ll at least reduce his AP again next turn. 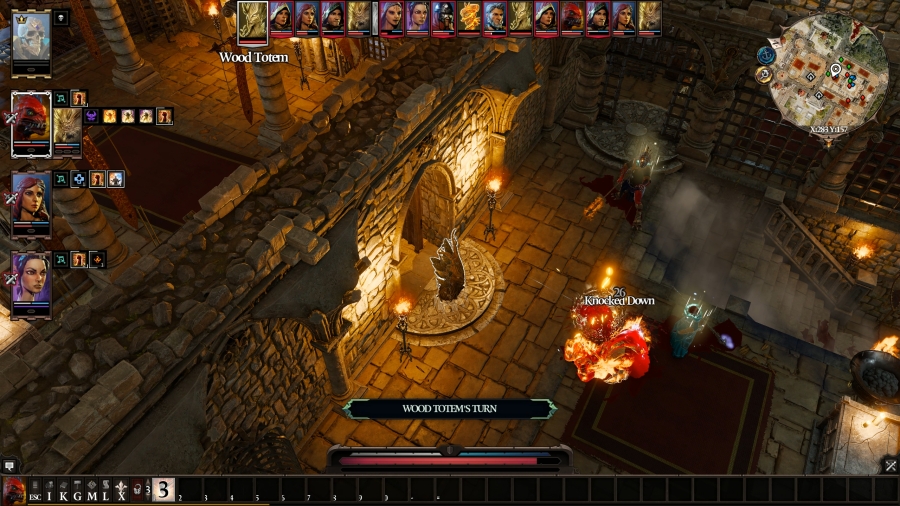 The newly-christened wood totem fires a dart at Orivand. Every little bit helps! 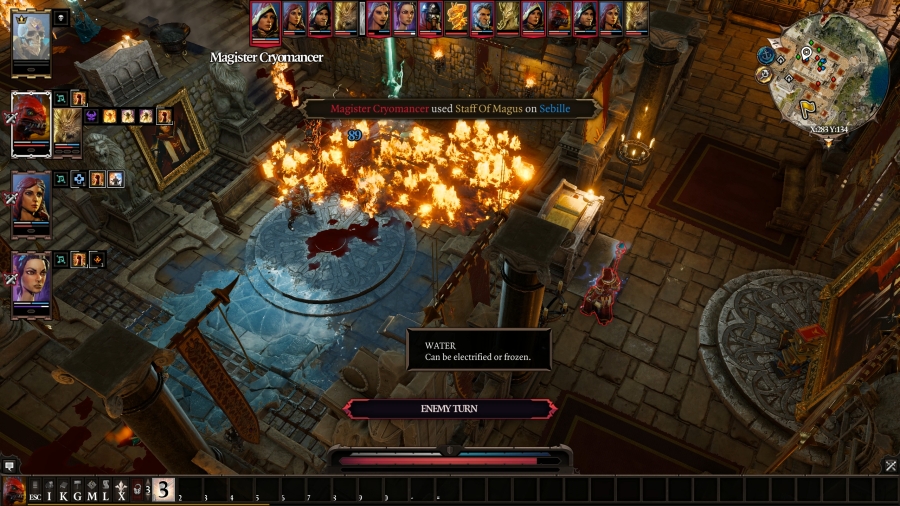 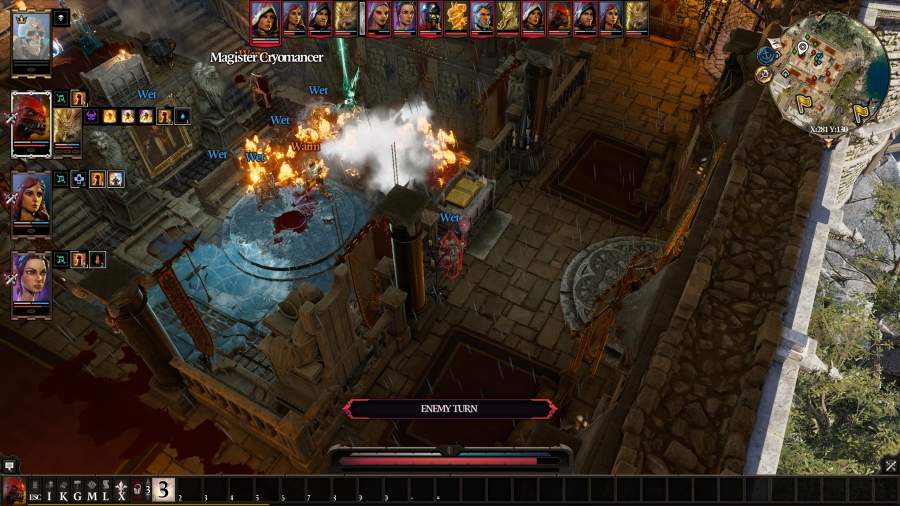 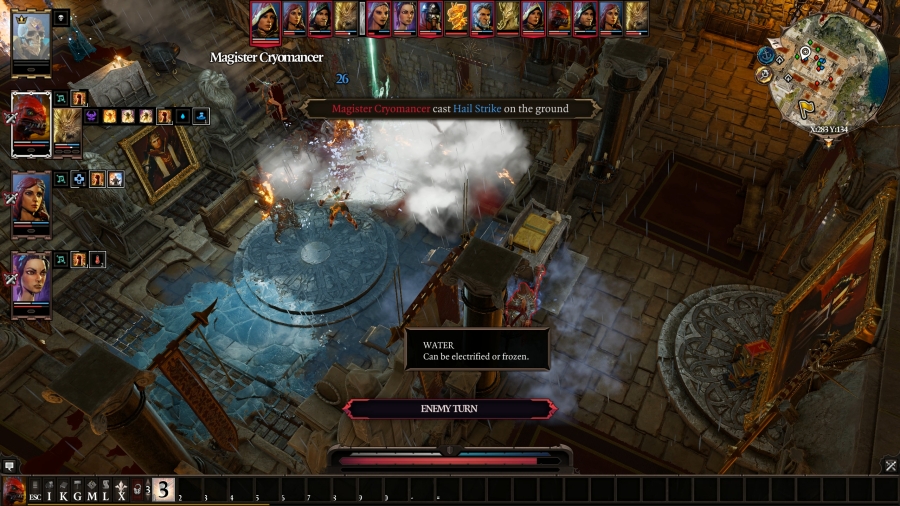 The Cryomancer hits Sebille with Staff of Magus, and then she decided to be captain of the No Fun Club by performing a rain dance and dousing the fire in the pit. But it was a ruse: she did that to make Boy Wet, and then she hits him with Hail Strike, freezing his feet to the floor. That�s kind of annoying. 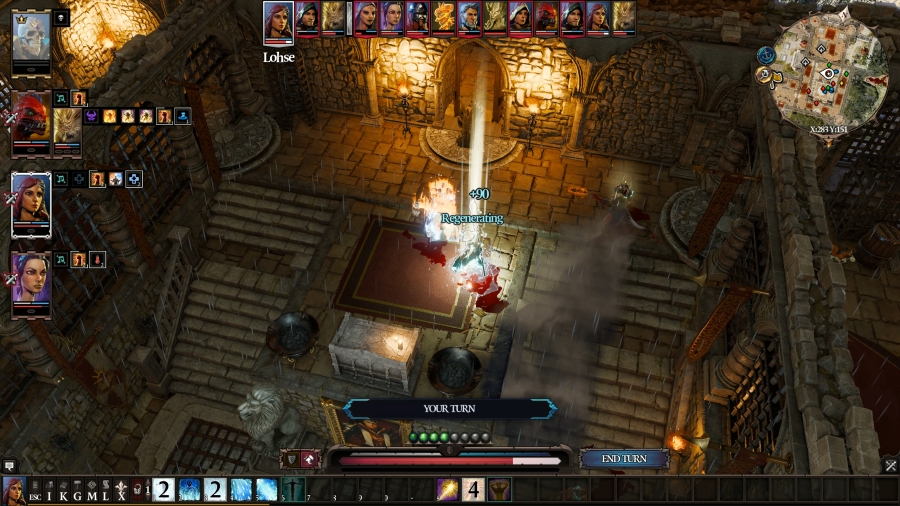 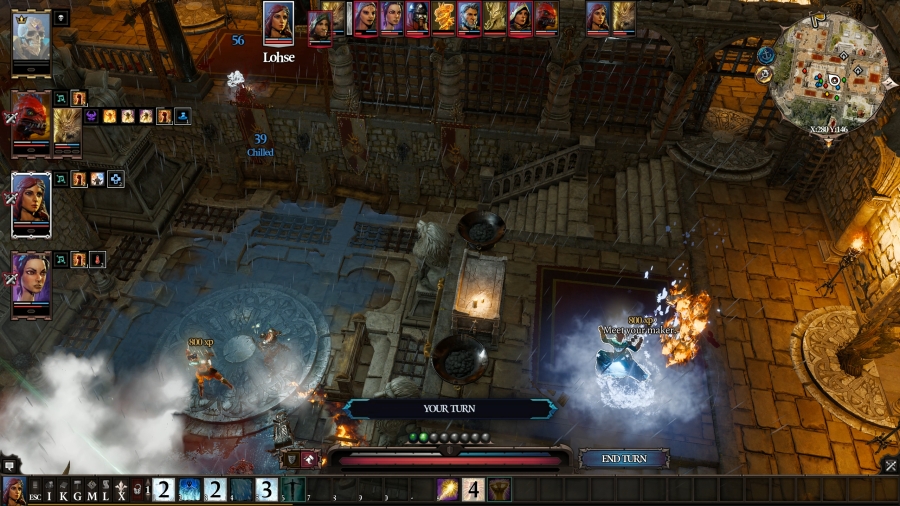 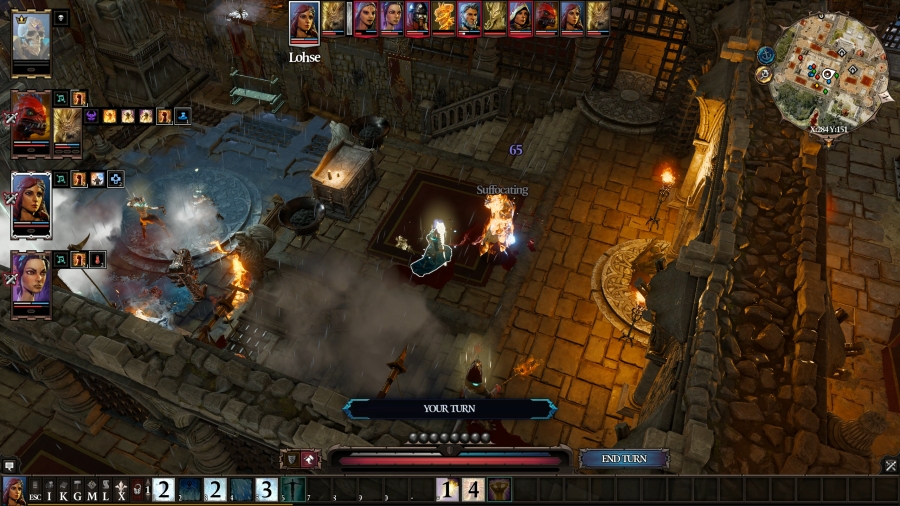 Lohse�s turn is next, and Restoration is fresh off cooldown. She was already healing over time from the last time she cast Restoration, so, with this next application, she�s brought back up to full. Which isn�t a testament to how strong Restoration is as it is a testament to how little HP her max is. The Pyromancer is just close enough for Lohse to hit with Winter Blast, and the attack is guaranteed to do around twice as much damage as he has HP, so, one cast later, and the Pyromancer explodes into a pile of frozen giblets. Finally, she casts Staff of Magus on Orivand, and her brand new staff�s chance to Suffocate kicks in. Suffocation is like Poison, or Bleeding, or Being On Fire, but for air damage specifically, so that�s a nice little bonus. 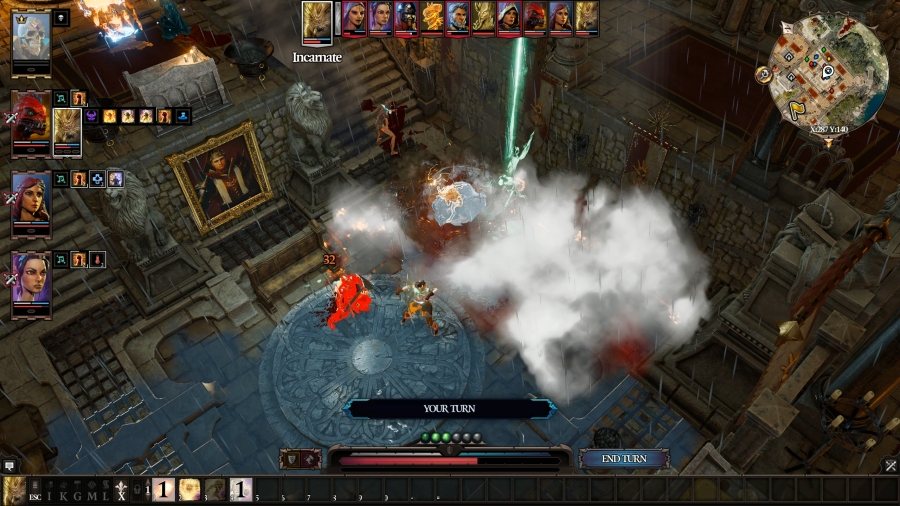 Boy is stuck to the floor, but he at least has his nameless projectile off cooldown, so he flings it at Swordsman 2 and saves up three AP for next. At least he�ll be maxed out, or close to maxed out, on his next turn. 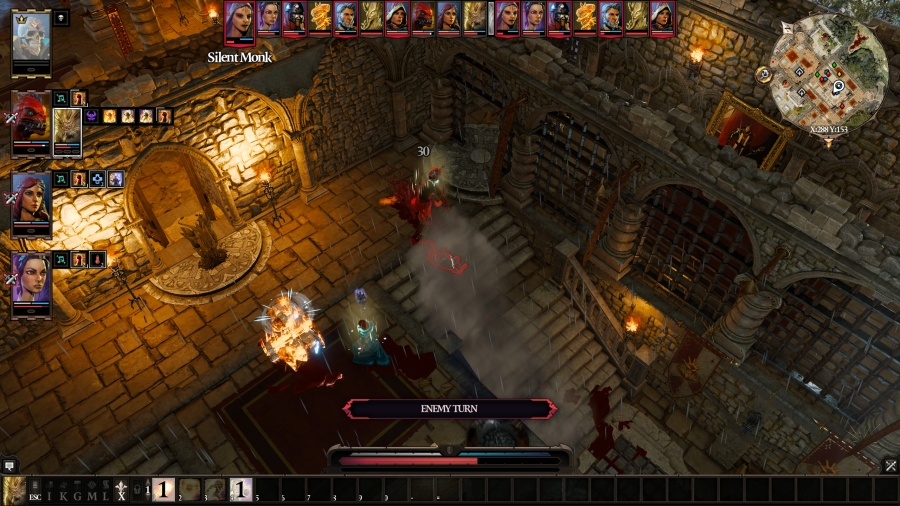 Turn 5 The Silent Monk walks straight through the smoke to kick Prince twice. I wonder if Silent Monks need to breathe. I don�t see why they wouldn�t � just because their Source has been ripped from them, that doesn�t mean they aren�t still people. 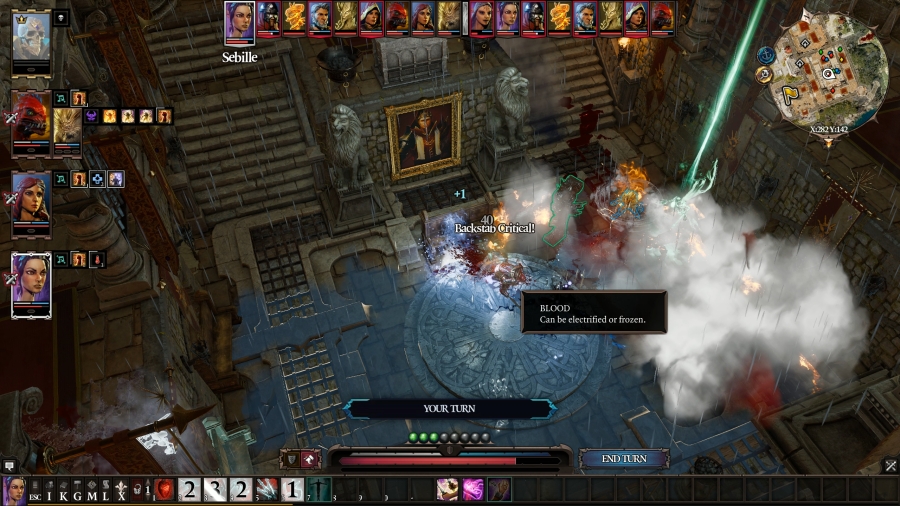 After some deliberation, Sebille strikes at Swordsman 2 with Backlash, teleporting her behind him. The hope was to get Sebille away from him so she can head up the stairs and help with Orivand without triggering Swordsman 2�s AoO, but Backlash puts her too close by, and that plan fails. So, she passes the remainder of her turn, saving three AP for next. 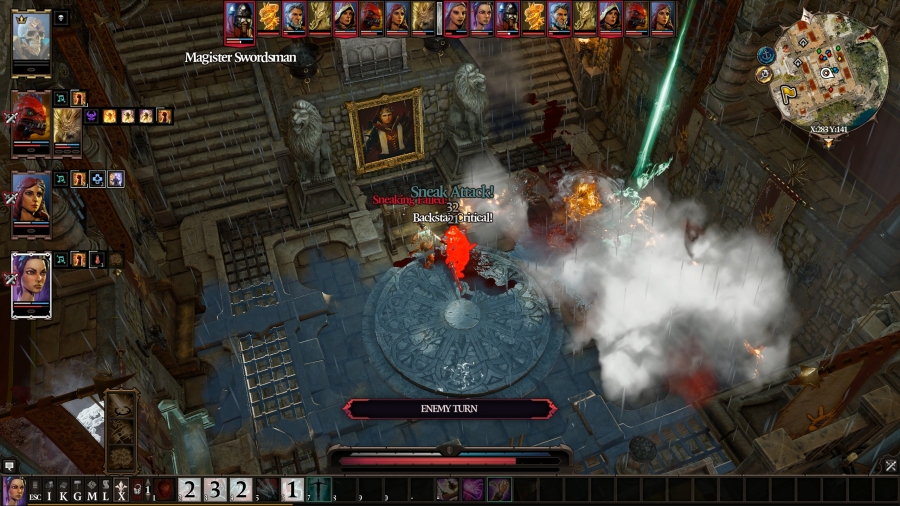 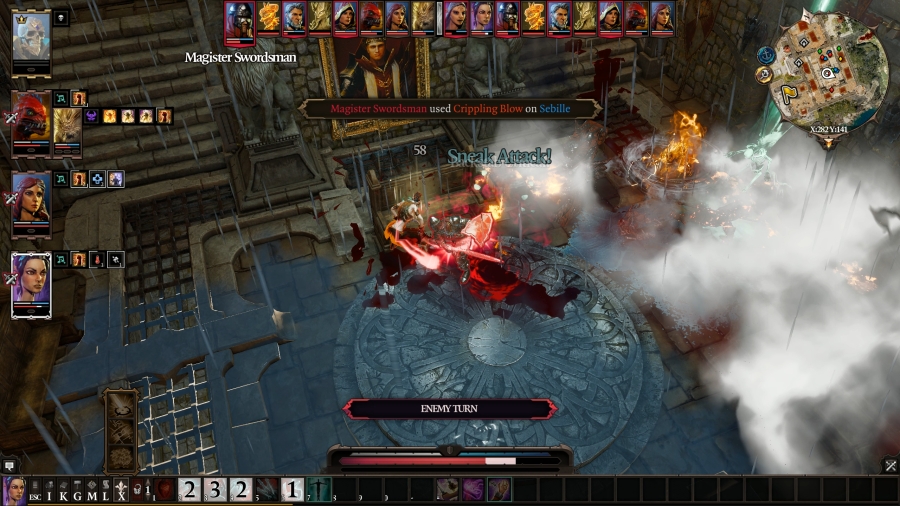 Swordsman 2 tries to reposition a bit, probably to attack Boy or the totem, but he gets tagged by Sebille�s AoO. So, instead, he turns around and he breaks her ankles. Honestly, I get it, tit for tat and all that. 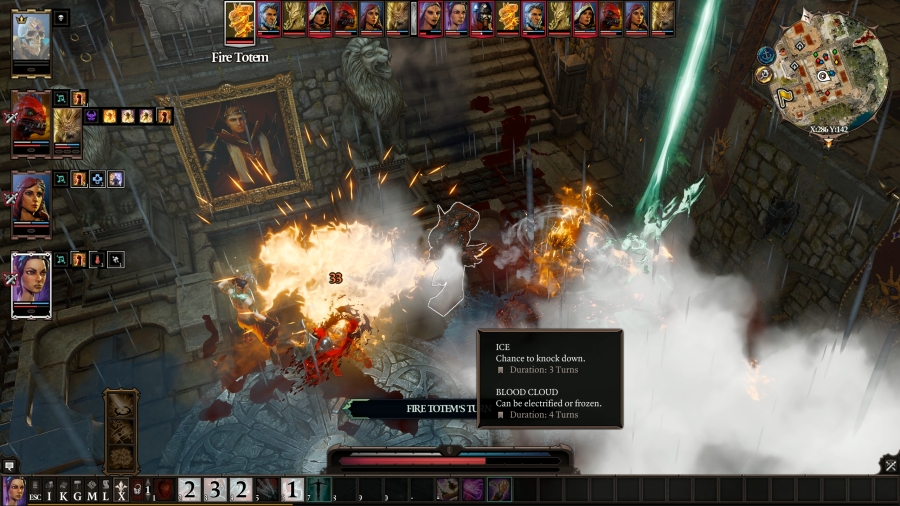 The totem fires a shot at Swordsman 2. He�s at a little less than half HP, now. 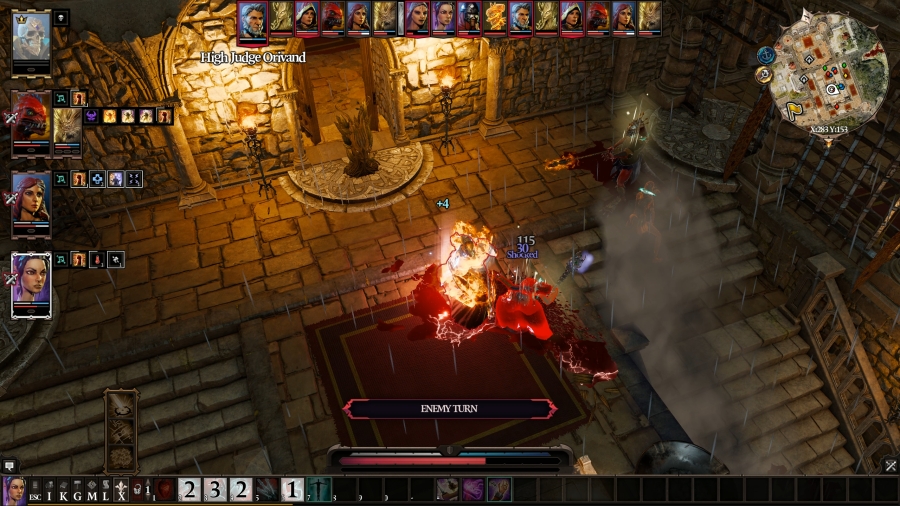 Orivand is Burning and Suffocating, and his statuses do damage to him at the start of his turn � putting him down to a mere 6 HP. He�s also been Knocked Down, meaning he should only have three AP this turn. He spends two of them hitting Lohse once more, and then he�s forced to pass, because he doesn�t have the AP to do more. 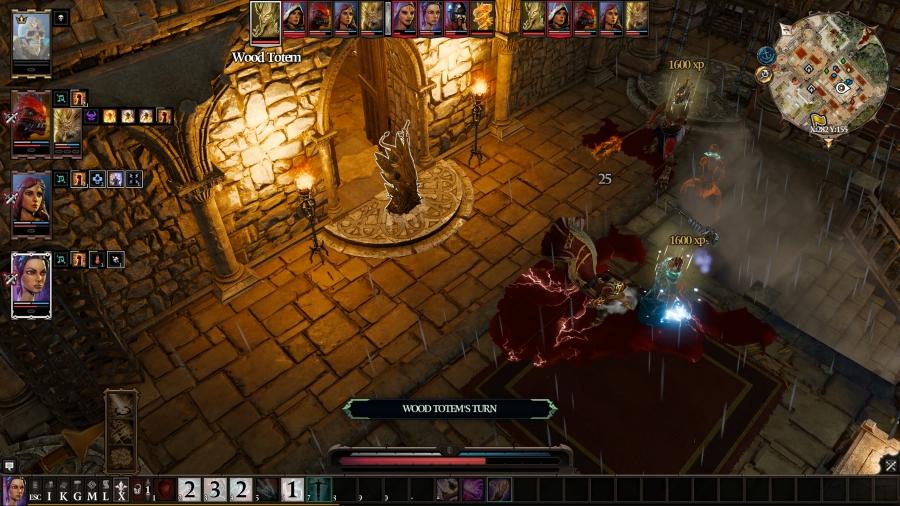 The wood totem fires another dart at Orivand, and it goes straight through his neck, killing him on the spot. It�s perhaps a bit of an anticlimactic death for the boss of the fort, but, he�s down. What more could I ask for?  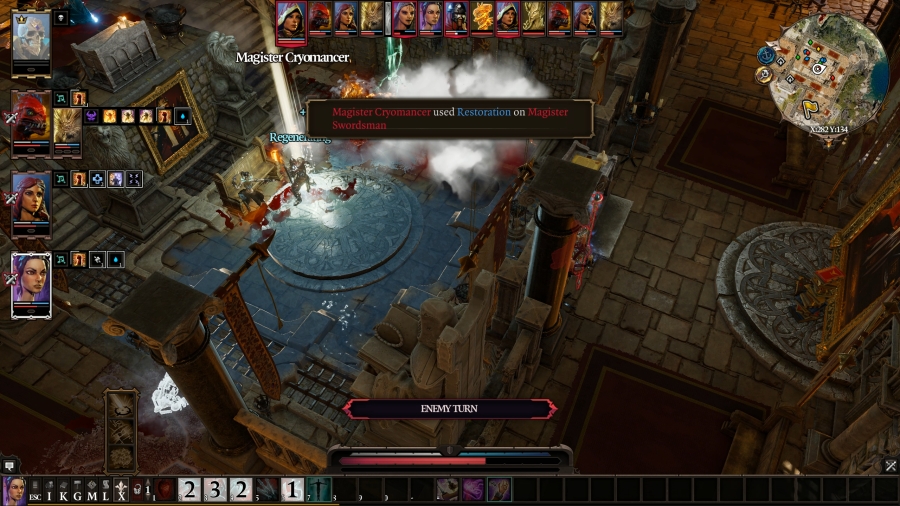 There are only three enemies left: the Cryomancer; the Silent Monk; and Swordsman 2. The Cryomancer uses her turn casting Armour of Frost on herself � which is perhaps a bit of a jumpy move, since she�s been totally untouched this whole fight � and then she casts Restoration on Swordsman 2. She�s just going to keep saving him if I don�t deal with her quickly. 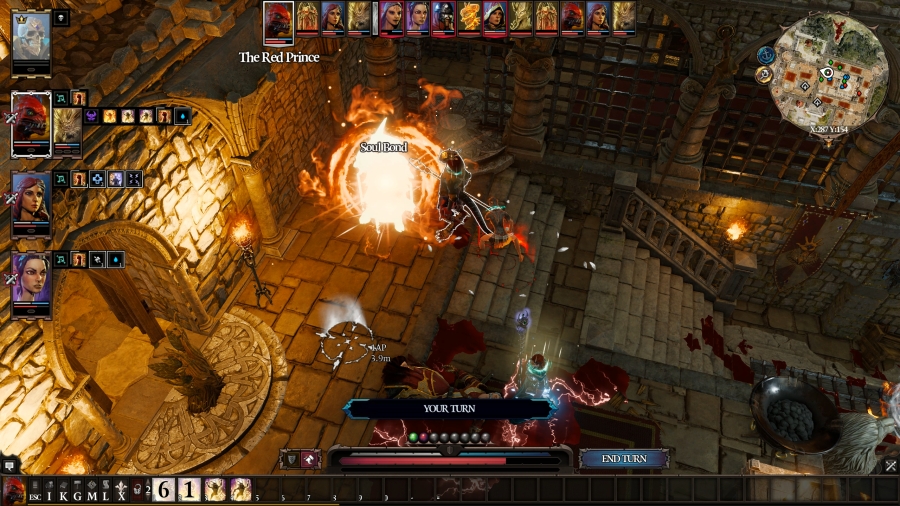 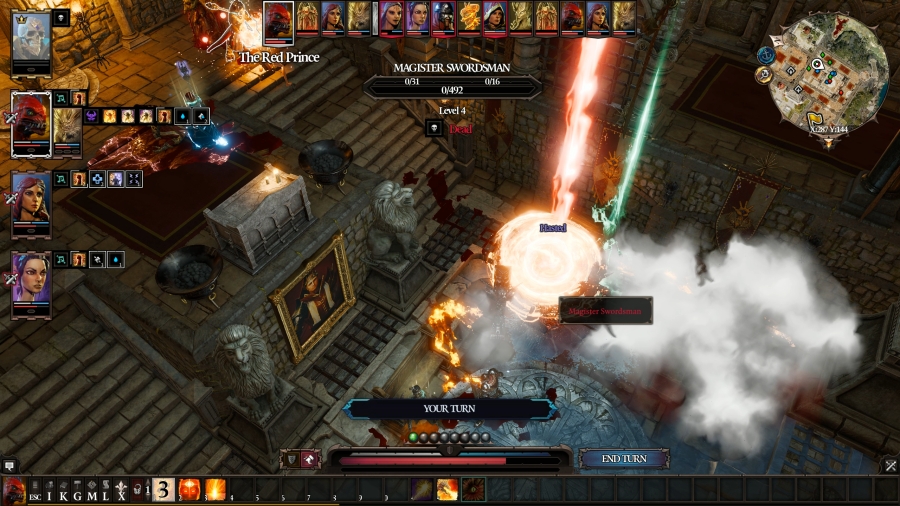 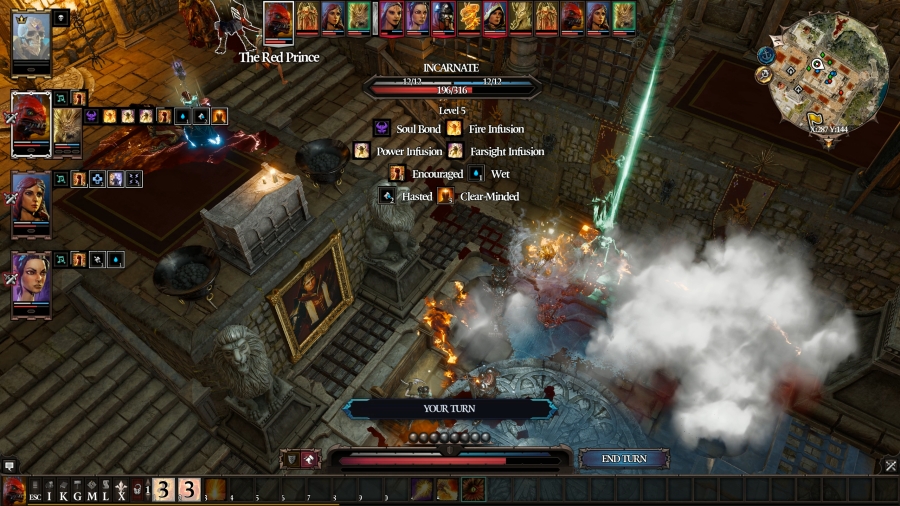 Prince dropped some blood after the Silent Monk kicked him in the jaw � which he uses to place a Blood Totem. Perfect timing! He then uses his two remaining AP to give Boy his Haste and Peace of Mind, like he wanted last turn. 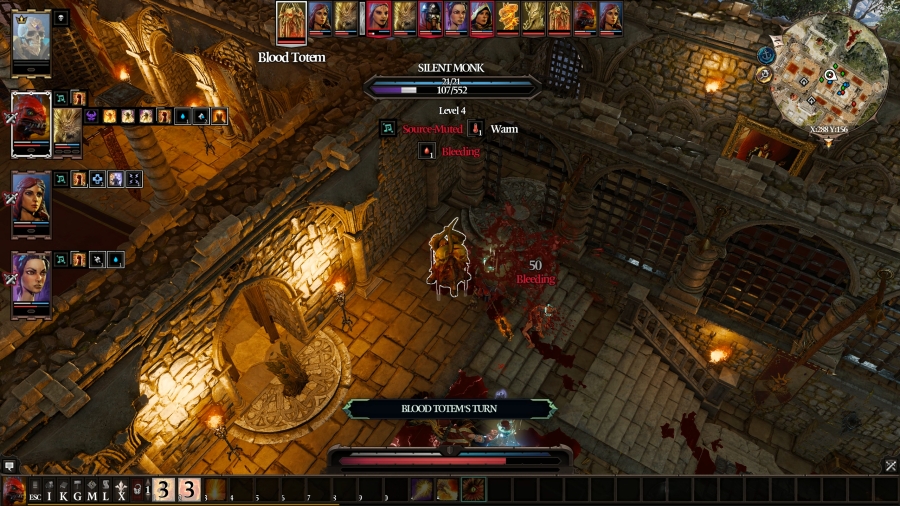 The brand new Blood Totem fires a shot at the Silent Monk, causing her to Bleed. 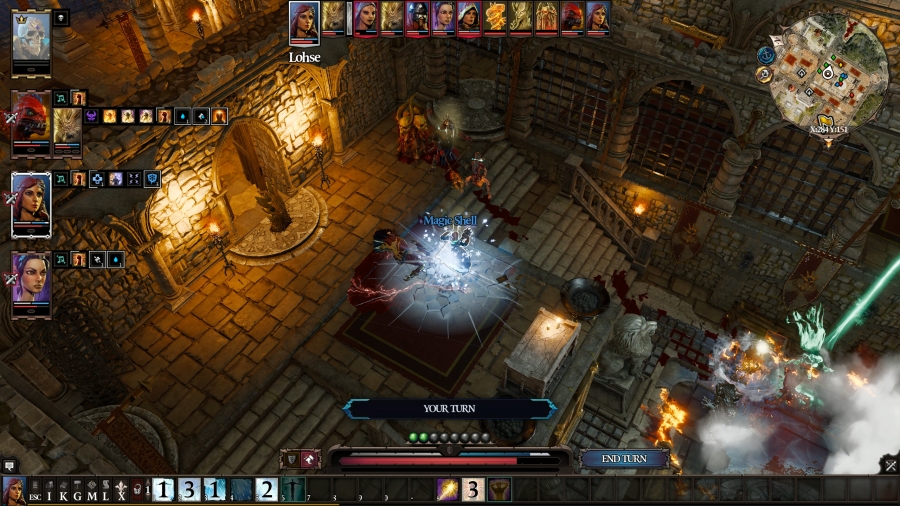 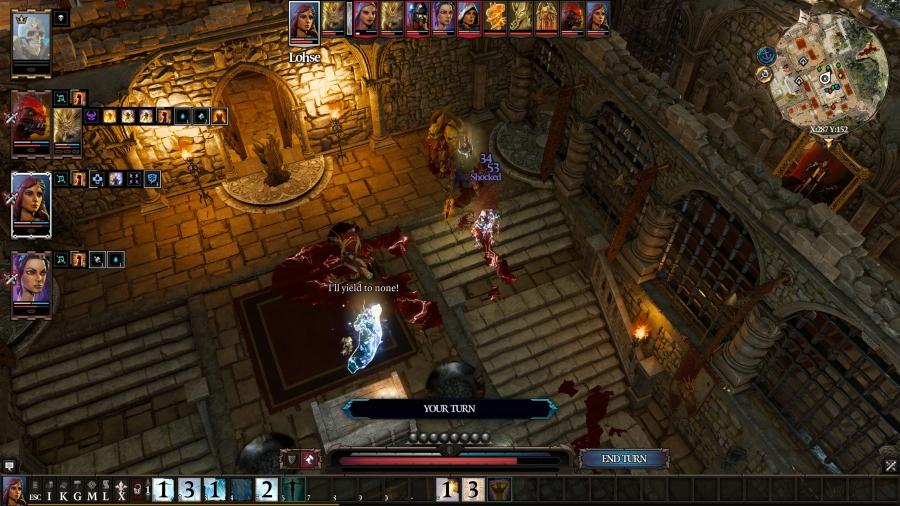 Lohse applies Armour of Frost to herself � when she hit Orivand with Electric Discharge, he was Shocked; when she hit him with Staff of Magus, he bled; when he died, his pool of blood grew large enough to touch Lohse, which transferred his Shocked status and damage to her. Armour of Frost cleared all that right up. She ends her turn by stepping out of the electrified pool of blood and firing another Staff of Magus on the Silent Monk. 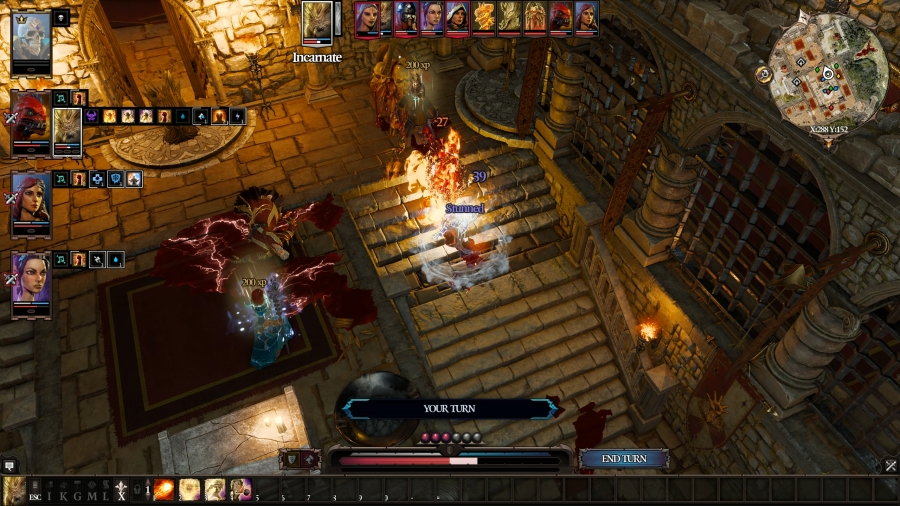 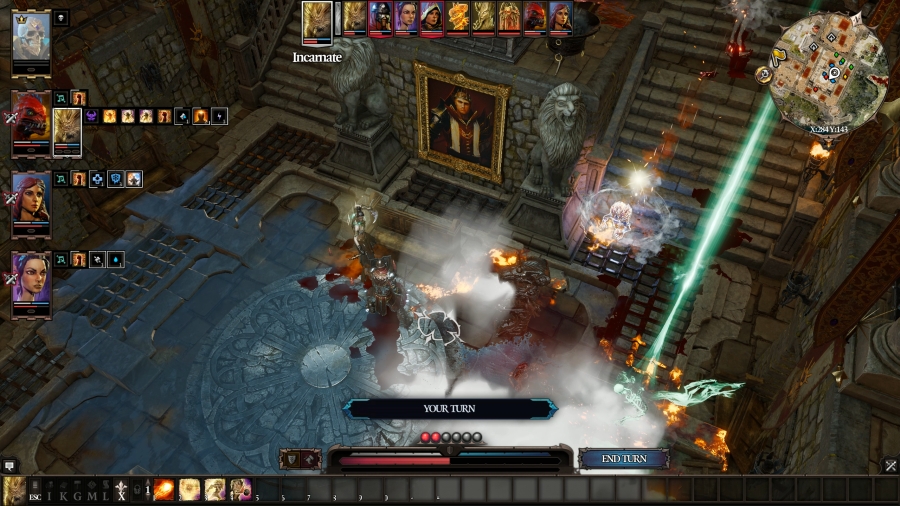 Boy moves real fast now: he flies up the stairs and claws at the Silent Monk, hitting her hard enough for her to finally keel over, but the electric properties of Staff of Magus electrified her as well, and now Boy is Stunned from touching her electric blood. Whatever; he�s got so much speed and zest that he runs right back down the steps and plants himself next to Swordsman 2. 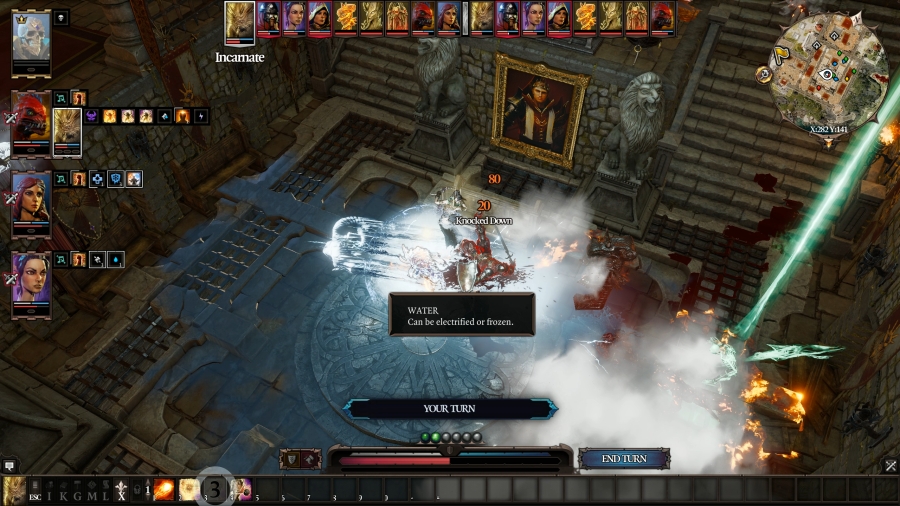 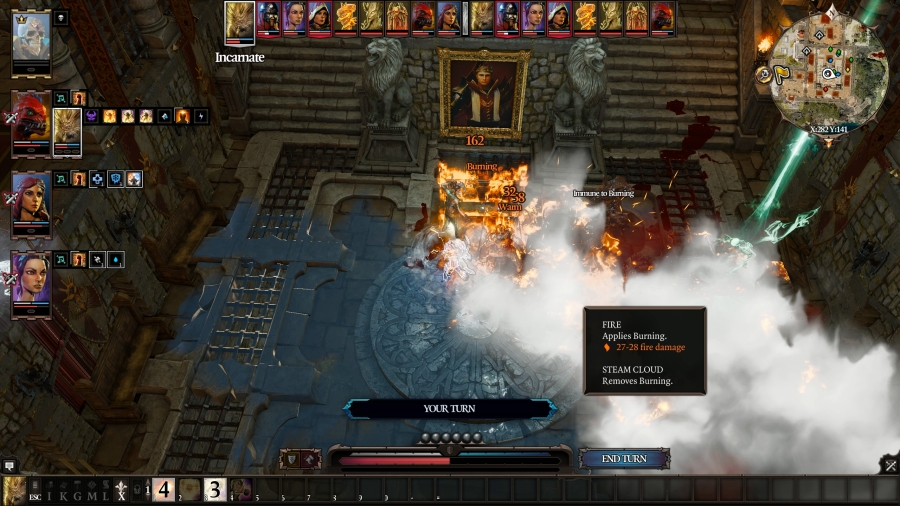 Turn 6 Thanks to Peace of Mind, Boy�s Wits is so high that he jumps straight to the top of the turn order. He uses his turn to use Battering Ram on Swordsman 2, and then he flings a fully-fledged Fireball a short distance behind him so that the fire hits only him. 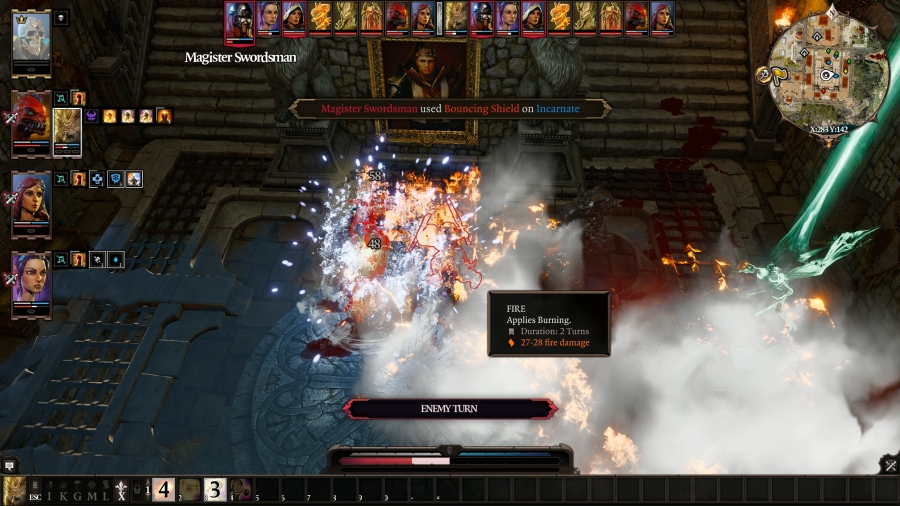 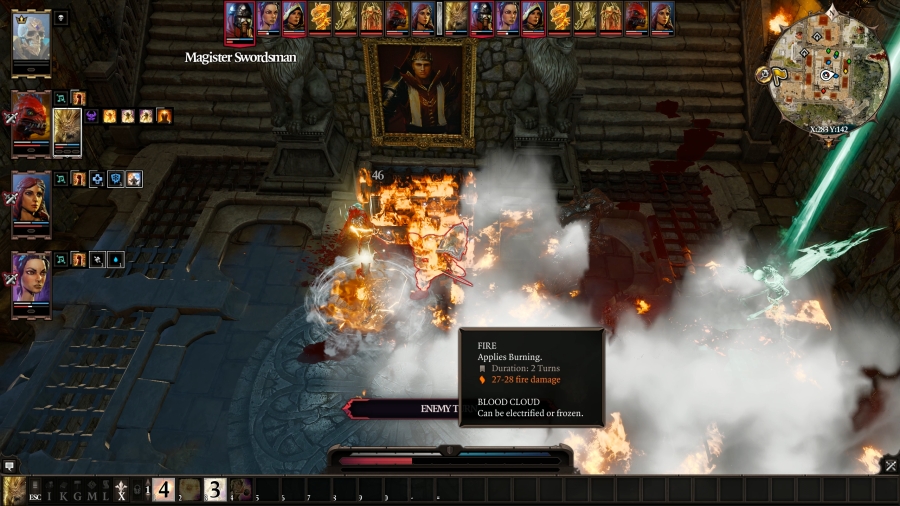 Swordsman 2 hits both Sebille and Boy with Bouncing Shield, and then hits Sebille once more with a standard attack. Sebille�s turn is next, but she has seven AP saved up � she could easily rinse Swordsman 2, but with that much AP to spare, it�d be better if she resurrected Fane later, so she delays. 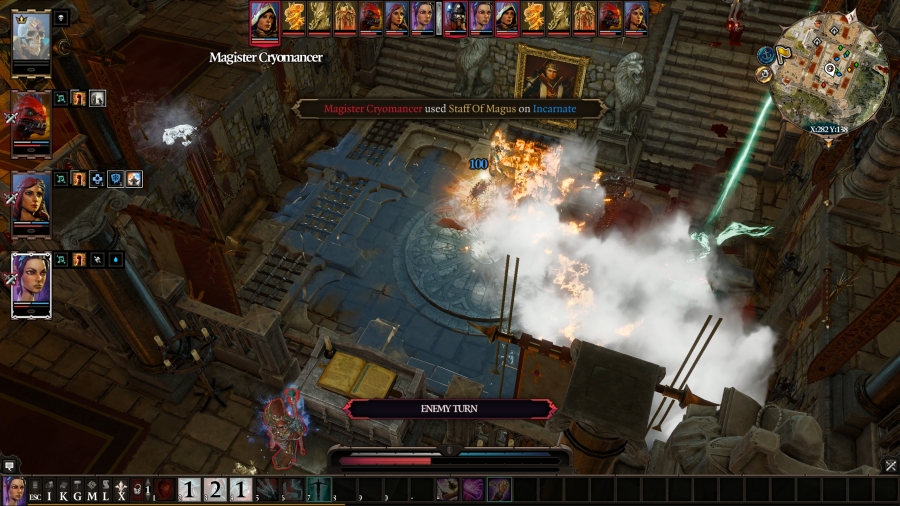 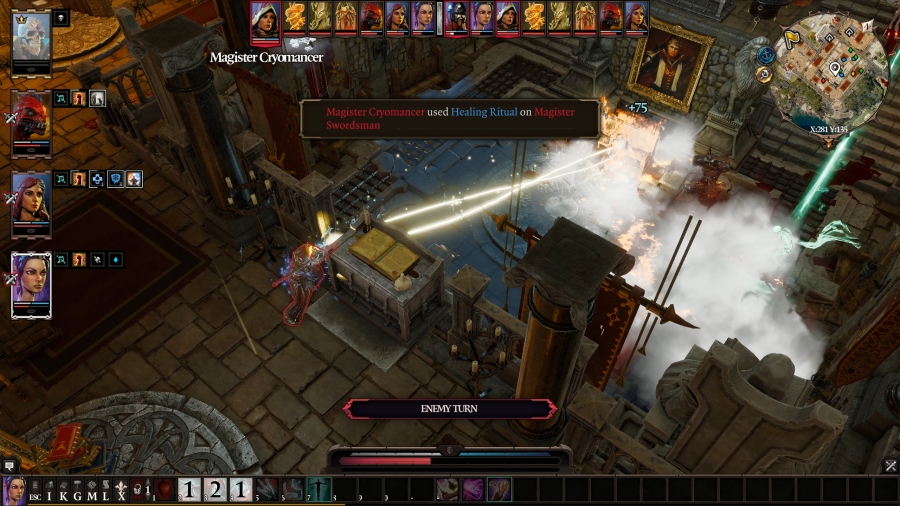 The Cryomancer hits Boy with Staff of Magus � she�s using a water staff, and since Boy is a fire elemental, he�ll take 50% more damage from the strike. It�s enough to kill Boy in one hit. To celebrate her victory, she casts Healing Ritual on herself and Swordsman 2, which is, frankly, starting to get a little old and tired. This guy needs to die and he needs to die yesterday. 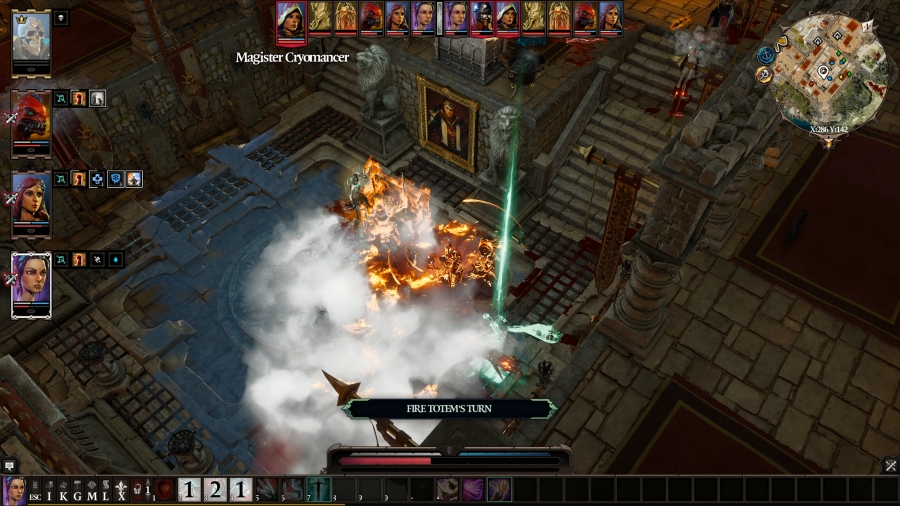 Four turns have passed, and the fire totem self-destructs. The wood totem at the entrance and the blood totem next to Prince go next, but they have no targets, so they pass.  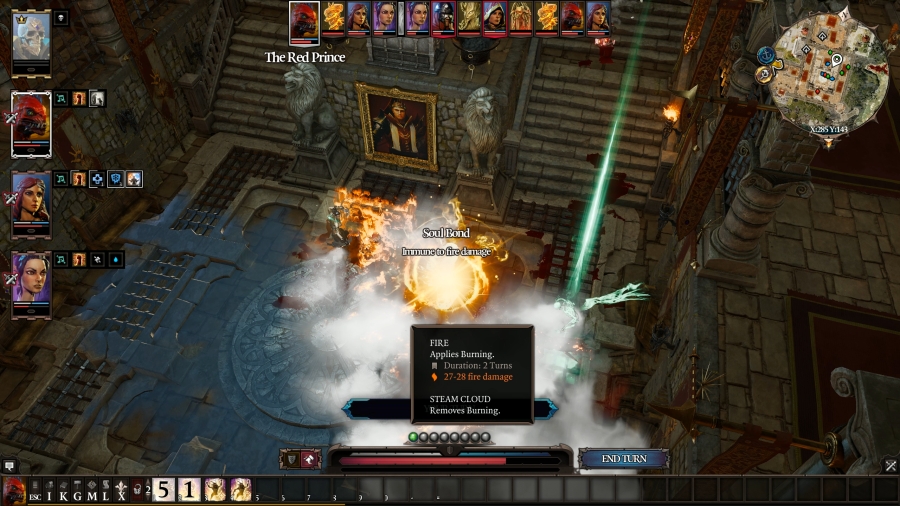 Because Prince has Pet Pal, and because Boy just died, he now has a debuff unique to Divinity: Unleashed � a debuff called Despondent. In order, it costs him more AP to move; he gets one AP less per turn; he�s more likely to miss and he�s more likely to get hit; and his maximum HP has decreased. It�s a pretty serious debuff: he�ll have a hard time running away, and he can�t defend himself very well. Luckily, at least, he�s in no immediate danger. Since he�s not about to do much else, he puts down another fire totem to replace the one that just exploded. 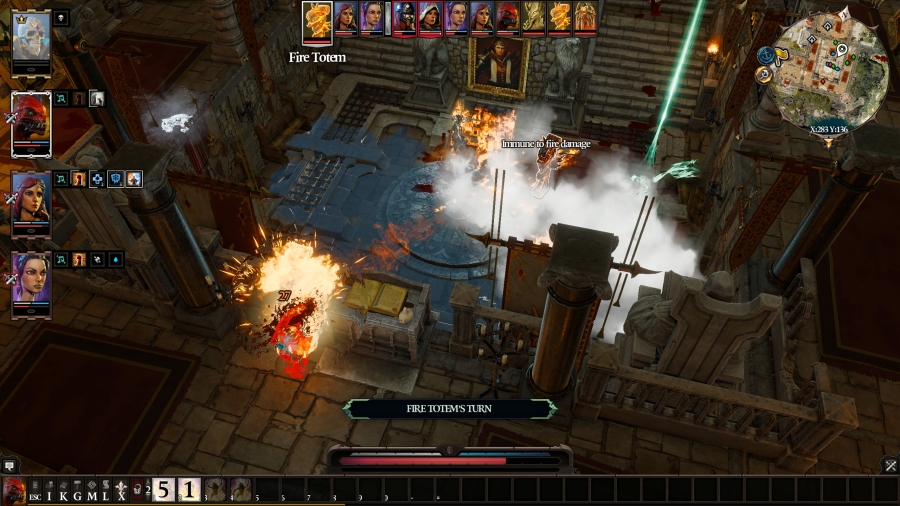 And it immediately opens fire� on the Cryomancer. I�m guessing she might be weak to fire? 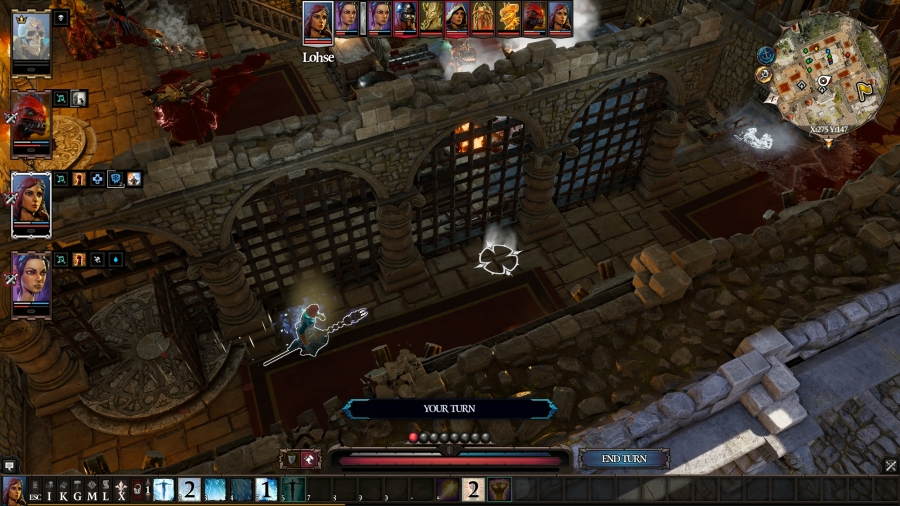 Lohse has a plan: the fight�s going to drag on if we don�t deal with that Cryomancer, so she spends all four of her AP running straight for her. 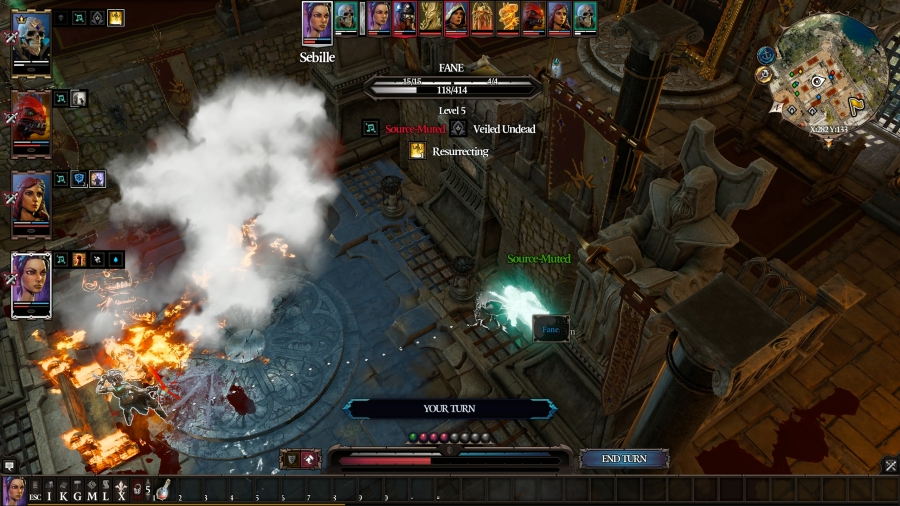 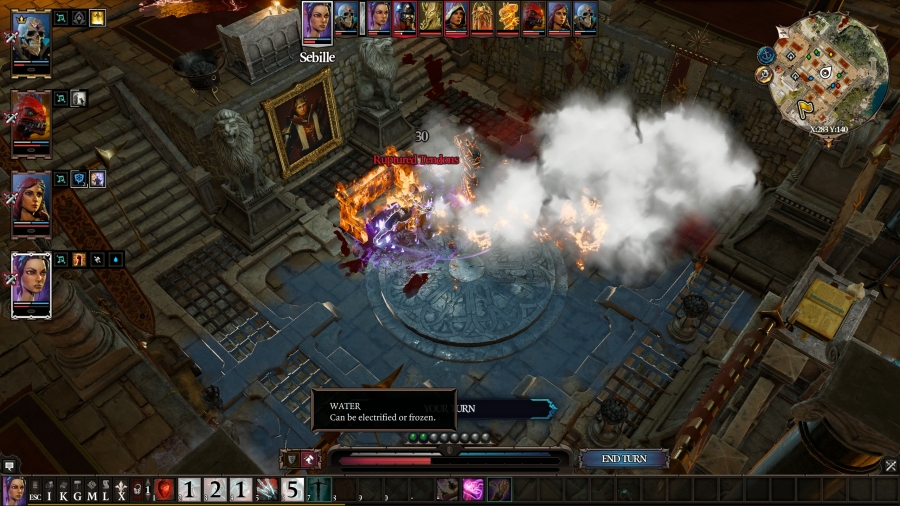 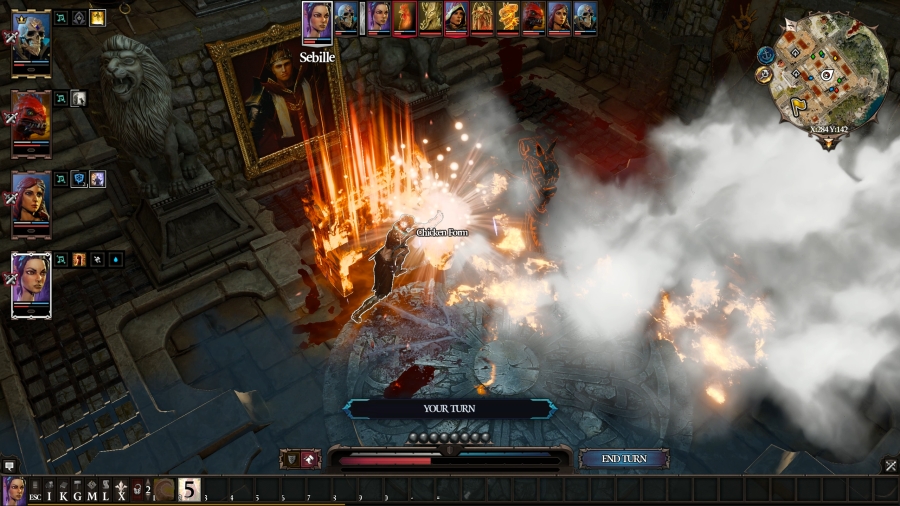 Just as planned, Sebille resurrects Fane, placing him directly against the wall beneath the Cryomancer. That way, he�ll be out of her line of sight to do any damage to him. After that, she does the tried-and-true Ruptured Chicken on Swordsman 2. That ought to take him out, finally. Turn 7 Sebille opts to delay. 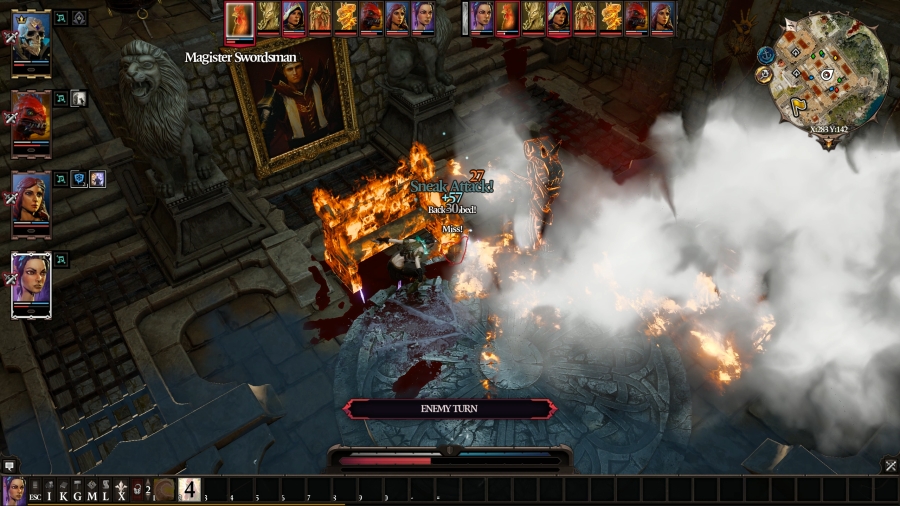 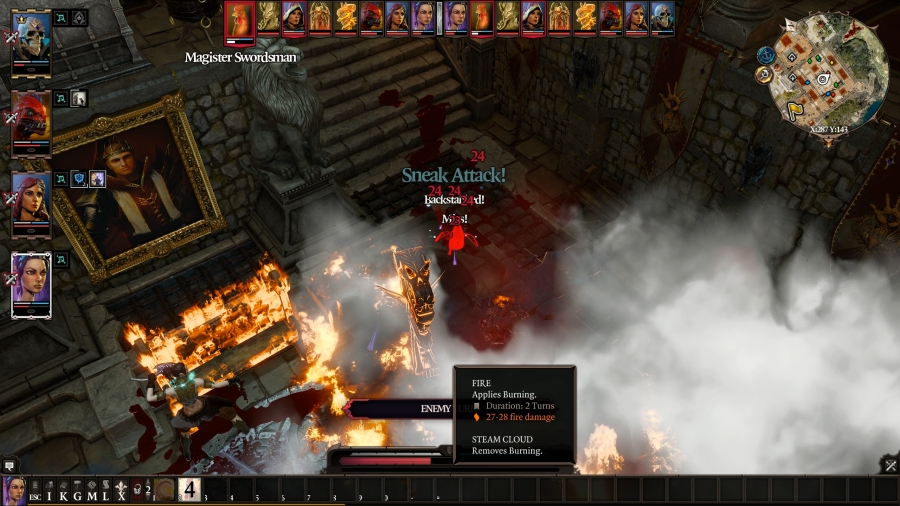 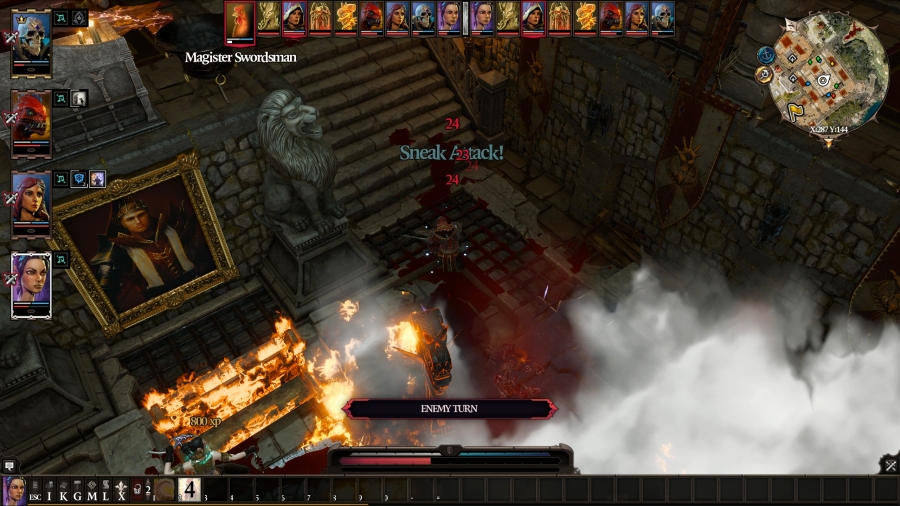 The chicken, with its ruptured legs and its body currently on fire, tries to haul rear end as far away from Sebille as it can. She gets an AoO on it as it runs, and she not only manages to hit with her mainhand weapon, but it also crits. The chicken heads for the far set of stairs, but it can�t make it the whole way: just as it gets out of the fire, it runs out of blood to bleed, and Swordsman 2 is taken out, leaving only the Cryomancer. The wood totem goes next � and it self-destructs. 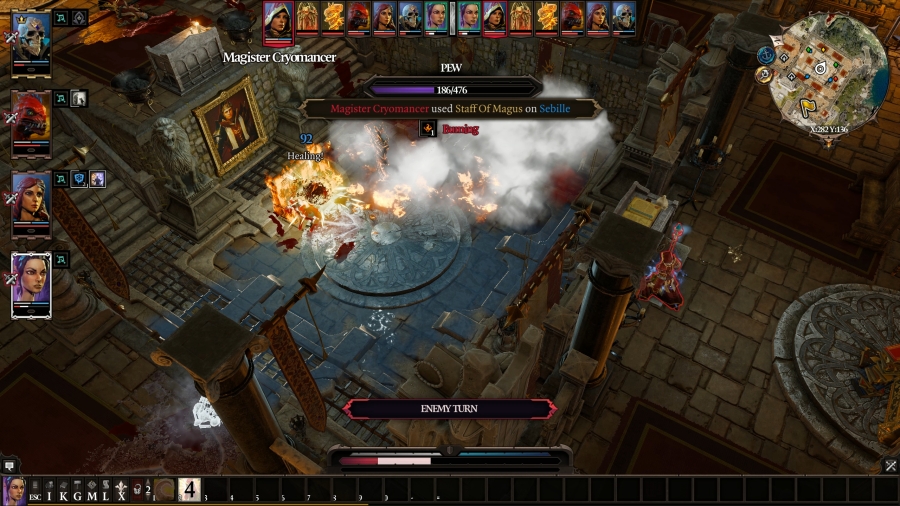 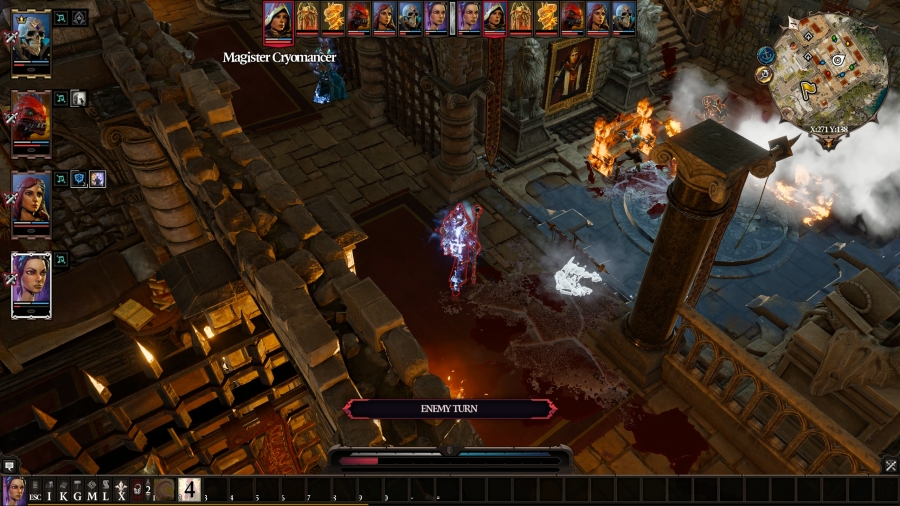 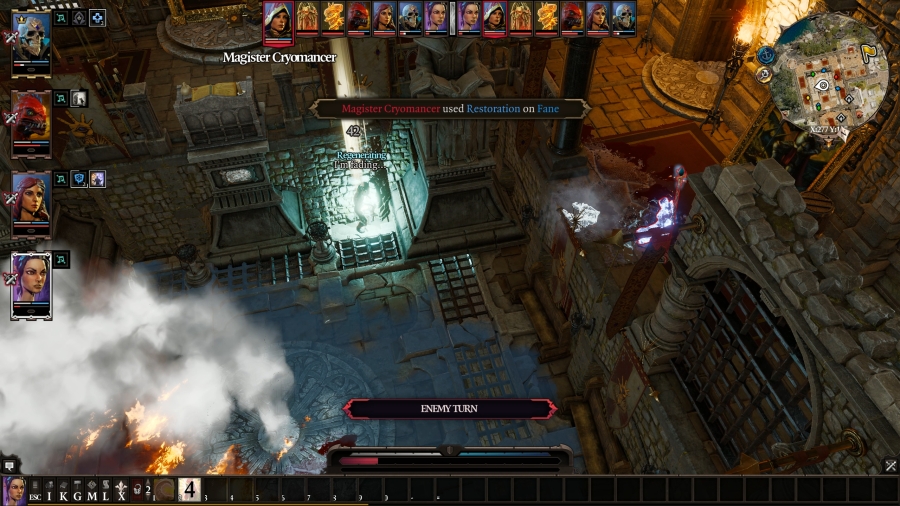 The Cryomancer hits Sebille with Staff of Magus � and then the vindictive bitch runs straight towards Lohse so she can get Fane in her line of sight to hit him with Restoration. The fight�s essentially over and she�s just trying to get me to spend another res scroll. The fire totem and the blood totem both pass; Prince goes after them, and he delays. 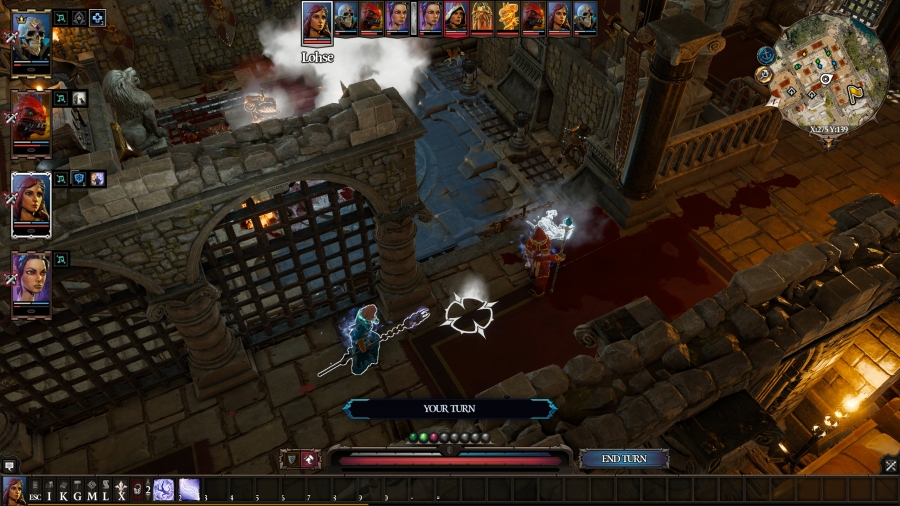 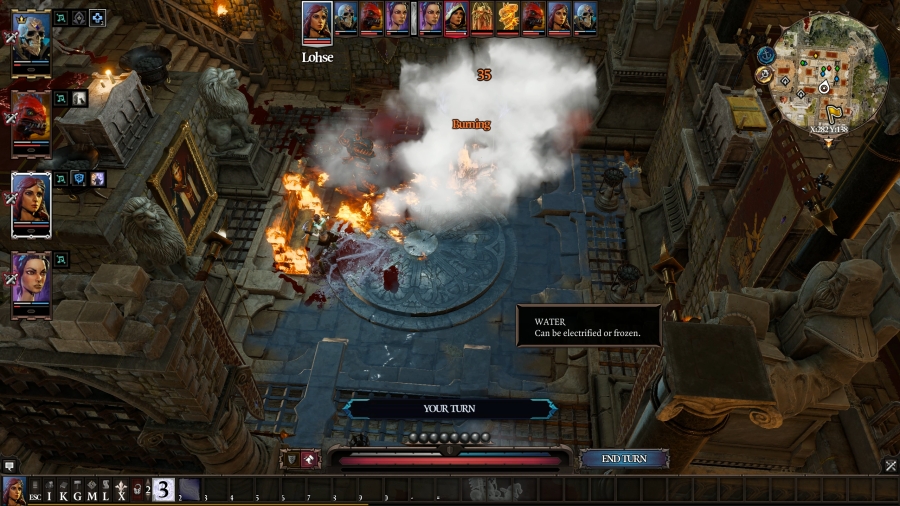 Lohse spends one more AP to get in closer, and then she Teleports the Cryomancer straight into the pit with Sebille and Fane. 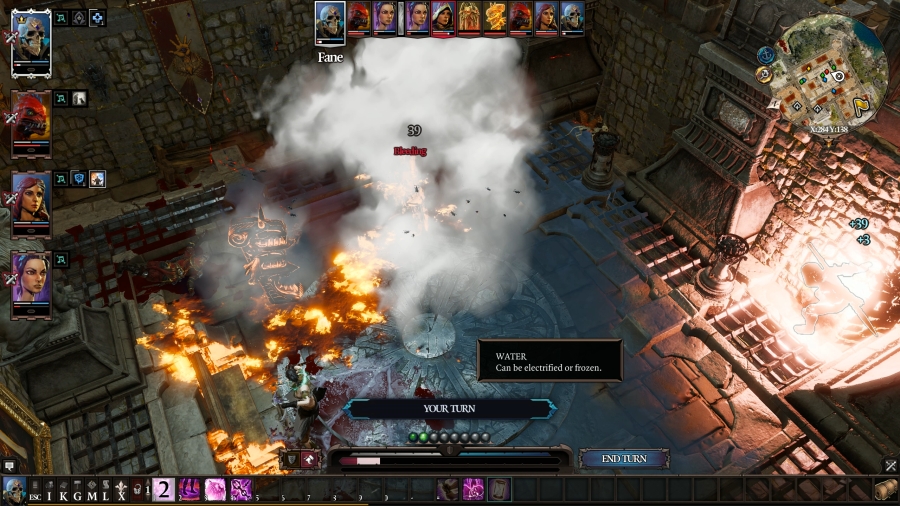 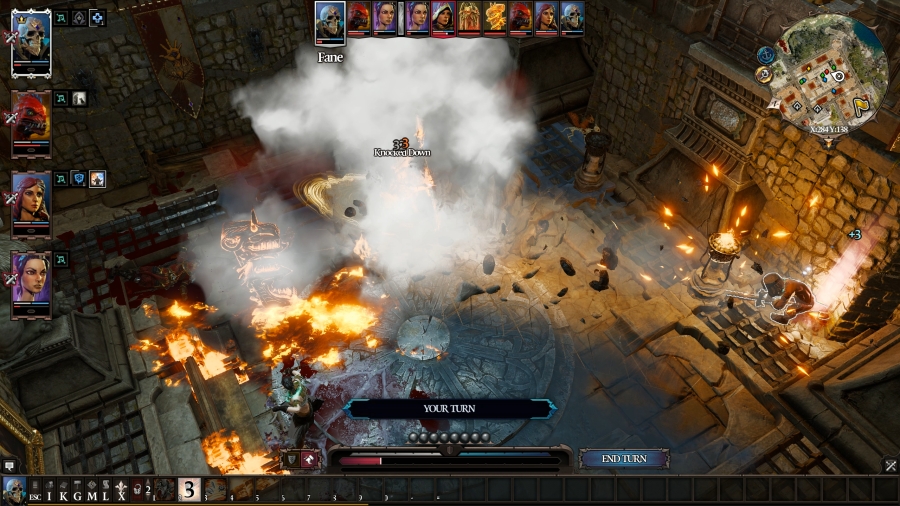 Fane survives the next round of Restoration, and he takes the time to cast Mosquito Swarm on the Cryomancer to restore the HP she just took from him. He ends his turn with a Battle Stomp, knocking her down. At this point, it�s just everyone on my team beating the crap out of one Cryomancer. The fight�s basically over. The three most important things you need to know are: 1) Sebille�s Chloroform is off cooldown, so she doesn�t even get to make another turn; 2) Sebille gets the fight-winning blow; and 3) check out how awesome the water totems look: 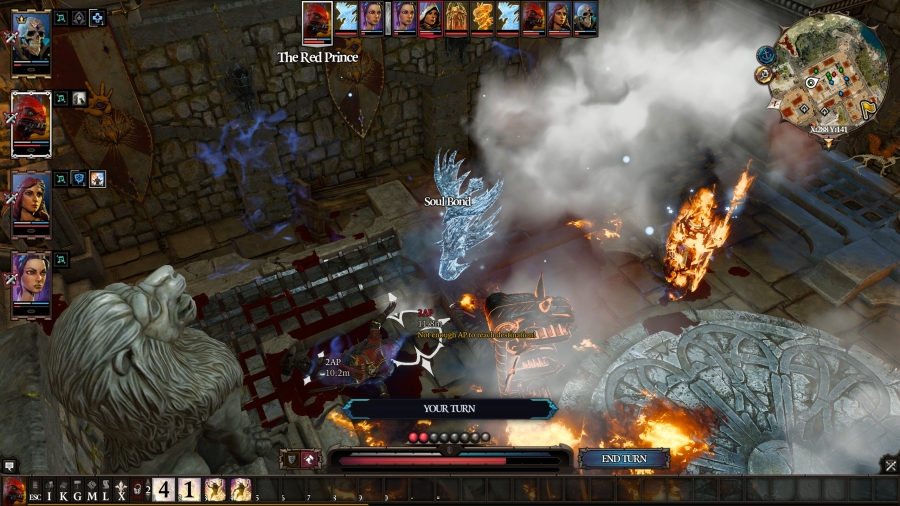 You can check the video for the rest of the fight if you�re interested, but it mostly devolves into my guys dogpiling her, just like how the last fight in the previous update ended. 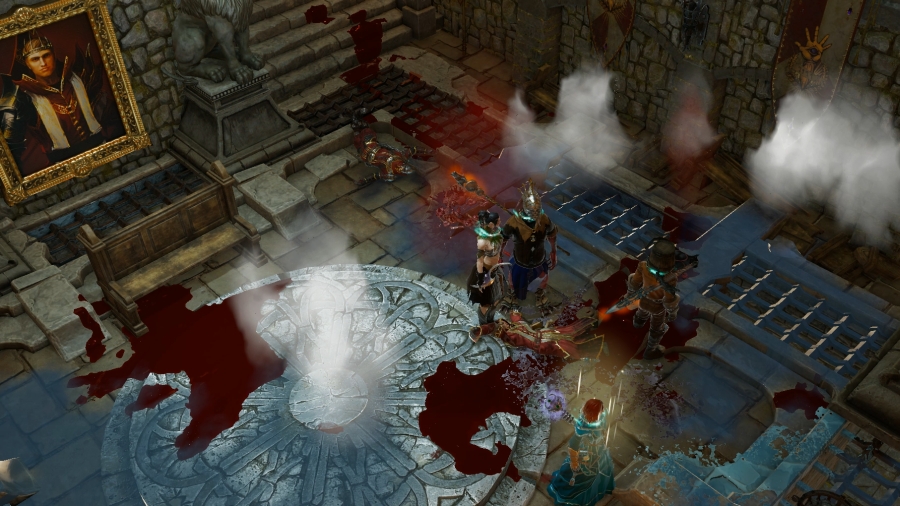 And there we have it. Orivand is dead. The fort of Fort Joy is left without its jailors. There are approximately three Magisters remaining in the ghetto: two at the gate to the beach and one patrolling the ghetto�s grounds. Oh, and Yarrow. Once more, as the victor, it�s my right to the spoils of battle, and that means picking every one of my enemies clean of their mortal possessions. They don�t need them anymore, after all. 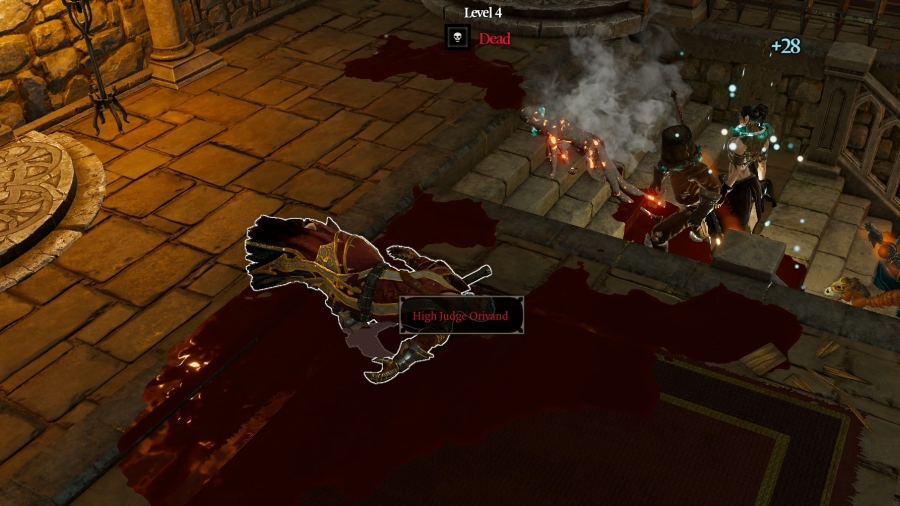 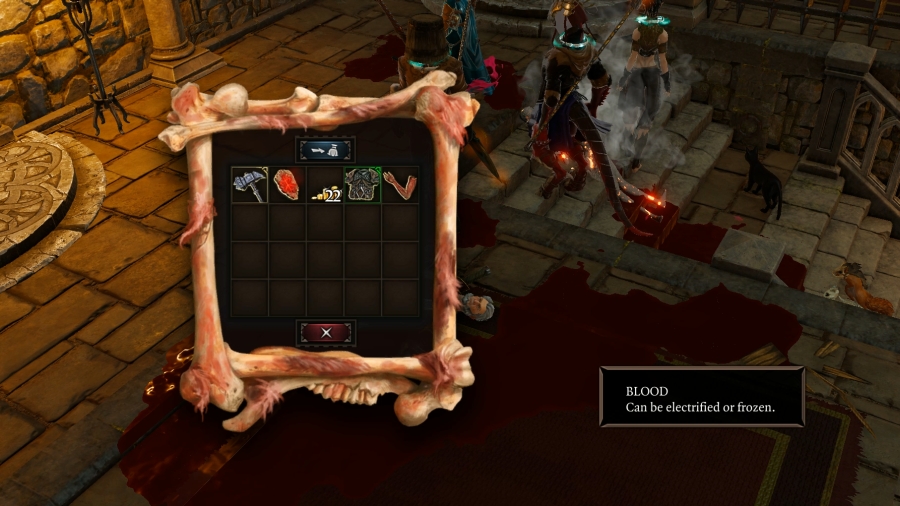 As expected, nobody�s really carrying anything of value� except for Orivand, who�s got the good stuff. Some money; some levelled physical armour for Fane; a severed arm (???); the hammer he used in the fight; and� something else. A rock with an etching in it.  This is a Rune; it�s a magical artefact that can be slotted into a weapon or a piece of equipment in order to grant additional effects. What effects those are depends on the Rune and the equipment it�s slotting into. Unfortunately, none of my current equipment comes with available slots for Runes, so it�s worthless to me for now. I�ll go more in-depth on Runes once I get something that can support them. 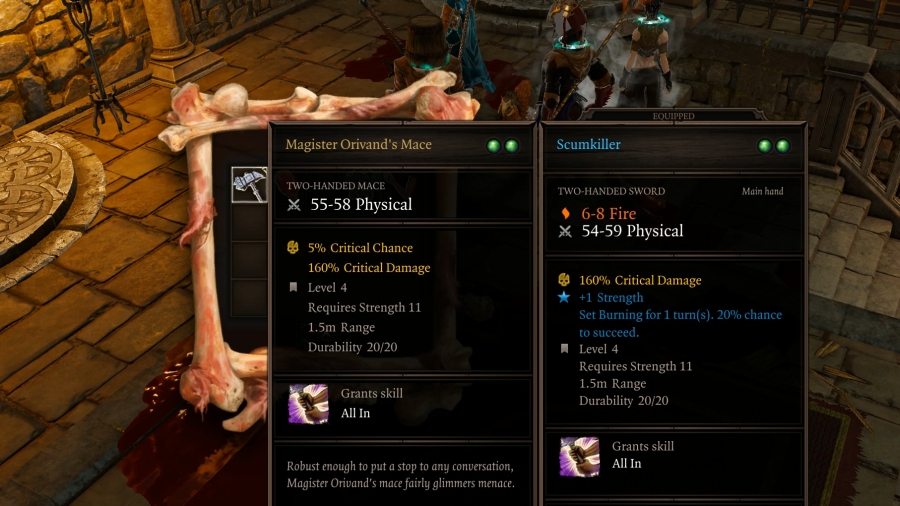 Orivand�s hammer, while visually impressive, is lacking compared to Fane�s Scumkiller, so it�s vendor trash. 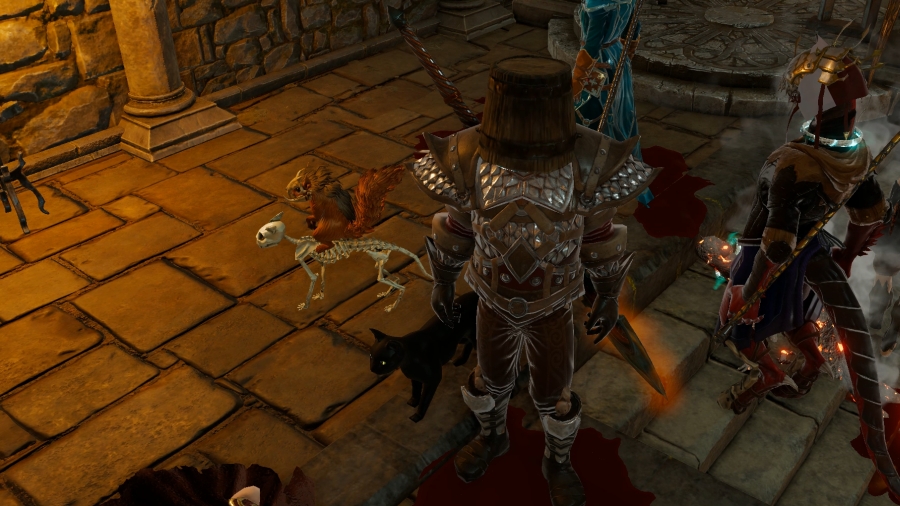 Fane�s been rocking a musty shirt since the shipwreck. It�s about time he got gussied up in something more battle-appropriate. Sebille! Eat this arm! 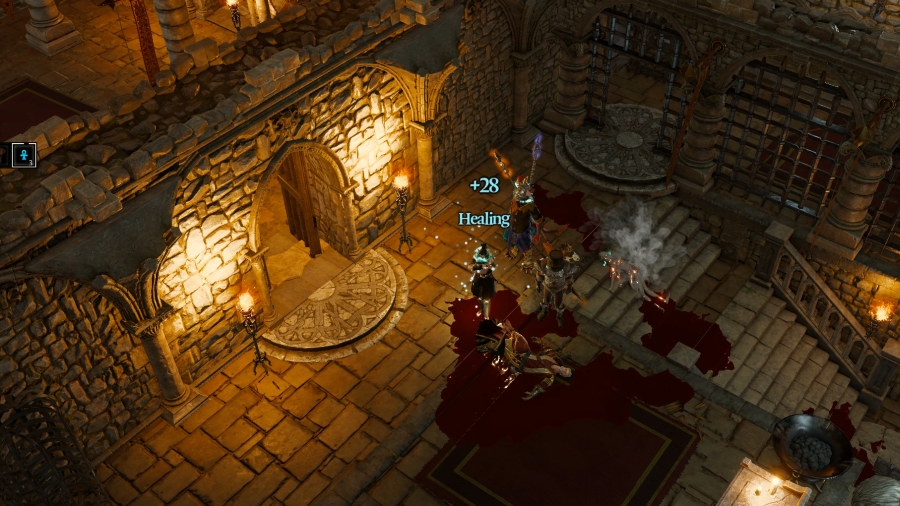 � No response at all. Not even some flavour text about �being nothing and nobody.� Weird. 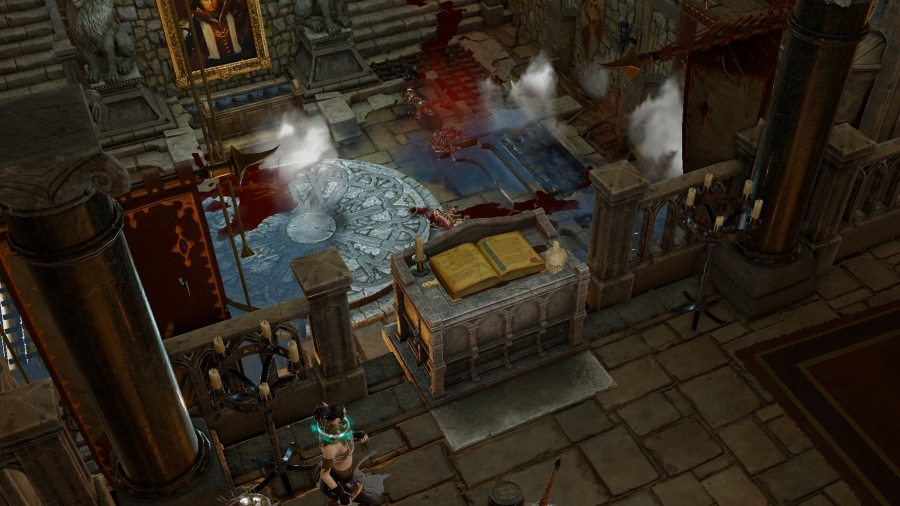 I�m morbidly curious as to what�s actually written in this massive book that Orivand was preaching in front of. 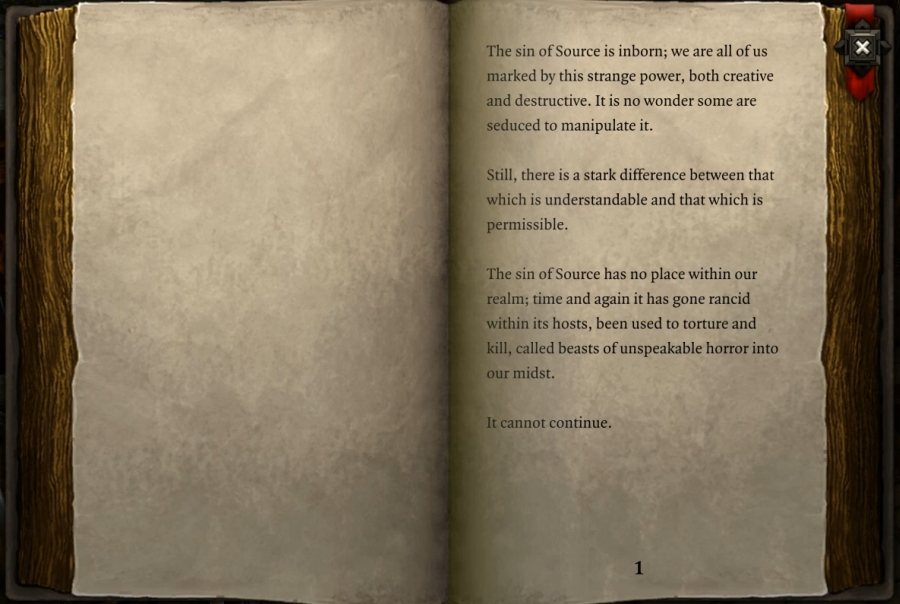 Propaganda, it looks like. Some bullshit about how they sympathize with Sourcerers, but also Source is a literal sin (perhaps the original one?  ) and Sourcerers aren�t allowed to �continue.� ) and Sourcerers aren�t allowed to �continue.�Cool and good, as they say. 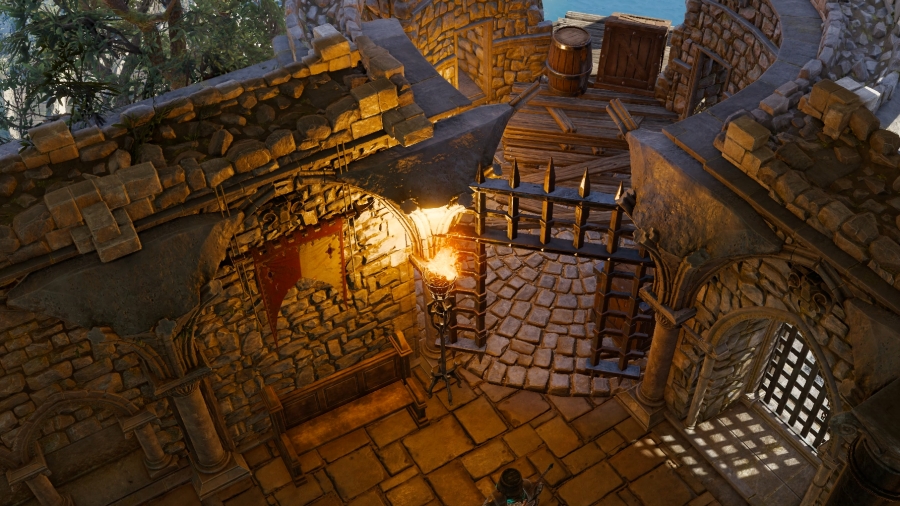 The south-eastern corner of the room appears to be a tower that�s been half-demolished and is undergoing some renovations. A barrel and a crate block my way to the outside, but they�re easily lifted aside. 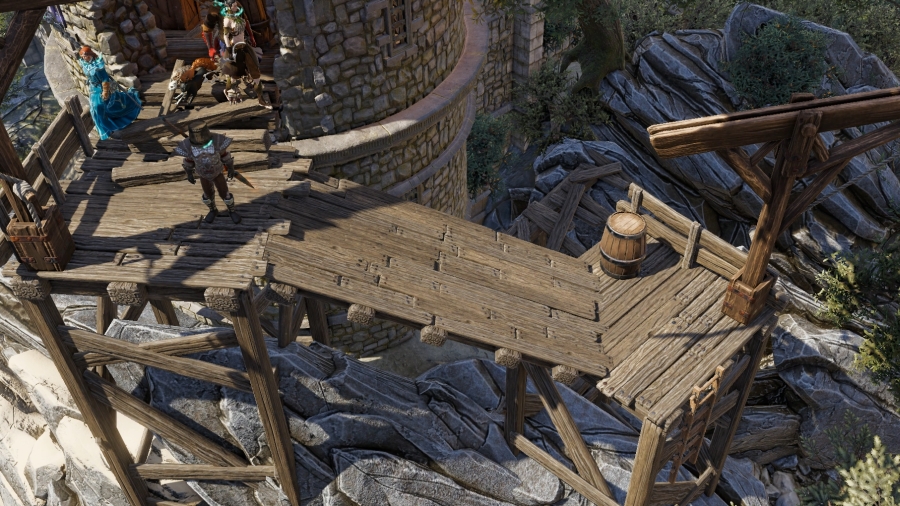 Just outside of the tower is a scaffolding, with a ladder leading down to the beach just outside. Climbing down the ladder would take me to the Hollow Marshes � and away from Fort Joy. This is the final method of escape from Fort Joy. Should we take the construction ladder down to the Hollow Marshes? 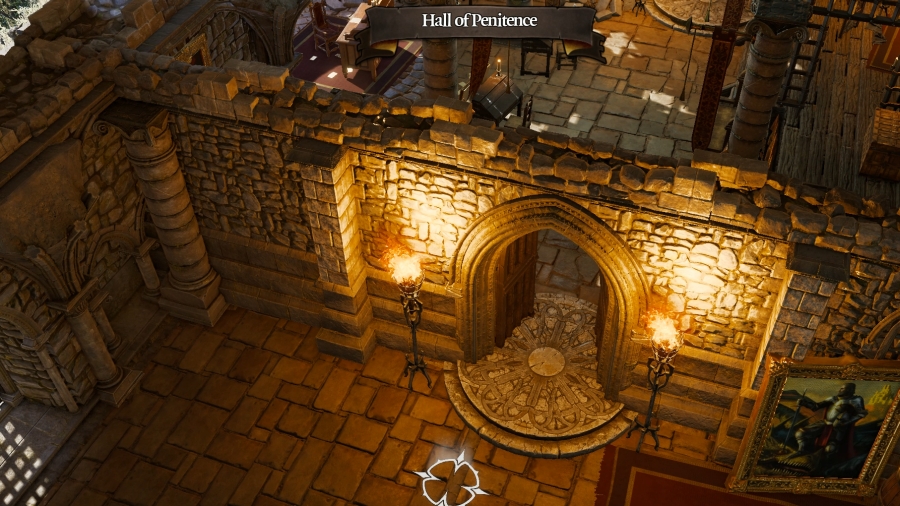 There�s just one more place I�d like to check out before we dip for good. There�s a room to the west of the courtroom, and from the looks of things, it seems pretty fancy. 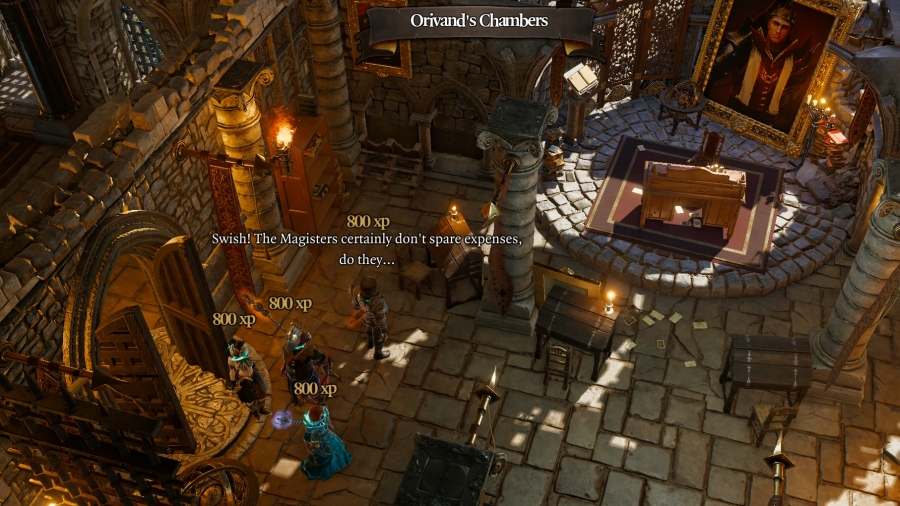 From the banner at the top, this is apparently Orivand�s personal room. He�s got a massive painting of bishop Alexander overlooking his desk, which is itself inside another ruined tower � what if it rains? There are desks and papers strewn all over the place, and there�s a pile of bricks built up to one side of the room. Orivand doesn�t take very good care of his living places. 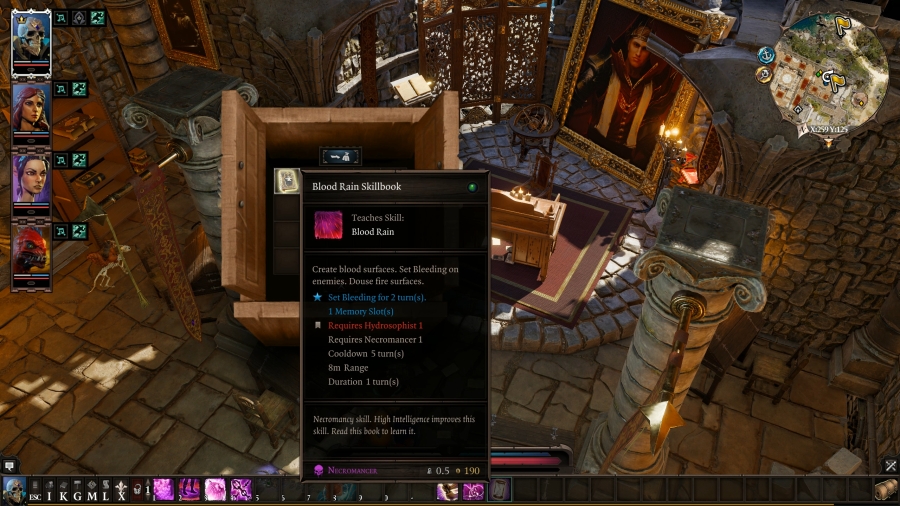 Inside Orivand�s desk is a Blood Rain skillbook. It�s very similar to Lohse�s rain dance, except instead of making targets Wet, it causes them to Bleed. Which is a pretty horrifying thought, if you think about it too hard. This is one of those hybrid skillbooks that I mentioned earlier. In order to use the skill Blood Rain, I�d need at least one point in Hydrosophist and one point in Necromancy, meaning Fane and Lohse are the closest to being eligible to learn it. I�ll put this in the �maybe� pile.  There�s a letter on Orivand�s desk � it might have some valuable information, given the sort of position he was in. Also, I don�t know who is in that painting facing Orivand�s desk. A Larian developer, maybe? 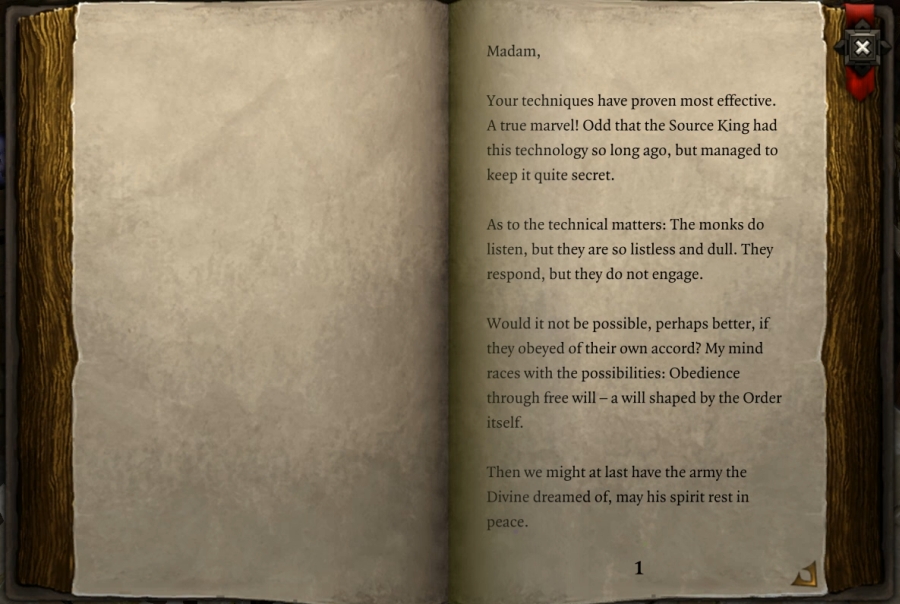 �Yours forever in service, Orivand� It wasn�t enough for Orivand to turn Sourcerers into zombies: he wanted to turn them into brainwashed slaves. Fodder for the Divine Order�s armies that were not only going to die for their �cause,� but they�d do it willingly and happily. Well� he�s dead now. So we got that going for us.  � Huh. I wonder what this is. �Dwarved Customs & Traditions?� What would Orivand want with something like that? 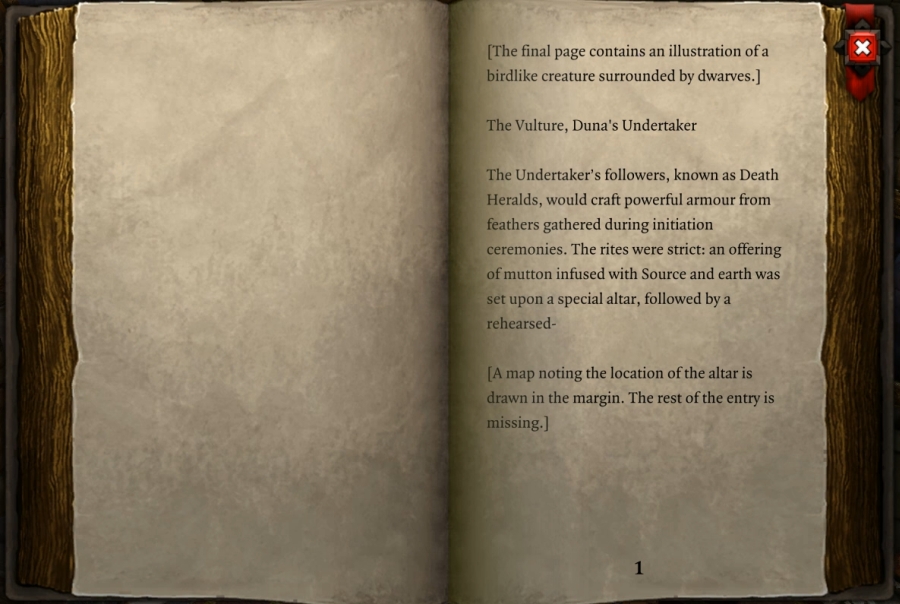 Crafting armour from feathers�? Oh, this must be another part of that game-long sidequest! We had initiated the elven part of the quest with the grounded ship, way back with the turtles on the beach. This must be another part of that! I thought it was all just for one set of armour, but maybe there�s a unique set for every race. I didn�t know that! That�s exciting, there�s more to be had! 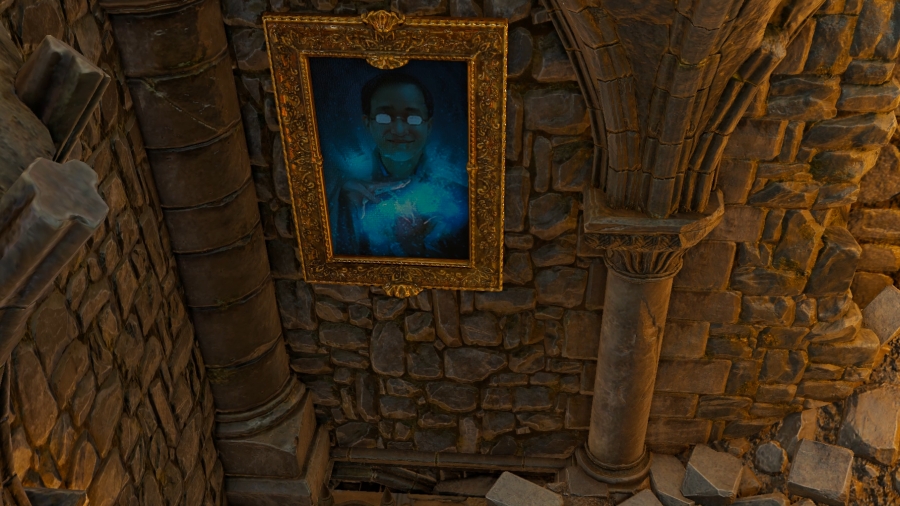 This painting is titled �Ice Striker.� Another dev, maybe? I don�t think glasses exist in the setting of Rivellon�. 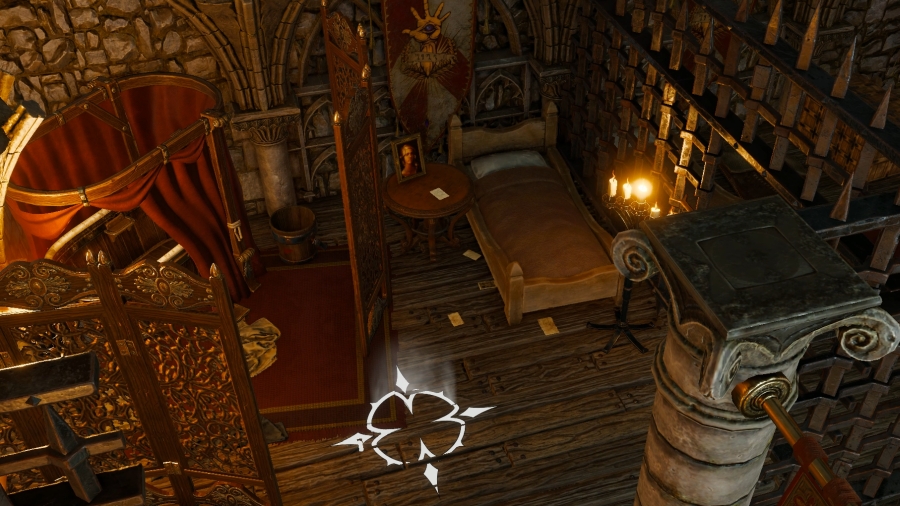 A part of the room�s been cordoned into something a bit more personal: a bed and a washtub with its own curtain, separated by one of those imperial standalone partitions. There�s another letter on the bedside table. 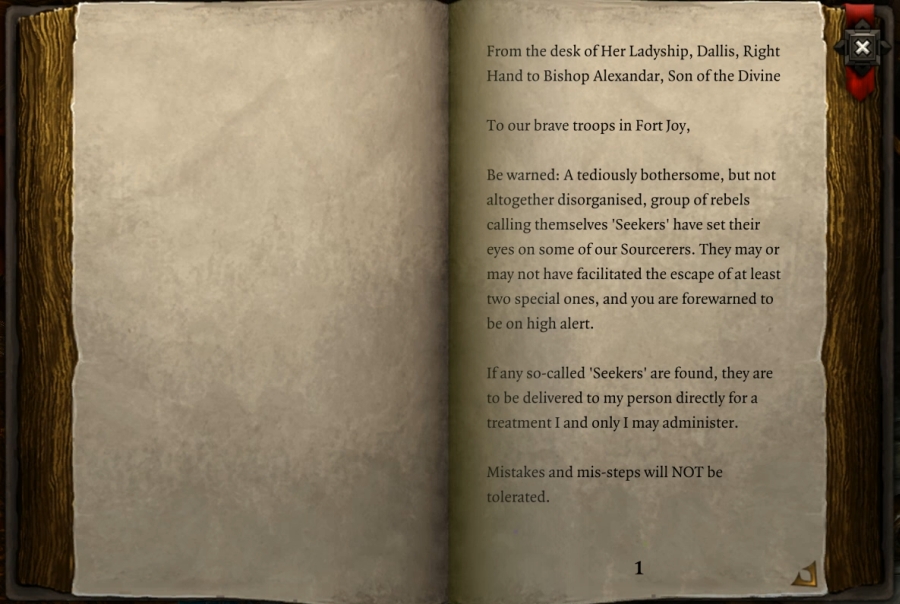 The Seekers? Is this the first we�ve heard of them? I don�t recall about any faction of people going against the Magisters, other than Sourcerers. That might be valuable information to have. The enemy of my enemy is my friend. If I can find whoever these �Seekers� are, maybe we can pool our forces together. 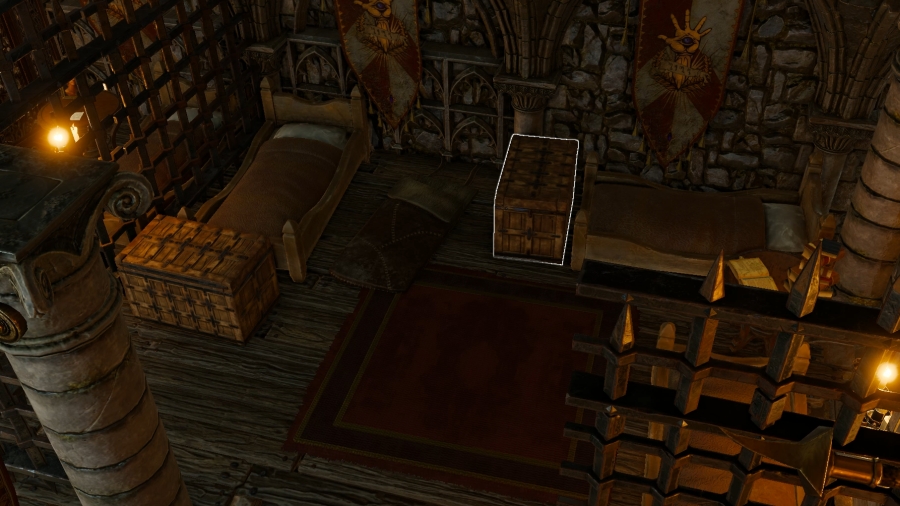 What looks to be a spare bedroom, perhaps? Might as well pick it clean, too. 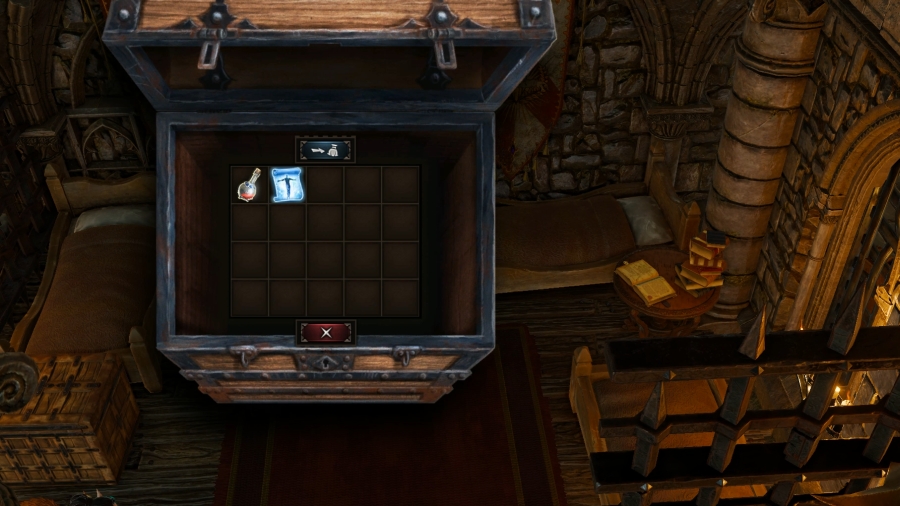 It�s not much, but anything�s better than nothing. 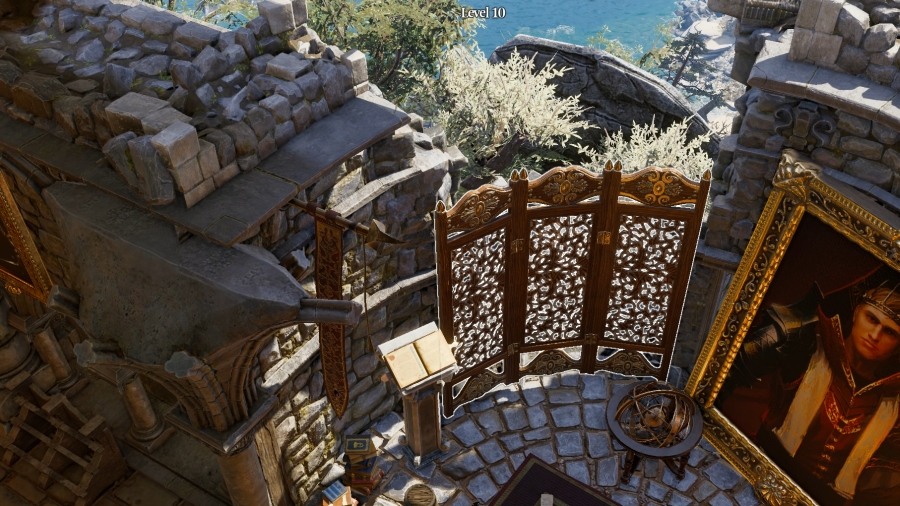 Before I leave Orivand�s chambers, I head back to his desk. There�s a dressing panel separating his �office� from the outside world � probably what makes for a �guard rail� or something to protect people from falling out of the crumpled tower. 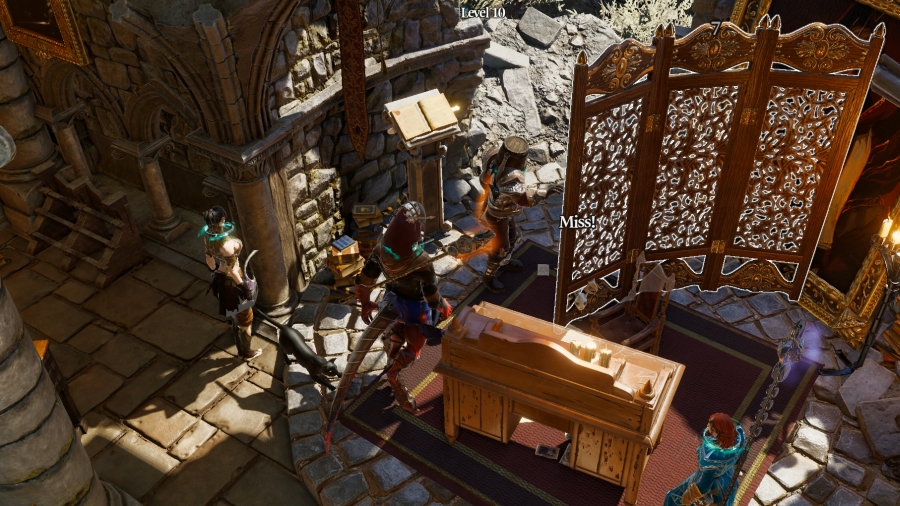 It moves aside easily enough. 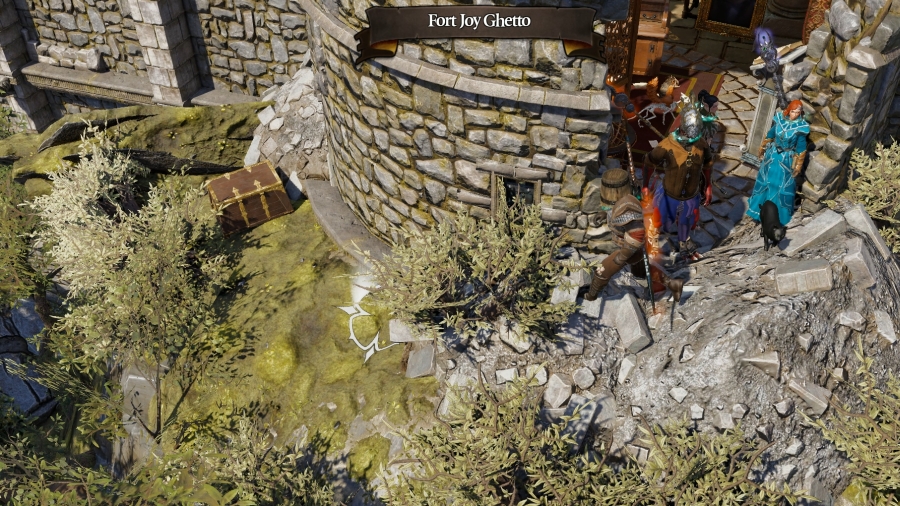 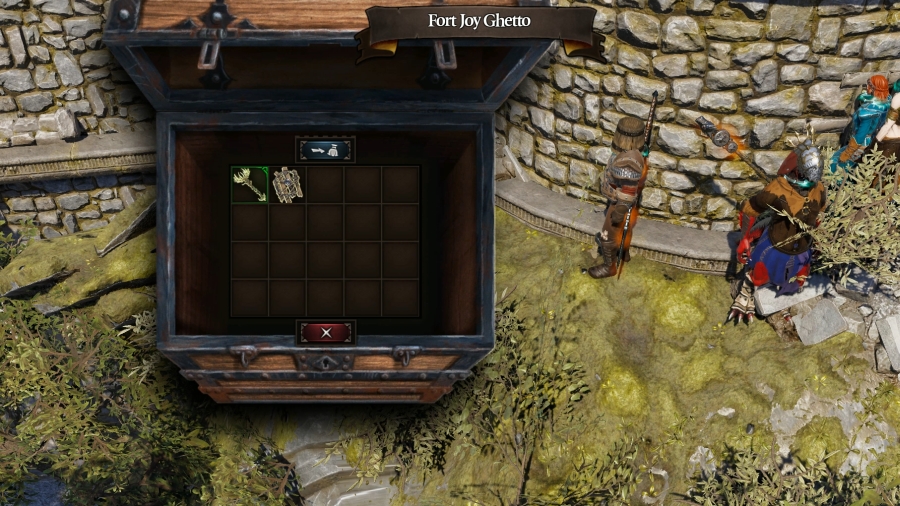 Outside and around the bend is a hidden chest, and inside that is� a makeshift shield and a wand. Both vendor trash, but hey, money is always nice. 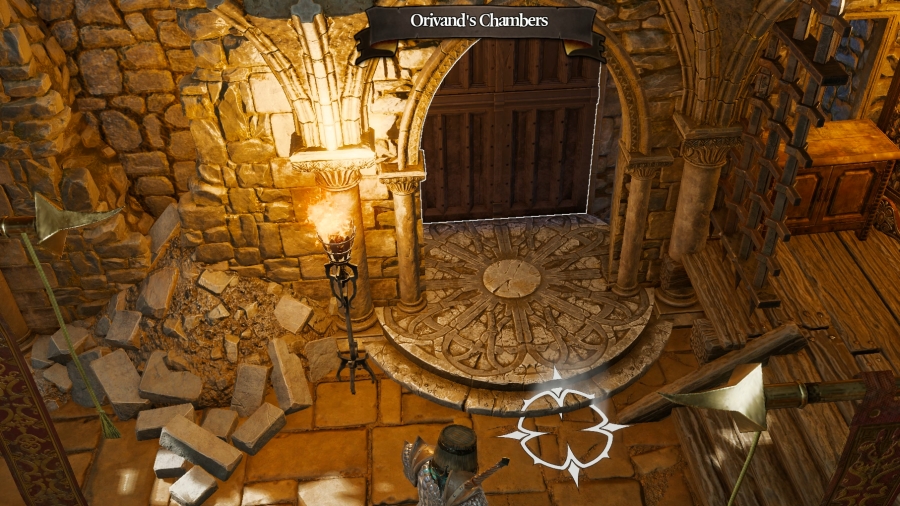 Finally, there�s a door leading out of Orivand�s chambers, heading to the west. This will likely take me back outdoors and into the ghetto � or, at least, overlooking it. 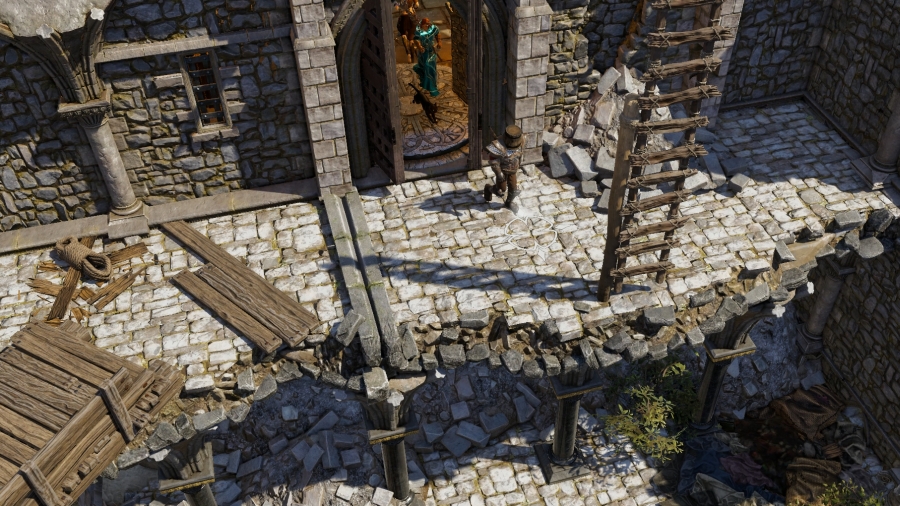  We�re on a dilapidated balcony of some sort; we don�t even have anything to hold onto up here. Somebody could slip and fall! There�s a ladder next to the door that, when interacted with, moves it down to the ground of the ghetto, providing a shortcut straight from the ghetto to Orivand�s personal chambers. 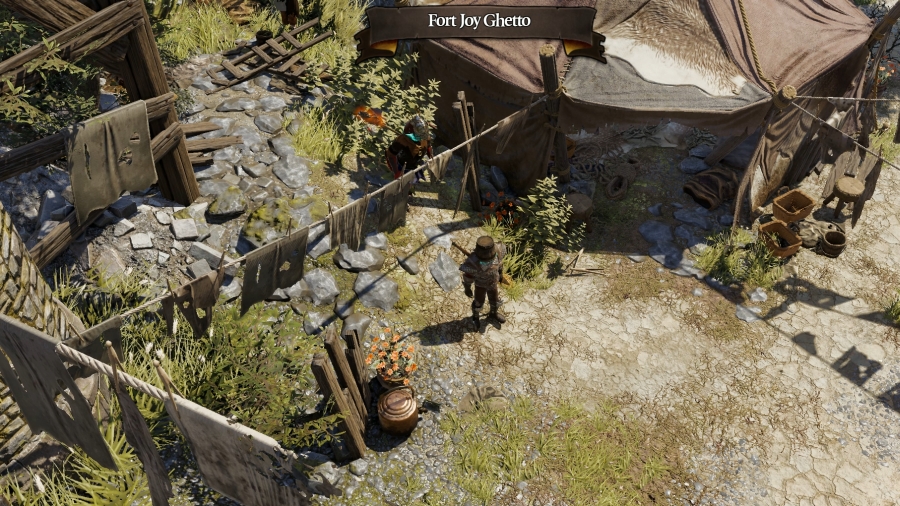 This is the sick tent, where Mona the Necromancy merchant is waiting to die. Orivand�s room is just a few feet and a climb up the ladder from here. This could have been another method of escape much earlier, if we thought of it: Lohse could have Teleported someone up to the ladder, and they could have dropped it to let the others climb up. From there, we�d go straight into Orivand�s chambers and then into the courtroom, where we could have either engaged the fight from there (essentially turning it from four-versus-six to four-versus-three, since the two Swordsman and the Silent Monk would�ve had to have spent a few turns making it up to us), or we could have snuck around the outside of the court and made it to the renovating tower to escape Fort Joy right then and there. You know, we could have done that. But we didn�t, and now there are less Magisters in the world for it. 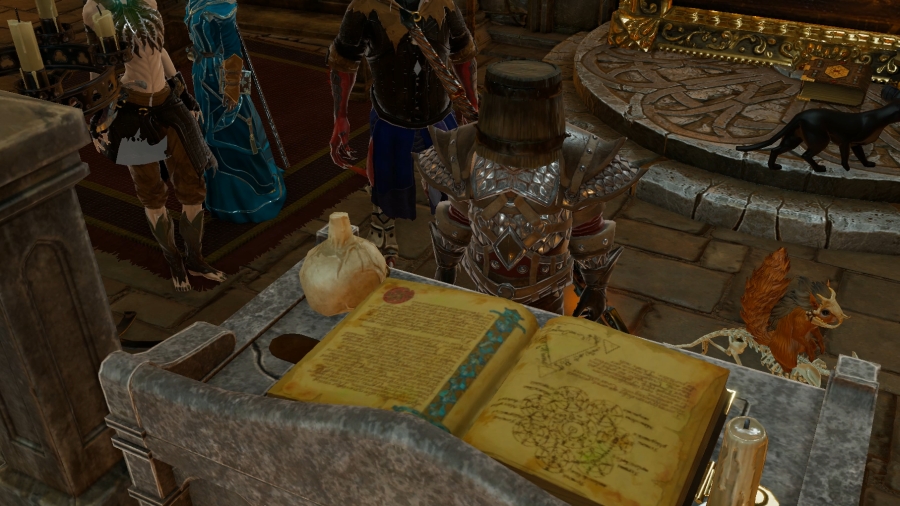 There we have it. This has been one hell of an update, but we�ve cleaned Fort Joy of its remaining Magisters; we�ve killed the highest-ranking Magister in the fort; and we�ve discovered every method of escaping Fort Joy. All that�s left is to decide how to escape. To recap, our votes for this time are: How do we escape Fort Joy?
Also, what do we name Prince�s Incarnate? Let me know by tomorrow! Maple Leaf fucked around with this message at 10:08 on Apr 14, 2021 |
|
#
?
Apr 14, 2021 07:25
|
|
|
Gee, a paladin being suicidally useless and naive, what are the odds  Good job repeatedly almost killing yourself, Cork. Good job repeatedly almost killing yourself, Cork.Our Incarnate's name is Calcifer. No, it won't make sense when he's not a fire type, but Prince has a theme, damnit. As for escaping, Han can rescue himself and I assume we can walk the long way around to the marshes, so really we're picking between saving a kid and getting revenge. I suppose we ought to pick the kid, I guess, so leave with Trice.
|
|
#
?
Apr 14, 2021 09:13
|
|
|
Oh man you're back, this is exciting! I guess we should help Trice
|
|
#
?
Apr 14, 2021 09:39
|
|

|
So glad this is back! And with a super meaty update no less! Yeah Cork was so ridiculously suicidal in my game he managed to die even after I had things well under control. I spent so much effort trying to micro manage him and the fight took so long that I didn't even care enough to reload and try again.
|
|
#
?
Apr 14, 2021 15:16
|
|
|
How do we escape Fort Joy? Down the construction ladder just outside Orivand�s courtroom What do we name Prince�s Incarnate?
|
|
#
?
Apr 14, 2021 15:54
|
|
|
TravelLog posted:What do we name Prince�s Incarnate? Please pick one, don't do this to me
|
|
#
?
Apr 14, 2021 21:53
|
|
|
Maple Leaf posted:Please pick one, don't do this to me It kills the Sylph, Gnome, Undine and Salamander joke if I do that!  If I must pick just one name, how about Vivi?
|
|
#
?
Apr 14, 2021 23:44
|
|
|
As much as I want to help Trice out, leave by boat with Han so we can learn more about those Seekers he came with. You can always teleport back into the fort right away to let poor Trice out of Kniles's dungeon. As for naming the Red Prince's summon, it can only be Baron(ess) or Duke/Duchess  . We must stick with regal titles for a regal lizard. . We must stick with regal titles for a regal lizard.
|
|
#
?
Apr 15, 2021 04:26
|
|
|
Escape across the drawbridge. Why not? It's right there. Just walk right on out! And as for the Red Prince's incarnate, here's how I imagine he'd respond to the question.  : You think it needs a name, do you? How very pedestrian of you. Its "name" is Attendant because it is quite literally a magical construct brought into being for the sole purpose of attending to my needs. Namely by slaughtering my foes. To give it a name would be treating it far above its station. I suppose next you'll suggest giving it a jaunty hat and making it do a silly dance? : You think it needs a name, do you? How very pedestrian of you. Its "name" is Attendant because it is quite literally a magical construct brought into being for the sole purpose of attending to my needs. Namely by slaughtering my foes. To give it a name would be treating it far above its station. I suppose next you'll suggest giving it a jaunty hat and making it do a silly dance?
|
|
#
?
Apr 15, 2021 05:12
|
|

|
Maple Leaf posted:Please pick one, don't do this to me Name it after Pokemon. Air: Pikachu Fire: Charmander Water: Squirtle Earth: Geodude Blood: Armok (I believe this was a gen 6 pokemon?) Take the kid and his boat as your escape route. Can you pick up the painting and sell them? They seem expensive.
|
|
#
?
Apr 15, 2021 06:46
|
|
|
There's a bunch of great suggestions for names! I'm not sure what I'm going to do with them all just yet. But! The vote is currently tied between escaping with Trice and escaping with Han. The next person to vote for one of those two is the one we go with!
|
|
#
?
Apr 15, 2021 07:56
|
|
|
Lets go boating with Han.
|
|
#
?
Apr 15, 2021 09:35
|
|
|
Escape with Trice and name the incarnate attendant
|
|
#
?
Apr 15, 2021 12:59
|
|
|
Can you attack the magisters without starting a conversation and save the elf that way?
|
|
#
?
Apr 15, 2021 15:23
|
|
|
Xander77 posted:Can you attack the magisters without starting a conversation and save the elf that way? As far as I tried, no. The elf will be turned right as the conflict starts. Couple things I have tried. 1) Stealthing and attacking right away. 2) Teleporting the elf away. 3) Stunlocking Orivand. It is kind of strange and handwavey though, as the elf just suddenly transforms into a silent monk. If this was the first time here and you just attack right away you wouldn't have context for what was happening. Mind you I tried all of this before Divinity2 got it's definitive edition update, so it may be possible now. Donkringel fucked around with this message at 18:42 on Apr 15, 2021 |
|
#
?
Apr 15, 2021 18:40
|
|
|
In the previous update, we held a vote on how it was we wanted to escape Fort Joy. With the defeat of High Judge Orivund, we�ve done just about everything there is to do here in the prison and it�s time to bust out.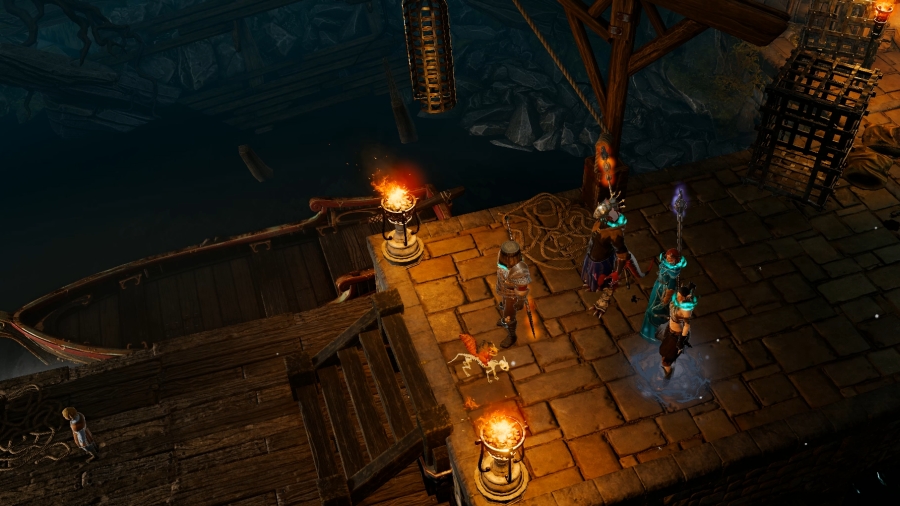 Between all the options available to us, we voted to escape with Han on his boat. For a kid, he seems like he�s got his poo poo together. And he mentioned having some contacts that we might be interested in connecting with. 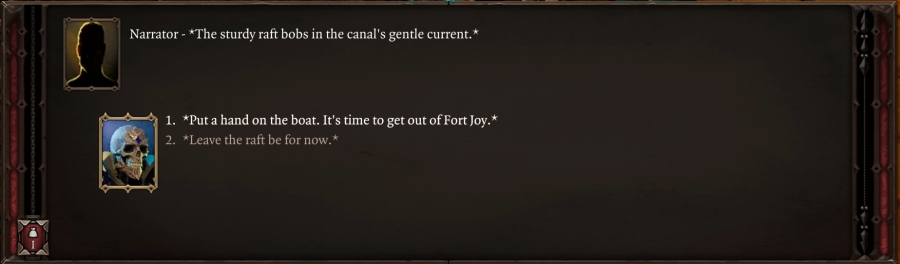 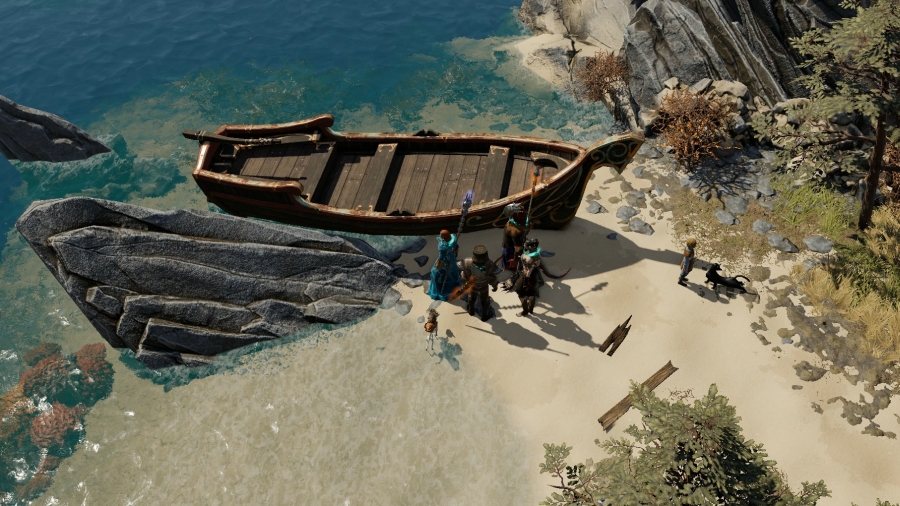 And just like that, we�ve rowed out of the dock underneath Fort Joy and straight to freedom. You know, Beast and Migo were on beaches themselves. We�d have to ditch our heavy armour, but we could have just swam to the Hollow Marshes. Hell, Fane wouldn�t even need to do that; he�s already dead, he could just walk across the beach floor. It wouldn�t be such a long walk. Anyway.  : What do you mean by �safety?� Is there a safe place in the so-called-haunted Hollow Marshes?: He gives you a searching look. : What do you mean by �safety?� Is there a safe place in the so-called-haunted Hollow Marshes?: He gives you a searching look. : Trust�s more valuable than coin round here. You helped me, so I hope I�m making the right choice in trusting you. : Trust�s more valuable than coin round here. You helped me, so I hope I�m making the right choice in trusting you.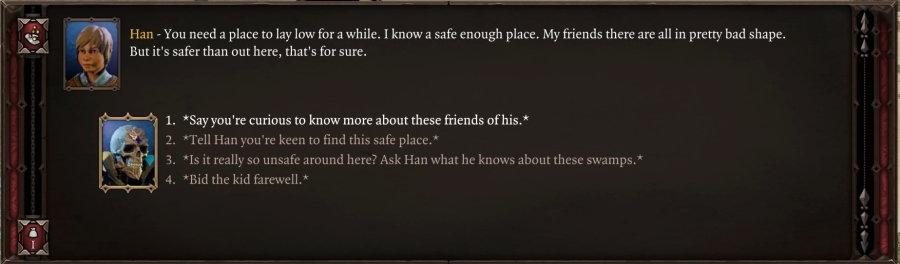 : If we�re in the habit of trusting one-another, I�d like to know a bit more about what � or, more specifically, who � I�m going to be staying with.: Oh, they�re Seekers. Don�t know what that really means come to think of it. : If we�re in the habit of trusting one-another, I�d like to know a bit more about what � or, more specifically, who � I�m going to be staying with.: Oh, they�re Seekers. Don�t know what that really means come to think of it.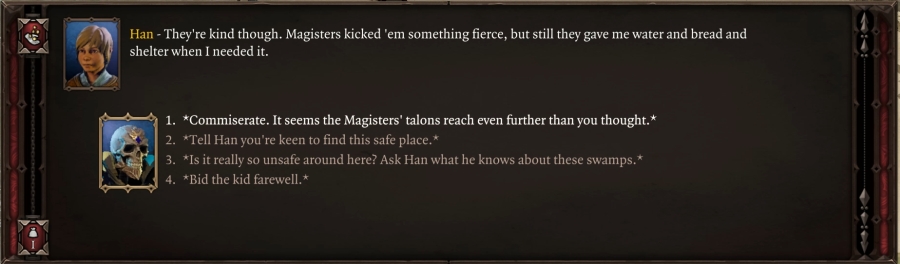 : It seems the iron claw of the Magisters extends even further than I could have imagined.: Although, I suppose I shouldn�t be surprised.: Not for long! The Magisters have a boat close to here, see? The Lady Vengeance. Good name, since my friends are gonna capture her and sail us far away from here. : It seems the iron claw of the Magisters extends even further than I could have imagined.: Although, I suppose I shouldn�t be surprised.: Not for long! The Magisters have a boat close to here, see? The Lady Vengeance. Good name, since my friends are gonna capture her and sail us far away from here.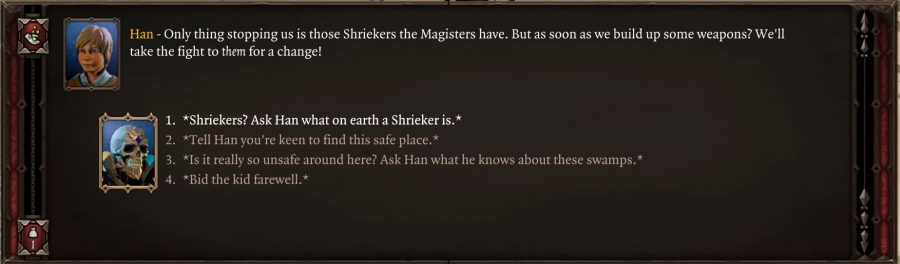 : What is a �Shrieker?� Besides what I�m assuming is the obvious.: Han shivers as he glances fearfully into the swamps. : What is a �Shrieker?� Besides what I�m assuming is the obvious.: Han shivers as he glances fearfully into the swamps.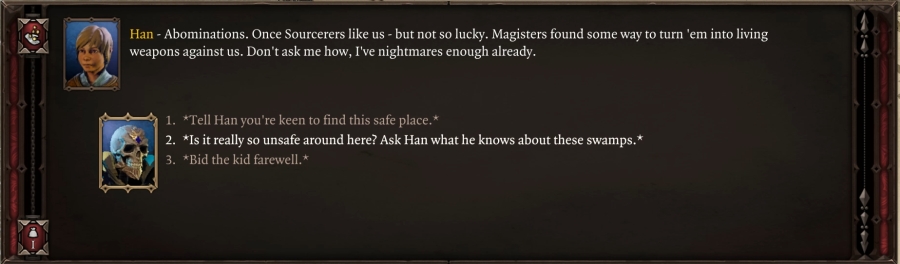 Sourcerers that have been turned into living weapons, and given their name, it�s probably an even sorrier existence than being turned into a Silent Monk. The Magisters are vile for using these harrowing techniques, but assuming they�re using more of Braccus Rex�s tech, then that guy was real messed up. : I�ve heard some unflattering stories about the Hollow Marches laid out before us. Do you have any information on what, specifically, I should expect?: Bad lands. Even Magisters stay away. Well, usually. They figure any Sourcerer who head in here are good as dead. For the most part, they�re not wrong. Only one tiny hidden nook is safe. Hand me your map and I�ll mark the way.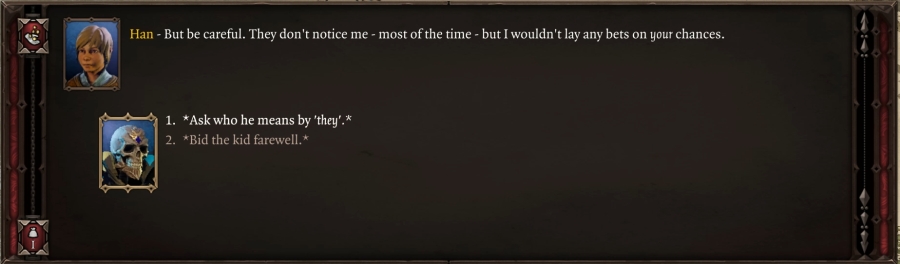 : �They?� : �They?�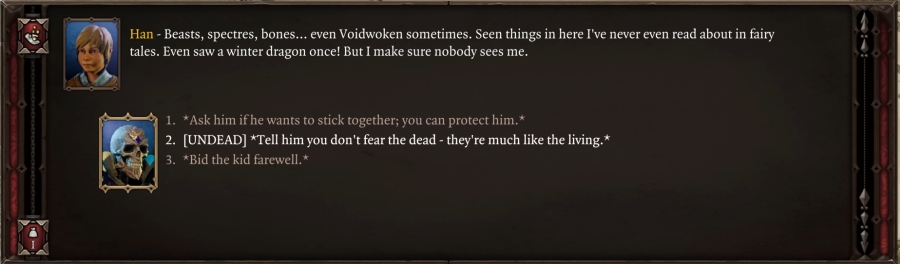 : The undead aren�t so bad. Certainly no worse than the living, if you ask me.: Hah. Well, good luck. Hope you stay alive out there. If you make it, ring the bell outside. And tell Bahara I sent you. She�s not quick to trust strangers. I�m heading there now. I suggest you do the same. Good luck. Really. : The undead aren�t so bad. Certainly no worse than the living, if you ask me.: Hah. Well, good luck. Hope you stay alive out there. If you make it, ring the bell outside. And tell Bahara I sent you. She�s not quick to trust strangers. I�m heading there now. I suggest you do the same. Good luck. Really. And then Han struts off on his own, towards the spot marked on the map where Sourcerers like myself can go to. Well! We�ve officially broken out of prison � we�re a handful of magicians at large. But we�re not exactly free just yet: we�re stuck on an island with our captors, and we won�t truly be free until we steal that boat, The Lady Vengeance, and make it back to the mainland. Not pictured is a bunch of exclamation points over my character�s heads. I�d imagine freedom would come with some back-clapping (of the friendly kind) and a lot of self-congratulations.  : It might stink, Quercus, but at least there are trees. Now, let�s be quick. Who knows when the Great Acorn will arrive. : It might stink, Quercus, but at least there are trees. Now, let�s be quick. Who knows when the Great Acorn will arrive.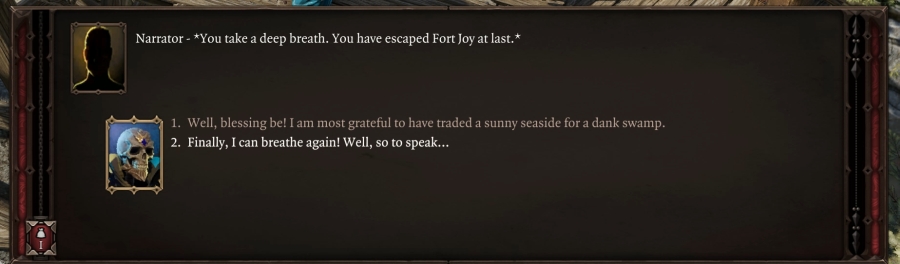  : Out of the prison camp, into the bog! You watch my back, I�ll watch yours.: The walls we leave behind, and a wilderness awaits. Just the way I like it.: How lovely! I could really do with a banquet right about now. No-one among you is a gourmet chef by any chance? : Out of the prison camp, into the bog! You watch my back, I�ll watch yours.: The walls we leave behind, and a wilderness awaits. Just the way I like it.: How lovely! I could really do with a banquet right about now. No-one among you is a gourmet chef by any chance?Good to know we have our priorities straight. 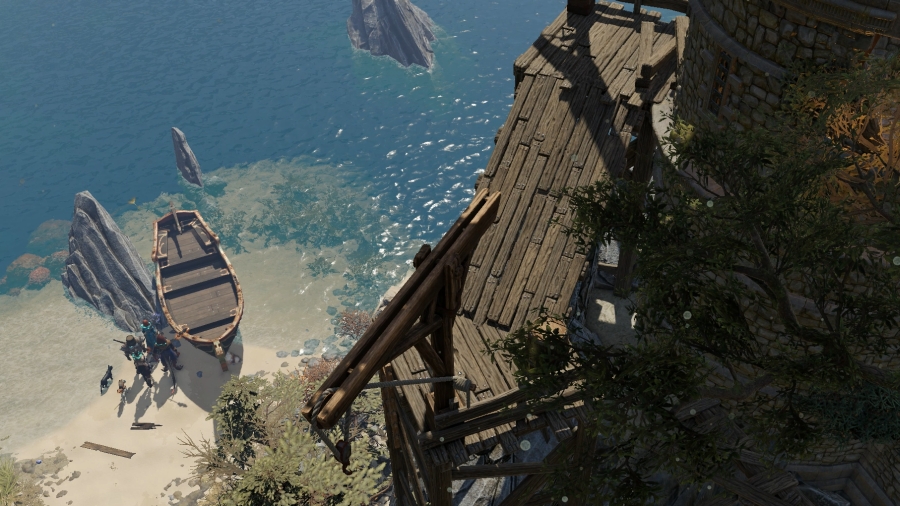 Directly above us is the tower under construction next to Orivand�s courtroom. The only major difference between choosing Han and choosing its ladder is whether Han is with us or not, so, it�s a good thing we chose to go with him. Or, at least, it�s a good thing we didn�t choose that ladder. Now that we�re escaped and we�ve reached a major milestone in the story, each of our companions has some more topics to talk about. 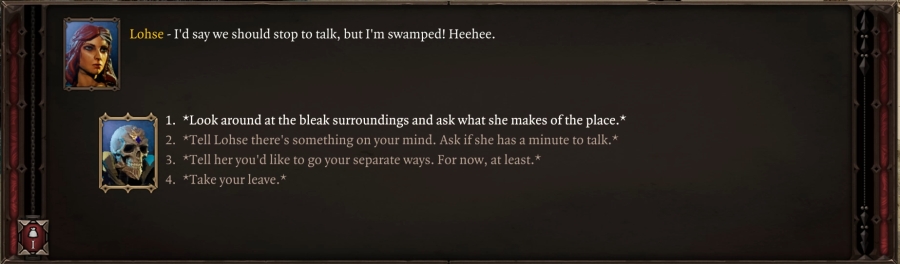 : While the scenery is perhaps a bit more vibrant, I can�t help but feel like we�ve gone from one cage to another. What do you make of our landing area?: Don�t make much of it one way or the other. But the farther we get away from the Joy, the better. : While the scenery is perhaps a bit more vibrant, I can�t help but feel like we�ve gone from one cage to another. What do you make of our landing area?: Don�t make much of it one way or the other. But the farther we get away from the Joy, the better.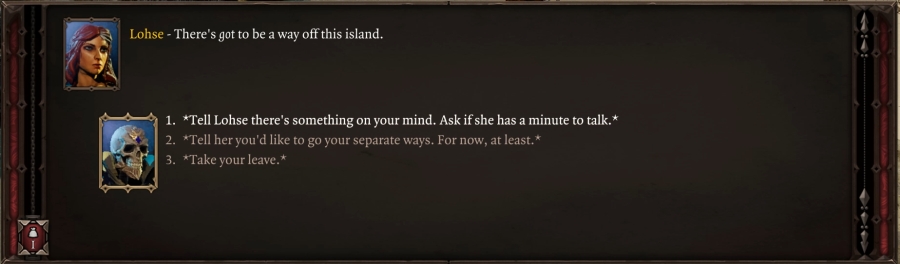 : Would you mind if we took a moment to talk? There�s been a few things on my mind. : Would you mind if we took a moment to talk? There�s been a few things on my mind.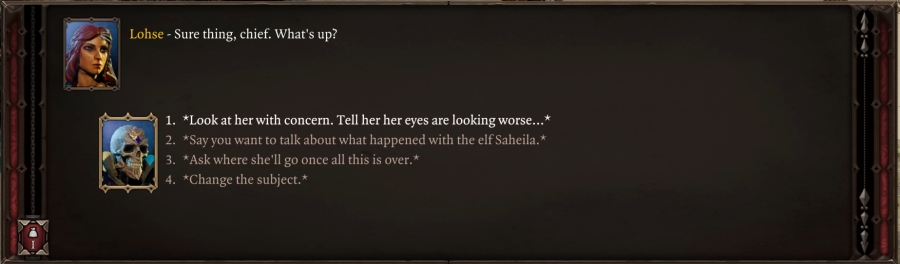 : Your eyes are getting darker by the day, Lohse. Are you feeling well?: She bats her eyelashes coquettishly over black eyes in grey sockets. : Your eyes are getting darker by the day, Lohse. Are you feeling well?: She bats her eyelashes coquettishly over black eyes in grey sockets.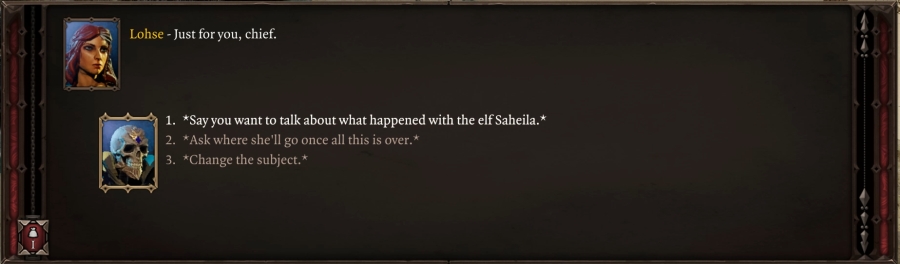 : I�d� like to go over what happened with Saheila the elf, if we can.: Ok. I don�t.: Look� just� I know it was bad, ok? I know. You don�t have to tell me. I�m sorry. I just� I just want to move on. : I�d� like to go over what happened with Saheila the elf, if we can.: Ok. I don�t.: Look� just� I know it was bad, ok? I know. You don�t have to tell me. I�m sorry. I just� I just want to move on.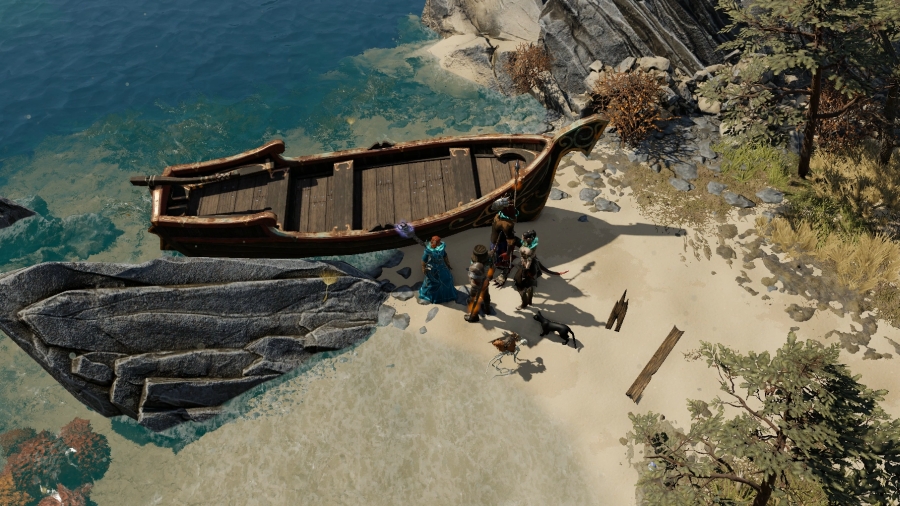 Alright, I guess that conversation�s over. Sebille! Your turn. 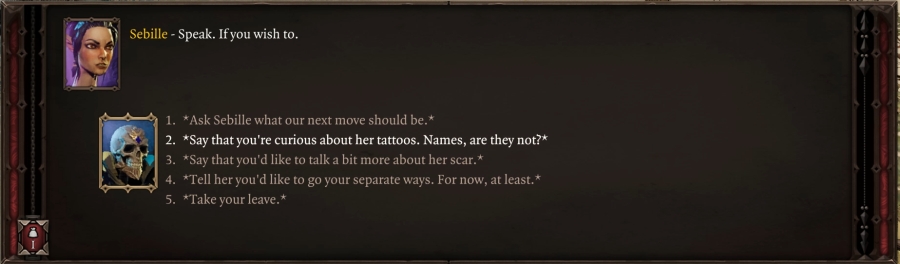 : Can I ask you more about the tattoos on your arms? They look like� names, correct?: So they are. My arms are gravestones, many a lost soul�s last rest. : Can I ask you more about the tattoos on your arms? They look like� names, correct?: So they are. My arms are gravestones, many a lost soul�s last rest.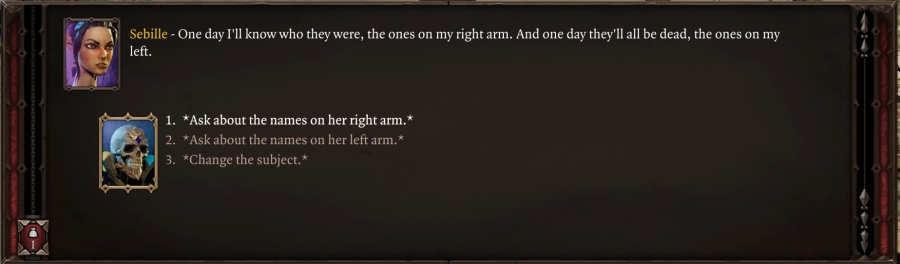 : You seem almost� repentant, about the names on your right arm. You say you didn�t know them? : You seem almost� repentant, about the names on your right arm. You say you didn�t know them?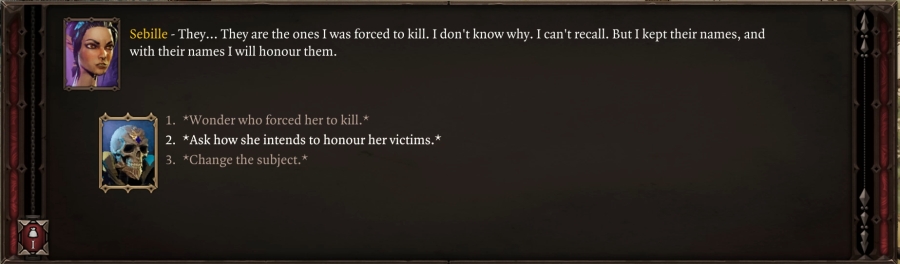 : That�s an honourable thing to want to achieve. How do you intend to do it?: By taking the life of he who directed their demise: The Master. A lizard, but not any lizard: a spectre in the flesh. A man with no name. A darker shade in shadows.: If he be a demon, as the frightened claim, I will be a demon hunter. If he be a god, as the cowering claim, I will be a god slayer. : That�s an honourable thing to want to achieve. How do you intend to do it?: By taking the life of he who directed their demise: The Master. A lizard, but not any lizard: a spectre in the flesh. A man with no name. A darker shade in shadows.: If he be a demon, as the frightened claim, I will be a demon hunter. If he be a god, as the cowering claim, I will be a god slayer.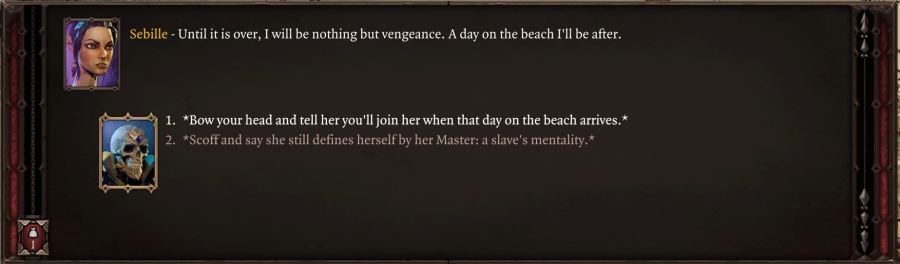 : You�ve proven to be an ally, Sebille. When the day on that beach arrives, I will be there with you.: She returns your bow, though you can read the scepticism in her eyes.: A lovely little promise to make. A thorny one to keep. We�ll see how bloodied you�re willing to get to pluck the one rose lost in a forest of daggers. : You�ve proven to be an ally, Sebille. When the day on that beach arrives, I will be there with you.: She returns your bow, though you can read the scepticism in her eyes.: A lovely little promise to make. A thorny one to keep. We�ll see how bloodied you�re willing to get to pluck the one rose lost in a forest of daggers.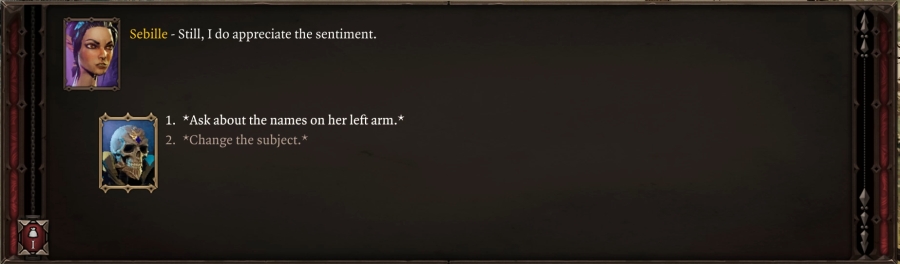 : Now� on the flipside, you seem particularly� vengeful towards the names on your left arm.: Those are the breadcrumbs, torn and tossed aside along the long road to the Master. They are� inconsequential. Candles snuffed out by a brighter flame � if I do say so myself. : Now� on the flipside, you seem particularly� vengeful towards the names on your left arm.: Those are the breadcrumbs, torn and tossed aside along the long road to the Master. They are� inconsequential. Candles snuffed out by a brighter flame � if I do say so myself.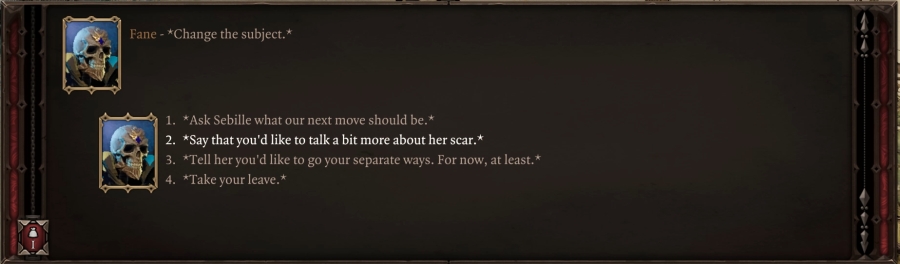 : When we met in the ghetto, you had said something about your scar � you said it was alive, if I recall.: One of her eyebrows arcs, like a cat arching its back, ready to scratch. : When we met in the ghetto, you had said something about your scar � you said it was alive, if I recall.: One of her eyebrows arcs, like a cat arching its back, ready to scratch.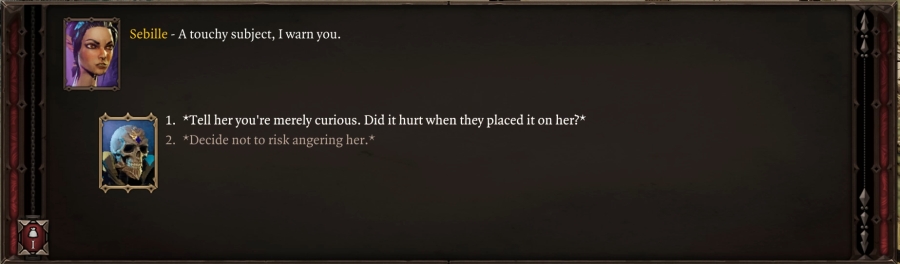 : It�s a mere� academic curiosity. Did it hurt?: It didn�t exactly feel like a kiss. But the true pain came after. When I lost all of my own volition. I served but the Master. : It�s a mere� academic curiosity. Did it hurt?: It didn�t exactly feel like a kiss. But the true pain came after. When I lost all of my own volition. I served but the Master.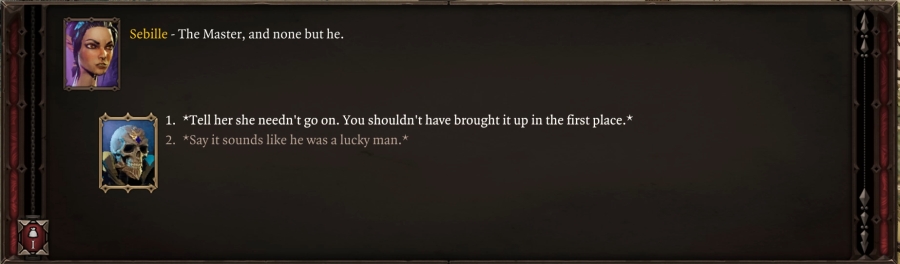 : Alright, I understand that this is a difficult subject for you. I�ve heard all I need to hear. In fact, I shouldn�t have asked it in the first place � that wasn�t my place. : Alright, I understand that this is a difficult subject for you. I�ve heard all I need to hear. In fact, I shouldn�t have asked it in the first place � that wasn�t my place.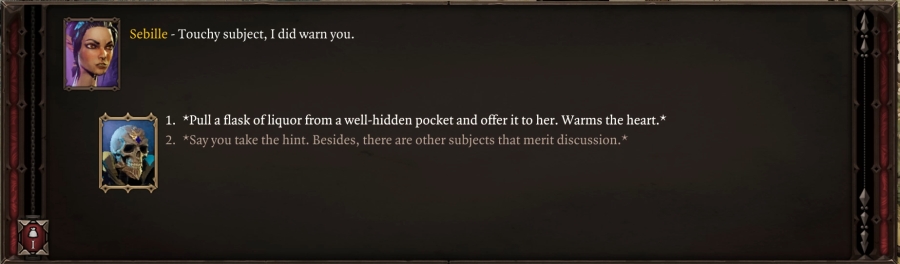 : Here. Keeps the heart warm (I�m told).: Sebille looks at the flask with surprise, but accepts it with a nod and takes a long draught.: My word! Warms the heart and everything else besides! Thank you. I needed a bit of good cheer. So cheers! : Here. Keeps the heart warm (I�m told).: Sebille looks at the flask with surprise, but accepts it with a nod and takes a long draught.: My word! Warms the heart and everything else besides! Thank you. I needed a bit of good cheer. So cheers!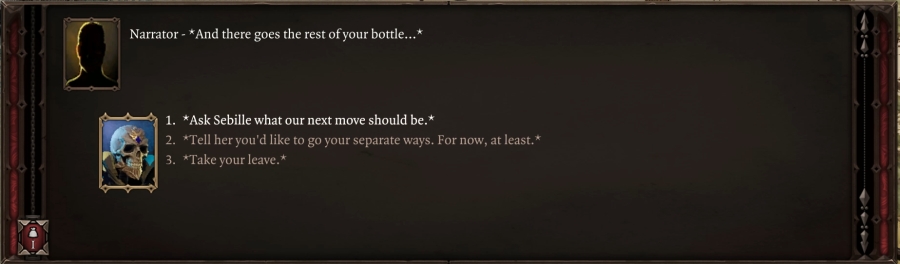 : Speaking more critically, what do you think we should do next? We�ve freshly escaped Fort Joy and we�re staring into the mouth of a haunted swamp.: Unless you love the idea of a life knee-deep in swamp water, I suggest we look for a ship. But let�s not forget to find Zaleskar. I�m ever so eager to meet the man. : Speaking more critically, what do you think we should do next? We�ve freshly escaped Fort Joy and we�re staring into the mouth of a haunted swamp.: Unless you love the idea of a life knee-deep in swamp water, I suggest we look for a ship. But let�s not forget to find Zaleskar. I�m ever so eager to meet the man.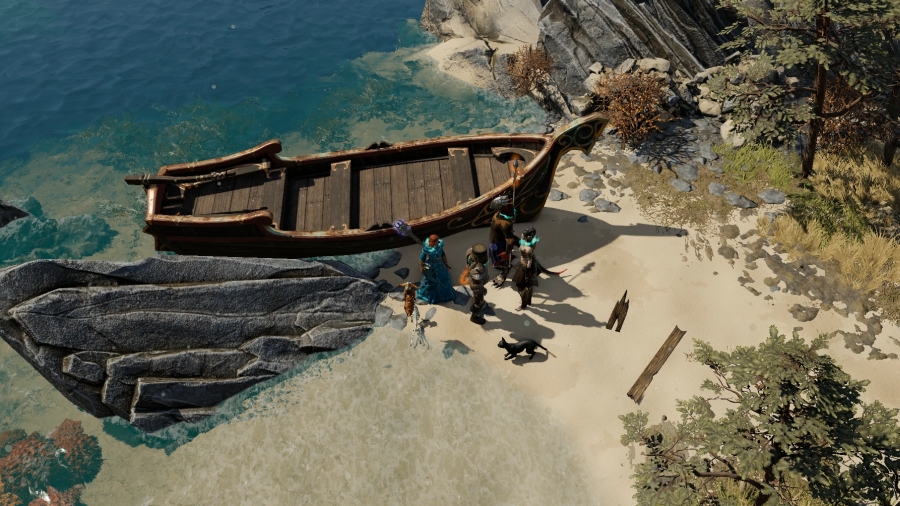 Sebille isn�t given the Drunk status when she downs an entire bottle of alcohol like Ifan was that one time. Clearly, she�s made of sterner stuff than him. Which� I guess makes sense. She�s an assassin (albeit against her will) and he�s a hitman. I bet they�d make great drinking buddies. Prince. If you can get your mind off of gourmet food for a few minutes, let�s you and I talk about something mutually concerning. 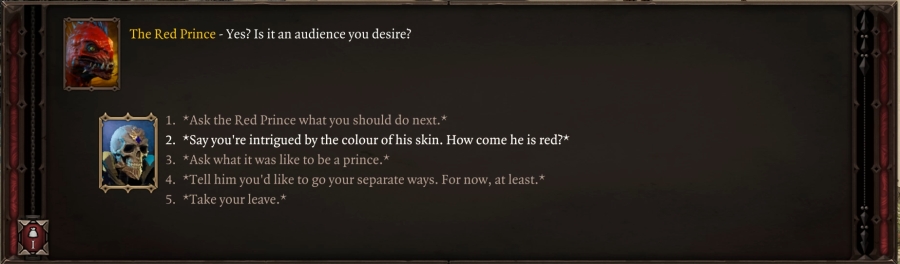 : We�ve come across� (one, two�) five lizards so far, and all of them were blue. And you�re rather famous in part because of your skin colour. What caused your unique pigmentation? : We�ve come across� (one, two�) five lizards so far, and all of them were blue. And you�re rather famous in part because of your skin colour. What caused your unique pigmentation?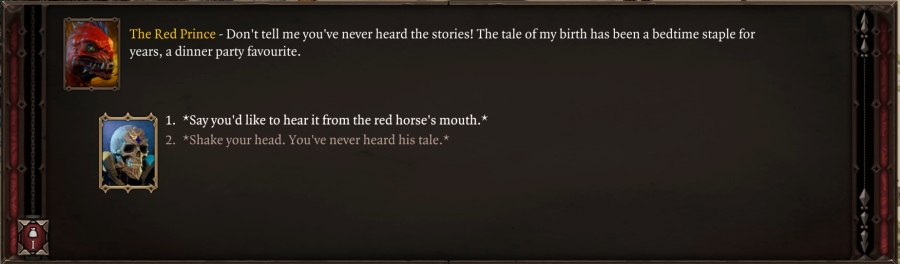 : Yes, of course I�ve heard the stories! But it�s been so long and I�d like to hear it from the red horse�s mouth, if you don�t mind.: Cute. Very well then, listen closely: One day a red sun rose, turning the desert sands into a blood-coloured sea. When my mother, roused from dreams, beheld this crimson dawn she knew the time had come, and promptly gave birth to me.: The sun rose to its zenith, but there settled refused to descend towards the beckoning dusk. Instead she hung there for seven days and seven bright, starless nights: so enamoured was she with her little Red Prince. : Yes, of course I�ve heard the stories! But it�s been so long and I�d like to hear it from the red horse�s mouth, if you don�t mind.: Cute. Very well then, listen closely: One day a red sun rose, turning the desert sands into a blood-coloured sea. When my mother, roused from dreams, beheld this crimson dawn she knew the time had come, and promptly gave birth to me.: The sun rose to its zenith, but there settled refused to descend towards the beckoning dusk. Instead she hung there for seven days and seven bright, starless nights: so enamoured was she with her little Red Prince.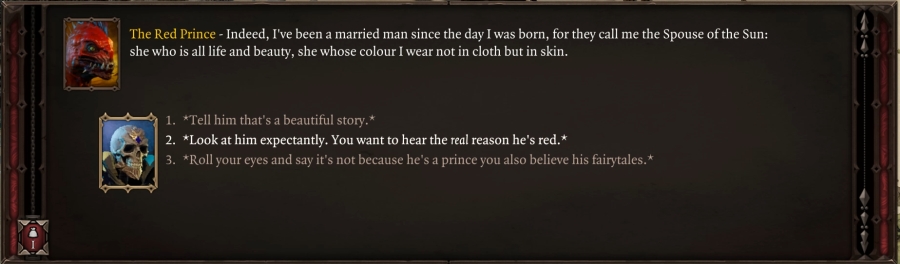 : Can you please not give me the run-around just this once?: He laughs wryly, baring rows of shark-like teeth.: There are those who believe that little legend, you know. I�m not one of them. : Can you please not give me the run-around just this once?: He laughs wryly, baring rows of shark-like teeth.: There are those who believe that little legend, you know. I�m not one of them. : Perhaps your right. Mortals can be awfully superstitious, and with teeth like that and with skin like yours, they could well have confused you for a demon.: Demonic indeed? Didn�t take long for that particular cat to come out of the bag, now did it? Meagre brains think meagre thoughts. They sully the air, like offal. I prefer to keep my distance. : Perhaps your right. Mortals can be awfully superstitious, and with teeth like that and with skin like yours, they could well have confused you for a demon.: Demonic indeed? Didn�t take long for that particular cat to come out of the bag, now did it? Meagre brains think meagre thoughts. They sully the air, like offal. I prefer to keep my distance.Touched a nerve. Prince clearly isn�t very fond of demons � he said earlier that he wasn�t religious, but he also considers himself to be a �living god.� Good to keep in mind. Also, he�s a bit uppity over appearances for a guy that�s talking to an animated skeleton. : Allow me to apologize by indulging you. In my previous life, I was a scholar, and in this one, I am lower than the lowliest of commoners. What is it like to be a prince?: More glorious than you could ever imagine. More glorious than I wish to recall here.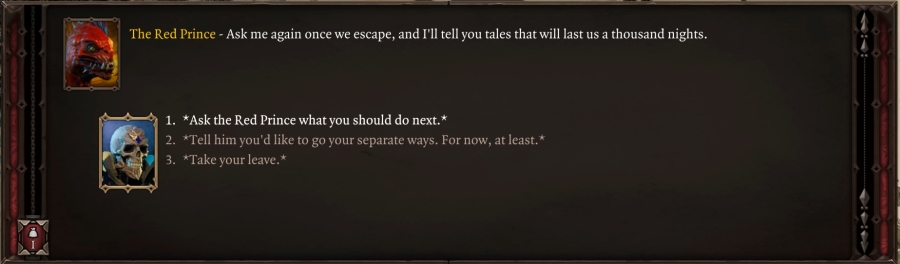 Well, at least he�s confident. And comfortable enough with us to make an arrangement like that. : Surely your upbringing involved some form of survivalist or strategic training. What do you think we should do next?: Nothing�s changed, but for our surroundings. We�re still on an island, in dire need of making for the mainland. Perhaps we simply ought to hug the coast in search of a ship. Of course, I�d much appreciate it if we manage to find Bahara first.Alright then, we have our objectives: find Zaleskar; find Bahara; and then steal The Lady Vengeance. Preferably in that order. Han mentioned that the Seekers had someone named Bahara in their group, and that she isn�t fond of strangers. If we find that hideout, we�ll also find Bahara � two birds with one stone, right there. 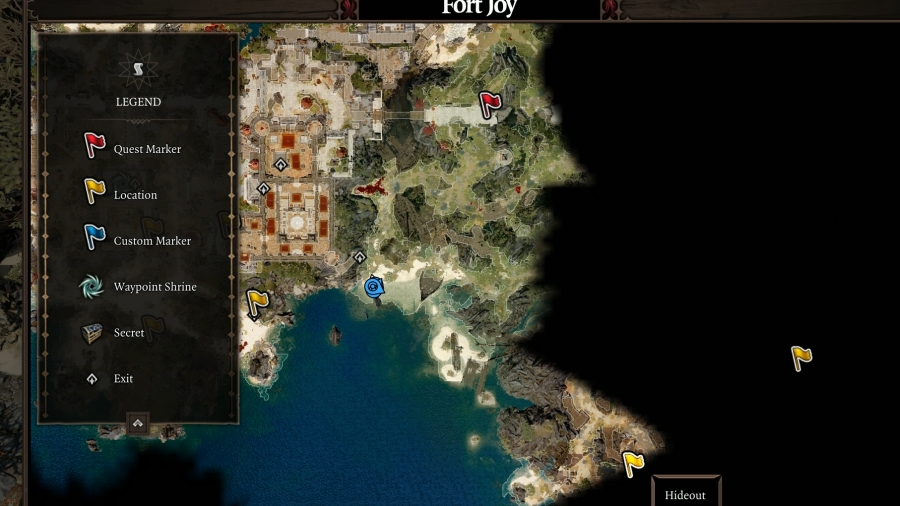 This is the map as it�s available to us. Han marked the location of the Seekers and their hideout for us: it�s a fair distance to our southeast, but the coastline cuts off, and we can�t simply walk across the beach to get there. We�ll need to at least partially detour into the Hollow Marshes in order to find this place. The red flag directly to our north is Zaleskar, awaiting a meeting with Ifan and (unbeknownst to him) Sebille. He�s closer to our current location, so� maybe I should head there first? 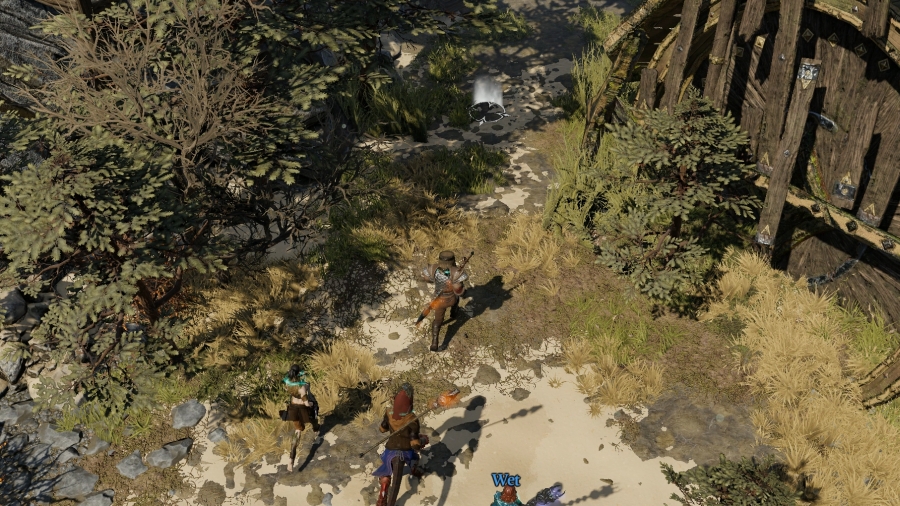 Well, we might as well start heading north� : The cat purrs loudly as it curls itself around your ankles. : Thank you for freeing me from that awful place! The air is so much clearer here: wild and free, just like me!: And� And I remember who I am now: a wizard�s cat. But the spell-flinging stinker left me behind, without as much as a look over his shoulder! : Thank you for freeing me from that awful place! The air is so much clearer here: wild and free, just like me!: And� And I remember who I am now: a wizard�s cat. But the spell-flinging stinker left me behind, without as much as a look over his shoulder!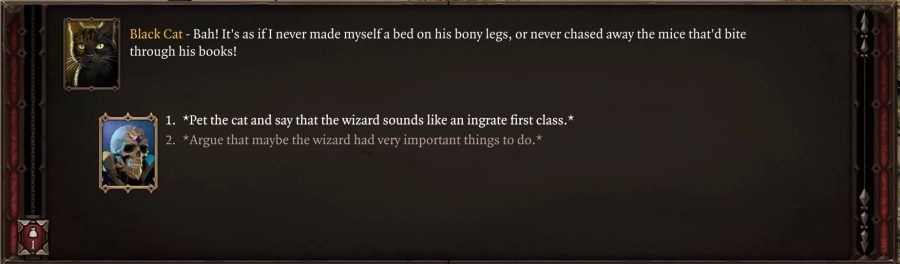 : Some people just can�t appreciate a good cat, like the ingrate that he is.: So he is! I guarded his library like a griffin would a princess�s bedchamber, and look where it got me! I can still hear him now, the crusty old cad: : Some people just can�t appreciate a good cat, like the ingrate that he is.: So he is! I guarded his library like a griffin would a princess�s bedchamber, and look where it got me! I can still hear him now, the crusty old cad: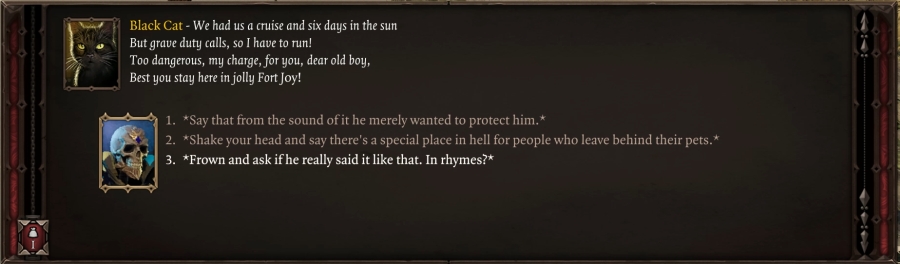 : � Really? Exactly like that? Rhymes and all?: Oh, you get used to it after a while. But that doesn�t change the fact that he left me stranded among a bunch of red-robes with prickly magic sticks! No, it�s quite, quite clear to me you are much more worthy of an honest cat�s company. You just call for me, and I�ll be there! All cuddles and claws, at your service! : � Really? Exactly like that? Rhymes and all?: Oh, you get used to it after a while. But that doesn�t change the fact that he left me stranded among a bunch of red-robes with prickly magic sticks! No, it�s quite, quite clear to me you are much more worthy of an honest cat�s company. You just call for me, and I�ll be there! All cuddles and claws, at your service!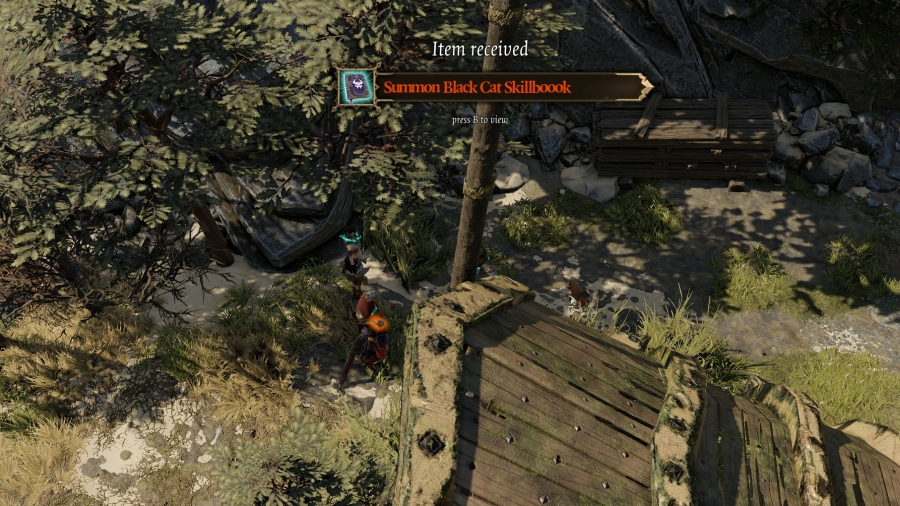 The cat vanishes in a puff of smoke, but he leaves behind a unique skillbook: the Summon Black Cat skillbook. For unique skillbooks like this one, you don�t require any points in any school: just give it to whoever, and they�ll learn the spell at the cost of one Memory slot. That said, if you have any points in Summoning, then unique summons like the cat will be stronger, so it might still be worth your time to invest a point or two if you really want. 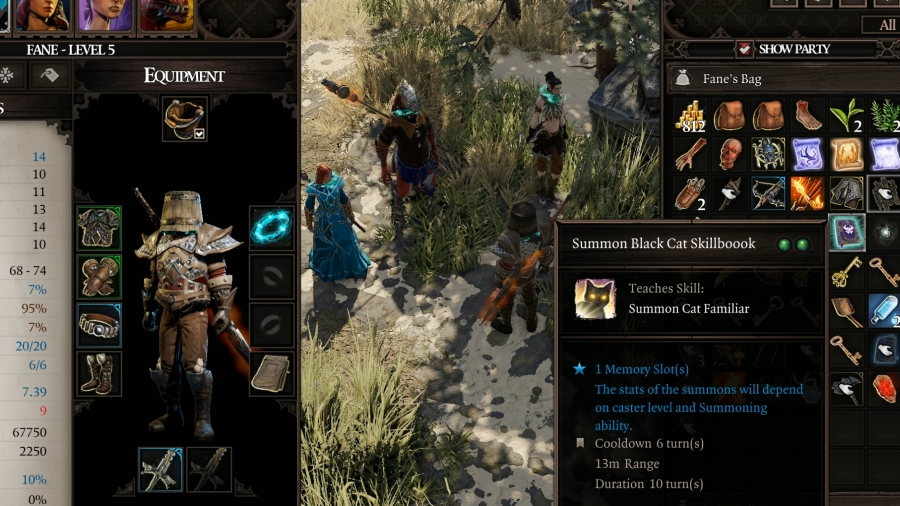 The cat really seems to like Fane in particular. Since Fane doesn�t have Pet Pal, he can�t summon both the cat and Splodey; he can only have one at a time. There aren�t a lot of familiars in the game, and their use isn�t typically in their strength; it�s in their utility. Like all summons, the black cat can be controlled in battle, but as you�d probably expect from a housecat, it�s not very strong. Giving the cat familiar to your tank is a fairly decent decision for the sort of combat utility the cat can provide, which I�ll demonstrate in a moment. 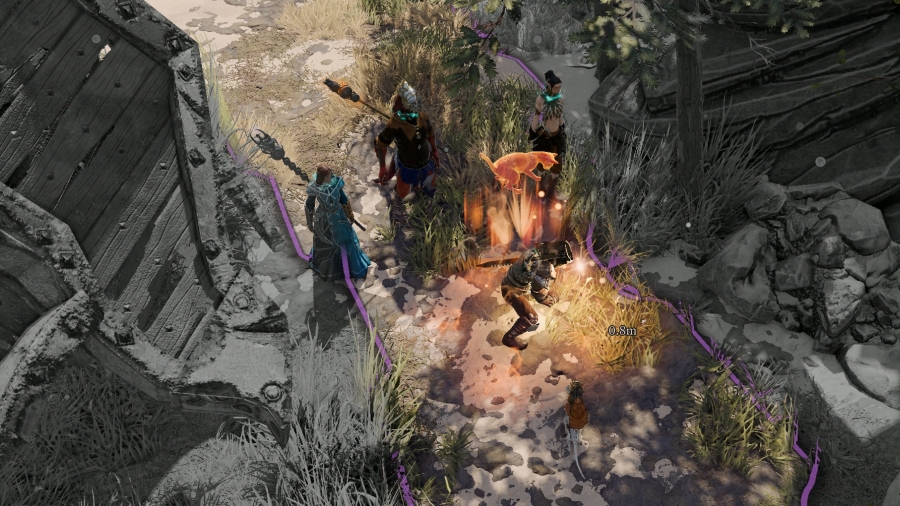 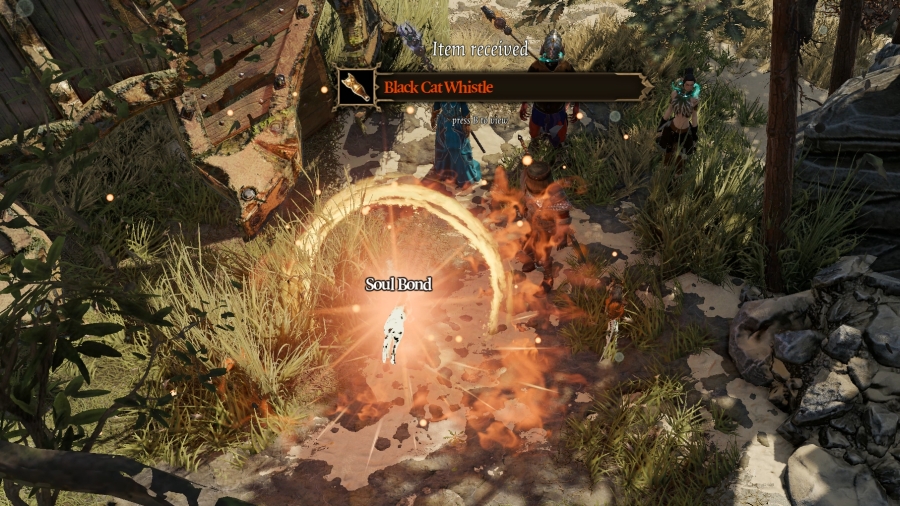 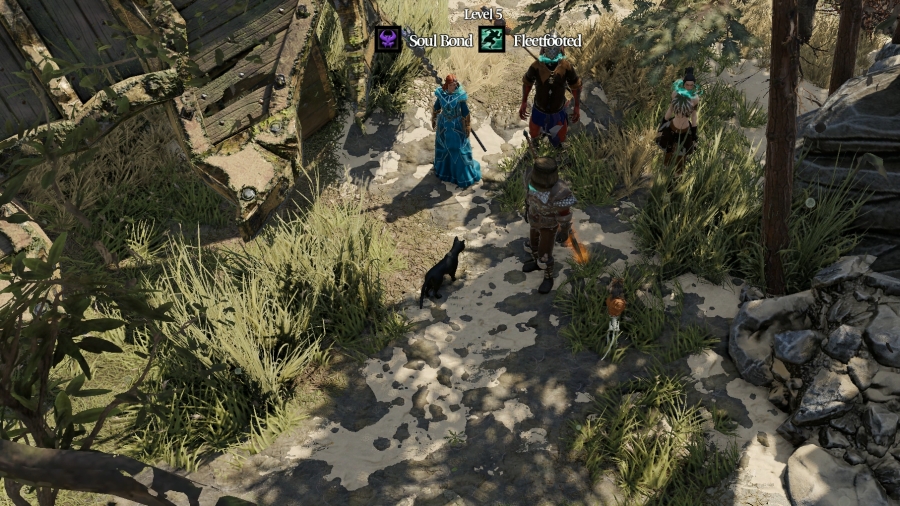 So, now we can summon the black cat whenever we like, and it�s no longer a liability in combat: it�s now a summon. It can (and will) die in combat, but it doesn�t die; I just need to summon it again when it does. 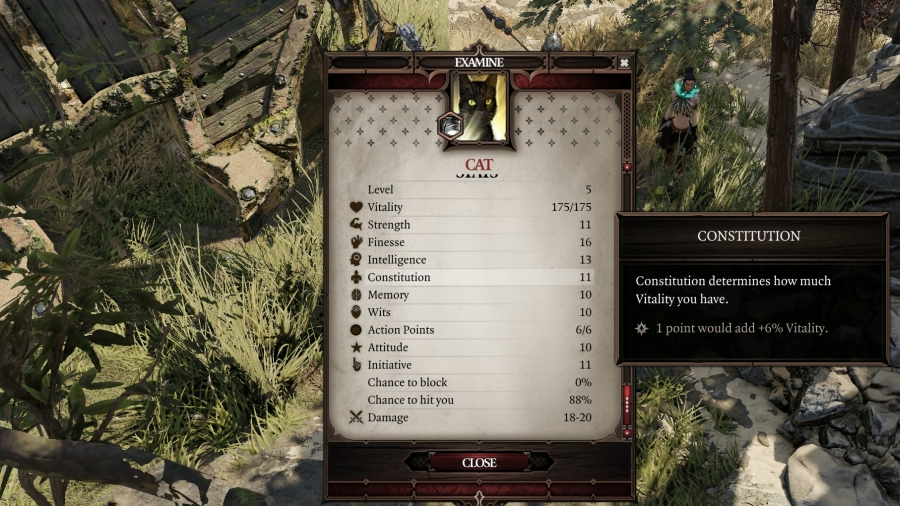 It has a fairly high Finesse score, but it�s otherwise lacking everywhere else. This cat isn�t a fighter. However, it also gave me this�. 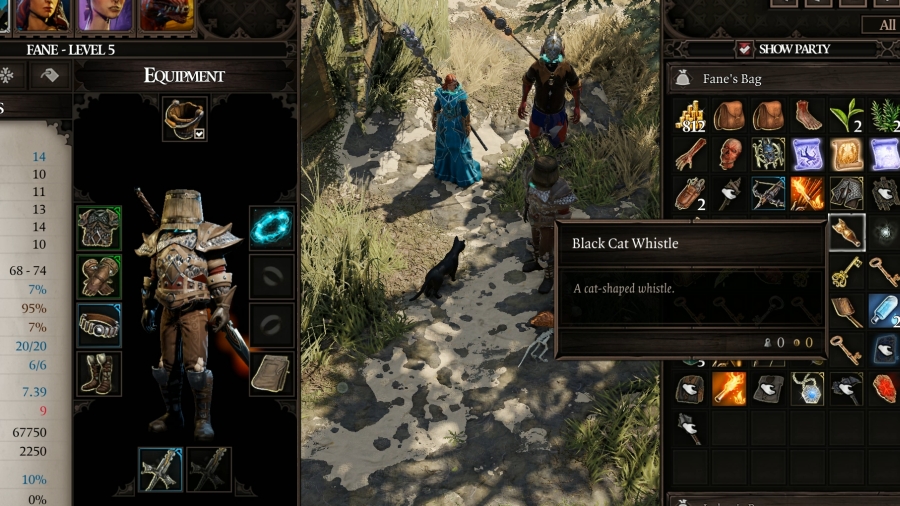 This is a Larian Gift Bag mod: when you summon the black cat, it gives you this cat whistle that you can give to anyone in your party. Upon use, the cat is �summoned� to whoever blew it and it sticks with them until someone else blows the whistle, or it dies. I put the word �summoned� in quotes because using the whistle doesn�t summon the cat like casting the spell does; rather, it spawns a cat that is friendly towards you and will fight in battles with you, but, since it isn�t a summon, you can�t control it, and therefore it loses the utility that it has. It�s controlled by the AI and it�s little more than a roaming meat shield. Well, except�. 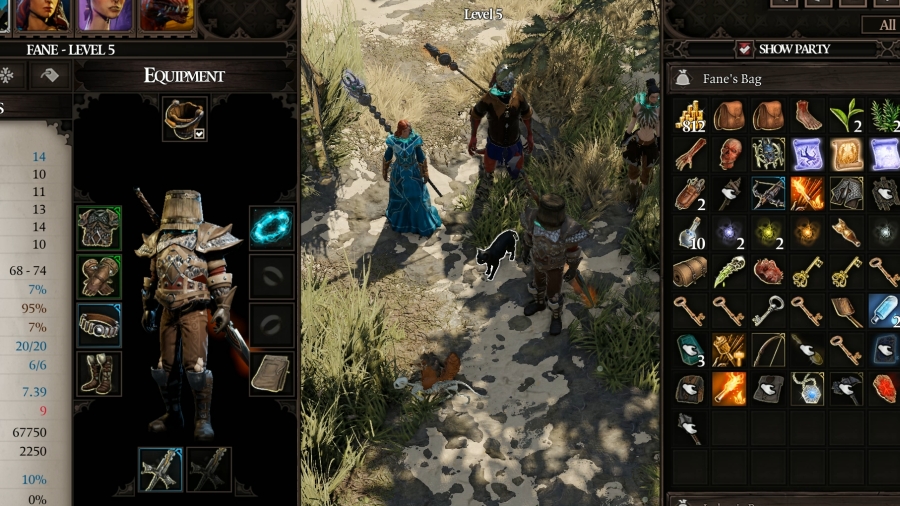 : If you don�t see me, blow the whistle. Then I�ll find you again. : If you don�t see me, blow the whistle. Then I�ll find you again.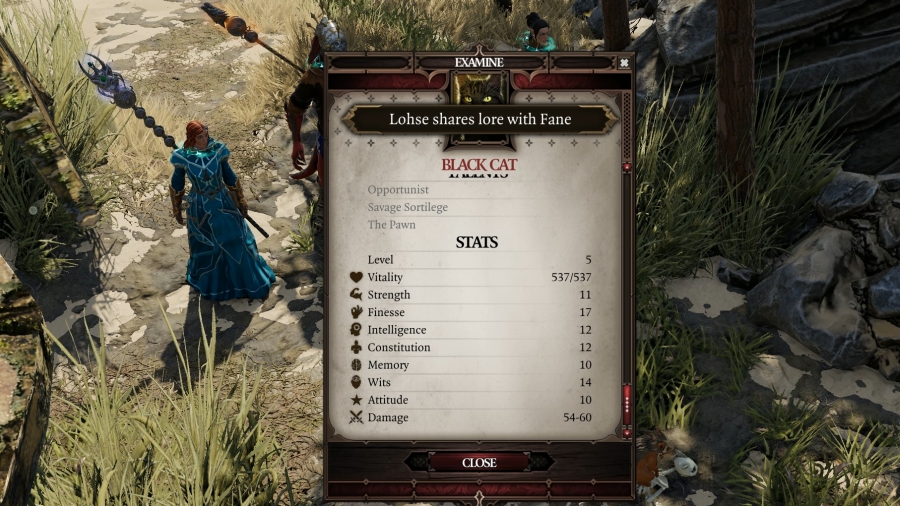 When you use the whistle, the cat has three times the HP and it does three times the damage per swing. When the cat�s been whistled instead of summoned, it can do up to 60 damage per strike. For comparison, Fane can do up to 74. It depends on what you want from the cat. Do you want the utility it provides in battle (which I�ll explain later, in an actual fight), and do you want to control it as a summon? Then summon it as a spell. Do you want it to be a borderline tank that can claw nearly as hard as a magic-infused fire-enchanted two-handed bastard sword can swing, but without any utility and without your ability to control it in battle? Then call it with the whistle. Also, calling it with the whistle means the person that normally summons it has a free spot to summon something else� such as Splodey, for instance. Before we move on, it�s official that we own this cat now. What should we name our cat? For this update, I will name him Shoe, after a cat in one of the Ace Attorney games. And it�s definitely a male cat, based on its voice actor. Finally: you can�t buff familiars like Shoe with Farsight or Power Infusion. I�m guessing the game considers familiars and summons to be different. 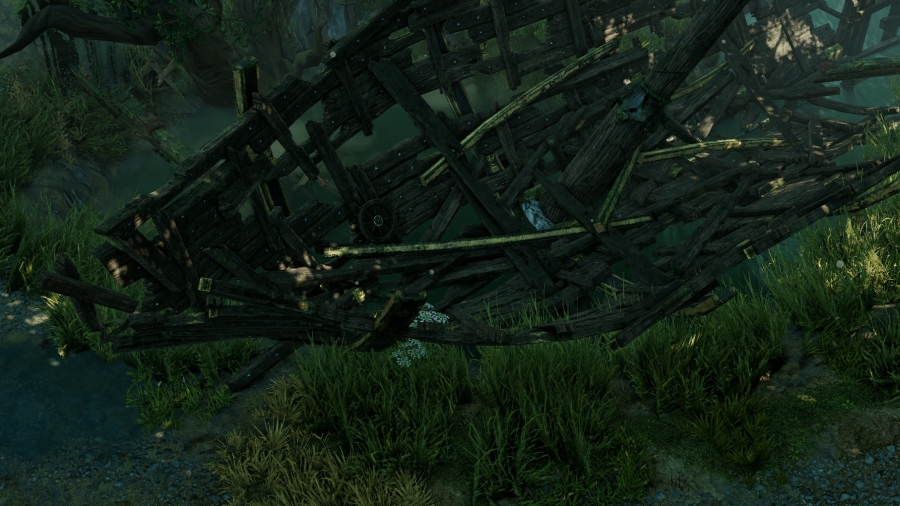 Heading north, into the Hollow Marshes, there�s another skeleton of a ship that�s been washed fairly deep into the swamp. This island is full of them, for sure. 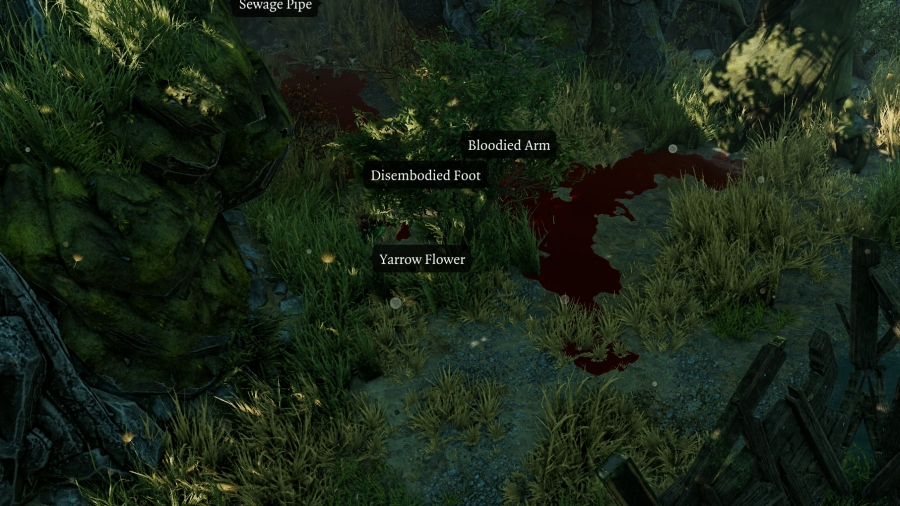 There�s a lake of blood leading out from a sewage pipe, along a number of shredded limbs and other body parts. This must be the exit to Kniles� playground. Sebille! Hope you�re hungry! 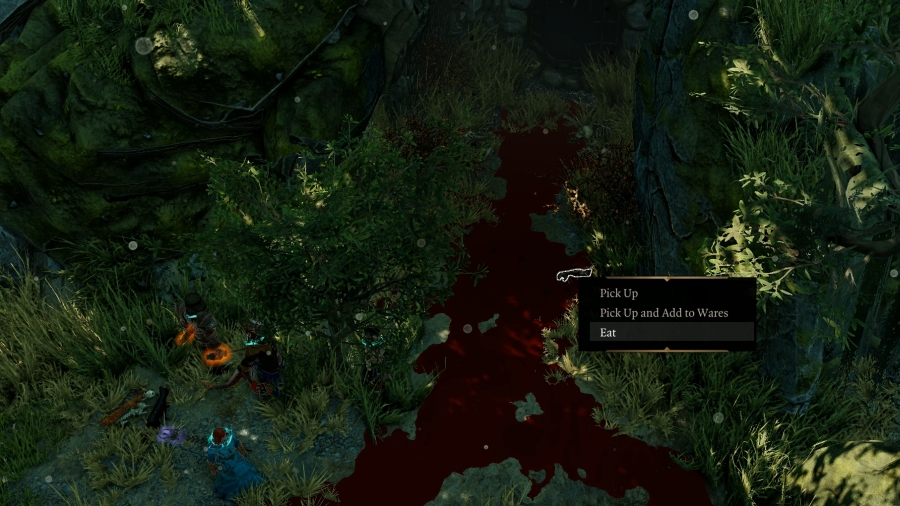 : You hardly recognize him, but� there he is. Alexander. You�re shocked to see a Sourcerer�s collar around his neck. He seems so different now, compared to how he looked back in school�: You seem him coming for you. You saw what he did to the others. You pray, you pray, you pray, you pray� : You hardly recognize him, but� there he is. Alexander. You�re shocked to see a Sourcerer�s collar around his neck. He seems so different now, compared to how he looked back in school�: You seem him coming for you. You saw what he did to the others. You pray, you pray, you pray, you pray�Fun story! Since I�m here, I might as well open up the grate. Maybe Trice is in there, still waiting to be rescued. 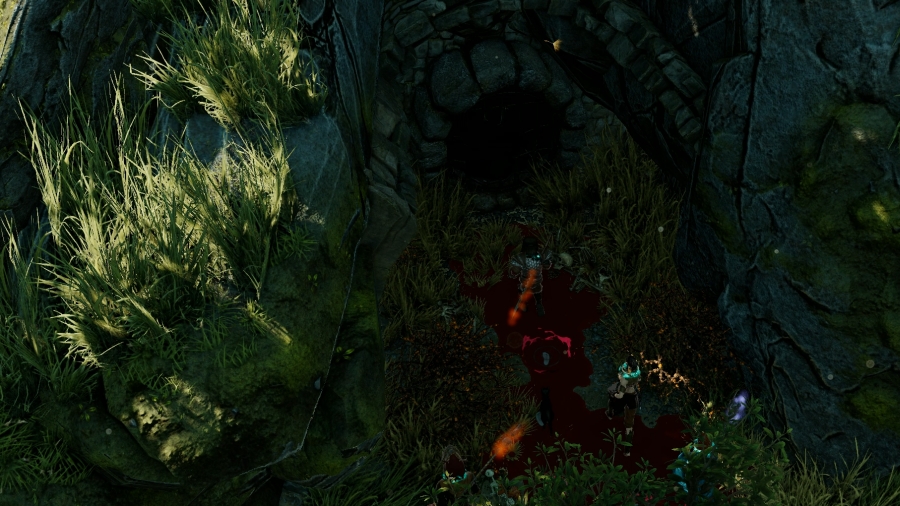 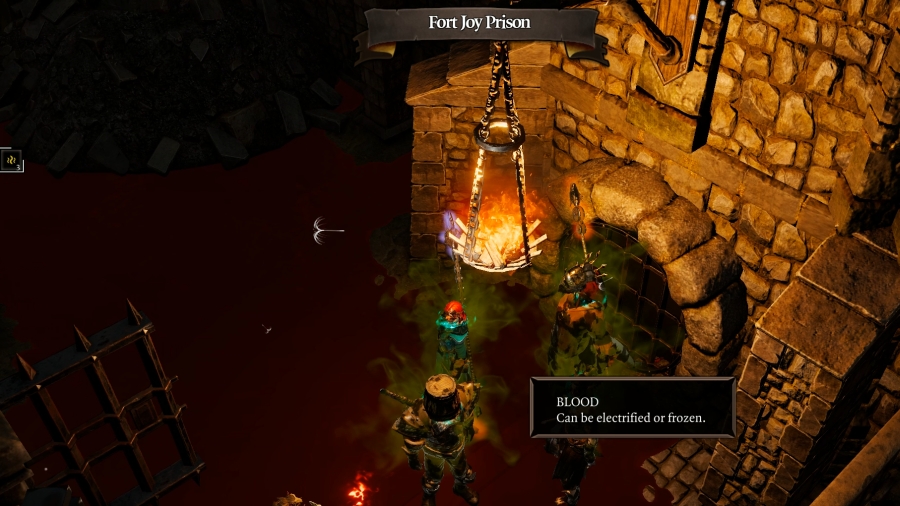 � Nope. She�s gone. 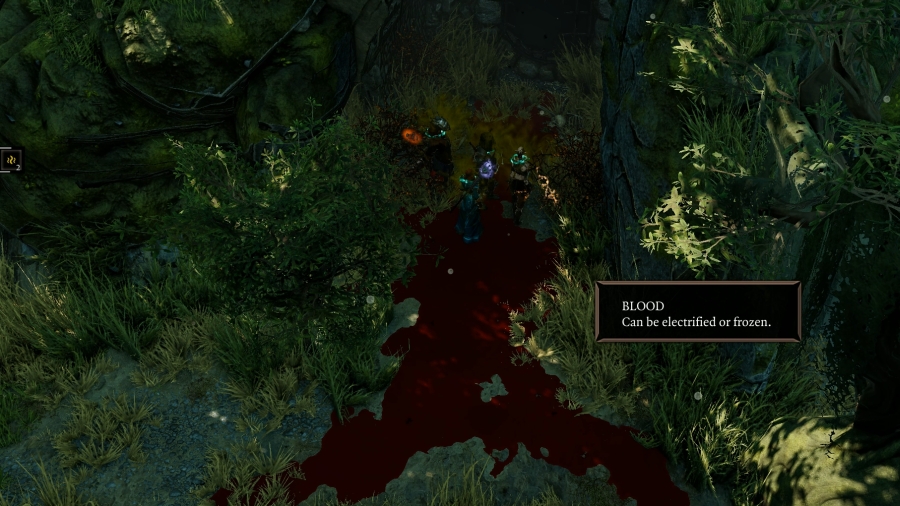 All I have to show for going through the sewers like that is getting all smelly. Trice has vanished. Well, Kniles was dead when I found her, so� at least he couldn�t possibly be a part of her fate, wherever she is now. (The Smelly condition lowers your attitude with all NPCs, but it also makes you less attractive to melee-based opponents. A Talent makes you permanently Smelly, which can be useful for your squishy mages.) 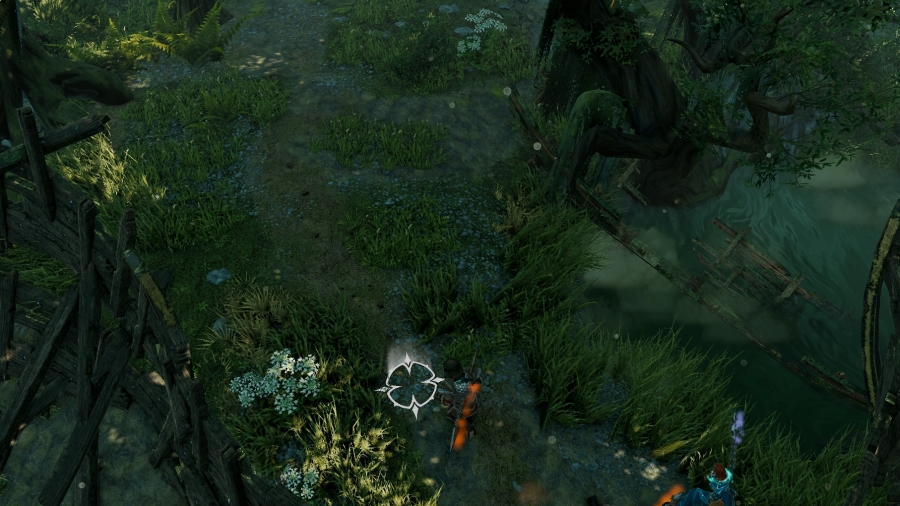 Man, there�s a lot of wrecked ships in this swamp. 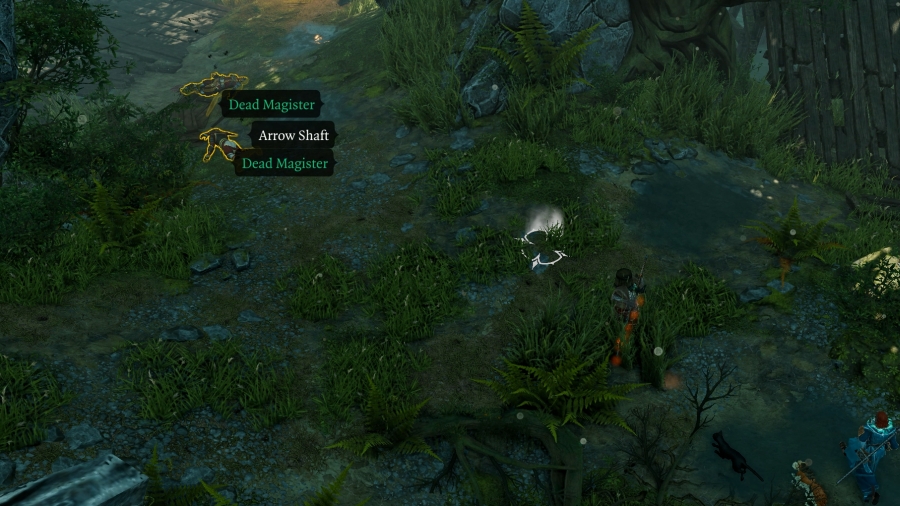 Oh, good, something else that�s dead. A few Magister corpses lie in the middle of the road. Which is cool and good and all, but it�s also pretty likely that who or whatever killed them is nearby. I should prep for an ambush. 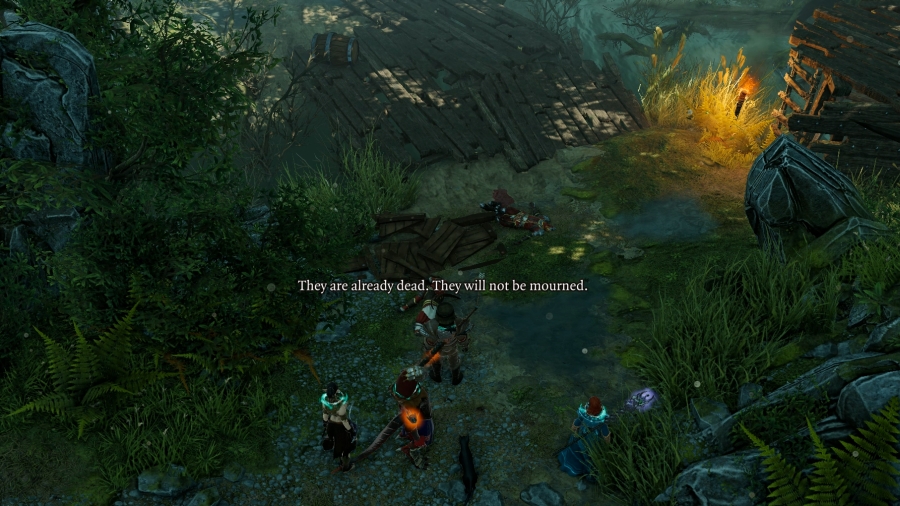 The closer body doesn�t have anything on it; the further one has some gold that they won�t be needing anymore, as well as a direct order from Dallis herself:  Han mentioned finding some �weapons� to combat the Magister Shriekers. I suppose it might make sense for Braccus Rex to create a method to control his own bioweapons via some weapons he personally created. I don�t know how I feel about the Seekers, who are supposedly the good guys that I want to be friends with, are also after this guy�s armoury, though. 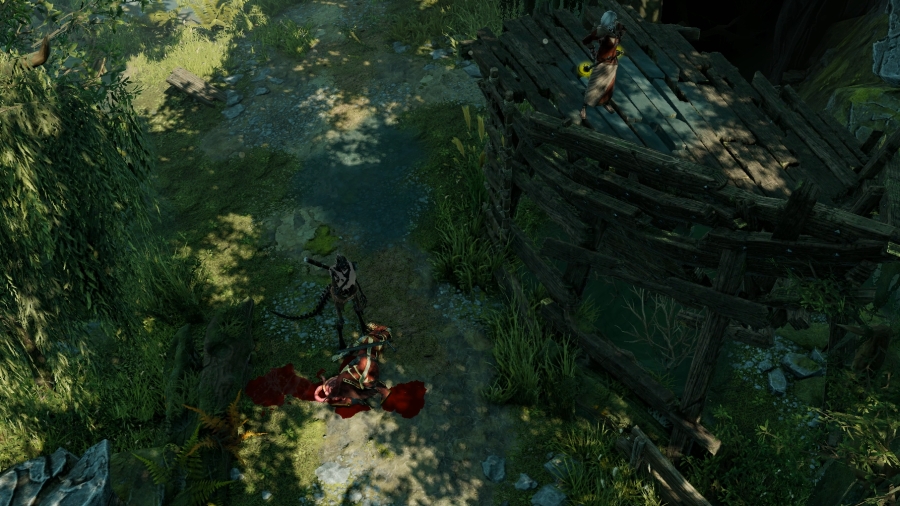 Just a little ways further up the swampy road, and� I was expecting an ambush. I guess it�s nice that they�re just� standing there and waiting for me. Takes a bit of the surprise out of it, though. Two undead: a lizard and a human. The lizard is a fighter and the human is a mage, and the human has the high ground. Is this all the Hollow Marshes has? I heard this place was �haunted.� It could have a thousand undead and it wouldn�t be any scarier. Skeletons lose their spooky scariness when I am one myself. 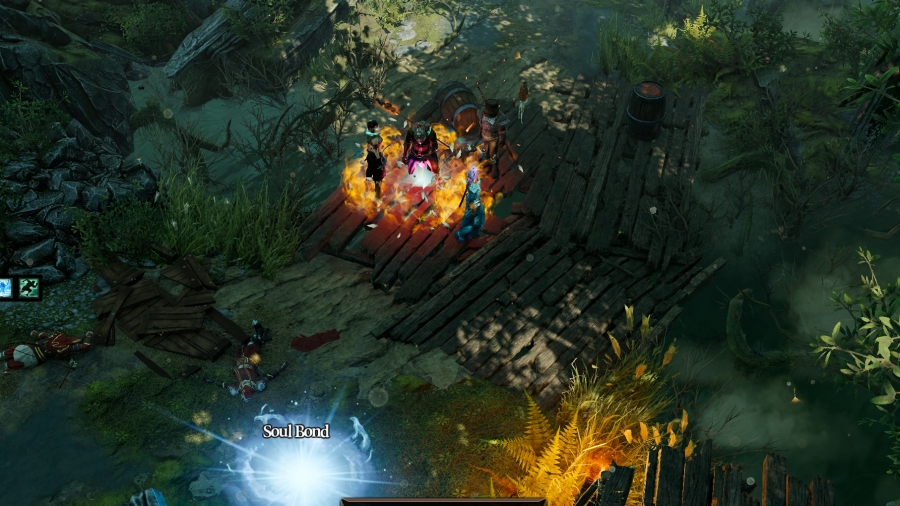 Prince takes the time to summon the incarnate on a puddle of water. The Restoration spell could come in handy in dealing with undead. Speaking of! I had asked what we wanted to name him in the previous update. There were a bunch of suggestions, but we also didn�t really come to a consensus on any of them. Some of us also wanted a bunch of different names for if the incarnate is different elements, which is just too much for me to remember � I have precious few wrinkles in my brain and I need them for things like remembering my own phone number. The only suggestion that got more than one vote was Attendant, so, that�s their name. It�s gender-neutral, too! Anyway, Prince summons Attendant and gives them their Farsight and Power Infusions before Fane walks right into the skeleton�s �trap.� : You hear a dry cackle from the platform above. Turning, you see a rickety corpse staring down at you. : This being Braccus Rex�s island, presumably, you�re referring to him. He�s been dead for many generations, you know. You don�t have to serve him any longer.: The skeleton laughs, its ribs shaking and clacking. : This being Braccus Rex�s island, presumably, you�re referring to him. He�s been dead for many generations, you know. You don�t have to serve him any longer.: The skeleton laughs, its ribs shaking and clacking. : Do you think I missed the centuries passing? The beast may be rotten as I, but his curses remained. At least, until our new master arrived. : Do you think I missed the centuries passing? The beast may be rotten as I, but his curses remained. At least, until our new master arrived. : A new master? One with the power to trump Braccus Rex and his curses? Who could have such power, and where did they come from?: Oh simple mind! My master has always been � it is we who came into being. He has given me life, and in return I must take yours. : A new master? One with the power to trump Braccus Rex and his curses? Who could have such power, and where did they come from?: Oh simple mind! My master has always been � it is we who came into being. He has given me life, and in return I must take yours.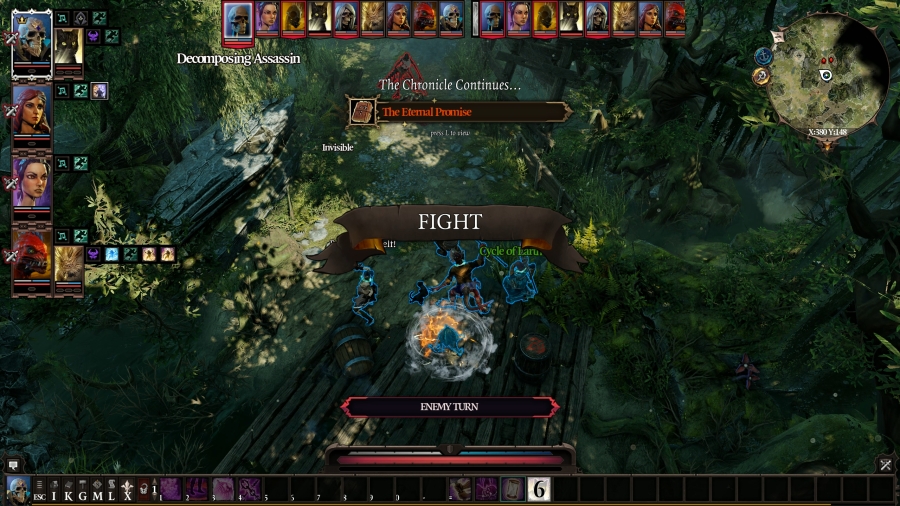 : Combat Music 1: Enjoy The Hollow Marshes : Combat Music 1: Enjoy The Hollow MarshesA new master, she says? One that�s even older that she is? I wonder how much of that is just hot air. 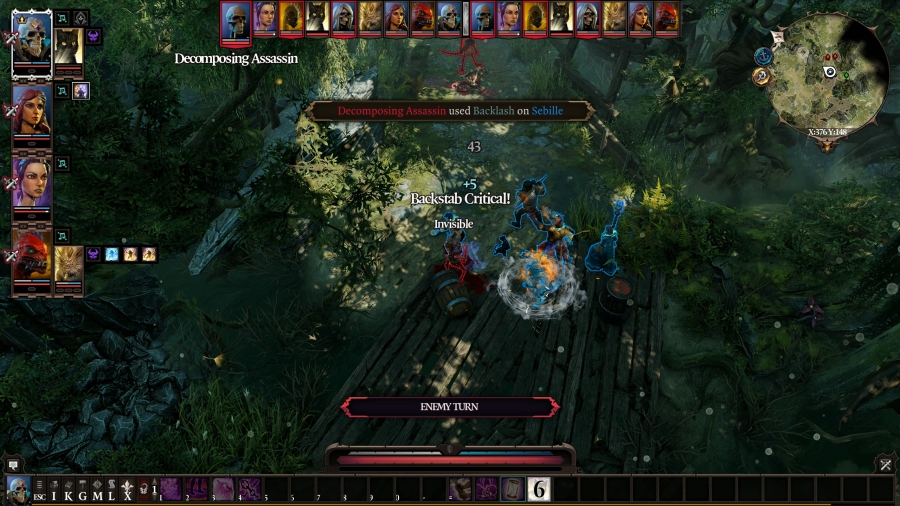 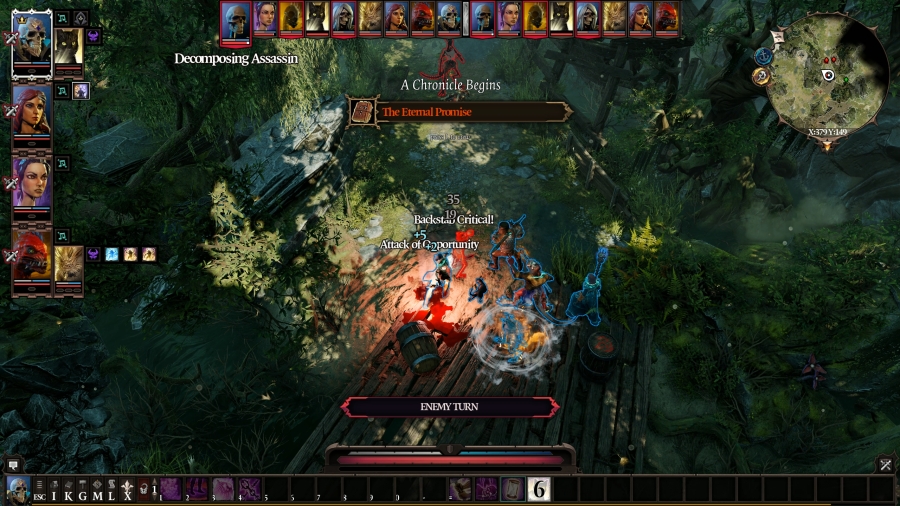 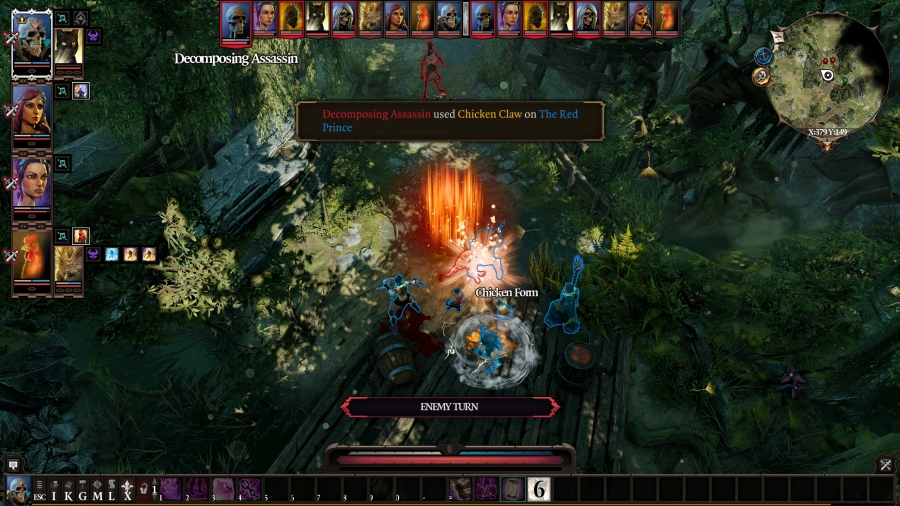 Turn 1 It�s not just the fighter and the terramancer: the undead team also has an assassin that opened the fight invisible. Rather than try to do anything particularly fancy, it instead uses Backlash on Sebille and then hits Prince with Chicken Claw, taking an AoO from Sebille for it. Chicken Claw is a pretty devastating attack to get hit with � at least he didn�t rupture my tendons first. 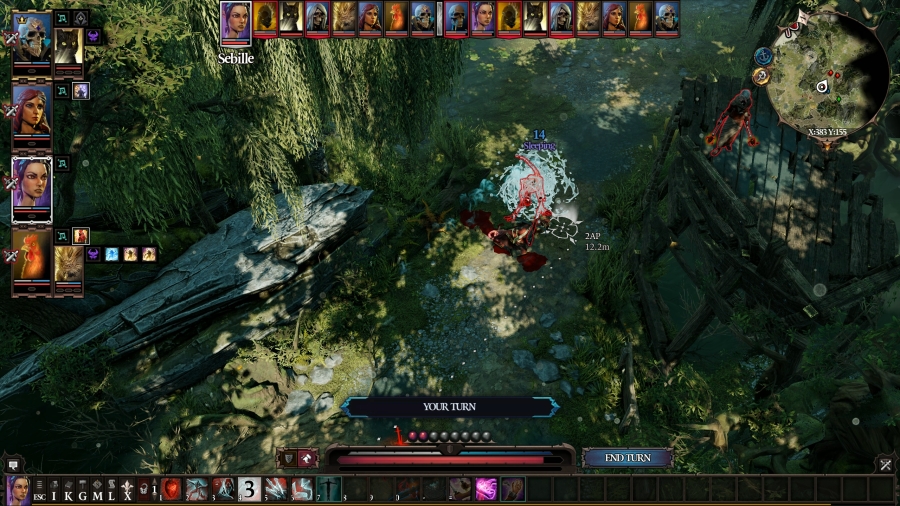 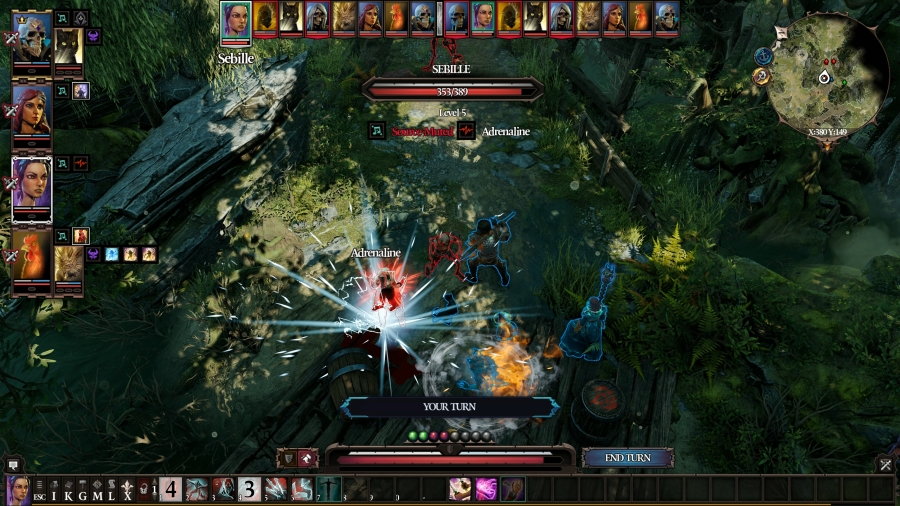 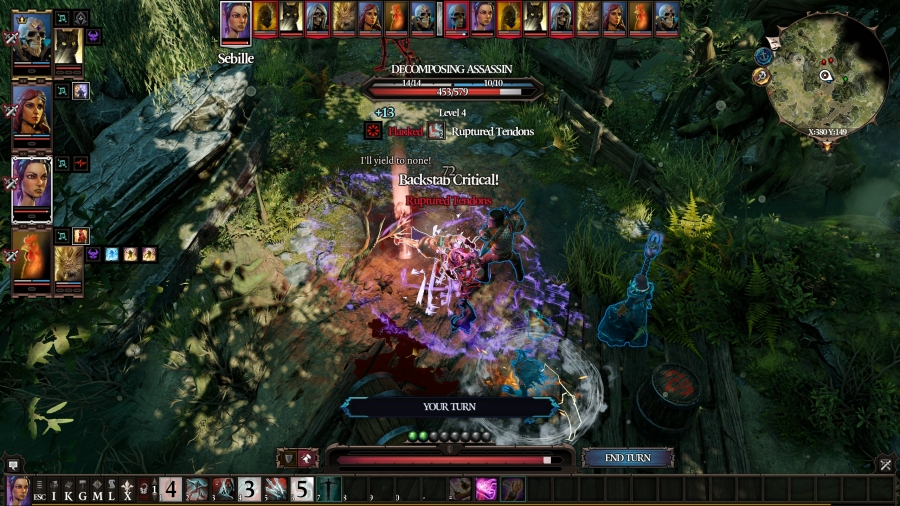 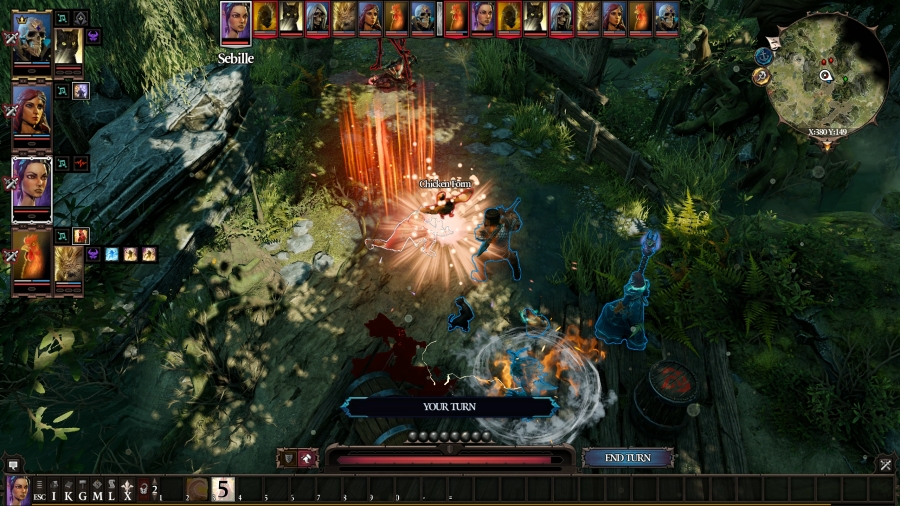 Sebille knocks out the fighter (or, as the game calls it, the Swashbuckler) with Chloroform, and then boosts herself with Adrenaline so she can get the Assassin with his own trick, plus a little extra. Man, you�d think the Divinity: Unleashed mod would have done something about this combo, but nope. I�m kind of glad they didn�t � it�s honestly just a ton of fun turning people into chickens and then watching those red numbers pile up and up and up. The Swashbuckler takes her turn waking up. 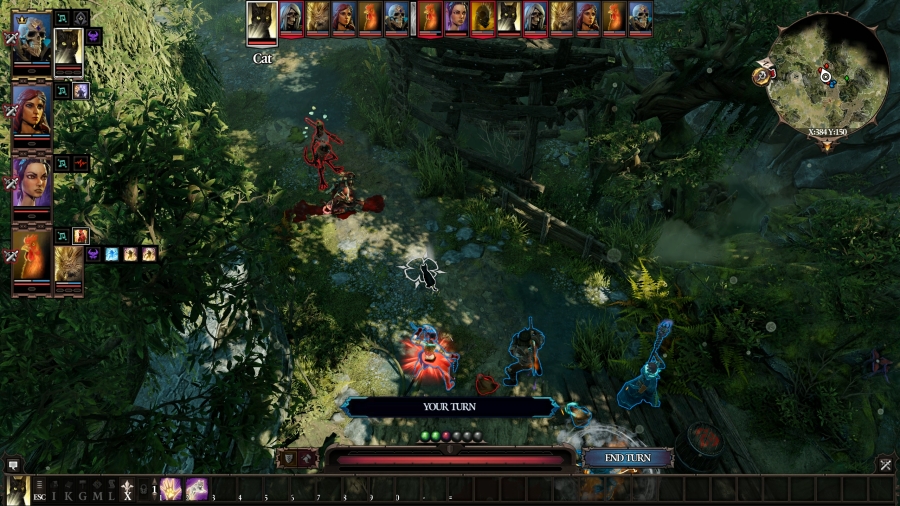 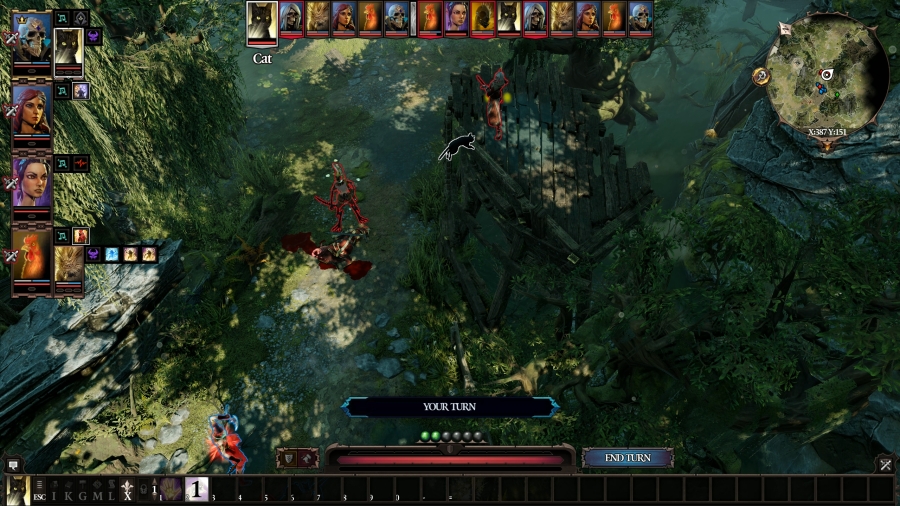 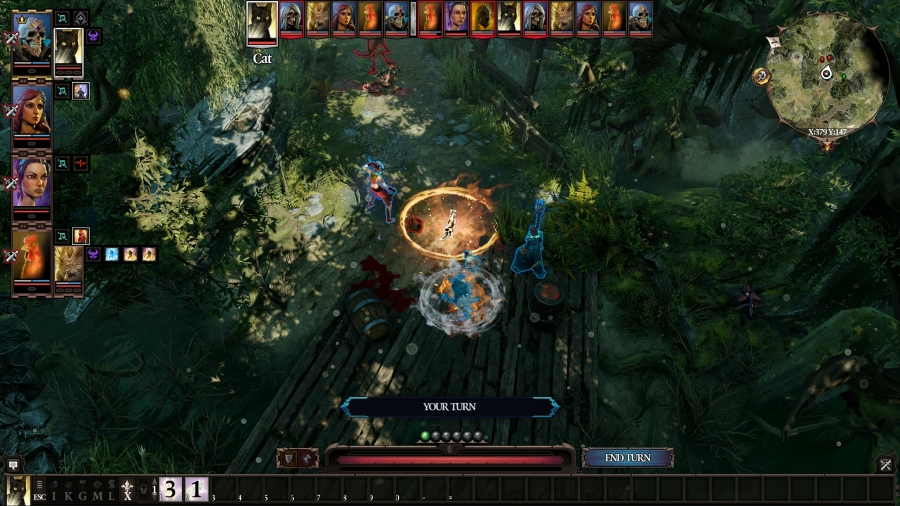 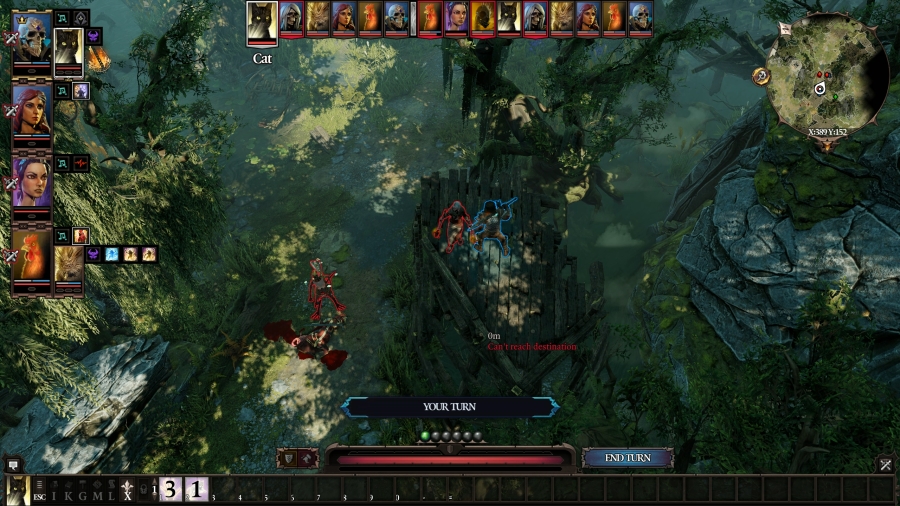 It�s time for Shoe to shine! Shoe has two abilities to his name. The first is Feline Leap � cats, as you might be aware, are very good at jumping. Feline Leap is a self-teleport spell that can instantly give Shoe the high ground anywhere nearby, and unlike other self-teleport spells, Feline Leap only costs one AP and it has a cooldown of one turn. The second ability is Swap Places. It�s also a one-AP ability that will have Shoe swap positions with his master. The Aerothurge school gets a similar skill later down the line. So, what Shoe did for this turn is approach the battlefield for one AP; jump onto the elevated platform next to the Terramancer for one more AP; Swap Places with Fane for one more AP; and Shoe still had one AP remaining to use how I liked (I pass the turn, saving it for next). Just like that, Fane not only has the high ground, but he�s immediately threatening the enemy Terramancer, which is not a fight she�s going to win. That�s Shoe�s utility. If he�s a summon, he can ninja his way into the enemy back lines or high ground, and then, provided he has Line of Sight on his summoner, he can swap places with them for an instant positional advantage. Shoe isn�t a fighter, but as long as he�s on the field, your mobility, especially for someone as clunky as a tank like Fane, is unparalleled. If you call Shoe with the whistle, then you lose all of that in exchange for an AI-controlled cat that admittedly hits pretty drat hard. Which can be useful for flatter battlefields, but you�ll generally want Shoe to be summoned, not whistled. 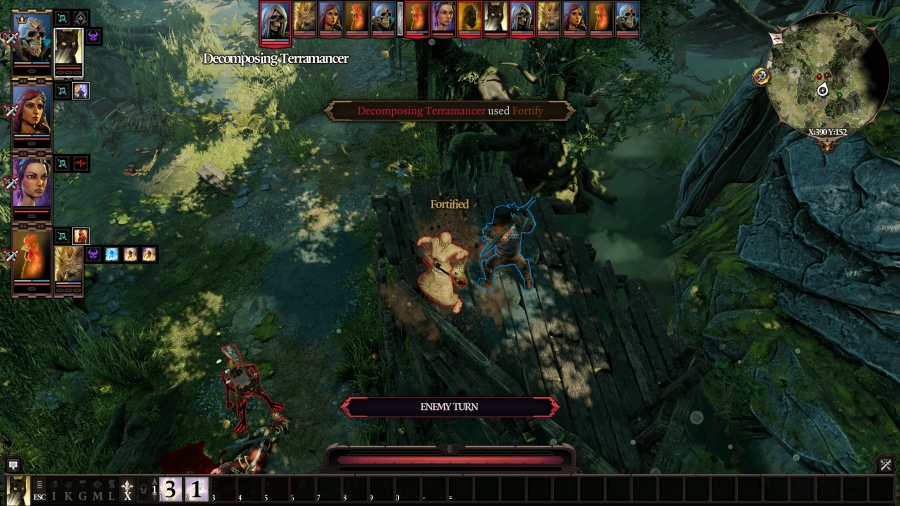 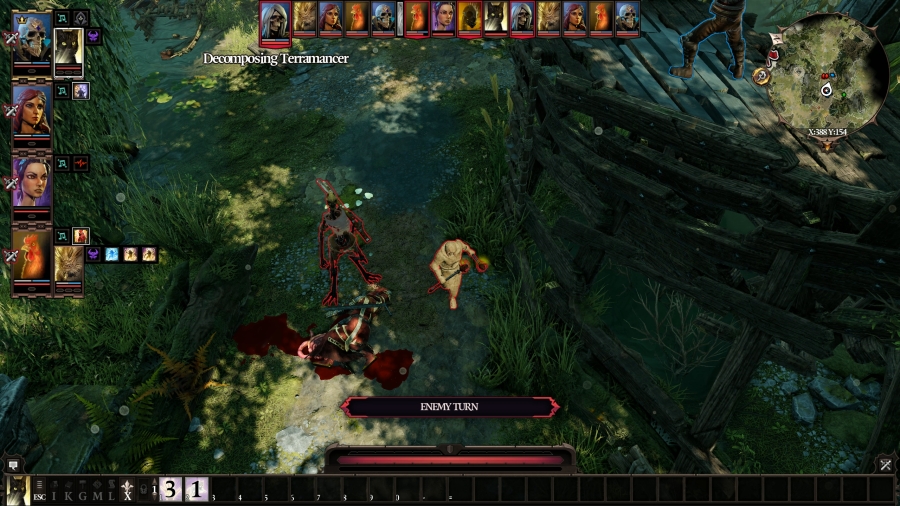 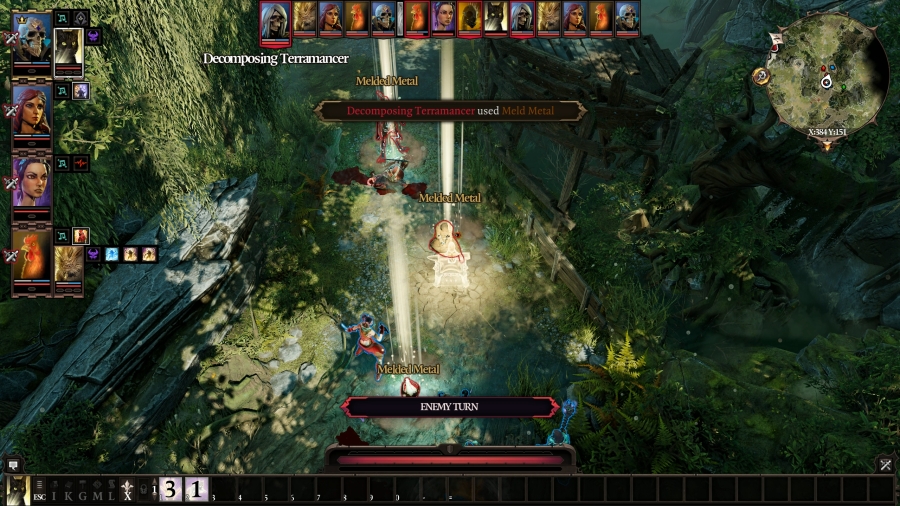 The Terramancer, rather than try to contest Fane for the high ground (again, she�s not going to win, and she probably knows that), immediately Fortifies herself and then runs into the center of the battlefield to cast Meld Metal. I believe I�ve talked about this spell before, but just in case: in the base game, this spell is called Mend Metal, and it restored the physical armour of the caster and of all the companions within a radius around them. In the Divinity: Unleashed mod, since physical armour doesn�t deplete, there�s no reason they need to be �mended,� so it was renamed to Meld Metal, where it does approximately the same thing: it increases the physical armour of everyone nearby. 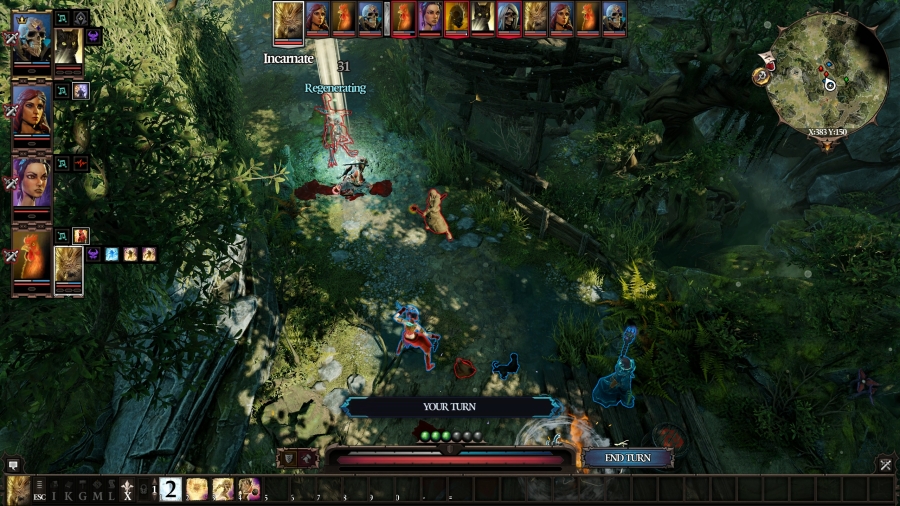 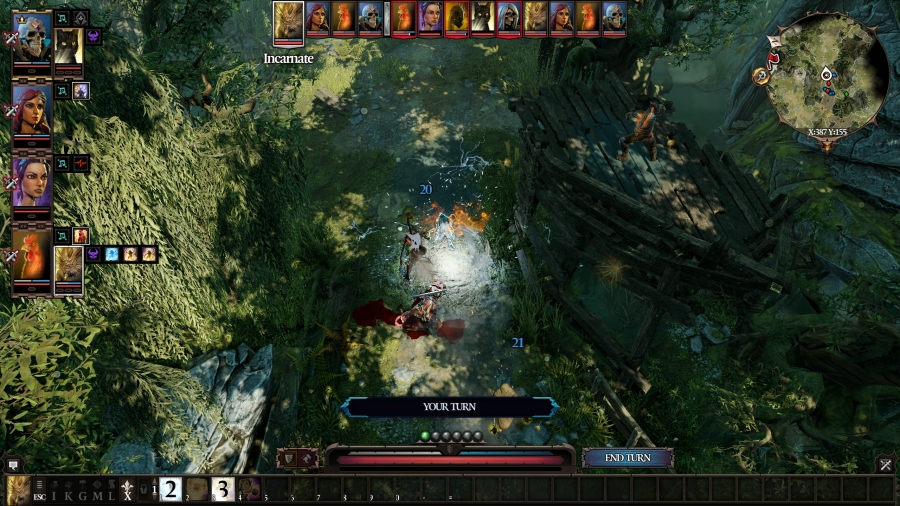 Attendant hits the Swahsbuckler with Restoration, and then charges in with Battering Ram, hitting both her and the Terramancer. Attendant does pure water damage, and the Swashbuckler has the lower magic armour, so it wants to focus her down. 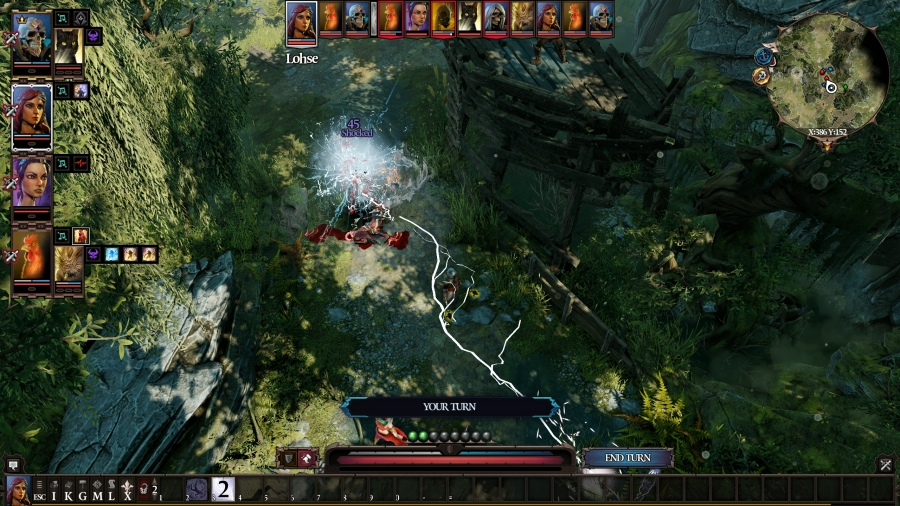 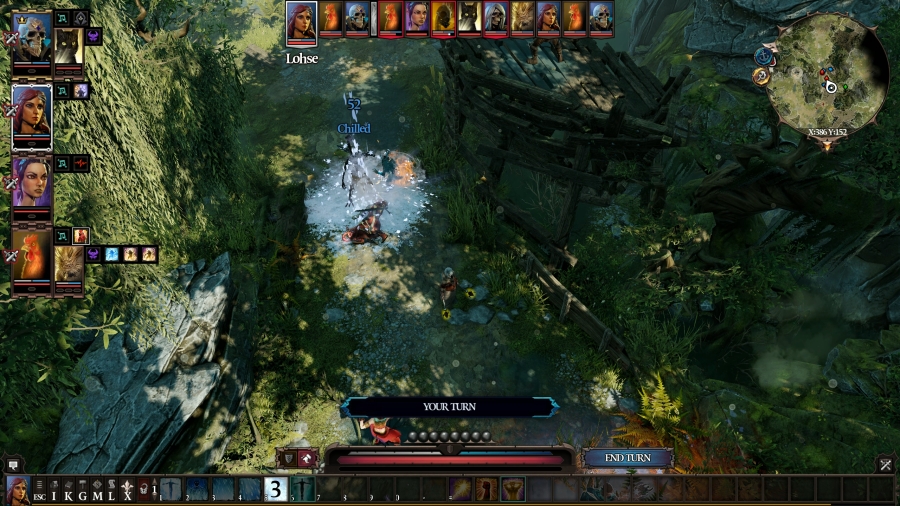 Lohse does the same thing, focusing down the Swashbuckler with her magic damage from a safe distance with Electric Discharge and Winter Blast. The Swashbuckler�s been hit with a ton of status effects now and she�s unlikely going to be able to do more than one action next turn. 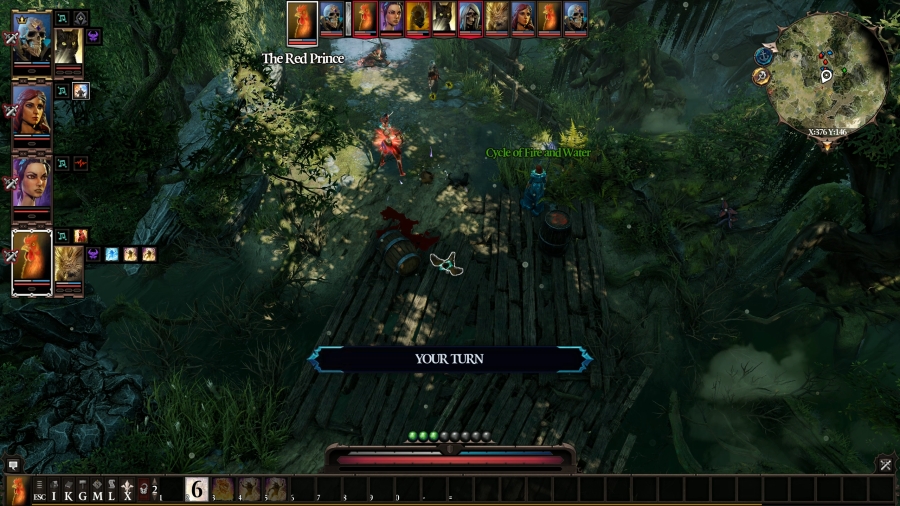 Prince The Chicken decides to nope out as far as his little chicken legs can run. 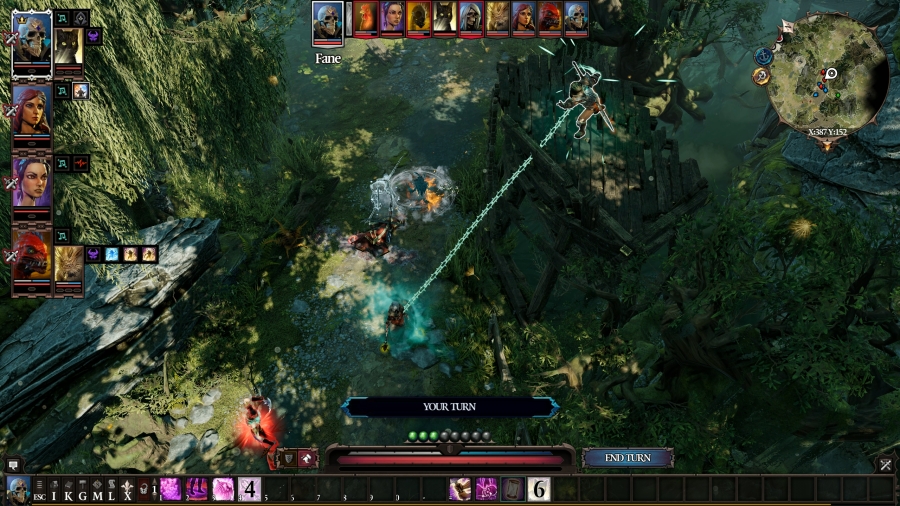  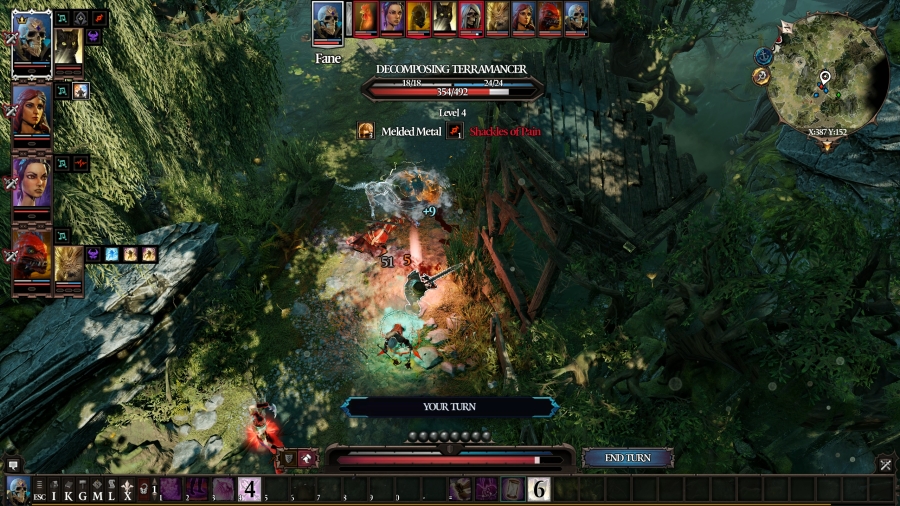 Fane goes last, thanks to his trusty bucket. He casts Shackles of Pain on the Terramancer and then runs down to hit her himself. He takes an AoO from the Swashbuckler, but that�s what he wanted: all the damage he takes is duplicated onto the Terramancer with Shackles of Pain active. 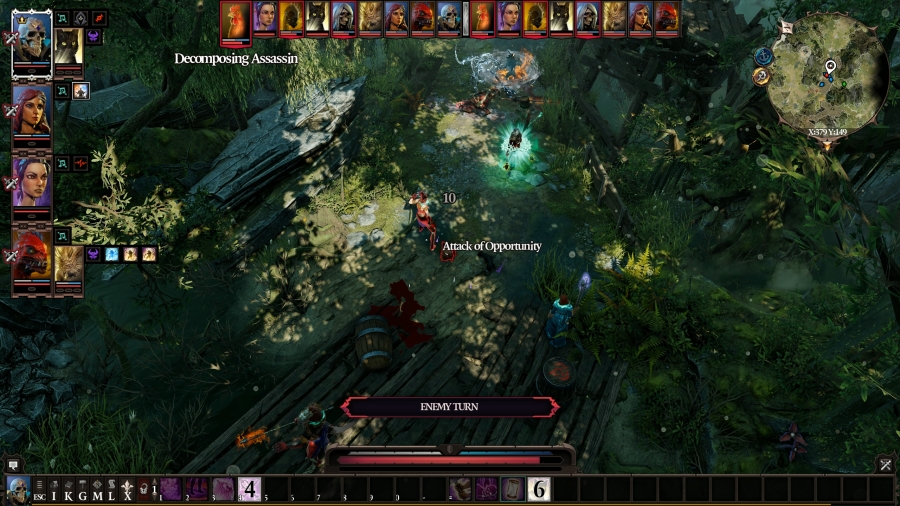 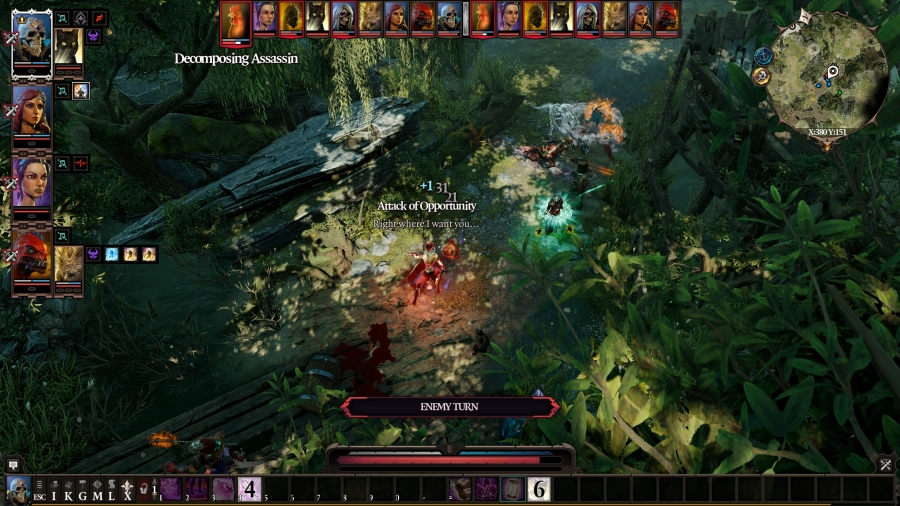 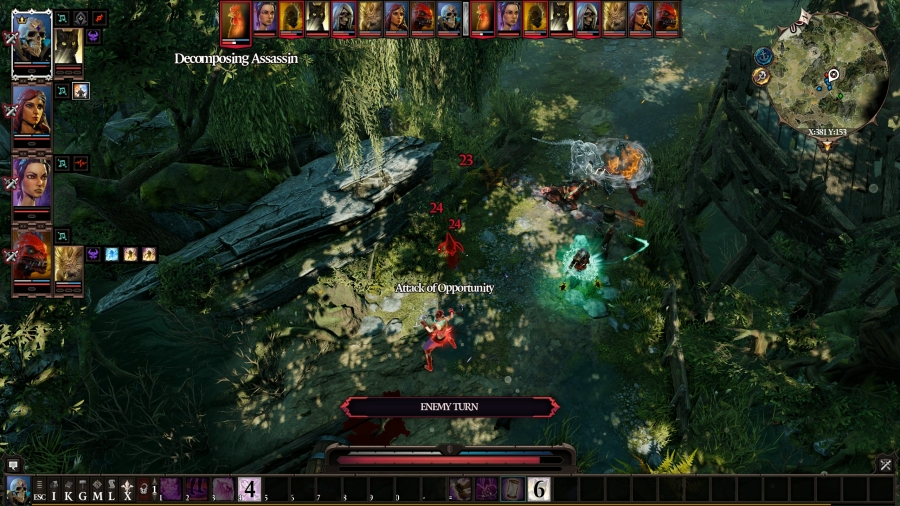 Turn 2 The Assassin Chicken attempts to run, but is got by both Shoe and Sebille, even despite the chicken�s absurdly high dodge rate. Thanks to Ruptured Tendons, when his turn is over, he�s put down to less than half HP total. Sebille�s turn is next, but because of Adrenaline, she only has two AP, so she passes. 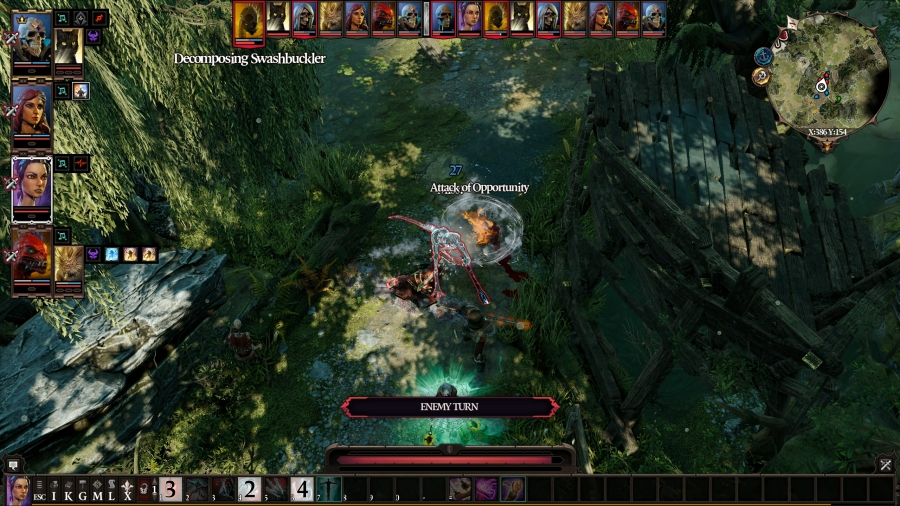  The Swashbuckler has just enough AP to use Battering Ram on Fane and Lohse, knocking them both down. She even gets a crit on Fane � but because of that, she also crits her partner, the Terramancer. 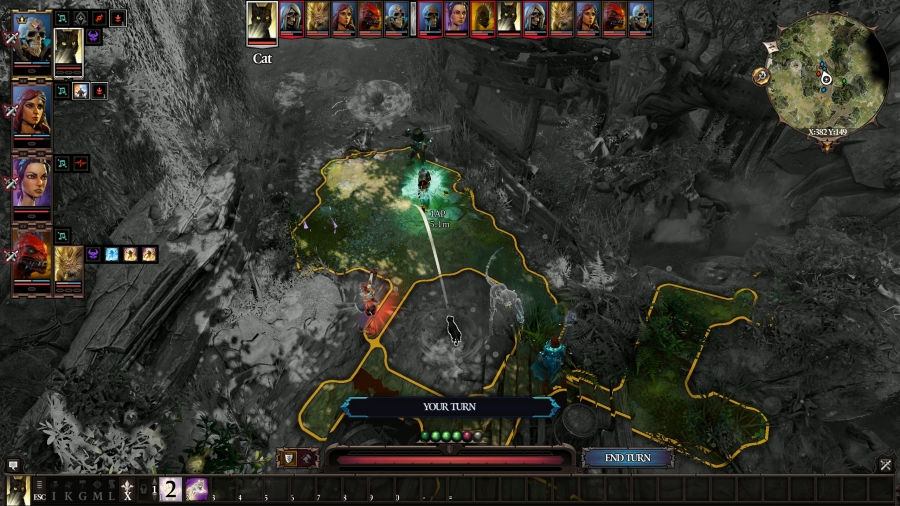 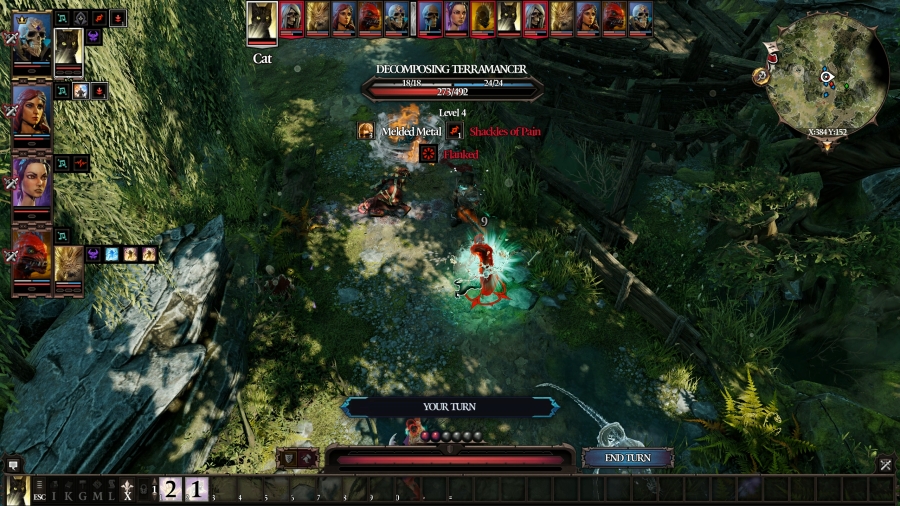 Shoe uses Feline Leap to disengage from the Swashbuckler without triggering her AoO, and then hits the Terramancer twice for 19 damage total. Not bad for a housecat, to be honest. 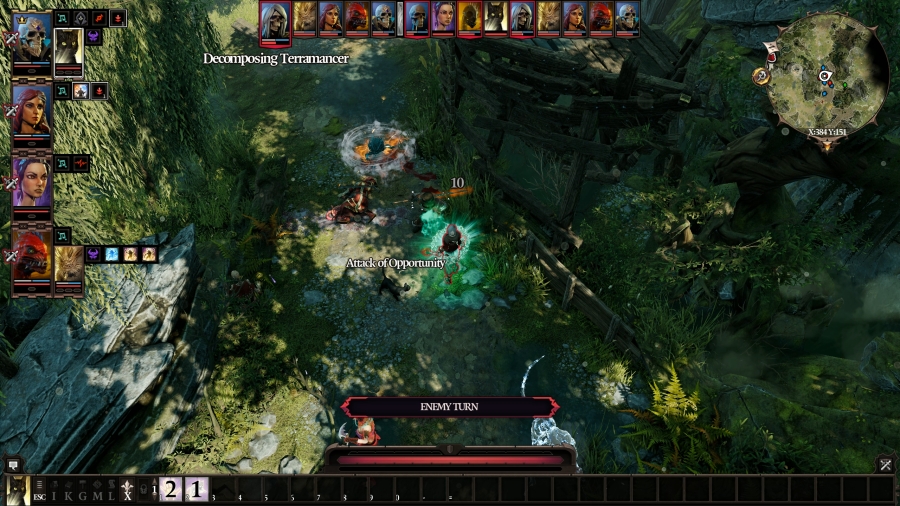 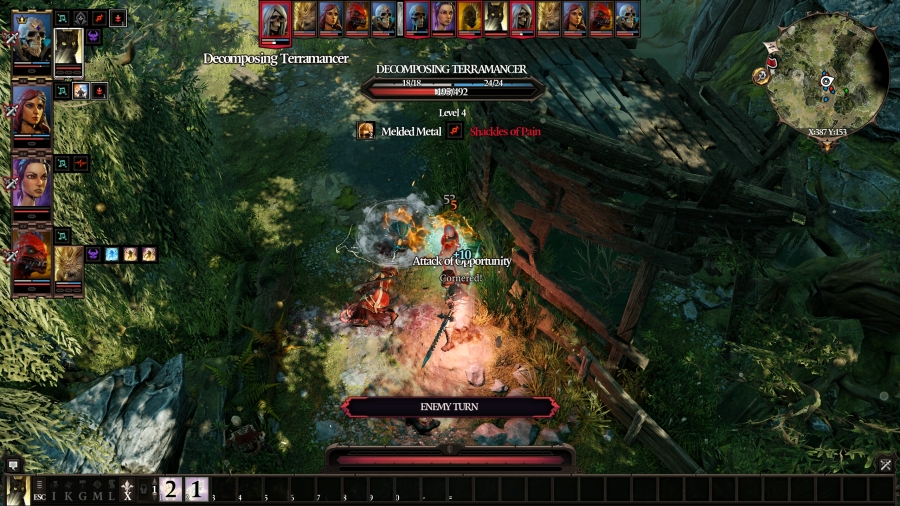  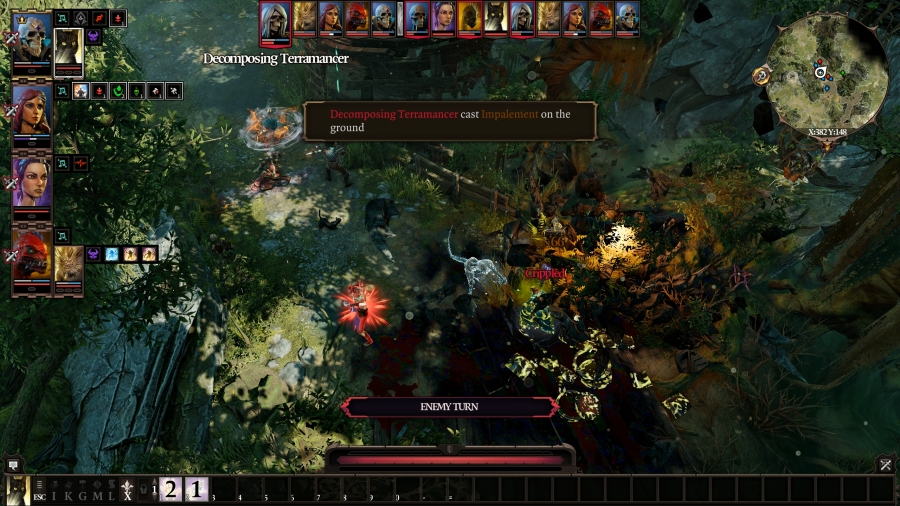 Sorry, make that 29 total. And Fane gets in on it too. The Terramancer had a bit more AP than I expected: she runs back up to the platform for the high ground, and then still has enough AP for both Poison Dart and Impalement, both on Lohse. Which is a weird call. Lohse can heal both of those ailments back easy, and as the mage, she doesn�t even do a lot of running anyway. 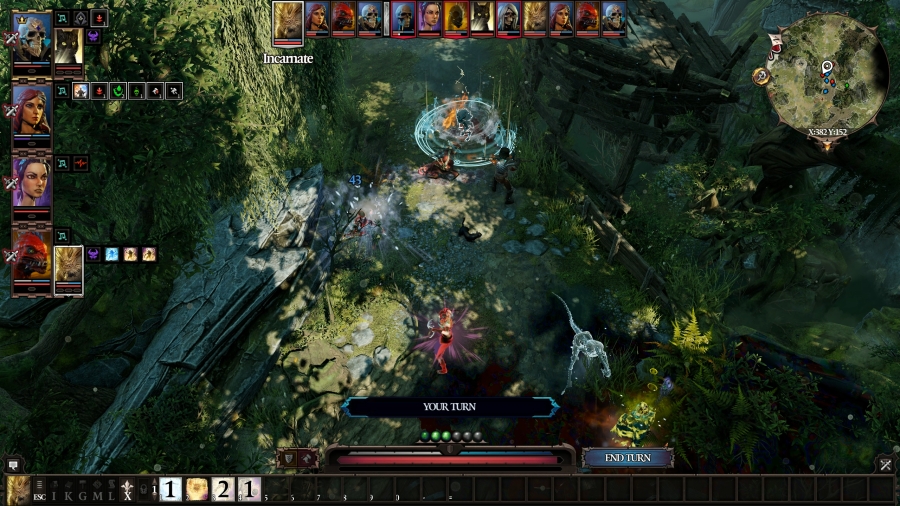 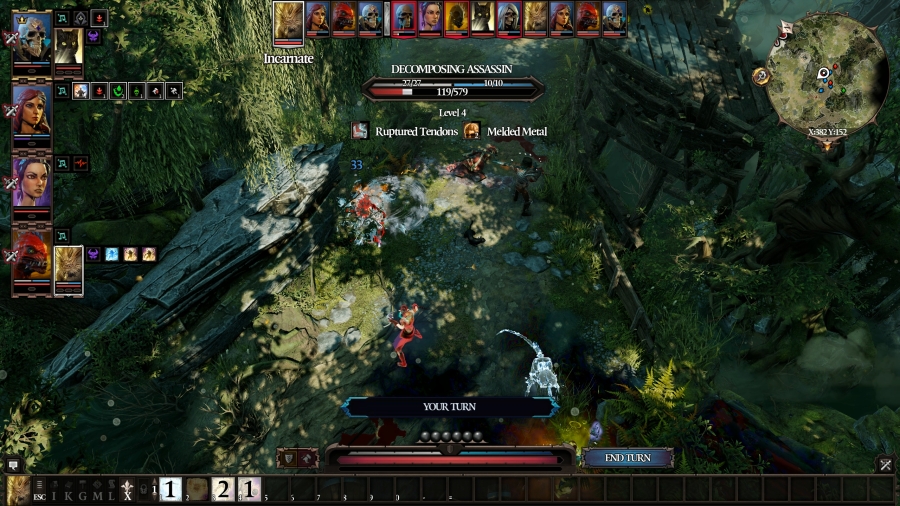 Attendant hucks a glob of water at the Assassin, then runs over and claws him in the shin. 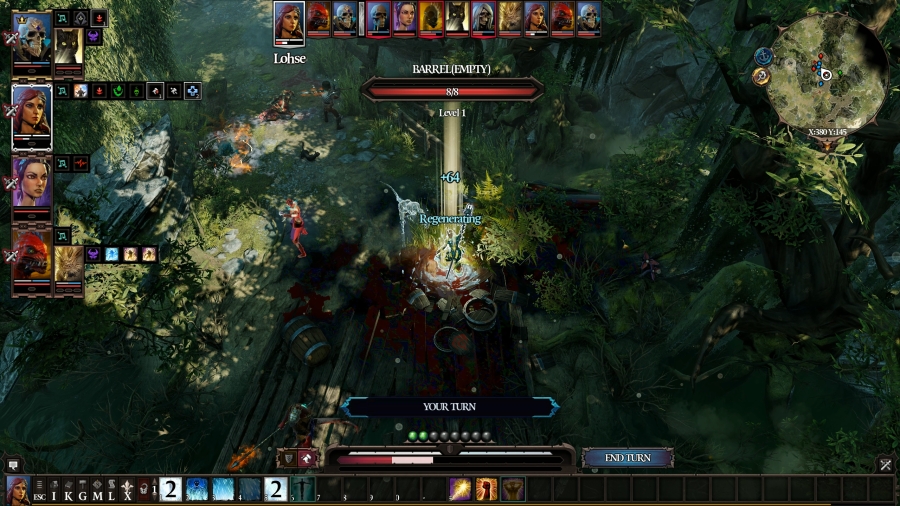 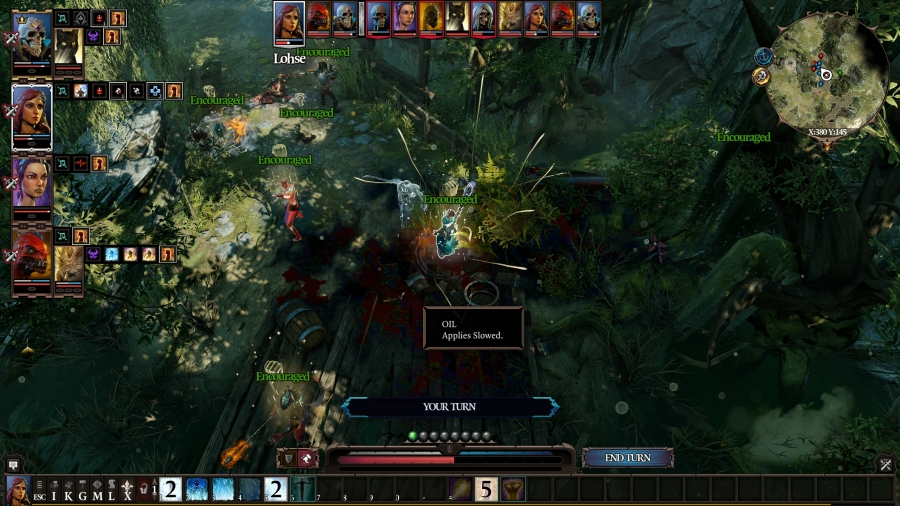 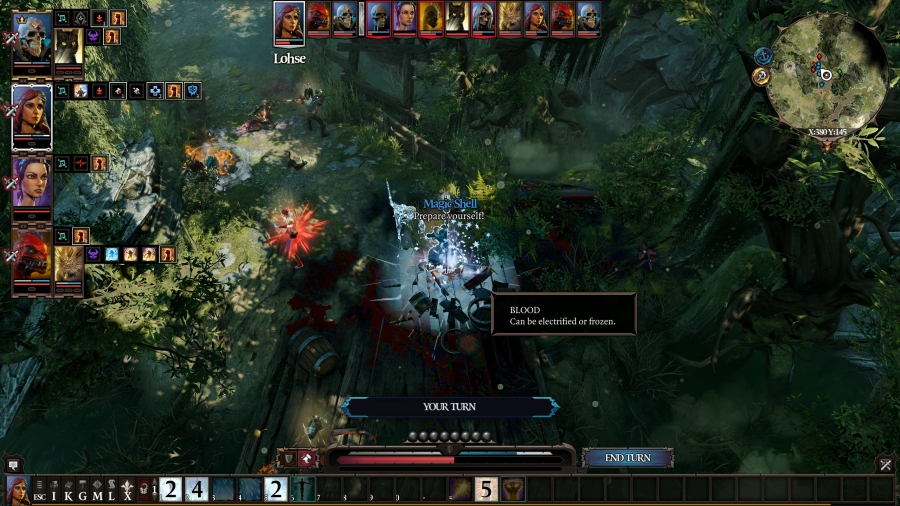 Lohse gets to work patching herself up with Restoration, Encourage, and Magic Armour. With Attendant and Shoe, there�s suddenly a lot of people on her team to encourage! 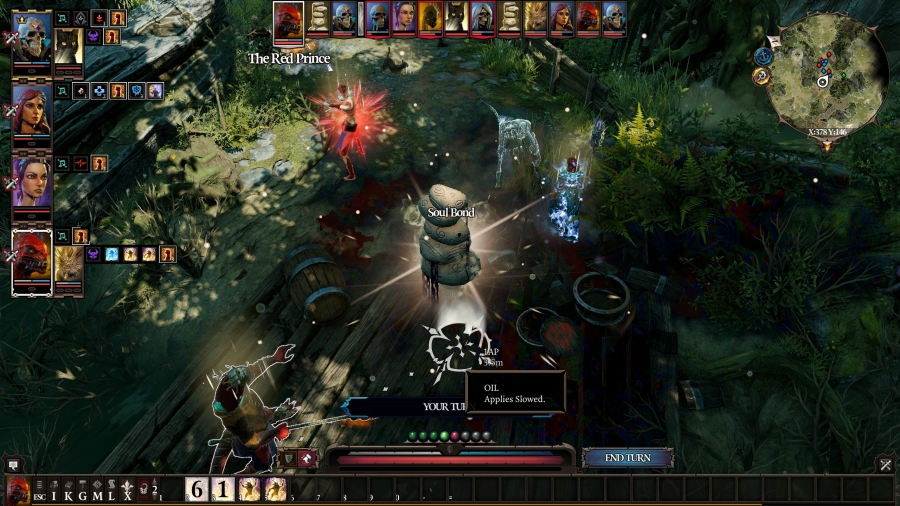 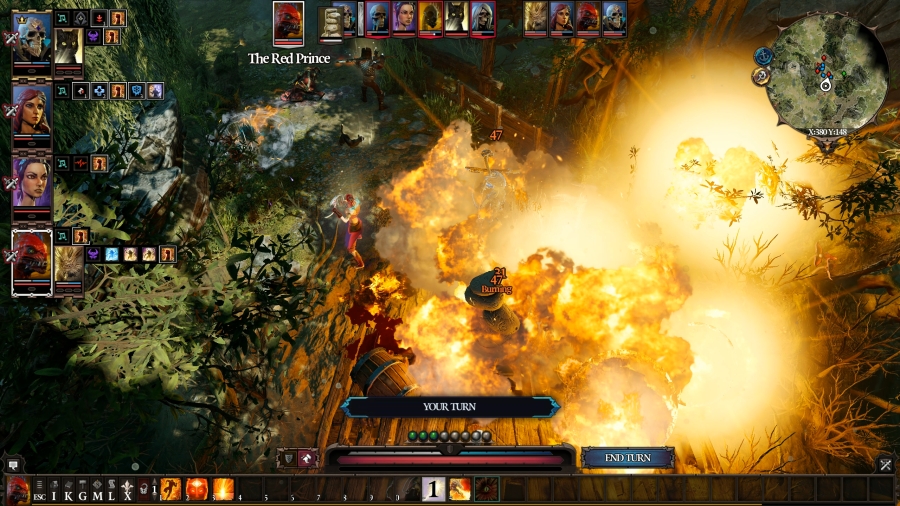 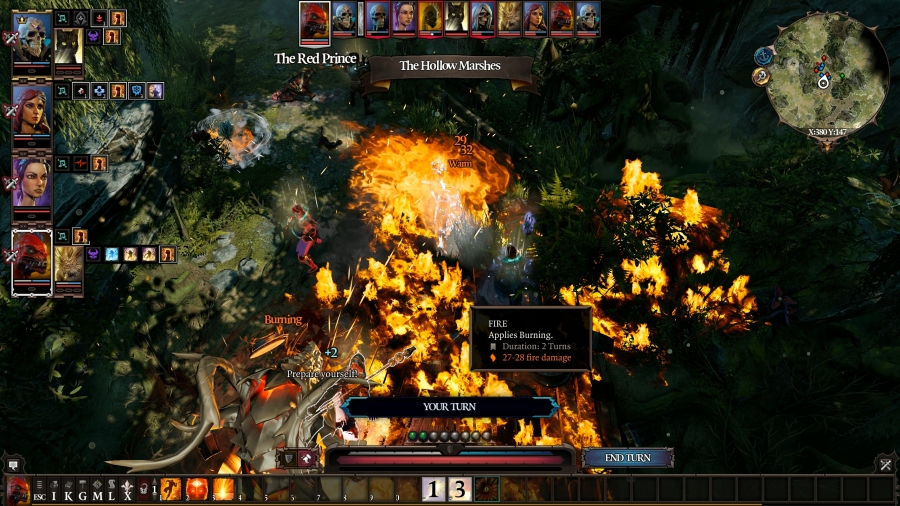 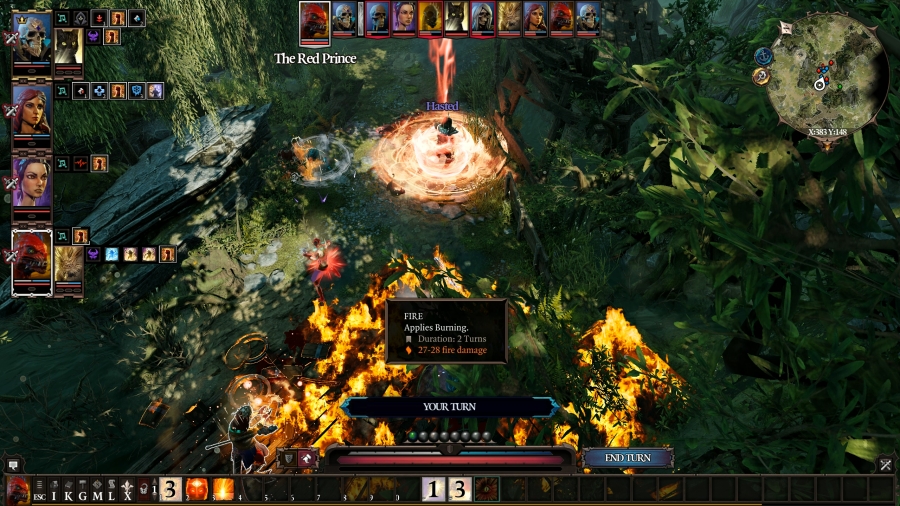 Prince didn�t use a whole lot of AP while he was a chicken, so he�s got a whole seven to play with. He starts with summoning a totem on the oil near Lohse. Then he casts Staff of Magus on the Swashbuckler, which ignites the oil, promptly destroying the totem. Whoops. Well, waste not: might as well make things messier by breathing fire on the Swashbuckler instead. The swamp is mostly water; it�ll be fine. Finally, he buffs Fane with Haste and Peace of Mind, which will probably put him way up on the turn order now. 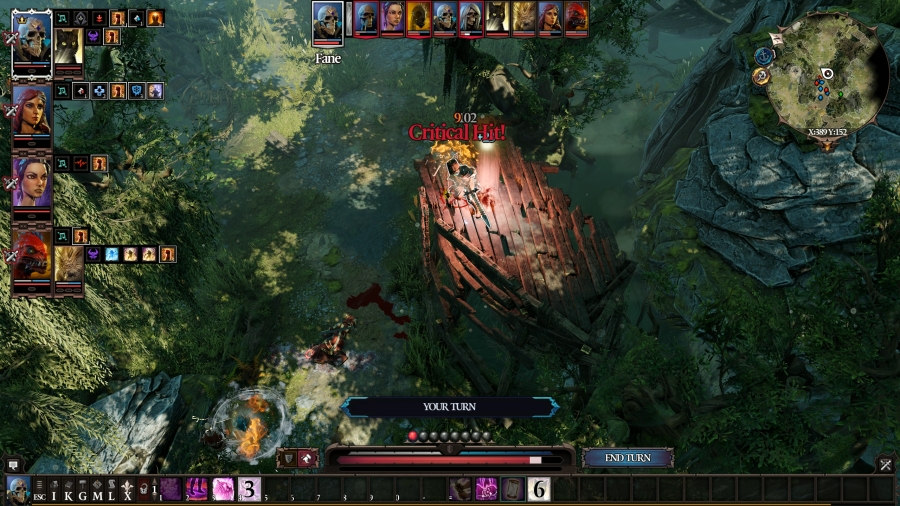 Fane only has three AP to work with thanks to the Swashbuckler�s Battering Ram. He hits the Terramancer once � and, luckily, it was a crit. 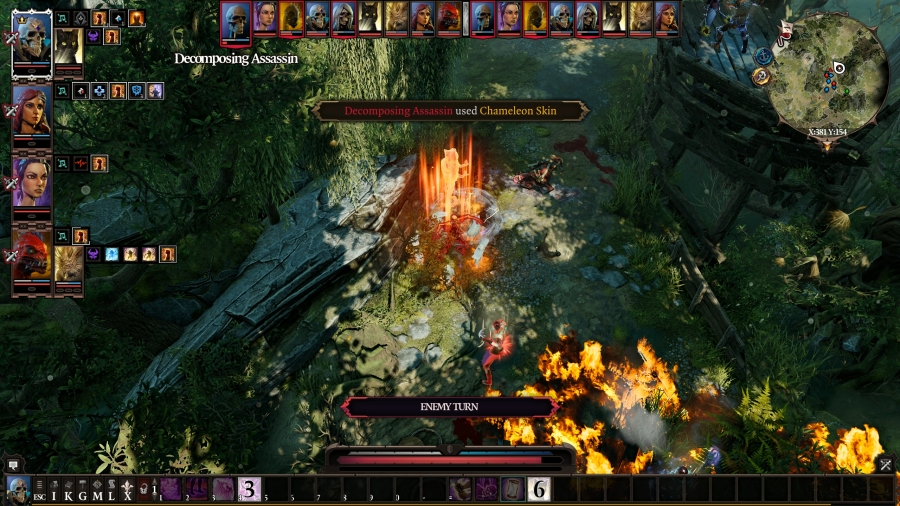 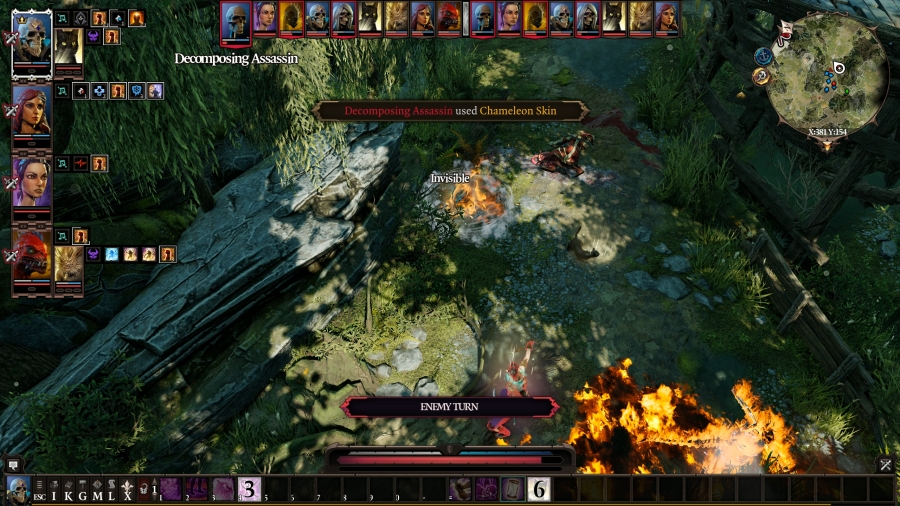 Turn 3 The Assassin decides that maybe this isn�t a fight worth dying again over, and he uses Chameleon Cloak to hide, ending his turn. 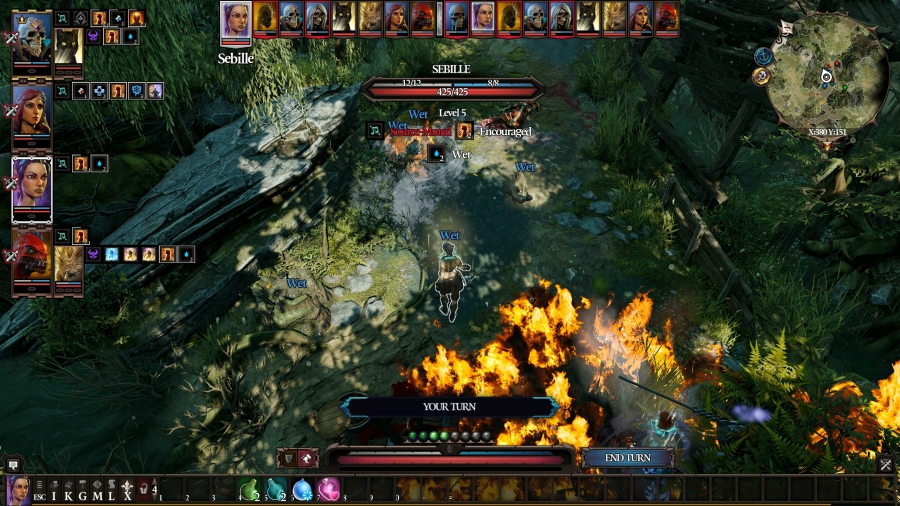 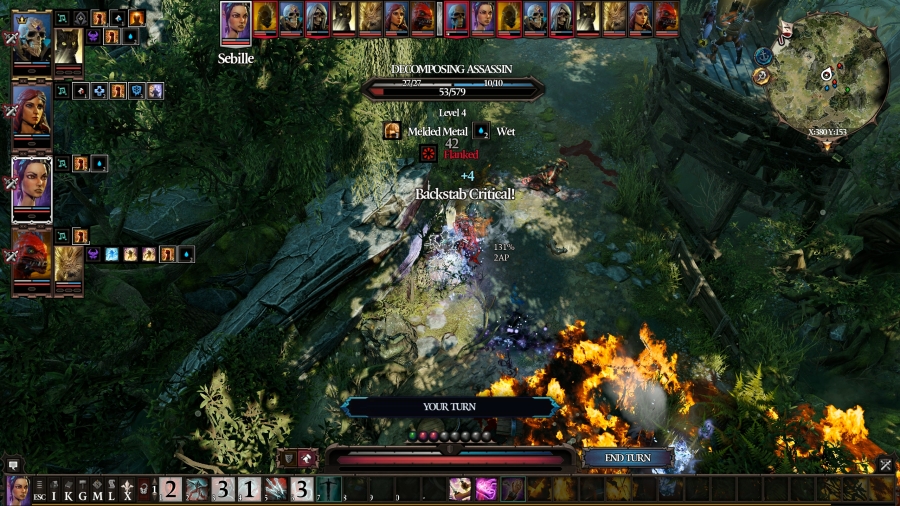 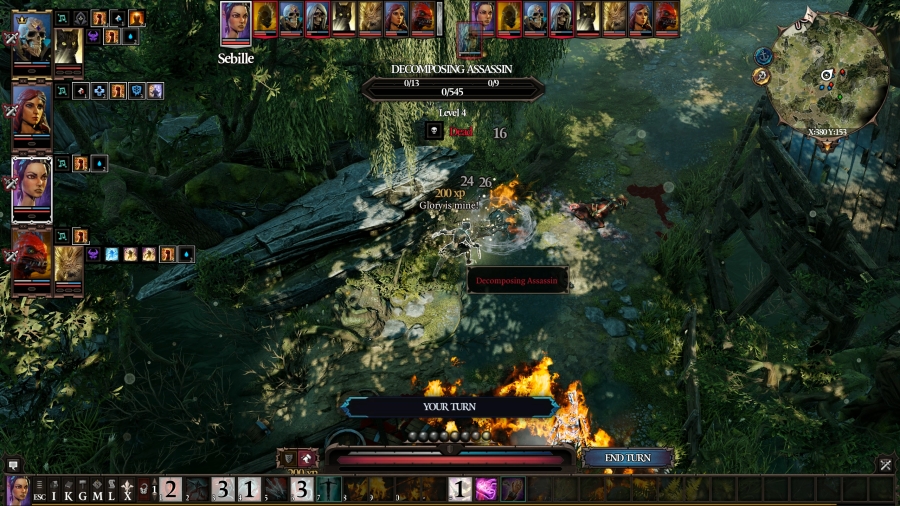 However, there are a number of ways to find someone that�s turned themselves invisible. Some of them involve borderline cheating. One such �cheaty� way is to pay attention to how soon the turn order rolls over after the target turns invisible. If they go invisible and then immediately pass their turn, that means that haven�t moved: they�re just standing there. But you still need to be able to see them to hit them, so, another, more �legitimate� way to find someone that�s invisible is to hit them with a status that involves some form of element. For example, if he�s wet, the wetness will break his invisibility. So Sebille can just lob a water balloon at his last known location, and poof, there he is, ready to get got. Sebille hits him with Backlash followed up with Flurry, which takes him out of the fight for good. 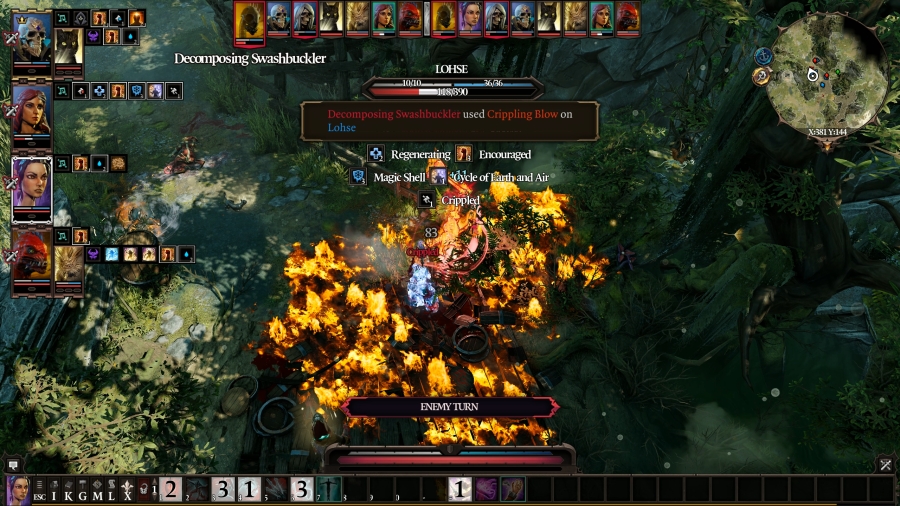 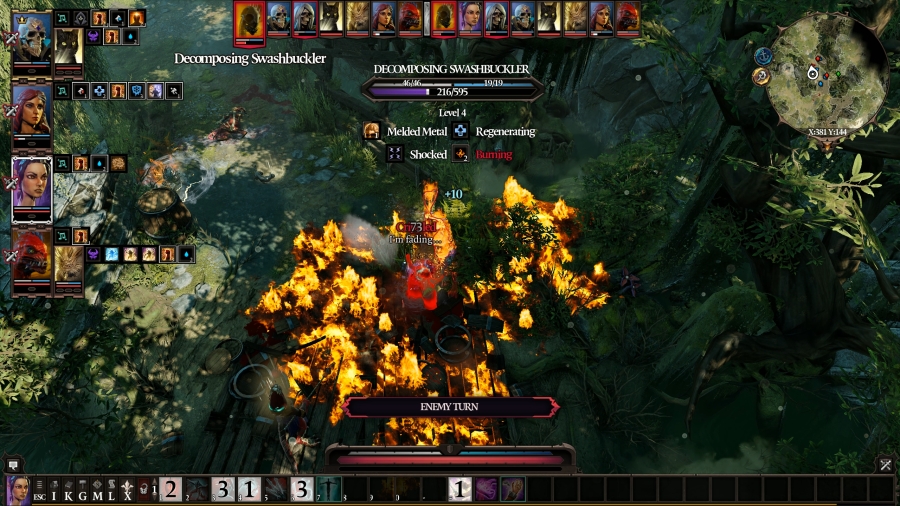 The Swashbuckler breaks Lohse�s ankles and then chops her once in the shoulders, putting her down to critical condition. 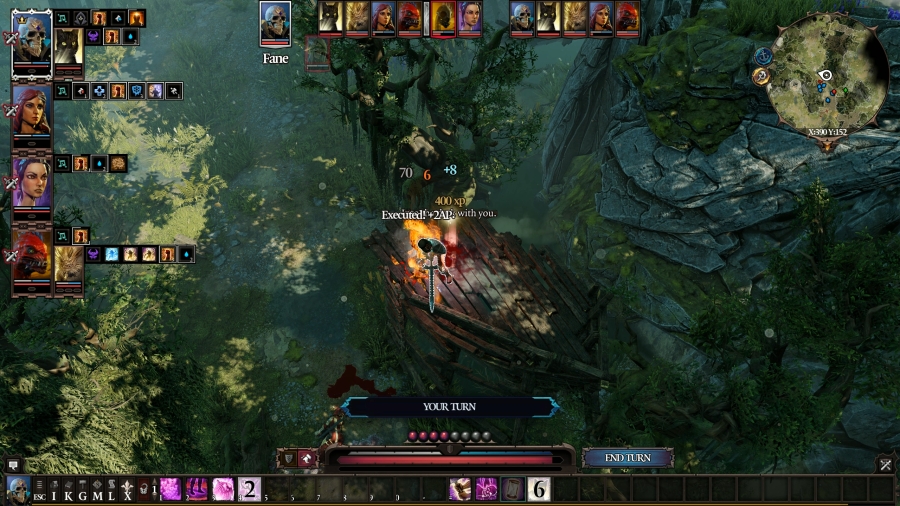 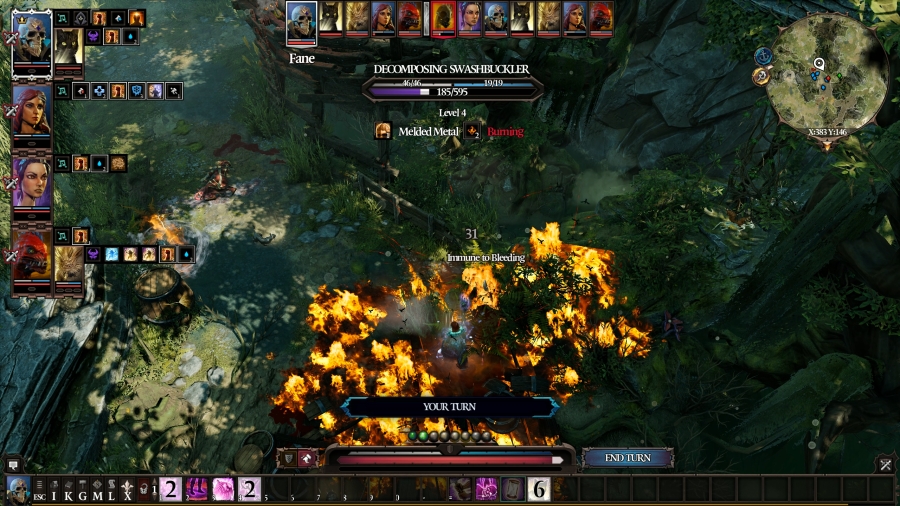 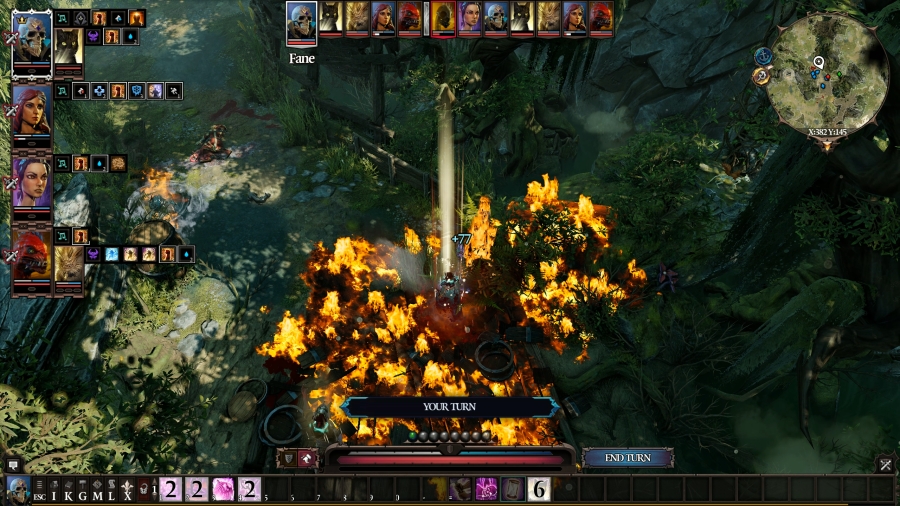 Fane opens with seven AP thanks to Haste, and he hits the Terramancer twice and puts her down as well. With the two AP rewarded to him with Executioner, he then hits the Swashbuckler with Mosquito Swarm, and then, armed with knowledge, uses Blood Sucker on Lohse to keep her alive and put her back into the yellow. Shoe�s turn is next, but the Swashbuckler is standing in a lake of fire, so he delays. 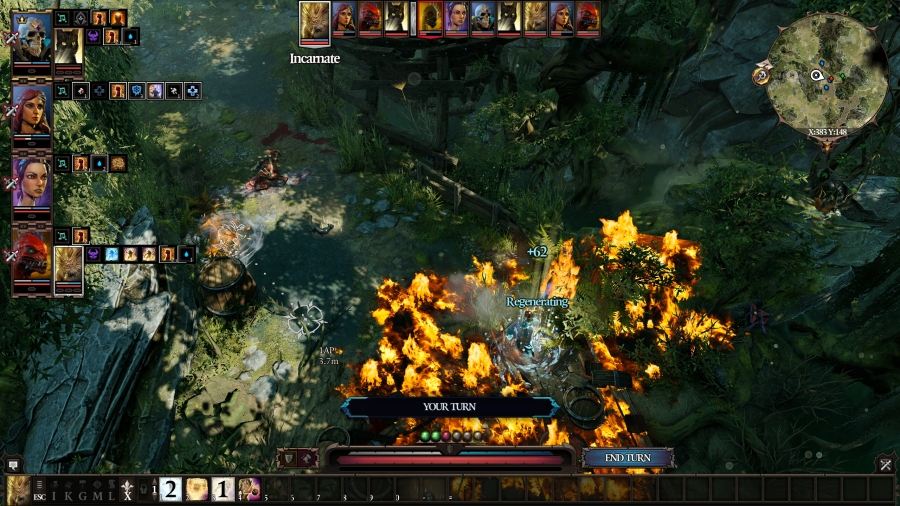 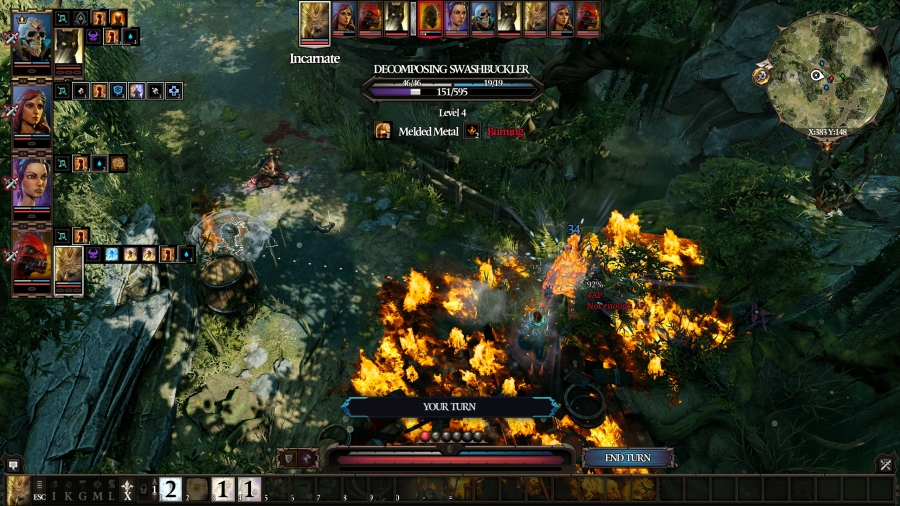 Attendant fires off another waterball before doing its part in keeping Lohse alive with another fresh cast of Restoration, putting her at about two thirds. 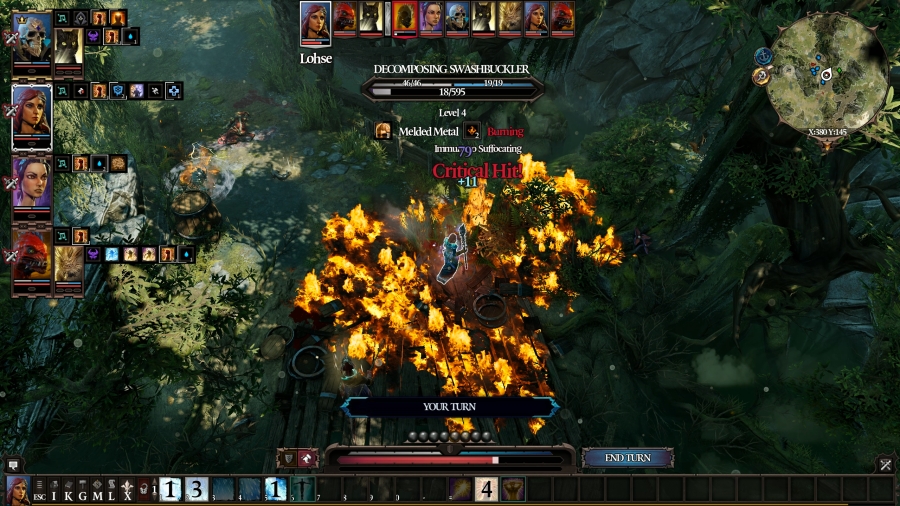 This fight�s over; no sense in getting tired out over it. Lohse hits the Swashbuckler twice with her staff� 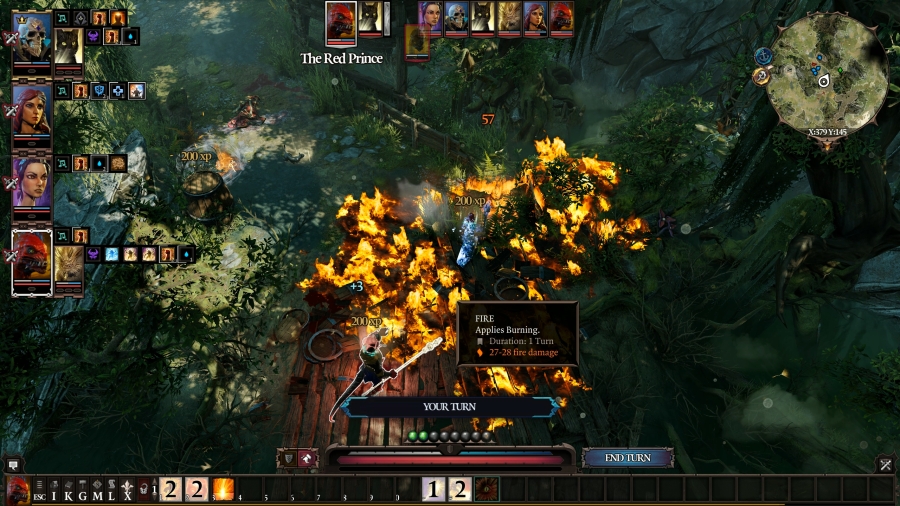 � and Prince finishes her off with Staff of Magus, ending the fight. 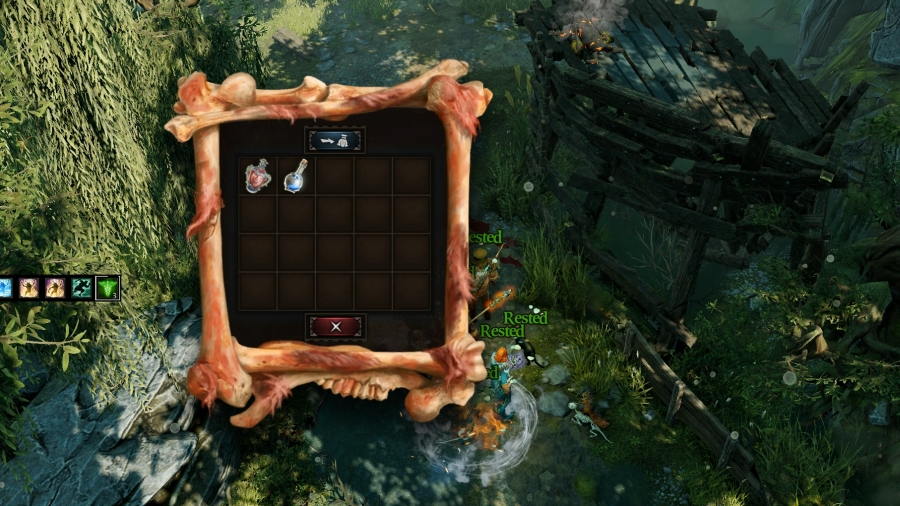 So anyway, that one dead Magister lying on the road had some decent potions on him. The big red one gives +10% Vitality and the little blue one gives +8 magic armour on consumption, so that�s nice. 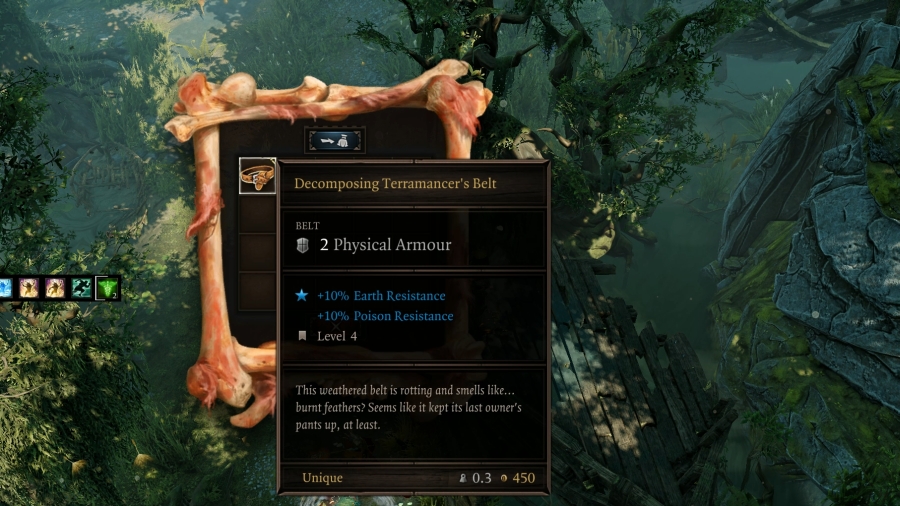 The Terramancer had a decent belt on her that�ll look good on Sebille � but then, belts are in short supply at the moment, so I guess they�re all pretty nice. And since it�s unique, it�ll fetch a pretty penny on the market.  Oh, hello there. Drudanae might not be the wisest thing to put into your body before you get into a fight, but they nonetheless sell for a huge amount of money. And thanks to the herbalist mod from the Larian Gift Bag, I can grow infinite drudanae to sell for infinite money. I won�t do that, though. Well. Maybe I�ll grow a few. But I don�t want to break the game over my knee like that. If you do, then keep in mind that that�s an option: there�s a batch of drudanae near the Terramancer fight, and if you have the herbalist mod active, you can grow infinite drudenae for quick, easy money, or you can just hand them over wholesale to merchants for easy attitude. 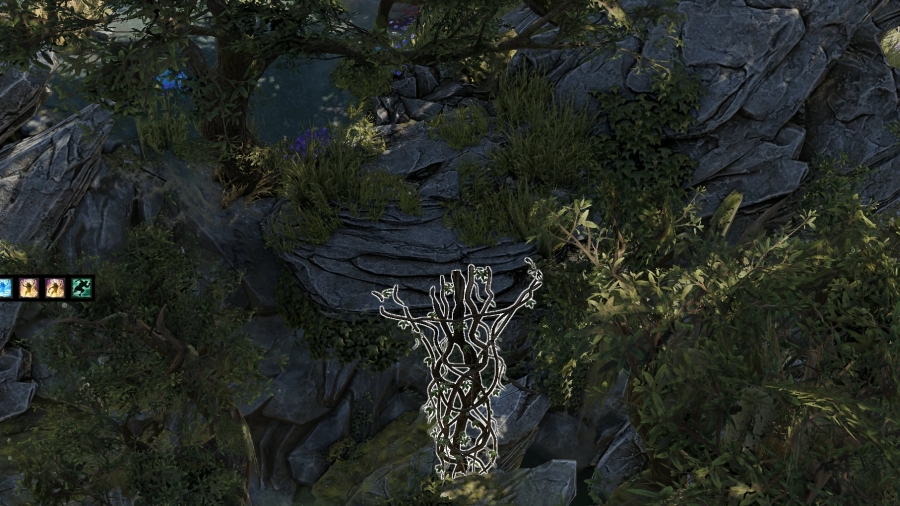 There�s a lock of vines going up the nearby cliff face, heading southeast. It�s not the direction I was initially traveling, but, well, if there�s drudenae down at the base of the cliff, maybe there�s more up top? Purely to sell, of course. It�s economically opportunistic to climb those vines. 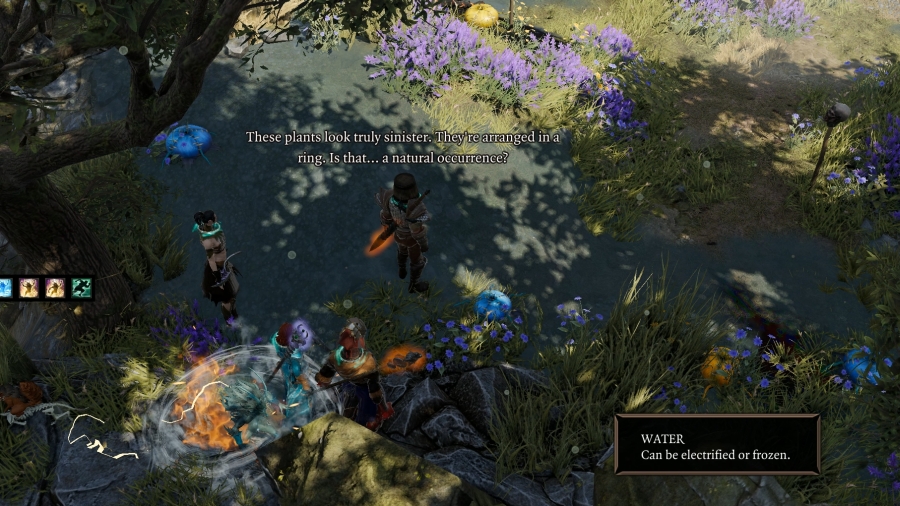 A small, open field, surrounded by �noxious bulbs.� These plants appear to pulsate, growing larger and larger, before shrinking back down to normal. 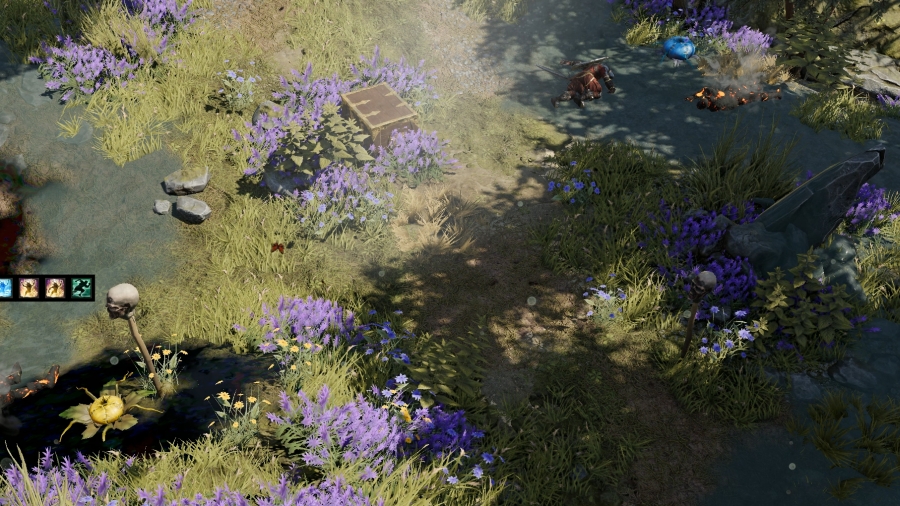 Inside the ring of �sinister plants� is another ring of human heads stuck on pikes, and inside that ring is� a treasure chest. With a number of dead bodies strewn in the water beside it. It�s obviously a trap. But I approach anyway. Maple Leaf fucked around with this message at 01:31 on Apr 26, 2021 |
|
#
?
Apr 25, 2021 21:33
|
|
|
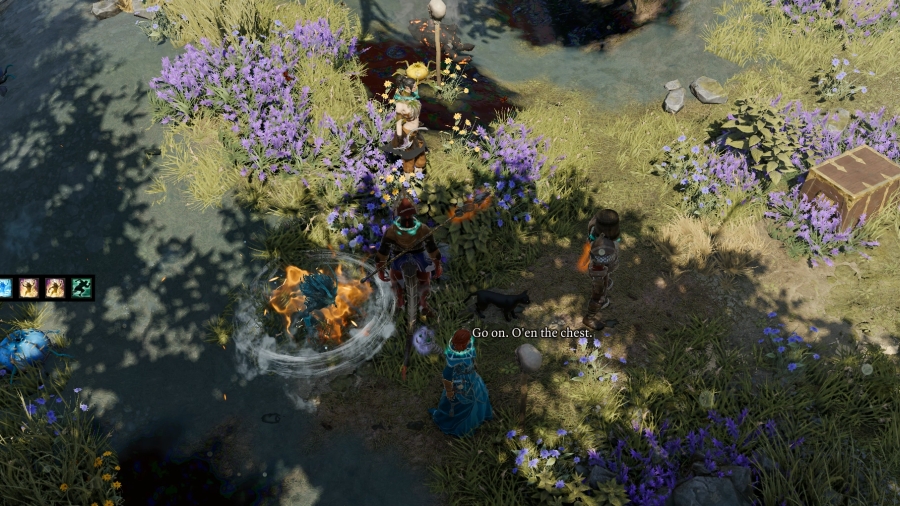 : Hollow Marshes: Alternative : Hollow Marshes: AlternativeAnd one of the human skulls immediately implores me to open the chest. : Bloodied and sad, a severed head sits on its stick. Its eyes snap open and dart from you, to the nearest noxious bulb, and back to you again.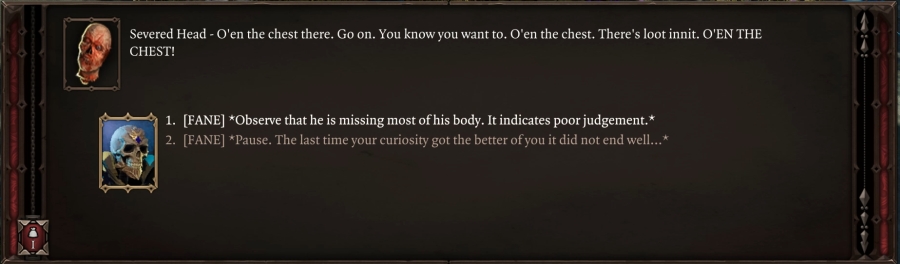 : Perhaps taking the advice of someone who�s head is sitting on the pike might be a bad idea. : Perhaps taking the advice of someone who�s head is sitting on the pike might be a bad idea.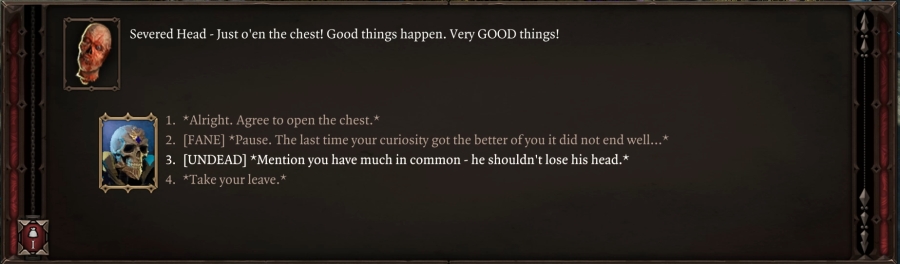 : You and I have a lot in common, you know. You shouldn�t lose your head over a little back-and-forth.: He gives you a look that says �Really?! You went with that?�: Sorry, it�s just� you�re being a pain in the neck, is all.: He rolls his eyes.: I don�t know, I don�t want to just leave you here � after all, there�s no body for you to talk to.: His look turns to one of contempt.: Anyway, I should go. Do you plan on sticking around?: He grits his teeth in ager.: Are you alright? You look like you might be having a terrible migraine.: His look now carries pure hate.: I�m sorry, I�m sorry. I don�t mean to offend. Let�s part as friends � want to shake on it?: His eyes dart around. From grass to tree. Tree to sky. Back to grass. He�s pretending you aren�t there.: Okay, I really do apologize. I tend to make jokes in front of new company. If you don�t like them, you could always just cover your ears �: The severed head closes its eyes, pretends it�s dead. You grin to yourself and turn away. : You and I have a lot in common, you know. You shouldn�t lose your head over a little back-and-forth.: He gives you a look that says �Really?! You went with that?�: Sorry, it�s just� you�re being a pain in the neck, is all.: He rolls his eyes.: I don�t know, I don�t want to just leave you here � after all, there�s no body for you to talk to.: His look turns to one of contempt.: Anyway, I should go. Do you plan on sticking around?: He grits his teeth in ager.: Are you alright? You look like you might be having a terrible migraine.: His look now carries pure hate.: I�m sorry, I�m sorry. I don�t mean to offend. Let�s part as friends � want to shake on it?: His eyes dart around. From grass to tree. Tree to sky. Back to grass. He�s pretending you aren�t there.: Okay, I really do apologize. I tend to make jokes in front of new company. If you don�t like them, you could always just cover your ears �: The severed head closes its eyes, pretends it�s dead. You grin to yourself and turn away.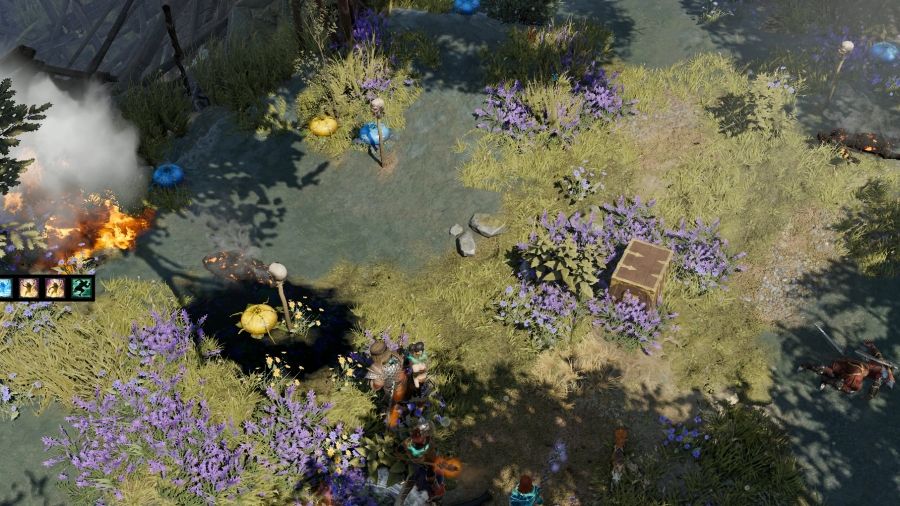 Perhaps one of this guy�s �friends� is willing to give me advice that isn�t blatantly suicidal. : A severed head sits rotting on a stick. The last vestige of an ear juts from above its too-prominent jawline. A fly buzzes about its nose. Its eyes open. It looks to you. When it speaks, it struggles to move its impaled jaw.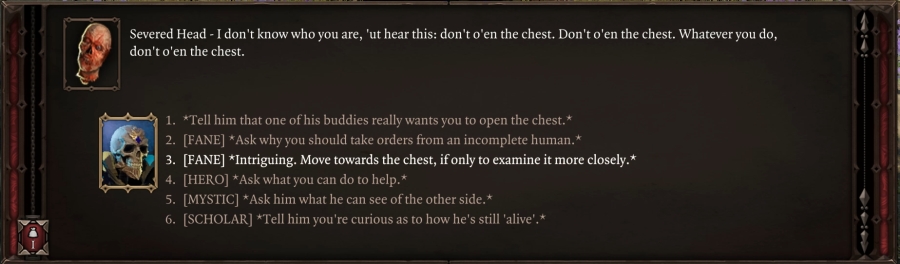 : The threat is only if I open it, correct? Surely examining it is safe, then? : The threat is only if I open it, correct? Surely examining it is safe, then?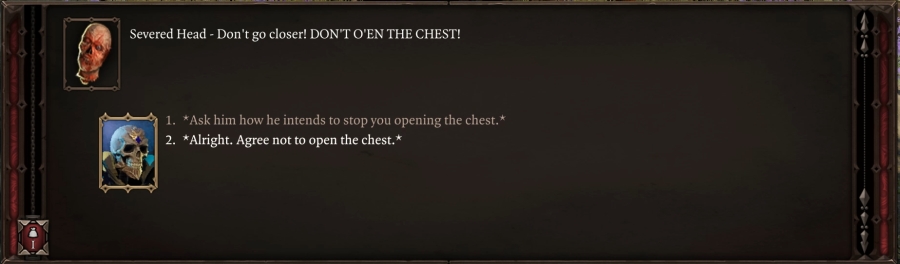 : Alright, alright! I won�t open the chest. : Alright, alright! I won�t open the chest.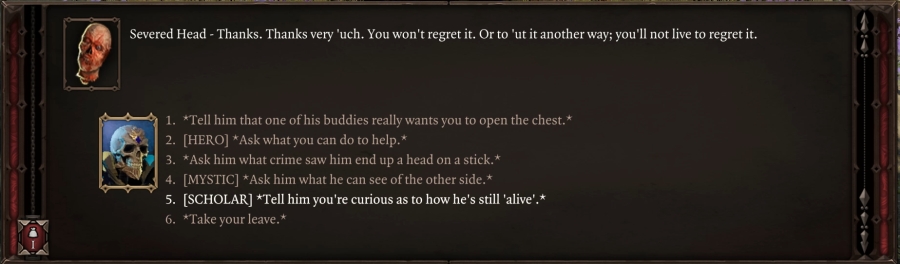 : You know, it�s rather unusual for anything, alive or undead, to survive having their head stuck on a stick like that. What�s keeping you going? : You know, it�s rather unusual for anything, alive or undead, to survive having their head stuck on a stick like that. What�s keeping you going?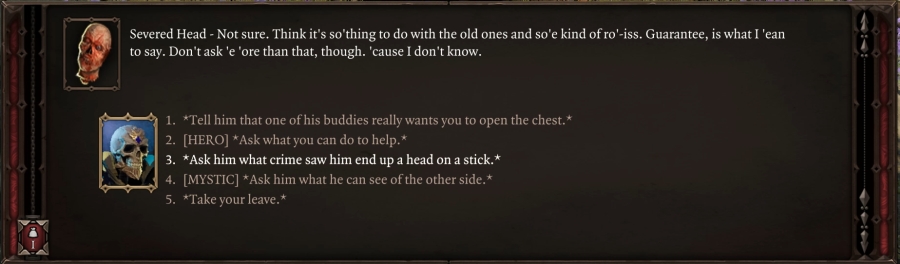 : What did you do to deserve it? : What did you do to deserve it? : The cost of doing an honest day�s work, it seems. What was your profession? : The cost of doing an honest day�s work, it seems. What was your profession?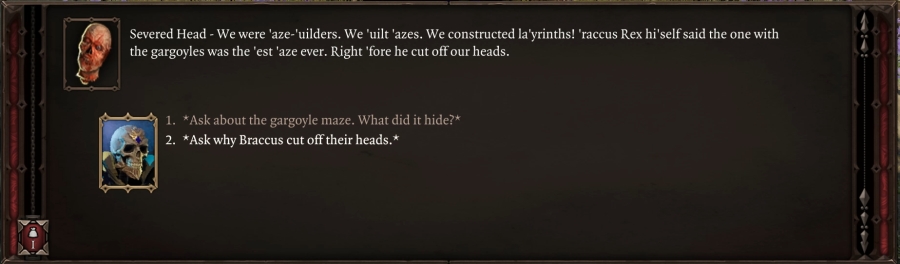 : Did he do that for any reason at all, aside from him just being a lunatic? : Did he do that for any reason at all, aside from him just being a lunatic? : Said it was our reward for services rendered. Eternity on an island �aradise. Also �eing dead we couldn�t give away anything a�out the gargoyle �aze. La�yrinth. : Said it was our reward for services rendered. Eternity on an island �aradise. Also �eing dead we couldn�t give away anything a�out the gargoyle �aze. La�yrinth.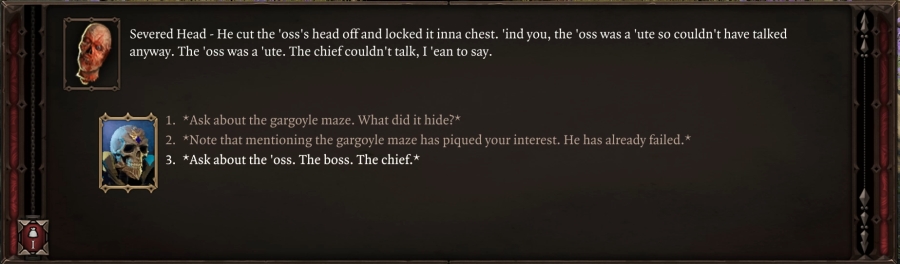 : Tell me more a�out your �oss.: � About your boss. Sorry. : Tell me more a�out your �oss.: � About your boss. Sorry.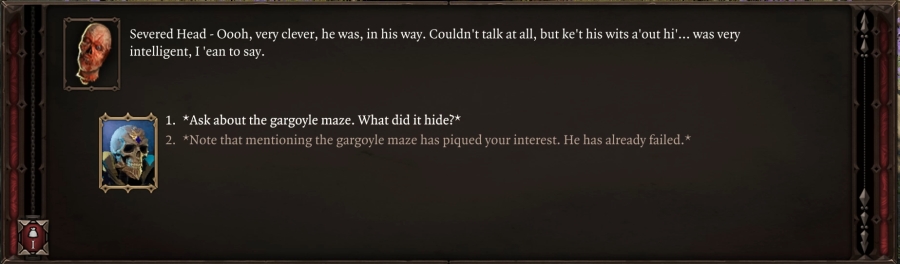 : What did this �gargoyle maze� contain? : What did this �gargoyle maze� contain? : What loyalty do you still have to Braccus Rex? The man who rewarded your hard work by severing your head and sticking it on a pike to rot away in the blistering sun for all eternity?: True. �ind you, several of �y cousins survived the fa�ily �lood�ath� �lood�ath�� �assacre� SLAUGHTER! So he�s not ALL evil. Anyway, it doesn�t �atter. We have a code. We are �aster �aze-�uilders. We construct the finest la�ryinths! We do not give away our secrets! Do your worst.: The head closes its eyes. The conversation is over. : What loyalty do you still have to Braccus Rex? The man who rewarded your hard work by severing your head and sticking it on a pike to rot away in the blistering sun for all eternity?: True. �ind you, several of �y cousins survived the fa�ily �lood�ath� �lood�ath�� �assacre� SLAUGHTER! So he�s not ALL evil. Anyway, it doesn�t �atter. We have a code. We are �aster �aze-�uilders. We construct the finest la�ryinths! We do not give away our secrets! Do your worst.: The head closes its eyes. The conversation is over.I mean� I could just open the chest. He doesn�t seem to want that. And the other guy said that there was loot in there, so it would be in my interest to partake. 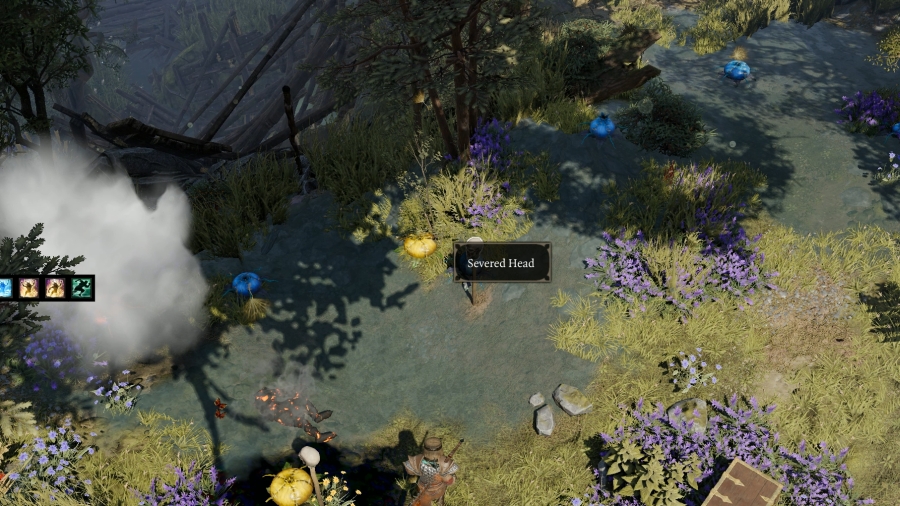 There are two more severed heads on sticks to talk with. I wonder if they have anything to add. 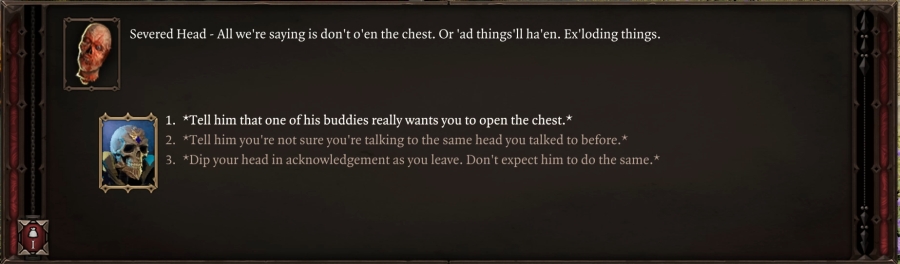 : That guy over there really, really wants me to open the chest, though. : That guy over there really, really wants me to open the chest, though.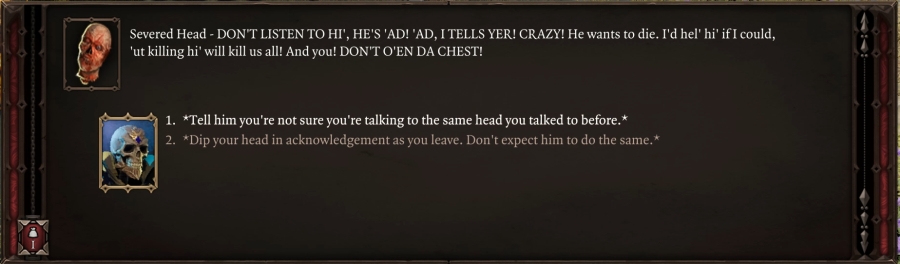 : I, uh� how do I put this� have we already spoken?: We all look the sa�e to you, do we? One head�s as good as another, is it? That�s just lovely. Ho�e you�re asha�ed of yourself. : I, uh� how do I put this� have we already spoken?: We all look the sa�e to you, do we? One head�s as good as another, is it? That�s just lovely. Ho�e you�re asha�ed of yourself.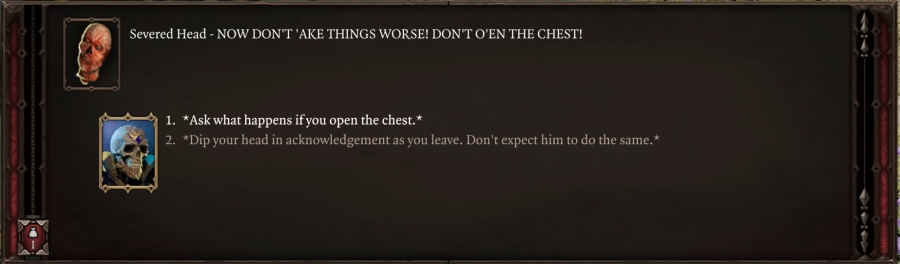 : Your two friends never explicitly said, but: what happens if I do? : Your two friends never explicitly said, but: what happens if I do? : The plants aren�t near the chest, though. To whom will these �bad things� happen?: The head�s eyes widen in horror.: You wouldn�t kill �erfectly innocents heads like us just to see what�s inna chest, wouldja?! There�s no honour no �ore. None at all.: The head closes its eyes. The conversation is over. : The plants aren�t near the chest, though. To whom will these �bad things� happen?: The head�s eyes widen in horror.: You wouldn�t kill �erfectly innocents heads like us just to see what�s inna chest, wouldja?! There�s no honour no �ore. None at all.: The head closes its eyes. The conversation is over.Okay, so if I open the chest, each of those pulsating bulbous plants will� detonate, apparently. But there doesn�t seem to be any near the chest itself. 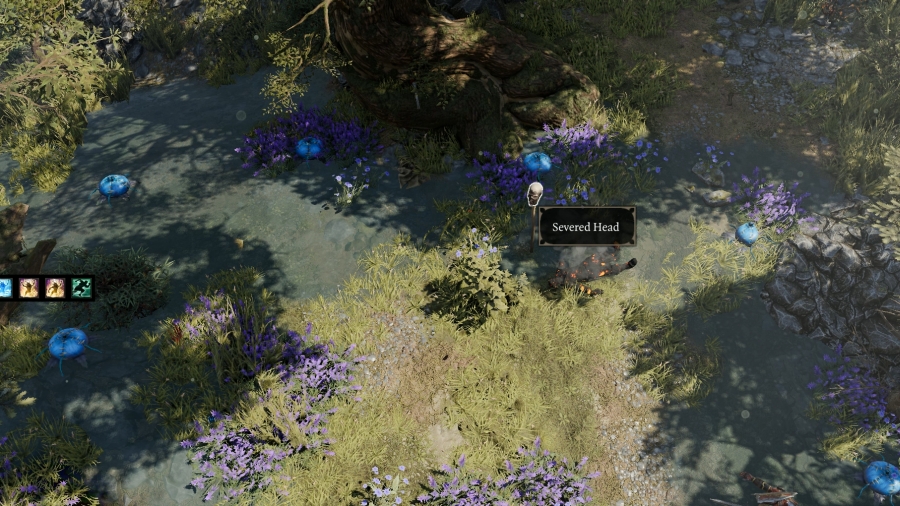 Last one, sitting above a charred corpse that�s still smoking. What do you think? : Get lost. And don�t o�en the chest.Okay, good talk. 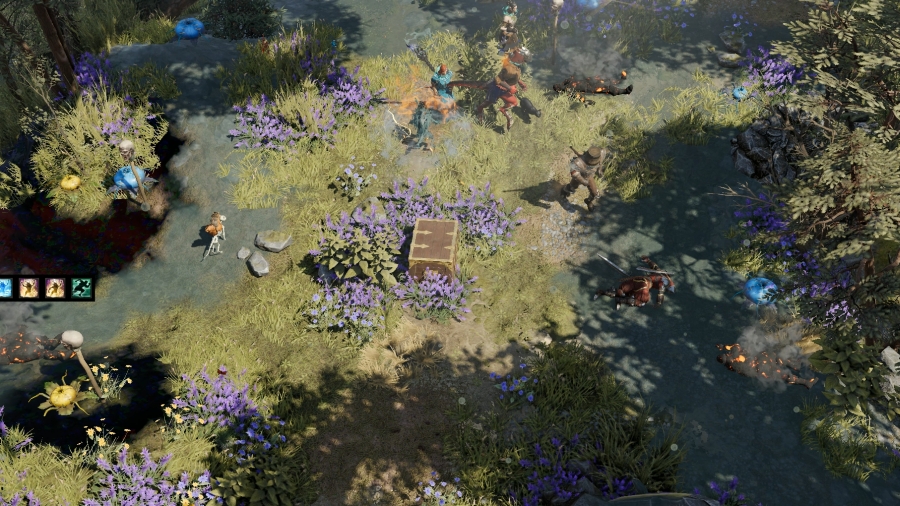 The severed heads are three-to-one in favour of us not opening the chest. There�s apparently some decent loot inside, but if I open it, the bulbs will all explode and kill them. What do YOU think? Do we o�en the chest? 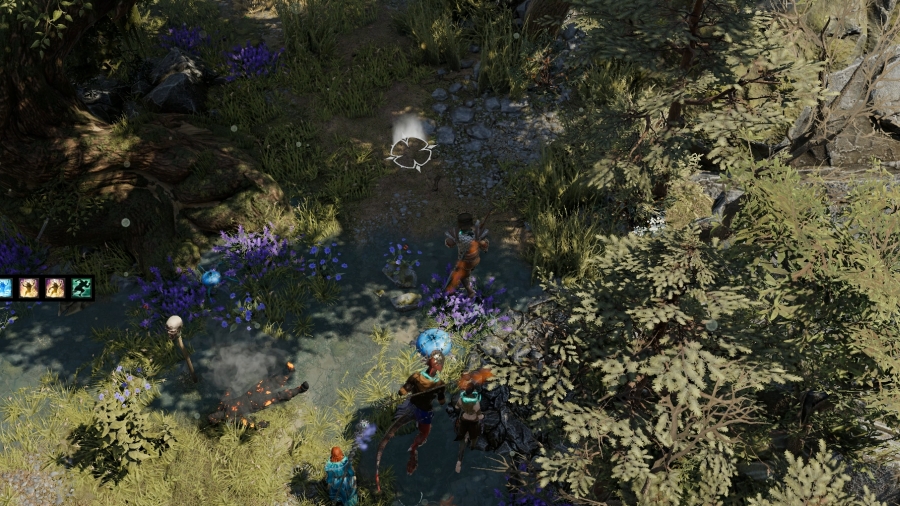 While we stew on that, I might as well continue exploring east. This way takes me a bit closer to the Seeker hideout that Han mentioned. 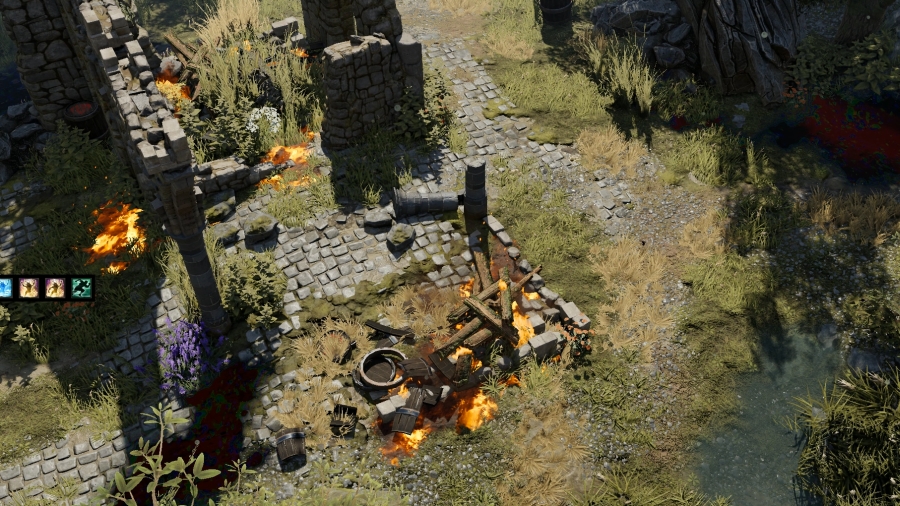 Eventually, I come across what looks like the remains to an old storehouse. Oil puddles and barrels pockmark the land, and some fires have been recently started. Who was here recently, and what were they trying to do by starting a bunch of oil-based fires? 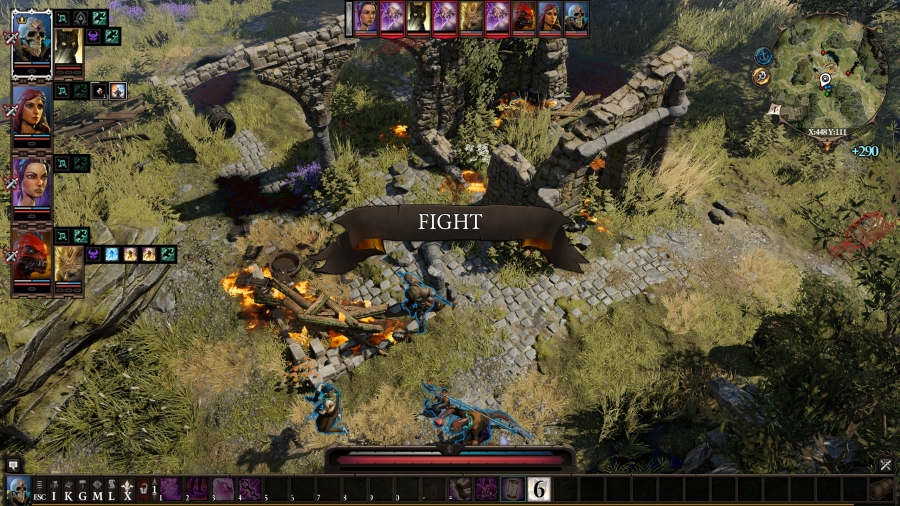 As soon as I approach to investigate further, I�m ambushed by a handful of voidwoken. 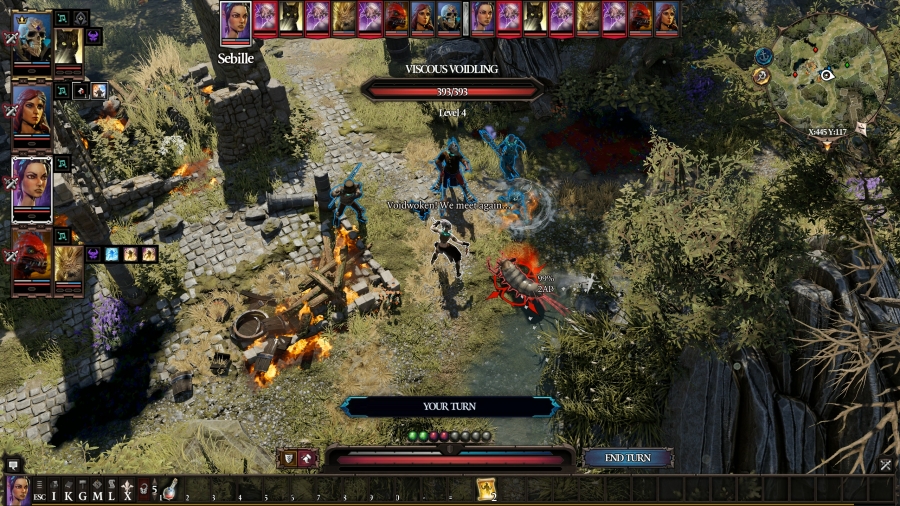 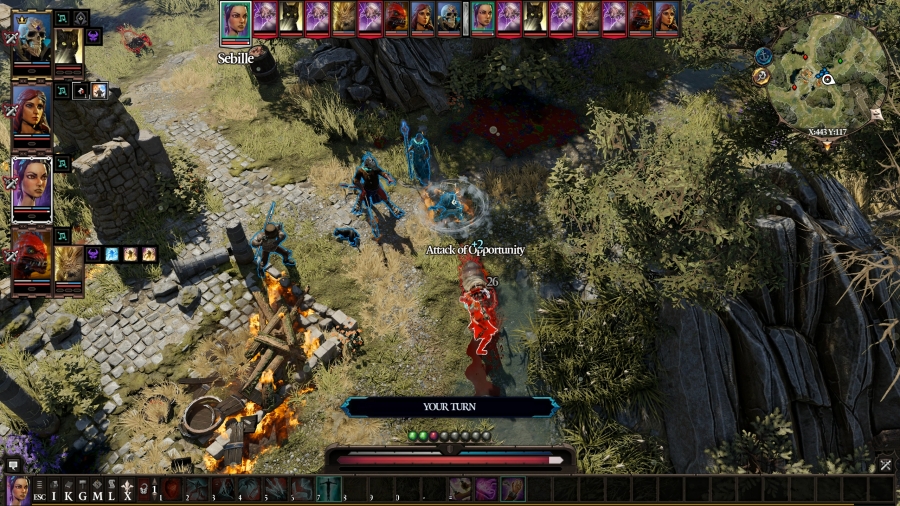 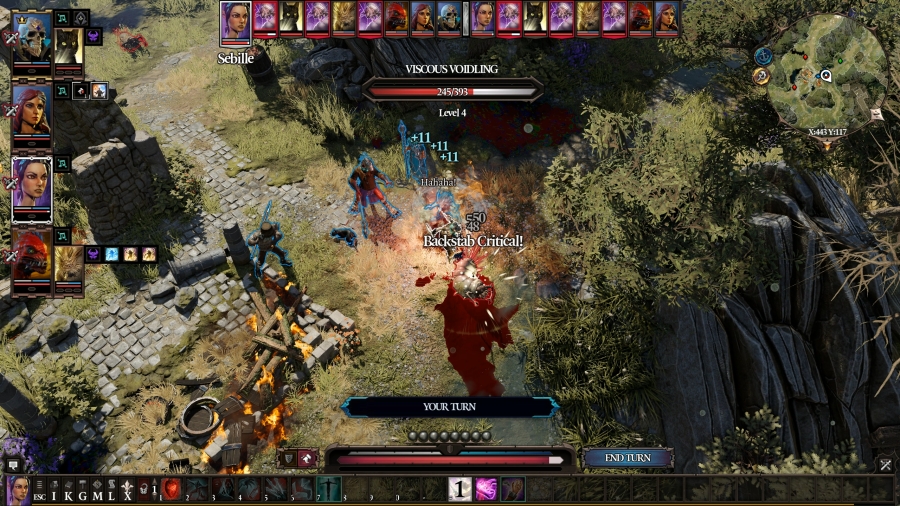 : Combat Music 1: The Grub Hub : Combat Music 1: The Grub HubTurn 1 Luckily, there�s only three of them. This fight ought to be over in a jiffy. One of the grubs happens to spawn right next to my party. Sebille attempts to round around it, but she gets caught by its AoO; so, instead of the usual Ruptured Chicken, she just goes for a Flurry. None of these bugs have any armour, so just going for raw damage is just as viable as any other strategy. With that one move, it�s down to about two thirds of its HP remaining. 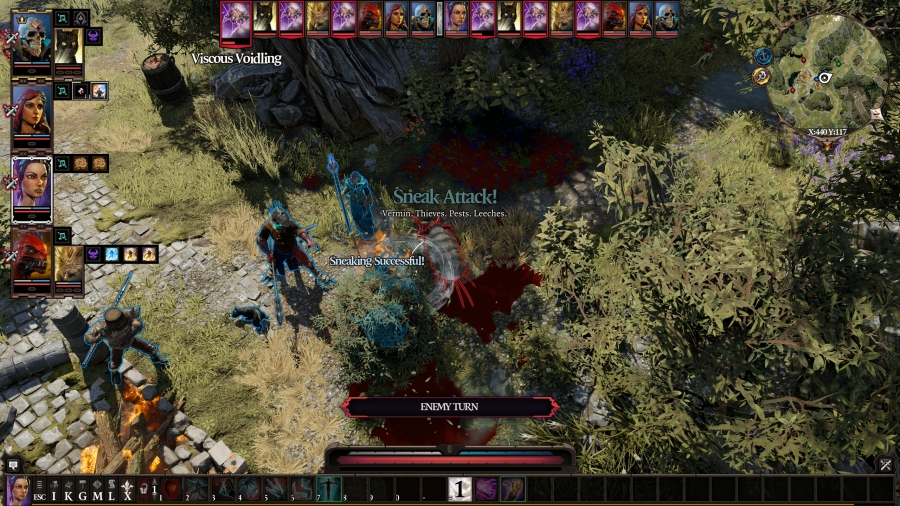 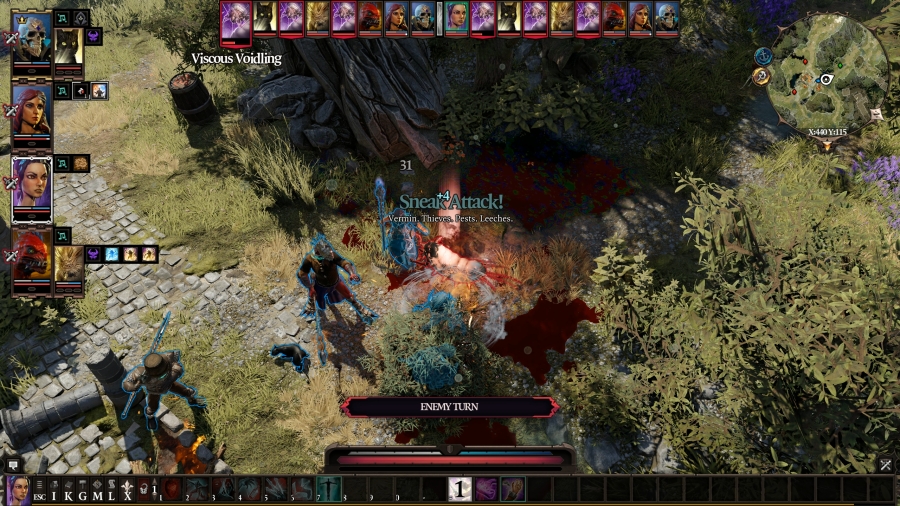 Apparently, they�re awfully talkative this time around as well. And they don�t seem to be particularly fond of us. The one that was just stabbed rounds around the party, taking an AoO from Sebille right back, before attacking Lohse. Shoe is next, but he delays. 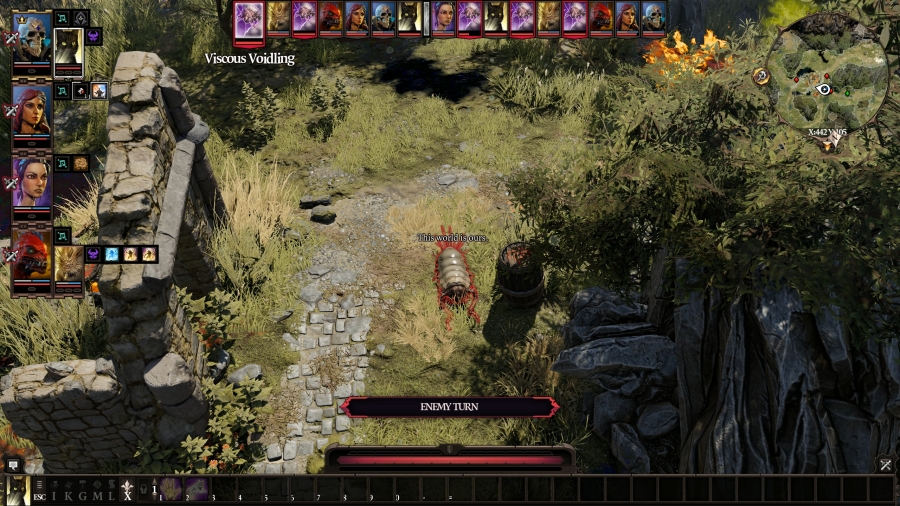 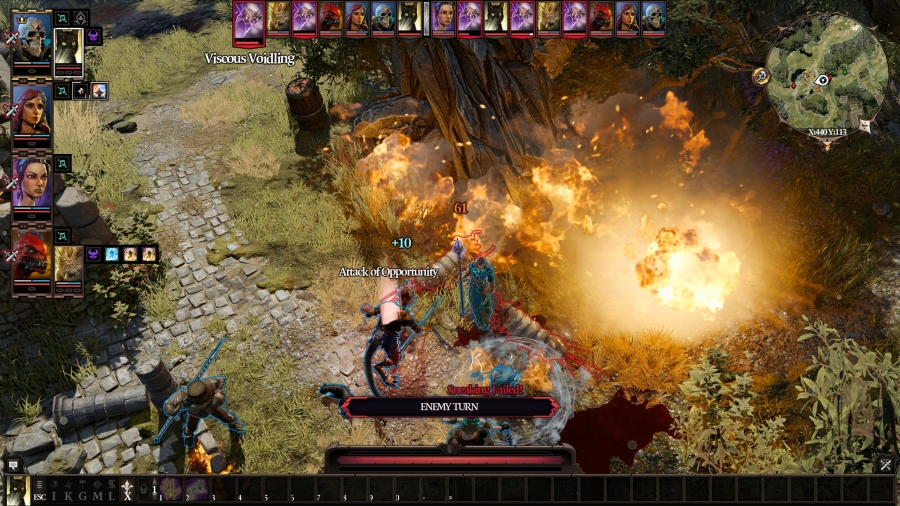 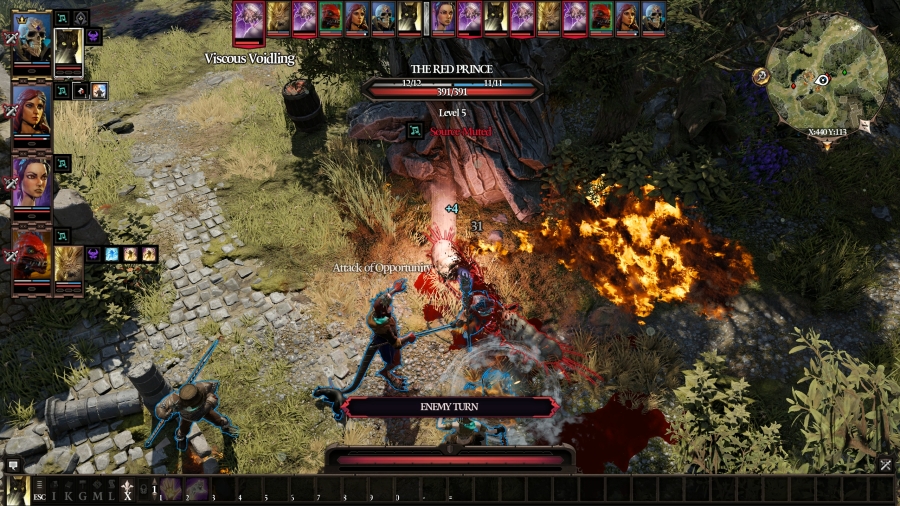 This one, furthest to the south, declares that it�s going to take over the world before exploding from an AoO from Prince and punching Lohse in the back of the head. 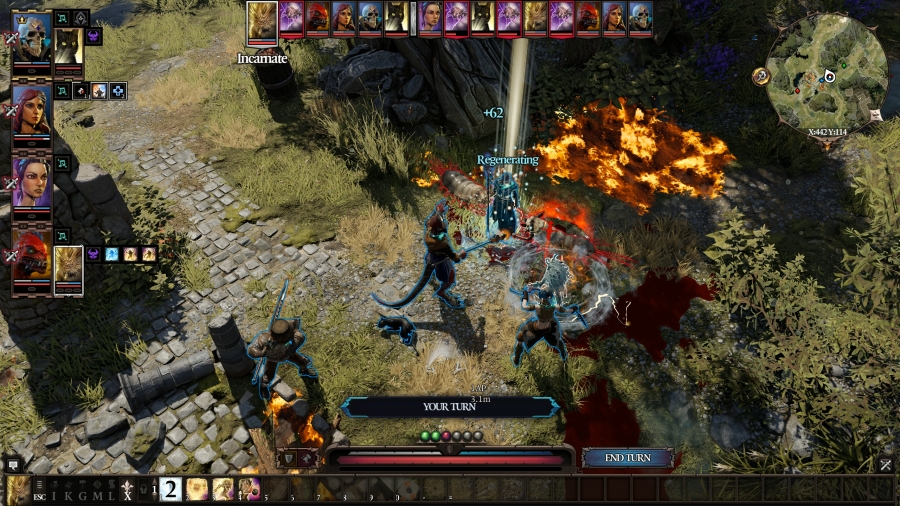 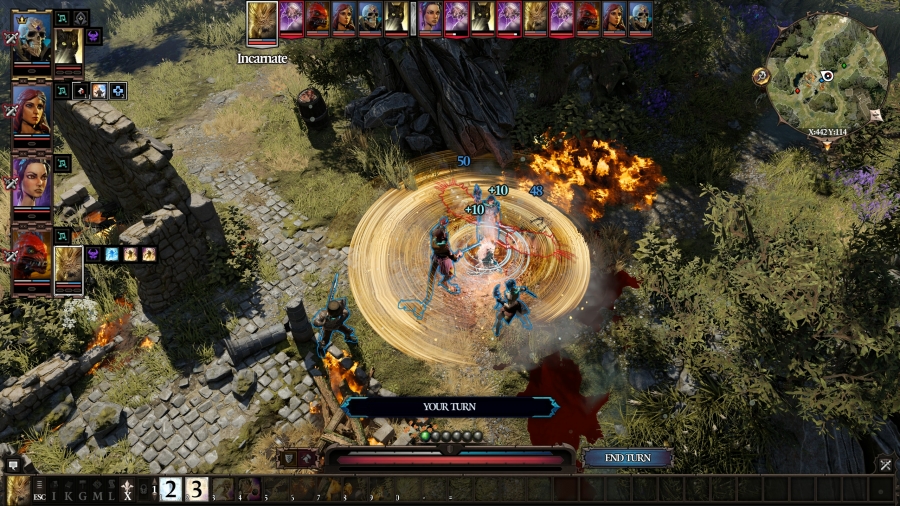 Attendant heals Lohse, since apparently she�s the life of the party for a bunch of extradimensional grubs, and then swings its arms in a big ol� circle.  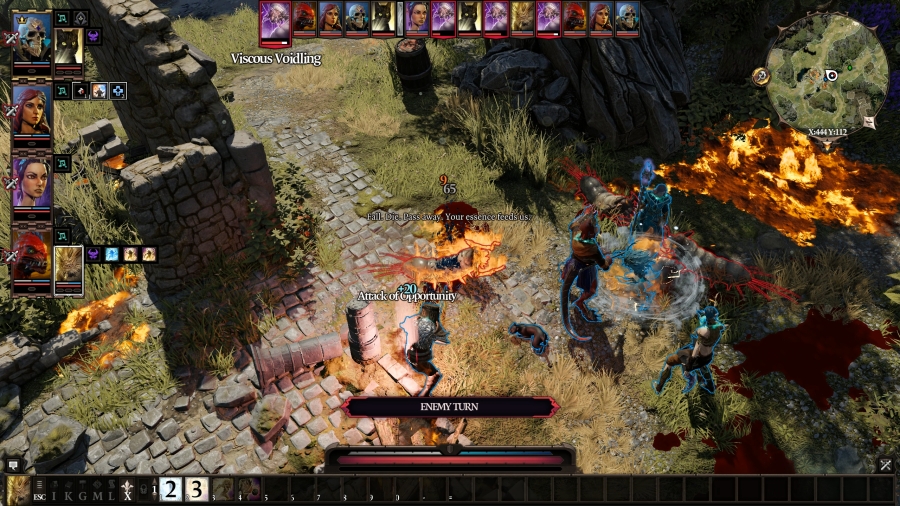 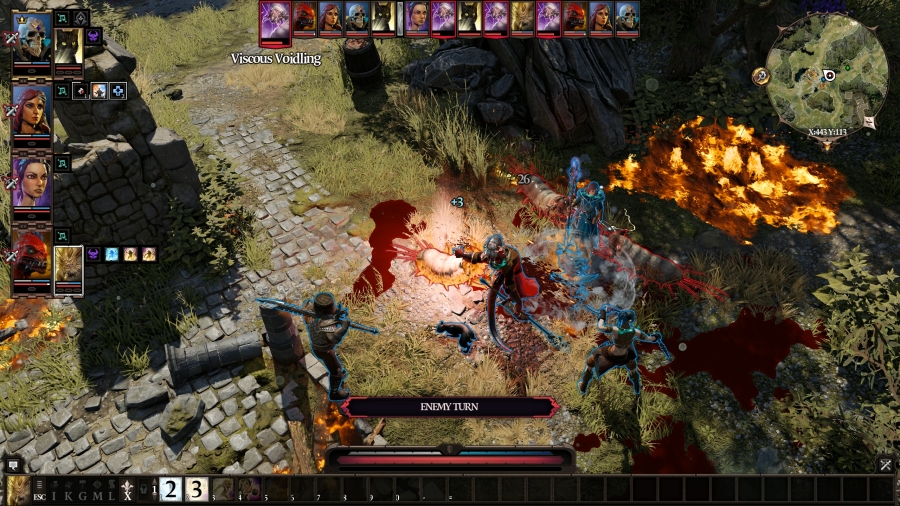 Finally, the third voidwoken grub is so determined to bring us to an early grave that it walks right through a bed of fire and takes a sword to the carapace before lunging at Prince. 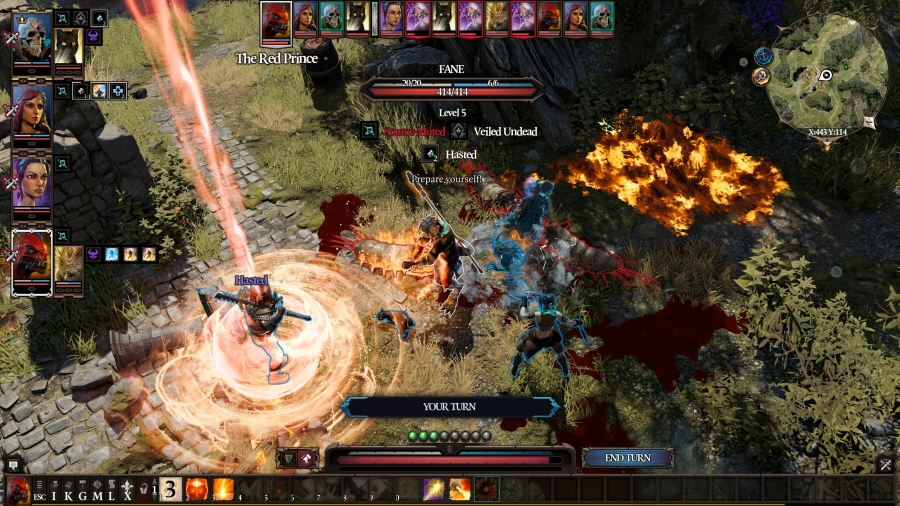 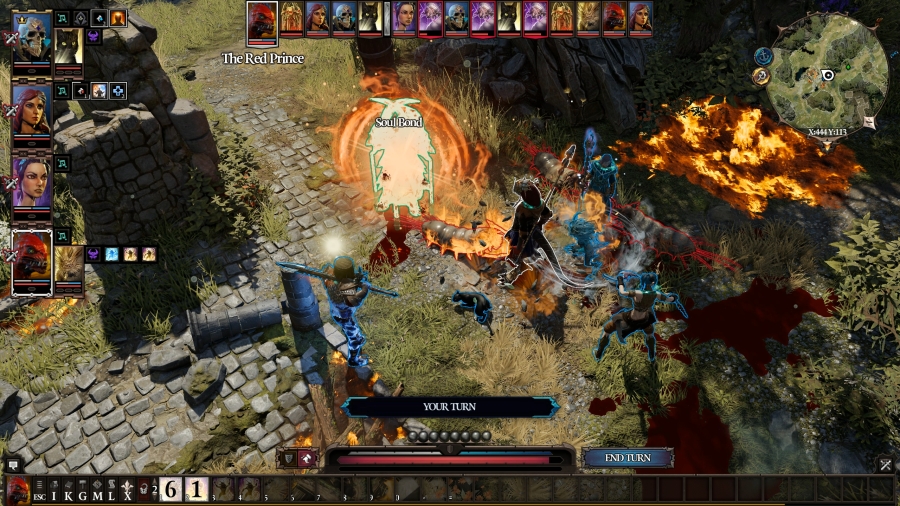 Prince does the usual buffing for Fane, giving him Haste and Peace of Mind, before summoning a blood totem on the puddle that the third grub had just put down. 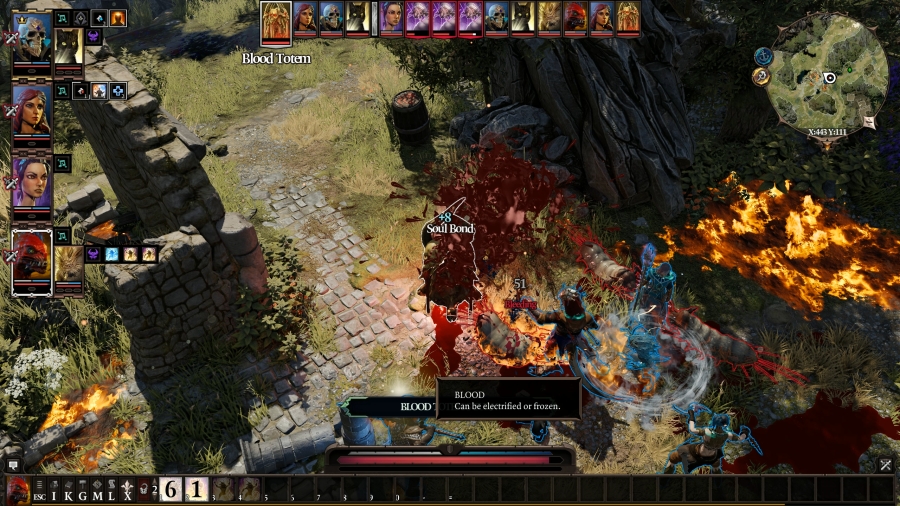 Which promptly unloads on the third grub. 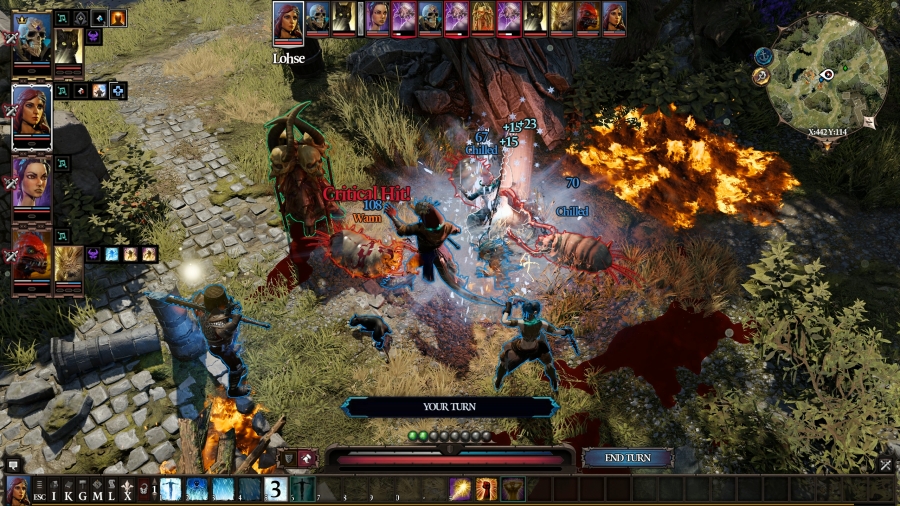 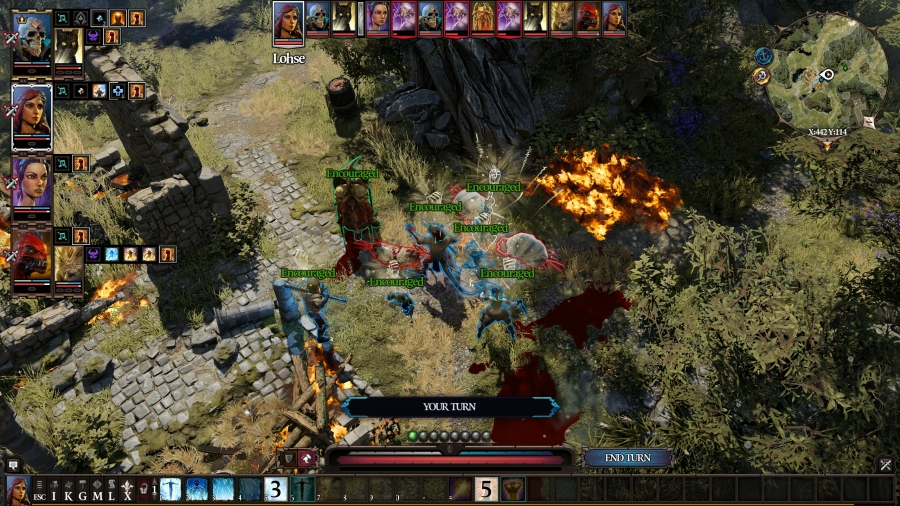 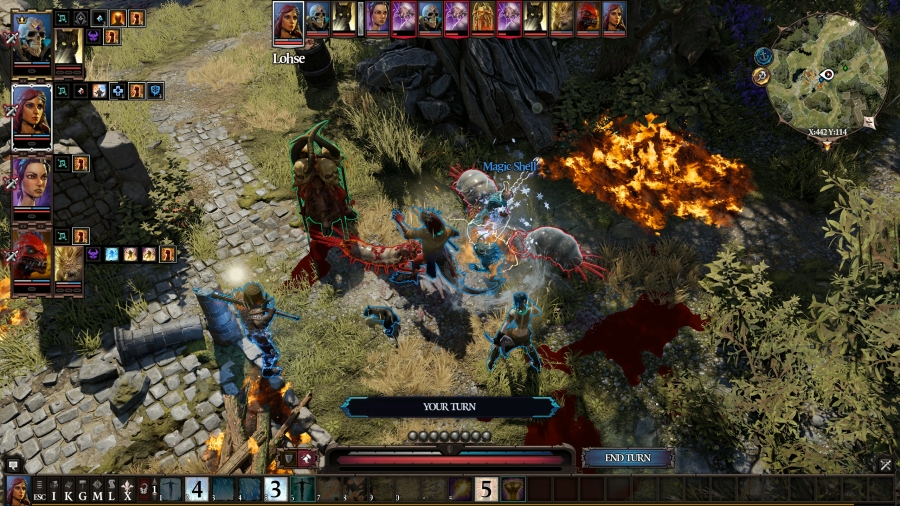 All three of the grubs are in fairly close proximity, so a single Winter Blast from Lohse can easily target all of them. With her last two AP, she uses Magic Shell on herself (which probably won�t help � the grubs are doing physical damage per hit) and then Encourage, giving everyone on her team a big stat boost. 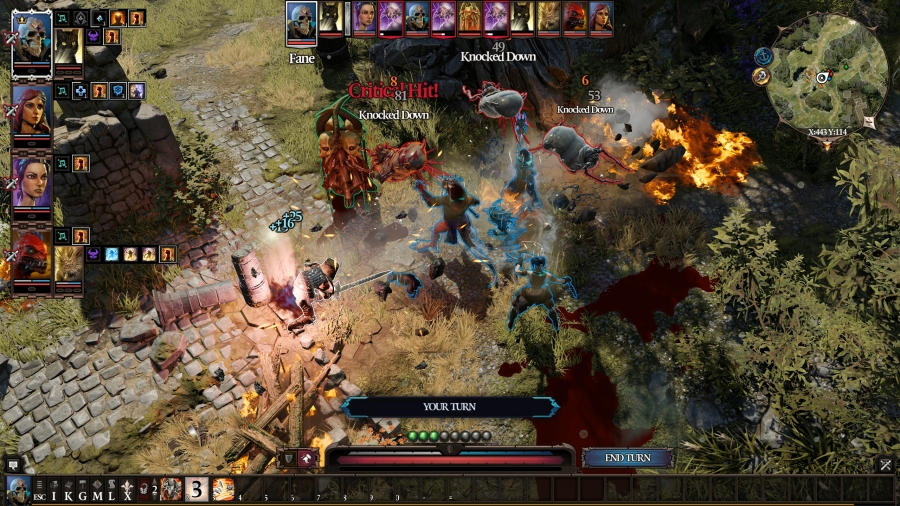 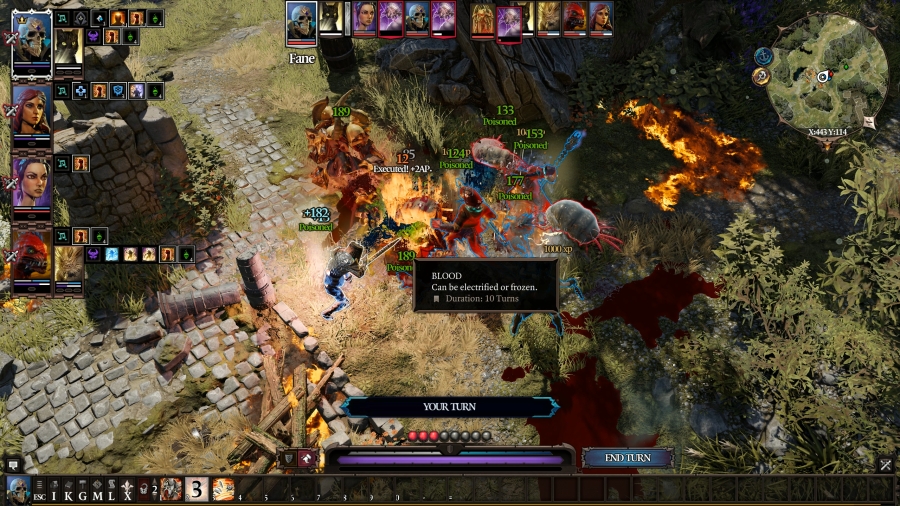 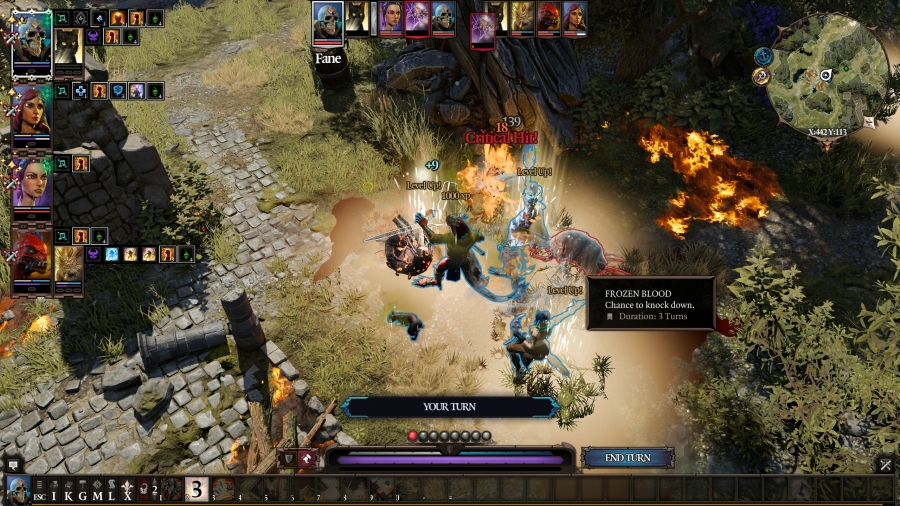 Fane hits all three with Battle Stomp, then takes out two of them with standard hits. And they each drop a whopping 1,000 EXP on kill; after the second one, we�ve each levelled up. Apparently they explode in a bubble of poison on death, which is a pretty major inconvenience. Shoe is nearly dead and Attendant is down to less than half after the first grub was squashed. But there�s only one left anyway, so this fight�s basically � 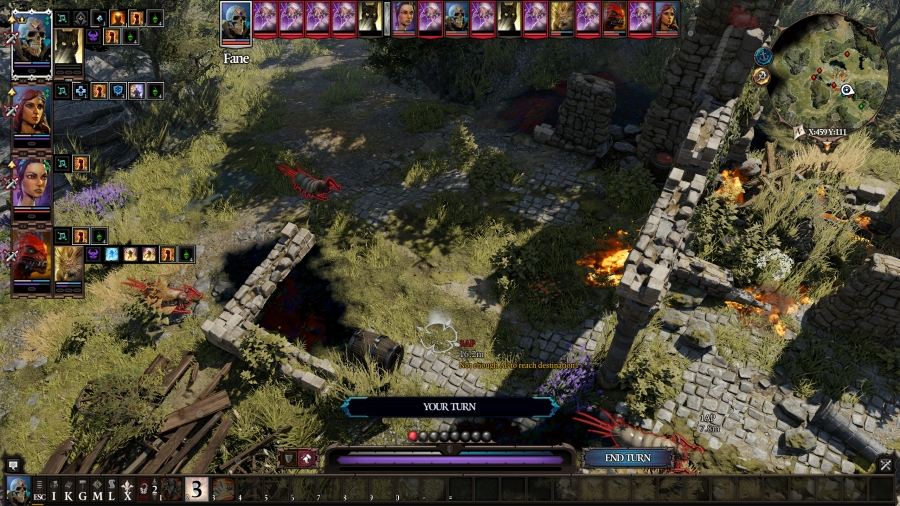 Oh. Four more just spawned. I see. 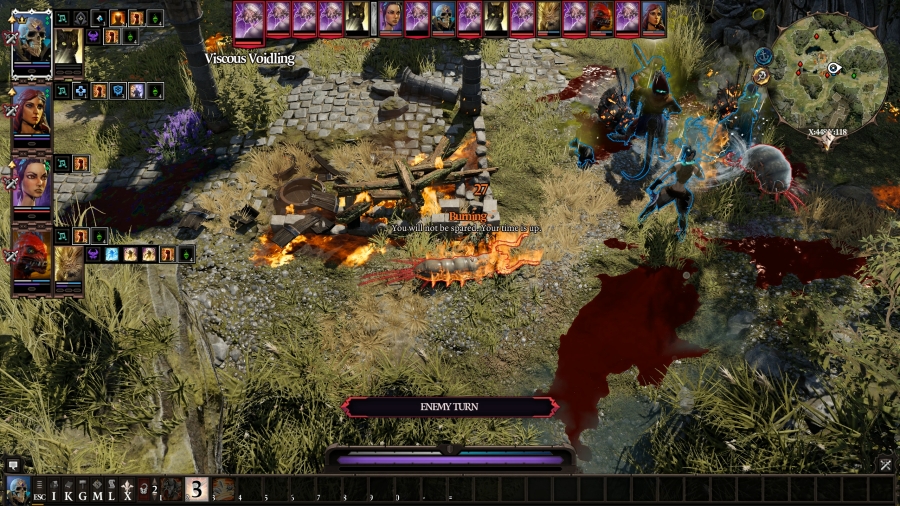 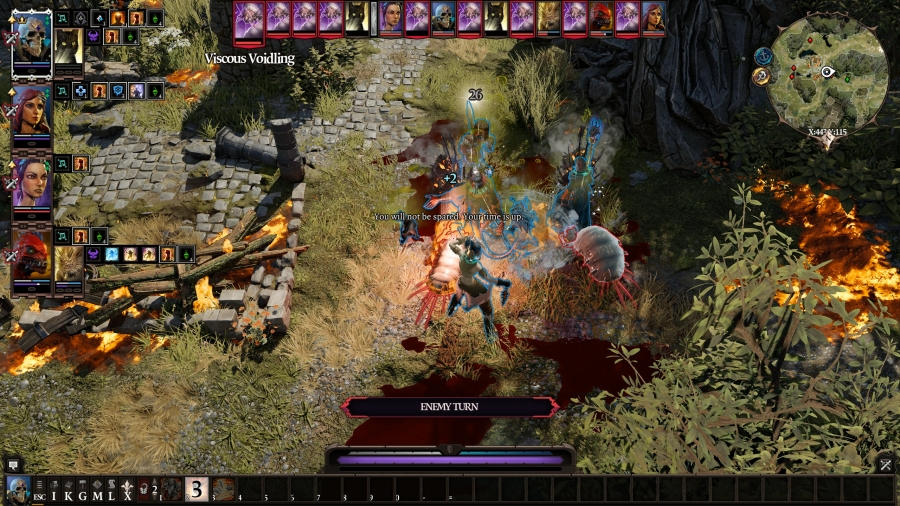 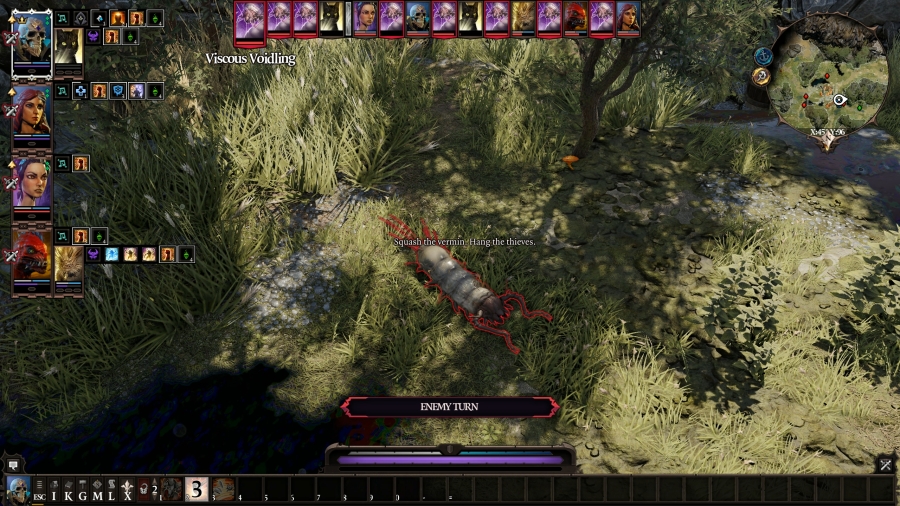 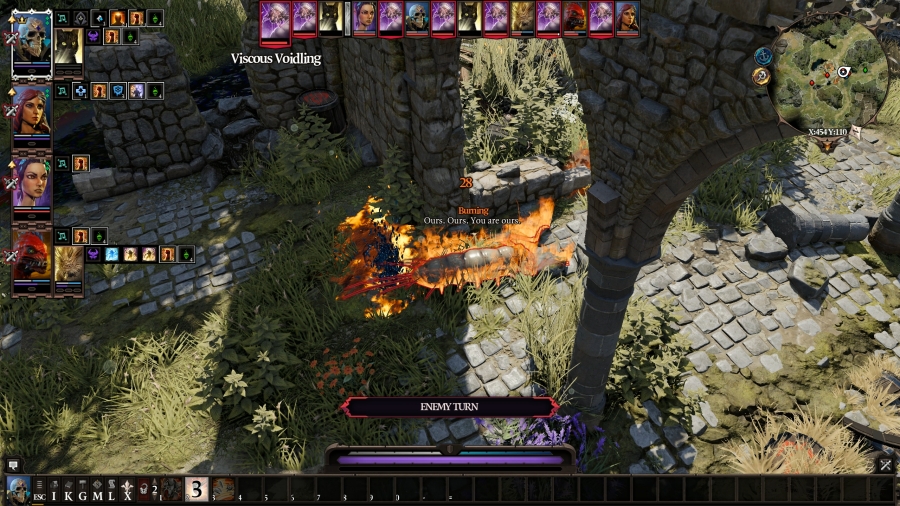 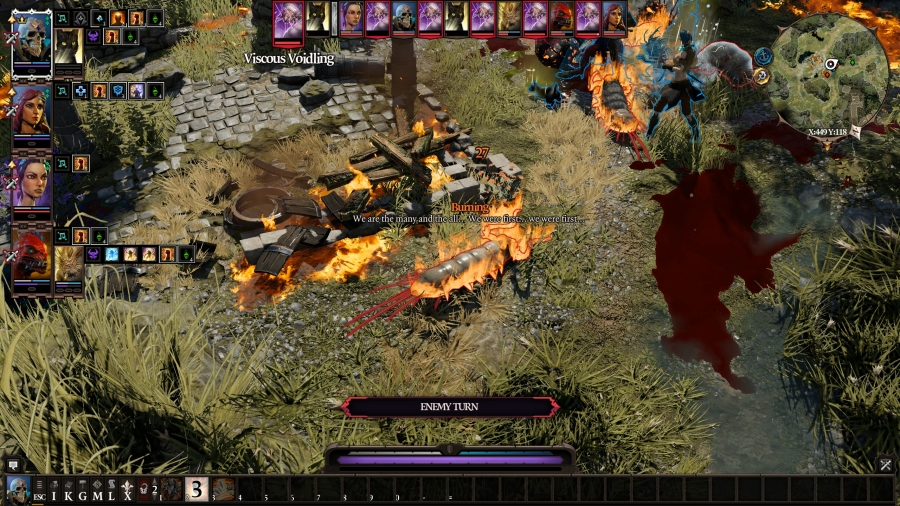 Grub 4 hits Prince; Grub 5 repositions next to Fane, but does not strike; Grub 6 repositions next to Lohse; and Grub 7 repositions next to Sebille. Sure, there�s a lot of them, but they�re also doing my job for me by bringing themselves close together. Fane hasn�t used Whirlwind yet and that�s going to be, like, half of all of their HP, just like that. 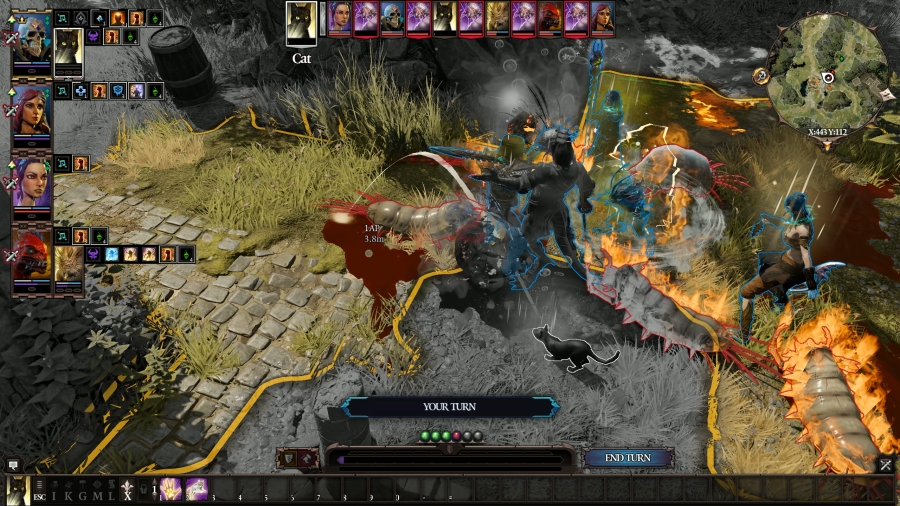 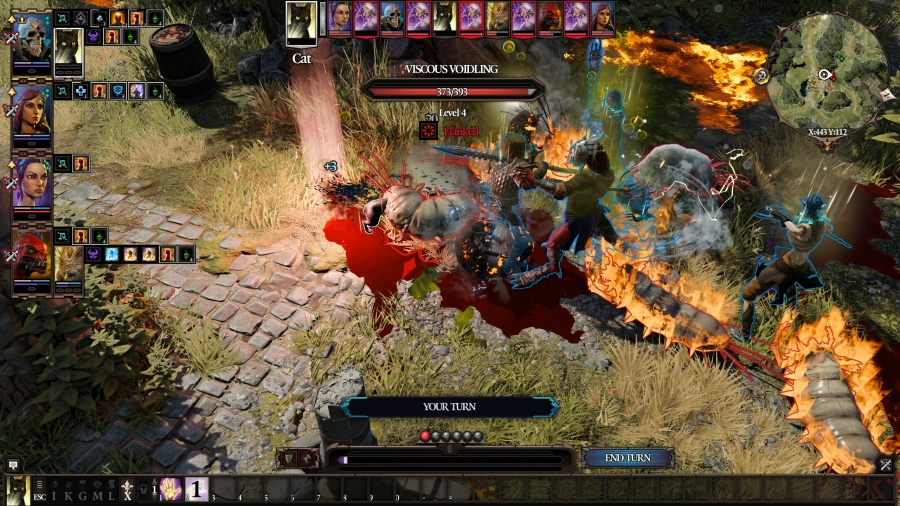 Finally, Shoe uses Feline Leap to get behind Grub 5 and hit him back. 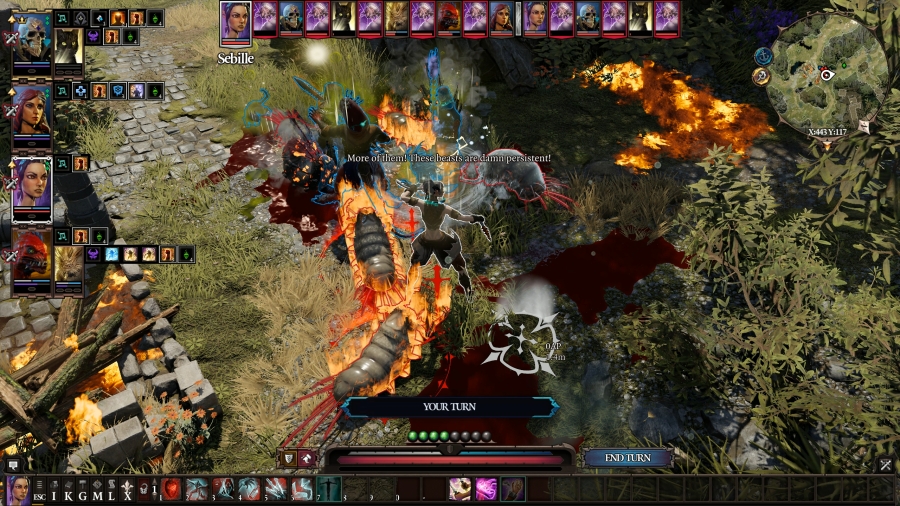 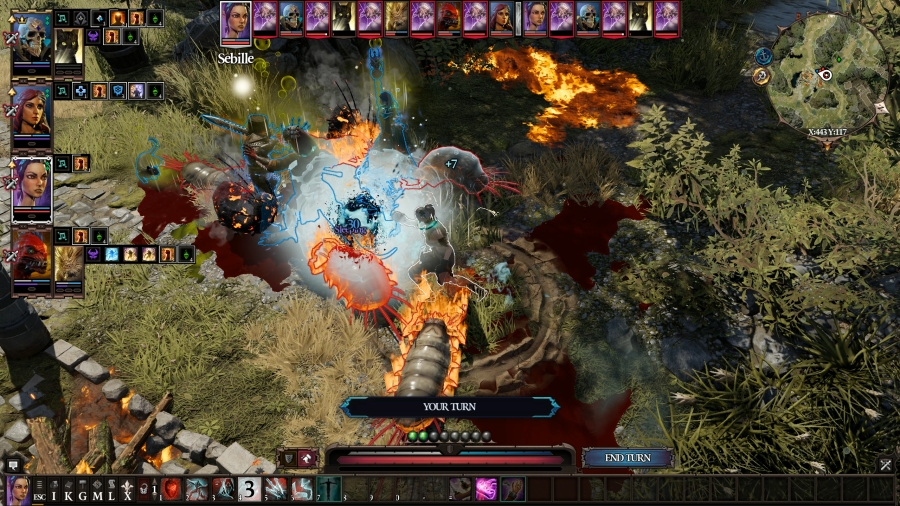  Turn 2 Grub 3 is very close to death, but Sebille is going to have a hard time approaching it to deal the killing blow. She uses Chloroform on Grub 4, then uses Throwing Knives on Grub 3 to finish it off, putting the fight back down to an even four-versus-four. Fane�s turn is next thanks to Clear Mind. He really, really wants to use Whirlwind, but it would wake up Grub 4, so he delays. 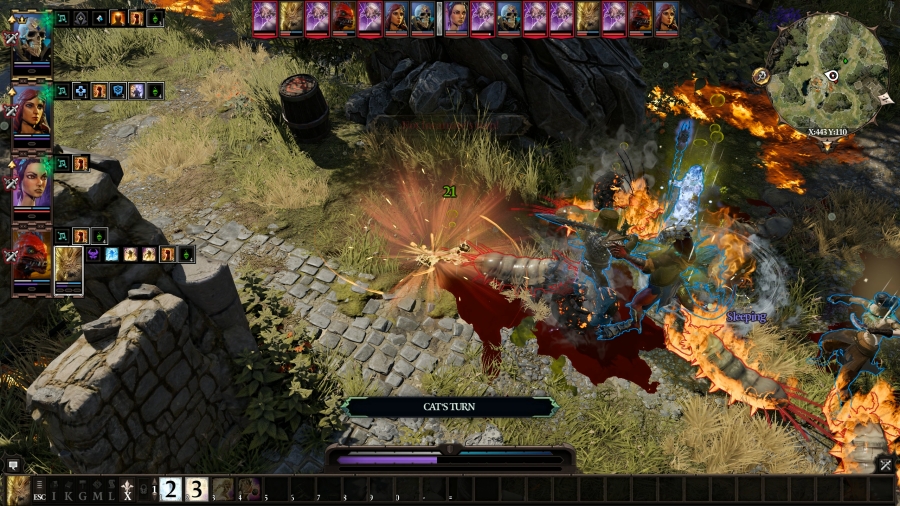 Shoe dies 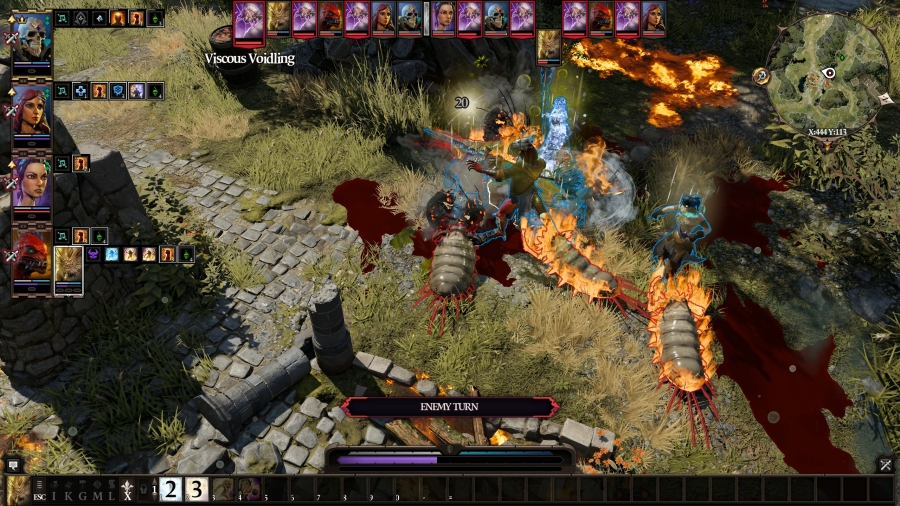 Grub 5 gives Fane and Prince both a what-for. To be fair, Prince is down to half, so maybe I should deal with them sooner rather than later. 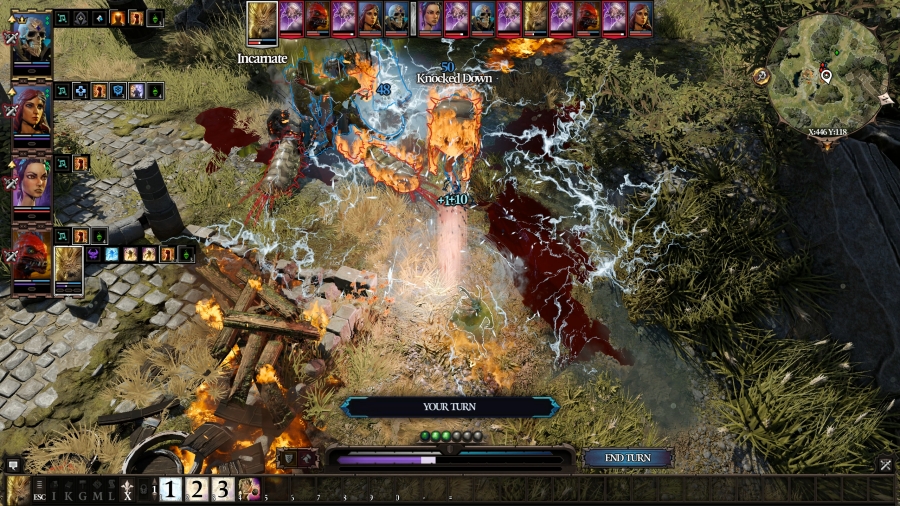 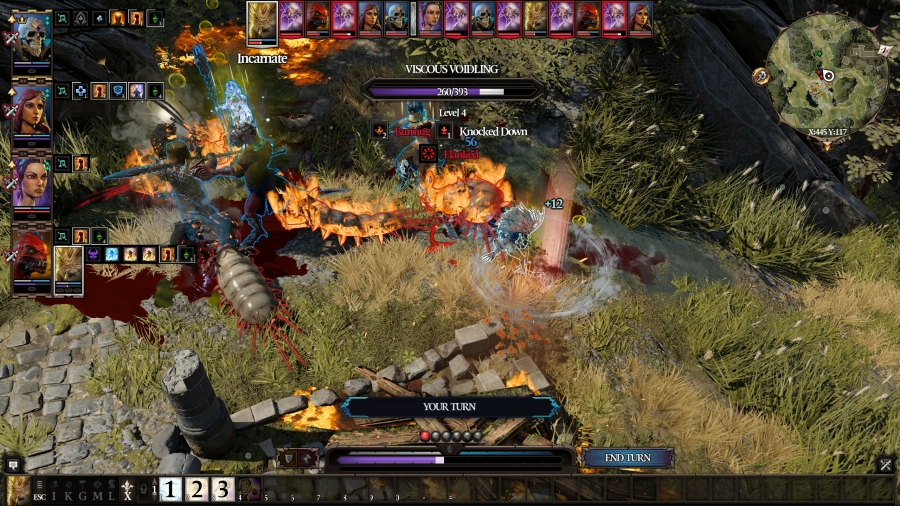 Attendant hits Grubs 4 and 7 with Battering Ram, and then hits 7 with an open-hand slap across the carapace. 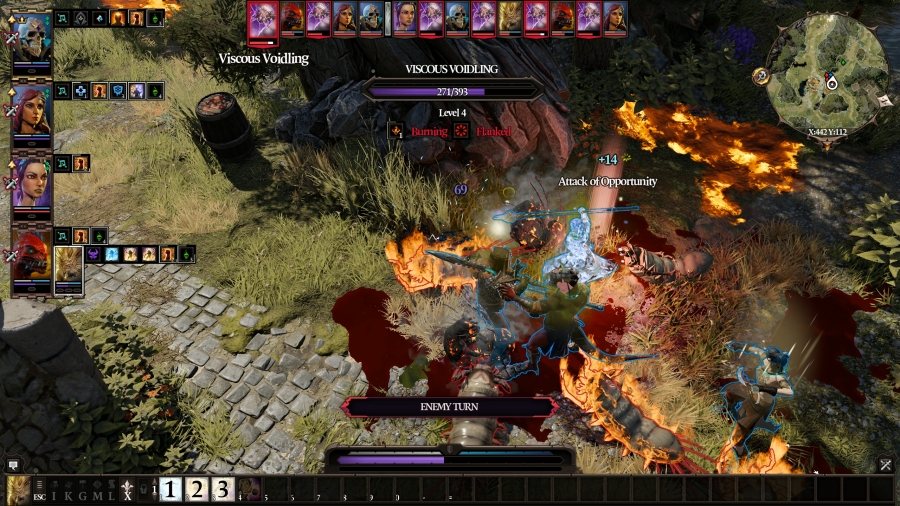 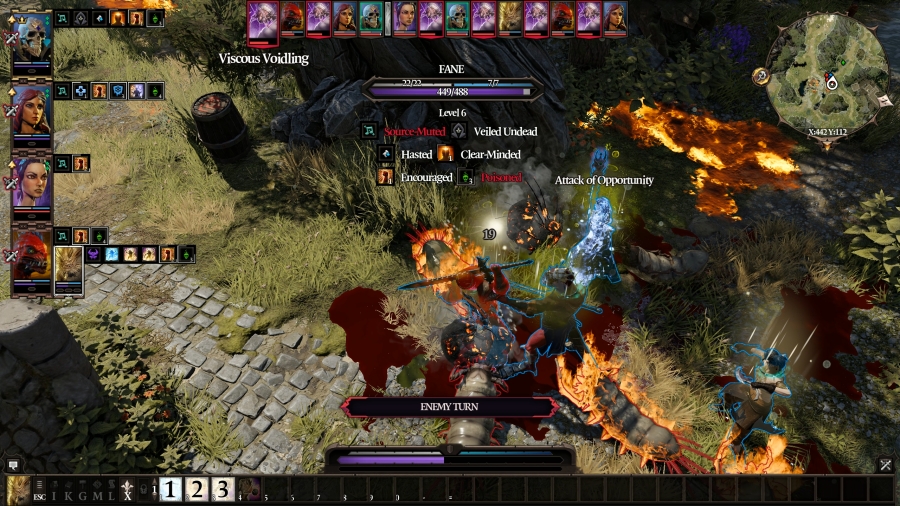 Grub 6 hits Fane for 19 damage, but in exchange, it takes an AoO from Lohse, Fane, and Prince. It went from full health to about a quarter in exchange for doing less damage than if Fane ate a tomato. 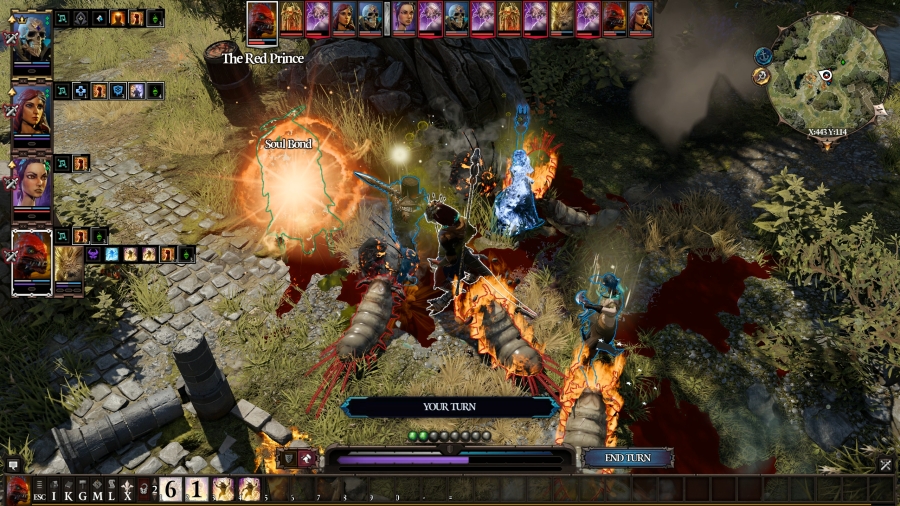 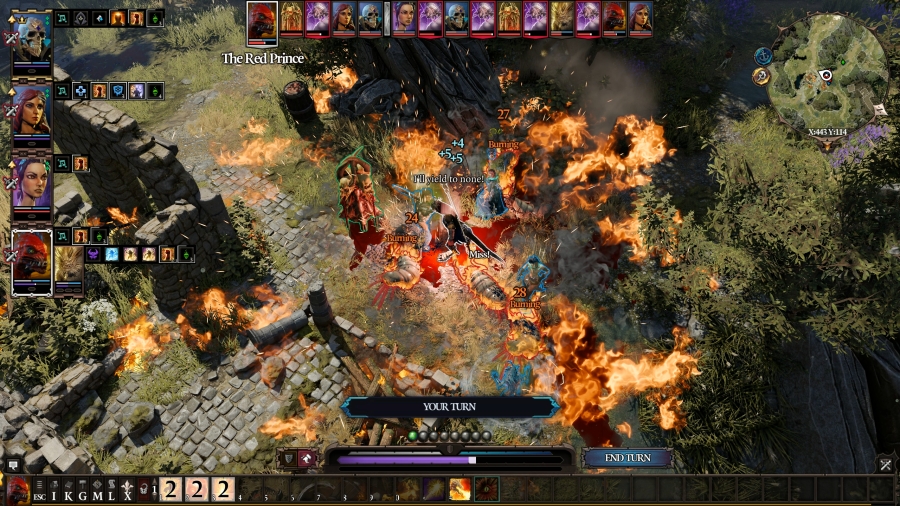 Prince summons another totem to replace the one that broke when the first grub exploded, and then he casts Ignition, setting every grub remaining ablaze. Except grub 4, the one standing right next to him, which is, presumably, the hottest place for it to be standing. 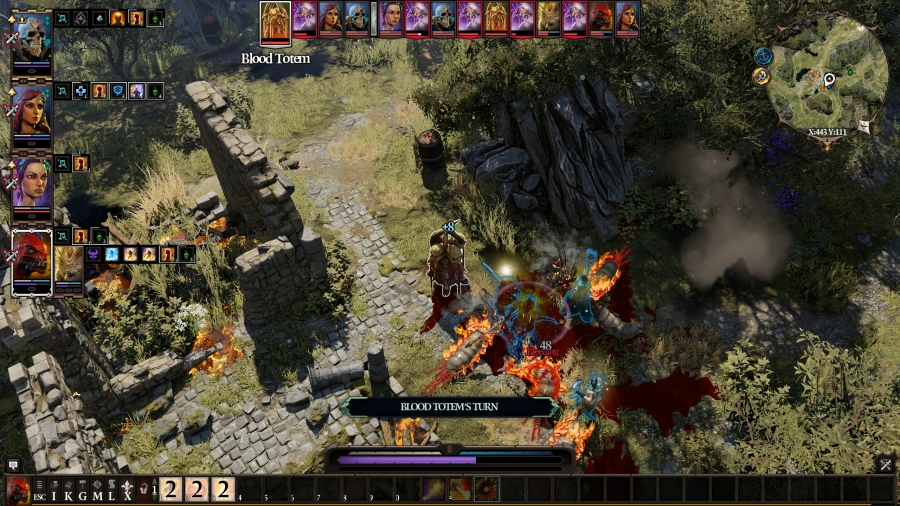 Luckily, the blood totem picks up the slack and hits that one specifically. 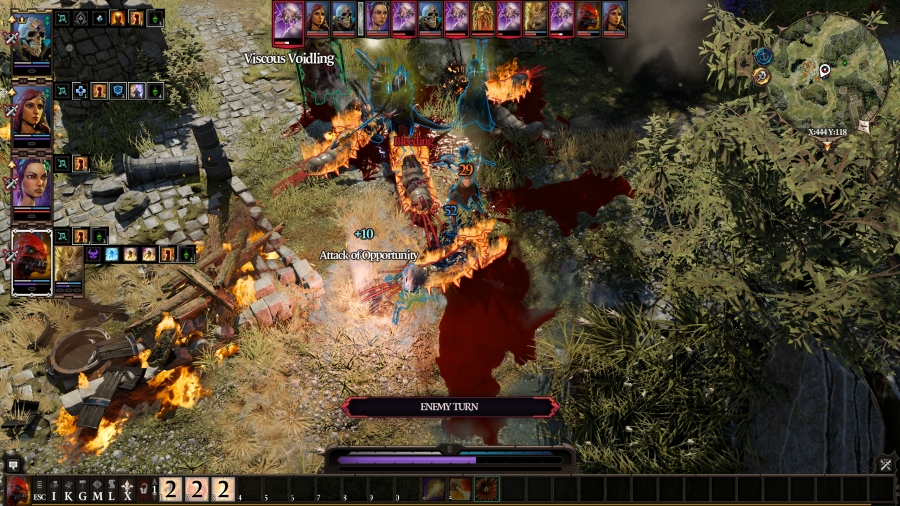 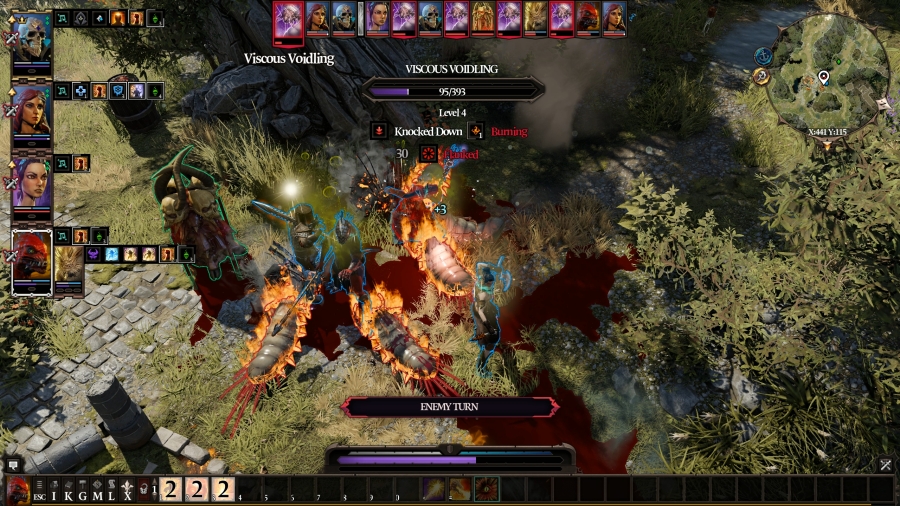 Grub 7 figures that grub 6 had the right idea, just, its execution was flawed. It runs in to whap Lohse � and then takes an AoO from Attendant, Sebille, and Prince. So, maybe it didn�t have things figured out like it thought it did. 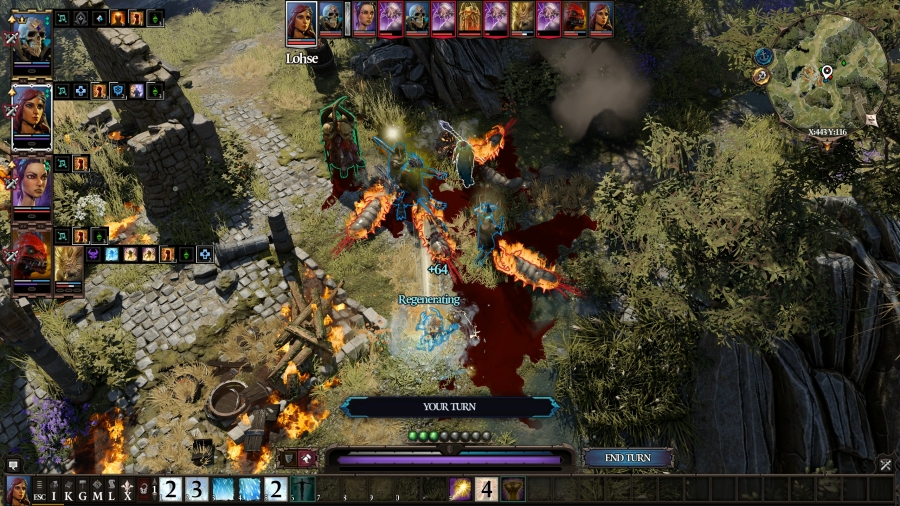 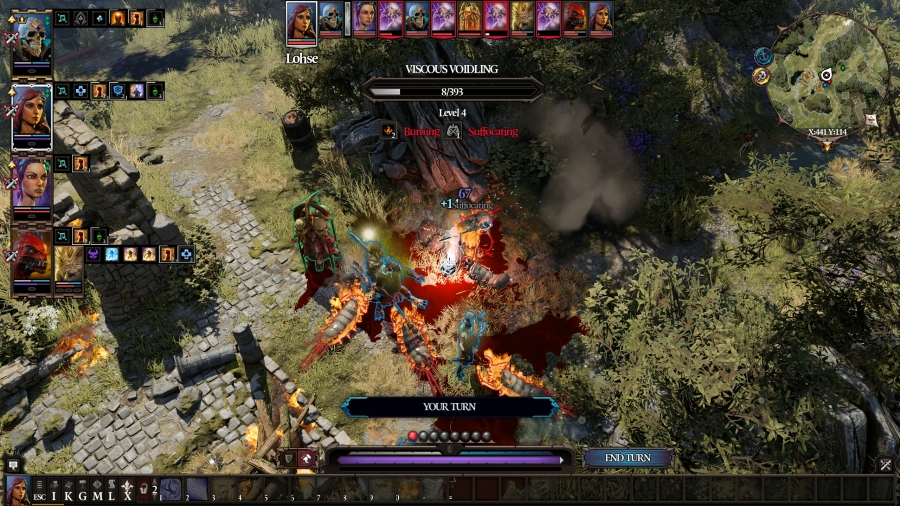 Lohse uses Restoration on Attendant, since it wasn�t doing so well, and then turns around and butts grub 6 with her staff, causing it to Suffocate. With that, it�ll die on its next turn. 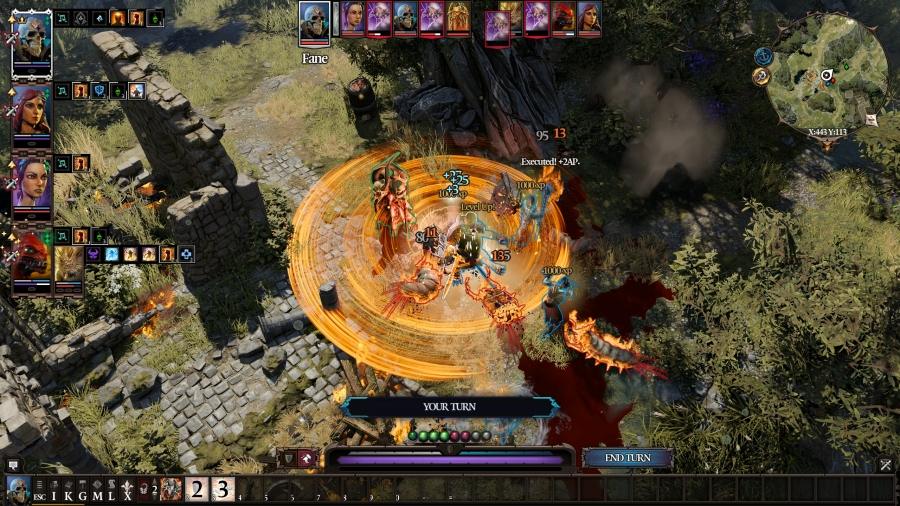 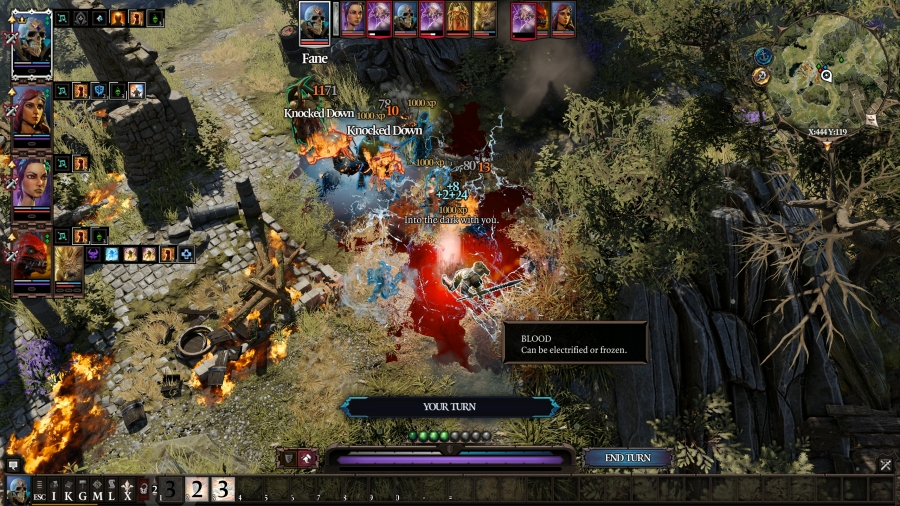 Fane finally whips out Whirlwind, which also kills grub 6, and then he uses Battering Ram on grub 7, taking it out, leaving only � 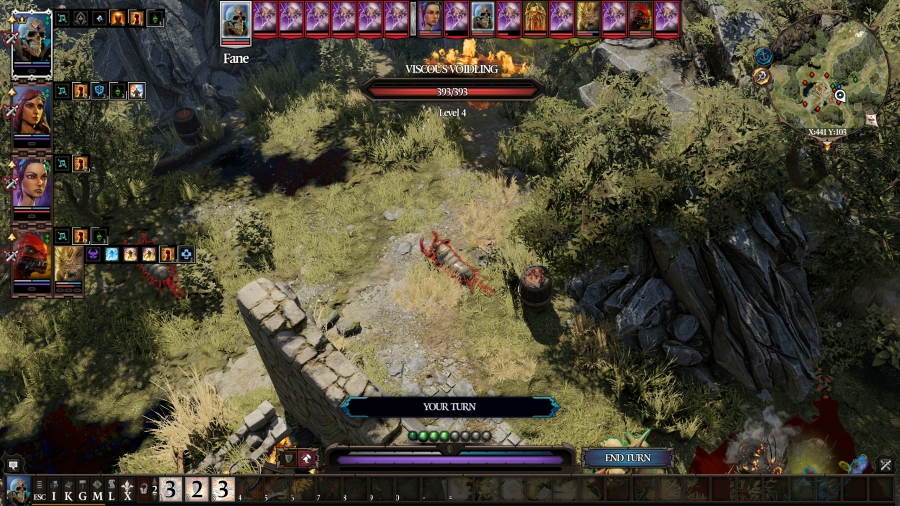 � seven grubs left. 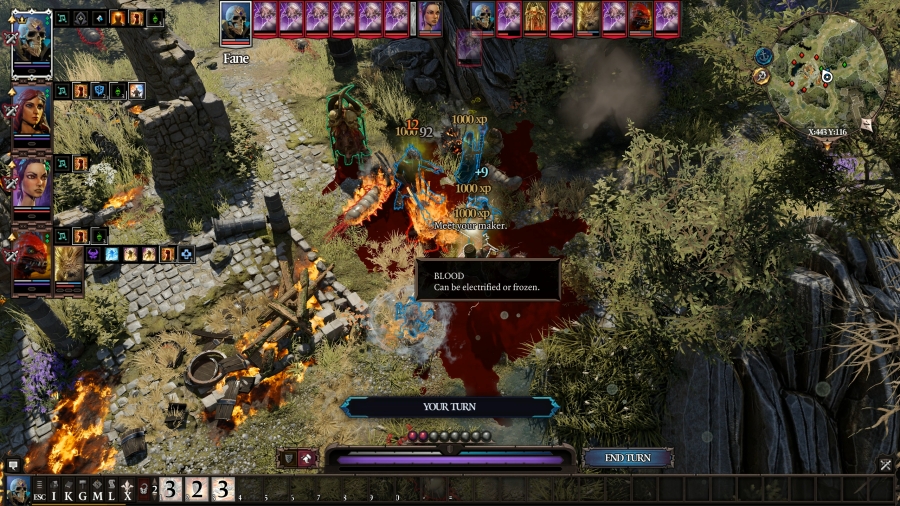 Well, he might as well finish off grub 4 with a standard attack. He has two AP left to spend for next turn.  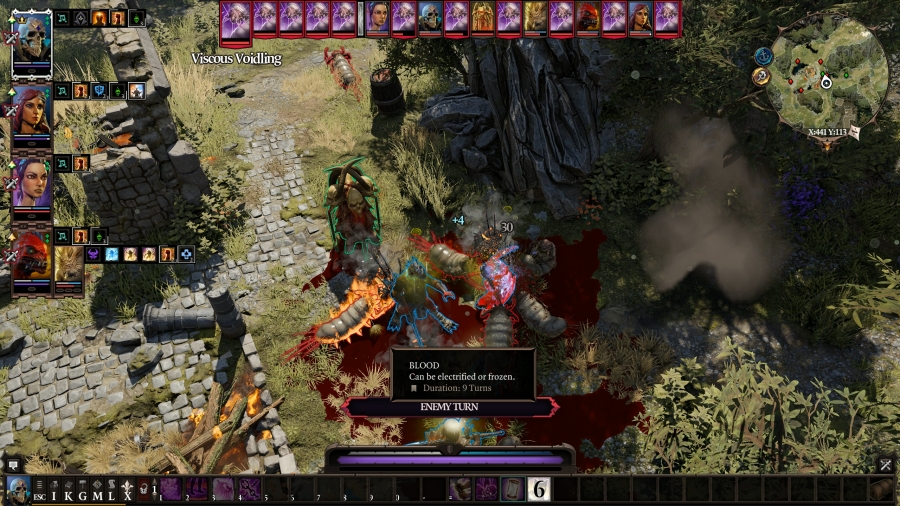 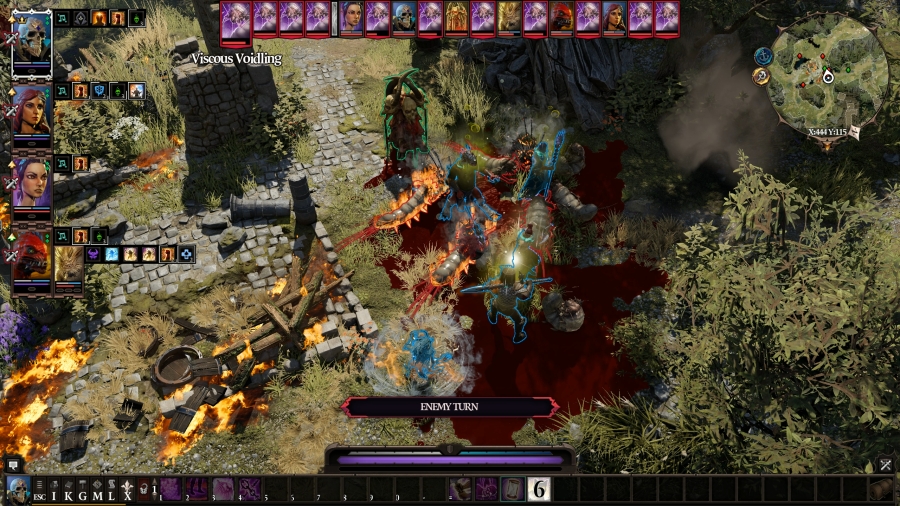 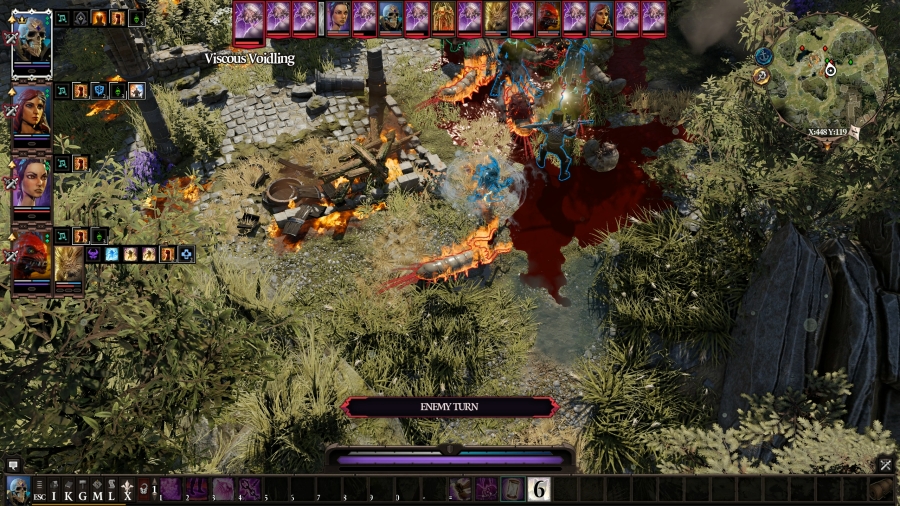 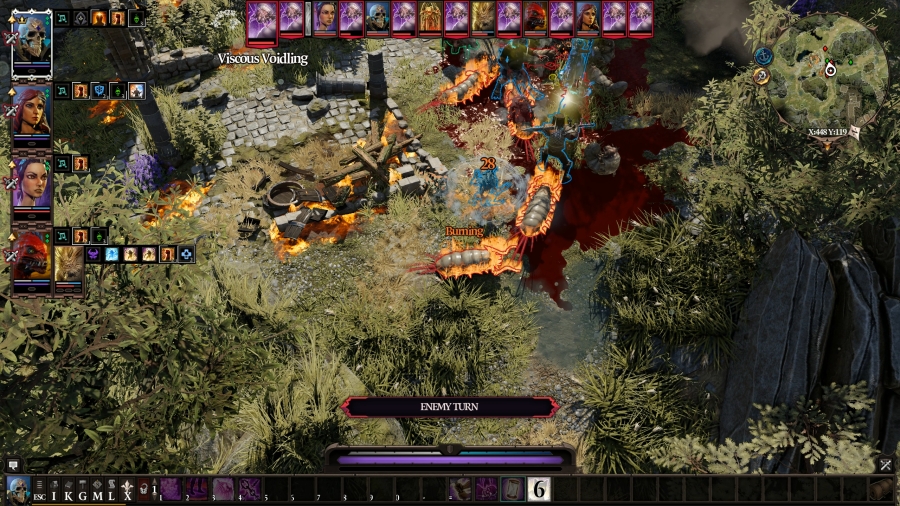  Grub 8 hits Prince; grub 9 hits Lohse; grub 10 repositions next to Prince; grubs 11 and 12 reposition next to Sebille; and lucky grub number 13 repositions next to Attendant. 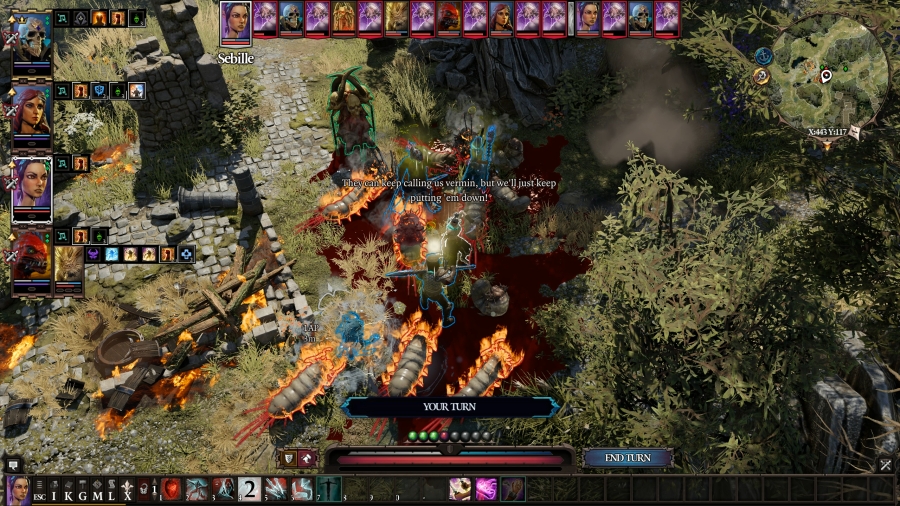 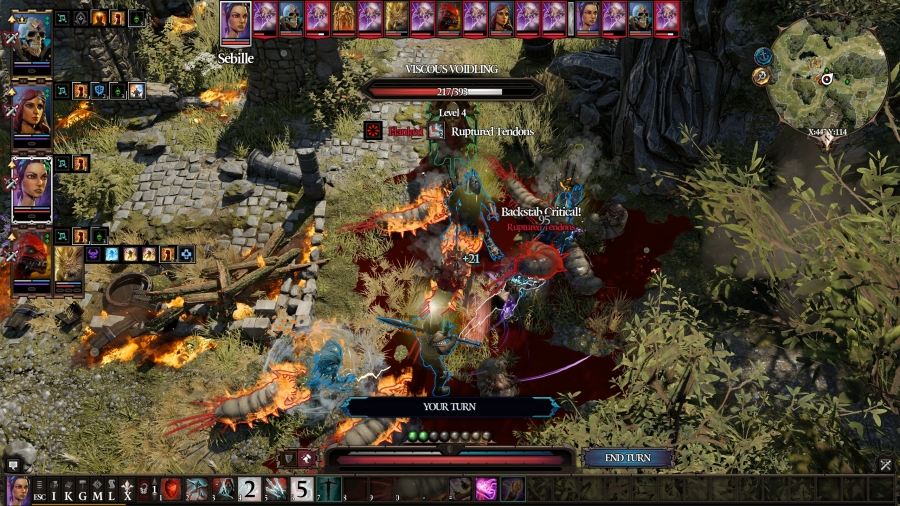 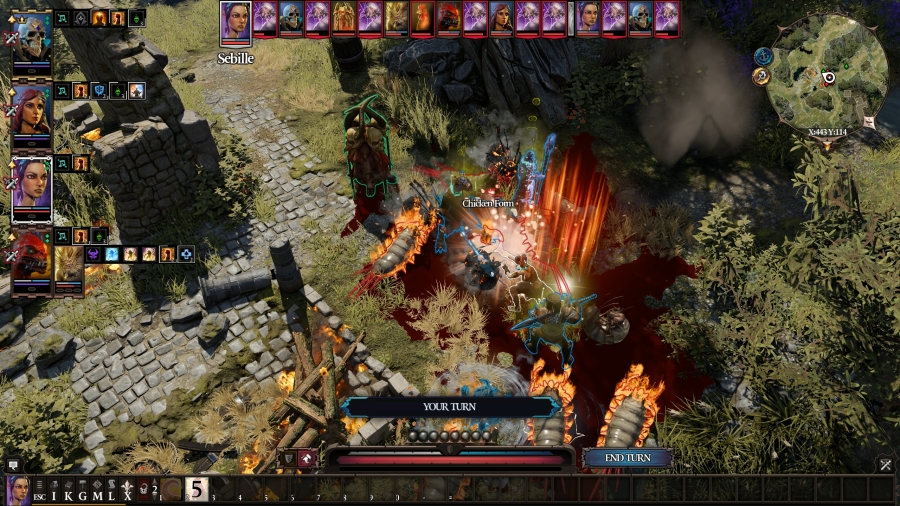 Turn 3 Sebille tries something different. These grubs like to move around a lot and they aren�t doing a ton of direct damage. She tries Rupturing grub 9 and then using Chicken Claw on grub 10; the idea being that grub 9 is probably going to run a country mile without being turned into a chicken anyway, so she might as well try and control two different targets. 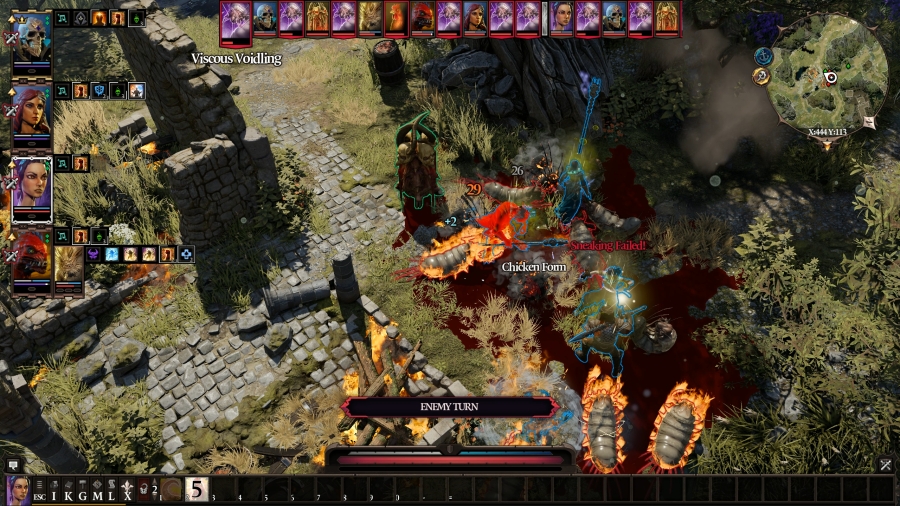 Grub 8 hits Prince once, then repositions next to Fane, deciding that that�s a safer place to be in the battlefield. 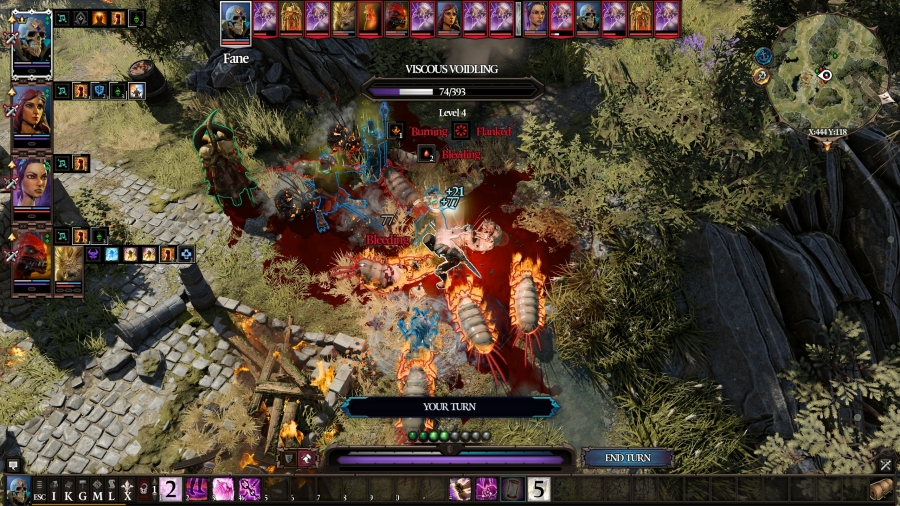 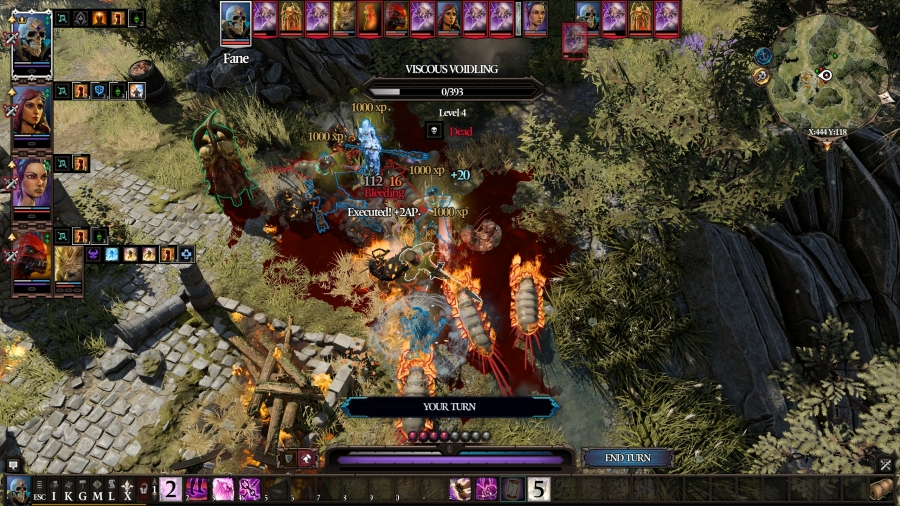 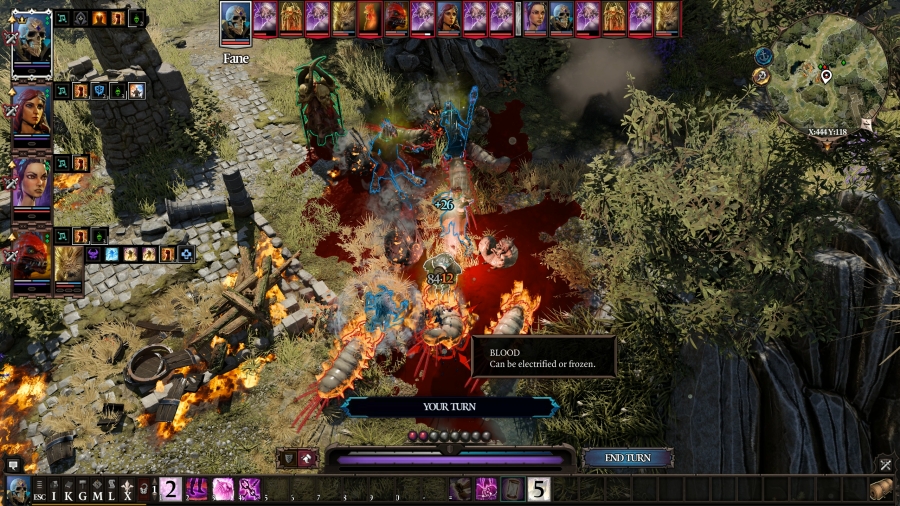 Fane immediately kills grub 8 with Mosquito Swarm and a standard attack. With that bug squashed, he turns his attention to grub 11, hitting it for two more attacks. Unfortunately, Whirlwind is down for two more turns. 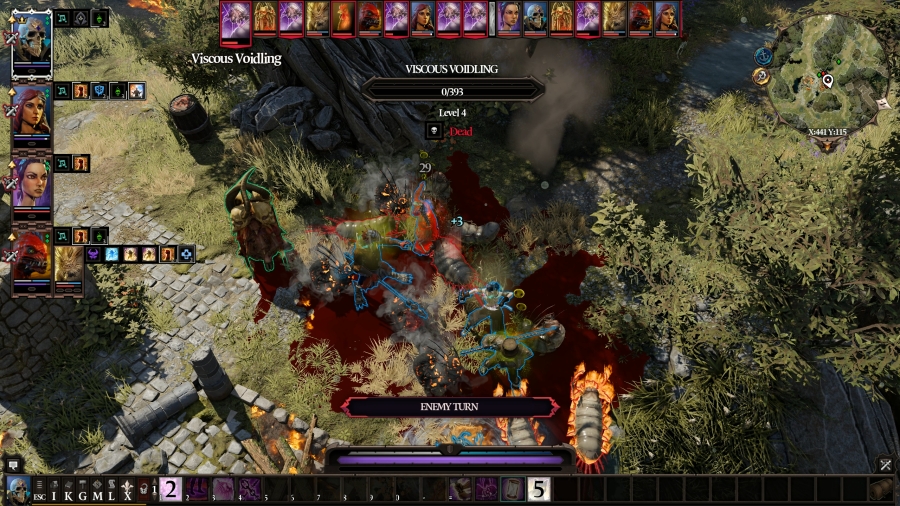 Grub 9 hits Lohse twice. Outstanding move. 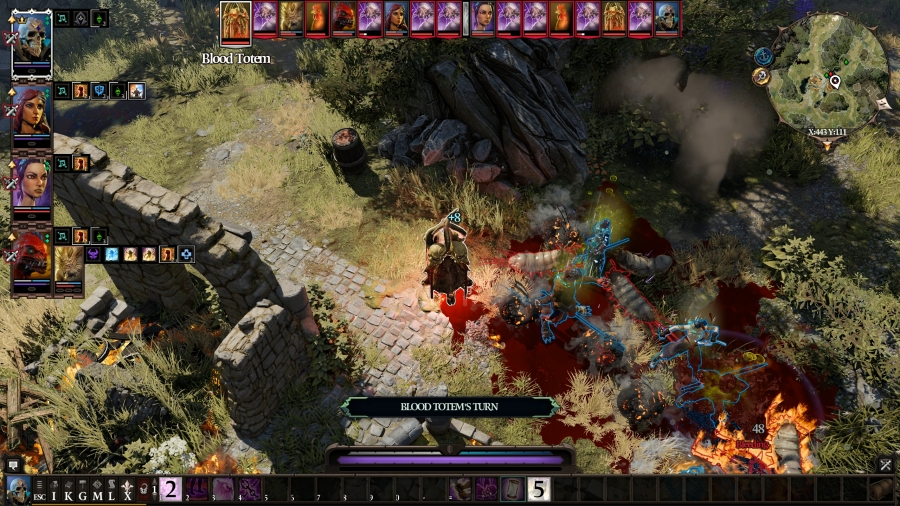 The newly-christened Blood Totem, recognizing Fane�s efforts, fires a bloody glob at grub 11, trying to bring it down faster. The shot makes it bleed, but I doubt it�ll die from the fire and bleeding alone. 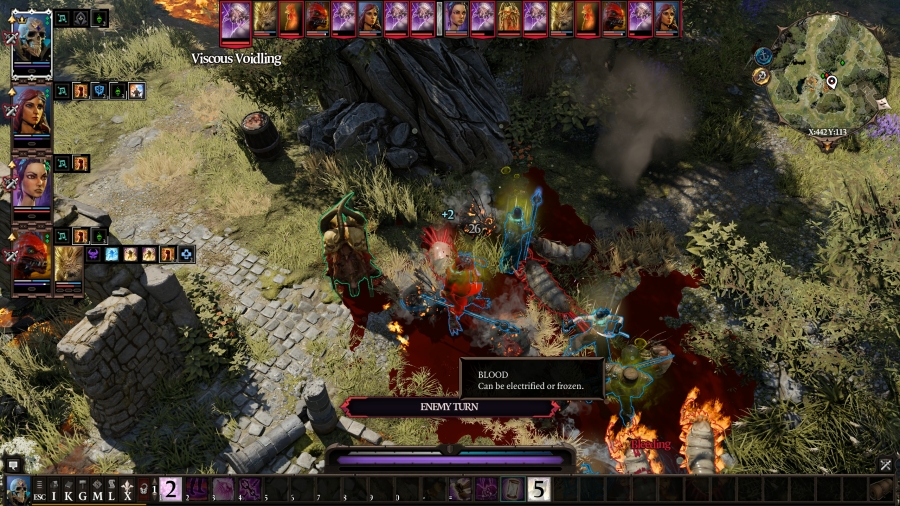 Grub 11 hits Prince and then repositions next to Fane, getting clubbed in the thorax from Lohse for it. 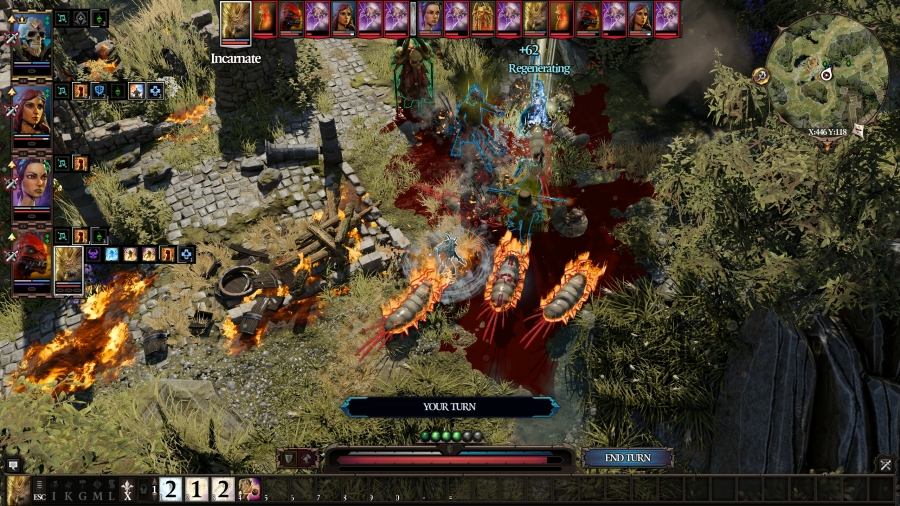 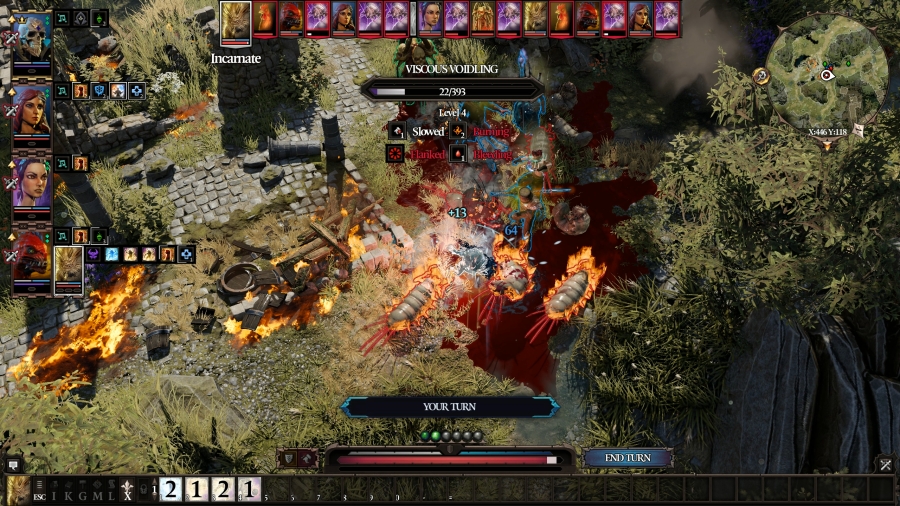 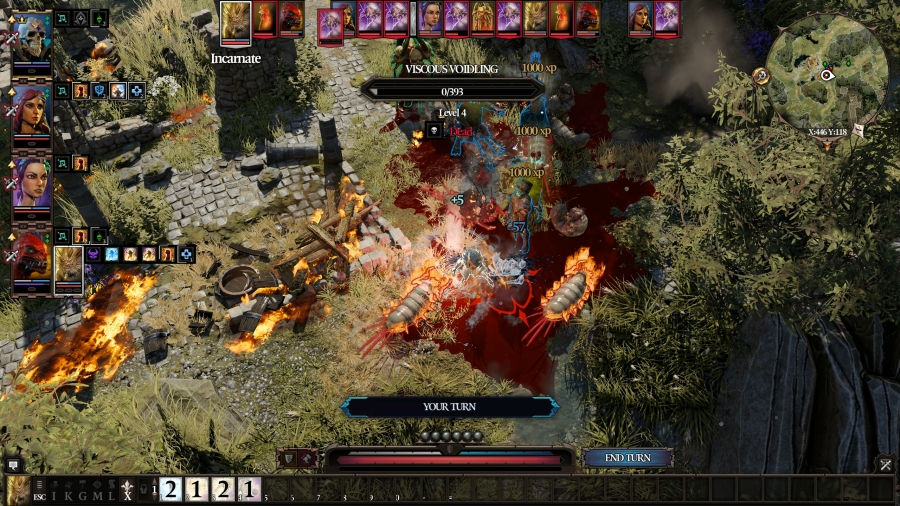 Attendant does its attendant-ly duties by healing Lohse, and then it strikes grub 11 with its long-ranged shot and then once more with its watery claws, taking it out. Only four(???) left! 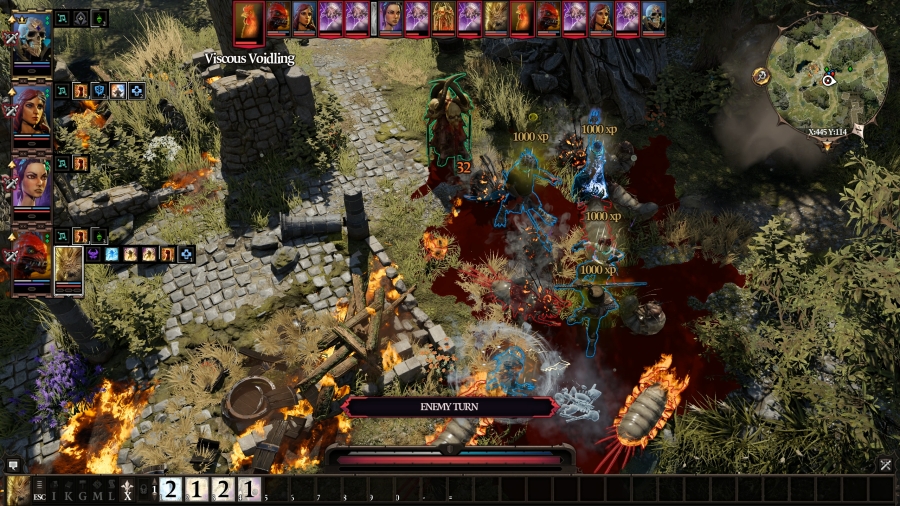 Grub 10 hauls rear end from the fight as a chicken. Because it isn�t ruptured, it takes no damage, but it does run through two fire pits in its rush. 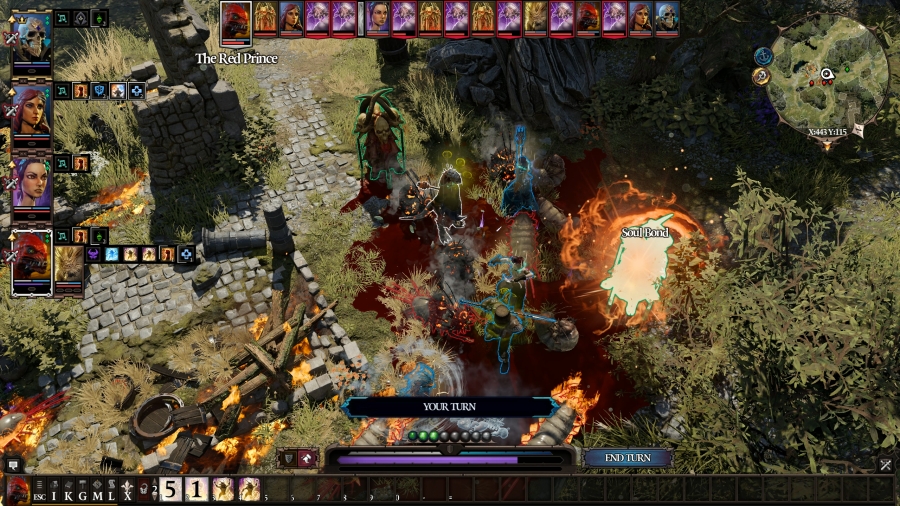  Prince summons a new Blood Totem to hopefully pick things up a bit, and then he whacks grub 9 for threatening Lohse. 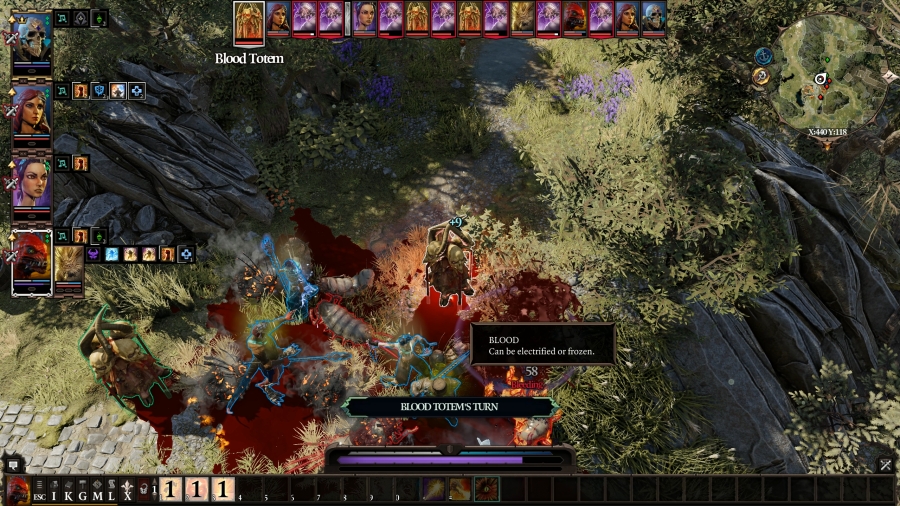 The brand new Blood Totem fires a shot at grub 12, which was at full HP, so. I guess that�s better than nothing.  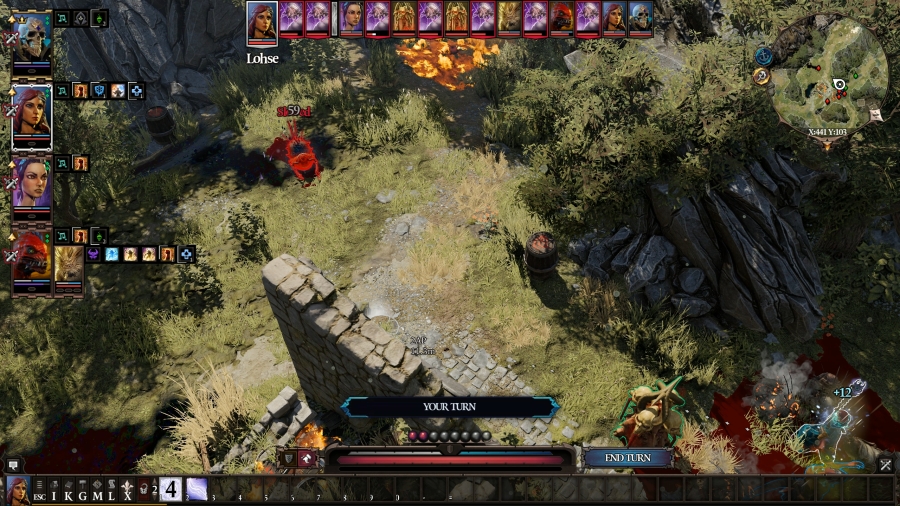 Lohse has another idea, though: she Teleports grub 9 as far away as she can, landing it in a pile of oil just to her south, ensuring that it�ll be too slow to approach and attack at once. She could hit another grub with Staff of Magus or Electric Discharge, but these grubs bleed blood whenever they�re hit and we�re standing in a massive lake of it, so using electric attacks might not be the better option. 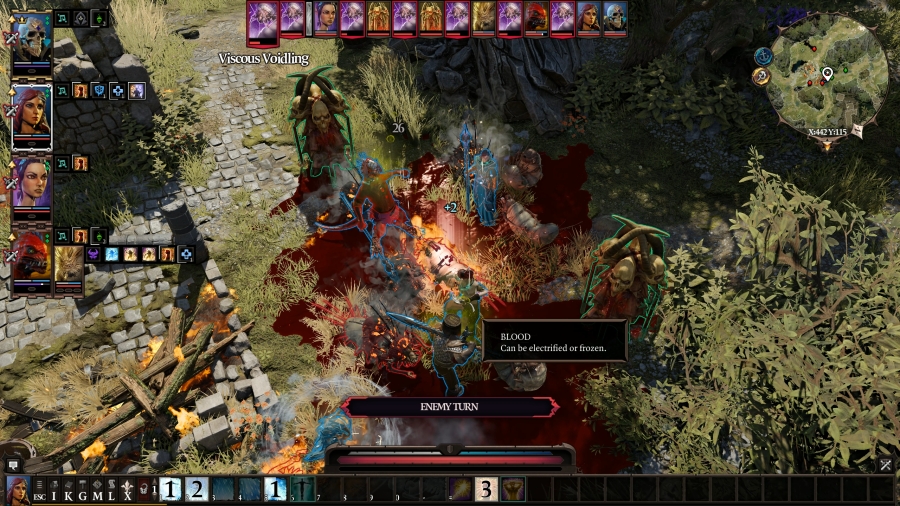  Grub 12 had spent a long time thinking over why grubs 6 and 7 had failed in what was obviously an immaculate, bulletproof strategy, and it decides to try it again, but with its own spin on the execution. It runs in and, this time, it hits Prince, which the other two hadn�t aimed for. It then promptly eats poo poo from Fane, Lohse, and Prince, putting it down to just 8 HP. The bleeding and the fire will take it out next turn. 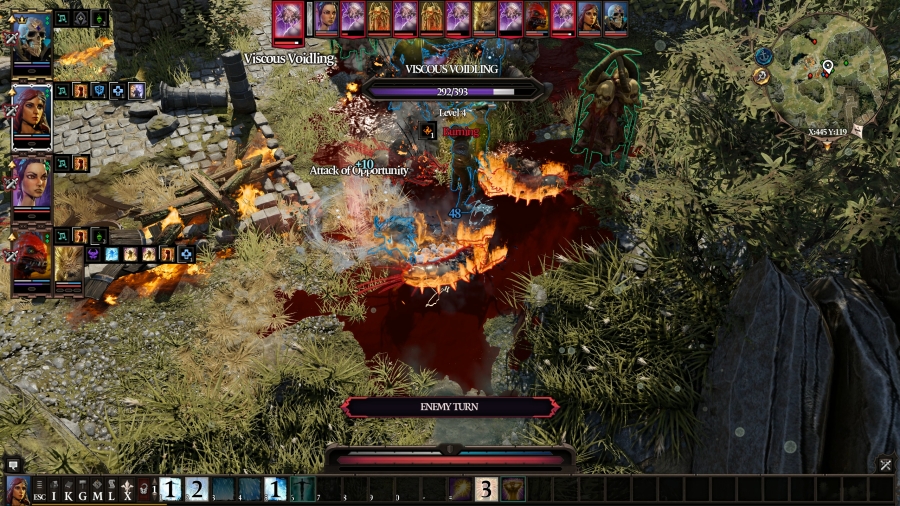 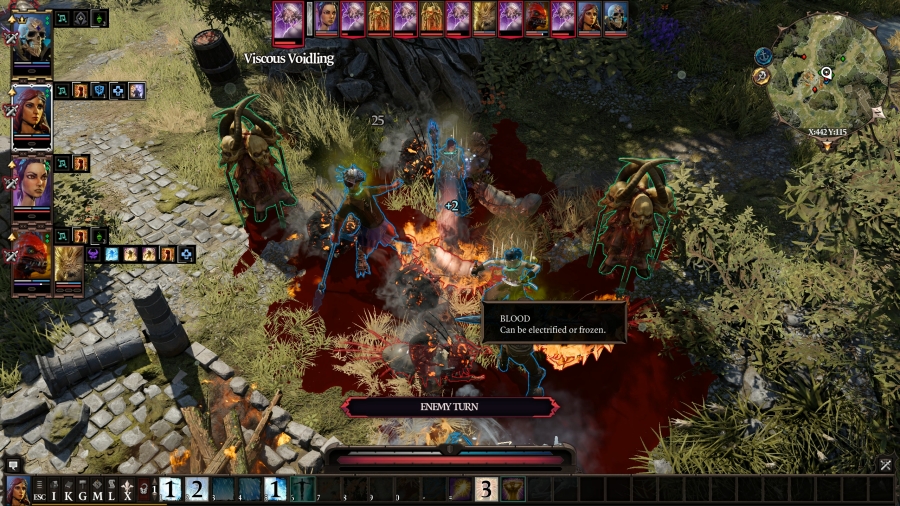 Finally, grub 13, realizing that it�s about to make a terrible mistake, instead altars course to run around the outside of the melee � to run in and hit Prince again. It only takes AoOs from Attendant and Sebille that time, so, progress was made? 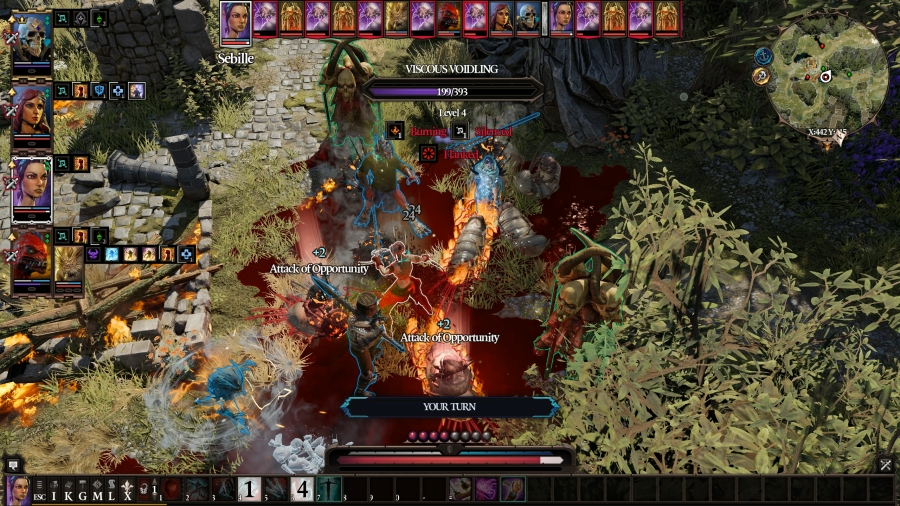 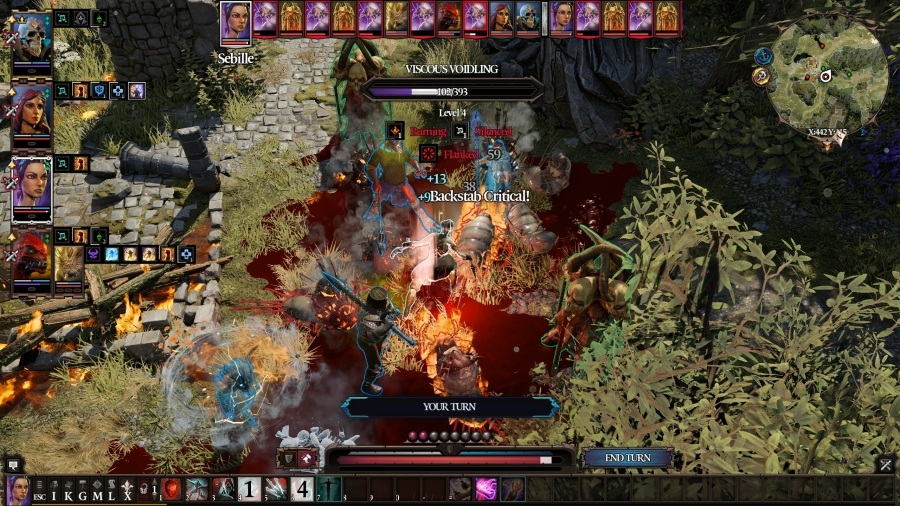  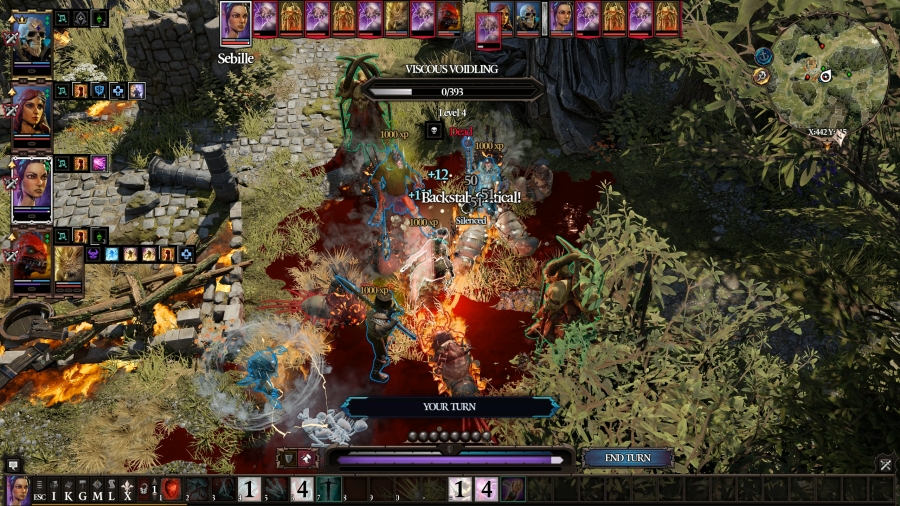 Turn 4 Sebille wants to hit grub 13, figuring she could probably take it out on this turn if she went all in. She needs to reposition slightly though, and she winds up taking a proboscis to each of her shins at the same time. Well, whatever, that�s not going to slow her down. She hits grub 13 once, then uses Flesh Sacrifice to put herself up to 3 AP so she can hit it with Flurry. That�s enough to bring it down. 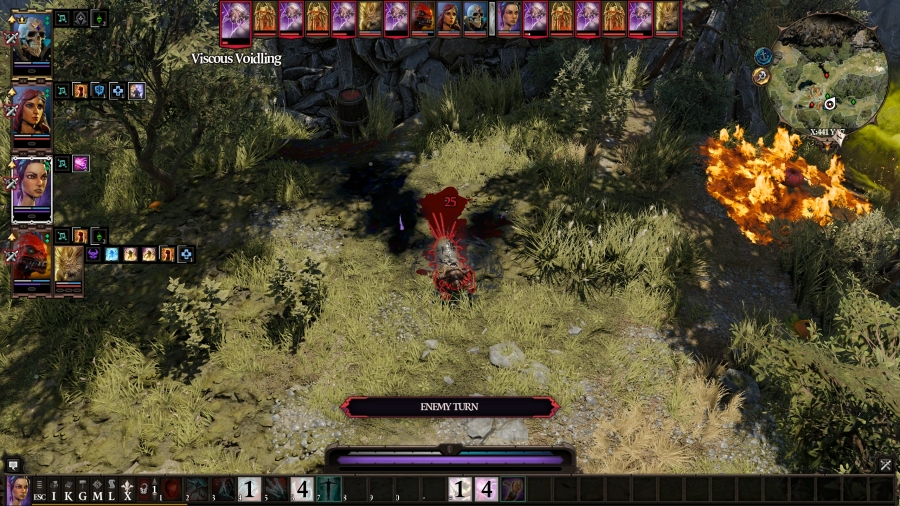 Grub 9 begins its long and arduous approach � and then realizes it�s still Ruptured, so it stops after one tick. Lame. 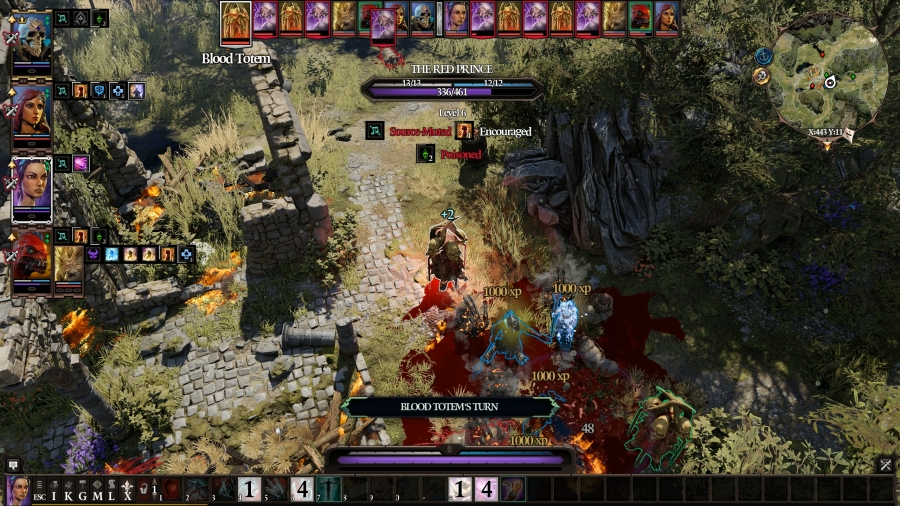 The first Blood Totem hits grub 12, removing it from the fight. 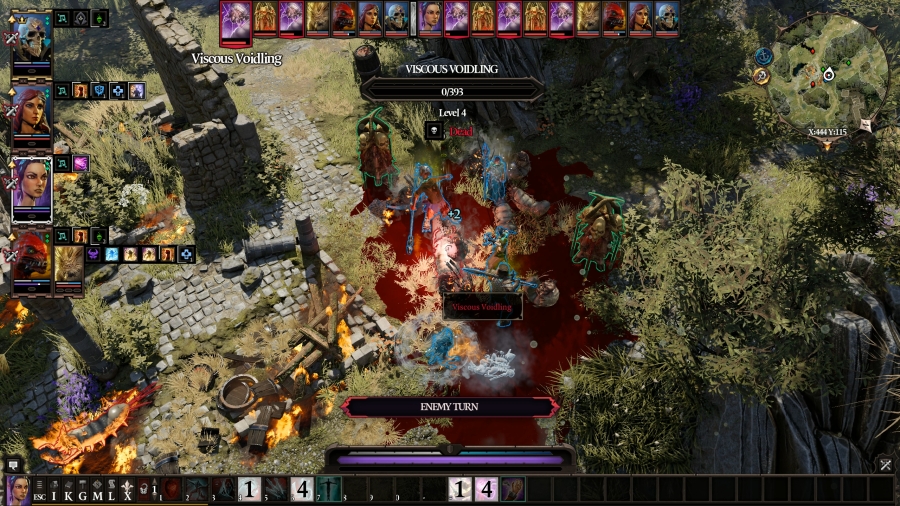 Grub 11 takes an interesting, albeit not very effective move: it hits Prince, then Lohse, then repositions back to Prince. I have no idea what it was hoping to achieve. 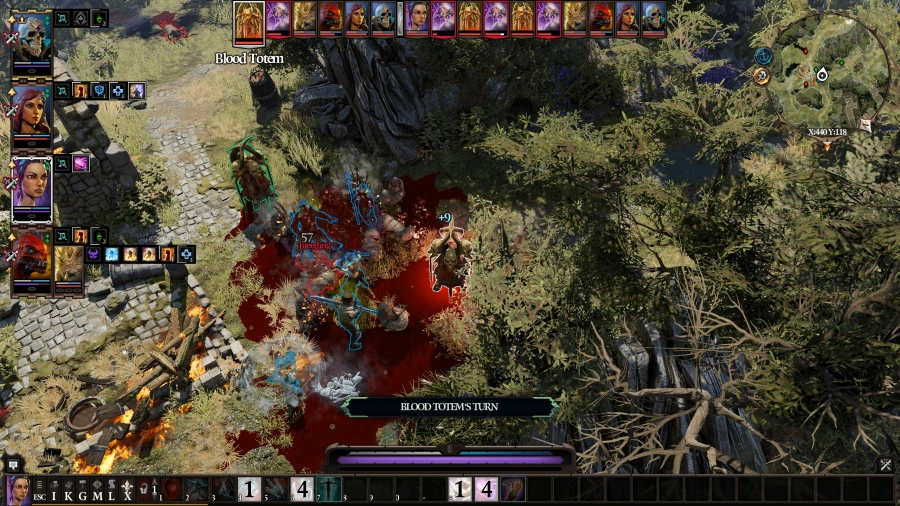 The second Blood Totem hits grub 11 with a dart, hurrying it towards its death. We don�t have all day! 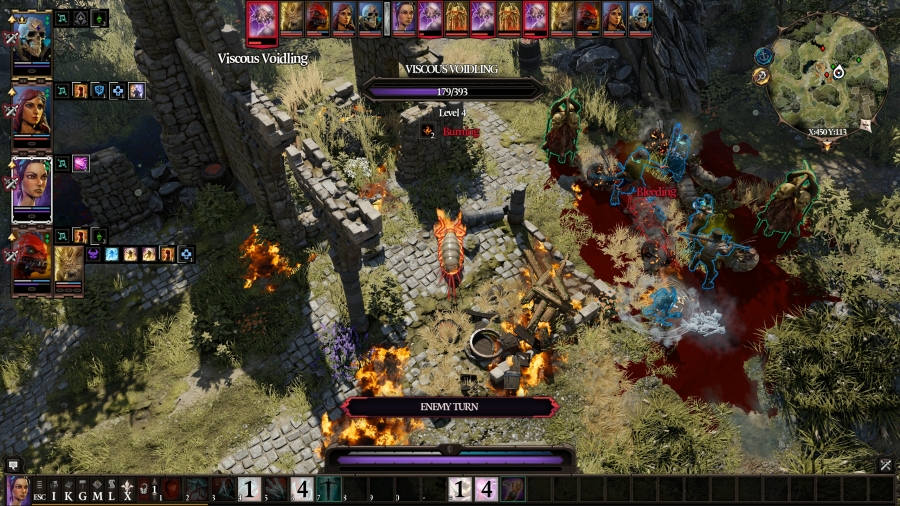 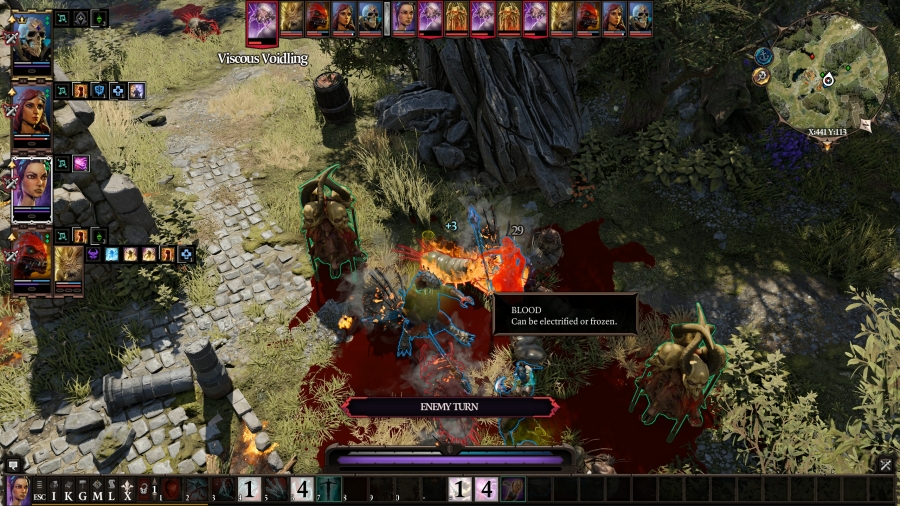 Grub 10, now no longer a chicken, runs back into the fray to hit Lohse and Prince once each. 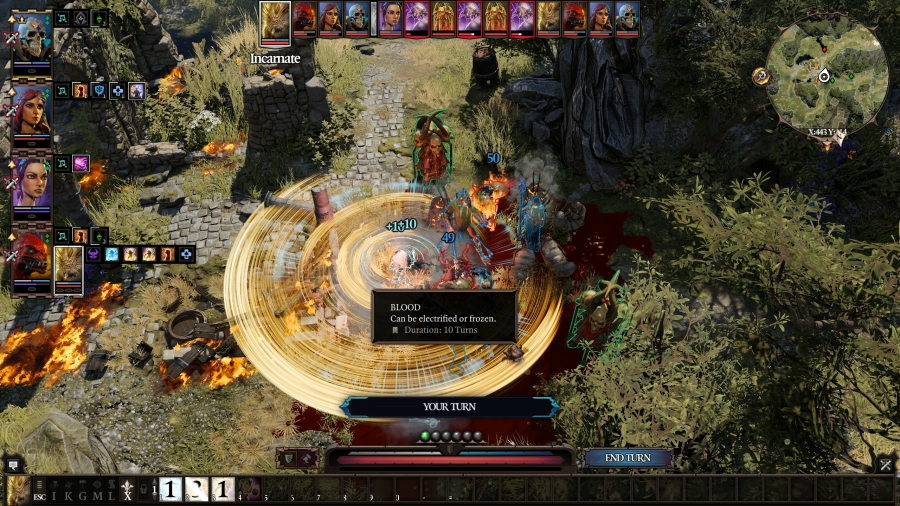 Attendant wants to try and kill grub 10, since it�s at a lower HP, but grub 11 is in its way. So, it repositions and hits them both with Whirlwind � one action for the price of two, essentially, but it hits grub 10, which is what it wanted. 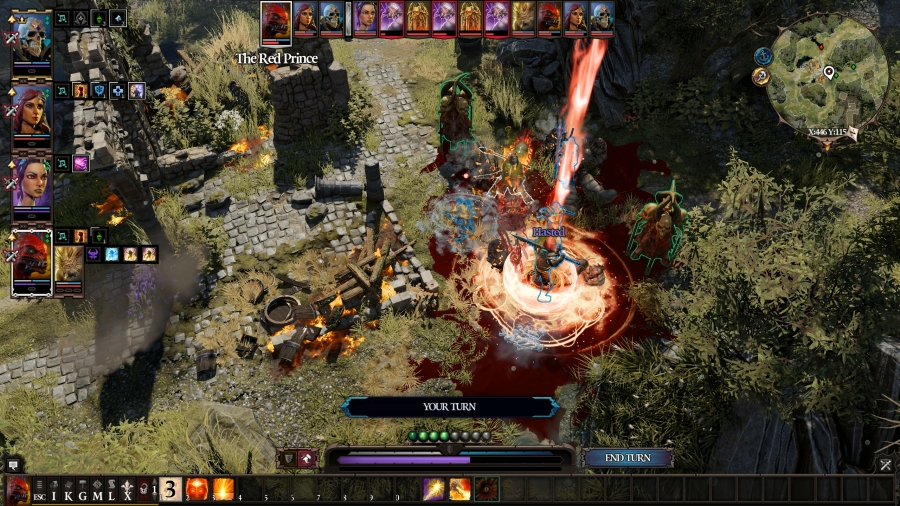 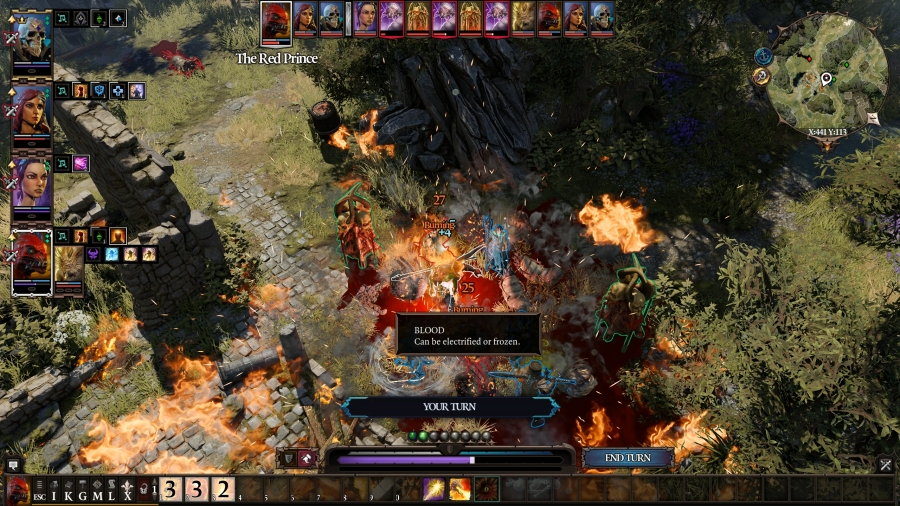 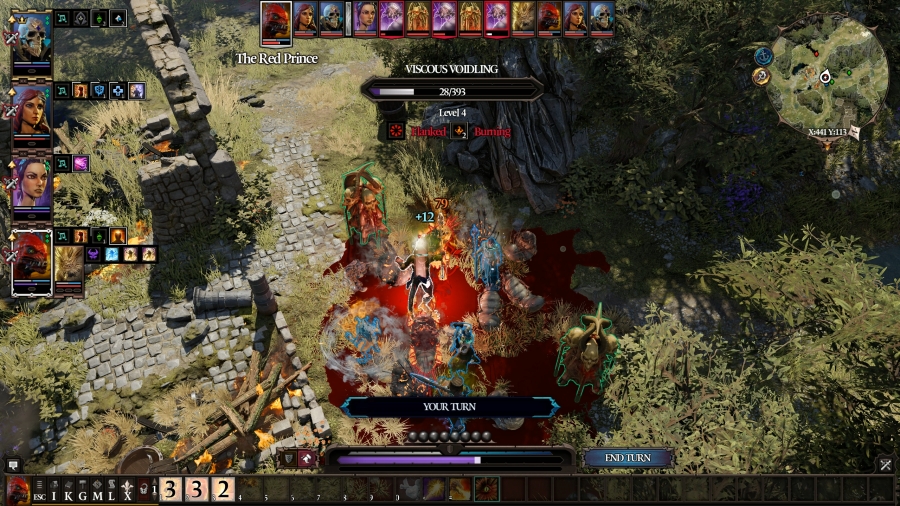 Prince has a bit of extra AP and all of his Pyromancer spells are off cooldown, so he hits Fane with Haste; he buffs himself with Peace of Mind; he casts Ignition to set both grubs 10 and 11 on fire; and then he ends his turn with a standard strike on grub 10, putting it down to 28 HP. I don�t think the fire will be enough to take it out�. 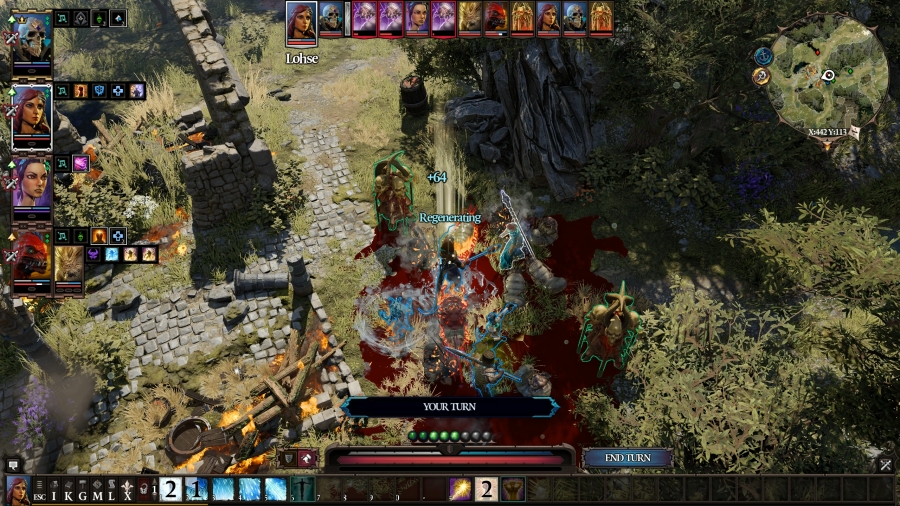 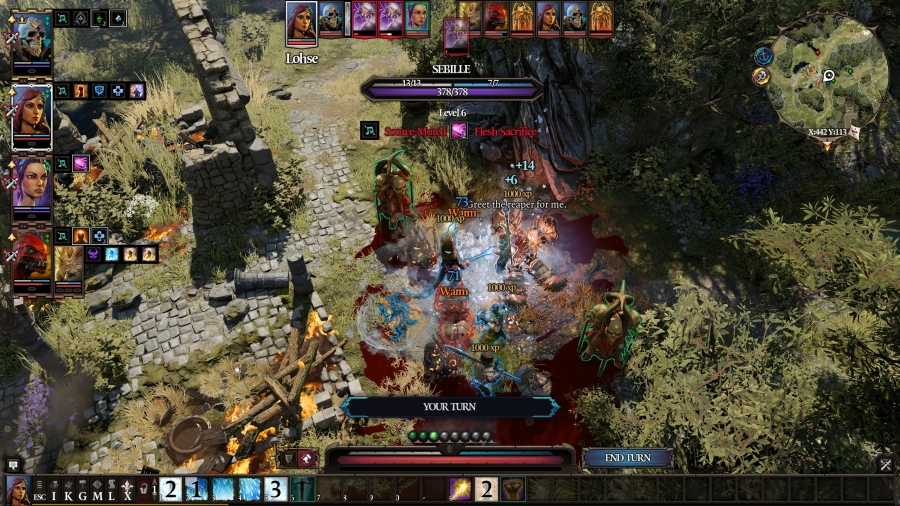 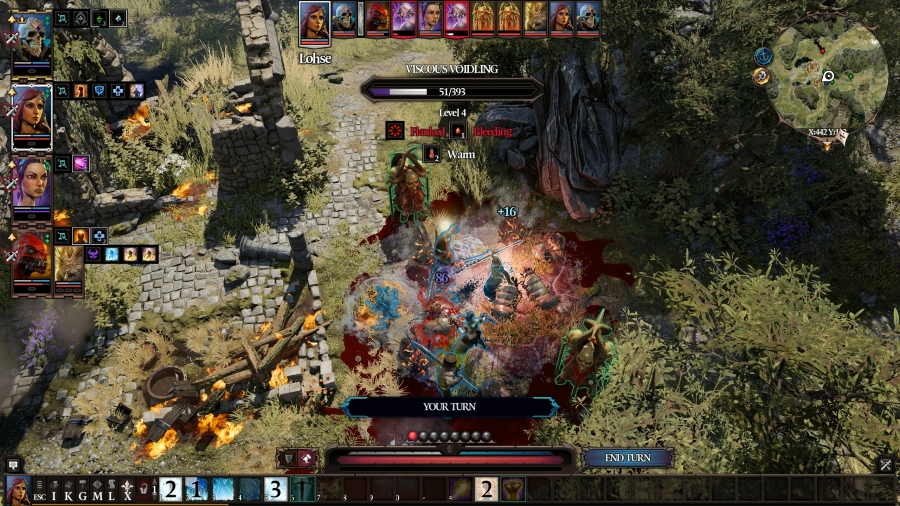 Lohse tops up Prince, bringing him up from around half his total, and then does the same Winter Blast trick she did at the opening of the battle, hitting grubs 11 and 10. Grub 10 is out, just leaving 11 and 9 remaining. She hits 11 once, putting it down to 51 HP. Fane will be able to kill it in one blow, which will give him another two AP to use, and then he can probably just run right up to grub 9 and kill it, too. 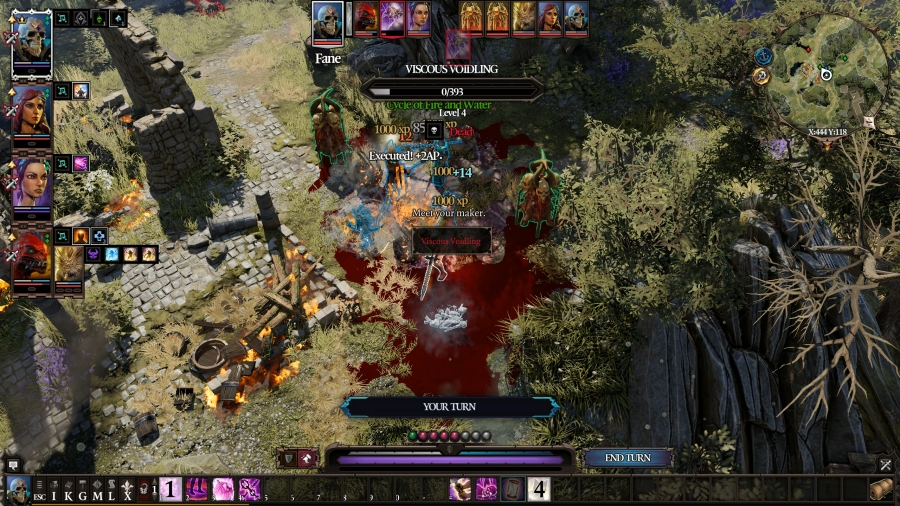 That�s exactly what he does: he kills grub 11, and � � no? No more grubs? That�s really it? Okay, awesome: he kills grub 11 and then tries to call Shoe back into battle with the whistle, but apparently Shoe�s not too keen on joining a battle already in progress via the whistle, and his cooldown timer only started when he died. Well, that�s okay: thanks to Haste, Fane will be able to run all the way to grub 9 to kill it � 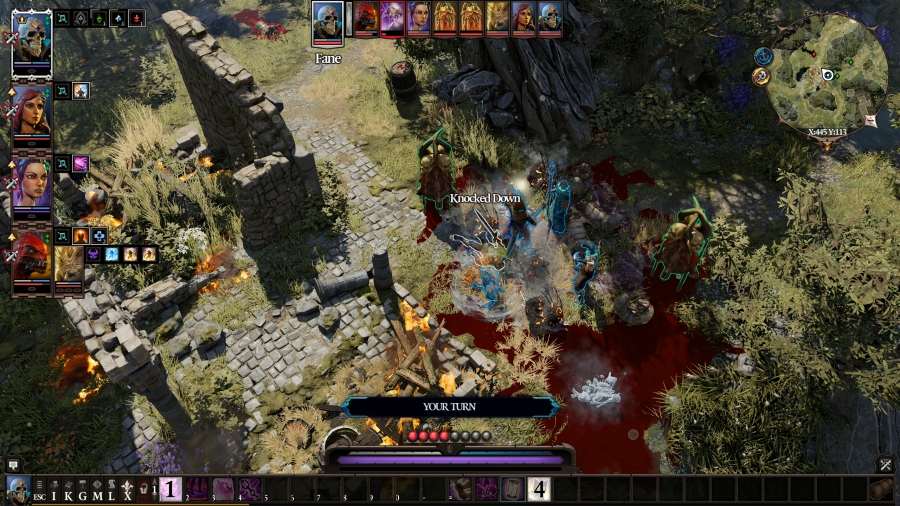 � except he slips and falls on his rear end as soon as he tries to move, thanks to Winter Blast freezing the blood around him. Thanks to that, he�s one AP short of killing the grub now, so, he passes.  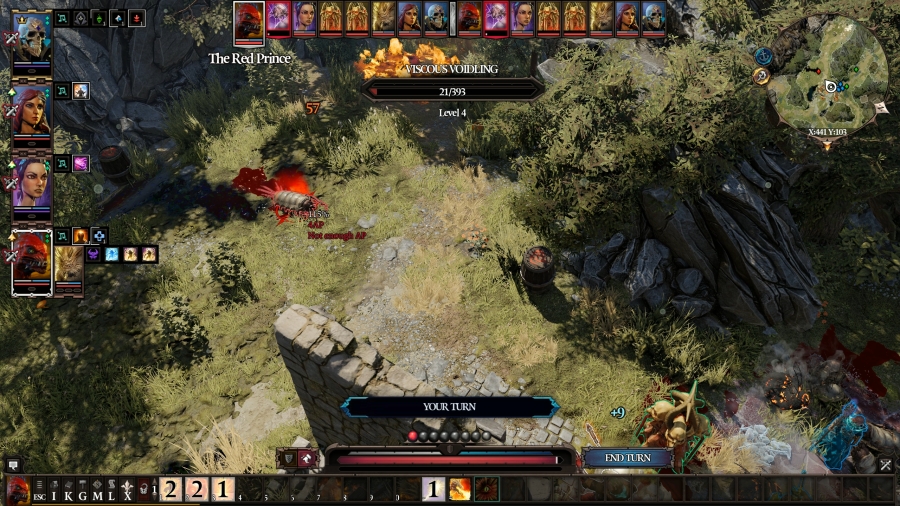 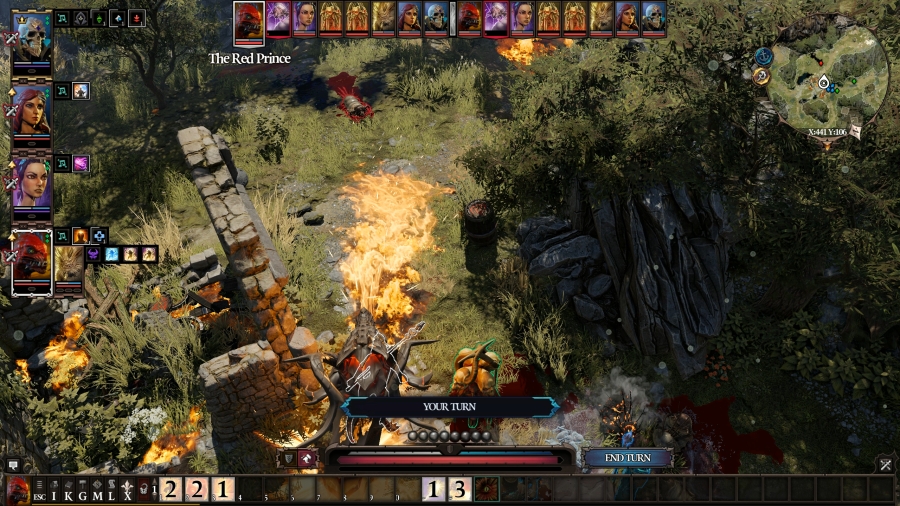 Turn 5 Thanks to Clear Minded, Prince rockets all the way up to first on the turn order. He approaches grub 9 just enough to put it into Staff of Magus range � but it doesn�t kill it. It�s down to 21 HP, and it�s not bleeding or on fire, so it�ll survive this turn and waste more time. Prince doesn�t have the AP to summon another totem, but he does have enough AP to breathe fire on the ground between us and grub 9. So, he does just that. 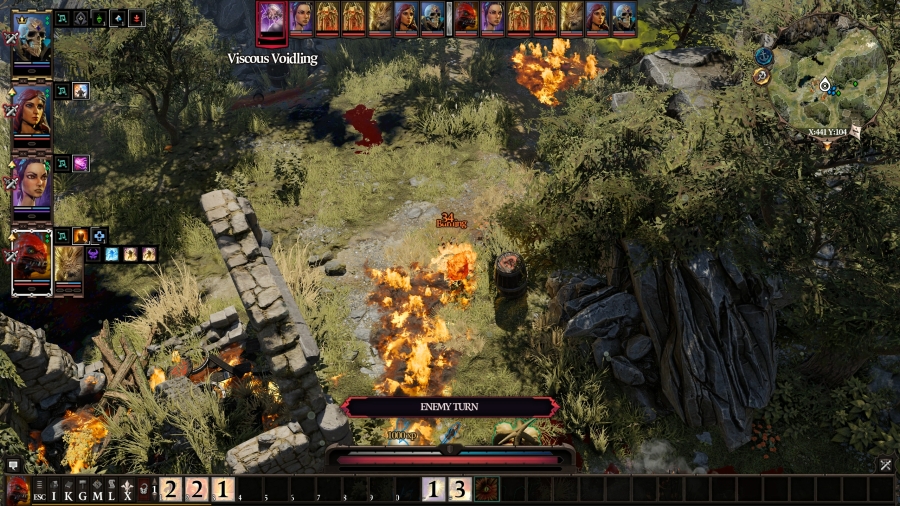 And, just like he had hoped, grub 9 walks straight into it in an effort to attack its enemies. It�s enough to finally bring this fight to a close. 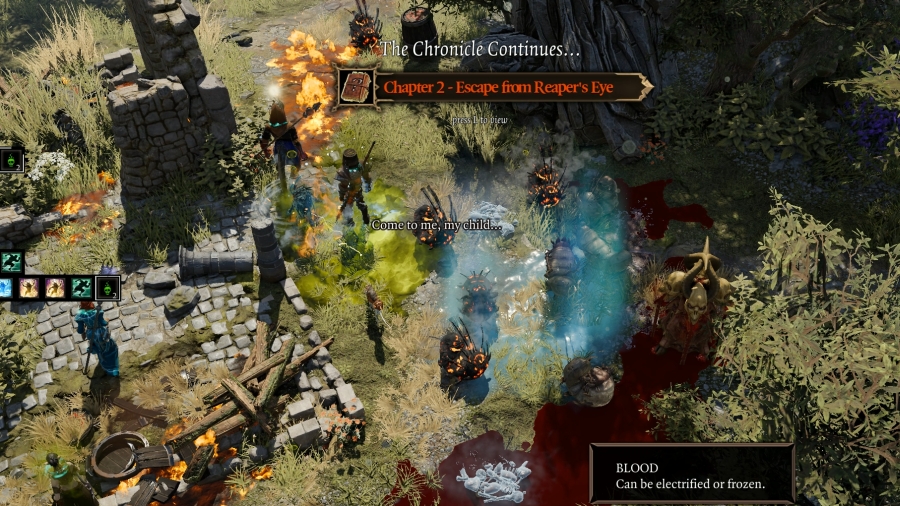 : Who said that? : Who said that?Immediately after the fight with thirteen voidwoken grubs, we see a pool of shimmering water spread beneath our feet, and we hear a voice beckoning us towards it. Which, you know, gives conflicting emotions. We also have exclamation points above our heads. 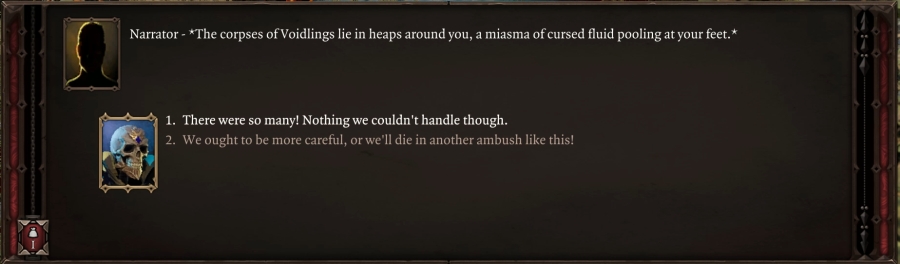 : We can�t get caught up in another battle like that; they�re only getting worse.: They came wave after wave after wave� relentless. Jolly good fun actually.: Those filthy beasts were like rats. A swarm most vile, but vanquished � as a matter of course. : We can�t get caught up in another battle like that; they�re only getting worse.: They came wave after wave after wave� relentless. Jolly good fun actually.: Those filthy beasts were like rats. A swarm most vile, but vanquished � as a matter of course.Yeah, Lohse, you�re just being a worry wart. Aside from there being a huge amount of them and generally being a bit of a waste of time, that fight wasn�t such a big deal. And hey, every single grub gave me 1,000 EXP, which is no small amount for this early in the game. I�d be willing to fight a few more for those gains. 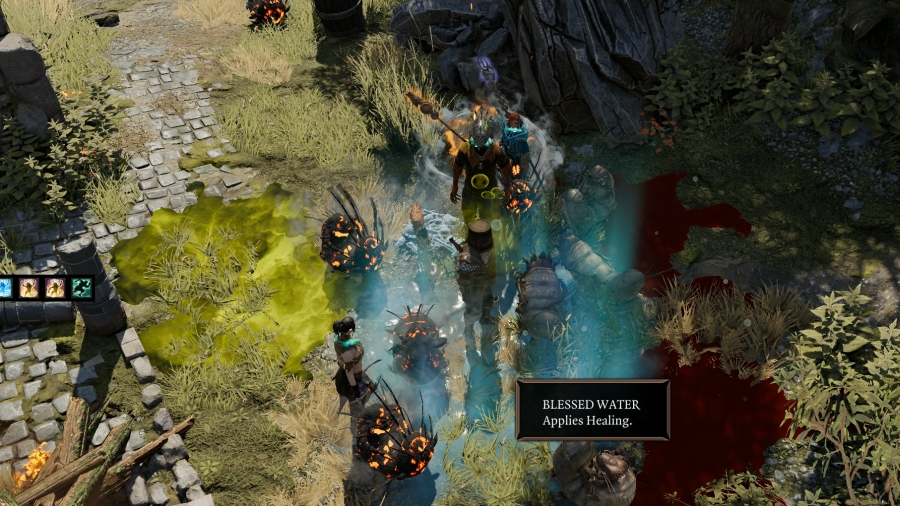 The water of light that�s spawned beneath us is Blessed Water. It�ll heal anyone that walks through it per tick of distance travelled, like how fire will hurt per distance. Unfortunately for Fane, he�s an undead, and the water being �blessed� doesn�t change the fact that he�s still got to play by the undead rules, meaning walking through it will hurt him. 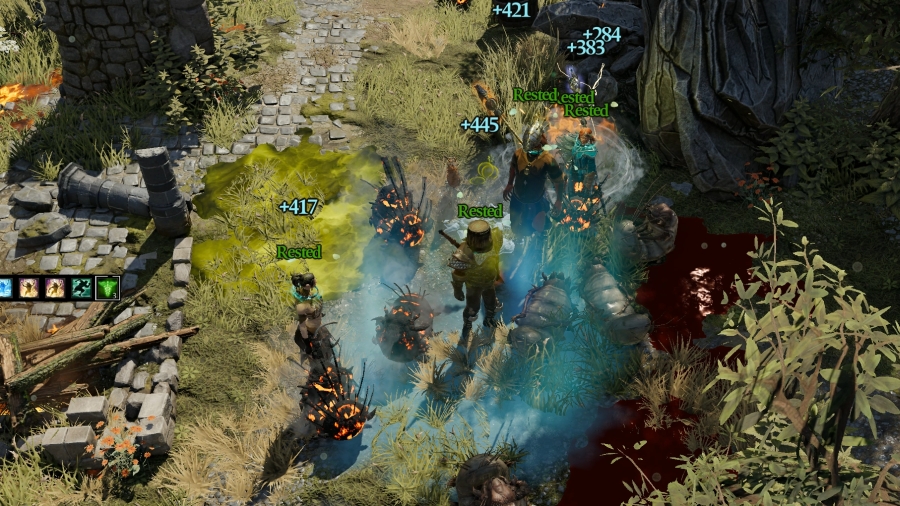 Not that it�s very useful anyway. A single bedroll will do much more than walking through a puddle of light would, and much faster. 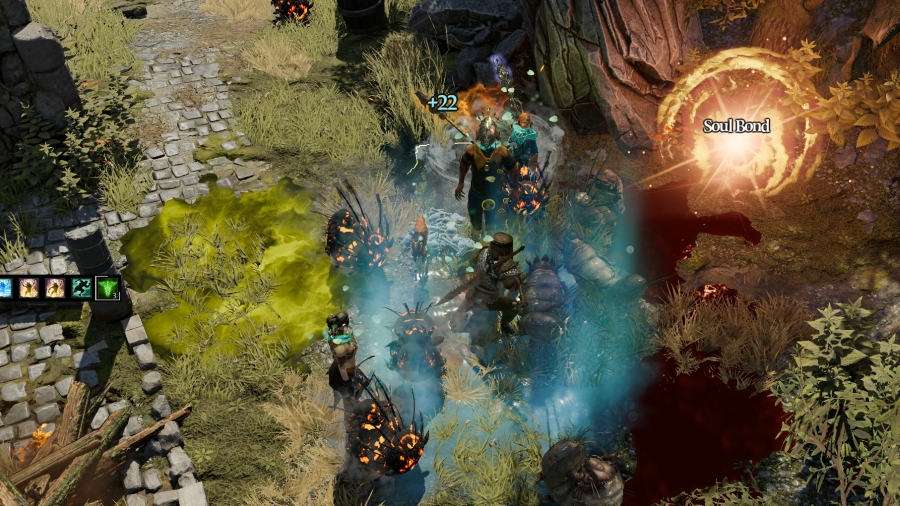 Now that the fight�s over, Fane resummons Shoe back to his side. No warrior is complete without their familiar, after all! 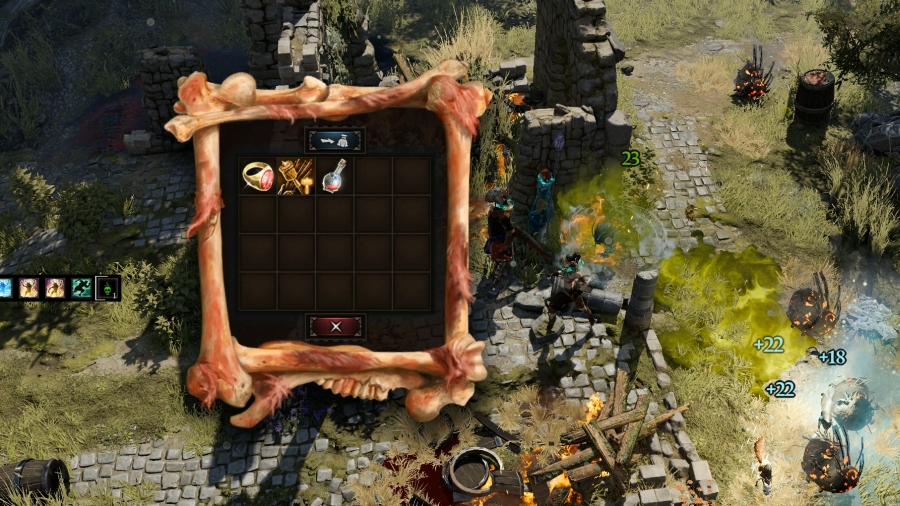 None of the grubs were holding anything particularly interesting in them, but hidden in the weeds of the dilapidated storehouse was a human skeleton � and on it is a fancy ring that gives +1 magic armour to the wearer. Fane�s hurting for magic armour and he�s got no rings on, so, might as well. 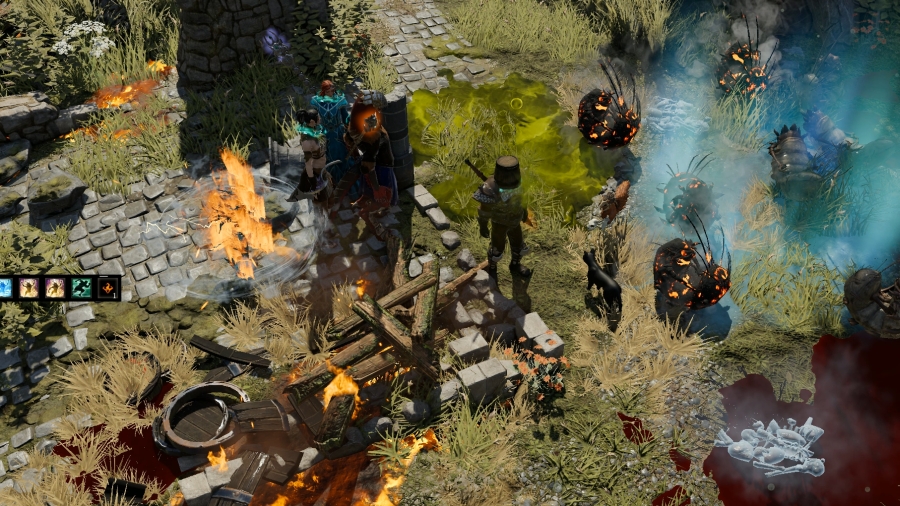 And thus marks another page in the chapter of the book of the story that is Divinity: Original Sin 2.  According to my map, I went a little off-track from what I had initially intended to do, which was to meet Zaleskar at the red flag. I�ve put myself roughly between him and the Seeker�s hideout, as listed by Han. I could turn around and head back to Zaleskar, or I could press on and continue on my path towards the Seeker�s base from where I am. To recap, our options for today are: Do we turn around and go to Zaleskar? Or do we press on to the Seekers and their hideout? Do we o�en the chest? What do we name Fane�s kitty familiar? Keep in mind, it�s a male cat. Also, do we want to swap anyone out? Let me know by tomorrow! Maple Leaf fucked around with this message at 21:46 on Apr 25, 2021 |
|
#
?
Apr 25, 2021 21:34
|
|
|
Nooo, Shoe was too good a kitty to die in battle like that. Valiant cat. Go back to visit Zalaskar before seeking the Seekers, but swap Lohse for Ifan in order to progress his quest... Just in case Sebille decides to kill him too. While I like keeping the name Shoe for the cat, I wouldn't mind anyone renaming it. If we're gonna stick with Ace Attorney-related names, call him Sissel. O'en the chest. Get the shiny stuff. Don't allow those heads to 'oss you around!
|
|
#
?
Apr 26, 2021 01:43
|
|
|
Yay kitty!  Let's name him Salem after another famous black talking kitty. Let's name him Salem after another famous black talking kitty.And obviously we o'en the chest. Always be looting. I don't really have an opinion about what order we do things on the island, I assume we'll get to everything eventually. And our current party seems fine for now.
|
|
#
?
Apr 26, 2021 05:22
|
|
|
1) Zaleskar first, but Seekers afterwards. 2) Salem/Sal for the Cat 3) no swapping yet
|
|
#
?
Apr 26, 2021 17:34
|
|

|
Olive Branch posted:Go back to visit Zalaskar before seeking the Seekers, but swap Lohse for Ifan in order to progress his quest... Just in case Sebille decides to kill him too. These are my votes. Great LP by the way, and I appreciate your explanation of the battles, it's clear that the combat system is a highlight of this game so it's great that you're showing off all its intricacies.
|
|
#
?
Apr 26, 2021 19:15
|
|
|

|
| # ? Apr 18, 2024 04:33 |
|
|
Salem for the cat.
|
|
#
?
Apr 26, 2021 20:31
|
|