


|
So, I forgot to bring this up at a point where it'd be more relevant but I have a theory as to why Vi is so disdainful of The Hive and the Bee way of life. See, in real bees there's a thing called Colony Collapse Disorder, which causes them to stop acting as a cohesive unit. I think Vi is patient zero of a CCD outbreak and saved the hive by going off to become an adventurer.
|
 #
?
Aug 5, 2021 12:22
#
?
Aug 5, 2021 12:22
|
|


|

|
| # ? Apr 20, 2024 03:26 |
|
|
33: An Unknown Dungeon 17 - Ant Kingdom 17 - Ant KingdomLast time, we took part in and won the Spy Cards tournament, wrapping up our business on Metal Island for now. Today, we're going to follow up the suggestion to try crossing thorns with Leif's Bubble Shield and see what we can find. But before that, a bit of bookkeeping. 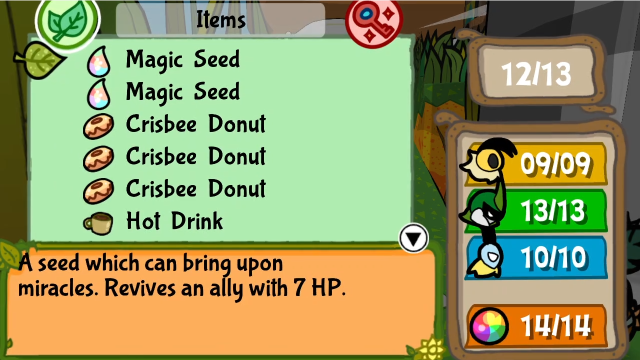 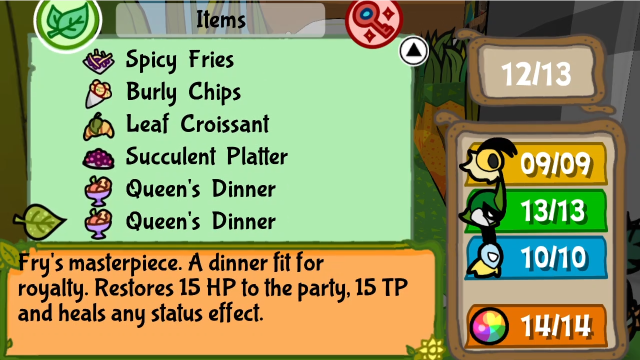 With our winnings from the tournament, I bought a couple of Tangy Berries from Skirby and went through the process to make them into Queen's Dinners (in addition to some other item management, but most of the rest of this should look familiar). I'm hoping not to need them, but they're handy to have around in case of emergency. 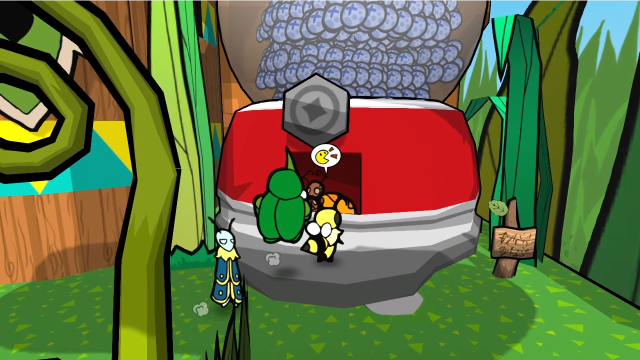 Also, let's head to the bank and drop off the rest of our winnings.  Welcome... Oh, it's you! Welcome... Oh, it's you!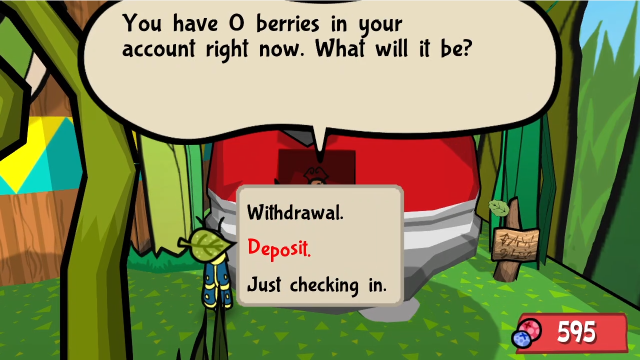 I did say I had to replay the tournament a lot in order to see all the lines, and this was the result. (Also, yes, I'd more or less had to clean out our account for the last couple of updates, between the boat fee, tournament entry, and buying out the shady merchant.) All these berries will no doubt smooth things out somewhat in the future.  Let's deposit all of it. All done. Your balance is now 595 berries.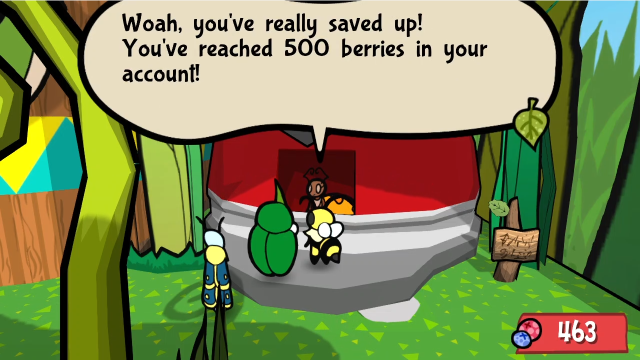  Well, yeah. Saving up's really important! You're now a platinum member! That sounds like... w-what's the reward!? Your interest rate's been doubled! And you get this fancy card! Well, yeah. Saving up's really important! You're now a platinum member! That sounds like... w-what's the reward!? Your interest rate's been doubled! And you get this fancy card!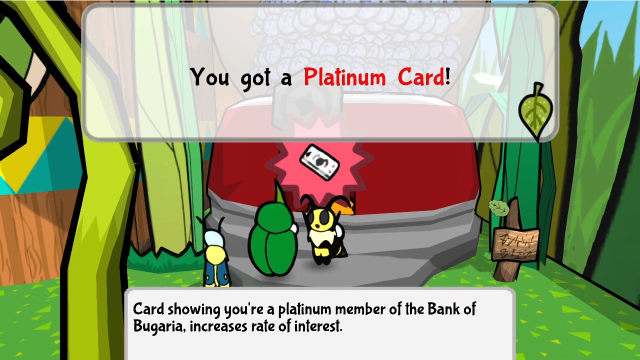 Alright! I'm gonna get way better return on investments! Alright! I'm gonna get way better return on investments! Vi, did you not trust the bank? Vi, did you not trust the bank? ...You know about returns on investments? ...Look, what matters is we're getting rich! Heheheh. ...You know about returns on investments? ...Look, what matters is we're getting rich! Heheheh.This scene triggers the first time you interact with the bank after reaching a balance of 500 berries or more. It can definitely happen earlier in the game than this, depending on how you're managing your funds. Regardless, getting this tends to mark the point at which money problems largely disappear: once you have enough of a balance to get this, the interest payments are usually enough to cover most of your expenses (even after the nerf). With the card, interest is doubled from 2% to 4% of the balance, paid every half hour according to the ingame clock. The cap of 75 berries per payment still applies, but this will get you to it faster. (In versions prior to 1.1, it was 3% and 6% and had no cap, which got out of control very quickly.) 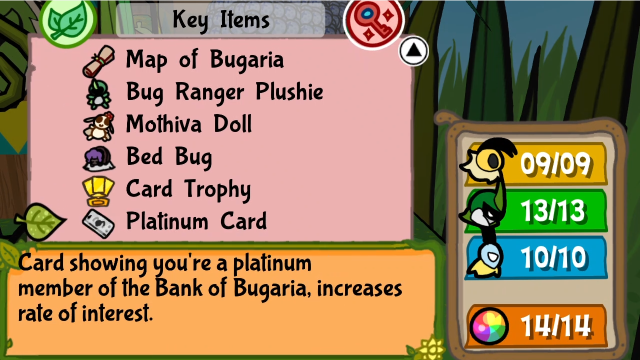 Like the Card Trophy, the Platinum Card will live in our inventory for the rest of the game. It doesn't serve any other purpose. With that out of the way, let's go exploring. 26 - Golden Lands Remember this big spike pit in the Golden Path? (If not, this is the area just outside of the Golden Settlement, on the lower level.) There's a sign warning us not to cross, but who listens to signs? 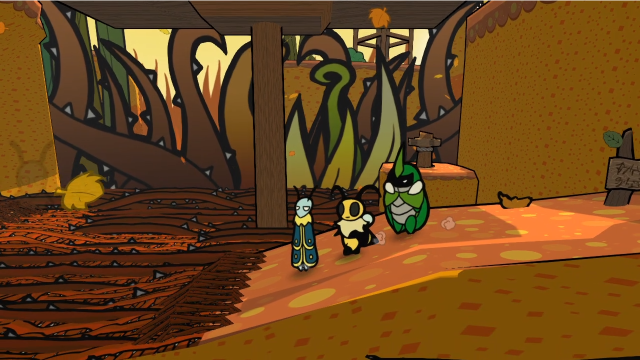 Can't really see what's on the other side, but let's go for it.  That definitely looks like a cave entrance! 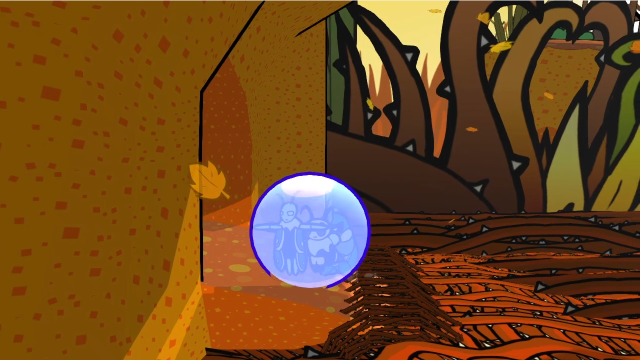 Let's see what's inside. 25 - Caves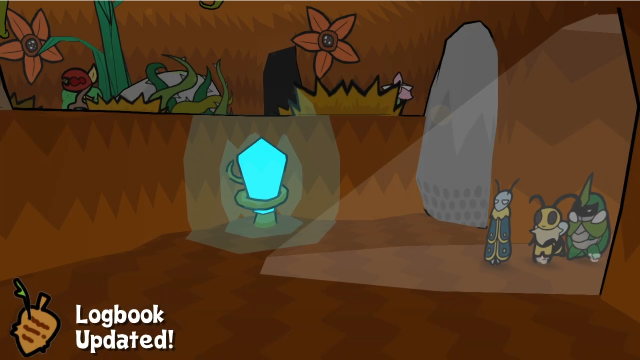 This area looks intriguing! You can just about see one of Venus' buds on the upper level there, as well as some Chompers milling about. We also get a discovery as soon as we enter, so let's see what that's about. 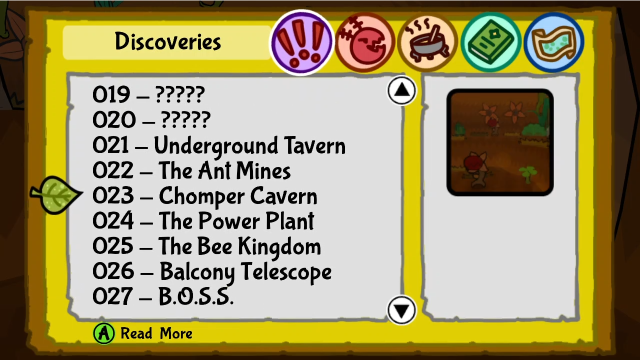 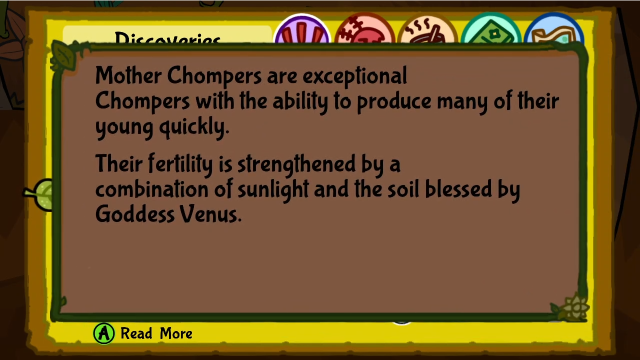 ...That's a bit spoilery, game. Presumably we'll be finding one of those in here. Anyway, welcome to the Chomper Caverns! This is essentially an optional mini-dungeon. The game doesn't give many hints that this is here, either, aside from that sign saying not to cross the pit. You can come here any time after finishing Chapter 3 (you need Bubble Shield to reach the entrance, and that unlocks during the factory lockdown). Let's see what our team think of the place. A cave, all the way out here? It's full of Chompers! This may be the nest where they've all come from. Let's proceed with caution.Straightforward enough. Let's have a look around. 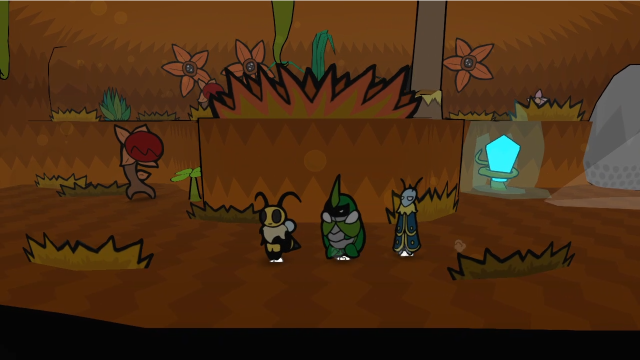 That is one big Chomper. 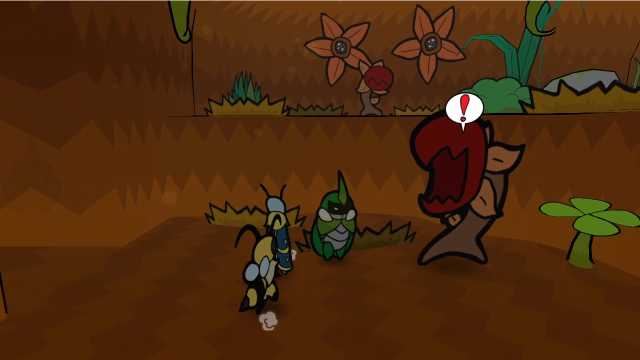 It's even scarier up close. Let's see what it's about! (It may not come through in the screenshots, but these big chompers like trying to first strike us by spitting seeds. Even with 04 - FIGHT! 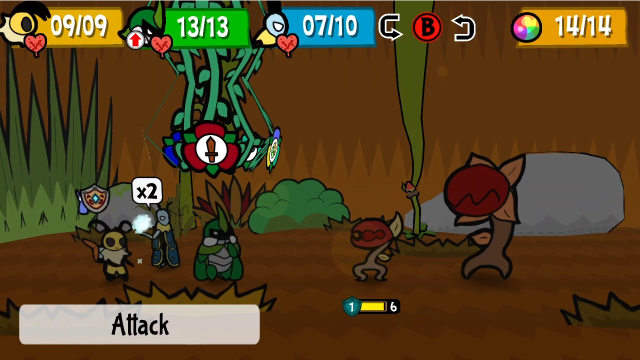 Let's spy and see what we're dealing with here. 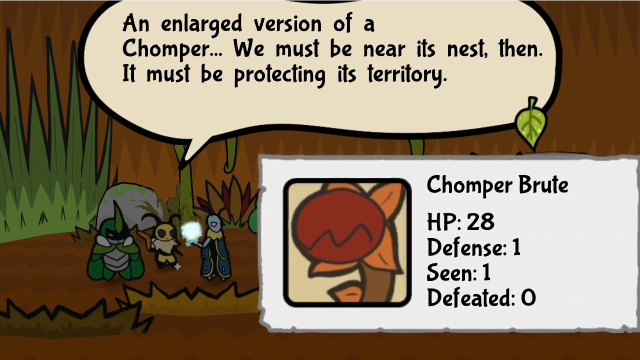 We're sorry, you poor creature... But we cannot let you stop us! We're sorry, you poor creature... But we cannot let you stop us!Kabbu does the honours this time. Chomper Brutes are really beefy for a normal enemy, look at that durability! It's pretty inevitable to take significant attrition (whether HP or TP) dealing with these. 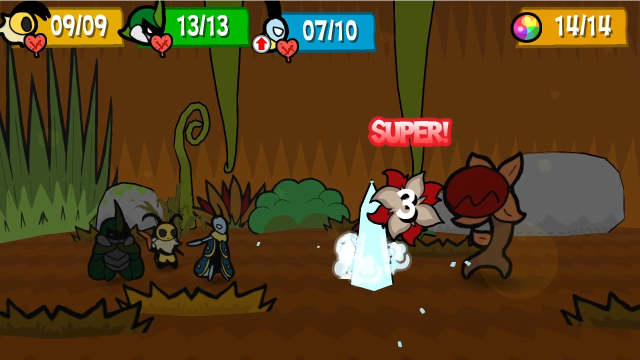 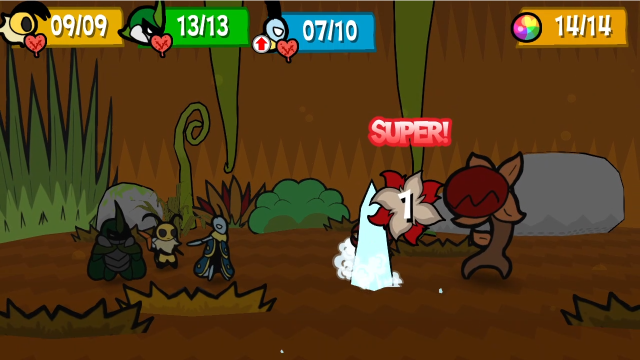 For now, we'll get to work removing the little Chomper. As plants, they're weak to ice and take an extra point of damage from Leif. 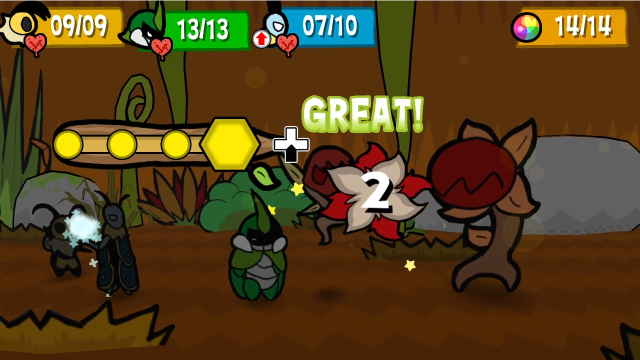 With a relay from Vi, Kabbu can get through its defence and finish the job.  On its first turn, the Chomper Brute uses a seed-spitting attack. This launches 2-3 Hard Seeds at us for 3 damage each (we lucked out here and only got two), targeted randomly across our party. If you aren't at least decent at blocking, this can get scary pretty quickly. 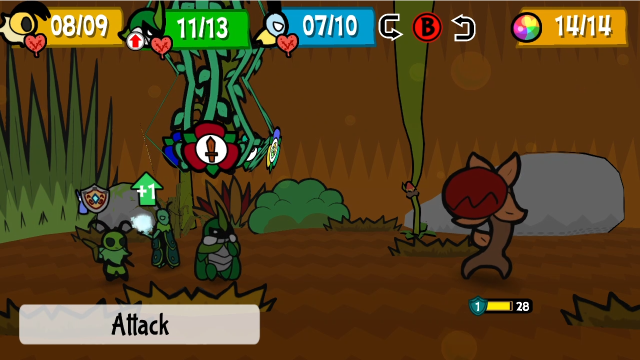 Now that the little one is out of the way, let's get some attacks in.  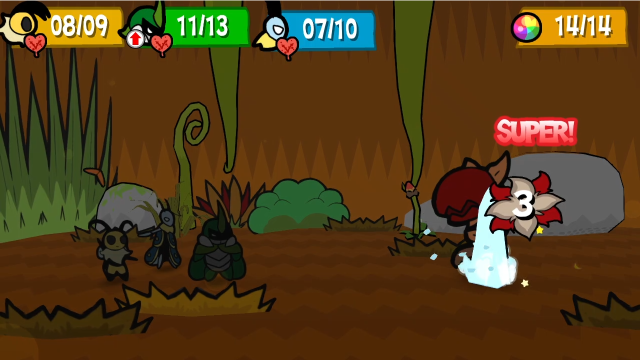 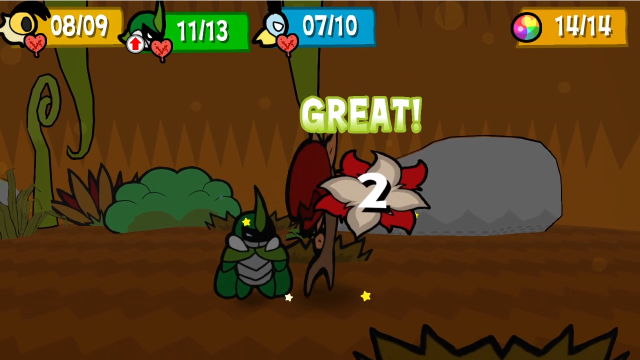 Vi relays to Kabbu for the third hit, so she can keep her charge-up since the damage would be the same.  At the beginning of its turn, the Chomper Brute spits up a seed, which immediately becomes a small Chomper. This is a completely normal small Chomper, unlike the weaker ones the small ones are able to summon.  Spawning a Chomper doesn't cost it a turn, either, it still gets to attack.  We're not making much progress here, are we? 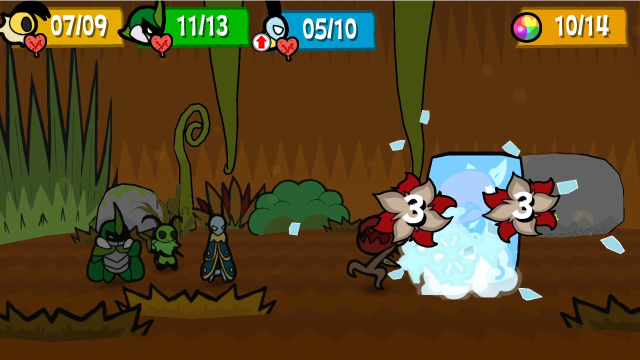 Let's switch Leif into the front and use Icefall. Both varieties of Chomper have low freeze resistance (regular ones have 30%, and Brutes actually only have 10%), so this is usually a good tactic. The small one got lucky here. 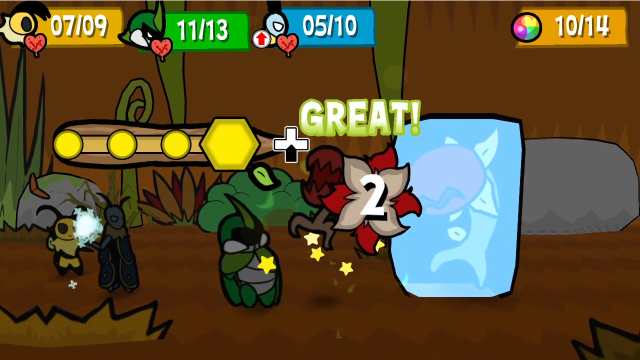 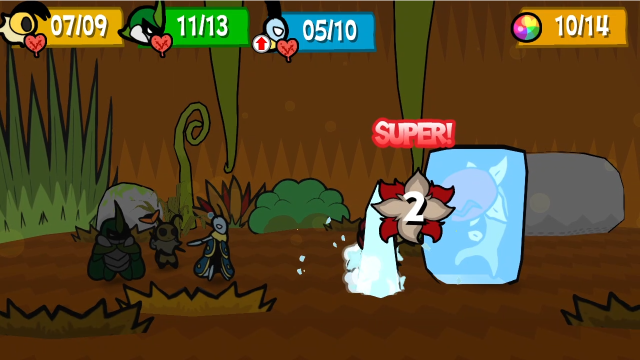 We finish off the little one (Vi relays to Leif because he'll do more damage, what with being in front and the ice weakness). 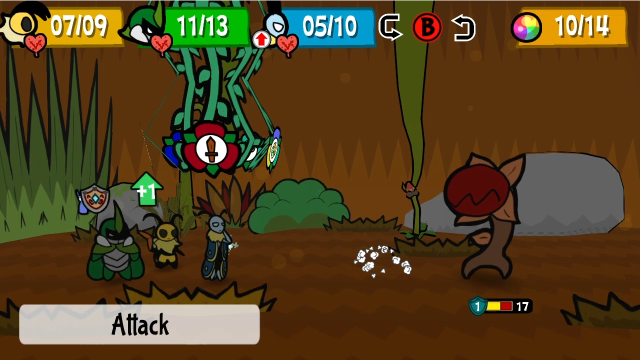 Let's try this again. We're slowly making progress. (Thankfully, Chomper Brutes can't heal themselves, unlike the other varieties.) 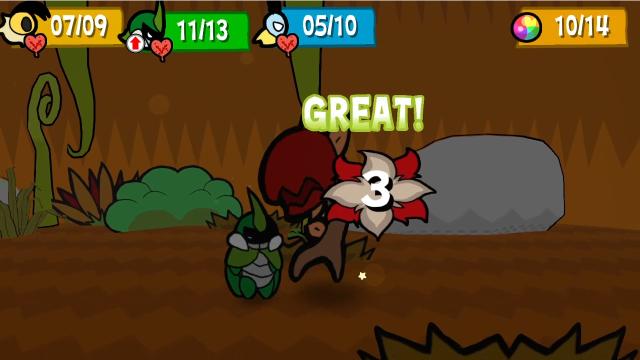 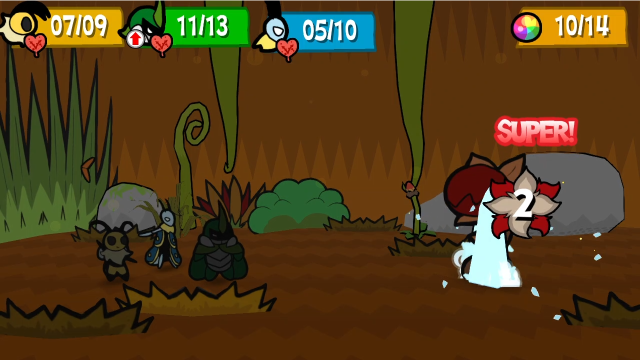  I finally decided to just let Vi attack, rather than keep saving up. I think I was trying to conserve TP, which is a bit silly in retrospect.  Here's the other attack Chomper Brutes have - unlike the biting attacks of the smaller ones, these just do a big head slam, with a base damage of 4. 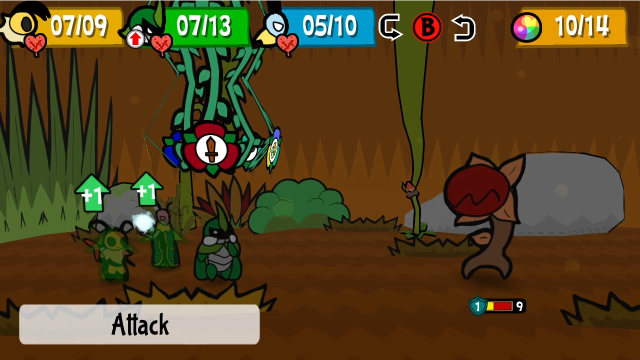 9 HP to go. 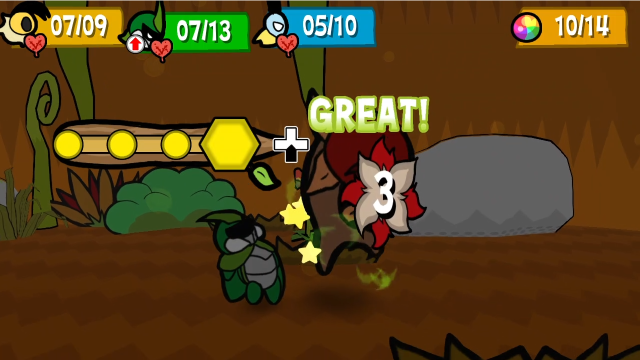 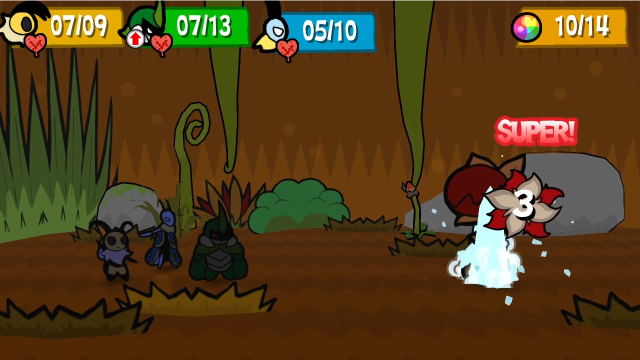 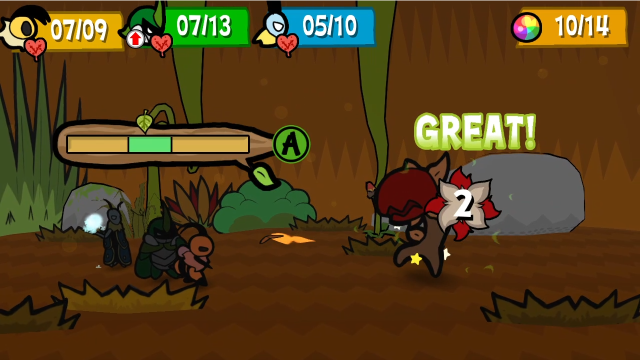 I elected to go with normal attacks to save TP, instead of finishing it off.  Which means it gets to attack us one last time. This time, it shoots 3 seeds. On the other hand, between Back Support and blocking, it barely had any effect. 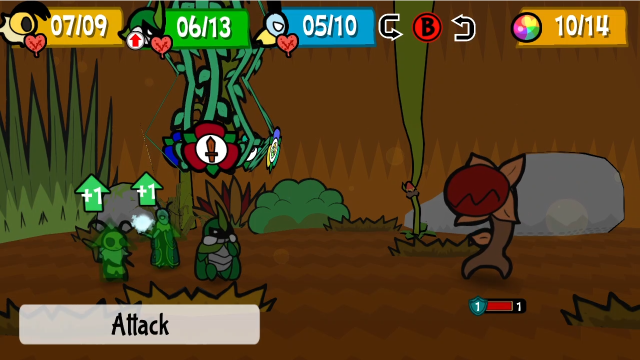 At least it's trivial to finish it off now.  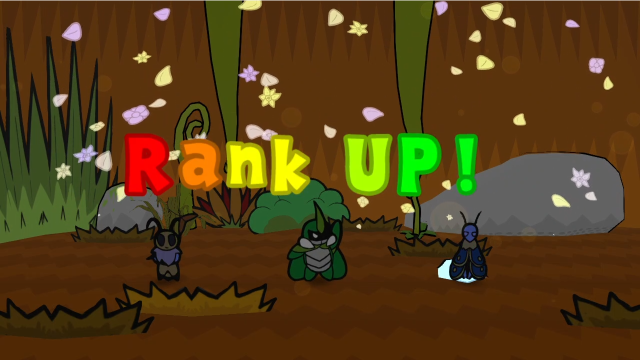 And this is why I shouldn't have bothered trying to conserve TP. These guys give a lot of EXP, and it's more than enough to rank up and get a full heal. 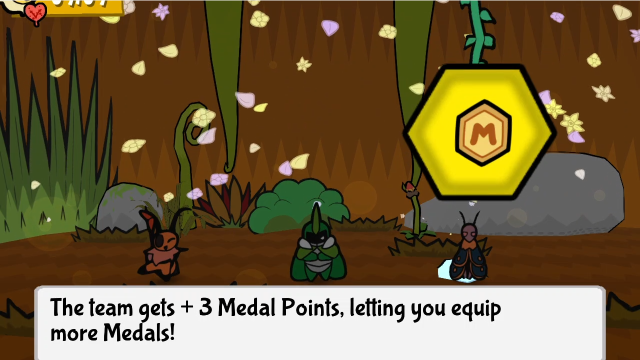 We don't get any bonus this time, just the usual 3 MP.  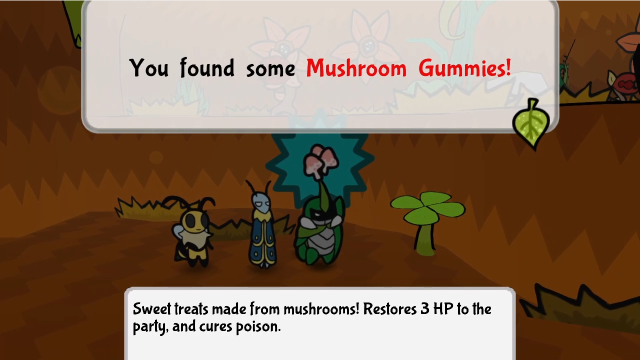 One other quirk of Chomper Brutes is that they very frequently (at least 50% of the time) drop items, sometimes even multiple items at once, and this pool includes several cooked items. It's quite strange, but it makes the resource drain of long fights a lot more manageable. I'm pretty sure the odds and item pool were tweaked in v1.1, it used to be significantly less generous (though some cooked items did always show up). Anyway, we'll take this. 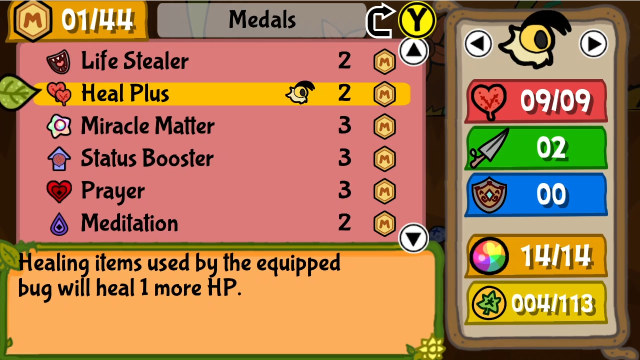 With our MP from the new level, I decided to equip 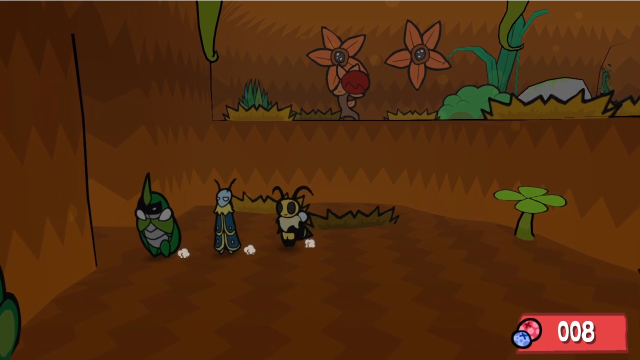 Let's head into the next room. 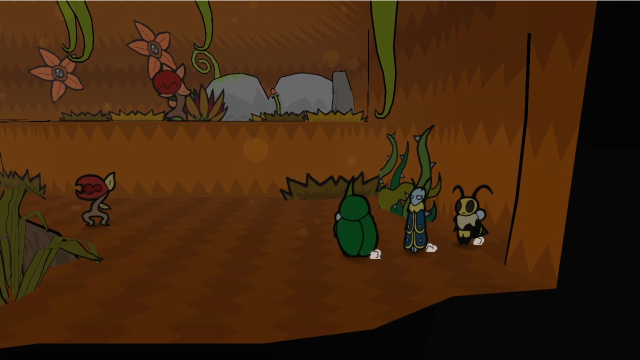 This room also has two levels; there's a bit more to it than we can see from here. Let's check the party banter before anything else. I can't make out a path... Don't ask me to carry you. If there's pillars missing to jump on, maybe we'll have to create some ourselves.That's a fairly straightforward hint. Let's have a look around. 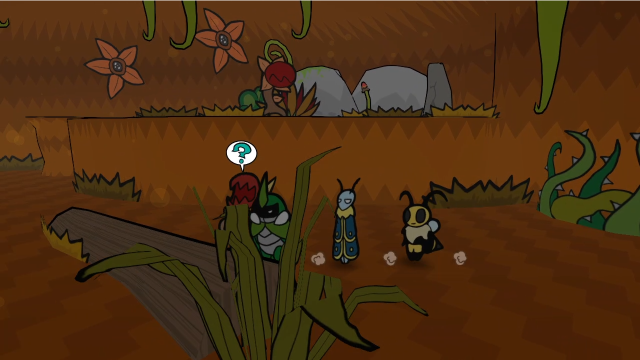 To start with, there's a Chomper right here. 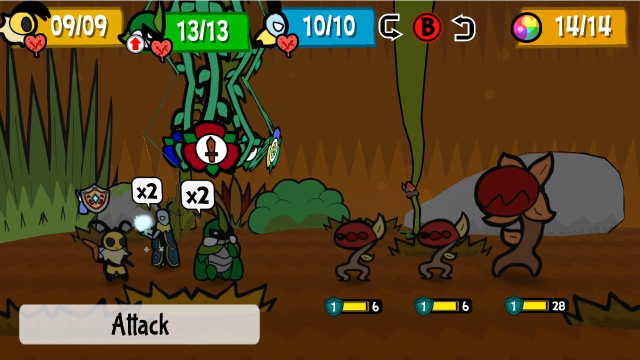 The baby Chompers in this area are very often deceptive, and are hiding Chomper Brutes you don't see until you get into the battle. This also means that if you have 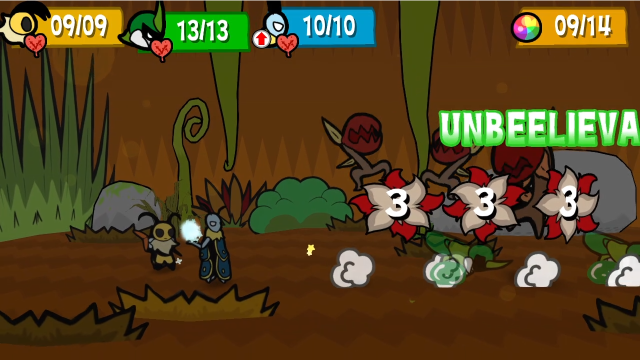 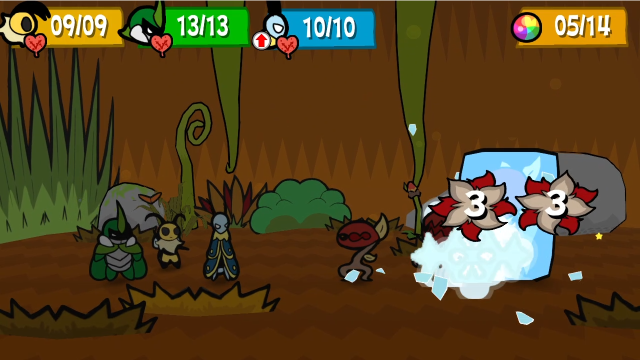 When there are multiple little Chompers in these fights, I like to open with a combination of Dash Through and Icefall. I didn't quite aim the Icefall properly here and missed the one in front, so our remaining actions this turn will have to clean that up. 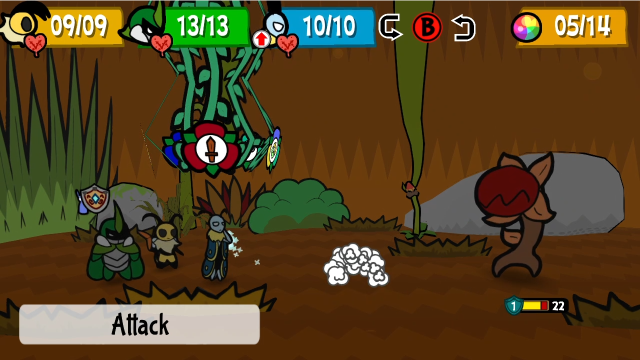 I'm going to skip past the rest of the fight from here, we've seen what Chomper Brutes do and these fights are a slog. 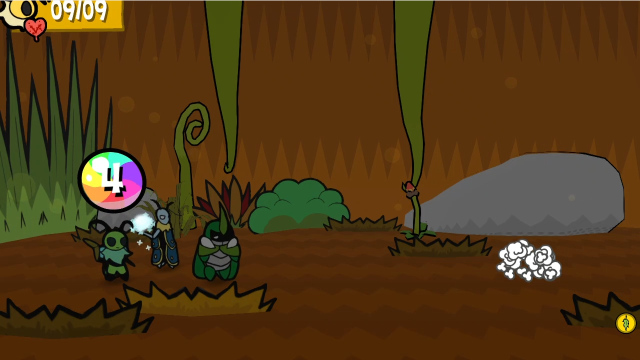 This is worth highlighting, though: thanks to Victory Buzz, we recover 4 TP at the end of each fight. It's a good reminder to not be too stingy with good moves any more.  The EXP yield has gone from 13 to 10 per Chomper Brute, but that's still quite nice. 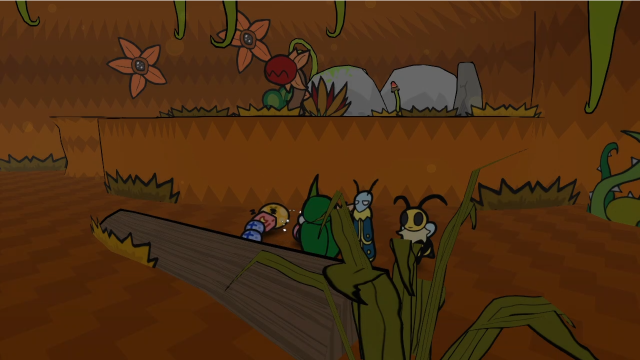 It leaves behind a lot of stuff, too (including lots of cash). Whatever else you can say about these fights, they're profitable. 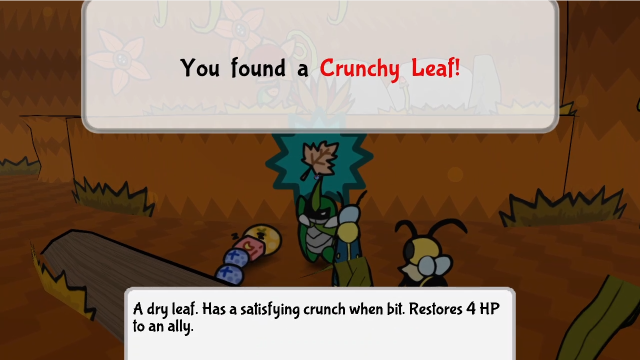 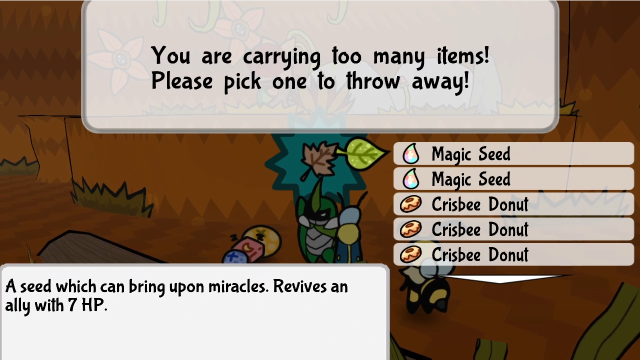  We don't have room for all these things, so let's eat a couple so they don't go to waste. 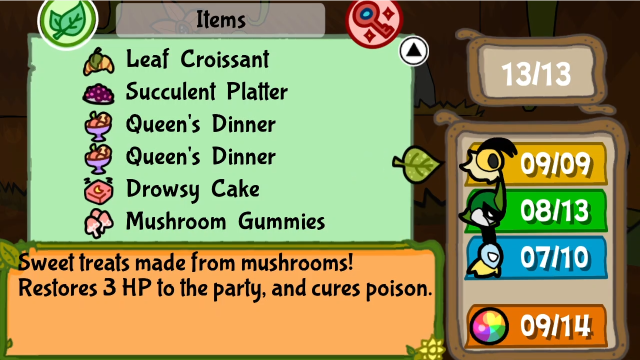 I ended up using the Mushroom Gummies and the Crunchy Leaf, so we're back in good health. We'll hang onto the Drowsy Cake for now. 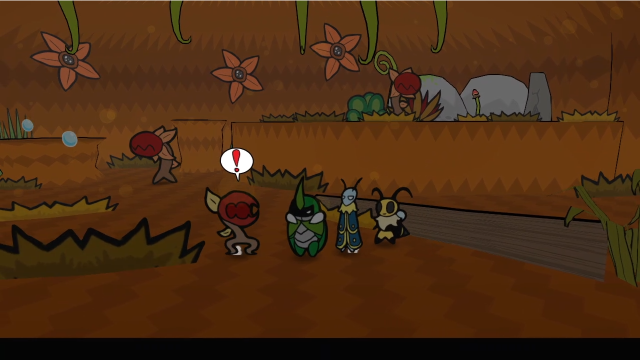 We can start to see a bit more of what's going on in this room now - there are some water droplets falling from above, and some columns we'll need to use for platforming. But before we can do that, we should probably deal with the rest of the enemies... 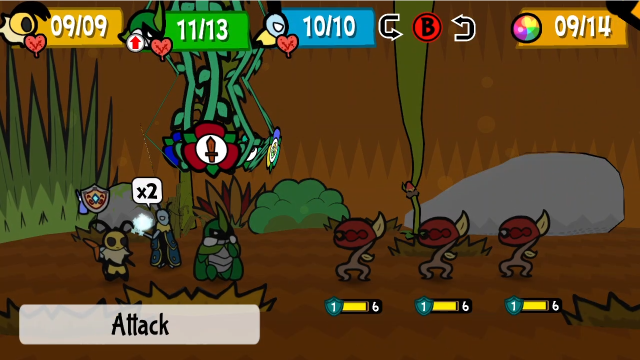 This one's just the small ones, at least. 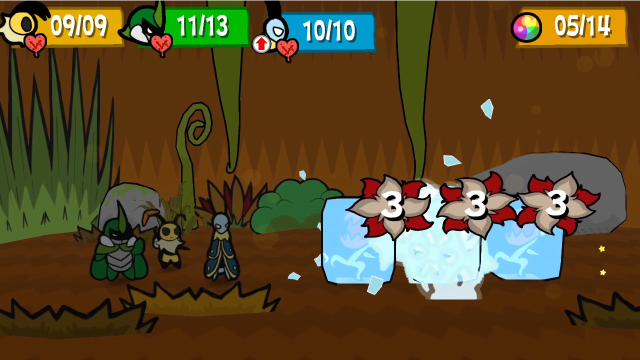 A well-placed Icefall is enough to trivialise this completely, we can finish them off before they get to attack. 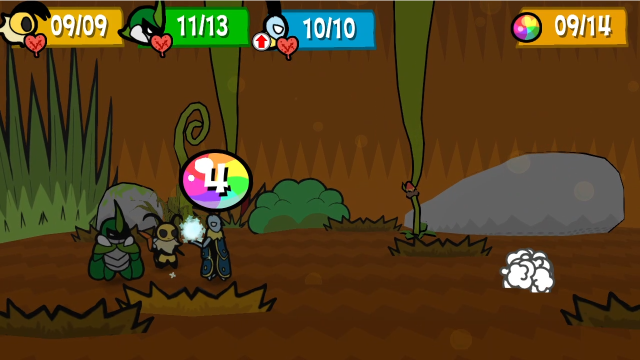 Victory Buzz returns the 4 TP we spent on Icefall, so we didn't have to spend any resources here either. 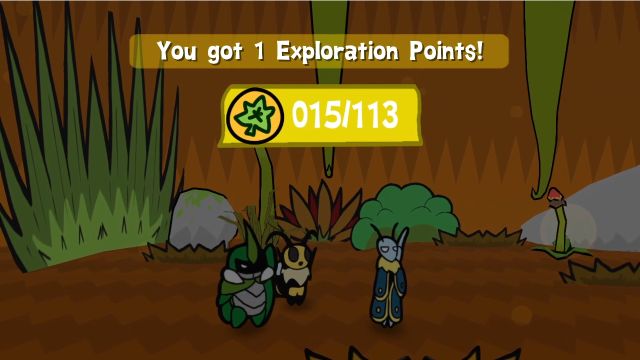 The little ones aren't worth EXP, though. 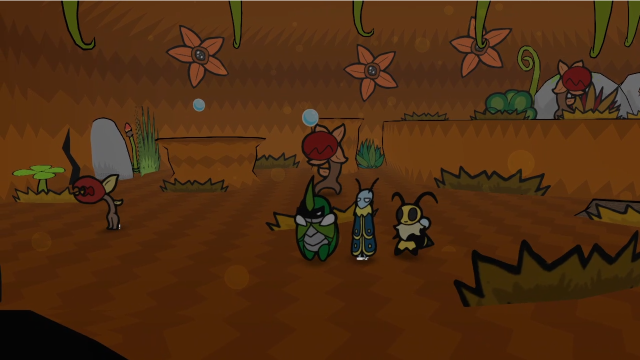 Let's keep going. 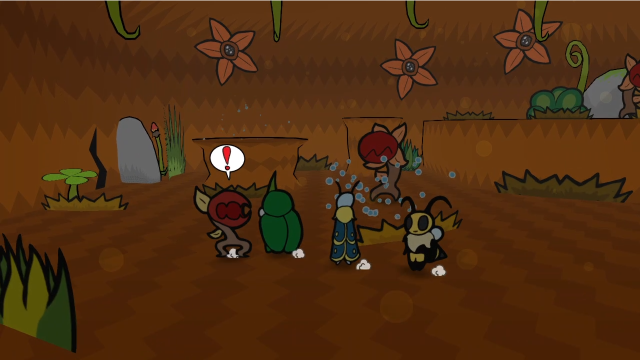 What's inside this one? 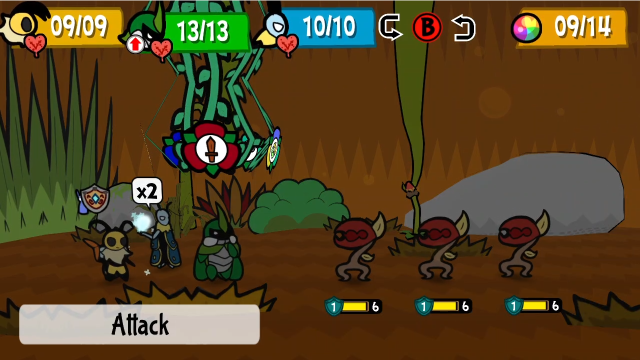 Another group of small ones only, which are just as quickly dispatched. 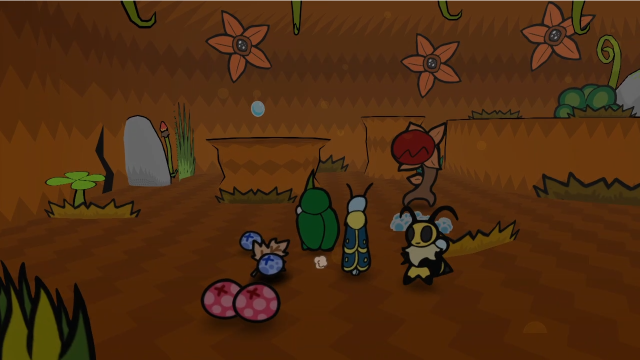 Even the tiny groups can be pretty lucrative.  Now for the big one. 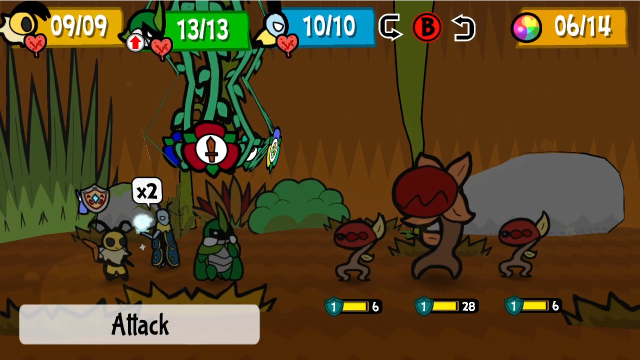 This one has two small Chompers with it, but the formation's slightly different. 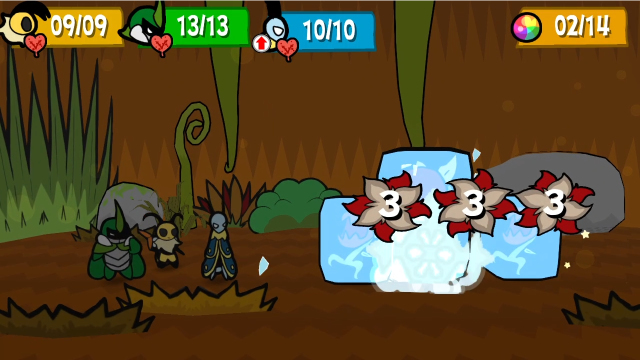 Starting with Icefall is usually a good idea; from there, we can pick off the little ones first as usual.  The most interesting thing that happens in this battle is that, when in this formation, it can choose to summon the small Chomper behind it instead, since that's also an available position. 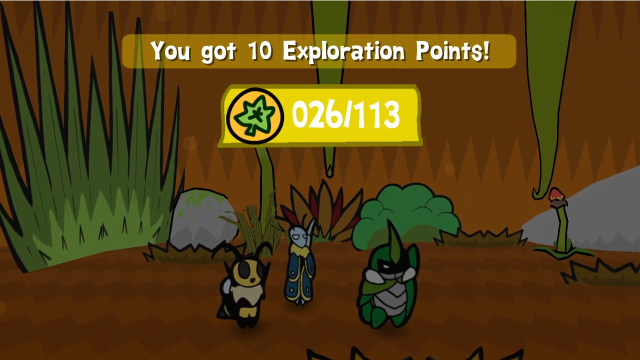 We eventually win the battle. 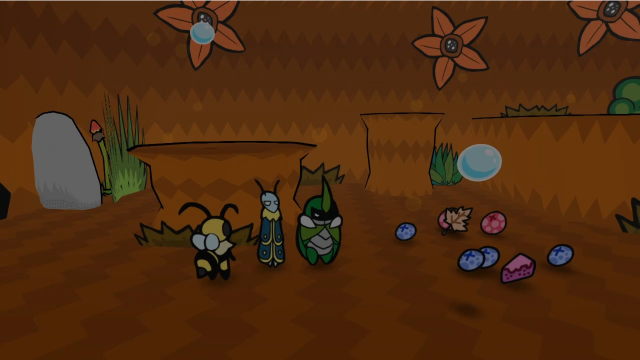 Score! Another huge pile of loot. 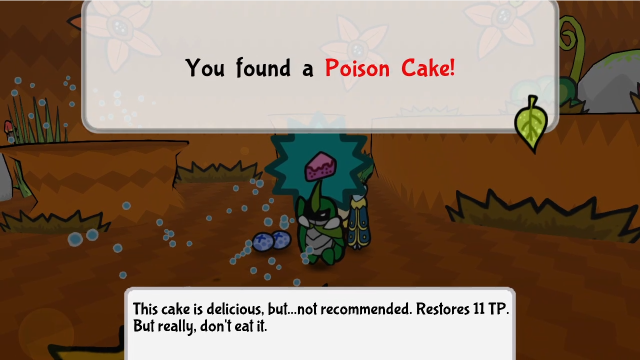 This item's really good for poison strategies, it might be worth hanging onto (Vi's still got the poison medals on right now). I used the Drowsy Cake we picked up and the Crunchy Leaf that dropped to make room, as well as get us back to near-full. 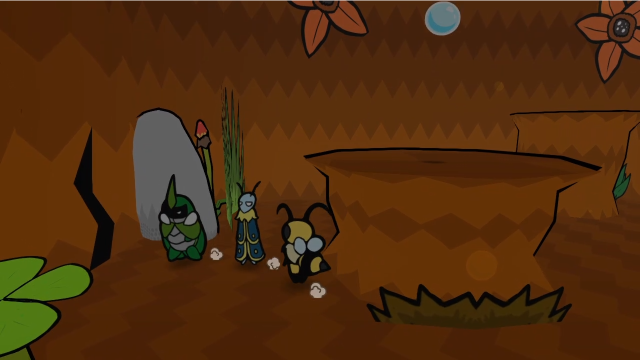 The left wall has a suspicious crack, but we can't do anything with that right now. We'll have to come back later once we know how to interact with that. 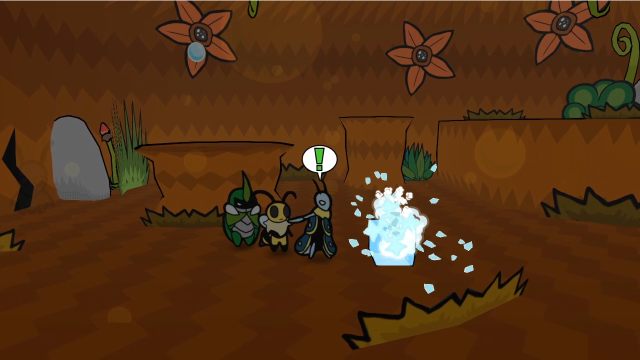 Now to try to solve the puzzle. We need to get up to the second level somehow; this water droplet is what we have to start with. (If it's not clear from the screenshots, the second one is falling onto that wide pillar, it doesn't reach our level.) 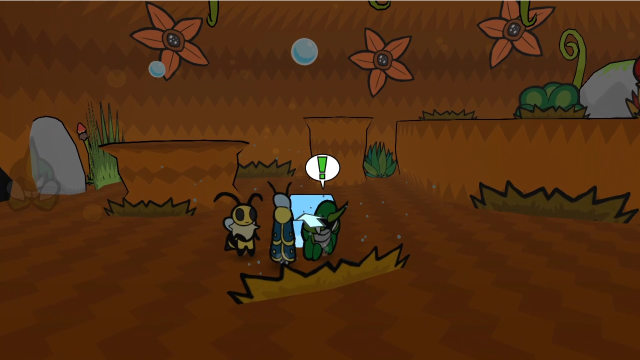  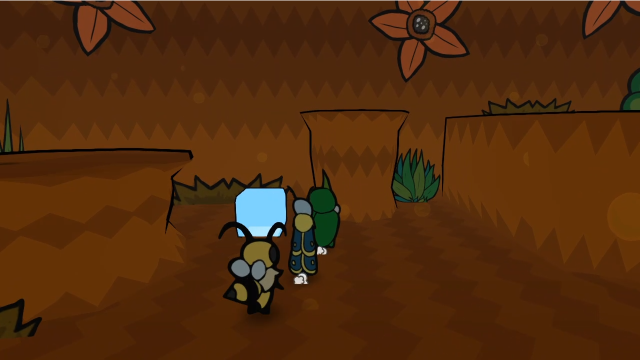 It might not be immediately obvious why, but we need to put the block here, between these two pillars.  The block is high enough that we can jump from it to this pillar, but the other is slightly higher; we'll need to do something else to reach there. 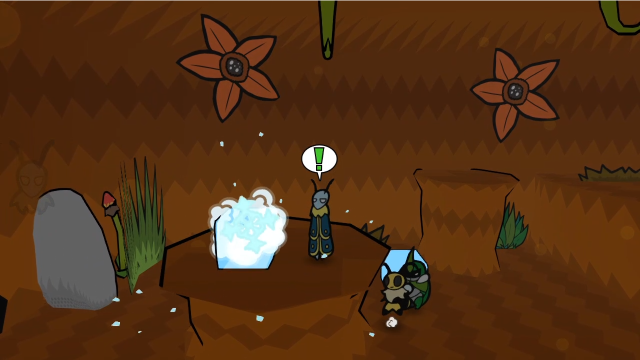 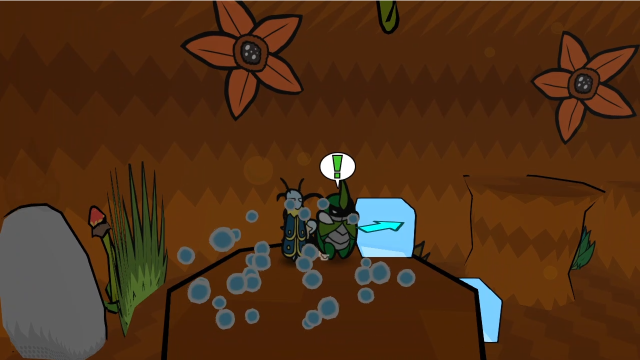 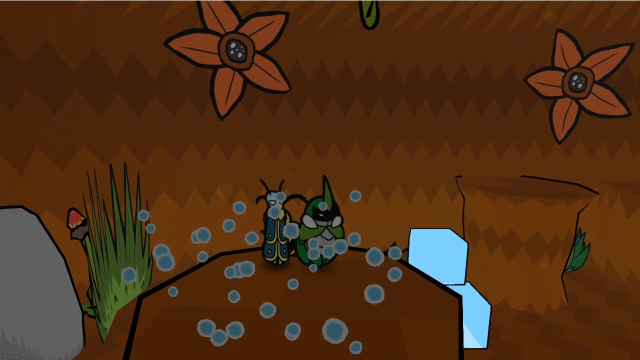 What we have to do is make a second ice block, and stack it on top of the previous one (hence why it needed to be between the pillars). This always looks a bit precarious and janky (and it can be tricky to aim it well, though honestly it's more forgiving than it might look), but as far as I know it's the intended solution.  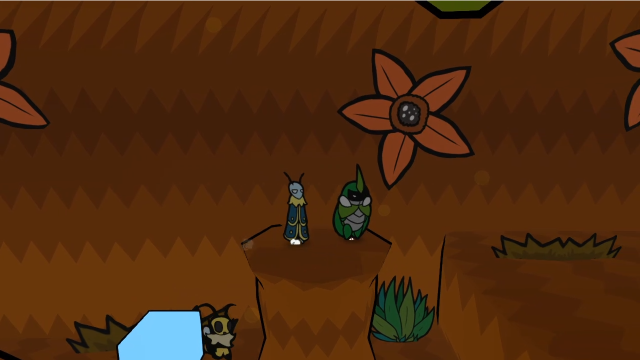 With the stacked ice blocks in place to bridge the gap, we can now jump across.  And now we're on the upper level! 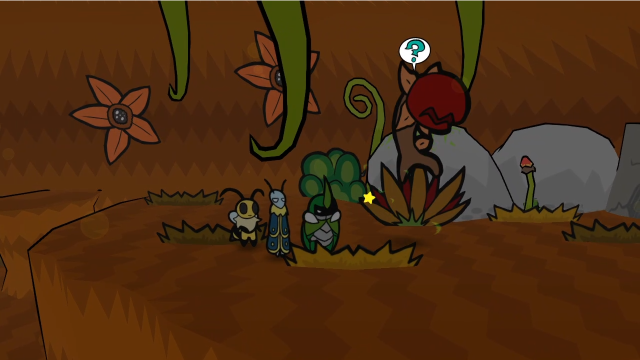 Though of course there are more Chomper Brutes to fight. 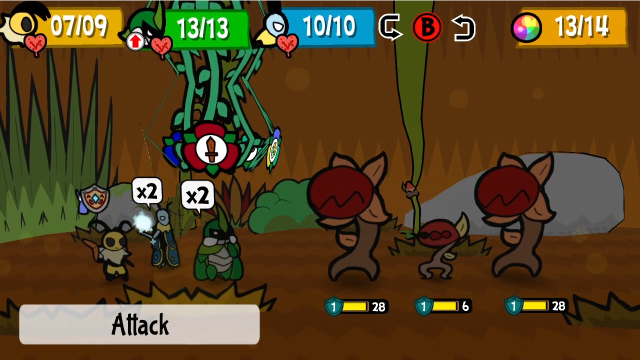 This fight has a pair of them. Honestly, it's tempting to run, but we can deal with this. 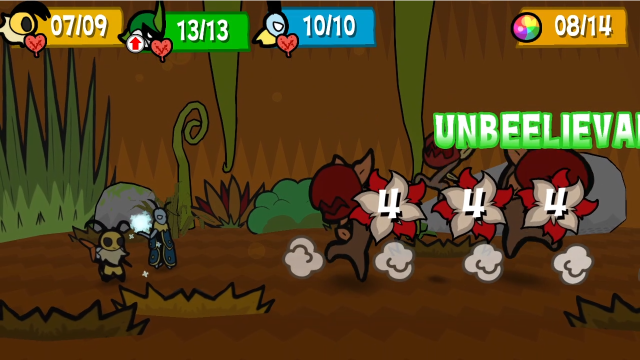 Let's start out with a Dash Through to get a bit of damage on all of them. 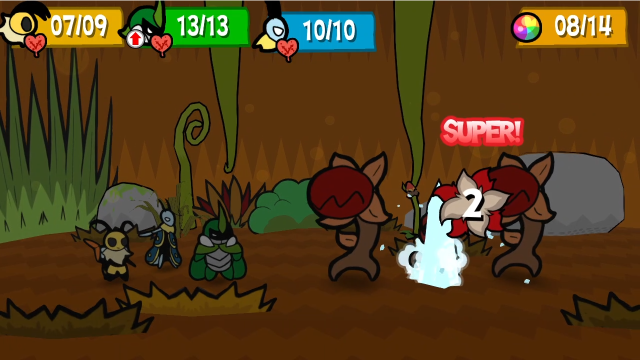 Then Leif can finish off the small one. 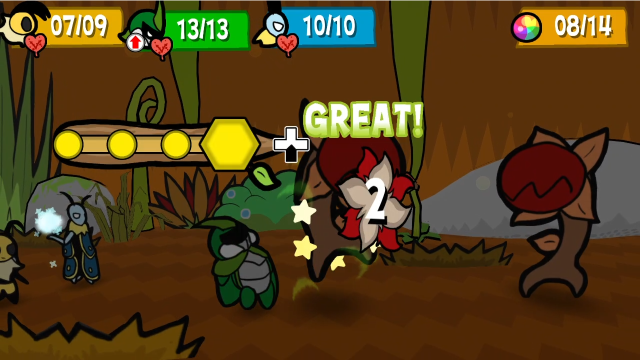 Kabbu attacks again. 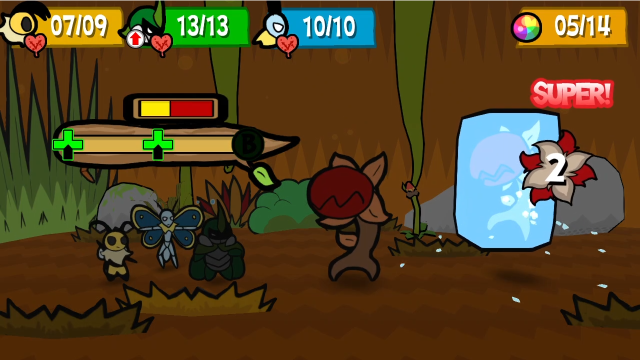 With the penalty from Strong Start, this is pretty disappointing damage-wise, but I still like Frigid Coffin here since it will take the back one out of commission for two turns. That's long enough for us to get most of the way through the front one, and we really don't want to be taking attacks from both of them. 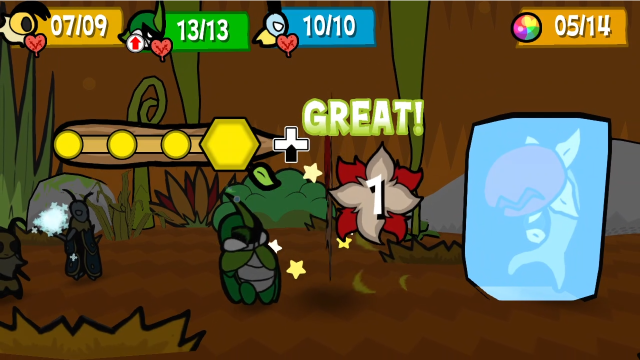 I'm not sure why I bothered relaying when Vi would have done the same 1 point of damage. Habit, I guess? 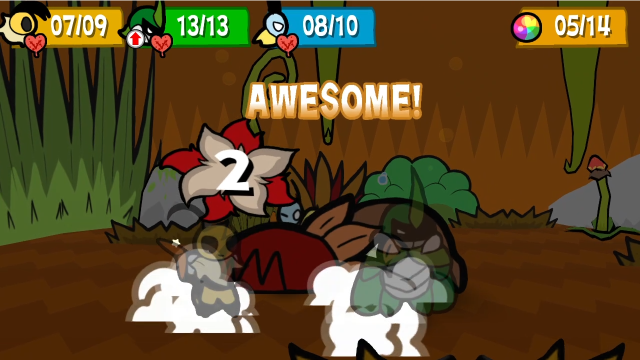 On its turn, it uses the Head Slam on Leif, and I manage to Super Block somehow. 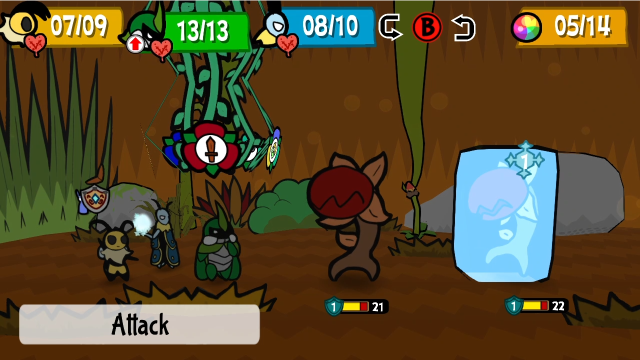 These fights can often feel kind of exhausting: it barely looks like we accomplished anything.  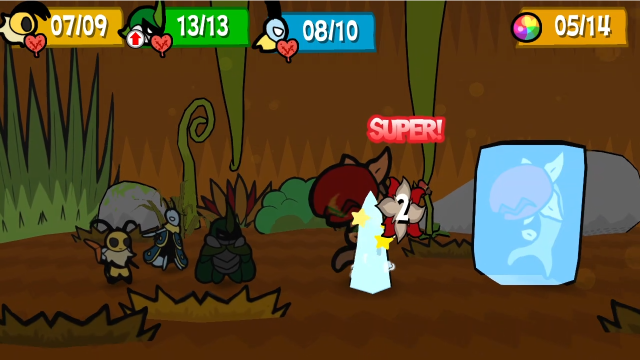 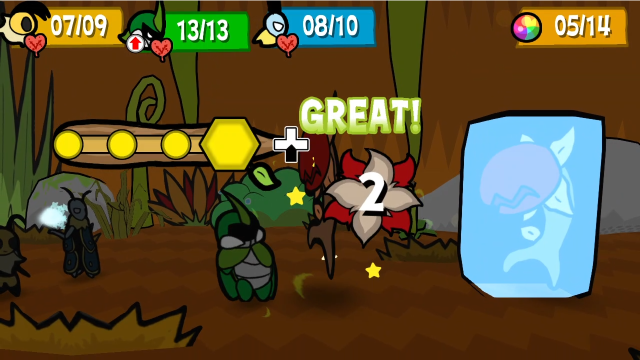 We'll just attack normally for now.  Ouch. Not only did it decide to concentrate fire on Kabbu, but I blocked pretty abysmally here. That's a lot of damage. 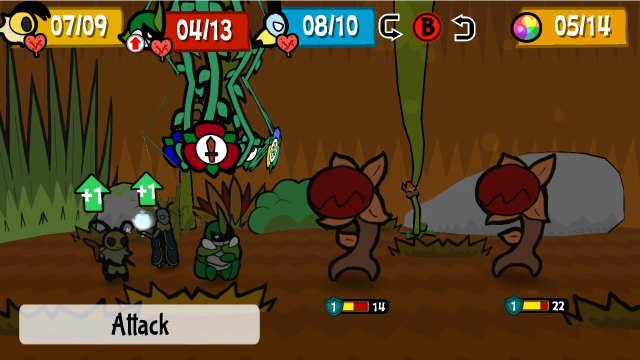 We're definitely looking a bit worse for wear here. 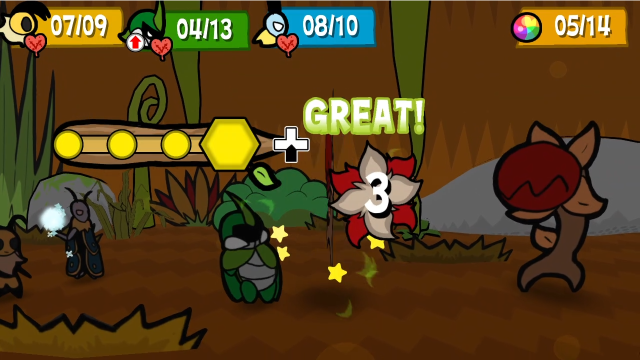 Kabbu keeps attacking as usual. 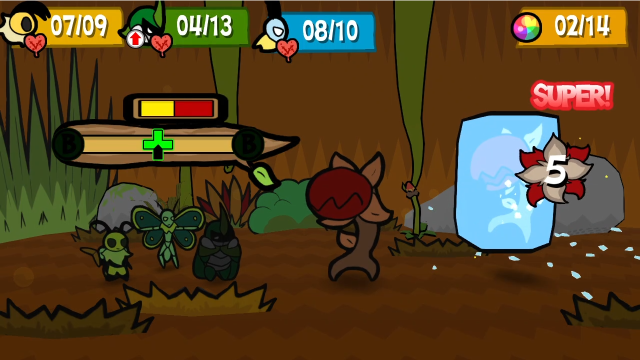 While Leif freezes the back one again (with how low their resistance is, Frigid Coffin is guaranteed to succeed even after it's already been frozen once). At least this time it does respectable damage also. 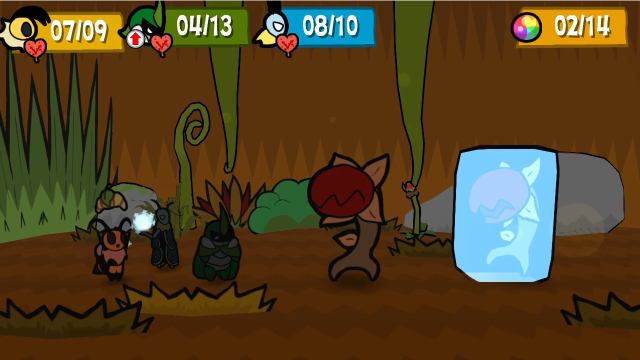  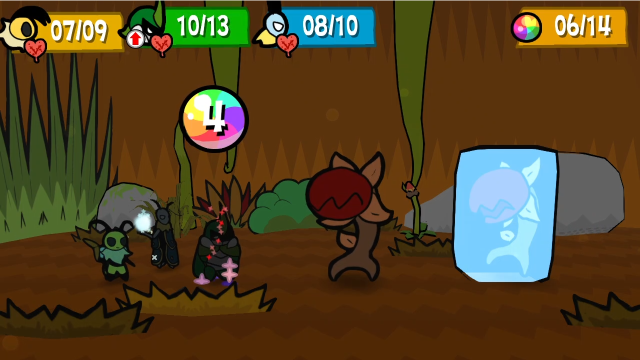 Vi throws a Leaf Croissant to Kabbu. You can see the effect of Heal Plus working here: normally this item heals 5 HP. That's not the reason I gave her the medal, but I certainly won't complain about it! 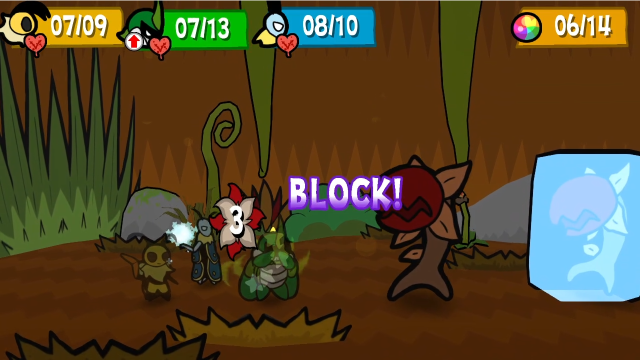 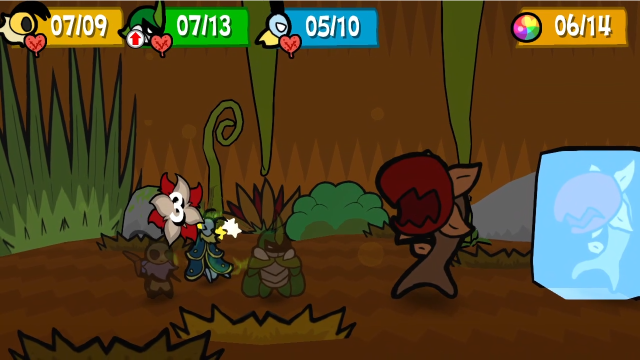 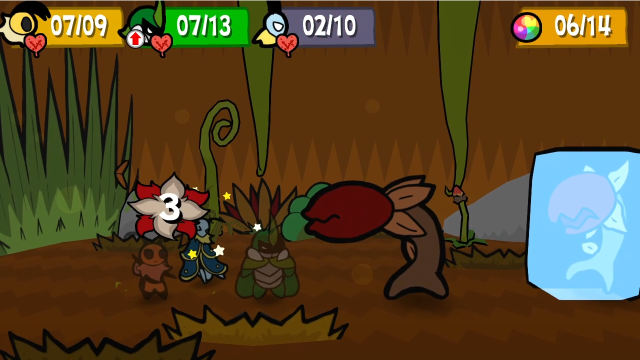 Another barrage of seeds ends up being pretty painful, but we get through it. 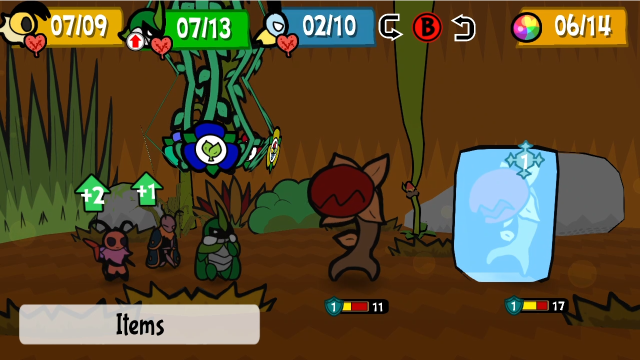 We're making progress, slowly. 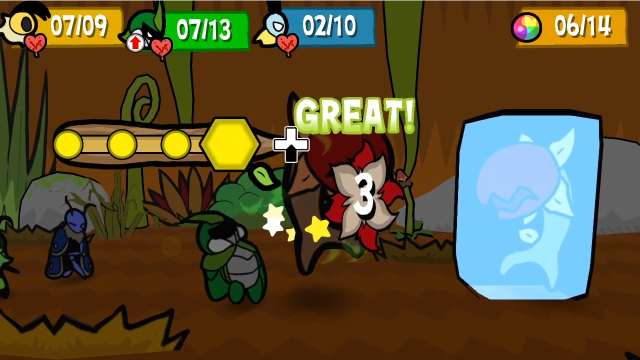 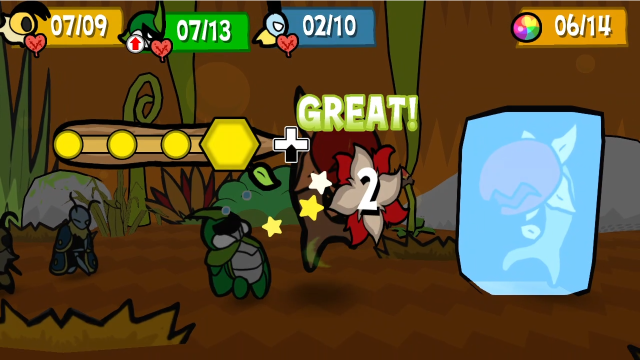 Kabbu attacks as usual (with a bit of help from Vi). 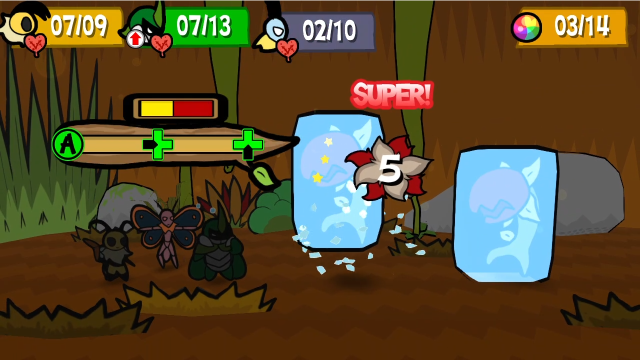 While Leif freezes this one. It's not quite enough to kill, but at least this way, we won't have to eat further attacks this turn. 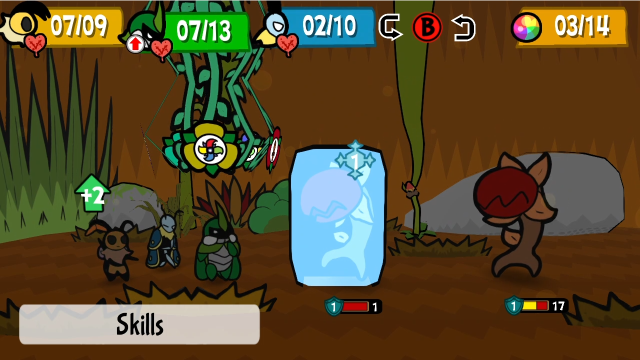 At least we can finish one of them off now. 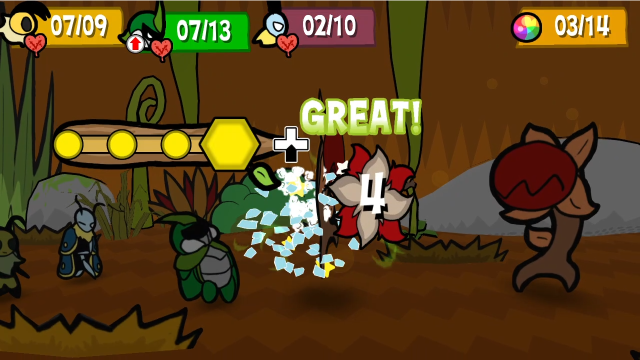 We finish the one in front. 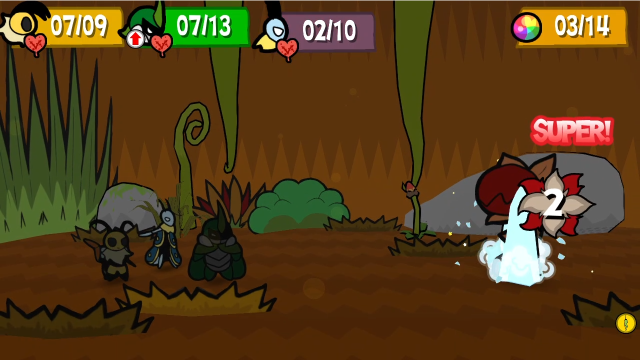 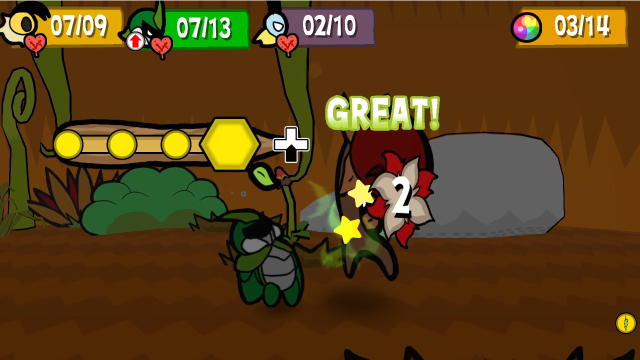 And get some attacks in on the back one. If I'd thought of it, it'd have been better to let Vi or Leif finish off the first one, we could have gotten a bit more damage in on the other that way. No matter. 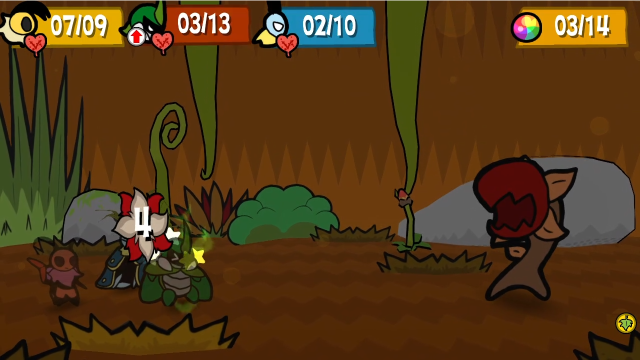 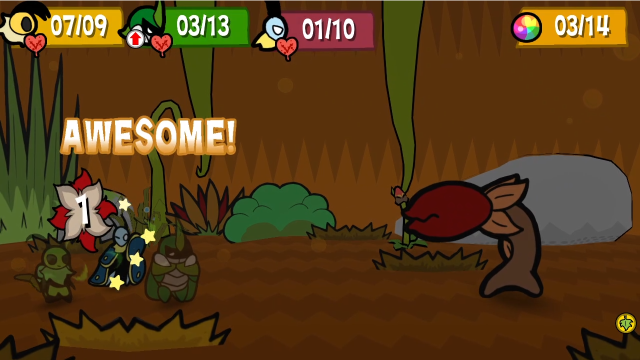 Only two shots, though this still isn't great. 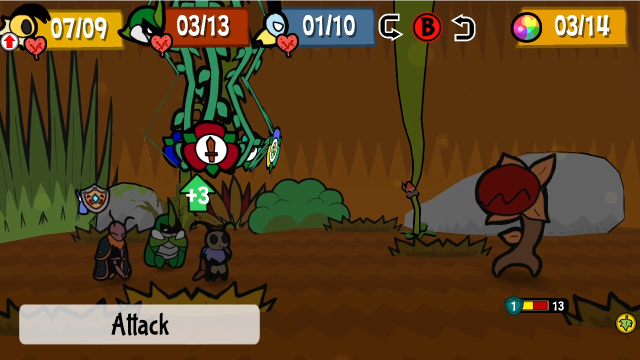 We should be able to finish things this turn, thankfully.  A Tornado Toss from Vi (with the last of our TP) gets us most of the way there. 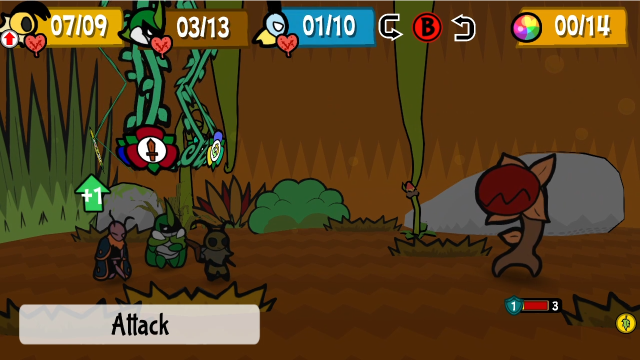 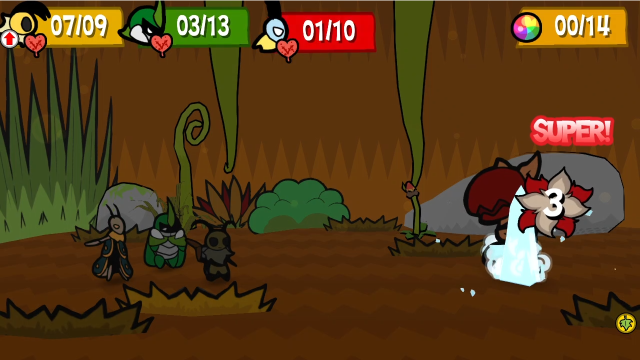 Leif can finish it off now. 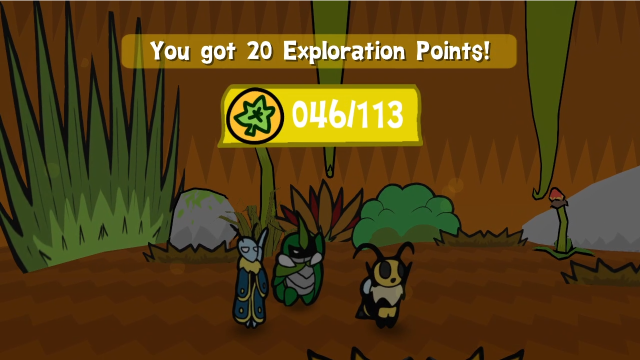 These fights are well worth it in EXP, but they do drag on. 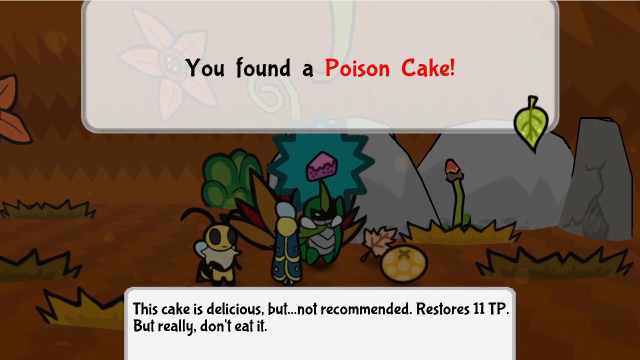 It drops another Poison Cake and Crunchy Leaf, so we can get a good chunk of our resources back at least. 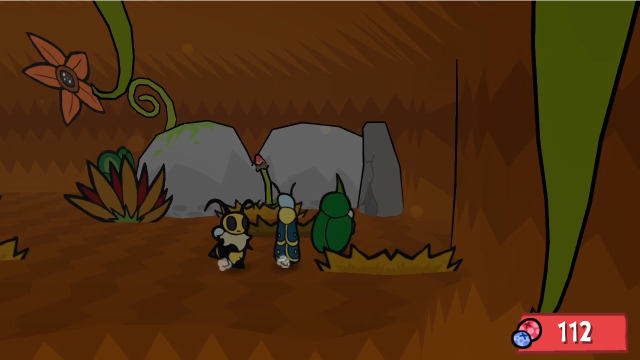 That does it for this area. Let's head through here, back into the first room. 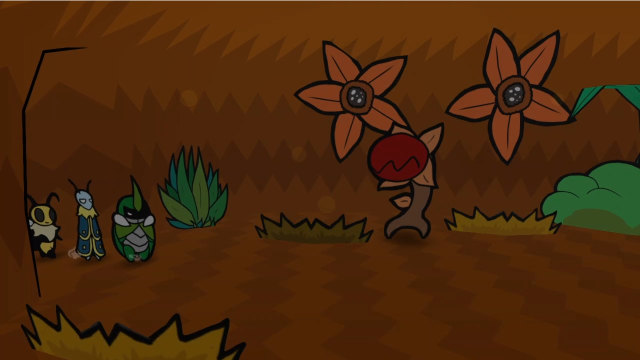 More Chompers. What were you expecting? We saw them up here already. 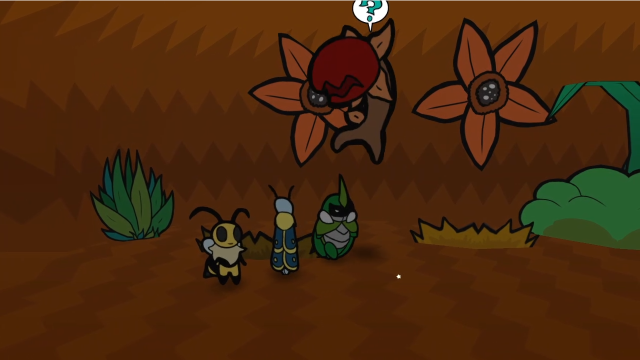 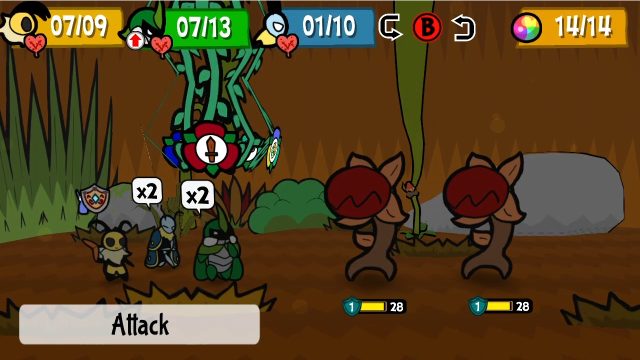 Ugh, another battle with two of them. We know how this goes. 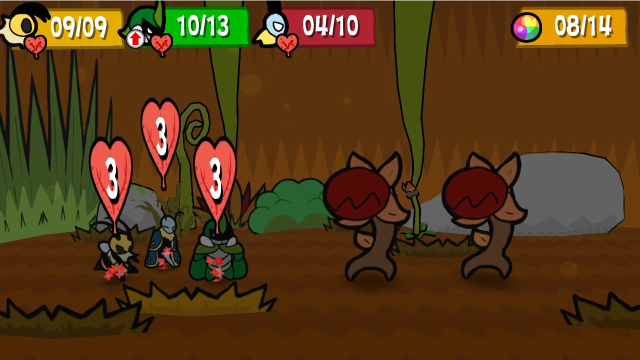 I'm going to gloss over the rest of the fight, but here you can see me using Sharing Stash turn one, and Heal Plus taking effect. I really didn't feel comfortable leaving Leif on 1 HP; with the regeneration, this should keep us for a while.  After a while, we get more EXP. 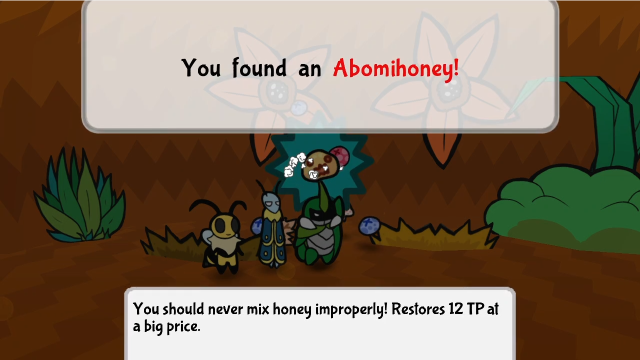 Sometimes the things they drop are really peculiar. 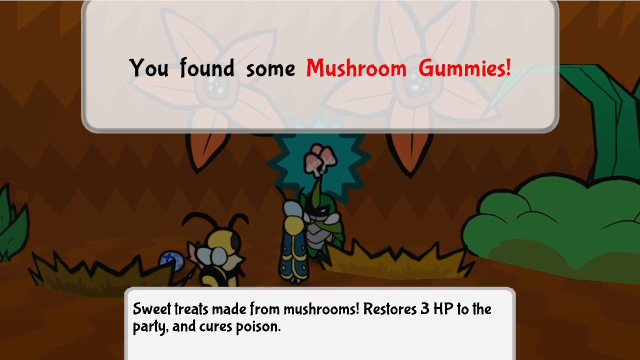 There were also some Mushroom Gummies and a Crunchy Leaf in that pile. 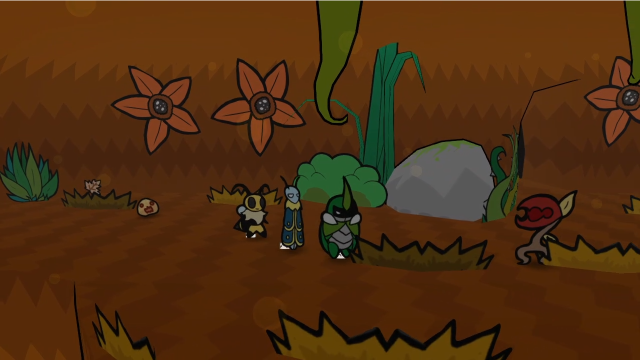 We don't have room for everything, so let's keep moving. There's one more fight here, how bad could it be? 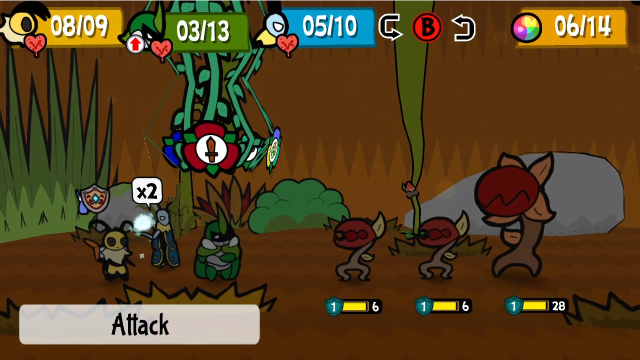 Oh. 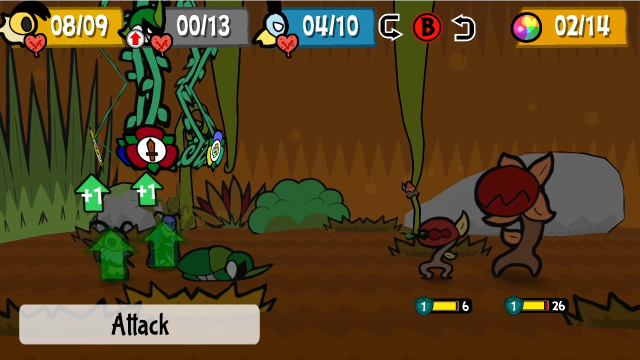 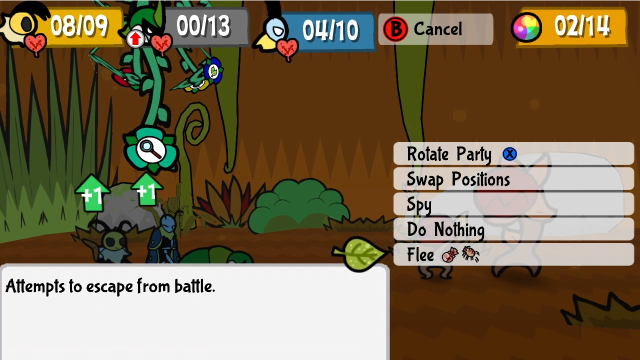 The first turn went sufficiently badly that I decided to flee and regroup. 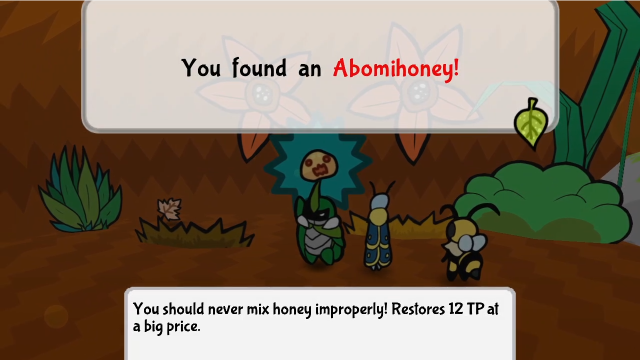 The items didn't despawn yet. We can use this Abomihoney on Kabbu (he's already at 1 HP) to get most of our TP back, then feed him the Crunchy Leaf and use the Mushroom Gummies.  This is much more comfortable. I'm not going to show the rest of this, we've seen enough similar fights.   As per usual, at least the rewards are nice. That's the last of the battles in here. 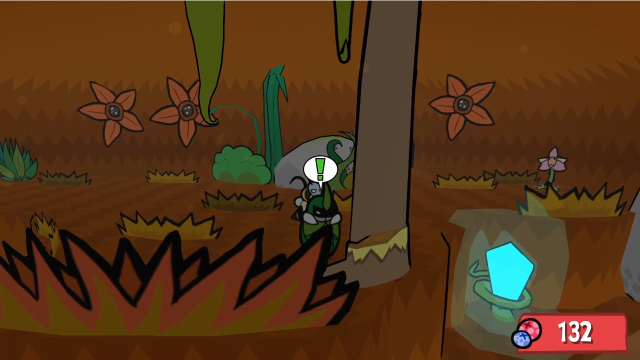 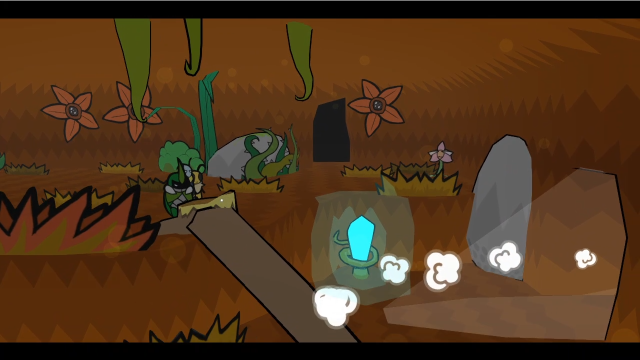 We can knock down this stick to make a ramp, giving us a convenient shortcut back to the save crystal and ensuring we don't need to take that annoying route again. Don't forget to do this! (I somehow didn't notice it was here until, I think, my third playthrough? I felt very silly when I realised.) 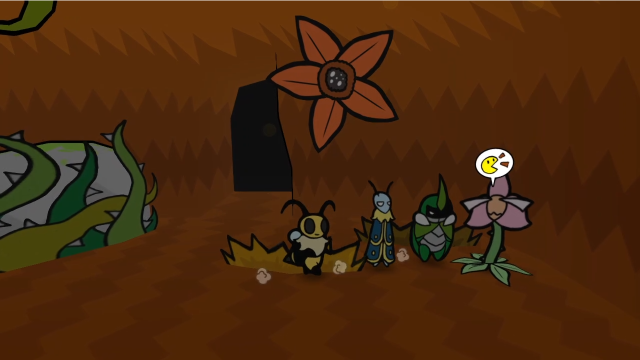 Let's see what Venus has to say. 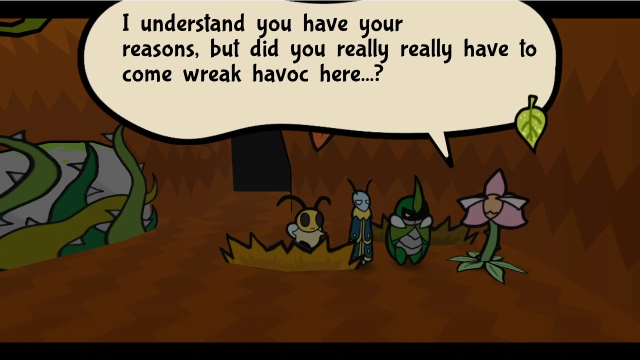 She doesn't seem very keen on the idea of our being here... that said, she also isn't making any effort to stop us. 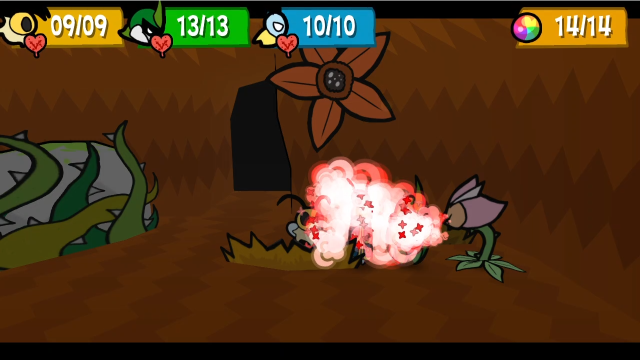 She'll also offer us the usual healing, thankfully. 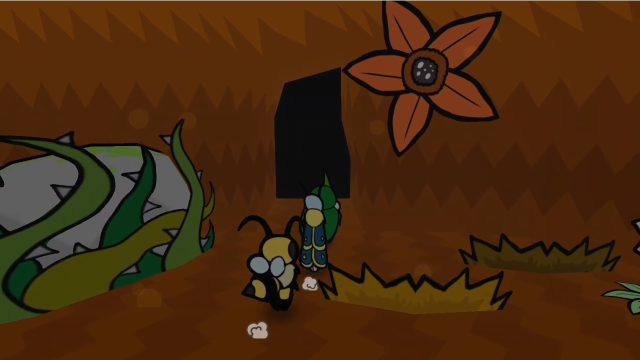 Let's press onward, never mind the warning.  Well, that's interesting! This must be the Mother Chomper. (This does raise some questions: are these plant monsters also eusocial? They certainly seem to have a queen...) W-Woah... Let's think very carefully before proceeding... Good idea.The banter in here is a warning. It's definitely a good idea to take advantage of that save crystal, if you hadn't been inclined before. 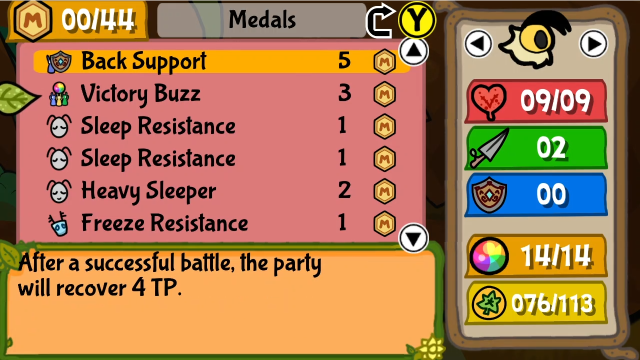  I'm also going to take the opportunity to move some medals around. Victory Buzz is of no use in a boss fight, but Poison Needles might be, so let's give that a try. (Swapping out medals like Victory Buzz when it looks like a boss fight is coming is a good habit to get into.) 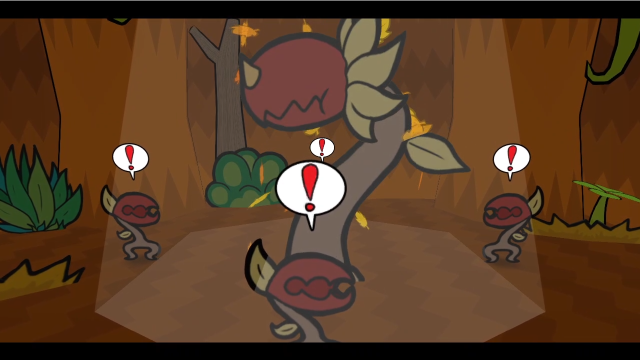 When we get close, all the Chompers notice us and stop marching. 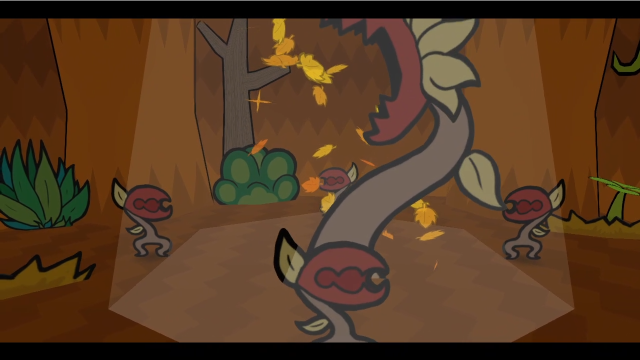 And the big one roars...  Click me for video! 35 - Reckless for Glory! (Bonus Boss) Click me for video! 35 - Reckless for Glory! (Bonus Boss) 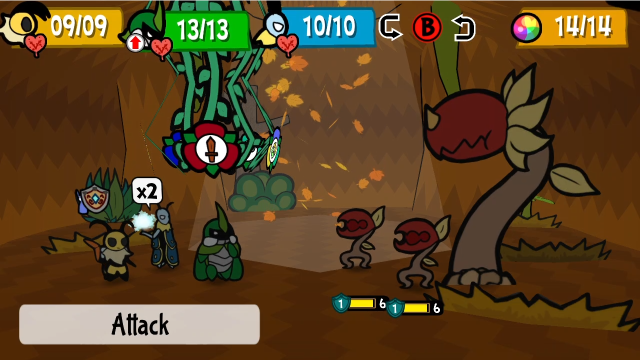 As you might have expected, she isn't going to fight us alone. Let's find out what we're dealing with here. 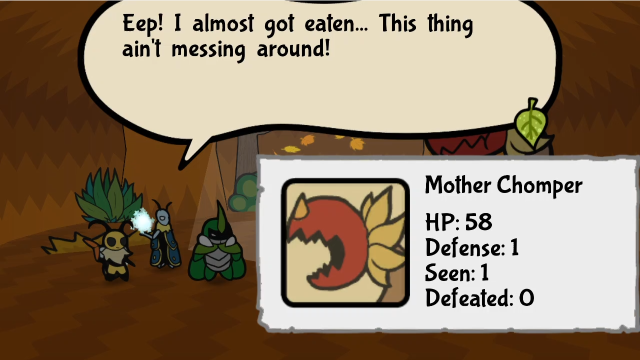 She keeps spitting Chompers out... I think I'm gonna beat her up first! She keeps spitting Chompers out... I think I'm gonna beat her up first!Mother Chomper is another one of this game's optional bosses, and she's pretty strong. This is not a fight to be messing around with, especially if you're here this early (although it doesn't require as carefully tuned a strategy as the Devourer; this can absolutely be beaten fairly).  We'll start off by getting the little ones out of the way. Aiming Icefall well can absolutely hit all three targets here. Mother Chomper is immune to freezing, though, so we can't plan around disabling her (though she still takes weakness damage from ice attacks).  Kabbu can then use Dash Through to finish them off, and get some damage in on the boss. 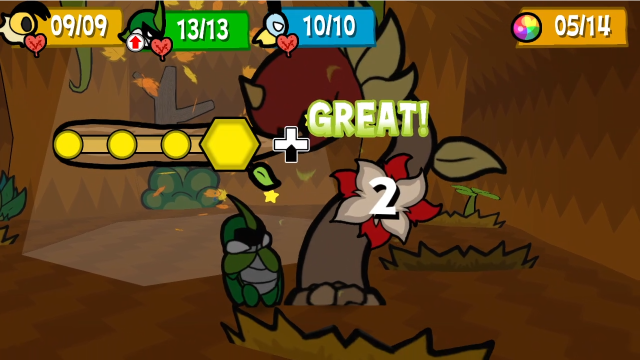 Vi relays to Kabbu so he can attack again.  At the start of her first turn, Mother Chomper roars. As far as I know this is just for intimidation, it doesn't seem to do anything gameplay-wise.  After that, she spits a seed that becomes a new Chomper. Keeping the small ones under control is definitely a big part of this fight.  She also attacks afterward (she doesn't summon every turn, but it doesn't count as an action when she does), by spitting pollen spores. This hits 2-3 times, targeted randomly each time, and can send the bugs hit to sleep for 2 turns if not blocked. 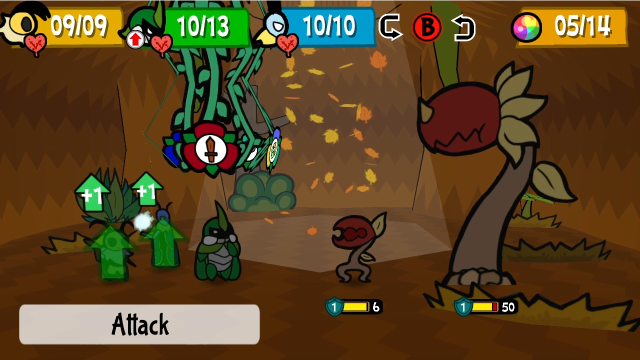 At least we got a Favorite One trigger out of it. Let's see what we can do here. 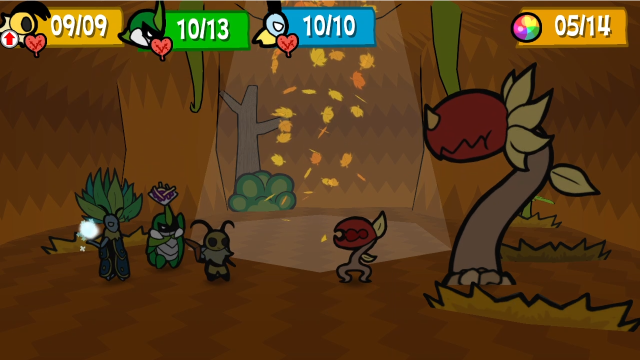 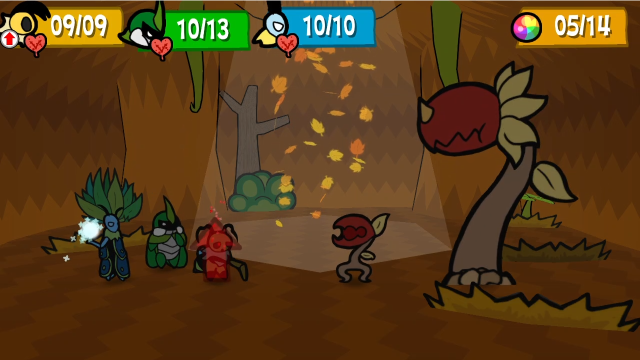 Kabbu uses Spicy Fries on Vi, which gives her Attack Up and activates Weak Stomach, turning on her poison medals.  Let's try Needle Toss. We could've done a bit more damage with Hurricane Toss here, but I wanted to change things up a bit and this is still plenty effective. She has 50% resistance to poison though, so it didn't end up taking. Maybe I should've put Status Booster on her. 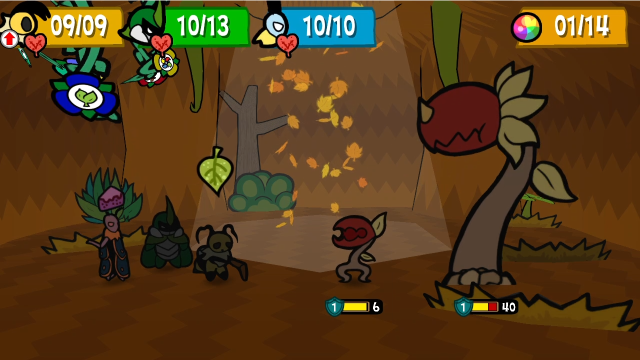 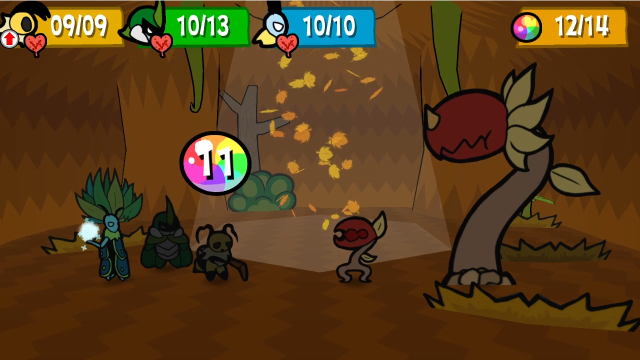 We're out of TP, so Leif uses the Poison Cake on Vi. This conveniently extends her poison duration, so we won't have to worry about it wearing off any time soon. 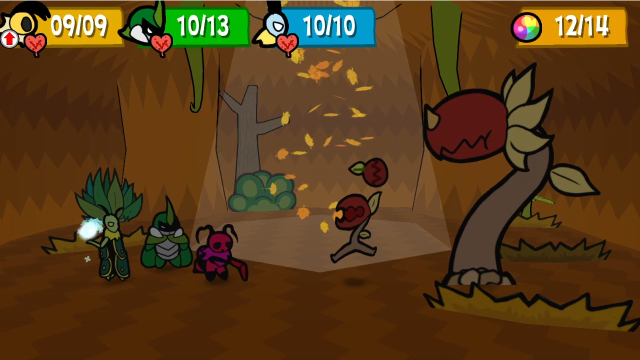 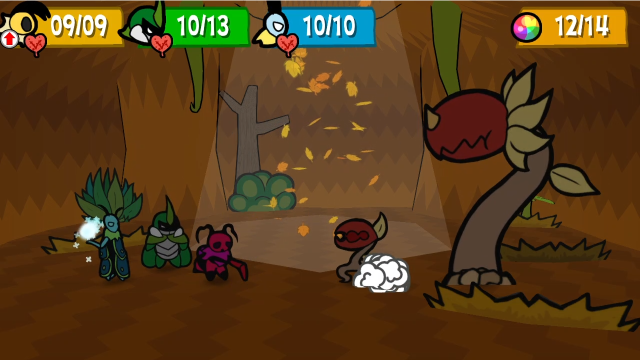 The small Chomper attempts to spawn a smaller one, but is unsuccessful. 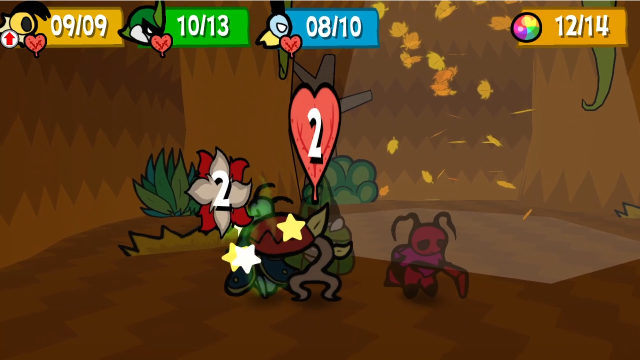 So it bites Leif instead. I didn't manage to block, the only damage reduction here is from Back Support.  She uses the spore attack again, and this time shoots three times. At least I did better on blocking (and Vi's Poison Defender is active), that was a lot less painful. 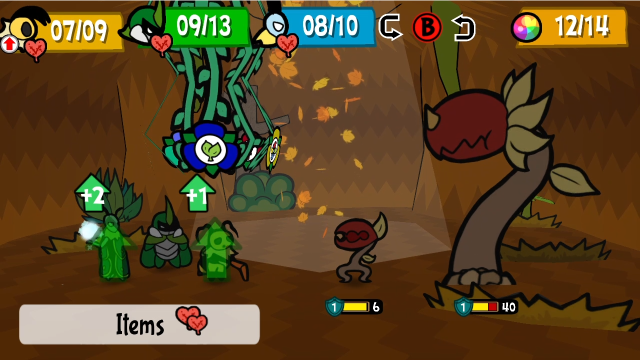 Here's where things stand at the start of turn three.  Let's try Needle Toss again. This time, it actually poisons.  Although it seems only to have triggered once; we just get two turns' worth of poison. It's working out fine, but for better or worse, I can't really recommend this strategy over Hurricane Toss here, and I think this was the point I decided to abandon it.  Speaking of Hurricane Toss, may as well do one while we still have the attack boost. (Before you ask, yes, doing these moves in the reverse order would have done more damage.) 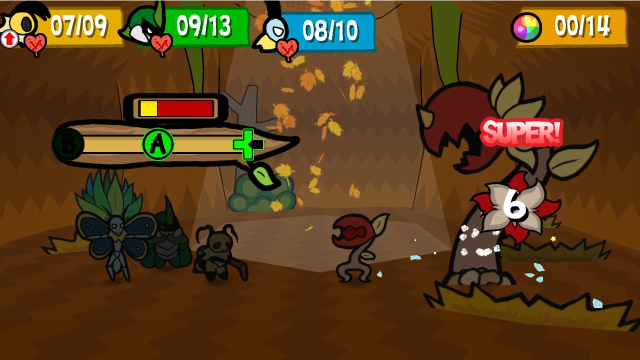 With the last of our TP (for now), Leif uses Frigid Coffin for some extra damage. With his charge-ups and the boss' ice weakness, it's pretty strong.  On the enemy's turn, we see the danger of leaving the baby Chompers alive. In addition to their usual moves, they can spend their turn boosting their mother. This can give her either Attack Up or Defence Up for two turns.  Mother Chomper also roars again, and this time gains an extra action (which will last for the rest of the fight). This happens at the beginning of her first turn below half HP. Between this and the attack boost, we could be in for some pain soon (though, small mercies, she doesn't take the extra action the turn she gains that status).  The pollen attack hurts quite a bit more now (especially when I miss blocking with Kabbu!). Kabbu also goes to sleep, which certainly isn't going to help things. 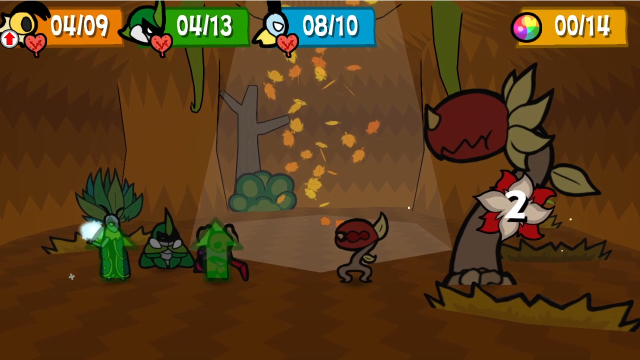 At least we get poison damage this turn, I guess? Every bit helps. 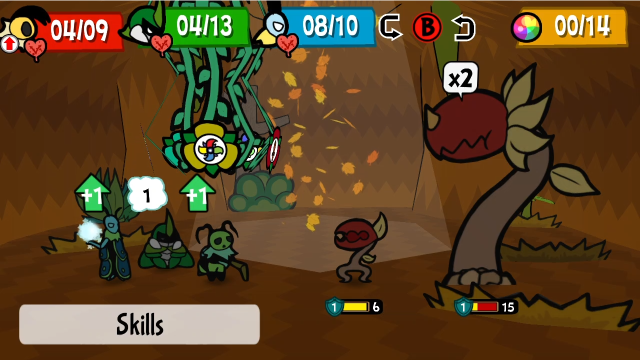 This isn't looking very good, is it. 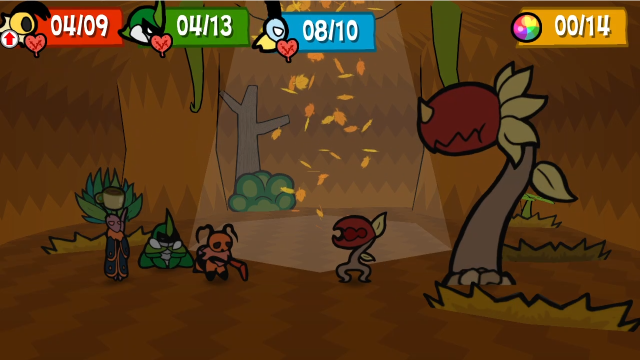 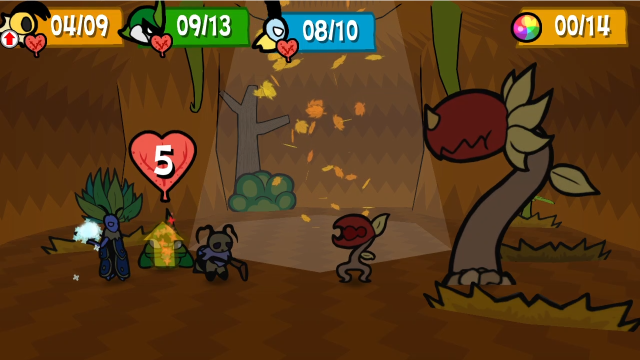 First things first, let's wake Kabbu up with some coffee! I've been holding onto this Hot Drink for a situation just like this. 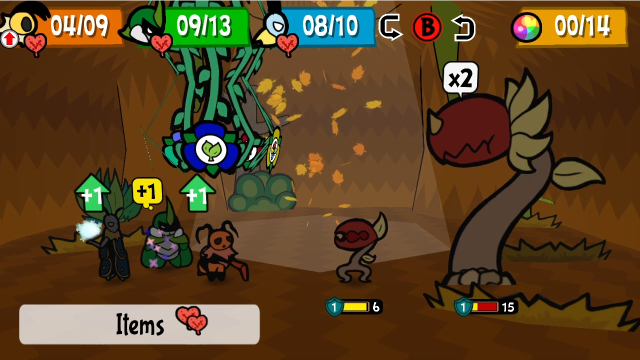 In addition to the healing and status cure, Kabbu gets the Hustle status (that new yellow +1 icon). It doesn't do anything this turn, but next turn he'll get two actions. I quite like the way the action economy works out with Hot Drink: in addition to getting back the actions we'd have lost to the status effect, we'll end up getting an extra one. It's definitely my favourite status cure item. 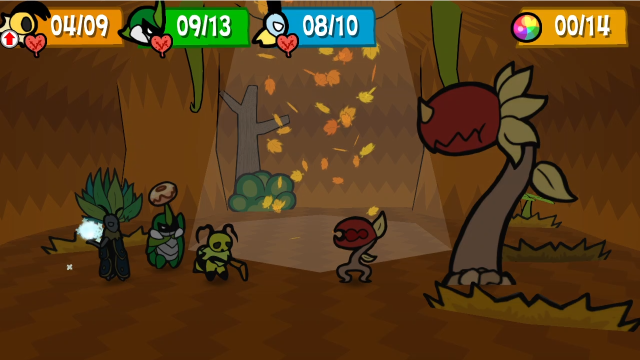 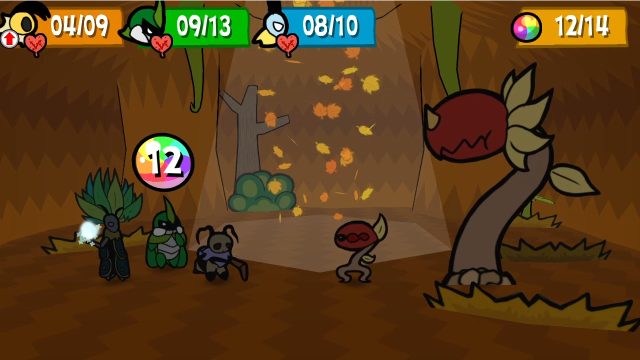 Kabbu uses a Crisbee Donut to restore our TP, since we're all out.  I decided to play it safe here and have Vi use Sharing Stash instead of going for damage (although, honestly, that could have been a mistake). This way, we'll be more or less guaranteed to get through this turn safely, and can finish things up next turn. On the other hand, it does unfortunately have the downside of curing her poison.  The small Chomper spawns an even smaller Chomper! From the failure earlier, it might be natural to assume the small ones aren't able to spawn successfully in this fight, but they're perfectly capable of doing so; the move just fails sometimes.  We finally see one of Mother Chomper's other attacks - an enormous chomp (base 7 damage!) that also heals her equal to the damage done. This is definitely something to watch out for, and one of the major reasons to try to focus on burst damage and keep this fight from going long: she can keep using this and outheal the damage you can do without spending resources.  She also gets a second attack, of course. This time, it's the spores again. 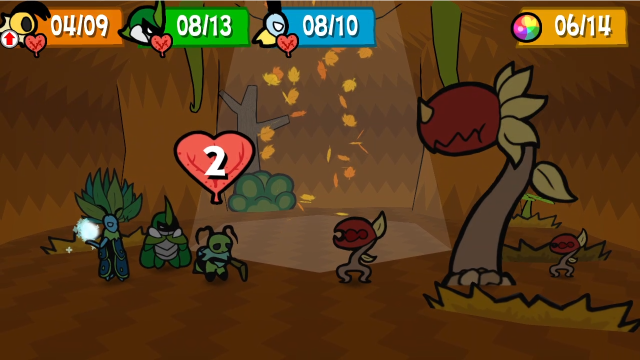 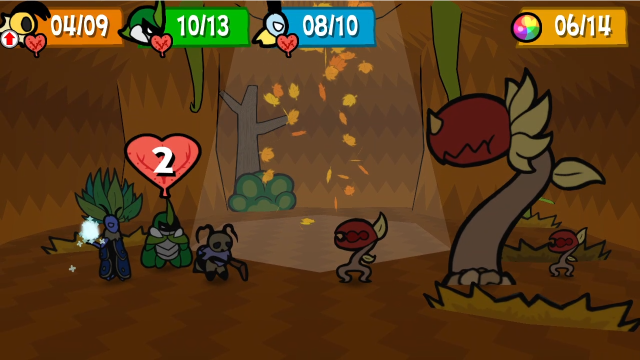 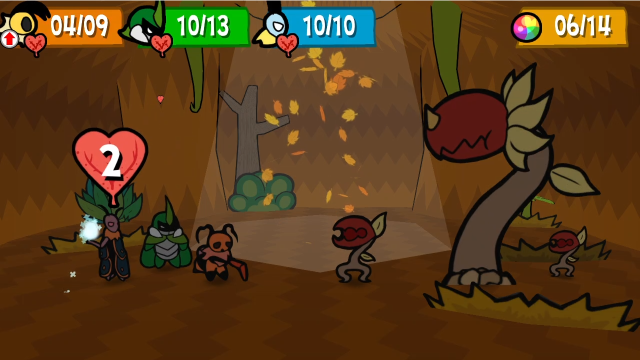 At the end of the turn, we see results from Sharing Stash! The regeneration is quite handy. 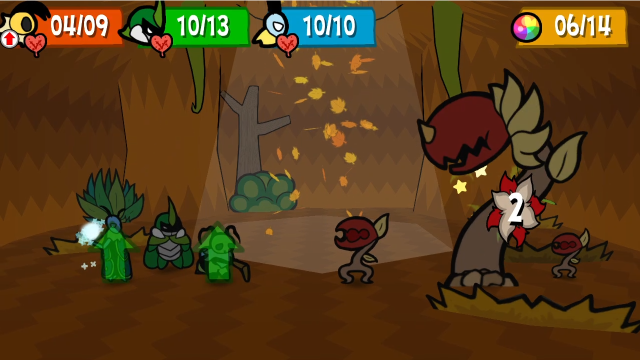 Also, poison damage. 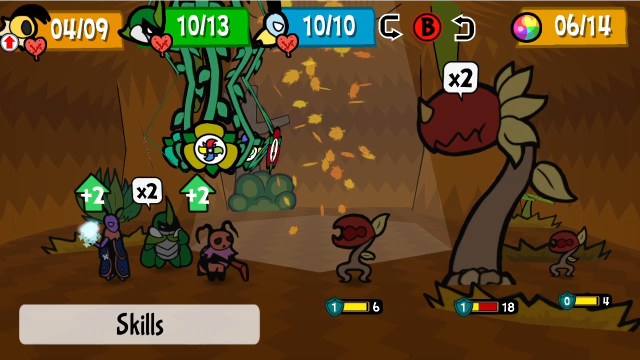 We're in the home stretch now.  Vi starts off with a Hurricane Toss, to take advantage of her charges.  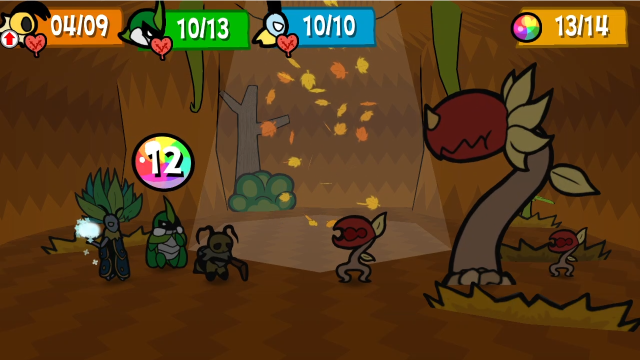 Let's recover our TP again. 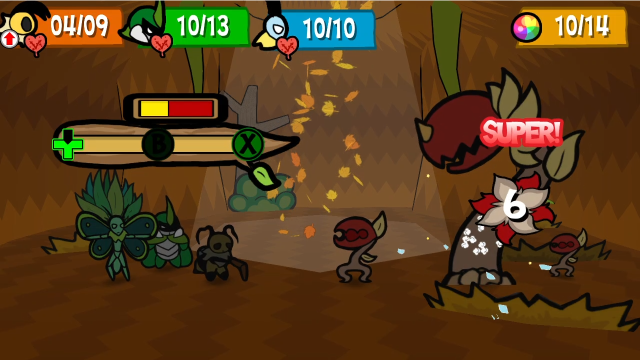 Leif uses Frigid Coffin for some more damage. 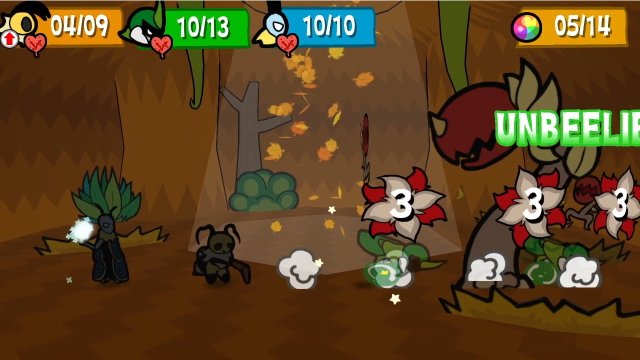 Which brings her just low enough that Kabbu's Dash Through can finish the job.  That said, the fight isn't quite over yet! We still have to deal with the little ones. They caught me by surprise here, attacking in the middle of the boss' death animation and actually knocking Vi out.  Kabbu's Pep Talk can fix that, at least. 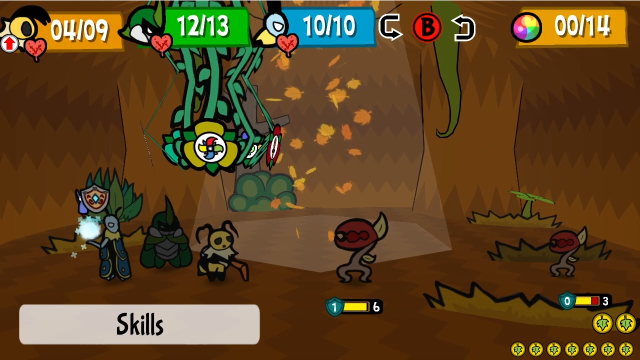 From here, it's a trivial matter to clean up. 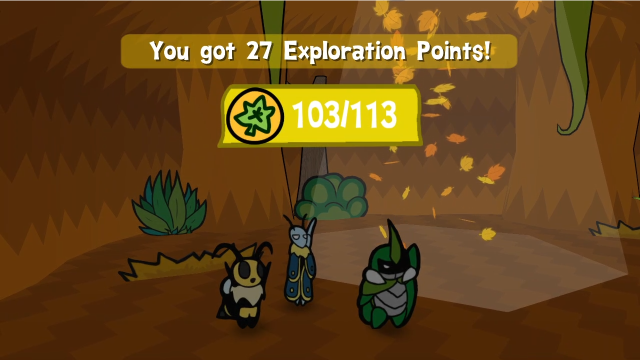 Which brings the fight to a close! Mother Chomper can be pretty tough, especially if you let things snowball with the stat boosts and healing, but as long as you approach it with strategy (and some amount of focus on burst damage) it's not so bad. This is another bonus boss the game just makes available and lets you choose to fight whenever you feel comfortable (well, assuming you discover the cave): it's perfectly reasonable to beat it now, but it's also fine to come back later if you're intimidated. The reward is well worth it, though, so of all the optional bosses, this is definitely the one I'd most encourage people to stick with if they're struggling.  She does have one other attack we didn't see in this fight: in addition to the sleepy pollen, she can launch Hard Seeds, which do 1 more damage per hit but don't cause sleep.  The Mother Chomper withers away, leaving something behind, as the small ones flee. 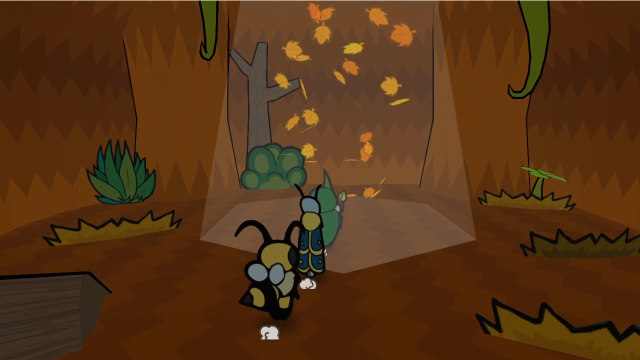 Let's see what this is. 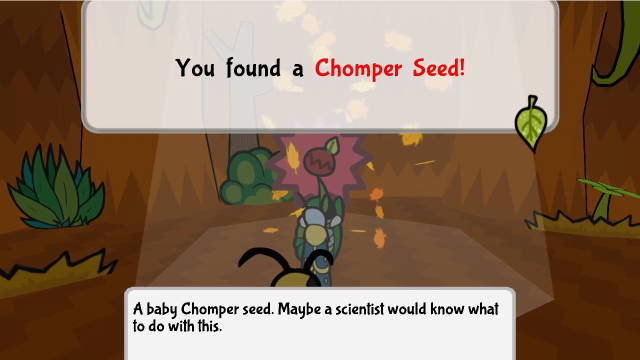 Well, this is intriguing. We'll have to investigate this further; we definitely know some scientists, at least. It really was a nest... The seed it left behind seems different from the rest. You think? Maybe we can sell it to a Bee scientist, or something...There's a new banter in the room now, which suggests much the same thing (though somehow I can't imagine this just ending in a sale, nothing's ever that simple). 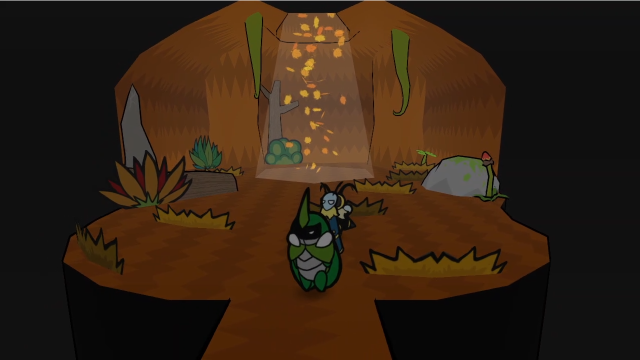 For better or worse, that wraps up our business here in Chomper Caverns. (For all her griping earlier, Venus doesn't have anything new to say after we defeat Mother Chomper.) Next time, we'll start off with investigating that seed and see where it leads us.
|
|
#
?
Aug 9, 2021 05:45
|
|

|
I definitely didn't find this cave until very close to the end of the game, or maybe even after the end of the game? Which is lame because the reward for it is really drat nice. Conversely, the boss gave me little to no trouble because of how deep I was in at that point, so it was nice seeing an early strategy against it. Sorry for murdering your plant friends, Venus, but you gotta admit they had it coming.
|
|
#
?
Aug 9, 2021 06:59
|
|

|
I think I found the cave just before the end of this chapter or at the start of the next. The reward though has really saved my bacon against a number of tough fights. When I played though, didn't get any weird cooked item drops. I forget if I was high enough level that bug me not wiped the brutes on the map though (probably). The little ice puzzle has a fun alternate solution. Frozen monsters are pretty big ice blocks and the shield lets you bait them into position pretty safely, so you can use a droplet to get up and then hop straight over on the head of a frozen chomper. Surprised that Heal Plus works on Vi's healing skills. Will have to consider it. For some reason I misread it as the wearer being healed more by items.
|
|
#
?
Aug 9, 2021 09:15
|
|
|
FYI, in case anyone noticed the discrepancy, I apparently had the numbers slightly wrong for the interest rates the first time I discussed them (I've now corrected the earlier post). The correct nerfed interest rate is 2%, not 2.5%.Tatters posted:So, I forgot to bring this up at a point where it'd be more relevant but I have a theory as to why Vi is so disdainful of The Hive and the Bee way of life. Missed this one last time - this is a really interesting theory! I don't think the game ever comments on this one way or the other, but it's the kind of thing I could see the devs having had in mind when they were planning things out (considering how many other character dynamics are inspired by real-world insect behaviours in one way or another). That said, on another level I'd be surprised if this reading were intentional, just because Vi's reconciliations with the Queen and Jaune are portrayed positively. Alxprit posted:I definitely didn't find this cave until very close to the end of the game, or maybe even after the end of the game? Which is lame because the reward for it is really drat nice. Conversely, the boss gave me little to no trouble because of how deep I was in at that point, so it was nice seeing an early strategy against it. Sorry for murdering your plant friends, Venus, but you gotta admit they had it coming. Yeah, one downside of the optional bosses being available any time is that they're generally tuned to be fought on the earlier side, and are pretty disappointing if you come too late (I definitely had that experience with the Broodmother my first playthrough, but I don't think it's uncommon to have it happen with Mother Chomper either). I imagine it was frustrating when you realised you could have had the reward earlier, considering how good it is. But we'll talk about that in more detail next update ") Tylana posted:I think I found the cave just before the end of this chapter or at the start of the next. The reward though has really saved my bacon against a number of tough fights. When I played though, didn't get any weird cooked item drops. I forget if I was high enough level that bug me not wiped the brutes on the map though (probably). Bug Me Not would certainly have made it harder to notice that, but it could also be that you were playing on an earlier version; I went back and did some testing on 1.0.5 and the drops are definitely a lot less common there (mostly you see a lot of Crunchy Leaves, though some cooked items do show up). I don't have the actual drop tables for a full comparison though. Tylana posted:The little ice puzzle has a fun alternate solution. Frozen monsters are pretty big ice blocks and the shield lets you bait them into position pretty safely, so you can use a droplet to get up and then hop straight over on the head of a frozen chomper. Thanks for reminding me of this, I knew I was forgetting something! This definitely works, although timing-wise it can be a pain since the enemies won't stay frozen forever. I don't think I ever thought to try it, mainly because my habit is to kill all the enemies first before doing anything else in an area (and this game is pretty good about making enemies intended for use in puzzles respawn immediately). Tylana posted:Surprised that Heal Plus works on Vi's healing skills. Will have to consider it. For some reason I misread it as the wearer being healed more by items. It's a bit clearer in v1.1, now that they've made the medal show up in the skills menu (medal icons generally show up next to the affected skills, but in earlier versions a lot of these interactions weren't marked, and Heal Plus for Vi's skills was one of those). It's definitely a thing worth keeping in mind.
|
|
#
?
Aug 10, 2021 18:03
|
|
|
Explopyro posted:
I never lost to Janet, I didn't know she had an ice burn ready.
|
|
#
?
Aug 12, 2021 14:10
|
|
 (Leif loses) Hey, you tried. It was a good try.
|
34: Friendship Bites 25 - Caves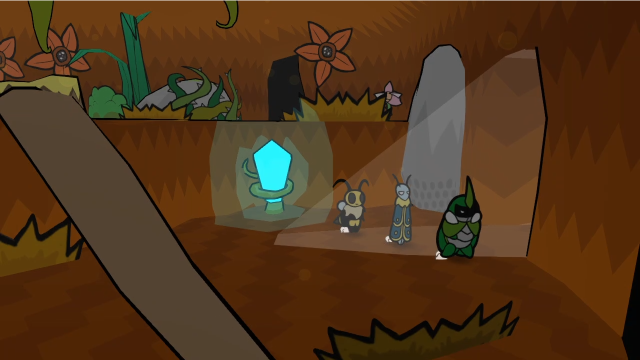 Last time, we explored the Chomper Caverns and fought the Mother Chomper. Let's see if we can figure out what to do with the seed she left behind. There's nothing else to do in here right now, so let's get going. 40 - High Above, Bee Kingdom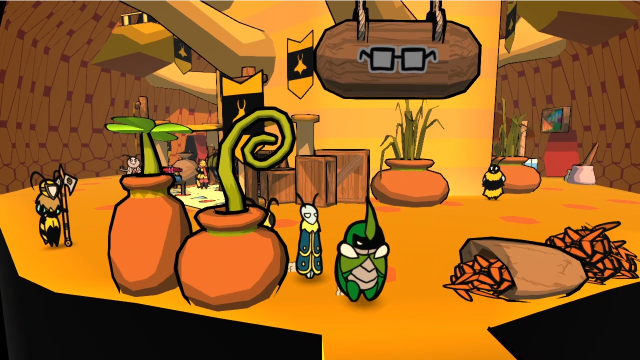  Our team discussed the possibility of taking it to a bee scientist. Let's check in with Professor Honeycomb. (Doctor HB and Crow don't react if you try them, this isn't their project.) 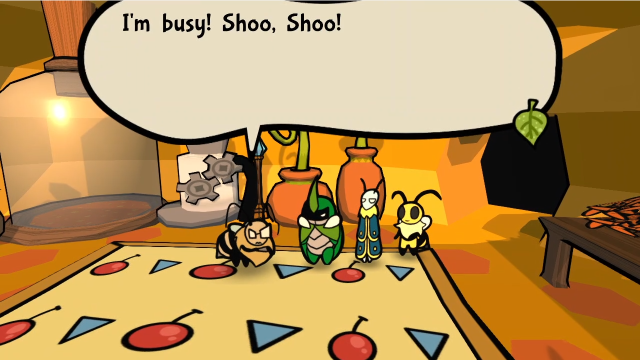 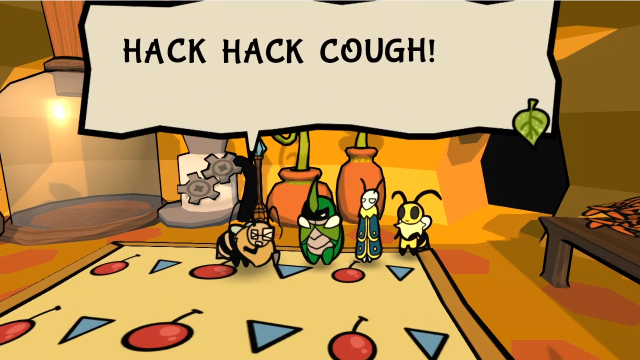 We should go before we make her faint... We should go before we make her faint... ...Wait, what's THAT?! Uh, what? ...Wait, what's THAT?! Uh, what?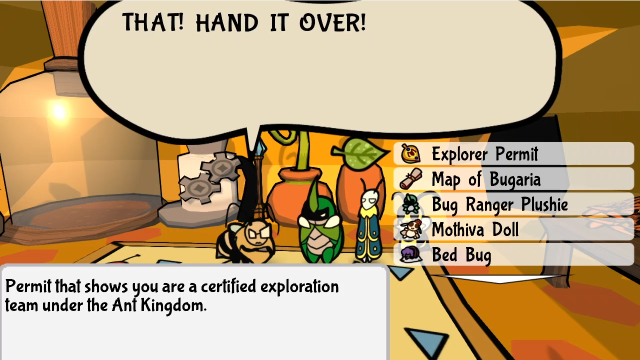 Seems like she wants us to give her something. Of course, we have to try certain things first... 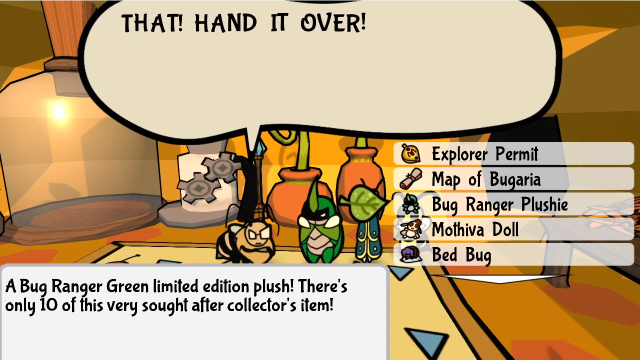 This is useless! Give me the BIOFORM! C-calm down! What's a bioform!? This is useless! Give me the BIOFORM! C-calm down! What's a bioform!?No special reaction for the plushie, she says this for any incorrect item. Also, if you back out of the menu, she has an interesting response: I KNOW you have a bioform on you! Hand it over! HACK HACK COUGH! ...What's a bioform?Enough messing around, let's try giving her the seed. 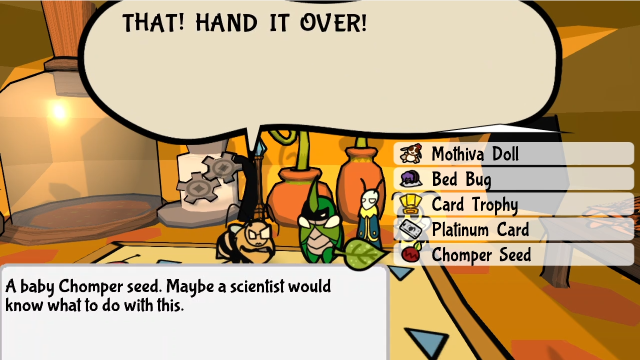 That seed! Could it be...?! That seed! Could it be...?!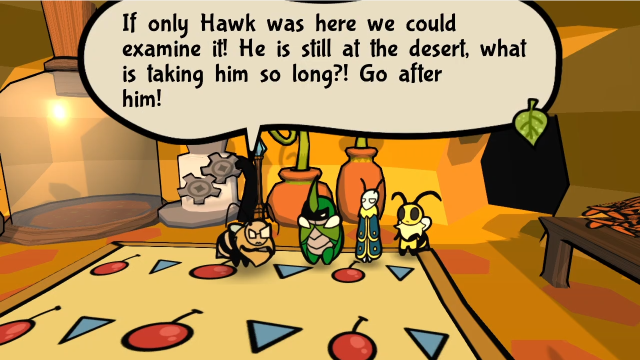 Well, that's a dead end. Looks like we'll have to head back to the Lost Sands and track him down. Conveniently, though, our mission lies in the same direction (remember the mission we were supposed to be on? I've been faffing around with side content for a while...), so we can get to work on that too. Let's head down to Defiant Root. 37 - Defiant Root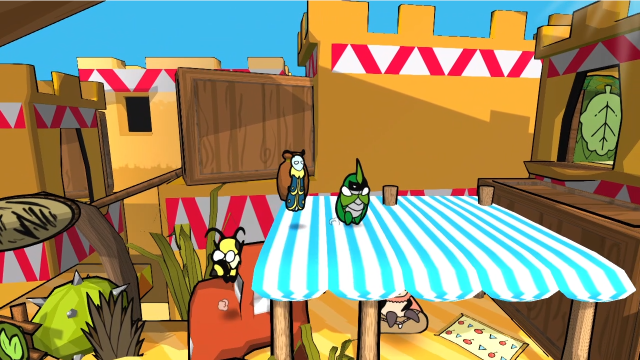  We were supposed to meet with the mayor and see if he has any leads, so let's not put that off any longer. 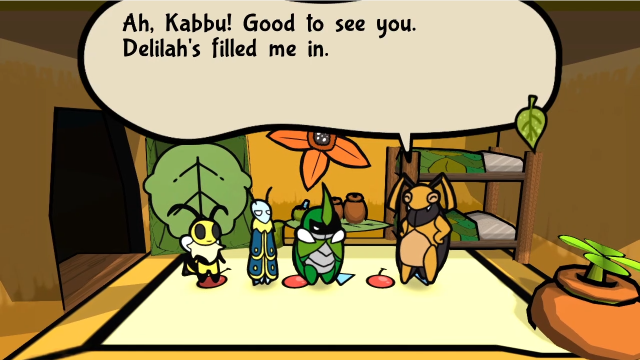 No, it's my pleasure! Thank you for everything! No, it's my pleasure! Thank you for everything! Hohoho! Don't think of it! You've got info on the Sand Castle, correct? That I do. That castle's an ancient Roach structure, rumored to be at the northeastern corner of the Lost Sands. Mind you, that rumor's older than I am! But there IS a weird tablet in that part of the desert. It's the only clue we have, so... Any ideas on how to get in? Hohoho! Don't think of it! You've got info on the Sand Castle, correct? That I do. That castle's an ancient Roach structure, rumored to be at the northeastern corner of the Lost Sands. Mind you, that rumor's older than I am! But there IS a weird tablet in that part of the desert. It's the only clue we have, so... Any ideas on how to get in?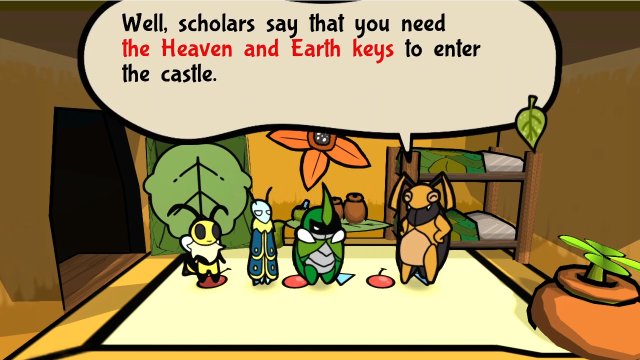 I've got a lead on only one of them. It's said to be... with the bandits. Ngh. They've been causing us enough trouble as is. Ask around town, someone could have a clue on their hideout's whereabouts. Maybe some have heard of the other key, even! If Elizant wasn't lying, time is of the essence. It's time to search. Stay safe, you three. The sands are unforgiving to those unprepared! I have my team. Worry not, we'll protect each other! I have no doubt. Even so! You've got to accept this little gift from the good old mayor! I've got a lead on only one of them. It's said to be... with the bandits. Ngh. They've been causing us enough trouble as is. Ask around town, someone could have a clue on their hideout's whereabouts. Maybe some have heard of the other key, even! If Elizant wasn't lying, time is of the essence. It's time to search. Stay safe, you three. The sands are unforgiving to those unprepared! I have my team. Worry not, we'll protect each other! I have no doubt. Even so! You've got to accept this little gift from the good old mayor!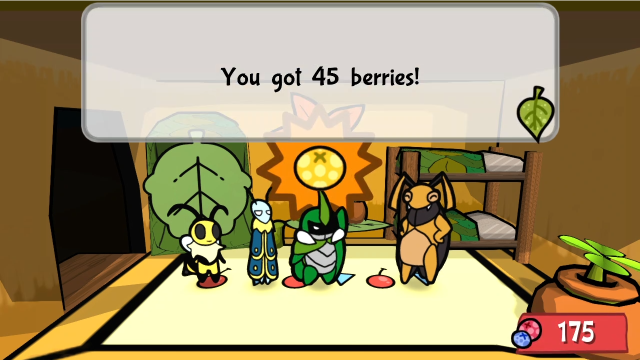 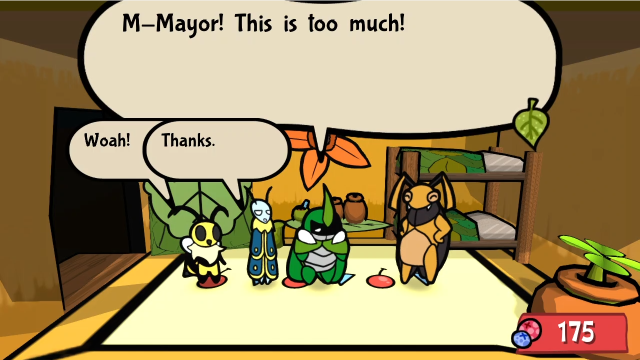 Take it, Kabbu. You can't say no! ...Thank you, Mayor. We will return safely! Take it, Kabbu. You can't say no! ...Thank you, Mayor. We will return safely!We'll see shortly why the Mayor gave us some funds here. Anyway, that's not much of a lead, all he really told us is that someone in town might have info on the bandits. Guess we should look around. 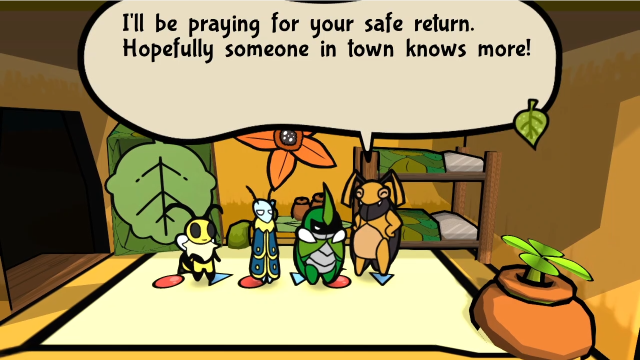 If we talk to him again, he'll just encourage us to do that. 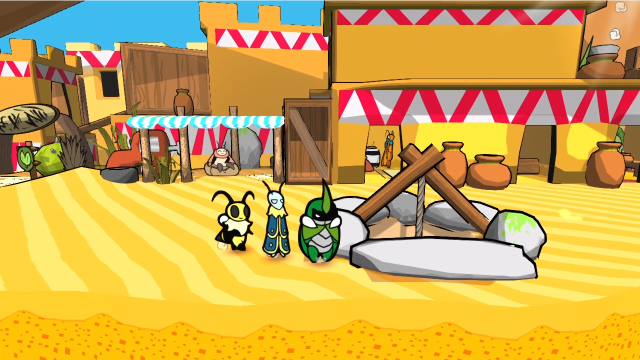 The place we actually need to go for that is... into the well. 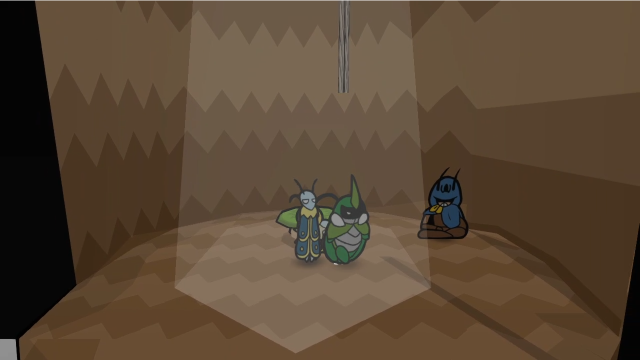 There seems to be a mysterious fellow down here. But first, let's see what everyone thinks. So we've come to the bottom of this well for... not much, really. Yeah, it's just a bunch of water! It IS a well...How helpful. There's also a banter for the hooded figure: A curious place to set up shop. Well, anyone who can help will do. No matter where they fancy to sit!Well, let's see what this person has to say, I guess. 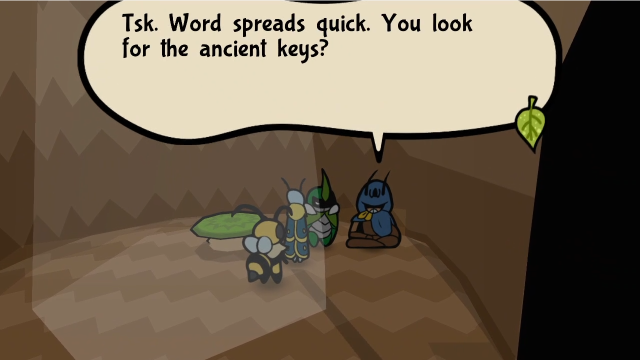 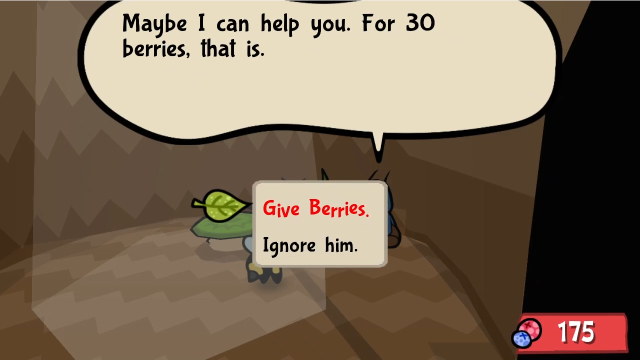 He doesn't seem inclined to talk unless we pay him. If we decline:  Suit yourselves. Suit yourselves.Looks like we don't have a choice. (I'm pretty sure the mayor giving us money is the devs trying to make sure the player can always afford this. It's nice of them to try to prevent mandatory grinding, though I've never actually run into a problem here.) Let's pay him. You're a wise bunch. Here.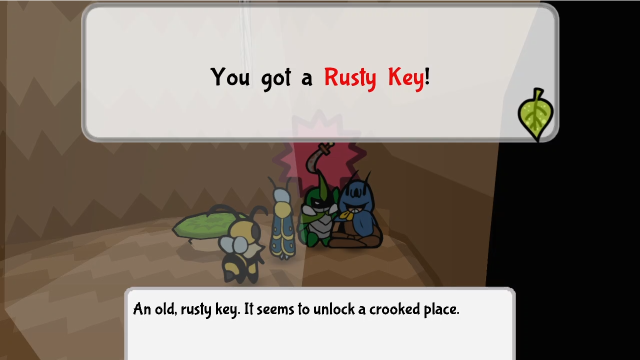 Um, what's this? The key? The bandits lurk in the southeast of the desert. That's your ticket in. Just how do you have this? ... W-Well, no matter. We'd best start planning our trip there! I'll be seeing you. Um, what's this? The key? The bandits lurk in the southeast of the desert. That's your ticket in. Just how do you have this? ... W-Well, no matter. We'd best start planning our trip there! I'll be seeing you.There is nothing suspicious about this in any way, surely. Guess that's one lead to follow up on; we'll get to that soon enough. 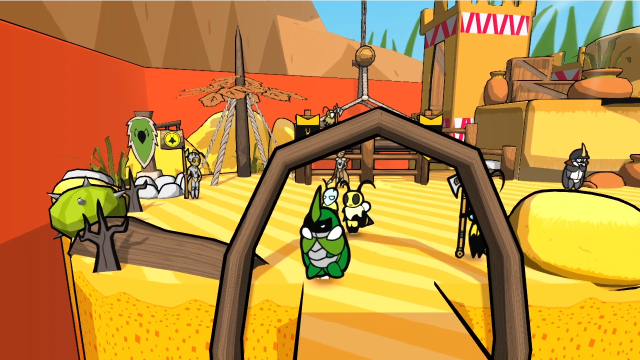 Before that, though, there were a lot of paths blocked by spikes in the western half of the desert. Let's explore those. 36 - Lost Sands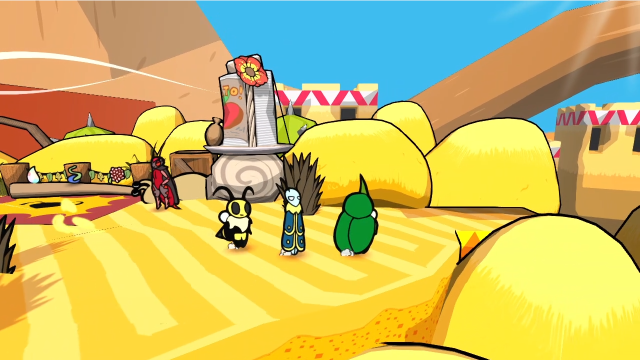 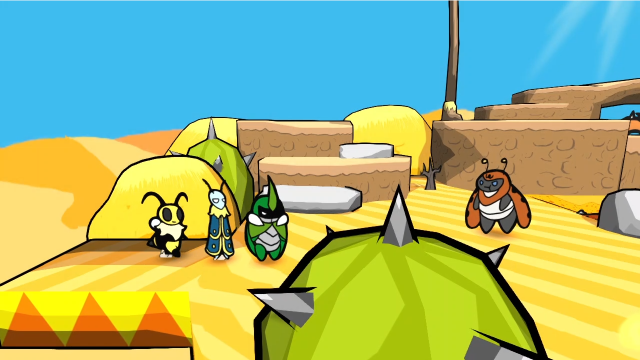 First up is this area. 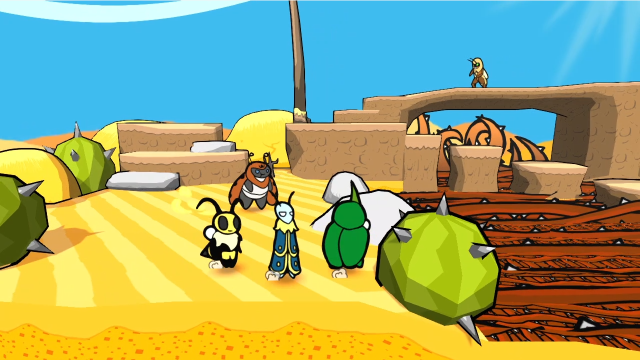 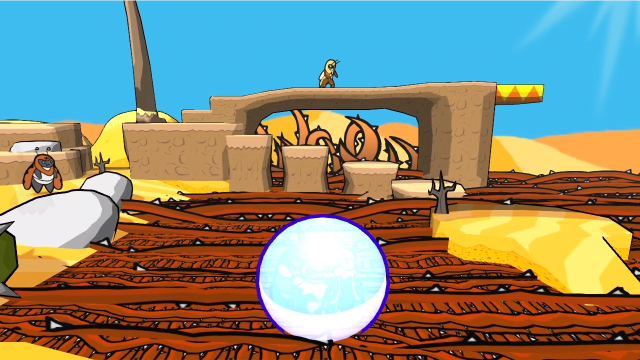 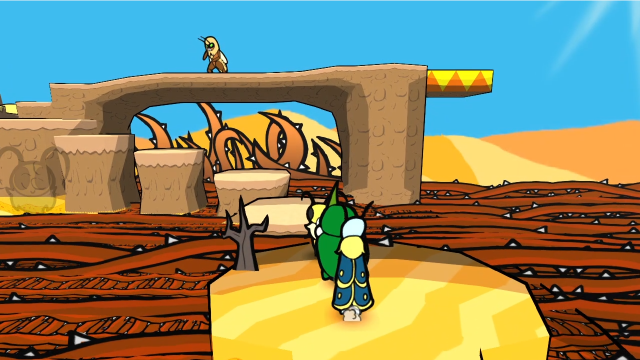 With Bubble Shield, we can now cross the brambles to this platform. 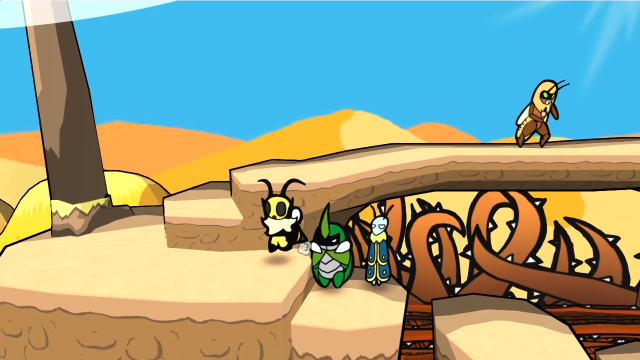 And then from there it's a simple matter to jump up this staircase of platforms. 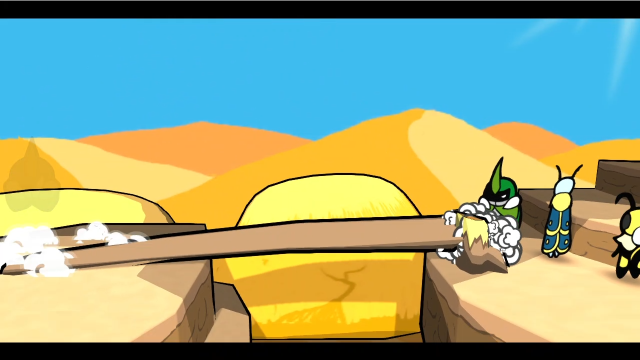 We can also knock down this stick to make a shortcut back. 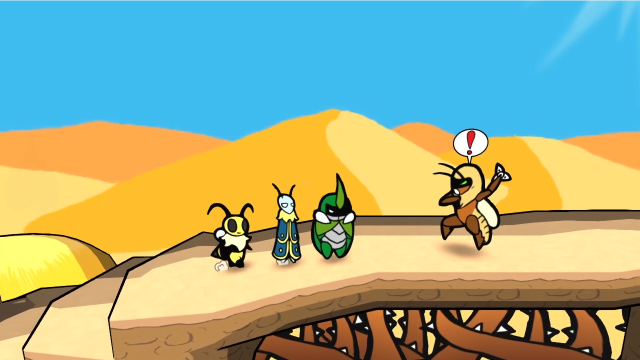 There's a bandit on top of the arch here. You can sneak past him pretty easily using either Kabbu's dash or Leif's Bubble Shield, but let's fight anyway. 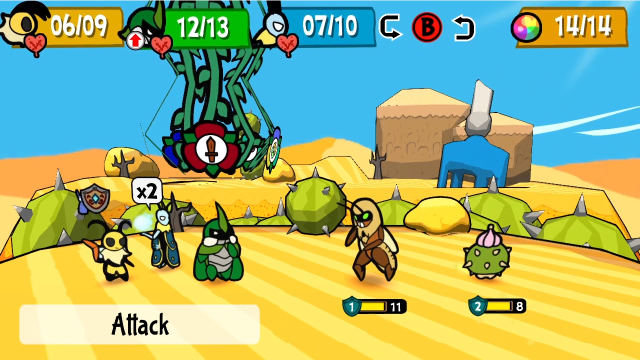 It's a pretty simple encounter, one cricket bandit and one Cactiling. Familiar enemies, and it's not a particularly scary formation; not much to see here.  That said, I did want to show this. I'm not all that reliable with the timing, but when something like this does happen you can really see the value of Spiky Bod. That Cactiling just lost half its health from attacking Kabbu. (I like passive damage, okay?) 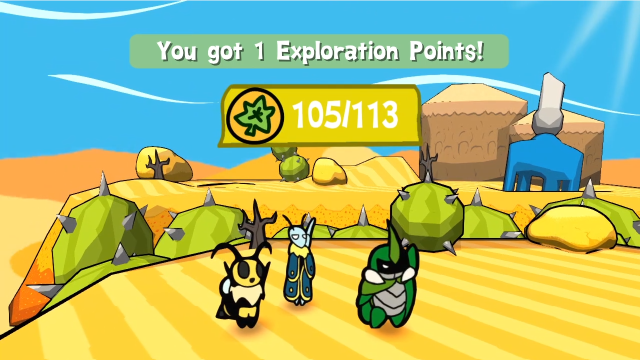 We're high enough rank now that these enemies no longer give us EXP. 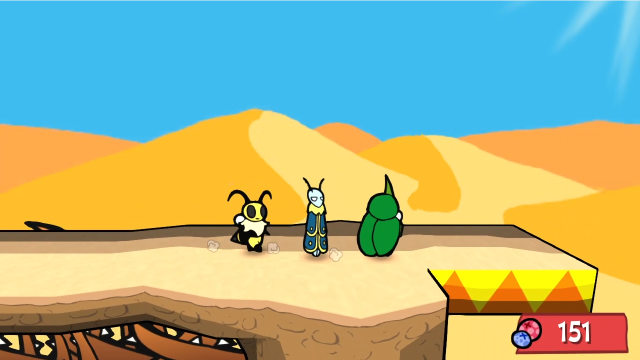 Past the bandit, the other side of the arch leads into the next area. 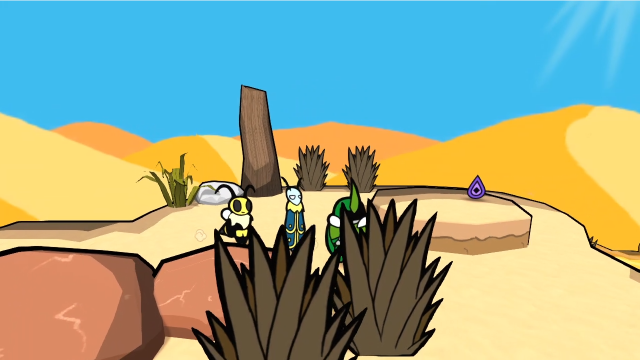 What's this up here? 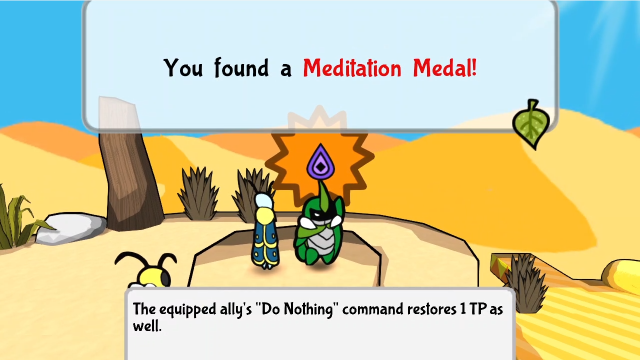 First off, let's grab the medal. It's a second copy of 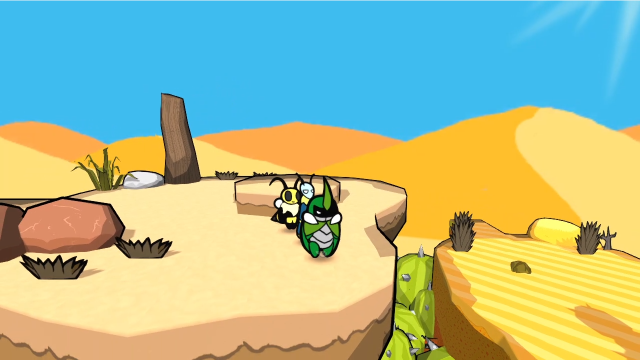 If we get closer to the edge, we can see where we are: we definitely saw the other side of this chasm when we first explored the Lost Sands. That said, aside from the medal (and some berries that are guaranteed to be in the weeds up here), there's nothing here. Let's head back. 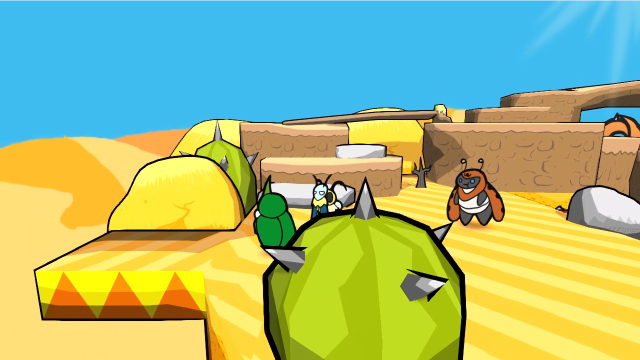 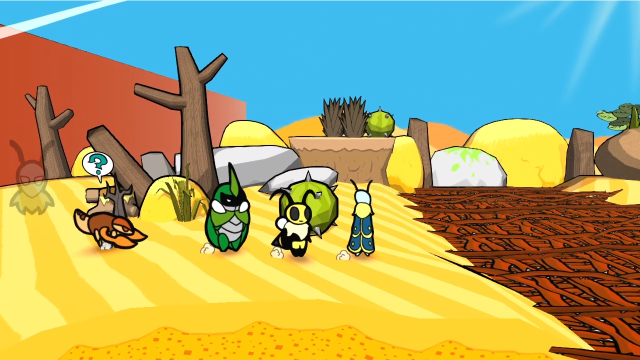 As we proceed further south, we immediately reach another big thorn chasm. 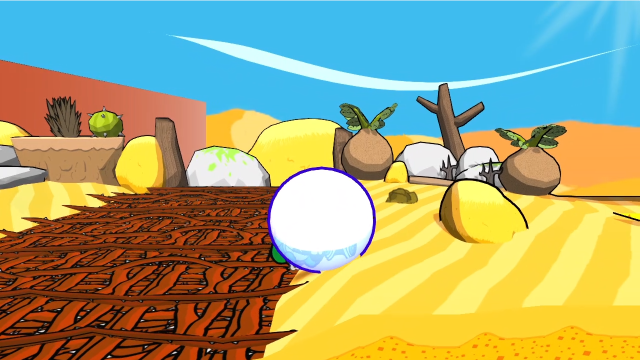 Getting across is straightforward now. There's an enemy waiting underground, though. 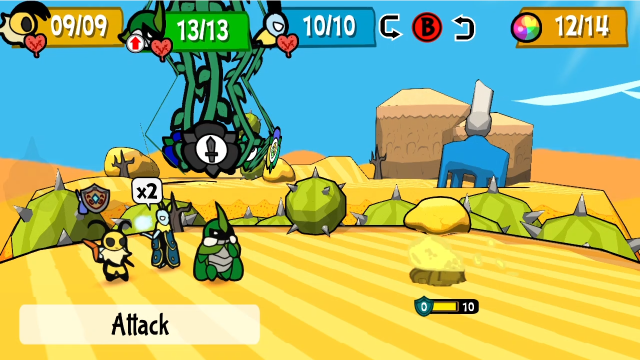  It's a solitary Arrow Worm. No threat. 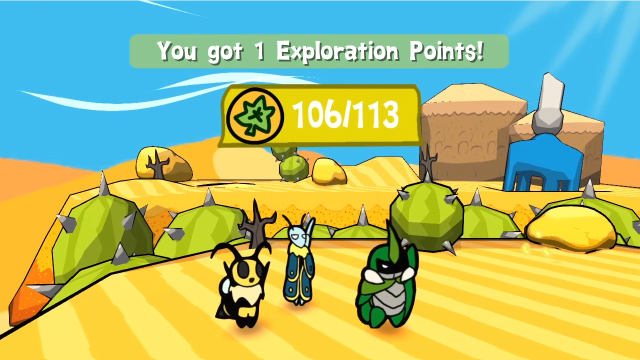 Easy enough. 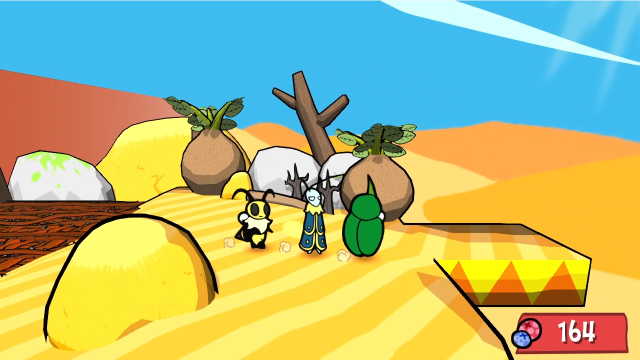 Let's head east. 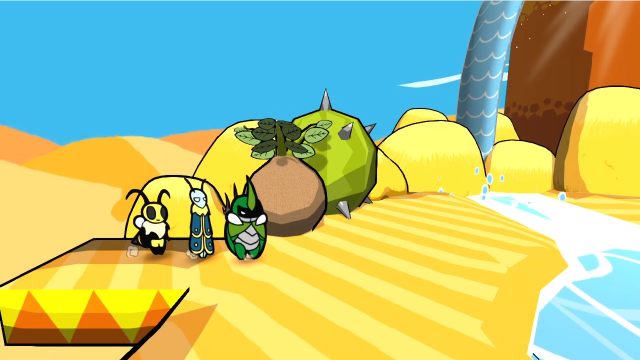 This area's completely new, we haven't been here before! Looks like some kind of oasis? Now this is something. Water flowing freely in the desert. Bottoms up! I'm taking a big chug! Why, I wouldn't mind splashing my face a bit either! Perhaps we could even find the source of it if we look around.Our team certainly seem pleased to be here. Let's explore. 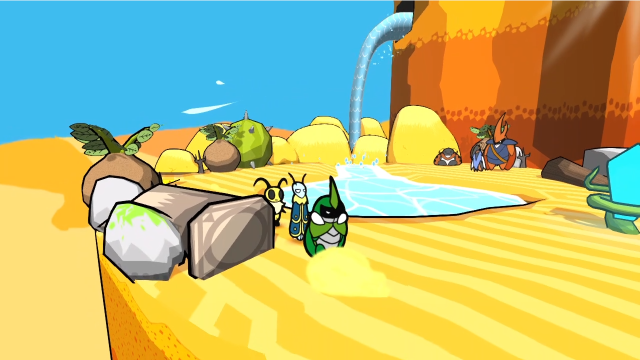 There are other people here, too (and a save crystal); we'll get to them momentarily. 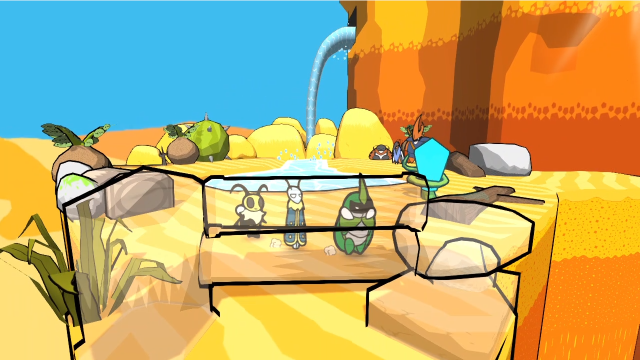 Looks like the path south is blocked by a fallen pillar; we'll have to find a different way around, or else come back with a later ability. 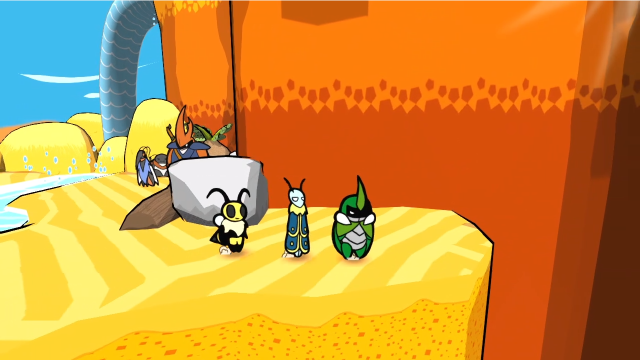 This looks like a dead end, though. The water's coming from whatever this big structure is, but we can't get up from this side. Let's go see what Team Slacker are up to. 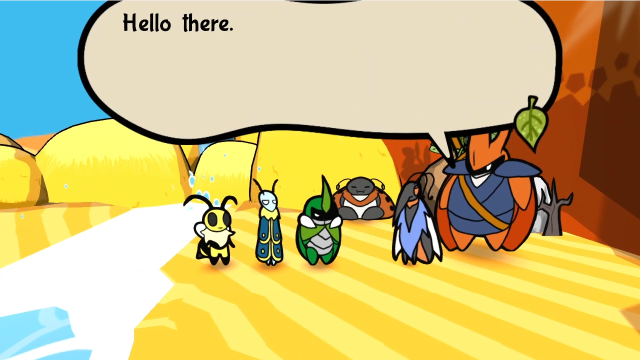 Hiya! Fancy meeting you here! Hiya! Fancy meeting you here! Indeed! Seems you are also curious about this mountain over here? Somewhat. What can you tell us about it? Indeed! Seems you are also curious about this mountain over here? Somewhat. What can you tell us about it? This is Stream Mountain. Called that because of this very oasis here, as the water comes from it. We've heard a powerful monster lives in here, so we are investigating. A monster? Yeah, don't know much of it yet but it seems pretty nasty! Be careful if you explore the mountain. Lots of strong creatures live inside! But we bet it is full of treasure. Thank you either way. Mhm! Treasure! Just stay safe, alright? Wouldn't want us to be blamed if you went missing. This is Stream Mountain. Called that because of this very oasis here, as the water comes from it. We've heard a powerful monster lives in here, so we are investigating. A monster? Yeah, don't know much of it yet but it seems pretty nasty! Be careful if you explore the mountain. Lots of strong creatures live inside! But we bet it is full of treasure. Thank you either way. Mhm! Treasure! Just stay safe, alright? Wouldn't want us to be blamed if you went missing.Gee, thanks, Stratos, so glad to know how much confidence you have in us. Anyway, this is yet another of their hints toward a Bounty location. Though we can't face it quite yet, we'll need an ability from later in the chapter to get up to the entrance of Stream Mountain. 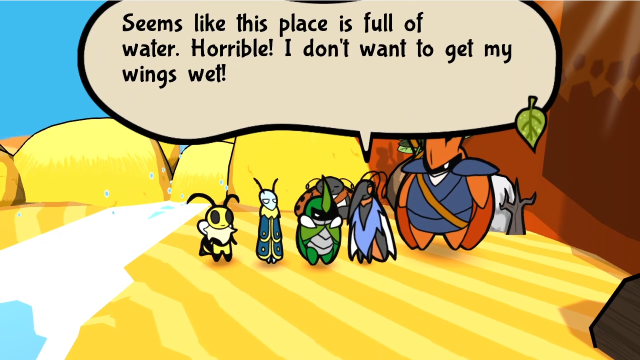 Be careful, alright? We don't know what the monster is, but locals say it is powerful. Don't go blaming us if something goes wrong. Be careful, alright? We don't know what the monster is, but locals say it is powerful. Don't go blaming us if something goes wrong.Talking to them again gets us an abridged version of what they just told us. We'll definitely keep this in mind, anyway. Now, who else is here? 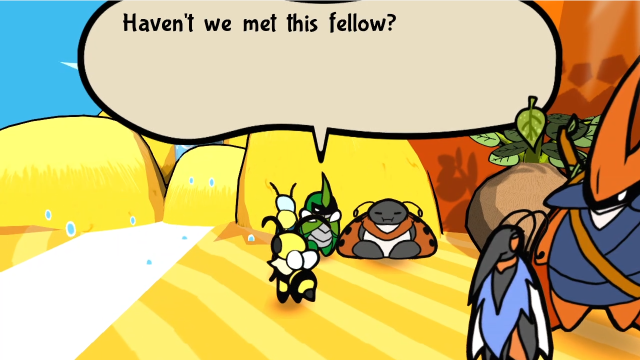 Something's very familiar about him, for sure! (They can't tell?) Something's very familiar about him, for sure! (They can't tell?)Intriguing. Let's talk to him. (Also, I have to say I love his relaxed sprite.) 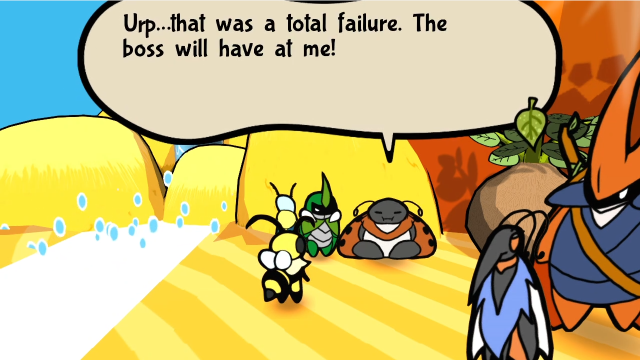  I just hope he can manage to trick some chumps at the well. Excuse me, sir. Are you alright? Oh, yeah. I am alri- I just hope he can manage to trick some chumps at the well. Excuse me, sir. Are you alright? Oh, yeah. I am alri-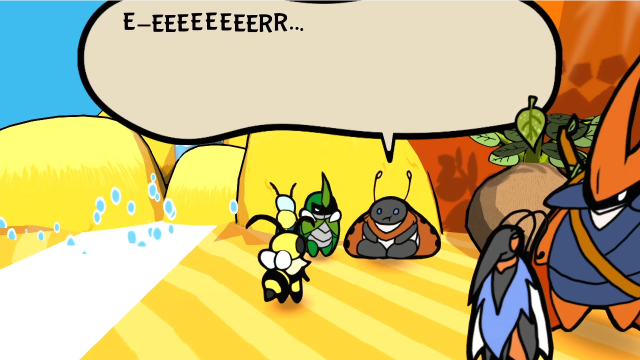 Is something wrong? Is something wrong?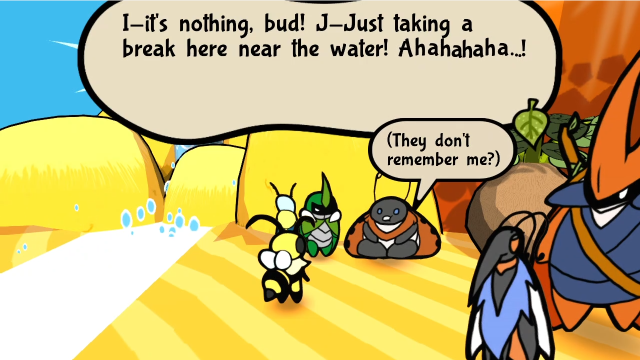 Uh. Sure thing, "bud". Uh. Sure thing, "bud".Yeah. This is the bandit that led the ambush on us alongside the wasps. (Also, oh no, the jig is up regarding the well... but we're not going to be able to act on that knowledge, are we.) 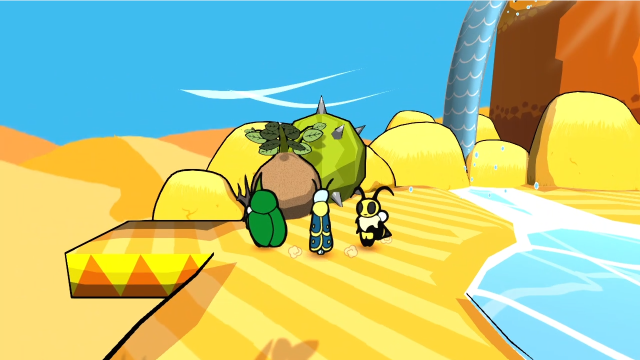 That's all we can do here for now. Let's head back. 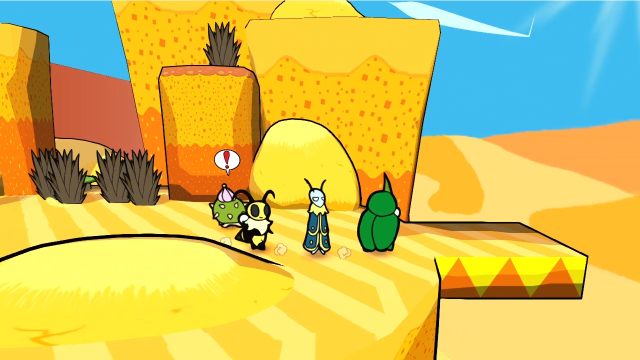 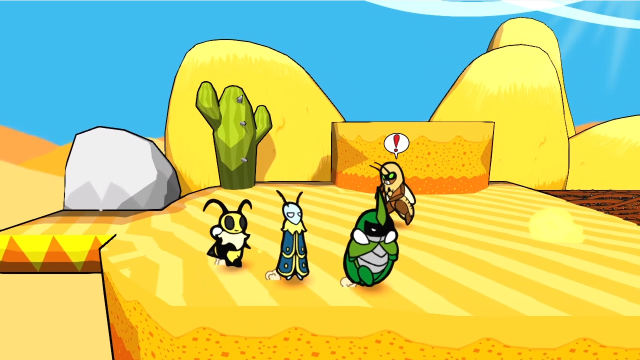 The last path we have yet to try is here, in the southwest corner of the Lost Sands. Let's fight this bandit first, though. 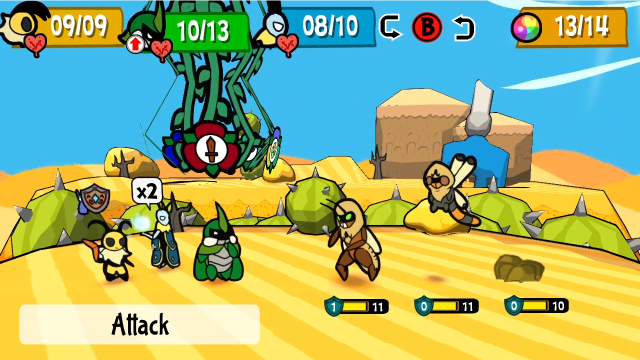 I think this might be a formation we haven't seen before, with bandits alongside an Arrow Worm? That said, it's still pretty straightforward at this point. 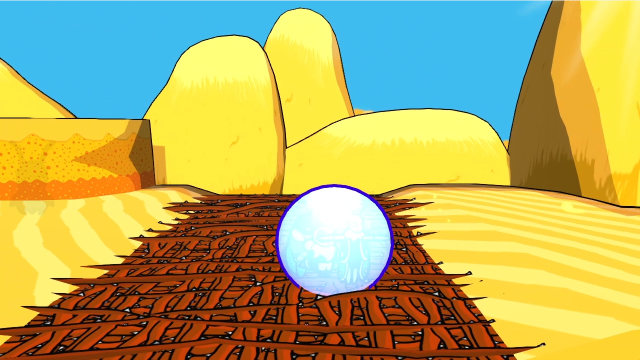 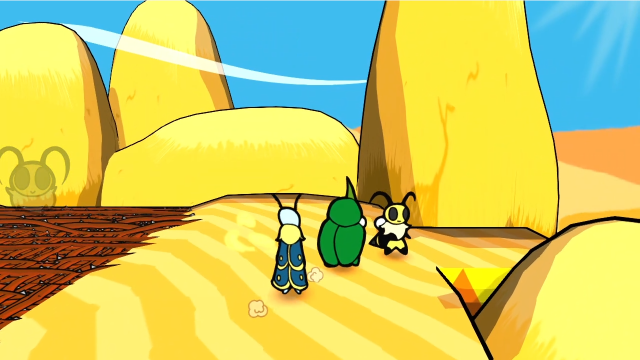 Let's just go. 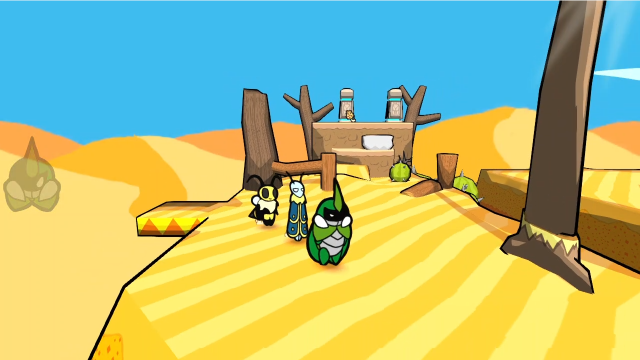 Yet again, we're on the other side of a chasm we saw on a prior visit. 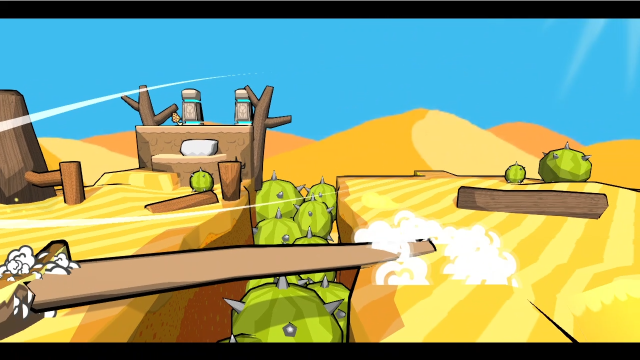 We can also knock down this twig. This is actually a pretty good shortcut, making it easier to cross between the two halves of the desert. 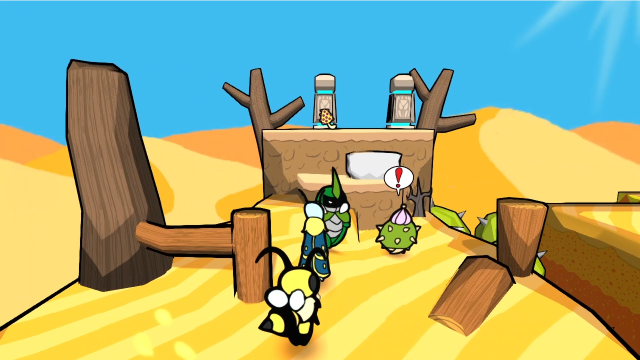 There's also a path to the north, up this makeshift staircase. Let's fight the Cactiling first though. 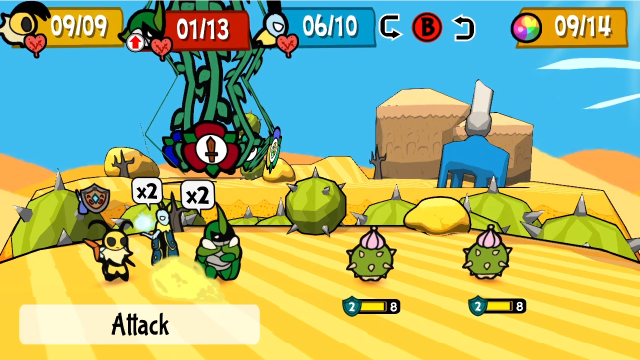 Simple enough, it's just a pair of them. 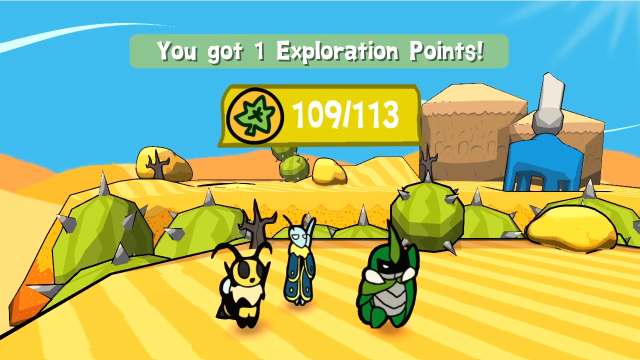 Despite getting only pity EXP here, we're still getting close to levelling up. 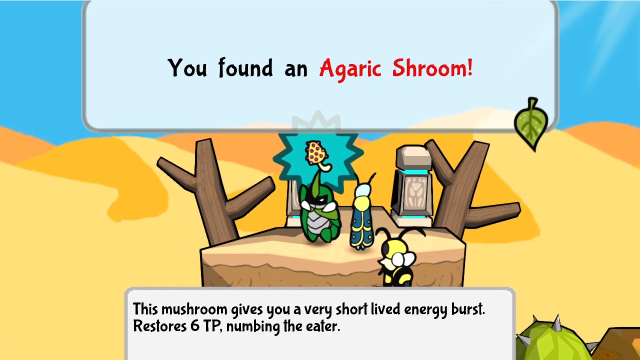 There's an Agaric Shroom to grab up here. No sense leaving it behind.  This area looks new. Once again, we're on the other side of a screen we've seen before, but we couldn't exactly get a good look up here from that side; these ruins are definitely something new.  Jumping down, we find a fallen pillar that looks like it had Roach writing on it, but we can't read it. Also, there's no way back up once we drop down: we're going to have to find another way back.  Let's head west. That should take us to the area south of the oasis. 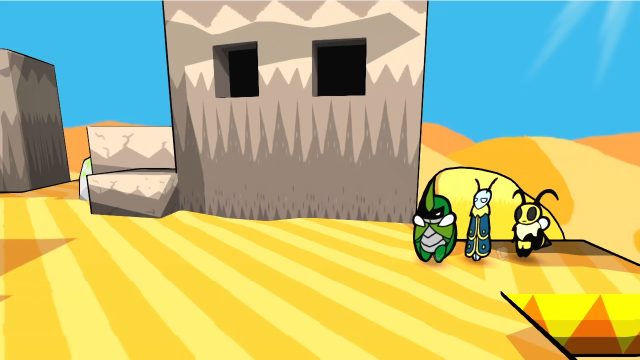 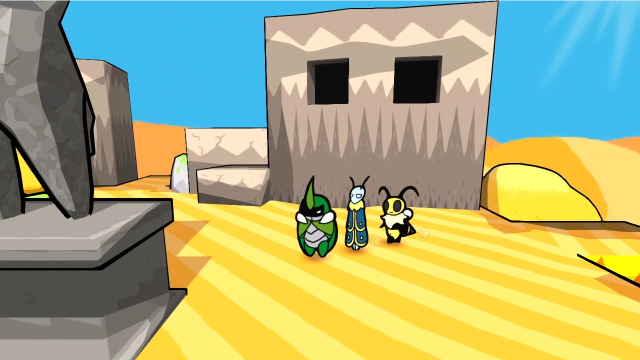 Well, there's a lot going on here! These are certainly some ruins. Let's check the party banter. This smells like Snakemouth Ruins. Couldn't the Roaches have lived in a normal place? Like the Ant Kingdom!Leif confirms the suspicion these are probably Roach ruins, at least. 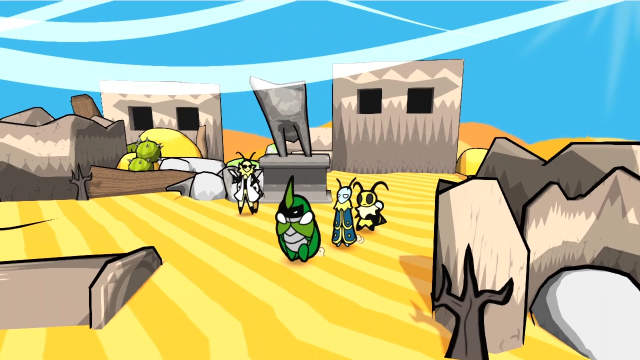 Heading a bit further south, there's Hawk. Let's see what he's up to and if we can get him to go back to the lab. First, though, there's a banter: Hey, it's Hawk! Let's see what he's up to. Maybe he's got a lead on the keys.Oh, right, that too. Let's talk to him. 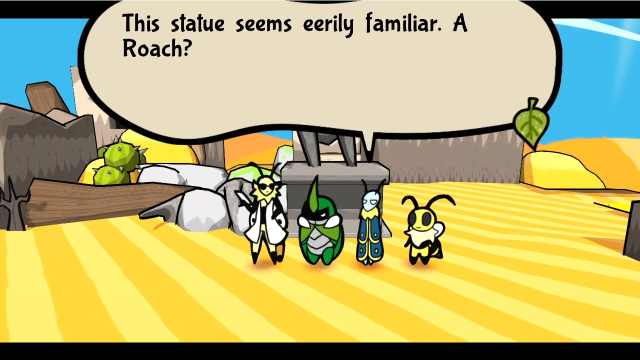  Oh, it's you. That's correct. It's most likely a statue of the Roach village founder. That's right! We saw some Roach ruins in Snakemouth too. What!? Yeah. It was all around where we found the artifact! Incredible. This is information you should've shared right away. I guess that explains why this key was here... That key, could it be for the Sand Castle? Don't ask me. But Roaches and artifacts often pop up together. Just what made them disappear? This is what I want to know. All the damage you see is simply a result of the passage of time. A few sandstorms here and there roughed up the place, but... With the Oasis so close by, I find little reason this place would be abandoned. Most curious... Oh, it's you. That's correct. It's most likely a statue of the Roach village founder. That's right! We saw some Roach ruins in Snakemouth too. What!? Yeah. It was all around where we found the artifact! Incredible. This is information you should've shared right away. I guess that explains why this key was here... That key, could it be for the Sand Castle? Don't ask me. But Roaches and artifacts often pop up together. Just what made them disappear? This is what I want to know. All the damage you see is simply a result of the passage of time. A few sandstorms here and there roughed up the place, but... With the Oasis so close by, I find little reason this place would be abandoned. Most curious...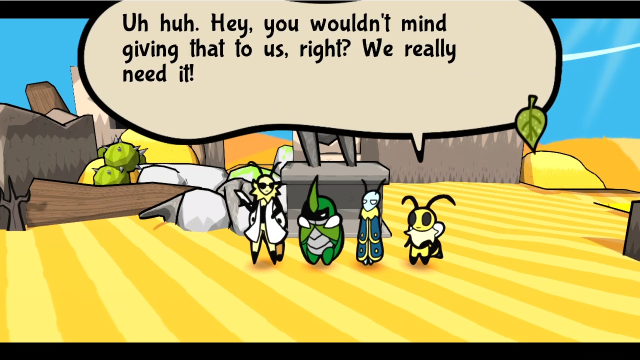 You're asking me to hand you over a priceless historical relic? P-Please? We'll return it... ...Well, sure. If it really leads to the artifact, it'll give my research a boost. You're asking me to hand you over a priceless historical relic? P-Please? We'll return it... ...Well, sure. If it really leads to the artifact, it'll give my research a boost.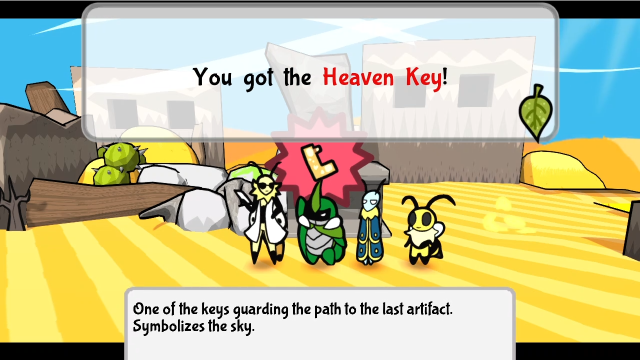 Thanks, Hawk. Do get back to me with any developments. I'll head back to Professor Honeycomb's lab to compile my findings. If you ever drop by, please share what you found with the key with me. Will do. Safe travels, Hawk. Thanks, Hawk. Do get back to me with any developments. I'll head back to Professor Honeycomb's lab to compile my findings. If you ever drop by, please share what you found with the key with me. Will do. Safe travels, Hawk.With that, he leaves. That was easy! (For Hawk to return to the lab, you have to see this conversation, and also the one after finding the Tardigrade Shield medal.) 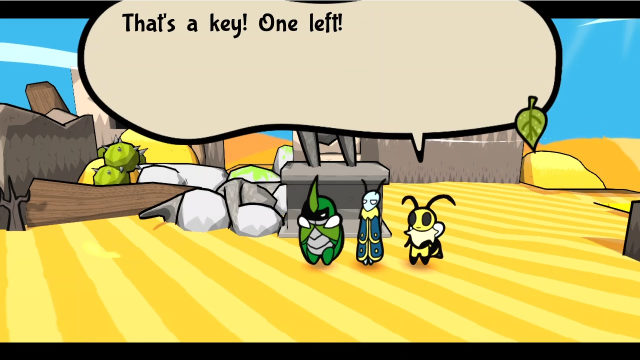 We should go back to town and ask around where the other key could be. Or just look around ourselves. We should go back to town and ask around where the other key could be. Or just look around ourselves.Our only lead on the second key is the bandits' hideout. That said, we have some other things to do before that. 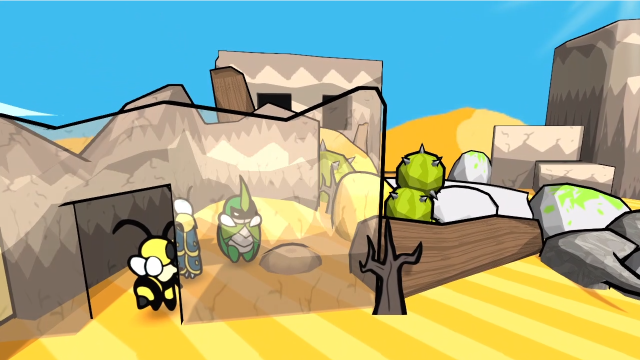 Before we leave this area, let's just make note that there's one of those mysterious dirt spots sneakily hiding inside this ruined building. We'll have to come back for that. 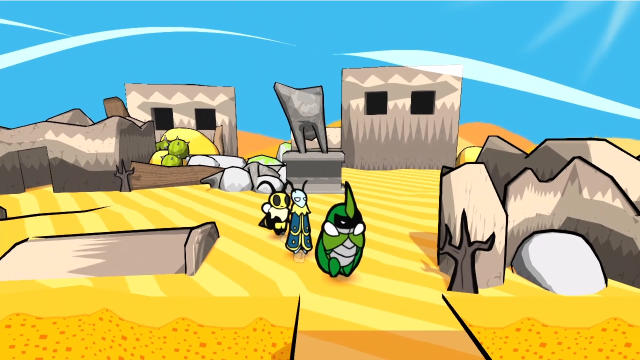 Heading north from here would just take us to the other side of that pillar we can't pass, so let's go south. 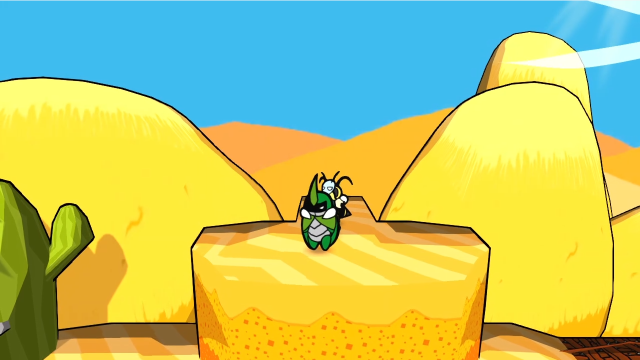 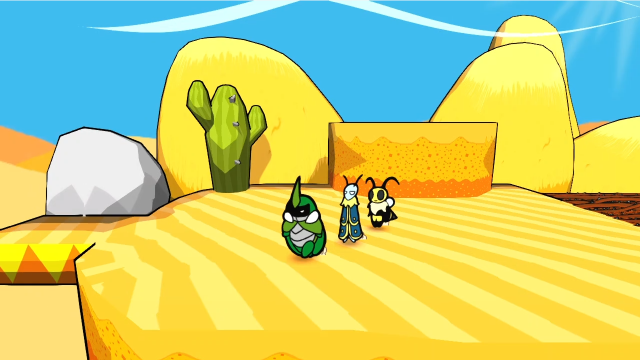 We come out here, right back where we started (just up a ledge, so we couldn't have gotten there from this side). That does it for the new areas we can explore this side of the desert, so let's have a look at an updated map: 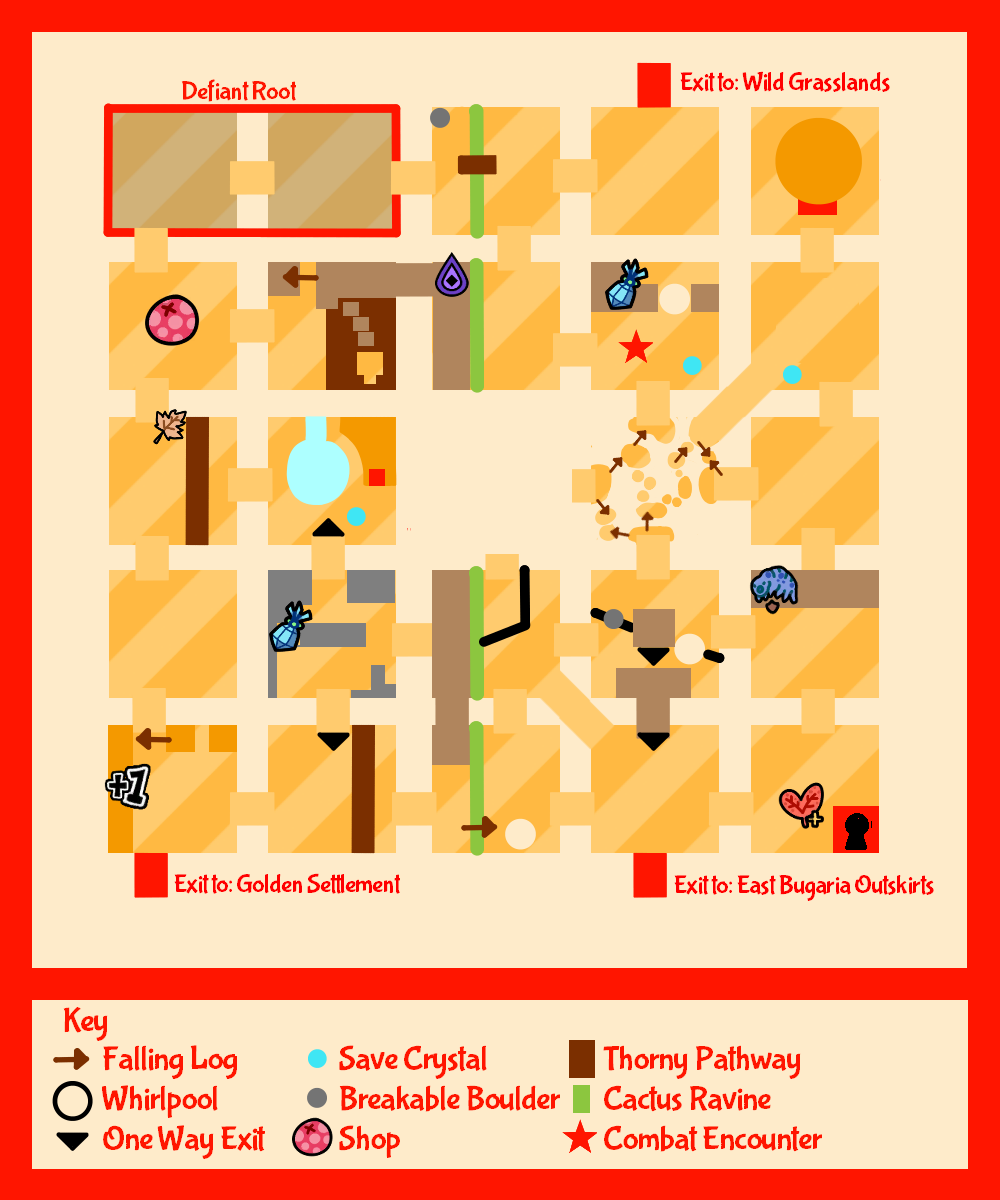 We've covered a lot of ground now - there's only a single screen we haven't been to yet (next to the oasis, it's presumably where the entrance to Stream Mountain is). It's still inaccessible right now, though. We're done here for now, so let's head back to the lab. 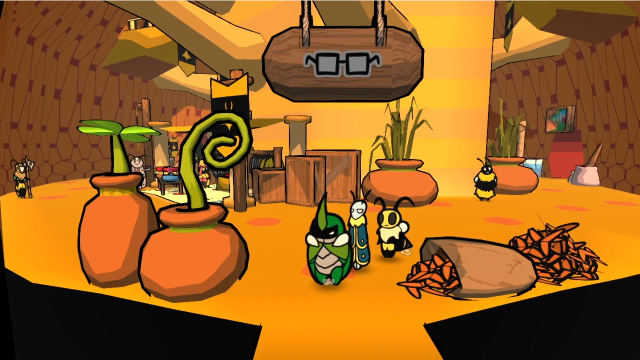 40 - High Above, Bee Kingdom 40 - High Above, Bee Kingdom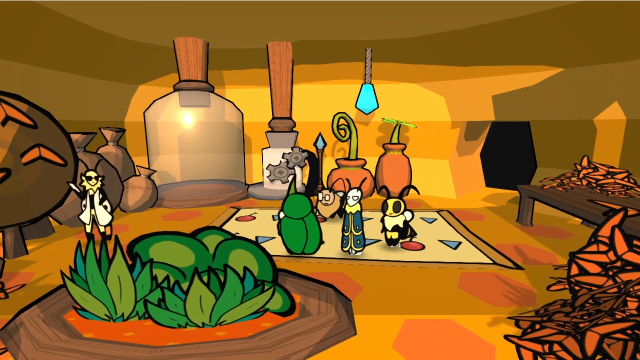 Hawk is back now, of course. 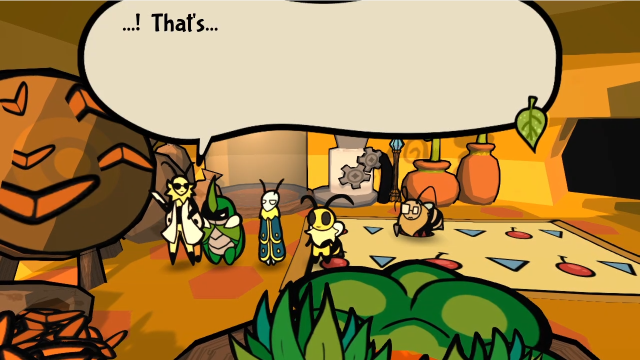 You must show it to the professor right away! You must show it to the professor right away!He notices the seed immediately, and encourages us to speak to the professor. There's also a new banter about him, though. There's something about Hawk we just can't describe... Really? He's just a normal dude to me! As normal as a scientist Moth working in a Beehive can be... It must be our imagination...Heh. Let's talk to the professor.  Yeah! Do we get a reward? Yeah! Do we get a reward? Ugh. Ugh. 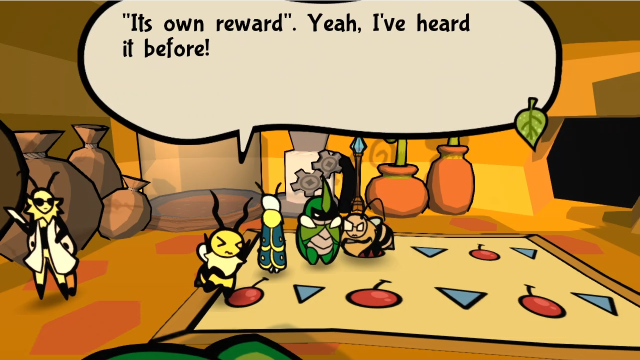 Hm. You're so ungrateful, but I actually DO have something for you. As long as you're willing to gather more data for me. Take this. Hm. You're so ungrateful, but I actually DO have something for you. As long as you're willing to gather more data for me. Take this.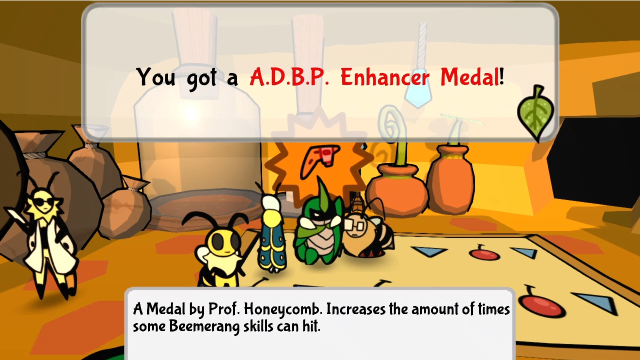 She gave us a new medal! Ugh, more data stuff? That's so boring! Just be grateful I let you keep the prototype at all! Now get out before I lose my patience! ...Wait, what's THAT?! Uh, what? I love how she completely reverses course here. Let's give her the seed! 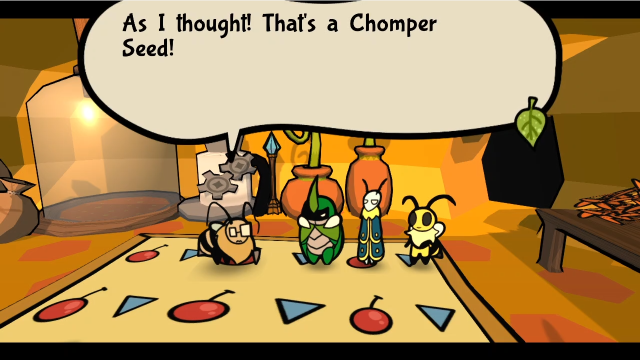 Indeed. It was left behind by a Mother Chomper... Fascinating! Do you know how uncommon it is for seeds to not bloom immediately? Indeed. It was left behind by a Mother Chomper... Fascinating! Do you know how uncommon it is for seeds to not bloom immediately?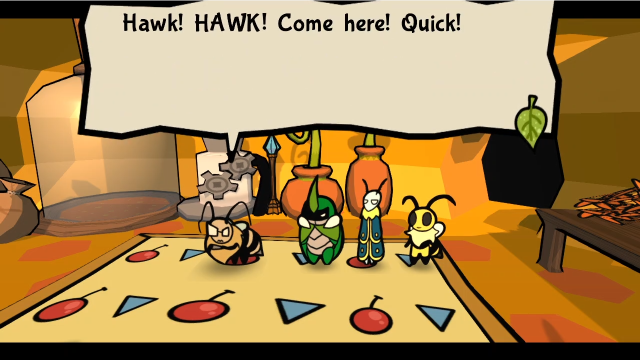 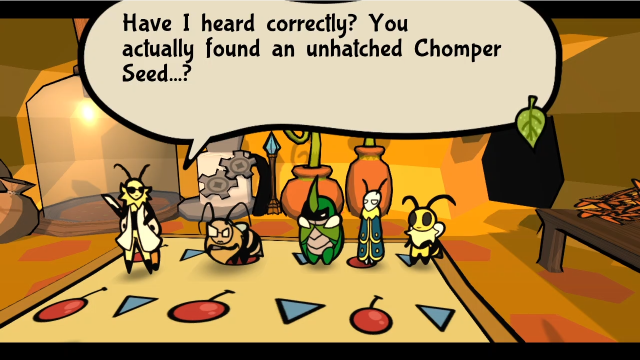 Indeed! With this, maybe... Yes, YES! Maybe we can make it work! What? What will work? Shut it and watch! Come here! Indeed! With this, maybe... Yes, YES! Maybe we can make it work! What? What will work? Shut it and watch! Come here!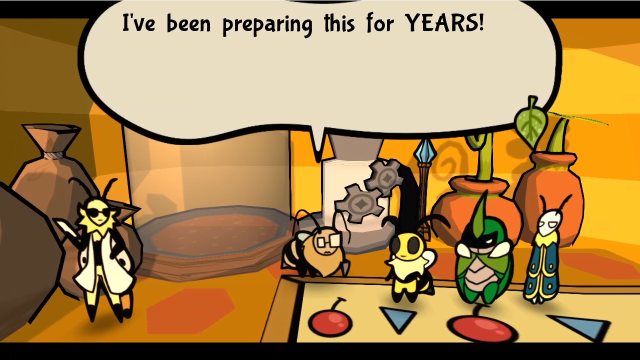 In front of you, you see what I call a "Chomper VAT"! That's just a huge chunk of glass. Hush! This place is just a compact environment where Chompers thrive. With this, we can plant that seed right here in the lab. ...So you wish for a pet Chomper? In front of you, you see what I call a "Chomper VAT"! That's just a huge chunk of glass. Hush! This place is just a compact environment where Chompers thrive. With this, we can plant that seed right here in the lab. ...So you wish for a pet Chomper?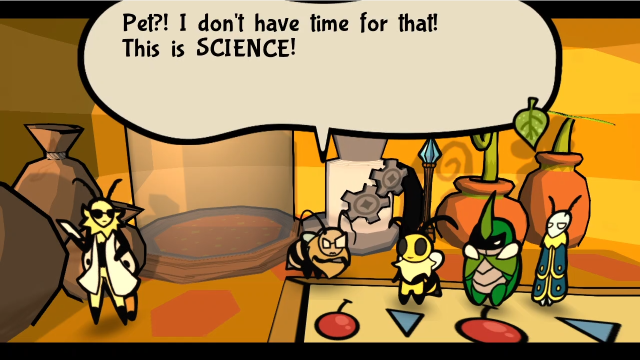 If we can somehow study how the Chompers are born, and their lifestyles outside of chomping bugs... It would help us understand them more, and maybe even pacify them in the future. Sure... I really don't get how, though. Is it worth it? Just getting them to stop attacking travelers is a huge boon to bugdom! We can't study them without great risks. But here, we can observe them easily. We do find Chompers cute. Here's hoping this works. That's what I like to hear! It's the moment of truth! If we can somehow study how the Chompers are born, and their lifestyles outside of chomping bugs... It would help us understand them more, and maybe even pacify them in the future. Sure... I really don't get how, though. Is it worth it? Just getting them to stop attacking travelers is a huge boon to bugdom! We can't study them without great risks. But here, we can observe them easily. We do find Chompers cute. Here's hoping this works. That's what I like to hear! It's the moment of truth! 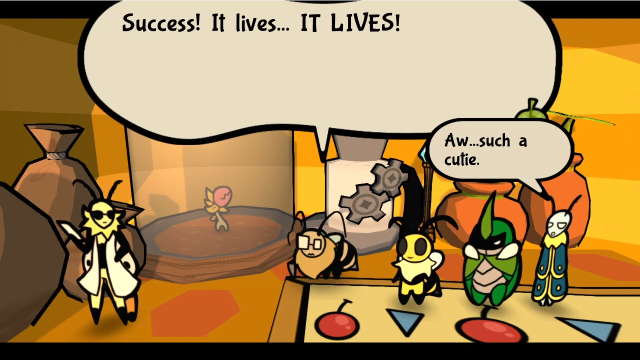 I-Impressive! This Chomper looks a bit different though, doesn't it? Hm. My guess is that this is... You said that you got this seed from a Mother Chomper? Yeah. It was a super big, super strong mama Chomper! I can only assume that this small one was supposed to be the next in line for that position! Chompers do have a weird hierarchy system, but it isn't too far apart from how we bugs do it. They have their Mother, we have our Queen. I-Impressive! This Chomper looks a bit different though, doesn't it? Hm. My guess is that this is... You said that you got this seed from a Mother Chomper? Yeah. It was a super big, super strong mama Chomper! I can only assume that this small one was supposed to be the next in line for that position! Chompers do have a weird hierarchy system, but it isn't too far apart from how we bugs do it. They have their Mother, we have our Queen. The Chomper jumps up and down twice. Maybe it's because she is still young, but she seems very peaceful. Hm... I suppose there is some sort of imprinting in this Chomper too. It doesn't seem like it will turn violent. You brought the seed here. Would you care to name it? Really? Can we? It's only fair. We owe this incredible specimen to you. I'm bad with names anyways... Go on! Name it! We are given a prompt to name the Chomper. It automatically defaults to "Chompy" (which is a bit  ), but we can change that if we want to. Unless the thread really feels strongly about it, though, I'm inclined to leave it as is: her name doesn't come up that often, and that way it'll be more clear who we're talking about. ), but we can change that if we want to. Unless the thread really feels strongly about it, though, I'm inclined to leave it as is: her name doesn't come up that often, and that way it'll be more clear who we're talking about.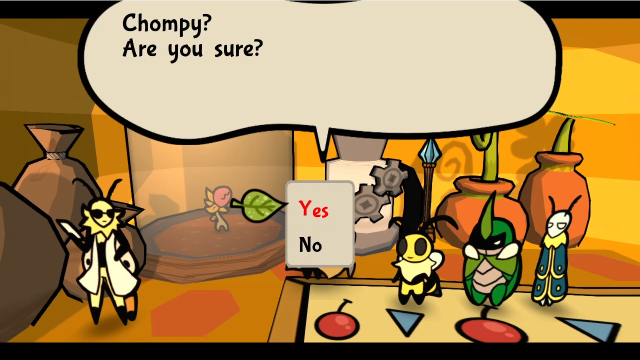 Very well! Now I have another favor to ask you... Very well! Now I have another favor to ask you...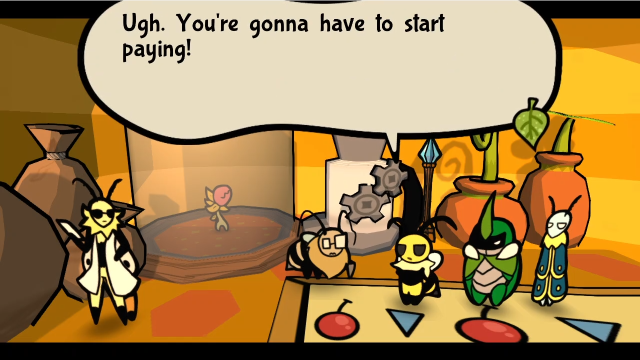 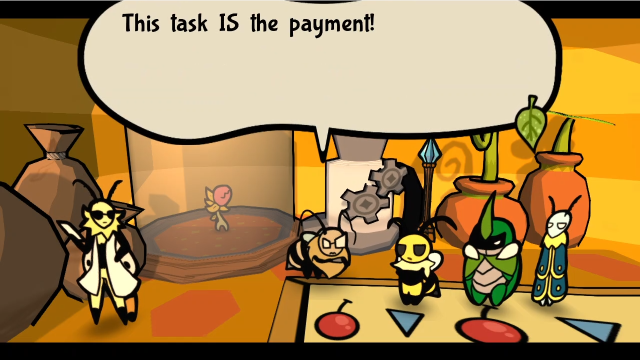 I want you to go out in the field with this Chomper and gather data on their behaviors. How's that a reward!? You want us to babysit a dangerous MONSTER! ...Don't call it a monster. She seems to have taken a liking to you three, and should be mostly harmless. Maybe if she lives alongside bugs, she could grow to become a peaceful Mother Chomper. We don't even care if you don't agree, Vi. We're doing it. It's too cute to leave here. ...Fine. I guess it IS a bit cute! Isn't it!? I cannot wait to share stories with it! It's settled! Come on over and take her out for a walk whenever you can. Just bring her back into the VAT whenever, too. Count on us, Professor. We will ensure a bright future for this Chomper! Treat Chompy carefully... It's quickly earned my love. I want you to go out in the field with this Chomper and gather data on their behaviors. How's that a reward!? You want us to babysit a dangerous MONSTER! ...Don't call it a monster. She seems to have taken a liking to you three, and should be mostly harmless. Maybe if she lives alongside bugs, she could grow to become a peaceful Mother Chomper. We don't even care if you don't agree, Vi. We're doing it. It's too cute to leave here. ...Fine. I guess it IS a bit cute! Isn't it!? I cannot wait to share stories with it! It's settled! Come on over and take her out for a walk whenever you can. Just bring her back into the VAT whenever, too. Count on us, Professor. We will ensure a bright future for this Chomper! Treat Chompy carefully... It's quickly earned my love.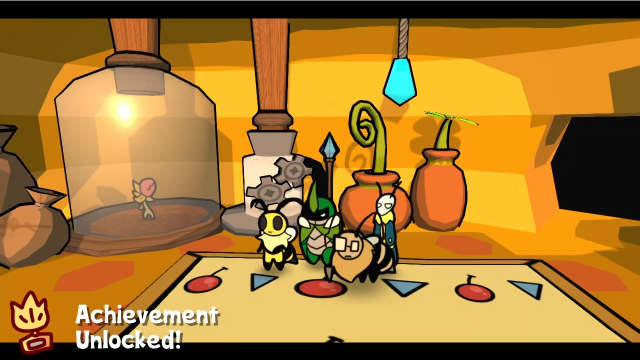 That was a long conversation! We're finally back in control. The game gives us an achievement for this, too:  How cute. Let's see how this actually works, then. 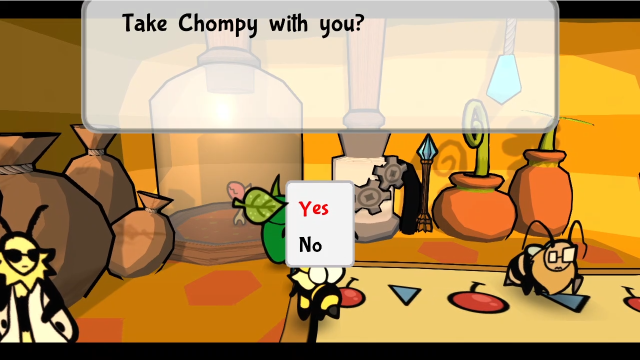 If we interact with the vat here, we'll get this option. If we say yes... 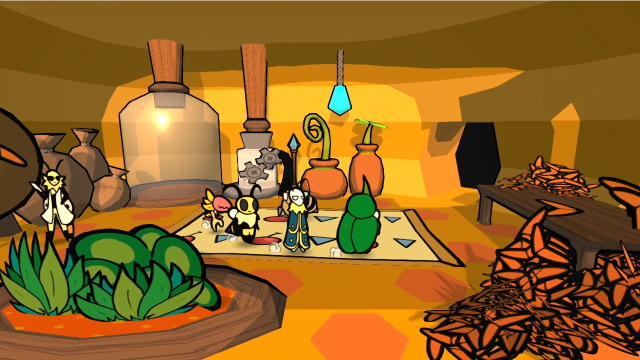 Chompy actually follows behind our party! (Leif's finally gotten a cute critter, just like he always wanted.) We can take her with us, and she'll even help out in battle. Chompy isn't just a cosmetic pet, she's actually something of a fourth party member; more detail on how she works in a moment. Before that, there are a few more conversations. Take good care of that Chomper! We can't afford having to find another one! You don't need to say it twice, we will protect her with all we've got.That's all we'll get from the Professor for now. Hawk is a bit more interesting. Chompy seems to have really taken a liking to you. Please watch over her.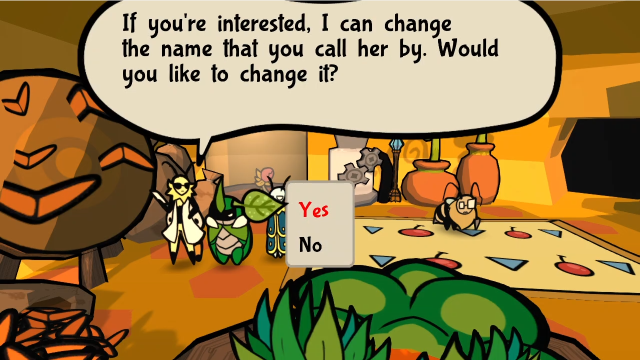 Alright. Take care of her. Alright. Take care of her.I don't feel the need to, but Hawk will let us change Chompy's name whenever we feel like it. Let's take Chompy out for a test run, shall we? 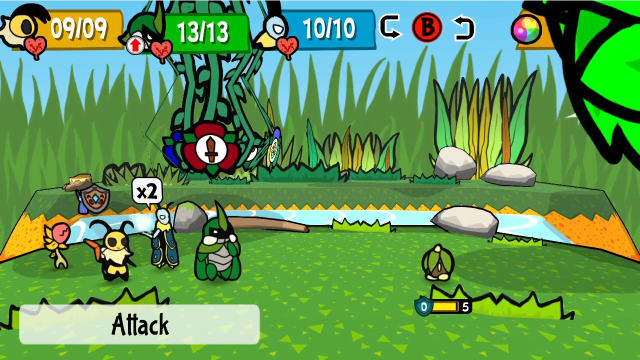 She appears with us in battle. You may notice she doesn't have a displayed HP stat like our bugs do; enemies cannot attack her, so she's invincible, but if she's the last one standing it's still game over. 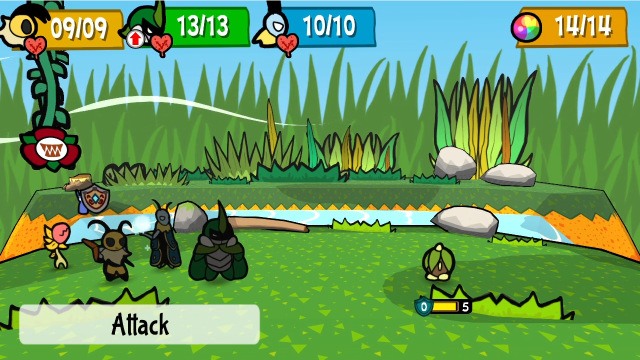 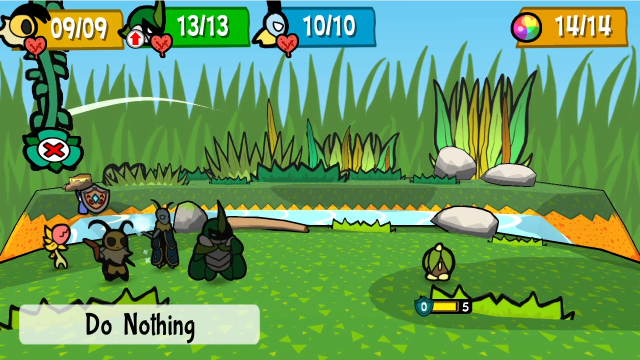 She also has a much more limited selection of options: right now, she only has Attack and Do Nothing. (Because there are only two options here, it may not be immediately apparent that you can order her to do nothing, since the flowers are directly across from each other! A lot of players miss it, and it took me some time to notice myself. But you can. You don't have to make her attack a frozen enemy if you don't want to break it out, for instance.) Let's see what her attack is like.  If you succeed at the action command (which prompts a random button between A, B, and X), she will bite the front-most grounded enemy for 2 damage. So far, so good. This is already pretty great - in many ways, you can think of her as a free 2 damage per turn, but that's a lot of damage considering our core team also have 2 attack each! But, well... can we do better? 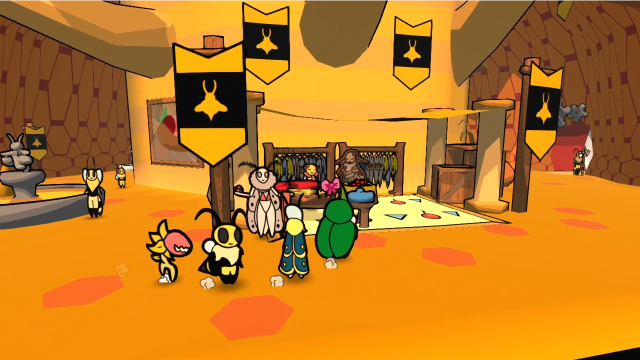  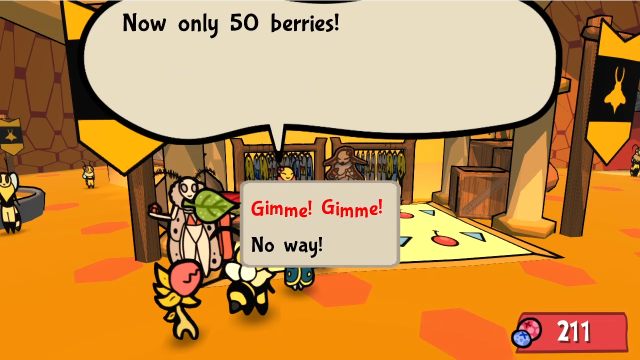 If we stop by the Fashion Bee shop in the Hive, they'll have something new for sale. (They've actually had this in stock ever since we bought the Bee Hat for Vivi, but it wouldn't have done anything before.) Let's buy it.  Thank you! Here you go! Thank you! Here you go!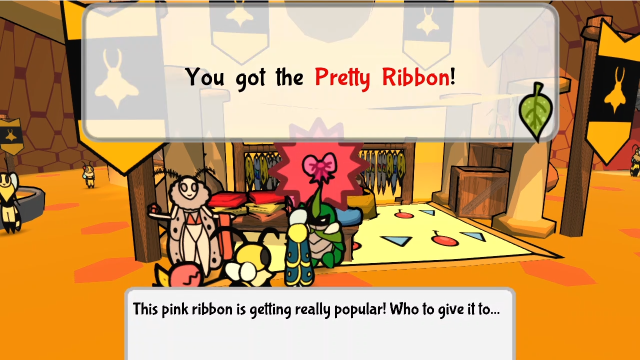 Thank you, thank you! Please visit Fashion Bee again! Thank you, thank you! Please visit Fashion Bee again!Don't tell her, but we can't, this is the last item she'll ever have for sale. 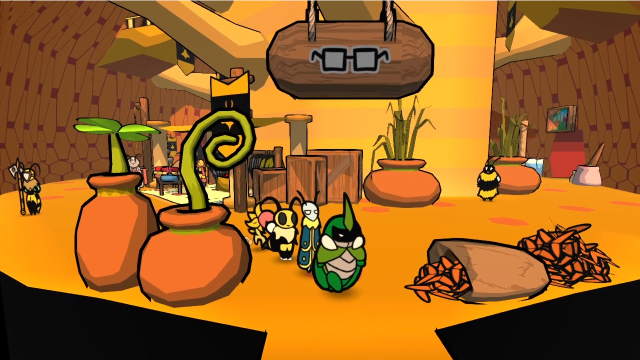 Let's head back to the lab and see if we can do something with this. 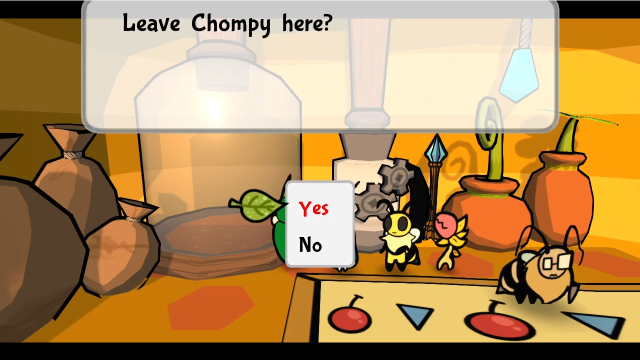 First, we have to return Chompy to the vat.  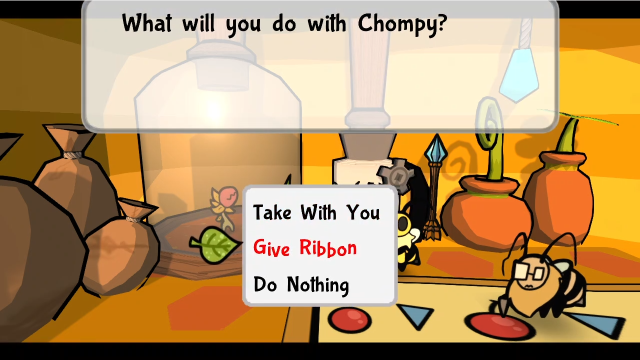 If we interact with it now, we'll have a new option to give her the ribbon. 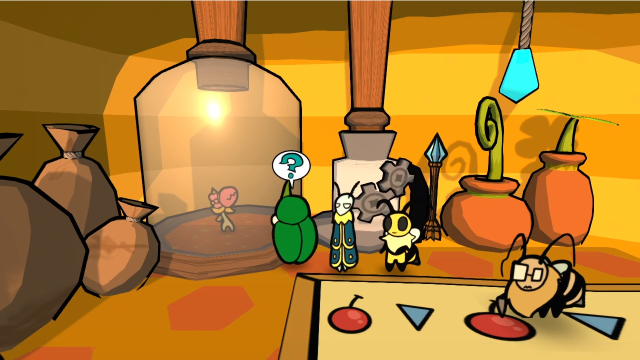 And now she's wearing it! Look at that, isn't she cute? 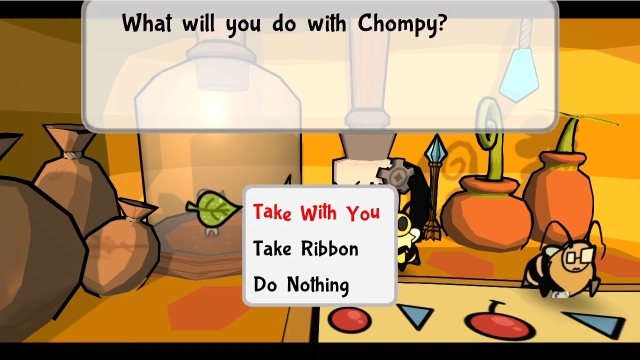 Now let's take her with us again. 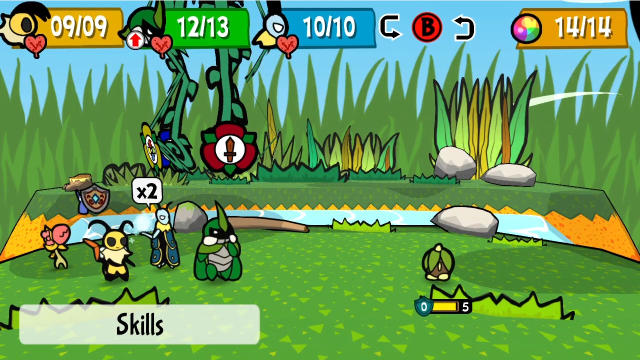  The This is the other major mechanic with Chompy: we can collect various ribbons for her to equip, and they'll have different effects on her attacks. Right now, though, the Pretty Ribbon is the only one available to us. For better or worse, though, extra damage is really nice, and this is arguably the best ribbon for her (which does make it a bit awkward design-wise that it's the easiest one to get, but I'm not exactly going to complain).  One other thing: if you fail the action command, she'll fall on her face and not attack at all, rather than doing partial damage. (It can sometimes be handy to do this deliberately, if you mistakenly ordered her to attack an enemy you'd prefer not to hit.) It looks similar if you order her to attack an enemy she can't reach. 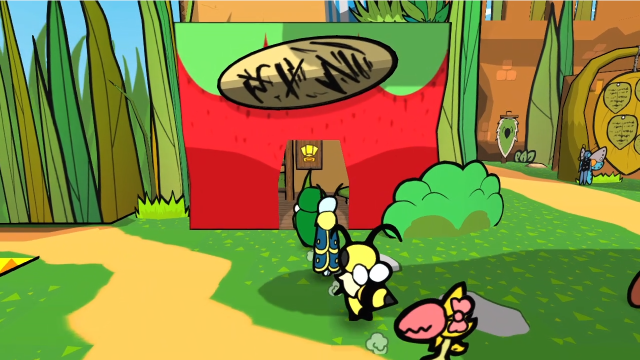 There's one last thing to see with Chompy right now. If we go to our house in the plaza... 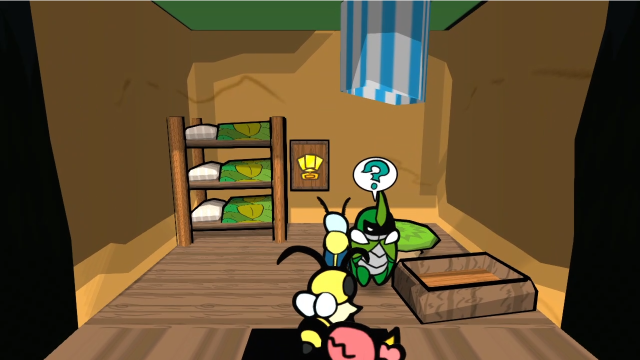 We can now interact with this little pet bed in the corner. 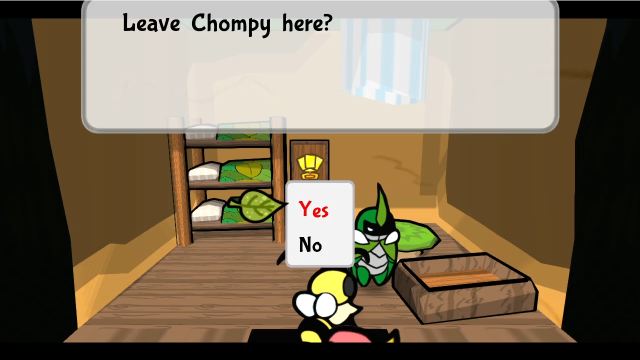 Just like the vat in the lab, we can leave Chompy here if we want to. (This seems a lot less secure...) 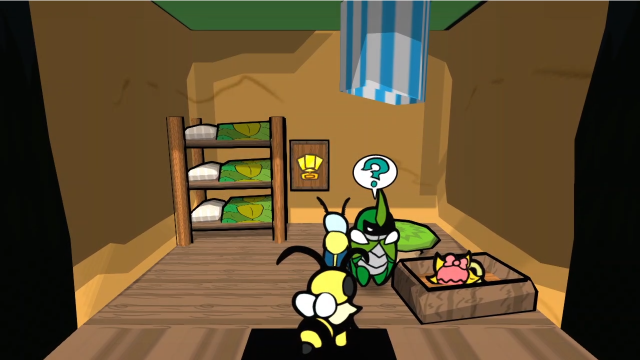 Aww. 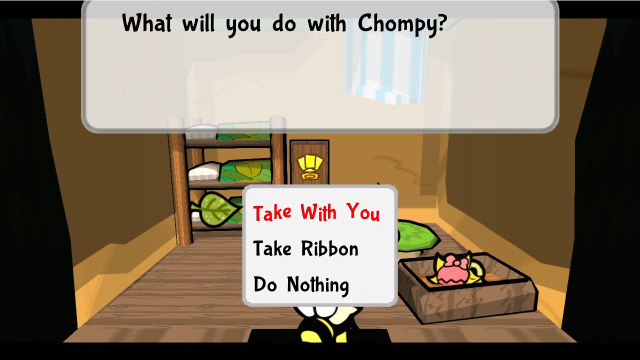 And, just like in the lab, we can swap out her ribbons too. Obviously, though, we'll be taking her with us. (I'd put this to a vote in the thread, but I think I know what people would decide.) So, that's the reward for exploring the Chomper Caverns and beating Mother Chomper. We now have our very own pet Chomper to travel around and help us fight! It's pretty awesome, and a pleasant surprise when the game's mostly established a pattern by now of rewarding side content and optional bosses with medals (not that medals are a bad reward, but variety is good). She's definitely a bit on the overpowered side, though, when you think about how much she increases your damage per turn. Since we're in the area, let's check in with Artis too.   Was it too challenging for ya? You deserve a reward. Here, take this! Was it too challenging for ya? You deserve a reward. Here, take this!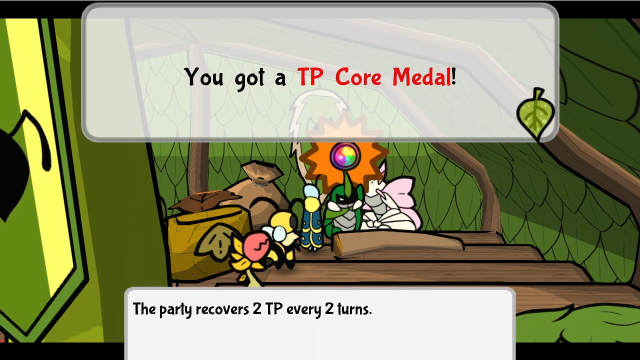 Come back later when you've bonked some extra hard heads with that Medal, will ya? Come back later when you've bonked some extra hard heads with that Medal, will ya?Our Hard Mode reward for defeating Mother Chomper is a 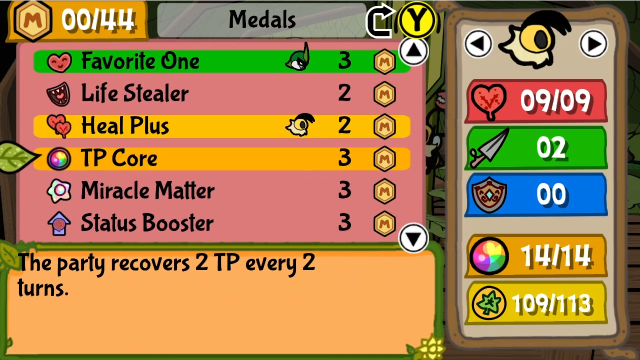 That said, I'm going to put it on for now, I had some utility medals I could take off without losing much. This seems like a reasonable place to wrap things up for now. Before I go, though, there are some interesting conversations to see from alternate routes. First off, if we'd found Hawk and returned him to the lab before defeating the Mother Chomper:  No problem! Now for th- It was nothing special, Hawk. Just doing our best. ... I have a lot of data to analyze about the Roaches and the old world now. But the professor is already looking into something else. What would it be? Something on those plant creatures in the Golden Hills, the Chompers. They reproduce quickly through seeds. But what if we could somehow harness that seed without it hatching? They seem to sprout instantly when touching a hard surface, but it should be possible to extract them if treated carefully. Good luck with that. We wouldn't know where to start looking. If you manage to find one, please bring it here. Although the professor's been trying her whole life... Is such a seed truly hiding in the Golden Path...? We will keep it in mind, Hawk. Keep up the good work! No problem! Now for th- It was nothing special, Hawk. Just doing our best. ... I have a lot of data to analyze about the Roaches and the old world now. But the professor is already looking into something else. What would it be? Something on those plant creatures in the Golden Hills, the Chompers. They reproduce quickly through seeds. But what if we could somehow harness that seed without it hatching? They seem to sprout instantly when touching a hard surface, but it should be possible to extract them if treated carefully. Good luck with that. We wouldn't know where to start looking. If you manage to find one, please bring it here. Although the professor's been trying her whole life... Is such a seed truly hiding in the Golden Path...? We will keep it in mind, Hawk. Keep up the good work!If you talk to him again, he says a bit more: Chompers seem to have a place where they congregate hidden somewhere in the hills. We haven't been able to explore it since they are so vicious, but maybe you'd have better luck.I don't think I'd ever seen this conversation before, I always found the Chomper Caverns before getting Hawk to come back in previous playthroughs. Apparently the game does give more direction toward finding it (as well as some backstory and motivation); these hints are a lot clearer than I remember getting. If I'd thought of it before last update, it would have been better to do this first. While replaying to get that conversation, I also finally got some old friends to show up.  (This is on a file that hasn't defeated the Devourer, they don't appear here on our main file because we fought it already. I knew they'd show up here with the hint at some point, but not exactly when; as it turns out, the trigger seems to be getting the Chapter 4 splash screen after the scene in Elizant's throne room.)  I know, right? We heard some interesting rumors during it. You know of the windmills leading to this settlement? Yes. They help provide power to Bugaria, do they not? Seems they tried to build one in a pretty dangerous place, and some workers got hurt. An incredibly cruel monster haunts the way to the Golden Settlement! Really? We didn't see anything on the way here... Apparently it's a pretty high up area. Does it ring any bells? ...But yeah, it'd be nice if the area got reclaimed. Maybe they could build the windmill then. We'll scout around if we're nearby. Thank you for the information. Be wary of traveling there as well! No worries. Have safe travels, everyone! I know, right? We heard some interesting rumors during it. You know of the windmills leading to this settlement? Yes. They help provide power to Bugaria, do they not? Seems they tried to build one in a pretty dangerous place, and some workers got hurt. An incredibly cruel monster haunts the way to the Golden Settlement! Really? We didn't see anything on the way here... Apparently it's a pretty high up area. Does it ring any bells? ...But yeah, it'd be nice if the area got reclaimed. Maybe they could build the windmill then. We'll scout around if we're nearby. Thank you for the information. Be wary of traveling there as well! No worries. Have safe travels, everyone!And they each have a bit more to say if talked to again:   It was a warning, not an invitation... Be safe. It was a warning, not an invitation... Be safe.That's a much more explicit warning than they give for the others, and I like that there's backstory worked into it too. It's just too bad that this warning comes too late for most players, with how easy it is to stumble into the Devourer earlier. Given that Stratos and Delilah appear now, I suspect the developers thought Chapter 4 was the appropriate time to try fighting it. Next time, we'll follow our dubious lead to the bandits' hideout, with our new friend to keep us company. See you then! Explopyro fucked around with this message at 21:25 on Aug 17, 2021 |
|
#
?
Aug 16, 2021 06:07
|
|
|
Puppy! 
|
|
#
?
Aug 16, 2021 09:48
|
|


|
it's a precious little plant puppy 
|
|
#
?
Aug 16, 2021 11:06
|
|

|
Leif has his priorities straight.
|
|
#
?
Aug 16, 2021 15:35
|
|


|
Slaan posted:Puppy! Leraika posted:it's a precious little plant puppy You know, it's embarrassing to admit this but I didn't connect her with puppies at all until you both said this? Once you did, it's obvious she's meant to evoke that kind of feeling (especially with the bed you can have her sleep in), but somehow I never saw it before. Black Robe posted:Leif has his priorities straight. Yes, yes he does. (On a meta level, I do kind of wonder whether Leif's fixation on cute things was a character trait they thought of first, or if they added it to foreshadow getting Chompy.)
|
|
#
?
Aug 17, 2021 21:33
|
|
|
35: One-Armed Bandit (Part 1) 36 - Lost Sands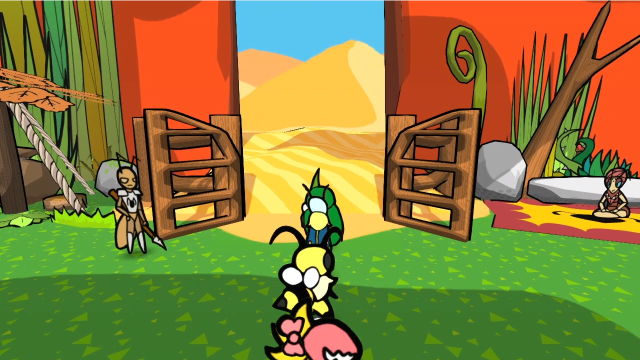 Last time, we found ourselves a new pet! (And, also, a lead on progress.) Let's head into the Lost Sands and see if we can get into the bandits' hideout. This entrance from the Outskirts is the most convenient way to get there, as it's in the southeast corner. 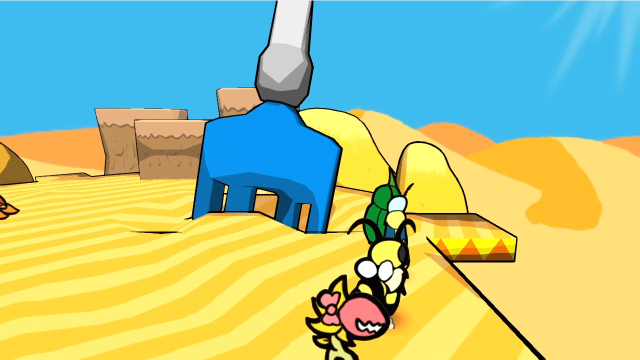 We just go east from the first area... 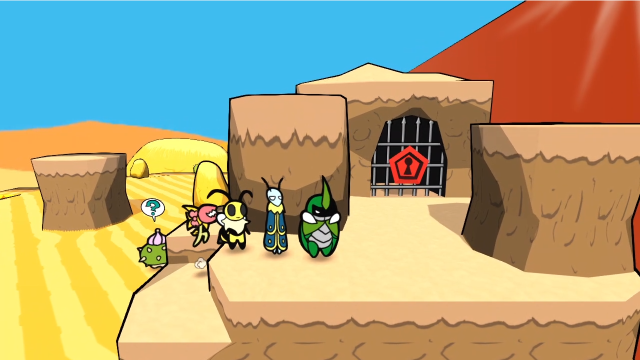 And we reach the bandits' fortress. We found this ages ago, but couldn't do much here (though we did collect an HP Plus medal that was atop one of the pillars). 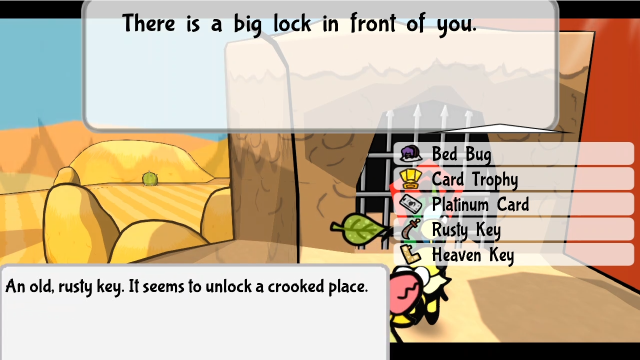 We can use this key... 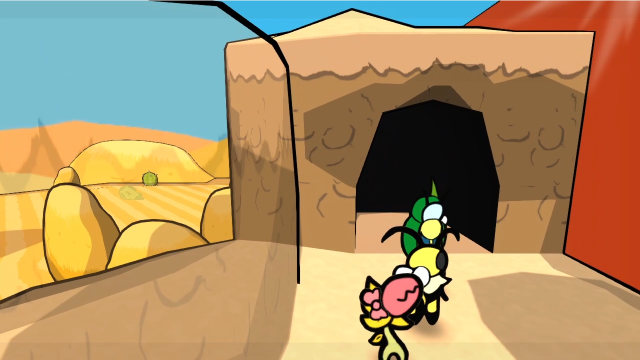 And the portcullis vanishes. Let's head inside, I suppose. 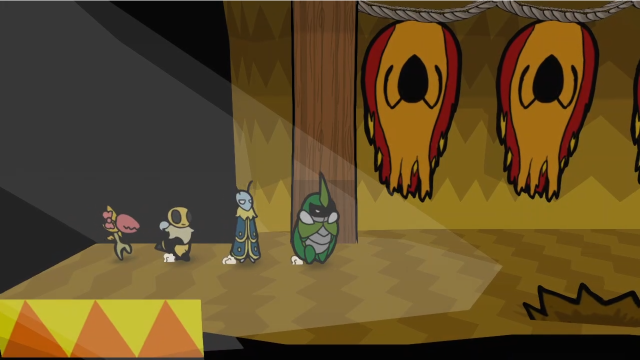 The flags hanging here seem to have an upside-down version of the Ant Kingdom's symbol on them. If we try to check a banter here: 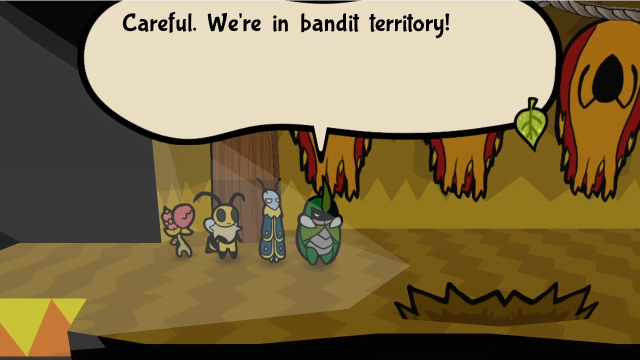 That's all we get. One line from Kabbu, and the others don't weigh in at all. Let's head forward. 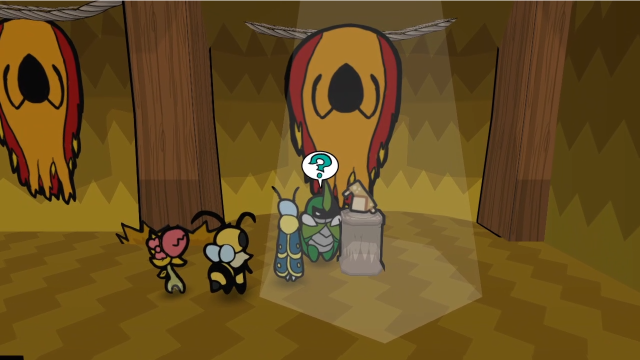 There's not a whole lot here. It's just a short corridor leading up to this room, and the key we need is just sitting on a pedestal... in a spotlight... Nothing else for it. Let's grab it and get out of here. 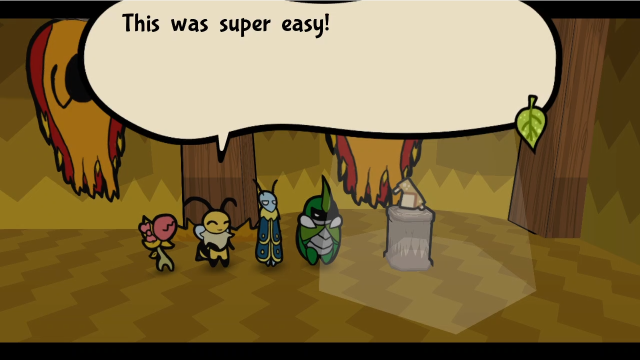 ...Something feels off, doesn't it? It's definitely too quiet in her- ...Something feels off, doesn't it? It's definitely too quiet in her-     Well, that went well, didn't it. (You can't tell from the screenshots, but the sound design here is great, while the screen is dark you can hear all kinds of impact noises and really gives a good sense that they're beating us up.) Who could have possibly seen this coming.  We rejoin Team Snakemouth to find them coming to inside a cell. 47 - The Bandits' Hideout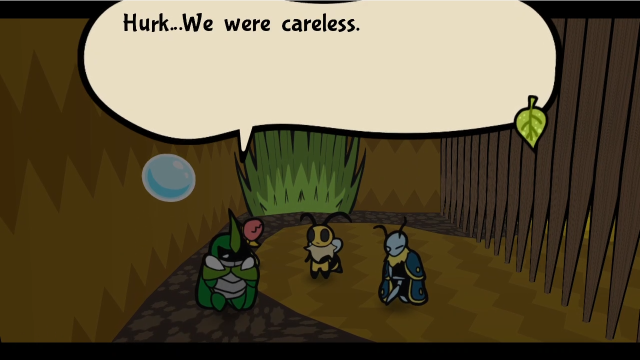 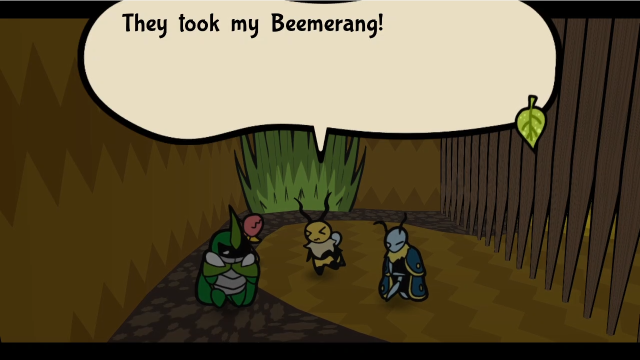 All our belongings, as well. What a disgrace! I should've been more aware... I've put you both in danger. Stop being melodramatic! Let's look around. We'll figure something out! Perk up, Kabbu. You can't let Vi beat you at pep talks. ...You're right. You two really are a great team! Let's search every nook and cranny! All our belongings, as well. What a disgrace! I should've been more aware... I've put you both in danger. Stop being melodramatic! Let's look around. We'll figure something out! Perk up, Kabbu. You can't let Vi beat you at pep talks. ...You're right. You two really are a great team! Let's search every nook and cranny!We regain control. Well, this looks dire. Let's check our inventory right quick- 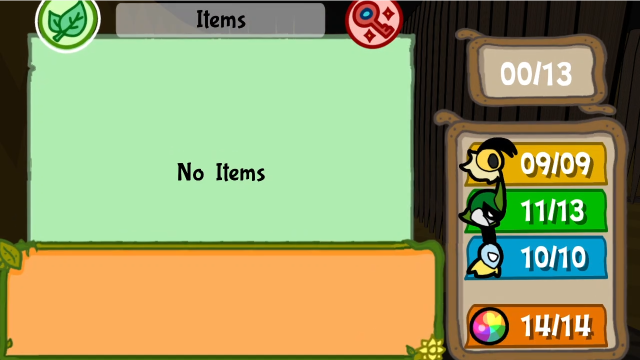  All our items and key items are indeed gone. 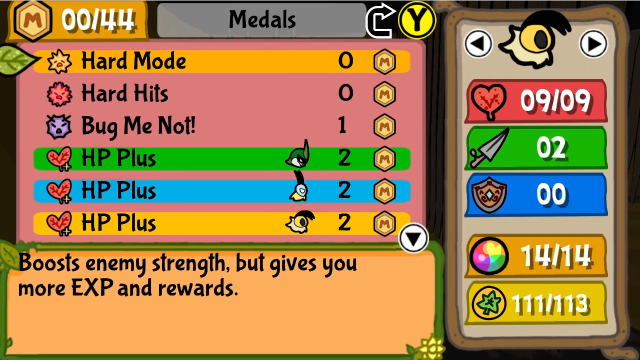 We do still have our medals, though. 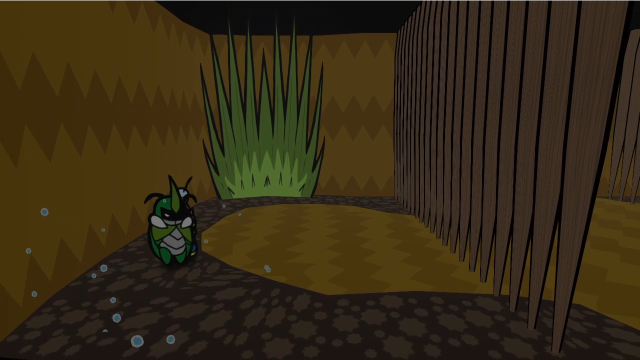 The cell seems pretty secure, doesn't it? There's a falling water droplet, but much as we might try, there doesn't seem to be much an ice block could do here... let's check the banter and see if our team have any ideas? This place sucks! And they keep bugs in here? This is a prison. Our comfort is of the lowest priority. At least they were nice enough to not fix the leak. We've got water to drink. No! No way! I ain't drinking that! We're getting OUT!That's a fun conversation, but not particularly helpful (except maybe in hinting that the droplet is a red herring). Guess we need to keep looking around. 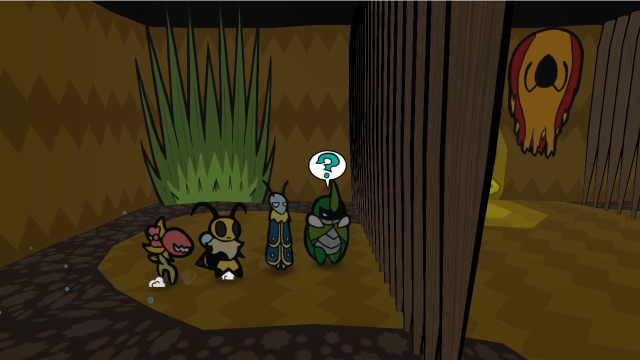 This prompt pops up when we get close to the bars. (Incidentally, that last banter can only be seen before inspecting this.) 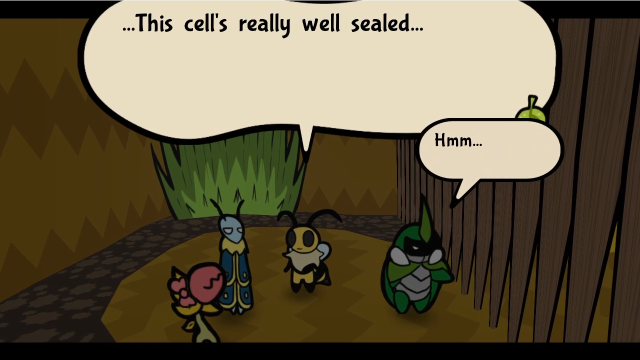  Uh, you okay there? I've got an idea! Vi, Leif, humor me one moment. Not much else to do, really. Uh, you okay there? I've got an idea! Vi, Leif, humor me one moment. Not much else to do, really.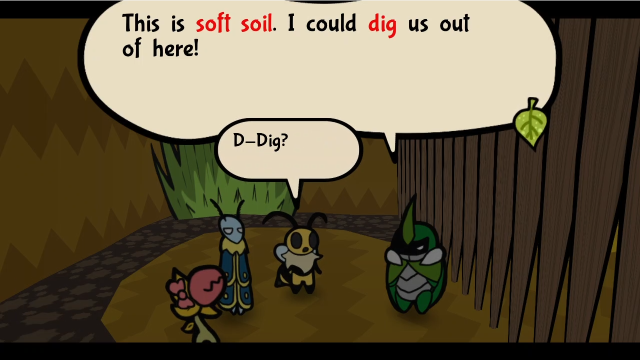 Can you really? Sounds pretty time consuming. You should know beetles are fantastic diggers! If you stick with me, we'll be out in no time. Ugh... Is this the only way? My fur's gonna get all dirty! We could stay here and starve, Vi. Can you really? Sounds pretty time consuming. You should know beetles are fantastic diggers! If you stick with me, we'll be out in no time. Ugh... Is this the only way? My fur's gonna get all dirty! We could stay here and starve, Vi.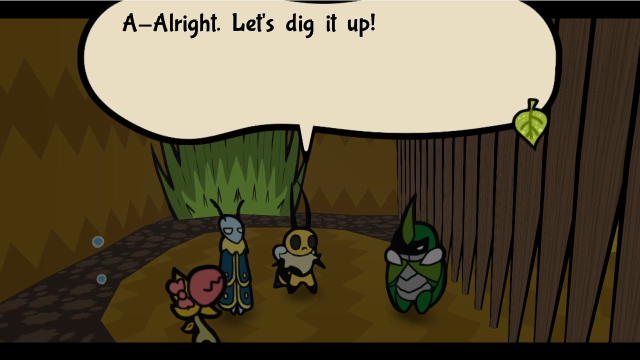 Wonderful! Remember, if we are on a spot with soft dirt, I can dig by holding down (B). This will let us go under certain objects and hide from enemies. Say, how come you never brought this up? We didn't really need it, did we? All that matters is we're getting outta this cell. Wonderful! Remember, if we are on a spot with soft dirt, I can dig by holding down (B). This will let us go under certain objects and hide from enemies. Say, how come you never brought this up? We didn't really need it, did we? All that matters is we're getting outta this cell.   Digging out near certain dirt spots will make them pop out an item, so be on the lookout for these! Kabbu can now also use the Under Strike skill in battle! Digging out near certain dirt spots will make them pop out an item, so be on the lookout for these! Kabbu can now also use the Under Strike skill in battle!We get a new field skill, and the usual new battle skill along with it. I'm of two minds about the justification. Kabbu isn't actually getting a new ability, he's had it all along and the game just wouldn't let us order him to do it until he disclosed it to the party. On the one hand, this makes at least vague sense and the game does hang a lampshade on it; on the other, the inevitable backtracking is going to be a bit frustrating (why couldn't we do this the first time we were here?). Regardless, that's how it works. Let's take a look at our new move. 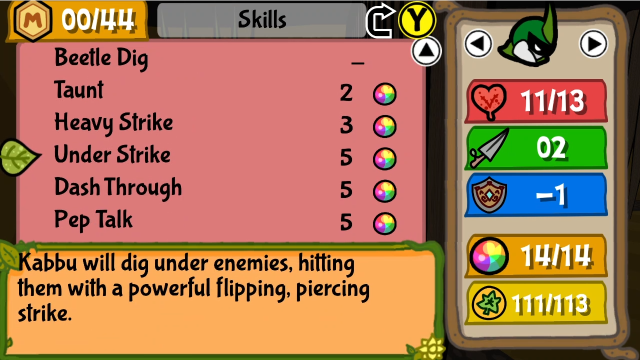 Under Strike is pretty interesting. It's one of Kabbu's best attacking moves, and probably the skill he'll use most if you set him up as your primary damage dealer (although at 5 TP, the cost adds up). We'll discuss it in more detail once I'm able to set up a demonstration. 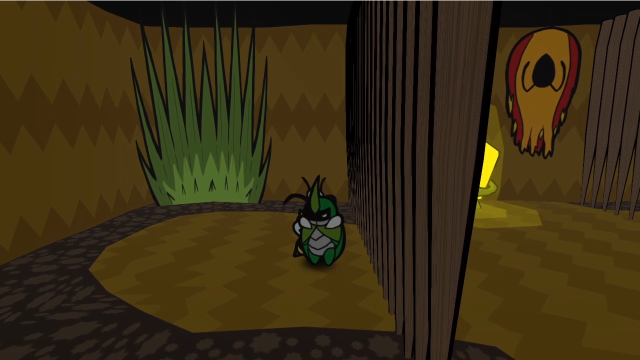 Let's try out the field version, and get out of this cell!  Digging is really simple. With Kabbu in front, you press and hold (B) to burrow underground. While holding (B), you can move around, and release the button to surface. Kabbu can dig on any ground designated as 'soft': here, it's the lighter-brown areas (while the dark-brown areas are too hard to dig), but other types of terrain (e.g. grassy areas outdoors) also qualify. There's also a new banter, now that we can dig: Digging's not my favorite, but it beats being stuck in a cell. You're pretty good, given how rusty you must be. Oh, it's one of those things you just can't forget. It was nice to dig again, actually. Let's just, uh, try to keep it to the minimum!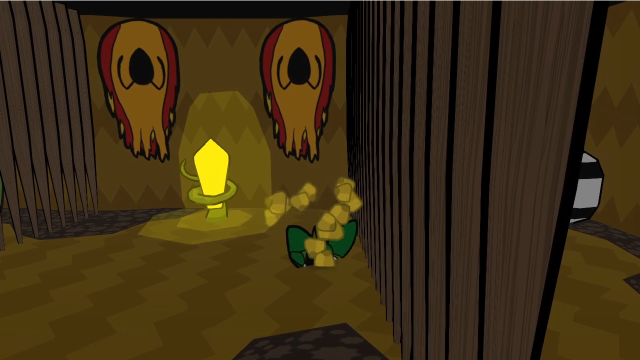 In the central area, there's a yellow save crystal (been a while since we've seen one of those!) and more bars to the right. Let's dig underneath and see what's going on in the other cell. 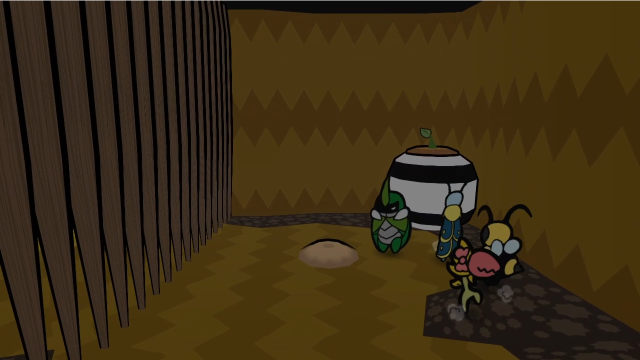 There's one of those supicious dirt mounds in here! Now that we can dig, surely we can interact with this?  Like the tutorial text earlier suggested, these dirt mounds hide things, and if we dig under them and then pop out, we can expose whatever's inside. This one seems to have had someone in it, though? Let's see if there's a banter, first. 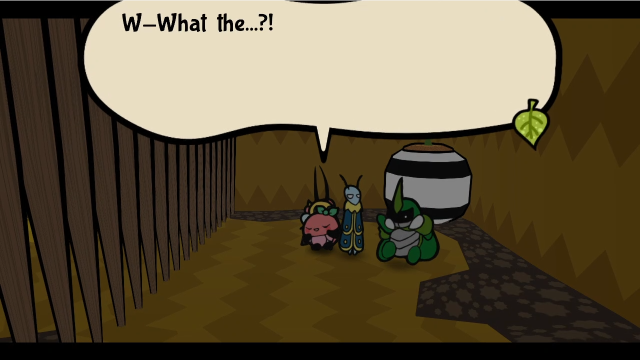 Those accursed bandits, burying a poor bug alive like that! ...Actually, we think she's just asleep. Oh. Should we wake her? Those accursed bandits, burying a poor bug alive like that! ...Actually, we think she's just asleep. Oh. Should we wake her?Guess we'd better talk to her... 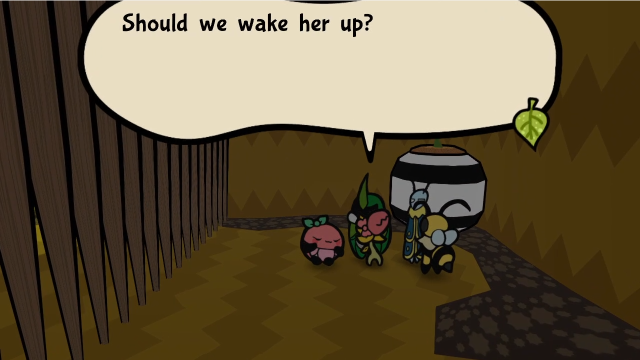 ... ... ...ZzZzZzZz... Um... Hello, fellow bug...? ...ZzZzZzZz... Maybe we should just let her sleep. ...ZzZzZzZz... ...ZzZzZzZz... Um... Hello, fellow bug...? ...ZzZzZzZz... Maybe we should just let her sleep. ...ZzZzZzZz...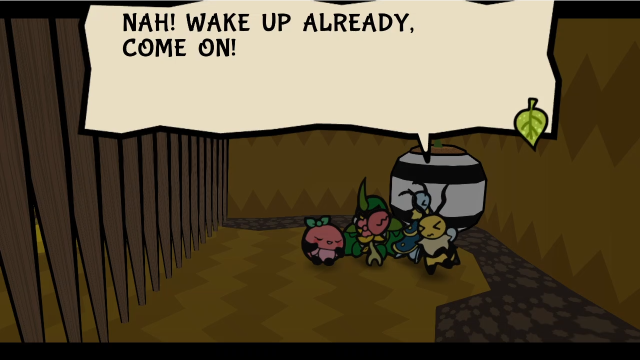 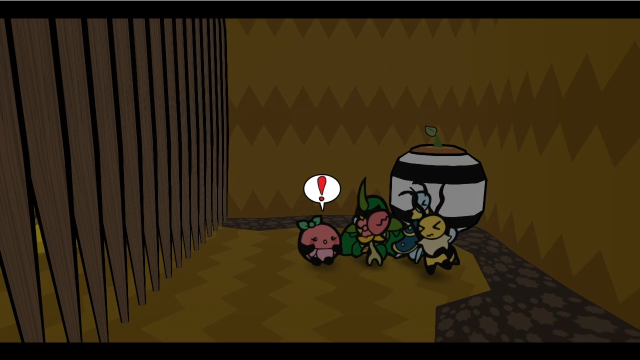 ...? Ah! ...? Ah!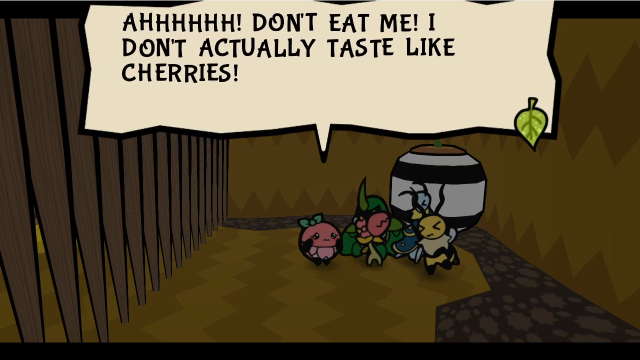 W-We won't hurt you. Just calm down, please. We might give you a hug, though... Oh, okay! My name is Cerise! W-We won't hurt you. Just calm down, please. We might give you a hug, though... Oh, okay! My name is Cerise! I came to this weird land looking for my boyfriend Tanjy! ...But I got really sleepy, so I dug a hole to take a nap in. And monsters can't see you if you can't see them, you know? That's... not how it works, but alright. Weird. I thought you were a prisoner too... What's a prisoner? Oh no. She's not too smart. I also found this weirdly shiny berry while digging. Doesn't taste very good though! You can have it if you want, Uncle Iron Seed. I came to this weird land looking for my boyfriend Tanjy! ...But I got really sleepy, so I dug a hole to take a nap in. And monsters can't see you if you can't see them, you know? That's... not how it works, but alright. Weird. I thought you were a prisoner too... What's a prisoner? Oh no. She's not too smart. I also found this weirdly shiny berry while digging. Doesn't taste very good though! You can have it if you want, Uncle Iron Seed.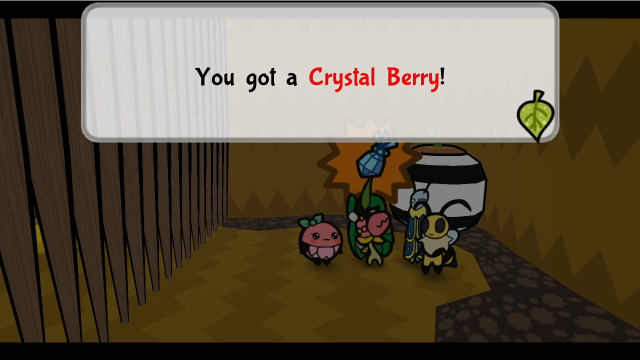 Uncle Iron... what? Uncle Iron... what?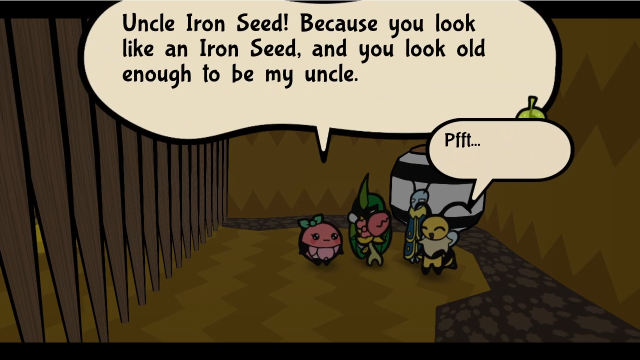 But... you don't look strong enough to have been eating lots of Iron Seeds, though... ......We should get going. But... you don't look strong enough to have been eating lots of Iron Seeds, though... ......We should get going.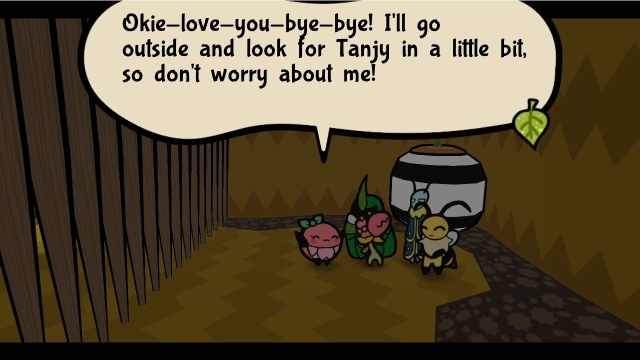 We won't... too much. We won't... too much.I certainly won't turn up my nose at a free Crystal Berry. Cerise (in addition to being hilariously silly, just like Tanjerin) is more or less our tutorial for the digging spots. Of course, there's now a new banter: 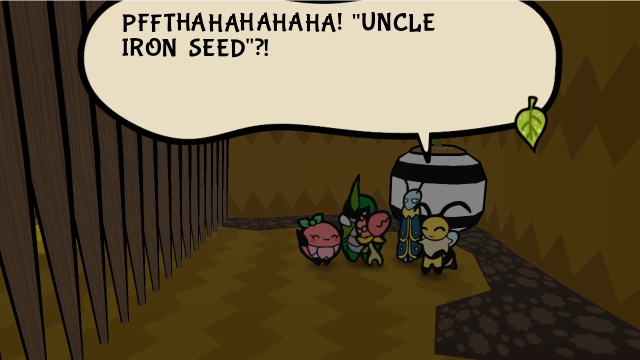 Oh, be quiet... She kinda looks like one of those rare Dark Cherries. But red. That's weird. She's more like a shade of pink. And we think it's cute, not weird. If she's really a cherry, maybe that's why she naps underground... I've heard that there's a land to the far east where bugs resemble various fruits. Perhaps she's from there? Oh, yeah! Like in those fairy tales... Their cherries are red and grow from trees, not the ground! They must cost a fortune! ...Then why is she napping underground? Maybe we'll find answers if we visit her land... ...Just this once, perhaps we shouldn't explore? Oh, be quiet... She kinda looks like one of those rare Dark Cherries. But red. That's weird. She's more like a shade of pink. And we think it's cute, not weird. If she's really a cherry, maybe that's why she naps underground... I've heard that there's a land to the far east where bugs resemble various fruits. Perhaps she's from there? Oh, yeah! Like in those fairy tales... Their cherries are red and grow from trees, not the ground! They must cost a fortune! ...Then why is she napping underground? Maybe we'll find answers if we visit her land... ...Just this once, perhaps we shouldn't explore?Worldbuilding! And also more hints about Dark Cherries... wonder when we'll be able to find out what those do. We can also talk to Cerise again. Hiding underground keeps you safe from monsters. But I just wish I could dig through solid rock... Indeed. It's quite a pain to be unable to dig past troublesome enemies at times. It also helps you find rare stuff like that weirdly shiny berry I gave you, Uncle Iron Seed. And sometimes, you can even find weird cherries that like to sleep underground... Kinda like you, right? ...? I'm not a cherry... Stop it, Vi. You're confusing the poor girl.That is a very pointed hint that we'll be able to dig up Dark Cherries somewhere. Let's file that one away, shall we? 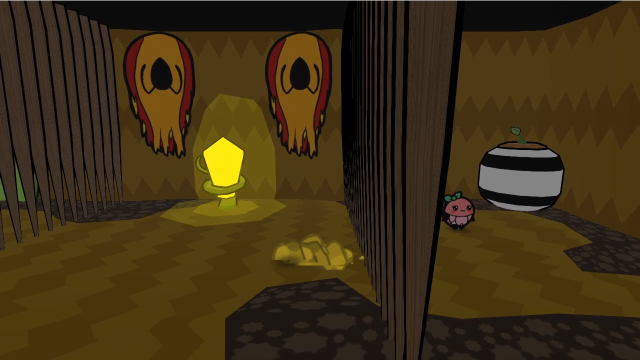 Anyway, for better or worse, we've exhausted what we can do here, so let's head back. Cerise will have to stay behind. 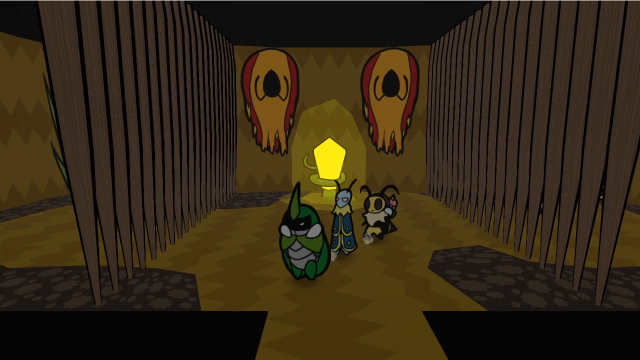 Let's finally get out of this jail. 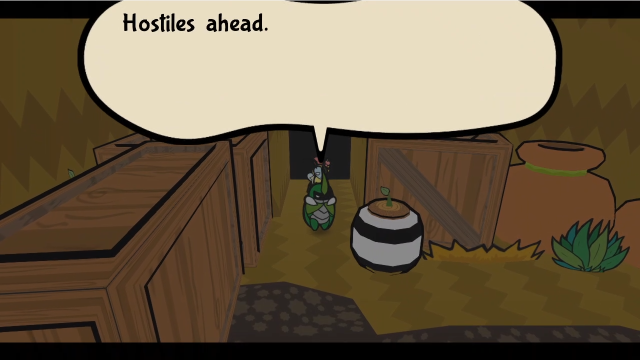 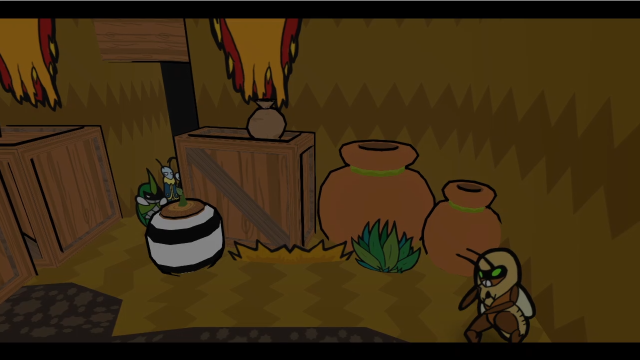 Grr... I can't really smack 'em without the Beemerang. It'd be wise for us to avoid being found again. We'll have to sneak our way through, until we find our items. Boooring. Lead the way, Kabbu. Grr... I can't really smack 'em without the Beemerang. It'd be wise for us to avoid being found again. We'll have to sneak our way through, until we find our items. Boooring. Lead the way, Kabbu.This dialogue triggers as soon as we enter this area (with the convenient camera pan to show the first guard). For better or worse... yep, it's a stealth section. Welcome to Metal Gear Bugs. You'd think we might be able to make a go of it having Leif and Kabbu fight, even if Vi can do absolutely nothing; regardless, the game isn't going to let us try. 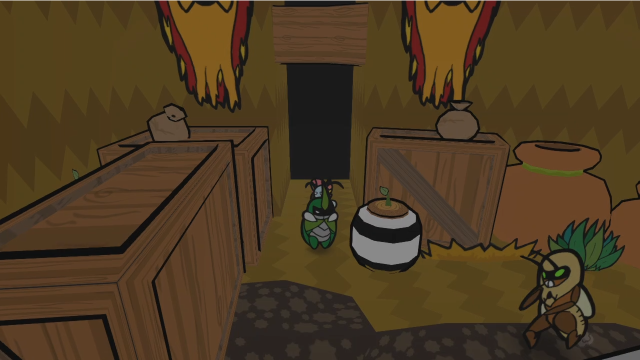 Let's check the banter before we try to get past. Security is tight... Is that not a bit weird? Surely it's not because of us. Bandits have the most low of reputations. It makes sense many would come to stir trouble with them. Shh. You want em to hear us!?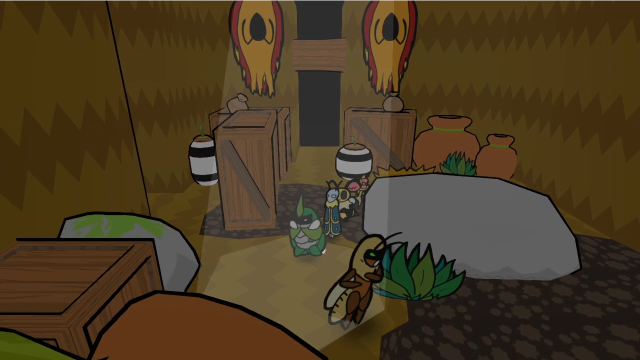 Okay. So here's how this works. The bandits patrol around the area on set paths, occasionally pausing to change directions. They have more or less linear sight, with a range of about half the screen. 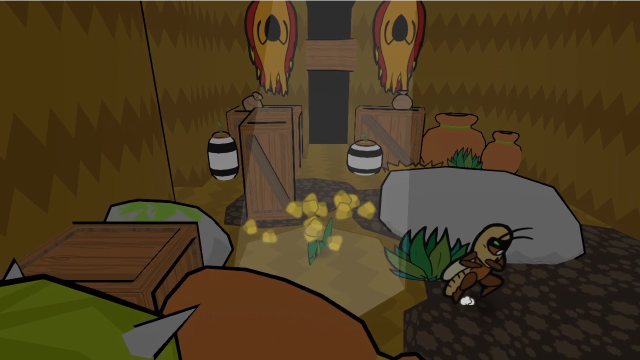 You can also dig in the soft areas, they can't see you if you're underground.  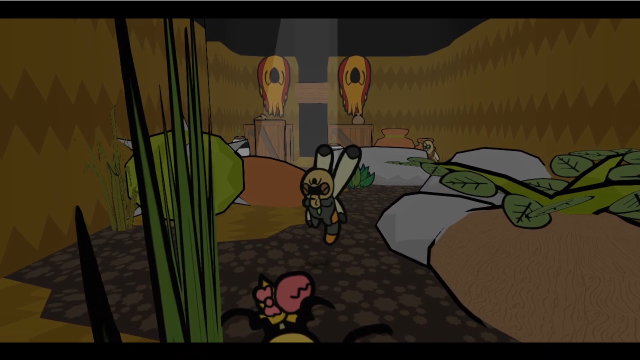 If you get spotted, they'll blow a whistle...  The screen goes dark while we hear noises of being beaten up... 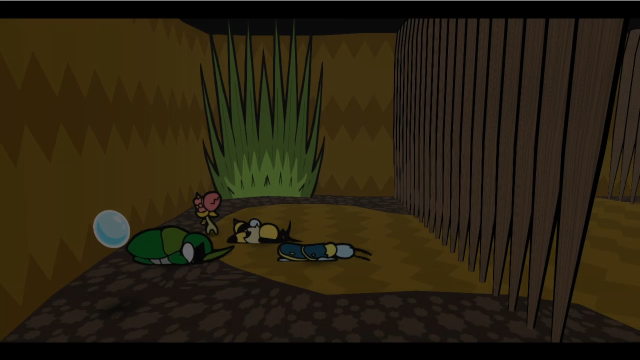 And we'll wake up back in the cell. Let's not do that again, shall we? If my tone in any part of this section comes across as a bit peeved, it's because this is honestly one of my least favourite parts of the game. Stealth segments in games are a crapshoot at the best of times, and I tend to think they should be reserved for games that are fully dedicated to stealth mechanics (stealth games can be fun, but other games temporarily pretending to be stealth games are almost always miserable). I don't care how much it fits the kind of story you want to write; warp the plot if you have to so you don't end up forcing the player to engage with half-assed stealth mechanics that will inevitably aggravate them. That said, I'll get off my soapbox. It's fine, it could be much worse and this segment is pretty short. The most frustrating thing is that getting spotted can feel a bit arbitrary, since the guards' sight isn't visually indicated.  That first cricket bandit doesn't give us much trouble (you can't even see him in this screenshot!) and we sneak past to the west exit. There are other exits in this room, but this one's the easiest to get to and it's conveniently the best place to start. 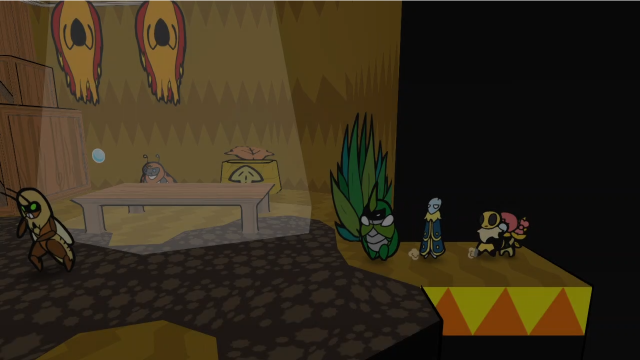 This room. Ugh, this room. Let's check the banter: Wait. Isn't the desert hot? There shouldn't be any water drops! Actually, most of the desert's water is underground. So if anything, there should be more droplets here? The world needs less water, more honey!This room combines sneaking with ice block puzzles, and can honestly be a bit unforgiving. 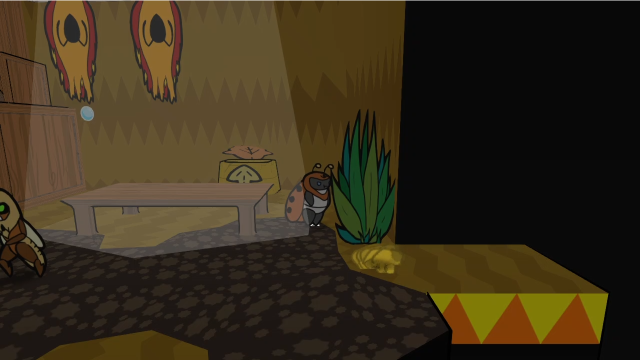 First up, we need to get to that water droplet in the corner. We can burrow into the ground here, but it doesn't actually help us: we can't go under the plant. (This makes a kind of sense, presumably there are roots there or something...) 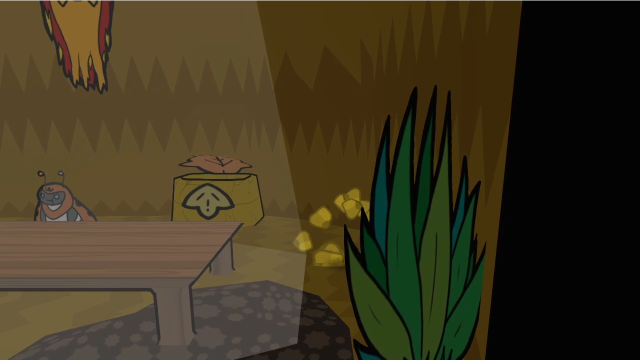 So, instead, we'll wait until the ladybug burglar's back is turned, then run past and burrow. 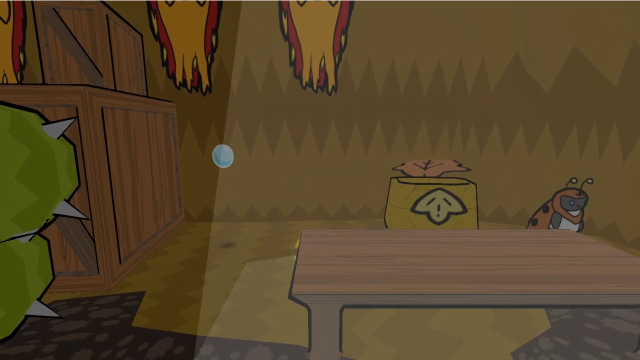 Underground, we can get past him and reach the water droplet. 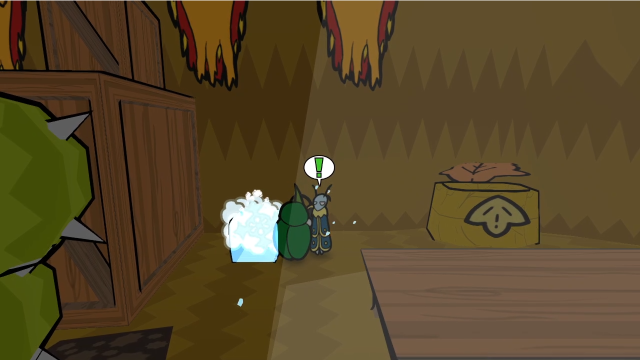 We have to come up and switch to Leif to freeze it, though. 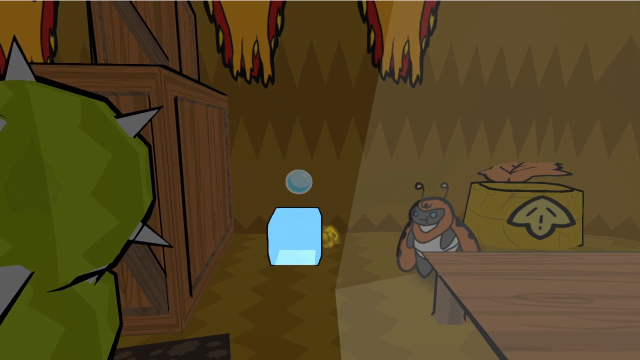 If you're not quick (or, like I did here, miss with his ice magic a few times before successfully freezing the droplet), you might have to go under again to not be seen when the guard patrols back this way. 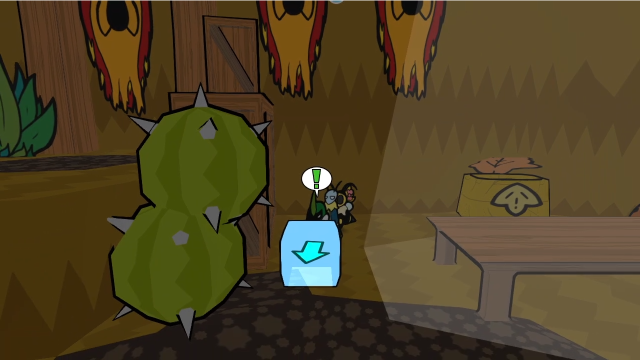 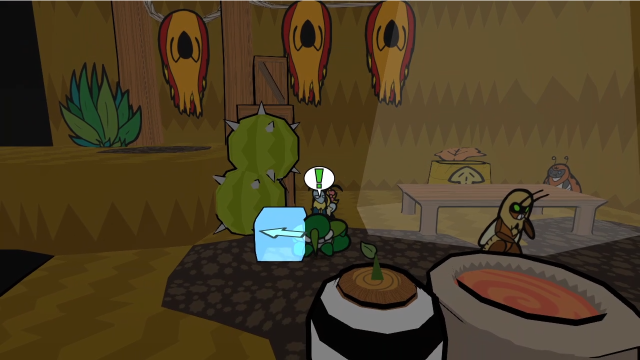 Now we can start moving the block. We need it to get up that ledge on the far side. It's very important to pay attention to the cricket, and only work on the block while his back is turned. It's very easy to get caught here if you're imprecise. (In this screenshot, Kabbu is right at the edge of where his line of sight would be if he turned around. Past the round cactus is definitely safe, though.)  Whew. We've done it. 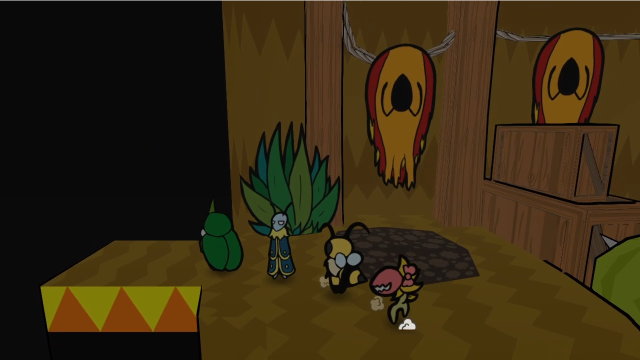 Let's get out of here. 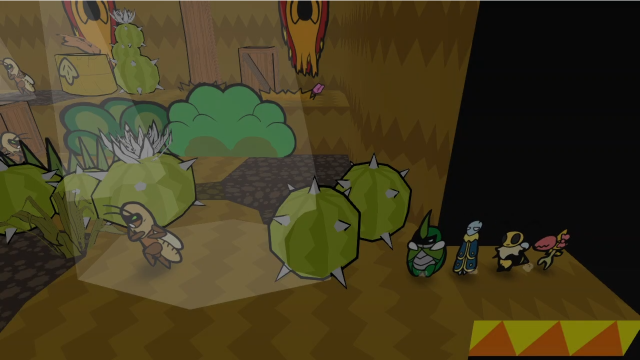 My, there's quite a few plants in here! Judging by the layout, they've put in some work to make it happen. So, what, bandits just wanna be gardeners? A question best pondered not inside their hideout... My, there's quite a few plants in here! Judging by the layout, they've put in some work to make it happen. So, what, bandits just wanna be gardeners? A question best pondered not inside their hideout...There's a lot going on in this room, though it's not quite as complicated as it looks. The worst aspect of this room is that it's just past the last one, so getting caught here means you need to do the obnoxious ice block puzzle again. 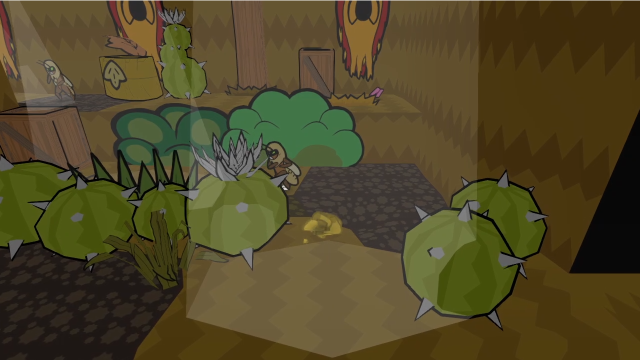 We can burrow and use that to get past the first guard (who's gone offscreen in patrol here).  It's not far from there to more diggable ground behind the second guard, who conveniently keeps his back to us for a while. 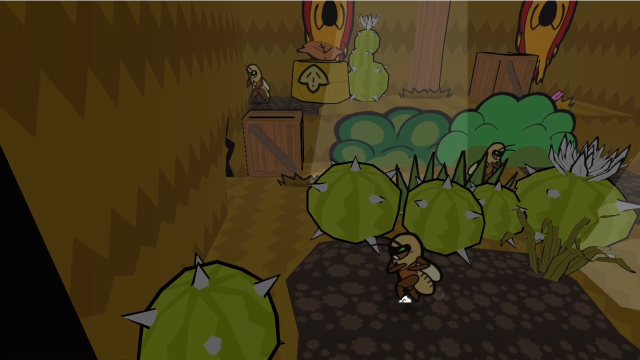 So we can bypass him underground and get closer to this crack in the wall. 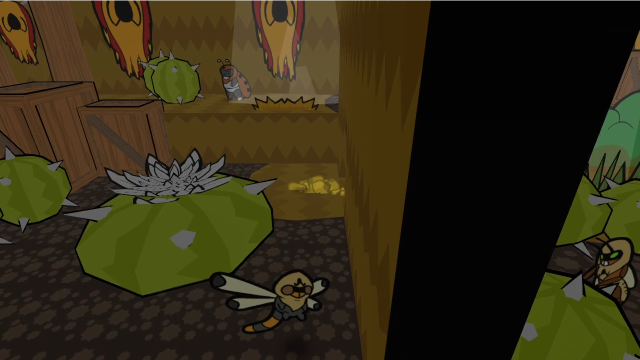 While underground, we can go right through the crack! Cracked walls are another sort of obstacle that no longer impede us now that we can dig. It's easy to mess up and get caught here, though (pay attention to the dragonfly guard, he patrols in a loop right past where we enter the area). 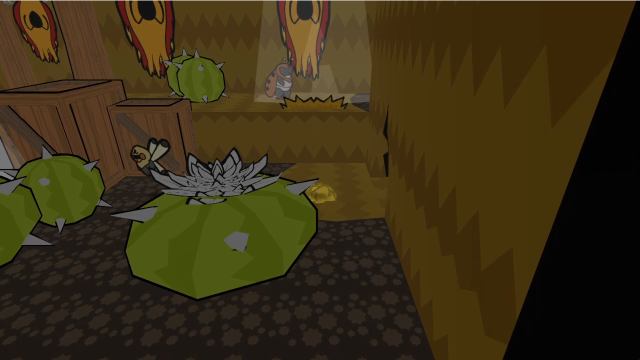 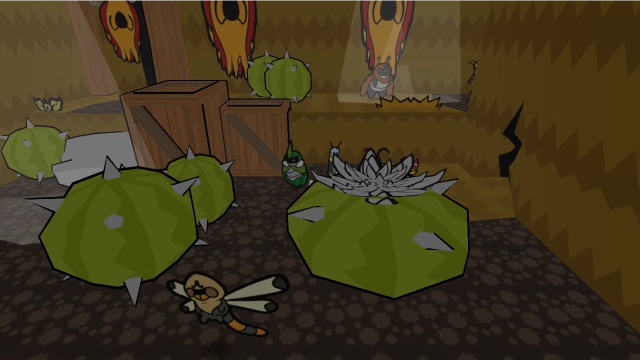 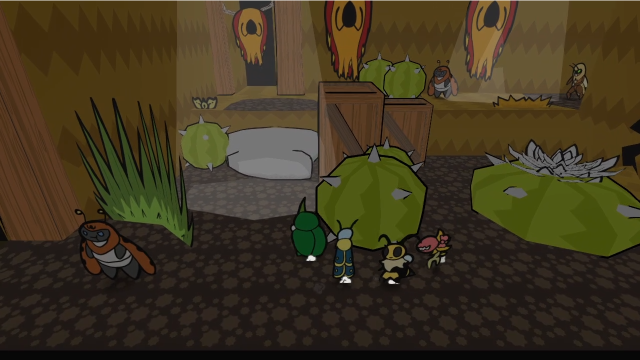 This corner is pretty nerve-wracking, what with the Burglar right there. 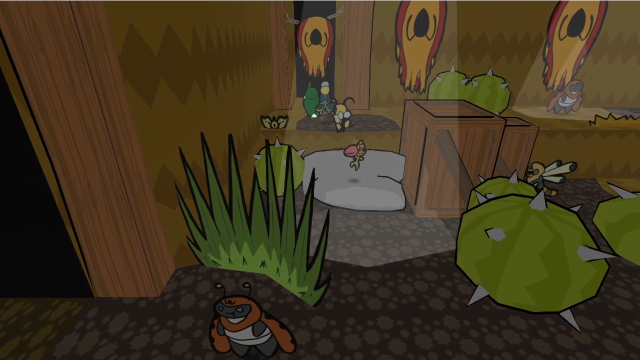 From there, it's a simple matter to jump up the rocks and reach the exit. There are other ways you can try to go in this room, but it's not worth it right now, trust me. (Ask me how I know. My first time playing through this area, I somehow did everything in the worst order possible and left the critical path for last. Don't do that.) 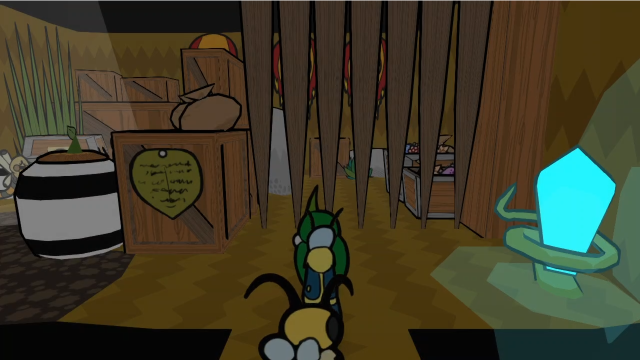 Looks like we've found their treasury! There's also a save crystal, thankfully. Look at all that food! We can only wonder how much of it is stolen. If it's robbed, there's no problem if we grab it, right? There is! A thief stealing from thieves is still a thief! Ugh. Next time we crash a bandit hideout, let's leave Kabbu at an inn. Agreed.Our team have a little debate about ethics in the banter. There's a sign here too: 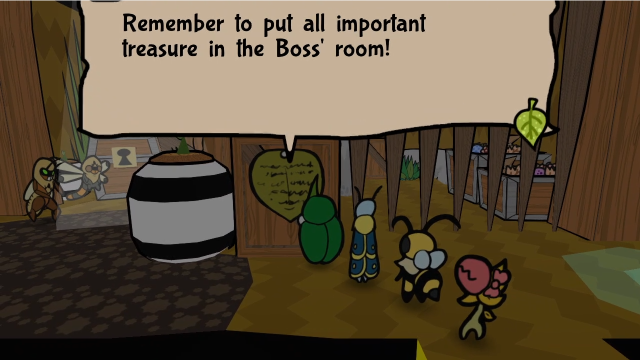 If you knuckleheads forgot, it is on the upper floor! Don't disappoint the boss! If you knuckleheads forgot, it is on the upper floor! Don't disappoint the boss!It's not really for us (though it might give us an idea of where to go). 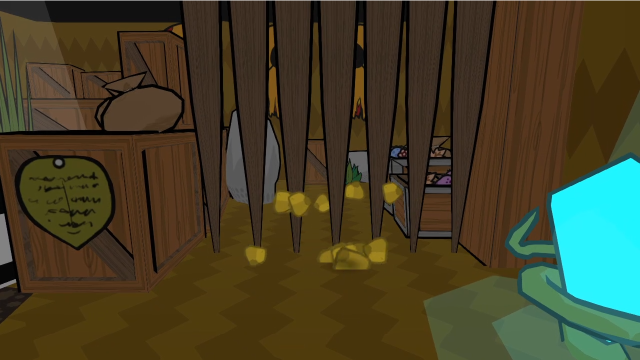 We really don't want to go west here (the bandits gathered there would absolutely catch us), so let's dig under the bars instead. 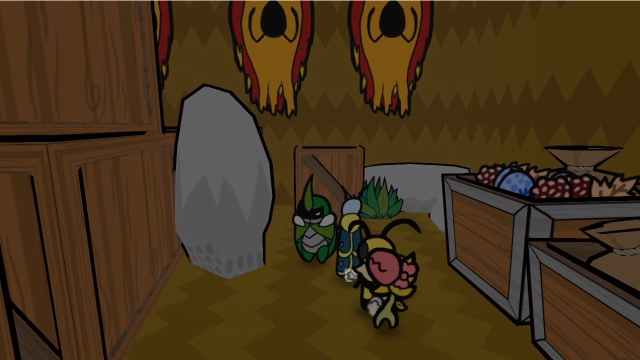 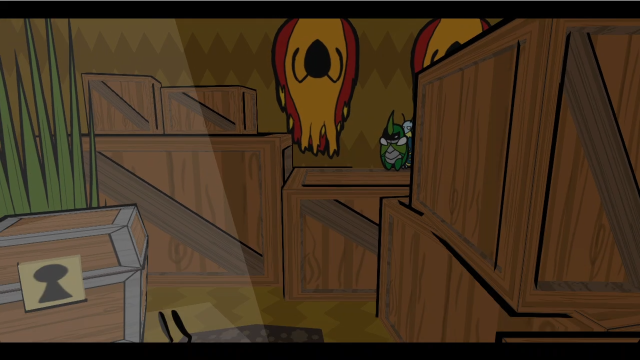 We can climb up the pile of boxes to get a better vantage point. 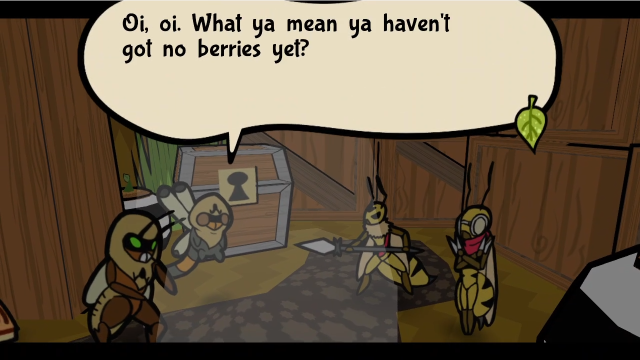  You will be paid when the job is completed. You will be paid when the job is completed. We snuck you in, and helped you secure materials. We snuck you in, and helped you secure materials. You think we're dumb? The job's way past done! You think we're dumb? The job's way past done! Watch your tone, thieves. You want to fight here? It ain't gonna end well for you! Tch. We'd best go report this. Watch your tone, thieves. You want to fight here? It ain't gonna end well for you! Tch. We'd best go report this. 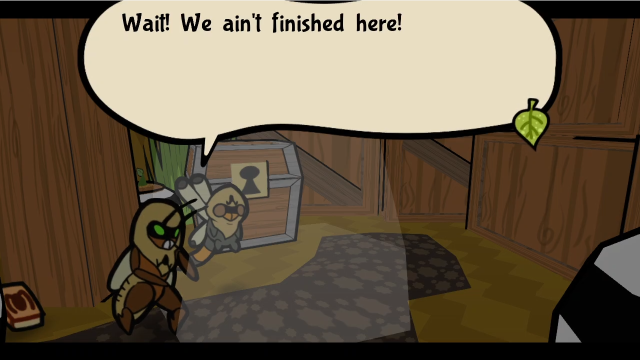 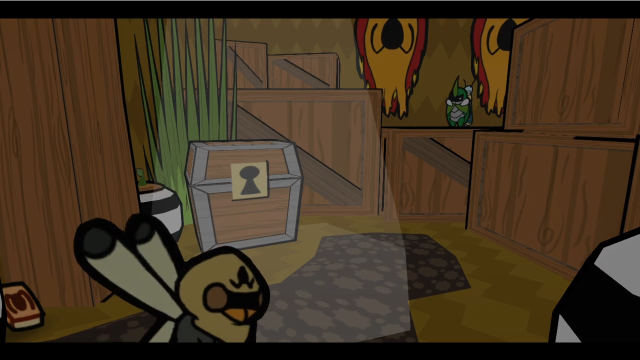 Everyone leaves. That argument has conveniently cleared out the entire room for us, so we're free to move in! 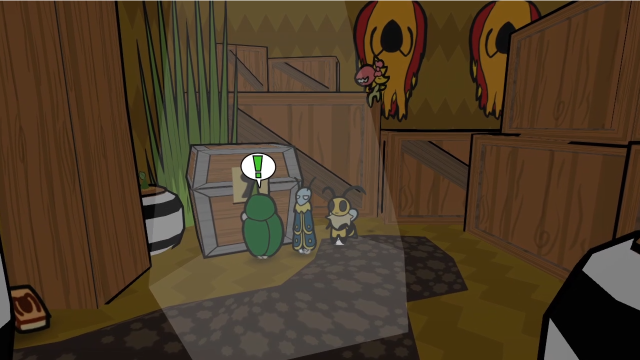 We can interact with the big chest here.  Hitting it with Kabbu's horn will open it right up. 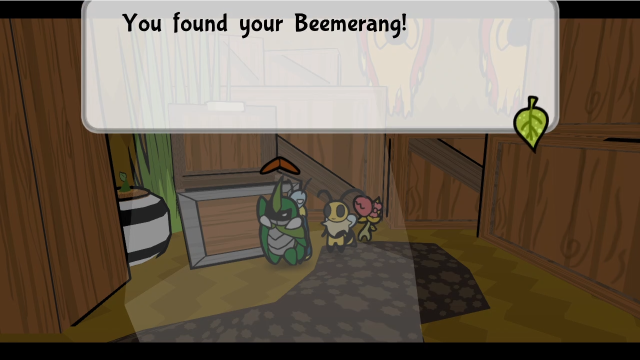   It's a relief to have you back at full power! Our vengeance is unstoppable now. Let's decimate them, and get that key. C-Calm down... It's a relief to have you back at full power! Our vengeance is unstoppable now. Let's decimate them, and get that key. C-Calm down...If we check our inventory now... 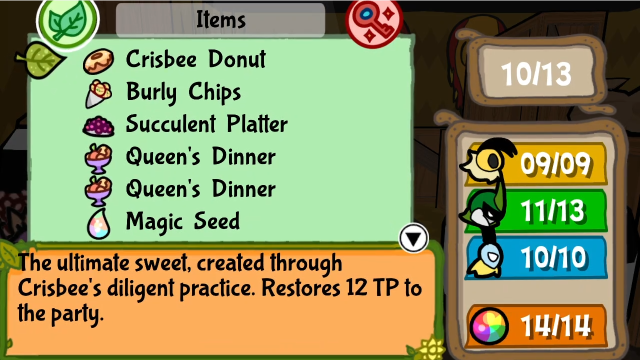 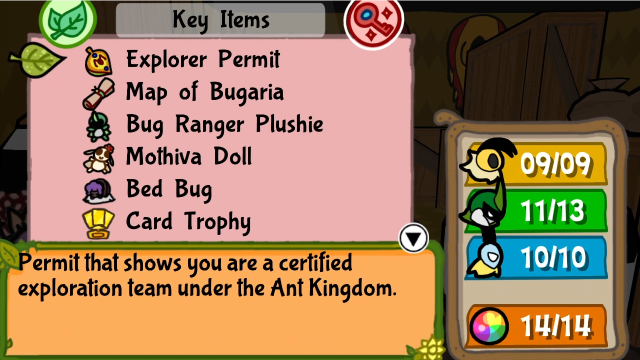 We've gotten everything back. Opening this chest marks the end of the stealth section: now that we've recovered our things, we'll be allowed to fight the bandits, which makes getting around the hideout significantly less frustrating. You can explore the rest of it in stealth mode if you want, but it's a much better idea to come this way ASAP. 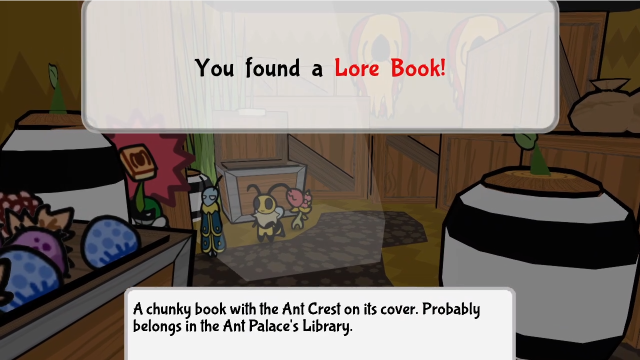 Let's make sure to grab this Lore Book before we leave. It's visible in the cutscene, but it can be hard to spot in the actual game screen. Haven't seen one of these for a while! 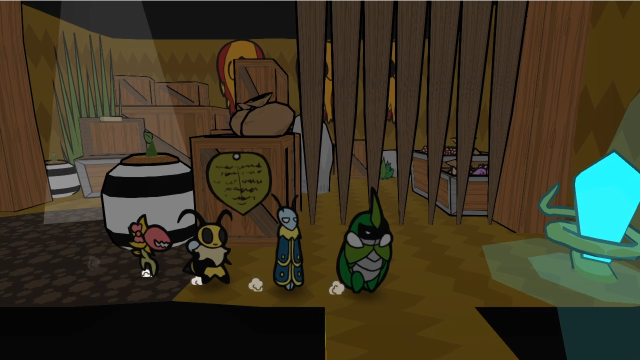 Let's head back into the hideout. 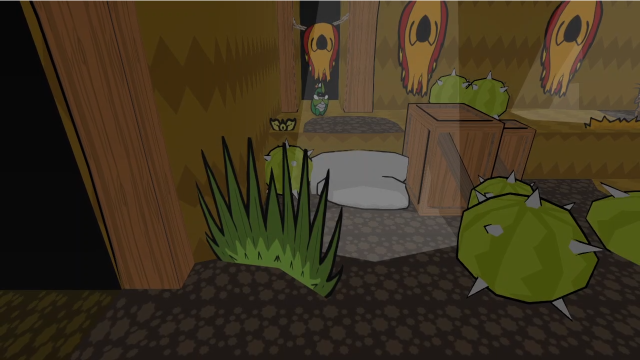 Back here, another thing will immediately become apparent: there are fewer guards about, and their positions have changed quite a bit. I'm not sure if this is supposed to be justified in-story by the falling-out with the wasps, or if it's just for gameplay reasons, but either way, things feel a lot emptier now. 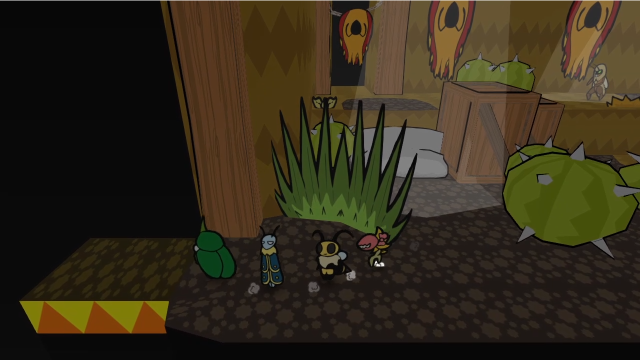 There's an exit to the west here. 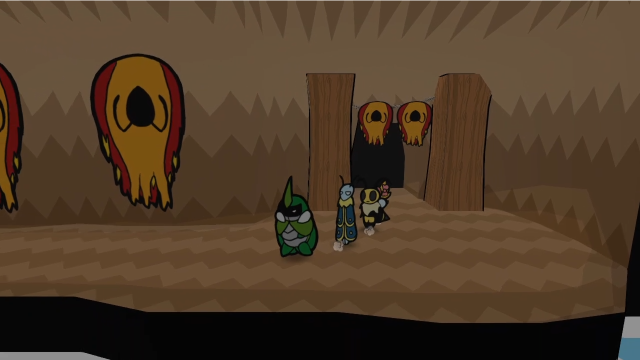 What's this corridor? 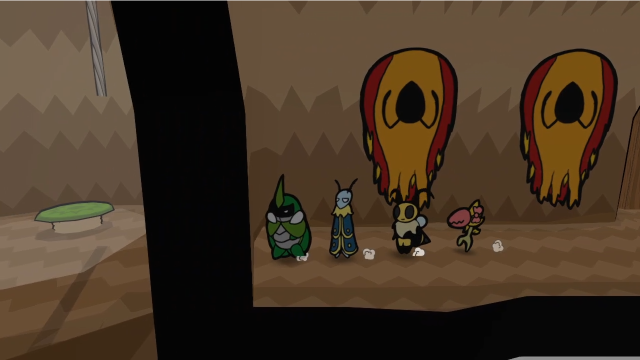 It can be a bit hard to tell from this side, but that's the Defiant Root well. We've come full circle. In addition to explaining why the person selling us the key was hiding down there, this is also a shortcut out, if we felt the need to restock items or something. To think this place connects to the hideout... It must have made their crimes that much easier to commit. They better lay off after that smackdown!The banter here seems to assume we've come here a bit later. 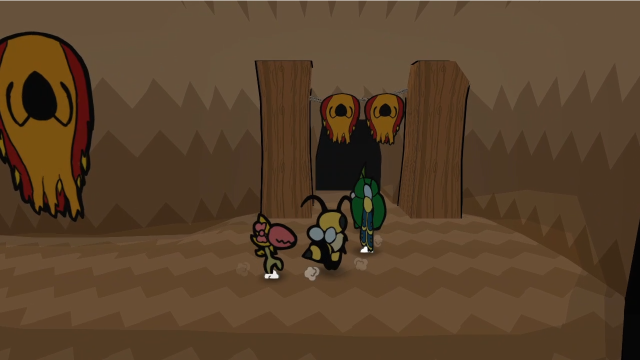 Let's head back in. This is all very nice, but we're not done here yet. 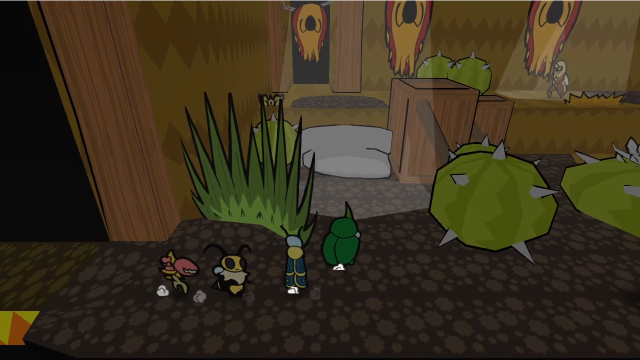 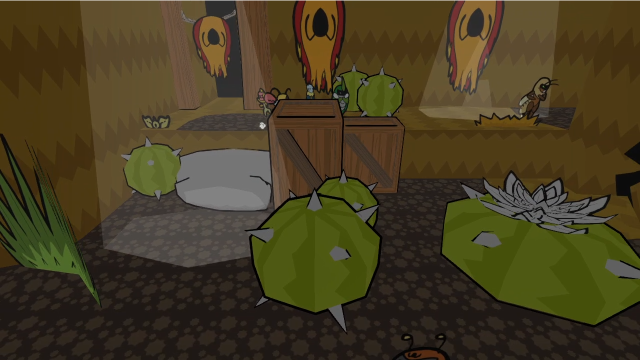 Let's see what's up on this ledge.  There's a bandit waiting to ambush us as soon as we transition between screens. 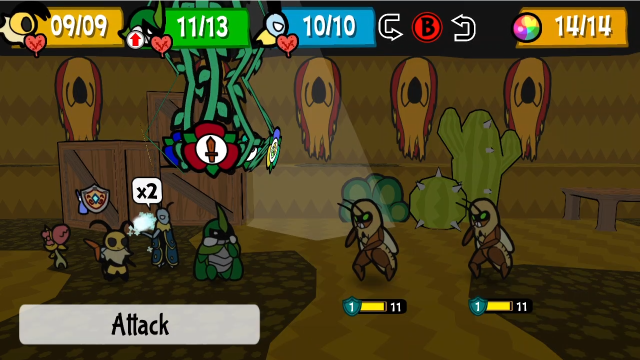 We can actually fight them now, which is a relief. 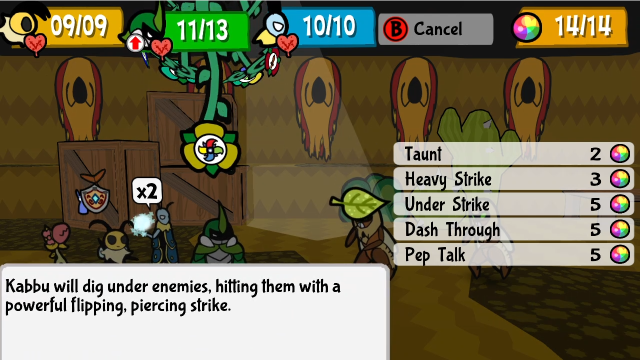 Let's try out Under Strike! 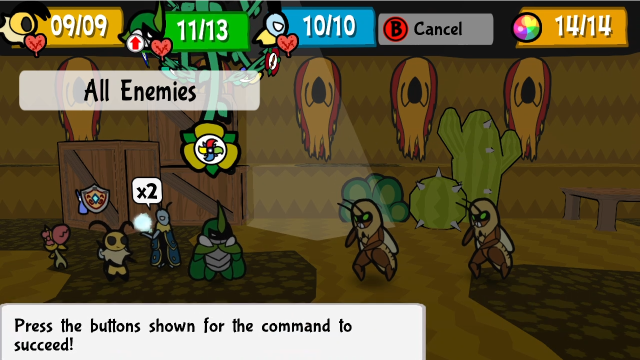  This skill can be pretty tricky to use. The targeting says "all enemies", but that's a bit misleading. We'll be prompted to hold (A), at which point Kabbu will burrow underground. We don't get to control him, he just moves back and forth until we release (A), at which point he'll pop out of the ground and hit the nearby enemies (then get a button prompt for a second hit). With good positioning and timing, this can hit multiple enemies at once (very rarely more than two, though). Under Strike can hit underground enemies, and even airborne enemies. The first hit does full damage, the second is reduced by 1. It also pierces all defence, and flips enemies. It's a really solid skill that's useful in a lot of different circumstances. 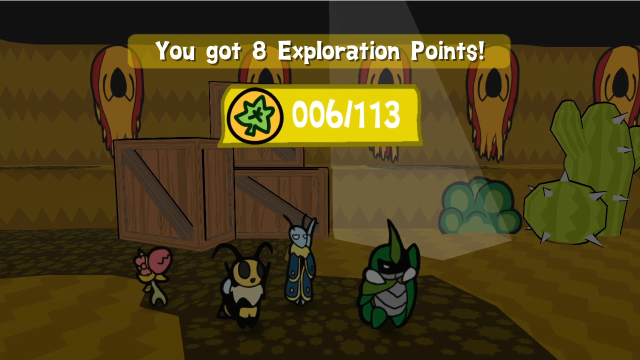 Anyway, we finish the battle. Interestingly, the bandit enemies in here seem to give more EXP than the ones outside (which also makes it less likely Bug Me Not will invalidate them), though I could be wrong about this since I can't find proof. 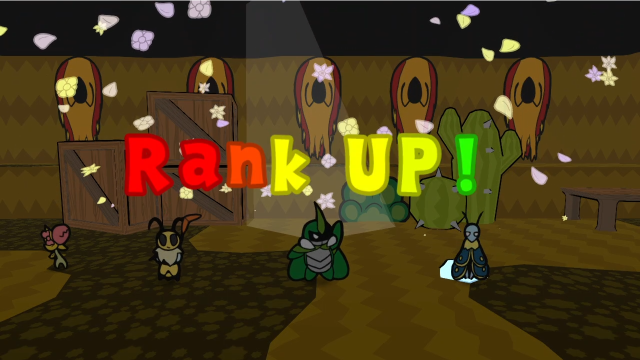 Regardless, it's enough to rank up! 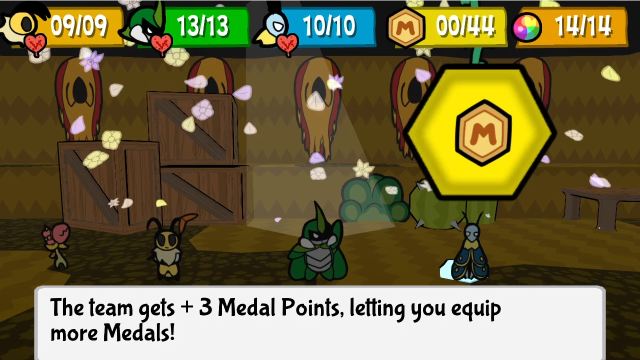 Let's get more MP. 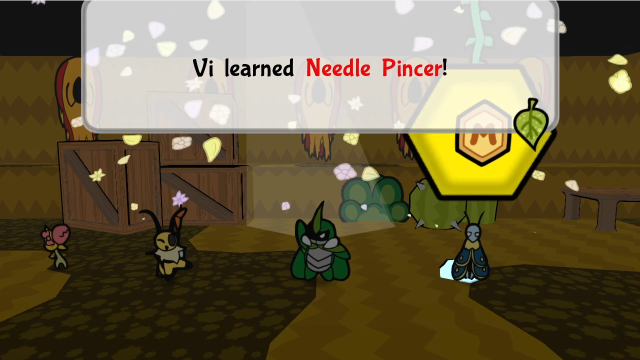 On reaching Rank 15, we get a bonus again: Vi learns a new skill! 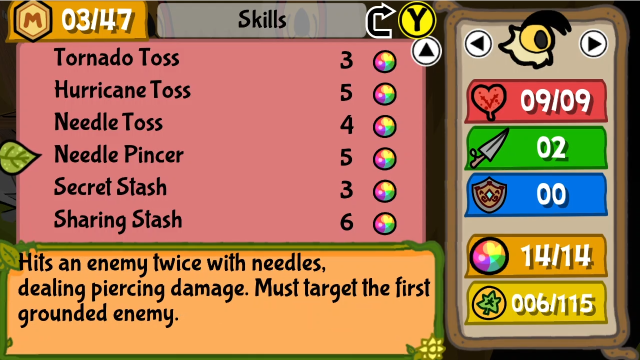 Needle Pincer is pretty cool, even if Hurricane Toss does tend to overshadow it. It does two hits (or three with ADBP Enhancer, as of v1.1), piercing all defence, but can only hit the front-most grounded enemy. We'll try it out shortly. 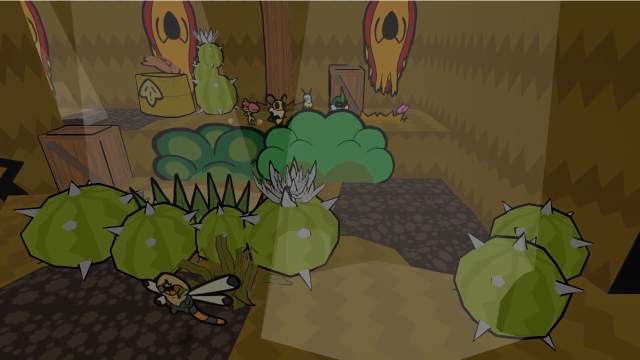 For now, there's clearly something up here. 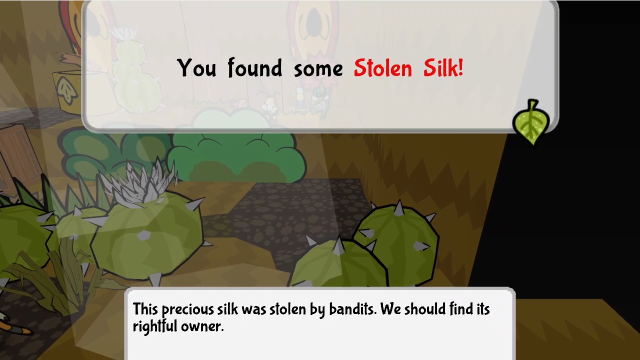 That looks like a sidequest. Let's head back. 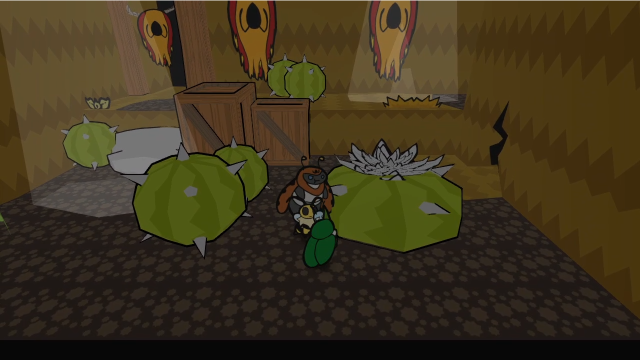 This guy's in the way. 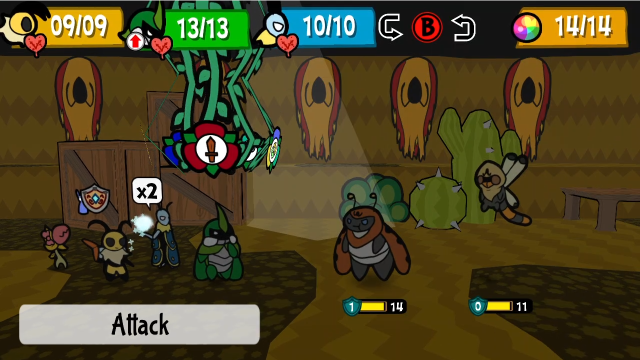 More bandits, of course. Let's try out our new ability!  Needle Pincer does full damage on the first hit, and one fewer on the second (or 2 fewer if the first hit did 4 or more). The main value of this skill is against enemies with very high defence, or if you want to try applying disabling status (each hit rolls separately). Also, a fun bit of trivia, this animation is very similar to Vi's normal attacks in the earliest demo, before they came up with the Beemerang. 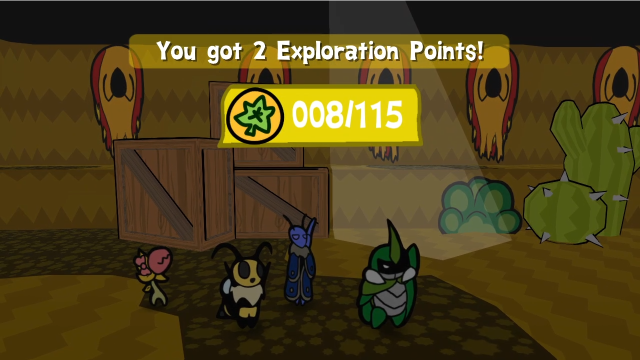 Anyway, we'll finish the battle from there. Gaining a rank substantially reduced the EXP gain, didn't it. 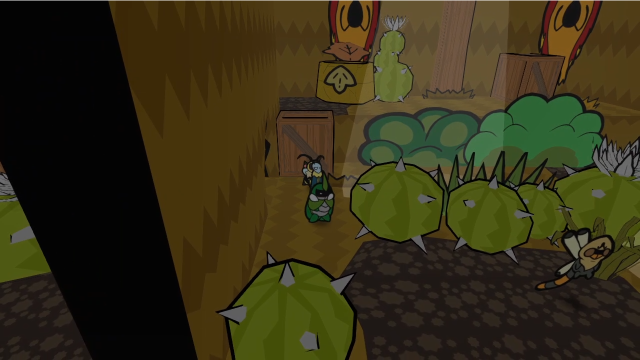 We can burrow past the crack to get back to this side. There's only one bandit patrolling here now. 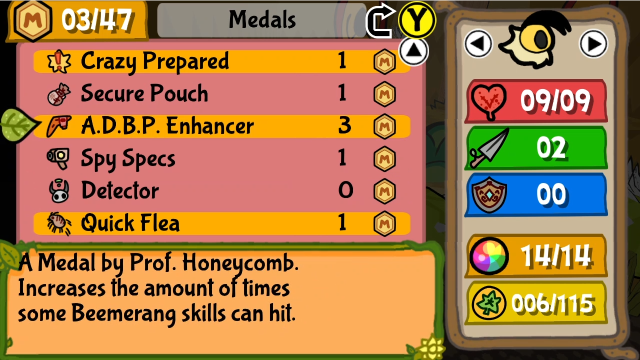 Before fighting them, let's finally put this on. (I wanted to show the vanilla Needle Pincer first.) 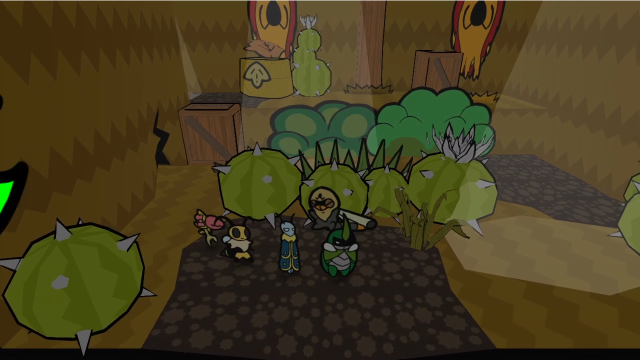 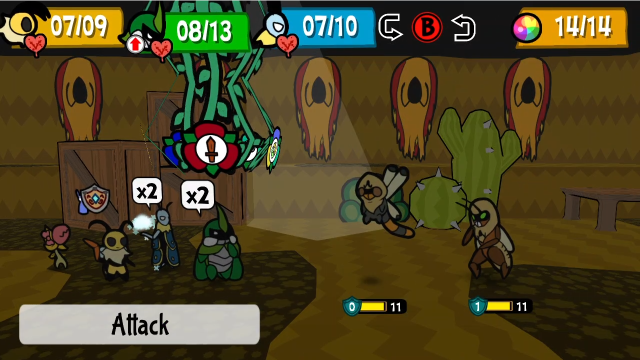 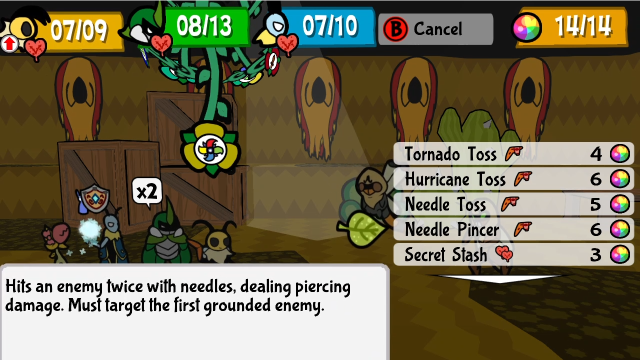 With the ADBP Enhancer on, its icon appears next to all the affected skills, and the TP costs have increased.  Needle Pincer is a lot more attractive at three hits (though, again, it still often struggles to compete with Hurricane Toss). It's good to have options! 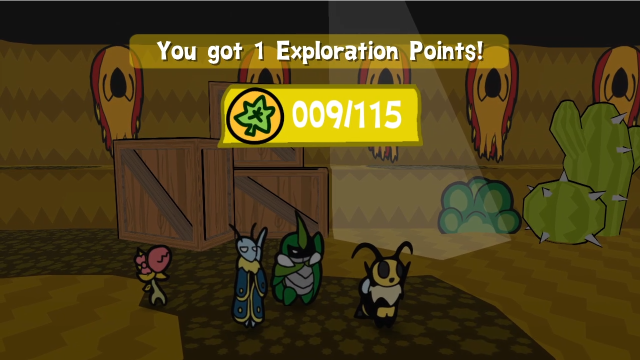 Finishing up is no trouble from there. 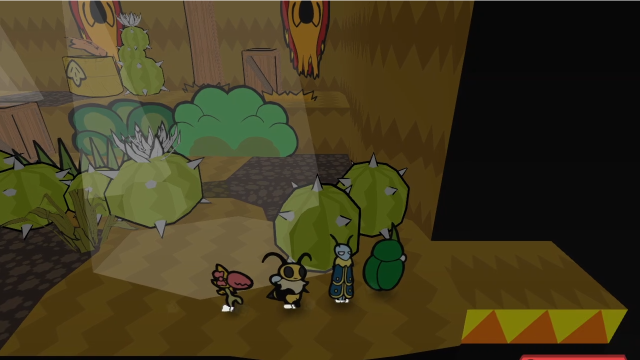 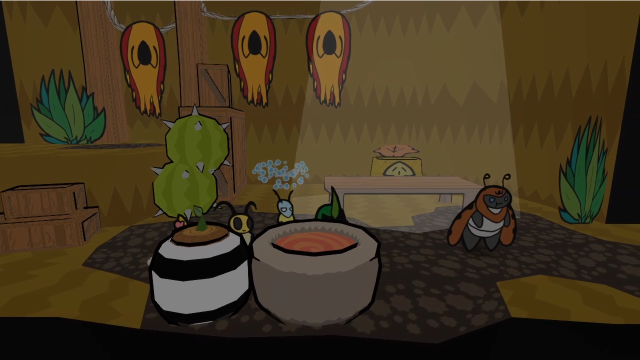 This room is more sparsely populated now, too. Why couldn't there have been only one guard when we had to sneak ice past them? 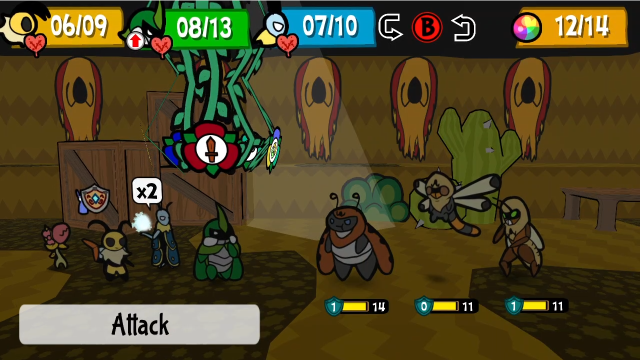 The formations are starting to get nastier, though.  Moving on. 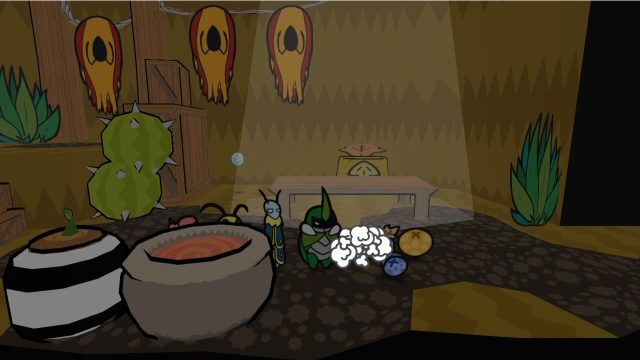 It's worth noting that they're often quite lucrative, at least. 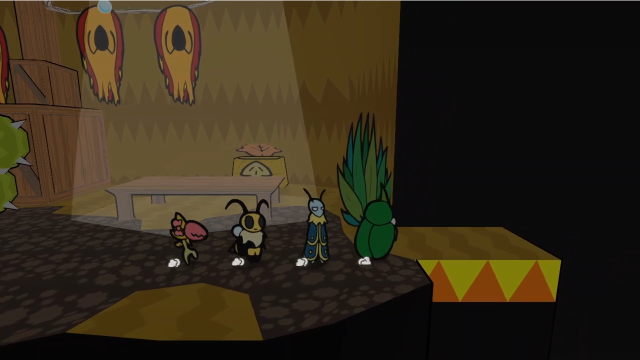  Back where we started, more or less. I noticed my HP and TP were starting to look a bit low, so thought maybe it would be a good idea to head back to that yellow crystal. 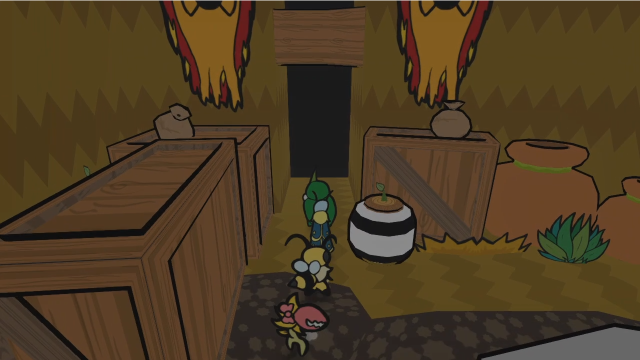 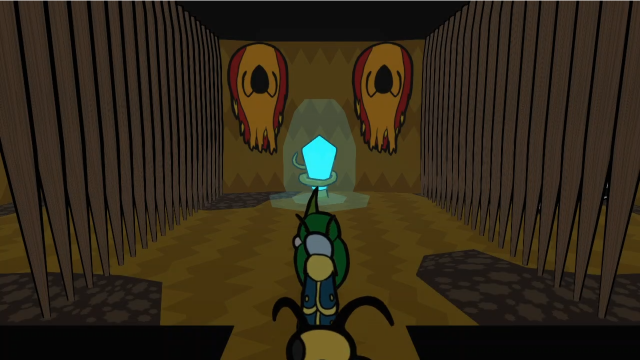 Joke's on me. It turns blue as soon as you've recovered your things from the chest. 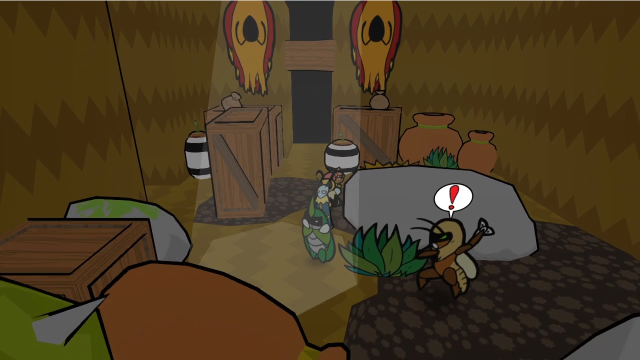 Guess there's nothing for it but to keep moving. Let's fight this guy. 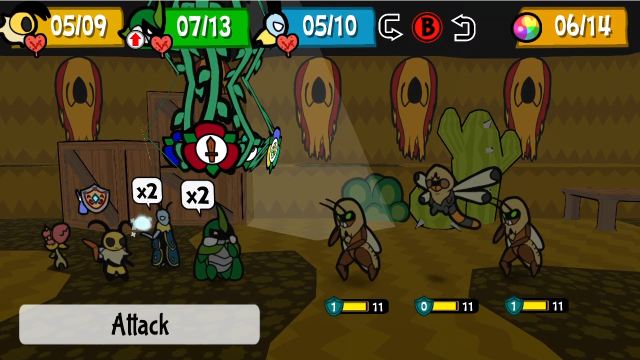 It's a big group.  Honestly, if it weren't for my desire to show all the formations for the LP, I'd probably be avoiding the fights in here. Leif's Bubble Shield makes it pretty easy to get past them if you can't be bothered fighting. 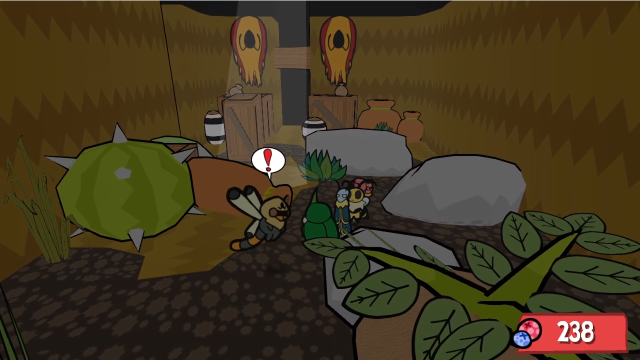 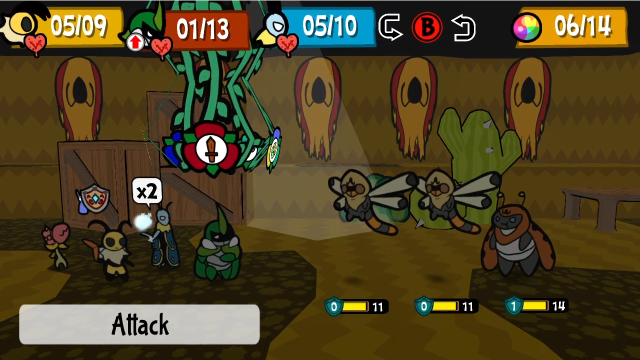 I don't remember seeing this combination earlier, at least. There are still some new formations in here. (Two Thieves is nastier than it looks, their wind attacks hit the entire party and can add up quickly, especially if someone has Favorite One on.) 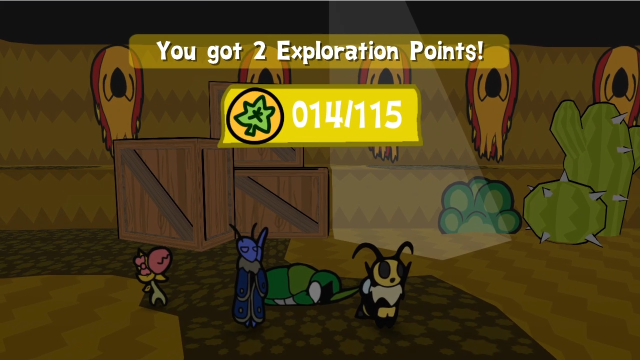 As you can see, things could have gone better. 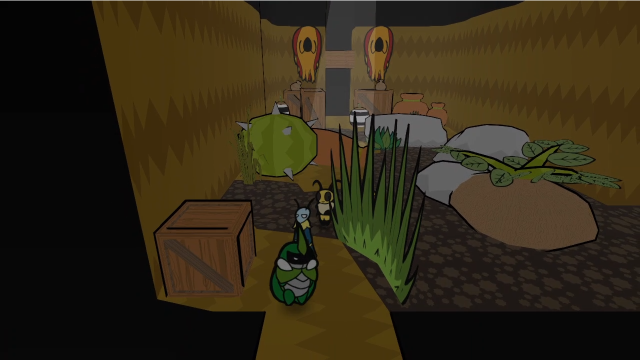 Let's head south first. 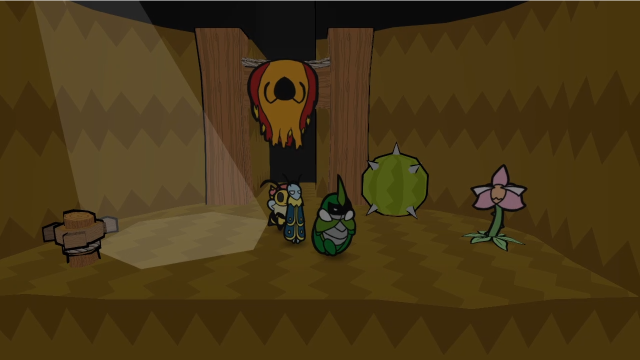 There's a Venus' Bud here, at least. She's just as good as a yellow crystal. 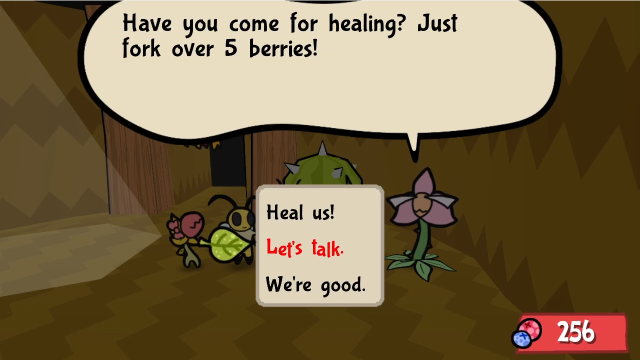 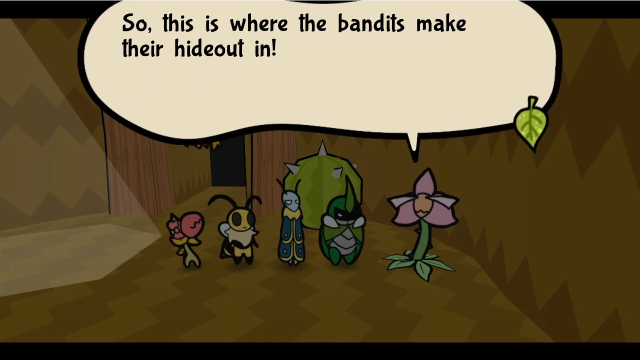  I can sense lots of stolen objects deep inside, be sure to return them to your rightful owners when you can! I can sense lots of stolen objects deep inside, be sure to return them to your rightful owners when you can!Let's get some healing, of course. 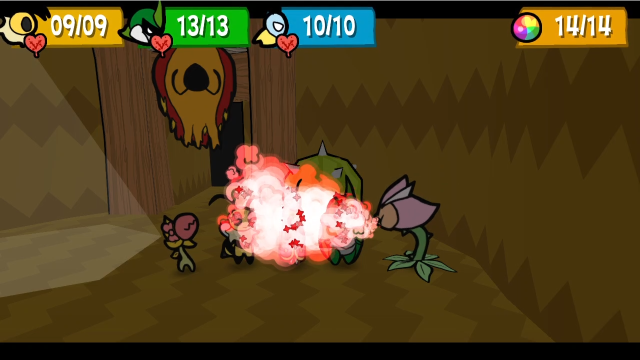 There's also a banter in here. The bandits are quite skilled, to build a bridge like this! It's just a bridge from the Golden Settlement! How did they even smuggle this in...?It's hard to see the bridge itself without turning the crank, but let's leave that for later. (This is the path out, let's check the last remaining area first.) 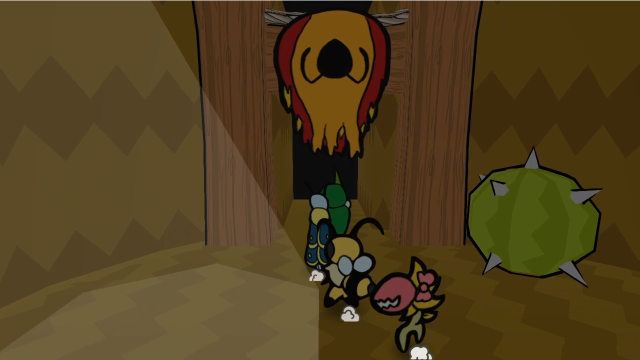 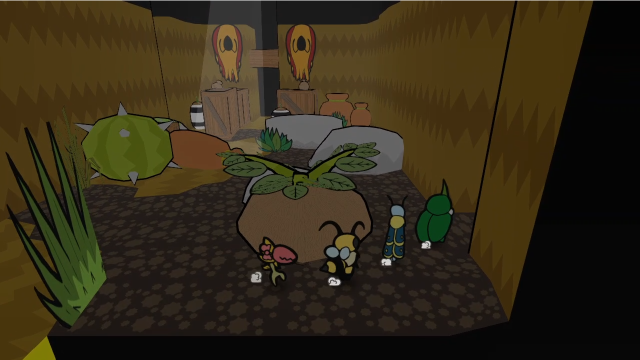 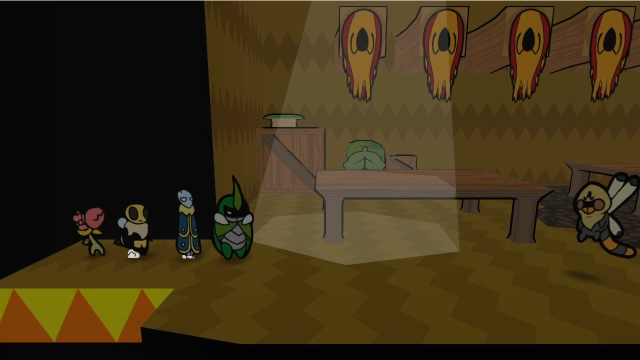 This way takes us into what looks like the bandits' mess hall. Lunch time's over, huh. We should be able to snoop around properly now.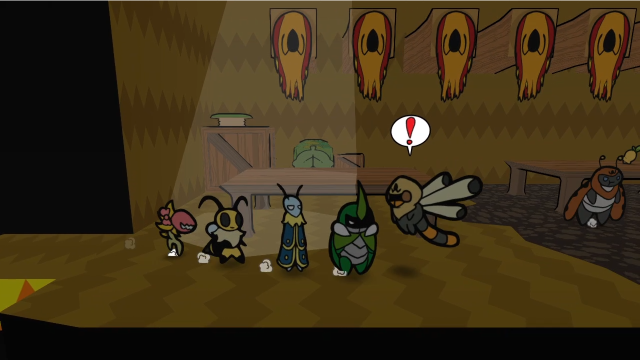 Before that, though, we should probably deal with the enemies. 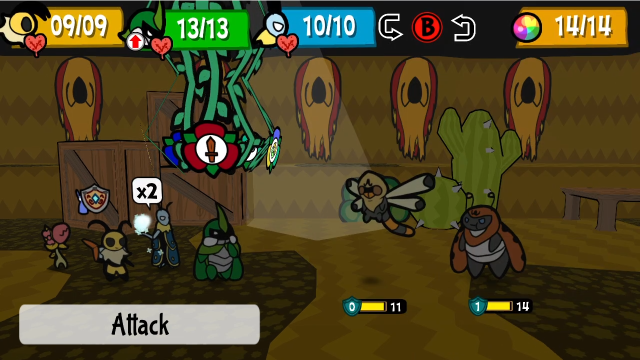 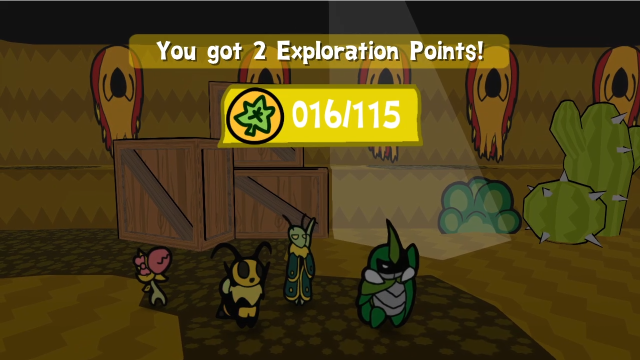 Nothing to worry about here. 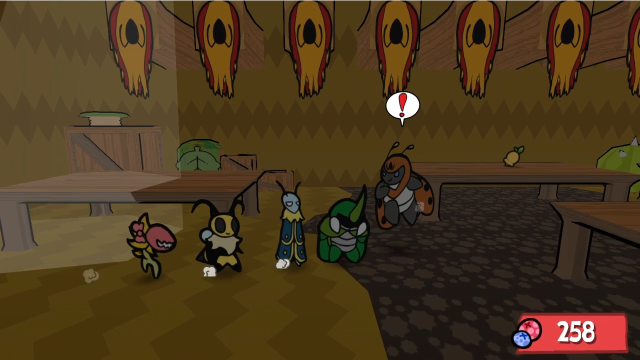 One more. (What's that on the table behind him?) 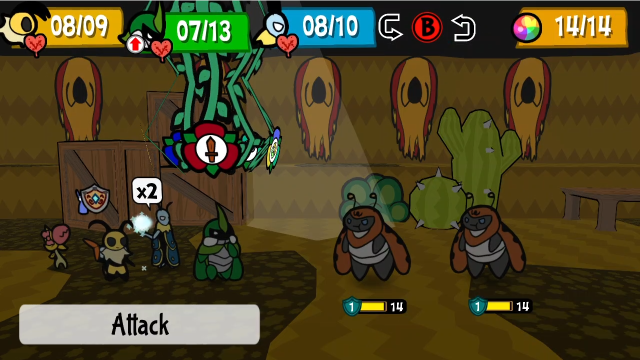 Two Burglars. That's a bit annoying.  Still, nothing too taxing. 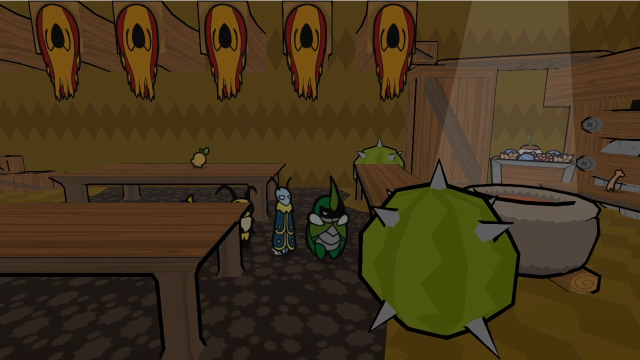 There are some interesting things behind the counter here too, but we can't get to them from this side. 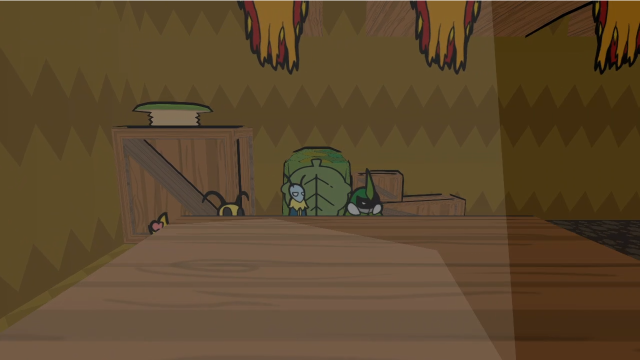 The trick is this pile of boxes. 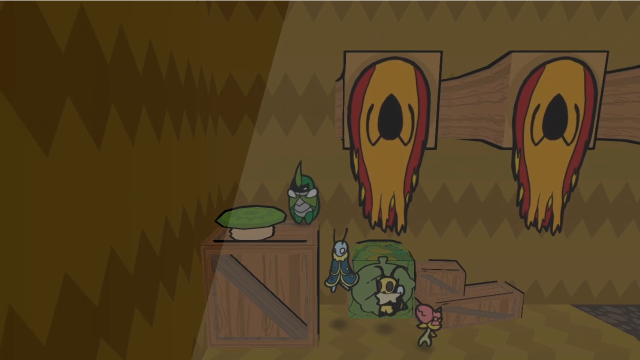 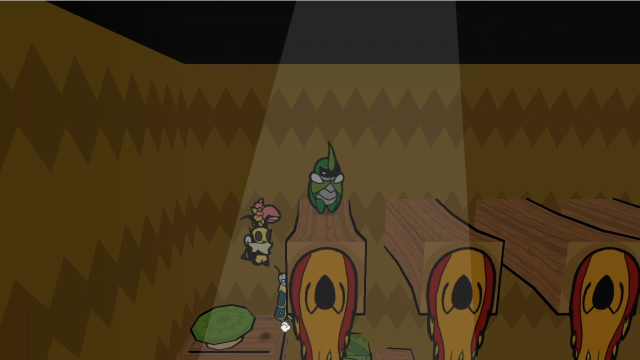 Between the boxes and the spring, we can get up onto the rafters! 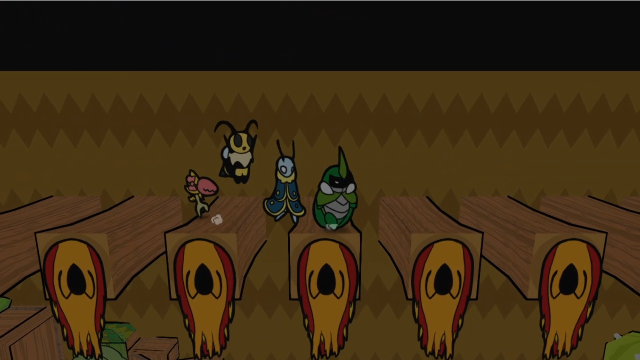 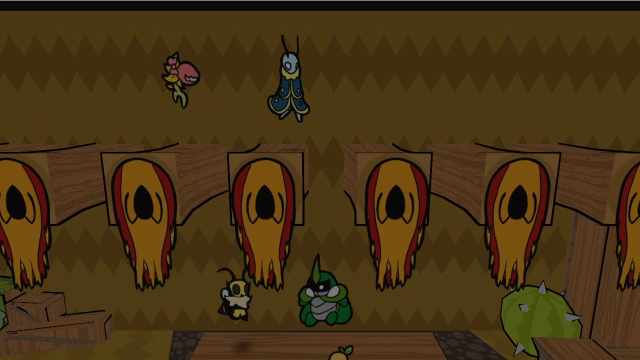 Partway across, we can drop down to land on the table. 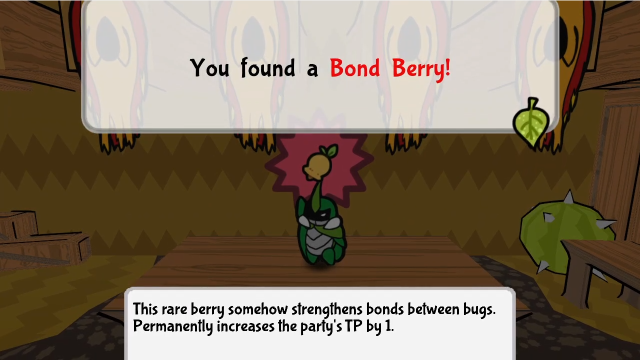 Sweet. I'm certainly not going to complain about this! 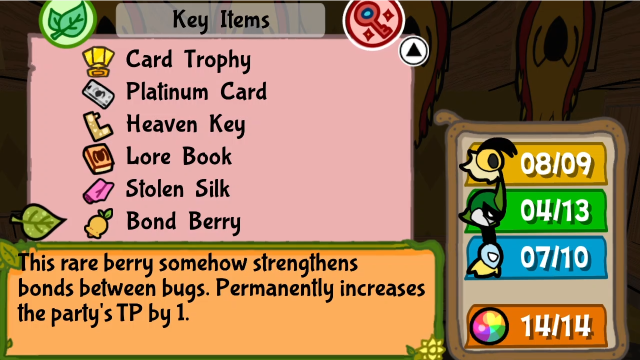 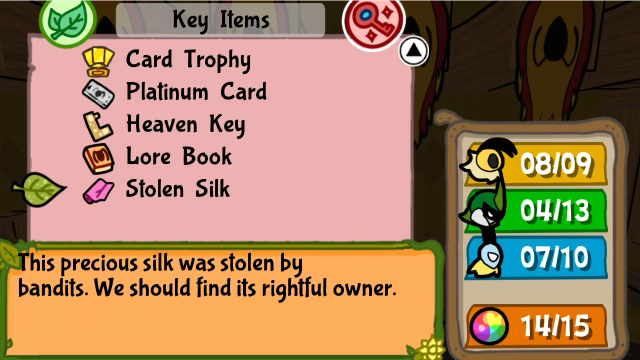 Let's use it right away, there's no reason not to. 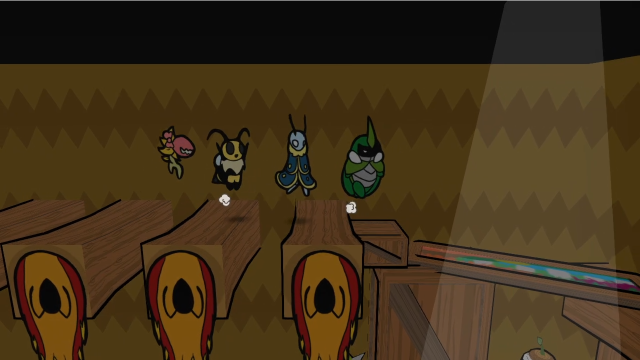 Then climb back up and proceed further. 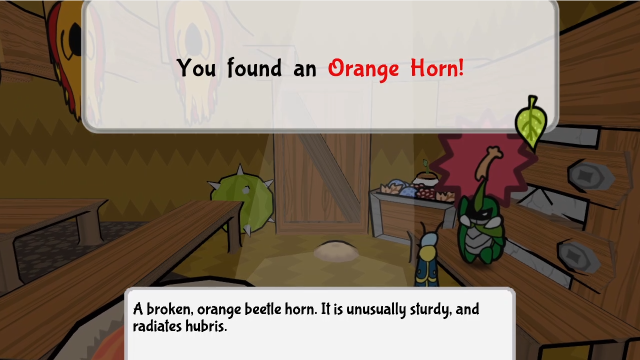 This is... troubling. What on earth happened? (And why did they steal it afterward?) 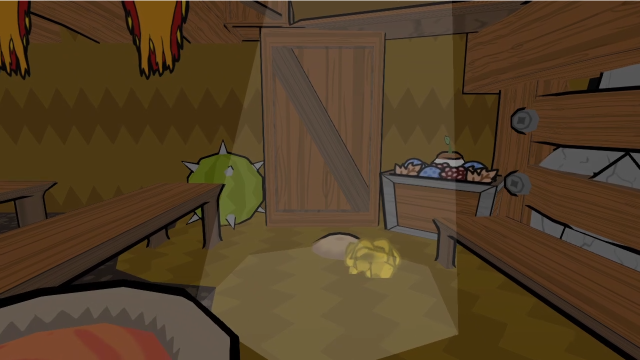 Also, hey, a dirt mound we can dig up! 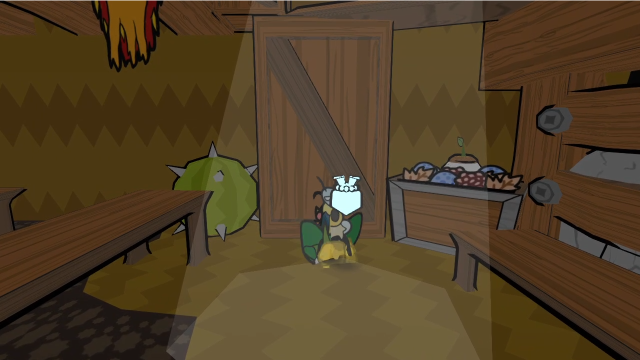 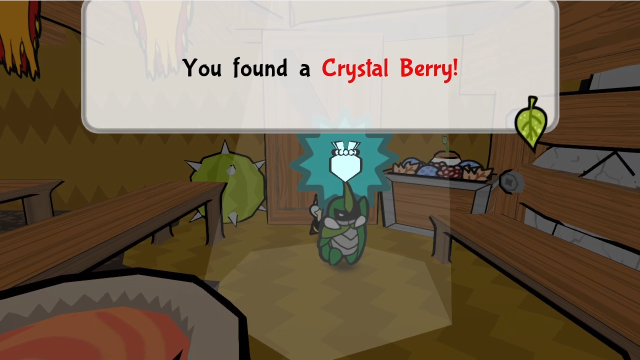 This one had a Crystal Berry in it. Let's take that. 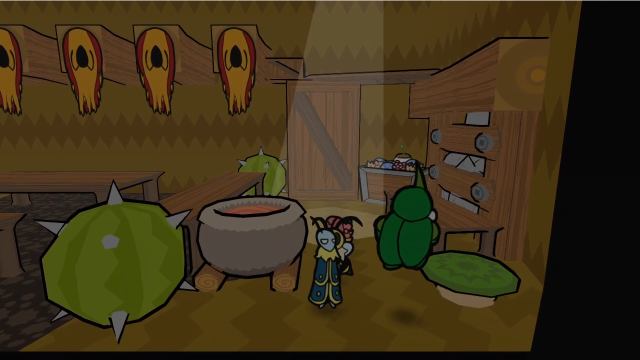 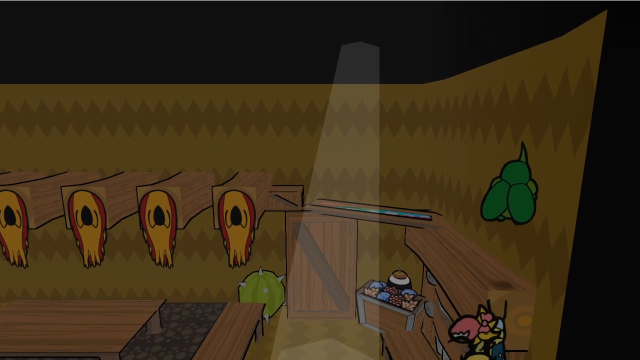 To get back, we need to use this spring to get back up to the rafters. 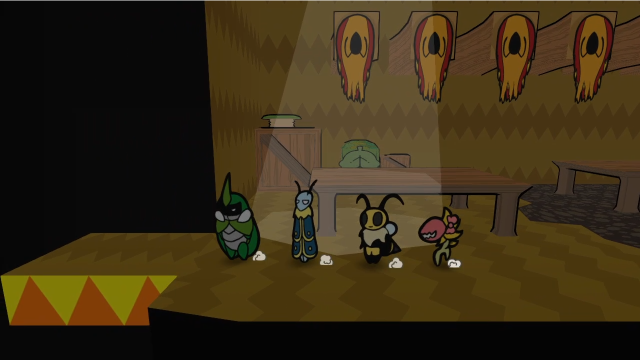 That's it for here. Let's head back to the bridge room. 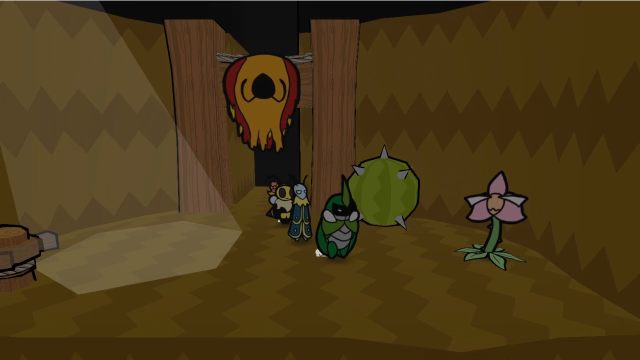 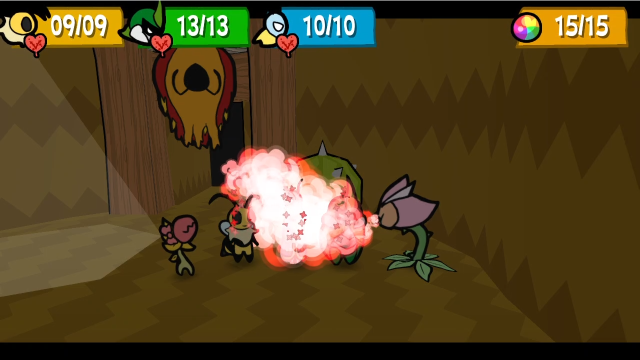 Some healing again for good measure. 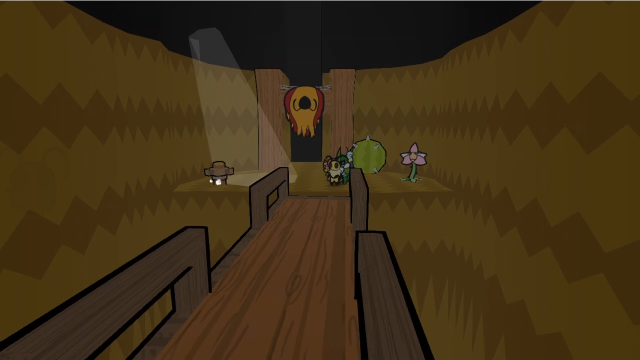 We need to use this crank to rotate the bridge. If we hadn't gotten the Beemerang back, we'd be out of luck here... 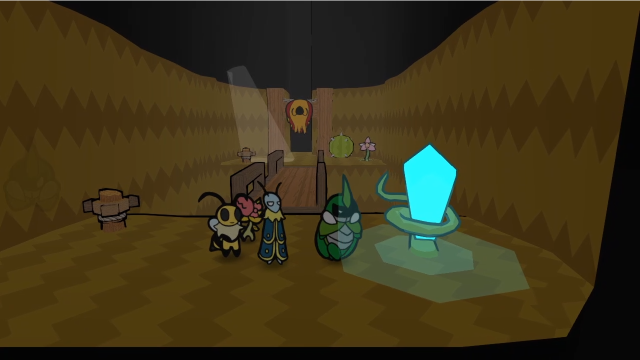 There's a save crystal on this side. That seems a bit ominous. 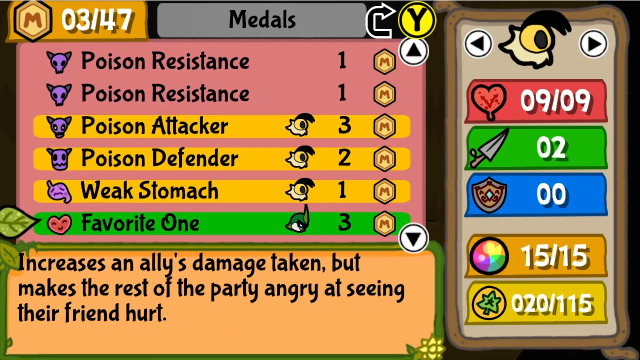 So let's move some medals around. This might seem a bit cryptic, but I promise there are reasons for everything I'm doing here. We're going to remove all of the poison medals, as well as Favorite One. 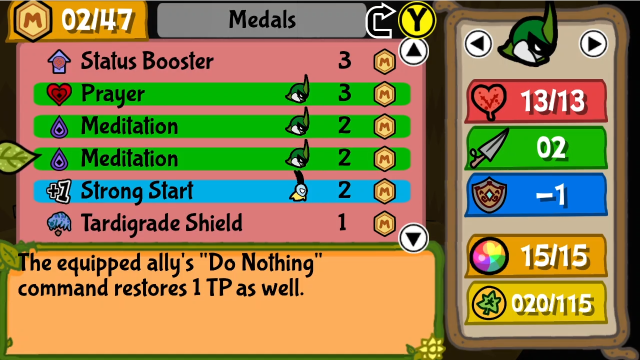 And instead, Kabbu's going to load up on Do Nothing enhancers. 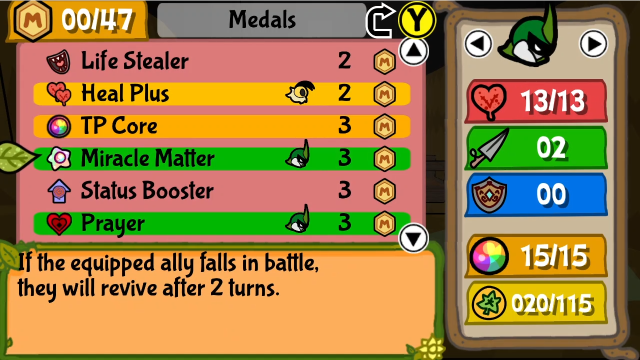 Plus Miracle Matter as insurance, but that's more because I had the points left over than anything else. 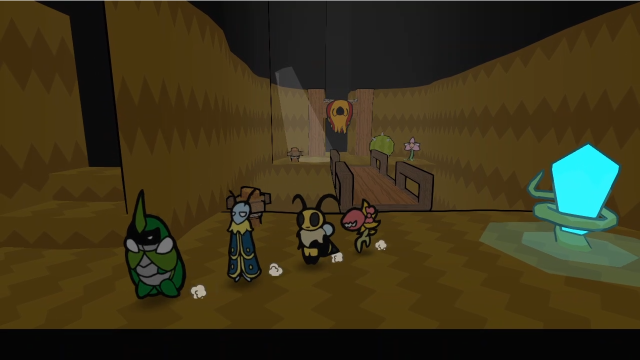 Let's head onward. There's actually a bit of weirdness to discuss here; I've actually been hiding something. Version 1.1 introduced a bug in this area, where even though Vi's Beemerang was stolen, if you put her in front and press (B), she'll still throw it normally in the field (it was properly taken away in earlier versions, whatever they did to let you use it from the start broke it here). If you notice this, you can come to this room and turn the crank, cross the bridge and come down here without having gone through the sequence to recover it. If you do, though, you'll find the game just hasn't put the loading zone here, so you can't actually move onward. At least they had a failsafe, so the only thing the bug does (unfortunately) is break verisimilitude a bit. I felt obligated to mention it, though. 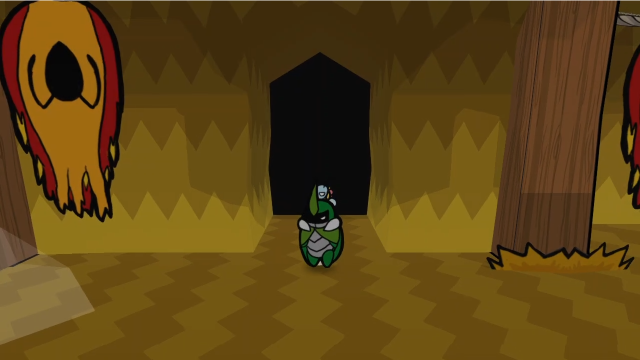 We come out here. This corridor should look familiar... They really got us with their bait. They even had a fake wall blocking these stairs. We were too confident. But we've grown smarter from this! Uh. Yeah, sure...Team Snakemouth certainly recognise it. 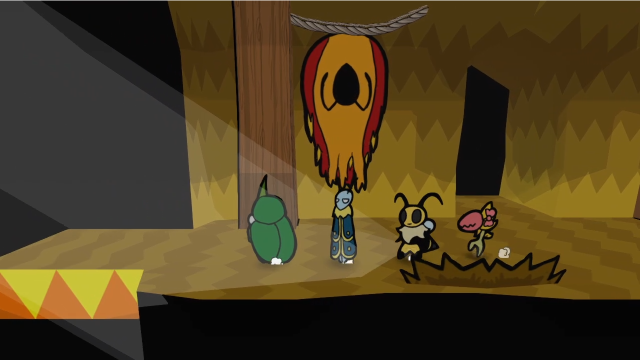 If we go west, we can leave the hideout via the front door. Let's not, though... 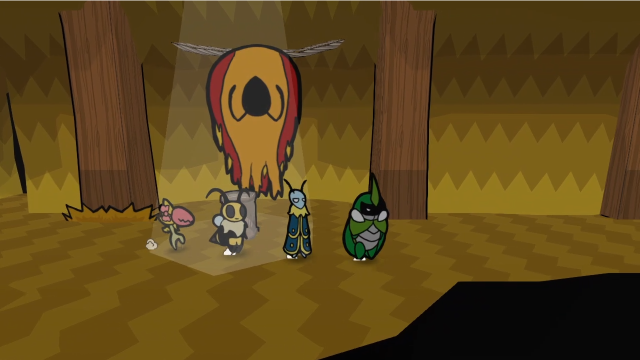 This is different! There's no longer a wall here just past the pedestal, we can go further east than before. 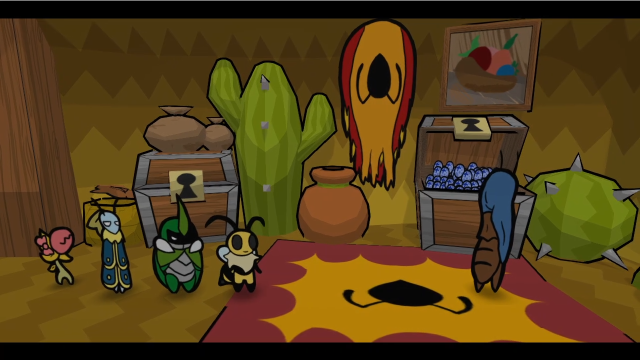 Someone is waiting for us. Unfortunately, so is the character limit, so I'll need to split the post here. Back momentarily. Explopyro fucked around with this message at 18:41 on Aug 23, 2021 |
|
#
?
Aug 23, 2021 07:38
|
|
|
35: One-Armed Bandit (Part 2) 47 - The Bandits' Hideout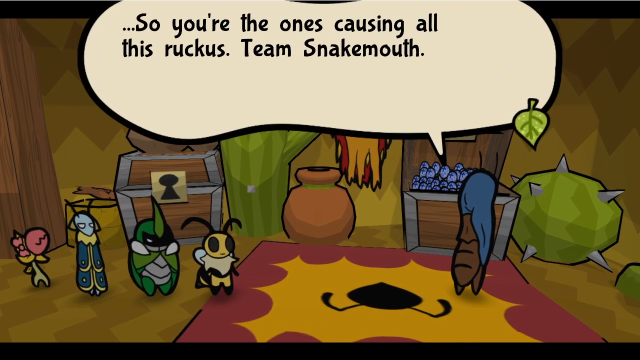 This imposing presence! Are you the leader of the bandits? This imposing presence! Are you the leader of the bandits? Hm. Quite sharp. Hm. Quite sharp.  You've got some nerve throwing us in a cell! If you give us the key, we may even forgive it. As if your feelings were of my slightest concern. You were trapped for what your heads could offer. You've got some nerve throwing us in a cell! If you give us the key, we may even forgive it. As if your feelings were of my slightest concern. You were trapped for what your heads could offer. 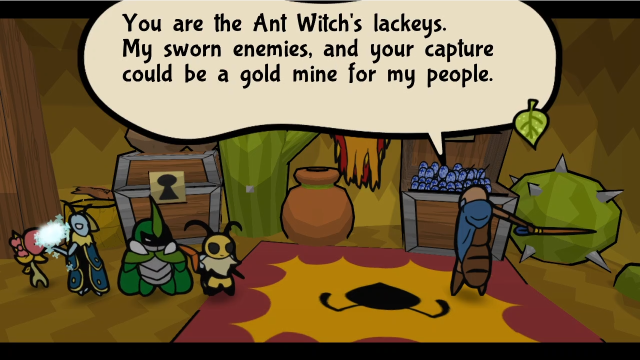 The Wasps promised a handsome reward if we got rid of you. But I was blind to their slimy ways. Astotheles, you seem reasonable. Surely this need not come to blows? You naive Queen's lapbug. Between us there can be no compromise. But you shall have an honorable fight. Do your worst! Curses... The Wasps promised a handsome reward if we got rid of you. But I was blind to their slimy ways. Astotheles, you seem reasonable. Surely this need not come to blows? You naive Queen's lapbug. Between us there can be no compromise. But you shall have an honorable fight. Do your worst! Curses...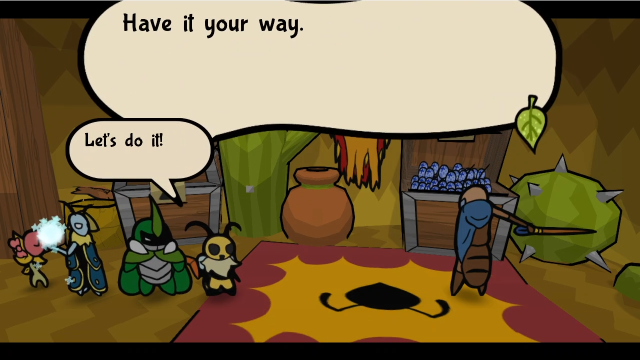  Click me for video! 29 - Team, This One's Stronger! (Miniboss) Click me for video! 29 - Team, This One's Stronger! (Miniboss) 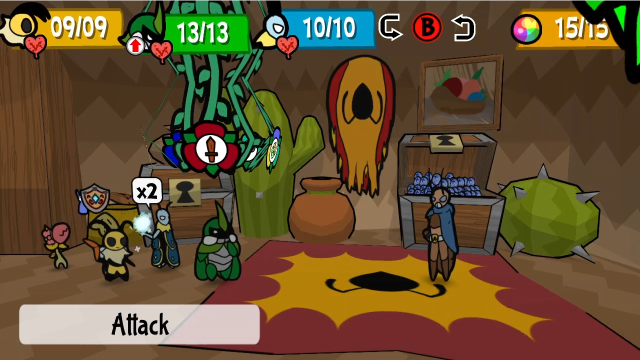 Looks like it's come to a fight with the bandits' leader. (I hope you were sitting down for this reveal, it's such an incredible surprise.) Let's do the usual spying. 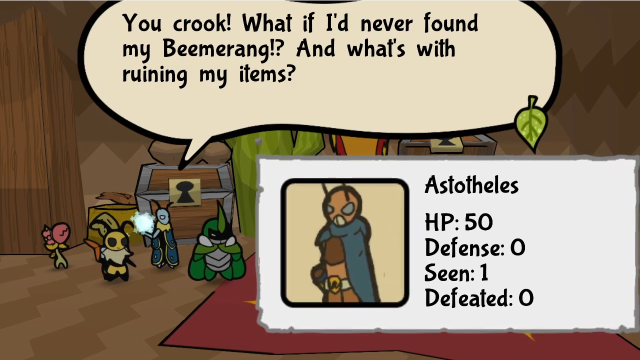 I don't care if you're the boss, you're gonna go down! I don't care if you're the boss, you're gonna go down!Ruining our items, you say? What could that mean? (No matter who we spy with, we'll get some kind of hint about this.) 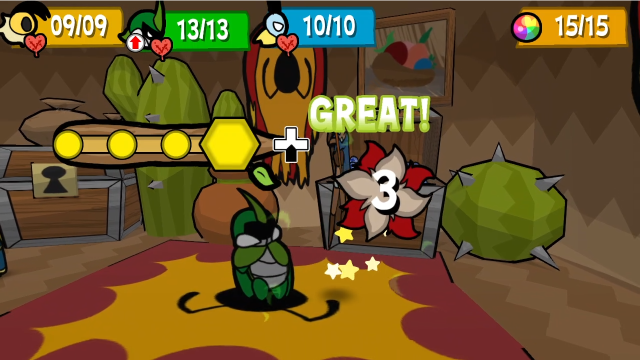 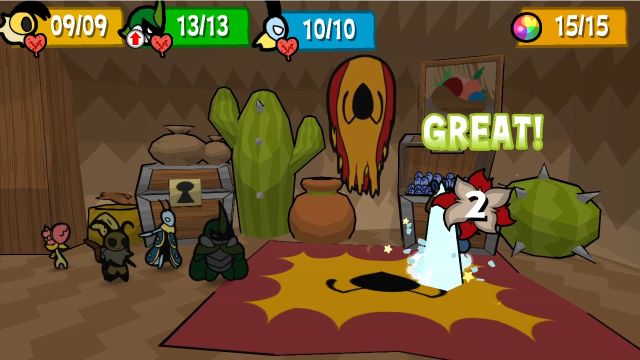 Let's do some basic attacks to start off. Then, hmm, maybe we should boost ourselves? Leif can't do much else with the Strong Start turn...  Oh dear. So much for those Burly Chips! Astotheles is something of a gimmick fight. Here's the gimmick: we're not allowed to use items. Any time we try, he'll immediately react and smack it out of our hands with his cane before it takes effect. This destroys the item completely, you don't get it back even at the end of the fight. As you might imagine, this can really change how you approach the fight. (Honestly, it can be a bit surprising how much of a change it is!) Recovering HP and TP is a lot harder, and self-inflicted status strategies are right out. So you can see why I made the medal changes I did. I'll discuss this dynamic more later, but for now, let's get on with the fight. 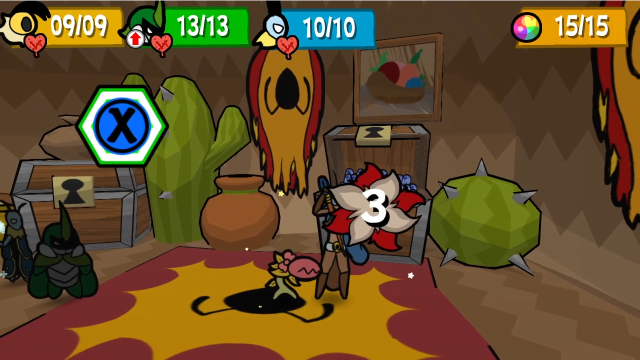 Chompy's here, though, and that helps!  On his turn, Astotheles uses one of his primary attacks: a flurry of blows with his cane. This one does 2-3 hits, with a base damage of 2 per hit. Another twist this fight throws in is that it really rewards blocking well; this damage adds up very quickly otherwise. 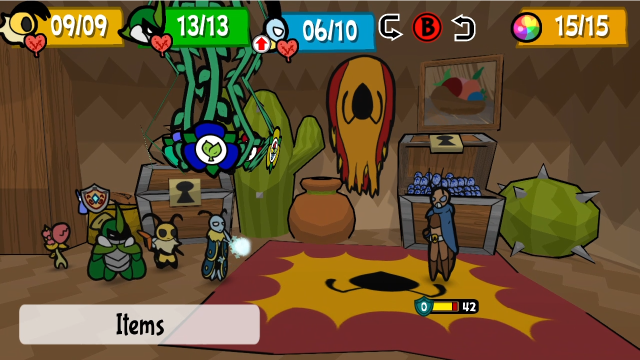 Here's where things stand one turn in. Let's get Kabbu into the back and have him taunt.  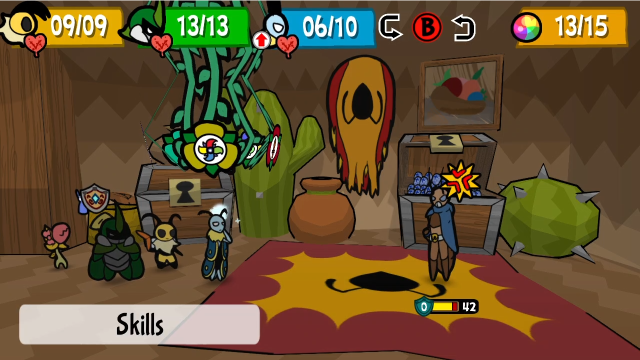 I like using Taunt in this fight. Astotheles is going to be hitting somebody, so it may as well be the one with Spiky Bod, and it ensures we get the benefit of Back Support. 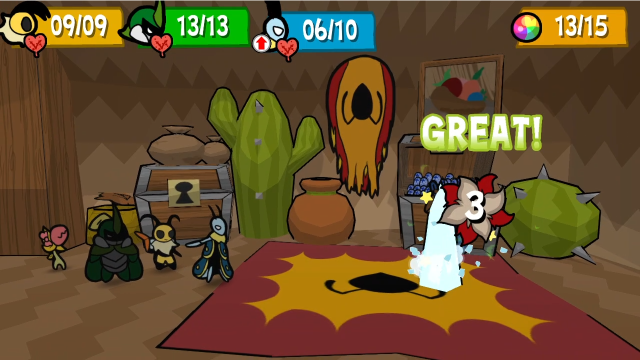 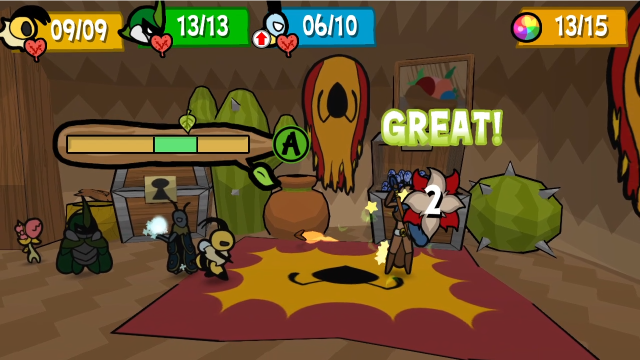 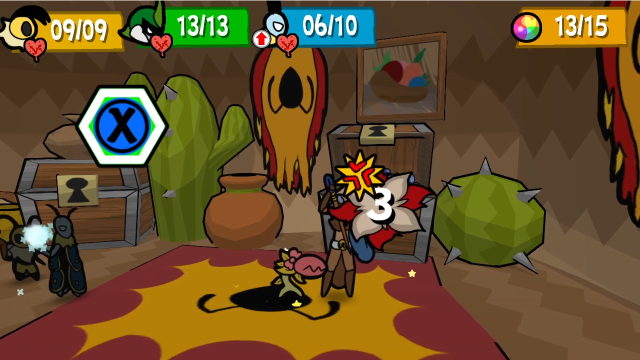 The others will just attack for now. 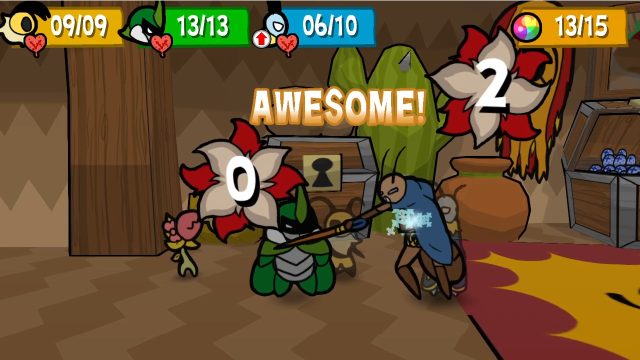 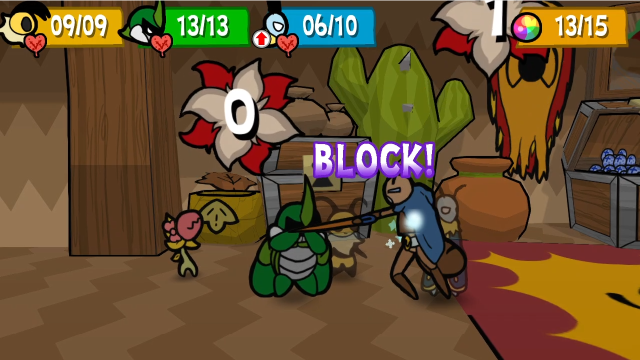 Astotheles just uses the same attack on Kabbu. This time, I manage to block decently well, so Kabbu doesn't take any damage and deals 3 points back in retaliation. Much better. 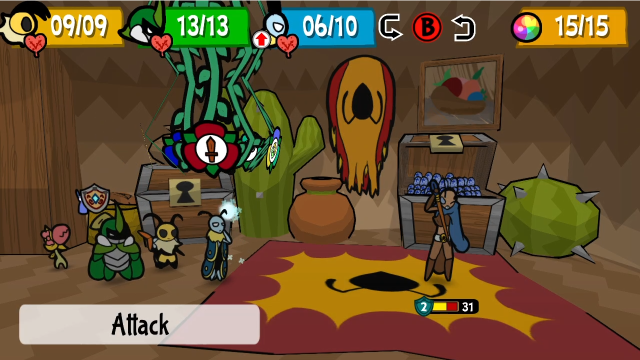 This turn, we see something else interesting. Astotheles has a defensive stance, which he can go into at random (after he's attacked, or at the beginning of his turn). While in this stance, his defence is increased by 2. 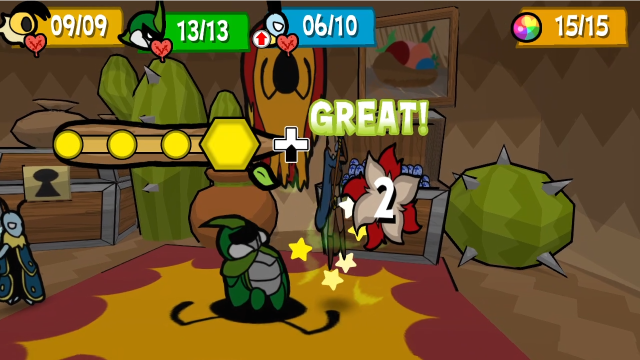 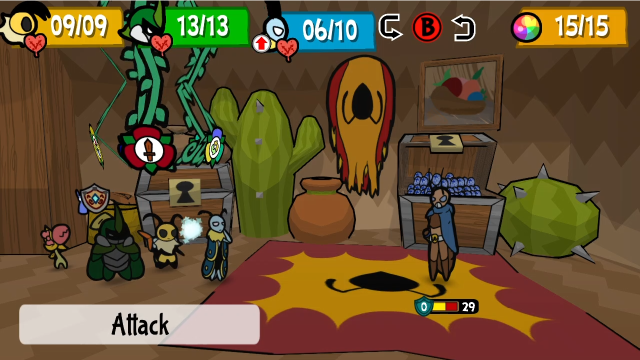 Hitting him with a flipping attack knocks him out of it, though. 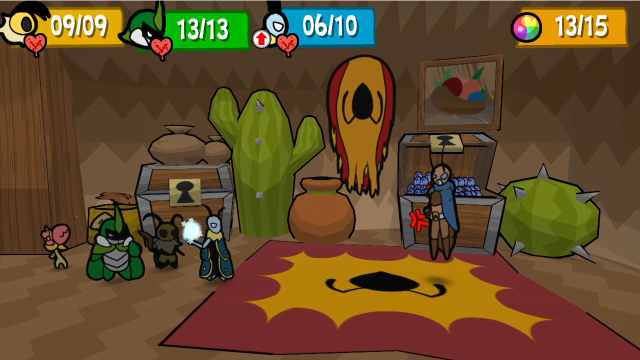 Vi relays to Kabbu so he can taunt.  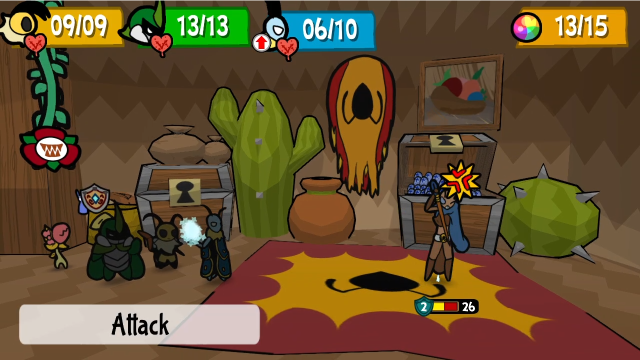 Leif attacks, but he goes into defensive stance afterward. 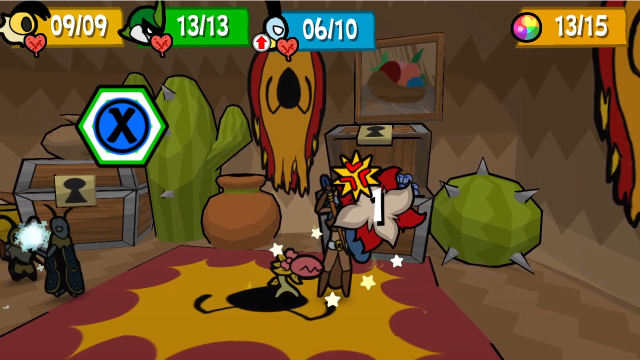 Which leaves Chompy struggling to get through.  At the start of his first turn under 50% HP, Astotheles grants himself two actions. This could get painful.  That could've been worse. This is his other main attack, a single swipe for 4 base damage. (Between hitting the Super Block, having Super Block+ equipped, and Back Support, we've just negated all of it.)  Then he immediately takes his second move, which is a 3-hit flurry. (We can also now see what his tell is: the gleam in his eye indicates a flurry is coming, rather than a big hit.) Blocking makes it not hurt that badly, though, and the counter damage starts racking up. 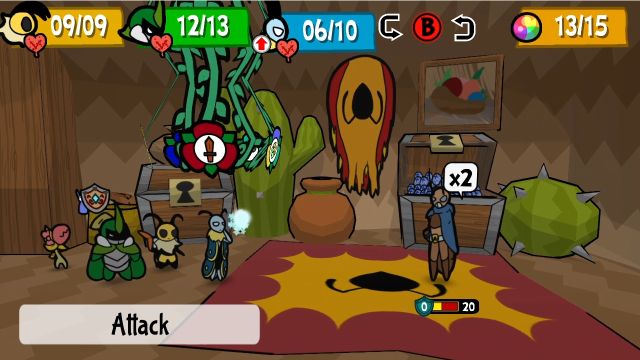 We're most of the way there now. 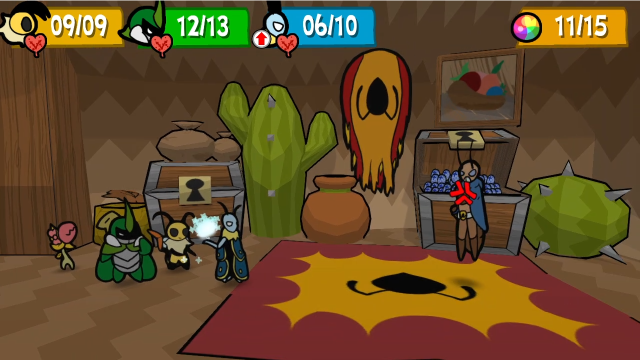 Kabbu taunts. 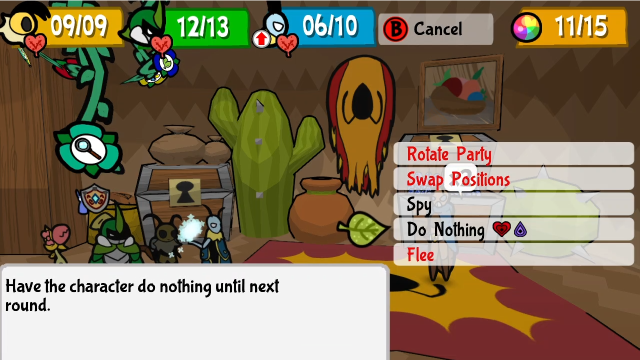 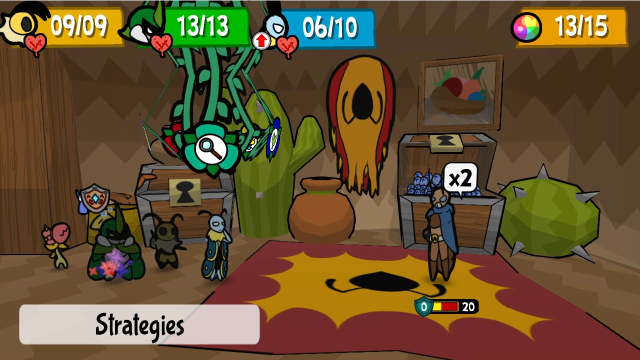 Then, with a relay from Vi, he... does nothing, recovering 2 HP and 2 TP. This wasn't quite necessary here, but we have to execute the core plan at least once! (And, honestly, when taunting it's never a bad idea to try keeping Kabbu on full HP in this fight.)  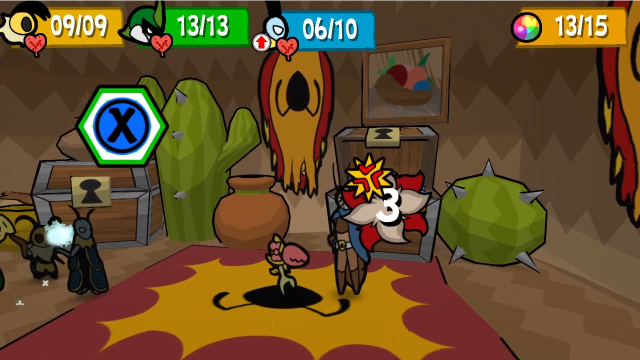 Leif and Chompy attack as usual.  This turn, we see Astotheles' dirtiest trick: sometimes, he'll start with the big swipe, then immediately follow it up with a flurry without missing a beat. The only hint you get is the gleam in his eye (and accompanying sound), just before he starts poking you again. Without blocking or defence boosts, this single sequence here would have done 10 damage! It adds up fast.  And remember, he gets to move again after that. He could do it again (though he didn't here). 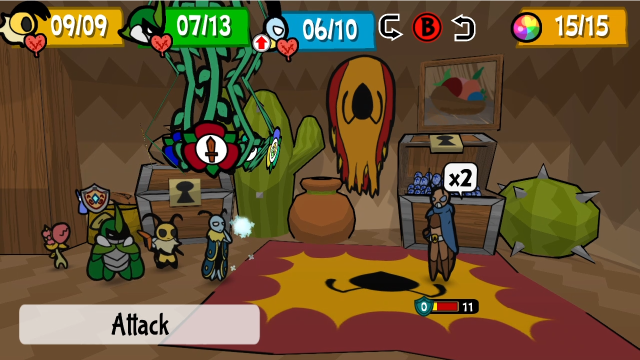 Now that he's down to 11 HP, we should be able to finish him off.  Let's get Vi in front and have Leif cast Empower on her. We haven't used this yet, but it's pretty straightforward: it just gives her the Attack Up buff for 2 turns. Most of the time, I prefer to get effects like this from items, but in this particular fight, that's not an option. Leif's spells do just as well.  Now we can do a Hurricane Toss. With the ADBP Enhancer, it gets an extra hit too. 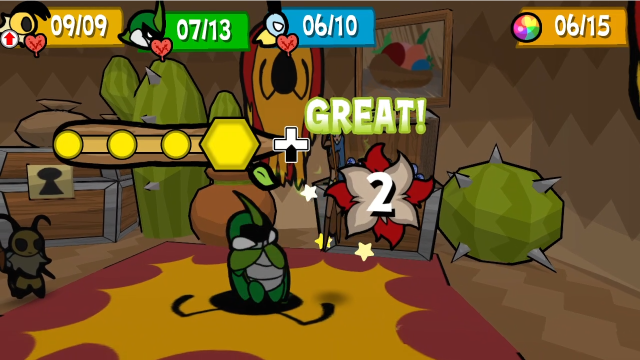 Kabbu gets one more hit in...  And Chompy deals the final bit of damage, ending the fight. 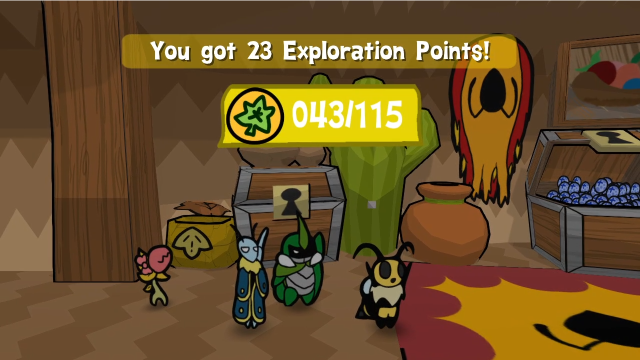 That could have gone much worse! Let's talk about this fight in a bit more detail. I've always found this fight with Astotheles one of the most memorable in the game, and it's consistently been one of my favourites. I love how much one simple restriction can make you recontextualise the tactics you're used to using, and try things you wouldn't otherwise have thought to. It's a simple change that ends up having surprising depth. That said, I do have a few issues with it, and think the design could have been improved.  Disabling Astotheles with bad statuses like freeze or sleep will not prevent him from interrupting your item use. Instead, counterintuitively, he'll just arbitrarily cure himself and destroy the item anyway. This has always just felt wrong to me from a design perspective: "you need to use disabling status to open up windows to use consumables" is (in addition to making more sense here) a more interesting gameplay gimmick than "consumables not allowed" since it gives the player countermeasures to play around it. It would just have been a more dynamic fight that way, and I was really disappointed when I first learned that wasn't how it works.  That said, it's worth pointing out explicitly (since it didn't come up in this run of the fight) that Vi's Secret Stash and Sharing Stash skills work normally, so you aren't completely without healing options. Astotheles will ignore these skills completely, he only cares about actual consumable items from the items menu. That's also dissonant, but in a slightly different way. They could have resolved a lot of this dissonance by coming up with a different excuse for the "no items" gimmick. (Have the fight occur before we've recovered our stolen gear, perhaps?) That would make it feel more like a quirk of circumstance than the game arbitrarily cheating (though, I guess, if any character is going to cheat, a bandit kingpin is one of the better choices to be the one to do it). The other big issue is that this fight, because the restriction on items ends up constraining both your healing and skill usage, feels a lot more punishing, and it legitimately has less margin for error than most others. Astotheles' attacks really hurt if you can't manage at least normal blocks. It's especially noticeable on the game's harder bonus difficulties (and challenge runs); he was, consistently, the biggest roadblock for me. Still, for all my griping that they could have done it better, this is a great fight and it feels really satisfying to do well. 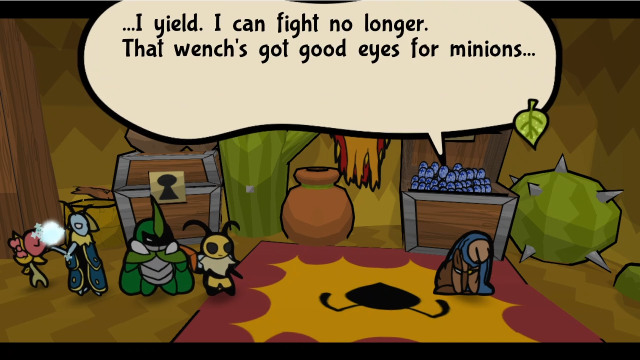 Do it, then. End me. You got the fair fight you requested. That's enough. A smackdown is good enough for us. ... Do it, then. End me. You got the fair fight you requested. That's enough. A smackdown is good enough for us. ...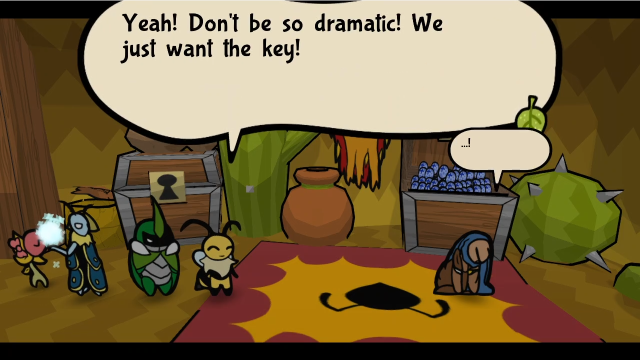 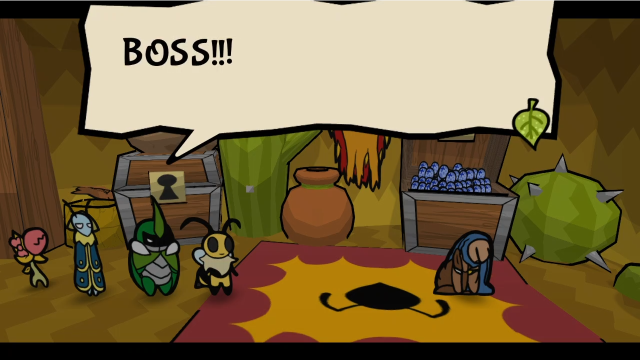 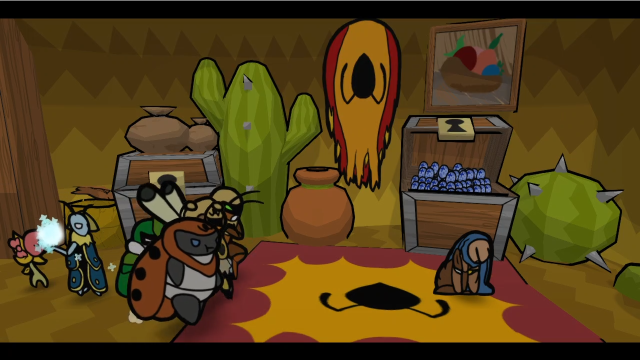 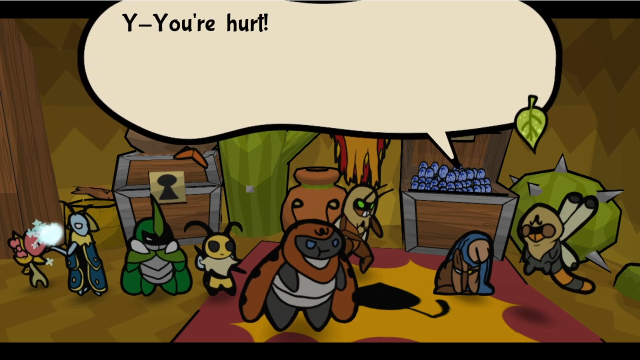 Boss, why didn't you call us? We coulda handled these chumps! And we still can! Let's get 'em, boys! Tch. After such a tough fight... Enough! Boss, why didn't you call us? We coulda handled these chumps! And we still can! Let's get 'em, boys! Tch. After such a tough fight... Enough!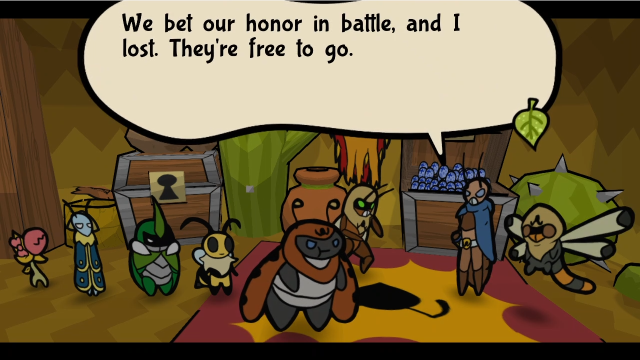 Seriously, boss? We can take 'em! ...It's okay, friends. The gardens bloom, do they not? And we drove the wasps out. There's no point in keeping them here any longer. Seriously, boss? We can take 'em! ...It's okay, friends. The gardens bloom, do they not? And we drove the wasps out. There's no point in keeping them here any longer.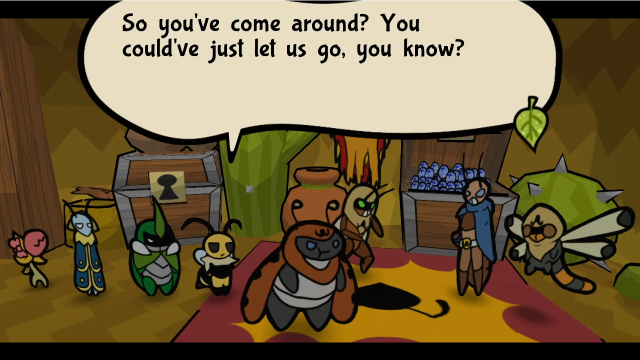 I don't get ya sometimes, boss... You three. You're against the Wasps, correct? Indeed. They are a threat to all of Bugaria. Then you may not be so bad. Maybe I can trust you with this. I don't get ya sometimes, boss... You three. You're against the Wasps, correct? Indeed. They are a threat to all of Bugaria. Then you may not be so bad. Maybe I can trust you with this.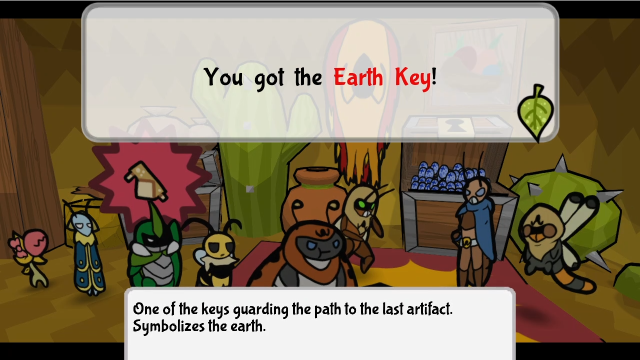 We don't owe the Ant Kingdom even one blade of grass... But those Wasps betrayed our covenant. They are lower than dirt. I hope they'll meet justice at your hands. We don't have the time or resources to go after them. If we do, don't think it's to do you a favor. We don't owe the Ant Kingdom even one blade of grass... But those Wasps betrayed our covenant. They are lower than dirt. I hope they'll meet justice at your hands. We don't have the time or resources to go after them. If we do, don't think it's to do you a favor. You heard the boss! Get out! Don't make us kick ya! You bandits have got some swinging moods. I don't get it... Are they good or bad? Come, Vi. I don't think that's an answer we'll get today... You heard the boss! Get out! Don't make us kick ya! You bandits have got some swinging moods. I don't get it... Are they good or bad? Come, Vi. I don't think that's an answer we'll get today...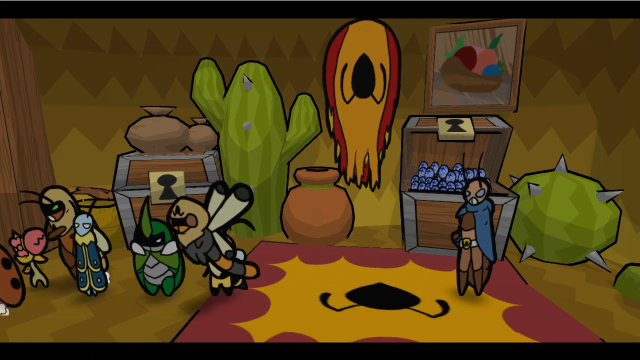 The bandits leave... 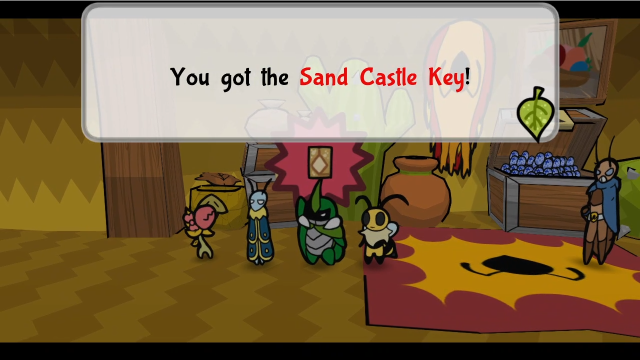 We've got both keys. We should head to the Sand Castle, then. It is at the most northeast part of this desert! We've got both keys. We should head to the Sand Castle, then. It is at the most northeast part of this desert!And, because we've already gotten the other half of the key, we immediately jump into this scene as they automatically combine. Awkwardly, though, it might still be a bit before we actually head to the Sand Castle, because an enormous amount of side content has just opened up to us (between returning the stolen items we found here, and our newfound ability to dig). 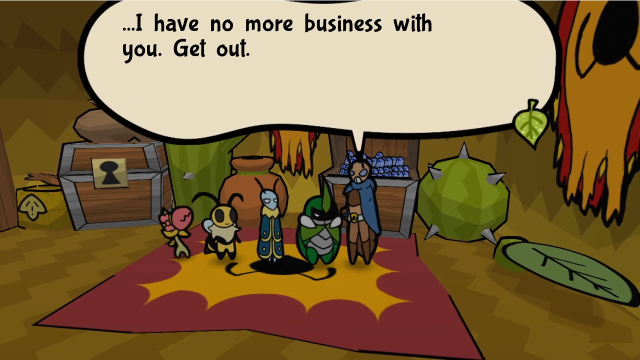 Astotheles isn't interested in talking further. He called Elizant the Ant Witch, huh. He fights really well with one arm... I wish I could know more of his history, but we must leave lest we get thrown out.The banter confirms that Astotheles is a literal one-armed bandit. (Puns!) There's definitely also an implication here that he (and, by extension, the bandits) have farther-reaching political goals, and might be trying to establish their own nation. 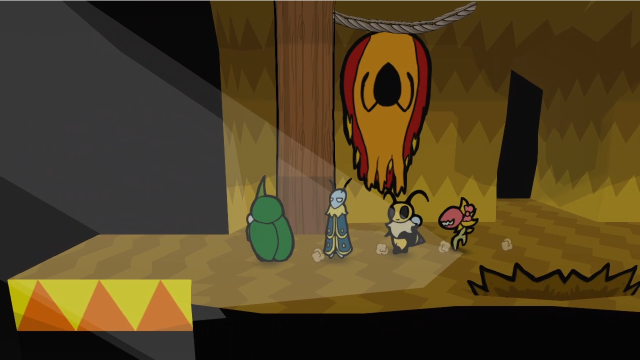  Regardless, we've finished our business here. Next time, let's return some stolen goods? Explopyro fucked around with this message at 21:11 on Aug 31, 2021 |
|
#
?
Aug 23, 2021 07:38
|
|
|
Given what some of the stolen goods are, looks like Team Snakemouth is 'horning in' on the bandits' business. 
|
|
#
?
Aug 23, 2021 09:00
|
|


|
Chompy is so good! I'm terrible at timing-based things so I can imagine this fight being a giant roadblock for me because I can't just Heal Through It.
|
|
#
?
Aug 23, 2021 12:38
|
|
|
The arbitrary self heal from triggering the item ban was what annoyed me the most about that fight, yeah. Not only did you waste an item, you also wasted a disable. That ended up causing a reset in that run because I had no idea that would even happen and my party wasn�t in the best of shape when I found out how enforced the item ban was.
|
|
#
?
Aug 23, 2021 12:46
|
|

|
I, uh... I never knew that boss disabled items. I was playing on Normal, mind you, so I just think I never needed to use an item once during the fight. That's really weird, but interesting!
|
|
#
?
Aug 23, 2021 15:27
|
|
|
A blanket item ban does sound kind of iffy. I agree with you that they should have made it so you could still use items so long as you've disabled him in some way. Or, failing that, made it so only certain items could be used, such as ones that inflict status effects on your party. That would have the bonus of also letting the player still use stuff like the self-poison strategy. Oh, and also magic seeds.
|
|
#
?
Aug 23, 2021 21:41
|
|

|
Is Astotheles being a cricket and hating ants some kind of reference to Aesop's fable? In the original it's a grashopper, but I've seen it with a cricket too.
|
|
#
?
Aug 24, 2021 10:07
|
|

|
apropos of nothing, but it owns: https://twitter.com/kumoketu/status/1430146252419731458?s=20
|
|
#
?
Aug 24, 2021 14:14
|
|
|
Quackles posted:Given what some of the stolen goods are, looks like Team Snakemouth is 'horning in' on the bandits' business. Hahahaha I wish I'd thought of this. (That said, just wait for the resolution of that particular item...) Leraika posted:Chompy is so good! On Normal and Hard, it's really not as bad as I'm probably making it out to be (and even then, you'll probably notice I missed about half my blocks in the recorded fight). You can get pretty far by saving all your TP to spend on Vi's healing skills, too. Alternatively, well-timed freezes late in the fight go a long way toward mitigating the damage he can put out with his extra actions. Edit: also, as we saw in my fight here, Back Support + Taunt takes a lot of the edge off, though that can be a heavy drain on your TP if you don't build in a way to recover that. There's also a certain medal you can get from beating 30 waves in the Cave of Trials that, combined with Back Support, would completely negate all the 2-damage hits with no need for blocking (though if you can get it at this point, you probably don't need it). It's much more of a roadblock on the harder bonus difficulties, which boost both his damage output and survivability (or if you're doing some kind of challenge run). The first time I beat him on TUFFBUGS (which, among other things, disables non-Super blocks), I did so with a sort of sequence break, leaving the hideout to scour the world and grab all the things the dig ability unlocks (including one specific medal we'll probably see next update) before coming back to fight him. That was probably overkill, but it did work. Araxxor posted:The arbitrary self heal from triggering the item ban was what annoyed me the most about that fight, yeah. Not only did you waste an item, you also wasted a disable. Yeah, I think this is the biggest design misstep in the fight. It's particularly frustrating because the only way you'll learn about it is by walking into it, at which point you'll probably lose (because you're generally in a desperate situation when you try that hard to heal). Pretty sure I lost one of my first fights with him that way too. It's particularly frustrating, thinking about it, because the game teaches you to expect otherwise in the Chapter 2 fight with Zasp and Mothiva. There, if you disable Zasp with a status, he won't react when you hit (or KO) Mothiva, and that's absolutely a valid strategy for the fight. Astotheles, by contrast, just ends up feeling like a cheater. (Maybe they should've just made him immune to status effects?) ...I think I'm going to have to do another Design Interlude post about this fight. I thought I'd said everything I had to about it, but clearly not. Alxprit posted:I, uh... I never knew that boss disabled items. I was playing on Normal, mind you, so I just think I never needed to use an item once during the fight. That's really weird, but interesting! Haha. Wow. I can see how that would happen, I guess, but that has to have left you with an impression that he's a disappointing boss (if you don't know about the gimmick, surely he just looks like a boss with a limited moveset that only deals physical attacks?). This is honestly fascinating to me. serefin99 posted:A blanket item ban does sound kind of iffy. I agree with you that they should have made it so you could still use items so long as you've disabled him in some way. Or, failing that, made it so only certain items could be used, such as ones that inflict status effects on your party. That would have the bonus of also letting the player still use stuff like the self-poison strategy. Oh, and also magic seeds. I'm not sure restricting it to certain kinds of items would have much of an effect, though I could probably get behind an exception for Magic Seeds (though, amusingly enough, I did win the fight I took the Magic Seed destruction gif from, he was on low enough health that Vi and Leif could blitz him from there). I actually like that you can't use the self-poison strategy here, just because it's so effective that you can coast through most of the rest of the game relying on it. I think it's good to occasionally no-sell an effective strategy, to fight against players getting complacent and encourage creativity. TitanG posted:Is Astotheles being a cricket and hating ants some kind of reference to Aesop's fable? In the original it's a grashopper, but I've seen it with a cricket too. I suppose it's possible, I certainly wouldn't rule it out. That said, there are enough differences that I tend to doubt it (and I think if this were the inspiration, they'd probably have mentioned it in the art book; that said, they don't have a lot to say about him there in general). The game is frustratingly light on information about his motivations in general; I think at least some of his animosity for the ants is probably coming from sympathy for the exiled ladybugs (a majority of whom work for him), but that's only my speculation. Leraika posted:apropos of nothing, but it owns: This is awesome. I could've sworn I'd seen a similar one earlier (maybe even posted in the thread by you), but this looks more polished. There is so much awesome fanart for this game. Edit: oops, apparently I hadn't watched the entire thing. Holy poo poo, this is seriously impressive. I think whatever I'd seen before was just the first 10-20 seconds of this. Explopyro fucked around with this message at 19:45 on Aug 24, 2021 |
|
#
?
Aug 24, 2021 15:54
|
|
|
Yeah, I'd posted the first bit a while ago when the creator first tweeted it. Nice to see they got it finished, it's very well done.
|
|
#
?
Aug 25, 2021 11:07
|
|


|
Design Interlude: Discussing Astotheles I hadn't planned to do a full design breakdown/repair post about Astotheles, but after the update and subsequent thread discussion I realised there was probably enough to say that it was worth doing. I want to be clear from the outset that, overall, I actually like the Astotheles fight and think it probably only warrants minor changes. This fight has two separate and distinct things going on. The first, of course, is the no-items gimmick. The second is the structure of Astotheles' attacks, largely a flurry of low-damage hits that heavily rewards blocking. The item restriction is the sort of thing that could be applied to any fight, but I do think it was a very smart decision to tie it to what is otherwise a simple and straightforward fight concept. The structure of his attacks heavily rewards using Taunt and stacking defence boosts on Kabbu (well, Back Support at least, or you could get Defense Exchange from wave 30 of the Cave of Trials), and Spiky Bod if you're good at blocking (because it applies separately on every hit, it can add up fast). If you don't go that route, the fight becomes more or less a damage race (which is fine, there are still various ways to deal with that), but I definitely think this fight does a good job of encouraging players to try playing defence. The one criticism I have of the attack patterns is that his damage output might be a bit too unpredictably random. The difference between his mildest attacks (one 4-damage hit, or two 2-damage hits), and his strongest (4-damage hit followed by a 3-hit combo) is pretty stark, especially late in the fight when he gets to roll those dice twice per turn. This can definitely make the difficulty feel a bit inconsistent: I have had runs of this fight which felt like I won due to good RNG, rather than any choices I made, and I think it might benefit from some kind of weighting element where the strongest and weakest attacks he can do each become more likely the more turns it's been since the last time he did them. This is a minor nitpick though, I'm certainly not averse to random elements in games. So let's talk about the item restriction. The core concept is straightforward: when you use an item, Astotheles reacts with a counter that destroys the item before it takes effect. Effectively, all items in this fight behave as though they've been replaced with a blank item that wastes the character's turn without doing anything. This, in and of itself, is fine. It can feel bad to waste an item if you walk into it unknowingly, but every character's Spy dialogue gives a hint about how it works, so I think it's perfectly fair. It makes you recontextualise item use as part of your strategy: HP and TP management becomes something you need to really think about instead of offloading it to consumables, you can't use bombs or status-boosting items to boost your damage output, self-inflicted status strategies aren't viable, etc. It's a good way of making the player think and get out of their comfort zone if they've been relying too much on a specific strategy. The problematic aspect is in what happens if you try to use an item while Astotheles is suffering from a disabling status effect (freeze, sleep, numb). He arbitrarily cures himself of the status, then breaks the item anyway. This is a problem for a couple of reasons: (1) It counteracts what the game teaches elsewhere about how status effects interact with enemy reactions. In the Chapter 2 fight against Zasp and Mothiva, Zasp does not react to Mothiva being hit or KO'd if he is frozen or asleep when it happens, and that's absolutely something you can take strategic advantage of. Other enemies later in the game will behave similarly: Astotheles is very much an exception to the rule. (2) It runs counter to intuition, meaning most players won't predict the outcome correctly. It's true that Bug Fables isn't a game absolutely dedicated to realism, but it's still the case that a player is going to have expectations, and it's better not to contravene them unless you have a good reason to. (3) The self-cure leaves Astotheles in a better position afterward than before, making this even more counterproductive than wasting an item when he isn't disabled. The player is being punished more than usual for trying a natural way to play around the gimmick (whereas my design preference would be to reward players for getting clever). The result is that this behaviour almost always takes the player by surprise and feels like a "gotcha" out of nowhere, or maybe even like the game is cheating against them. It usually leaves them in a worse situation than before, and (because players are often in a desperate situation when they feel the need to try it) very often leads directly to losing the fight. I can think of three different ways to resolve the problem: (A) When incapacitated by status, Astotheles doesn't react to item use. This is my preferred solution, it's more consistent with how other fights work, and changes the strategic value of status effects. I might also suggest lowering his freeze and/or sleep resistance, to give the player a bit more freedom to actually exploit it. This does make the fight easier; I think that's fine, but I would consider increasing his HP in compensation (especially if lowering his resistances). (B) Make Astotheles immune to status effects. The main advantage here is that this would be the easiest to implement, and stays closest to the current version of the fight (you don't get to use items, he destroys all the items you try to use), while resolving the problematic aspect. The downside here is that this takes away a strategic option the player would otherwise have, so it's a nontrivial difficulty increase. Maybe his HP would need to be reduced a bit to keep things fair. (C) Have the fight take place before Team Snakemouth recovers their possessions, changing the justification for "no item use" to them not having any. This might also require forcing Vi to sit out the fight, since all of her abilities are either tied to her Beemerang or her Stash (which would require a rebalance of his stats, but the game is definitely capable of having a fight without the full party, as we saw with Acolyte Aria). The main thing I don't like about this version is that it removes some of Astotheles' characterisation, "he's so fast/skilled he can intercept your item use" did add a little something I'd be sorry to lose. Any one of those solutions, it seems to me, solves both the verisimilitude and unfairness problems while staying true to the intent of the fight. It doesn't require major changes. To wrap this up on a different note, let's have a look at Astotheles' page from the art book: 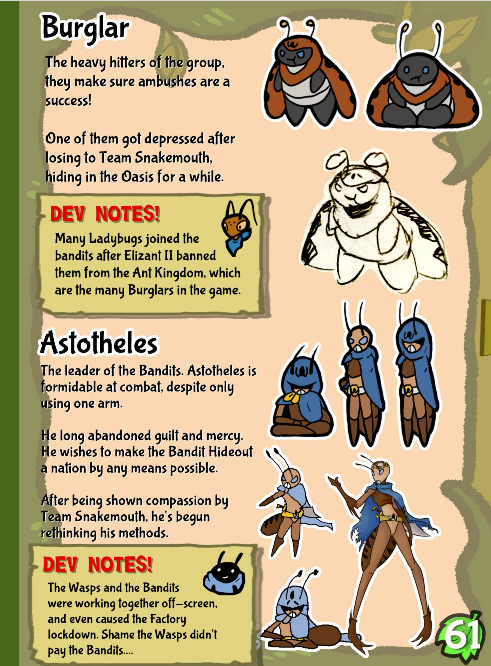 Genow's aside about the factory lockdown is interesting, because we don't get a lot of evidence for that ingame (though we did see spears like the ones the wasps use in the Power Plant, so it seems like they broke in there and may have run afoul of the Midge Broodmother). Also, the concept art shows him with a sword or dagger hilt, which suggests his weapon might not be a cane or walking stick as I've always interpreted it. I maintain I saw what I saw.
|
|
#
?
Aug 26, 2021 20:14
|
|
|
Since she's a tiny, chompy girl, I always name the chomper Gura. I'm also in the group of people who had no idea that this fight restricts your item use. I guess on Normal he doesn't hit quite so hard and probably has a bit less HP, as I didn't even use a Taunt strategy with Kabbu either. I guess I just burned through abilities as much as I could and he must have gone down before I needed to restore TP.
|
|
#
?
Aug 28, 2021 00:30
|
|
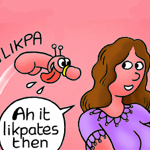
|
To everyone reading: I'd hoped to have the next update done today, but I'm running a bit behind schedule and it's probably going to take another day, or maybe two. I'm sorry about that. (I feel especially badly about this since the last post wasn't really a proper update.)Twelve by Pies posted:I'm also in the group of people who had no idea that this fight restricts your item use. I guess on Normal he doesn't hit quite so hard and probably has a bit less HP, as I didn't even use a Taunt strategy with Kabbu either. I guess I just burned through abilities as much as I could and he must have gone down before I needed to restore TP. The more I think about this, the more I think I shouldn't be surprised that people have this experience (especially on Normal). Because the fight disallows item use, it necessarily has to be beatable without using items. Anyone who manages to sight-read the fight on their first try (and do well enough they never feel the need to heal, etc, which isn't necessarily a huge ask) is just not going to see the gimmick at all. I don't remember how I first ran into it, but I suspect it was either a case of burning through my TP too fast and trying to restore it, or trying to use a stat buff (like I recreated for the LP, I'd already gotten into the habit of using those on my first run).
|
|
#
?
Aug 31, 2021 05:49
|
|
|
I leveled TP more often than anything so I was probably able to easily outlast a battle of attrition.
|
|
#
?
Aug 31, 2021 06:05
|
|
|
36: Concerning Horns Last time, our adventure in the bandits' hideout led us to recover some stolen goods. Let's see what we can do with them. 06 - Outskirts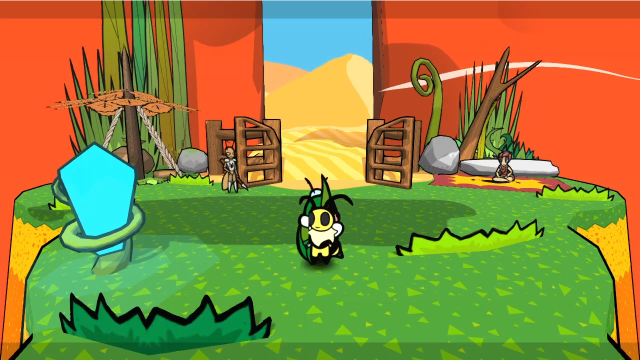 The bandits' hideout is very close to the Outskirts entrance to the Lost Sands, so let's head back that way. We can stop by Artis and check for a reward on the way. 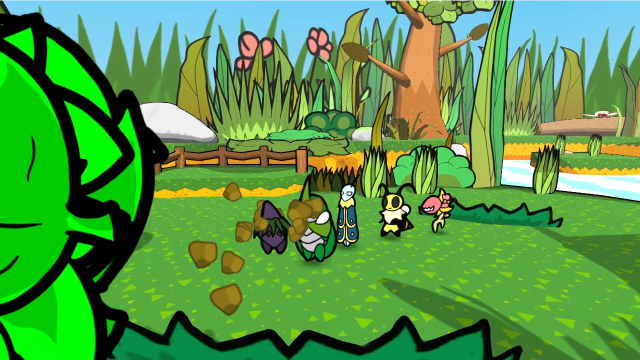 On the way, I failed to dodge one of the Underlings, which normally wouldn't be noteworthy one way or the other. Except... 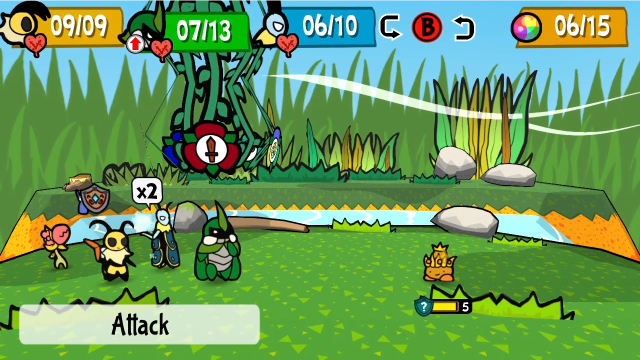 It's a Golden Seedling, which is convenient to demonstrate how much we've grown. These used to be a pain to deal with. Now, though, we have Strong Start and Chompy, meaning our first turn is composed of 5 guaranteed actions. 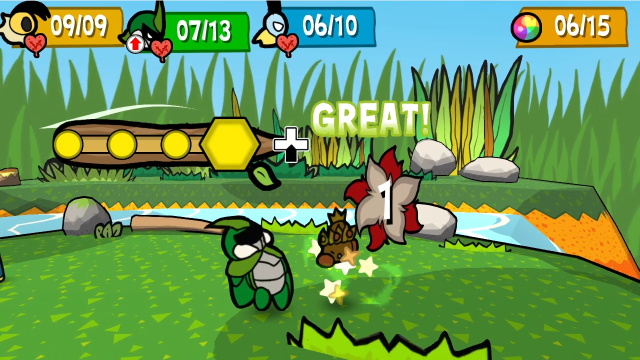 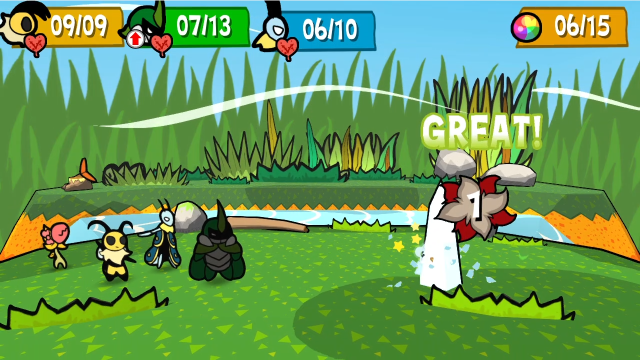 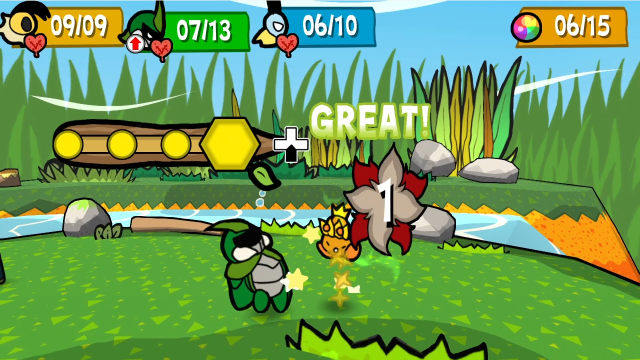 (Leif relayed the Strong Start turn to Kabbu to avoid the damage penalty.) 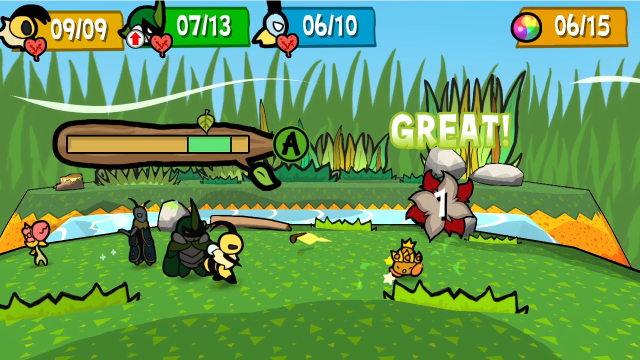 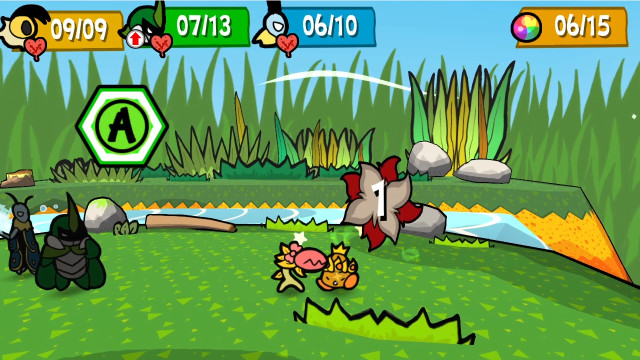 And Chompy deals the final blow. Easy and completely risk-free. 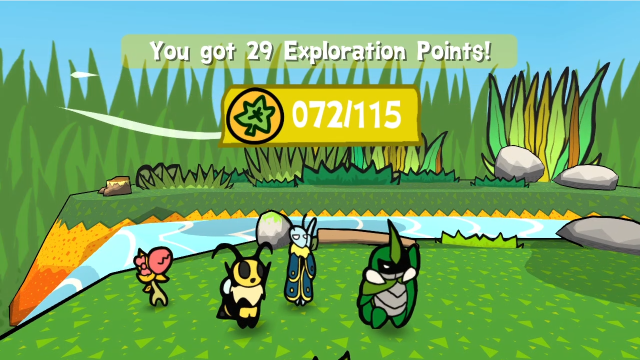 These things are still worth ludicrous amounts of EXP. Honestly, it's kind of annoying, since we're already a bit on the overlevelled side and there's still a lot of side content left this chapter that will give us more. On the other hand, I've found being overlevelled tends to be less unbalancing in this game than a lot of others, so we'll deal with it. If encountered in a formation alongside other enemies (especially if not in front, or if there are more than one), Golden Seedlings can still be nontrivial, but they're a lot less threatening than they used to be. 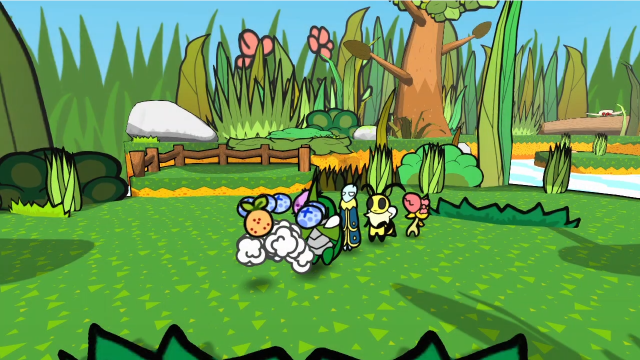 I won't turn up my nose at a free Tangy Berry either, though now that we can buy them they're a lot less precious. (Also, we get a Danger Spud from the Underling formation's normal drops.) Anyway, after that interruption, let's get back to what we were doing. 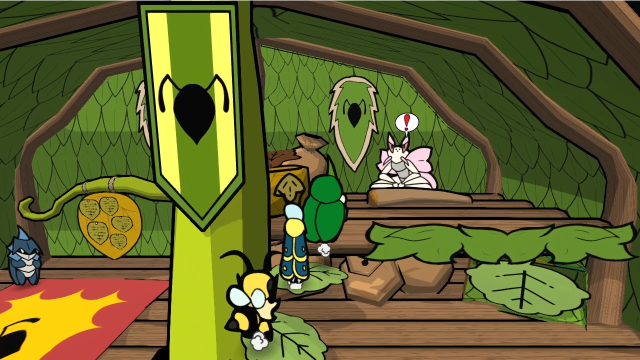 Now for Artis. Hey! You're back. Let's see how you have been doing with that Medal of mine. Hmm! Good job, folks! You defeated that hardened Astotheles! Was it too challenging for ya? You deserve a reward. Here, take this!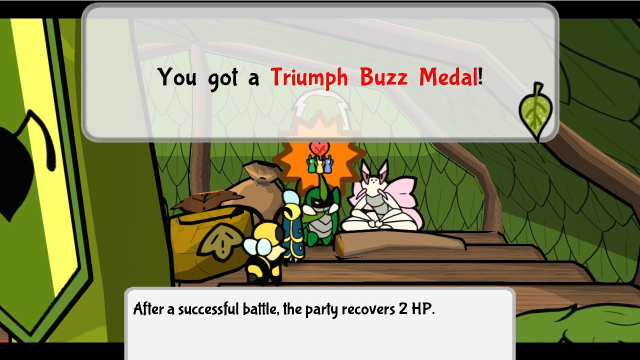 Come back later when you've bonked some extra hard heads with that Medal, will ya? Come back later when you've bonked some extra hard heads with that Medal, will ya? 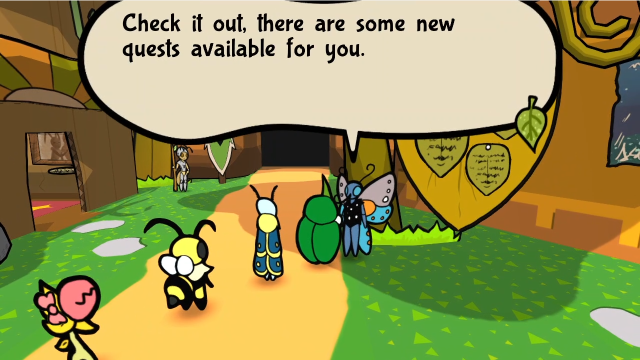 In the plaza, we see Utter alerting us that there are new quests posted. Let's check the board. 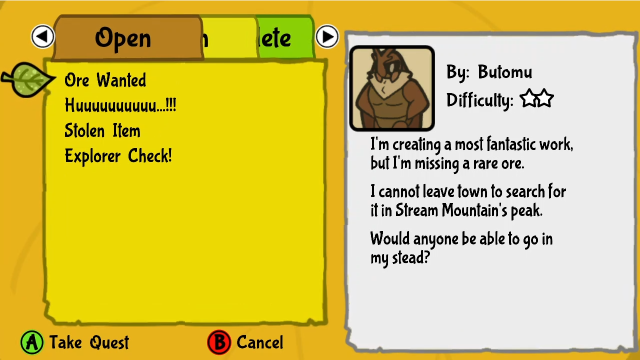 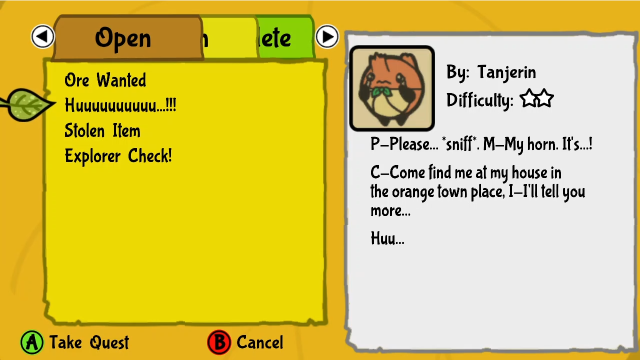 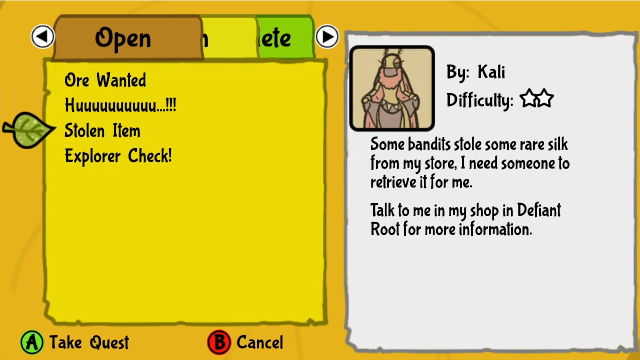 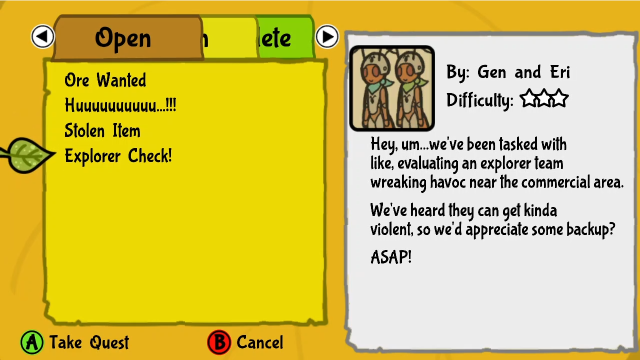 Two of these are obviously related to the stolen items we recovered (what on earth happened to poor Tanjerin?), but that's not the only thing going on. Let's accept all the quests. That said, for anyone playing along, be cautious about accepting "Explorer Check!" if you want to do any business in the Ant Kingdom Commercial District; once you have the quest in your log, the events will trigger automatically when you go there (and blocks you off from accessing e.g. the medal shops until you've dealt with it). Let's see what's going on with Tanjerin first, shall we? 26 - Golden Lands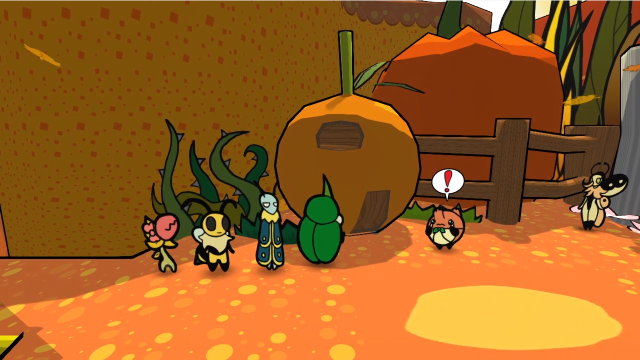 There he is, in the eastern part of the Golden Settlement. That little orange-shaped house seems to be his. Not looking great, is he. There's no new banter, so let's talk to him.  By the spicy berries of the land... your horn! We're guessing that rock did this to you. By the spicy berries of the land... your horn! We're guessing that rock did this to you. H-Huuuu... H-Huuuu...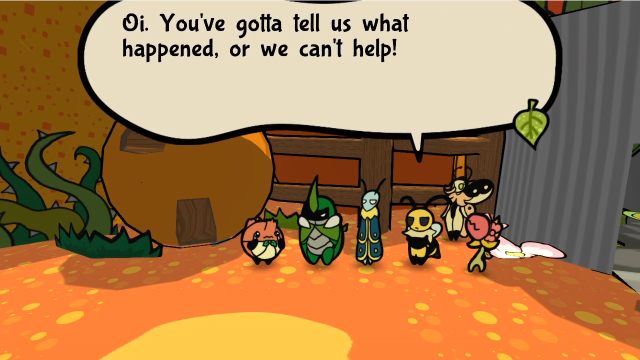 H-Hu. F-Fine. I'll tell ya. I was gonna break the rock to be the strongest! But then my horn broke. It doesn't hurt or anything, but some bandits nabbed it. I can't heal it! What could bandits possibly do with your horn? D-Don't ask me. But I need it. Or I can't break the rock! That should be the least of your worries! Look. Just leave it to us. We'll get it back from the bandits! Try not to break anything else until we return. Huuu... H-Hu. F-Fine. I'll tell ya. I was gonna break the rock to be the strongest! But then my horn broke. It doesn't hurt or anything, but some bandits nabbed it. I can't heal it! What could bandits possibly do with your horn? D-Don't ask me. But I need it. Or I can't break the rock! That should be the least of your worries! Look. Just leave it to us. We'll get it back from the bandits! Try not to break anything else until we return. Huuu...Well then. 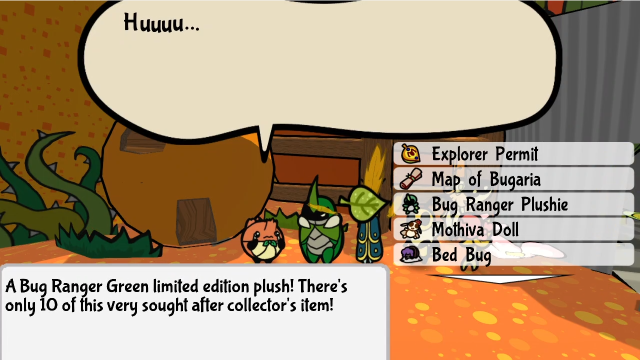 Talking to him again prompts us to give him an item. Of course, we need to try the Bug Ranger Plushie first... T-That's not it. My horn is orange like me, okay? Sniff...He doesn't have a special reaction to the plushie, he'll say the same thing for any incorrect item. 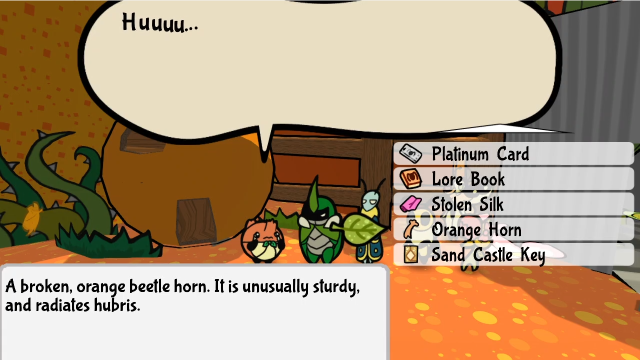 Anyway, it would be cruel to keep him waiting. Let's give his horn back. 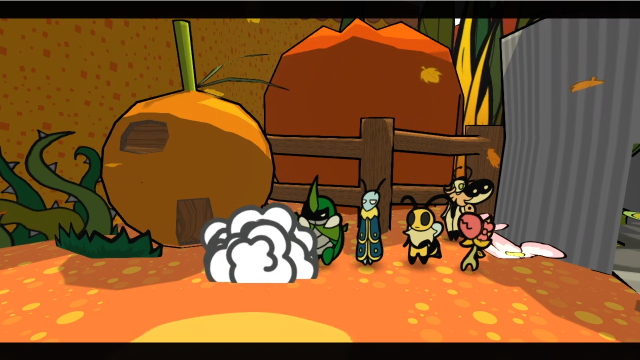 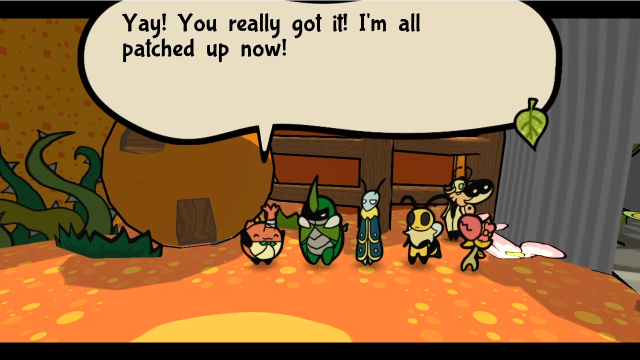 Well, that's one way to solve the problem, I guess? Duct tape fixes everything? Alright. Now, you should definitely rest!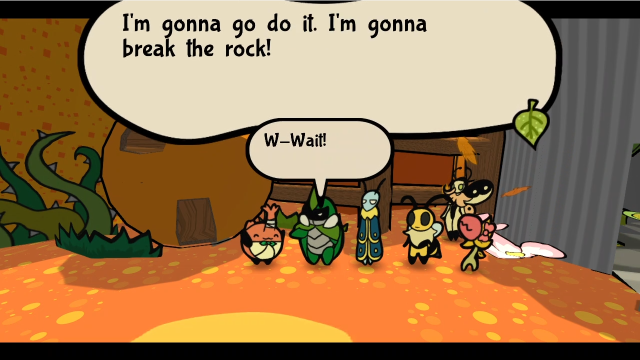 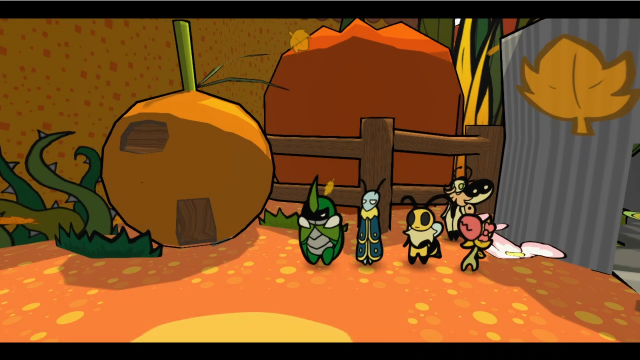 The screen briefly blacks out, and when we come back, he's gone. Oh dear. This isn't going to end well, is it? Let's go see if we can find him. 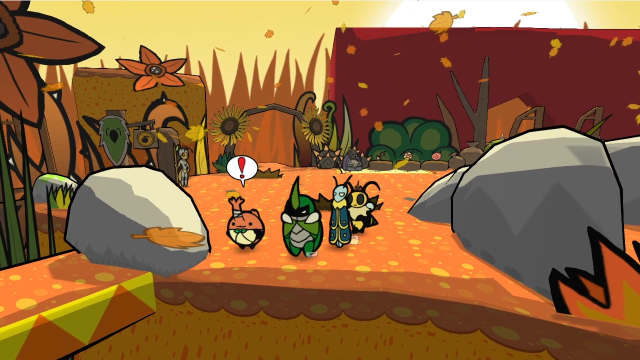 As we may have predicted, he's back at the rock. 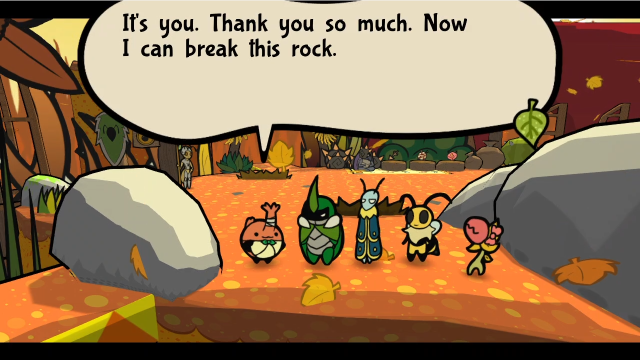 I implore you to reconsider! You've hurt yourself already! I implore you to reconsider! You've hurt yourself already! Nah. Imma do it! Just watch! Nah. Imma do it! Just watch! 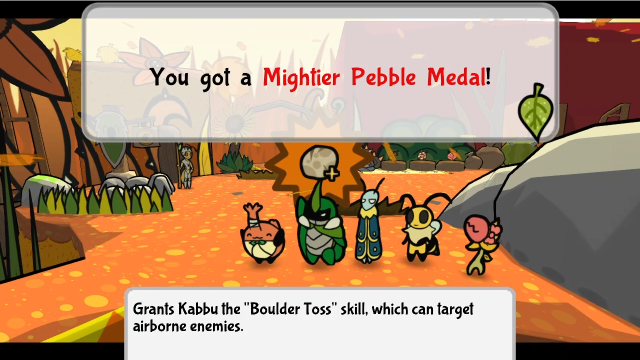 Oookay then? (We'll check this out in a moment.) Well, it's not quite broken, but...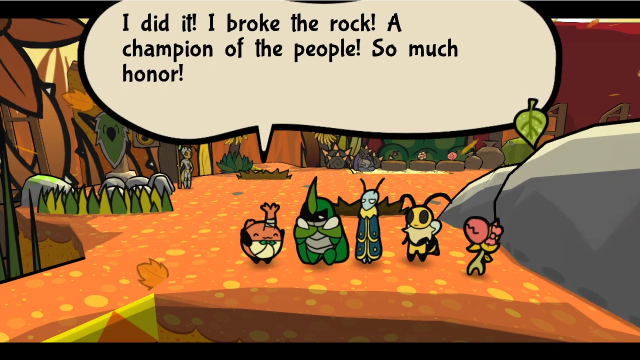 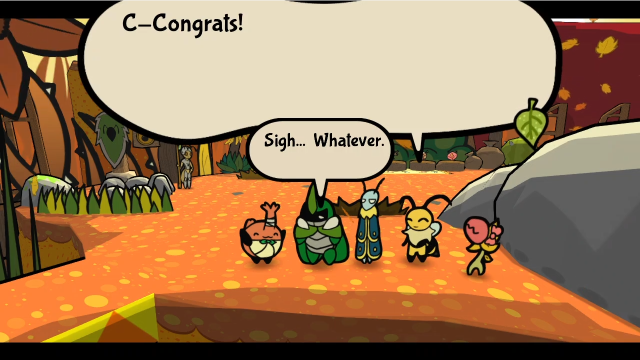 I can rest now. I deserve it for working so hard! See you, and thanks! I can rest now. I deserve it for working so hard! See you, and thanks!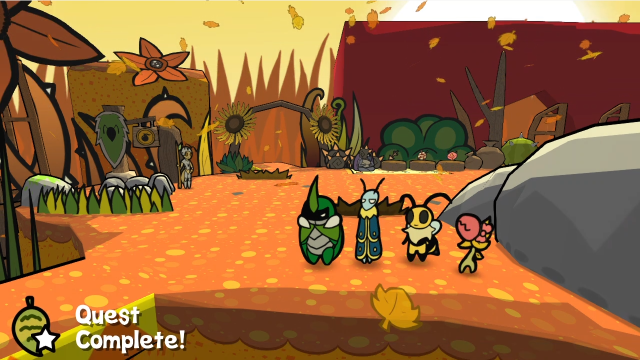 Well, at least he's happy, I suppose? I really don't know what to do with this, but it counts as completing the quest. Now that the rock's gone, a new path has opened up for us to explore. Let's check out a few things before that, though. 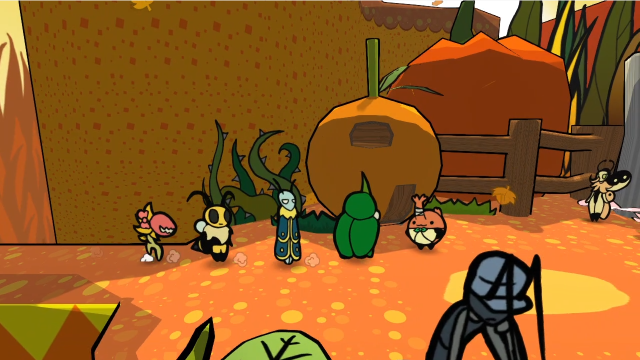 If we go back to the east side, we can find Tanjerin hanging out by his house. 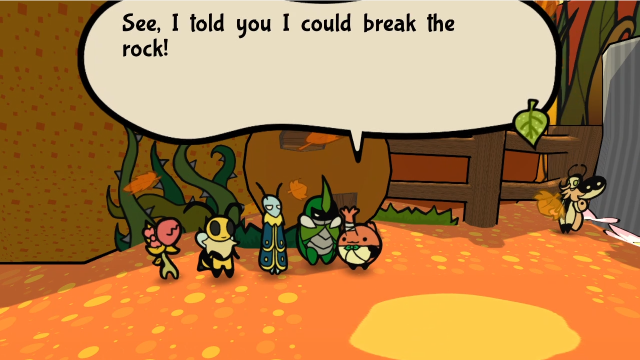 Now I'm gonna look for new things to break! ...Please don't. Now I'm gonna look for new things to break! ...Please don't.He has new dialogue, of course. (I'm still worried about him, having his horn just taped back on can't be a good thing. And yes, it will stay that way.) For better or worse, there aren't any new banters for Tanjerin (honestly, I think it's a bit of a missed opportunity; I kept checking throughout this quest expecting there to be something). 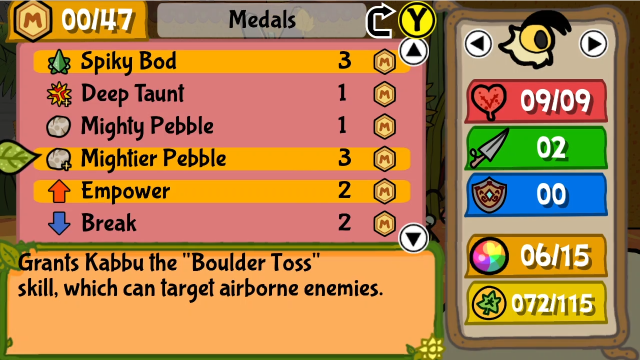 Let's check out our new medal. 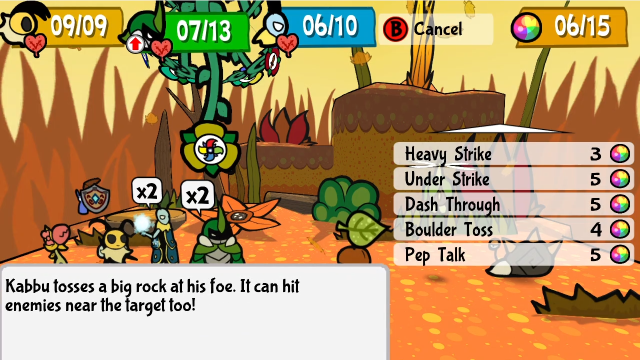  Boulder Toss costs 4 TP, and can target any above-ground enemy (including airborne enemies). If the action command is performed successfully, Kabbu will launch a giant boulder, which hits the main target for (Kabbu's attack + 3) damage, and adjacent targets for 2 damage. If you fail the action command, the boulder lands on Kabbu, dealing 4 damage to him. Only the main hit is affected by modifiers to Kabbu's attack and exhaustion penalties, the splash and self-damage are fixed values (though, as you can see here, the splash damage is still reduced by enemies' defence, it's not like Pebble Toss). Honestly, this is a pretty solid skill. I've never used it much, but I'm not entirely sure why; it might just be that Under Strike unlocks around the same time, and serves a pretty similar role (hitting flying and burrowed enemies, hitting multiple enemies at once), and you can use that without dedicating MP to it. Still, this is pretty good. 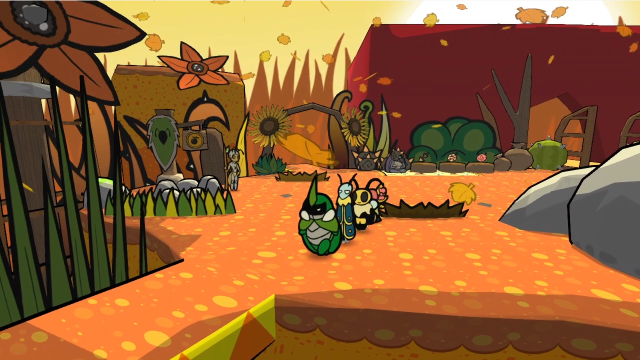 Let's check out the new path that's opened to us. 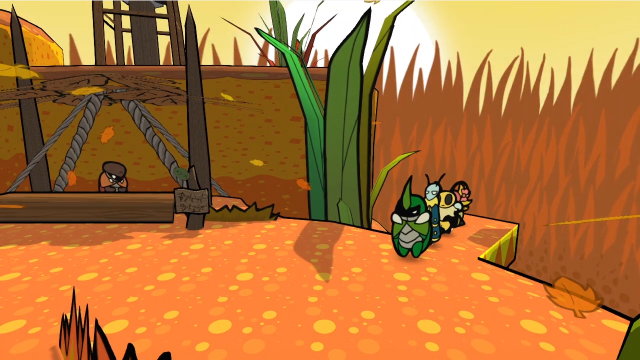 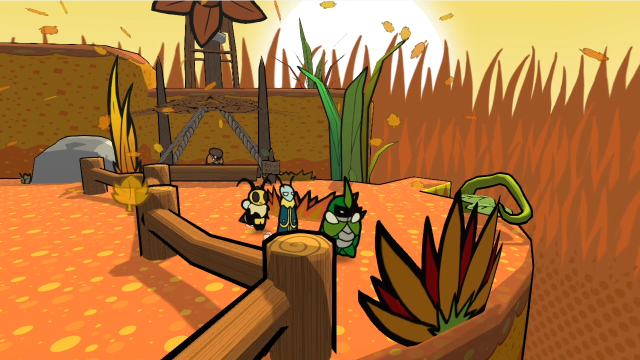 What is this area? There's someone here behind the desk... That's a big field. It seems some activity is conducted here. Let's investigate.Well, that's helpful. 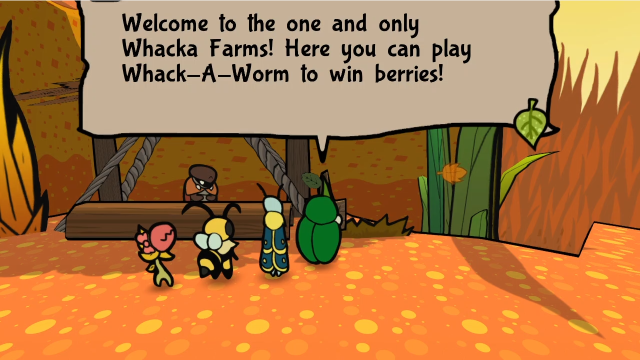 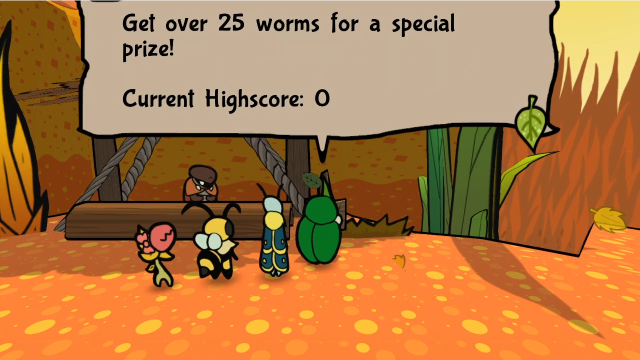 This sign is more informative. (Also, uh, Paper Mario fans might find the concept of 'Whacka Farms' moderately disturbing. It's nothing like that.) Remember the Whack-A-Worm game from the Golden Festival? Looks like this is a place where we can play that again. Let's talk to the attendant. 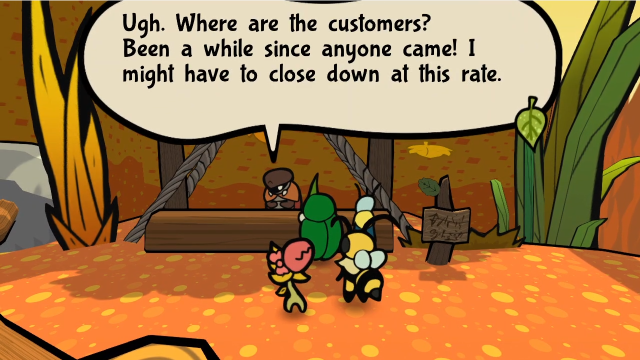 Uh, excuse us... Uh, excuse us... What is it?! Can't you see I am- Wait, are you... customers?! Depends. What do you do here? Oh, welcome! Welcome to the Whack Farms! Here, we play a popular game called Whack-A-Worm! Oh, that's the game we played at the festival! Yeah. The festival hosts it sometimes, but here you can play whenever you want! It's 10 berries for a try, and depending on your score, you can win quite a few berries or items back! What is it?! Can't you see I am- Wait, are you... customers?! Depends. What do you do here? Oh, welcome! Welcome to the Whack Farms! Here, we play a popular game called Whack-A-Worm! Oh, that's the game we played at the festival! Yeah. The festival hosts it sometimes, but here you can play whenever you want! It's 10 berries for a try, and depending on your score, you can win quite a few berries or items back! Let's not, right now. Ugh. Alright. If you ever change your mind, just come back.There's also a banter about the attendant: She didn't realize she was trapped? Good for her. We'd have gotten antsy. No point in bringing it up now... but isn't it depressing? To be accustomed to not having clients... W-Well, we could help her out a bit...If even Vi feels badly for her, who am I to resist? (Or is she just eager to play the game? Who knows?)  Alright! Please get in the arena so we can start! 04 - FIGHT! Alright! Please get in the arena so we can start! 04 - FIGHT!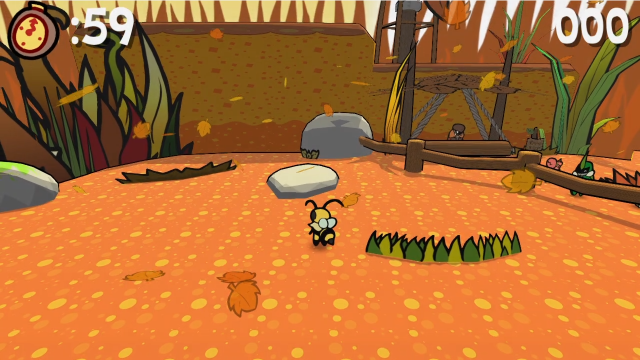 It's the same Whack-A-Worm game we played before, just in a slightly different arena (the terrain isn't quite the same). Worms pop out of the ground, you try to hit as many as you can with the Beemerang in the 1-minute time limit. 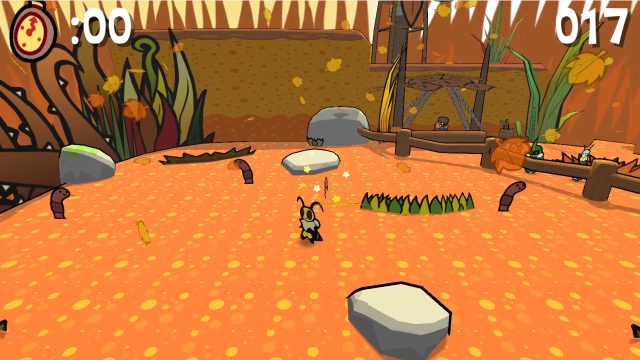 That run could've definitely gone better. 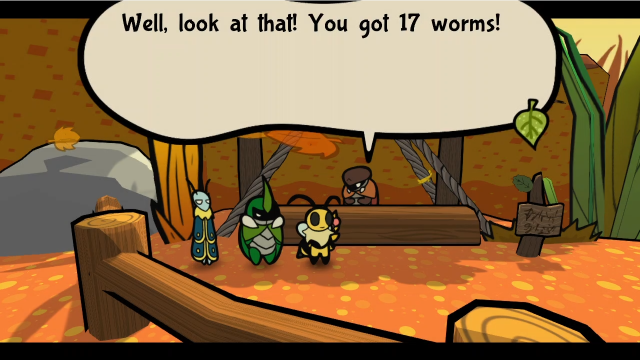 Hehe! What do we get? Here is something for your efforts. Hehe! What do we get? Here is something for your efforts.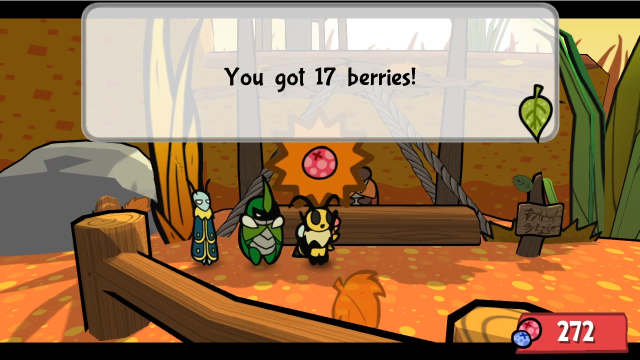 Thank you for playing, come back again! Thank you for playing, come back again!Most of the time, you just win berries (it seems to be 1 berry per worm you hit). If you enjoy this game, it's not an awful way to grind berries, though other methods do tend to be faster. The sign said there's a special prize for getting 25 points, though, so let's keep trying. 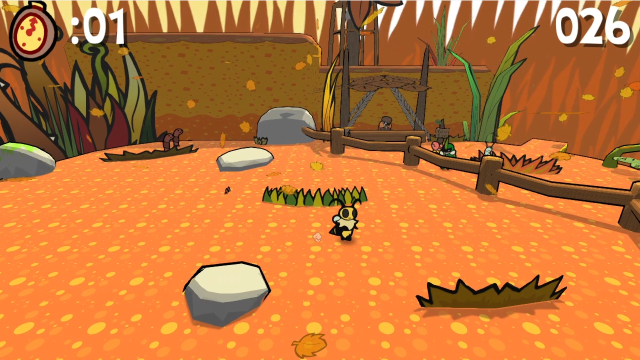 There we go. 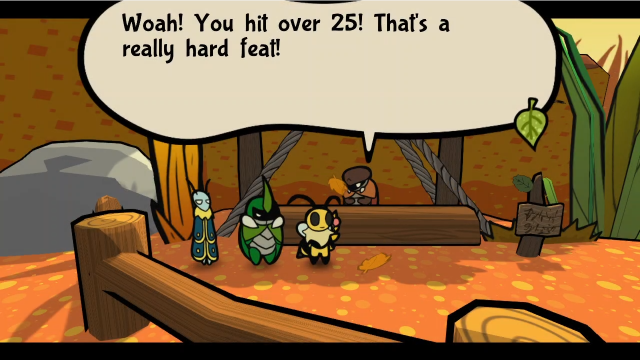 It's not 30 worms, but still super impressive! Ha! It was nothing for me! Here you go, this is a special prize! It's not 30 worms, but still super impressive! Ha! It was nothing for me! Here you go, this is a special prize!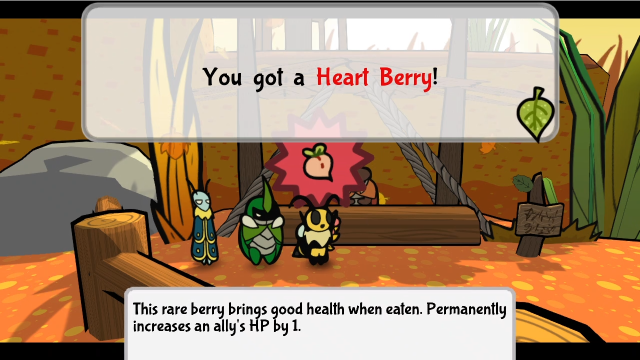 Thank you for playing, come back again! Thank you for playing, come back again!The prize for 25 worms is a Heart Berry. That's really quite nice, it's well worth trying to get this (although it might take a bit of practice to get the score). I foresee a bit of voting ahead of us, we'll have to decide who gets to eat this one. That said, we can't stop now; she mentioned 30 worms! That's... considerably trickier.  Click me for video! Click me for video!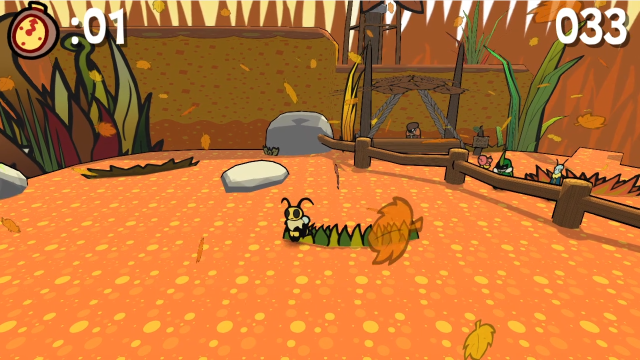 It took me over half an hour of attempts before I managed this. I won't claim to be any good at this minigame, but it seems to me that beating 30 points usually requires a bit of RNG cooperation in addition to skill. It goes a lot more smoothly if you get a few close groups of worms, or if they spawn close enough together that you don't need to move much to get to the next one, etc. One trick that can be helpful (you'll see me do it a handful of times in the video) is that, if you barely miss a throw, you can sometimes move Vi a little and get the Beemerang to catch the worm on the way back to her. Anyway, let's see what we get? 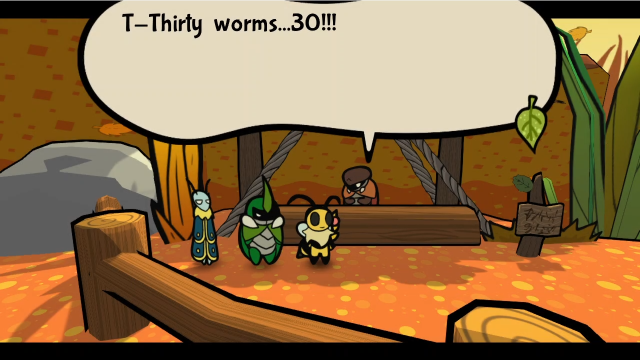 Heheheh. Heheheh.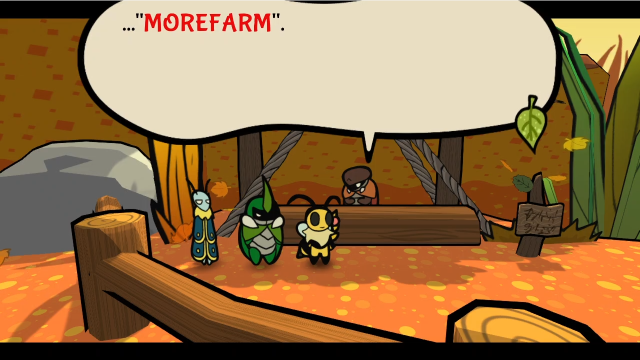 What was that? A special code. For a special "menu". THAT's the reward!? When you figure it out, it's worth it... How mysterious... Oh, and take these, too! What was that? A special code. For a special "menu". THAT's the reward!? When you figure it out, it's worth it... How mysterious... Oh, and take these, too!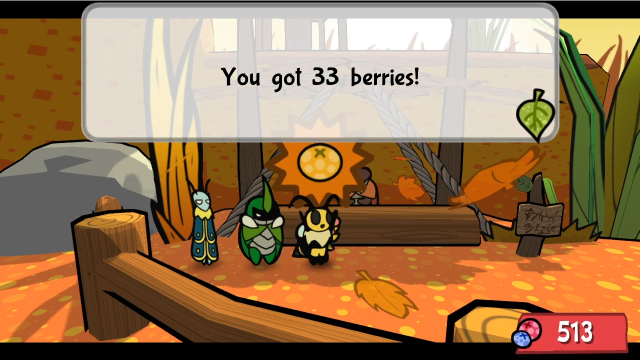 Thank you for playing, come back again! Thank you for playing, come back again!You can tell from my berry count that I was at this a while. Anyway, our reward for scoring this well is... our first Menu Code! From here on out, we'll occasionally stumble across these. That conversation was a bit cryptic though, wasn't it? The game won't outright tell you what the codes are for. The codes can be entered when naming your file for a new playthrough, and enable various changes to shake up the gameplay (usually extra challenges, but not exclusively). Entering the code doesn't actually name your file, either, so you can activate as many of them as you want and still call your file whatever you like. You don't actually need to have found the codes ingame to use them, but I do appreciate that they're hidden ingame. So what does MOREFARM do? This first one is a little disappointing, honestly: it increases the amount of EXP needed to rank up. The wiki says the cumulative increase per rank goes from 1 point to 5 points. That is certainly a thing you can do. The other codes are more interesting, and we'll discuss them in due course when they come up. With that, unless we want to grind more berries, we're done here. Let's investigate the next stolen item. 37 - Defiant Root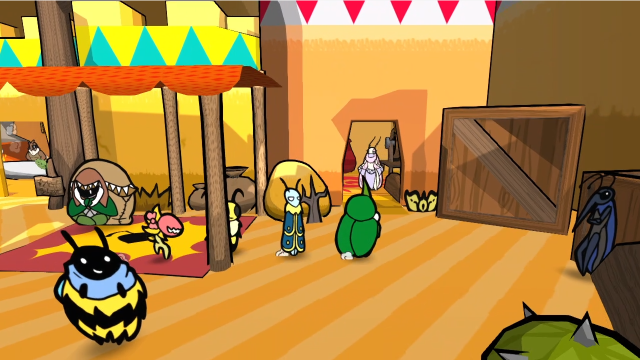 In Defiant Root, we can find that this shop in the commercial district has finally opened its doors. 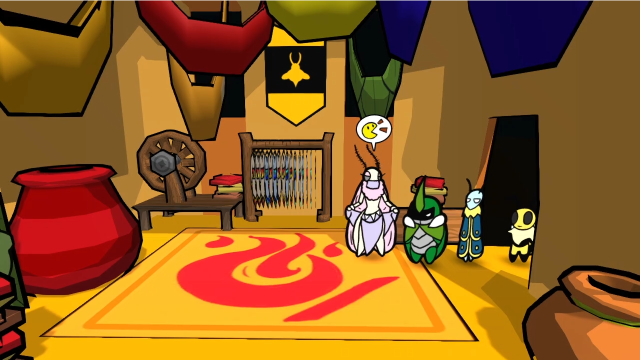 That looks like the lady whose silk was stolen. We'll talk to her momentarily, but let's check the banter first: Ms. Kali's made quite a name for herself in town! Her wares are very popular. Eh, they're way too expensive. And we're already beautiful. Al...right?Heh. Leif certainly has his vain moments. Let's talk to her. 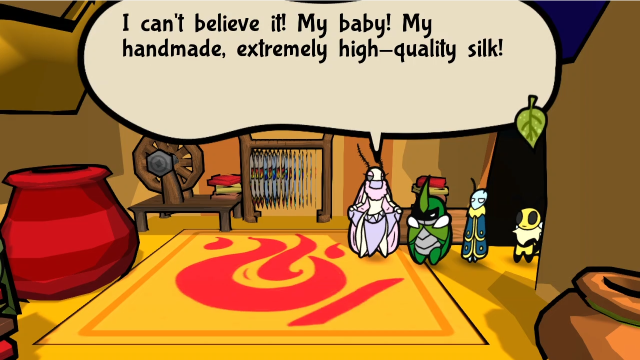 That's gotta be Kali. Excuse us, miss? That's gotta be Kali. Excuse us, miss? Whatever could you want? Can't you see I'm devastated? We're here to help! You need not suffer any longer. Could you tell us what happened? Aah... Explorers! Please excuse me, I've been very on edge. I have ample reason to believe bandits have stolen my silk! Not any silk, yes? This one costs both time and many berries to manufacture! The bandits've really done a number on Defiant Root. Leave it to us! You will be able to craft again soon! So dashing! Please, return it before they ruin it! You got it. Start getting that reward ready! Whatever could you want? Can't you see I'm devastated? We're here to help! You need not suffer any longer. Could you tell us what happened? Aah... Explorers! Please excuse me, I've been very on edge. I have ample reason to believe bandits have stolen my silk! Not any silk, yes? This one costs both time and many berries to manufacture! The bandits've really done a number on Defiant Root. Leave it to us! You will be able to craft again soon! So dashing! Please, return it before they ruin it! You got it. Start getting that reward ready!I do think it's a little odd that all these quests' starting dialogue is written as though Team Snakemouth are going to go out and look for the stolen thing, when the most likely case is they already have it since these quests don't appear until after you beat Astotheles. That said, it's not guaranteed we'd have the thing, and if we hadn't known to grab it (by the fact it was an item we could pick up) we'd have to go back into the Bandits' Hideout now. 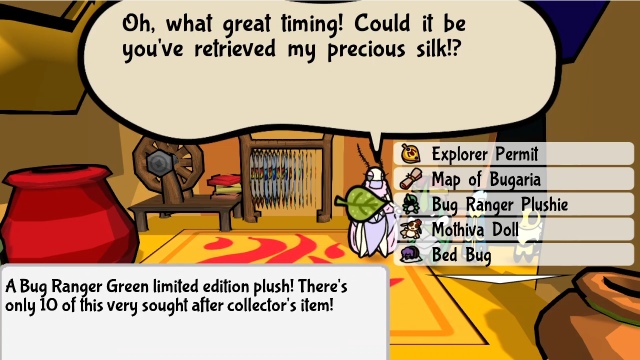 Talking to her again goes right to the prompt to give her things. We're going to try the plushie, of course. No, no, no! This isn't it. How distressing!She doesn't have a special reaction either, sadly. 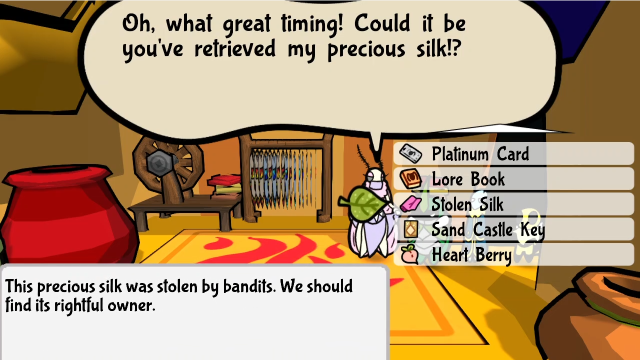 Let's hand over the silk; easy come, easy go? 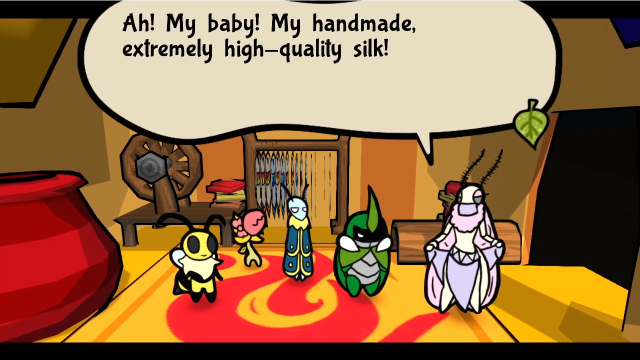 It did feel incredible carrying it back here. Miss Kali, did you truly create such an exquisite texture? That's right. Silks and the wondrous items of fashion and leisure it can be woven into are my absolute PASSION. They've gotta be worth a fortune! No wonder it got stolen. A fortune? Hah! You cannot put a price on a masterpiece. ...Though I'll have you know my prices are very economical, darlings. It did feel incredible carrying it back here. Miss Kali, did you truly create such an exquisite texture? That's right. Silks and the wondrous items of fashion and leisure it can be woven into are my absolute PASSION. They've gotta be worth a fortune! No wonder it got stolen. A fortune? Hah! You cannot put a price on a masterpiece. ...Though I'll have you know my prices are very economical, darlings.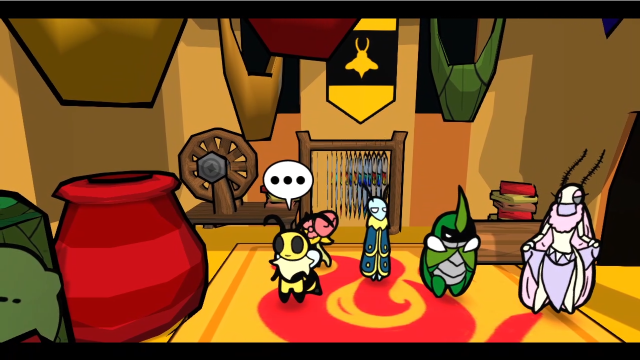 This place is so cool though. I've never seen this big wheel before! W-Wait! Do be VERY careful near that vase, my dear. It's a gift from a client very close to me. Incredible. Your work touches the hearts of the wearer that strongly? Shame we're not too much into fashion... I'm itching to get back to work, so... Please, let me reward you for all you've done for this shop. This place is so cool though. I've never seen this big wheel before! W-Wait! Do be VERY careful near that vase, my dear. It's a gift from a client very close to me. Incredible. Your work touches the hearts of the wearer that strongly? Shame we're not too much into fashion... I'm itching to get back to work, so... Please, let me reward you for all you've done for this shop.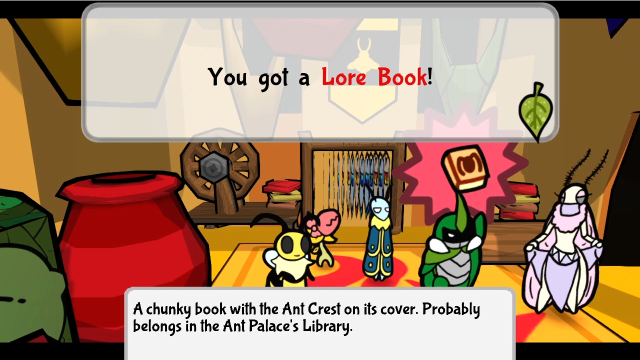 She gives us a Lore Book. Not too bad; we'll have to check this out soon, along with the other one we're currently holding onto. And you all seem absolutely exhausted, you poor things. Breathe this in, my darlings, it should soothe and fix your wounds with ease. Oh! Thank you so much!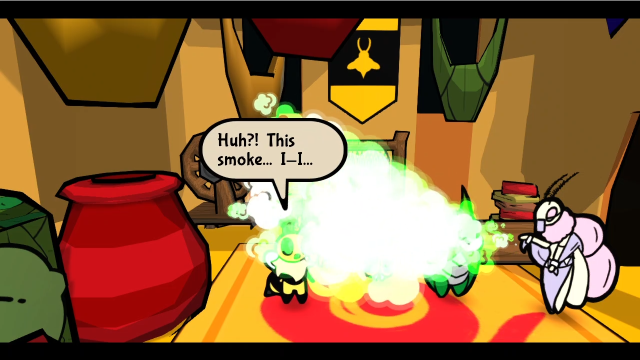 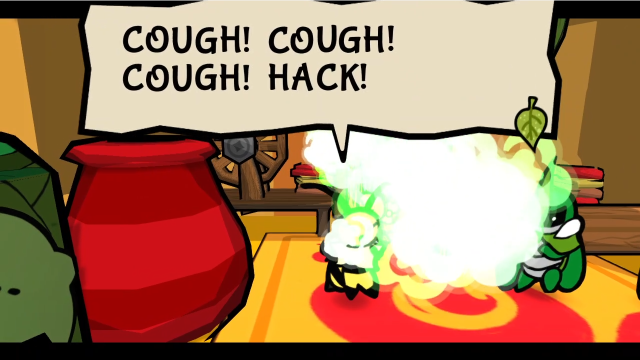   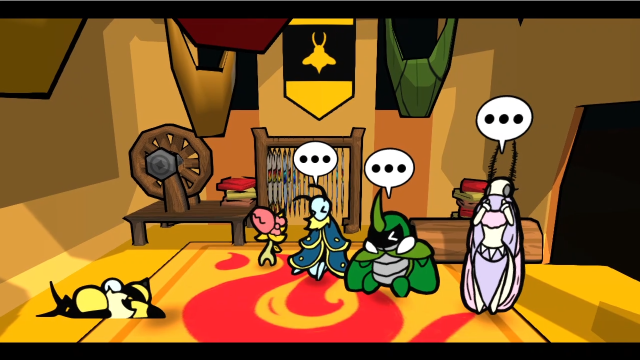 Welp. We all saw that coming, surely. 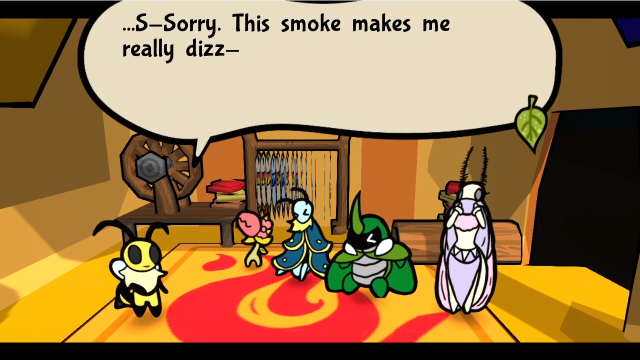 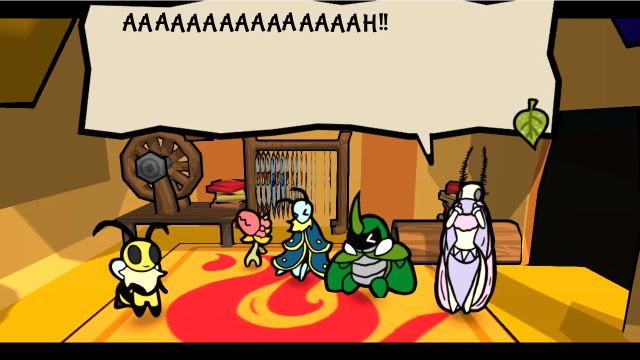 That vase was a one of a kind design from... Ah crud. That vase was a one of a kind design from... Ah crud.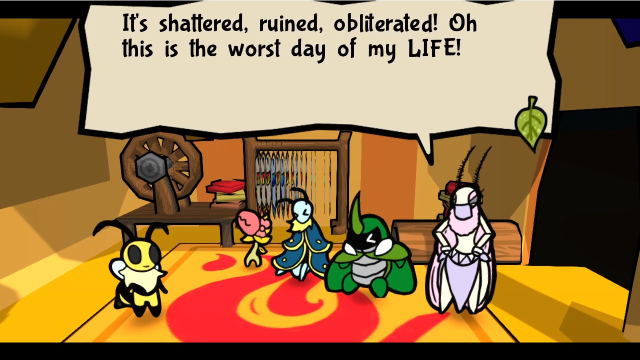 I...I'm sorry! Sorry is NOT enough! It's time to show you the consequences of touching things that do not belong to YOU! I...I'm sorry! Sorry is NOT enough! It's time to show you the consequences of touching things that do not belong to YOU!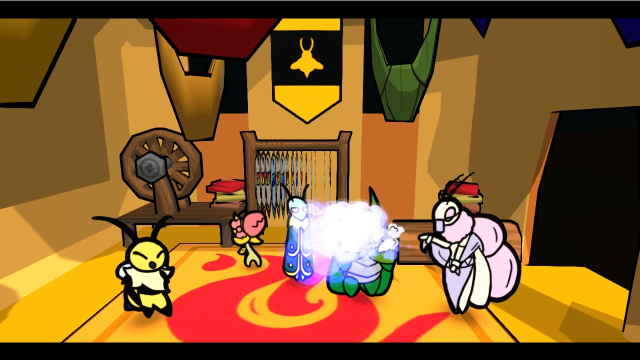 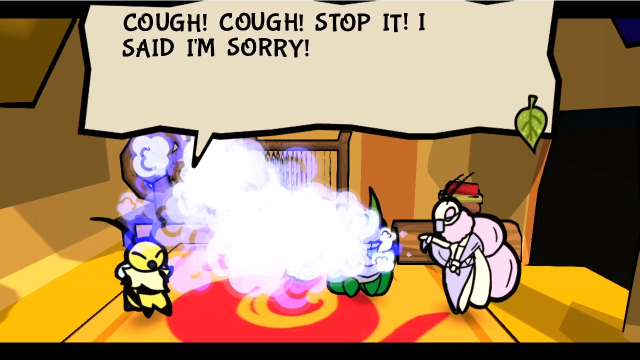 What's this smoke...? What's this smoke...?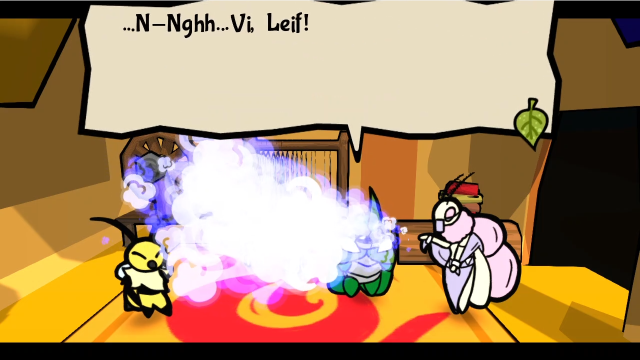 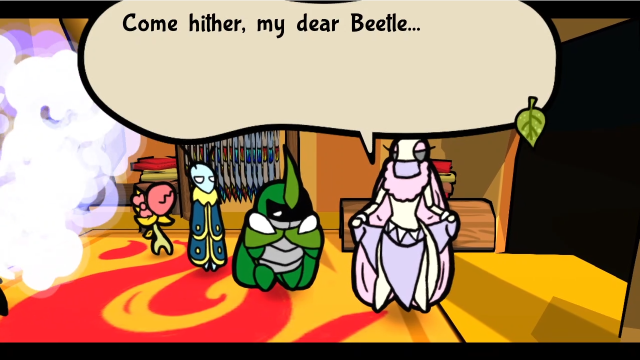 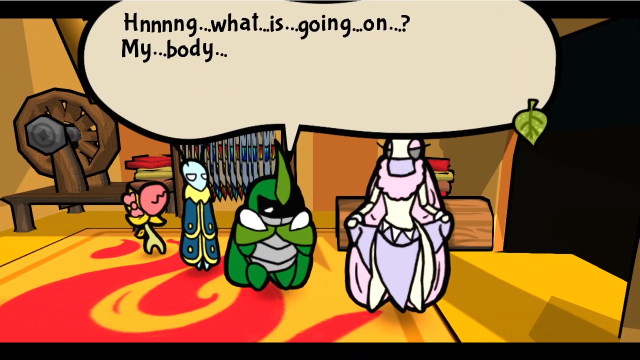 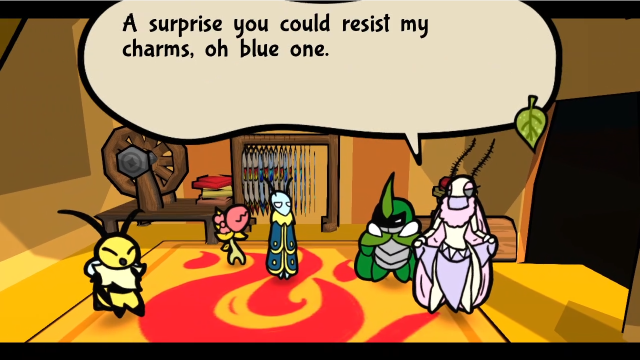 I digress. Come, my knight, let's give these two a proper thrashing! Kabbu, what do you think you're doing? I digress. Come, my knight, let's give these two a proper thrashing! Kabbu, what do you think you're doing?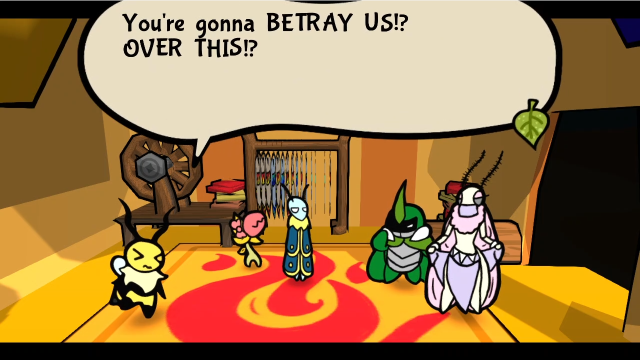 I... can't control... my body... A puppet on silken strings, now... Let's begin, shall we? I... can't control... my body... A puppet on silken strings, now... Let's begin, shall we?  Click me for video! 29 - Team, This One's Stronger! (Miniboss) Click me for video! 29 - Team, This One's Stronger! (Miniboss)  Well, this is awkward! Kabbu's under some kind of pheromone mind control, and will be fighting on Kali's side. (That's not... quite... what pheromones do, but it's honestly one of the better excuses for mind control I've seen in a game.) We're only going to have Vi and Leif for this battle (thank goodness it doesn't seem to have worked on him too). Let's spy. 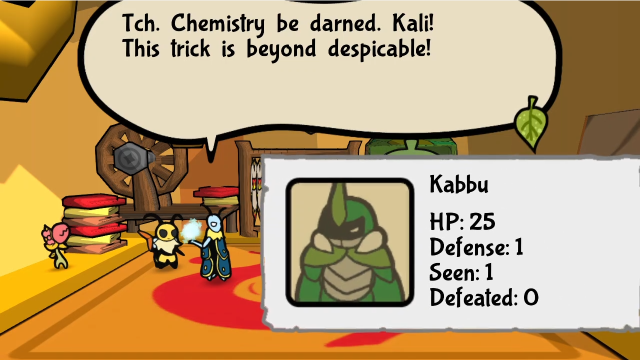 Kabbu's... our friend. We must seek an alternative to this. Kabbu's... our friend. We must seek an alternative to this.25 HP?! He doesn't have that much when he's on our side! (For better or worse, Enemy Kabbu here is a fixed entity, and isn't affected by any of our medals or stat upgrades.) 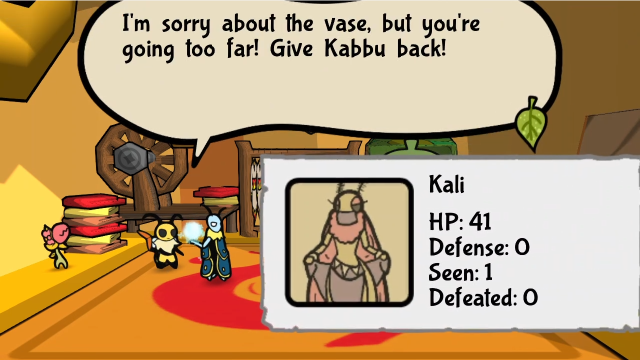 Maybe if I knock her around a bit, she'll stop dancing and start listening! Maybe if I knock her around a bit, she'll stop dancing and start listening!The spy dialogue for both of them is definitely implying we should be focusing on Kali here. 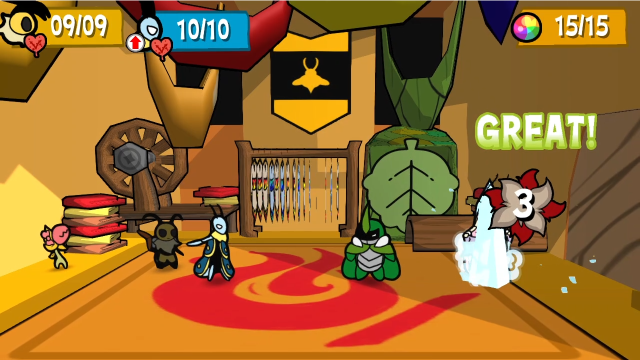 To start off, Leif attacks her. 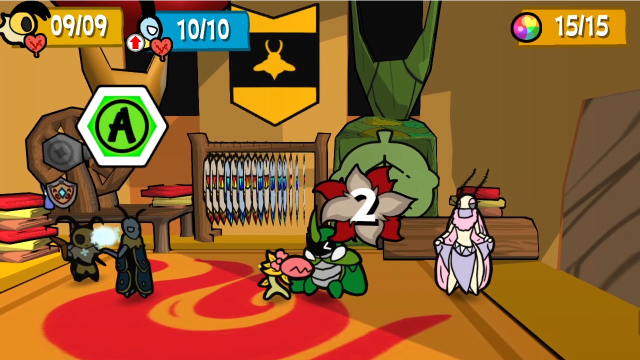 Chompy, unfortunately, can only reach Kabbu. I'm sure he'll forgive her later?  Kabbu still has his Taunt, of course, which he uses on Leif here. It works the same way Zasp's Taunt did when we fought him: a taunted character can only use basic attacks or do nothing. Taunt also doesn't cost Kabbu his turn (though he doesn't always use it), so he'll follow it up with something else...  In this case, a variant on his usual Heavy Strike, for 4 damage.  On Kali's turn, she uses a dance that boosts Kabbu's defence for the next turn. She'll never attack us directly, but she has all sorts of support moves she'll be using on him. 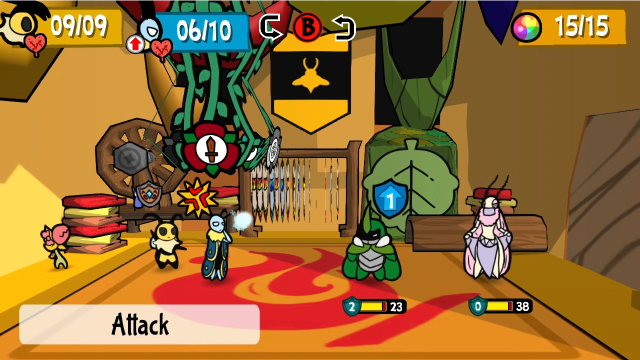 So here's where things stand now. 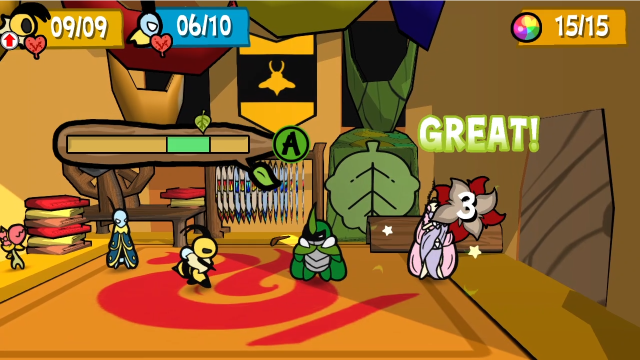 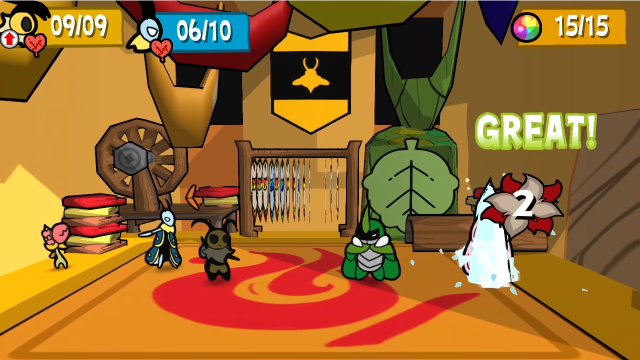 With Leif taunted, he can only do normal attacks, so I'm not inclined to get too fancy here. I do switch their positions, though, to put Vi in front since she's healthier. 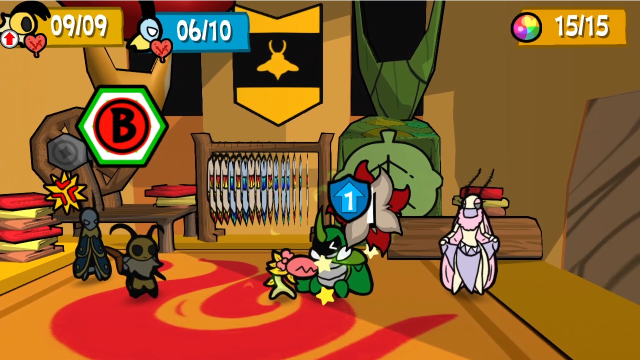 Chompy's still stuck hitting poor Kabbu, though with the defence boost it barely matters.  Kabbu also has Pebble Toss! Though it seems to be more effective when he's using it against us, I wonder why that is...  Kali has another dance which heals Kabbu for 5, conveniently undoing everything Chompy's done to him. 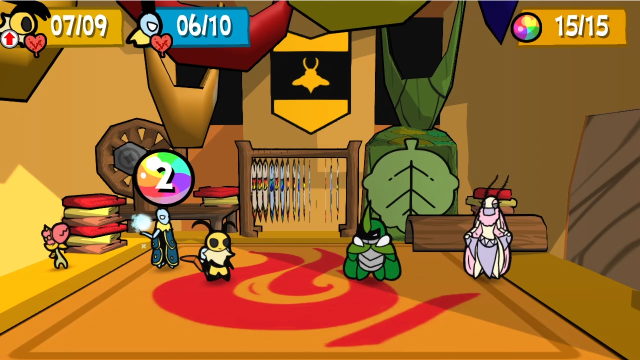 At the end of that turn, TP Core kicks in. It's a bit wasted since we hadn't actually spent any TP yet, but this is handy to have in this battle. We only have two actions per turn, we don't want to have to spend them on recovery. 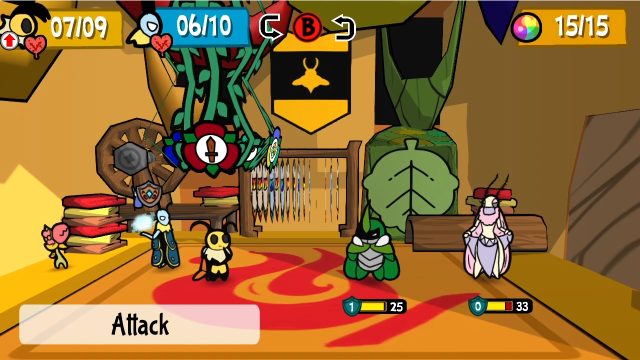 Here's where things stand after two turns. We've made a bit of progress, but there's still a ways to go. 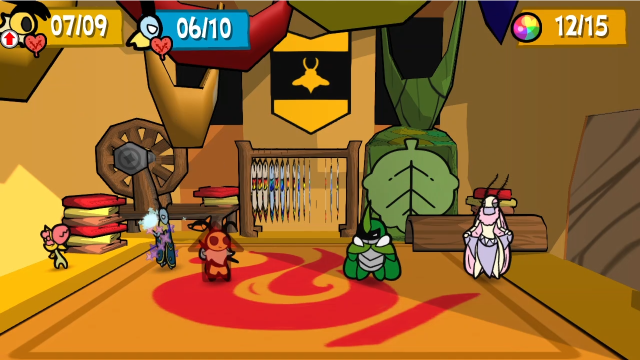 Let's have Leif cast Empower on Vi. (In retrospect, this was a bit inefficient, but it made sense at the time.) 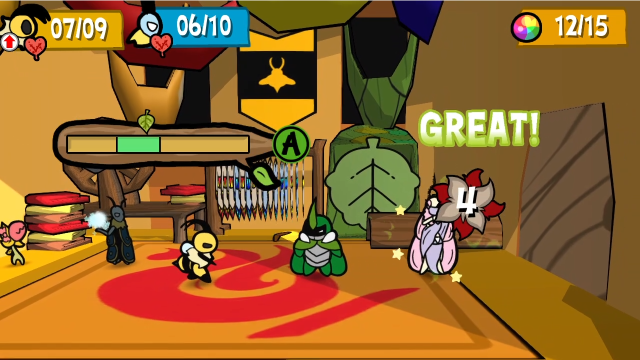 Vi attacks Kali for 4 now. 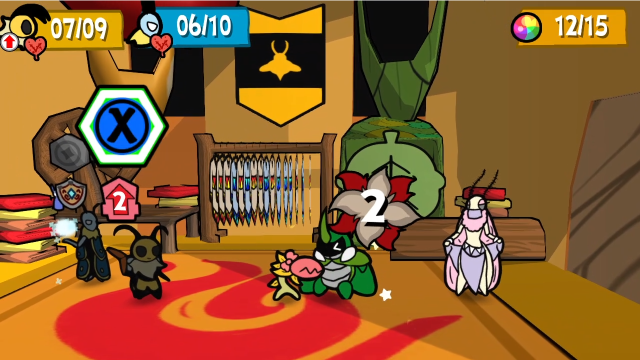 Chompy is still trying her hardest, for better or worse.  Heavy Strike hurts, but it's not the worst thing Kabbu can do here.  And this is genuinely scary. It's probably the most dangerous move Kali has: this dance gives Kabbu +2 charge-up. His attacks become terrifying with this on top of them (although you can get lucky: it doesn't boost his Pebble Toss damage, but using that will still consume the bonus, so sometimes he wastes it). 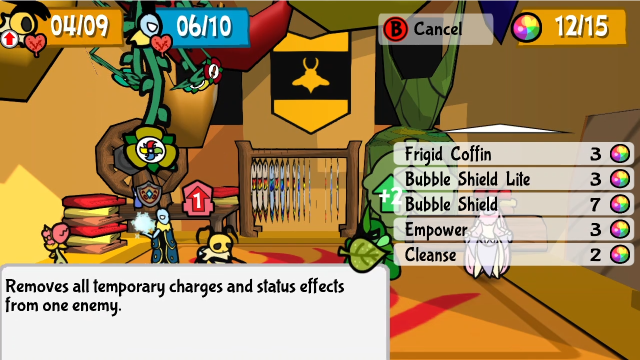 That said, there's a countermeasure. Did you remember Leif's Cleanse spell? (I often don't, to be honest.)  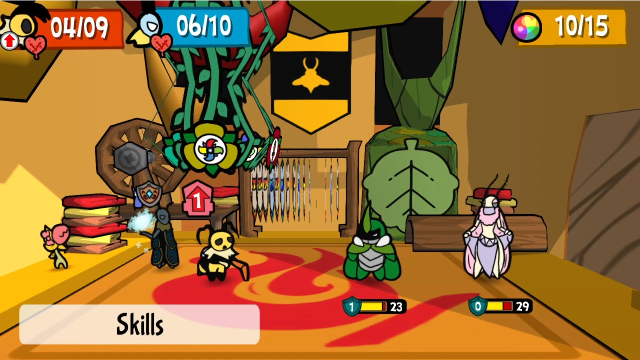 Cleanse completely nullifies charge-ups and temporary buffs, which is really handy in this fight. That's looking much better. 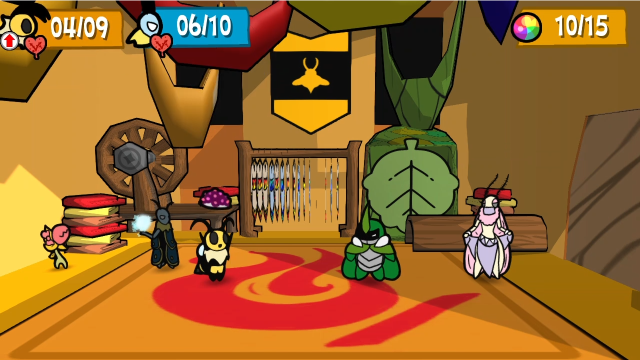 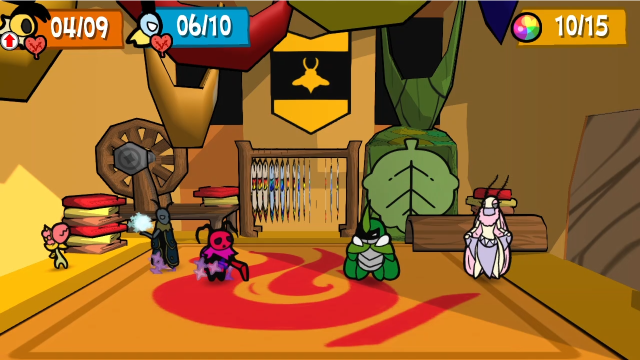 And here's why casting Empower was a waste: I ended up deciding it would be too risky to attack with Vi here, and opted instead to have her use a Succulent Platter to set up some HP regeneration (as well as poison herself, I put the poison medals back on her after Astotheles). She only attacked once while boosted. Oh well, hindsight is 20/20. 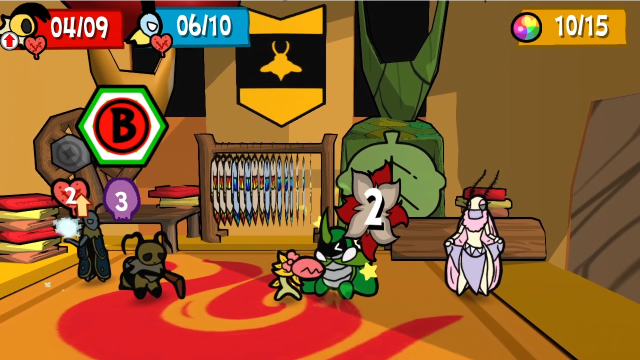 Chompy is helping? 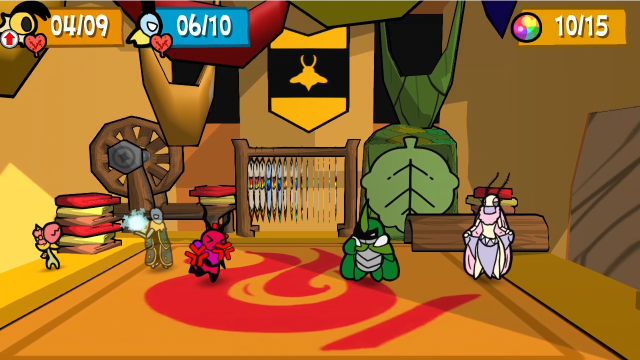  Kabbu taunts Vi this time, then follows up with a new move! He can also use Under Strike against us. It has a base damage of 5, but thankfully only hits one bug one time. 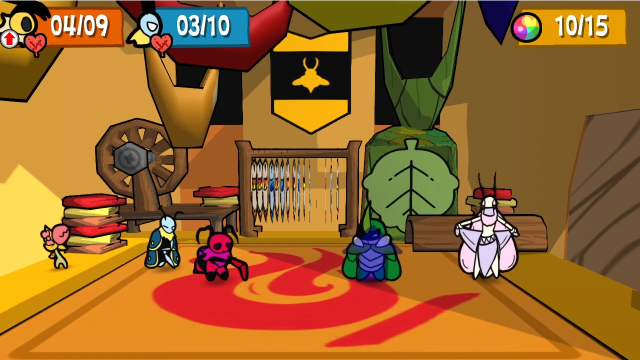 Kali boosts his defence again. 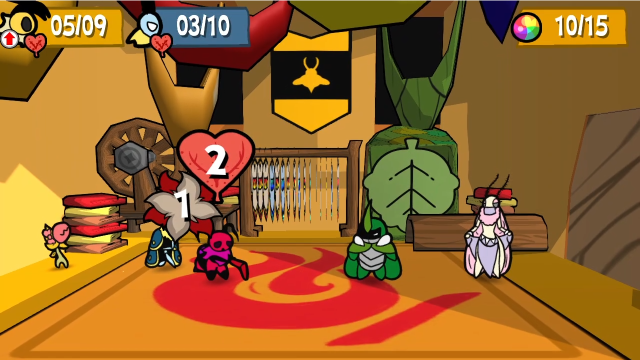  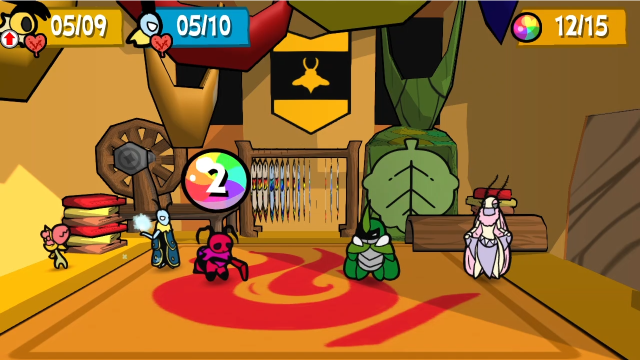 Lots of things happen at end-of-turn this time! Despite the poison damage, the regeneration from Succulent Platter still has Vi net gaining health. 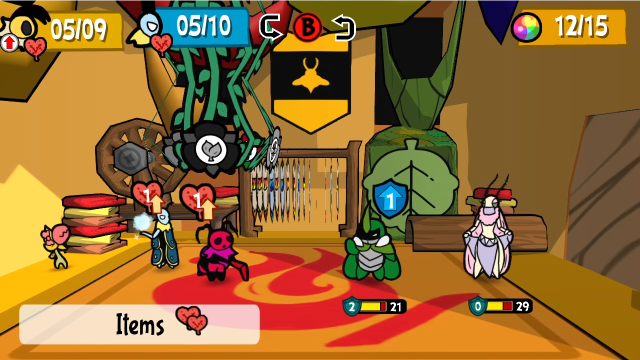 This is a bit awkward. I'd been hoping to get a big attack in with Vi this turn, but she's taunted. Oh well. 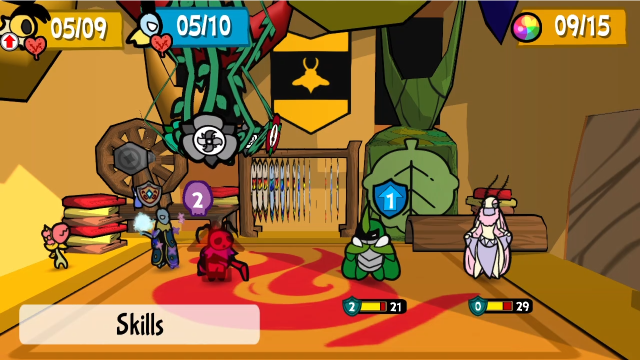 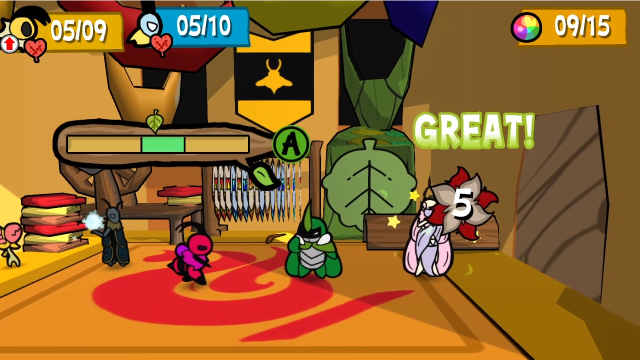 We'll still have Leif boost her (hopefully she can make better use of it next turn), but for now she'll attack normally.  Chompy has a one-track mind. 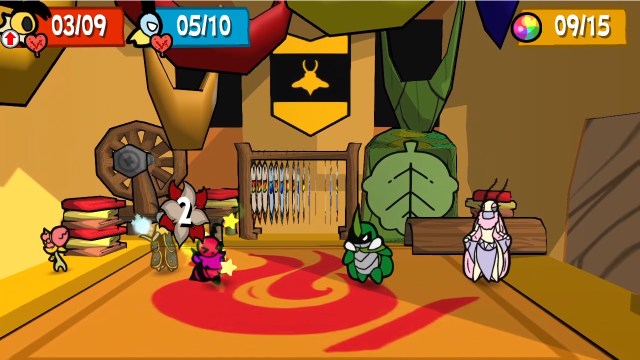 Kabbu uses Pebble Toss again, which isn't too bad (though Vi is looking a bit worse for wear after that). 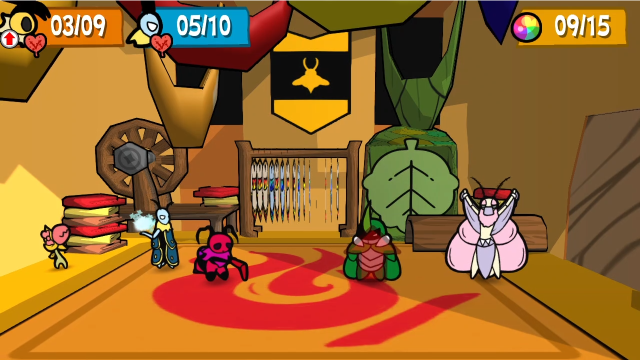 This time, Kali elects to boost his attack instead. It's not quite as scary as the charge-up (and still lasts for only 1 turn), but that could get bad.  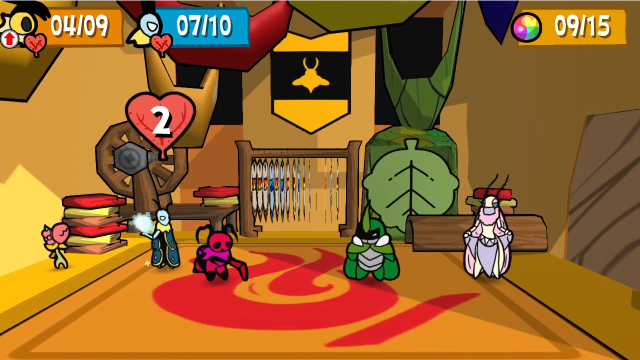 And there goes the last of the Succulent Platter. It did what it needed to do. 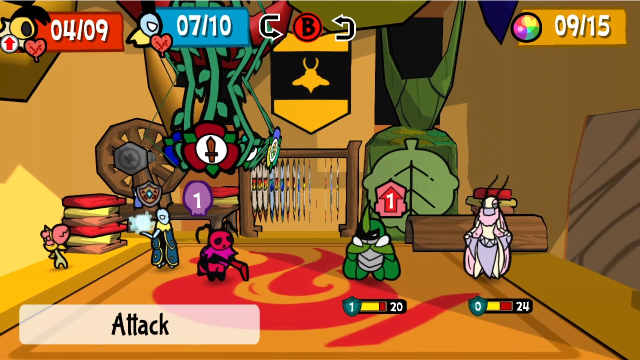 With Vi finally free of the taunt, let's take advantage of all her boosts. It's time for a Hurricane Toss.  11 total damage isn't too bad. 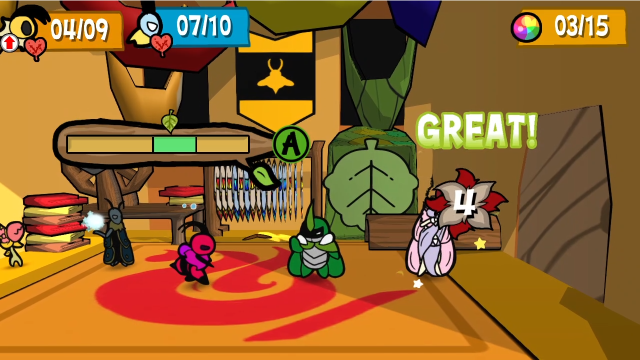 Leif relays to Vi so she can attack again. With the boosts, that'll do more damage than Leif could do without spending TP (and, for better or worse, we can't quite finish her). 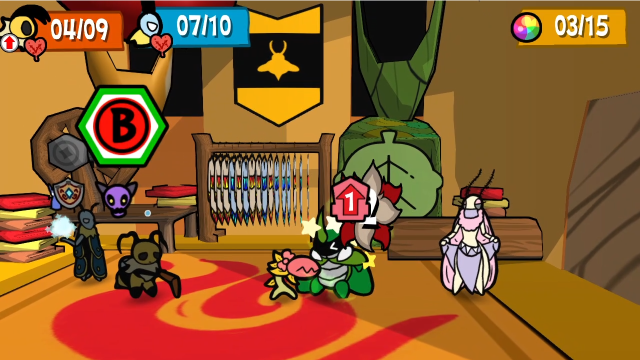 Chompy is still chugging along. 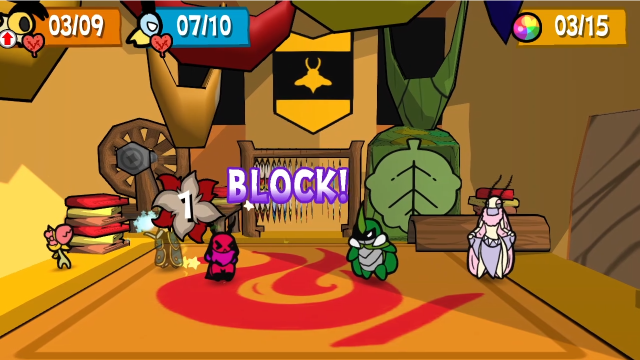 Kabbu's heart isn't really in this, he's still just throwing pebbles.  Kali boosts his attack again.  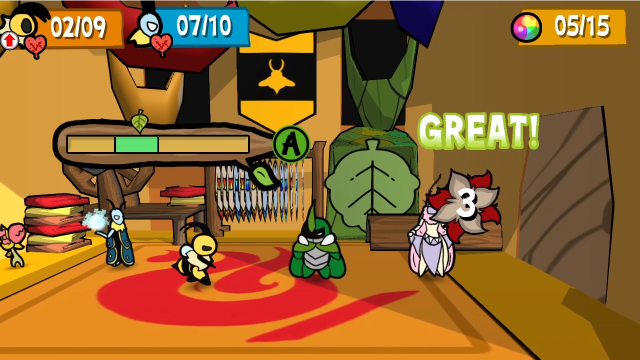 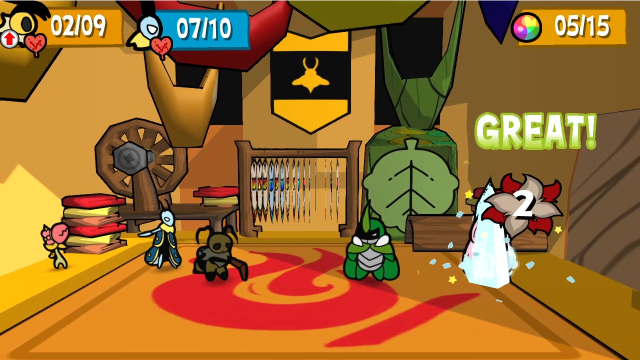 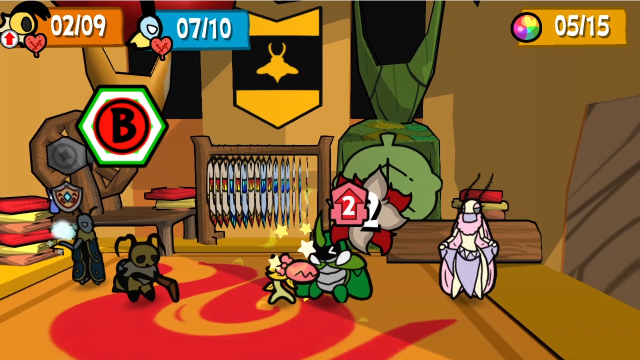 For better or worse, we'll just do some normal attacks this turn. Vi's poison and attack boosts have both worn off. 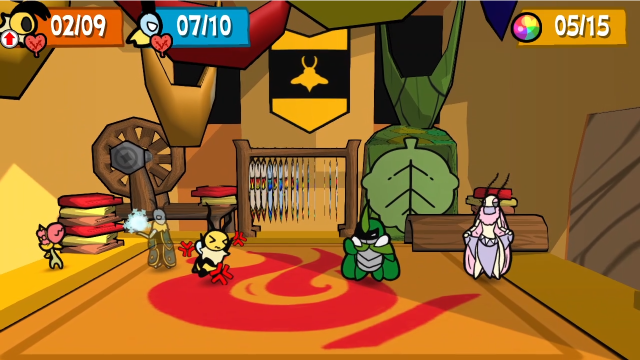 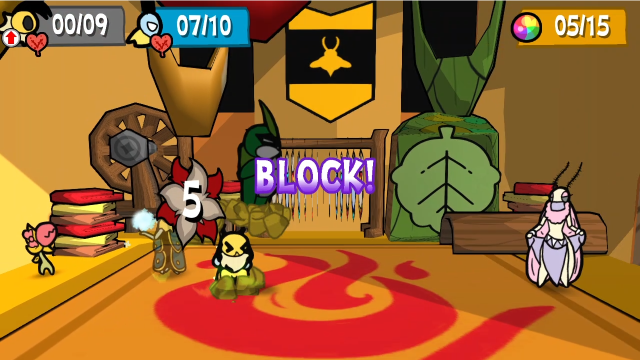 Ouch. At least he wasted the taunt? 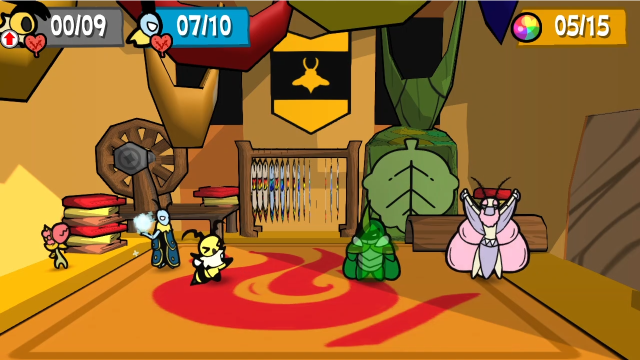 That's worse. 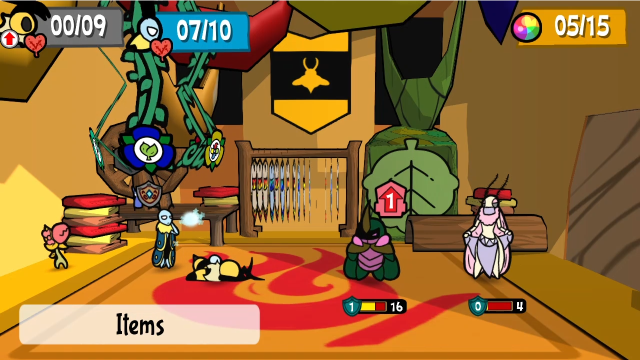 This isn't looking great, is it? 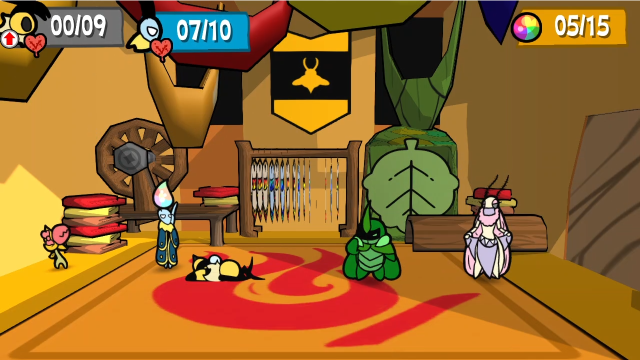 At least we have Magic Seeds. Situations like these are what they're made for.  Vi uses a Tornado Toss, and finishes Kali off. 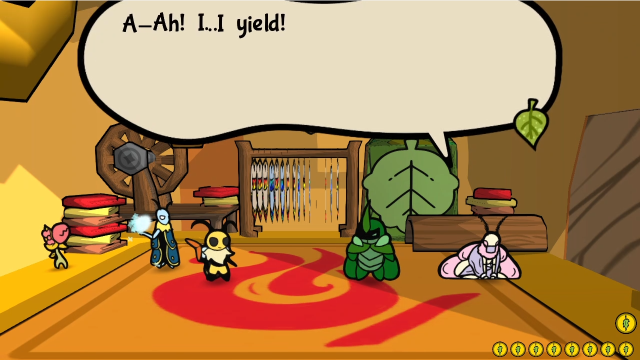 Which... ends the fight. Once Kali is defeated, Kabbu is freed from her influence and won't keep fighting. 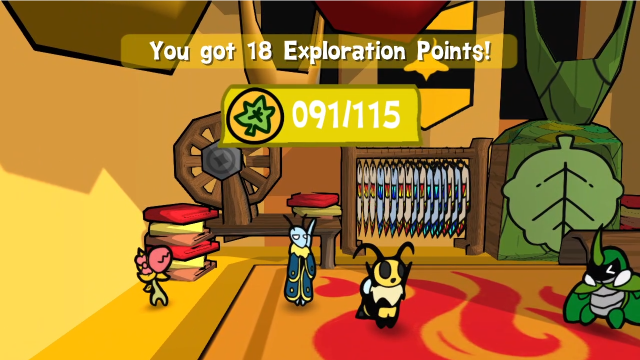 If you're paying close attention to the EXP amounts in both the video and the above screenshot, you may notice they don't quite match; I'm sorry about this, but as it happens I record most boss fights several times, and the run I liked best for video and commentary ended up not being on the same file as the Golden Seedling and Whack-a-Worm. The number in this screenshot is correct for the one we'll be going forward with. Anyway, this fight! It's a fun surprise, you're probably not expecting it from what looks like a basic fetch quest, and the gimmicks are interesting. In addition to just focusing down Kali, status effects can be a good strategy here: Kabbu is very resistant to freeze at 80%, so that won't work for long, but he has 0% resistance to sleep, so if you pack a few Numbnail Darts or Sleep Bombs you can make this fight much less stressful. Another thing you can do, if you know this fight is coming and are worried about it, is unequip any medals Kabbu was using and focus all those MP on Vi and Leif instead (e.g. here the HP Plus, Favorite One, Spiky Bod etc medals I had on Kabbu all do nothing). There are a few other wrinkles to the fight we didn't see:  Kabbu also has access to Dash Through here, and it hurts! It's base 4 damage to both Vi and Leif, and it only gets scarier if he's boosted. (This was also more awkward in older versions of the game, in which this move unlocked later; it was really weird seeing Kabbu bust out this move when he didn't know it yet.) 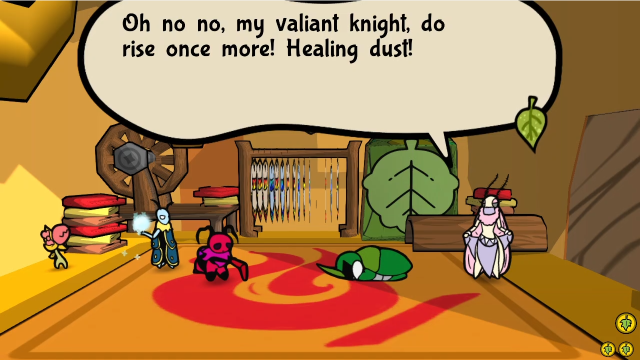  Going after Kabbu first is a futile endeavour; Kali will always use this "healing dust" move to revive him with 9 HP at the first available opportunity. You do get more EXP for the fight if you KO him at least once, though. 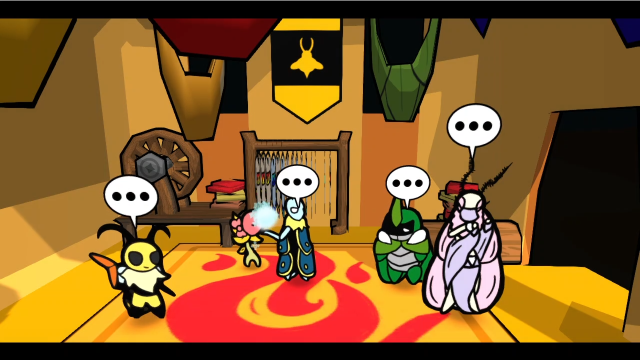 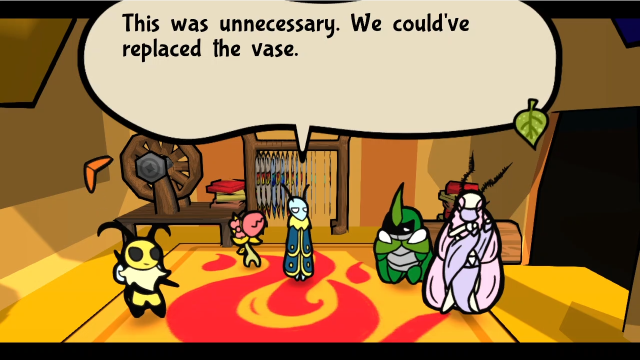 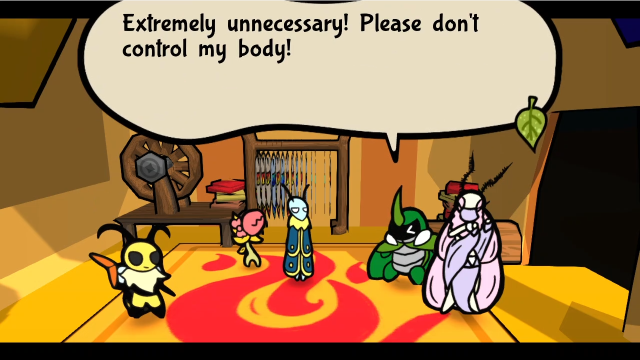 I...I'm sorry. That smoke made me dizzy, I couldn't help it... ... ... I...I'm sorry. That smoke made me dizzy, I couldn't help it... ... ...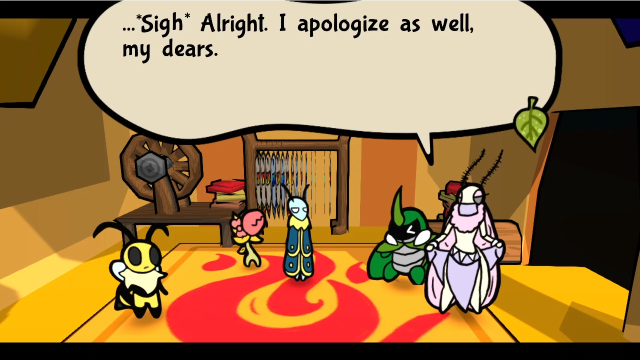 It was quite uncouth of me to lose my temper. Let's put this behind us, hm? Water in the oasis, as it were. I'll see if Butomu can fix the vase... Fine with us. We're too lazy to press charges. It was quite uncouth of me to lose my temper. Let's put this behind us, hm? Water in the oasis, as it were. I'll see if Butomu can fix the vase... Fine with us. We're too lazy to press charges.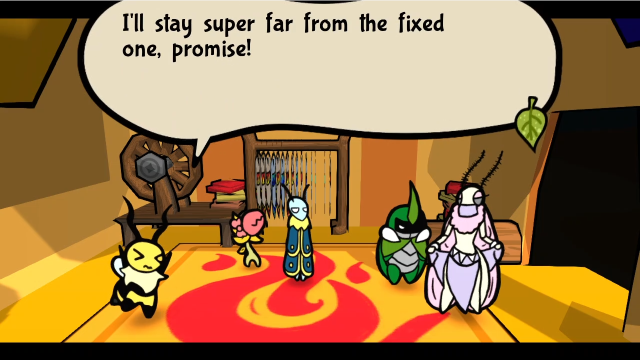 Despite the downward turn... we hope you make great things with that silk, Kali! Oh. I assure you, I can and will, my dear knight. ...Please remove yourselves from my shop, if you would be so kind. Despite the downward turn... we hope you make great things with that silk, Kali! Oh. I assure you, I can and will, my dear knight. ...Please remove yourselves from my shop, if you would be so kind.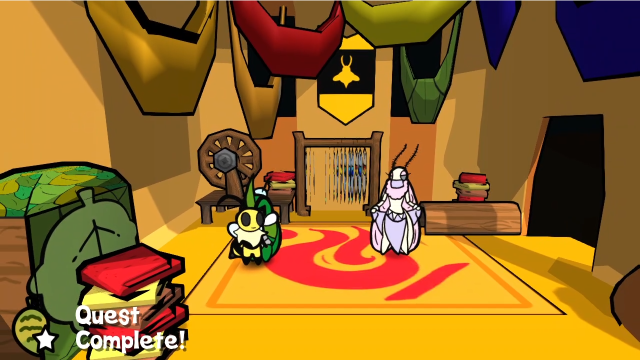 Despite that... unexpected turn, shall we say... we have now finished the quest. There's a bit of fun commentary in the bestiary entries, too: 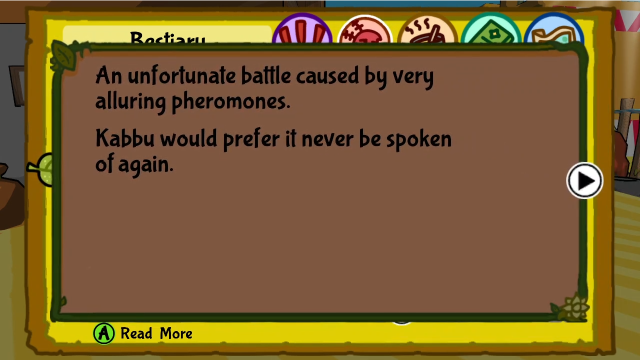   (You obviously can't get Kabbu's spy dialogue in this fight, but it's not confined to the bestiary either. If you replay this fight in the B.O.S.S. system, he'll be on both sides of the fight and can spy on himself, or on Kali, to see these comments there.) 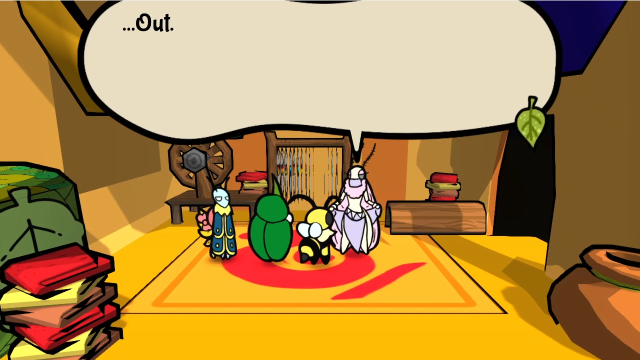 If we try to talk to Kali any further, this is all we'll get. This could definitely have gone better. Kali, as you may have guessed, is a silk moth. The wiki suggests her name may be derived from Bombykol, the pheromone silk moths use to attract mates. Which does raise some questions here, namely, why did her spray work on Kabbu, but not on Leif? (Are pheromones more universal in Bugaria that they work across species? But that still isn't sufficient, because Leif's immunity is still a mystery... maybe something we'll learn later could help make sense of this.) We have plenty more quests to do, but at least we've resolved the issue of the stolen goods, so this seems like a reasonable place to stop for today. Before that, though, let's go check in with Artis again. 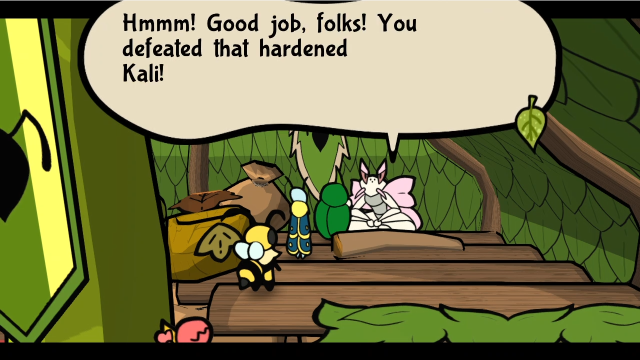 Was it too challenging for ya? You deserve a reward. Here, take this! Was it too challenging for ya? You deserve a reward. Here, take this!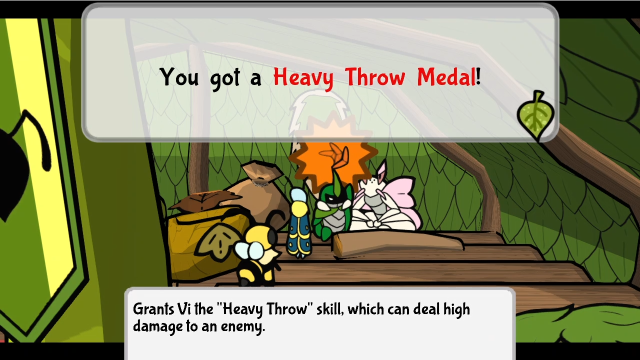 Come back later when you've bonked some extra hard heads with that Medal, will ya? Come back later when you've bonked some extra hard heads with that Medal, will ya?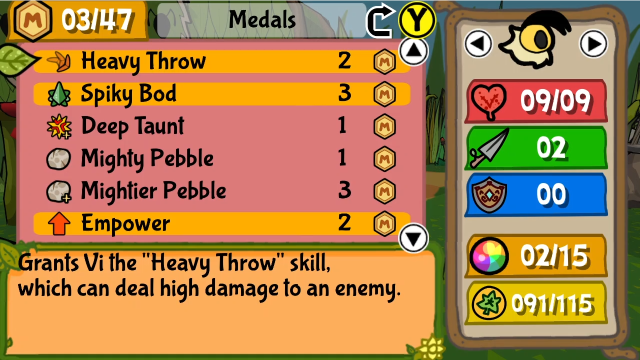 Our reward is 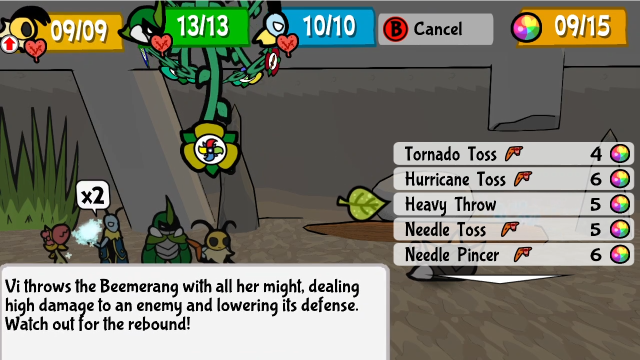  Heavy Throw is... interesting. For 5 TP, it does one big hit, which deals (Vi's attack + 3) damage and also inflicts Defence Down for 2 turns. If you fail the action command to catch the Beemerang when it returns, though, Vi will also hit herself for a flat 3 damage. Everything this skill does (well, except the self-damage anyway) sounds great on paper, but I find it tends to be awkward in practice. When you want an enemy's defence lowered, you generally prefer that to happen before dealing damage, and it's better if someone other than Vi does it so she can take advantage of the lowered defence with a big multi-hit attack. It's fine, you can definitely use this to good effect, but the other tools available just tend to get the job done better. Anyway, we've certainly gained our share of new skills this update! Next time, we'll continue with the sidequests, and start looking into what our newfound digging abilities make available to us. In the meantime, how about some voting? Who gets to eat the Heart Berry this time? Explopyro fucked around with this message at 04:49 on Sep 13, 2021 |
|
#
?
Sep 1, 2021 06:15
|
|
|
Explopyro posted:Despite the downward turn... we hoep you make great things with that silk, Kali! Typo in this line. I vote Leif eats the Heart berry. Create two tanks and one DPS.
|
|
#
?
Sep 1, 2021 06:41
|
|
|
Alxprit posted:Typo in this line. Sigh. Thanks for the catch, it's fixed now. I swear I proofread, I don't know how this kind of thing keeps getting past me. Also: I'd apparently forgotten to update the Spy Cards appendix for a while, but I've gone and done that now with the bosses from the last couple of updates. (Yes, Kabbu gets a card.)
|
|
#
?
Sep 1, 2021 14:10
|
|
|
Explopyro posted:Sigh. Thanks for the catch, it's fixed now. I swear I proofread, I don't know how this kind of thing keeps getting past me. A Kabbu/Kali deck would actually be kinda cute to try at some point. Runs into the same problems as Mothiva/Zasp though.
|
|
#
?
Sep 1, 2021 14:40
|
|
|
It gives +2 hp right? Give it to vi. 11hp is a really useful total to have.
|
|
#
?
Sep 1, 2021 18:42
|
|

|
It only gives 1 HP, but I'm going to echo to give it to Vi especially if you're going to use poison strategies with her.
|
|
#
?
Sep 2, 2021 05:05
|
|
|
Leraika posted:A Kabbu/Kali deck would actually be kinda cute to try at some point. Runs into the same problems as Mothiva/Zasp though. This is one of the deck ideas I was thinking about trying if I'd put off the tournament until later, and I'm definitely going to include it in the postgame Spy Card showcase eventually. It has a couple of advantages over Zasp and Mothiva, mostly in that there's actually another card we haven't seen yet (not a miniboss, so it fits in the same deck) that also works with Kabbu, so there are more potential draws that get bonuses. FoolyCharged posted:It gives +2 hp right? Give it to vi. 11hp is a really useful total to have. Twelve by Pies posted:It only gives 1 HP, but I'm going to echo to give it to Vi especially if you're going to use poison strategies with her. It's +1 HP, yes. That said, this is our second one, and there are still a couple more to be found. (Also, it's been a while since I discussed it, so in case it might affect anyone's decisions: our base HP values right now are Vi 7, Kabbu 9, Leif 8; aside from the prior Heart Berry that went to Leif, all the bonuses are from HP Plus medals that I could move around.)
|
|
#
?
Sep 2, 2021 18:42
|
|
|
I'm seconding the Vi vote.
|
|
#
?
Sep 5, 2021 05:59
|
|

|
37: Impostor Syndrome Last time, we got a start on our latest batch of sidequests by returning the stolen goods (with, of course, some complications). Let's look into some of the others; specifically, let's head to the Ant Kingdom commercial district and see what Gen and Eri were worried about. Before that, though, some management: 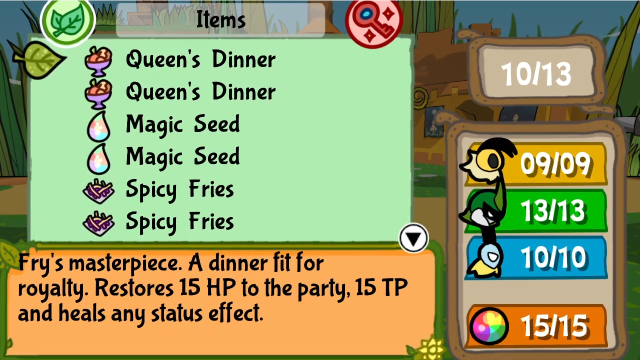 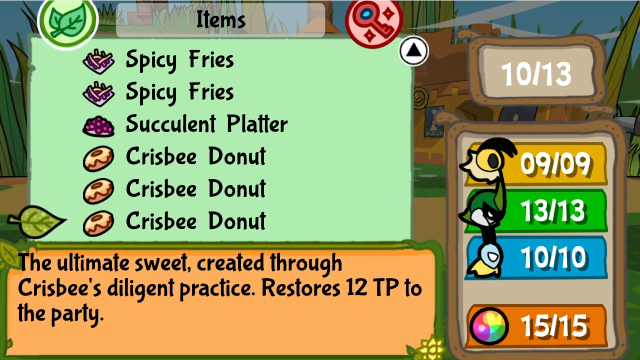 I've restocked our items, since we were starting to get low. 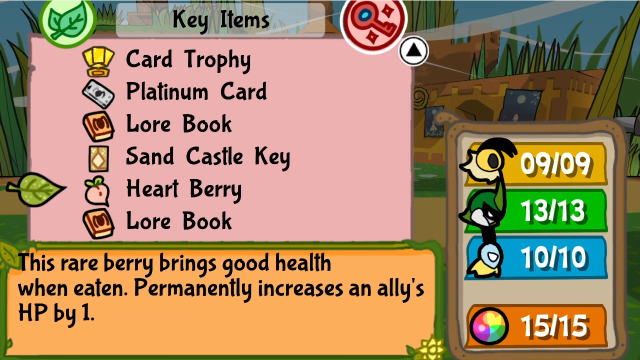 We won this Heart Berry last time, for scoring 25 points in the Whack-a-Worm game. The thread voted that it's Vi's turn to eat one, so let's give it to her. 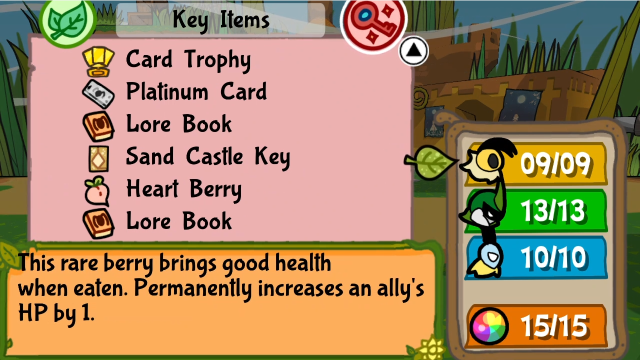 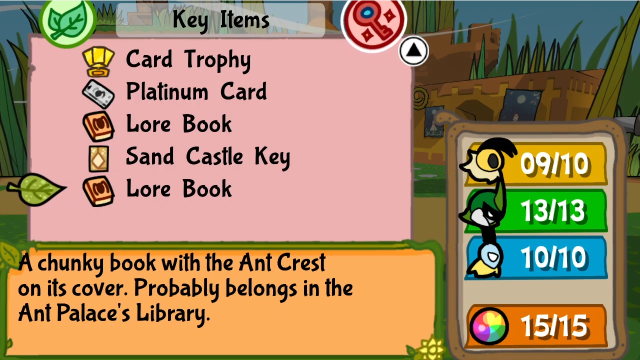 Vi now has 10 max HP (though 2 of that is from a medal). Also, this screen's a good reminder that I haven't been to the library in a while. We'll turn in those Lore Books soon enough, I promise. I've also moved some medals around: 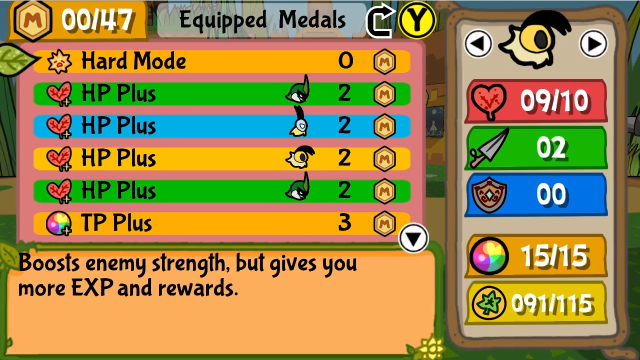 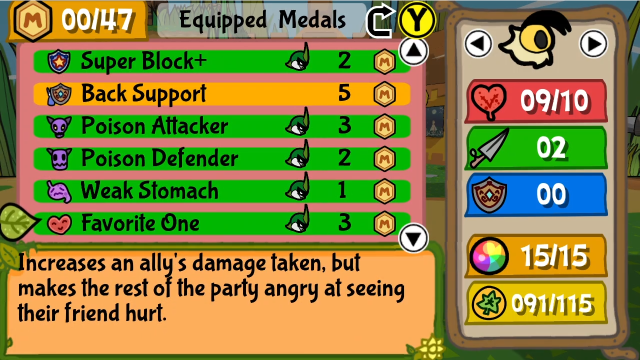 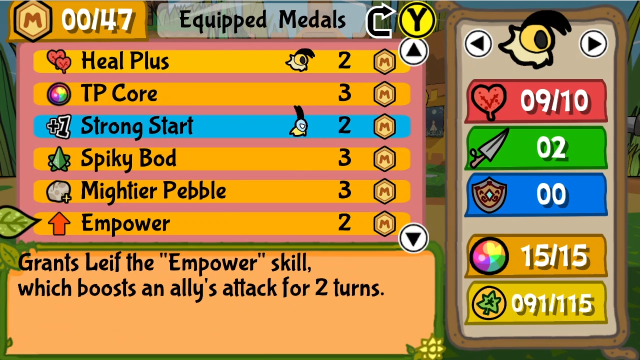 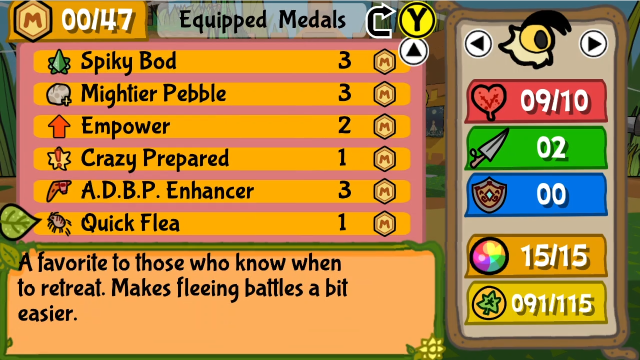 I thought it'd be a good idea to show what we're wearing, it's been a while. That said, you'll notice some differences here, mainly that I've moved all the poison medals to Kabbu. After the incident with Kali last time, I thought it might be nice to give him a turn as the main attacker. 17 - Ant Kingdom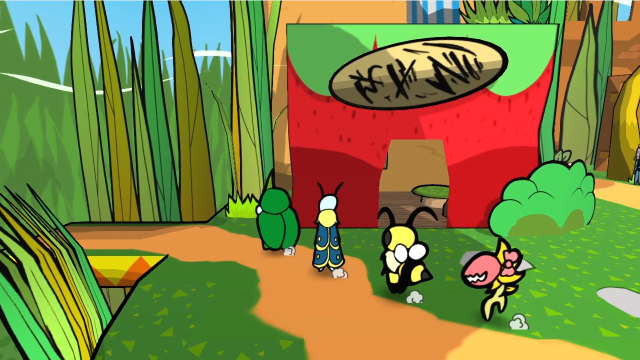 Let's head into the commercial area. 13 - It's Getting Scary!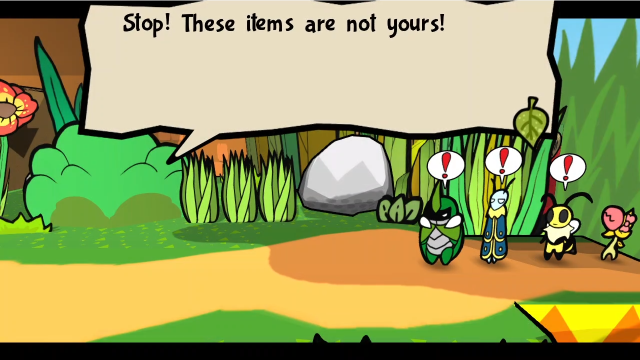 If you have the "Explorer Check" quest accepted, this scene starts as soon as you enter the area. Hope you didn't want to do any business first! 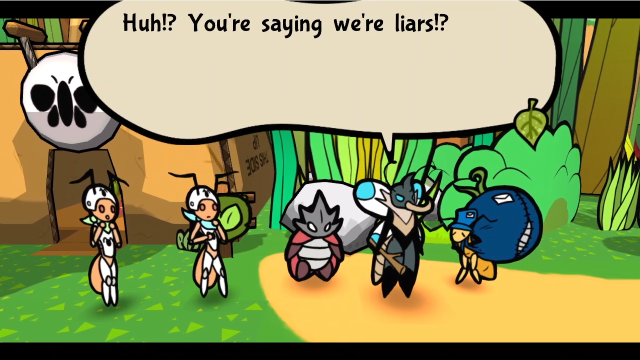  Explorers don't lie! You should check again! Explorers don't lie! You should check again! I know how to do my job! Don't you dare try to swindle me! I know how to do my job! Don't you dare try to swindle me!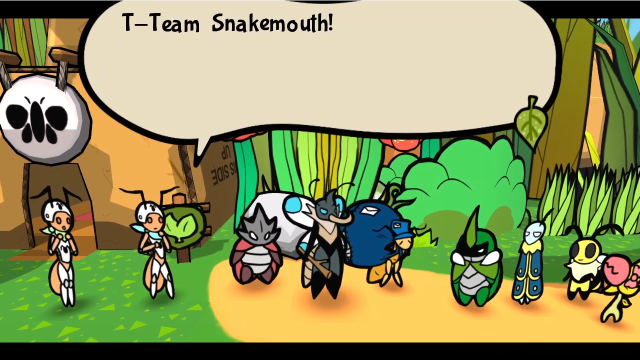 What is the matter here!? What is the matter here!?.png) They're trying to steal Amber's items! We're not! Look at our permit! They're trying to steal Amber's items! We're not! Look at our permit!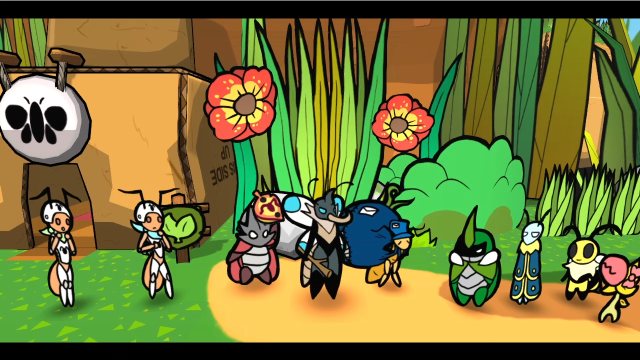 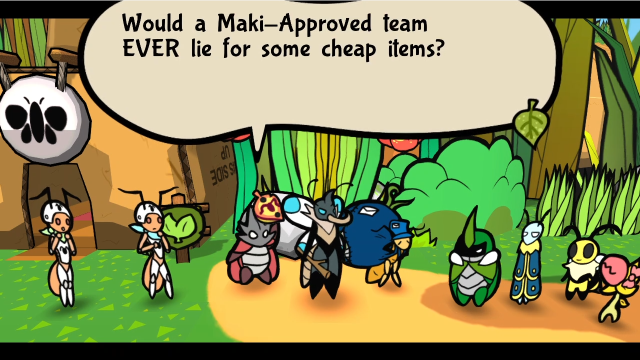 ...That permit's fake. ...That permit's fake. What'd ya say!? Uh, really? It's missing its crystals. Haven't you noticed? This is obviously some cheap imitation. Thieves, and a farce to boot!? You will answer for your crimes! What'd ya say!? Uh, really? It's missing its crystals. Haven't you noticed? This is obviously some cheap imitation. Thieves, and a farce to boot!? You will answer for your crimes!.png) Whew, good thing you're here. We had no idea... Whew, good thing you're here. We had no idea...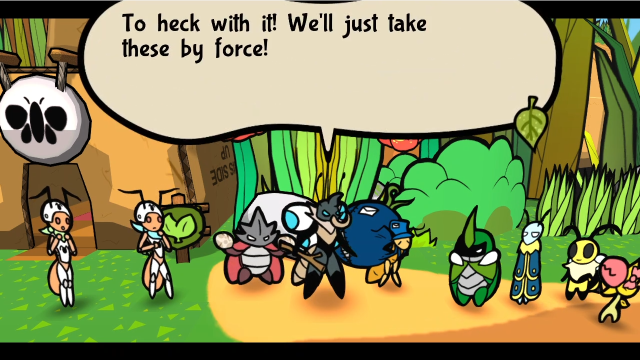 Well, that escalated quickly!   Click me for video! 29 - Team, This One's Stronger! Click me for video! 29 - Team, This One's Stronger! 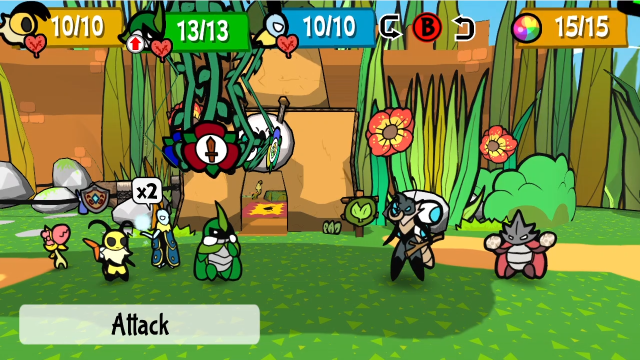 Looks like it's going to be a fight. Let's start off as we usually do, by getting some information:  It's not only to gain riches, but to help others! Now, let's count up your sins! It's not only to gain riches, but to help others! Now, let's count up your sins!Kabbu, predictably, really doesn't think much of this pair. 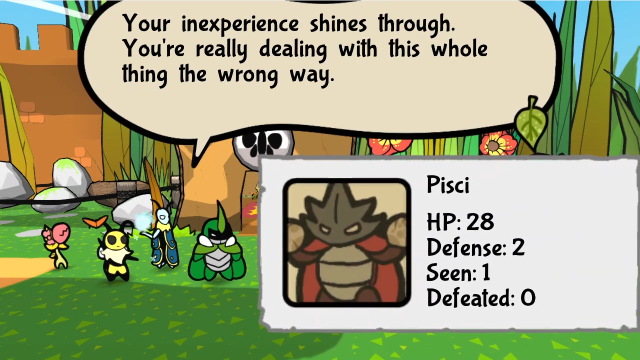 Doesn't seem like you're willing to listen... Our ice will sneak past your defenses. Doesn't seem like you're willing to listen... Our ice will sneak past your defenses.I don't know quite what Leif is trying to say here (aside from the fact he usually mentions ice because it's his answer to everything). Pisci's defence works just as well against ice as everything else. For now, let's just do some basic attacks and see what they can do. 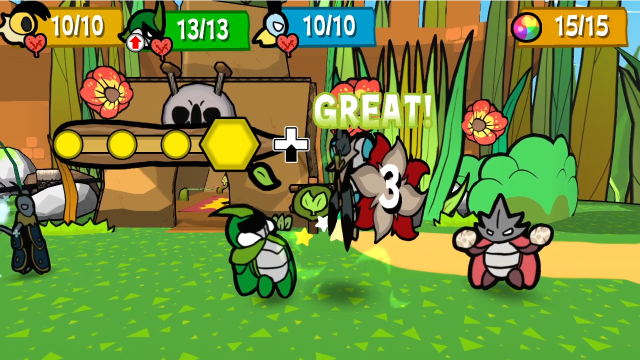 Leif relays to Kabbu for slightly better damage. 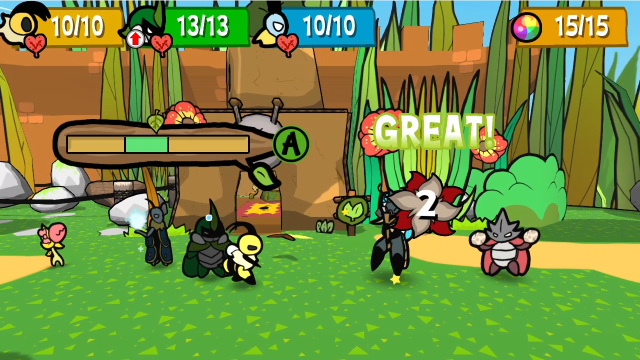 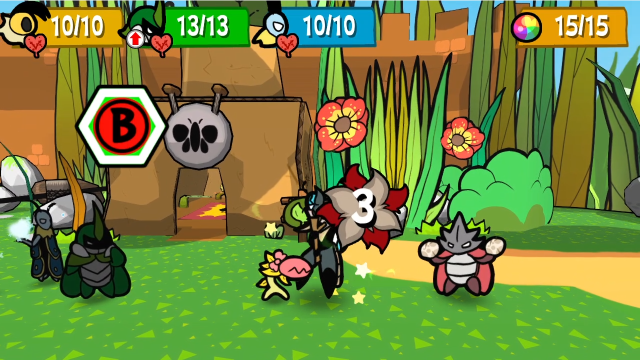 Chompy's helping!  Cenn attacks by throwing his stick as a boomerang. This hits the same character twice, with base damage of 4 and then 3; it hurts a lot, especially if you don't block well.  Pisci, meanwhile, builds a rock wall for them to hide behind. Sometimes she'll take multiple actions in a turn, but that's all she did this time. 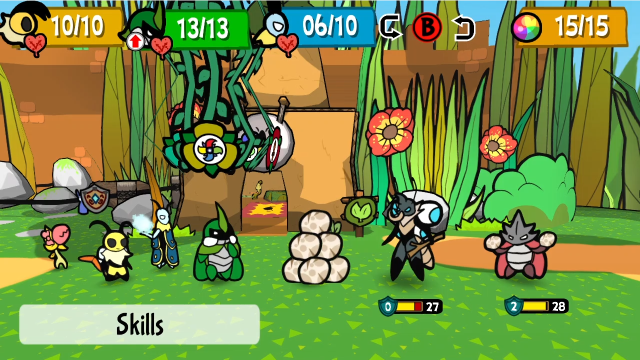 Well, this is awkward. The rocks count as the front-most enemy, so Kabbu and Chompy can't reach with most of their attacks. However...  Kabbu can just go underneath it! Under Strike is pretty great in this fight, and it's even better if you can time it exactly right; I was a little off this time.  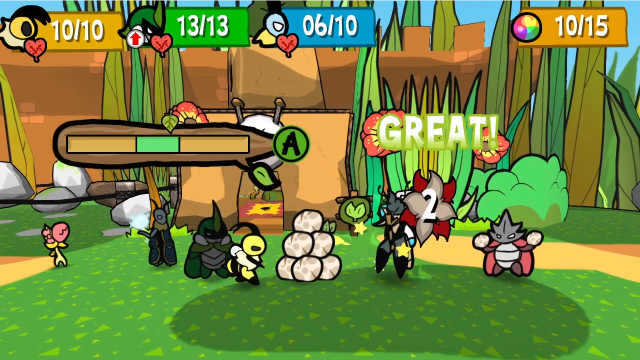 Leif and Vi will just keep hitting Cenn for now. 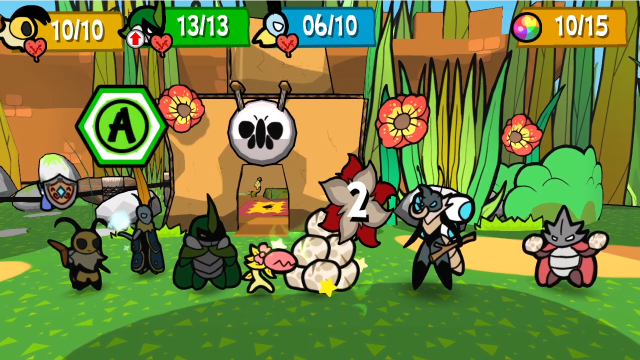 And poor Chompy has no choice but to eat rocks. (The rock wall appears to have 1 defence, for some reason.)  Cenn uses a different attack this time. He can also just hit us with the stick, for 4 base damage (Favorite One and Super Block+ are cancelling each other out here).  This turn, Pisci chucks some rocks at us. These don't have to target the same bug (though she decided to focus on Kabbu here), and do 2 damage each. 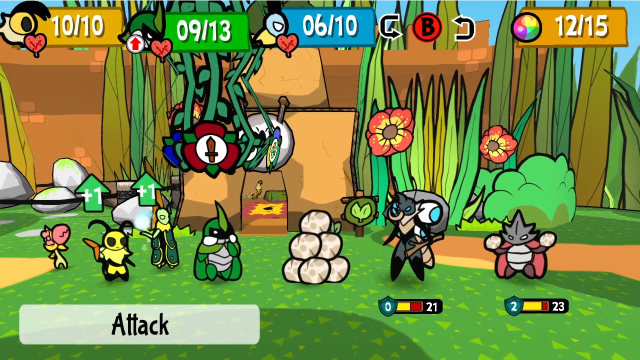 We're making progress.  Kabbu's Under Strike goes much better this time, hitting both of them! The timing for this feels pretty tricky (I'm still not all that consistent with it, as you can see), though I don't actually know how small the window is. 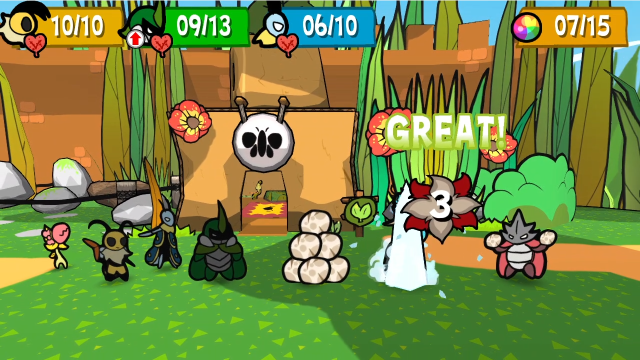 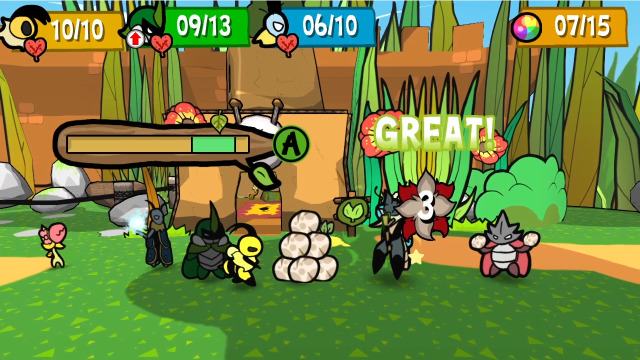 Leif and Vi continue hitting Cenn.  Chompy hits the rock pile again, causing it to fall apart. Pisci's rock walls have 4 HP, so you can get rid of them if you want to. 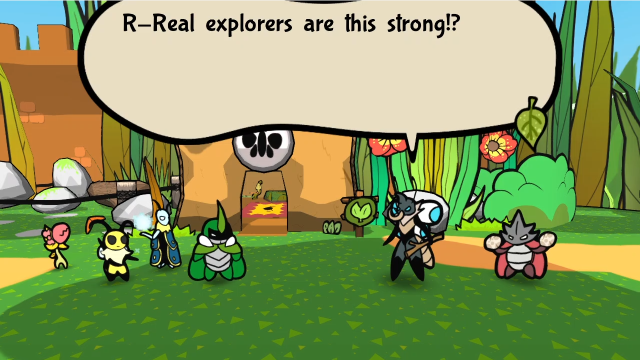 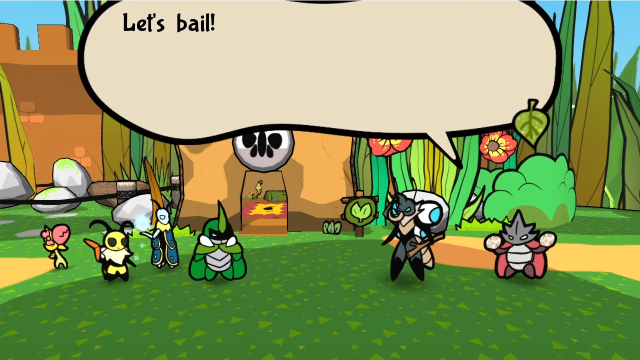 At the start of their turn, instead of attacking, they decide they've had enough and run away. (As far as I can tell, the trigger for this happening is either of them being below half HP when their turn begins. Also, if anyone is wondering, it's not actually possible to win this fight: I did some fairly extensive testing, and found there's a script in place which arbitrarily stops their HP from being reduced below 2.)  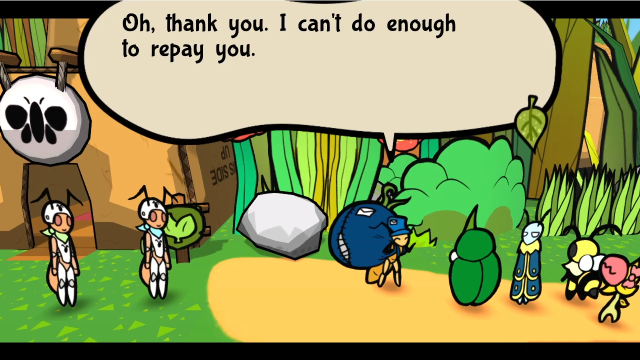 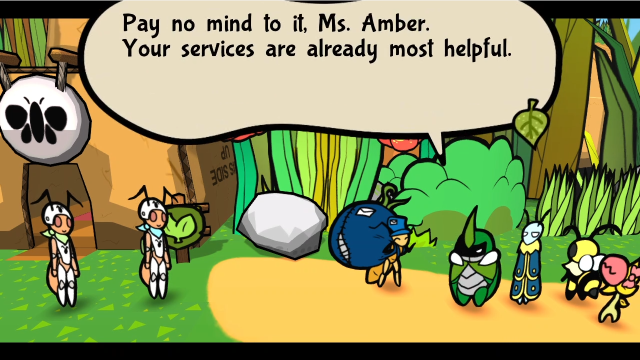 This is bad. They'll just come back and harass someone else! We have no idea where they'd flee to, though... That permit's fake, right? Maybe they'll try to steal a real one? We'll check out the area near the Association, then! We shall as well. Let's get them with haste! This is bad. They'll just come back and harass someone else! We have no idea where they'd flee to, though... That permit's fake, right? Maybe they'll try to steal a real one? We'll check out the area near the Association, then! We shall as well. Let's get them with haste!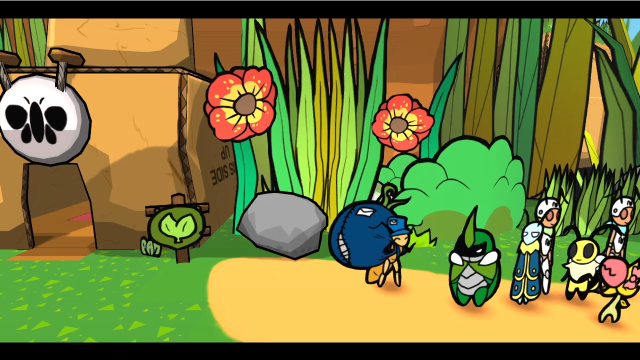 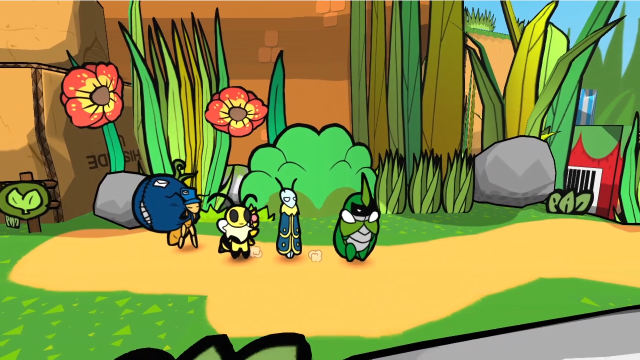 Gen and Eri leave, and the game gives us back control. Let's head to the Outskirts, I guess, and see if we can't track them down. 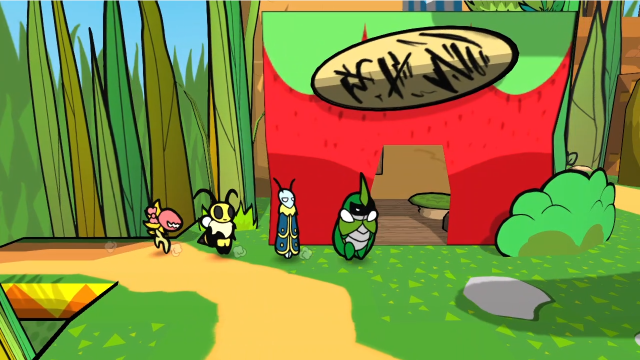 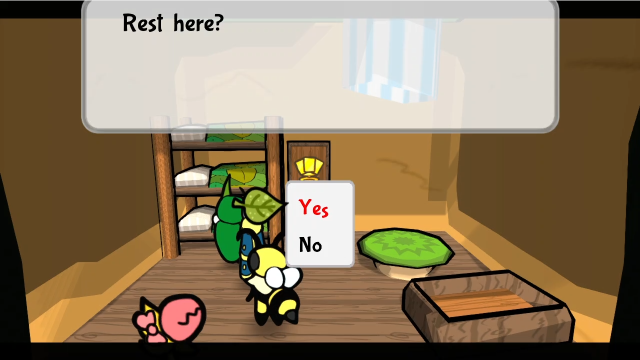 We pass by our house on the way, though, so it only makes sense to rest up first. 06 - Outskirts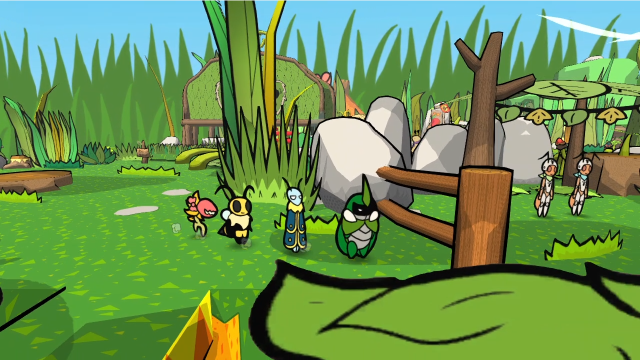 We eventually find them here, on the other side of a fence near the exit that eventually leads to Golden Path.  We can, of course, dig and go under the fence. As soon as we get closer, a cutscene will start: 13 - It's Getting Scary!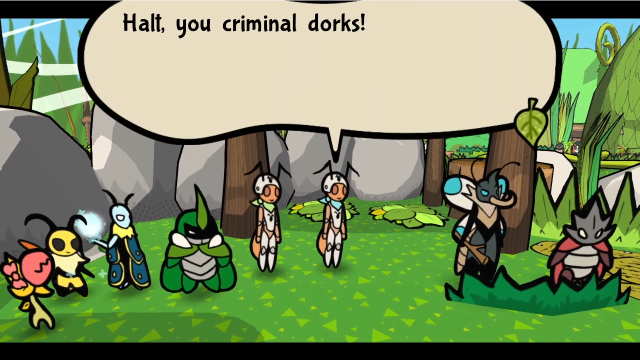 How did you find us so fast!? It's cuz we're, like, actual explorers! How did you find us so fast!? It's cuz we're, like, actual explorers!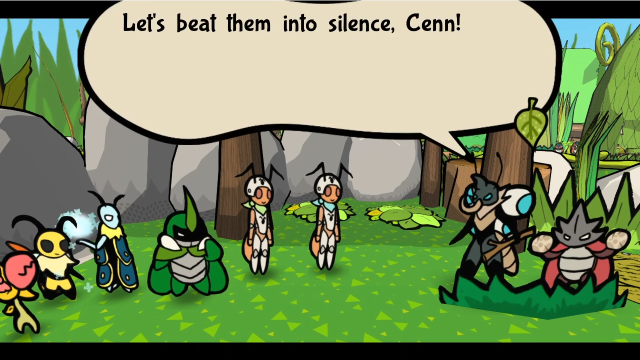 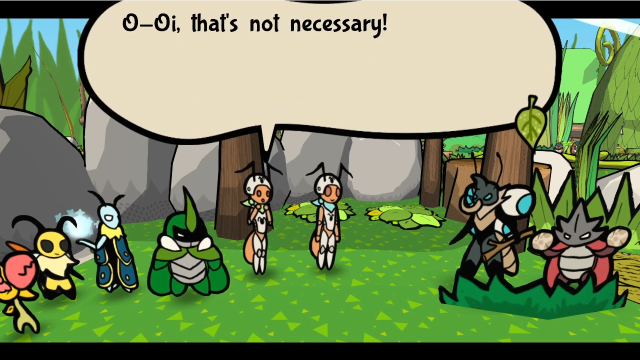 Gen, Eri! Good job locating the frauds! We won't waste our breath negotiating. Yeah! Let's just beat 'em up! Darn, they're too strong. What do we do!? Just give it up! There's a reason Maki refused your application! What would he know? Y'all are just the Queen's lapbugs! No one has the right to tell us we can't explore! ... I get how you feel. But... the answer wasn't to become criminals! It was to train and become stronger, so you could do the dangerous stuff! Don't lecture us! We'll see who needs to get stronger after this! Gen, Eri! Good job locating the frauds! We won't waste our breath negotiating. Yeah! Let's just beat 'em up! Darn, they're too strong. What do we do!? Just give it up! There's a reason Maki refused your application! What would he know? Y'all are just the Queen's lapbugs! No one has the right to tell us we can't explore! ... I get how you feel. But... the answer wasn't to become criminals! It was to train and become stronger, so you could do the dangerous stuff! Don't lecture us! We'll see who needs to get stronger after this!It's time for round two (the real fight). Click me for video! 29 - Team, This One's Stronger! 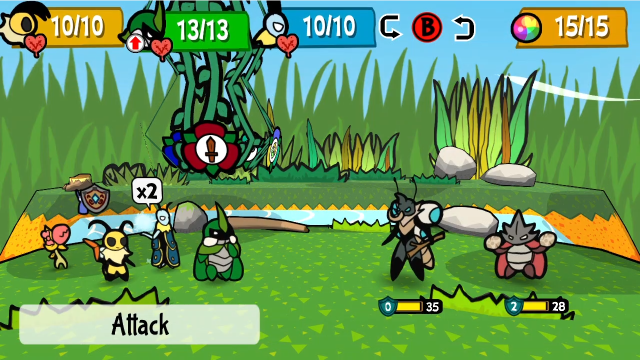 In a way, they did us a favour by running away, because it means we start this fight already having their spy data. No need to waste any actions this turn, let's just get to fighting.  Let's start off by having Leif cast Empower on Kabbu. 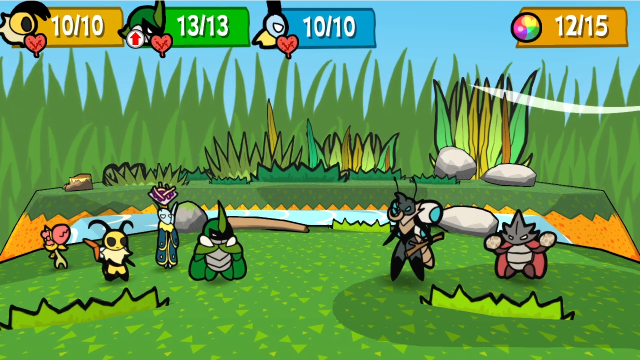 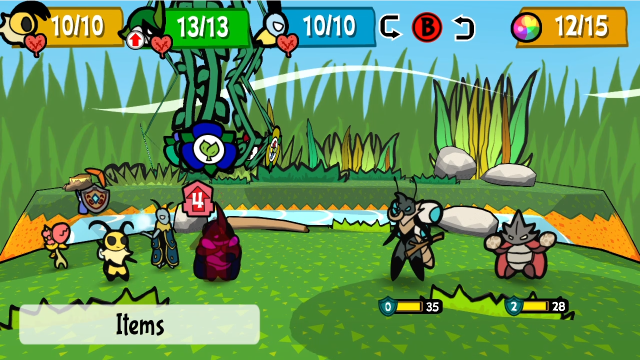 Then we poison him with some Spicy Fries. Admittedly, in retrospect this was a minor mistake (why did I use Empower instead of doing something else with Leif? Or why didn't I get Burly Chips instead?), but the durations stack so we won't need to refresh the attack buff later.  Now it's Under Strike time! Look at that 18 damage. This can be really potent if you're good at using it; just because Vi's skills are the most obvious way to output lots of damage, don't rule the other two out. (I also really like Under Strike in this fight because it completely ignores Pisci's defence.) 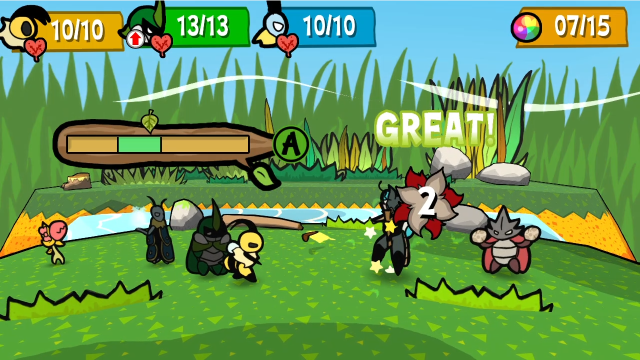 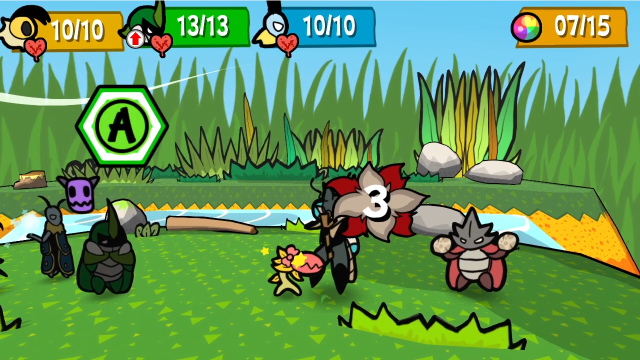 To finish out the turn, Vi and Chompy attack normally.  Cenn hits Kabbu with his stick (and I fail to block).  Pisci does something new this turn - she pulls out a Crunchy Leaf and heals Cenn. Supposedly, both of them can do this, though only to heal each other; in practice, I don't think I've ever seen Cenn do it. (Also, I've seen quite a few people comment on it being odd that Cenn is able to eat leaves with a proboscis.)  Immediately after that, she builds a rock wall. 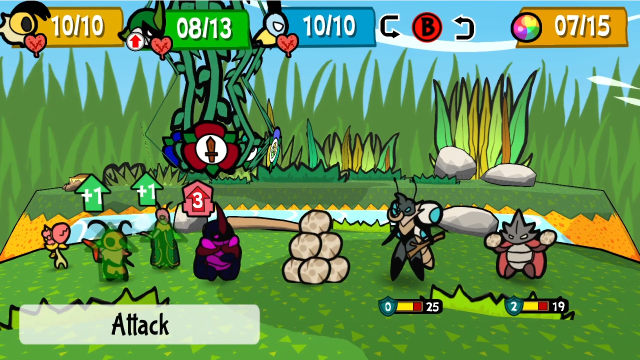 So far, so good. Let's keep doing that. 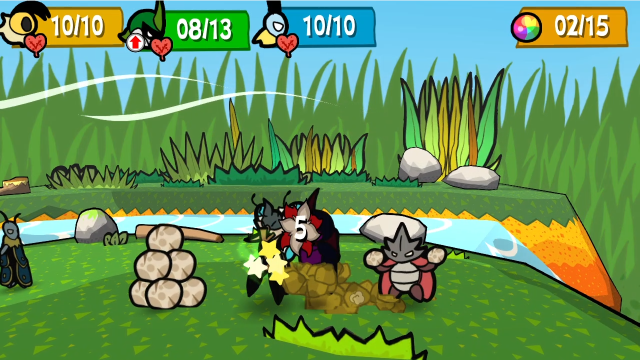 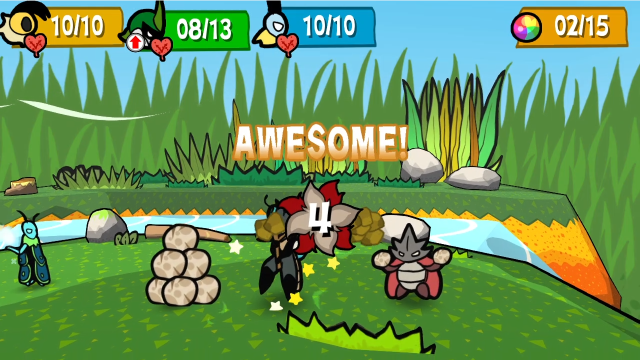 Unfortunately, this time my timing is less good and I only manage to hit Cenn. Still, if I were choosing one to prioritise hitting, it would be Cenn (given his higher damage output), so it could be much worse.  Leif attacks. 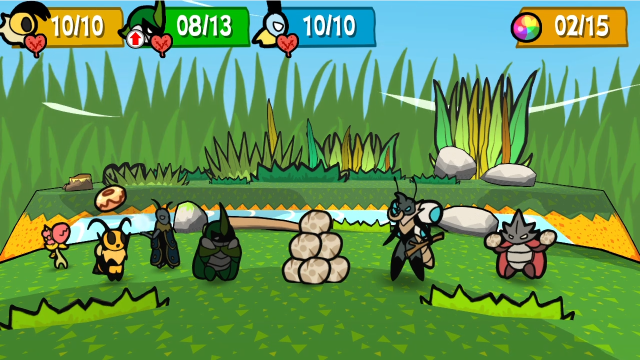 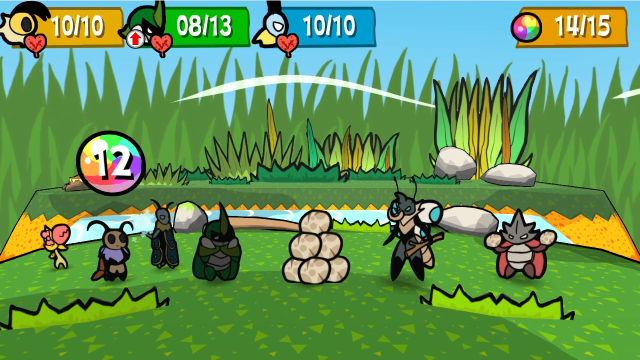 Vi uses a Crisbee Donut to restore our TP, since we were nearly out. It doesn't take much skill use to burn through our 15 points. 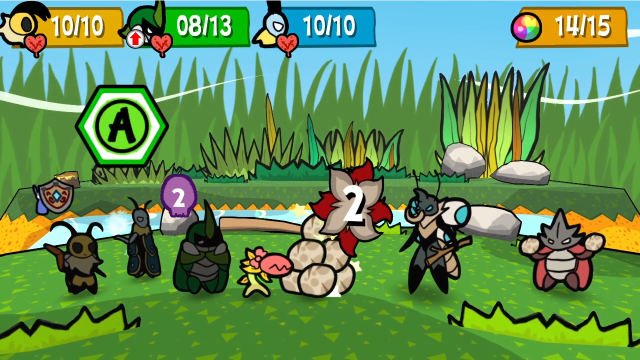 Chompy attacks rocks for lack of anything better to do.  Ouch. The boomerang attack really hurts if you miss blocking.  At least Pisci's rocks aren't much of a threat. 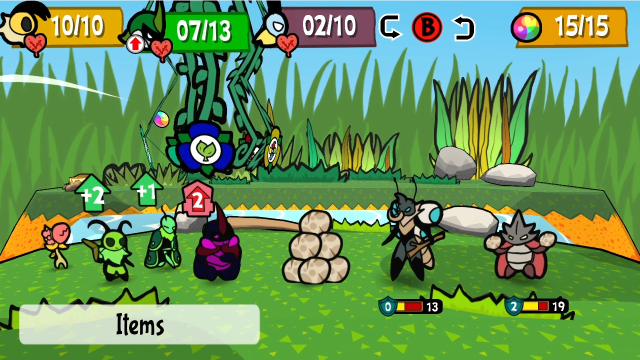 We might need to do a bit of regrouping this turn. 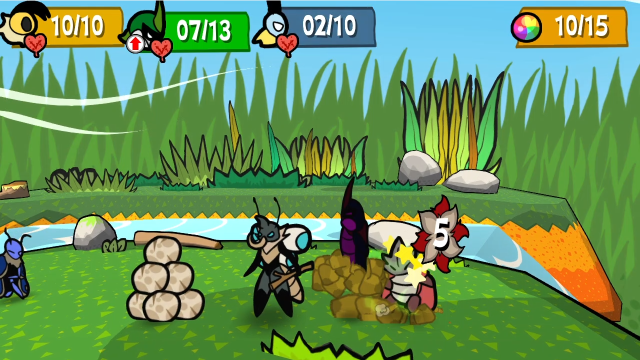 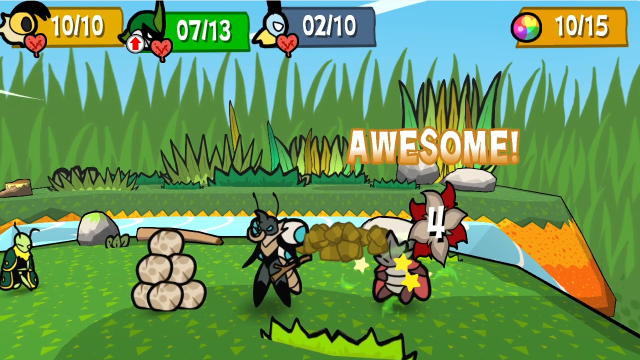 First things first, though, Kabbu's going to keep Under Striking. This time, he only managed to hit Pisci, though. Still, damage is damage. (Also evidence of how finicky this skill can be - his positioning looks right here, but clearly not.) 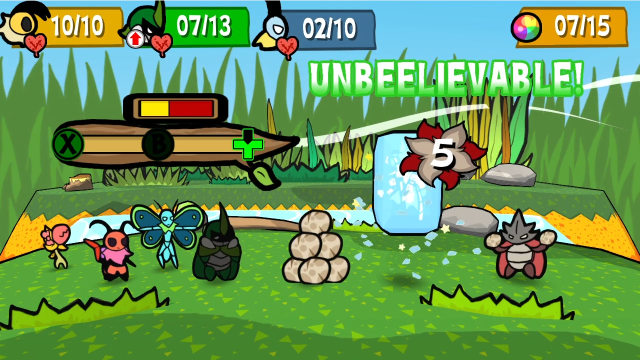 Leif freezes Cenn with Frigid Coffin. I would have liked to just KO him this turn, but missing with Under Strike ruled that out; freezing him is nearly as good at taking him out of the fight.  Vi gets Leif out of the woods with Secret Stash. 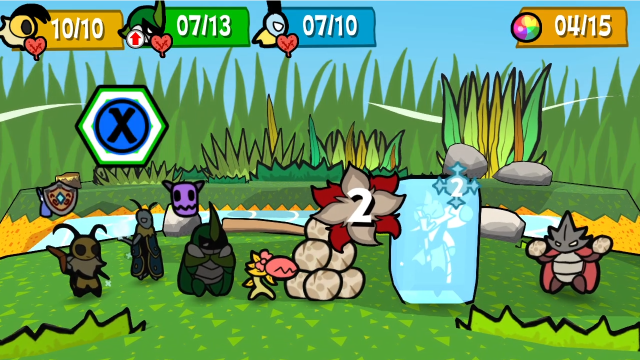 And Chompy hits the rocks again, which should be enough to do for them. 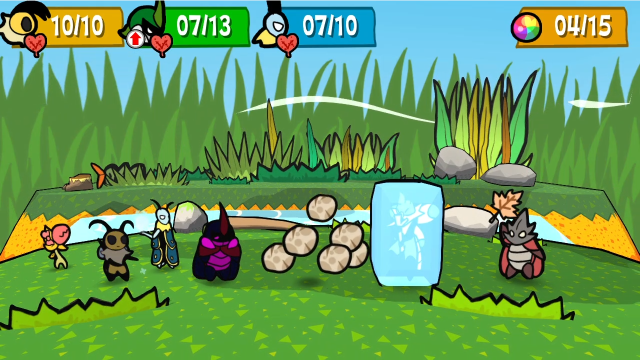  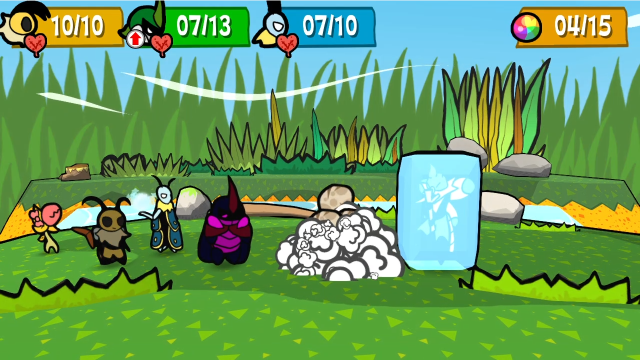 Well, it was enough to get rid of the rocks, but Pisci just puts them right back after healing Cenn. She's very persistent about this; trying to keep the rocks gone is honestly a losing proposition here. 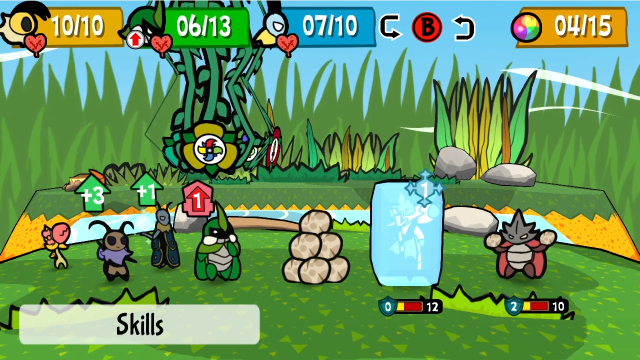 We should definitely be able to finish off at least one of them this turn.  Tornado Toss with full charge against a frozen target is honestly a bit overkill; there goes Cenn. (Meanwhile I'm just thinking all that wasted damage is a bit inefficient; feels like I got a bit sloppy.) 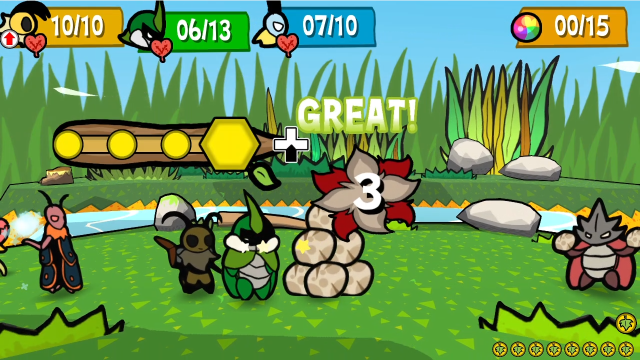 We're out of TP, so I just had Kabbu hit the rocks. 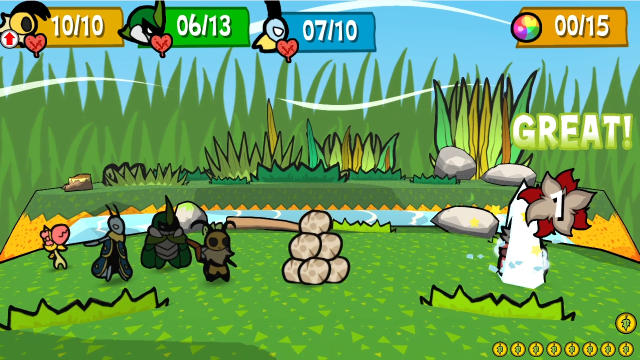 While Leif hits Pisci, though without the +1 charge he wouldn't have managed to do any damage. 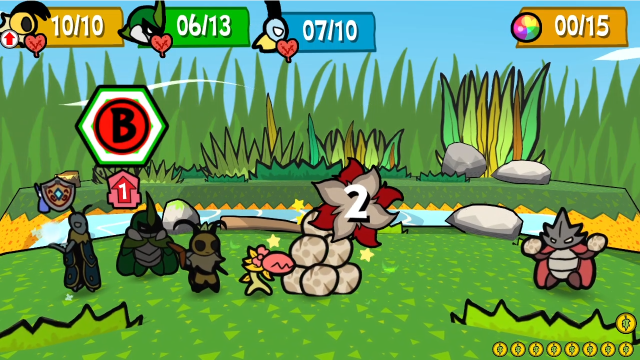 And Chompy finishes the rocks off; let's see if they stay gone.  At the start of their turn, if either Cenn or Pisci has been defeated, the other will gain a permanent Attack Up. (This is definitely another reason to try to take down Cenn first, I wouldn't want to be fighting him with boosted damage.) 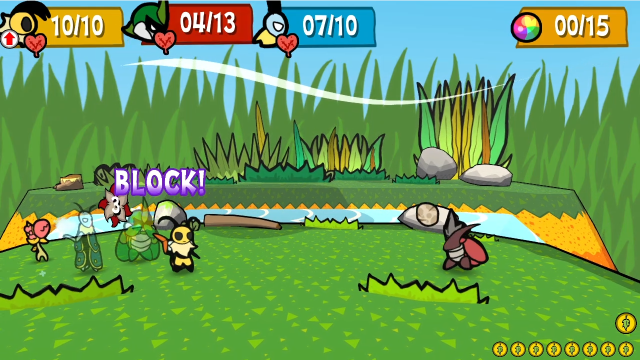 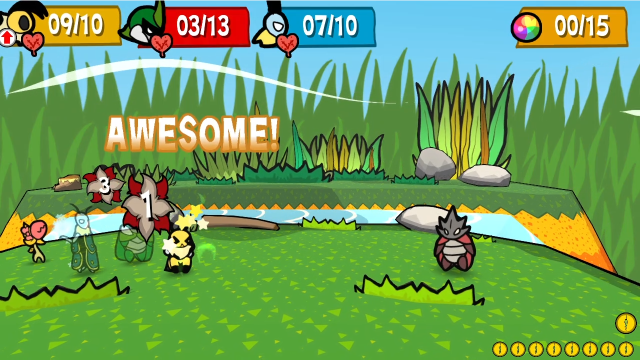 Pisci throws some rocks at us. They're a bit more threatening with Attack Up, but still not that scary. 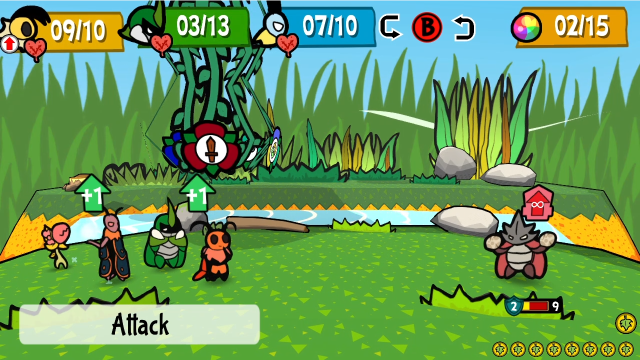 We've gotten Pisci low enough with incidental damage that we should be able to finish things now. 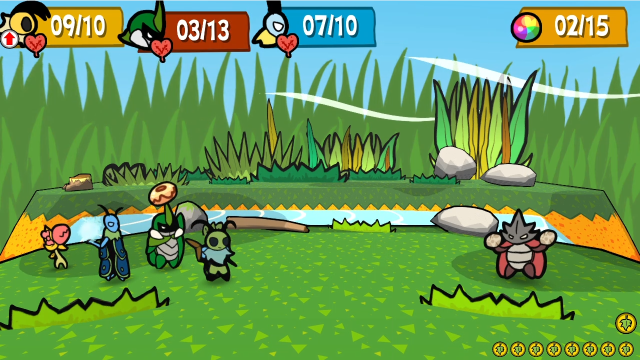 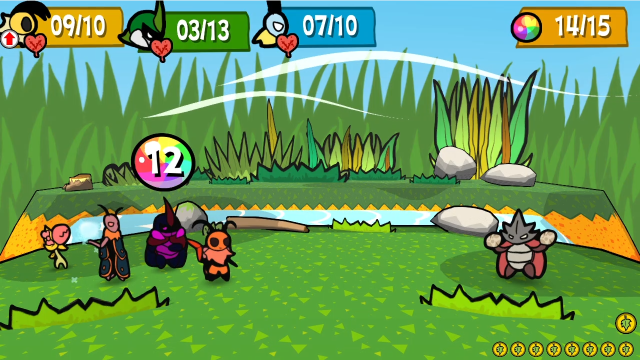 It feels a bit awkward using an item so close to the end of the fight (and with better planning I could probably have avoided this), but getting through her defence is a lot simpler with a bit of TP.  Vi's Needle Pincer does the job quite nicely. 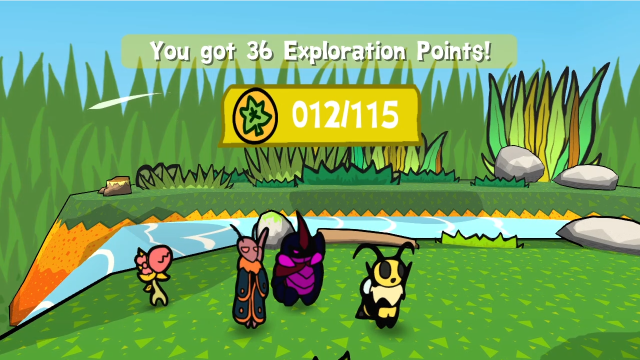 That wraps up the fight! It's a decent chunk of EXP too, more than enough for us to Rank Up. (Also, I have to say, I've always thought Kabbu looks good in purple.) 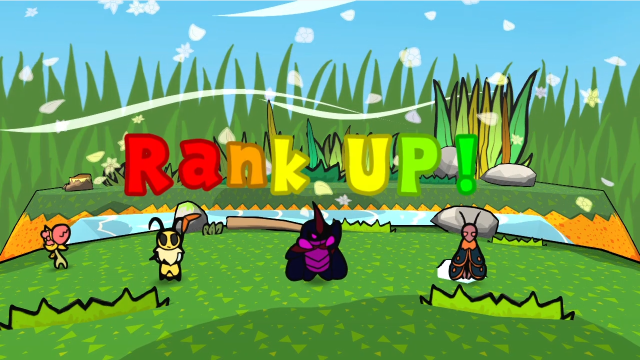 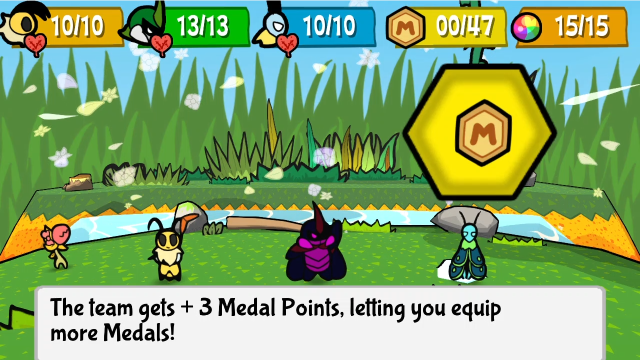 This brings us to 50 total MP. (That sounds like a lot, but it really isn't hard to fill that up.) 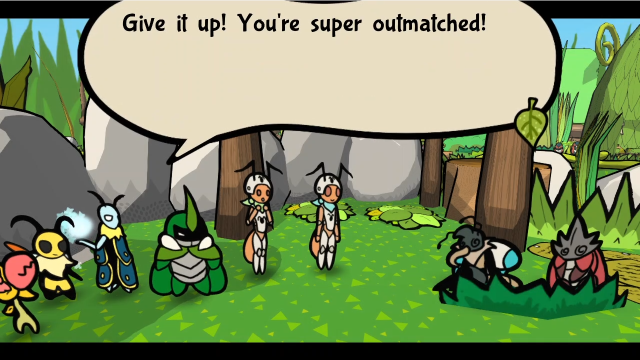 Tch. You preachy bunch... Tch. You preachy bunch...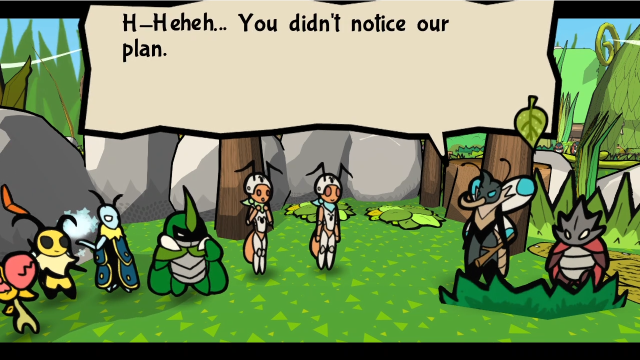 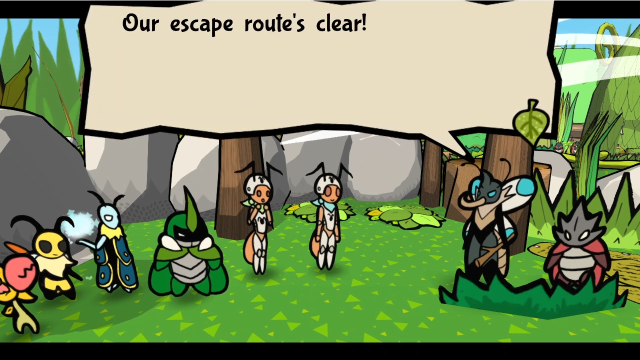 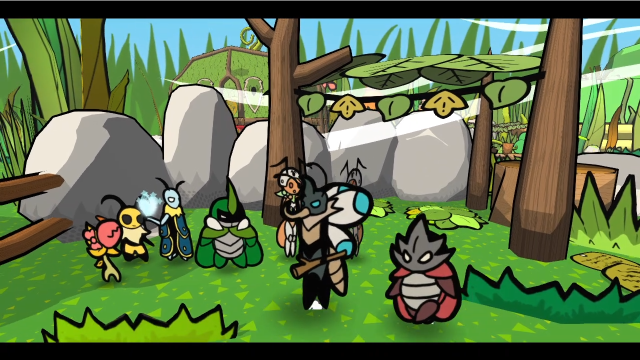 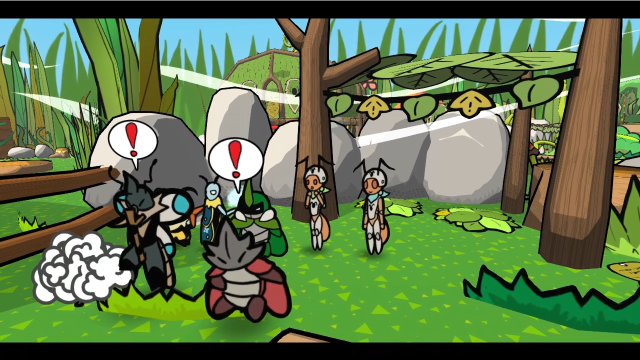 Something stops them as they try to run away again. 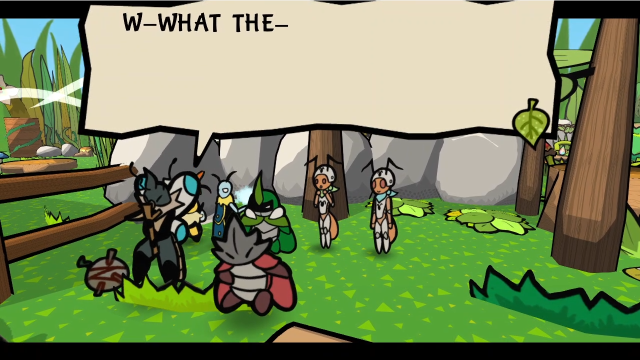 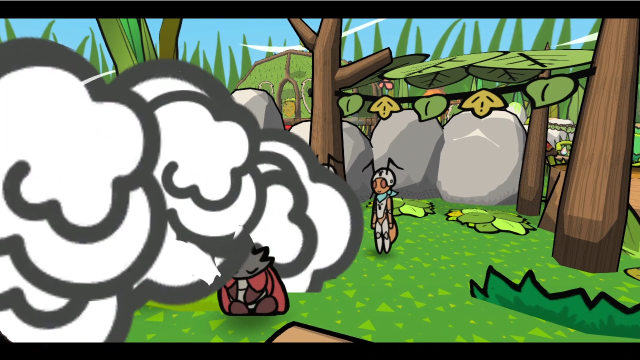   YOU didn't notice OUR plan! Incredible! Good work! We're gonna ship these off to be judged. Thanks for your help! Let's see. Confiscate the permit and... huh. They had this on them. You should take it, Team Snakemouth! YOU didn't notice OUR plan! Incredible! Good work! We're gonna ship these off to be judged. Thanks for your help! Let's see. Confiscate the permit and... huh. They had this on them. You should take it, Team Snakemouth!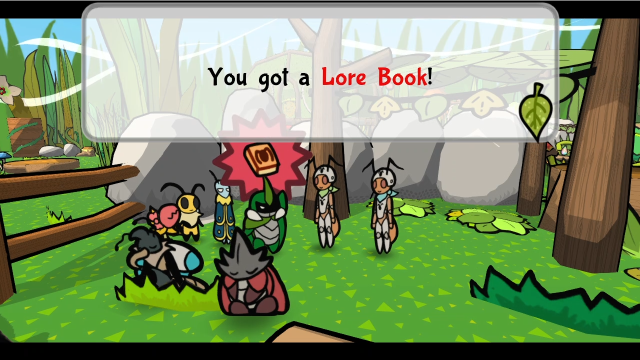 Another Lore Book for the pile. Pleasure to help. We'll see you around. Good luck in your other quests! Heheh. See you around!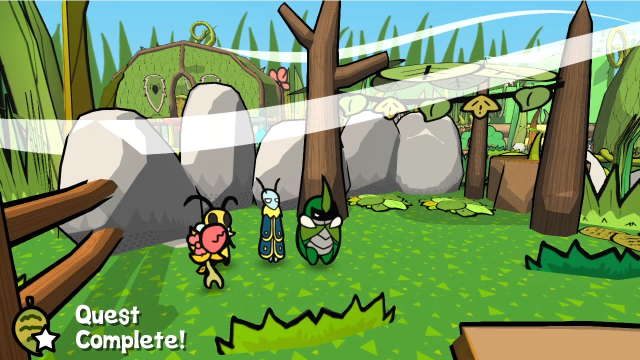 With that, we've completed another quest. Cenn and Pisci are a good fight (and I think it's also a nice touch that their inexperience is represented in game mechanic terms by them both having very small movesets). Also, did you notice? Put together the names of all the characters involved in this quest and you get Gen, Eri, Cenn, Pisci, or... "Generic NPC". There you go, it's the punchline to a joke begun with Gen and Eri's names all the way back at the beginning of the game. (Honestly, the most impressive aspect of this is that all of the individual names look fine in a vacuum.) Completing another boss fight, of course, means we should check in with Artis. 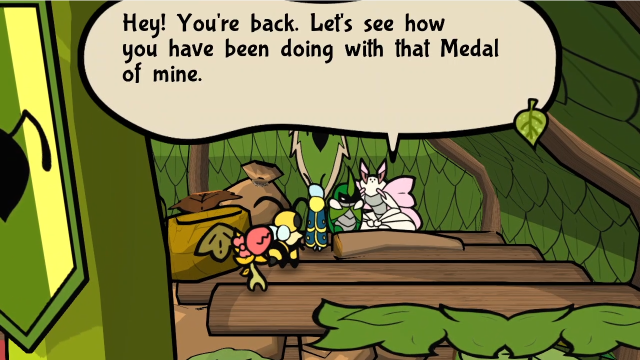 Hmmm! Good job, folks! You defeated that hardened duo of fake explorers! Was it too challenging for ya? You deserve a reward. Here, take this! Hmmm! Good job, folks! You defeated that hardened duo of fake explorers! Was it too challenging for ya? You deserve a reward. Here, take this!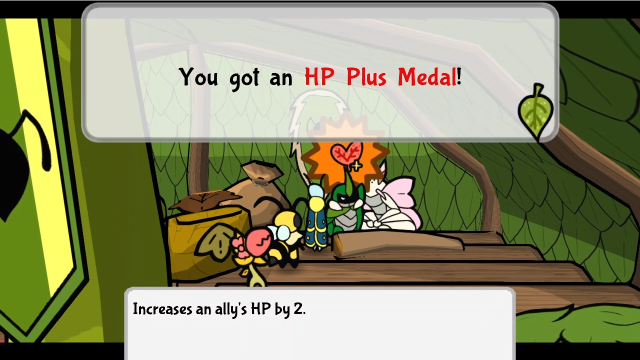 Come back later when you've bonked some extra hard heads with that medal, will ya? Come back later when you've bonked some extra hard heads with that medal, will ya?Our Hard Mode reward for beating them is our fifth copy of HP Plus. We've now seen every copy of this medal in the game (there are six; the last one is currently waiting in Shades' shop though we haven't bought it yet). 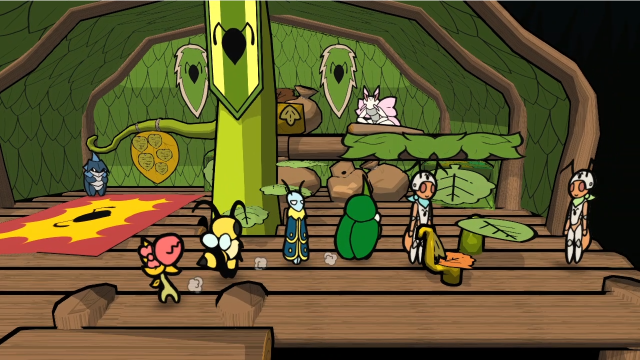 Also, now that we've finished helping them with their quest, Gen and Eri will go back to hanging out at their usual spot here in the Association. 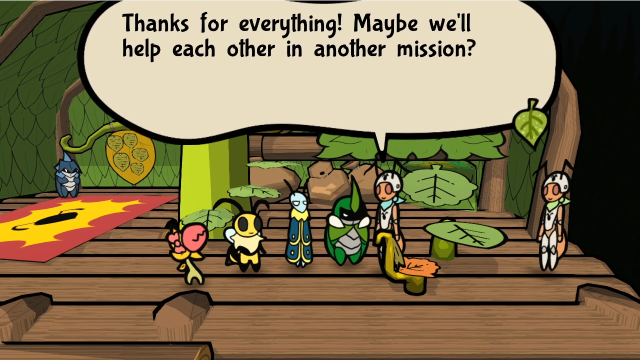  They have new dialogue, though it's fairly sparse. The banter has also updated: Gen and Eri seem a bit unreliable. It's good to know they have our back, though! Indeed. This camaraderie is what being an explorer is all about!Seems like their stunt with the Sleep Bomb back there definitely impressed Vi. With that quest out of our way, let's do some exploration. Now that we can dig, we can finally find out what's hiding under all those dirt mounds we've been seeing across the world (and find a few other neat things too). Let's go on a backtracking tour. 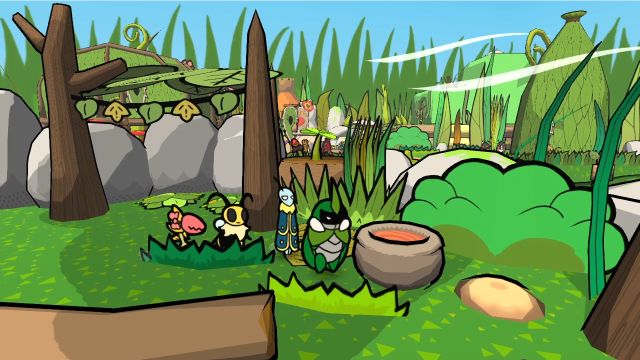 Though let's start with something new. If we return to where we just fought Cenn and Pisci, there's one hiding just past them. 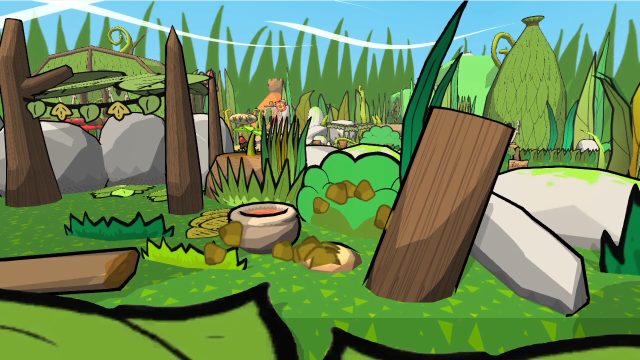 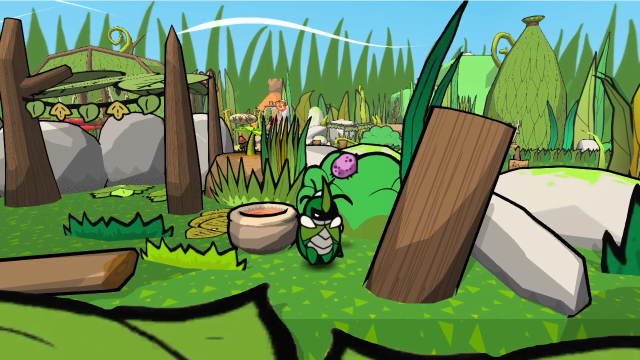  It only has a Danger Spud. A bit disappointing, but it has its uses. I guess it helps establish early that not all of these are going to be incredibly impressive.  Next up is this one we saw at the very beginning of the game, right in front of the Explorers' Association. 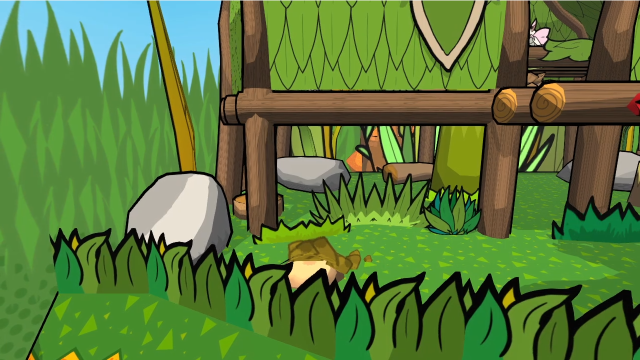 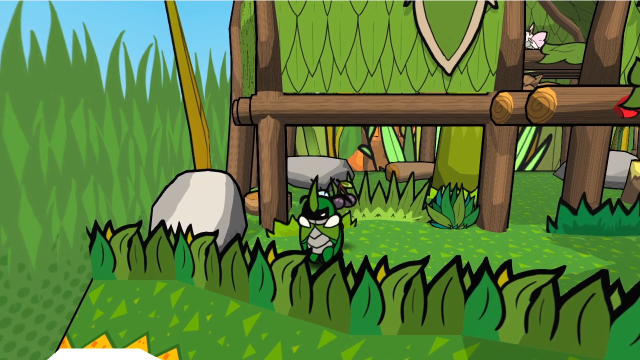 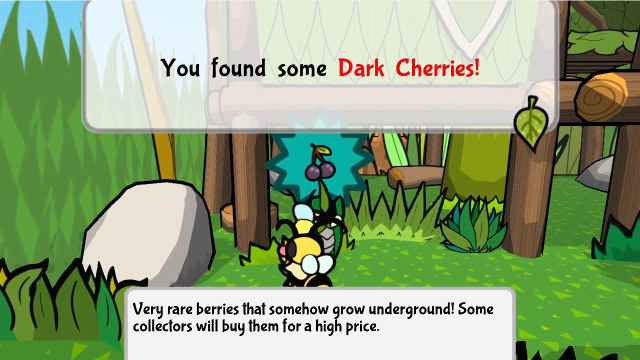 That's certainly something new! We've been hearing about Dark Cherries from time to time, but now we've actually found some. They're an interesting item. They don't actually do anything unless you cook them (in fact, as an item, they take up space in our inventory and can't be used), but they're used to make some of the best consumables in the game. Also, the "high price" is not a lie, they can be sold for 50 berries each if you're so inclined (though berries are so plentiful by this point in the game that there's usually no need to). We'll talk more about Dark Cherries later this update, but for now I'm going to put a pin in the subject and get back to exploring. 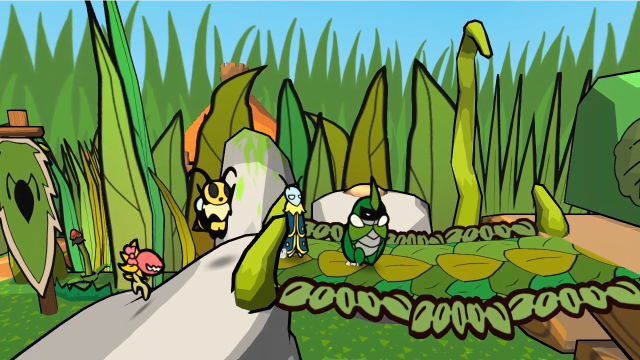 There's one more dirt mound in this part of the Outskirts (though how it got on top of that rock I have no idea). 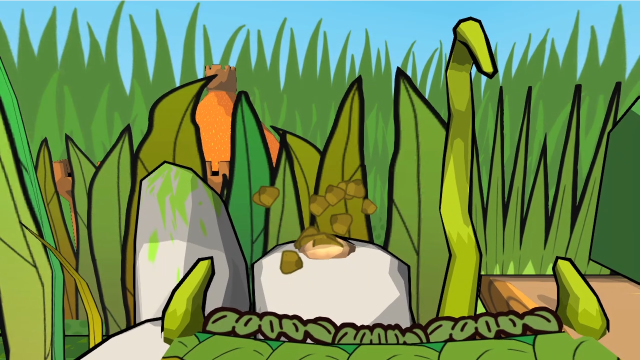 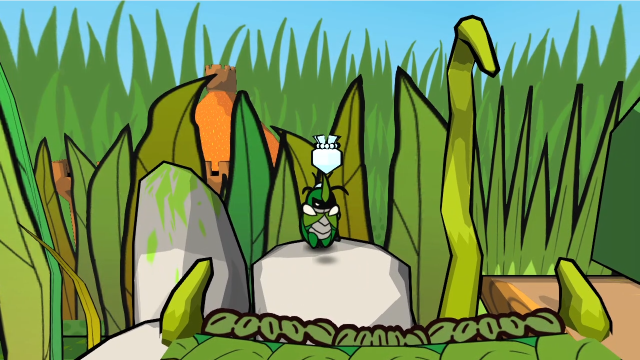 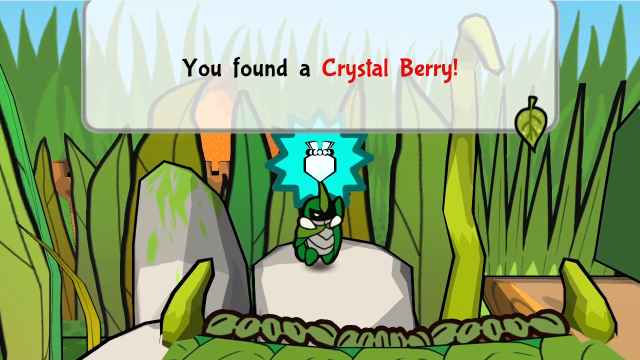 This one has a Crystal Berry inside! It's always nice to get more of these, and you can find a lot of them this way. 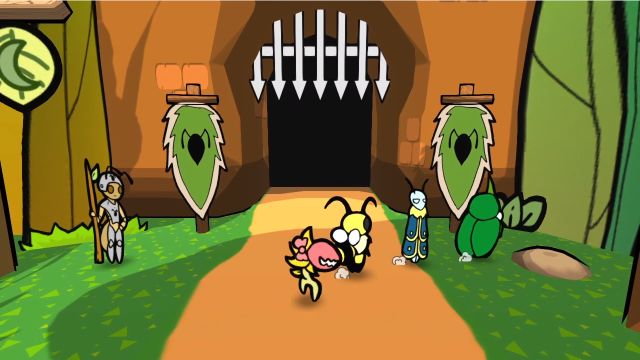 Moving on to the plaza, here's one just next to Bugaria Theatre, off the path toward the Ant Palace. 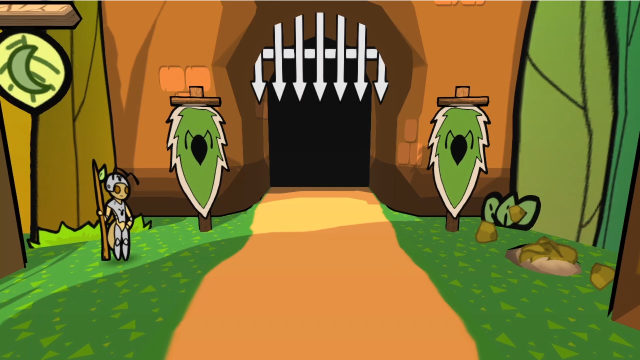 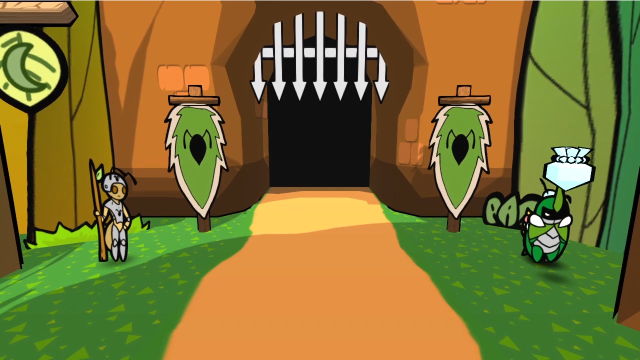 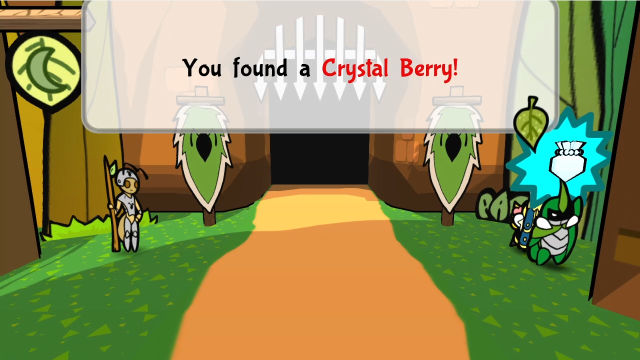 Another Crystal Berry! 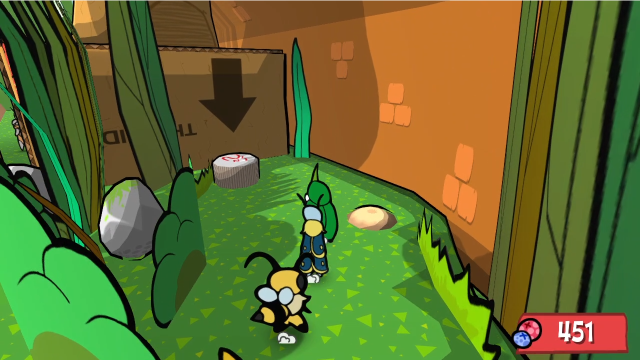 And in the Commercial District, there's one here just by the entrance to the Underground Tavern. 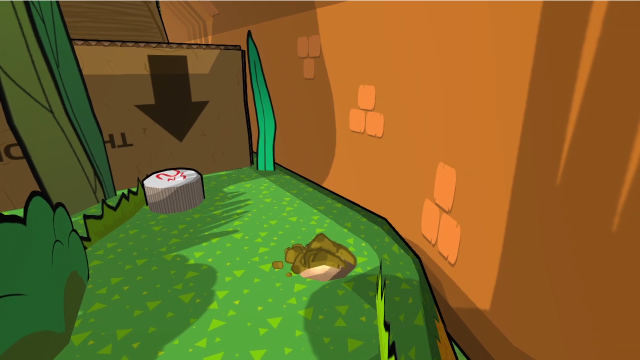 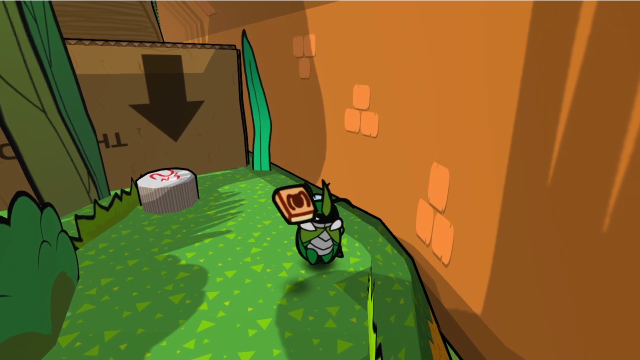 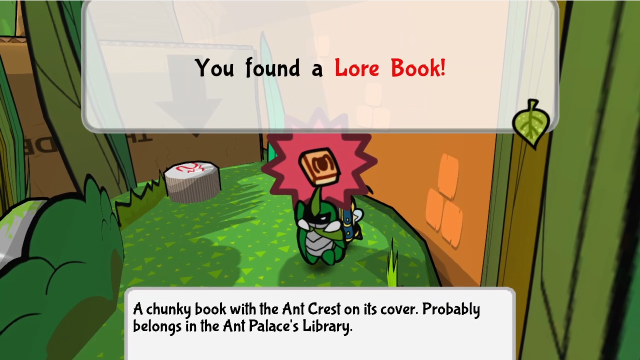 This one has a Lore Book inside (how did that get there?). We've now seen all the types of rewards from these digging spots: they can have Crystal Berries, Lore Books, Dark Cherries, or occasionally miscellaneous consumable items. They're well worth remembering. We've got a lot more still to check, so let's keep going. 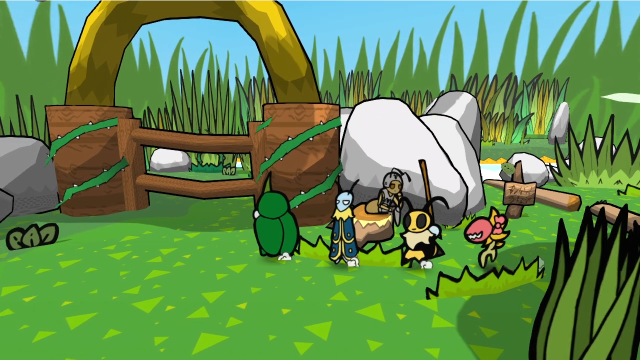 Remember this gate the Ants put up blocking the way back to Snakemouth Den, after we got back from there? 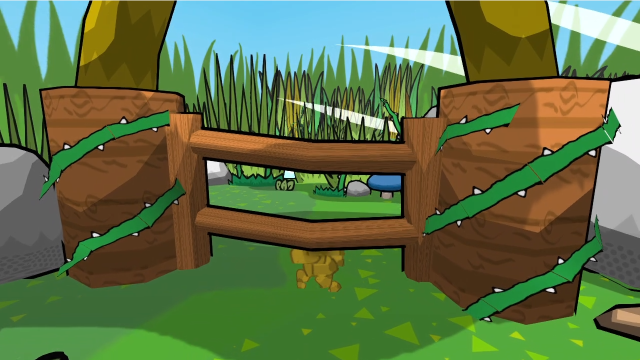 Now that we can dig, it's no longer an obstacle. We can just go under it if we want to head back there. 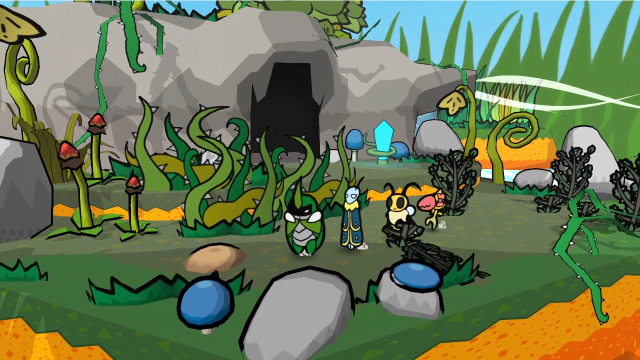 Which is convenient for checking this digging spot. 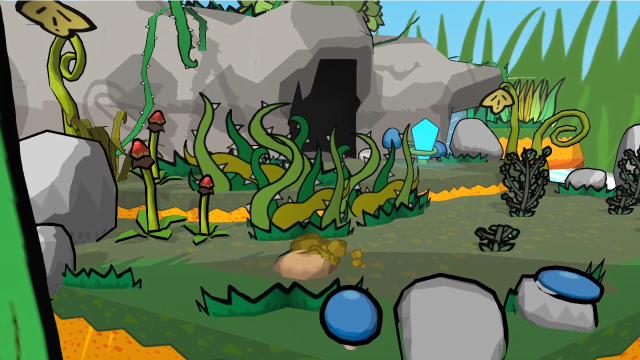 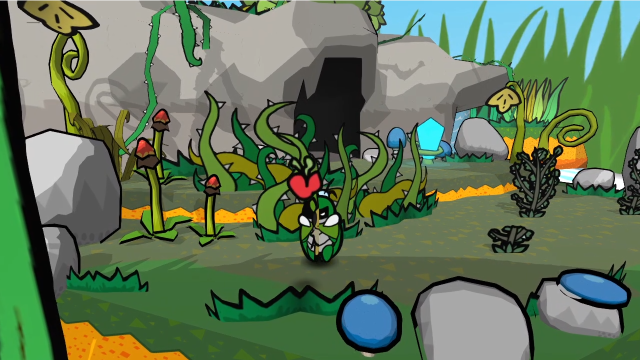 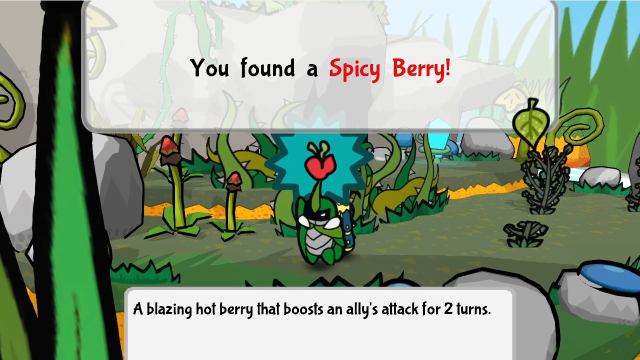 All it has is a Spicy Berry, though. (I guess we've now replaced the Spicy Fries I used in the boss fight. Thanks, game?) 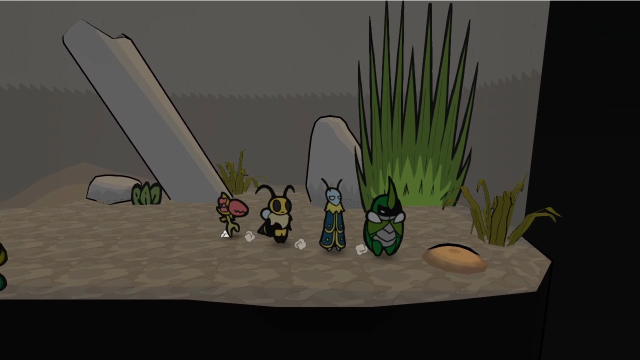 Here's a sneaky one. This one's in the room where we fought Monsieur Scarlet. In order to get back here, you have to remember the illusory wall and just walk through it. 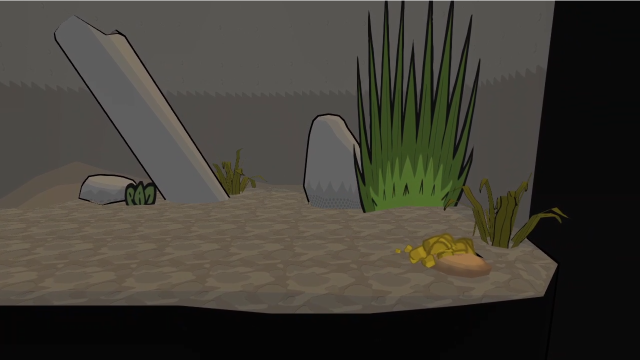 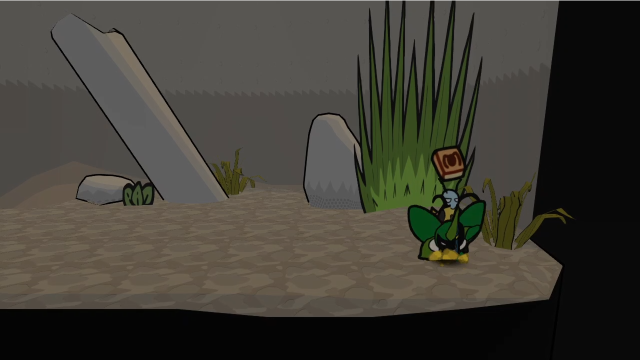 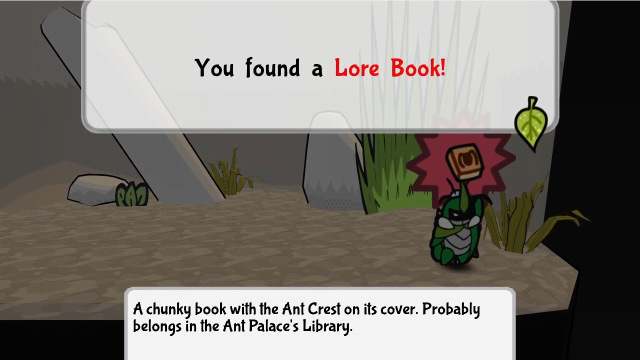 Another Lore Book! This brings us to 5 now; looks like we're going to have a fair bit of reading ahead of us. 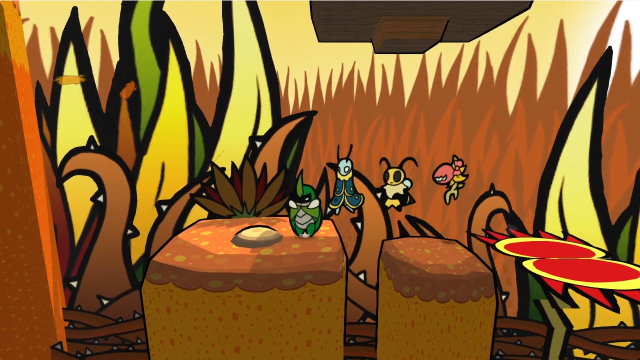 Continuing on to the Golden Path, there's this one if we jump across some flytraps in the first area. 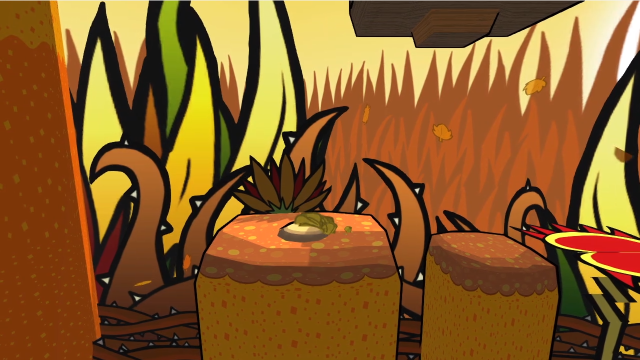  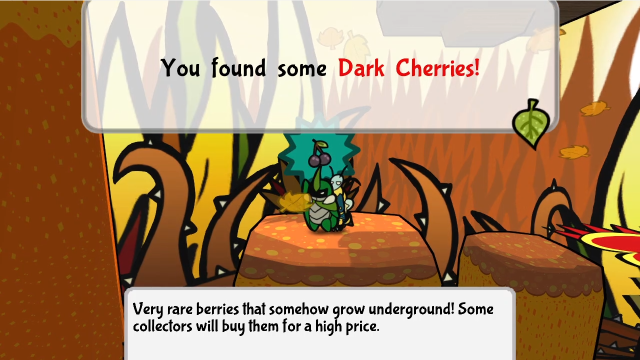 More Dark Cherries! 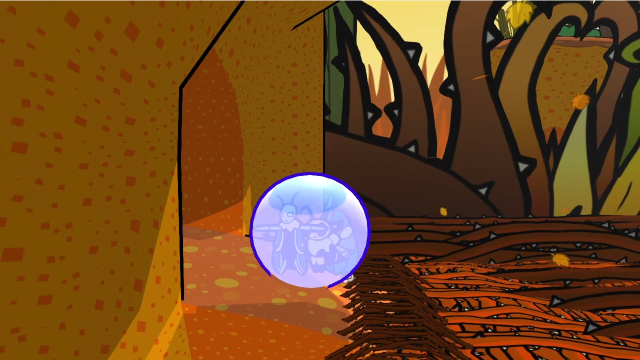 While we're here in the Golden Path, let's stop at Chomper Caverns on the way, there's something new we can find there now as well. 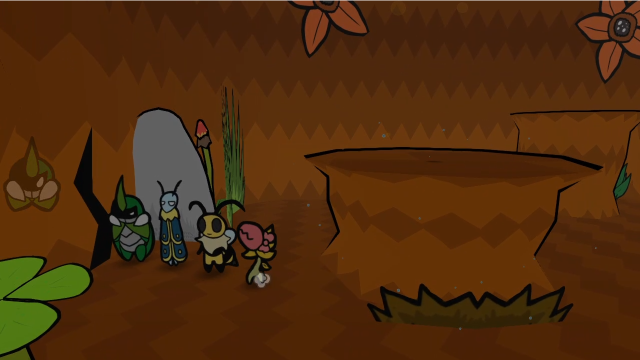 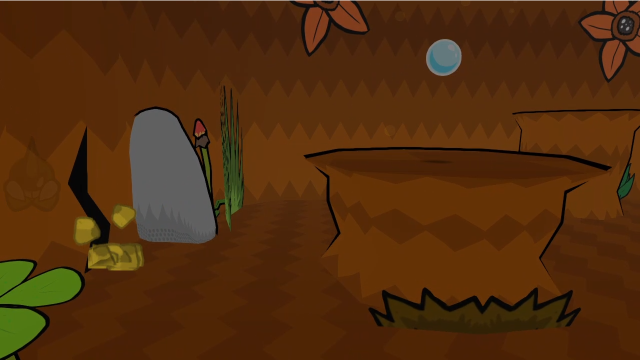 Remember this crack in the far wall? Now that we can dig, we can burrow and go through. 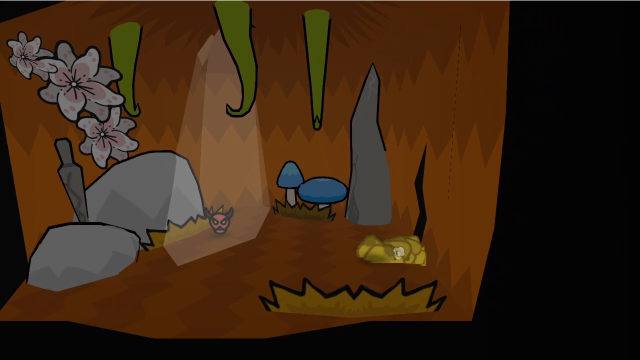 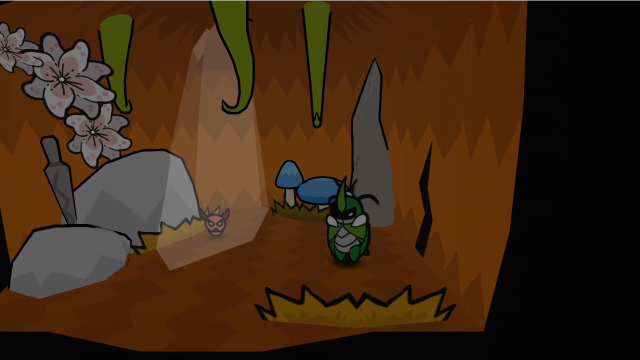 This room, with the flowers and nail resting by the wall (and possibly also the shape of the medal here?), is generally considered to be a tribute to Hollow Knight. 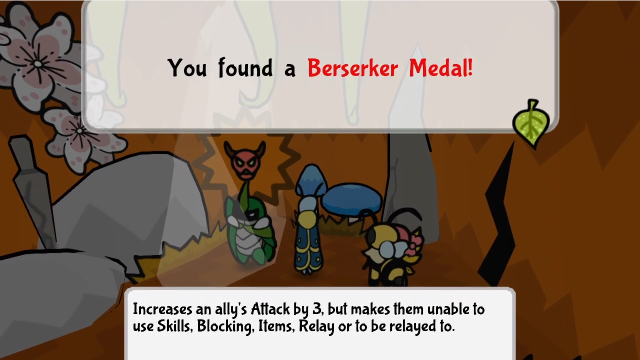 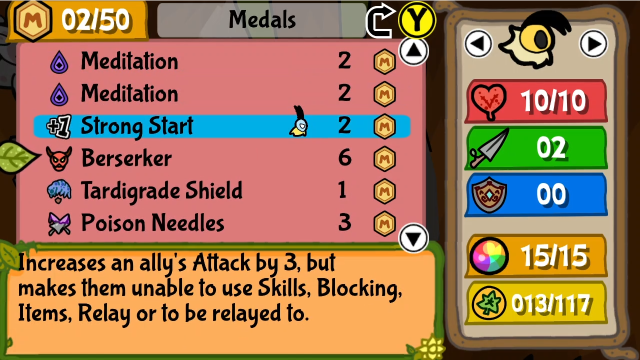 The medal here is a really interesting one, too. The best thing to do with it now is probably to pair it with Strong Start, since even with the double exhaustion, the character will still do more than usual damage on the second hit. Vi is probably the best candidate if you want to do that, since she can hit any enemy, but losing her other abilities is a real tradeoff and I have to say I personally don't use this much. I'll definitely show some strategies with it later, though, I think there's even a good opportunity next update. One other thing worth noting about this is that, if you want, you can come get this before fighting Astotheles (all you need is the digging ability). If you're really bad at blocking, you can use this to give you a big boost in the damage race instead; I definitely took advantage of this on some of the bonus difficulties. 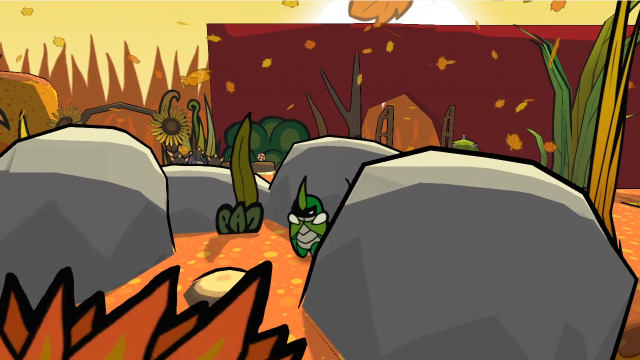 Reaching the Golden Settlement, there's a digging spot in the entrance area, surrounded by this circle of rocks. 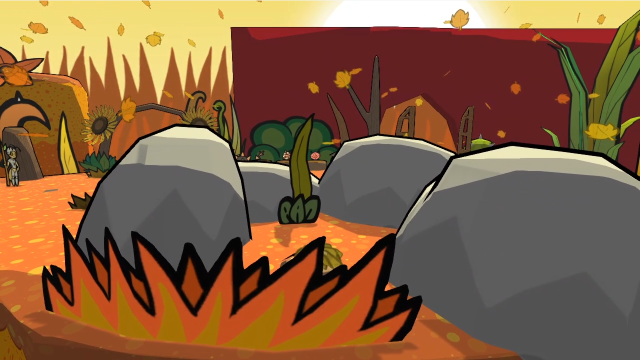 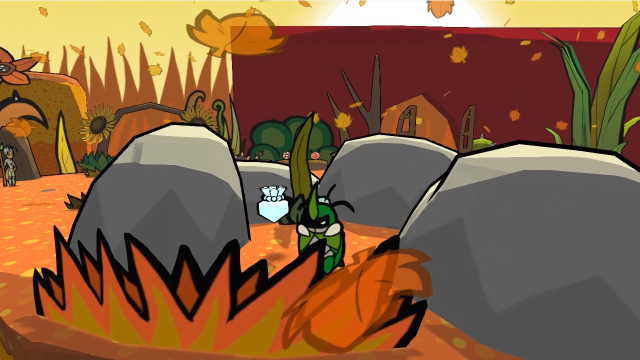 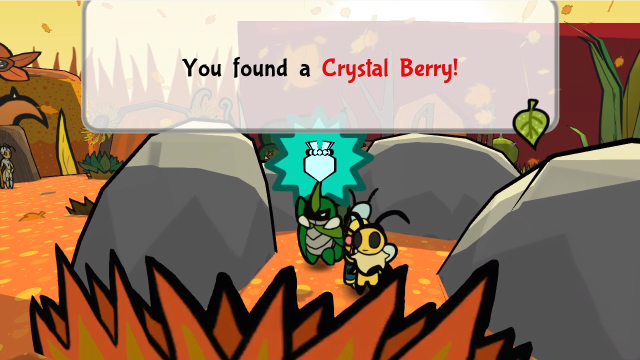 It has another Crystal Berry in it.  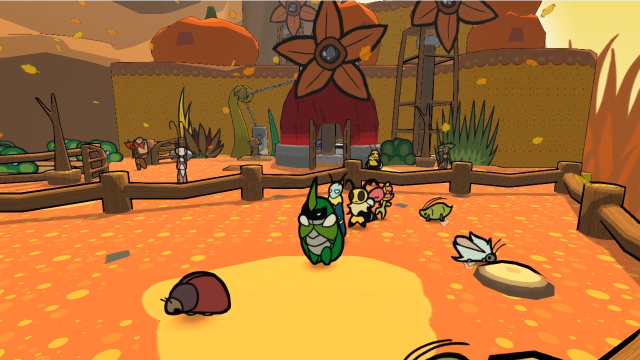 In the western side of town, we can also use the digging ability to get inside the pen where the aphids and cochineals live. (Remember this digging spot? We could see it when Vi was playing the Whack-a-Worm game during the Golden Festival.) 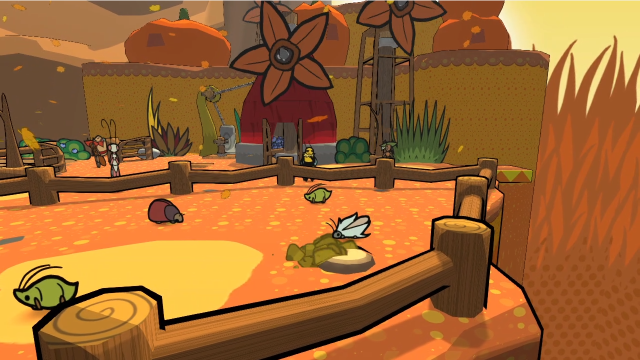 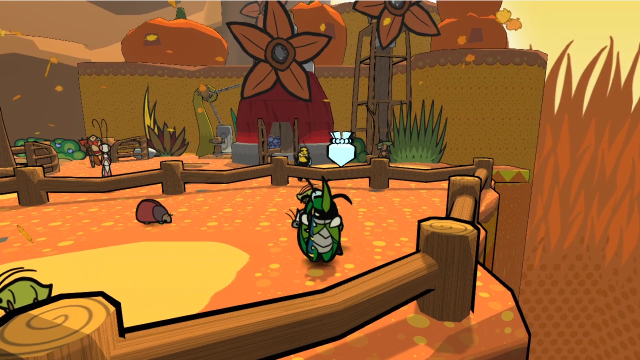 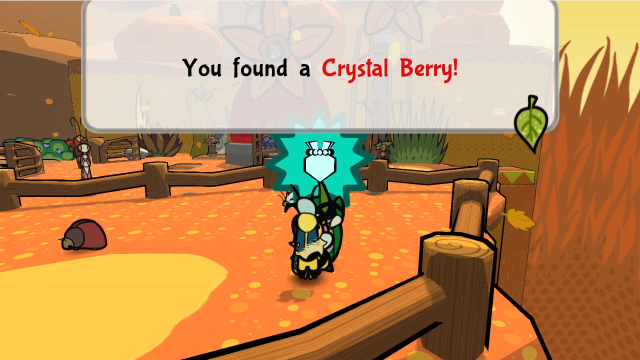 Another Crystal Berry. 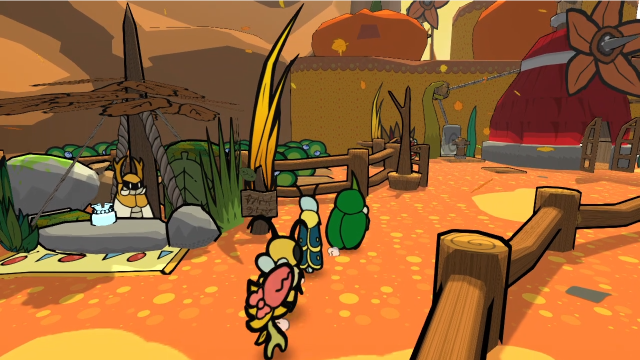 We're not done here just yet, either. 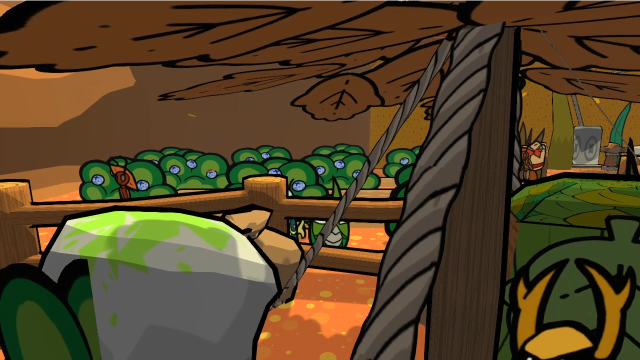 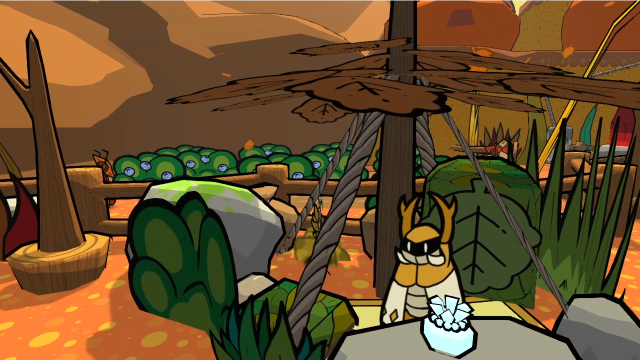 We can also sneak around the back of the fortune-teller's stall, and dig under the fence there. What happens if we talk to him?   Well, if you want me to try to find things you have not found yet, please talk to me from the front of the desk.... Here, to commemorate my fated scare. Well, if you want me to try to find things you have not found yet, please talk to me from the front of the desk.... Here, to commemorate my fated scare.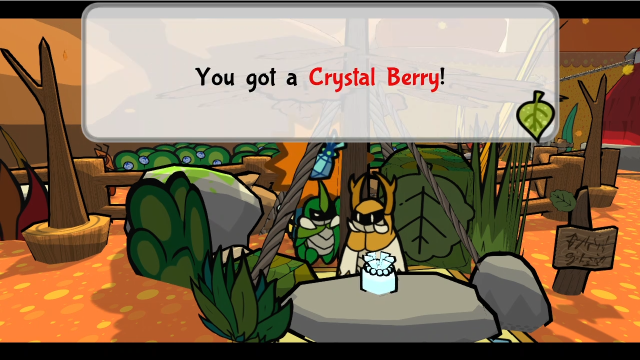 Please refrain from doing it again, though. Even though I was expecting it, it really gave me a scare... Please refrain from doing it again, though. Even though I was expecting it, it really gave me a scare...The first time we talk to him from this side, he'll give us a Crystal Berry. Not bad! (Although this is easy to miss if you don't already know about it...) 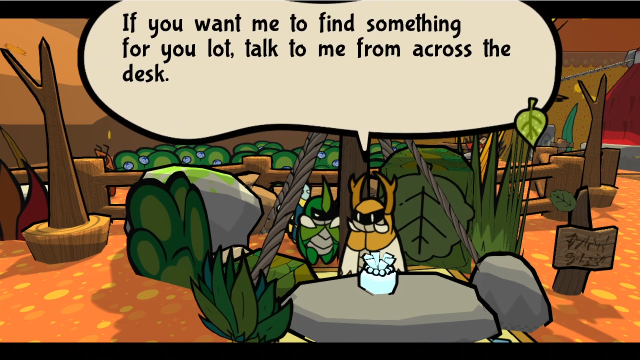 Talking to him again just gets us this line. 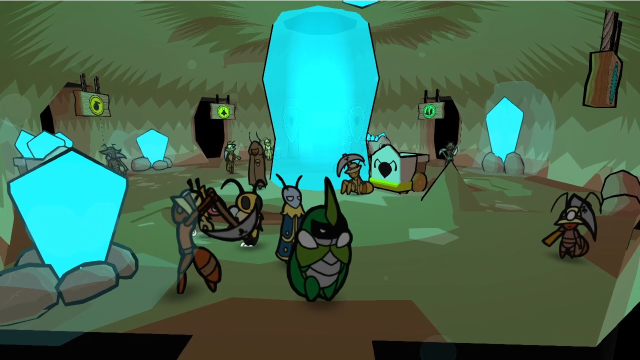 Heading into the Ant Mines, let's take a stop in the back room. We haven't been there in a while. 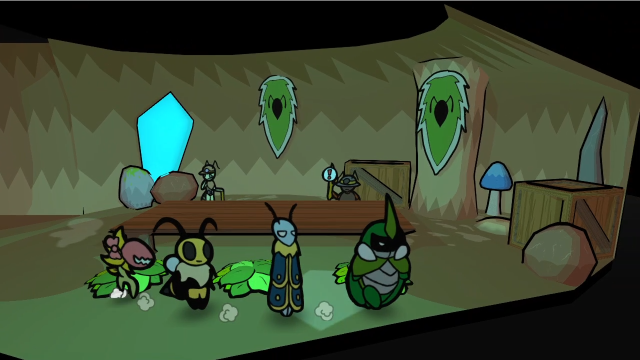 Most of the miners are gone, having left to build the various shortcut tunnels we use. The digging spot is still here, though! 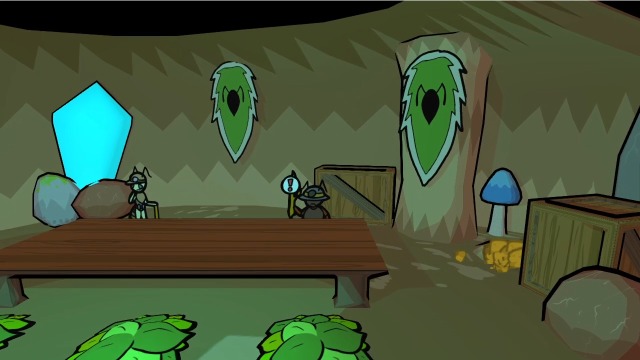 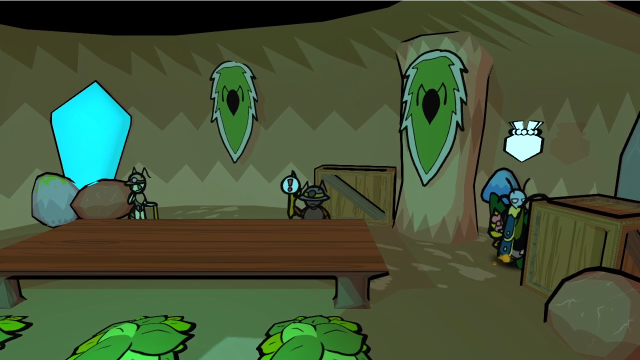 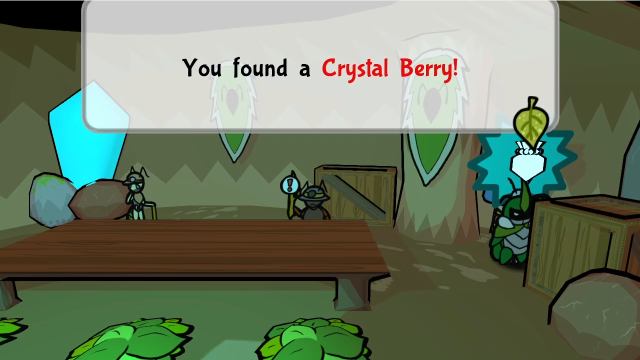 Yet another Crystal Berry. 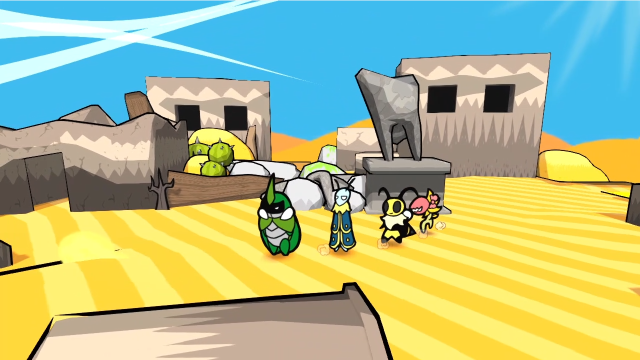 Let's briefly return to the Lost Sands. This is the ruined Roach city where Hawk gave us the key. 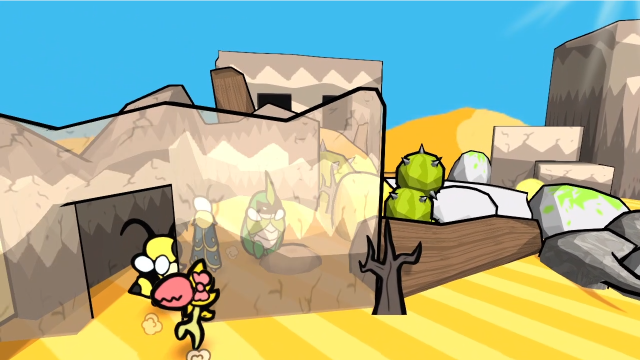 There was a digging spot inside this ruined building. 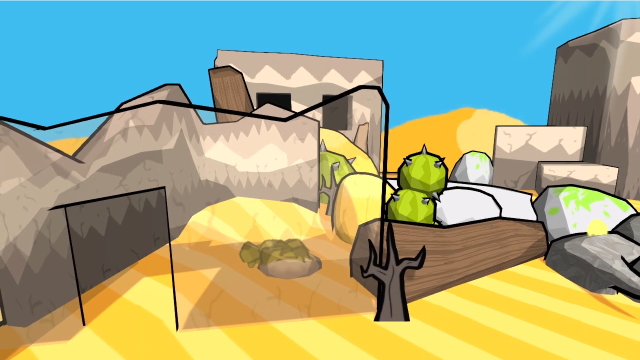  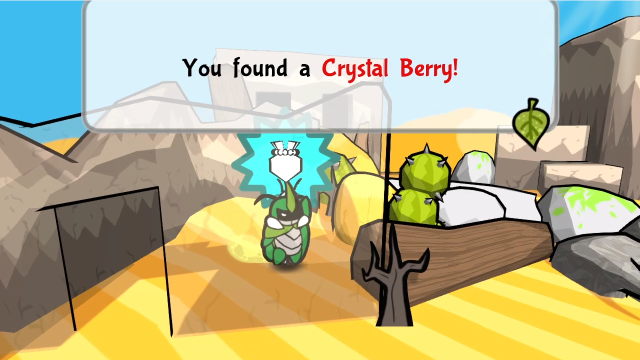 Another Crystal Berry! This is another one that's easy to overlook, since you can't see the dirt mound from outside the building. 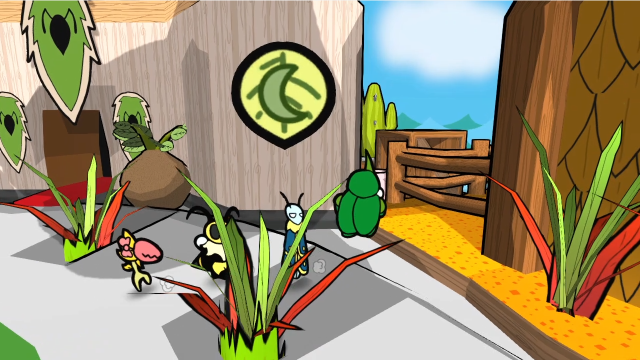 Finally, let's return to Metal Island, and check out what's beyond this fence. 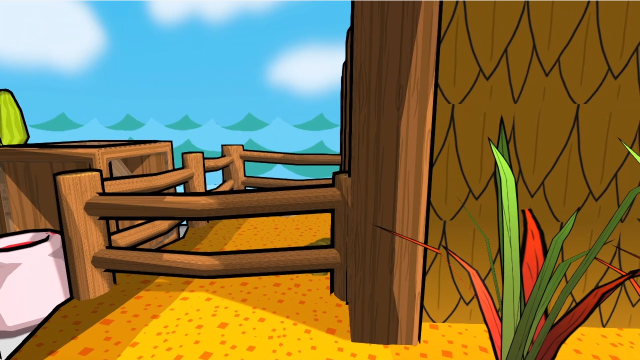 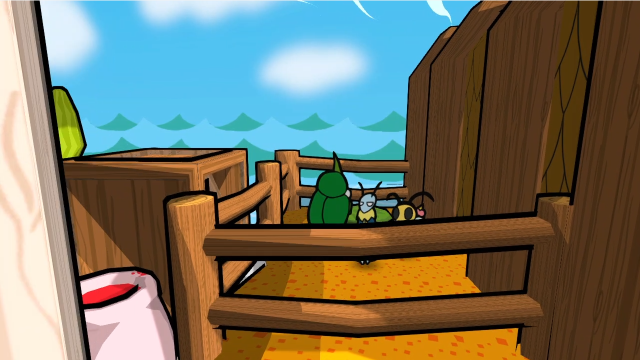 There's a spring here. 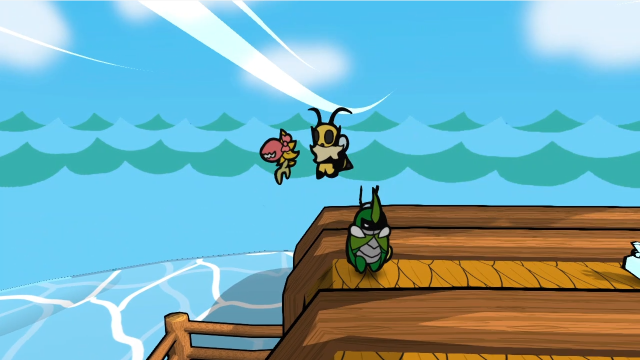 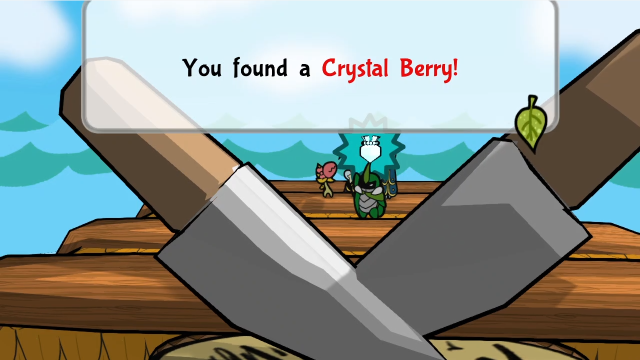 With it, we can get on top of Master Slice's restaurant, where a Crystal Berry is just sitting out in the open. Not bad! That wraps up the Digging World Tour (at least for now). There are still a handful more things we can access, but as they're more involved, that will be for the next update. 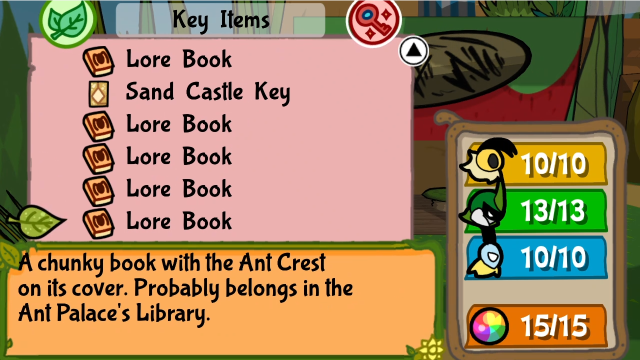 For now, let's go read some books. 18 - In the Court of the Ant Queen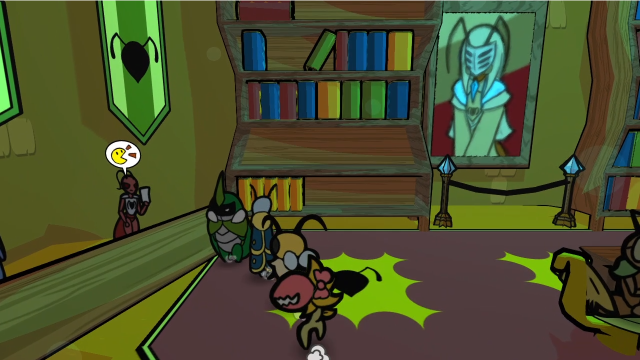 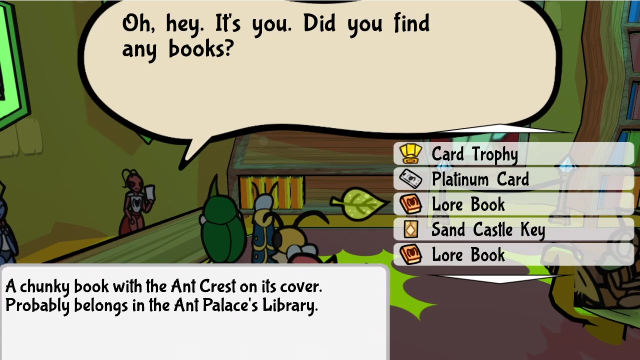 Did we find some books, she asks. Did we ever. 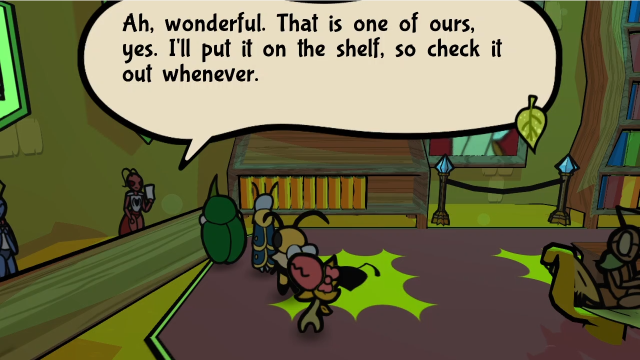 Many dialogue boxes later, the shelf looks significantly more full, wouldn't you say? 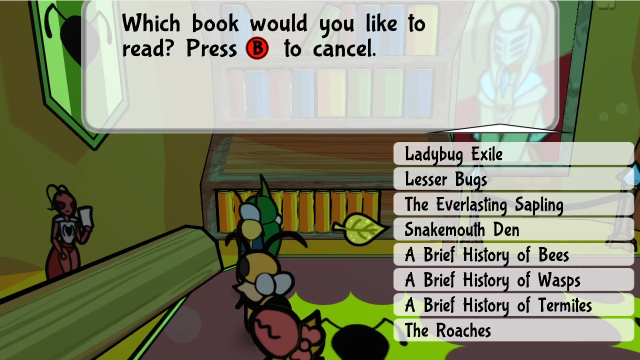 Let's see what they have to say! Most of that isn't exactly new, but clearly we've only scratched the surface of the mysteries in there. We're surely going to have to investigate more later. It's a cute detail that the modern bees are forgetting how to make honey now that they have technology to do it for them. (Also, we haven't and will not meet any male honeybees, despite this book acknowledging their existence.) (This one's definitely reflecting the politics of its Ant author...) We haven't met any termites yet, but clearly we're going to eventually. Fun fact: in evolutionary terms, termites are more closely related to roaches than they are to ants, so that alliance makes a certain amount of sense. This one is very speculative. We still know very little about the roaches, except that they're gone. I continue to enjoy the way the Lore Books are both an in-universe item and a way to convey backstory details that would otherwise be hard to fit in naturally. There's one final stop I'd like to make before wrapping up today's update. 34 - Dodgy Business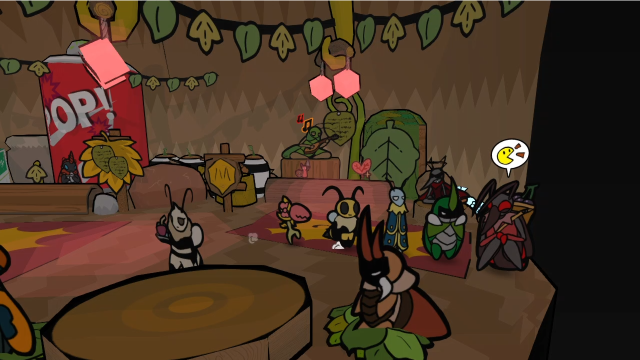 Now that we've found our first Dark Cherries, this fellow shows up in the Underground Tavern. Huh. This guy's new. He keeps staring at us... Let's see what he wants.Let's talk to him. 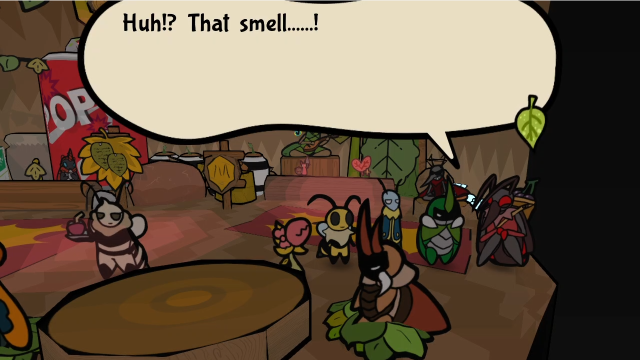  You've found some Dark Cherries, haven't you?! Uh, well, yes. How did you... You've found some Dark Cherries, haven't you?! Uh, well, yes. How did you...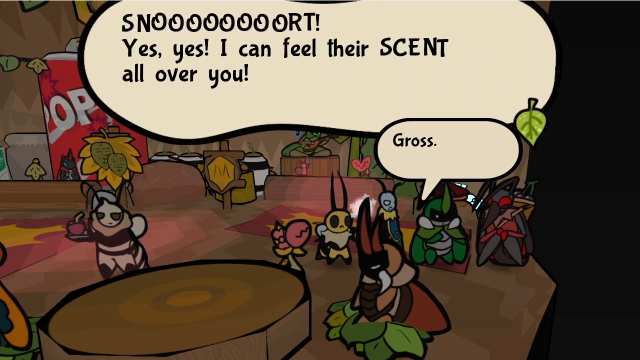 I have a lot of Dark Cherries with me, you see... I can smell them from miles away! So rare and valuable... Dear cherry lovers, I'll sell some of mine for 50 berries each! What?! Can't you lower that a bit? Finding these cherries is no easy task! Even for my expert nose! 50 berries. It's a steal. We did hear of some amazing recipes using them... Hmm... Hyuk hyuk hyuk! Please consider it, cherry lovers! It's an amazing deal! I have a lot of Dark Cherries with me, you see... I can smell them from miles away! So rare and valuable... Dear cherry lovers, I'll sell some of mine for 50 berries each! What?! Can't you lower that a bit? Finding these cherries is no easy task! Even for my expert nose! 50 berries. It's a steal. We did hear of some amazing recipes using them... Hmm... Hyuk hyuk hyuk! Please consider it, cherry lovers! It's an amazing deal!This charming fellow is known only as the Dark Cherry Salesman. As that name suggests, he sells Dark Cherries. Notably, he actually sells them at cost, so you can use this as a crude way to store money (though it's a bit pointless considering the bank can hold up to 10,000, and we have limited item storage). 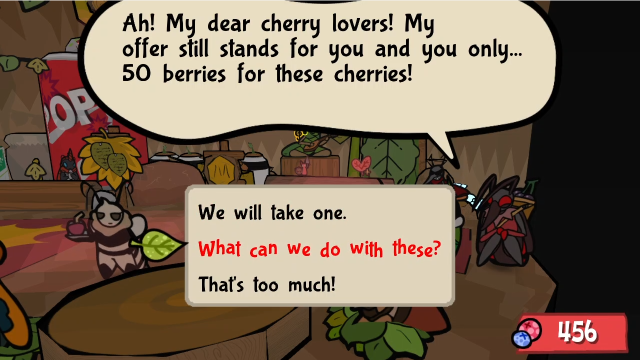 Talking to him again, he offers some hints in addition to giving us the option to buy the cherries. Let's see what he can tell us. Haha! Lots of things! These cherries aren't just an easy way to get cash, y'know? You can bake them, add a bit of explosives, try them out with other ingredients... These ARE rare and expensive, so don't be too liberal with your experiments! Hyuk hyuk! Do mix it with rare ingredients, though! Oh, I don't know... A Tangy Berry, perhaps? Hyuk hyuk!Those are actually some very concrete hints; he's basically told us three of the four recipes we can make with them. 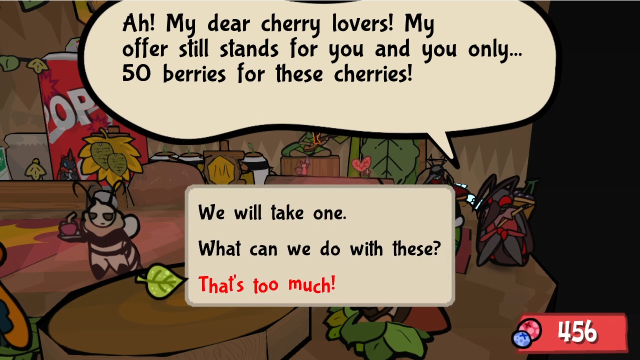 Hyuk hyuk! Well, it's a free kingdom! I'm free to set the prices, and you're free to reject them. But these cherries aren't that easy to find! See you soon, my friends! Hyuk hyuk! Well, it's a free kingdom! I'm free to set the prices, and you're free to reject them. But these cherries aren't that easy to find! See you soon, my friends!That's all he has to say for now. There's also a new banter after meeting him: This, uh, peculiar bug seems obsessed with Dark Cherries. They ARE rare and delicious. Don't you wonder where he found so many? Maybe he has, like, a secret underground garden full of them! We must find that garden ASAP. ...You're not planning a robbery in front of him, are you!?That's a cute one. So, enough stalling; let's finally talk about Dark Cherries are the closest thing Bug Fables has to a Megalixir or equivalent. There are a handful hidden throughout the world, usually buried in the ground or given as rewards. Finding your first one also causes the salesman to appear in the Underground Tavern. On their own, Dark Cherries they do absolutely nothing. You can sell them for 50 berries each, but you cannot actually use them as a consumable item. If you want to unlock their potential, you have to cook them, and that means figuring out the recipes (which could be a bit tricky, but between the Salesman and Dan's dialogue on Metal Island, there are ingame hints for all of them). We get hints to try "baking them" (Bag of Flour), "mixing with other rare berries or rare seeds" (Tangy Berry, Magic Seed), or "add explosives" (Spicy Bomb). Those are, in fact, the four possible recipes. You can also cook Dark Cherries by themselves, but it will be disappointing, you just get a Succulent Platter. Anything else just becomes a very expensive Mistake. Let's take a closer look: "A deliciously expensive pie made from rare Dark Cherries. Recovers 8 HP to the party and 5 TP." Sell: 32 berries Made by combining Cherry Pie is the least impressive item on offer, but it's still pretty good. Queen's Dinners are usually better and easier to get, but they cure status and this doesn't (meaning if you're doing poison or other status strategies, you might want this since it can activate Weak Stomach or heal everyone without interrupting your strategy). "A perfect blend of strong healing items. Restores 6 HP to the party while reviving fallen allies." Sell: 35 berries Made by combining  Here's the best revival/comeback item you could ask for. Miracle Shake is the only item that lets you revive two fallen bugs in a single action, which can really help salvage an otherwise losing battle. Technically speaking it's not a strict upgrade over a Magic Seed, since it recovers 1 fewer HP to the fallen bug, but as it heals the living bugs as well it's almost always better. You never want to end up in a situation where using these looks like a good idea, but if you do, nothing else compares, so it's usually worth carrying at least one if you can. "A most delicious blend of exotic berries! Fully restores the party's TP." Restores 99 TP Sell: 17 berries Made by combining The best TP recovery item bar none, though if you aren't putting a lot of levels into TP, Crisbee Donuts are nearly as good and Queen's Dinners are probably better. If you're going with a heavy TP build and relying on expensive skills (many of which we still have yet to see), you'll love these and will probably burn through a lot of them in long fights. It's worth noting that, unlike the rest of the Dark Cherry recipes, we'll eventually find another way to make these, though not until much later in the game (i.e., Chapter 7). "Powerful, unstable and explosive! Toss it at enemies to deal huge damage and a random status!" Randomly chooses Spicy Bomb, Burly Bomb, Poison Bomb, Sleep Bomb, Numb Bomb, or Frost Bomb and inflicts its effect with +2 damage. (In practice this is 6-7 damage to the main target, 4-5 damage to others in the radius, either ignoring defence or inflicting a status ailment.) Sell: 37 berries Made by combining  And here we have arguably the most powerful offensive item in the game (Abombination does more damage, but needs to be used carefully to mitigate the self-damage). That said, Cherry Bombs can also be tricky to use effectively, because the effect is a bit unpredictable and getting a status you're not expecting (such as Numb, which boosts defence) can throw a wrench in things. If all you want is big damage, though, these are wonderful. Imagine using Strong Start and opening a fight by throwing 4 of these. Overall, the items you can make with Dark Cherries are some of the most powerful in the game (though none of them quite outclasses the Queen's Dinner, they complement it very well). On the other hand, they are also very definitely superfluous: you never actually need anything this good, and there are lots of other items serving similar roles. As such, I personally like to pretend the Dark Cherry Salesman doesn't exist, and treat Dark Cherries (and the items you can make with them) as a limited commodity (aside from him, there are 9 of them in the game, and one endgame enemy can very rarely drop them). That way, instead of facing the temptation to overuse them and trivialise most bosses, I have to think carefully about what to make and when to use it (and being able to use them without penalty in B.O.S.S. or the Cave of Trials feels a lot more special). I also feel like treating them this way is more consistent with the way the characters talk about them in-universe, and the way the cherries are hidden in the world as though they were a collectible. (Given there are four recipes, 9 of them total also feels like a perfect number.) Dark Cherries in this game have honestly given me a lot of appreciation for the occasional "megalixir" type rare consumable in games, and changed how I think about game design as a result. I know conventional wisdom is that these type of items are bad design because they encourage hoarding, but I think used very sparingly there's a good experience there that it's a shame to lose entirely. (There's a case to be made that having them buyable is better for accessibility, and I don't begrudge the game doing that, but I definitely prefer things without.) Please do discuss this in the thread, I expect a lot of people will disagree with me on this one. Anyway, Dark Cherries. They're a thing. I'm open to suggestions for what to do with the two we've just found. With that, I'll end today's update. Next time, we'll investigate some more places we can get to by digging, and maybe encounter unexpected characters and sidequests. Explopyro fucked around with this message at 05:14 on Oct 5, 2021 |
|
#
?
Sep 7, 2021 05:14
|
|
|
(The character limit has been giving me far too many problems: even with this in, the post is supposedly under 50k characters until I try to submit it, and then it's suddenly too much. So I'm going to make this small extra post instead of splitting the update.)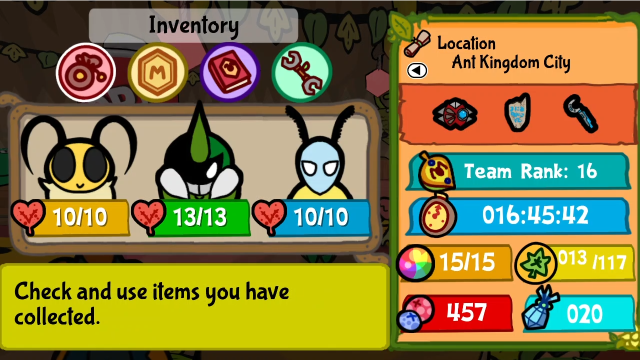 Also, after today's treasure hunt, we currently have 20 Crystal Berries. As a reminder, Shades currently has the following available for sale: Instead of a shopping list, let me just ask: should we buy him out? (except for EXP Booster, I'm not buying that) He'll get new stock at the start of Chapter 5, but these are all solid medals we could be using in the meantime, we'll probably want them long-term anyway, and we'll still have 9 berries left over. Please vote one way or the other in the thread.
|
|
#
?
Sep 7, 2021 05:14
|
|
|
Yes, buy out the medals. edit: there was a comment here but I think I've made it before in this thread and my memory's terrible so disregard Leraika fucked around with this message at 06:28 on Sep 7, 2021 |
|
#
?
Sep 7, 2021 05:32
|
|
|
Buyout. I think the availability of the Megaelixir depends on the game. In a lot of games with a limited amount of Megaelixirs, it'll never be truly mandatory to use, otherwise that would make a save file unwinnable. But some games will push the player a lot harder, and using one or several will basically be expected to deal with some of the hardcore stuff it throws at you. Etrian Odyssey is an RPG series that can be pretty brutal for RPG standards that always makes all consumable items available for purchase. Also there's a bunch of skills throughout the series that party members have that can replicate the effect, so limiting the amount of items that have that effect would be an annoyance that doesn't add much. Generally its philosophy with limited items is handing out very limited powerful items early on that you can't get more of at that point, but once you reach late or postgame, you can get as many as you need. (Because you will need them.)
|
|
#
?
Sep 7, 2021 05:47
|
|
|
My TP heavy strategies loved Berry Smoothies. A lot of my damage came from using expensive skills that we haven't seen yet, and I'll be sure to mention them when the time comes. Therefore, for me Crisbee Donuts were pointless except as an ingredient for Queen's Dinner. I think my max TP by the end of the game was like, 50-something. It might not be the ideal way to play, but it's the way I felt comfortable. I don't think Dark Cherries being buyable is a bad thing. I get the "respect" out of trying to use them as findable things, but also, the way you're playing the game I don't think much of the Dark Cherry recipes will actually be that useful anyway. If I had to pick one that I think you'll get use out of, it'd be Cherry Bombs. You don't have enough TP for Berry Smoothies to matter, you'll probably never play badly enough that you'll need the multi-revive, and the baked dish could have its uses but you could also just use Kut's Tangy Carappicio instead. So, count that as a suggestion, I suppose? And definitely get at least HP Plus and Poison Defender, if not everything.
|
|
#
?
Sep 7, 2021 06:01
|
|
|

|
| # ? Apr 20, 2024 03:26 |
|
|
Buy all the Medals!
|
|
#
?
Sep 7, 2021 06:06
|
|