


|
Edit: if you missed it, the update is on the previous page.Alxprit posted:I've recently played through and finished The Legend of Zelda: Skyward Sword, and am now realizing the way these ice crystals work is very similar to the Timeshift Stones in that game. It's fun how different puzzle philosophies can end up sharing blood! It's been so long since I played Skyward Sword that I don't think it ever crossed my mind while playing this, but you are absolutely right. That mechanic was probably one of the best things in Skyward Sword, too (honestly my opinion of that game overall is a bit lukewarm, but the timeshift puzzles were excellent). I wouldn't be surprised if that had been part of the inspiration, either; for all I know, this area might be an intentional homage to it (they even both take place in deserts!). I don't know how clearly they come through in the screenshot format, but I quite enjoy the puzzles in this area.
|
 #
?
Oct 4, 2021 21:39
#
?
Oct 4, 2021 21:39
|
|


|

|
| # ? Apr 29, 2024 18:08 |
|
|
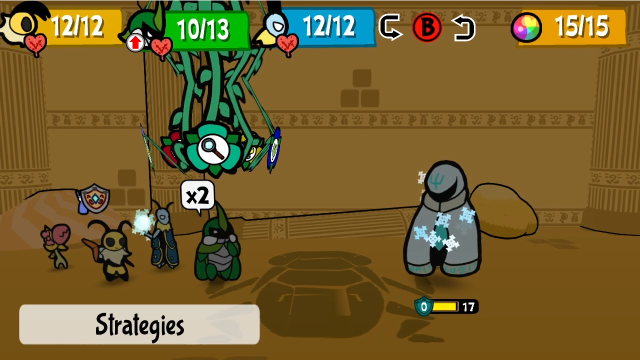
Explopyro posted:Spooky. It's also fairly bulky, at 17 HP it's definitely one of the stronger enemies here.  I've always liked the feeling of exploring the ruins of an "ancient" civilization with advanced tech. Which, to be fair in this case, the Roaches aren't "ancient", but their tech is certainly up there compared to everyone else!
|
|
#
?
Oct 5, 2021 23:19
|
|

|
OneWingedDevil posted:Bit of redundant description here. Something I've never been accused of before, no sir. Thanks. Sigh. It's fixed now, at any rate. Guess I really wanted to say that, or something? OneWingedDevil posted:I've always liked the feeling of exploring the ruins of an "ancient" civilization with advanced tech. Which, to be fair in this case, the Roaches aren't "ancient", but their tech is certainly up there compared to everyone else! There's a lot to be said for that as atmosphere, absolutely (although ancient technological situations often strain my suspension of disbelief, honestly). The Roaches in Bug Fables are an interesting version of this, actually, because as you say they're not all that ancient (they've been gone for more or less a single generation), but a lot of the tropes in how they're written still treat them as though they were. For instance, a lot of their former cities look to have been in ruins for substantially longer (although, for all we know, they could have started abandoning them for other reasons earlier than their final disappearance). I also think it's a bit odd how all their crystal magitech is so unfamiliar to every other society (e.g. it's a big deal that Dr. HB has started reverse-engineering it), but if it was a closely guarded secret and they never sold or traded any of their gizmos it's not all that unreasonable. I don't think any aspect of how they're handled is actually contradictory, but a lot of it can look that way at first glance.
|
|
#
?
Oct 6, 2021 18:27
|
|
|
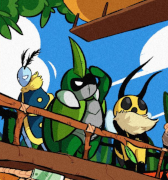
42: Temple of Doom 50 - Lost Castle of Ancient Worship 50 - Lost Castle of Ancient Worship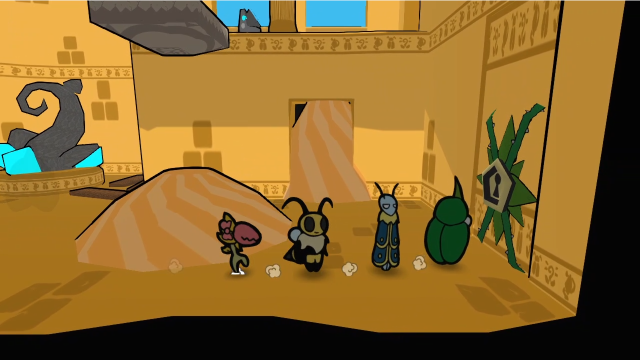 Last time, we unveiled the Sand Castle and ventured inside. We'll continue our exploration this time; we found a key in the basement, and there's a locked door right here. 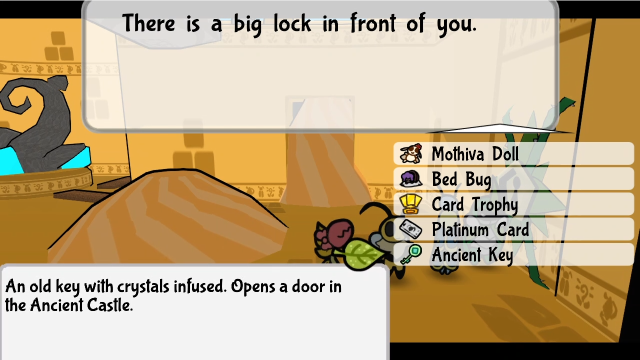 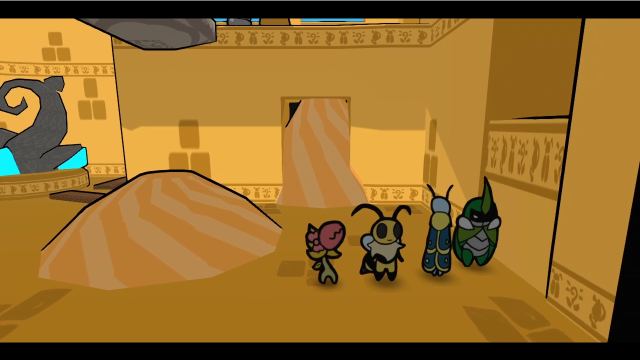 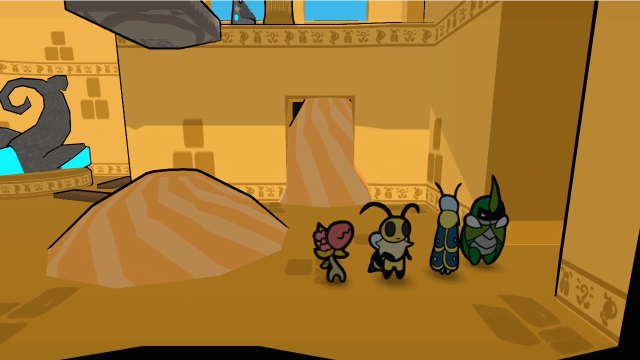 There we go. Now we can explore the east side.  This room's full of what looks like Roach statuary. What are we going to have to do here? First things first, though, let's check the banter.  We do wonder why the roaches liked building so many statues... We do wonder why the roaches liked building so many statues... I mean, if I was rich I'd build a ton of me too! I mean, if I was rich I'd build a ton of me too! Unrelated to riches, this seems to be more of a cultural matter. Hopefully not greed or arrogance... Oi... Unrelated to riches, this seems to be more of a cultural matter. Hopefully not greed or arrogance... Oi...Heh. 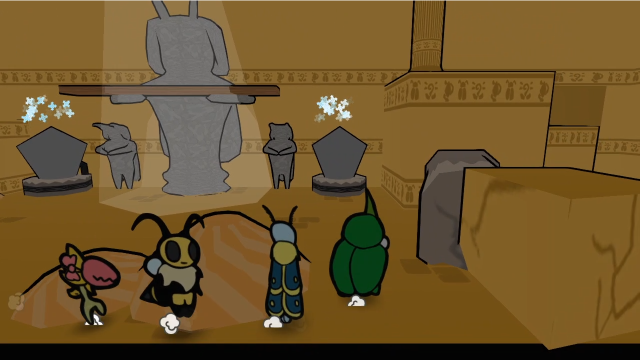 A bit further in, we come across a fallen pillar bloking the path. Looks like we're going to need to find another path if we want to go forward, and that's probably going to involve those statues and crystals along the back wall. 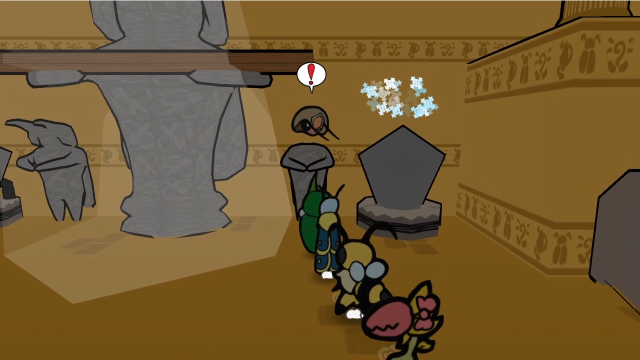 When we get close to this statue, though, its head transforms, lifts off and starts chasing us! 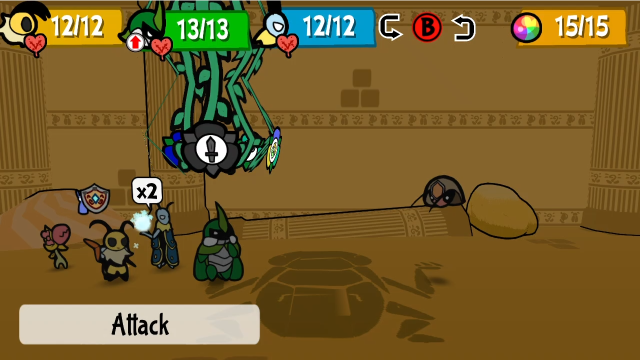 It's a new kind of enemy. Let's see what this is about. 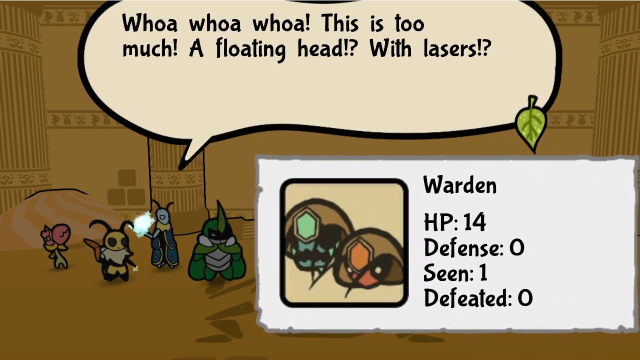 I'll bring it down and bury it where it belongs! I'll bring it down and bury it where it belongs!Wardens are another kind of robotic enemy in here, and have a lot in common with the Krawlers we've been fighting, including having sand and ice forms with different weaknesses. The most salient difference, of course, is that these ones can fly. 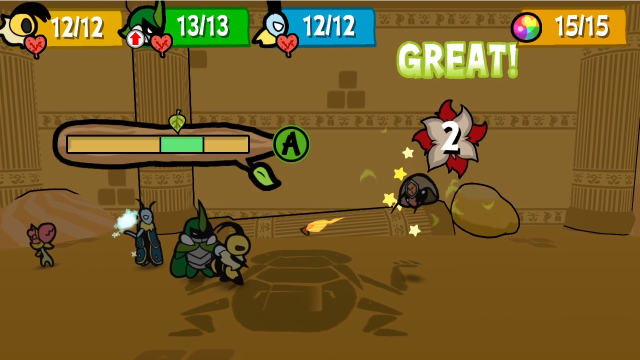 To start with, we'll have Vi hit it to bring it down. 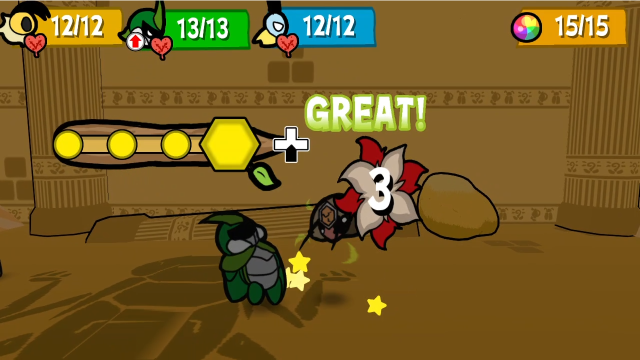 Once it's on the ground, of course, the others can start hitting it. 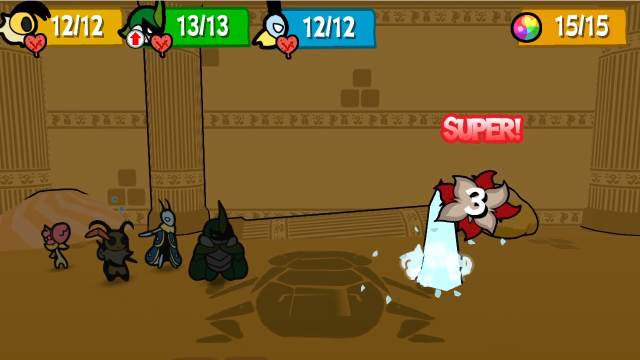 The sand form is weak to Leif's ice. 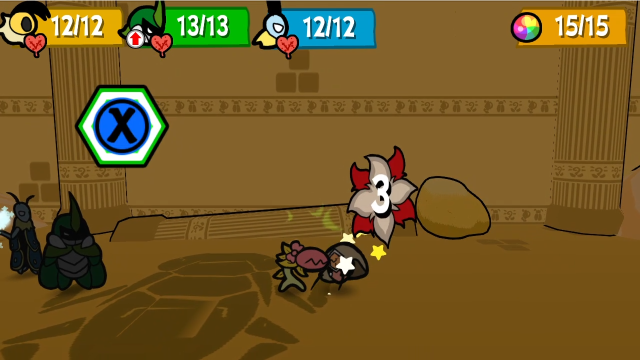 Chompy does her bit too.  On its turn, it rises back into the air and then charges up. This is actually one of their less commonly used moves. They seem to be more likely to use it when on low health, but even then they still tend to prefer other attacks. In addition to giving itself +2 charge-up, this move also gives it Defence Up. 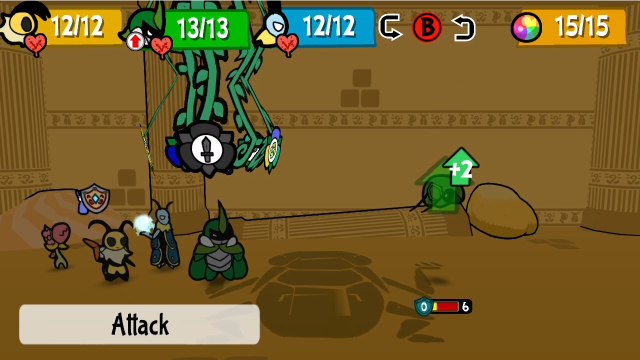 When an enemy charges up like this, it's like a giant blinking sign saying a big attack is coming, so it's probably a good idea to either kill it ASAP or shield the party. Wardens have low enough HP that killing them is usually more practical, unless multiples charged up in the same turn...  I'm going to elect to do neither, and skip my turn so we can see what this does.  It floats toward us, slowly, before self-destructing in a big explosion that hits the entire group. This attack's base damage is actually 2, but it's effectively 4 since it always comes the turn after charging up. (Honestly, this isn't as nasty as I expected, the Abomihoneys we fought in Chapter 3 had a much more devastating self-destruct. It's still not really something you want to get hit with, though.) Also, as a self-destruct attack, this robs us of the EXP we'd normally get from killing the enemy.  We do still get the 1 point of pity EXP. (And, actually, we're high enough rank that that's all we'd be getting regardless, but that's probably not the case for most players here.) 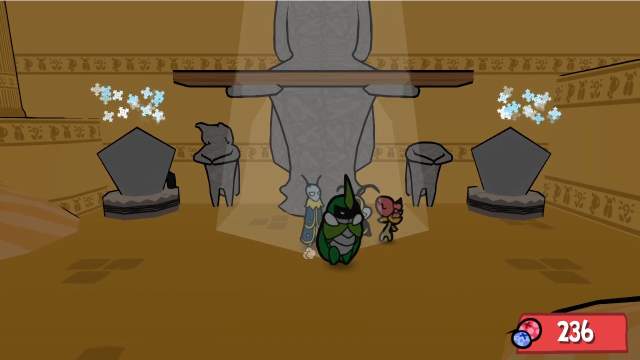 With the Warden defeated, the headless statue is left looking a bit goofy. Something tells me... 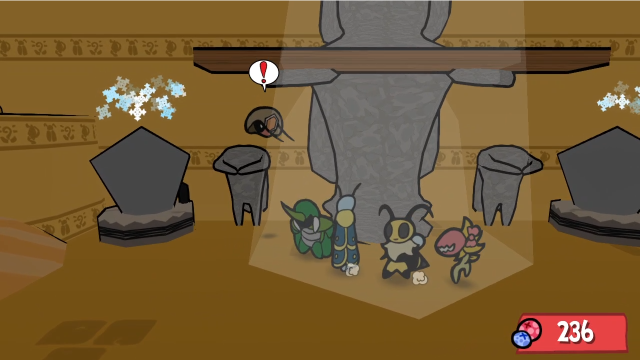 Yep, the other statue has one too. 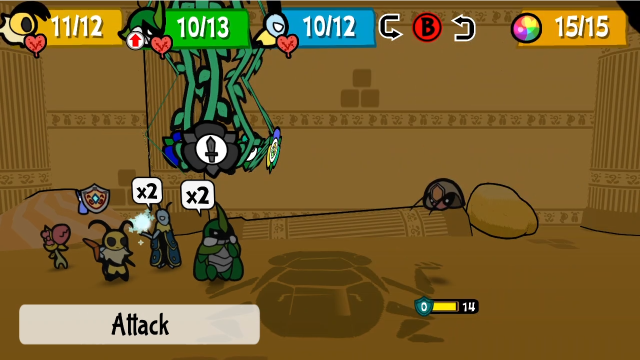 Another Warden by its lonesome. These really aren't all that threatening until they start coming in groups, 14 HP is less than it might seem when they don't have any defence or healing gimmicks.  We do see a different attack from it here, at least. This is what they do most frequently, a dive-bombing ram for 3 base damage.  Still just pity EXP even though we killed it. 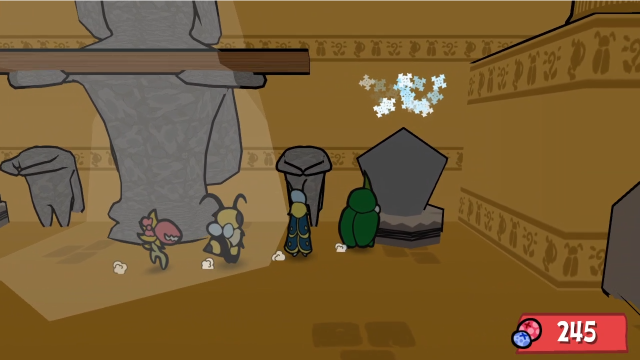 With the enemies gone, let's see what's going on in this room. 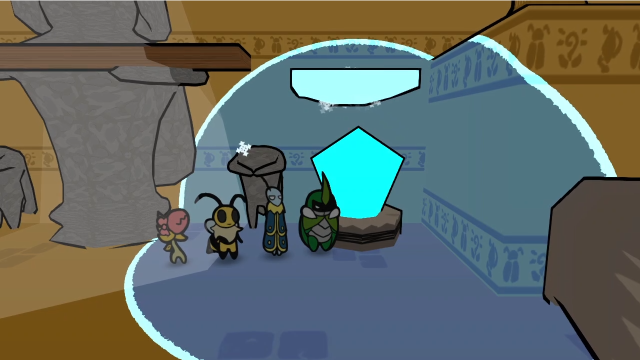 Hitting the crystals turns on the ice magic fields, as expected. Specifically, this makes the sparkles in the air above the crystal solidify into a platform. 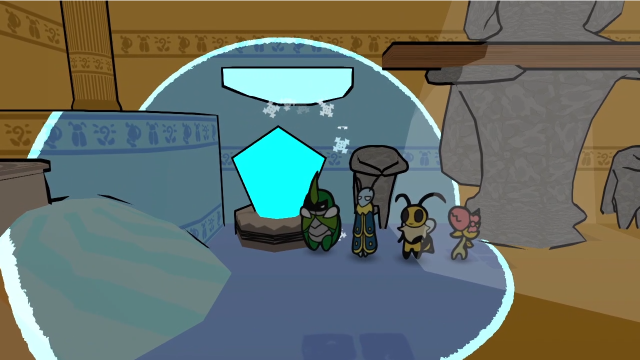 Like before, though, only one crystal in the room can be active at a time. So turning on this one makes the second platform disappear. 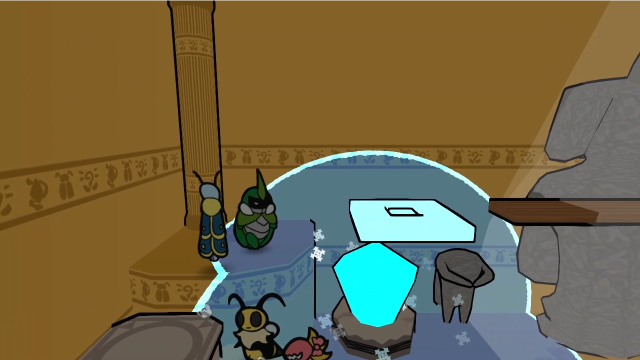 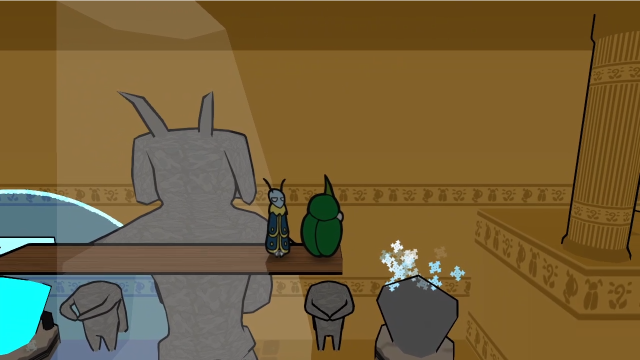 So if we climb up and try to cross, we'll get stuck at this gap. What to do...?  Use the Beemerang, of course. If we set it spinning here before we climb up, we can trigger the switch remotely by releasing it. 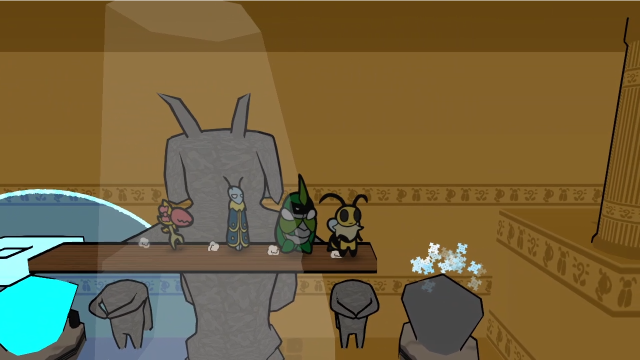 We climb back up here... 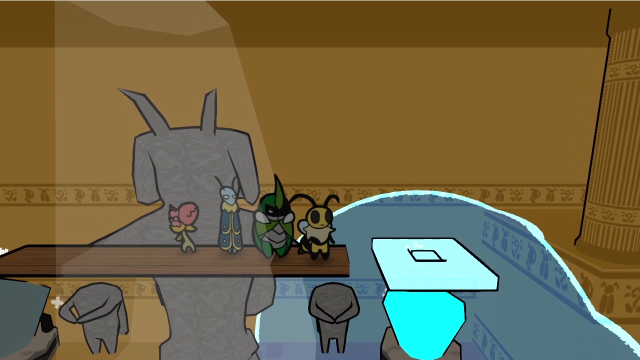 Then release it to hit the switch. 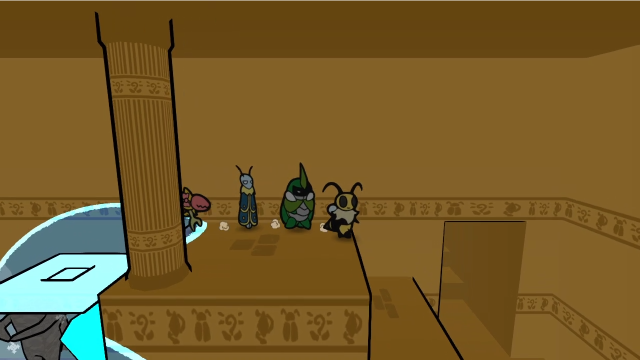 And now we can move onward. It's not that hard a puzzle, but I appreciate how they keep finding different ways to use the same ice platform gimmick.  We drop down on the other side of the barricade from earlier. There's a Haunted Cloth waiting for us. 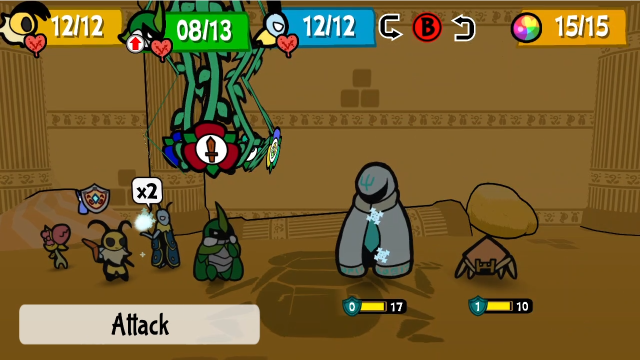 Once we engage it, we discover it also comes with a Krawler.  I won't show the entire battle, but we do get to see a new attack from the Haunted Cloth! This icy wind attack hits the entire party with a base damage of 3, and it will freeze everyone if not blocked (i.e., if you don't fill the bar). That's pretty nasty, but it's easy enough to block it (at least normally; here, I got lucky and managed the Super Block timing after filling the bar), so it's less problematic than it could be. Players who struggle with blocking this would be well advised to equip Freeze Resistance medals. 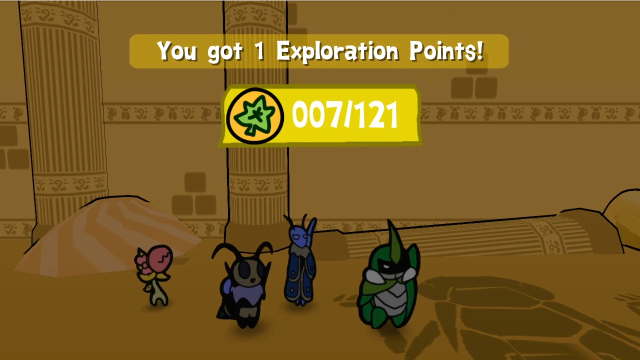 We finish the battle. 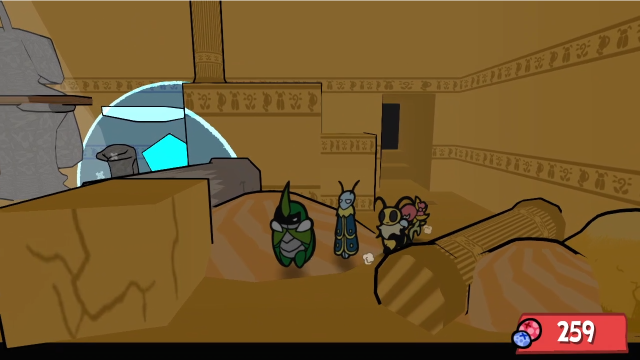 With the enemy out of the way, we can get a better look at this side of the room. The mound of sand on this side is climbable, so we can use it to get back over the barricade if need be, but there's not much else to be found here.  Let's head upstairs. 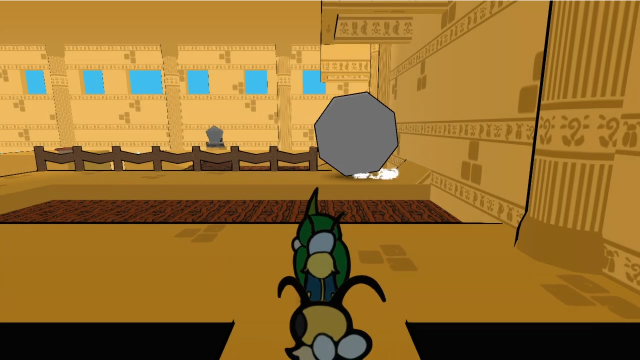 Well this looks daunting. Eep! D-Don't get squished! This castle has not been very inviting, but this is a tad much! It's not like we ever feel invited when there's an artifact. Not the factory's fault, you know...A fun little banter to start things off (I love how Vi still gets offended on behalf of the factory). 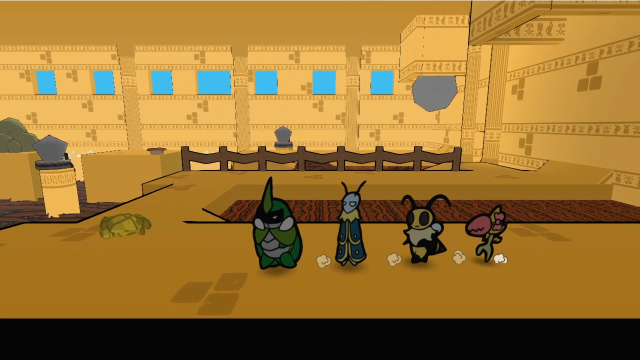 Let's get a better look around. Boulders keep falling out of the chutes on the right-hand side, then rolling to the left, and that's going to be a problem. 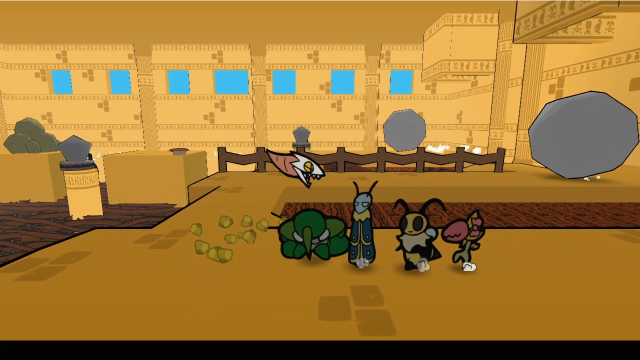 Before we can get close, though, we should probably deal with this enemy. It's been a while since we've fought Arrow Worms. 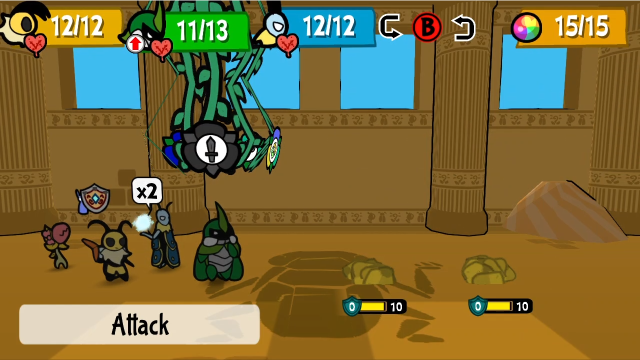 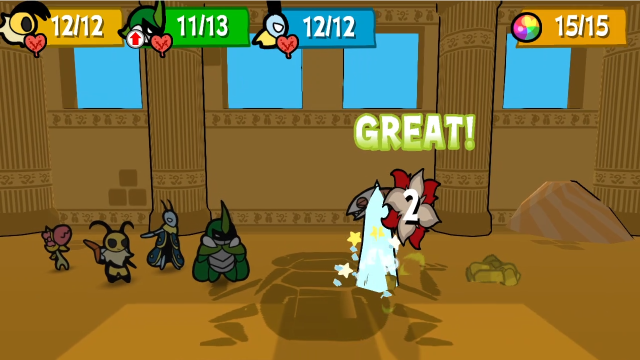 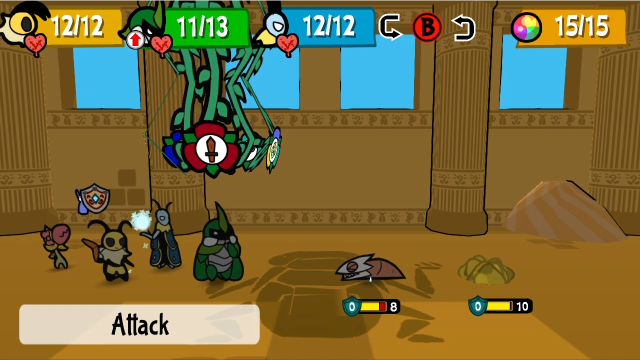 As a reminder, Arrow Worms stay underground by default, and need to be driven out by something like Leif's ice magic (or if necessary, Vi can do it with Hurricane Toss, and Kabbu can use Under Strike). They're not much of a threat to us now, though, especially since with Chompy along we can kill each one in a single turn.  Easy enough.  Now, how are we going to deal with this? 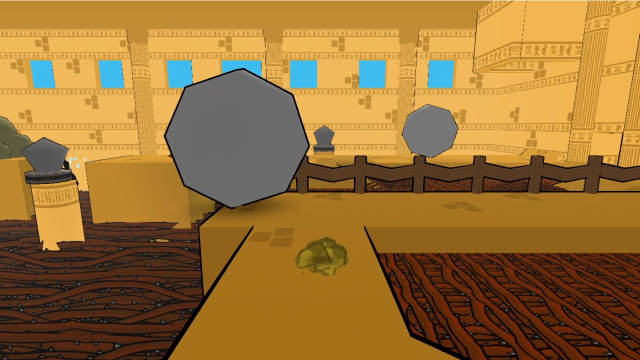 I've seen this first boulder dispenser stump a fair number of people. They come just fast enough (and the path is just long enough) that you can't quite run through in the gap between boulders. What we need to do is take advantage of Kabbu's ability to dig, and sneak past them underground. 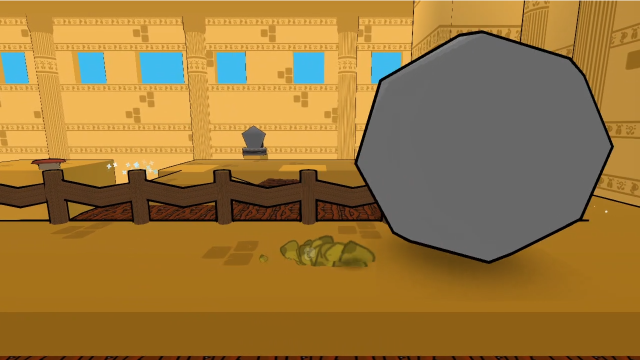 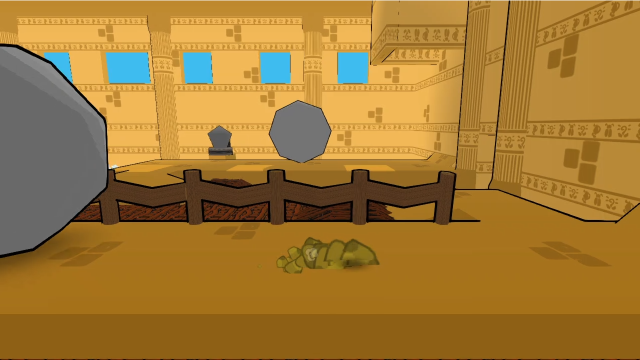 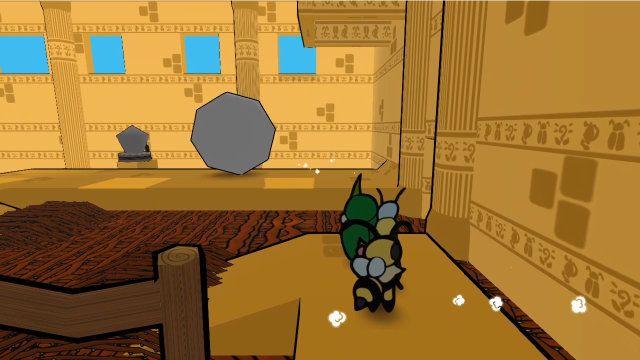 There we go, we've gotten through. Now, what to do here should be obvious.  Leif's Bubble Shield lets us cross the big patch of brambles. (Though I do have to wonder, how did those get in here?) 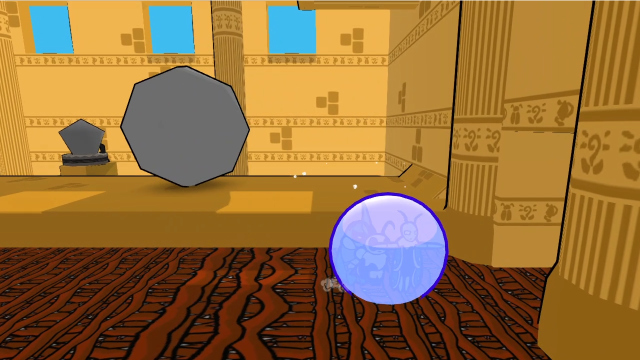 What is significantly less obvious is that, in addition to the ramp on the left side, there's also a semi-camouflaged gap in the eastern wall. 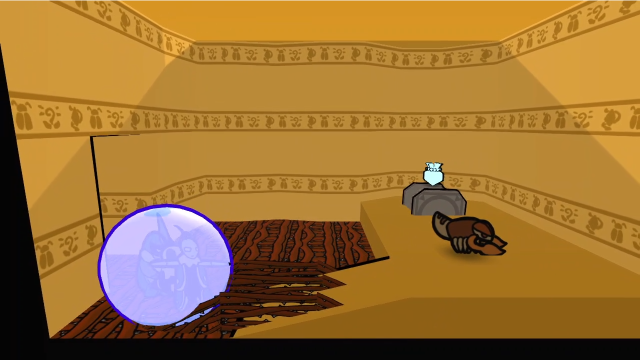 Passing through there takes us to this little hidden nook. 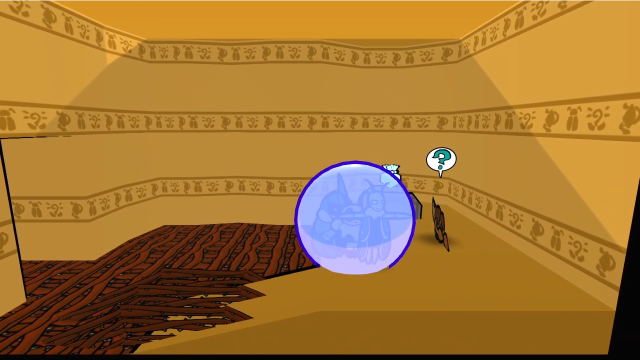 Let's get the enemy out of the way first. (Bubble Shield makes it really easy to get first strikes.) 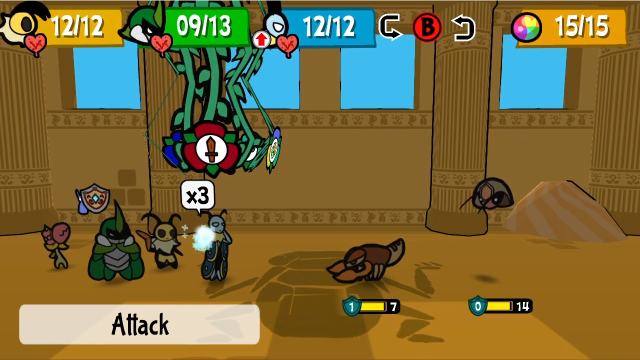 We're faced with a Psicorp and a Warden. This is a new combination, though it's not particularly challenging.  We clear them out. 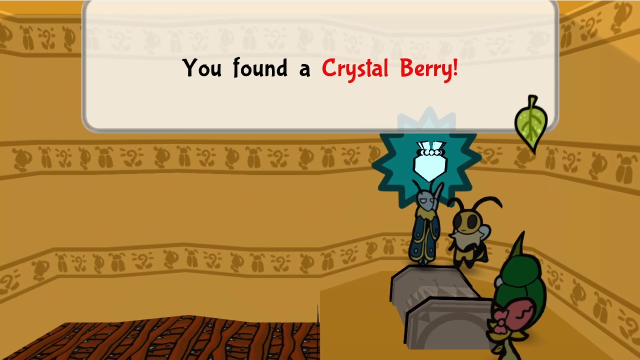 And claim our prize. I'm pretty sure this is one of the last Crystal Berries I found on my first playthrough, it's really easy to just overlook the entrance to this room and keep going. 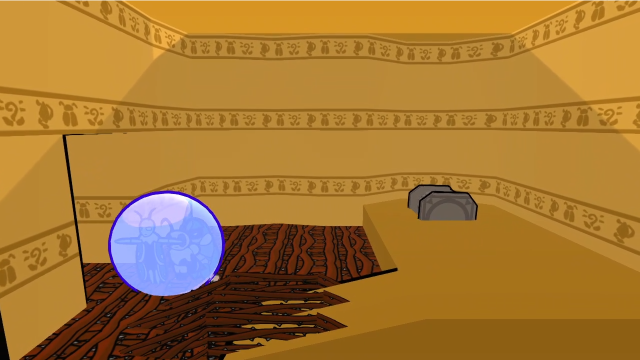 Let's head back, there's nothing else here. 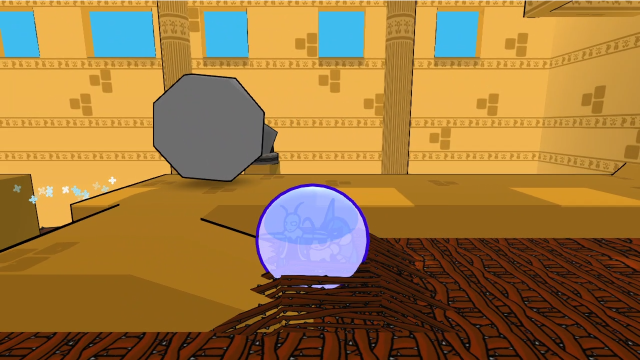 Now we go to the ramp. 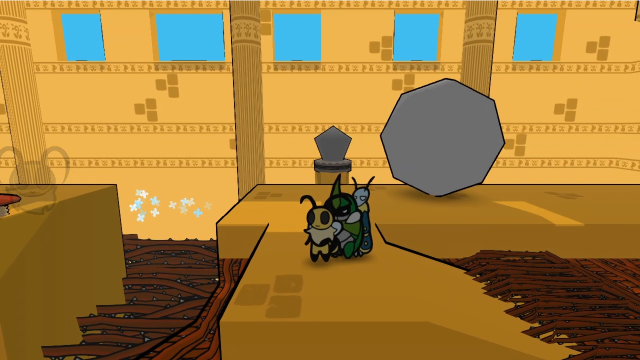 Here, we're faced with another puzzle. The first step is pretty obvious. 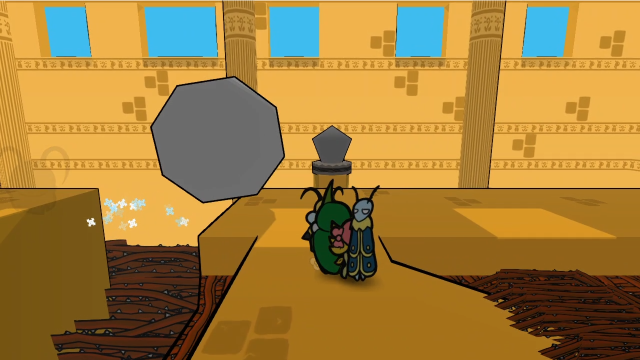 Once a boulder passes us, we'll go hit the crystal. 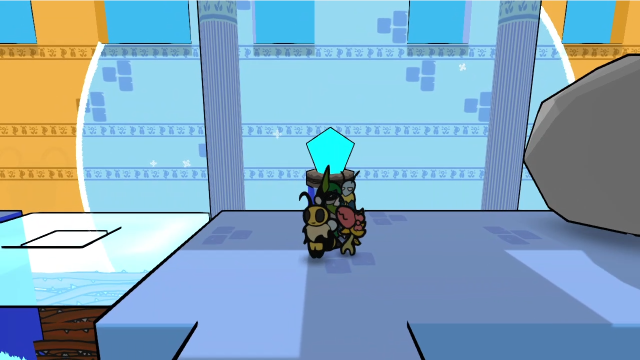 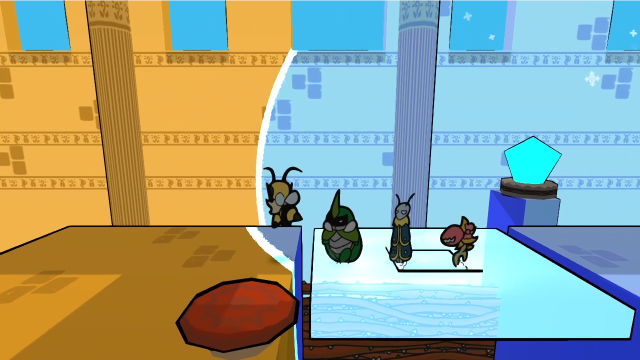 Then quickly head west before the next one catches up to us. 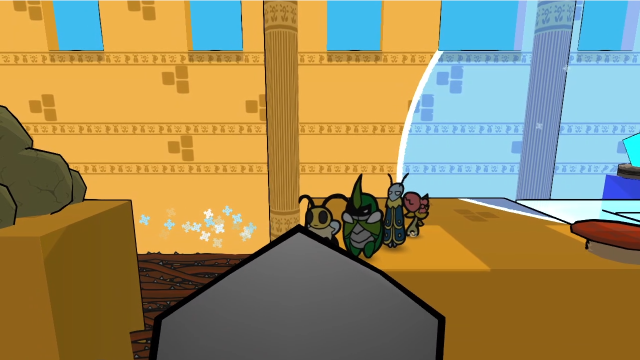 Here, we can see that there's another switch in the foreground. We can't just hit it, though, or we'll have a bit of a problem: the next platform has a big pile of rocks on it that we can't destroy, and that'll block our progress. (If you somehow miss out on seeing the foreground switch, this is a lot harder. You can use the Beemerang Hold to hit the other switch again instead, but the timing to set that up without getting squashed by the boulder is pretty tight.) 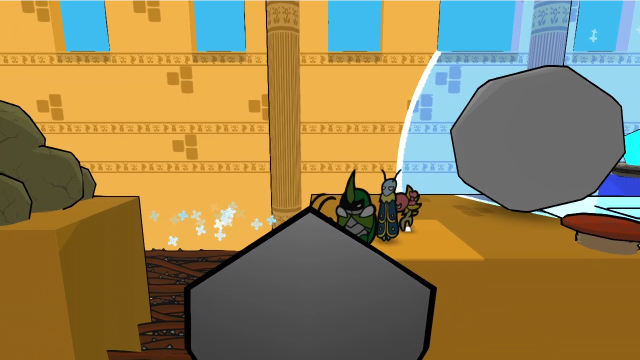 But if we wait to flip the switch until the boulder has crossed the first ice platform... 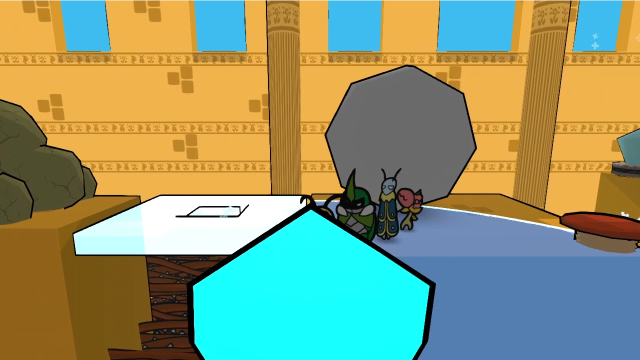 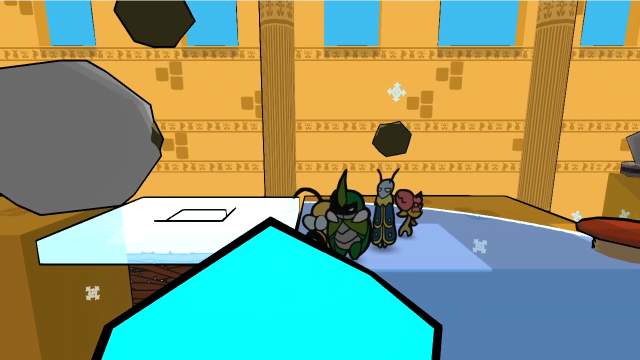 We can make a path for it to crash into the rocks and destroy them, clearing the way. An added benefit of this is that we've switched off the first platform, so no further boulders will be able to reach us. 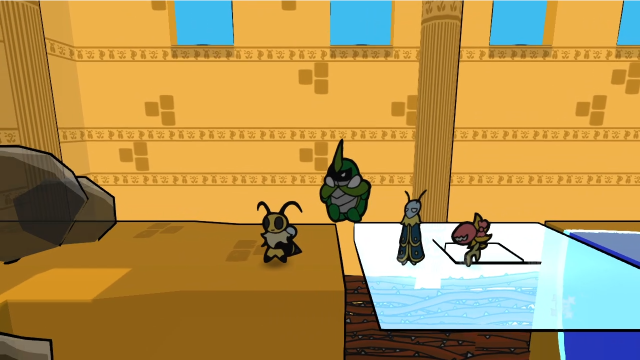 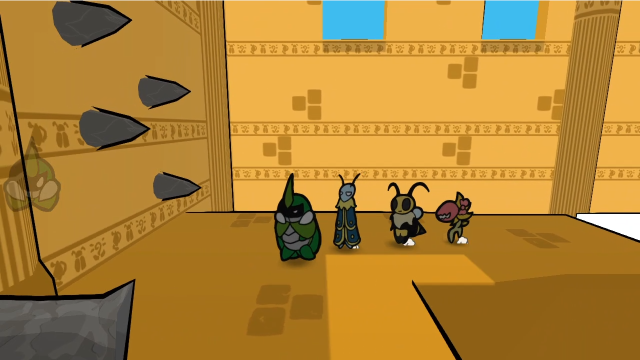 We move onward. (Looks like crashing into those spikes in the wall was enough to do for the boulder, thankfully.) 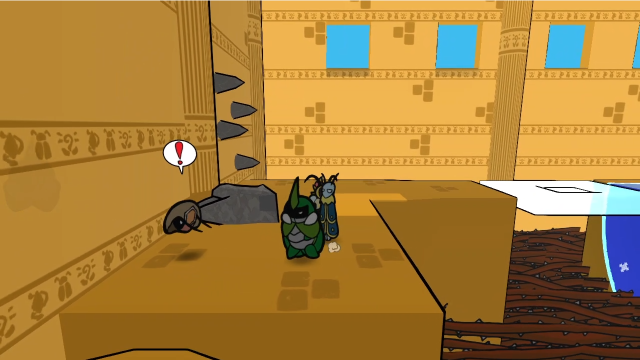 Heading south, we encounter a Warden just floating around. They're not exclusively disguised as statues in here, they seem more than capable of existing independently. 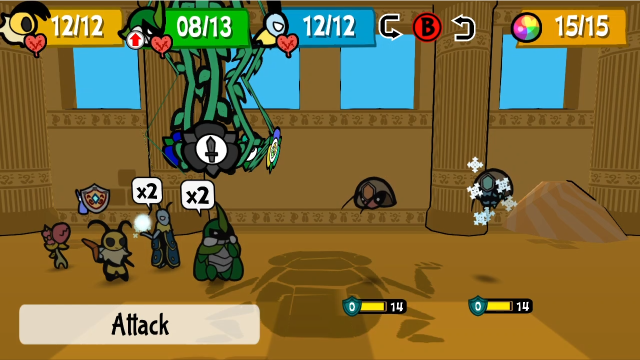 Looks like it's one of each! The second one is in ice mode. 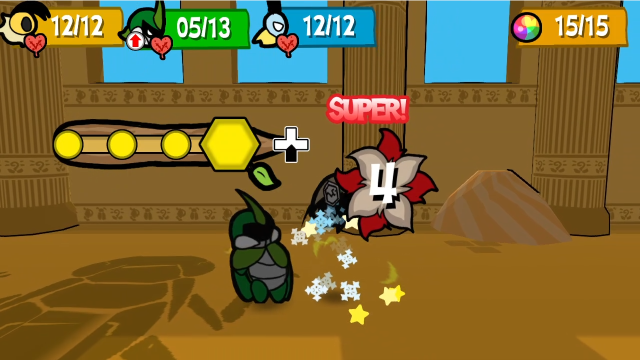 Just like Krawlers before them (and Haunted Cloths), the ice form is weak to Kabbu's horn attacks. 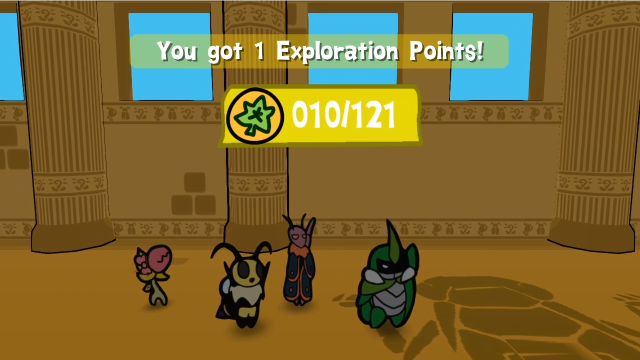 Easy enough to clean this up. We still haven't seen all the attacks this enemy type has, but these ones weren't interested in showing us anything new. 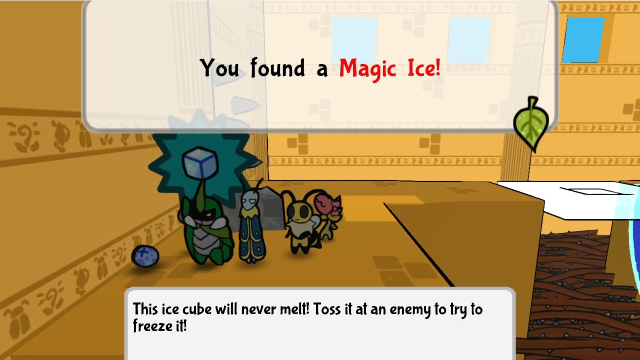 They leave behind some more Magic Ice for us. 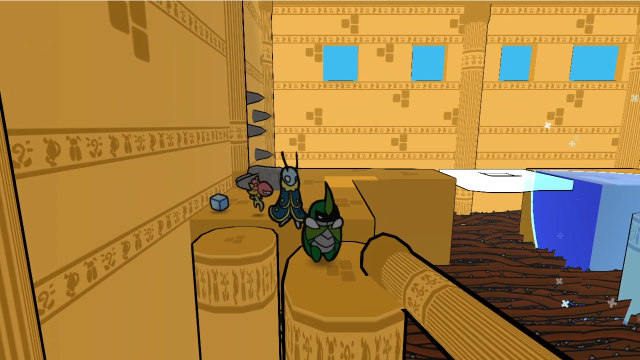 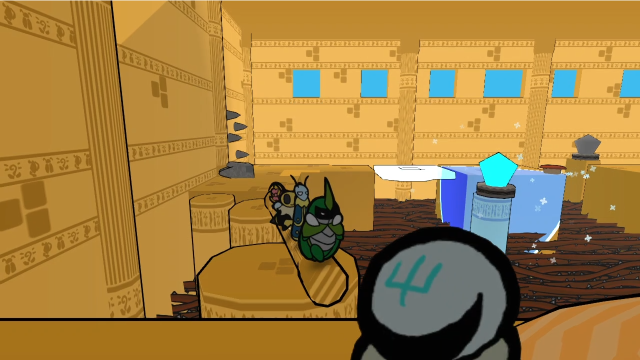 Continuing south requires a bit of careful platforming so we don't fall into the spikes. 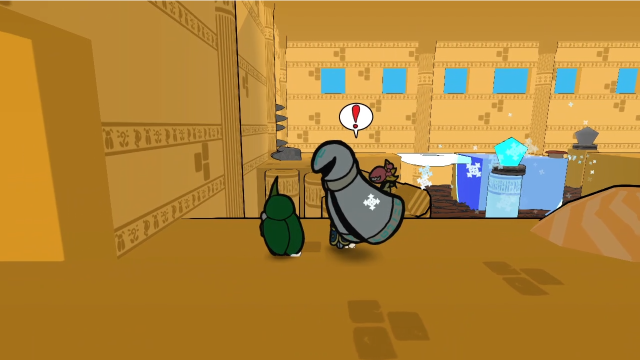 The Haunted Cloth waiting on the other side is hard to avoid, so let's just fight it. 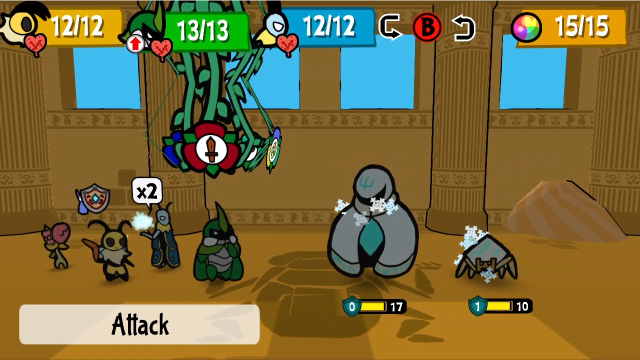 This one comes with an ice Krawler.  It also finally shows us the remaining attack we hadn't seen, a spinning dash that hits the entire party. This is a bit less fearsome than its other attacks, but can still put out quite a bit of damage (this is base 3 across the party, very similar to the wind attack). 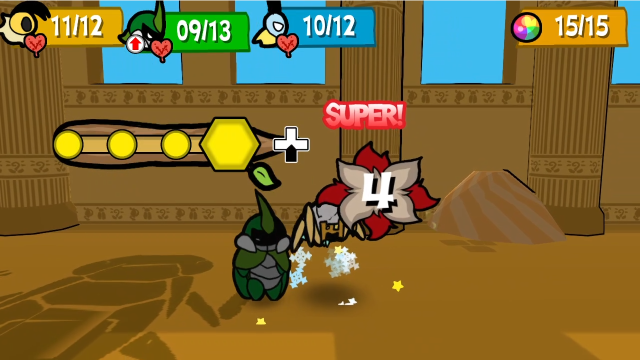 And here we can see Kabbu's horn doing weakness damage. 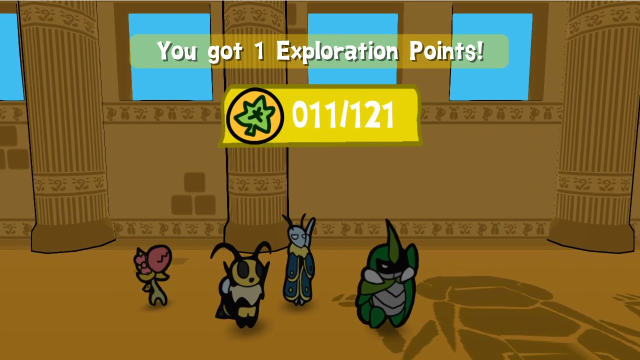 With the enemies dealt with, let's move on. 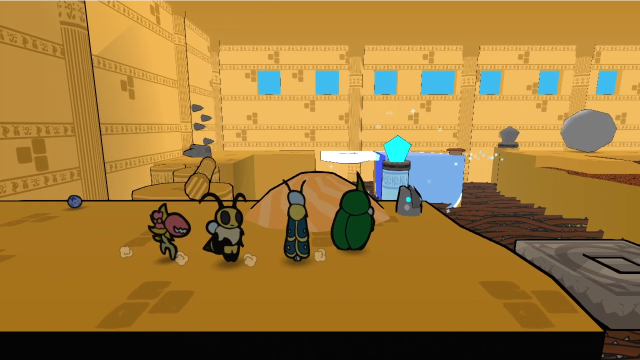 Before we leave this room, let's check out this switch. 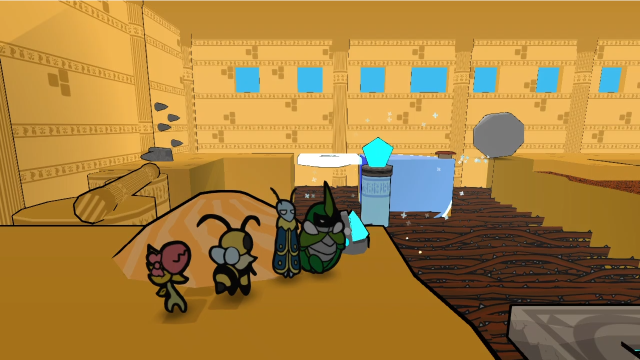 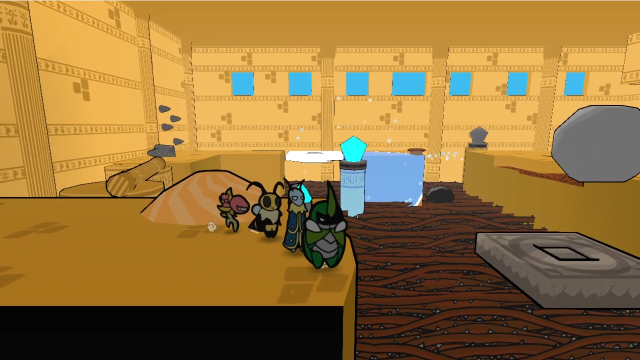 Activating the switch turns on this moving platform, which then moves back and forth between here and the entrance to the room. It's a nice shortcut to have should we ever need to come back here.  Now we're done here, so let's press on. 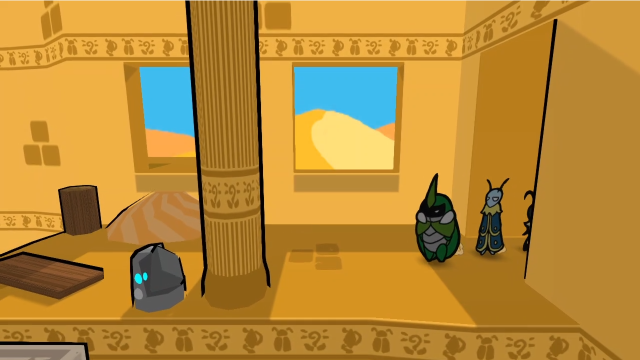 The exit from that room brings us here. Recognise this space? 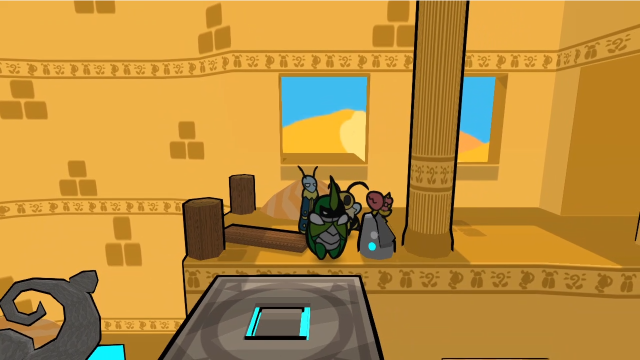 We're back in the central chamber, just on the upper level now. Let's hit this switch. 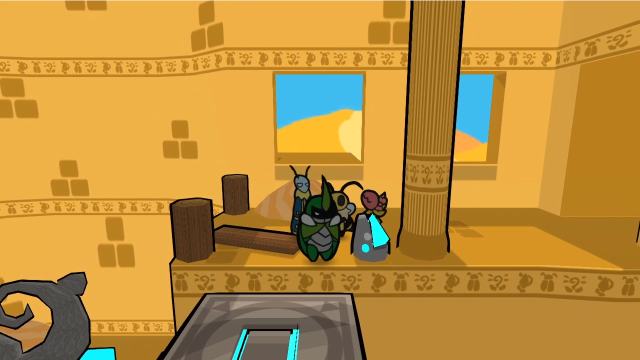 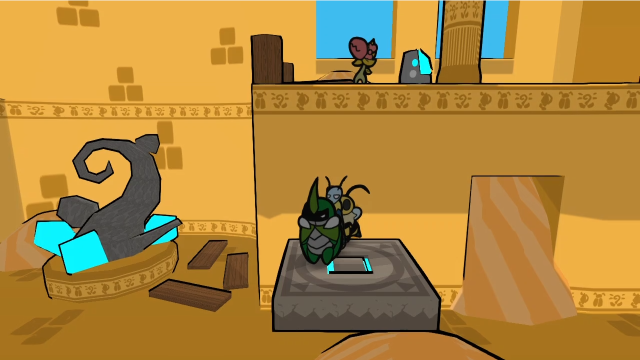 The switch activates this elevator, which lets us head back to Venus and the save crystal if we need to. But how do we go forward? 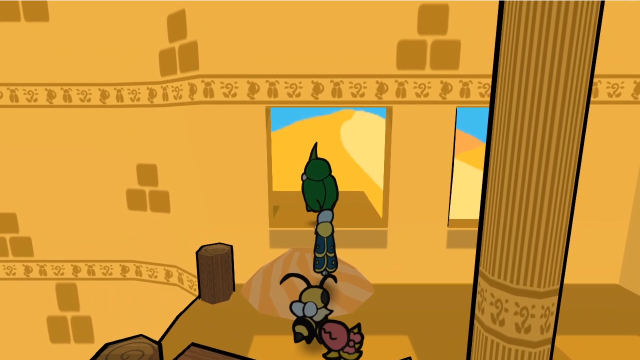 The bridge may be out, but there's a walkway outside! (This also might be a Paper Mario reference, there was a similar puzzle in Hooktail Castle in TTYD...)  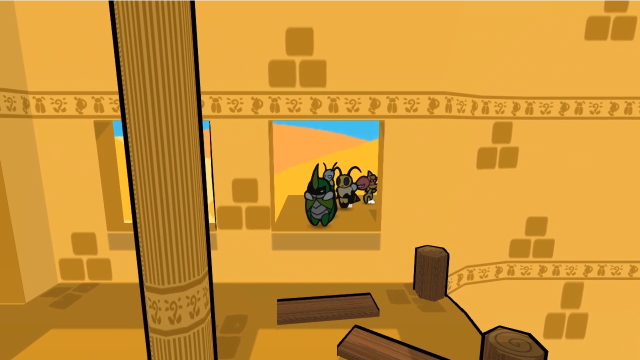 We can cross on the ledge, passing behind the back wall to come out on the far side of the room. 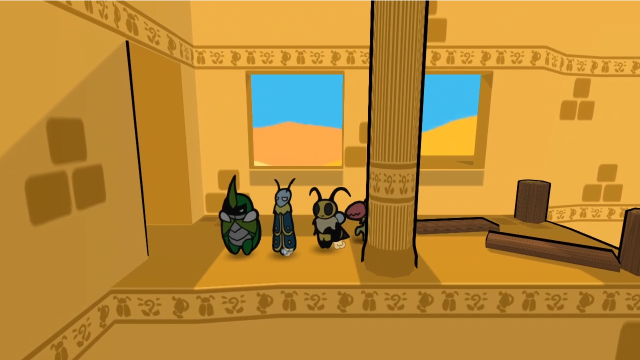 And now that we're over here, we have a path forward. 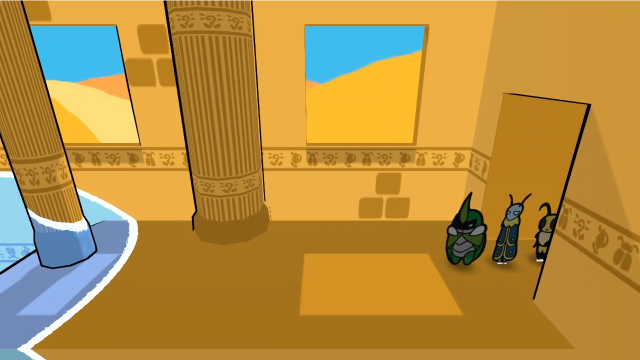 This room may also look familiar once we get a bit further in. 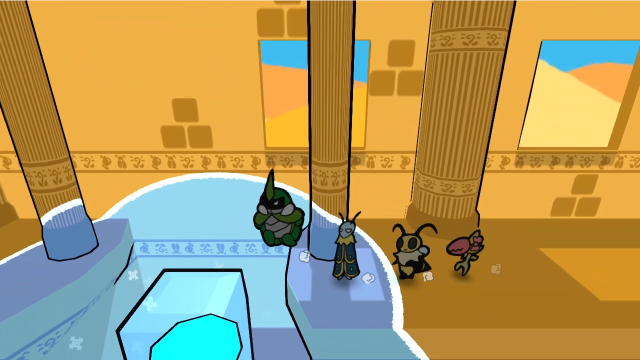 This is the upper level of the room where we solved the ice-sliding puzzle. In addition to pressing the switch that opened the door, the ice block is also our bridge across. If we hadn't solved that puzzle before, we'd have to jump down and do it now (at which point that elevator would come in handy). 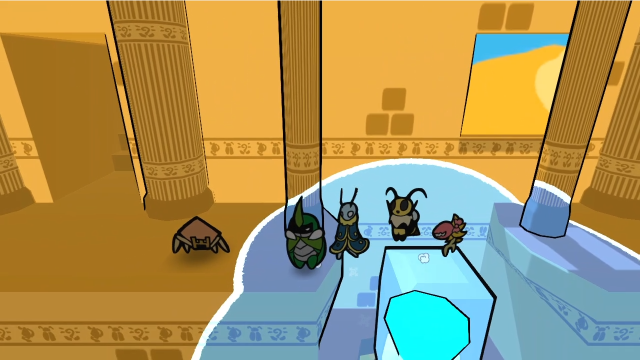 On the far side, we're faced with a Krawler. 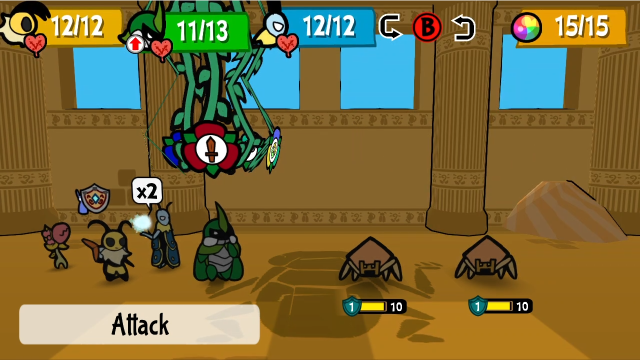 Actually, a pair of them.  We're used to these by now, they don't present very much trouble. (In general, the enemies here are balanced assuming you don't have Chompy, so for better or worse everything is a bit of a pushover for us.) 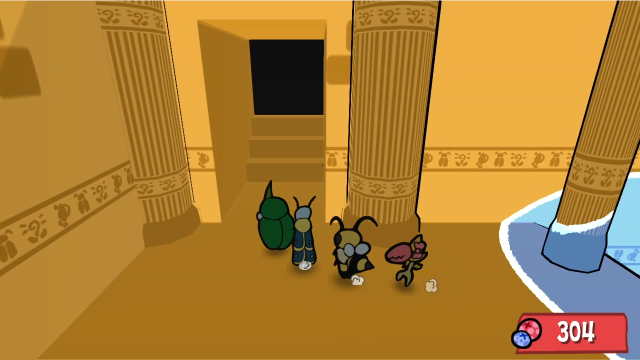 Onward and upward. 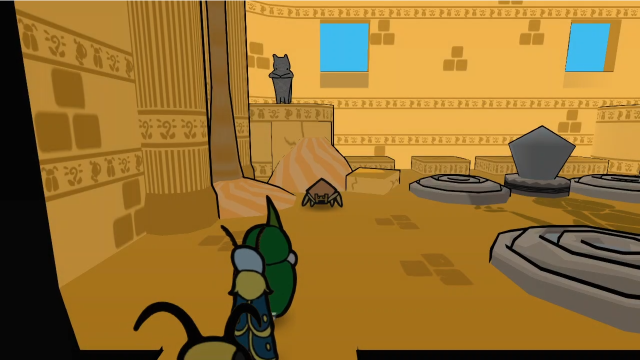 This room looks complicated. I don't get it. Thinking's about the only thing that can stop you, huh. Shut it. Easy now. We cannot just aimlessly press plates. There must be a clue somewhere!Our hint is to look for a hint. How helpful. (Also, it's been a while since Leif insulted Vi, good to see him back in form I guess.) Trying to fight the Krawlers in here (each of which is only a single one by itself) can provide another hint, because they'll respawn immediately, as enemies usually do if they're intended as part of a puzzle. We'll need to use them for something. 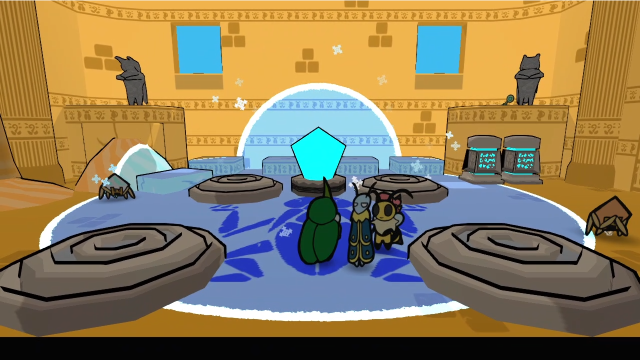 Hitting the switch in the centre of the room lights up the roach-shaped inscription in the floor, too. (Also, let's notice there's a key on that ledge in the corner, we're going to have to get that somehow.) 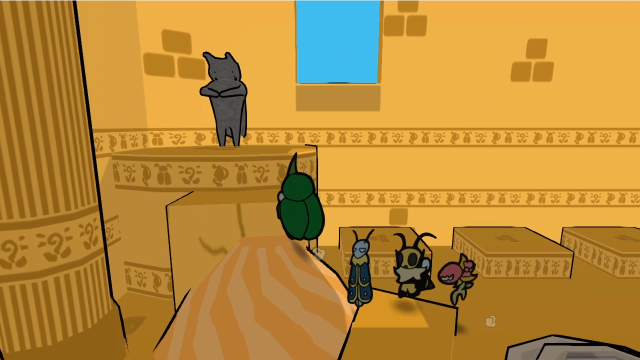 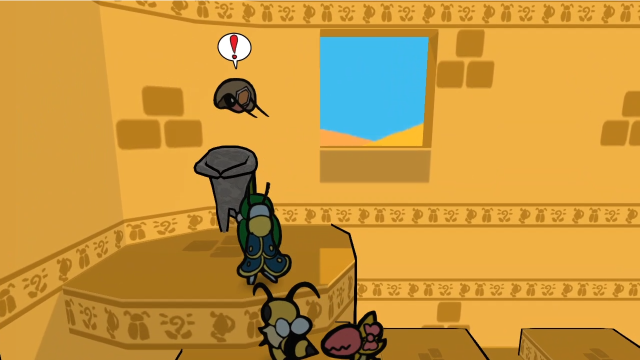 Trying to climb up this side, we can discover the statue's head is another Warden. 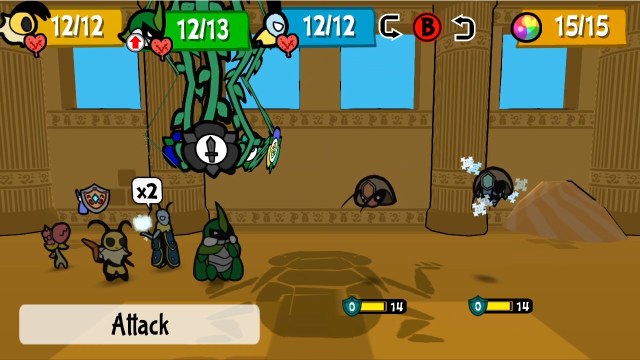 Or, rather, another pair of them.  Here we go, it's their last remaining attack. Like Krawlers, Wardens also have the beam attack, which changes between electric and ice depending on their form and inflicts Numb or Freeze respectively.  We clean them up. 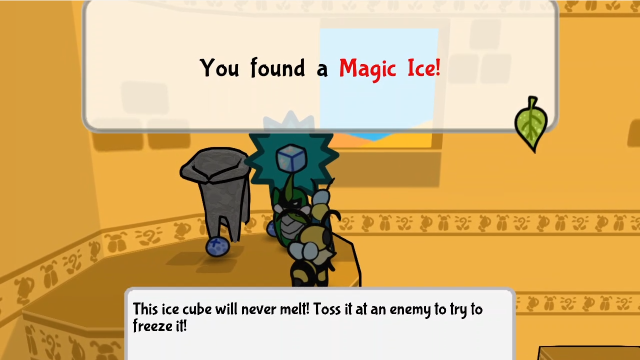 They leave behind more Magic Ice. It's pretty inevitable to end up swimming in the stuff just from going through here; I don't have the space to keep this one. 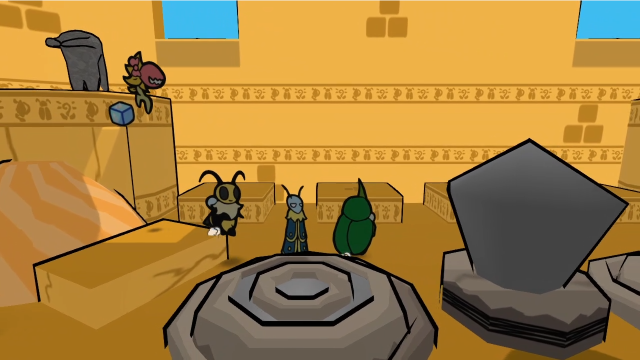 Let's head back down and see what we can do here. 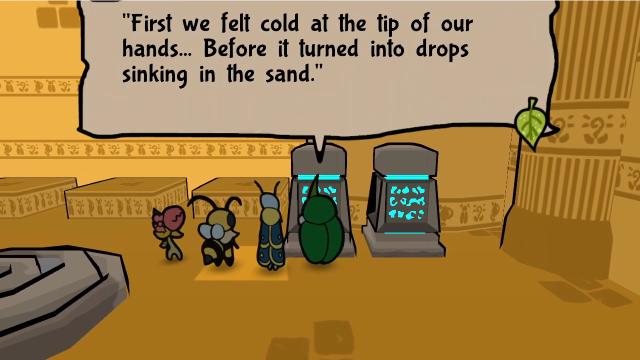 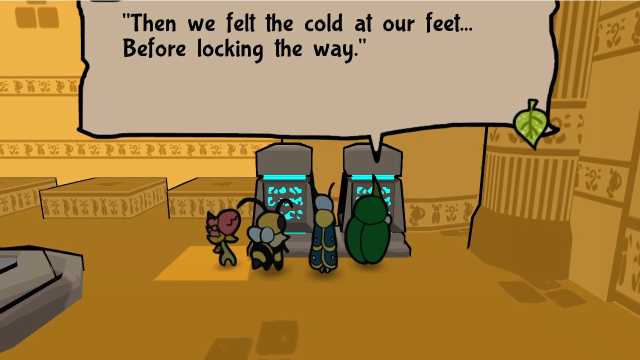 The inscriptions on these pillars should tell us what to do, though it's in the form of a riddle. (I quite enjoy this puzzle.) The key is realising that the hands and feet in question belong to the roach inscribed in the floor. 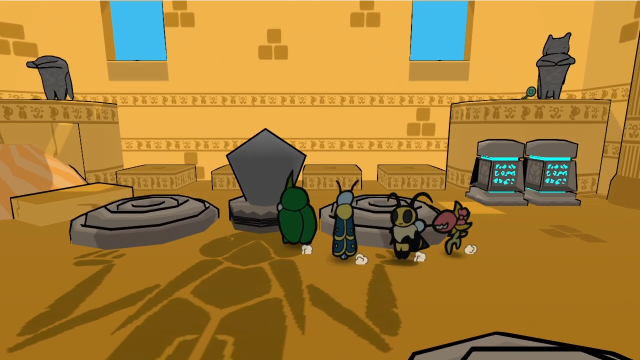 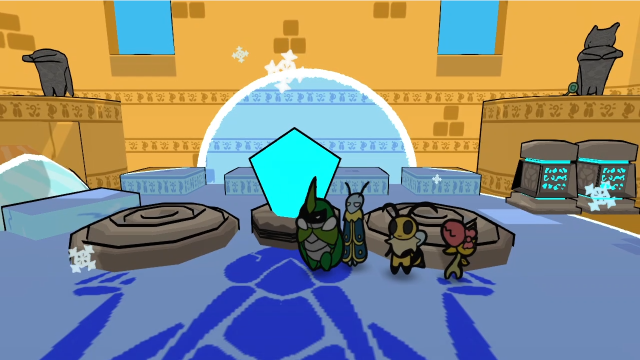 First step is to make sure the crystal's turned on. 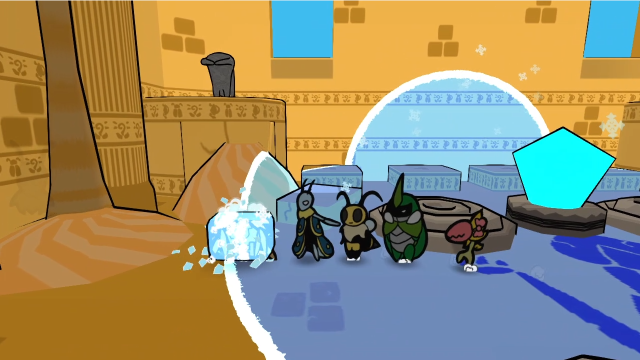 Then we can freeze one of the Krawlers. (Incidentally, one nice property of the ice magic field is that a frozen enemy won't thaw out while inside the field. You can take your time while doing this.) 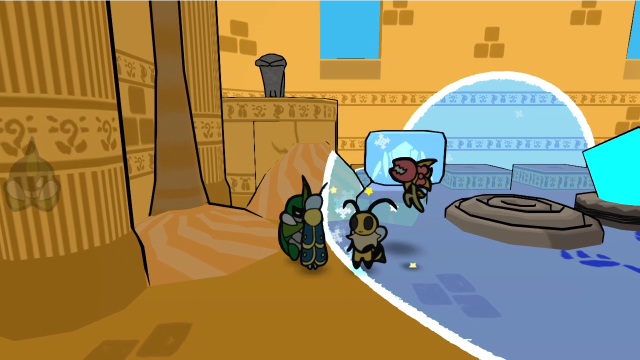 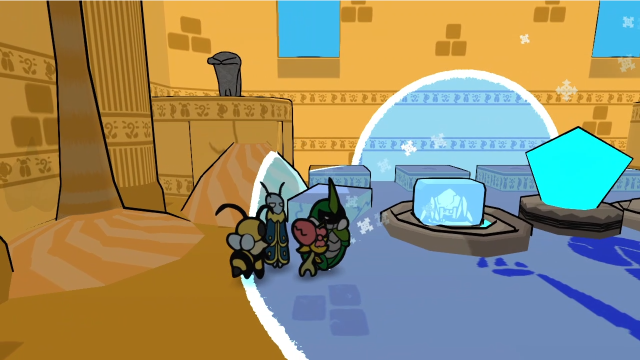 And put it on one of the switches corresponding to a hand. 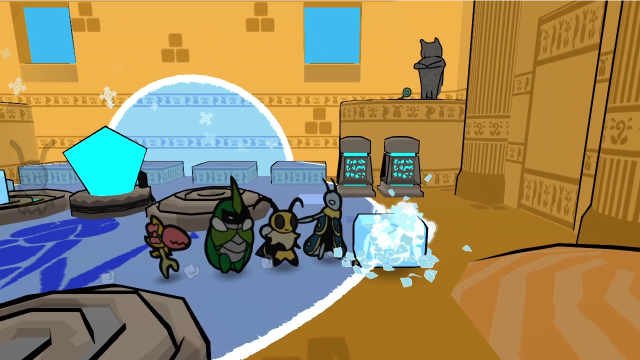 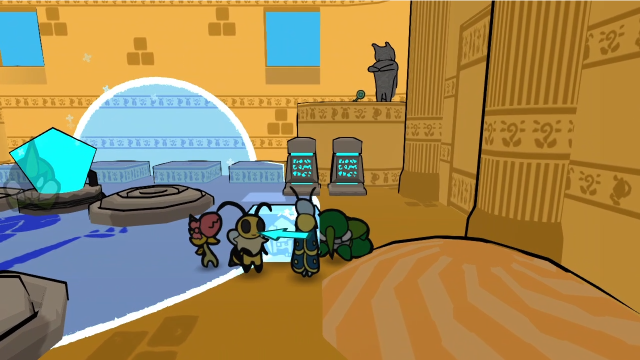 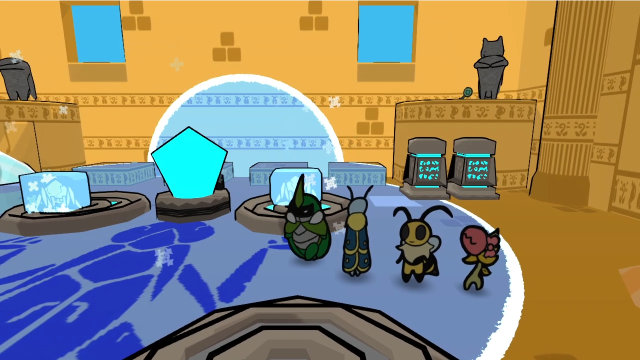 Then we repeat the process on the other side. Nothing's happening, though. 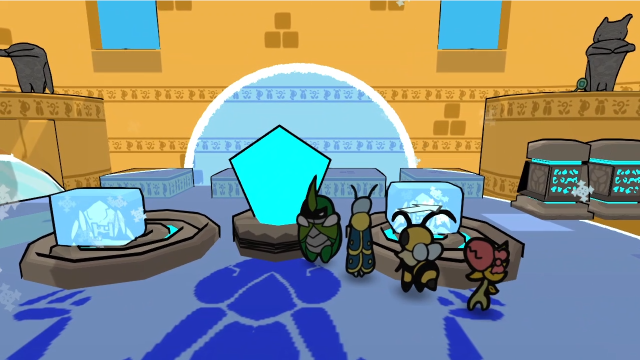 That's because we need to apply the second half of that clue. "It turned into drops, sinking into the sand." We need to turn off the switch.  Once we do that, the door forward opens. We're not done yet, though. 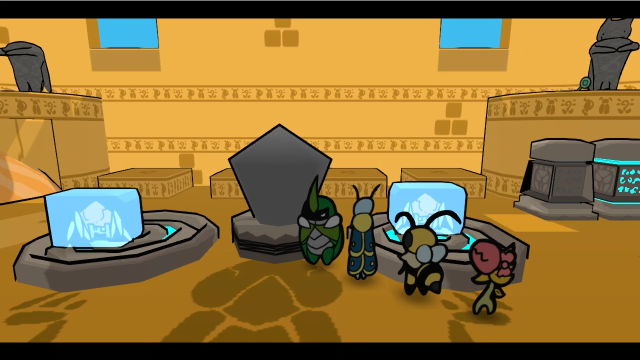 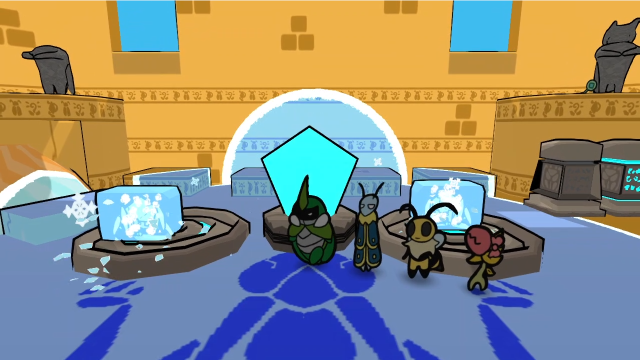 If we're quick, we can hit the switch again before the blocks melt, and not need to freeze them again. (It's not necessary to actually let them melt for the door to open, despite what the inscription says, just disabling the magic field while they're on the correct switches is enough.) 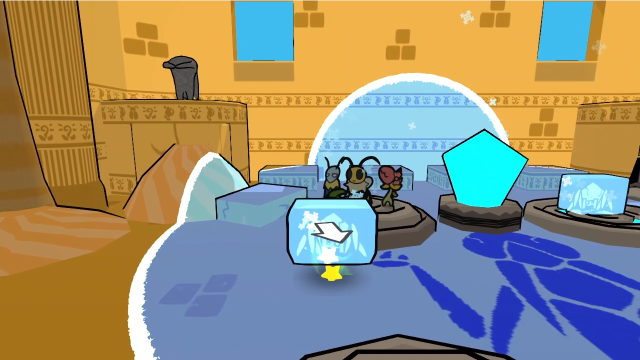 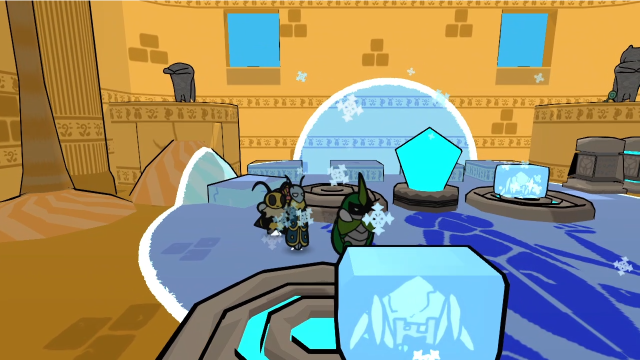 Let's move them to the feet now. 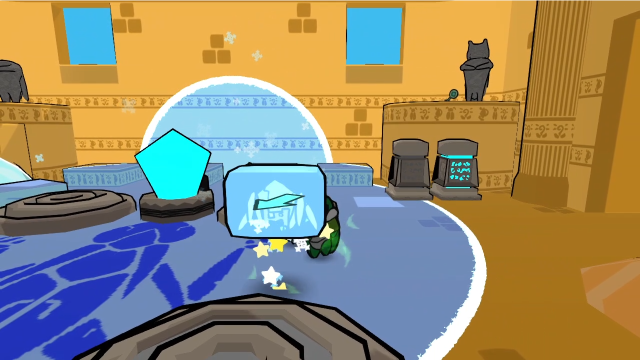 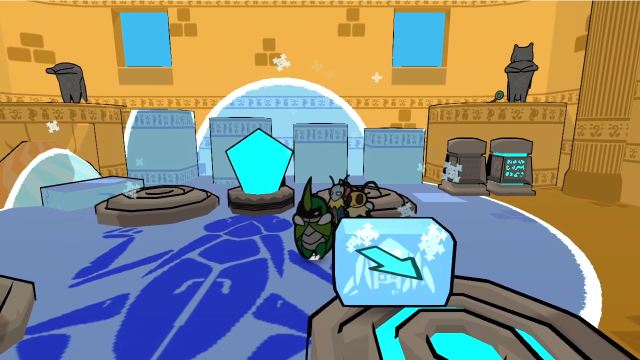 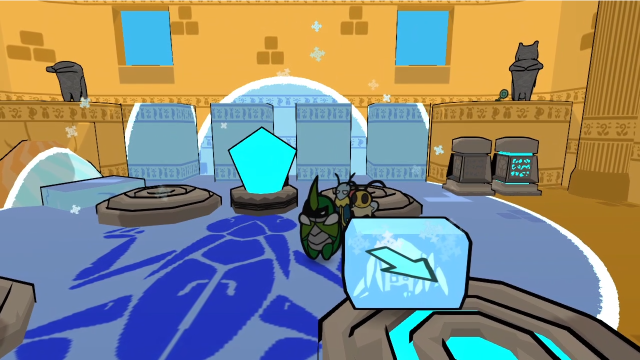 Putting ice blocks on both feet causes the platforms at the back of the room to rise up, giving us a path across to grab that key. ("We felt the cold at our feet before locking the way.")  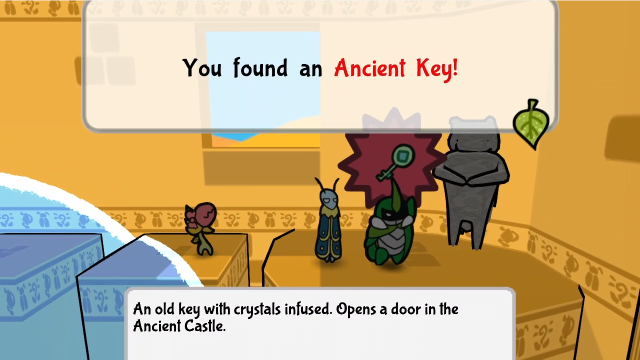 I'm sure we'll be needing this soon. (Also, interestingly, the statue on this side is real, it's not a Warden.) 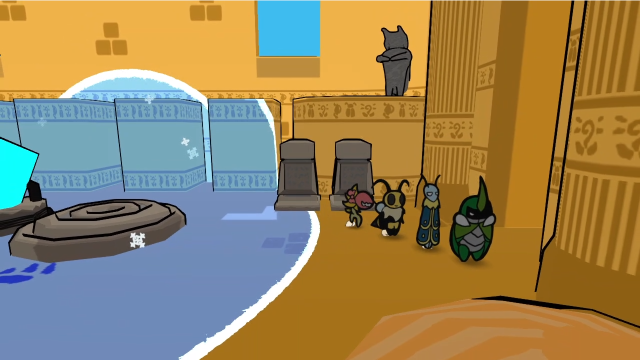 Now that we've got the key, let's head onward. 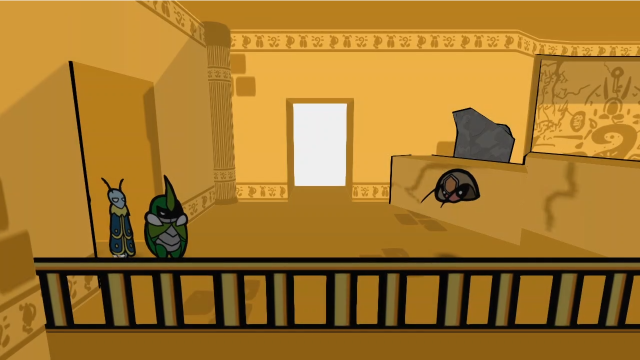 Here we are back in the central chamber again, but on an even higher balcony. Huff... We've reached the top floor. A bit rough on my limbs... Never heard you complain until now, with all the walking. I... I just really dislike stairs! (I hope they didn't see me flying over them...)This line is enough to make me regret the game not showing this, it's cute and I want to see it now. 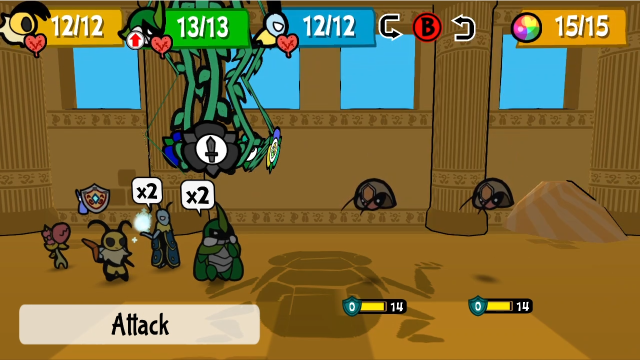 The enemy waiting here is another pair of Wardens, this time both in sand form. Let's get them out of the way. 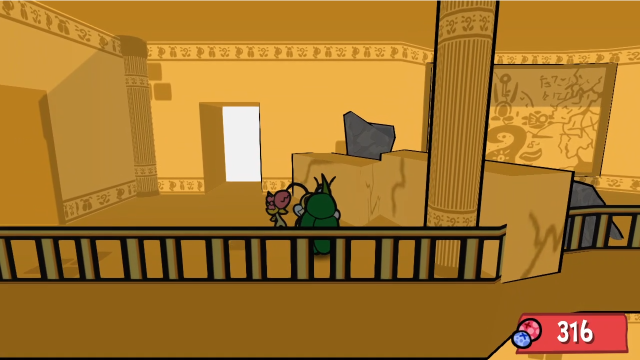 With the enemy gone, there's nothing else we can do in here, the rubble is blocking everything off. 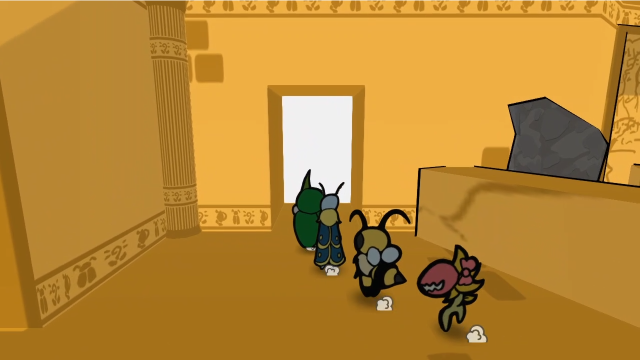 So let's head through this door. 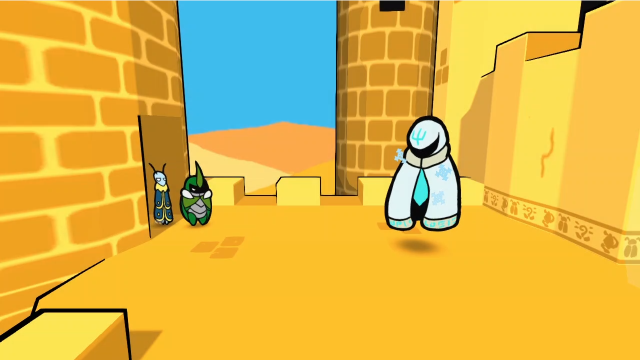 This one takes us outside! I'm not entirely sure the layout makes complete sense here (we went out the north exit of that room, and somehow come out of this tower?). I have to assume the camera angles inside must not necessarily correspond to the cardinal directions I've been using out of habit, but even then it seems a bit weird. Anyway, let's see what our team have to say. Ah. Fresh air! We can see all of the desert from here. It's quite soothing... Maybe we could come back. It's not like anyone owns the place. This is now my castle! Dibs!A nice cheerful one. Let's fight the enemy first. 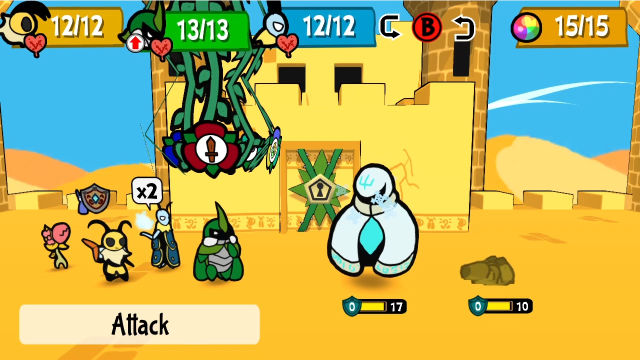 It's a Haunted Cloth along with an Arrow Worm. The most notable thing about this fight is that we get a new battle background just for this specific room; I appreciate how thorough they get with this sort of thing. Haunted Cloths also look quite different in the brighter lighting. 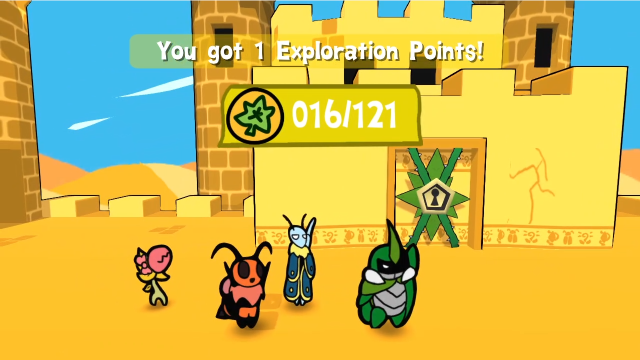 The battle itself was nothing special. 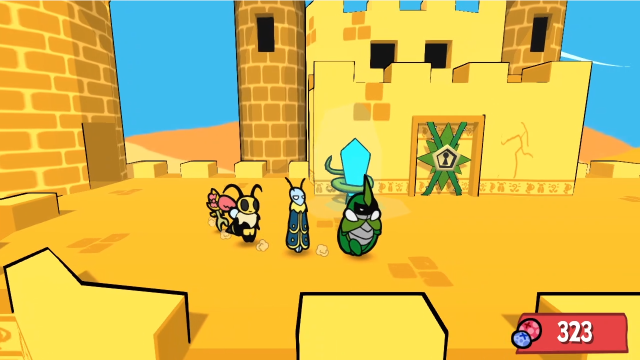 There's a save crystal here, as well as a locked door. Is that the way we need to go? 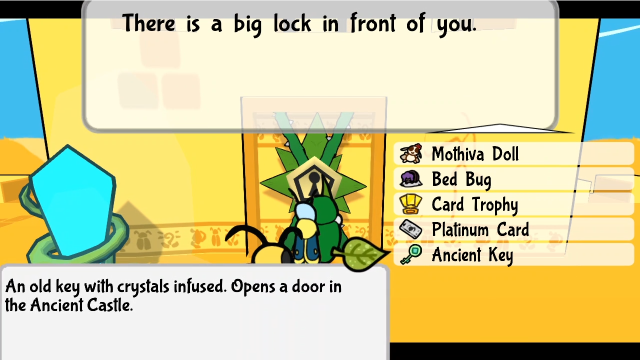 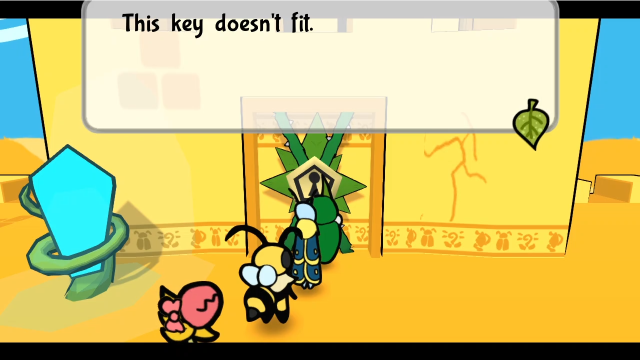 Apparently not. The key we have doesn't fit, so we're going to need to find another one. The one we have must go somewhere else. 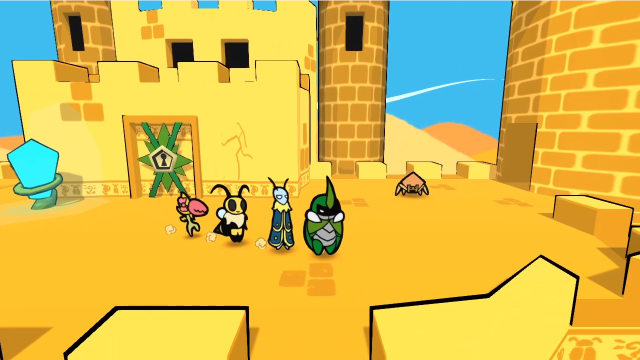 There's another way to go on the far side. Let's take care of the enemy first, though.  Two Krawlers and an Arrow Worm. For a change, let's actually show this fight, I decided to have some fun with this one. 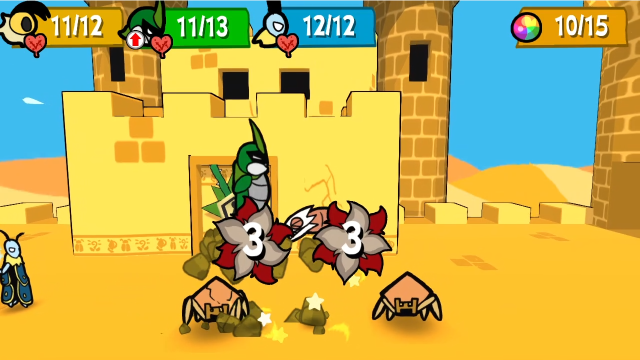 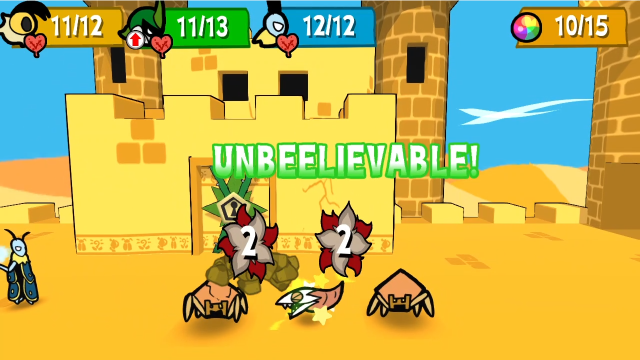 While it's a bit expensive, Kabbu's Under Strike also works to expose underground enemies. I wouldn't do it normally, but here the enemies are close enough together that it's easy to also get in good damage on one of the others. 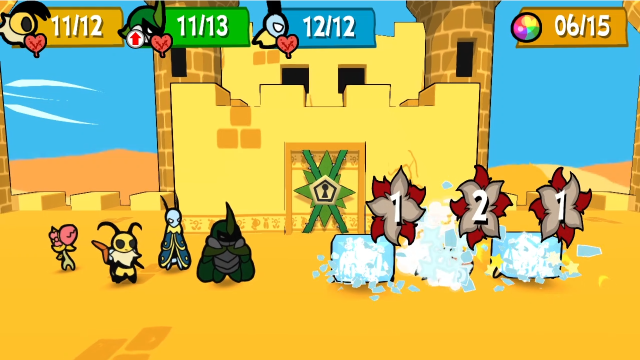 Leif's Icefall freezes both Krawlers. 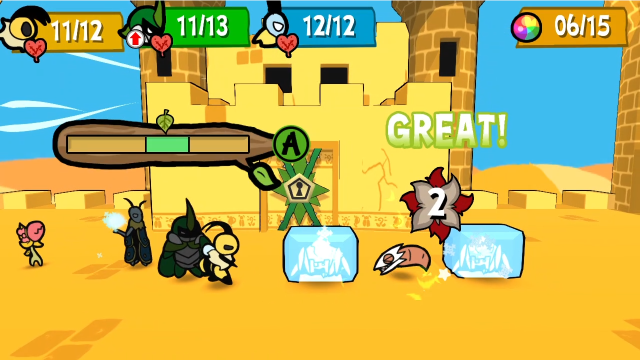 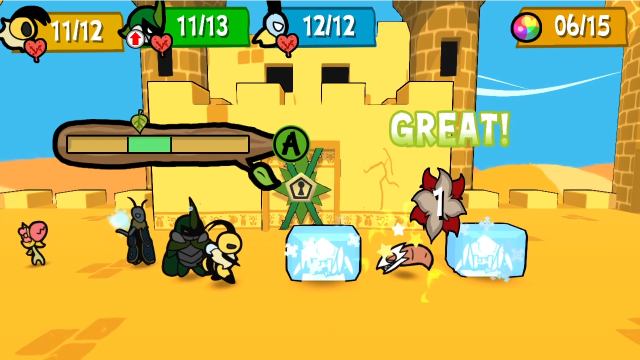 And Vi can finish off the Arrow Worm. 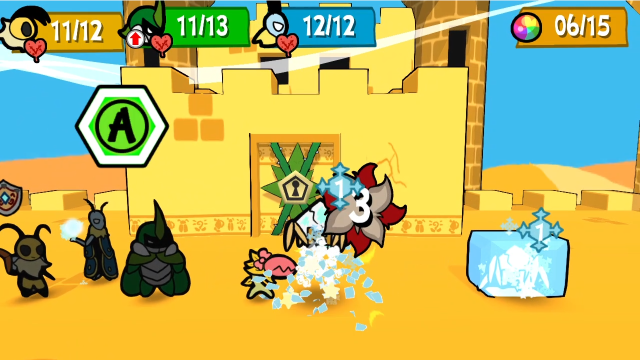 Chompy bites the Krawler in front, breaking it out of the ice and showing it's switched into ice form.  I messed up the block timing, so Kabbu took full damage from the charge. For all I've been glossing over the enemies in here, they're not harmless, and can give you some trouble if you let them.  Now we just have these two left. Let's clean it up. 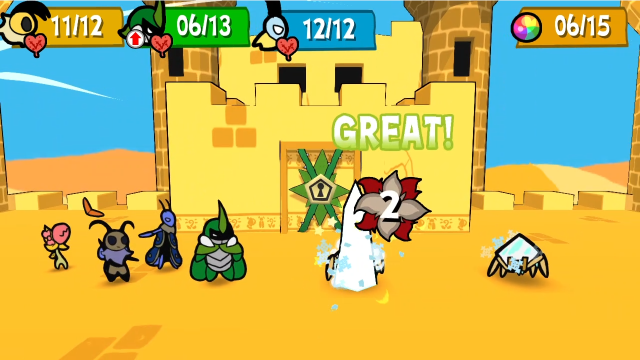 This one's a foregone conclusion. 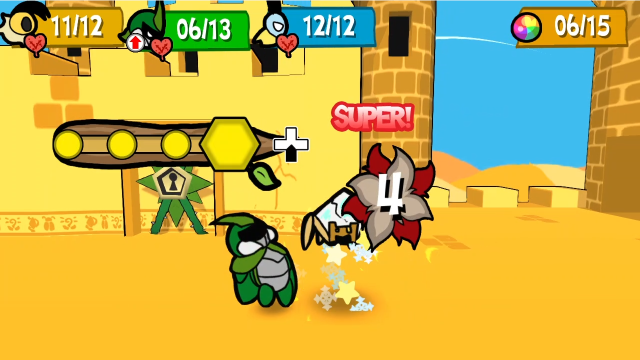 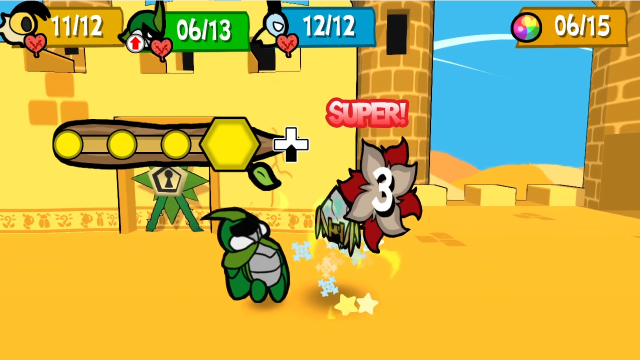 And here, the ice form's weakness to Kabbu's horn lets us make quick work of it. (I'm now puzzled why the one we fought last update didn't get the weakness appropriately, it's working correctly now. I can't explain the anomaly.) 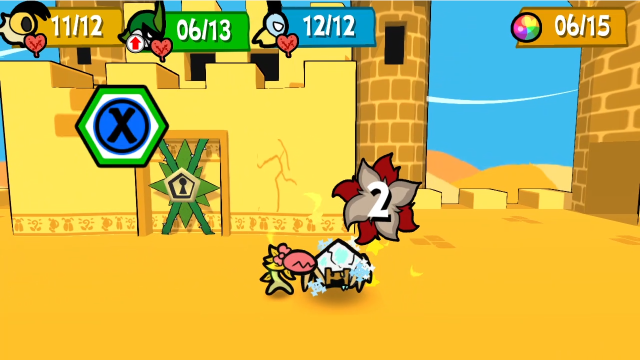 Chompy deals the final blow. 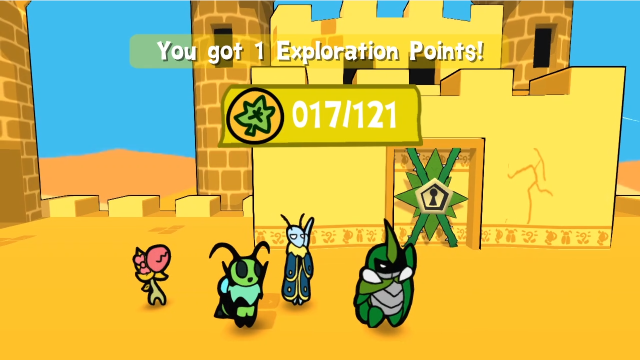 There we go. 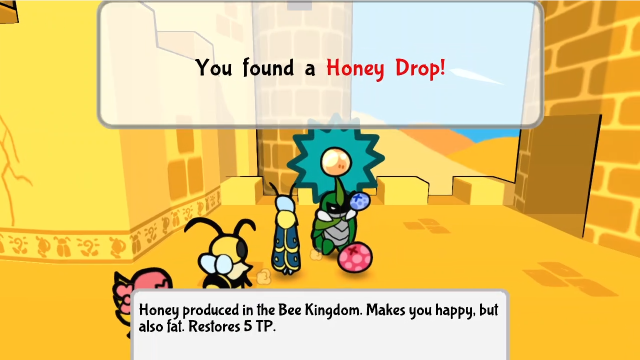 They also left a Honey Drop behind! This is convenient: considering all the TP we spent in that battle, we'll just eat it immediately.  Let's head onward. 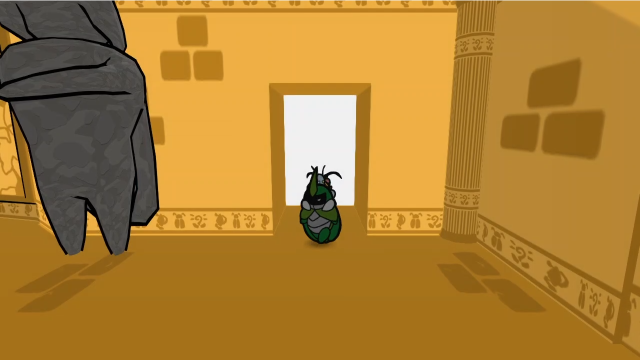 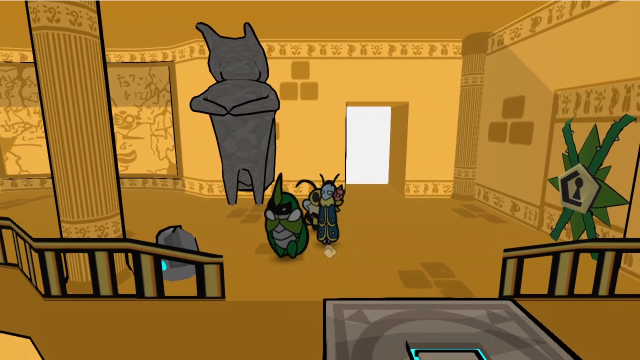 We're on the other side of the room from before. There's a locked door here, but a few other things to see before we go that way. (Thankfully, the giant roach statue is just a statue, we don't have to fight a giant Warden...) 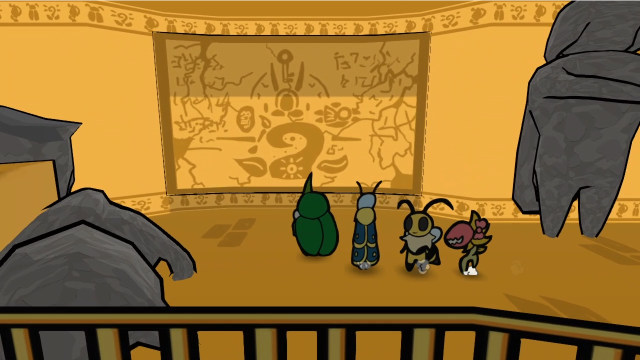 If we head to the left, there's some kind of mural painted or engraved on the back wall. 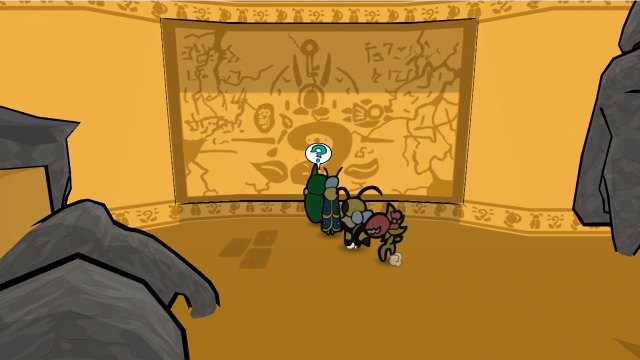 When we get closer, we're given the opportunity to inspect it. 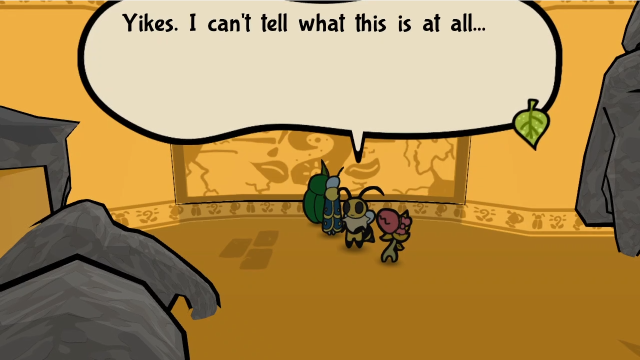 It seems to be some sort of depiction of the Everlasting Sapling... Even the artifacts are there! We're impressed, Kabbu. This drawing's quality hasn't aged well at all. It seems to be some sort of depiction of the Everlasting Sapling... Even the artifacts are there! We're impressed, Kabbu. This drawing's quality hasn't aged well at all.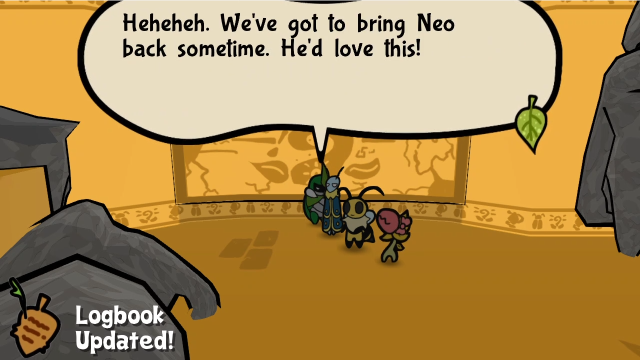 As you might expect, examining the mural gives us a Discovery. 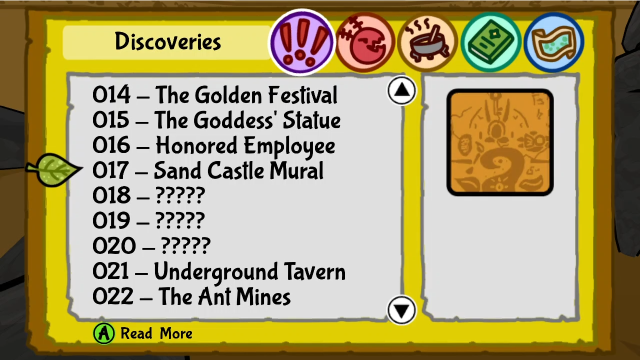 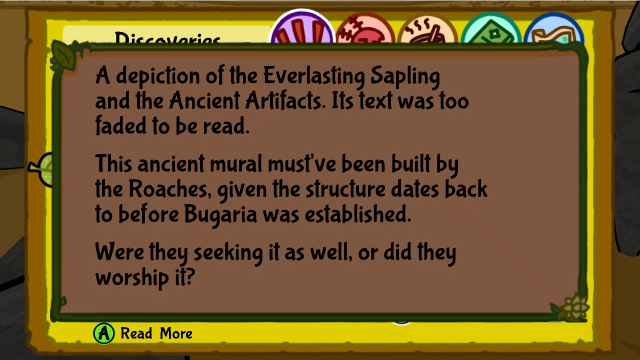 There we go.   The text is too faded to be read. The text is too faded to be read.Checking it again gets us this message. 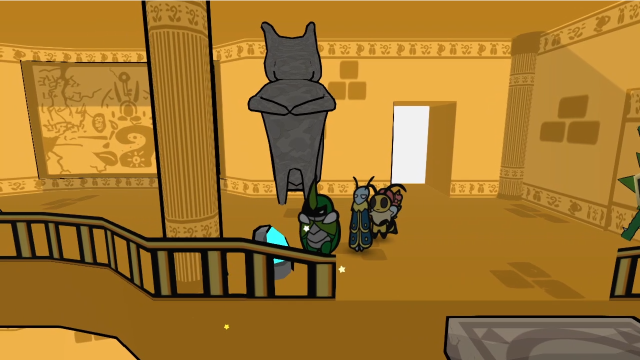 Hitting the switch over here turns on yet another elevator. 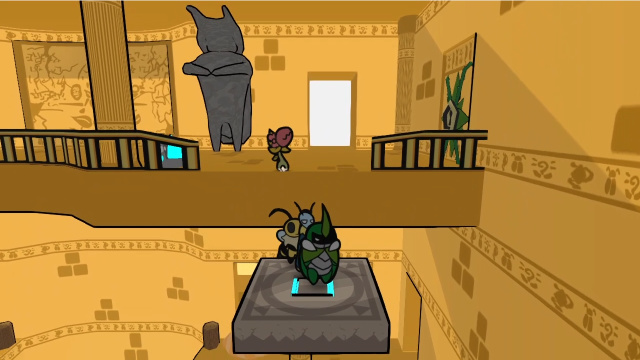 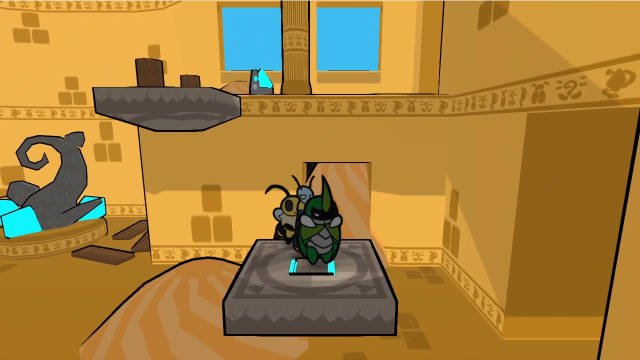 This one goes two levels down, once again bringing us back to the central chamber where Venus' bud is. Very convenient if we need healing. Let's head back up, though.  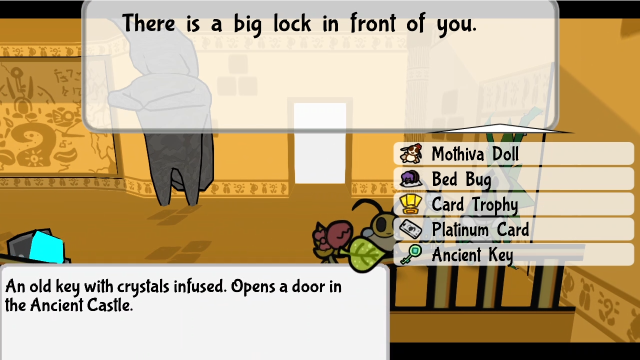  Our key works in this door, at least, so let's see what's on the other side. 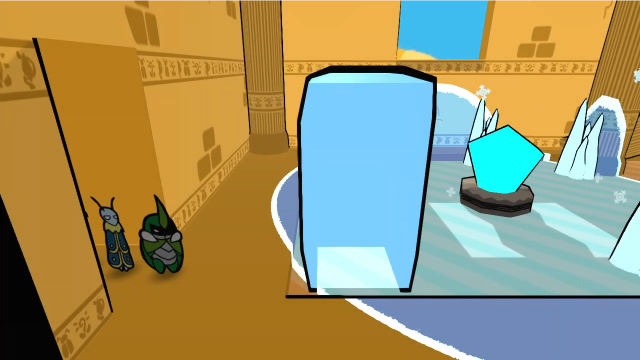 More ice block puzzles, it seems! This room looks like a storm passed through! We can only wonder what this room's purpose used to be. We should only wonder how to solve it!Let's get a look around. 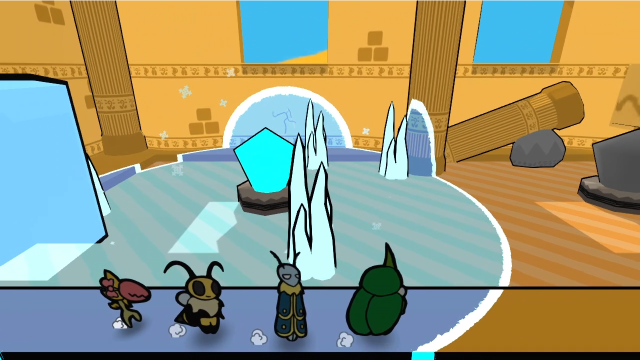 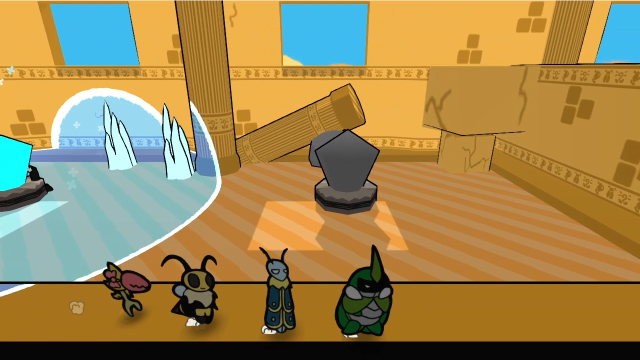 There are two magic crystals here, and we're no doubt going to need to do something with them. 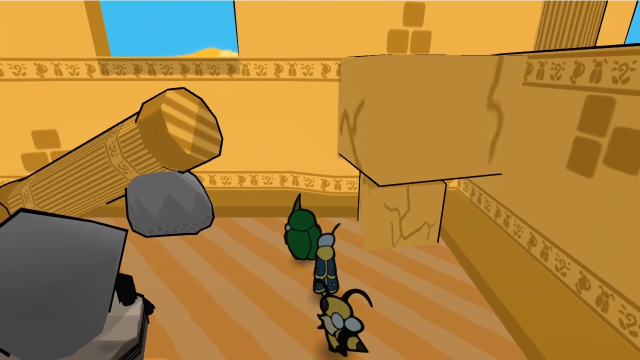 At the far wall, we can find this fallen pillar. We can climb up it, but the gap is too wide for us to jump across, so we're going to need to put the ice block here to bridge it. 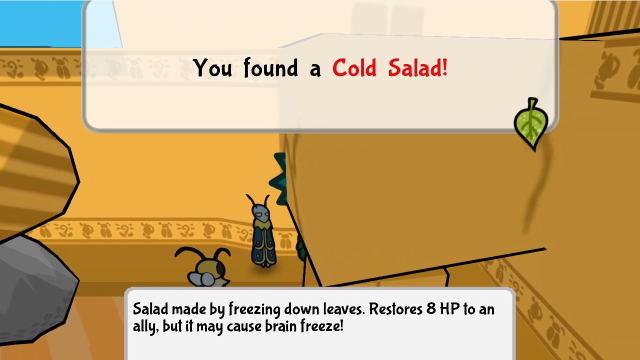 Before that, though, we can nip in behind here and grab this hidden item. This could be handy if we want to use that Frostbite medal we found last time. 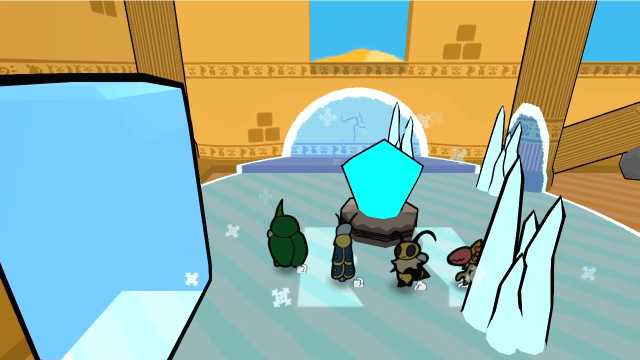 Let's see what we can do with this. 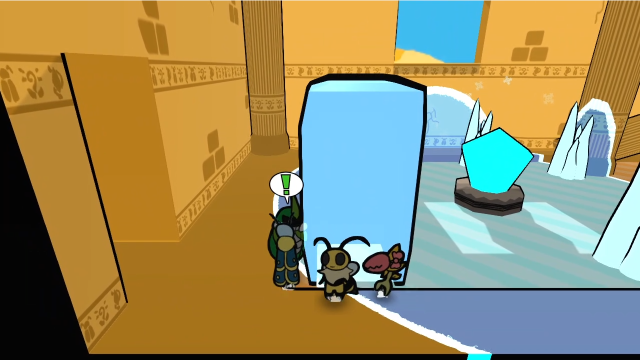 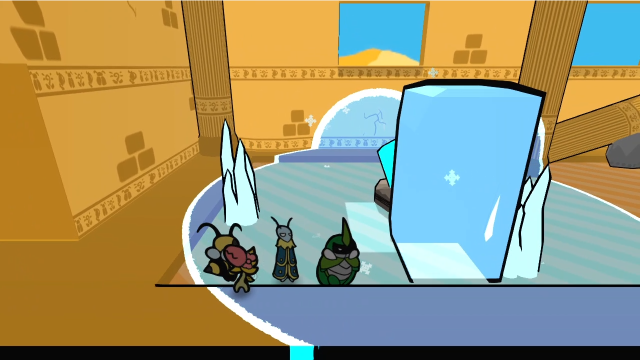 Starting off nice and simply, we send the block to the east. 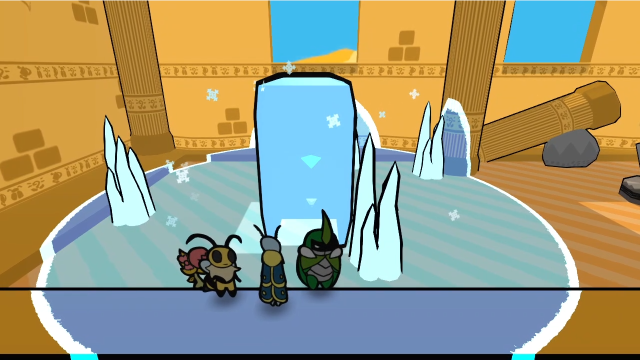 We can also use the crystal itself as a blockade for it. 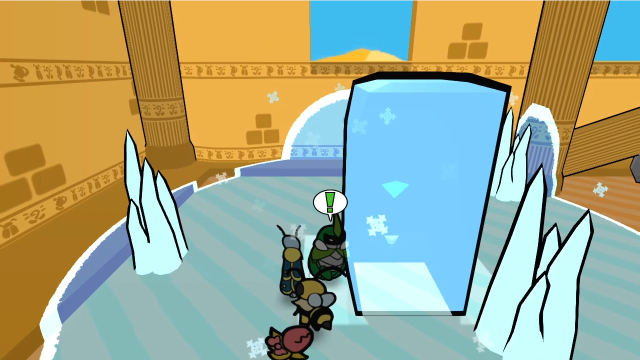  Letting us send it further east. Here we run into an issue, though: the block stops moving once it reaches the boundary of the magic field. Ice blocks can't slide on sand. 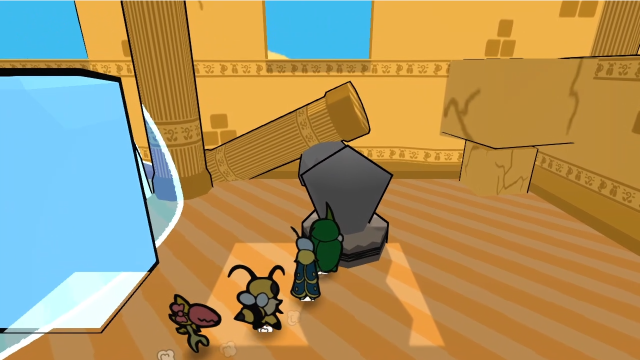 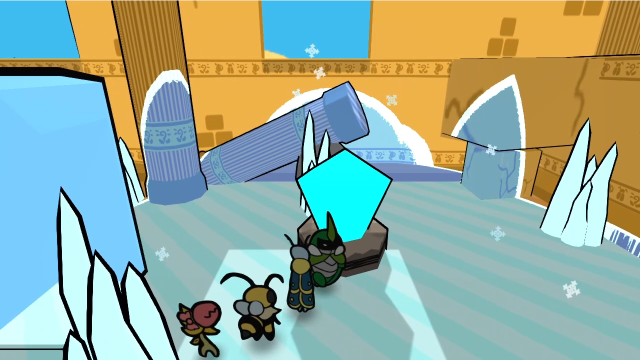 That's easily remedied, though, we just activate the other crystal.  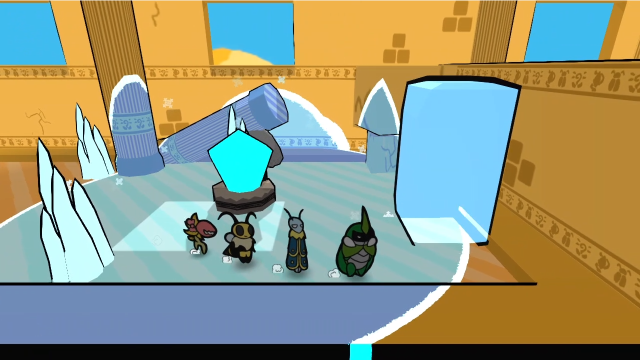 Now we can push the block the rest of the way. From here, it's pretty obvious what we have to do. 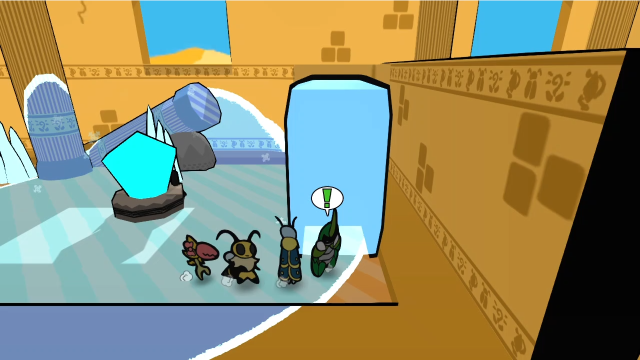 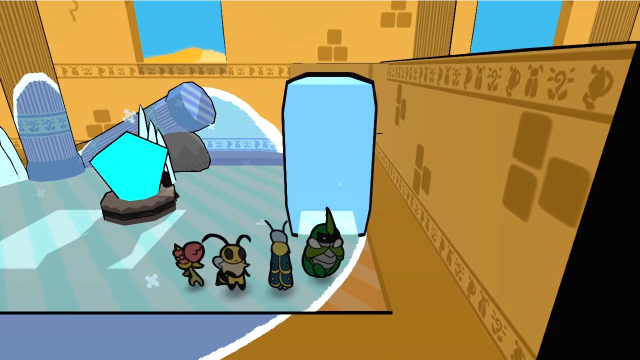 Send it north just a bit... 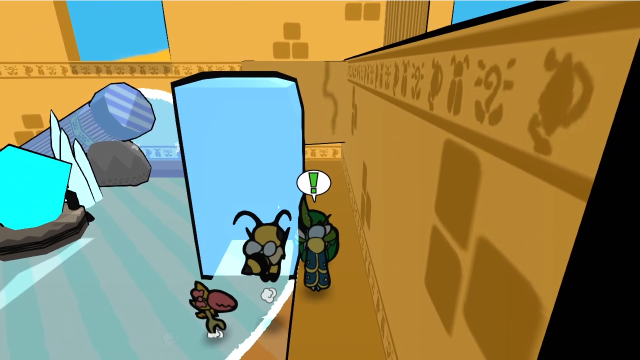 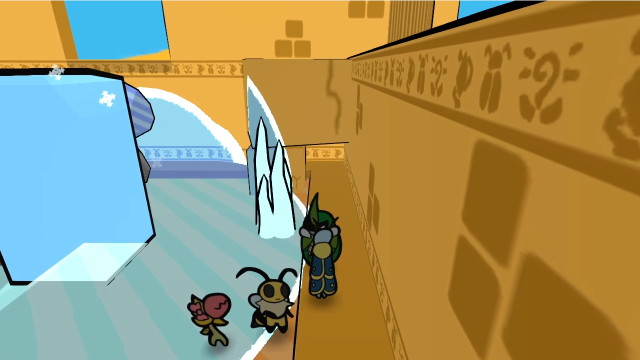 Then west to stop at the crystal. 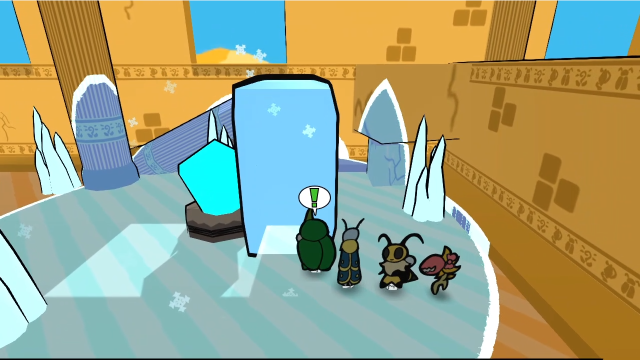 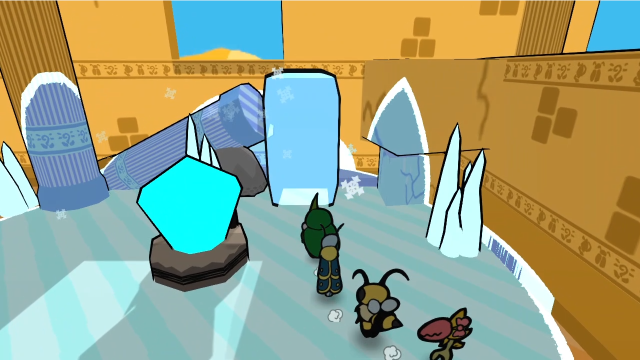 And, finally, north to where we want it. This room may look daunting and complex, but the solution is very straightforward once you start trying things. 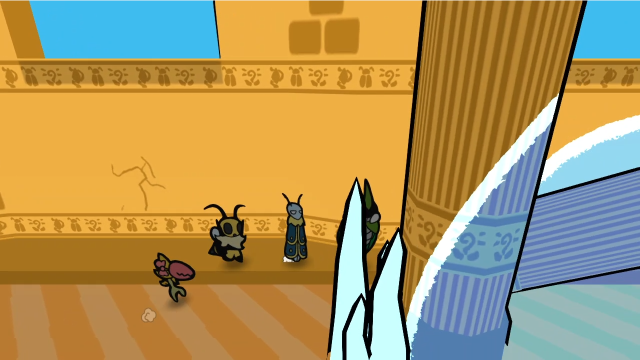 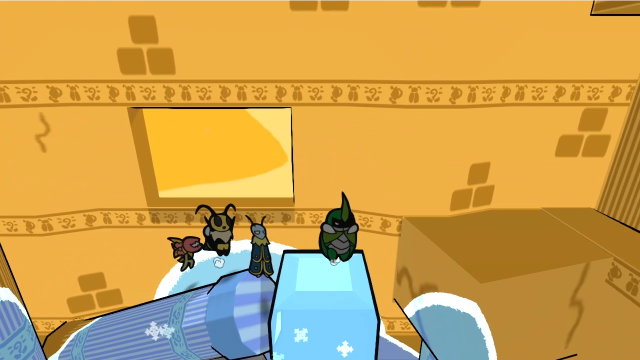 Now we can climb up and jump across. 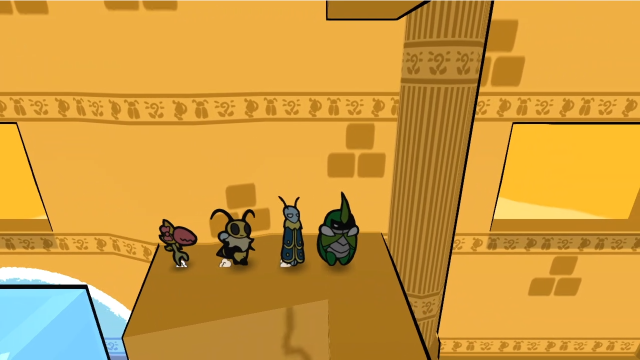 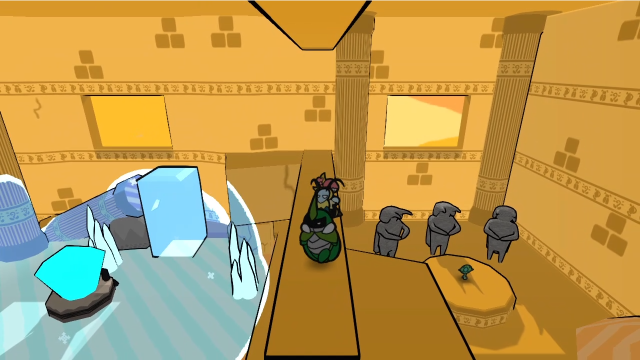 From atop this ledge, we can see into the far side of the room. That looks like the key we're looking for... 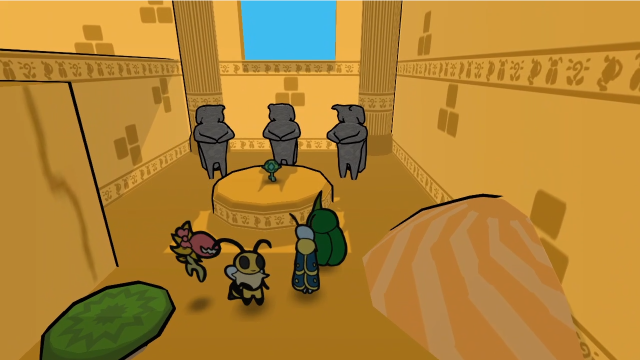 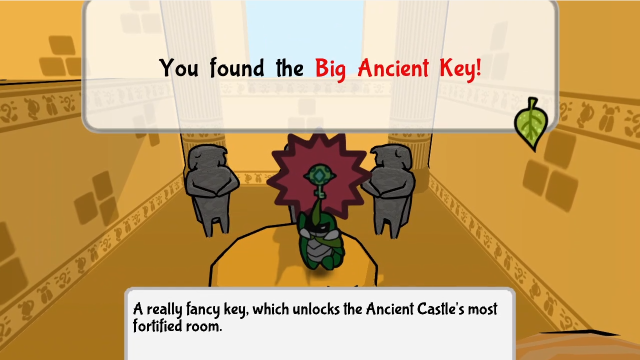 Yes it is! But... 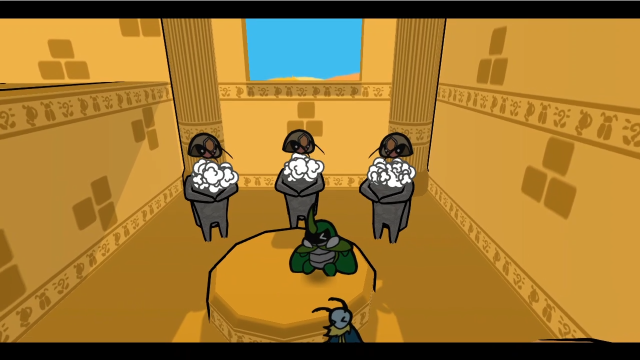 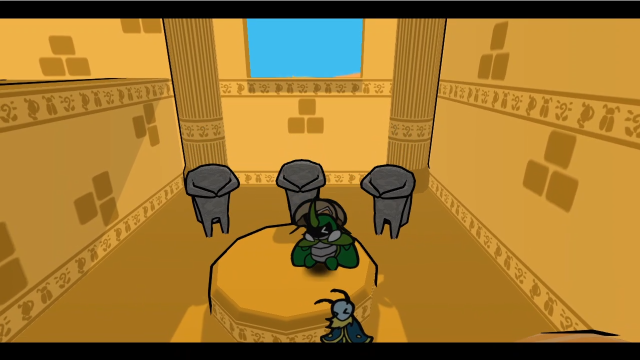 This isn't exactly a surprise, is it? 29 - Team, This One's Stronger! (Miniboss) 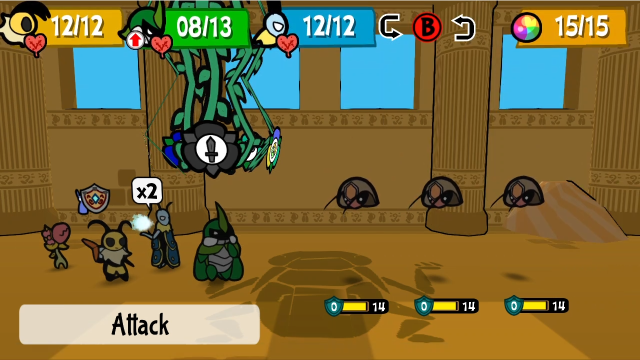 It's just a fight against three regular Wardens, but for some reason, we get the miniboss music here. I guess because it's a mandatory fight? 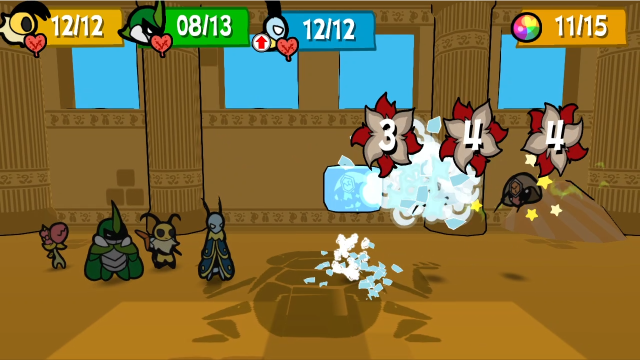 Let's start things off with an Icefall from Leif. I'm not entirely sure what happened with the damage here, but I think the most likely explanation is that the freeze (and therefore the form change) occurs before the damage is calculated, so the one that got frozen isn't taking weakness damage? I swear, I learn new things every session. 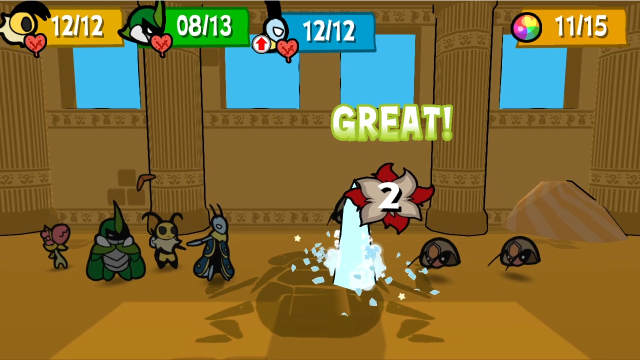 Leif attacks again, breaking it out of the ice. 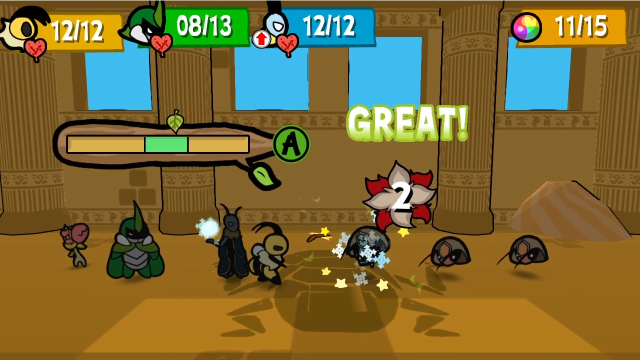 We'll keep attacking. 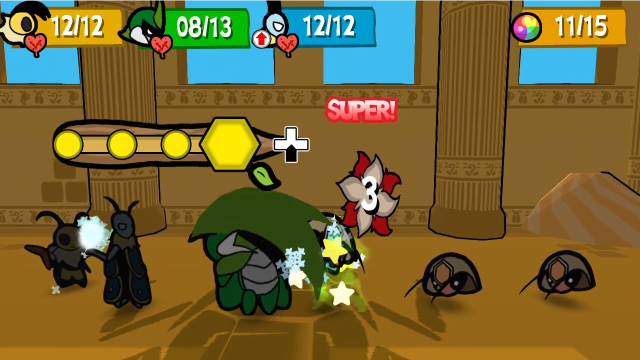 When Kabbu attacks the one in ice form, it takes weakness damage appropriately. I definitely think last time was some kind of fluke. 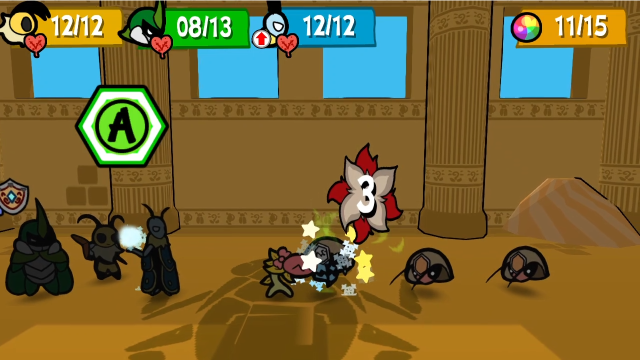 And Chompy does her part, though it's not quite enough to finish this one. 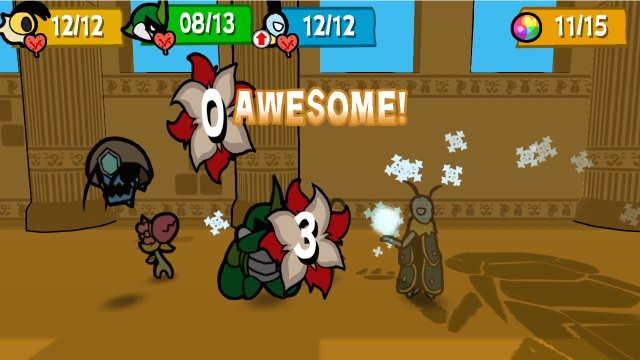 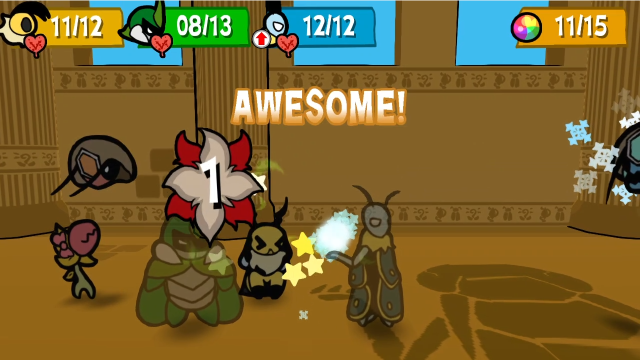 That means we're going to take some attacks, though that's blunted substantially by my managing to Super Block these ones. 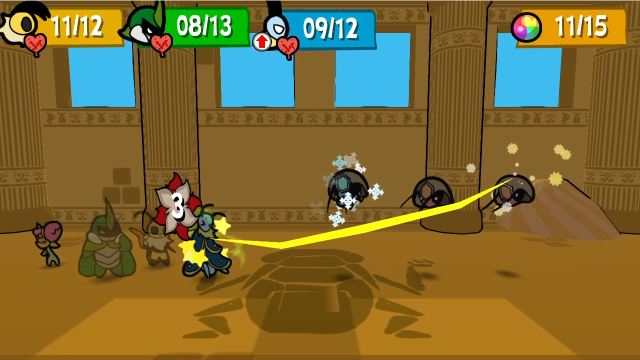 Then I missed completely on this laser from the third one, and Leif was numbed. 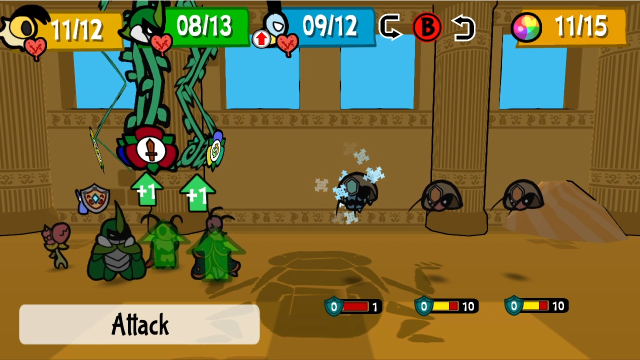 This is a bit awkward, but let's see what we can do. 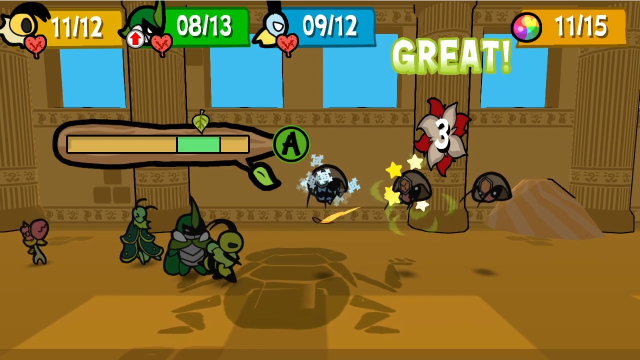 I didn't want to waste Vi's damage on the one that's nearly dead, so I had her attack the centre one instead. 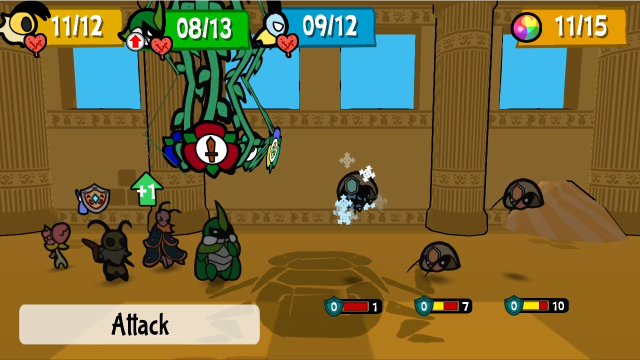 I really don't want to take three attacks again. But what can I do? 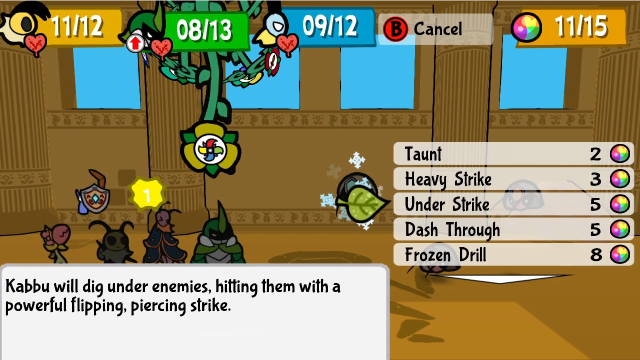 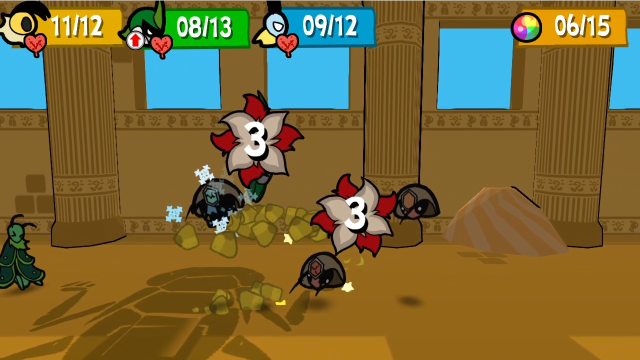 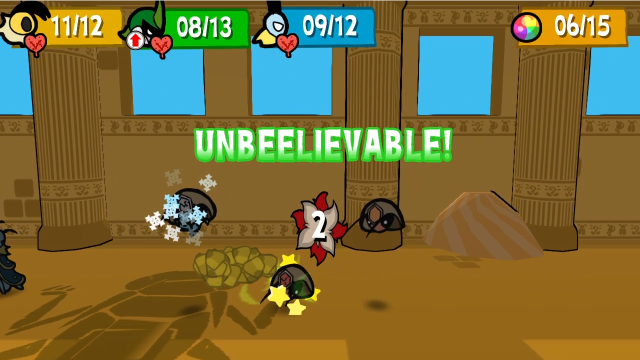 Under Strike to the rescue. It also goes high enough to hit airborne enemies, so we can finish off the weakened one while also doing 5 damage to the other.  Which lets Chompy finish it off. 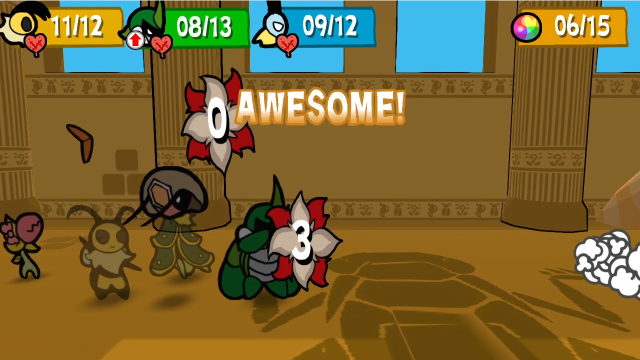 Now we only have to take a single attack. 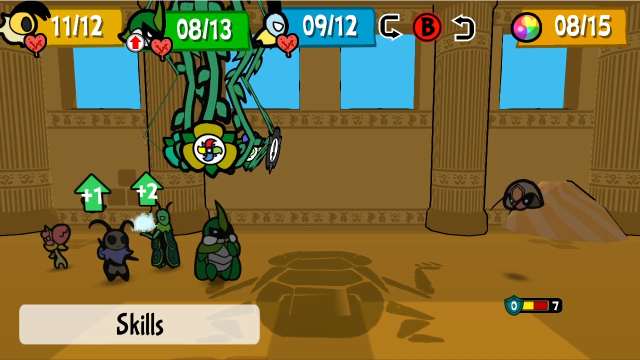 From here, it's trivial to finish off the last one, especially now that Leif has recovered. 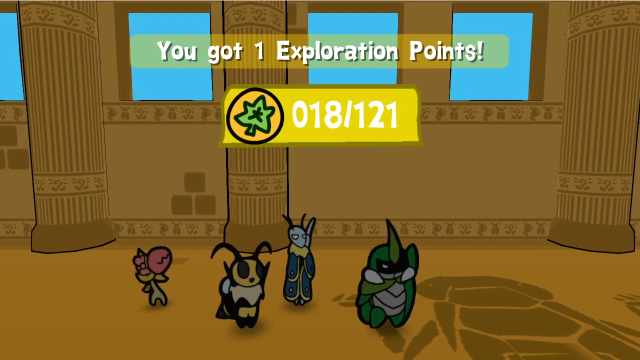 There we go. That wasn't so bad, although as you can see, these enemies can get dangerous quickly if you mess up blocking and get hit with a bad status. 50 - Lost Castle of Ancient Worship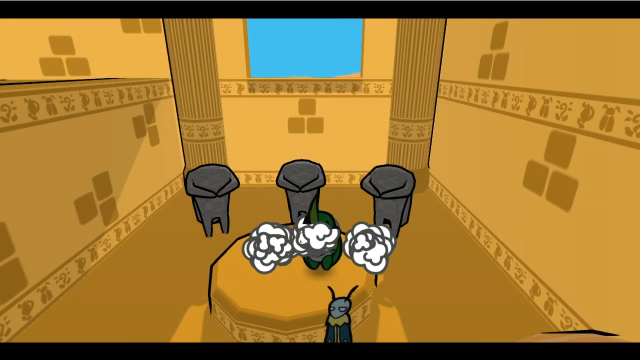 The Wardens poof out of existence, and there's nothing else to threaten us here. 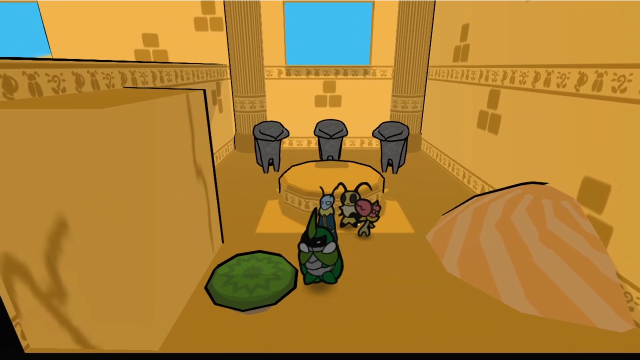 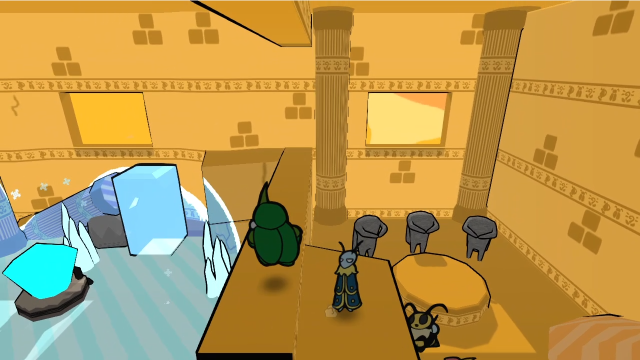 And there's a bouncy mushroom to help us get back. 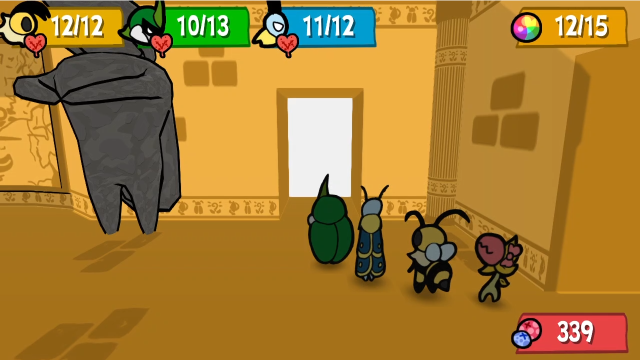 Let's head back to the roof. 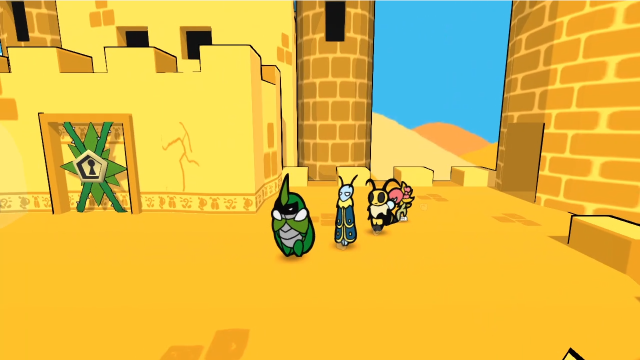  Now that we have the key, we can move onward. But this seems to be a good place to stop for now, we've been through a lot of puzzles today, and there's a save point right here. Next time, we'll unlock this door and see what's waiting for us inside. I'll see you then. Explopyro fucked around with this message at 15:42 on Oct 10, 2021 |
|
#
?
Oct 10, 2021 02:13
|
|
|
Is it me or do the ice wardens look very zombie-ish?
|
|
#
?
Oct 10, 2021 16:45
|
|

|
Lynneth posted:Is it me or do the ice wardens look very zombie-ish? I agree, they definitely have something of a skull motif going on. ...Which is weird, now that I think about it, because they're built by roaches and shaped at least something like roach heads, and insects have exoskeletons so they shouldn't even know what a skull is.
|
|
#
?
Oct 11, 2021 16:32
|
|
|
43: The Mummy 50 - Lost Castle of Ancient Worship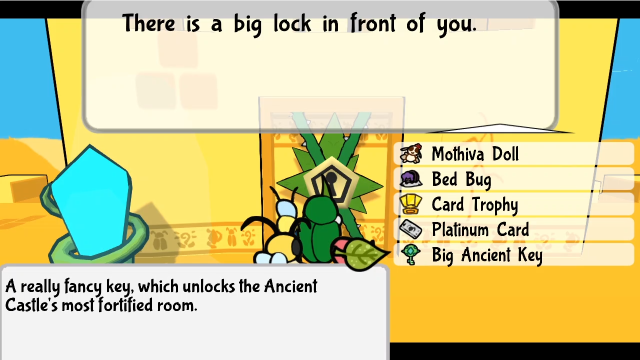 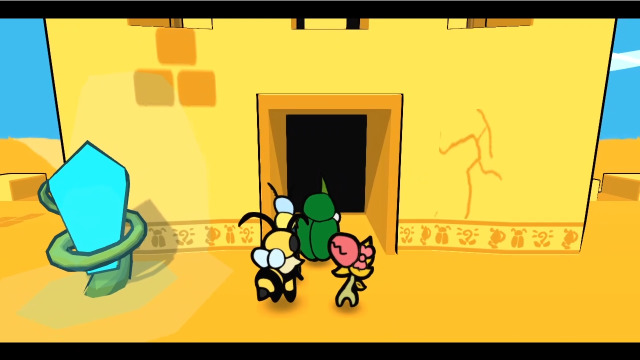 When we left off, we'd just found ourselves a big key, the one that actually goes to this door. No more dawdling, let's see where it takes us. 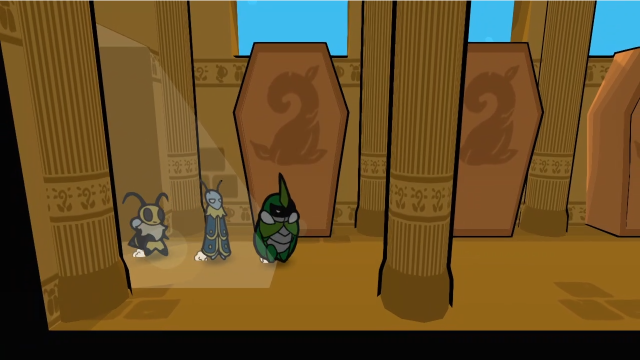 Spooky. It's a long corridor lined with sarcophagi. Now it's really feeling like a throne room! What are those boxes? I've never seen something like it. It does give kind of a bad vibe. Stay sharp.Yeah, it's a bit ominous. 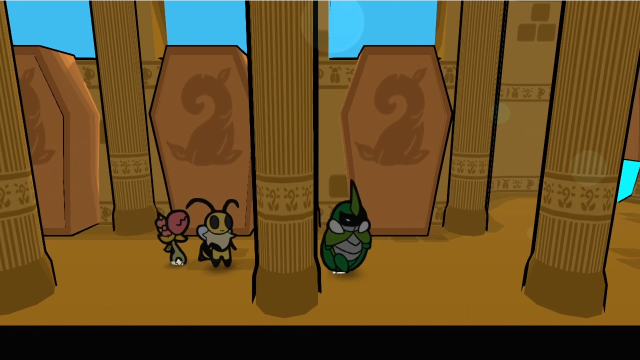 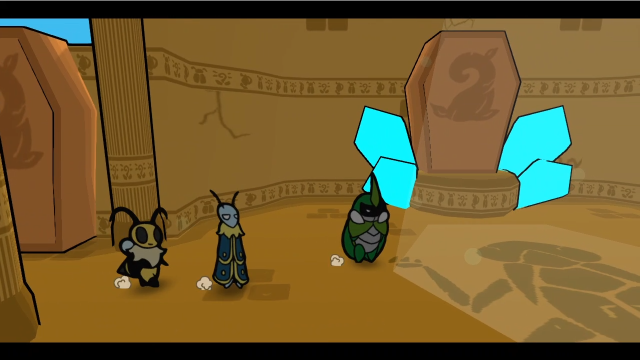 Eventually, the corridor widens a bit and we see the actual throne room they were talking about. Although that's not a throne, it's a sarcophagus on a pedestal. 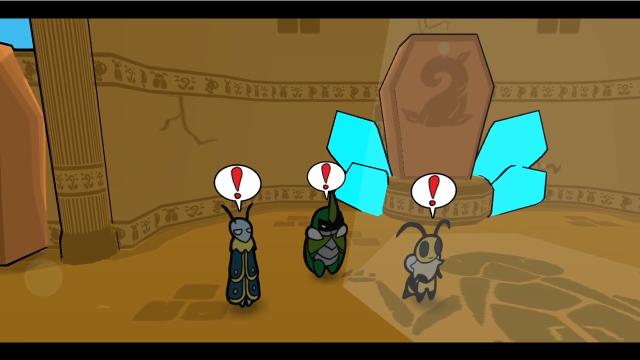 As soon as we get close, the room starts shaking. 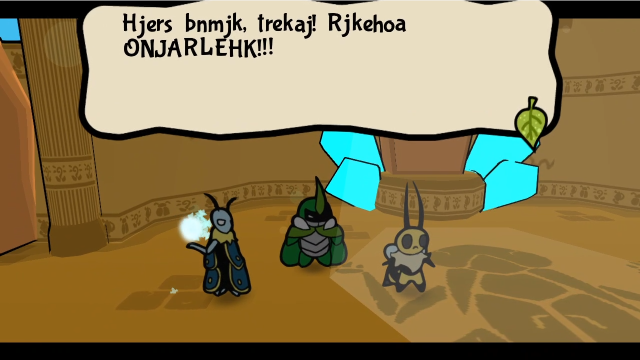 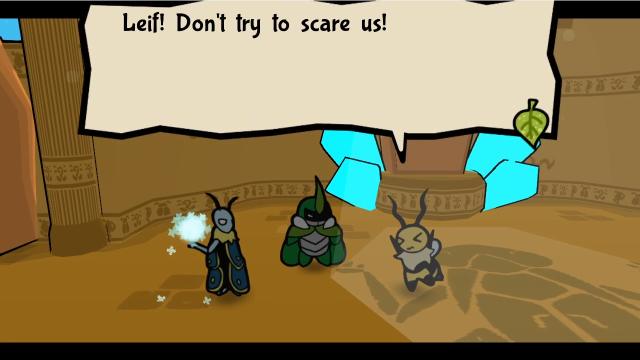 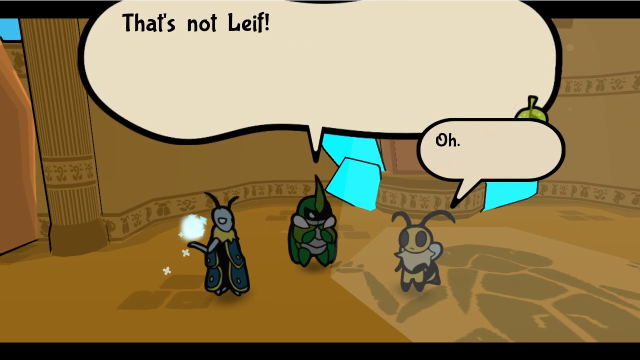 Correct. That's not even how we speak. That's Roach dialect. Correct. That's not even how we speak. That's Roach dialect.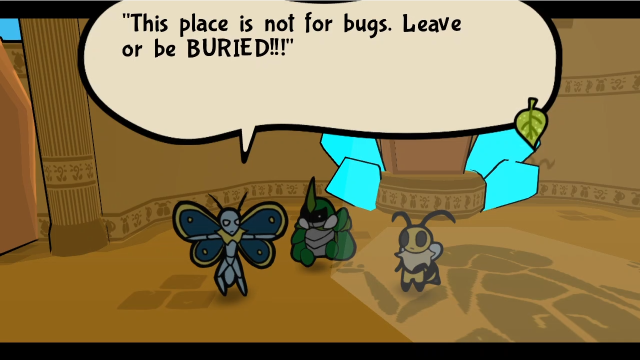 D-Did you need to scream as well? Well, yes. Eh, just one more warning on the heap. Let's get that artifact! D-Did you need to scream as well? Well, yes. Eh, just one more warning on the heap. Let's get that artifact! The room starts shaking again, as the voices intensify.  Sand starts filling the room...  The coffin opens, and its occupant floats out. 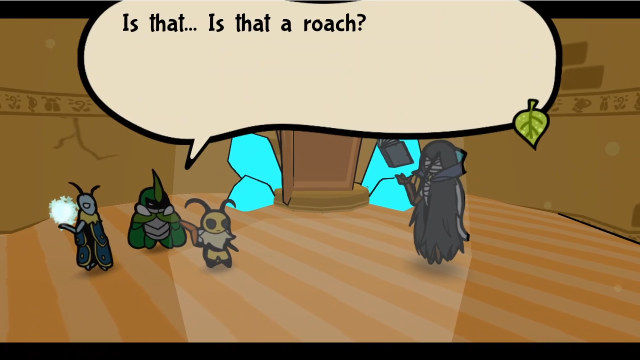 It's just a fancy Cursed Cloth! We can feel it... Its magic is just like ours! Our answers must be here. We won't be stopped by it! Let's go! It's just a fancy Cursed Cloth! We can feel it... Its magic is just like ours! Our answers must be here. We won't be stopped by it! Let's go!Talking certainly doesn't seem to be an option we have. 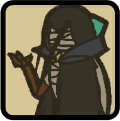 Click me for video! 51 - The Watcher (Recommended listening!) Click me for video! 51 - The Watcher (Recommended listening!) 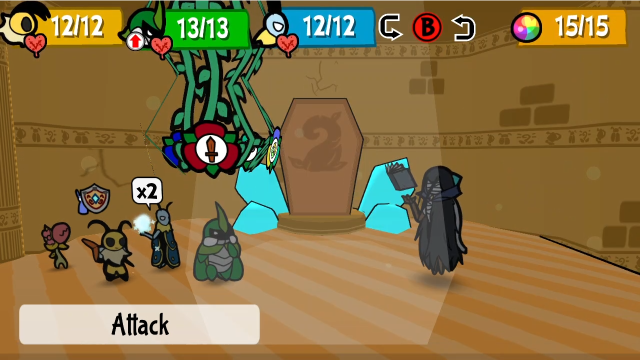 Time for a boss fight! It's some kind of undead roach sorcerer (with some really fantastic music, give its theme a listen). Let's get some more information first. 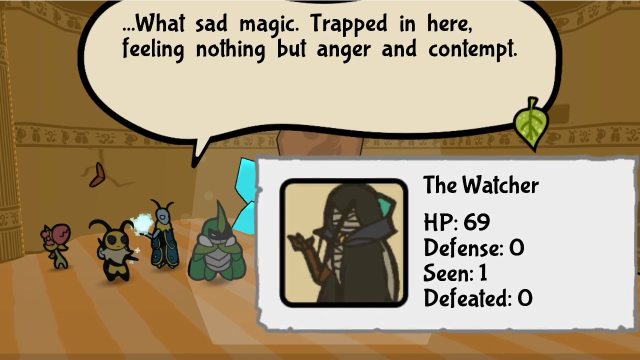 We'll put you to rest, forever this time! We'll put you to rest, forever this time!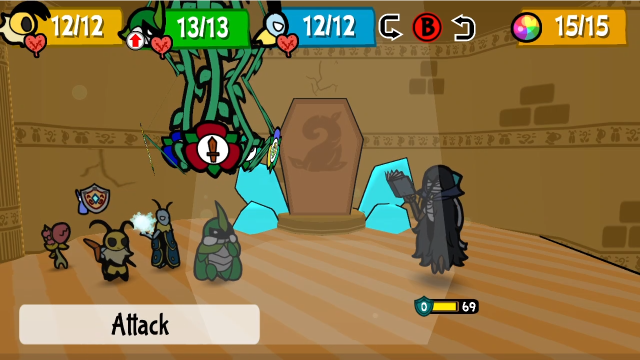 69 HP and 0 defence is honestly on the squishy side for a boss at this point, especially when you compare it to some of the things we've been fighting. If you really go all-out, glass cannon style, you can take this guy down fast. That said, don't underestimate it. 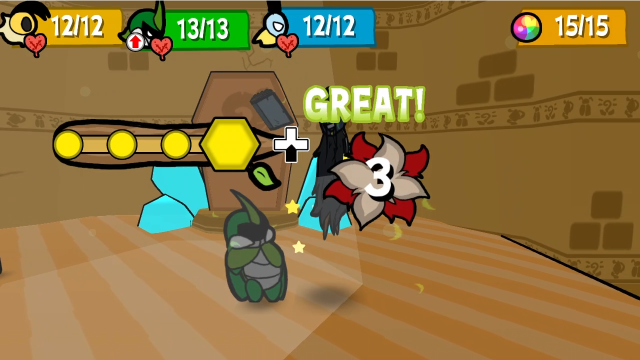 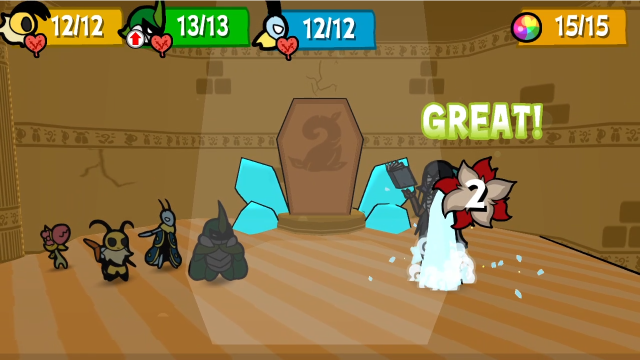 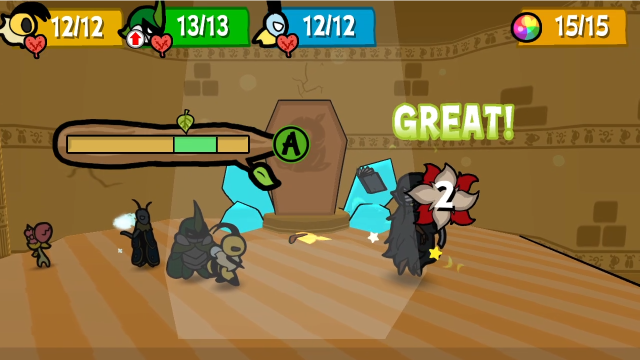 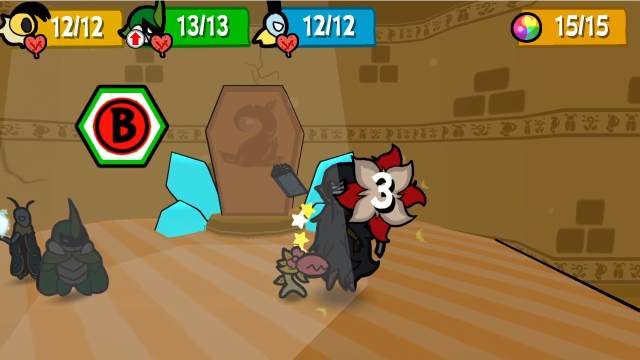 We'll just start out with some normal attacks, so we can get an impression of what it can do.  On its first turn, the Watcher burrows underground and attempts to drain Kabbu's life. Like some of the other life-draining attacks we've seen, this attack keeps going until you successfully complete the action command. The base damage is 1 point each time it pulses, healing the boss for the same amount; one disadvantage of our using Favorite One is that the boss gets a bit of extra healing here. 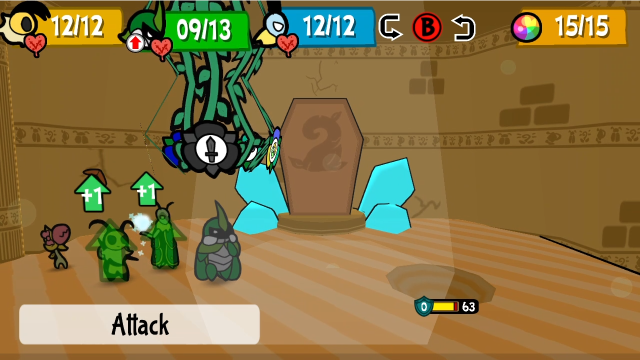 Also notable is that, after using that attack, the Watcher remains underground. 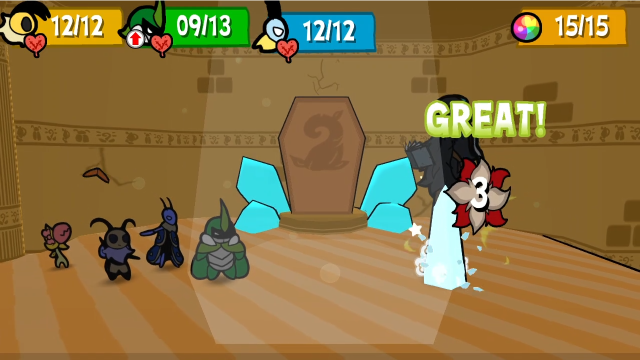 Of course, that's easy enough to deal with. 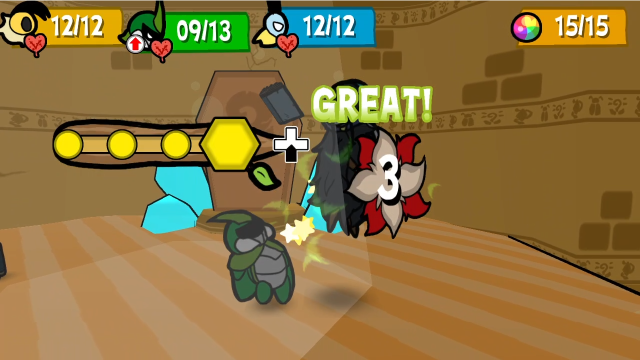 Once it's out from underground, Kabbu can attack as normal. 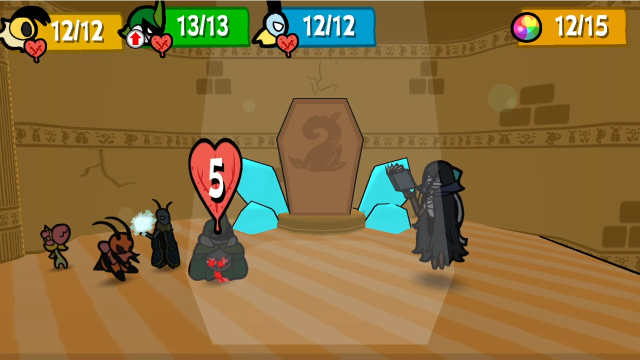 But let's play it cautiously and have Vi heal him. We have TP Core on, so we'll get most of this TP back soon anyway. 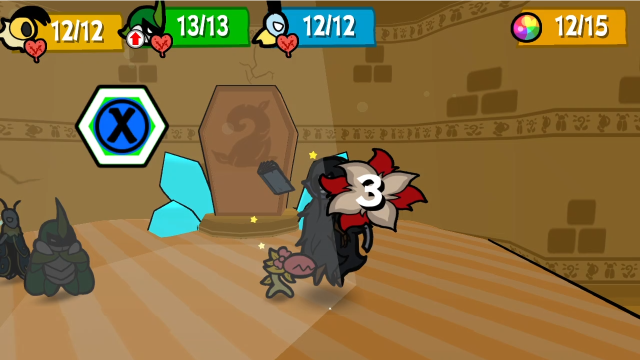 Chompy helps out.  This turn, the first thing the Watcher does is summon a sand wall to make it harder to get to.  Then boosts its own defence. Neither of these moves cost it an action.  Here's the actual attack it uses this time: a volley of electric sparks. This hits 2-3 times, for 3 base damage each. They all went at Kabbu this time, but it can change targets with each shot. Unlike other times we've seen attacks that look like this, the Watcher's version can't inflict Numb on us and just deals damage.  After attacking, it's not quite done just yet. The last thing the Watcher does this turn is switch stances. That was a long turn! 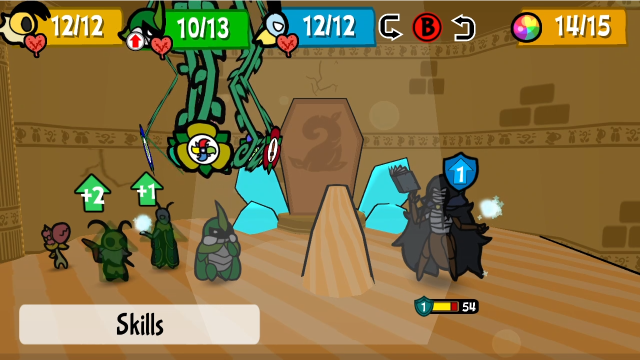 This pose certainly looks familiar, doesn't it? Anyway, here's the core mechanic of this fight. The Watcher, like the enemies we've been fighting throughout the Sand Castle, has two elemental forms, sand and ice. This fight is very much a capstone to the gimmick the enemies have had throughout this dungeon. Unlike those enemies, though, it doesn't have fluctuating weaknesses (neither form takes weakness damage from anything), but it uses different attacks in each form. 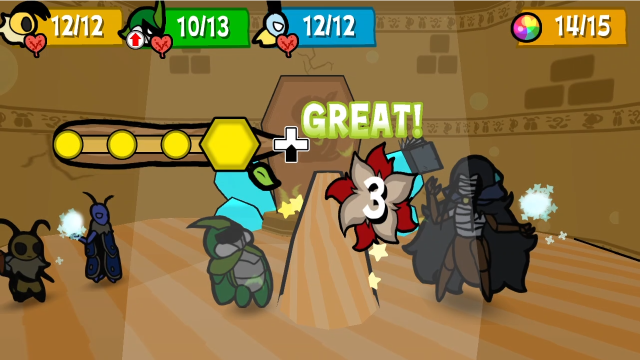 Kabbu's stuck hitting the sand barricade if he doesn't want to spend TP. 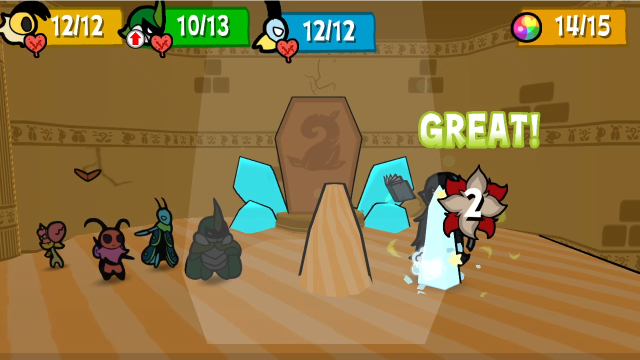 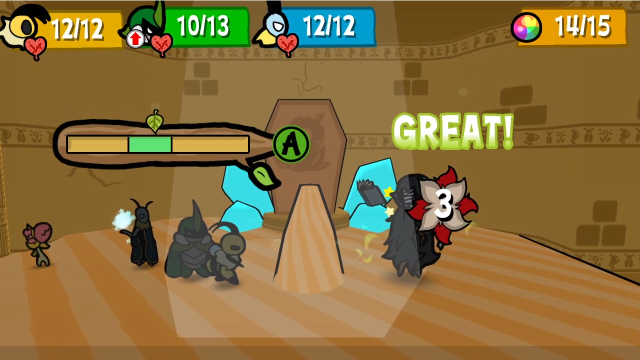 Leif and Vi get some more hits in on the Watcher. 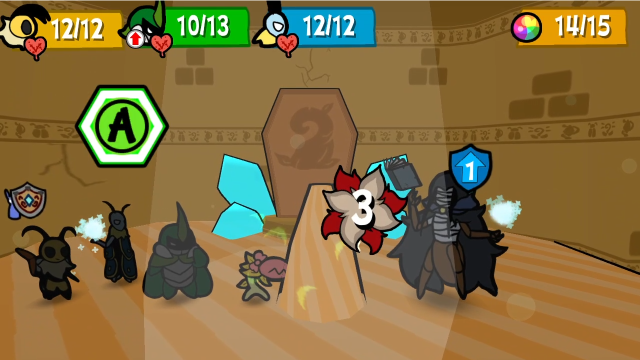 While Chompy has to bite sand (that can't taste good!) The sand walls have 5 HP, so this is enough to bring it down. They're also weak to ice, if you happen to want Leif attacking them.  This attack looks familiar, doesn't it? It's just like Leif's magic. This deals 4 damage at base, and freezes if you don't block it. (Leif's basic attack certainly doesn't do that! This is more or less Frigid Coffin.) If you aren't confident in your blocking abilities, Freeze Resistance medals go a long way in this fight. 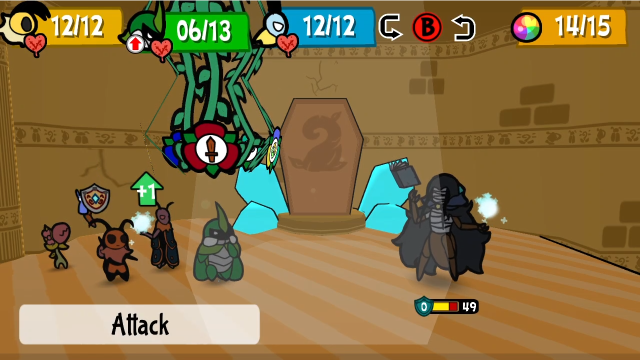 No form change or anything this turn. The defence boost has worn off, at least. 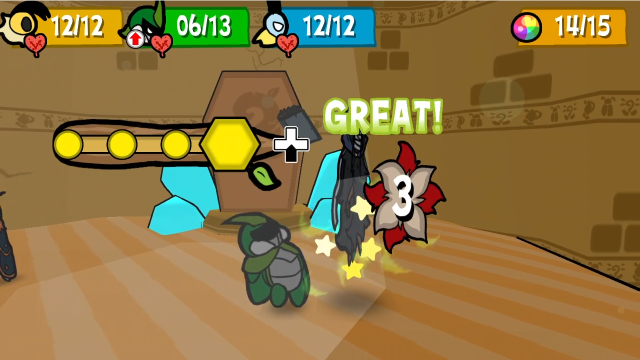 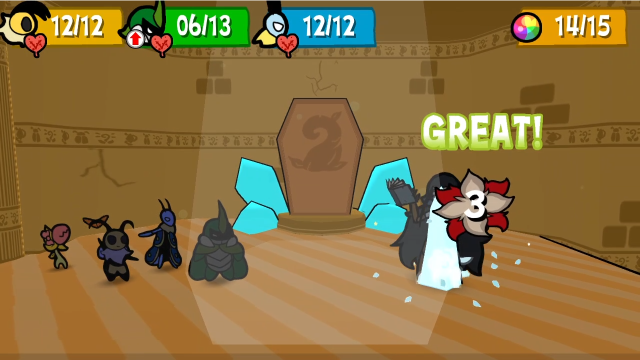 Kabbu and Leif will get some attacks in. 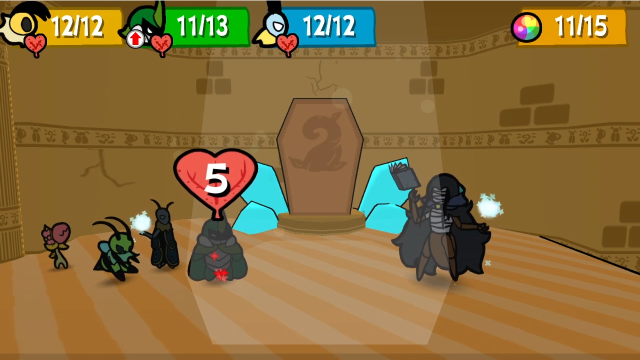 While Vi will spend her turn healing Kabbu again. She's letting her charges accumulate this way, too. 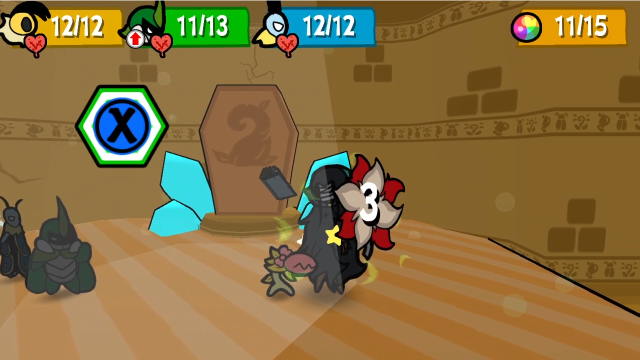 Chompy keeps at it.  This attack is scary! (And also familiar: it's identical to Leif's Icefall spell!) This hits the entire party for 5 damage, and freezes if you don't block. If you don't have Freeze Resistance on anyone and fail to block this, the entire party (except Chompy if you have her) is getting frozen, and that sets you up to take a nasty beating the next turn (remember, on top of not being able to block, being frozen causes you to take an additional point of damage). That isn't necessarily an automatic TPK, but the party will most likely be in dire straits if they survive. You do not want to let this happen. After this attack, the Watcher decides to switch forms again. 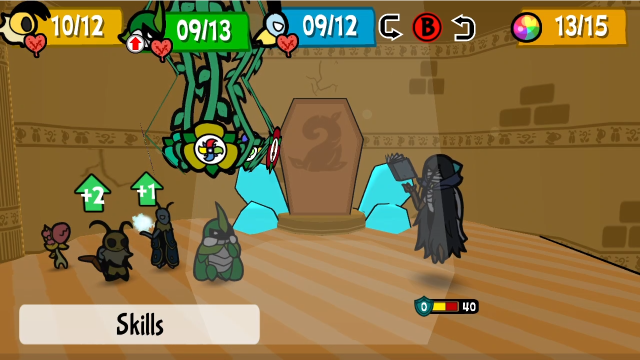 We're looking at the sand form again, which is a bit of a relief, as it means at least one more turn before we might be facing an Icefall again. 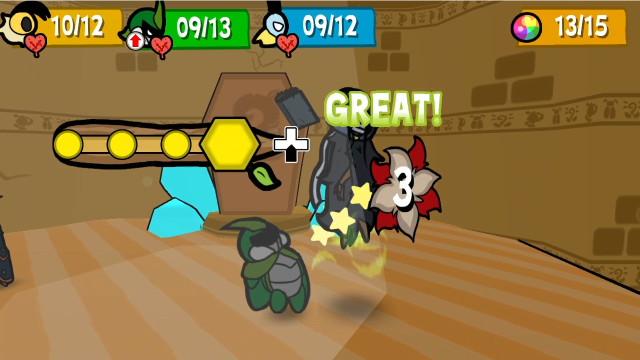  Kabbu and Leif attack as normal. 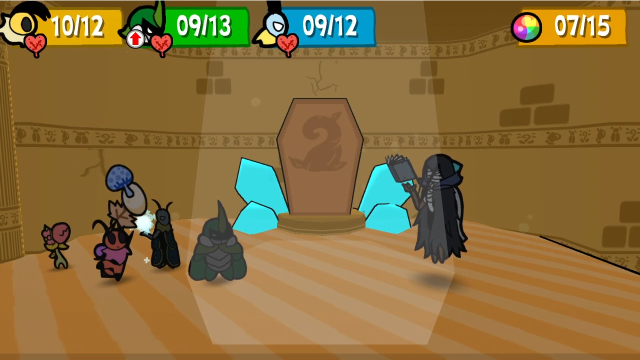 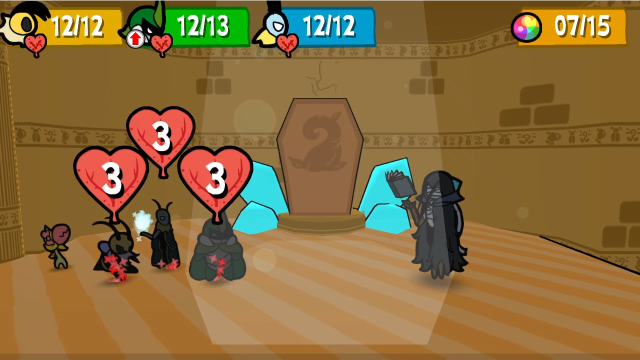 Let's have Vi pull out Sharing Stash to undo most of the damage the Icefall did. 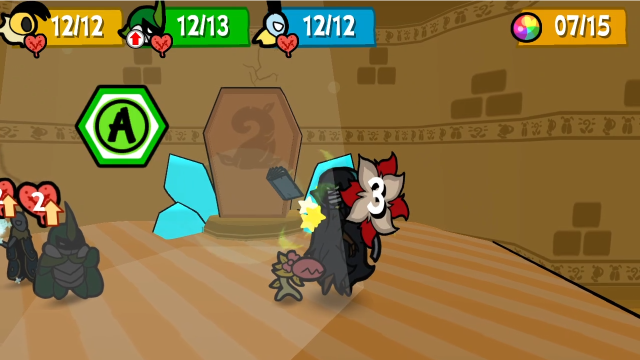 Chompy knows what her job is.  Here's where things can get really scary. At the start of its first turn below 50% HP, the Watcher will give itself an extra action. It'll be doing twice as much each turn for the rest of the fight. 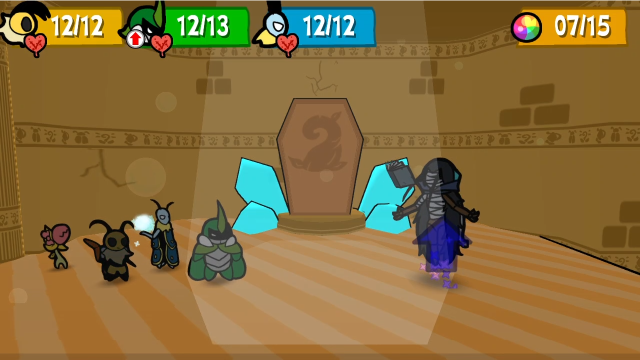 Then it boosts its defence again...  Before using the electric spark attack. Three hits, all aimed at Kabbu this time; this could have been a lot worse if I didn't end up negating two of them by Super Blocking. 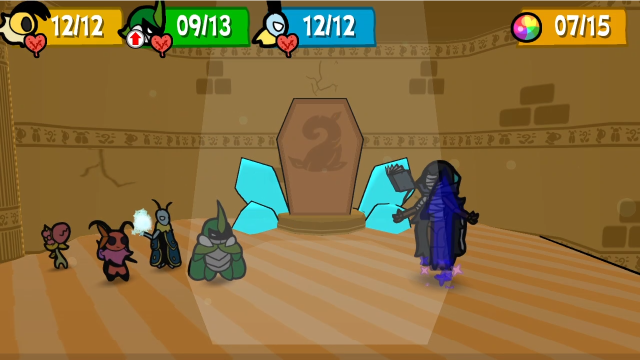 Are we having deja vu?  Seriously, now. This turn it becomes abundantly clear how the minor attacks (like the stat boosting moves and summoning pillars) actually work: it gets an opportunity to do them before taking each proper action. I guess we should be thankful it chose defence both times here, because it can also get Attack Up this way; that said, the second one isn't necessarily wasted because the durations will stack. 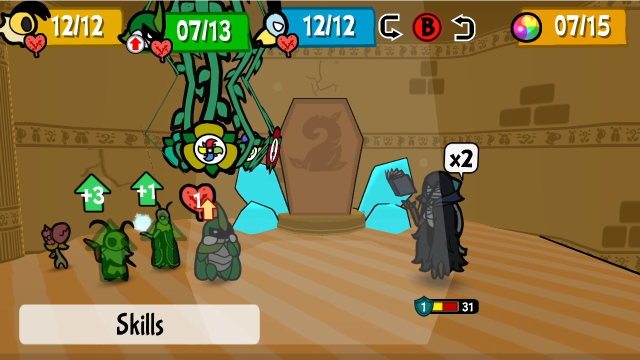 With Vi at +3 charge, there's an obvious thing to do.  So let's get her in front and use Hurricane Toss! That's a solid chunk of damage there. 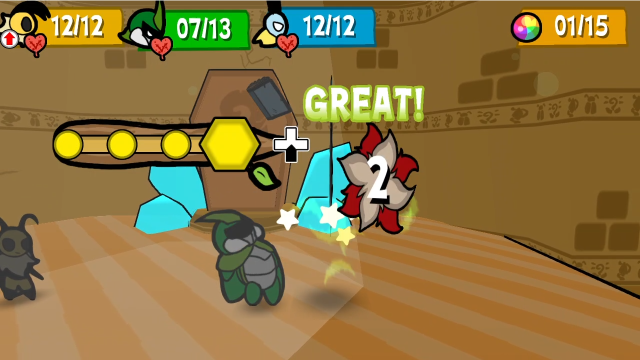 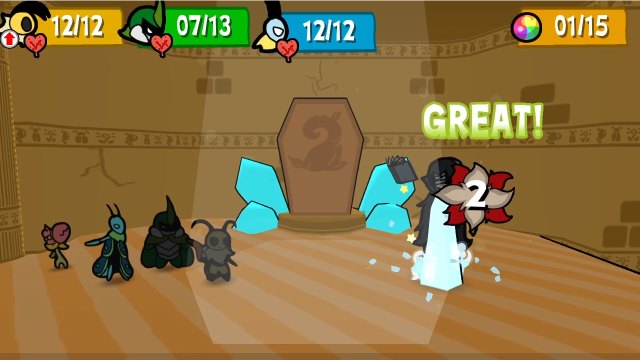 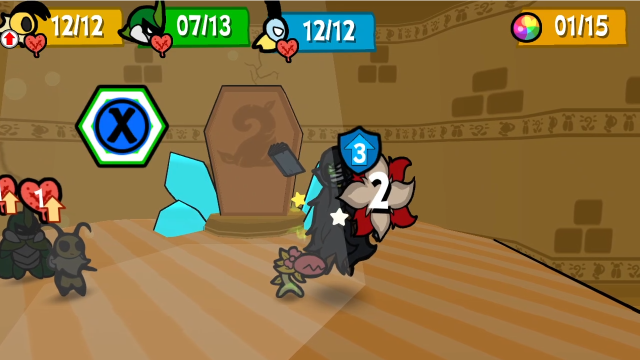 The others do their part, but it looks disappointing by comparison. It's not quite enough to finish things, so let's see what the boss does.  First off, another sand wall.  Followed by the life drain attack, targeting Vi this time. At least this means it gets less healing than before. 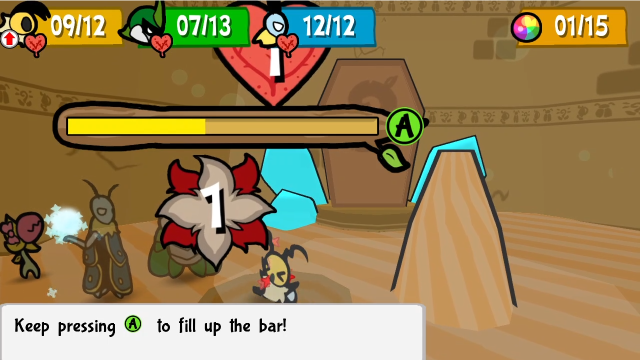 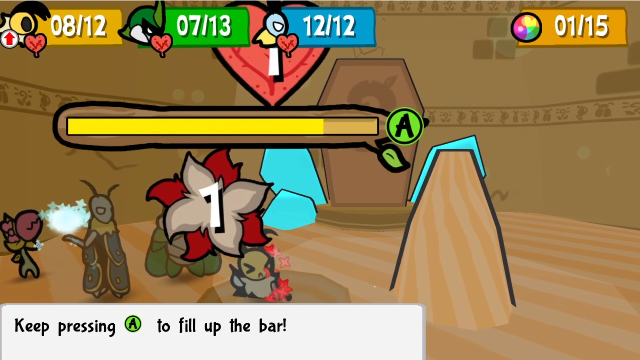 It then follows this up with the same attack again, which is pretty annoying. Still, we'll manage. 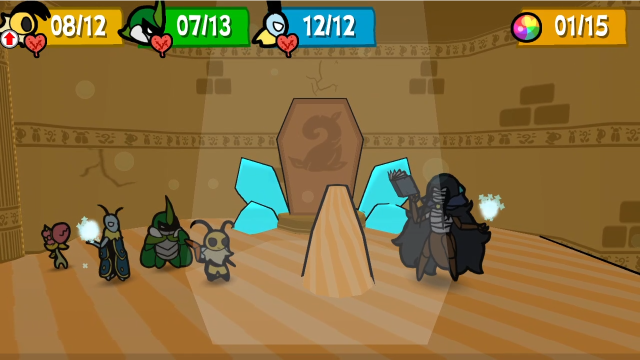 Then it swaps back to ice mode. 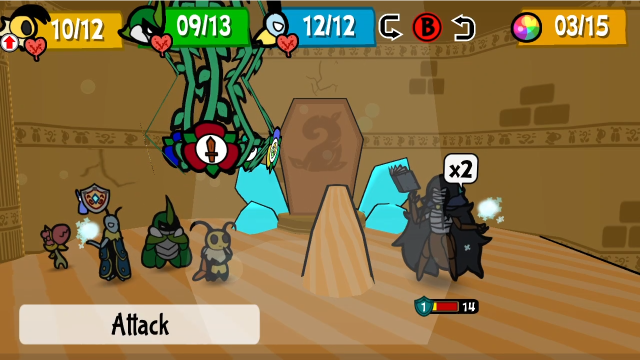 We're still not in a great position to finish things out, between the healing and that annoying wall. 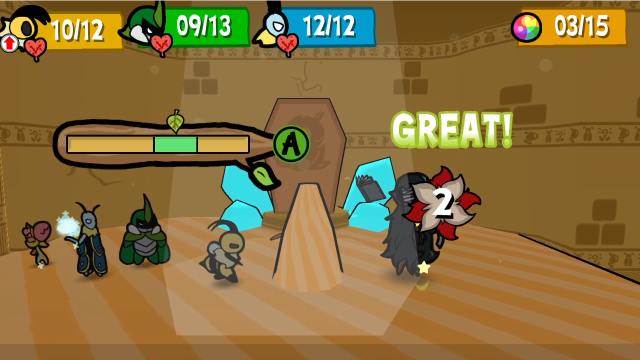 So we'll do what we can. Vi hits the Watcher... 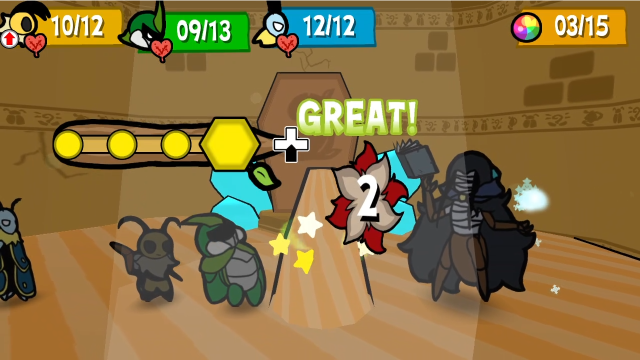 While Kabbu hits the wall. 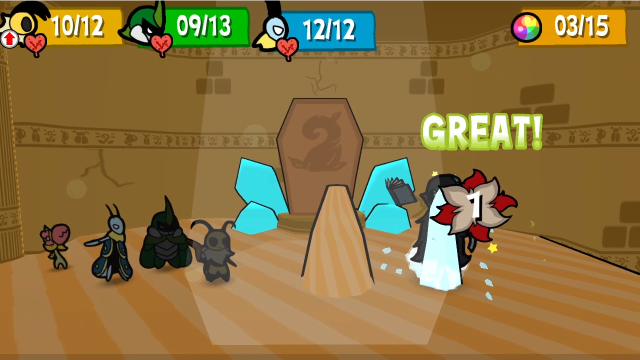 This is a bit disappointing (that defence buff is helping it!), but it's better than nothing. 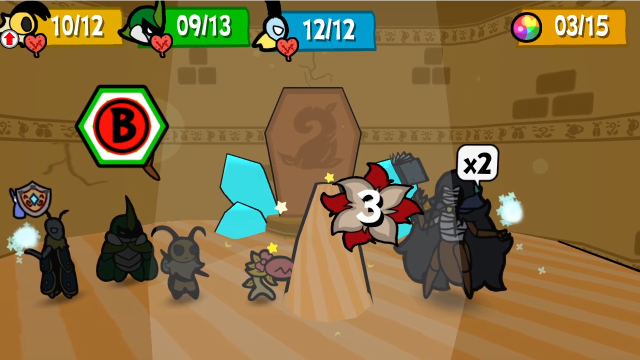 Chompy finishes off the wall, at least.  Before attacking, here's another status-type move the Watcher can use (which also, like the others, doesn't cost it a turn). It heals itself 6 HP. 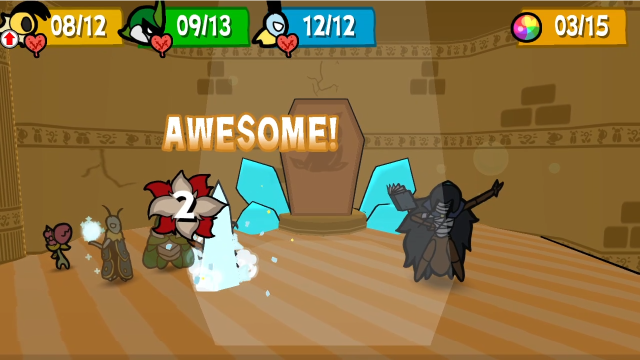 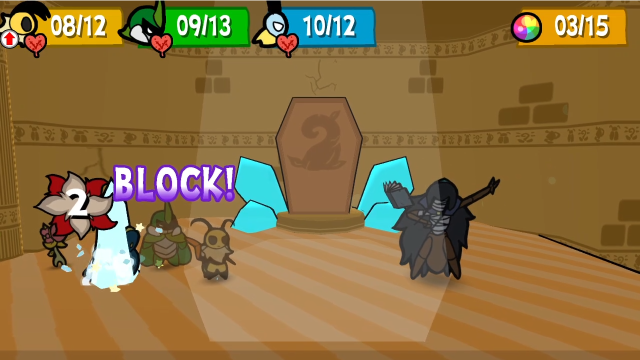 After that it's a fairly straightforward turn from the boss, just using the Frigid Coffin attack twice. 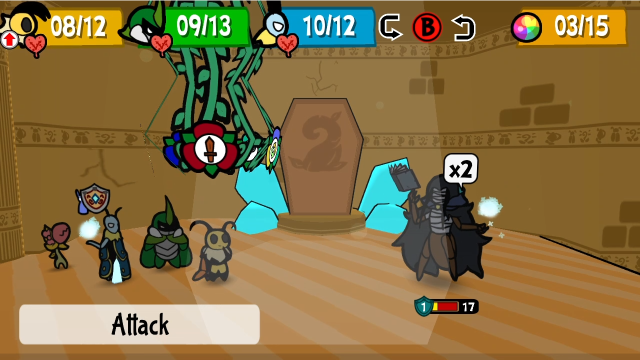 That heal probably saved its life, it would have been low enough to finish off this turn without it.  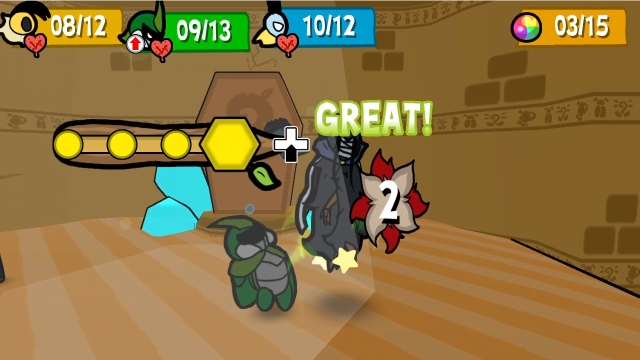 We'll have Kabbu double up attacking, to get an extra point through its defence.  Also, it's doughnut time. We're close enough to finishing things that this might be wasteful, but I didn't want to take chances in case it might heal again. This gives us a much higher ceiling of damage output next turn. 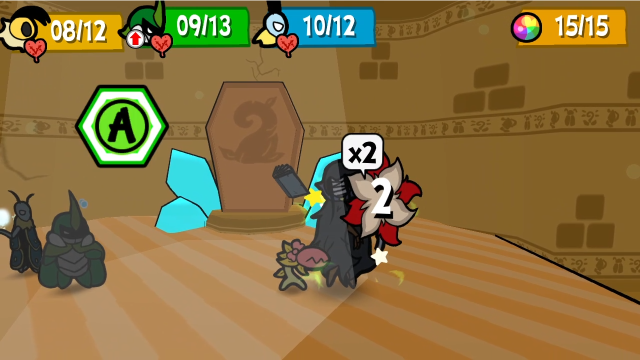 Chompy does her thing, of course.  This is new. When in ice form, it can still summon barriers, but they're giant icicles instead of sand piles. The ice wall is nearly identical to the sand one, and still has 5 HP, but instead of an ice weakness, it's weak to Kabbu's horn. The weakness-switching gimmick is still here, it just applies to these obstacles instead of the Watcher itself. 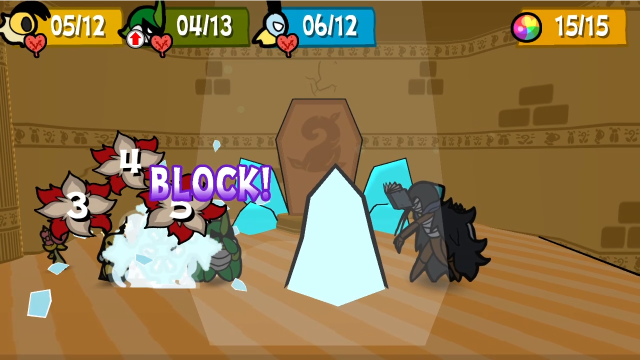 It follows that up with another Icefall, which we thankfully block. Getting frozen here would probably have been fatal. 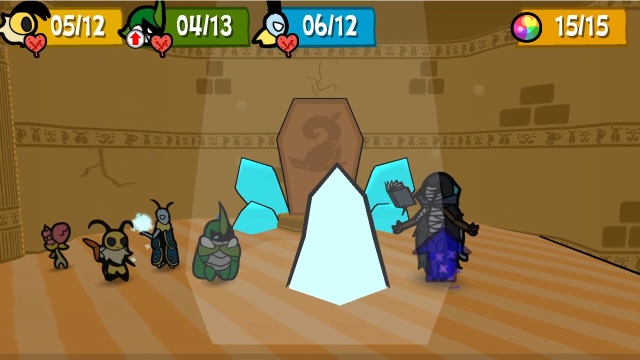 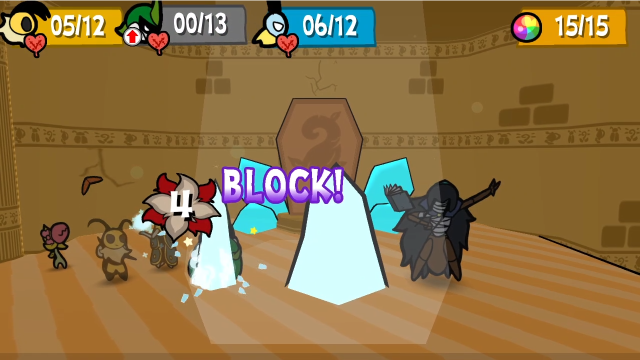 Speaking of fatal, I spoke too soon. After boosting its defence, its second attack is a Frigid Coffin, and Kabbu was low enough for it to KO him. 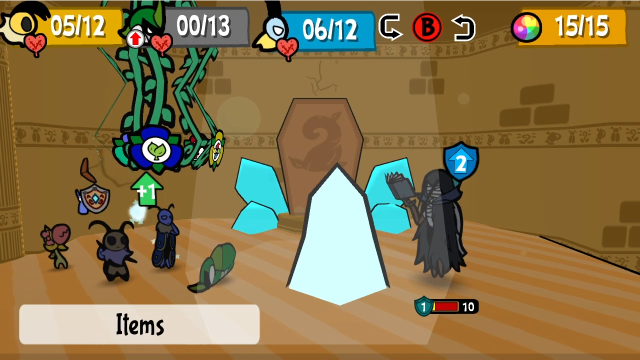 This looks significantly worse than it is. We're fine. 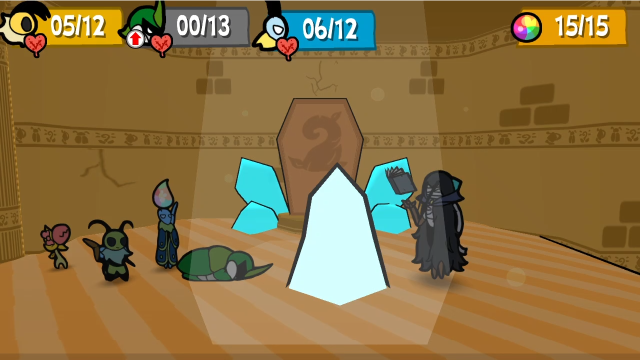 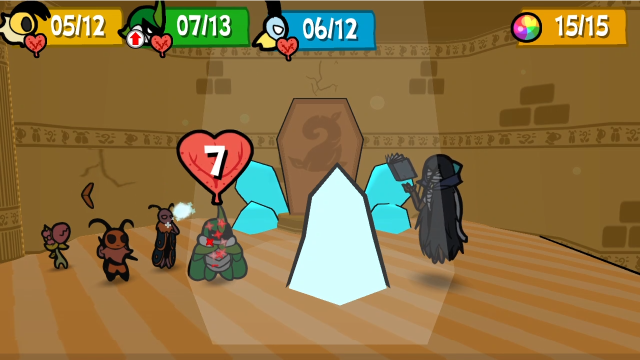 A Magic Seed quickly solves the worst of our problems. We're still a bit low on HP, overall, but with Kabbu back in action we can probably finish this.  Walls only stop you if you attack from the front! Under Strike can sneak underneath, so we don't have to bother trying to break this down. 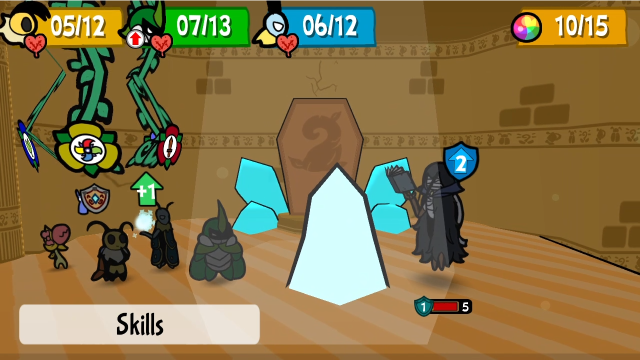 And that was just enough damage to get things into Hurricane Toss range.  Vi deals the coup de grace. 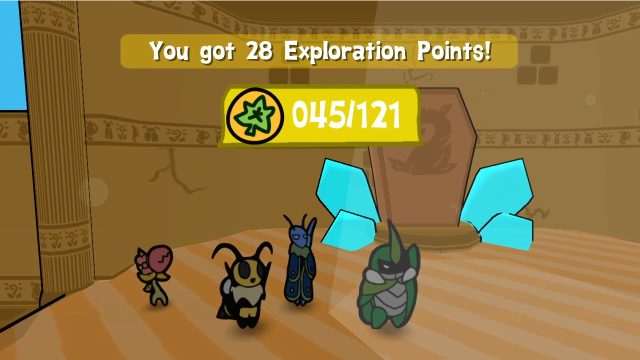 Things got pretty rough for a moment there! The Watcher is a great fight, although if you don't take things slowly (like I did here), you may miss out on seeing a lot of the interesting things it can do. And strategically speaking, going for an all-out blitz approach (if not from the beginning, then maybe from just above halfway so it spends as little time as possible with double actions) is probably the safest way to handle this, especially when you consider how much damage it can put out with a double Icefall (or if you miss blocking and get frozen). This boss is dangerous, and the fight can turn against you on a dime. 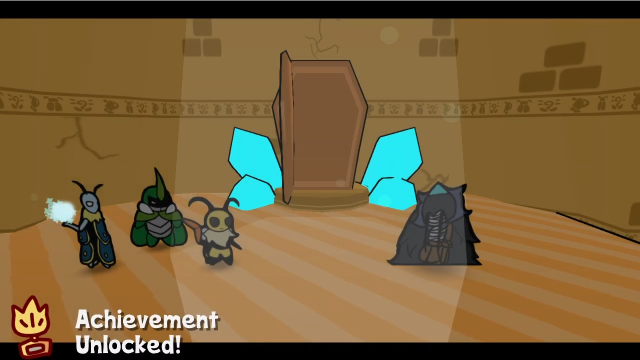 Leaving the battle, we see this pop up very briefly before the cutscene begins. 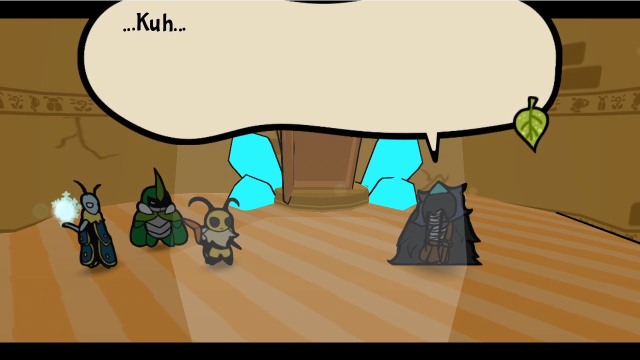 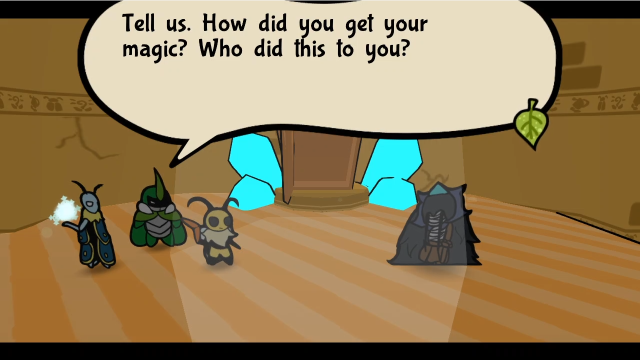 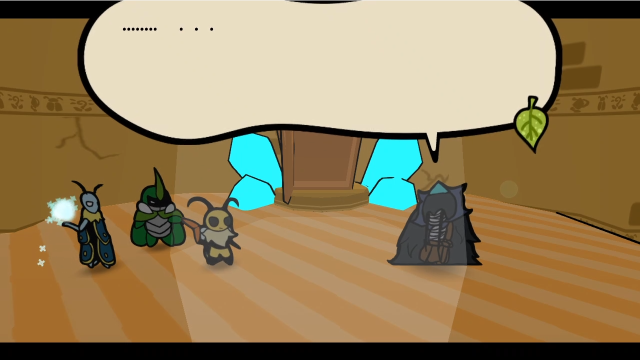  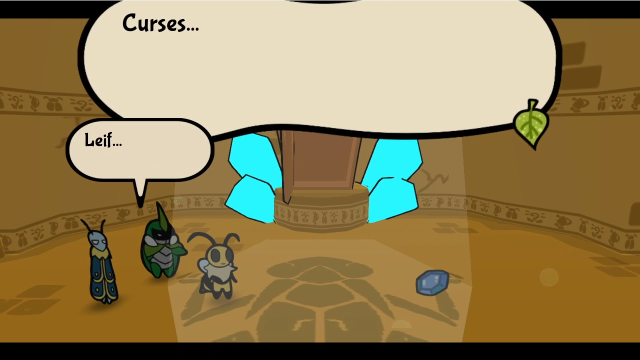 Hey, look! It's the artifact! Don't despair yet, Leif. It may hold some answers! Go get it before I do! Hey, look! It's the artifact! Don't despair yet, Leif. It may hold some answers! Go get it before I do!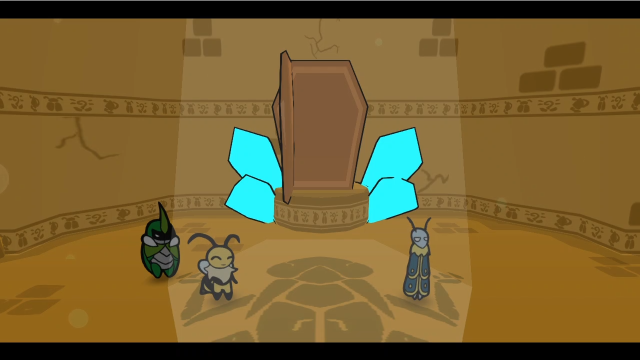 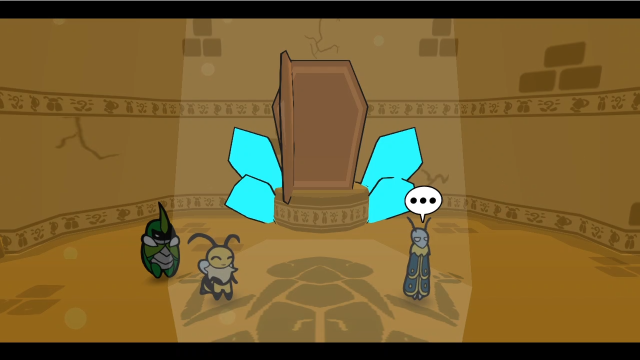 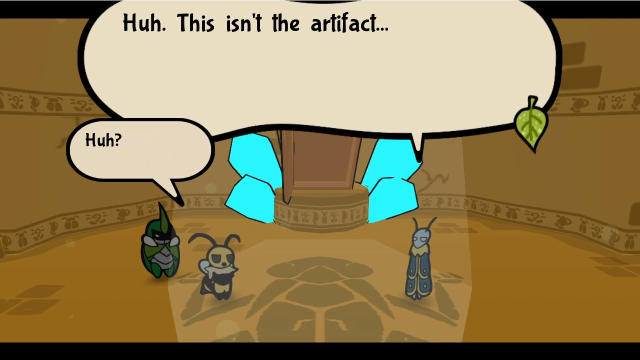 What? Then what could it be? We don't know. But this doesn't have the same feeling as the others... What? Then what could it be? We don't know. But this doesn't have the same feeling as the others...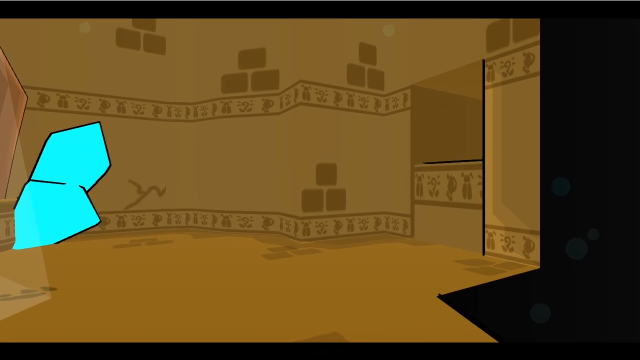 We cut over to see a door opening at the far side of the room. Clearly, there's more going on here. 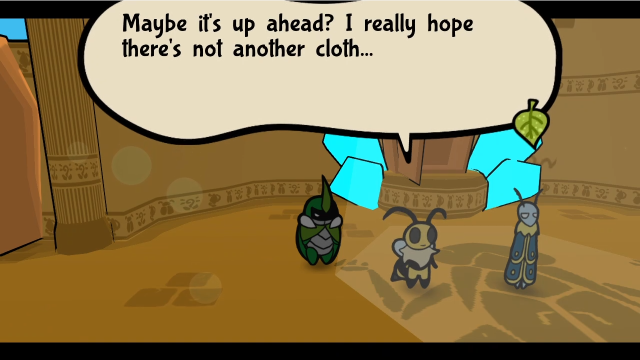 There must be a reason this stone is here, though. Let us ask Neo later. For now, we've got to push through. Mhm! Off we go! There must be a reason this stone is here, though. Let us ask Neo later. For now, we've got to push through. Mhm! Off we go! We regain control. That's certainly mysterious. I guess we're not done here quite yet. Before we move on to check what's beyond that door, there's a new banter here now: The rock we found here was quite beautiful. Maybe explorers would mistake it for the artifact? I sure would have. Glad to have Leif's gibberspeak! Hmph.(Why are you talking about this as though it were hypothetical?) 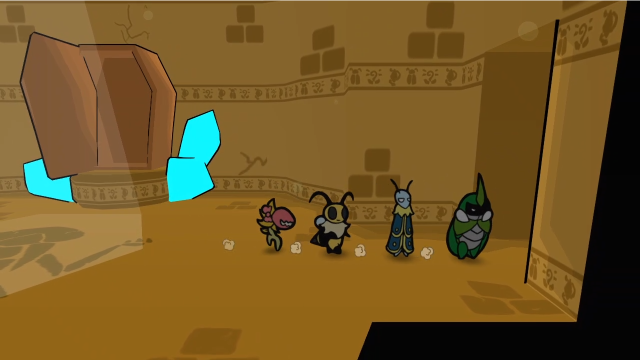 Anyway, let's move onward. 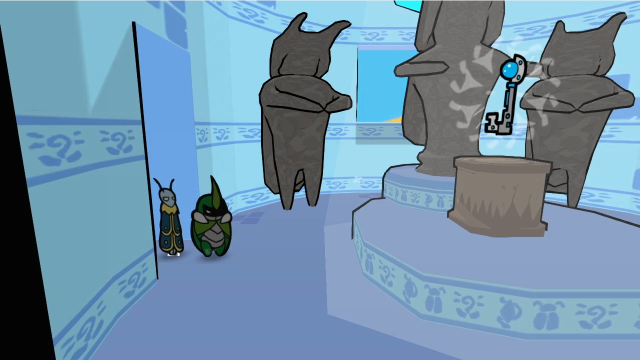 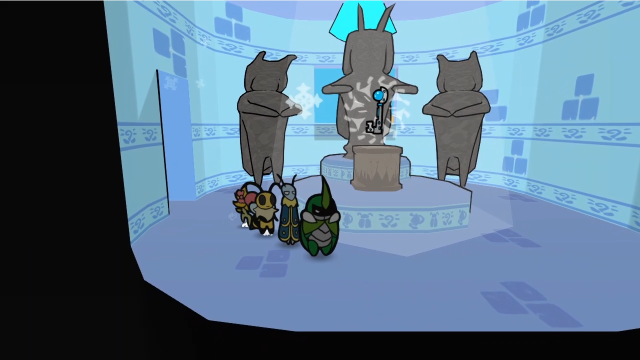 Well, there's the artifact. Our guess is they never expected anyone to make it to this room. But we did! Team Snakemouth keeps being awesome!Short and sweet banter in here. 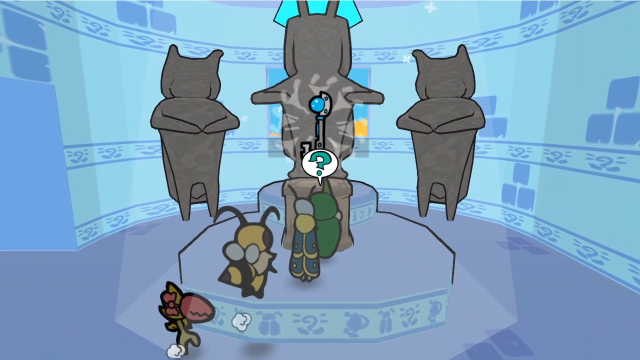 Let's claim our prize. 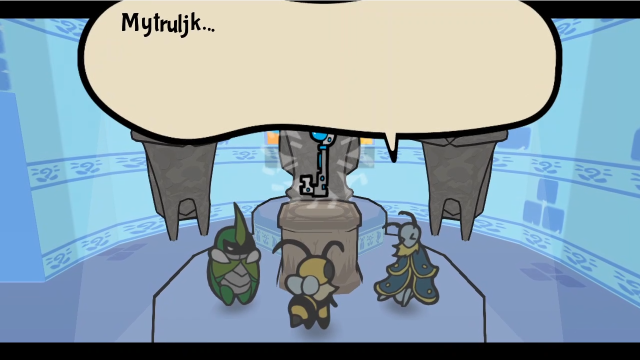 At last, the final artifact! Heheheh, we did it! We're going in the hall of fame! ...It's incredible, we must say. These have been sought after since Elizant's time. It was only through our combined efforts that it was possible! You guys can chat it up later. Let's take it and get that reward! 16 - Lost Treasure At last, the final artifact! Heheheh, we did it! We're going in the hall of fame! ...It's incredible, we must say. These have been sought after since Elizant's time. It was only through our combined efforts that it was possible! You guys can chat it up later. Let's take it and get that reward! 16 - Lost Treasure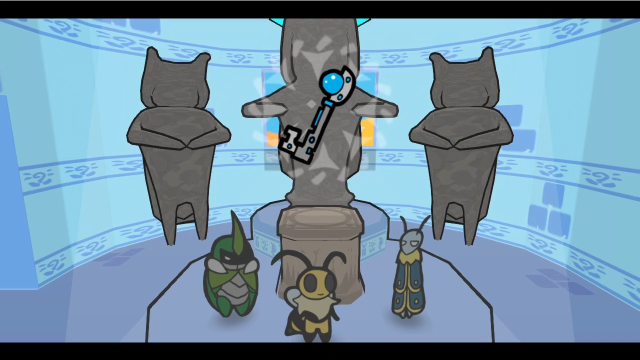 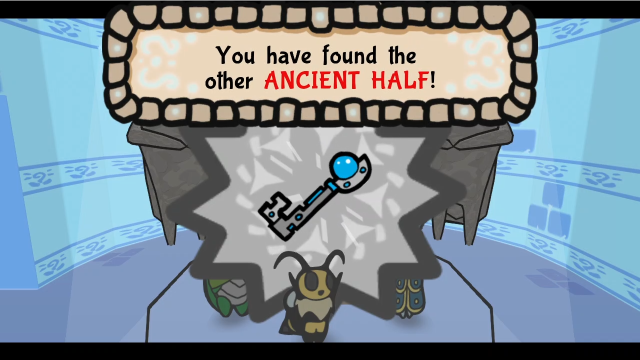 And there we have it. (Had you been wondering what this artifact was going to be called?) 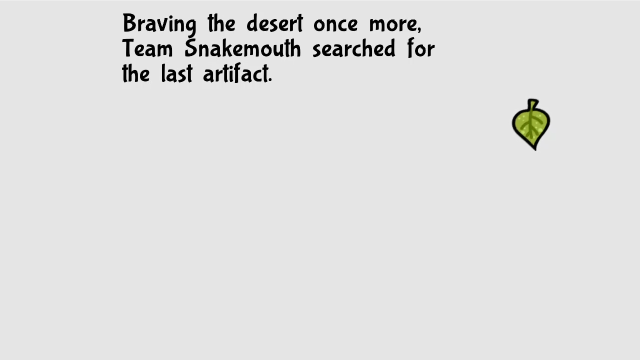 The team explored the Roach ruins and uncovered the hideout of the infamous Lost Sand bandits. An ambush shone a worrying light on Leif's condition... But in the end, the last artifact was collected. Is the Everlasting Sapling within reach? The team explored the Roach ruins and uncovered the hideout of the infamous Lost Sand bandits. An ambush shone a worrying light on Leif's condition... But in the end, the last artifact was collected. Is the Everlasting Sapling within reach? And there's the end of chapter summary! 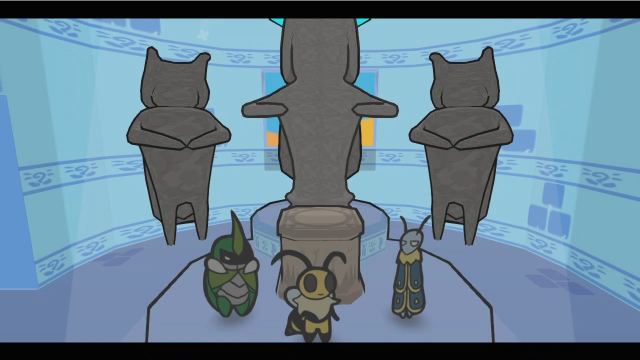 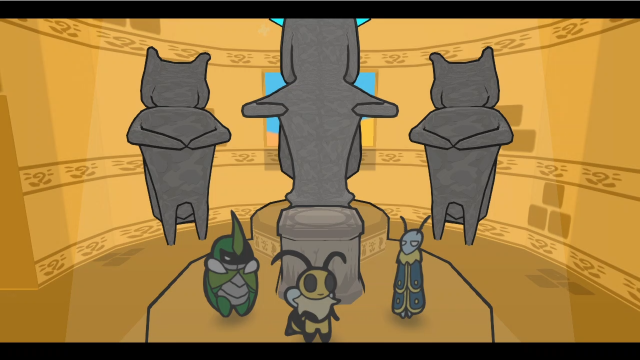 With the artifact collected, the icy aura pervading the room fades away.  We've still got to get the Sapling. And help Leif on his quest! ...Right. We've got to get back to Neo. Let's go turn this in. We've still got to get the Sapling. And help Leif on his quest! ...Right. We've got to get back to Neo. Let's go turn this in.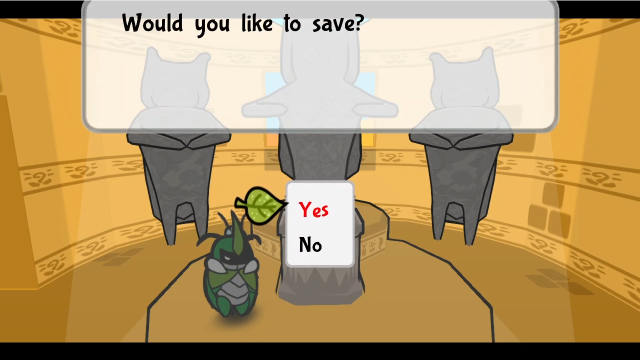 And now we get the traditional end-of-chapter save prompt. Where are things going to go from here? Surely our goal can't be in sight already? 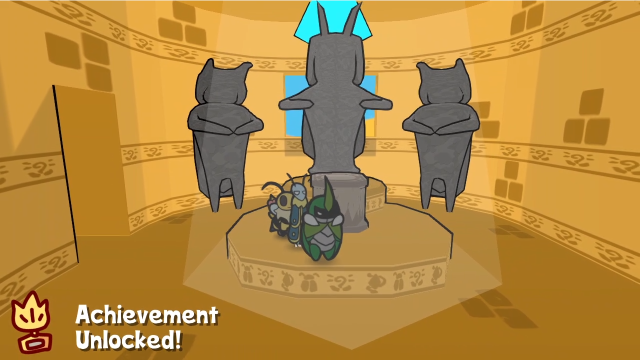 Also, here's this notification again. The previous one was for the Hard Mode boss defeat, while this is the usual end-of-chapter one. 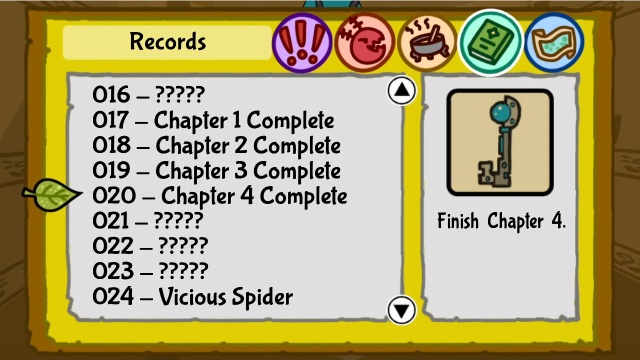 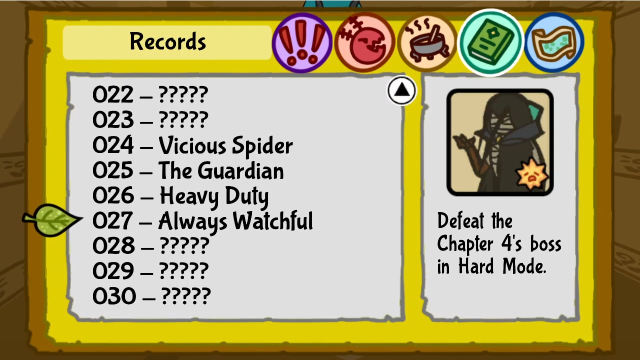 There we are. And with this, we come to the end of Chapter 4 of Bug Fables! This was certainly a long one (though, admittedly, more due to the proliferation of side content than the actual chapter itself; if you're just doing the main storyline, you can go straight from the Bandits' Hideout to the Sand Castle instead of scouring the world for treasures). Regardless, there's certainly a lot of information to digest; our quest for the Sand Castle seems to have yielded more questions than answers. Next time, we'll deliver the final artifact and see where things take us. I'll see you then!
|
|
#
?
Oct 13, 2021 01:46
|
|
|
Immature giggling about the Watcher's Max HP number
|
|
#
?
Oct 13, 2021 06:21
|
|

|
Junpei posted:Immature giggling about the Watcher's Max HP number
|
|
#
?
Oct 13, 2021 06:55
|
|


|
Junpei posted:Immature giggling about the Watcher's Max HP number Quackles posted:
I should really have expected this. (Even after I was so careful specifically not to draw extra attention to it, heh. ") ) )
|
|
#
?
Oct 14, 2021 15:22
|
|
|
44: Bug is Weak to Fire (Part 1) 50 - Lost Castle of Ancient Worship Last time, we defeated The Watcher and claimed the fourth artifact, bringing Chapter 4 to a close. We'll pick up exactly where we left off: loading the chapter-end save starts us in the chamber where we found it. 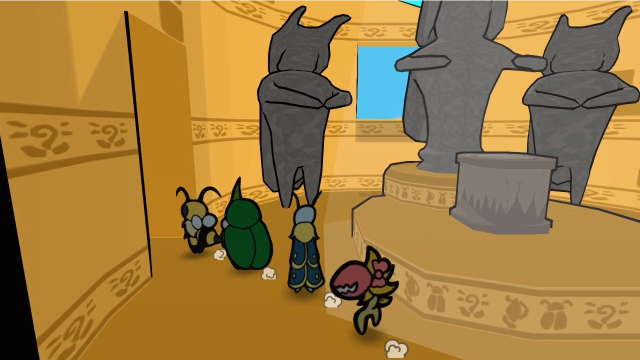 Now we just need to backtrack our way through the Sand Castle. 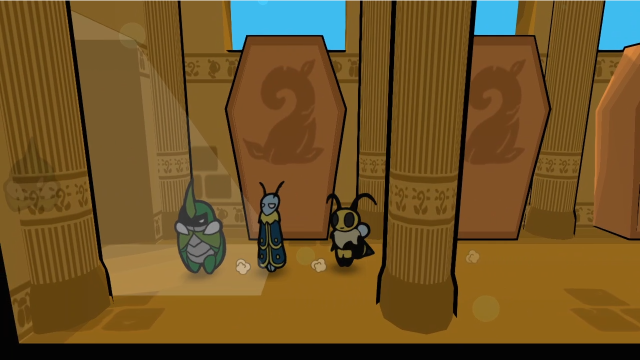  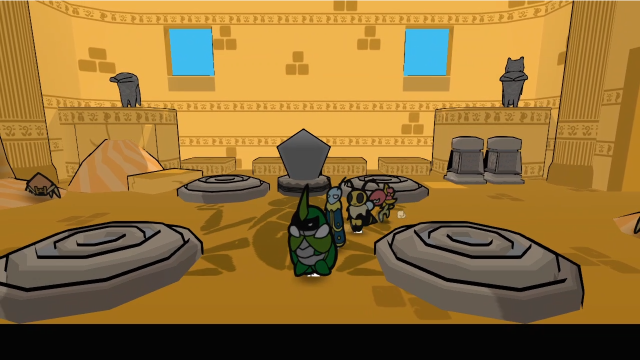 There are still some enemies around, but we'll ignore them.  It might be worth taking a stop in this central lobby to talk to Venus, though. We don't get any kind of automatic healing after the boss fight or chapter end, and we took a bit of a beating there. 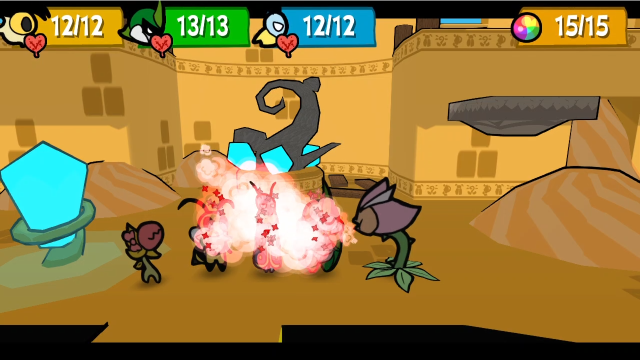 But Venus can fix that for us easily enough. 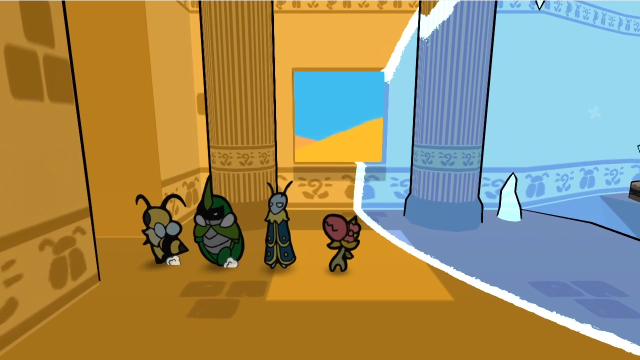 Now to head outside. 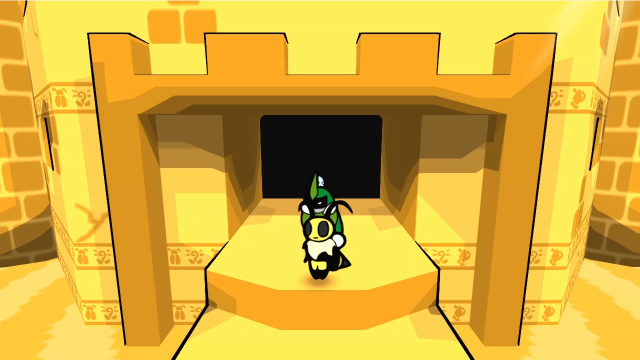 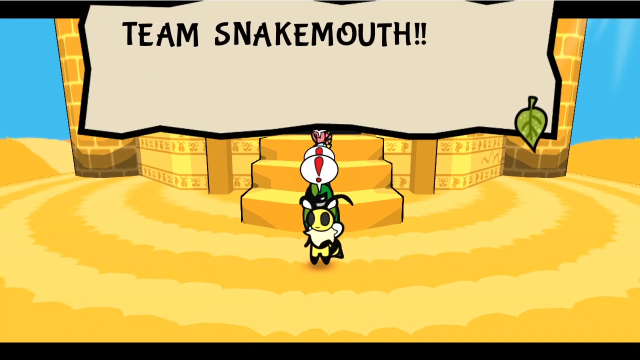 We've barely taken a step outside the castle, and someone's desperately trying to get our attention. That can't be good. 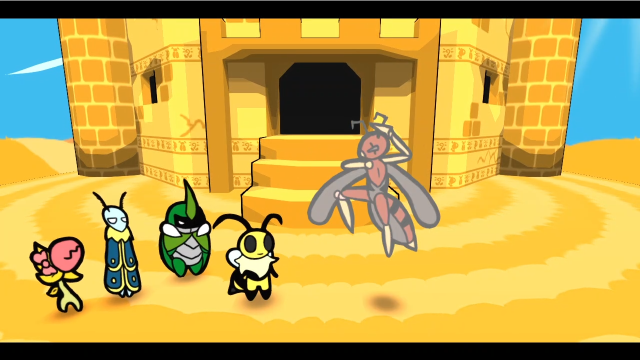 Zasp warps in. 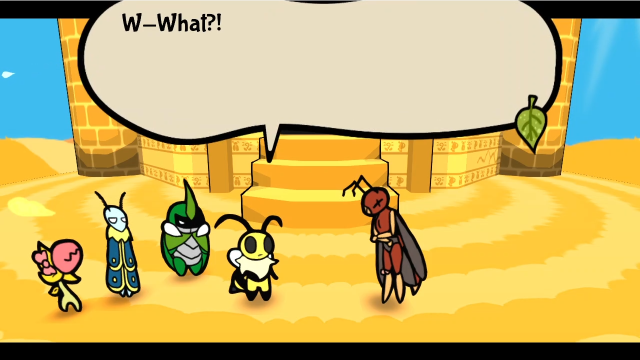 Zasp, it is unlike you to be so frazzled! Has something happened? Zasp, it is unlike you to be so frazzled! Has something happened? The Ant Kingdom... is under attack! The Wasps have struck! 13 - It's Getting Scary! The Ant Kingdom... is under attack! The Wasps have struck! 13 - It's Getting Scary!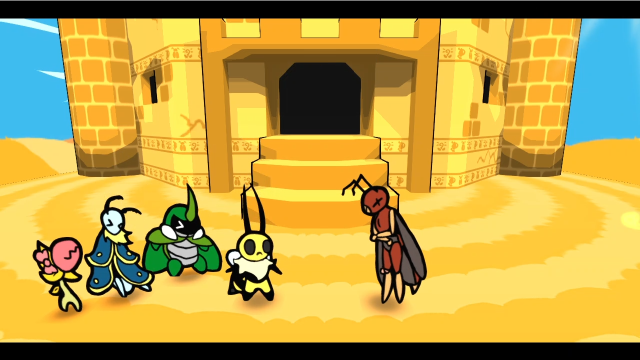 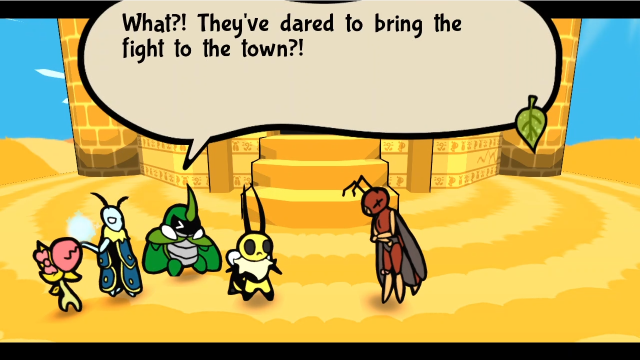 Mothiva and the others are fighting. We have no time for chatter. We must go immediately! L-Let's hurry up, then! Mothiva and the others are fighting. We have no time for chatter. We must go immediately! L-Let's hurry up, then! 52 - Ant Kingdom, Under Attack! 52 - Ant Kingdom, Under Attack!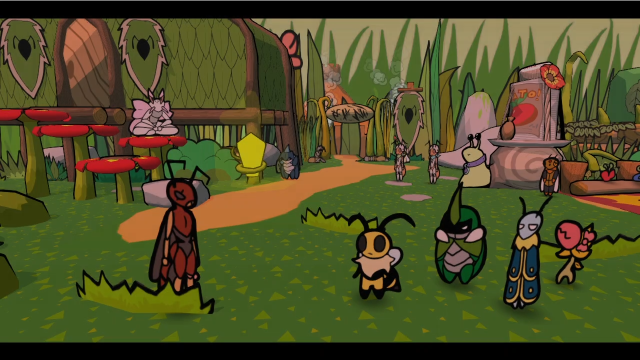 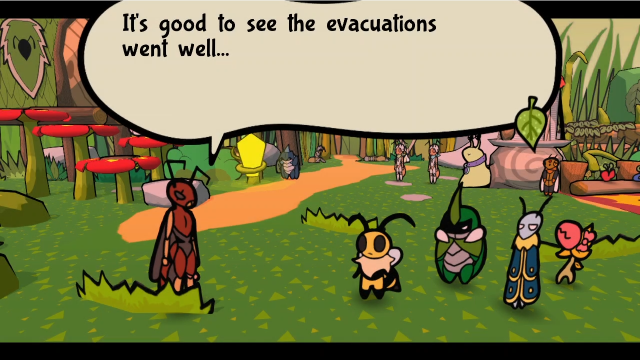 I will go look for Mothiva. Go check on the Queen, and we'll catch up! You're going to fight your own people? ...Hmph. As if I was anything like those pests. Stay safe. I will go look for Mothiva. Go check on the Queen, and we'll catch up! You're going to fight your own people? ...Hmph. As if I was anything like those pests. Stay safe.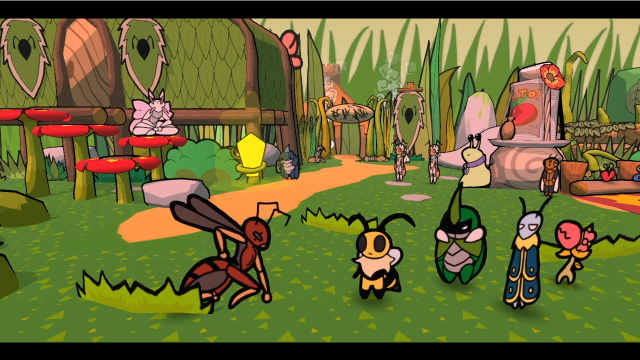  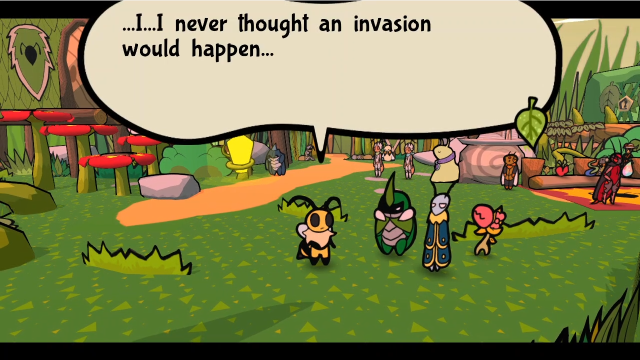 Neither did I, Vi. But we must fight. We must protect this town that took us in! No time to waste. Let's freeze this invasion to a halt! Neither did I, Vi. But we must fight. We must protect this town that took us in! No time to waste. Let's freeze this invasion to a halt!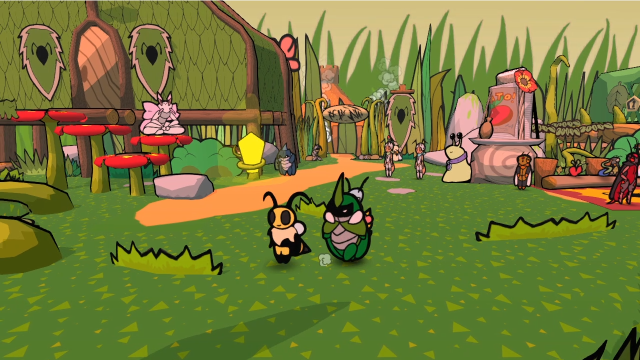 With that, we regain control. This area's looking very different now: most of the Ant Kingdom residents have evacuated the town and are hanging out here in the Outskirts, and we can see injured soldiers and smoke rising in the distance. Clearly, we can't treat this like our usual post-chapter routine. Let's get our bearings and see if we can't figure out what's going on. First off, there's a banter: We must head into the city! The Queen is in danger! Mhm. Let's kick those Wasps out of our home!Short and to the point, I'm not sure what I was expecting.  If we head west, we can find Fry and Madame Butterfly hanging out in the middle of the bridge (and, yes, blocking our path). Let's start with them.    Without cooking, I am nothing! Without cooking, I am nothing!Fry might be here, but he doesn't have his equipment so he can't do any emergency cooking for us.   Merab is hiding over here, but doesn't have any stock with him either.  Maybe Artis will be able to help us?  No such luck.  Eetl's over here panicking by the save crystal. (Which has turned yellow again. I guess it wasn't necessary to stop and heal with Venus, but I'd forgotten about this.) 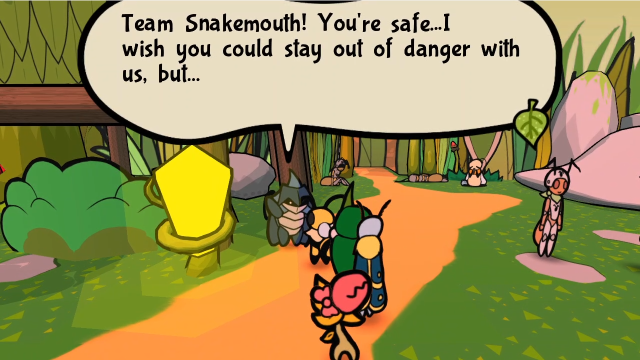 We'll be back! Stop worrying! We'll be back! Stop worrying!Vi tries unsuccessfully to reassure him. 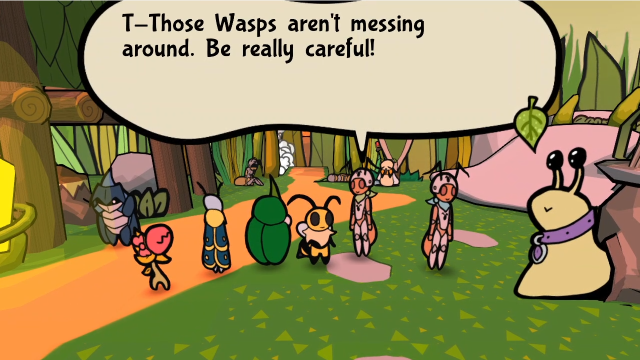 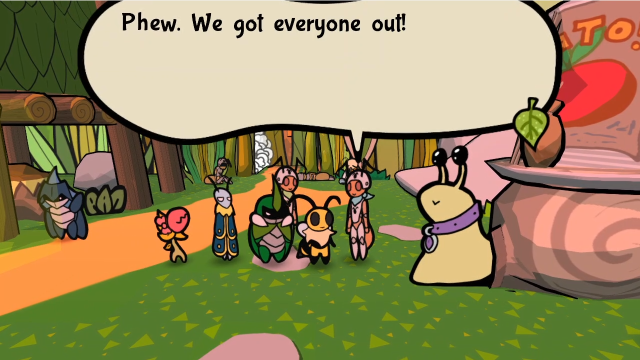 Gen and Eri are here too, and seem to have been helping with the evacuation. 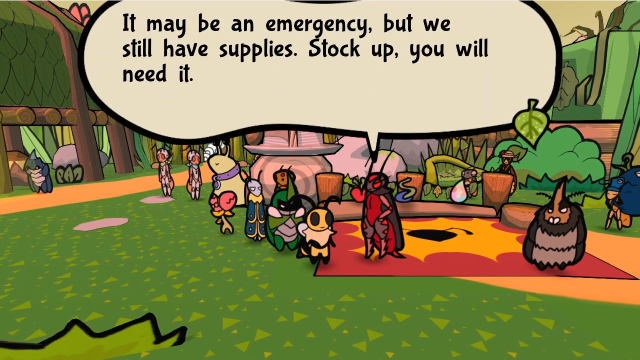   It's alright. Please be sure to check our wares! It's alright. Please be sure to check our wares!The merchant caravan are still open for business, at least. Good to know, if we were running low on items.  Fuzzo's worried about the theatre.  Also, Amber, despite having fled her usual location, is still operating the storage as usual and has access to all of our stuff. That's convenient.  Most of the NPCs don't have unique banters during this crisis, and pressing the button just repeats the general area banter we saw earlier. Amber gets one, though. Vi's really impressed (is that the right word?) at her dedication to the job. Let's keep looking around. 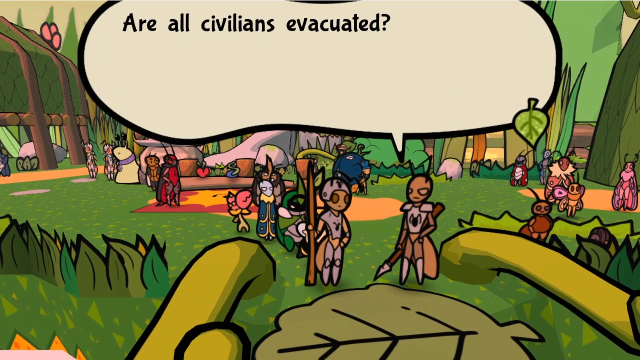  It seems like it. But we are taking a huge beating from the Wasps... I wonder if Zaryant can keep the Queen safe by herself... It seems like it. But we are taking a huge beating from the Wasps... I wonder if Zaryant can keep the Queen safe by herself...This doesn't sound good. We'll do what we can. (Just like before, they're placed conveniently to block the bridge.) 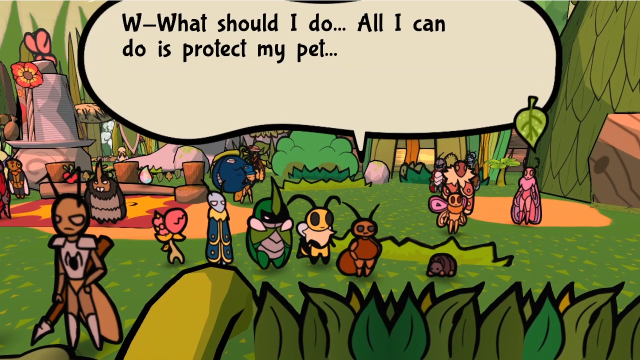 Over here, Ann is worried about Pibu. 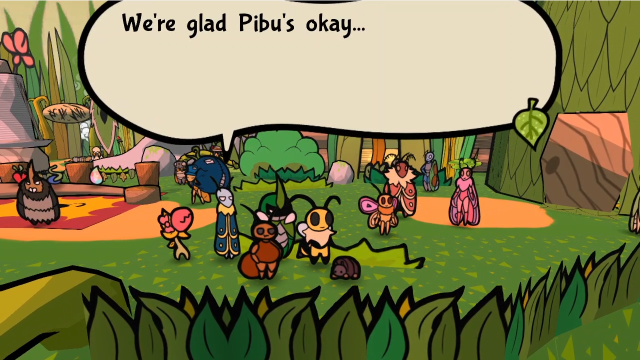 Interacting with Pibu reveals that Leif is too.  You wanna talk to them? No. It's not time yet. We have a mission to do. ... You wanna talk to them? No. It's not time yet. We have a mission to do. ...Leif's family made it out safely, but he still doesn't feel comfortable talking to them. 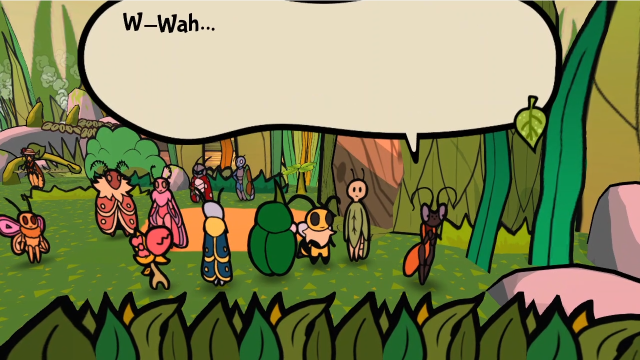 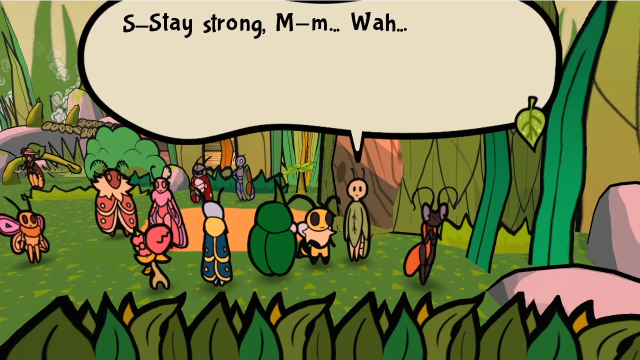 Eophi and Mun aren't doing too great over here. (Also, what happened to the mask Eophi usually wears?)  We can also inspect this door.   Leby and Dib have locked themselves inside the house. 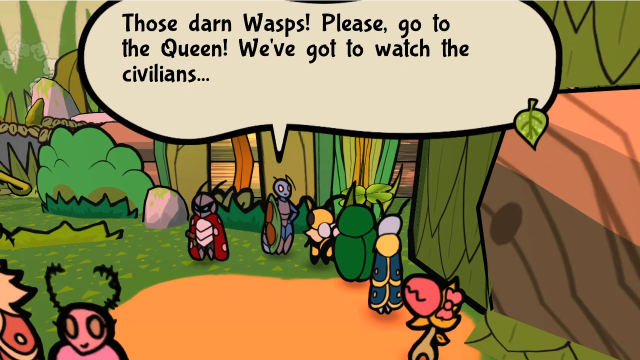 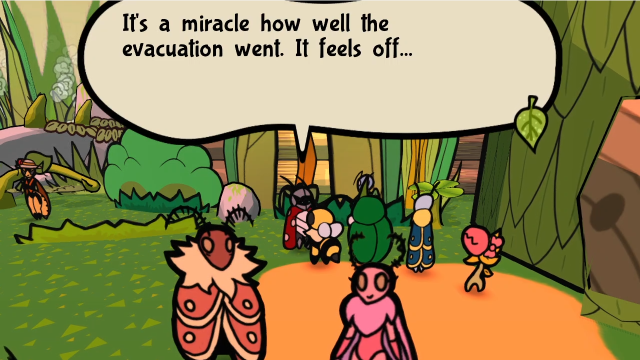 Celia and Levi are over here monitoring things, but it looks like they're too busy to help out with any of the fighting. 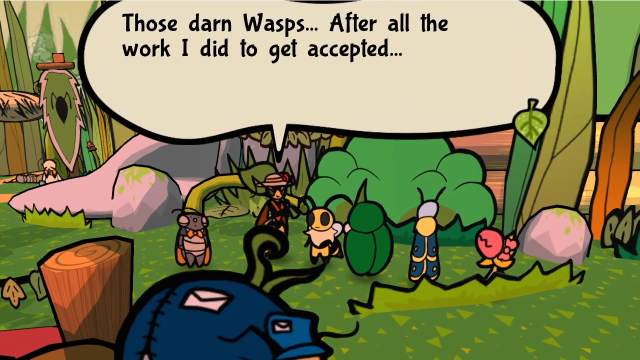  Madeleine and Seb are here too; what a time for them to have come home. She seems worried that this might cause an increase in anti-wasp prejudice. 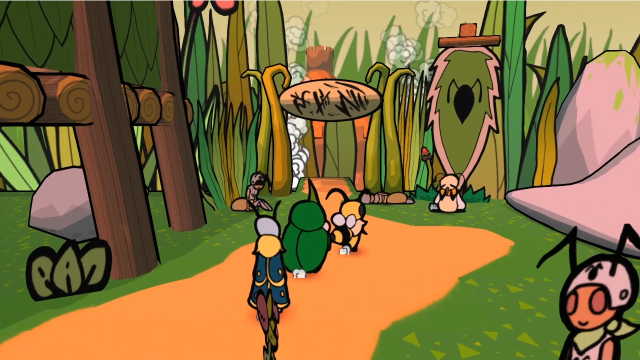 Over by the gate, we find some soldiers looking much worse for wear, and also Samira. 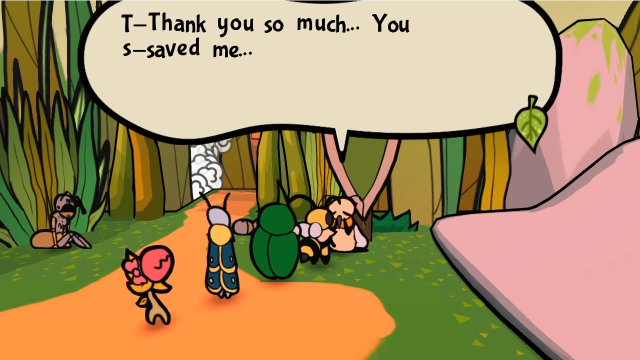 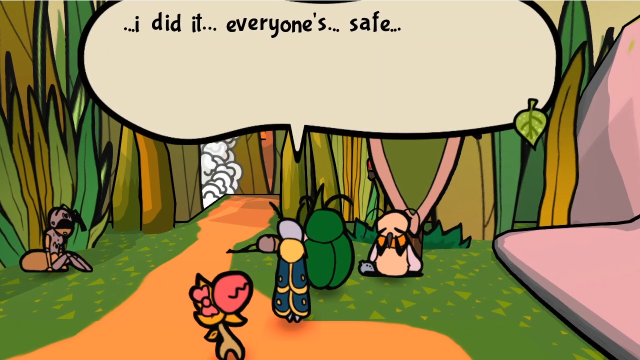 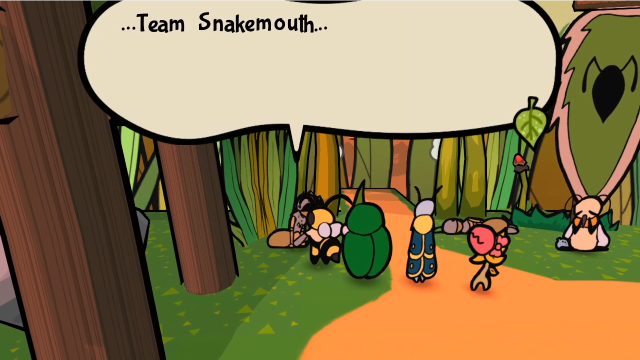 ...The Queen... ...The Queen...At least they're still alive? This certainly doesn't look good... 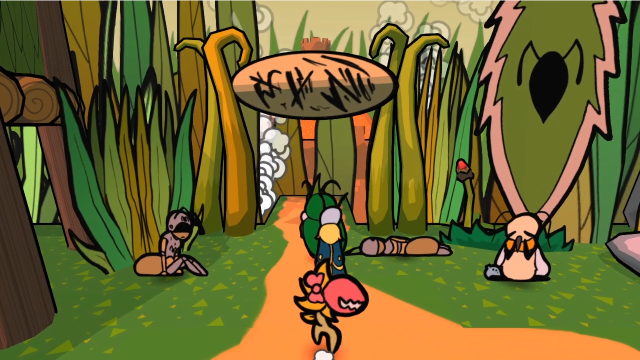 Let's move forward. 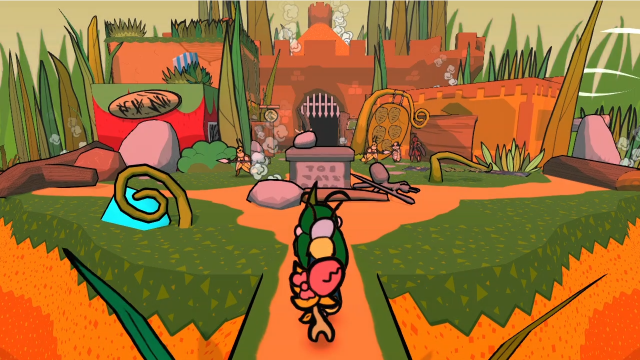 The plaza has certainly seen better days. Also, lots of wasp soldiers. Everything is... Come, Vi! We must press on!Another quick area banter. 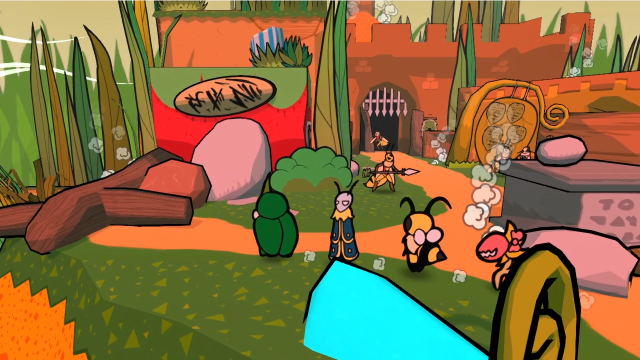 Rubble is blocking the way into our house, too! 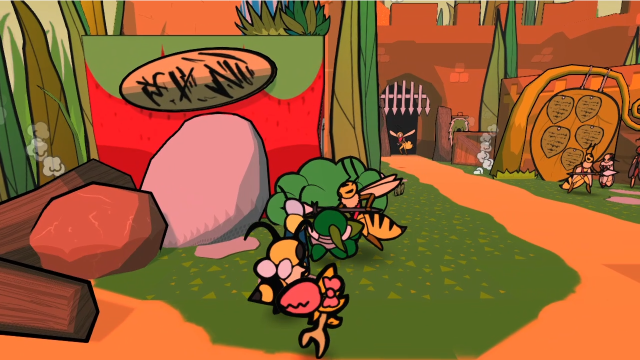 24 - Oh No! WASPS!! 24 - Oh No! WASPS!! 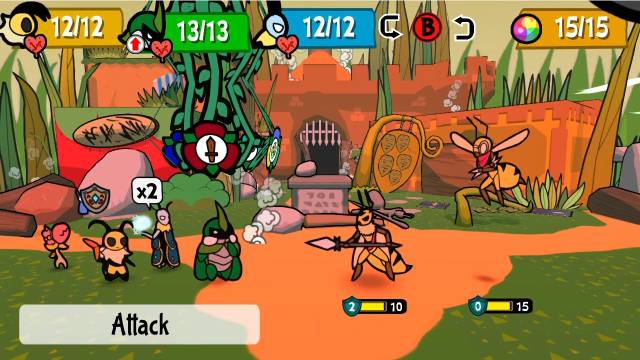 The soldiers prowling around here are actual enemies, and we can fight them. (Also, look at all the detail in the battle background! The transition is practically seamless.) We've fought both Wasp Troopers and Wasp Scouts before, but we've only ever seen them in scripted miniboss-style encounters; now they're normal enemies. 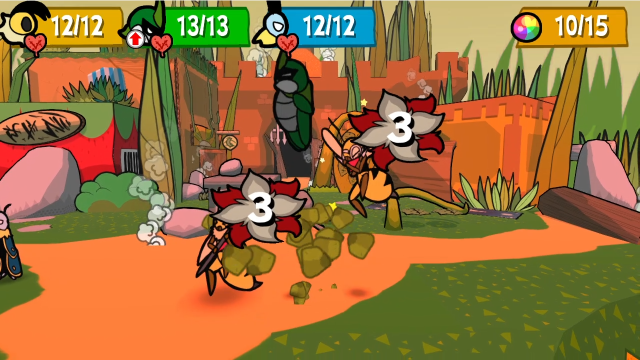  I like Under Strike a lot in these fights. It's very convenient that it can simultaneously pierce the Troopers' defence and knock down the flying Scouts, though the positioning is finicky so it can be a bit unreliable. 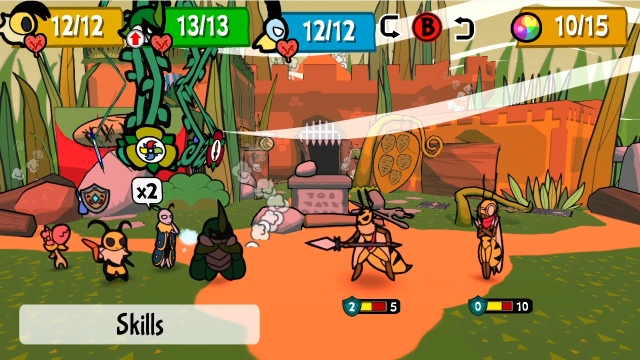 Regardless, that really softened them both up. 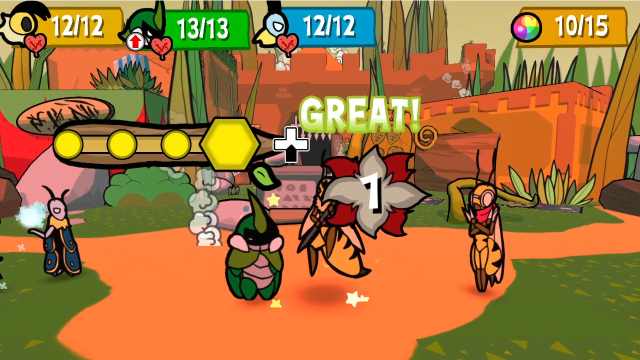 Leif relays to Kabbu to hit the Trooper again, though even he has a hard time getting through 2 defence. 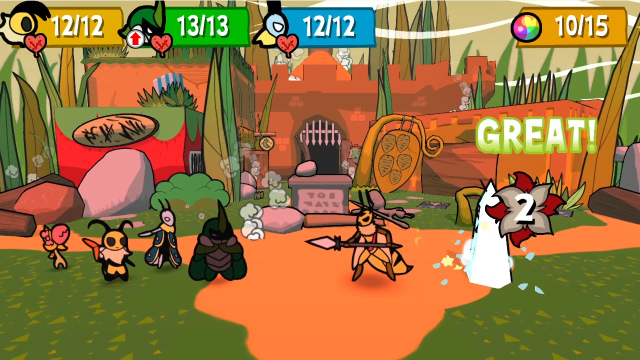 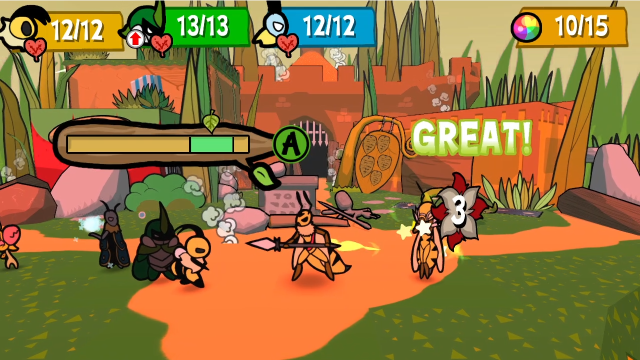 Leif and Vi focus on the Scout instead. (Vi's put Power Exchange on again, that's why she's doing an extra point.) 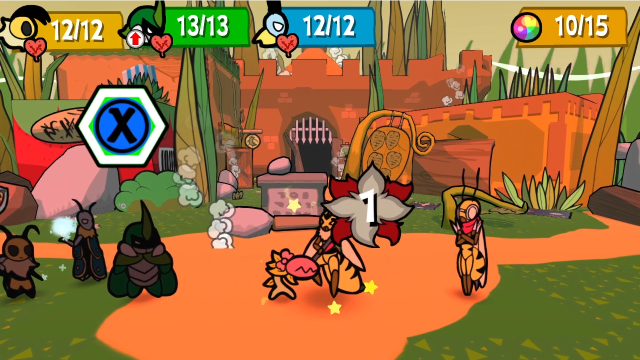 Chompy does her part too.  It's been a while since we've seen these attacks, but they hurt!  A bit less so if you block well, but even then, this can add up. (And because we haven't seen these enemies much, we're unlikely to be very familiar with the timing here...) 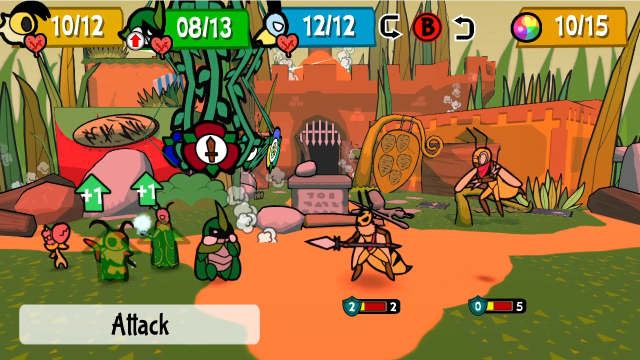 For better or worse, let's finish this.  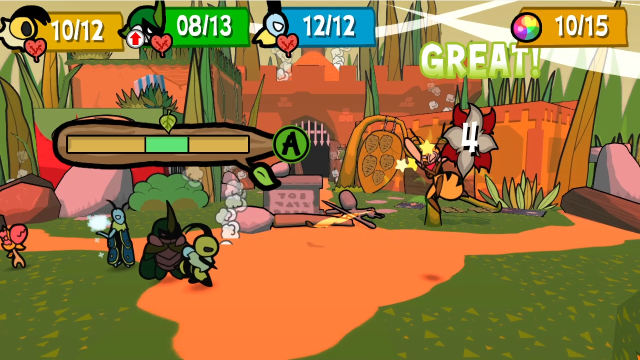 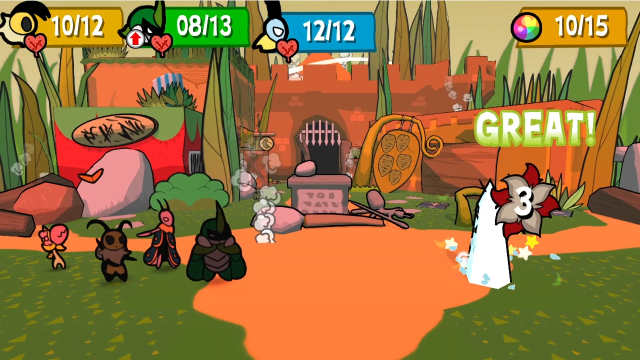 There we go. 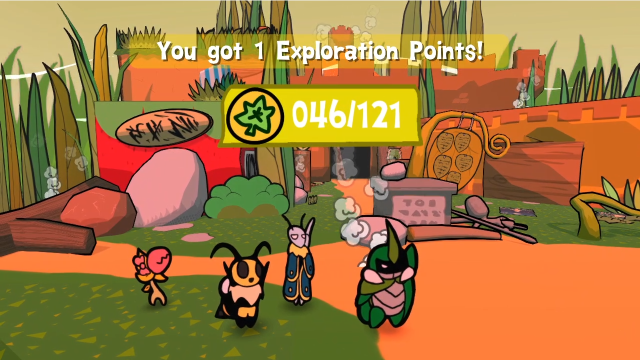 We're still rather overlevelled, so we're only getting pity EXP. That said, that isn't always the case here: despite their stats being the same as the ones we fought before, these ones have had their base EXP value increased, so they should be giving EXP if you're around the level the devs expect you to be.  They also sometimes leave behind Crunchy Leaves. I won't complain.  Looks like they did attack the theatre: all the posters are scattered over the ground. 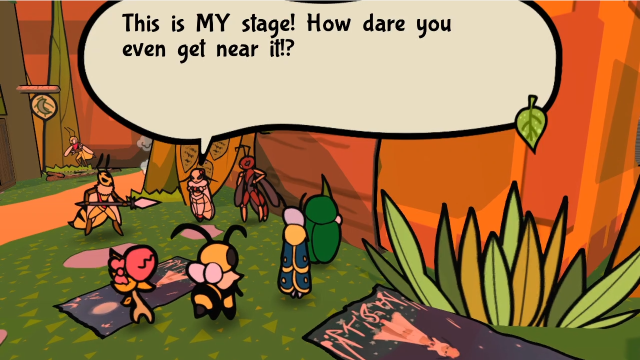  You dare oppose us!? Don't underestimate him, Mothiva! You dare oppose us!? Don't underestimate him, Mothiva! I know! I know!We can also eavesdrop on this encounter. Zasp and Mothiva are, indeed, doing their part.  We can't fight that trooper because they're keeping him occupied. Let's keep going.  This one's fair game, though!  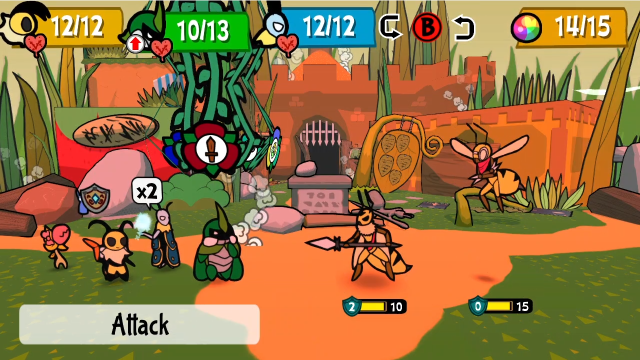 It's the same formation as last time. Let's take a different approach? 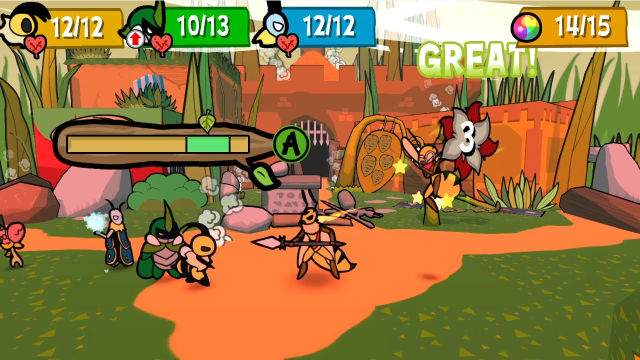 First off, let's have Vi bring down the Scout.  Then Leif can freeze it with Frigid Coffin. The scouts have the ability to summon more allies, if you let them, and keeping them frozen is a really good way to stop that happening. 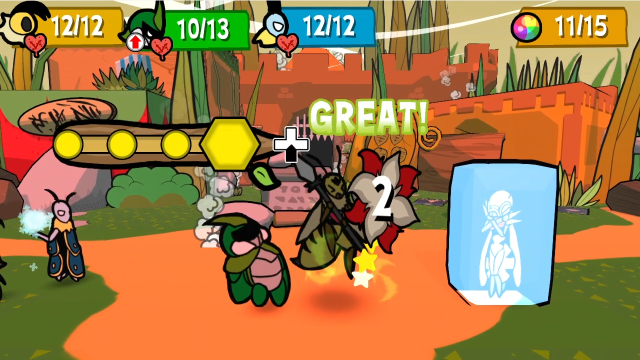 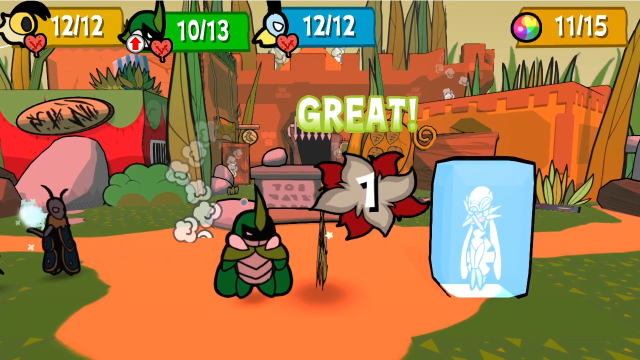 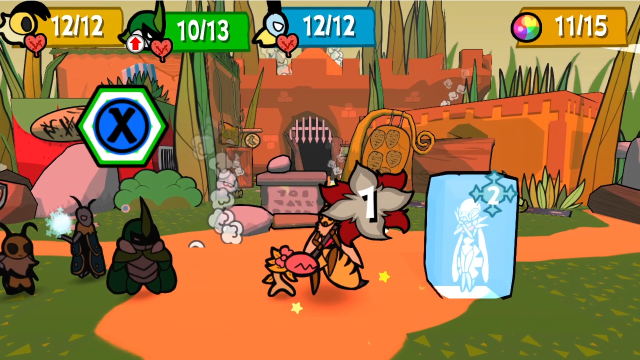 Now Kabbu and Chompy can focus on the Trooper.  Wasp Troopers have a bunch of different attack animations, but they all do very similar damage, so mostly it just keeps you on your toes when trying to block them.  Let's clean this up. 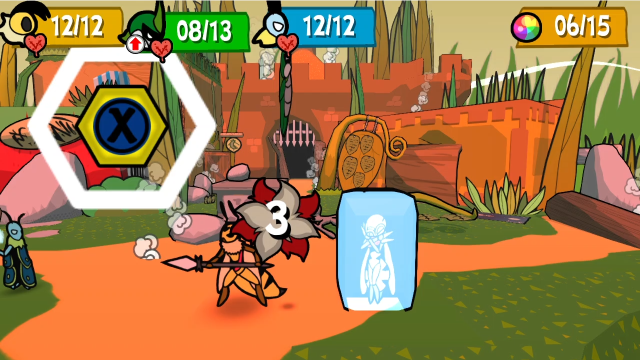  I wanted to hit both with this Under Strike, but messed up and only got the Trooper. Still, he was the more important one to hit with it.  Leif finishes him off.   While Vi and Chompy, together, can do exactly enough damage to get rid of the Scout. 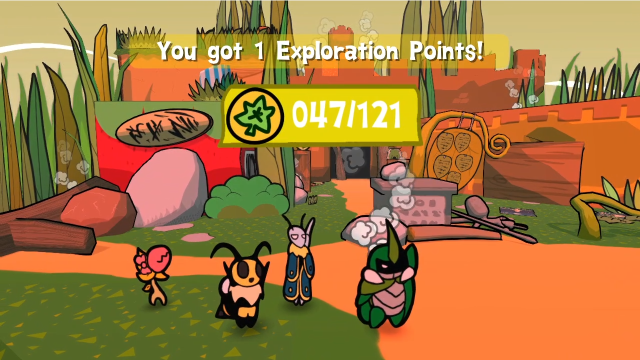 There we go! 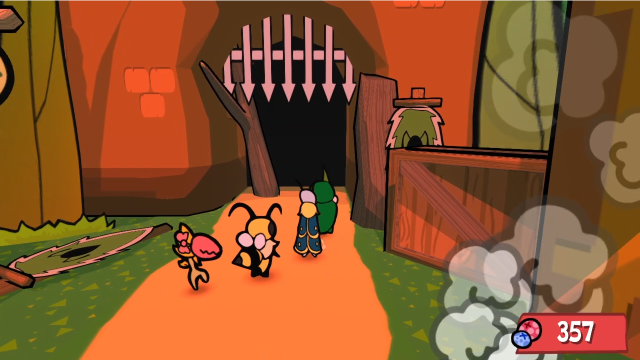 There's nothing else to see in the plaza, let's press onwards. 52 - Ant Kingdom, Under Attack!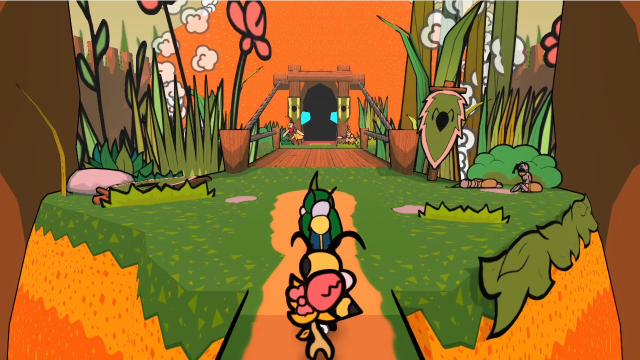 Things aren't looking good here either! Oh no! The palace! We must hurry!!!These banters are getting more frantic as we go, aren't they?  More injured soldiers are over here. 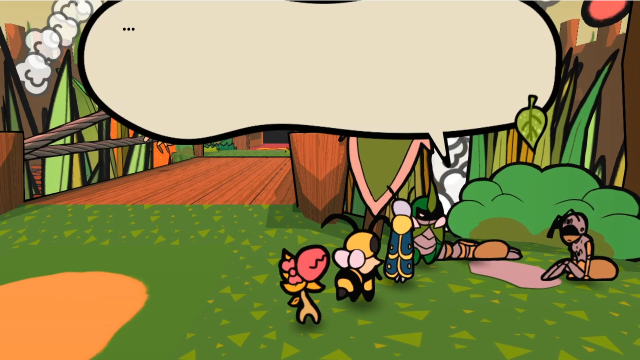 Save your strength! We'll take care of this! Save your strength! We'll take care of this!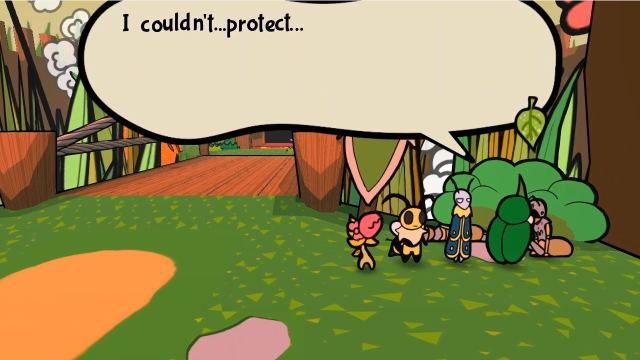 These two have definitely seen better days. 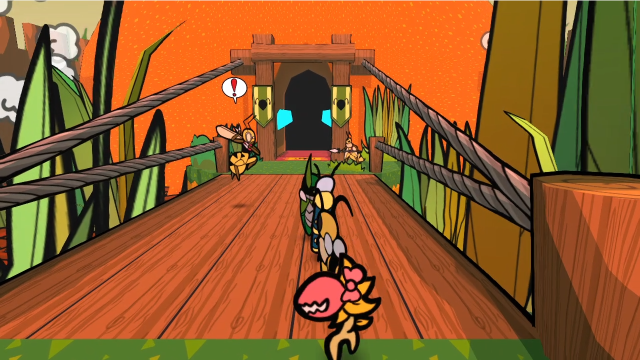 Venturing onto the bridge, we quickly run into more wasp troops. 24 - Oh No! WASPS!!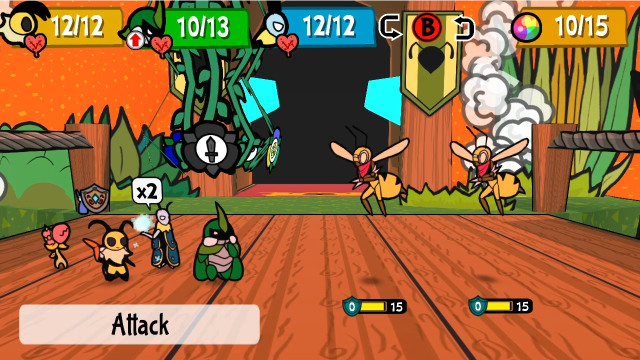 This time, it's a pair of scouts (also, this area has its own background too!). 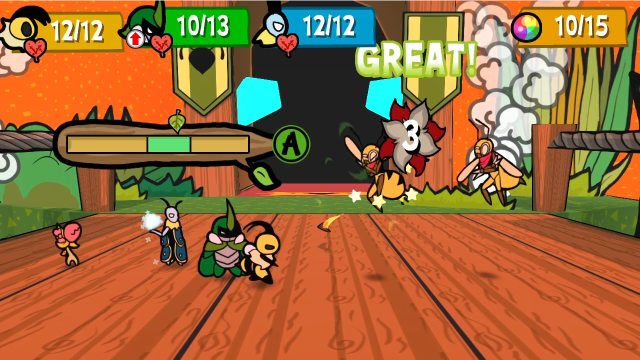 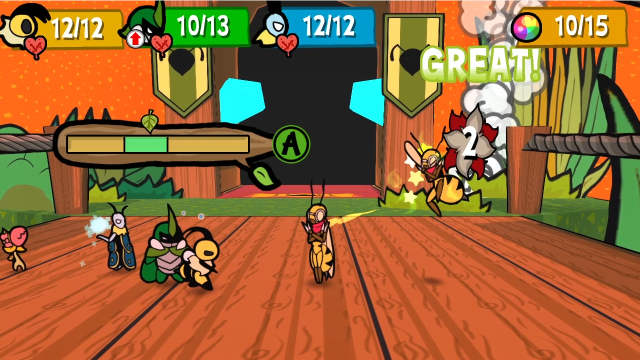 Let's start off by having Vi get them down into hitting range for the others. 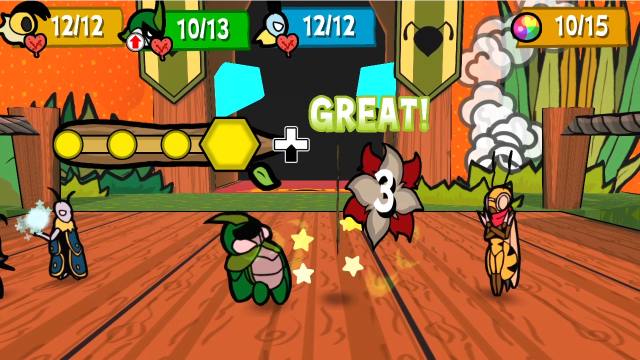 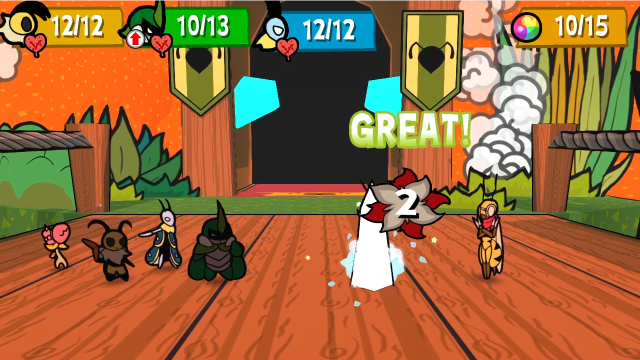 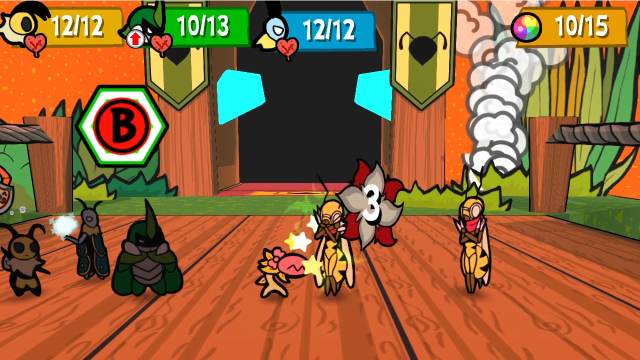 This isn't quite enough to kill, but it's close. (Also, in a fight like this, I don't necessarily mind spreading damage around a bit. I could be imagining it, but it seems to me that Scouts are more likely to summon allies if they're alone.) 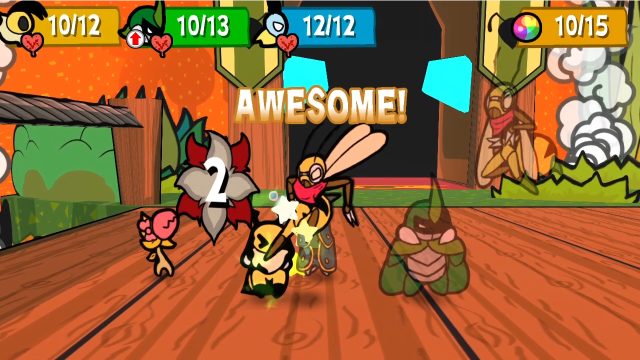 Vi gets kicked in the face...  While Kabbu is faced with the needle toss attack. 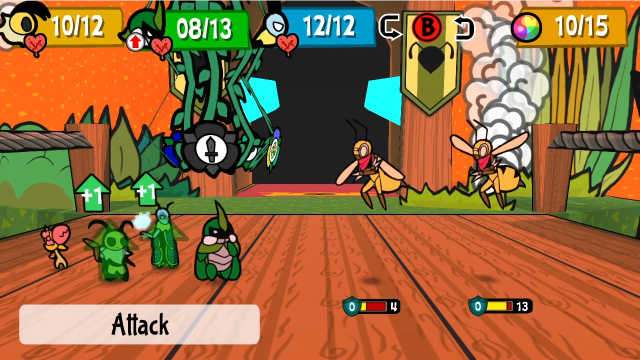 Let's clean this up. 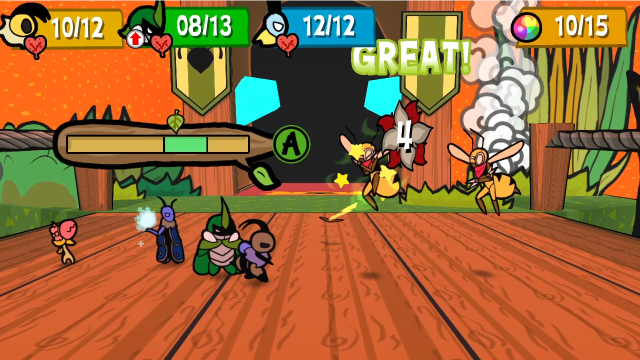 Vi's perfectly situated to finish off the one in front. 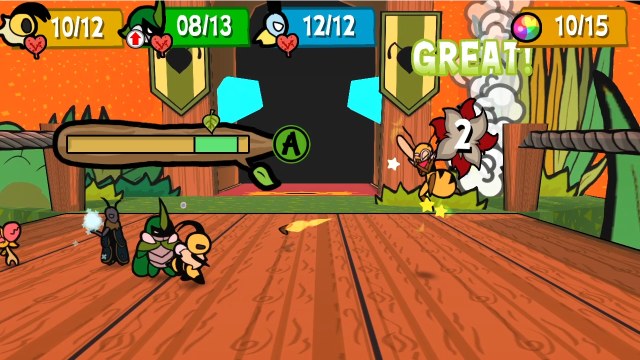 Then we relay to her to get the second one down. 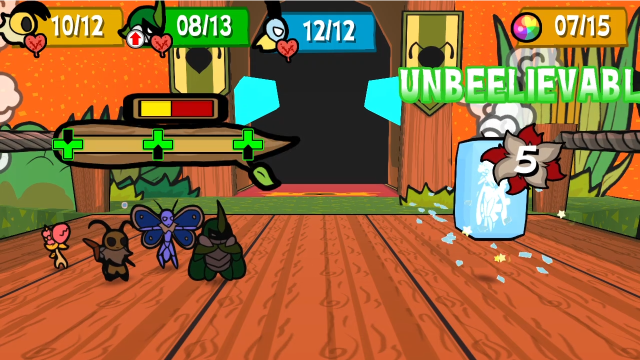 And freeze her with Leif. 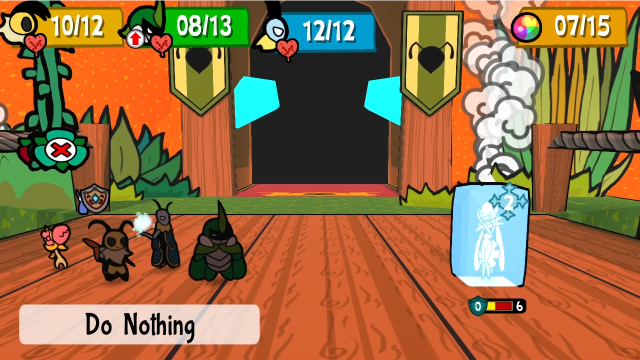 Let's have Chompy do nothing, so we don't break the ice. 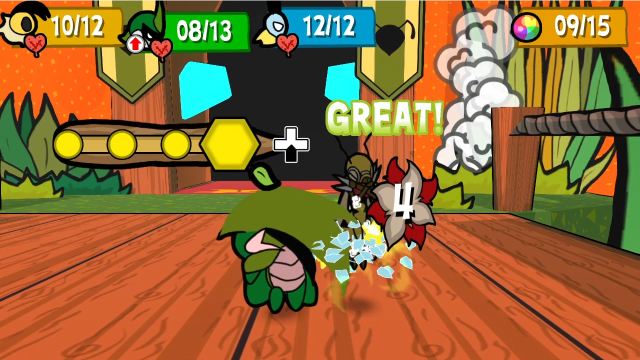 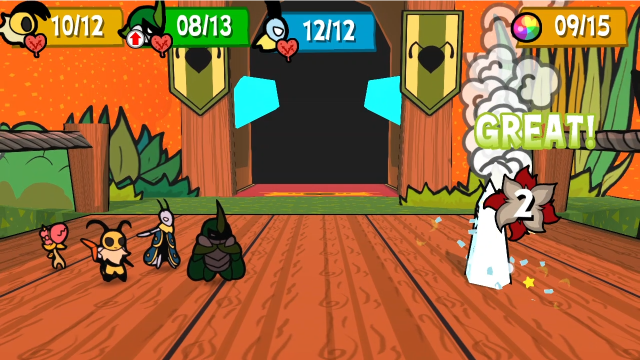 Now we can finish her off without risk. 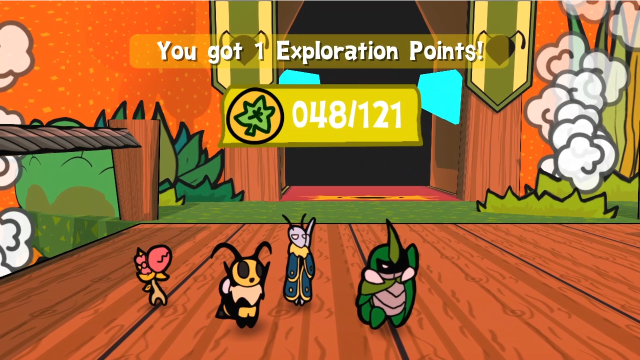 That wasn't too bad. 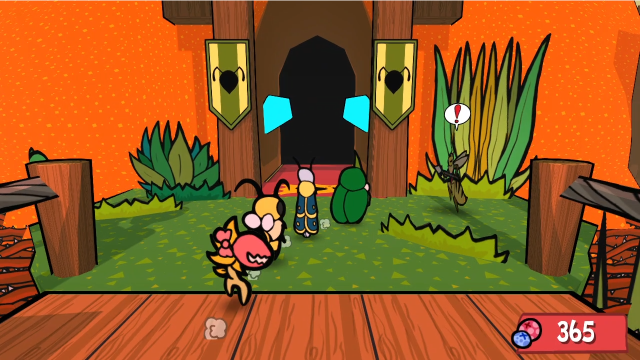 There's one more set to get through here, though. 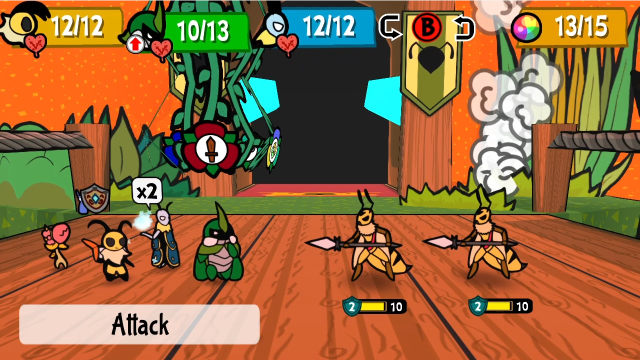 A pair of Troopers. This might be a bit trickier.  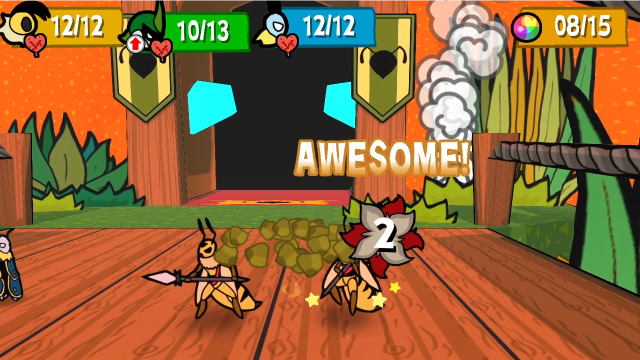 Messing up Under Strike and only hitting the rear one certainly isn't going to help, either! 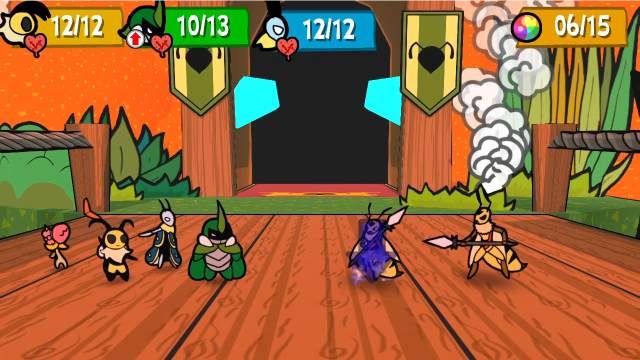 Let's have Leif cast Break on one of them, to help us get through the defence.  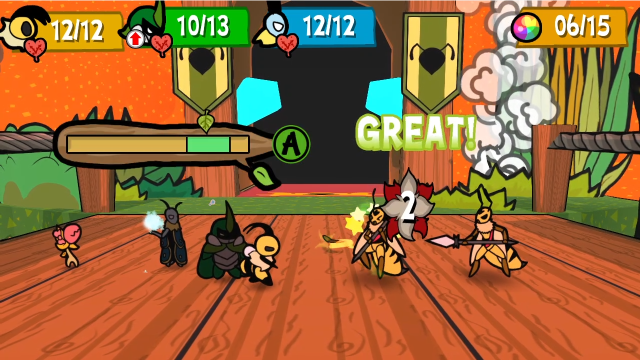 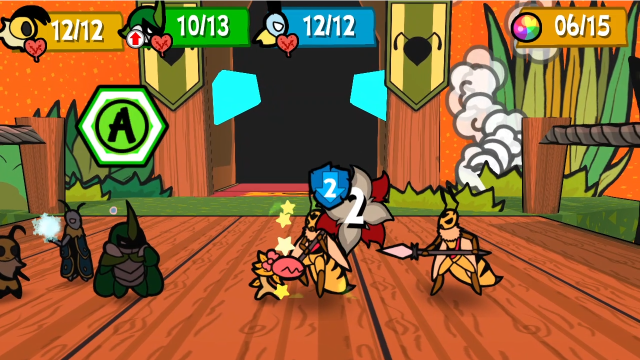 That's better. 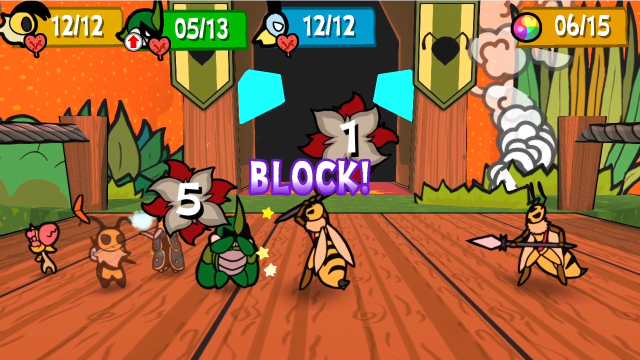 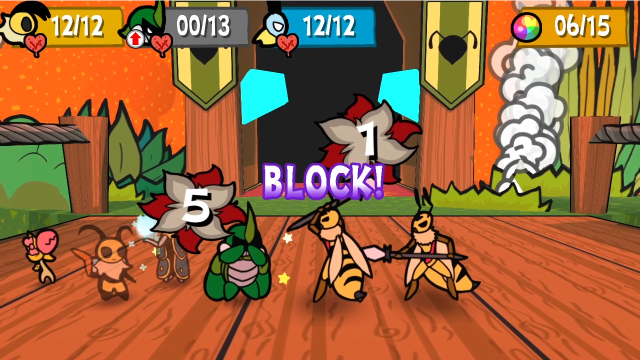 This isn't, though! They teamed up on Kabbu, and that was enough to take him down: sometimes having him in front with Favorite One on really gets punished. This could get a bit dicey. 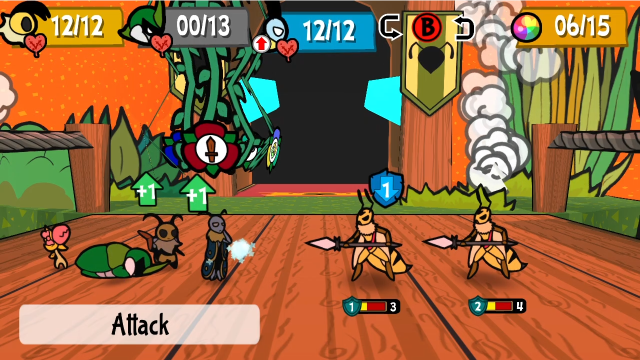 With +1 charge, and Break still in effect, Leif can move in front and do exactly enough damage to finish off the first one.  Let's not take any more risks here: Vi can finish off the second one with Hurricane Toss. 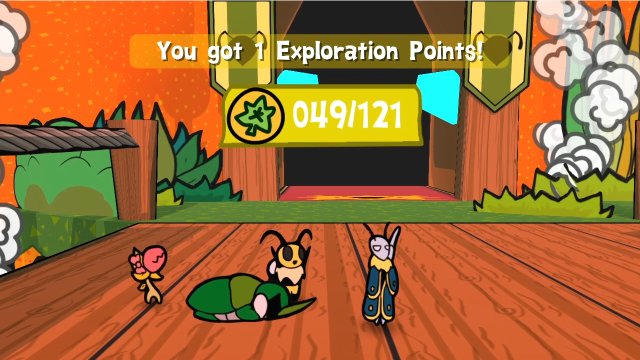 These fights can turn against you pretty quickly if you let them, but we got through.  At least it drops another Crunchy Leaf. This is actually a nice opportunity to show something...  Namely, that because Kabbu was unconscious at the end of the fight, he didn't get healed from Triumph Buzz. The automatic revival-on-1-HP takes place after that medal's effect.  He can eat these two Crunchy Leaves we picked up. Easy come, easy go.  There. That's better.  Onward, into the palace! 52 - Ant Kingdom, Under Attack!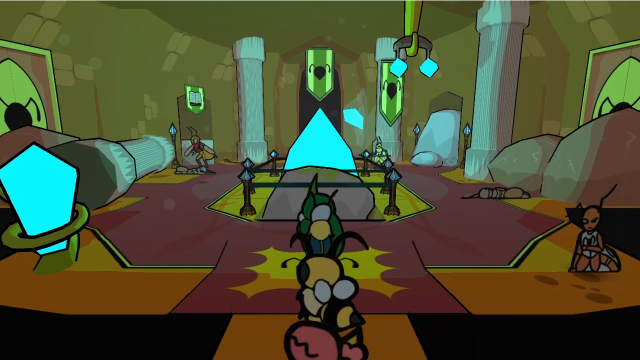 The palace has also definitely seen better days. Rocks and rubble are blocking all the exits except for the throne room, and there are more wasp soldiers and injured ants everywhere. We're almost at the throne room! We must hurry!This time, only Kabbu says anything in the banter. 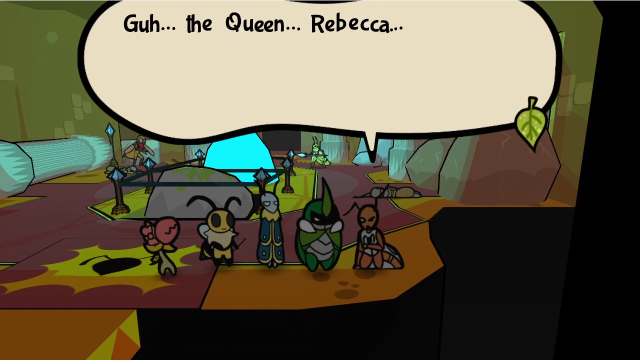  Save them... Save them...Oh no. The Lieutenant doesn't seem to have done any better than the others. 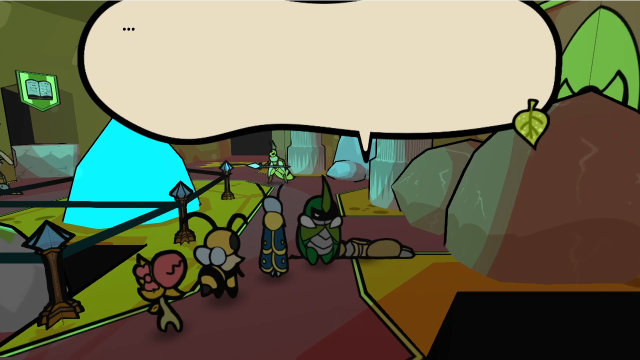 This fallen soldier has nothing to say at all. 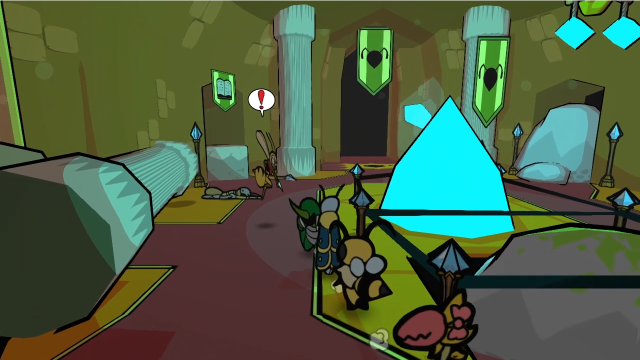 Let's start over here. 24 - Oh No! WASPS!!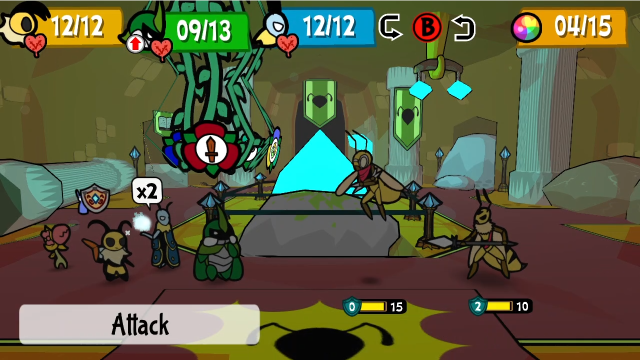 One of each, but this time they've swapped positions. 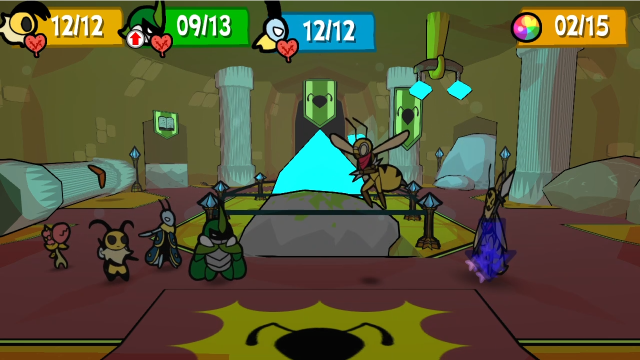 Let's start off with Break on the trooper. 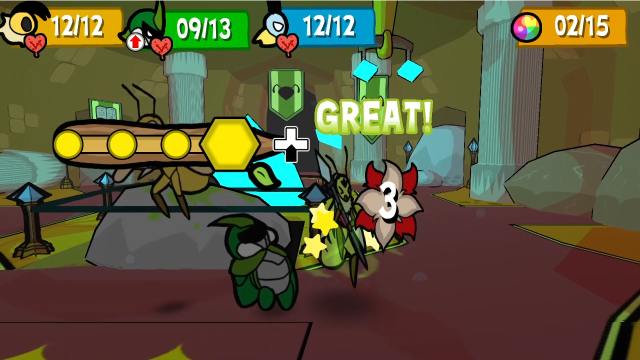  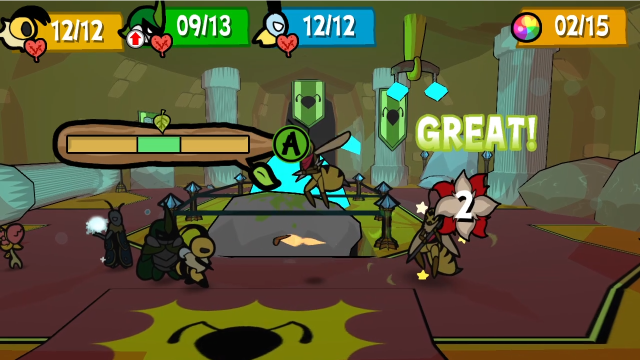 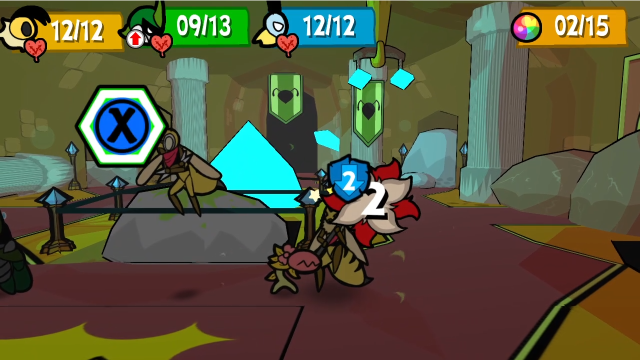 All our normal attacks aren't quite enough for the kill, but it's very close. 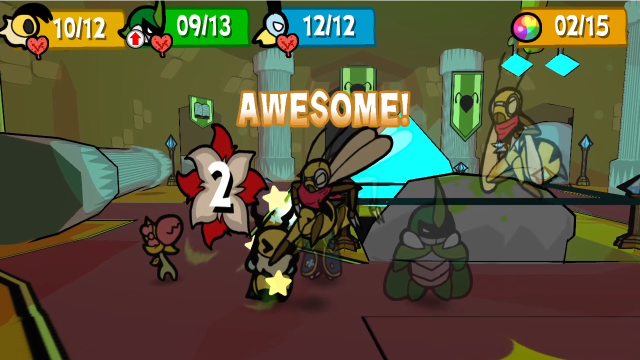  I do much better blocking the spear throw this time.  Now, what to do about this. 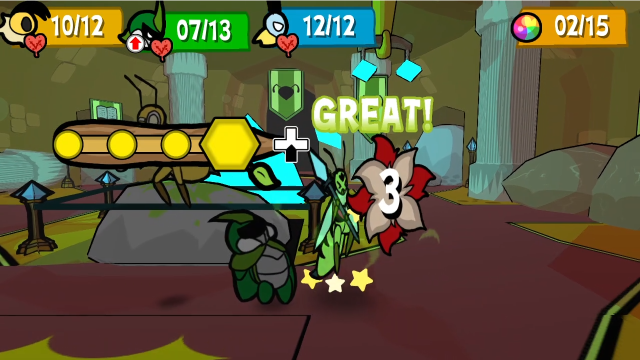 Kabbu finishes off the trooper. 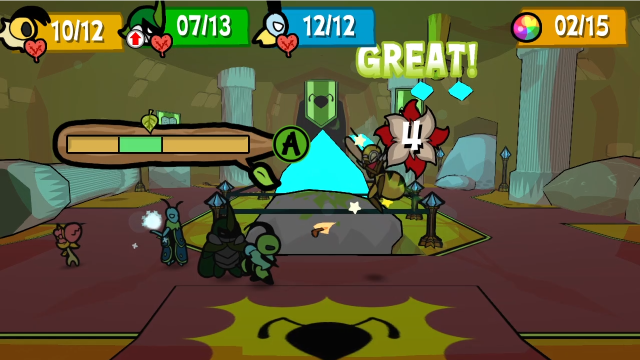 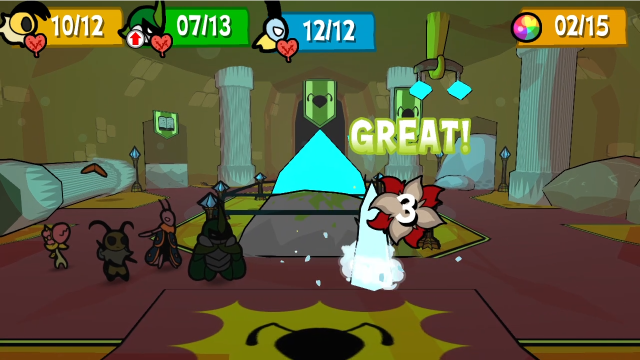 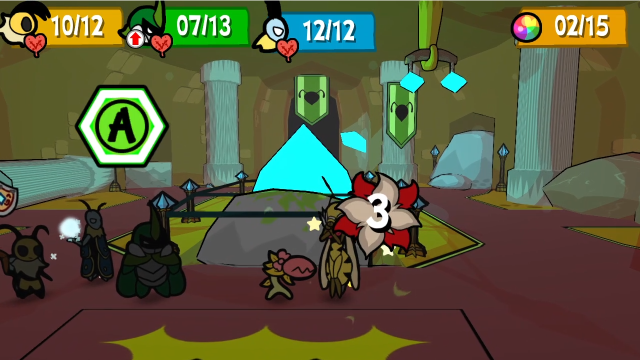 While the others focus on the scout. I could have frozen it to be safe, but I'm out of TP and would rather not spend an item. 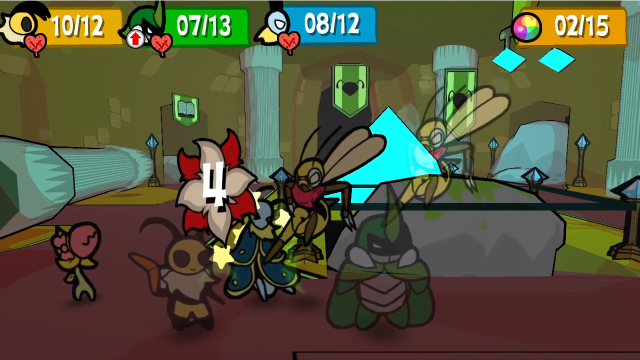 More of the same. This hurts a bit more if you fail to block, but it's not that bad (and, thankfully, it's not summoning another enemy).  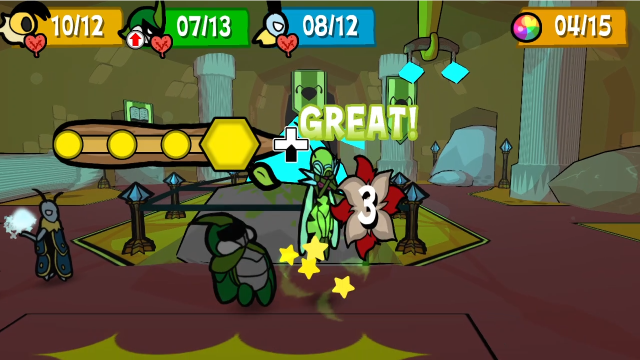  And from there we can end the fight easily.   This soldier's no more talkative than the last one. I hope she's all right.  One last enemy before the throne room. What will it be? 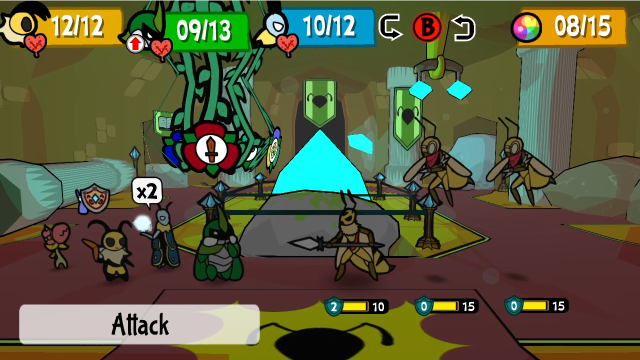 Of course. It's three of them. Why would it be anything else? 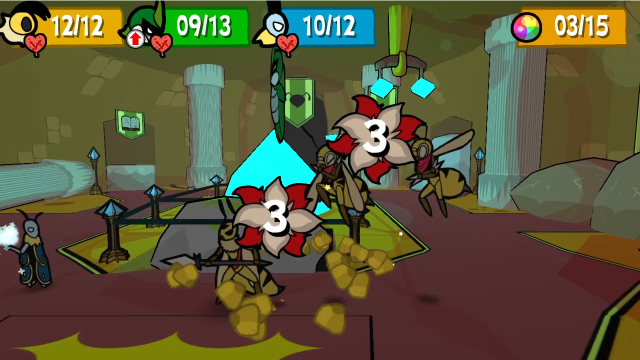 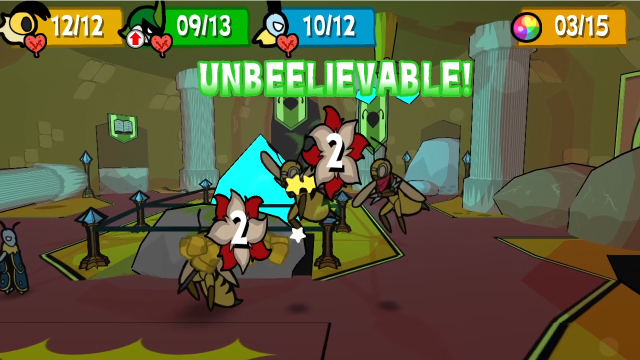 The one advantage of there being more enemies is that they're packed closer together, so this is a lot easier to do reliably. 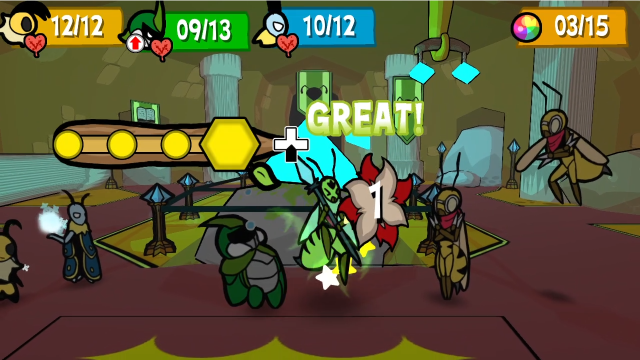 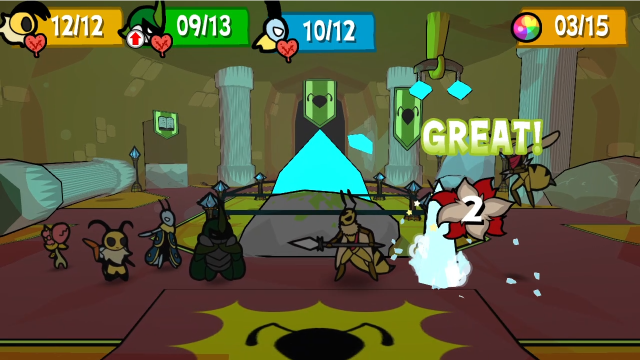 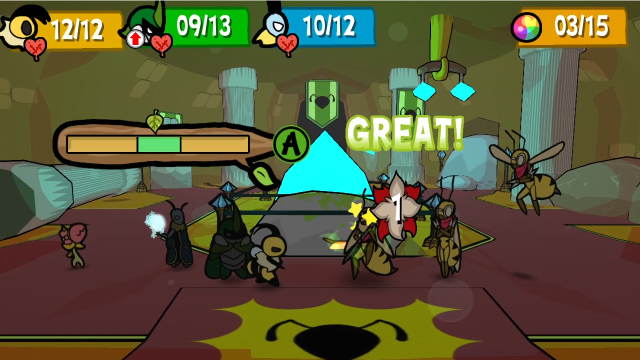 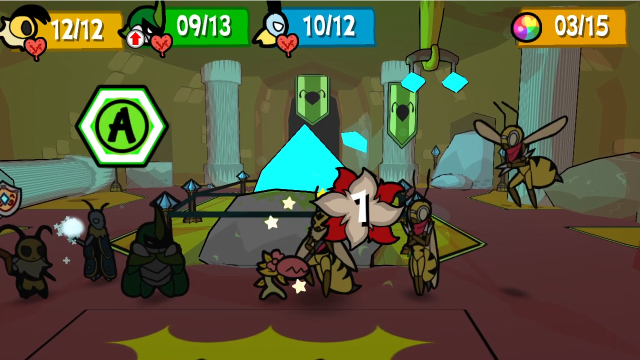 We'll get some damage in on both of them, though it's not quite enough to manage killing either. This could get nasty.  The third trooper attack actually deals 1 fewer point of damage than the other two. 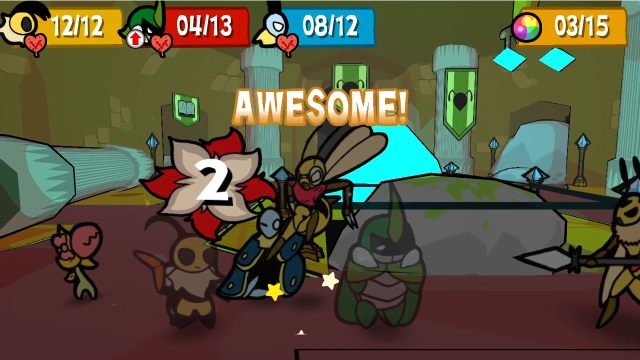 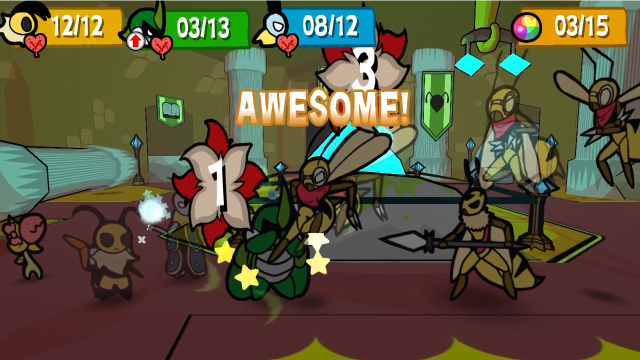 That could have gone much worse! I'll certainly take the counterattack damage, that's very helpful. 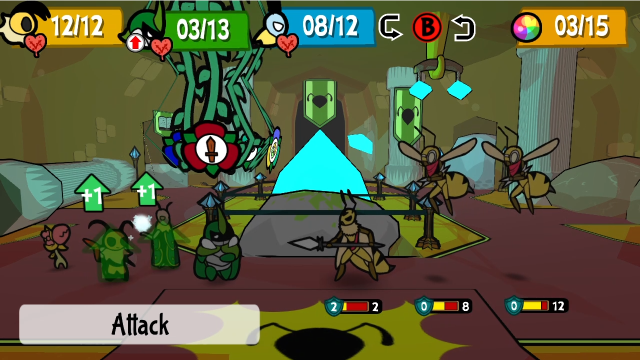 This looks a lot less scary now. 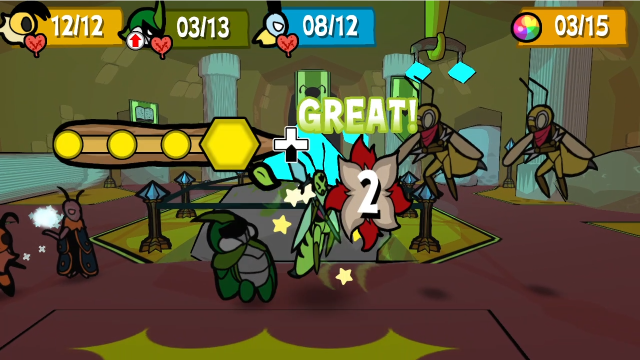 First things first, Kabbu kills the trooper. 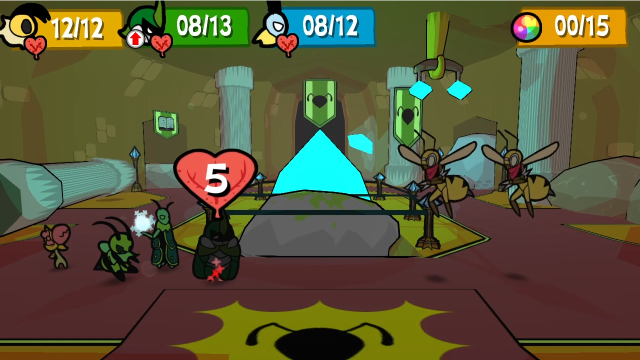 He's low enough on HP that I decided to have Vi heal him. I don't particularly want a repeat of what happened a few battles ago. 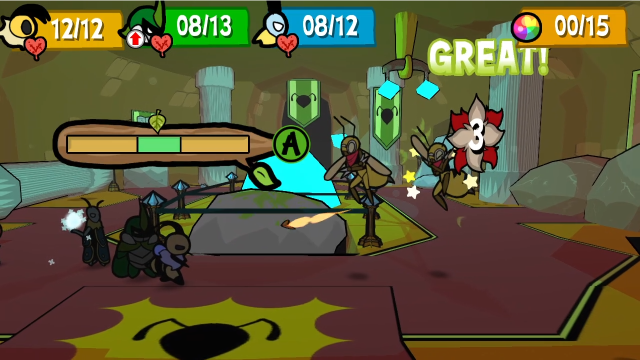 Then she attacks the back one. This may seem weird, but again, I don't quite have enough damage to finish off the front one, and I'd rather weaken both than kill one anyway (if I'm right about the AI for summoning allies). 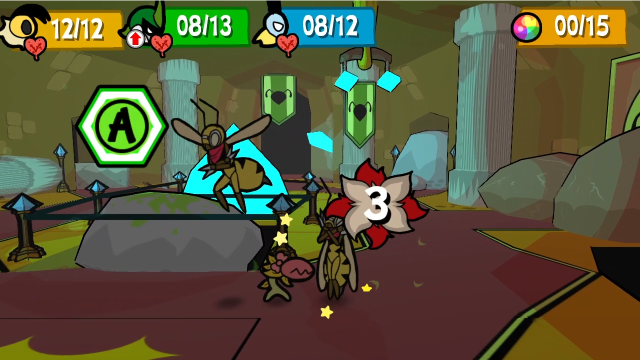 Chompy can attack whichever one we bring down, she doesn't much care which. 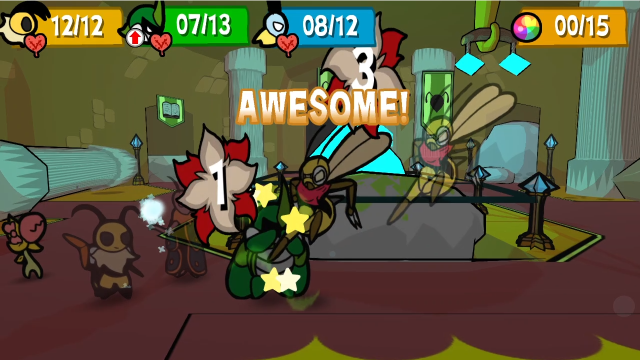 More counter damage will certainly make it easier to ensure we win the next turn.  That could have been much worse.    There we go. Easy enough. 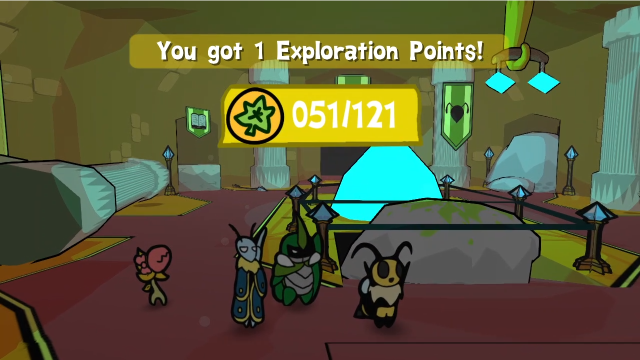 And that wraps this up! 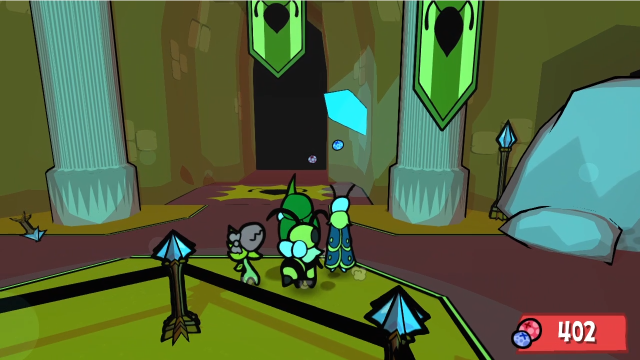 Of course, who knows what's waiting for us in the throne room? (For anyone playing along, there's not really any reason to go out of your way to fight all these Wasps. You can just throw up Leif's Bubble Shield and barge through all of them without needing to fight, if you're in a hurry to get through this. In fact, that's what I usually do, but I thought it was better for the narrative of the LP to do all the fights here.) 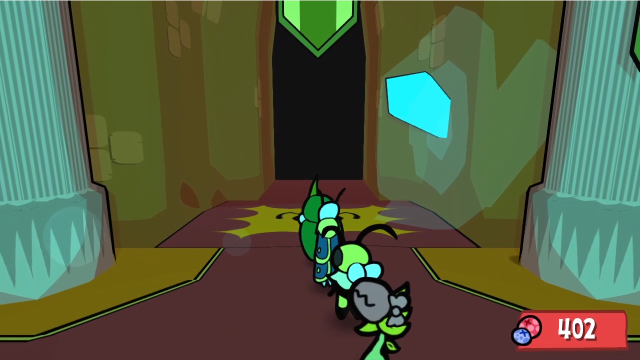 Let's head onward. (As we go in, the music cuts out completely.)   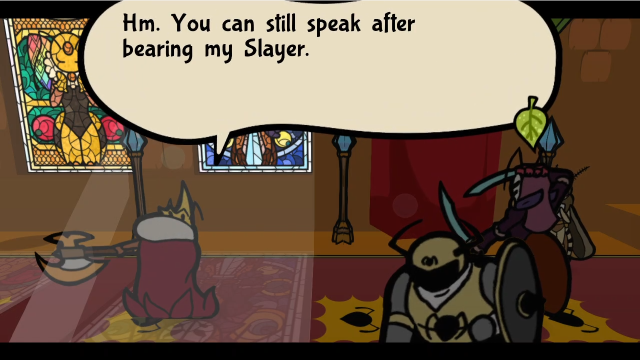 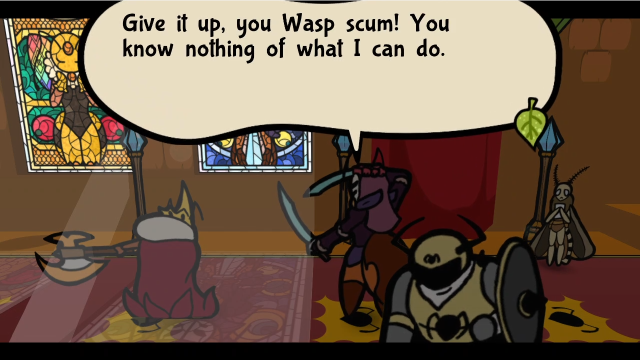  If your troops were trained by you, I know more than enough. If your troops were trained by you, I know more than enough.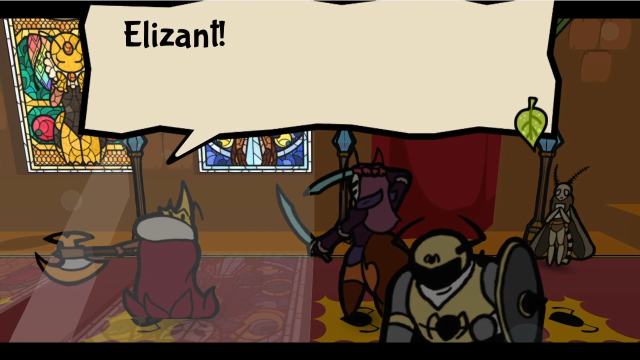  Looks like we got here just in time! (Hopefully.) 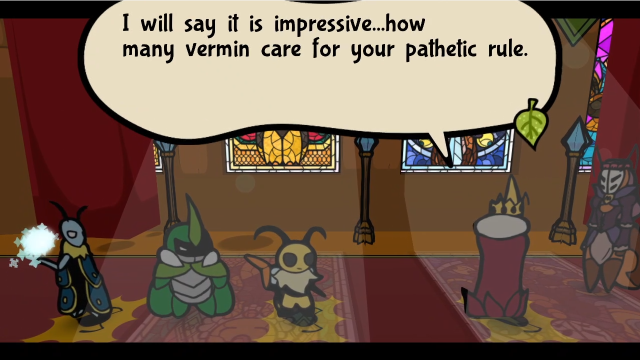  Those "vermin" are of my most trusted explorers. They can dispatch you with ease! Those "vermin" are of my most trusted explorers. They can dispatch you with ease!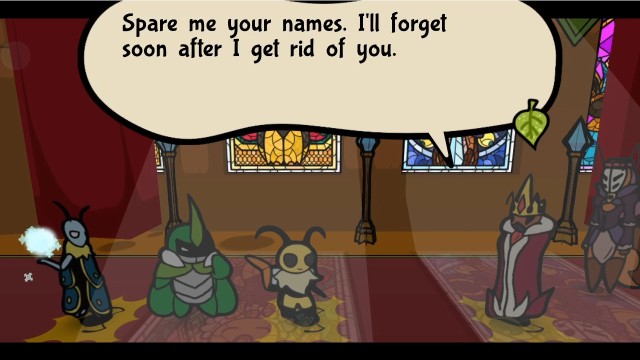 S-Shut up! You messed up the whole town! We won't let you continue unchecked! Elizant, stand back. We'll show this clown the door. 53 - The Usurper S-Shut up! You messed up the whole town! We won't let you continue unchecked! Elizant, stand back. We'll show this clown the door. 53 - The Usurper 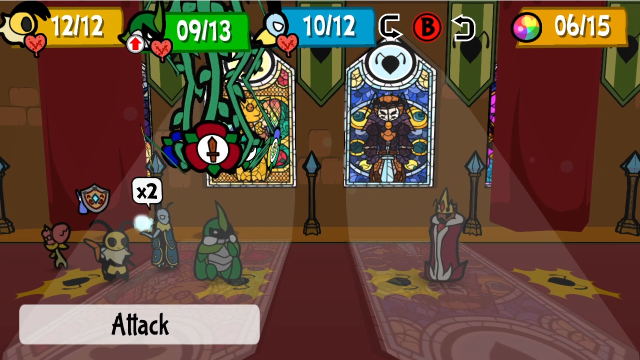 Well, looks like we've got to fight the Wasp King! We know next to nothing about this guy, so surely we should start off by gathering some intel... 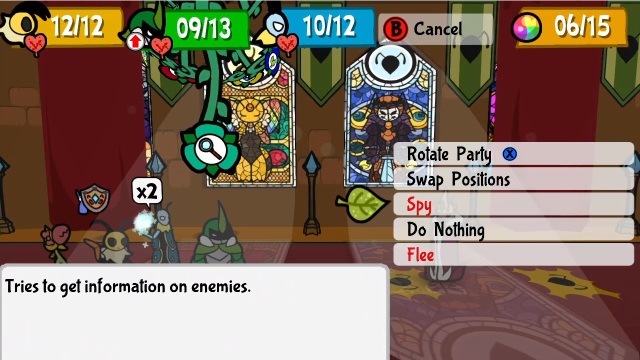 Oh. We can't. Lovely. 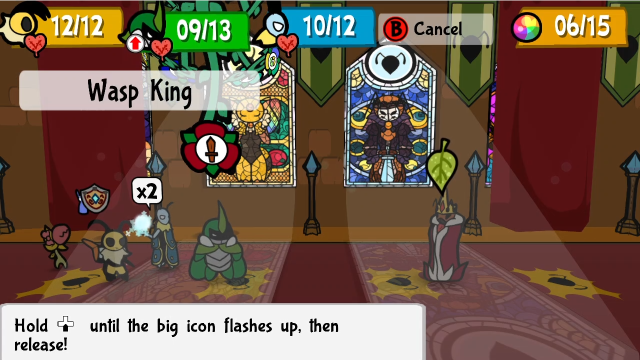 Guess there's nothing else for it, let's just try attacking him. 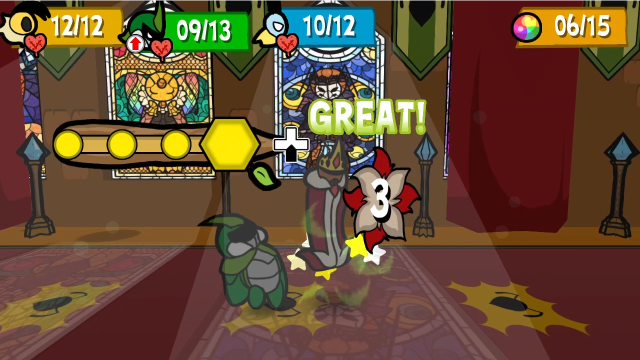 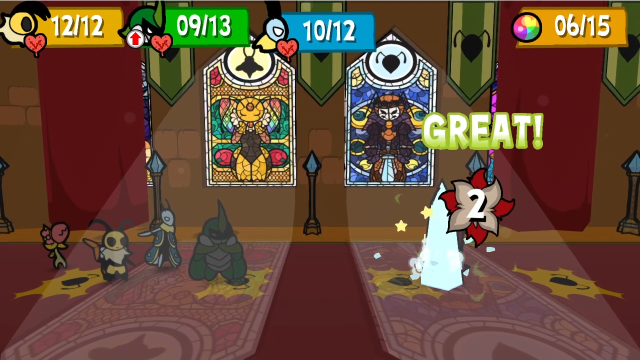 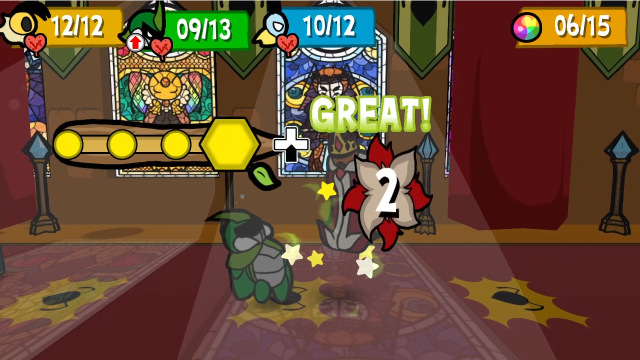 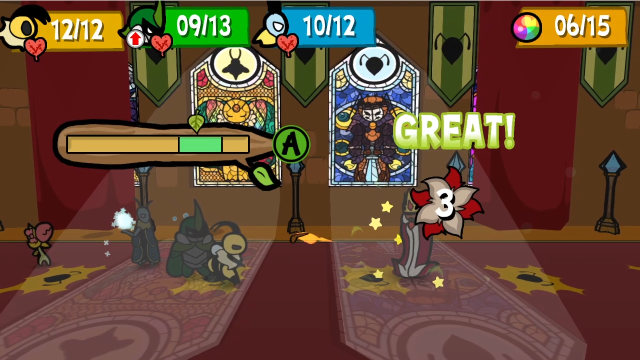 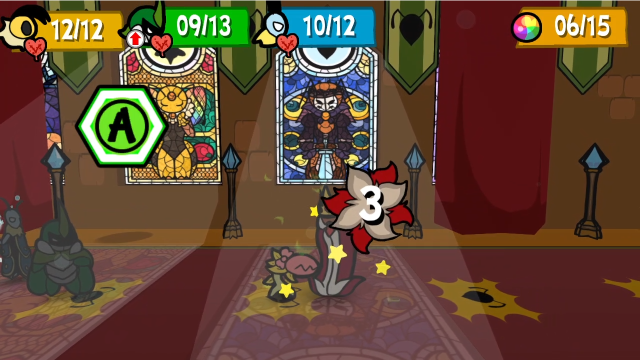 Let's hope that made an impression?  For now, he's content to walk up slowly and hit us with that big axe. In fairness, it hurts a lot! This is 7 base damage, Vi's benefiting from Back Support here. 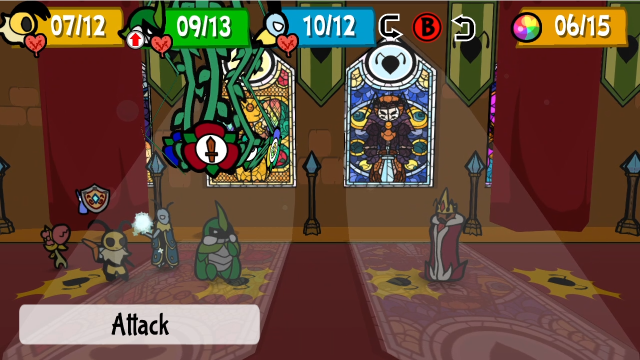 It's hard to say how well we're doing, when we can't see his HP. Let's keep at it, I guess.   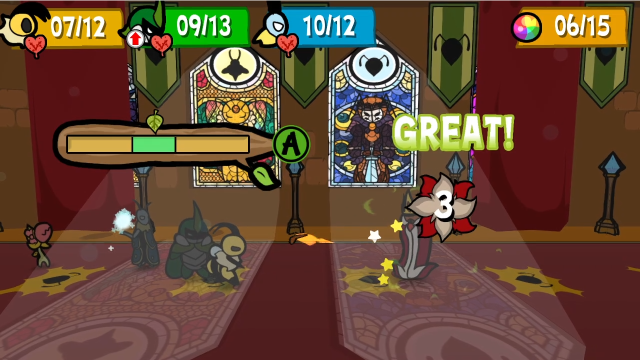 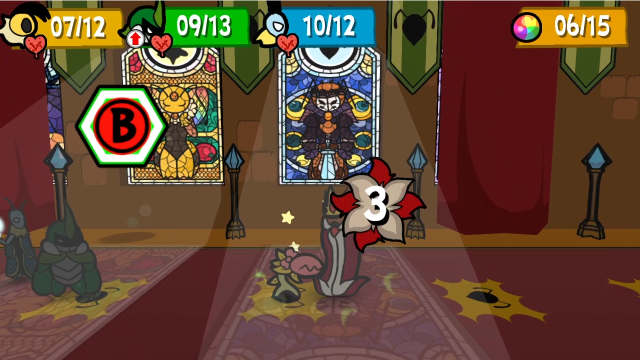 Surely we're having some effect. 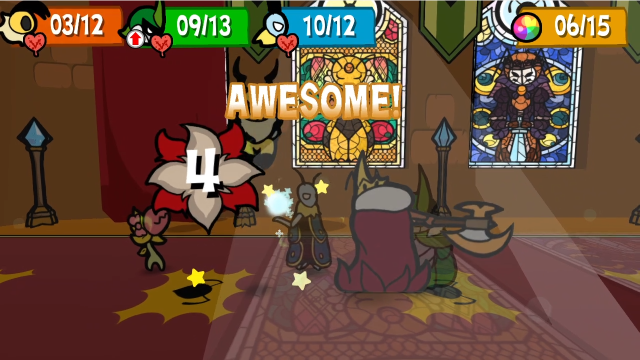 He seems really intent on going after Vi, doesn't he? This time, I managed to get the Super Block at least. 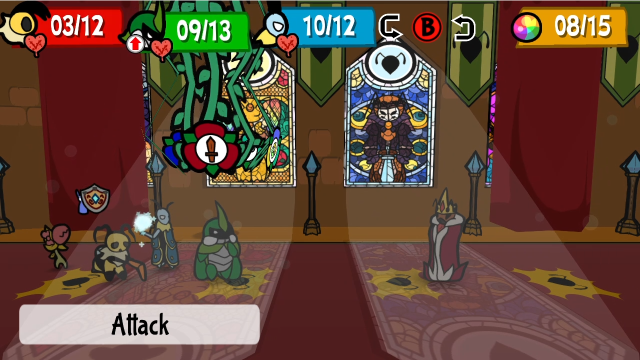 I suppose we have no choice but to keep going. 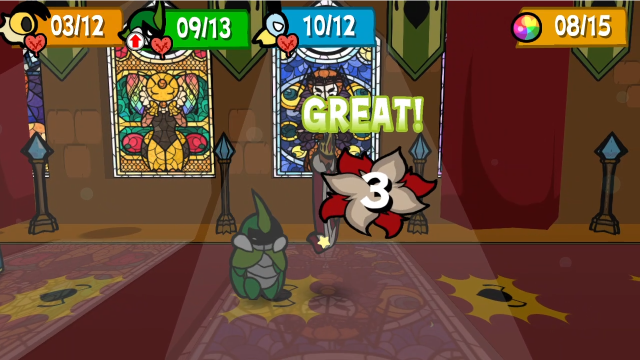 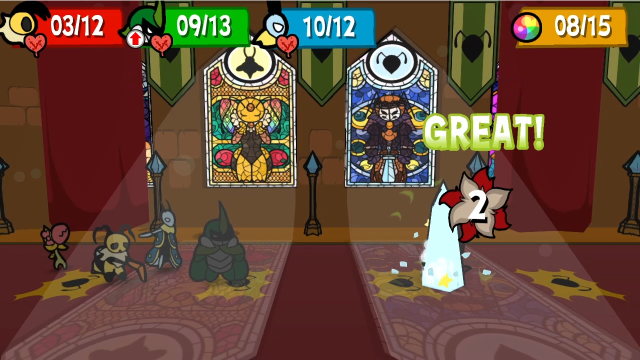 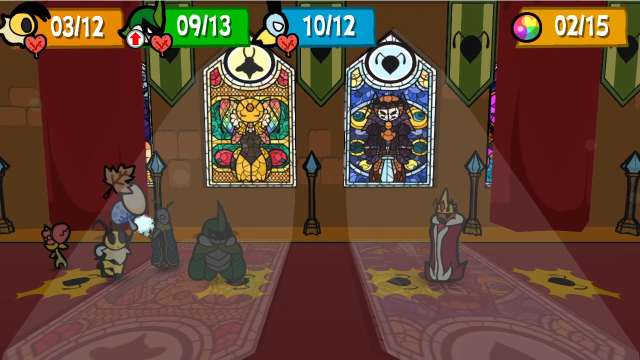  Vi was getting dangerously low, and everyone else was missing a bit of HP, so maybe a Sharing Stash will help us last a bit longer. 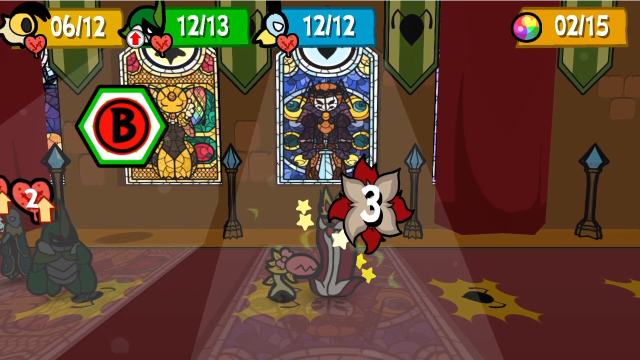 Chompy keeps helping. 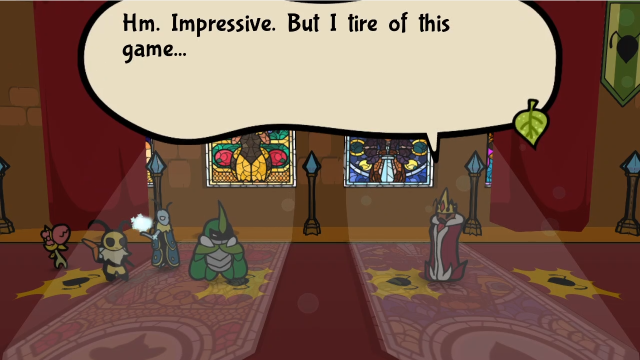 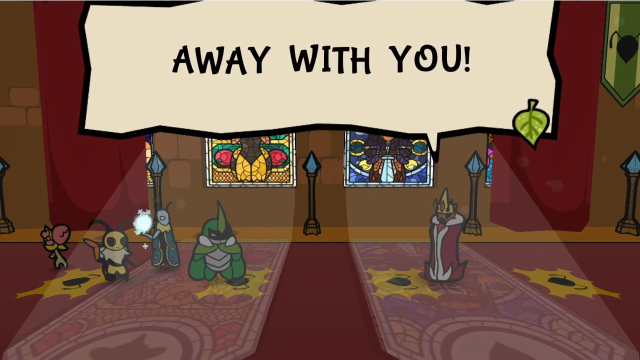  Oh. Well. He has fire magic. There isn't very much we can do about that, is there. (This fight is, of course, unwinnable, as you may have expected from the fact we were unable to spy; in fact, even wearing the Spy Specs medal here will fail to reveal his HP. The fire spell goes through any means we have to defend against it, and always ends the fight. Prior to this, he has 999 HP and 999% resistance to all negative status conditions. There is no way to put out enough damage legitimately to have any hope of getting through that; I don't know what happens if you mod the game to make that possible, but I strongly suspect he's just scripted to stop taking damage if he gets too low, the game's done that in other scripted fights.)   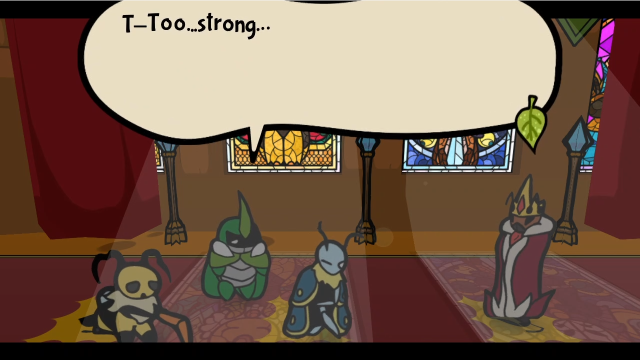 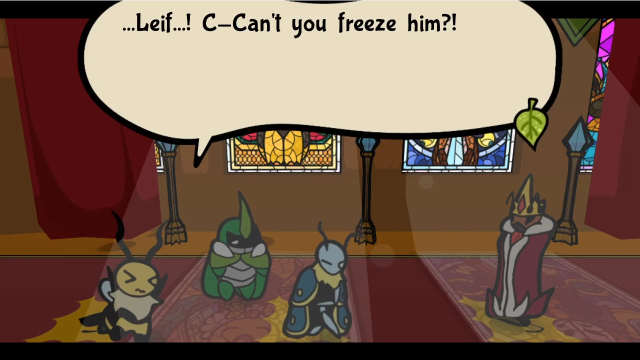 He's... too powerful. He's... too powerful. If things hadn't already, they've certainly gone from bad to worse now. 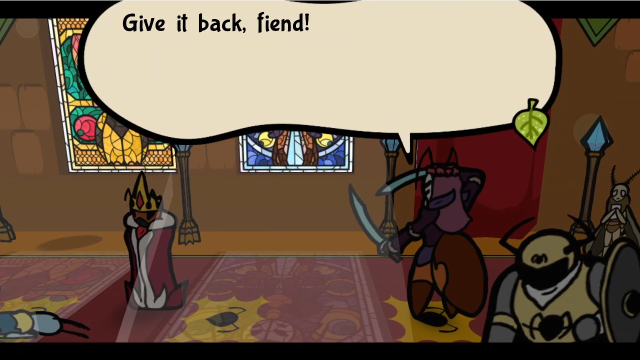 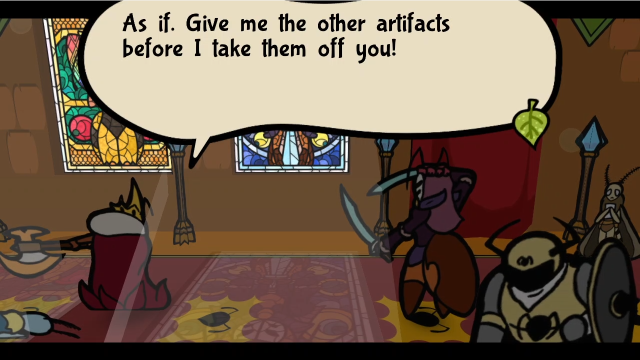  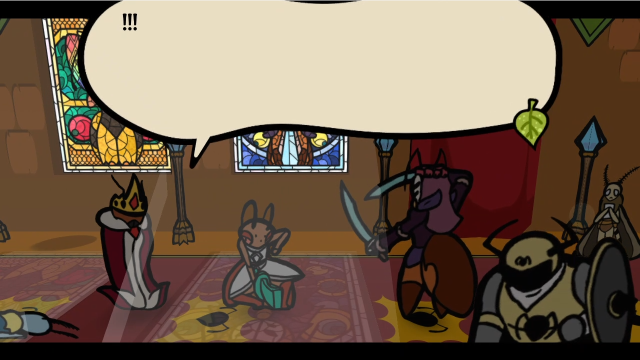 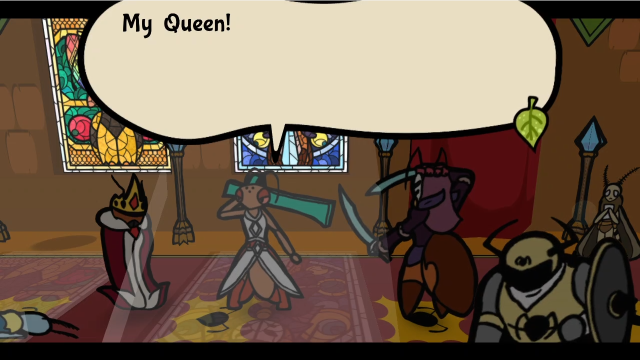 Maki! You are LATE! Maki! You are LATE! Forgive me, Your Majesty. It seems my mission took way longer than expected. ...Hmph. At least I managed to snag one artifact. Forgive me, Your Majesty. It seems my mission took way longer than expected. ...Hmph. At least I managed to snag one artifact.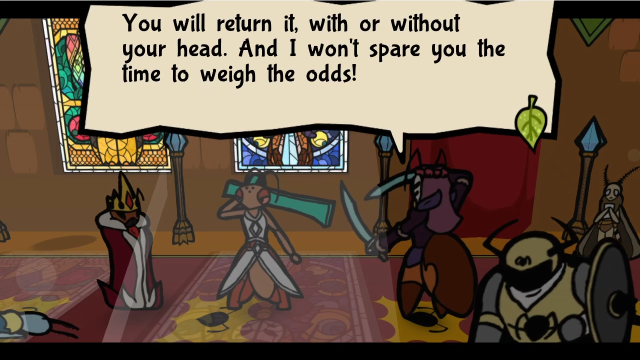 Taunt as you may. You cannot stop me! Take care of your vault, you pathetic Ant. I'll come for it soon enough. Taunt as you may. You cannot stop me! Take care of your vault, you pathetic Ant. I'll come for it soon enough.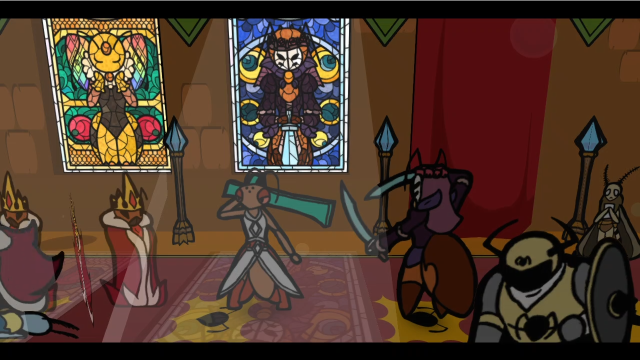 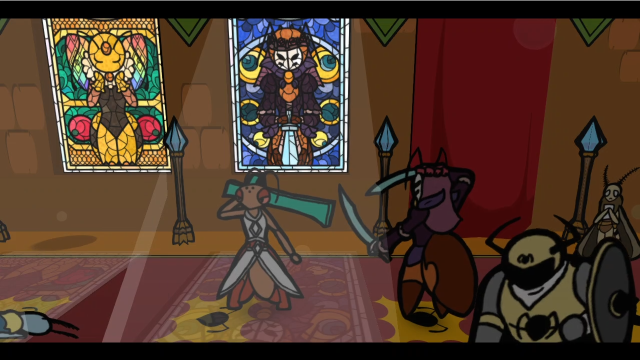 He turns very quickly and flees. 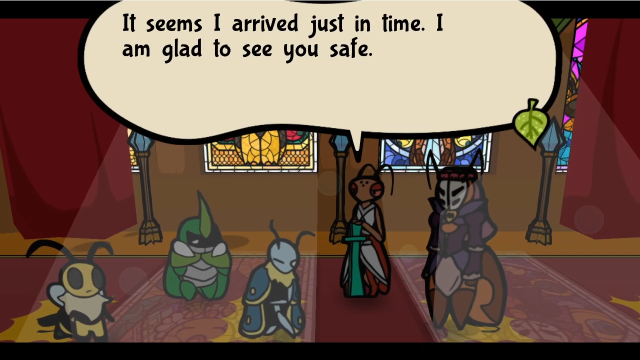 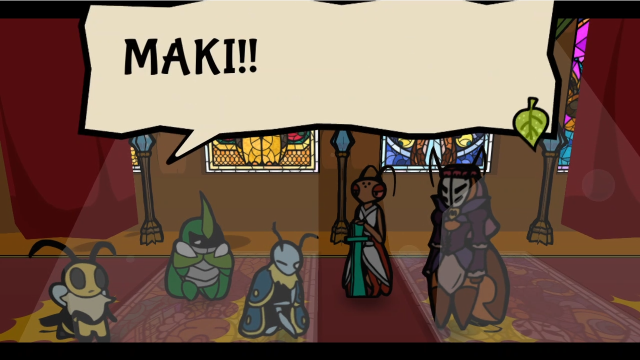 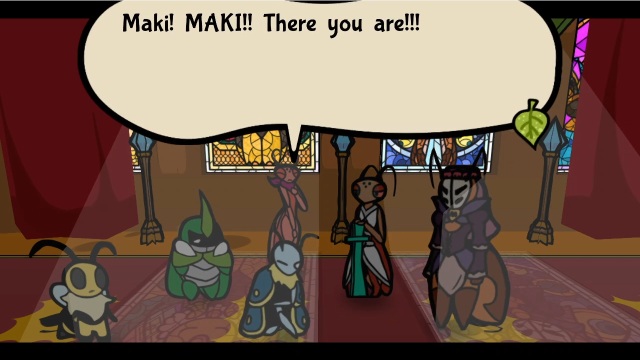  Are you safe?! What happened?! I got sidetracked. Thankfully it seems everything is resolved. Thankfully? Your delay nearly ruined us! There are no words to apologize for my fault. I-It wasn't your fault, Maki... Are you safe?! What happened?! I got sidetracked. Thankfully it seems everything is resolved. Thankfully? Your delay nearly ruined us! There are no words to apologize for my fault. I-It wasn't your fault, Maki...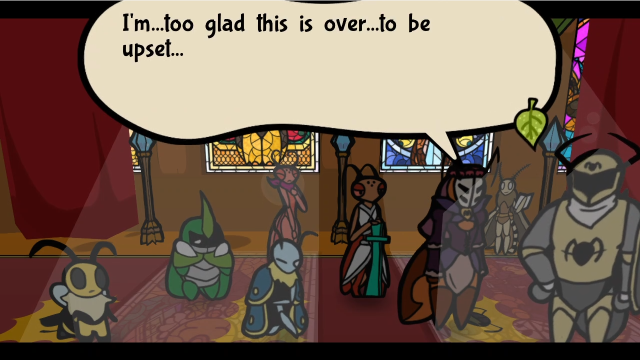 (If the speech bubble here is unclear, Neolith is the one who said this.) Thank you, Maki. We truly owe you one. Thought that was it for a while... This is NOT over, Zaryant. That lowlife has taken the artifact. Indeed. We're at fault as well... W-What matters is we're all okay. W-What matters is we're all okay. We still hold the others. Should we rush into this? We could- We still hold the others. Should we rush into this? We could-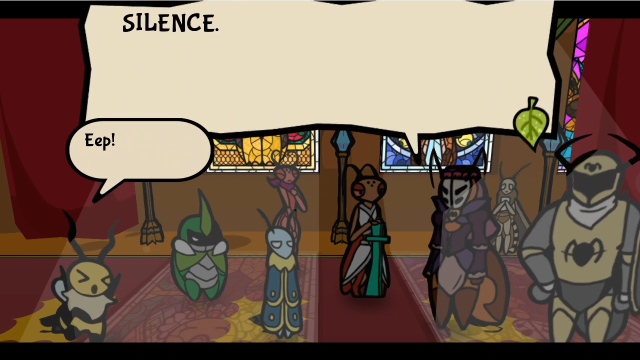 M-My Queen... W-What's the rush anyways? That artifact is the other half of the Ancient Key. Do you not remember where its partner was procured from? ...! The Honey Factory's core! Then that half has incredible energy! Would they even know how to, um, harness it? We cannot afford to find out. You must pursue. They have surely gone north, back to the Far Grasslands. M-My Queen... W-What's the rush anyways? That artifact is the other half of the Ancient Key. Do you not remember where its partner was procured from? ...! The Honey Factory's core! Then that half has incredible energy! Would they even know how to, um, harness it? We cannot afford to find out. You must pursue. They have surely gone north, back to the Far Grasslands. Woah. Take it easy. I take it there are no objections? Woah. Take it easy. I take it there are no objections? The border is east of Defiant Root, so our tunnels should let us catch up. Can we win, however? That magic was really strong... Almost burnt my fur! We'll accompany them, my Queen. Together we should be more than a match. The border is east of Defiant Root, so our tunnels should let us catch up. Can we win, however? That magic was really strong... Almost burnt my fur! We'll accompany them, my Queen. Together we should be more than a match. I'll, ngh... work with the others to bring the town to normal. You'll need some war funds, right? ...I've got this on me. Please take it. I'll, ngh... work with the others to bring the town to normal. You'll need some war funds, right? ...I've got this on me. Please take it. Looks like it's settled. We'll prepare to move out. Go, Team Maki. Team Snakemouth. Retrieve the artifact with haste! Looks like it's settled. We'll prepare to move out. Go, Team Maki. Team Snakemouth. Retrieve the artifact with haste! (Something's absolutely up with Kabbu here, his responses are definitely a bit off... still, we have our mission!) 54 - Chapter 5: The Far Grasslands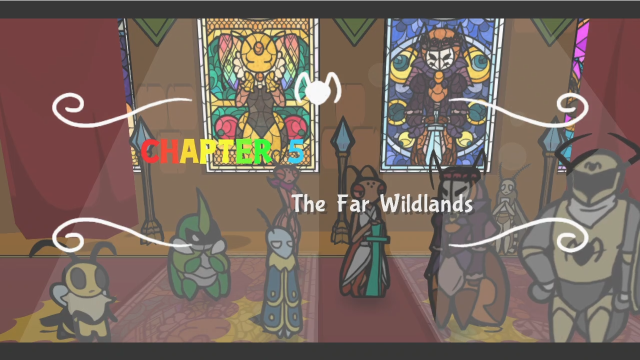 With that, Chapter 5 has officially begun! 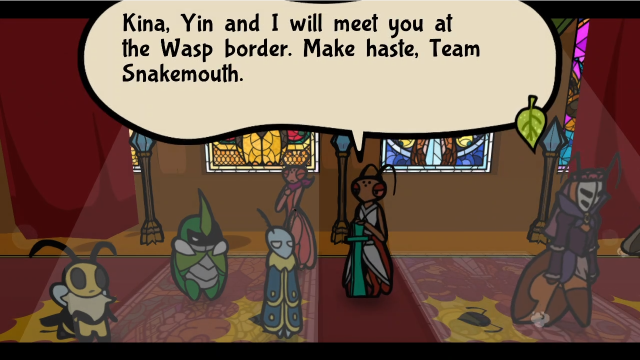 ...Oh! Uhm, who is this Yin? I have not heard this name before... Sigh. Long story. Let's do this mission first, okay? ...Oh! Uhm, who is this Yin? I have not heard this name before... Sigh. Long story. Let's do this mission first, okay?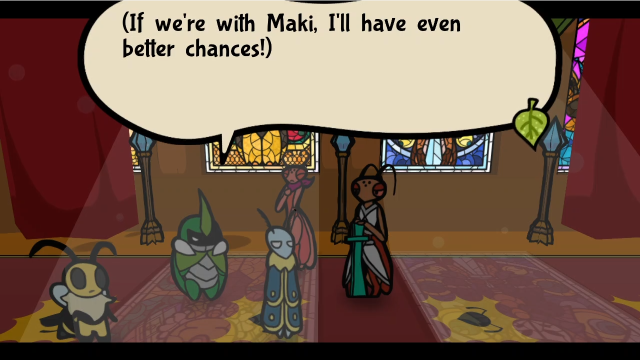 Oi, Kabbu. Are you okay? You'd normally be telling us to be careful and stuff. I...I don't want to speak of it yet. Give me some time to think... Are you done chatting? Don't keep Maki waiting! Oi, Kabbu. Are you okay? You'd normally be telling us to be careful and stuff. I...I don't want to speak of it yet. Give me some time to think... Are you done chatting? Don't keep Maki waiting!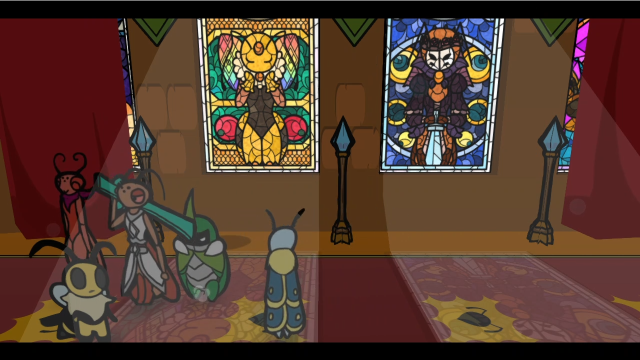 They leave. (Unfortunately, sidequests exist, so we probably are going to be keeping Maki waiting... let's hope we don't make Kina too mad.) 18 - In the Court of the Ant Queen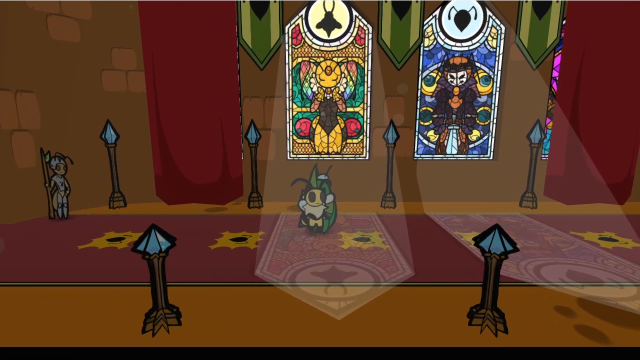 We finally regain control, and the normal background music resumes. This is certainly a situation we've found ourselves in! We may have found the artifact, but it's been taken from us, so we still don't have the full set and we have no idea what the Wasp King plans to do with it. 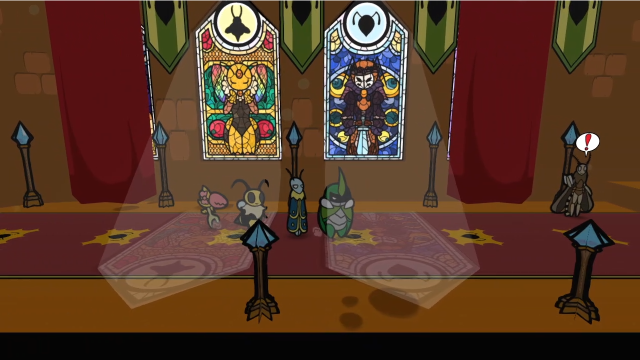 Let's have a look around. First things first, it seems like Neolith wants to talk to us... 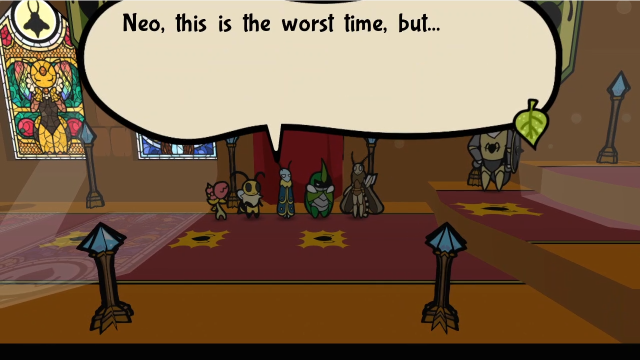 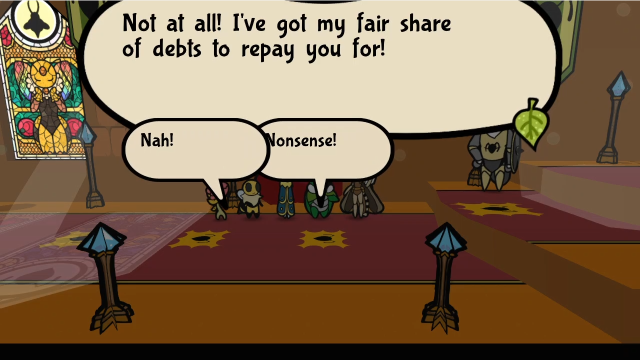 Would you know anything about this? It's a stone we found in the desert. Would you know anything about this? It's a stone we found in the desert. This is an ancient Roach power source! It's always the Roaches, isn't it? Where exactly did you find this? I thought I'd never see one! We procured it from the castle in the Lost Sands. Could that hold any meaning? Weird. Really? My research points to this being the key to an ancient lab. They say it's somewhere in Snakemouth Den, but no one's found it. This is an ancient Roach power source! It's always the Roaches, isn't it? Where exactly did you find this? I thought I'd never see one! We procured it from the castle in the Lost Sands. Could that hold any meaning? Weird. Really? My research points to this being the key to an ancient lab. They say it's somewhere in Snakemouth Den, but no one's found it. Leif, you were right! This has to be... A super clue to your weird stuff! Thank you, Neo. We'll check it out when we can. Leif, you were right! This has to be... A super clue to your weird stuff! Thank you, Neo. We'll check it out when we can. Well, that definitely seems like a concrete lead. 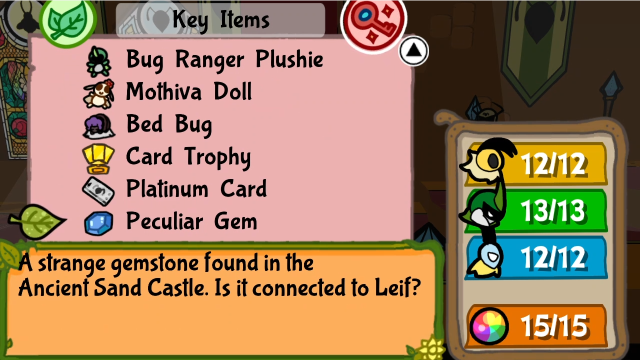 The gem we found is in our Key Items inventory, and we'll no doubt have to find a place where it goes somewhere in Snakemouth. We'll need to investigate soon.  If we talk to Neolith again, this is all he has to say. Let's keep looking around. 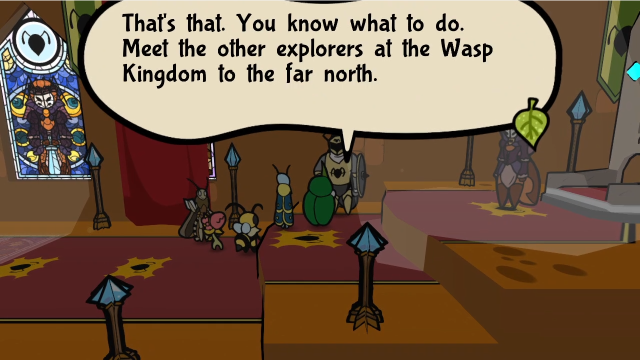 ...I wish you the best of luck. ...I wish you the best of luck.If we talk to Zaryant, she'll just tell us to get on with the mission. The Queen isn't interested in any further conversation, either.  The guard by the entrance wishes us luck, though. Let's head out and check out the rest of the town. That'll have to wait until the next post, though, because I've run into the character limit again (it's been a while!). Back momentarily. Explopyro fucked around with this message at 19:40 on Oct 20, 2021 |
|
#
?
Oct 20, 2021 05:07
|
|
|
44: Bug is Weak to Fire (Part 2) As we head back into the palace lobby, we can see the Ants have already made a lot of progress cleaning things up! The rubble is gone and we can access all the usual areas again. Let's make a quick stop in the library. 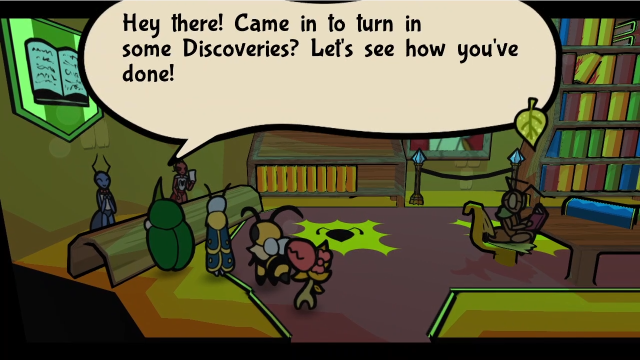 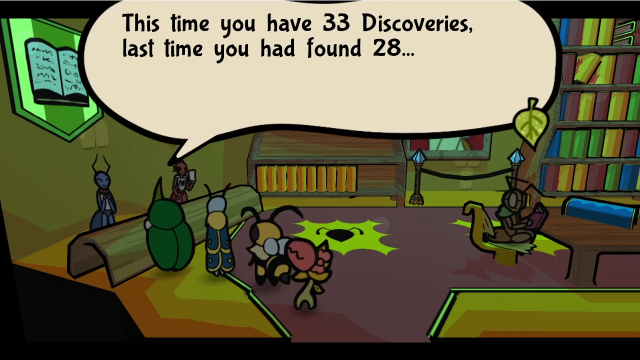  Looks like you have enough for the next reward tier! Here you go! Looks like you have enough for the next reward tier! Here you go!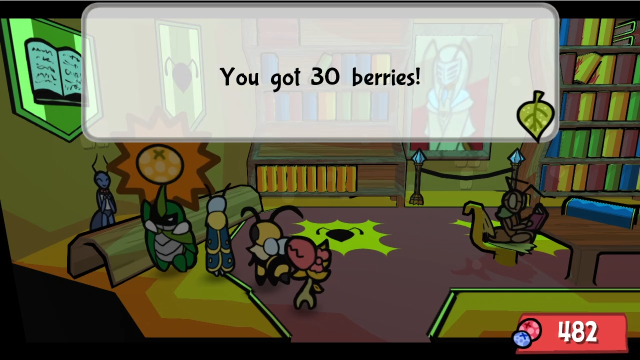 That seems to be all for now! Come back once you have found more Discoveries! That seems to be all for now! Come back once you have found more Discoveries!After everything we've been through, we've found enough discoveries for the next reward tier. They're back to being underwhelming, though I guess berries is better than nothing. Let's head back.   That's Ant Efficiency for you! That's Ant Efficiency for you!This miner gives us some commentary on how the rebuilding has been going.  Yet I feel they will return... We must prepare! At least Rebecca is safe. She doesn't even seem to have noticed what happened... Yet I feel they will return... We must prepare! At least Rebecca is safe. She doesn't even seem to have noticed what happened...Oh good, she's definitely looking better. Just how long were we in the throne room? We're going to have to talk to Rebecca now, though... 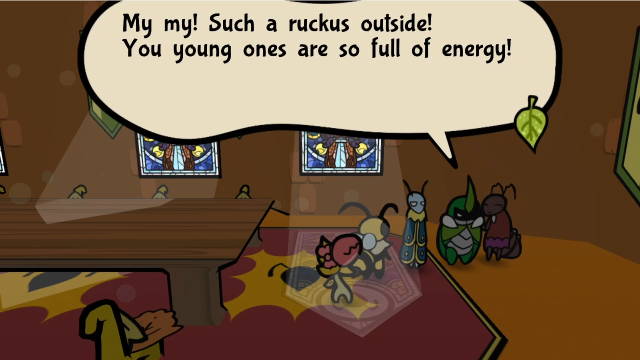 She didn't notice anything? There was a boulder blocking the entrance to her room! Let's head outside and check on the town. 17 - Ant Kingdom 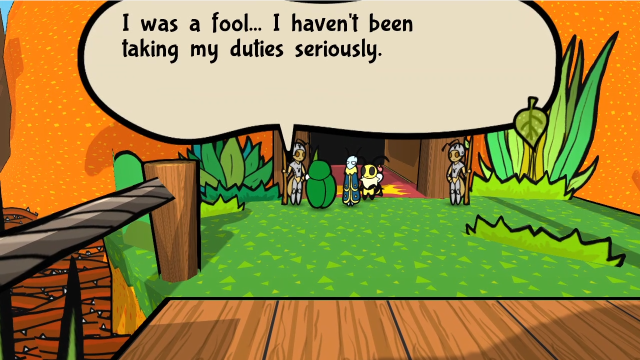 I'm so glad my friend wasn't harmed... I'm so glad my friend wasn't harmed...This guard seems to have had some kind of epiphany in the aftermath. (The other one doesn't have any new dialogue.) 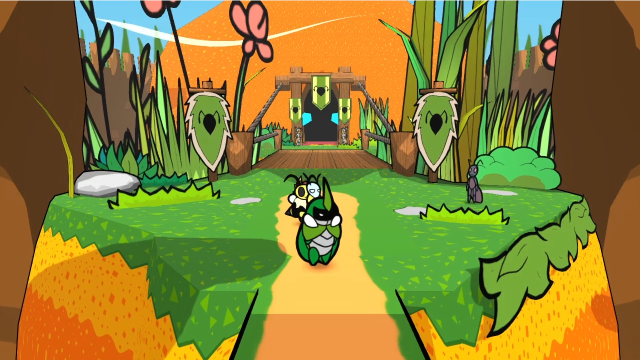 There's nothing else to see here by the bridge. 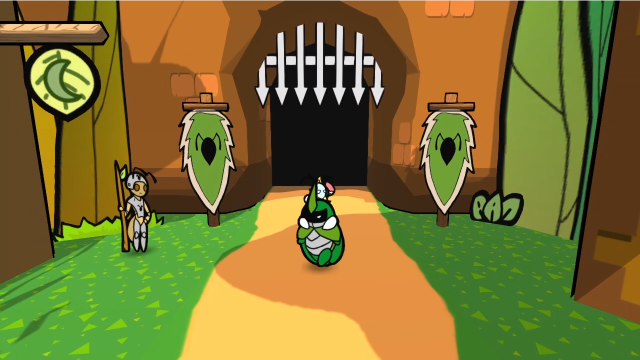 The plaza's looking a bit better now too. 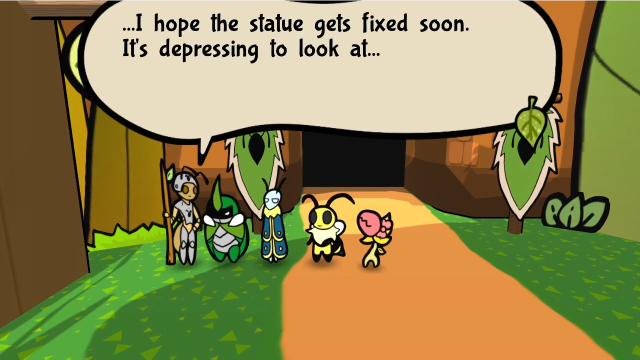 Though, clearly, not all of the damage has been repaired yet.  The first thing we see is Utter trying to get our attention again, meaning there are new sidequests to be had! Let's see. 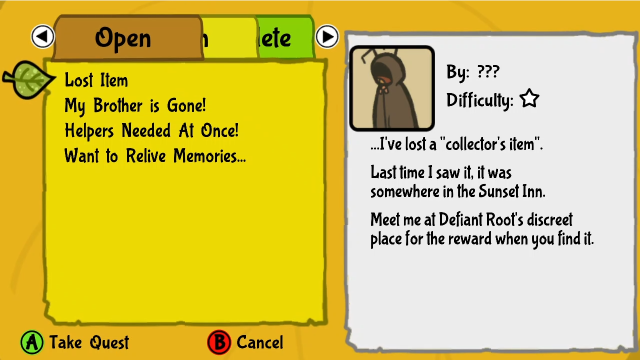  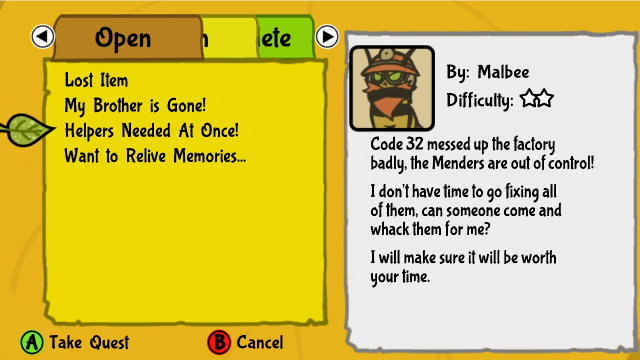 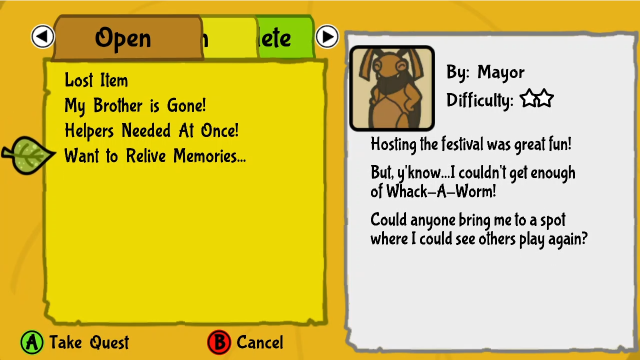 Four new sidequests for us! These seem like pretty straightforward ones, we'll definitely add them to the to-do list. (Incidentally, "Lost Item" actually becomes available as soon as you defeat Dune Scorpion; we could have done that one last chapter if we'd wanted to, but the others are all new for Chapter 5.) We'll accept them all. 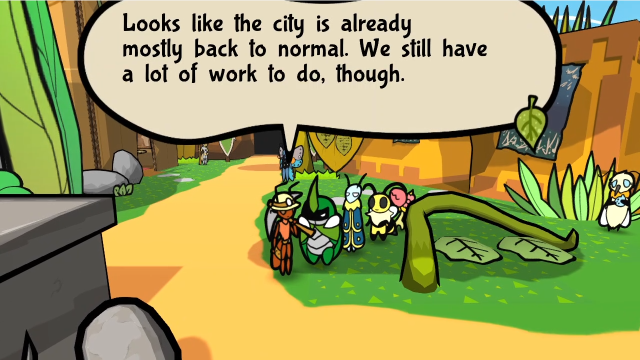 There's another worker ant hanging out in the plaza now.  Janet also has new dialogue, contingent on us having faced her in the Spy Cards tournament (I could probably have seen this earlier, if I'd remembered to talk to her). There's also a new banter: Janet's power was not something we anticipated. She's gotta be mad rich to get to the tournament, too... Even the most humble looking can hide such surprises!If we hadn't finished the tournament yet, we'd get different dialogue from her, more appropriate to the current situation.   I should've moved near the Golden Path Tunnel, like that hermit... I should've moved near the Golden Path Tunnel, like that hermit...This is interesting. That's actually a hint for something hidden, though we can't look into it just yet. 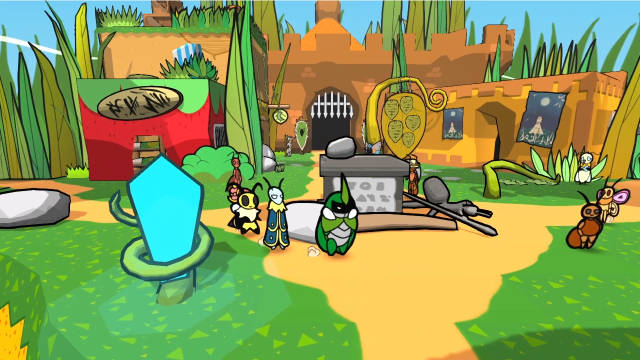 From this side, we can get a better look at the destroyed statue. This does actually have a minor gameplay inconvenience: if we hadn't previously gotten the Discovery for inspecting it, it would be temporarily unavailable and we'd have to wait to get it until the statue is repaired. Let's have a look around the town and see if anyone else has new dialogue. 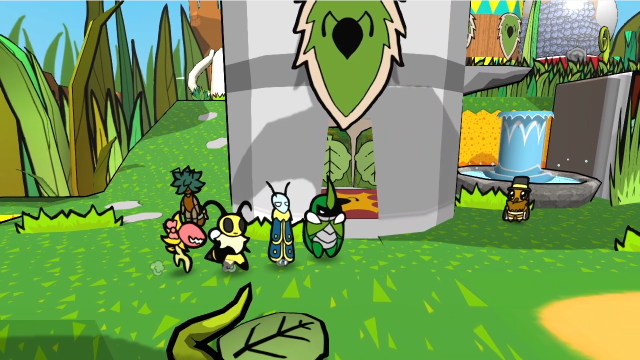 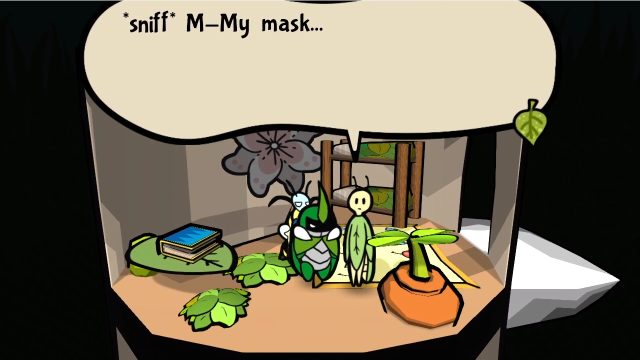 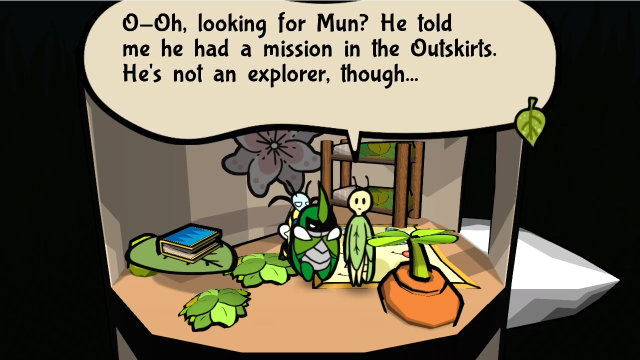 Put a pin in this, this sounds like something we'll have to investigate. There's also a new banter for maskless Eophi: Ah, the mask really helped him look cooler. He must've lost it! Or someone stole it! Oooor he just wanted to try a new look? That's impossible! You should know better than to doubt Kabbu's nag sensor by now, Vi...Heh. 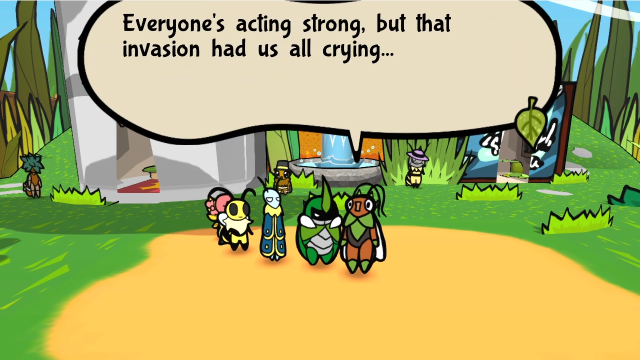 This person gives us some insight into how the populace are handling this overall. 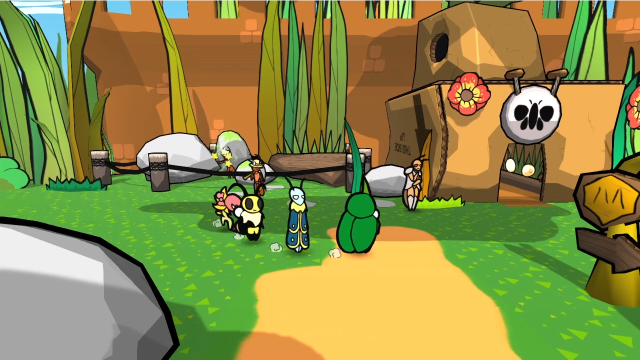 In the commercial district, there's a bit more to see too. 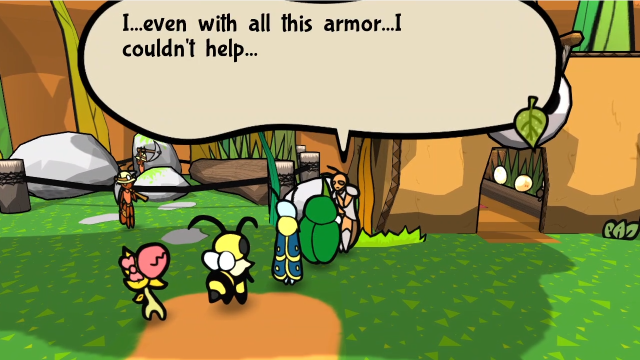 Oof. Poor Seedling Slayer. She also gets a new banter: We're not about to kick an Ant when she's down... Yeah. At least she tried to help... (I-I'm so proud!)This is cute. 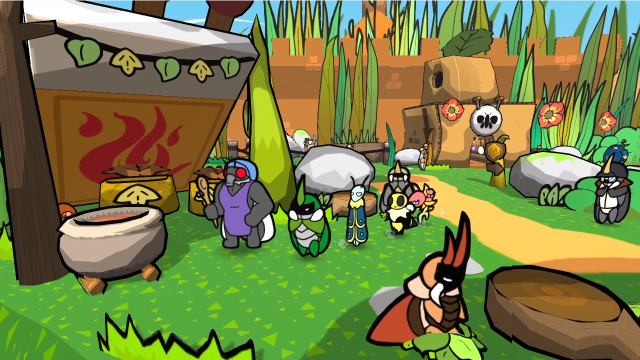 Heading south, Fry's back in business once more. Also, do I see...? 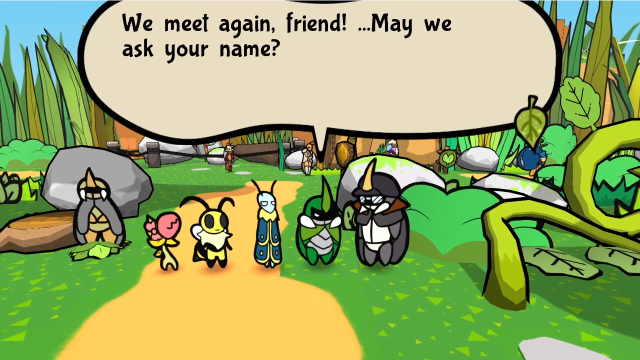  Oh, hey there. It's Kenny. You're Vi, Kabbu and Leif, correct? Heheh. Word gets around! We're surprised it took you this long to reach the Ant Kingdom. It's quite cozy, and bustling. Many cultures come together here. But before you ask, I don't think I'll stay here either. It's a long search, huh. Everywhere I've been to is wonderful, I just wish to see more. Well, let's meet up again later! Oh, hey there. It's Kenny. You're Vi, Kabbu and Leif, correct? Heheh. Word gets around! We're surprised it took you this long to reach the Ant Kingdom. It's quite cozy, and bustling. Many cultures come together here. But before you ask, I don't think I'll stay here either. It's a long search, huh. Everywhere I've been to is wonderful, I just wish to see more. Well, let's meet up again later!This feels a bit incongruous given we've just had the invasion, I have to say. Maybe he was here before that?  If we talk to him again, he gets very pensive.  As befits a new chapter, Merab has some new medals in stock! Looks like only two this time around, though.  That sounds interesting. We've got the berries, so let's just buy both of them.   Let's take a closer look. 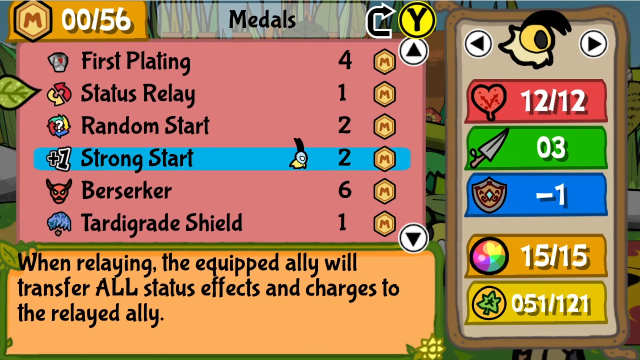  Speaking of medals, let's go see what Shades has gotten in. 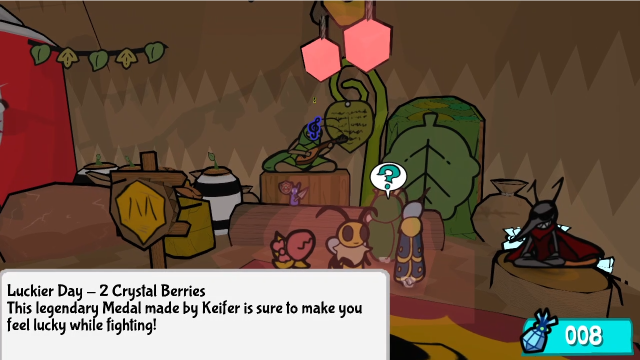 Well, he definitely has new stock. Though we only have 8 Crystal Berries left, so we probably can't afford very much of it. Let's see the full list: There are some interesting things here! An extra copy of Poison Attacker is definitely powerful (they stack exactly the way you'd expect), and Defense Exchange is a new medal to us but you can probably guess what it does (it's 5 MP and gives +1 defence but -1 attack, exactly mirroring Power Exchange). These are both really good medals, and we could do a lot with either. And, of course, we have With 8 Crystal Berries, we can't buy everything, but we could certainly get one or two. Please vote in the thread for what I should buy. I have a feeling I'll be getting Luckier Day regardless (as there was plenty of interest when I mistakenly thought we could buy it earlier), but we can definitely get something else in addition to it. 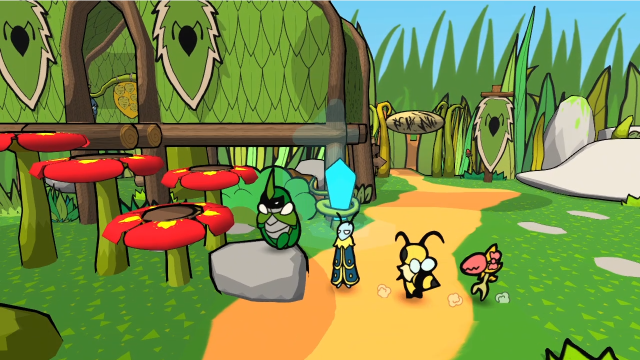 Speaking of medals, let's go see Artis.    Hmm! Good job, folks! You defeated that hardened Dune Scorpion! Was it too challenging for ya? You deserve a reward. Here, take this! Hmm! Good job, folks! You defeated that hardened Dune Scorpion! Was it too challenging for ya? You deserve a reward. Here, take this! Oh ho! You've been on a roll! Beat The Watcher too, eh? Here, take this as well! Oh ho! You've been on a roll! Beat The Watcher too, eh? Here, take this as well! Come back later when you've bonked some extra hard heads with that Medal, will ya? Come back later when you've bonked some extra hard heads with that Medal, will ya?Ooh boy. I usually transition from Favorite One to Hard Charge and never look back, at least when I'm going for offence (this thing is an absolute mainstay of glass-cannon builds). I will probably be more sparing with use of this medal in the LP, because it kills things too quickly and isn't conducive to being able to show off the bosses well. But rest assured, you will see shenanigans with this at some point. Using this well is very satisfying. Let's have a bit more of a look around. 06 - Outskirts Everything in the Outskirts is pretty much back to normal now. The ants certainly rebuild quickly!  Before we end today's update, let's just take a quick look outside town here.  Wait, is that Mun being held up by some bandits? Let's get a closer look. 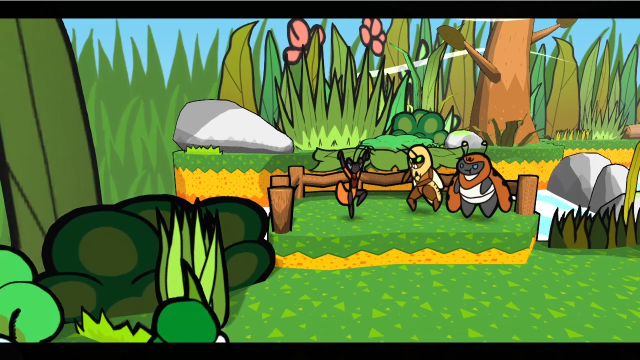 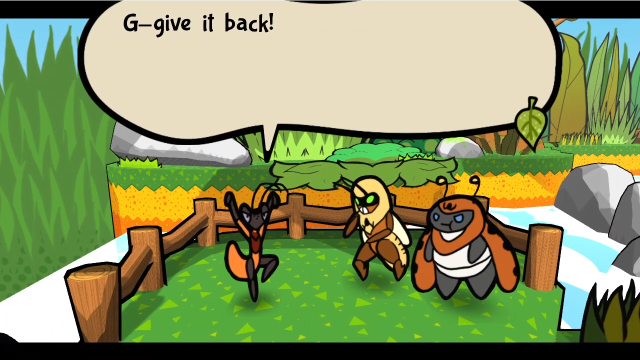  Huh, punk!? Huh, punk!? E-Eophi's mask! The leaf mask you stole! E-Eophi's mask! The leaf mask you stole! Pfft. We put that in the vault LONG ago. Even if we didn't, we're not gonna give it back! Yeah, punk. What ya gonna do about it, HUH? I... I... I'll beat you up! I'll really do it! HAHAHAHAHA!!! You're gonna fight us, punk!? Gonna hit us with your shaking legs? You ain't getting that mask back, worm. Just forget about it! Pfft. We put that in the vault LONG ago. Even if we didn't, we're not gonna give it back! Yeah, punk. What ya gonna do about it, HUH? I... I... I'll beat you up! I'll really do it! HAHAHAHAHA!!! You're gonna fight us, punk!? Gonna hit us with your shaking legs? You ain't getting that mask back, worm. Just forget about it!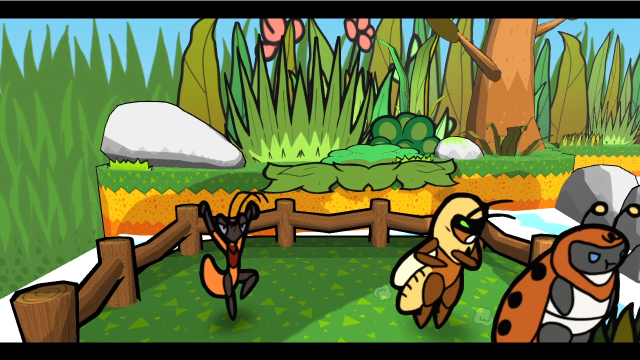 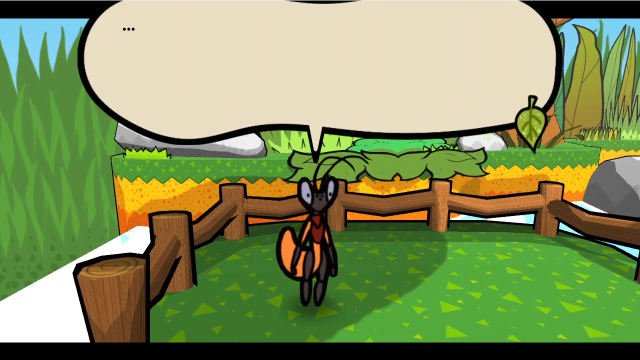   I'll never get back his mask like this... I... I'm gonna have to ask for help! I'll never get back his mask like this... I... I'm gonna have to ask for help! And Mun leaves, walking right past us. (It's good to have a reminder that, for all Astotheles had his honourable side, the bandits are still not exactly good people. They might be largely reconciled with us, but they're still going around harming ordinary citizens like this.)  That was weird, wasn't it? What could that possibly mean?  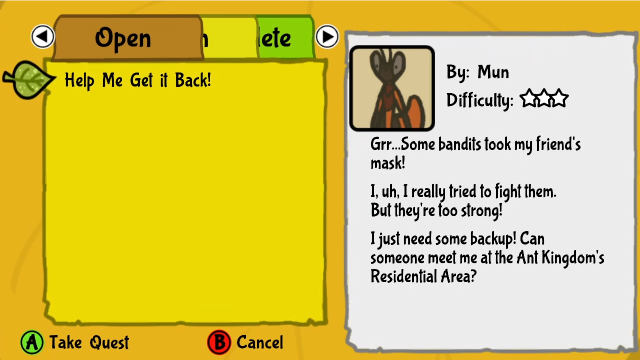 Well, if we check the quest board, we'll find he's posted one for us. That's what he meant by asking for help. Let's add it to the list. This seems like a good place to leave things for today. It's a new chapter, and that means we've got loads of things to do! Next time, we'll get started on all these sidequests that have started piling up. Things have certainly gotten a lot more serious now though, haven't they? We certainly weren't expecting to be invaded by a hostile nation while we were off treasure hunting...
|
|
#
?
Oct 20, 2021 05:08
|
|
|
Luckier Day.
|
|
#
?
Oct 20, 2021 18:15
|
|

|
Get the two poison medals
|
|
#
?
Oct 20, 2021 18:59
|
|


|
Luckier day, of course!
|
|
#
?
Oct 20, 2021 19:07
|
|
|
FYI, if anyone read this and was very confused by the conversation with Neolith near the end of part 1, well, oops. A screenshot was missing and that made the rest of them align badly with the text, so a bunch of lines were out of order. Sorry about that, I have fixed it now.
|
|
#
?
Oct 20, 2021 19:50
|
|
|
I think when I first did this section I was getting pity EXP from the wasps so I didn't bother fighting them after a point because they're pretty tough, still, for normal enemies, and I didn't want to waste too many resources, not that it ends up mattering by the end. Stuff is about to start getting pretty interesting from here though.
|
|
#
?
Oct 20, 2021 20:16
|
|

|
We need that ubeelievable power! Oh, and poison attacker #2, I guess.
|
|
#
?
Oct 20, 2021 23:28
|
|

|
Luckiest Day and Poison Touch.
|
|
#
?
Oct 21, 2021 00:44
|
|

|
EXP Booster and Poison Attacker
|
|
#
?
Oct 21, 2021 02:20
|
|
|
Design Interlude: Hopeless Boss Fights Sometimes, a game developer decides that, for the sake of the plot they want to write, it's important that the player characters lose a fight. Whether it's to give the characters a darkest-hour crisis to build back from, to establish the threat level of a villain, or even to preview exciting mechanics from later in the game, there are plenty of valid reasons to do this. There's at least one major philosophy of fiction writing that essentially boils down to "create characters you like, then make awful things happen to them and see how they respond", and there isn't necessarily any reason why this can't apply to a video game. (Although I'm not always convinced it's the best idea, I understand why it's tempting.) So, enter the Hopeless Boss Fight. This is when, often quite sensibly, the designers decide to have that loss conveyed through the game's combat mechanics. There are mixed opinions on whether this is a good thing to do. On the positive, it increases the feeling of consistency, worldbuilding, etc when all fights in the game world use the game's mechanics. On the negative, players often feel like their agency and connection to their characters is being taken away. Furthermore, if it's not balanced well, it can create a serious disconnect between what's supposed to be happening in the story and what the player experiences: e.g., the player thinks "I could totally win this if the game weren't cheating" (especially problematic in games with action mechanics where a sufficiently skilled player can just dodge forever). The real issue there, I think, is that it breaks the story's verisimilitude and makes the constructedness of the narrative impossible to ignore. There's also a potential inverse downside. As a kid, I got used to hopeless boss fights not being well telegraphed, and so sometimes I'd encounter a difficulty spike in a game and just assume I was supposed to lose. This isn't something game designers can really plan around fixing, just a weird meta issue that emerged from games I grew up playing, but I think it serves to highlight how important it can be to communicate the intent clearly with something like this. If the player's first reaction to a challenging fight is "I should deliberately lose first, just to check if the game actually wants me to win", that's also a design failure.  Also, sometimes games make it possible to win them, but then railroad things back on track afterward anyway. I tend to think of this as more of an easter-egg/repeat playthrough bonus than anything else, especially when in many of those cases it requires level-grinding to a point that will trivialise the rest of the game that follows. It's a nice touch when it's possible, but I'm not actually convinced that's necessarily better design. I could go through an endless list of specific examples from various games and the ways they succeed or (more often) fail, but if I started we'd be here all day and I'm not convinced that would be particularly useful. I don't think hopeless boss fights are a tool developers should never use, but it's definitely one that needs to be deployed carefully and with forethought. Among other things, I generally think it's very important to communicate what's going on to the player, so they know whether and how to approach it as a challenge. As such, I think there's actually some pretty clever design behind Bug Fables' first encounter with the Wasp King, and I want to unpack it a bit. A lot of that cleverness has to do with the fact that the fight only goes on for three turns, and the way that structures what happens and how the player can interact with it. It's also, crucially, not long enough for the player to get too deep into any strategy. They will have barely started feeling things out, so there's no feeling of lost progress and/or wasted effort when the fight ends. The structure of the Wasp King's attacks over those turns also guarantees that the player will not lose until the prescribed time. His first two attacks are single-target hits, and he always does the big fire spell on turn three. He's also status-immune, so nothing the player does can interrupt this sequence. This means that even if you come in with everyone on low (or even 1) HP and he KOs a bug each turn, the fight is incapable of ending prematurely. The devs don't need to figure out what happens if the player does something unusual because the very structure guarantees it's all irrelevant, and they've done it without restricting the player's abilities in a way they'll notice. 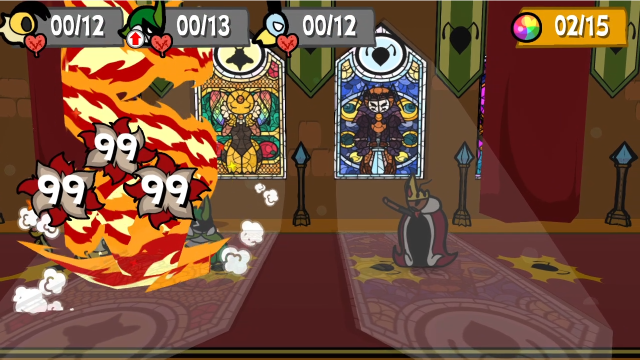 And then, when it does come, the fire cyclone does 99 damage and pierces all defences. The most HP a player character could possibly have at the time is 49 (explanation below under spoiler tags), and they will probably have significantly less. This very clearly telegraphs that the player is not supposed to try to survive it with how far beyond their capabilities it is. Assume the player grinds to the level cap of 27. Additionally, there are two relevant level-up bonuses: +1 HP to each member at 21, and +3 MP at 27. Put 2 further levels in MP (enough to equip every HP Plus medal) and the rest in HP. 9 (Kabbu's starting HP) + 12 (6x HP Plus) + 24 (1 HP per level-up) + 3 (Heart Berries) + 1 (Rank 21 bonus) = 49 maximum HP. And then, of course, on top of this we have the fact that the game trains us to spy on every enemy, and removes that capability here. The last time we saw that option disabled was in the scripted fights against Spuder in Chapter 1, where we were supposed to do something else. It's not a blaring sign saying "THIS FIGHT IS HOPELESS, JUST LOSE" (well, okay, it probably is if you're sufficiently familiar with the trope), but it's definitely an indication that something different is happening. It's certainly enough to ensure that, once the fight does end, the player can look back and conclude "that was obviously supposed to happen, I shouldn't go back and try to win". This all combines very nicely to create a hopeless boss fight that communicates exactly the things it needs to and serves its plot purpose, while being minimally inconvenient to the player. I have to say I think it's a very elegant and understated bit of design. Explopyro fucked around with this message at 05:02 on Oct 25, 2021 |
|
#
?
Oct 24, 2021 19:20
|
|
|
I personally hate hopeless boss fights, especially under two conditions (which often go hand in hand):
I blame my extreme dislike for them on the game MagiNation. I wasted a good week when I was a kid trying to get past what I thought was just a particularly hard boss fight, where a previously joke character was shown to be an actual threat and it seemed like I was making progress. And since the game had already trained me in what losing a fight meant I just immediately reset as soon as I lost, because I didn't need to sit through the Game Over screen. It was pure chance that I eventually decided to let it hit the Game Over screen rather than just continuing on for a bit longer and just giving up on the game. I still love the game but that moment sticks out as extremely lovely to me. senrath fucked around with this message at 20:09 on Oct 24, 2021 |
|
#
?
Oct 24, 2021 20:04
|
|


|
The thing I hate the most (it is more common in action games though) is the really hard boss fight. That you have to win (or survive a long time or whatever). And then the boss cutscene wipes the floor with you. So story-wise, it'd have been exactly the same if you'd just lost in the mechanical fight. The Wasp King here though, is a pretty good example of doing it well, I agree. Especially as... I don't think Poison damage will KO you? Otherwise you might be able to lose with the random buff medal, being on 1 hp, and bad rng.
|
|
#
?
Oct 24, 2021 20:34
|
|
|
Pretty much the most reliable signpost is having it happen at the beginning of the game or close to it. Not many resources to waste and seeing that HP bar barely budge is basically "oh." And generally not enough room to really think "is there any other possible solutions that can work?" Or basically nearly dropping the pretense and just killing you off the bat or show that you're literally dealing no damage if that kind of boss battle is deployed later in the game. Ocean Palace Lavos from Chrono Trigger comes to mind there, as that version of Lavos has inflated stats since the party's near the end of the game at that point, and can probably kill normal Lavos otherwise with enough preparations, so the inflated stats version is deployed to shock the player and move the story forward. Granted Lavos is the built up final boss all game so unexpectedly running into it earlier than the player intended is also probably another effective signpost there that the battle isn't meant to be won.
|
|
#
?
Oct 24, 2021 20:51
|
|

|
senrath posted:I personally hate hopeless boss fights, especially under two conditions (which often go hand in hand): The wasting of resources is definitely one of the bigger consequences of bad signposting where these fights are concerned. Admittedly, it's not always as bad because you can just reload a save or whatever, but that depends heavily on the structure of the saving system and how far the hopeless fight is from the last opportunity to save (which, in itself, could potentially be part of the signposting). And, as you say, it ultimately still frustrates the player and wastes their time. At this point in Bug Fables, the vast majority of consumables are at least easily replaceable, but I could still see someone getting annoyed if they did waste something expensive here (that said, I do think it's unlikely given how quickly the fight ends). senrath posted:I blame my extreme dislike for them on the game MagiNation. I wasted a good week when I was a kid trying to get past what I thought was just a particularly hard boss fight, where a previously joke character was shown to be an actual threat and it seemed like I was making progress. And since the game had already trained me in what losing a fight meant I just immediately reset as soon as I lost, because I didn't need to sit through the Game Over screen. It was pure chance that I eventually decided to let it hit the Game Over screen rather than just continuing on for a bit longer and just giving up on the game. I still love the game but that moment sticks out as extremely lovely to me. That's definitely something they need to be careful of. I can't remember the specific game where I ran into it (it wasn't Magi Nation, I haven't played that), but I've definitely been stymied by this exact thing before. Resetting once I know I'm losing but before the loss actually happens, or even just to avoid a long game over screen/animation/etc, and failing to realise that something different would happen if I kept going. Tylana posted:The thing I hate the most (it is more common in action games though) is the really hard boss fight. That you have to win (or survive a long time or whatever). And then the boss cutscene wipes the floor with you. So story-wise, it'd have been exactly the same if you'd just lost in the mechanical fight. Yeah, those are frustrating. The thing is, I suspect I can see what the devs are trying to go for by doing it this way. They want you to lose for the story beat, but they know many players dislike hopeless boss fights and figure they'll give you a real challenge and triumph beforehand, to try to make it less unpleasant? Except instead it feels like they've just arbitrarily ripped your victory away (or robbed it of meaning) because reasons, and that feels even worse. Tylana posted:The Wasp King here though, is a pretty good example of doing it well, I agree. Especially as... I don't think Poison damage will KO you? Otherwise you might be able to lose with the random buff medal, being on 1 hp, and bad rng. That is correct, poison damage never kills in Bug Fables (other types of indirect damage work this way too, we've seen it with the Spiky Bod and Frostbite medals), it just leaves them on 1 HP. You can't lose this fight even by poisoning yourself. Araxxor posted:Pretty much the most reliable signpost is having it happen at the beginning of the game or close to it. Not many resources to waste and seeing that HP bar barely budge is basically "oh." And generally not enough room to really think "is there any other possible solutions that can work?" This is also definitely a good point. The most egregious examples always seem to come later in the game; if I had to try to assert a general principle, I think it's very risky to deploy a hopeless fight much past the halfway point of the game. Araxxor posted:Or basically nearly dropping the pretense and just killing you off the bat or show that you're literally dealing no damage if that kind of boss battle is deployed later in the game. Ocean Palace Lavos from Chrono Trigger comes to mind there, as that version of Lavos has inflated stats since the party's near the end of the game at that point, and can probably kill normal Lavos otherwise with enough preparations, so the inflated stats version is deployed to shock the player and move the story forward. Granted Lavos is the built up final boss all game so unexpectedly running into it earlier than the player intended is also probably another effective signpost there that the battle isn't meant to be won. This also works, yes. Sufficient exaggeration of the numbers is often effective as signposting, though then sometimes that just creates other questions as to why the thing is depowered when you're fighting it for real later on. Of course many games do answer that (or try to), but regardless it's often a place where plot holes creep in. (Now that I'm doing comment replies instead of a post that'll go into the LP archive, I'll share a couple of aggravating examples that stuck with me.) Skies of Arcadia is one of my favourite RPGs, but it really doesn't do this well at all. Most egregiously, there's the fight with Ramirez after he invades Crescent Island. At that point, the player has the capability to deal with anything he does to threaten them (thanks in part to Delta Shield being overpowered, but still), and can more or less indefinitely out-heal the damage he does. The only clue that it's supposed to be a forced loss is the fact that his HP never drops, but he also basically can't defeat you unless you let him (so better hope you didn't waste too many healing items etc before catching on, I guess). There are a few other times the game ends up using hopeless boss fights, but they're avoidable (usually by choosing correct dialogue options), but this last one is handled differently (IIRC, the "correct" dialogue option is to choose to fight, then lose). And to make matters worse, this is pretty late in the game, and not very far from the time you fight him for real (he has a barely changed moveset, and the player hasn't gotten any new abilities), so it just feels very arbitrary that you can't win. I think probably the most egregious one I've personally seen, though, was in the fangame Mega Man Unlimited. It was attempting to bridge the gap between Classic and X/Zero timelines, so after you go through the entire game, defeat Wily, etc, they have it end with a forced loss battle against the prototype of Zero (which, in fairness, as arc welding/fanfic stuff goes, was kind of neat). There were a few solid fights before it and it was very much just meant to be a cinematic thing (and it's not the absolute last thing you do in the game, there's an escape sequence following that has actual gameplay), so it could have been worse, but it left a bad taste in a lot of players' mouths that the final combat encounter was a hopeless fight. And to make matters worse, being an action game, with sufficient skill and/or learning the patterns, you could dodge him indefinitely (I was never good enough to notice, personally, but that doesn't make it not a problem), making the forced outcome seem very silly. Those two examples have definitely convinced me that late-game hopeless fights are almost always a mistake. As I said earlier, I don't want to rule them out entirely because done well they can be a useful storytelling tool, but I think in general they're used too frequently and are so easy to get wrong that caution is advisable.
|
|
#
?
Oct 25, 2021 06:02
|
|
|
I played a good amount of Doom on the SNES (didn't have a computer capable of gaming in those days) and I was able to get to the last level of episode 1, where you step into a teleporter and are surrounded by an army of demons. I'd gotten into the habit of just resetting/quitting whenever I got killed, so every time I played that level I'd get to that part, start trying to dodge and shoot, get killed, and I'd reset or shut off the game. It seemed like such a massive jump in difficulty and I was always thinking "I don't understand, how the hell do you beat this?" It wasn't until years later that I learned you're not supposed to beat it, you're supposed to die, and if I'd just kept watching for a couple of seconds I would've realized this.
|
|
#
?
Oct 27, 2021 00:30
|
|
|
45: Follow the Leader (Part 1) 34 - Dodgy Business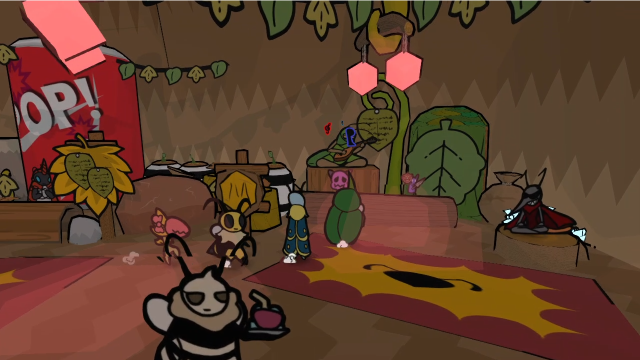 Welcome back. First things first, let's do some business with Shades. 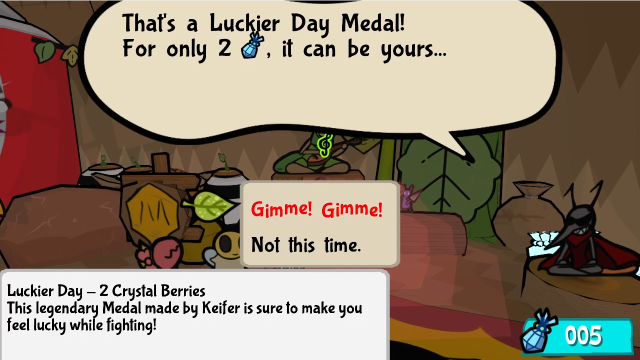  Kehehe! Here you go my lovelies... Kehehe! Here you go my lovelies...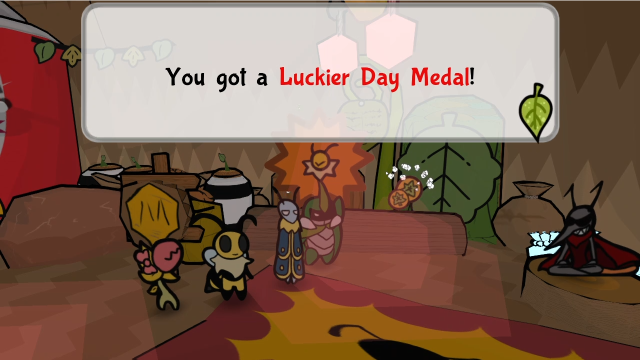 Come back if you still have any berries left to spend! Kehehe! Come back if you still have any berries left to spend! Kehehe!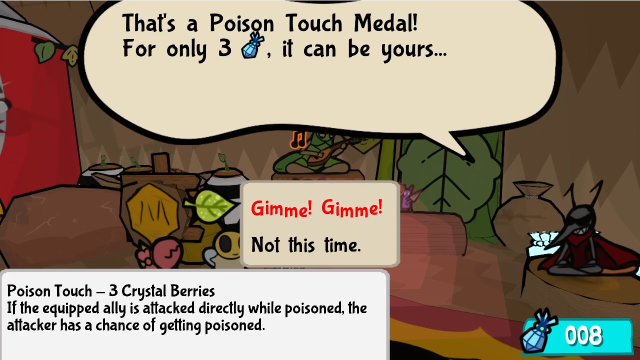 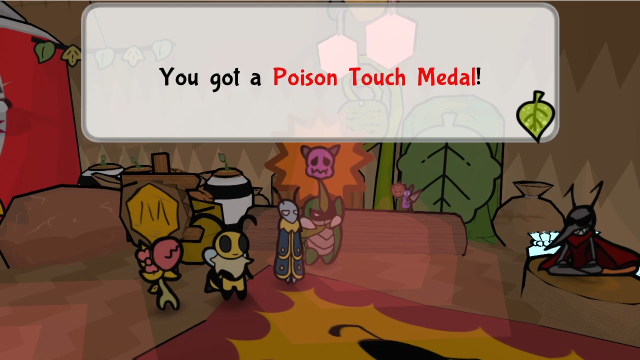 Luckier Day won the voting by a landslide, as I expected. We'll also grab Poison Touch. (I'll admit to putting my thumb on the scale a bit here. Voting was close between that and Poison Attacker, but there's a great opportunity to show off Poison Touch in action later this update, and I think that's worth doing.) 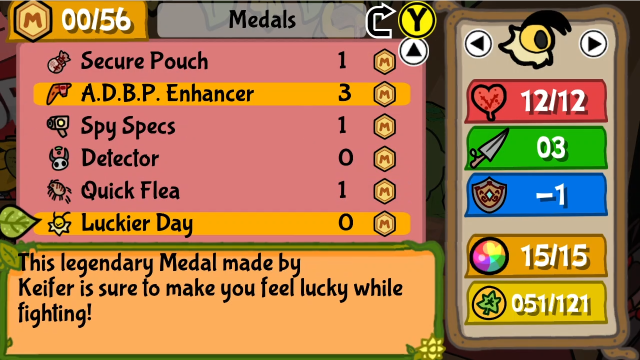 Let's put Luckier Day on ") 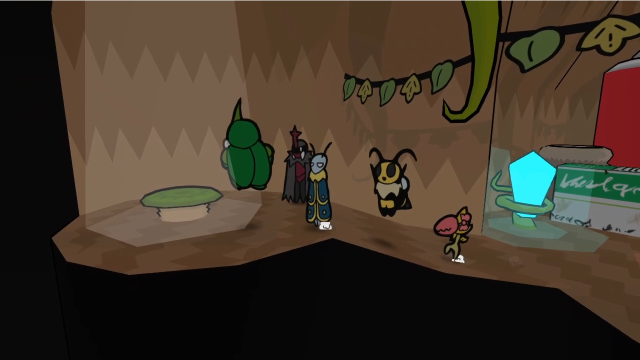 Now, let's get out of here. 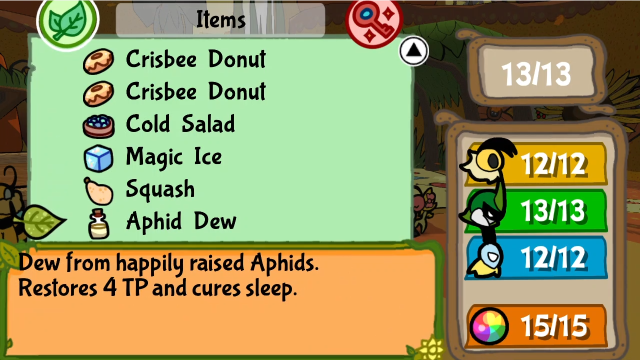 Also, a bit of item management. We've got a lot of sidequesting ahead of us this update, but let's start by finally delivering all the potion ingredients the Wizard asked for. If you recall, he wanted "nectar from critters of the land" (Aphid Dew), "fruit that blooms in lifeless soil" (Squash), and "the essence of frost" (Magic Ice). After our adventure in the Sand Castle, we have all of these. 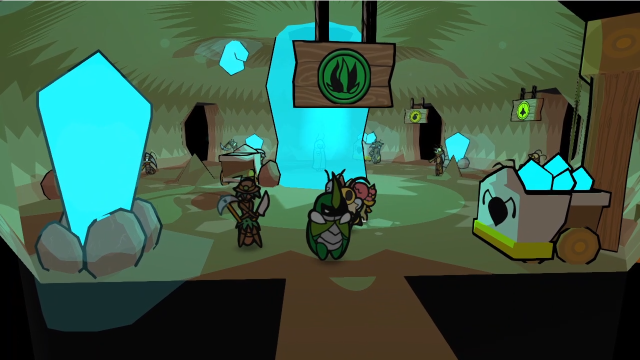 Let's head to the Far Grasslands. 56 - Lands Untamed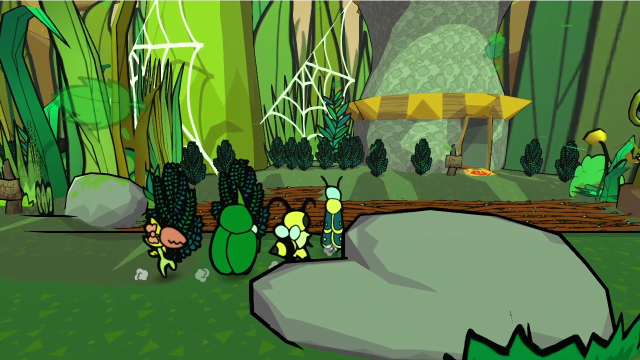  The Wizard's Tower is just as we left it. Thankfully, he left the front door open for us so we don't have to go through the cellar again. 25 - Caves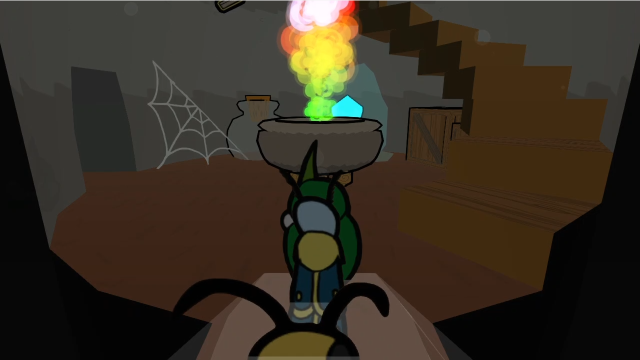 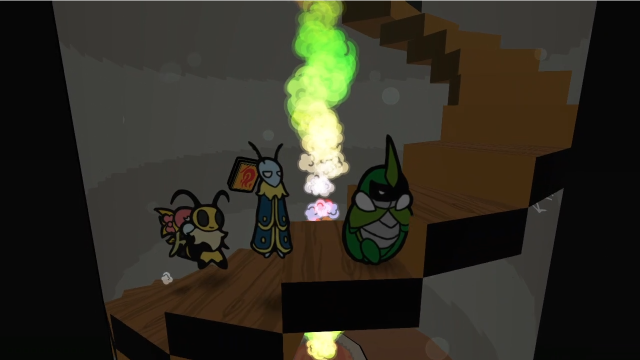 (Don't mind me, just an excuse to show the scenery) 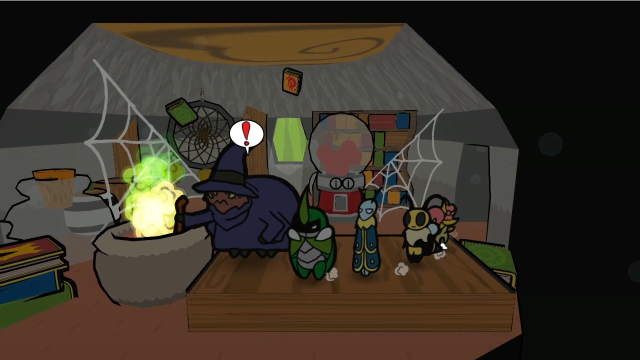 Let's talk to him. 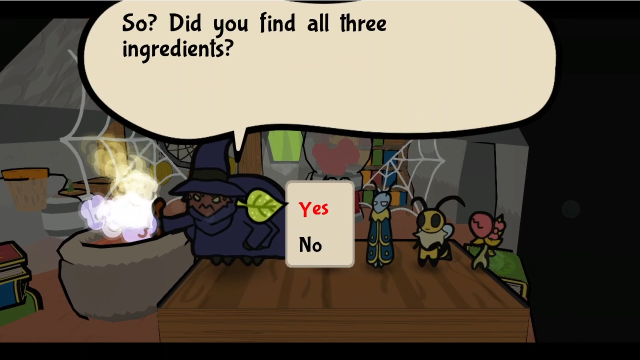 Straight to the point. Yes, yes we did. 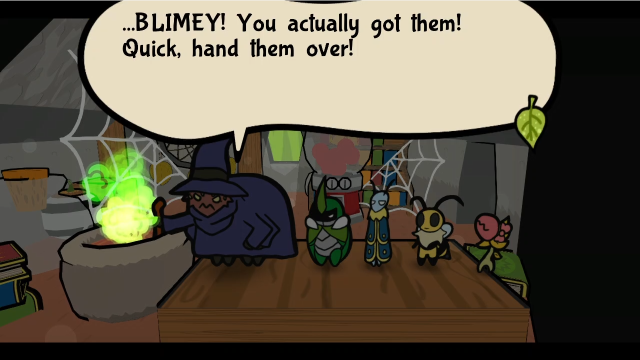  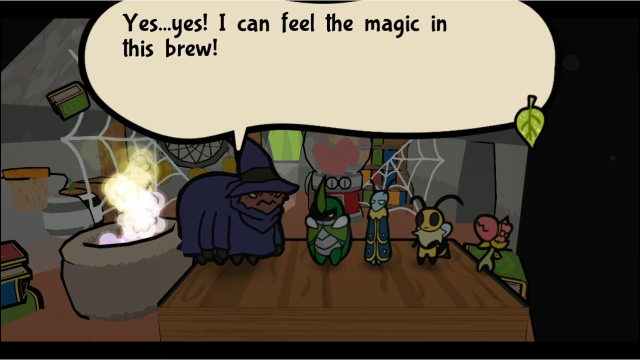  You really did help me. As thanks... I shall bestow great power upon you. You really did help me. As thanks... I shall bestow great power upon you.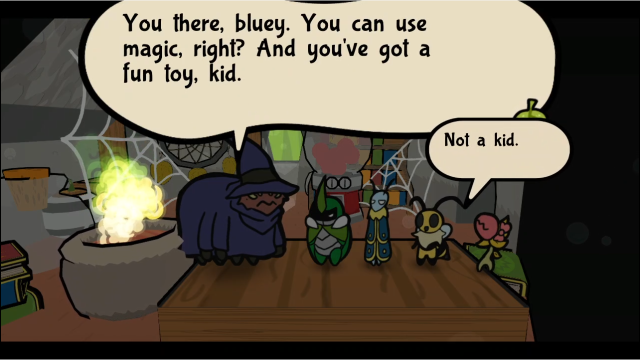 How did you... Oh, right. Sorcerer. Yeah, we've got ice magic. Perfect. Now... IN THE DARKNESS, MASTER THIS TECHNIQUE! How did you... Oh, right. Sorcerer. Yeah, we've got ice magic. Perfect. Now... IN THE DARKNESS, MASTER THIS TECHNIQUE!  W-Woah! I just learned stuff all of a sudden! This power's incredible! W-Woah! I just learned stuff all of a sudden! This power's incredible!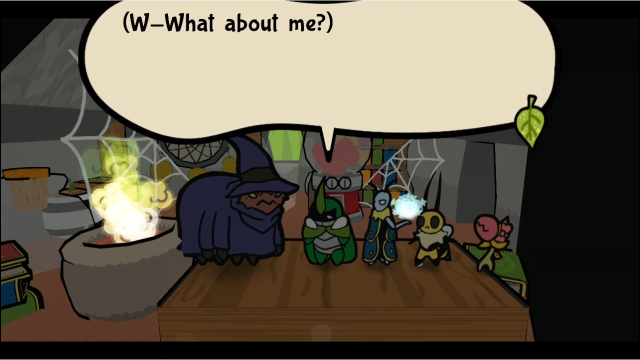 Chin up, Beetle. You'll figure one out. I'm gonna go back to work now. I guess you're, uh, welcome to visit. Thank you! Now that's a reward! Chin up, Beetle. You'll figure one out. I'm gonna go back to work now. I guess you're, uh, welcome to visit. Thank you! Now that's a reward!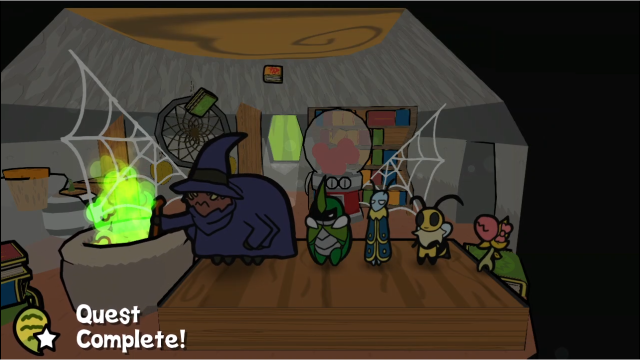 Our reward for helping out wizard friend is Frost Relay, the team attack for Vi and Leif. He just magically taught them how to do it. (I'd hoped to unlock this before getting Frozen Drill, so that his line about Kabbu figuring one out for himself would make slightly more sense; I think that's the intended sequence. But never mind.) Let's have a look. 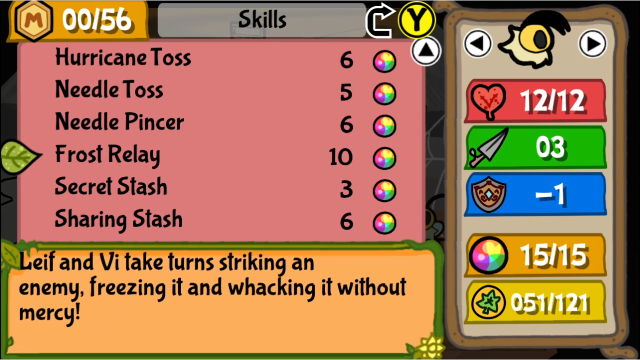 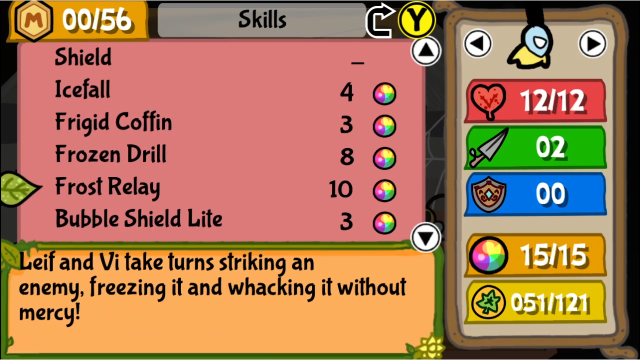 Like before, this appears in both of their skill menus, and either of them can initiate it. (It's expensive, though. 10 TP!) We'll take it out for a spin in a moment and discuss what it actually does then. 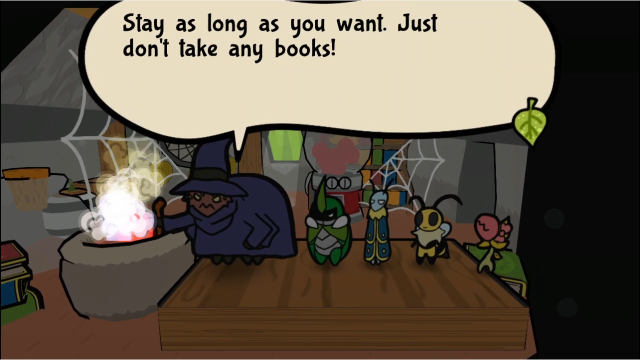 We can talk to the wizard again, but this is all he has to say now. (Good thing we already took the Bad Book he had, I suppose?) 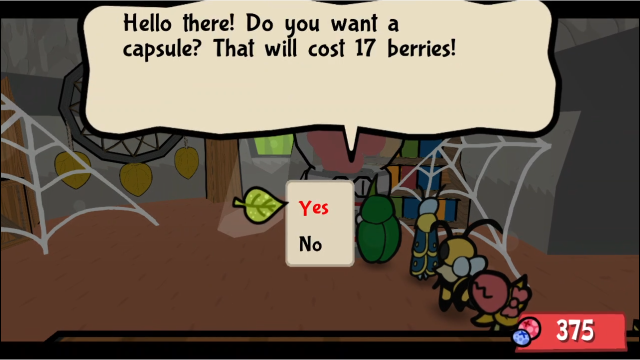 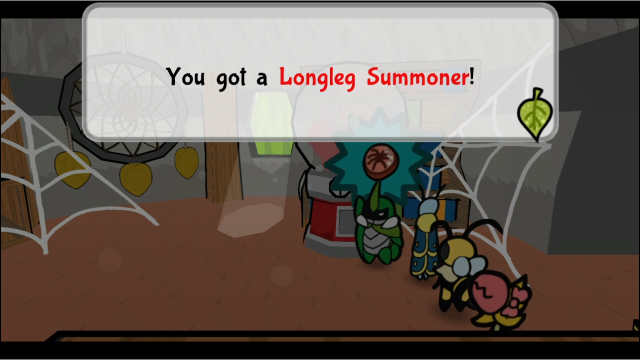 I'll take the opportunity while I'm here to grab one of these. I want to have at least one of these on hand for something a bit later in the game and probably won't feel like backtracking then, so I'll get one now and leave it with Amber when I get a chance. 56 - Lands Untamed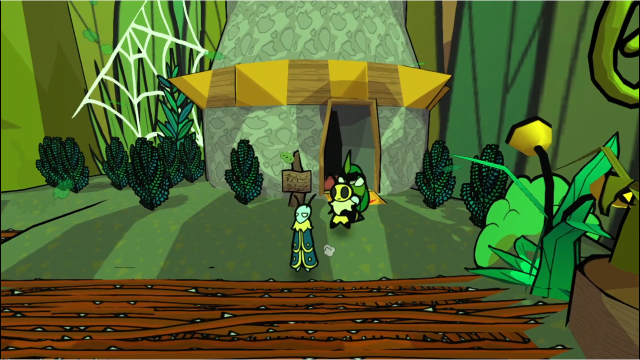 Let's head back. 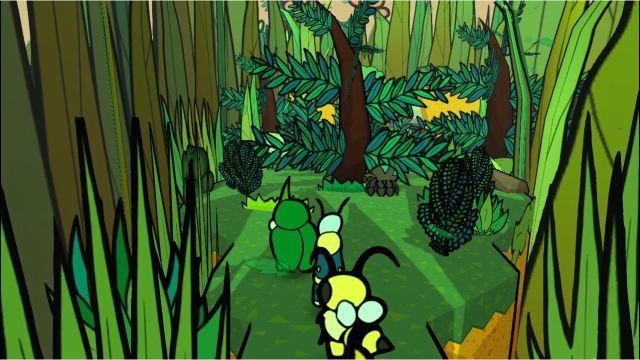 Oh, look, a guinea pig! How convenient. 55 - Team, It's Getting Serious! (Recommended listening!) 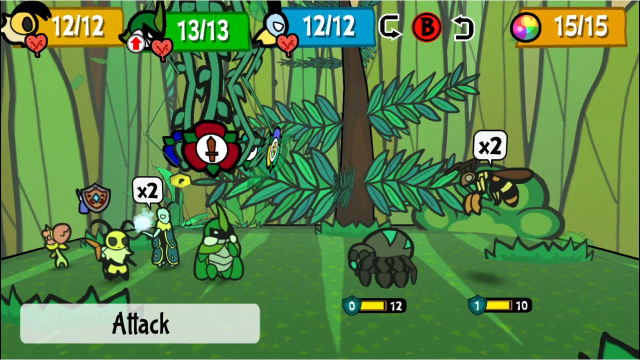 Before we try out our new skill, hey, the battle music has changed! This new song definitely feels like it fits the higher stakes the plot is starting to go into, and it's a good one. Now that Chapter 5 has started, we'll be hearing this in most of our normal battles (though it's tied to the areas, if we backtrack to earlier locations we'll still hear the original music in them). I thought it was peculiar we didn't hear this last time we came to the Far Grasslands early, but it apparently doesn't kick in until the chapter officially starts. Anyway. 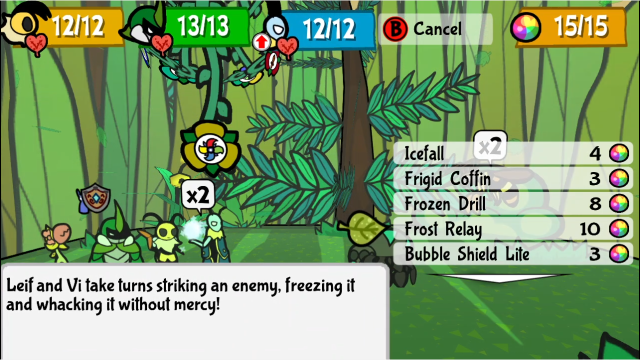 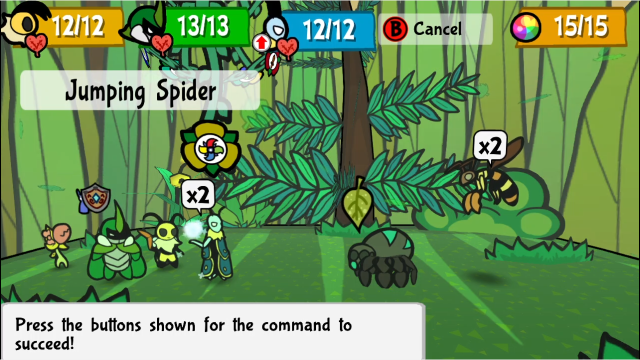 Frost Relay targets any single enemy. Let's see what it does?   (I had to split this in two GIFs because the attack went on too long) Frost Relay is, essentially, the mother of all multi-hit attacks. Leif and Vi will take turns hitting the enemy as long as you can keep up with the button prompts (which get faster as it goes on), up to a maximum of 12 hits total (6 each). I'm not good enough to consistently get all of the hits; here, I missed at 9, but that was still overkill for this spider. The attack sequence ends the first time you miss an action command. There are a few peculiarities in how it works. Leif's hits all have a chance to freeze (though Vi will probably just break them out immediately), while Vi's hits get +1 damage on top of her base attack value. Each bug's damage decreases by 1 each hit, as we've come to expect with multi-hit attacks. Unlike Frozen Drill, which combines Kabbu's and Leif's stats to get a single attack value, Frost Relay uses Vi's and Leif's stats separately for their respective strikes. 10 TP (and two actions) for a single attack is pretty expensive, but you can rack up quite a lot of damage if you're good at the timing. It's probably the team attack best suited to taking advantage of the Berserker medal, if you want to go down that route; alternatively, building up charges on one or both participants is very effective. For all that, though, it's a bit clunky to set up and individual skills tend to just be more convenient. I can't say it's my favourite thing to use, but there's some serious power here. 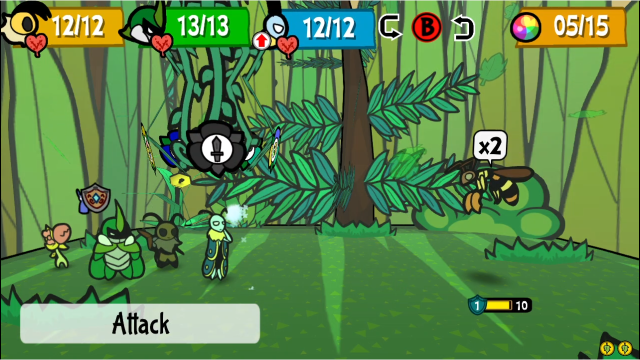 Now that we've done that demonstration, let's finish this battle. 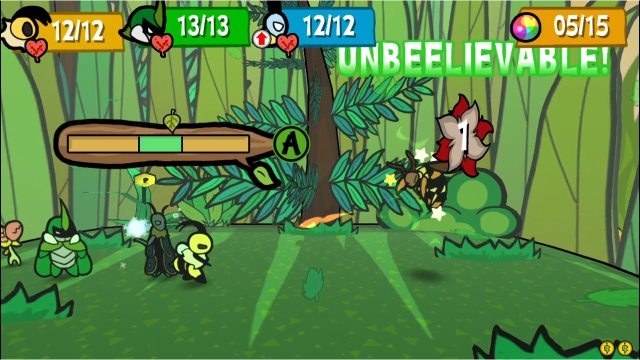 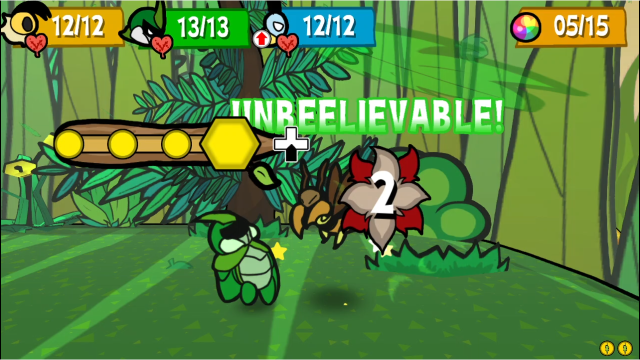 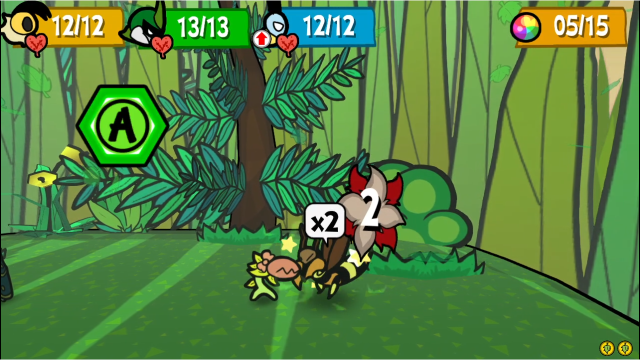 (We can see the effects of Luckier Day, too! Though sadly Chompy seems to get left out...) 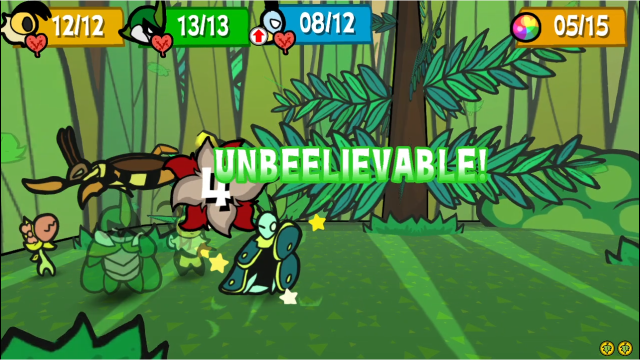 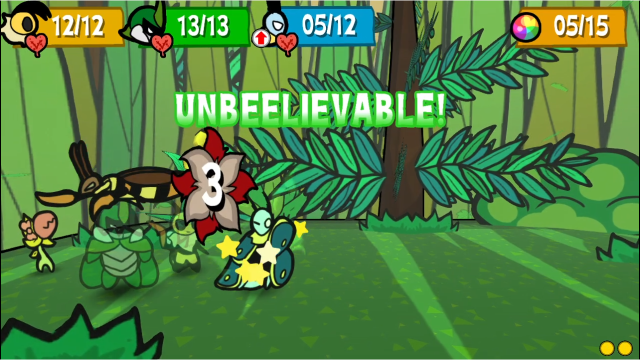 It even takes effect on the enemy's attacks! (Though this is actually a bit inconvenient, since it makes it hard to tell the difference between a regular block and Super Block.) 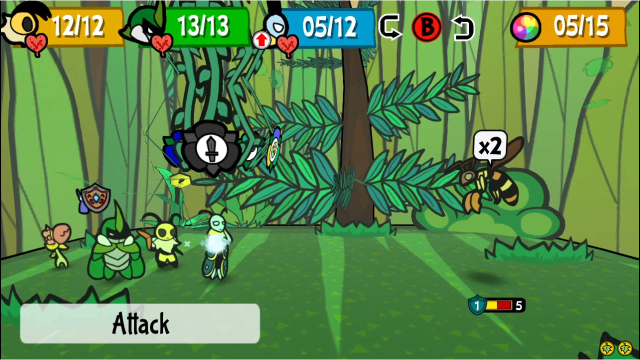 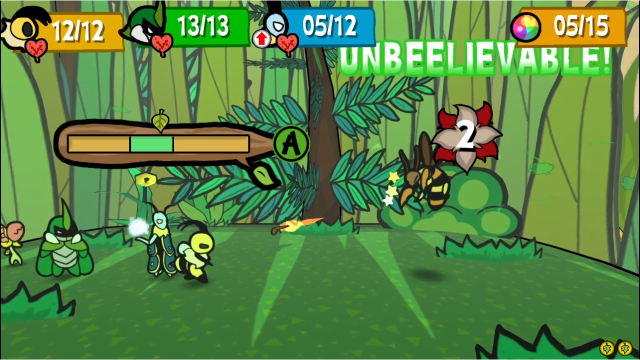 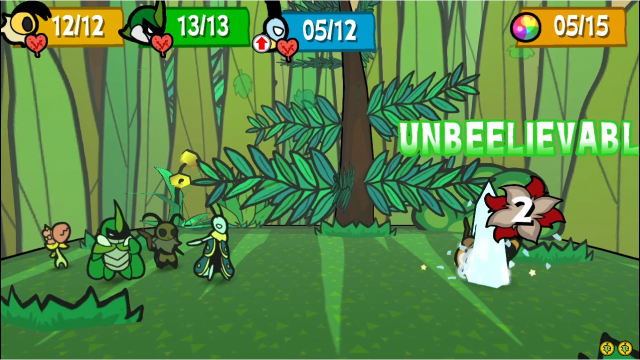 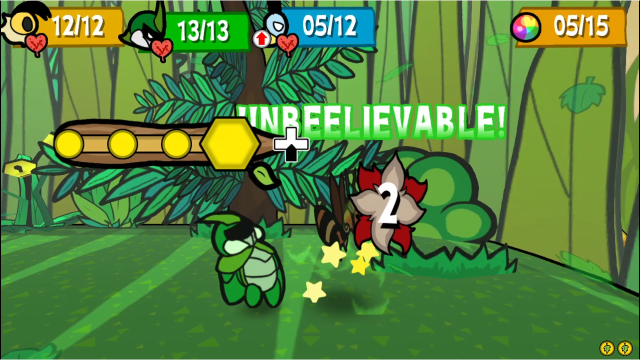 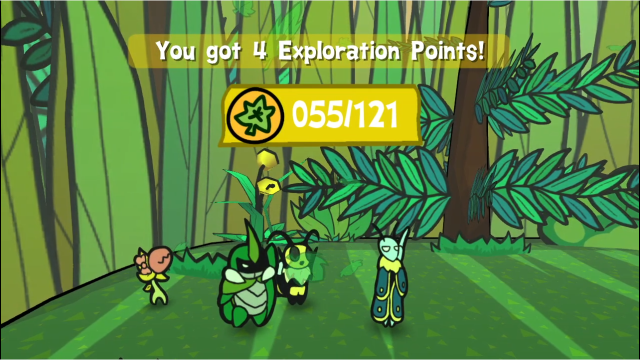 Easy enough. One might say unbeelievably so. 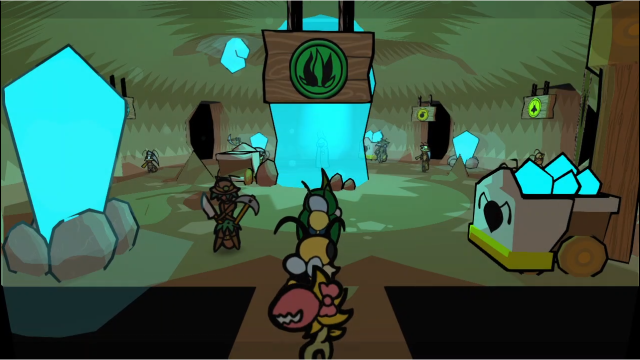 Where to next? Let's take stock of our to-do list...  The majority of our new sidequests start in and around Defiant Root, so that seems like an obvious place to start. 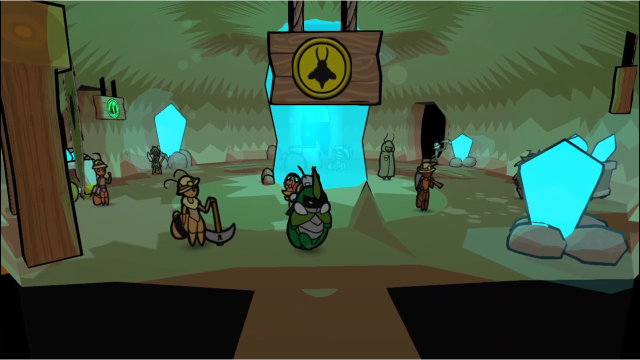 37 - Defiant Root 37 - Defiant Root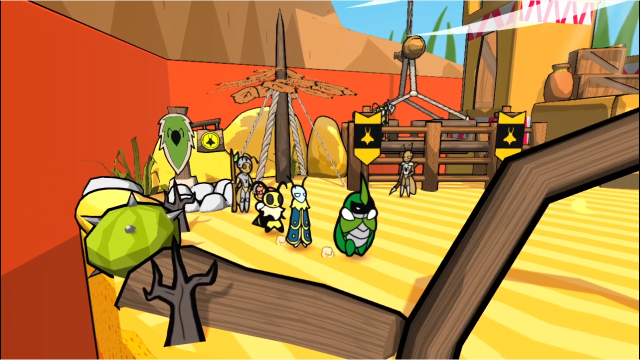 While we're here, let's take a look around for new dialogue since we just finished a chapter. 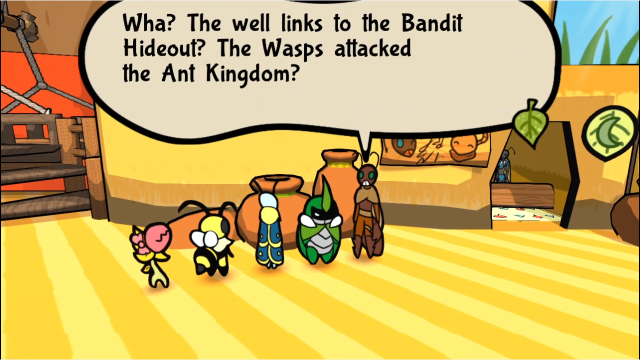  Mmm... Times are getting rough. Mmm... Times are getting rough.Will comments on current events. 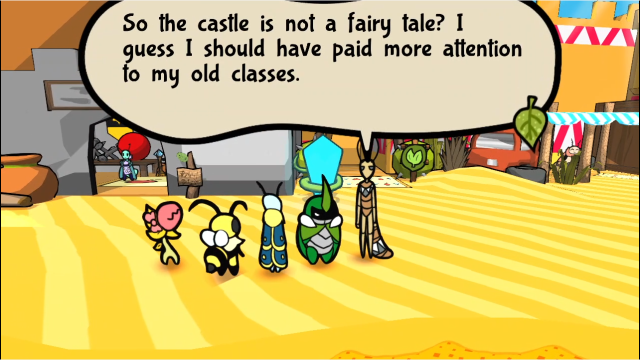 Locke is surprised by the fact the Sand Castle actually existed. 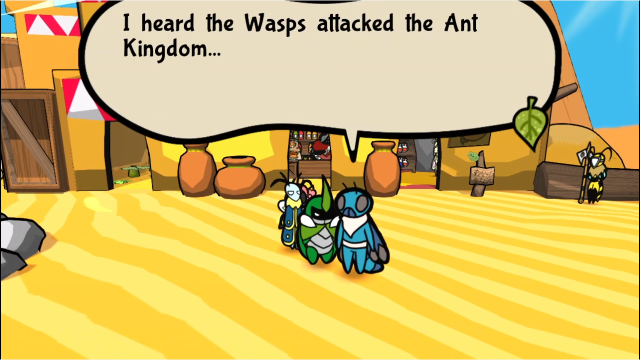  I think I'll cancel my trip for the time being... I think I'll cancel my trip for the time being...And Dran seems primarily concerned with how the attack will affect his travel plans. 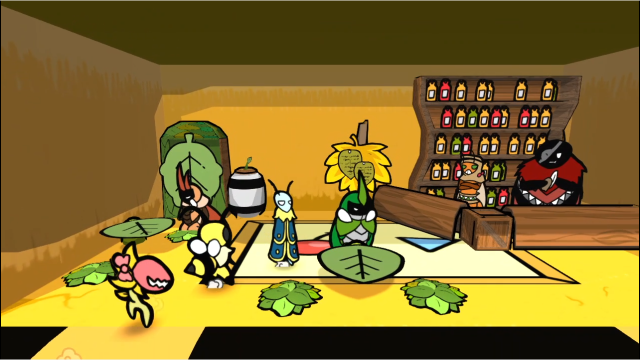 Everyone we saw hanging out in the tavern before (including Mar) have cleared out. There's nothing new to see here, I guess. 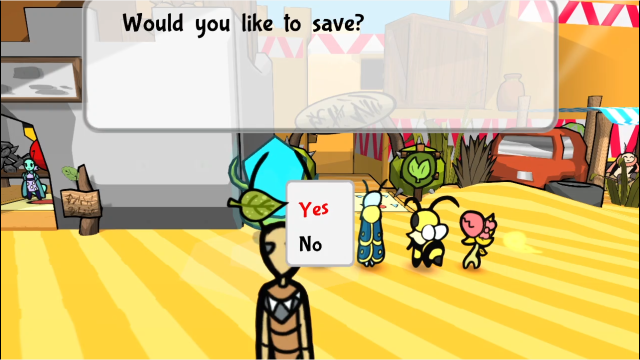 Let's make a quick stop to save. 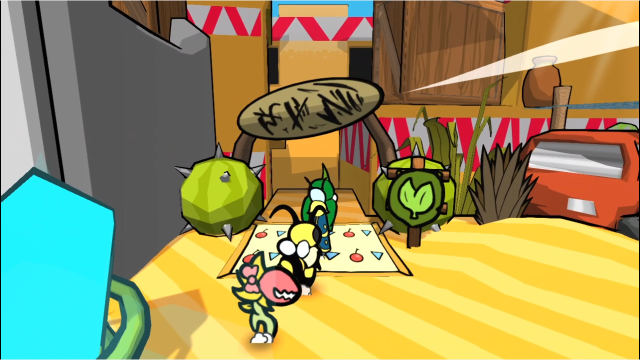 Then head into the back part of town. 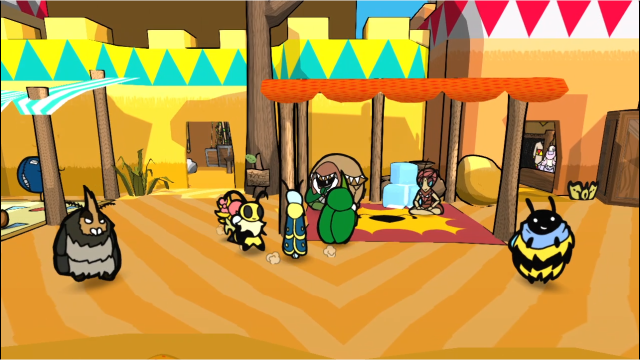 This is new! We've seen Neil before, we met him at the Lost Sands entrance on the Outskirts side the first time we were there. What's he doing here? 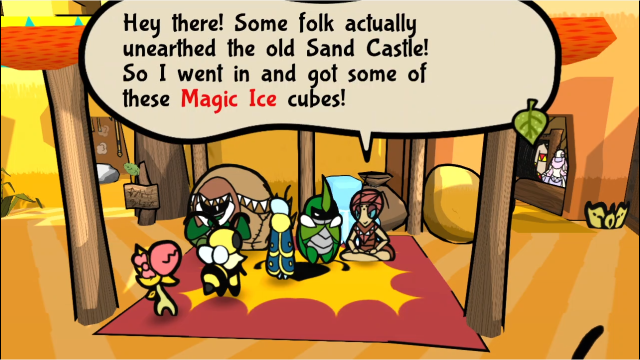 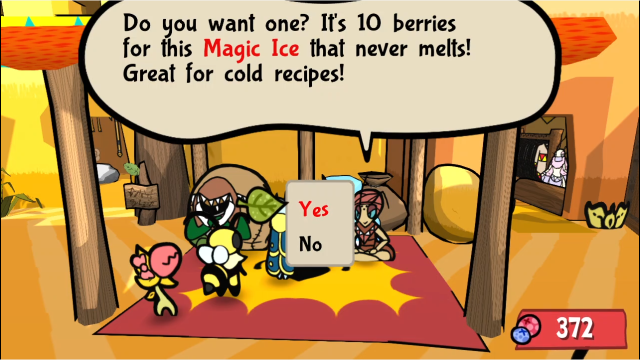 After completing Chapter 4, Neil sets up shop here selling Magic Ice for 10 berries each, meaning we don't have to go back there and kill enemies if we want more of it. Sure, I'll take one.  Hoho! Thank you! Hoho! Thank you!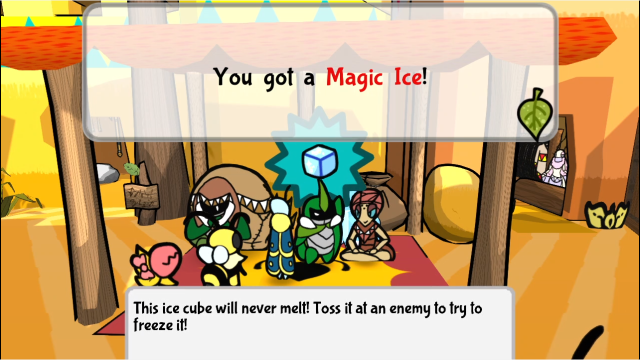 Nice doing business with you! Nice doing business with you!If we talk to him and then choose not to buy anything: Ouch! Don't be so cold, will ya!He retaliates with bad puns. There's also a banter about him: Hey, that ice isn't melting! ...It'd be more impressive if we hadn't met Leif. Heh.Honestly, yes, that's exactly correct in gameplay terms too. Magic Ice would be a much more appealing item if we didn't have Leif with us. 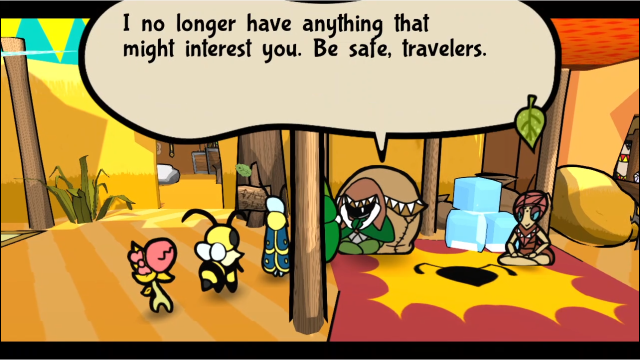 Also, while we're here, I decided to check with Sun to see if he had any new stat-increasing berries for us, but he hasn't gotten anything in yet. He should have something new next chapter, though. Anyway, we picked up some Magic Ice for a reason... 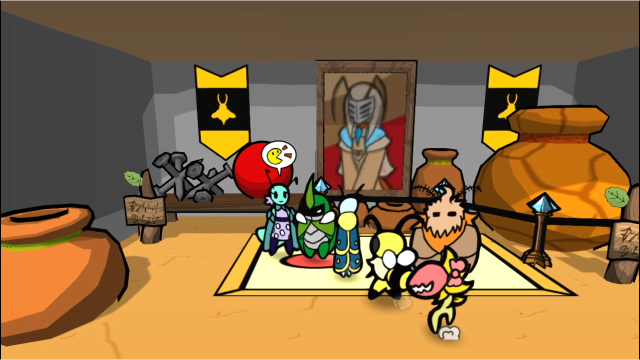 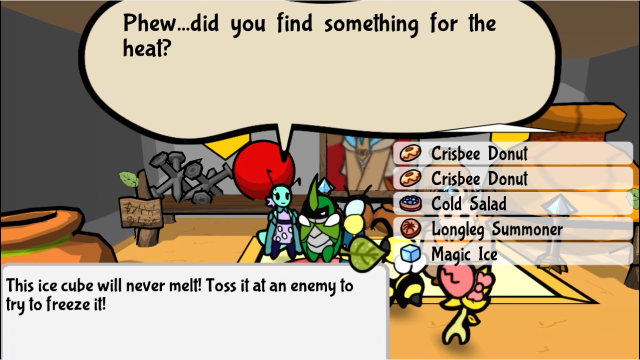 And that's because it's another possible solution to the "It's Too Hot!" quest. Let's try giving this to Eremi. 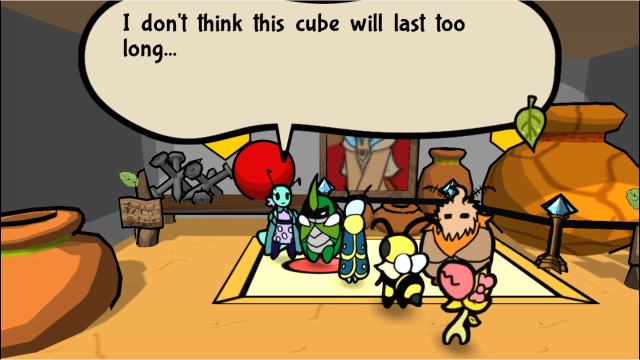 This is magic ice. It never melts. This is magic ice. It never melts. Wait, really? Woah! Then it might help after all! Though I would have preferred an umbrella. Wait, really? Woah! Then it might help after all! Though I would have preferred an umbrella.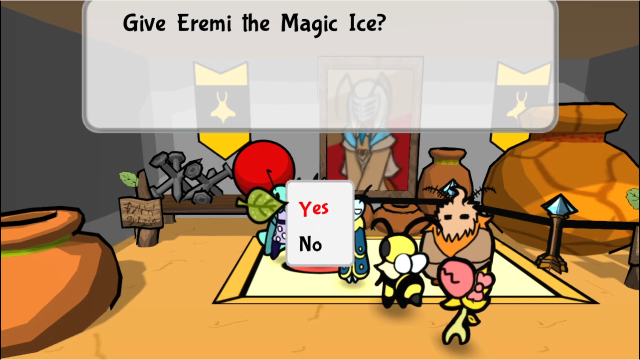 Again, it gives us the choice. Let's give it to her. Sorry, it's not perfect but it'll do. Yeah... you're right! Sorry, the heat's got me a bit cranky. I'll try it out!The screen goes black momentarily. Ah, much better! Thank you so much! No probs! Now, to seal the deal... Here, this should cover the item and more!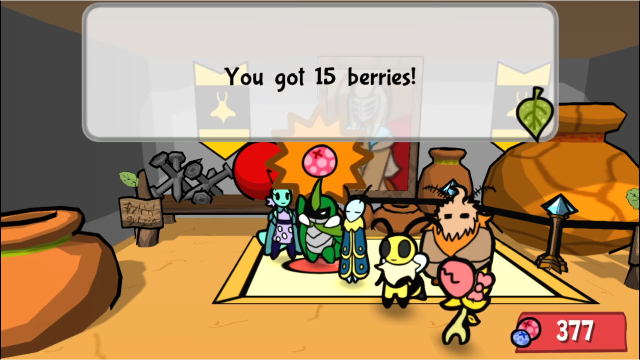 She doesn't pay as well for Magic Ice as she does for Shell Ointment, but it's still more than the item is worth. Thanks~! I'm gonna get going now. See you around!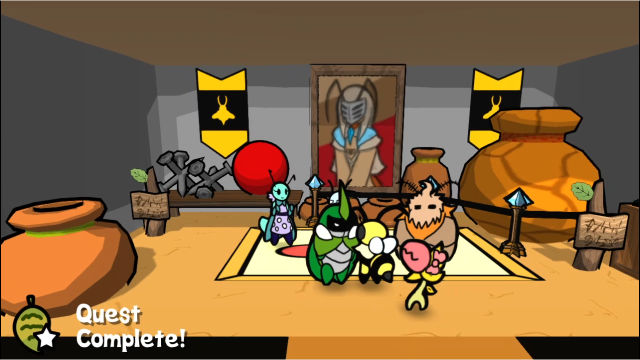 And that completes the quest. Just like with Shell Ointment, completing it this way will cause the Reflection medal to be sent to the caravan. Also, just like before, if we leave the area and come back... 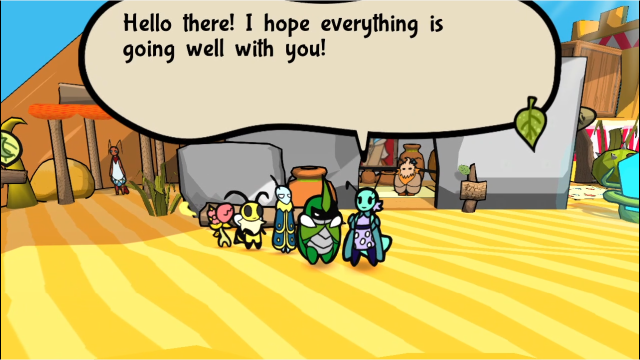 It's nice to finally be able to lok around town without feeling like I'm melting! It's nice to finally be able to lok around town without feeling like I'm melting!We'll find Eremi walking around outside the museum, much happier. All that said, I saved before doing this for a reason, we'll reload and come back later once we find the umbrella she wants. We still don't have access to that. 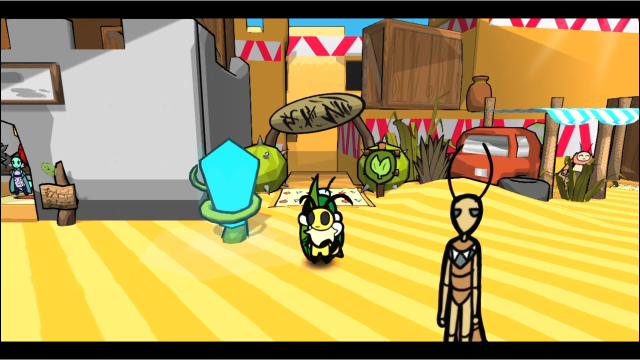 We're still not done in Defiant Root, though, let's keep looking around. 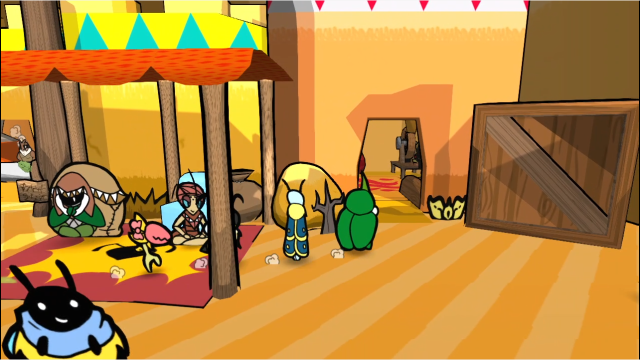 Let's take a look in Kali's shop. 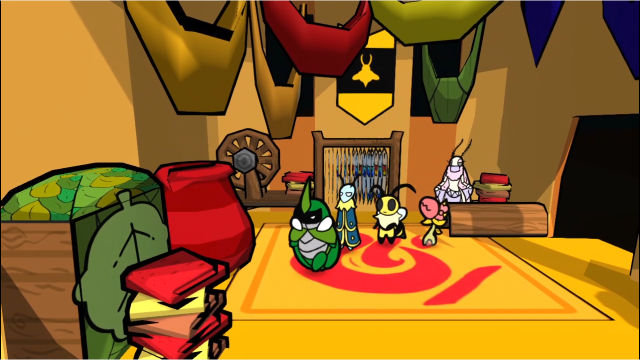 Looks like she's gotten herself a new vase, and rearranged the shop a bit? 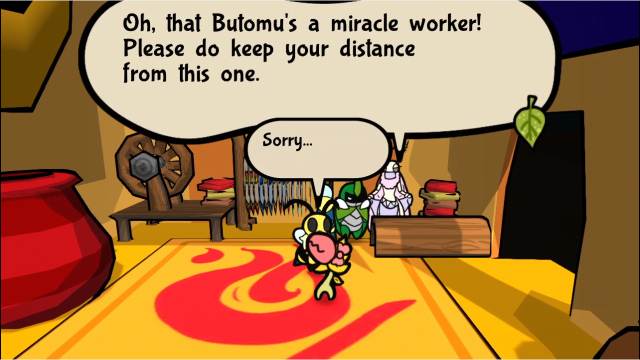 I'm not sure if she means Butomu repaired the old one, or just made a new one, but either way she still doesn't seem too pleased with us. Let's not stick around. 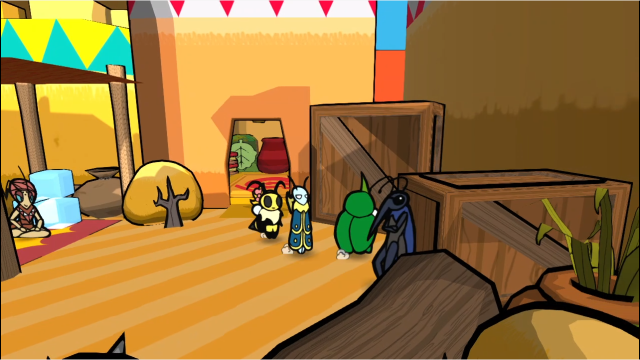 Where we actually need to go for now is into the back alley. 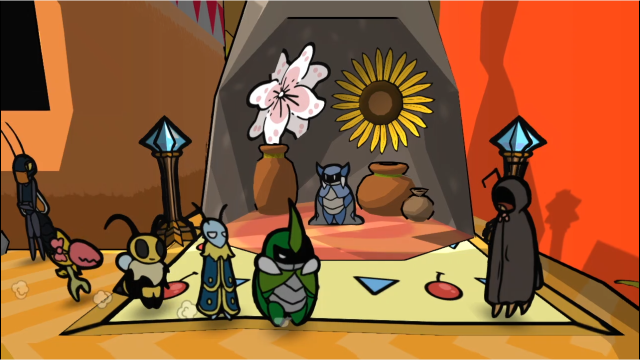 Hello. 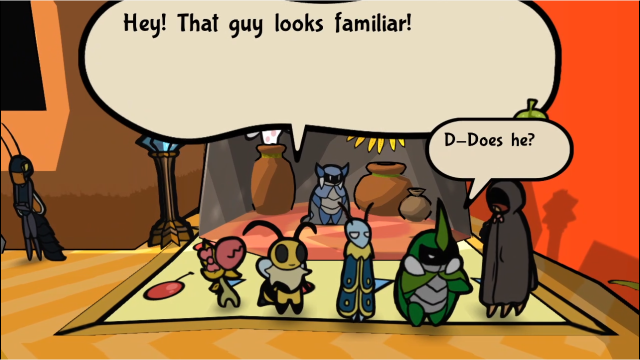 Could this be...? Could this be...?Our team definitely have some (reasonable) suspicions as to this person's identity! Regardless, though, this looks like the person who posted the Lost Item request, so let's talk to them. 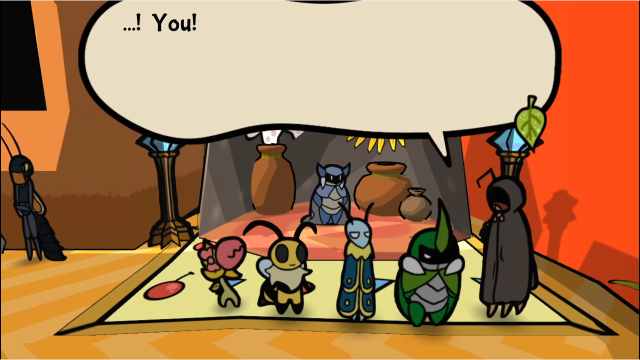 Hm? Hm?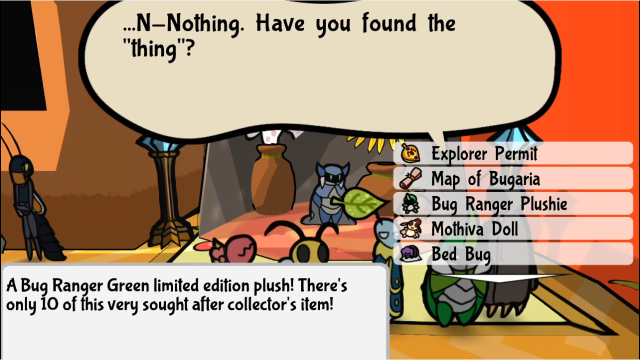 Not much for words, he just expects us to know what he wants. Surely it's this? Surely?  That's not it. Find it soon, I ain't got too much time. That's not it. Find it soon, I ain't got too much time.Sadly, he doesn't seem to have a special reaction to that. It's been a while since we've seen one, hasn't it... that's a shame. If we open the menu and then back out, he'll say this: Hmph. Just find the "thing" and bring it back to me.Okay, okay. This might be a bit mysterious. If we need a hint, his posting on the quest board did mention we should check the Sunset Inn (which is the inn in the Golden Settlement)... 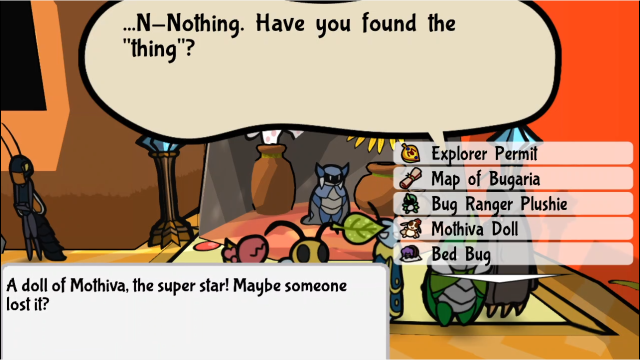 Remember this thing? 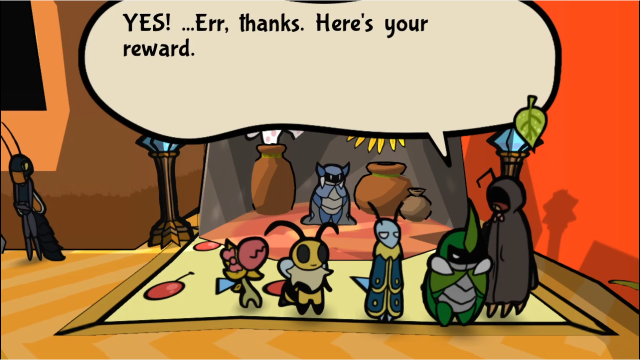 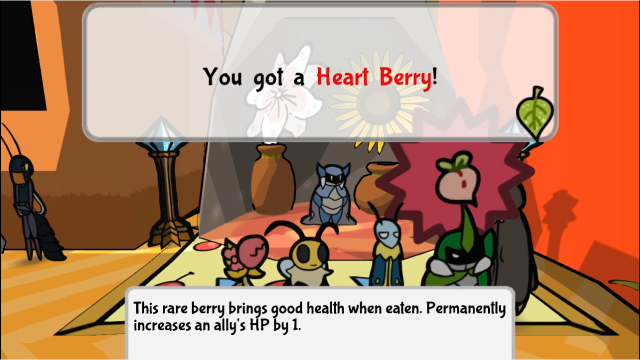 This never happened. I'll be going now. Don't trip on the way to that concert. This never happened. I'll be going now. Don't trip on the way to that concert.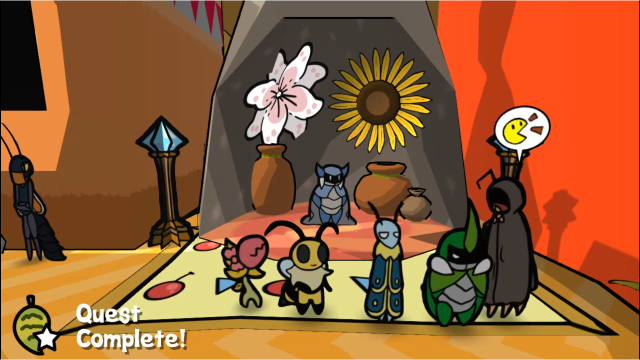 Heh. Your disguise doesn't fool anyone, Zasp. Though why he feels the need to be in disguise for this (or, for that matter, why he's so desperate to have this doll back), I don't know... honestly, this quest raises a lot more questions than it answers. Regardless, though, the reward's pretty nice! This is our third Heart Berry, and of course now we're going to need to decide who gets to eat it. Please vote in the thread. You may want to keep in mind while voting that this is the last one we'll see for a while, if that has any impact on your choice. 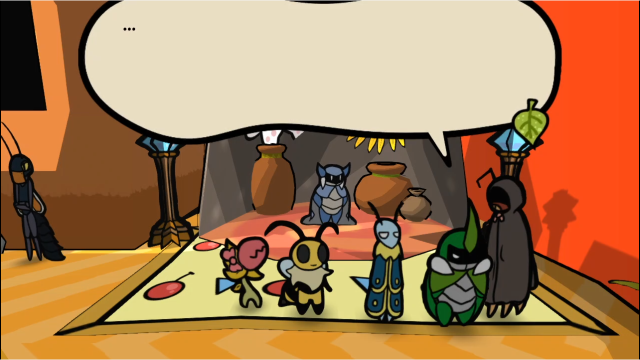 He's not very talkative, if we try to interact with him further. And once we leave this area, he'll be gone if we come back. Anyway. 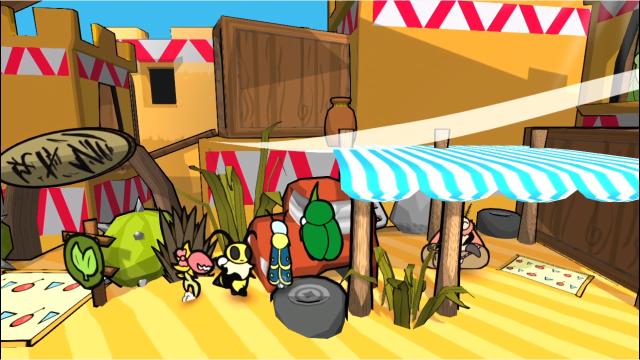 Next up, let's go see the Mayor. He also had a quest for us. 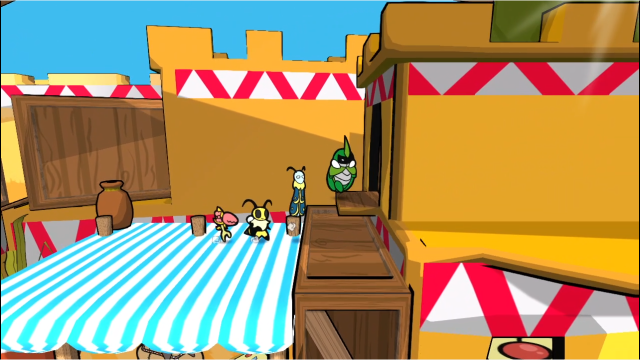 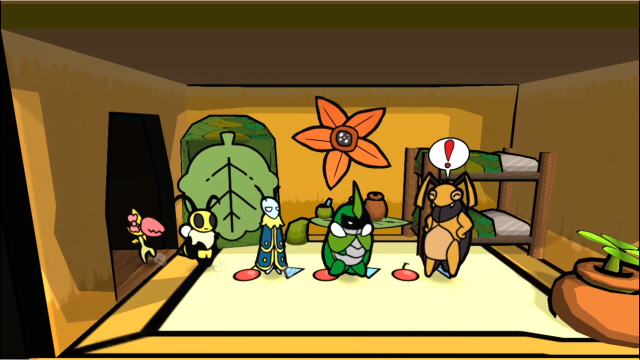 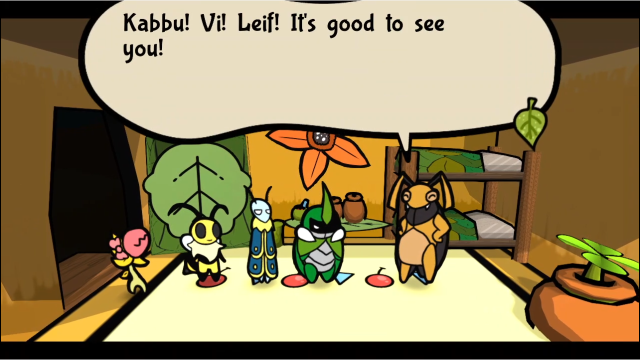 It is always nice to be back. You had a quest posted up and stuff, right? It is always nice to be back. You had a quest posted up and stuff, right? Mhm. But you shouldn't have bothered, Kabbu! I'm sure you've got more important things to do. Well... Not at all! ...Thanks. Let's get on with the details! Like the reward... Hoho, don't worry. The mayor pays well! Y'see, hosting was good and all! I didn't expect to like Whack-A-Worm so much! And you're seeking some thrills again. Yup! I really want to see someone score a 20! Mhm. But you shouldn't have bothered, Kabbu! I'm sure you've got more important things to do. Well... Not at all! ...Thanks. Let's get on with the details! Like the reward... Hoho, don't worry. The mayor pays well! Y'see, hosting was good and all! I didn't expect to like Whack-A-Worm so much! And you're seeking some thrills again. Yup! I really want to see someone score a 20!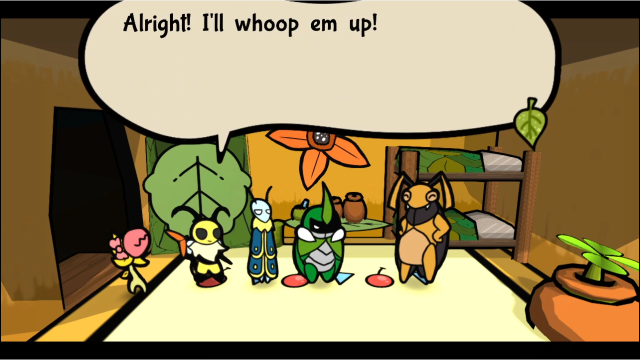 There's a nice spot near the settlement, shall we check it out? Oh, oh yes! Thank you so much, Kabbu! There's a nice spot near the settlement, shall we check it out? Oh, oh yes! Thank you so much, Kabbu!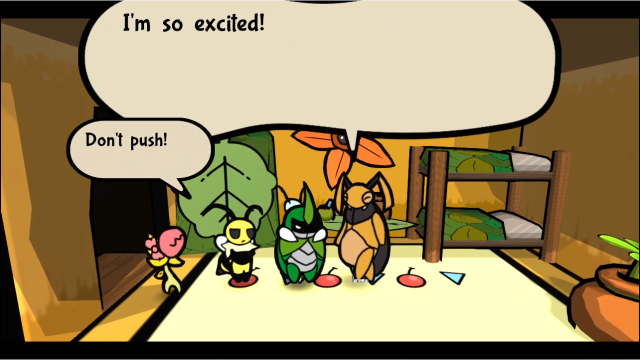 He starts pushing us toward the door, he's so excited to get on with this. All right, all right. 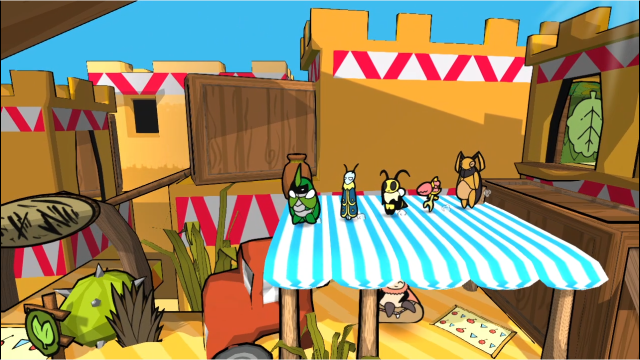 As we leave, we'll find the Mayor has now joined our group and is following behind us. That said, this seems like a pretty simple task, we just need to bring him to the Whack Farms outside Golden Settlement so he can watch us play the game. (This quest doesn't become available until you've returned Tanjerin's horn and discovered it.) 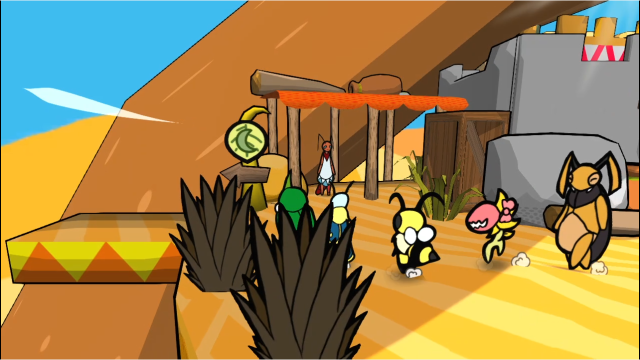 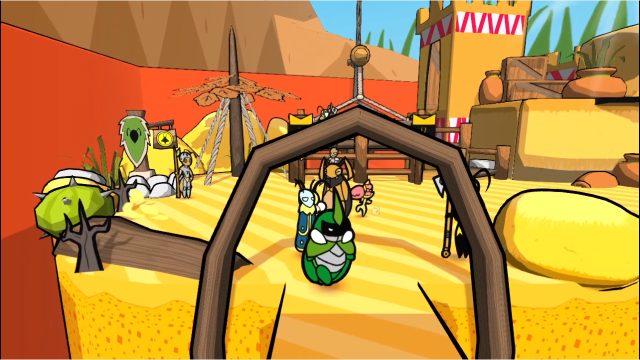 There's an interesting quirk with quest NPCs following you, in that they'll disappear if we go into an area that's off the critical path of their quest. Nothing actually goes wrong if you do that, and they'll reappear appropriately as soon as you get back to an appropriate area (even if you take a shortcut through areas they disappear in). So I could go through the Ant Mines to complete the quest faster, but for the sake of keeping the mayor with us I'll take the south exit instead. 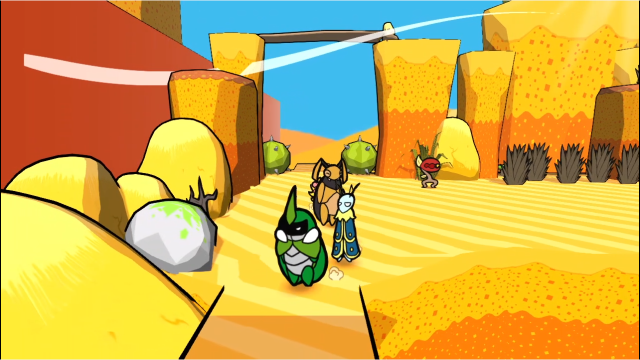 26 - Golden Lands 26 - Golden Lands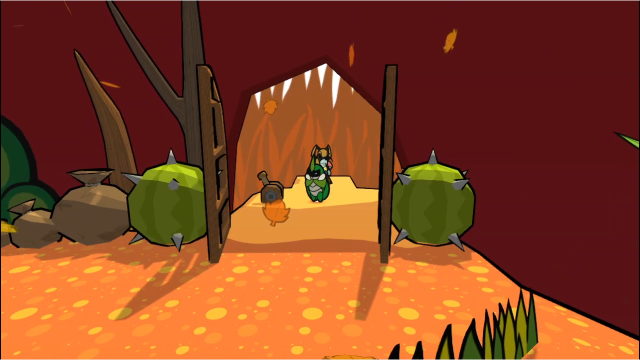 It doesn't take that long to cut through the western edge of the Lost Sands, anyway. 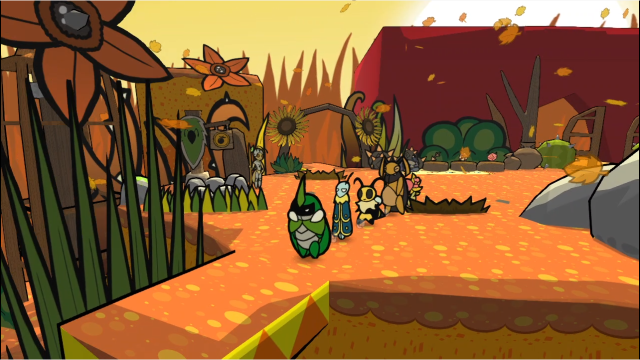 Whack Farms is this way. 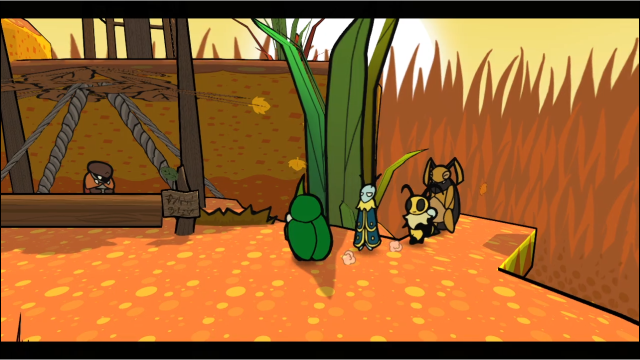 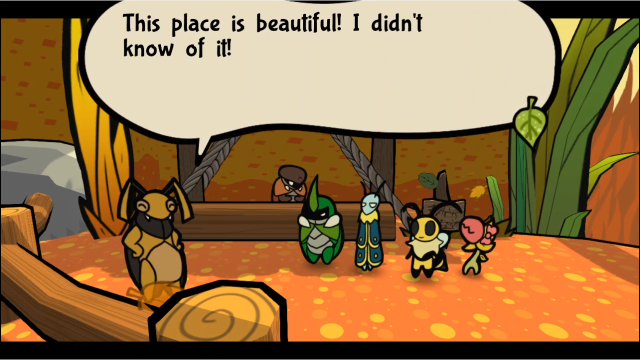 It was, uh, obstructed. Sit back and watch, Mayor. Imma get that 20! It was, uh, obstructed. Sit back and watch, Mayor. Imma get that 20!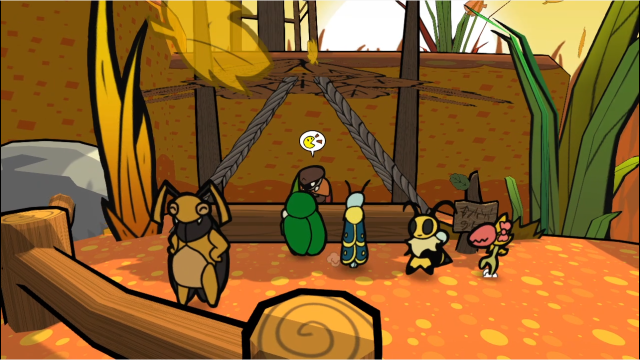 After that brief conversation, we're back in control. Before we start, though, a bit more dialogue. 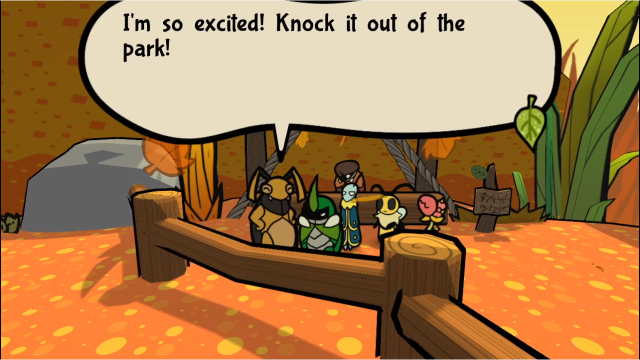 We can talk to the mayor again, though he won't say much. There's also a banter: Doesn't the mayor like this game too much? Don't you enjoy eating way too much? Why are you bringing that up...?Heh. 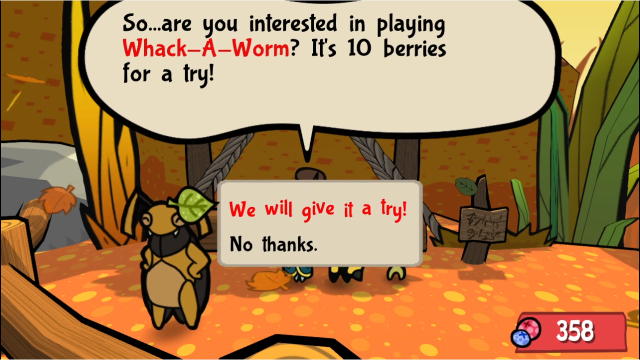 Even though we're doing it for the mayor, we still have to pay the entrance fee to play the game. Oh well, nothing else for it.  Alright! Please get in the arena so we can start! Alright! Please get in the arena so we can start!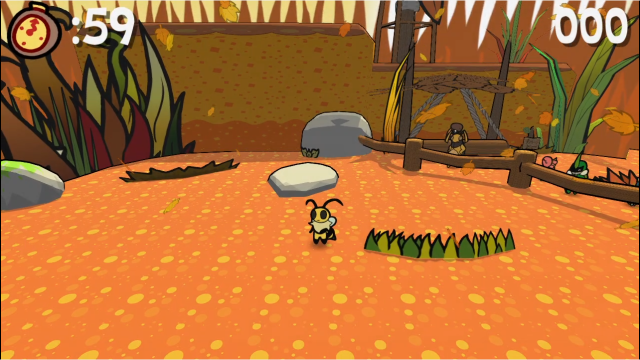 Nothing's changed here, it's the same Whack-a-Worm game as before. 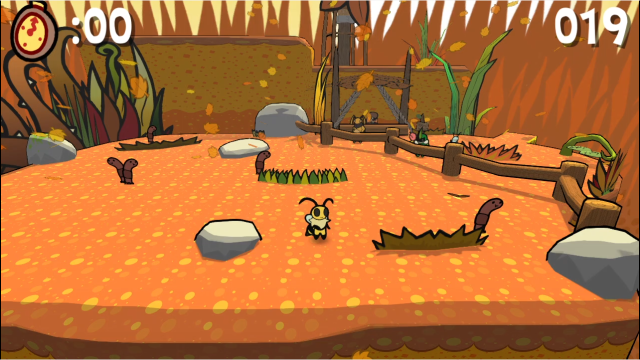 That said, I was a bit rusty and barely missed it on the first attempt. 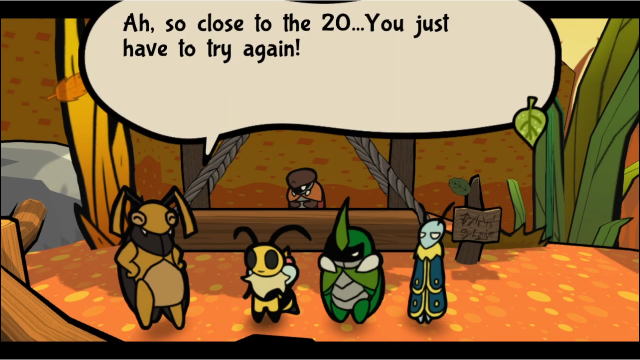 Leading me to discover that, while the quest is active, you don't get any of the normal rewards for the minigame. We'd normally have made a profit there! 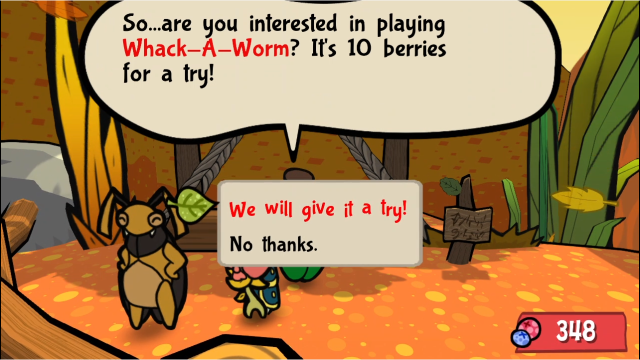 Let's go again. 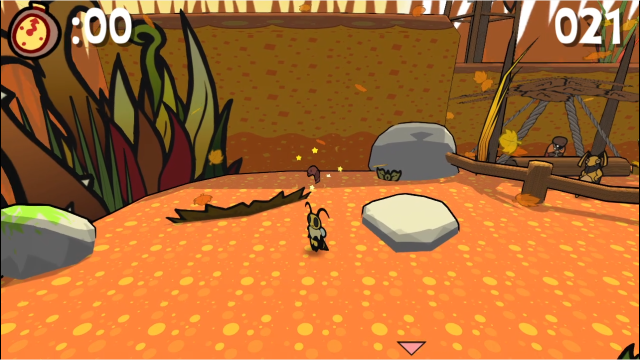 That's better. 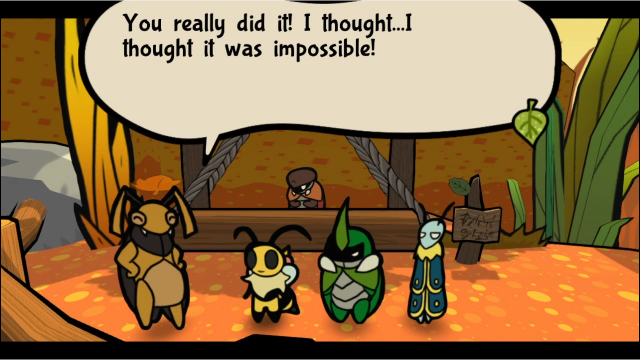 Heheh. It was nothing, for real. Thank you, you've brought a real good time to this tired old bug! I hope this repays my debt to you, even slightly... Vi's the one who did everything, so... You never owed me anything. Calm down! Now, let me give you a proper reward! Heheh. It was nothing, for real. Thank you, you've brought a real good time to this tired old bug! I hope this repays my debt to you, even slightly... Vi's the one who did everything, so... You never owed me anything. Calm down! Now, let me give you a proper reward!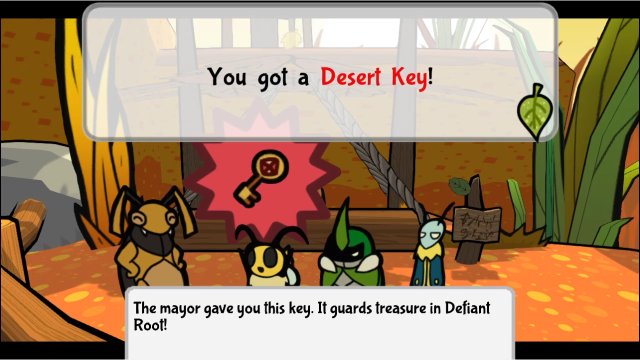 ...A key? Hoho! You'll have to check near my house to see the treasure it guards! ...A key? Hoho! You'll have to check near my house to see the treasure it guards!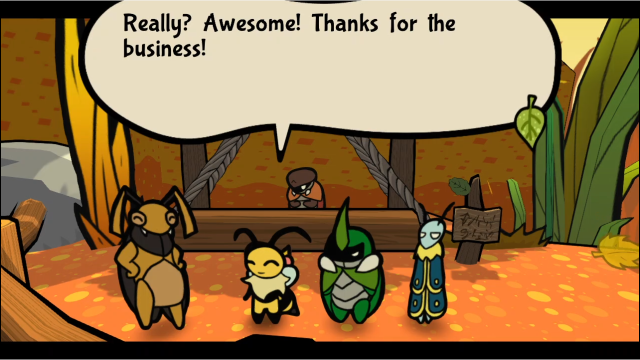 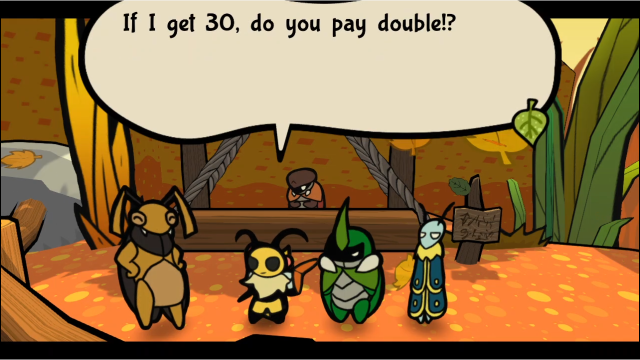 We'll, uh, get going now. Hahahahaha! That's alright. I've got to go get some work done too! See you in Defiant Root! We'll, uh, get going now. Hahahahaha! That's alright. I've got to go get some work done too! See you in Defiant Root!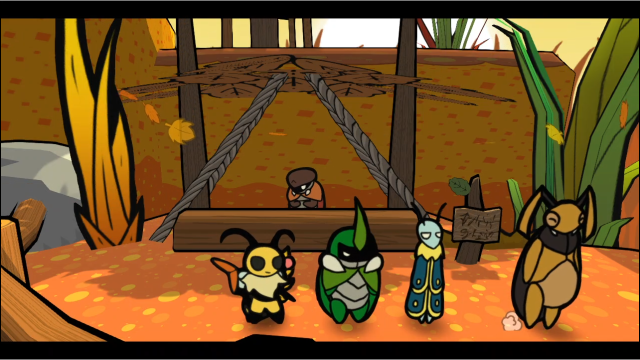 And, with that, he heads back. 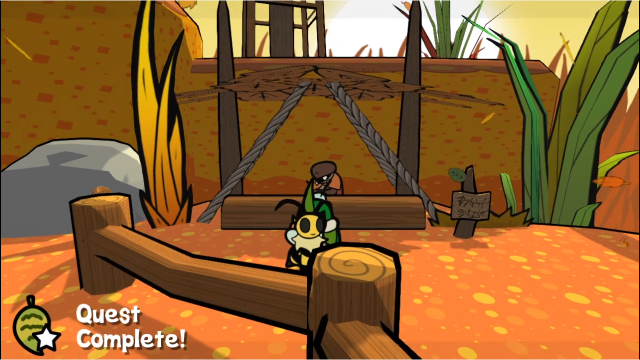 And our quest is marked complete. We're not done quite yet, though - of course we have to go see what that key gets us! Also, there's a new banter here now he's left. We can replay the worm thing here again! I can't help but feel sad for the poor worms. The Mayor said they like it, so... Does that make it alright to just keep hitting them...?I'm actually kind of curious what Leif means here, I'm not sure if he's saying "the mayor likes it" or "the worms like it". Those are two very different sentiments! 37 - Defiant Root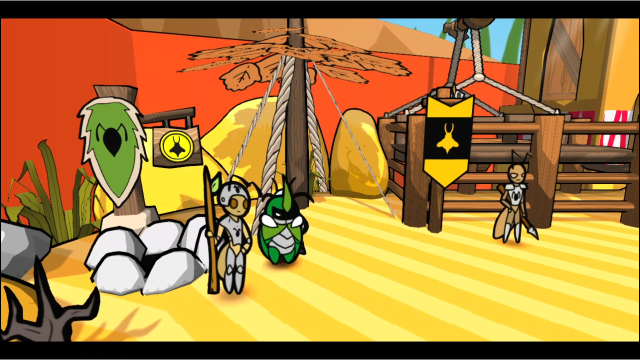 Anyway, let's go back to Defiant Root. I just went through the mines this time, since the mayor's no longer with us. 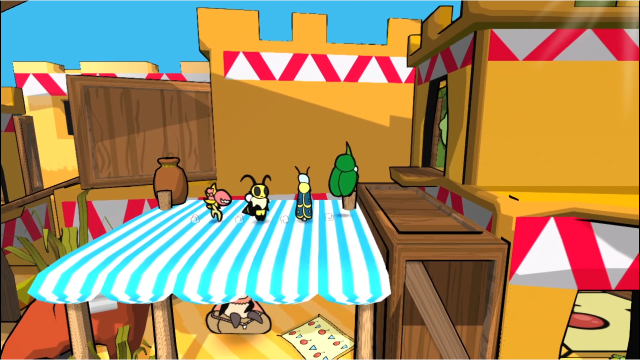 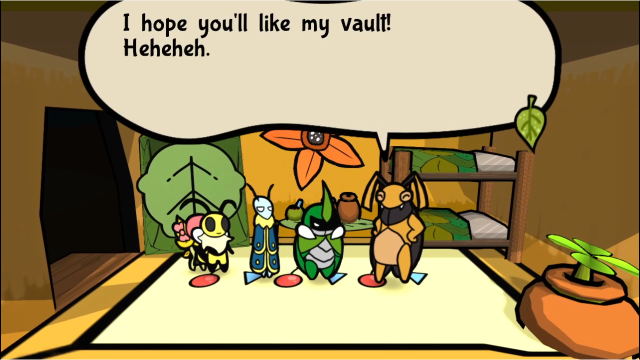 He just encourages us to go check out the vault. 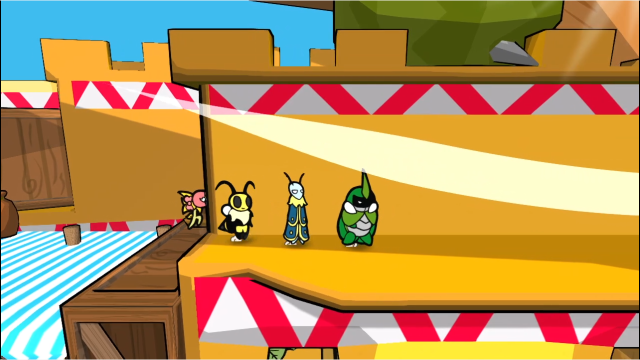 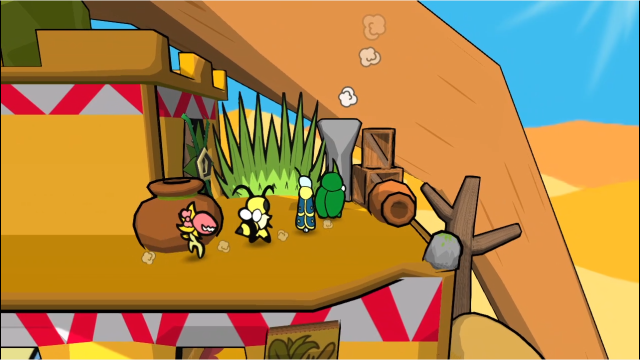 We saw this locked door quite a while ago, but now we can open it. 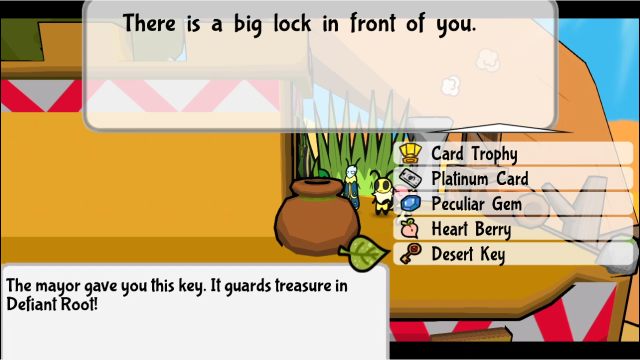 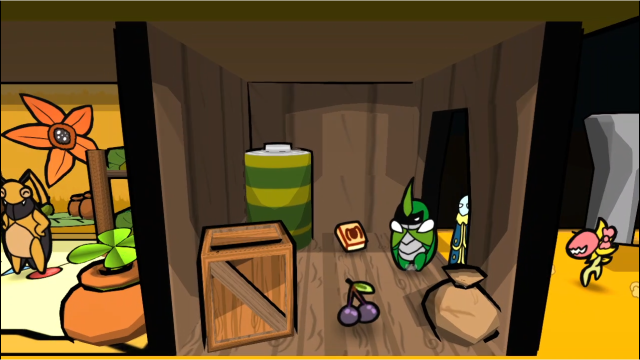 Inside is a small storeroom with two items for the taking. That may not sound like much, but these are both pretty nice things to have! 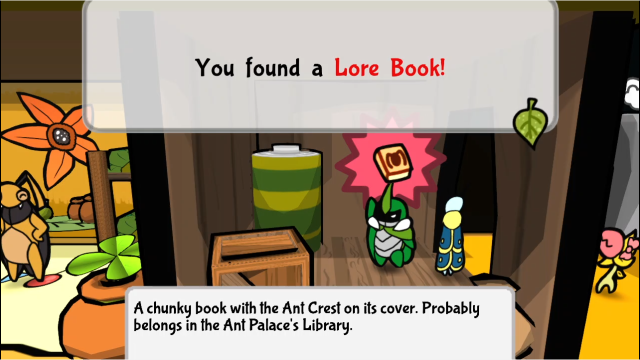 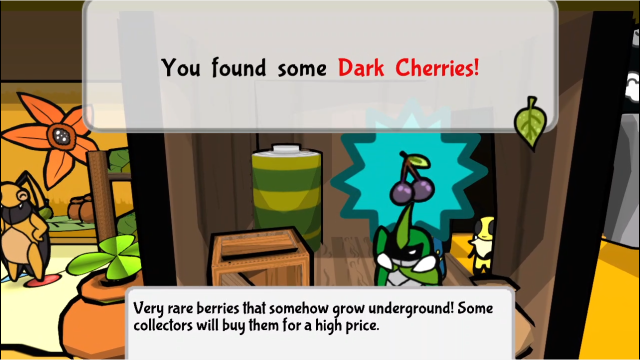 We'll take the book and cherries with us and be on our way. 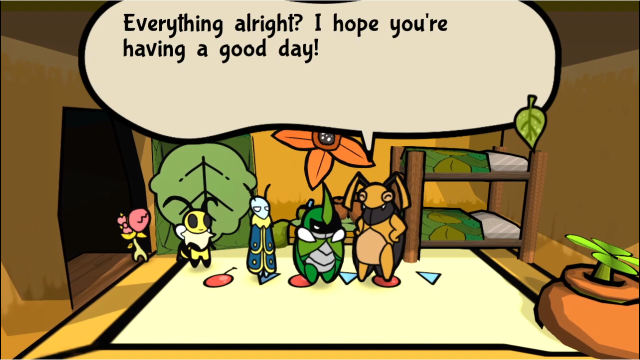 If we return to the mayor after opening the vault, he'll now have this to say. 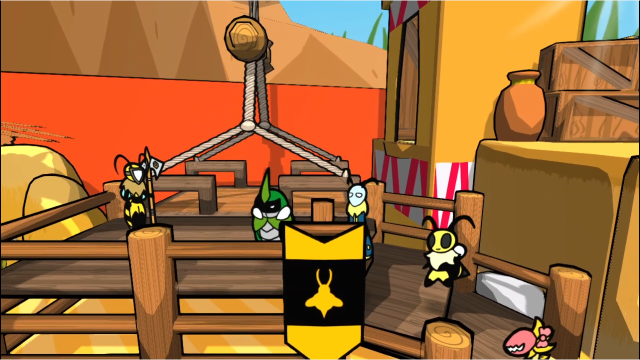 Next up, let's head up to the Bee Kingdom and take care of Malbee's request. 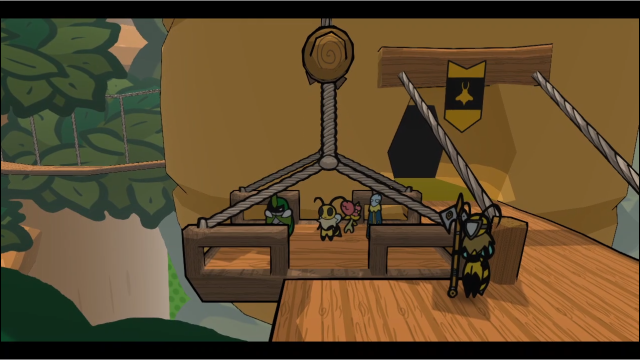 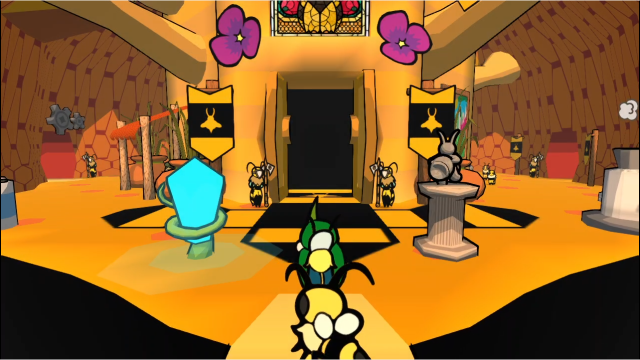 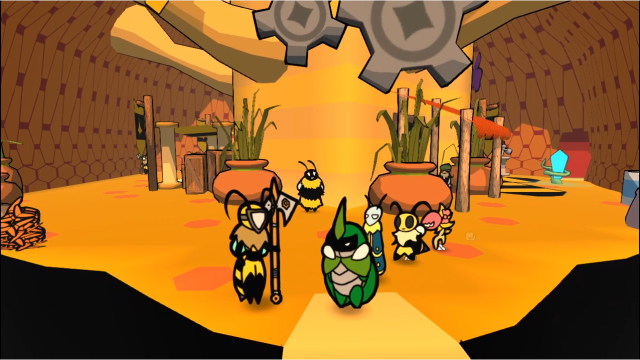 Let's head straight to the factory. 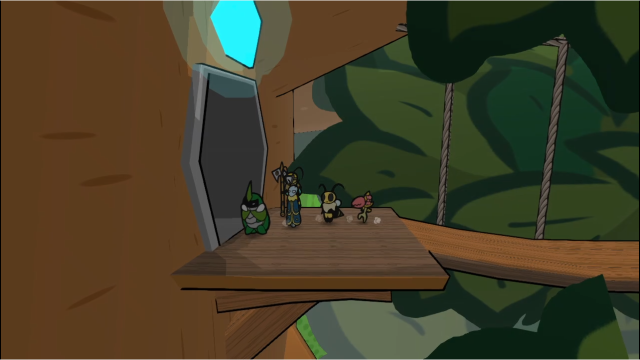 43 - Work That Honey 43 - Work That Honey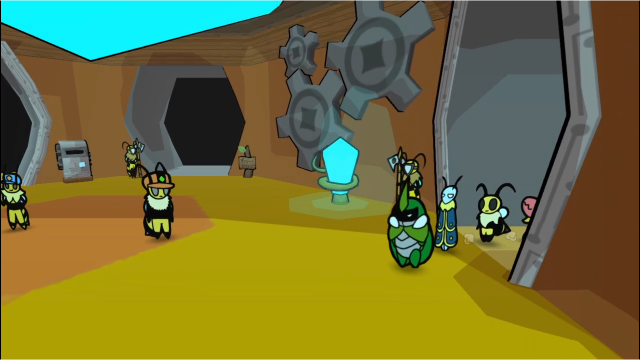  This worker (who wasn't here before) tells us where to find Malbee. Simple enough.   Before we get this meeting started, there's a new banter. Bleh. Taking her posting is like working for her again... We can charge her extra, if it makes you happy. Hehe. Leif will enable anything in the name of trolling, won't he? Let's talk to them and see what they need us to do. 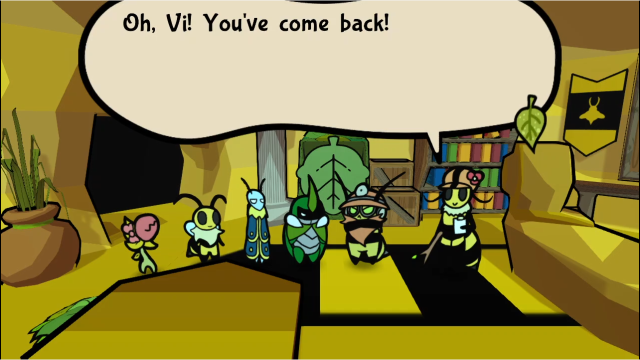  The robot things are having issues, yeah? The robot things are having issues, yeah? Indeed. The Code 32 incident caused plenty of trouble, and I had to fix all of them. The Menders are durable and reliable, but some of them went haywire despite my efforts. I don't have time to go look for all of them, so I need you to go in my stead. We're not qualified engineers, so... How do we fix the Menders? Easy. Just whack them until their system resets. What? H-Hit them? What about their feelings!? Indeed. The Code 32 incident caused plenty of trouble, and I had to fix all of them. The Menders are durable and reliable, but some of them went haywire despite my efforts. I don't have time to go look for all of them, so I need you to go in my stead. We're not qualified engineers, so... How do we fix the Menders? Easy. Just whack them until their system resets. What? H-Hit them? What about their feelings!?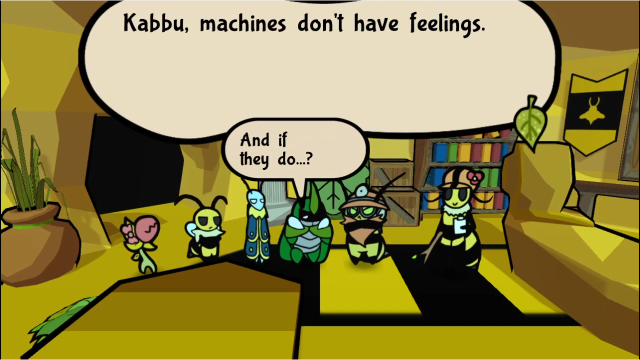 They don't indeed. Just go and reset them, no matter what it takes. There should be 3 around the processing areas of the factory. You better have a reward ready! Let's move, team! They don't indeed. Just go and reset them, no matter what it takes. There should be 3 around the processing areas of the factory. You better have a reward ready! Let's move, team!We have our mission. Good old percussive maintenance. Before we go, we can talk to Malbee and the Overseer again: 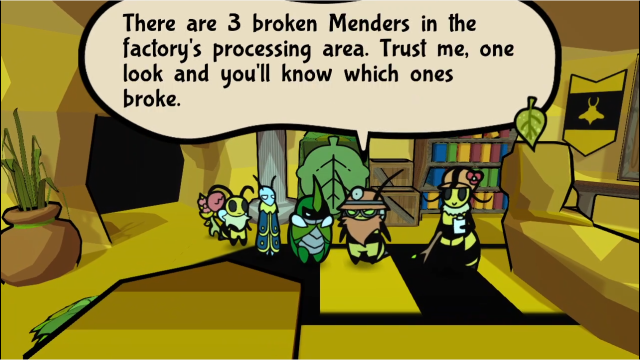 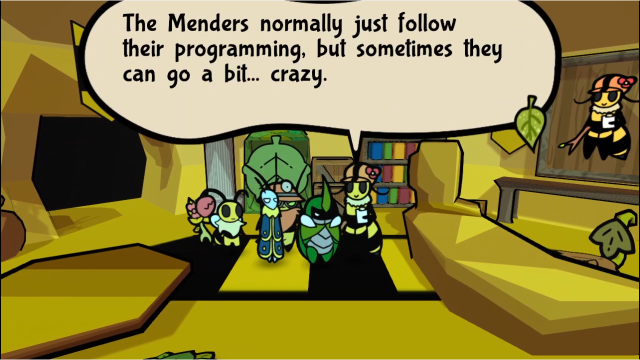  Pay no mind to their babbling while in that state. Pay no mind to their babbling while in that state.This sounds... questionable, doesn't it. Still, we have our orders I guess. Let's go take care of this. 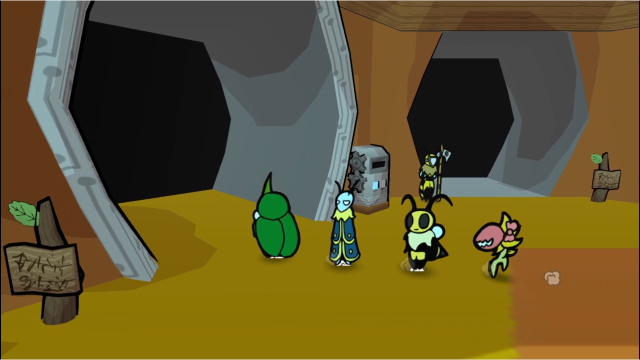 The broken Menders are all located in the Honey Processing section of the factory, this way. 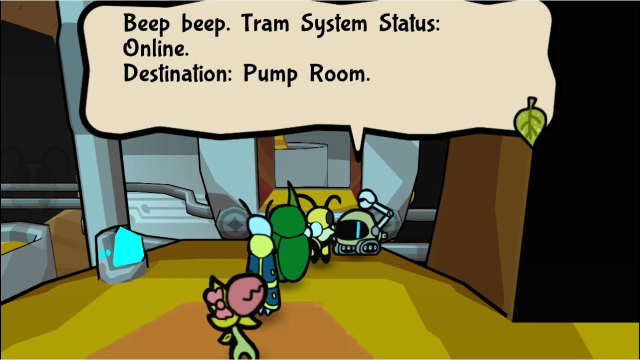 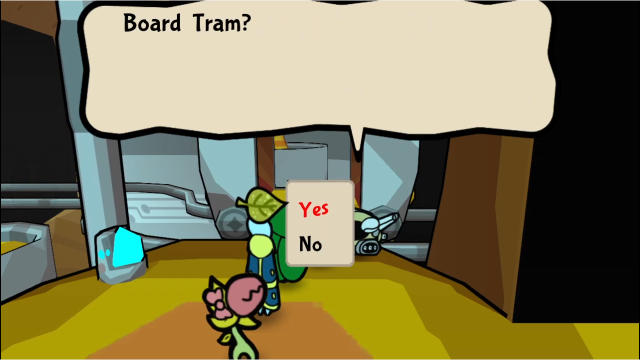 Thankfully, the tram operator isn't one of them, and we can still ride it. It's a bit easier to find them starting from that side. 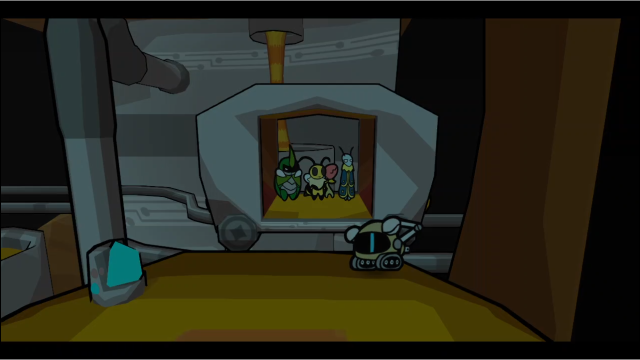 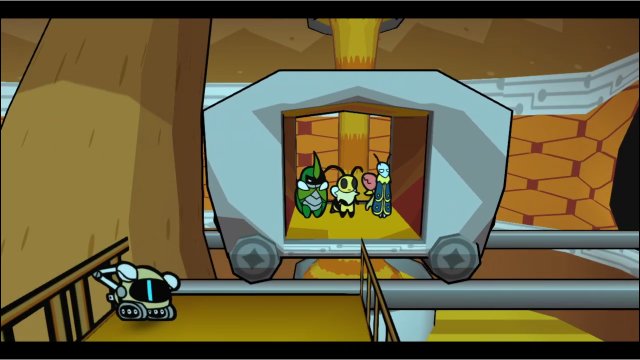 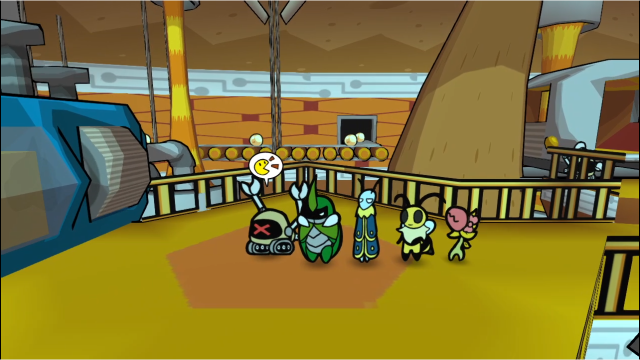 As soon as we disembark, we can find this one. Yeah, there's definitely something wrong with it... 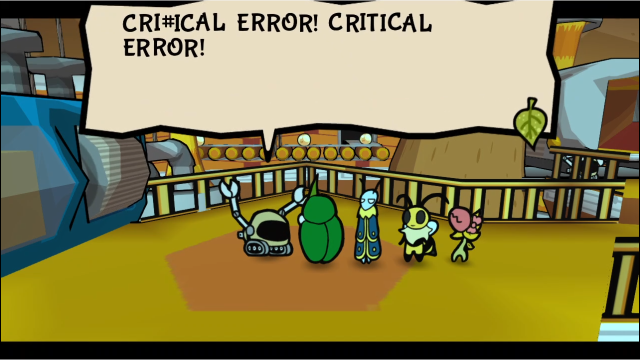 04 - FIGHT! 04 - FIGHT! 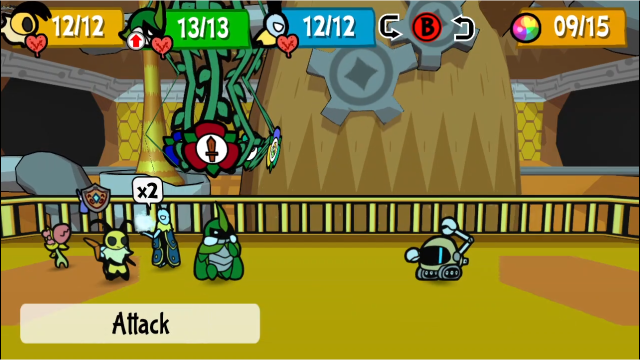 Talking to it sends us into battle with the berserk Mender. I wonder what this is going to be like?  It's been a while since I've shown the Spy animation (in fact, not since the first time we used it!), but I thought it was worth it to show that Luckier Day even kicks in here. 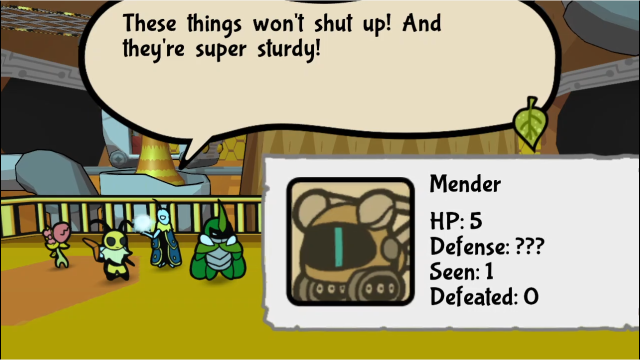 At least they don't fight back... Time to whack them! At least they don't fight back... Time to whack them!That's unusual. They don't fight back? 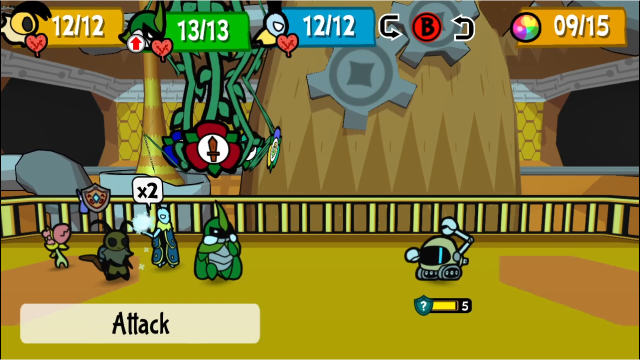 What does ? defence mean? Well, let's do the thing, I guess. 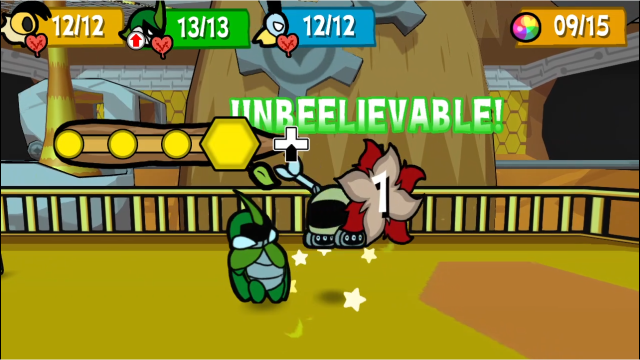 These have the same defence gimmick as Golden Seedlings, which makes them take 1 point of damage from most attacks. 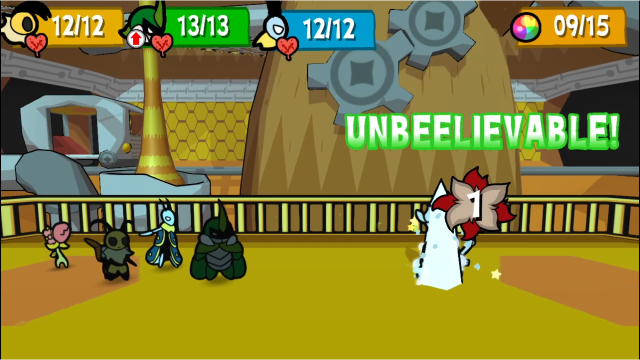  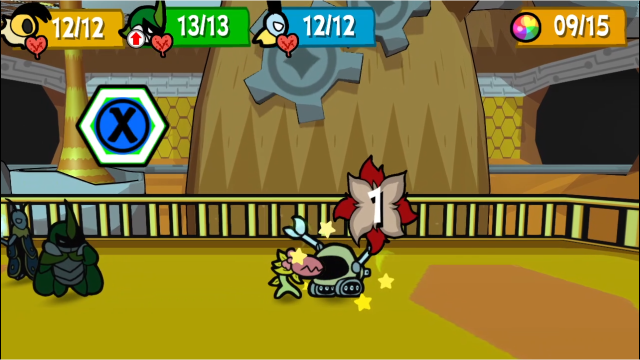 There's our turn done. I wonder what it's going to do. 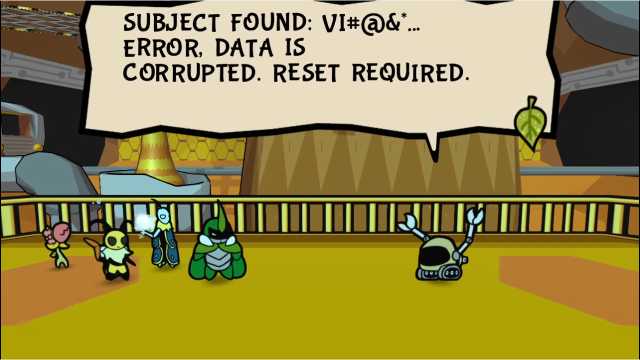  In case it wasn't already obvious, Menders can't harm us, they just spout silly text at us on their turns. A lot of the lines are pretty funny. 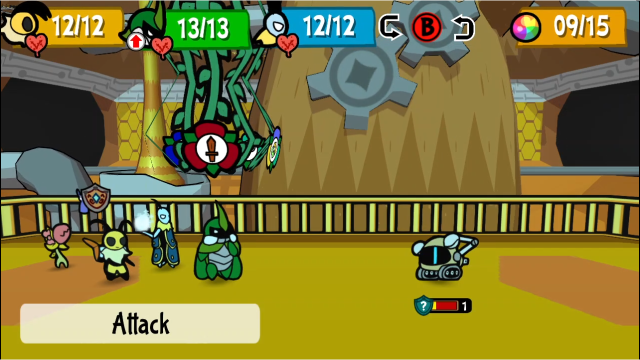 Let's put it out of its misery. 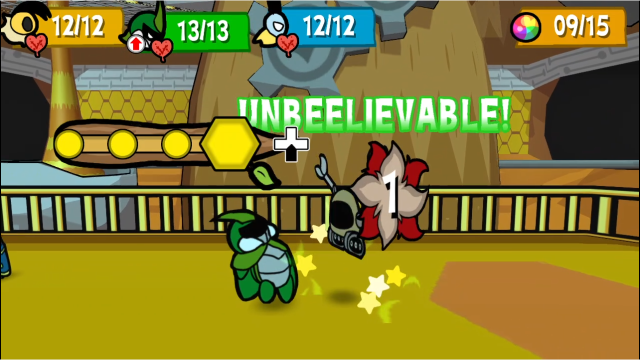 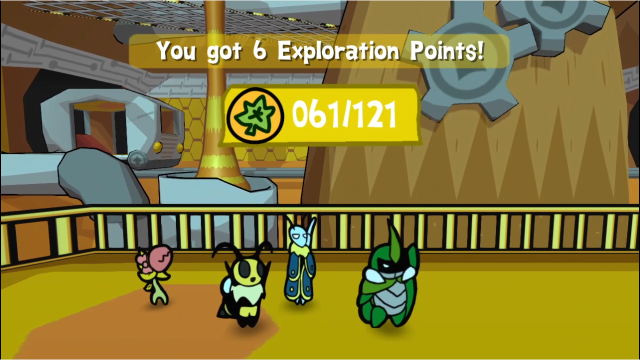 We do get some EXP from these, for whatever reason. 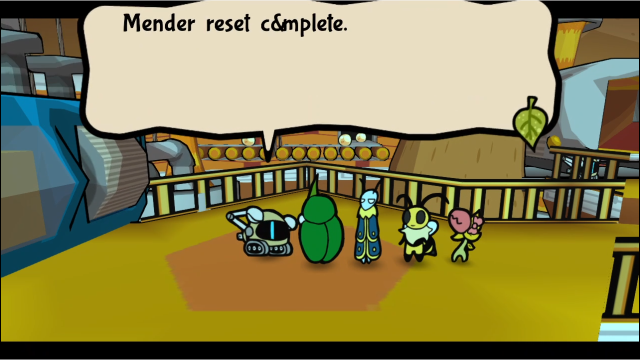 And once we're out of battle, the Mender's back to normal! One down, two to go. Let's get searching. 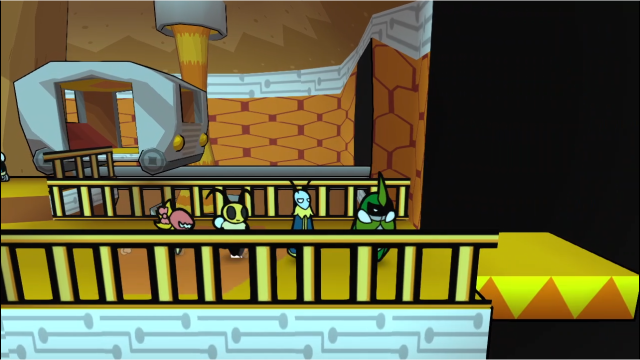 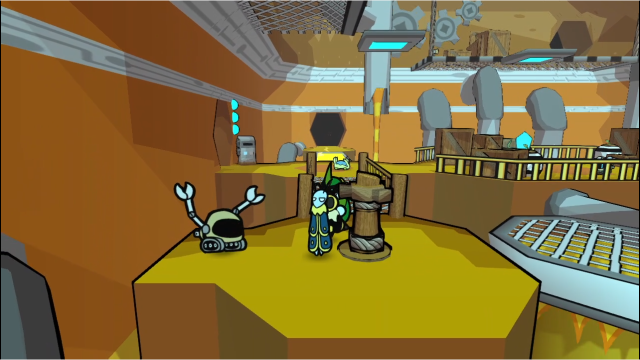 In the next room, we can quickly stumble upon another one. (Though this one can be tricky to find if you don't already know it's here, it's easy to forget to check this corner and you're not going to see it from a distance.) We know what to do. 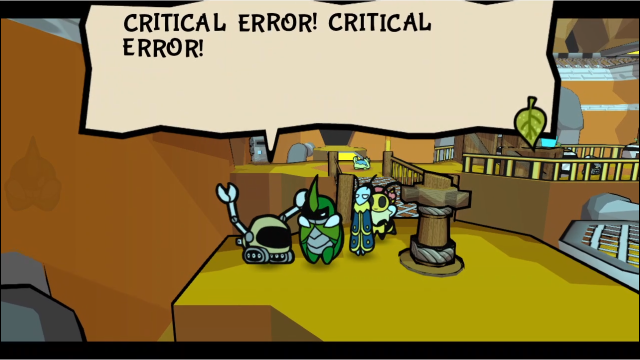  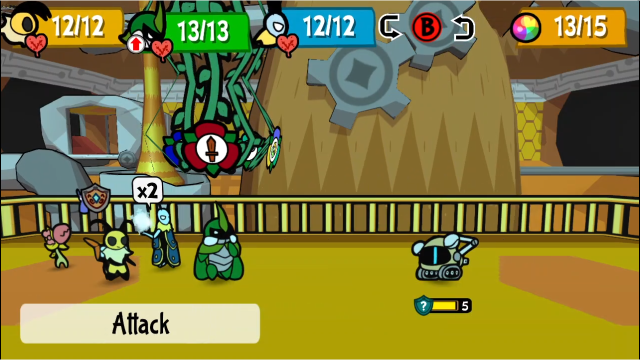 Second verse, same as the first. Let's hit it a bunch. 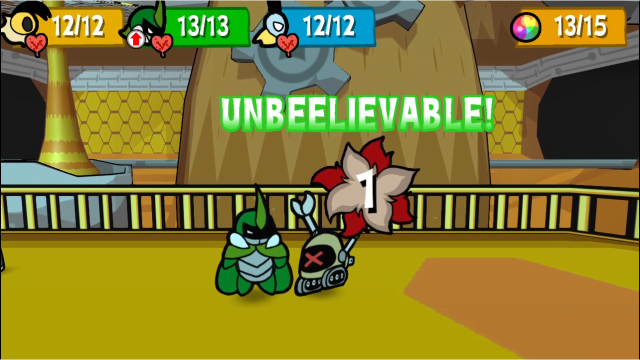 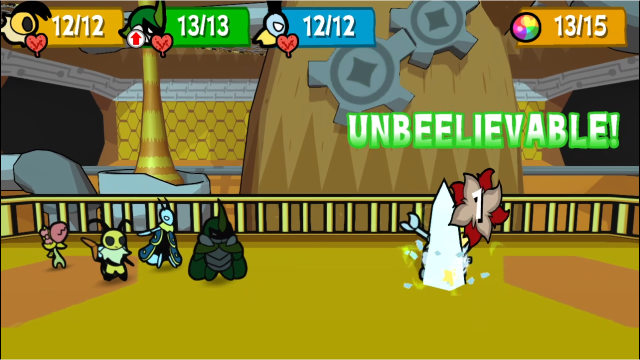 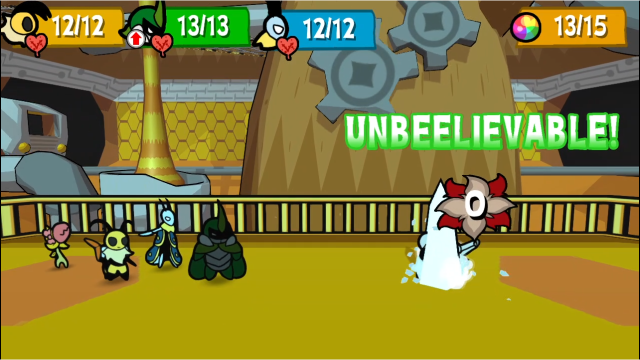 Notably, Leif can't get through its defence after the exhaustion penalty from Strong Start. If he'd relayed to someone else, they could have, but I want to see what it says anyway. 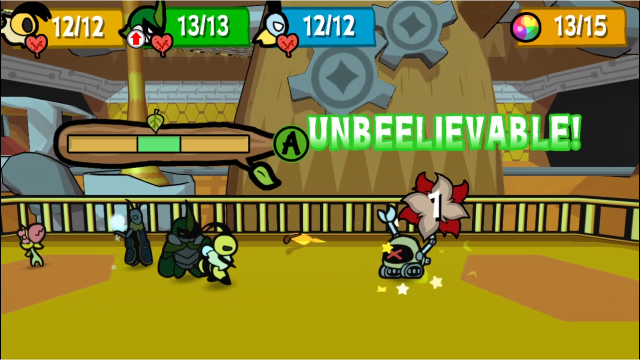 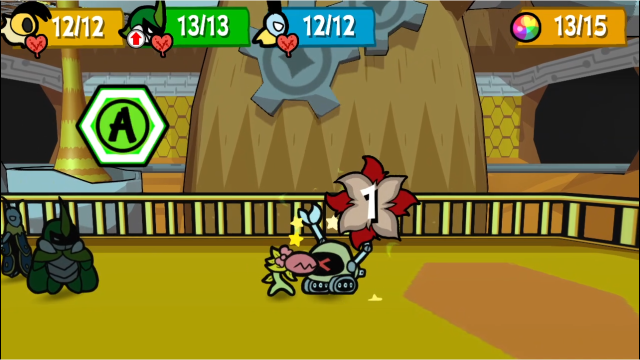 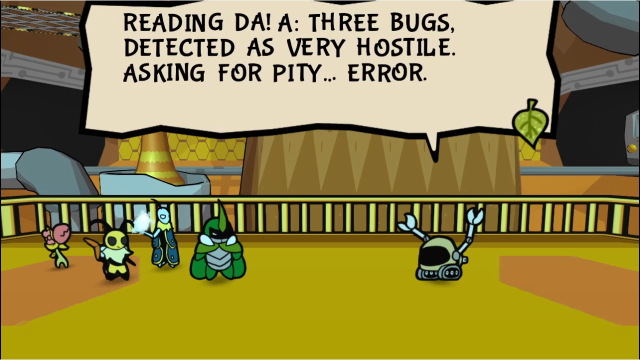 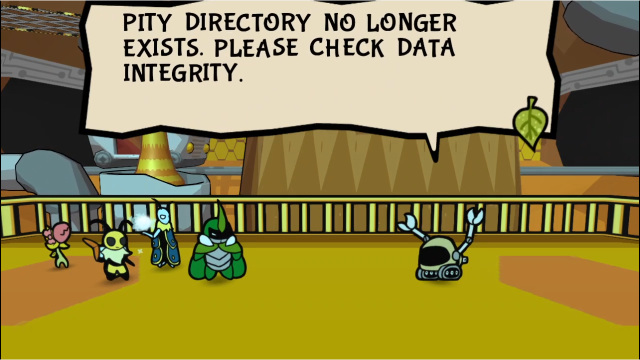 How can you not like these lines? 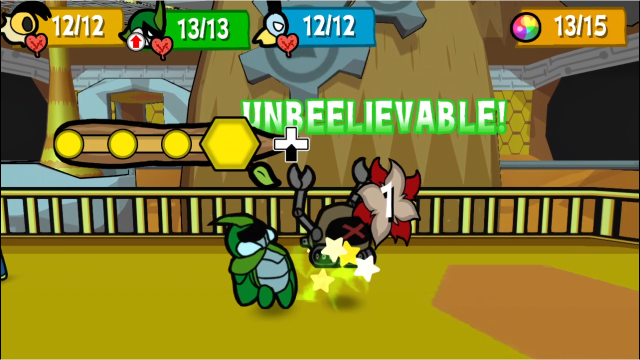 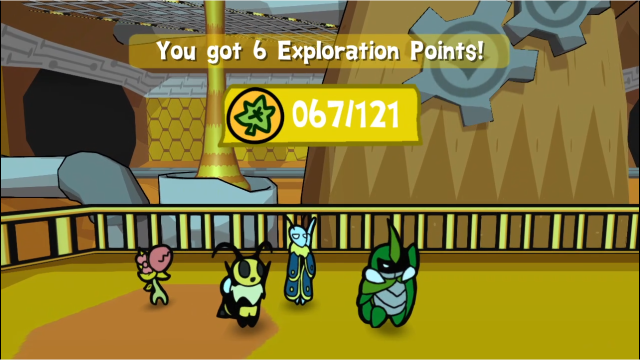 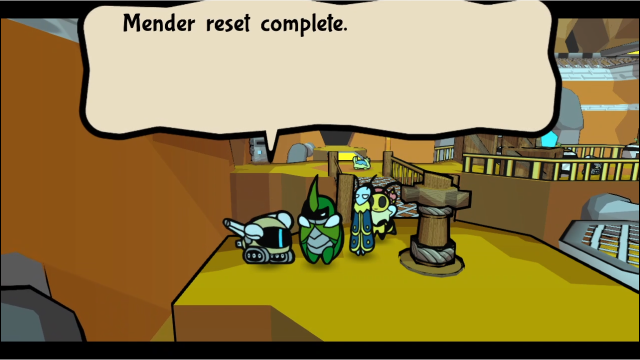 Moving on. 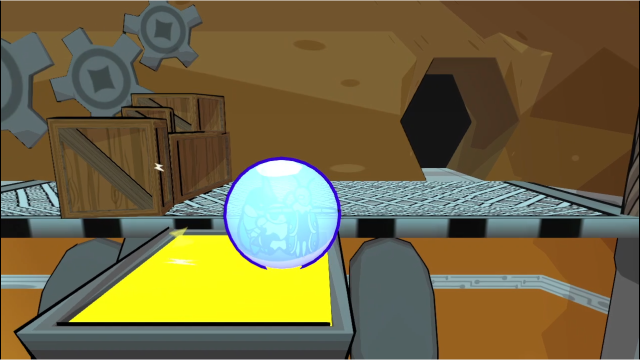 This one in the centre of the area is an obvious suspect, given we saw it was here before, but it's functioning normally. That's no help. Where could the third one be? 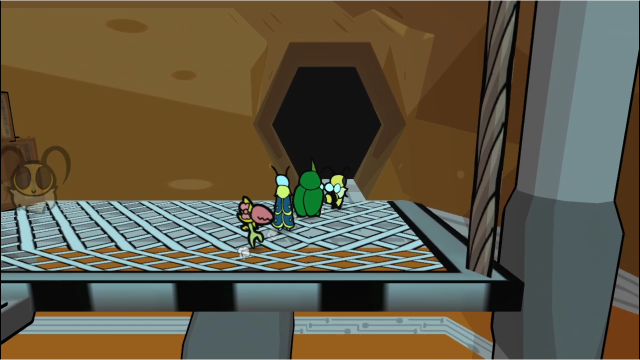 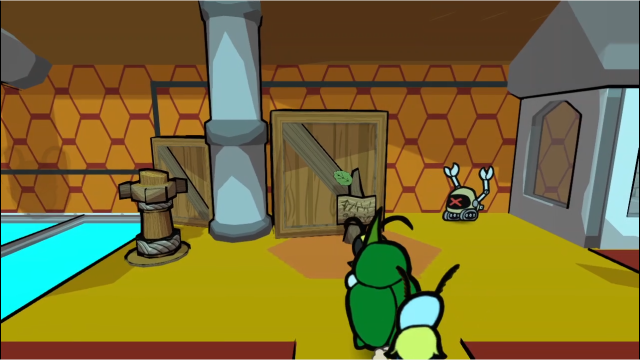 Eventually, we might remember to check the top level. 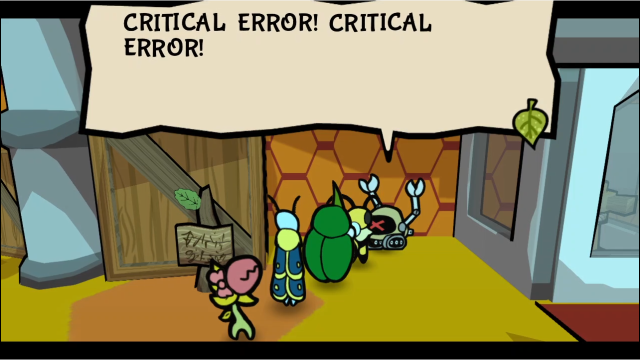 There we go.  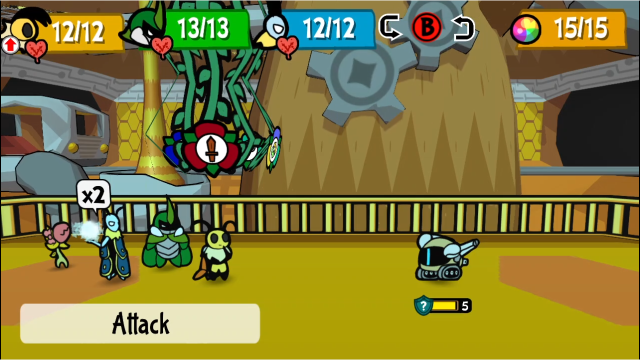 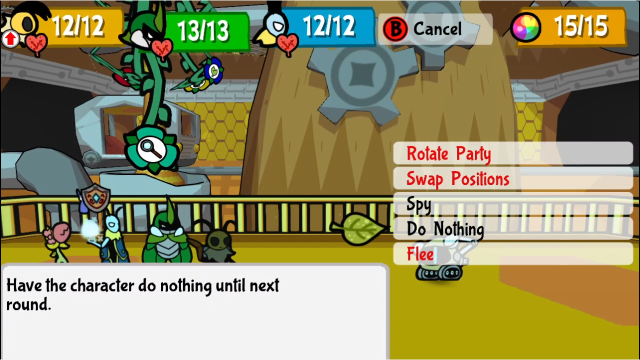 Since this is the last one, let's stall for a while and see what lines we can get. 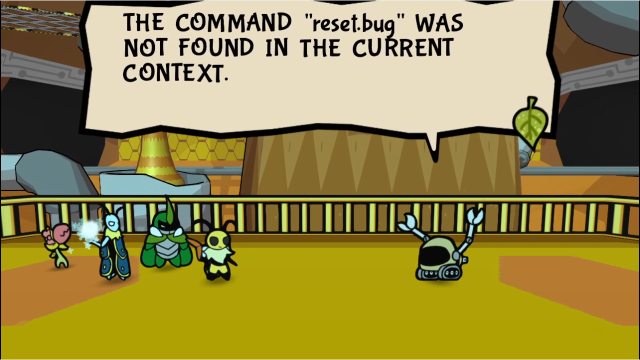 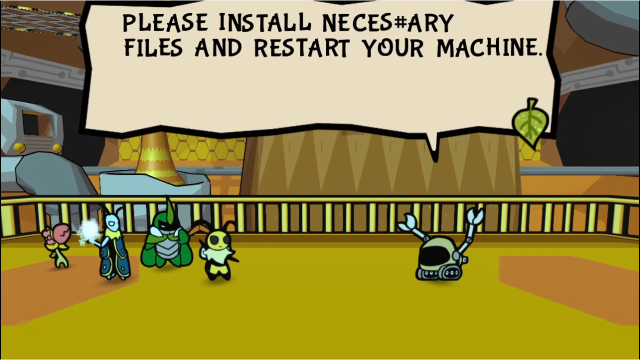 Oh goody, error messages. 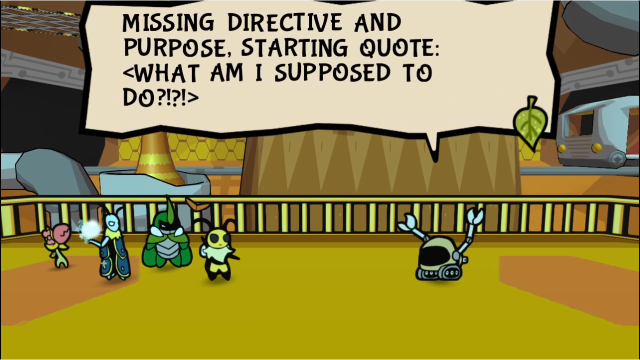 Poor robots, having existential crises. 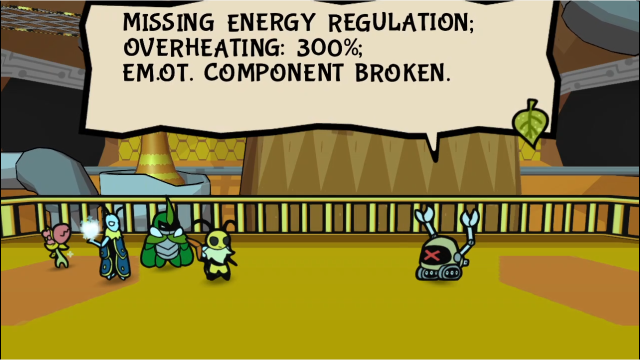 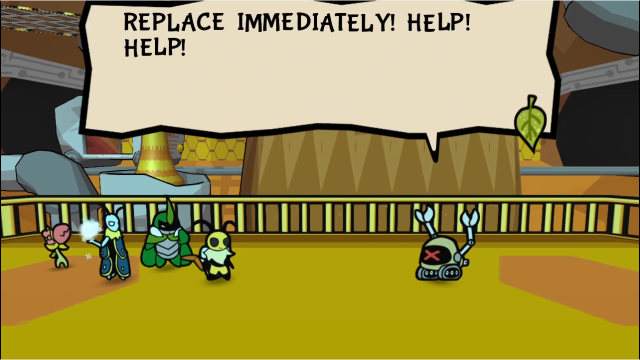 That doesn't sound good. At this point, it started repeating itself; it's possible there are more potential lines they can say, but I didn't see any more of them. Let's get on with this. 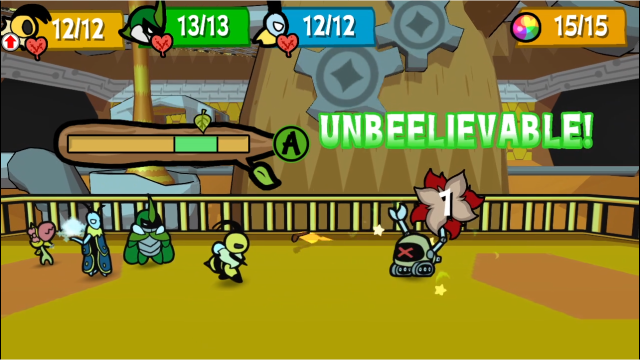 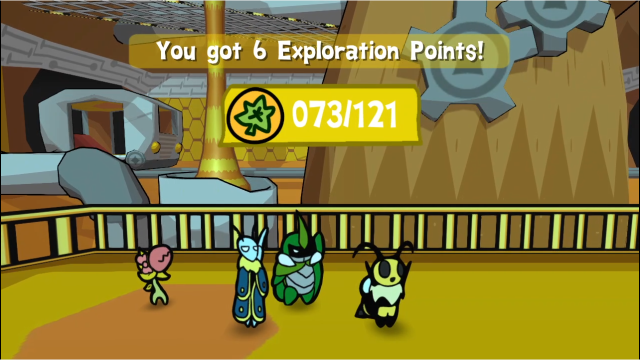 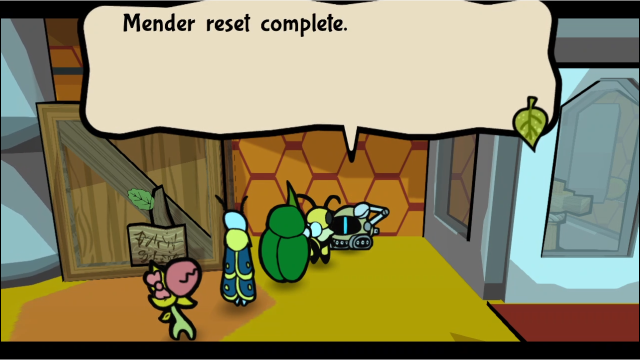 A bit of whacking later, this one's back to normal too. That's all of 'em. A bit disappointingly easy... Easy money's still money! Let's go get that reward! Poor things...After fixing the third one, our party has this little conversation. The only challenge in this quest is finding them, the rest is a foregone conclusion. Let's head back to Malbee now. 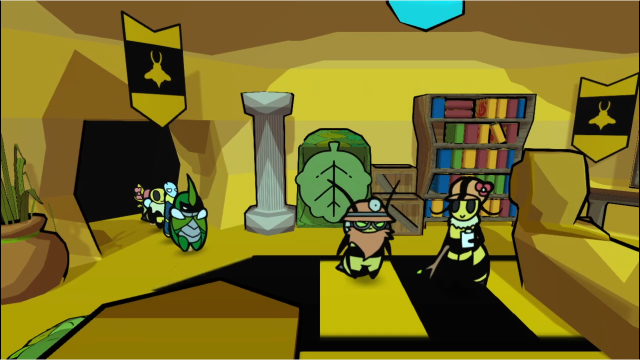 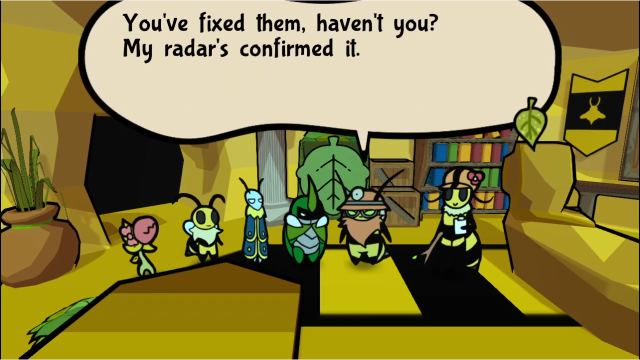 It was emotionally draining... The Menders weren't made to fight, only to do simple tasks. It was emotionally draining... The Menders weren't made to fight, only to do simple tasks. Well, I must congratulate you, Vi. I really want you to come back and work for us. Well, I must congratulate you, Vi. I really want you to come back and work for us.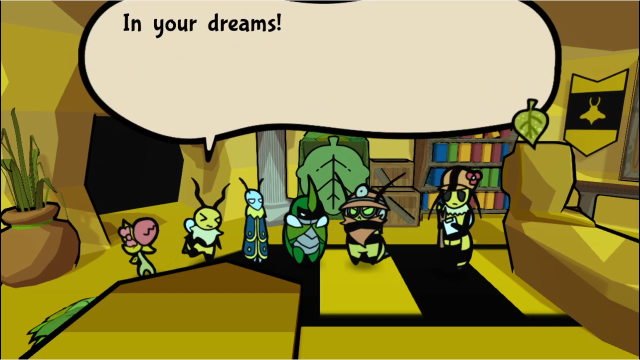  ...Regardless of my bias, it's good to see you've found your calling. You've earned this. Thanks for helping us again. ...Regardless of my bias, it's good to see you've found your calling. You've earned this. Thanks for helping us again.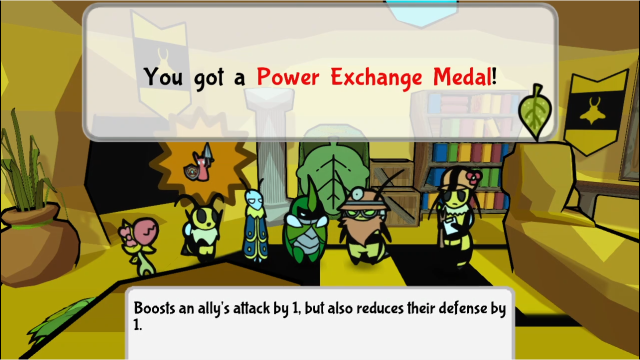 Woah! This one's really rare! It would really be ncie to have you back with us, Vi. But I know you'd hate it... Good luck on your adventures! Thanks, Chief! Well, we're out. Stay safe. Woah! This one's really rare! It would really be ncie to have you back with us, Vi. But I know you'd hate it... Good luck on your adventures! Thanks, Chief! Well, we're out. Stay safe.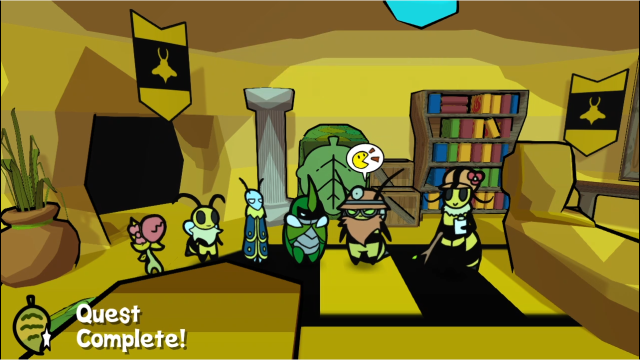 Quest complete. Our reward is a second copy of Power Exchange, always a great medal to have (and I do think it's a nice touch that the reward for this is something that works really well for Vi); arguably, the real reward is seeing Vi and her former bosses put aside their differences, but the medal is very nice. (Alternatively, the reward may be the Mender Spy Card, since this is the only way you get an opportunity to spy on them. I've seen people claim it's easy to abuse and do some broken things with, though I personally have never gotten it to work.) We can also talk to the both of them again:  I'll live. Exploring's way more fun! I'll live. Exploring's way more fun!Seems like Malbee's not going to give this a rest, even so. 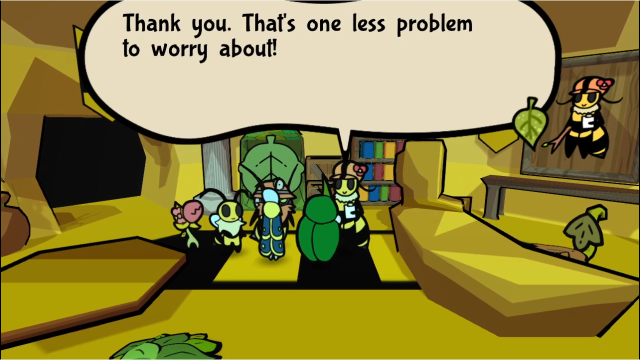 Beena is just grateful. Anyway, that wraps up our work here; let's move on to the next sidequest. (In the next post, because the character limit has become a problem; I'll be right back.)
|
|
#
?
Oct 27, 2021 04:26
|
|
|
45: Follow the Leader (Part 2) 17 - Ant Kingdom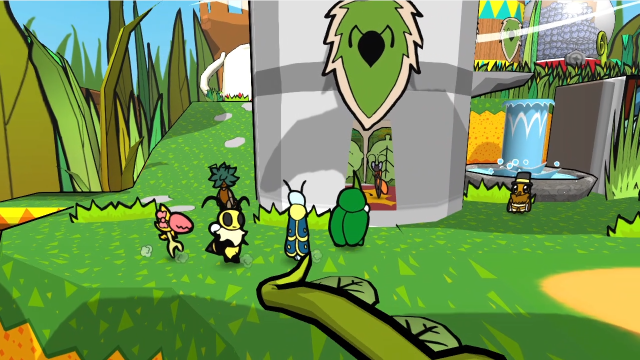 Let's see what we can do about Mun's conflict with the bandits. 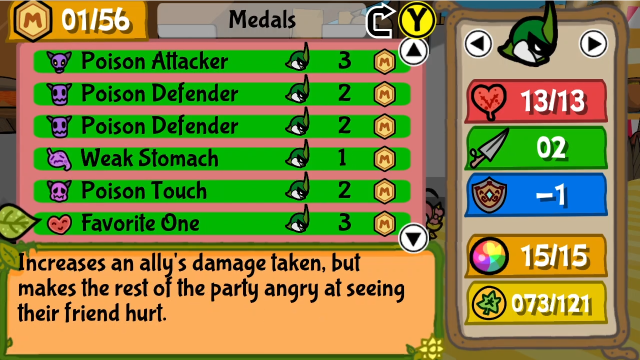 Before that, though, let's move some medals around. This one's going to have some combat involved; let's try something different, and set Kabbu up for some poison tanking. Maybe we can make something of Poison Touch? 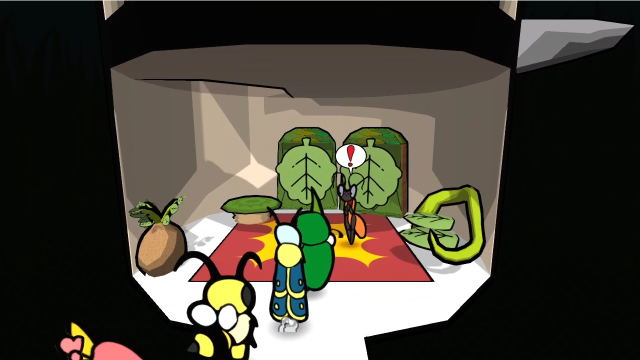 Mun's clearly waiting for us, but before we talk to him, let's go upstairs. 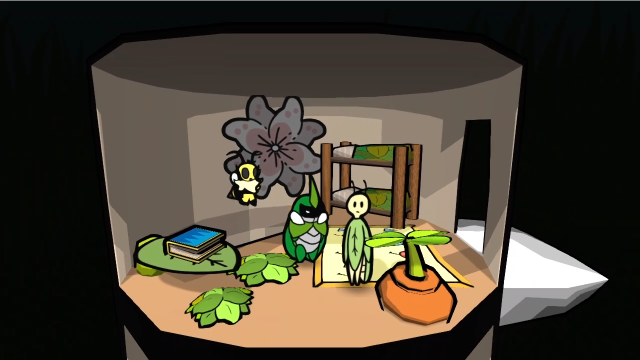 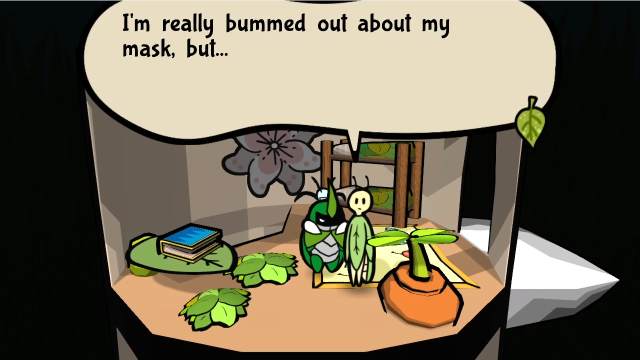  Mun just got back, and he looks super stressed out... I wish I could help him. Mun just got back, and he looks super stressed out... I wish I could help him.Eophi has a lot of dialogue that's easy to miss during this. You only see this line if you talk to him after the quest is posted but before talking to Mun. 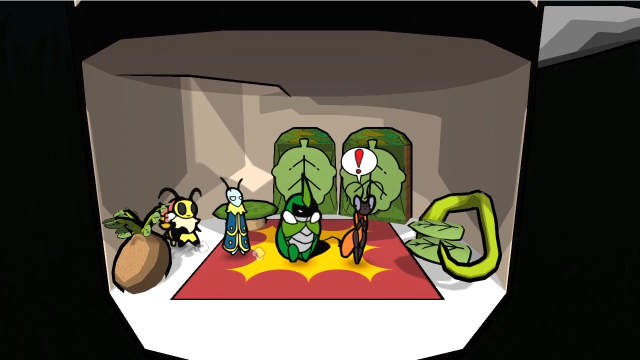 Now, back downstairs. There's also a new banter for Mun: Hehe, it's cool to see others want to explore! Y-Yes, but... I can't help but worry. What if he gets hurt? They shared those concerns with you too, we imagine. (...Yeah, they did...)This is cute. Let's talk to him now. 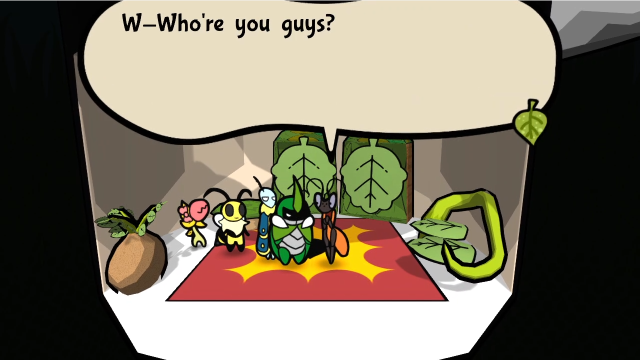 Team Snakemouth, ready to work! Oh, you're explorers? Y-You saw my post? You could say that. Could you tell us all you know? S-Sure. Look, it's super simple. The bandits stole my friend's mask! They've gotta be at their hideout! B-But I can't beat 'em alone. I need your backup! Wait. Uh, you're going? Team Snakemouth, ready to work! Oh, you're explorers? Y-You saw my post? You could say that. Could you tell us all you know? S-Sure. Look, it's super simple. The bandits stole my friend's mask! They've gotta be at their hideout! B-But I can't beat 'em alone. I need your backup! Wait. Uh, you're going?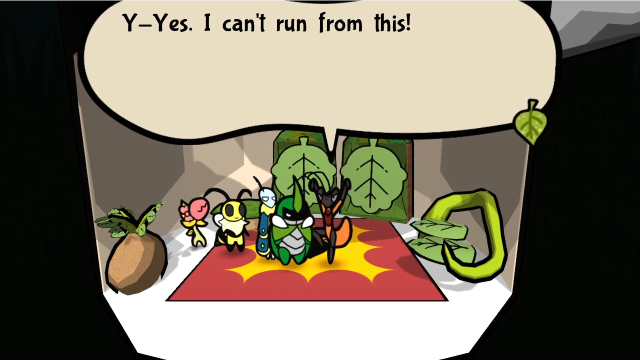 Do you have an explorer permit? N-No... You should probably stay behind, then. I refuse! Besides, if they see me with you, they'll just think you're escorting me! Please, I can fight! I'm just really shy! Such thirst for justice! You can't seriously be falling for that. Come with us, brave lad. But stay behind our formation! Oh boy... A-Alright! Let's go to their hideout, then! Do you have an explorer permit? N-No... You should probably stay behind, then. I refuse! Besides, if they see me with you, they'll just think you're escorting me! Please, I can fight! I'm just really shy! Such thirst for justice! You can't seriously be falling for that. Come with us, brave lad. But stay behind our formation! Oh boy... A-Alright! Let's go to their hideout, then!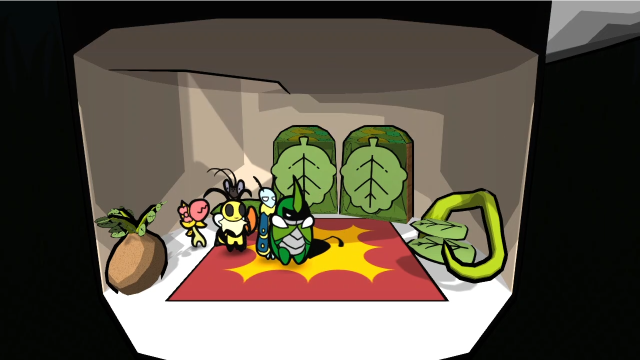 And Mun starts following us. Before we head out, though... 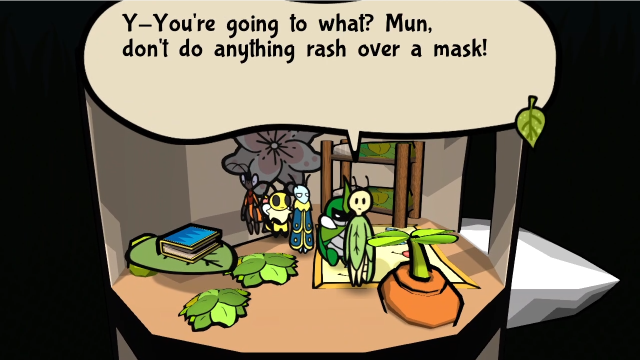 We can talk to Eophi. He really doesn't like this idea. 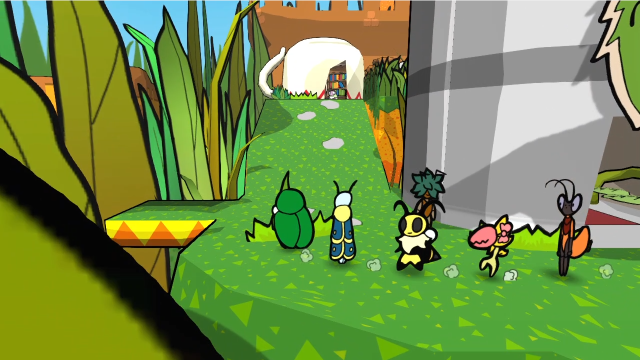 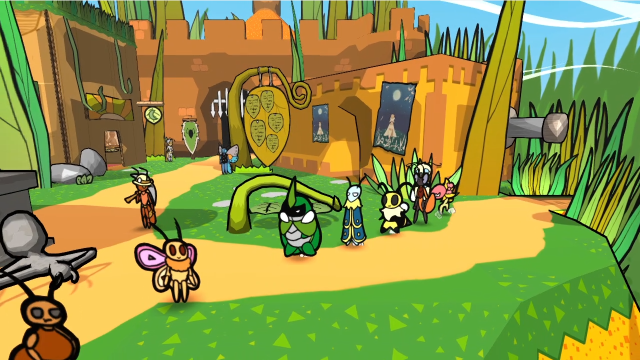 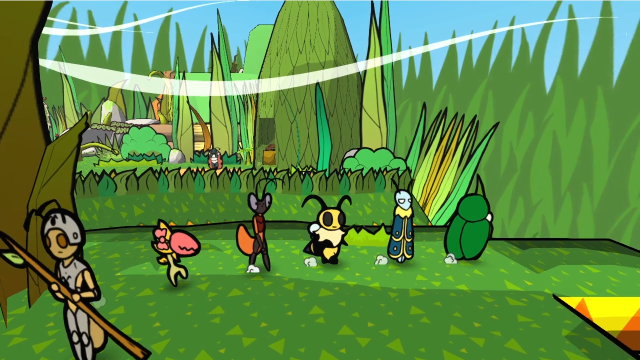 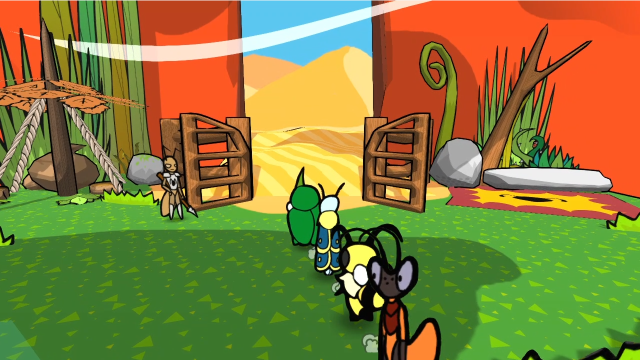 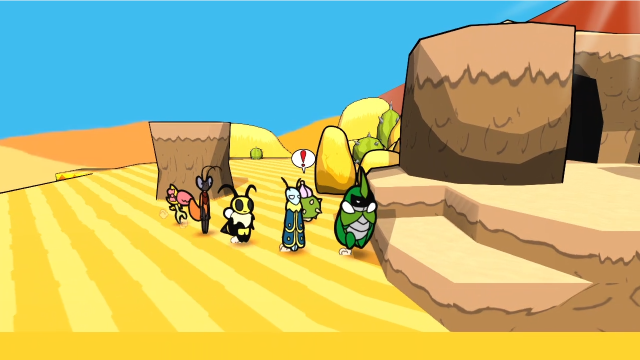 It's Mun's turn to follow behind us. Like before, he'll disappear if we go off the intended route, but in this case it's also definitely the most efficient one; going through the Outskirts is the fastest way to get back to the Bandits' hideout. There's actually a new banter outside the hideout: Tch... The bandits are partly to blame for all the wasps. They just wanted money though, right? One must have morals, Vi. No matter the pay, their actions endangered us all.Nothing to do with Mun's quest, but it's still an interesting one. 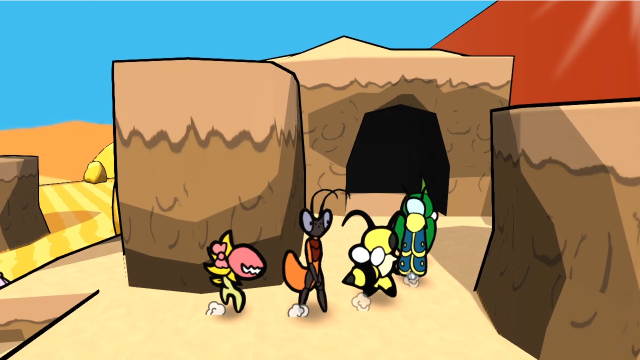 Let's head in. The Bandits' hideout is no different than it was last time we were here. 47 - The Bandits' Hideout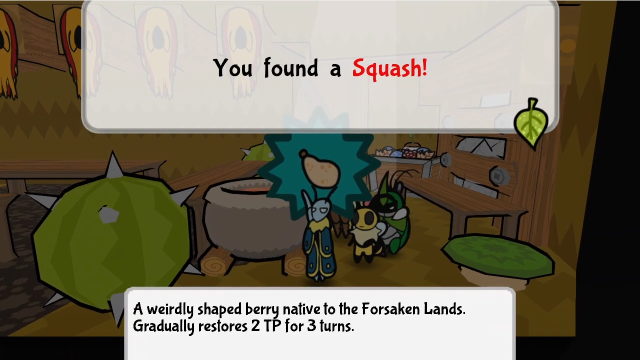 A quick detour to the mess to grab another Squash; may as well, while we're here.  I don't remember if I showed this before, but there's now a staircase of boxes in this room so it's no longer necessary to use an ice block to get up. 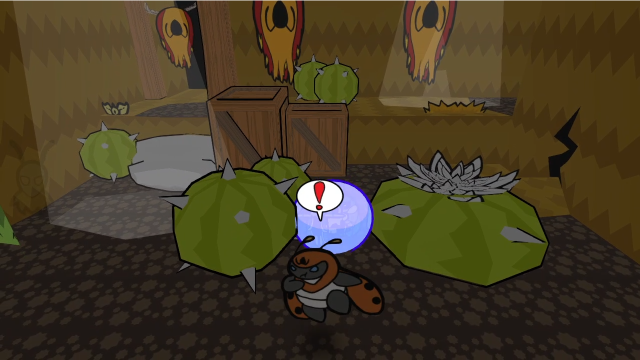 It's easy to get through here quickly when we can just put up Leif's shield and barge through all the guards without fighting them. 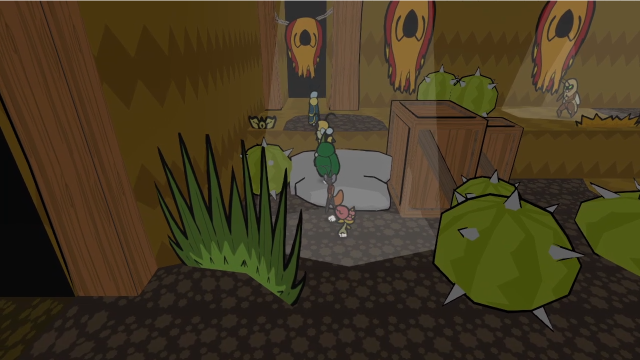 Where we need to go, naturally, is the bandits' storeroom. 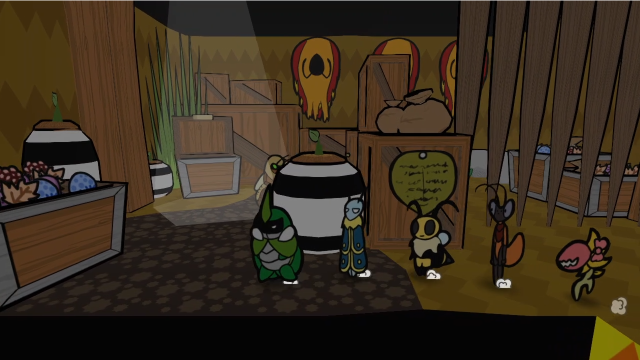 We can see a few of them hanging out in the treasure area. Let's just go in. 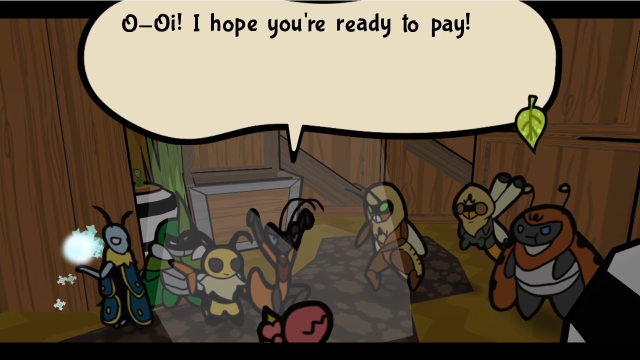 What!? You followed us, punk!? ...And he's got help with him! What!? You followed us, punk!? ...And he's got help with him! Hah. Think we're scared cuz you're not alone!? Hah. Think we're scared cuz you're not alone!?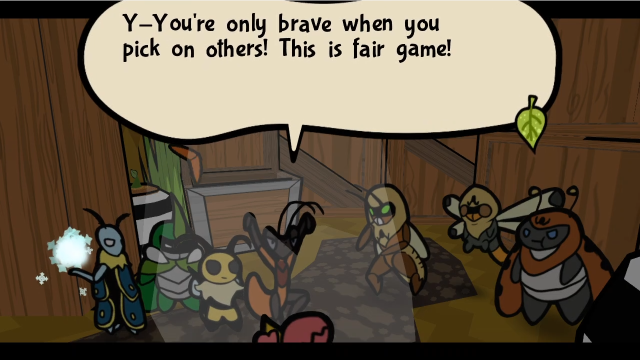 S-Shut up! A-Aren't those the ones that fought the boss? That's perfect. We'll beat these punks up and get a reward! Hmph. Your boss would be most disappointed in you, I'm sure. You sure about that one, Kabbu? Whatever. Let's go! S-Shut up! A-Aren't those the ones that fought the boss? That's perfect. We'll beat these punks up and get a reward! Hmph. Your boss would be most disappointed in you, I'm sure. You sure about that one, Kabbu? Whatever. Let's go!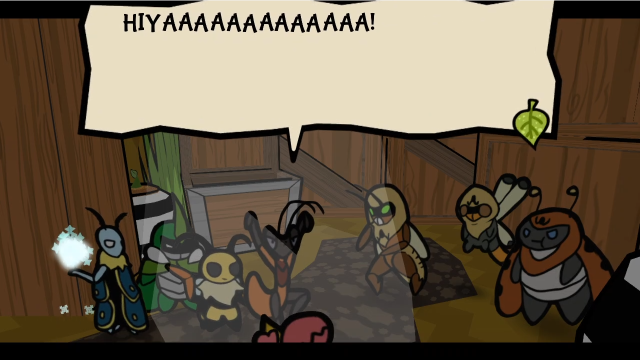 29 - Team, This One's Stronger! (Miniboss) 29 - Team, This One's Stronger! (Miniboss) 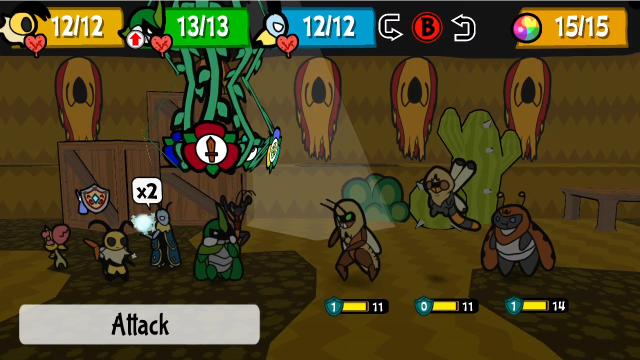 At first glance, this seems like a perfectly ordinary fight with three bandits. And, well, to be honest it more or less is. Except look there in the background - Mun's actually here on the battle screen, and he's going to try to help out! Adorable. (He'd actually participate in any combat encounters we might have while he's following us in the overworld, if I'd wanted to get into any.) Let's give him a chance to show what he can do? 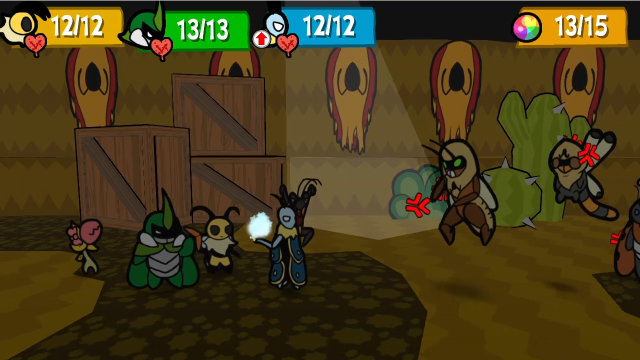 We'll get Kabbu into the back and have him taunt them. 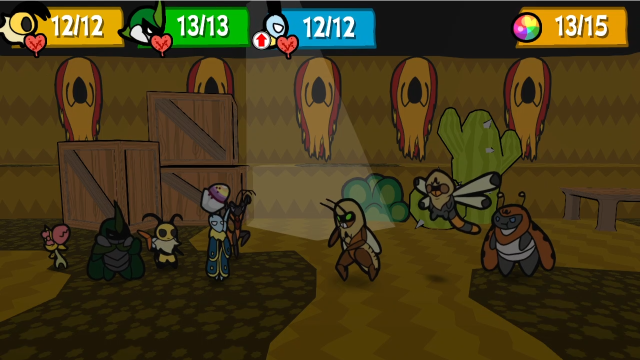 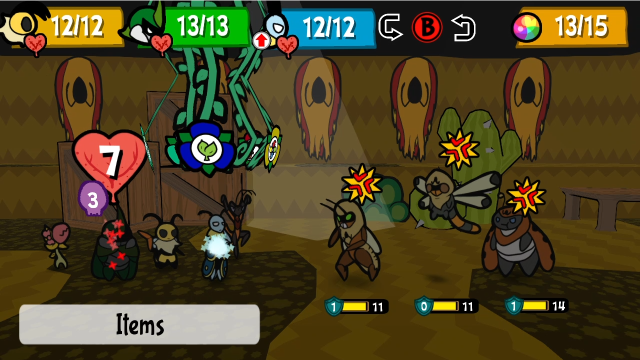 Then have Leif throw him some food to poison him and activate all the medals. 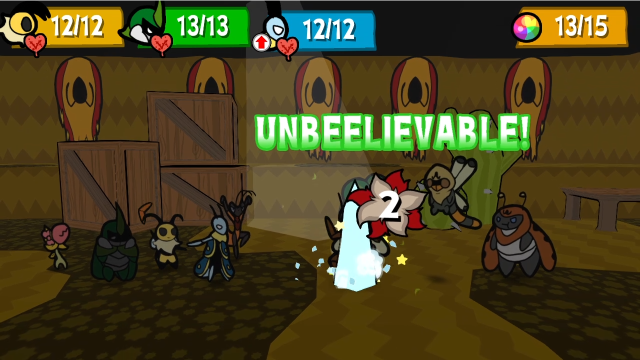 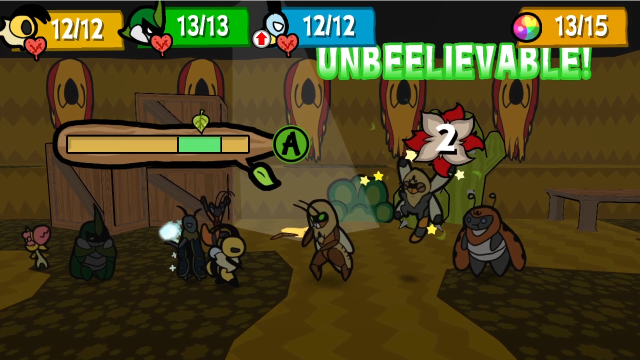 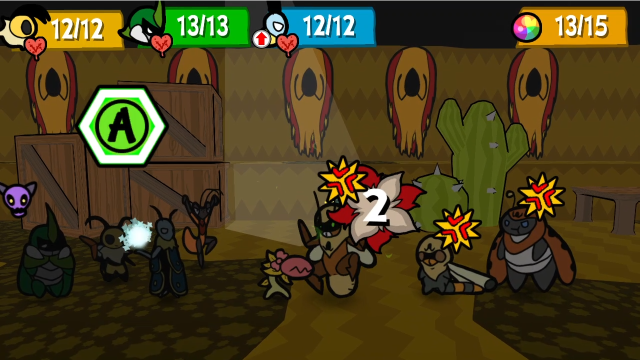 We'll finish off the turn by making a few normal attacks.  After our turn ends, but before the enemies, Mun gets to attack! He's trying his best. Unfortunately, it doesn't do very much. Mun has only a single point of attack, and two of these three enemies have 1 defence, so it's very unlikely he'll actually manage to contribute anything. He always goes after the front-most grounded enemy. 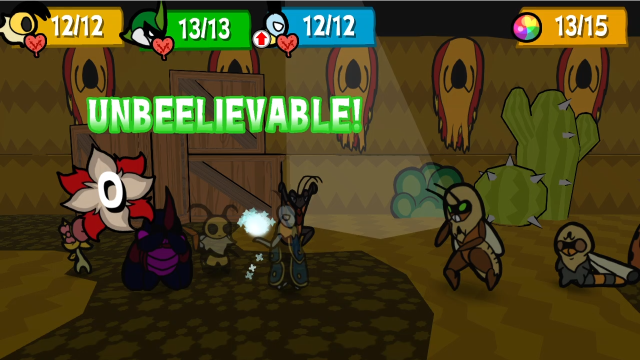 The Bandit throws a shuriken at Kabbu, which he blocks and takes no damage.  I didn't manage to block this attack, so Kabbu took a bit of damage and got our Squash stolen... but here we can see Poison Touch kicking in, and the Thief becomes poisoned. 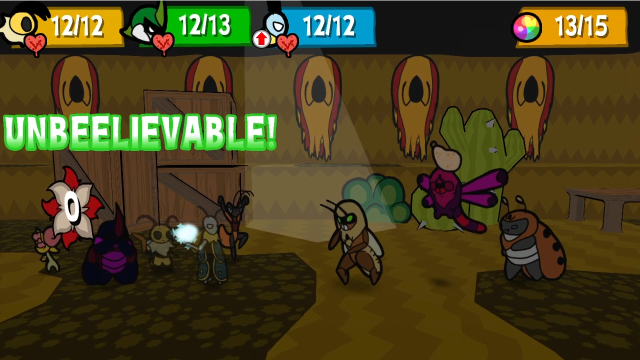 The Burglar throws a rock at Kabbu, but it doesn't do anything. 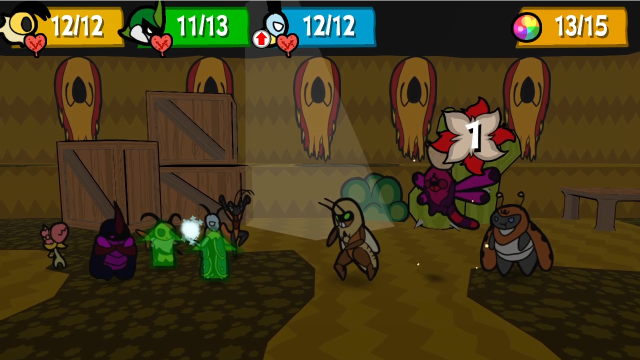 Amid our other end-of-turn effects, the Thief takes 1 damage from poison. 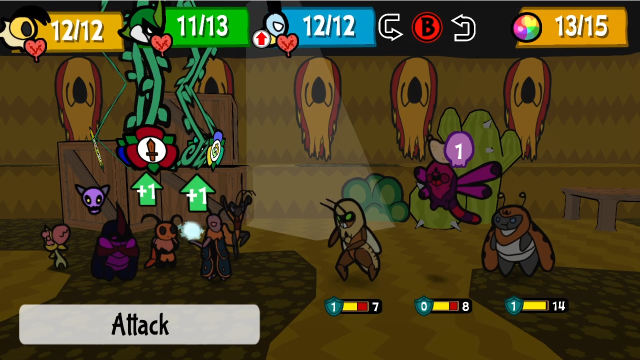 First things first, let's get our item back.  An attack from Vi brings it down, but doesn't make it drop the item. 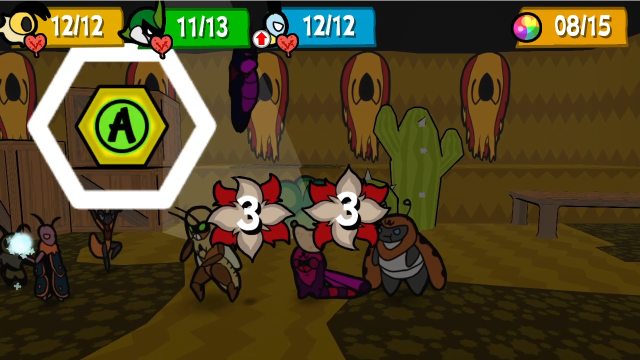 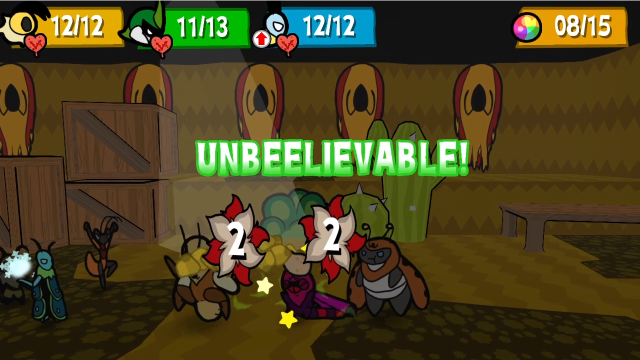 But Kabbu's Under Strike can take care of that; it's a flipping attack in addition to everything else it does. This also finishes off the Thief. 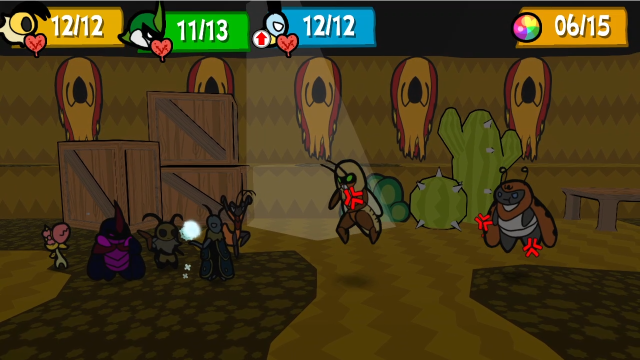 We'll relay to Kabbu so he can taunt again. 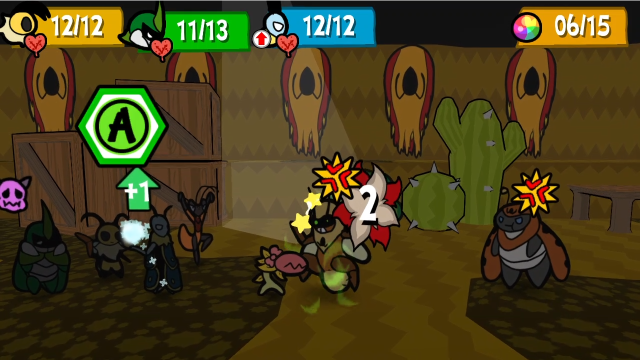 And Chompy finishes off the Bandit. 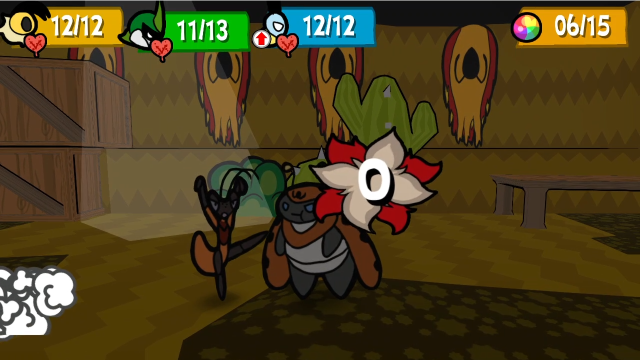 Mun still doesn't manage to accomplish anything. (I wanted to have Leif cast Break so he could at least do some damage, but I forgot I'd taken off the medal when putting all the poison ones on Kabbu, and by the time I realised it was too late to rectify that mistake. Oh well.) 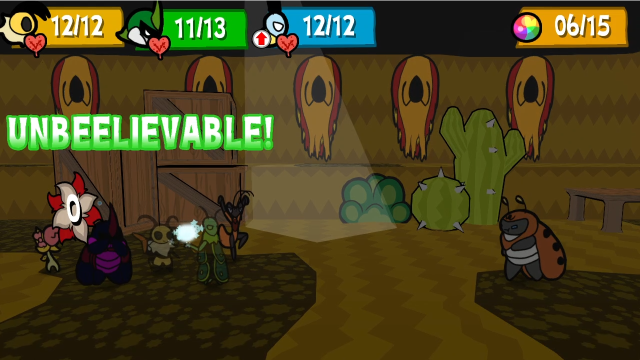 Once again, the enemy fails to scratch Kabbu. 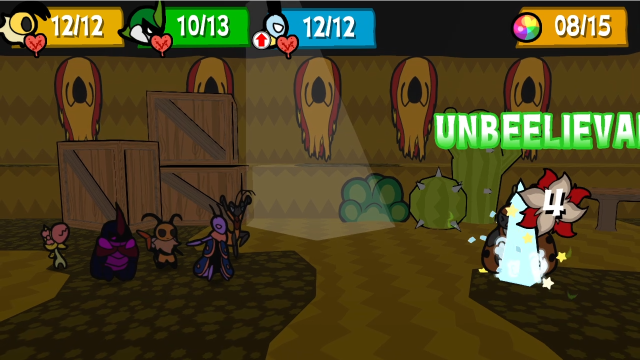 It's basically a foregone conclusion from here. 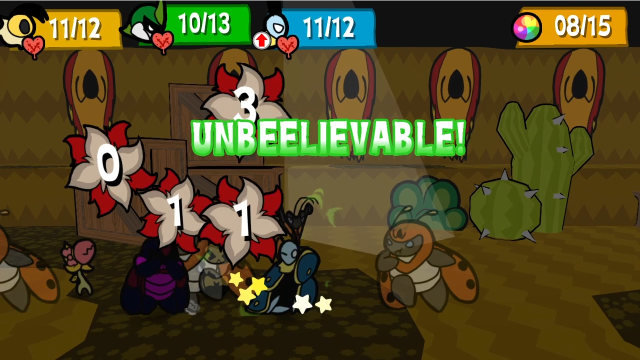 Though the Burglar does get one more turn; this might be scarier if I didn't manage to Super Block his dashing attack (it's hard to tell with Luckier Day on, but the biggest giveaway is the 3 points of counter damage from Spiky Bod). 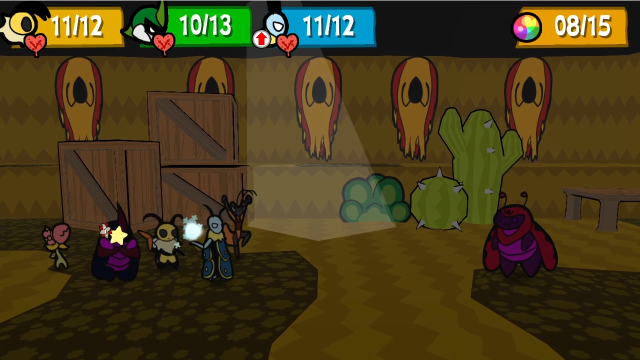 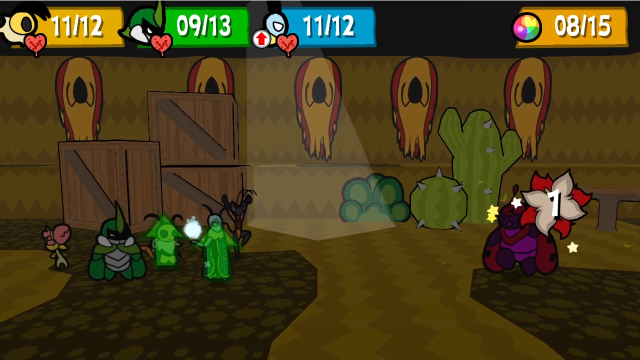 He also managed to poison himself on Kabbu with that attack. 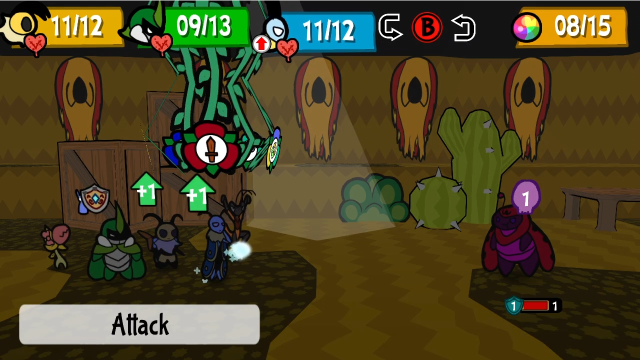 The fight is definitely over now. 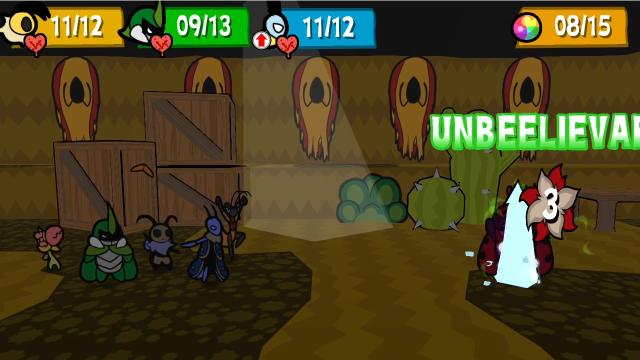 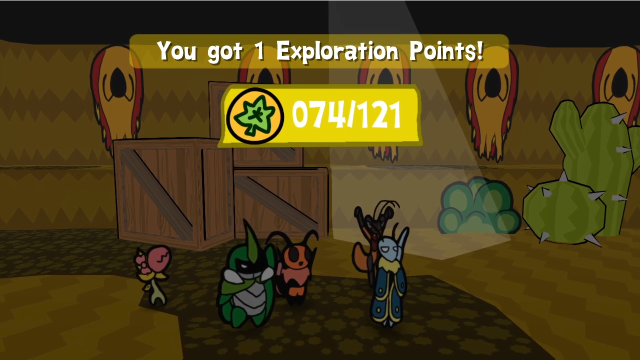 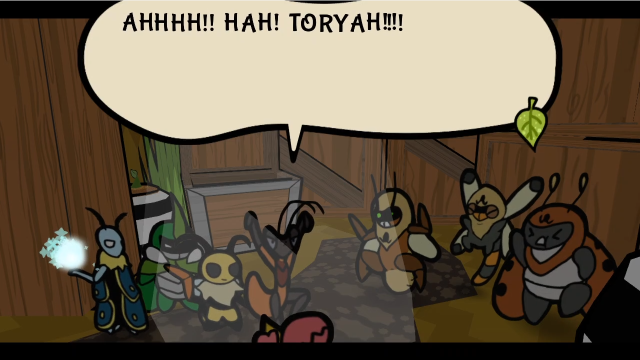 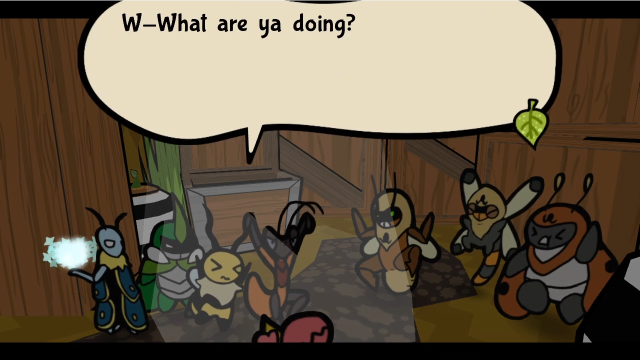 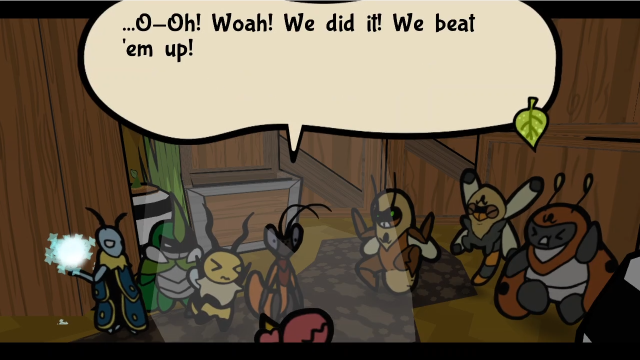 Err- Y-Yes. We couldn't have done it without you, brave lad! P-Punk... Err- Y-Yes. We couldn't have done it without you, brave lad! P-Punk...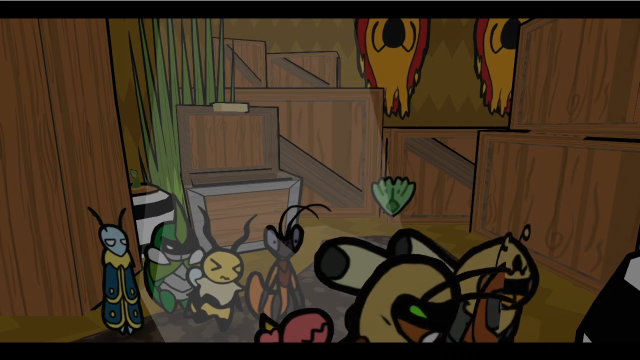 With that, the bandits all flee, leaving the mask behind. 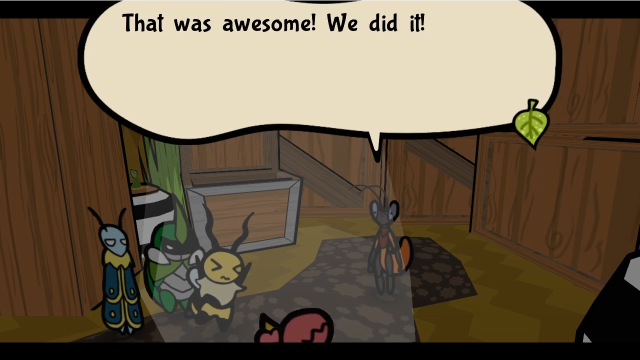 Y-Yup. I'm gonna go tell Eophi I beat up all the bad guys! Wow! Thank you so much!!! Y-Yup. I'm gonna go tell Eophi I beat up all the bad guys! Wow! Thank you so much!!!Mun leaves.  Do you really- YES! This was a tough one! If you really want one, guess you can go ask him back in town. Do you really- YES! This was a tough one! If you really want one, guess you can go ask him back in town.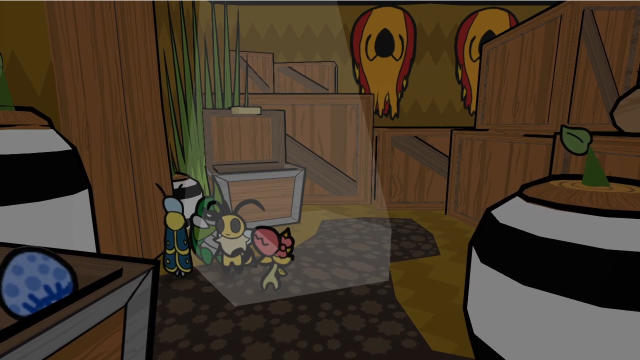 We're back in control. The quest isn't over yet, so I guess we're going to have to go back and check in with him. 17 - Ant Kingdom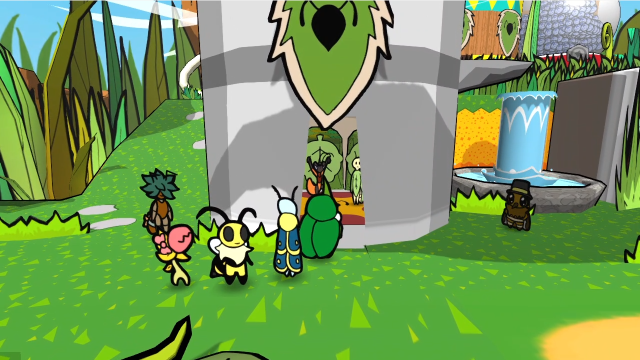 I wonder what Mun has been saying? 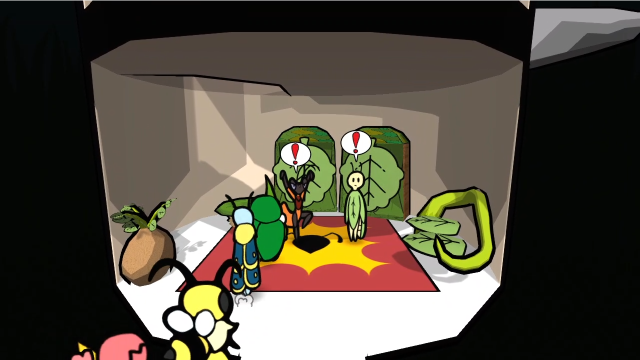 Before we talk to them, there's a short banter. There's Mun! Let's get him to pay up!Let's see what they have to say. 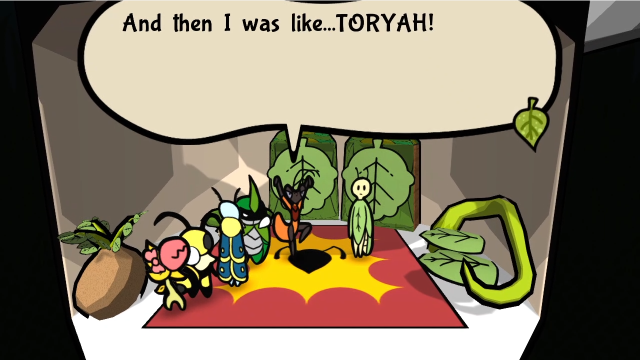 S-Seriously? Here. I got you your mask back! ...! S-Seriously? Here. I got you your mask back! ...!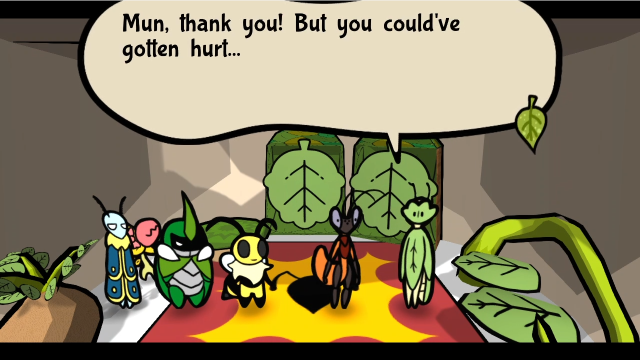 It's alright! Everything turned out fine! Hey. Glad you two seem fine. These are the friends that gave me courage! You did excellent, Mun! You, uh, forgot the reward though. Oh! S-Sorry. Imma get it. Heheheh... I was so cool though. It's alright! Everything turned out fine! Hey. Glad you two seem fine. These are the friends that gave me courage! You did excellent, Mun! You, uh, forgot the reward though. Oh! S-Sorry. Imma get it. Heheheh... I was so cool though.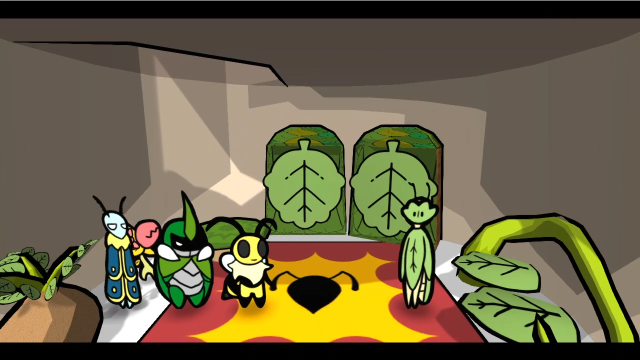 Mun goes upstairs. 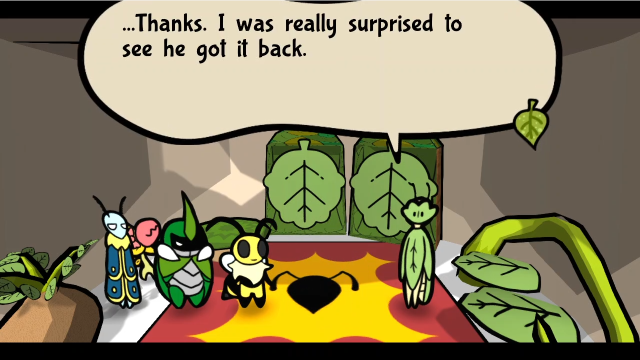 It was noooo problem! It was noooo problem! Don't tell Mun, but I sat down and made a new mask... I figured if he saw I didn't need one, he'd stop fighting the bandits. I should've trusted him a bit more! No one's gonna blame you, seriously. Please take it. It'll be our secret, alright? Don't tell Mun, but I sat down and made a new mask... I figured if he saw I didn't need one, he'd stop fighting the bandits. I should've trusted him a bit more! No one's gonna blame you, seriously. Please take it. It'll be our secret, alright?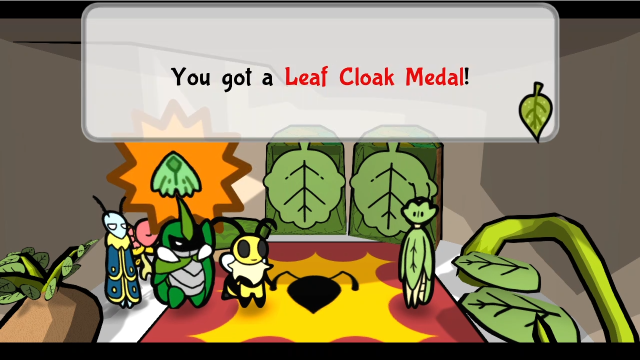 (How did a mask become a cloak? Oh, never mind.)  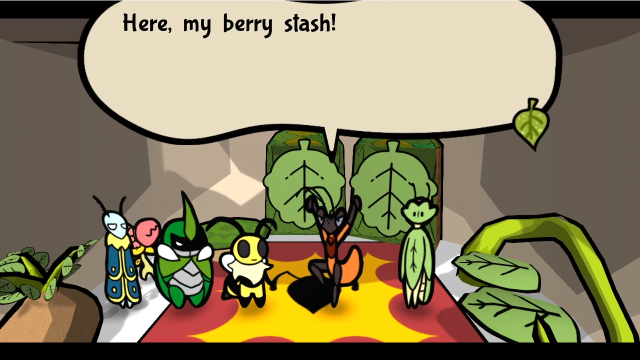  Oh baby, a double! Huh? E-Err... the double of ten is... twenty? Uh, okay... T-Thanks again. Have a good day! Oh baby, a double! Huh? E-Err... the double of ten is... twenty? Uh, okay... T-Thanks again. Have a good day!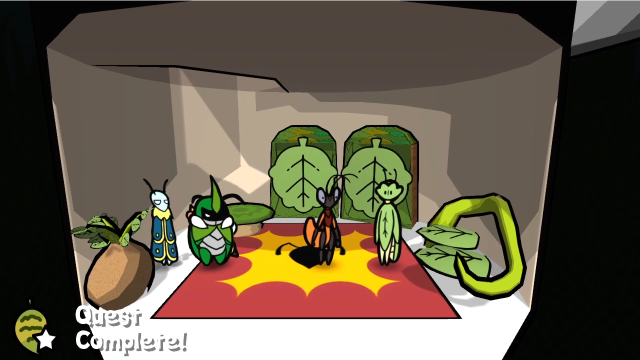 And that completes the quest! (Good save there, Vi.) The reward for this one is pretty interesting, too, we'll take a look at that new medal in a moment. Eophi and Mun also have new dialogue if we talk to them again. 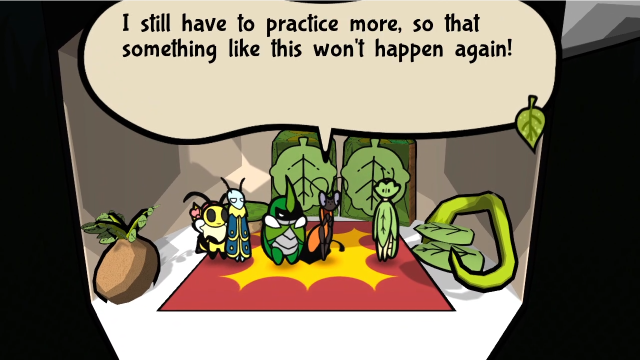 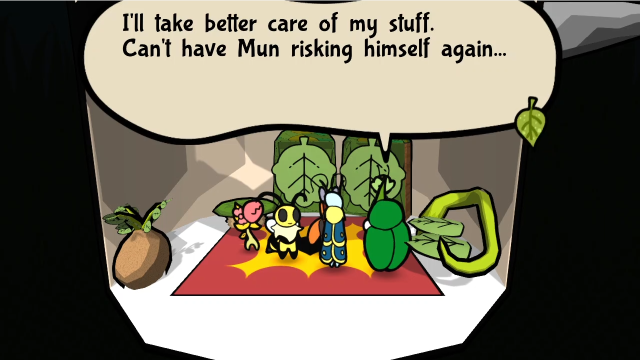 In addition to that, there's a new banter: Mun's truly grown thanks to this ordeal! We kinda did everything, but... Mun did more than you give him credit for. And, thankfully, he came out unharmed...Honestly, I find myself agreeing with Vi here. I'm more worried for the two of them now than I was at the start of the quest; everyone seems to have learned exactly the wrong lesson from all this. (I do love the dialogue in this quest, though. I also think it's neat how it aligns so well with the game mechanics: we're fighting old enemies that are no trouble for Team Snakemouth to deal with, but they're an insurmountable obstacle to someone like Mun who has no combat experience.) Now for our new medal. 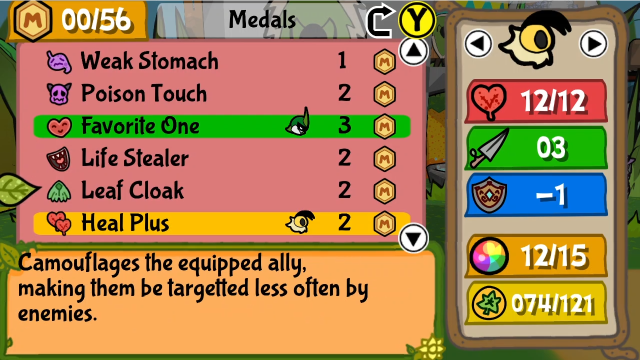 It's not a bad medal, but I have to say I find it's overshadowed a bit by Kabbu's Taunt, which does offer perfect control over enemy targeting. Leaf Cloak does give you an edge in action economy, though, so it's not completely overshadowed. (And both methods still can't do anything about attacks that hit the entire party, so in that sense Taunt isn't 100% reliable either.) This medal works best when you combine it with medals that trade survivability for damage (such as Power Exchange, Last Attack, Hard Charge, etc), and if you're really worried, you can add in First Plating to nullify the first unlikely hit that goes their way. This is an interesting medal that can be very effective if used well, though I rarely find myself using it much. 06 - Outskirts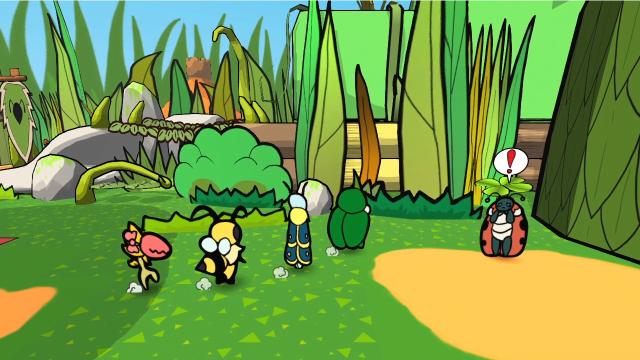 There's one last sidequest I'd like to take care of this session. Leby's brother Dib has gone missing. Geez, she's crying really hard. Wonder what's up...If we check the banter, we'll find even Vi has picked up on how distressed she is. Let's talk to her and see what's going on. 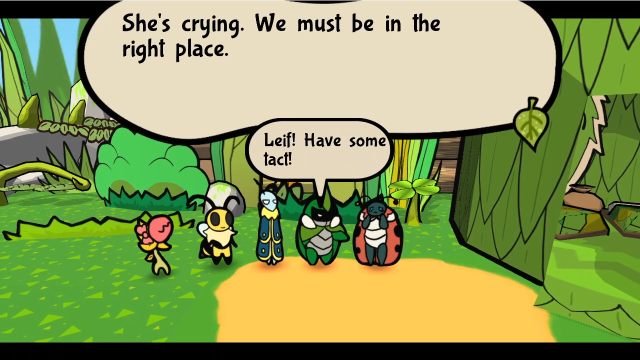  ...You... are you explorers? You know it. We saw your post on the wall! Oh, thank goodness! So, your brother went missing? Y-Yes. He's been going on about getting me some treasure for my birthday. Even though I told him I didn't need anything! He hasn't come back yet! He must be lost in Snakemouth Den! ...You... are you explorers? You know it. We saw your post on the wall! Oh, thank goodness! So, your brother went missing? Y-Yes. He's been going on about getting me some treasure for my birthday. Even though I told him I didn't need anything! He hasn't come back yet! He must be lost in Snakemouth Den!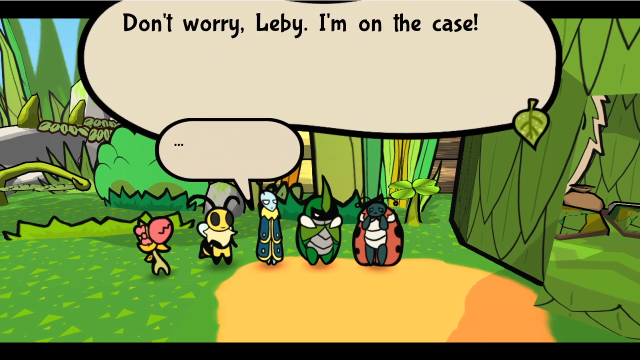 Indeed. We will escort you safely. I am sure he is okay. Indeed. We will escort you safely. I am sure he is okay.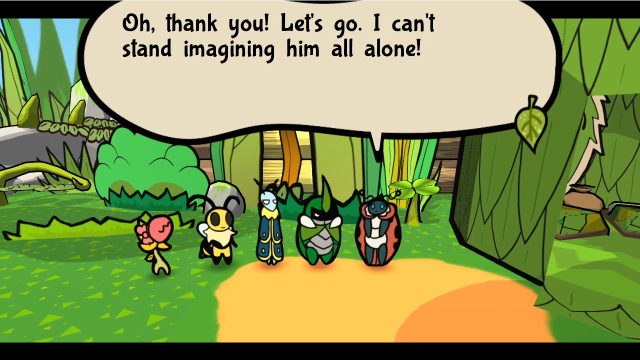 ...Yes, let's get going. ...Yes, let's get going.And there we have our mission statement. I'm not sure how she knows he went to Snakemouth specifically, maybe he said something she didn't mention? Regardless, we're going to have to go back there... 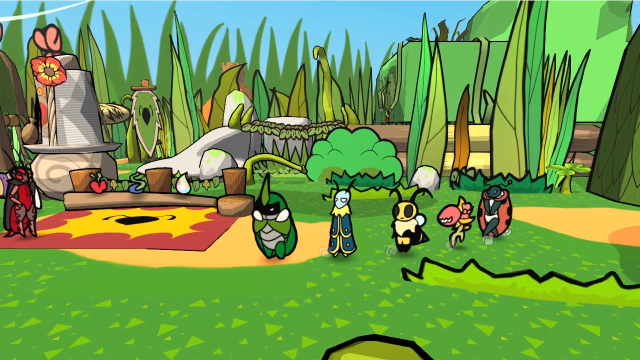 And Leby is going to come with us. Just like the Mayor and Mun earlier, she's now following behind the party. 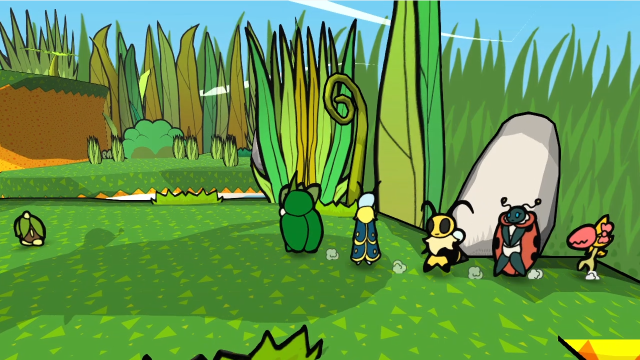 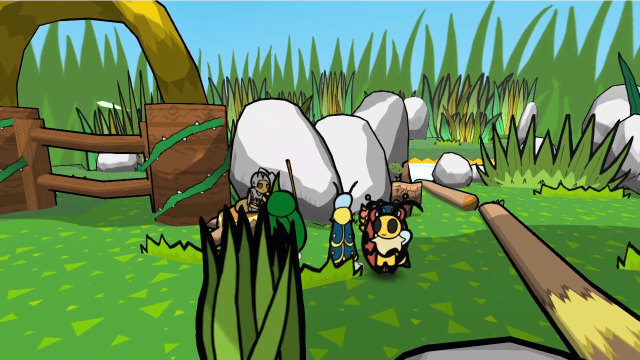 The path to Snakemouth Den is very familiar by now. When we reach the gate, the guard doesn't have any new dialogue; I guess Dib must have snuck by her, or maybe she was sleeping on the job? 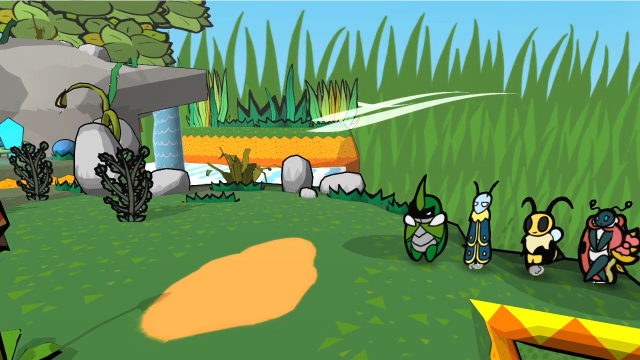 Anyway, we dig under the gate as usual and make our way to the entrance. There's actually a new banter here now, or at least one we haven't seen yet; if you remember way back, we didn't get the ability to check for banters until we were already inside the Den on our first visit. Snakemouth Den... The grave of a thousand explorers. Ender of... Look, I get that it's scary. You don't have to say the whole thing every time. Yes, I must! Anyone going in must be aware of the danger! Just get a move on.(This seems a bit tactless when Kabbu was just assuring Leby her brother is perfectly fine...) 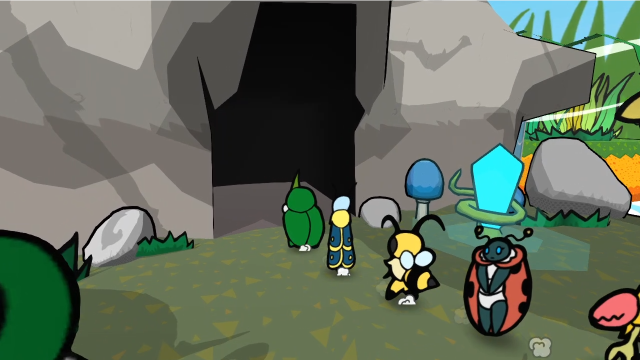 It's certainly been a while since we were in here! Let's go in. 12 - Snakemouth Den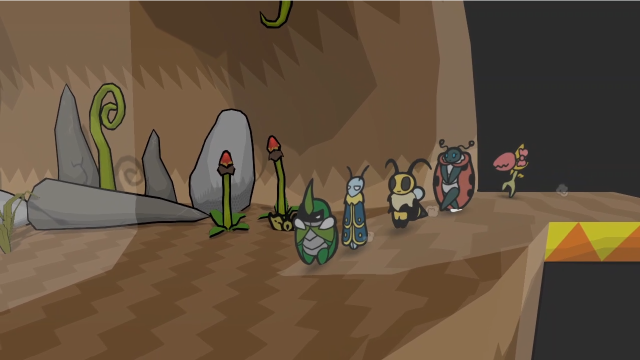 Snakemouth Den looks exactly the same as last time, so far. 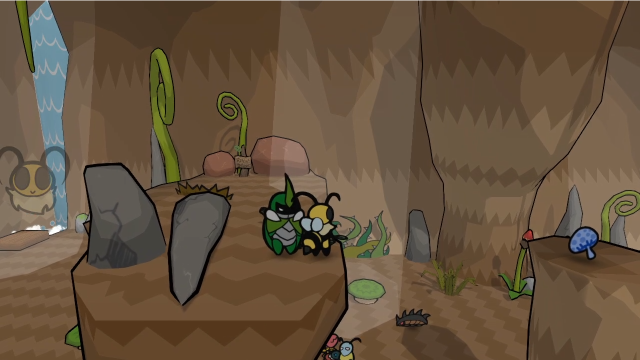 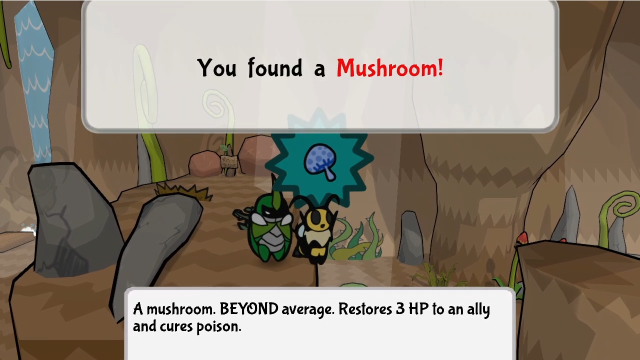 Though, hey, we can grab this mushroom I forgot to pick up the first time we were here. It's much less impressive now, but whatever. 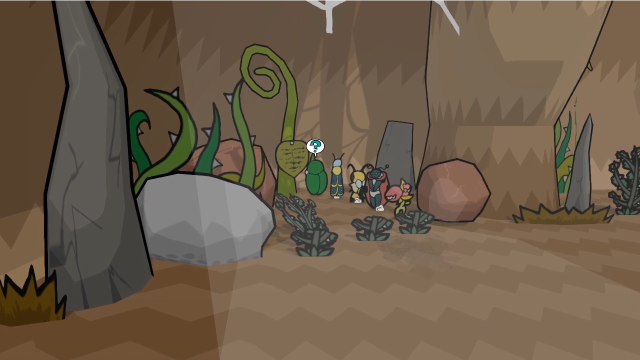 Leif doesn't have any reaction to this message we saw so long ago. "We have already lost one of ours to this wretched place", it says. There's a decent chance this was written by the survivors of his scouting team... 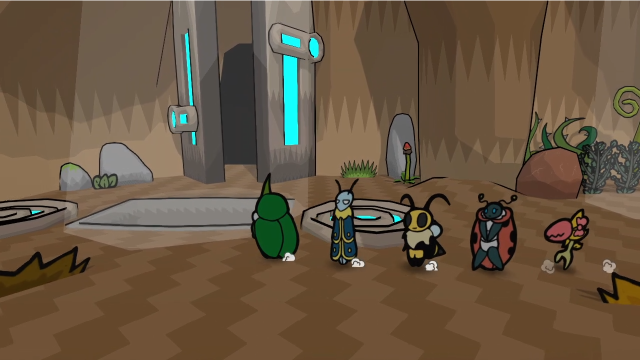 This is new! Remember this big door we saw open so long ago? We've never looked into what's behind there, and that's definitely something we should investigate now! (Though not quite yet, we need to find Dib first.) There's also a new banter in this room. This room brings back bad memories. Agreed. Just thinking about it makes my back hurt! Oh yeah. I heard a bounceshroom showed up down there after the flood! We can go down whenever we need to! We would really prefer not to... Besides, I feel as though this room is hiding more secrets than we can imagine! Fine, fine. We'll walk around!Well, it's good to know about the bounceshroom, otherwise we wouldn't be guaranteed a way back out! That said, let's have a look down there. Dib may have fallen in... 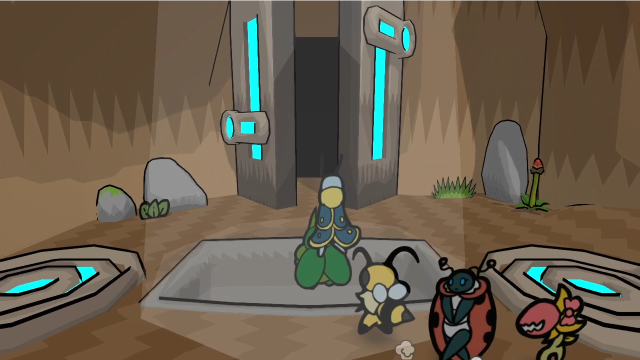 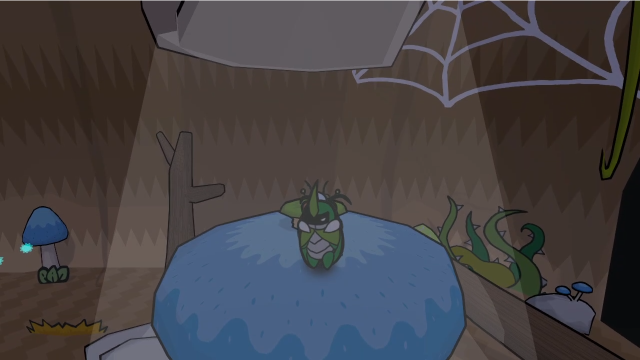 There is, indeed, a bounceshroom down here so we can get back up. 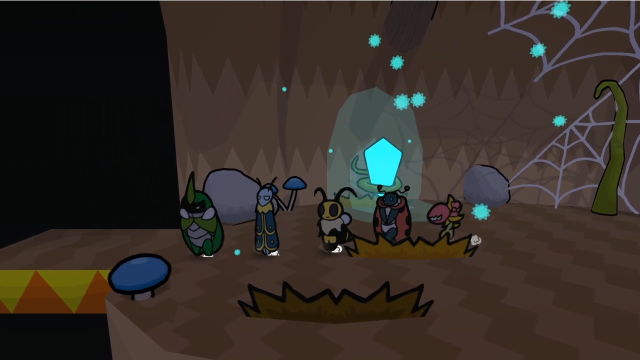 He's not in this room. Maybe to the west? 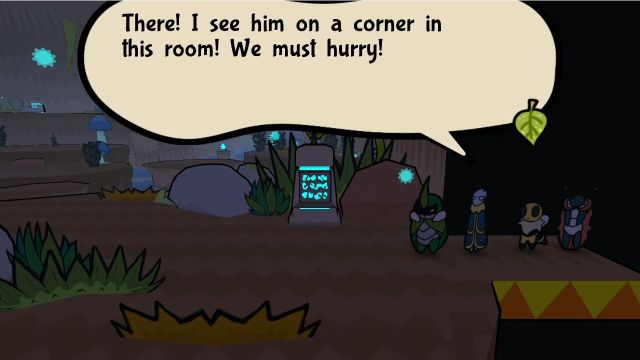 As soon as we enter this room, Leby sees him and lets us know. 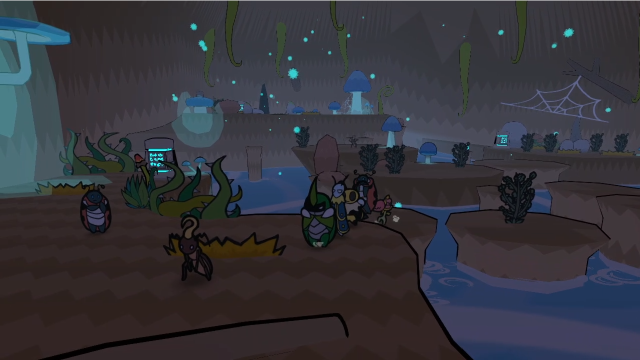 There he is! 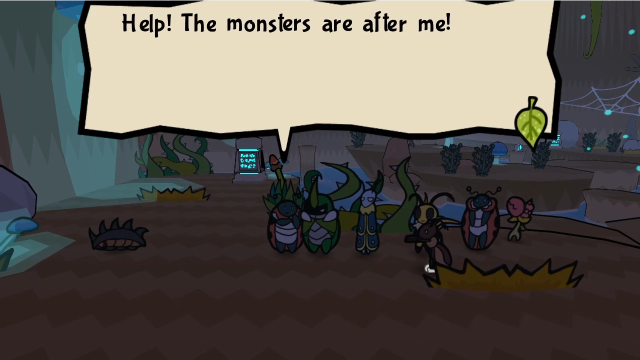 Don't worry, we will take care of them for you. Just hide somewhere safe! Don't worry, we will take care of them for you. Just hide somewhere safe!And if we check the banter: THis kid is in danger! It's not time to talk!Okay, okay, Kabbu, I get the point. What we have to do now is take out all the enemies on the platform with him. 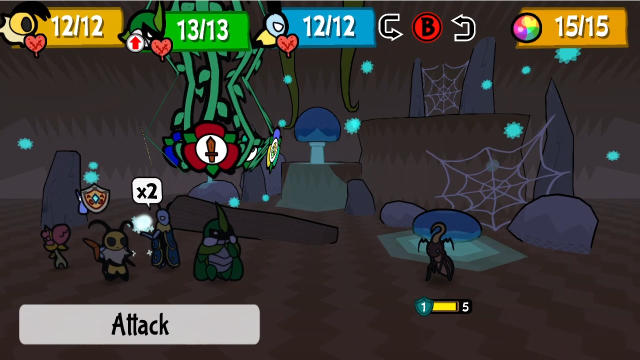 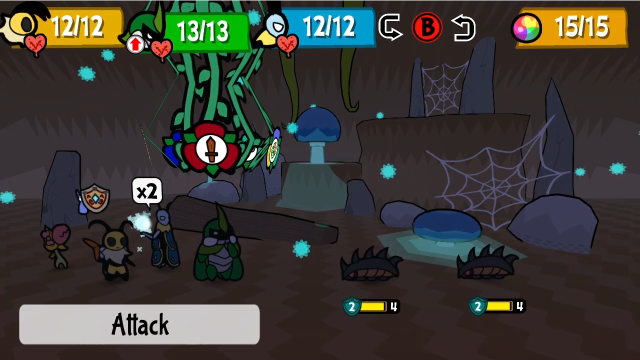 As these are the same enemies we fought here in the beginning of the game, this is beyond trivial to do.  The banter updates to this once the monsters are dead. Let's see what happens, then. 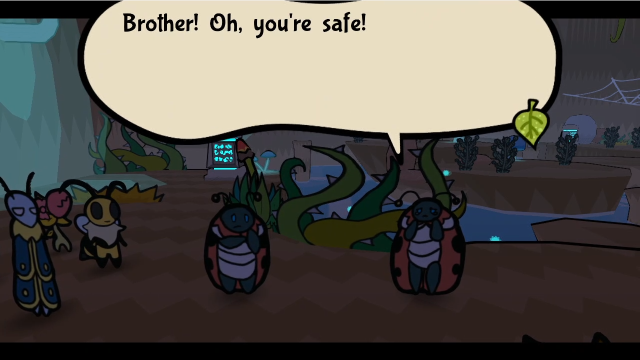  S-Sis! S-Sis!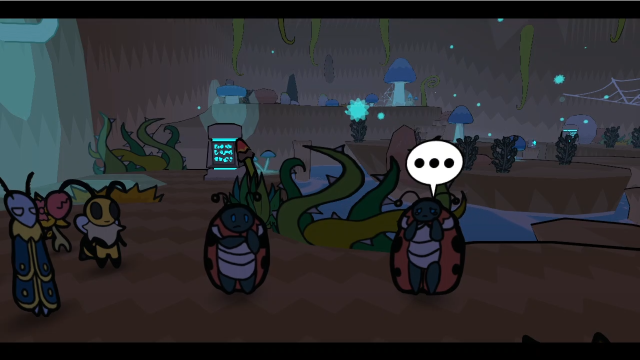 How DARE you run off alone!? What if you got HURT! I just wanted to get you a present! I don't need presents! I need you to be safe! You're all I have left... Sis... How DARE you run off alone!? What if you got HURT! I just wanted to get you a present! I don't need presents! I need you to be safe! You're all I have left... Sis...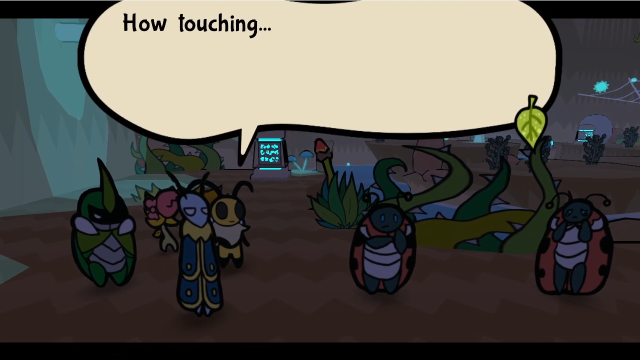 Let's give them some time to talk. Let's give them some time to talk.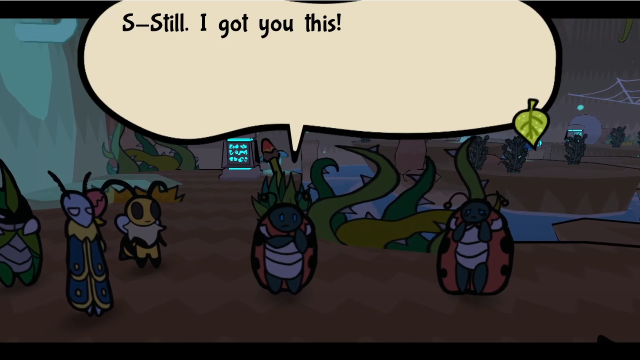 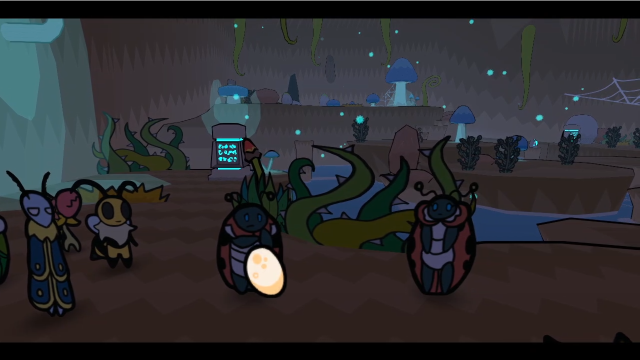  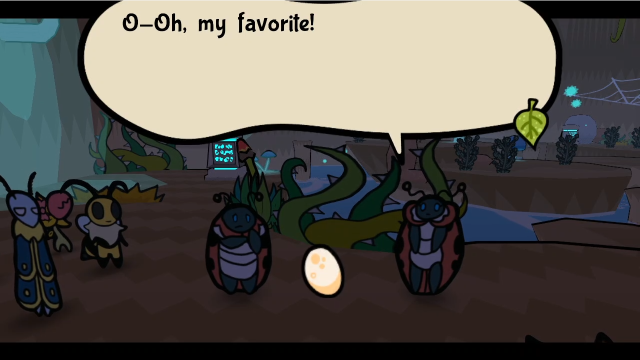 I'm sorry for running off. But I'm mad at you too! You give me most of the food and then pretend you're not hungry! ... I-I'm not a kid. I can help you out too. We're a family. I'm sorry for running off. But I'm mad at you too! You give me most of the food and then pretend you're not hungry! ... I-I'm not a kid. I can help you out too. We're a family.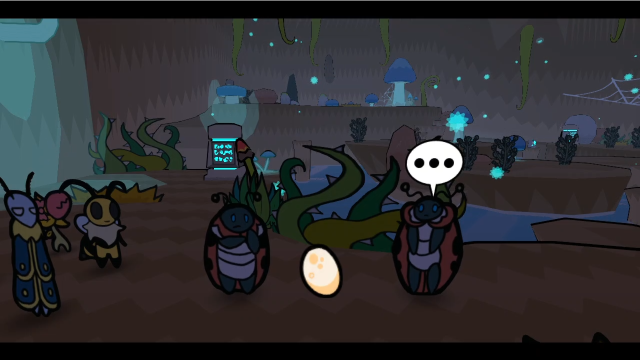 Yes. You're right. I will depend on you a bit more from now on... Yes. You're right. I will depend on you a bit more from now on...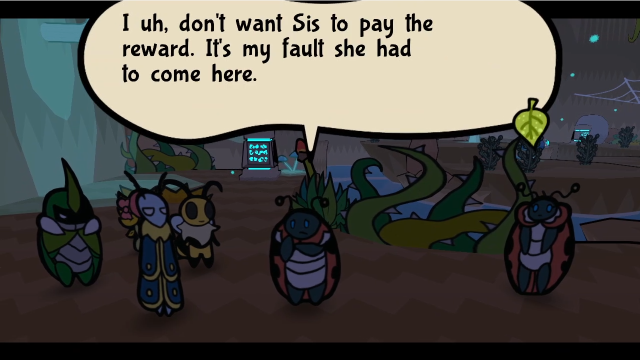 Is this enough? I found it while exploring... Is this enough? I found it while exploring... Um. Yes, thank you. That is more than enough. Thank you, brave lad. Um. Yes, thank you. That is more than enough. Thank you, brave lad. This is an actual choice, in that the scene will play out differently depending on which you pick. Let's agree to escort them out, it's easy enough to come back on our own later. Alright, let's get out of here! 06 - Outskirts 06 - Outskirts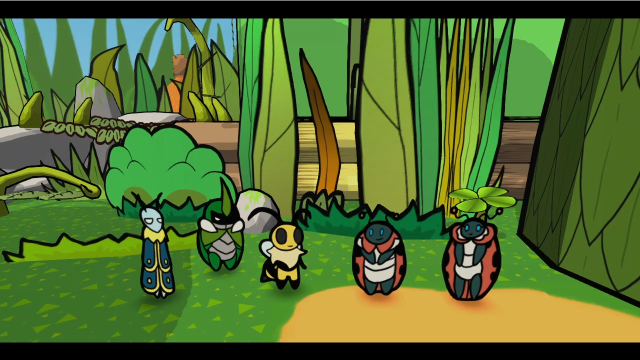  I hope we caused no trouble for you. No problem. Stay safe, you two. Come on, let's find something else to do! I hope we caused no trouble for you. No problem. Stay safe, you two. Come on, let's find something else to do!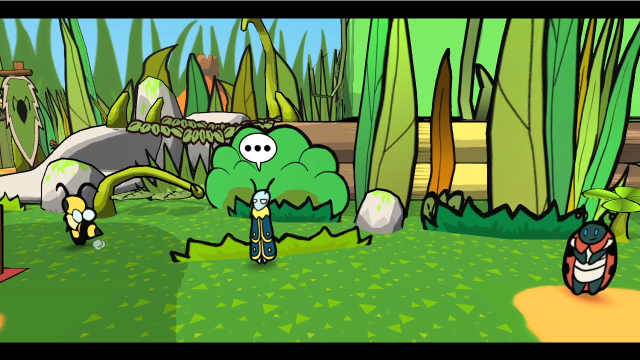 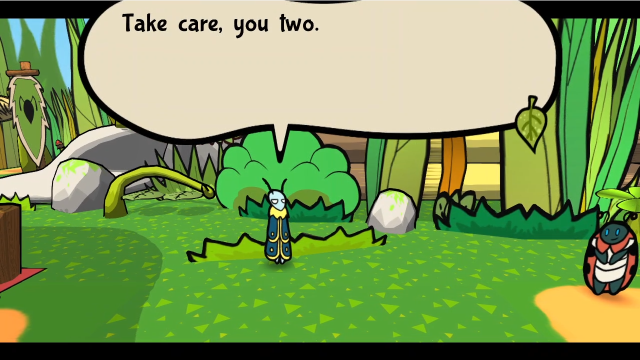 Leif lingers for a moment while the others move on. 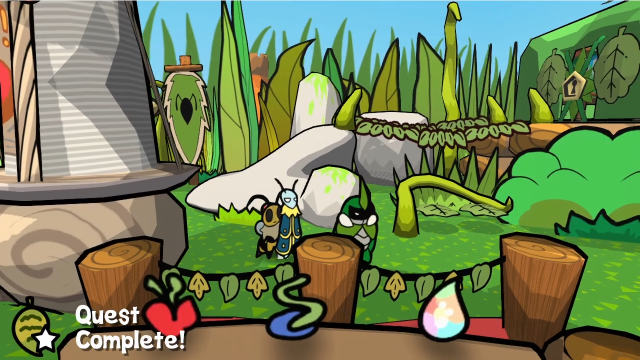 And then we get the quest complete message. 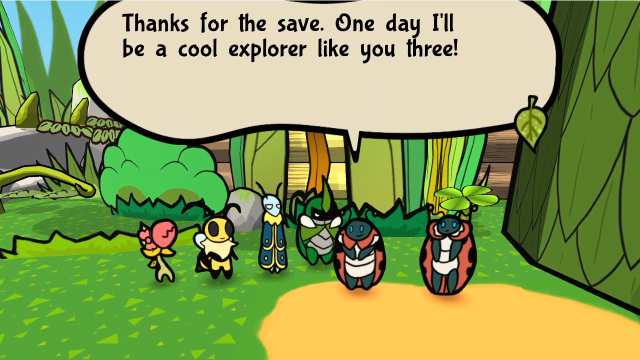 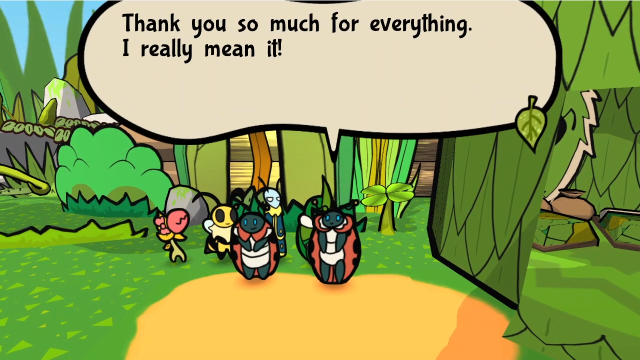 If we go back to see them afterward, they both have new dialogue. There's also a new banter now. Heh. These two look much happier lately. It is that joy we bring that gives purpose to explorers. And getting a reward's always super good! ... A-And the joy! lots of joy. Alright, let's go.That was cute. What would have happened if we chose the other option? 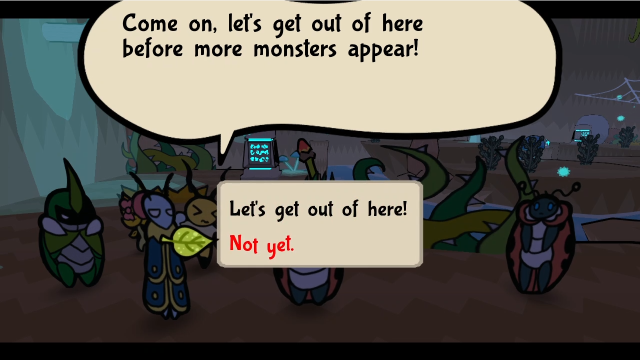 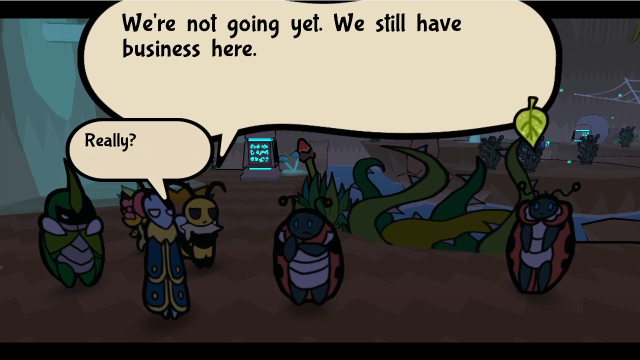 Aw, shucks. It would help to have you lot with us, but I guess we can return by ourselves. We will be alright. See you back at the Ant Kingdom. ...Take care, you two. You'll be fine if you're together. Aw, shucks. It would help to have you lot with us, but I guess we can return by ourselves. We will be alright. See you back at the Ant Kingdom. ...Take care, you two. You'll be fine if you're together.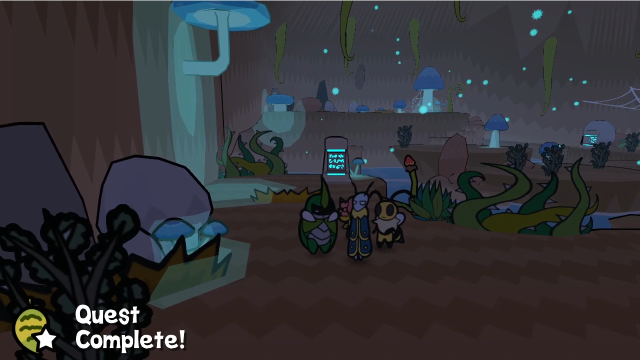 They go home, and it gives us the quest complete message. I always feel guilty picking this option, but it saves a bit of time if you want to look into other things here. 18 - In the Court of the Ant Queen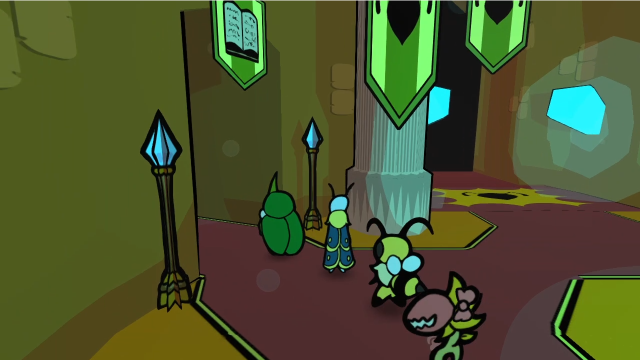 Before we wrap up the update, let's turn in those Lore Books we picked up. 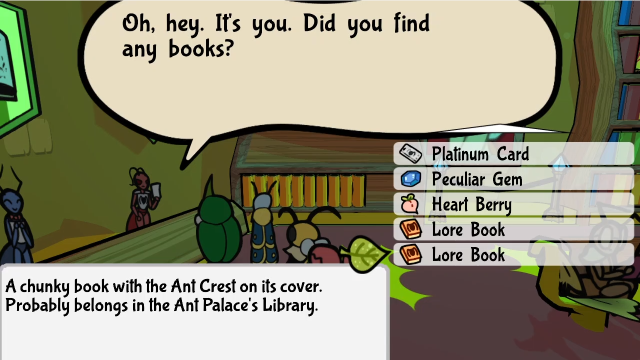 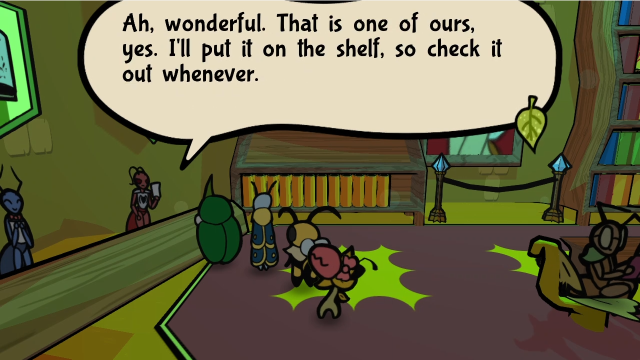 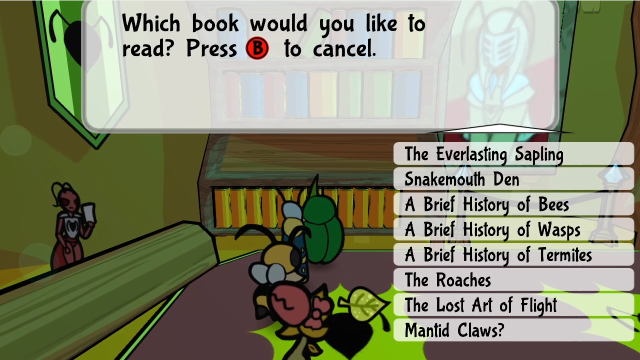 Two new books to read. This is interesting. Apparently, after they became sentient, a lot of bugs no longer found flight useful and over time their wings evolved to become more and more vestigial? I'm not entirely sure how plausible I find this, honestly; maybe it's an issue of energy expenditure? But regardless, that's the explanation we get. At least they tried to address it. This one seems more reasonable to me (though, again, it's more explicitly magic here). I do love the author's puzzlement at the prior state of affairs, though. One last thing before we go. 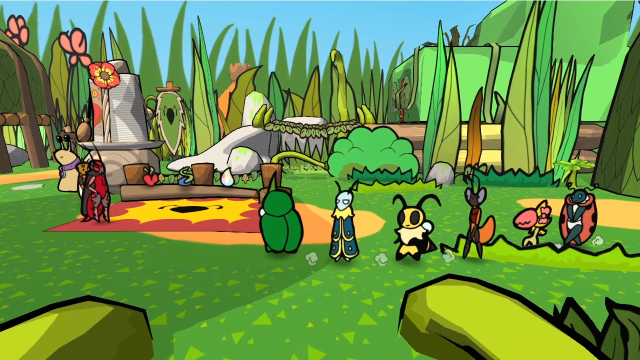 If you want, you can partially complete both Mun's and Leby's quests, and have them both following you at the same time! Though only on this one screen, they don't otherwise share any locations in common on the paths for their respective quests and one or the other will disappear wherever you go. Still, it's kind of neat that you can do this. Next time, we'll head back to Snakemouth Den. Between that giant door that opened and the crystal the Watcher left behind, surely we'll be able to discover some kind of new lead?
|
|
#
?
Oct 27, 2021 04:27
|
|
|
Kabbu is very eager to return to the Far Grasslands, especially if Maki comes with them. Seems like he has unfinished business there. So we should give the HP medal to Kabbu. As our resident tank, it's good to give him a bit more of a buffer.
|
|
#
?
Oct 27, 2021 05:16
|
|

|
Leif needs the medal because he deserves it
|
|
#
?
Oct 27, 2021 12:38
|
|
|
I definitely made sure that Mun got the final hit in that battle. It just felt right. And SO excited for the next thing.
|
|
#
?
Oct 27, 2021 15:56
|
|
|
Torrannor posted:Kabbu is very eager to return to the Far Grasslands, especially if Maki comes with them. Seems like he has unfinished business there. Yes, yes he does. I'll say no more about this except that we'll learn about this soon enough (though there are still a few updates' worth of material to cover before we get there). Alxprit posted:I definitely made sure that Mun got the final hit in that battle. It just felt right. ...I really should have done this, honestly. I got caught up in trying to make Poison Touch work (since this is a pretty mundane fight otherwise, I thought that'd add some novelty), and forgot to keep Break equipped. I planned as far as "take the fight slow to make sure we get to see Mun's animations" and no further, which was just sloppy of me. Alxprit posted:And SO excited for the next thing. I've been looking forward to covering this next segment for ages, you have no idea. It's easily one of the high points of the game, on multiple levels.
|
|
#
?
Oct 28, 2021 05:04
|
|
|
Alxprit posted:I definitely made sure that Mun got the final hit in that battle. It just felt right. And SO excited for the next thing. Explopyro posted:I've been looking forward to covering this next segment for ages, you have no idea. It's easily one of the high points of the game, on multiple levels. Wow, that makes me excited, too. The overall story itself isn't exactly a writing masterpiece, but works well enough to keep me engaged. The character interactions on the other hand are top notch. And it's still very unclear whether the ant queen is evil or not. Plus, the mysteries of both Kabbu's and Leif's past are very compelling. So now I'm really curious whether the next update has some unbeelievably cute character moments, or cool gameplay sections, or new revelations about Kabbu, Leif or Elizant!
|
|
#
?
Oct 28, 2021 05:14
|
|
|
I played this to about the end of chapter 3 a while back but never got the hang of it. Hard mode felt very punishing for me - I never had enough currency or TP to do what I wanted and I didn't understand what medal were good and why (why would I poison myself when I could literally do anything else?). I also have an adverse reaction to how useless a HP level up clearly is in this game - the devs definitely thought the best part of Paper Mario was min-maxing badge strats, which I personally disagree with - but I was charmed enough by the setting and character banter to keep going for a while until I got fed up. I might have to do a clean run of this now, though. This LP's definitely given me a better idea of how this is supposed to be played.
|
|
#
?
Oct 28, 2021 14:04
|
|
|
On that note, one thing they just straight copied from paperario was BP being in the level up choices, which makes it the optimal pick every time. If it was a static rise every level(s) and you got to choose between hp and tp then it would have been an actual choice.
|
|
#
?
Oct 28, 2021 15:05
|
|
|
I played on normal but I didn't pick BP every time. Priority was many, TP, some BP, and a coooouple of HPs. I'm sure that the full BP build is optimal but being suboptimal doesn't mean you'll lose, either.
|
|
#
?
Oct 28, 2021 15:25
|
|
|
Torrannor posted:Wow, that makes me excited, too. The overall story itself isn't exactly a writing masterpiece, but works well enough to keep me engaged. The character interactions on the other hand are top notch. And it's still very unclear whether the ant queen is evil or not. Plus, the mysteries of both Kabbu's and Leif's past are very compelling. So now I'm really curious whether the next update has some unbeelievably cute character moments, or cool gameplay sections, or new revelations about Kabbu, Leif or Elizant! We aren't quite done learning about the overall story yet (and there are some revelations to come that do make things a bit more interesting), but I agree it's not exactly breaking new ground and that the real strength is in the character writing. (Bug Fables' plot has definitely made me realise that I strongly prefer a straightforward plot executed well over a daring/novel/unique plot executed badly.) On the actual speculation, all I'll say is that all of these things are going to be involved! The Deleter posted:I played this to about the end of chapter 3 a while back but never got the hang of it. Hard mode felt very punishing for me - I never had enough currency or TP to do what I wanted and I didn't understand what medal were good and why (why would I poison myself when I could literally do anything else?). I also have an adverse reaction to how useless a HP level up clearly is in this game - the devs definitely thought the best part of Paper Mario was min-maxing badge strats, which I personally disagree with - but I was charmed enough by the setting and character banter to keep going for a while until I got fed up. I'm glad you've been finding the LP helpful, thanks for saying that! I hope you enjoy the game more if you decide to give it another chance. I can definitely see how a lot of the medals in this game would be counterintuitive, and it isn't necessarily obvious at first glance what the powerful options are (some of them took me a while to figure out, too! Poison Defender didn't make sense until I started combining it with other things). I like how synergy-focused things are in this game, but if it doesn't click quickly I can definitely see how someone might struggle. While I obviously enjoy MP-only the most, it's definitely not the only effective way to play. I didn't even do it on my first playthrough, instead alternating HP/TP/MP evenly for most of the game (I think part of me expected there to be separate caps for each, the way Paper Mario had, and another part was trying to play the 'intended' way). That's perfectly viable and the game is still fun (I think I've said before, if you want it to feel like a traditional JRPG I think that approach might get closest). We've also had plenty of people in the thread talk about their successes with very TP-heavy builds, so you can definitely do that too. It is certainly possible that the devs were biased toward badge strategies as a reaction to Paper Mario: it's been a sore point for years in the Paper Mario fandom that badges never returned after TTYD, and players were hungry to play with that system more. They may have overcompensated a bit as a result, though I personally enjoy where Bug Fables ended up. FoolyCharged posted:On that note, one thing they just straight copied from paperario was BP being in the level up choices, which makes it the optimal pick every time. If it was a static rise every level(s) and you got to choose between hp and tp then it would have been an actual choice. I do think the balance is a bit off, and you're probably right that they could have created more interesting choices by taking MP off the list of options and increasing it elsewhere. On the whole though, the imbalance and/or the existence of a usually correct default choice doesn't bother me that much, especially when people do occasionally find reasons to choose other things. Alxprit posted:I played on normal but I didn't pick BP every time. Priority was many, TP, some BP, and a coooouple of HPs. I'm sure that the full BP build is optimal but being suboptimal doesn't mean you'll lose, either. It's optimal in some ways, perhaps, but I do think there's more potential for variation than we often give this system credit for. When I was doing the early Devourer, for instance, I definitely noticed a few levels in HP would have made that easier (especially since there just weren't enough medals available to make use of all the MP). Admittedly, I think that might be the only time I've thought "yes, levels in HP are a good idea"... On the other hand, I tend to use HP Plus medals for quite a lot of the game (this will probably change soon though!), and a level or two of HP could easily substitute for them.
|
|
#
?
Oct 28, 2021 17:18
|
|
|
My big objection is less mechanical balance and more that medals are so much more interesting than hp or to. There's just such more to play with there that they shouldn't have been put against each other. If the balance skewed the other way the player would be disappointed that there were all these neat looking medals but they were better off picking hp.
|
|
#
?
Oct 28, 2021 19:15
|
|
|
I think a big issue with HP level ups is how incremental it's framed. Yes it's +3 HP total, same as the TP and MP increases, but it comes out to +1 HP per party member. I get what they were going for, but it comes out to needing like several HP up levels to be effective since there's a lot of single target attacks in the game, and +1 HP generally doesn't make or break the amount of attacks to kill a party member all too often.
|
|
#
?
Oct 28, 2021 19:29
|
|
|

|
| # ? Apr 29, 2024 18:08 |
|
|
Edit: An update was originally here, but I'm moving it to the next page, since the second part had to be there anyway. (Also, whew, got this one done while it's still Halloween. Barely.)
Explopyro fucked around with this message at 22:23 on Oct 31, 2021 |
|
#
?
Oct 31, 2021 22:13
|
|