

|
  I'll get into cooking proper later this update, but you can only have one active effect per food item. Thus it's better to cook stuff to amplify the one effect you have, or to add more hearts. 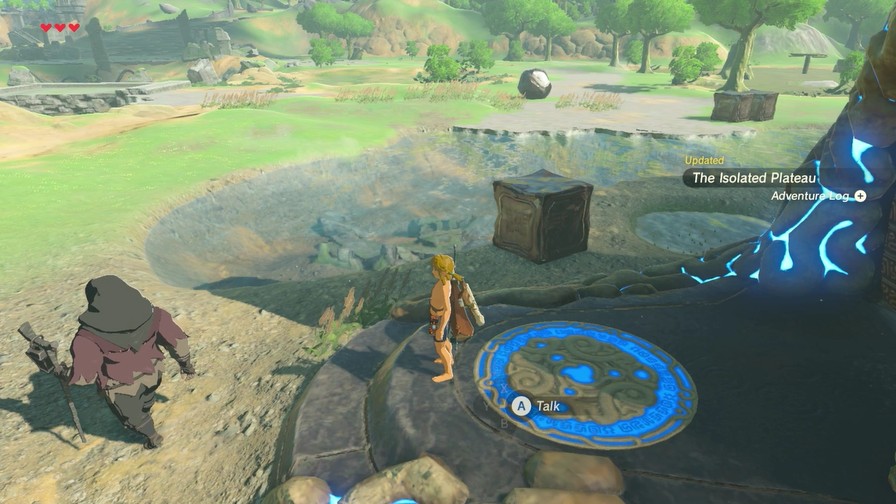 Last time, we endured a lot of words and got a sweet new power. 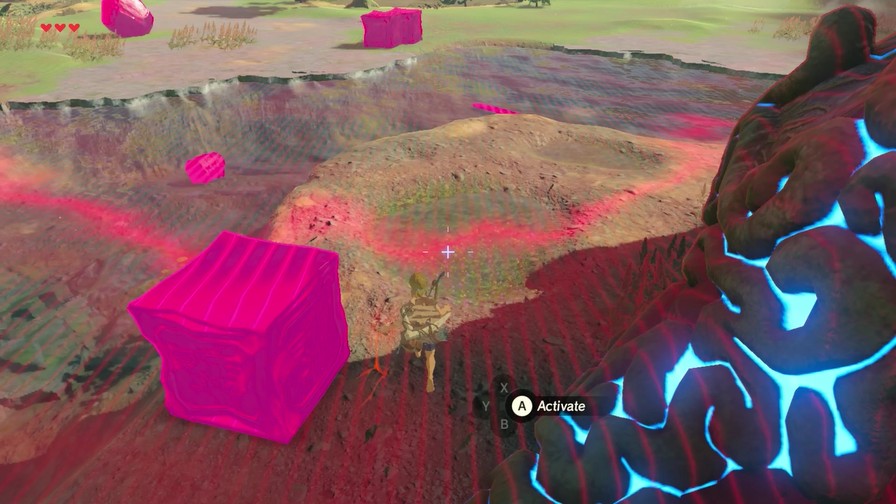 So let's use it! 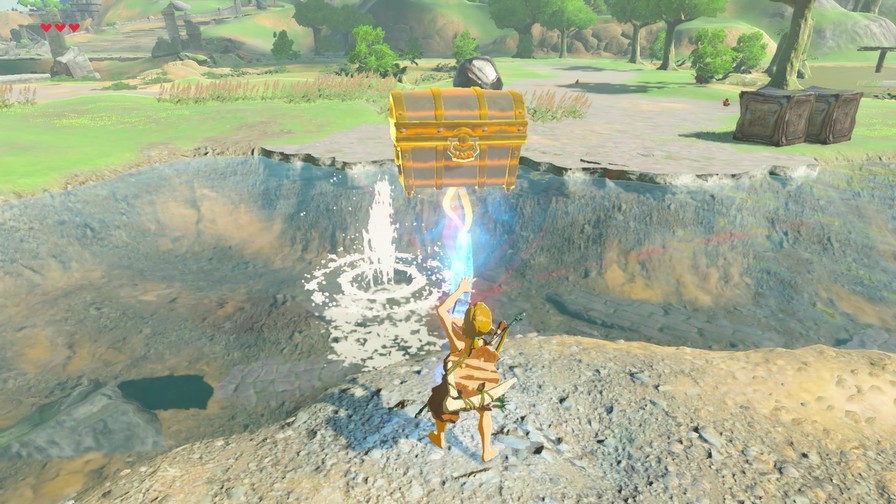 Whenever you're near water, it's good to let loose Magnesis to see if there's any chests hidden below water, as there often are. There's two chests here with an Amber and Opal. 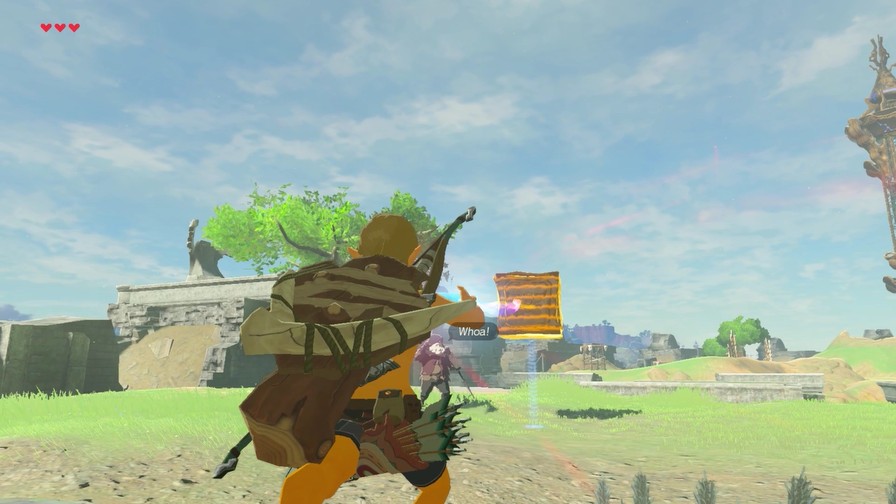 This gave me an idea. http://f.mega64.net/botw/u04/007.mp4 Hmmm. Well, if he's impervious, then surely Link is too, right? http://f.mega64.net/botw/u04/008.mp4 Nope! 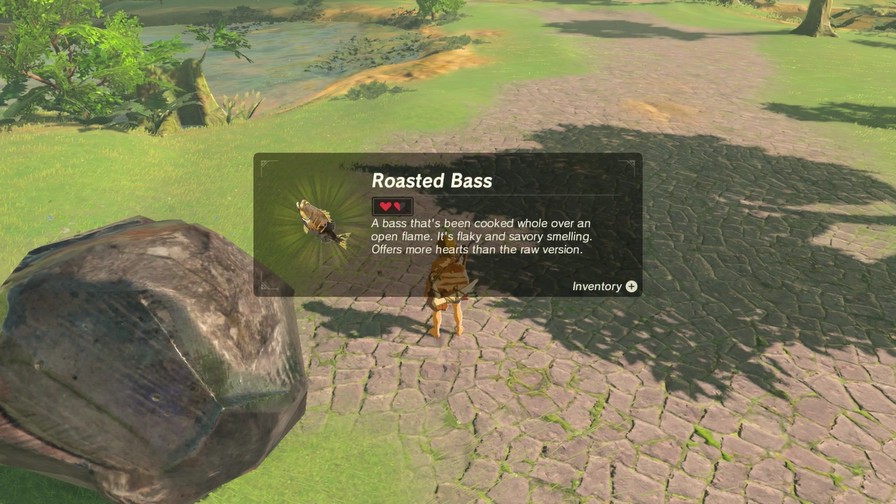 Busting open those metal crates reveals roasted bass within. Alright, then. 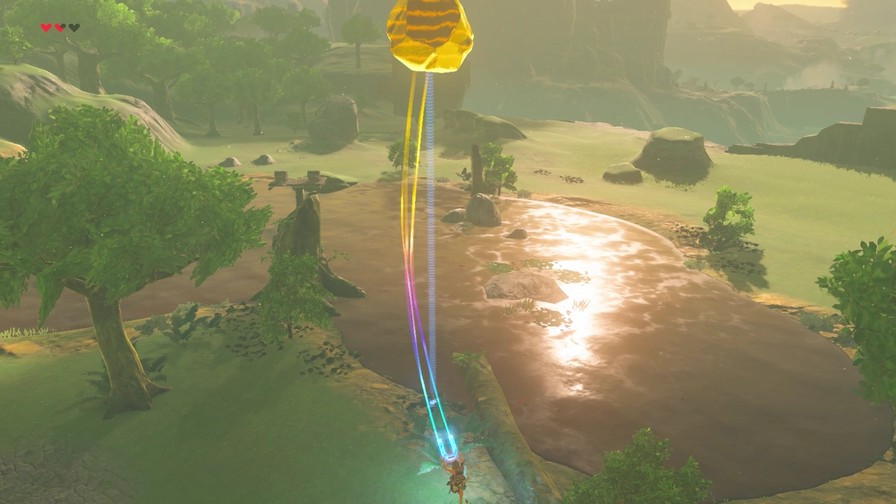 This is a bog. If you try to swim in it, you're going to drown. 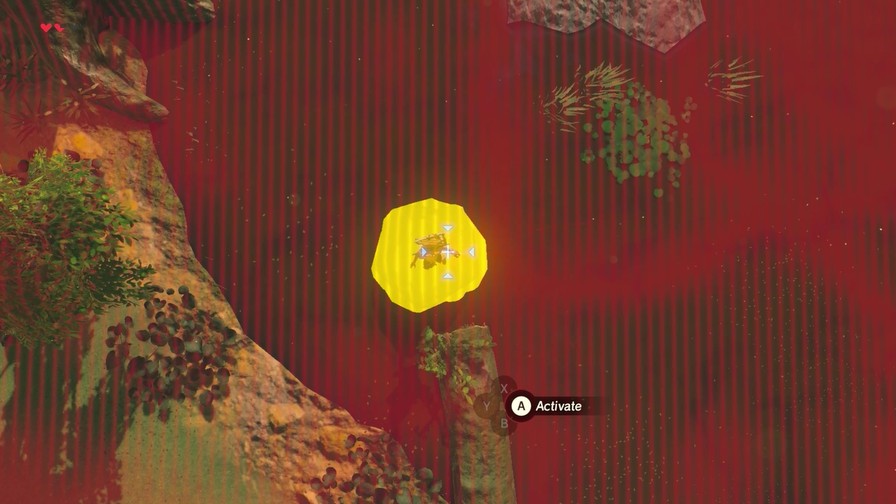 Magnesis is good for navigating the pitfalls here.  ...Assuming you don't throw your object too far and strand yourself. http://f.mega64.net/botw/u04/015.mp4 If you die from drowning, the Game Over text is blue. Nice touch. It's very rare you get into a position where you're screwed, though. You have to actively try to get in that position, like I did. 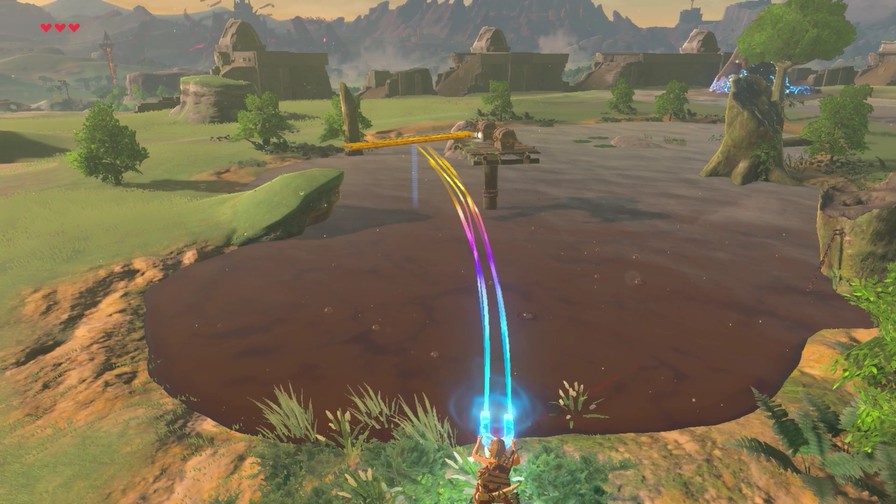 Anyway, we can make a bridge to these two treasure chests thanks to Magnesis.  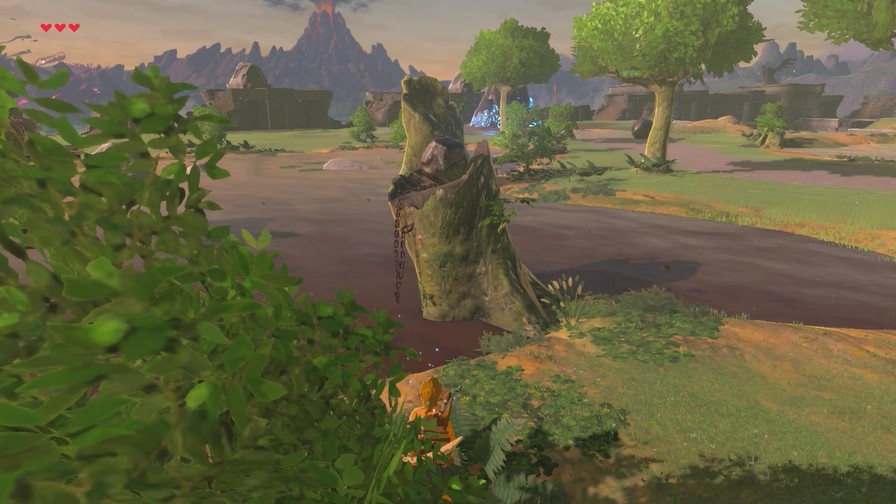 While we're here, we also find a rock attached to a stump. Place it in the stump, and...  Another seed! It'll be awhile before these become relevant. 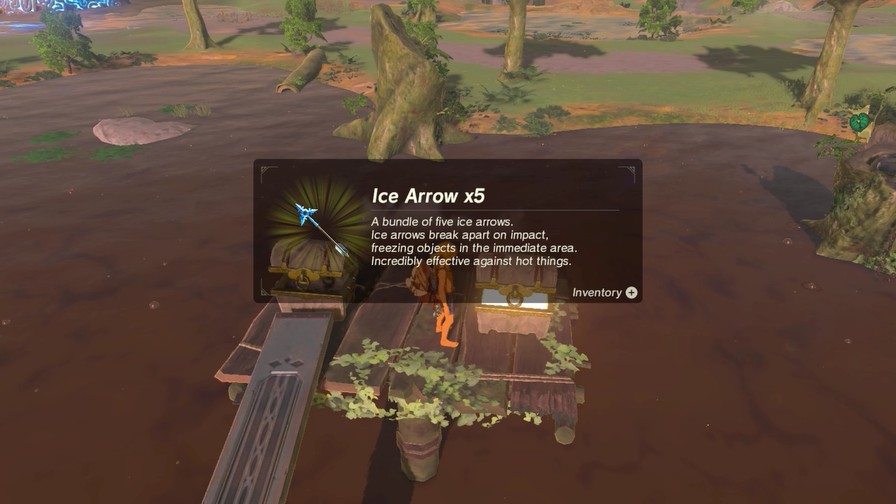 Anyway, the chests. Another set of fire arrows, and then ice arrows. They don't have as much utility as fire arrows, but ice arrows freeze enemies and thus are much more useful in combat. 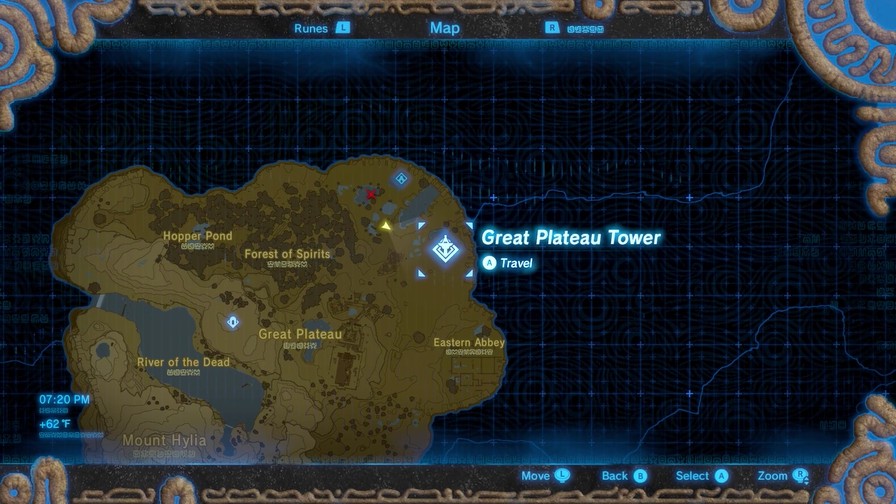 Anyway, we can use the Sheikah Slate to fast travel to towers, shrines, and a few other locations we've already visited. Since we need to climb the tower to scout for shrines, let's travel there instead. Music: Sheikah Tower 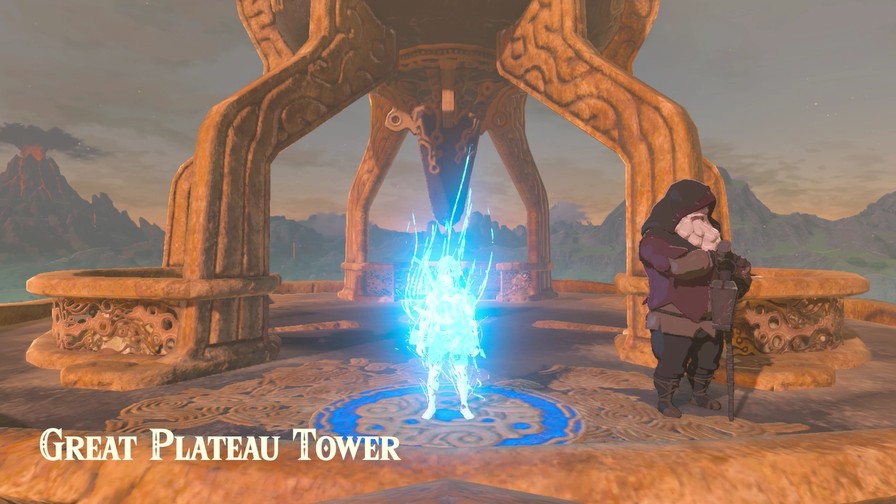 And one loading screen later, we're here! 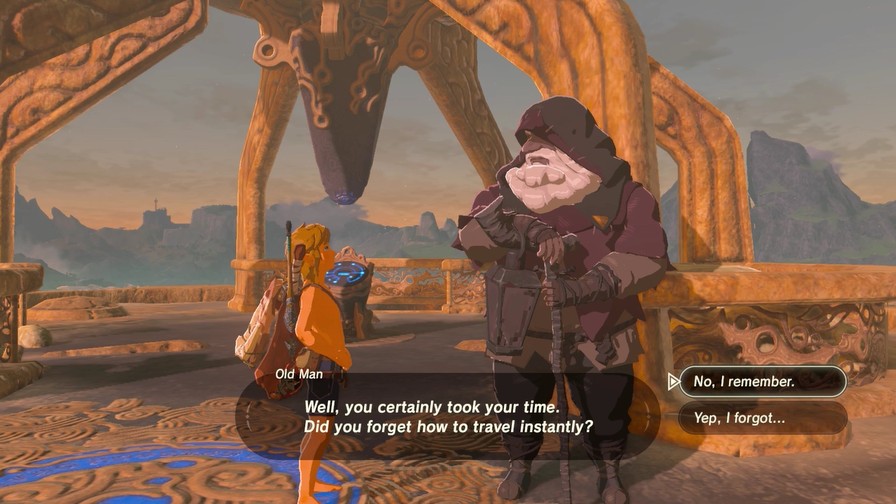 I definitely remember. I just got a little, uh, distracted.  Now then... I wanted you to join me up here so you could use this as a vantage point to search for shrines. Now then... I wanted you to join me up here so you could use this as a vantage point to search for shrines.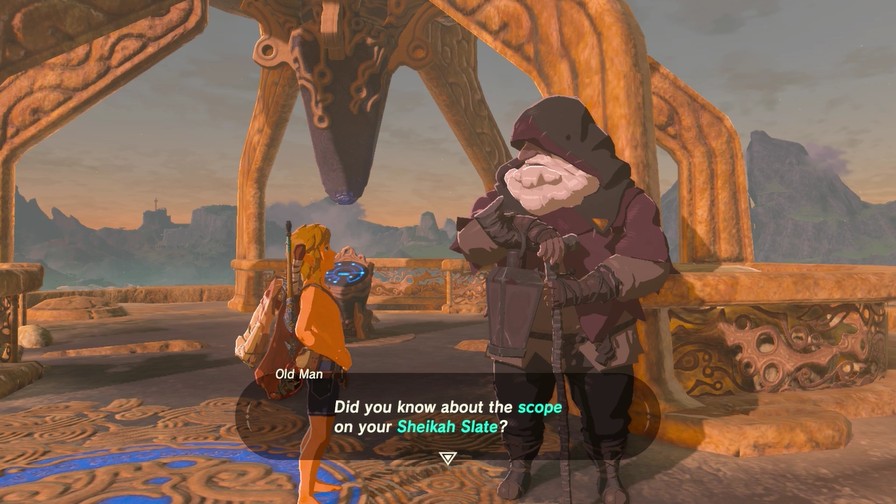 Look through it, and you can stick a pin anywhere you'd like to mark on the map. Look through it, and you can stick a pin anywhere you'd like to mark on the map.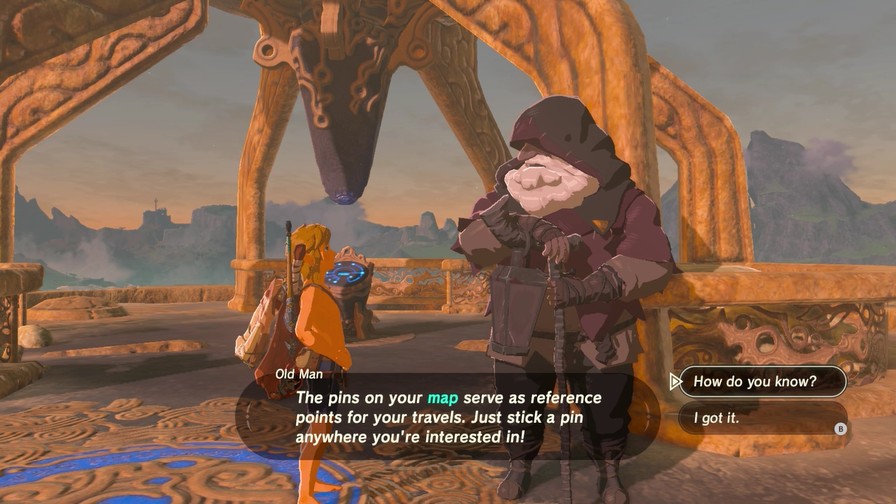 Seriously, though, you know an awful lot about the Sheikah Slate that was apparently sealed with us for the past one hundred years, and all these towers and shrines that were hidden until now. Are you going to tell us how you know all this? Oho ho! Just a few tricks I've picked up after many, many years in the wild... You may take my advice or leave it. Go ahead and take a look if you feel inclined to do so.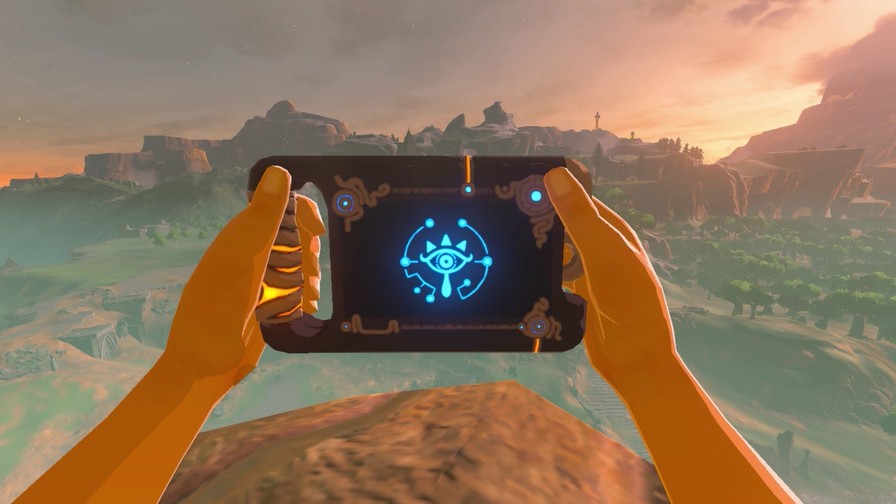 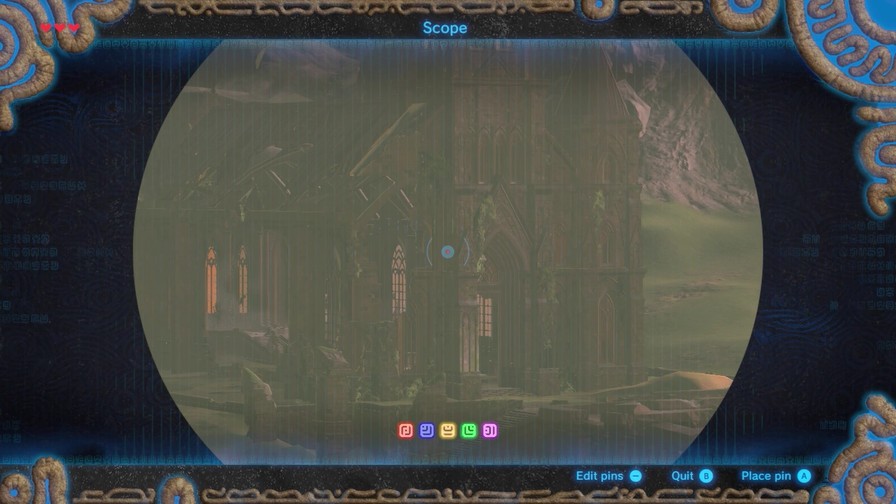 Pressing the right control stick lets you zoom in on your surroundings. 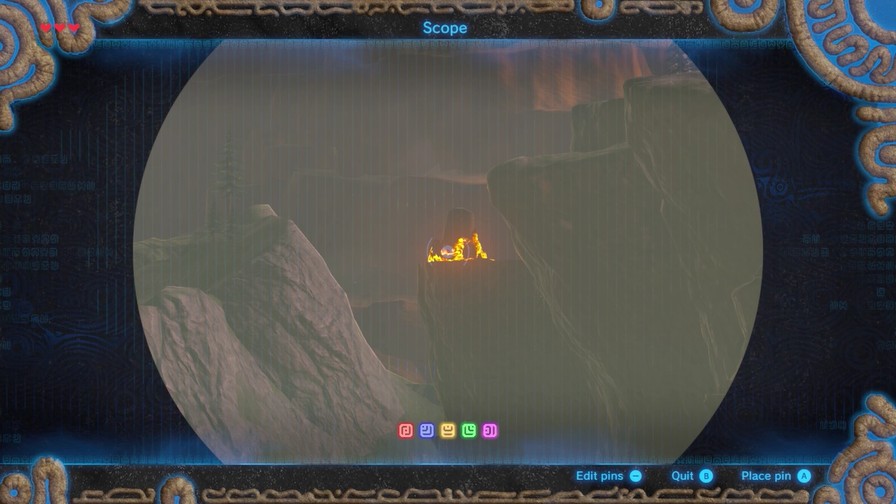 At the edge of this mountain is a shrine. 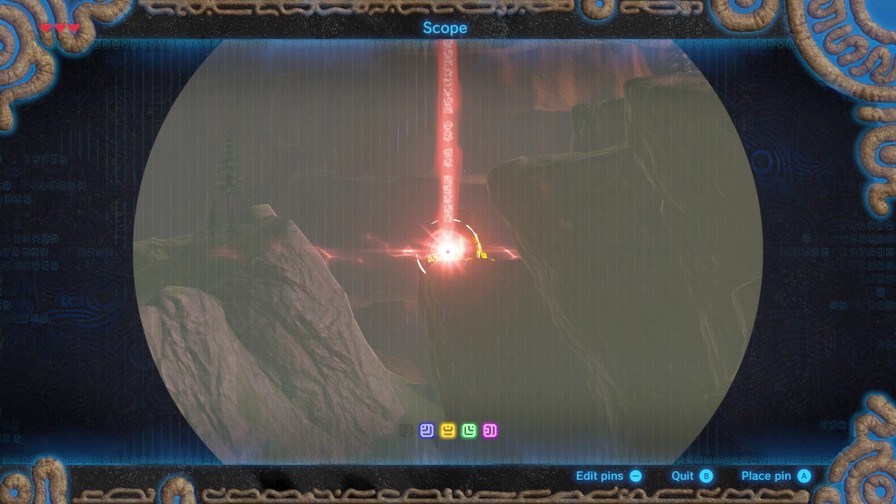 We can assign up to five pins to highlight areas to investigate. They will show up on your map (and mini-map if you have the HUD enabled, which I declined to do for atmosphere) and when you use the zoom function on your Sheikah Slate. 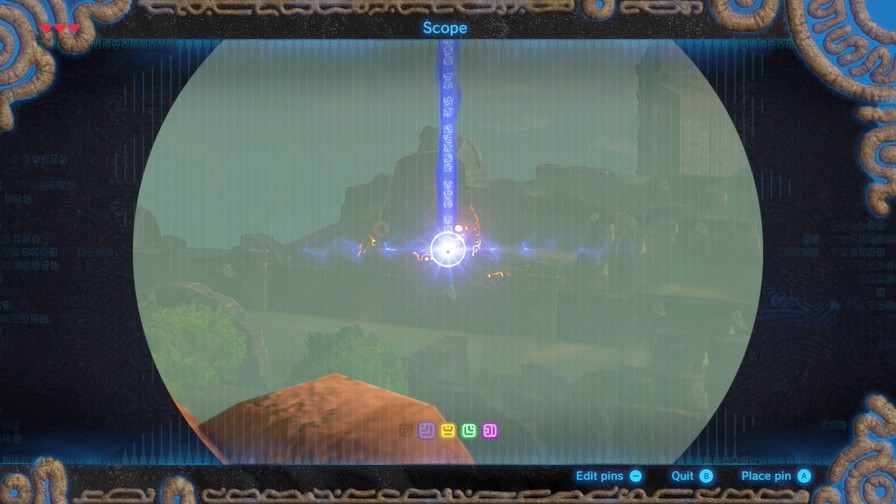 Further to our left is another shrine, this one on the base of the plateau, though surrounded by walls.  Finally, beyond the snowy mountains, the third shrine. We won't be doing any of these today. Instead, there's a bit more worth exploring. 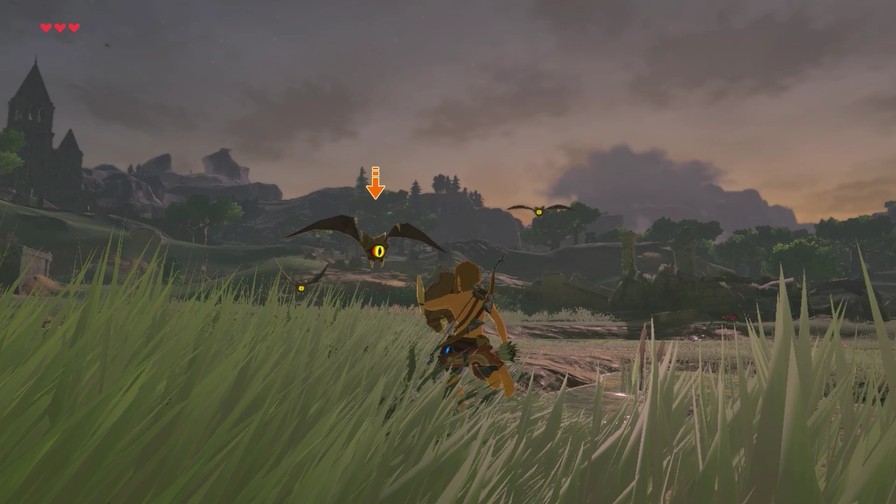 Keese are a Zelda series staple, even though they're nothing more than monstrous bats. They only show up at night and, being weak both offensively and defensively, are more of a nuisance than anything. They usually show up in small groups and only during night. 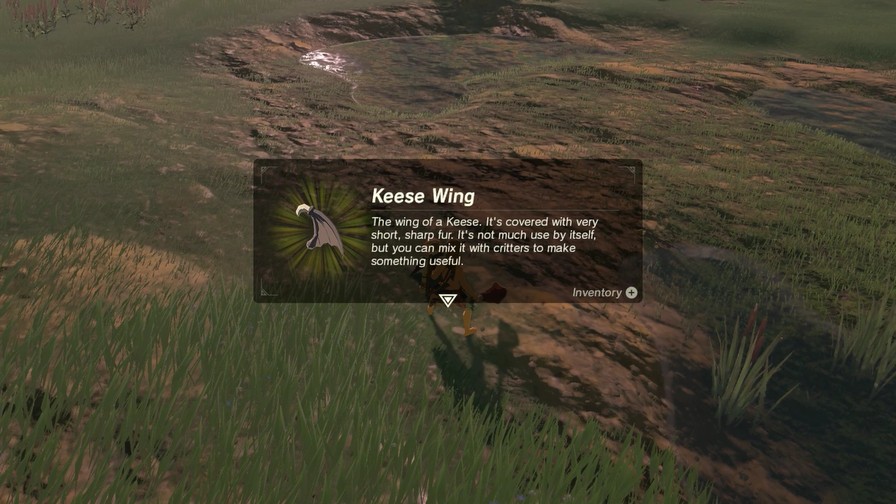 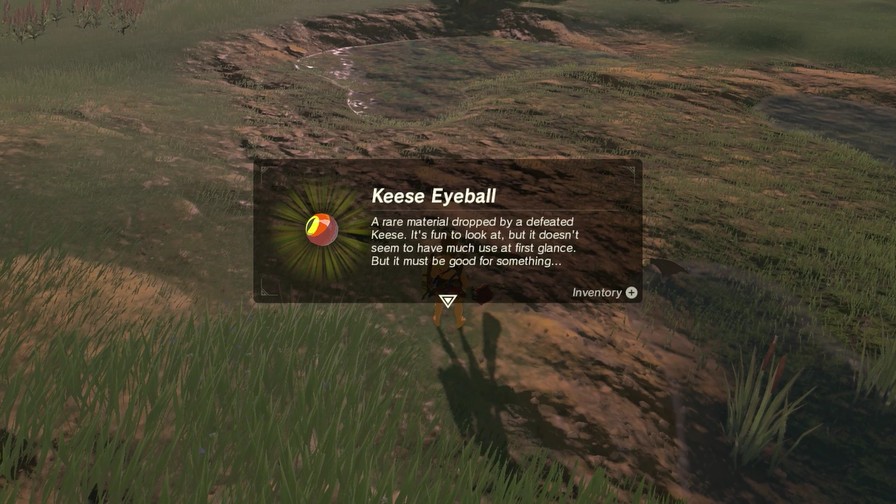 They have their own drops as well. 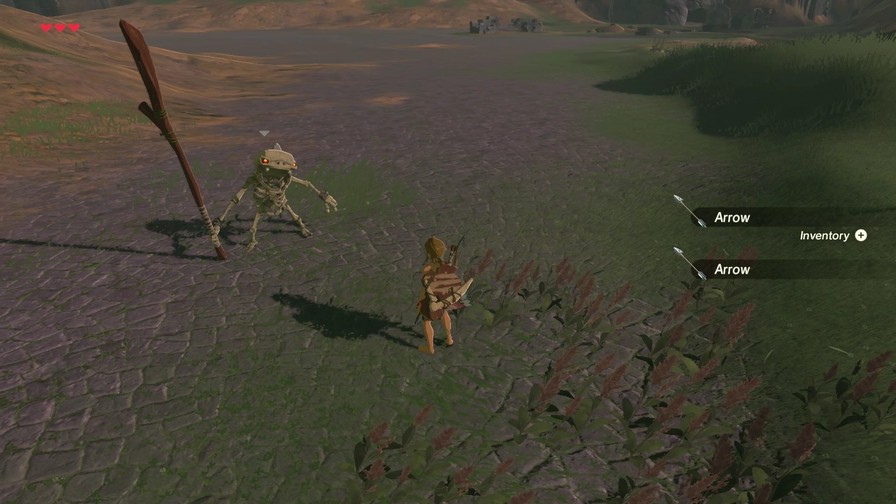 Another night-exclusive enemy is the Stalkoblin, the skeletal version of the Bokoblin. They usually carry weapons similar to their living kin. http://f.mega64.net/botw/u04/043.mp4 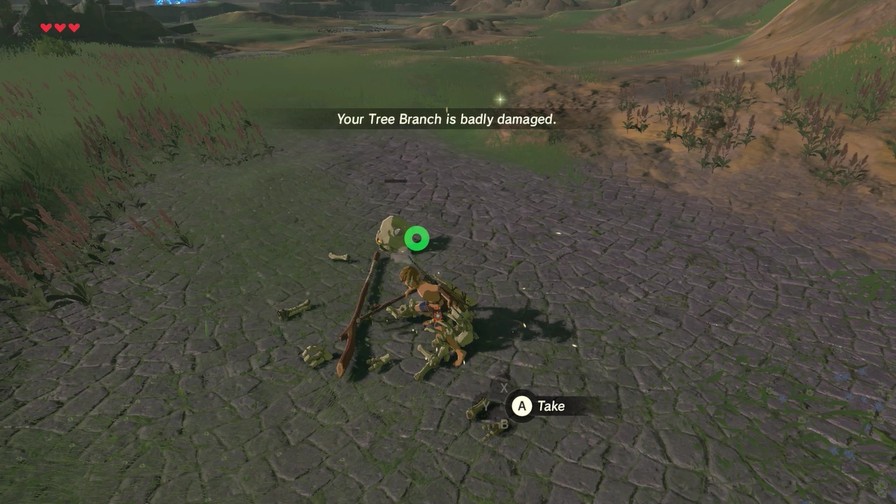 However, these skeletal enemies are also very fragile. One hit knocks their skull off, and hitting the skull kills the enemy. If the skull is left alone, eventually the Stalkoblin's skull will return to its skeleton. My personal favorite way of dealing with these guys is picking up their skulls, finding the nearest cliff, and booting them off into the beyond. I'll be sure to show it off when I inevitably do so, of course.  They have similar drops to Bokoblins (though they don't drop guts for obvious reasons), and sometimes they'll even drop their arms, which serve as weapons.  Hmm. A boulder, Bokoblins, and a bunch of exploding barrels nearby... Hmmmmmmm... http://f.mega64.net/botw/u04/048.mp4 Sometimes the obvious move is still the most entertaining. 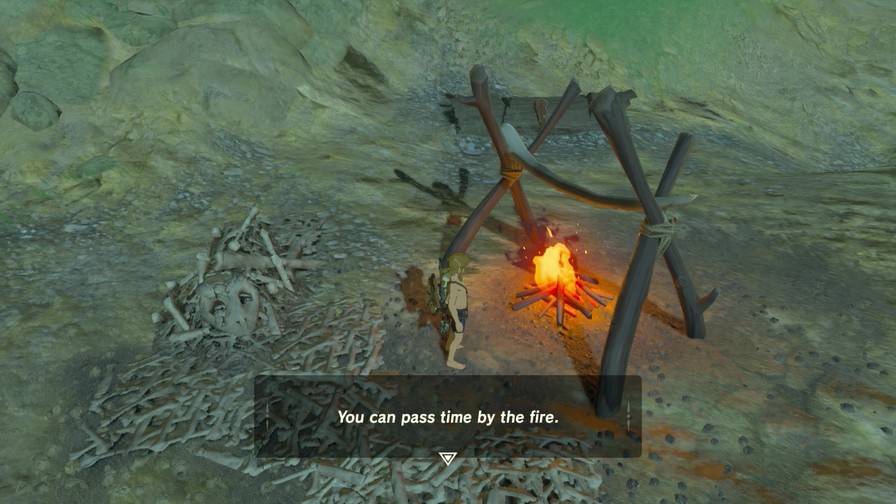 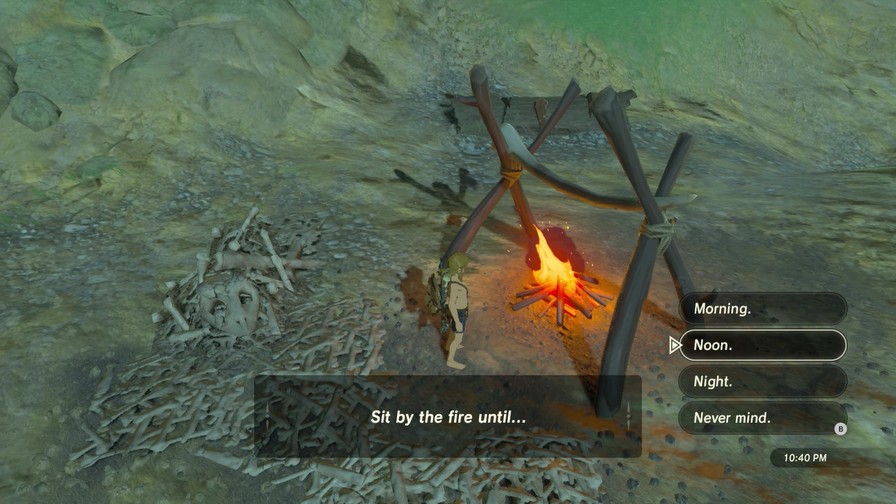 Some stuff is locked behind time of day, so you can wait by fires to pass the time. There's a few reasons to use this, one key reason being that exploring can be more difficult at night due to all the Keese and skeletal enemies randomly popping up. Then again, enemies may also be asleep during the night.  Anyway, I wanted to show off a couple of things for this update. We would've inevitably gone here if we went the route the game lays out for us, i.e. walking to the old man first thing, who then points this building out to us. 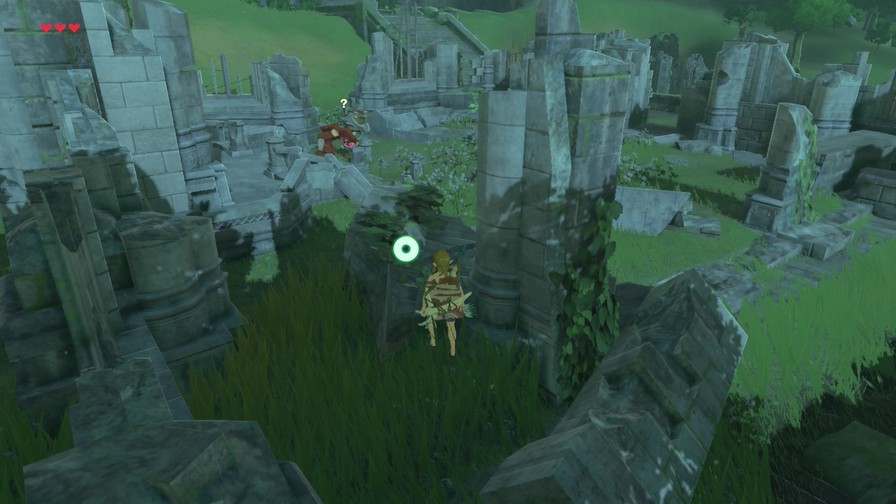 It would've been a better introduction to combat, since you only face lone Bokoblins here. http://g.mega64.net/botw/u04/054.mp4 At this point I can simply slap 'em silly. 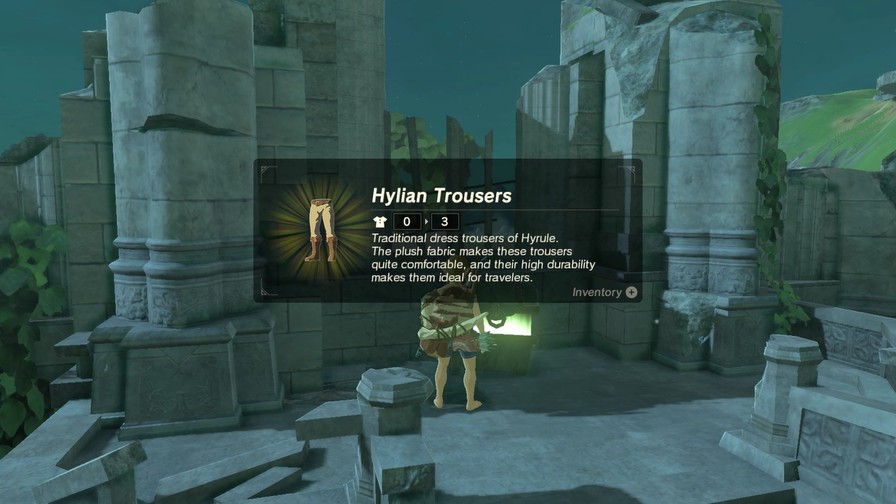 This chest hides better pants. Useful! Music: Temple of Time 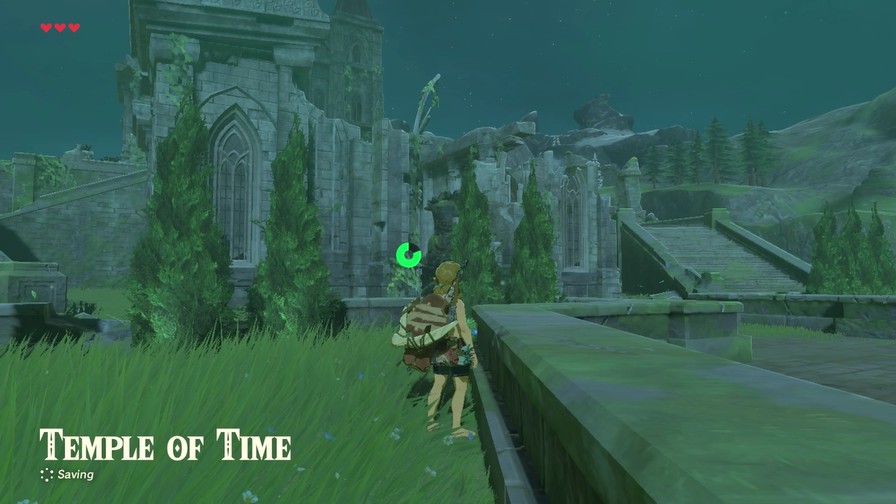 Anyway, this area is...the Temple of Time, huh? Series fans will surely recognize this place. It's one of the most iconic locales of Ocarina of Time, and also pops up in Twilight Princess and Skyward Sword.  Strewn across the area are these massive stone structures. 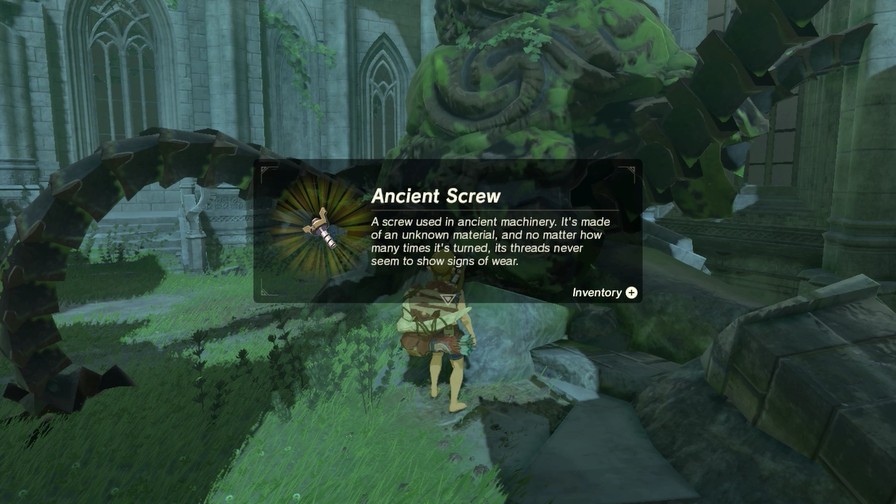 Searching them lets you find ancient pieces like these screws. 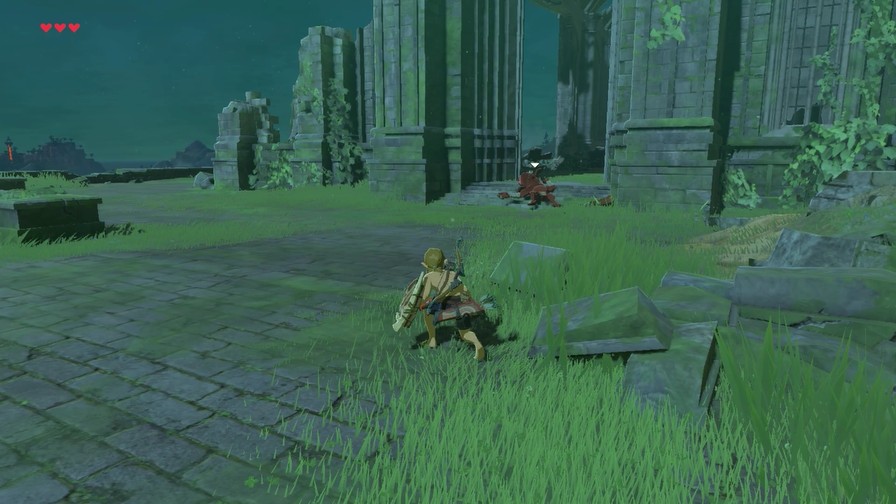 The temple itself is guarded by a lone sleeping Bokoblin. 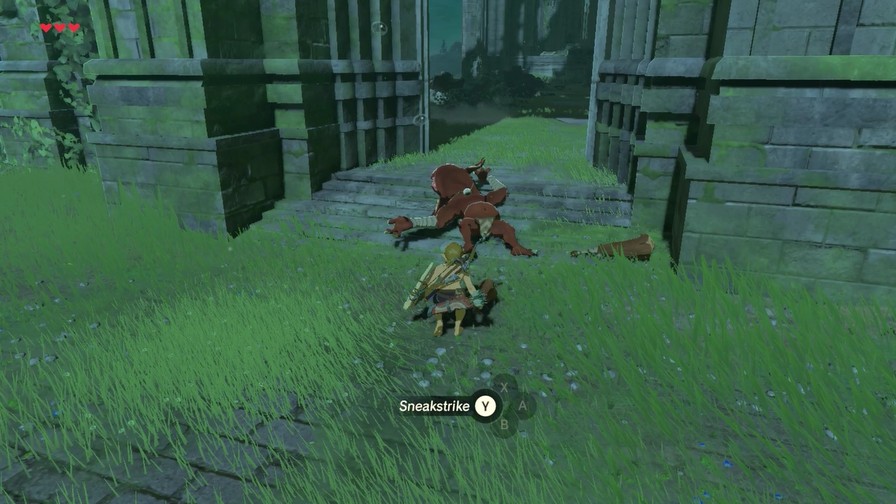 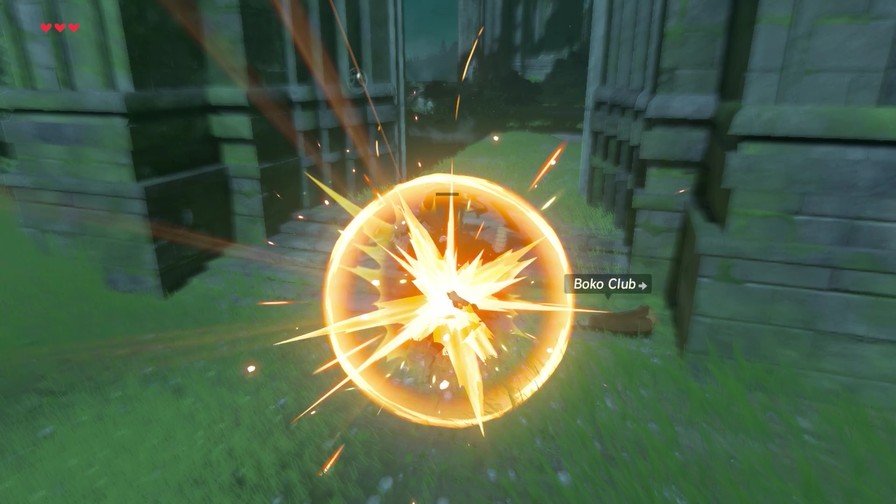 Sneak up on a sleeping enemy to Sneakstrike for increased damage. 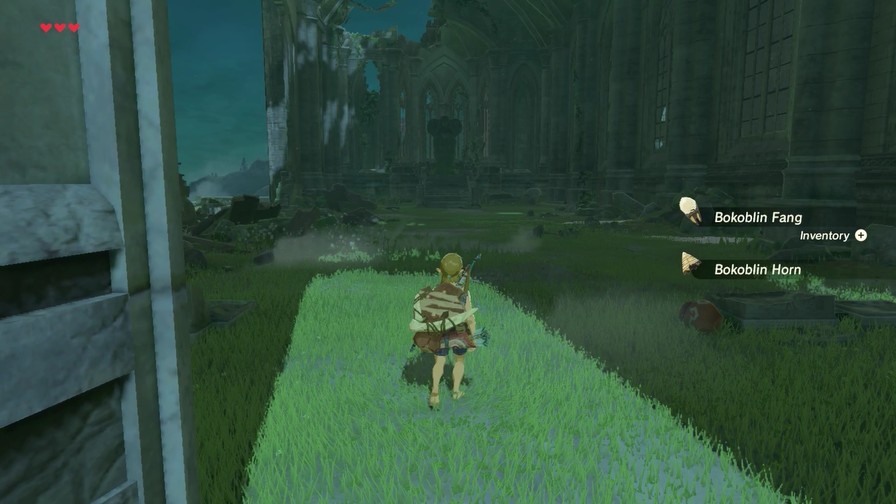 The Temple of Time has seen better days. The whole left wall has collapsed in what must have been one nasty battle. 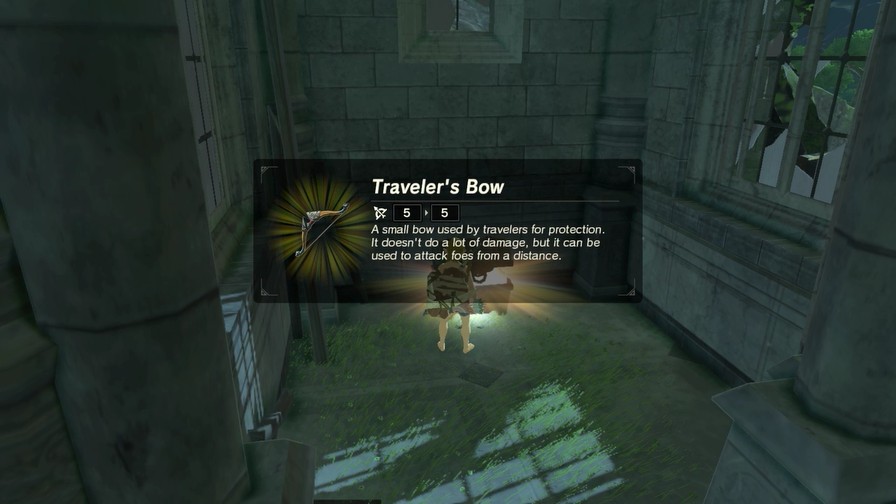 Off to the side is a chest with a bow.  Really, all there is to note here is this statue.  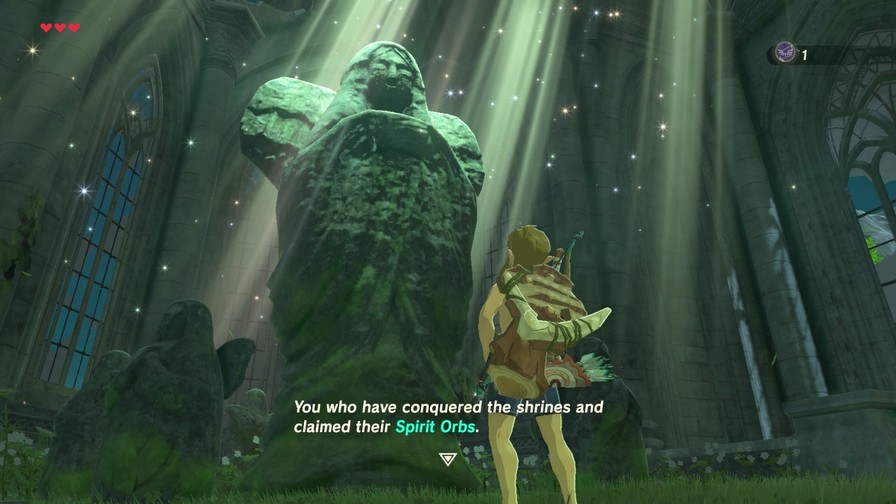 I can offer you great power. But you do not yet have four Spirit Orbs. Seek out the shrines scattered across Hyrule, and face more challenges. 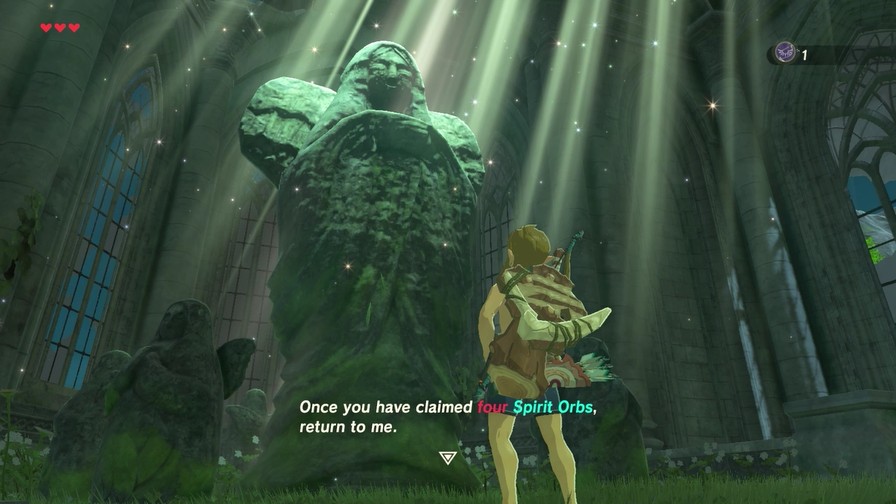 I'm going to jump ahead a bit and spoil what the Spirit Orbs do since I'll probably have you vote on our reward once we do the other three. Spirit Orbs are essentially this game's heart pieces, though when you give them to the goddess you can choose whether you gain a Heart Container (an extra heart, max of 30) or a Stamina Vessel (adds a fifth of a ring of max stamina, maximum of three rings). Both are great early on, as hearts obviously let you live longer and stamina lets you explore more easily.  That's all there is to the temple right now. There's one more major area to check out before we go shrine hunting.  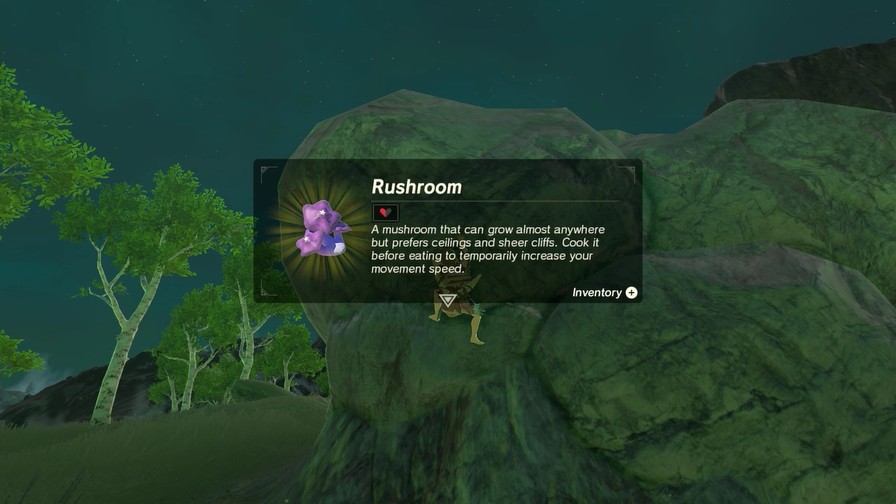 This rock has a rushroom, a mushroom that grows on the side of mountains. Cooking it increases movement speed, which is handy. 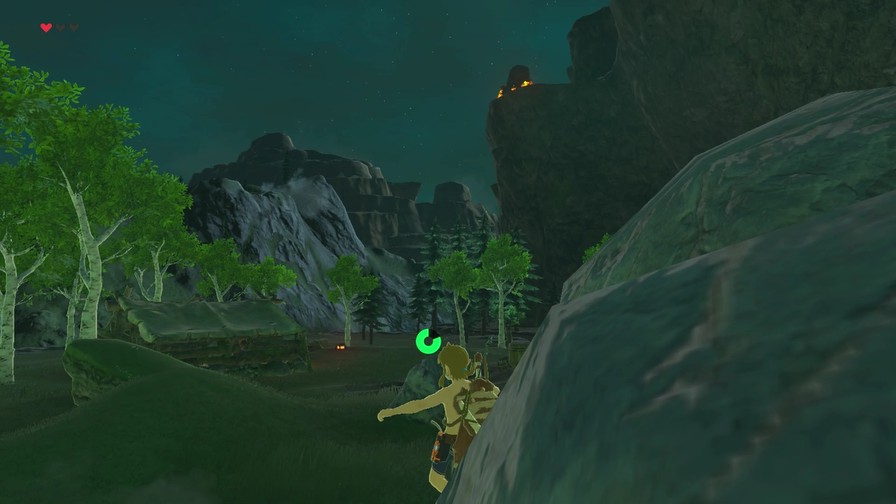 We're actually close to the first shrine we saw, but I'm more interested in this cabin. 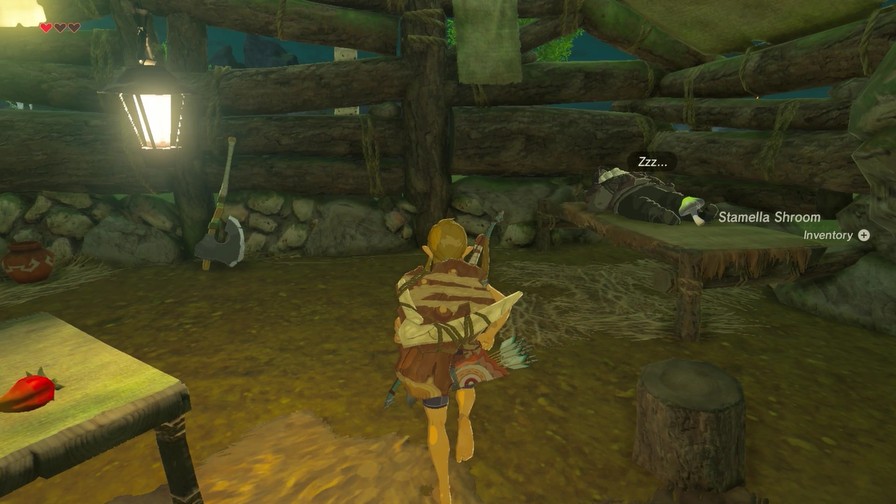 The old man must be living here. 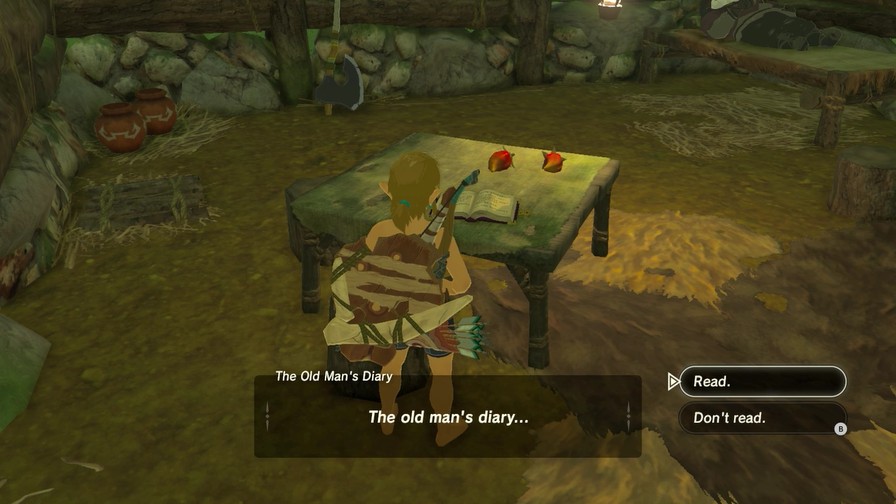 In the meantime, let's check out his diary. quote:On this desolate plateau, the only pleasure that brings me comfort is cooking. And today, I outdid myself! Truly, I created the perfect dish. I call it...spicy meat and seafood fry. This recipe not only restores health, but it also keeps me warm, even when traveling in the snowy mountains. With this dish on my side, I no longer have need of that itchy warm doublet. So, spicy meat and seafood fry. The spicy pepper's the spicy part, the raw meat is the meat part, so that leaves...  Pot Lids are the weakest shields. That said, you can still humiliate a large number of enemies with one if you know what you're doing.  This is the wild. You've gotta use what you can get! 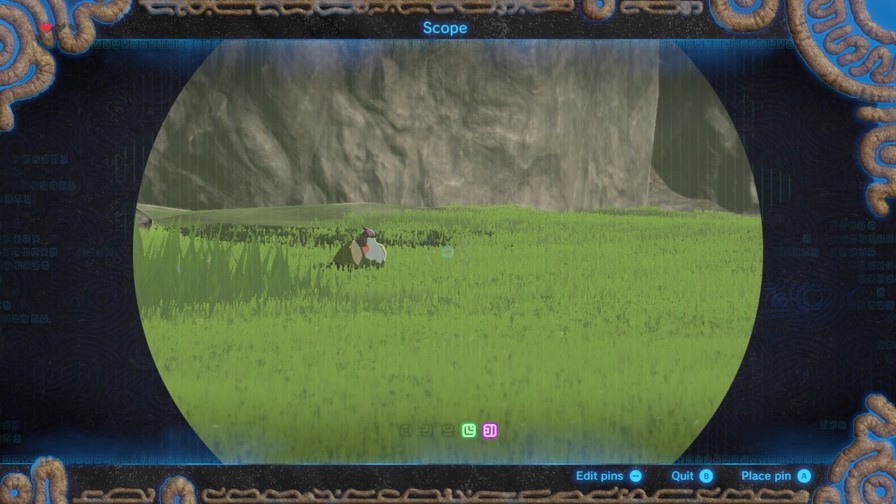 There's not just enemies out here, you know. There's a large variety of fauna as well, such as this pigeon. 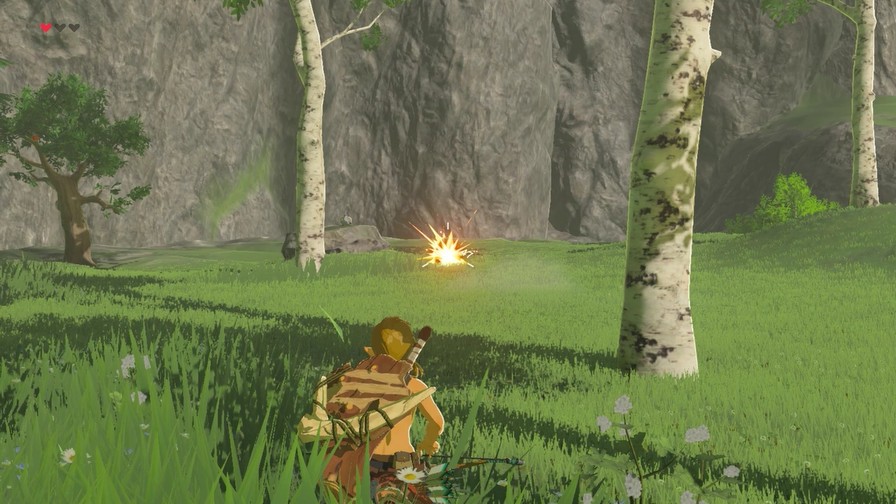  And we've now got the raw meat part! And now we're set to cook!  Alright, cooking. To actually cook, go to the menu, press X to hold items, then select up to five items to hold. For this recipe, we need a spicy pepper, any meat, and of course a fish. Then go up to a lit cooking pot until it says "Cook". Then... http://g.mega64.net/botw/u04/097.mp4 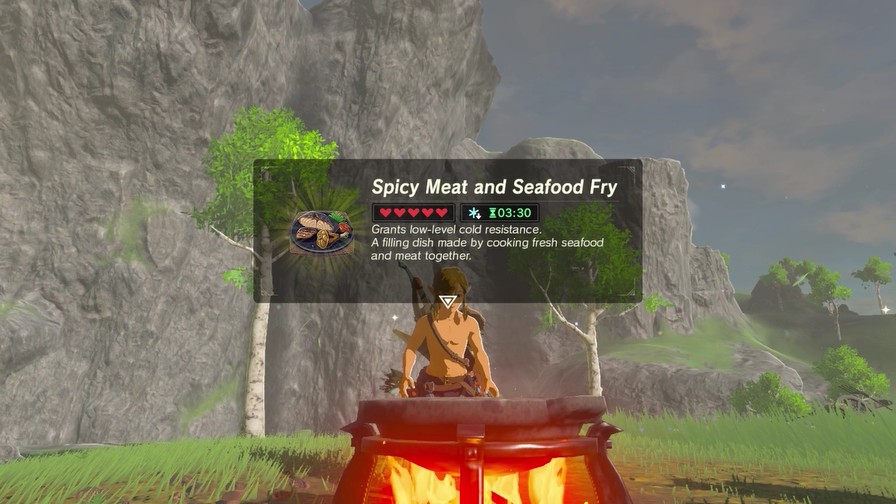 There we go! As mentioned earlier, each dish can only have one effect. Each ingredient will add a specific strength of an effect, so stacking those up could make the effect stronger or last longer. Some ingredients don't add effects and will instead add more hearts to be recovered. This dish will increase our resistance to cold, letting us explore the snowy mountains from before without taking damage. 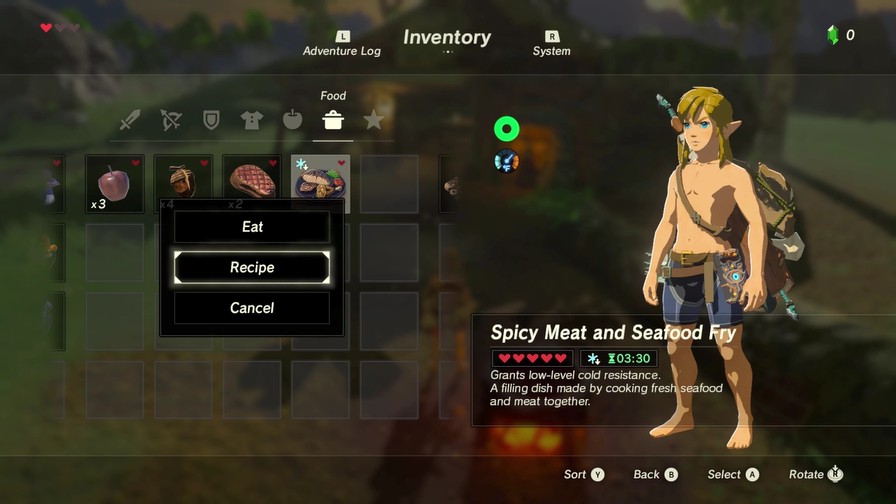 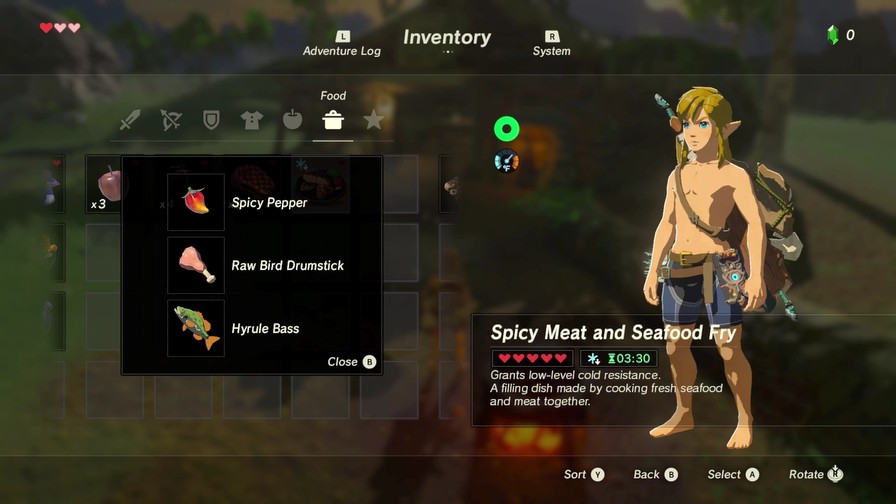 Any dishes you cook have an option to check the ingredients used. This is useful since most cooking is simply throwing stuff together to see what works, at least until you look up how it actually works. I won't get into that here, though. 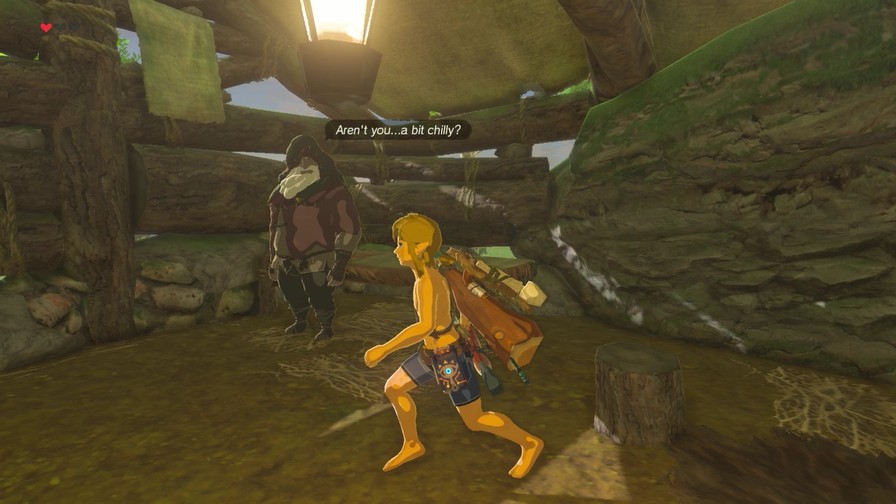 Anyway, the old man has woken up, though we can't show him our meal quite yet. 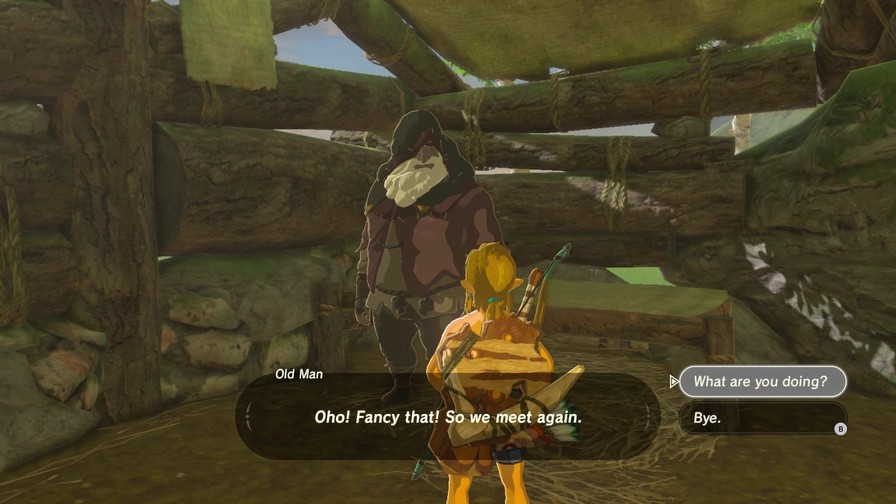 I was just about to go cut down a few trees over there. We'll have to talk later. I was just about to go cut down a few trees over there. We'll have to talk later.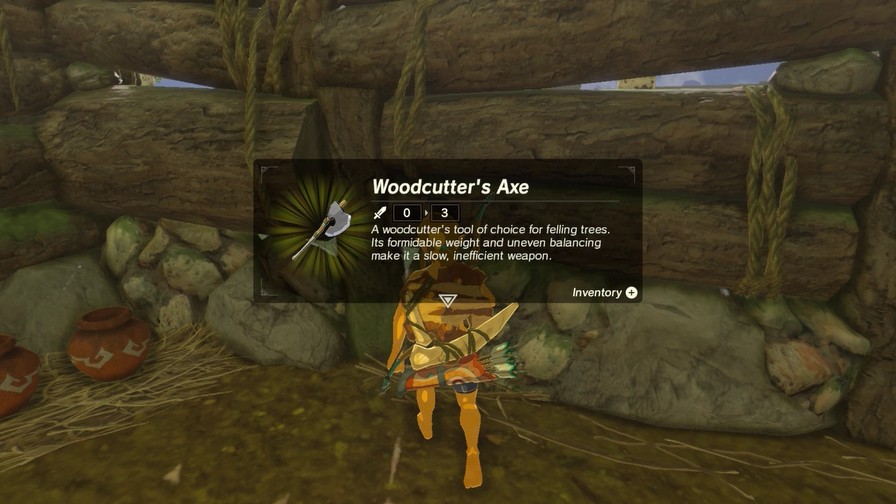 Let's join him! 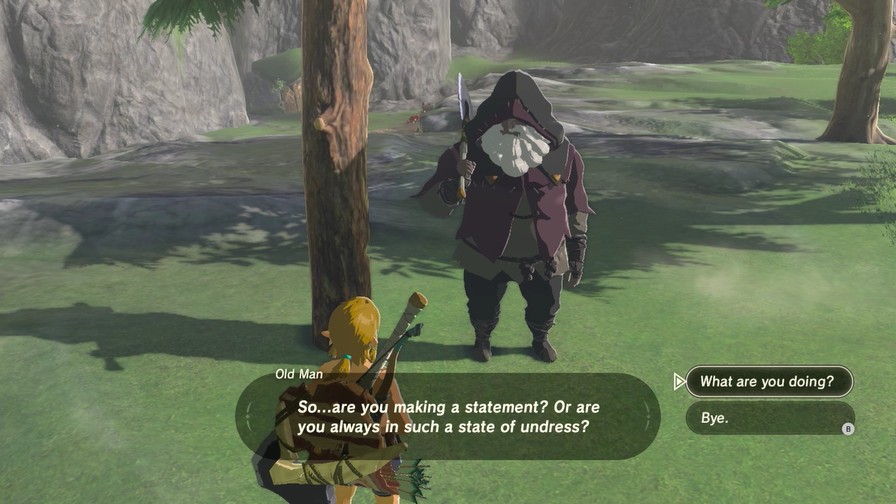 Isn't it obvious?! I thought this tree here might make for some good firewood. However...getting a tree to fall exactly where you want it to is quite an art. The trick is to turn your hips so that they face where you want the tree to land. So... I see you found my axe. Why not help me out and give it a few swings? I'm working up quite a sweat here... but these bones could use a break. Isn't it obvious?! I thought this tree here might make for some good firewood. However...getting a tree to fall exactly where you want it to is quite an art. The trick is to turn your hips so that they face where you want the tree to land. So... I see you found my axe. Why not help me out and give it a few swings? I'm working up quite a sweat here... but these bones could use a break.http://g.mega64.net/botw/u04/113.mp4 Basically, the tree will fall where you're facing. You don't need an axe either, any sharp weapon will do. So will explosives.  Also a good way to get acorns. 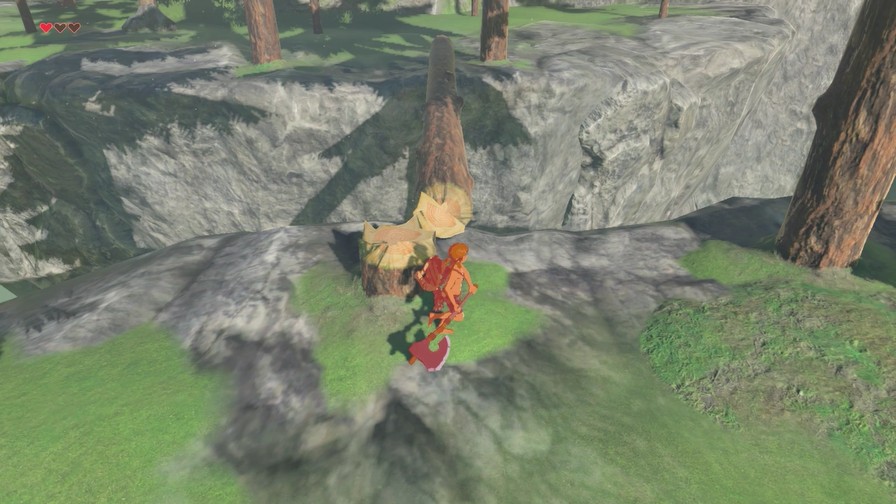 And to cross gaps, though this is honestly the only time where you'd use a log to cross a crevice. Really, a lot of the little things set up around the Great Plateau, like rolling rocks onto enemies, aren't things you're going to do often once you hit the rest of the game. What's important, though, is it trains you to learn to interact with the environment to figure out how to approach enemies and obstacles, as we haven't seen even a sliver of what this game has to offer. So while cutting a tree to cross a gap won't be useful later on, it's a nice way to tell you to stay on your toes and see what various options you have to approach whatever stands in your way. 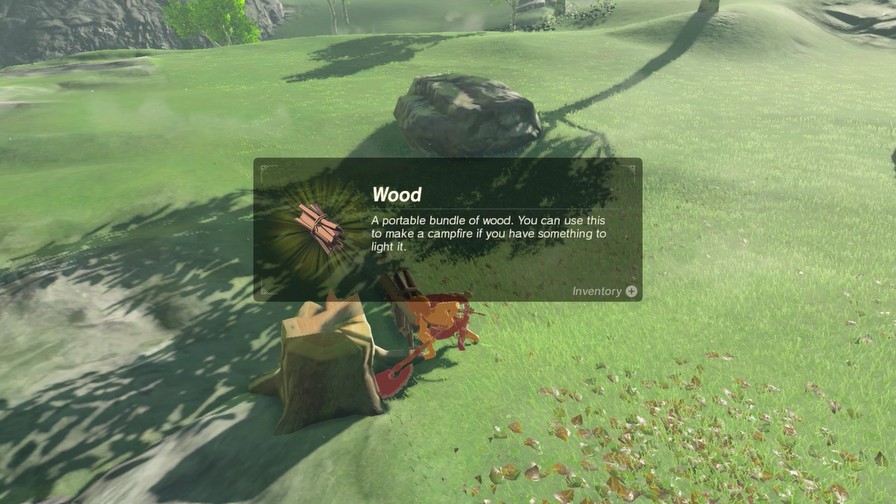 If you chop a log, you get wood. Drop it and set it alight (there are several methods, including our Fire Arrows) to start a fire to pass time at.  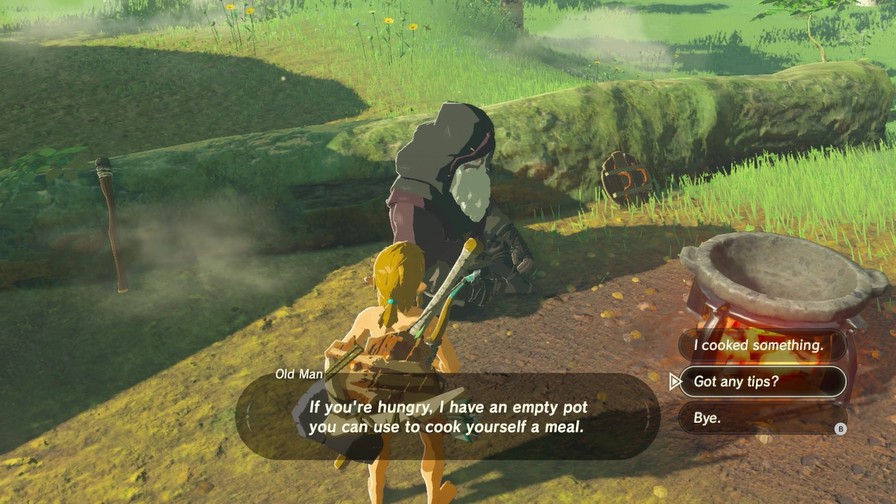 How about tips? Simply open your inventory, grab hold of your ingredients, and toss them in! Try to consider how the ingredients will complement one another. You can even make a dish that increases your stamina! It's all about being creative and trying different things. Oho ho! Let's show him what we cooked. Wait... Is that... That looks just like my signature perfect dish, spicy meat and seafood fry! But how did you-?! Well, I suppose that is not important. Can I trouble you to share the recipe? Well done! Now, please allow me to reward your culinary efforts with this warm doublet. Well done! Now, please allow me to reward your culinary efforts with this warm doublet.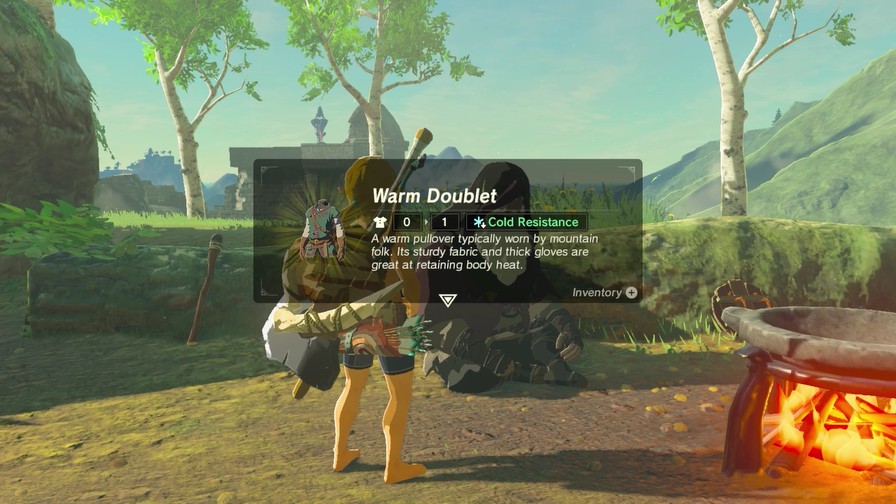 Showing the meal to the old man nets us a nice warm doublet. Same defense as the old shirt, but it gives a level of cold resistance, which gives us another way to survive the cold. 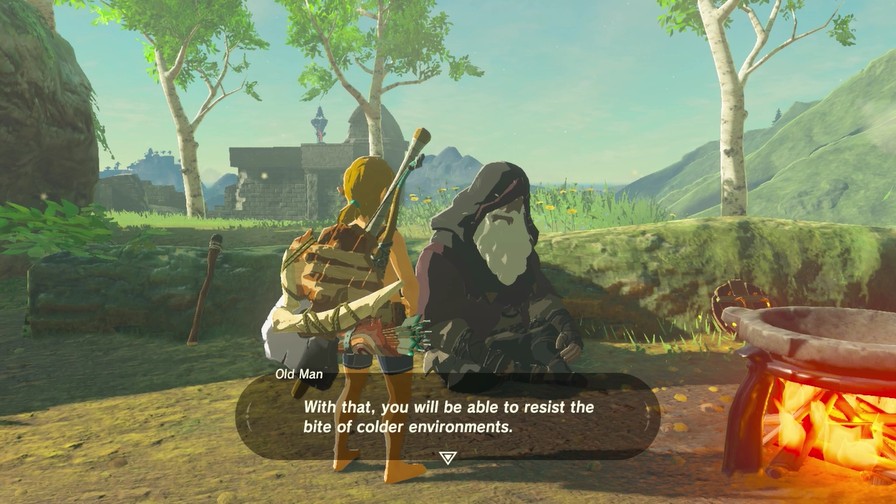 As for me, I know a great spicy meat and seafood fry recipe, so I can do without that warm doublet. As for me, I know a great spicy meat and seafood fry recipe, so I can do without that warm doublet.It's nice this game gives multiple ways to handle the cold to reach the shrine above. You can cook foods to resist the cold, you can do this mini-quest to gain the doublet, you can carry a torch to stay warm, or you can just tank it and constantly eat to recover hearts. 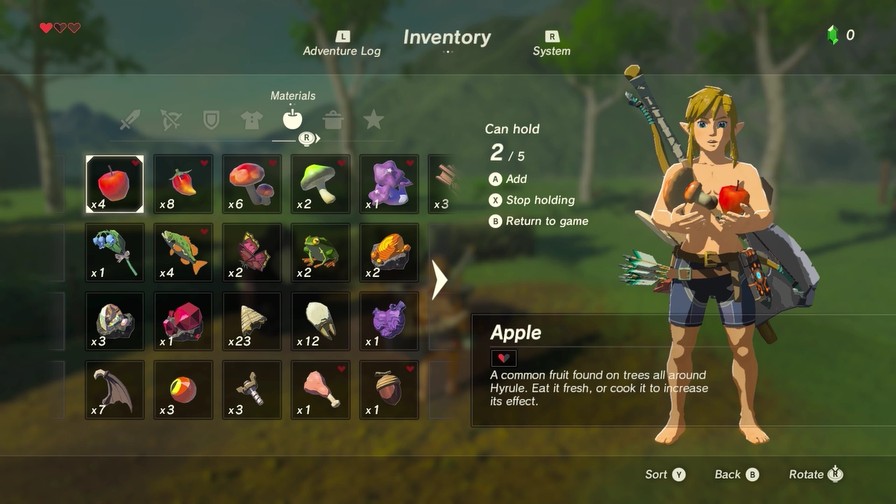 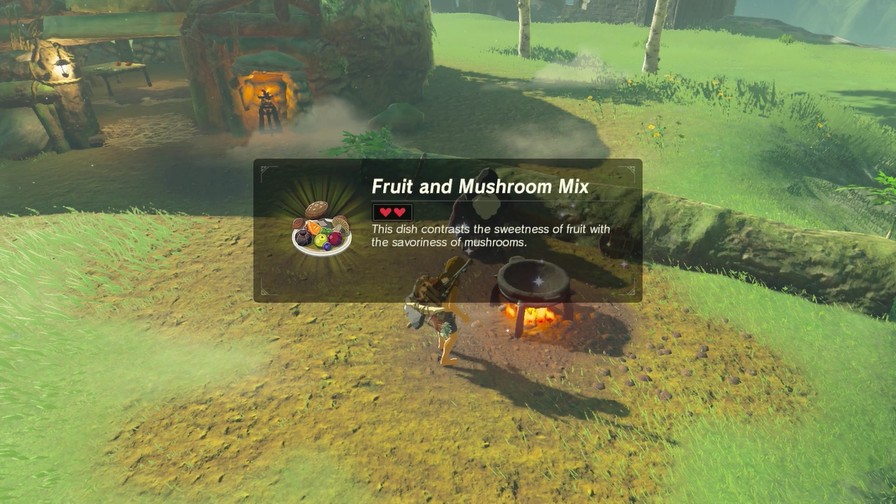 At this point, I mess around, combining stuff with apples and mushrooms to make a few more dishes.  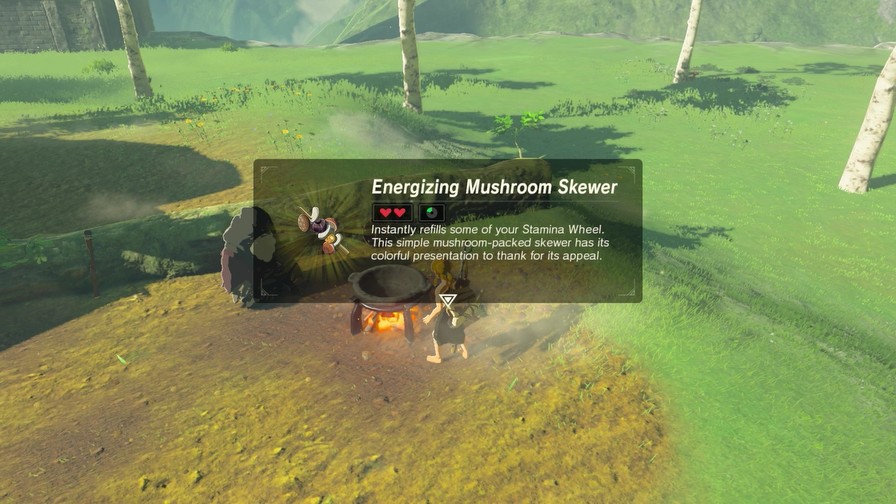 The Rushroom gives a small movement boost, and the Stamella Shroom recovers Stamina, which is great when climbing. 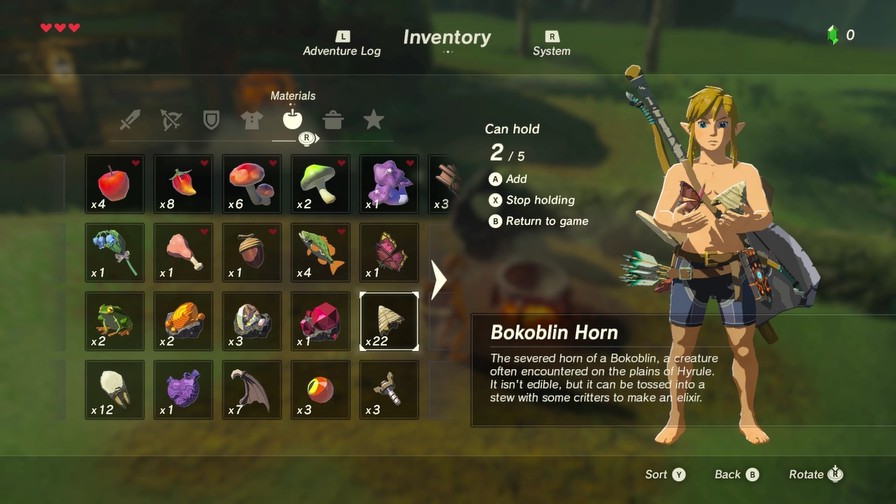 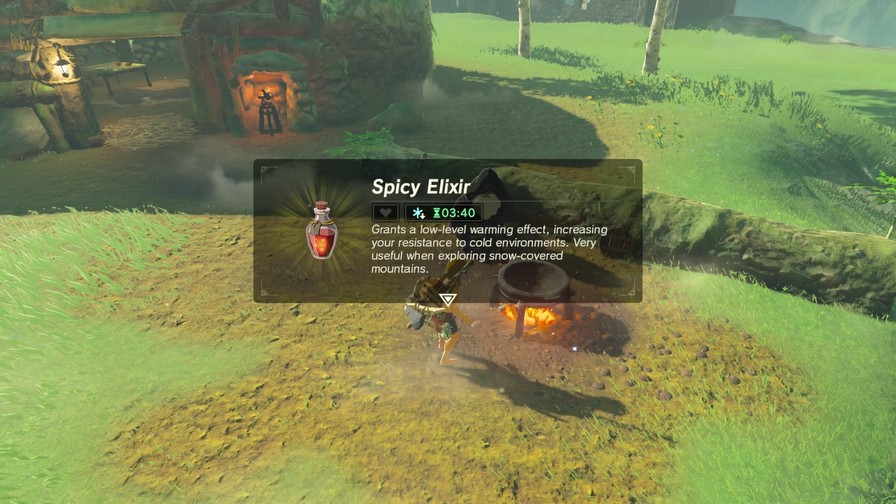 We can also make Elixirs. To make these, we need both an insect (like the Summerwing Butterflys that fly around the plateau) and a monster part (like one of the numerous Bokoblin Horns I have). The insects increase the strength of the elixir, the monster parts affect the duration.  There's a group of Bokoblins nearby, and I've got the perfect disguise. 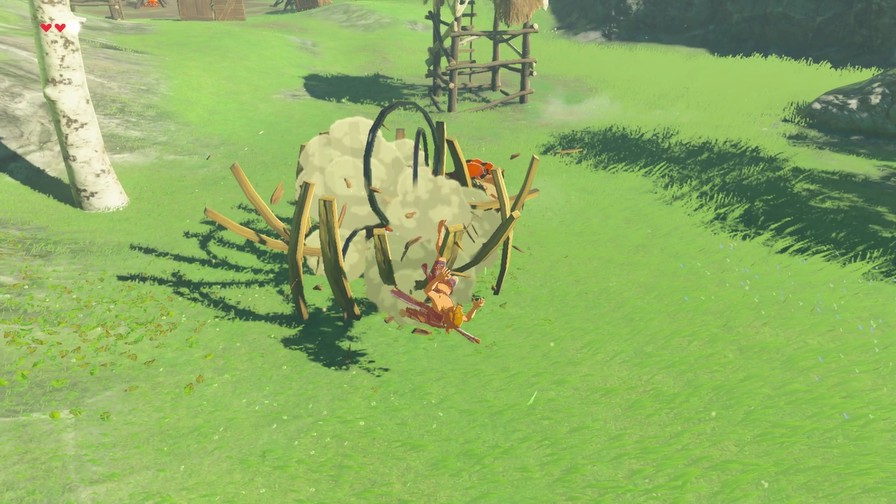 ...Well, it'd be perfect if I was good at stealth.  I'm good at fighting, at least!  This spear is optimized for throwing, though usually you only throw weapons when they're about to break and want to make room for the next one. 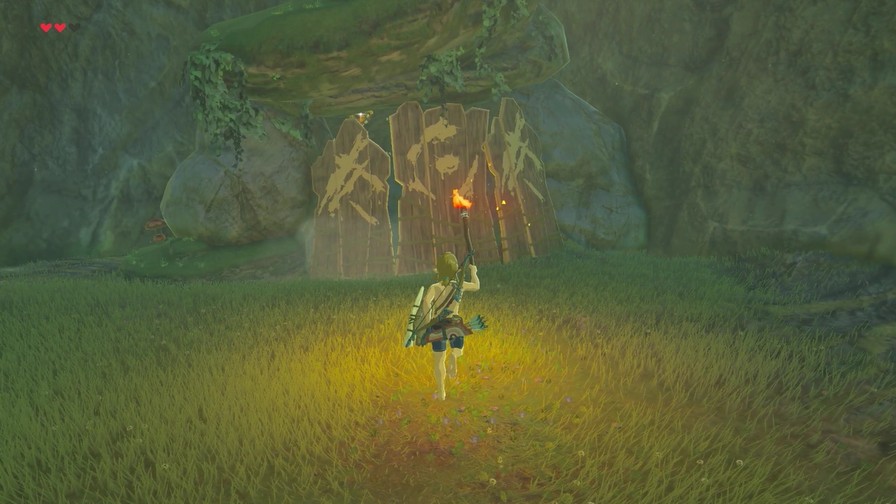 The main reason I dealt with these guys is to reach this poorly-disguised area. 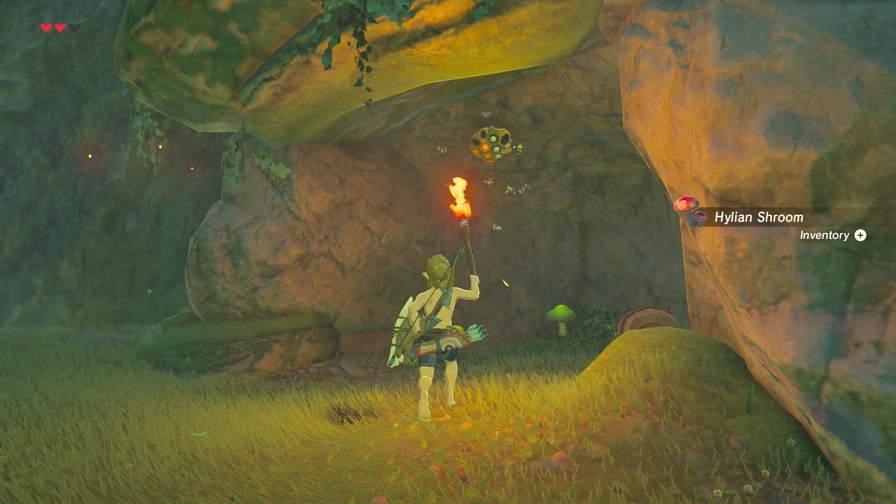 Once we scare off the bees with fire... 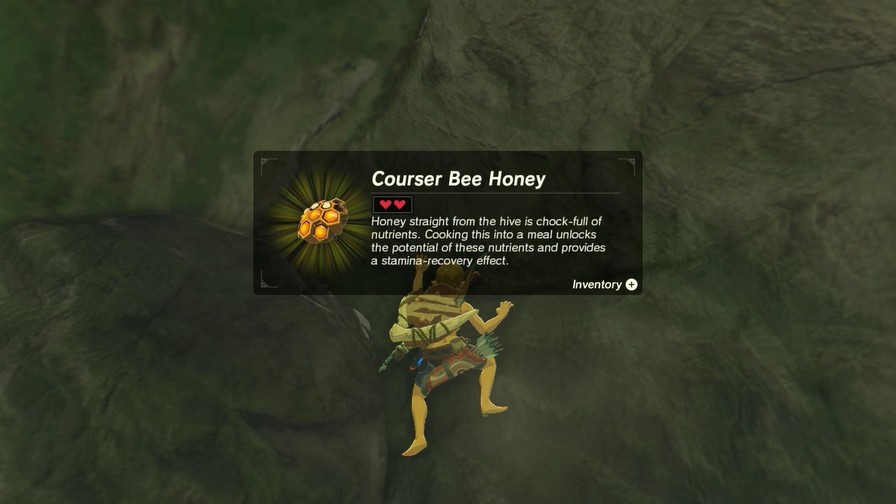 Kinda rare but also a pretty nice ingredient. But that's not all!  Now we're talking! Bomb Arrows explode on contact. They're as wonderful as they sound. 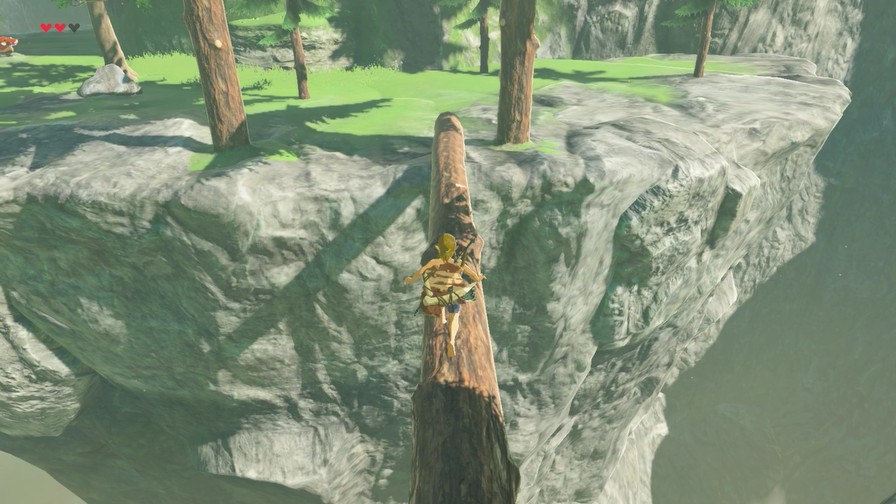 So how about we actually finally cross over to the other side of where this log leads? 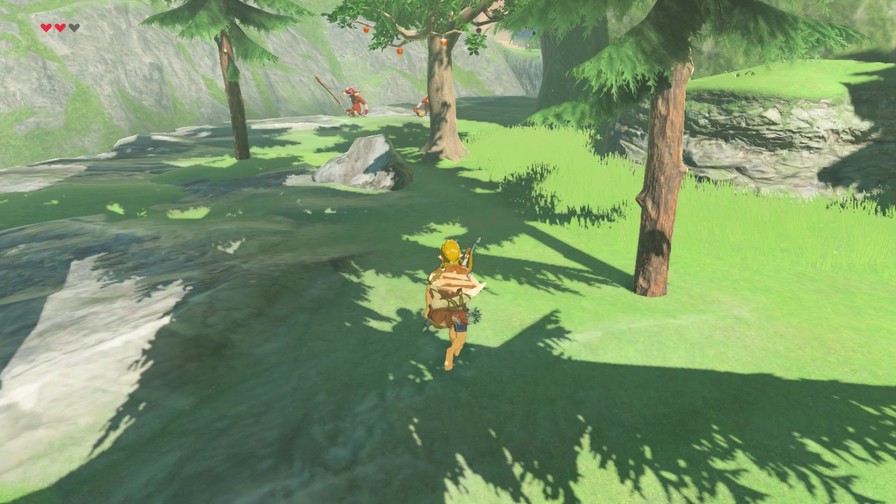 Honestly not much here. Just these two Bokoblins.  Did you know Bokoblins are omnivores? They'll eat pretty much anything. http://g.mega64.net/botw/u04/150.mp4 And I do mean anything. 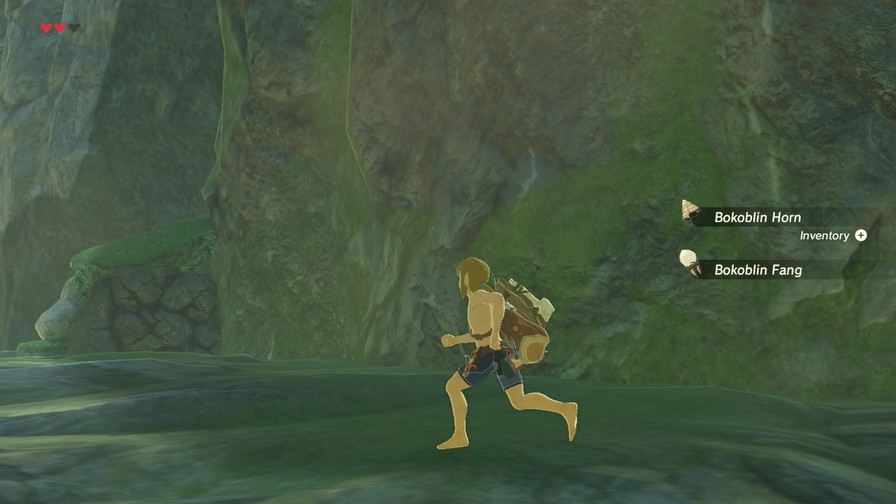 Otherwise, there's an apple tree and a dead end. Maaaybe we could go up? Anyway, that's it for this update. Next time, we start tackling the other shrines. However... 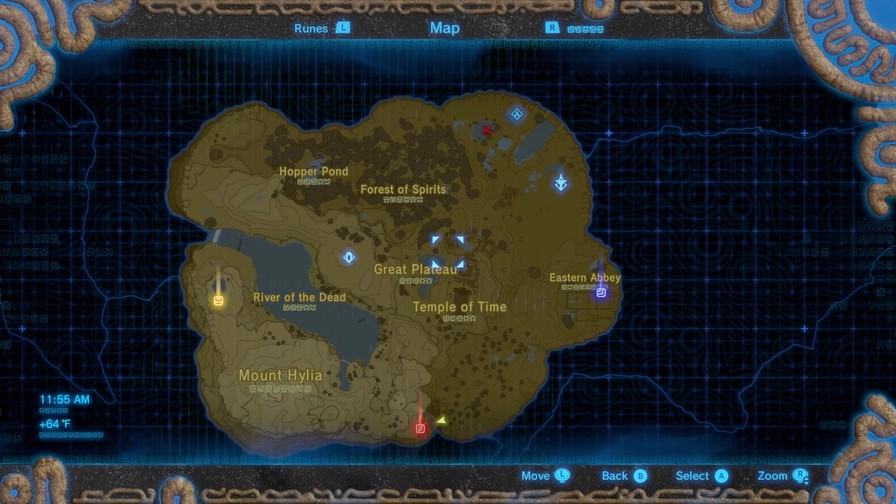 ...I need your help! Which order should I do them in? As a reminder: Red is up on a high ledge. Blue is on level ground, but surrounded by walls and other stubborn terrain. Yellow is high up in the cold mountains. VOTE FOR YOUR PREFERRED ORDER HERE! After a couple of days I'll go with whatever's winning and go from there. Two or three more updates and we'll be ready to explore Hyrule! Mega64 fucked around with this message at 16:44 on Jul 25, 2017 |
 #
?
May 4, 2017 01:26
#
?
May 4, 2017 01:26
|
|

|

|
| # ? May 24, 2024 11:56 |
|