|
I've recently fallen in love with radio controlled scale boats. Anyone else into this? Some pics of my current project are below. I'm building this, a 1950's era Chris-Craft Continental. It's a kit made mostly from wood, balsa and mahogany to be specific. The hull and deck will be fiberglassed before installing the running hardware.  Getting the frame put together.  Frame and balsa wood planking complete, and hull interior sealed with epoxy resin.  The mahogany planking process is very grueling, but I'm finally done. Now to begin planking the deck.  Forward deck planking about to begin.  About halfway done...  Once this is complete comes hours and hours of sanding, then the fun part of fiberglassing the hull and deck.
|
 #
¿
Aug 30, 2010 21:41
#
¿
Aug 30, 2010 21:41
|
|


|

|
| # ¿ Apr 29, 2024 11:39 |
|
|
Nebakenezzer posted:I enjoy the thought of radio controlled boats, but where do you actually get to sail them? Lakes, ponds or swimming pools. Basically anywhere wher you don't have strong currents. I'm lucky enough to live by many such lakes.
|
|
#
¿
Aug 31, 2010 05:01
|
|
|
Made some more progress on the chris craft. After days and days of sanding, I finally got the hull and deck stained, and layed down some fiberglass and resin on the deck.     Once the entire hull is glassed, it's days and days of more sanding in between coats of resin before varnishing.
|
|
#
¿
Sep 7, 2010 17:32
|
|
|
Spent the last couple weeks sanding, sanding, and more sanding the chris-craft until it was finally ready for its first coat of polycrylic. Now it's more sanding, then I can finally work on the running hardware and cockpit details.  
|
|
#
¿
Sep 29, 2010 16:04
|
|
|
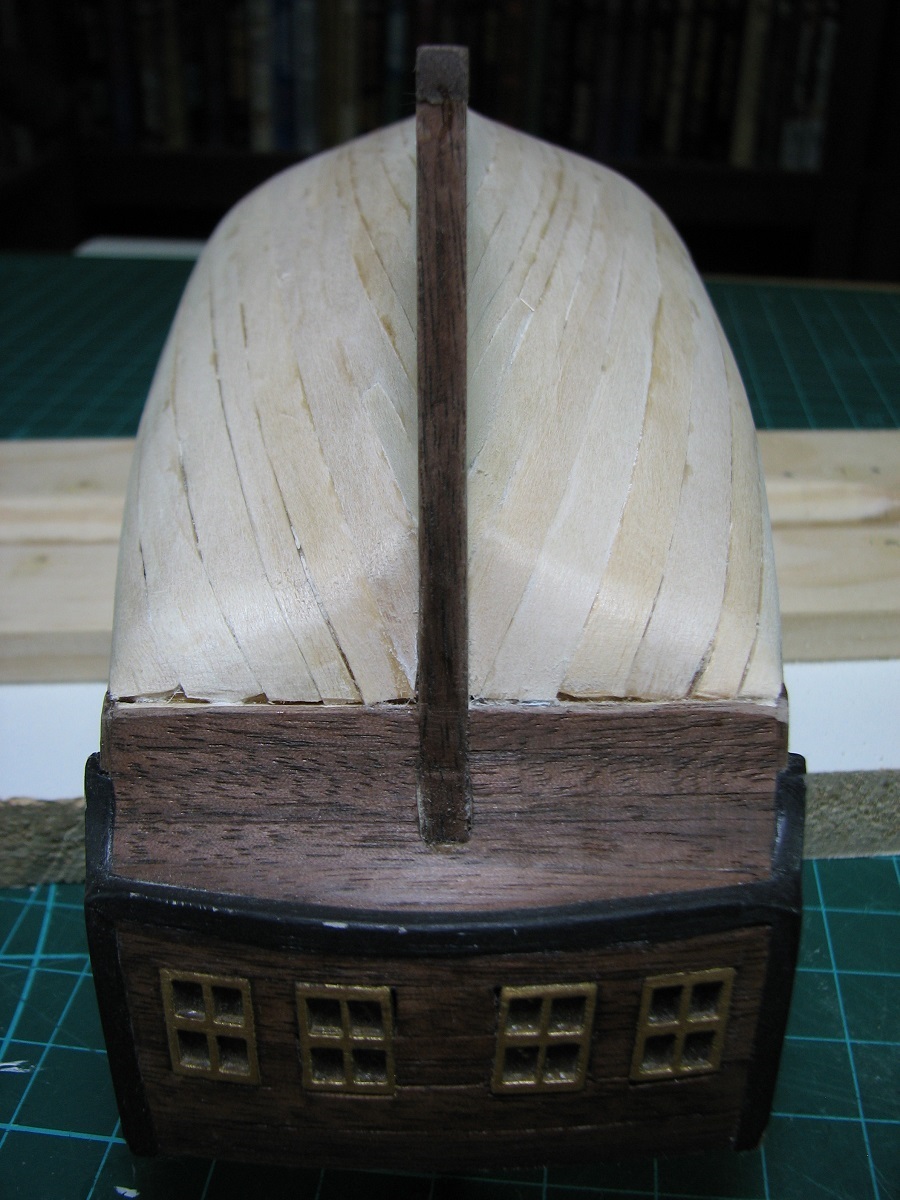
SunknLiner posted:This thing is going to take for-loving-ever. I can post progress shots if anyone is interested! Please do! I'm working on a similar sort of thing and it's a blast. Mine is the HMS Pegasus. The detail is loving amazing and like yours it will likely take a very long time. The rigging looks like it will be hard as hell though.
|
|
#
¿
Nov 23, 2010 20:19
|
|
|
A few months ago, I posted some in-progress shots of an RC Chris-Craft boat I was making. I'm nearly done and quite pleased with the results. I still have to hook up the motor to the drive shaft, attach the windshield and flag, and add some custom decals. It passed the bathtub floating test last night. ")      
|
|
#
¿
Feb 18, 2011 17:28
|
|
|
Nebakenezzer posted:Lord, that's just lovely. Was this thing built from scratch or did you at least get the metal bits in a kit? Thanks. The entire thing is built from a kit. I got it from here. The kit comes with everything except the motor, ESC, and receiver equipment. Some of the metal bits in the kit were of low quality, so I ended up getting some better ones from a second hand source. You also have to buy decent quality epoxy resin which is fairly expensive too. This type of wood planking + resin finish is a ton of fun though. It's an incredibly satisying process.
|
|
#
¿
Feb 22, 2011 20:05
|
|
|
Jonny Nox posted:I seriously was on the third photo of the page before I figured out what was going on. I got to the one with the pencil and thought to myself, "Wow, where did he get a pencil that big?"
|
|
#
¿
May 14, 2013 23:00
|
|
|

|
| # ¿ Apr 29, 2024 11:39 |
|
|
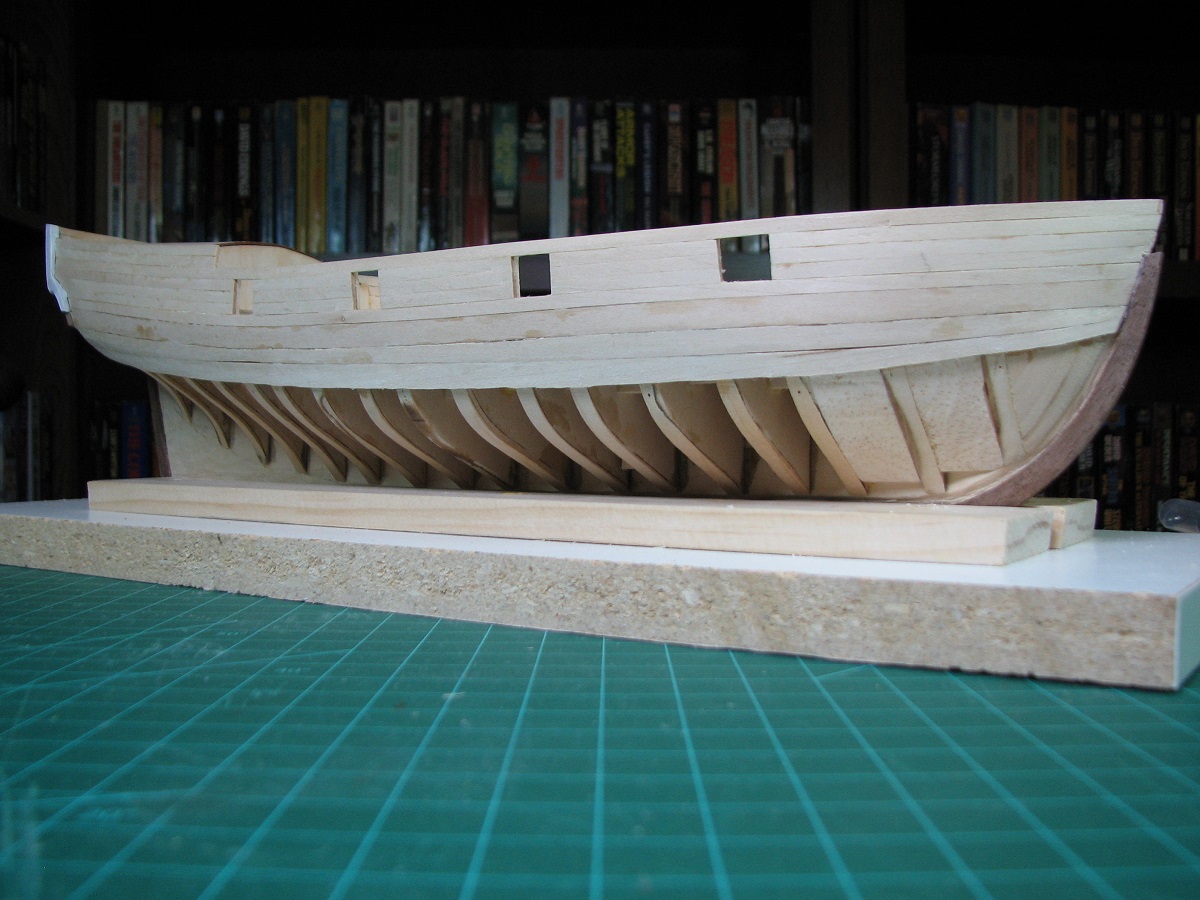
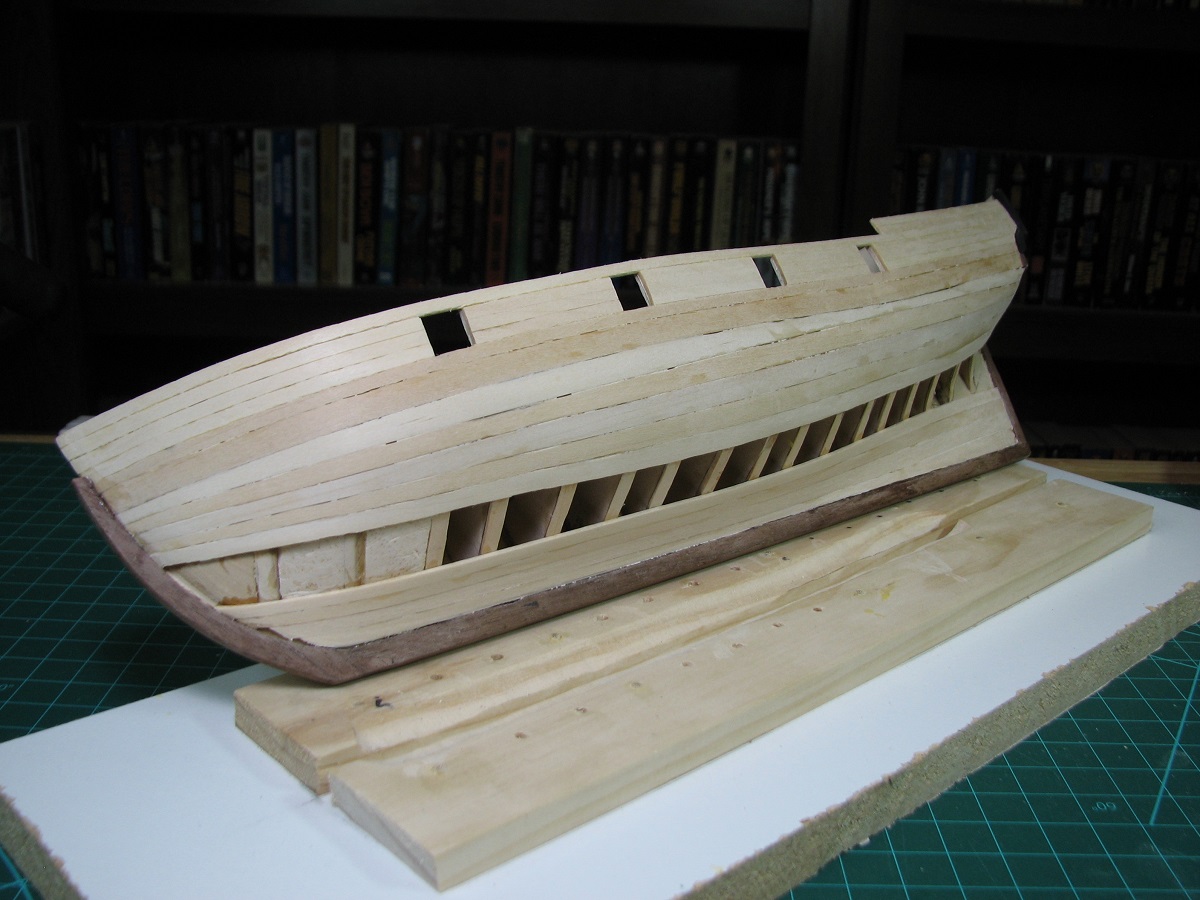
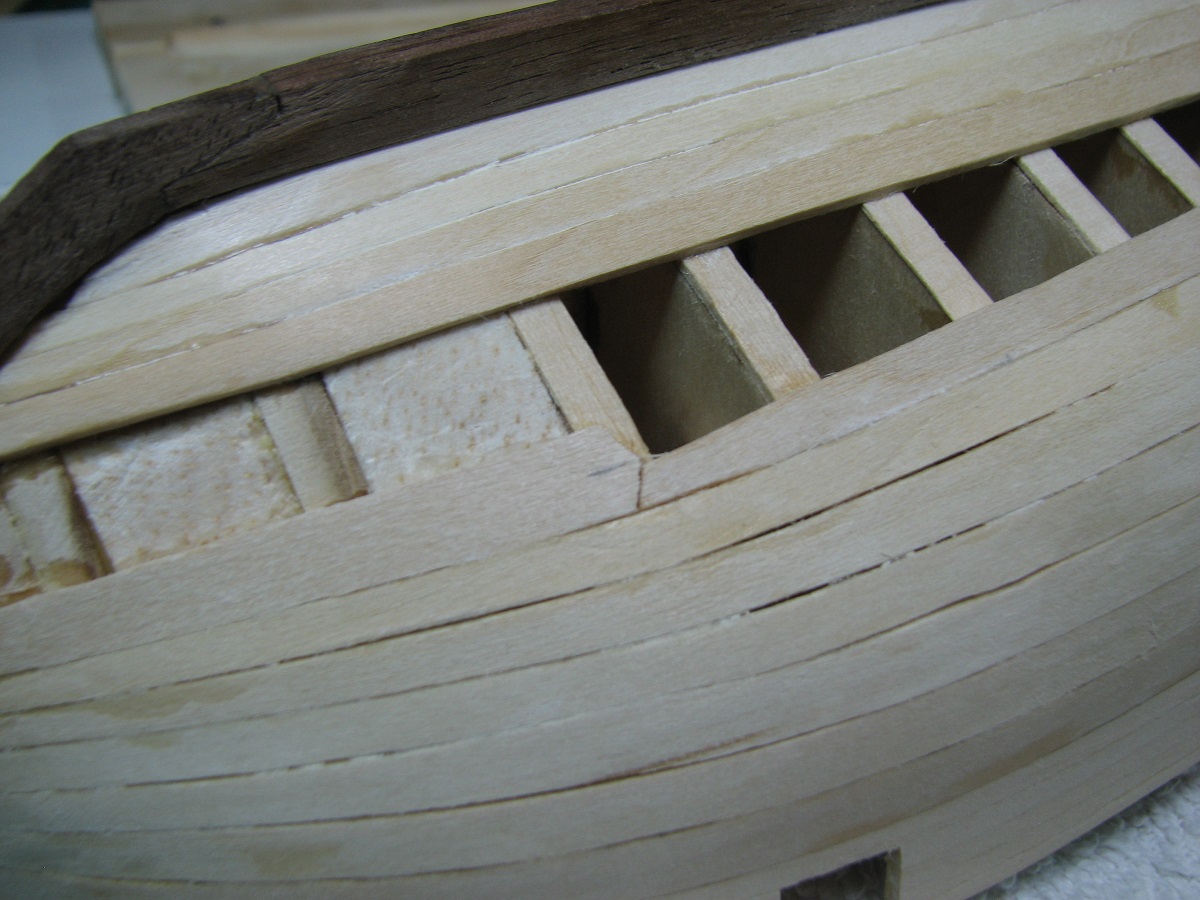
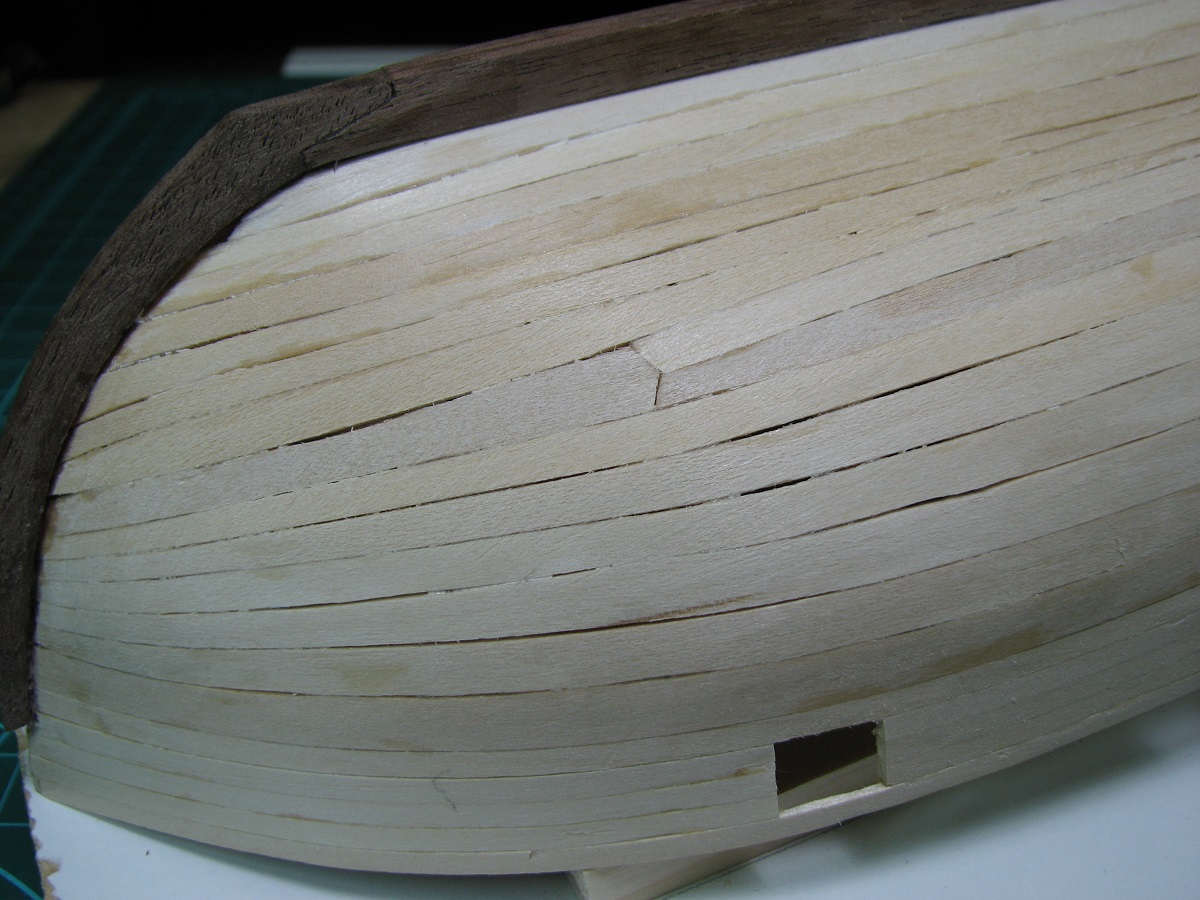
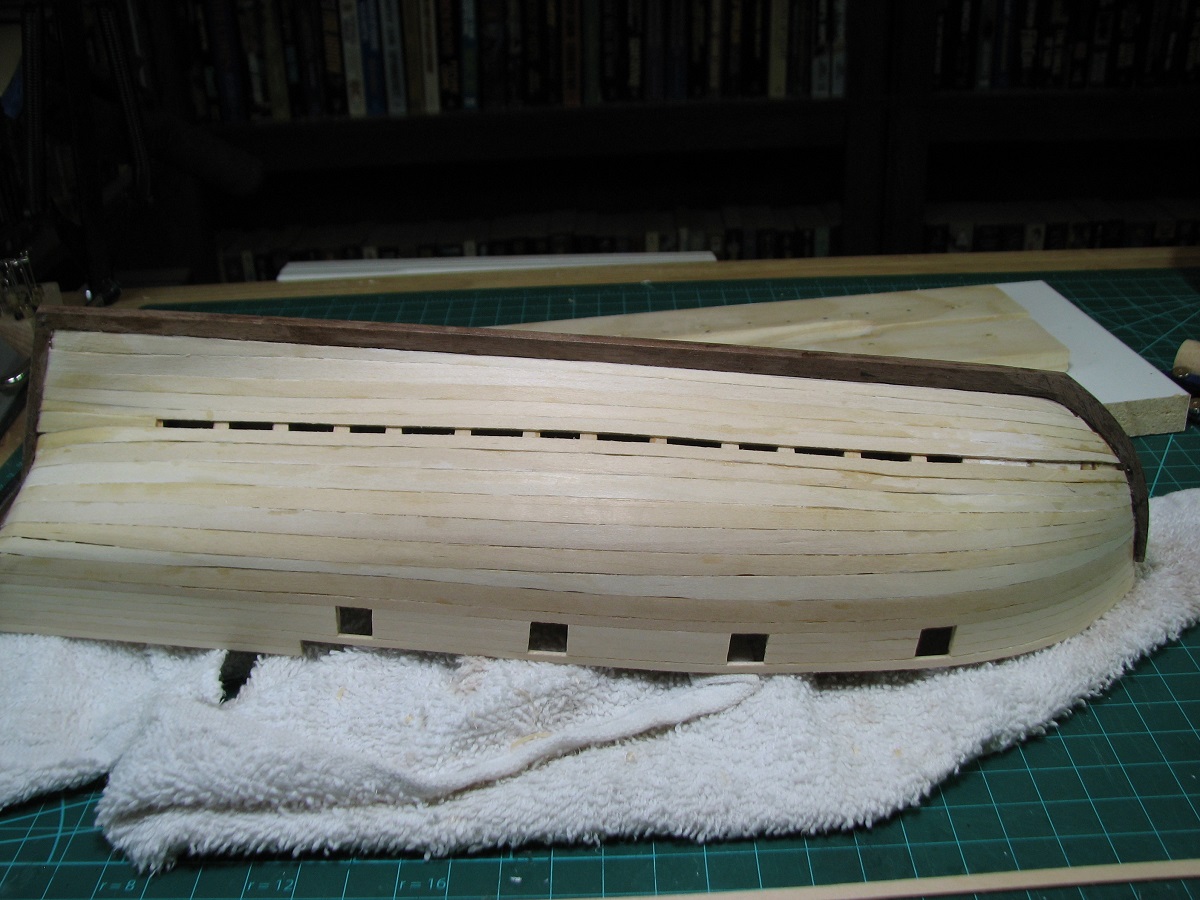
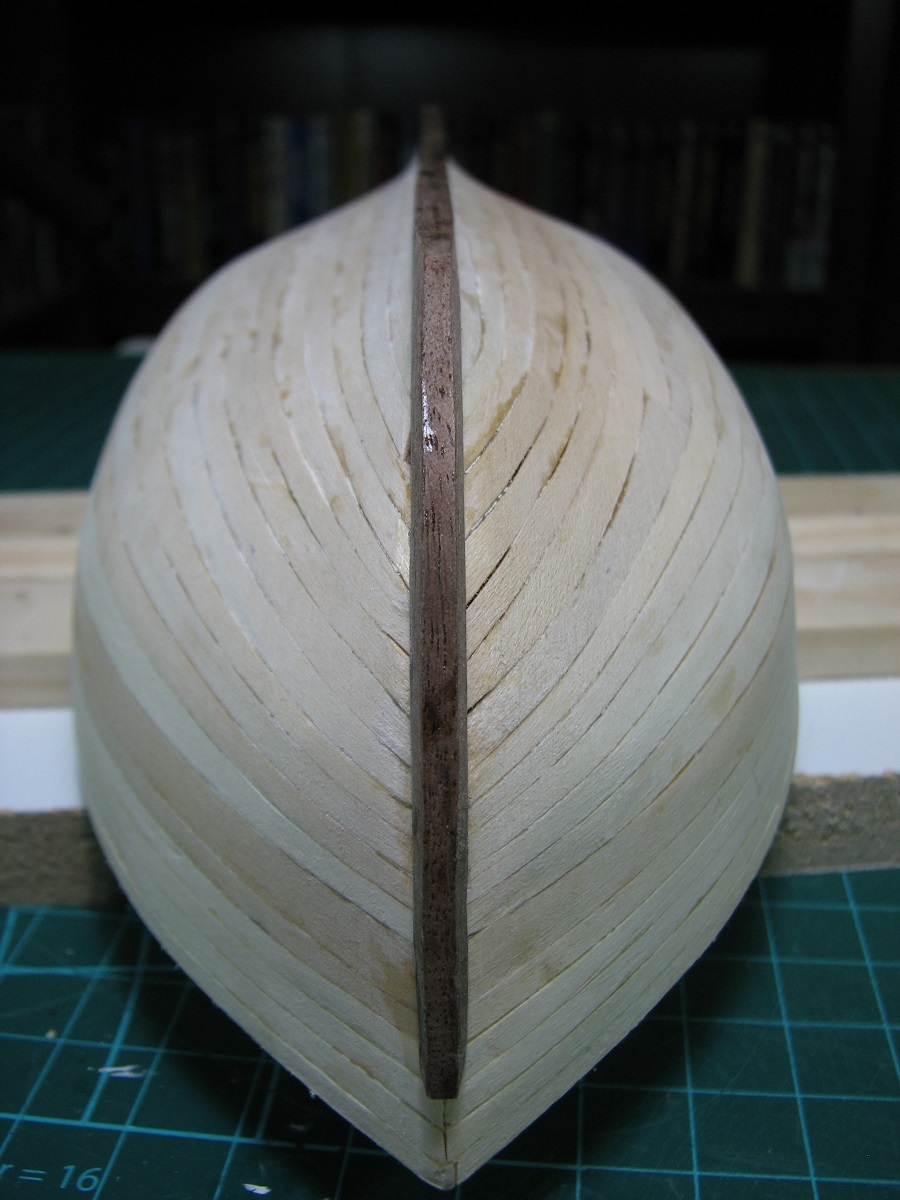
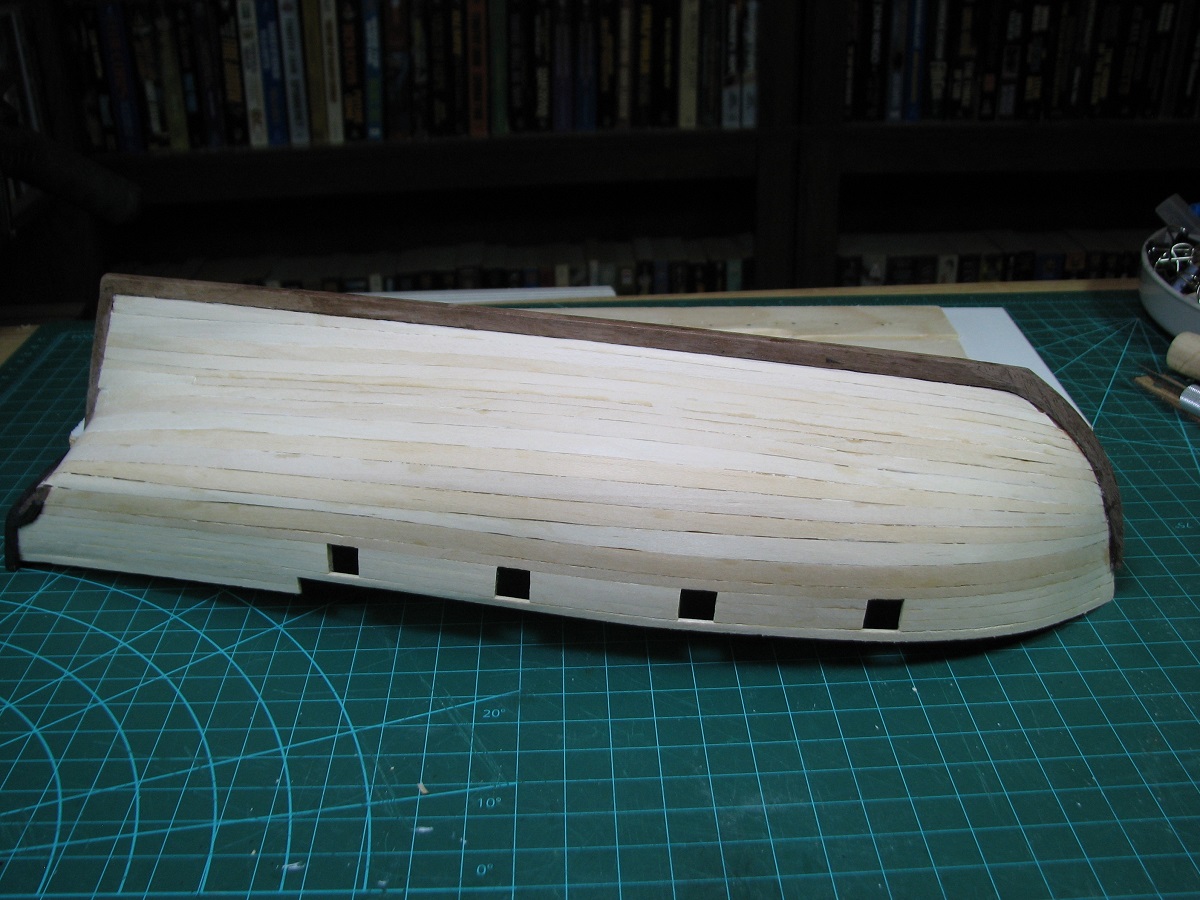
The Locator posted:I've finished the first planking - This is a double-planked model, and another layer of walnut planking will be placed on top of this layer. This is really a great job at a first planking. Dont know if you've done a double planking before, but absolutely make sure you've got that first planking sanded smooth before moving to the second. It makes it so much easier.
|
|
#
¿
Oct 24, 2014 18:03
|
|