|
Magic Rundown - Low Magic: Some spells have the option of spending more MP when you cast them to increase their effect - this is capped by the caster's relevant Magic skill. Mage Fire (2MP) - Does 1-8 damage to one enemy 30' away. It's useful early on as something to do when enemies approach, but is outclassed by basically everything else. Disarm (4MP) - Disarms a foe? It states that it won't work on natural weapons, but I've never seen this work on anyone. Charm (3MP) - Increases one target's AV by 1 for the duration of battle, and also heals 1-2HP? Never bothered with it, but that's what the description says. Luck(3MP) - Increases one target's DV by 2 for the duration of battle. No fun secondary effects. Lesser Heal(2MP) - Heals 1-4 points of health to 1 target. Probably the best Low Magic spell, due to the way Stun damage works. If one of your guys falls out of the fight, this brings them back in before you lose. Mage Light(1+MP) - If you're in a dark area, cast this so you can see - it lasts 3 hours per MP spent. Another key Low Magic spell.
|
 #
?
Feb 26, 2015 02:18
#
?
Feb 26, 2015 02:18
|
|


|

|
| # ? Apr 28, 2024 12:56 |
|
|
Mini-Update 4 - Low Magic & Combat MaskedHuzzah posted:Magic Rundown - Low Magic: Thanks for posting this. We'll get to using Mage Light soon enough, but actually I'd like to do a mini-update here to discuss the combat spells, and combat in general. As you say, Mage Fire gets outmoded quickly. Actually, so does Lesser Healing, but as you say you can use it to pick up a stunned ally, so that's helpful if you have a character with only Low Magic. That said, in my experience, using Lesser Heal on a stunned ally is a losing battle more often than not. Either the enemies are weak and you can take them without waking anyone up, or the enemies are strong and they'll deal damage faster than you can recover it. Once you find a spell that heals the whole party (and yes, those exist in this game) the single-target heal spells are no longer worthwhile. Charm and Luck are two spells that I rarely used. AV and DV are important, but increasing one character's stats by such a small amount for one battle is generally just not worth it in this game. However, I did always wonder about Charm healing 1-2 HP. Turns out it totally does, and you can even use Charm in the Lesser Healing role of picking up a stunned character. I guess that's kind of handy, but really I don't think it offers enough of an advantage over Lesser Healing that I'd ever want to use it for that. Also, you can use Lesser Healing outside of combat. If you try to use Charm outside of combat: 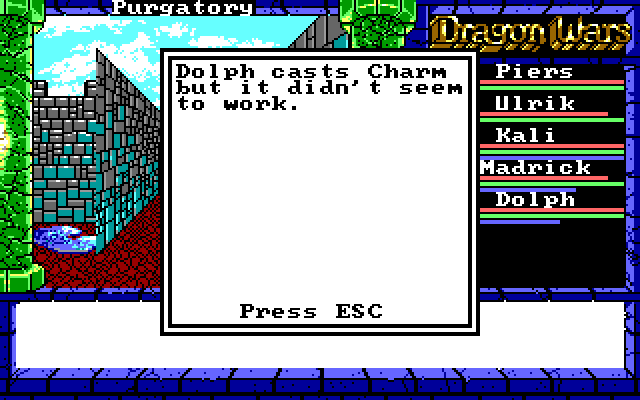 You can try, and it will use your Magic Power, but it won't do anything. Not that you'd want to use it outside of battle. Just use the more efficient Lesser Heal. That brings us to Disarm. It disarms a foe, but only if they're carrying a weapon. Before we talk about that, let's talk about combat for a minute. 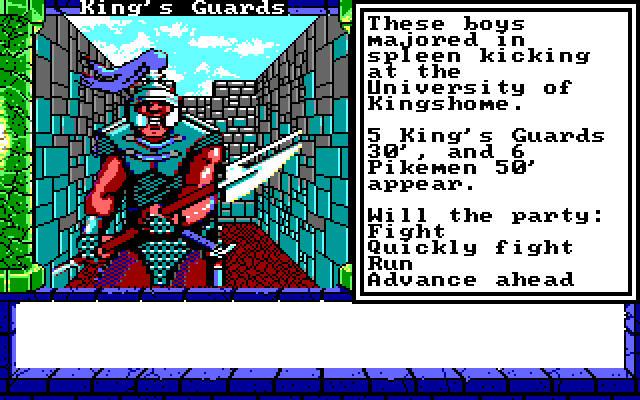 When you encounter an enemy party, the game will present you with the information you see on the right half of this screenshot. First, a sometimes-witty message about the enemy party you're about to battle with. Second, the number, class, and distance of each enemy group you're facing. In Purgatory, we mostly encounter a single group of enemies (sometimes with only one enemy in the group), but we'll soon run into many encounters like this one, with multiple groups at varying distances. Ideally, you want to deal with the group in front first, before the other group closes in. When those King's Guards get to 10', we'll have 5 guys attacking us, which isn't too bad, but once their buddies catch up with them, we'll have all 11 to contend with, and we'll quickly get our whole party stunned. Third is our list of options. We can Fight, Quickly fight, Run, or Advance Ahead. However, if even one enemy group is at 10 feet, Advance will not be on the list, that's as close as you can get. Note that if we advance: 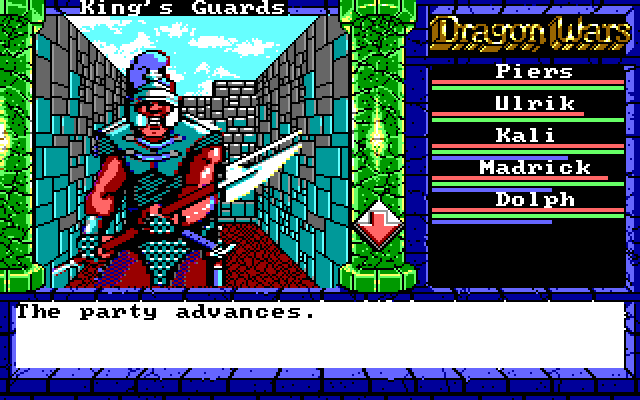 This is the message we get; the party always advances by exactly 10 feet. 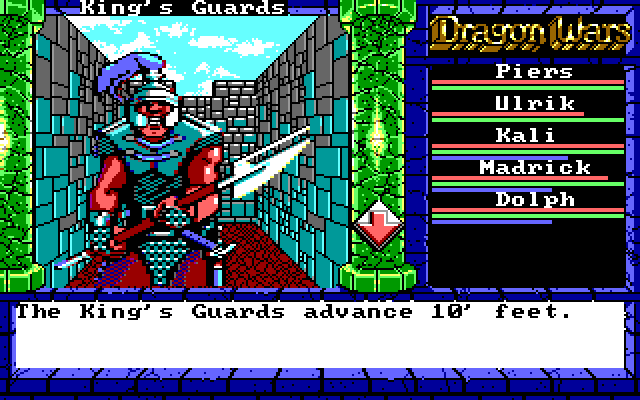 If enemies are out of range, they'll advance (in this case, by 10 feet feet apparently  ). But some enemies can advance by more than 10 feet in a single turn: ). But some enemies can advance by more than 10 feet in a single turn: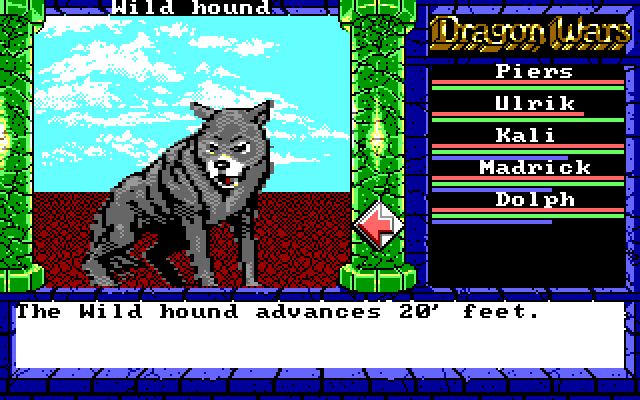 That leaves us with Fight, Quickly Fight, and Run. Of these, technically the latter two are redundant. If we fight, we get a large list of options: 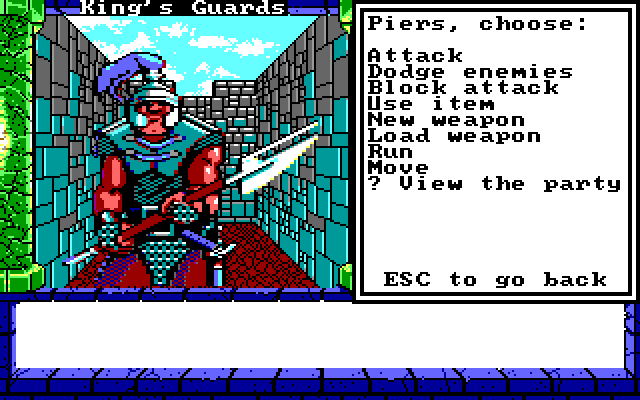 "Dodge enemies" and "Block attack" are similar. Dodge increases DV for the round. Block increases DV a little more, but only for the first time you're attacked that round. "Use item" does what it says, "New weapon" takes up a turn equipping a weapon, and "Load weapon" equips arrows if you have a bow equipped (usually if you ran out of arrows and need to reload). "Run" - this character will run from battle when his/her turn comes up. This is always successful, assuming he/she hasn't been stunned, killed, or otherwise incapacitated when his/her turn comes up. There's no "fail to run" or "can't run." If one character runs away, the rest can stick around to fight. "Move" - change party order on the fly. It takes a whole turn to move forward or backward by one slot, so this is usually not useful. Typing a ? shows us Health/Stun/Magic bars. There's also "Cast spell" for people with magic, but Piers doesn't have any. If we choose Attack, we get another list: 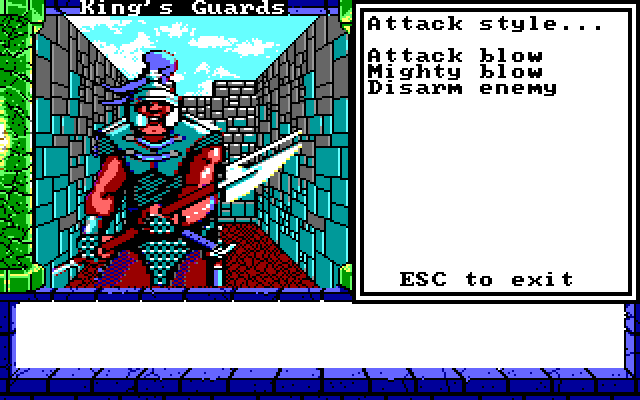 "Attack blow" is what we've been using. It's your standard "swing sword at someone" option. "Mighty blow" is supposed to try to swing harder for extra damage, but in reality it will do zero damage because you'll just miss. Seriously, accuracy is usually bad enough even without using this, so I just leave it alone. "Disarm foes" will deal 1 damage if it hits, and can dislodge an enemy's weapon if it carries one. 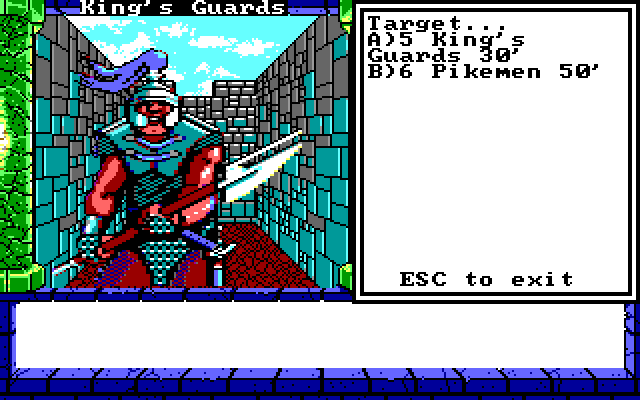 Regardless of what we pick, we can target either enemy group, but not an individual enemy. Both of these groups are out of range, but we can target them anyway. If they advance into range before Piers's turn comes up (impossible in this situation, Guards never advance more than 10', but that doesn't stop us from trying), he'll connect. If they're out of range when his turn comes up, he'll just waste his turn swinging at thin air. And yes, disarming foes can definitely work against some enemies. I'm not sure how valuable it really is, but if you successfully disarm with either the attack or the spell, you'll see this happen on the next turn: 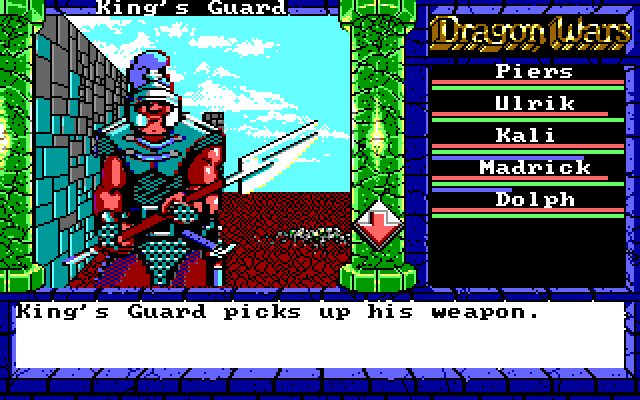 This is kinda cool, as it keeps your enemy from attacking for a turn, but remember that both the attack and the spell only hit one enemy, and can miss easily even against armed enemies: 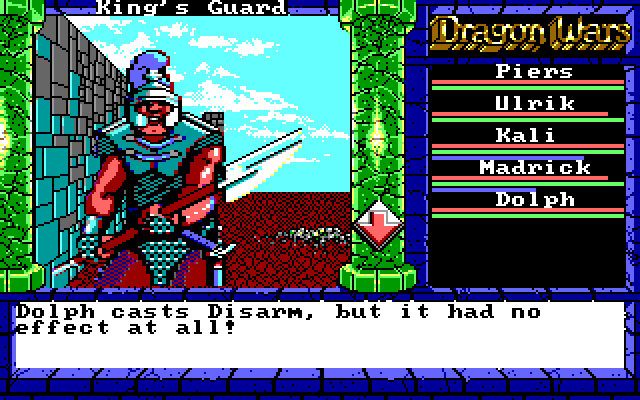 So while it's kinda cool to see it in action, just killing the enemies is usually a more effective way of stopping their attacks. Also, Dolph doesn't get the Attack/Mighty/Disarm menu. Apparently it is impossible to disarm an enemy with a bow or release the arrow really hard. So that's Fight. What about Quickly Fight? 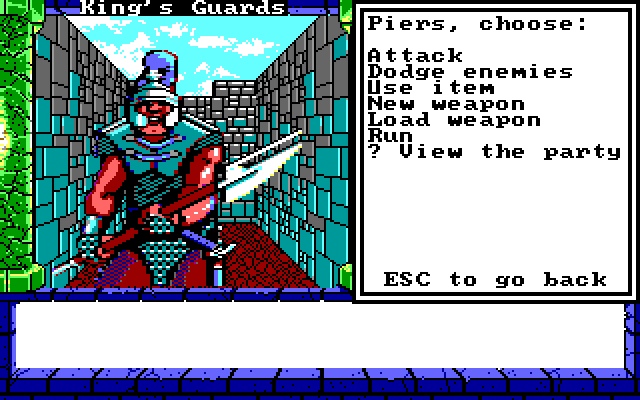 Wait, that's just Fight with a shorter list! What is the point of that? The idea is to speed up combat by simplifying the menus, but removing Block and Move from the menu doesn't make it any faster. Since you're just typing the first letter of the command you want, disabling options doesn't actually save any time! However, if we select "Attack" it just uses "Attack blow" rather than prompting, so this does save a few keypresses. It's a bit faster if we're in an easy battle and we just want to type "QAAAAA" instead of "FAAAAAAAAA" to attack with our front four. Since I never use Mighty or Disarm, I go for Q most of the time. So that covers most of what there is to know about combat in this game. In our next update, we'll be going to Hell!
|
|
#
?
Feb 27, 2015 05:55
|
|

|
Oh, and using the "Run" command instead of "Fight" or "Quickly Fight" is the same as using "Fight" and having each character run individually. It's just a shortcut.
|
|
#
?
Feb 27, 2015 18:14
|
|
|
Update 5 - Literally going from Purgatory to Hell The votes are in, and we've all decided that Purgatory is so miserable that we'd literally rather be in Hell. With Hell being a dangerous place and all, we should tune up before going. 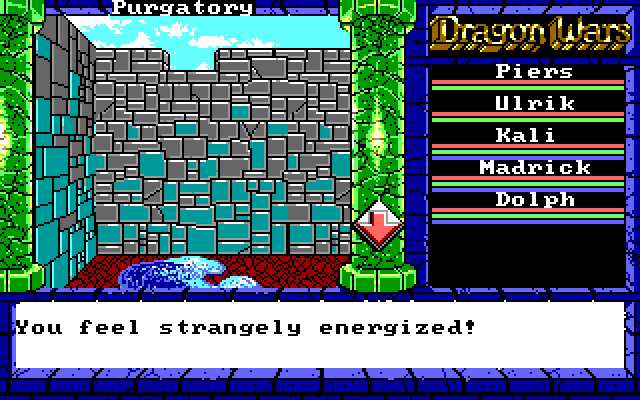 In the southern part of the city, there is a pool that recharges our Magic Power for free. And as any RPG player knows, an MP recharge is effectively an HP recharge, since we can cast as many heal spells as we need. We'll take full advantage. 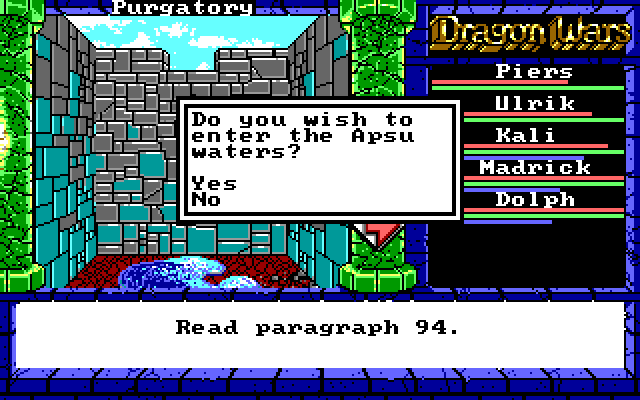 Let's do this. 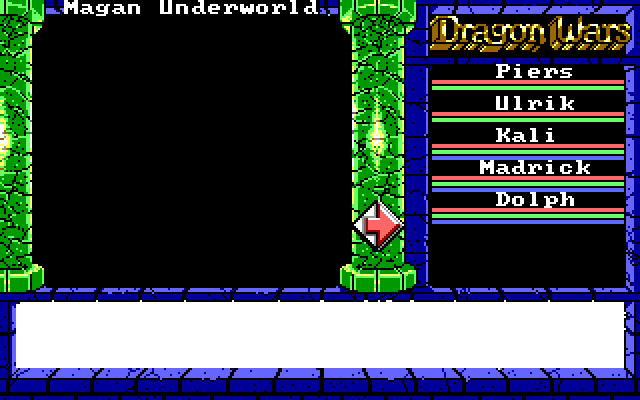 And we're now out of Purgatory and in the Magan Underworld. There you have it folks, update finished! As you can see, it's a bit dark down here. But hey, that's what Mage Light is for. Let's try it out! 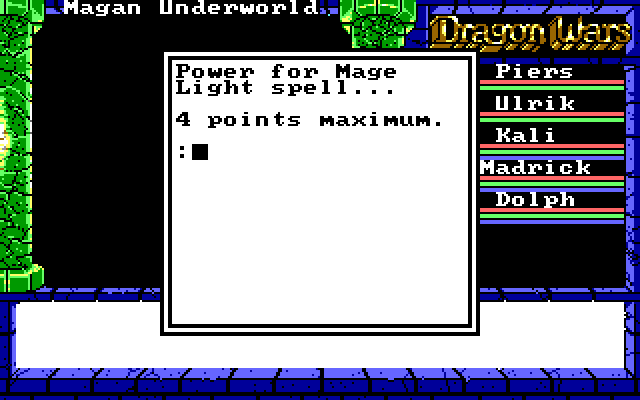 Madrick has a Low Magic skill of 2. He can put 2 points of Magic Power into Mage Light for each level of Low Magic skill, 2x2=4, so he can cast it for up to 4. Our other spellcasters can cast it for 2. 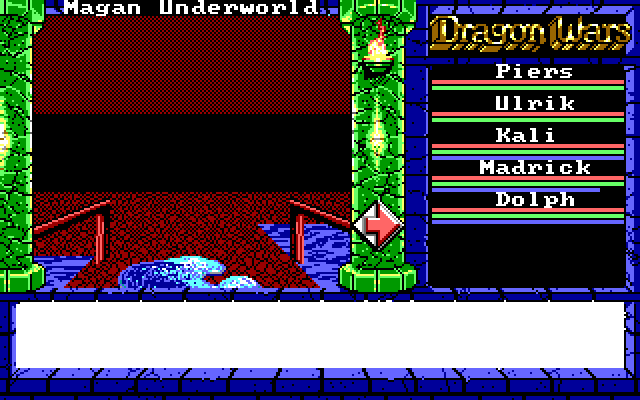 And now we catch our first glimpse of the Magan Underworld. Really, it's more Hades than Hell if you ask me. Then again, the first time I saw this place, it looked more like this: 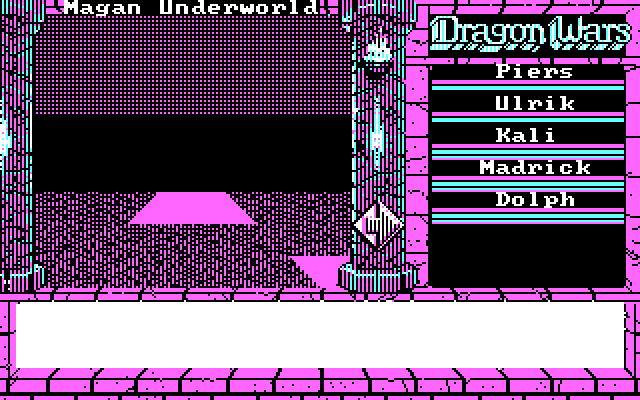 There's no infernos, no demons, no devil, just a dreary little world with some serpent warriors, goblins, and lots of spiders walking around. In fact, the Magan Underworld itself is kind of boring. Only one important event happens here. There isn't tons of treasure to find, nor are there many interesting secrets. Despite that, the Magan is an important part of the game for a different reason -- transportation. From here, if we know what we're doing, we can skip around to almost any part of the game we like. Because of this, I'm actually not sure why the game allows access to the Magan so early. The Purgatory escape is generally set up nicely as an introduction to the game, but the Apsu Waters are the easiest way out of the city and could easily lead to a newer player skipping to a different section of the game without really knowing where they are. To put it another way: aside from one key item that we would need to pick up, we could easily skip to the final dungeon just by walking south in the Magan. It's like if we were playing a Final Fantasy game and got handed an airship after completing the first dungeon. This isn't a game where you follow a linear path, so it's not a huge problem, but I believe it would have made more sense to make the player find a more conventional way out of Purgatory before offering a route to Magan. Note the "torch" in the upper part of the screen. It indicates the fact that we have a light spell active. It runs out after an amount of time based on the MP spent to cast it. That's real time, not number of steps. On DOSBox, even if you sink 4 MP into it, it runs out in just a few minutes, so you can't just cast Mage Light and then screw around for a while figuring out where you're going. I think it lasted longer on my old Tandy 1400 LT back in the day, which would mean it's based on processor speed rather than system clock time, but I can't be certain. As you can see, we're on a bridge over a river. Staying near this river is a good idea for the time being. Enemy encounters aren't a huge problem in the Underworld, but there are a few dicey spots and a lot of wide open space to get lost in. That said, fortunately we came down via Purgatory, which give us this bridge as a nice landmark to get back to. Some of the other stairs are out in the middle of nowhere and don't show up on the automap, so you have to just know where they are or use an FAQ. We'll follow the river to the north.  The river tuns to the east, and we find another MP-restoring pool. This is the most valuable such pool in the game, because it's the most accessible. There's no need to ever return to Purgatory, but we'll be in and out of Magan throughout the game since so many roads lead to it. 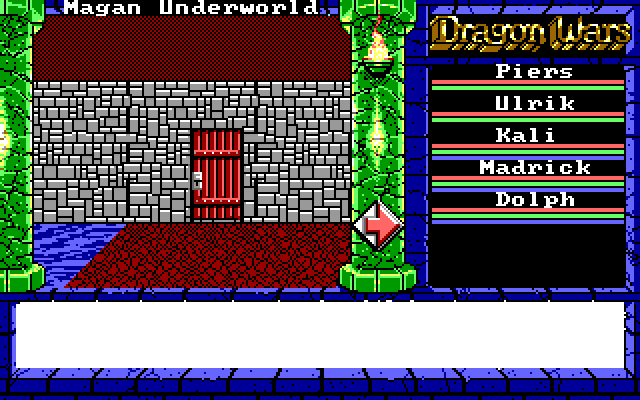 Following to the east, we see a building. So wait, there are just random brick-wall houses in the Underworld? 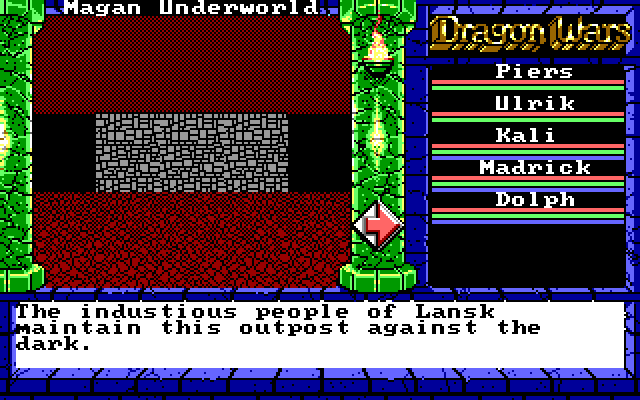 Well, there's an explanation at least. I'm guessing they meant to say "industrious" here, or maybe "industious" is an obscure word you can find in one of those giant 70 lb. dictionaries. Probably the former. Also, we haven't learned about the city of Lansk yet, but we will soon enough. 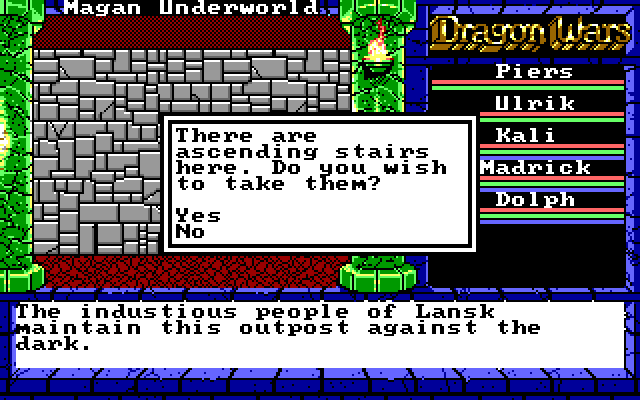 Actually, we could check out Lansk right now. However, we're not going to do so yet. Keep this place in mind, however. Instead, let's walk back outside of the Lansk outpost and see what's on the other side: 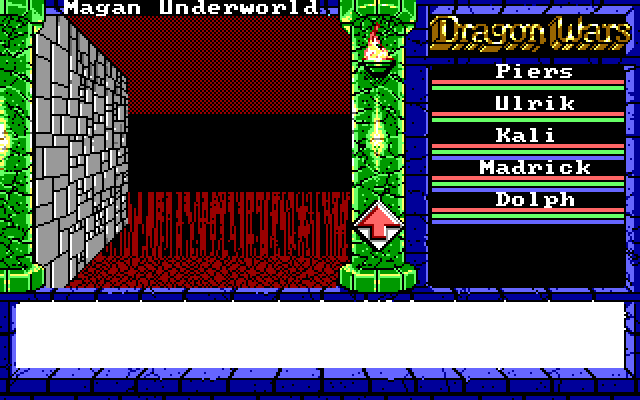 I like how the building just hangs out over the edge of the chasm like that. I guess this is one of those spots where 1989 EGA/VGA graphics leave a bit to be desired. In any case, the river dries up at this point, so we'll follow the chasm to the east to find another doorway. 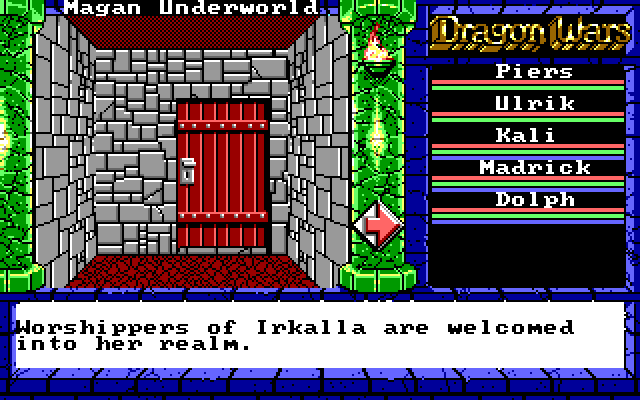 This one leads to Irkalla's realm. Because we pleased Irkalla in Purgatory, we get this message and are allowed to enter. If we had not prayed to the statue or failed to satify her, we would see this message: 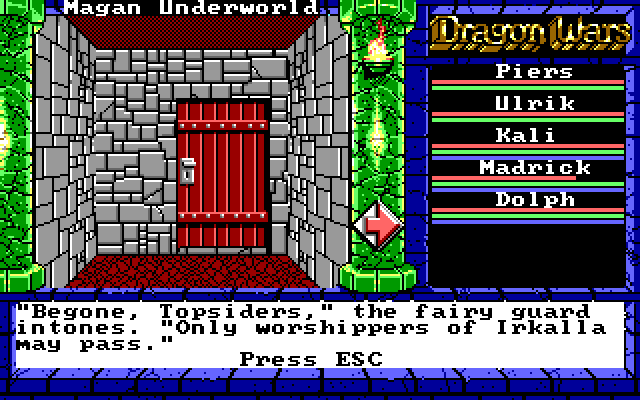 It doesn't matter all that much. There isn't really anything to do in Irkalla's realm right now. All we can find is a small lake with an island in the middle of it: 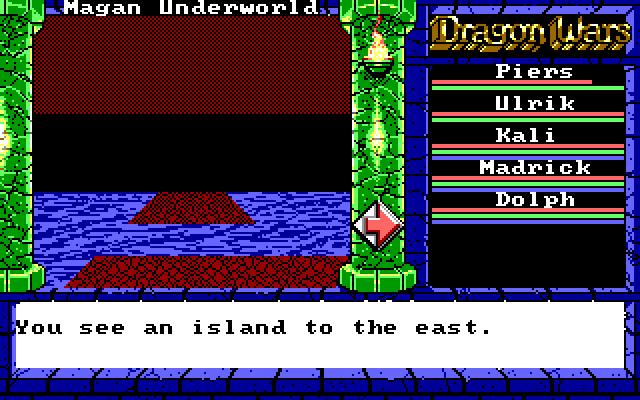 This lake actually connects back to the river we just came from -- the map wraps around at this point. As it turns out, the Underworld isn't actually an especially large map; it just seems large because it's wide open and you might not notice the wraparound if you don't know about it. Anyway, that island must be important. How can we get to it? It's not like we can find a boat down here. Piers: I'll swim for it!  Dolph: No good. It's too far, and swimming in Underworld water is probably not advisable. Piers: Hmm. Good point. Madrick: I'd just teleport us over but THOSE BASTARDS took my scrolls! There is one other thing we can do in Irkalla's realm right now, but we'll save that for later. Exiting Irkalla's, we can move a bit further to the east and get back to the river. There's one more thing worth checking out, and it's just to the south:   Paragraph 127 posted:The cave is much larger on the inside than without. The interior of the cave is lined with thousands of natural crystals that crazily reflect the light. After your long dark journey through the Underworld, you are dazzled by the sudden light, and become disoriented. A voice rings in your ears. "You are the heroes of Oceana, and to you has fallen the burden of this adventure. Listen closely, for this is what you must do... This is easy to miss and doesn't do anything functional, but it's good information to have. This is most of the essential plot points of Dragon Wars. Namtar has all of the power because he is impersonating King Drake. Nergal hasn't been mentioned before, but he's the King of the Underworld, and one of our tasks will be to resolve the conflict between him and Irkalla (who if you'll remember is the Queen). Mountain of Salvation is where we'll find Namtar. The pit he came from is actually the chasm we just walked by here in the Underworld. The Sword of Freedom is the game's ultimate weapon. This isn't the only place we can learn about this, but it's a nice synopsis. That's all we're going to do in the Underworld. There are a few paths we could take to the surface, but I'm going to make an executive decision here and go up a staircase right next to the one back to Purgatory...  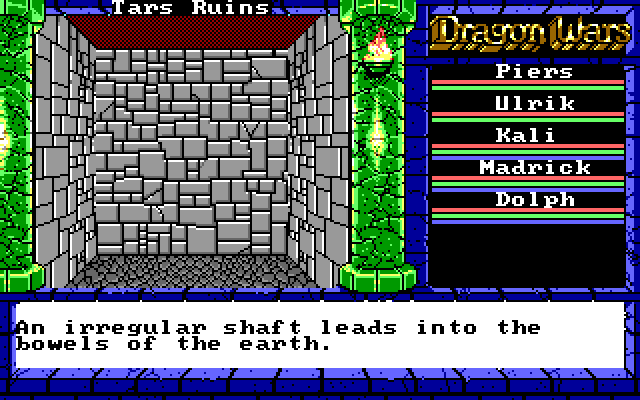 We can use the "Climb" skill to get back to the Magan from here. Otherwise, to find our way out of this room, we can use Kali's "Tracker" skill. 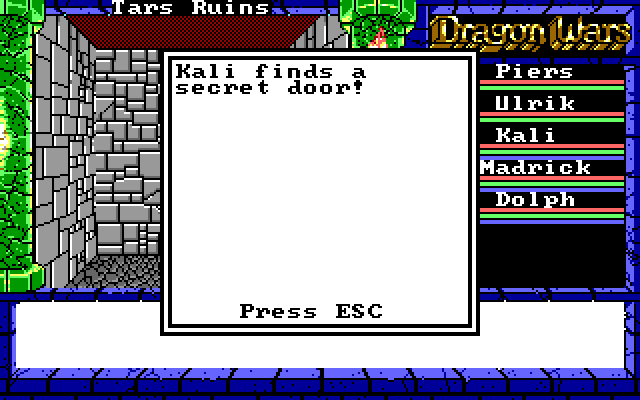 In the next update, we'll check out the Tars Ruins. Before we go, here's a sample of the enemy encounters from the Underworld: 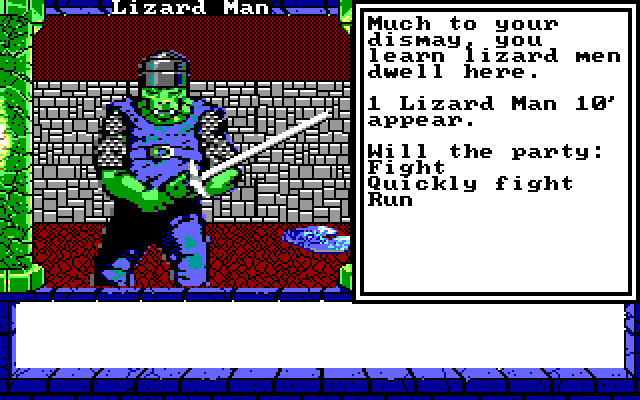 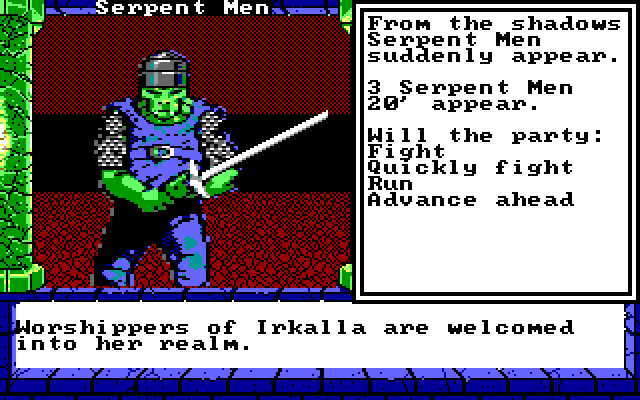 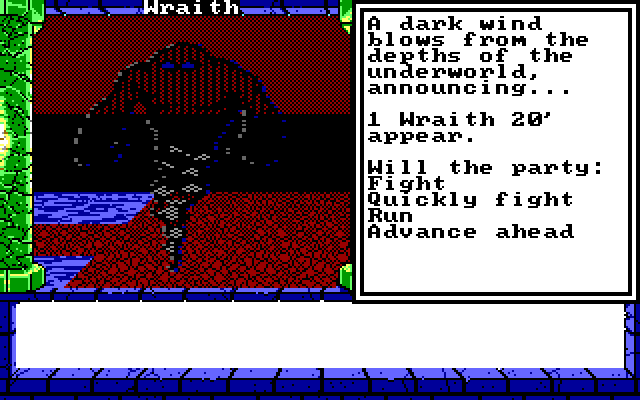 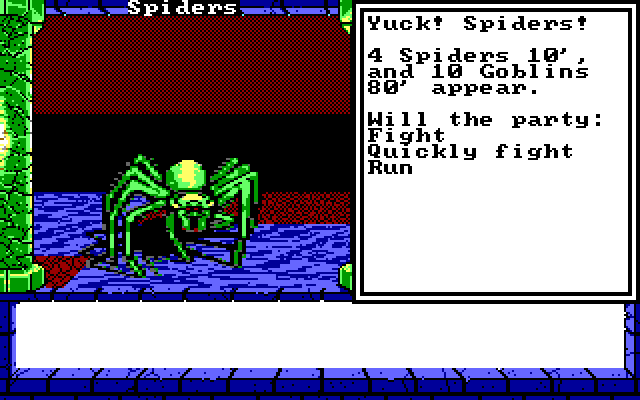 Those Lizard/Serpent Men are tough, even if they don't show up in large groups. I usually just run from encounters down here. Some of these enemies hit pretty hard, there's not much reward for beating them, and it's all random -- there are no tiles where you just have to fight an enemy to get past. Next update coming soon!
|
|
#
?
Mar 2, 2015 06:27
|
|
|
You're missing paragraph 94.
|
|
#
?
Mar 2, 2015 07:26
|
|


|
Actually, it's in a previous update, but for reference:quote:You recall learning of waters like this during your mystic studies. The pool of water ahead fits the description of Aspu Waters...waters of the world ocean that underlies the surface of Oceana. Apsu Waters are coterminous with the world of Oceana, the mystical Magan Underworld, and dark dimensions where gods and devils reside.
|
|
#
?
Mar 2, 2015 16:19
|
|
|
Well, now that you've got some levels under your belt you shouldn't be too fragile.
|
|
#
?
Mar 2, 2015 21:09
|
|


|
Glazius posted:Well, now that you've got some levels under your belt you shouldn't be too fragile. Levels help, but the main problem is that we haven't picked up any good loot. Remember, we're all carrying basic weapons, wearing leather armor, and casting Low Magic spells. We could handle the Purgatory fights just fine, but it gets a lot harder now.
|
|
#
?
Mar 3, 2015 02:07
|
|
|
Update 6: Tars Ruins Two things to point out right away. One is that we don't have a compass. The compass goes missing in most dungeons (though not in the Underworld). To get a compass in these areas, we'll need a magic spell or item, neither of which we currently have. The other thing is the "footsteps sound hollow" note. There's another way into these Ruins, and if we had gone that way, this note would have alerted us to look for a secret door. That's right, we're basically going through this dungeon backwards. However, the hollow footsteps actually indicate two secret doors in this area. 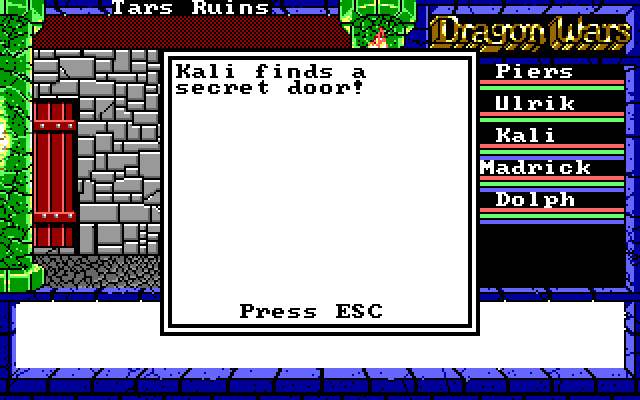 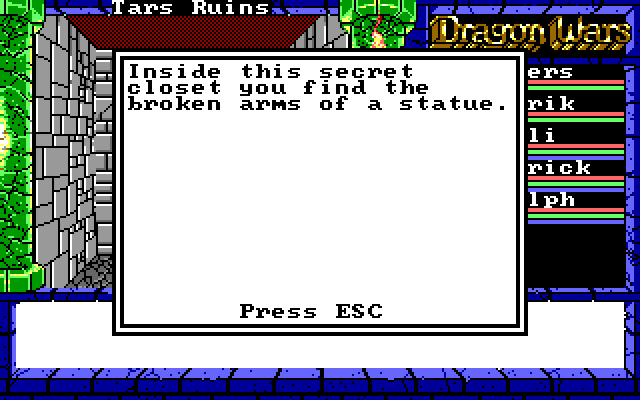 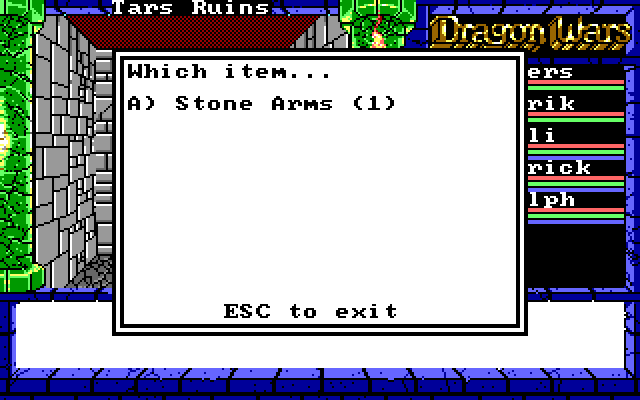 The Stone Arms don't do anything right now, but we found them in a secret area, so they must be important. 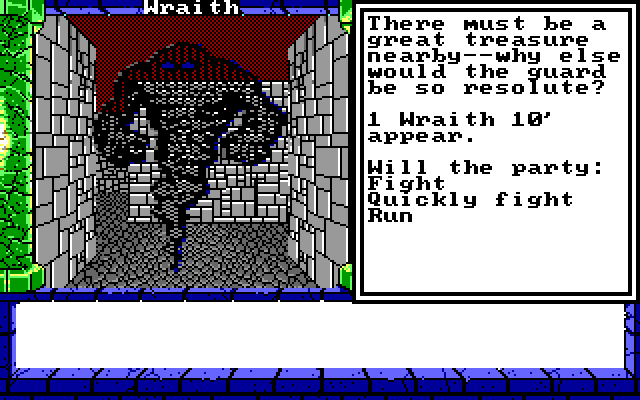 One Wraith? We can probably take that. 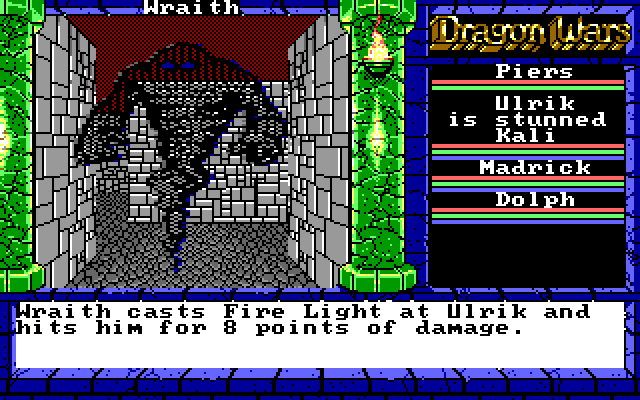 Oh. This guy isn't loving around. Fire Light is the first higher-level magic spell we've seen, and being on the receiving end of it is not a fun experience for Ulrik. Fortunately, after a few swings from our heroes: 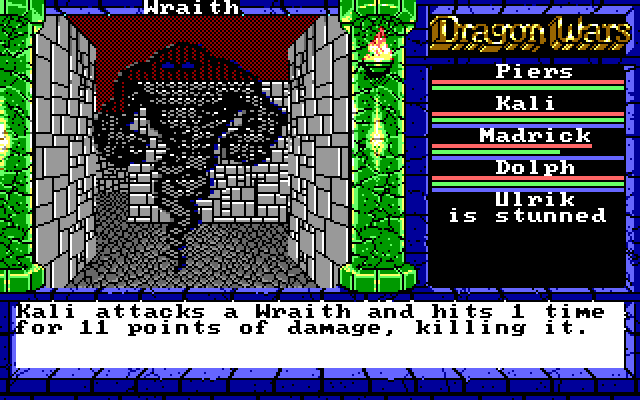 Dolph: drat, he got Ulrik! Kali: Don't worry, I'll bandage him! Ulrik: Ooh... Piers: You with us, man? Ulrik: Hmm? I'm alive! Kali: Yay! He's as good as new! Ulrik: "Good as new?" I just got SET ON FIRE! Around the corner, we hear more hollow footsteps, and investigate: 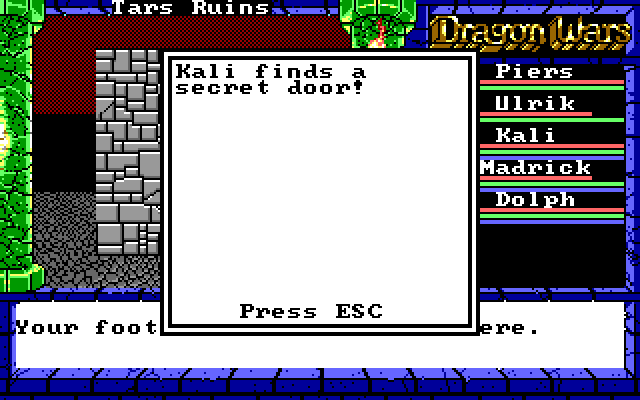  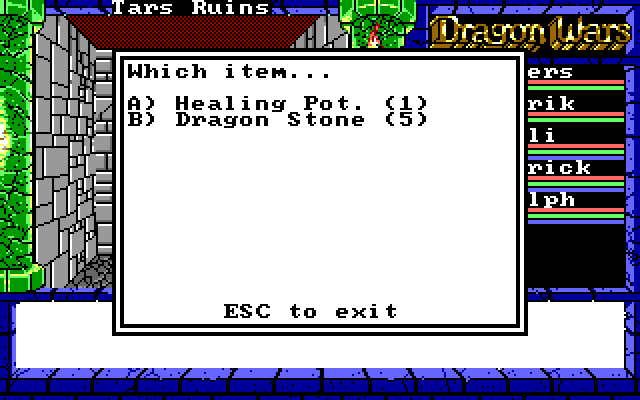  HEALING POT HEALING POT The Healing Pot casts "Heal" on one ally which is like Lesser Healing, but slightly stronger. Dragon Stones restore 10 MP to the user. They're important, but we'll find lots of them along the way. We divide them among our magic users, and Piers gets the Healing Pot. Anyway, there's not too much else going on here. 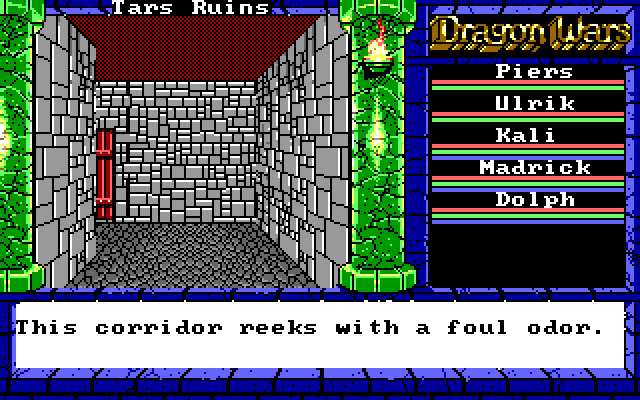 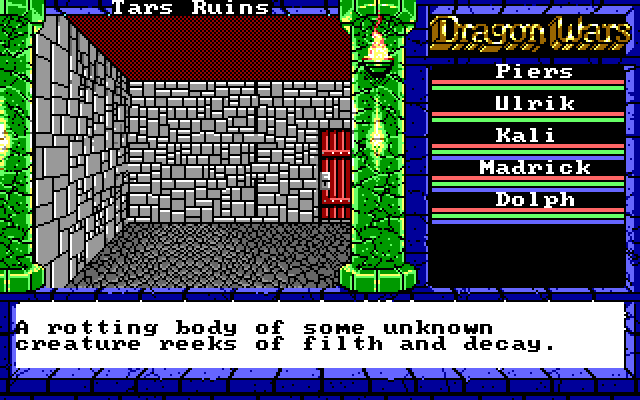 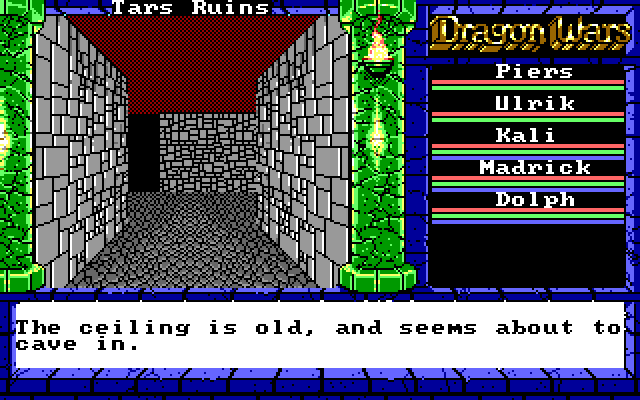 I don't know what any of these mean, other than just atmosphere. 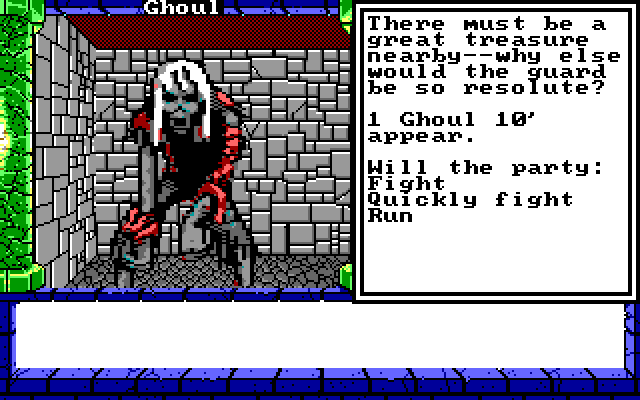 This is just an easy random battle, but an interesting bit: 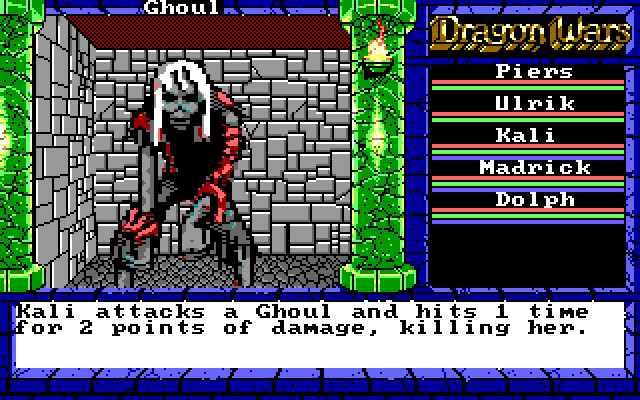 Female enemies are rare in this game. That's a step up from The Bard's Tale I and II, where female characters and enemies were completely non-existent.  This is a scripted fight, and we're not it yet. They'll kick our teeth in. Fortunately, they're not guarding anything important, we don't have to worry about them. This is a small dungeon and there's an easily accessible staircase leading out, so let's go that way... 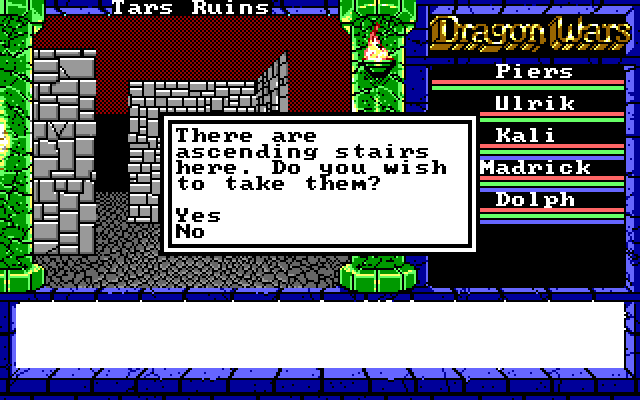 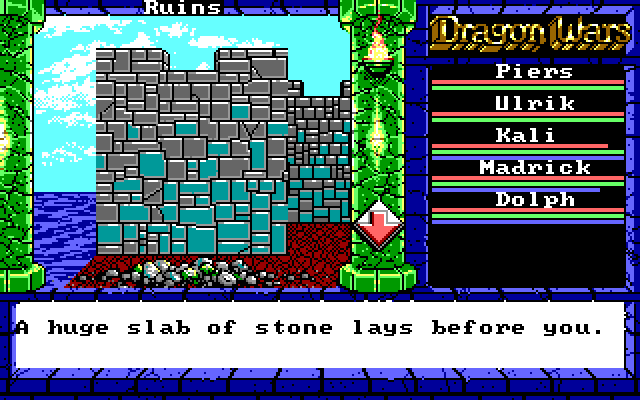 Back on the surface, we've reached the ruins of the city of Tars. Note that we can use the Strength attribute to move the stone slab out of the way and get back to the dungeon. The character has to have a high enough Strength value, and even if he or she does, sometimes this happens: 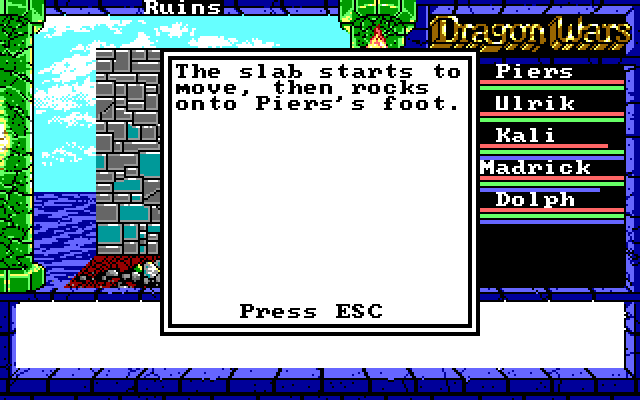 It doesn't do any damage though, and if we try again, Piers is able to move the slab. But why is there a slab there anyway? We just came out of the dungeon, why didn't we have to move the slab to get out? The issue, if you haven't figured it out yet, is that we're going through this area backwards. It makes more sense when you enter this map from the surface, explore, find the slab, move it, explore the dungeon, and eventually find a path to the Magan from there. See my previous comments on why Magan makes things awkward in the early part of the game. Wandering to the south a bit, we avoid a few enemy encounters, but there is another scripted one here: 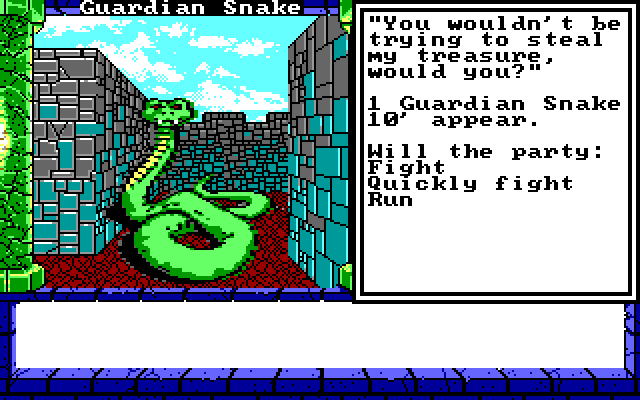 We can take this guy, but he's dangerous: 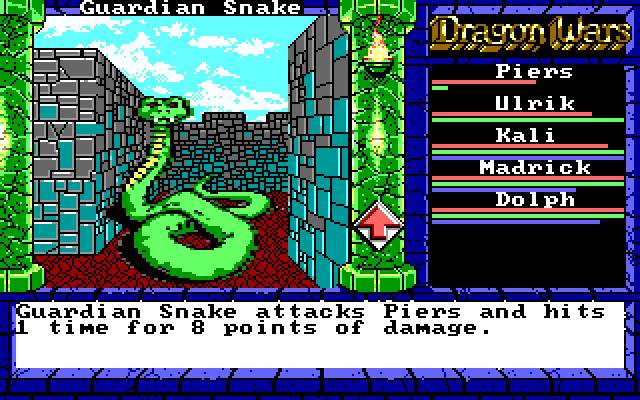 If he hits Madrick with that attack, he'll stun him in one shot. Even worse, if he hits Piers a second time, he could kill him. Fortunately, this doesn't happen, and after a few rounds, we're able to take him down: 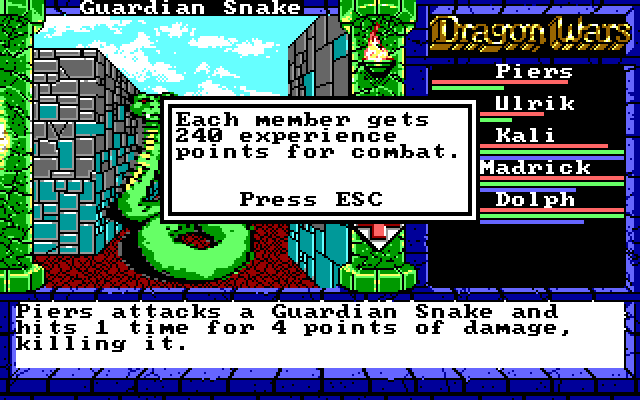 That's a nice experience haul, but not enough to gain a level. Even though we're just Level 4, there won't be many level gains to come. This is the sort of game where you're likely to finish the game at Level 12 or so. That's why finding weapons and scrolls is so important. Speaking of which, wasn't that snake guarding a treasure of some sort? 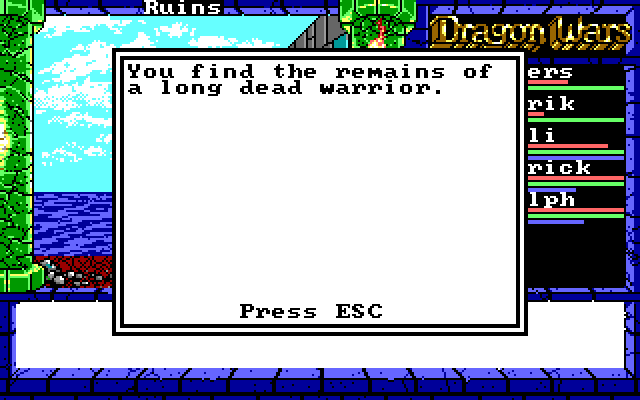 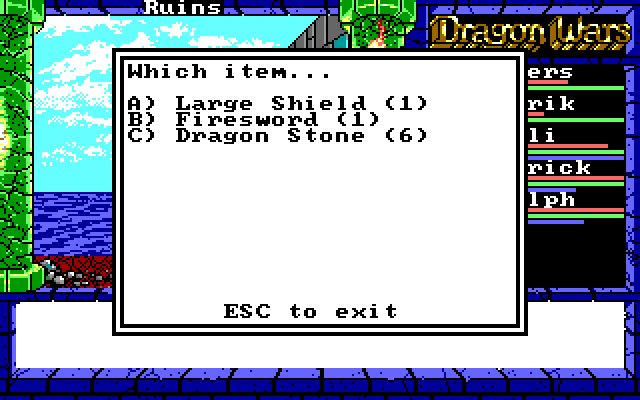 Kali: Really? All he had was a sword and a shield? Piers: What more could anyone need? This is like Christmas and my birthday rolled into one! Madrick: Boring. Now if you'll excuse me, I'm going to pick up these completely useless rocks sitting over here... The Firesword is one of the first "Level 2" weapons we'll find in our quest. It does more damage than Piers's Broadsword, adds +1 to his AV, and even boosts his AC by 1. The Large Shield is also great. It does lower AV by 2, but raises AC by 3. We're going to give that to Piers as well, because he has enough Strength to wield it, and he'll still have a high AV with his Swords skill. As I said before, Dragon Stones are fairly plentiful, but having a good stock of them definitely helps. There's one other thing we want to find, and we'll have to head to the southwest of Tars. 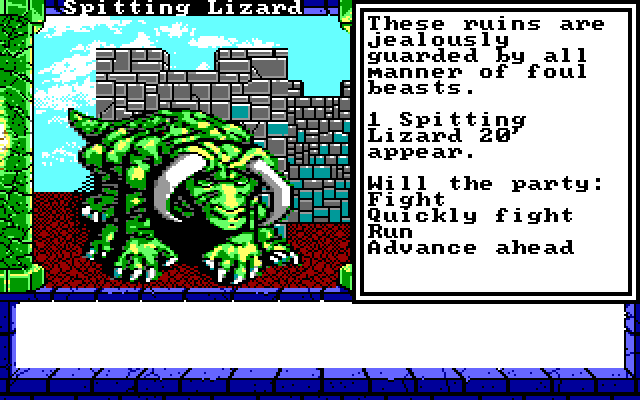 On the way, we encounter this. We haven't seen one of these guys before, but he's not too tough. 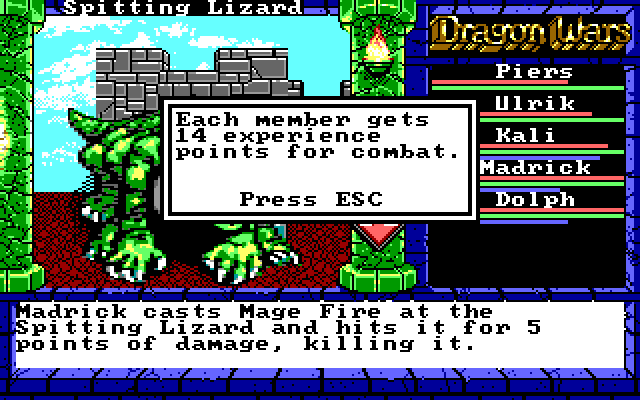 There's also this message. No idea what the significance of it is: 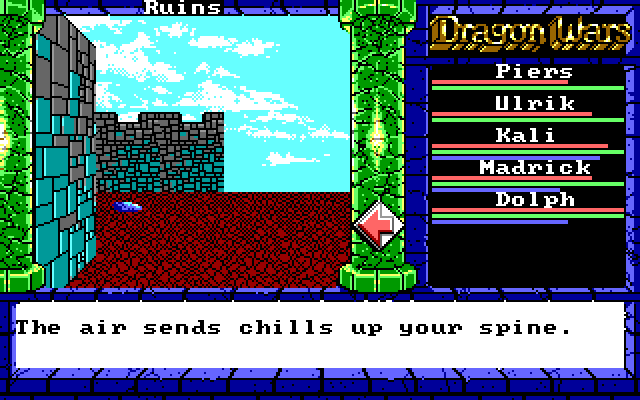 Another odd random encounter: 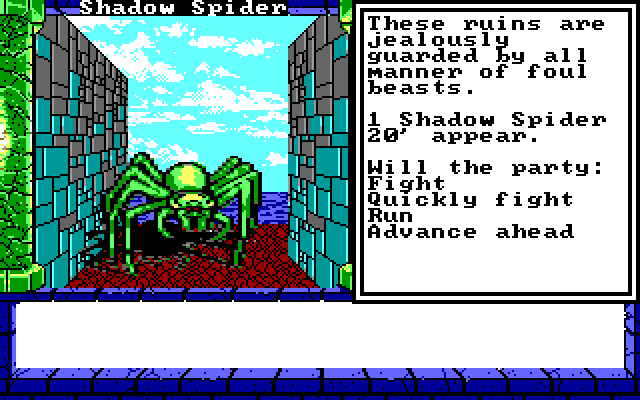 This is a rare encounter, I didn't even remember Shadow Spiders being in the game. I'm not sure what, if anything is special about them. This one goes down easily. 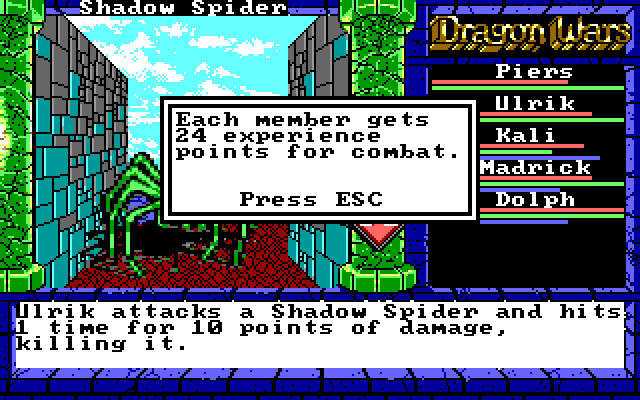 We don't even get anything special for beating it! Moving just a bit further though: 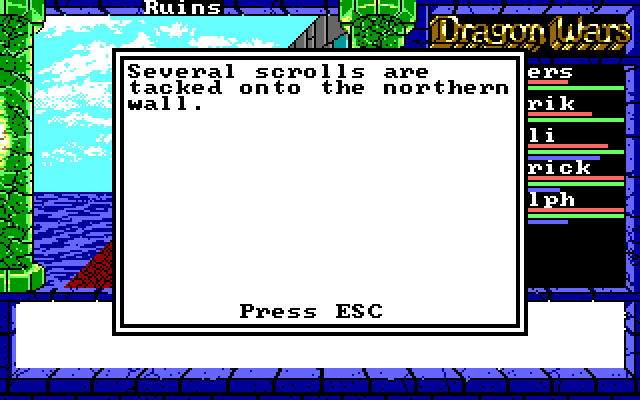 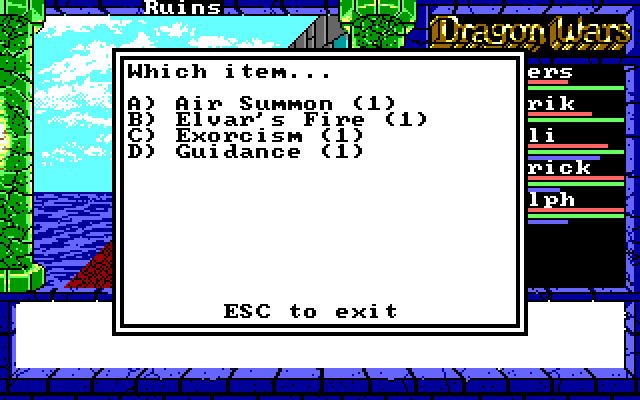 Madrick: Scrolls! SCROLLS! Dolph: Hey, you're not the only one who uses magic here. Madrick: Fine, you can have the lame ones. But Elvar's Fire is MINE! I will set everything on FIRE! Ulrik: You had better not. I've been set on fire enough times for one day... Now this is a haul. Air Summon and Elvar's Fire are High Magic for Madrick. Exorcism and Guidance are Sun Magic for Dolph. Quick synopsis: Air Summon - Temporarily gives us an extra party member. Obviously, if we have fewer than seven members, this is fairly useful. Elvar's Fire - Hits a group for some damage. As you can imagine, any spell that hits a group is important to have. We become much more formidable just by learning this spell. Exorcism - Hits a group of undead for a lot of damage. Most enemies aren't undead, so this is more of a role player, but it's great when it works. Guidance - When you're in a dungeon, this gives you a compass. It's the complement to Mage Light. Going forward a couple of steps...  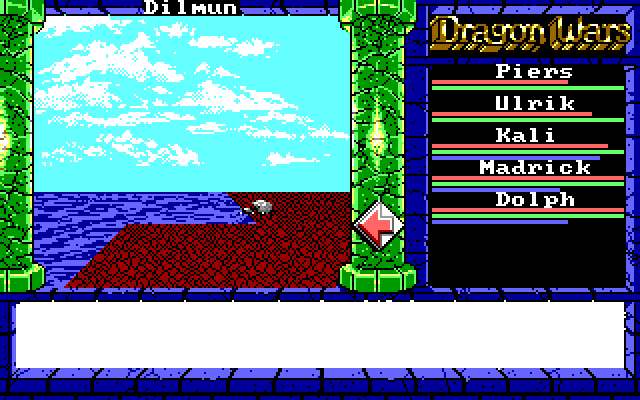 Dilmun. The "overworld" of Dragon Wars. Six updates in and we've finally made it outside. Before we explore the Isles of Dilmun, let's turn around and go back in. 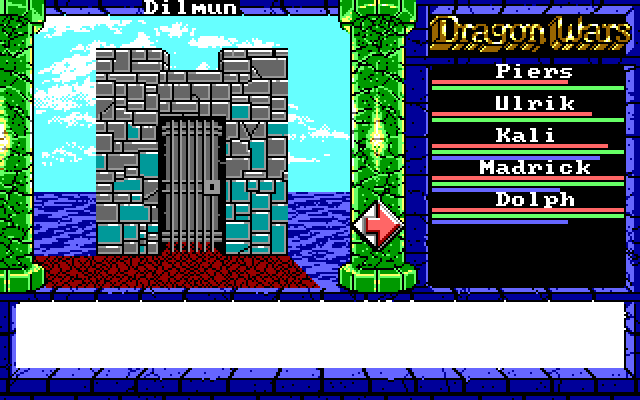 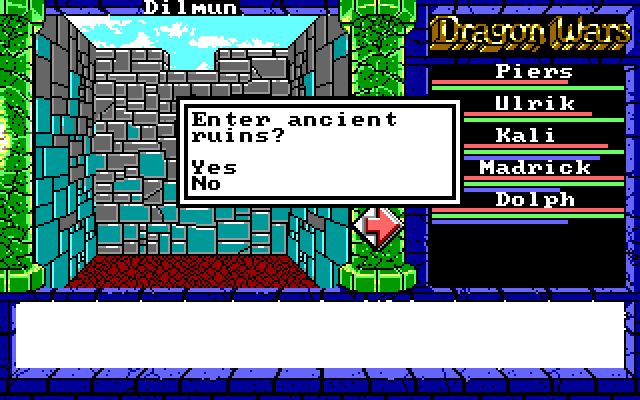 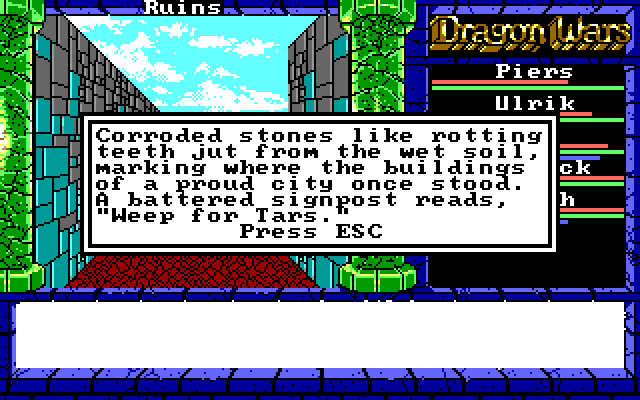 So, here's the actual entrance to the map, and this is how we're meant to be introduced to the ruins of Tars. If you read this update backwards, it might make a bit more sense. Also, we get this message as long as we have a party member with Arcane Lore: 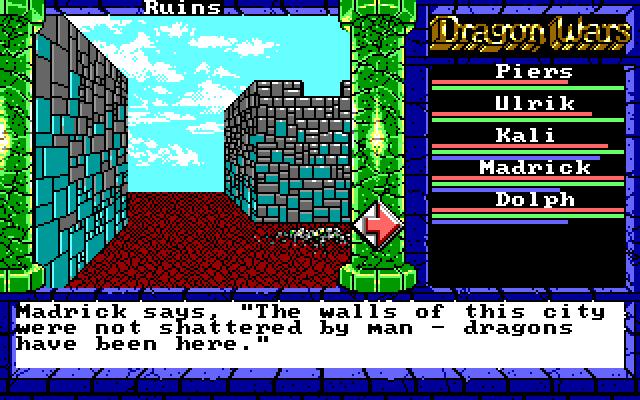 Tars was a city, and it wasn't just abandoned -- dragons came and wrecked it. As interesting as that sounds, Tars doesn't hold much importance for the game. We won't hear much about it after this, and we already got the good loot, so let's head out and explore the island we're on. Maybe we can get a sense of where we are.  There's a building over there. Could be a city, a castle, more ruins, anything! Let's take a look... 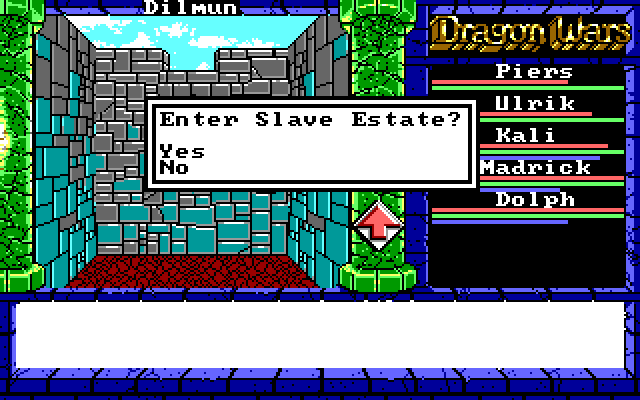 Hmm, interesting. We saw the slave market in Purgatory before. This might be a place to check out. Speaking of which... 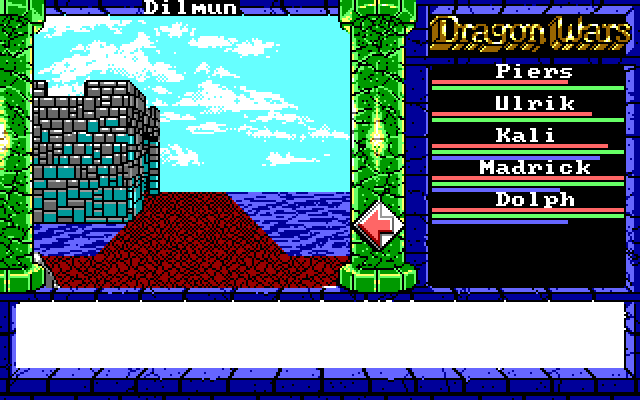 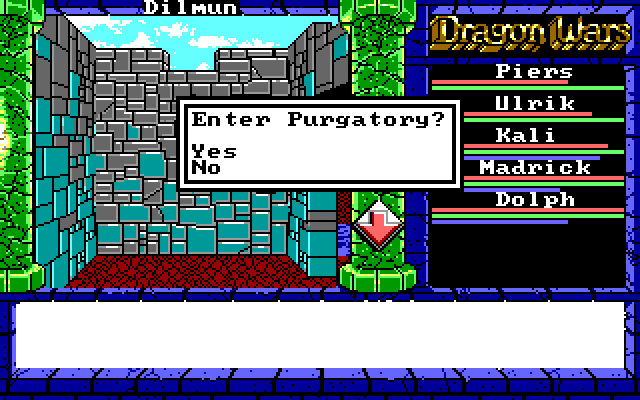 Well, now we know where we are! Anything else around here? 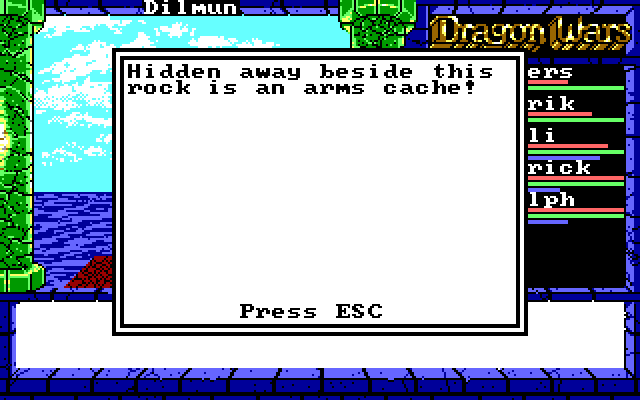 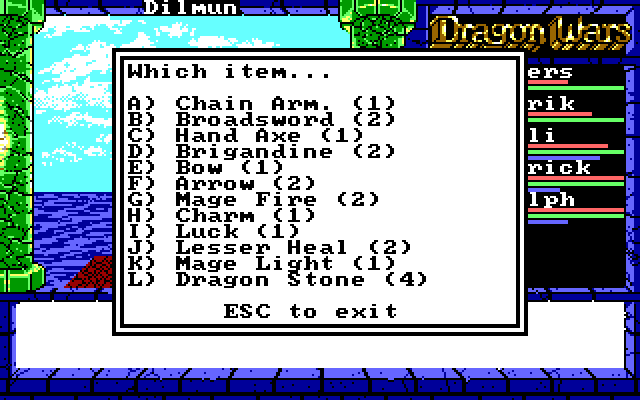 Sweet, more loot! The big things here are the Chain Armor and the two Brigandines. The Chain Armor provides a whopping 7 AC but a penalty of -3 to AV, compared to -1 for the Leather Armor. We'll throw it on Madrick for now, since he's exposed on the front line, and with Elvar's Fire he won't need to attack often anyway. The Brigandines are +4 AC, -1 AV, making them strict upgrades over the Leather. We'll give them to Ulrik and Kali. This means our party's AC's are up to: Piers: 7 Ulrik: 4 Kali: 4 Madrick: 7 Dolph (back row): 3 This is a nice upgrade. Dolph gets the extra arrows. We pick up a few more Dragon Stones (we actually have more than enough of these, and they take up lots of inventory space because they don't stack), and we leave the other stuff alone. We have no need for the first-level weapons or Low Magic, since we got a full supply for free in Purgatory. So anyway, this is the Isle of Forlorn. Thanks to the game's automap feature, I was able to cobble this together: 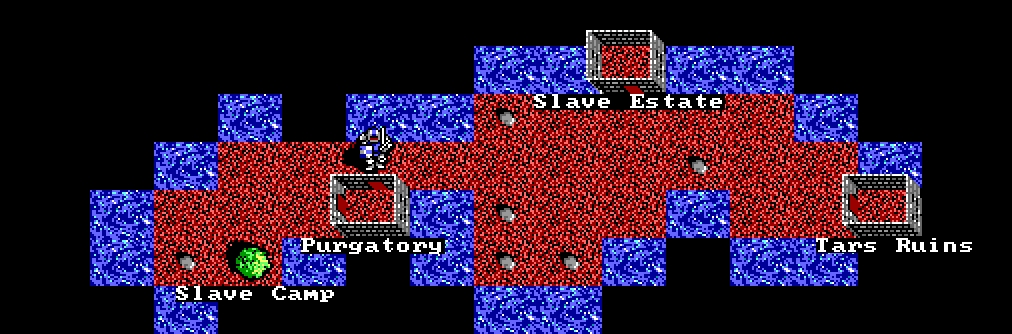 That unexplored spot just NW of the party is actually a guarded bridge to the next island. Now that we have Elvar's Fire, we should be able to take care of the guards, but it might make sense to check out the rest of Forlorn first. That can only mean one thing... Audience Participation Time! Please vote on where you'd like the party to visit next! 1. Slave Estate 2. Slave Camp 3. Cross the Bridge 4. Revisit Purgatory Choose exactly one (1) option. Voting is open until probably some time on Saturday. Until next time, here's one from the blooper reel: 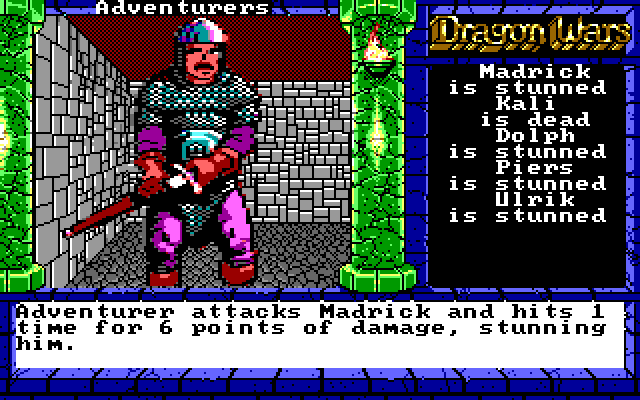 Like I said, too early to tango with the Adventurers. Getting better armor and spells like Elvar's Fire will help though, so we can come back for them soon. Kali getting killed in the fight meant I had to reload. See you next time, and please vote! rujasu fucked around with this message at 05:36 on Mar 6, 2015 |
|
#
?
Mar 6, 2015 05:34
|
|
|
Let's buy us some meat bags - Check out the Slave Estate
|
|
#
?
Mar 6, 2015 05:46
|
|
|
Do we have the skills to visit the Slave Camp without it going horribly wrong? If so, Slave Camp, otherwise go back to Purgatory and exit in a more conspicuous manner first.
|
|
#
?
Mar 6, 2015 05:54
|
|

|
Seyser Koze posted:Do we have the skills to visit the Slave Camp without it going horribly wrong? Haha, Seyser knows what's up. I've made sure that we have all of the skills we'll need, so going to Slave Camp is totally fine. I'll count you for that. (I'll explain what Seyser is talking about when we do visit the Camp.) Vote tallies: Estate - 1 Camp - 1 Bridge - 0 Purg - 0
|
|
#
?
Mar 6, 2015 06:50
|
|
|
To the camp then, to laugh at all the suckers who weren't able to escape through divine favor
|
|
#
?
Mar 6, 2015 11:41
|
|

|
Magic Rundown - High Magic pt. 1: Air Summon(1MP+) - Gives you an Air Elemental party member. They're not great, but they're a body to put in the way. Each MP gives you 4 hours (according to the book - that seems a bit off), but you shouldn't ever pay more than the minimum, since you can just resummon them later fully healed. Elvar's Fire (6MP) - Hits an enemy group within 30 feet for 2-12 damage. This is not great damage, and it's kind of inefficient, but here and now it's incredible. It's been a while, but as I recall, there's a repeatable encounter against a horde of some kind of vermin that shows up nearby that Elvar's Fire demolishes handily for decent XP. Sun Magic pt. 1: Exorcism(5MP) - Absolutely wrecks a group of undead within 50 feet for 6-36 damage. Does more damage at a longer range and is cheaper than Elvar's Fire, but more selective targets. Guidance (1MP+) - Gives you a compass. Compasses are useful for obvious reasons. 1mp per 3 hours.
|
|
#
?
Mar 6, 2015 15:20
|
|
|
Purgatory to ensure that you continue to ignore something that will give anyone who's played this game a hernia if you keep ignoring it.
Silentsigil fucked around with this message at 19:42 on Mar 6, 2015 |
|
#
?
Mar 6, 2015 19:39
|
|

|
Silentsigil posted:Purgatory to ensure that you continue to ignore something that will give anyone who's played this game a hernia if you keep ignoring it. We skipped over a few things in Purgatory, so I'm not sure which one you're referring to.
|
|
#
?
Mar 6, 2015 21:04
|
|
|
Added Space posted:To the camp then, to laugh at all the suckers who weren't able to escape through divine favor Sounds good!
|
|
#
?
Mar 6, 2015 23:35
|
|

|
Are spells the only way to get area attacks?
|
|
#
?
Mar 7, 2015 06:10
|
|
|
Update 7: Slave Camp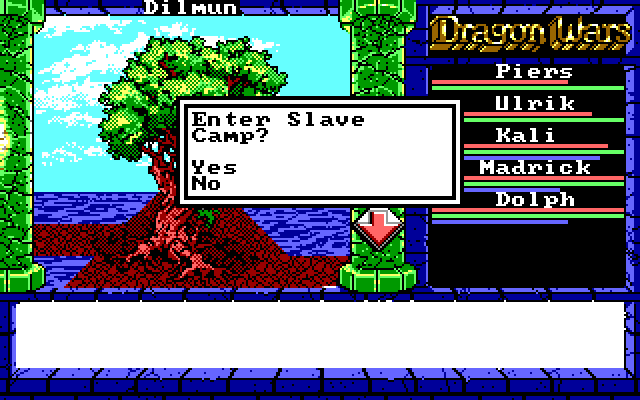 All right, you voted for the Slave Camp, so let's make this happen! 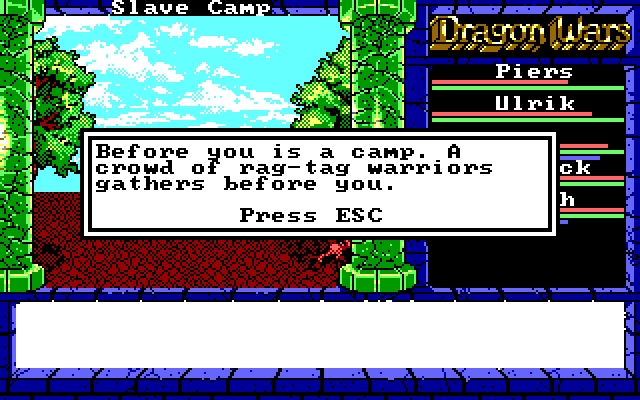 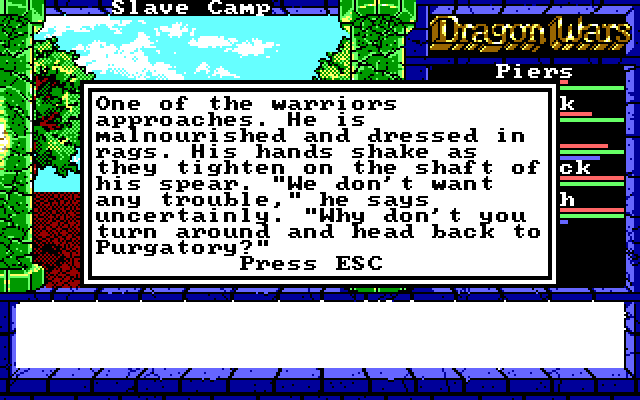 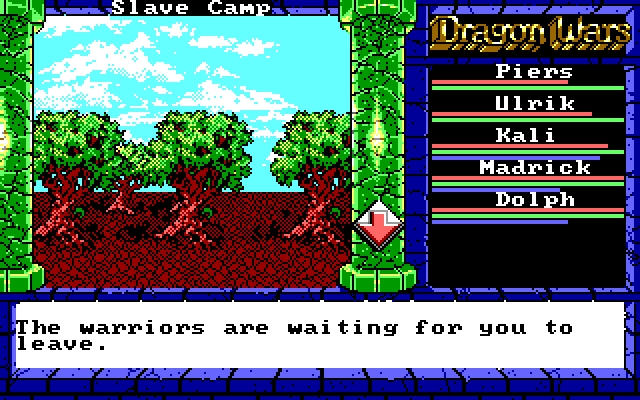 Well, this is awkward. Dolph: Hmm, maybe we should turn around... Piers: Screw that. Time to kick some rear end! 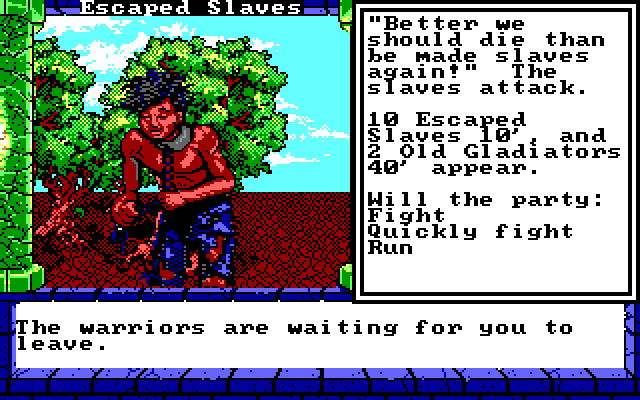 Kali: Hey, wait a minute! We're not your enemy! Let's talk about this! 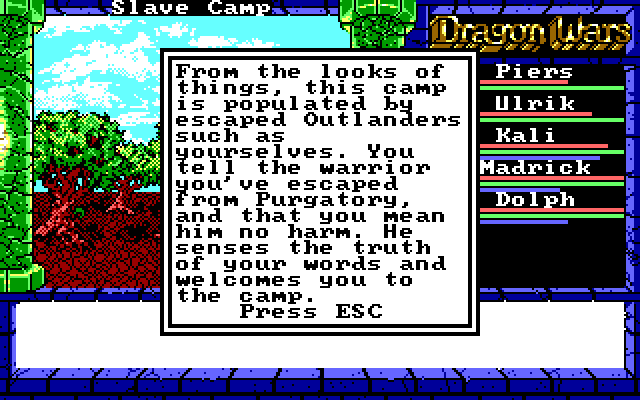 By using Kali's Bureaucracy skill, we're able to avoid a conflict here. It's not required to do this, but the result is much more positive than if we had just killed the escaped slaves. The slaves actually have quite a bit to offer us. For example, checking out the first couple of houses, we can get some background information we wouldn't have learned otherwise: Paragraph 22 posted:This shack has been set up as a universal shrine for Dilmun's many religions. A priest welcomes you and escorts you around the shrine. The majority of the shrine is devoted to Irkalla, the Queen of the Underworld, and her consort Nergal. The priest explains worship of Underworld gods always spreads during times of strife, perhaps because people come to view their own world as an extension of hell. Also represented is the man-animal Enkidu, patron of the Druids, and the obscene Refeek, god of things better left unsaid. The priest lets you worship or observe as you see fit, neither condemning nor encouraging your actions. "These are hard times," he says, "you had better pray to them all. We can use all the help we can get." Once again Irkalla and Nergal are referenced, but this is the first we hear of Enkidu. Enkidu is more of a side character, but his name will come up again. Refeek is just a one-off joke, he is never mentioned again. Paragraph 88 posted:Within this building you find a group of old men gathered around a table. They're playing dice and speaking rapidly to each other in a dialect you can barely understand. You are noticed and welcomed into the game. The men play for the joy of it. There's a complicated wagering scheme involved, but no money ever changes hands, and the men don't seem to care if you're rich or destitute. After a while, you begin to make sense of their speech. It seems these men are residents of the Dilmun interior, displaced to this island of outlanders by war and oppression. From them you learn a little of recent events in Dilmun. The Dilmun interior consists of several large islands, each of which is dominated by an autonomous city-state. Warfare has been frequent between the rival cities, but no single nation has ever been able to rule all the others. Each city keeps a dragon captive somewhere within its walls - if total disaster ever threatens, the dragon will be let loose. This would almost certainly lead to the destruction of both sides, but itserves as a deterrent to conquest. Recently, the city of Kingshome launched a bid for empire. Kingshome's imperialism was aided by a sorcerer - Namtar the Beast From the Pit. Thanks to Namtar, all magical opposition was quickly overwhelmed, and Kingshome made rapid gains. For some unknown reason, the conquered cities never launched their dragons against Kingshome. The youngest of the men arrived at the camp just a few months ago. So far as he knows, nearly all of Dilmun's cities have been conquered or lay in ruins. The city of Byzanople on the King's Isle remains free, although it has been under siege for several months. He also mentions a city called Freeport in the Eastern Isles, but his companions scoff when he does, saying Freeport is more myth than reality. Nevertheless, the young man asserts he'll find Freeport someday - as soon as he can find a ship bound for the Eastern Isles. Since the war, very few ships travel the interior waterways, and it has become increasingly difficult to use Dilmun's many bridges. There's more than just exposition though: 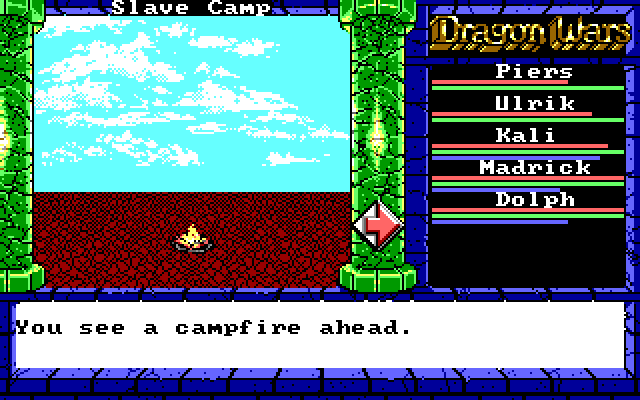 Paragraph 63 posted:Several people are huddled around a fire. One of them offers you some stew which you eagerly accept - it's bland and watery, but it's the first hot food you've had in days and you eat every drop. After your meal you doze off by the fire, grateful to at last be in the company of charity and good will. When you awaken, you feel as if you've been reborn. 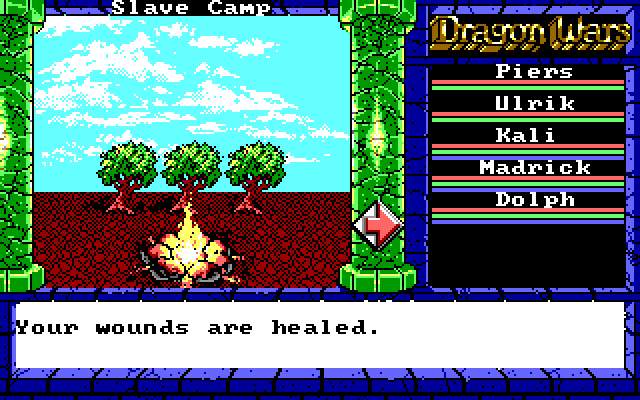 As it turns out, this free heal isn't entirely necessary, but it's kinda cool that our heroes get to eat and sleep every now and then. 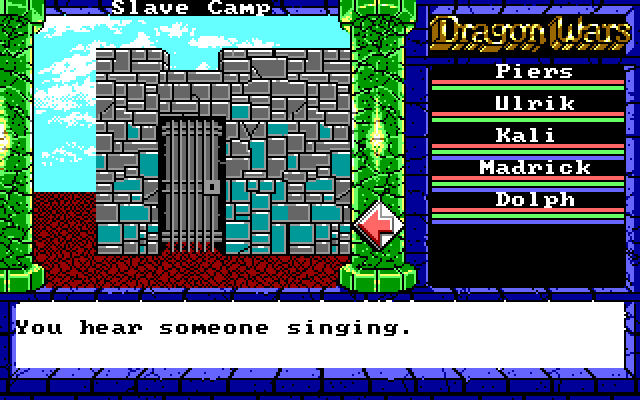 Paragraph 68 posted:The door to this hut is open, and from within you hear someone singing. Entering the hut, you see a simple room...a pile of straw serves as a bed, while a candle bums on a large rock that passes as a table. Behind the rock you see a sadman who seems very old. His eyes are empty sockets and both his hands have been amputated at the wrist. You wonder why a blind man burns candles when he's alone. So, for reference: Lanac'toor - High Magic Master, dead (also, spell it backwards) Zaton - Druid Magic Master, MIA Enkidu - another Druid Magic guy Mystalvision - Sun Magic Master, currently in Phoebus (also a dick) Namtar - Supreme dick Stosstrupen - Namtar's police, also dicks Areas we've heard about but haven't visited: Phoebus, Kingshome, Freeport, Byzanople, and Lansk. 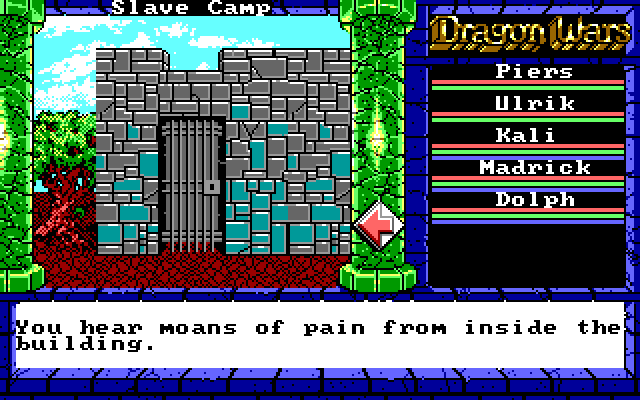 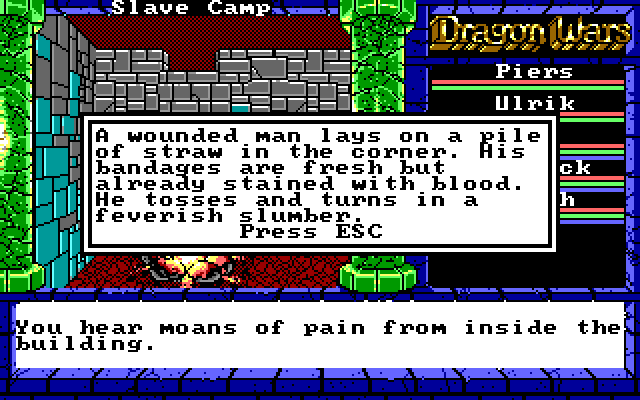 This is Kali's cue to use Bandage. Casting a healing spell works too, but Bandage is free. Paragraph 19 posted:After about an hour, the sick man's fever breaks. He props himself up on one elbow and smiles. "I was dreaming," he says in a weak voice. "I imagined I floated on a vast black pool far beneath the earth. I think it was in the Underworld. I saw a goddess bound in chains. She was stranded on an island guarded by monsters." He laughs. "I guess I had a fever." Worth noting for when we cross the north bridge. But that's not the real story here... quote:This is all the man had left in the world.  Madrick: Lame. He has scrolls and I can't even read them! Greater Heal is, as you might imagine, a more powerful healing spell than Lesser Healing. However, it costs twice the MP and is only slightly more effective, making it not so "great." In fact, it is the least cost-efficient healing spell in the game. It is Kali's first Druid spell though. Sun Stroke, however, is twice as efficient as Mage Fire, albeit only reaching to 20' rather than 30'. Furthermore, it's a variable-cost spell, similar to Mage Light or Guidance. While those spells last longer based on MP used, Sun Stroke does 1-8 damage per MP. So it can be a one-MP Mage Fire, or in the hands of an accomplished Sun Magician, it can hit for significant damage. For dealing with one enemy at close range, this is the most efficient damage spell. I'll give you one guess as to what order of magic Sun Stroke belongs to. The next place we visit, however, is the real reason for coming to the camp. 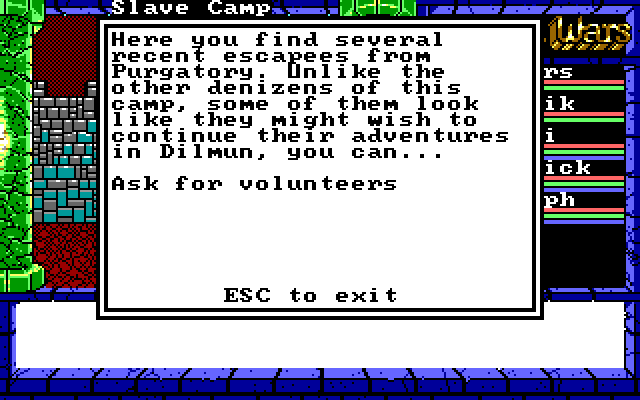    Madrick: Yes, another meatshield! Finally I can move to the back row! Louie: ...   Louie doesn't come with any loot, and isn't especially great at anything in particular, but he is a person, and we need all of the persons we can get. His 16 Dex and 15 HP mean he should be able to hold his own in combat, but the 16 Int and 16 Spr are pretty pointless for a guy who doesn't use magic. The 2 Hiding and 2 Pickpocket is also not an optimal arrangement of skills, and he has no weapon specialty. Still, he is far better than his predecessor, "Empty Character Slot." He'll be taking the 4th slot in our party, so we'll have Madrick/Dolph slinging arrows and spells from the back while Louie is up front with Piers, Ulrik, and Kali. 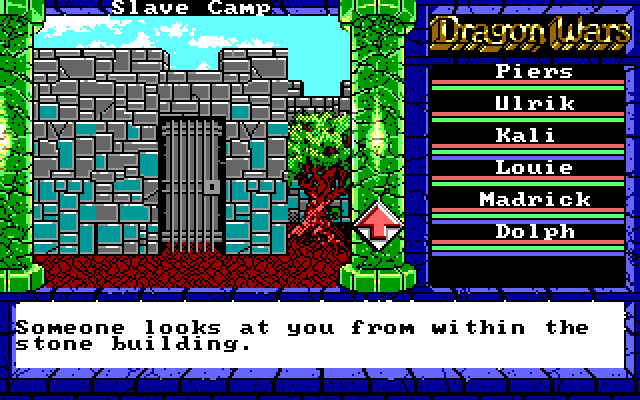 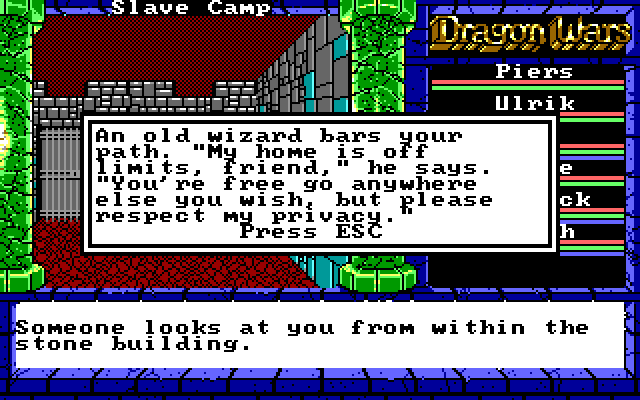 Of course, this is an RPG, so we certainly can't just leave someone be. Using any Magic knowledge as a skill here gets him to warm up to us: 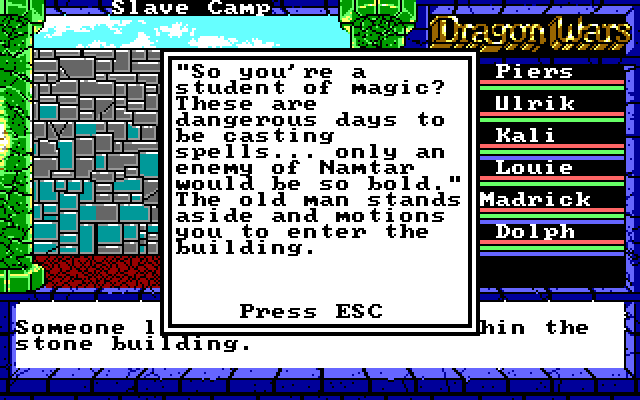 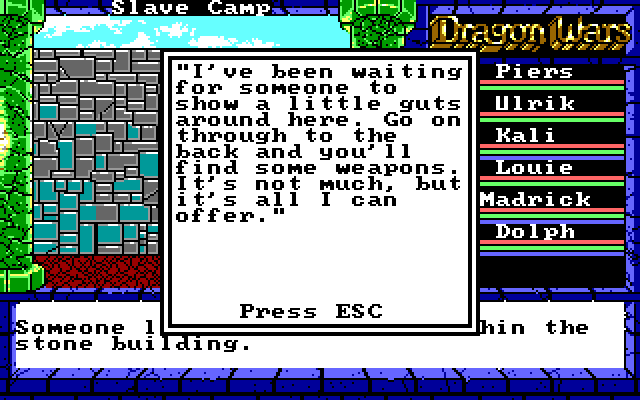 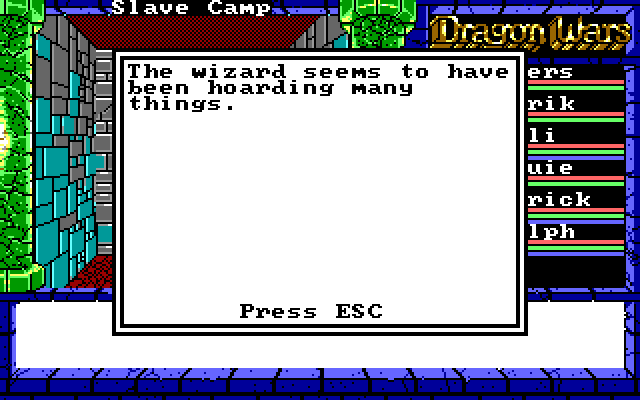 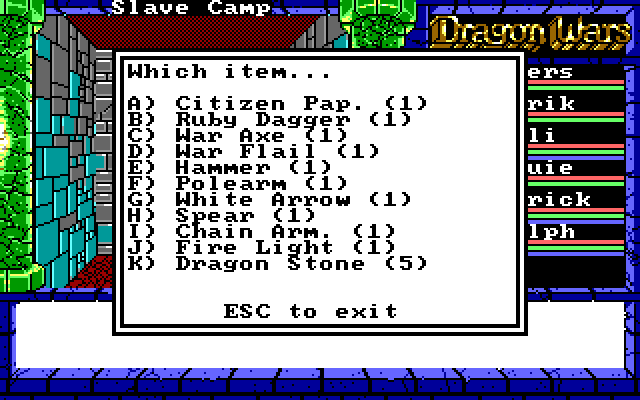 This is a pretty good collection of loot! The Citizenship Papers can help us get over the bridge Ulm told us about. The weapons here are okay, but we really only want the War Flail. Since we don't have a flail specialist in the party, we'll have Louie take the War Flail and the Chain Armor. The other weapons aren't really worth it. The War Axe does decent damage but costs too much accuracy. Madrick can learn Fire Light (similar to Sun Stroke), and the Dragon Stones are nice to have. If we go around behind the house, there's even more loot to find: 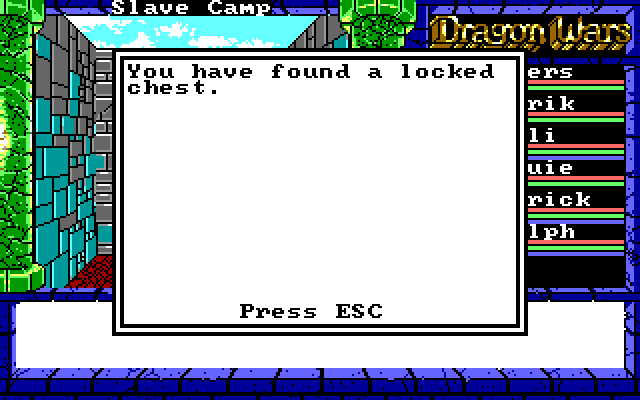 When we find a locked chest, we need someone with the Lockpick skill to open it. Remember, Madrick has a Lockpick of 1 and Dolph has a Lockpick of 3. If we attempt to unlock it with anyone else, we'll get this: 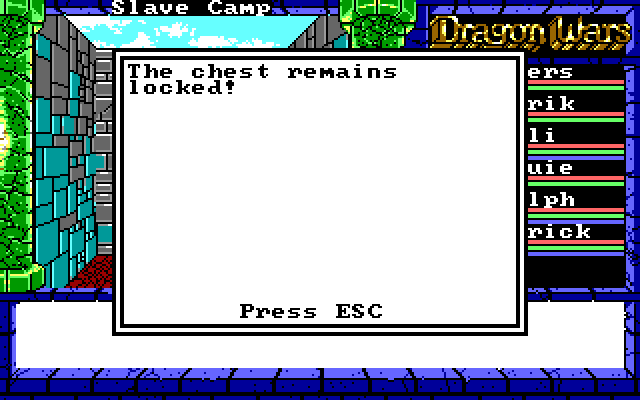 Since this is an easy lock, Madrick can open it. There's a random chance for him to fail, but that doesn't matter much since you can just keep trying until it works. However, some locks simply cannot be opened by a first-level Lockpick. 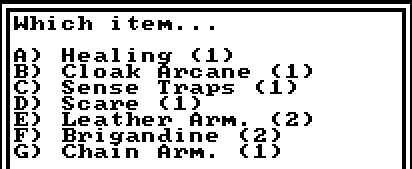 We can now outfit our entire party in either Chain Armor or Brigandine, so the Leather Armor is useless now. I guess it's helpful if you manage to escape Purgatory without stopping at the Arena. At this point, I just discard all of the Leather Armor we have, it's not like it would sell for much even if we were near a store. Healing is the higher-level healing spell for High Magic. Similar to Greater Heal, but more cost-efficient. Sense Traps and Cloak Arcane are also High Magic spells with variable-time effects. Sense Traps is self-explanatory; there are traps in the game, and this spell will point them out. Cloak Arcane increases the entire party's AC by 2. It's powerful, but expensive. Scare is combat magic for Druids, and I don't think I've ever used it much. Anyway, that's pretty much all there is to Slave Camp. We get an extra party member, some decent information, and lots of new spells and loot. However, we can actually exit Slave Camp to the south, where we'll find one other nice thing. 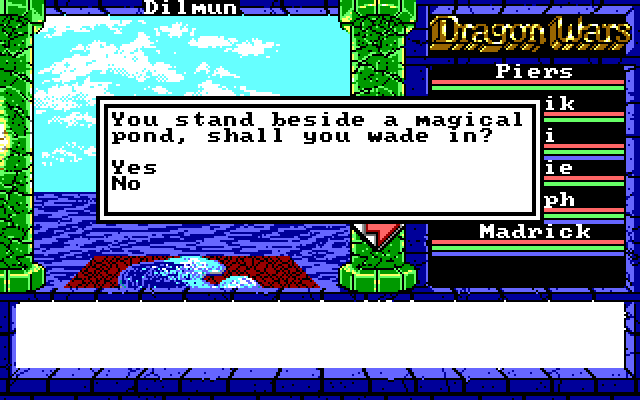 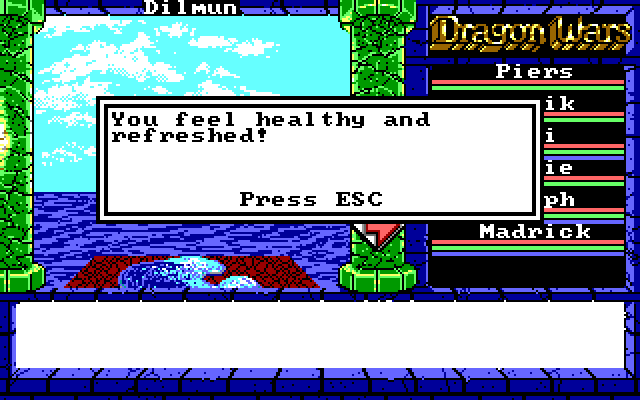 This pool restores both Health and MP. This makes it much better than the campfire, and is a nice way to cast free spells without trekking into the Underworld. So that's a wrap for Slave Camp. But what happens in an alternate universe where we battle the slaves rather than explaining ourselves? 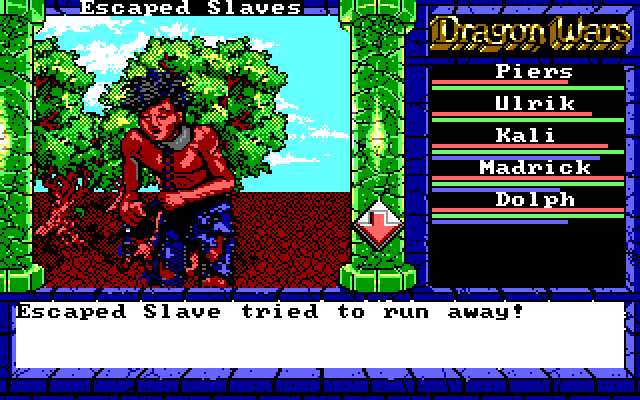 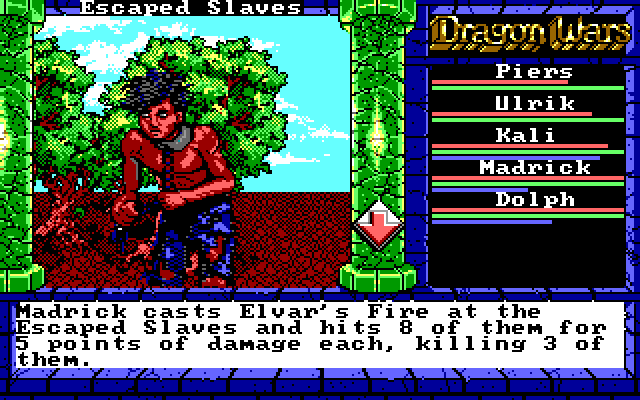 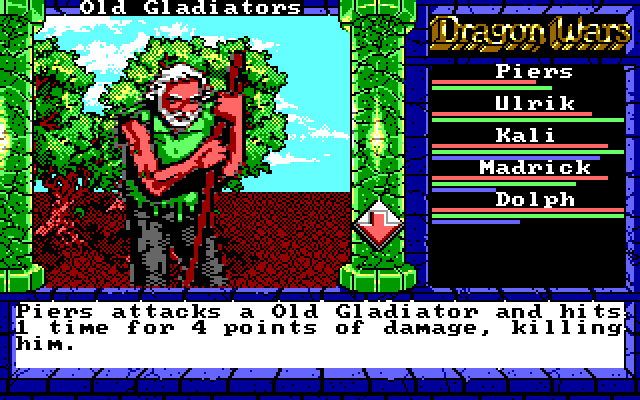 Not a tough battle. Paragraph 18 posted:The camp is deserted. Apparently everyone who lived here was slain in your recent battle. You notice signs of habitation, but whoever lived here was dirt poor. It's unlikely you'll find anything of worth in the camp. Glancing back at the pile of bodies left in your wake, and then at the bucolic scene of the camp, you sense there was probably a better way of handling this situation. The man who confronted you seemed a lot like yourself. Maybe he mistook you for authority from Purgatory, and only sought to defend himself. This was probably a time for words, rather than swords. Yeah, in this case, the game does not hesitate to tell you that you hosed up royally. If you do this, the houses will all be empty. The locked chest behind the wizard's house is still there. The wizard isn't around, but if we go into his house... 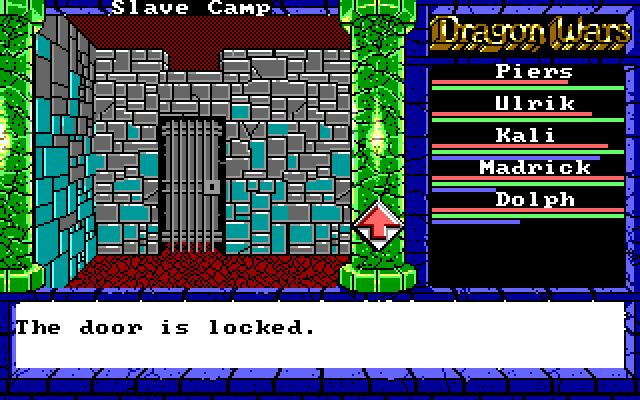 Locked doors don't usually give this message. Maybe it's there because it's early in the game and you're expected to still be learning. Anyway, the door is easily unlocked, so we can get at the chest... 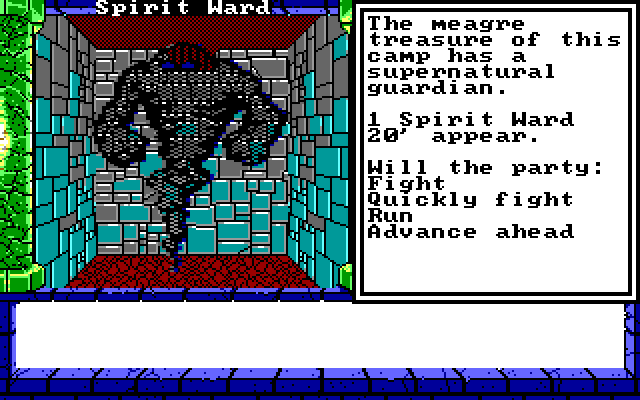 Oh. 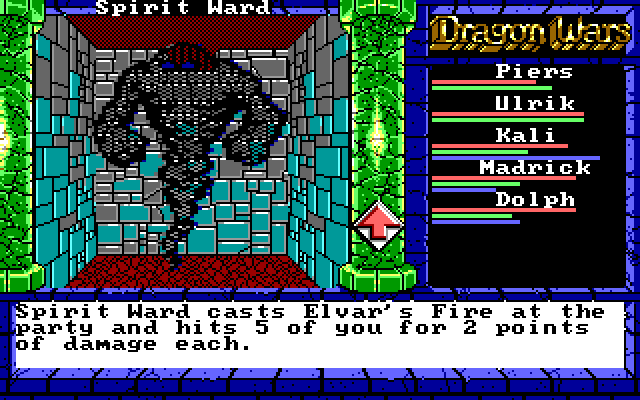 Yeah, this is an absolutely miserable fight. So, to recap, by fighting your way through the Slave Camp, you miss out on lots of info, an actual party member, and some of the loot, and to top it all off, you have to fight this rear end in a top hat. Technically, it doesn't mess up the ending or anything; you can keep going and the rest of the game will play out fine. However, missing out on Louie, even if he's a so-so character, is a pretty severe punishment. Good thing we didn't do that. Instead, we now have six well-armed heroes, and picked up a few more useful spells. Our party is in nice shape for this stage of the game. Voting Time: Where shall we go next? - Slave Estate - Over the Bridge - Revisit Purgatory
|
|
#
?
Mar 8, 2015 18:55
|
|
|
Glazius posted:Are spells the only way to get area attacks? Pretty much. Some magical items can cast spells (the Healing Pot casts the Sun Magic spell Heal, for example) so we might find an item that can cast a group-effect attack. Enemies can use breath attacks that hit all party members, but there's no weapon that attacks all enemies. That's why group-attack combat spells are so valuable (and so brutal when enemies cast them).
|
|
#
?
Mar 8, 2015 18:59
|
|
|
Slave Estate. 
|
|
#
?
Mar 8, 2015 19:46
|
|
|
Magic Rundown: Sun Magic pt. 2: Sunstroke (1+ MP): As Rujasu mentioned, 1-8 damage per mp spent to a target within 20 feet. Doesn't have the best range, but is very efficient. High Magic pt. 2: Fire Light (1+MP): It's the same as Sunstroke, but slightly better - 1-8 damage per MP spent to a target within 30 feet. For some reason I recall Sunstroke being better, but the book has Fire Light with a slight edge on range. EDIT: According to the OP, damage should be 1-6 per MP, and the book is wrong. This meets more with what my memory says. Druid Magic pt. 1 Greater Heal (4MP): Heals 1-6 damage on one target. As you might recall, Lesser Heal does 1-4 damage for 2mp. The potential for the extra 2 HP doesn't really add a lot of survivability over the Low Magic spell, and you have to have access to Low Magic to even get Druid Magic. This spell is just bad. MaskedHuzzah fucked around with this message at 11:17 on Mar 10, 2015 |
|
#
?
Mar 9, 2015 11:27
|
|
|
Fire Light has more range but does less damage. It's 1-6 per MP rather than 1-8. They are very similar, however, with the manual even referring to Sun Stroke as the "Sun Magic version of Fire Light." It also refers to Elvar's Fire as "Lanac'toor's favorite method of dispersing autograph seekers," which is probably my favorite description of any spell. We're in full agreement that Greater Heal is bad. As I'm sure MaskedHuzzah is aware, Druids will eventually have access to a significantly better healing spell which will more than make up for Greater's inadequacy. We did pick up a few other spells at the Camp: Healing, Cloak Arcane, Sense Traps, and Scare. Also, unless a bunch of votes come in soon, I'm tentatively planning to do Slave Estate for the next update; I think it's a good choice here.
|
|
#
?
Mar 9, 2015 15:58
|
|
|
Back to Purgatory because I feel like we skipped over some stuff there
|
|
#
?
Mar 9, 2015 23:45
|
|

|
Slave Estate.
|
|
#
?
Mar 10, 2015 00:07
|
|

|
Slave Estate
|
|
#
?
Mar 10, 2015 00:24
|
|
|
I expect to post the Slave Estate update on Thursday. It's mostly done, just need to polish up the writing a bit and I'll be too busy to do it tomorrow. Until then, here's a preview screenshot: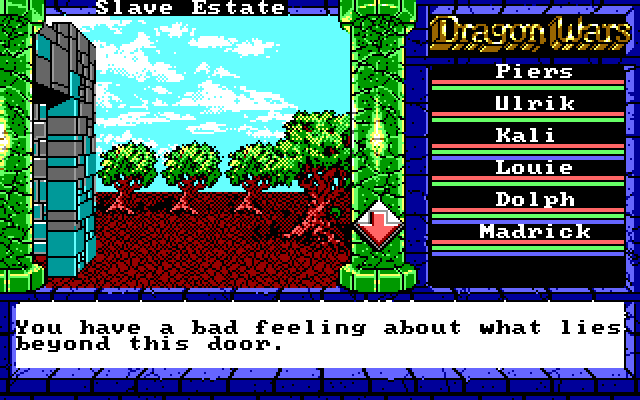
|
|
#
?
Mar 11, 2015 06:40
|
|
|
rujasu posted:I expect to post the Slave Estate update on Thursday. It's mostly done, just need to polish up the writing a bit and I'll be too busy to do it tomorrow. Until then, here's a preview screenshot:  For Louie it's out of the frying pan, into the fire!
|
|
#
?
Mar 12, 2015 04:43
|
|
|
Update 8: The Great Estate Let's check it out! 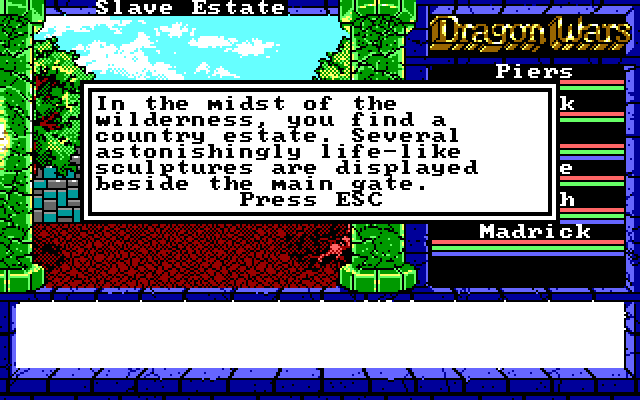 Entering from the south, we walk east along the wall and find a plaque. 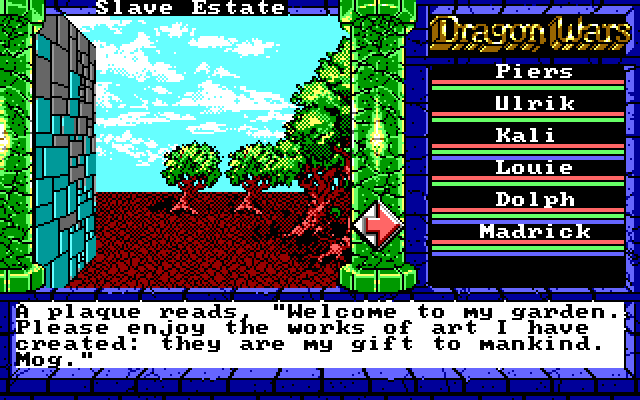 (The message is signed by a fellow named "Mog" if that wasn't clear. No, not that Mog.) Louie: Anyone else have a bad feeling about this place? Dolph: I probably would if we hadn't literally just walked through Hell to get here. Ulrik: Louie has a point though. It's too quiet. Kali: I agree. I can sense the trees trying to warn us of something. Piers: Explore the perimeter. We don't know who, or what, could be inside. Ulrik: And let's have a look at those statues.  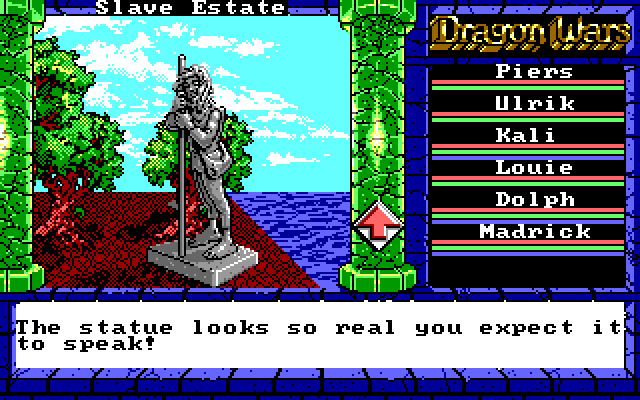  Dolph: I dunno, they all look like the same guy to me. Ulrik: Huh? Walking around the perimeter, we see that the Estate is a huge building, surrounded by water on all sides but the south. There are entrances on the east and west. There is also a guardhouse with two entrances attached to the Estate at the northeast, and a small house (unattached to the main building) in the northwest corner. Piers: I say we should split up. Ulrik, you go with Kali and the squishy mage and take the east side. I'll go in the west side with the new kid. We'll go in weapons drawn, and catch the enemy in a pincer attack! Louie: Splitting up? That sounds like a terrible idea! We should stick together. Dolph: Wait. We should check out that house over there first. Maybe we can find supplies there. Ulrik: I'm with Dolph here. Let's check the house. The inside of the house is barren. However, walking outside, Kali notices something. 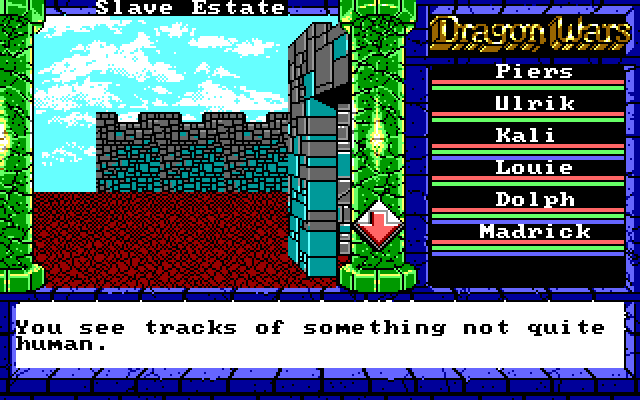 Louie: Everyone run! It's the Bigfoot! Piers: No. Let's follow the tracks. Whatever kind of creature this is, it will be no match for my Firesword! 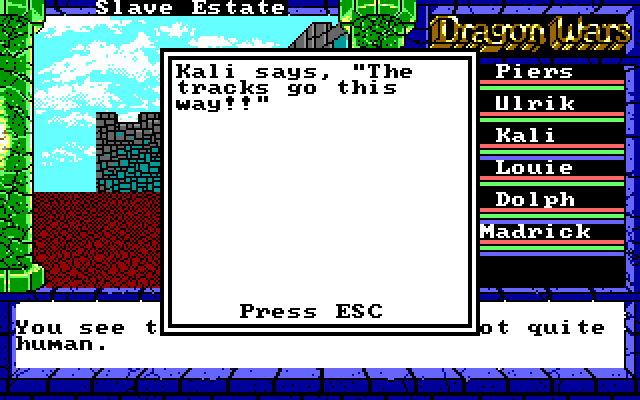 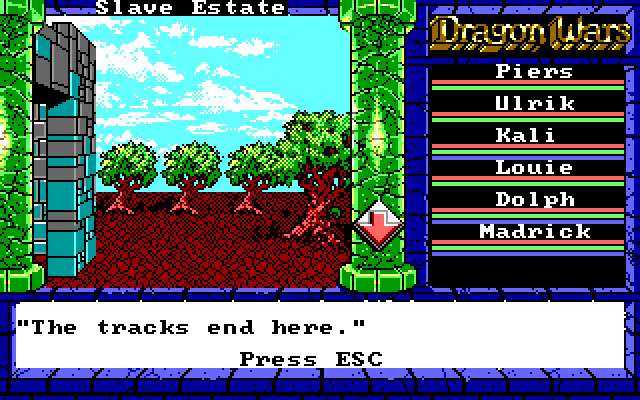 Piers: Let's go in! Louie: Are you crazy? Piers: I came here to kick rear end and slay demons, and... and I'm gonna do at least one of those things today! Madrick: Please. All you do is stand in front and buy time until... Kali: GUYS. Knock it off. Ulrik: We have no idea what this thing is, or what it's capable of. We should get a better sense of the situation first. Let's check out the guardroom. Maybe we can beat an answer out of someone. Louie: I should just leave you guys and take on the bridge guards myself. At least then I won't get eaten alive! Our heroes approach the guardroom... Piers: Ulrik, you go with Kali and the squishy mage and take the east side. I'll go in the west side with Dolph and the new kid. We'll go in weapons drawn, and catch the enemy in a pincer attack! Madrick: Hey! How dare you order me around like that! And you watch what you call me! Ulrik: All right, let's do it. ... Piers: NOW! Kali: Chaaaaaaaaarge! 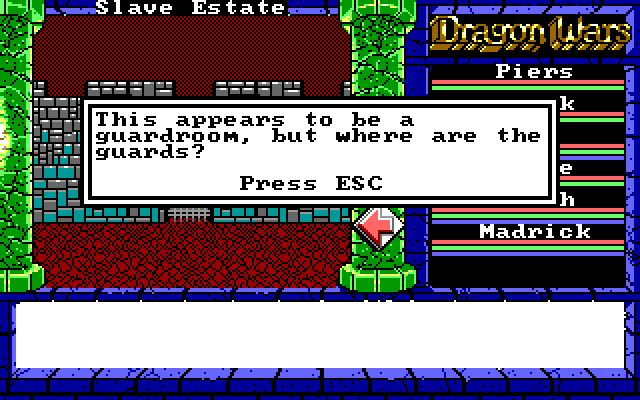 Piers: ... Kali: That was anti-climactic. Dolph: Well, the guards may not be around, but their equipment is just sitting here for the taking. 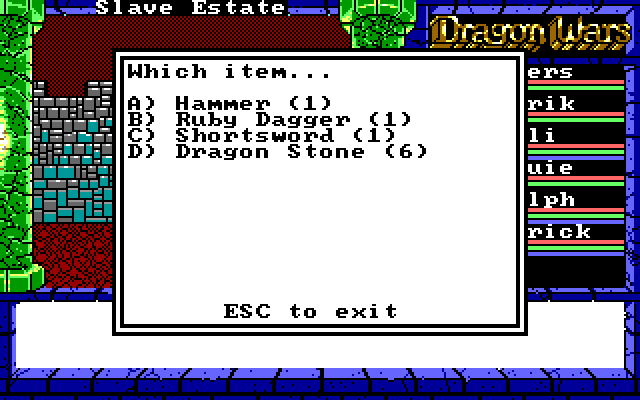 Sadly, this loot is unimpressive. We have enough Dragon Stones already, and the weapons are useless to us. As with the Slave Camp, it's possible to get here before getting a full assortment of basic weapons, but at this point we have no use for a Shortsword or a Hammer. The Ruby Dagger does add +3 AV, but the damage rate is so low that it's not worth it. Kali: There's definitely something wrong here. Why are there no guards at such a large, lavish house? For that matter, where are the slaves? Ulrik: Yeah. We should investigate. Piers: We should eviscerate! Louie: We should RUN! There's a door to the south of the guardroom, leading us into the mansion proper. 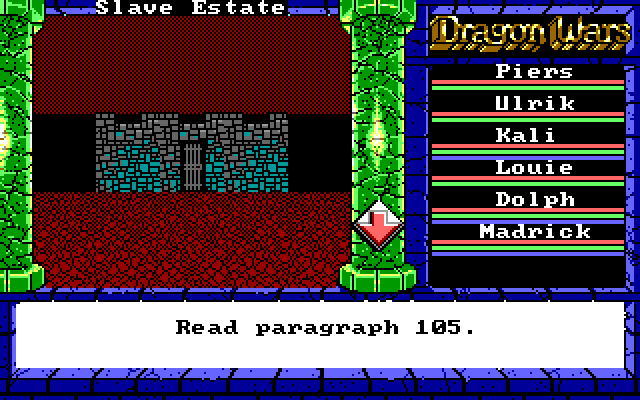 Paragraph 105 posted:There are evident signs this chamber was formerly the lair of a beast or large animal. A pile of straw in the corner indicates where a large creature could have slept. The walls scraped with claw marks, and the room is pervaded by an unpleasant odor. The room makes you feel instinctively uneasy. Louie: Why are we still here? Kali: I see something moving, by the door... Piers: Draw your weapons. The enemy approaches! 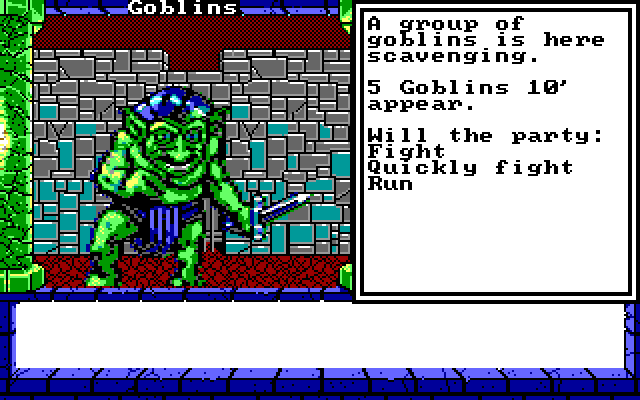 There are only a few encounters in Slave Estate. They're all scripted (so we actually have to fight these guys to get through this door, for example), and they're mostly with packs of Goblins. Goblins are pretty easy, though they come in large-ish groups. Elvar's Fire will come in handy. Piers: Prepare to die, goblins! Taste the fire of my Firesword! Dolph: Taste the fire of a thousand suns! Madrick: Taste the fire of my... FIRE! 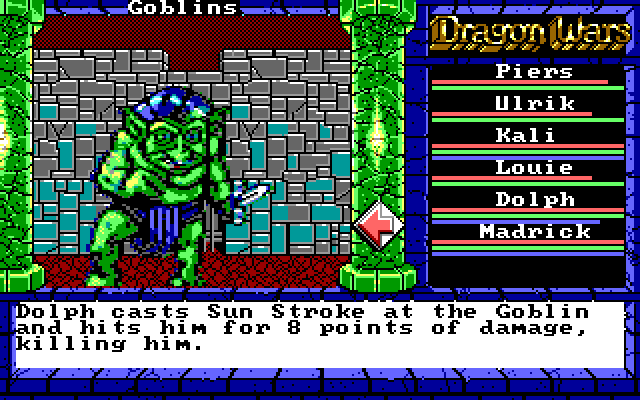 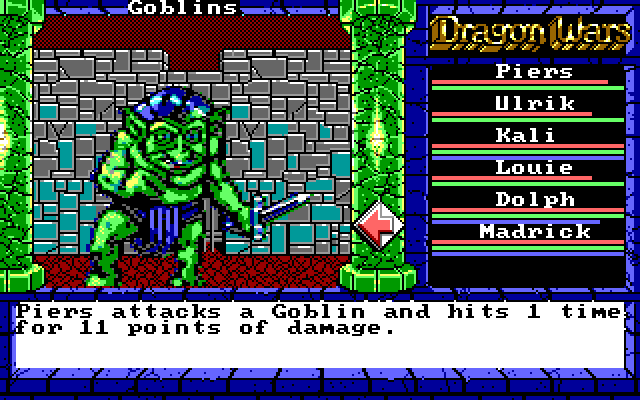 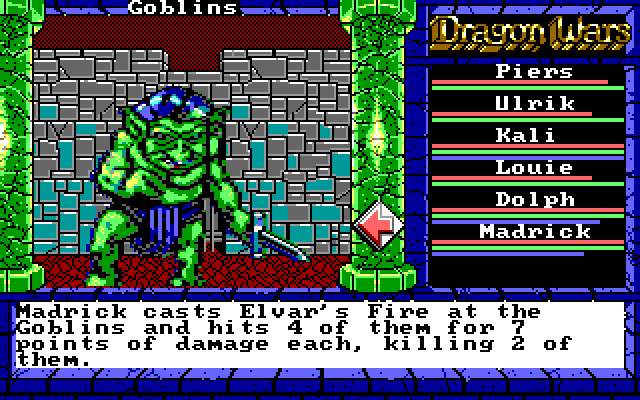 Louie: I've got this one! 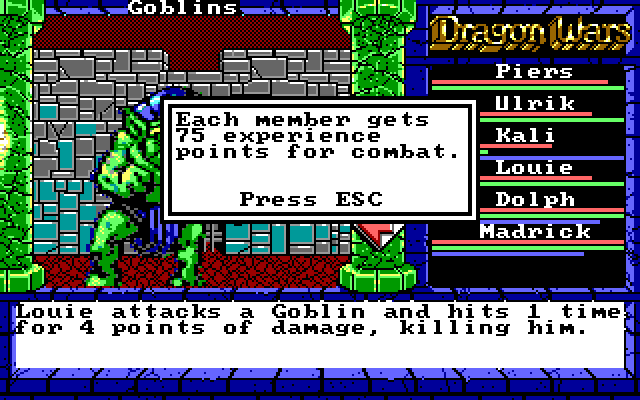 Madrick: Hah! Such inferior minions stand no chance against my magic! Piers: Hmph. As if I needed your help. You'd be goblin food if I wasn't standing in front of you. Louie: Quiet! The beast will hear you... Kali: Let's see what's behind this door. Maybe those goblins were guarding something! 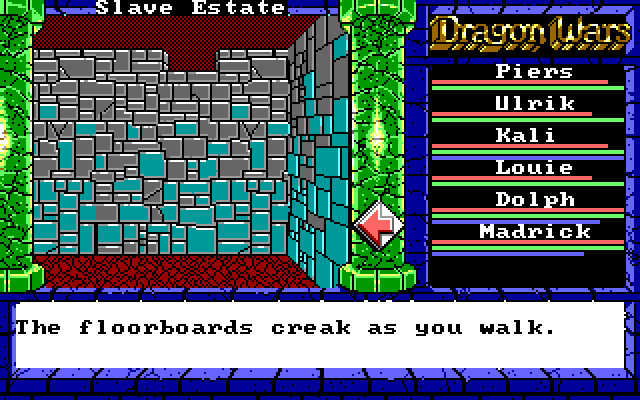 Kali: Room's empty. Where is everyone? Louie: Those drat goblins must have killed them all... or the beast did... Dolph: No, that doesn't make sense. No corpses. Not even a drop of blood... Piers: Quick, let's check the other rooms.  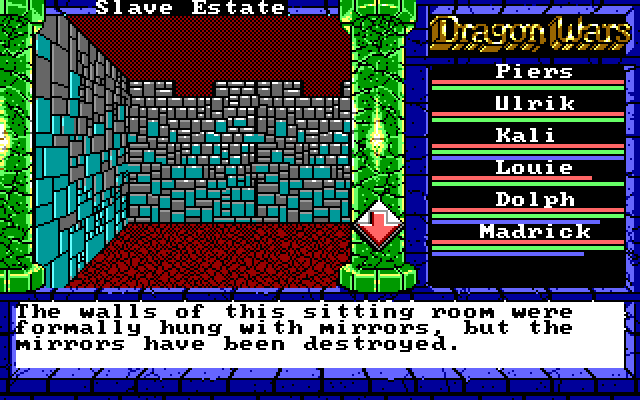 Piers: Whatever this thing is, it must be pissed off. Stay on your guard. Louie: You don't have to tell me twice! Going through another door, we find the third and final goblin encounter:  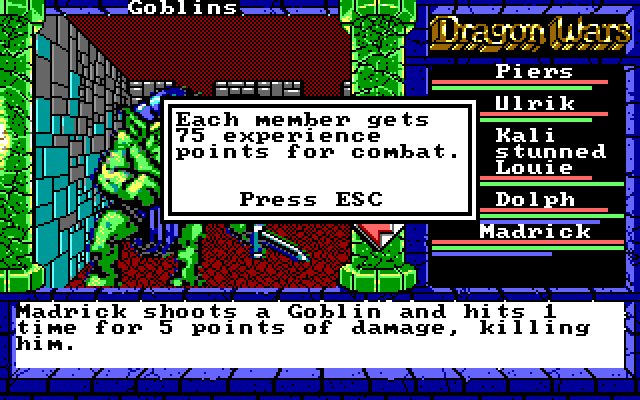 Madrick has no skill with Bows, but every source of damage helps. 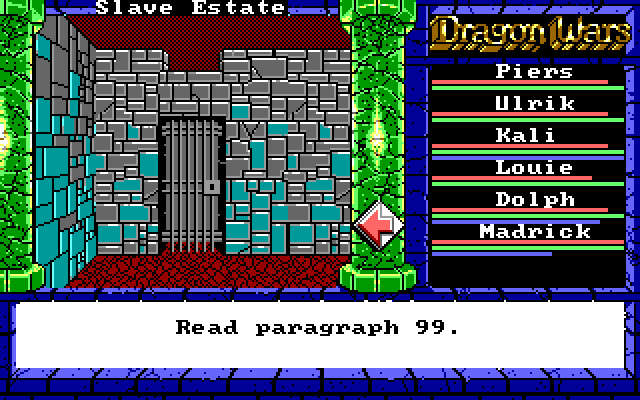 Paragraph 99 posted:In this stuffy bedroom you find a journal. From it you determine the master of this house was a man named Mog, a rich aristocrat who made his fortune in the mining business. By all accounts he was a crude man - wealthy but uncultured - who fancied himself an artist. The journal is largely given over to a remarkably frank account of Mog's failure as an artist. Kali: So Mog made the statues in the warehouse, but the apprentice made the ones outside and the one in the courtyard. But what happened to them? Louie: It has to be that beast! He ate them both, bones and all! Piers: Shut up, Louie. 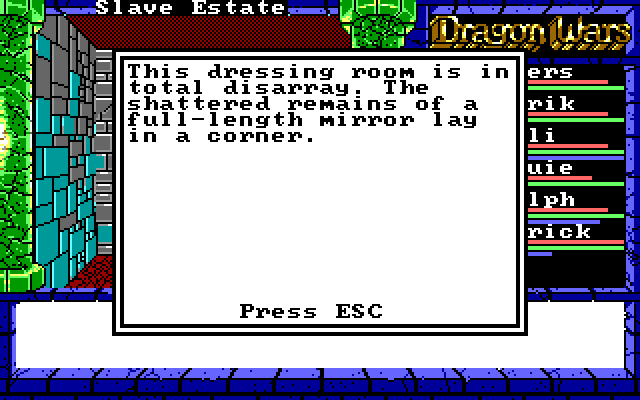 Kali: All these shattered mirrors. We're due for about 100 years of bad luck! 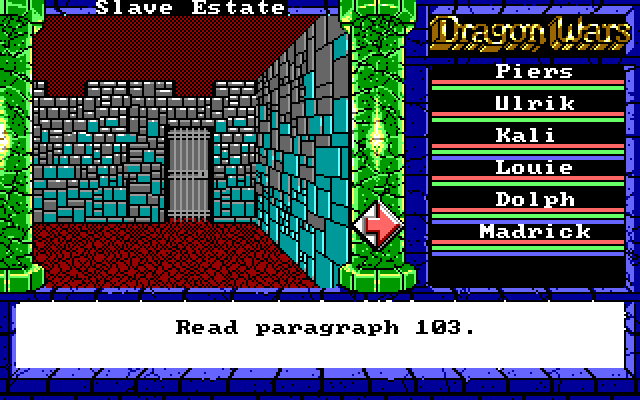 Paragraph 103 posted:These are the private chambers of the master of the house. The curtains are drawn across the windows permitting little light to enter the room. In the murk, you can see that this room, like the others in the house, is strangely devoid of wall hangings...and that no mirrors are present. The Master is in, sitting in his favorite chair. He wears the garb of an artist - specifically of a sculptor... and he wants you to be his next masterpiece! 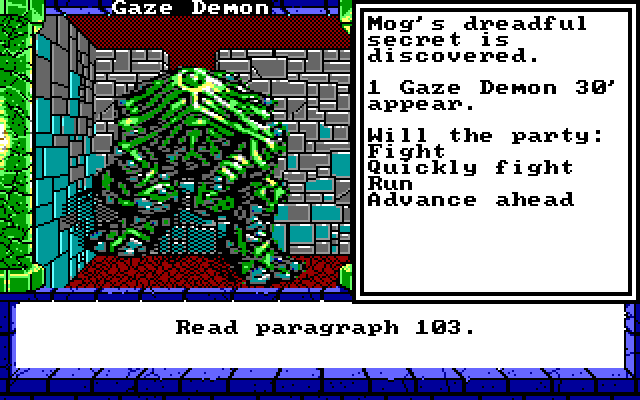 Piers: See? This guy isn't so tough. Let's take him down! 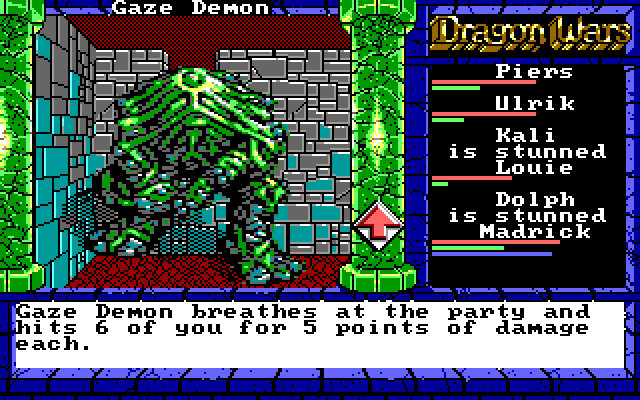 Piers: OH GOD RUUUUUUUUUUUUUUUUUUUUUN 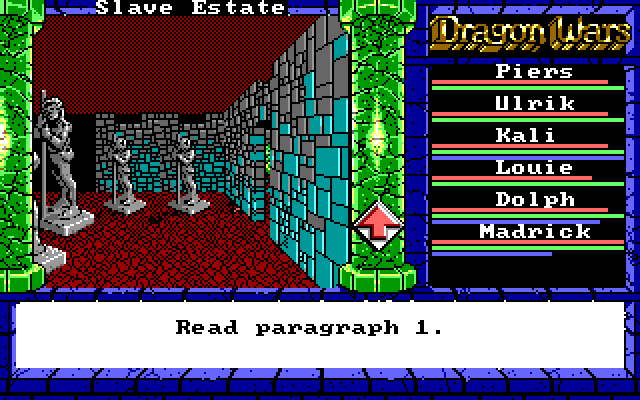 Louie: See, what did I tell you? You see huge tracks like that, you run the other goddamn way! Paragraph 1 posted:In this dark chamber are warehoused several sculptures of decidedly inferior quality. Mostly they are crude attempts at busts, or full-figure nudes of decidedly pornographic intent. Whoever produced these disasters, it could not have been the same artist that created the rest of the artwork you've seen on the estate. Dolph: I still think these statues all look like the same bearded guy with a stick, just like the ones outside. Louie: Huh? There's an encounter behind one of the statues: 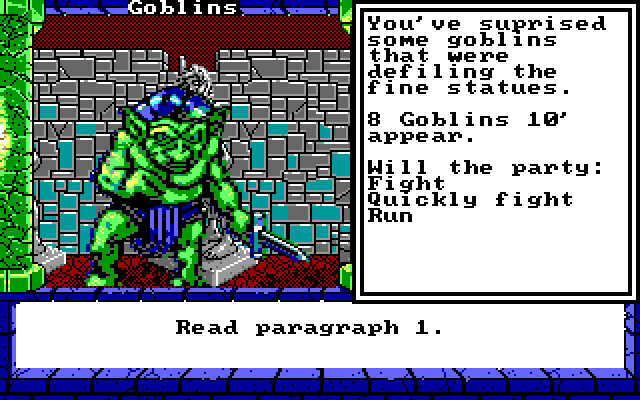 By now we've taken a full trip around the mansion, leaving only the courtyard in the center. 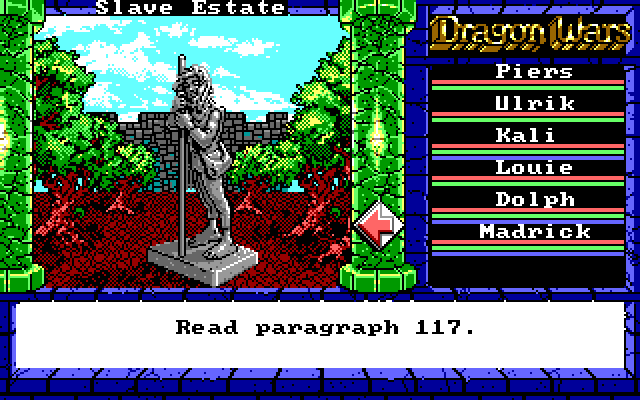 Paragraph 117 posted:Here in the open garden you find an unusual statue. It is of an apparently wealthy man, if the quality of his garments is any clue. He is in poor shape, and appears to be afraid of something. The quality of the work is excellent, but the statue is very unflattering. Kali: I just don't get it. What does this all mean? Madrick: I think I know. This statue... this is the real Mog. Piers: Wait, what? Madrick: That creature we just saw... it's a Gaze Demon. It can turn people to stone just by looking at them. That was Mog's apprentice -- the statues it made are real people, turned to stone in an instant by its gaze. Piers: Seriously? You're suggesting Mog was so obsessed with art that he SUMMONED A DEMON to make statues for him? Madrick: Suggesting? There is no doubt in my mind. That creature is a Gaze Demon, and this statue is a man who has been turned to stone. Piers: How do you know so much about this? Madrick: ... Piers: You tried to summon one of these demons yourself, didn't you? Madrick: ...Shut up. Kali: If that demon turns things to stone, why didn't it turn us to stone? Dolph: Probably because the programmers never implemented a Petrify status in this game. Ulrik and Louie: Huh? Kali: So why does that thing hate mirrors? Madrick: The Gaze Demon is not immune to its own gaze. If it sees itself in the mirror, it will turn itself to stone! Dolph: So we just have to put a mirror in front of it! Madrick: Right. In fact, there might be enough of this one left to do the trick. Piers: Let's go then! 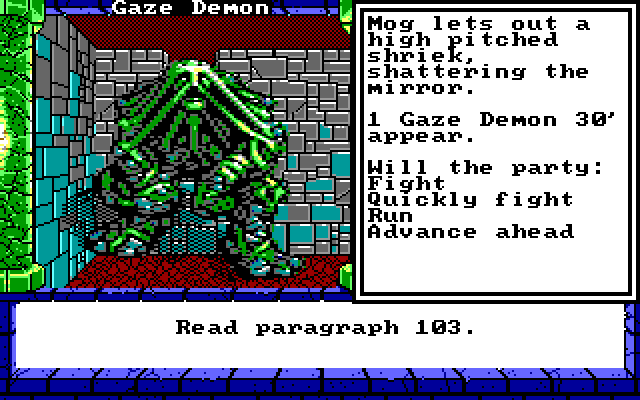 Piers: poo poo... quick, someone go grab the other half of the mirror! Do it from a distance this time! Kali: Here, I got it! 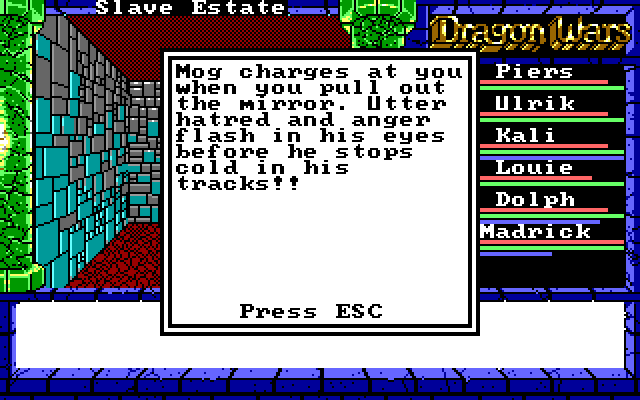 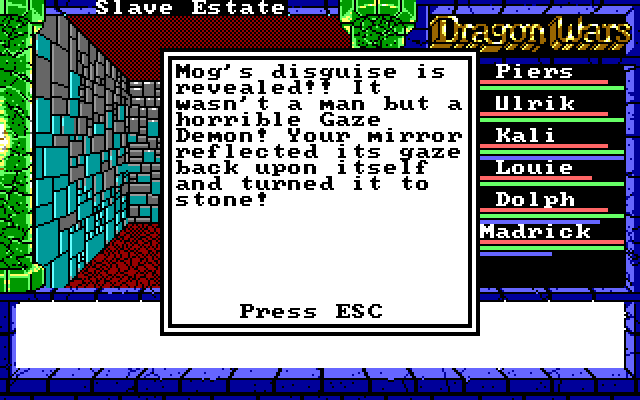 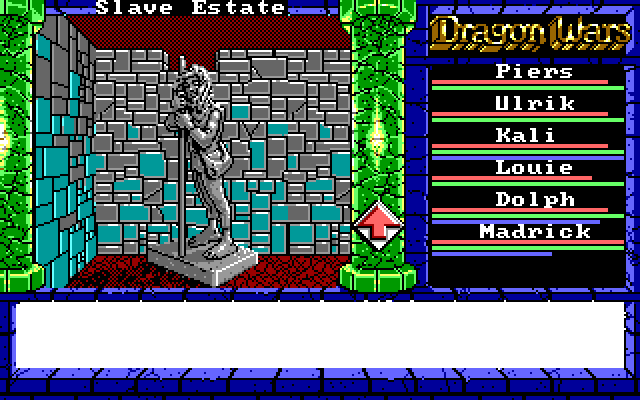 Louie: We... we did it? Madrick: Yes. We've defeated the Gaze Demon! Piers: ... Dolph: Why did we do this again? Louie: I'VE BEEN ASKING THAT ALL loving DAY! So, what do we get for solving the puzzle of Slave Estate and defeating the Gaze Demon? Nothing. It's cool, but doesn't really accomplish anything. We don't even get any gold, experience, or items for doing it. But it's not all bad news. Remember that empty room with the creaky floorboards? 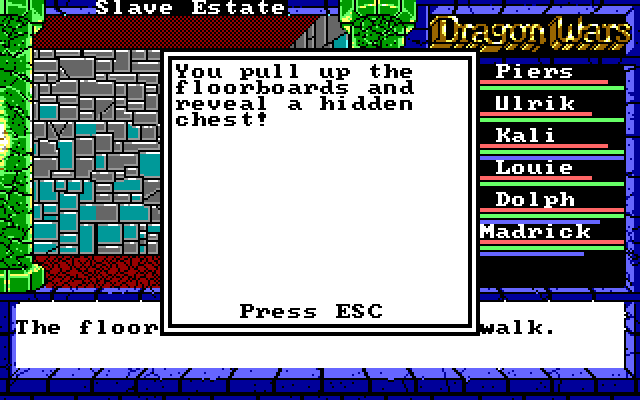  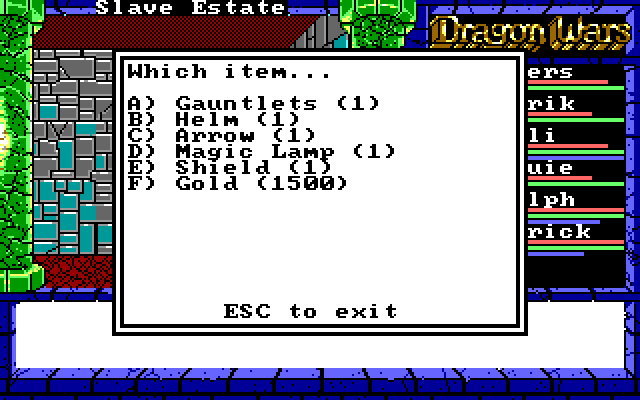 This is the good stuff. Most of the loot in Slave Estate is junk, but this chest alone makes up for everything. Gauntlets: +2 AC. The key is that very few items in the game fill the "gloves" slot, so these will be relevant even at the endgame. Helm: +1 AC. Our first helmet-type armor. Again, helmets are rare in this game so this will be useful for the whole game. Arrow: We already have plenty of these, but they're consumable so it can't hurt to have a fresh pack. Shield: +2 AC. More protection for our front-liners, which is awesome. Magic Lamp: No, this doesn't grant wishes or anything. What does it do? 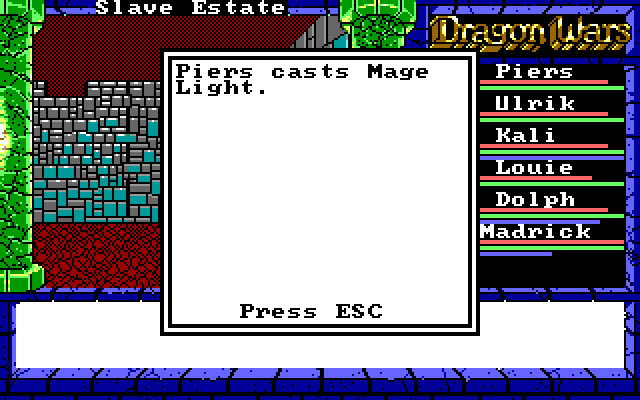 Oh, okay, it casts Mage Light. And it has 20 charges, so we'll be able to cast it another 19 times without using MP. But wait. Mage Light is a variable-time spell. So how long does this last? The answer is indefinitely. That's right. Unless we walk into an anti-magic field, this light source will never go away, and will last for the entire game. This is awesome, both for convenience and for saving MP. In short, the Magic Lamp is super-cool.  There's one other thing. If we look at the automap, there's an empty spot in the NW corner of the house, almost as if there's another room there. That's because there is another room there -- we can walk through the wall in front of us, to find... 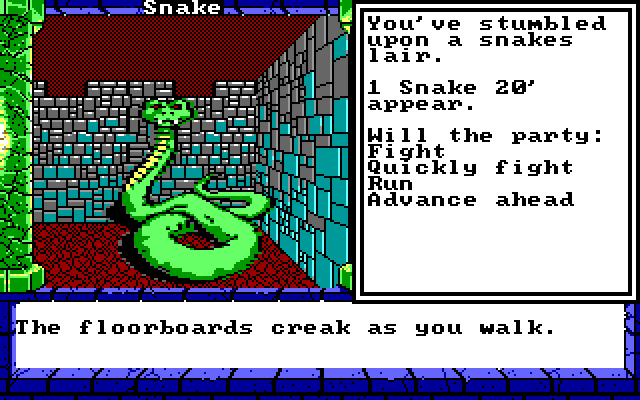 Louie: Aaaaagh! Snaaaaaaaake! Piers: Dammit, Louie. 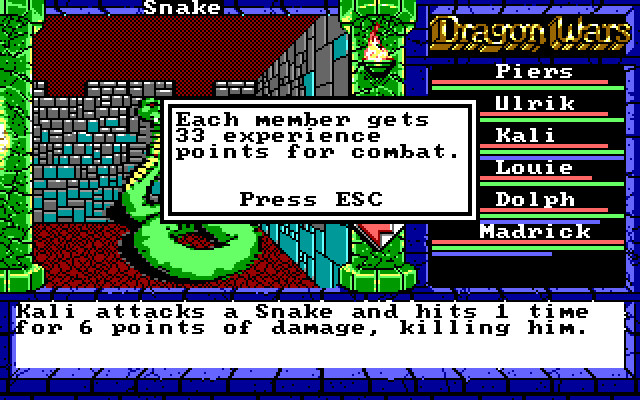 And there's another chest in this room! This one must have even better stuff! 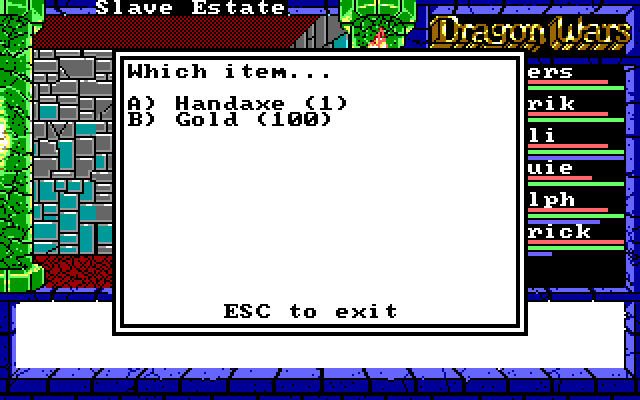  Also, there are more mirrors over here for some reason: 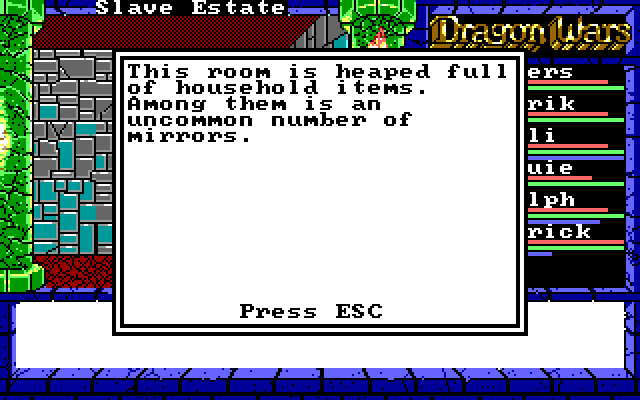 You can get as many mirrors as you want from the other room, so I'm not sure why this is here. It would make more sense if this was the only place you could get a good mirror to beat the Gaze Demon, but the "broken" mirrors work just fine for that. The snake encounter is really easy too, so really there's not much point to this room. But it's a secret, so I might as well show it off. And... that concludes our tour of the Slave Estate! Honestly, other than the chest with the Magic Lamp, there's nothing important here. You can easily skip the Estate and have no trouble with the rest of the game. It's a completely pointless diversion, really. That said, if you haven't guessed, it's one of my favorite areas in the game. The paragraph format really shines here. It's solid storytelling, especially for 1989, and it's just a cool place to explore without a ton of encounters all over the place. Voting Time: For the next update, we can cross the guarded bridge or revisit Purgatory. The latter is completely optional and we can do it any time we want to.
|
|
#
?
Mar 13, 2015 06:24
|
|
|
In case anyone is wondering: in future updates, I will not be writing nearly that much dialogue. There's not much to talk about in terms of combat, game mechanics, or the overarching story of the game in Slave Estate, so I decided to write some to fill in the blanks, but I'm not planning on suddenly switching the LP to a narrative format or anything like that.
|
|
#
?
Mar 13, 2015 06:28
|
|
|
That was actually an interesting dungeon. You had to get away from a fight and dig up an item, which seems quite sophisticated.
|
|
#
?
Mar 13, 2015 18:33
|
|
|
Glazius posted:That was actually an interesting dungeon. You had to get away from a fight and dig up an item, which seems quite sophisticated. I like it a lot. It's a bit flawed -- you can basically just ignore the Gaze Demon entirely. You don't get anything for turning him to stone. I believe you can beat him straight-up in battle if he doesn't use his breath attack right away or doesn't get a good damage roll on it, but I haven't tried to recently. I don't know if you get good experience or anything for that*. The main thing to do in Slave Estate is pick up the floorboards and get the chest with the Lamp. The other stuff is kinda pointless in terms of gameplay. The encounters don't offer much reward and the loot is mostly useless. But it's still an interesting place with a creepy atmosphere where you can just kind of explore it and put everything together. *Actually, out of curiosity, I loaded an archived save and tried to beat the Gaze Demon. You definitely can do it with a little luck (or just a more advanced party). Before combat, I had Madrick cast Cloak Arcane to beef up our AC and Air Summon to give us a temporary seventh member of the party. You have to waste first two rounds advancing and hope his breath doesn't hit for a ton (it can hit everyone for 1-2 damage, or it can just stun half your party right away). Once you get in range, he'll use a melee attack that doesn't do much. Once I started unloading all of my offense on him including Fire Light & Sun Stroke, he went down after a few turns. I'd estimate his HP as being somewhere around 80. 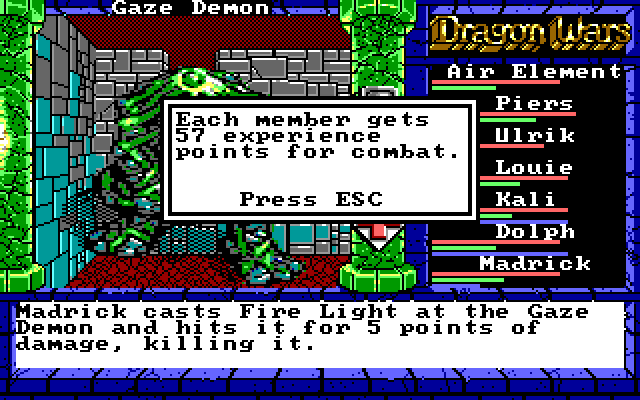 Of course, you still get nothing for beating him! This week is looking busy for me. It may be a few days before the next update.
|
|
#
?
Mar 18, 2015 05:39
|
|
|
Update 9: Guard Bridge, Featuring One Weird Trick For Getting Tons of Experience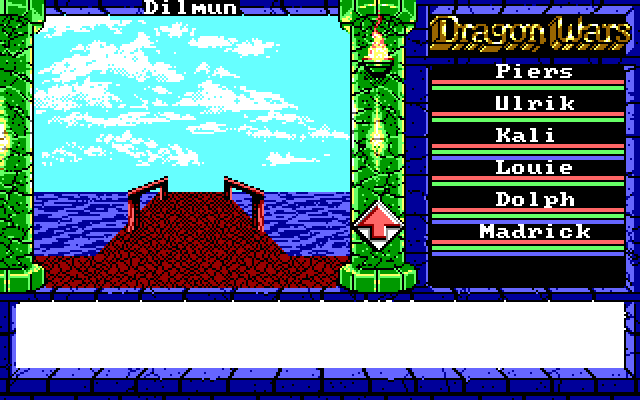 Today, we're going to cross a bridge. Trust me, it's more exciting than it sounds. 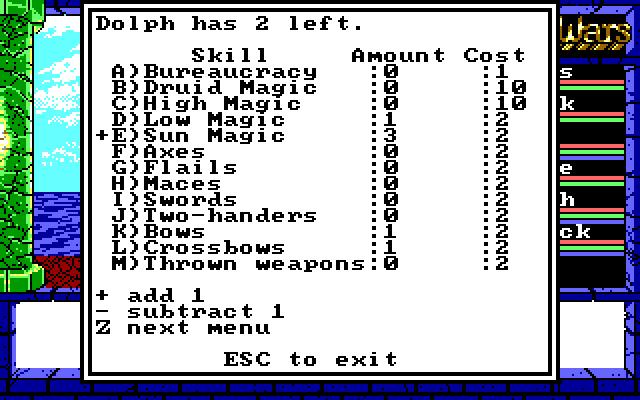  First off, let's actually distribute some of these skill points. Increasing Madrick's High Magic and Dolph's Sun Magic to 3 will increase the effectiveness of Fire Light and Sun Stroke. I also increase Madrick's Spirit by 2. He'll be casting lots of Elvar's Fire for us, so might as well give him some MP to work with. 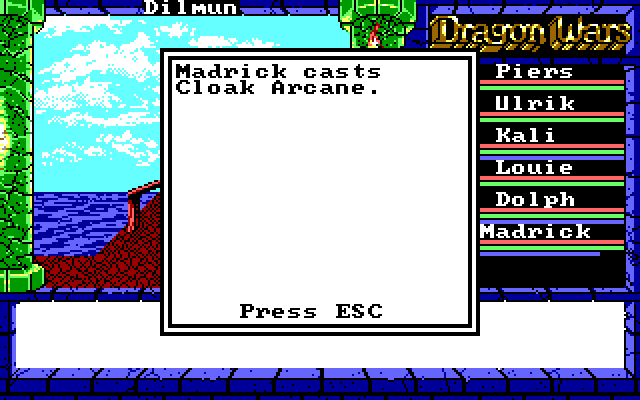 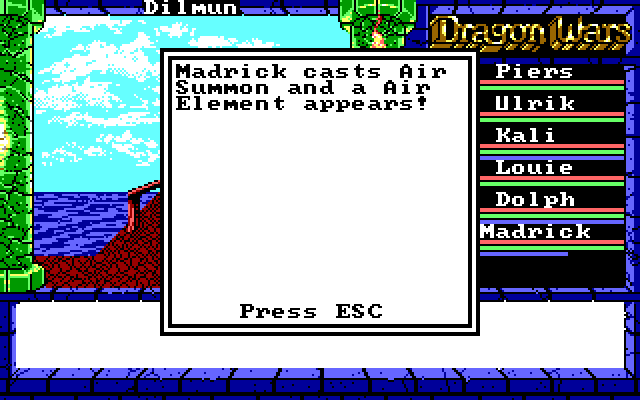 We'll also be able to make better use of these two spells, casting each for 6 MP so they last a while. Cloak Arcane raises the whole party's AC, and Air Summon gives us an extra party member. Both of these things will come in handy here. 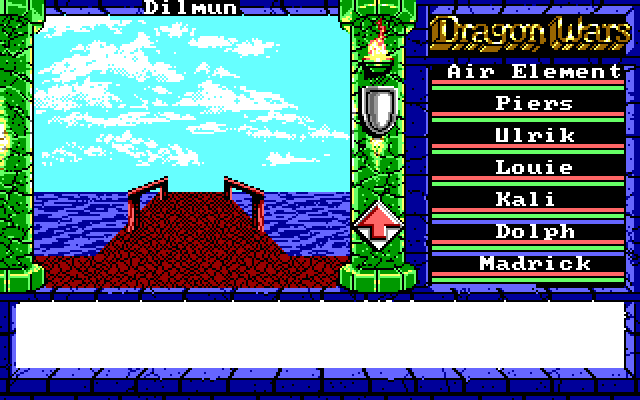 We'll throw our new, easily-replaceable temporary party member up front as a meat shield. Kali can move to the back row and cast Mage Fire or Lesser Heal. 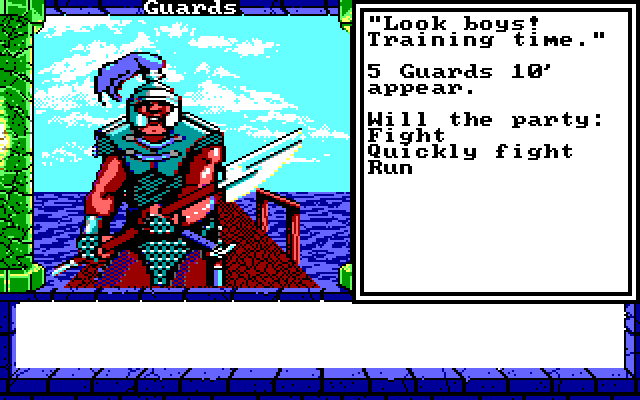 These guys can be tough if you're not prepared for them. We're probably a bit overprepared, but they can do a bit of damage. One thing worth pointing out is that at this point, enemies will frequently start off 10' away rather than 30', so if we run from battle, they'll get a full round to swing away at our low-Dexterity characters as much as they wish. This can make running a bit riskier, since our fast people will run, leaving Madrick exposed to melee damage. Not that it matters here; we're going to Fight!  This is Sun Stroke for 4. It packs a punch. We could cast it for up to 6 if we had a really huge enemy in our way, but at this point, anything dealing double-digit damage is going to kill something. 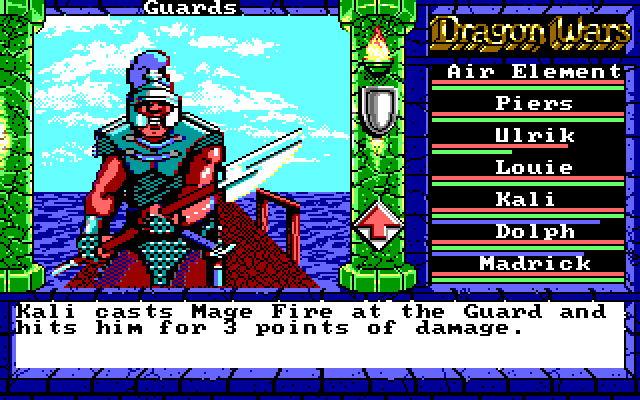 Mage Fire, meanwhile, is already starting to look puny. Hopefully we can find something better for Kali. 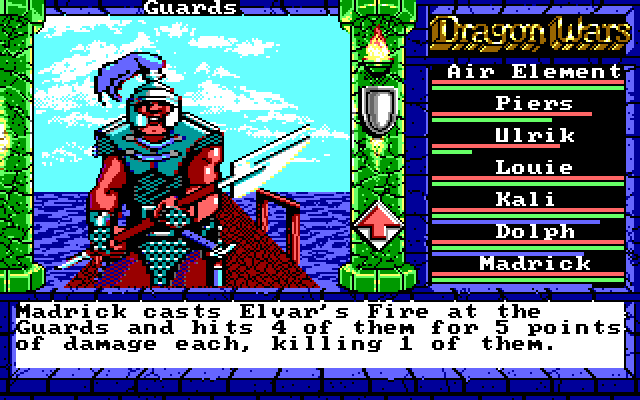 Elvar's is still our early-game MVP. Even doing just 5 damage here, it makes this battle a cakewalk. The next round, we easily clean up the remaining three baddies. 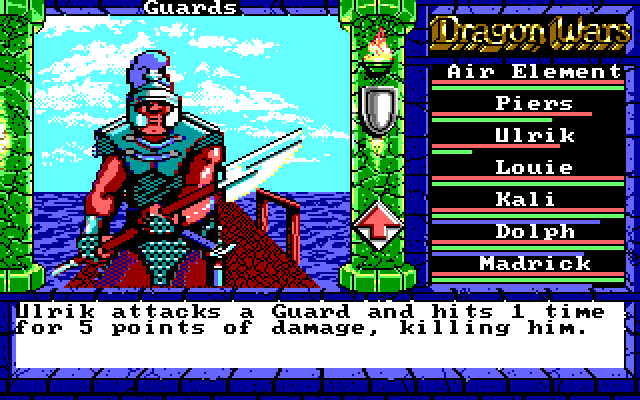 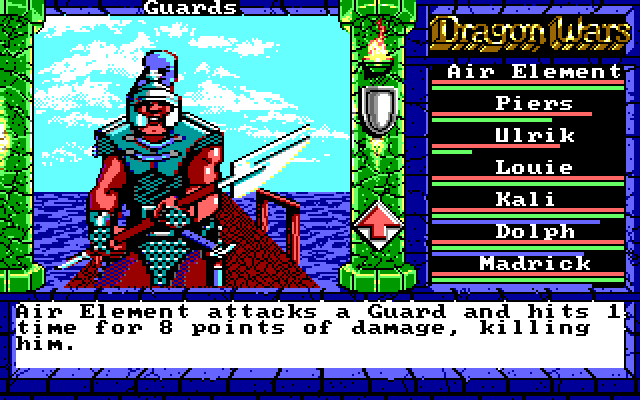 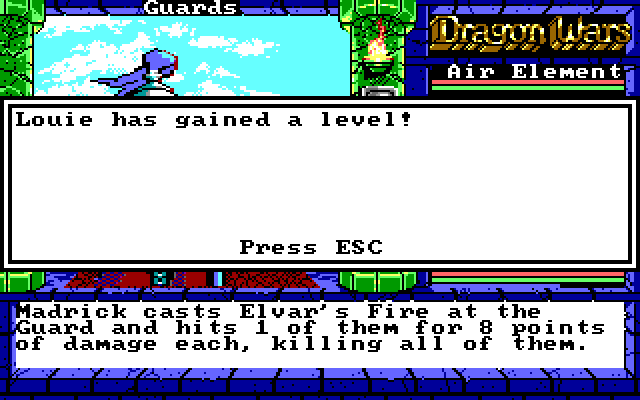 So those guys weren't too tough, and they'll never re-spawn. But they were just the trainees. The real bridge guards are up ahead. 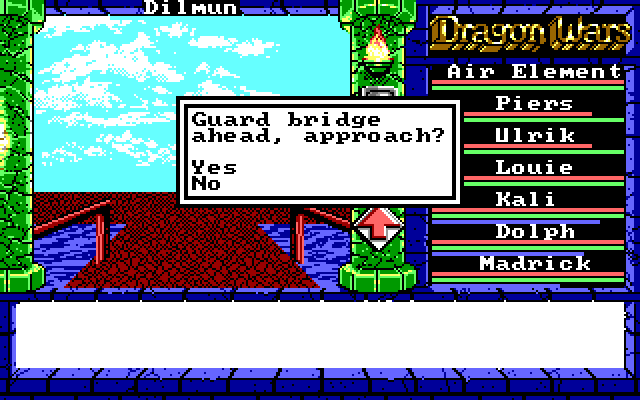 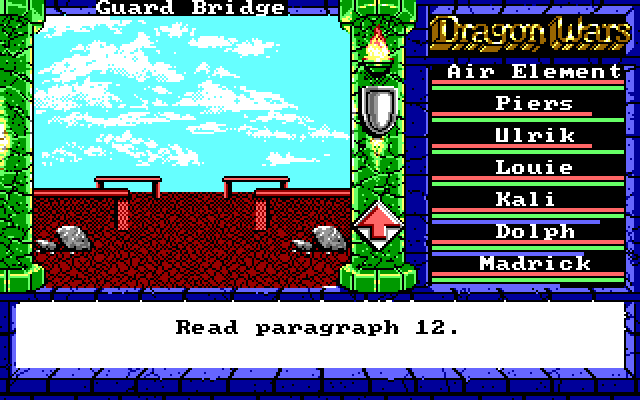 Paragraph 12 posted:Just ahead you see a bridge. The bridge is covered and armored doors bar the way across. The bridge appears to be the only way to cross the water and reach the land beyond. A pack of guards lounge before the entrance to the bridge. As you appear, they snap to attention. A guard with a narrow forehead and small eyes approaches you. Apparently they didn't notice us killing off their band of trainees right the gently caress in front of them, but hey, whatever. Maybe the guards are all facing the other way and don't expect anyone to be coming from Purgatory. Anyway, before we chat with them, there are actually a couple of spots to check out right next to the bridge. First, to the left: 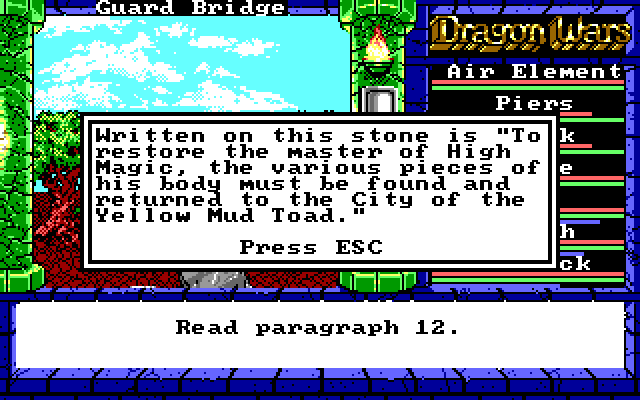 Let's think back for a moment. The master of High Magic was Lanac'toor. According to Carson, he was shattered into pieces and scattered about. The part that isn't mentioned here but is included in the Dragon Wars Manual (which I recently found my original copy of!) is that he was first turned to stone. That's a rather important detail, actually. And of course, rather than dumping his stone body parts in the ocean like an intelligent villain, Namtar opts to put the pieces in places where they can be found, and possibly put back together. But it's not like they were put in places so easily found that we would have already stumbled across some random stone body parts by now, right?  Oh, right. We found both of his arms in the same spot. I mean, they were at least buried in an abandoned ruin, but still.  Anyhow, off to the right: 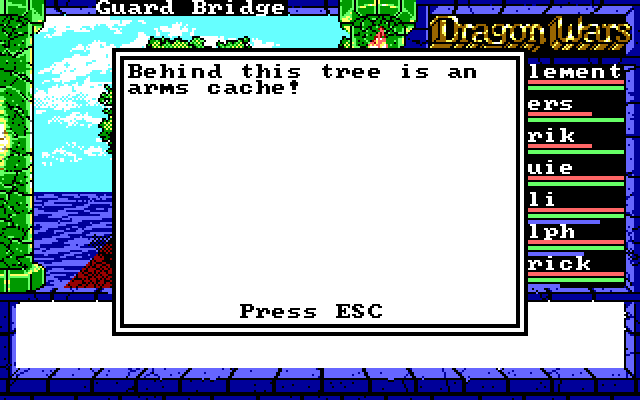 It sure is convenient how many weapons are just laying around out here. How does nobody find this stuff? 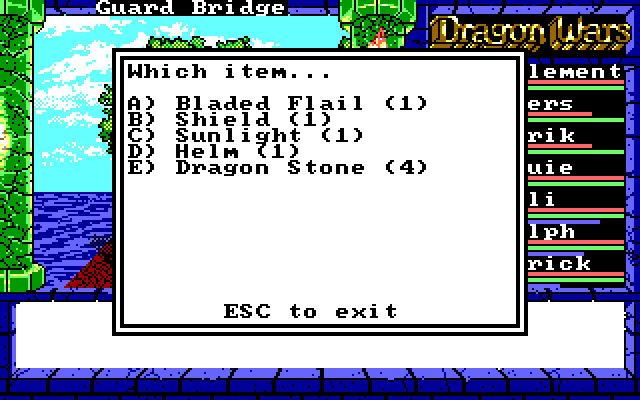 It's decent loot. As far as I know, the Bladed Flail is exactly the same as the War Flail we already have, but the Helm/Shield are free AC and we can use those Dragon Stones to recoup the MP we're using. Sunlight is -- you guessed it -- a Sun Magic spell. It's actually "Sun Light" in the menu and it's exactly the same as Madrick's "Healing" spell. Heals 1-6 HP for 3 MP, cheaper than Greater Healing, etc. 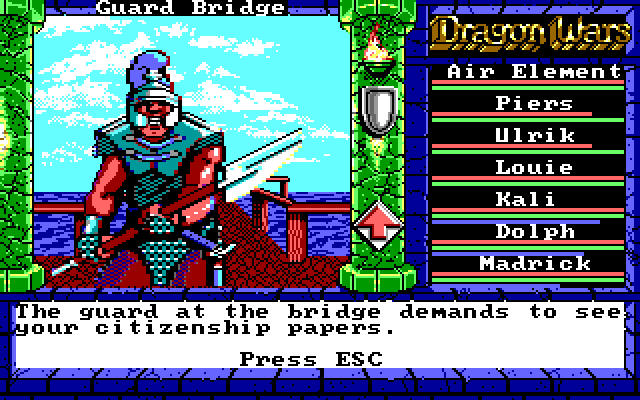 Well, we managed to pick up some Citizen Papers in Slave Camp. Let's try using them here. 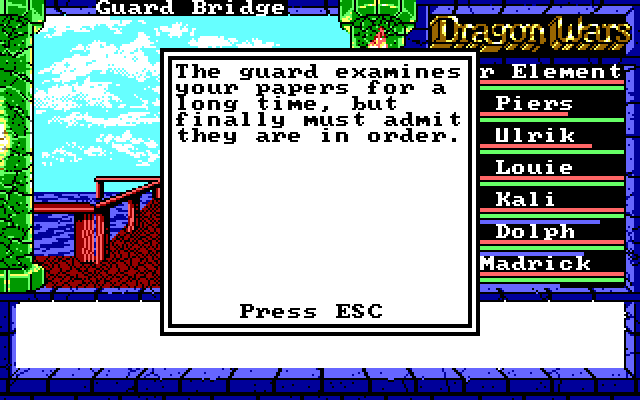 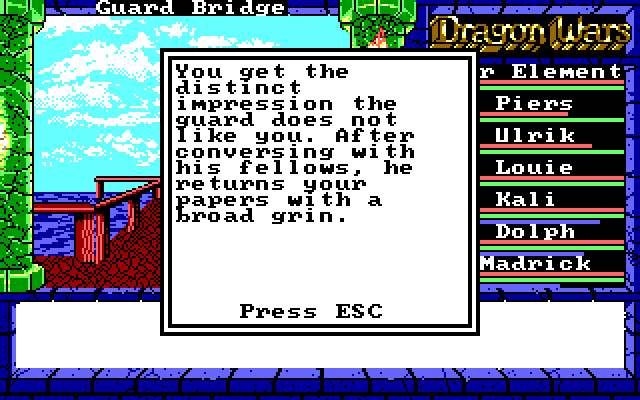 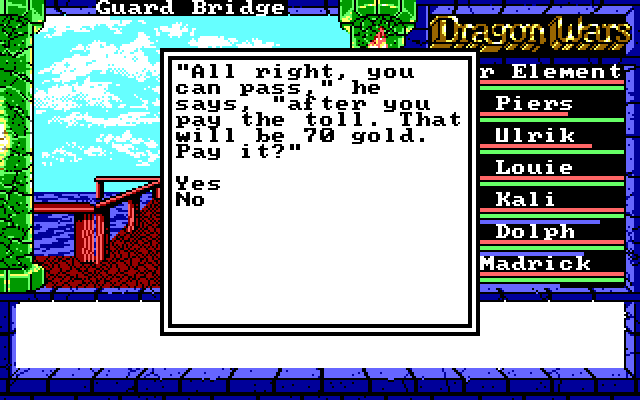 Well, it looks like we have a decision to make here! Let's vote on whether we should pay up or fight our way through! On one hand, 70 gold is basically nothing, and we just had a battle... Just kidding. We're going to continue kicking rear end. 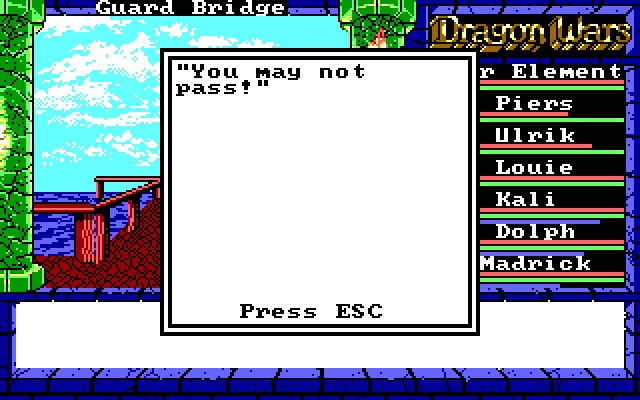 Piers: Just try and stop us! 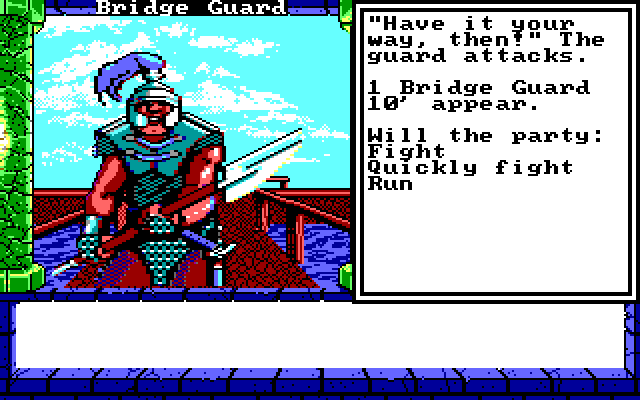  One guy? One loving guy?! Well, there is a random factor at play here. If we run away and come back, there's a chance of a different number of enemies... 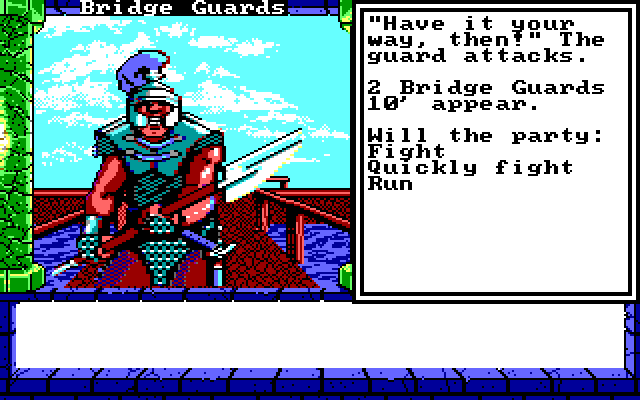 Two. It's capped at two. Huh. 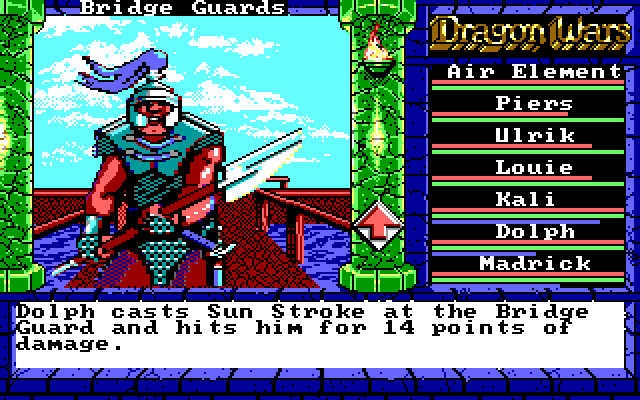 Well, to be fair, they don't go down easily. 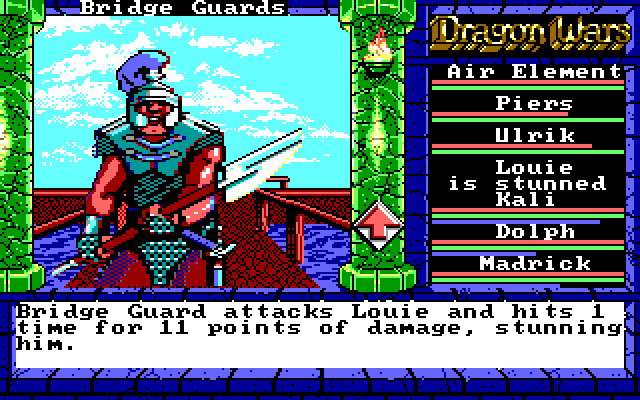 And they can hit for a bunch of damage. This isn't enough to one-shot anyone, but it's close. 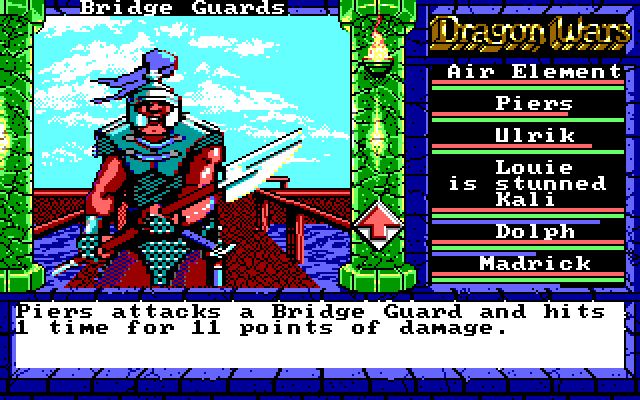 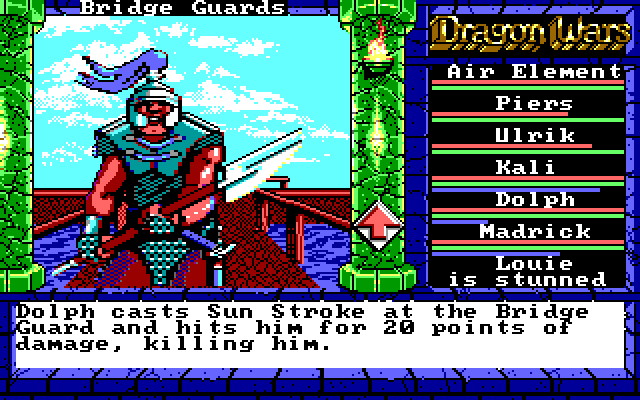 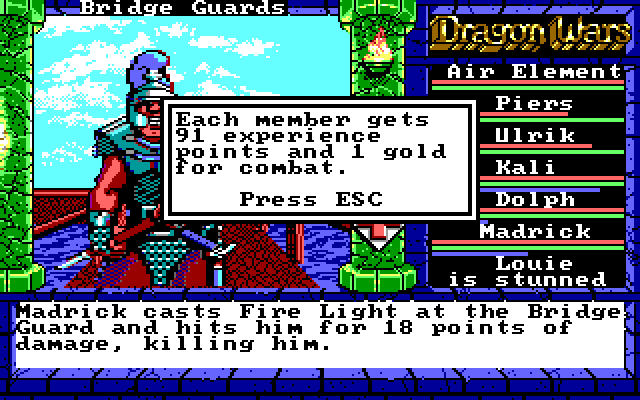 But with our powered-up magic, it takes only two rounds for us to take these two out. 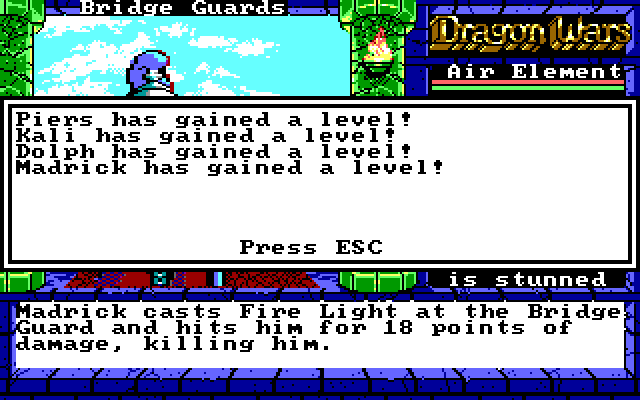 And hey, more levels! 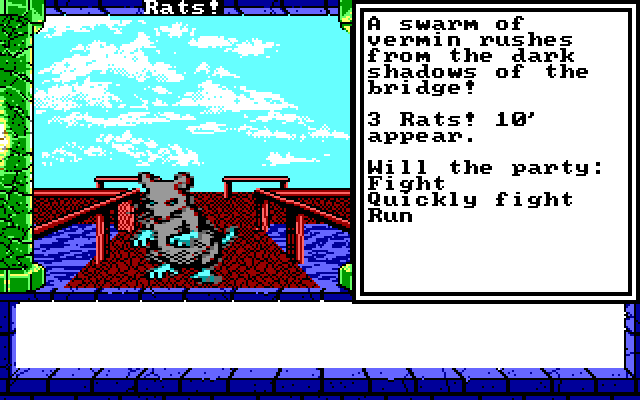 These Rats! show up immediately after the guard fight. I didn't even have time to heal Louie.  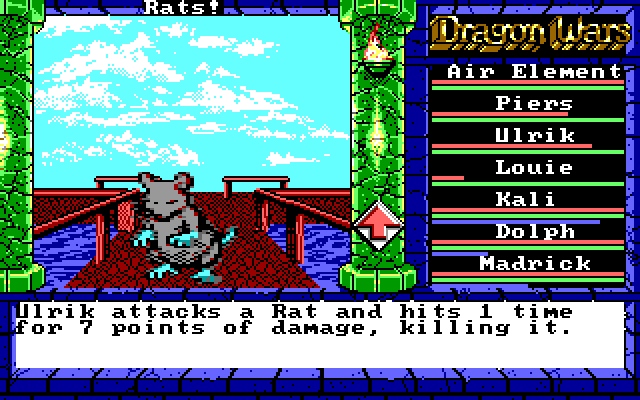 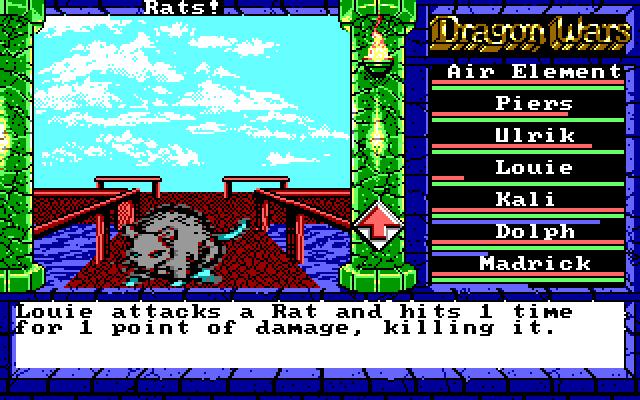  Not that I needed to. Rats! are no threat whatsoever. 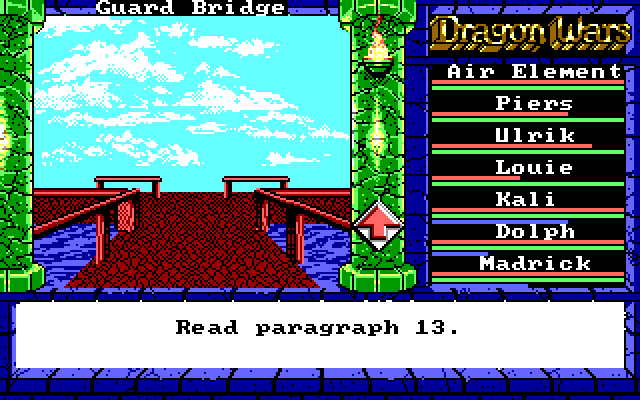 Paragraph 13 posted:You're in the middle of the bridge. Although the bridge is covered, you can hear water rushing beneath you. It is astonishingly loud. The bridge is longer than it appeared from the outside. You recognize now that even a good swimmer would find it impossible to swim from one island to the next. This bridge is the only way across. Well, that's wonderful. Anyway, ready to see a way to cheese the game for lots of experience points? 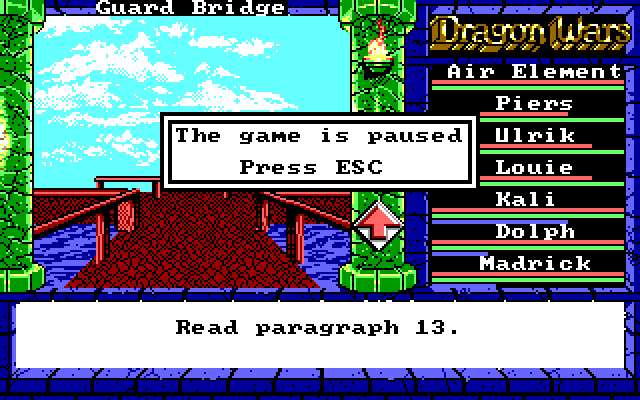 Pressing the ESC key pauses the game. Pressing it again unpauses the game. If we press it a bunch of times, we can rapidly pause and unpause the game until another Rats! encounter shows up. 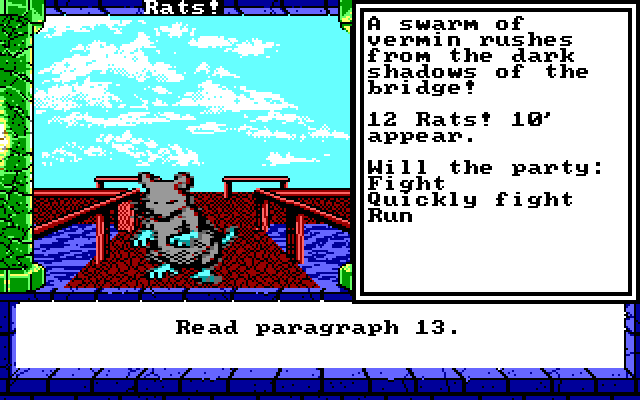 Hey look. That is one huge group of enemies. They don't do any damage, but battling all of them will be long and tedious and... 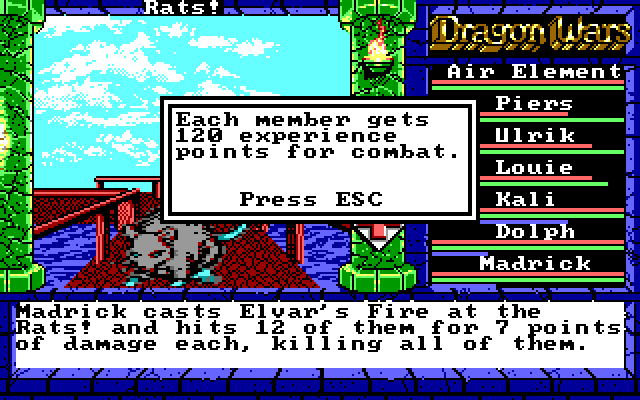 Oh. So, we could sit around for a while and rack up a ton of experience doing this, and gain as many levels as we want. This is one of two ways which we could really break the game open and create super-strong characters. But for now, let's play the game fairly and win without doing anything cheap like that. 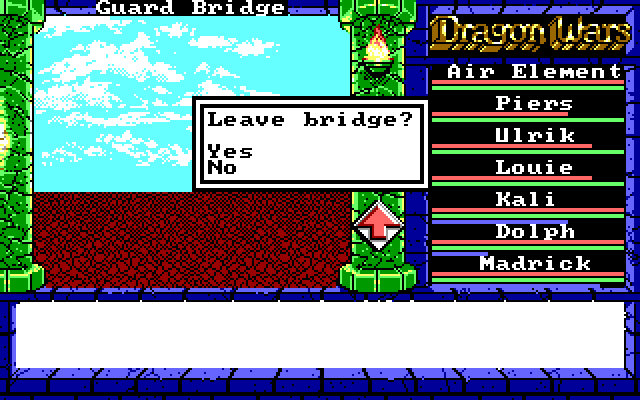 There's nothing else on the bridge. Let's explore the next island! 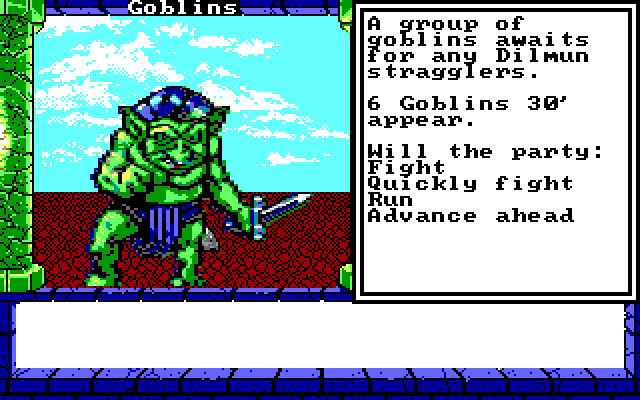 But first, these guys. Get used to seeing this image. There are a lot of goblins in this game. Fortunately, they're in perfect Elvar's range. 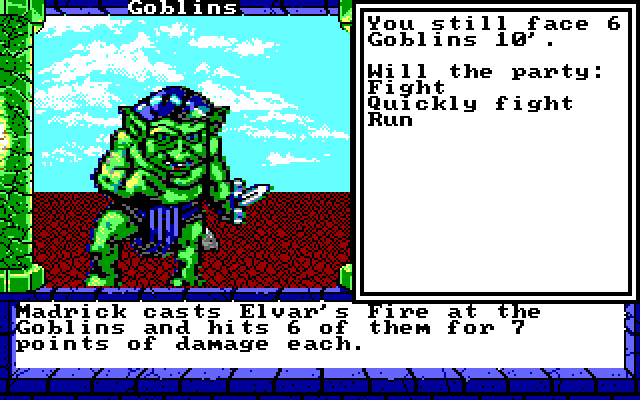 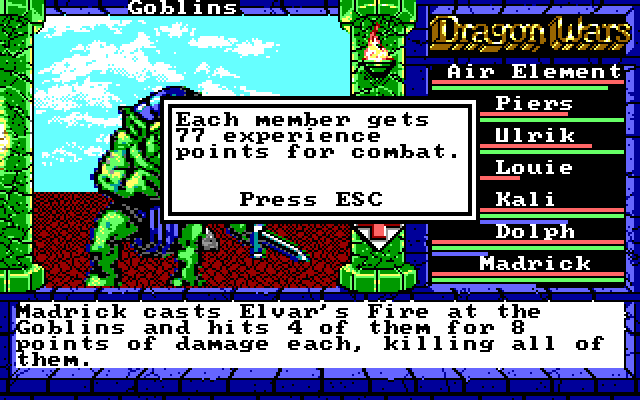 Just ahead of this bridge is another bridge: 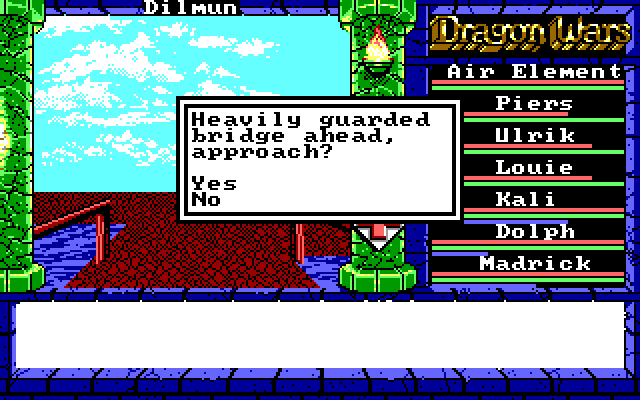 "Heavily guarded" they say? Maybe this one has more than two guys? But we don't have to just charge ahead to the next bridge. There are things to do on this island as well. Of particular note is a town guarded by our favorite foes... more Goblins! 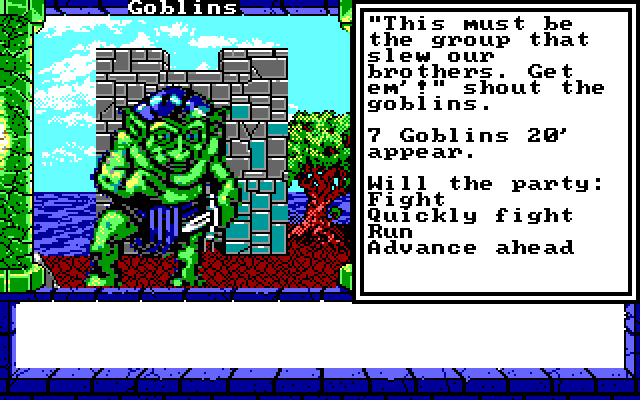 Wait, how did THEY know? They were way across the island. Regardless, we have an Elvar's Fire for them too. 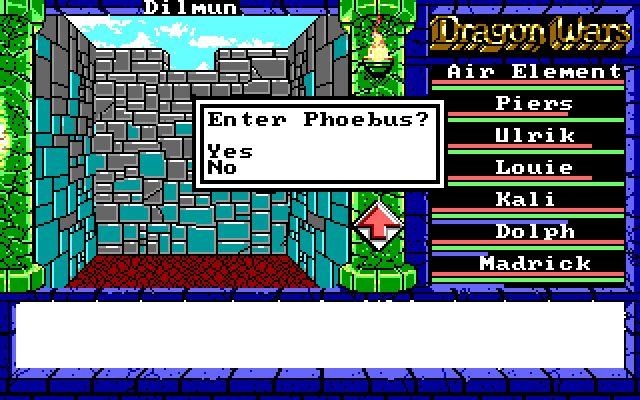 Again we're reminded of Carson, who was a sorcerer at the Temple of the Sun in Phoebus. So this is the hotspot for Sun Magic, and the home of Mystalvision, who we have been warned of.  There's also a magical forest, south of Phoebus. So with that in mind... Voting Time! Possibilities for our next destination: - Phoebus! - Magical Forest! - Cross Another Bridge! (and do stuff once we're over there) If there is a tie or nobody cares which way we go, I'll roll a die. Note that things get much more wide open from this point, so it's possible that we could do one of these three for Update 10, and not get to the others until Update 20 or so. So... choose carefully!
|
|
#
?
Mar 24, 2015 07:03
|
|
|
Phoebus because magical forests are always full of goblins and fairies and poo poo.
|
|
#
?
Mar 24, 2015 08:51
|
|
|
Magical Forest! Because both sequences are awesome, but I think it's better to do the Forest first!
|
|
#
?
Mar 24, 2015 12:32
|
|
|
The Magic Forest sounds fun. Maybe we can get more druid spells for Kali there.
|
|
#
?
Mar 24, 2015 16:18
|
|


|
MaskedHuzzah posted:Magical Forest! Because both sequences are awesome, but I think it's better to do the Forest first! I'm convinced!
|
|
#
?
Mar 26, 2015 12:35
|
|
|
Magical Forest all the way
|
|
#
?
Mar 26, 2015 23:06
|
|
|
Phoebus sounds cool.
|
|
#
?
Mar 27, 2015 13:14
|
|
|

|
| # ? Apr 28, 2024 12:56 |
|
|
Magical Forest time.
|
|
#
?
Mar 28, 2015 01:51
|
|