

|
MaskedHuzzah posted:That's one of my favorite sequences of the game - sure, they could have done the now traditional "Knock you out in a cutscene", but setting up a battle like that just to shove you into a prison really made it worth it. Yeah. Like I said, they do use a plot device to take you out even if you win the battle, but with 10 Stosstrupen in front and a strong magic user in the back, you probably won't win it anyway.
|
 #
?
Apr 25, 2015 18:03
#
?
Apr 25, 2015 18:03
|
|


|

|
| # ? Apr 28, 2024 13:27 |
|
|
Update 17: Escape From Phoeban Dungeon Stuck in a tiny dungeon cell with no way out, we do the only thing there is left to do: keep walking into the door to pass the time.  This continues on for several days. 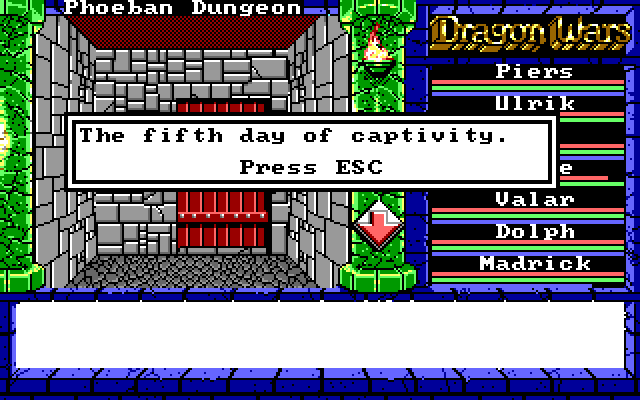 Piers: Ugh. Not enjoying this being packed into a 10x10 cell with six other people. Valar: Seriously, you're complaining? The day after I meet you guys, you get me drafted into the bad guys' army, then we turn on them to join a different army, then you drag me all the way back here and get me thrown in a dungeon with you all! Kali: Oh yeah, well how do you think I feel? Piers: ... Valar: ... 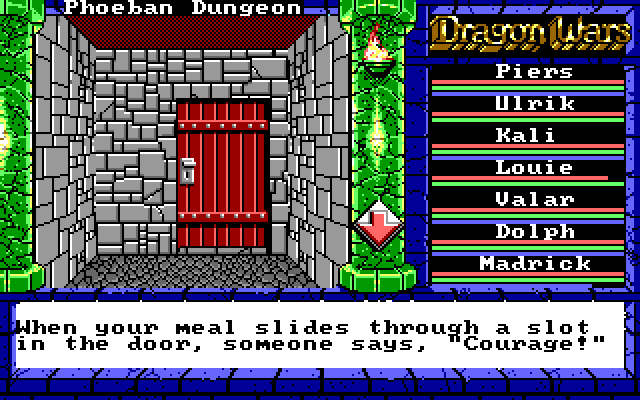 I have no idea why the person says "courage" here. Seems like it should be a passcode or something, but it isn't. A few more days pass. 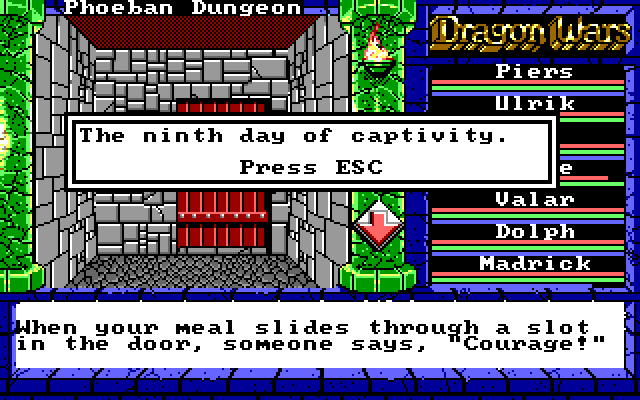 Paragraph 101 posted:You receive a note with your feeble meal for the day: Berengaria's a pretty good dude. We are now free to explore the dungeon -- we will have to do something about that jailor though. First, we'll walk around the cell block for a bit. Most of the cells are empty. 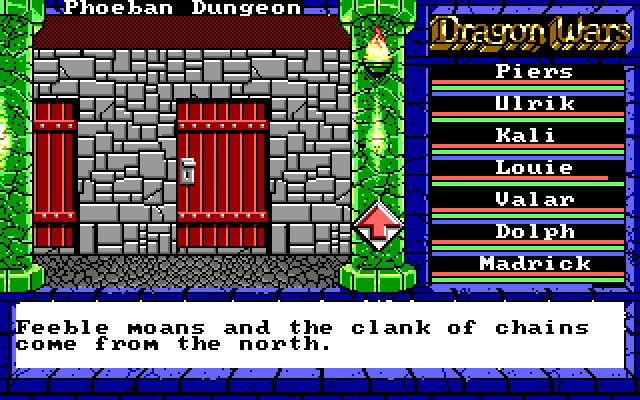 This one isn't, so we'll pick the lock and check it out. 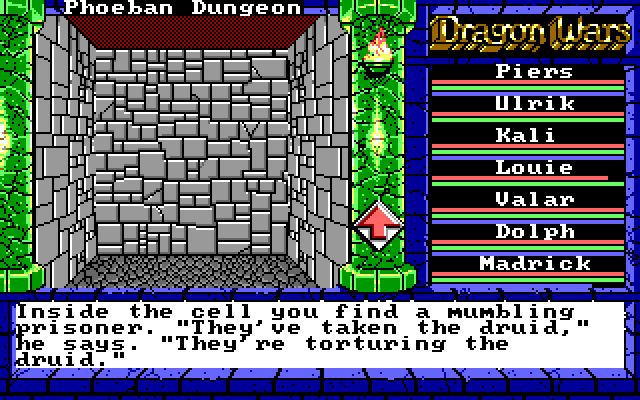 We can't do anything with this guy. He's not very helpful. That's not even a real hint. 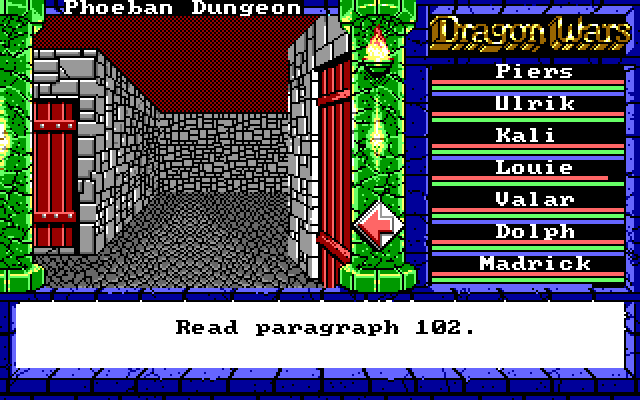 Paragraph 102 posted:This is the jailor's room. The fat jailor snores in a drunken slumber. He's slumped over his table, but there is a rope tied to his hand, and a bell tied to his rope. Should he stir, the bell will ring, possibly summoning guards. The jailor is asleep, and doubtless very drunk, but turn-keys are notoriously light sleepers. Naturally, if we try to just walk forward, we get a battle: 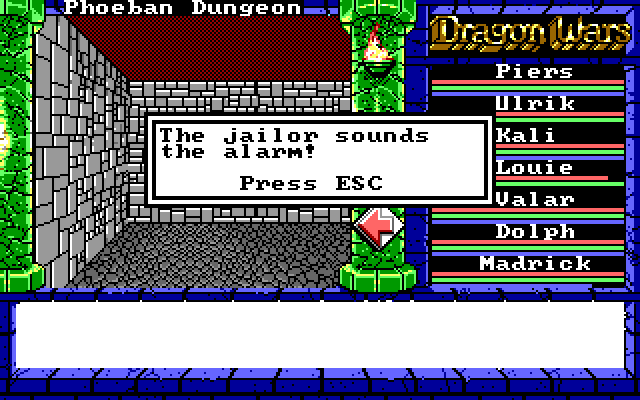 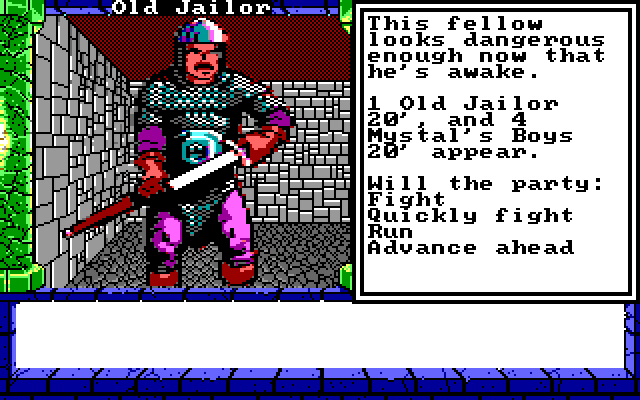 This battle is very winnable. Alternatively, we could try running away. 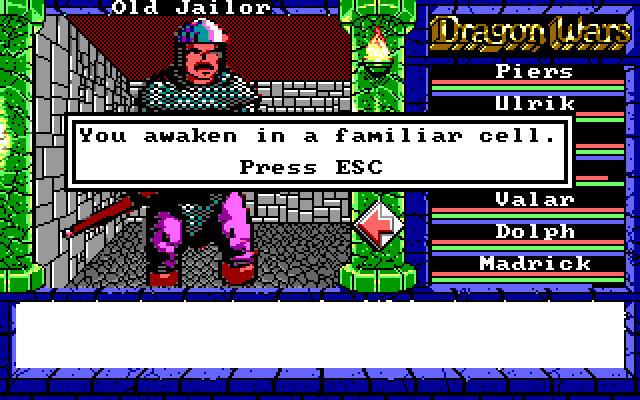 And yes, getting thrown back in our cells means waiting another nine days for Berengaria to let us out. Instead of getting Paragraph 101 again, we get this message: 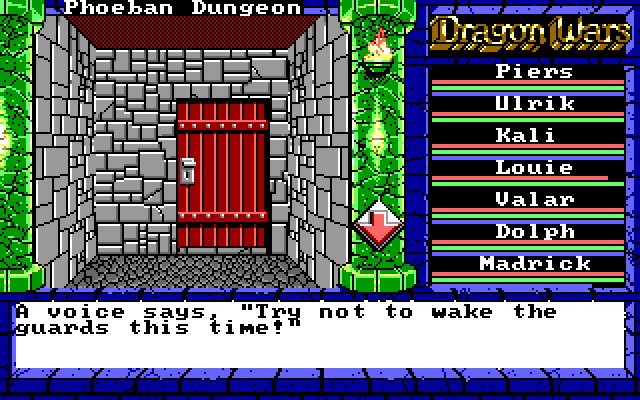 We could go and trip the alarm again and win the fight. That works. However, there is a more elegant solution. Instead of just walking past, we can use the Hiding skill to sneak by the jailor. 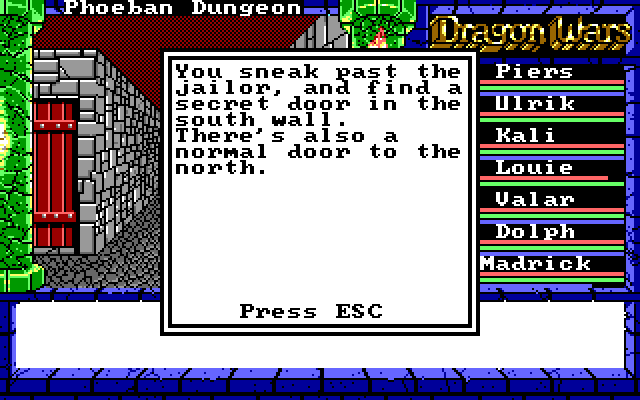 This tips us off about the secret door, which is pretty important information if you don't already know about it. For now, we'll just go north. 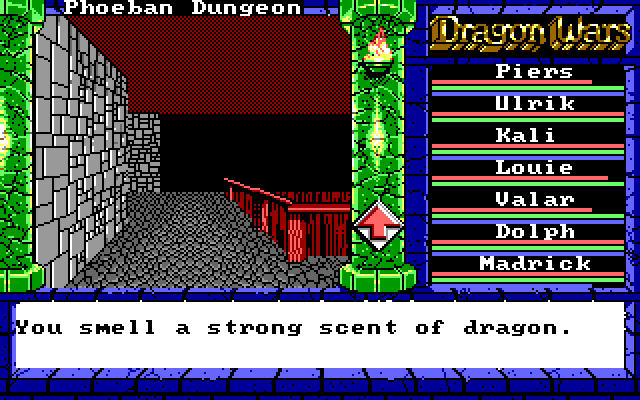 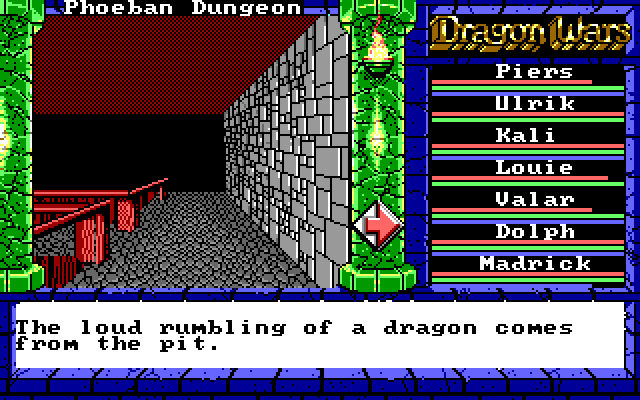 The game actually plays a sound effect over the internal PC speaker for the rumbling dragon, one of the few times when the game plays a sound effect out of battle.  Paragraph 104 posted:In the dark shadows of the dungeon you find a pit, at the bottom of which is a frothing dragon. The beast is constrained by a series of chains, but it seems to you the saurian could hardly be bound by such puny restraints. Suspended above the center of the pit is a wooden platform, on which a demented hunchback struggles with a bound prisoner. The hunchback is about to push the prisoner into the pit, evidently intending him as a sacrifice to the dragon. The prisoner struggles as best as he is able, but his hands are tied behind his back, and he is weakened from long captivity. The dragon thrashes back and forth, impatient to receive its meal. 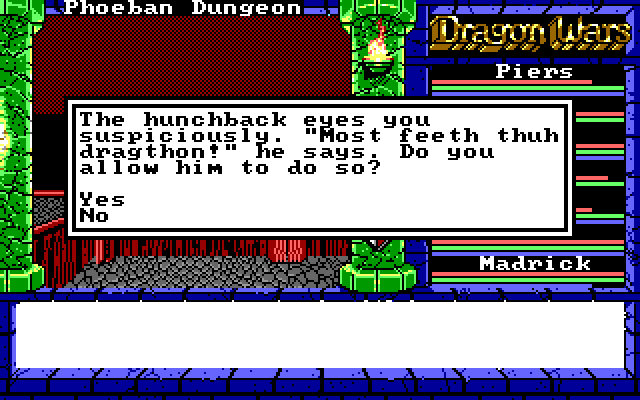 (Ugh, that dialogue. Normally I have good things to say about the writing in this game, but the hunchback's dialogue just utterly ruins this part.) Clearly we're not going to watch a man be sacrificed to a dragon! We'll have to intervene. Paragraph 89 posted:You restrain the hunchback and prevent him from hurling the prisoner into the pit. Tears flow from the hunchback's already swollen eyes. "Buth Gethtrude must eat!" he mumbles. The dragon's thrashing intensifies, and the great beast begins beating its head against the side of its pit, setting up a great rumbling through the dungeon. "Now thuh manue hath hit thuth windmill!" the hunchback howls, trying to flee down the narrow causeway to the edge of the pit. He doesn't make it...with a great booming, the dragon lurches from from his chains, bumping against the platform on which you stand. The hunchback is hurled screaming into the maw of the dragon...but now that that beast is free of its chains, no mere morsel can satisfy it! 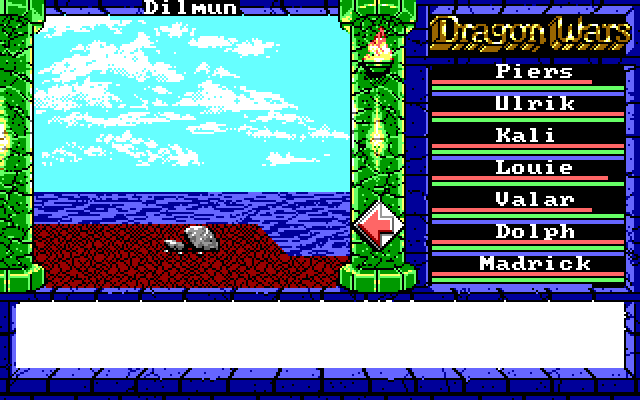 poo poo. Phoebus is just gone. This means anything we missed in the dungeon, and whatever Berengaria was going to give us, are also history. Obviously, this is not the best option. Let's rewind a bit. This time, we will allow the prisoner to be eaten. 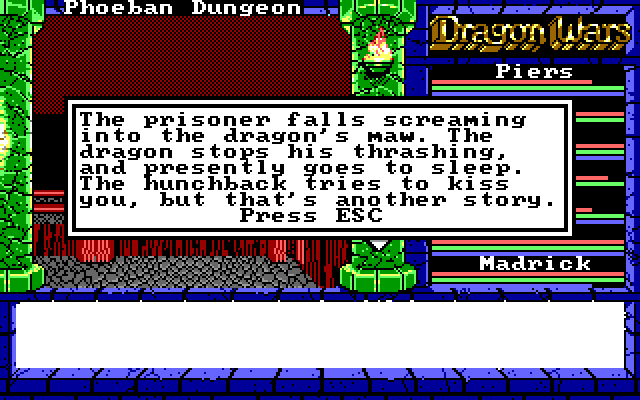 Well, actually that option sucks too, but at least we get to explore the rest of the dungeon now. There are a couple of rooms next to the dragon pit; we'll check them out first. 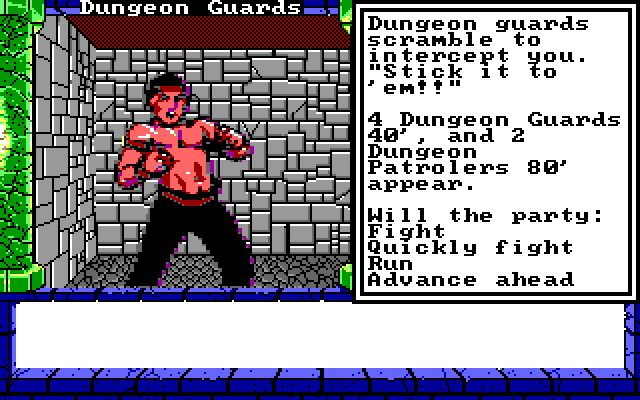 These guards are in one of the rooms, but they're not actually guarding anything. We can just walk past them. I don't know why the game makes these guard encounters and doesn't put them in front of the doors they should be guarding.  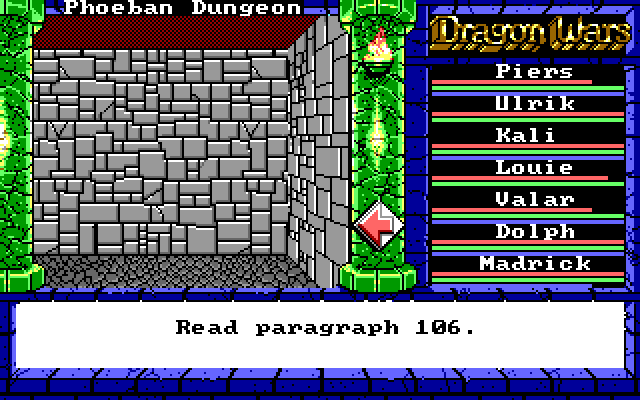 Paragraph 106 posted:This torture chamber is a vision of misery. The walls are lined with chains for securing prisoners in place; the center of the room is occupied by racks, iron maidens, a fire pit, and other horrible instruments. In the corner is a hole into which are hurled the grisly remains of stubborn heretics. A dying druid is stretched on the rack. You have rescued him from his torture...at the same time, it is evident he will soon die. There is nothing you can do to save his life, but perhaps you can ease his final moments? Remember how that one guy said they were torturing the druid? Well we got to the part where they're torturing the druid, and it turns out that they're torturing the druid. That one guy's advice really came in handy! Anyway, we want to use Bandage here. 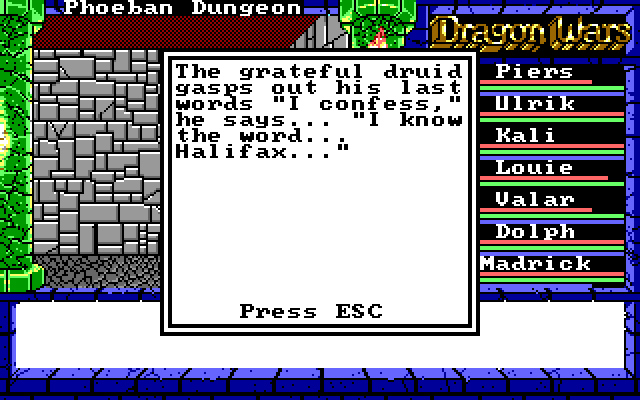 Hmm, okay, the word is Halifax. Remember that one for later. What's in the other room? 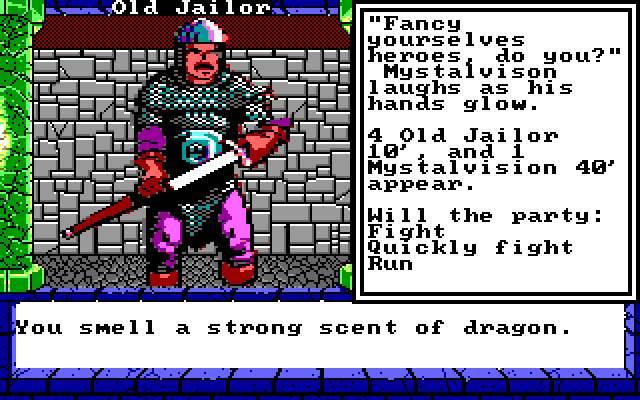 Oh, great. You again. Fortunately, Mystalvision & company are much easier this time around. The Old Jailors are easier to contend with than 10 Stosstrupen. Also, if we run or lose the fight, we just get sent back a step and can start the battle over again. Much better than getting thrown in a dungeon cell. Round 1, we melee the Jailors, use Sun Stroke with Dolph and Valar, and Big Chill with Madrick. The Jailors get knocked down like bowling pins and fail to do any damage to us. 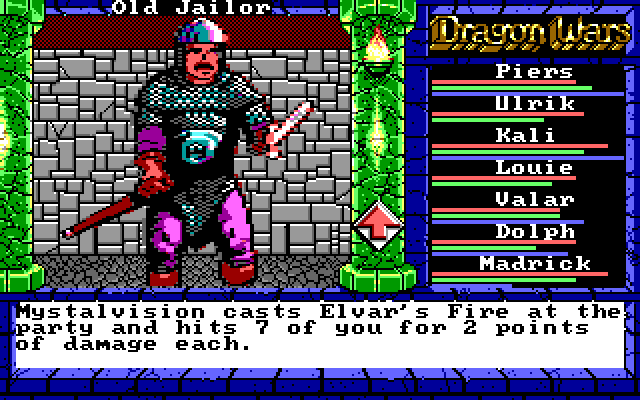 Mystalvision advances to 30' and hits us with Elvar's Fire. Interesting that he uses a weaker High Magic spell here, rather than Inferno like he used in our previous encounter. 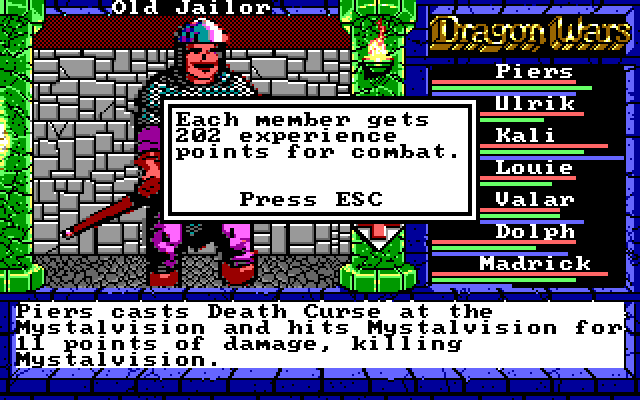 Also, we manage to take him out with Death Curse. Interesting how the game does not use a personal pronoun for Mystalvision. There's no ambiguity to his gender, and I don't recall the game giving this treatment to any other enemies. 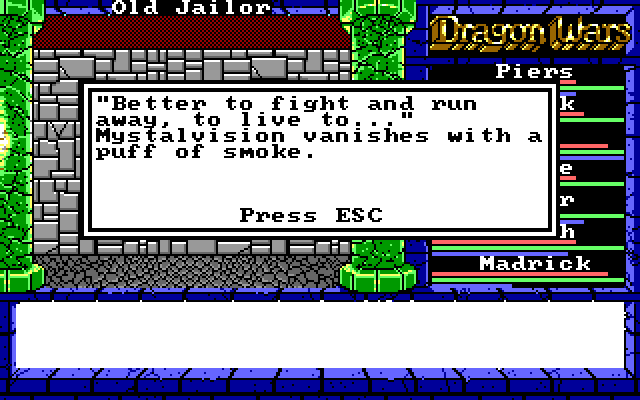 Yep, we'll be seeing him again. We didn't actually kill him. That actually kind of justifies how easy this battle was -- we haven't seen his true power yet. Also, he leaves a bunch of scrolls behind. 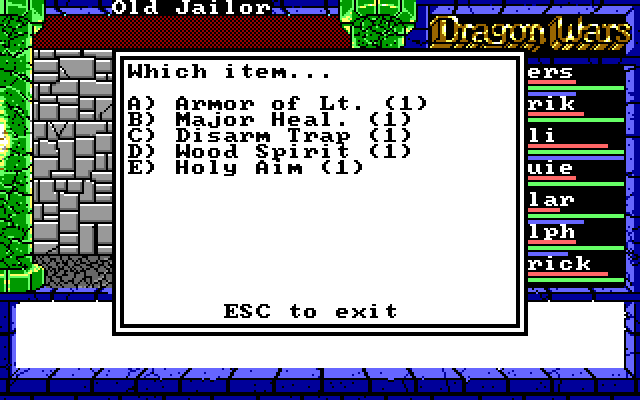 More evidence that Mystalvision does more than Sun Magic. Wood Spirit is for Druids, so we'll give it to Kali, but it's a summon spell so we don't actually care. Some spells that are Sun Magic: Disarm Trap is another cost/time spell, it protects us from traps. I don't know if that's different from Sense Traps because I've rarely ever used either. There are not that many traps. Holy Aim increases AV. Also not exciting. Dolph gets both spells. Major Healing is the one we care about. It heals all allies. Naturally this is much more valuable than spells that heal one ally. We'll give it to Valar with his 32 MP. There are two more rooms in the west of the dungeon. One has a pointless encounter with guards, so we'll ignore it. Instead, we'll go to this room: 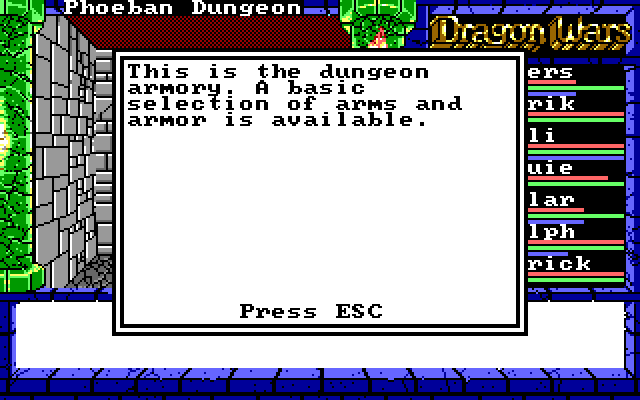 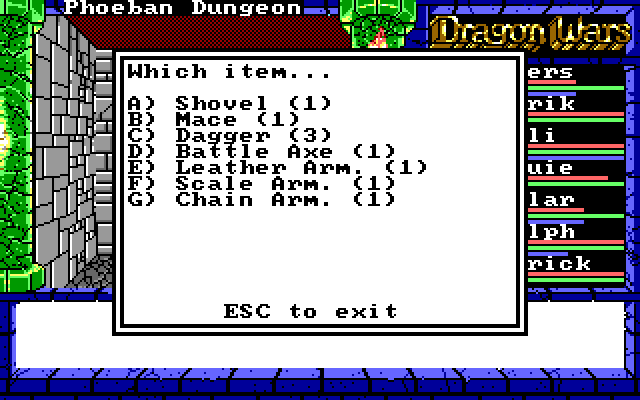 The weapons and armor are all garbage at this point. If you get here earlier in the game, the Chain and Scale Armors might have some use, but the other stuff is Purgatory-caliber. We don't need any of it, but we'll grab the Shovel. 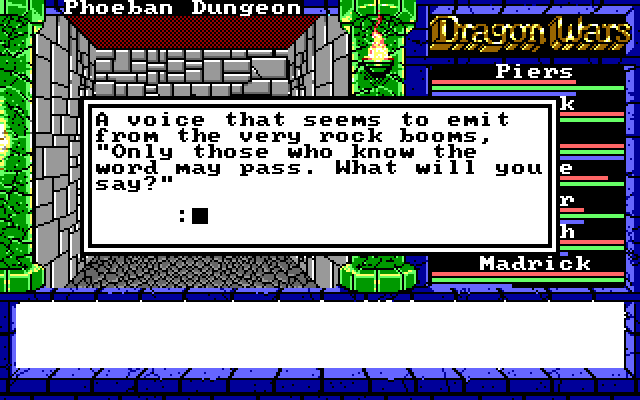 The word, you say? 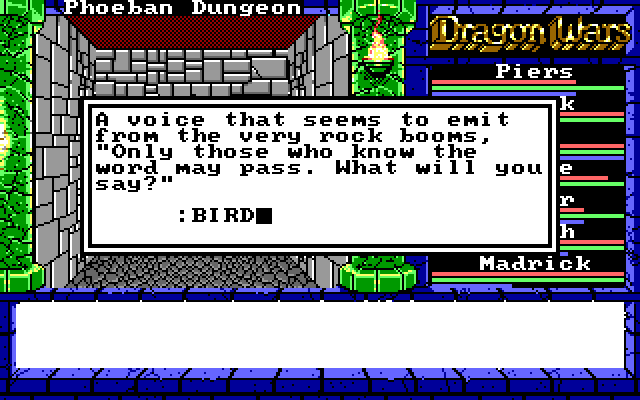 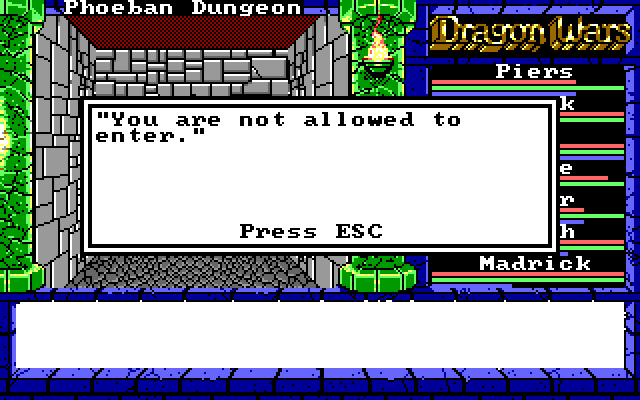 ...Yeah, I deserve that for making such a terrible joke. If we hadn't found the druid earlier, we might be inclined to think the password is "Courage," but of course we know it is "Halifax". Or "HALIFAX", or "haLiFaX". It's not case-sensitive, which I guess makes sense because we're meant to be saying the word rather than writing it. 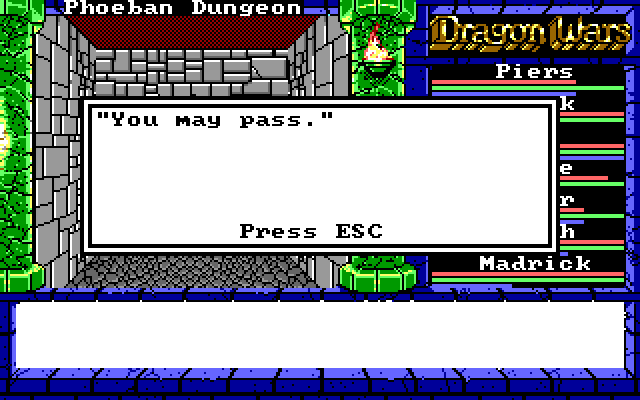 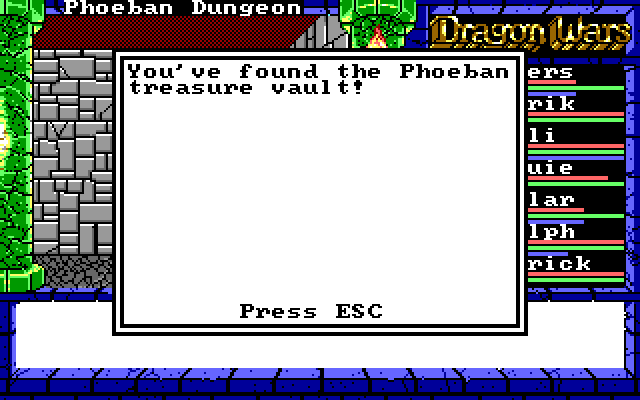 This is where the real loot is. 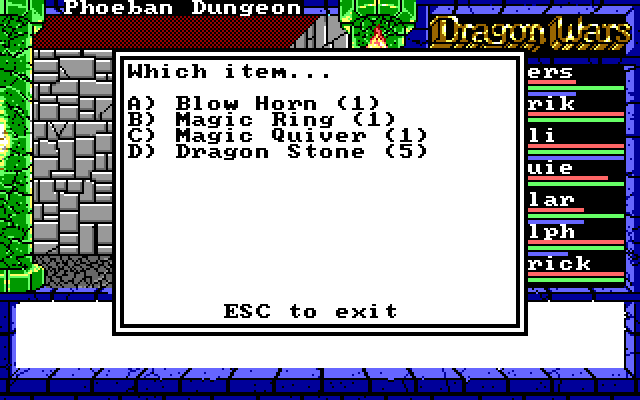 The Blow Horn casts Whirl Wind. The Magic Ring gives +1 AV and +2 AC, I give it to Ulrik to boost his accuracy a bit. It also casts Whirl Wind. I don't think I've ever used Whirl Wind, but maybe I'll find a place where that's useful? The Magic Quiver provides unlimited ammo for Bows (it's listed as having 64 arrows but that number never decreases), but it's actually a bit weaker than the regular Arrow. It's not all that great right now, but we will eventually find a very good use for it. By the way, we have to say the password again to get out of this room, so don't forget the word! With that, we've cleaned out the Phoeban Dungeon. Remember that secret door behind the jailor? We have to go that way to get out. This means that if you fight the jailor, you can easily get stuck in this dungeon unless you already know where the secret door is (there's another secret door leading out, but you'd never find it without randomly walking into walls.) 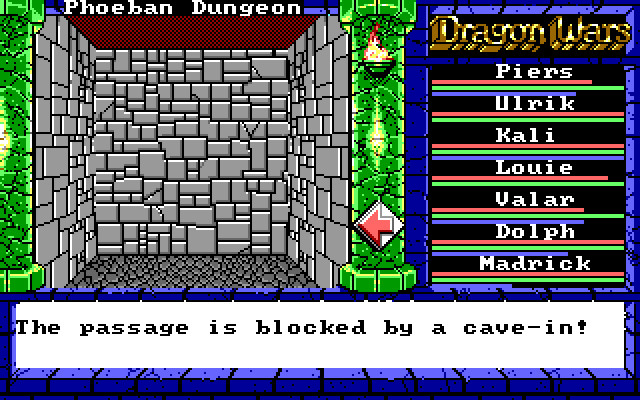 There are two ways to get past this cave-in. One is to simply use Climb: 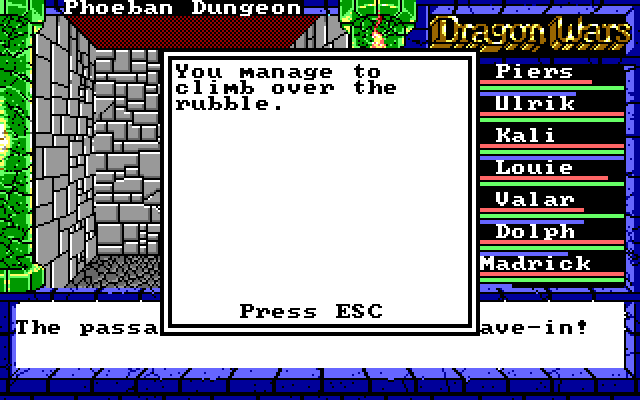 This puts us on the other side of the wall. We can turn around and climb back over it if we forgot something. We can also get past the wall by using the Shovel: 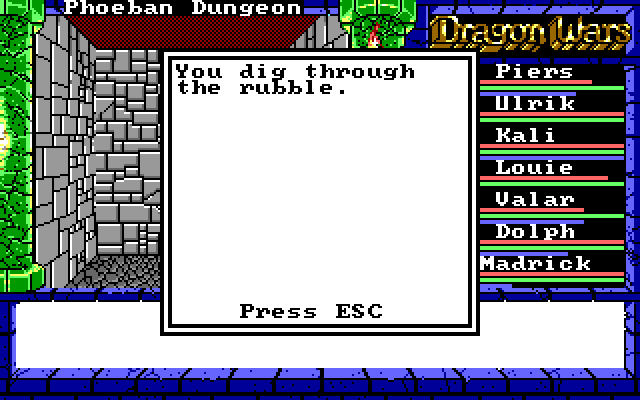 Again, works in either direction. It doesn't make the wall go away or anything like that. This is the only use for the Shovel, and we didn't even need it for this since we had Climb. We can discard the Shovel. 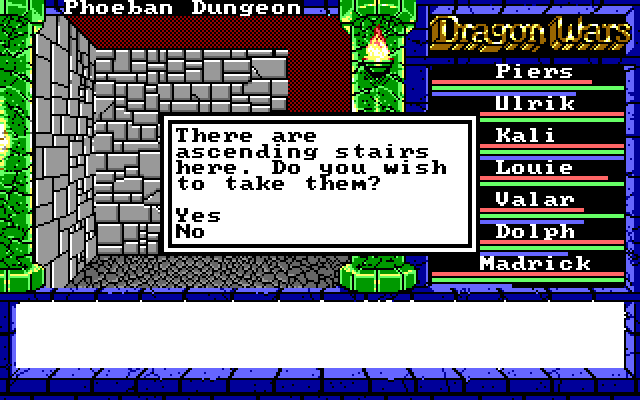 It's important to get all of the treasure down here before going up the stairs. There's no way back into the dungeon after this. 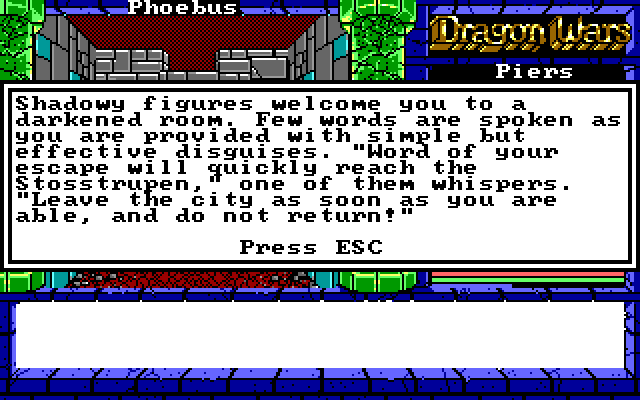 And we're dropped off in Phoebus. There's actually no hurry; the game doesn't give us a timer to get out of Phoebus before the poo poo hits the fan or anything like that. But hey, it's a game from 1989. Since we have plenty of time, let's go have a few ales with Berengaria at the tavern. 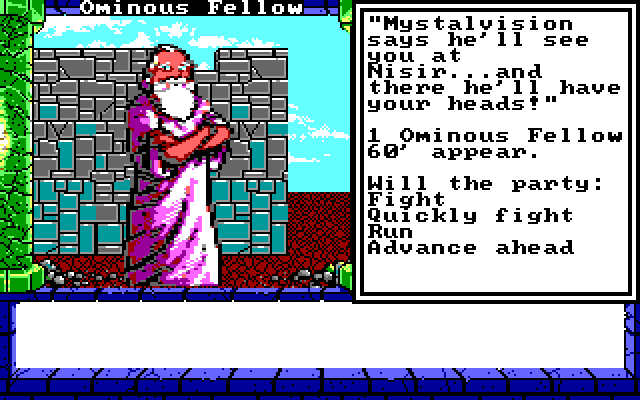 Like I said, we'll be meeting up with Mystal again. The isle of Nisir is the home of the Mountain of Salvation. We won't be visiting there for a while. The Ominous Fellow isn't actually a battle, by the way. He immediately runs off. Not sure why they didn't just use a dialog box or make us read a Paragraph. 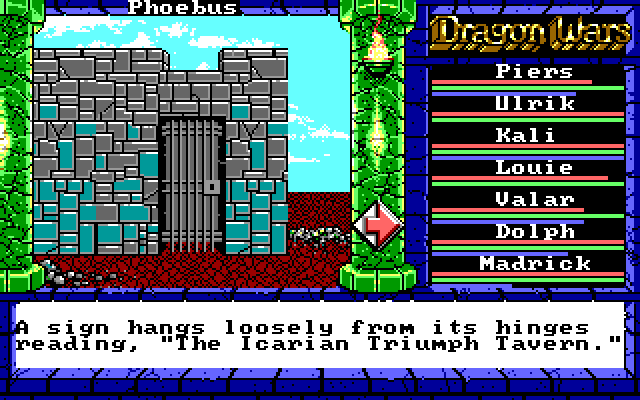 Now let's meet up with Berengaria and get wasted! 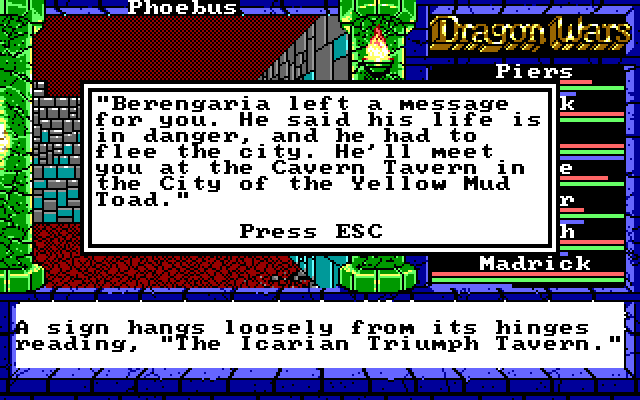 Aww. The revelries will have to wait for another day!
|
|
#
?
Apr 27, 2015 06:36
|
|
|
Vote for our next destination! - City of the Yellow Mud Toad: visit the Cavern Tavern, drop off our Pieces o' Lanac'toor, explore the isle of Quag - Lansk: It is Lansk! What is Lansk? Find out about it by voting for Lansk! - King's Island: We were just here, but there's plenty more to do! Is it time to take the battle to Namtar?
|
|
#
?
Apr 27, 2015 06:42
|
|
|
Gonna go with a more boring option: Lansk
|
|
#
?
Apr 27, 2015 07:55
|
|
|
Seconding the vote for balmy Lansk. Did I miss the bit where you had to recover your gear, or were the jailers too incompetent to take your stuff from you?
|
|
#
?
Apr 27, 2015 12:08
|
|
|
Free up inventory space, let's go to the City of the Yellow Mud Toad
|
|
#
?
Apr 27, 2015 13:29
|
|

|
The City of the Yellow Mud Toad! With a name like that, how can it not be entertaining?
|
|
#
?
Apr 27, 2015 14:05
|
|

|
Mmm, Quag. How could anyone resist Quag? City of the Yellow Mud Toad for me!
|
|
#
?
Apr 27, 2015 14:39
|
|

|
chiefnewo posted:Seconding the vote for balmy Lansk. Forgot to mention this! They don't bother to take any of our equipment or other items. This is a bit surprising, as the game is clearly capable of stealing our entire inventory and making us get it back, as it does in Slave Mines, but it's a massive annoyance when it does (you have to re-organize and re-equip everything), so maybe the game designers were just being merciful. Maybe Bergengaria just leaves our stuff in a sack outside the door.
|
|
#
?
Apr 27, 2015 14:47
|
|
|
City of the Yellow Mud Toad seems perfectly fantasy. Interesting you can power through the same wizard who hyperslept you earlier.
|
|
#
?
Apr 29, 2015 18:07
|
|


|
Mud Toad will be our next destination. Update coming soon.
|
|
#
?
Apr 29, 2015 22:05
|
|
|
Update 18: Quag and the City of the Yellow Mud Toad After a quick trip to the Underworld to recharge our magic, it's time to make our way to the City of the Yellow Mud Toad. There are two ways to get to Mud Toad; we can cross the bridge to Lansk and then cross another bridge to get to the island of Quag, or we can use the Mystic Wood's transportation nexus to zap over to Quag directly. We'll cover the Lansk path when we visit Lansk, so for now we'll just teleport on over.  Before visiting the city proper, let's swing by the Quag Information Bureau. 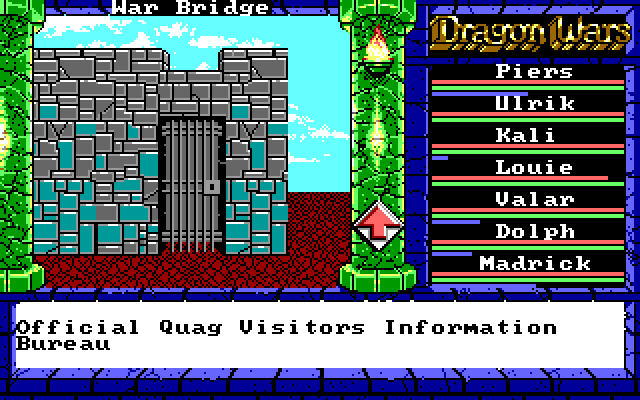 We'll just walk in here and listen to some exposition before going to Mud Toad... 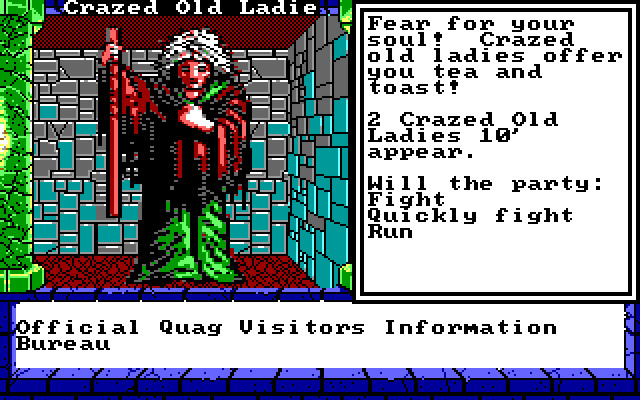 Wait what? Why is there a fight here? Why is it with two old ladies? This makes no sense! Well, nothing to worry about, we can take them... 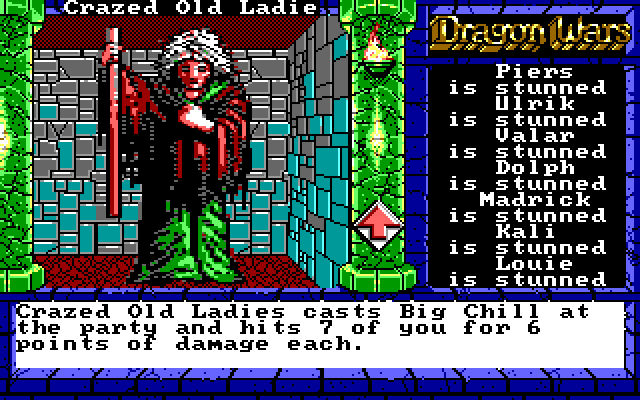 DUDE WHAT  For the record, it's possible to win this fight. Surely we must get a significant reward for defeating two enemies with Big Chill, right?! 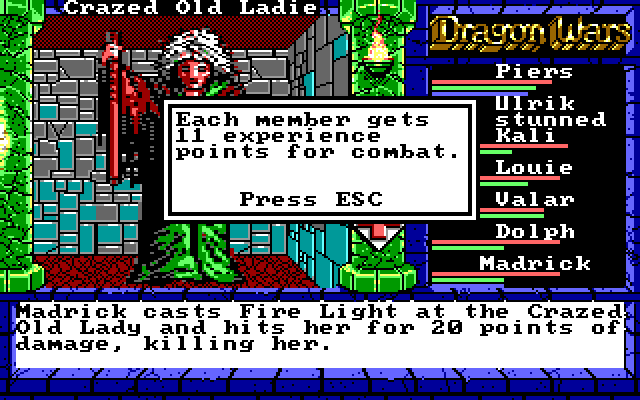 Nope. Worthless. Just run away. So, the Crazed Old Ladies fight actually shows up randomly. Sometimes we get the fight, other times we get Paragraph 47: 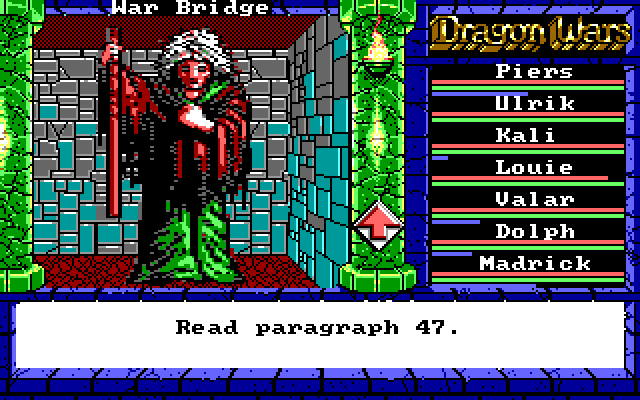 Paragraph 47 posted:Near the bridge you find a run-down building. A sign above the door identifies the place as the 'Official Quag Visitors Information Bureau'. The building is every bit as run-down on the inside as out. It makes a bit more sense if you see the paragraph first, and then get the fight if you come back, but you can get either one first, and in fact you could see either one several times before seeing the other. It makes a little sense, I guess, except that there should only be one woman, and nothing in Paragraph 47 explains why this crazy lady can cast the most destructive High Magic spell in existence. Also, the "safe for travelers" bit is all kinds of nonsense. The primary reason? These assholes: 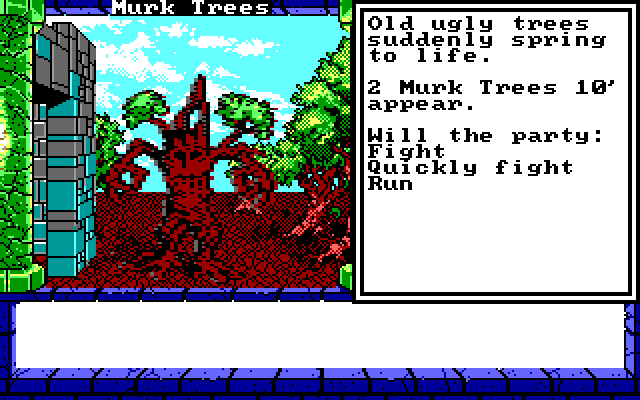 Murk Trees only show up one or two at a time, but they start out in melee range, do a ton of damage in one hit, and usually connect. Even with our high AC and decent HP totals, they can still sometimes one-shot kill a character: 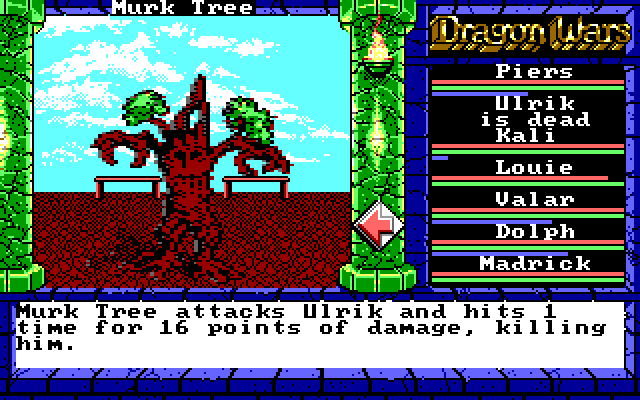 There is a trick. 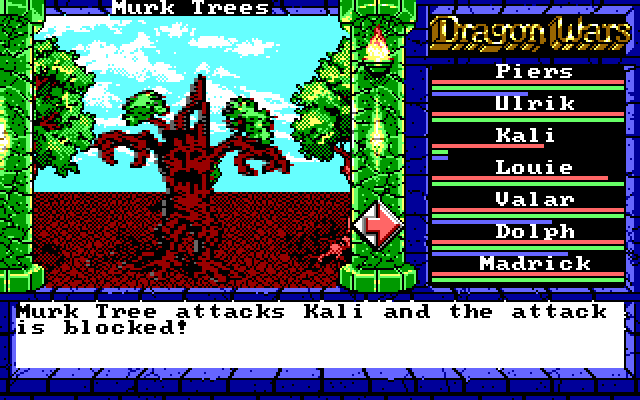 We can use Block Attack with our front-liners while our magic users kill off the trees with magic. Alternatively, save frequently and hope for the best. 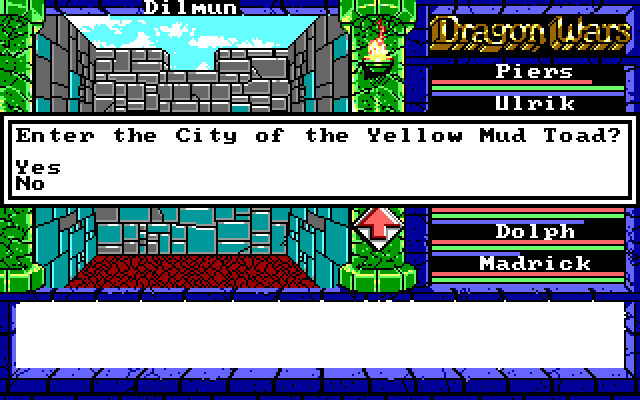 Paragraph 29 posted:Perilously weakened from your long journey through the swamp, you at last enter the City of the Yellow Mud Toad. The walls here are sagging and brown with grime. The city smells almost as bad as the swamp that surrounds it. Still pools of foul water and puddles of bubbling mud clog the streets. The people of this city shuffle about on their tasks, letting your greetings go unheeded and refusing to look you in the eye. The entire eastern section of wall is missing. Like the other towns, Mud Toad was utterly crushed by Namtar's army. 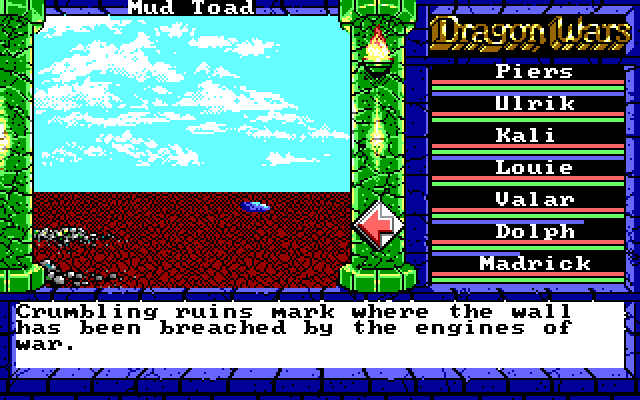 So this town sucks. And as we all know, there's only one thing to do in a lame town: get wasted! 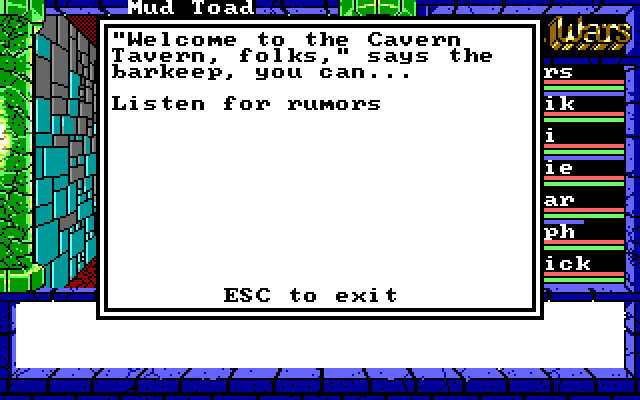 I always wonder where the "buy alcohol" option is. Do these taverns not want to make money? There was plenty of booze to be had in the Bard's Tale games, why not here? Anyway, since there is no booze to be purchased and there are no allies to be recruited, let's hear the rumors. Barkeep posted:I hear there's a secret hatch within Lanac'toor's statue. Huh, okay. You realize it's not so much a "statue" as "scattered petrified bits of the actual guy," right? Was there a secret hatch within the actual guy? Do I even want to know how this is supposed to work? Barkeep posted:I hear that the 4 parts of Lanac'toor have been strewn about the kingdom. Well, we knew that already. We're even carrying some of him around with us! Barkeep posted:I hear that you should avoid the souveneir shop, the shop keeper's really weird. We'll check out the shop, but there's actually nothing special about it. Barkeep posted:I hear that Namtar just can't be killed, someone's gonna need a powerful ally to be rid of that beast. "Powerful ally." Who could that be? Barkeep posted:I hear that the temple keepers have some magic boots that can give you a lift over many water barriers. This right here is the first and foremost order of business here at the City of the Yellow Mud Toad. We're going to need those boots. I don't mean they're nice to have -- we actually need them to complete the game. So we'll definitely need to check out the temple. Barkeep posted:I hear that Berengaria hangs out in a booth here from time to time. Oh yeah! Let's talk to Berengaria before heading out. 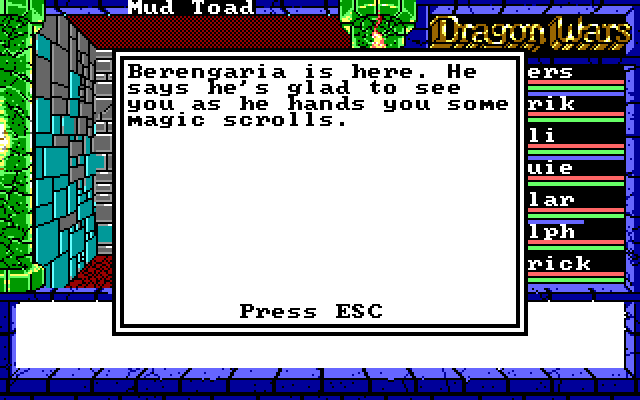 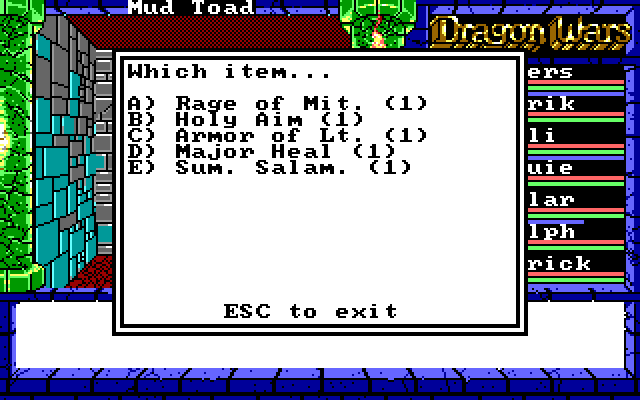 Rage of Mit. is Rage of Mithras. It's a Sun Magic spell which is like Fire Light, except it's better because it can hit enemies at a whopping 70' away. Very useful for picking off enemies from far away, though it still only hits a single target. We'll give it to Valar. Another Major Healing is great to have, We'll give it to Dolph, so we now have two characters with full-party heal spells. Sum. Salam. (Summon Salamander) is every bit as useless as all other summon spells are at this point. We'll take care of one other thing before going to the temple. 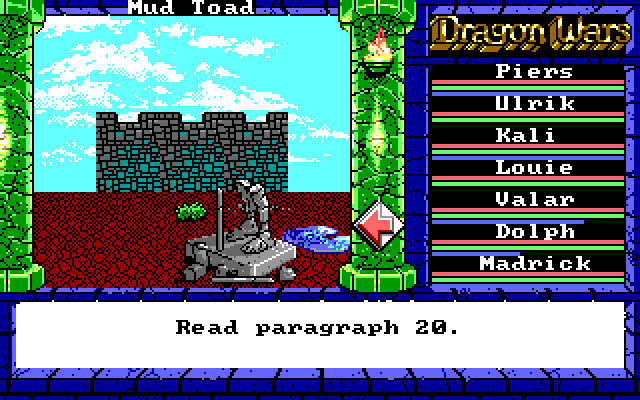 Paragraph 20 posted:In the center of the ruined tower that occupies the heart of this city, you find a dais and what's left of a statue. The dais stands about four feet high, and, from the looks of things, appears to have been placed here since the tower was destroyed. A plaque on the dais reads, 'This plaque marks the original location of Lanac'toor's Tower and Magic Academy. This statue commemorates his feats." There used to be a statue atop the dais, but it has been removed, leaving only Lanac'toor's swollen feet behind. The statue appears to have broken off clean at the ankles. Once again, this is confusing. If this is supposed to be the literal remains of Lanac'toor, why is it labelled as a commemorative statue? It's as if the game designers never quite figured that part out. In any case, we don't have all of the pieces of him, but we can drop off the arms here. 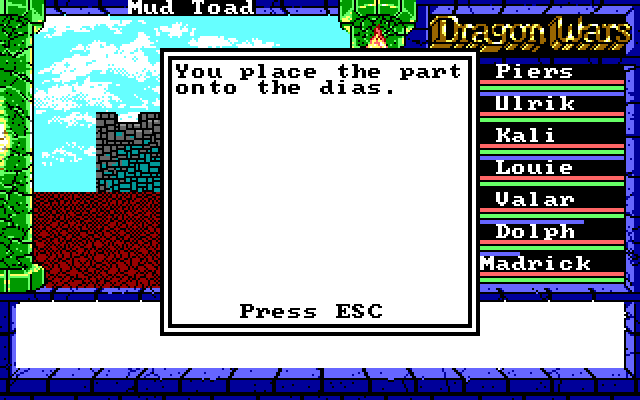  Heading north of the statue, we come to the temple: Paragraph 17 posted:This is the temple of the Yellow Mud Toad, dedicated to the patron beast of this city. The temple is a run down and depressing as the rest of the city. The center of the temple is dominated by a huge statue of the Yellow Mud Toad, sunk fully a third of its height into the muddy floor of the building. "Everything sinks these days," a priest of the temple complains. "This whole city must be built on a lake. We'll all sink away to nothing if this keeps up!" 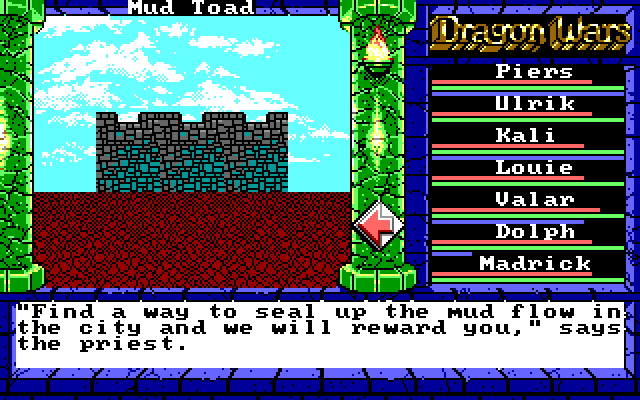 (The temple is actually a 3/3 enclosed area, despite how it looks in the image. 1980's graphics at their best.) So, seal the mud flow, they say? How will we do that? Well, first off, we have to find the source of the mud. Let's investigate the outside walls of the temple. 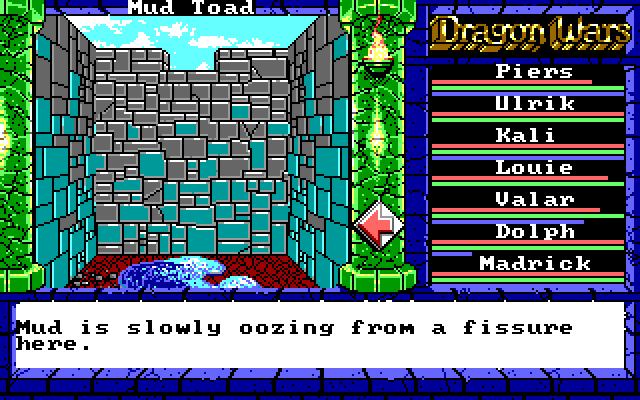 Here it is. We need to seal up the fissure in the wall's foundation. None of our skills include wall repair, but that's okay. Whenever you can't do the job right, just use magic! We have a Create Wall spell which we can use to build a whole new wall! 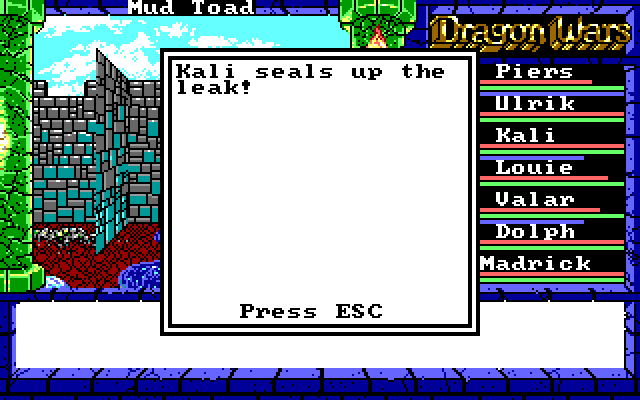 Paragraph 113 posted:The priests gratefully accept your knowledge and help in restoring the temple. "Truly you are people of the Toad," says a priest. "Please accept these boots as our gift." You are provided with several sets of oversized golden boots. The boots are fashioned so as to resemble the flipper feet of a toad. It will be difficult to walk wearing such thing. "The owner of Magic Golden Toad Boots can leap great distances!" the priest says with pride. Paragraph 113 is misleading. We're provided with one pair of Golden Boots, and they don't make it difficult to walk. They can be equipped, raising AC by 2. (We'll equip them on Piers.) But more importantly, it will allow us to "jump" in a few spots to access areas we would otherwise be unable to reach. Only one of these spots is strictly necessary to reach to win the game, but the other areas are useful in their own right. That's all we need from the temple. There's one other thing to check out in the city, and it's easy to miss: 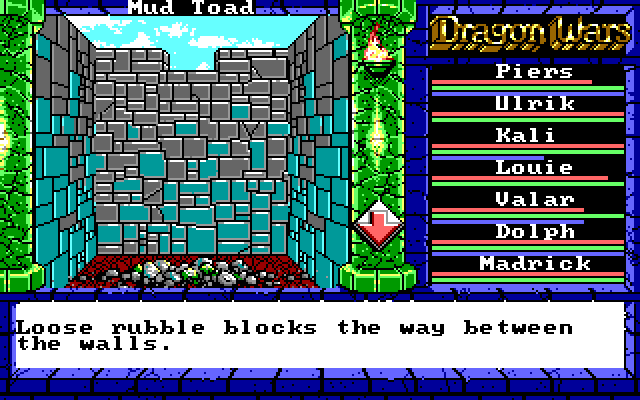 We can climb through the rubble here. There are actually two different walls where we can do this, but there's nothing behind the other one. Use Climb, and we manage to squeeze through the rubble... 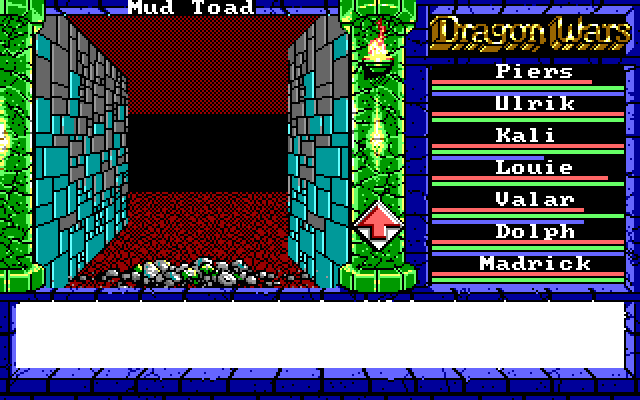 ...putting us inside what remains of the Mud Toad city walls. From here, we can walk all the way around the walls until we're right next to the city gates. Paragraph 32 posted:Huddled in the shelter of the city's ill-repaired wall you find a militia of wild-eyed men. "Is the war over?" one of them asks. "Does Lanac'toor live?" wonders another. You are able to piece together something of the history of this place. The patron of the City of the Yellow Mud Toad wasa wizard named Lanac'toor. He occupied a tower that formerly stood in the center of town. 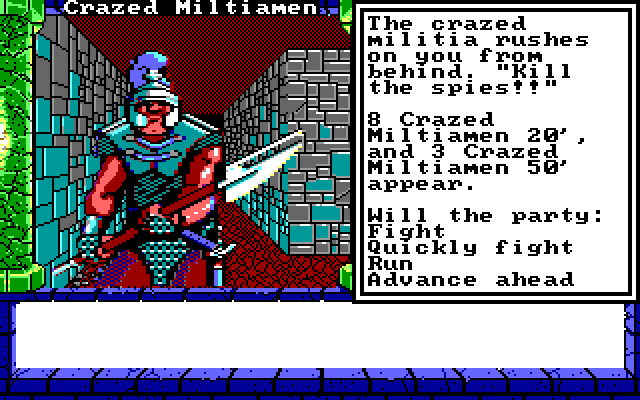 These guys are on the tough side, but they don't deal a ton of damage and they don't advance quickly, so we can hit them with Fire Blast and Big Chill while they're at a distance, then melee whoever is left. 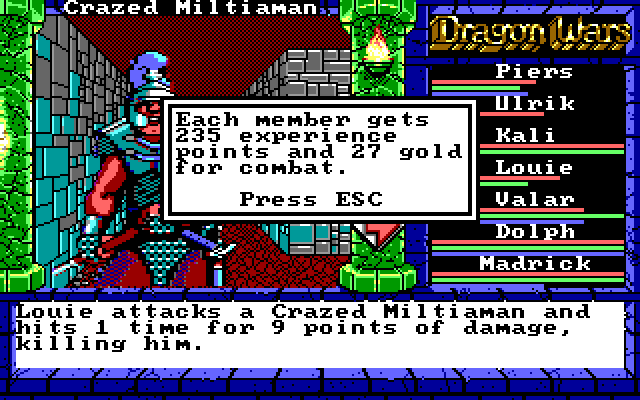 We take a few hits. Nothing we can't easily fix with Bandage. Just behind them, we find some pretty good loot: 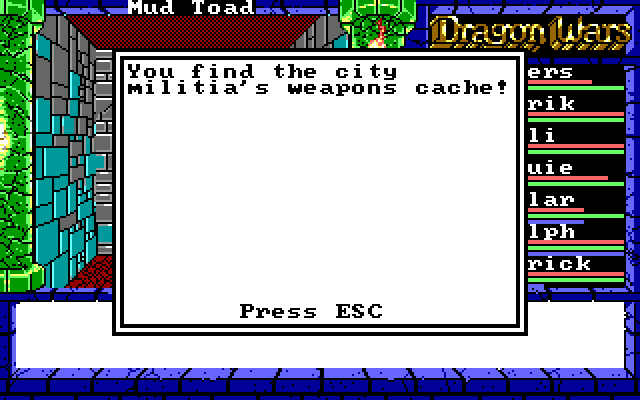 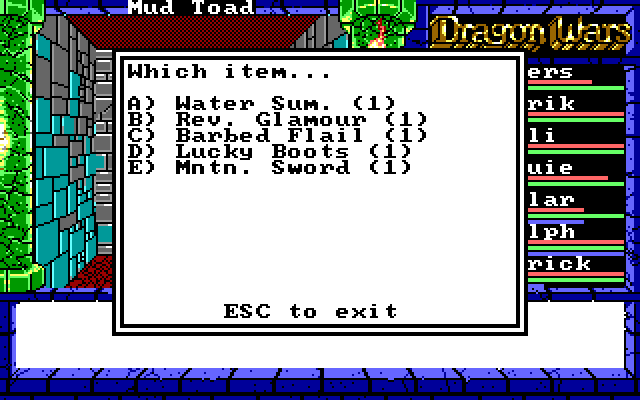 Water Sum. is Water Summon, so that's useless. Reveal Glamour is a spell to dispel illusions. It has its uses. The Barbed Flail can hit for up to 30 damage (making it the strongest weapon we've found thus far) and gives +2 to AC (yes, that's armor class from a weapon). The first time I played through this game, it was tough to tell which weapons were better, but after just a couple of combats it was clear that the Barbed Flail was considerably stronger than other weapons. The Mountain Sword (a two-handed sword) can also hit for up to 30 damage and gives +2 AC and +3 AV (accuracy). The catch is that it requires a Mountain Lore of 2 to equip. Fortunately, Piers has a Mountain Lore of 2 and some skill with two-handers. Also, you can equip both a "two-handed" sword and a shield in this game for some reason. So he still has a shield equipped. With some re-arranging, we get all of our front four equipped with high-quality weapons: Piers - Mntn. Sword Ulrik - Lance Sword Kali - Long Mace Louie - Barbed Flail The Lucky Boots don't actually improve Luck, as there is no such attribute in Dragon Wars. They do raise AC by 1. That doesn't sound like much, but the Golden Boots are the only other type of footwear in the game, and we only get one pair of them, so these are the second best option. Kali gets them. There's not much else to see in Mud Toad. On the way out, we stop by the souveneir shop:  Paragraph 30 posted:Sheltered at the base of the ruined city wall you find a funky little souvenir shop. A sign in the window identifies the place as "Your Lanac'toor memorabilia shop!" Intrigued, you enter. An unseen bell chimes an offensively sour note as you swing open the door to the shop. Inside you find a remarkable selection of Lanac'toor souvenirs. Images of the mad sorcerer are inscribed on mugs, bowls, plates, bookends, trophies, boxes, candles, and lanterns. Lanac'toor grinning face or family crest is embroidered on hats, ties, underwear capes, and belts...a store clerk even offers to personalize any item you select, sewing or engraving your name on your purchase. A very small portion of the shop is given over to items unrelated to Lanac'toor. Most of it seems like junk - bits of masonry from the city wall, tiny images of the Yellow Mud Toad, and odd scraps of metal. You are amazed by the single-minded devotion this shop shows to an historical figure so insignificant outside the walls of the City of the Yellow Mud Toad. We can buy arrows and Dragon Stones here, but we don't need any, and the rest of their stock is useless (Shortswords, for example). They sell a Lantern which casts Mage Light -- we don't need it. They also sell an Ankh, which several FAQ's incorrectly claim is necessary later on in the game. We don't need that either. So yeah, that's the City of the Yellow Mud Toad. We'll be back when we have the other Pieces O' Lanac'toor, but for now that's all. Heading outside, there is one other noteworthy place on Quag. To the north of the island, we can find Smuggler's Cove.  Perhaps Smuggler's Cove will be our next destination? Maybe someone there can smuggle us to the other islands in Dilmun!
|
|
#
?
May 3, 2015 22:27
|
|
|
Vote for our next destination! - Lansk - King's Island - Smuggler's Cove
|
|
#
?
May 3, 2015 22:30
|
|
|
I don't remember anything about Smuggler's Cove, let's try there.
|
|
#
?
May 3, 2015 22:55
|
|

|
Smuggler's Cove is such a ridiculously generic name that something fun has to happen there, right? 
|
|
#
?
May 3, 2015 23:52
|
|

|
think Nancy Drew once solved the mystery of Smuggler's Cove so we should probably go there
|
|
#
?
May 4, 2015 00:06
|
|
|
Well, after three straight votes, I'm going to call it official so I can start working on it! The next update will be Smuggler's Cove! Actually, to be more specific, the next series of updates will be Smuggler's Cove. You'll see what I mean when you see it.
|
|
#
?
May 4, 2015 00:22
|
|
|
Amusingly, fixing the wall in Mud Toad is one of approximately two steps that you actually have to do to beat the game. Grats on being half done with the LP!
|
|
#
?
May 4, 2015 02:42
|
|
|
Update 19: Smuggler's Cove We're already here, so let's check it out! 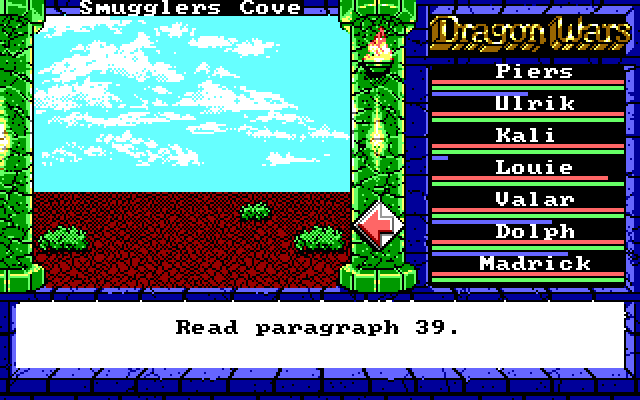 Paragraph 39 posted:You find a hidden cove. There's a dock house by the water, and beside it you can see several small ships tied up to the dock. You must pass through the dock house to get to the boats. To your right is a small wayside shrine to some divinity or another. The cove is very quiet, aside from the lapping of the waves and the rhythmic creaking of the boats tugging at their ropes. It's hard to tell if this place is inhabited or not. Well, clearly there are boats here. Some kind of a vessel would allow us to get to some of the other islands, so clearly this place is worth investigating. But first, let's note the shrine to the right. 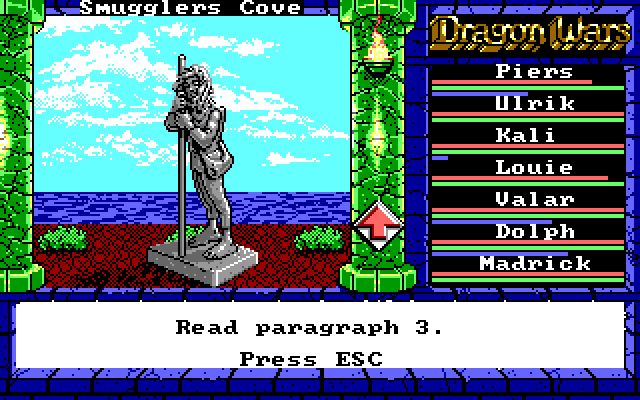 We've actually read this paragraph already, back in Purgatory. As a refresher: Paragraph 3 posted:This is a shrine to the dark lady Irkalla, queen of Magan, the underworld of Oceana. Of all the structures in this area, this is the best preserved. Simple offerings of weeds and rocks lay before Irkalla, indicating some residents of this world worship the dark queen. Irkalla's image is blasted from bronze. She seems serene and confident, with a terrible sort of beauty lurking in her fierce countenance. The black pits of her eyes stare at you without emotion. Here is a deity to be feared - perhaps also to be loved. (The actual text of the paragraph is better suited for Purgatory, but it works well enough here.) Just like the other Irkalla statue, we can pray to this one and sacrifice an item. We already did this in Purgatory, so we don't have to worry with this one. Once we've made Irkalla smile once, we don't need to make any more offerings. Ignoring Irkalla for the time being, we approach the dock house. 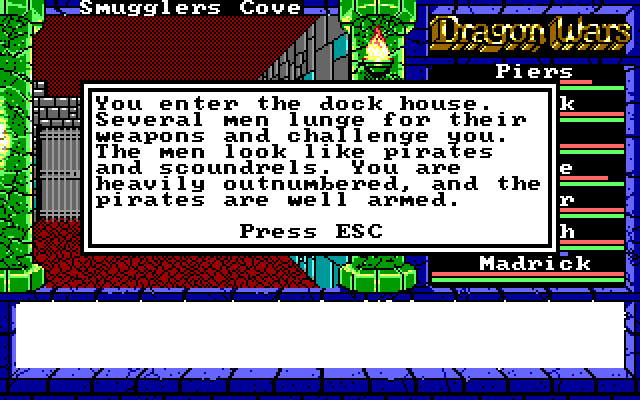 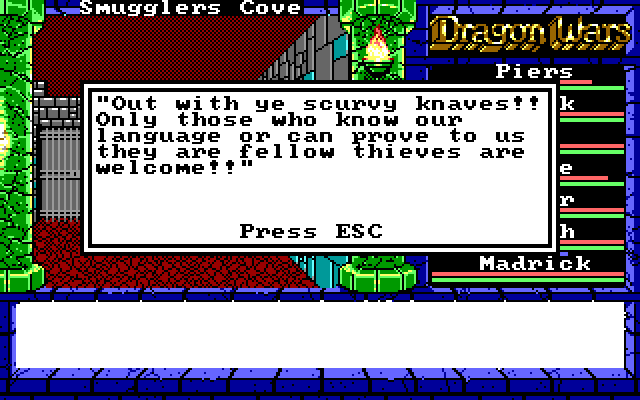 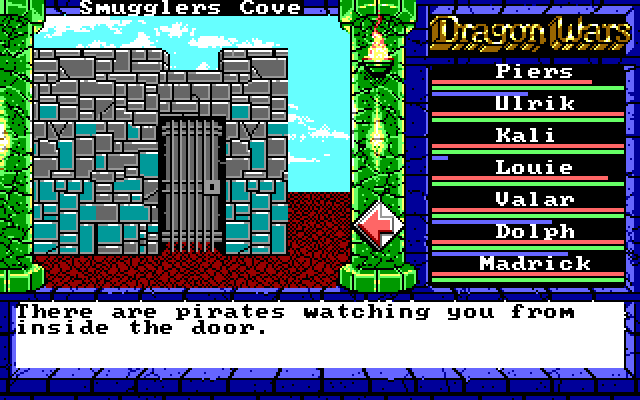 To get any further, we have to use the Bureaucracy (speak their language) or Pickpocket (prove we're thieves) skill. This is one of the few areas where Pickpocket can be used (the only place?) and it doesn't even matter because we can just use Bureaucracy instead! 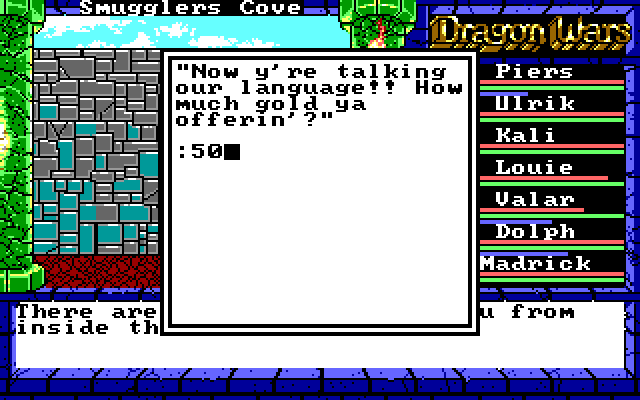 Anyway, their "language" is, of course, money. 50 gold will get us in the door. Paragraph 41 posted:The pirates are friendly enough when you pay them their gold. They offer you a seat and serve you a brutal meal of calamari and grog. "My name's Long John Ugly," the leader identifies himself. "And this here is my gal, Peg." Ugly's girl has two peg legs and no teeth, but she's by far the most presentable member of this motley crew. Welp. Necropolis? Let's not be stupid here. The name "Necropolis" literally means "City of the Dead." Probably not somewhere we want to visit. Let's get outta here. Now what are we going to do? Well, we did just walk by a statue of Irkalla. That reminds me... A previous update posted:
With our newly-acquired Golden Boots, we can jump onto the new island. So let's pay a visit to Irkalla's realm and there! (Besides, we really need to recharge our MP, and the energy pool is on the way there.) 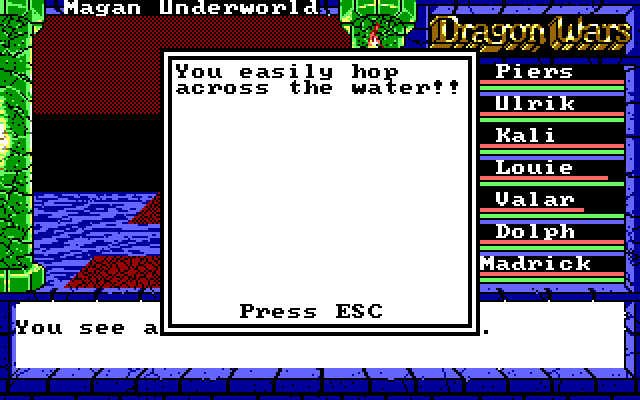 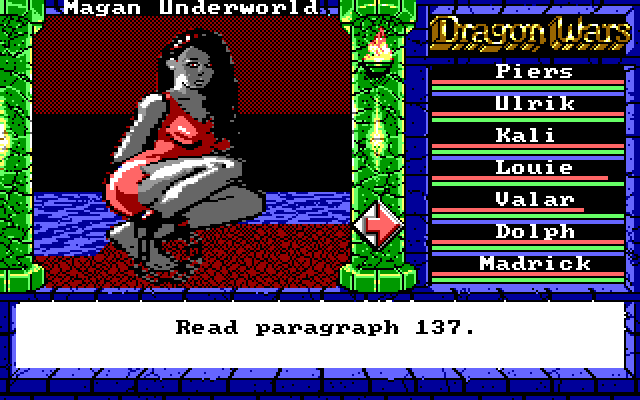 Paragraph 137 posted:Bound in chains upon this lonely Isle of Woe you find the dark queen Irkalla, Mistress of Magan. The chains are made of enchanted silver, and she is unable to move. "Topsiders!" she snarls when she sees you. "It's always the same. The water level rises, your toilets back up and everyone rushes to the Underworld for help! Well, I have problems of my own, as you can see. That filthy half-breed Namtar chained me here, and gave the key to the one creature who owes me no favors." So, we have to find this key to free Irkalla. The key is held by "the one creature who owes me no favors." That's a bit cryptic, but she's talking about her consort Nergal, the King of the Underworld. Now, where might the Underworld king be if he's not down here? Oh... hmm. Well then, I guess Necropolis is where we want to go! Back to Smuggler's Cove then! 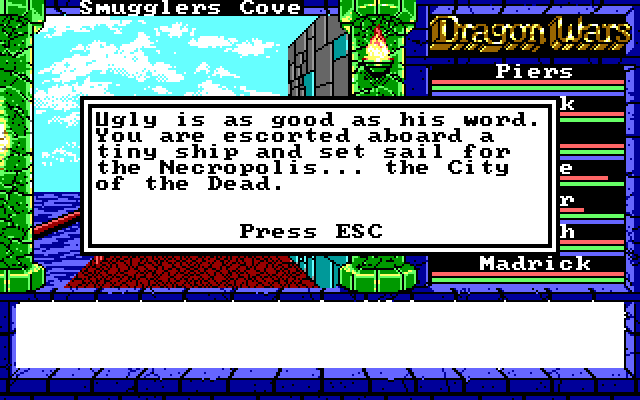 Paragraph 43 posted:You sail through most of a day and night through thick fog. There is no moon, and the going is slow and treacherous. Several times you think you glimpse phantoms in the fog, or hear strange beasts bumping against the hull of your vessel. Just when you think you may never reach your destination, an island looms out of the murk. 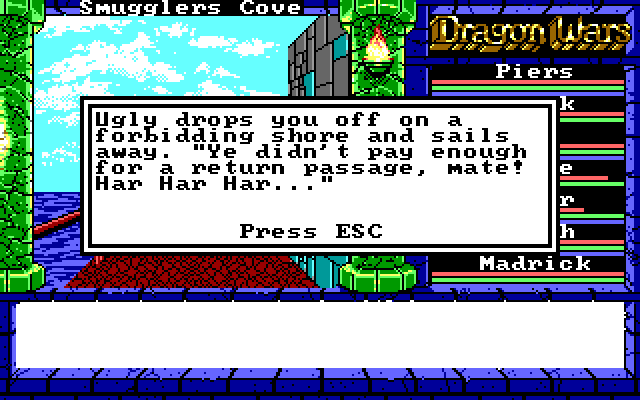 That bastard! And here I thought pirates were 100% trustworthy... (It doesn't matter how much we paid Ugly. We could pay him a million gold and it would still be "not enough" for a return trip.) 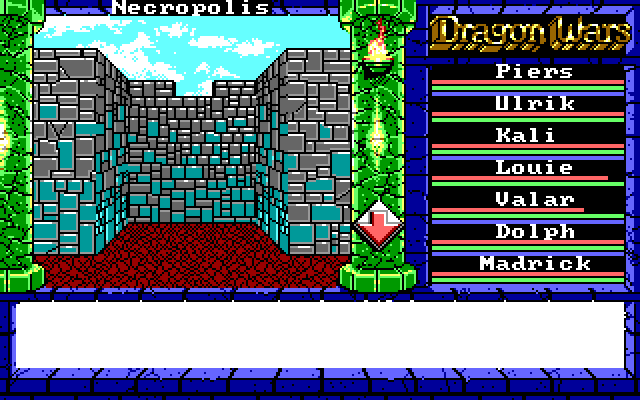 So, now we're in Necropolis. Next update: Necropolis!
|
|
#
?
May 4, 2015 03:57
|
|
|
Oh boy, it's probably going to be full of annoying skeletons or something that don't take normal damage.
|
|
#
?
May 4, 2015 19:06
|
|
|
It's okay, we've got a guy who can wield a shield and a greatsword that's made out of a mountain! I think we're good! (We're sooooo screwed, aren't we?)
|
|
#
?
May 4, 2015 21:47
|
|

|
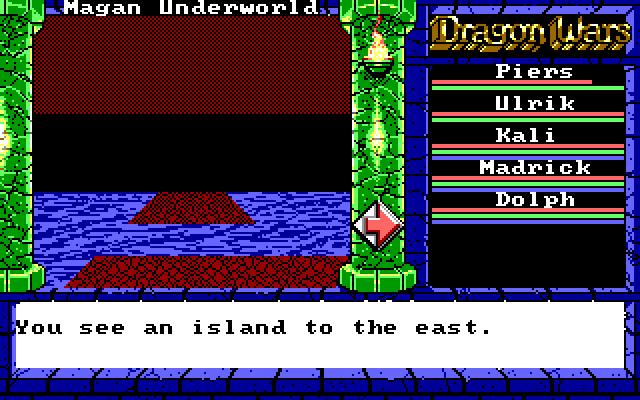
Update 20: Stranded on the City of the Dead, Necropolis Let's go in! 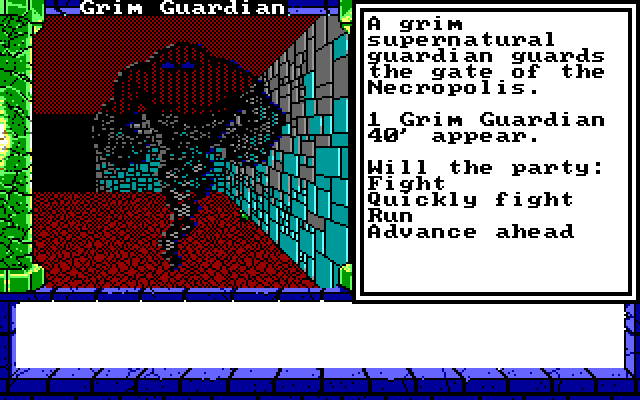 Immediately upon entry, we have to fight the Grim Guardian. Grim Guardian's not too tough to tangle with. 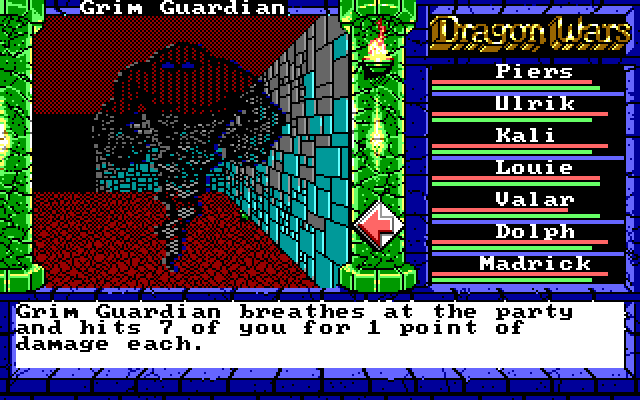 He uses a breath attack every turn which hits from a distance. This would be annoying, but now that we have Major Healing, we can keep up with it.  Speaking of which, if we queue up a healing spell for a round, and we win the battle during that round, the healing spell is still cast. That's why in this screenshot, we see a Major Healing spell as the last action of the battle. In the center of this room: 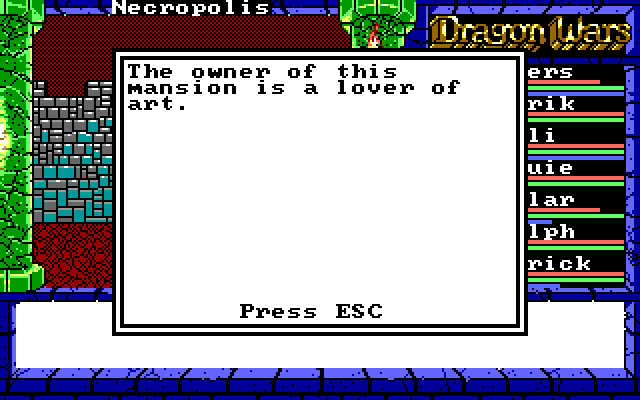 This message seems misplaced, like it should have been in Slave Estate or something. There's no indication of a mansion or art or any of that -- this is just a room leading into the city, and there's a pile of loot in the middle of the room. 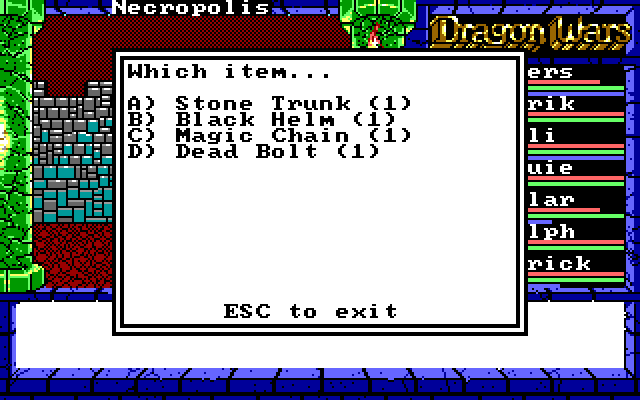 Stone Trunk is another piece of Lanac'toor. Black Helm gives +3 AC and casts Zak's Speed (+15 Dex for the whole party!) The Magic Chain is just like the Magic Chain we already have, but there is a subtle difference which I'll explain later. Dead Bolt is better crossbow ammunition, it also has a special property which I will explain later. We'll put the Helm on Kali, Chain on Valar, and save the Bolt for later. 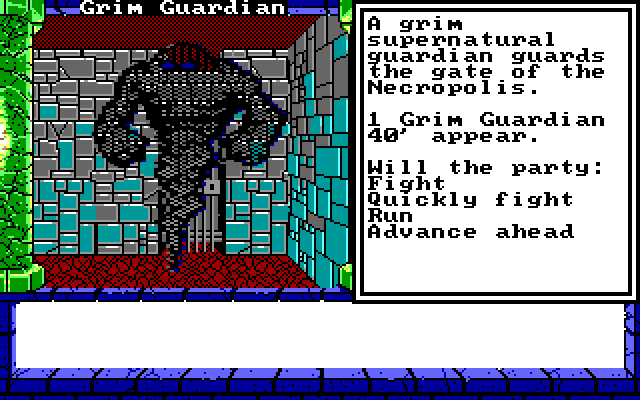 We also get to fight a second Grim Guardian to get into the city; he's no more difficult than the first. Necropolis is an incredibly painful place to be if you're not familiar with it. The entire southern section of the town is a maze full of forced encounters like this one: 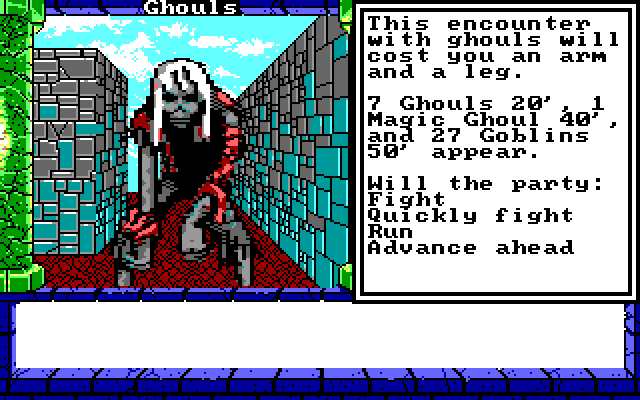 The actual enemies are randomized, so when you see an encounter like that, it's best to run away, come back, and hope for one more like this one: 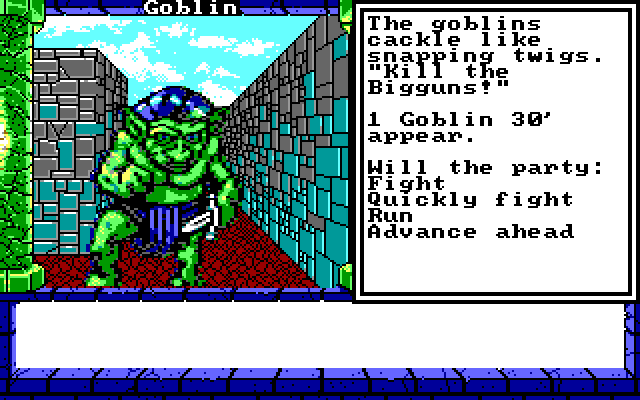 Most of the maze is just a waste of time. There isn't any great loot hidden in some corner of it or anything. However, there is a secret door in a non-obvious place. Fortunately, I already know where it is, but if you didn't know already, you'd have to map out the entire area, notice the large open area in the center of the map, and walk into walls to find the entrance. In any case, behind the secret door is this guy: 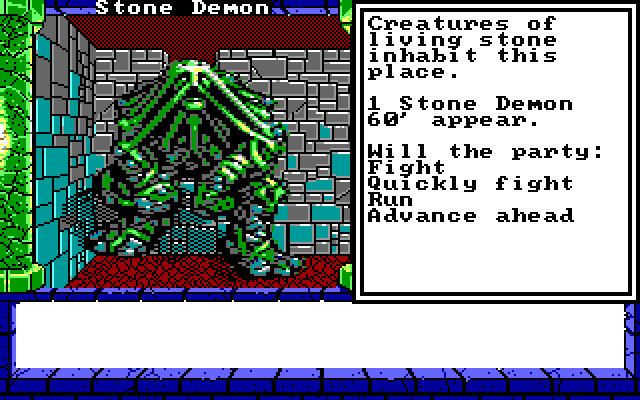 The stone demon has an interesting gimmick. He has weak breath attack and a ton of HP (possibly infinite?) If you try to shoot him down with magic or other long-range attacks, it won't be enough, he'll just keep tanking it until you run out of resources. Instead, the strategy is to just advance 5 times. Once you're in melee range: 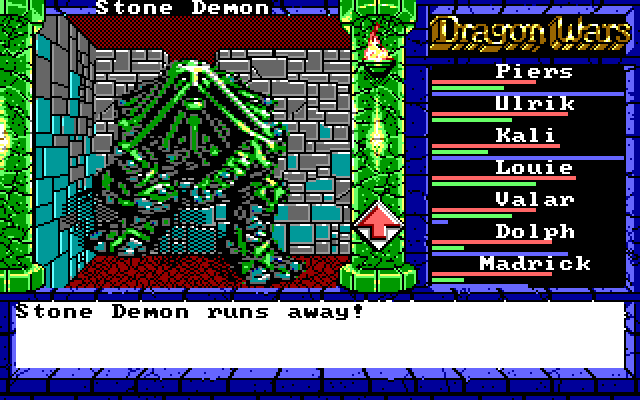 He just runs away. Easy enough.  From here, we walk through a long, snaking hallway with no encounters, until we get to the man (?) himself... 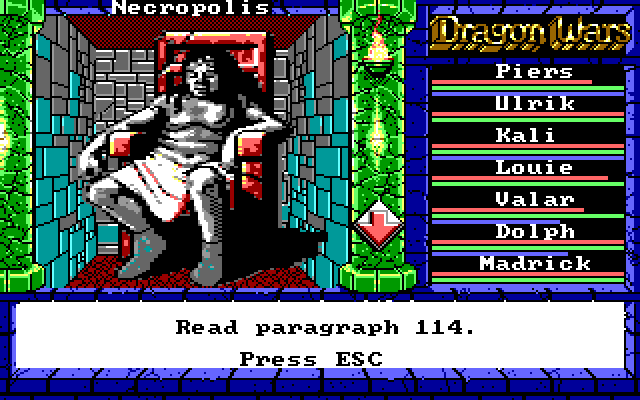 Paragraph 114 posted:In the darkest heart of this palace of the dead you find an incredible sight...the court of Nergal, consort to Irkalla and King of the Underworld. The bloated white mass of Nergal slouches on a throne of skulls, attended by a score of pallid goblins. Worms squirm in his hair, bats nestle in his loins, and rodents peer at you from within Nergal's mouth. About his neck, on a silver chain, you see a large and ornate key. 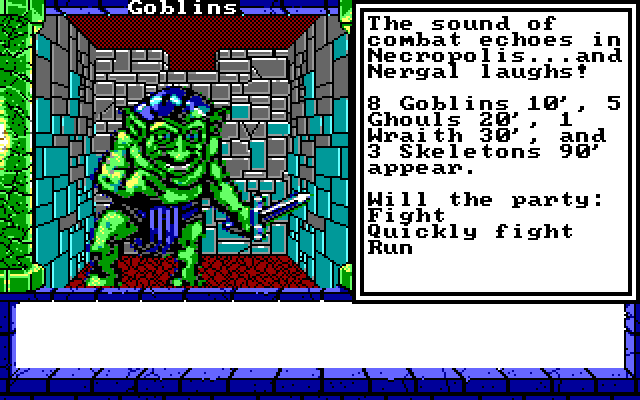 Well, this is a battle. Fortunately, none of them do any real damage. We'll throw a few Fire Blasts and Big Chills at them, then hit the leftovers with swords until they di... er, become more dead, I guess.  So, you'd think Exorcism would be a key spell here. One little problem with that. According to the manual, Exorcism deals 6-36 damage to a group of undead foes for 5 MP, which is a pretty strong rate. As I've found out while playing through this update, Exorcism actually only targets one foe. This makes it barely more cost-efficient than Rage of Mithras. So yeah, Exorcism is almost useless, even here in Necropolis. So anyway, about that battle strategy:    Yeah, we're using Big Chill a lot for these larger battles. 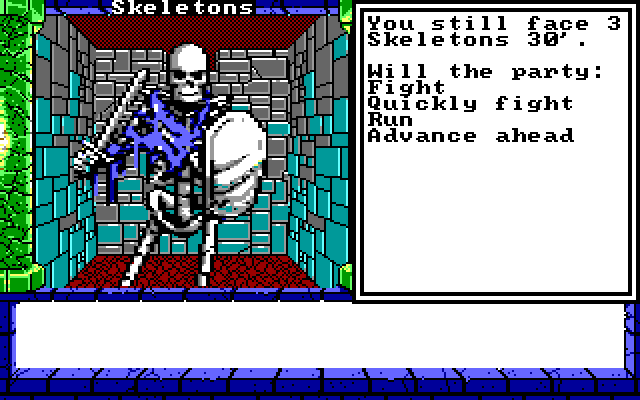 The Skeletons take forever to advance. It would almost be better if they were a little faster, since they would have taken a few hits from Big Chill by now. 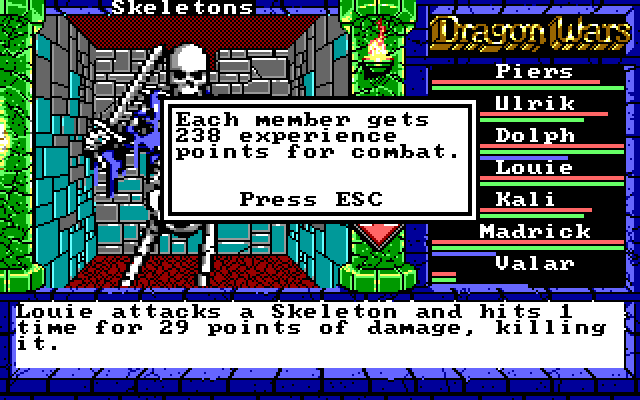 Skeletons take plenty of hits, but they don't do much damage, so after a few rounds of attacking, we take them down. 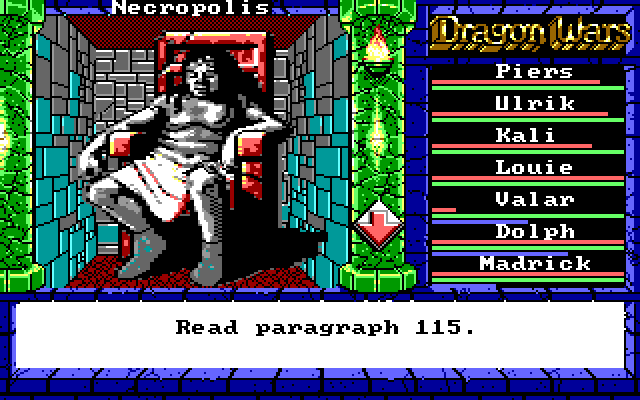 Paragraph 115 posted:"Haw! Most entertaining," Nergal laughs. The hideous god raises one fist and his court of freaks - though you just hacked them to pieces - lurch to their feet like puppets on invisible strings. The goblins and ghoulies look ready to fight again...it's evident the undead monsters will eventually wear you down. "You have entertained me...but you must also feed Nergal and serve Nergal before you can ask a boon of Nergal. That is the law!" Feed him? With what? Oh right, those mushrooms we picked up in the Mystic Wood. We'll give him those! 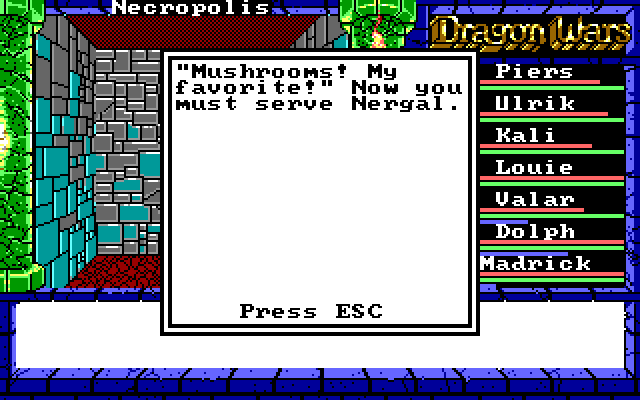 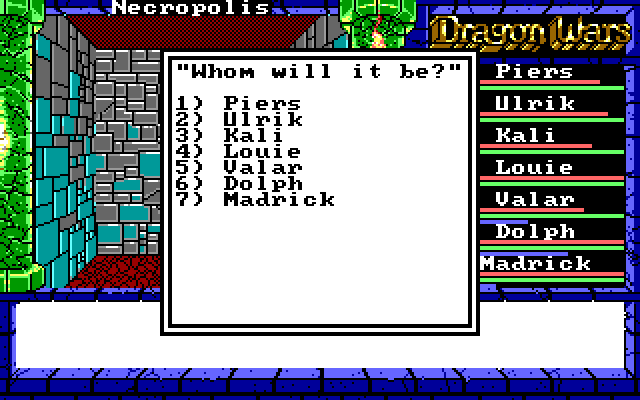 Ulrik: I'm not volunteering. I'm a slave to nobody! Dolph: Me neither. But I'm sure Louie will step right up! Louie: Hey! Paragraph 93 posted:"BRAAAAAP!" Nergal is crude. "That was delicious...l will hallucinate later, and imagine Irkalla working for aliving." Nergal shifts his ponderous mass on his throne, leans forward, and leers. "And now you will serve Nergal!" Welp. So much for Louie!  Oh. I guess we're good then! Kali: Louie! I'm so glad you're alive! Louie: Am I alive? Or am I one of Nergal's undead minions now? I can't even tell... 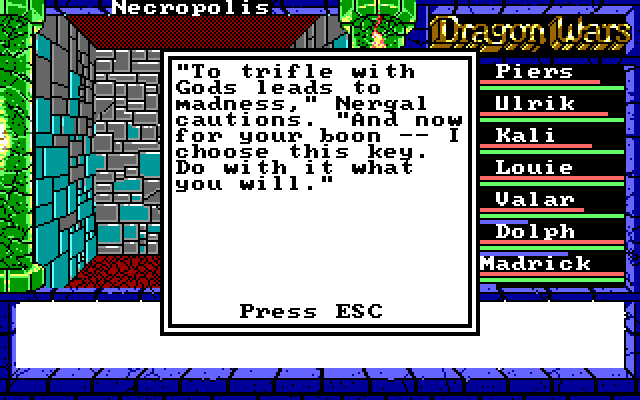   And as always, the key comes with a pile of extra loot: 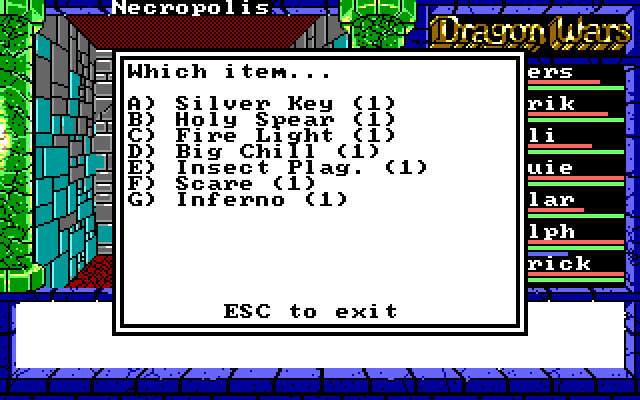 Well, most of this stuff is crap. The Holy Spear is a thrown weapon and is therefore terrible and useless. Fire Light, Big Chill, Insect Plague, and Scare are all redundant. That leaves Inferno. Inferno is Sun Magic, and it does 1-4 damage per MP used to cast it. The bad news is that this is less than Sun Stroke, Fire Light, or Rage of Mithras. The good news? While those spells hit one enemy, Inferno hits all enemies within 40'. For comparison: Big Chill hits all enemies for 4-24 damage for 15 MP. Inferno does roughly the same damage range, with greater range, for 5 MP. Inferno is unquestionably the best combat spell in the game. It is borderline game-breaking. Combat in this game just got a whole lot easier. It's a shame we can't have both Sun Magic casters learn it, but we'll have Valar learn it as he has more MP. Of course, don't forget to pick up the Silver Key. So, it's fortunate that there were no lasting consequences of Louie's head being eaten. But what if Louie had actually been killed by that cutscene, or, for that matter, in the combat leading up to it? 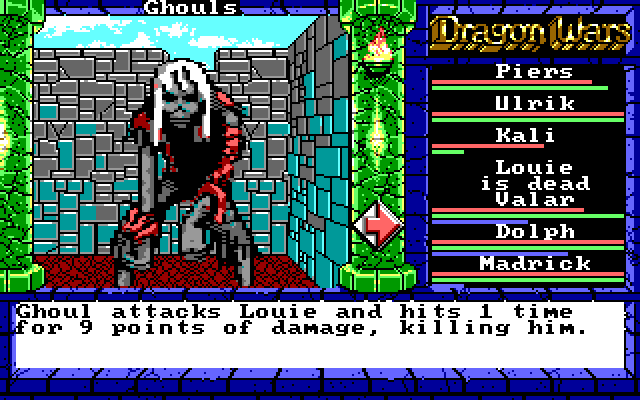 There's no revive spell, and no, you can't just cast a regular heal spell on him: 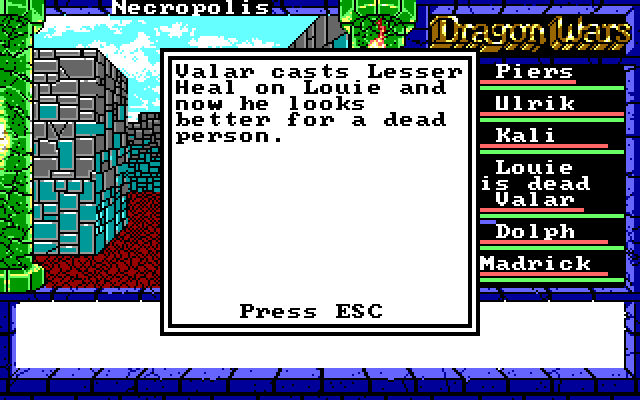 However, here in Necropolis is the one and only place where we can revive dead characters. 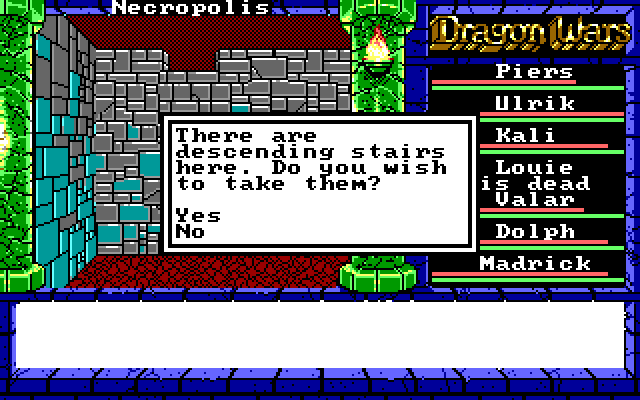 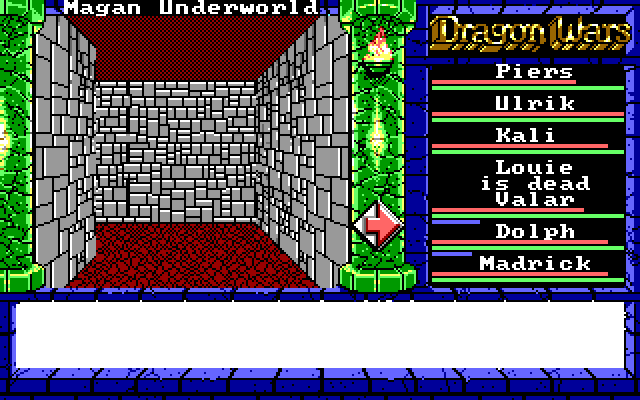 This is technically a part of the Magan Underworld map, but we can't actually get to any other part of the Underworld from here. So no, this isn't a way for us to get back to other parts of Dilmun. We still have to find a way out of Necropolis. 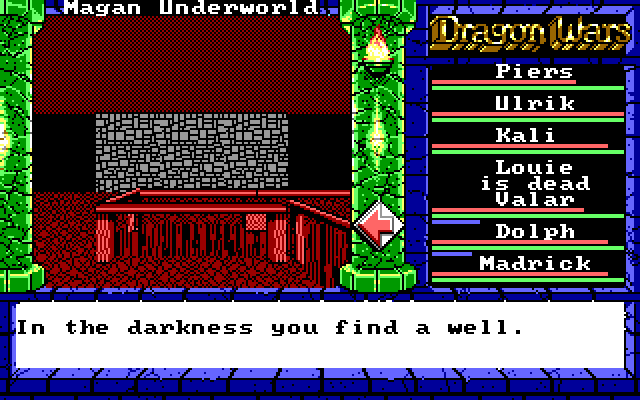 Well, well, well! (Yes, I know, I'm hilarious.) For this to work, we have to use Arcane Lore here. If the one person in your party with Arcane Lore is dead, it sure sucks to be you. 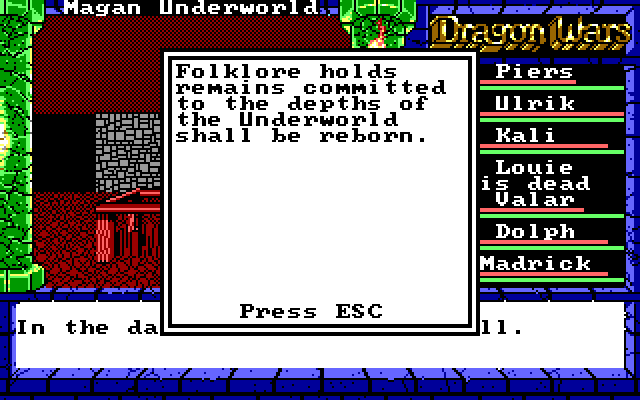 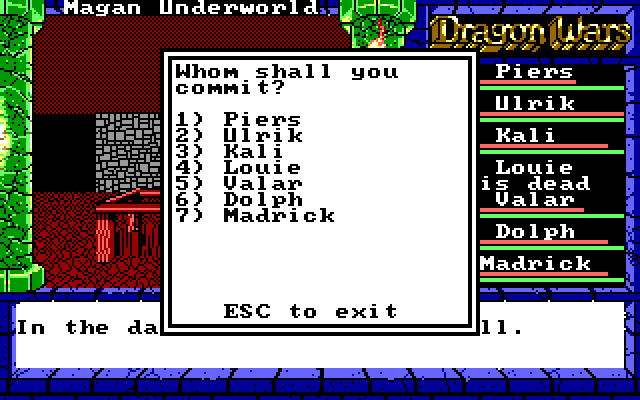 Paragraph 128 posted:You sprinkle the ashes on the dark waters of the well, which abruptly begin to swirl. Although the night of the Underworld is absolute, you think you see a reflection of stars in the swirling black waters. The motion of the water intensifies and the ashes are sucked into the depths. 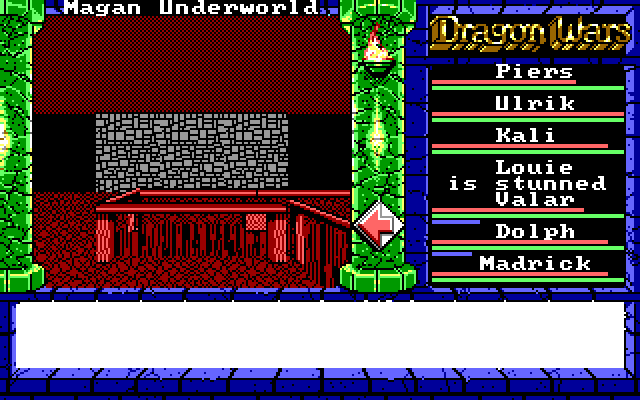 Not sure why it's assumed a dead person is turned completely to ash, but whatever. This is how you bring people back to life. It's inconvenient, and it takes half the game to find it, but at least it doesn't cost anything other than time. Back to the surface. There's one room we haven't checked out yet. 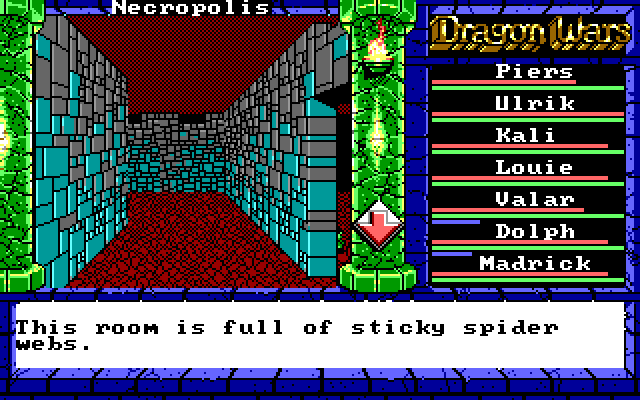 It's another long, snaking hallway, but as soon as we advance forward... 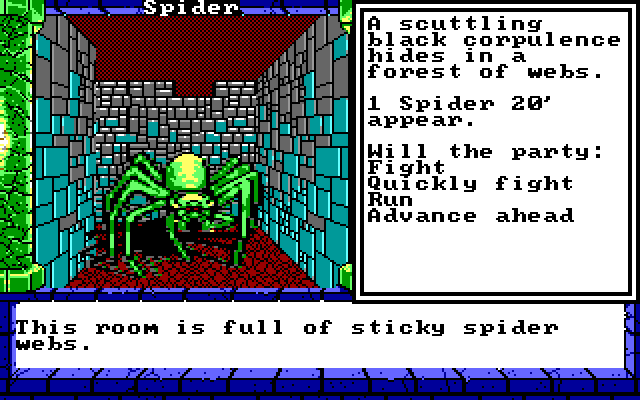 There's a Spider encounter on every tile in this hallway. It's tedious, and the Spiders actually hit for enough damage to be threatening. As a kid, I remember this sequence being one of the reasons I dreaded going to Necropolis to revive someone. The spiders were dangerous enough that I'd have to fight one, save, fight another, etc., reloading if someone died. Sure, I could walk over to the revival well, but then I'd have to fight all of the spiders over again since going downstairs changes maps so the encounters respawn... It turns out there's a way to avoid all of this. Just cast a fire spell. Pretty much any spell that sounds like it has to do with fire will work. Mage Fire will work. Sun Stroke won't. Fire Light or Inferno for 1 MP are good choices. They all have the same effect: 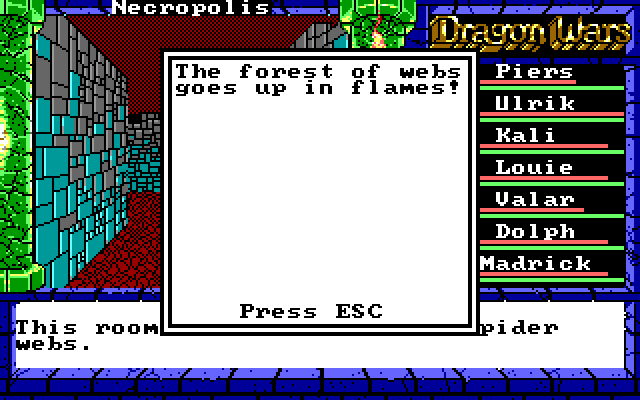 Just like that, no more spiders! 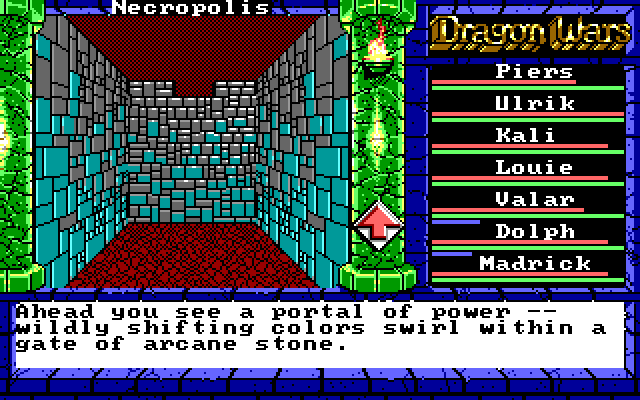 So, here's our ticket out of Necropolis: jumping into a portal. Step on it, and... 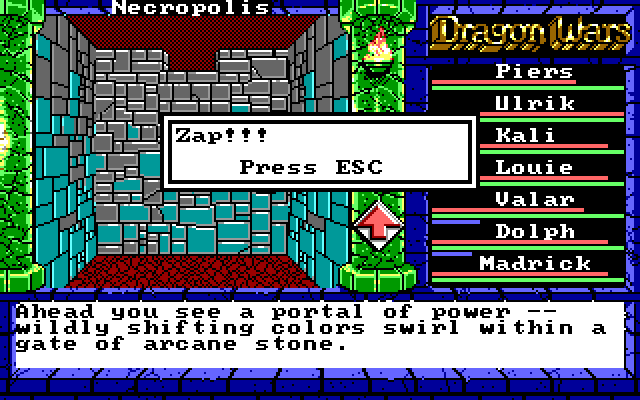 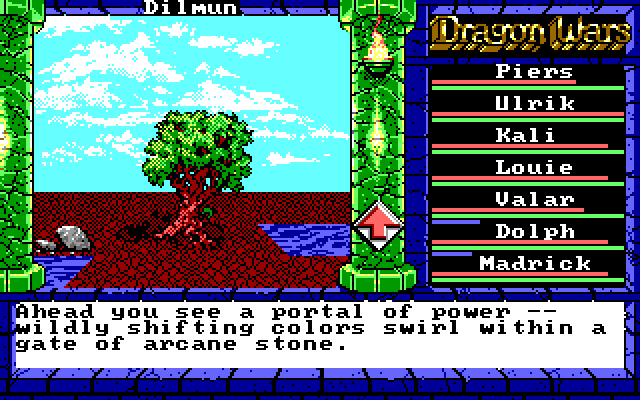 This is right outside Slave Camp, conveniently right next to the recharge pool. The portal actually takes us to a semi-random location in the game. From what I've seen, there are six possible destinations: - Outside Slave Camp - Outside Purgatory - Guard Bridge - Mud Toad - Smuggler's Cove - Bridge of Exiles (new place!) Most of these are on Forlorn or Quag, in places we're almost certain to have visited before Necropolis, but it's still kind of interesting. Our next update will consist of freeing Irkalla and getting even with Long John Ugly and his crew for dumping us at Necropolis. Stay tuned!
|
|
#
?
May 5, 2015 06:18
|
|
|
I'm actually kinda interested that the flammable spider web cliche is older than The Legend of Zelda.
|
|
#
?
May 5, 2015 23:52
|
|

|
Well, now that we've got the key we can get something back in the Mud Toad village, right?
|
|
#
?
May 6, 2015 01:29
|
|
|
Update 21: Smuggler's Cove Revisited It's been a while since we last checked in with our heroes, but as you may remember, last time we asked a bunch of pirates if we could ride in their boat, and they left us in the worst place possible -- the literal City of the Dead. While we were in the City, we managed to bump into Nergal, King of the Underworld, and after a skirmish with his goblins and ghouls, he feasted upon some hallucinagenic mushrooms (and Louie's head) and gave us a key to unlock his estranged lover who is currently chained on an island. We also stepped into a magic portal, and fortunately it led us back to familiar territory rather than, say, dumping us in the ocean. So, where to go from here? Well, we should probably take that key down to the Underworld and unchain Irkalla. The Queen of the Underworld surely can help us out somehow. Fortunately, getting back to her island is as easy as crossing a bridge, visiting an enchanted forest, climbing down a well into hell, and hopping over the surrounding water. Easy stuff, takes about a minute. 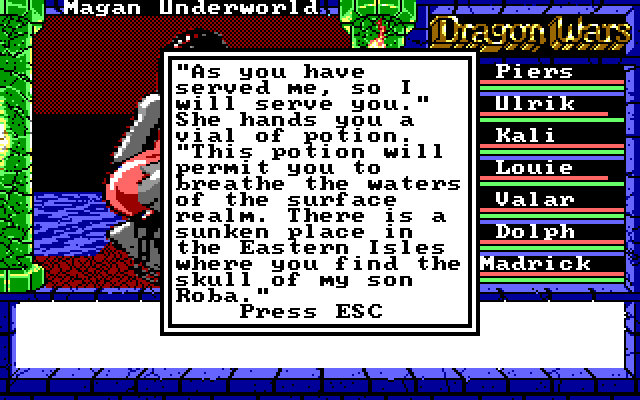 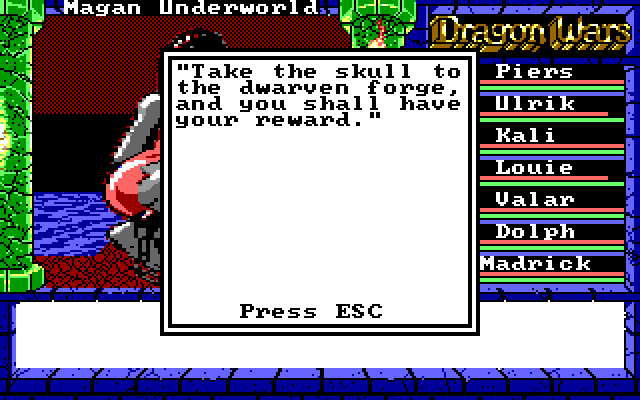 So, in exchange for rescuing her, Irkalla rewards us with... another fetchquest. Sigh. Anyway, to get to the Eastern Isles, we'll either need another magic portal, or a ship. (In case you're wondering, no, there isn't a portal, so ship it is.) Now, let's take another look at that map: 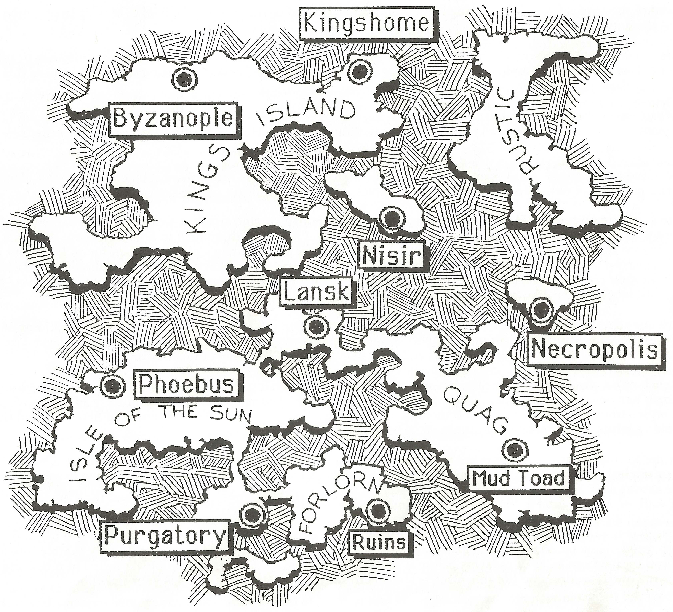 Necropolis and Rustic are two of the Eastern Isles. See that hooked peninsula right by Necropolis? That's Smuggler's Cove. From Smuggler's Cove, we can get to any of the Eastern Isles we need to, as long as we have a decent vessel. So our next order of business is to head on over and politely ask Long John Ugly and his crew to give us another ferry. And by "politely ask," I of course mean we're going incinerate every last one of them and take their ship. 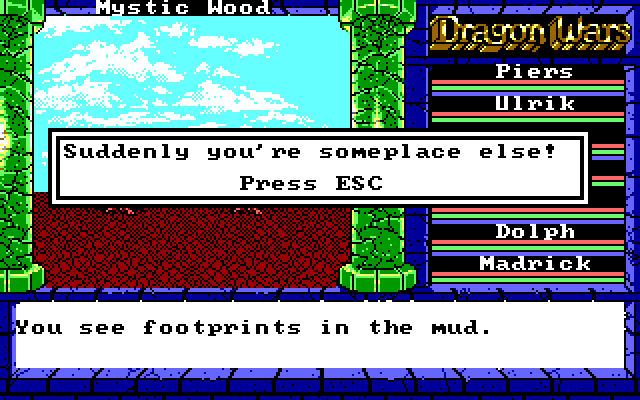 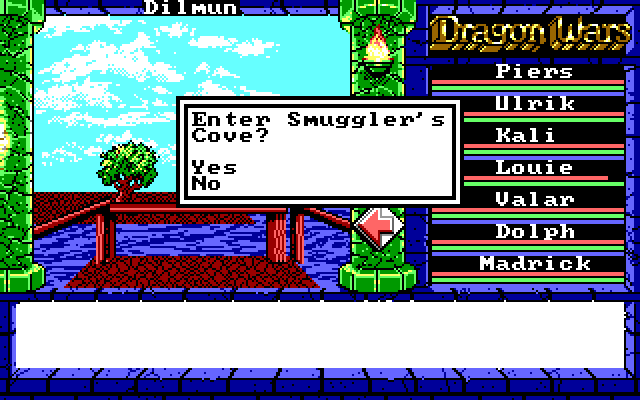 Once again, we bribe them, they offer us another one-way trip to Deadville. Instead of walking through the south door, however, this time we walk through the west door. 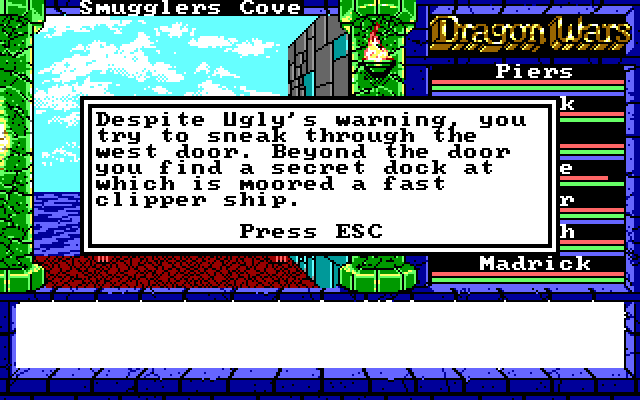  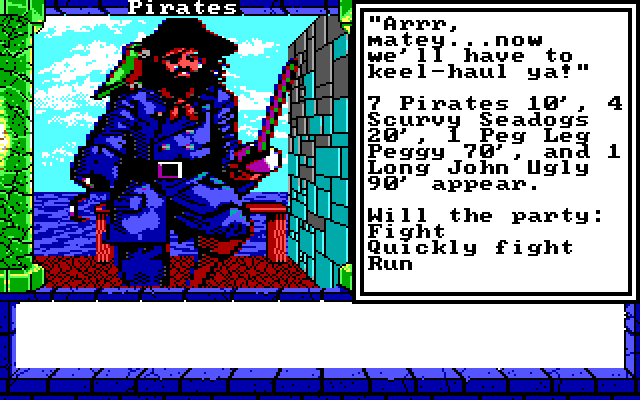 So, there are only 13 pirates to deal with. The problem is that those 4 Scurvy Seadogs can melee from 20" for some reason, which means it's 11 guys who can hit us on the first turn. And they hit hard enough to at least stun multiple party members on the first turn. Obviously, we'll be throwing out Inferno and Big Chill on the first turn. Piers and Kali will use Fire Blast as well. But we'll also have to make defensive moves here. Ulrik and Louie will block attacks, and Dolph will queue up Major Healing. Go!  ...and, with all of that taking out a total of zero enemies, let's do the same thing for another round!  There we go. Front-liners will hack away at the remaining Pirate, Madrick will cast Fire Light at Peggy, and Valar will use our long-range weapon, Rage of Mithras on Ugly.  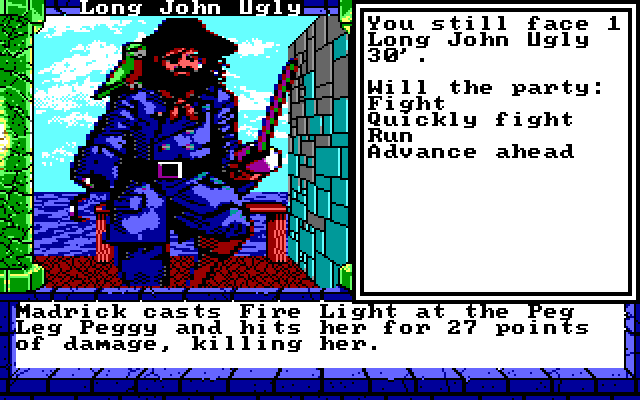 Peggy goes down in one shot, leaving us with only Long John Ugly to deal with. Ugly isn't much of a threat. He does last a few rounds, and finally Louie gets in another nice shot to finish the job. 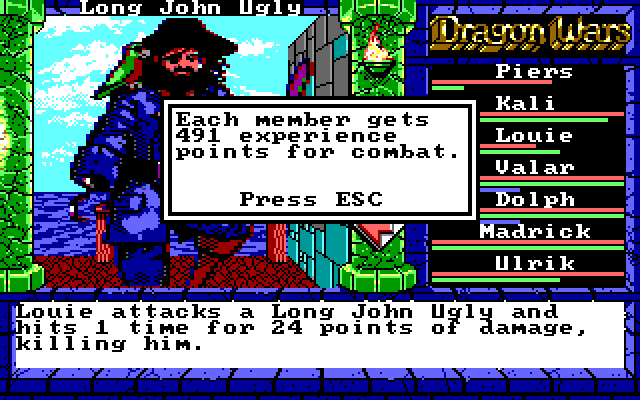 We win! 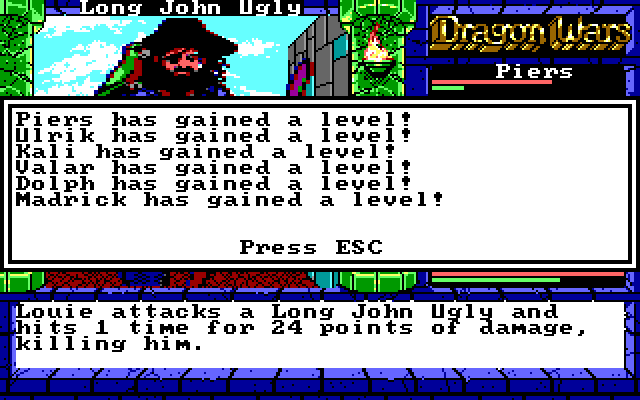 And levels! Lots of levels! 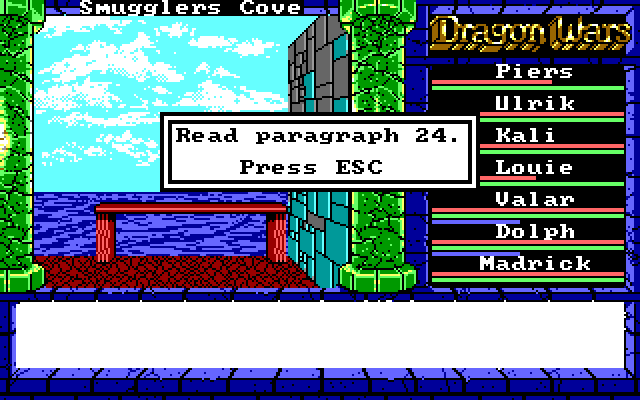 Paragraph 24 posted:You board the ship as soon as the last of the pirates drops dead, eager to see what it was the thieves were so determined to defend. You see the ship's name is the PRAIRIE MADNESS, and that it seems to be fitted out for fast raiding missions. There isn't much of a cargo hold, so the ship won't serve for long journeys, but it looks very fast and dangerous. What kind of name is Prarie Madness? Oh, by the way...  WE HAVE A loving PIRATE SHIP WE HAVE A loving PIRATE SHIP Oh, and there's a chest of stuff too. Because, of course, they'd be pretty terrible pirates if they didn't have a treasure chest.  First off, the Parrot is totally useless. As far as I know, it does absolutely nothing in this game and is just there to mess with the player. The Hook and the Old Peg Leg can be used as weapons. They are awful, roughly equivalent to the junk weapons we picked up back in Purgatory. We can ignore these items. The Heavy Plate offers a ton of AC (12) but murders AV (-6). Madrick doesn't even carry a weapon, so we can put it on him. The Pilgrim Garb and the Jade Eyes will have their uses. Neither is essential, but we'll get to that later. All of this junk is really burying the lede here: we have a ship and it goes places! 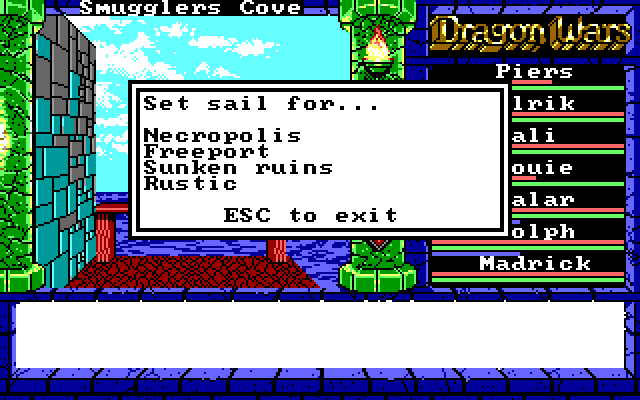 New places, even! So, we now have more choices than ever! We've already been to Necropolis. There's not much point in going back, unless someone dies. Freeport is a place we've heard mentioned, but know nothing about. Should we find out? As Irkalla told us earlier, the Sunken Ruins contain the skull of Roba. We have the water-breathing potion, so we're free to go here as well. Rustic appears on the map, but we have yet to learn anything about it. (HINT: Going here is pointless right now, wait until later to vote for this one. For now, don't pick this.) There's also Lansk, which we'll have to visit eventually. And there's King's Island, where we may be able to make use of some of the items we just picked up. So, where shall we sail/walk/warp to? Get your votes in!
|
|
#
?
May 16, 2015 05:54
|
|
|
Freeport sounds cool.
|
|
#
?
May 16, 2015 07:24
|
|
|
Sunken Ruins, I feel like when a goddess tells you to go forge her dead son's skull into a weapon then you should do it straight away and also because it is  as gently caress as gently caress
|
|
#
?
May 16, 2015 12:26
|
|
|
RabidWeasel posted:Sunken Ruins, I feel like when a goddess tells you to go forge her dead son's skull into a weapon then you should do it straight away and also because it is My thoughts exactly.
|
|
#
?
May 16, 2015 13:40
|
|
|
Sunken Ruins. Might as well follow that quest trail to the end.
|
|
#
?
May 16, 2015 14:06
|
|
|
Jumping on board (geddit?) for the Sunken Ruins.
|
|
#
?
May 17, 2015 12:20
|
|
|
I like the ship, even though it's more of a teleport point than sailing over the same texture. I say, let's go to those ruins. We did just get a potion for that, right?
|
|
#
?
May 17, 2015 22:50
|
|
|
We gotta go to the ruins! If we're making a drat sword out of a demon goddess's son's skull, then all the better!
|
|
#
?
May 17, 2015 23:10
|
|
|
Update 22: Sunken Ruins We set sail for the Sunken Ruins! Paragraph 46 posted:Your journey takes you to the frontier known as the Eastern Isles. This area is unclaimed by any nation, and you experience no encounters with hostile maritime forces.  That building off to our right is the Sunken Ruins. We are, in fact, one tile south and one tile east of it. There's actually something else on this isle, but we're not going to explore that because it's not relevant right now and going there would be a Bad Idea(TM). So for now, let's go in the ruins. 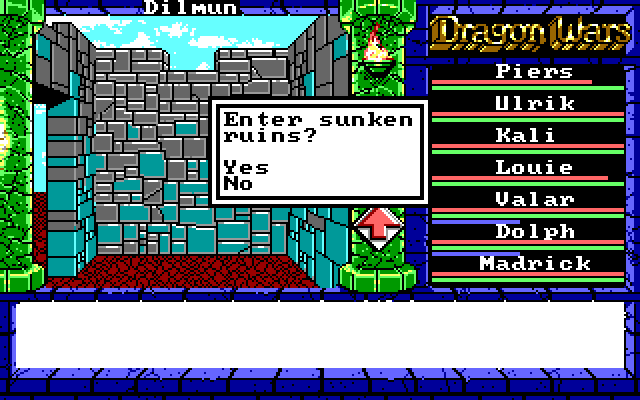 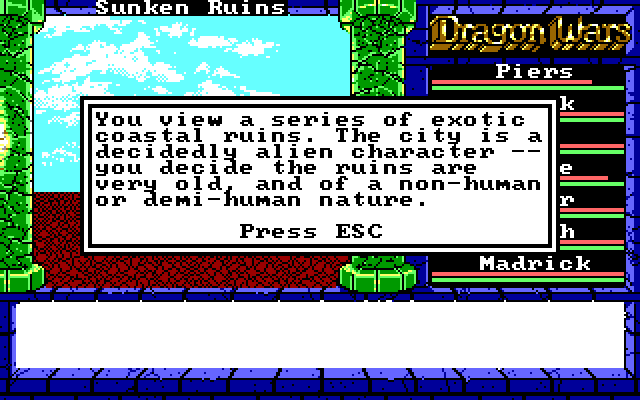 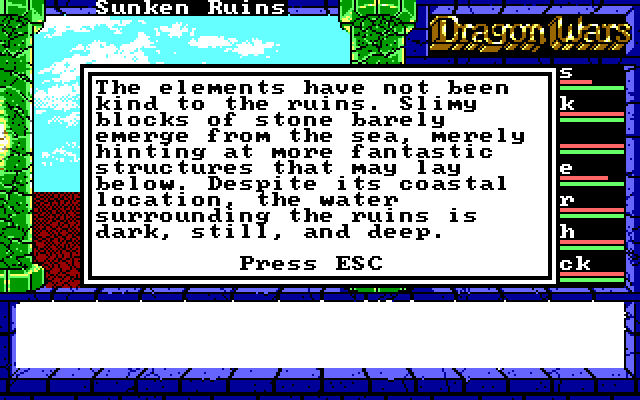 "You decide the ruins are very old," they say. "The elements have not been kind to the ruins," they say. As opposed to all those nice, new, well-maintained ruins out there. Still, the fact that these are apparently some sort of ancient alien ruins with "fantastic structures" beneath, clearly this is an area where we will learn valuable secrets, interesting lore, and make some shocking discoveries. No, not really. 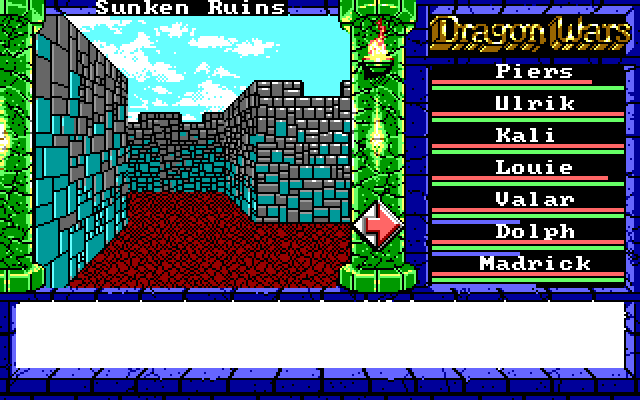 We follow a short but windy path into the ruins. 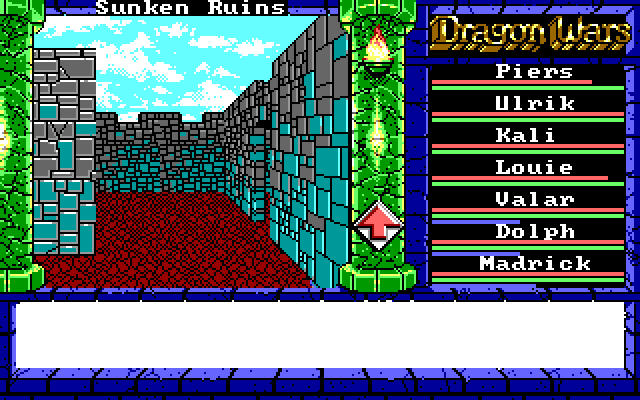 Upon reaching the end of the path, we see a door on the right. Let's try to open it. 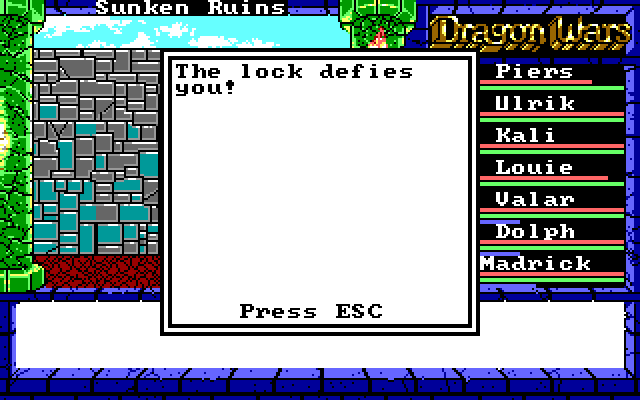 Well, that's unusual. This happens with Dolph (Lockpick skill 3) or Madrick (1). We could level up Dolph's Lockpick skill to 4, but it's easier to walk through the false wall to the left of the door. 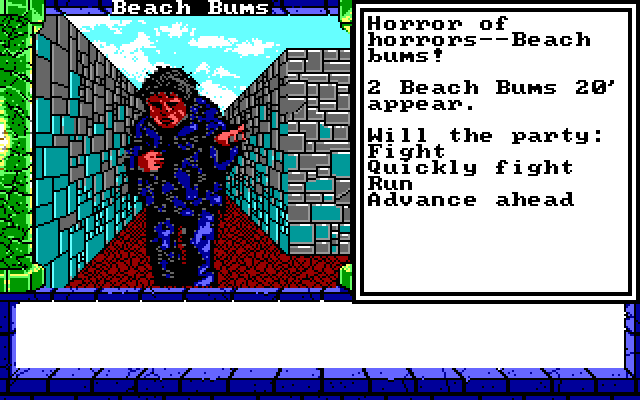 I have no idea why "Beach Bums" are an enemy here. They actually do hit for high damage, so we can't take them too lightly. We follow this path, and it branches. Follow one branch, and we reach a dead end. Follow the other, reach another dead end. However, looking at the automap tells us where we need to go. 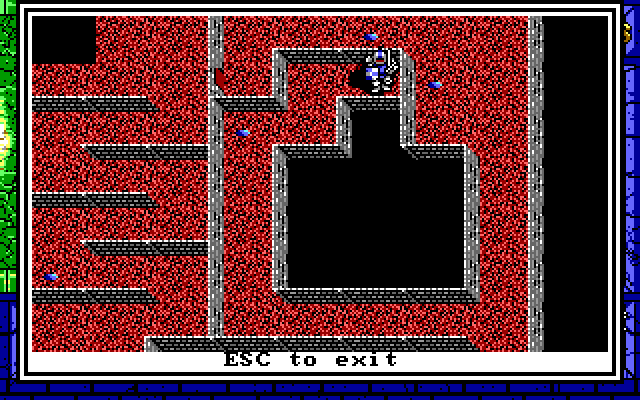 Just keep bumping into the walls around that box in the middle. The wall at the top is the fake one. Punch through it, and... 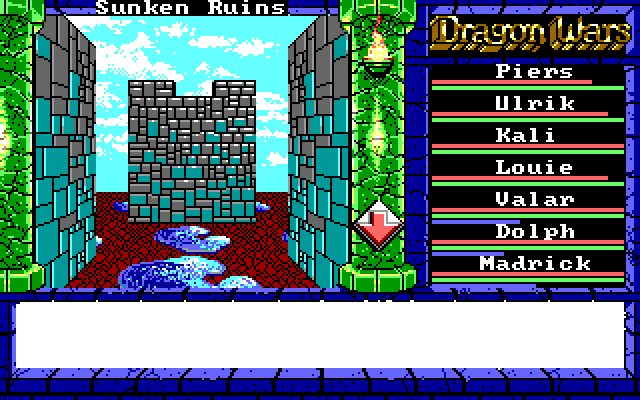 Naturally, that building right in front of us is where we need to be. But first, we'll walk around it and find an item.  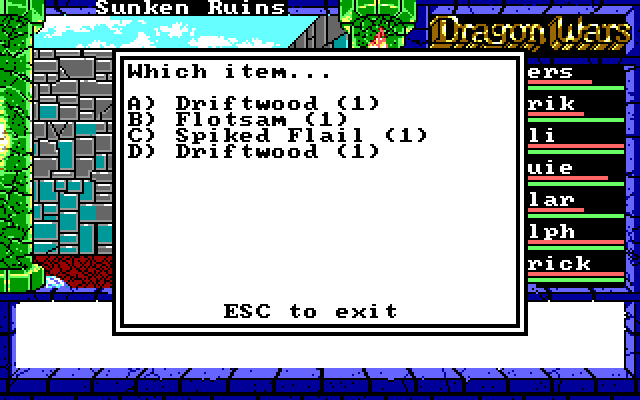 This may look like junk, and indeed the Driftwood and Flotsam are completely useless. (This is the sort of game where you'd expect that somehow the Driftwood was essential to solve some puzzle and the Flotsam gave +3 AC, but no, they're just random junk, at least as far as I know.) Anyway, the Spiked Flail is one of the first endgame-caliber weapons we find. It does a ton of damage and increases AV by 2. Since Louie has the Barbed Flail, we'll give the Spiked Flail to Kali. When I say it does a ton of damage, I mean a TON. According to a guide, it does 4d20 damage. The other weapons we have are doing 1d20 or 1d30. It's tough to confirm the exact damage rolls for a weapon without just testing them out a lot, but here's a sample: 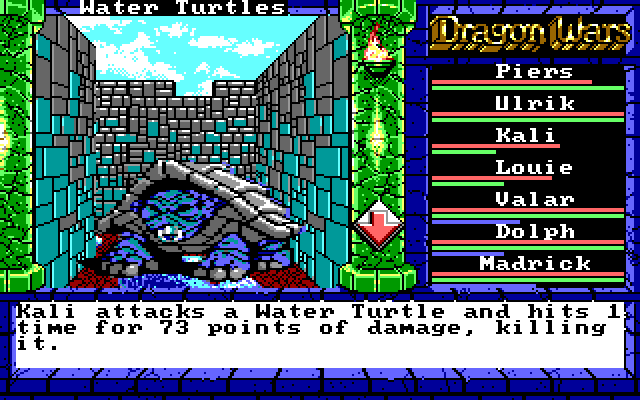 Yeah. She's routinely does damage in the 40's with it. Magic is still generally stronger than melee, but having someone who can dish out this kind of damage every turn is going to really reduce the need for Dragon Stones. There are only a few weapons in the same class as the Spiked Flail. We'll be getting one of them in the near future. On that note, there's another fake wall to go through to get inside the building. 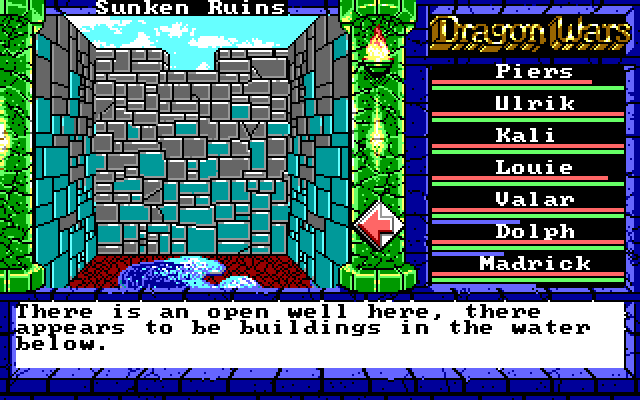 Well, well, well, what have we here? Obviously you're meant to use the water-breathing potion here, but if we didn't know that, we might have tried using Swim or Climb here: 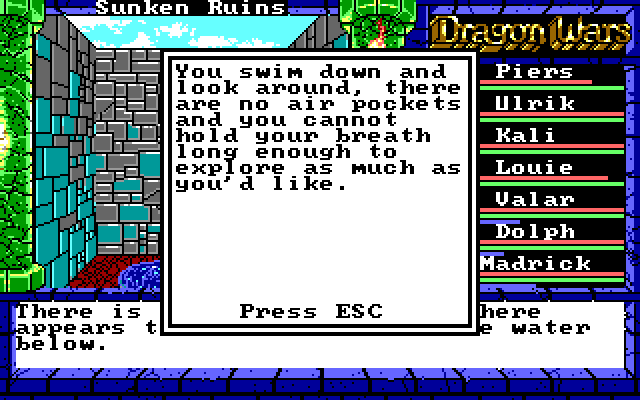 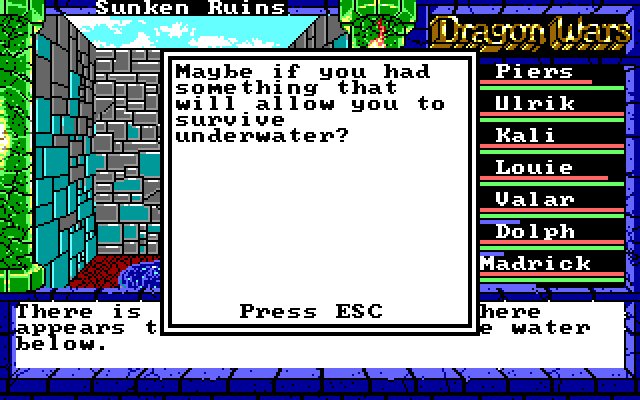 So, with that bluntly obvious hint out of the way, we'll drink the water potion. 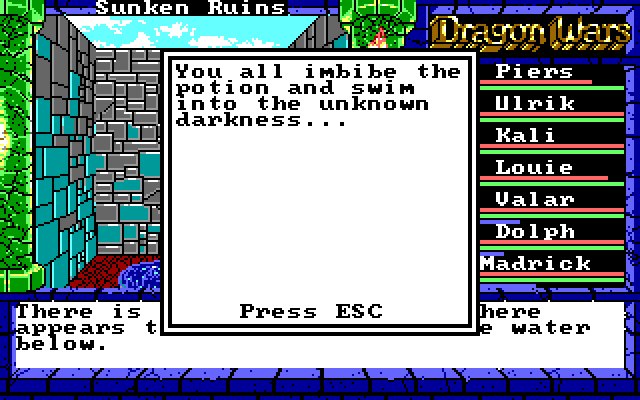 "Imbibe." That's a cool word. 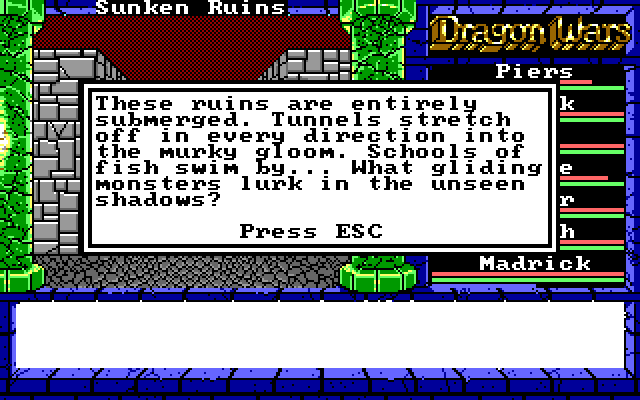 And here's the real Sunken Ruins dungeon. There's not much to it, it's very small. We do need a compass down here, however. The small map wraps around quickly and there is a spinner trap, so it's easy to get lost (but not too lost, since it's a small area).  We go south for a bit and find a couple of rooms. 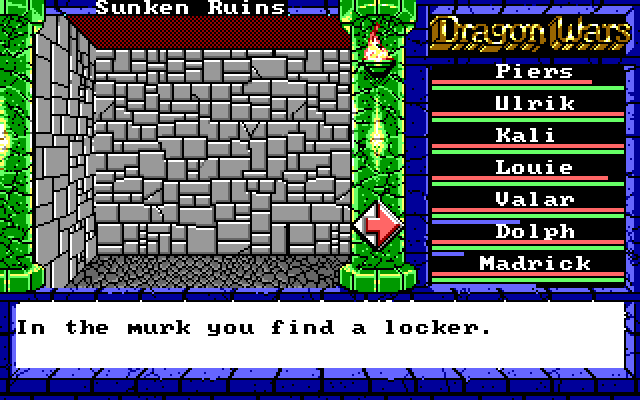 We need the Lockpick skill here. This is another advanced lock. It will defy Madrick, but Dolph with his level 3 skill can get it. 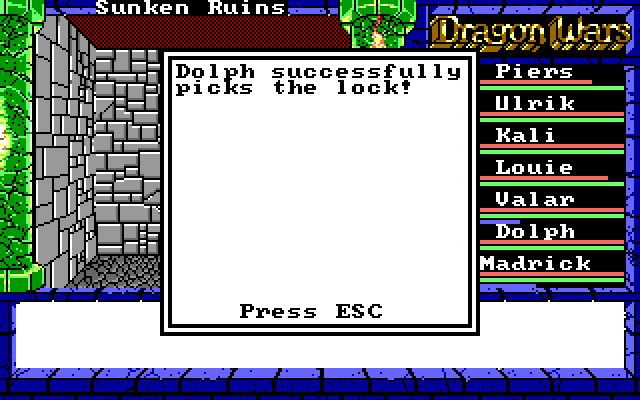 All right! Let's check out the loot... 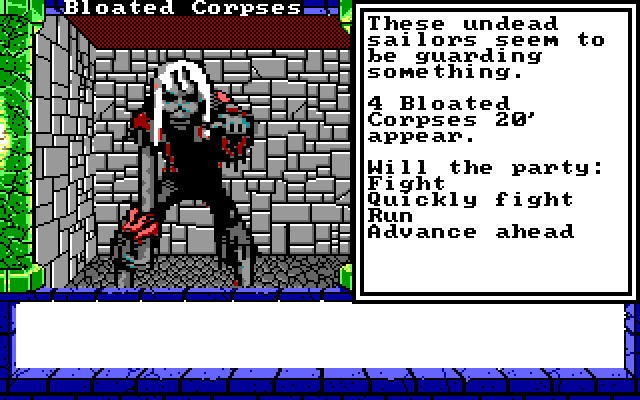 Aw, crap. Too bad Exorcism doesn't really work in this game. This fight is actually pretty brutal; the Corpses can one-shot a character with a melee attack and they're tough to hit. I have the front-liners use Block Attack in the second round so nobody dies.  As usual, the Exp/Gold return is terrible, but the treasure they guard is worthwhile.  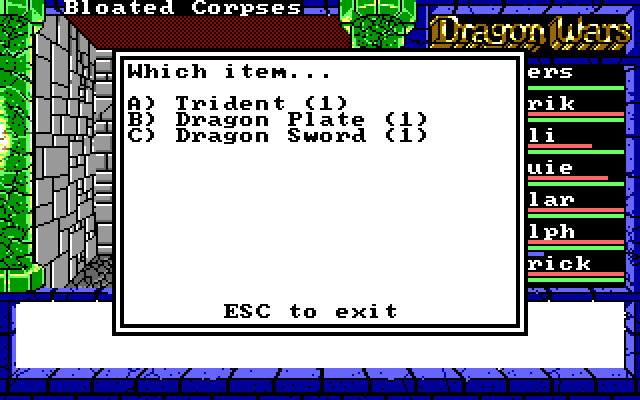 The Trident does good damage but isn't really useful. It's a thrown weapon -- unlike most thrown weapons, you don't lose it when you throw it, but you have to re-equip it after every attack. Terrible. The Dragon Sword is a "two-hander" which requires 21 Strength and does the same damage as Spiked Flail. Ulrik has a few leftover skill points, so we'll bump him up to 22 Strength and give him a point in two-handers. He'll probably be carrying the Dragon Sword for the rest of the game. Unfortunately, his Level 3 Axes skill is kind of wasted because there aren't any endgame-caliber axes, and we haven't even found any of the good midgame axes yet. The Dragon Sword raises AV by 3 itself, so that makes up for the misplaced weapon skill. Piers might be upset about Ulrik getting such a powerful sword, but don't worry. We'll get a new weapon for Piers soon enough. The Dragon Plate is the strongest armor in the game. It lowers AV by 3, but that's better than the Plate Mail we have on Piers. So that's three pieces of endgame equipment we've picked up today. But we still have to get what we came for. 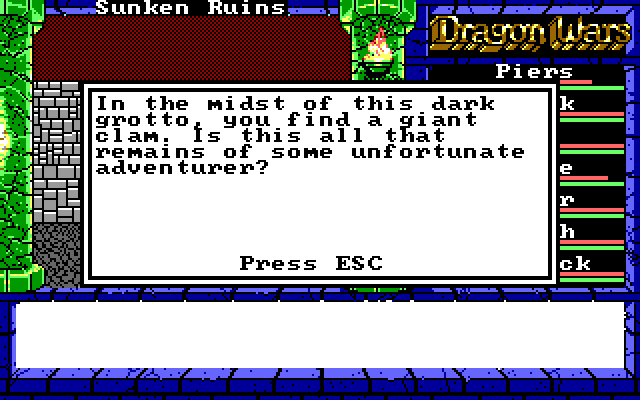 Specifically, this. The skull of Roba. Let's grab it and head on out of here! 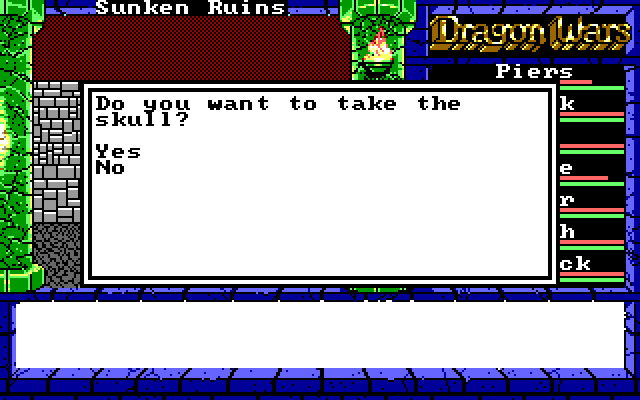 Yes, of course. Why is it giving us a prompt? 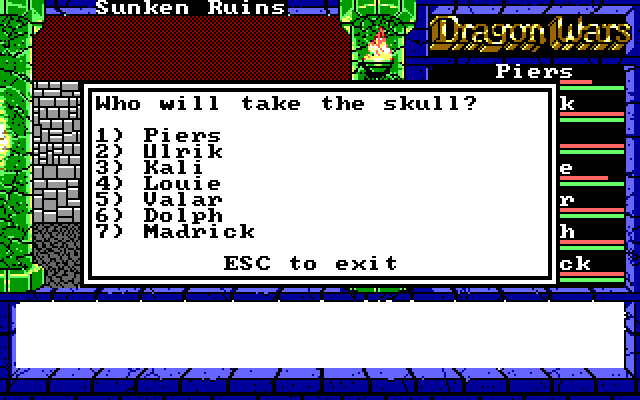 Okay, we'll have Piers carry the skull I guess. 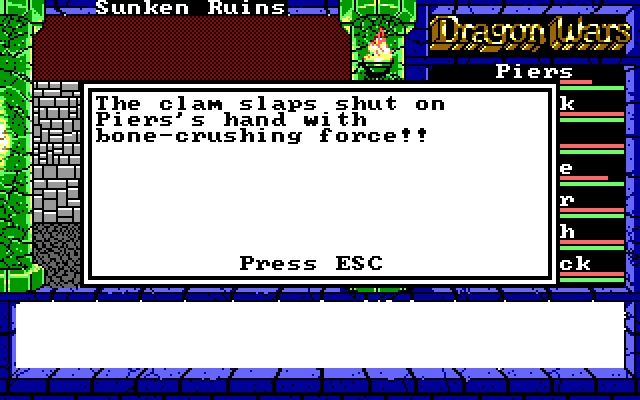 Oh, screw you. Well, now what? Uh, hmm, I guess we'll have to cast a spell or use a skill here, so I'll say "No" and try something else... 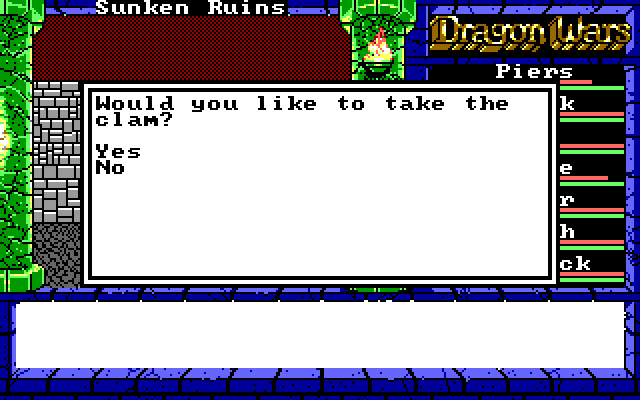 ... Sigh. All right, get's get out of here. 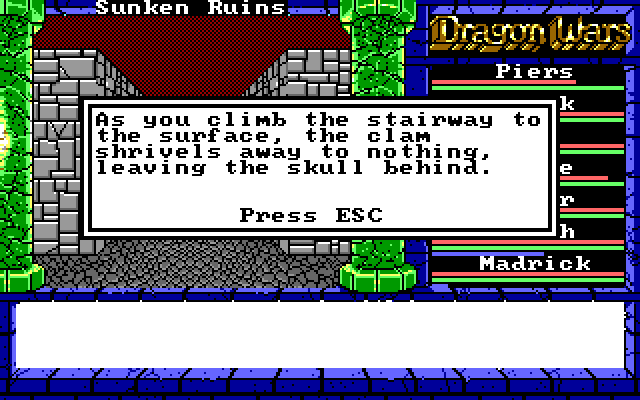 Yes, of course. So now Piers has Roba's Skull in his inventory. That's all there is for Sunken Ruins. It's a small, not very memorable area with nothing other than a small handful of items. But those items include two of the best weapons, the best armor, and a key item for getting the best weapon. Sunken Ruins seems like a rushed dungeon to me. Why is Roba's skull there? What is the significance of the alien structures? And the game's response is, shrug, here are some super-powered items, now shut up. Our next update will involve... well, you'll see. Until then, I leave you with this image: 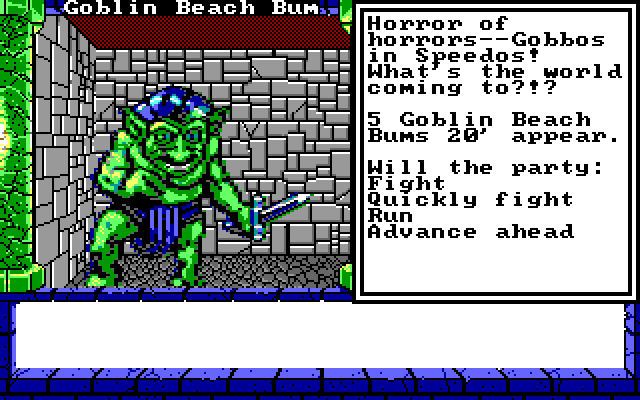
rujasu fucked around with this message at 06:24 on May 21, 2015 |
|
#
?
May 21, 2015 06:16
|
|
|
I remember being 13 and thinking that whomever designed the Sunken Ruins was drunk when they did it.
|
|
#
?
May 21, 2015 07:15
|
|
|
Lunchspell: summon salami
|
|
#
?
May 23, 2015 05:19
|
|

|
Well, that was some worthwhile plundering in the ruins.
|
|
#
?
May 23, 2015 18:24
|
|
|
InediblePenguin posted:Lunchspell: summon salami Summer Salami.
|
|
#
?
May 23, 2015 19:56
|
|

|
So, we're on this quest to get a fallen hero's skull and carve it into a weapon. We have the skull. Unfortunately, the folks who will be doing the forging are otherwise occupied at the moment. That will be explained soon enough, but in a nutshell, we're going to need to pick up a certain Rather Important Magic Spell in order to get our skull-sword made. There's only one place to find that spell: the city of Freeport. Update 23: Freeport Fortunately, our ship can take us straight from Sunken Ruins to Freeport.  Paragraph 45 posted:The sail to Freeport is a long one, and your supplies are barely enough to last the voyage. You sail east and away fromthe majority of the Dilmun islands, headed into previously unknown waters. Once free from the war-torn islands of the Dilmun interior, you are able to enjoy the natural beauty of the maritime world of Oceana. The trip puts us right inside Freeport, which makes sense, seeing as it's a port. We can exit the city and explore the surrounding island, but there's nothing there. 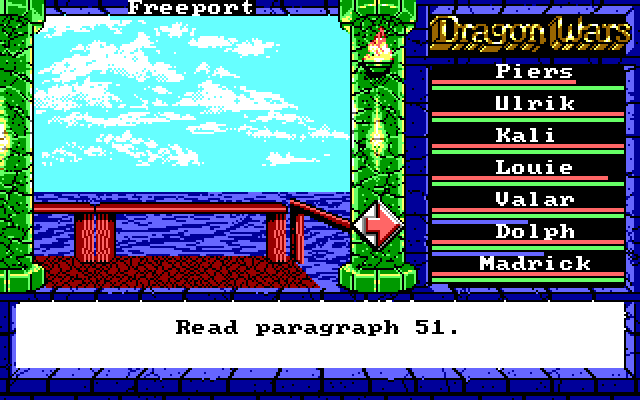 Paragraph 51 posted:You walk beside a clean and stylish harbor. Although you are near the sea, this place has none of the stink associated with Oceana's coastal places...either Freeport is not sinking, or the port is engineered such that seepage is not the problem here that it is elsewhere in the world. The construction here is simple but attractive. There's rustic feeling associated with the unfinished wood railings foliage, and crisp scent to the air. The people of this place are dressed in effective leather and cloth, and seem healthy and energetic. Everyone is armed, and you judge the citizens of this place know how to defend themselves. You are greeted warmly as you approach, but the citizens of Freeport do not tarry to speak. Everyone seems engaged in a mission of great industry. Remember how I've been saying that whenever a town looks nice, things are hosed? Keep that in the back of your head. The northwest section of town has an armor shop, a weapon shop, and a healer. The armor shop has Heavy Plates, but those mess with AV too much to be a real option. We can ignore these shops. There's also a town council building in this area: 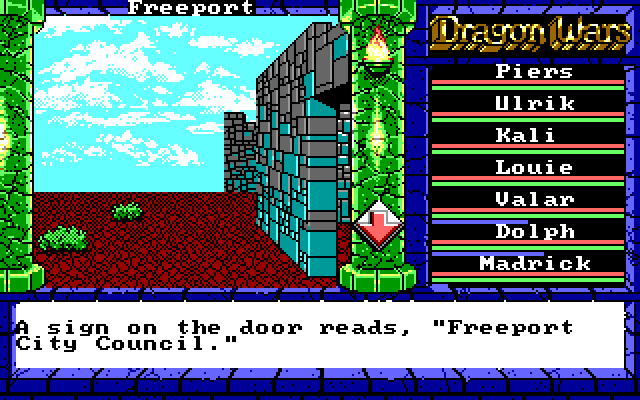 Paragraph 57 posted:This simple hall serves as the community meeting place for the citizens of Freeport. You are greeted by minor city officials who welcome you to their town and eagerly ask you for information of the war in Dilmun. "These are dark days," the official says. "Soon Kingshome will control all of Dilmun, then Namtar will cast his evil gaze toward the Eastern Isle and our fair city." This doesn't really tell us anything we didn't know already, but it's slightly interesting. There's nothing to do here, so we'll wander around the harbor to the eastern part of town. 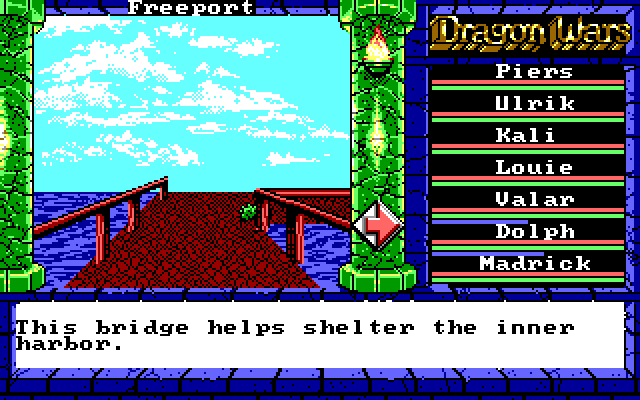 We walk past a couple of empty buildings before spotting this place: 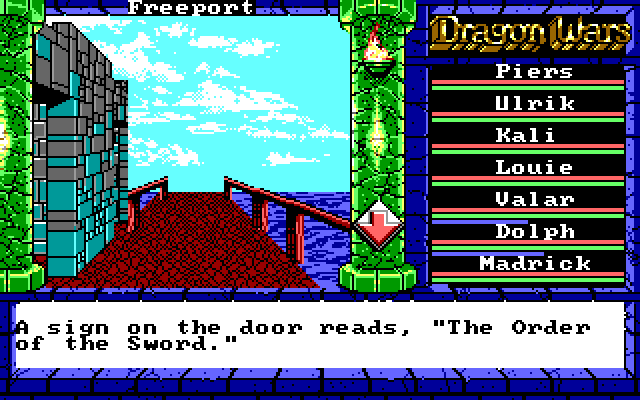 Piers: Order of the Sword? We need to check this place out! Dolph: Hmm, I don't know... Piers: Come on, with a name like that, they must be all right! Maybe they'll help us out! 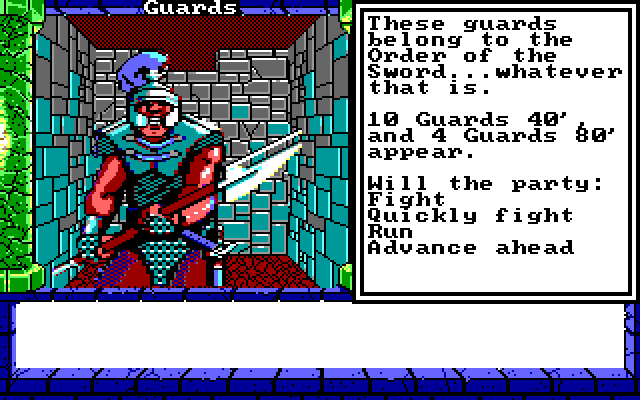 Piers: Hey, that's an axe, not a sword! I didn't take many screenshots of this fight because I didn't expect it to be interesting. You basically just unload magic on them while they're out of range. However, I didn't kill the front line of guards fast enough and this happened: 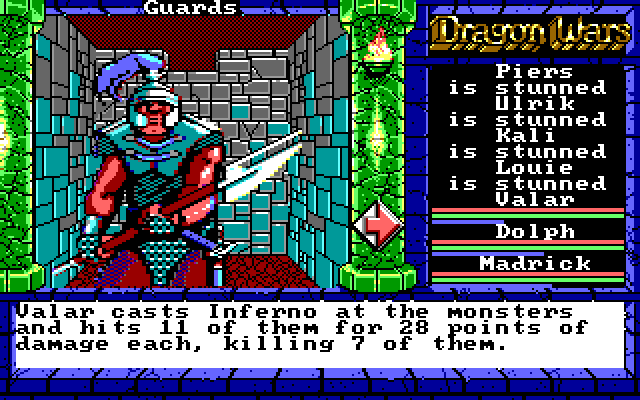 Thankfully, Inferno is really good. 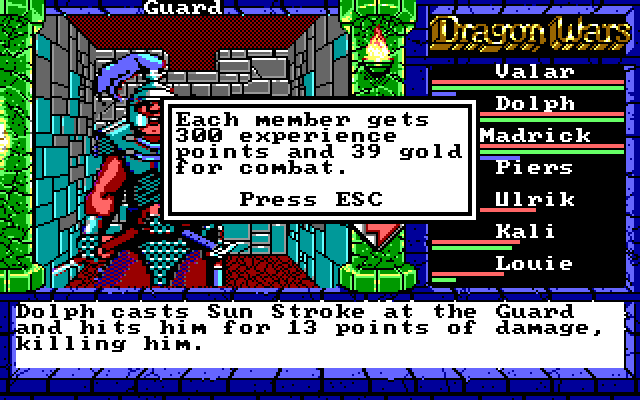 And of course, they're guarding a chest. 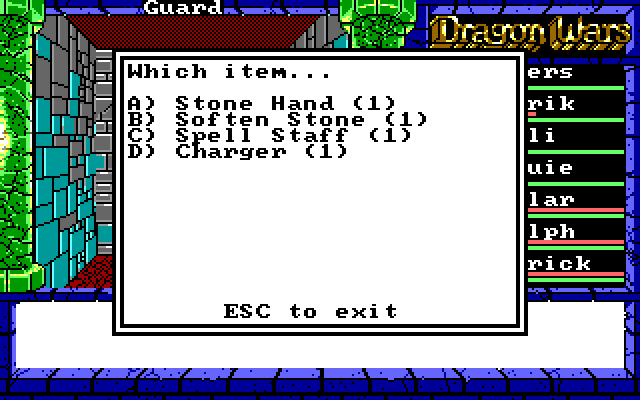 Stone Hand - This is another piece of Lanac'toor. We also have the Stone Trunk, and we dropped off the Stone Arms at Mud Toad earlier. We still have to find the Head though. Soften Stone - This is what we came here for. It's Druid Magic. It literally softens stone. This has a few implications, but the main one is that it's the anti-Create Wall. If there is a wall in front of you, and you cast Soften Stone, there will not be a wall. There are a few places where this doesn't work, but we'll still have ample opportunity to make use of it. Kali gets this one. Spell Staff - The Spell Staff is a mace-type weapon, it requires Low Magic skill and adds +5 AV, +8 AC. The downside is that it does terrible damage. Madrick doesn't attack anyway, so giving it to him works. Charger - So, you know how some magical items have a limited number of charges? This is a Sun Magic spell which recharges them. This means all we have to do is stand on a re-energize pool, and all magic items have unlimited charges. Dolph gets it, not that it much matters who we give it to. Next door to the Order of the Sword is the tavern. 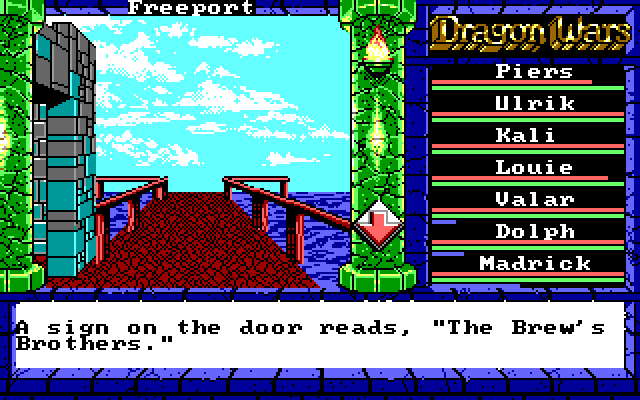 Well, that's certainly a fitting name for a bar. Let's check it out. 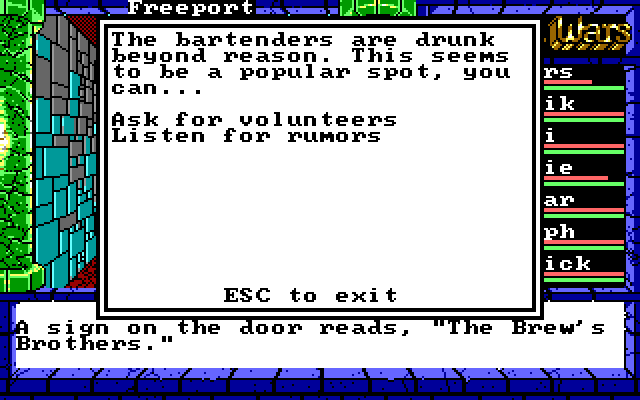 Yes, there is a recruitable character here. His name is Halifax. No, I don't know what the connection is to the password in the Phoeban Dungeon. No, he's not better than the guys we already have. With some leveling, he might be, but the difference isn't significant. And no, we're not getting him. But there are a few rumors to be told, so let's listen to them. quote:The barkeep says, "I hear Lanactoor's statue can be sought in the broken cities, tombs, minds, and swords." Well, okay. We already did the cities (Tars Ruins), tombs (Necropolis), swords (The Order of the Sword right next door to this tavern), so what about the minds? quote:The barkeep says, "I hear that magic can soften the dwarves stingy hearts." We need the dwarves' help with building our Roba-weapon, so this hint will be relevant very soon. quote:The barkeep says, "I hear there's said to be a powerful gem that will bind the will of a dragon." Obviously getting a dragon on our side would be pretty helpful. Especially when we consider that this is a game called Dragon Wars, which definitely means this game is about dragons. It's not like the game had a sloppy, last-minute title and setting change... oh wait. Back in Phoebus, we actually heard a hint previously that the Lansk dragon guards a "powerful gem" -- both hints are talking about the same thing. So now we know of at least one reason to visit Lansk. Apparently the Brew's Brothers' customers are too drunk to offer any other useful information, as the barkeep has only heard these three rumors. Moving along, we'll check out the Tars City Council. 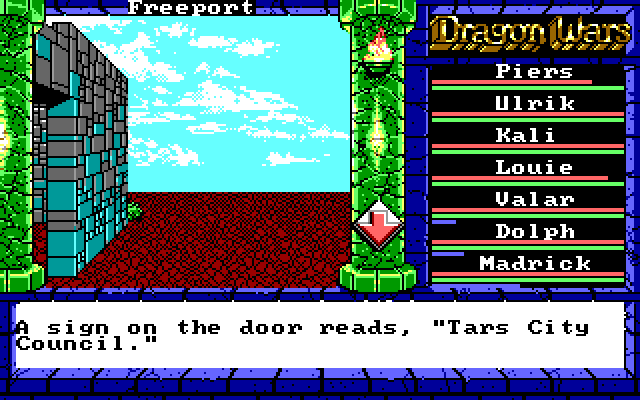 Paragraph 56 posted:A tall and powerfully built man with a greenish complexion greets you when you enter the building. "I am Tarkas, first citizen of Tars," he says. You learn that he and his fellow officers fled here to Freeport when their home city of Tarswas destroyed by the legions of Kingshome. Tars was previously the foremost city of the Isle of Forelorn. Now Tars is a sad ruin, while Purgatory passes for the isle's only city. If you explore the ruins of Tars, Tarkas says, be sure to seek the hidden chambers beneath the city - they might still contain fabulous treasures. I guess this is useful if you somehow missed Tars in the early part of the game, or didn't go to the underground section. We've already been there, but still, this is kind of interesting. Even some of the least important areas in the game have a decent amount of lore attached to them. There are two more shops in the southern section of the city. "Bewitching Potions and Elixers" sells only Dragon Stones. They're somewhat pricey and we don't need them right now, but it's good to know where we can find some if we need them. The other is "Magic Inc." 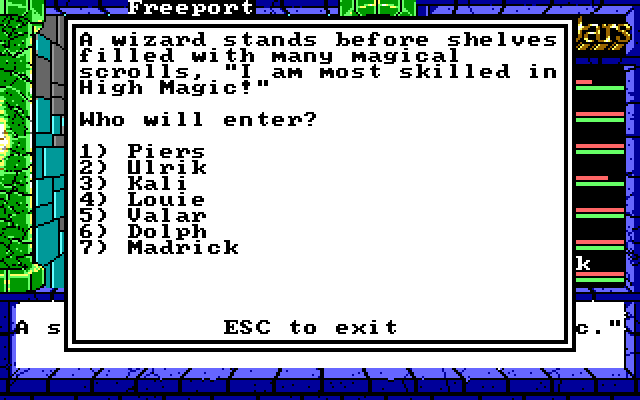 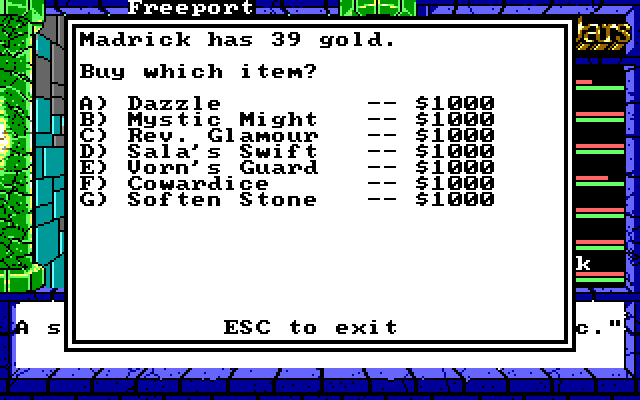 We just got Soften Stone, and the other spells are pretty pointless. Oh well. So, something worth noticing is that there's a small island in the middle of the harbor. Paragraph 52 posted:To the south is a little island in the harbor. Standing in the center of the island is an anvil, plunged to the hilt within the anvil is a brilliantly gleaming magic sword. There seems no way to the island...the water here seethes and boils with magical energy. It doesn't take much imagination to surmise a swim to the island would be fatal. I'm guessing this would not be a good time to point out that we have their dead hero's skull in our backpack. (Using Roba's Skull here does nothing.) So, you might be a bit confused at this point. If Roba's sword is right here, why are we supposed to get his skull and make a weapon out of it? Well, clearly the answer must be that the Sword of Freedom alone is not enough, and we will need additional super-swords to defeat Namtar. quote:The citizen wishes you well and leaves. The Sword of Freedom is just out of your reach. It seems to taunt you. How to get it? How to get it...? Not really much taunting going on here, as we already have the way to get to the Sword. Use the Golden Boots, hop to the island. This won't be the last time we do this, either. I'm sure I've said it before, but the Boots are the most critical item in this game. 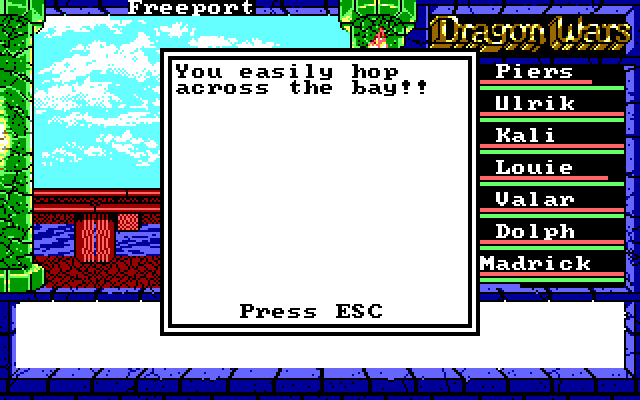 Paragraph 27 posted:You at last stand before the Sword of Freedom. The hilt of the fabled blade is just inches from your grasp. A hush comes over the city of Freeport. The furiously boiling waters previously surrounding this isle have subsided. You look up and see the citizens of Freeport have gathered all around the harbor, waiting to see what you will do next. Some of the citizens appear happy, others are proud, many just wear blank stares. One large man stands silent, but tears roll down his cheeks. You smell a faint scent of ozone. Somewhere, a baby cries. 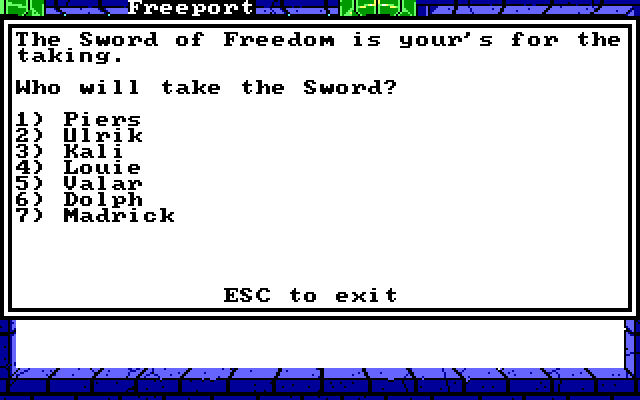 Wait. 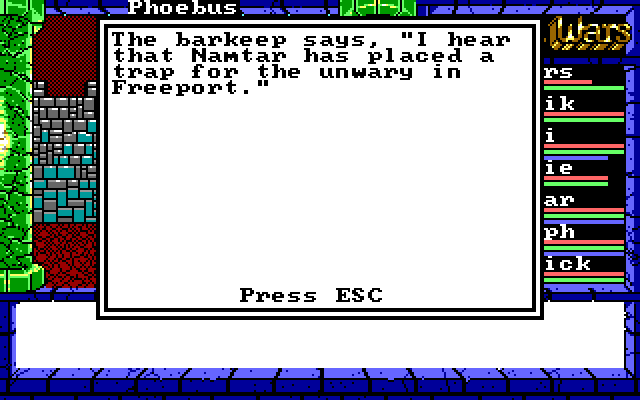 Wait just a drat-- Piers: The Sword of Freedom! The blade which I am destined to wield! Dolph: Dude, I think this is a trap. Piers: I shall raise this fallen hero's sword against Namtar, and with the help of my comrades, we shall free Dilmun from his tyranny! Kali: Piers, it's definitely a trap. Madrick: As much as I'd like to see hilt-for-brains look like the fool that he is, my magical skill confirms that this is in fact a trap. Piers: I have no fear. I shall cut Namtar into ribbons, and send every piece of his defeated body back to the Pit they came from! Ulrik, Louie, Valar: IT'S A loving TRAP YOU MORON! 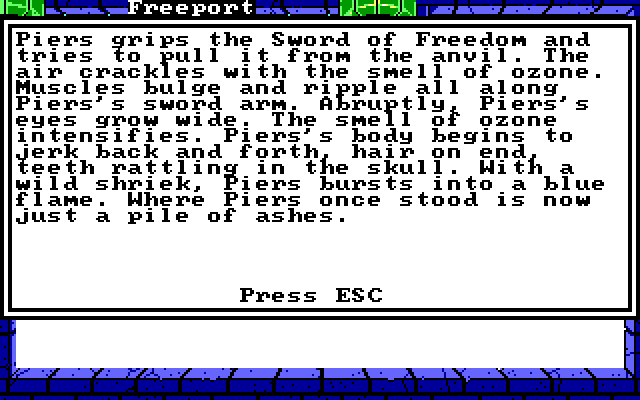 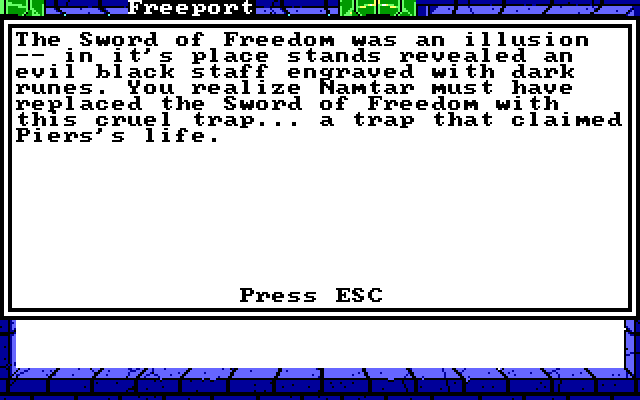 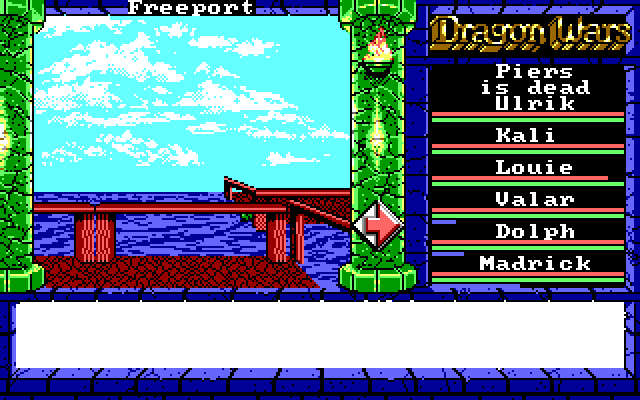  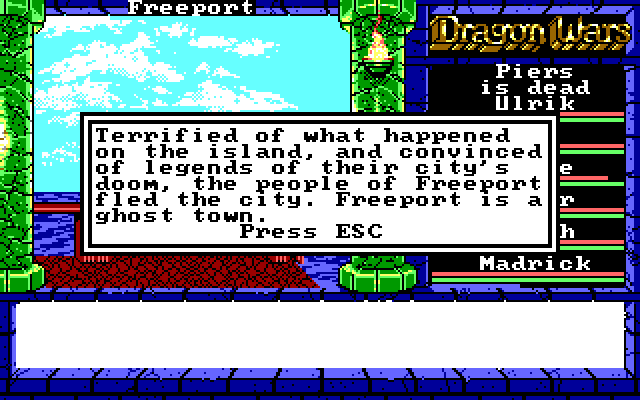  The game is not kidding about this. Following this event, every building in the town is abandoned. (I assume we'd still be able to get the Soften Stone spell from the Order in the Sword if we hadn't already done so, but I haven't tried this.) Of course, we know better, so we won't actually do it this way. Let's rewind a bit. At this point, we can cast Sense Traps, Disarm Trap, or Reveal Glamour, and this happens: 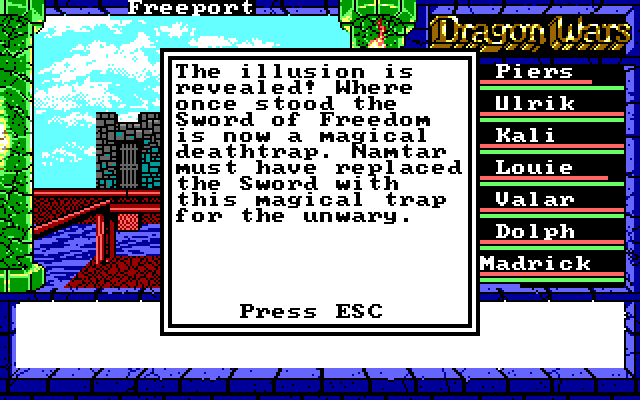 The good news is that doing this avoids one of our party members dying. The bad news is that the people of Freeport lose their poo poo anyway. 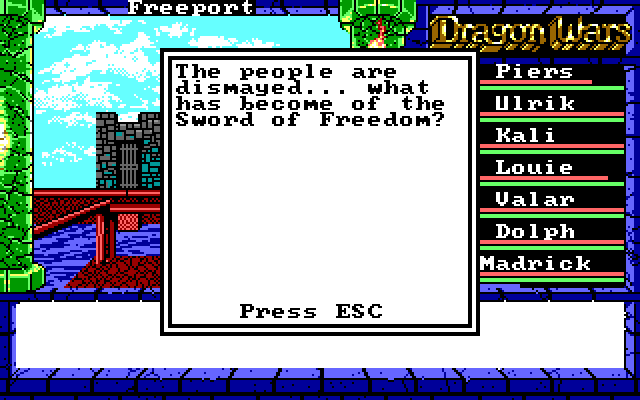 Of course, there's a third option here: just don't do anything at all. Leave the fake sword in the anvil. Nobody else is going to set off that trap, and as long as nobody does, Freeport remains ignorant of it. We've done everything we really need to in Freeport, but it's better to leave things alone so the shops stay open. This sequence makes a bit more sense if you visit Freeport first, before going on Irkalla's quest. However, because Soften Stone can only be found here, the game ensures that you must visit Freeport before forging Roba's Skull. The idea is that you're meant to learn about the Sword of Freedom first, then you find Roba's Skull and forge it into a new version of the Sword. But to do this, we will need to find the dwarves. And possibly soften their stingy hearts. Next Time: Dwarves
|
|
#
?
May 27, 2015 06:33
|
|
|
This is why I love older games. I don't think any modern title would dare to kick the player in the teeth like that.
|
|
#
?
May 27, 2015 08:48
|
|

|

|
| # ? Apr 28, 2024 13:27 |
|
|
Added Space posted:This is why I love older games. I don't think any modern title would dare to kick the player in the teeth like that. Yeah. When I played this as a kid, I was pretty blindsided by this. I knew there was supposed to be a trap in Freeport, so I made sure to have Sense Traps active while walking around the town, but that doesn't actually catch the Sword of Freedom trap -- you have to be standing on that tile and cast a spell to reveal the trap. So, thinking I was safe from traps, I jumped to the island, grabbed the sword, and then got to read the game's gruesome description of my best melee character getting burnt to a crisp. I mean, it wasn't that big of a deal; I just reloaded the save from before I did it. And even if that wasn't an option, it's a relatively easy trip to Necropolis to get someone back. The real dick move is having everyone just evacuate the city like that. It's very possible to miss a recruit (Louie is permanently missable if you don't make peace with the slaves, Valar is permanently missable if you burn down Phoebus before finding him), in which case you really want to pick up Halifax to fill out your party, but if you just go for the Sword immediately and don't reload a save, you can't get Halifax either and you're potentially stuck with a party of six (or five if you really managed to screw things up). At this point in the game you do not want to be summoning monsters to fill out your roster. The shops here aren't a huge loss, but there's definitely stuff you might want to buy if you get here earlier in the game. The city councils and the rumors at the tavern also aren't necessary, but it would still suck to miss out on them. Besides that, it's just demoralizing because by the time you get to Freeport, you're strong enough to have taken out the pirates, and you've probably explored at least half of the game, and you feel like you're ready to grab the sword and go Namtar-hunting. And then Namtar just pulls the floor out from under you. It's a pretty nasty trick and just makes you want to beat him that much more.
|
|
#
?
May 27, 2015 15:00
|
|