


|
CascadeBeta posted:Between the HP/FP badges and the guy that you can pay to swap your hp/fp/BP around I wonder how much of an issue that will end up being. Doesn't the swap guy cost you a level every time you use him?
|
 #
?
Aug 8, 2019 16:12
#
?
Aug 8, 2019 16:12
|
|


|

|
| # ? May 22, 2024 08:55 |
|
|
I dont know posted:Doesn't the swap guy cost you a level every time you use him? No (well at least not in the base game), but now that you mention it I do remember this incorrect rumour floating around the internet since forever.
|
|
#
?
Aug 8, 2019 17:21
|
|

|
Carbon dioxide posted:No (well at least not in the base game), but now that you mention it I do remember this incorrect rumour floating around the internet since forever. He increases one of your stats by one levels' worth at the cost of reducing both of your other stats by one. Unless Master Quest changed him. So no, he doesn't reduce your level. If THAT was what he did, you could reacquire that level. No, he just reduces your stats, which is worse.
|
|
#
?
Aug 8, 2019 21:23
|
|

|
BlazetheInferno posted:He increases one of your stats by one levels' worth at the cost of reducing both of your other stats by one. Unless Master Quest changed him. So no, he doesn't reduce your level. If THAT was what he did, you could reacquire that level. No, he just reduces your stats, which is worse. actually the stat increase is by two levels (along with the other two stats decreasing by one level), which means that you basically didn't waste your level up by going to him
|
|
#
?
Aug 8, 2019 21:40
|
|

|
Reducing the level wouldn't even do anything aside from letting you get the level back faster because enemies would drop more star points. Hell, depending on the circumstances of this theoretical chet rippo, it would let you hit the level cap (27) with more stat boosts.
|
|
#
?
Aug 8, 2019 21:43
|
|


|
I'm fine with boss battles using up all your resources, but only in a game like this where inventory is VERY limited
|
|
#
?
Aug 9, 2019 06:08
|
|

|
Part 9 : Tass Times in Toad Town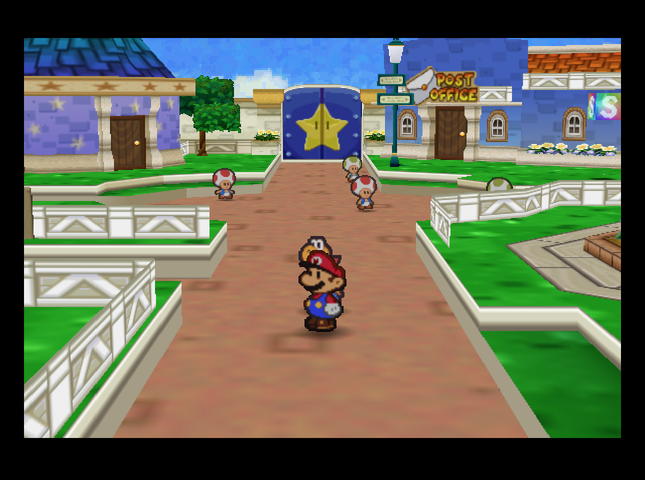 We return to Toad Town.  The blockade has been cleared away from the south road, so now we can visit south-central Toad Town. There�s a few things we can do here.   Music: Toad Town Variations This includes the Russ T., Dojo, Merlon, Flower Fields entrance, Badge Shop, Tayce T. (kitchen), Tunnels entrance, and Toy Box entrance music. The house by the northern exit belongs to Tayce T., the cook. She�ll cook up anything we give her. Let�s try out a few things!  Giving Tayce a Mushroom gives us a Fried Shroom. It restores 2 FP more than the base game, so it�s a very useful healing item. 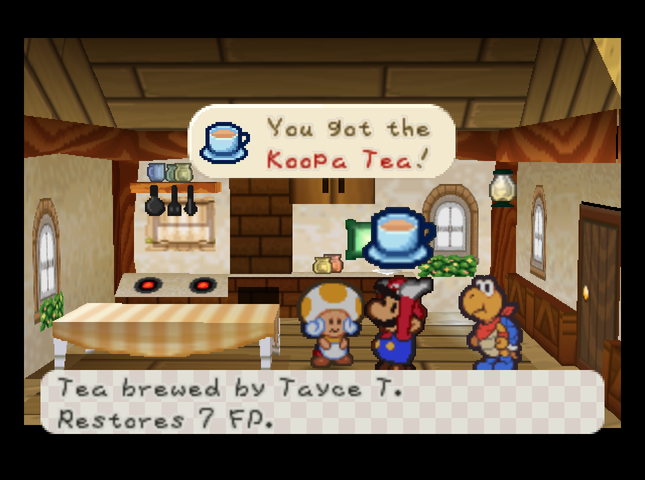 She�ll brew Koopa Tea from Koopa Leaves, making it a strict upgrade from Honey Syrup.  And if you give her an actual Honey Syrup, she�ll whip up a Super Soda. It restores the same FP as the Syrup, but heals Poison and Shrinking too. 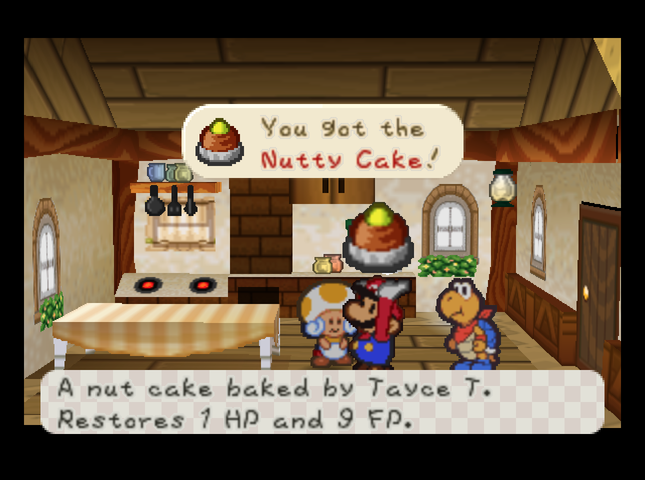 Offering her one of the Goomnuts from Goomba Village yields a Nutty Cake. In the original Paper Mario, this restored 10 FP. Here, it heals 1 HP and restores only 9 FP for some reason. 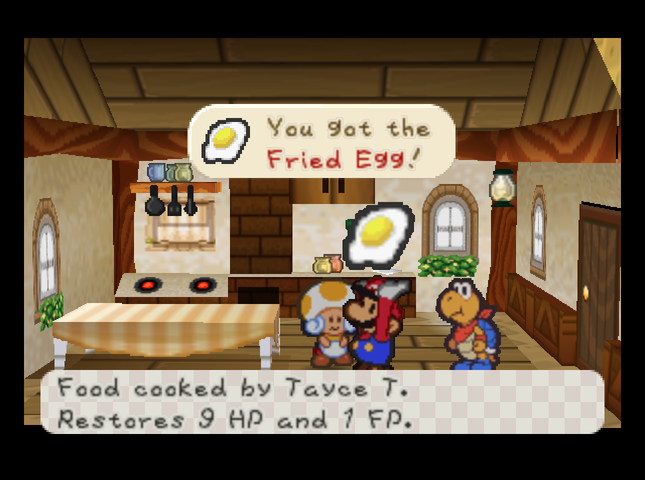 And an Egg from the shop turns into a Fried Egg. This heals 9 HP and restores 1 FP. As you might suspect, it healed a flat 10 HP in the vanilla game. 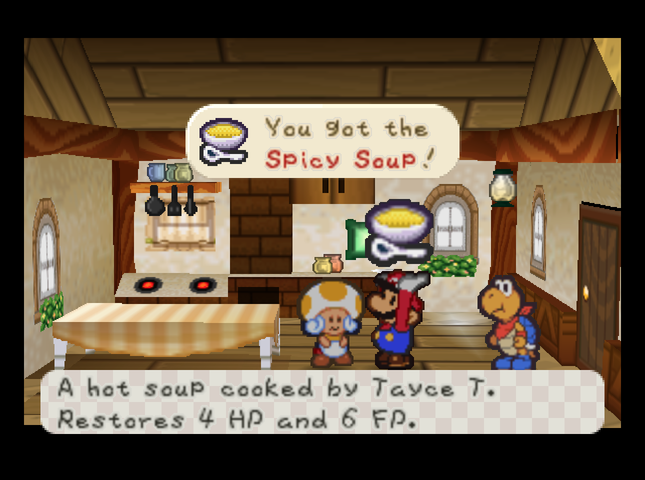 Finally, a Fire Flower becomes a Spicy Soup. This has also been buffed - it only restored 4 HP and 4 FP in the original game, but now the FP gain has been boosted to 6!  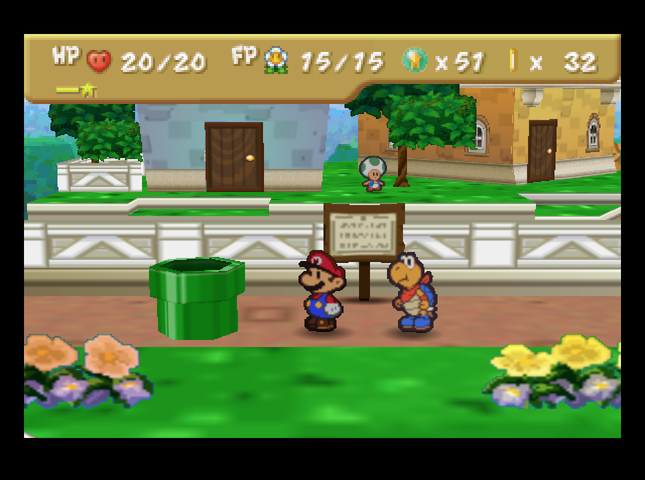 Also in this part of Toad Town is a suspicious pipe. This leads to the Toad Town Tunnels underground area. 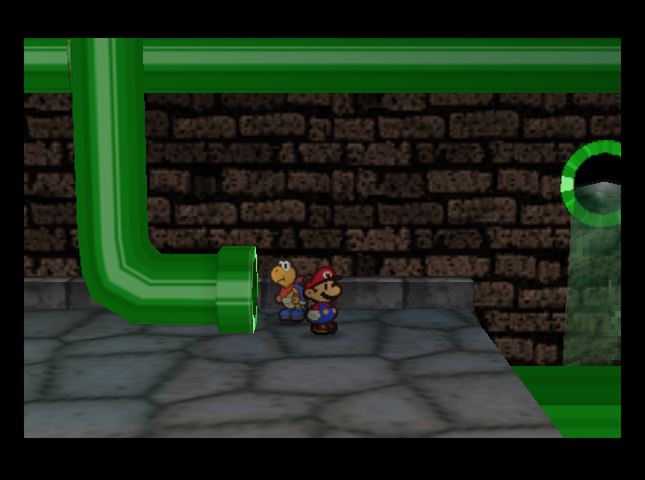 Music: Toad Town Tunnels  On our first visit to the Tunnels, the way left is blocked by a block Mario can�t break yet. So, it�s right or nothing. 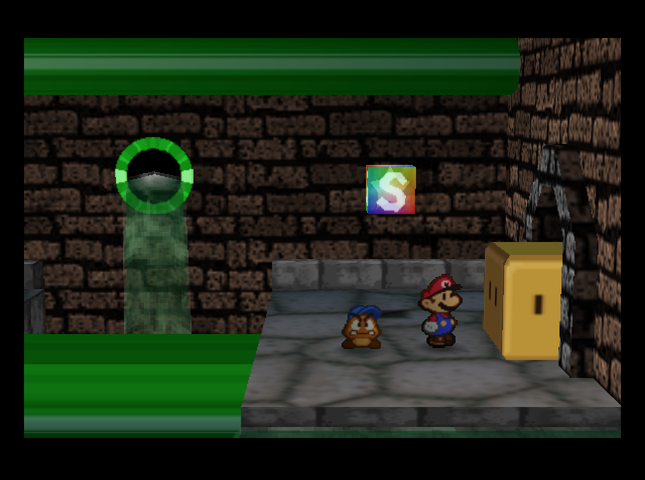  In the next room is a strange, dark-colored Goomba. 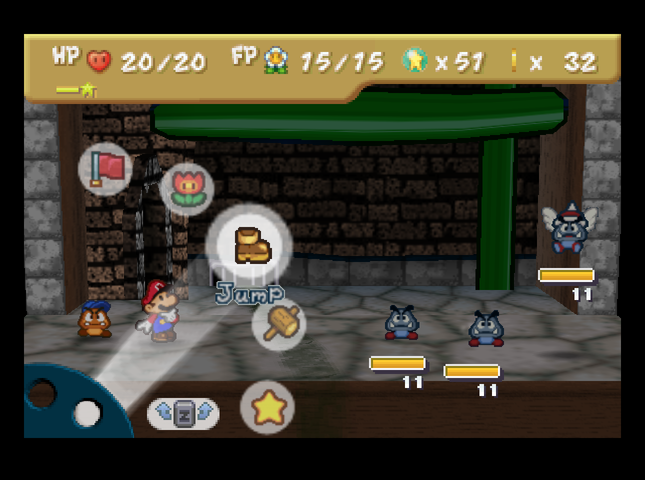  This is a Gloomba. Gloombas are nasty Goombas who live in the Toad Town Tunnels. They�re stronger than ordinary Goombas, but you can take �em. This is a Gloomba. Gloombas are nasty Goombas who live in the Toad Town Tunnels. They�re stronger than ordinary Goombas, but you can take �em.And in the back there� is that what I hope it isn�t? This is a Spiked Paragloomba. Just when I thought these nasty guys couldn�t get worse! As you can see, he�s wearing one of those awesome spiky helmets. That rules out my headbonk and other jump attacks. But how else can we reach him? Don�t we have any other attacks that can hit flying enemies? And where can I get one of those sweet spiky helmets? 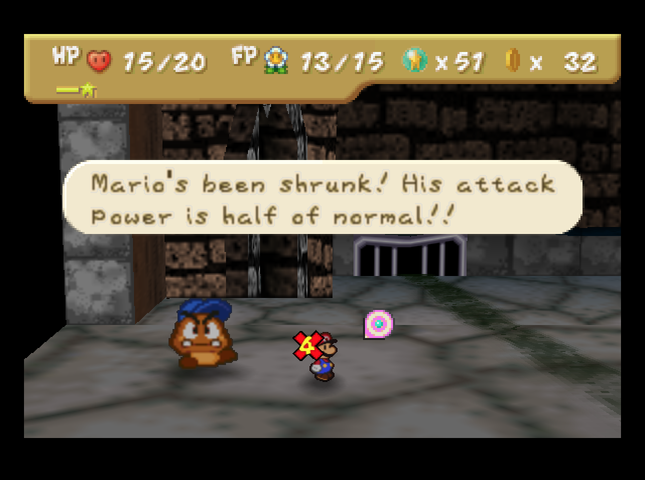 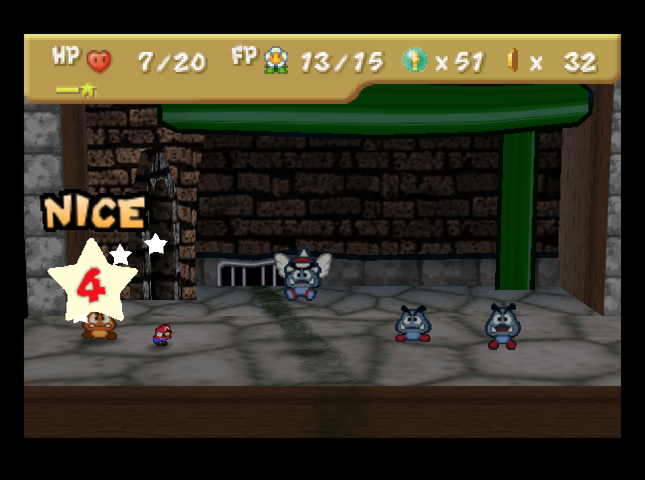 When Goombario said Mario could take these guys, it sounds like he was exaggerating! They (and their winged friends) do 5 damage apiece - and their attacks will Shrink Mario if he doesn�t block them, making it nigh impossible to hurt the Gloombas further! In original Paper Mario, Gloombas had 7 HP and did 2 damage, and Spiked Paragloombas weren�t a thing. 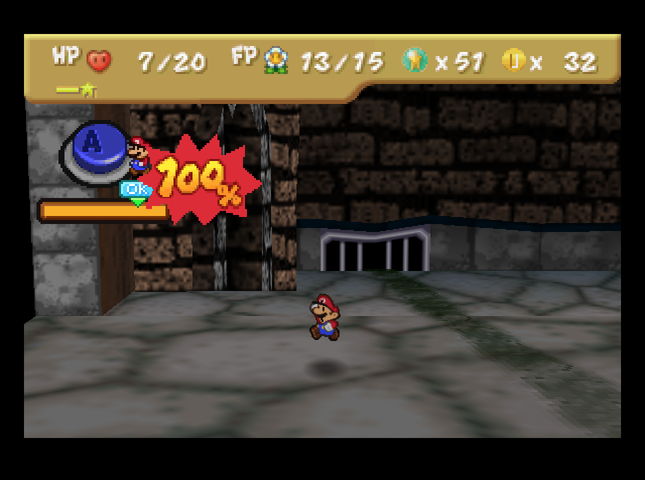 At this point, I decide discretion is the better part of keeping myself in one piece, and run away. 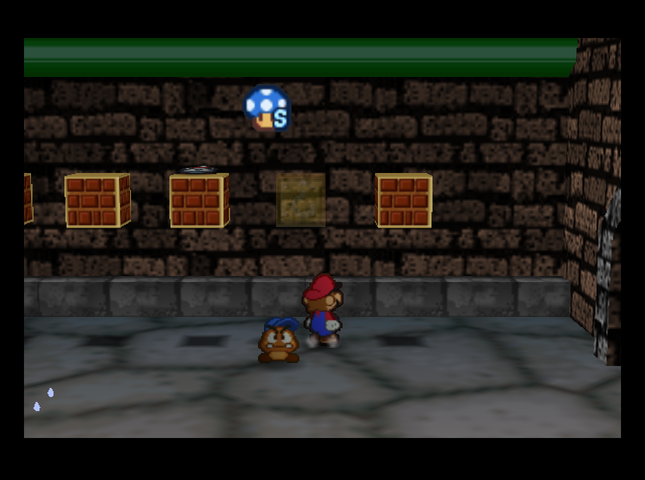 There�s not much else in this room, aside from a Spiked Gloomba hiding atop a Brick Block (which we�ll leave alone), and a hidden block with a Super Shroom.  In the next room, there�s a bridge of pipes leading to a chest with a Badge. We are not going to cross it. This bridge is one of the three places you can encounter a Blooper boss fight in the sewers. When you cross one of those places for the first time, you�ll fight a regular Blooper. When you visit one of the two remaining ones, you�ll encounter the tougher, zaptacular Electro Blooper. The third location will net the powerful Super Blooper. Crossing this bridge would get us a badge, but one of the other Blooper fight points is right before a series of warp pipes that�ll let us fast travel to Goomba Village, Koopa Village, and Dry Dry Outpost. I�d much rather have the first Blooper fight be guarding those - or, to put it another way, I don�t want to have to see what sort of shenanigans the Electro Blooper can get up to in order to activate some warp pipes! By not crossing the bridge now, I�ll make it easy on myself later. This means we�re done with the Toad Town Tunnels for now. 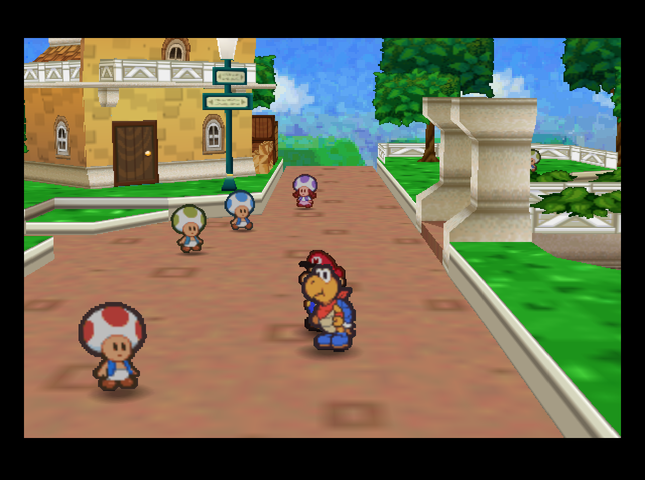 Back in south-central Toad Town, roads lead west to the outskirts of Toad Town, east to Forever Forest, and south to the train station. We�ll be going to the train station to kick off Chapter 2, so we�ll visit there last. 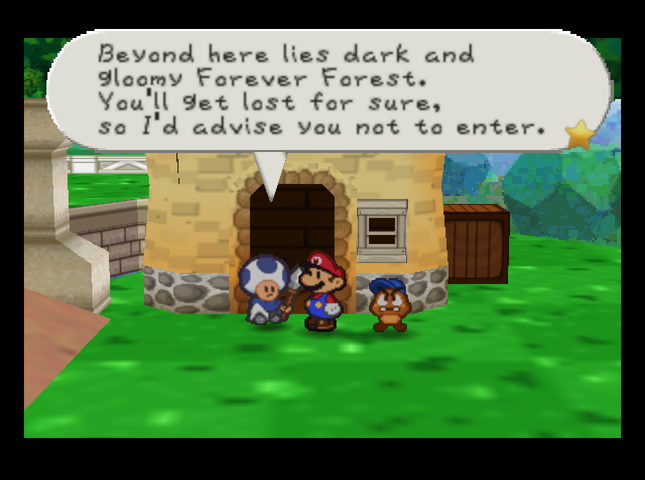  Instead, let�s see how far we can get in Forever Forest! 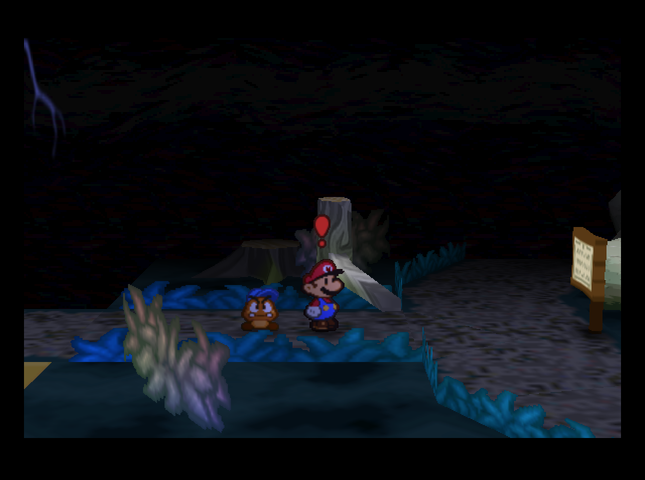 Music: Forever Forest 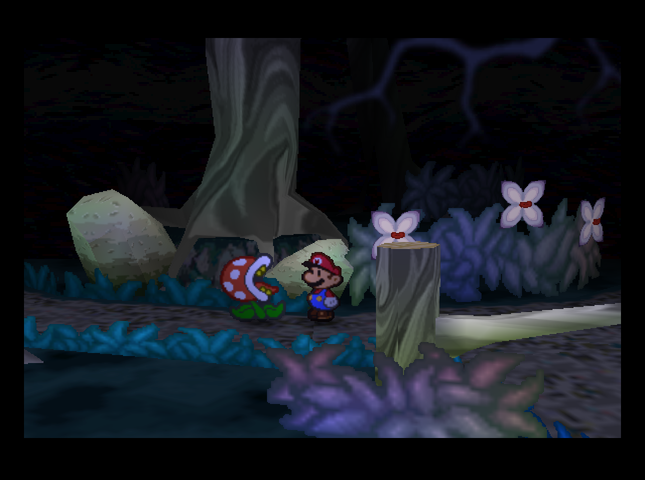 We can get a little ways into the Forest. Each area here is circular, with four paths. On the way to the path deeper into the forest, we run into a Piranha Plant!  We get the First Strike, thankfully. We�re faced with two Piranha Plants and a� Lakiwun? This is a Piranha Plant. Piranha Plants pop out of the ground at unexpected moments, so be on your guard. You�ve seen �em in every one of your adventures, so I imagine you�d know �em pretty well. Their sharp jaws point upward, so you�ll get bitten if you try to jump on �em. They smile after biting people. That smug smile� it makes me hopping mad! This is a Lakiwun. It seems like it�s just a weaker Lakitu. Oh, I get it: Lakiwun, Lakitu. Whoever named these isn�t very creative. I wonder who names these guys? Probably some high-end royalty somewhere. He throws Purple Spinies, and as you can guess, they look like Spinies, but purple. Lakiwun are known for their HP, but I bet they get dizzy easy the way they float like that.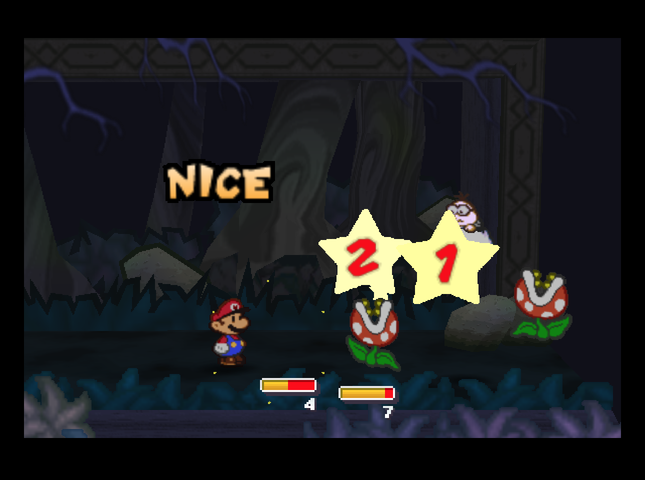 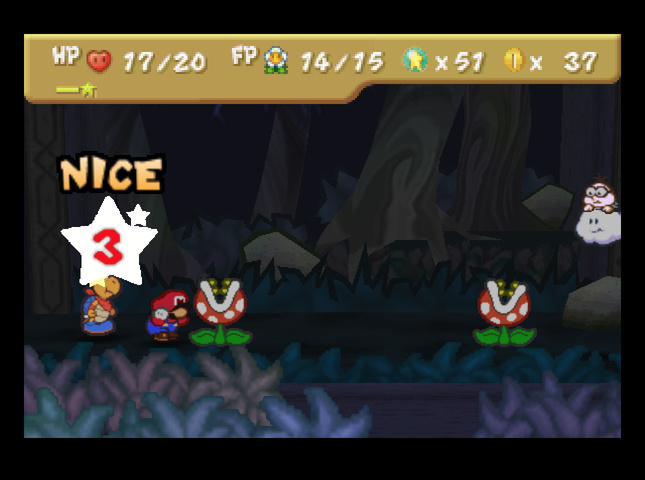 We Spin Smash to try and get rid of the Piranhas ASAP. Their bite attack does 4 damage, 1 more than in the base game. They also have 3 more HP than before.   Lakiwuns hurl 4-damage Purple Spiny Eggs at Mario and his partner. If a partner�s hit, they�ll be out of action next turn. 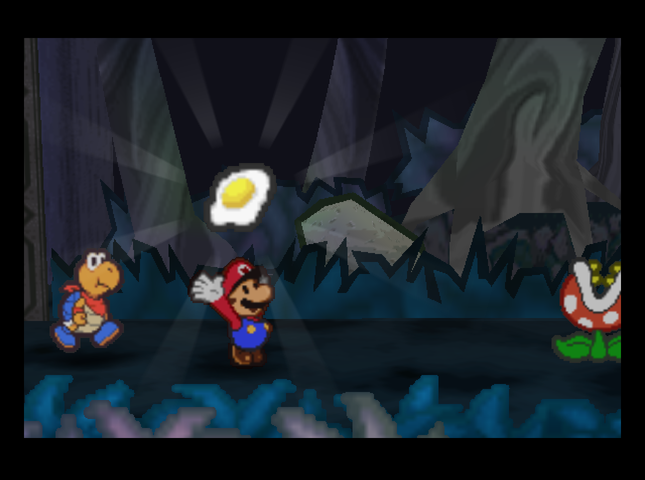 After KOing one of the Piranhas, We eat Tayce�s tasty Fried Egg to recover from the onslaught. 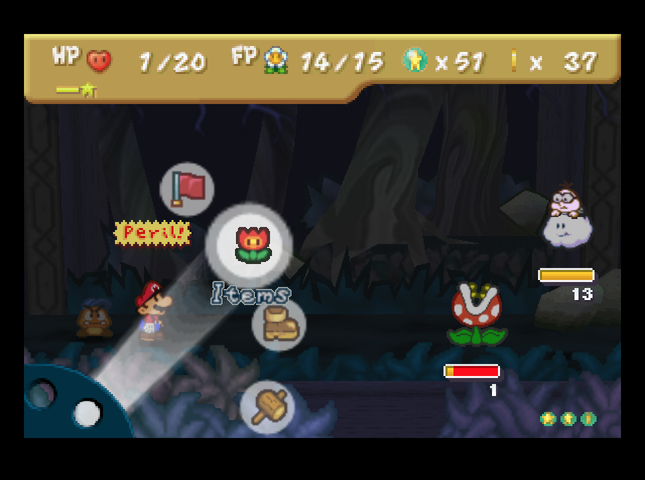  However, time spent switching partners to get Tattles puts us into Peril a turn or two later. That Super Shroom we found in the Tunnels comes in handy almost immediately. 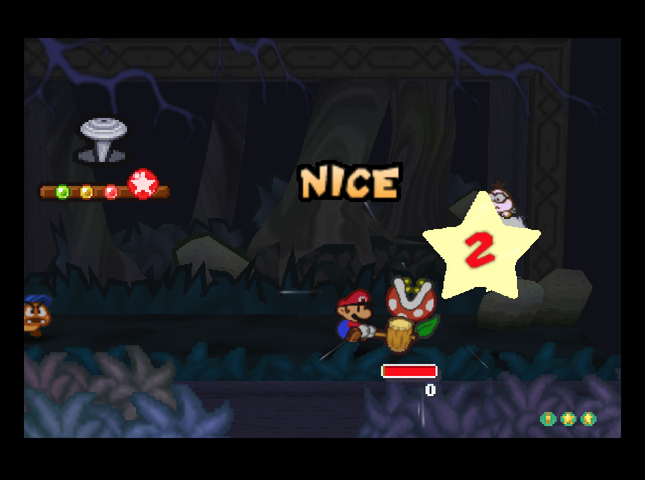 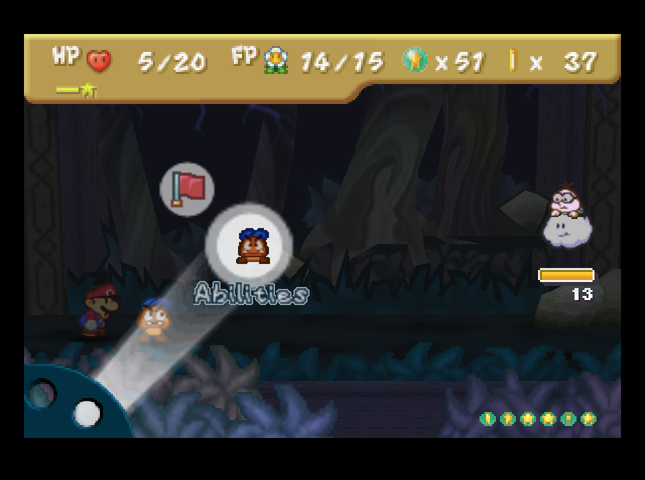 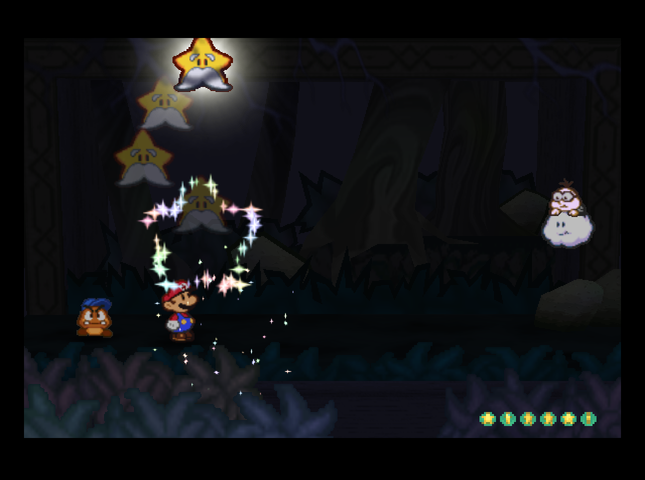 Once we hammer the Piranha, only the Lakiwun is left, giving us some breathing room. We can now use Refresh without the enemies undoing all our hard work in one turn.  A sustained assault of Power Jumps serves to do the Lakiwun in. Yikes! Forever Forest enemies are tough. 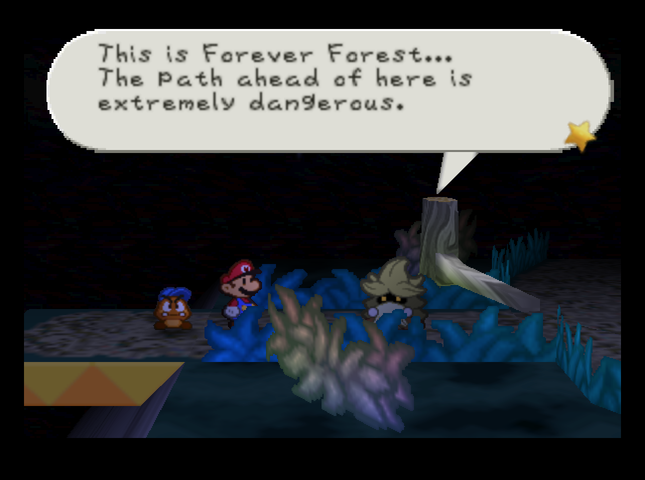 While we make it to the next screen, our way forward is blocked by Oaklie, a community-minded fellow who does his best to stop people So all we can do is, once again, turn around and head back to Toad Town.   The only thing we haven�t explored in South Toad Town is the blue house with the lamp over the door. Unfortunately, it looks like it�s going to stay that way! The door is locked, and we won�t be able to unlock it until we�ve explored a lot further into the Toad Town Tunnels. So, let�s check out southwest Toad Town instead. 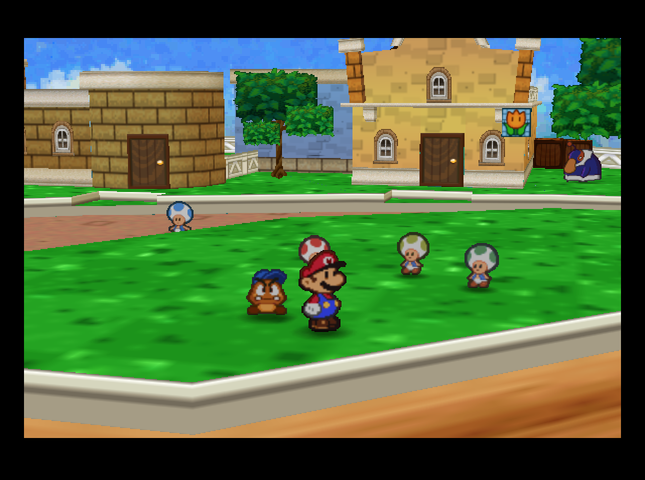 Southwest Toad Town has three buildings: an item shop on the right, someone�s house in the center, and off to the left, an abandoned house that will turn out to house Shy Guy�s Toy Box.  This shop, Harry�s Shop, has several things we couldn�t get before, or not as cheaply. In particular, the yellow bag on the left is Cake Mix! Normally we wouldn�t get access to this stuff until Chapter 4, where we could filch it from Shy Guys. Here, we can just buy it for 10 coins. There is a slight trade-off. In the base game, you could buy Stone Caps here for 30 coins. These items would turn Mario into an invulnerable stone statue for three turns, at the cost of being unable to attack. Harry the shopkeeper also sold Thunder Rages (attack all enemies with thunder, 5 damage) and Tasty Tonics (heals status ailments) as well; they�ve been replaced with POW Blocks (for the low price of 8 Coins) and Super Soda. Prices are also different from the original, too. Dizzy Dials sold for 15 coins here in the base game (though only 10 at Koopa Village); now, they sell for 12 coins here and 15 at Koopa Village. Volt Shrooms here are the cheapest we�ve seen so far, at 13 coins (though they originally sold for 10), and Super Shrooms are discounted to 13 coins (from 20). Now that we�ve visited Harry the grocer, we can get some new recipes from Tayce!  Cake Mix, as you�d expect, becomes Cake. It�s the best FP-restoring item we can get right now. 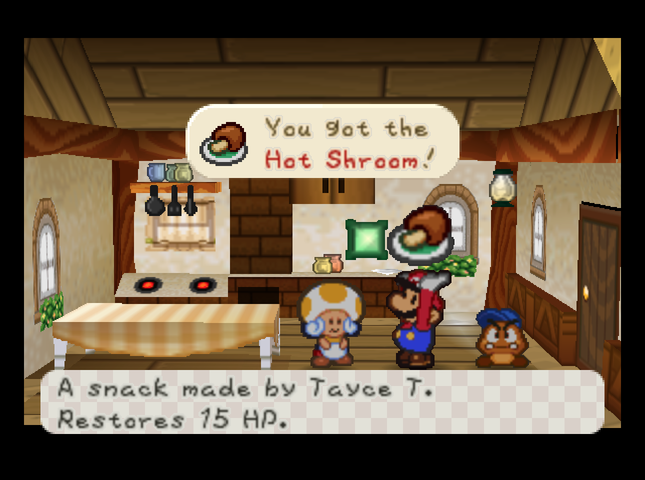 Cooking up a Volt Shroom yields a Hot Shroom. Originally, it healed 15 HP and restored 5 FP; now the FP recovery is gone. This may have been to match its stats to those of the Cake. (You can also cook a Life Shroom to get a Hot Shroom, but� why would you?)  Toad Town�s Port is� a port. There aren�t any boats or anything here at the moment. The building at the north end of the port is a nightclub - Club 64 - but there�s not much we can do there now aside from listen to the cool BGM. 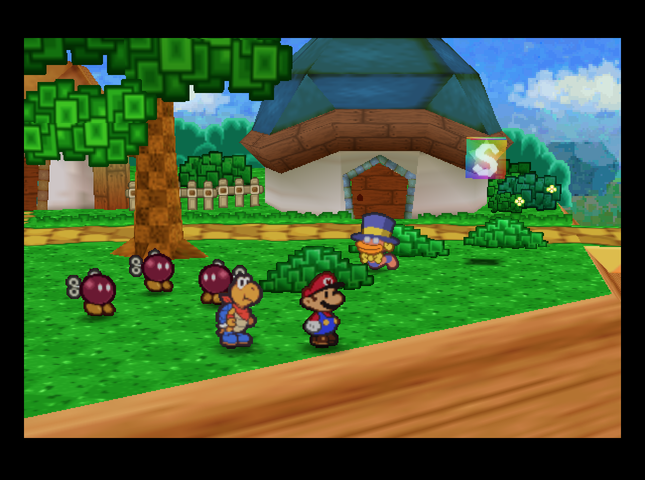 With Toad Town mostly explored, it�s time to head back to Koopa Village and finish delivering �The Tape�. Wait, is that who I think it is? 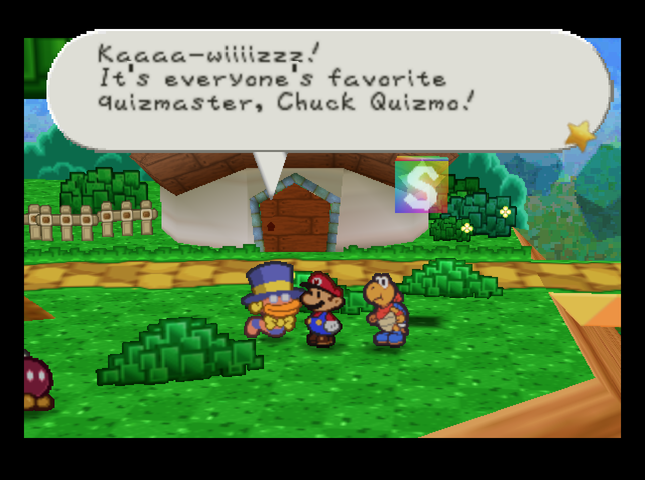 I�m always up for an opportunity to earn more Star Pieces, good sir.  OK, this one isn�t quite unfair, but it�s really hard to find out. One NPC mentions that the Koopa Bros were calling themselves �Nash T.� once Donlon thunderbolts �em. However, if you come back after Chapter 1, the NPC is talking about Dry Dry Desert instead.  How many buildings are there in Koopa Village? How many buildings are there in Koopa Village?[Six / Seven / Eight] Which of these could you meet at Princess Peach�s Party?[A Yoshi / A Koopa / A Bob-omb] Which of these stations is NOT available on the radio in Koopa Village?[Golden Oldies / Hot Hits / FM Shroom] The radio in Koopa Village belongs to a Koopa living on the west side of the village. We didn�t see him during the Fuzzy incident because he was staying in his house; he�d realized that if he went outside, there�d be shell to pay. How many Bob-ombs, besides Bombette, were imprisoned in Koopa Bros. Fortress?[Four / Six / Eight] I�d originally thought there were more. What happens if you wait long enough during chapter title screens?[The next chapter begins / A new song begins to play / A secret message appears] The new song is a lite-bit remix of the World 1-1 theme. It starts at about the 10-second mark in the linked video. 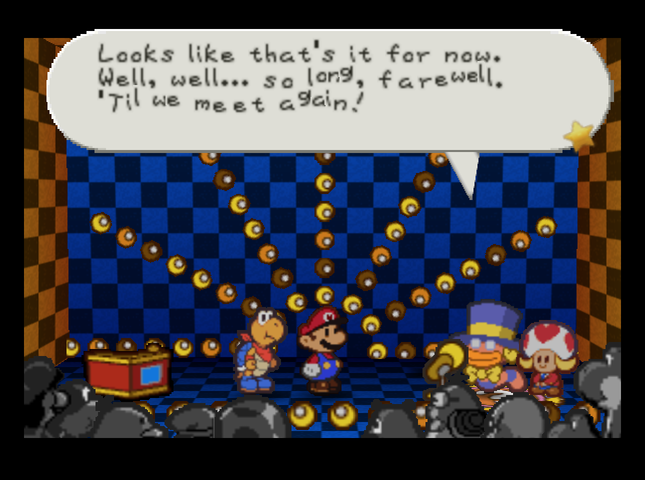 After six more questions, Quizmo calls it quits again. Time to finish our delivery.  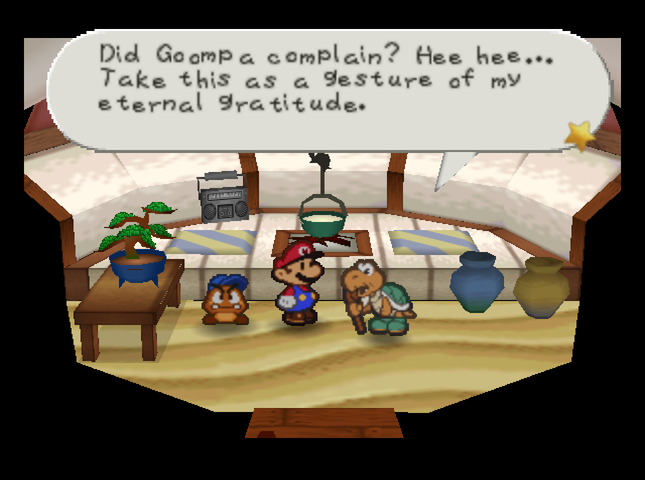 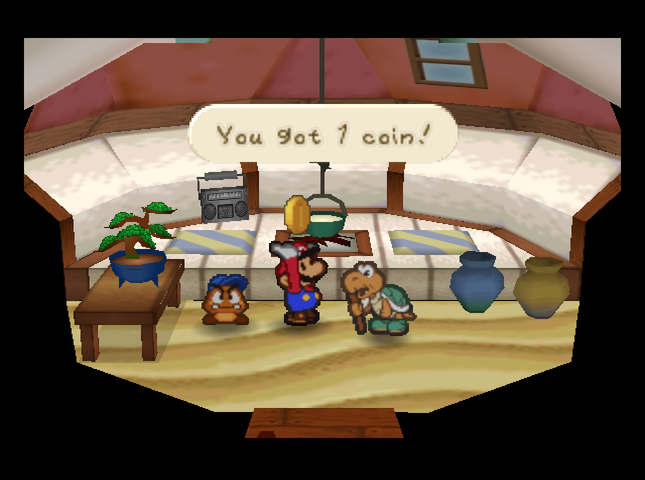 We get paid, as per usual.  Koopa Koot has another favor. This one�s really easy, because we still have the Koopa Tea that Tayce T. made earlier in our inventory. 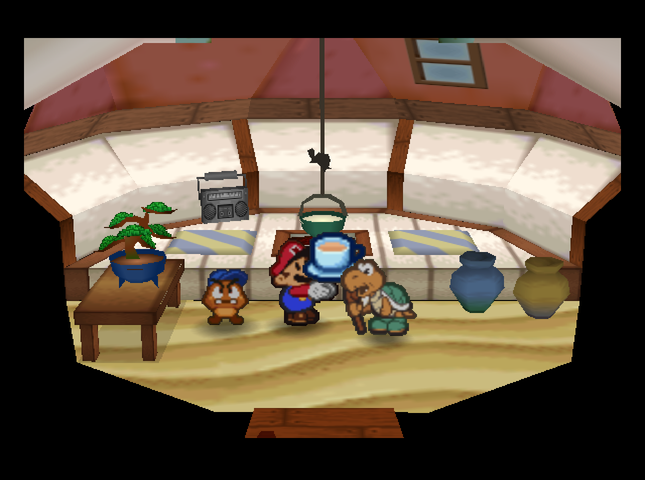  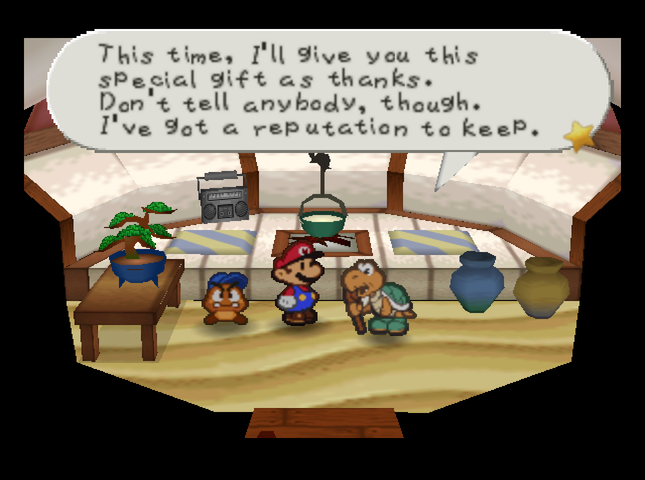  This time, though, he gives us a special reward: 3 Star Pieces!! Koopa Koot�ll do this for every four favors we fulfill. 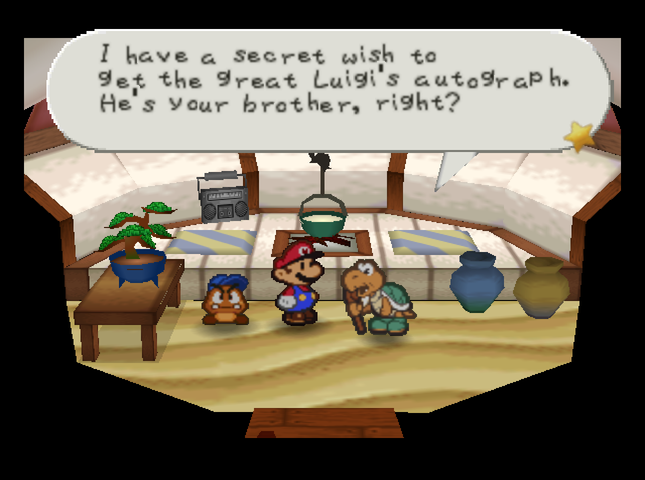 He�s got another ask lined up right away: Luigi�s autograph. We�ll have to head back to Mario�s house to get this one. 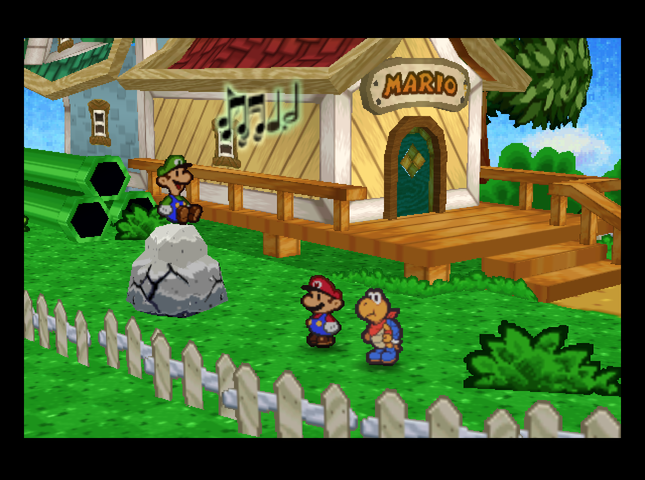   Luigi is singing on a rock. Bombette knocks him down and we can get the autograph. 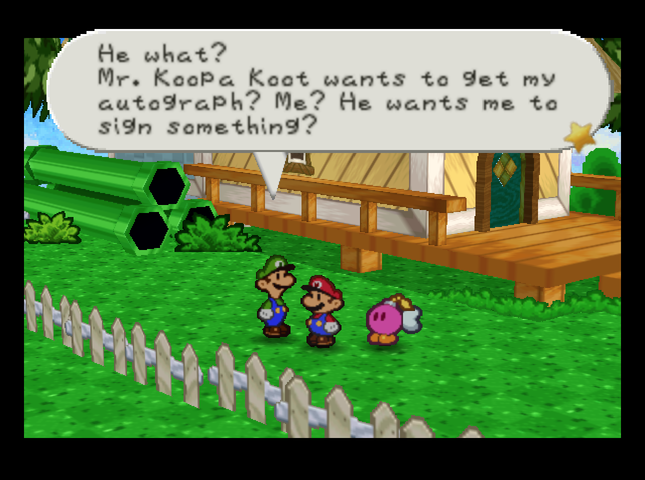  Whoa! Cool! I'm flattered! I guess maybe I'm a little bit of a celebrity, huh? Here you are, Mario. My autograph. Give my regards to Mr. Koopa Koot, OK? Whoa! Cool! I'm flattered! I guess maybe I'm a little bit of a celebrity, huh? Here you are, Mario. My autograph. Give my regards to Mr. Koopa Koot, OK? Honestly, I�m glad someone wants his autograph. It�ll take the sting out of not going on the adventure, at least.   Also, it seems Mario has some mail.  Hey! Watch your back when you walk at night! Hey! Watch your back when you walk at night! I'm gonna make you cry! I'm gonna make you cry! You'd better sleep with one eye open, pal! You'd better sleep with one eye open, pal! We shall return!! � Koopa Bros. We shall return!! � Koopa Bros.For some reason, I can�t take this threat too seriously�  Since we checked Mario�s mail, we might as well stop in at the Post Office to see if any of the partners have anything. Kooper has a letter.  We had a really nice talk over some Koopa Tea. She did seem a touch disappointed that you were still on the road. She said that she's going to cook a delicious dinner when you come back, so you have something to look forward to. Oh yes! If you happen to see my wayward husband, please tell him to come home more often. Take care. � Kolorado's wife We had a really nice talk over some Koopa Tea. She did seem a touch disappointed that you were still on the road. She said that she's going to cook a delicious dinner when you come back, so you have something to look forward to. Oh yes! If you happen to see my wayward husband, please tell him to come home more often. Take care. � Kolorado's wifeNow it�s back to Koopa Village! 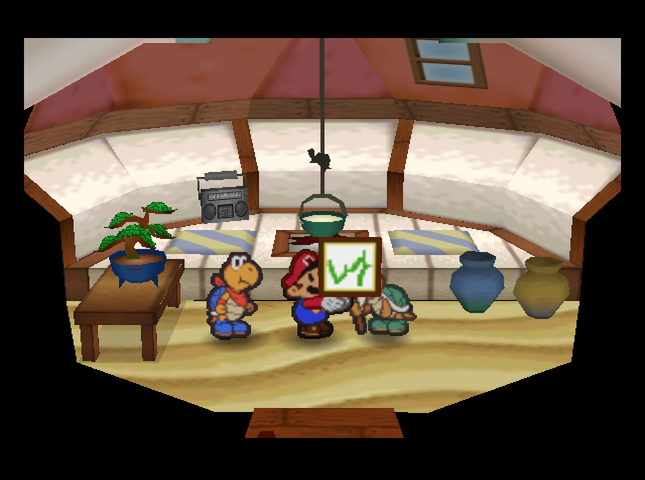   Koopa Koot pays us handsomely for Luigi�s autograph. That�s the last favor he�ll want from us until Chapter 2�s over.  We now have 25 Star Pieces, so we pay another visit to Donluvlee and Donlow.  Donluvlee�s business is still shut down. It turns out this is permanent. In Paper Mario, Merluvlee acted as a �hint system� to find Badges, Star Pieces, and Super Blocks (which can upgrade your Partners - we�ll run into some starting in Chapter 2). However, the Master Quest devs removed this because it would be too much trouble to keep track of where every badge, Star Piece, etc. was moved to. Apparently, they also needed the space used by her hints to add more content. 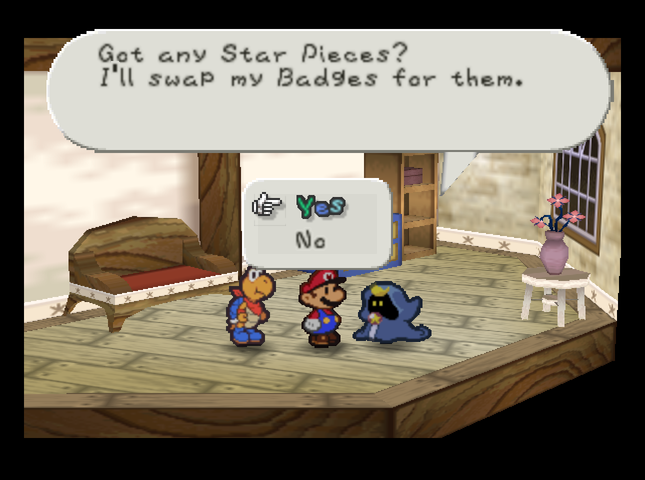 Donlow is open for business, though! I�ve got something specific in mind for our first buy from him.  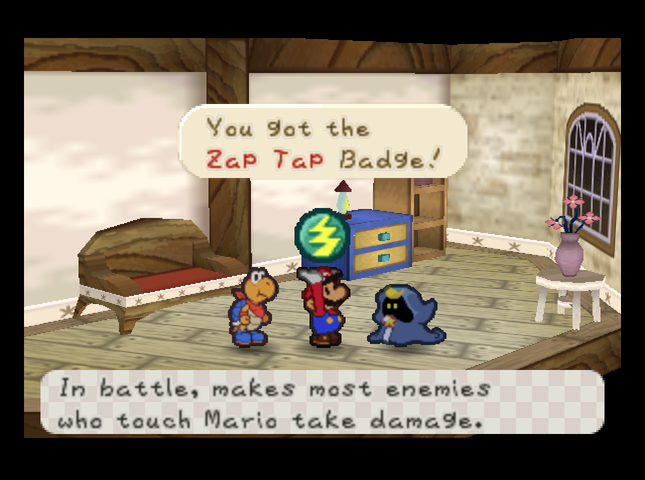 It�s Zap Tap! This Badge electrifies Mario, making enemy that does a contact attack take damage in return (unless they�re protected in some way, like Koopas). This damage pierces enemy defenses. The badge will also let us jump on certain electrified enemies.  We�ll need to unequip some other badges in order to use Zap Tap, so we�ll get to actually putting it on later. 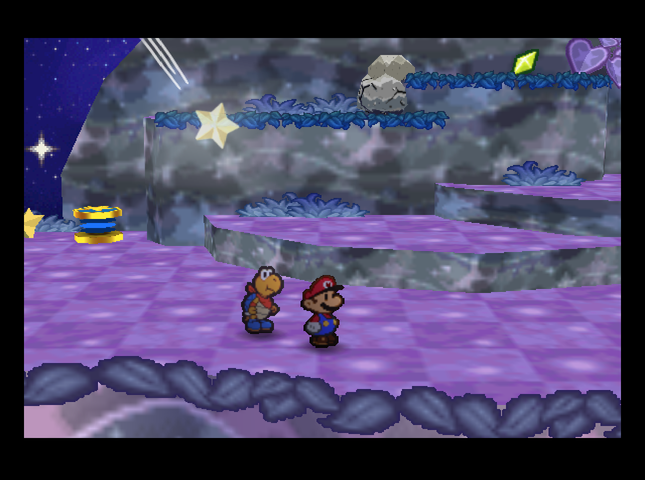   We leave Donlow behind and climb a little further towards Shooting Star Summit. In this area, we can grab a Star Piece with Bombette�s help.   And the nearby Star Temple now has some occupants! Let�s see what they have to say. 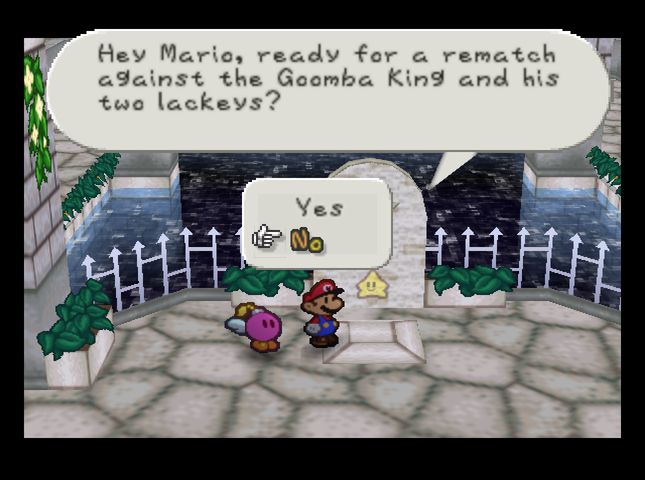 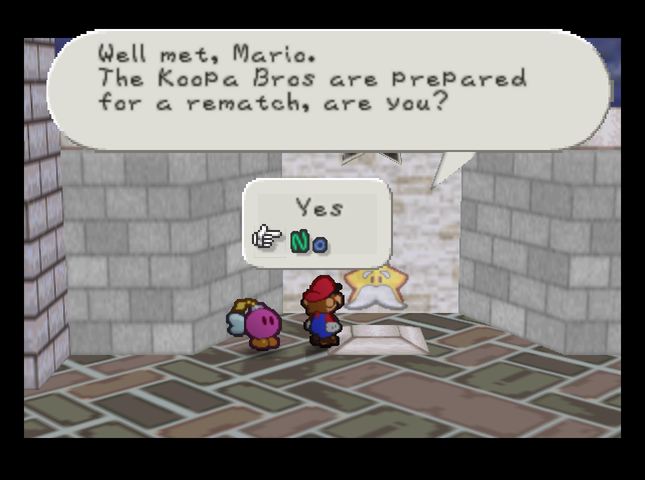 This is the true purpose of the Star Temple: Rematches with heavily beefed-up versions of the game�s major bosses. How heavily, you ask?  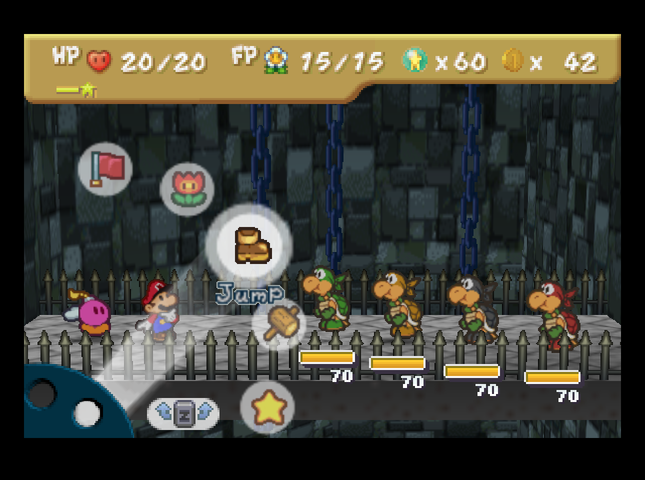 That heavily!! (The Koopa Bros skip the Mecha-Bowser phase.) Given the power level on these bosses, we�ll be coming back to the Star Temple much, much later in the game. 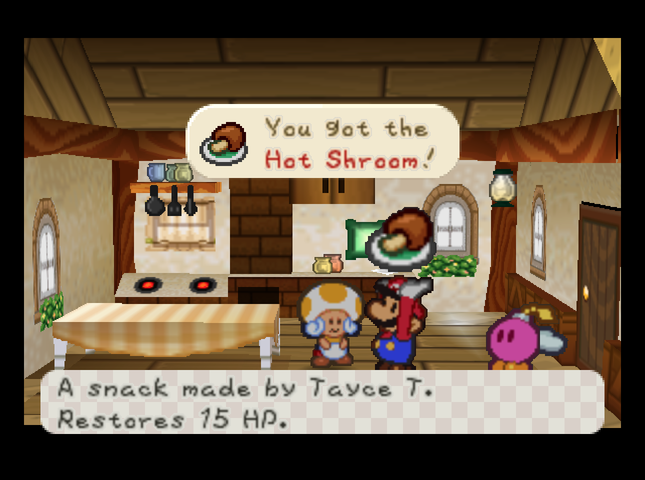 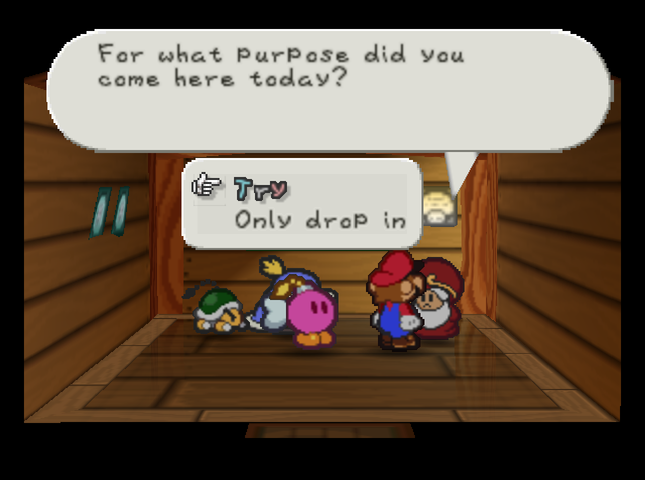  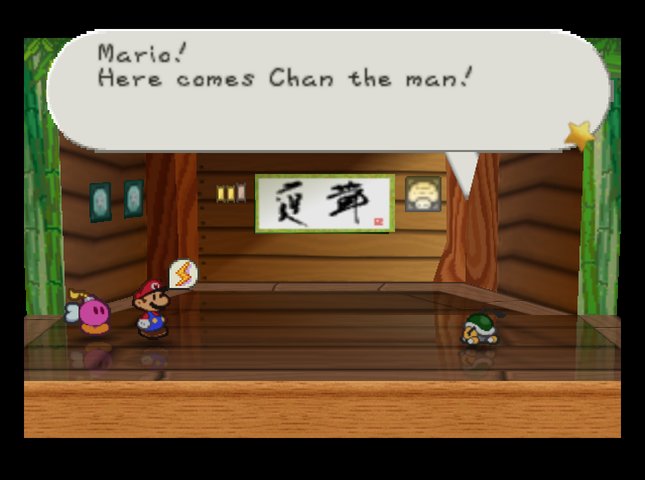 Back in Toad Town, there�s one last loose end to resolve before we head back to the game�s main story. Now that we have Zap Tap, it�s time to try and fight Chan again! We�ve prepared for the fight by making sure we have three of Tayce T.�s finest Hot Shrooms.   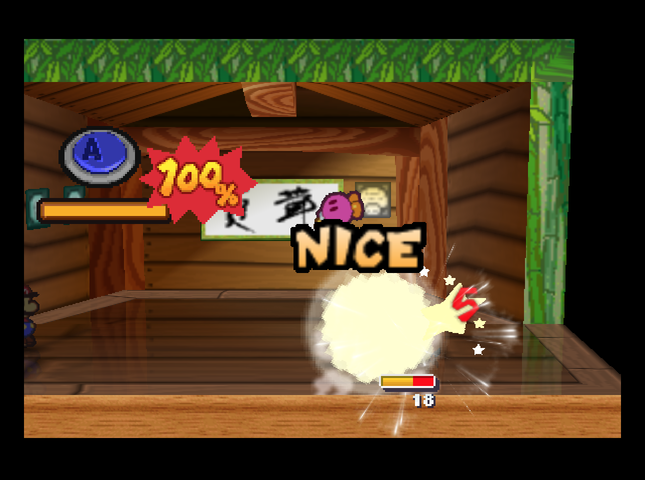 With Zap Tap, Mario can jump on Chan safely. Then, Bombette�s Bomb does heavy damage. 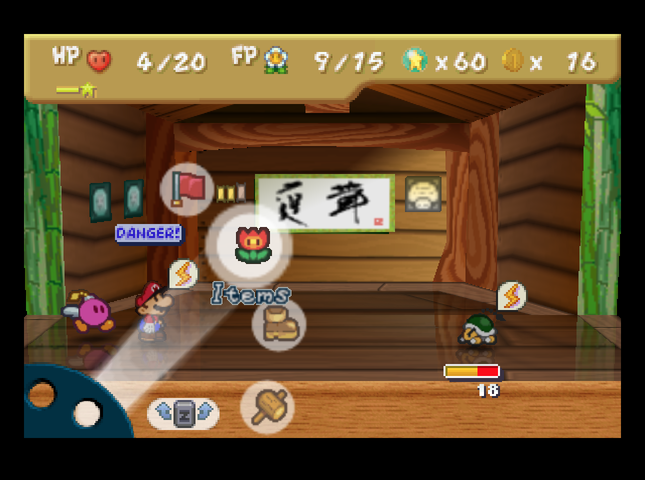 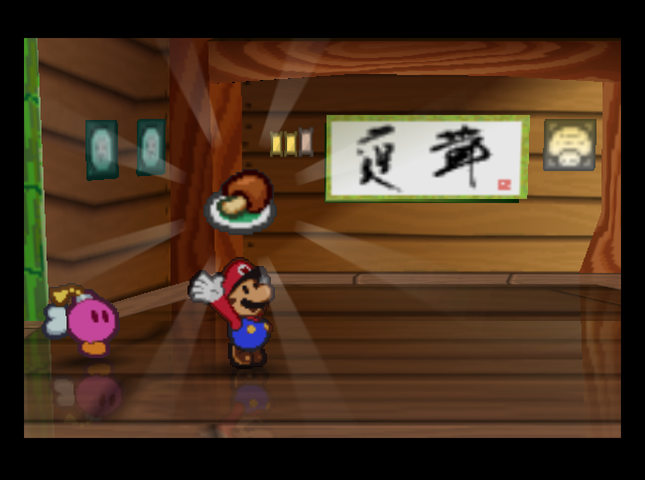 After two attacks from Chan, Mario won�t be able to take a third, so we take a lunch break. Bombette sits the turn out - even her 5-damage Bomb can�t get through Chan�s hard shell. 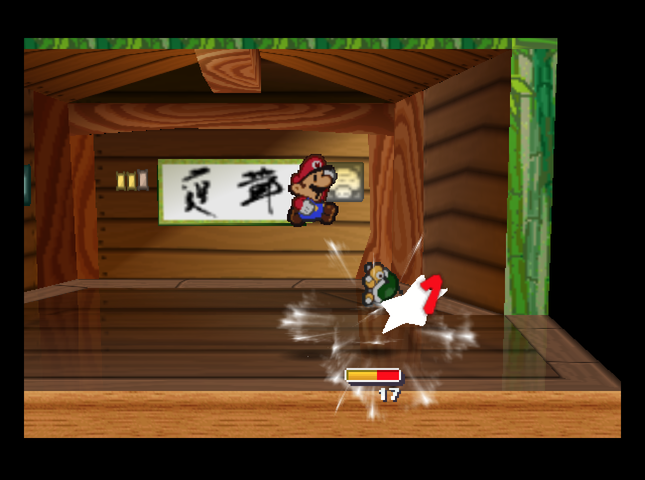  Then it�s back to pounding on him.   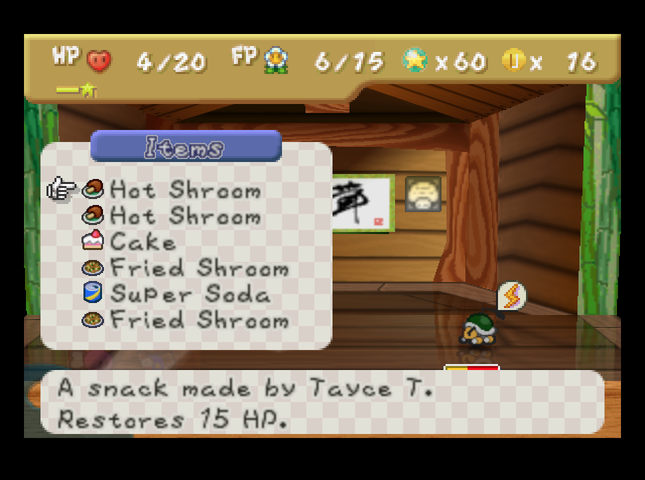  After one more Chan attack, we�re back about where we started. (Don�t forget, he attacked us on the turn we ate the Hot Shroom, too.) So we eat another Hot Shroom.  He does bring us down to Danger, but at this point we�ve chipped away at his HP enough that we can KO him without having to heal more.    Bombette�s last Bomb attack Shrinks Chan, adding insult to injury. It would have been nice if that had happened earlier!   Chan, you must train harder. Very well. I give you this, Mario. Chan, you must train harder. Very well. I give you this, Mario.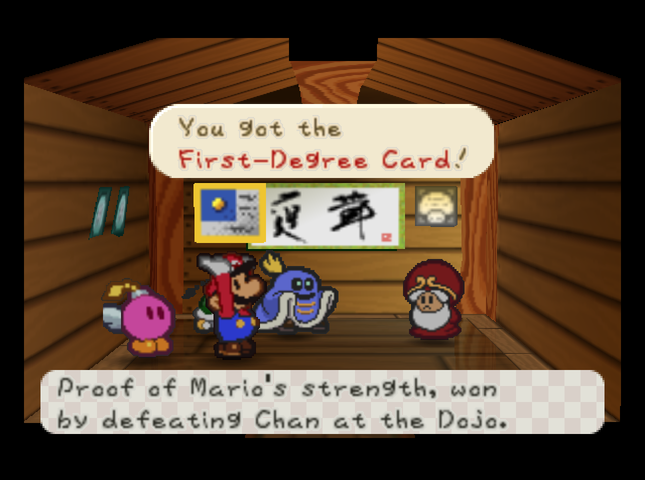 We get the First-Degree Card, showing that we�ve proved our worth at the Dojo� once. I�m not going to ruin our victory against Chan by getting immediately beat up by Lee, so that�s enough fighting in the Dojo for now.  The last part of Toad Town is the Station. There�s a few different things we can do here. 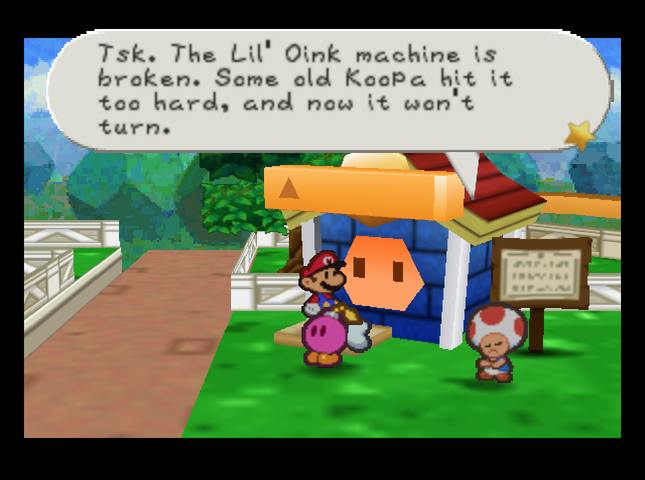 The Li�l Oink machine is broken, cutting off our access to everyone�s famous item-dropping piglets. Apparently, the streamer �Fatguy� used a strategy that involved spamming many �Shooting Star� attack items to beat a particularly hard boss earlier than normal. This is the result: The machine will stay busted until we finish Koopa Koot�s favors� I think. On the upside, according to the sign, Li�l Oinks now cost only 1 Coin to hatch, so once the Li�l Oinks are able to be raised, watch out! 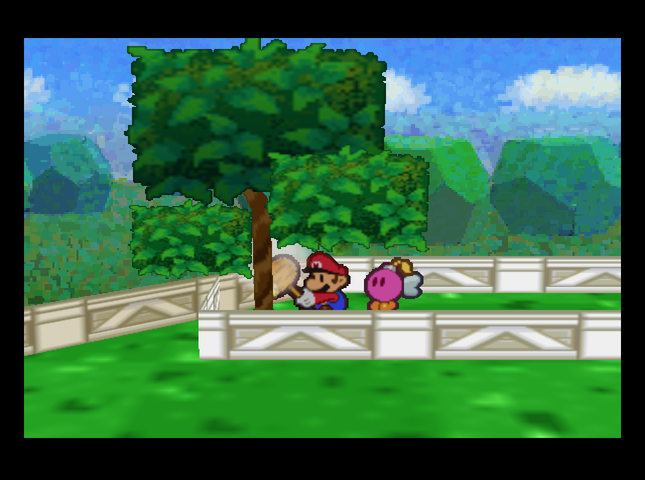  Hammering the tree on the left side of the entrance reveals a pipe leading to the Playroom. We have the opportunity to win Coins here, but we�re not short of money right now - so we�ll come back here later.  The train to Mt. Rugged - the first leg of our trip to Dry Dry Desert - is here, but it�s not going anywhere.  I�m ruined� done for! A huge rock is blocking the train tracks! When Peach�s Castle was uprooted, one of the boulders from that stack rolled off and landed here. What bad luck! If we can�t do something about that boulder, I can�t make my run to Mt. Rugged! I�m ruined� done for! A huge rock is blocking the train tracks! When Peach�s Castle was uprooted, one of the boulders from that stack rolled off and landed here. What bad luck! If we can�t do something about that boulder, I can�t make my run to Mt. Rugged!Let�s do something about that boulder. 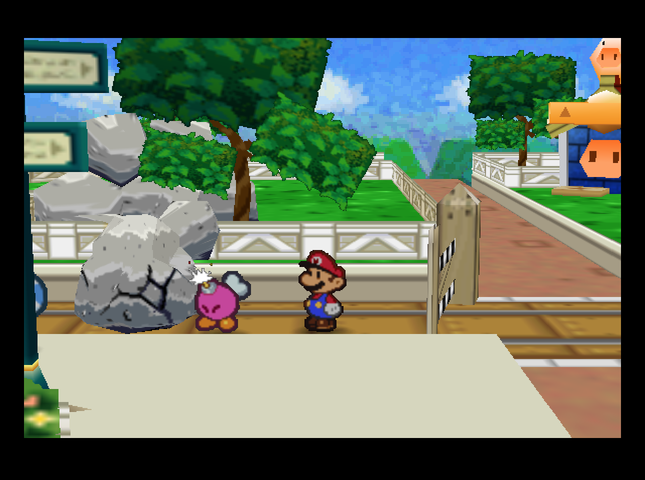 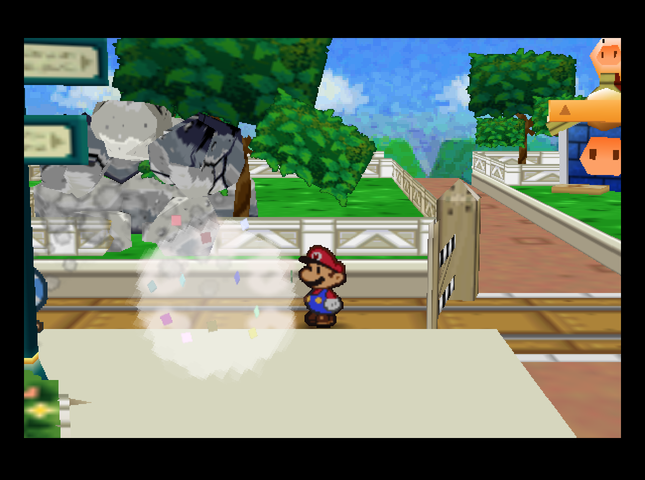  Oh, thank you, Mario!! The train's back on track! All aboard! This train is bound for Mt. Rugged. Oh, thank you, Mario!! The train's back on track! All aboard! This train is bound for Mt. Rugged.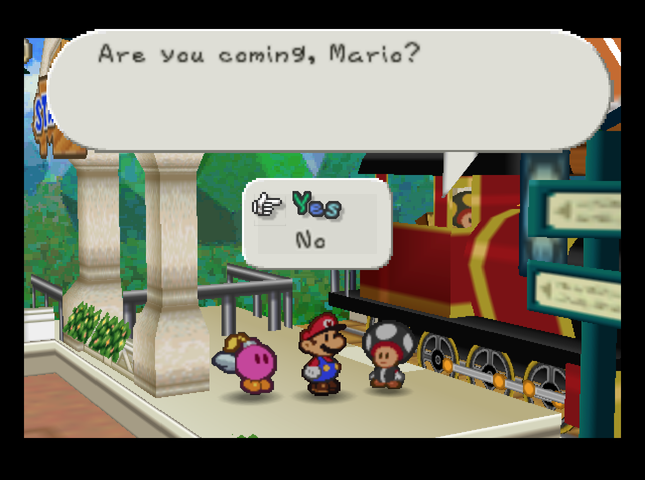 Well, let�s see. We�ve done everything we can do in Toad Town for now�  �and I�ve made sure our inventory has plenty of tasty provisions for the trek ahead of us. Let�s do this!  Sit tight, folks. Now departing for Mt. Rugged. Sit tight, folks. Now departing for Mt. Rugged.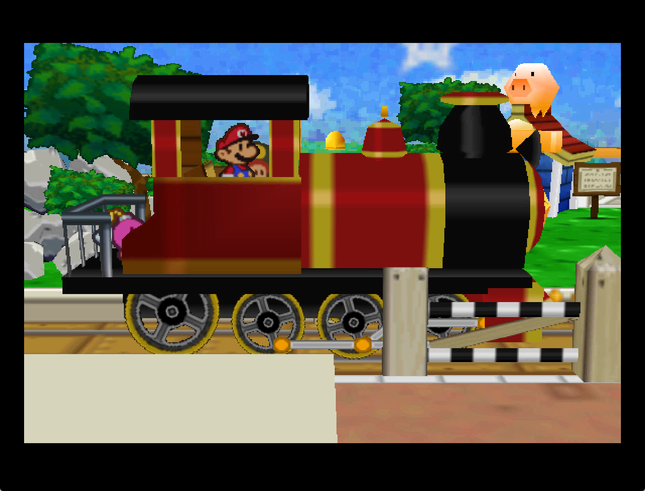 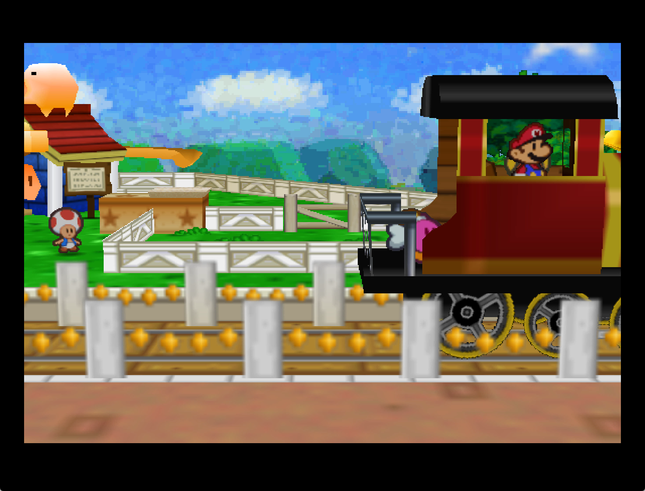 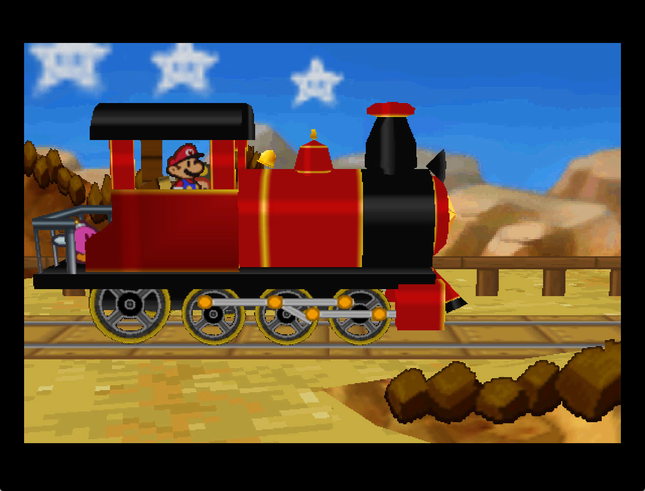  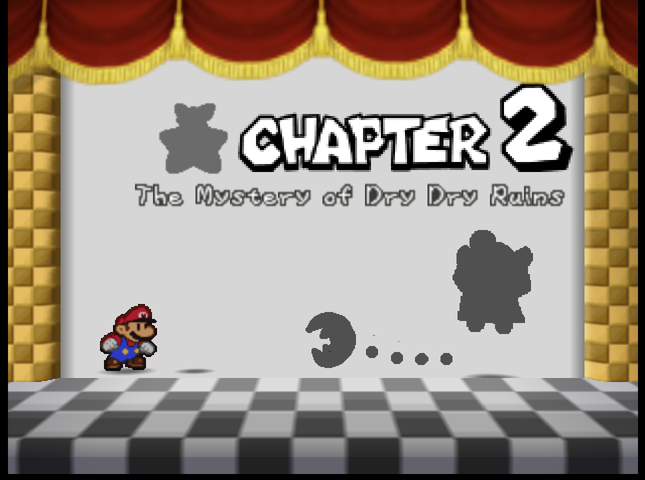 Dojo Promotion: First-Degree Card Badges: 17/89 (New: Zap Tap) Recipes: 8/50 (New: Cake, Fried Egg, Fried Shroom, Hot Shroom, Koopa Tea, Nutty Cake, Spicy Soup, Super Soda) Star Pieces: 26/180 Chuck Quizmo�s Quiz Questions: 12/64? Game Overs: None. SUMMARY OF CHANGES FROM MAIN GAME (in this installment) � Tayce T�s recipes slightly more/less nutritious. (Fried Shroom and Spicy Soup recover +2 FP; Nutty Cake recovers +1 HP, -1 FP; Fried Egg recovers -1 HP, +1 FP; Hot Shroom no longer recovers FP) � Cake Mix now on sale in Harry�s Shop in southwest Toad Town, as are POW Blocks. Stone Caps and Thunder Rage no longer available. � Dizzy Dials and Super Shrooms cheaper than base game prices at Harry�s Shop; Volt Shrooms more expensive. � Gloombas under Toad Town now much nastier. (+4 HP, +3 Attack, and their headbonk now Shrinks) � Spiked Paragloombas observed under Toad Town. (Spiked Paragloomba: 11 HP, probably 1 Defense, 5 Attack. Main attack may or may not Shrink on contact.) � Piranha Plants a bit meaner. (+3 HP, +1 Attack) � Rare �Lakiwun� spotted in Forever Forest. (Lakiwun: 13 HP, 4 Attack, also attacks partner.) � Donluvlee permanently closed; quoted as saying, �I never said I was good at being a mafioso�. � Star Temple purpose revealed: full-contact, max power, boss rematch coliseum. � Li�l Oink machine broke. (It�s Koopa Koot�s fault) Next Time On Master Quest: Mario goes mountain climbing.
|
|
#
?
Aug 9, 2019 12:02
|
|


|
100 HP Goomba King!? Bowser's health maxes out at 99 in the original, although he does have multiple phases. I know its supposed to be long time before you try the refights, but that scaling makes me wonder how high the numbers will get by the end of this.
|
|
#
?
Aug 9, 2019 15:32
|
|
|
I-I�m sorry...are...are those end-game stats on the first two bosses of Paper Mario?!   I can only imagine how tough they can be. And down right impossible at this stage of the game. I can only imagine how tough they can be. And down right impossible at this stage of the game.
|
|
#
?
Aug 9, 2019 15:41
|
|

|
Well, you're not supposed to do the optional endgame refights at this stage of the game, so I dunno if I see a problem here.
|
|
#
?
Aug 9, 2019 20:17
|
|


|
The boss rematches are a neat idea that remind me of Kingdom Hearts II Final Mix's Organization XIII rematches, all of which were also similarly pumped to endgame (or above) levels despite being fought all across the game. I have to seriously wonder why they're open this early, but regardless, they should be fun once you're actually ready for them.
|
|
#
?
Aug 9, 2019 23:41
|
|
|
Zakrelo posted:100 HP Goomba King!? Bowser's health maxes out at 99 in the original, although he does have multiple phases. I know its supposed to be long time before you try the refights, but that scaling makes me wonder how high the numbers will get by the end of this. Betting they'll near 255 or so. Bowser did have 99 max HP but he also had three +20 (or +30, i forget) HP heals up his sleeve during the course of the fight.
|
|
#
?
Aug 10, 2019 09:24
|
|
|
I'm almost certain these fights are scaled for endgame. That much HP is just a lot to chew through. Unless this hack added in a ton of power boosts to let you do it in mid-game or so. Though the fact that they broke triple digits is a bit concerning. Since Paper Mario 64 on a technical level wasn't designed to go past 99 HP. It's why some lategame bosses in the base game heal themselves a limited number of times. It's a way to extend their health bars by getting around that limitation. (Like final Bowser having three 30 HP heals.)
|
|
#
?
Aug 10, 2019 09:40
|
|

|
Aw man. Hot shrooms were my favorite healing item in the original game. They honestly carried me through like chapter six because healing HP AND a good amount of FP in a single item is great. I wish they hadn't changed that.
|
|
#
?
Aug 15, 2019 10:55
|
|
|
Part 10: Of Clefts And Other Big Rocks Music: Mt. Rugged  The train drops us off at the Mt. Rugged station.  Mt. Rugged! Mt. Rugged! Passengers heading for Dry Dry Desert or Dry Dry Outpost, should proceed directly over Mt. Rugged from this station. Mt. Rugged! Mt. Rugged! Passengers heading for Dry Dry Desert or Dry Dry Outpost, should proceed directly over Mt. Rugged from this station.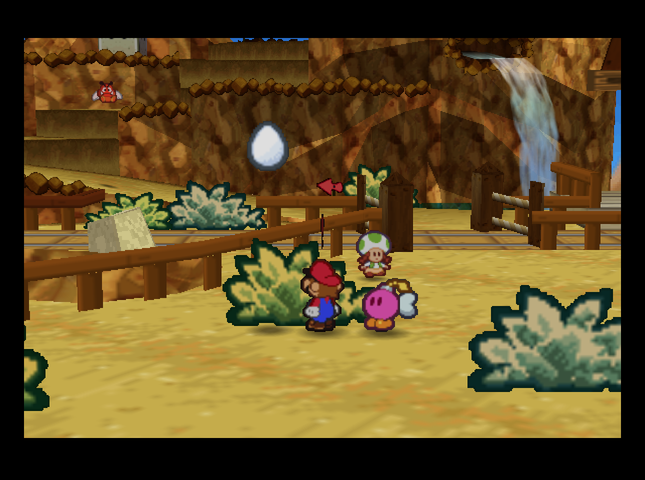 Before we climb the mountain, there�s an Egg hidden in a bush at its base. This is the only place to get Eggs in the base game.  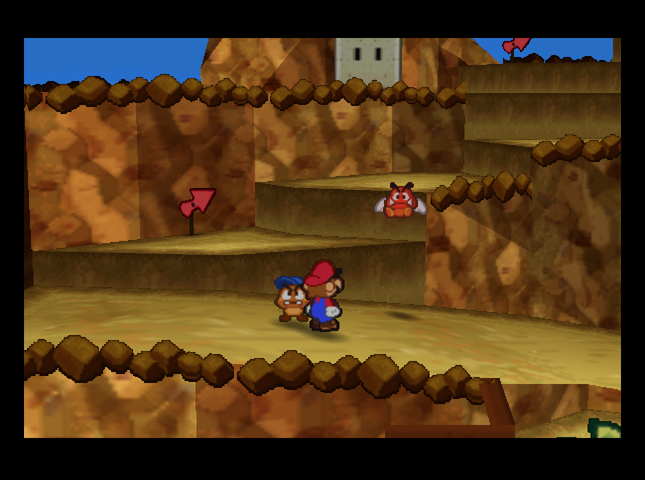 Let�s go climbing! Huh, that�s a strange Paragoomba. 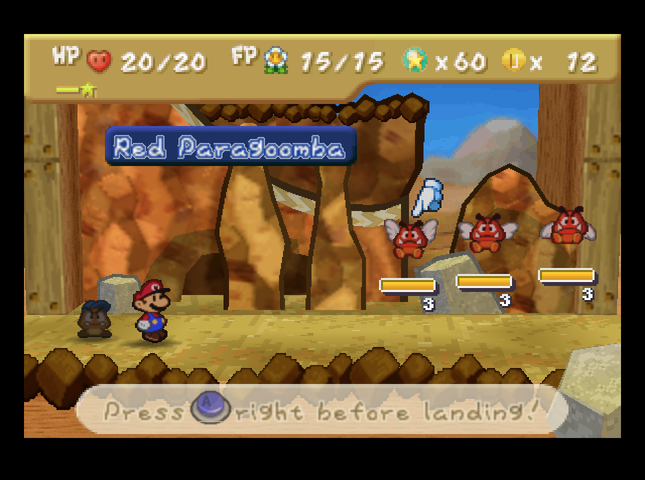 It attacks us! This is a Red Paragoomba. They�re faster, stronger, and more tenacious than normal Paragoombas. They�ll attack you twice, so don�t let your guard down! They do, in fact, attack twice, for 2 damage each time. Mario can dodge each attack separately, but it�s still a new wrinkle. Taking them out isn�t hard - jumping works - but since each has 3 HP, they take two jump attacks to KO. They still attack twice when they�re grounded, too.  After the battle, I adjust my strategy accordingly, re-equipping Zap Tap and swapping HP Plus for Multibounce, Spin Smash, and Power Jump. (I�ll customize more when I know what all is on this mountain.) 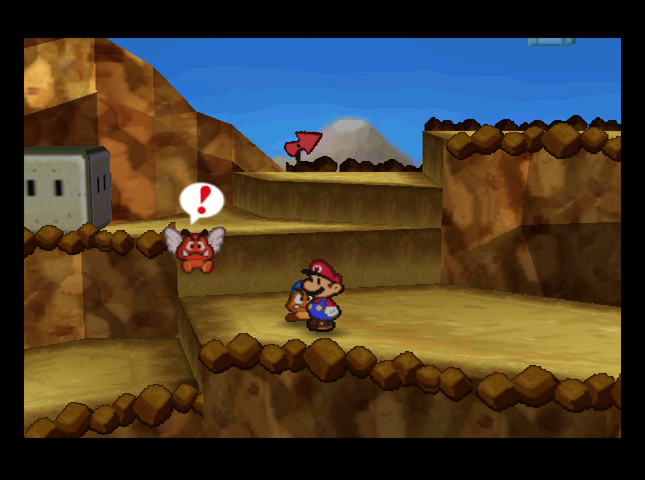 There�s another Paragoomba a little up the mountain, so we can test out our new setup. 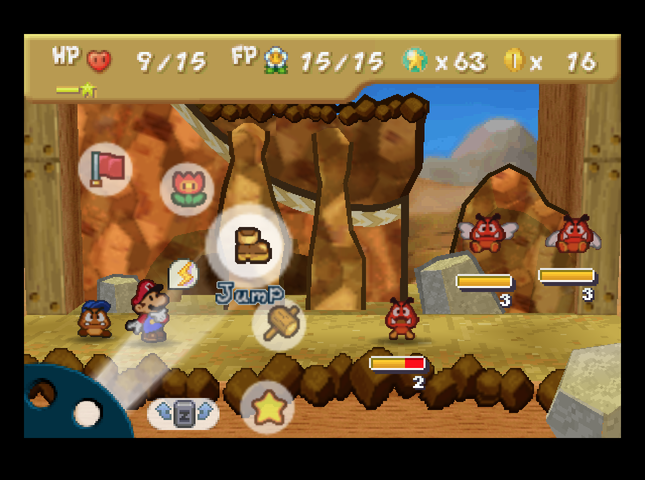 I�m also able to get the First Strike, so we�re able to KO one Paragoomba this turn and ground a second.  With Zap Tap live, the Red Paragoombas take contact damage after attacking. This means I can KO them with one attack the next turn. On top of this, the shock interrupts their combo attack, so they only attack once! 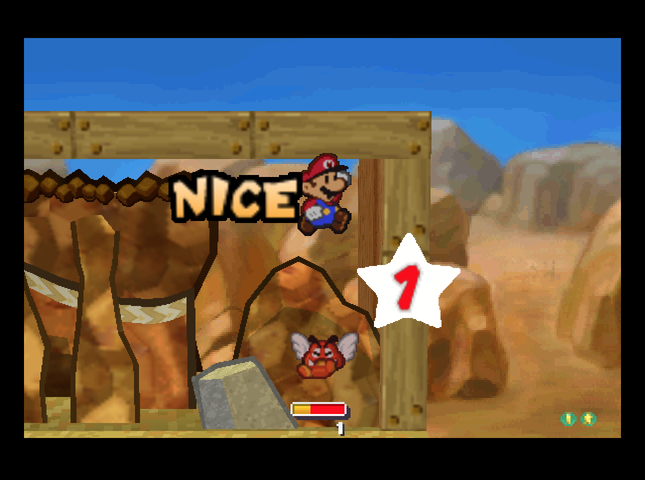 We KO the last Paragoomba, and continue on our way. 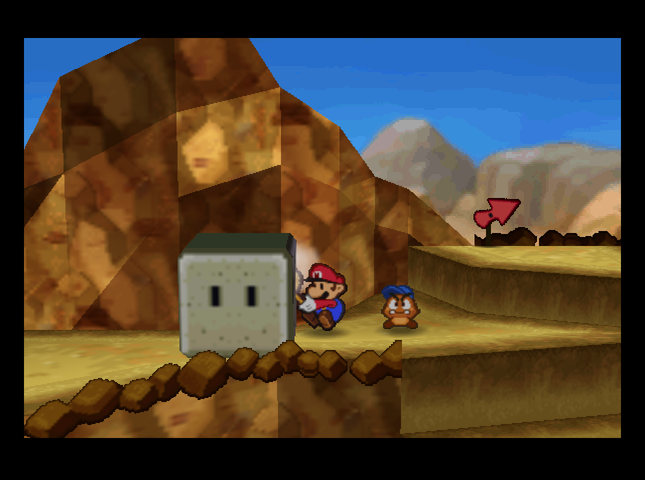 A little farther up the mountain is a block we can�t bust with our current Hammer, so we have to keep climbing up and to the right.   At the top of this part of the mountain, we bump into Parakarry, the postman.  Oh! Sorry, folks! Very sorry! I was looking for something and not watching where I was going. Oh! Sorry, folks! Very sorry! I was looking for something and not watching where I was going. 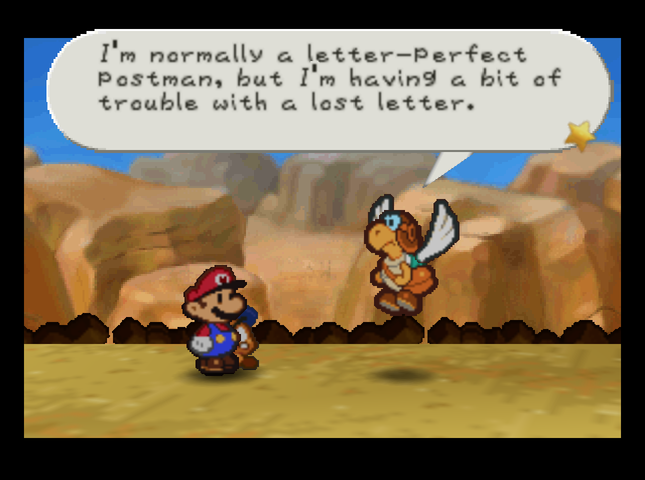 The �something� turns out to be some mail Parakarry dropped as he was flying over Mt. Rugged. If you happen to stumble upon a letter anywhere around here, please tell me, all right? My job could depend on it! We leave Parakarry to his searching for now, and continue.   The next area of the mountain has a cool slide Mario can slide down to get some Coins. 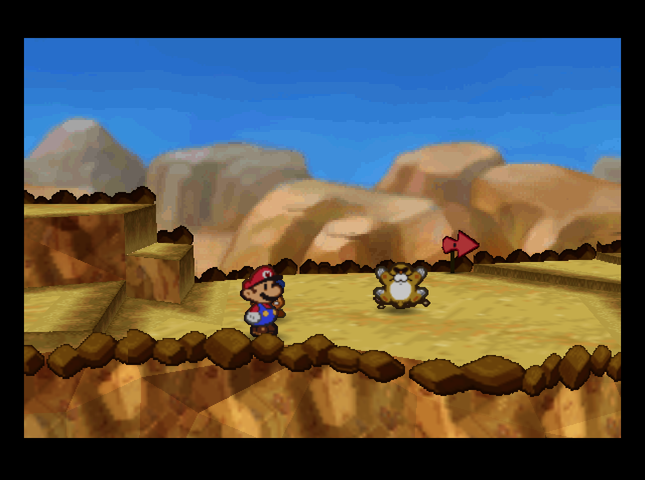 The area is also crawling with Monty Moles. 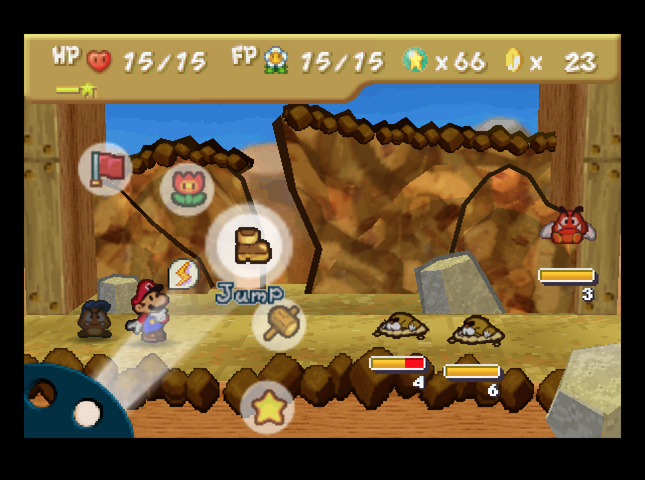 This is a Monty Mole. Monty Moles are rock-throwing moles, big time mischief-makers. Ugh. They have kind of scary-looking faces. I don�t like how they look at me. Maybe they wear sunglasses because they have really sensitive eyes. Or maybe they�re just hip. This is a Monty Mole. Monty Moles are rock-throwing moles, big time mischief-makers. Ugh. They have kind of scary-looking faces. I don�t like how they look at me. Maybe they wear sunglasses because they have really sensitive eyes. Or maybe they�re just hip. Monty Moles throw fast-moving rocks that do 3 damage. With their high HP bars, they�re top priority to take out before they can pepper us with stones. (Not only did the rocks only do 2 damage in vanilla Paper Mario, but the Moles only had 3 HP, and� I�ve confirmed this by looking at video footage� their rocks flew through the air a lot slower.) 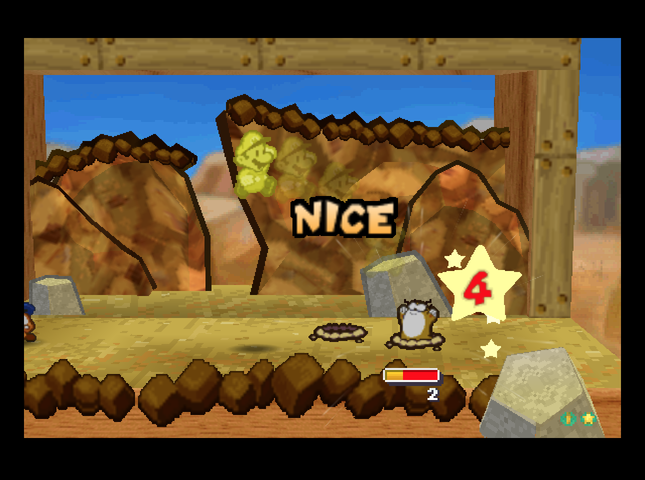 Mario and co. are able to take out the first Monty Mole and the Red Paragoomba with attacks, leaving only one more Mole. The next turn, Mario Power Jumps it so we can KO it ASAP.  After a quick visit to the Heart Block, we keep going. The path splits into two directions: upper and lower. 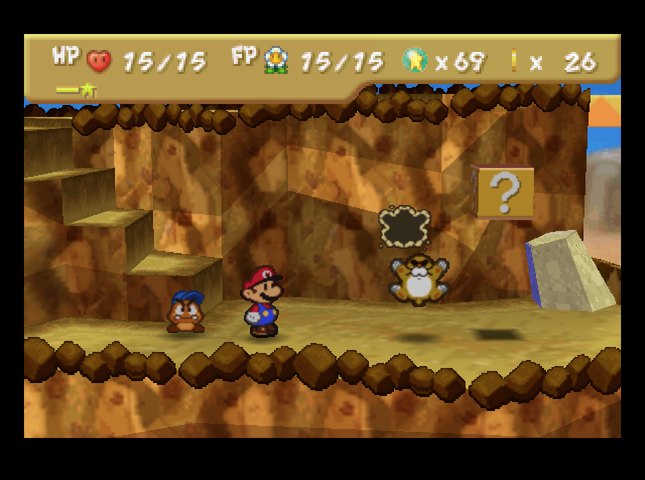 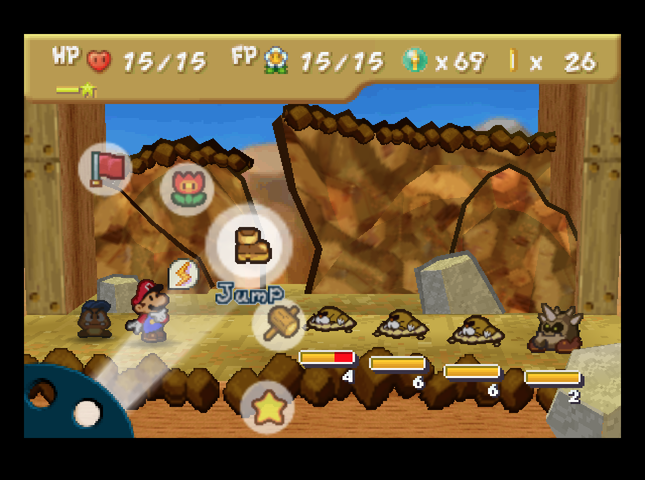 On the lower path, there�s another mole� and it�s teamed up with� what is that? This is a Cleft. Clefts are pretty strong, so you�d better be careful. Their specialty is pretending to be rocks, so watch your step on the mountain. You�ll get hurt if you jump on the spikes on their heads. You know, there�s courage in running away sometimes�Clefts only have 2 HP, but they have a whopping 4 Defense to make up for it! They�re made of rock, after all. (This was buffed up from 2 Defense in Paper Mario.)  Their attack does 4 damage normally (Mario just finished guarding in the screenshot above). Because of Zap Tap, though, Cleft takes one damage on contact - which ignores their Defense! So, we just have to sit through two of their attacks, and they�ll keel over.   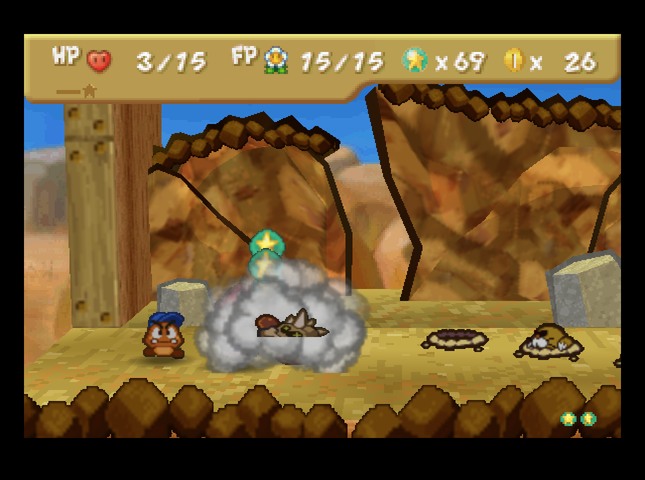 This happens next turn, after a quick Refresh. 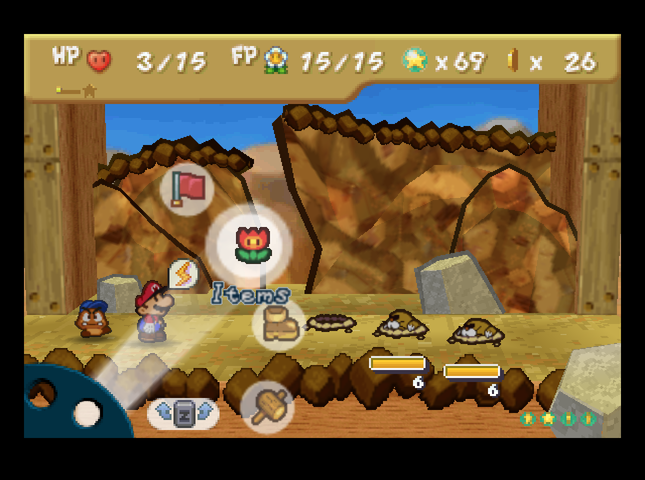  With the Cleft defeated, we�re still in a tough spot. We use the first of our provisions: Tayce T�s Fried Egg. 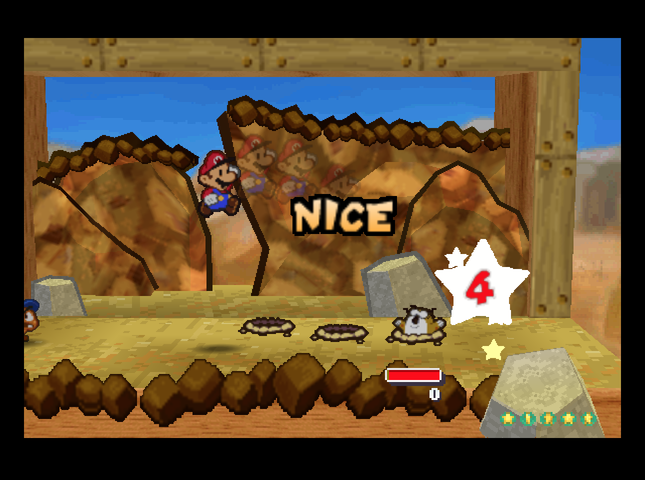 That buys us the time we need to finish off the Moles. 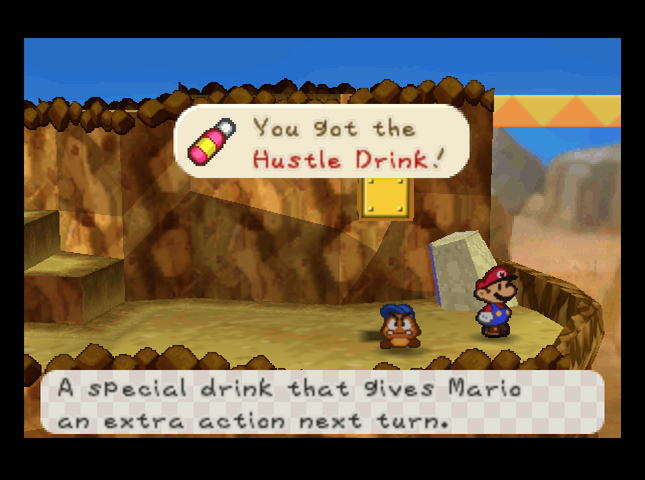 In a nearby ? block, we find a Hustle Drink! This item was present in the code of regular Paper Mario, but was never used anywhere. Drinking it will give Mario two actions next turn - in effect, it�s skipping your current turn to act twice next time. (This block had a Sleepy Sheep in the regular game.)  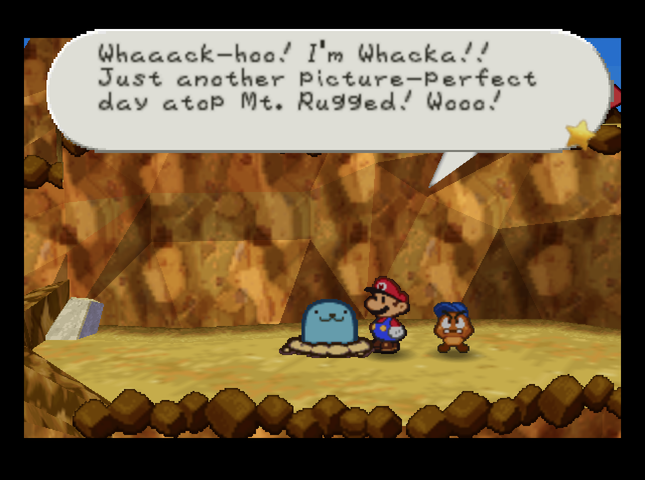 Past a yellow block to the left is Mt. Rugged�s one and only Whacka. This fine fellow is the last of his kind, thanks to people whacking his friends to get the tasty Bumps that fell from them. We could whack Whacka, if we felt like giving this guy brain damage - and eventually driving him to extinction if we whacked him enough. Or we could just leave him alone. We leave him alone.  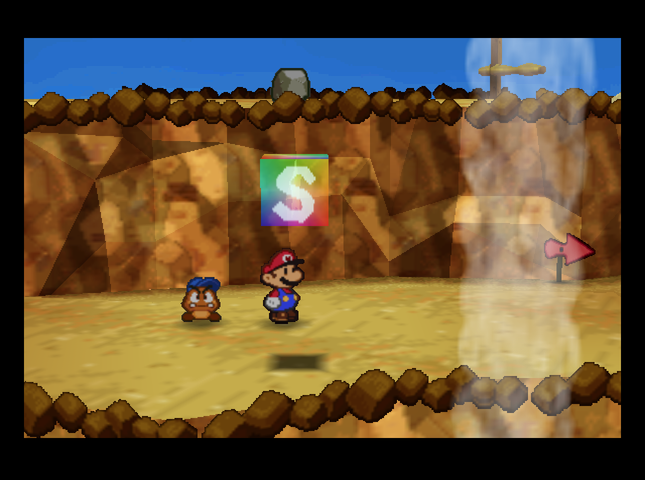  Our path up the mountain takes us to a flat area with many Moles that throw rocks. (This counts as a First Strike if they hit you.)  Past the flat area, there�s a badge on a ledge, another Mole, and� hey, is that Parakarry�s lost letter? But how can we get it? 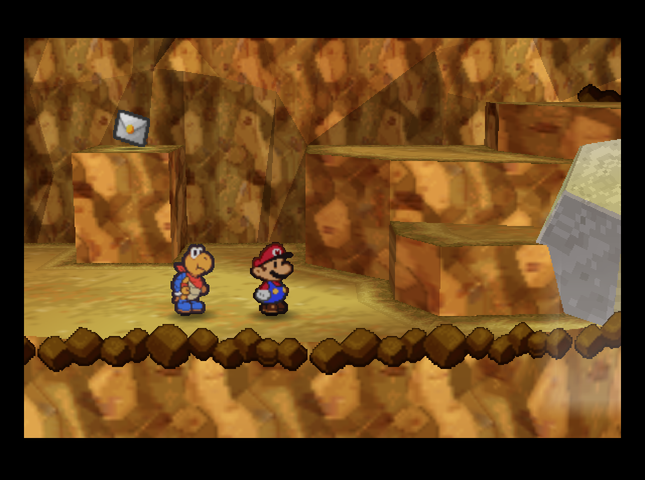 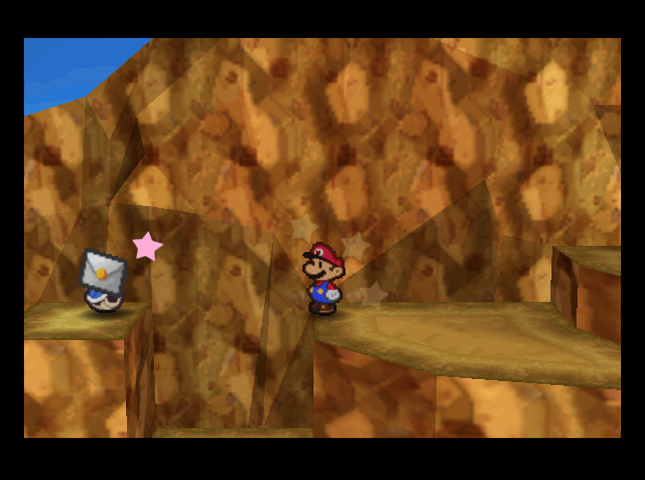 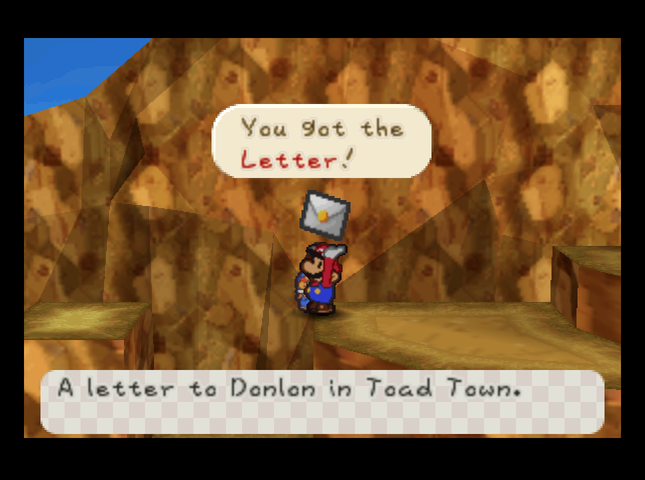 As we go further, a solution presents itself. Kooper nabs the letter. Let�s go tell Parakarry! 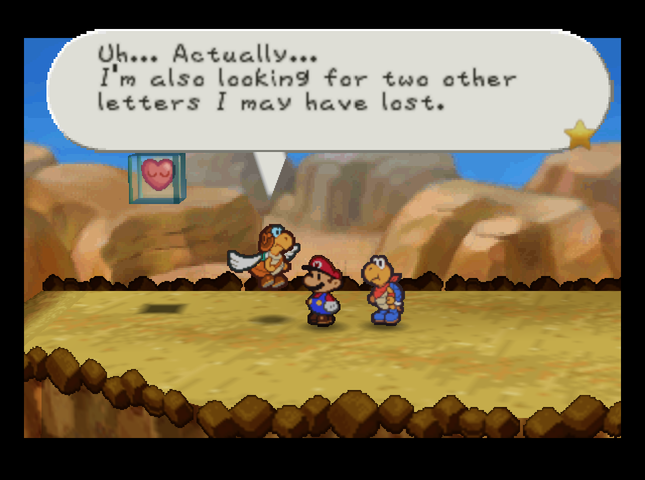 Oh. Oh dear. Well, it�s a good start, I guess. Let�s keep looking as we climb the mountain.   The other two letters must be further thisaway, but there�s a problem. See that gray rock next to the pillar? I�ll bet my boots that�s a Cleft.  Yep, it�s a Cleft! But the fact this step is here lets us get the drop on it.   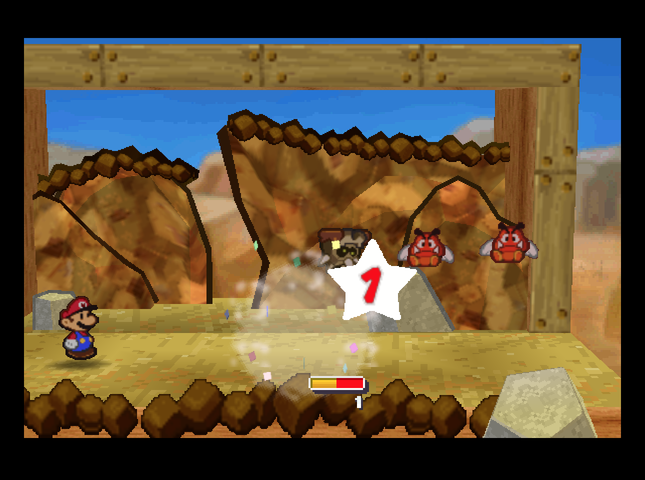 Here we see Clefts� secret weakness: explosions! If Bombette explodes next to a Cleft, it�ll flip over and get its spikes stuck in the ground for several turns. 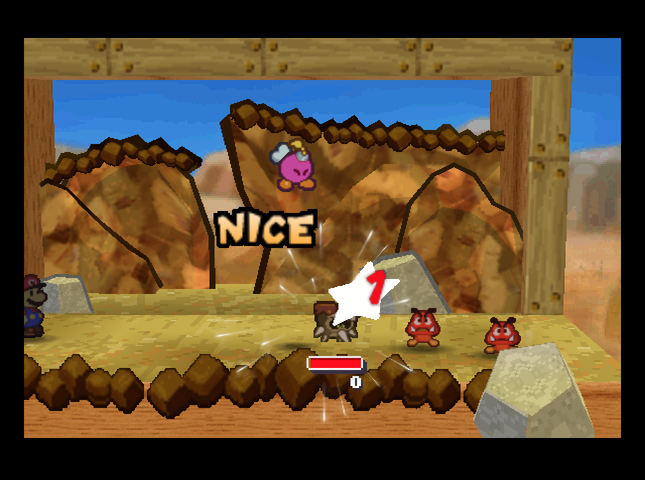 This also drops its Defense to a much more manageable 1, so we can attack it with ease. 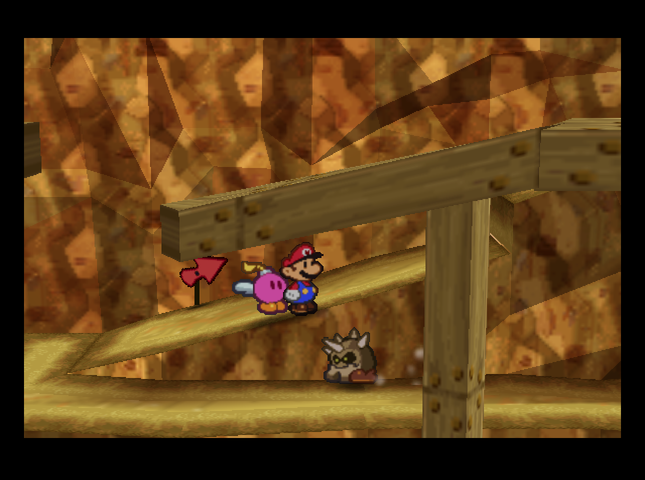  Another Cleft tries to attack us on our way up. We do the same thing. (If Mario stands at the right spot on the edge, Bombette will drop down.) 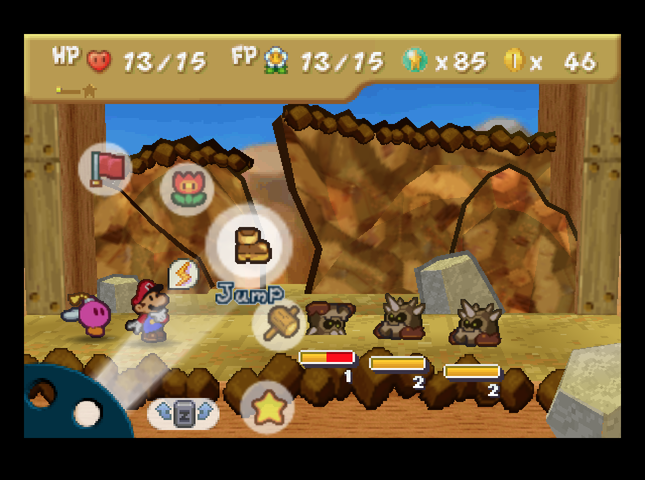 Here, there�s three Clefts, which lets us try and do something clever. It�s Spin Smash time! Spin Smash normally does piercing damage to the enemies behind the thrown one. Perfect for ones like Clefts. 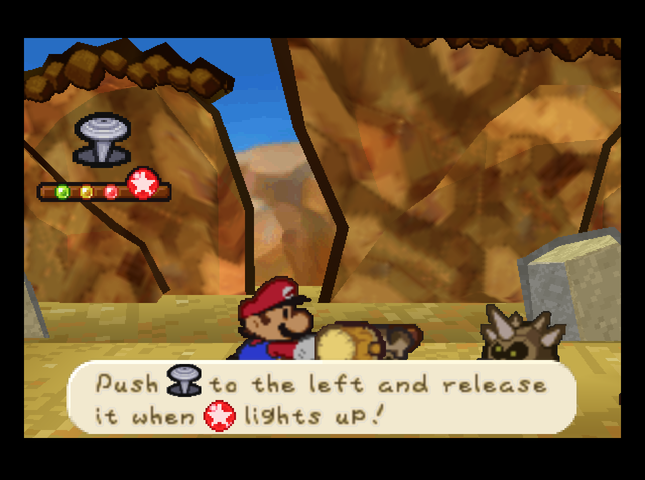  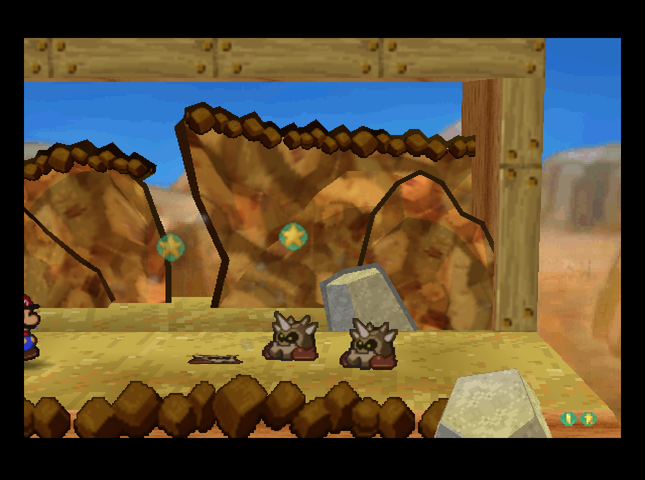 Oh. Turns out Clefts are straight-up immune to the �toss� effect of Spin Smash. I�m unequipping that badge after this battle is over. There are only Clefts, Monty Moles, and Red Paragoombas on this mountain, and the badge is useful against none of them (Monty Moles are immune due to being in their holes).  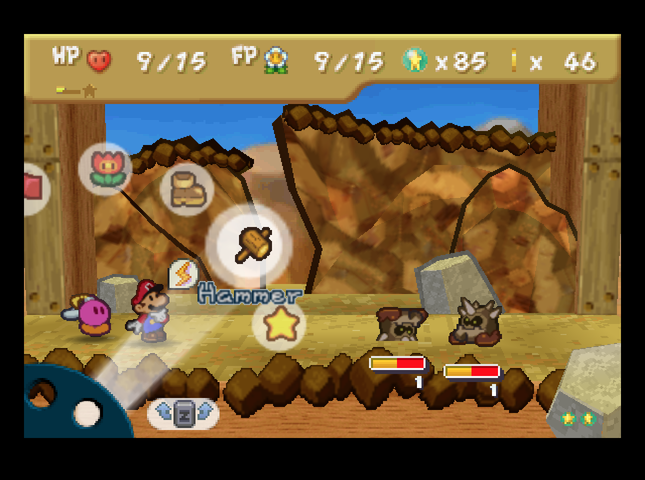 Bombette flips one Cleft, and Zap Tap damages another. We�re able to take care of both next turn. 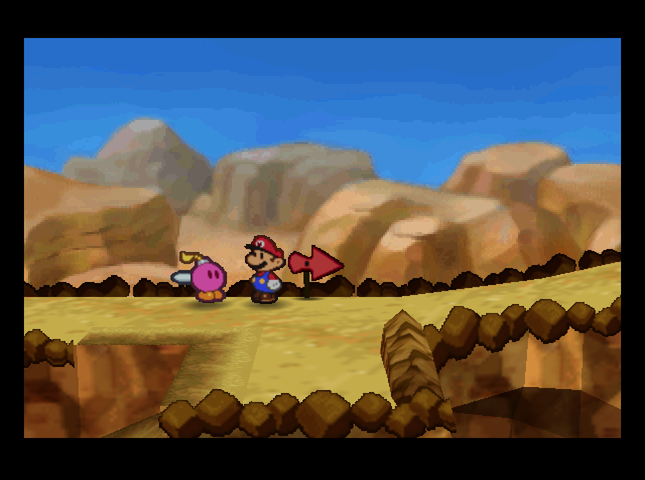 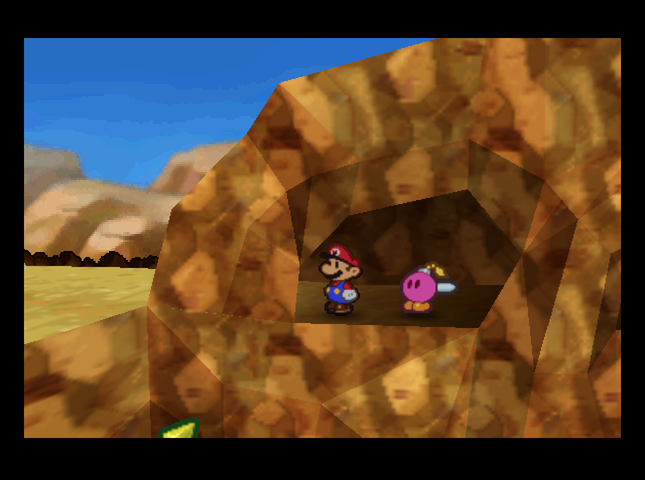 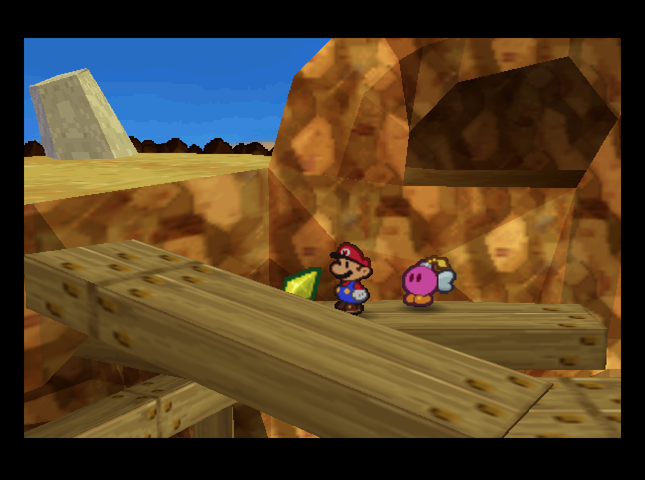 The path splits again at the top of the mountain. We go left, through a cave shaped like two eyes, then drop down to collect a Star Piece on a beam.   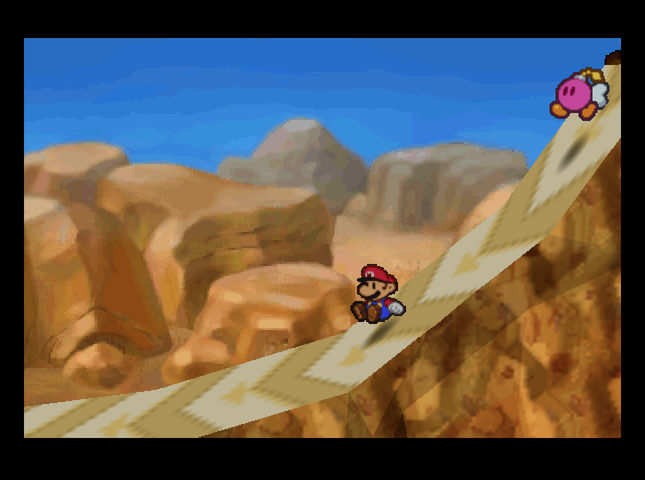 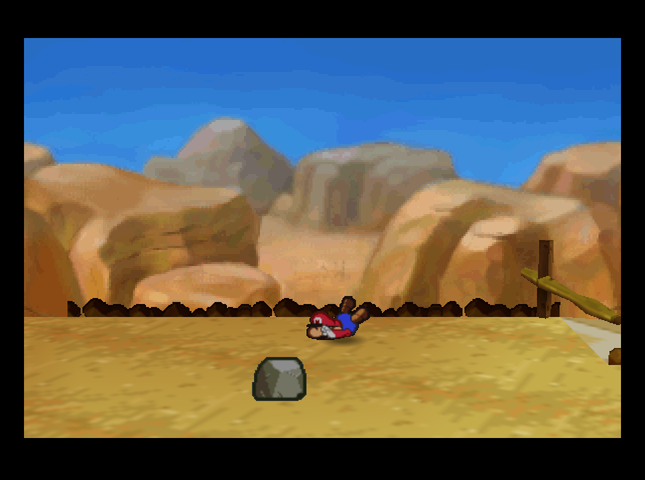 After getting back up on the path, we follow the trail further left and end up at another slide. We go flying! It drops us on a higher area with another Cleft. 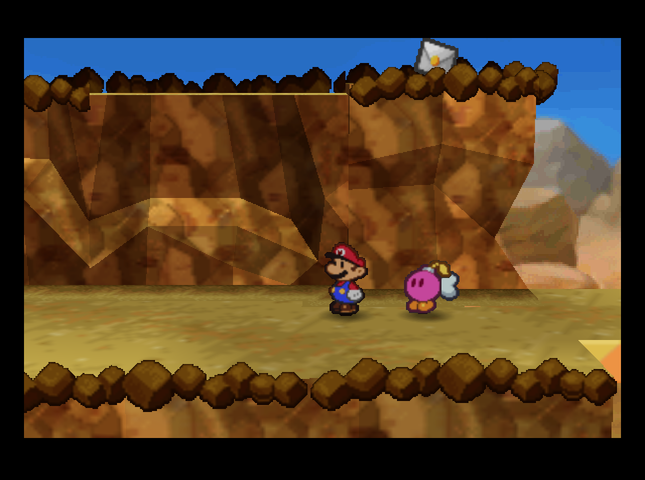 The left exit leads us to a ridge with� another lost letter! There�s still the age-old question of how we�re supposed to get up there, though.  Continuing down the ridge path reveals yet another Cleft. This mountain�s lousy with them.  We bait it into running into Bombette.   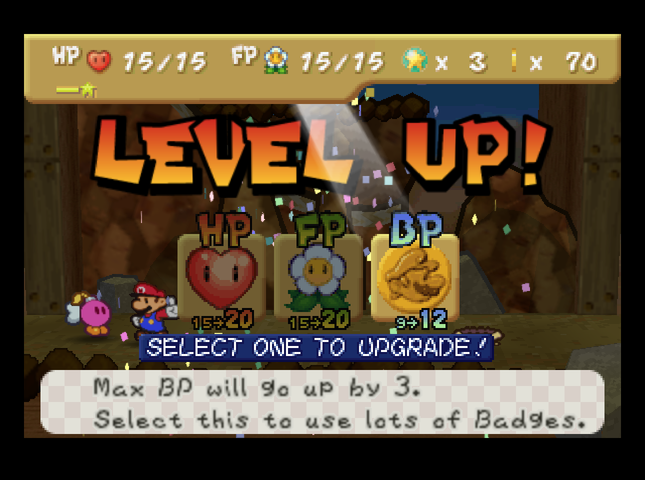 Some generalized bonking later, we defeat the Cleft and its friends - and level up for our trouble. I�m choosing BP this time.  Immediately after the battle, I put HP Plus on. We need the survivability, up here!  This block has a Mushroom. We take it and move on.    This cave we�re passing by has a secret passage in it. It leads to a chest.  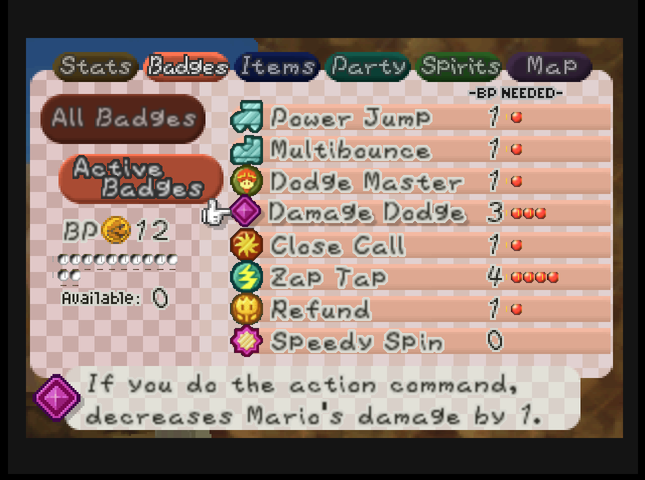 Inside is a very important badge: Damage Dodge! This increases the power of our �dodge� action command, so it guards against 2 damage, rather than 1. We equip it right away, of course; it takes HP Plus�s slot.  To the left of the cave mouth, there�s a trampoline. There�s also a Star Piece on a platform over a gap, but it�s too far to jump to. (It�s also too far for Kooper.) 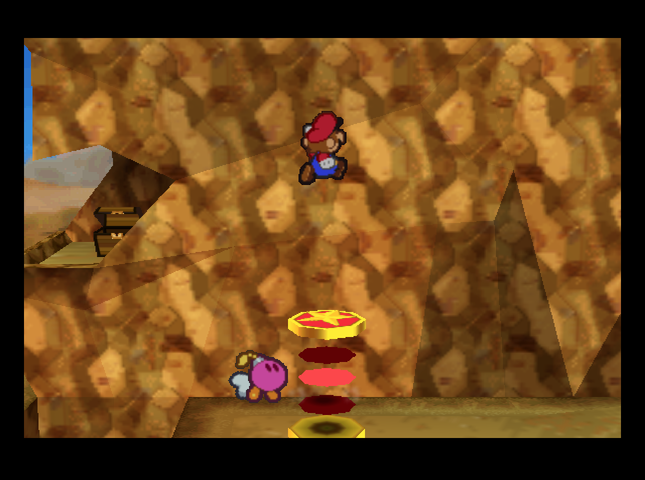  So, up we go, instead! 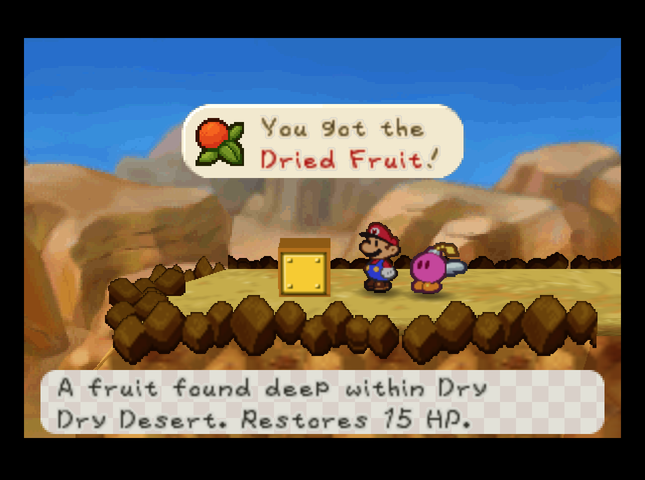 The block at the top left of the ridge has Dried Fruit in it. This�ll be a tasty treat if our HP runs low - it restores as much as a Hot Shroom!  To the right side, there�s a slide and a Cleft, letting us try out our new Damage Dodge badge!  (We were able to bait the Cleft into Bombette�s explosion again. They run at you on the overworld faster than in the base game, so if you get their attention at the last second, they always fall for it.)  Now, when Mario dodges a Cleft attack, he only takes 2 damage! Zap Tap is still in effect, of course.   After the battle, we�re a bit low on HP, so we eat the Mushroom we got earlier - then check the block behind the Cleft. It�s got a Honey Syrup. Now it�s time to take the slide! 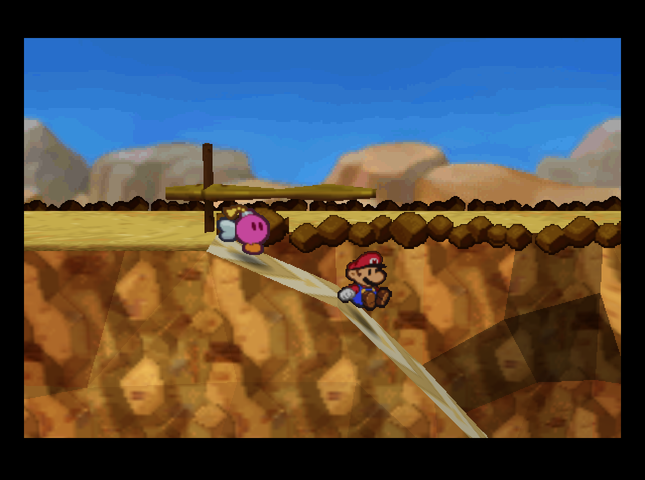  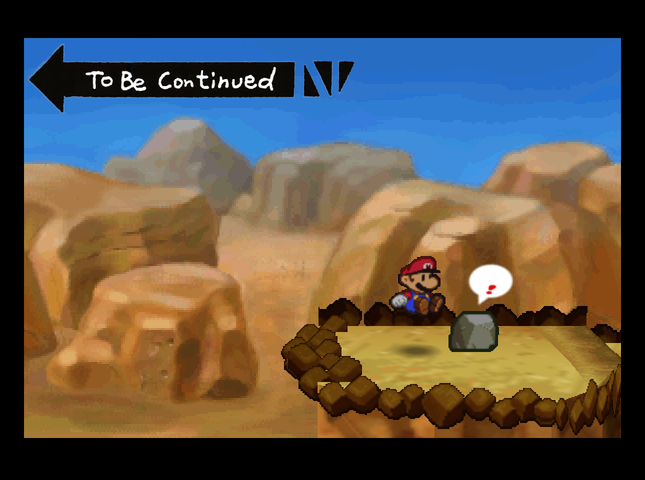 We end up, literally, launched straight into a Cleft on the landing pad. Dirty trick, guys.   Bombette flips the Cleft; the remaining enemies don�t pose as much of a threat to us.   Moles� rocks only do 1 damage now, and Red Paragoombas bounce off. (This is assuming I guard with good timing, of course.)   We finish off the enemies without incident, then walk along the ridgetop and grab the second missing letter.  That�s all we can do here, so we return to the fork in the path before the �eyes� cave, and go right.   Here, the bridge is out. But, Mario can drop down�   To find the third missing letter, and another Cleft. (We beat it - don�t worry.)   A trampoline takes us back to the bridgehead, and we return to Parakarry. 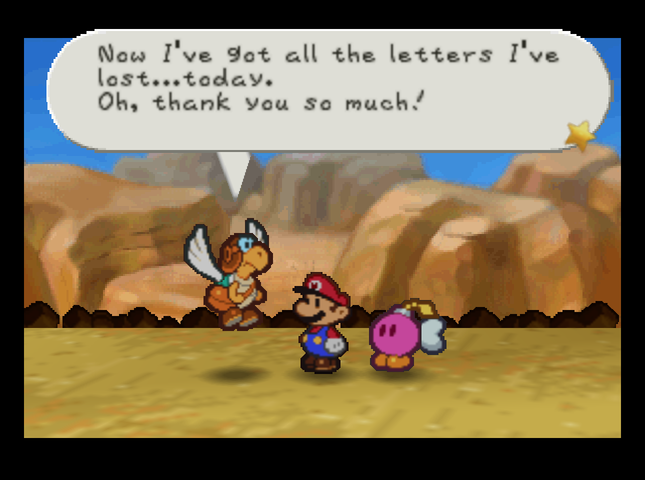 Today?! Actually� to be honest, I haven�t just lost letters on Mt. Rugged� I may have sort of dropped some all over the Mushroom Kingdom while I was flying. Heh heh� yeah. You know, you�re good at finding letters. Do you think you could keep an eye out during your travels? In return, I would offer you whatever help I can. This is definitely one of the more ignoble reasons I�ve seen for a party member joining.  We end up conveniently pestered by a Red Paragoomba again, allowing Parakarry to show off his skills. His Sky Dive does 2 damage, and can hit anyone because he flies in the air. It won�t work against spiky or fiery enemies, though. 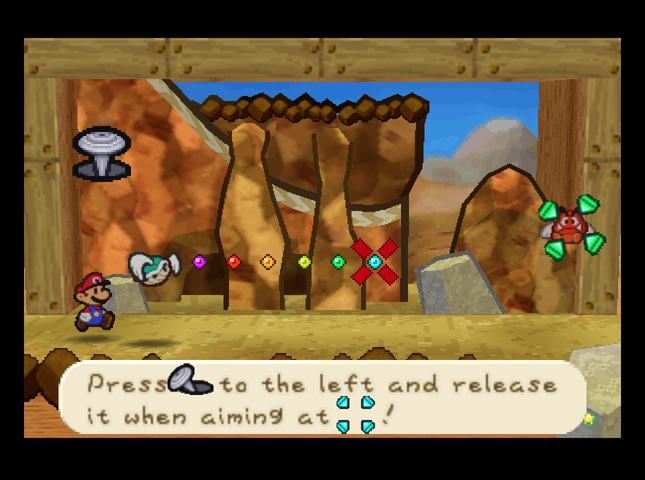 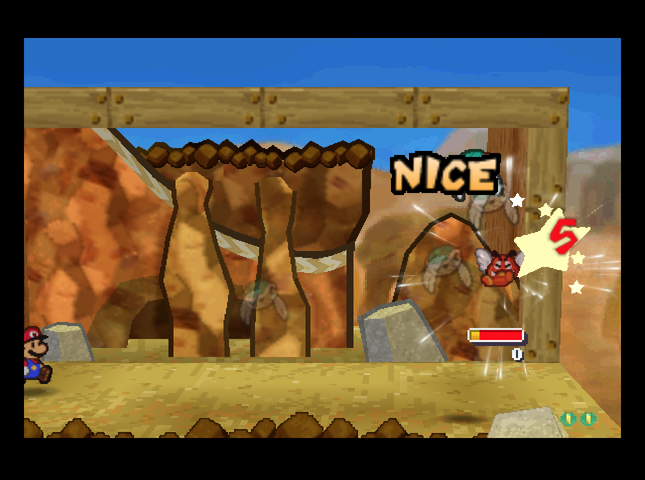 His Shell Shot, which costs 4 FP (1 more than in original Paper Mario), can also hit anyone, and does 5 damage to boot! With Parakarry tucked safely in his shell, he can attack enemies that are otherwise harmful to touch. 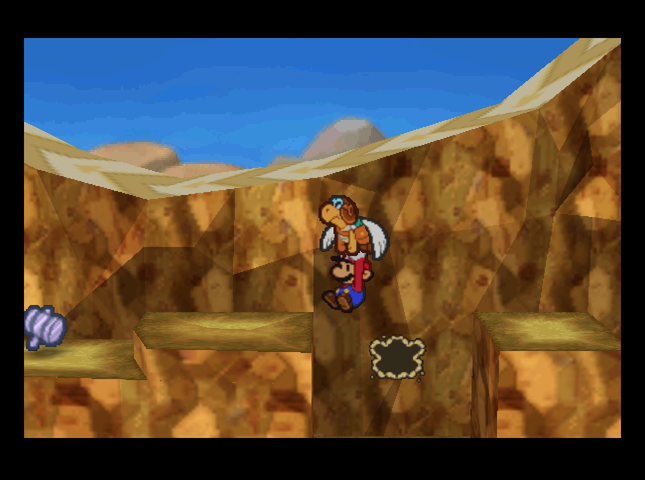 In addition, Parakarry brings a very useful field ability to the party: carrying Mario over gaps in the ground. With it, we can get to several items in Mount Rugged we couldn�t reach before. 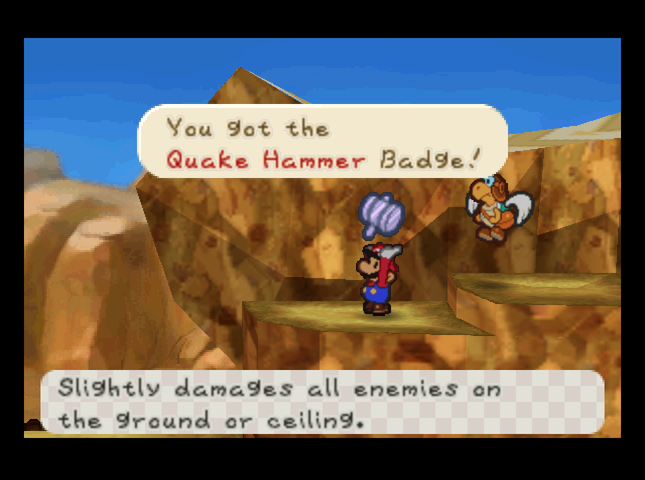 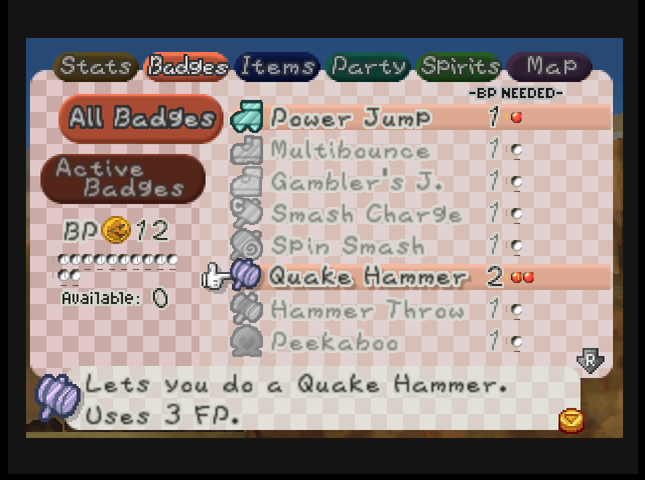 Which lets us get the Quake Hammer badge! This attack lets us hit all enemies who are ground-bound (or clinging to the ceiling). We swap Refund and Multibounce for the badge, which sadly costs 2 BP to equip. (In the vanilla game, it cost only 1 BP.)  Quake Hammer does 2 damage to all enemies, piercing their Defense. This KOs Clefts pretty much instantly. It costs 1 more FP than the base game, but it�s too useful not to use. 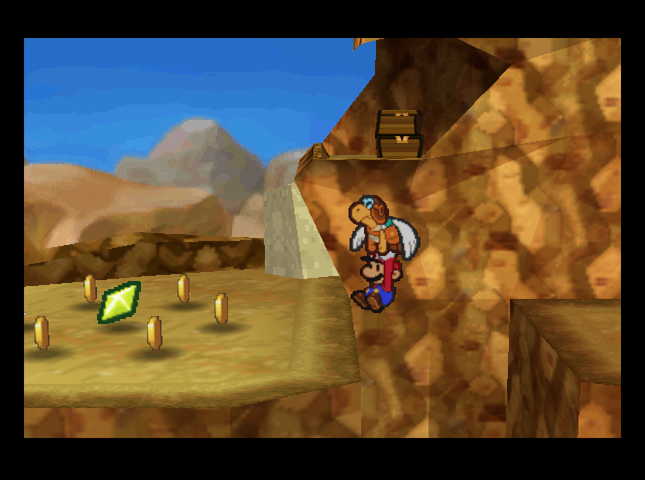 We can also use Parakarry�s ability to get that Star Piece we saw, back on the ridge where we found the second letter. 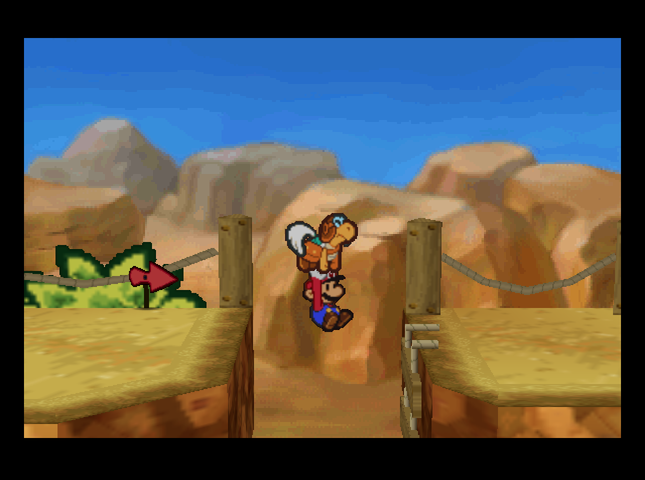 And, of course, he can help us across the gap where the bridge is out. Now, we�re almost over the mountain! All we have to do is� 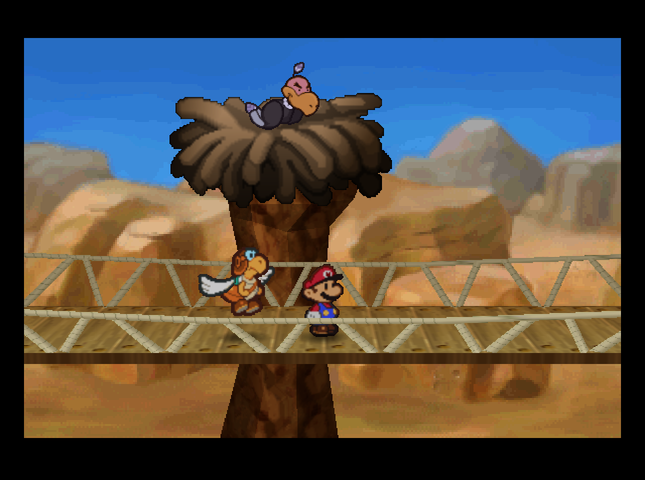    Uh-oh. This is Buzzar. If we say we�re Mario, Buzzar (who works for Bowser) will fight us. If we say we�re Princess Peach, Buzzar will call us a bad liar and then fight us. If we say we�re Luigi, he�ll let us pass, though. 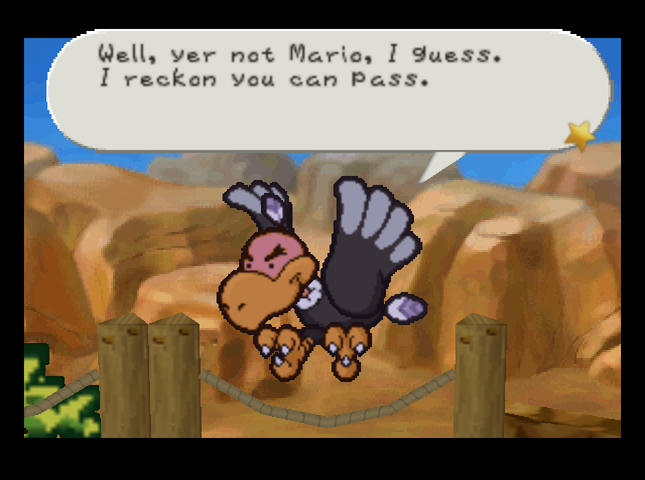 Buzzar�s a vulture, so I have no hestitation �chicken�-ing out of this fight. After all, there�s no way this could come back to haunt us later, right?  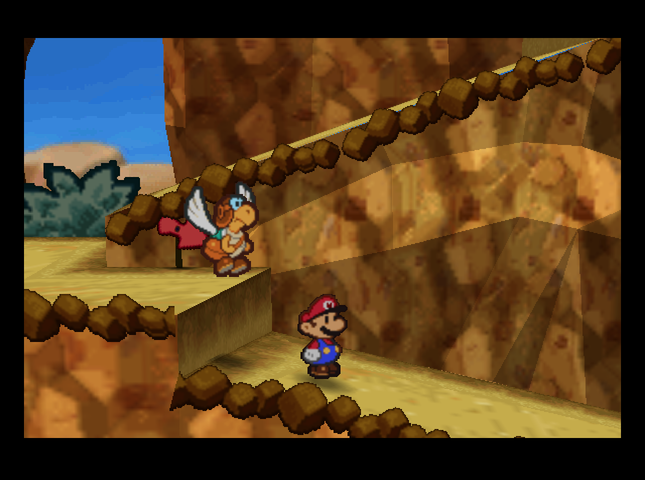 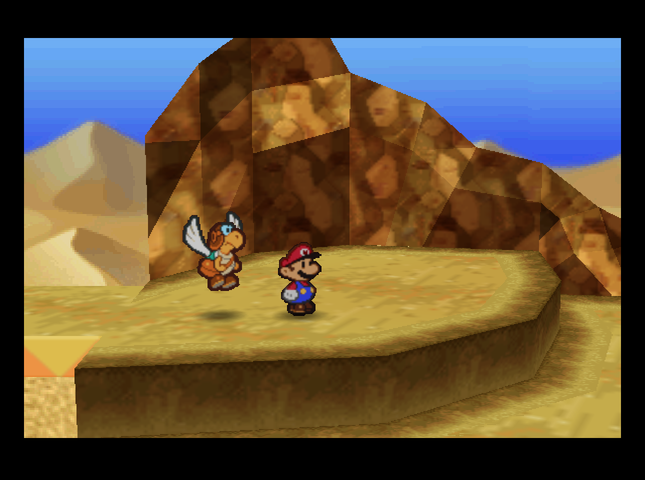 Past Buzzar�s nest, our path goes resolutely down. 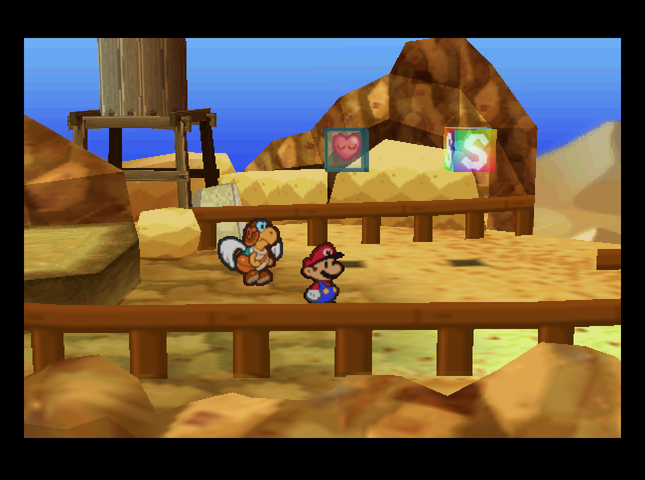 Finally, we reach a rest stop: the gateway between Mt. Rugged and Dry Dry Desert. Next stop, Dry Dry Outpost! Badges: 19/89 (New: Damage Dodge, Quake Hammer) Recipes: 8/50 Star Pieces: 28/180 Chuck Quizmo�s Quiz Questions: 12/64? Game Overs: None. SUMMARY OF CHANGES FROM MAIN GAME (in this installment) � Angry-looking Paragoombas spotted by Mt. Rugged birdwatching club. (Red Paragoomba: 3 HP, 2 Attack. Attacks twice.) � Monty Moles attend target practice course. (+3 HP, +1 Attack, thrown rocks fly faster) � Clefts play hooky from target practice course, become delinquents. (+2 Attack, +2 Defense (+1 while flipped), and they move faster on the overworld) � New energy drink debuts. (Hustle Drink: Grants Mario two actions next turn.) � Parakarry�s Shell Shot slightly more energy-intensive. (Costs +1 FP.) � Quake Hammer badge also more resource-intensive. (Costs +1 BP to equip, and +1 FP to use the attack.) Next Time On Master Quest: Dune�t worry, be happy. Quackles fucked around with this message at 12:27 on Aug 15, 2019 |
|
#
?
Aug 15, 2019 12:23
|
|
|
I'm actually back on board with how this is balancing things. Having enemies attack twice is a good way to do more damage while not being quite as powerful as enemies that attack once for double damage due to how you can mitigate damage with dodges. Not sure how I feel about spin hammer not doing damage to clefts though, but I guess when paired with Monty moles that have a legitimate reason to ignore the damage, it's not as big of a deal and encourages you to experiment with other badges.
|
|
#
?
Aug 15, 2019 15:00
|
|

|
Yeah, double attacking seems like a much better way to make enemies dangerous, rather than the single big hits that some of the koopa dungeon enemies had. I do find it interesting that they seem to make it much harder to take out any enemies in just 1 move. Though I guess the quake hammer does help with that for now.
|
|
#
?
Aug 15, 2019 16:06
|
|
|
Was that Cleft flip with the explosion in the base game? I don't remember that at all.
|
|
#
?
Aug 15, 2019 16:09
|
|
|
Clockwork Rocktapus posted:Was that Cleft flip with the explosion in the base game? I don't remember that at all. Yep, tremors or explosions flipping them over to nullify their defenses entirely (instead of simply lowering it like in MQ) was a trait Clefts had in all of the games they appeared in.
|
|
#
?
Aug 15, 2019 16:16
|
|
|
I've actually been playing this hack for myself now and I'm at the same point Quackles is. I know I'd been critical of the way the game handles difficulty after reading the thread and asking a few questions, but in playing the game for myself I've come to terms with what it's doing. There's no doubt that the damage numbers are higher and the challenge is ramped up. But it's been ramped up in consistent ways, and has given the player benefits as well. Those positive changes to badges, cooking recipes, and partner attacks all serve to mitigate the higher challenge. Useful things are handed out with good frequency and allow you to strategize how you approach certain fights. And strategy is the key here, because you definitely do need to think before getting too deep into a fight. For example, the Fuzzies fight in Koopa Village is a good example of using what's available to you. If you fight the Fuzzies before recovering Kooper's shell, you'll discover they have higher HP and drain more health. The four Fuzzy fight at the end is likely doing to be a damage race where you have to fight off anywhere between 6 and 12 damage the first turn, and then slowly less and less each turn. But you need to defeat each Fuzzy in one turn otherwise it will heal back to full health, or slightly under if you can time the Action Command. My strategy was to use the Volt Shroom on sale in the Koopa Village shop since Fuzzies don't do damage right away but still contact you. Another strategy I used when heading to Mt. Rugged was to buy and equip the Pay-Out badge. I saw how much damage I was taking in battles and figured I may as well make money off of it to fund more badge and item purchases. The tools for success are in the game. You just have to balance your stats, badge use, item use and partner tactics a lot more than you ever did in the original game. But it's a lot of fun this way, thinking through all the tactical options you have in a given fight, and making it work. It's not perfect, because Paper Mario wasn't designed for you to be taking heavy damage every fight, so it does mean you'll be running back to heart blocks a lot more. But that's honestly been the only downside of an otherwise pretty fun experience. I'm looking forward to seeing what the rest of the game has to offer either through the LP or on my own. And if I get past the LP I'll be sure not to mention anything coming up. Oh yeah and I think the reason the spin smash didn't work on the Cleft is because it was stuck in the ground at the time. Just like how you can't use it on Monty Mole.
|
|
#
?
Aug 15, 2019 18:35
|
|

|
FPzero posted:Oh yeah and I think the reason the spin smash didn't work on the Cleft is because it was stuck in the ground at the time. Just like how you can't use it on Monty Mole. Holy poo poo that makes so much sense.
|
|
#
?
Aug 15, 2019 19:14
|
|
|
FPzero posted:Oh yeah and I think the reason the spin smash didn't work on the Cleft is because it was stuck in the ground at the time. Just like how you can't use it on Monty Mole. According to the lovely Stat and Attack FAQ I'm using, Clefts are immune to Spin Hammer when stuck in the ground, yes. The catch is, if they're right side up, the hammer hit has to do at least 1 damage, or they don't get pushed back either. With 4 Defense to throw around, that'll be a while before I can make that happen.
|
|
#
?
Aug 15, 2019 22:07
|
|
|
I started playing along with this and wound up getting slightly ahead of the thread. I've enjoyed the difficulty thusfar, with only the boss of Chapter 2 taking more than one attempt, but now the random encounters are getting really brutal. Even with defensive badges enemies are starting to hit for 6-7 before blocking, and I don't have the hp to keep up. I wonder if I'm missing something, or if it is simply going to be this rough going forward? Either way, I stepped away from it for a bit as a result.
|
|
#
?
Aug 15, 2019 22:17
|
|

|
As someone that's played the original game like 5 times over this is interesting to follow along. I don't think I'd have the patience to go through it so I'm really enjoying watching you get through it. Can't wait to see what Endgame looks like.
|
|
#
?
Aug 16, 2019 01:44
|
|


|
Question for anyone who isn't playing blind: did the devs remove the Blue House Skip altogether, given that they hate the fun pig machine, or just rely on natural encounter power level progression to prevent the sequence breaks?
|
|
#
?
Aug 16, 2019 03:11
|
|

|
DACK FAYDEN posted:Question for anyone who isn't playing blind: did the devs remove the Blue House Skip altogether, given that they hate the fun pig machine, or just rely on natural encounter power level progression to prevent the sequence breaks? I don't think any actual glitches have been removed.
|
|
#
?
Aug 16, 2019 06:36
|
|
|
What's goin' on in the top left corner there? That arrow doesn't ring any bells from the base game...
|
|
#
?
Aug 16, 2019 06:51
|
|
|
Rydash posted:
It's a Jojo reference.
|
|
#
?
Aug 16, 2019 06:59
|
|


|
BisbyWorl posted:It's a Jojo reference. The pictures told such a good story that I couldn't resist. Also... Quackles posted:I don't think any actual glitches have been removed. Asked the devs. Only one clipping glitch was fixed in Master Quest, in Shy Guy's Toy Box. Any such fixes from Pro Mode, if they exist, would have also been carried over.
|
|
#
?
Aug 16, 2019 07:07
|
|
|
Part 11: Dune and Out in Dry Dry Desert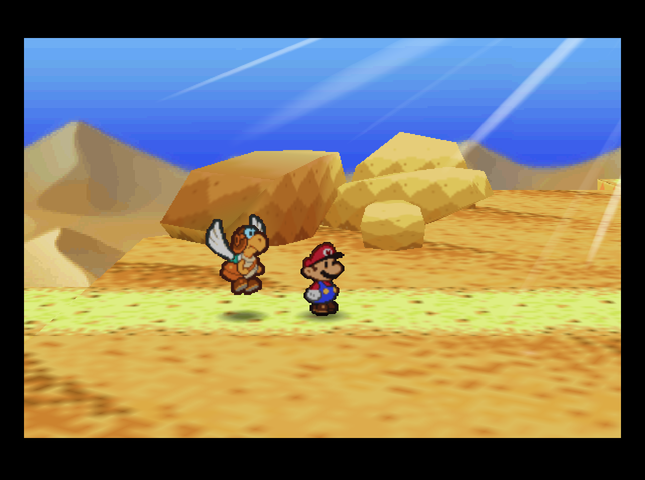 Music: Dry Dry Desert Trek When we last left off, we were about to enter Dry Dry Desert. Our first priority is to get to Dry Dry Outpost - then we can explore and see how the Desert enemies have changed. 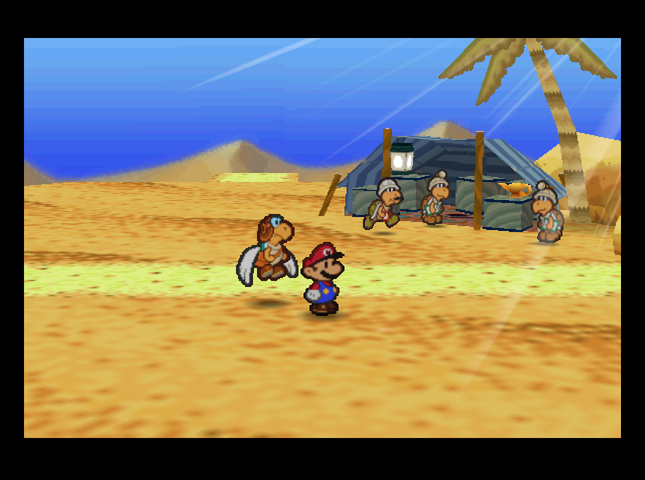 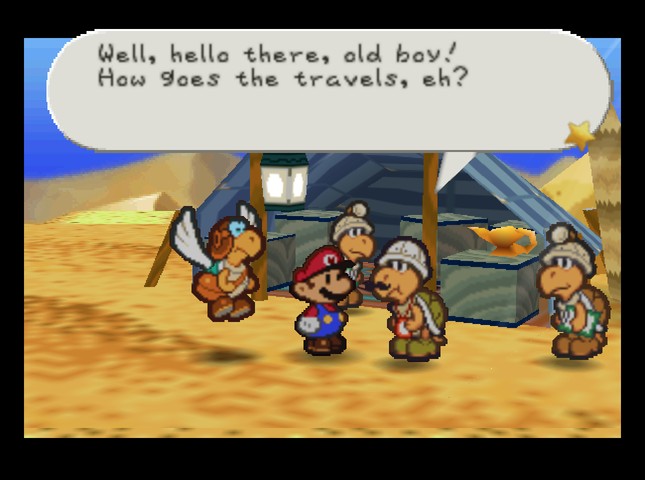 At the entrance to the desert is the campsite of Kolorado, the archaeolokoopagist.  At the moment, I�m turning Dry Dry Desert upside down to find the Dry Dry Ruins. My assistants have attempted to gather information in Dry Dry Outpost, which is near here. Sadly, as of yet, we�re having little success. All we need is a clue and we�ll be golden! At the moment, I�m turning Dry Dry Desert upside down to find the Dry Dry Ruins. My assistants have attempted to gather information in Dry Dry Outpost, which is near here. Sadly, as of yet, we�re having little success. All we need is a clue and we�ll be golden!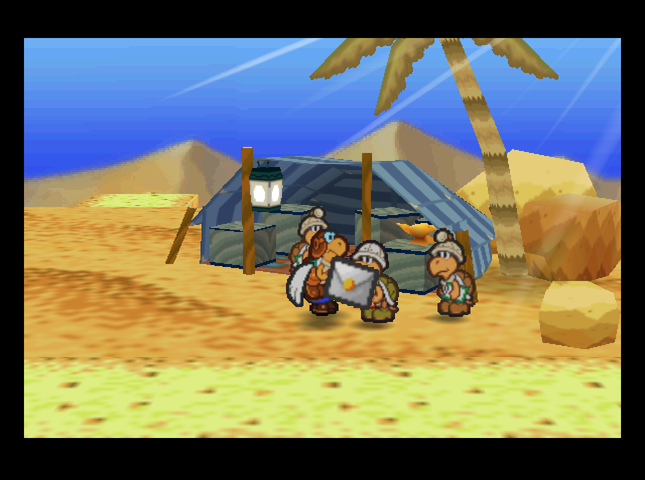 The encounter also gives Parakarry the opportunity to deliver the letter we found back on Mt. Rugged. Oh, good show! It�s a letter from my wife. Thank you ever so, old chap. This is just what I needed to give me strength to go on.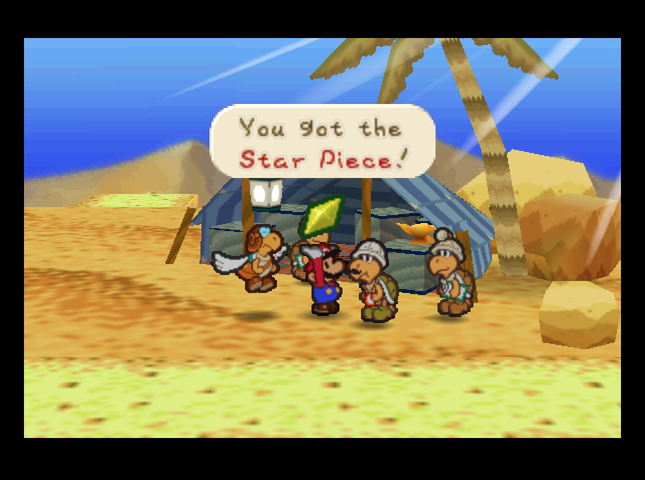 Kolorado gives us a Star Piece as a thank-you for the mail. Most letters we deliver will result in a similar reward. 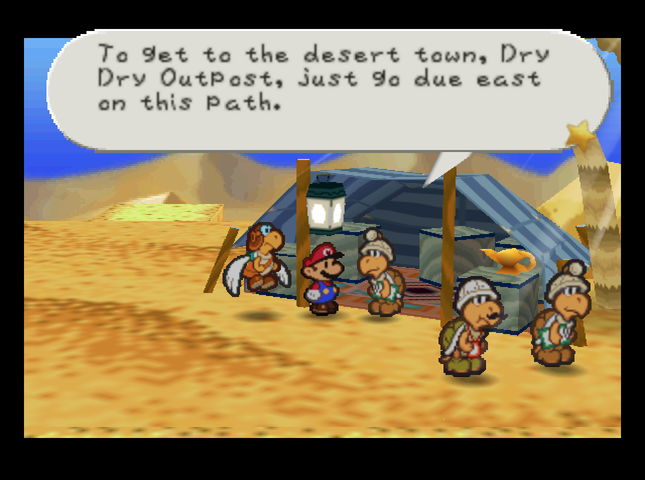 Before we go, Kolorado�s assistant has some advice.  I�d be careful not to stray from the path if I were you. You may find some trouble and you�ll definitely get lost. I�d be careful not to stray from the path if I were you. You may find some trouble and you�ll definitely get lost.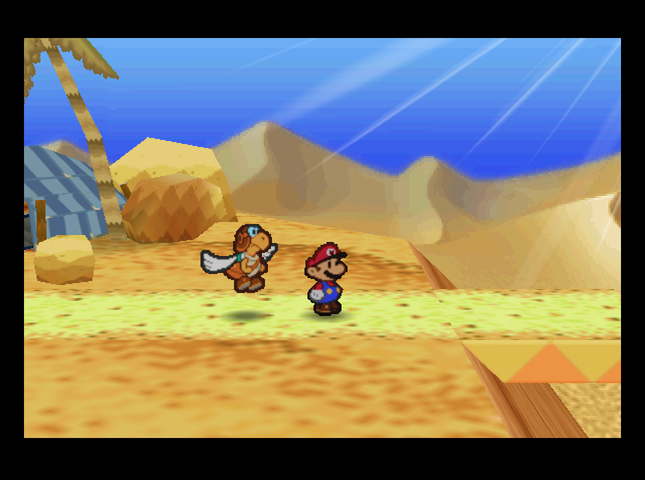  We continue to the east, following the path to� 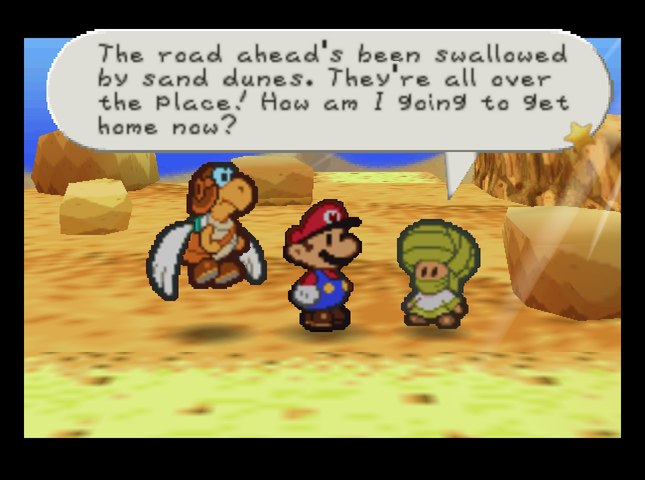 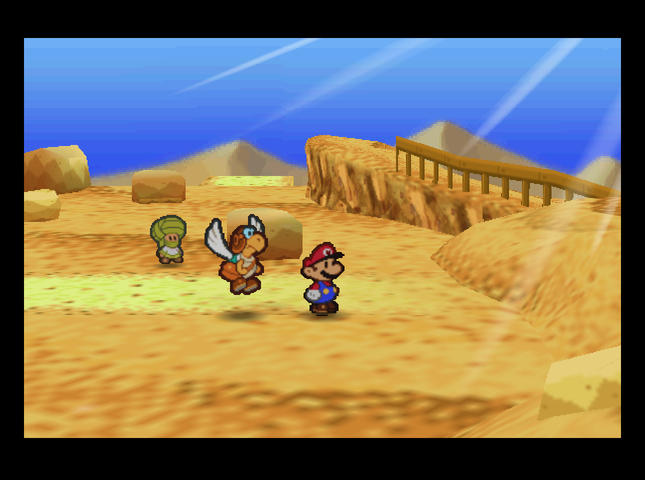 Uh-oh.  We can climb the sand dune from the other side if we�re coming from the east - but in this direction, it�s completely impassable! Looks like we�ve got no choice but to go off-path. Our choices are north or south - let�s head north. Past this point, screenshots taken in the desert will have a minimap in one corner.   A wall and some sand dunes split the area to the north in two. Our only choice is to go east again; if we�d entered from the north, we�d only be able to go west.   The next room has numerous ? blocks - but it turns out it�s also home to some of the desert�s many enemies. 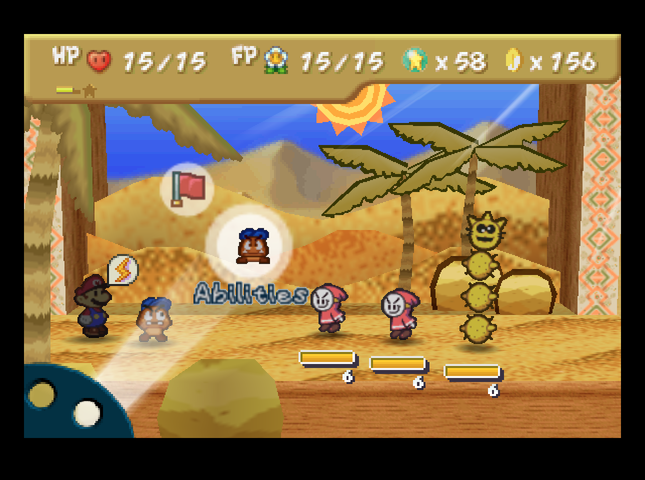 This is a Bandit. Bandits bump into you hard and shake up your pockets. They can steal up to 20 Coins. They�ll slyly approach and then slam into you all of a sudden. If you can damage them in an attack, you can get your stolen Coins back. Let�s beat �em before they can make off with our loot! This is a Bandit. Bandits bump into you hard and shake up your pockets. They can steal up to 20 Coins. They�ll slyly approach and then slam into you all of a sudden. If you can damage them in an attack, you can get your stolen Coins back. Let�s beat �em before they can make off with our loot!And in the back� This is a Pokey, an evil cactus. Pokeys attack by throwing parts of their bodies or by coming up close and falling on you. Be careful fighting them! It�ll hurt if you jump on their spiky heads! They also have an annoying habit of calling in reinforcements. Let�s beat �em quickly! Bandits� attacks do 3 damage, but Zap Tap stops them from stealing anything. In the base game, they had only 5 HP, attacked for 2 damage, and could steal up to 10 coins in one go - so this isn�t that much of an upgrade.   Pokeys attack by falling on you, but they're unusual in that they can lose body segments. The number of segments they have when they start their attack determines the damage done. At full height, Pokeys� �fall� attack does 4 damage. If one only has 3 segments (including the head), it�d do 3, and so on. Pokeys had 4 HP in Paper Mario, and their attacks all did 2 damage - but didn�t lose power when they lost segments. That�s new to Master Quest.  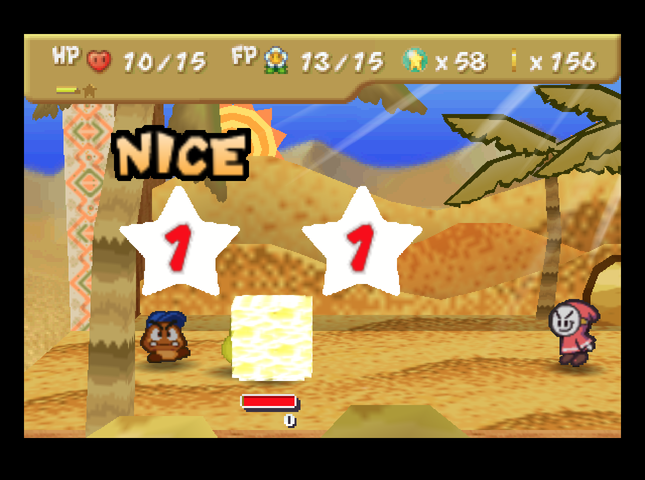  We Power Jump on the first bandit, knowing that Zap Tap will finish him off. The Pokey falls on us again.  A second Power Jump finishes off the second bandit, and we switch to Kooper. This is because Kooper is best suited to deal with Pokeys. 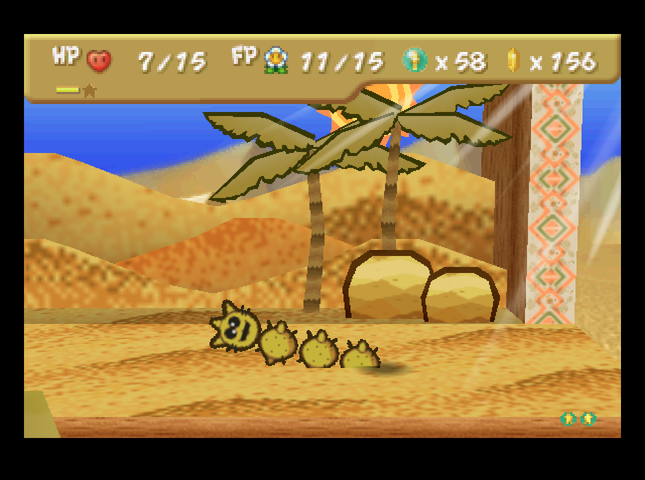 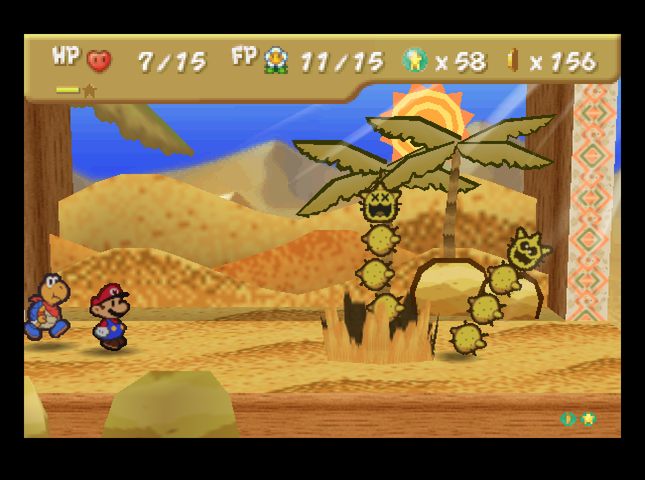 Unfortunately, the Pokey realizes it�s alone and digs up a friend.  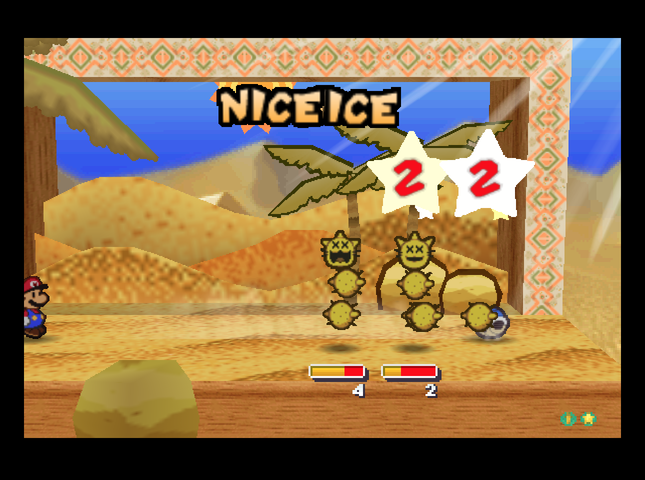 Now that we�ve got Kooper on tap, he can use Power Shell to knock out the Pokeys� segments, in addition to doing damage. Any time a Pokey is hit by a ground-based Shell attack (Shell Toss or Power Shell), it�ll lose a body segment, and its falling attack power will go down. This is also important because Pokeys can only dig up friends if they�re at their full height, so keeping them de-segmented is important for purposes of crowd control.  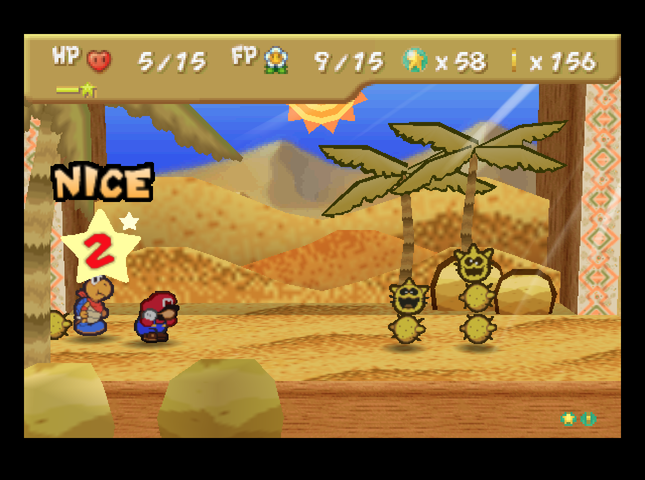 The Pokeys counterattack with their alternate attack: batting body segments at us. With this attack, the segments they toss are gone for good, but the attack always does 4 damage regardless of the Pokey�s height. 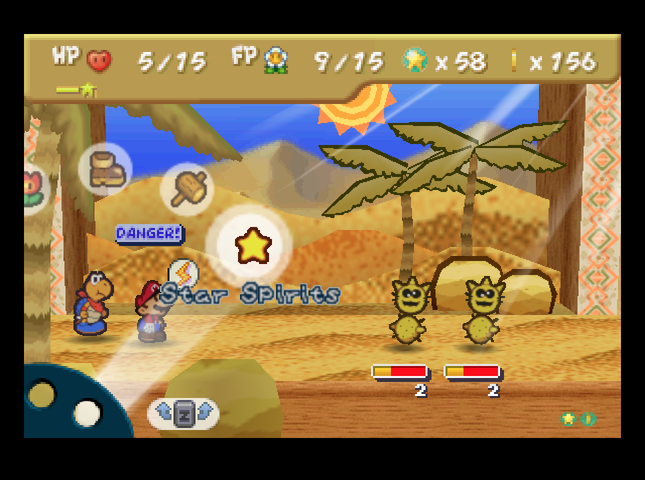   At this point, we can send in Kooper to KO the evil cacti one at a time. (Mario uses Refresh so as to not get KO'd.)  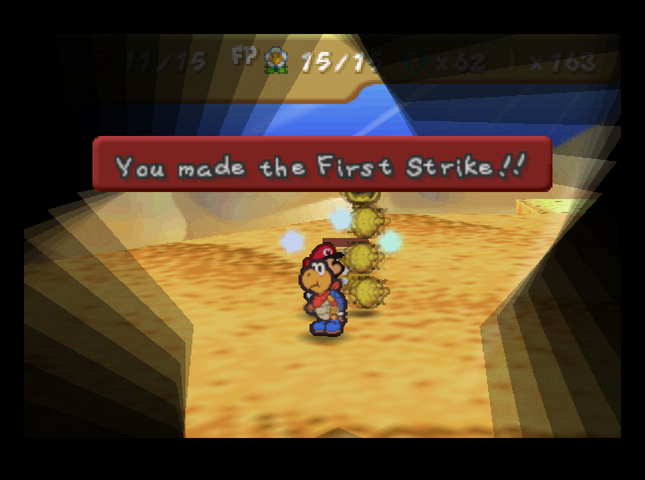 Once the battle�s over, we equip the Spin Smash badge, and pick a fight with another Pokey. 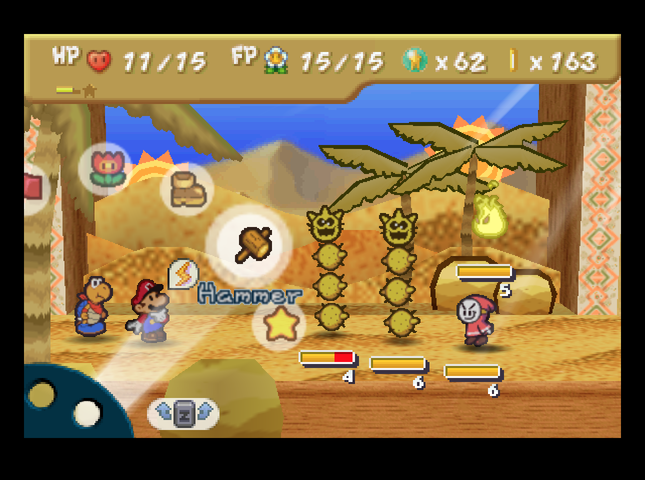  This is because, if a Pokey is hit by a Spin Smash attack, it loses a segment! This is regardless of whether it is directly hit by the hammer, or if it�s just in the path of the enemy that goes flying. There�s also a new enemy here - it looks like a yellow fireball. This is a Dry Bubble. They�re hot burning creatures that thrive in desert climates. They don�t have too much HP, but you can�t get a good jump on them without feeling the heat. You could give them a good what-for with your hammer, but they like to sit up high. They�re so shiny though, I� man, I think the heat is making me delusional.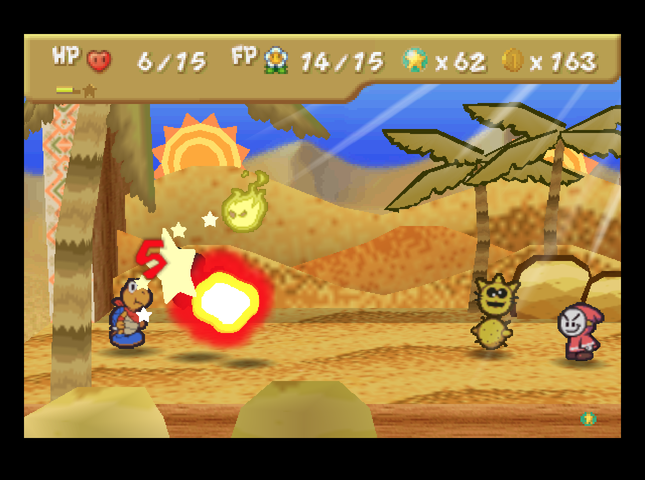 Dry Bubbles do a whopping 5 damage when they land on you. They are, of course, fiery, so jumping on them is out of the question. 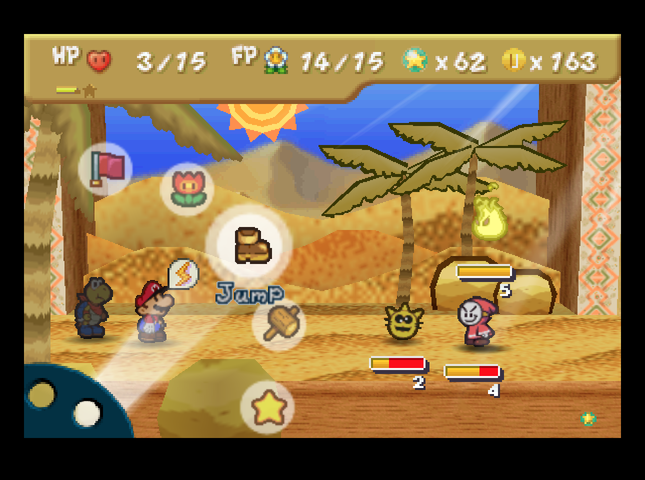   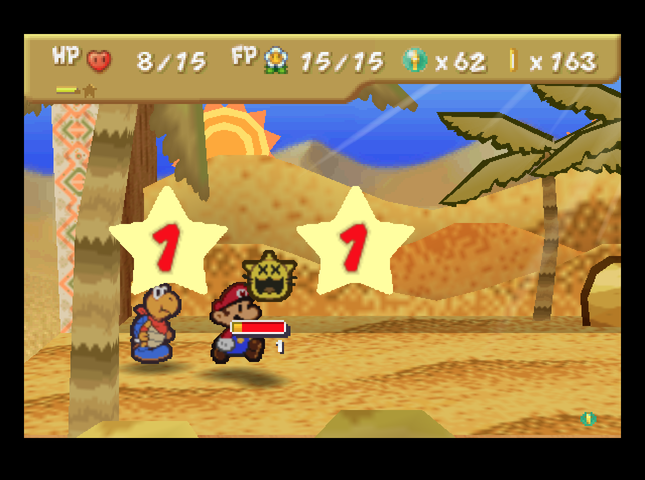 We have to heal from the onslaught, but Kooper was at least able to knock out the Pokey�s last segment beforehand. When Pokeys are down to their head only, they jump face-first onto Mario. This always does 3 damage.   We�re able to KO the ground-based enemes, leaving only the Bubble. 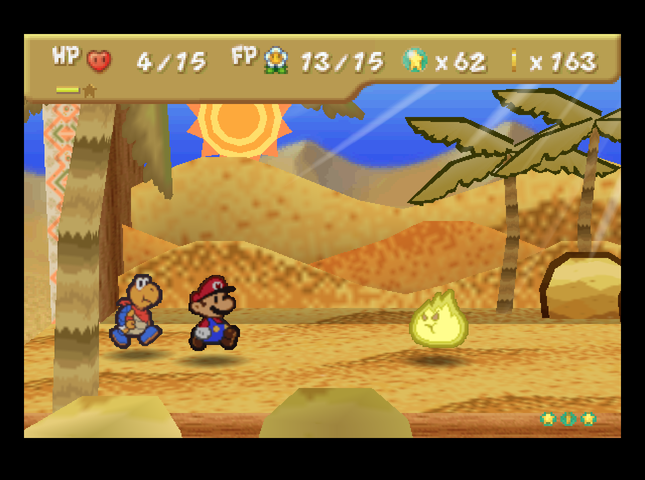 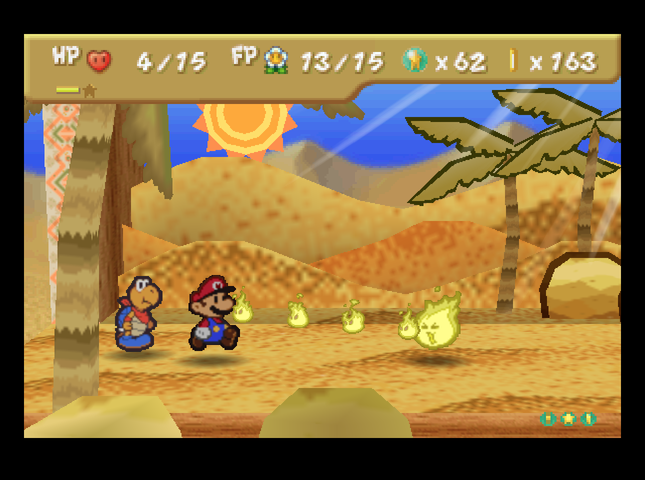 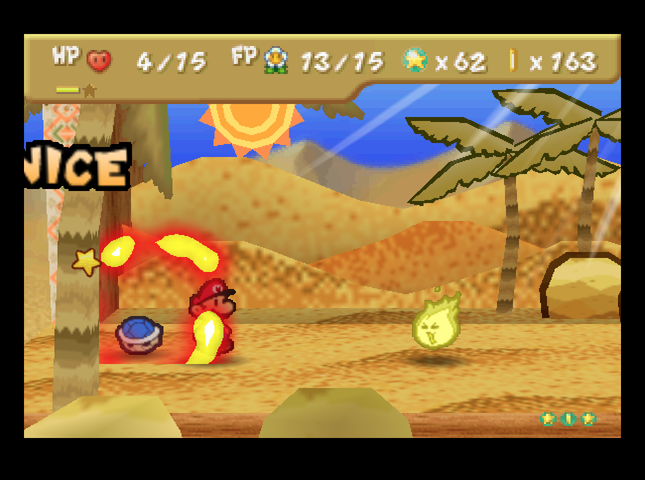 It turns out that Dry Bubbles also have an attack where they blow flames at your partner.  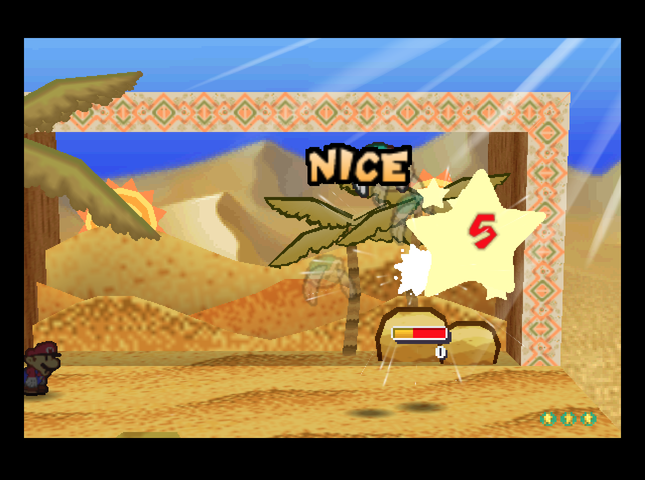 Given that we don�t have Hammer Throw on right now (and it would take two hits to KO the Bubble anyway), the best way to deal with these beasties is Parakarry�s Shell Shot. It�ll OHKO them, while Parakarry remains safe inside his shell. We finish the battle by the skin of our teeth!   Now that there�s no one to bother us in this room, we raid the ? blocks. Most only have coins, but the center one has a Fire Flower.    We have to dodge a Bandit and several Pokeys as we return to the road - only to find the way blocked AGAIN. This time, the barricade requires the Super Hammer to break through. Let�s turn around and try our luck farther north.  The way east of the question-block room is blocked by another one-way dune.  And if we go north of the question-block room, we end up in an area with cliffs that force us to go even farther north.  We end up in the room that�s the site of the Dry Dry Ruins - or, rather, it will be, once we get the Pulse Stone and come back here. Right now, it�s empty, except for the rock that unlocks the place later. Let�s try going east. Maybe we�ll be able to get back to the road again!   The room to the east has something odd about it, and it�s not the four Pokeys chasing us.  It�s this northern exit. I thought we were at the northern edge of the Desert?  It turns out, we are. This is a path that connects Dry Dry Desert and Gusty Gulch, newly added for Master Quest. The Desert and Gulch are so similar. Both are hot and dry, and I just would like to see some water.   The way to the Gulch proper is blocked by a rock up on a ledge. Wait a minute. The map says Gusty Gulch is above Dry Dry Desert. But then how is it a gulch at all?! I think it should be called... uhhh.... like.... Okay, I can't think of anything. 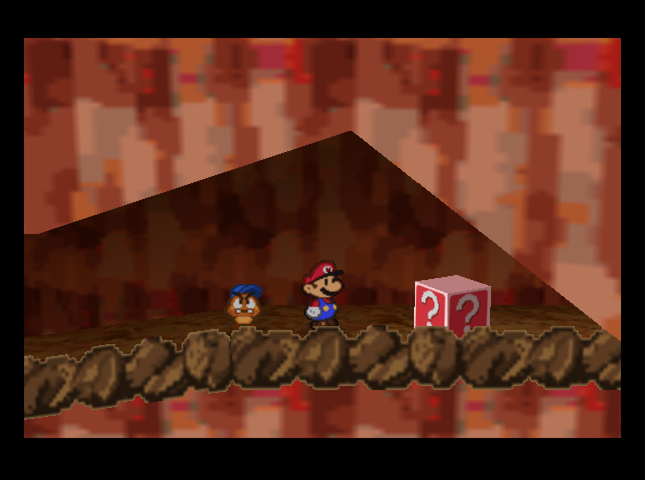 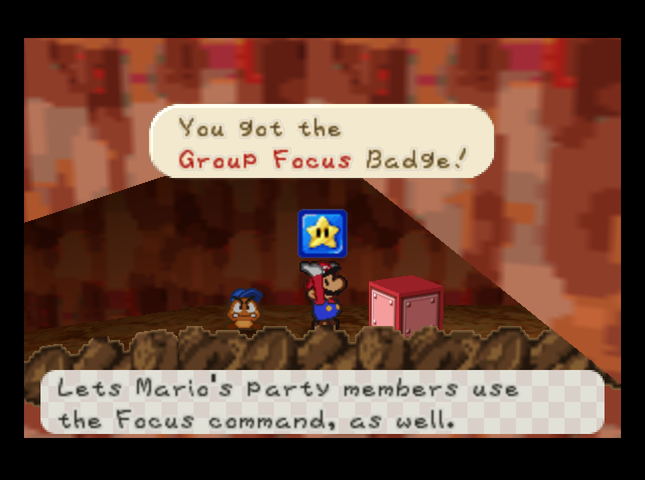 We can at least go to the right and collect a very important badge: Group Focus! Group Focus lets all our party members use Focus. This grants us several important benefits. Sometimes, a party member can�t attack the enemies on the field (example: Goombario vs. Dry Bubbles) - since switching would take their entire turn, it�s sometimes easier to have them Focus. Also, if both Mario and Partner Focus at once, the team can charge Refresh in a single turn. Basically, it�s a way to let us get to Refreshing faster, which�ll be critical with the tough enemies of this desert.  The badge has been buffed compared to vanilla Paper Mario. There, it cost 2 BP to equip, and you could only get it in Rowf�s Badge Shop after Chapter 3. Here, it only costs 1 BP. We equip it immediately, of course.   With the strange exit explored, we return to the desert and take the only exit we haven�t taken yet: the south one. The room to the south has no unusual obstructions - just a Bandit and two Pokeys that want a piece of us. 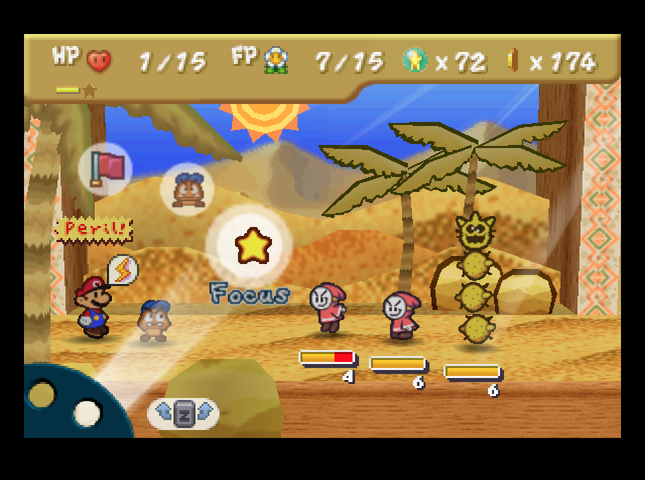 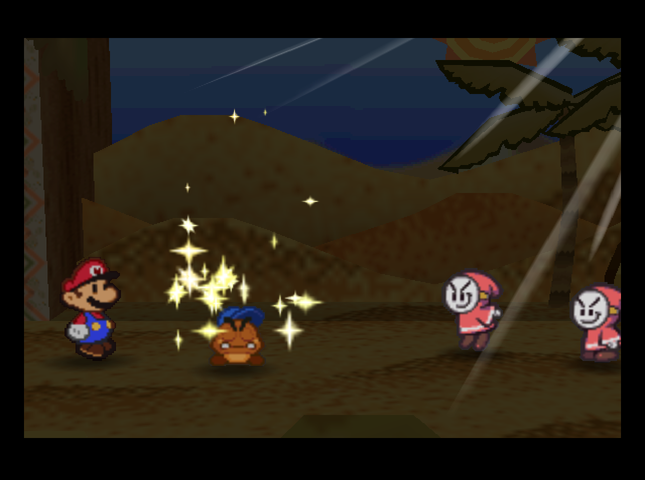 The Bandit ends up ambushing us. However, with our new Group Focus ability, we�re able to queue up an emergency Refresh immediately.  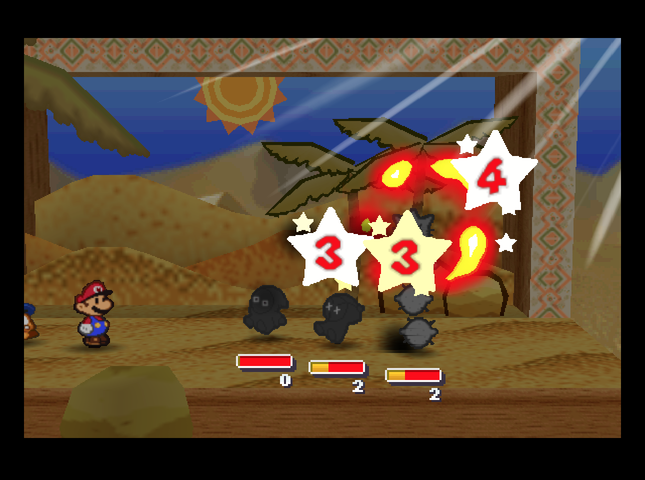 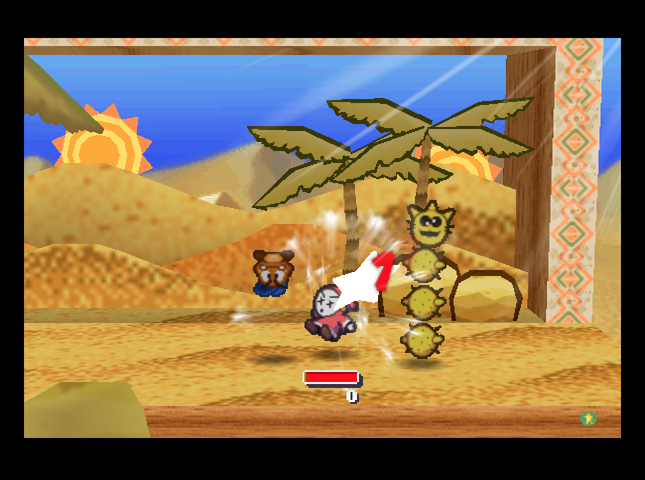 Next turn, we use the Fire Flower we got earlier, and headbonk the second Bandit, so that all�s left is the Pokey. (Did you notice that the Pokey took +1 bonus damage from the Fire Flower? This fire weakness was added to Master Quest.)  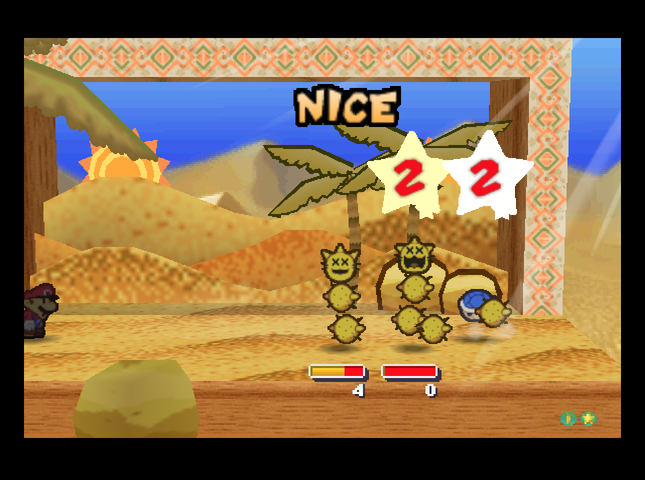 The Pokey opts to unearth a buddy, giving Kooper time to get into position and Power Shell. From there, we easily finish it off.  We head south again, trying to reach the road. The next screen has no enemies, but it does have a Tweester (a whirlwind). Jumping into one will send you one screen north and east of where you started. In normal Dry Dry Desert, this would be fine. Here, it�s a risk. We keep heading south.  We�ve found the road! This landmark - a stone cactus - marks the exact midpoint of the desert. Time to head Outpostward (east).  The next room has a Save block! There�s a traveler resting under a tree. An ancient wall blocks passage to the north, but it�s a clear path in the other direction. The road�s open, at least.   Or, that�s what I thought - but it�s blocked again on the next screen by another sand dune. How much backtracking is this desert going to make us do?! 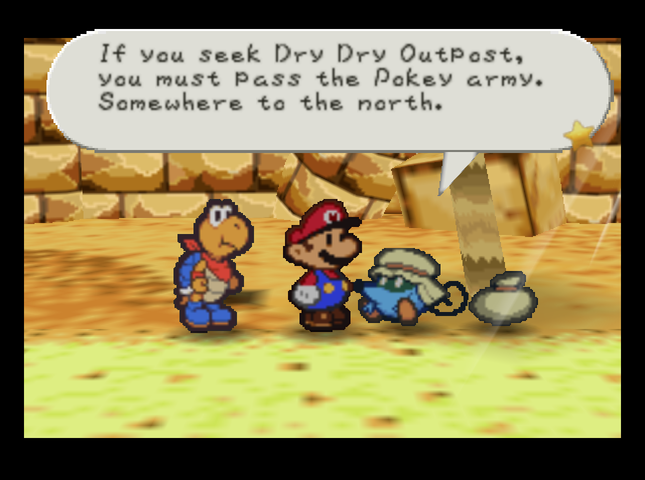 The traveler on the previous screen has some words of wisdom. It sounds� pret-ty ominous. What does a �Pokey army� look like??   Against our better judgement, we head back to the stone cactus and start trekking north, then take the first exit east as soon as we can (in the next room).   We end up in a room with a number of large cacti, but a sand dune blocks our further progress to the east. The only way we can go is south�  �where we end up on the other side of the wall by the save block. That was a bust.  Retracing our steps further, we end up in the room where we tested out Group Focus by fighting the Bandit. We dodge the enemies and head east.  Miraculously, the way is clear. We can�t go further east, but we can head north or south.  Heading south puts us in the north half of the room with the large cacti. There�s a triangle of trees here, which hide an important secret: 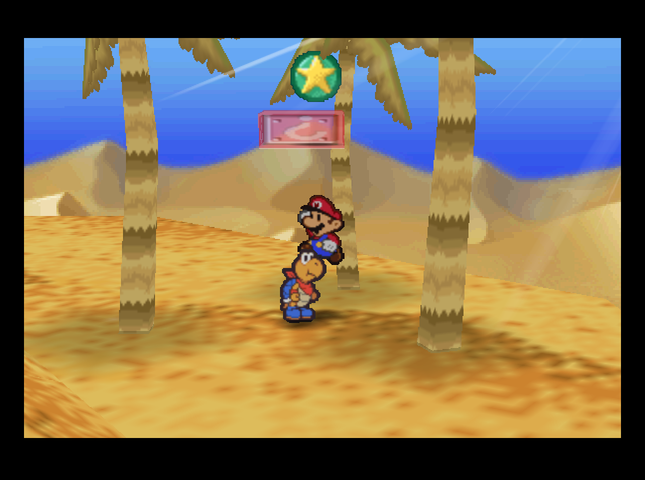 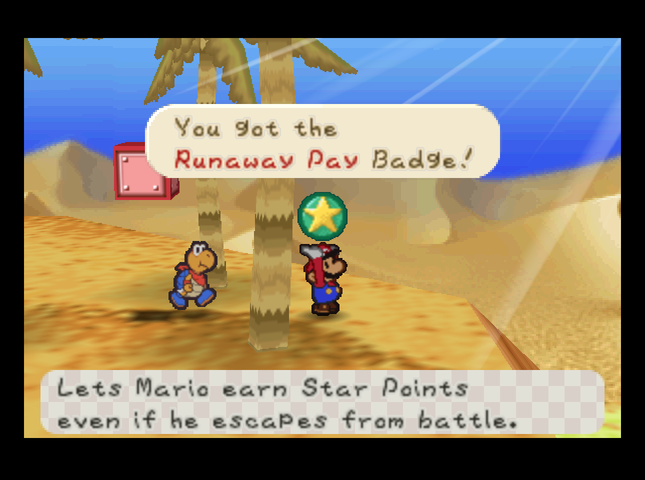 Another badge, Runaway Pay. This one lets us keep any Star Points we�ve earned, even if we run from a battle.  It�s 1 BP cheaper to equip than in the original game.   We head east, and find more palm trees - and some Bandits and Brick Blocks. We must be on the right track!  Both Bandits here have this formation, so we fight them to give us a chance to Refresh and recharge.   The path to the eastern edge of the desert is blocked by another Super Hammer block.  And if we try going south to the road, well� it�s blocked in both directions! This is ridiculous.   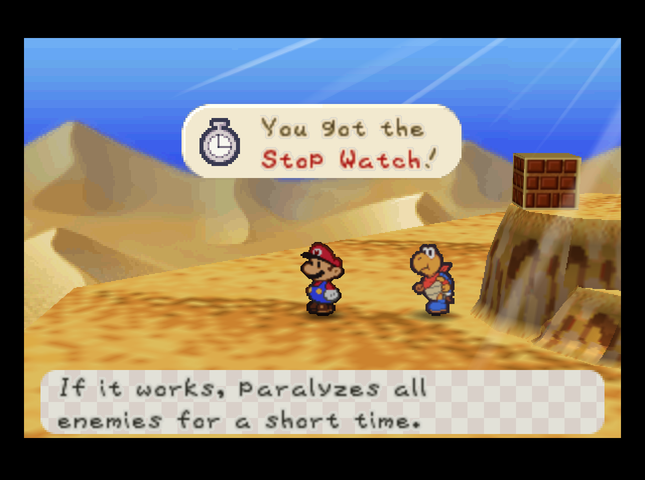 Going to the south of the road nets us another room that�s split in two, keeping us from going east or further south. However, we do pick up a Stop Watch with Kooper�s help. Guess there�s no choice but to turn back, go north, and face the Pokey Army.  But where is it? Not here�  And it�s not here, either - though we still can�t get to the eastern edge of the desert. Going north again will put us at the northern edge of the desert.  Oh, this is the Pokey Army!   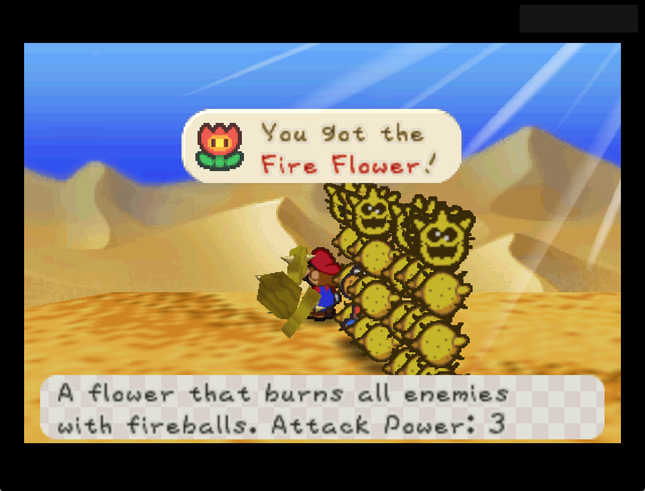 We grab a Fire Flower hidden behind a bush� 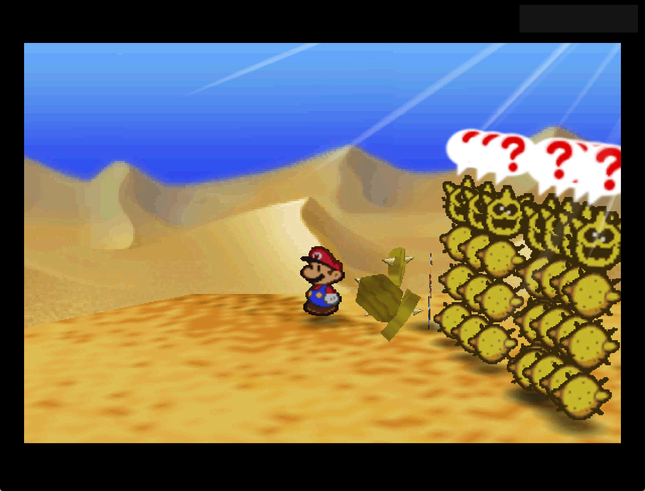 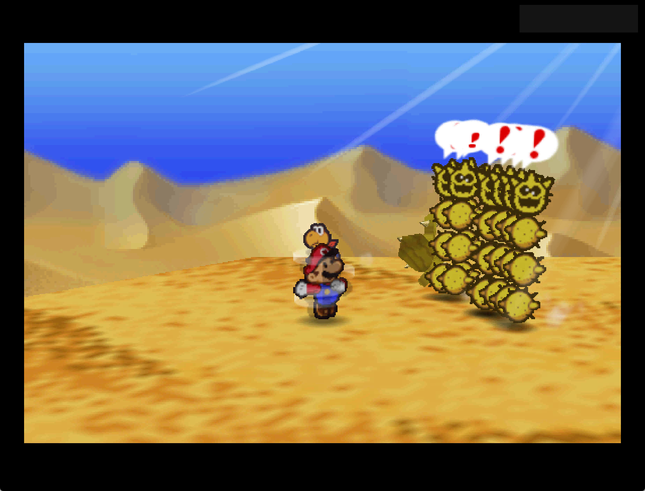   �then get the heck out of there!!  This room is the northeastern corner of the desert. There�s nowhere to go but west (back to the Pokey Army room - no, thank you!), or south.    So south we go.  Finally, we come to the road once more.  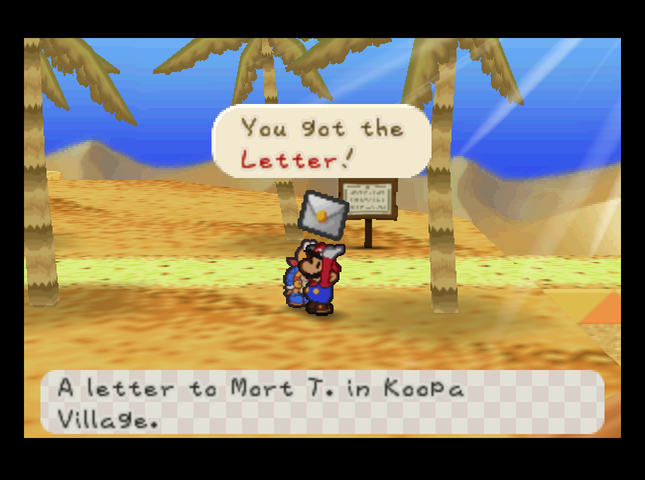 There�s a letter stuck in a tree here. 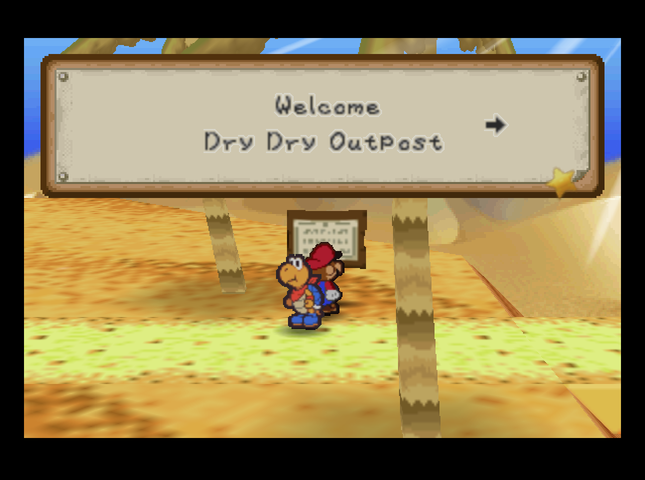 But more importantly, Dry Dry Outpost is just to the east.  We�ve made it out of the desert! Game Version: Updated from 1.2.0.2 to 1.2.1.0 This version introduces a change we won�t get a chance to see. Remember Chan, in the Dojo? He now only electrifies himself after he�s flipped, for a period of 2 turns. So: a little easier. Badges: 21/89 (New: Group Focus, Runaway Pay) Recipes: 8/50 Star Pieces: 29/180 Chuck Quizmo�s Quiz Questions: 12/64? Game Overs: None canonically, but I did have several noncanon ones while refighting battles to line up good screenshots. Unofficial game over count is at 3 or 4 by this point. SUMMARY OF CHANGES FROM MAIN GAME (in this installment) � Dry Dry Desert now incredibly, extremely easy to get lost in. Map below. � Bandits bulk up. (+1 HP, +1 Attack, steals more coins) � Pokies now 100% spikier thanks to wandering energy drink salesman. (+2 HP, +2 Attack. Attack boost when falling on you is lessened to +1 or 0 if they have fewer segments remaining. They take +1 bonus damage from fire.) � Flame monsters found in desert. (Dry Bubble: 5 HP, 5 Attack, immune to Zap Tap, on fire. Can attack partner instead.) � Connection to Gusty Gulch discovered at northern edge of the desert. � Group Focus and Runaway Pay badges easier to use. (Costs 1 BP less to equip) Next Time On Master Quest: We raid the desert for its goodies. By The Way� (Dry Dry Map) I ended up mapping Dry Dry Desert, including some parts of it we won�t get to until future episodes. This map details all of them. 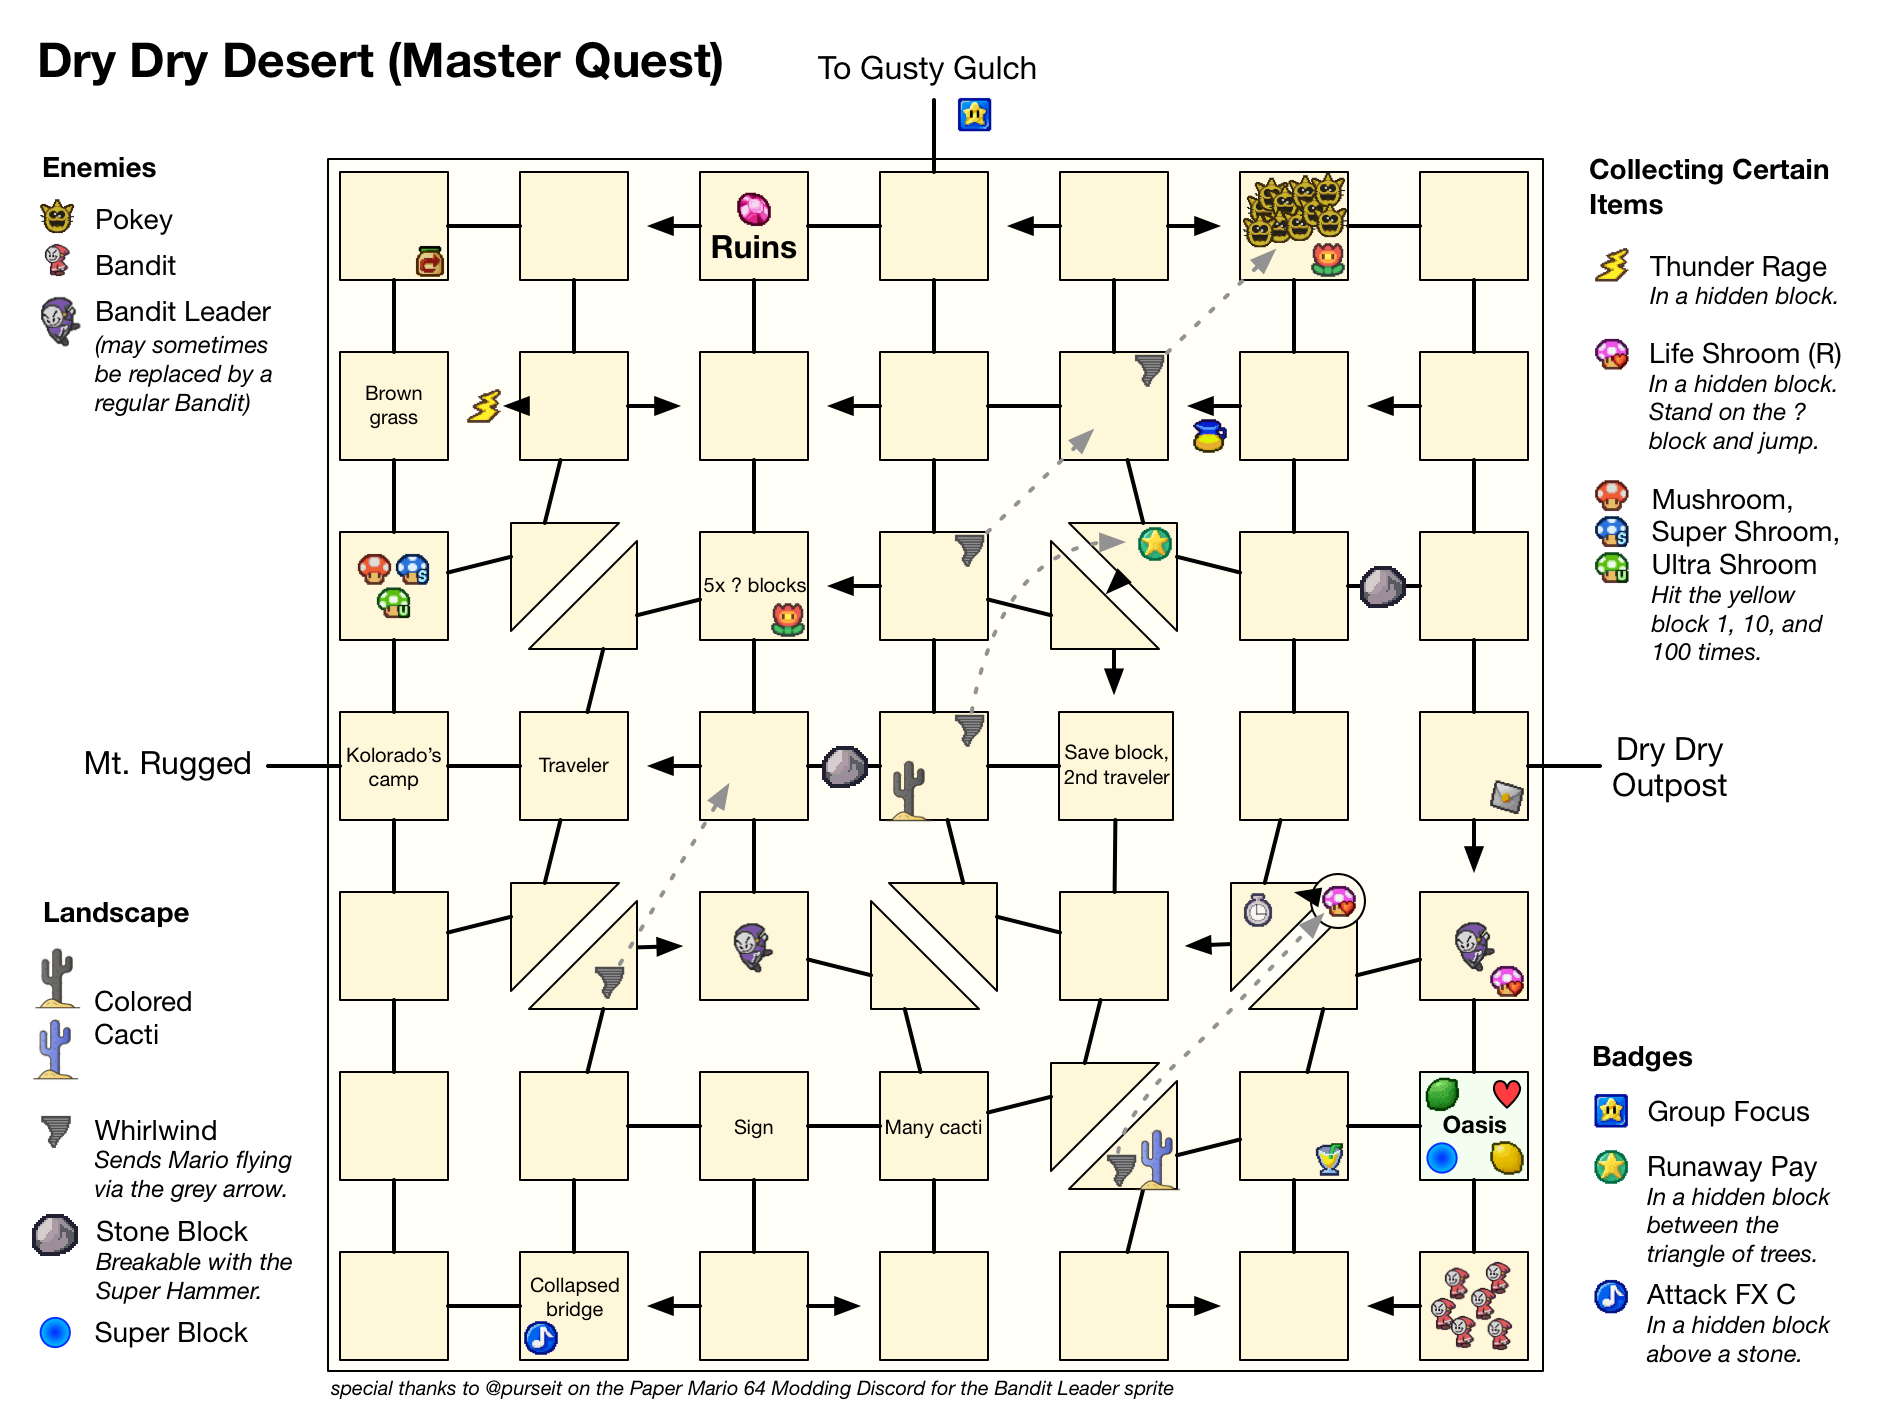 I�ve also made path maps, for those seeking the quickest way to traverse Dry Dry Desert, heading to Dry Dry Outpost from Mt. Rugged (both with and without the Super Hammer). There�s also a path for the best route to the Oasis and back. Those are below. 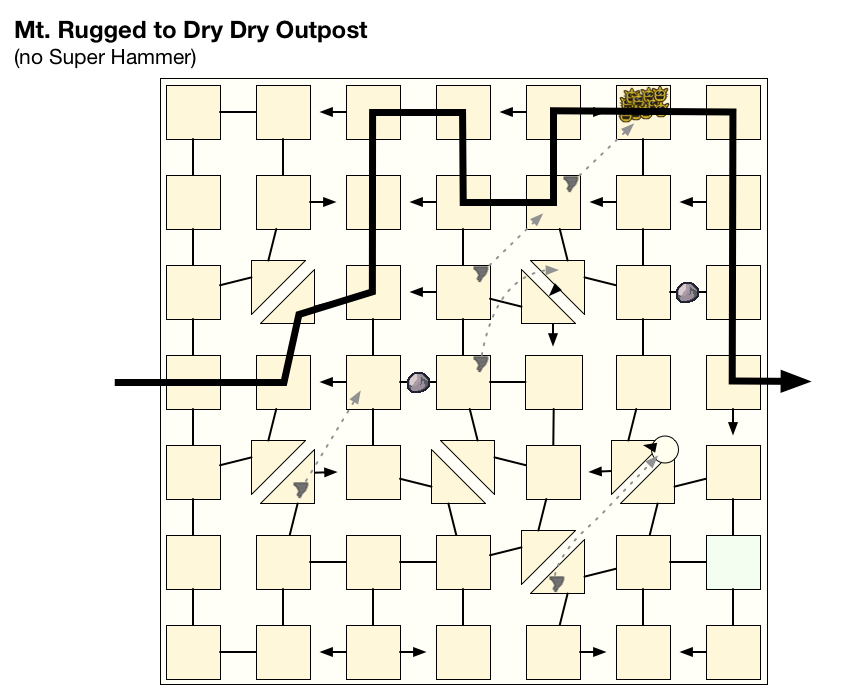 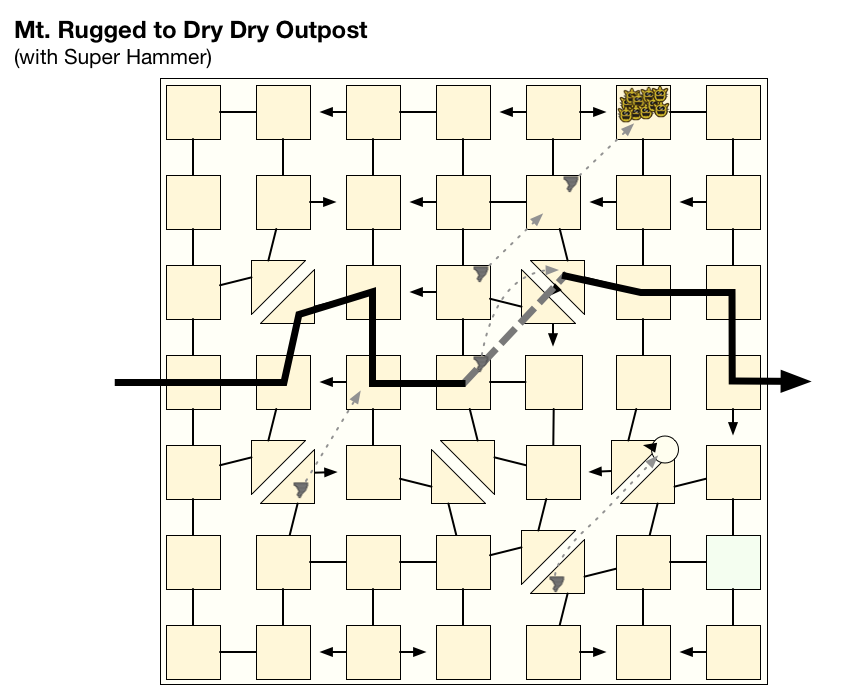 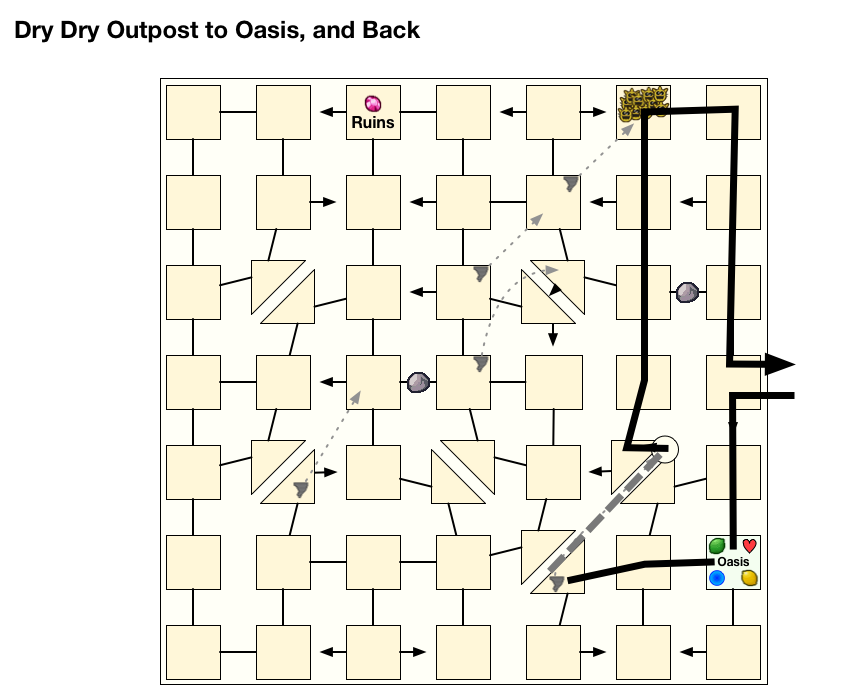 The Pokey horde room was in the original game, by the way - it�s just that Master Quest requires you to go through it to reach Dry Dry Outpost if you haven�t gotten the Super Hammer yet. These maps will also be reproduced in the �Resources� post just below the Table of Contents. Happy desert trekking!
|
|
#
?
Aug 19, 2019 11:30
|
|
|
If you were playing Pro mode, this is where you would first see one of the biggest changes the mod made to the game. (If you don't count the Star Temple.) Yeah they turned Dry Dry Desert into a dungeon. Was thrown for a loop when I ran into that on my playthrough.
|
|
#
?
Aug 19, 2019 11:40
|
|
|
Oh sweet jesus, that new desert sure is... something.
|
|
#
?
Aug 19, 2019 11:49
|
|
|
I'm really impressed so far with the changes they've made. I wish there was a way to play this version without the extra difficulty - I would in a heartbeat.
|
|
#
?
Aug 19, 2019 13:08
|
|
|
I just went through this last night and boy could I have used those maps! Nah, it was interesting to run around in there finding the path. Really cool way to spice up a mostly optional area, even if the enemy encounters are starting to get a little more brutal with their damage outputs. Oh and by the way, I tried the Buzzar fight... Let's just say it's a good idea you skipped it. Ultimately, I did too.
|
|
#
?
Aug 19, 2019 14:49
|
|
|
irrespective of the buffs to the enemies and formations, switching up the desert like this is a very well played gently caress you
|
|
#
?
Aug 19, 2019 16:41
|
|


|
I like it. I just hope the roadblocks aren't permanent...
|
|
#
?
Aug 21, 2019 08:38
|
|
|
They probably are, honestly. It's likely intended that if you don't want to go through the desert maze again, you unlock the warp pipe in the sewer.
|
|
#
?
Aug 21, 2019 20:11
|
|
|
BlazetheInferno posted:They probably are, honestly. It's likely intended that if you don't want to go through the desert maze again, you unlock the warp pipe in the sewer. To the best of my knowledge, the sand dunes and etc are permanent. However, once you get the Super Hammer, you can smash those two blocks I showed and shorten the route significantly.
|
|
#
?
Aug 21, 2019 21:30
|
|
|
They're permanent, though the short route is only 3 screens longer than the regular path in the base game at least. Aside from exploring the desert, (Or being forced to go through it in this case) it's not like you really go through it all that much. And the shortcut to Dry Dry Outpost can be unlocked shortly after you beat Chapter 2. (Or get the Super Hammer.)
|
|
#
?
Aug 21, 2019 21:48
|
|
|

|
| # ? May 22, 2024 08:55 |
|
|
Part 12: The Secrets of Dry Dry Desert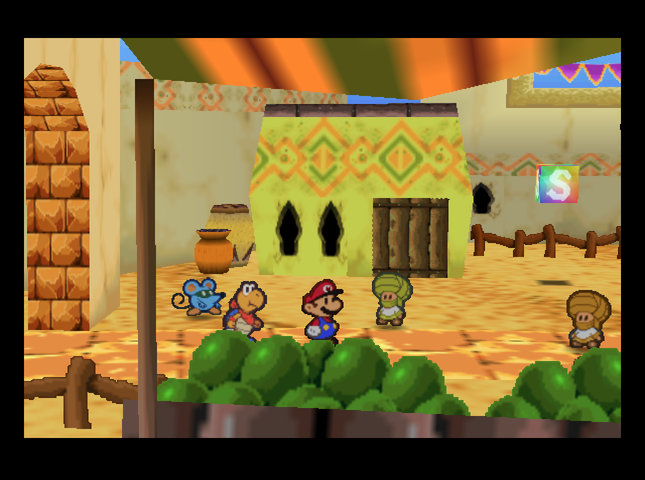 We stagger into Dry Dry Outpost. Music: Mysterious Dry Dry Outpost  As we venture past the shop, the shopkeeper, Little Mouser, ducks out and heads into the next area.  Kolorado�s assistant is here, in the inner part of the outpost. With all the changes Master Quest made to the desert, no wonder he�s staying here!  Little Mouser is talking with a mysterious robed figure. When he sees us coming, he skedaddles, returning to his shop. Who is that robed Mouser, anyway? This is Sheek. You�d think the guy could shake the dust from his clothes! If I didn�t know any better I would swear he looks a lot like someone� Zeldah, the Nomadimouse princess! That�s who! But that�s just silly!I thiiiiiiiink Goombario�s got the wrong game. Anyway, here�s how this works. Normally, I�d have to give Sheek three items from my inventory to get him talking, plus one more for each extra question. I�d have to ask two or three questions to determine that the only way to get to Dry Dry Ruins was to meet Moustafa, and that Sheek would only tell how to get to him once I�d given Sheek his favorite food, a Lemon which I�d have to go get from the Oasis. Once I�d gone to the Oasis and returned with Lemon in tow, Sheek would tell me to buy a certain sequence of items in Little Mouser�s shop. That would tip Little Mouser off to clear the way, finally letting me go and see Moustafa. To heck with that.  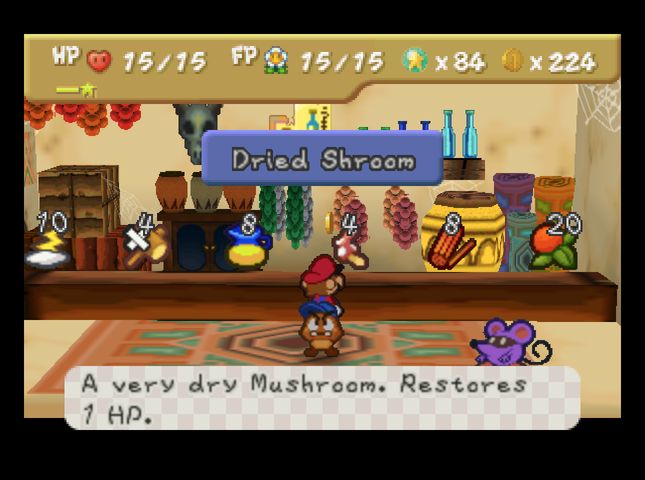 Little Mouser�s shop has a completely different lineup than most of the shops we�ve seen thus far. His lineup is almost the same as the original Paper Mario, except he now sells Dried Fruit - the slot on the far right originally had him selling Mushrooms. The usual Master Quest-related price increases apply. Thunder Bolts are 10 Coins instead of 5. Dusty Hammers and Dried Shrooms are 4 Coins instead of 2. Dried Pasta has been bumped to 8 Coins from its original price of 3. And Honey Syrup is the usual 3 Coins more expensive.  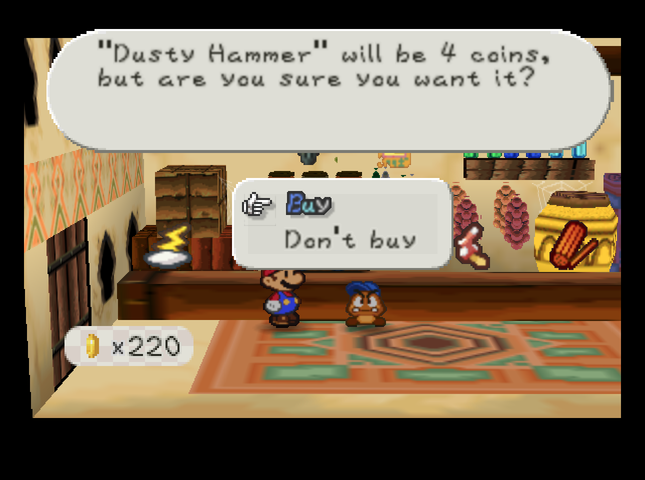 In terms of items we�d want, the Dried Fruit is a quality healing item, and Dusty Hammers have been buffed. Dried Shrooms and Dried Pasta will mostly be useful in Tayce T�s kitchen. But right now, Mario buys a Dried Shroom, then a Dusty Hammer. This is the secret code.  What ho! Buying a Dusty Hammer after a Dried Shroom� �is a secret sign that only friends of Moustafa know! That means� you�re in with Moustafa! �you want to see Mr. Moustafa? He�s usually up on the highest part of Dry Dry Outpost. Just keep going up, my man! What ho! Buying a Dusty Hammer after a Dried Shroom� �is a secret sign that only friends of Moustafa know! That means� you�re in with Moustafa! �you want to see Mr. Moustafa? He�s usually up on the highest part of Dry Dry Outpost. Just keep going up, my man!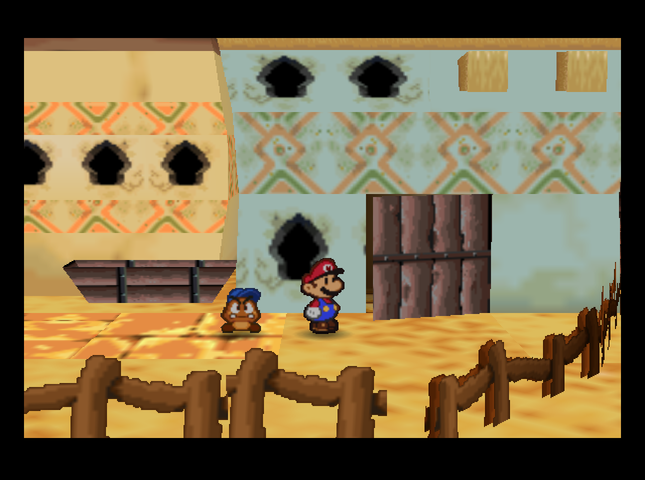 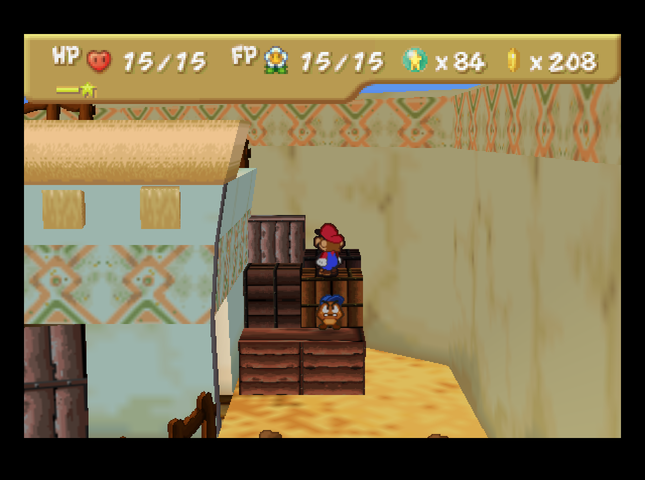 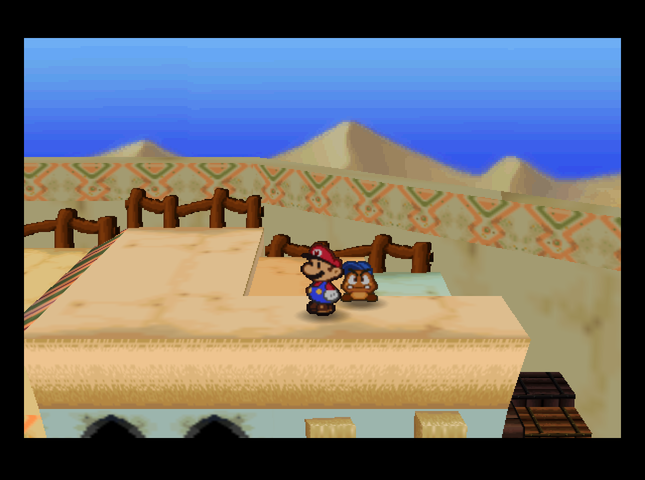 Sheek is now gone from his appointed spot, and inside this house, there�s a secret passage. It leads outside, to a stack of crates piled to allow access to the Dry Dry Rooftops.   We pick up another lost letter where it fell behind a jar, and continue on our way.  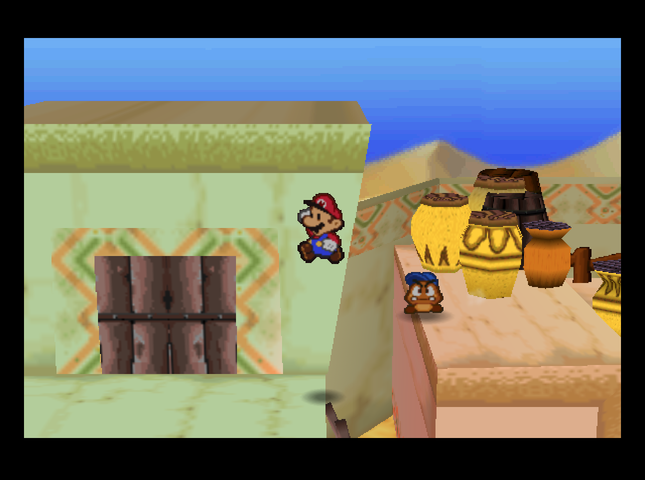  The trail leads to a second-story door� 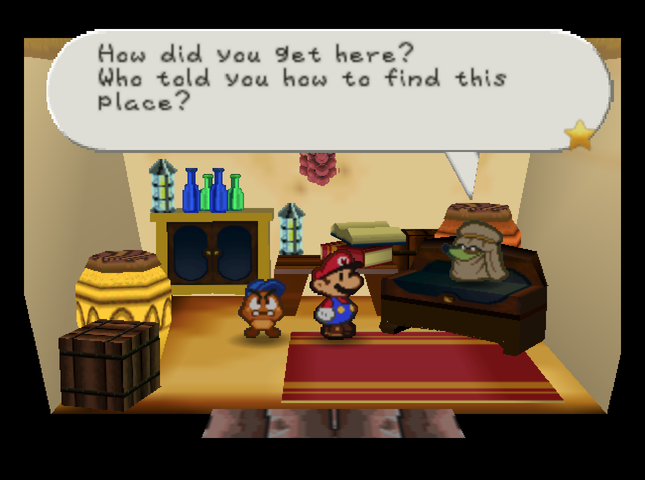 And inside is� Sheek? Or could it be� 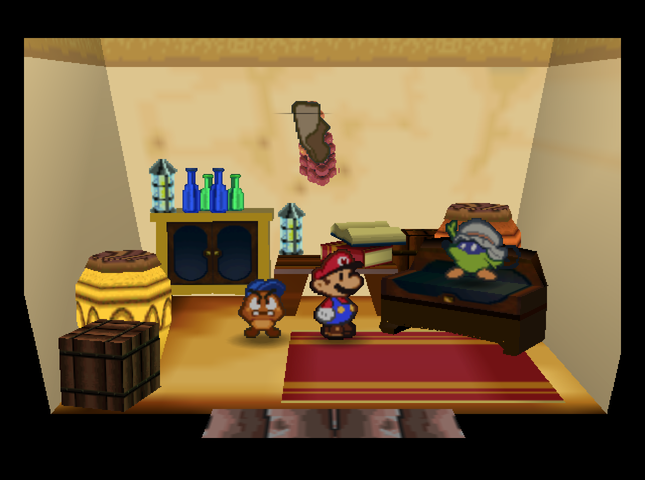 Da Da Da Duuum! Sheek revealed his true self! �I guess that means he�s the boss that everybody talks about. Oh� I was expecting Zeldah though, to be honest. Da Da Da Duuum! Sheek revealed his true self! �I guess that means he�s the boss that everybody talks about. Oh� I was expecting Zeldah though, to be honest.Music: Moustafa 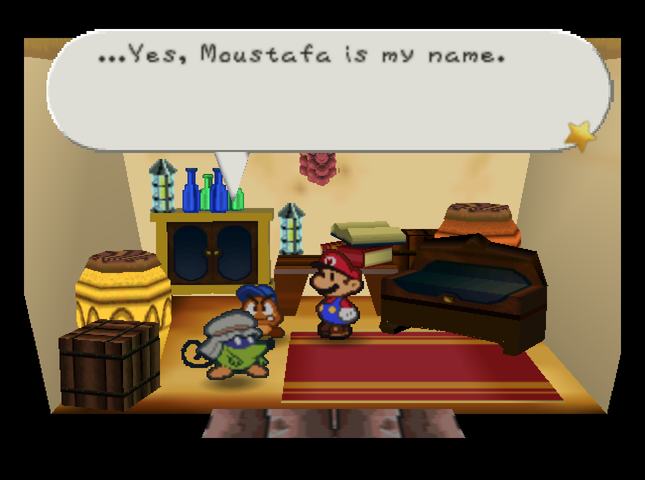  When I�m out and about in Dry Dry Outpost, I use the name Sheek. When I�m out and about in Dry Dry Outpost, I use the name Sheek. That is our story and we are sticking to it. Your name is Mario, yes? I heard you want to go to Dry Dry Ruins. I have a feeling you are on an important journey, so I will tell you the secret.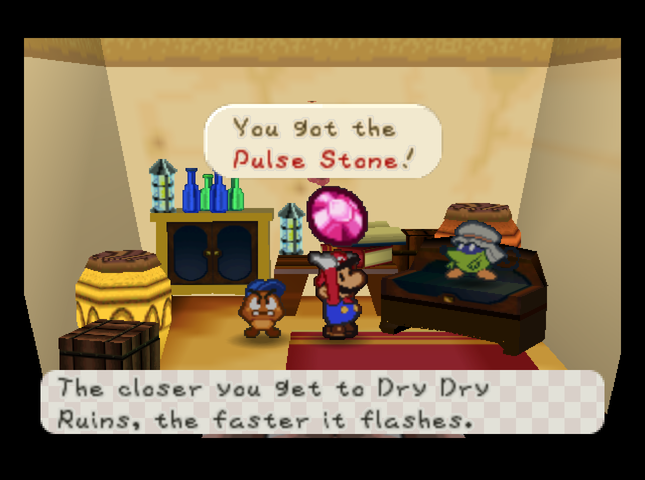 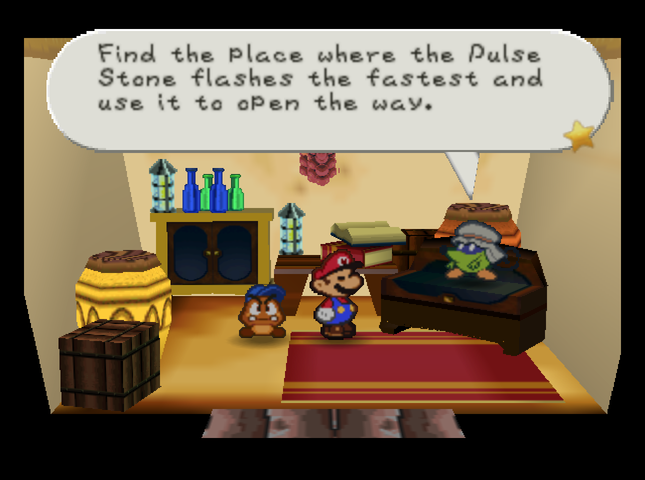 The cool gem we just got is the key to the ruins. In vanilla Paper Mario, we�d have to wander around the desert until we found the place, but� well, we�ve already been past it in Master Quest. Instead of opening the ruins right away, we�re going to scout �round the desert a bit, instead. There�s a bunch of useful items out there! 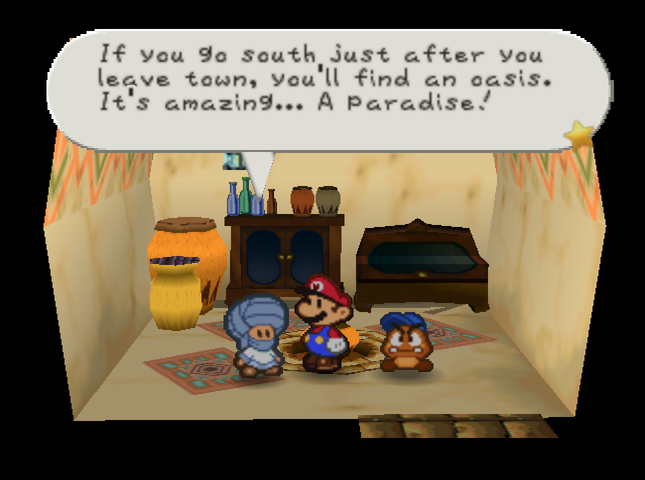 Before we go, the Dryite in the leftmost house on the west side has several pieces of useful advice.  Hey! Guess what! Hey! Somewhere in the desert, there�s a stone cactus. If you move 3 south and 2 west from there, you�ll find something special hidden. Hey! Guess what! Hey! Somewhere in the desert, there�s a stone cactus. If you move 3 south and 2 west from there, you�ll find something special hidden. We leave Dry Dry Outpost. To start our tour, we head to the south, in the direction of the Oasis.  A one-way sandhill keeps us from coming back in this direction. 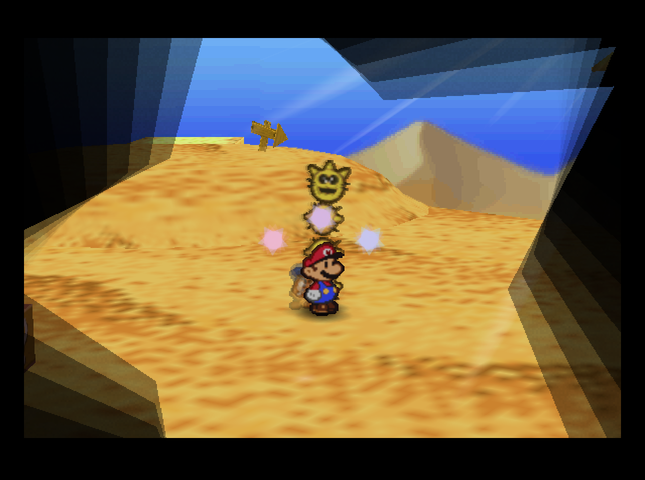 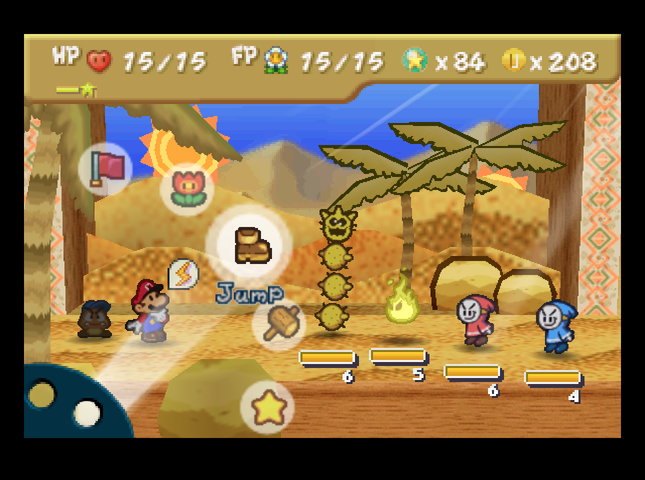 We run into a Pokey on the way. There�s an unusual blue Bandit along with him.  Seriously, if these guys take your coins, you won�t see them again. They don�t take as many as normal Bandits, though. They are also blue, in case you haven�t noticed. Not as blue as you�ll be if they take off with all your money, though! Seriously, if these guys take your coins, you won�t see them again. They don�t take as many as normal Bandits, though. They are also blue, in case you haven�t noticed. Not as blue as you�ll be if they take off with all your money, though! Banditos don�t deal any more damage than regular Bandits, and with less HP, they�re easier to KO. Zap Tap prevents them from stealing at all. However, their attacks have a chance to inflict Dizzy, so it�s important to block their attacks and beat them quickly!  After we beat the Pokey, we hammer a nearby ? block for� a coin. 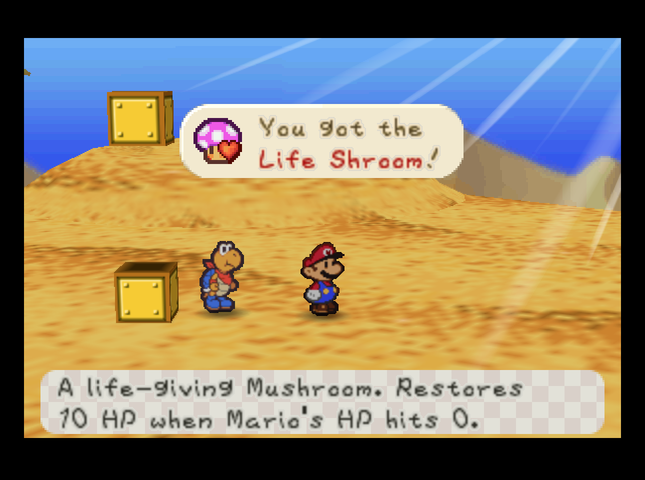 But there�s a Life Shroom in a hidden block above it! It�ll resurrect us with 10 HP if we(�re about to) get KO�d. [We may want to use Life Shrooms at their full power while we still can. The MQ devs have been talking about a nerf that will make Life Shrooms set your FP to 0 when used. Why? The dev explanation was something like �Because it�s possible to cheese the great majority of bosses by bringing an inventory of 8-10 Life Shrooms.� (Paraphrasing.) I�m not sure exactly how I feel about this, but all those feelings are variants of �I don�t like it�.]  Towards the south of this area, the ground gets green and the air gets fresh. We must be near�  The oasis! There�s several important things to get here. Music: Dry Dry Oasis  First off, there�s a Heart Block, so we can heal up after the battles on the way.     Next, the fruit trees on each side of the oasis drop Lemons and Limes. These will be useful for cooking later.  Last but definitely not least, we have our very first Super Block! This block will let us upgrade one of our partners, giving them an Attack boost and a new move.  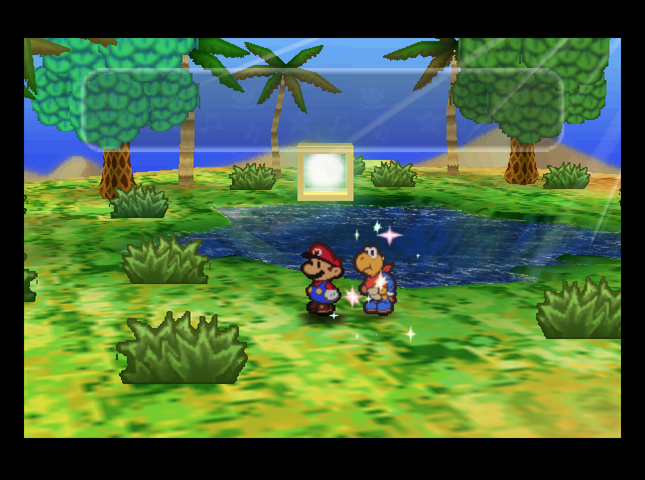  We upgrade Kooper. On the next screen over, a Pokey is willing to help Kooper show off his stuff. 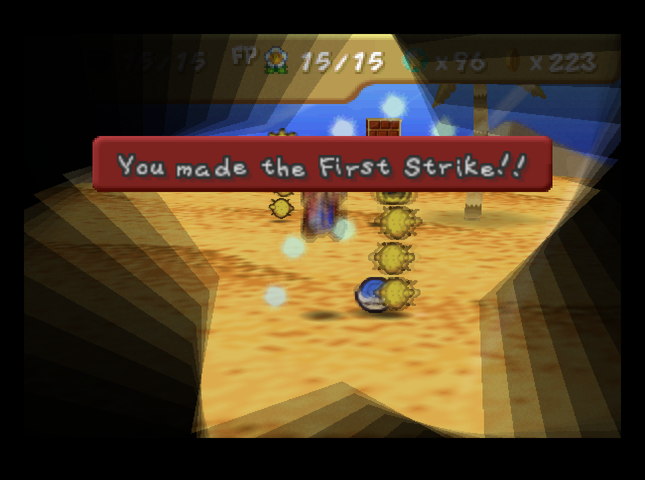 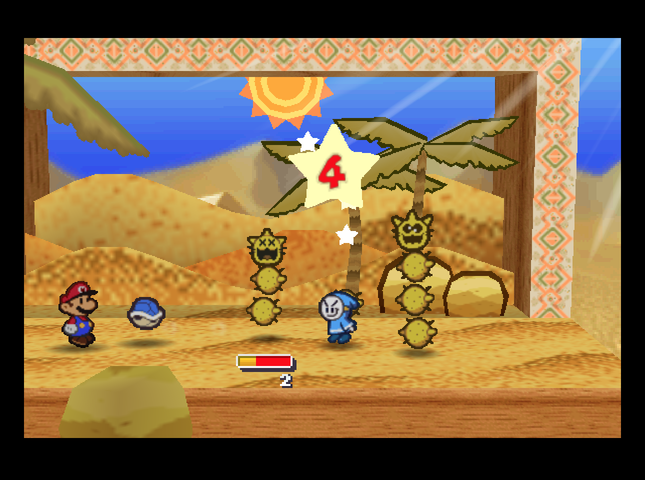 Kooper�s base attack has gone up to 4 (the main reason we upgraded him first - he�s great against almost everything in this desert). 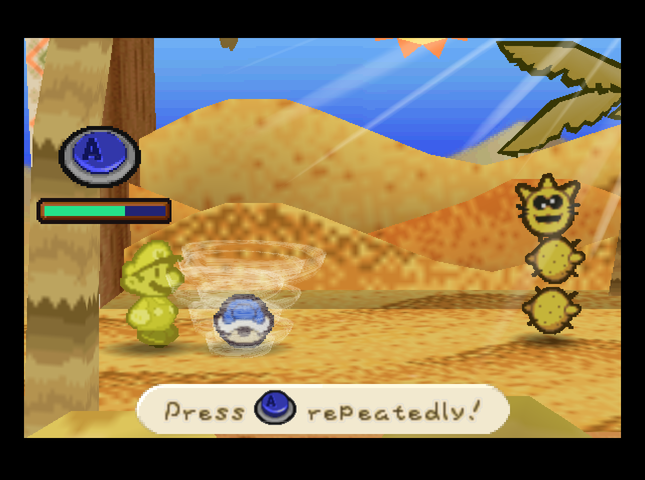 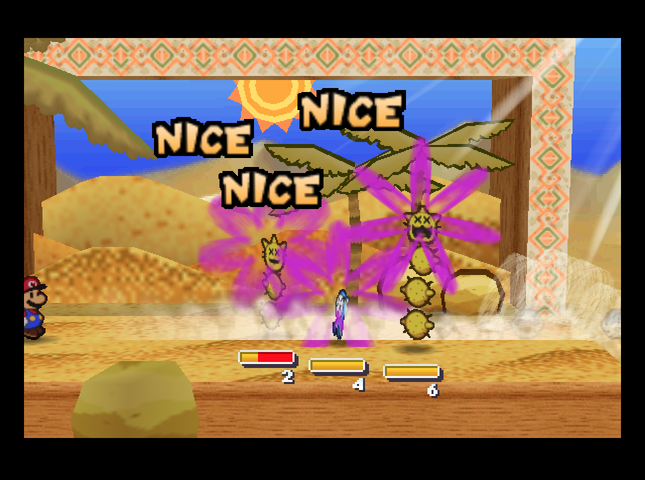 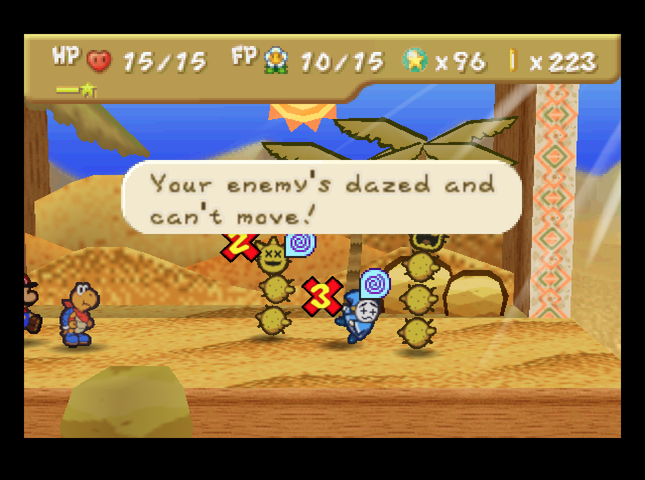  And Dizzy Shell doesn�t do any damage, but can make all ground enemies dizzy! There are two drawbacks, though: [1] The attack costs 5 FP - that�s 1 FP more than in ordinary Paper Mario, and� [2] Like the base game, if one or more enemies are resistant to Dizzy, the action command bar will be harder to fill, and it may be hard to daze even the non-resistant enemies. Still, it�s a useful move for any battle where there�s many dangerous enemies. That�s most of Master Quest, to be honest. 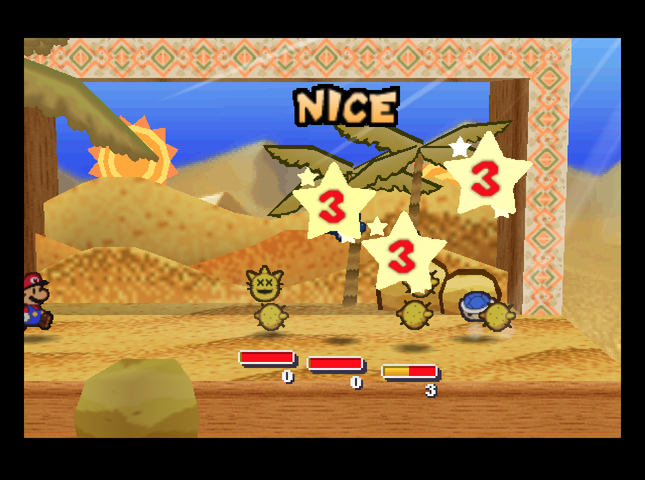 Kooper�s Power Shell is buffed, too - it now does 3 damage to all ground enemies. 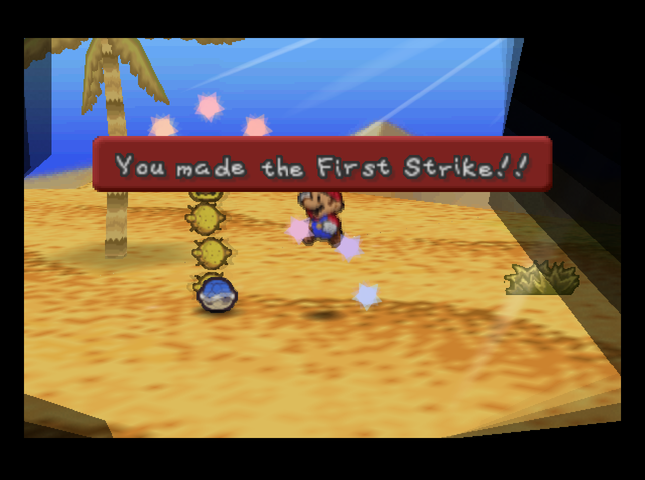 There�s a second Pokey in this area. We battle it, too...  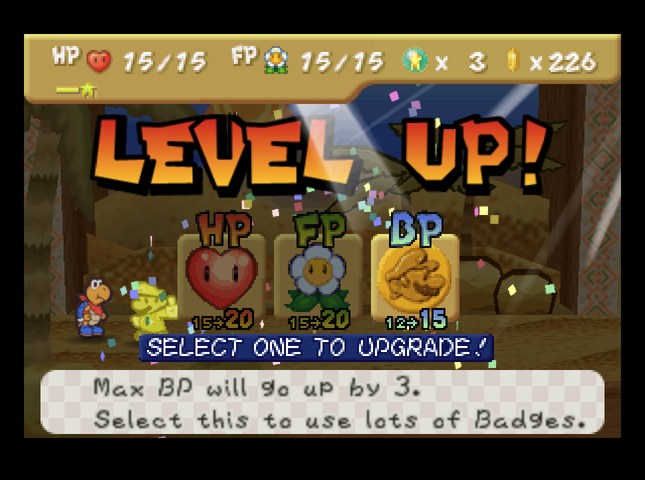 ...and we level up! Once again, we choose BP - we�ll equip HP Plus for the time being, until something better comes along.  We also grab a Tasty Tonic hidden behind a bush in this area. This item has been drastically changed from how it was in the original game. In Paper Mario, Tasty Tonic would remove poison and the Shrink status, while doing nothing outside of battle. Now� it does the same thing during battles� but outside of battles it fully heals Mario, and drains 10 FP in the bargain!   Remember that one-way sand hill we went down coming towards the oasis? This area of the desert is its own little side area, disconnected from the rest. It turns out there�s only one way out: find the room with bright blue cacti, and jump into the whirlwind there.  The whirlwind drops us on this pillar, in the room where we got the Stop Watch. Originally, the Spin Attack badge was here; now, there�s a Life Shroom instead.  Since we�re in the area, we can deliver the letter we found on the Dry Dry Rooftops to the Nomadimouse who hangs out here.   The Nomadimouse gives us a Star Piece as a thank-you.   After a quick jaunt back to Little Mouser�s shop to store our fruity loot, it�s back to the desert. There�s even more cool stuff to find out here.  Like this Honey Syrup in a block by a sand dune.  Our next destination is towards the square southwest of the stone cactus, which the Dryite told us about. However, we run into a very unusual Bandit.  This is a Bandit Leader. They are the big bosses of highway robbery. These guys attack with an odd pause. It can be tough to read their attacks. They do some decent damage and take away our abilities instead of our money! They have loads of HP, so let�s hit them with everything we�ve got! This is a Bandit Leader. They are the big bosses of highway robbery. These guys attack with an odd pause. It can be tough to read their attacks. They do some decent damage and take away our abilities instead of our money! They have loads of HP, so let�s hit them with everything we�ve got!Bandit Leaders are a sort of� optional miniboss. They�re only found in two specific areas of Dry Dry Desert - just north of the Oasis, and here - and they won�t always appear every time you enter the area. By the way: the �odd pause� means that the time interval after they walk up to you, but before they charge at you, is chosen semi-randomly.  Mario takes out the Bandito with Power Jump, to keep it from dizzying us. 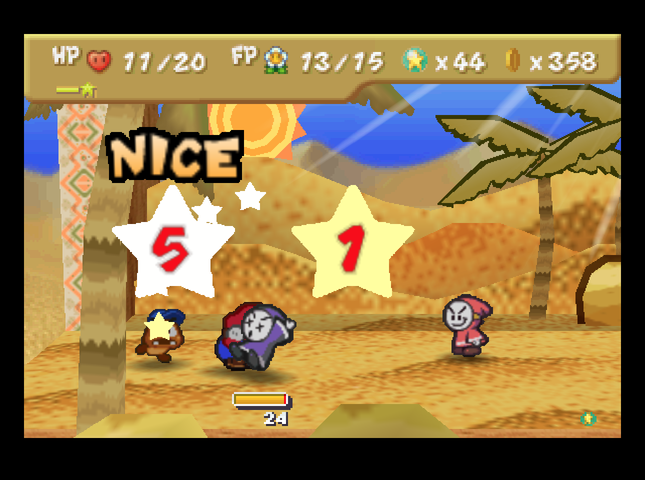 It turns out Bandit Leaders do a whopping 7 damage with their attacks! Zap Tap stops the ability-stealing, fortunately.  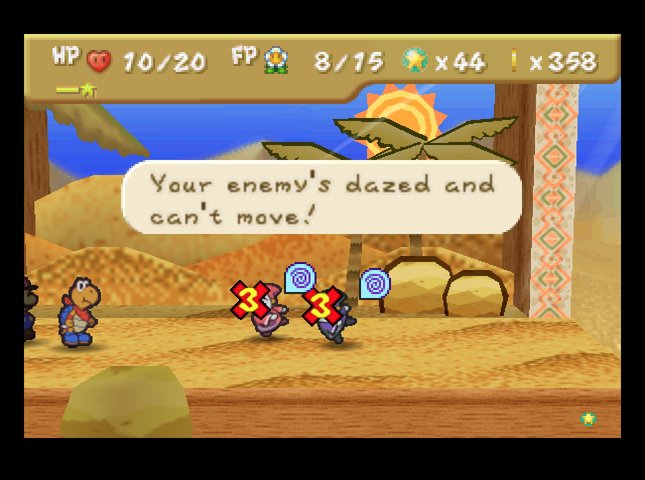 So, I switch to Kooper, and Dizzy Shell gives us some breathing room. 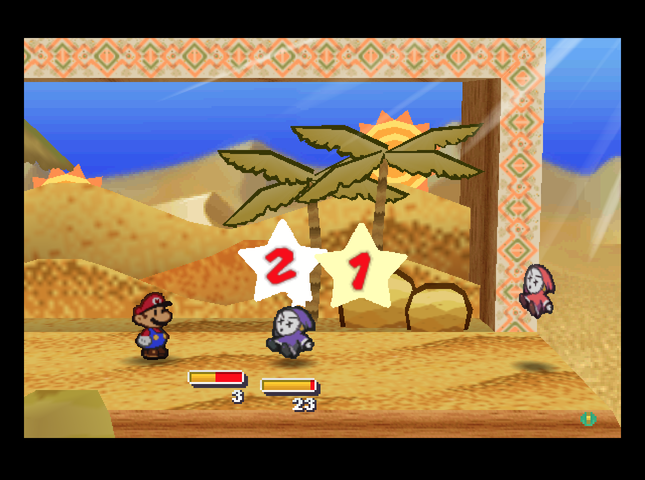 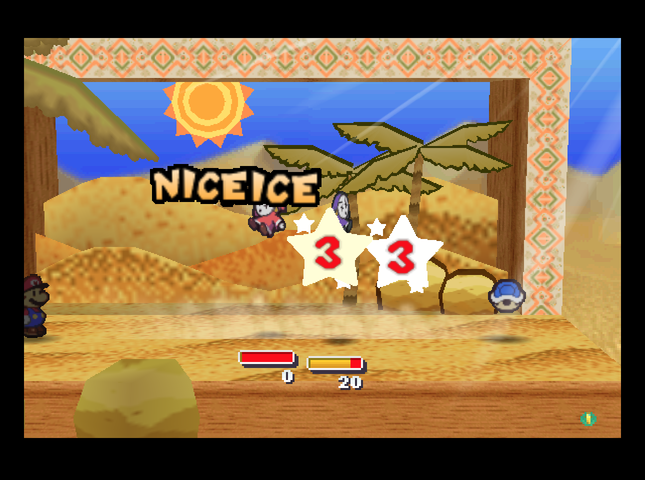 Next turn, I Spin Smash the Bandit, and Power Shell, which KOs it. The Leader is now down to 20 HP.   We hit the Leader with Power Jump and Shell Toss for the next two turns.  Once it recovers and attacks again, it�s only got 3 HP left, and we�re able to survive its next attack.   We Refresh, and Kooper KOs it with a Shell Toss.  The Bandit Leader drops a lot of Coins - I think about 20 or so.  We finally reach the area the Dryite mentioned. It has an old, collapsed stone bridge.   There�s a hidden block above the one natural rock, with the Attack FX C badge! It makes Mario�s attacks sound like someone saying �Oh!�   We turn west and head north along the west edge of the desert, passing through Kolorado�s camp. Kooper gets to meet his hero Kolorado!  One screen to the north of the camp, there�s a suspicious yellow block.   Hitting it once with Mario�s hammer makes a block appear. There�s a Mushroom inside.   Hitting it 10 times in total makes another block appear! This one has a Super Shroom.   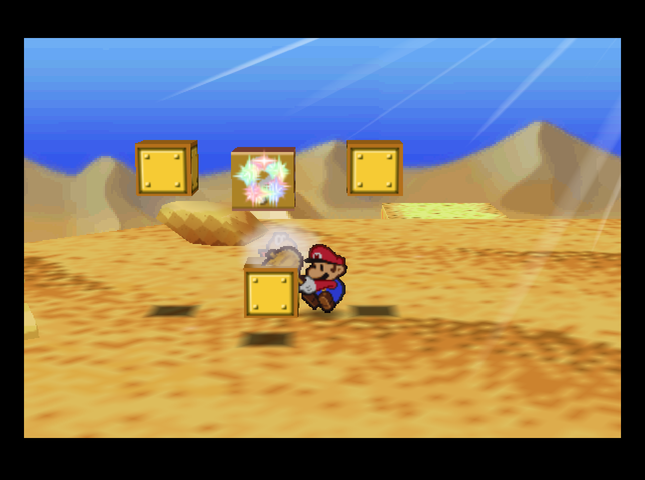  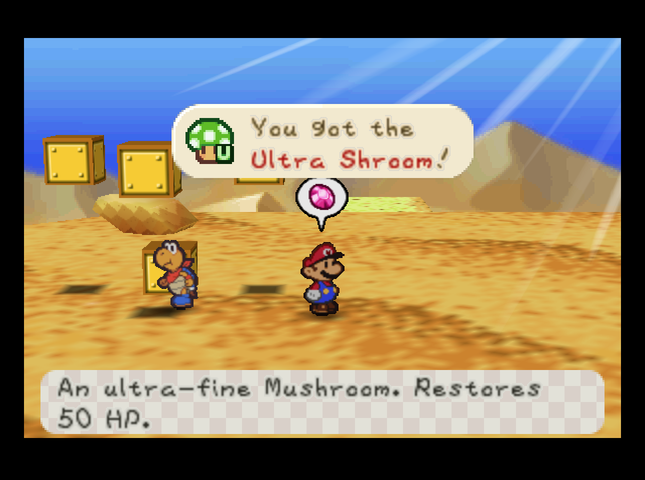 The real secret, though, is what happens if you hit the block 100 times in all. Then, a third block will appear, with an Ultra Shroom! Ultra Shrooms restore 50 HP and are very rare, and they can be cooked into even better healing items later. We�ll store this one in the Dry Dry Outpost shop later.  A block with a Fright Jar is in the northwest corner of the desert.   And just to the south, in a hidden block in an alcove blocked off by a sand dune, is a Thunder Rage! It�s worth noting Master Quest has altered Thunder Rages in the same way that it hit Thunder Bolts. A Thunder Rage hits all enemies, but it does only 1 damage to each. However, it has a high chance to Shrink, and this effect lasts for a long time. This could come in handy!  One thing I haven�t been mentioning up until now is that the Pulse Stone is kicking up quite a ruckus. Dry Dry Ruins must be close by! But where could they be?  This has gotta be the place! 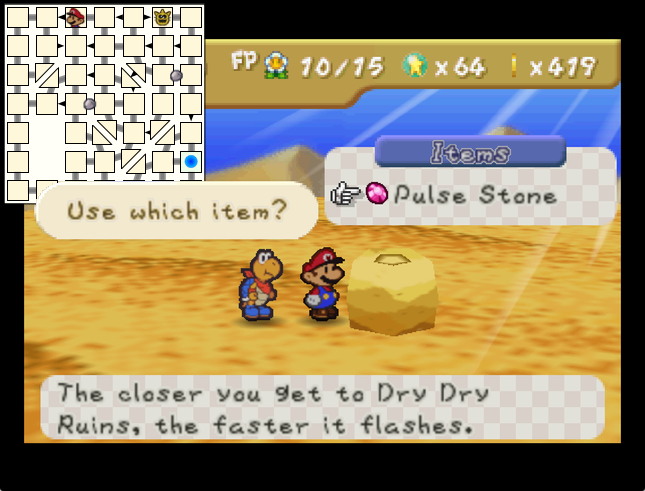 Now we just put the Pulse Stone on this totally ordinary rock, aaand� Music: Dry Dry Ruins Revealed!      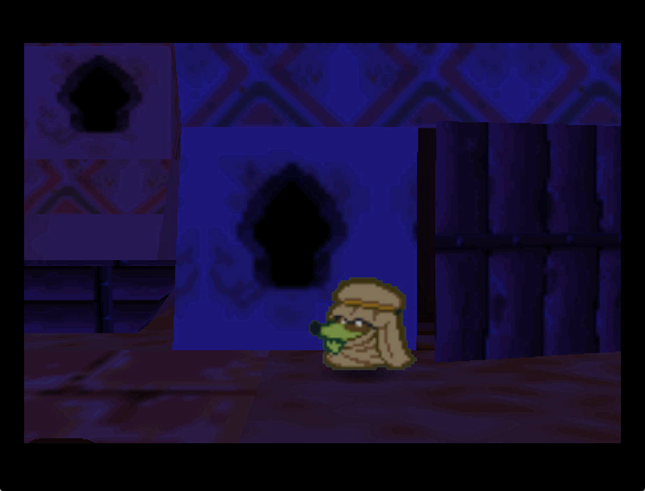   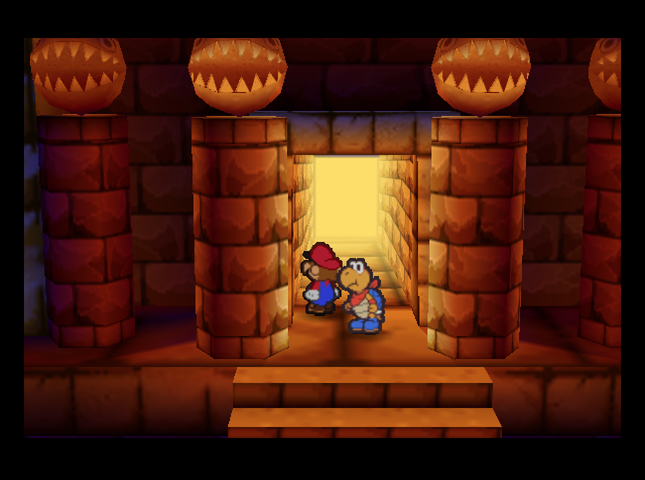 This is it! The legendary Dry Dry Ruins await! Badges: 22/89 (New: Attack FX C) Recipes: 8/50 Star Pieces: 30/180 Chuck Quizmo�s Quiz Questions: 12/64? Game Overs (official): None. I�ll bring back the unofficial Game Over count if more misfortune befalls me while getting good screenshots. SUMMARY OF CHANGES FROM MAIN GAME (in this installment) � Little Mouser, shopkeep, starts lucrative sideline in Dried Fruit. � Everything in Dry Dry Outpost shop now more expensive. � Kooper�s Dizzy Shell slightly more tiring. (Costs +1 FP) � Dancing bandits seen in desert. (Bandito: 4 HP, 3 Attack, steals coins and runs away immediately, attacks cause Dizzy.) � Managers of bandit dance troupe also seen (rarely) in desert. (Bandit Leader: 25 HP, 7 Attack, steals ability icons, probably doesn�t run away.) � Spin Attack badge swept away by desert wind, replaced by Life Shroom. � Tasty Tonics heal 99 HP, drain 10 FP outside of battle. Unchanged while fighting. � Thunder Rages do only 1 damage to everything, but Shrink massively. Next Time On Master Quest: If you bite into something and you die, it�s poisonous. If it bites you and you die, it�s venomous. If you flub an action command and you die� it�s Master Quest. Quackles fucked around with this message at 19:22 on Aug 25, 2019 |
|
#
?
Aug 25, 2019 01:58
|
|