|
Update 63: Ancient Path III: Decaying Depths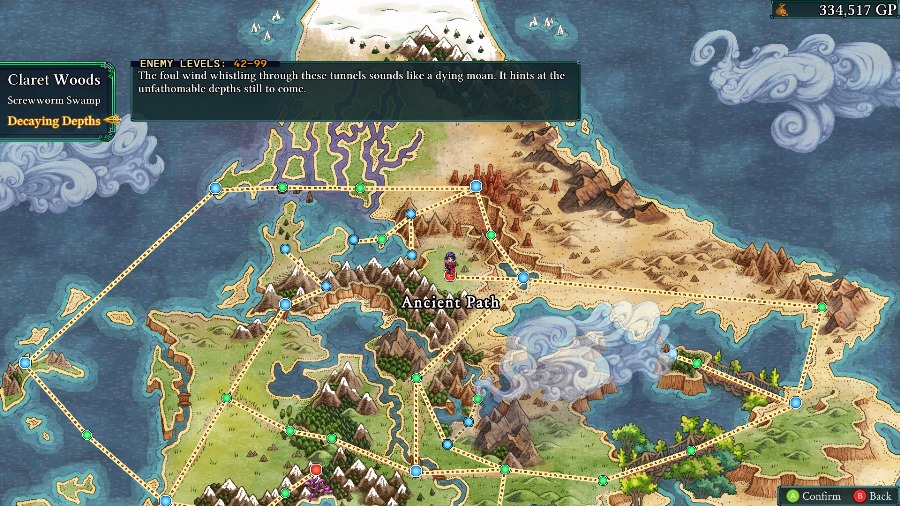 Welcome back! We�ll still be continuing down the Ancient Path, this time headed through the 3rd level, the Decaying Depths. 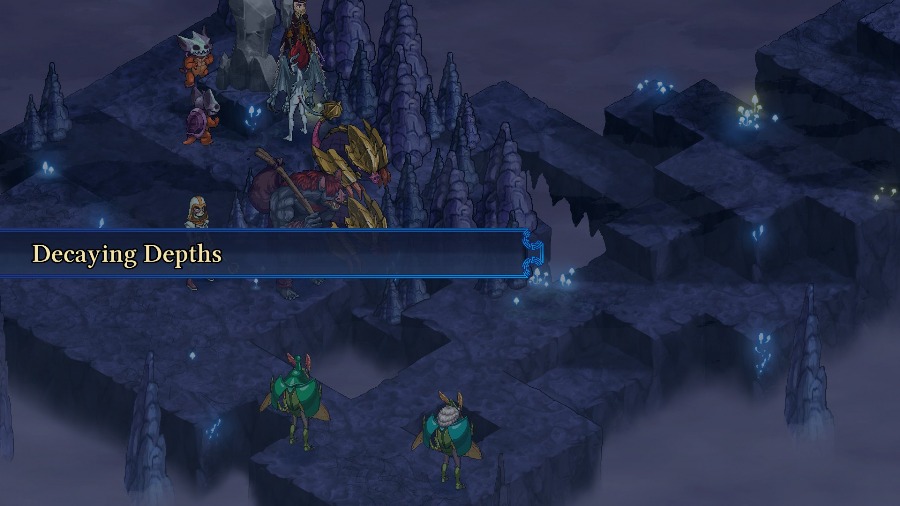 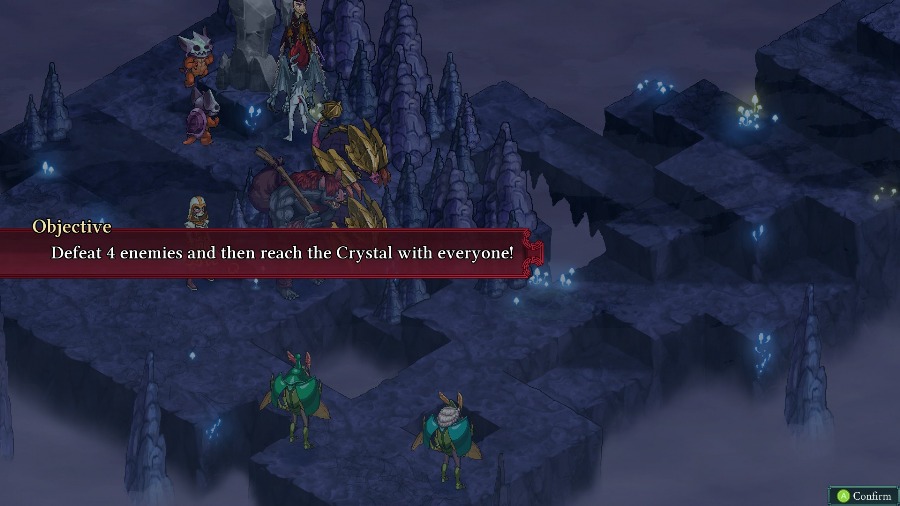 This map is another �reach the Crystal� fight, but since there are no reinforcements there�s no point in rushing through.  For the fight I�ll be bringing Anadine, Bzaro, Mongo, Azure, Sophia, and Hannah. 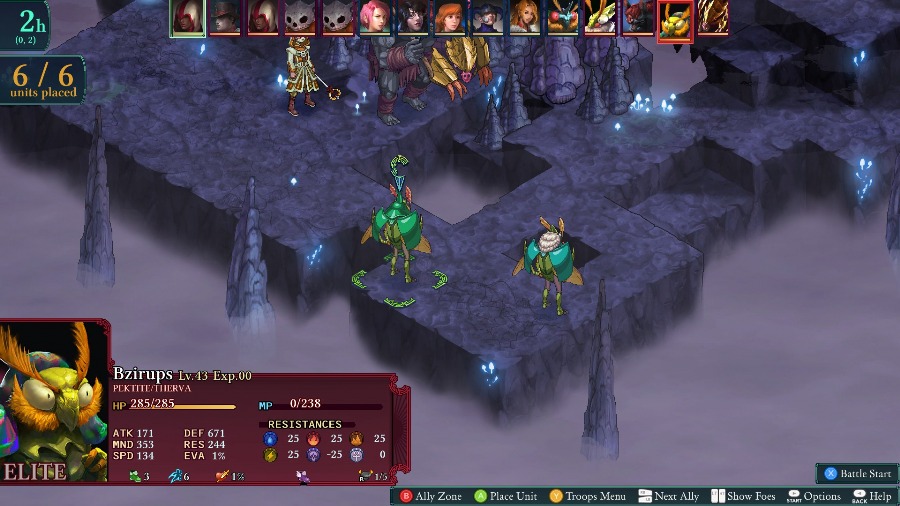 Up against us are 2 Bzil, 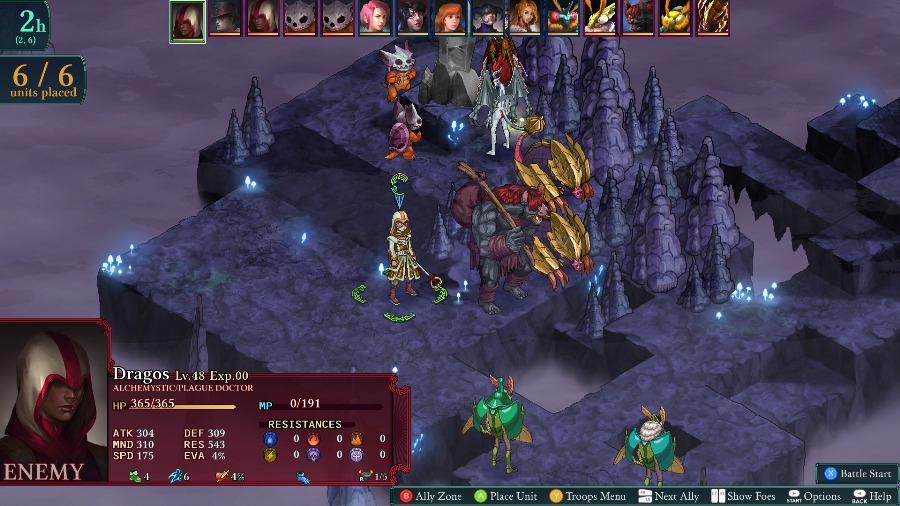 An Alchemystic, a Desmogr, 2 Adamantrogs, 2 Undead Kawa Warriors, a Domincubus, 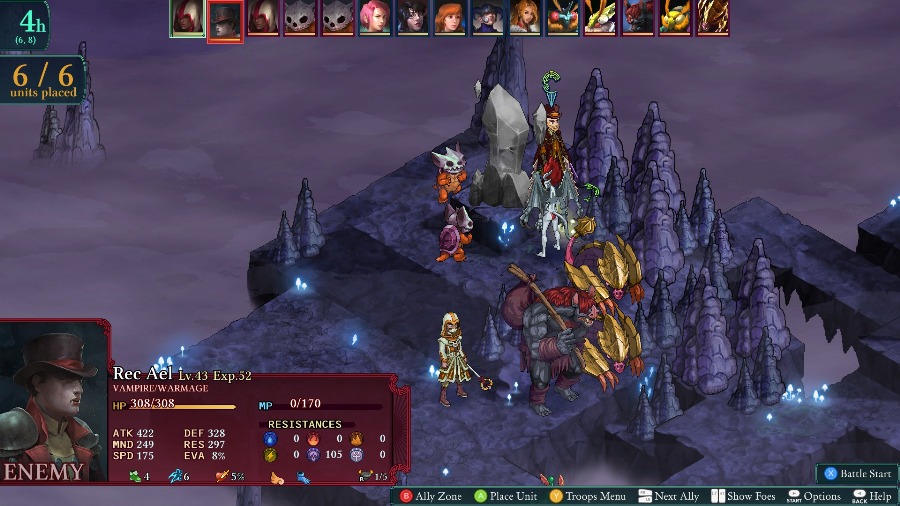 And the centerpiece of the fight, this guy. This Vampire/Warmage is set up to really take advantage of the terrain, with dual-wielded guns and easy movement around the center area. They have the Leech Mana passive to both get more MP and keep your MP low and can pop in a few Vampire abilities (Soul/Blood Suck and Blood Nova) to the Infused Edge combo, giving them a good bit of versatility depending on what they want to do. In general, the challenge of this map is that there are a good number of ranged attackers able to hit you from relative safety while the bulky melee units block the path to them. There are a couple ways to go about dealing with them. First, and probably the smartest, is have a powerful unit that can fly/teleport, then have them take out or distract the ranged attackers while the rest of the party deals with the blockers. You could also have your own ranged units focus them down. Or you can do what I just end up doing and face tanking everything with liberal healing. 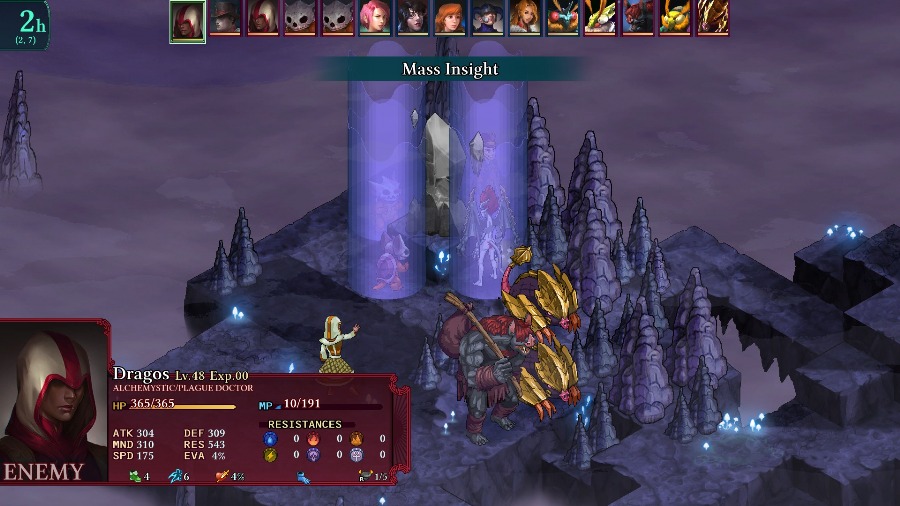 The enemy starts the fight off by buffing all of the enemies around the crystal, 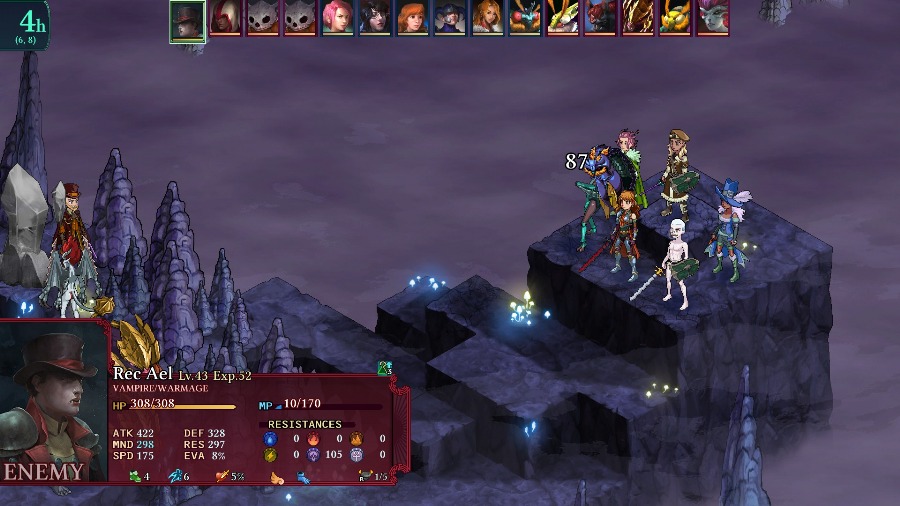 And the Vampire does the first damage, taking a potshot at Bzaro (just a regular attack though). 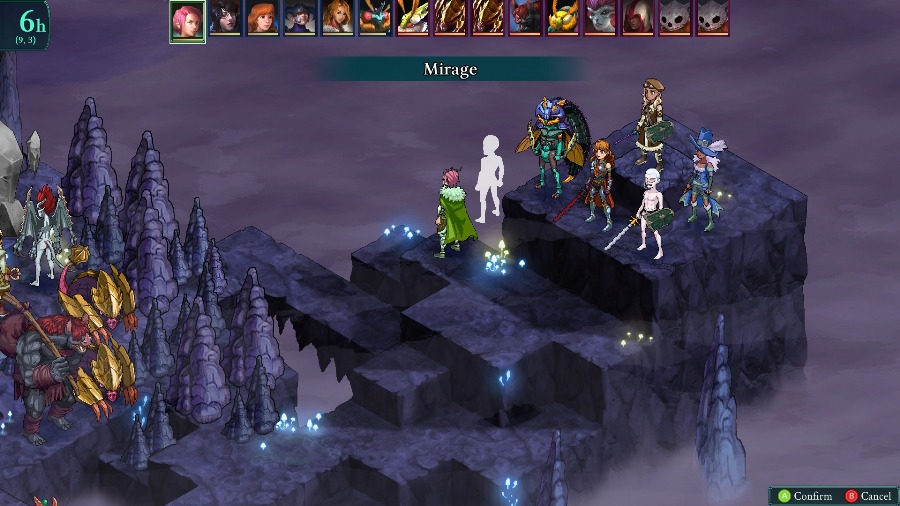 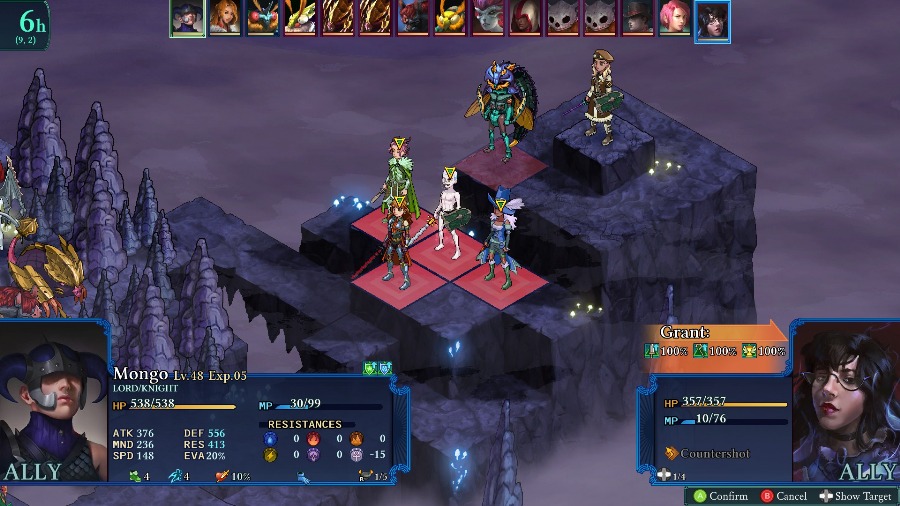 I move up a bit in preparation for Mongo�s Rally buff, since the haste and damage boost will be very helpful. 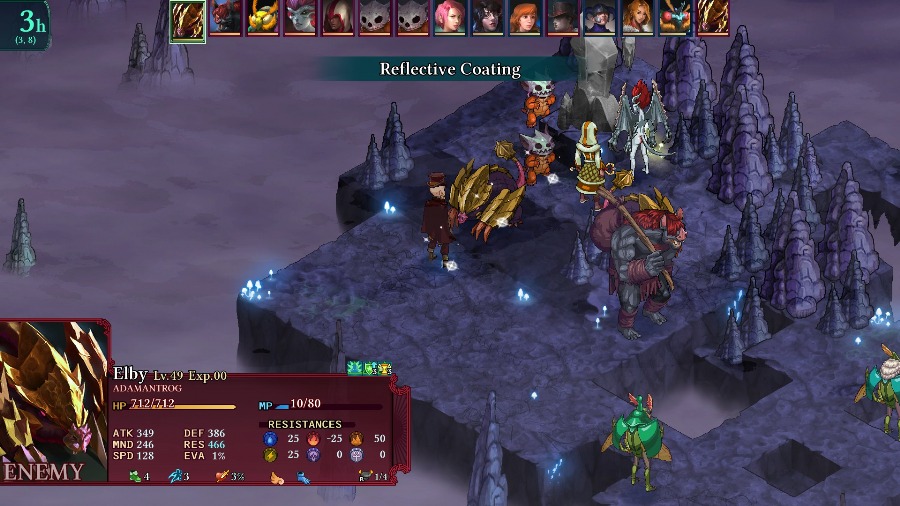 There�s a LOT more buffing on the enemy side. 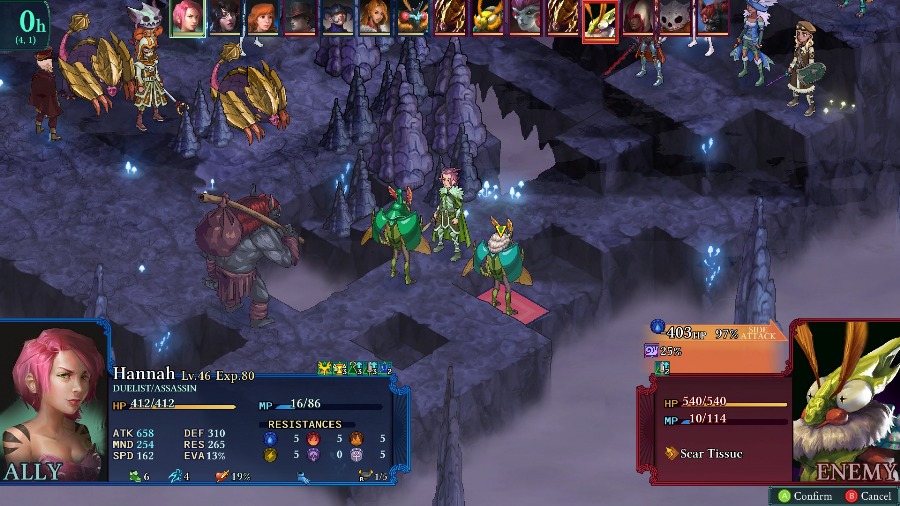 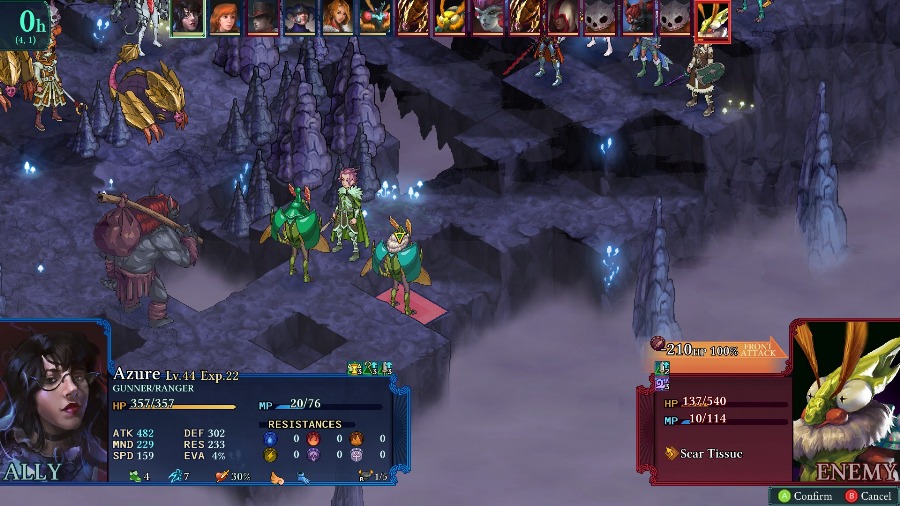 But eventually I start fighting back as Hannah takes a big chunk out of one of the Bzil and Azure quickly finishes it off. 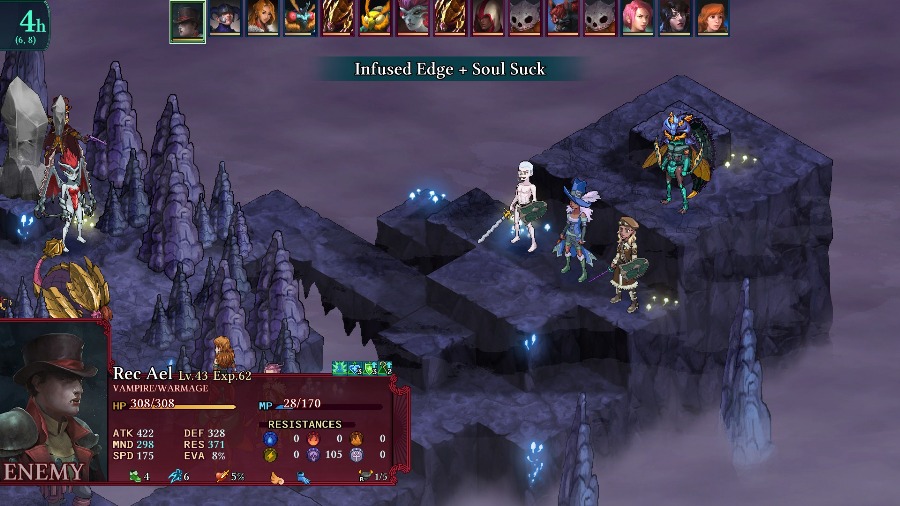 While the Vampire hits Mongo instead of anyone who�d care.   Mongo and Sophia work to weaken the other Bzil, with Sophia dealing over 400 damage in a single spell. 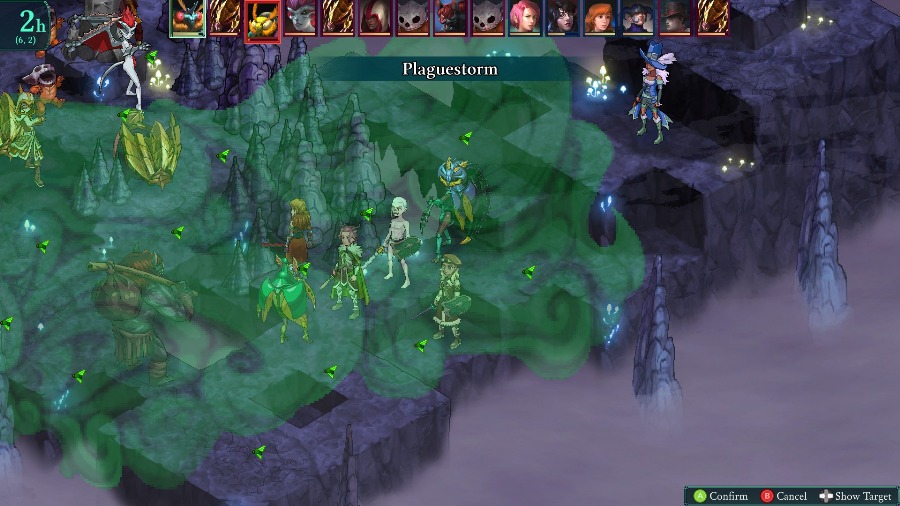 Leaving the Bzil weak enough for Bzaro to kill as he hits everyone with a Plaguestorm.  The Domincubus finally makes a move and takes a big chunk out of Anadine with a cast of Dark II. 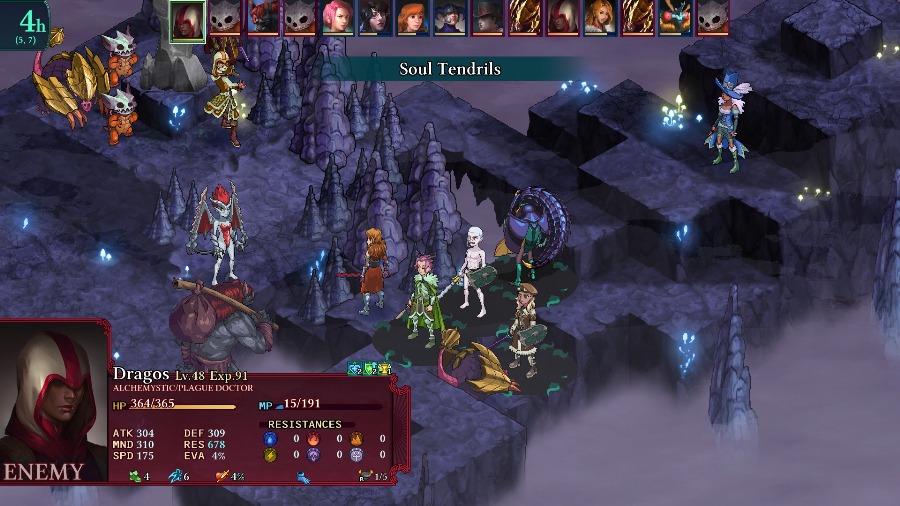 Followed up by the Alchemystic hitting most of my units with a cast of Soul Tendrils. Soul Tendrils has a pretty high damage modifier, so this actually does quite a bit of damage to everyone despite the Alchemystic�s middling MND stat. 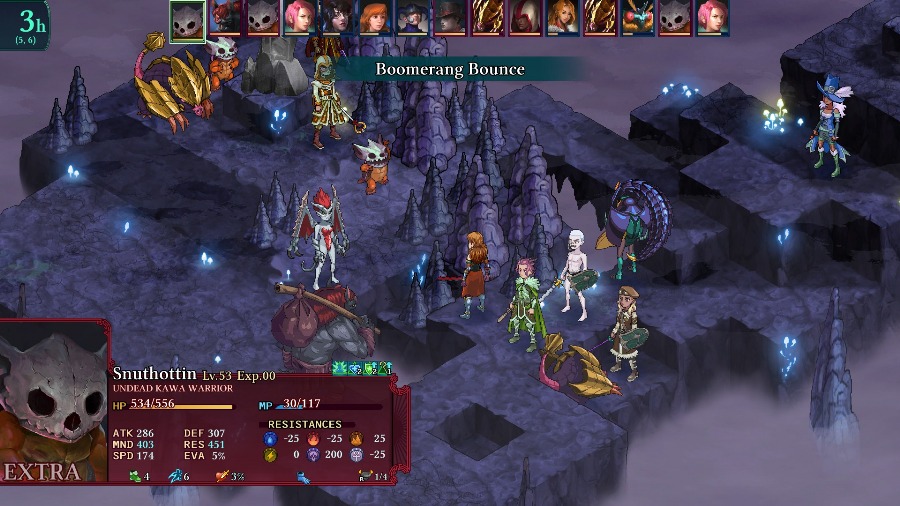 Continuing the ranged barrage, Anadine gets shoved into Hannah twice by the two Kawa. 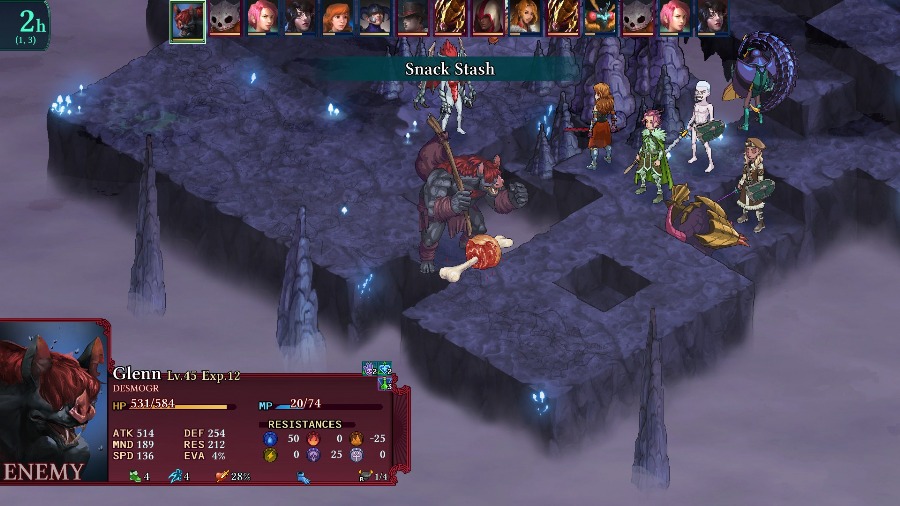 And thankfully the Desmogr decides to buff itself instead of running up and smashing Hannah�s face in. 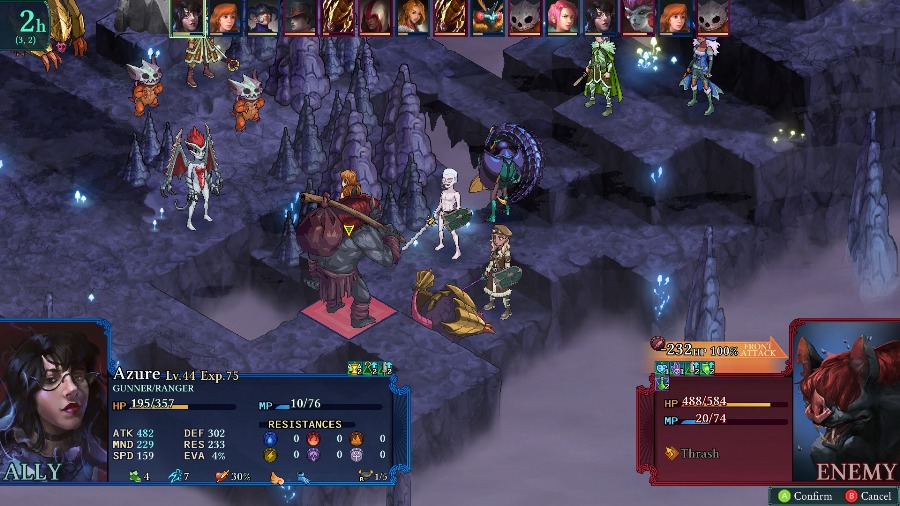 That leaves Hannah free to weaken the Adamantrog and then retreat back a bit for Azure to hurt the Desmogr. 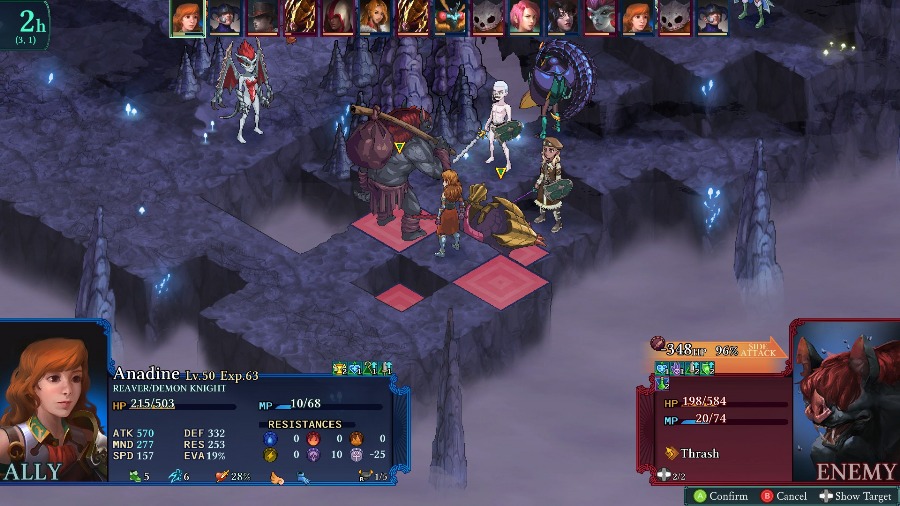 Leaving them both in range of getting killed by a Wild Swing from Anadine. The Domincubus across the gap is just a little too far away for her to reach so she just retreats and heals a bit instead.  Those kills were enough to trigger the crystal, so if I reached the crystal I could hypothetically leave right now. 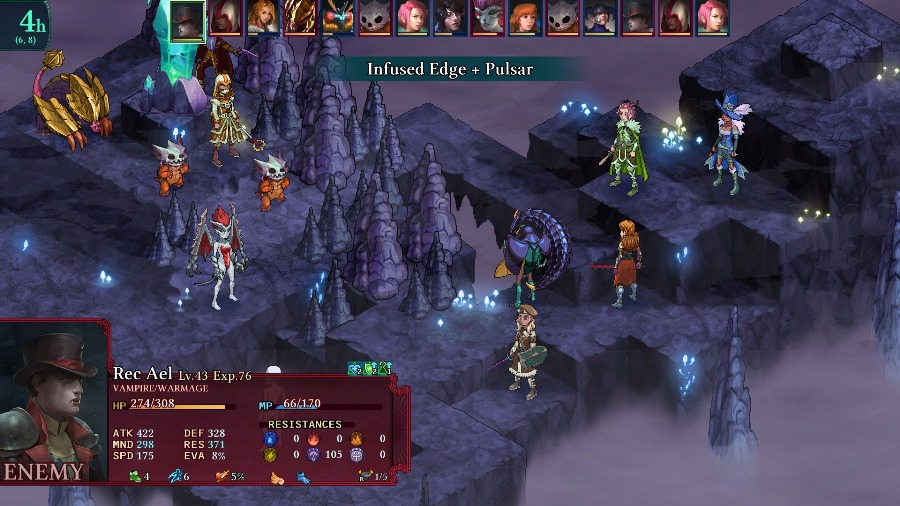 Despite being pretty low on health, Bzaro barely survives a Pulsar combo from the Vampire and I have Sophia use her turn to heal him up. 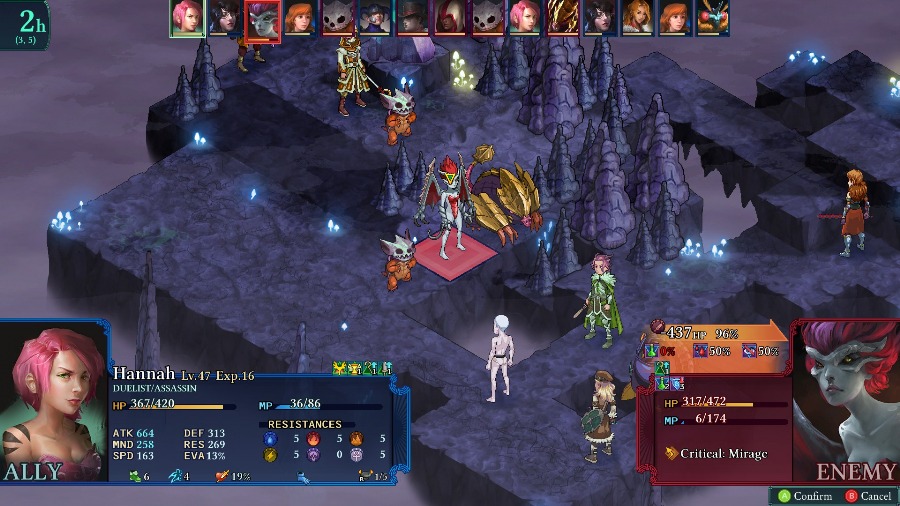 While Bzaro keeps spamming debuffs on everyone, Hannah kills the Domincubus from range with an Assassinate.  There�s a little bit of a lull as my melee units move forward and I attempt to weaken the remaining Adamantrog. 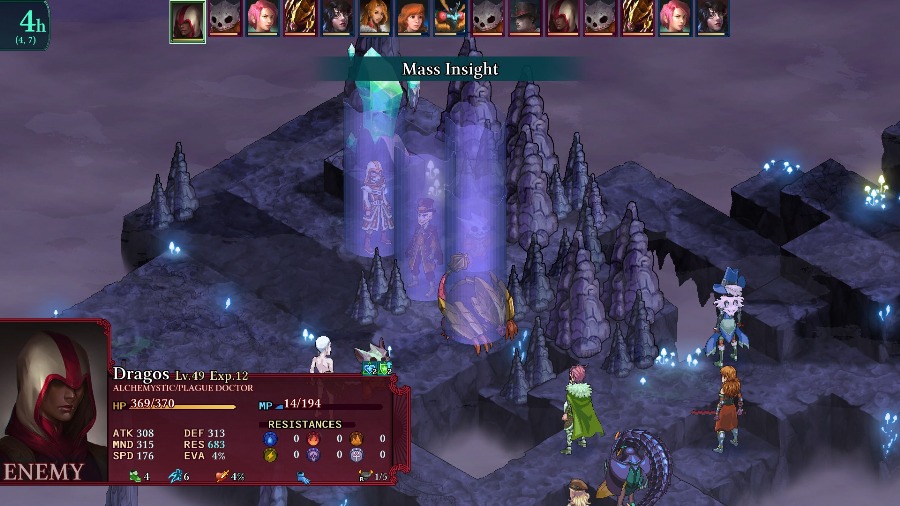 But the enemy uses a full potion on the trog and then buffs it, making my efforts at least temporarily in vain. 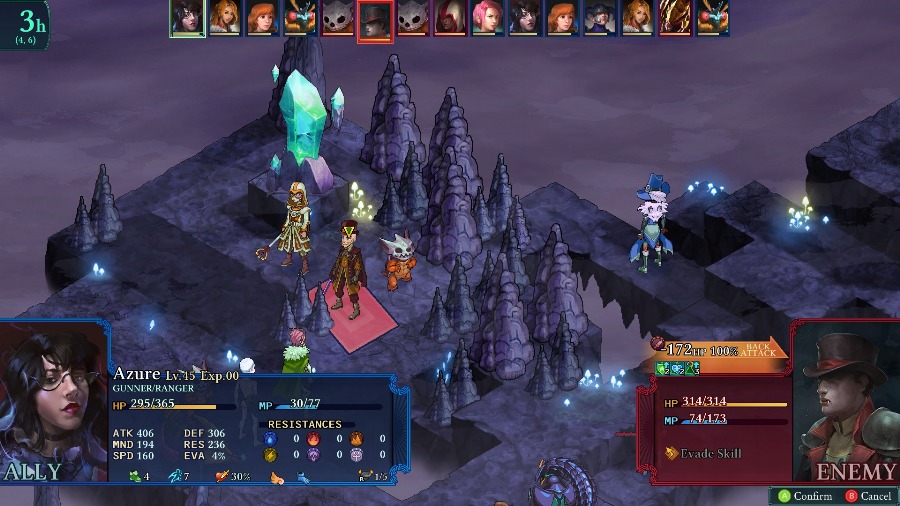 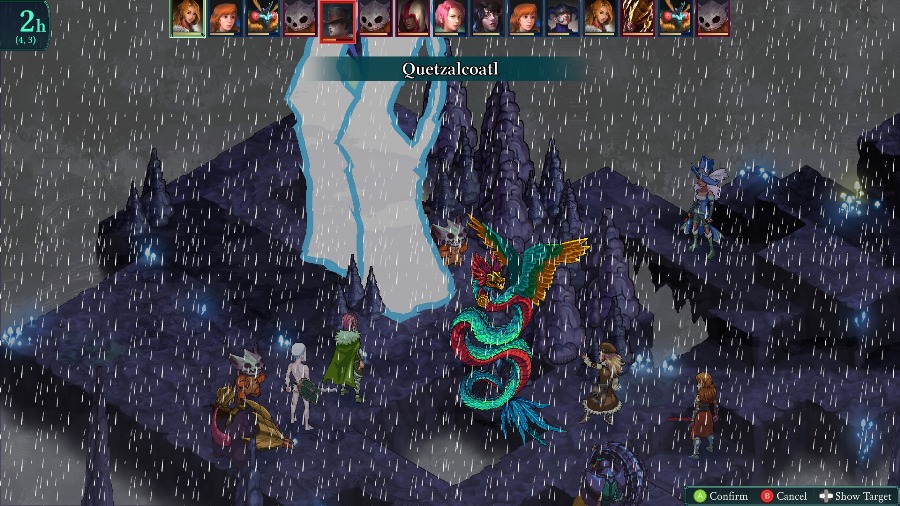 But I shift targets to the Vampire, and a quick combo from Azure and Sophia is enough to take them out. 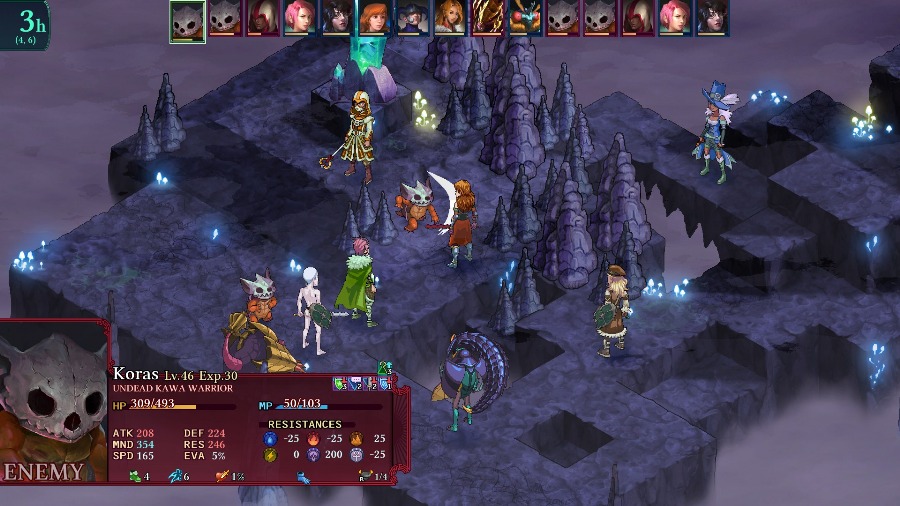 The remaining enemies obviously keep fighting, but the main damage dealers are gone so it�s mostly mop up by now. Especially since I still have a full party. 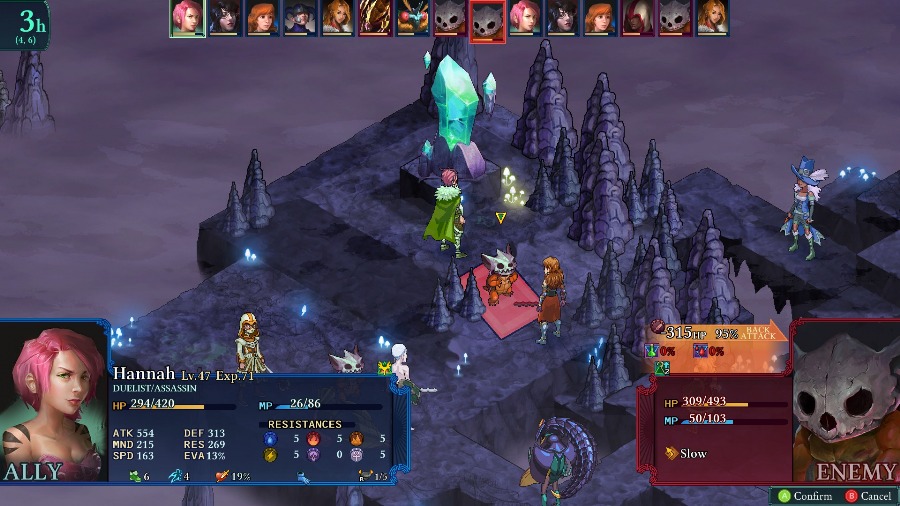 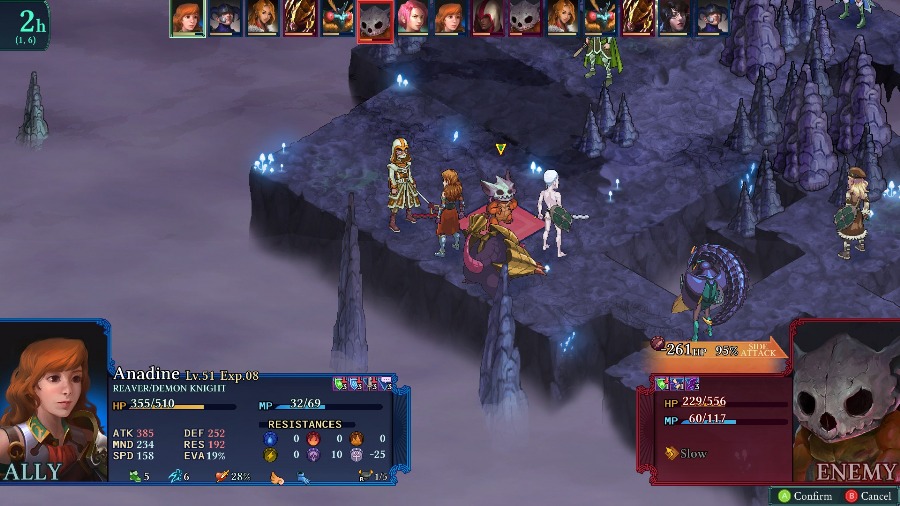 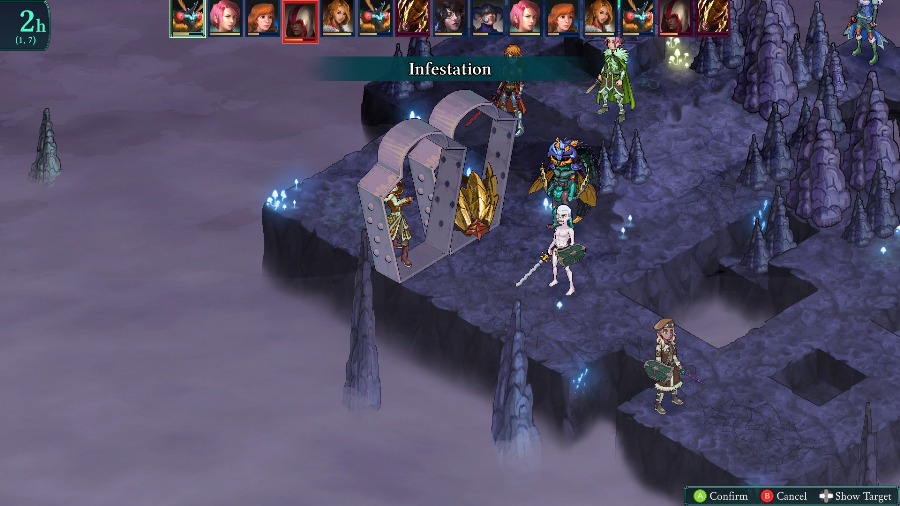 And after a little bit they all fall. 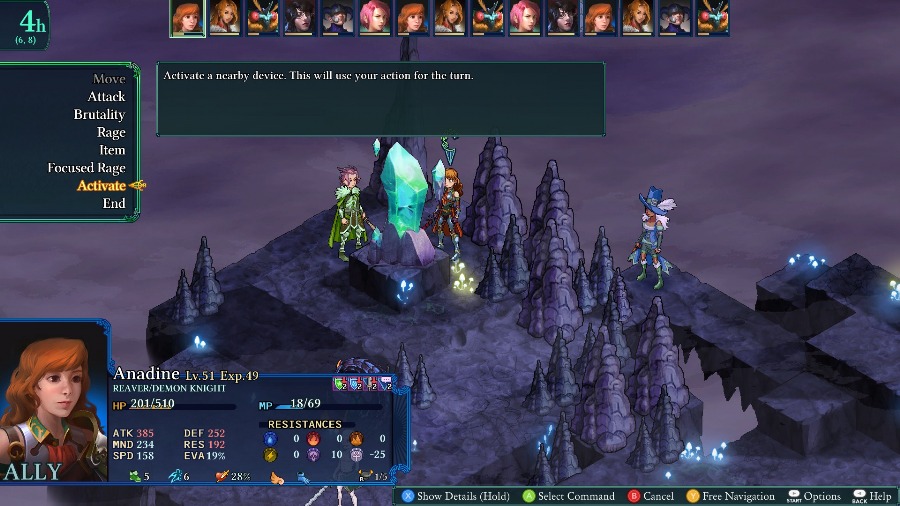 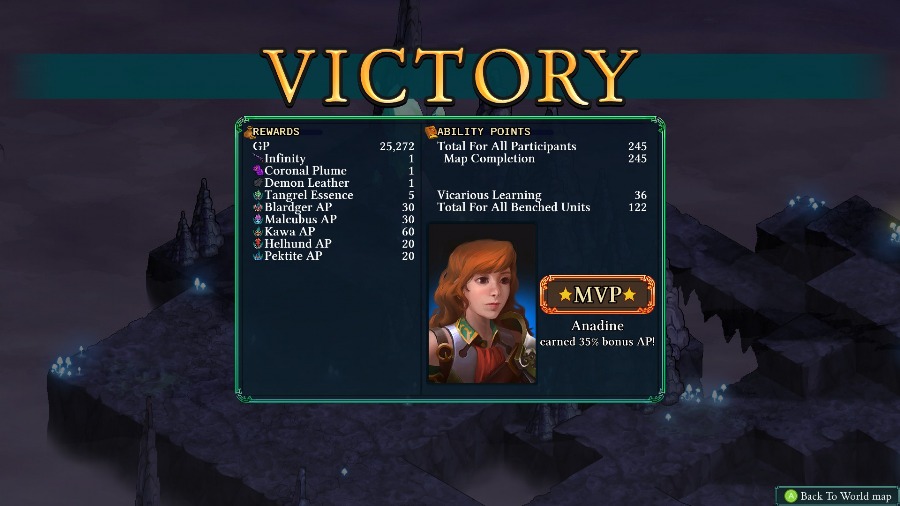 With the fight done, I teleport out shortly afterwards. As a reward, we get an Infinity, the best gun in the game with both the highest attack and an extra 3 squares of range over the 2nd best gun. Overall, even though I just kinda face tanked the enemies, this map wasn�t too hard. The Vampire and Desmogr can be a pain for burst damage but you can distract the Vampire by weakening nearby enemies or just keeping people healed, and the Desmogr is slow enough that you can at least hurt it before it closes in. The pressure from the other enemies can be annoying but they rarely do enough burst to take someone down without the majority of the enemy party focusing on one person. Next time we�ll be seeing a very similar area, though one that I think is much more difficult than this one, as we head through the Fetid Depths!
|
 #
?
May 20, 2020 00:14
#
?
May 20, 2020 00:14
|
|


|

|
| # ? Apr 26, 2024 14:50 |
|
|
I want to say that Infinity was the name of one of the ultimate weapons in Black Sigil too, though I don't exactly remember.
|
|
#
?
May 20, 2020 07:54
|
|


|
Seraphic Neoman posted:I want to say that Infinity was the name of one of the ultimate weapons in Black Sigil too, though I don't exactly remember. Gotcha. It wouldn't surprise me since the devs have thrown in so many references to it already.
|
|
#
?
May 22, 2020 00:51
|
|
|
Update 64: Ancient Path IV: Fetid Depths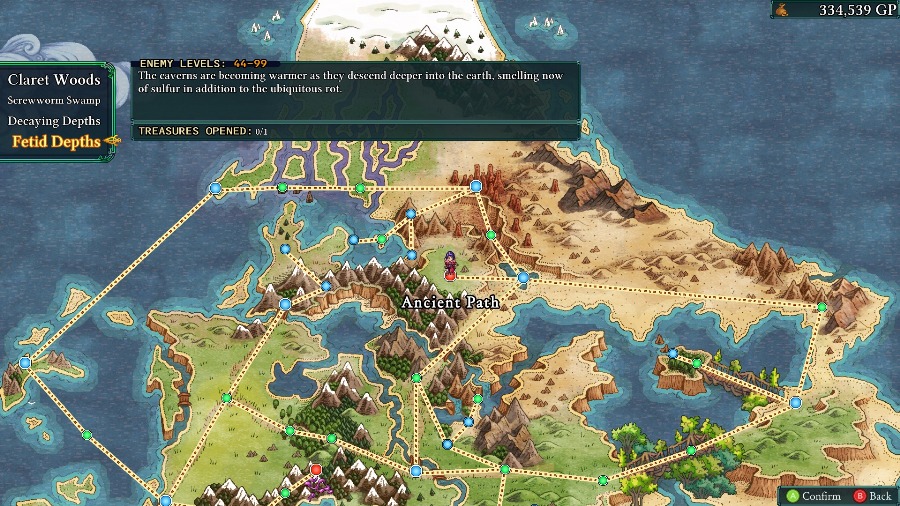 Hello and welcome back! We�re just about at the halfway point of the Ancient Path by now, and this time we�ll be continuing into the Fetid Depths. 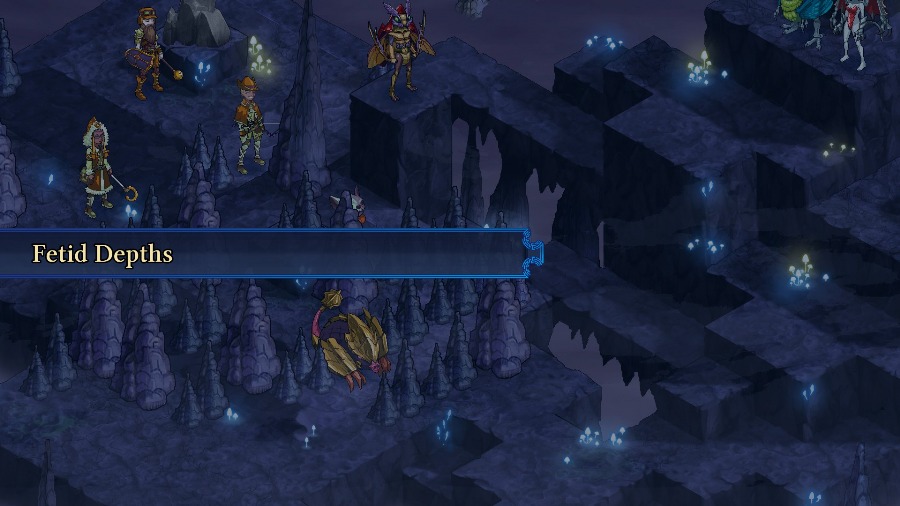 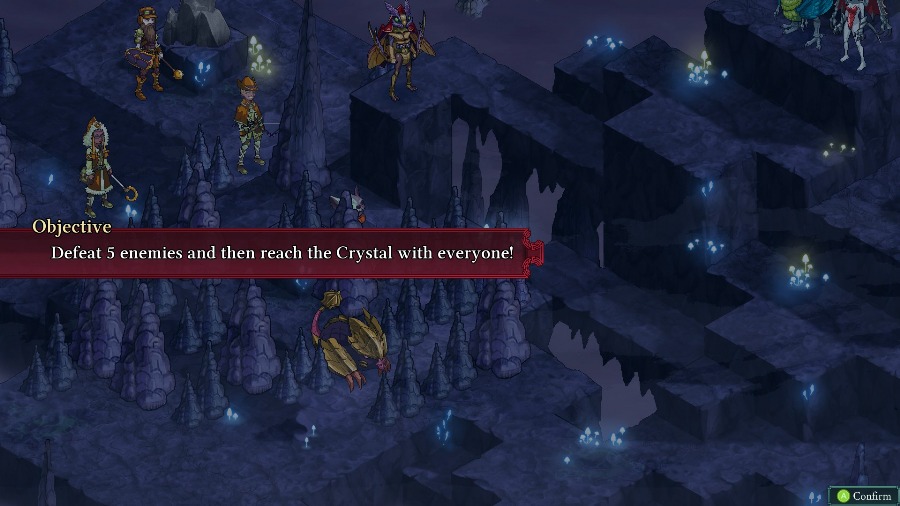 Continuing with the theme of the dungeon, this is yet another Crystal map. This map is overall very similar to the previous map, but is much more difficult in my opinion. 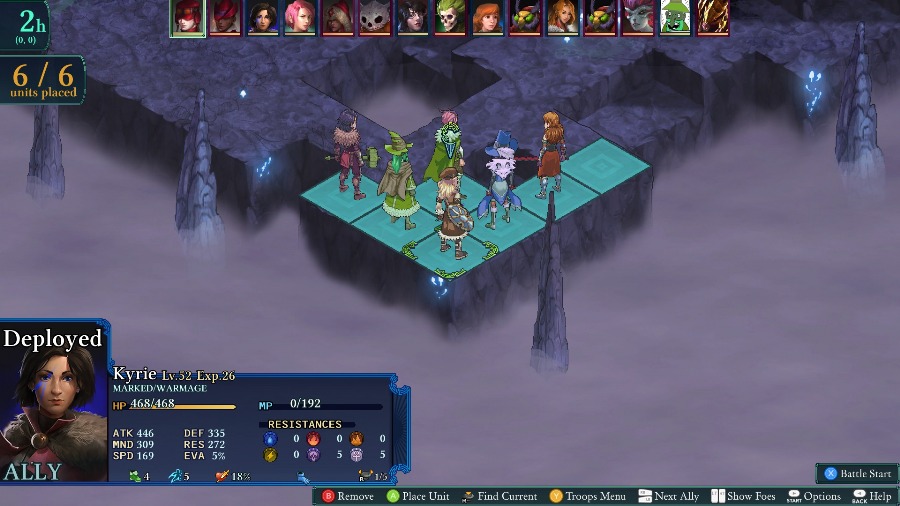 After a few tries, my successful team for this map was Kyrie, Hannah, Bobby, Azure, Sophia, and Anadine. My main priority with this was to be able to focus down specific enemies to reduce incoming damage before things go totally wrong. 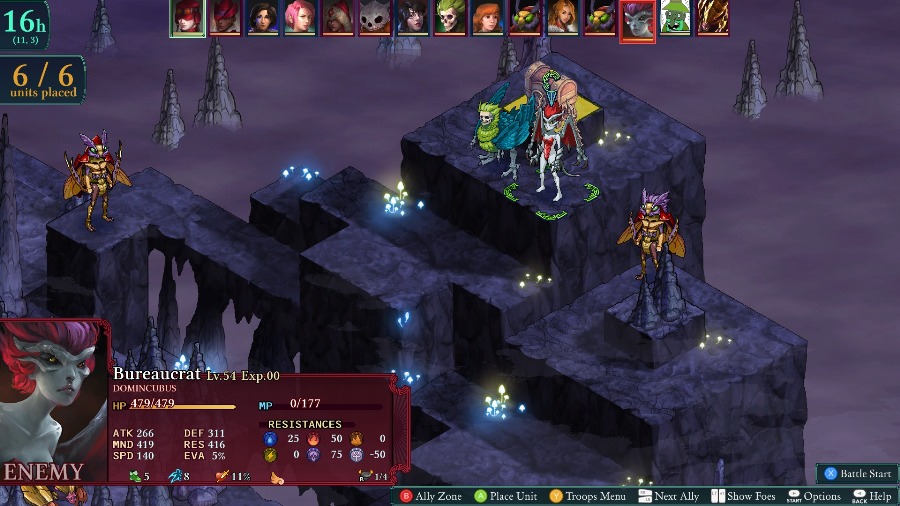 Up against us this time are 2 Bzil (Harvester/Blardger and Arpia/Harvester), a Domincubus, and Undead Arpia, 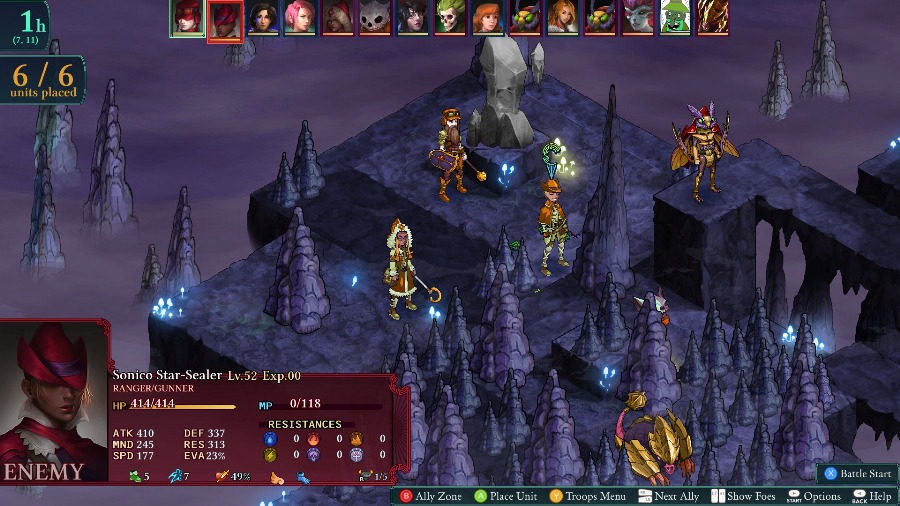 An Adamantrog, a Mender/Wizard with massive range boosts and high stats, a Gadgeteer/Sorcerer, and what I found to be the big threat of this map, the Ranger/Gunner. With just stats they�re okay, but they have a 50% crit rate, boosted damage on crits, and the Gadgeteer often seems to totally dedicate themselves to supporting the Ranger. The Ranger and the Wizard also have the Vampire�s Bat Form passive, so they can really take advantage of the terrain. Like the previous map, this one is centered on some ranged attackers able to hit you from safety, just with more threatening enemies and a longer path to walk around. 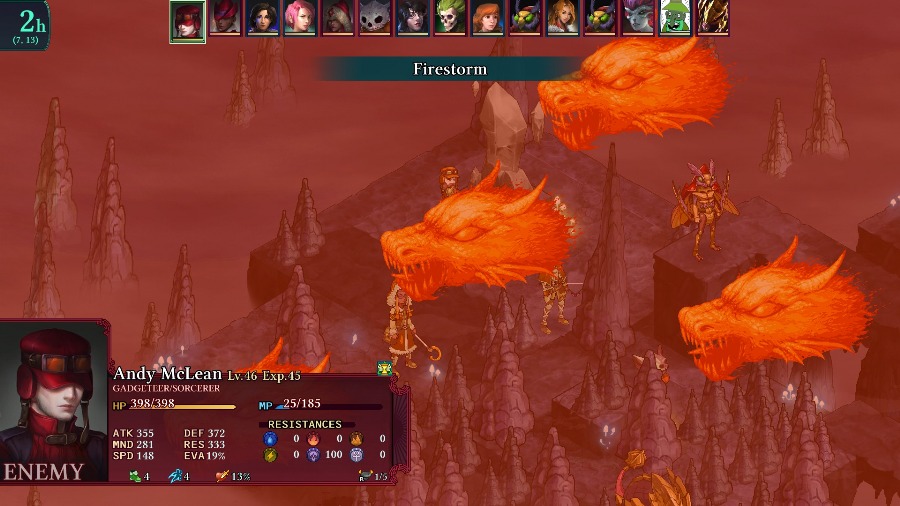 Literally the first move of the fight emphasizes this, as the Gadgeteer hits everyone with a Firestorm. They don�t have a super high MND stat so it doesn�t do that much damage, but it�s still annoying. Anadine and Kyrie counter back with status effects, so the Ranger uses their turn and a valuable Remedy to cure them. 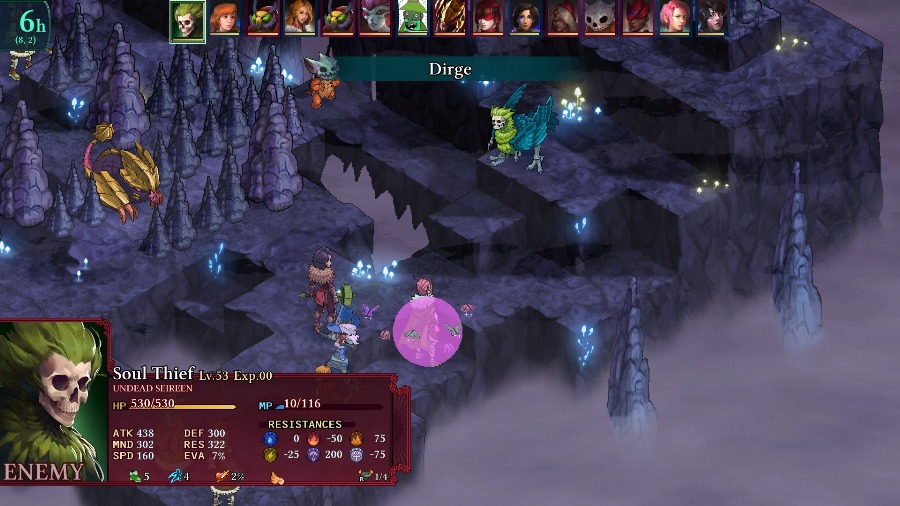 I advance and buff up a little bit and the enemies respond by putting Hannah to sleep off of a 40% chance to succeed. A few enemies take potshots at Kyrie afterwards and I have Sophia wake Hannah back up on her turn. 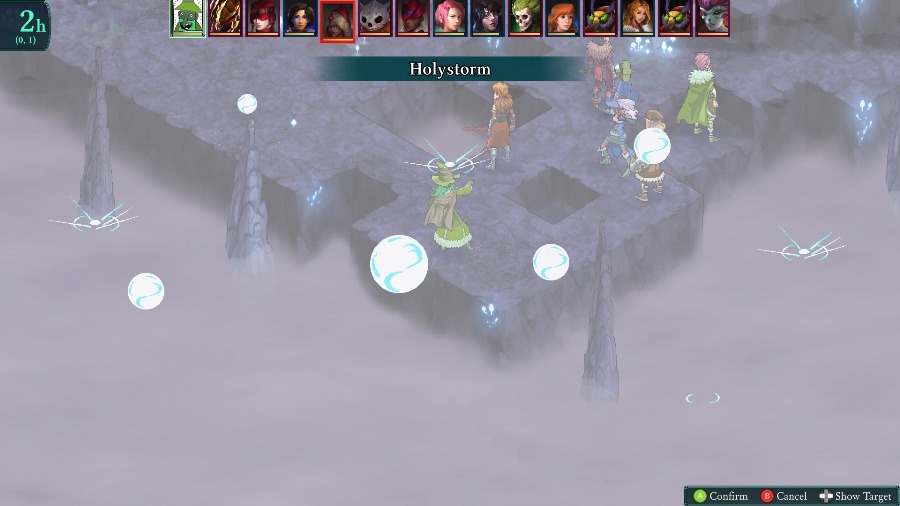 And on Bobby�s turn he gets my first bit of actual damage out with a Holystorm since a big chunk of the enemies are undead. 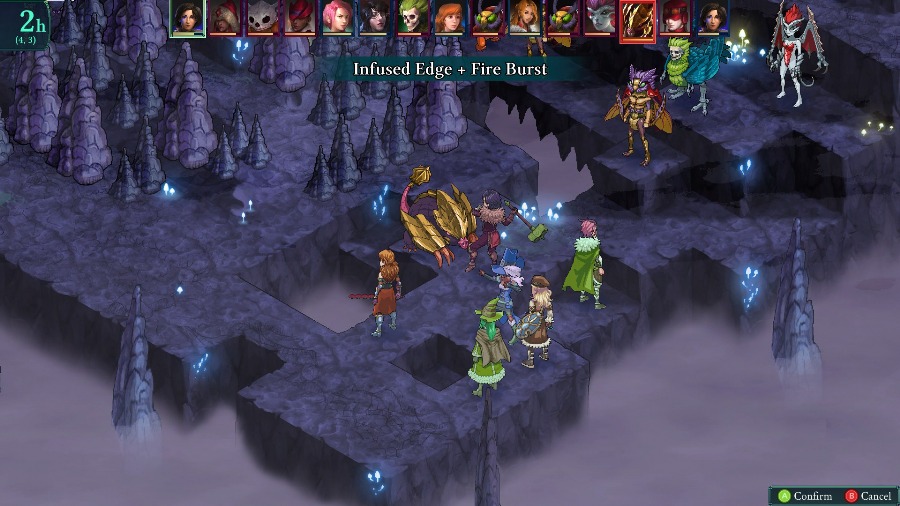 The Adamantrog comes up and whacks Kyrie, so I have her retaliate for a good bit of damage. 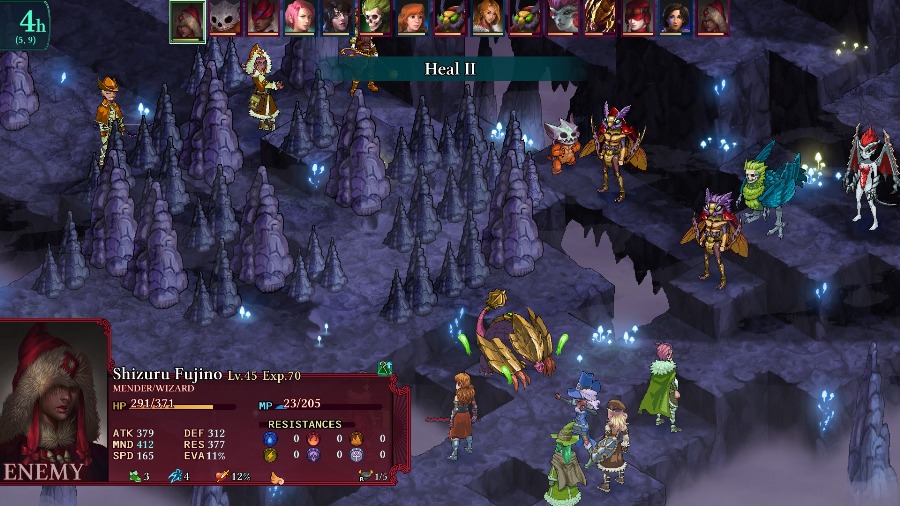 But the Mender uses their absurd range to heal it back up. 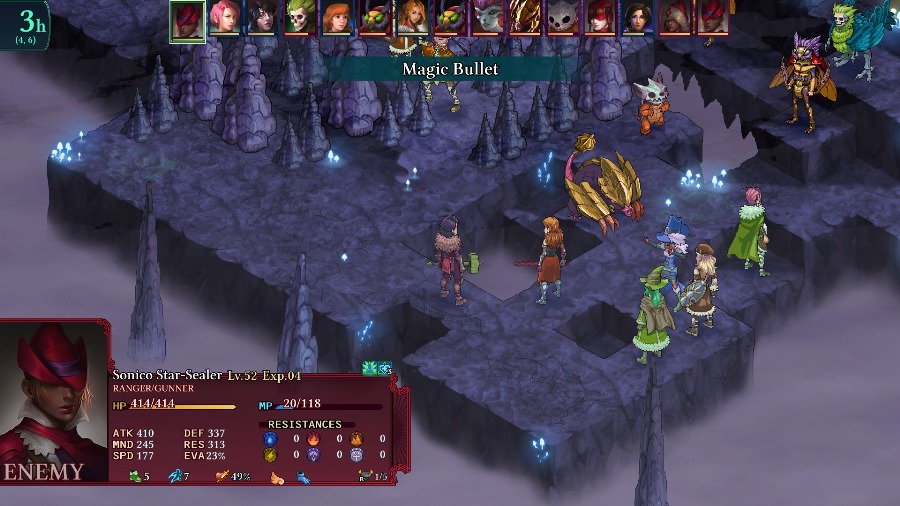 The Ranger moves up and shoots at Anadine. 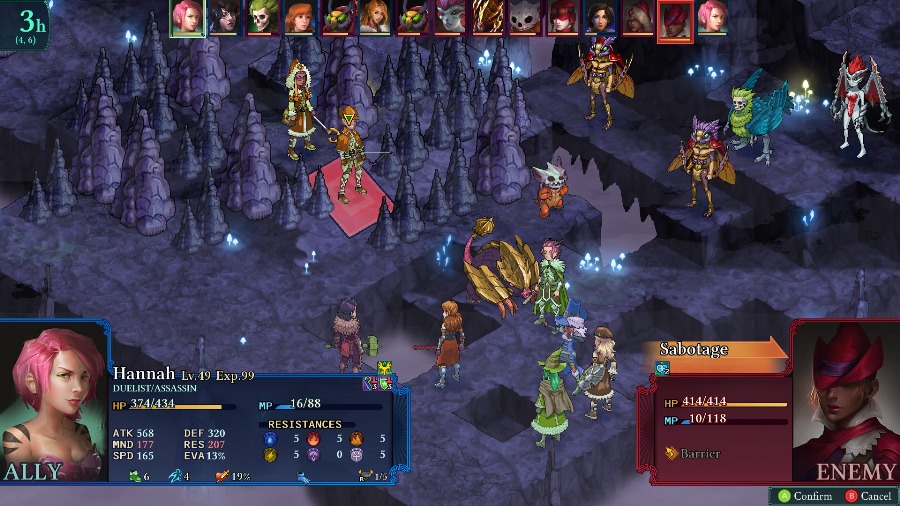 And because this guy was the main cause of multiple previous losses, I take the opportunity to bring him out of safety as Hannah swaps places with him. Azure teleports behind him and weakens him. 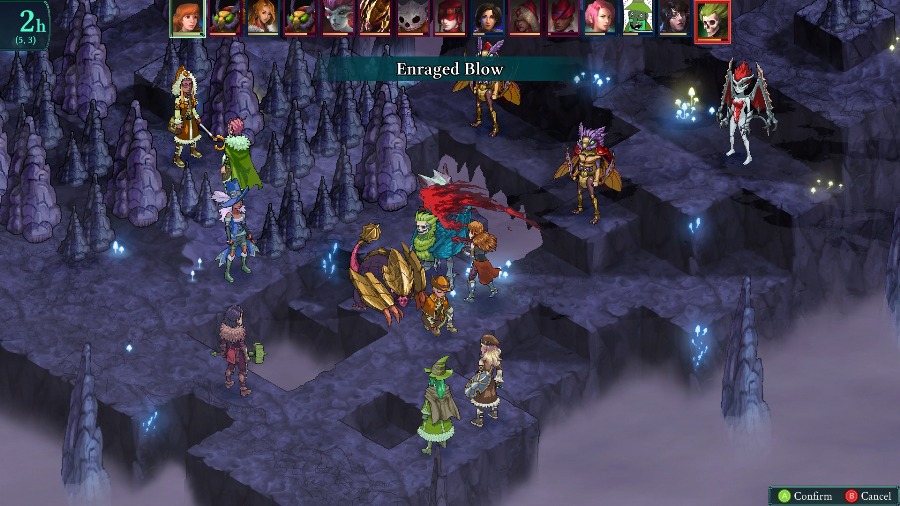  And then Anadine kills both a freshly moved up Arpia and the Ranger. I am absolutely psyched by this since that Ranger was a massive pain in previous attempts. 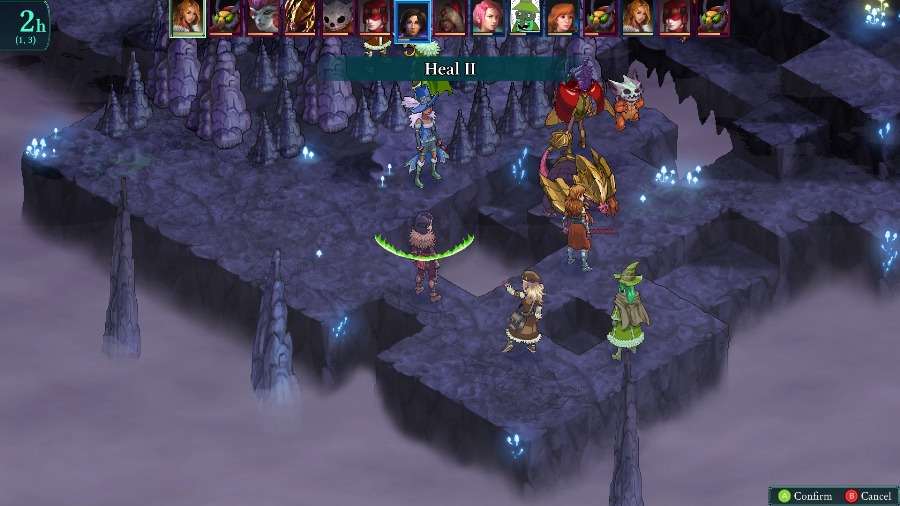 Sophia takes a moment to heal Kyrie after she gets targeted by a few enemies. 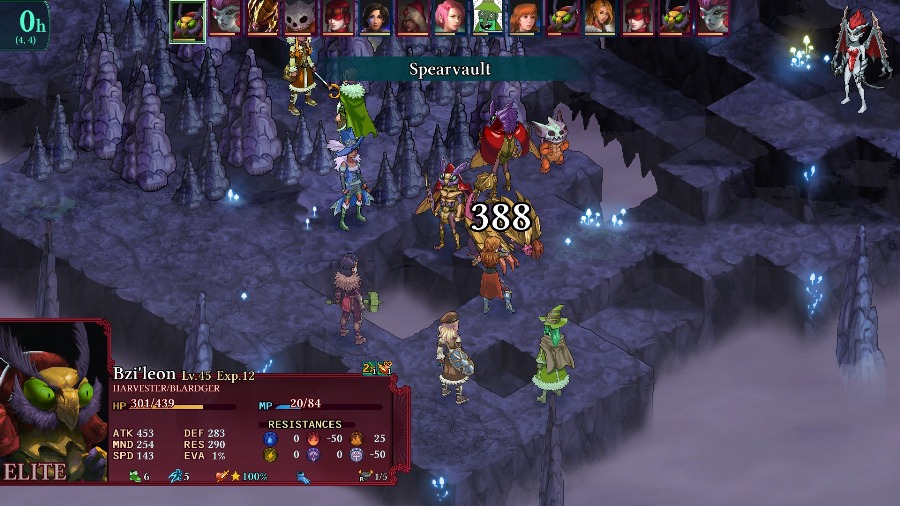 And then a very bad set of turns starts. First, the Harvester Bzil crits Anadine with an ability and kills her. 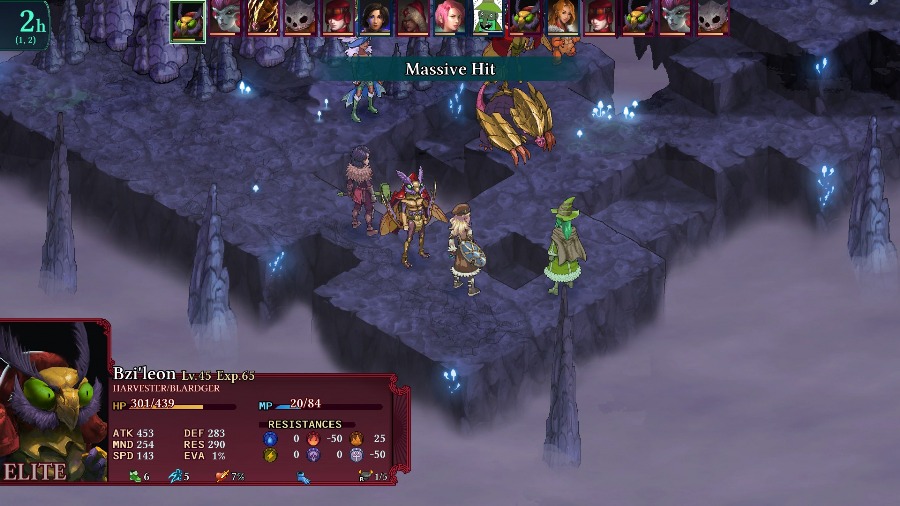 And because Harvesters have Cleave, they use the 2nd turn to run up and destroy Sophia with a Blardger ability. 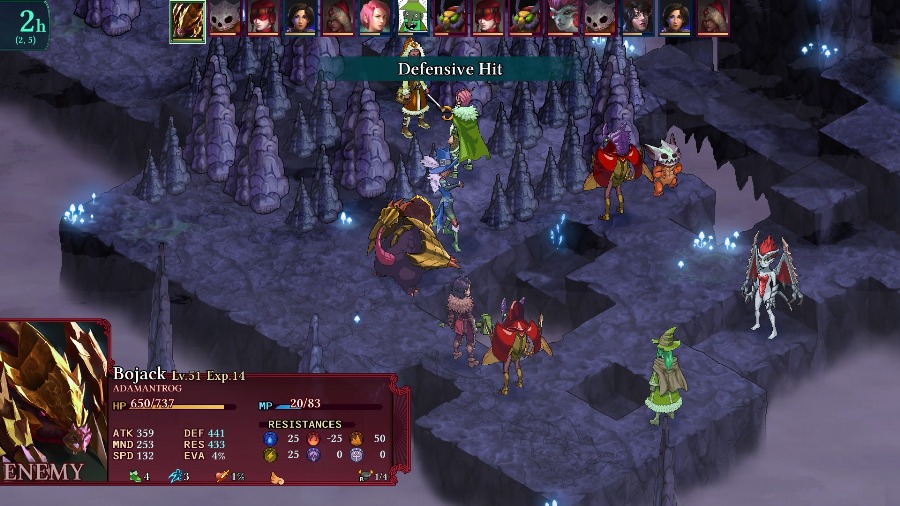 The Domincubus debuffs Bobby�s MND and RES stats, the Adamantrog nearly kills Azure, and the Undead Kawa takes a big chunk out of Kyrie with a boomerang. 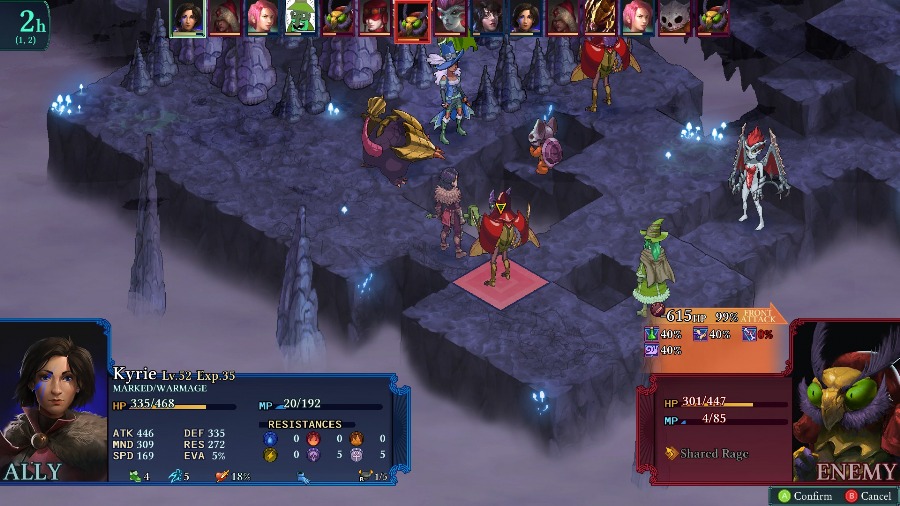 Absolutely needing to turn things around, I have Kyrie destroy the Harvester, mostly thanks to the Avenger buffs. 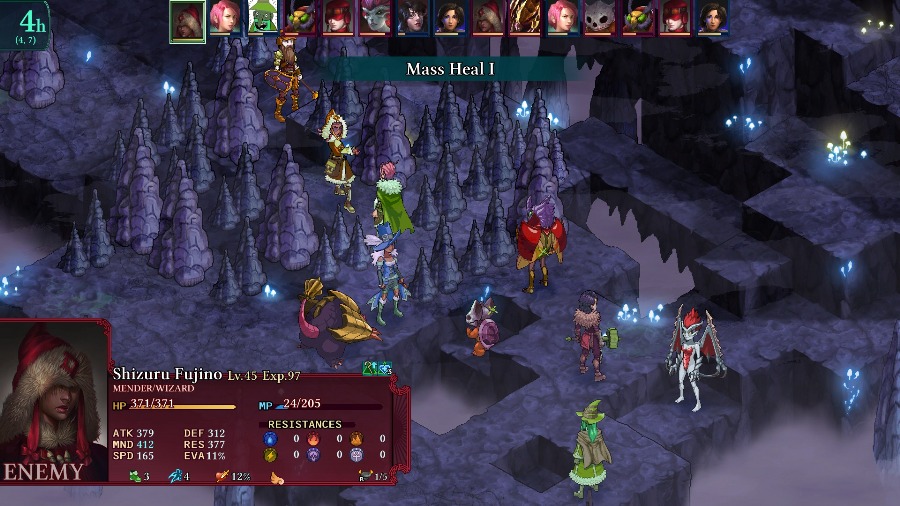 The Mender heals the Bzil and Undead Kawa, and then flies out of the center area. 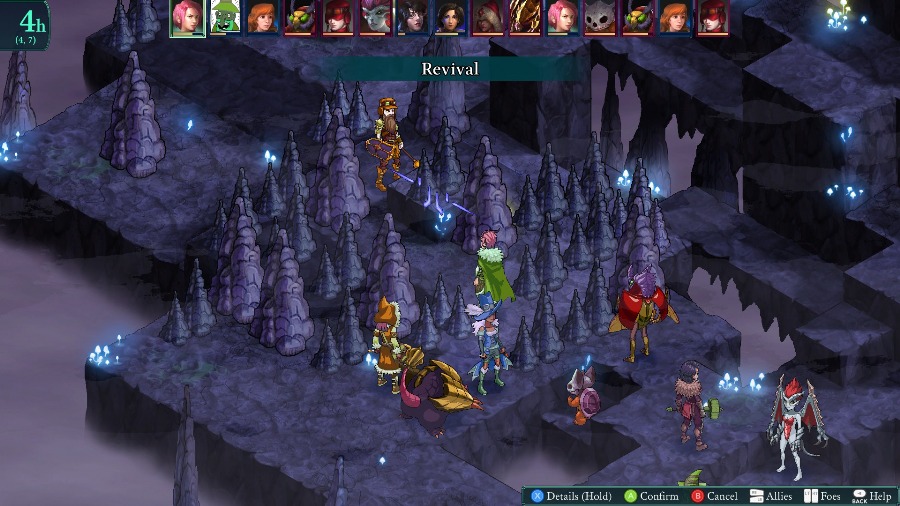 At which point I realize that Hannah could only get out of the center by swapping places with someone. I need to keep the damage up to recover from that Bzil, so instead I have her revive Anadine (I never thought that the random revival on the Duelist would be as useful as it�s turned out to be for me). 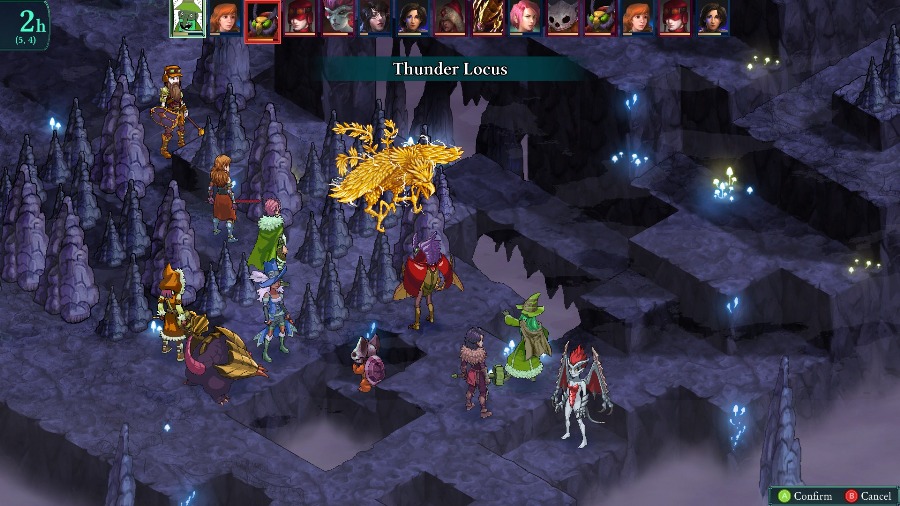 Bobby moves to kill the other Bzil, but totally whiffs. 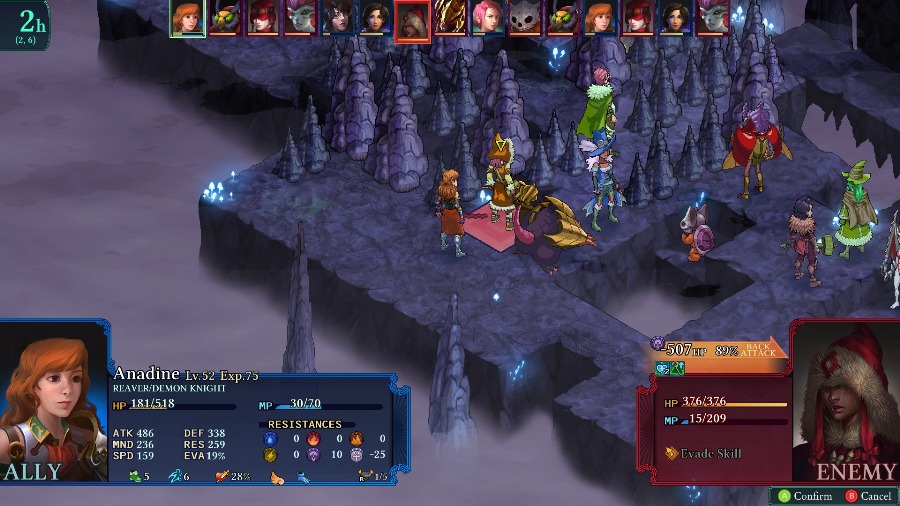 On Anadine�s turn, I have her take advantage of her low health to 1-shot the Mender. I then have her revive Sophia so that Sophia can heal people back up. Sophia moves right after the Bzil and I tuck her into the corner, so everything should be fine, right? 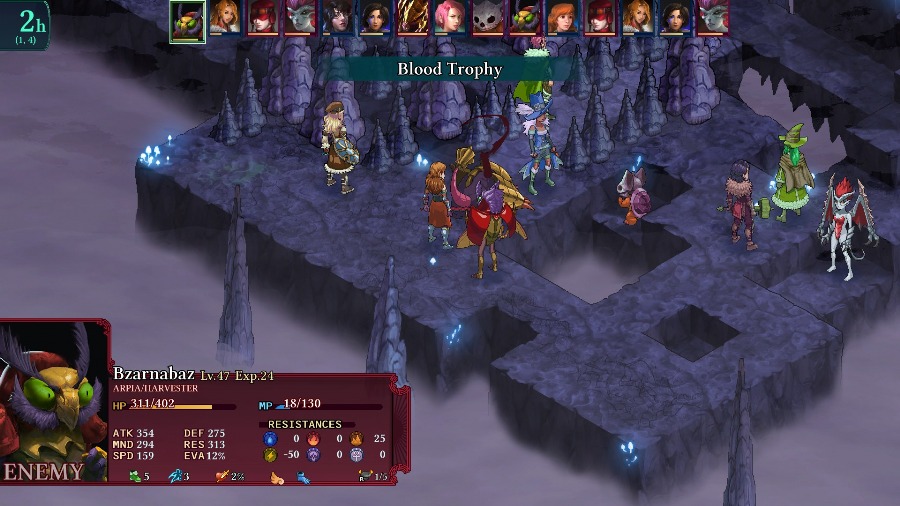 But it turns out that other Bzil has juuuust enough MP for a Blood Trophy and they take Anadine of the fight for good. 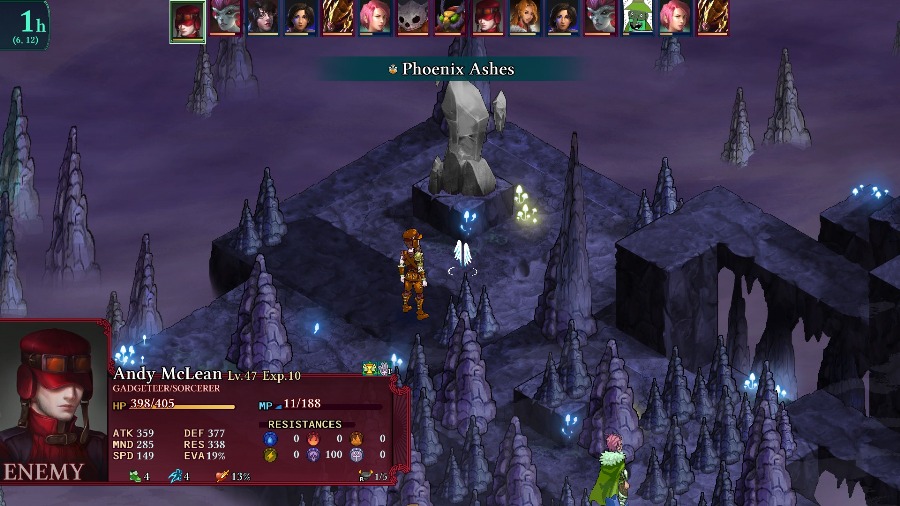 Sophia at least saves Azure from certain death, but then the Gadgeteer revives dead Arpia. 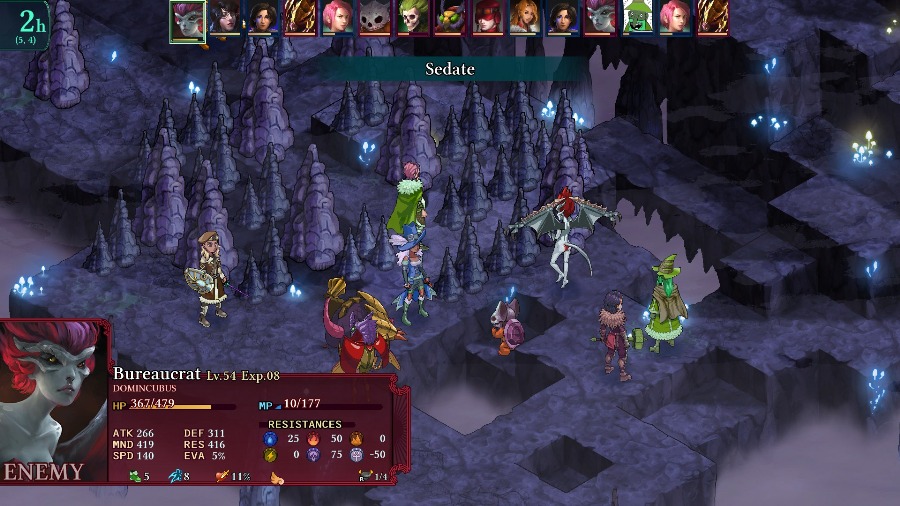 And the Domincubus makes me waste Azure�s turn by putting her to sleep. 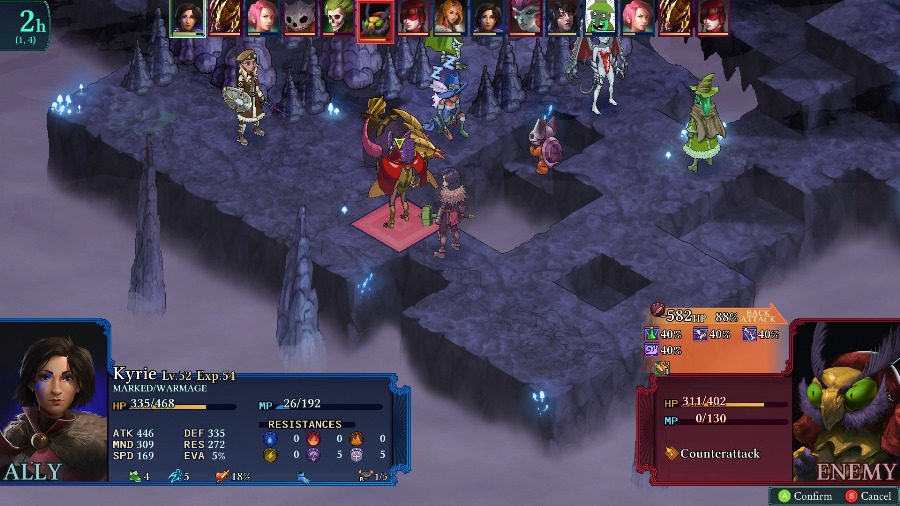 Rather than wake her up, I have Kyrie kill the final Bzil so I don�t have to worry about anyone else getting removed from the fight. 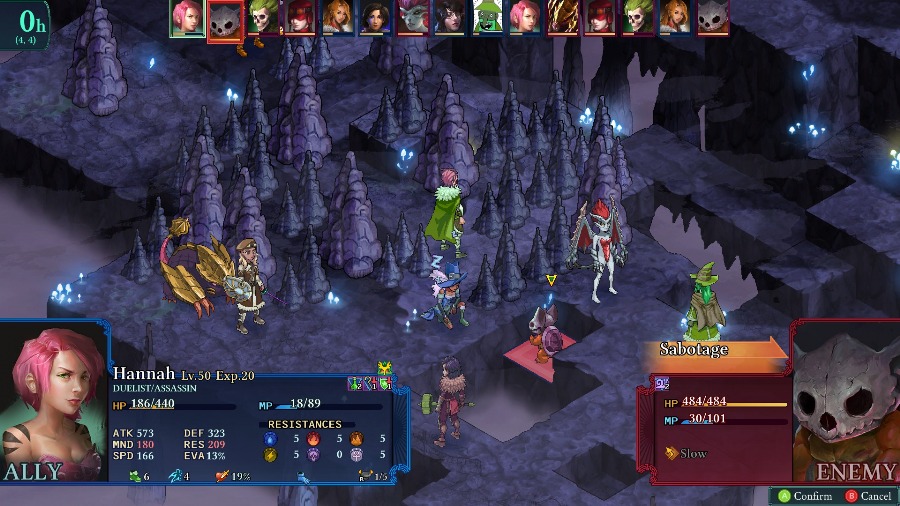 The Adamantrog nearly kills Sophia and I bring Hannah back into the fight by swapping spots with the Kawa. Mostly because the Kawa would be stuck in the center. Doesn�t stop it from whacking Azure with a boomerang though. 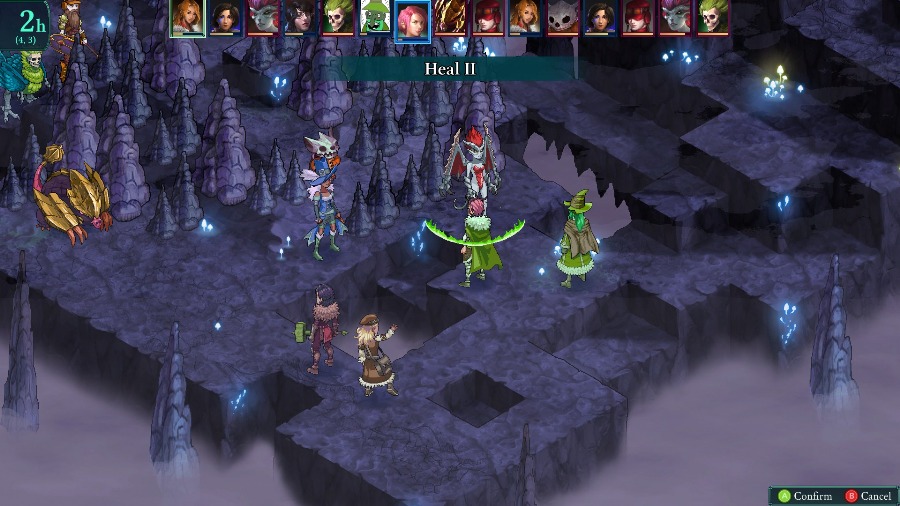 Sophia saves herself and Hannah. 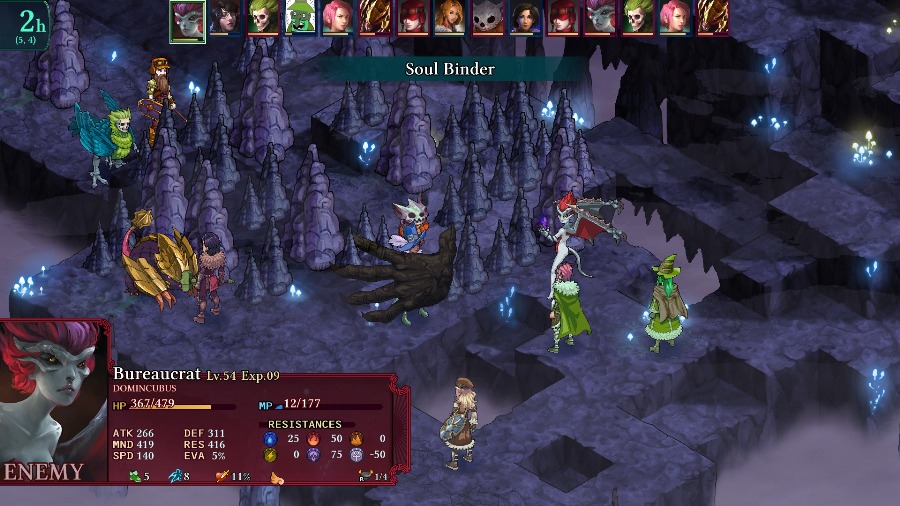 Good thing too, because the Domincubus again steals Azure�s turn from me, this time with a charm from Soul Binder. 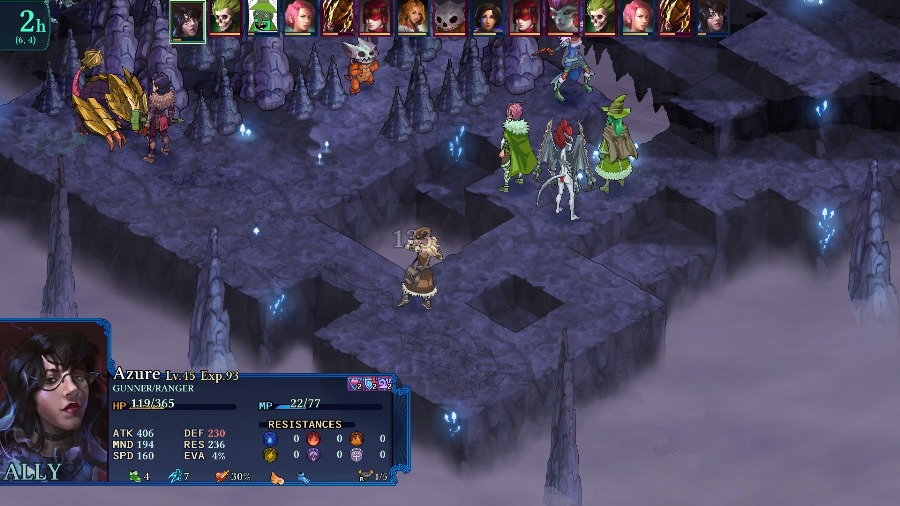 The 2 attacks come close to taking Sophia out but she just barely hangs on. 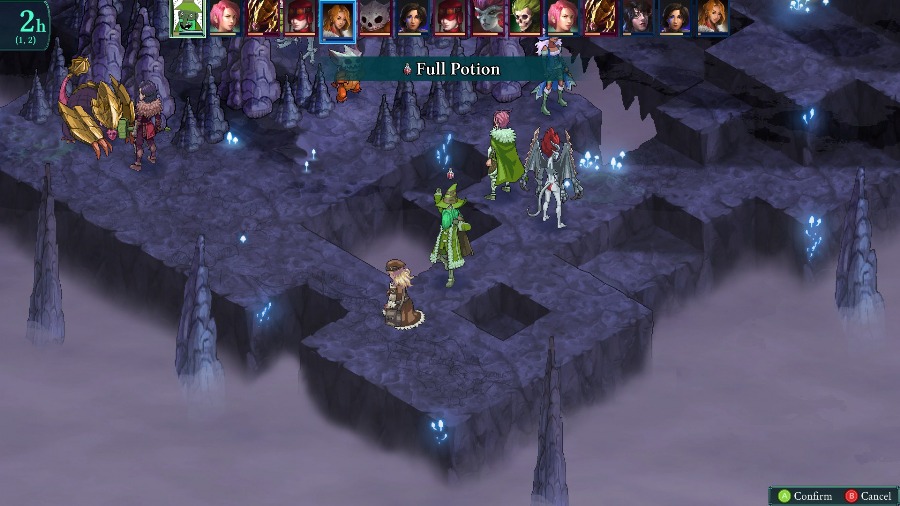 Bobby heals Sophia back to full. 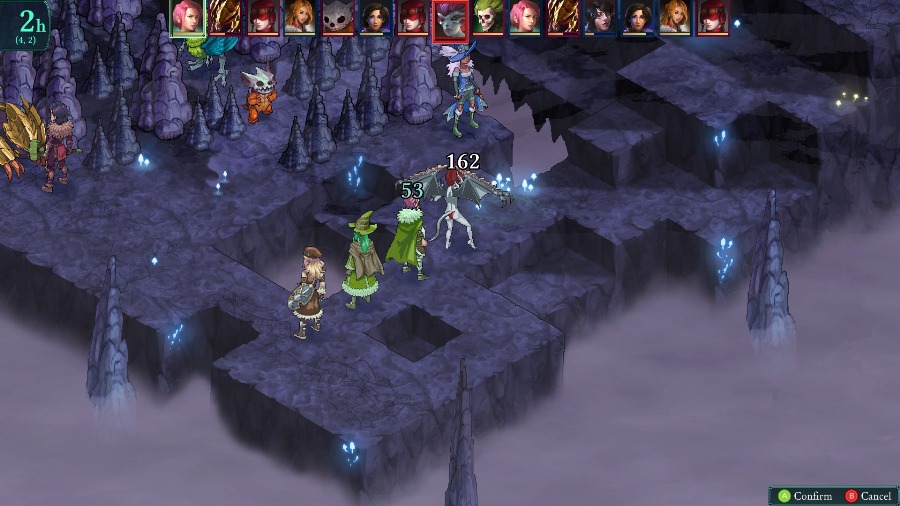 And Hannah crits on her regular attack to kill the Domincubus before it can do anything else stupid. 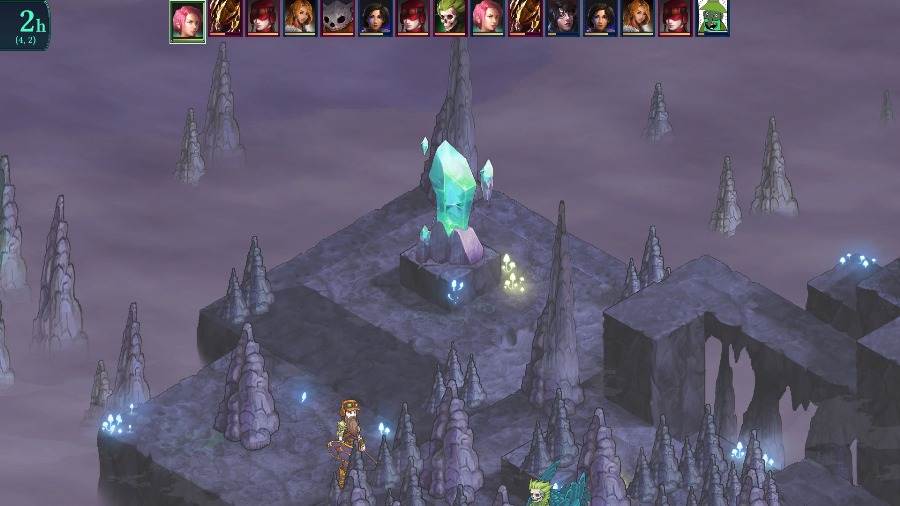 The kill also activates the crystal. 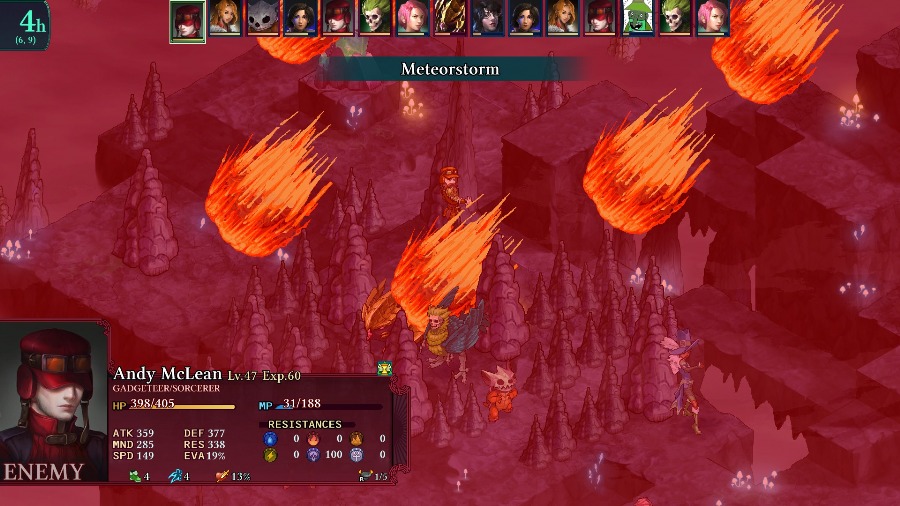 The fight�s not over yet though, as the Gadgeteer hits everyone with a Meteorstorm. 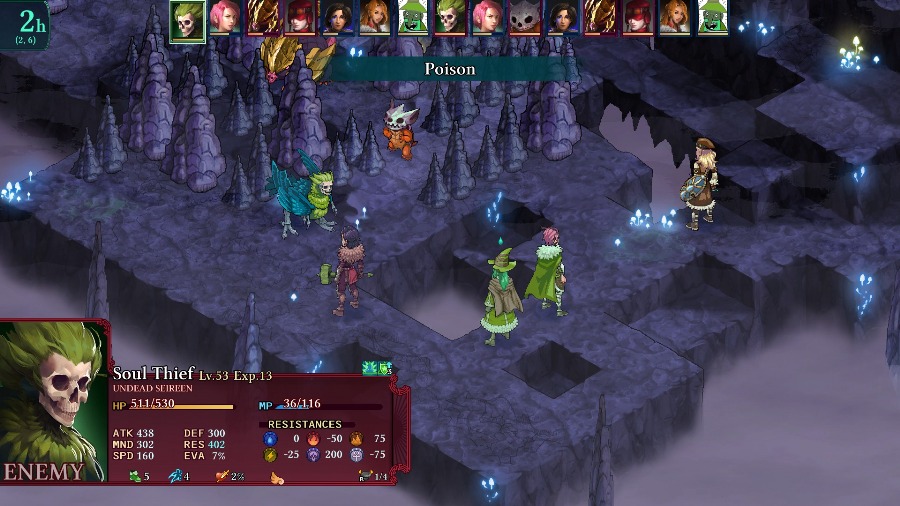 There�s a bit more skirmishing as people whack Bobby and I heal him. Kyrie also goes to kill the Arpia again, hits the melee attack but misses the Burst part of the Infused Edge and leaves the Arpia barely alive. 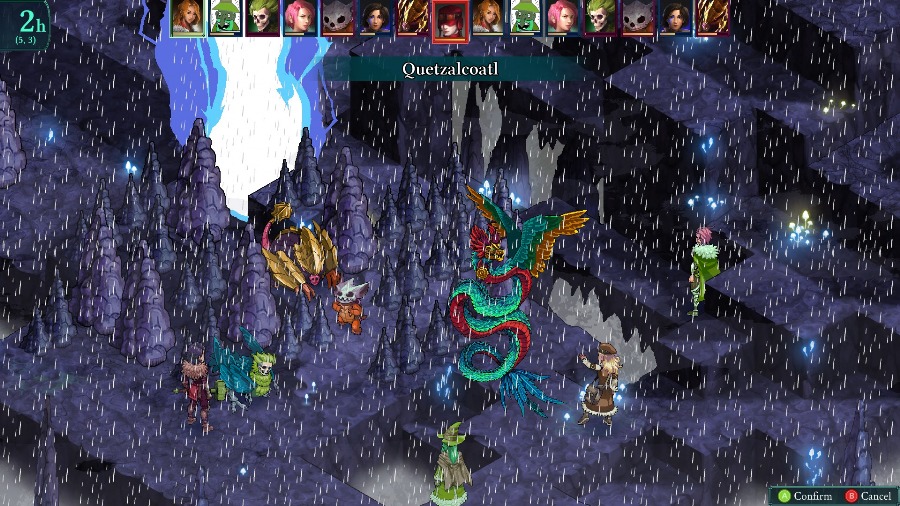 While Sophia puts some damage on the Gadgeteer with a Quetzalcoatl cast. 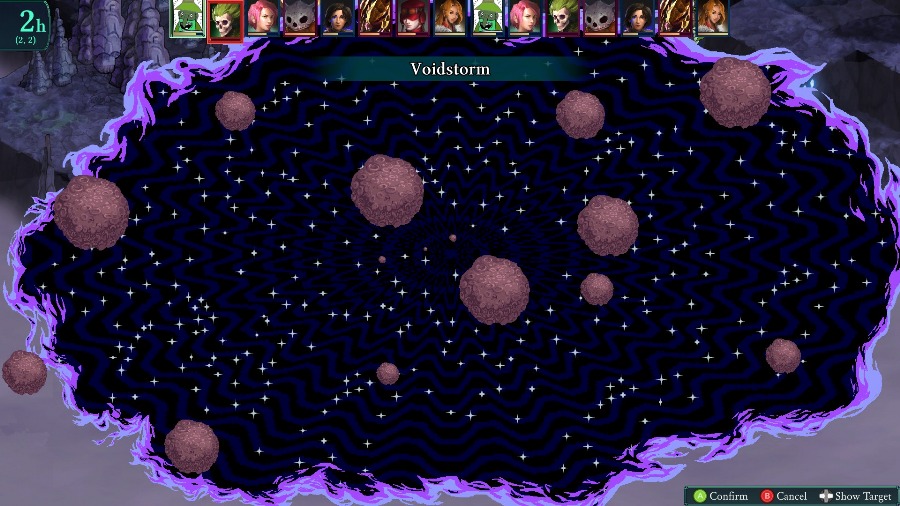 And Bobby kills the Arpia and hurts everyone else with a Voidstorm. 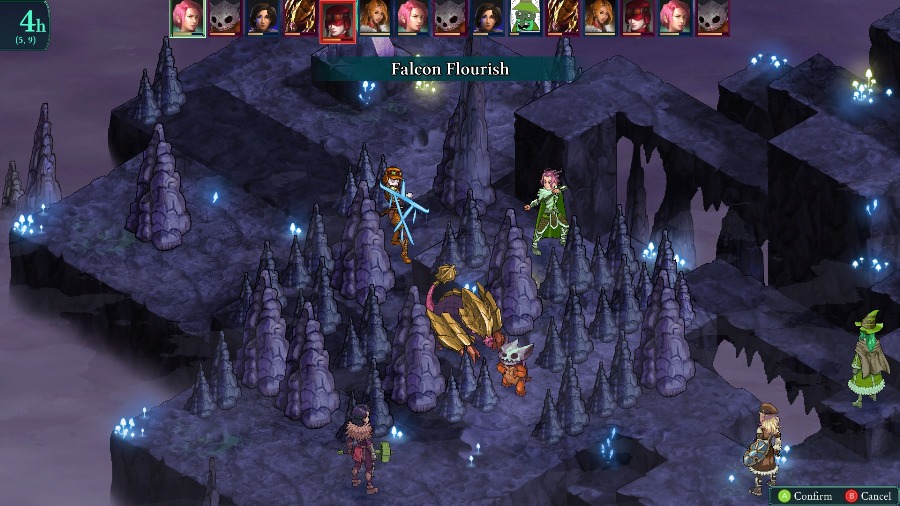 And Hannah rushes around the side to keep the pressure on the Gadgeteer.  But the Gadgeteer retreats and revives the Ranger, which is very bad. 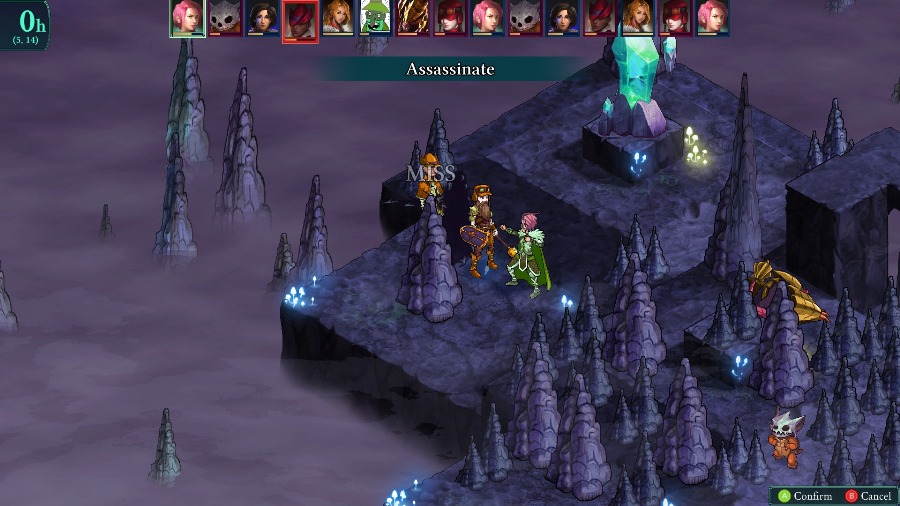 Hannah runs up to assassinate him but misses. 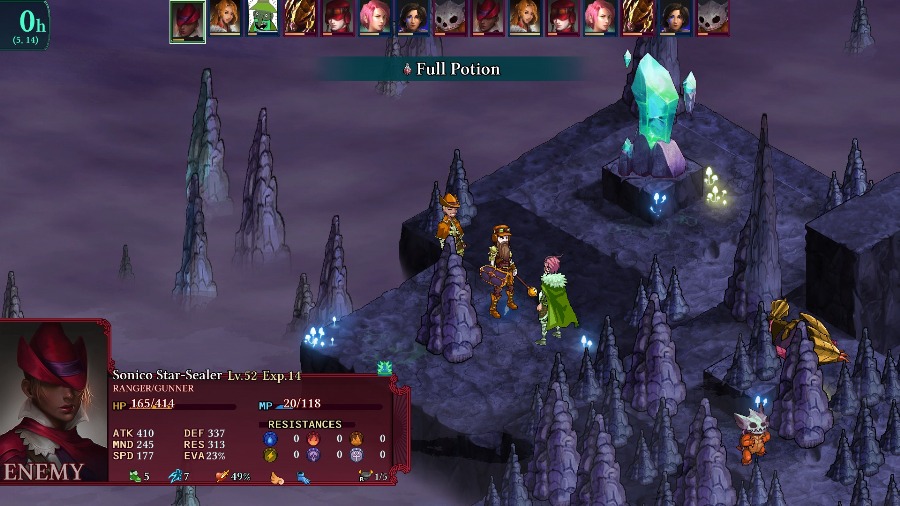 And then the Ranger heals themselves back to full. 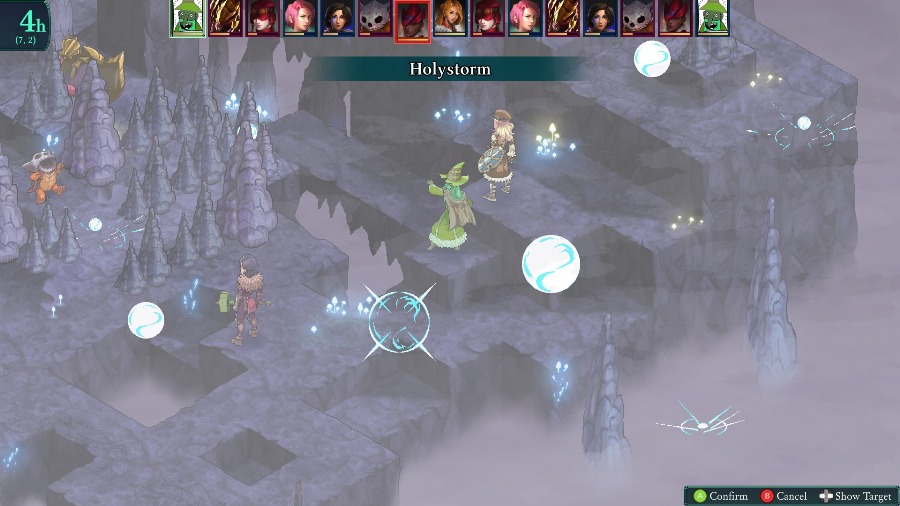 Back on the other end, Bobby keeps things going with another Holystorm, nearly killing the Kawa and Gadgeteer.  Though she gets pretty badly hurt by the Adamantrog, Hannah manages to finish off the Gadgeteer on her turn. 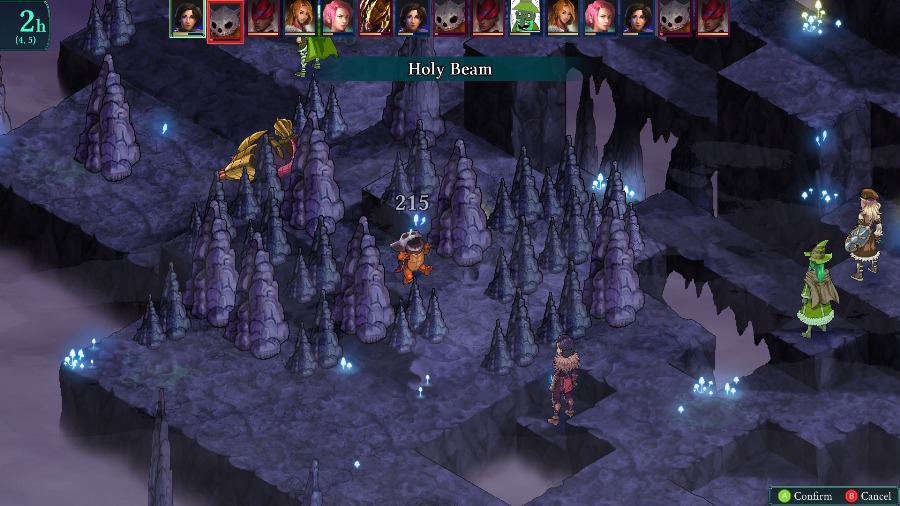 While Kyrie takes out the Kawa. 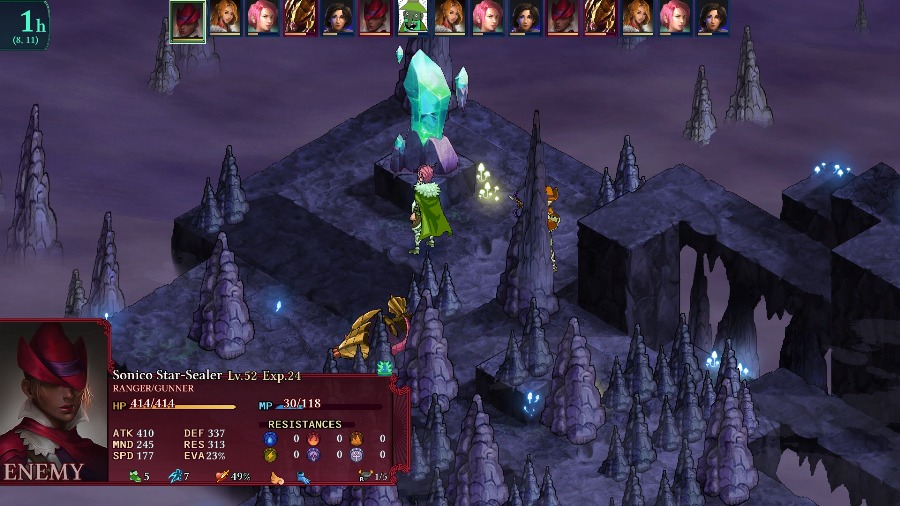 And the Ranger unnecessarily crits Hannah for the kill (it would have nearly 1HKO�d her from full health). 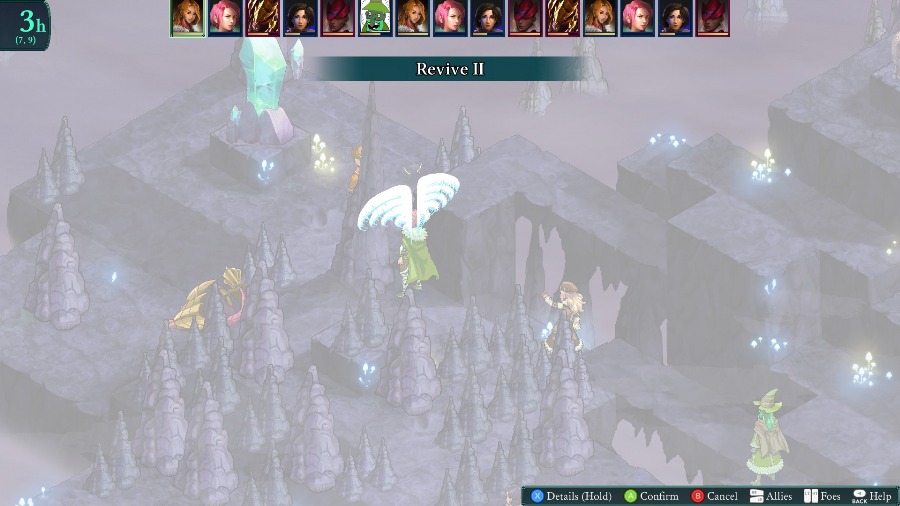 I instantly revive her and she takes out � of the Ranger�s health with an assassinate. 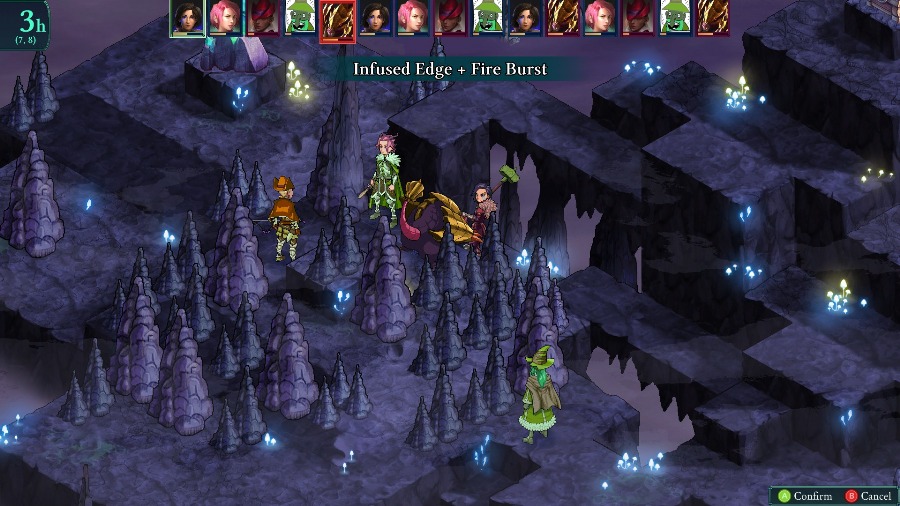 Kyrie kills the Adamantrog. 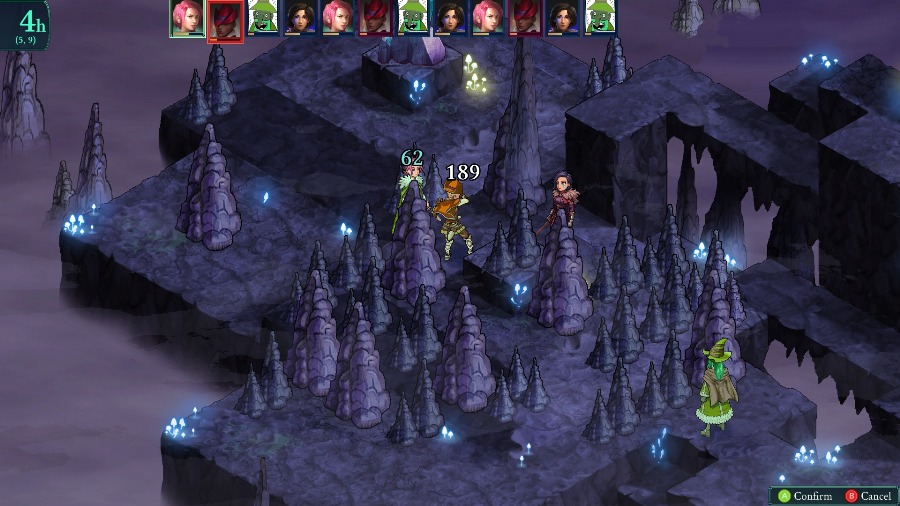 And then Hannah finishes off the Ranger again. 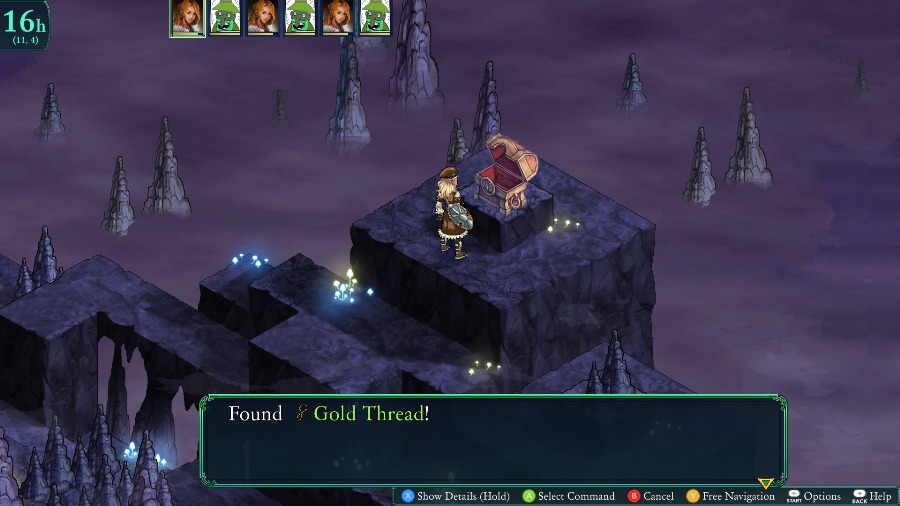 Off on the side, I open up a treasure chest to get a crafting material. This is a pretty rare one that can be used to make some accessories that give +48 to a stat (or +20 to SPD), which is gigantic. 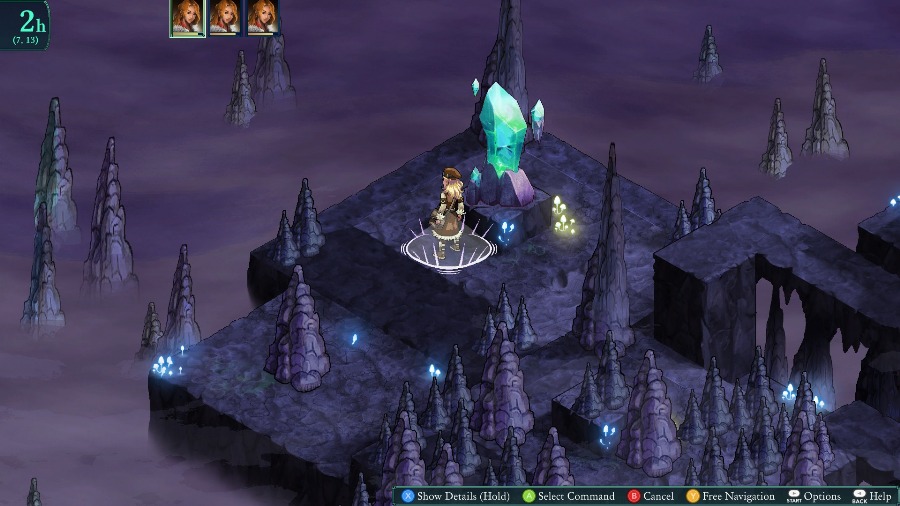 And with that it�s time to teleport out.  We get another Dragon�s Nail as a reward, but otherwise nothing too crazy. Overall, pretty happy with the fight. I got a bit sloppy with the 2 Bzil as they ran wild through my backline and I relied a bit much on hitting things I wasn�t guaranteed to, but things went about as well as they could. While I don�t think that the concept really needed to be repeated between this map and the previous one, this was still a fun fight really made me think about what I was going to do. Next time we�ll be headed to a very different map in the Infernal Depths.
|
|
#
?
May 22, 2020 00:52
|
|
|
Oh that's annoying as hell. Having to try to catch up to enemies while they snipe you like that.
|
|
#
?
May 22, 2020 01:40
|
|
|
It really is. On my first attempt I tried to fight my way up and around the side instead of mostly staying where I started and it just ended up with the Ranger killing a person every turn or 2 as the Mender healed away all of the damage I did.
|
|
#
?
May 22, 2020 01:57
|
|
|
I keep saying this, but I wanna say it again: I really enjoy this game's roster of random enemy names. 
|
|
#
?
May 22, 2020 05:17
|
|

|
Good thing you can leave at anytime, these fights look rough. Do enemies in this dungeon level up with your or are they static?
|
|
#
?
May 23, 2020 06:00
|
|


|
Picayune posted:I keep saying this, but I wanna say it again: I really enjoy this game's roster of random enemy names. Yeah, I'm a big fan of it too. My favorite one is something along the lines of "Hat, the Hero of Legend". WarpedLichen posted:Good thing you can leave at anytime, these fights look rough. Do enemies in this dungeon level up with your or are they static? They are definitely rough. If I had to try and do them all in one run it'd be a huuuuge pain. And the enemies do level with you. With base difficulty settings there'd be a limit at some point, but I have them set so they keep leveling up.
|
|
#
?
May 24, 2020 15:46
|
|
|
Update 65: Ancient Path V: Infernal Depths Hello and welcome back as we continue down the Ancient Path. This time we�re headed into the Infernal Depths. 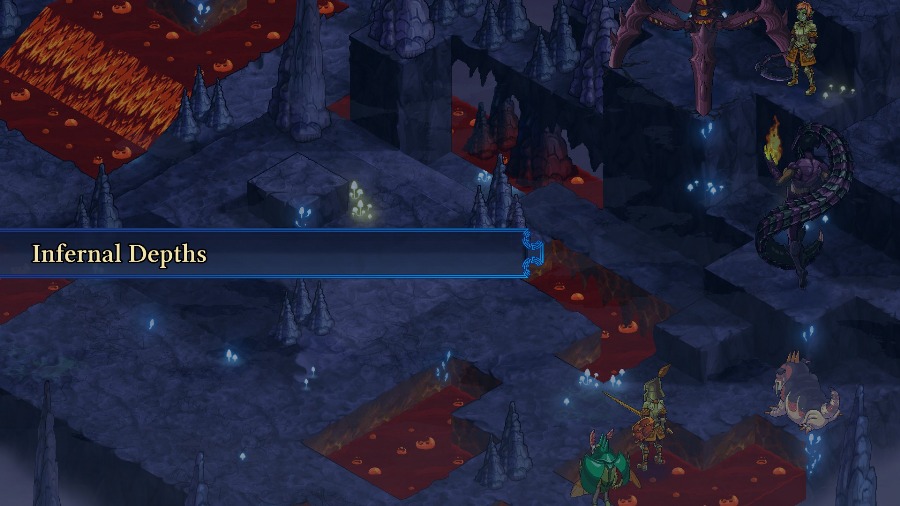 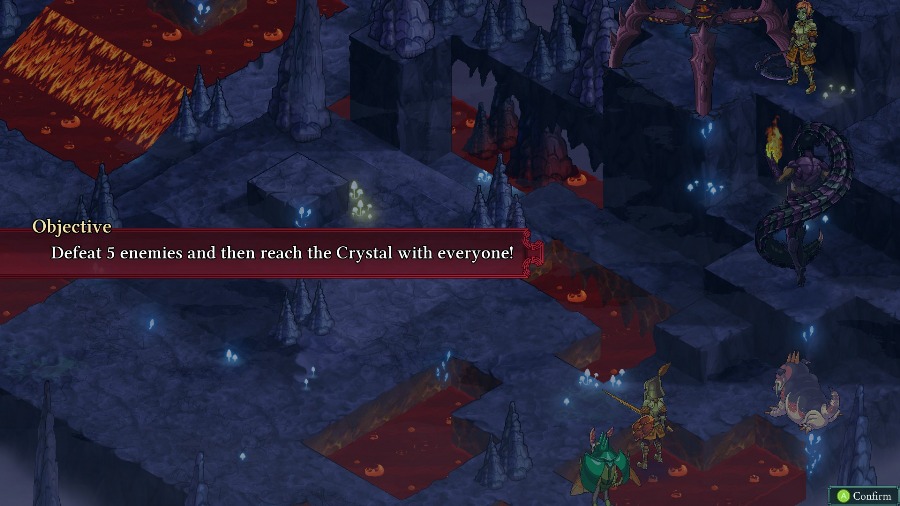 It is another Crystal fight, but the arena and enemies are very different from the previous two maps. In my opinion, this is the hardest fight of the Ancient Path. The enemies are powerful, tough to kill, and the map very strongly supports them.  On our side we have Kyrie (who I swapped to using a spear for a little bit of extra range on Infused Edge), Mongo, Selina, Reiner, Bzaro, and Bobby. A key thing to note is that both Bzaro and Reiner can float, so they can use the lava pits as areas of relative safety. 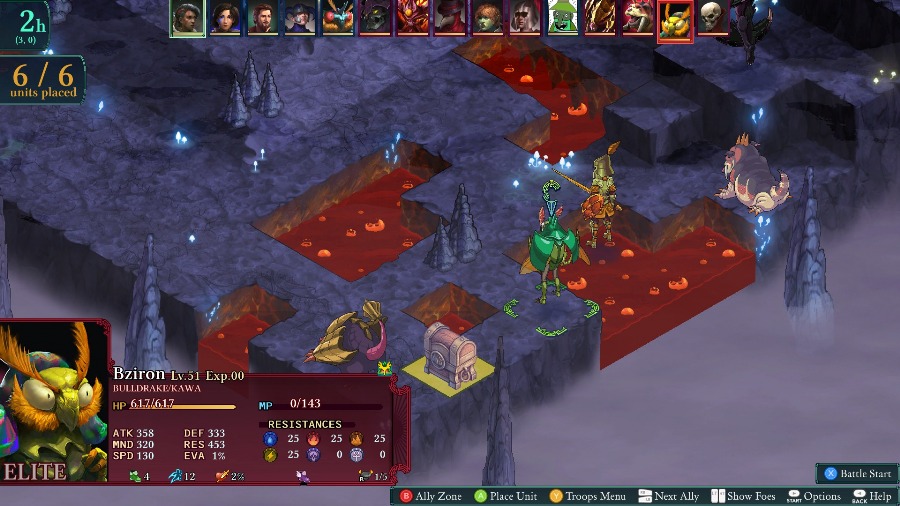 And on the enemy side, we have a Vulcan Bulldralisk, a Knight/Duelist, a Bulldrake/Kawa Bzil, an Adamantrog who for some reason never moves, 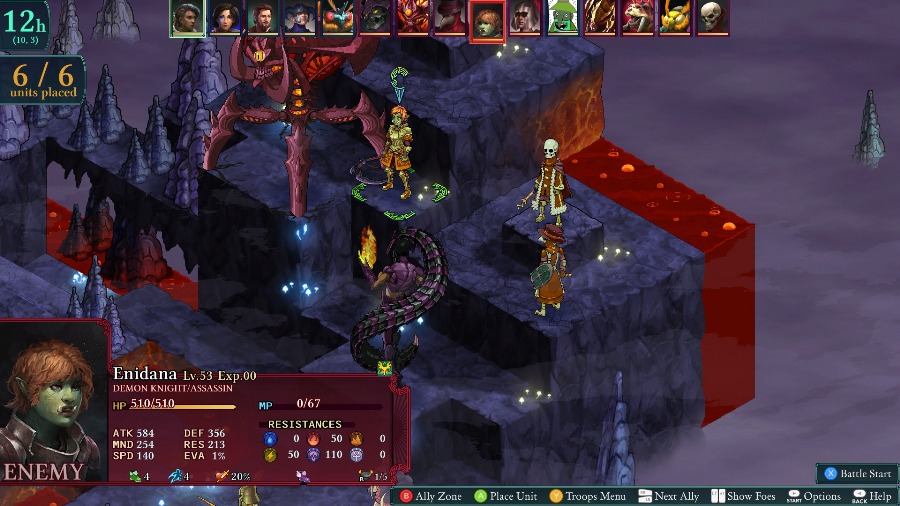 An Overscourge, an Aeoth, a Plague Doctor/Wizard, a Lich/Mender with Doublecast and Blood Magic, and another Demon Knight like the arena. Much like the arena, while all of the enemies are dangerous, the Demon Knight is the most threatening by far. Instead of the Templar ability set, she has the Assassin set and floats so she can easily instakill most units by dunking them in lava. Which would then most likely put her in the middle of your lines with a free turn from Cleave and a guaranteed crit from the Boon passive. 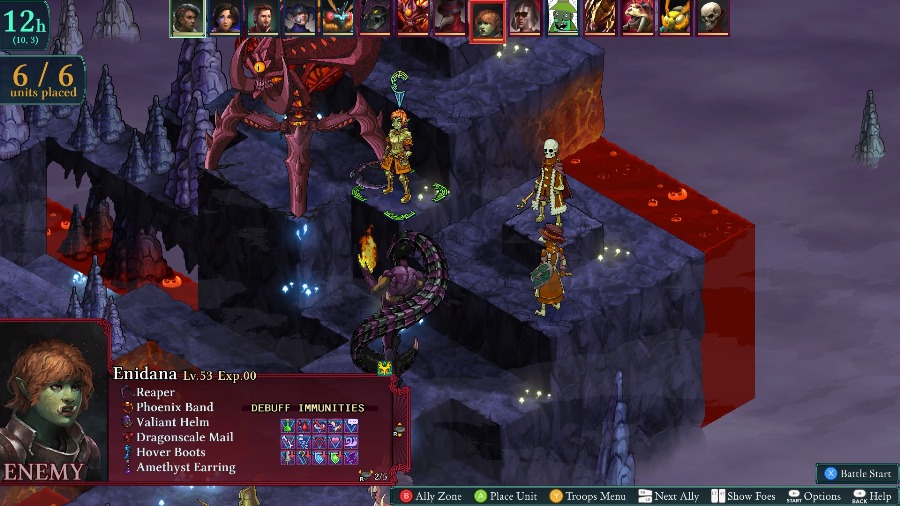 That damage would then be boosted by 25% from her Scythe, allowing her to pretty easily one shot whoever she chooses. Add on to that solid defensive stats, resistances to a few common elements, a total immunity to debuffs, the No Flank passive and Evade Magic reaction, and an innate reraise and you get a unit that�s incredibly difficult to kill on its own, even discounting any healing or support from the 2 nearby mages. 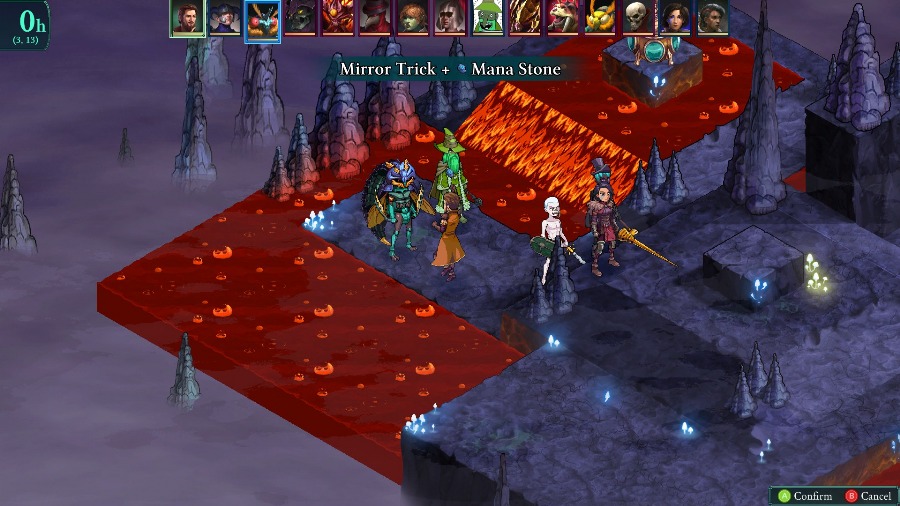 For once, I�m actually faster than the enemies, so the fight starts off with Selina boosting Mongo�s MP and Reiner using Mirror Trick to do the same thing for Bzaro. 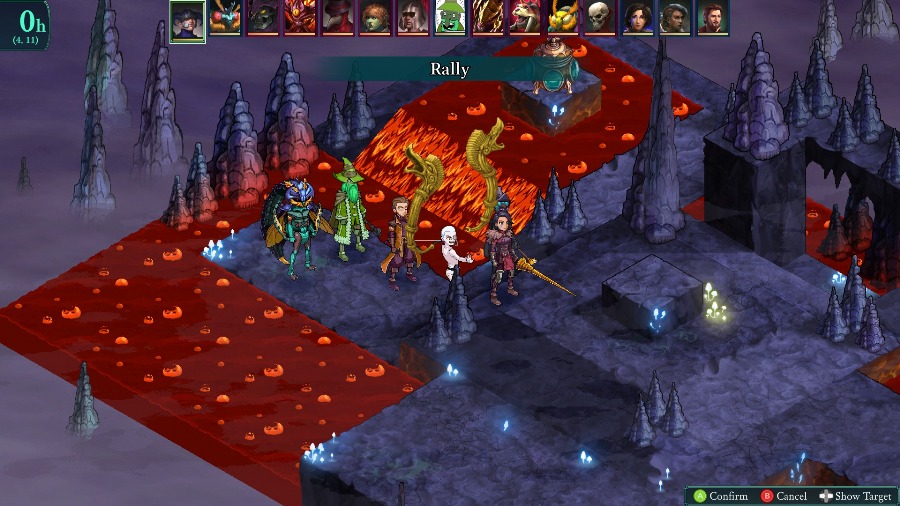 Mongo does a turn 1 Rally on my physical damage dealers. 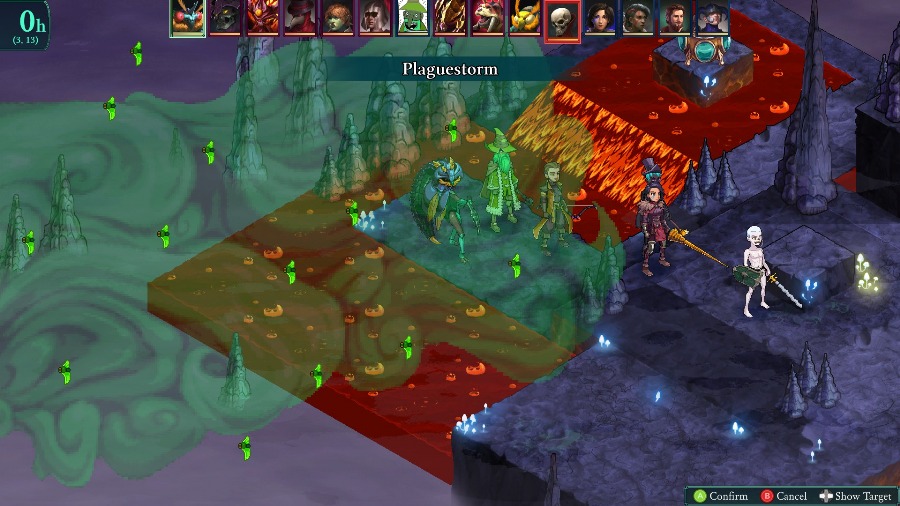 And Bzaro puts out the first damage of the fight with a Plaugestorm.  The only notable result of which was to charm this Bzil. 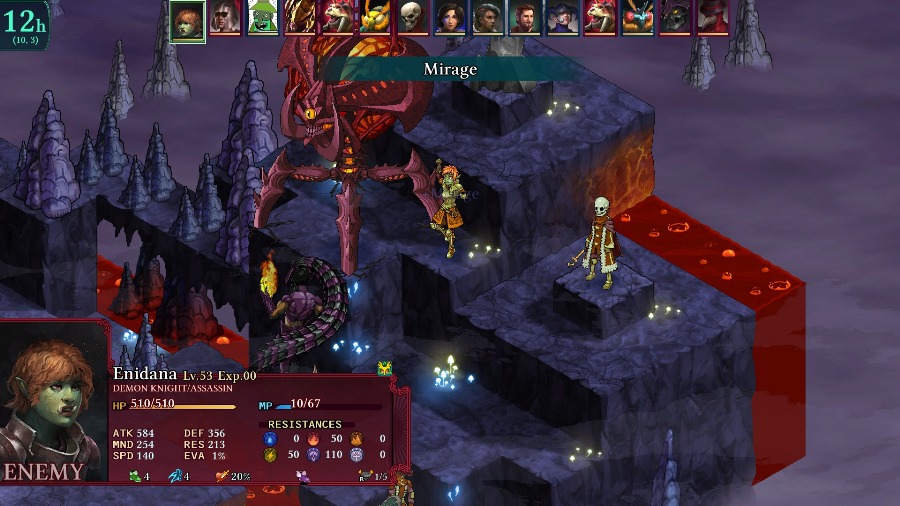 The Demon Knight makes herself even more annoying to kill by getting a Mirage charge, while the other enemies spend a round clearing the small debuffs from Plaguestorm.  Though the Lich does respond by hitting everyone with a boosted Darkstorm. 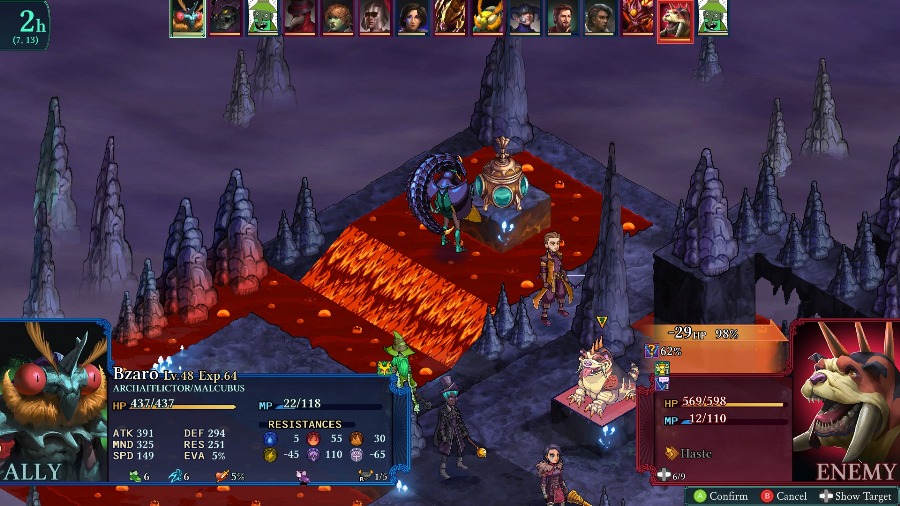 Both sides advance a bit. I make sure to keep all of my units at least 4 squares away from a lava space that the Demon Knight can reach so that she can�t Sabotage me and kill them. While that�s happening, I retreat Bzaro a bit to a lava pool and fire off another Plaguestorm. 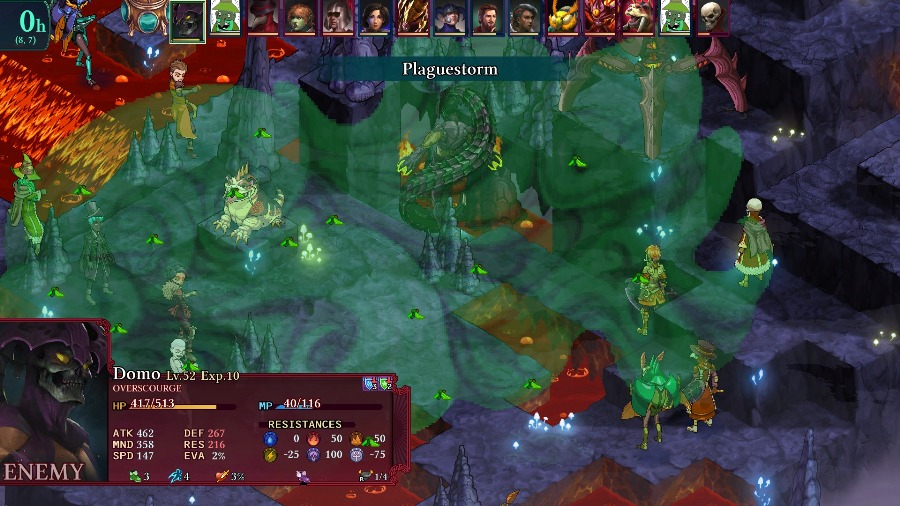 Which is immediately countered with a Plaguestorm from the Overscourge. Thankfully, I finally got around to equipping a lot of status immunity things on my units, so it�s not that much of a threat. 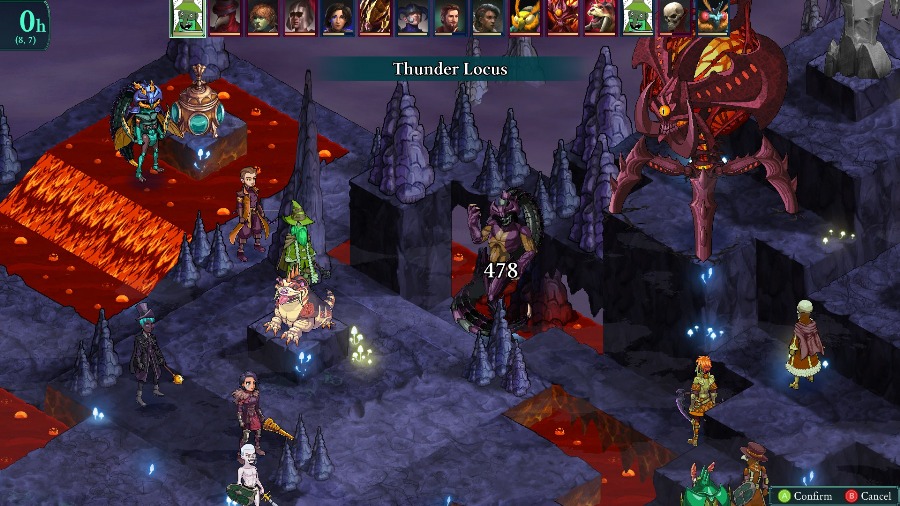 Still, Bobby�s able to take advantage of the Overscourge�s debuffs and thunder weakness to kill it with a Thunder Locus.  The Demon Knight moves up close to Bobby, but just out of range for any damage. 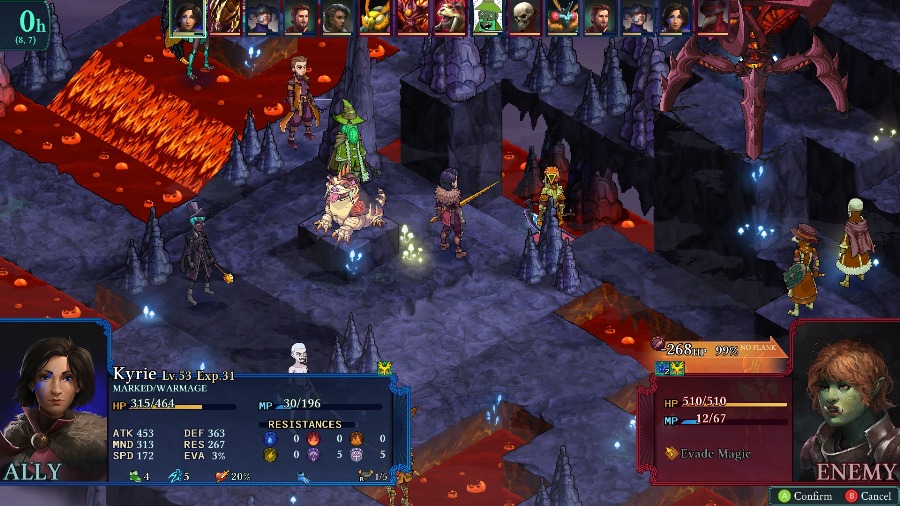 And I decide that I need to take her out ASAP, so I have Kyrie start the process. 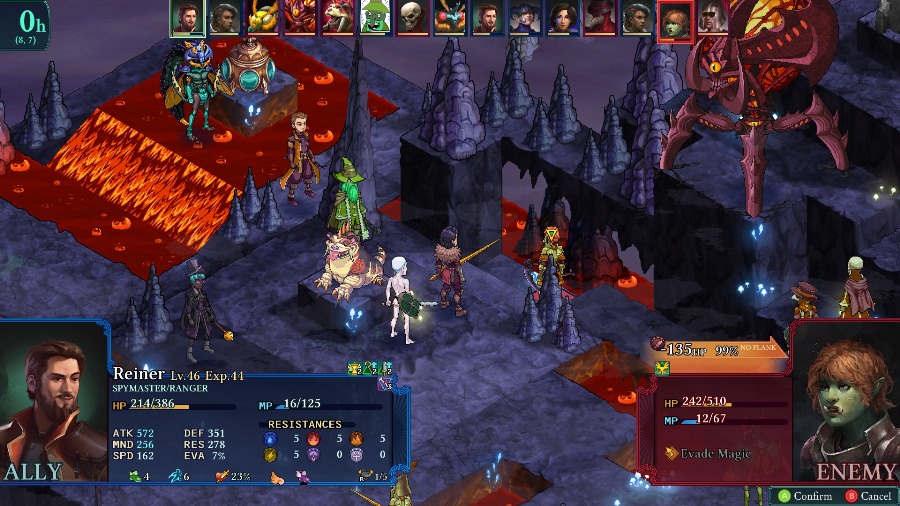 Reiner and Mongo cooperate to nearly down her, and Selina ends up just out of range to finish her. I have Selina heal the group instead since the Lich did a good bit of damage with the single Darkstorm. Bobby can�t hurt her due to her Evade Magic reaction, so I just have him retreat and hurt the Bulldrake a bit.  But then the Lich is incredibly annoying and almost fully heals the Demon Knight. 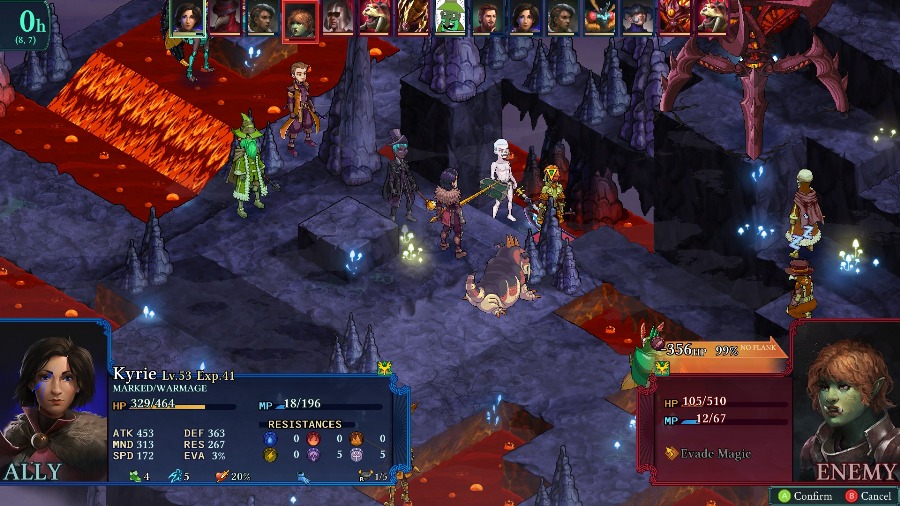 Reiner, Mongo, and Kyrie are able to work together and take the Demon Knight�s first life out.  But Selina can�t do enough damage without magic to get a 2nd kill before the Demon Knight moves. 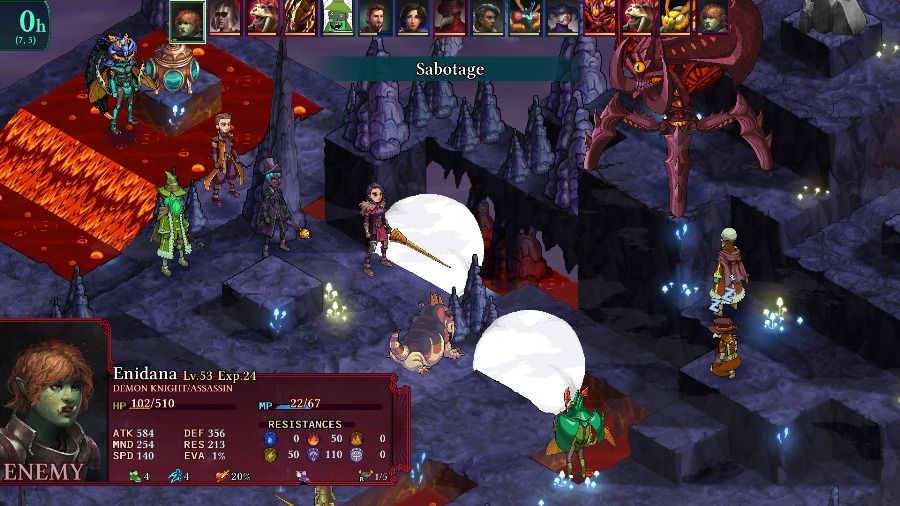 And just like I said, her first move is to dunk Mongo in the lava for an instakill. 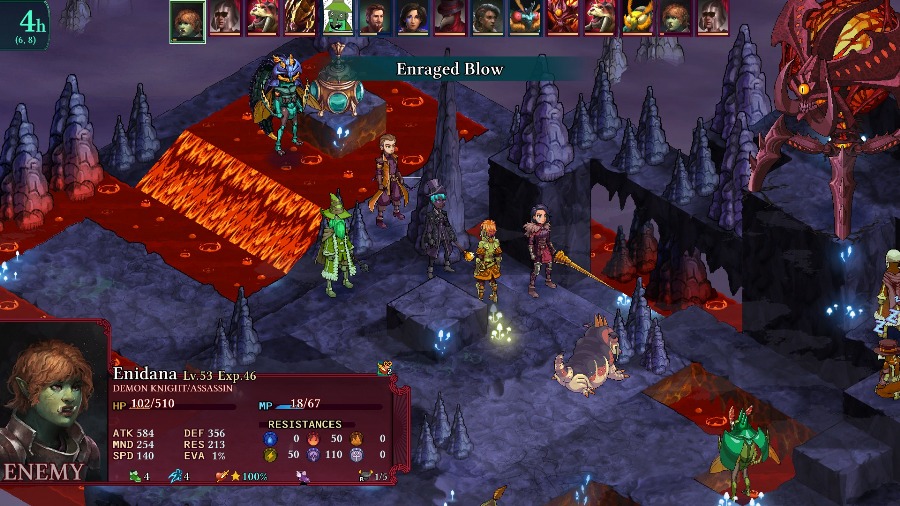 And then she saunters over to Selina and absolutely obliterates her. 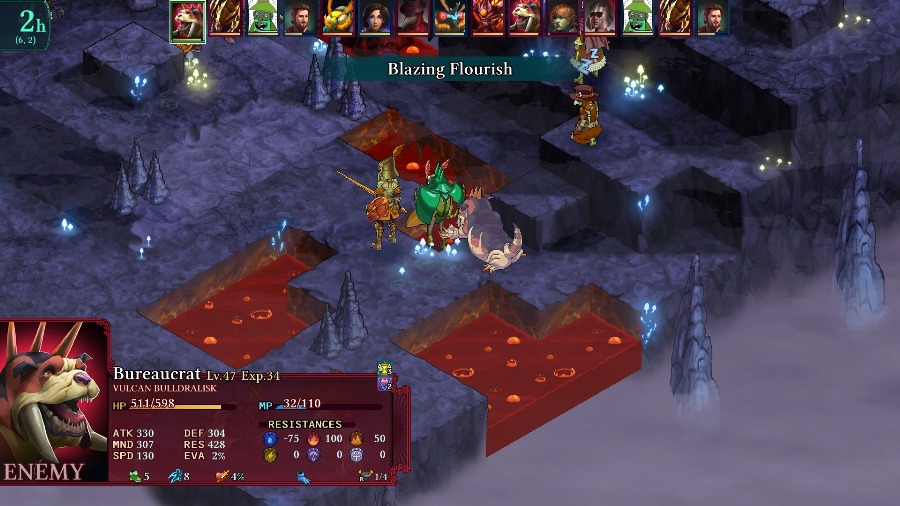 Bzaro�s last Plaguestorm charmed the Bulldralisk. It doesn�t do that much damage, but it does provide a bit of a distraction and give me some breathing room. 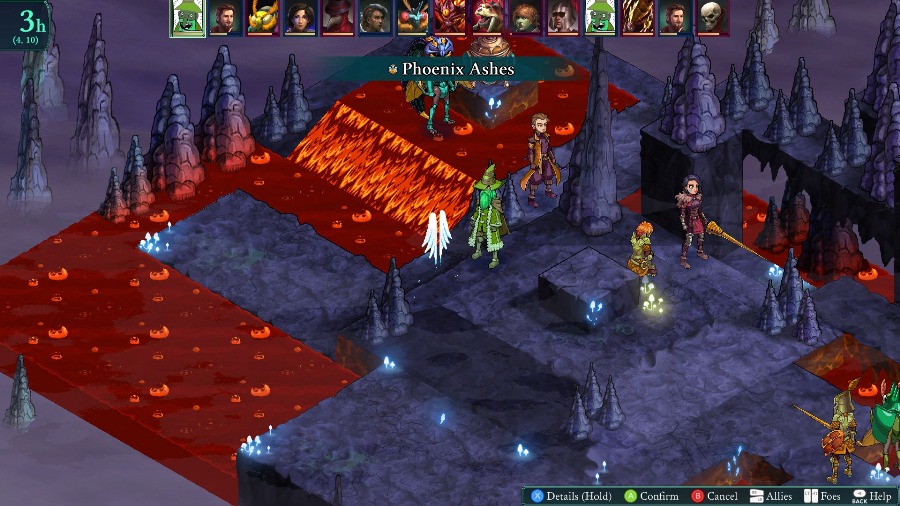 Bobby brings Selina back since I will absolutely still need her healing. 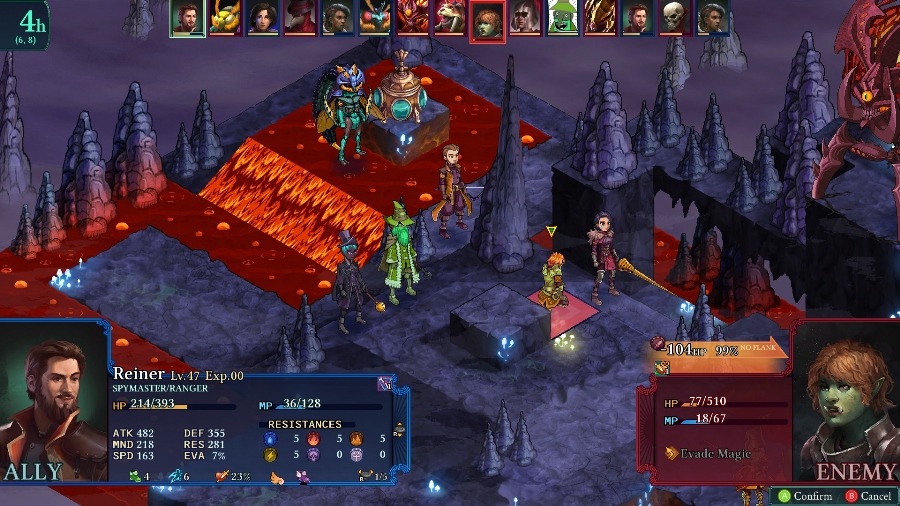 And Reiner takes out the Demon Knight. Now I just have to pray that no one revives her. 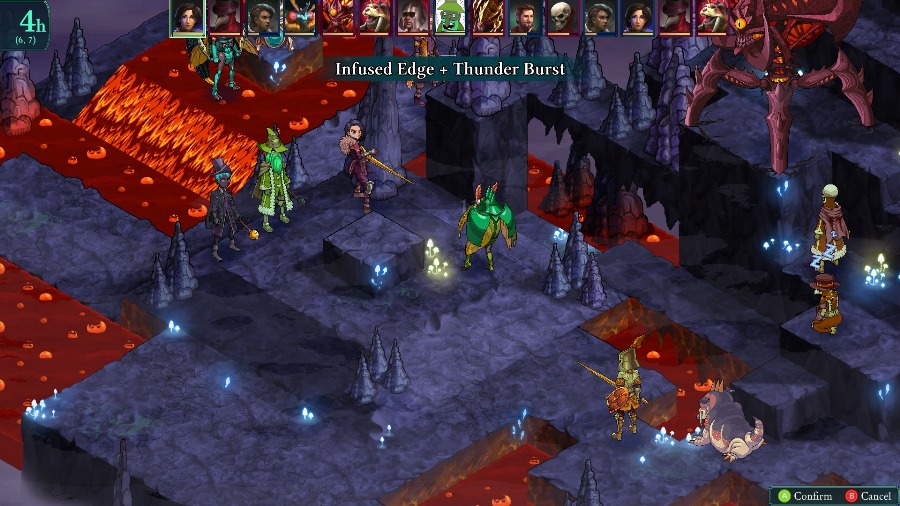 The Bzil fully heals itself with a potion and then advances. I have Kyrie attack and start a string of missing attacks as both parts of the Infused Edge fail to connect. 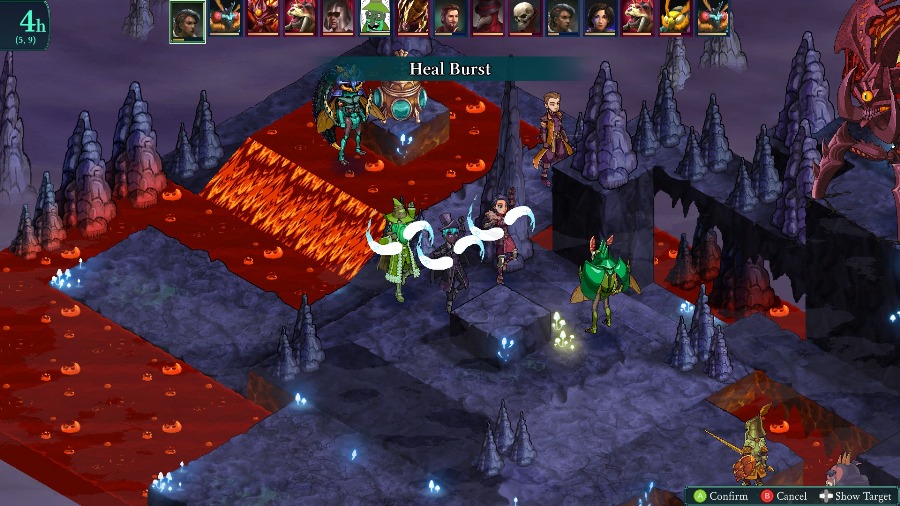 Selina keeps healing everyone. 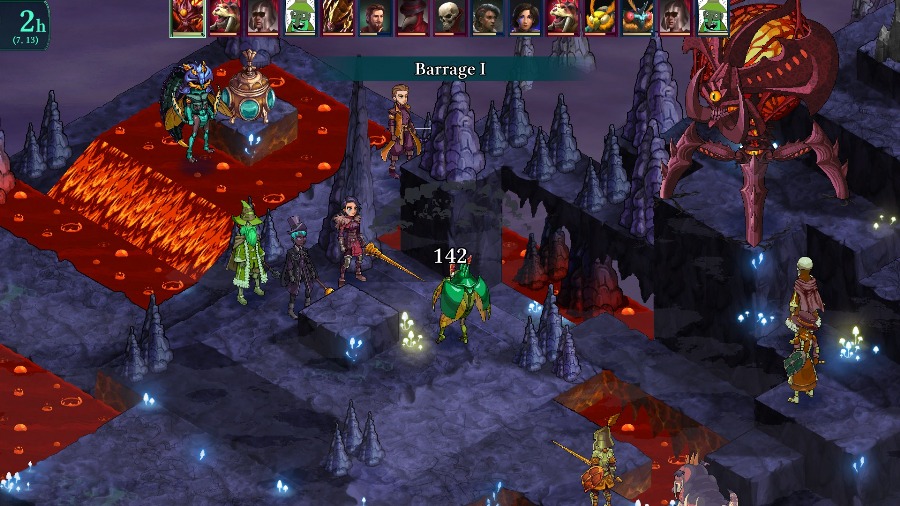 And the Aeoth does a bit of friendly fire. 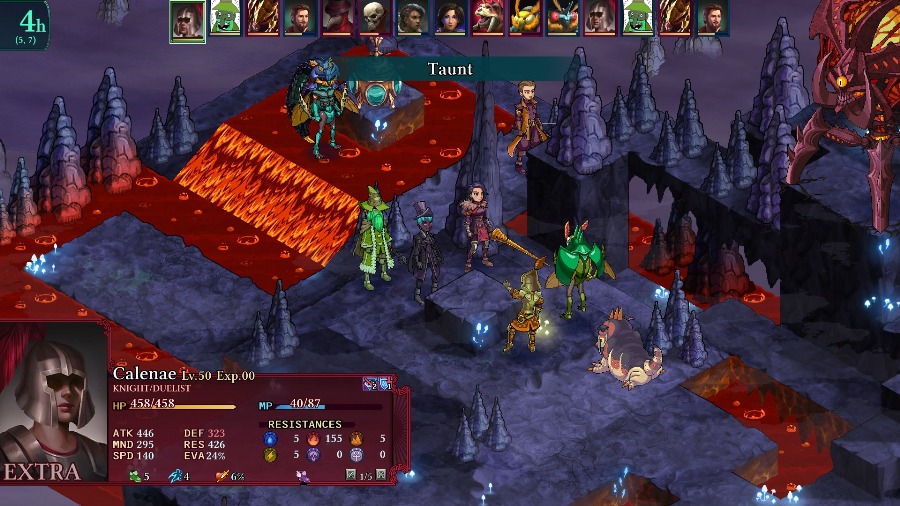 The Knight is annoying and Taunts Selina who is not immune to berserk. I have no remedies left, so I just have Bobby hit the group of enemies with a Water II. 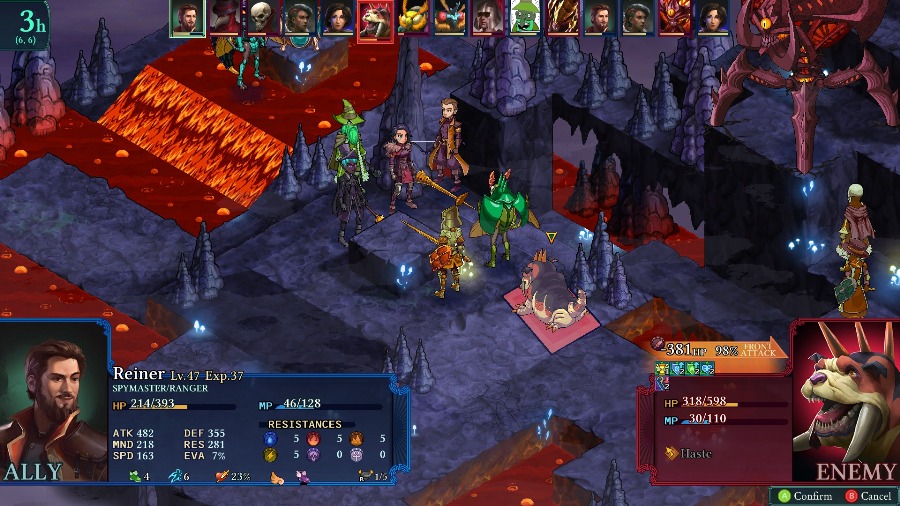 Reiner�s then able to finish off the Bulldralisk with a Snipe. 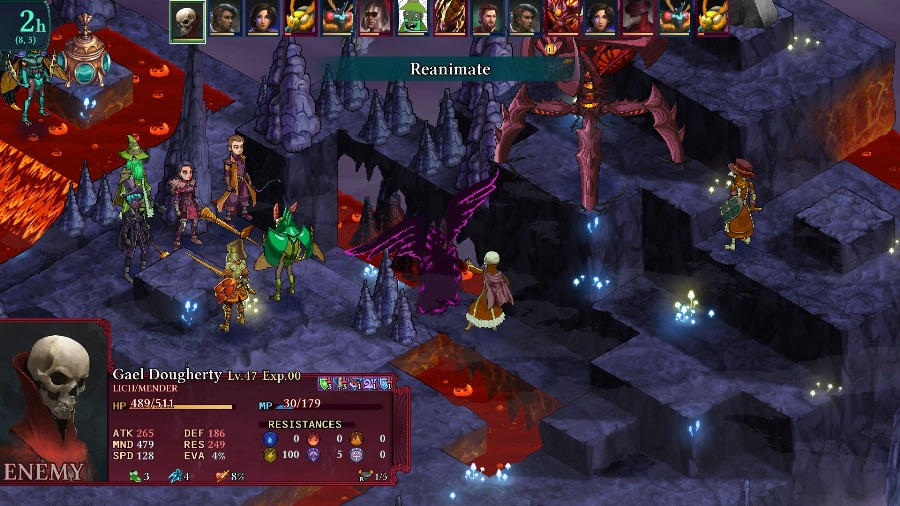 While the Lich is quite rude and reanimates Mongo as a zombie. 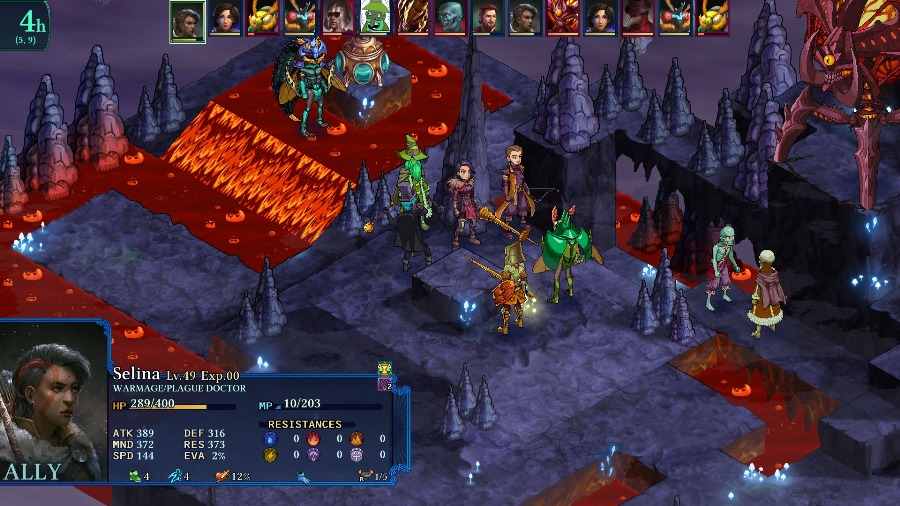 Selina whacks Kyrie but doesn�t do a super threatening amount of damage with just a basic attack. 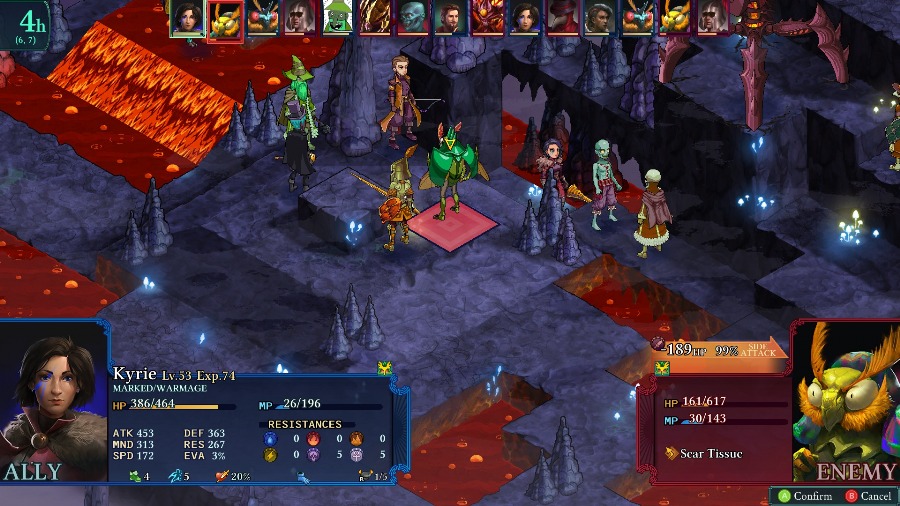 Kyrie whiffs again as she tries to kill the Bzil. 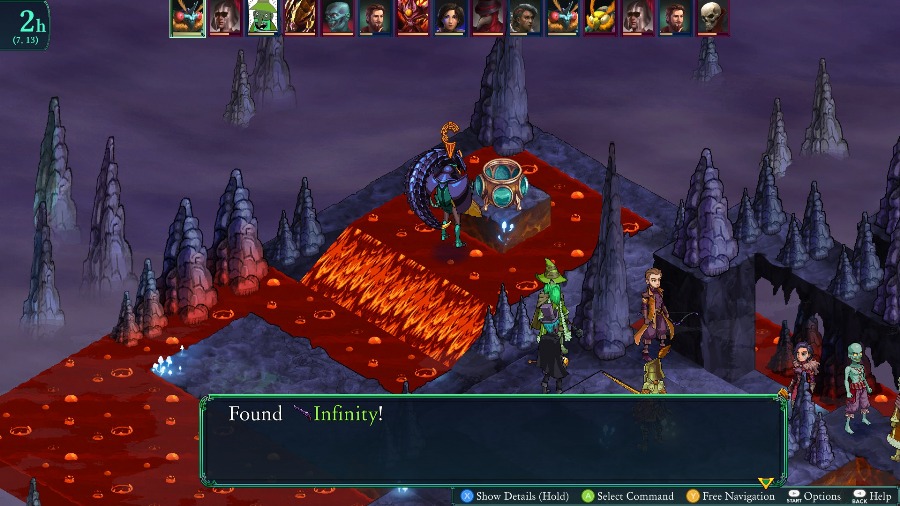 While Bzaro finds himself too low on MP for a Plaguestorm. Instead I have him open the chest to get us a 2nd Infinity. 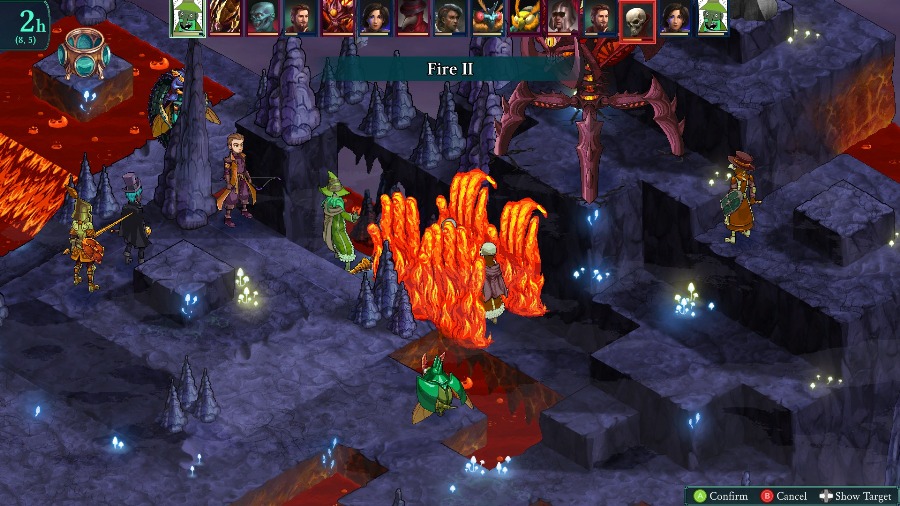 Bobby keeps the Lich�s HP down to prevent anymore nasty spells. 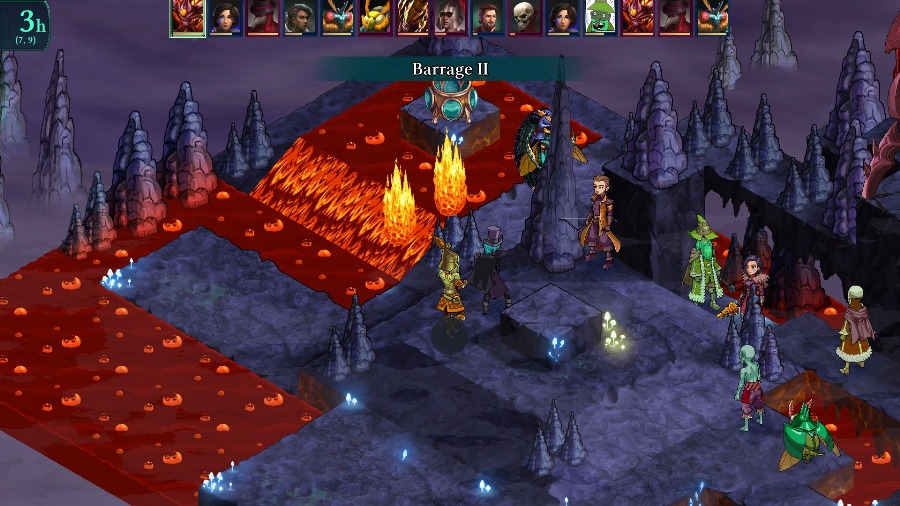 And Selina gets pretty hurt by a Barrage from the Aeoth. This also fully heals the Knight thanks to their fire shield. 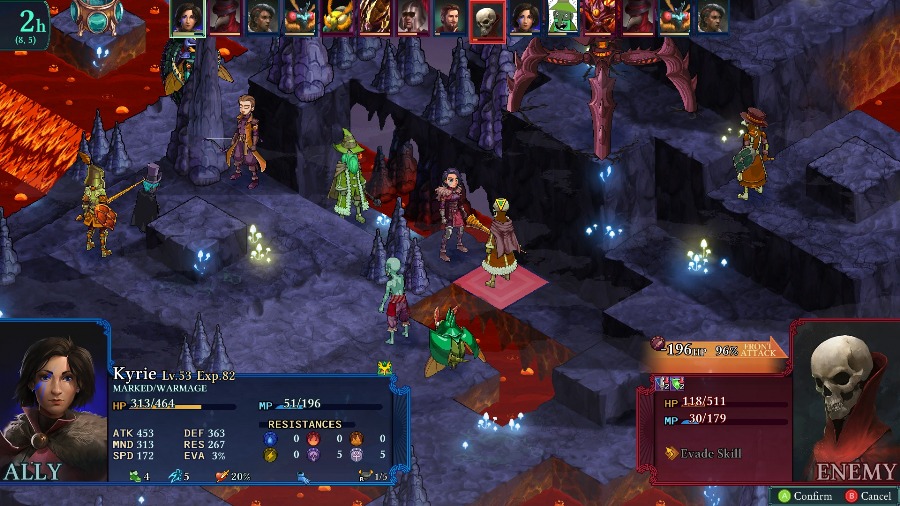 After Mongo�s corpse wanders off, Kyrie�s able to kill the Lich. 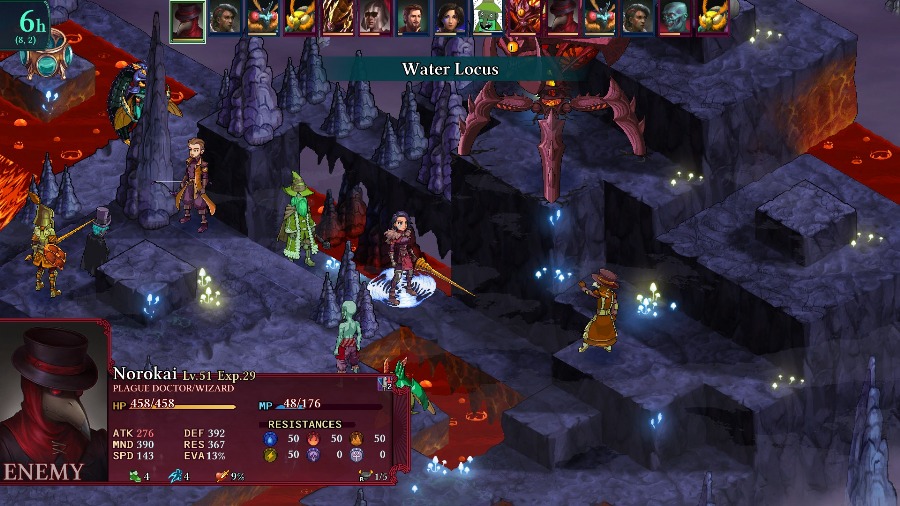 Though she almost dies to the Plague Doctor�s retaliation. 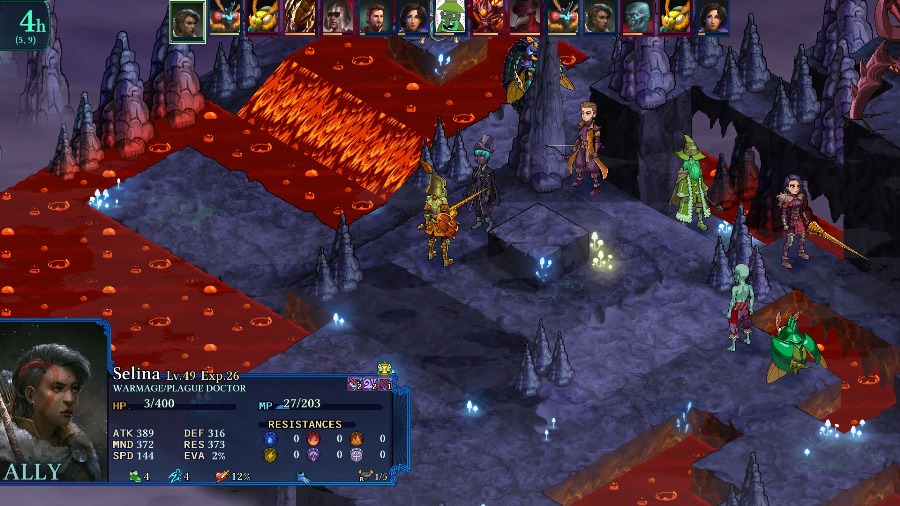 While poor Selina is barely hanging on, statused to hell, and is sitting inside another Barrage radius. I have Bzaro come up and heal her with a Heavy Potion. 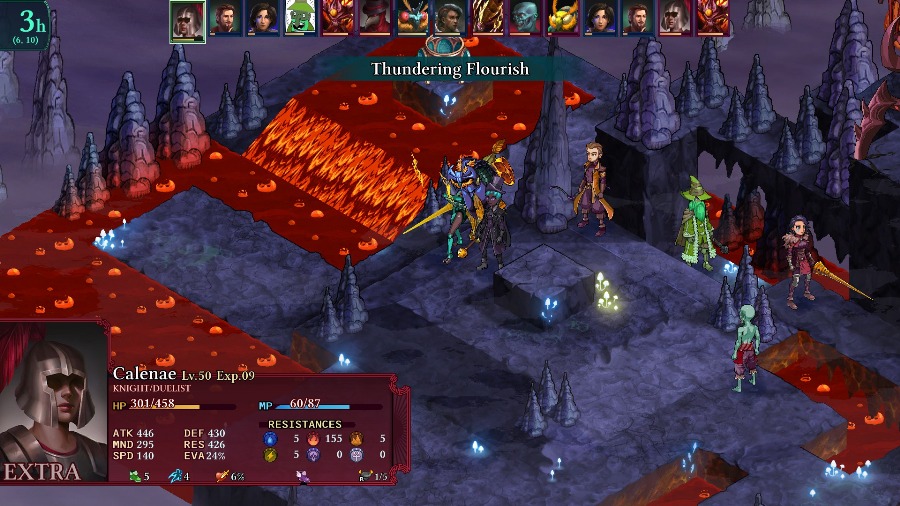 Which the Knight takes advantage of to nearly OHKO Bzaro. 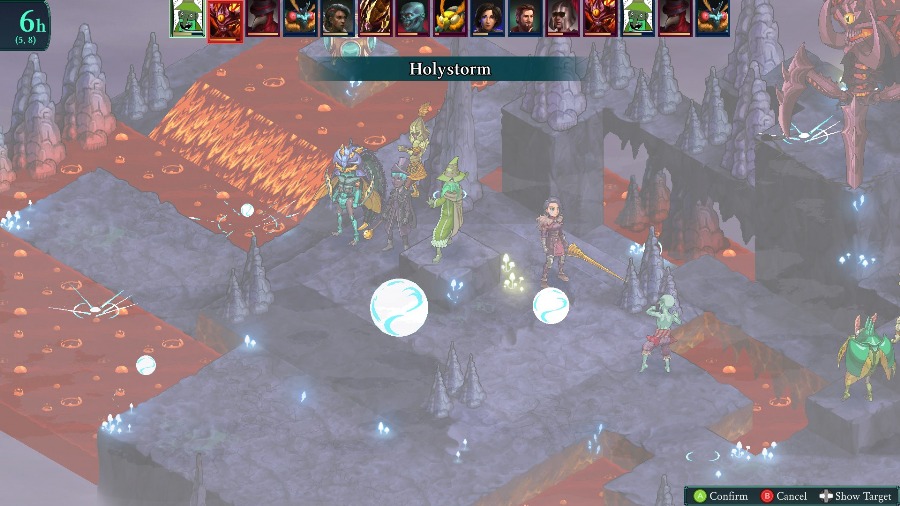 I have Kyrie retreat and heal since if goes down I�m finished, and Bobby keeps hurting people with map-wide attacks. 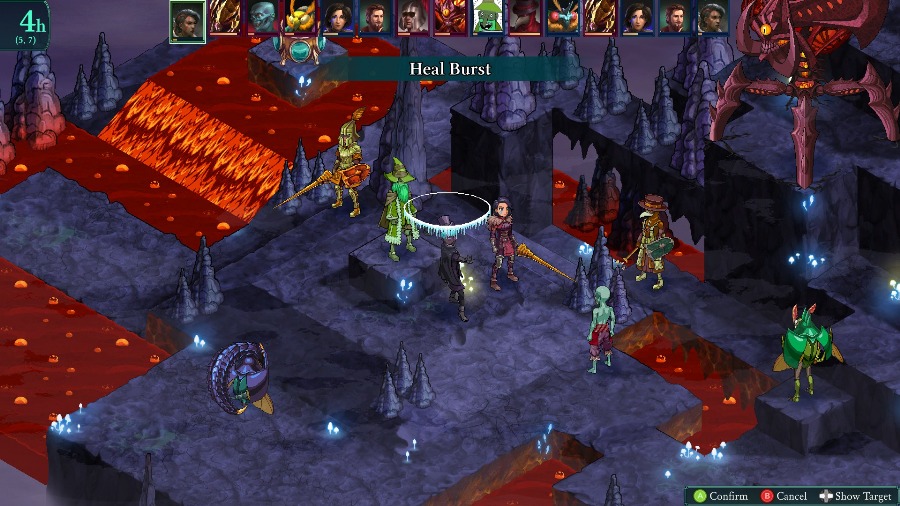 I get very lucky and Selina barely survives the 2nd Barrage. The berserk has finally worn off so I have her heal up Bobby and Kyrie. 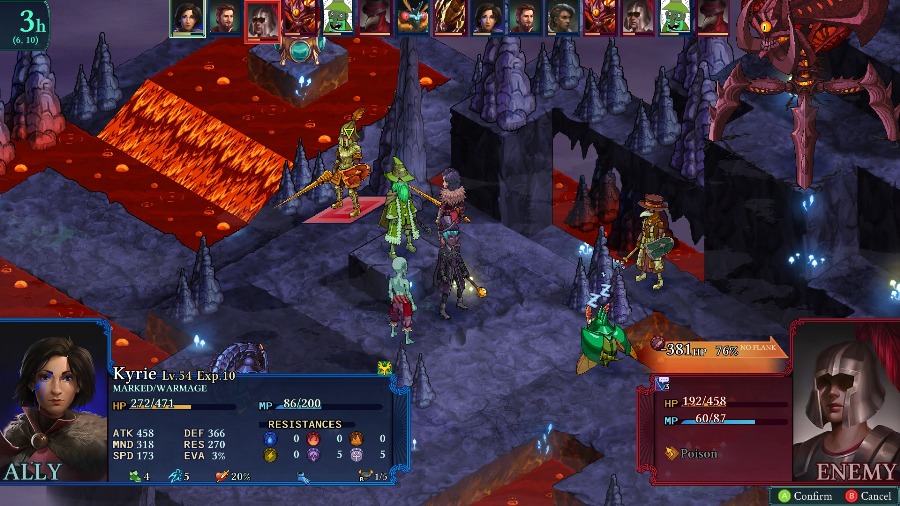 Kyrie gets hit a bit more by the enemies, but uses her turn to finally kill the Knight. 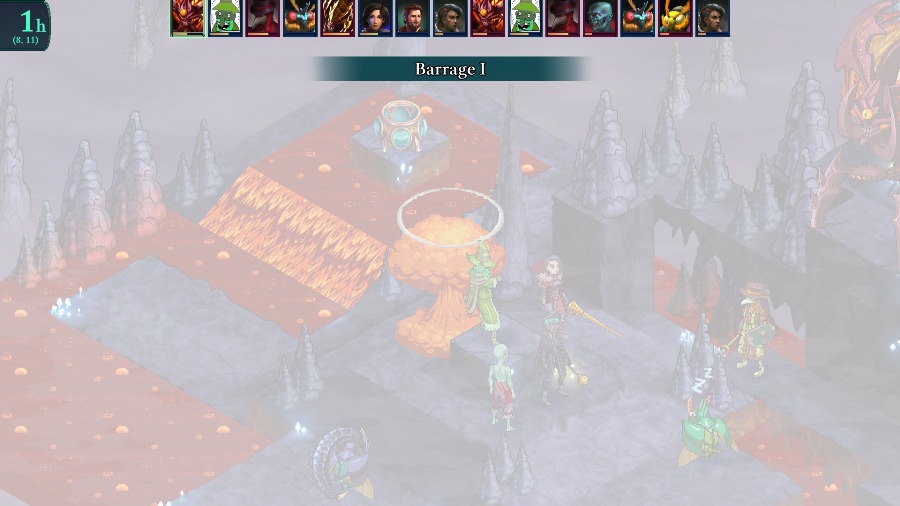 But because Bobby was the slowest one in my party, the Aeoth�s speed boost finally catches up to him and kills him with an unavoidable Barrage 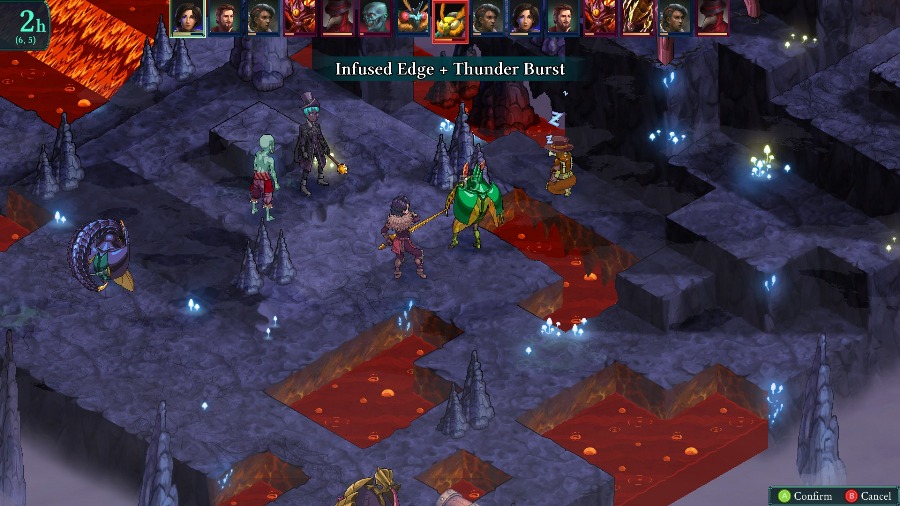 Soon afterwards Kyrie falls just short of killing the Bzil. 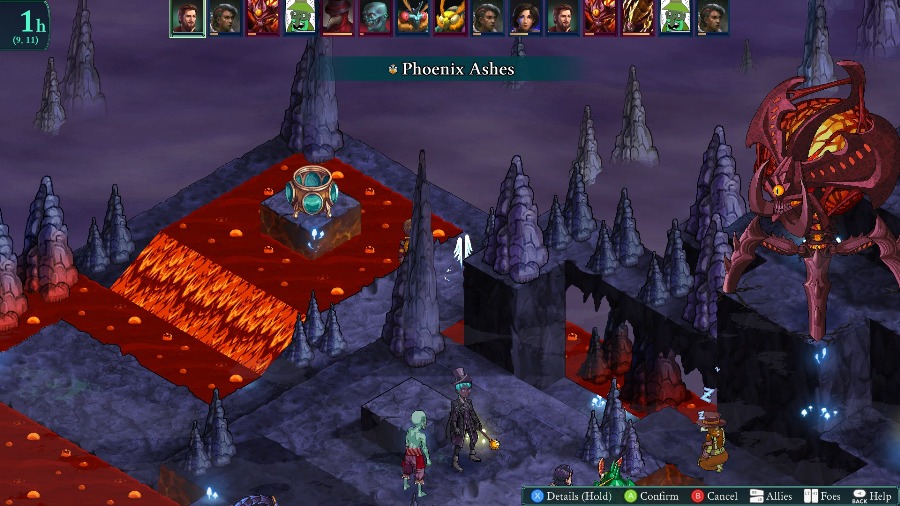 I have Reiner revive Bobby in a safe spot. 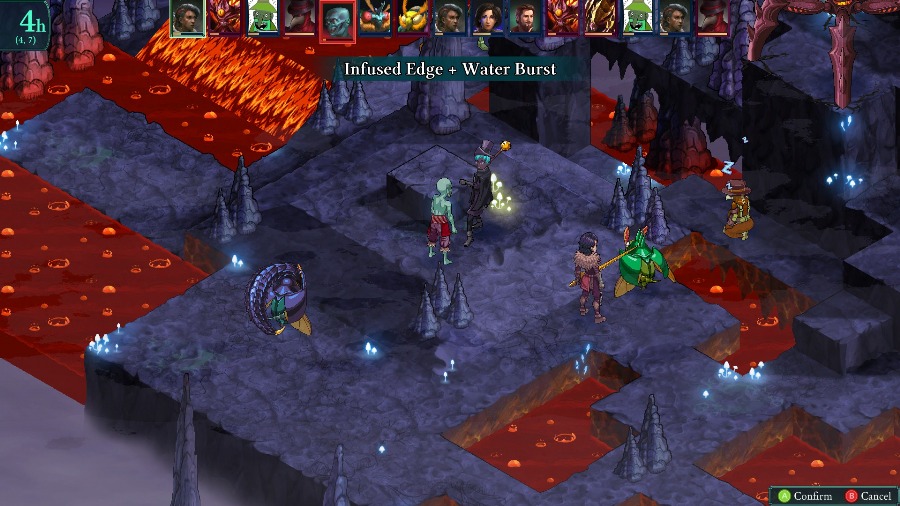 And Selina puts Mongo back down. 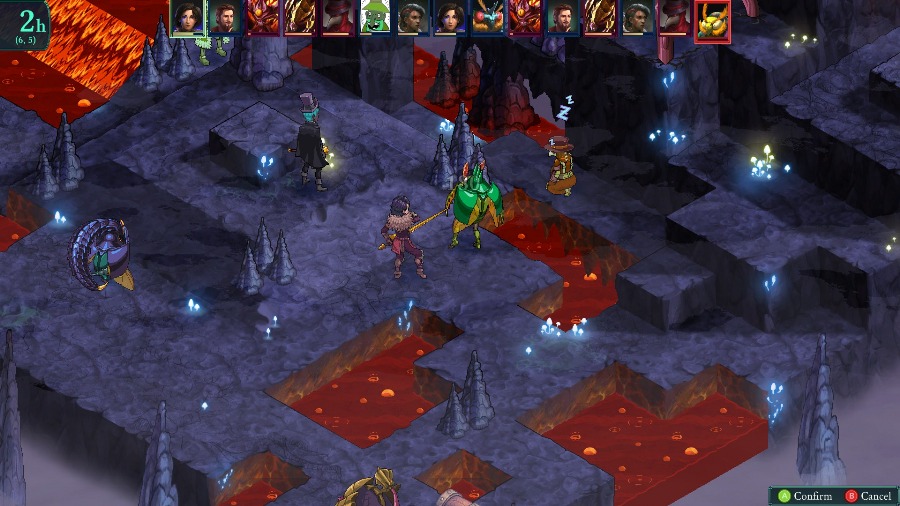 There�s a bit more healing before Kyrie actually kills the Bzil. 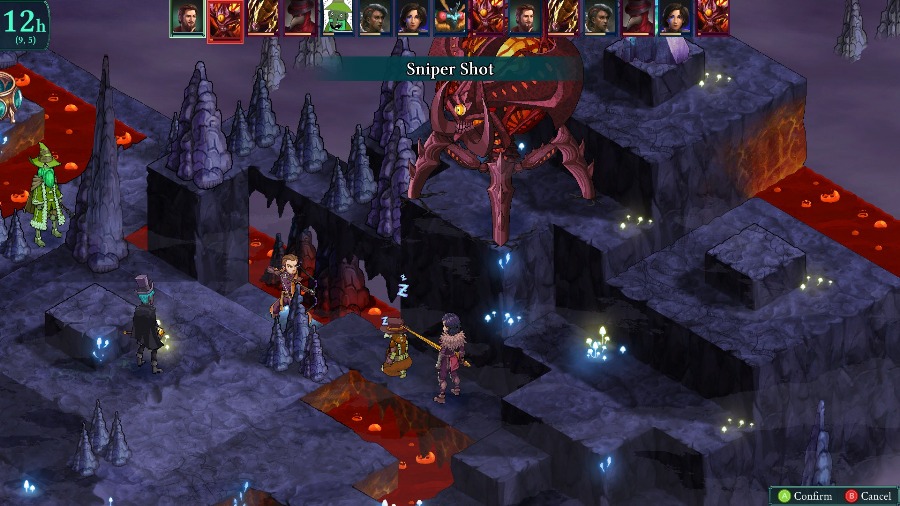 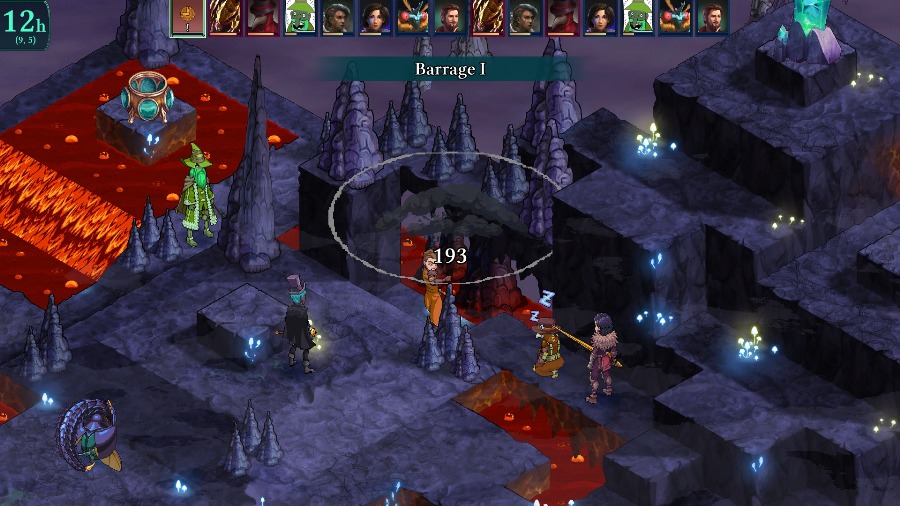 While Reiner sacrifices himself to take out the Aeoth before dying to a final Barrage. 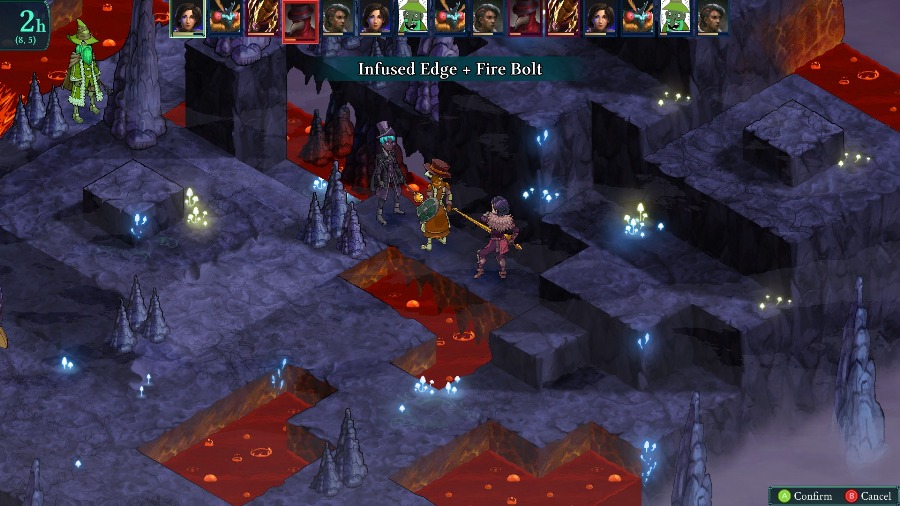 And finally, Kyrie and Selina work together to take out the Plague Doctor and basically win the fight. 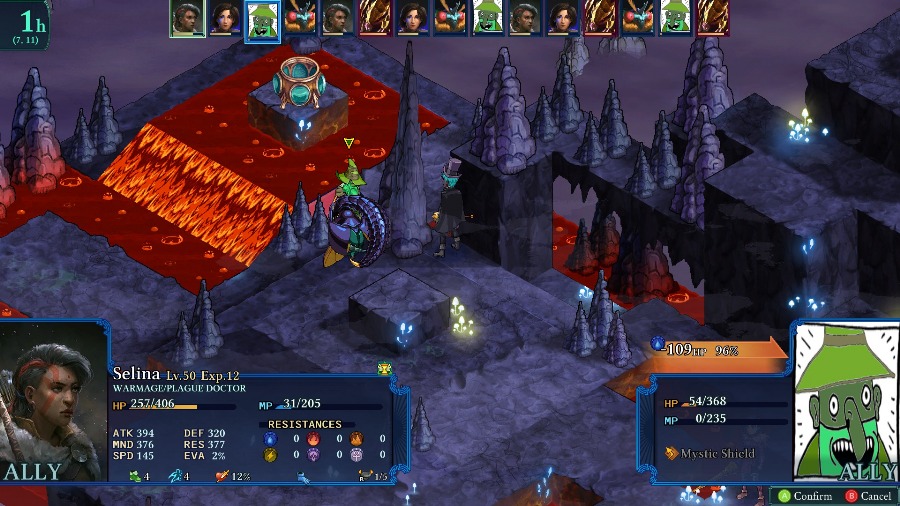 I realize a funny thing, in that Bobby actually can�t leave the area he�s in. Since you need to teleport out at the crystal to end the fight, and Bobby can�t kill himself thanks to Mystic Shield, I have Bzaro and Selina knock him out again. 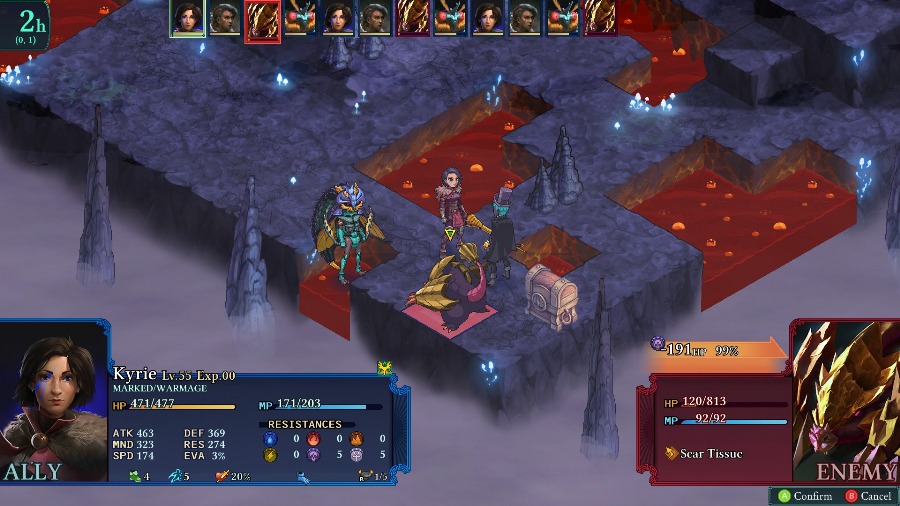 Down in the corner, I beat up the Adamantrog that did absolutely nothing all fight. 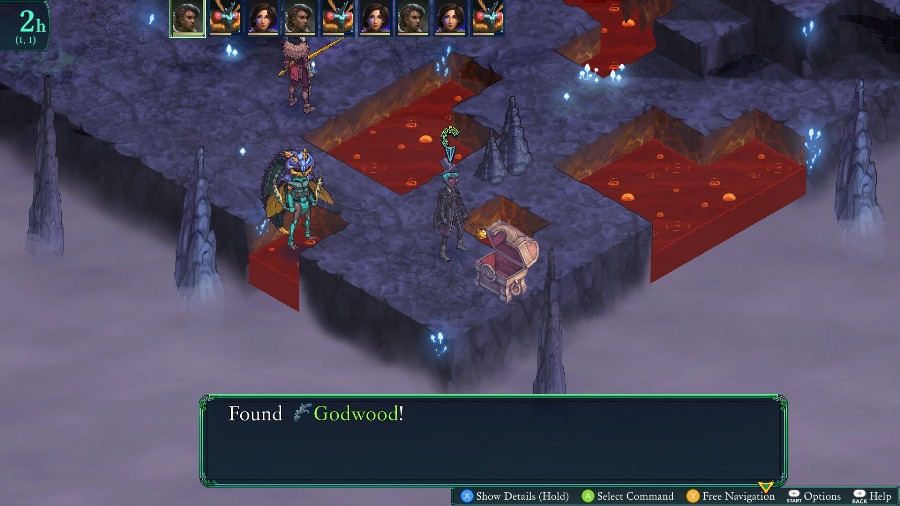 And receive a Godwood crafting material, which is used to make a number of top-tier weapons. 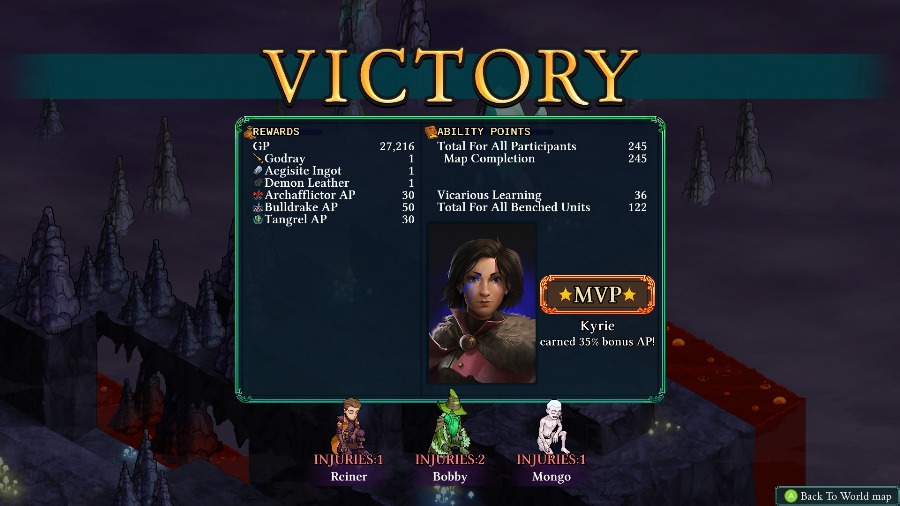 And then shortly after I teleport out. The notable reward for this fight is a 2nd Godray, which is the best spear. This was a really close one. The Demon Knight does such crazy damage that even just the single turn that she actually used nearly knocked me out of the fight, and then losing my healing from Selina while she was berserked nearly finished me off. While the ending wasn�t as nail bitingly close as the Arena final, this one still took me multiple tries to complete and really made me center my whole team around a specific strategy.
|
|
#
?
May 24, 2020 15:47
|
|
|
These levels get incredibly devious but turn out just a little too annoying to play. Things can go from you facerolling the enemy to instantly on the back heel in an instant.
|
|
#
?
May 24, 2020 16:36
|
|


|
what the gently caress is that Demon Knight enemy holy poo poo.
|
|
#
?
May 25, 2020 04:20
|
|
|
Rigged Death Trap posted:These levels get incredibly devious but turn out just a little too annoying to play. Things can go from you facerolling the enemy to instantly on the back heel in an instant. Yeah, I can definitely agree with the just a little too annoying bit. I think that'll be pretty well exemplified by the conceptually very cool, but very annoying in practice, next map. Seraphic Neoman posted:what the gently caress is that Demon Knight enemy holy poo poo. Crazy strong. The AI's growths are a bit more optimized, but what's really crazy is that I could have Anadine kitted out the same way. After getting the Reaper earlier in the dungeon, I have all of the equipment pieces, and the abilities are accessible if I choose to go get them. Though I find that in the AI's hands a unit like Anadine is a bit more threatening on the other side since losing 2/6 units is a lot more impactful than 2/9.
|
|
#
?
May 26, 2020 03:50
|
|
|
Update 66: Ancient Path VI: The Gauntlet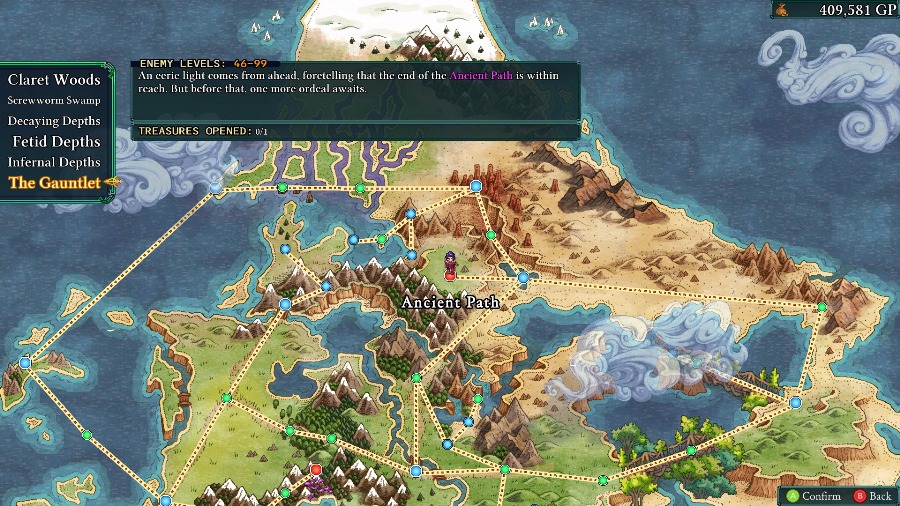 Hello and welcome back! Last time we fought what was in my opinion the most difficult fight in the game. This time we�ll be going through The Gauntlet, which is a very interesting map. 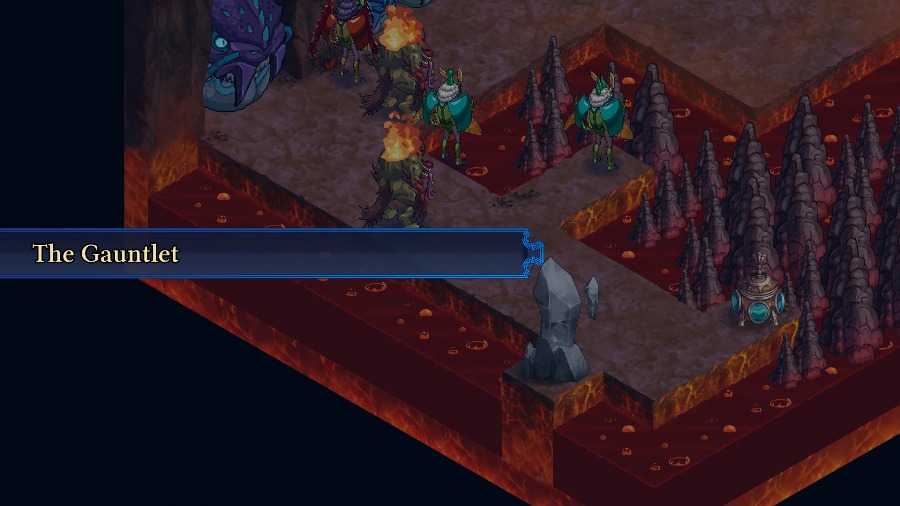 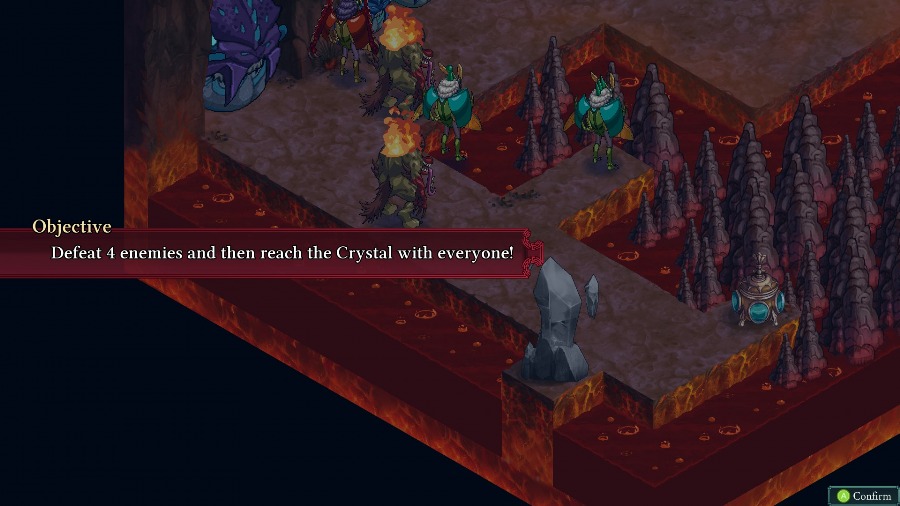 It�s another crystal map, but it has a pretty interesting twist. 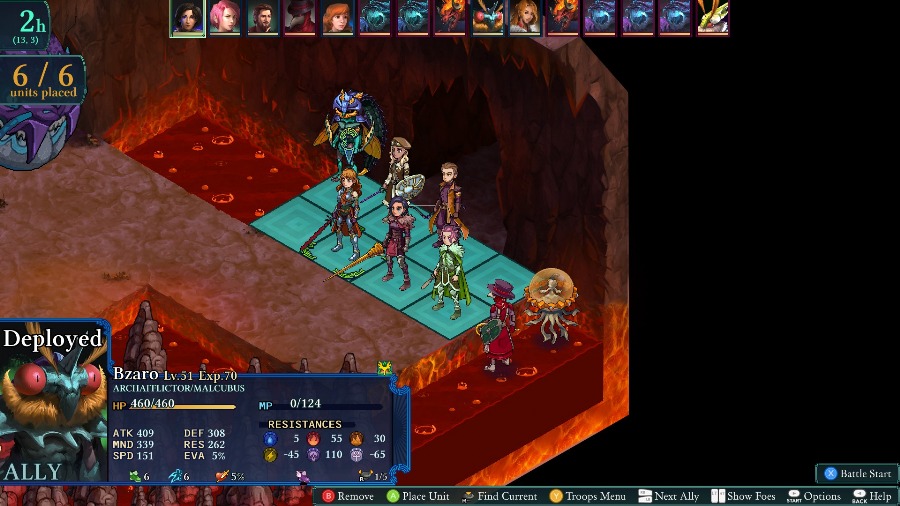 On my side, I have Bzaro for status conditions, Sophia, Reiner, Anadine, Kyrie, and Hannah. And against us are a Plague Doctor and Pekite, 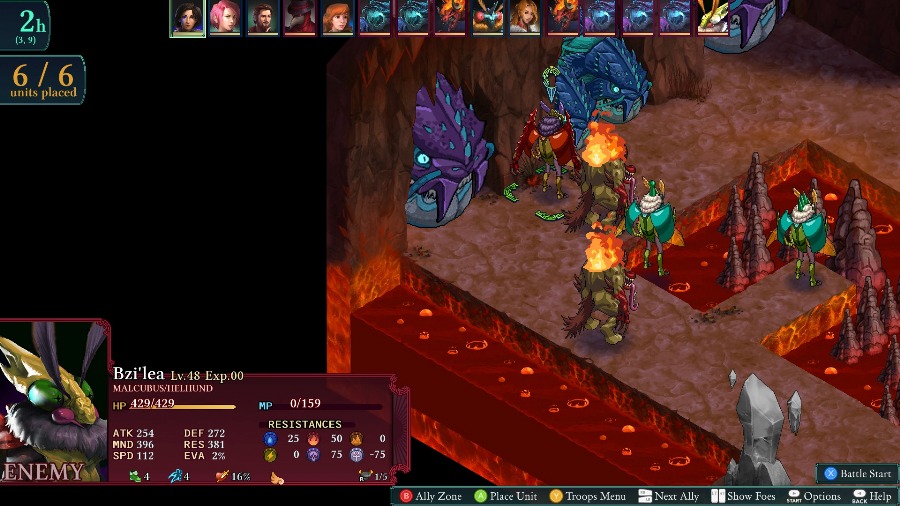 2 Xolotls and 3 Bzils, all of whom have the Helhund secondary, 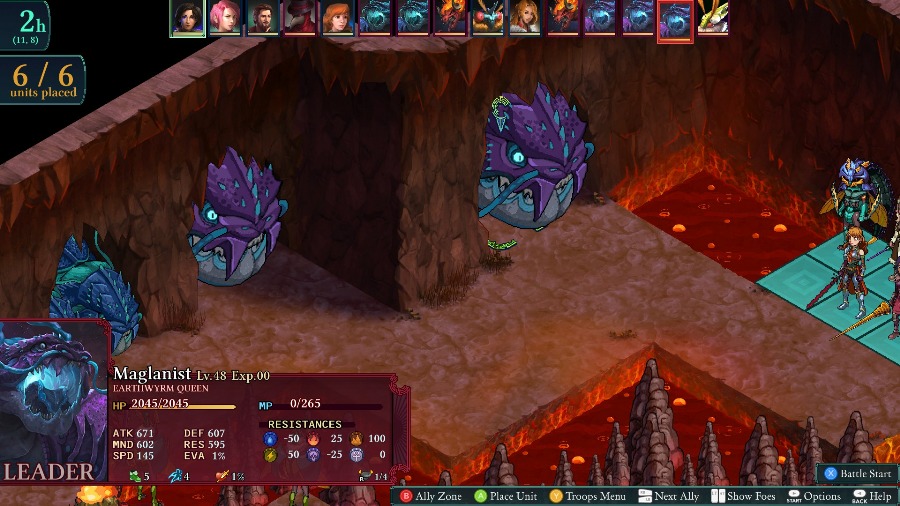 And then, just like someone told me earlier in the thread, we have a repeat of the Earthwyrms from the Occul Riverbed. However, unlike there, these don�t move out of their holes. Instead, there are a ton of them and their Quicksand has a boosted range so the Queens� ranges cover almost the whole map. Other than that, they have the same ridiculously powerful Loco Rush if you stand in front of them, as well as the acid attacks they can use while they retract. The general gimmick of this map is that the land is a �Gauntlet�. It�s a single relatively narrow path with the Earthwyrms dotted along the side and single or double columns of comparative safety between them. Then, to add on the difficulty, all of the enemies by the crystal know the Quetzalcoatl ability and love to spam it down the path, hitting everyone in the line. And even when you reach the end, the enemies are still full health and viable threats in their own right. 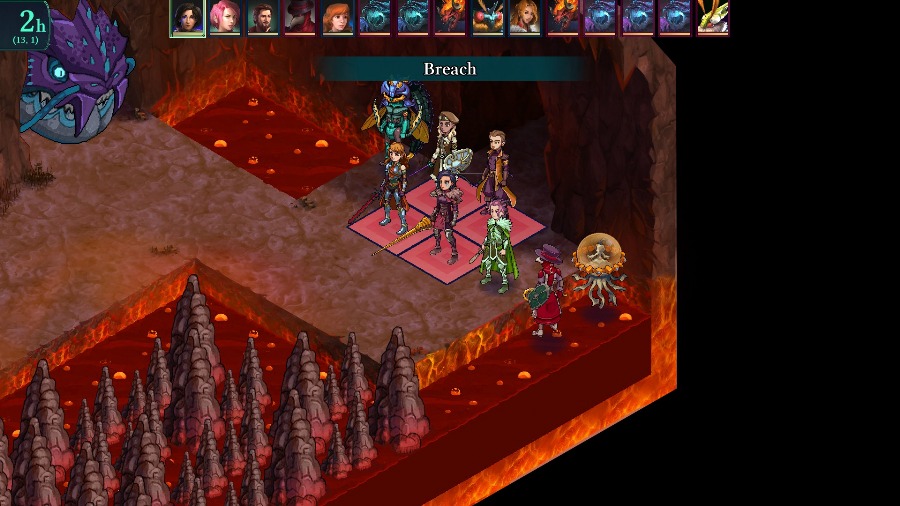 And then to make things even more claustrophobic, certain areas of the map are marked as targets of a Breach, which will destroy the tiles there and make it even harder to stay safe from the Wyrms. Of course, there are 4 safe slots in the back and I have 2 people that can float, so I�m just going to cheese the hell out of this. 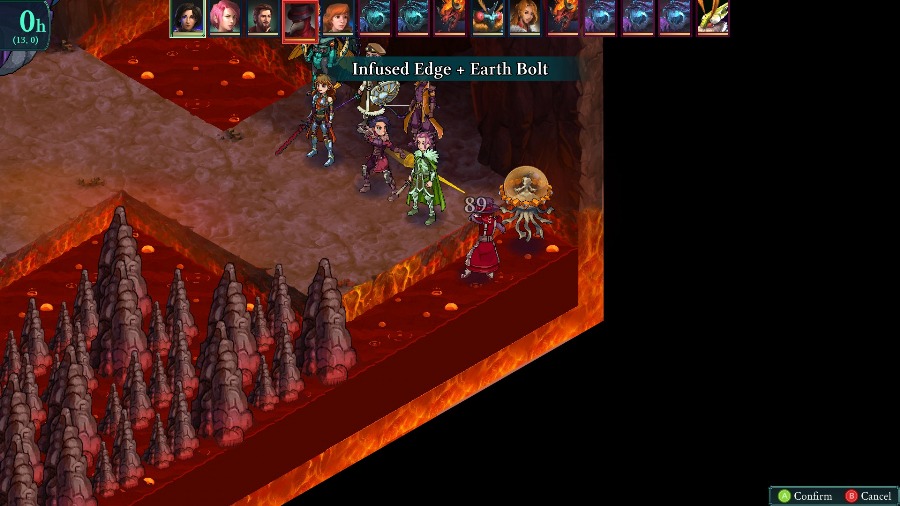 Priority number one is to take out the Plague Doctor and Pekite before they make things worse. 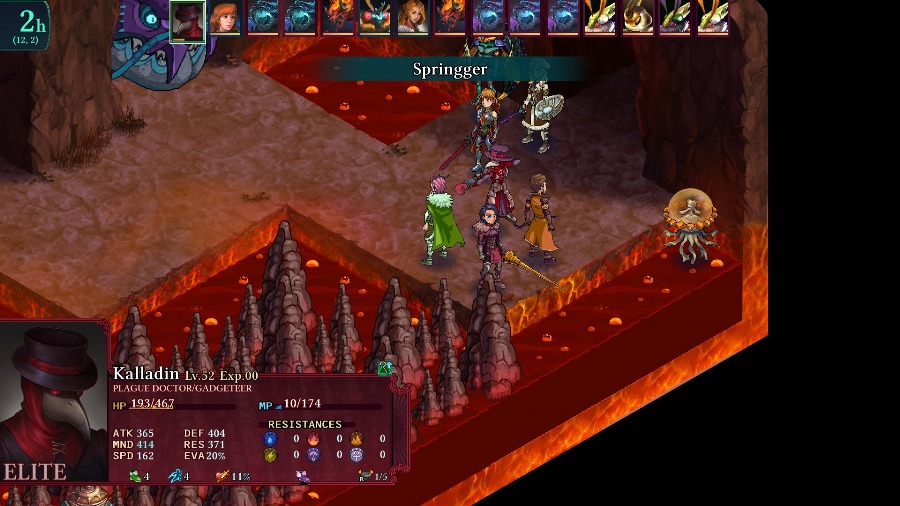 Hannah nearly gets dunked in the lava but dodges the attack. 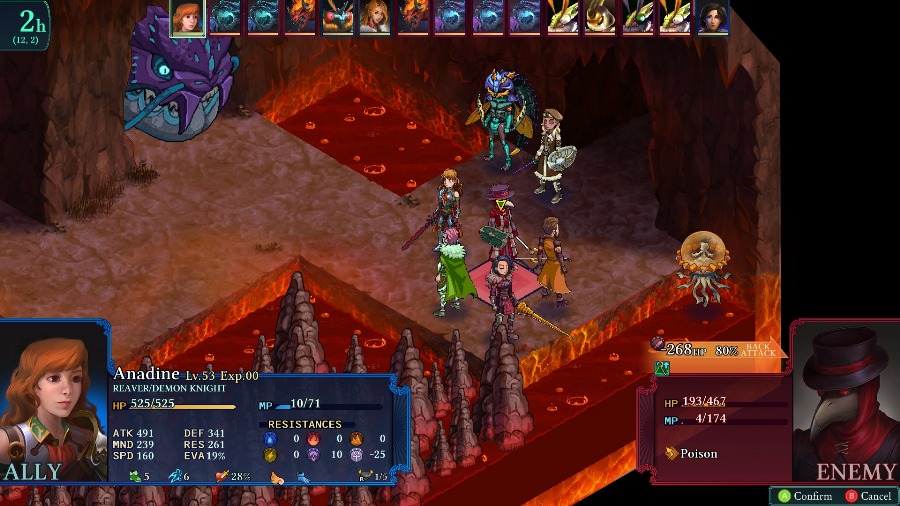 And Anadine kills the Plague Doctor.  Just to show how absolutely ineffective regular attacks are against these Wyrms. One of my strongest attackers does about 1.5% of one of 3 Wyrm Queens�s health. The only real way to harm them is through status effects, hence my bringing Bzaro and giving Hannah status effect inflicting weapons. 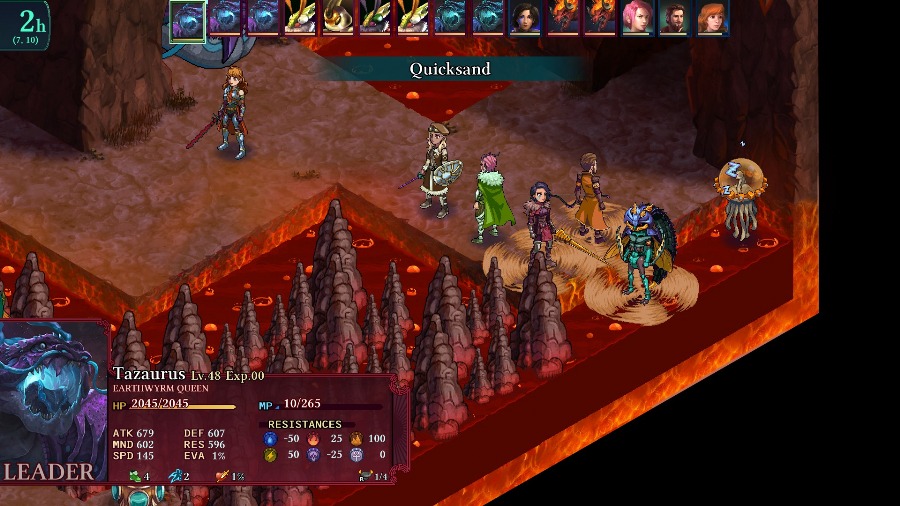 To demonstrate the range, this is from the Earthwyrm Queen closest to the Crystal. So they can really hit wherever they want with Quicksand. 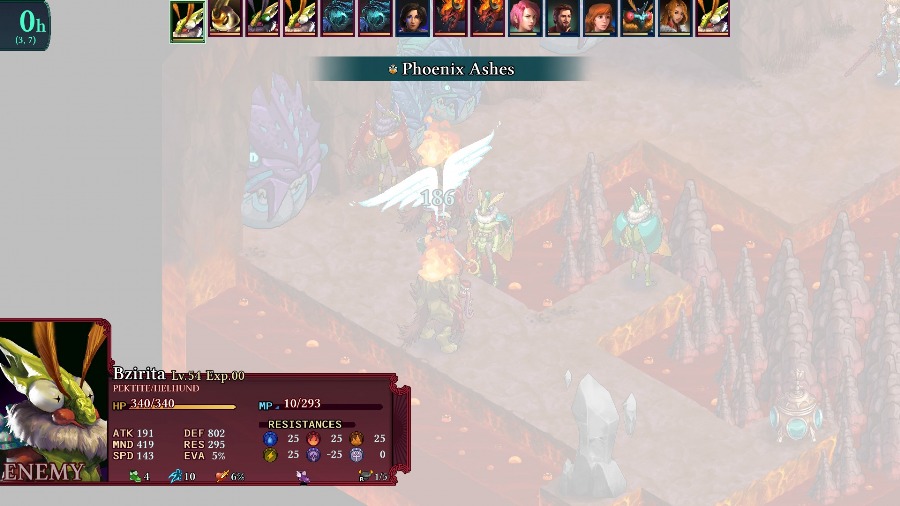 There�s a barrage of those attacks that almost kills Kyrie, and then one of the enemies revives the dead Plague Doctor. That doesn�t really matter, since they�ll generally stick down in the back.  Kyrie gets to work on the Pekite. 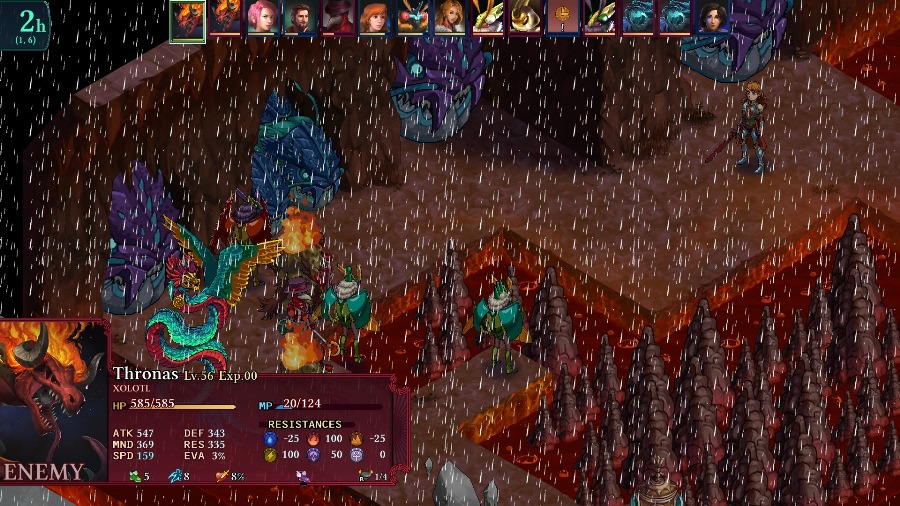 Anadine gets blasted a few times by Quetzalcoatls, though she somehow dodges almost all of them. 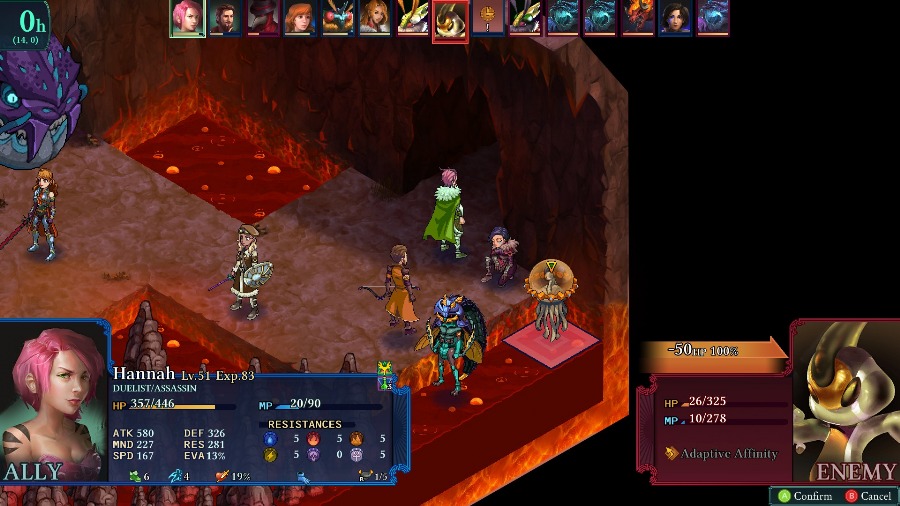 And Hannah finishes off the Pekite with a rock. 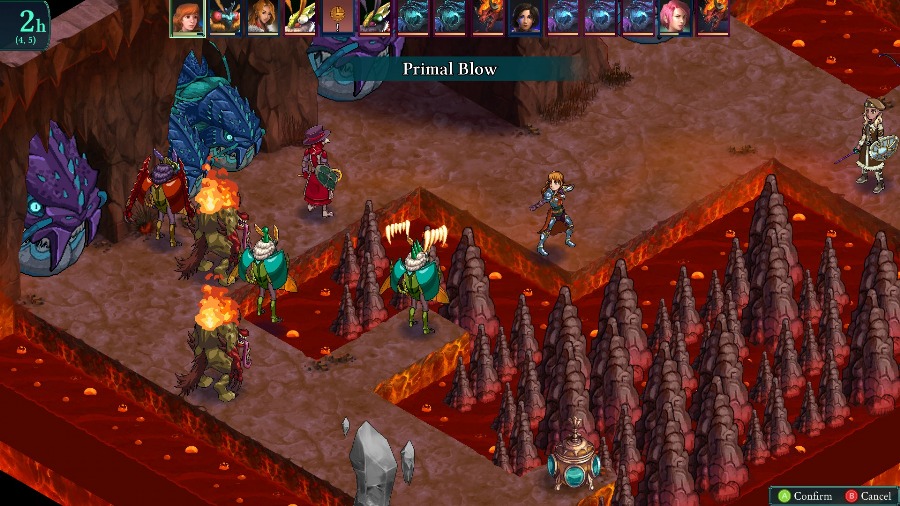 Anadine harasses one of the Bzil from range, then gets blasted and nearly killed by a Focus-Fired Earth II from the newly revived Pekite. 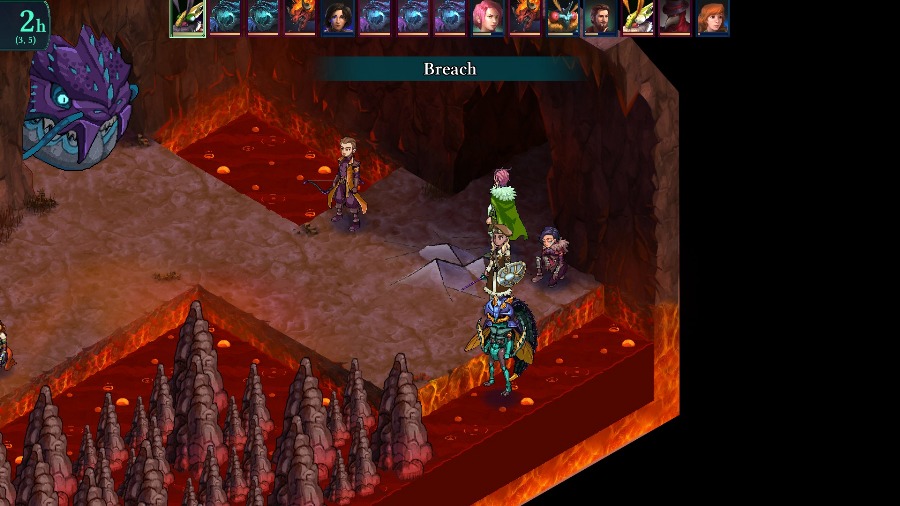 And Hannah somehow survives being on top of one of the breaching squares. She just gets nearly killed and shoved to the square behind Reiner. 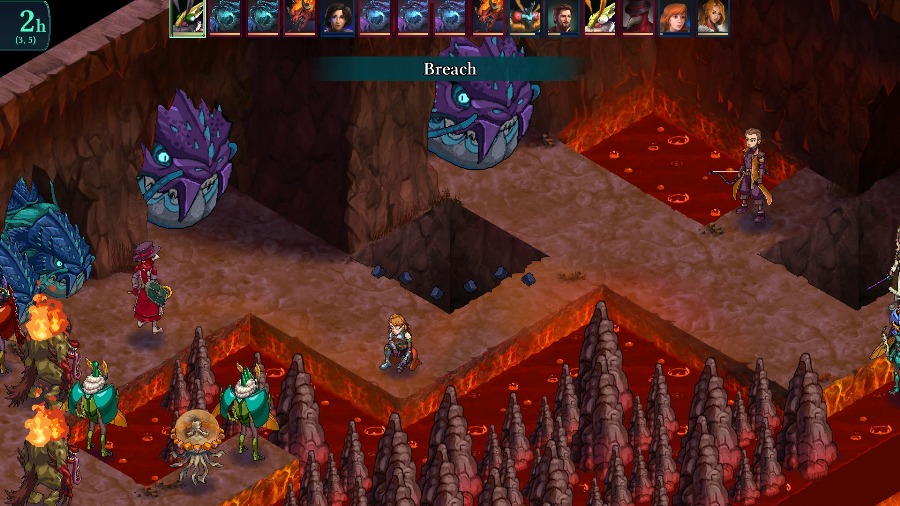 There was also a second breach that took out the other large section of safety.  One of the Earthwyrms snaps at empty air and probably scares the heck out of Bzaro. 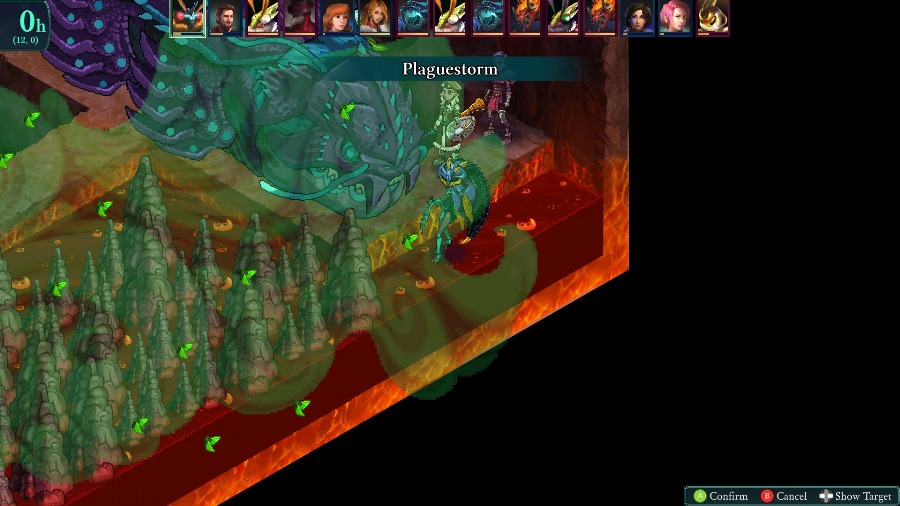 But he just responds by Plaguestorming everyone again.  This also has a bonus of luring one of the Xolotls over thanks to its Pounce reaction.  Reiner and Sophia make pretty short work of them.  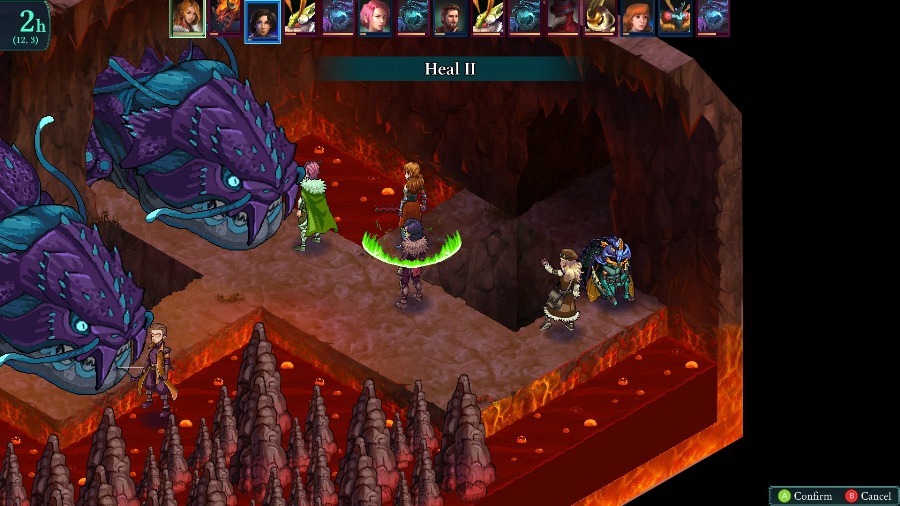 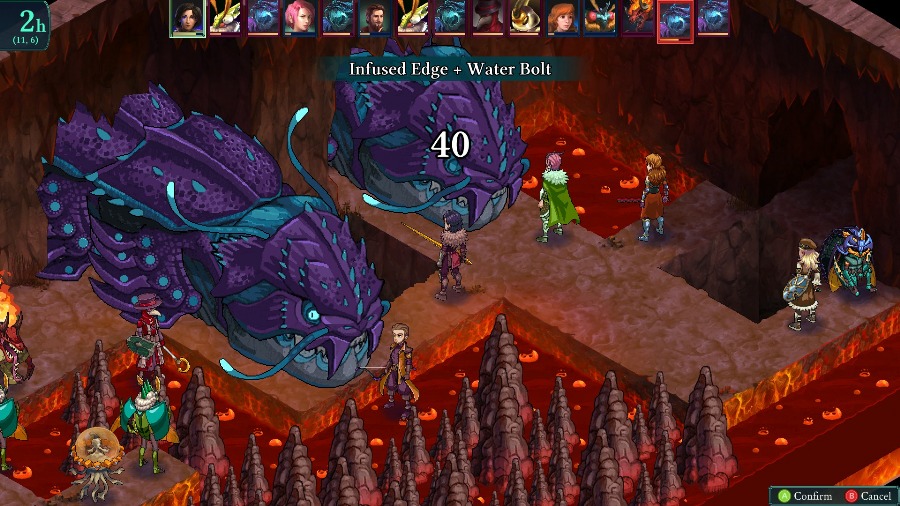 Now, just imagine that there�s a looooooong time of those three images repeating as I wear down the Earthwyrm Queens in relative safety. 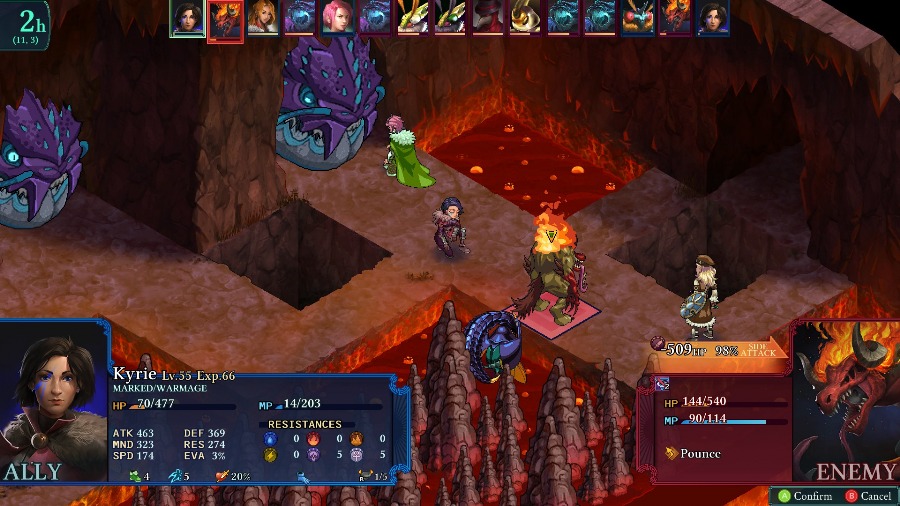 Another Xolotl gets dragged over by its reaction to a Plaguestorm. It doesn�t last very long. 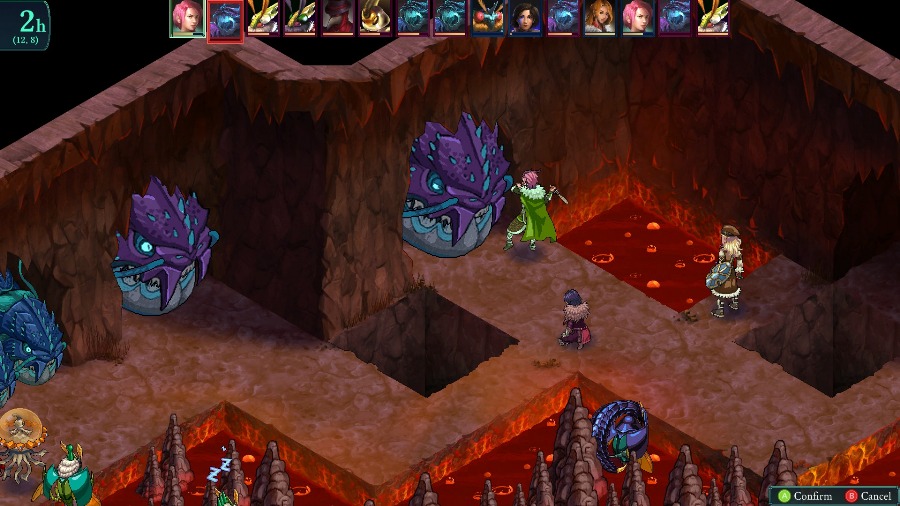 The closest Earthwyrm Queen falls semi-quickly. 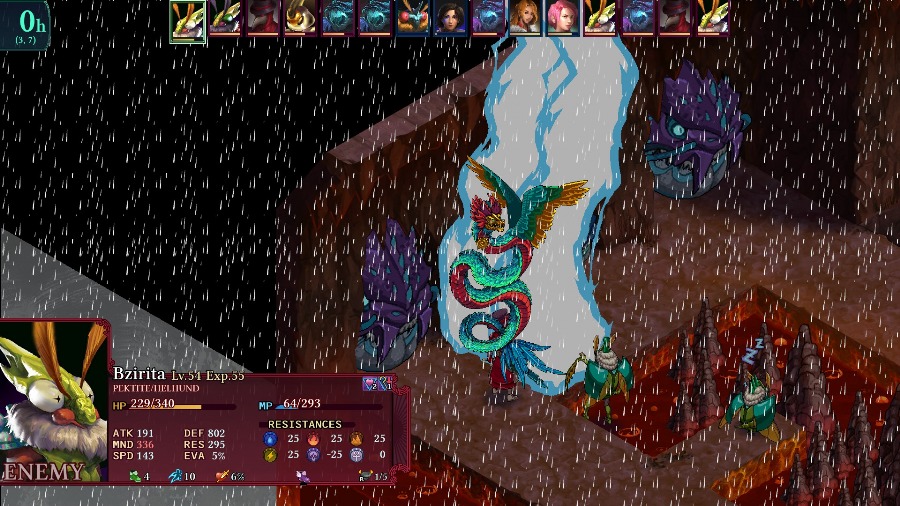 And there�s a fun little scrabble over in the back as a few of the enemies get charmed and berserked. 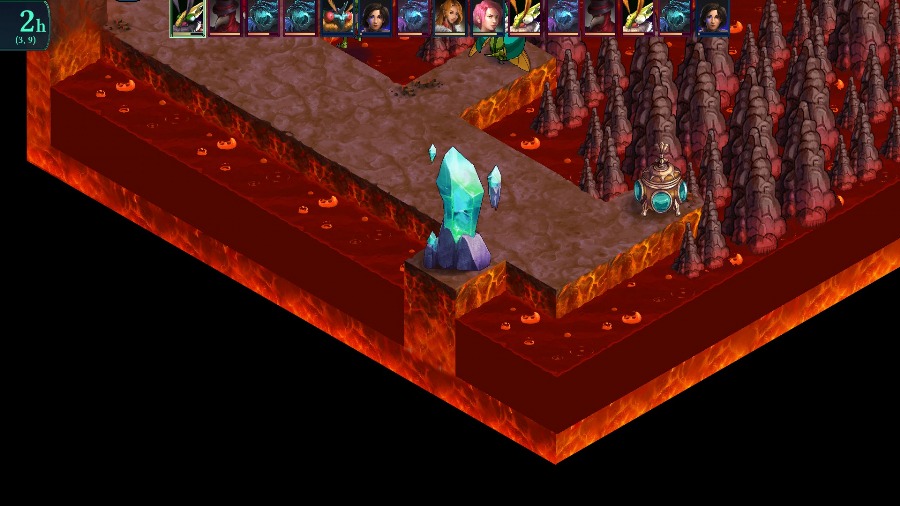 Hilariously, this kills one of the other Bzil and opens up the crystal for me. 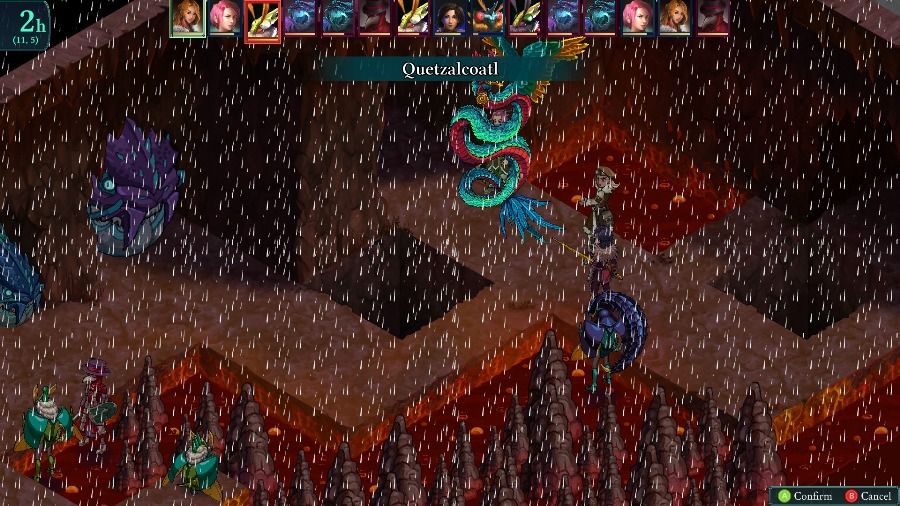 Sometimes Sophia shoots a Quetzalcoatl back at the enemies that aren�t immune to thunder. 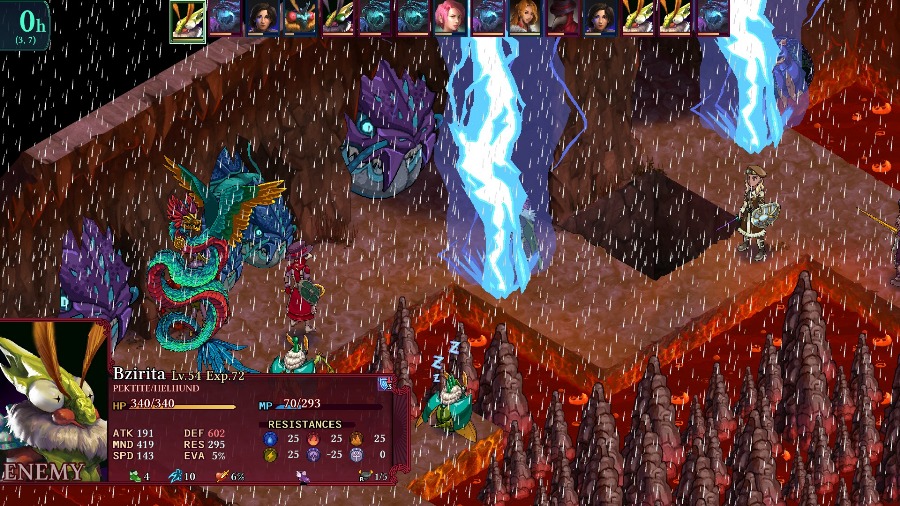 And I do some dumb positioning and get both Hannah and Bzaro killed by a single Quetzalcoatl. 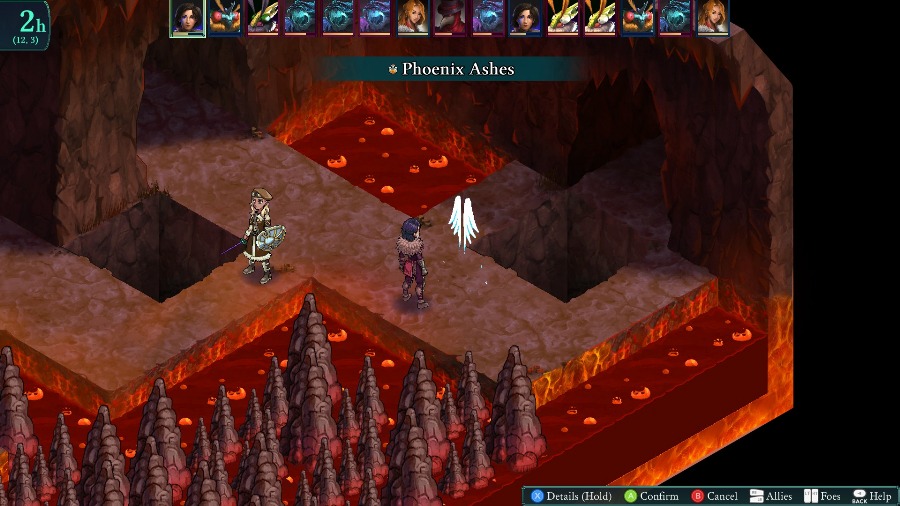 Though I bring them back relatively quickly. 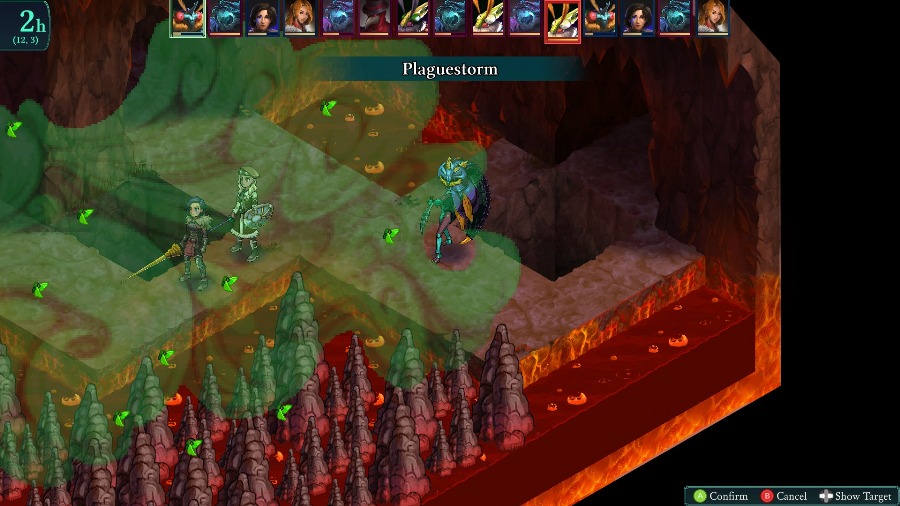 Bzaro gets back to Plaguestorming pretty quickly. 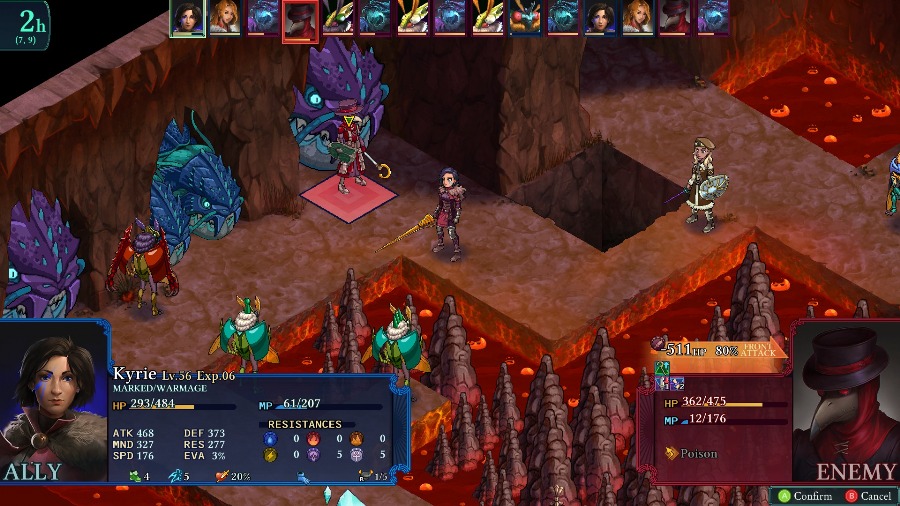 And Kyrie kills the Plague Doctor again. 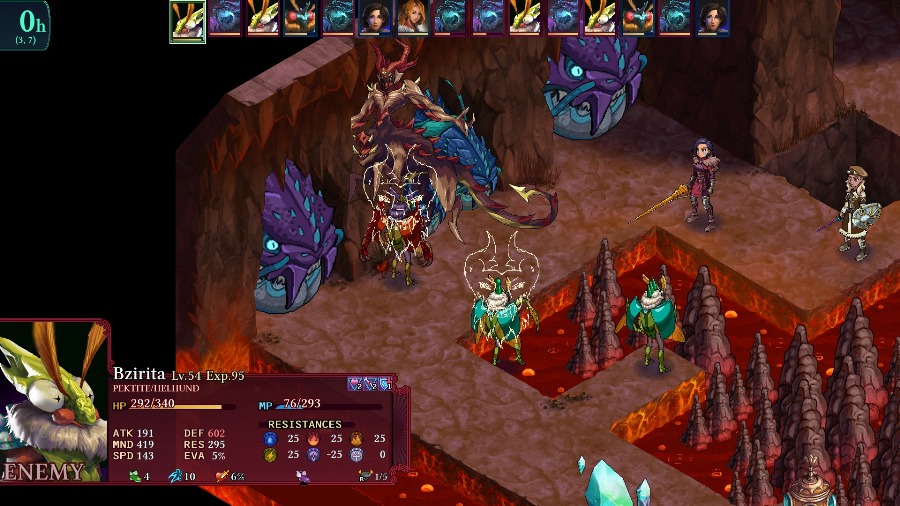 Another charmed enemy gets another kill for me. 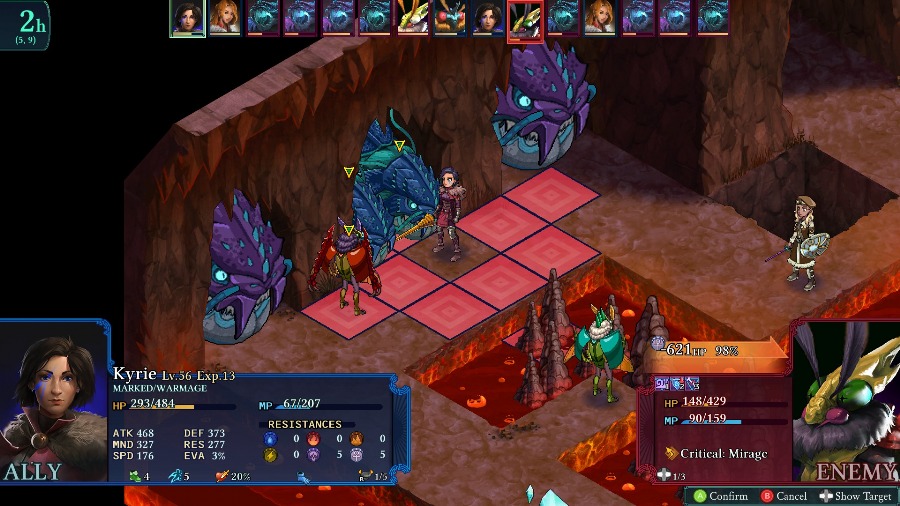 And Kyrie actually does a heck of a lot of damage to both the Bzil and the two smaller Earthwyrms with a Holy Burst. 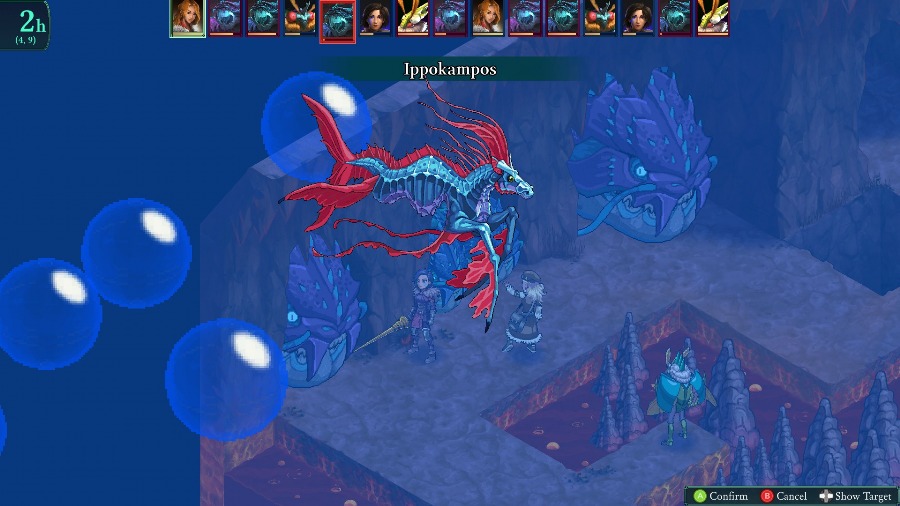 Since Sophia has the Shield of the Six, she�s essentially immune to the Earth Wyrms� Quicksands so she moves up to help kill things too. 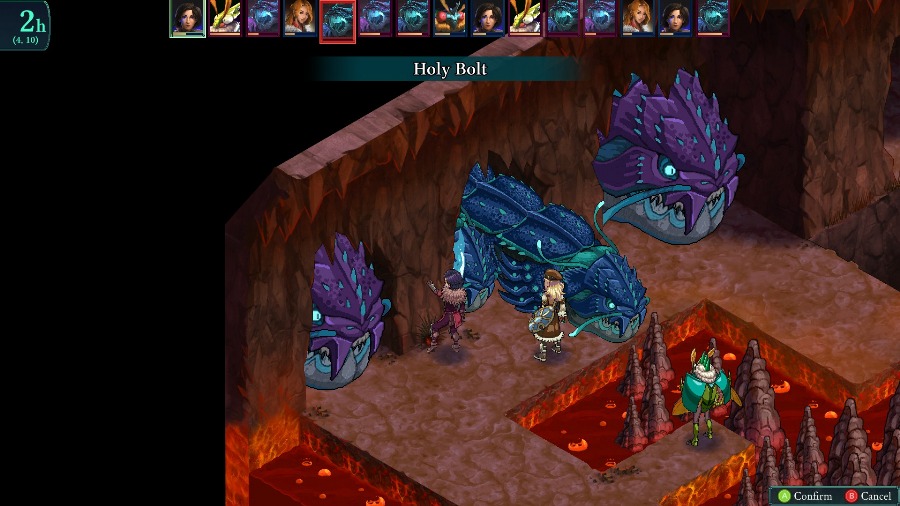 Kyrie takes out one of the small ones. 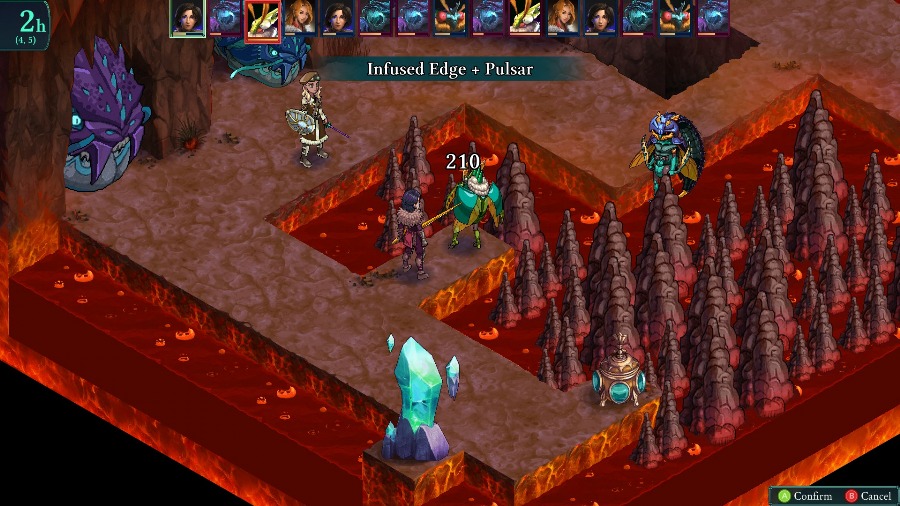 And then kills the final Bzil to basically finish the map. I still manage to get Bzaro killed again by a few Quicksands before Sophia could heal him back up. 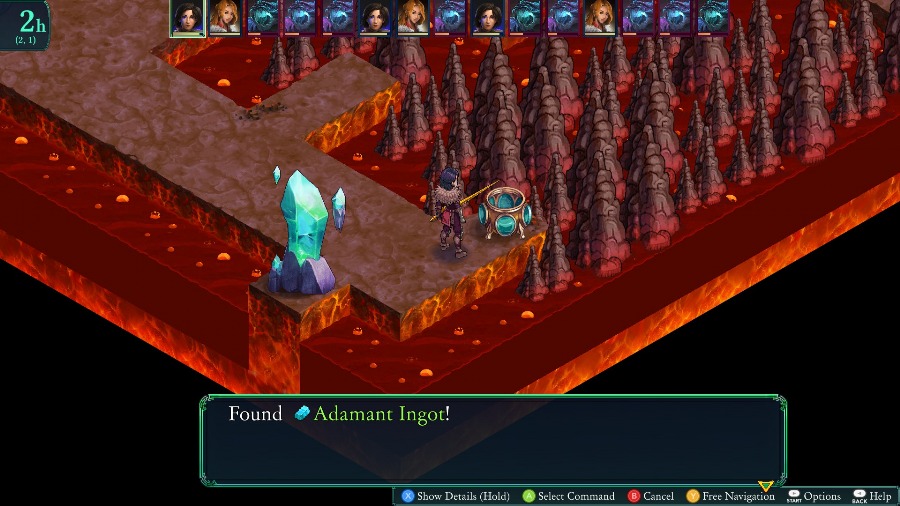 I have Kyrie run up to the end and open the special chest and then teleport out before she gets eaten by a Wyrm. Notably, this is also the final treasure chest of the game so if you�ve been diligent about grabbing them it�ll unlock an achievement. 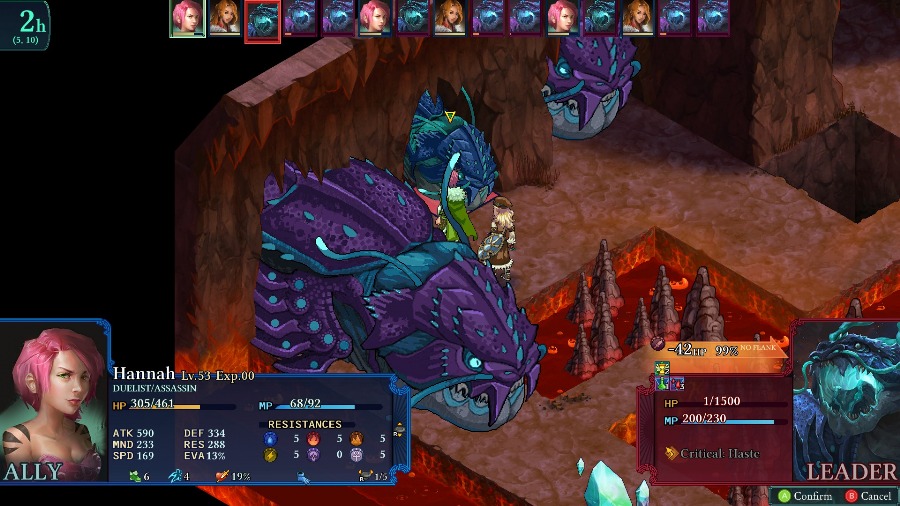 I�d revived Hannah a bit back and she helps using status effects to kill the small Wyrm. 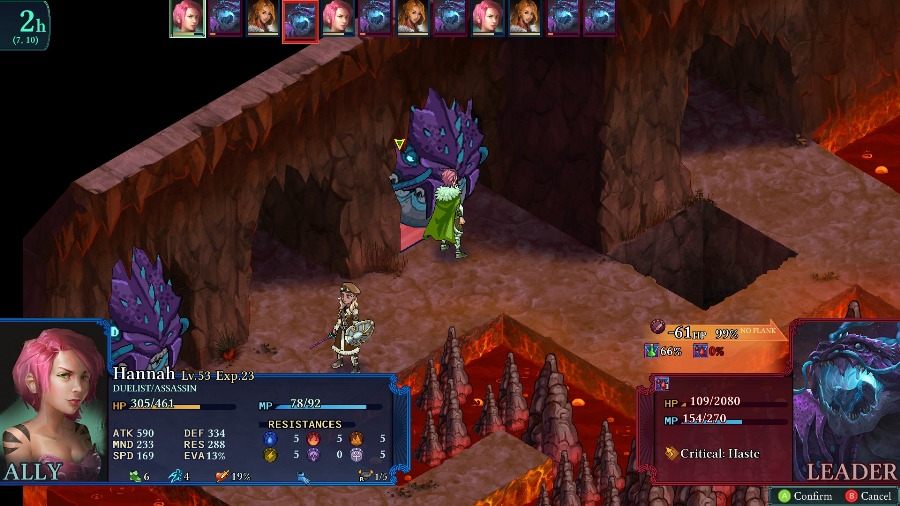 And then one of the big ones. 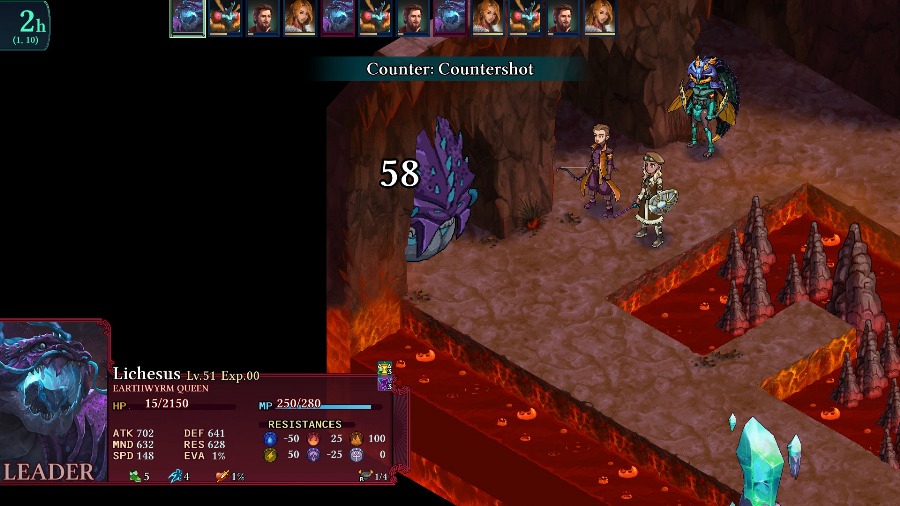 And I revived Reiner for the heck of it to finish the final Wyrm off. 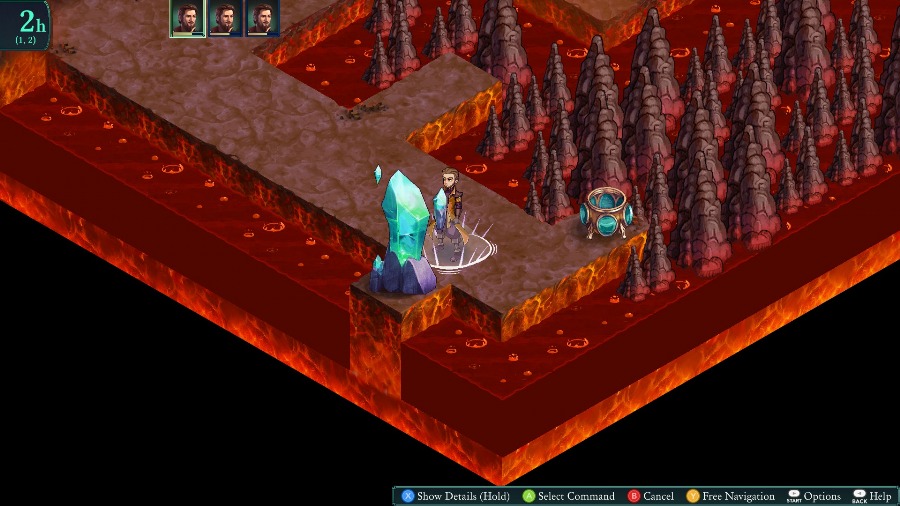 Everyone teleports out shortly afterwards.  We get some pretty good rewards from this, with 2nd copies of both the Witch Crown and Maester Robe. Overall, this map is a neat gimmick, but in practice it turns into a pretty big drag. Just like the 2nd map, there�s not much of an incentive to move forward and fight the enemies instead of just hanging back and blasting them with map-wide attacks. It�s cool to see the Wyrms again and I�m glad that they were reused, but 5 of them on one map is crazy and really makes it a pain to fight through. Other than the very beginning, I wasn�t ever really in danger of losing, just in danger of wasting time. Still, it�s a neat change of pace conceptually, there are just a few things I�d change about it. Anyway, with that done we have finished the penultimate stage of the Ancient Path. Next time we�ll be entering the final stage of the bonus dungeon, the Ancient Tomb!
|
|
#
?
May 26, 2020 13:21
|
|
|
Update 67: Ancient Path VII: Ancient Tomb 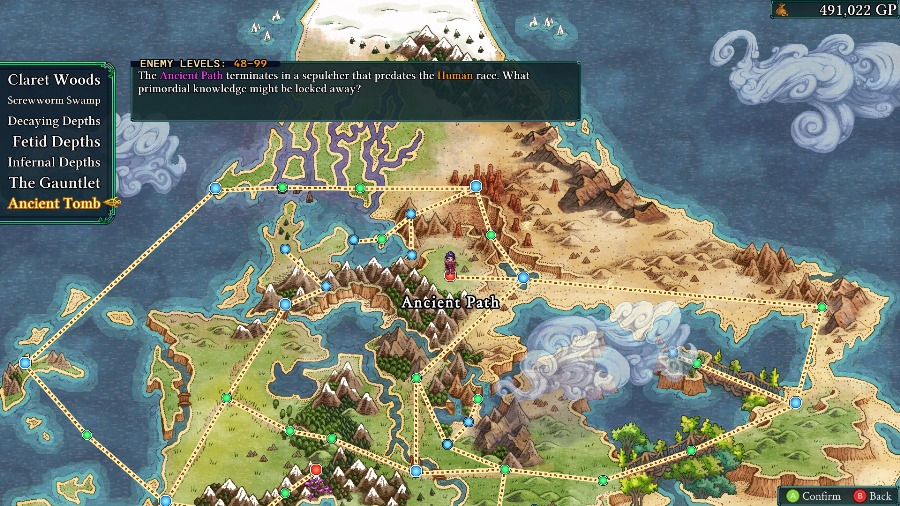 Hello and welcome back! Last time we fought our way through a ton of Wyrms and Quetzalcoatl casts to finish the penultimate stage of the Ancient Path. This time we�ll be going in to the final area, the Ancient Tomb. 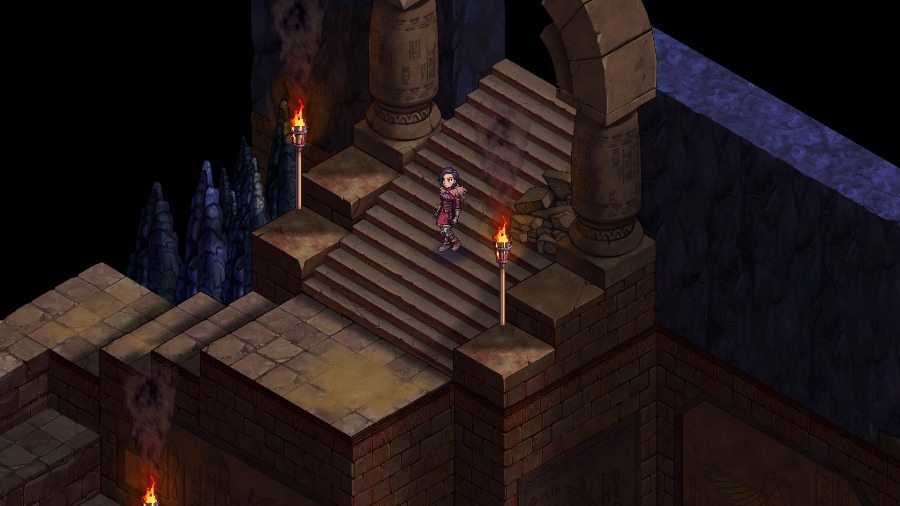 Kyrie walks in, down the stairs, and looks around. 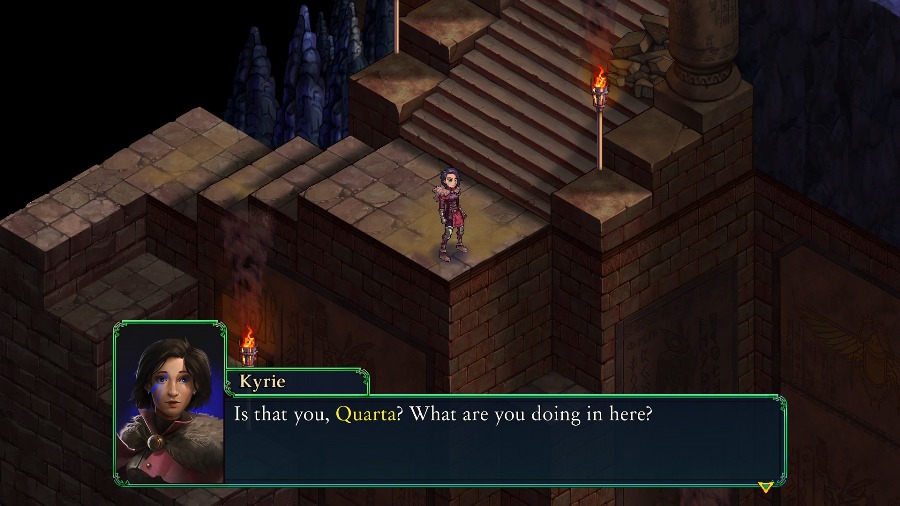 The camera pans down a bit. 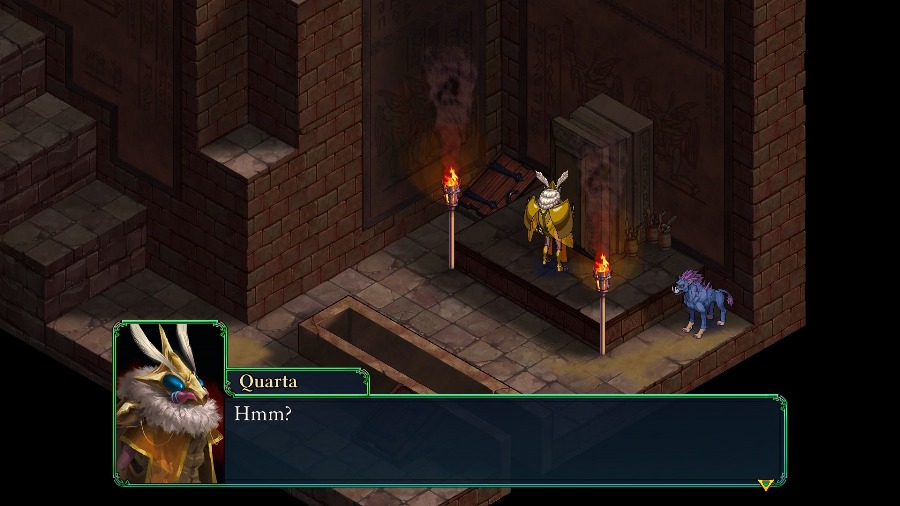 To reveal the Immortal Quarta studying one of the Sarcophagi.  Oh, visitors! How delightful! Oh, visitors! How delightful!Kyrie then pops down the stairs to talk with Quarta face to face. 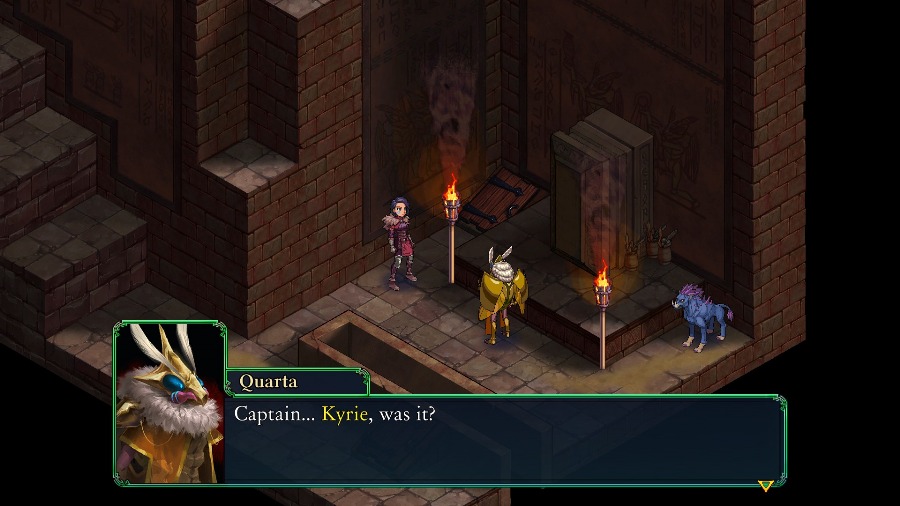 As for what I�m doing here, research, of course. The scientific accumulation of knowledge and wisdom. As for what I�m doing here, research, of course. The scientific accumulation of knowledge and wisdom. This is certainly a weird location for your research. Is it safe in here? We�re following up on rumors of undead and demons plaguing the area, rumors which have already proven to be accurate. I thought myself safe here before, but this news is troubling. Not to worry. We can get you out of here safely, if you wish. The remnants of the Council will be glad to hear you�re alive and well. Hmm, no, no. That simply won�t do. I am in the midst of my studies. A breakthrough -possibly several breakthroughs- are imminent! With Primus�s silly schemes setting our Immortal status at risk, I had to find another source of eternal life. � I�ve been weaving potent necromancy with the last strands of the dark energy I harbor as an Immortal. And in combination with the ancient knowledge stored in this Bzil tomb� True immortality is now finally within reach! This is certainly a weird location for your research. Is it safe in here? We�re following up on rumors of undead and demons plaguing the area, rumors which have already proven to be accurate. I thought myself safe here before, but this news is troubling. Not to worry. We can get you out of here safely, if you wish. The remnants of the Council will be glad to hear you�re alive and well. Hmm, no, no. That simply won�t do. I am in the midst of my studies. A breakthrough -possibly several breakthroughs- are imminent! With Primus�s silly schemes setting our Immortal status at risk, I had to find another source of eternal life. � I�ve been weaving potent necromancy with the last strands of the dark energy I harbor as an Immortal. And in combination with the ancient knowledge stored in this Bzil tomb� True immortality is now finally within reach! I� see. I need to create another handful of undead and summon a few more demons, to fuse their energy. Then a few more tests. But I must say, it�s looking positively promising! I gather you�re the one responsible for the undead and demons attacking the nearby town? Hmm? I don�t know anything about that. I just summon them for my experiments. What they do with themselves afterwards is really none of my affair. How callous. Callous? How so? My research is far more important than� well, whatever is happening out there with my discarded creatures. I� see. I need to create another handful of undead and summon a few more demons, to fuse their energy. Then a few more tests. But I must say, it�s looking positively promising! I gather you�re the one responsible for the undead and demons attacking the nearby town? Hmm? I don�t know anything about that. I just summon them for my experiments. What they do with themselves afterwards is really none of my affair. How callous. Callous? How so? My research is far more important than� well, whatever is happening out there with my discarded creatures. 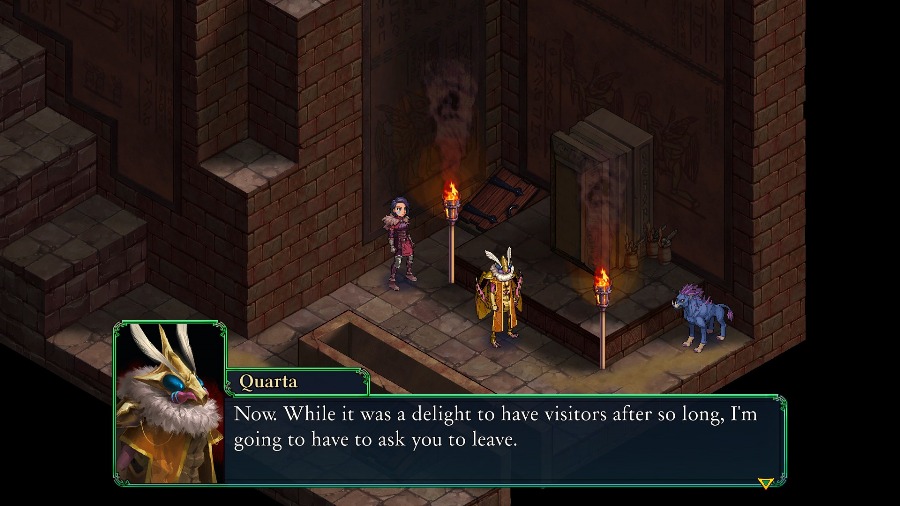 You�re starting to bore me, and I have work to do. So much work! I�m sorry, Quarta, but I can�t let you continue with these experiments. It seems we actually agree on something after all! I wasn�t really going to let you walk out of here, you know, a whole group of high-quality specimens. And now seems like a good time to test my new powers. Shall we? You�re starting to bore me, and I have work to do. So much work! I�m sorry, Quarta, but I can�t let you continue with these experiments. It seems we actually agree on something after all! I wasn�t really going to let you walk out of here, you know, a whole group of high-quality specimens. And now seems like a good time to test my new powers. Shall we?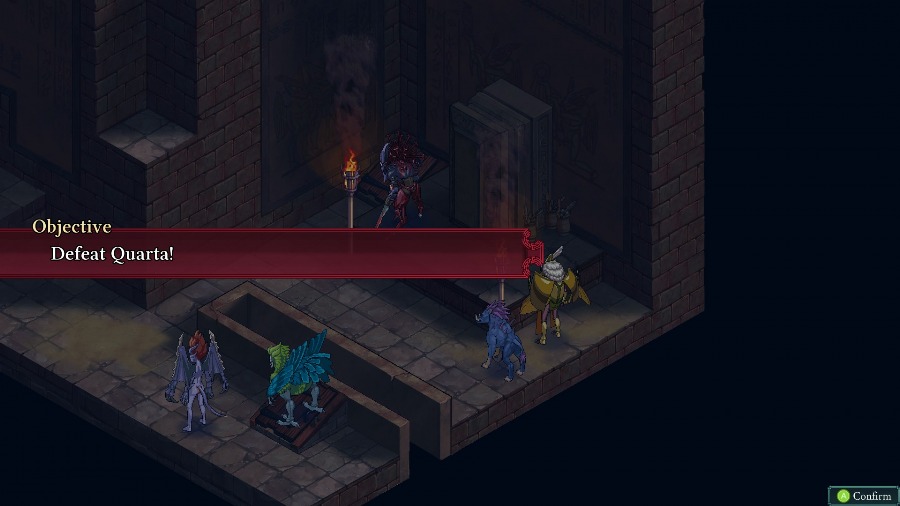 And with that, it�s suddenly time to fight. The goal of this one is just to defeat Quarta. 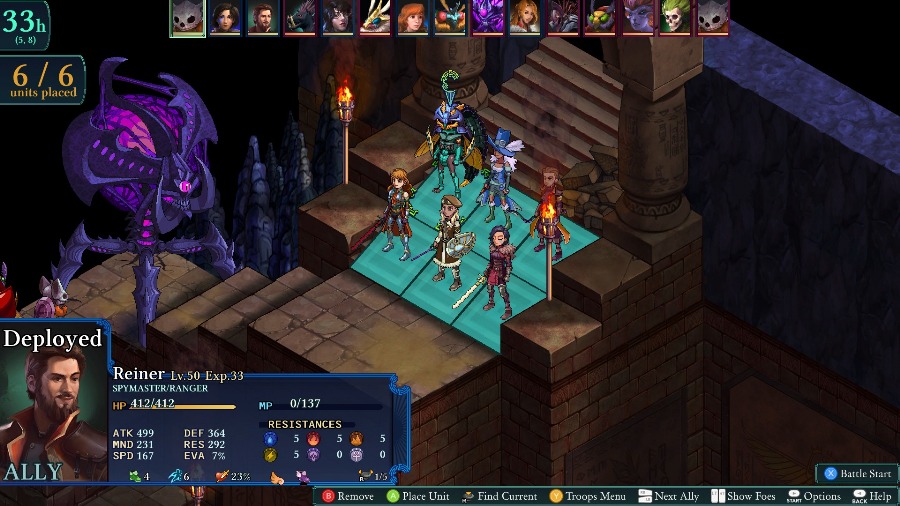 On our side, we have Bzaro, Azure, Reiner, Anadine, Sophia, and Kyrie. Each of them either flies, teleports, or has at least 30 jump to make it down the big drop to the right. 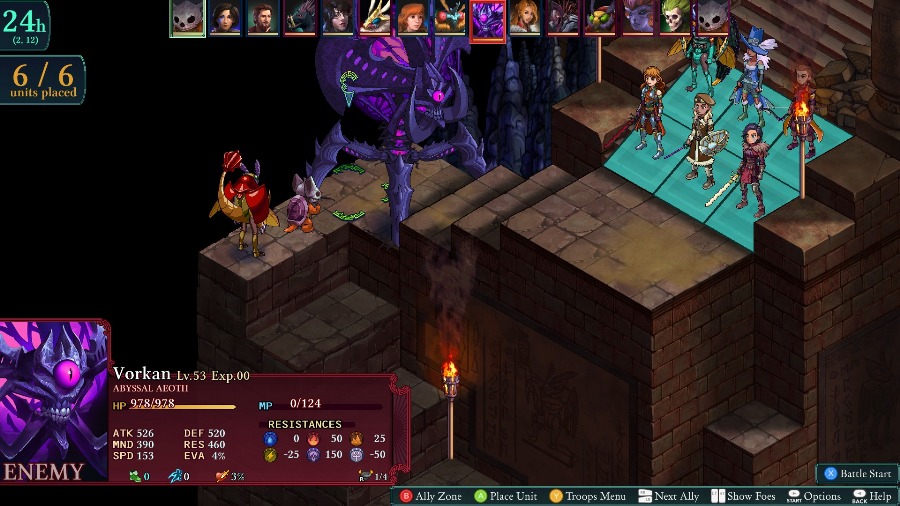 Against us we have an Abyssal Aeoth, an Undead Kawa, a Tangrel Bzil, 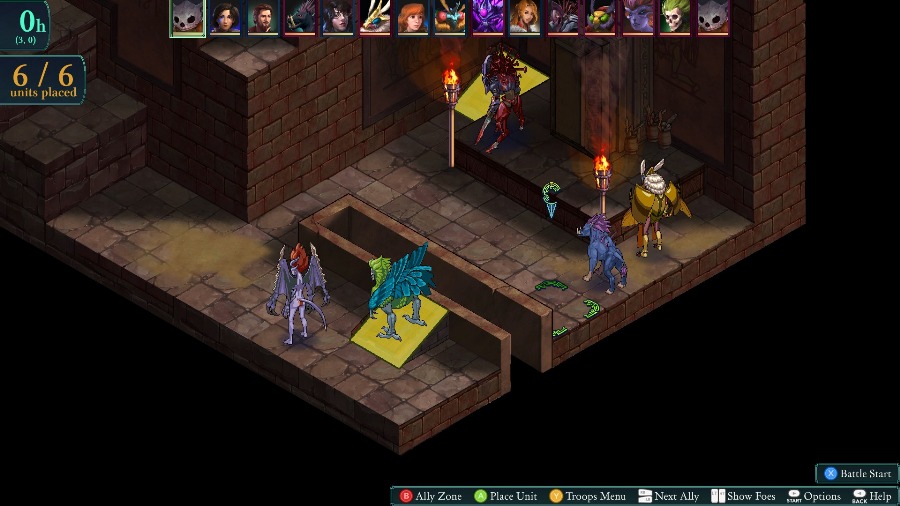 A Domincubus, a Harvester, an Undead Seireen, and a Gyaum. Many of these enemies also have innate rebirth, so it�s an absolute pain to try and kill them. 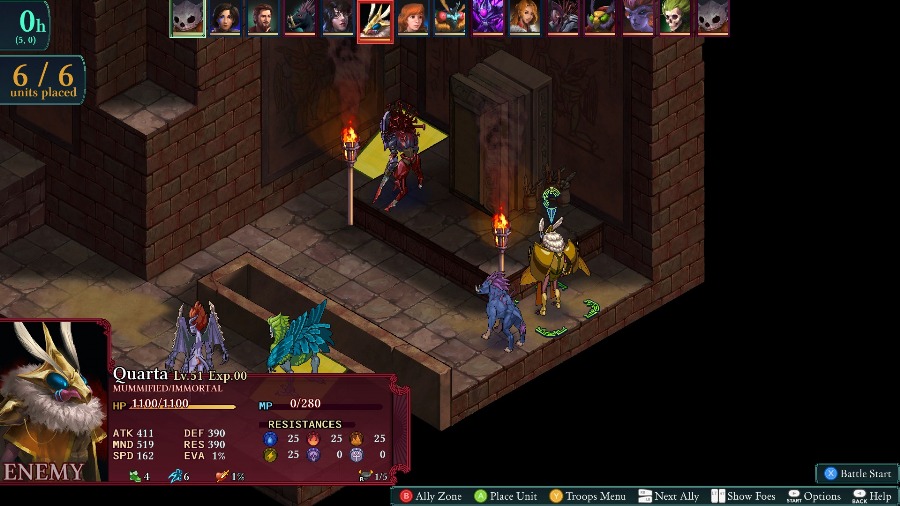 And then Quarta herself. She has a semi-unique class of Mummified as well as the expected Immortal class. She has 25% resistance to the 4 basic elements, good stats with a very, very high MND stat.  Additinally, she has full immunity to all debuffs and a basic attack with the same range as the Infinity and enough vertical range to hit anywhere on the map from the ground. 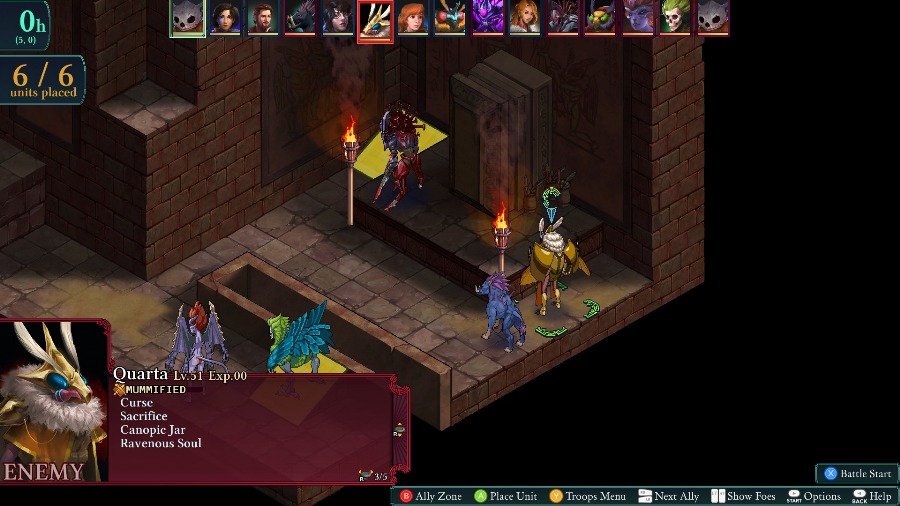  Quarta�s active abilities are all interesting. Her Immortal class gives her the top abilities of a bunch of the monster classes, as well as the ability to summon demons. Meanwhile the Mummified class gives her the ability to pretty reliably charm and weaken my units, use random Vessel skills with no friendly fire, absorb health and MP from a target, and then do the same sacrifice that The Maw can do to buff itself. 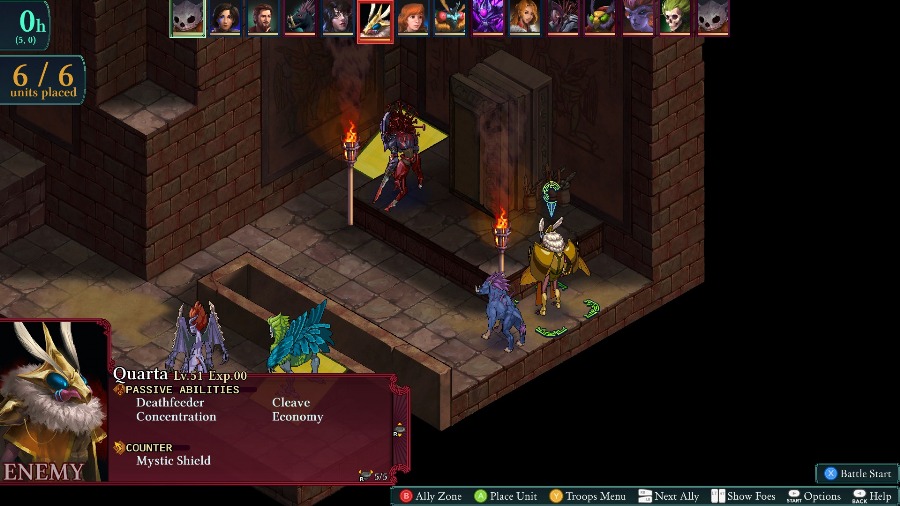 And finally, she has the ever annoying Mystic Shield reaction to keep her alive, Cleave and Economy, as well as Concentration to make her 20% more accurate and a new passive called Deathfeeder, which gives her a .05x bonus to all stats for each character that dies (maxing out at 0.3x and counts casualties on both sides). Now, there�s a reason that I had all of my units able to jump off the ledge to the side. That�s because this mission also has reinforcements, LOTS of reinforcements. As long as nothing�s on top of them, two random monsters will spawn from the doors shown above every round. It�s very, very easy to get overwhelmed by this constant flood of reinforcements, especially if you try and go the slow way and fight down the stairs. And even once you get there, Quarta will be massively buffed by all of the enemies that you�ve killed. Instead, what I think is the best strategy is to just all out blitz her ASAP. If you can keep her MP down and limit the other enemies you kill, then it�s not too hard to keep you people up and take her out before things get too crazy. 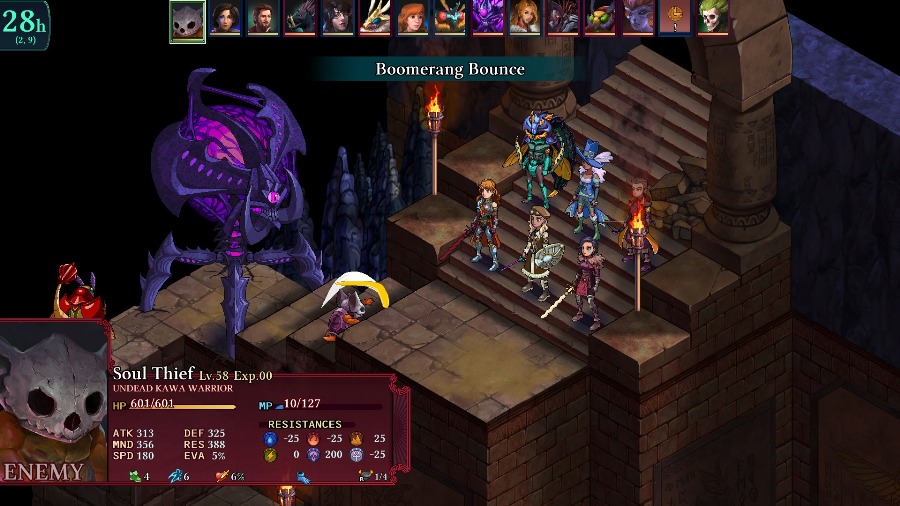 The fight itself starts off with an Undead Kawa throwing a boomerang at Anadine. I�m fine with this since it�ll boost her damage for later. 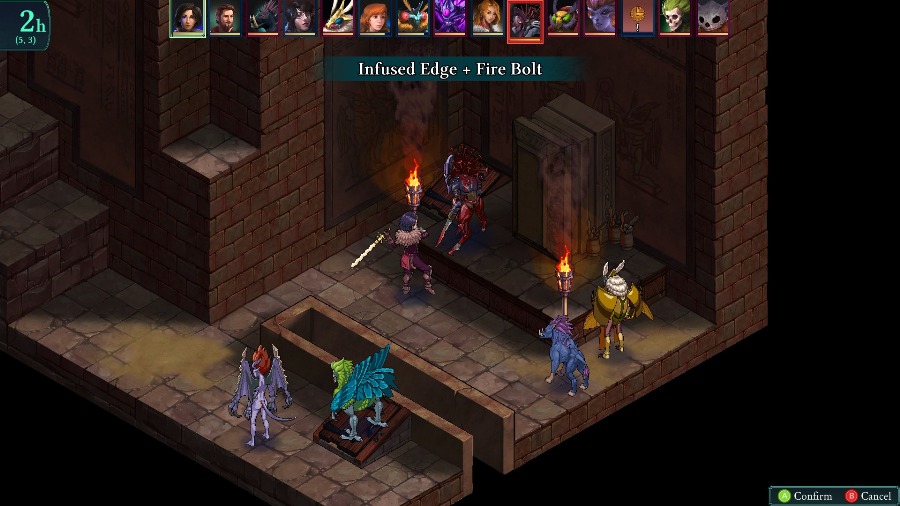 Instead of bothering with the Kawa, I just have Kyrie jump off the edge and nearly kill this Harvester. It hits hard enough that I really don�t want it sticking around. 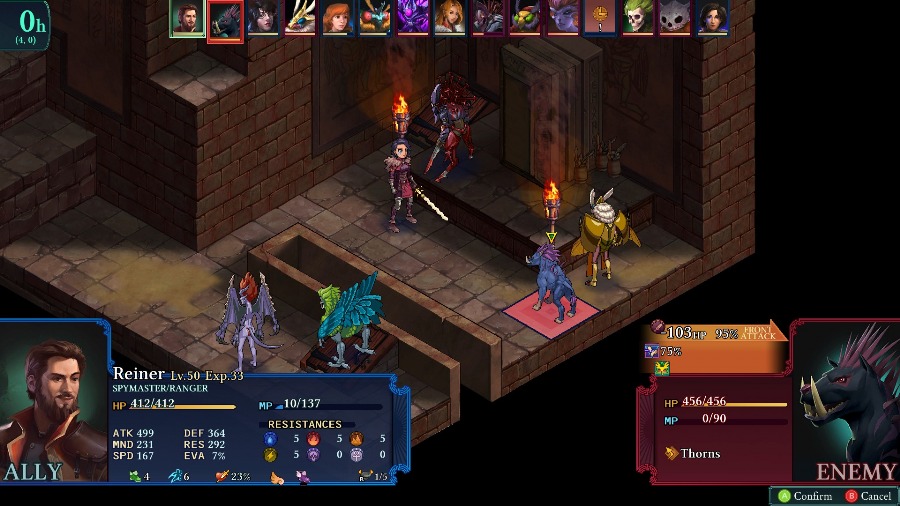 Reiner jumps halfway down, landing on one of the outcroppings on the wall. He roots the Gyaum in place to keep it from going after Kyrie before anyone else can support her. 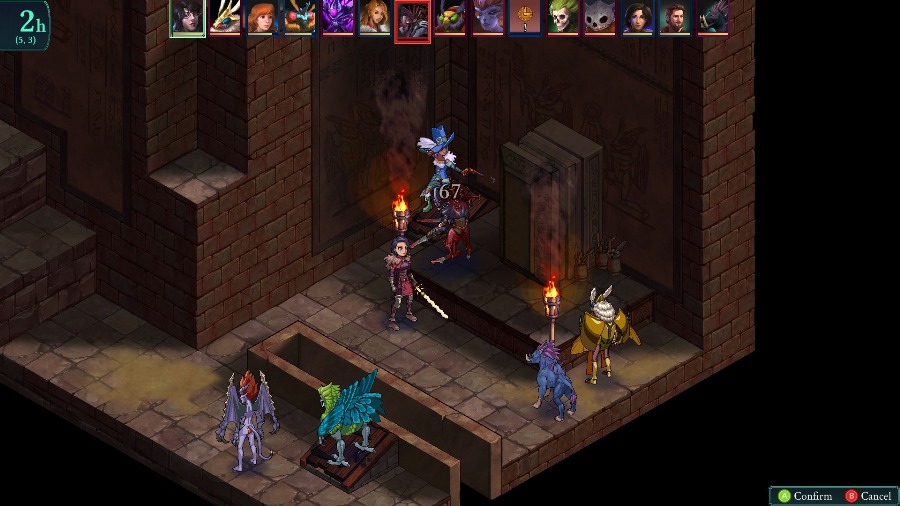 I have Azure jump down and weaken the Harvester but don�t kill it. 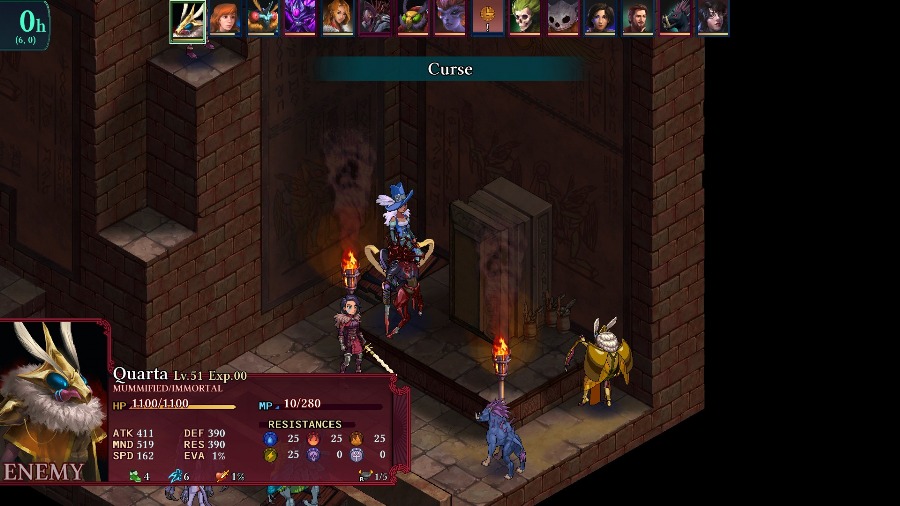 Quarta uses her turn to hurt Azure a little and Weaken her, but it�s not too big of a deal overall. 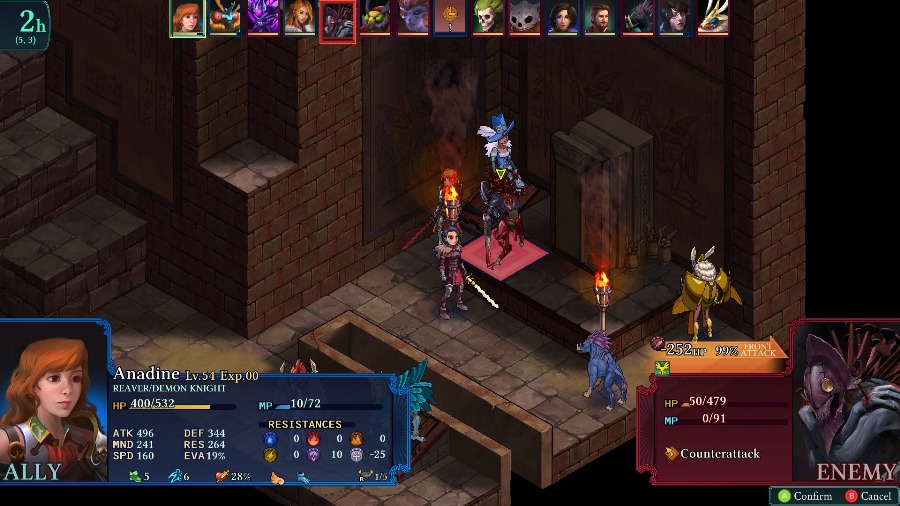 And then Anadine jumps down to kill the Harvester. Sadly, it has reraise so she does not get a second turn from Cleave. I�d forgotten about this restriction and was pretty disappointed. 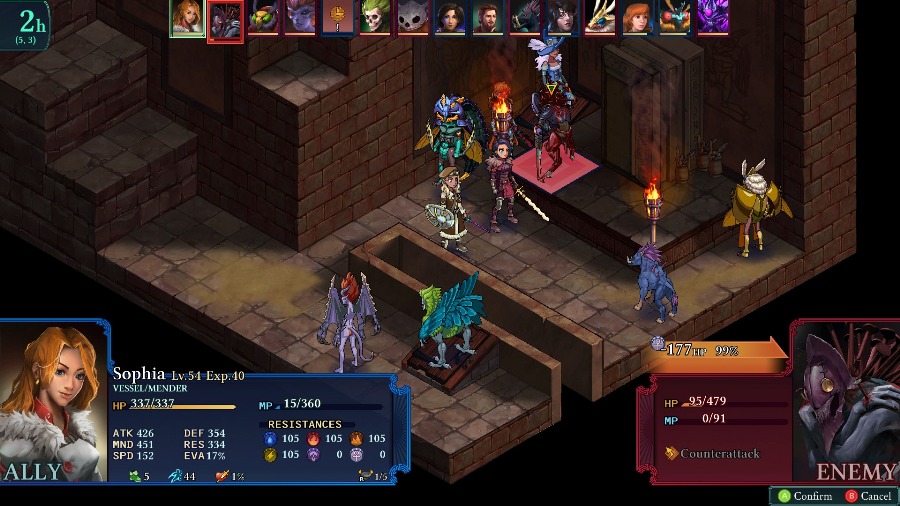 That said, on Sophia�s turn she jumps down as well and finishes it off for good.  The enemies up top sort of mill about and buff each other.  While the Domincubus and Seireen attempt to put people to sleep. Only Azure actually falls though.  Kyrie starts whaling on Quarta though some of the damage is wasted on her shield. 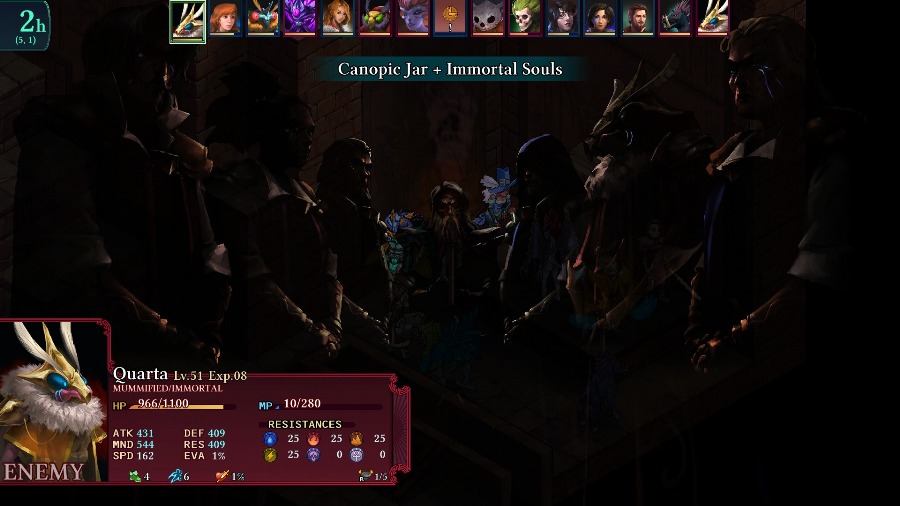 And Quarta quickly retaliates by annihilating Azure and nearly killing both Anadine and Bzaro with a lucky Canopic Jar. Anadine gets taken out right afterwards by the Domincubus. 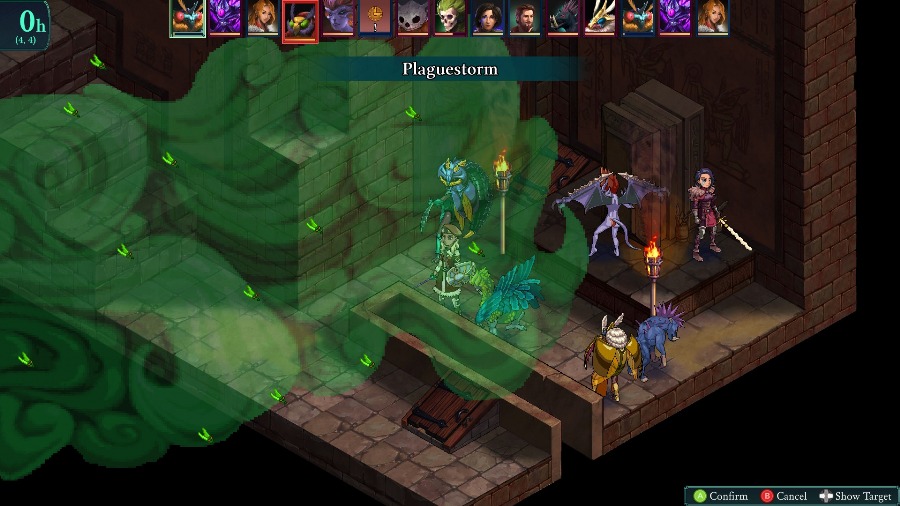 Bzaro�s going to die, so I just have him Plaguestorm to maybe mess with some of the enemies and knock out Quarta�s shield again. 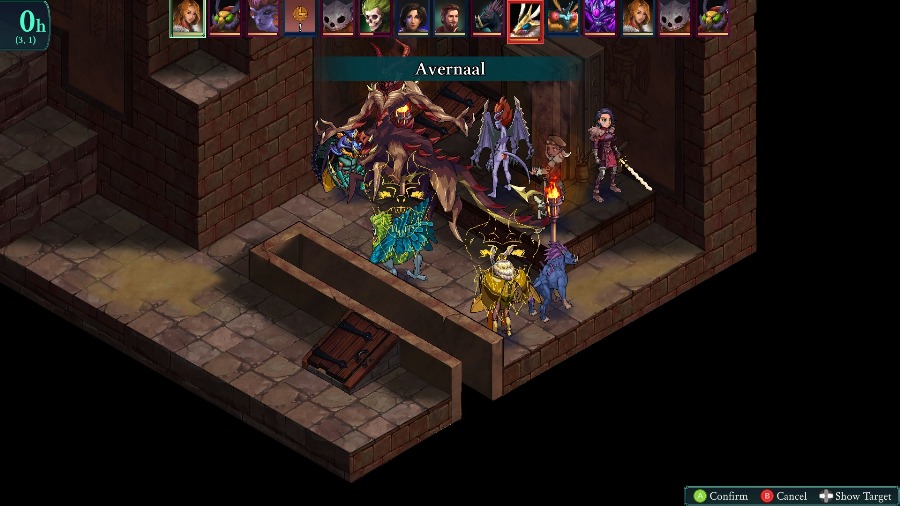 While the Aeoth keeps aiming barrages in the very narrow bottom, Sophia keeps the pressure up with an Avernaal. 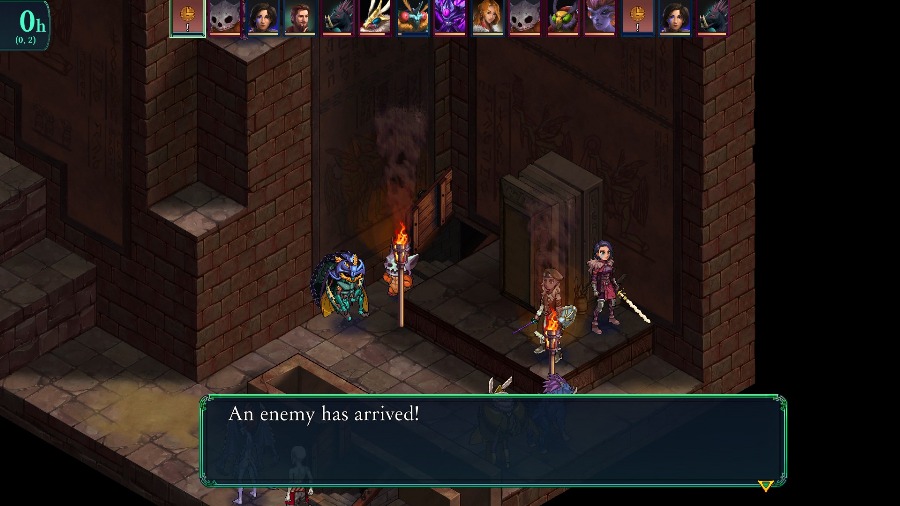 And we also get our first round of reinforcements, this time its just a Mananggal (god I hate typing that name) and an Undead Kawa Warrior. 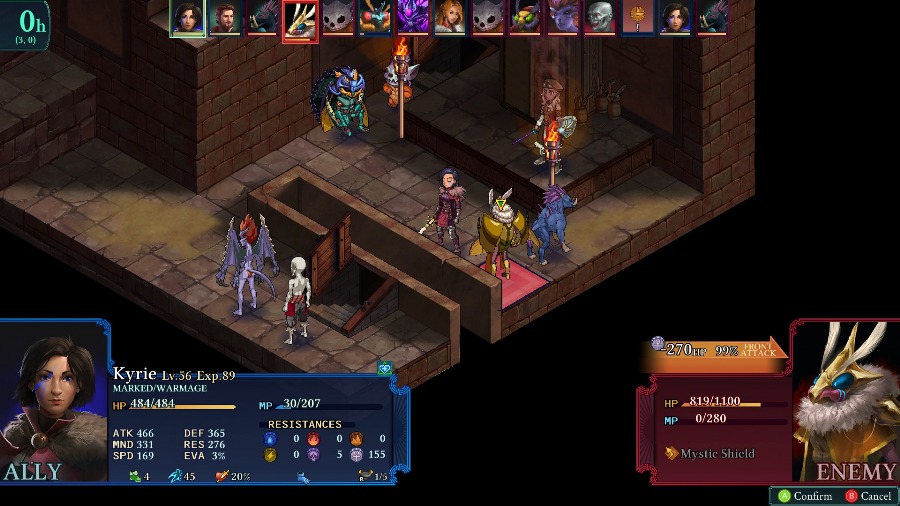 Kyrie and Reiner keep whittling Quarta down. 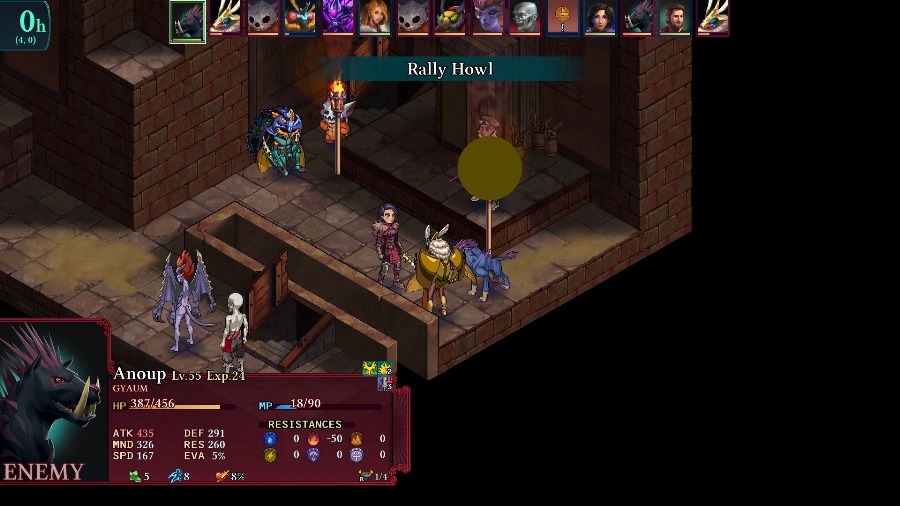 And then the Gyaum is very annoying and buffs Quarta with both an attack increase and haste! (!!)  Quarta uses this buff to kill Bzaro and heal herself for about 80 HP. 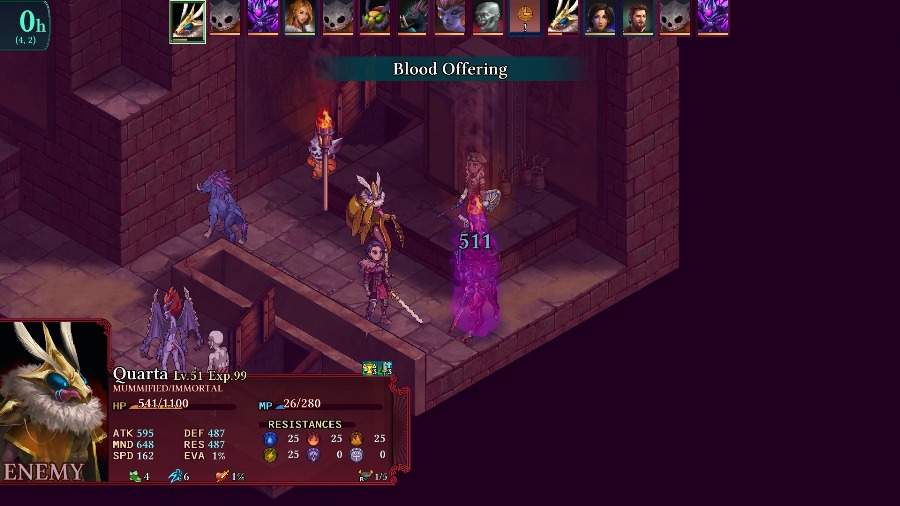 Thankfully, instead of continuing to attack my units, Quarta decides to summon a Harvester instead. 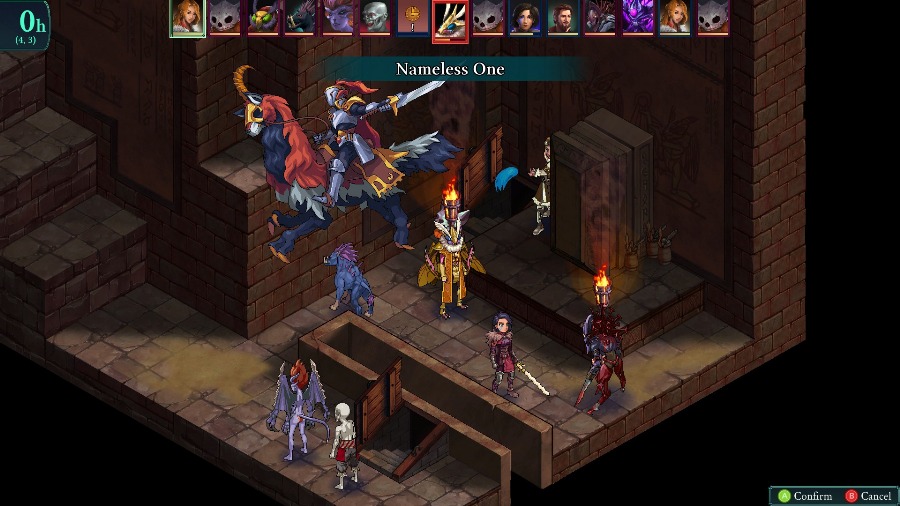 My units are falling fast, but I still try and keep hurting Quarta to burst her down. 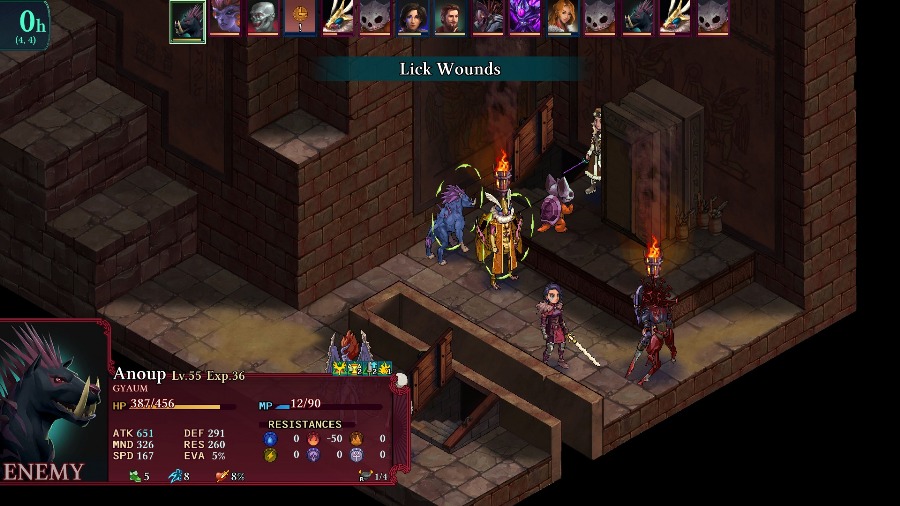 A bunch of enemies keep attacking me and the Gyaum keeps supporting Quarta with heals. 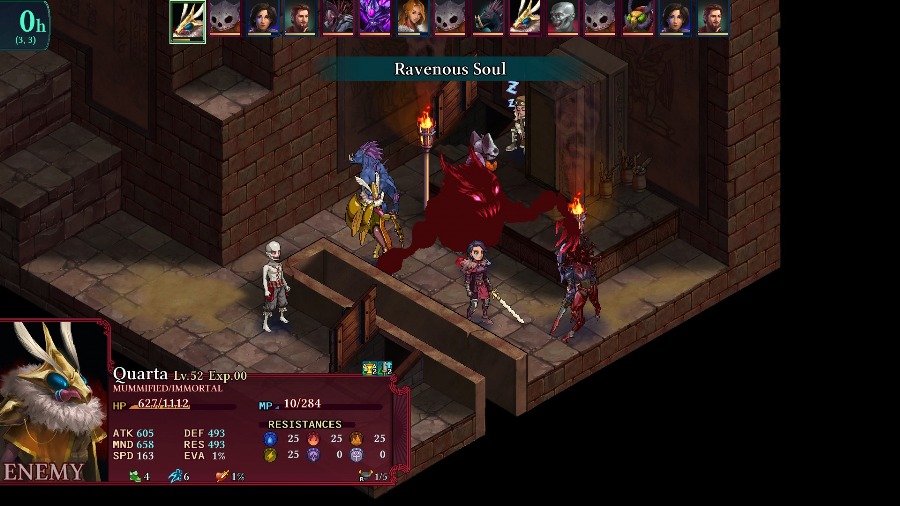 And Quarta keeps on healing by stealing some HP from Kyrie. 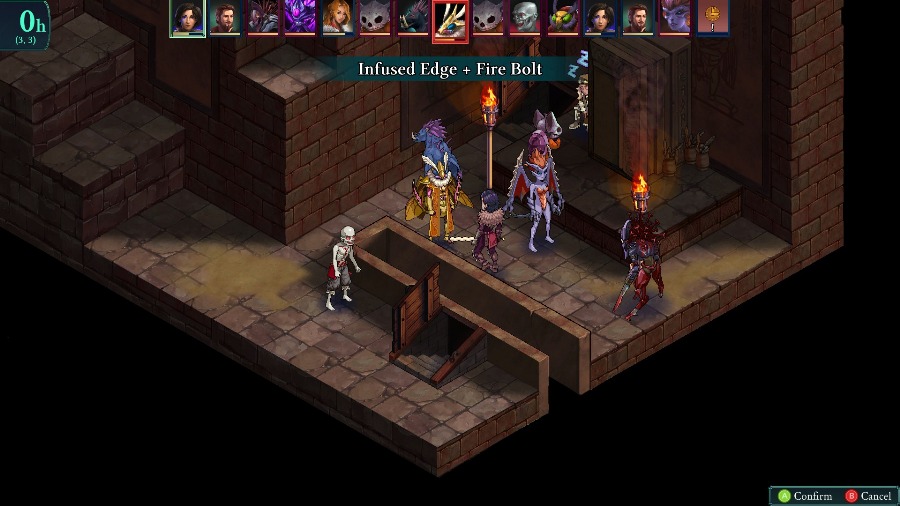 While Kyrie keeps on fighting. 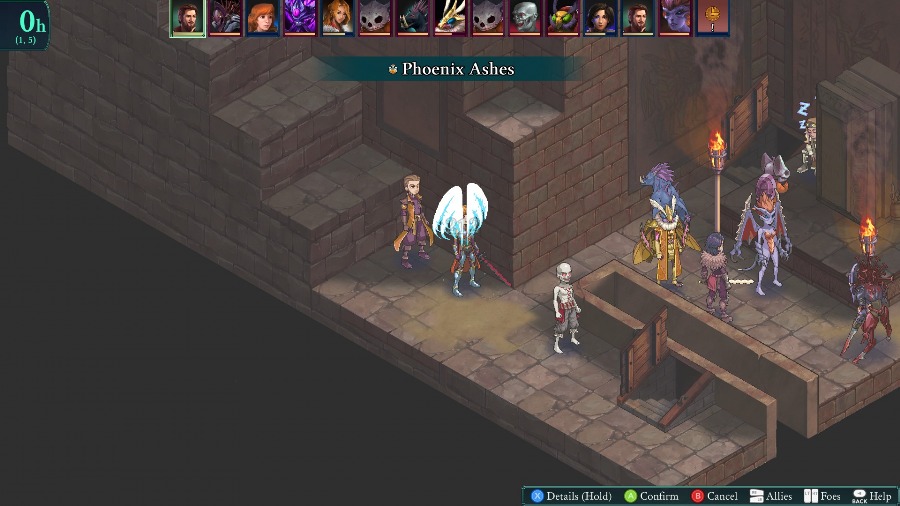 I have Reiner revive Anadine since she can use her low health to put out huge damage. 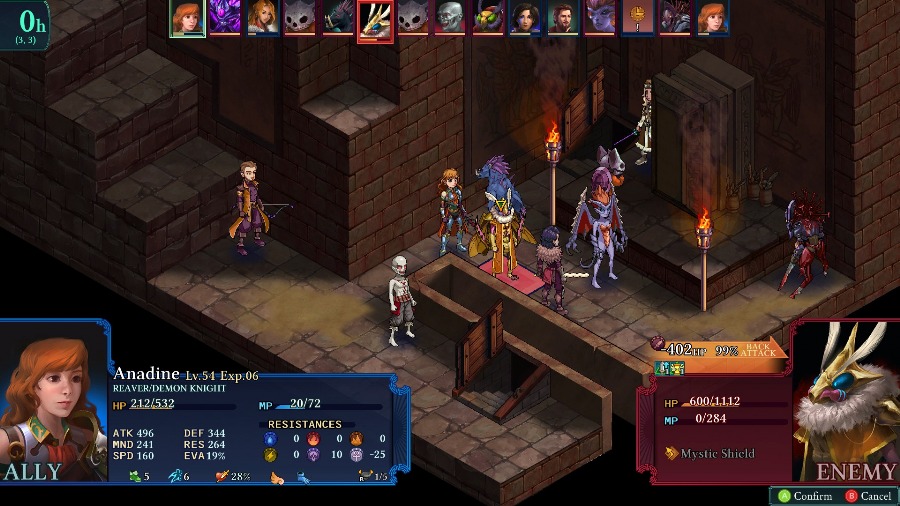 Which does do, taking out 2/3 of Quarta�s remaining health in one hit.  Sophia heals her up a bit, hopefully to keep her alive for a round. 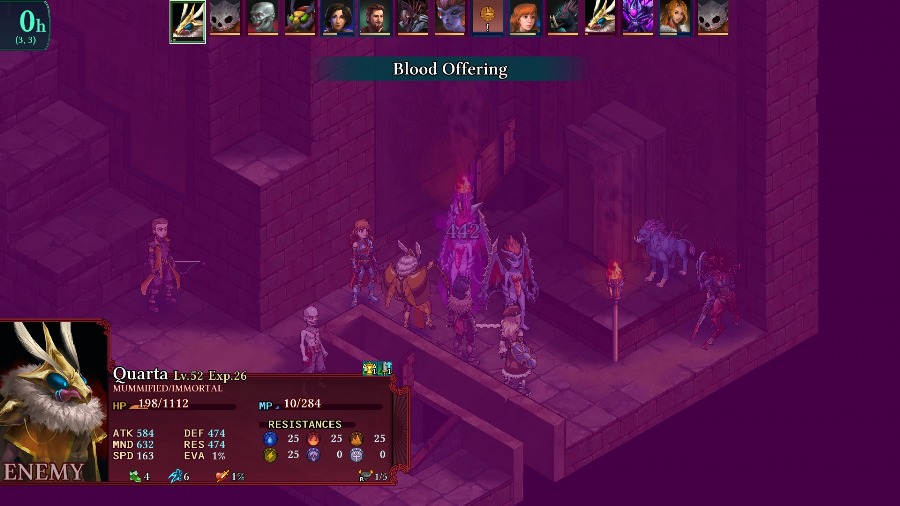 Quarta keeps summoning demons, which I am very okay with her doing instead of attacking me. 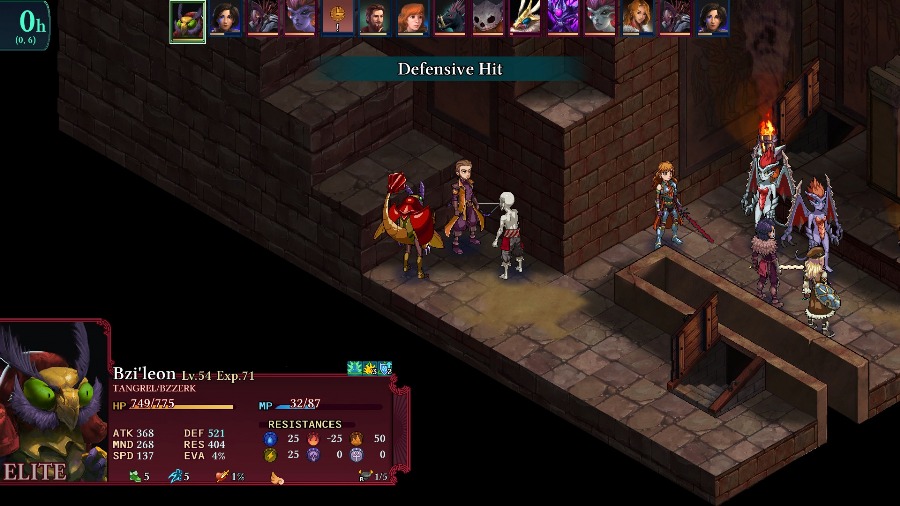 While Reiner gets swarmed by enemies in the corner. 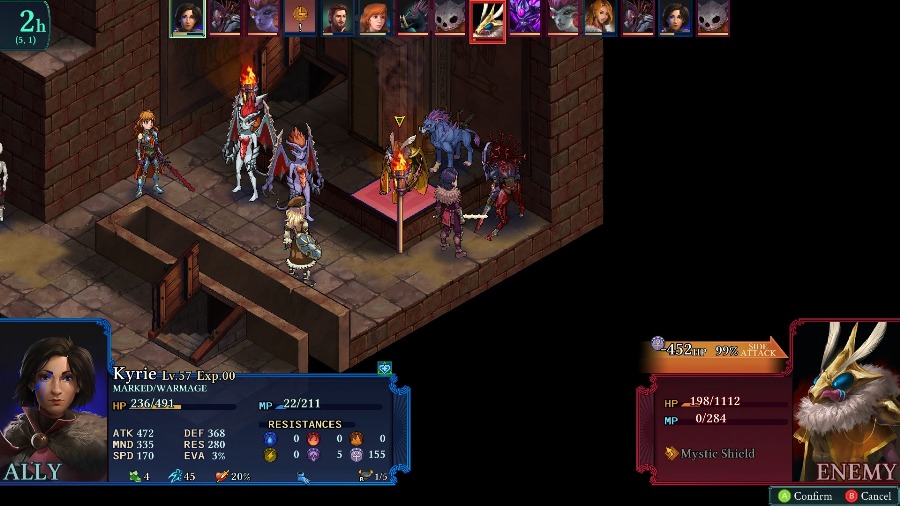 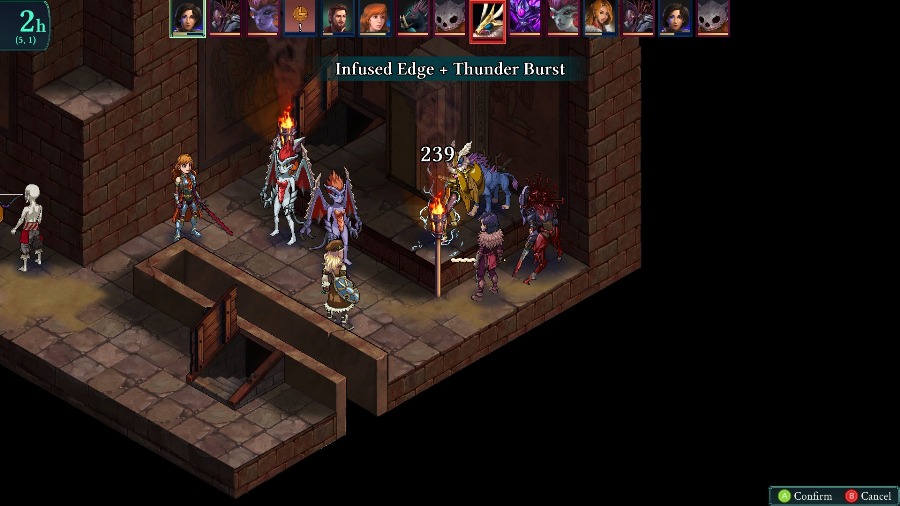 And Kyrie�s able to take out Quarta on the following turn.  Overall, this fight is interesting but, like a lot of the Kill Boss missions, I think it�s a bit hamstrung by the best strategy being to just rush the boss. That�s especially true for this one, where you can�t escape the boss�s attacks and constant reinforcements are pushing in. I like the map design, especially the idea that the player hypothetically has a choice of going by the stairs or jumping down, but in my experience going the other way and trying to fight your way down the stairs just results in getting overwhelmed. Still, even though I felt pushed into the blitz it was a fun fight to play and definitely felt like I was barely pulling things off the entire time. Sadly, there�s no dialogue after the, we just pop to the victory screen and then back to the world map. For rewards, we get a number of high tier crafting materials. But the real reward for the final battle is 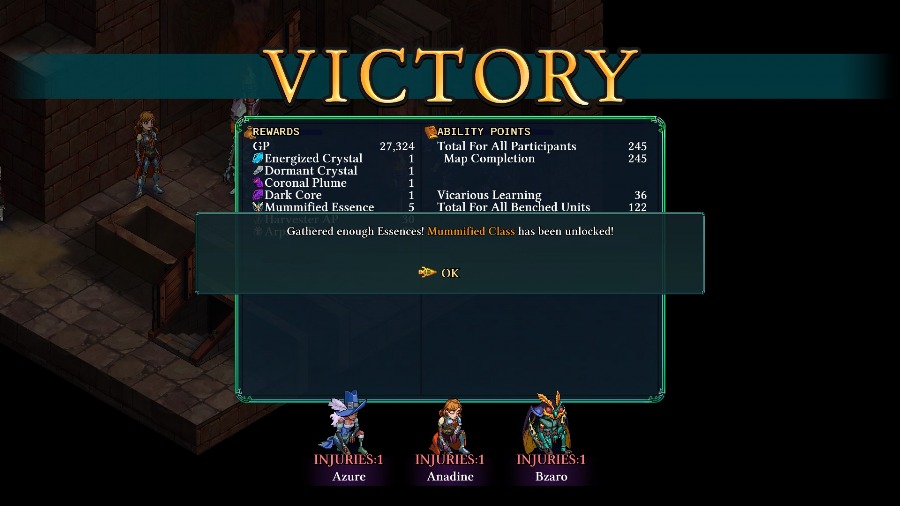 A brand-new class for Bzaro! It�s the same one that Quarta has, but I�ll go over it again in depth right after this update. And after that, it�s time to return to the Teratoma for the final battle! OOrochi fucked around with this message at 04:09 on May 29, 2020 |
|
#
?
May 29, 2020 00:23
|
|
|
Mini Class Overview: Mummified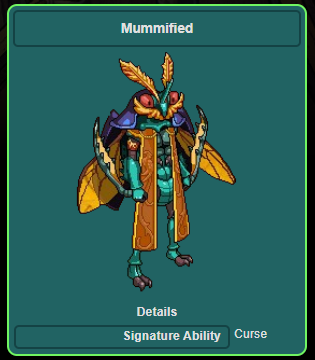 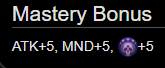 Requirements: Win a battle in the Ancient Tomb with Bzaro in the active party (Patrols count as well). The Mummified class is the reward for fighting through the entirety of the Ancient Path and defeating Quarta at the end. It�s entirely unique to Quarta and Bzaro and has some really interesting abilities. The growth rates don�t necessarily matter, but the class itself will give Bzaro some pretty high all-around stats, with a slight lean towards MND over ATK. Another thing of note is that it has the same regular attack that Quarta did, with the massive absolutely massive range. The class itself isn�t absolutely overpowered but it does have some neat new abilities and can be a fun thing to stick Bzaro in. 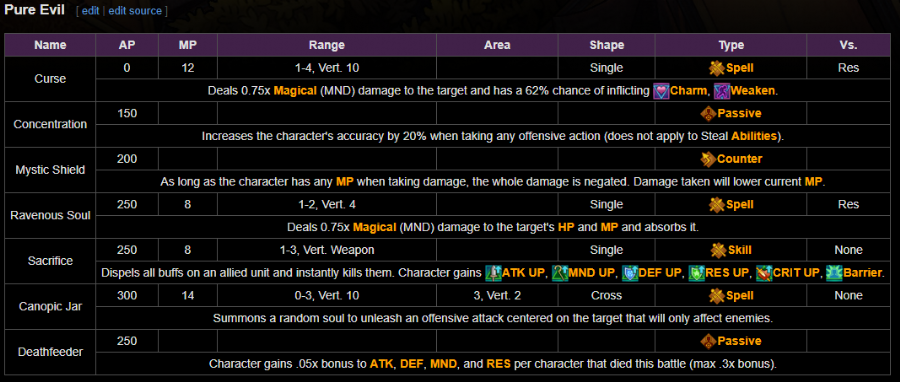 Abilities: (Because all of the actives are unique) Curse: A sort of weak magical attack that has a high chance of charming and weakening the target. While it won�t be your primary attacking tool, you can combo it with the Malice passive from the Malcubus tree to get up to 72% chances for each debuff, which is quite significant. Concentration: A powerful passive that makes the user much more accurate. Missing sucks, so making sure you hit is great. Mystic Shield: As ever, this is a powerful passive though Bzaro might not be able to take as much advantage of it due to his lack of Blood Price. Still, it can be a great way to stay alive especially if he�s in a physical class that doesn�t require very much MP. Ravenous Soul: For a draining attack, this is very powerful, especially since it uses this class�s primary stat. In my experience, as long as you�re past turn 1 you�ll almost certainly recoup the MP cost of casting it and deal/heal about 100 Hp of damage. Sacrifice: A neat ability, but one that I think works better in the hands of the AI than the player. While it�s not especially efficient, one way to use it would be to reanimate enemies mid-fight and then target the new cadavers to get the boosts. Canopic Jar: Essentially a random roll on the offensive Vessel skills but with the strong positive of entirely avoiding friendly fire. This can pick from Avernaal, Ippokampos, Quetzalcoatl, Fafnir, and Immortal Souls. Additionally, the AOE of Canopic Jar will override whatever AOE the original skill has, so all of them except for Immortal Souls will get a pretty big AOE boost. Deathfeeder: A pretty self-explanatory passive that buffs the character more as the battle goes on, capping out at a 0.3x stat boost. It�s pretty significant and can come in clutch in difficult battles, but won�t necessarily be as impactful as, say, the Avenger passive from the Marked. It does trigger off of enemy deaths too which is a big plus.
|
|
#
?
May 29, 2020 00:49
|
|
|
Is getting Mummified proof that you don't need it?
|
|
#
?
May 29, 2020 00:52
|
|


|
Sort of. The real power boosts are the equipment you get as rewards or get the materials for throughout the path. The Mummified class is neat and pretty strong, but nothing really game breaking.
|
|
#
?
May 29, 2020 01:30
|
|
|
ultrafilter posted:Is getting Mummified proof that you don't need it? Yeah I was gonna mention that there's basically no game left at this point... As for Sacrifice another hypothetical use is to kill units that are about to die anyway - they might as well give you some buffs while they are at it. It would suck very much it didn't let you revive units after that, though... Space Kablooey fucked around with this message at 02:11 on May 29, 2020 |
|
#
?
May 29, 2020 02:08
|
|

|
(Looks like your game portraits didn't get inserted into the update.)
|
|
#
?
May 29, 2020 03:39
|
|
|
Picayune posted:(Looks like your game portraits didn't get inserted into the update.) Oh thanks! I could've sworn I put them in.
|
|
#
?
May 29, 2020 04:05
|
|
|
At least Bzaro gets some swag robes. Very disappointing that winning that fight gets no extra dialogue or any story significance.
|
|
#
?
May 29, 2020 06:09
|
|
|
WarpedLichen posted:At least Bzaro gets some swag robes. Yeah, it's a bit of a missed opportunity. I get that they wanted a end game hard dungeon, but attaching it to the reasonably interesting storyline of the missing Immortal was a bad choice, I think.
|
|
#
?
May 30, 2020 15:15
|
|


|
Update 68: Teratoma II: The Final Battle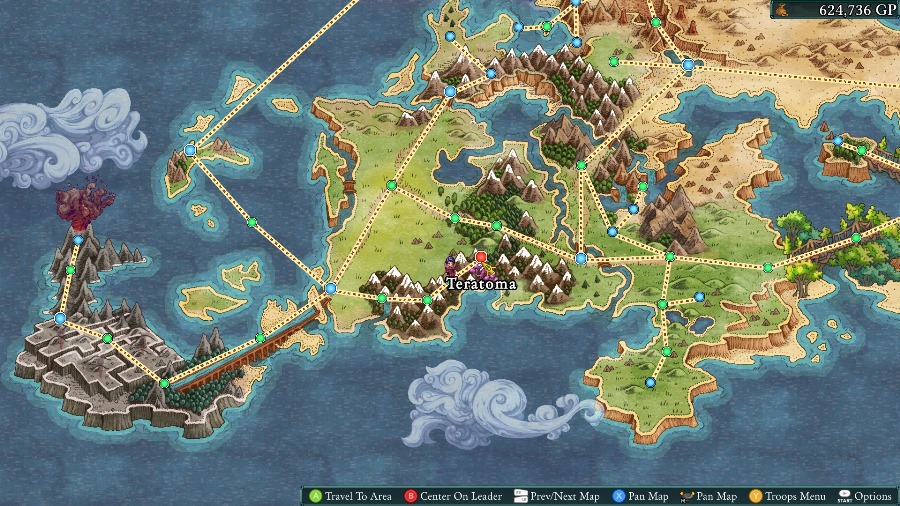 Hello and welcome back! It�s been a while since we last did a story mission, but it�s finally time to return to the Teratoma and take down The Maw for good. 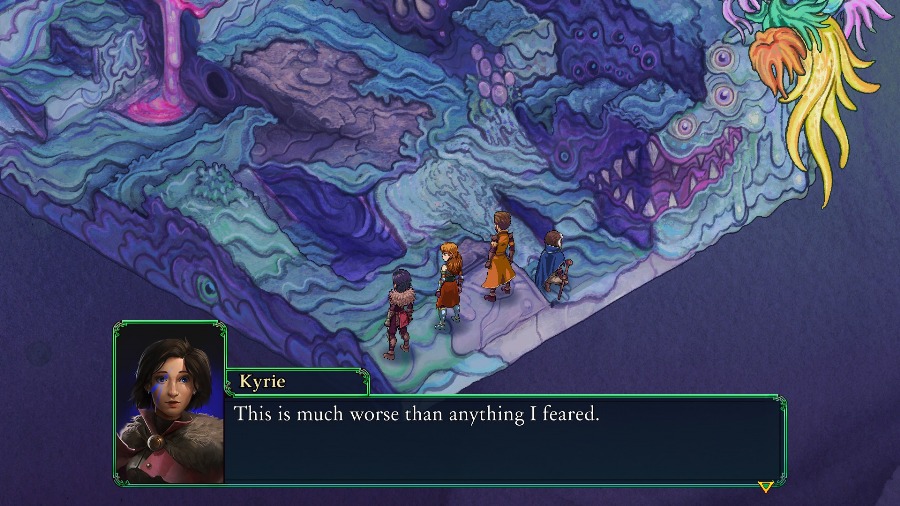 Entering the area gets the same dialogue as before, with the reminder to try and get an Energy Shard during the battle. 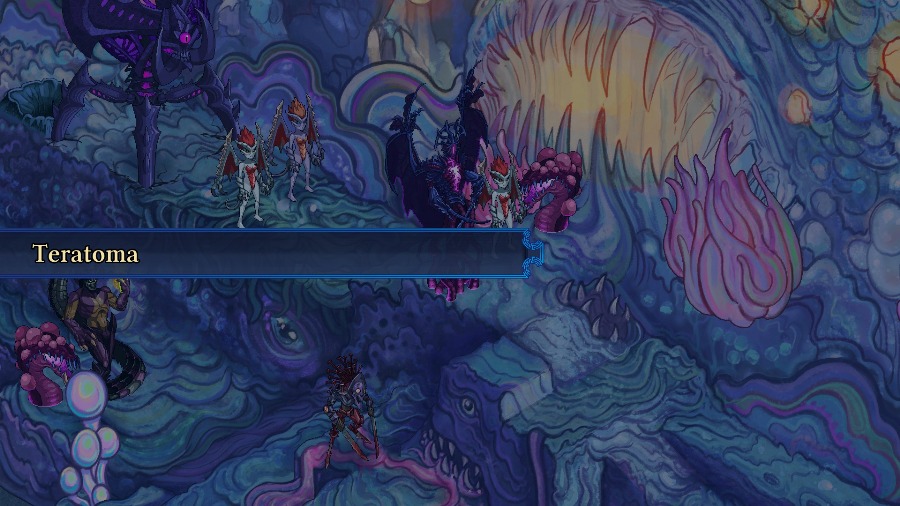 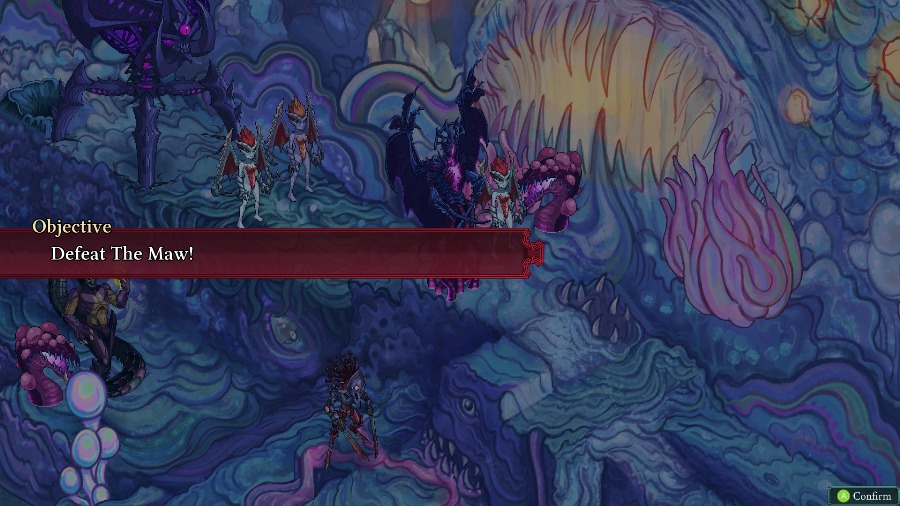 The fight itself is also the same focused battle, just with the enemies leveled up to match us. 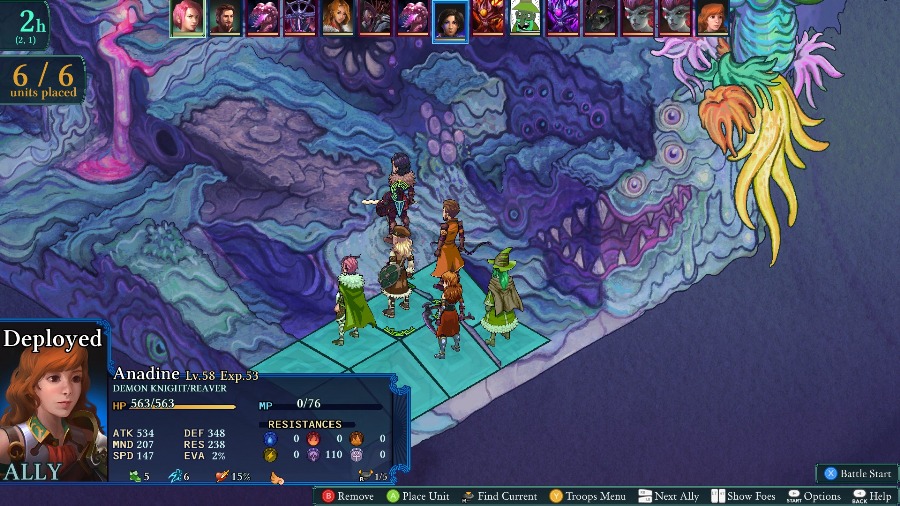 This time I�ll be bringing Kyrie, Reiner, Bobby, Sophia, Anadine, and Hannah. Hannah has the Thief secondary class so that she can steal an Energy Fragment from The Maw if the Viscerawyrms refuse to drop one. 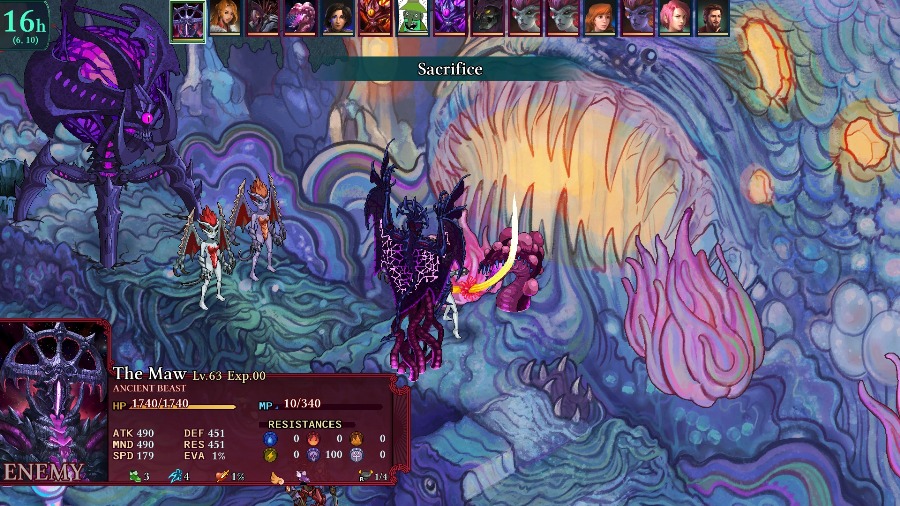 The Maw starts off with another Sacrifice to buff itself. 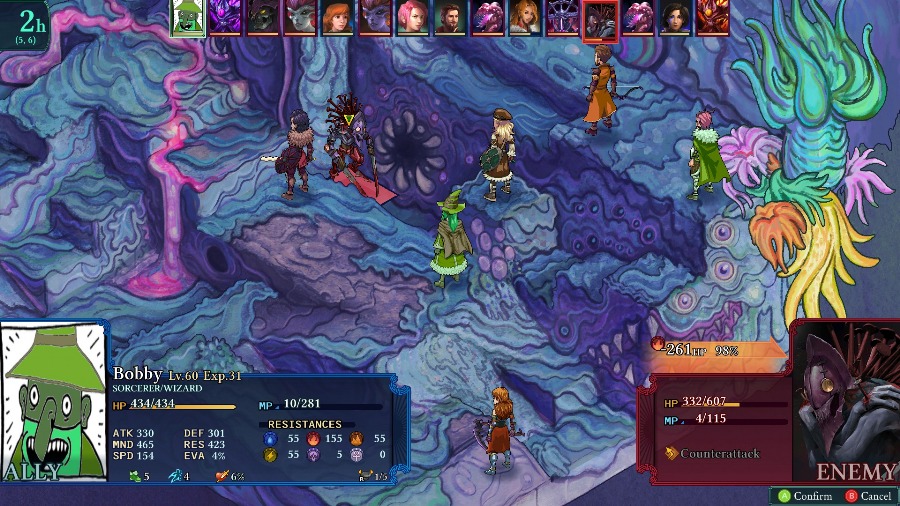 The battle goes pretty quickly, my damage was boosted by quite a bit over the Ancient Path and other side quests. 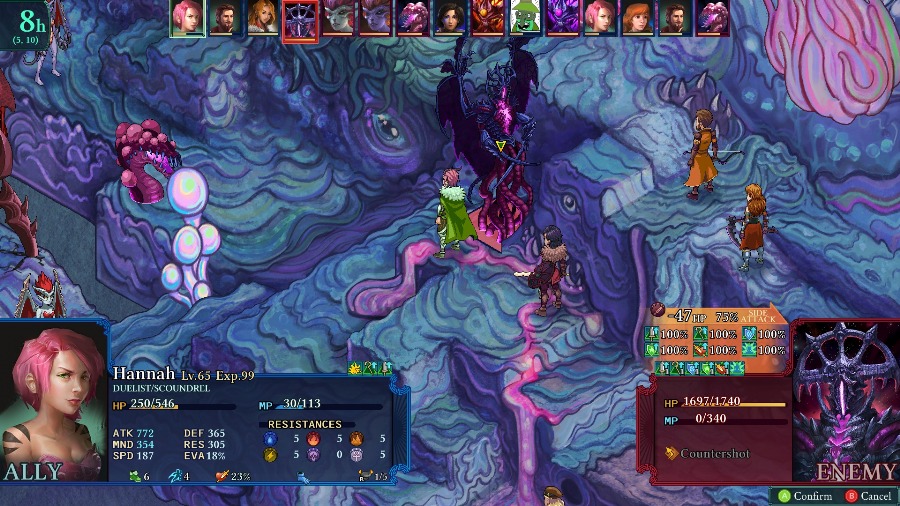 A notable time where the Steal Buffs skill would be crazy useful. Sadly, it misses. 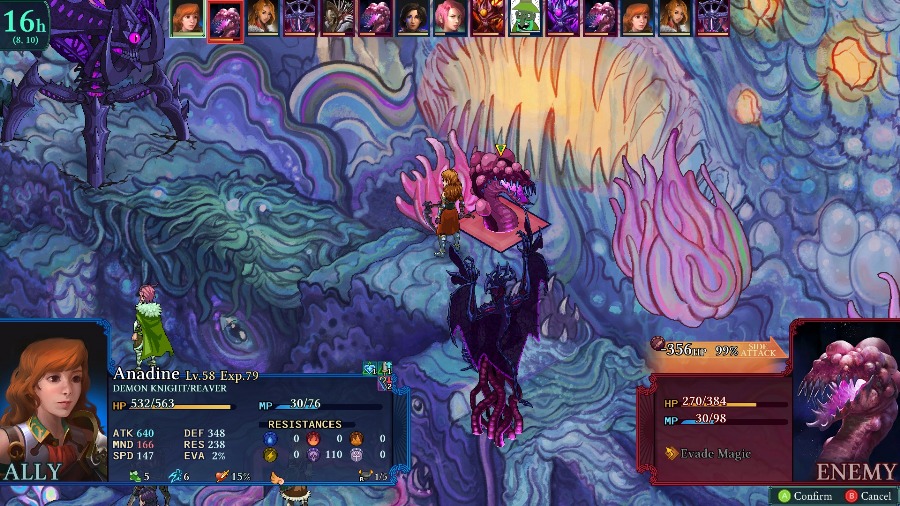 Anadine pretty quickly kills one of the Viscerawyrms but it just drops a piece of thread. 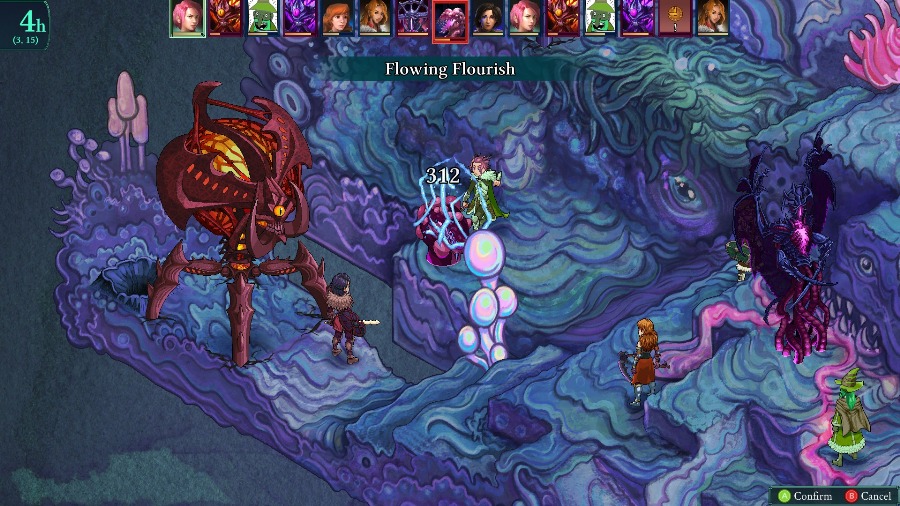  But after a bit more fighting Hannah takes out the other one and gets the Energy Fragment. This could also have been stolen from The Maw itself, but I always seem to fail to steal things even though it has a solid chance of success. 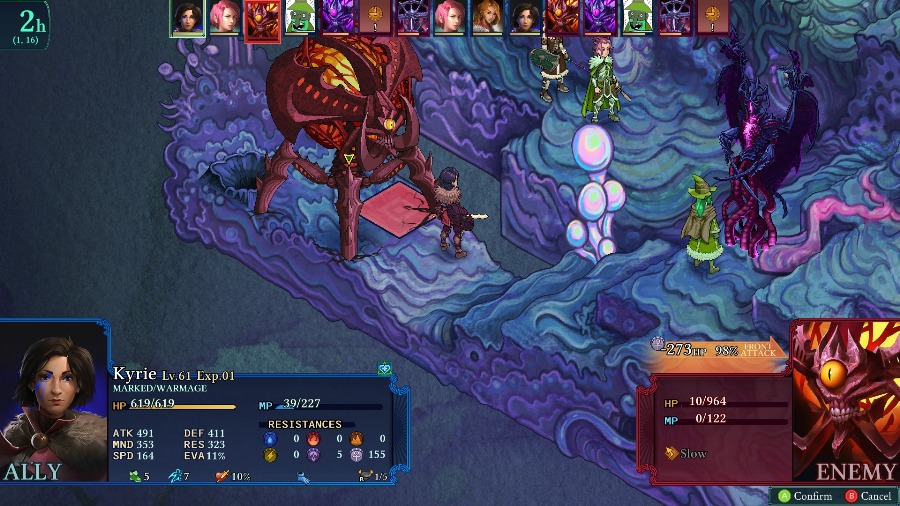 With that done, I take out the Aeoths, leaving just The Maw. 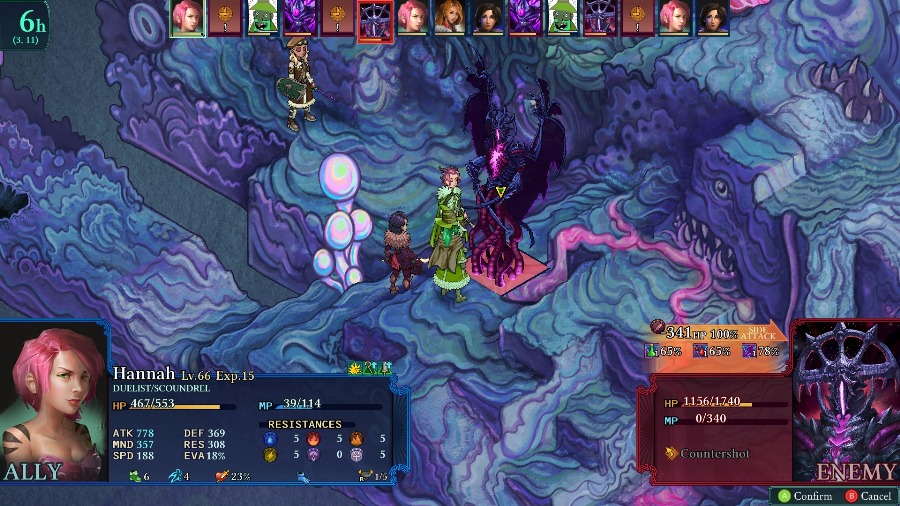 With no enemies to boost its resistance, The Maw takes quite a bit of damage from Hannah. 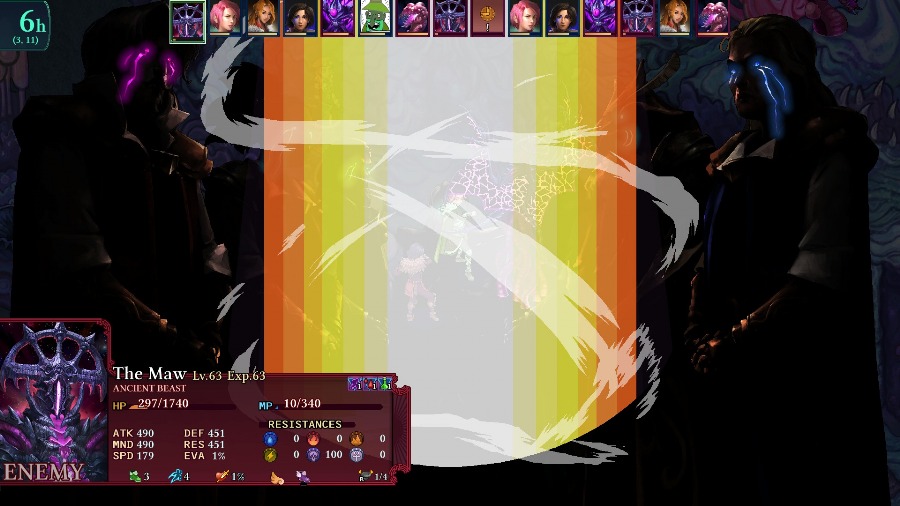 It puts out a good chunk of damage as it spams Immortal Souls a bunch and manages to take out both Reiner and Anadine. 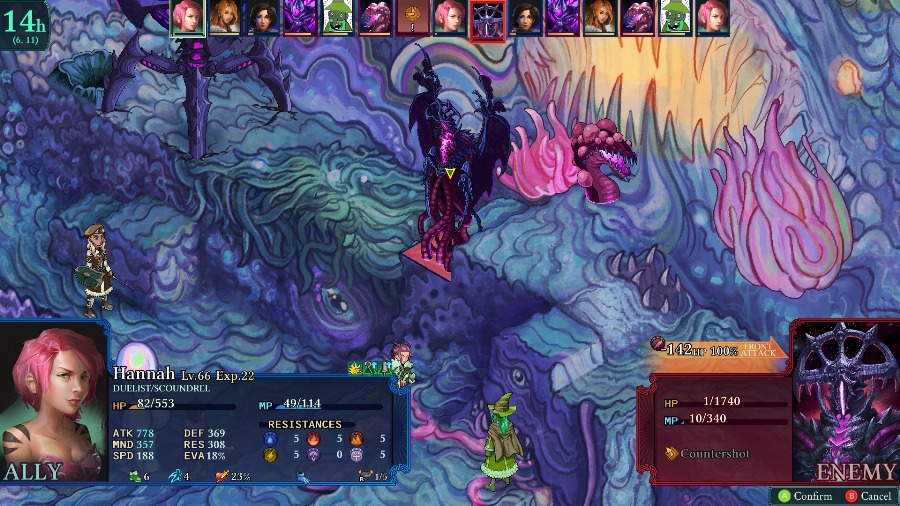 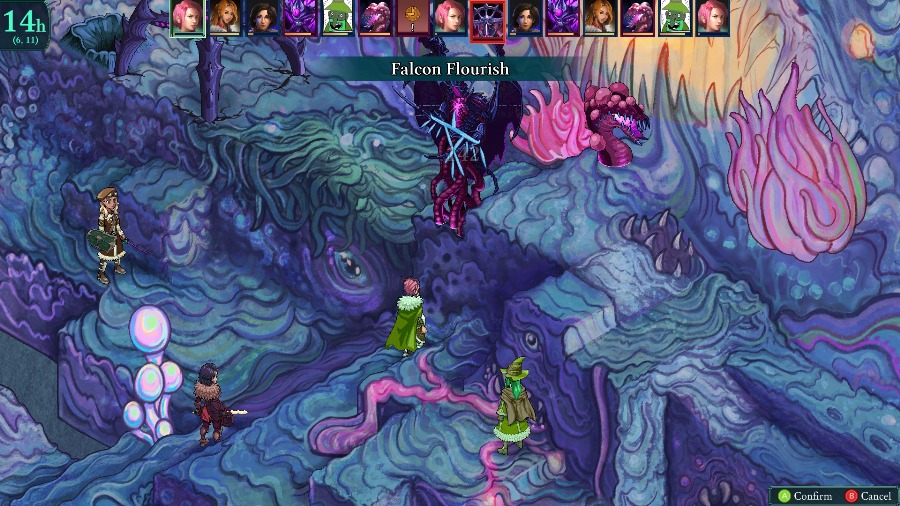 But it�s not enough and Hannah finishes it off.  Overall a pretty easy fight. My damage is high enough to typically one or 2 shot most of the enemies, though they can still hit decently hard as well. 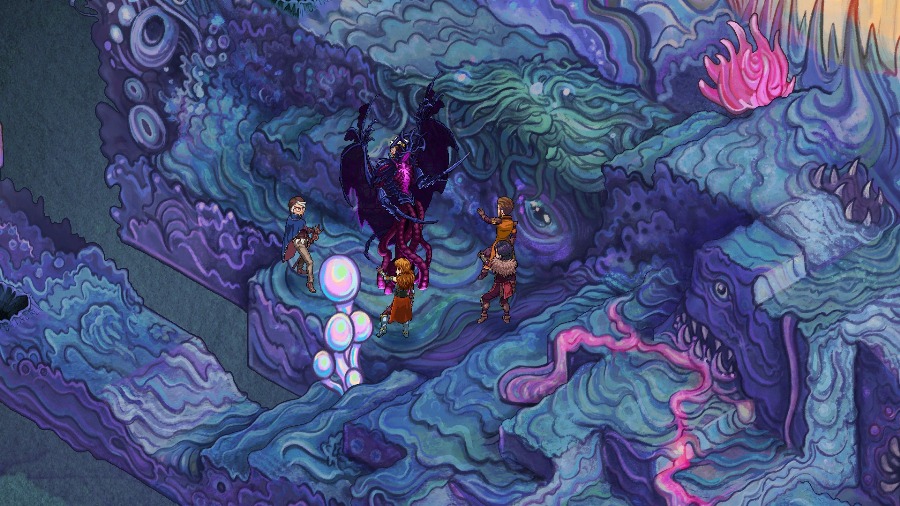 After the fight, everyone surrounds The Maw, restraining it. 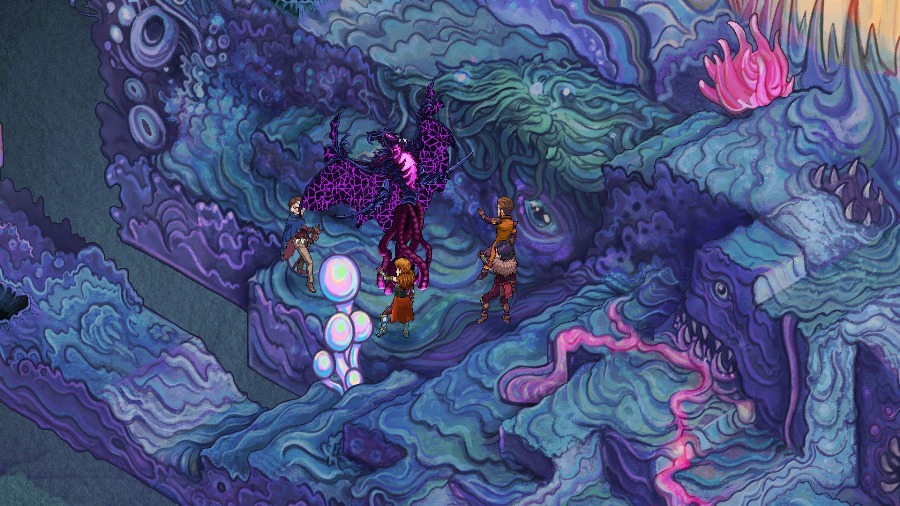 It roars. 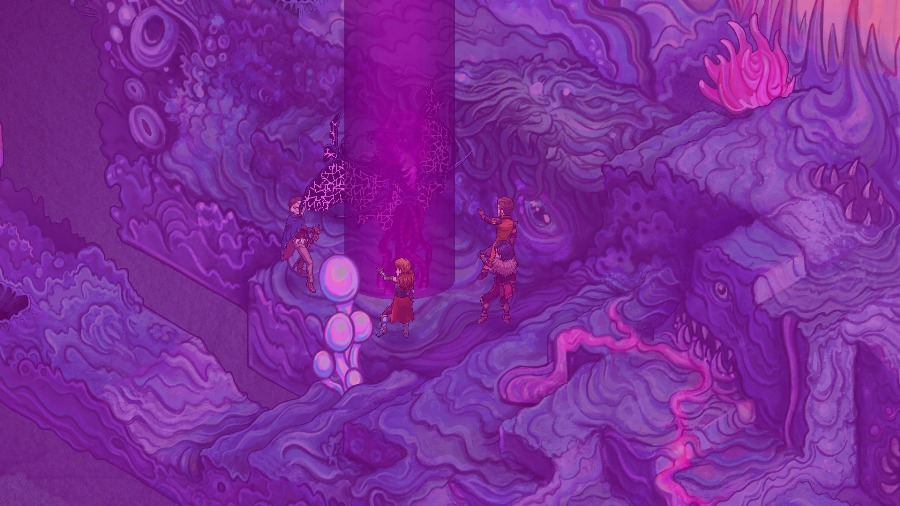 And then teleports back to its own realm. 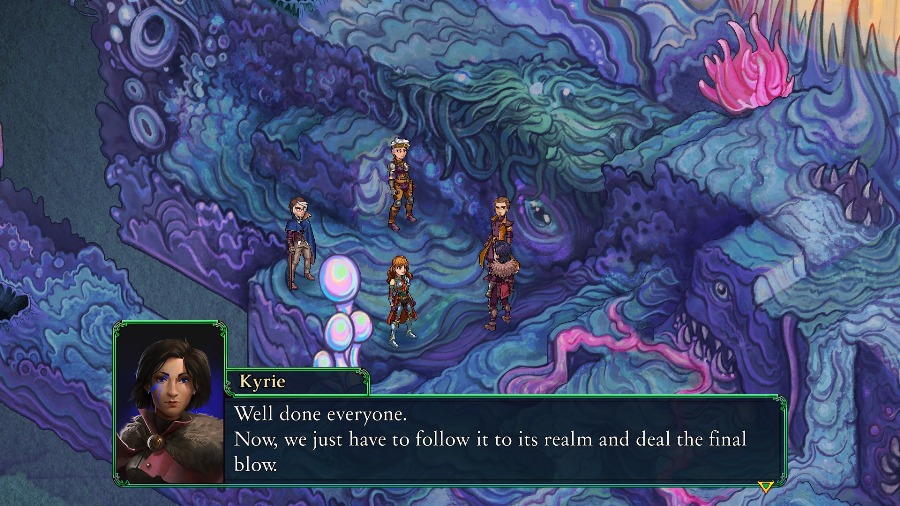 Let�s head for Lodestarhenge right away. Let�s head for Lodestarhenge right away.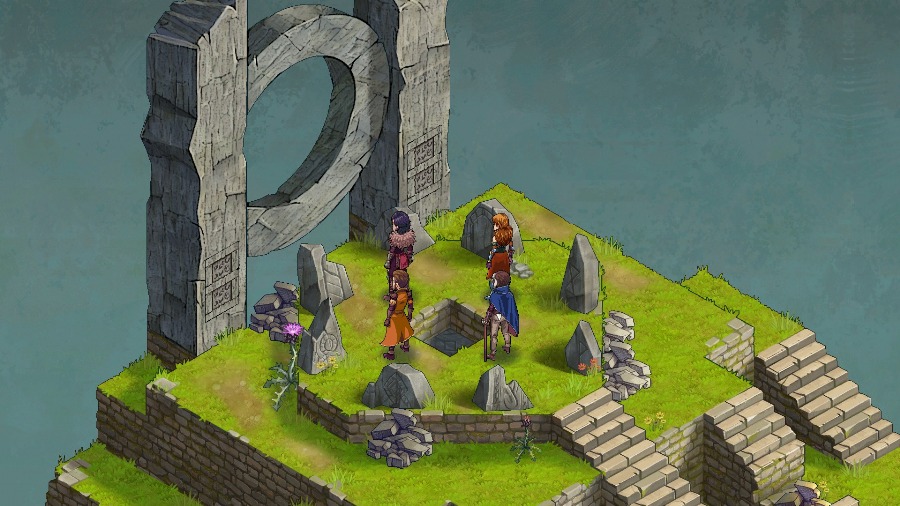 There�s a smash cut and we appear in front of the gate in Lodestarhenge. 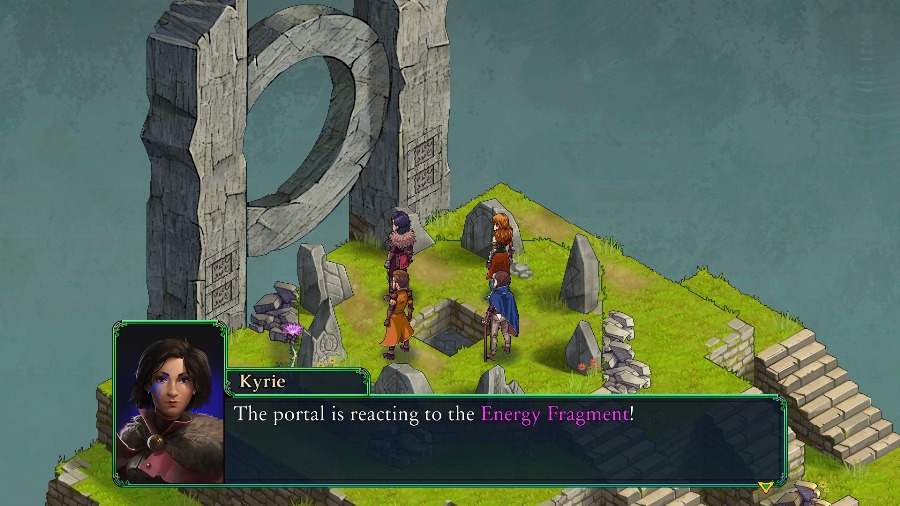 Here goes nothing! Here goes nothing! Everything flashes purple and the Henge fragments glow red. 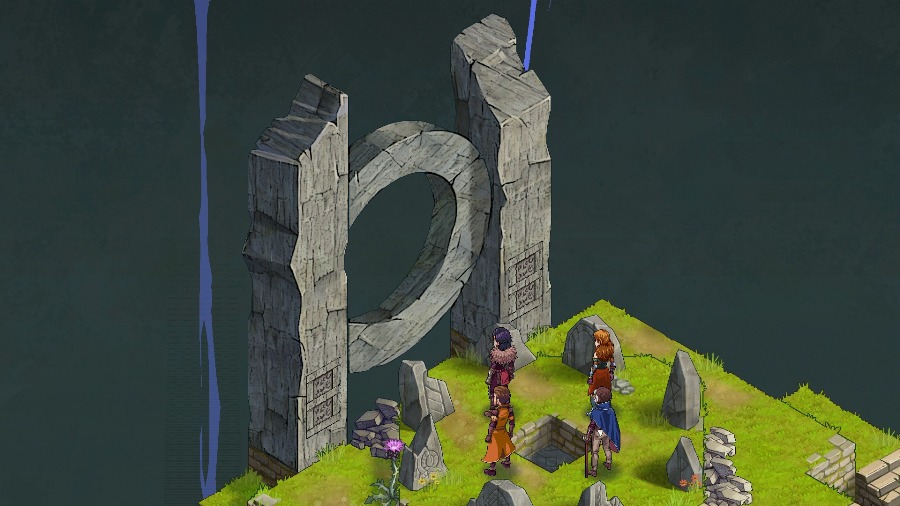 The sky darkens and lighting strikes all around.  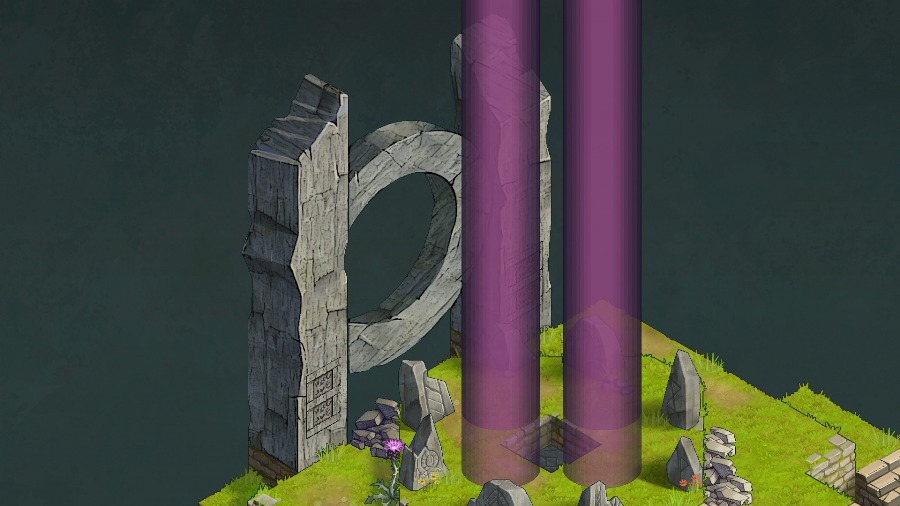 The portal waves towards the party and then teleports them away. 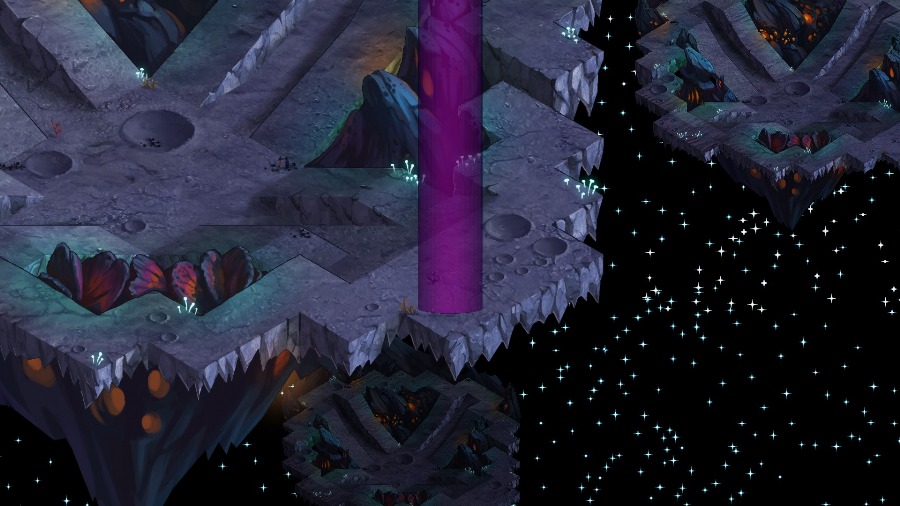 And we teleport to an area that looks sort of like the moon (and not very much like the craziness that The Maw was transforming Teora into).  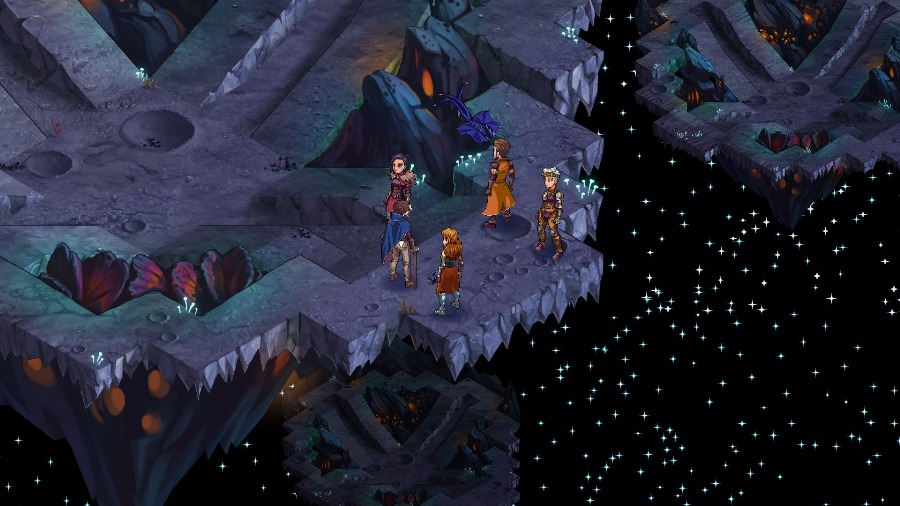 The party appears and looks around. 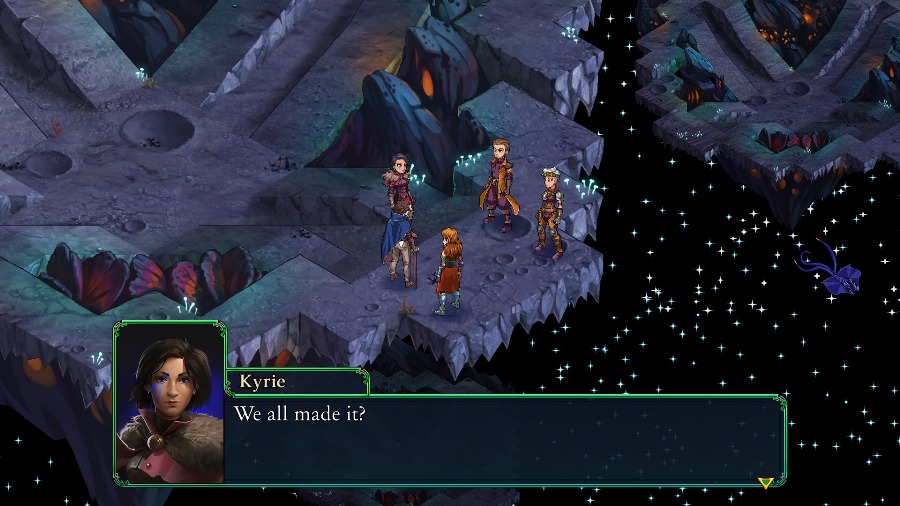  All accounted for! So, this is The Maw�s bolt-hole. All accounted for! So, this is The Maw�s bolt-hole.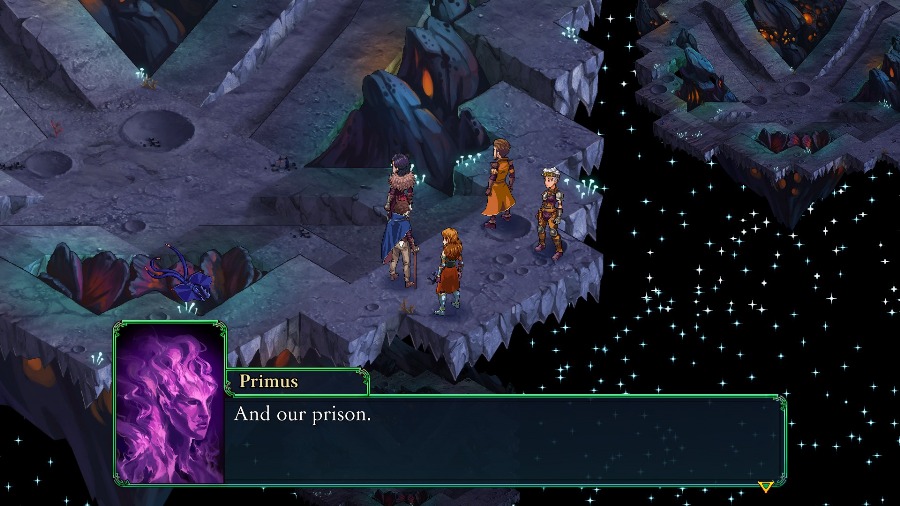  That sounded like� Primus? That sounded like� Primus? 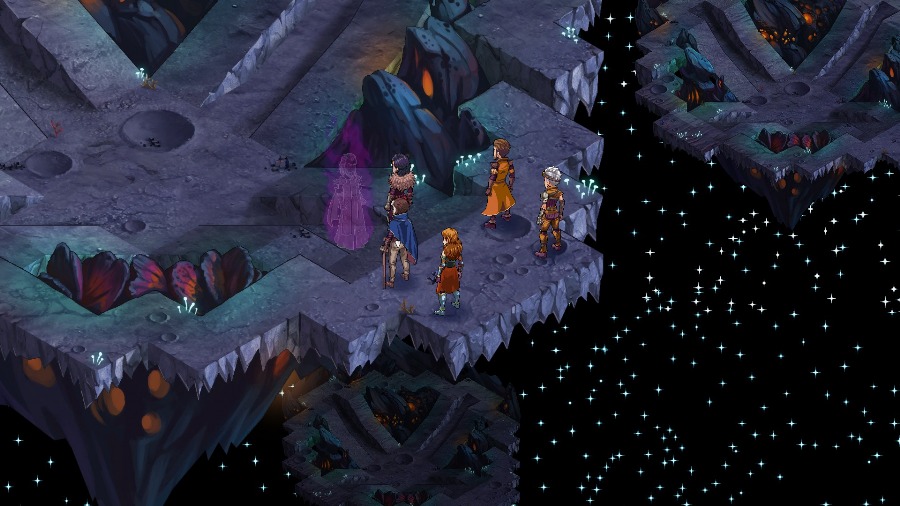 A ghostly shade of Primus fades in.  Yes. But I am� lucid, now. I see now that my arrogance gave The Maw a way into my mind. My old nemesis bested me, in the end. But� why are you here now? What are you? A remnant, I suppose. Whatever small part of me that The Maw has not already consumed. I believe it is the fate of all Immortals to end up here, after they pass. Fueling the beast with our spirit, as it fueled us with its energy in life. But now that you�re here� Please show me one small mercy, however undeserved. End our suffering. Do what I could not. Destroy The Maw! Yes. But I am� lucid, now. I see now that my arrogance gave The Maw a way into my mind. My old nemesis bested me, in the end. But� why are you here now? What are you? A remnant, I suppose. Whatever small part of me that The Maw has not already consumed. I believe it is the fate of all Immortals to end up here, after they pass. Fueling the beast with our spirit, as it fueled us with its energy in life. But now that you�re here� Please show me one small mercy, however undeserved. End our suffering. Do what I could not. Destroy The Maw!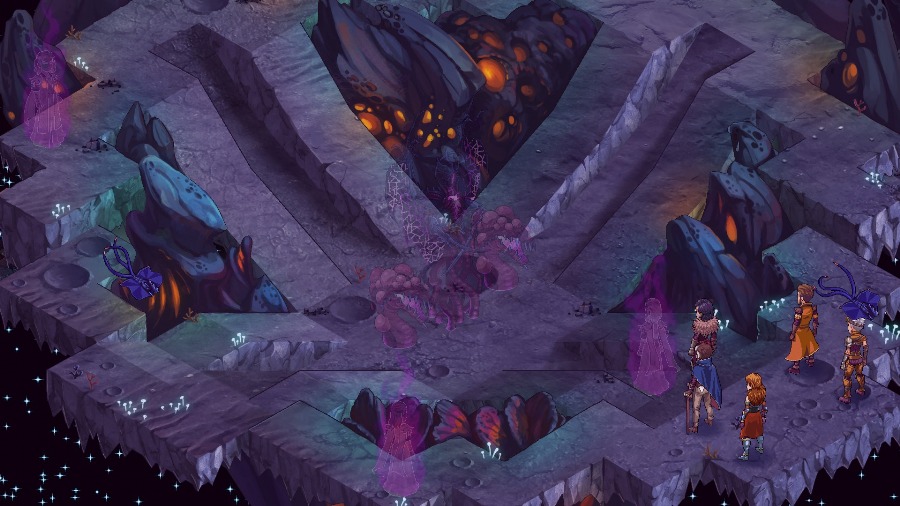 At that, The Maw fades in to the center of the area. That�s what we�re here to do. My thanks. And my apologies for what I am about to do, as The Maw has control of us in here. I understand, Primus.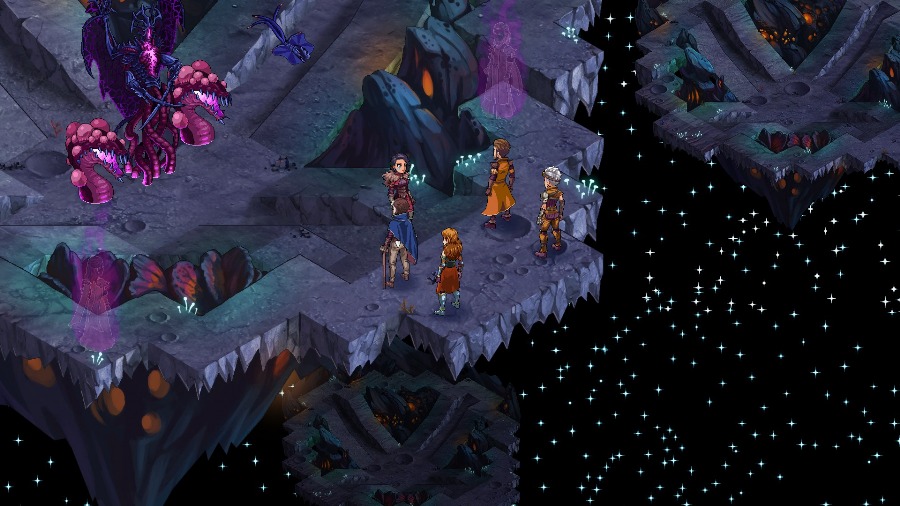 Primus goes off to the side and Kyrie turns to address the group. Everyone! Let�s finish The Maw once and for all, before it can recuperate and return to Teora!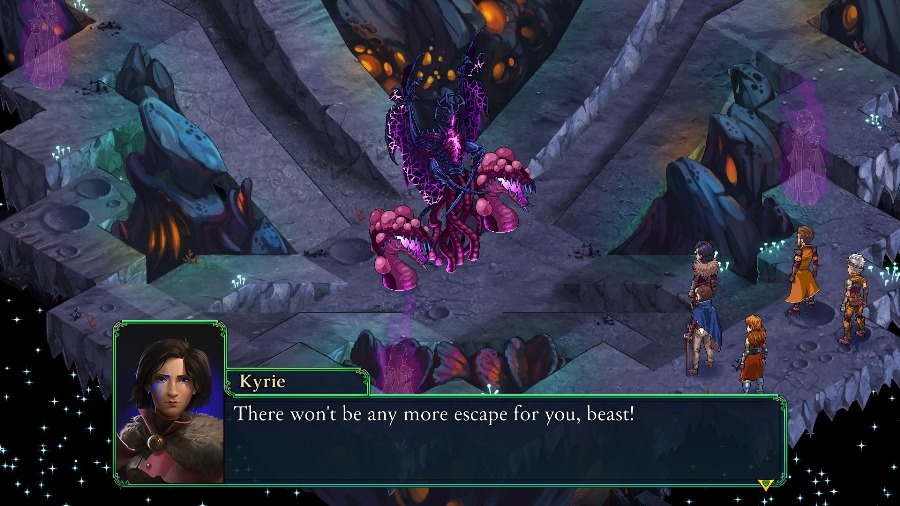  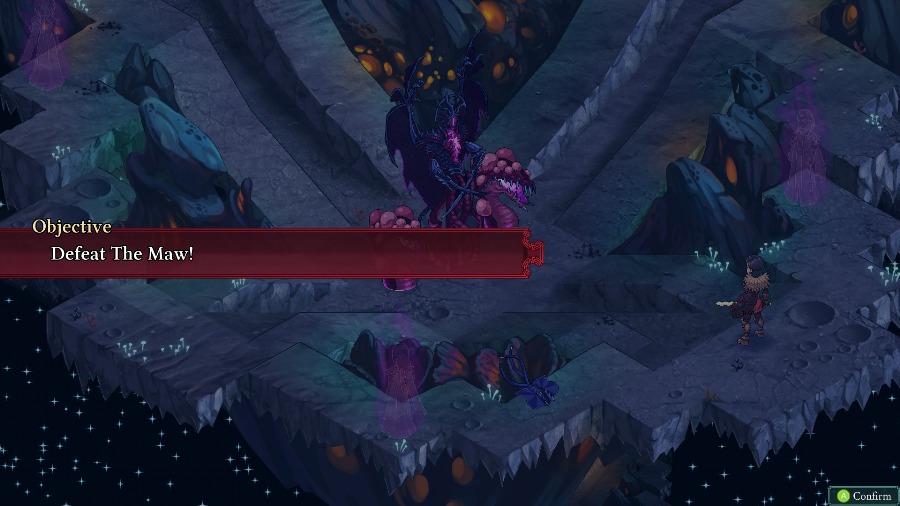 And it�s time for the final battle!  In the center is The Maw, with a slightly different HP count. Its current HP is its max HP from its Teora form, but here we can see that it�s merely been wounded. The Maw has one new ability as well, which I�ll go over shortly, but is otherwise unchanged. The Viscerawyrms are the same too. 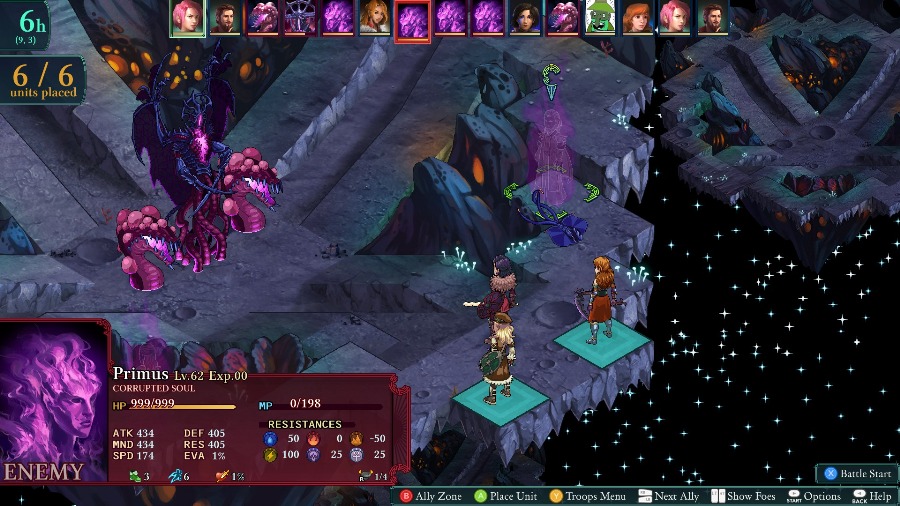 The real gimmick for this fight is the presence of the Immortals as Corrupted Souls. In each of the four corners there is an Immortal. Going clockwise, there are Primus, Secunda, Septimus, and then Sekstus who had previously only been mentioned as having been slaughtered by Primus. They all have solid stats, a different set of elemental resistances, and are vulnerable to all debuffs except for Charm and Berserk. 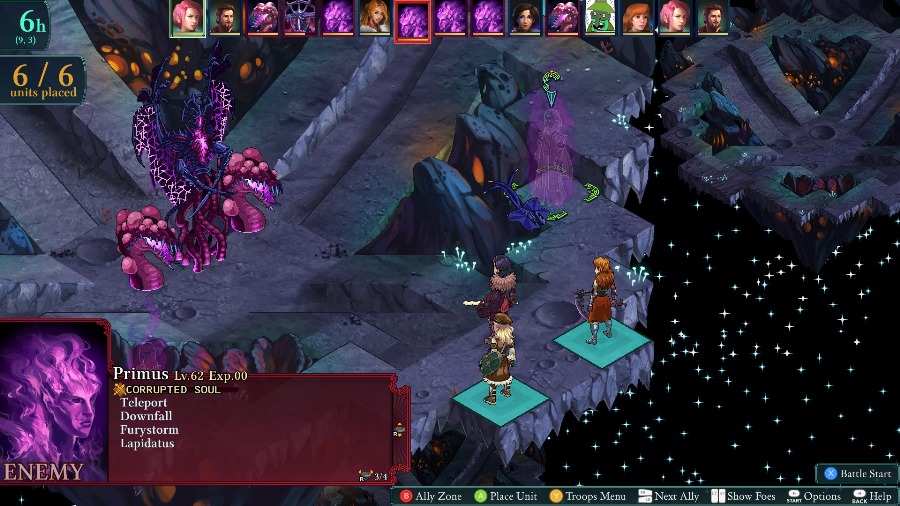 For abilities, they have the same ones from their Immortal classes, so Primus has his teleports and assorted other ones, Septimus has his vampire things, Secunda has Warmage and Wizard abilities, and Sekstus has some basic healing and buffing abilities from the Mender and Alchemystic. 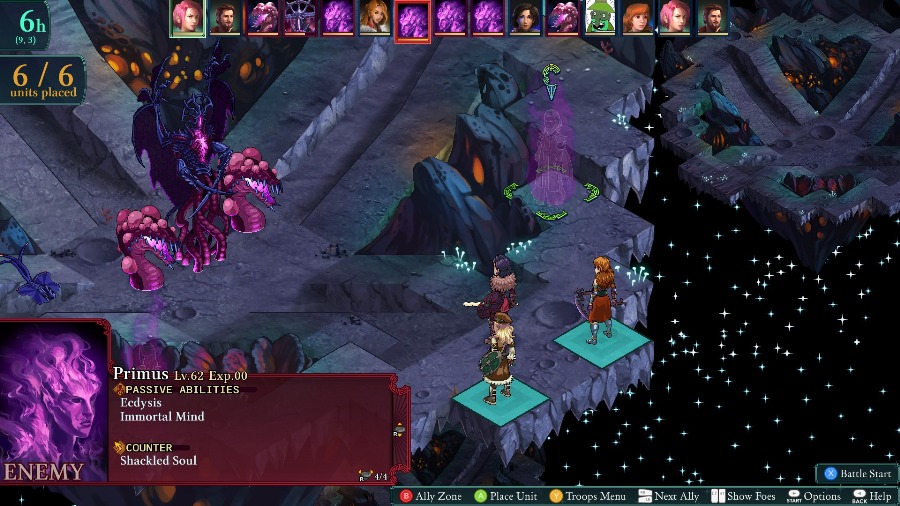 On their own, these wouldn�t be too bad. But their passives and specifically the Counter are very nasty. Ecdysis and Immortal Mind combine to make all debuffs only last one turn and only get applied half as often. 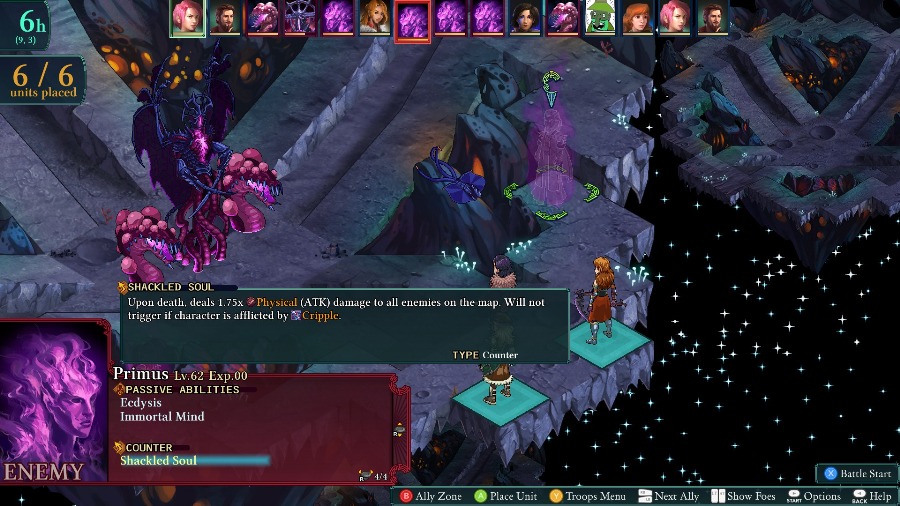 And then their counter is Shackled Soul, which counters the character dying by doing a massive unavoidable attack to all of my characters. It can be prevented by afflicting the character with a specific debuff when they die, but it�s very fiddly and I never managed to stop it. Each Immortal requires a different debuff to stop the attack. 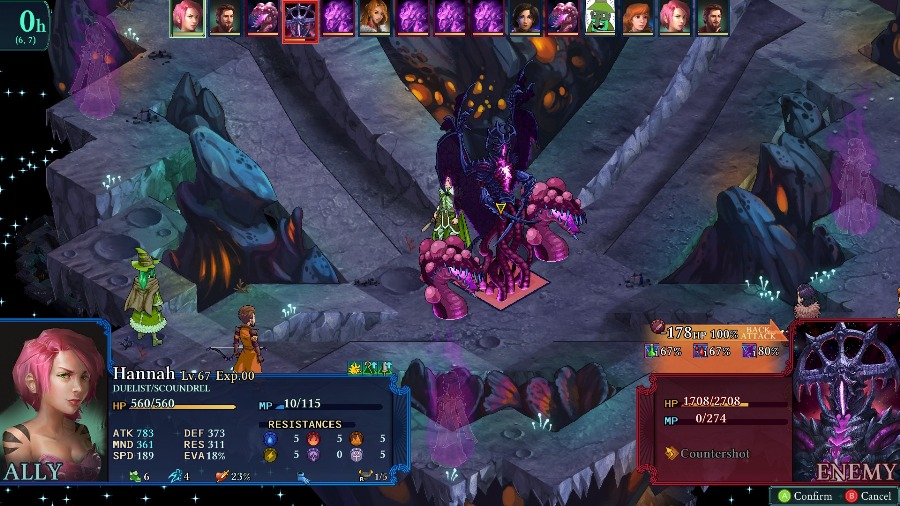 To start the fight itself, I have Hannah pop over and start whacking The Maw. With all of the enemies back on the field, her damage is cut down by just about half thanks to The Maw�s Broodmaster passive. 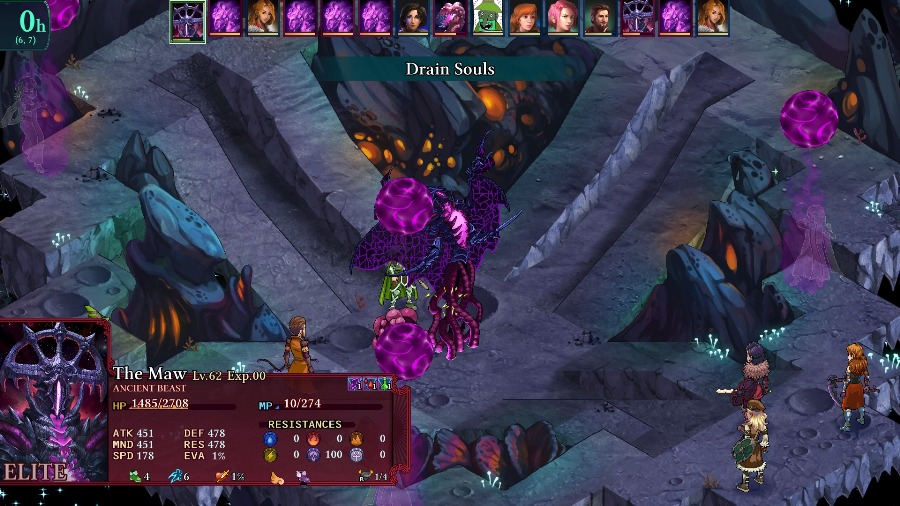 And on The Maw�s turn it uses its new move, Drain Souls. This hurts every enemy except for The Maw for 200 damage and then heals The Maw for the total amount it deals. This can kill the Corrupted Souls and will still trigger their Shackled Soul attack. Because of this attack, The Maw is much more difficult to rush down. Additionally, unexpected or consecutive Shackled Souls could absolutely wipe your party. What I�ve found to be the best strategy is to take out at least 2 of the Immortals on your own. That�ll both reduce your incoming damage and increase the damage you can do to The Maw, especially if you take out the Viscerawyrms too. Primus and Secunda are the most threatening of the four and are the closest to the main party so I�d recommend focusing on them. Sekstus will then typically focus on healing himself and Septimus, so you shouldn�t necessarily need to deal with another Shackled Soul. 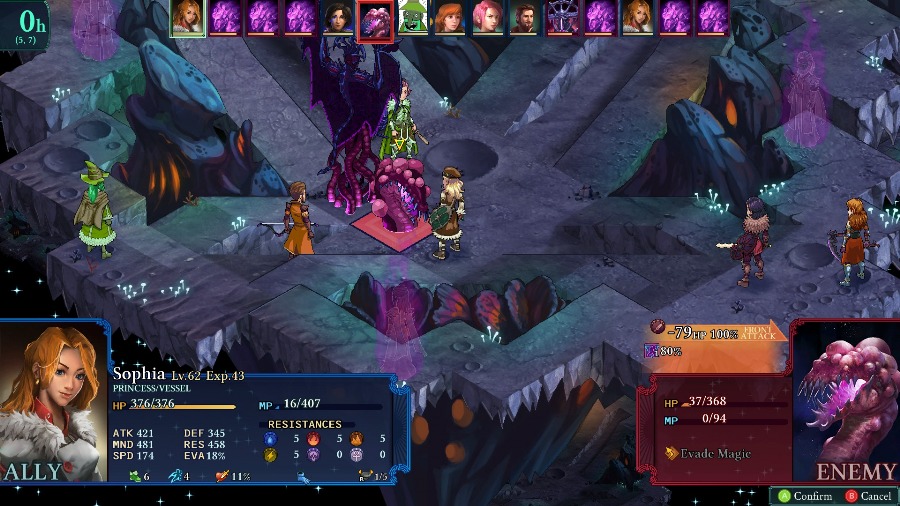 Reiner killed one of the Viscerawyrms and Sophia takes out the other. 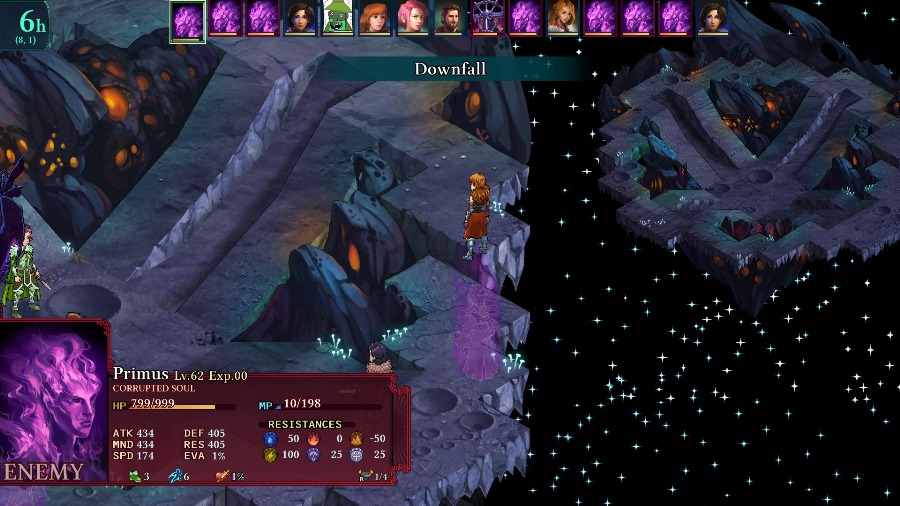 And Primus goes after Anadine with his fall damage attack. 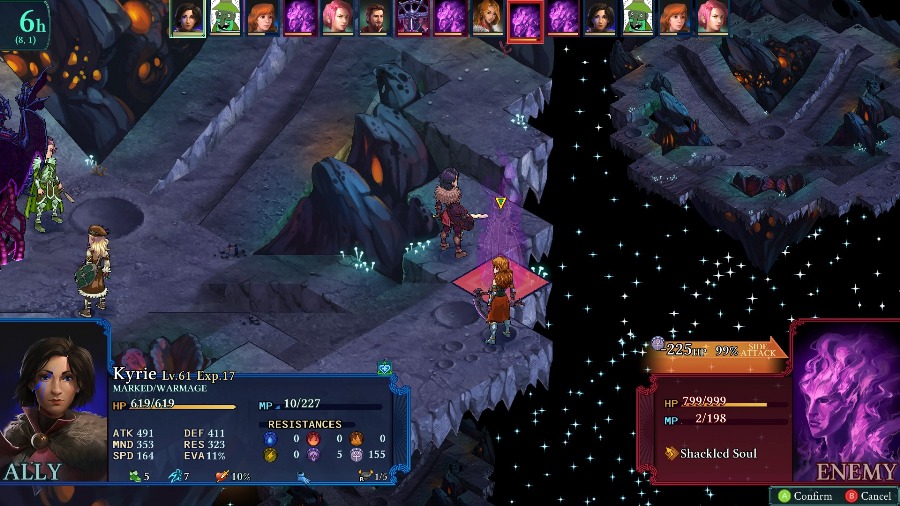 Though they have a lot of HP, the Corrupted Souls� defenses aren�t crazy so I can do a good chunk of damage to them. 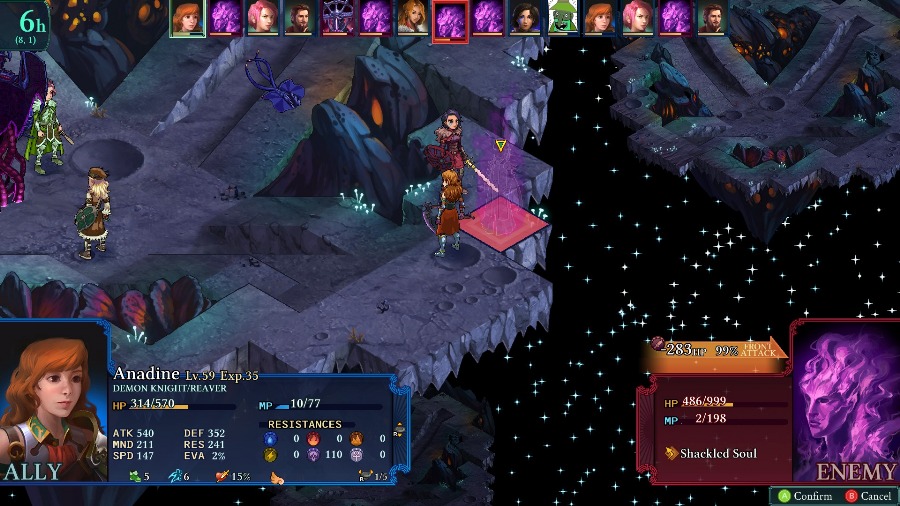 Anadine helps out as well. 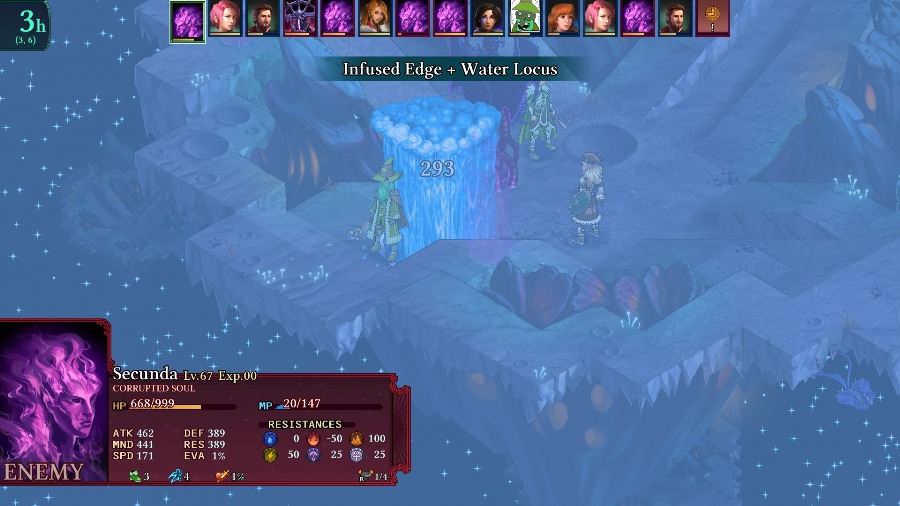 But to demonstrate that the Immortals are still threatening, Secunda straight up 1-shots Reiner with an Infused Edge Combo. I was hoping that he�d survive, but it just shows that I really need to take her out quickly. 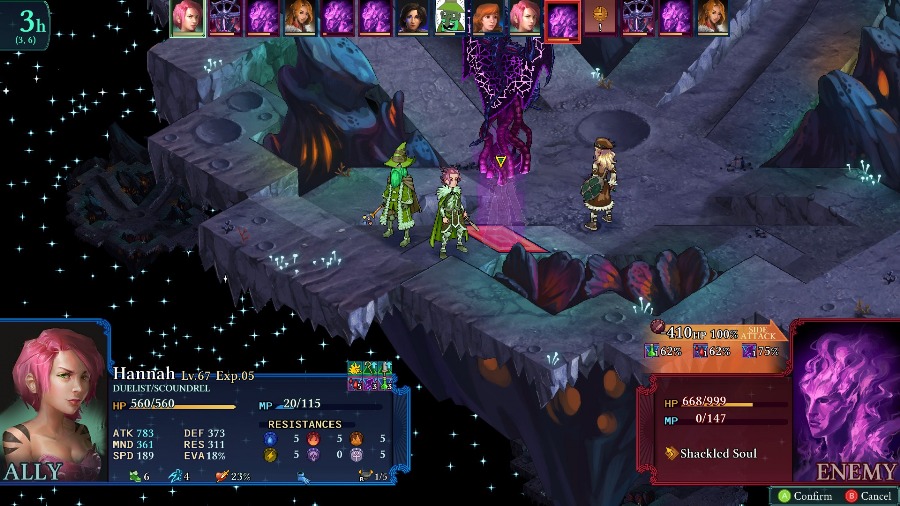 Hannah gets to work on her and crits, which is actually a mixed blessing. More damage is good, but Secunda also has the Bloodlust passive so if I don�t kill her quickly then she�ll 1-shot people even more easily. 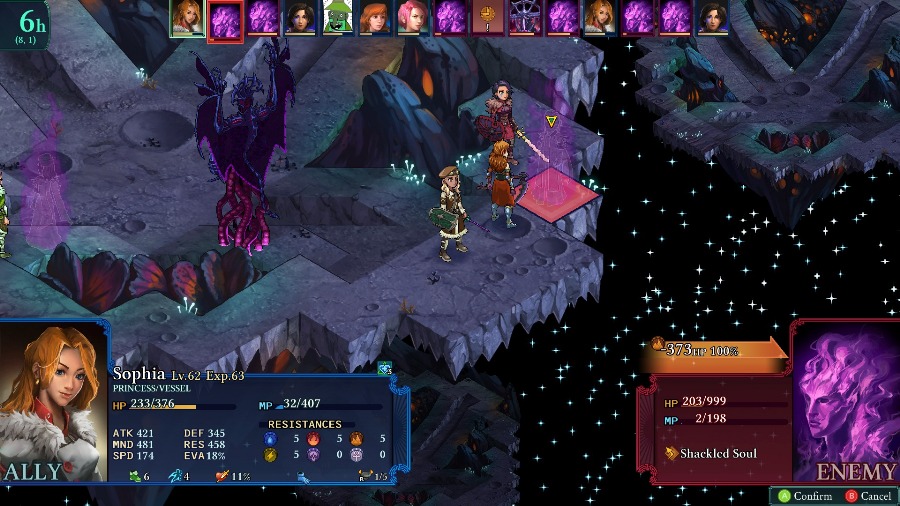 Now here I get a little greedy. Primus and Secunda are the real damage sources of the fight, so I just think to take them out ASAP. What I�m not thinking about is how strong Shackled Soul is and how a few of my people are low on health. 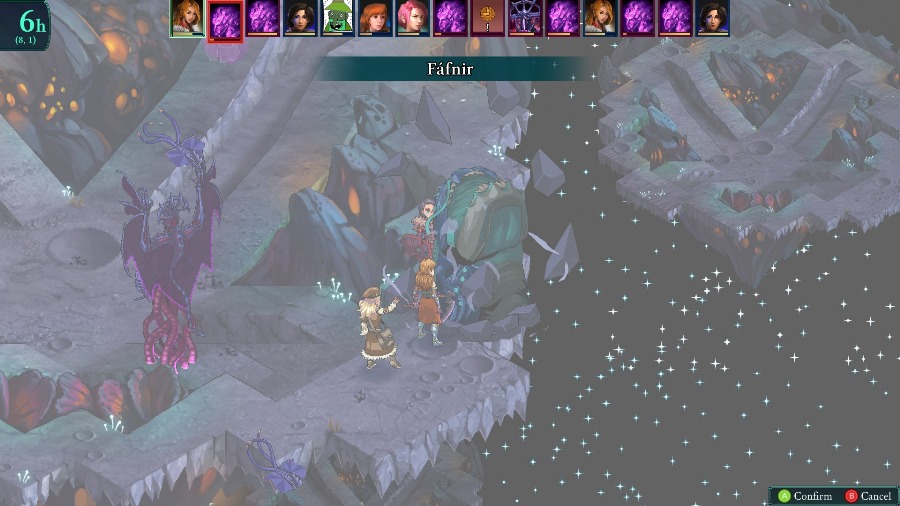 Primus gets eaten by an Earthwyrm. 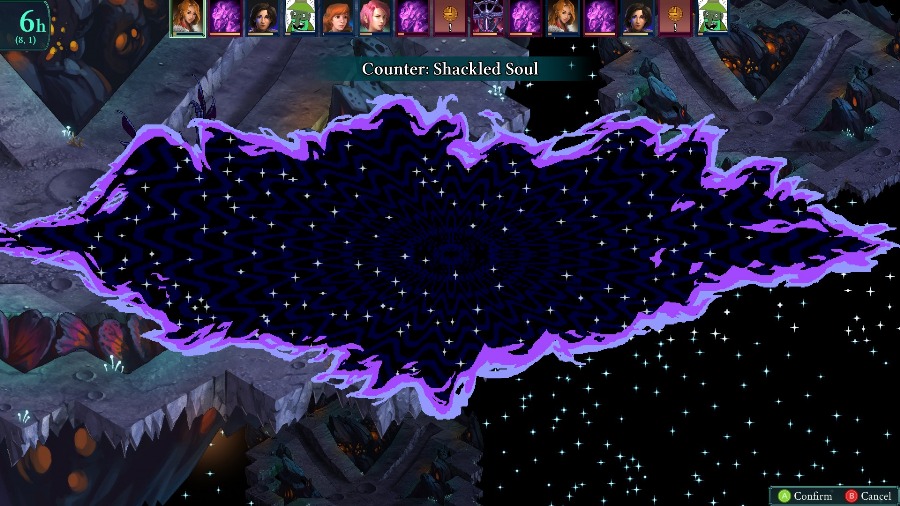 And then retaliates with a Shackled Soul that nearly kills everyone except for Kyrie. 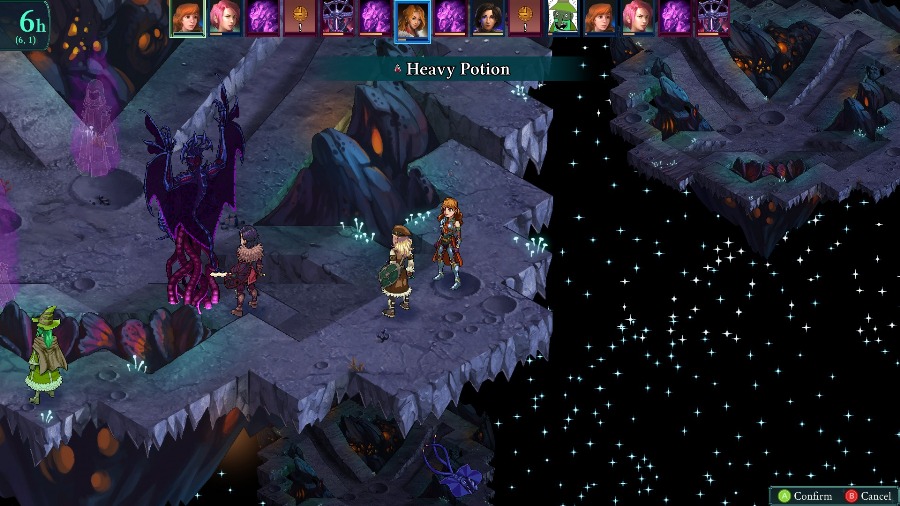 I have Anadine heal Sophia to full as well. As long as she�s alive then I can just revive people with no trouble, since The Maw only deals about 120 damage to her per attack. 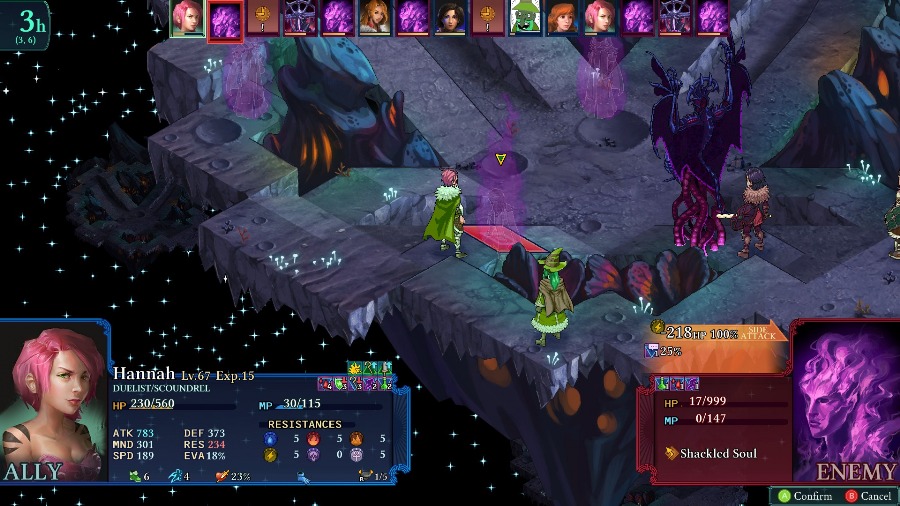 And then, I for some reason decide that it�s a better idea to kill Secunda and trigger the counter than just let her kill one person. 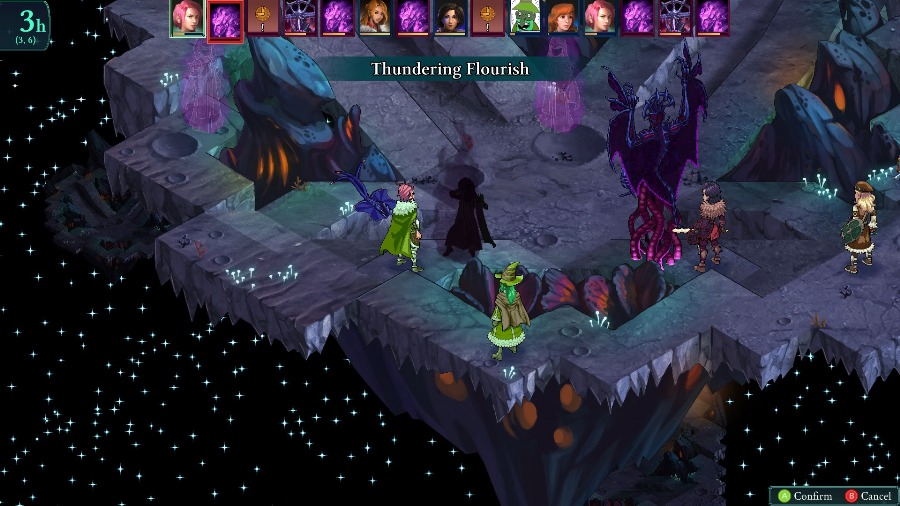 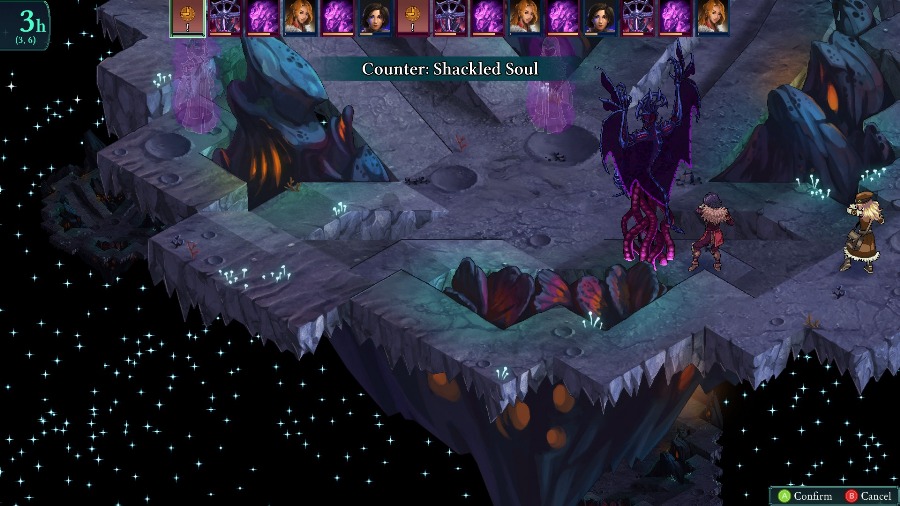 It wasn�t a good idea. 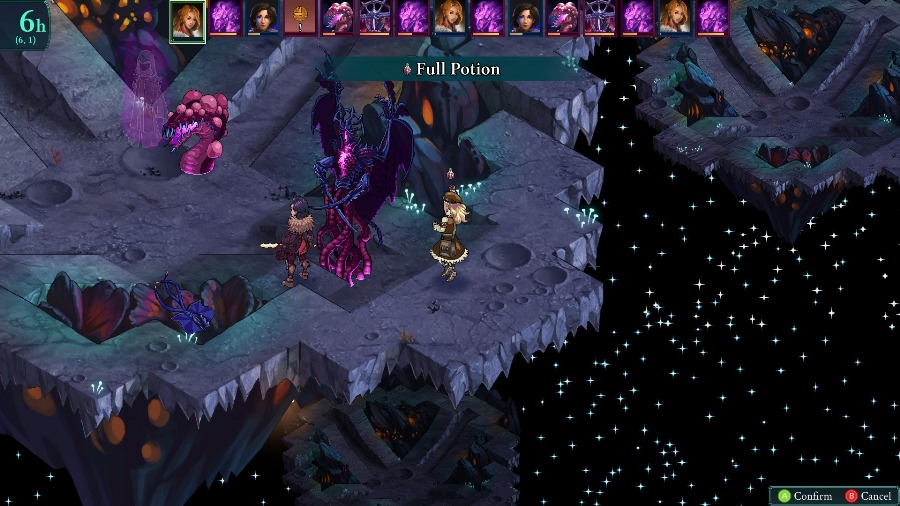 Sophia heals back to full with a potion and Kyrie revives Hannah with some Phoenix Ashes. 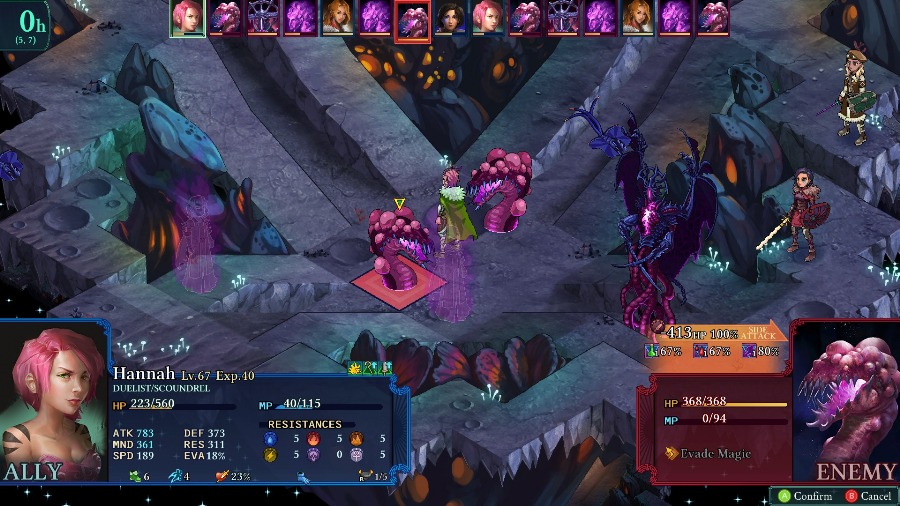 She then moves to kill one of the respawned Viscerawyrms and heals a bit from the Leech Life passive. 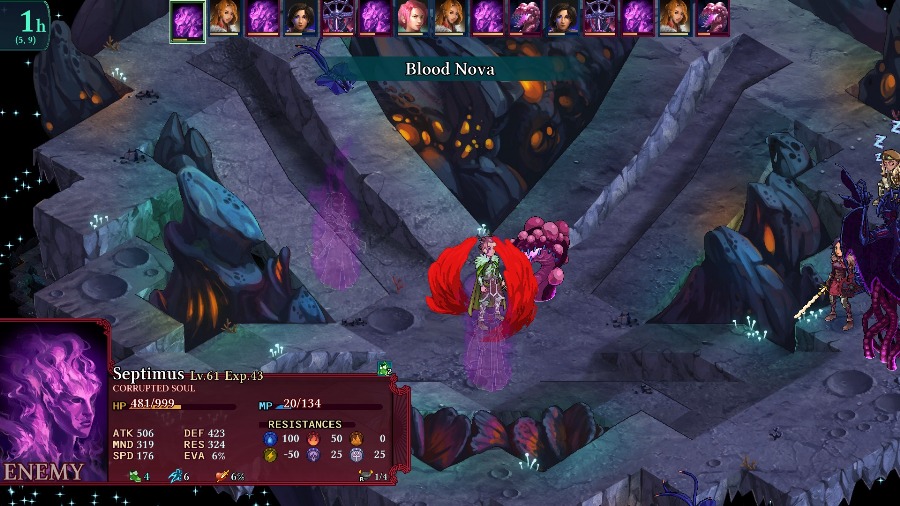 Septimus does a little bit of damage to her, but is overall pretty negligible. 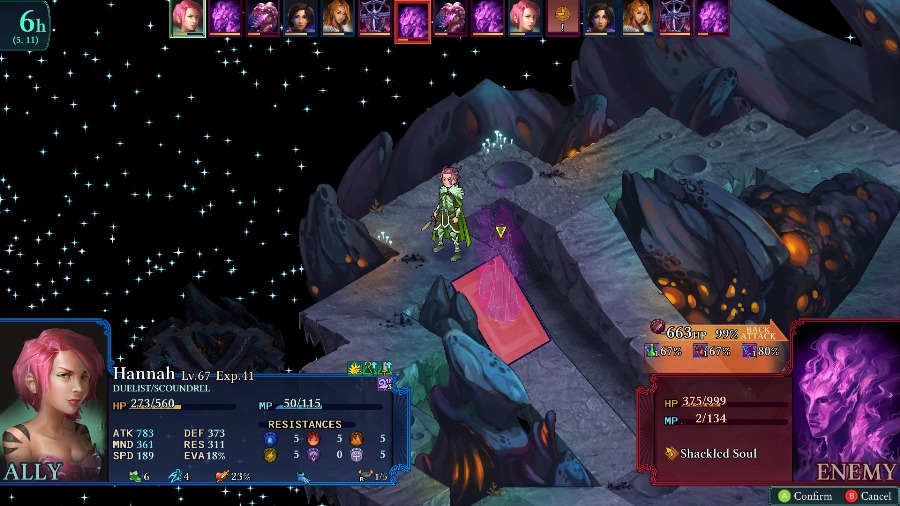 Still, he annoys me so I have Hannah kill him too. 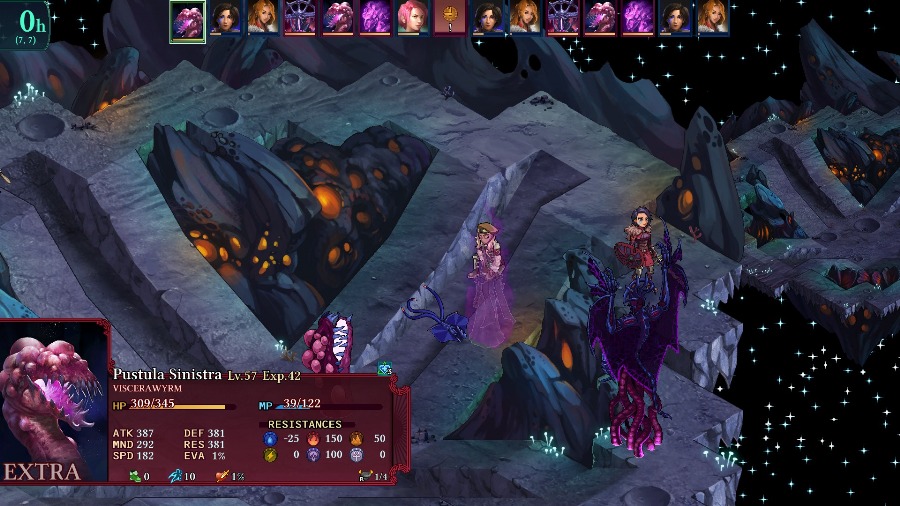 That was entirely unnecessary and ends up getting Sophia killed by the other Viscerawyrm. Thankfully both Kyrie and Hannah have revival options so it doesn�t really matter that much. 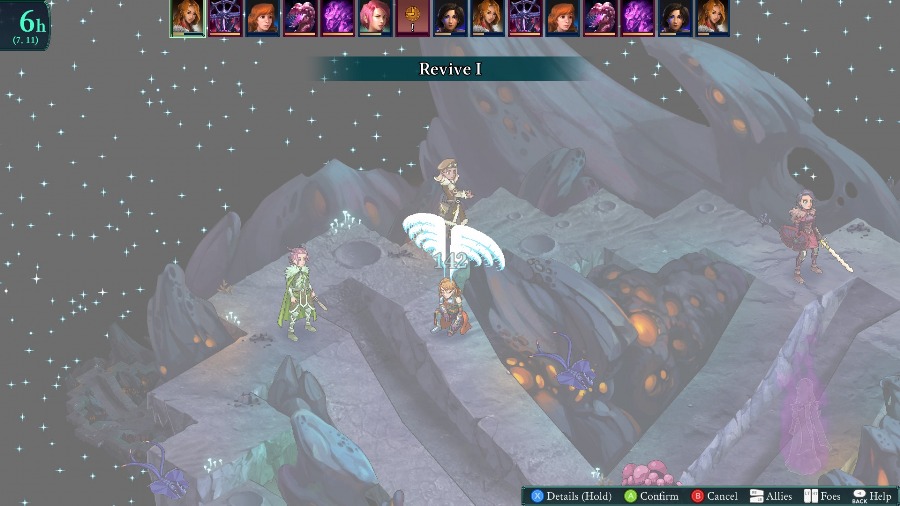 So I revive her and bring Anadine back as well. 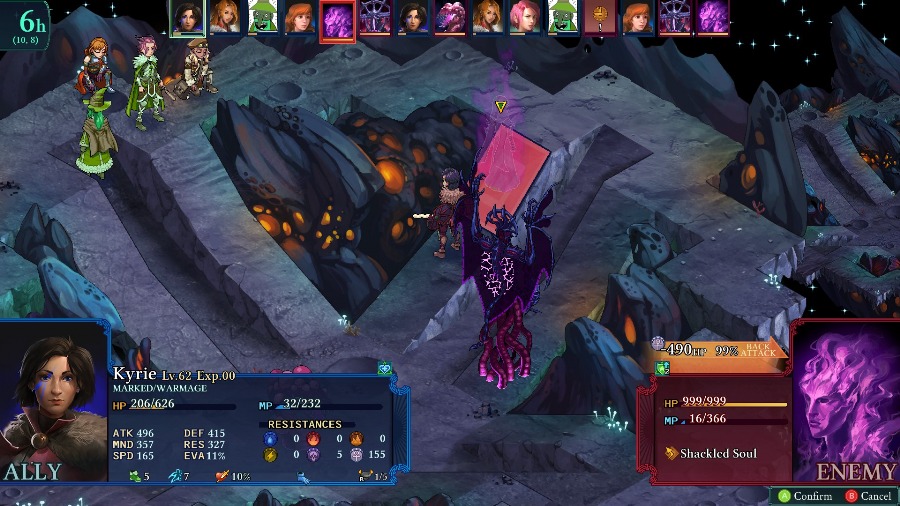 At this point, Sekstus keeps putting regen on The Maw, which is actually really annoying with The Maw�s giant HP pool, so I decide to kill it as well. 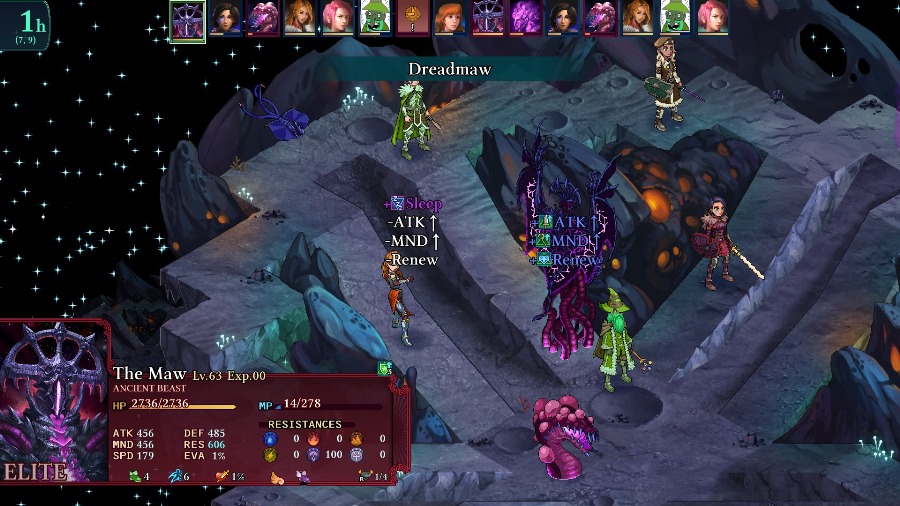 The Maw also keeps stealing Anadine�s buffs, which is almost as annoying. 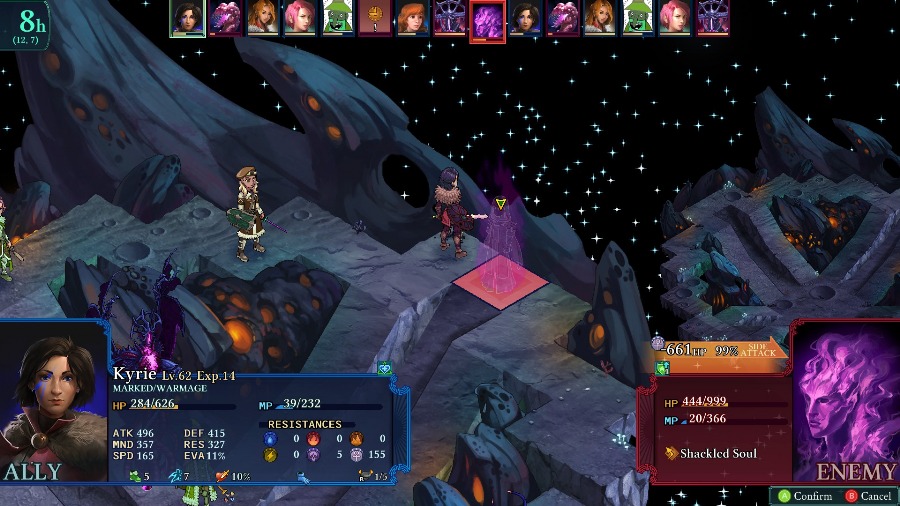 On Kyrie�s next turn, she�s able to kill Sekstus, and I eat one more Shackled Soul, though this doesn�t end up killing anyone. 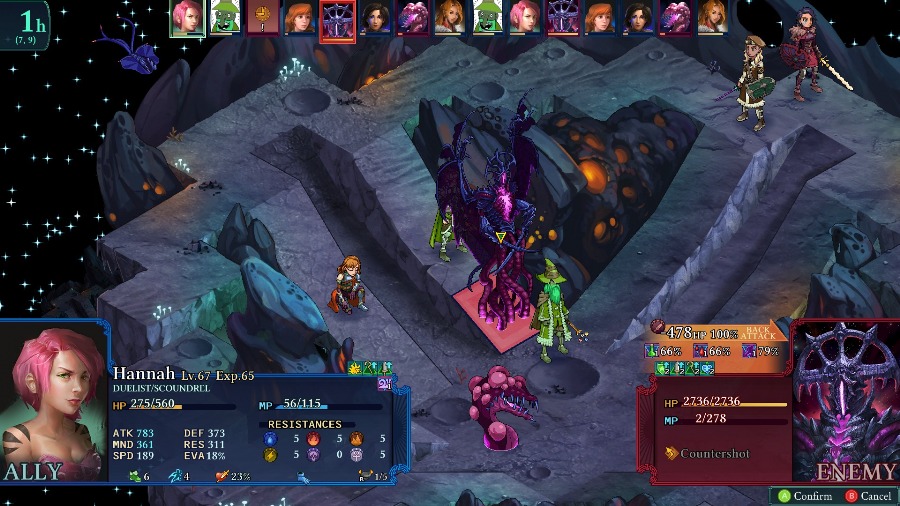 With all of the Immortals dead, the fight is pretty much in cleanup mode. The Maw doesn�t do much damage to me so I can basically take it out at leisure. 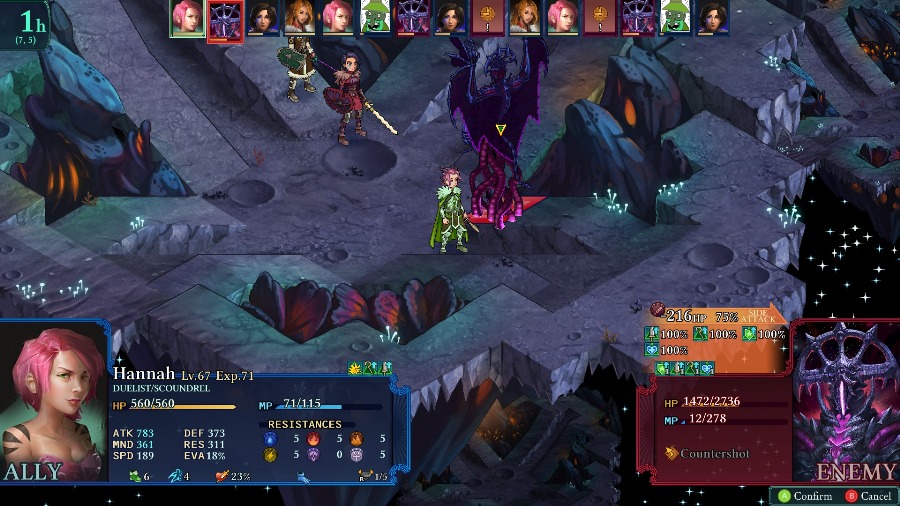 Without the damage reduction, Hannah can just tear through The Maw, though this attempt to steal its buffs also misses. 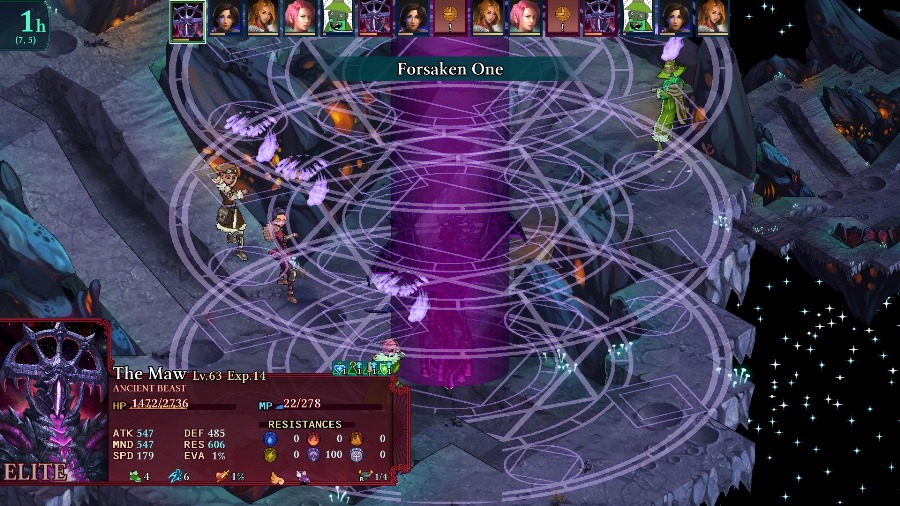 It does use a neat attack that I hadn�t previously shown. The Forsaken One sets all of your part members� HP to 1 and could be really nasty if there was anything else in the fight to take advantage of it. 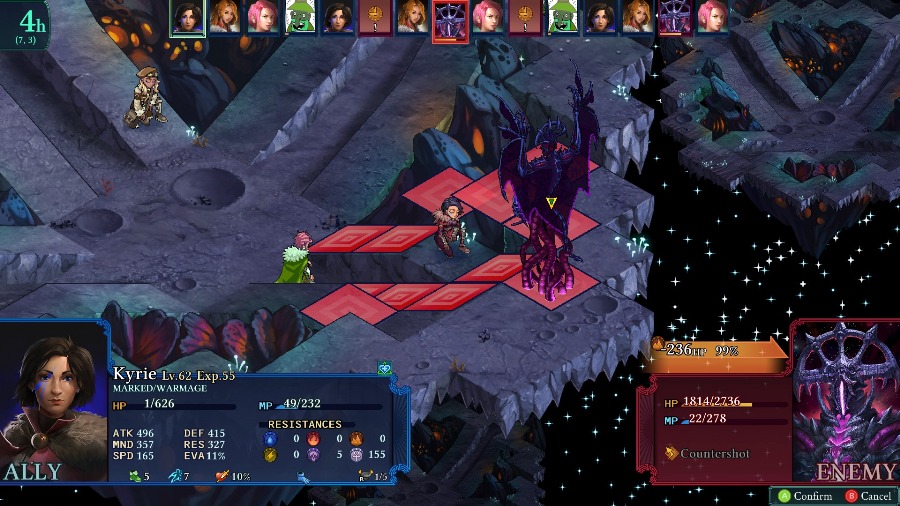 Everyone keeps whacking at The Maw. 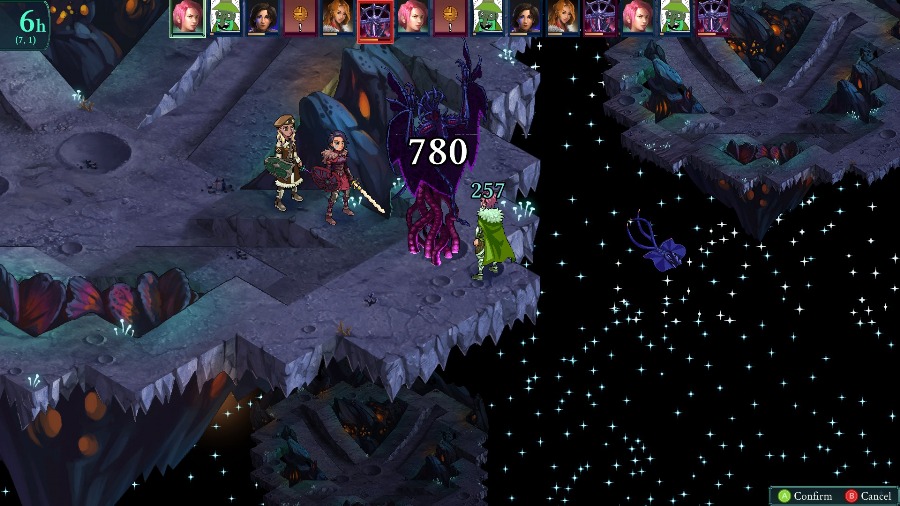 And Hannah gets an absolutely absurd crit. 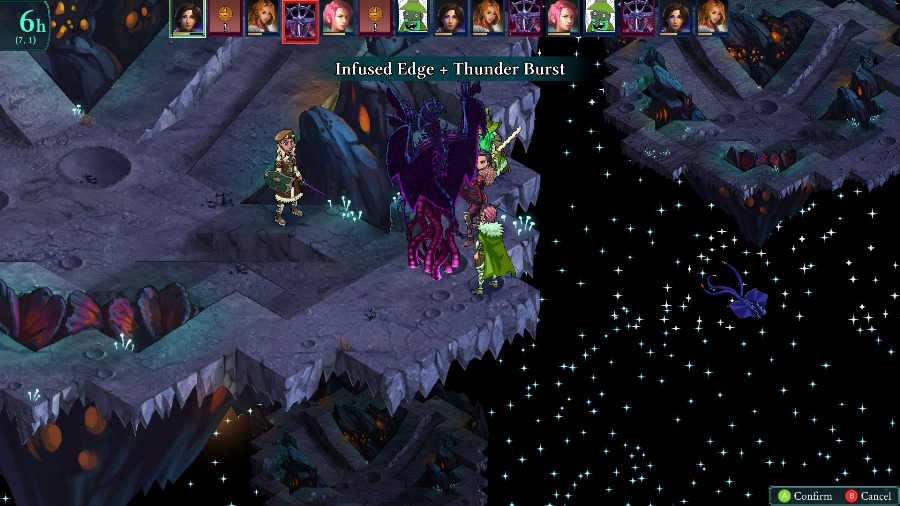 And before The Maw gets another turn Kyrie kills it. 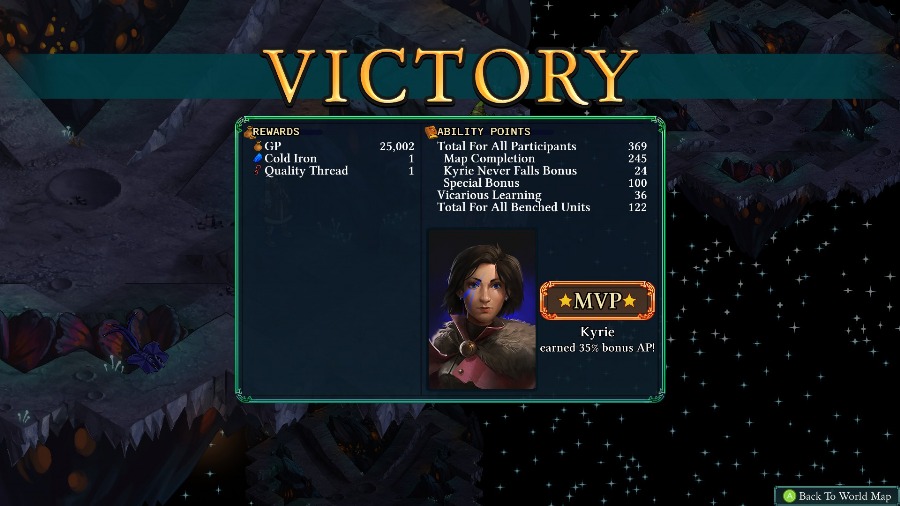 No crazy rewards, but it is the final fight so what could you expect? Even though I did at one point end up with only 2 low health people on the field, this fight was supremely unthreatening after the Ancient Path. The Shackled Souls definitely hurt, but their damage was almost self-inflicted and I could�ve definitely prepared a bit better for them. But I never felt like I was actually in danger of losing. 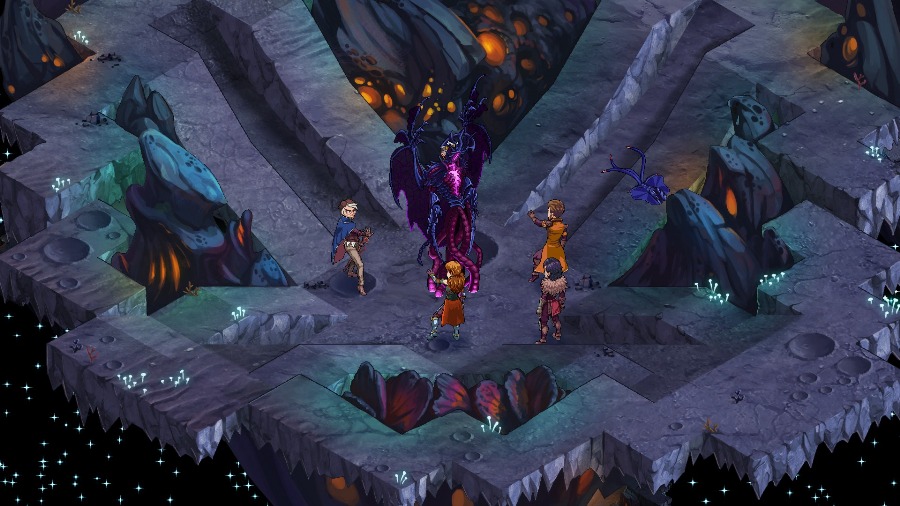 After the fight, everyone surrounds The Maw again. 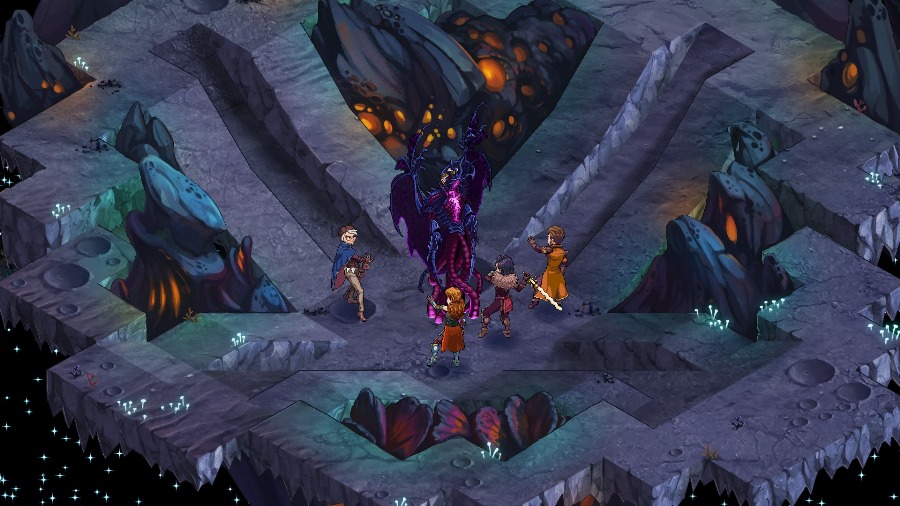 Kyrie moves in and slices it. 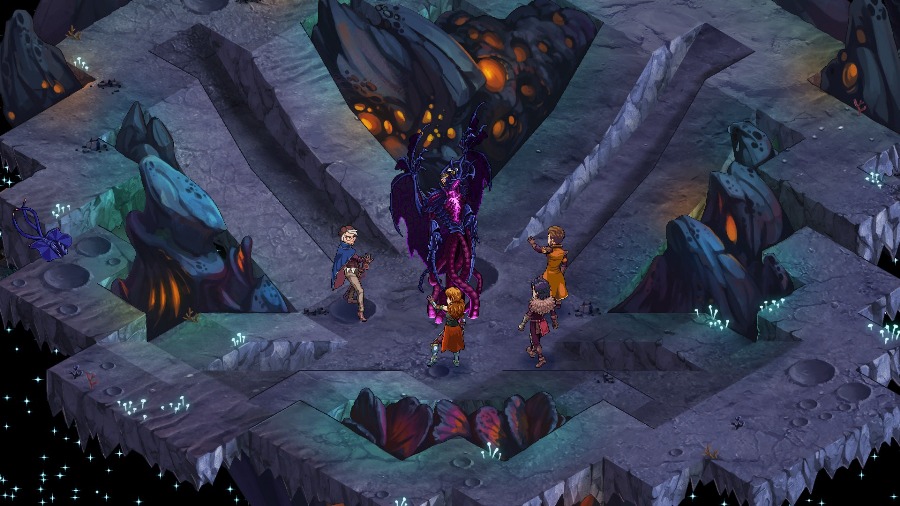 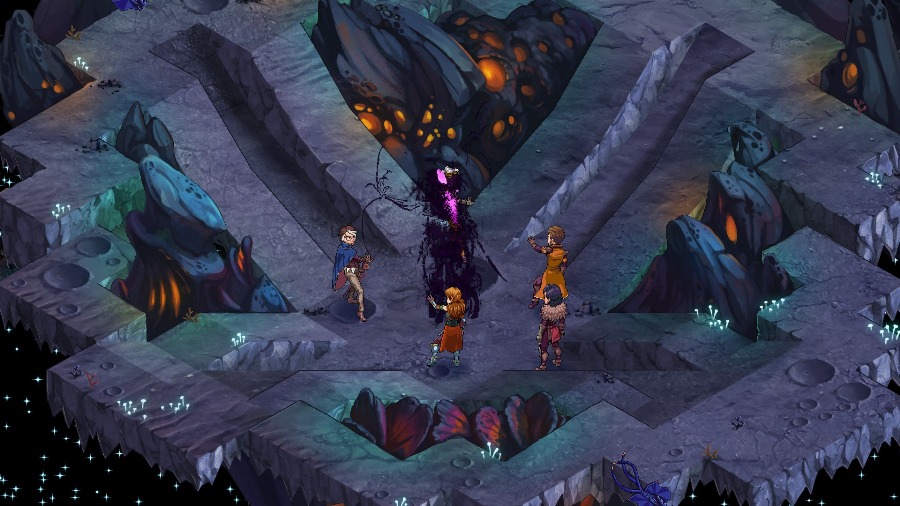   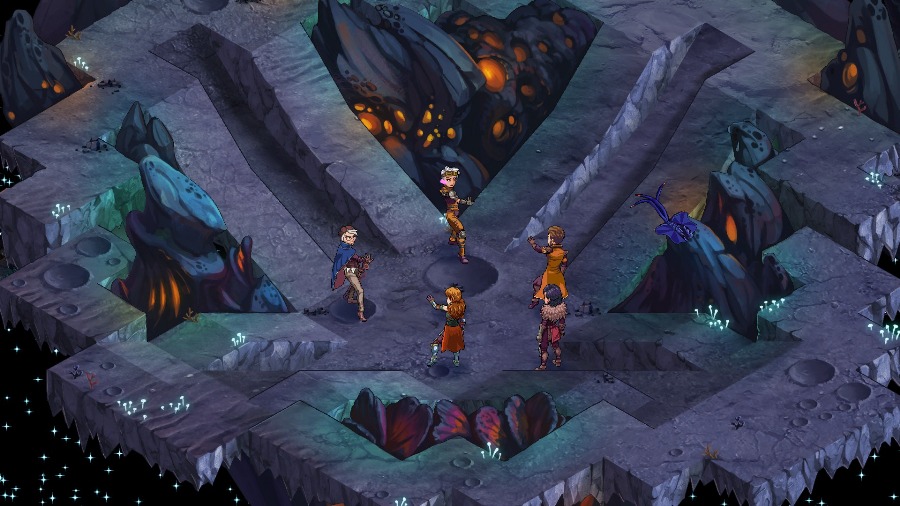 And The Maw burns away into nothing. 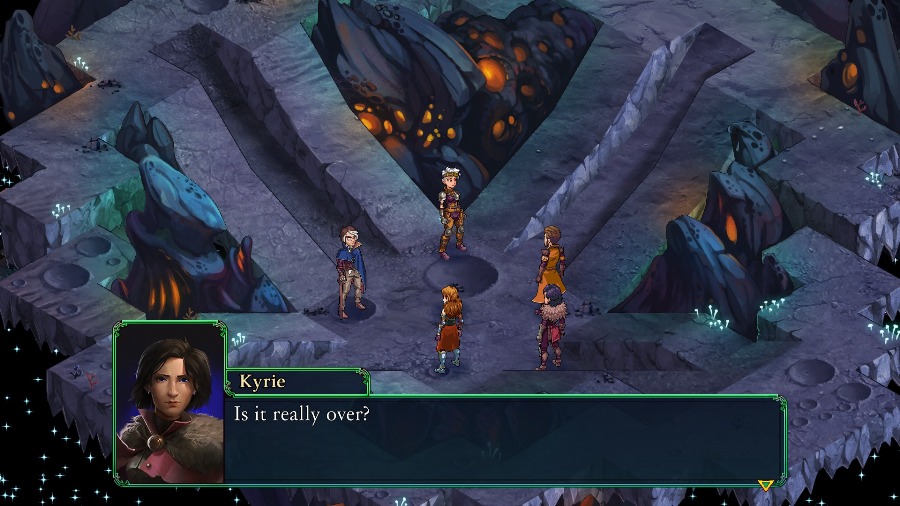  Kyrie! Your Mark! It�s gone! Kyrie! Your Mark! It�s gone! You�re right! I can feel its power ebbing away. It�s really over, then. You�re right! I can feel its power ebbing away. It�s really over, then. Let�s go home. Let�s go home.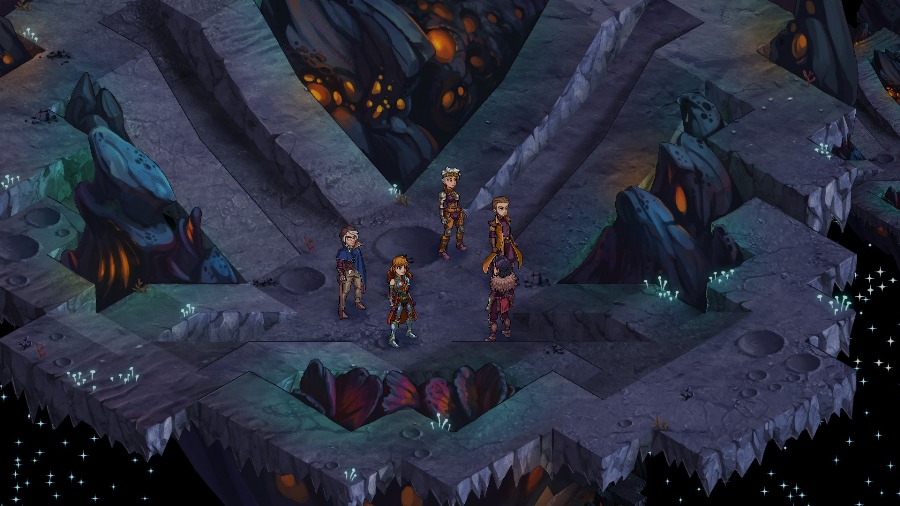 The screen fades out and the party somehow leaves the area. 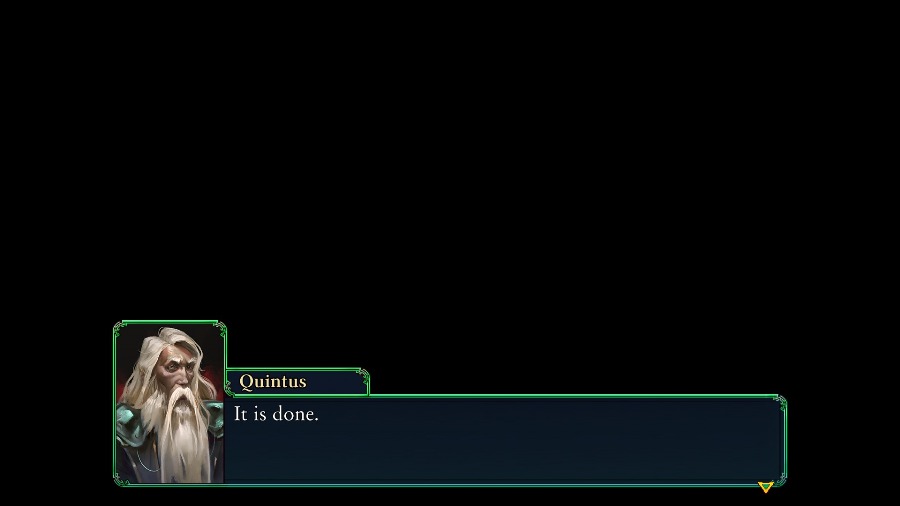 The credits start to roll but are quickly interrupted by Quintus.  In a comparison to the bad end, we pan down through the Immortal Council chambers, though this time without a Relic beating at the top.  It pans down to show the party, Quintus, and Tertia (also sans Marks). 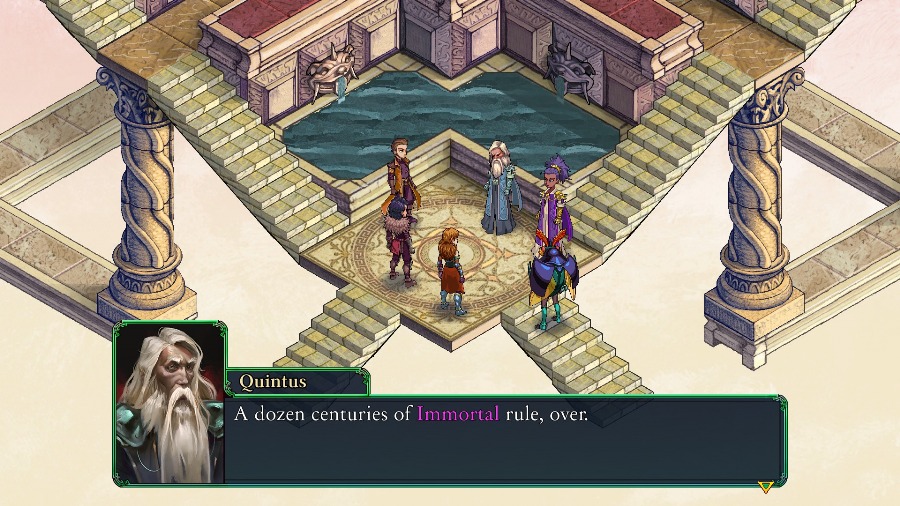 A pretty good run all in all, I�d say. A pretty good run all in all, I�d say. Too true, Captain Reiner. Too true, Captain Reiner. Do you think you�ll retire now, Quintus? Err� should I still be calling you Quintus, by the way? Ho ho. I have been Quintus for so long, I think I can endure a few more years of my Immortal title. As for retirement, I do wish I could take a rest from all this. But it is not to be. Do you think you�ll retire now, Quintus? Err� should I still be calling you Quintus, by the way? Ho ho. I have been Quintus for so long, I think I can endure a few more years of my Immortal title. As for retirement, I do wish I could take a rest from all this. But it is not to be. Too much work to do, right? Too much work to do, right? As de facto interim ministers, Quintus and I must establish a new system of governance for the land. Before all hell breaks loose. Primus was always the one who excelled at these things, before the corruption took his mind. No use dwelling on that, though. Arbiters. Tertia is right about what is to come. I realize that you�ve done so much for the realm already� not to mention that an ex-Immortal can hardly claim authority over you. But can we count on your aid during the chaotic times ahead? Of course! But why all the doom and gloom? Didn�t we restore order when we destroyed The Maw? We did, for a time. But a new storm is on the horizon, now. When word gets out that the Immortals have lost their powers, there will be all manner of scavengers looking to take advantage and wrest control. From both within and without. We Arbiters need to be ready. As de facto interim ministers, Quintus and I must establish a new system of governance for the land. Before all hell breaks loose. Primus was always the one who excelled at these things, before the corruption took his mind. No use dwelling on that, though. Arbiters. Tertia is right about what is to come. I realize that you�ve done so much for the realm already� not to mention that an ex-Immortal can hardly claim authority over you. But can we count on your aid during the chaotic times ahead? Of course! But why all the doom and gloom? Didn�t we restore order when we destroyed The Maw? We did, for a time. But a new storm is on the horizon, now. When word gets out that the Immortals have lost their powers, there will be all manner of scavengers looking to take advantage and wrest control. From both within and without. We Arbiters need to be ready. How exciting! How exciting! This means I�ll get to bug you for even longer, Reiner! Aren�t you glad? This means I�ll get to bug you for even longer, Reiner! Aren�t you glad?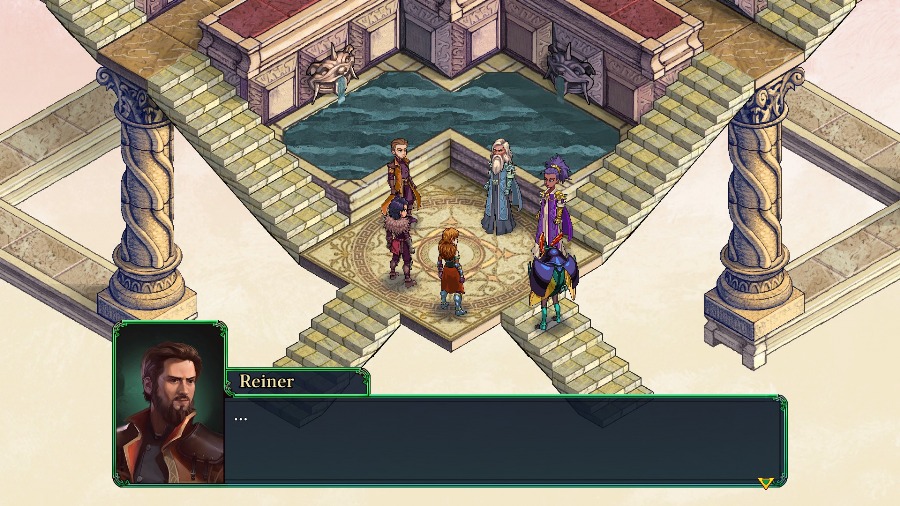  It�s an honor Bzaro. It�s an honor Bzaro. 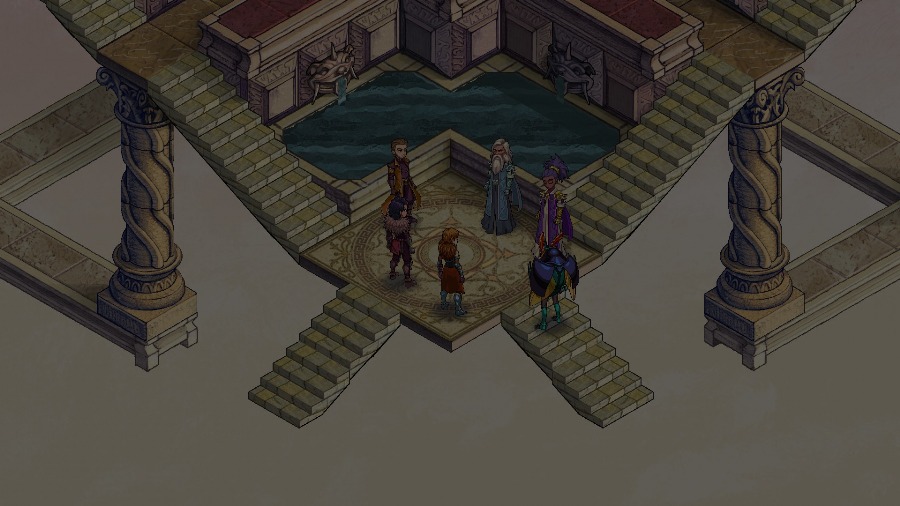 There�s another fade out. 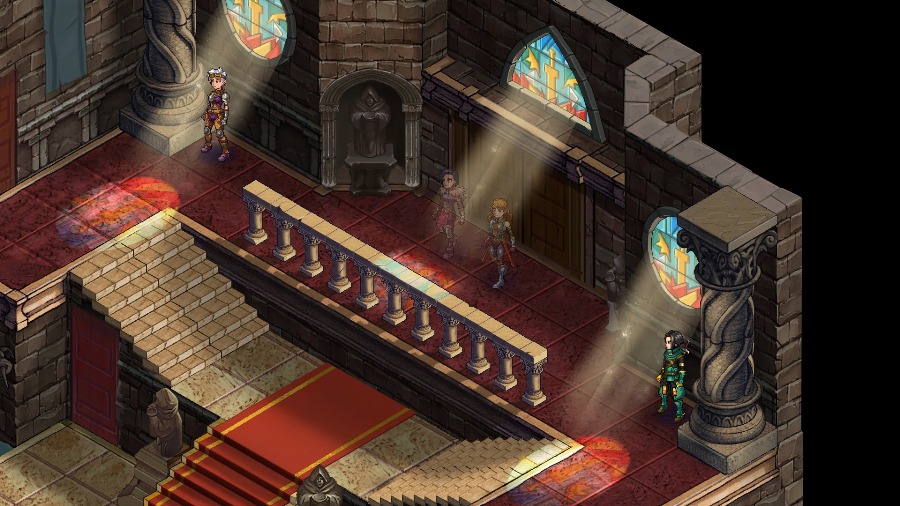 Which cuts to the group leaving the Council Chambers and meeting back up with Katja and Kairu. 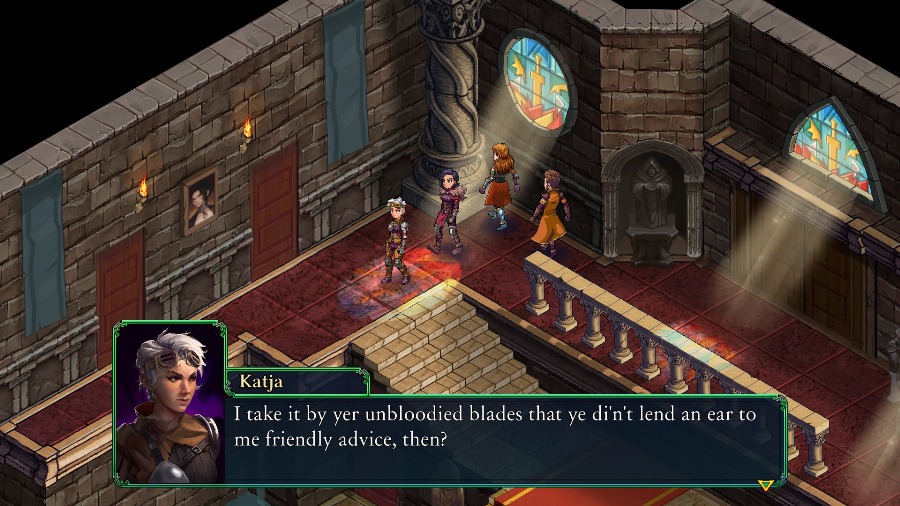 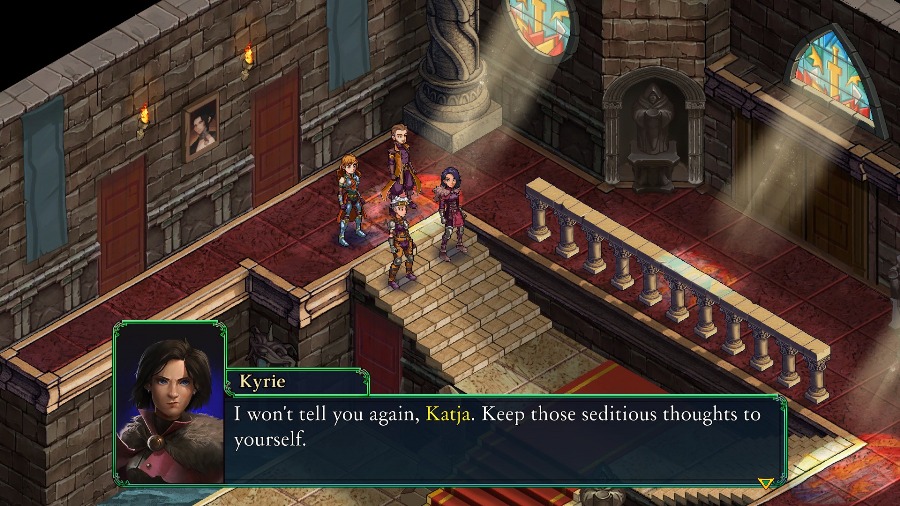 The slightest spark can ignite a war, right now. The slightest spark can ignite a war, right now. Aye aye, Captain. Umm� I don�t agree with Katja�s �friendly advice,� Kyrie, but� she does have a point buried in there. Are Quintus and Tertia really the best people to lead us right now? I know Quintus is a good peson and all� He did vote against my mother�s death sentence. But he won�t be around much longer. And he did help set up the Council and Marked Pilgrimage in the first place, which got us all into this mess. Aye aye, Captain. Umm� I don�t agree with Katja�s �friendly advice,� Kyrie, but� she does have a point buried in there. Are Quintus and Tertia really the best people to lead us right now? I know Quintus is a good peson and all� He did vote against my mother�s death sentence. But he won�t be around much longer. And he did help set up the Council and Marked Pilgrimage in the first place, which got us all into this mess. And Tertia� she dodged my questions when I asked her how she voted. I�m not sure I can ever be at ease with her in charge. Old dodderers who�ve had naught but a demon �tween their ears for too long, the lot o� them. And Tertia� she dodged my questions when I asked her how she voted. I�m not sure I can ever be at ease with her in charge. Old dodderers who�ve had naught but a demon �tween their ears for too long, the lot o� them.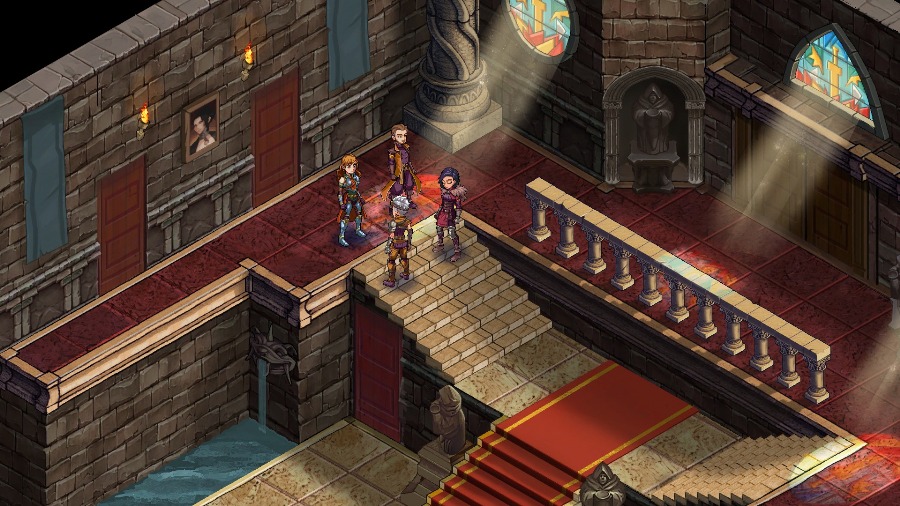 Kyrie pauses for a second. I do share some of your concerns, Anadine. Tertia�s evasiveness is deeply unsettling. But she and Quintus are still our best option for keeping the peace at the moment. At the end of the day, that�s what being an Arbiter is all about, isn�t it?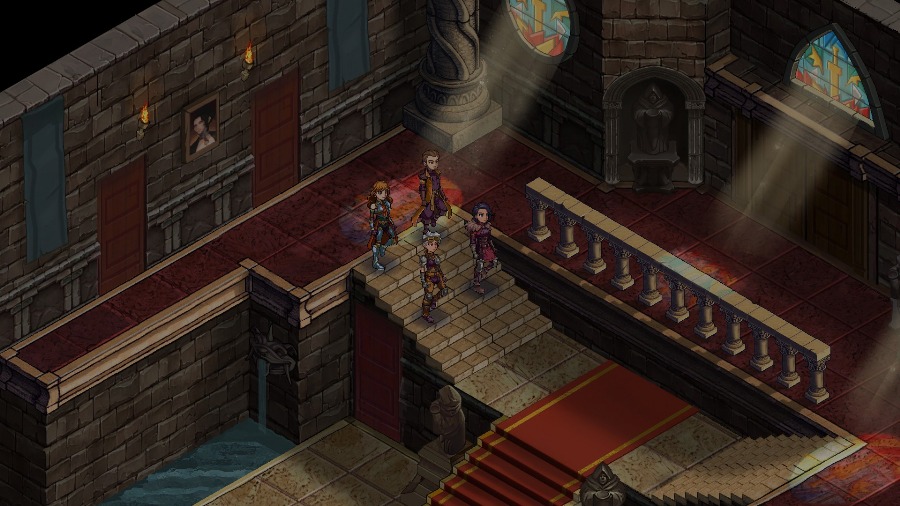 And the group walks out. 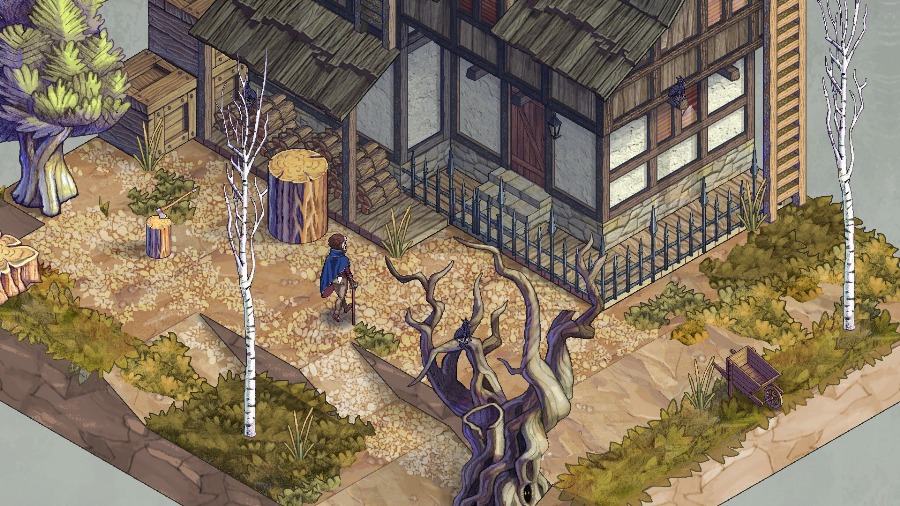 There�s one more cut to Yates back at his cabin. 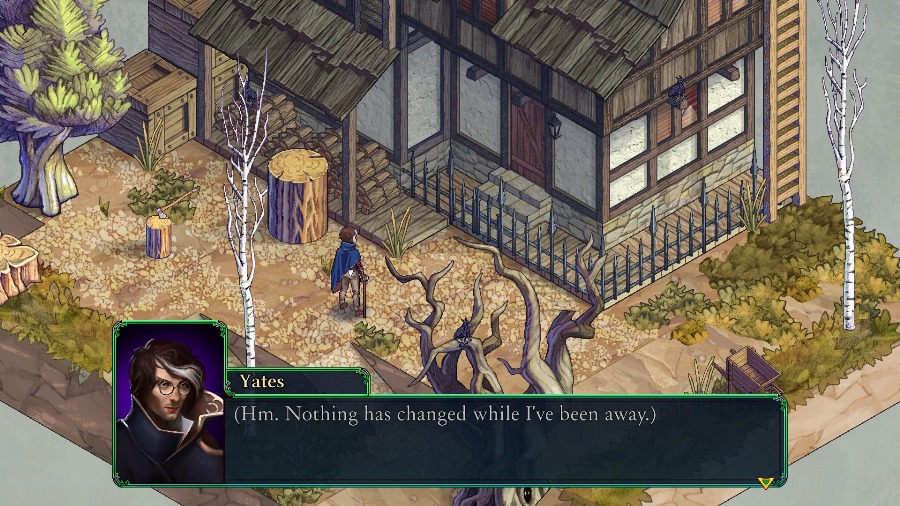  (No fresh vandalism. Surprising.) (but nothing will be the same again.) (No fresh vandalism. Surprising.) (but nothing will be the same again.) Yates pulls the Energy Fragment out from his pack. (If I can isolate the restorative properties of the Ancient Beast Essence�) (Yes. I can think of no nobler pursuit than extending life and health for those who are deserving. Immortals will monopolize that gift no more.) There�s one final fade out.  And that�s it! Thank you so much for coming along with me on this playthrough. It was a blast to show off a game that I really enjoyed!
|
|
#
?
May 31, 2020 15:38
|
|
|
Thanks for the LP! I was playing this game but kind of lost heart with it when I thought I was near the end only to find there was so much further to go. It was nice to find out what happens and see some of the powerful job combos. Haha at Katja wanting to off the remaining ex-immortals; one can see why.
|
|
#
?
May 31, 2020 17:51
|
|

|
Thanks for the LP, looks like a very cool game which could use some tightened up story beats.
|
|
#
?
May 31, 2020 19:49
|
|
|
Yates  Thanks for showing off this game!
|
|
#
?
May 31, 2020 20:19
|
|


|
Thanks for the LP!
|
|
#
?
May 31, 2020 21:14
|
|

|
Thanks for the LP!
|
|
#
?
May 31, 2020 21:34
|
|
|
Fell Seal 2: Yates Ruins Everything
|
|
#
?
May 31, 2020 21:45
|
|
|
Fell Seal 3: To Err is Human, but You Have to Be Yates to Screw Up This Badly.
|
|
#
?
May 31, 2020 21:48
|
|


|
Fell Seal 2: Necromantic Boogaloo
|
|
#
?
Jun 1, 2020 03:40
|
|


|
DAMMIT YATES Thanks for the LP! This is one of those games I'd probably never have played myself, so it was really nice to get to experience it this way.
|
|
#
?
Jun 1, 2020 05:05
|
|
|
Great job!
|
|
#
?
Jun 1, 2020 07:03
|
|
|
Yates I was just starting to like you
|
|
#
?
Jun 1, 2020 07:22
|
|
|
Gotta have that sequel hook. Thanks for showing this off.
|
|
#
?
Jun 1, 2020 15:47
|
|
|
I feel that the funnier thing would be for Yates to succeed without nasty side effects and have another, nastier thing pop up unrelated.
|
|
#
?
Jun 1, 2020 15:59
|
|

|
Thanks for showing this off! I made it about halfway through before getting overwhelmed by the game's complexity, so this was a good opportunity to get the full experience.
|
|
#
?
Jun 1, 2020 16:40
|
|
|
Yates, evil is not a toy, have you learned nothing?
|
|
#
?
Jun 1, 2020 19:35
|
|


|

|
| # ? Apr 26, 2024 14:50 |
|
|
Evil is not a toy, no. But it is a very interesting thing to do SCIENCE on! 
|
|
#
?
Jun 1, 2020 19:42
|
|