


|
Update 25: Zzakander Spires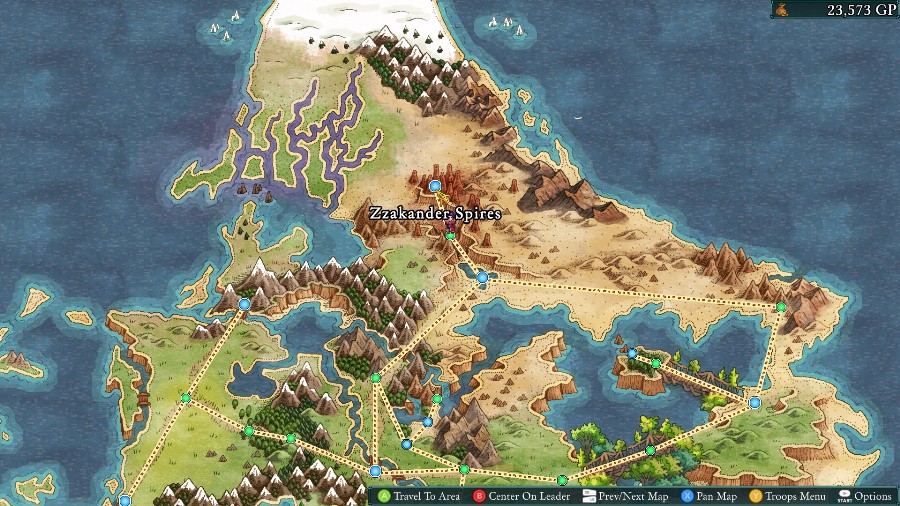 Welcome back! Last time we fought some monsters in a gorge and found a special locket clutched in the hand of a zombie. This time we�re going to ignore that entirely and go to the next town instead. 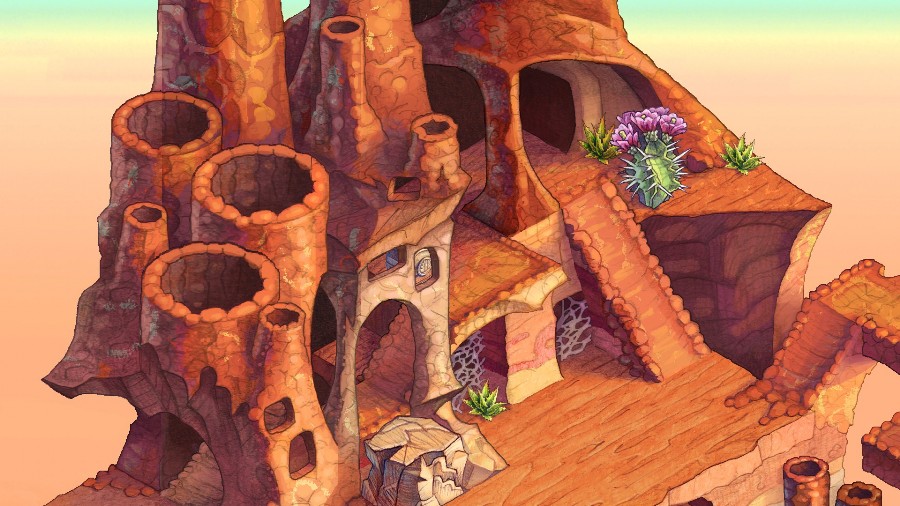 Ominously, when we reach the town, we automatically go into a cutscene. 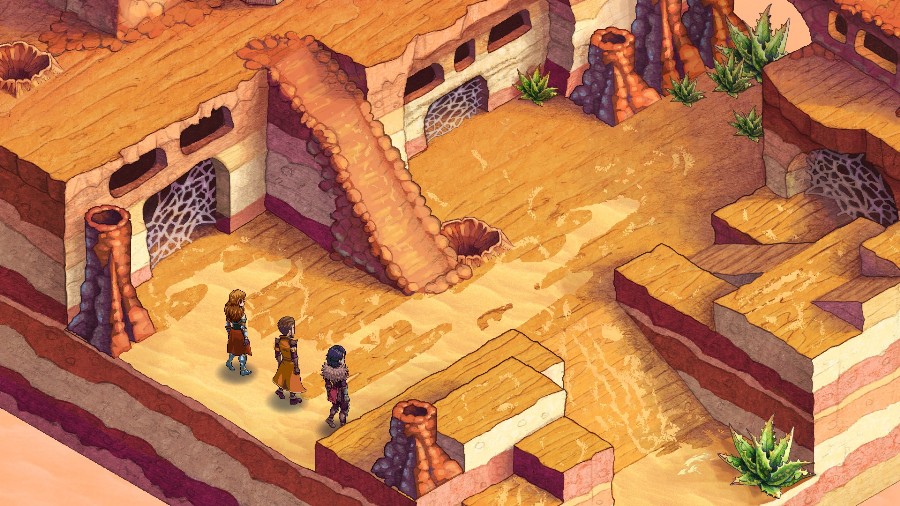 The party walks in.   I don�t know, but I don�t like it. Stay alert. Something is definitely off. I don�t know, but I don�t like it. Stay alert. Something is definitely off. Katja then jumps down from the upper walkway.  I like this meeting better already. You don�t have a hostage to hide behind. I like this meeting better already. You don�t have a hostage to hide behind. Ha! Funny girl. I just knew there was somethin� I liked about ye. Ha! Funny girl. I just knew there was somethin� I liked about ye. What does Sigil want with us this time? Ye figured it out, eh? Yeah, I�m with Sigil. My task is to keep any Marked from completin� the Pilgrimage. That�s why I�m here to see ye drop out o� the quest. I saw ye helpin� the folks in Oldebzar and Thespeiros. I can tell ye�re a good sort. A woman o� principles �n all that. Here�s me deal: sweat to me ye�ll abandon the Pilgrimage and that�ll be that. Easy peasy, wasn�t that breezy. An interesting proposal. Here is my counteroffer. For the crimes of kidnapping, ransoming, and attempted murder, the law allows your capture, dead or alive. You surrender peacefully and we�ll make that �alive.� What does Sigil want with us this time? Ye figured it out, eh? Yeah, I�m with Sigil. My task is to keep any Marked from completin� the Pilgrimage. That�s why I�m here to see ye drop out o� the quest. I saw ye helpin� the folks in Oldebzar and Thespeiros. I can tell ye�re a good sort. A woman o� principles �n all that. Here�s me deal: sweat to me ye�ll abandon the Pilgrimage and that�ll be that. Easy peasy, wasn�t that breezy. An interesting proposal. Here is my counteroffer. For the crimes of kidnapping, ransoming, and attempted murder, the law allows your capture, dead or alive. You surrender peacefully and we�ll make that �alive.� Hoho! Perhaps ye�ve got a titch too many principles, at that. I suppose we do it the hard way then. And don�t think ye�ll be surprising me with yer weirdly demon powers this time, little miss! Hoho! Perhaps ye�ve got a titch too many principles, at that. I suppose we do it the hard way then. And don�t think ye�ll be surprising me with yer weirdly demon powers this time, little miss! � � (whispering) I knew it was too quiet. They were in position before we even got here, and now we�re surrounded. Do you have a plan? (whispering) She�s obviously the leader. Take her down quickly and I bet the rest will scatter fast enough. Righty-ho, y�all, this is no bunch o� lightweights! No quarter, no how! (whispering) I knew it was too quiet. They were in position before we even got here, and now we�re surrounded. Do you have a plan? (whispering) She�s obviously the leader. Take her down quickly and I bet the rest will scatter fast enough. Righty-ho, y�all, this is no bunch o� lightweights! No quarter, no how! 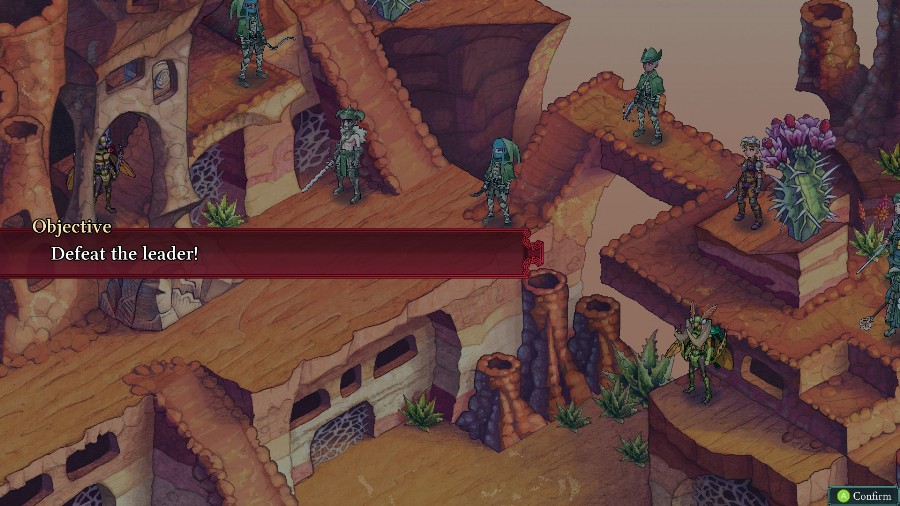 And with that it�s time for another fight. This is another defeat the leader fight, and thank god. Otherwise, this is one of my least favorite maps in the game. 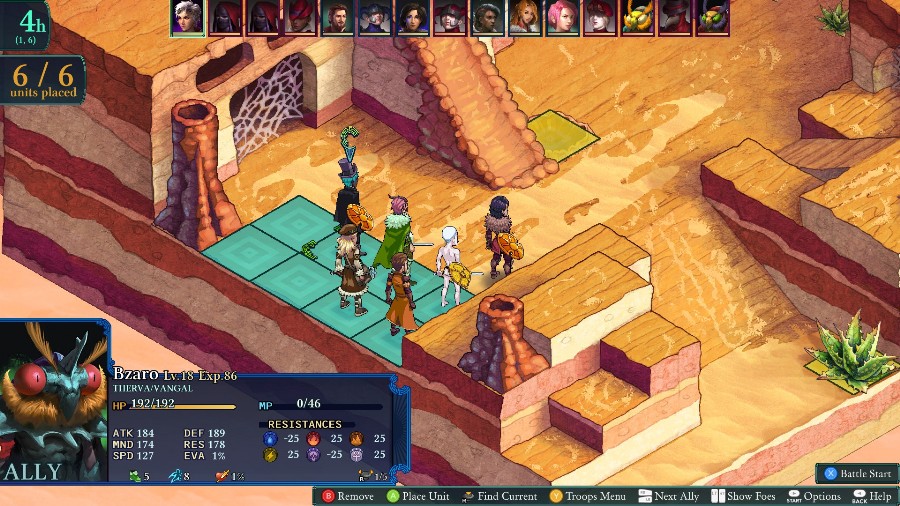 For this fight, I�m going for a bit more durability than full out offense. So we have Selina, Sophia, Reiner, Mongo, Hannah, and Kyrie. 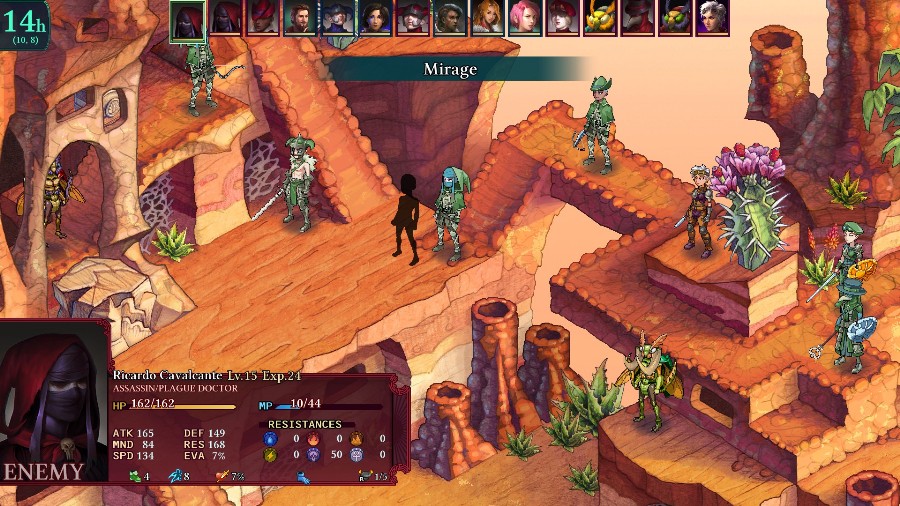 The reason I want some more durability than a typical fight is because there are lots of enemies here, most of whom have pretty high movement and/or ranged attacks. Katja also starts out high up and in the back, so it�s difficult to really rush her. 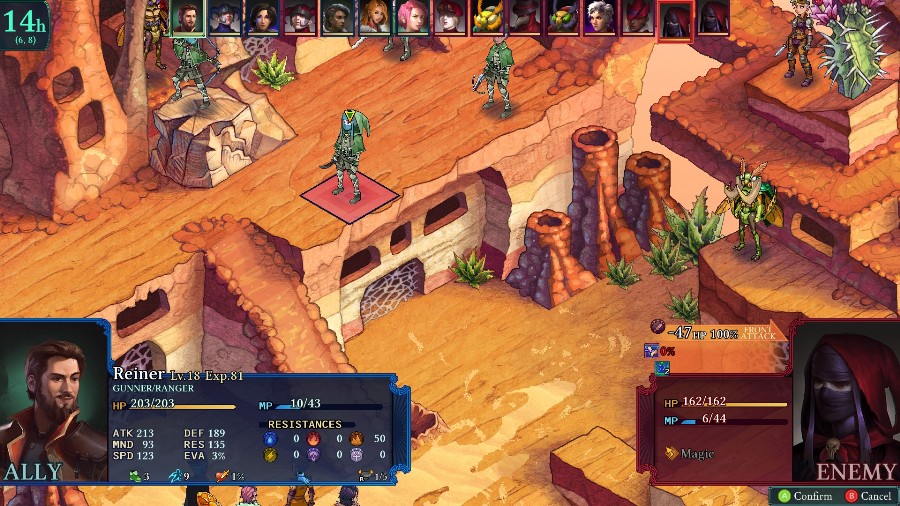 Reiner starts my part of the fight by immediately breaking that assassin�s mirage. 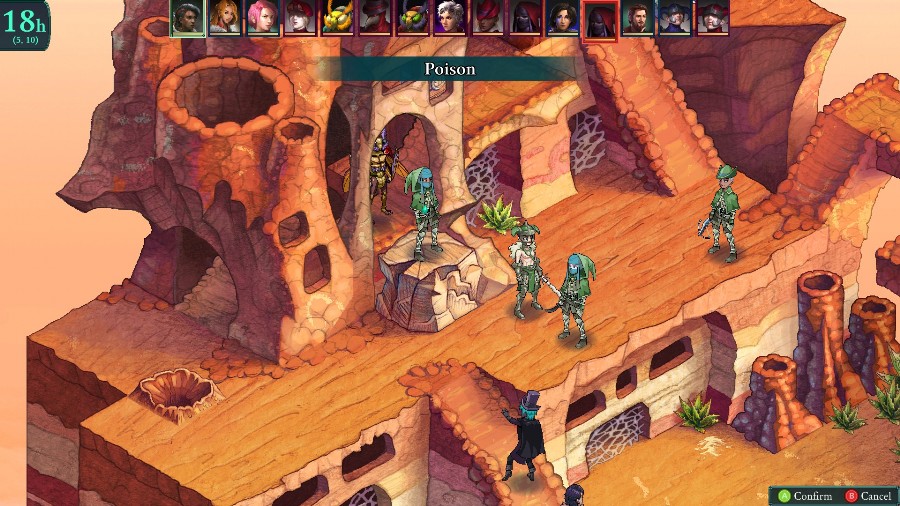 I also move Selina up the ramp to poison the other assassin. Not necessarily my best move though.  Mostly because the ranger then roots her.  And the assassin hits her with a rock, and then moves in front to block my party from going up the ramp. Due to elevation changes, only Reiner, Kyrie, and Selina can actually hit people up top now. 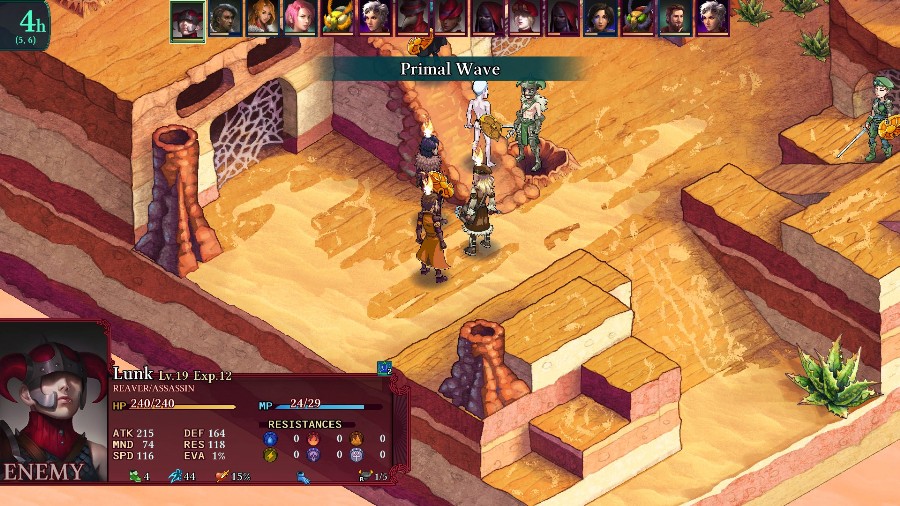 The reaver obliges me though, and jumps down to hit most of my group with an AOE.  Meanwhile, Hannah snuck around up top and uses her new leap skill to take out 1 assassin and seriously hurt the other one. 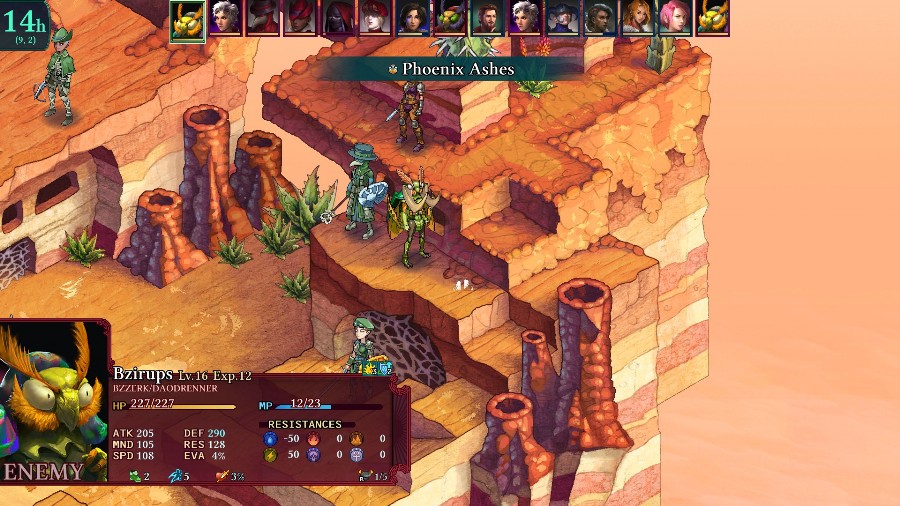 But the Bzil just immediately revives them, and then both Katja and the plague doctor heal them up with potions. 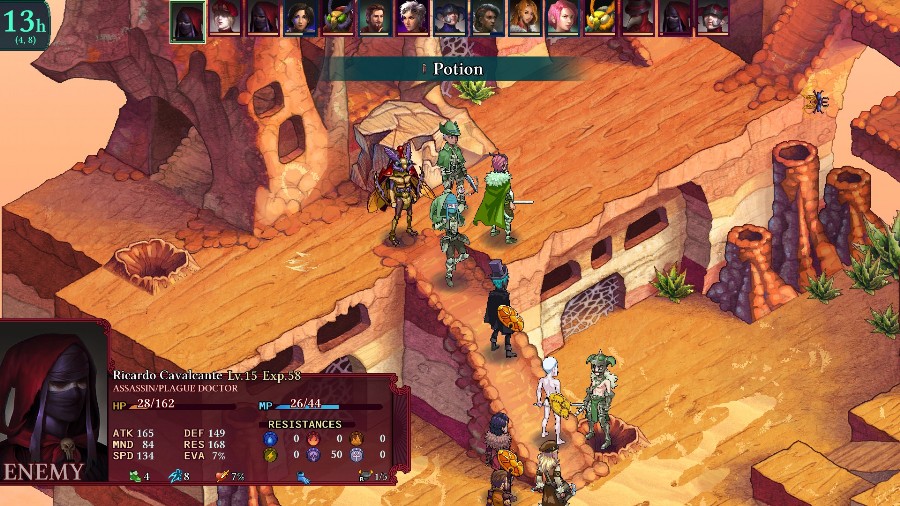 The injured assassin at least decides to also waste their turn healing themselves instead of hitting Hannah in the back. 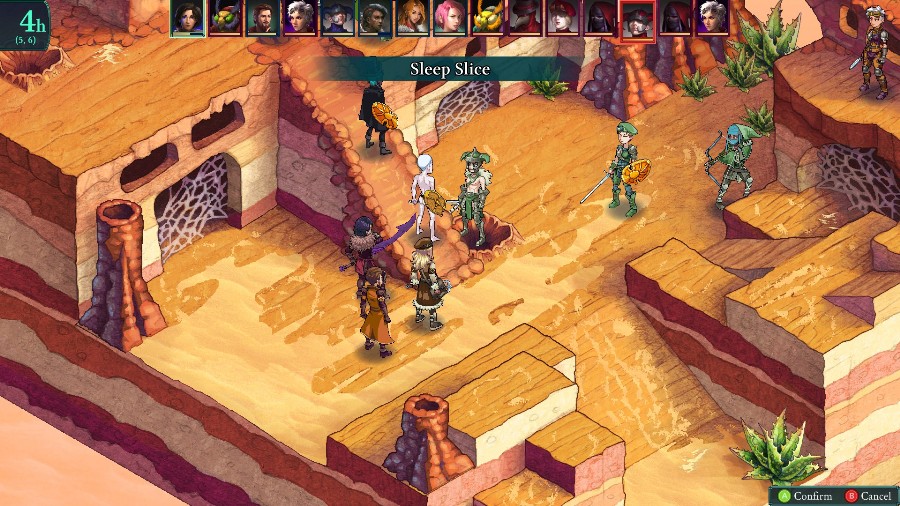 Down low, the enemies keep congregating as Kyrie puts the reaver to sleep. 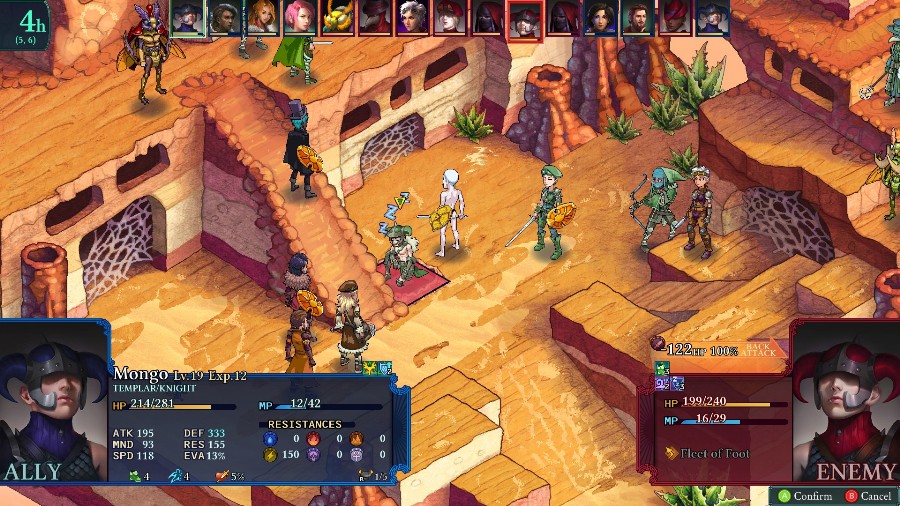 The smarter move would�ve probably been to leave him asleep, but I have Mongo take out a big chunk of his health instead. 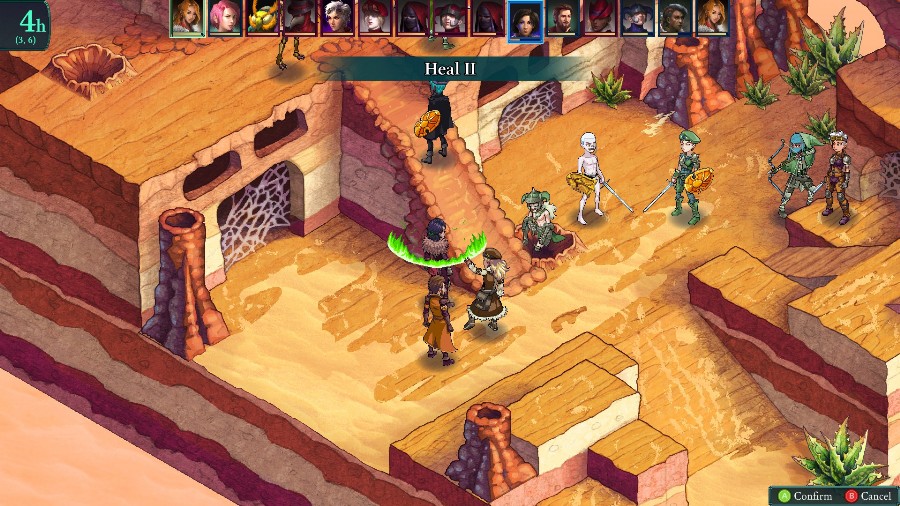 Kyrie�s been getting barraged by enemies throughout this, so I have Sophia heal her up before things go south.  And then Hannah comes running in to finish off the reaver after another hit from Selina. 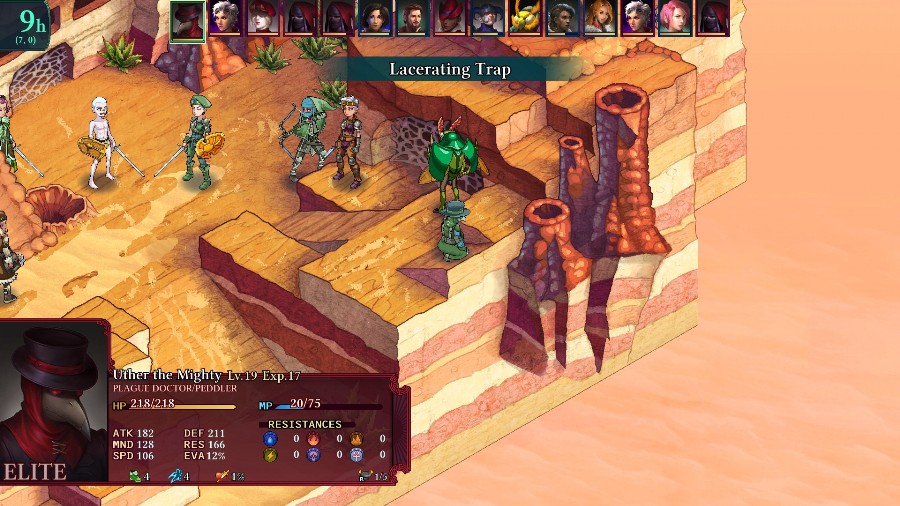 All of the enemies from Katja�s initial area have made it down, so I�m starting to get a bit crushed for space. 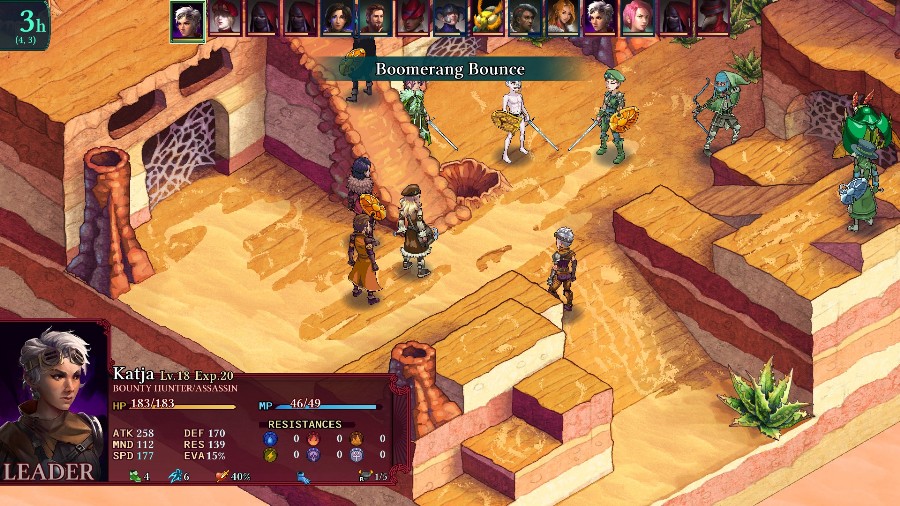 But then Katja makes my job easier by moving in close to smack Sophia into Kyrie. 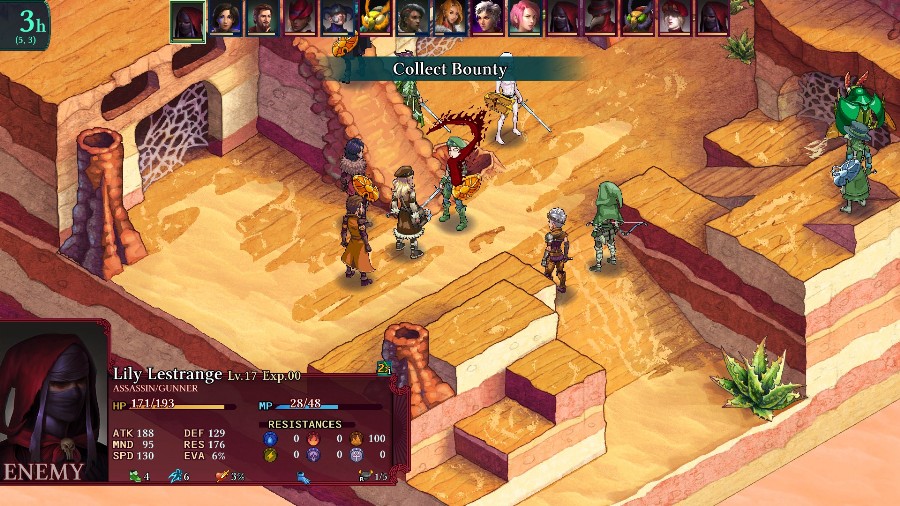 Not to say that things are going super well otherwise, considering that the enemies take Sophia out and make her unrevivable. 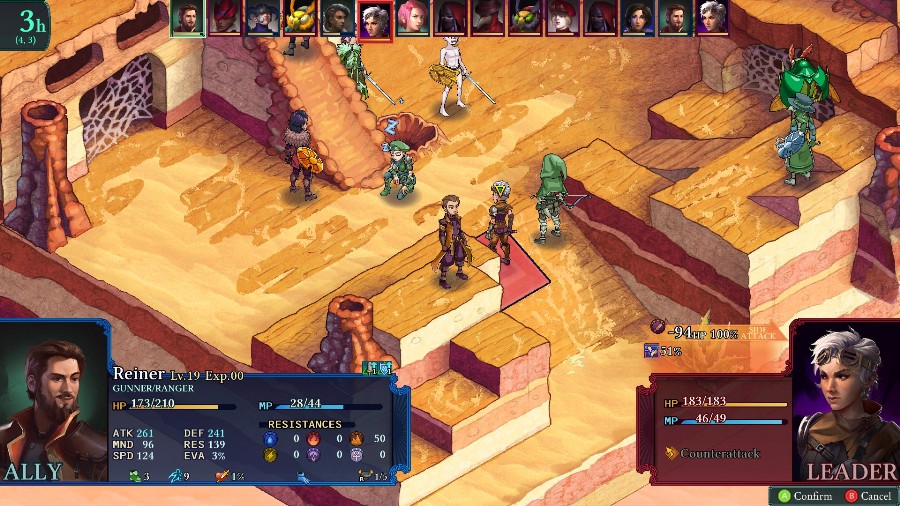 I�d previously had Hannah buff Reiner and her attack, and it just barely hangs around long enough to make a difference as Reiner takes off about half of her health at once. 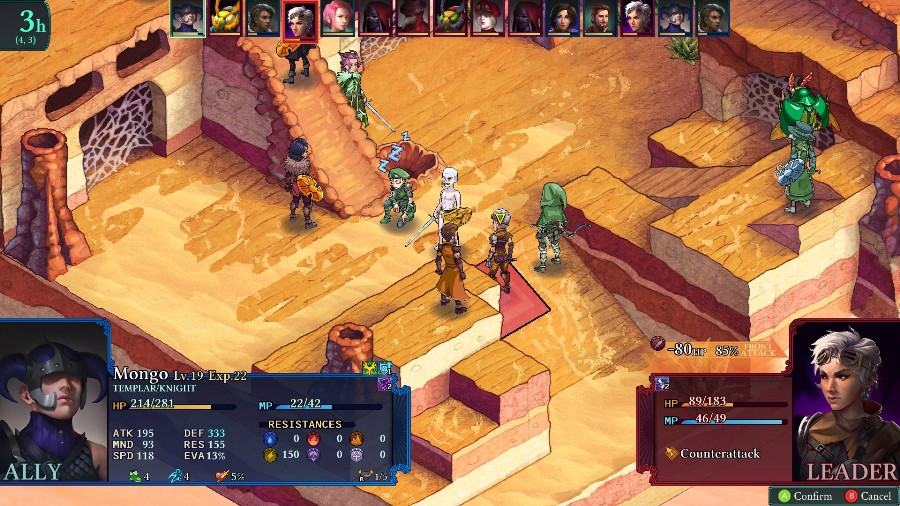 Mongo does the vast majority of what remains with another defensive hit. 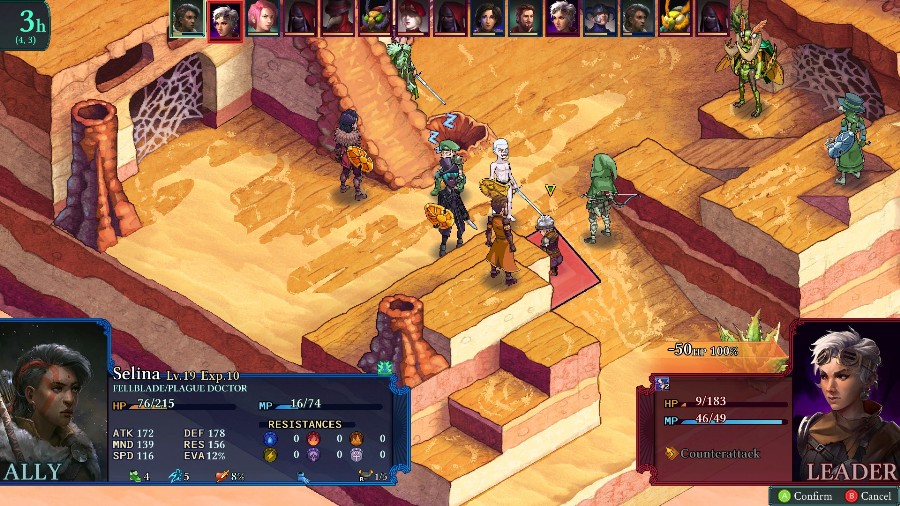 And then Selina chucks a rock at her to finish things off.  I�ll be seein� ye! I�ll be seein� ye!Katja goes down to one knee. 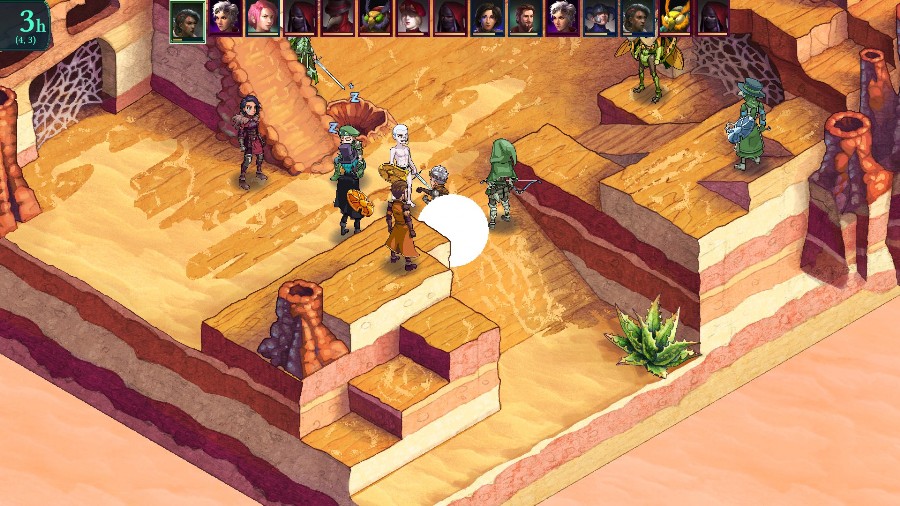 And then throws out another smoke bomb. She does a nice job of getting away. Tsk. We�ll be ready for her tricks next time. Tsk. We�ll be ready for her tricks next time.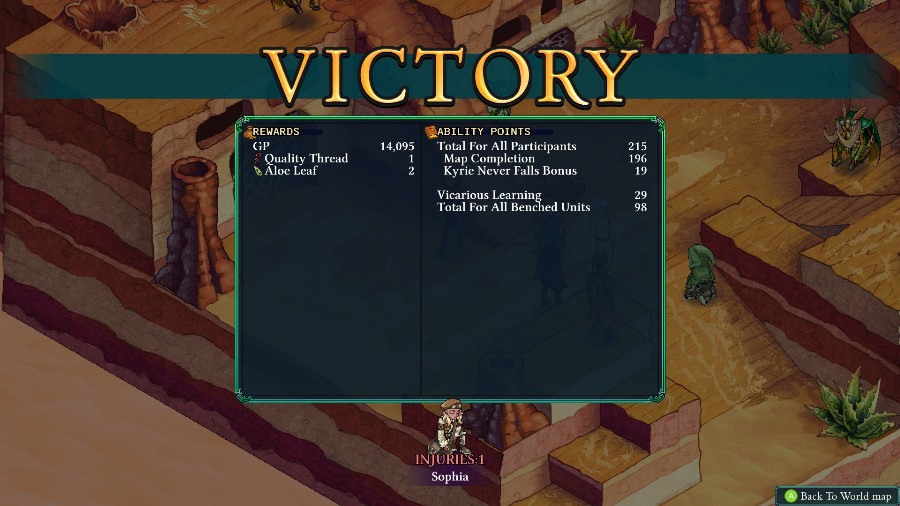 And the fight is over! Good thing too, because I think people were about to start falling left and right if the enemies had gotten to take another round of turns. In fact, part of the reason that I hate this map is that, on patrols, there�s no easy win condition for it. There are just as many (or maybe 1 or 2 fewer) enemies on patrols here as there are in the fight, and it�s incredibly easy to get overwhelmed and taken out. This time I got lucky with Katja being aggressive and my guys being buffed, but things could�ve gone much worse. 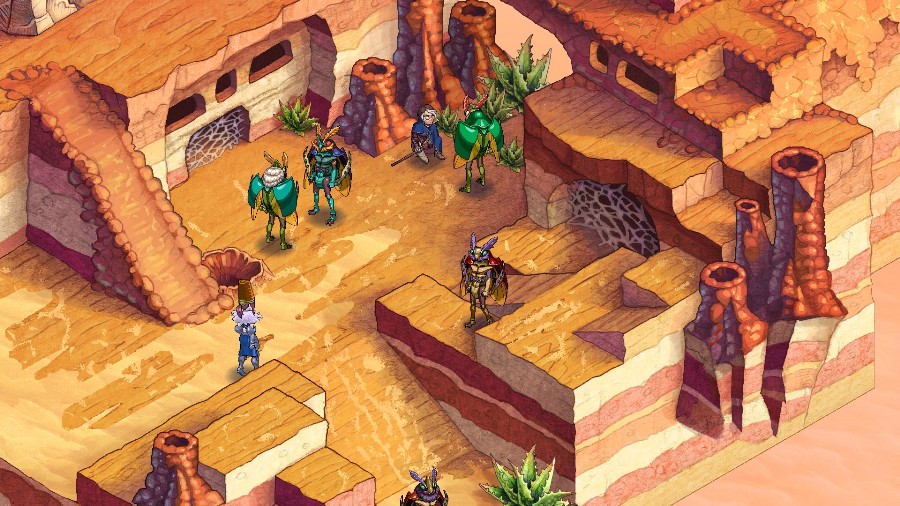 After the fight, we see a bunch of Bzil and people milling around as Yates checks on some of them. 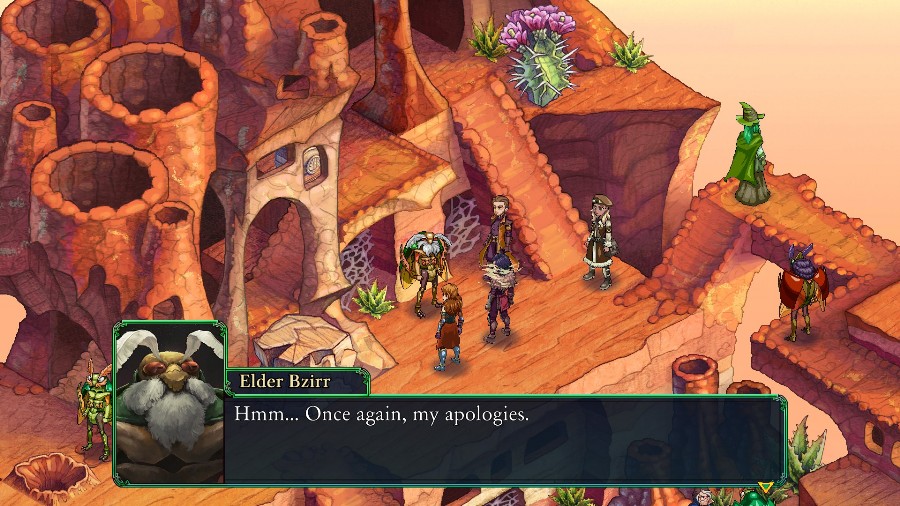 While our party talks with the elder Bzil up top. Unnecessary. Arbiters are meant to protect citizens, not the other way around. I did notice some locals taking part in that ambush..jpg) Hmm� Yes. If the had assistance from Bzils, it would explain how a band of outsiders could set up an ambush without anyone noticing. After all, most of us live in caves under the city. But why would Bzils help Sigil with their dirty work?! Hmm� Members of Sigil have been very active in Zzakander Spires for some years now. Discontent with the rule of the Immortals has been growing, especially among our younger generations. But what specifically is their complaint? Hmm� Many things. But the biggest issue is the prohibition on arming our own guards, forcing us to rely on Arbiters for our safety. I understand your concerns, elder. I promise you, if I can at all influence Council policies, I will make it a priority to improve relations with your people. Which brings me to the reason for our visit: we require access to the Sealed Temple. Hmm� The Sealed Temple. Yes, of course� Hmm� I�m afraid this is going to be difficult. sigh What�s difficult about it? Hmm.. When news reached us of the Marked coming here for the Pilgrimage, a few Sigil sympathizers flooded the Sealed Temple. Hmm� Yes. If the had assistance from Bzils, it would explain how a band of outsiders could set up an ambush without anyone noticing. After all, most of us live in caves under the city. But why would Bzils help Sigil with their dirty work?! Hmm� Members of Sigil have been very active in Zzakander Spires for some years now. Discontent with the rule of the Immortals has been growing, especially among our younger generations. But what specifically is their complaint? Hmm� Many things. But the biggest issue is the prohibition on arming our own guards, forcing us to rely on Arbiters for our safety. I understand your concerns, elder. I promise you, if I can at all influence Council policies, I will make it a priority to improve relations with your people. Which brings me to the reason for our visit: we require access to the Sealed Temple. Hmm� The Sealed Temple. Yes, of course� Hmm� I�m afraid this is going to be difficult. sigh What�s difficult about it? Hmm.. When news reached us of the Marked coming here for the Pilgrimage, a few Sigil sympathizers flooded the Sealed Temple. They flooded it? How is that even possible? Hmm� Living underground, we Bzils are quite knowledgeable about tunnel networks and reservoirs and such things. We believe Sigil members diverted the flow of an underground river, raising the water level until the entire Temple was submerged. The whole thing underwater. That�s unfortunate. Hmm� Agreed, and there�s worse news: the water level is so high, it is putting our entire harvest at risk. They flooded it? How is that even possible? Hmm� Living underground, we Bzils are quite knowledgeable about tunnel networks and reservoirs and such things. We believe Sigil members diverted the flow of an underground river, raising the water level until the entire Temple was submerged. The whole thing underwater. That�s unfortunate. Hmm� Agreed, and there�s worse news: the water level is so high, it is putting our entire harvest at risk. How irresponsible. Hmm� Quite. Hmm� We have, however, come up with a solution which would restore the water to its previous level, save our harvest, and grant you access to the Sealed Temple. I get the feeling this solution requires us to do the heavy lifting. Hmm� Quite. An explosive device must be placed under the lake, by the blockage crated by the members of Sigil. The resulting breach will release the floodwaters and, hmm� water levels should quickly return to normal. But? Hmm� But. Hmm� The tunnels are infested with monsters, and as you well know, my people are not warriors. We understand the situation, elder. As Arbiters, it is our duty to assist, even if we didn�t need access to the Sealed Temple. Hmm� Would that all Arbiters were as dutiful as you, young one. There was another group of Arbiters here recently. Their leader, a Captain Dolman, advised us to petition the Council for assistance. Hmm� I do believe we�d lose our harvest before receiving a response. Hmph! How lazy! That particular group of Arbiters has already been� reprimanded. Hmm� That is good to hear. Perhaps I have grown too cynical in my elderhood. Do be careful in the tunnels. I have heard tell that some of the beasts down there may be� larger than normal. Thank you for the warning, elder. All right, let�s get this done. How irresponsible. Hmm� Quite. Hmm� We have, however, come up with a solution which would restore the water to its previous level, save our harvest, and grant you access to the Sealed Temple. I get the feeling this solution requires us to do the heavy lifting. Hmm� Quite. An explosive device must be placed under the lake, by the blockage crated by the members of Sigil. The resulting breach will release the floodwaters and, hmm� water levels should quickly return to normal. But? Hmm� But. Hmm� The tunnels are infested with monsters, and as you well know, my people are not warriors. We understand the situation, elder. As Arbiters, it is our duty to assist, even if we didn�t need access to the Sealed Temple. Hmm� Would that all Arbiters were as dutiful as you, young one. There was another group of Arbiters here recently. Their leader, a Captain Dolman, advised us to petition the Council for assistance. Hmm� I do believe we�d lose our harvest before receiving a response. Hmph! How lazy! That particular group of Arbiters has already been� reprimanded. Hmm� That is good to hear. Perhaps I have grown too cynical in my elderhood. Do be careful in the tunnels. I have heard tell that some of the beasts down there may be� larger than normal. Thank you for the warning, elder. All right, let�s get this done.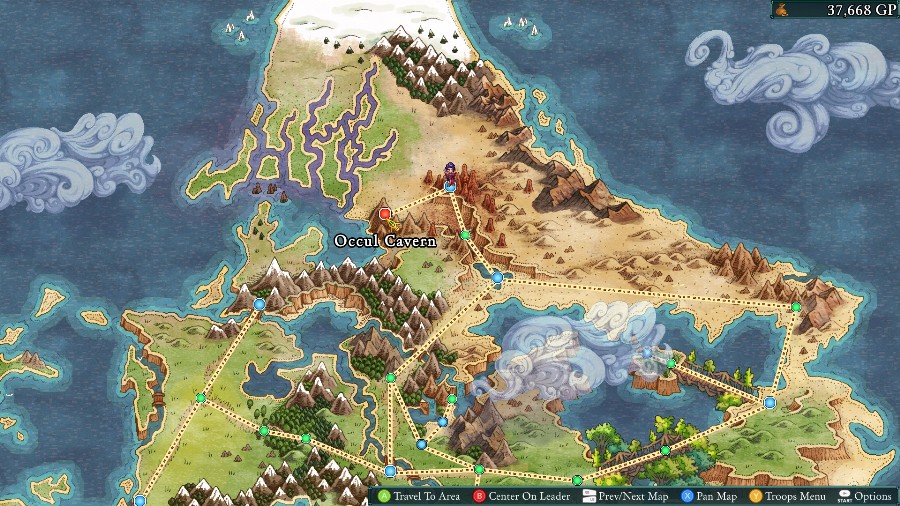 The group heads out of town, and Occul Cavern opens up. However, next time we�ll be entirely ignoring it and instead will head to Centina and check out some strange rumours.
|
 #
?
Dec 19, 2019 14:03
#
?
Dec 19, 2019 14:03
|
|


|

|
| # ? Apr 25, 2024 22:39 |
|
|
How many smoke bombs have Our Heroes been beaten by, at this point? It can't be as many as it feels like.
|
|
#
?
Dec 19, 2019 16:51
|
|

|
I think only twice, and both times were Katja. Mercier used one in Oldebzar, but the party was actually prepped for that and let him get away, so I wouldn�t say it counts. I can�t think of any smoke bomb uses otherwise.
|
|
#
?
Dec 19, 2019 22:08
|
|
|
We've gotten quite a few wins under our belt, to be fair. The story does a good job of giving heroes victories while still obviously pressuring them within their society's constraints
|
|
#
?
Dec 19, 2019 22:20
|
|


|
There's also the 'we keep having to kill people because we can't actually trust our fellows to put them in prison if we turn them in' undercurrent to a lot of these fights. Kyrie would obviously rather be arresting people, but look how that worked out with Dolman.
|
|
#
?
Dec 19, 2019 22:26
|
|


|
Update 26: Rumors/Alpine Woods Part II Welcome back! Last time we fought off the Bounty Hunter Katja again, and then went through a lot of exposition about our next Temple. This time, we�re ignoring that to do another side quest.  First thing first, because we have the ancient locket that I built with the drop from the zombie in the gorge, when we go back to Centina a new cutscene plays.  Kyrie�s walking into the Guild as 2 people talk at a nearby table.  Kyrie proceeds to shamelessly eavesdrop on their entire conversation. Dandy Gossip: Oh, I hear all KINDS of rumors! I�m sure I know something you will find of interest. Listen to this� Decades ago, a young woman stood on the stoop of her family home seeing her beloved off to battle. She grasped her locket against her breast. A symbol of their devotion, it was an exact match for the piece hanging around her beloved�s neck. Drawing a ragged breath of the icy air, she bid him farewell. Faithfully, she awaited his return. Long days of waiting turned to months, months grew into a year, and finally several lonely years passed. But he did not return. After all this time, a letter arrived, explaining that though her beloved had fought valiantly, he had fallen in combat. However faithful and patient she had been, he would never return. The woman fell into a deep despair. She spent her days alone, sitting in darkness, their old home made a prison by her loss. But one evening, after the gloom had displaced the sun, she heard a voice. It was her lover�s voice, calling to her from the locket, and bidding her to join him. Mesmerized by the voice, and wanting nothing more than to be reunited with her beloved, she grasped the locket to her breast again and set out into the night to find him. Gossip: What� What happened after that? Dandy Gossip: The neighbors claimed she vanished, and was never seen again. But the following year, folk began to talk of a ghostly woman who roamed the nearby woods, endlessly searching for a man wearing a matching locket.  The conversation finished, Kyrie heads back out. While the game doesn�t come and explicitly say it, that was the hint for the 2nd step of this chain. What you need to do next is put the locket on one of your units. It can be anyone, as long as its actively equipped. I went with Reiner, mostly for thematic reasons.  And then you head into the nearby woods. 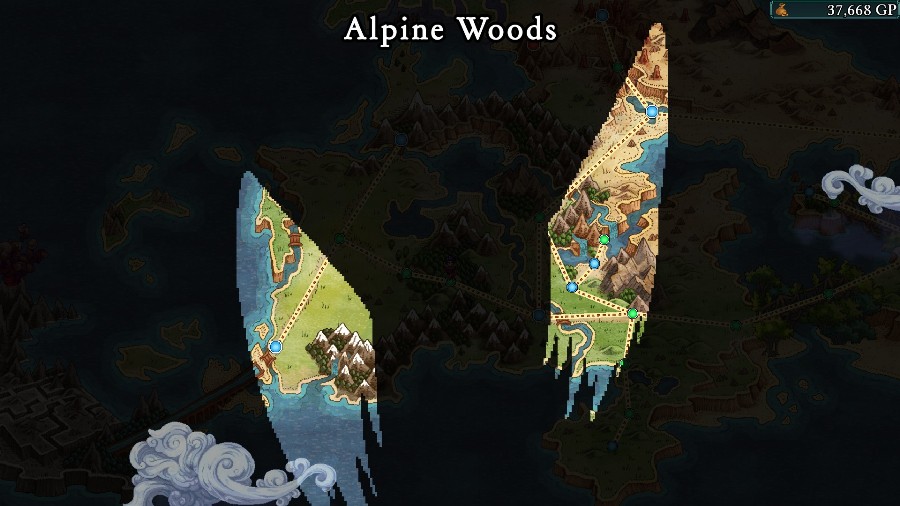 Which automatically starts another fight. 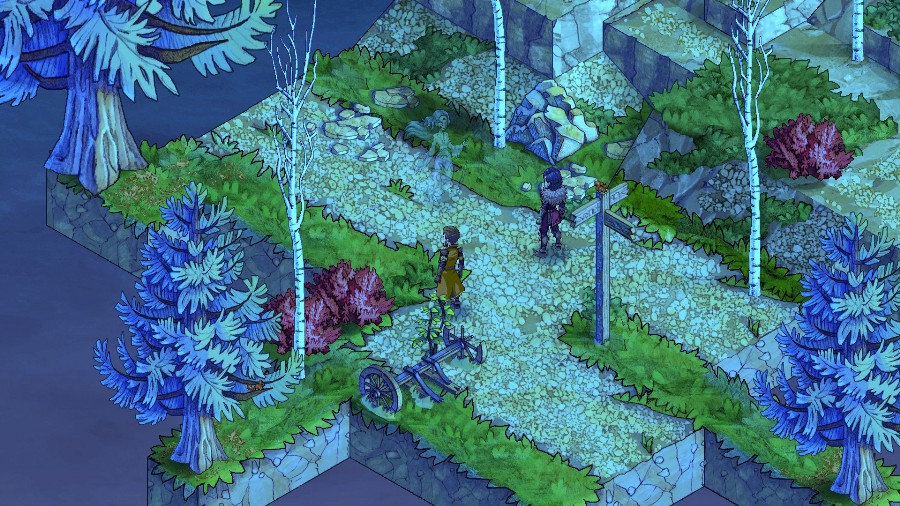 Kyrie and Reiner are in the woods when a ghostly woman fades in in front of them. 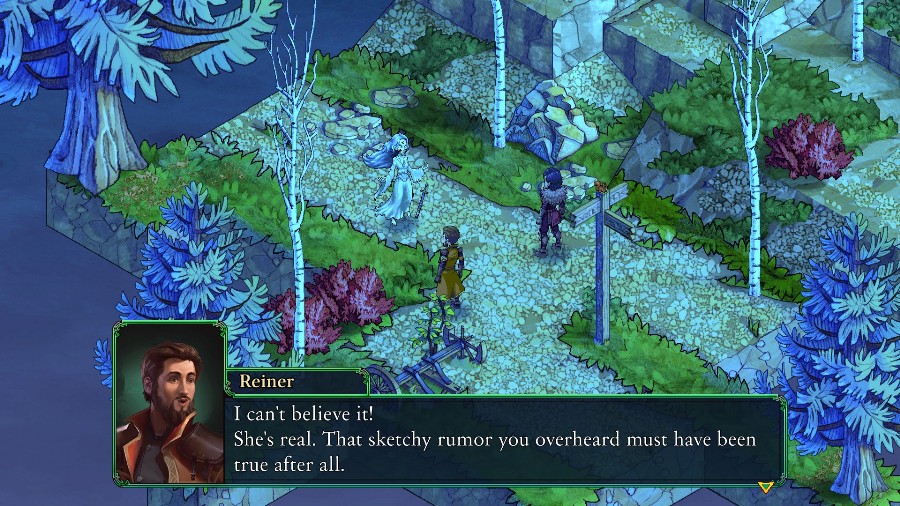  Reiner (shocked): Though locket or no locket, she doesn�t seem thrilled to see us. 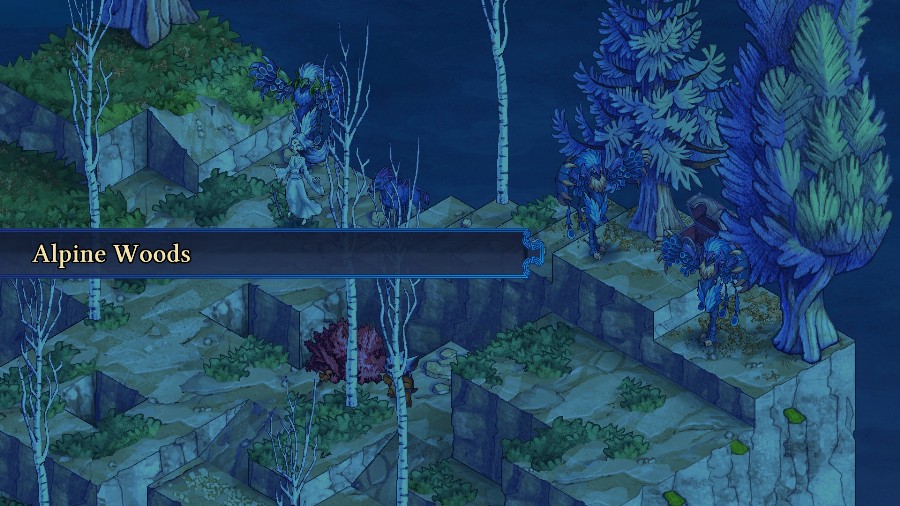  This one just has a typical battle condition. 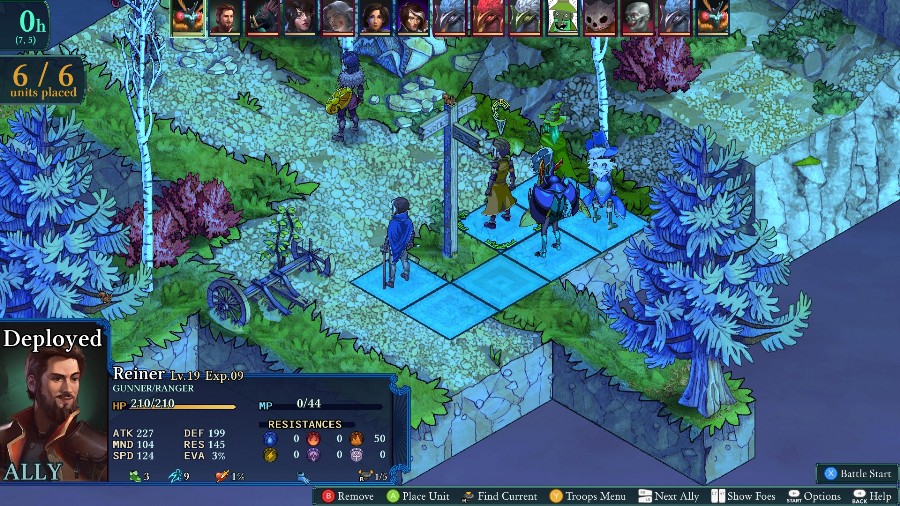 Kyrie�s locked in, and otherwise I�m bringing Reiner, Bobby, Bzaro, Yates, and Azure. Overall, a mix between some bulk and damage. I wasn�t really thinking with Yates though, because a good chunk of the enemies here are immune to dark entirely. 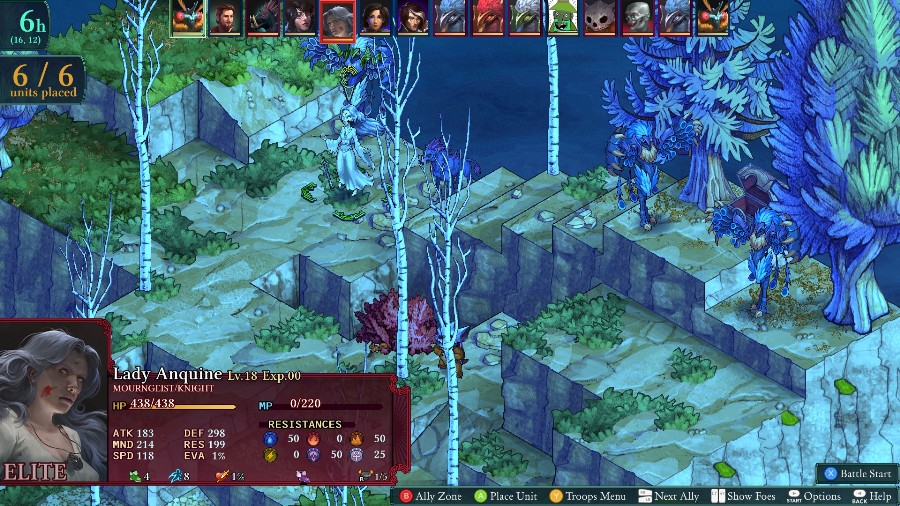 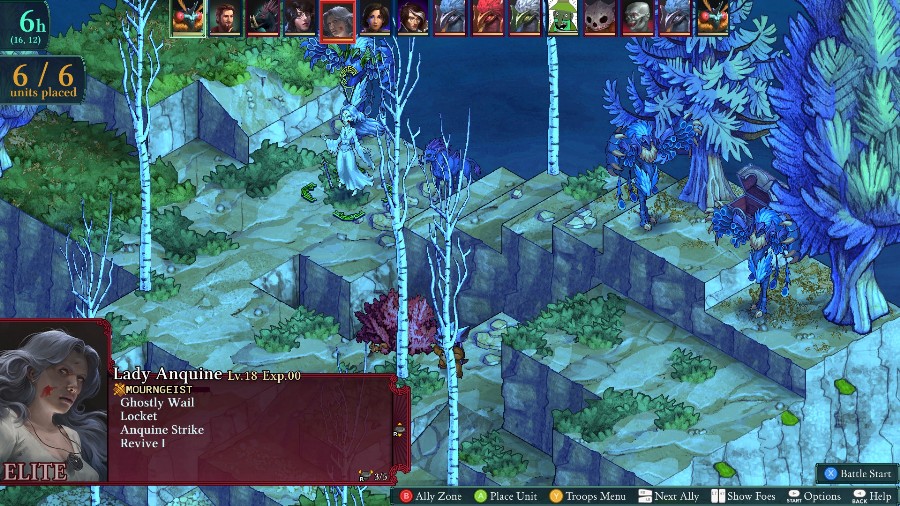 Speaking of enemies, here�s the boss lady herself. Good stats, a limited but strong skillset including a revival, life font, and mystic shield! She�s an absolute pain to deal with and will cause me lots of problems. 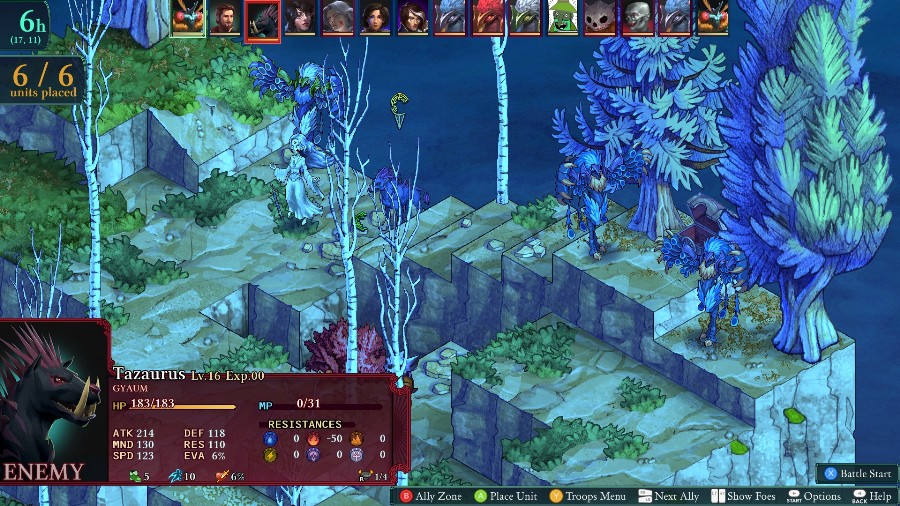 There�s also a top-tier vangal upgrade, 2 Ericnees, an upgraded Ericnee (called an Alkonost) 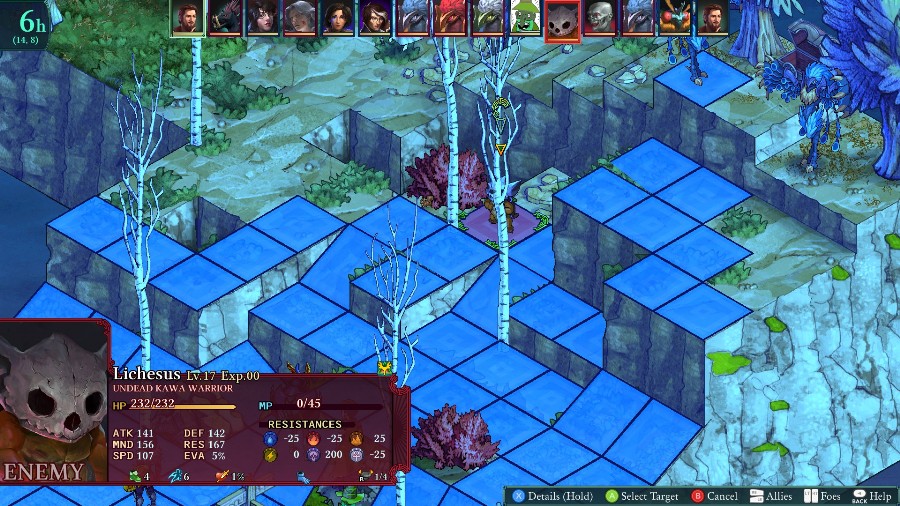 And an undead kawa, who�s mostly support, just like the living bandits. He�s also annoying because he has the counter-slow like Kyrie does, and has an auto-revive innately. There are also a Phoenix (top tier Ericnee) and zombie on the western part of the map, who I definitely didn�t forget about until part way through the fight. 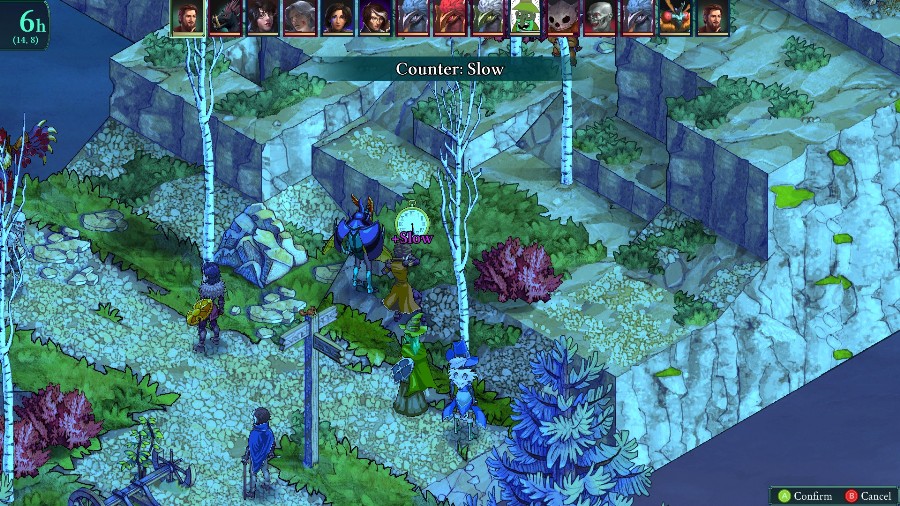 Reiner opens the fight by taking a shot at the kawa and getting slowed.  People advance up and I have Yates cure Reiner�s status.  And oh look, there�s the Phoenix. He definitely doesn�t surprise me and whack Yates for nearly 100 damage. No sir, not at all. 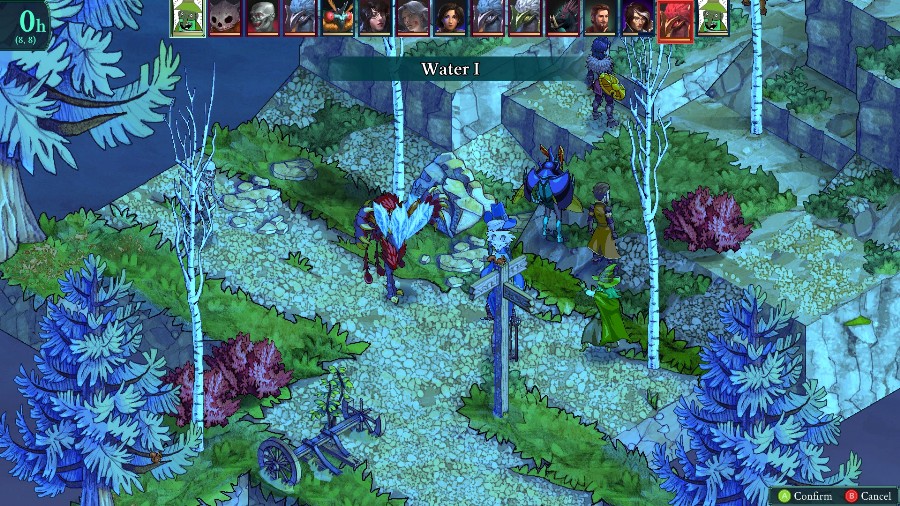 Bobby gets him back with a solid cast that takes advantage of his water weakness. 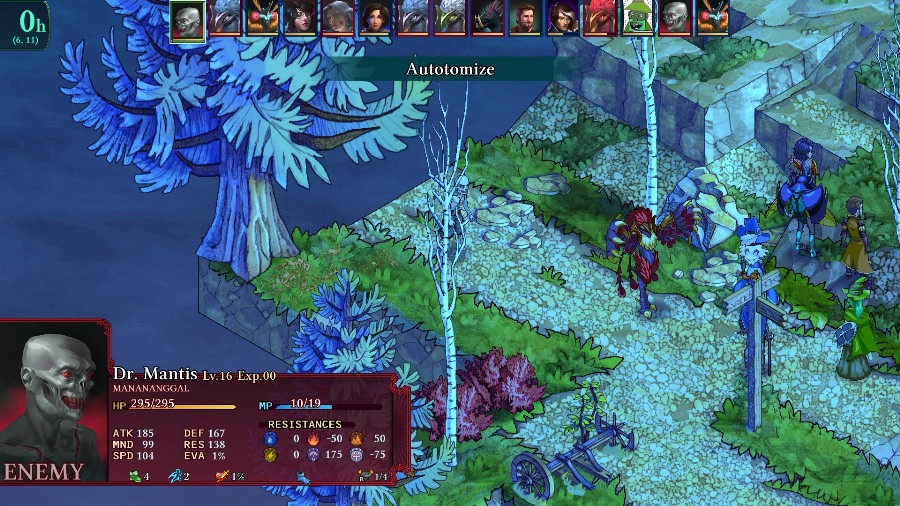 The zombie (who�s name I love) eats part of himself to boost his movement and jump ability, but is still too far away to be threatening. 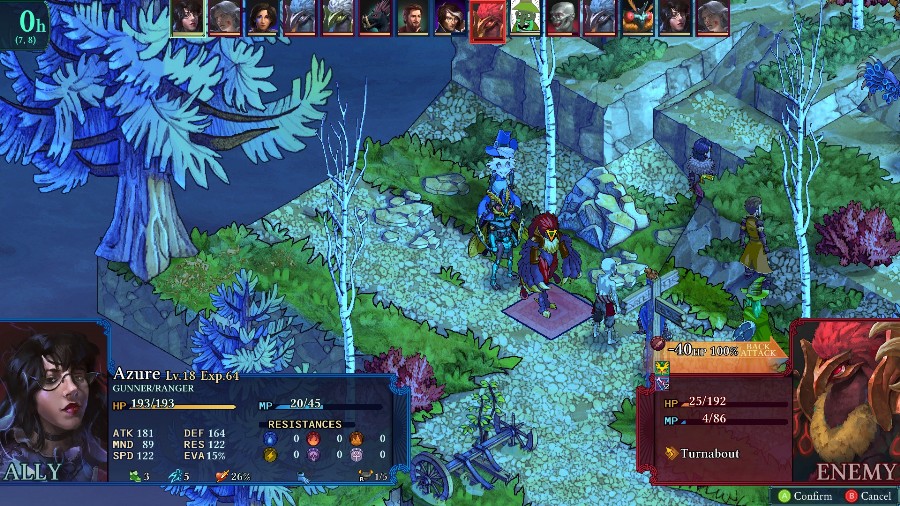 Bzaro weakens the Phoenix for Azure to take out. I use collect pelt to get past its revive, but it still explodes and hits Bzaro and the zombie for a bit of damage.  The Mourngeist advances up and hits Kyrie and poisons her.  Kyrie ignores the hit, and instead runs back to kill the zombie with a holy bolt.  And Yates heals her up out of 1 shot range. 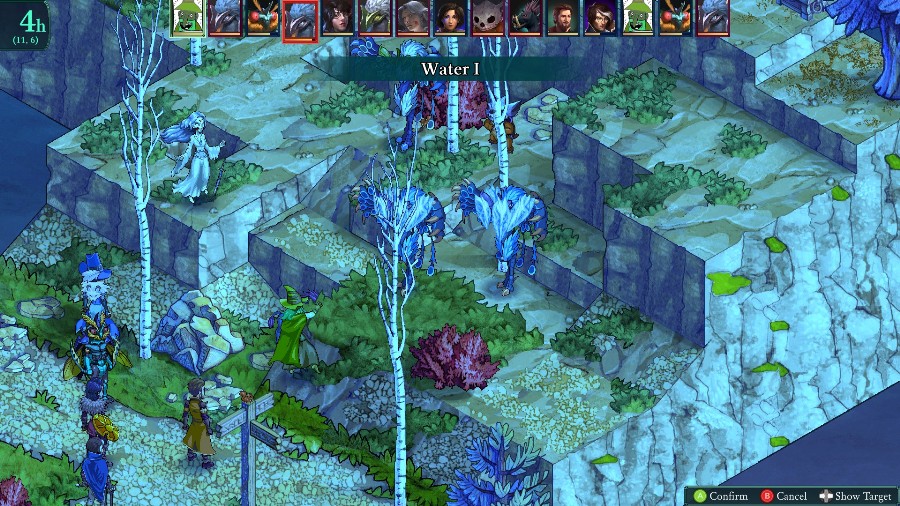 Bobby gets a good hit off on the 2 Ericnees. 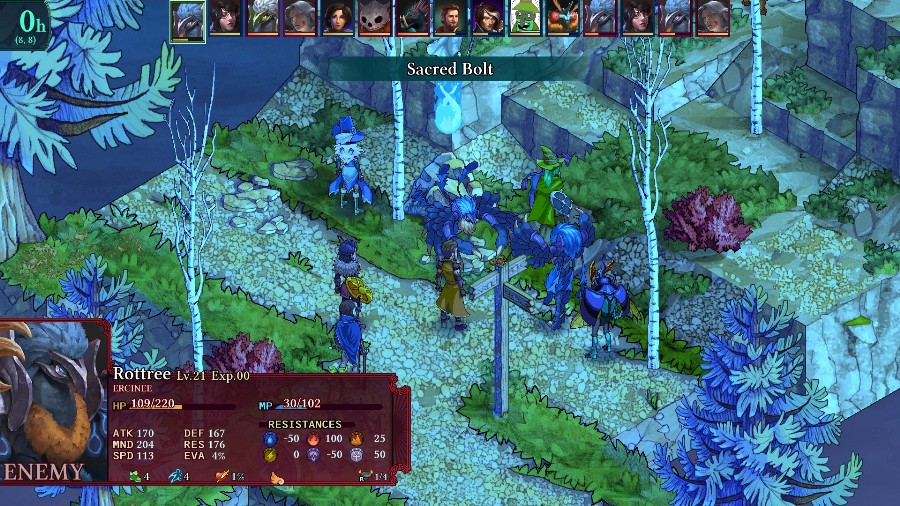 But they still stick around and start whacking my guys. 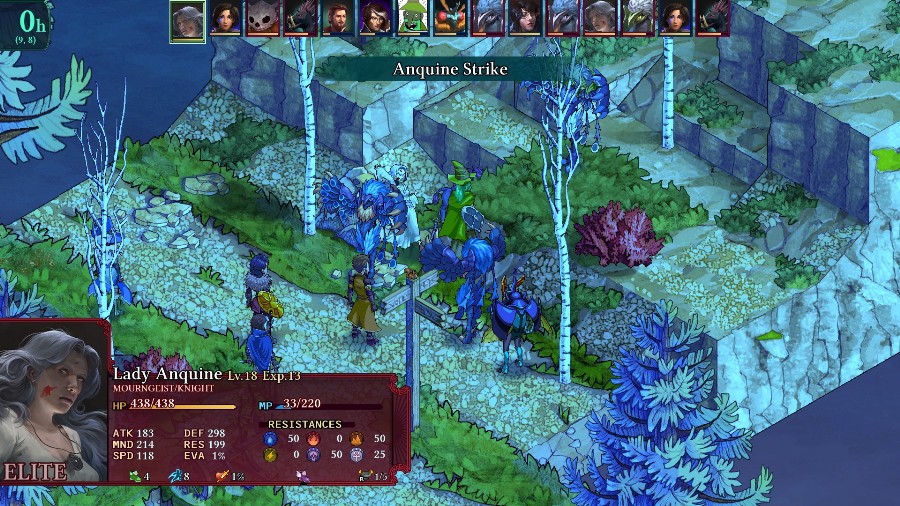 Lady Anquine uses a strong attack (literally a 2x hit that can silence) and nearly kills Bobby as well as muting him.  I�d rather keep him around, so Kyrie runs up and heals him.  The Gyaum is annoying and hastes and buffs the Mourngeist�s attack. 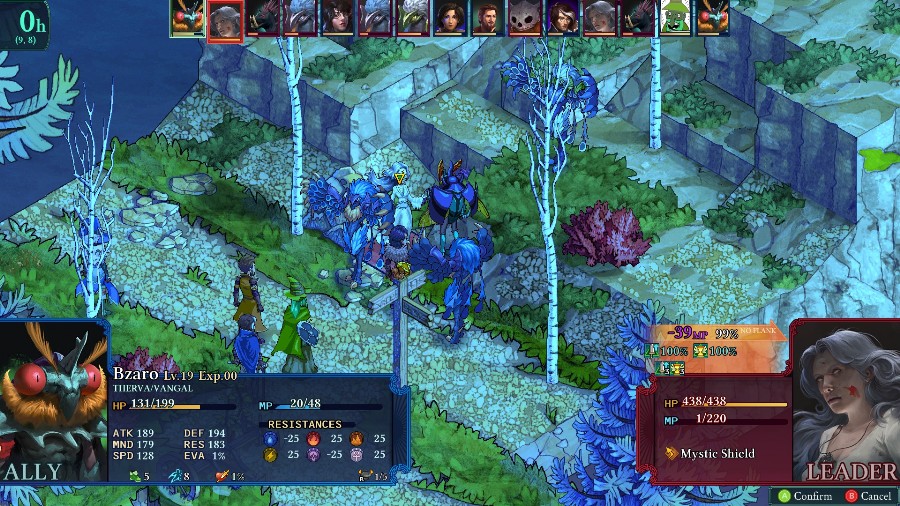 I�d rather kill one of the Ericnees, but I cannot have the Mourngeist running around while buffed, so he purges her instead. The stupid mystic shield keeps her hp full too.  But good thing that I debuffed her, because she hits all 3 guys in the back and poisons some of them. 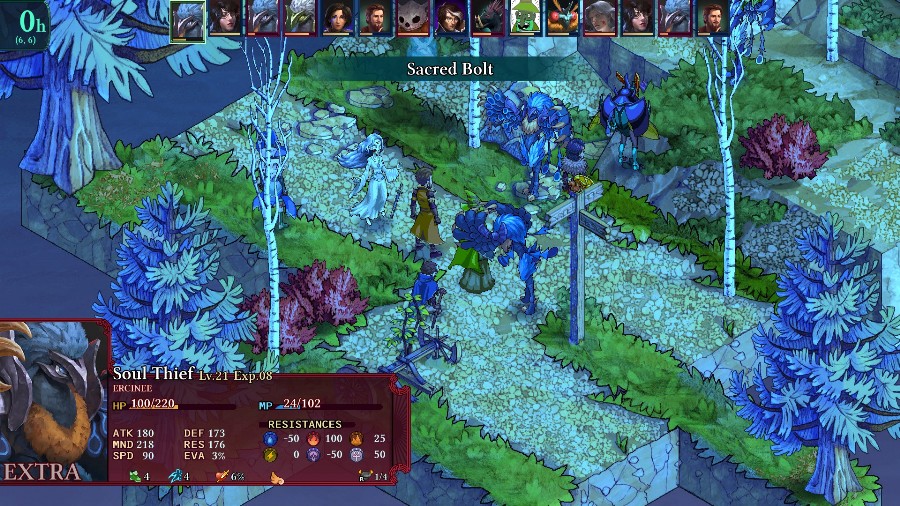 One of the Ericnees then finishes Yates off. 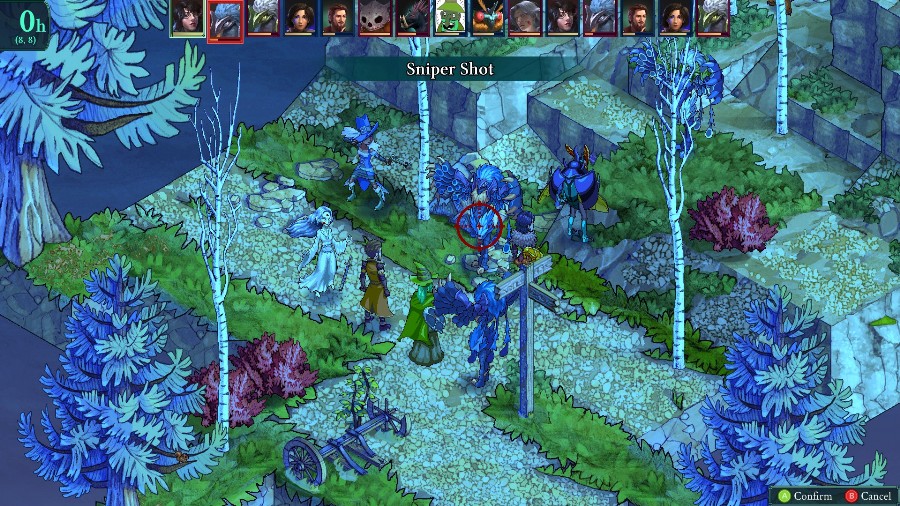 Soon after, Azure kills one of the Ericnees with a sniper shot. He also explodes and hurts Kyrie.  She tanks it, and then kills the other Ericnee. Though she ends up very low on HP thanks to the poison. 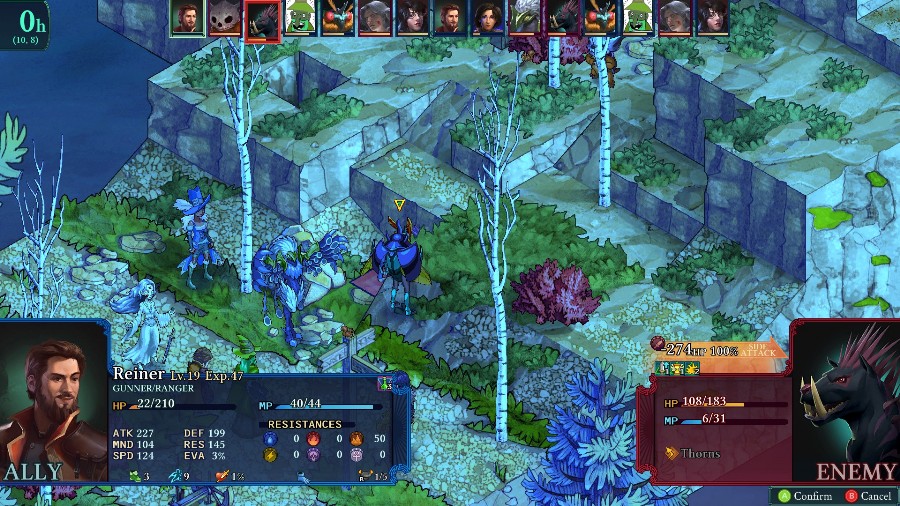 Though he�s nearly dead, I have Reiner snipe the Gyaum. 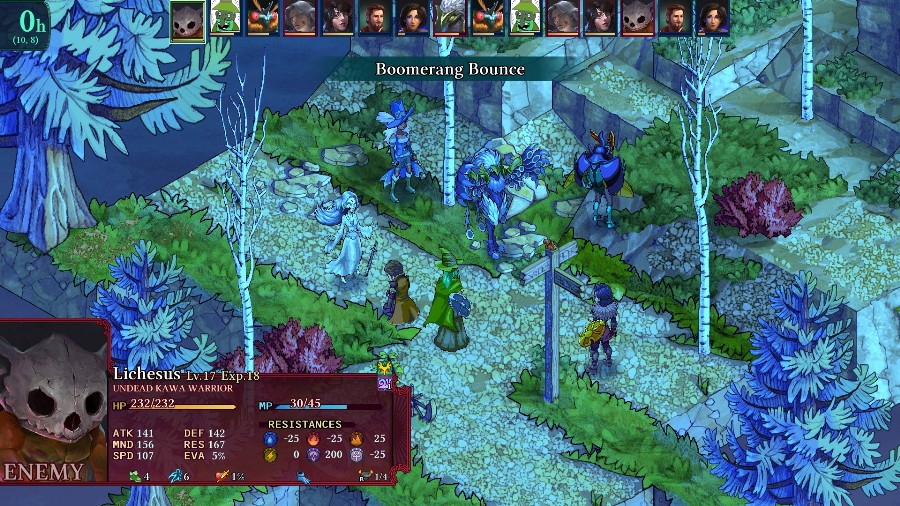 The kawa takes him out. Which is sort of a problem because of a passive that Kawas get, which I had forgotten about entirely: if they kill a unit, they spawn a new undead kawa in its place. Admittedly, its just a kawa but still swings the number of bodies against me. 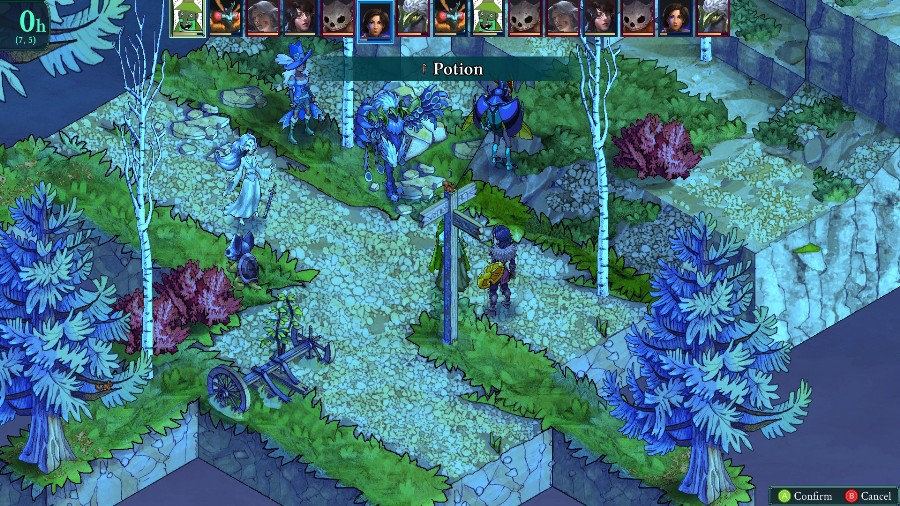 Bobby runs back to heal Kyrie before she gets killed. 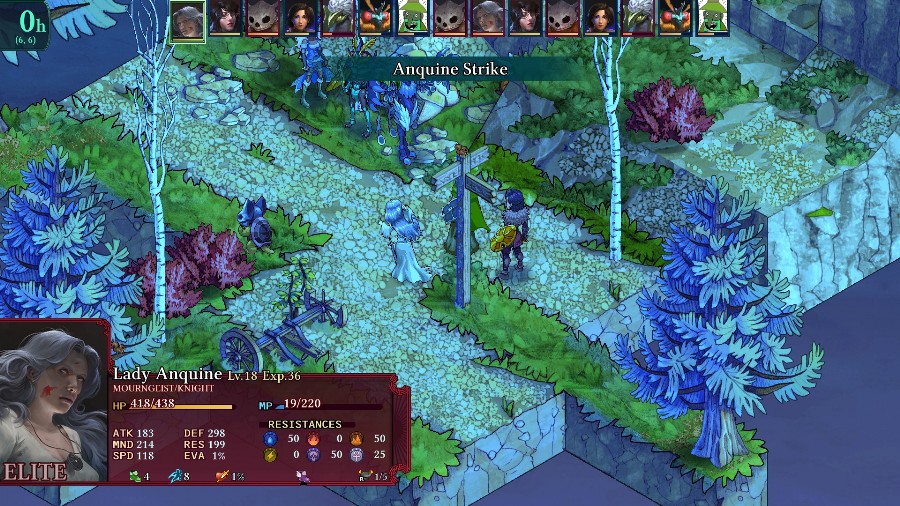 But the Mourngeist decides to just kill him instead.  Kyrie runs away from the ghost and takes out the Alkonost�s first life. 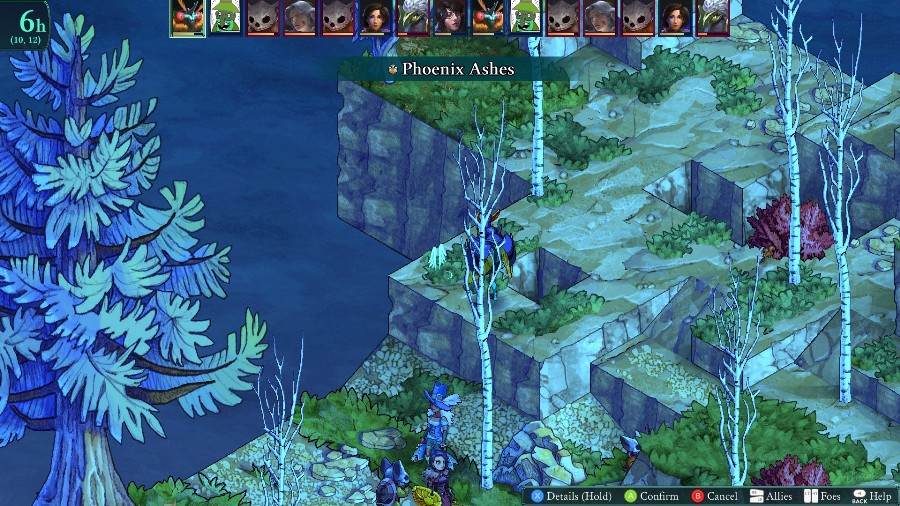 And Bzaro goes to revive Bobby to actually get a healer back. Bobby then just heals himself out of the absolute danger zone. 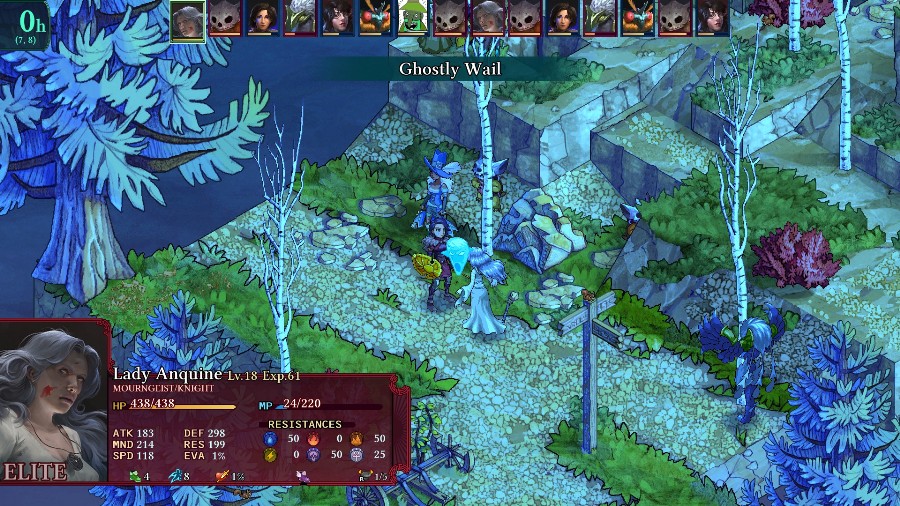 While the Mourngeist continues yelling at Kyrie, hitting Azure for a good bit of damage as well. 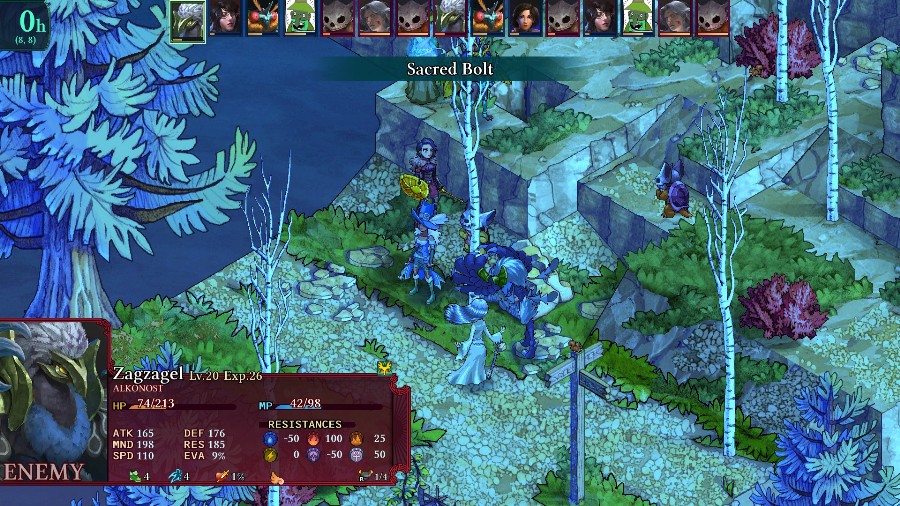 The Alkonost then just finishes Azure off. 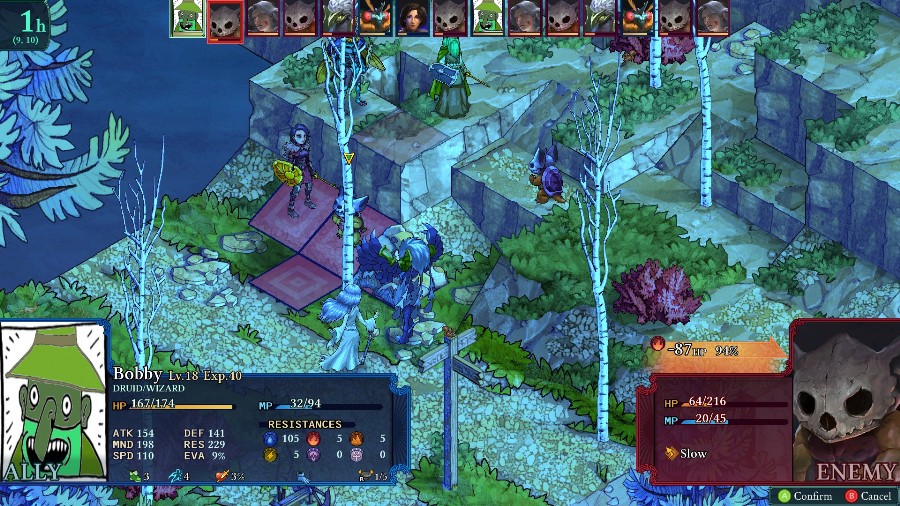 Though Bobby at least evens things up by killing the summoned kawa. 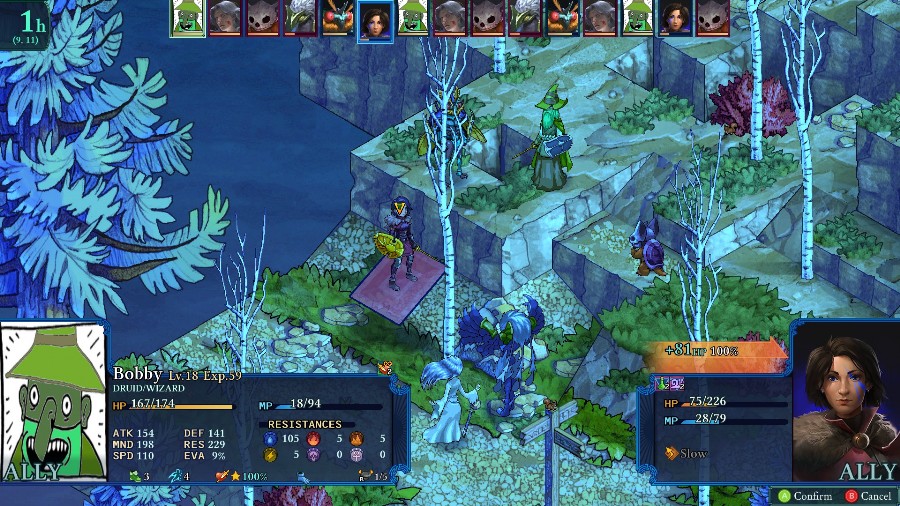 And uses double cast to heal Kyrie a bit again. 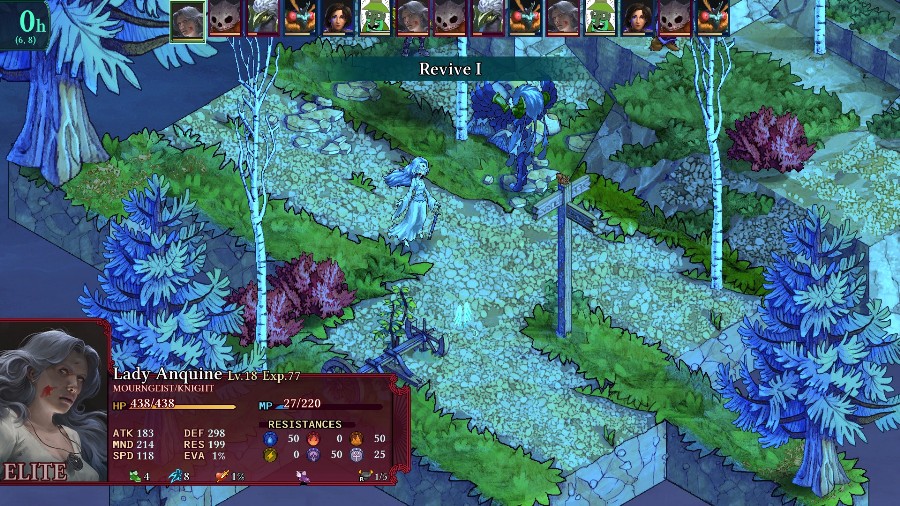 The ghost decides to back off and revive one of the Ericnees. 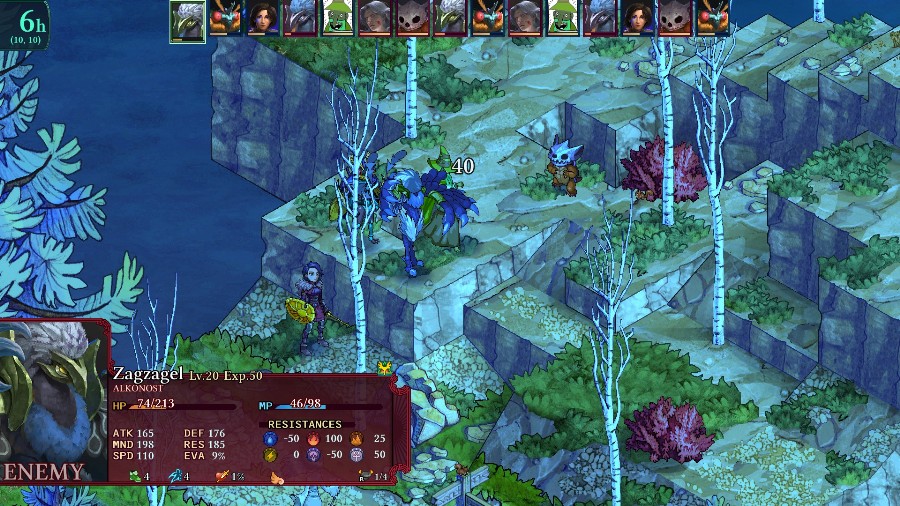 The Alkonost come sup and whacks Bobby, while also putting Bzaro in danger from another explosion. 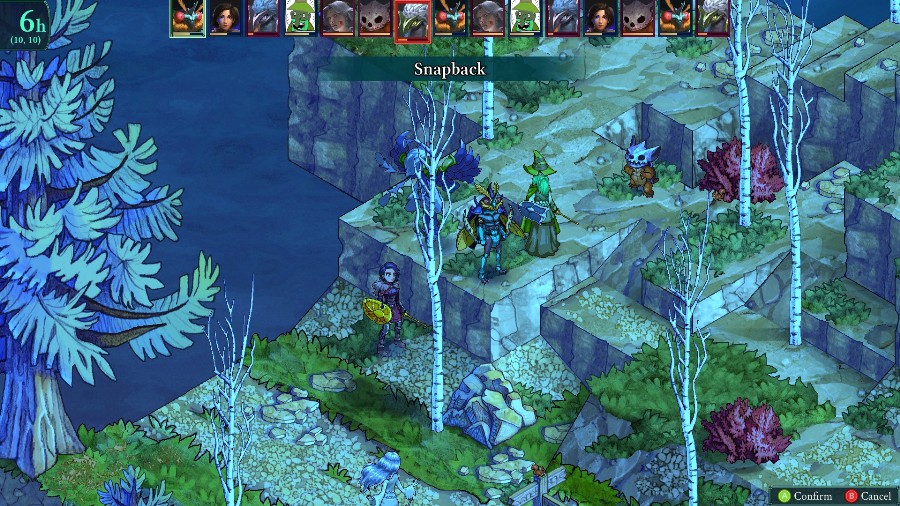 So I have Bzaro use snapback to swap spaces with him and then back off. 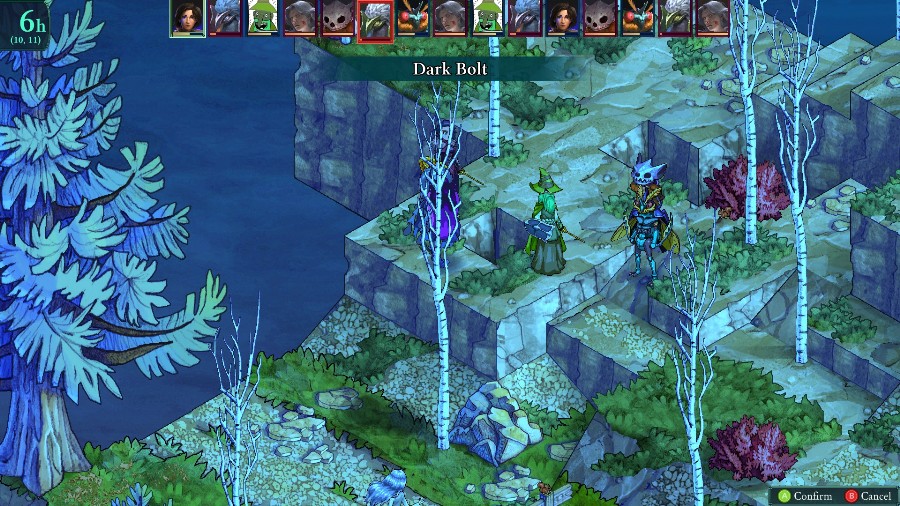 Kyrie then kills it once. 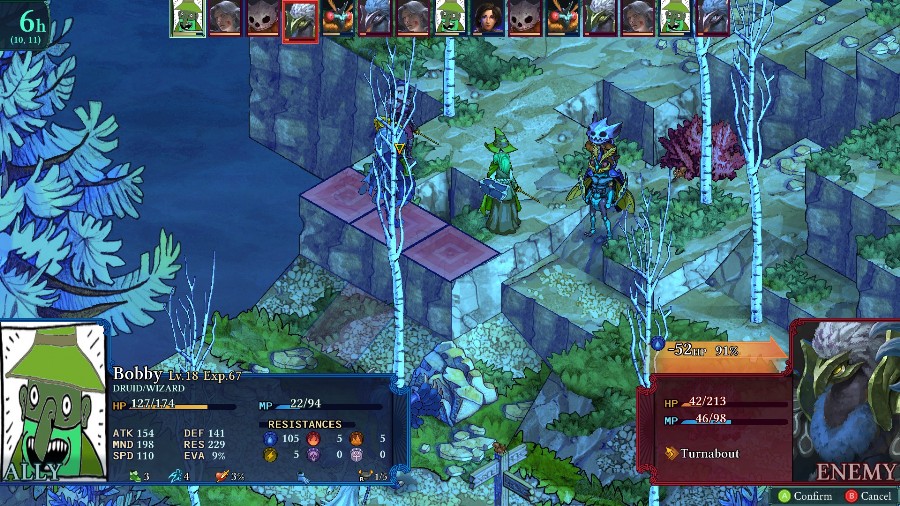 And Bobby double casts to kill it a 2nd time and then to heal Kyrie. 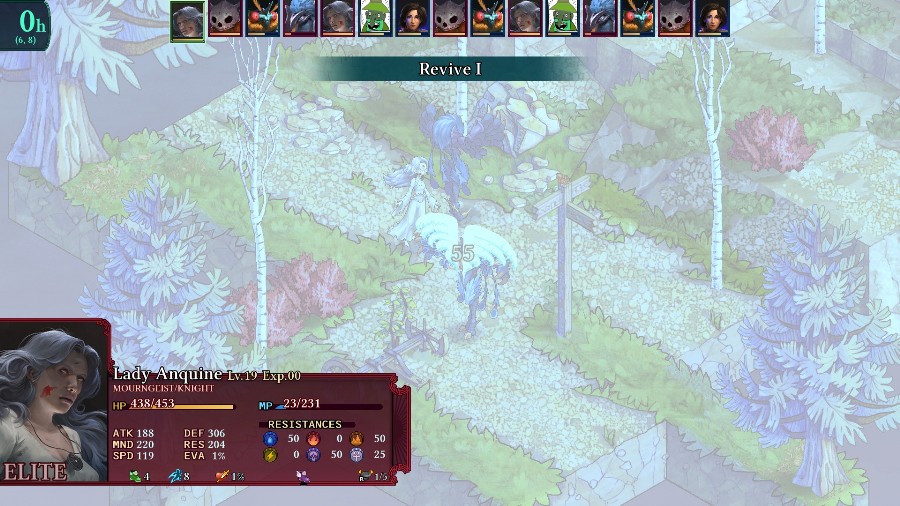 And the Mourngeist revives another Ericnee. 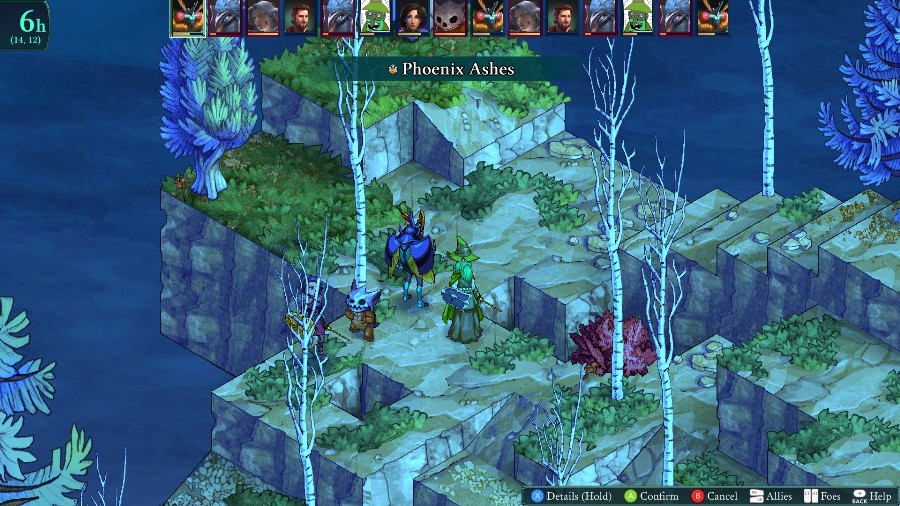 I also need to get some people back up, so I have Bzaro revive Reiner. He then backs off and heals himself with a potion. 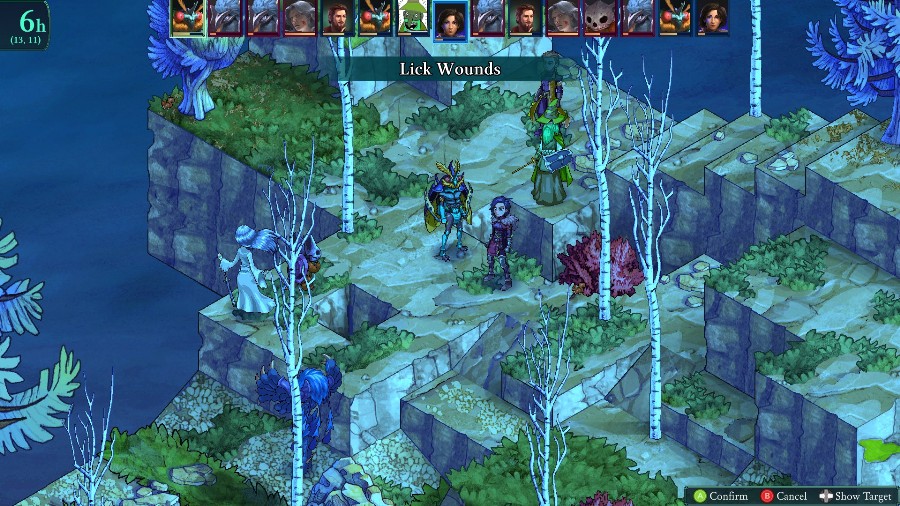 There�s a general fight as I wear down the remaining kawa and I have Bzaro try to keep both himself and Kyrie up.  Which was a good choice because the Mourngeist nearly kills him. 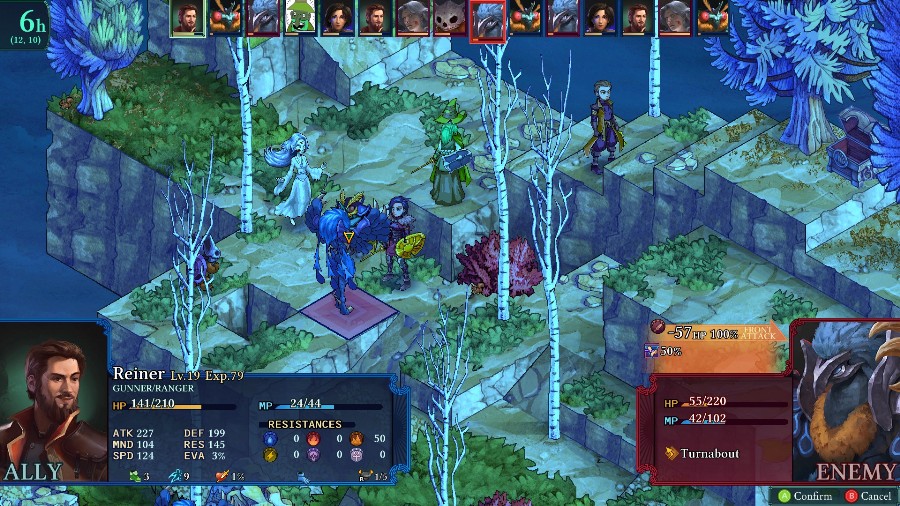 Reiner then kills an Ericnee again, exploding Kyrie along the way. 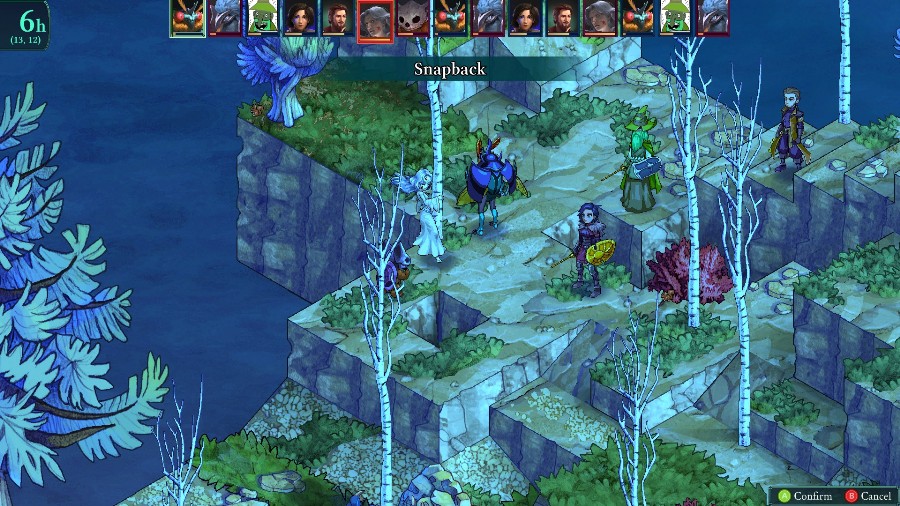 I also have Bzaro move the Mourngeist out of the way. Since the path is only 1 square wide, I�m going to have him block the Mourngeist from reaching Reiner and Bobby while everyone else makes sure he stays up. 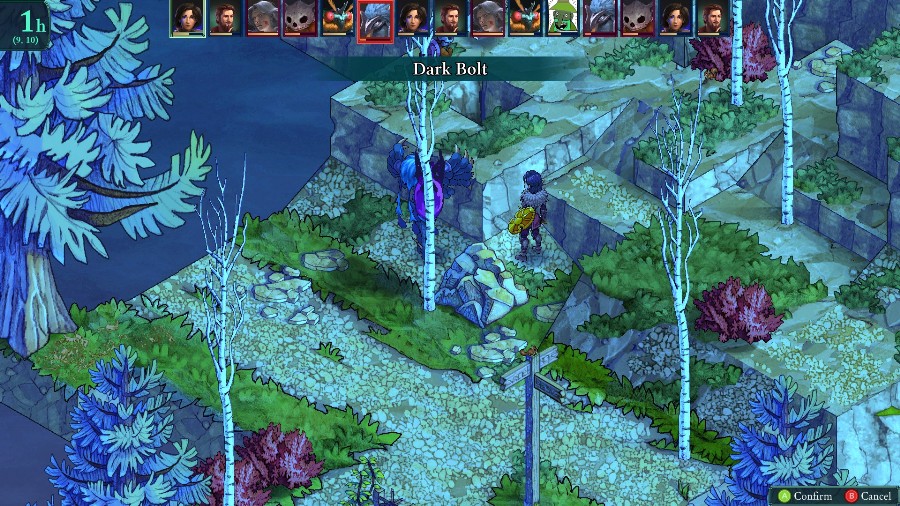 Kyrie goes to finish off the remaining Ericnee too. 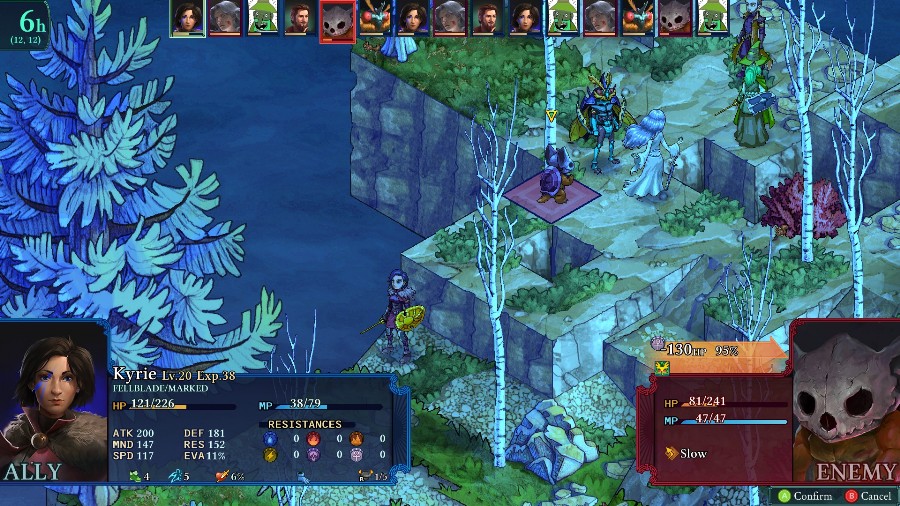 The kawa and ghost wail on Bzaro while Kyrie takes out the kawa�s first life.  And the ghost runs off to revive another enemy.  But Bobby finally takes out that final kawa. 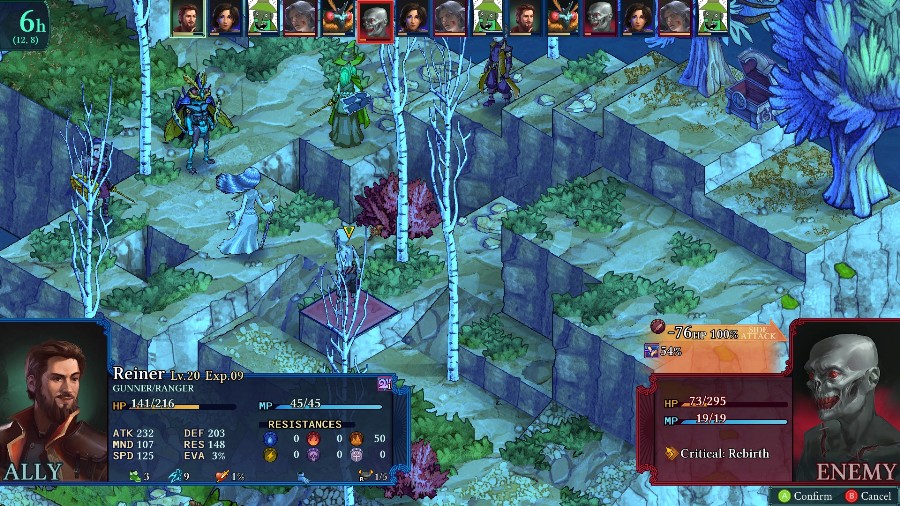 And Reiner takes out the zombie, just barely dodging his auto revive counter. After that, just imagine a Benny Hill theme playing as the ghost runs around chasing Reiner, who alternates between focusing and shooting her, while the other 3 follow the ghost around, dealing with her shield, HP regen, and healing Reiner. 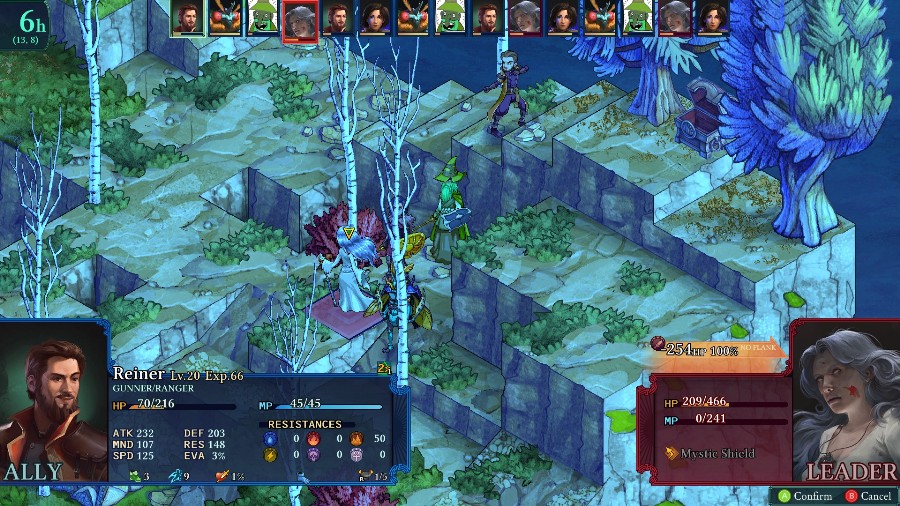 But eventually Reiner manages to get off a doubled sniper shot and takes her out. 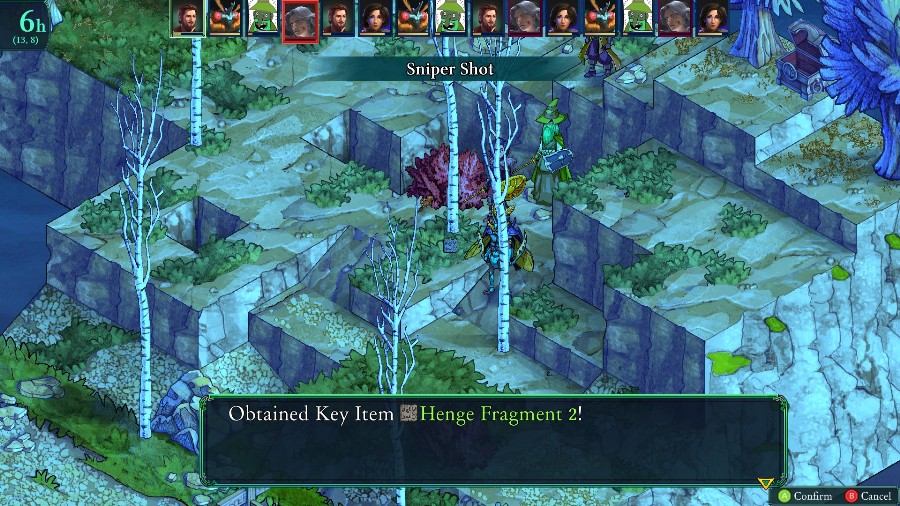 She drops a henge fragment, which is part of another side quest. It�s one I won�t be able to complete for a while though. 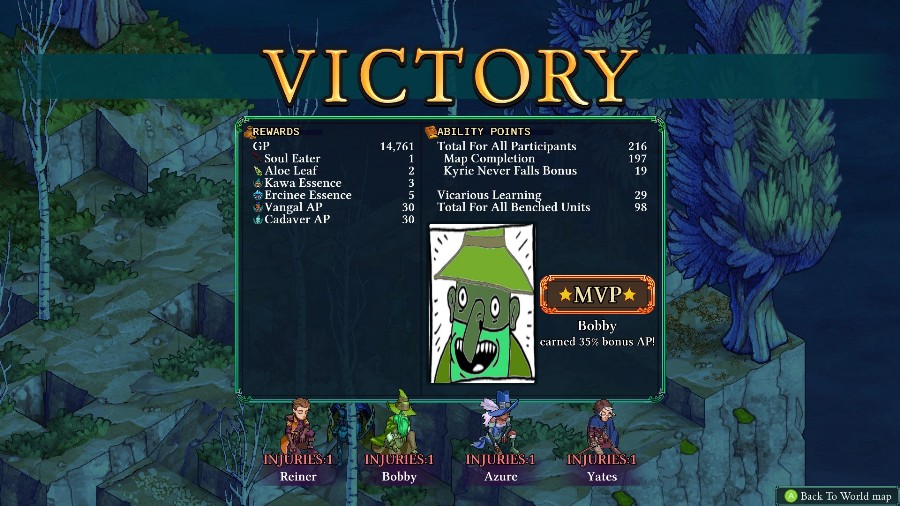 And I get a bunch of stuff, notably including the Soul Eater. It starts off as a pretty okay sword (about equivalent to a teorite sword) that makes you vulnerable to holy damage. However, it has a gimmick that fits its name. Every time you kill an enemy with it, every stat, including evasion and crit chance, goes up. It maxes out at 60 kills, at which point it has the highest attack of a 1 handed weapon, as well as the 3rd highest mind stat of any weapon. I don�t know if I�ll put in the effort to grind it up, but it�s a neat reward for a tough fight.  Beating the fight also opens up a new event at the Alpine Woods. 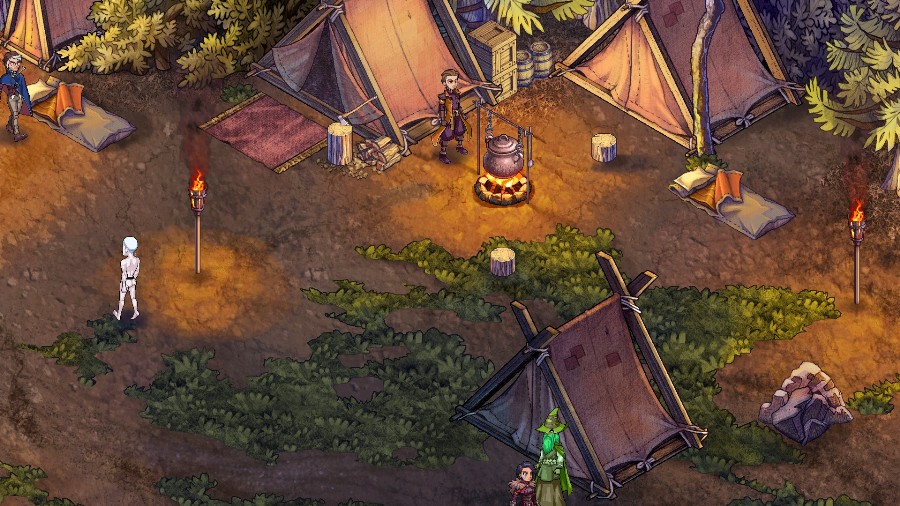 Starting it up, we see Reiner at the cooking pot while Yates approaches from the side.  Reiner stares right at Yates while speaking this. Silky, velvety broth. The chicken is tender and moist. And the lemony finish? Ah, heavenly! This soup is comfort in a bowl!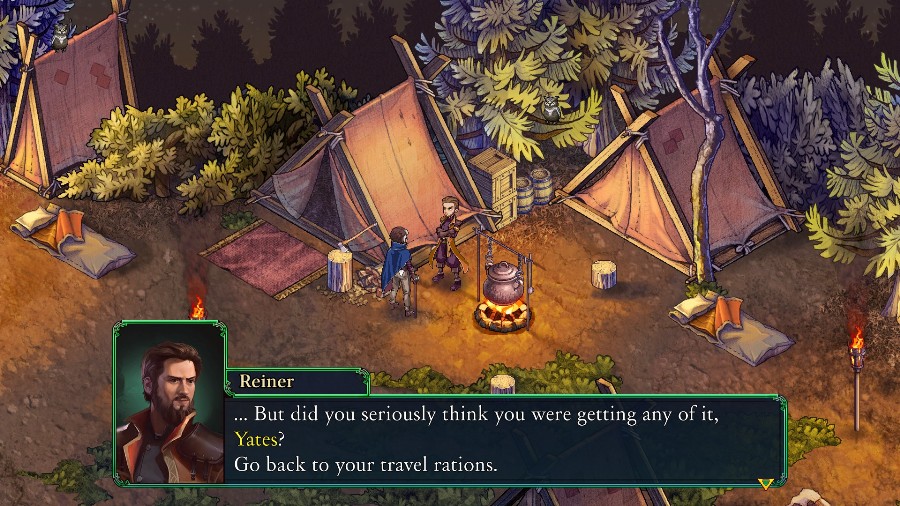  Fair enough. But no, that�s not why I�ve come to speak with you. I have never asked for anything from you, Reiner. All I ask for now is a moment of your time. Ugh. There goes my appetite. Way to ruin a good thing. Hear me out�. I find myself faced with a crisis, of sorts. I allowed myself to feel certainty about something without sufficient evidence. Until now, I have dismissed any claims of the existence of a �soul� as conjecture. Superstitions. But the spirit we encountered in Alpine Woods cannot be explained otherwise, can it? Fair enough. But no, that�s not why I�ve come to speak with you. I have never asked for anything from you, Reiner. All I ask for now is a moment of your time. Ugh. There goes my appetite. Way to ruin a good thing. Hear me out�. I find myself faced with a crisis, of sorts. I allowed myself to feel certainty about something without sufficient evidence. Until now, I have dismissed any claims of the existence of a �soul� as conjecture. Superstitions. But the spirit we encountered in Alpine Woods cannot be explained otherwise, can it? � Are you familiar with the legend of the Pyrestone? Of course. That cruel tale, I think about it every day of my life. The mythical stone that could supposedly bring back the dead. Thousands have thrown away their lives seeking it. But it�s long lost, if it ever even existed in the first place. What are you getting at, Yates? Pouring salt into my wounds? That�s low, even for you. I too, thought it but a tale. Indeed, all of my life�s work has been to chase after what it represents. But now I believe there is some truth to the tale. � Are you familiar with the legend of the Pyrestone? Of course. That cruel tale, I think about it every day of my life. The mythical stone that could supposedly bring back the dead. Thousands have thrown away their lives seeking it. But it�s long lost, if it ever even existed in the first place. What are you getting at, Yates? Pouring salt into my wounds? That�s low, even for you. I too, thought it but a tale. Indeed, all of my life�s work has been to chase after what it represents. But now I believe there is some truth to the tale.  Yates pauses for one second. 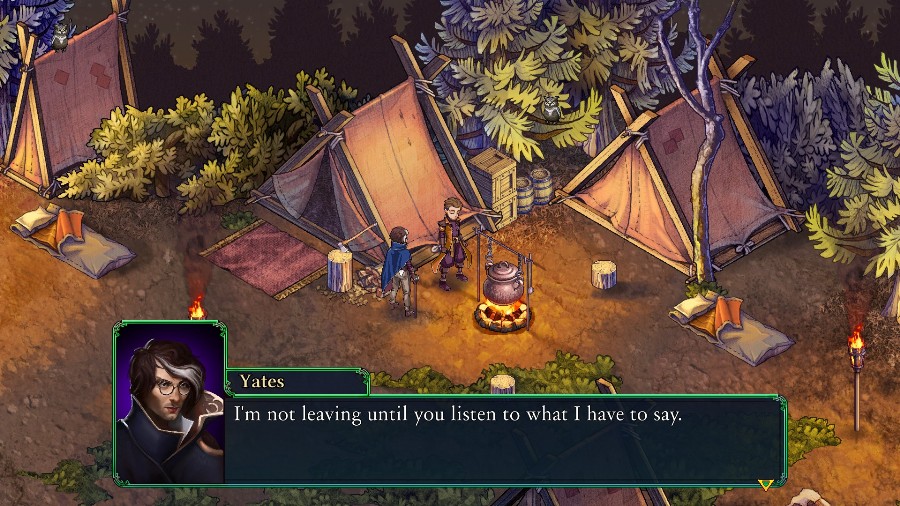 The Alpine Woods spirit was wearing a locket. There�s not much power left in it, so temper your hopes, but� After studying it, I�ve come to the conclusion that the gem inside the locket is a shard of the Pyrestone. Or at least something akin to it. You�re serious, aren�t you?! I always am. That woman�s longing for her beloved, combined with the stone�s power, kept her spirit here after she died. Quite by accident, I would say � she likely had no idea of the treasure she held. What a waste. But unlike her, I actually know what I�m doing. Her spirit might have used up most of the residual power in the shard, but there are still vestiges remaining. I�ve focused its power for you. You should be able to call Alicia here� for a short while, at least. Use your time well. The Alpine Woods spirit was wearing a locket. There�s not much power left in it, so temper your hopes, but� After studying it, I�ve come to the conclusion that the gem inside the locket is a shard of the Pyrestone. Or at least something akin to it. You�re serious, aren�t you?! I always am. That woman�s longing for her beloved, combined with the stone�s power, kept her spirit here after she died. Quite by accident, I would say � she likely had no idea of the treasure she held. What a waste. But unlike her, I actually know what I�m doing. Her spirit might have used up most of the residual power in the shard, but there are still vestiges remaining. I�ve focused its power for you. You should be able to call Alicia here� for a short while, at least. Use your time well.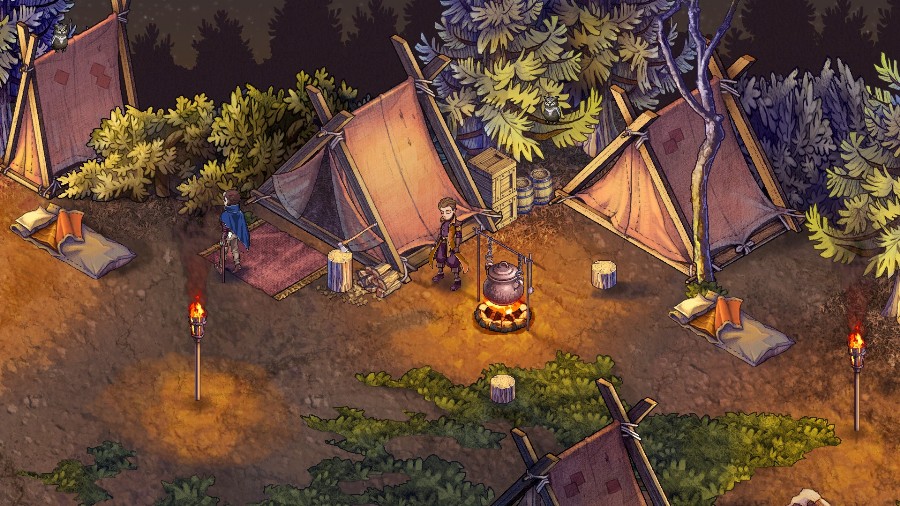 Yates walks off.  � Alicia? Dare I hope? � � Alicia? Dare I hope? � Reiner suddenly perks his head up. (thinking) (What�? The smell of her hair? Is this a dream?) And the screen fades to black.  And the real reward for the whole event chain is that Reiner finally has access to his unique class! While it doesn�t have the raw power of something like Demon Knight, the text does not lie when it says that the class is versatile. You can basically do anything you want with it. I�ll also be putting up a job overview for it right now.
|
|
#
?
Dec 23, 2019 16:11
|
|
|
Job Overview: Spymaster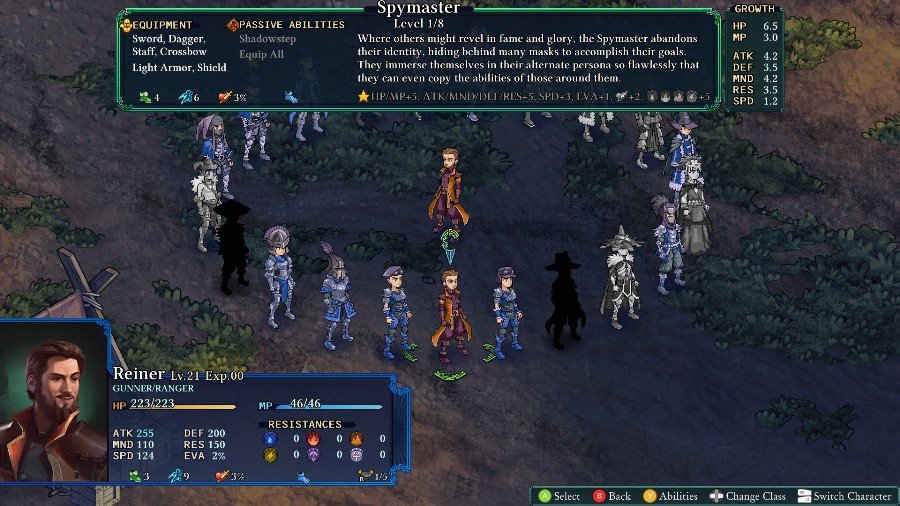 Requirements: Complete the Locket Sidequest. Equipment: Sword, Dagger, Staff, Crossbow, Light Armor, Shield. Mastery Bonus: HP/MP+5. ATK/MND/DEF/RES+5, SPD+3, EVA+1. Crit+2, Fire/Water/Earth/Lightning Resist+5 It certainly took a while to unlock, but we finally have the Spymaster, Reiner�s unique class. Like the unlock description said, the Spymaster is a pretty versatile class. Growths-wise, it�s slightly above average in everything except for speed, where it is in the upper tiers. However, what makes the class good are its skills. First off, is a passive that allows the Spymaster to equip any armor and any weapon. And because it�s a passive, it means that you could bring it into other classes which could open up lots of fun combos of abilities and equipment. Second, is the other passive, Shadowstep, which functionally gives the user the flying movement type. And third is the move Doppleganger, which allows you to copy the full move set of any non-boss character, including things like monsters. This essentially gives Reiner access to 4 classes worth of moves at any time, and the move set can also be swapped to any other person�s move set at any time. Add in a self-buff that both hastes and raises attack, and a move that literally copies the last used move (without having to pay any cost like MP or consuming an item), and you have an awesome class that really lets you do whatever you want. 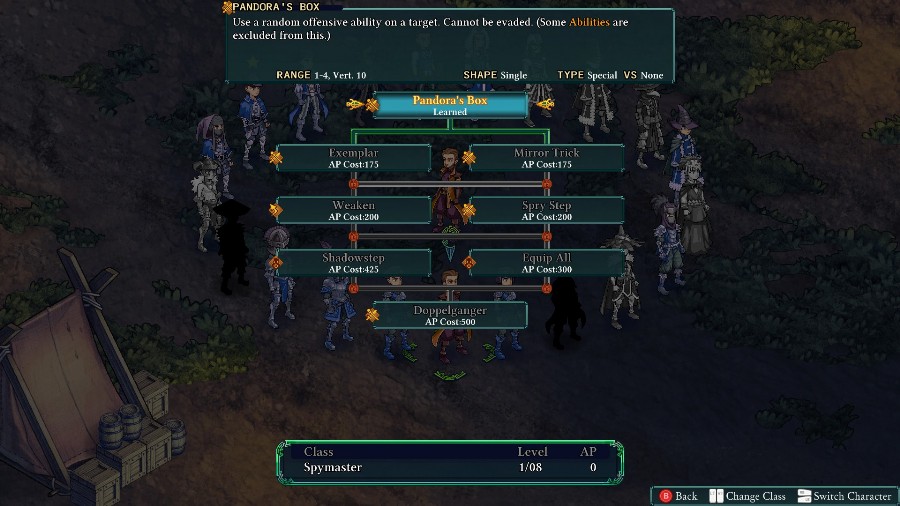 Notable Abilities: Equip All: A passive that does exactly what it says on the tin. It�s great. Shadowstep: A passive that lets you fly. I think this is the only passive in the game that actually changes your movement, and it�s very nice. Doppleganger: Allows you to copy any non-boss character�s moveset. It�s a massive boost to his versatility and is just really fun to play around with. Mirror Trick: Perform whatever non-boss ability was last used. For some reason, items are included as abilities, so it�s possible to copy them as well. Anyway, this is very finnicky to use, but it can be fun to do things like throw out things like multiple sniper shots, AOE Buffs or extra revives. Pandora�s Box: You use a random ability on a target, which cannot evade. This is totally inconsistent, because it could be almost any attacking ability in the game, but it is some guaranteed damage at a long range for no cost. So not a mainstay, but essentially a side-graded rock. It also does weight the abilities to at least probably use whichever attacking stat you have built for, so that�s another plus.
|
|
#
?
Dec 23, 2019 16:12
|
|
|
Now I'm sad that we couldn't recruit DR. MANTIS to our side. DOC-TOR MAN-TISSSSS
|
|
#
?
Dec 23, 2019 21:42
|
|

|
Yates is a cool guy. Give him some soup, Reiner.
|
|
#
?
Dec 24, 2019 07:25
|
|
|
If anyone's interested, the game is currently 50% off ($14.99) on steam. Picayune posted:Now I'm sad that we couldn't recruit DR. MANTIS to our side. DOC-TOR MAN-TISSSSS Yeah, when I saw that I was really disappointed that there's no capture mechanic or anything. There's been quite a few enemies who I'd have loved to steal, just for their names. SSNeoman posted:Yates is a cool guy. Give him some soup, Reiner. I do love how Yates is actually somewhat of a human being. I feel like a lot of games would've just kept him totally unrepentant.
|
|
#
?
Dec 24, 2019 17:21
|
|
|
OOrochi posted:I do love how Yates is actually somewhat of a human being. I feel like a lot of games would've just kept him totally unrepentant. It's an idea I've seen before with necromancers in fantasy: presenting them as having no problem with reanimating bodies because the soul has clearly gone elsewhere so why begrudge the body you left behind being used for something useful? But then either not knowing ghosts and whatnot exist, or drawing a distinction between manipulating dead bodies and manipulating dead spirits.
|
|
#
?
Dec 24, 2019 17:24
|
|
|
Update 27: Occul Cavern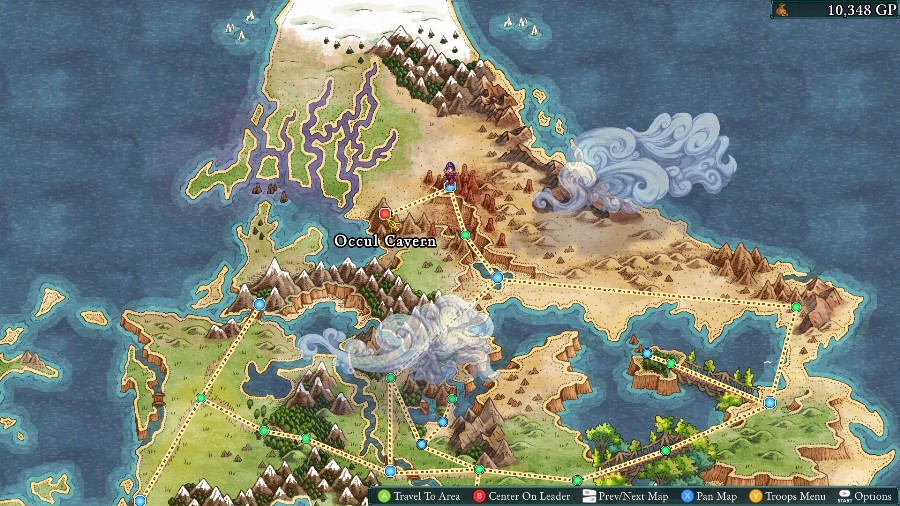 Welcome back! Last time we fought a ghost and Reiner got some closure and unlocked his unique job. This time we�re going to go fight a bunch of monsters in a cave. 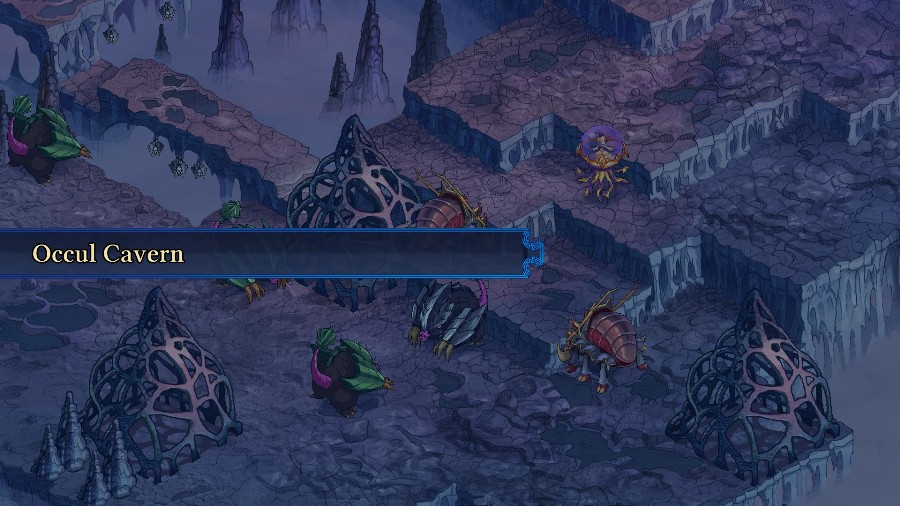 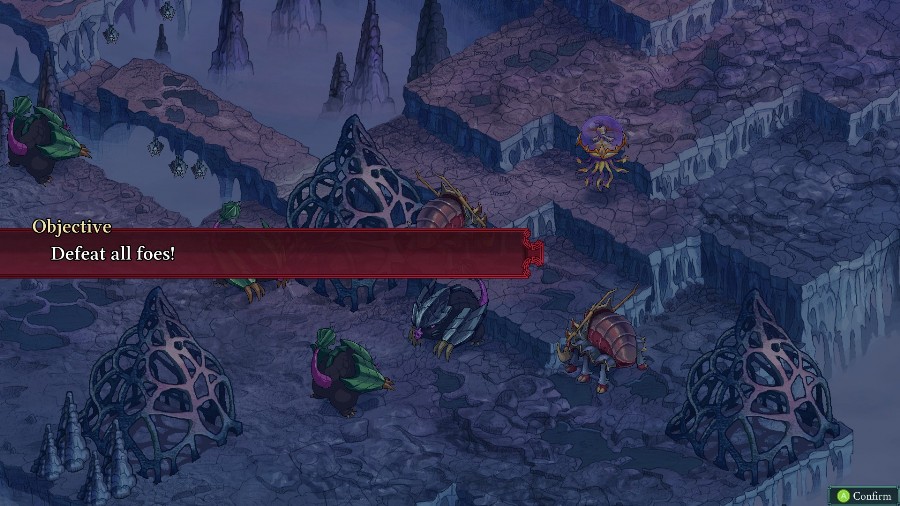 Nothing fancy, just a simple defeat all enemies fight. 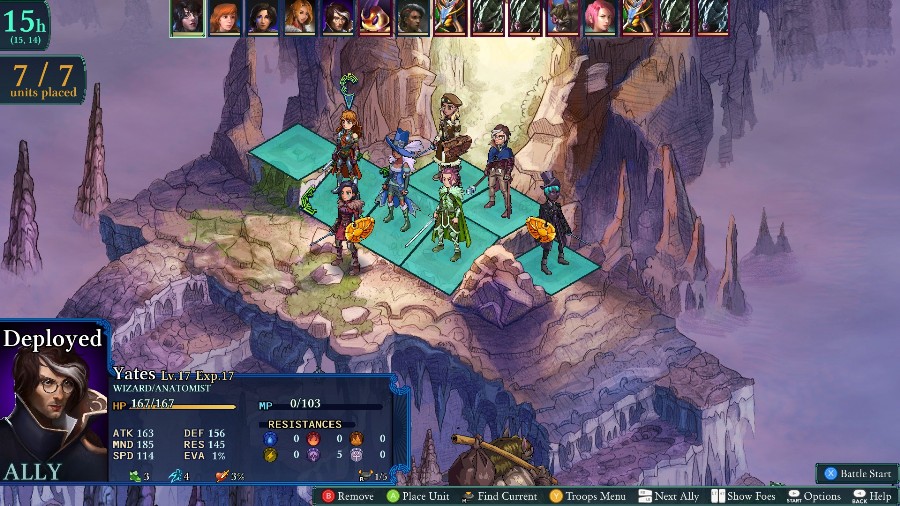 We get 7 units this time, so I�m bringing Kyrie, Anadine, Azure, Hannah, Sophia, Yates, and Selina. Mostly just a solid mix of damage and healing.   We�re up against a bunch of Tangrels, an upgraded one called a troggle, 2 Bzzerks, a Pekite, and a Bazelbinder.  Kyrie looks around for a second We�ll have to clear this area before we can proceed, though. Azure opens up the fight by rooting the Belzelbinder.  Anadine buffs up. 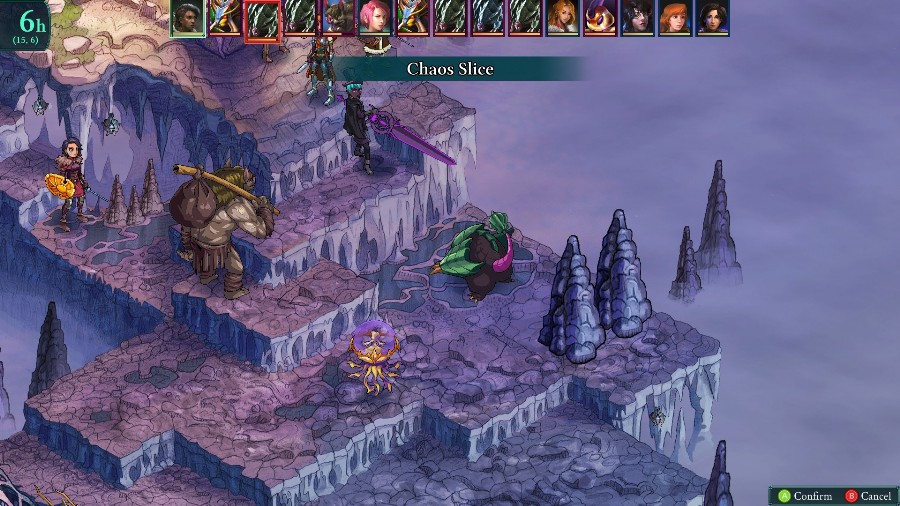 As enemies filter forward, I take some potshots at the Belzebinder and other nearby ones.  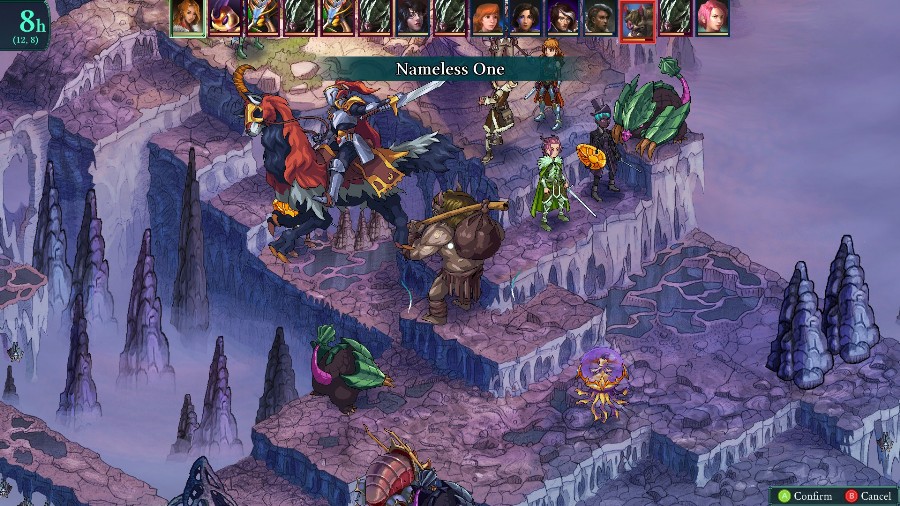 I don�t think I�ve shown it before, but here�s Sophia using one of the basic vessel skills. Just a single square of holy damage, but it looks cool and has a solid modifier. 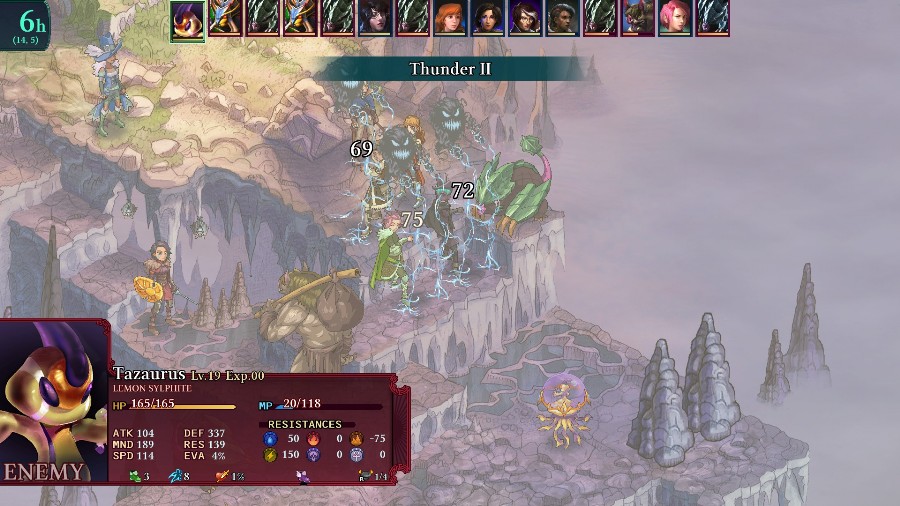 The Pekite also hits my group pretty hard.  More people close in, and Anadine gets to take her 2nd turn to kill the Belzebinder. 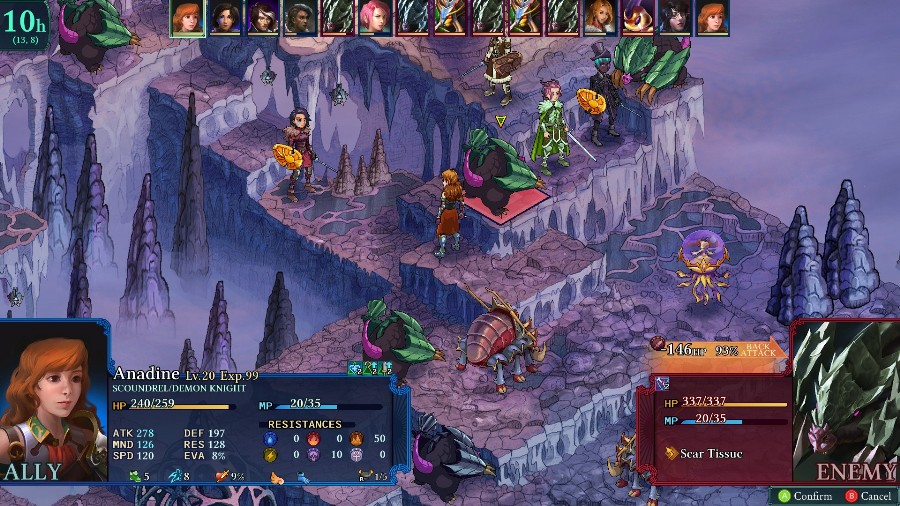 And because of cleave she continues to do silly damage to another enemy as well.  The Tangrels all have another shoving ability, so Hannah and Selina have both been hurting. Selina takes a turn to heal them back up a bit. 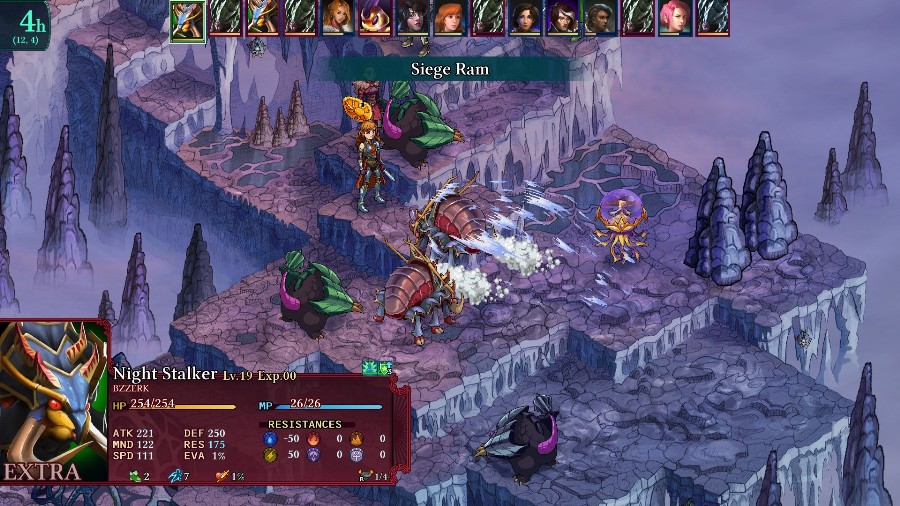 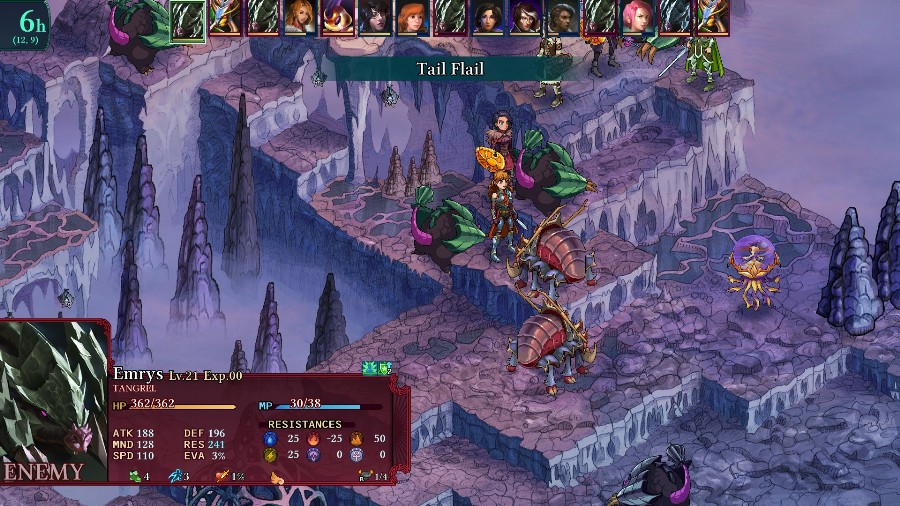  Meanwhile the enemies have a plan to surround Anadine.  And one more Tangrel burrows back to push Azure off of a drop.  Sophia heals Anadine back up.  While Azure uses a magic bullet to take out one of the Tangrels.  I send Anadine to take out the Pekite who�s been bullying Hannah, but she whiffs instead. 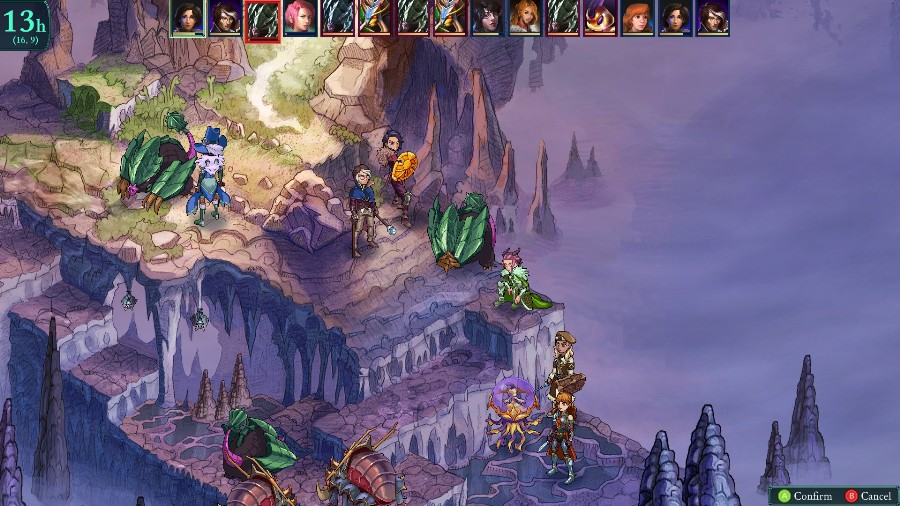 So Kyrie kills the nearby Tangrel. 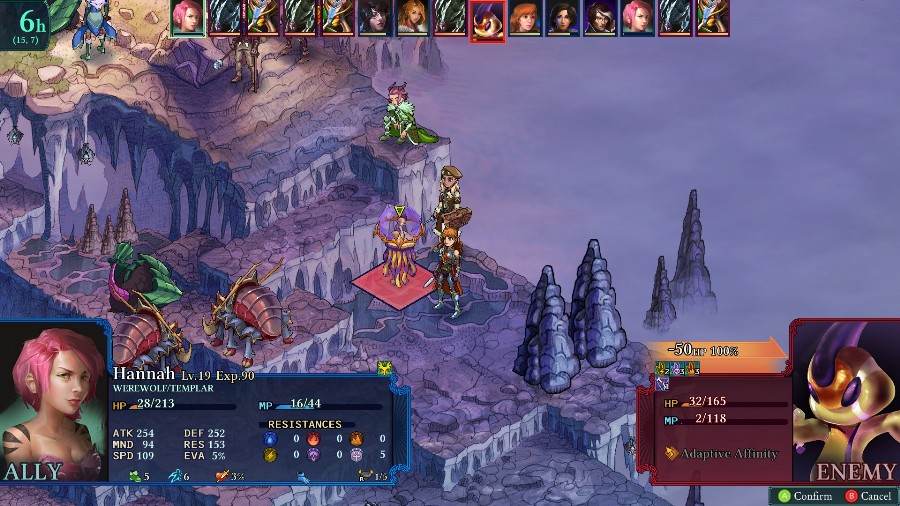 And after Yates hits it with an earth attack, Hannah chucks a rock at the Pekite to finish it off. 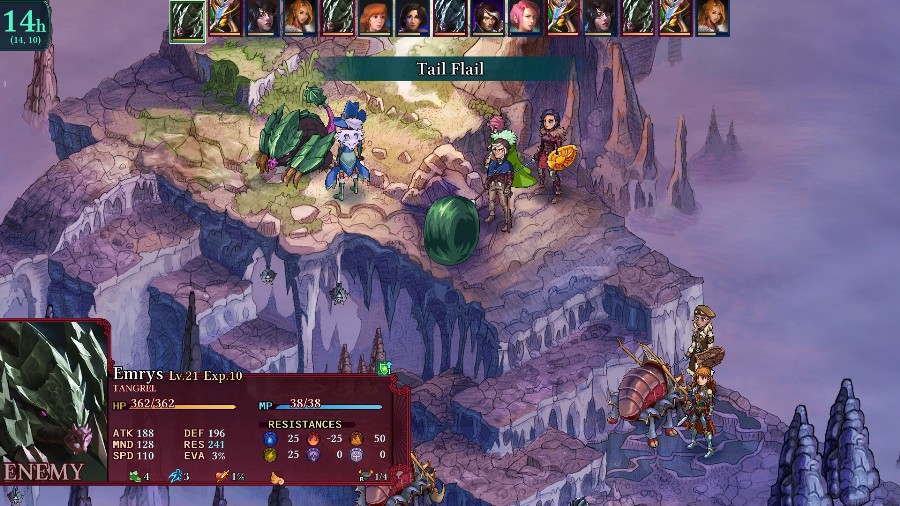 She then retreats upwards to keep her safe from the Tangrels.  Sophia can just barely reach her with a heal, which is nice because she and Azure get shoved together by the nearby Tangrel.  Soon afterwards, Hannah retaliates to the hit, nearly killing the offending monster. 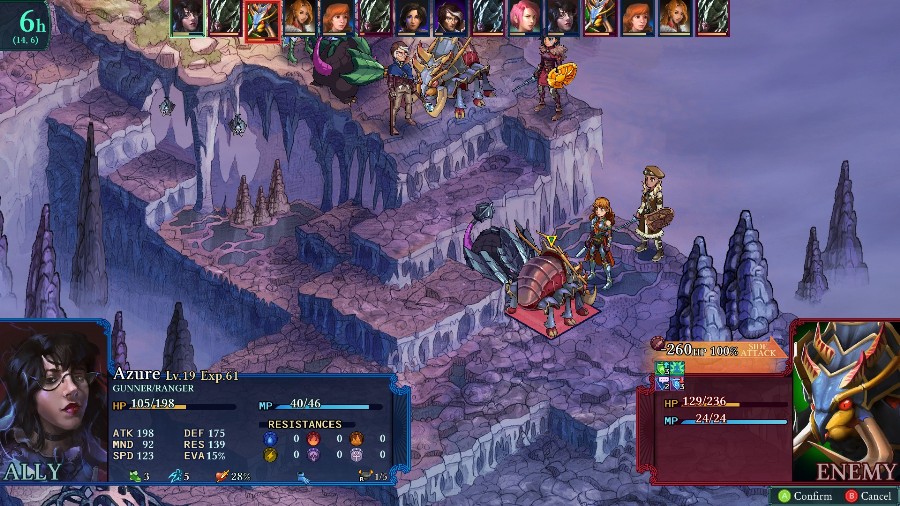 Azure takes advantage of a defense debuff inflicted by Anadine to snipe one of the Bzzerks. 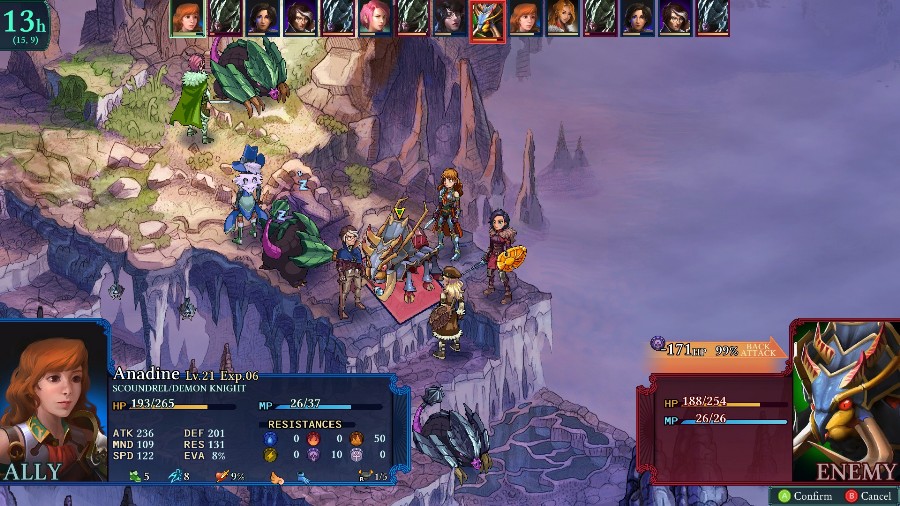 And Anadine herself falls just short of finishing off the other one.  After another big heal from Sophia, Kyrie finishes off one Tangrel.  Yates takes out the weakened Bzzerk. 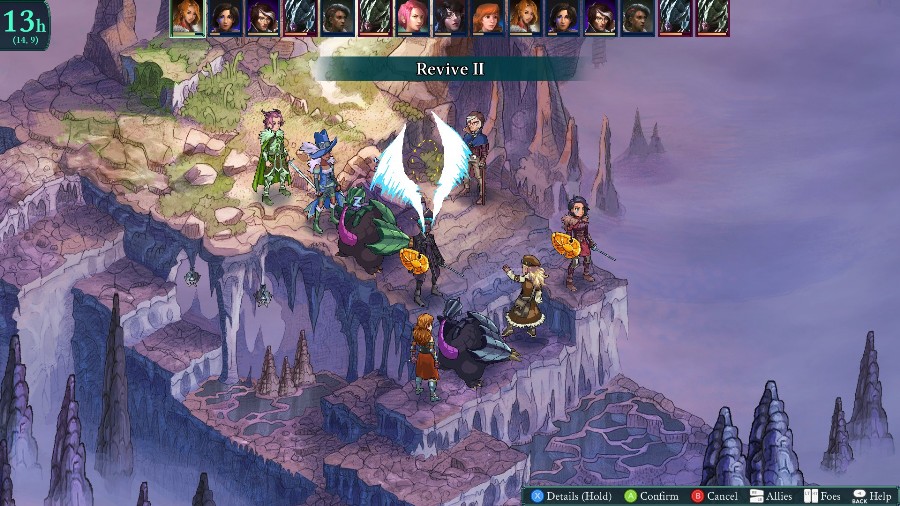 I missed exactly when and how, but at some point Selina fell. I just have Sophia revive her because I can.  And Kyrie puts the Troggle to sleep. Both remaining enemies are now asleep, so I can just finish them off at my leisure.   Which I do with Azure to get the extra rewards from Collect Pelt.  Don�t get too many rewards, but it was a pretty simple fight so that�s fine. 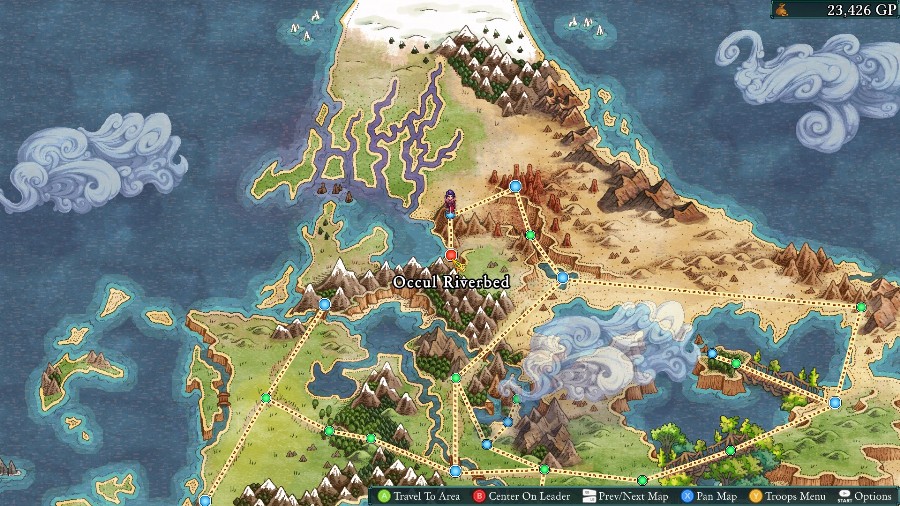 And that�s that. Next time we�ll be going under the river bed to plant some explosives!
|
|
#
?
Dec 29, 2019 17:02
|
|
|
Job Overview: Basic Hybrid Jobs Fellblade:  Requirements: 3 abilities (Knight, Wizard) Unlocks: 4 abilities (Warmage*) *=other jobs required. Equipment: Sword, Dagger, Rapier, Robe, Light Armor, Shield Mastery Bonus: Atk+5, MND+5, Crit+2 Personally, I love the Fellblade class. It�s nothing incredibly powerful, but is a nice, well rounded class with useful growths, active and passive abilities. For growths, it has above average growths in ATK and MND and average in basically everything else but speed which is a bit low. Their equipment is also solid, being able to use rapiers for stats, daggers for statuses, and get decent defenses through the use of shields. For abilities, they mostly get a bunch of cheap skills that are hybrid with a slightly lower modifier (~0.8x usually) that have a 2 square range, have a good chance of inflicting status effects, and are treated as a regular attack in all other respects i.e. they use the equipped weapon�s element and debuff infliction and trigger the evade attack skill. There are also 2 very useful passives: 1 that just raises the chance of inflicting debuffs by 10%, and one that allows all skills and spells to crit and restore a small bit of MP when that happens. Overall, it�s a solid job that you can�t really go wrong with. Though I�d probably not stick in the class itself, if only because other ones can be a bit more focused with what you want them to do. 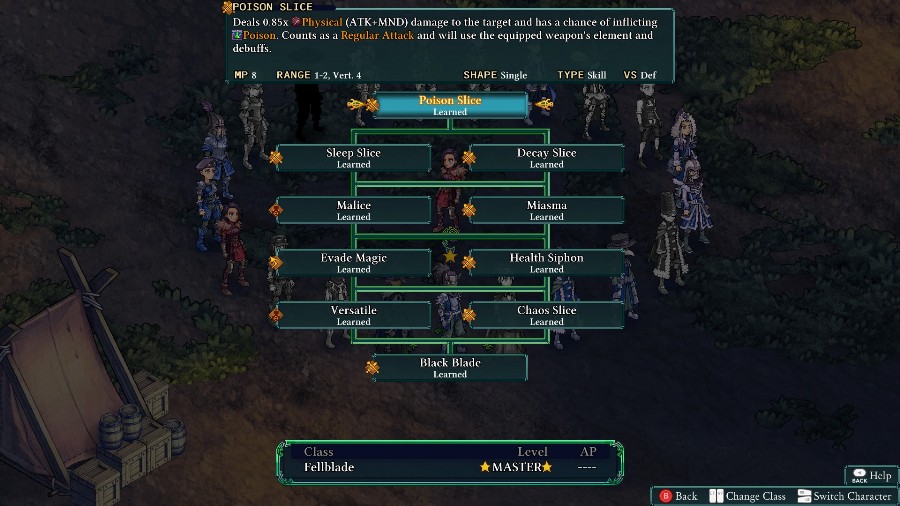 Notable Abilities: Poison/Sleep/Decay/Chaos Slice: 0.8-0.85x hybrid attacks that have a chance to inflict the named debuff, have a range of 2, and are otherwise treated as a normal attack. The class�s main abilities, they�re very solid and are able to both inflict good damage and mess with targets. They�re also either 8 or 12 MP, so they�re very spammable. Chaos slice is also interesting because it instead has a 100% chance to inflict a totally random debuff, which can be quite useful if you�re lucky. Versatile: A passive that allows skills and spells to crit, and causes them to restore a bit of MP when it happens. It�s useful, both for the potential damage boost and MP help, and can be very useful when combined with the + crit chance passives that other classes have access to. Malice: a 0.6x Magic attack that targets a full 3x3 square. It�s unique in that it spreads any debuffs from the center target to anybody else in the radius. While it�s a bit situational, you can either shove enemies around or just take advantage of their positioning to disable multiple enemies at once. Just be careful not to spread them to your guys as well. Gambler: 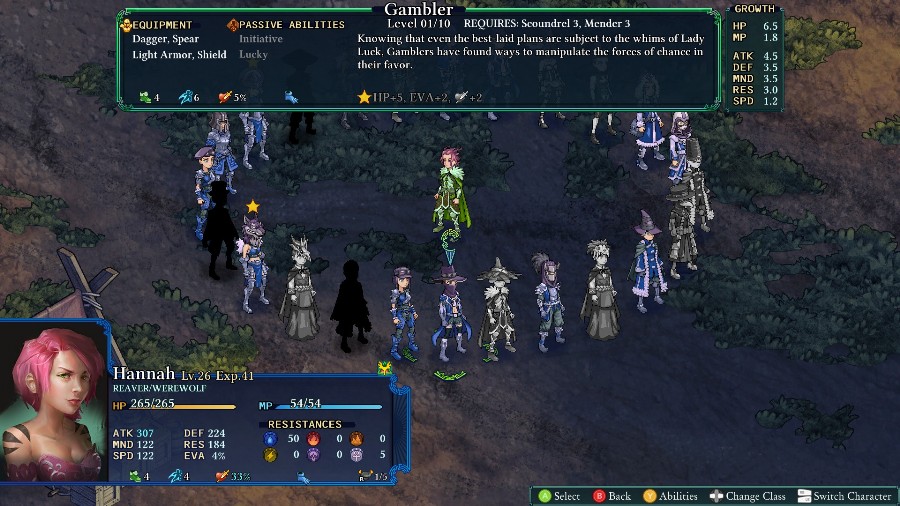 Requirements: 3 abilities (Scoundrel, Wizard) Unlocks: None Equipment: Dagger, Spear, Light Armor, Shield Mastery Bonus: HP+5, EVA+2, Crit+2 The Gambler job is one that I could see jumping into maybe, but one that I�m not a fan of overall. As a chassis its fine enough, with above average attack and speed, and average everything but RES. Its equipment is also decent, with solid survivability and the range boost from spears is always nice. However, other than the 2 late ones, I don�t really like the skills. The main 4 are the Wild Cards. Depending on which of the four you use, you can try to buff, debuff, damage, or heal the target. They�re unavoidable, which is nice, but are otherwise random in how effective they are, and can even backfire and apply the opposite effect. Like we saw in Oldebzar when Mercier poisoned himself, the backfires seem to happen depressingly often, even with their passive that boosts luck. The other abilities and passives are actually solid, but not enough to really make me want to spend much time in the class overall. 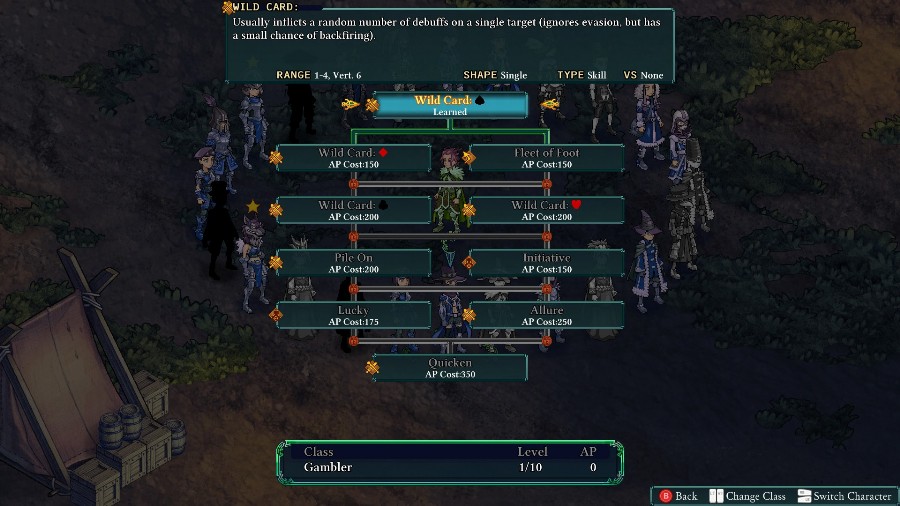 Notable Abilities: Initative: A passive that gives the user a free turn at the start of combat. This can be nice to get an early buff off or start getting MP going. However, I think it�s generally more useful in the AI�s hands than mine because they have the numbers advantage to actually use extra free turns. When it�s on my guys, it often feels like the turn is wasted solely because it has to happen at the start. Allure: a decently long ranged attack that has a 75% chance of inflicting charm on the target. Anything that makes fewer enemies target you is good, and charm is basically just a better berserk. The fact that it�s only 75% does hurt it a bit, but not enough to make it bad. Quicken: A spell with a decent range that gives the target an immediate turn. Sadly, not as exploitable as in previous tactics games because it also gives the target a status that prevents them from being quickened for another 2 turns. Still, being able to swap turns around is very nice and can really save you if you time its use correctly. Gadgeteer:  Requirements: 3 abilities (Scoundrel, Wizard) Unlocks: None Equipment: Maul, Mace, Light Armor, Shield Mastery Bonus: ATK+2, DEF+5, RES +5 The gadgeteer is a class that I really haven�t used much. Not because it�s bad, but it�s just one that I rarely remember to actually go into. It�s also one that�s a bit unique compared to other classes, because its ability tree only has 3 parts. That�s because, instead of learning abilities, the Gadgeteer uses the gadgets that we�ve been finding and crafting throughout the game. And there are a lot of gadgets available. While no individual gadget is incredibly powerful (they�re often slightly inferior in either cost, range, or just damage compared to a similar ability), the class�s skillset opens up a ton of options. You can give an AOE haste, restore MP, shove someone, give offensive buffs, defensive debuffs, heal people, and even clear all buffs that an enemy has. Also, because there are only 3 abilities to learn, its incredibly easy to master. Growths-wise, the class is nothing special, with pretty much everything being slightly below average. Overall, it seems like a meh class in and of itself, but the skillset is always a decent option to use for support.  Notable Abilities: Energizer: Restore 20 MP to the target, at a cost of 8 MP. This can be quite useful to jumpstart using expensive MP abilities early on or to continue using them without having to regenerate more. It�s just like using the MP stone item, but it�s not limited. Perfect Focus: One of the 2 passives. This increases all damage and/or healing done while the user is at full HP. Obviously not useful on one of your front-liners, but this can be quite strong if you stick it on a gunner or a sorcerer who don�t need to be anywhere near their targets. Mana Expert: The other passive, it makes the character start with 15 MP instead of 0. It�s another jumpstart to get into expensive abilities faster. This could be very useful to take people out early, but because it usually takes a few hits to actually down someone, I don�t usually think that this is worth a passive slot.
|
|
#
?
Dec 29, 2019 17:07
|
|
|
I always think classes like Gambler are more of a social experiment than an actual option, especially in tactics games. Unless you're somehow able to manipulate the outcome, I don't think any player would leave their victory up to chance like that.
|
|
#
?
Dec 30, 2019 02:21
|
|
|
Yeah I ended up sticking Gadgeteer as a secondary on most of my front line units, mostly for the utility of "you can give the wizards next to you MP before rushing ahead" at the start of battles.
|
|
#
?
Dec 30, 2019 03:29
|
|


|
Update 28: Occul Riverbed Welcome back! Last time we fought through some caves. This time we�ll be heading underneath a riverbed to plant some explosives and drain the Temple.  We pop in to our party examining the tunnels. 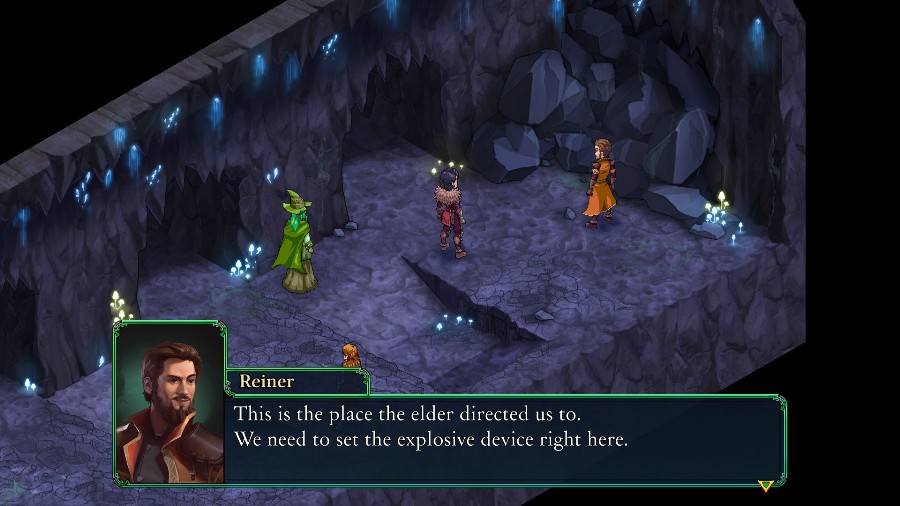 There�s a loud rumbling sound. I don�t like the sound of that. These weird tremors are going to make setting the device risky.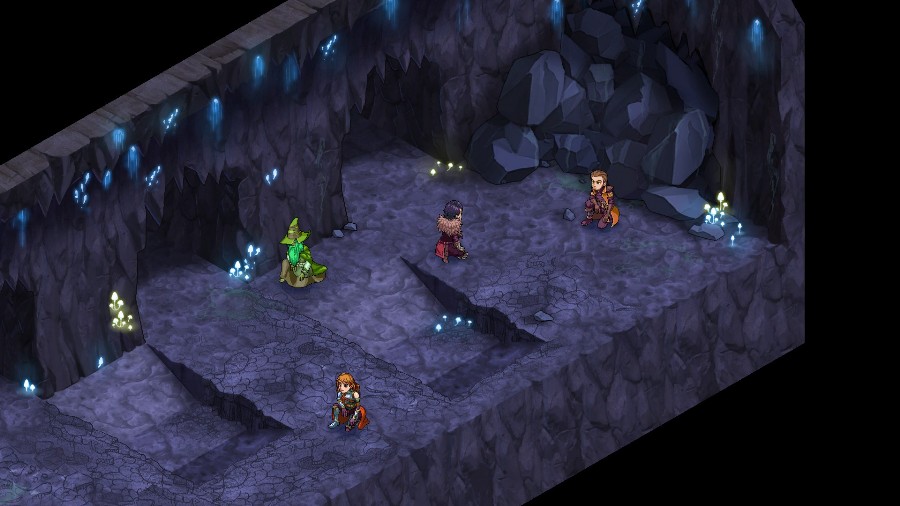 Another, louder rumble. .jpg) Listen! I think something�s coming. Listen! I think something�s coming.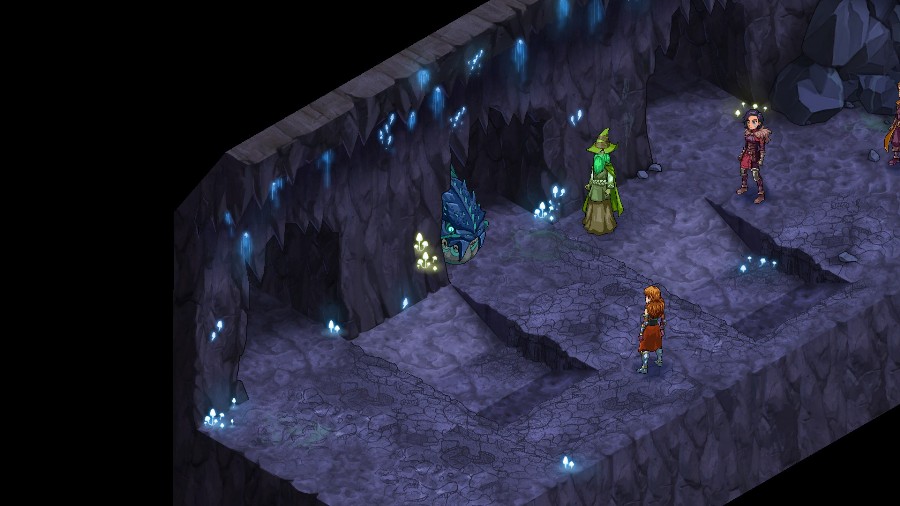 A giant face appears in one of the side tunnels. 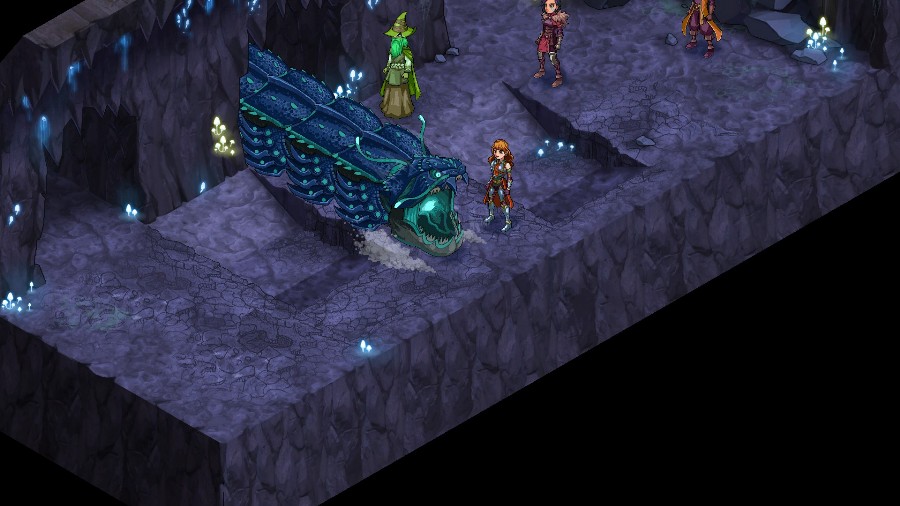 It suddenly lunges out towards Anadine and she�s only barely able to get out of the way.  It pulls back into the tunnel. 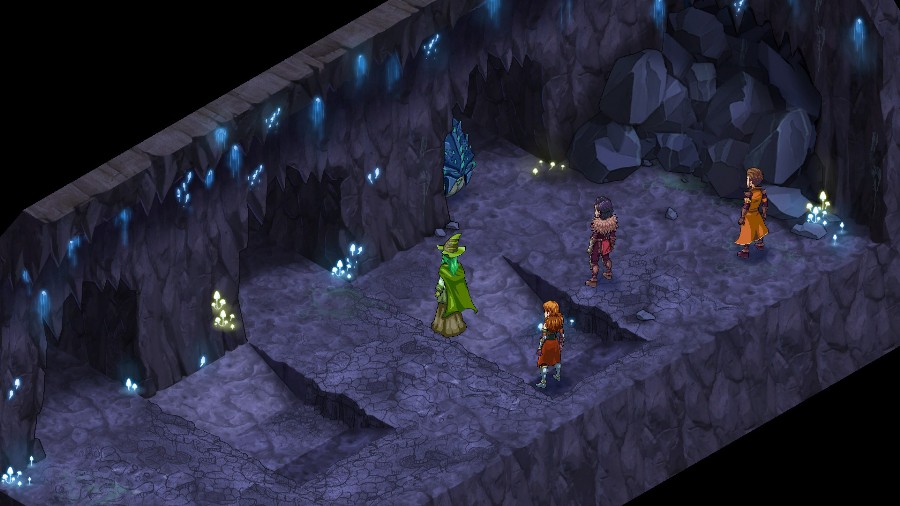 And appears near Kyrie! Unbelievable! We need to eliminate that creature before I can set the explosives!  Another one then appears in the lower tunnel! Better and better.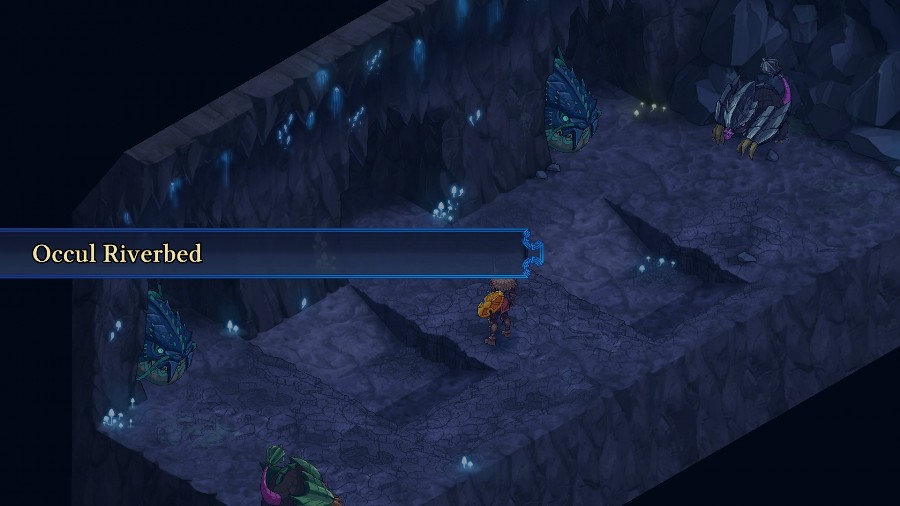 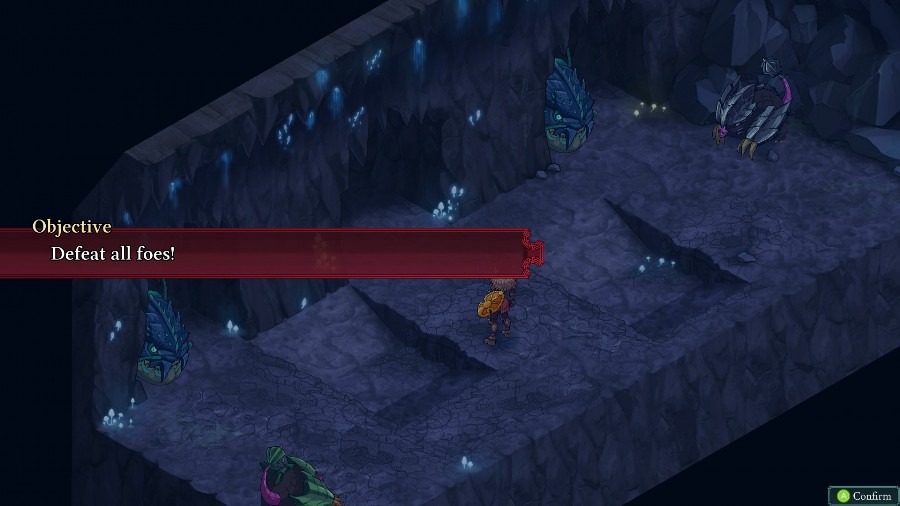 Another defeat all foes mission, but this time with a twist. 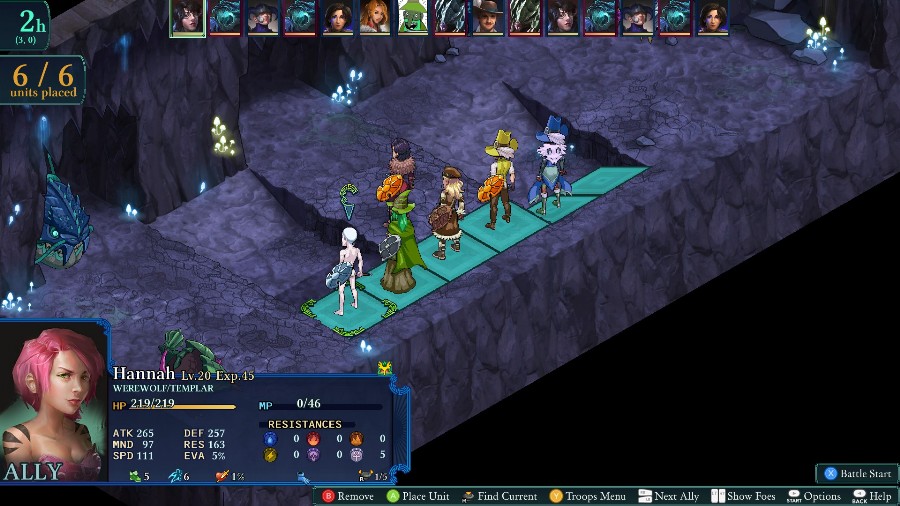 We can have 6 people this time, so I�m bringing Kyrie, Mongo, Bobby, Sophia, Eustace, and Azure. To do this one you really want a mix of status infliction abilities, status cures, and then good burst damage, which this group should be able to do.  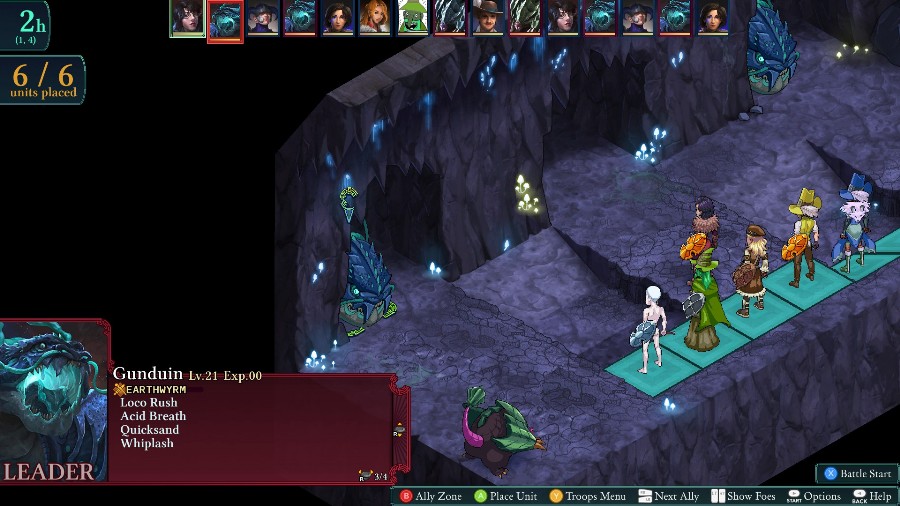  The reason we want status infliction abilities is because these 2 Earthwyrms are bulky as heck. While it is possible to down them normally, statuses like bleed and poison do flat percentages of their max health which means a lot of damage. They do have a passive that cuts any percentage damage by half, and then another that cuts the damage in half of any attack that doesn�t take facing into account. So Heavy Hit is another option, but it will only be doing about 8% per hit instead of the 33% it�d do normally so it falls off pretty quickly. There are also a few Tangrels around, but they�re definitely secondary threats compared to the wyrms.  Azure opens up the fight by just plinking at one of the wyrms. 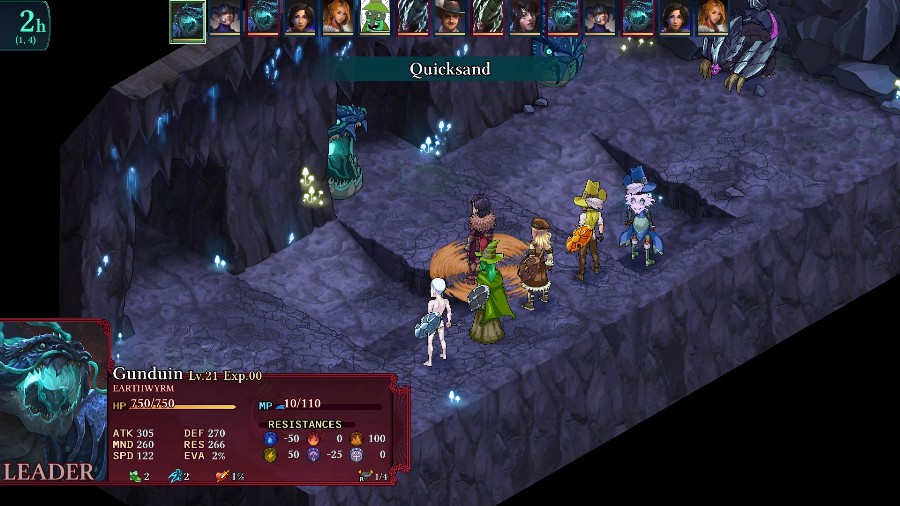 The Earthwyrm uses its turn to hit Kyrie with an attack that does some damage and attempts to root her. Luckily for me, the debuff does not proc.  I have Mongo, Sophia, and Bobby start bullying the Tangrel in the corner, making sure to stay out of the line directly in front of the wyrm.  Meanwhile Eustace starts dealing with the other Tangrel. 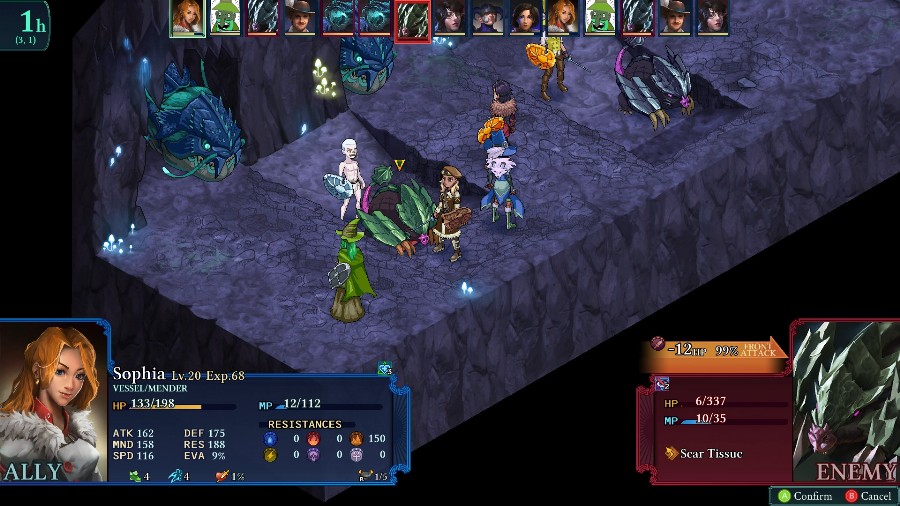 After some more attacks from the party, Sophia takes down the first Tangrel.  Bobby attempts to make one of the wyrms bleed, but it doesn�t proc.  Eustace comes through and does manage to poison the other wyrm though. 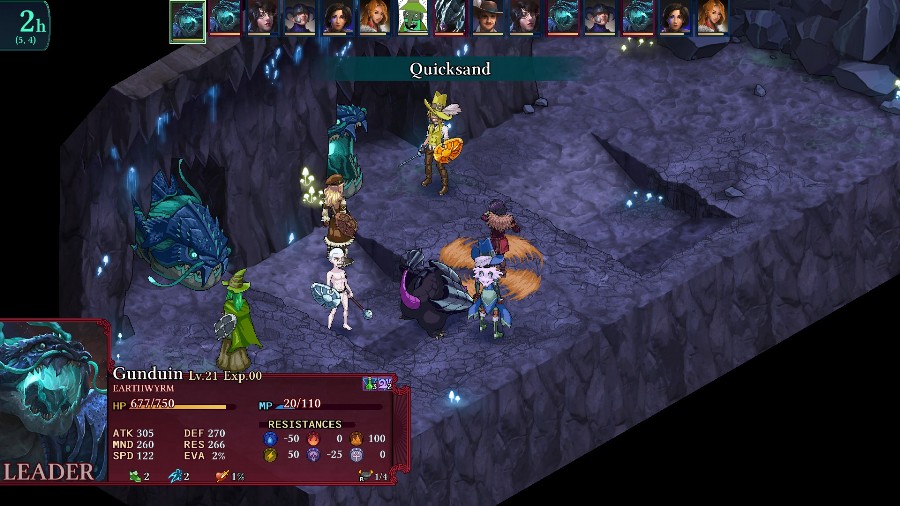 The Earthwyrm uses the rooting attack again, and this time it does root her. 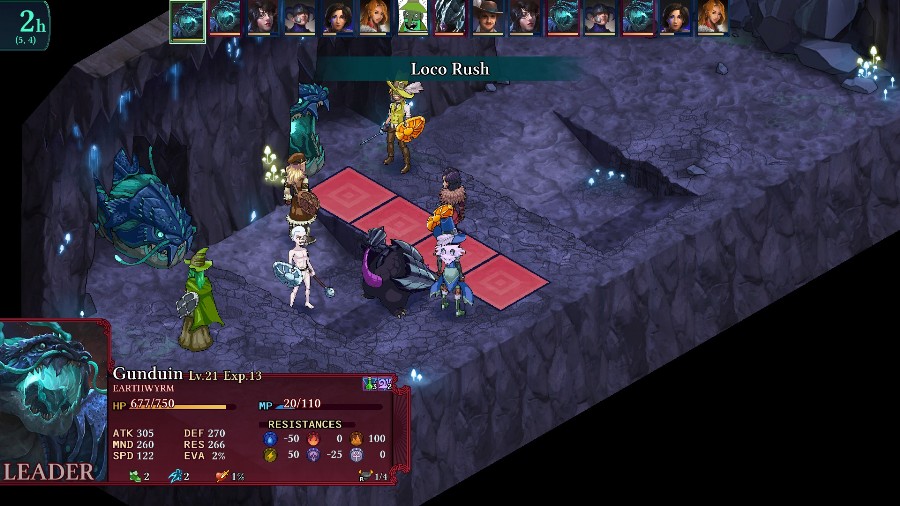 Which showcases the gimmick for the wyrms. Whenever they manage to root a target, they immediately prepare to do this Loco Rush attack. Loco Rush is a 1 turn delayed attack that hits everything in a line in front of the wyrm for a ton of damage. So, you also need a way to cure status effects or just to be immune to rooting entirely. 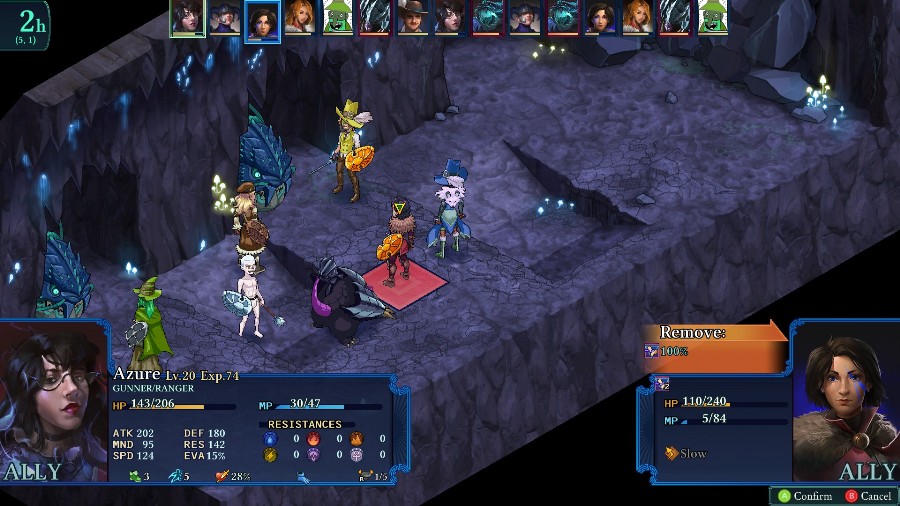 Azure uses her turn to let Kyrie move to safety. 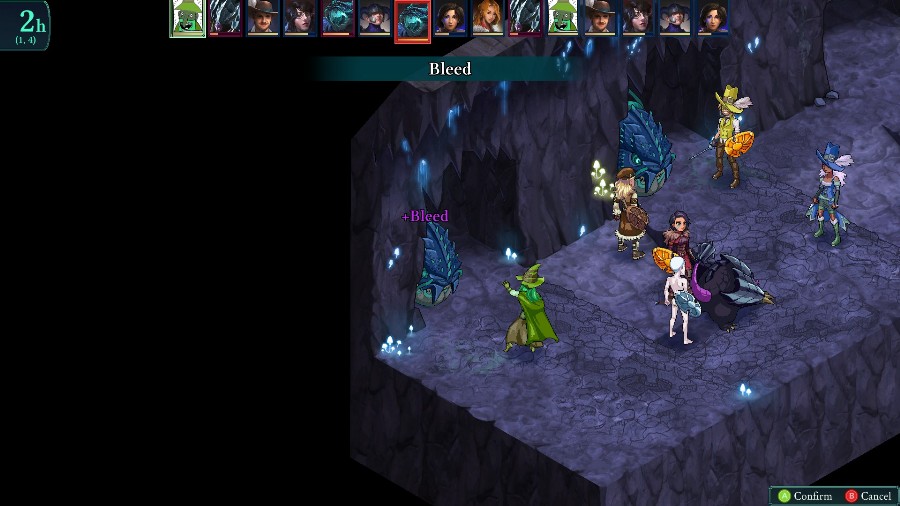 Going again, Bobby manages to bleed a wyrm and then dualcasts it to bleed the remaining Tangrel.  Azure finishes off the Tangrel. 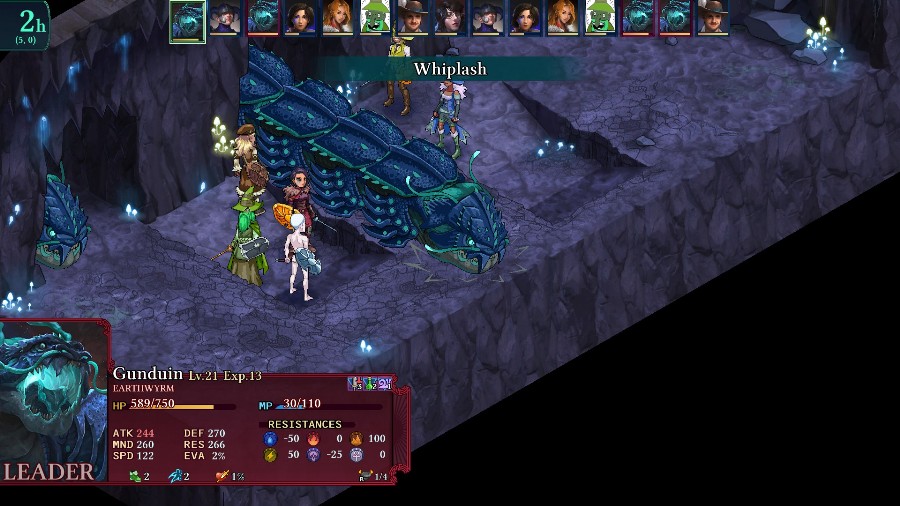 Even though no one�s there, the wyrm still rushes out, and then uses a new whiplash move.  Rather than do damage, whiplash summons a new Tangrel. They will do this every single time they rush out, so if you�re not careful then you can get overwhelmed by Tangrels. Either from the damage they do, or by being pushed into the path of the wyrms. 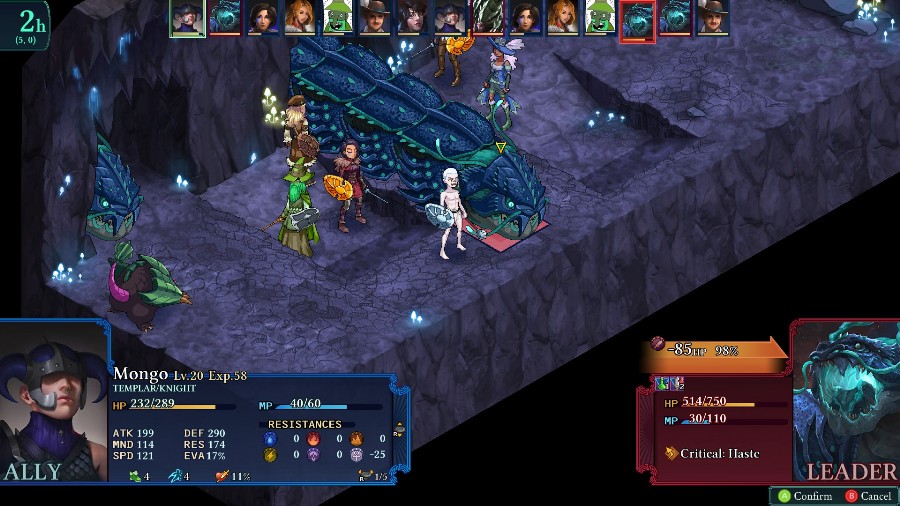 You can only target the head of the wyrms, so they can also block you in to small spaces. Mongo goes over and whacks it in the face with his shield. 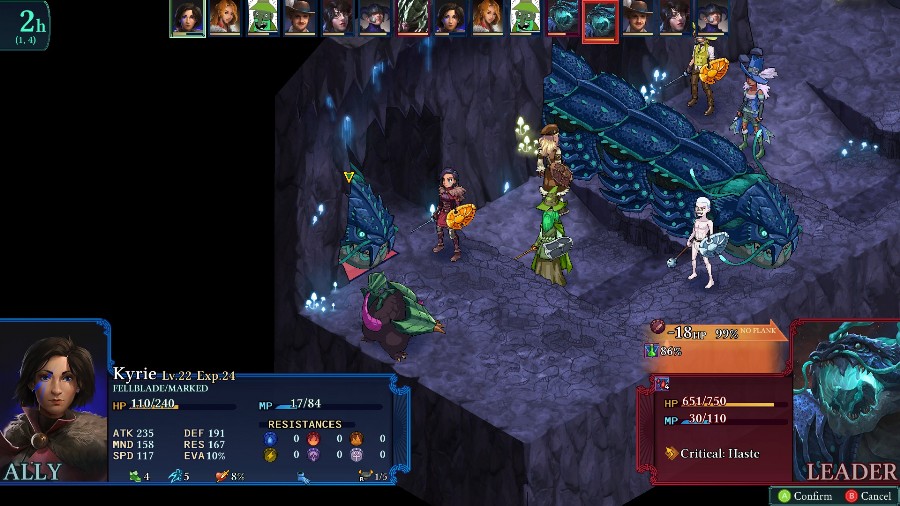 Kyrie also goes and poisons the other wyrm. 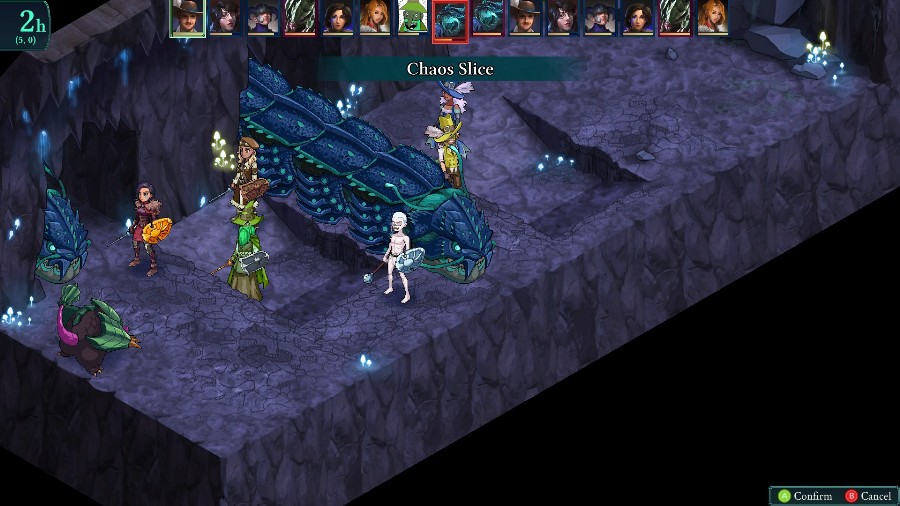 While it�s stuck out, all of my guys keep beating on the wyrm.  When suddenly, the game gives me a message that something is going to happen in those squares. Judging by the name, I�ll bet it won�t be good. Be careful everyone! Something big is coming.And to hammer the point in, Kyrie makes sure to warn you as well.  After getting whacked out of the way, Kyrie starts working on the new Tangrel. Bobby and Sophia do the same.  The Earthwyrm, now hurting a bit, pulls back and uses an attack that does no damage but debuffs all defensive stats. It does hit a small AOE, but only Eustace is in the way. 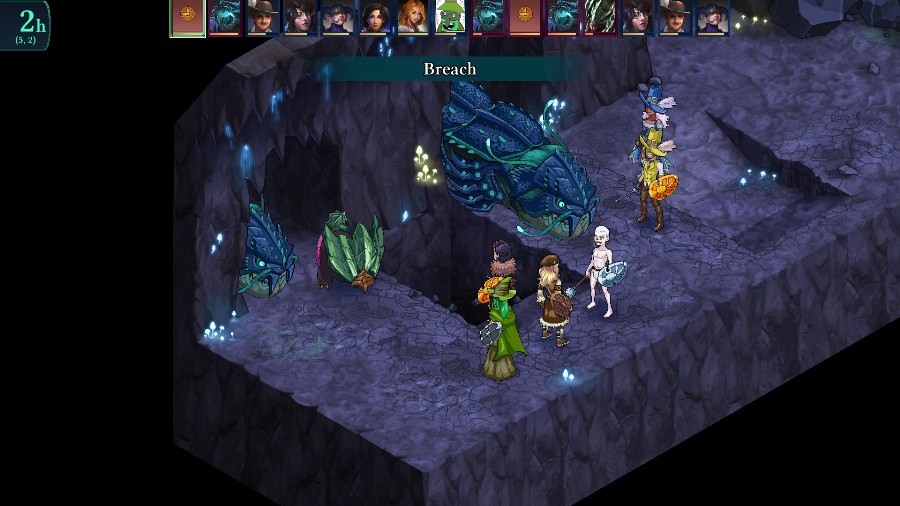 When the round ticks over, a gigantic version of one of the wyrms come flying through the ground. It does a ton of damage to the Tangrel that�d been sitting inside the AOE, killing it. 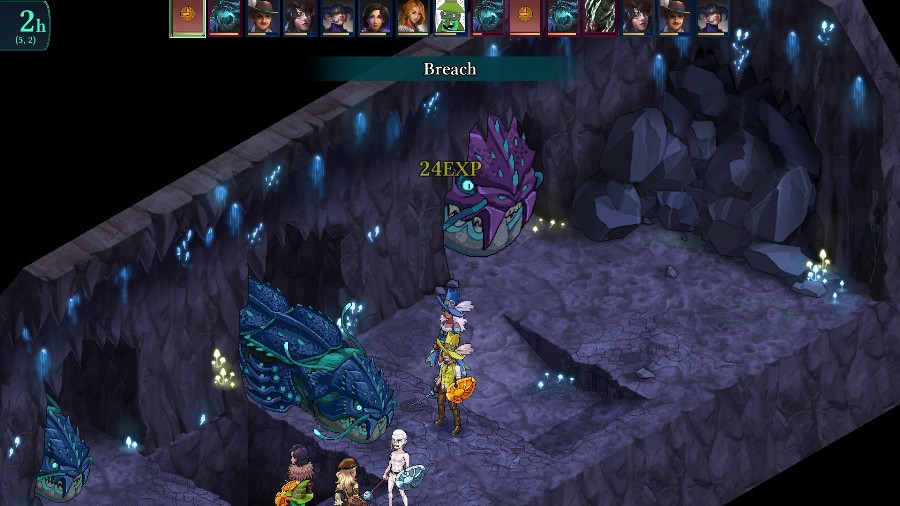 The new wyrm then takes its place in the remaining tunnel. It�s 2 squares wide and essentially has the same movepool as the basic Earthwyrms but with everything upgraded slightly. 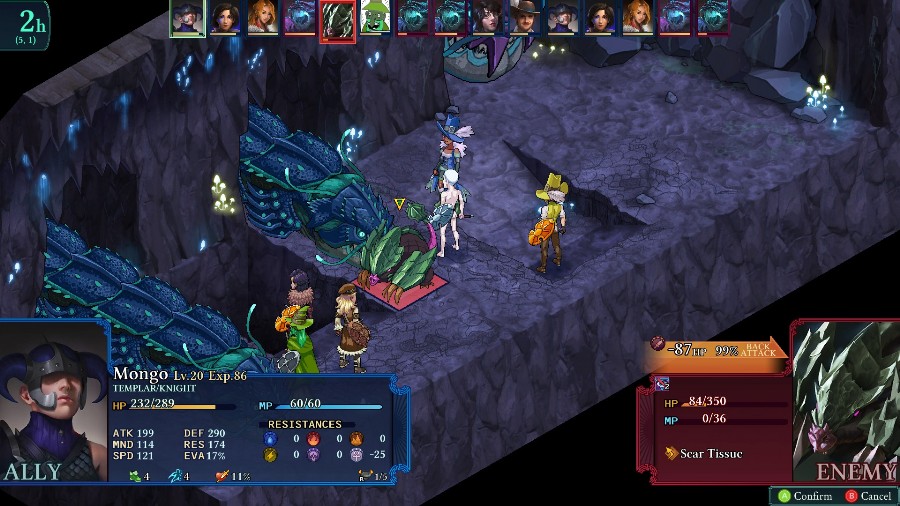 Soon after, the other wyrm shoots out and summons another Tangrel. After a burst of attacks, Mongo takes it out before it can even take a turn.  The Earthwyrm Queen uses its turn to show off its upgraded Quicksand move, which now hits in an AOE and has a higher chance to root. It does root Kyrie again, but because she�s not in front of the queen, the wyrm does not prepare a rush. 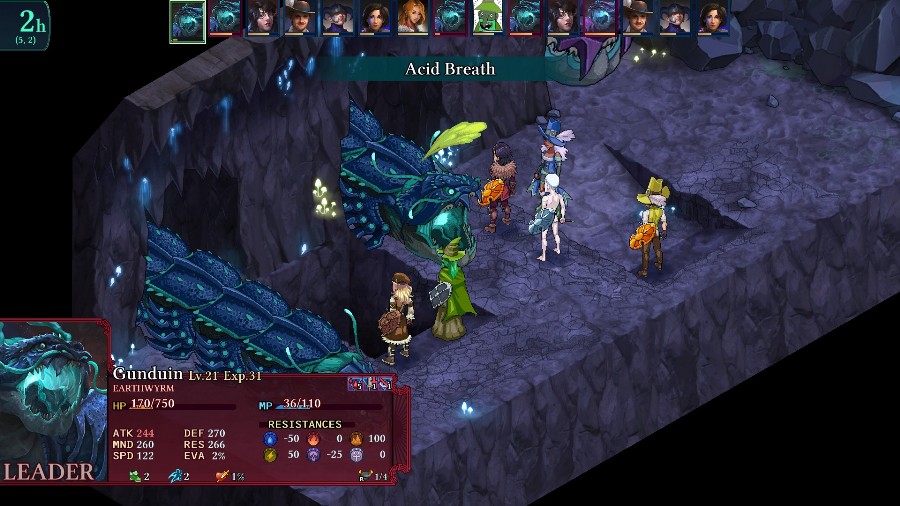 The weakened wyrm pulls back and weakens Kyrie. 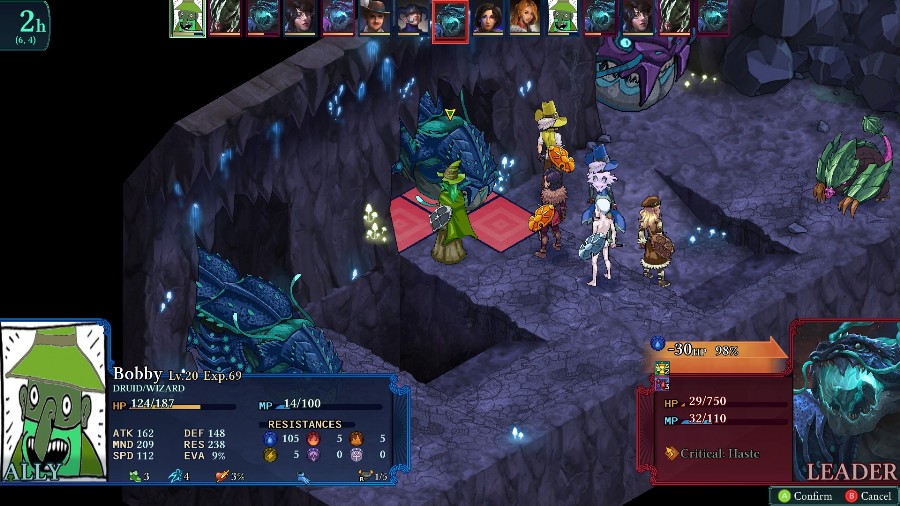 But soon afterwards, it�s been weakened enough for Bobby to take it out. With one wyrm down, the fight generally settles into a rhythm. The wyrms pop around, root people, charge, and summon ever more Tangrels, while my units do their best to stay out of harm�s way as the status effects do their work, chipping in as able, and take out any summoned enemies. 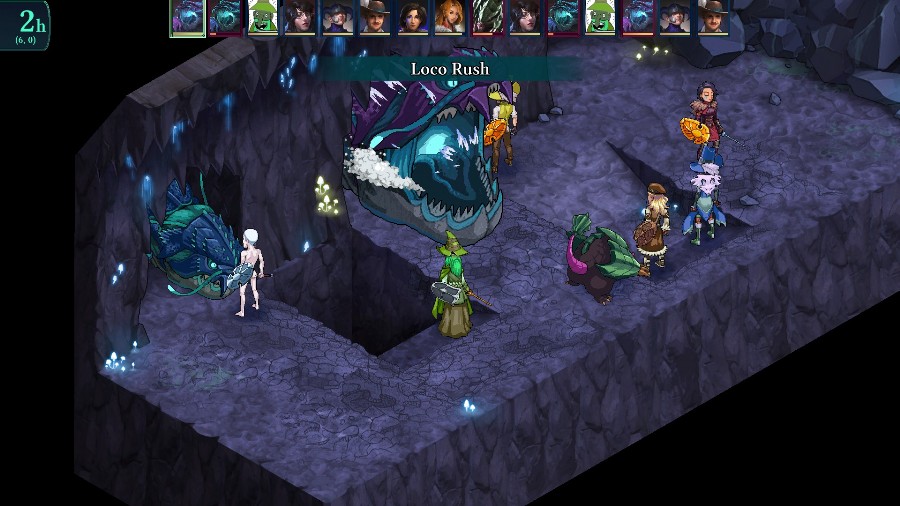 Just to show off the big one charging through. This nearly 1 shots that Tangrel sitting in front of it. 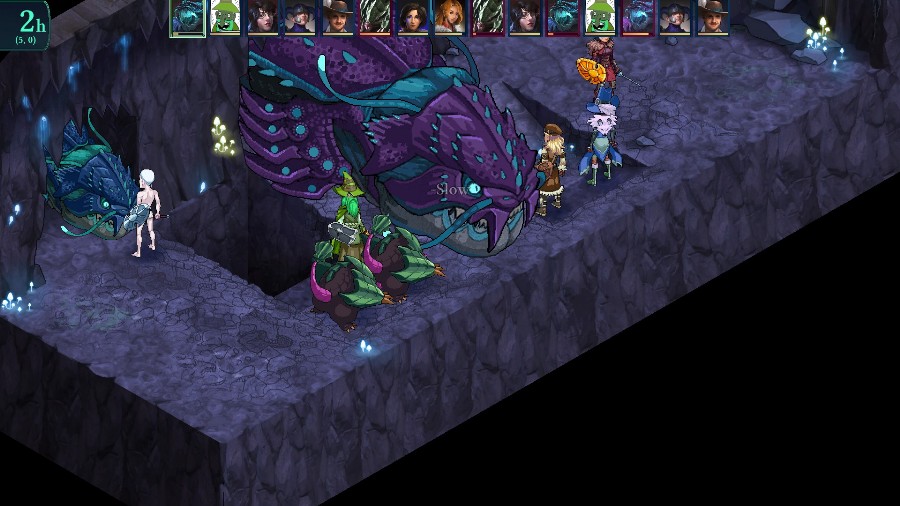 And it summons another Tangrel as well. 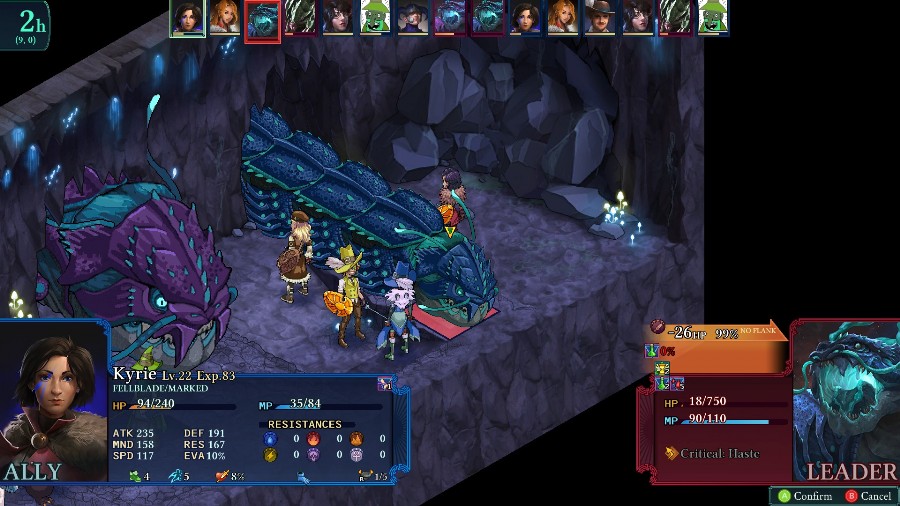 After a bit more time, Kyrie takes out the other little Earthwyrm. 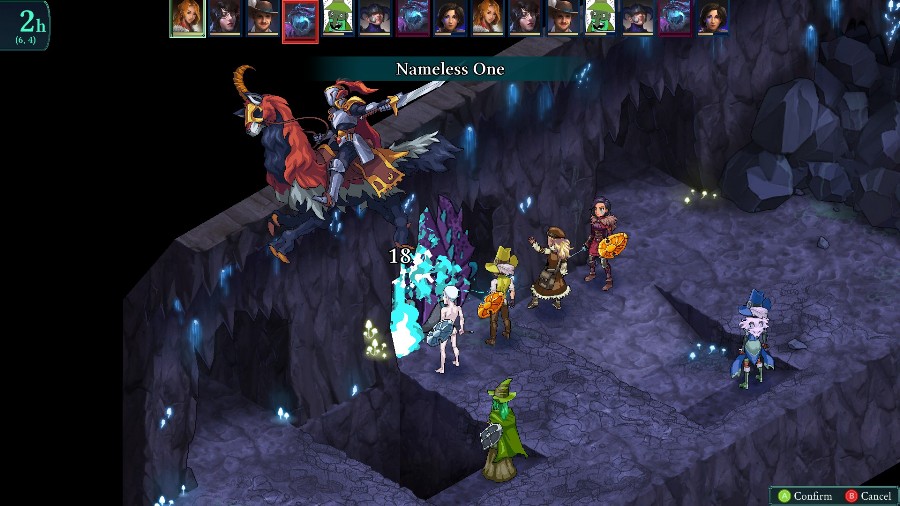 And eventually Sophia deals the finishing blow to the Earthwyrm Queen as well.  Victory! No MVP this time, but that makes sense since this went on for so long.  Afterwards, we pop in to another cutscene. We�ll want to make haste once the charge is set. We should have plenty of time, but the farther away we are when this thing goes off, the happier I�ll be! Reiner sets a large pile of explosives up. It is done. Now let�s move! On the double! And we�re popped back out to the world map. Notably, Occul Cavern has turned red again, meaning that there�s another fight. However, we�ll be pausing the action here. Next time we�ll be fleeing the impending massive explosion!
|
|
#
?
Jan 2, 2020 13:58
|
|
|
Running a bit behind on having a full update ready, so instead here�s a quick job overview. Job Overview: Badge Jobs Part 1 As a general trend, none of the badge jobs unlock any other jobs. Werewolf 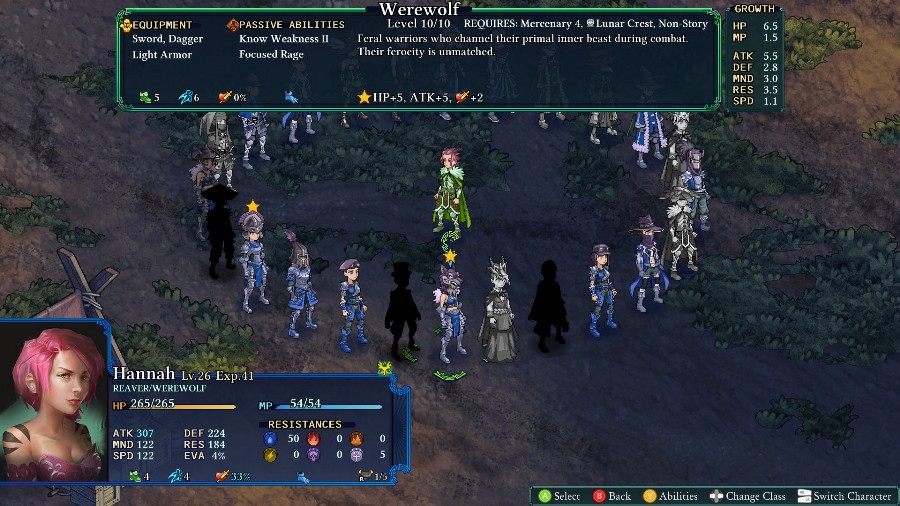 Requirements: 4 abilities (Mercenary), 1 Badge: Lunar Crest, Non-Story Character Equipment: Dagger, Sword, Light Armor Mastery Bonus: HP+10, ATK+5, Crit+2 The Werewolf is the most basic badge job since you can get access to it pretty early on. That�s not to say that it�s bad though. It has pretty good growths, with the 2nd highest attack in the game, above average speed, and about average in everything else but defense. The class itself is also the most mobile base in the game, with the most movement and tying for the highest jump. Equipment-wise it�s a bit lacking, since swords aren�t necessarily the strongest weapons and could really use more defense than light armor often gives. The job has a good number of useful abilities, including a leap attack that both moves the user and then damages everyone they land next to, a burst-AOE that has a chance to root (though it scales off of magic), and a pretty spammable strong hit that has the prevent-raise property like collect pelt/bounty. Both passives are also good, and are a decent reason to dip into this class on their own. Overall, I like the job a lot. It�s useful both while you�re in it and later on, for both abilities and general stats. Though I�d probably move on to another overall class, if only to get access to some better weapons.  Notable Abilities: Leap: This a pretty unique ability, in that it moves you to the target space and does not require you to swap spaces with a target unit like sabotage or any of the monster ones. Once you�re there, it does a 0.75x hit to all adjacent targets. It does require that you actually damage a unit during the attack, so no using it to jump around the battlefield. I like this because it has a decently long range and is a solid way to quickly close in on the enemy. Maybe not necessary on a Werewolf itself, but it can work really well on a slower and less mobile class, especially with the huge vertical range. Howl: Deal a 1x Magical attack that hits a large area around the user and can inflict root. While you probably won�t get much use out of this in Werewolf thanks to its low magic growth, this is a relatively cheap (10 MP) attack that can be used to hit a lot of enemies at once. It combos well with leap if you can set something up like a quicken, and mass status effect infliction is always strong. Know Weakness II: A 25% crit chance boost. Notably, because it has a different name, it stacks with the boost from the regular Know Weakness. Combine them with some mastery bonuses, some boosting equipment, and a high crit chance class and you can pretty reliably get a 50% damage boost. Blood Trophy: A 1.8x hit that prevents the target�s revival. It�s somewhat spammable since it only costs 18 MP and the perma-death effect is super useful. I also swear that it actually deals more damage than a 1.8x should, since it usually deal way more than double a single normal hit would. Vessel: 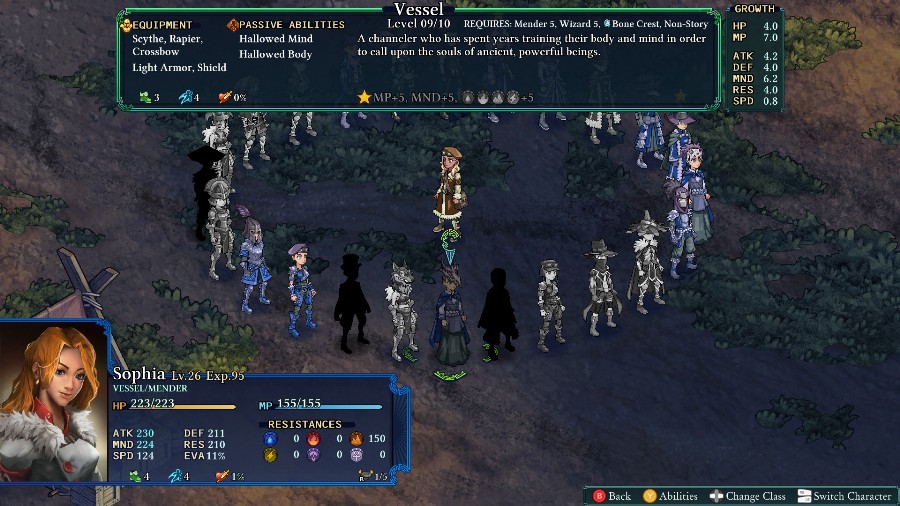 Requirements: 5 abilities (Mender, Wizard), Badge: Bone Crest Non-Story Character Equipment: Scythe, Rapier, Crossbow, Light Armor, Shield Mastery Bonus: MP+5, MND+5, Water/Fire/Earth/Lightning Res +5 For flavor, Vessels are effectively the summoners of this game. They have a bunch of abilities, each of which has a different element, AOE, cost, and strength, though they�re all at least decently expensive since the cheapest one costs 12 MP. These abilities are all unique, in that they are in a special category, called Special, that means they effectively can�t be prevented through statuses or evaded through reactions. All of them scale only off of MND, which is great because this class has the 2nd highest MND growth in the game. It also has the highest MP growth in the game (which is okay I guess), and is slightly above average in everything else but HP and SPD. The class is very weird with its equipment, with its best magical weapon being a rapier but you could also use a crossbow (or a scythe for some reason?!?), and it wears light armor and can use a shield. The passives do encourage using a rapier over the other 2, because one boosts both ATK and MND by 20% of the other stat, and the other gives you a bonus on your next hit after using a regular attack. It seems to encourage a style of play where you get in close and alternate between summoning and just whacking people. Overall, this one of my favorite classes because of the variety of moves it gets. Plus I just think the base outfit looks cool.  Notable Abilities: Hallowed Mind: Gives the character a 0.45x boost to damage the next turn after using a regular attack (0.35x if it�s a ranged attack). A very interesting passive that can be useful in this class, but really comes into its own if used on a Fellblade or Warmage because their abilities either incorporate a regular attack or count as a regular attack. Quetzalcoatl: A 20 MP attack that deals 1.55x thunder damage in a straight line. It only has a vert of 3 after the start, but it goes on essentially forever. It�s situational, but on some maps this can let you hit a ton of people from really far away for quite solid damage. Fafnir: A 22 MP attack that hits an enemy for a 2.3x hit of earth damage. It's single target, has pretty long range, and cannot be evaded, which is pretty nice. As mentioned by TheGreatEvilKing, this is the single strongest magical attack in the game. It's slightly expensive, but guaranteed damage is great, especially when it's actually a very high amount. Also, because it's elemental damage it's not even too difficult to make a build that shoots up the damage even higher. Immortal Souls: The only non-elemental ability, this is a 30 MP attack that hits a 3x3 square of for 2x damage. It�s pretty strong and hits a huge area, what�s not to like? Physie: A 1.3x heal that hits the 4 adjacent spaces to the caster, and also restores 5 MP. While I probably wouldn�t use it often due to the short range and high cost, it is a strong heal and is always a nice option to have. Vampire: 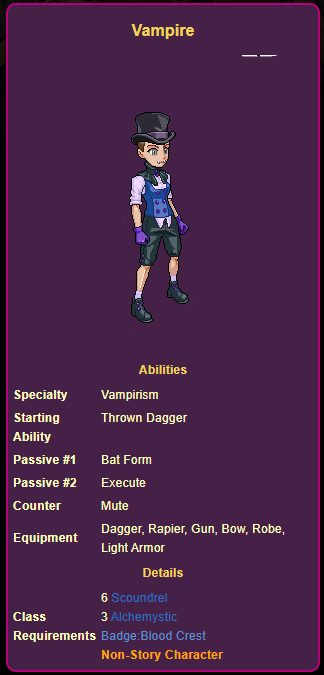  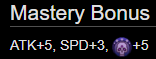 I know we haven�t seen this job yet, but I�ve had the crest sitting in my inventory for a bit and just haven�t actually had someone fill the requirements to be one. Still, it fits so I might as well cover it now. Where Werewolf was the physical class and Vessel was the magical, the Vampire is sort of a hybrid class. It has a number of attacks that use either ATK or MND, and 1 ability that�s actually a hybrid and uses both. The basic 2 abilities have a high chance of inflicting bleed, and the most of later ones either do bonus damage or inflict other statuses if the target is bleeding. So it has a interesting feel, but I generally think that it�s too much work to make the other attacks usable. Growth-wise, the class is actually very good. It�s pretty much above average in everything except HP and Speed. While it is below average in Hp, its speed is near the top. For equipment, the job has pretty typical rogue stuff, though I think it makes a lot more sense to just use the ranged weapons. It also has access to both robes and light armor. Overall, I think this is a solid enough class, but not one that I ever gravitate towards. Other than 1 passive, which is really good, it seems like a lot of other classes get better or more focused skills. While there are classes that could make use of this job�s skills as backups, the Vampire class itself is decently out of the way from their typical path.  Notable Abilities: Bat Form: Effectively gives the character flying. I was wrong when describing Reiner�s Spymaster, as this is the only other ability that changes a character�s movement type. Mobility is really good in this game, so I�d say that it�s often worth it to use a slot for the boost. Charm: Like the name says, you charm the target. 100% accuracy for such a strong effect is awesome, with the only downsides being a very short range and semi-high MP cost. Blood Suck: A 0.75x magical attack that absorbs all damage you do and gets a 0.45x boost if the target is already bleeding. This could be solid, but I don�t think that Vampire has the stats or equipment to really make use of it. It could be a fun way to keep a warmage going, since it can be cast with their main ability, or could be used as a backup for a pure caster though. Night Embrace: A 3.2x physical hit that inflicts sleep if the target is already bleeding. It�s definitely a strong hit and being able to disable the target is nice, but the 1 square range really hurts its use. I can see some use cases for this in some close-range classes, but I think I would generally prefer something like righteous blade�s lower cost or snipe�s long range. Also, is the new format I used for Vampire significantly better than the previous one? It feels to me like it conveys the info a bit better than the previous one. OOrochi fucked around with this message at 19:15 on Jan 18, 2020 |
|
#
?
Jan 6, 2020 13:51
|
|
|
You might want to mention Fafnir on vessel as iirc it's the highest mod magic attack in the game. At the very least I had a dumb build around it.
|
|
#
?
Jan 6, 2020 18:30
|
|


|
That battle looks like a cool idea but that damage makes it look like a slog. I like the enemy design though.
|
|
#
?
Jan 6, 2020 20:46
|
|
|
TheGreatEvilKing posted:You might want to mention Fafnir on vessel as iirc it's the highest mod magic attack in the game. Thanks! You're totally right. That'd skipped my mind entirely. I was sure that the highest one was one of the dark spells. I edited the post to mention it. SSNeoman posted:That battle looks like a cool idea but that damage makes it look like a slog. I agree that it is a cool idea, but I wouldn't necessarily call it a slog, so much as just not threatening whatsoever. So long as you kill the Tangrels and have some way to cure root, the only things that you'll probably get hit by is the quicksand attack and the acid. Then if you have all 6 people focus on a wyrm, they go down relatively quickly. The wyrm design is really cool, though, and it bums me out that they don't show up again (as far as I know). The only other place I know they appear is in the animation for the Vessel's Fafnir ability, where the giant worm comes up from below and eats whoever you target. I think there are a few things I'd do if I were to redesign the fight. First, I'd remove either one of the safe areas, because they really trivialize keeping away from the wyrms. Then, when the large wyrm appears, I'd have it also break a cave over the safe area to let the wyrms threaten it. Next, I'd change up the wyrms' AI and remove their dependence on rooting people. Instead, if a person is in front of them at the start of their turn, they would just charge out. That way you still have time to react when the wyrms move, but they're actually dangerous and force you to move more often. Finally, I think I'd remove one of the small wyrms entirely, and just make the larger one appear earlier in the fight. Every class in the game has a minimum of 3 movement, so you'd be guaranteed to be able to move away if threatened, as long as there weren't any enemies in the way. Plus it'd cut down a bit on the tedium of fighting tons of bulky enemies at once.
|
|
#
?
Jan 7, 2020 02:39
|
|
|
OOrochi posted:The wyrm design is really cool, though, and it bums me out that they don't show up again (as far as I know). The only other place I know they appear is in the animation for the Vessel's Fafnir ability, where the giant worm comes up from below and eats whoever you target. IIRC there are 3 huge wyrms and 2 smaller wyrms that show up on the second last layer of the Ancient Path. Shinji117 fucked around with this message at 03:01 on Jan 7, 2020 |
|
#
?
Jan 7, 2020 02:57
|
|

|
I haven't played this yet, but I wanted to say that I personally quite like the black-and-purple motif for showing off new classes and their powers.
|
|
#
?
Jan 7, 2020 03:30
|
|

|
Update 29: Occul Caverns II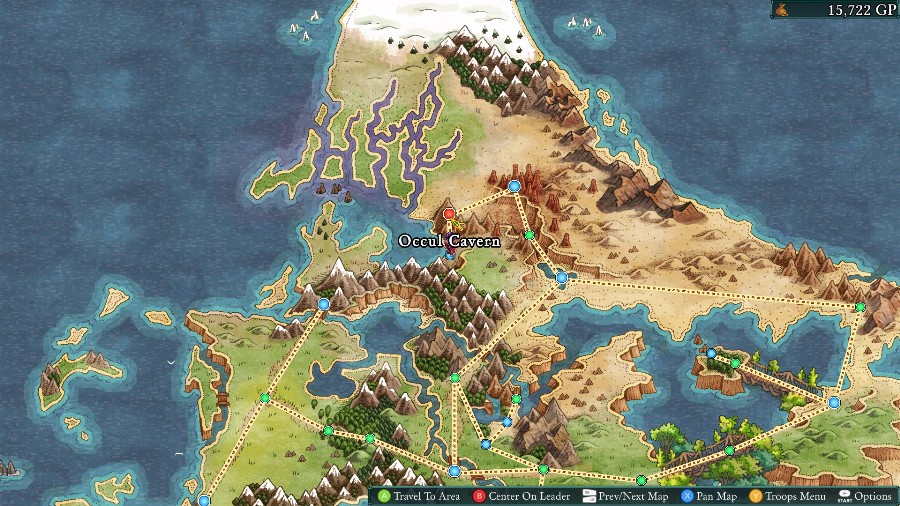 Welcome back! Last time we fought a bunch of giant wyrms and set a massive pile of explosives underneath the flooded Temple. This time, we�ll be trying to get the hell out of dodge before they go off. 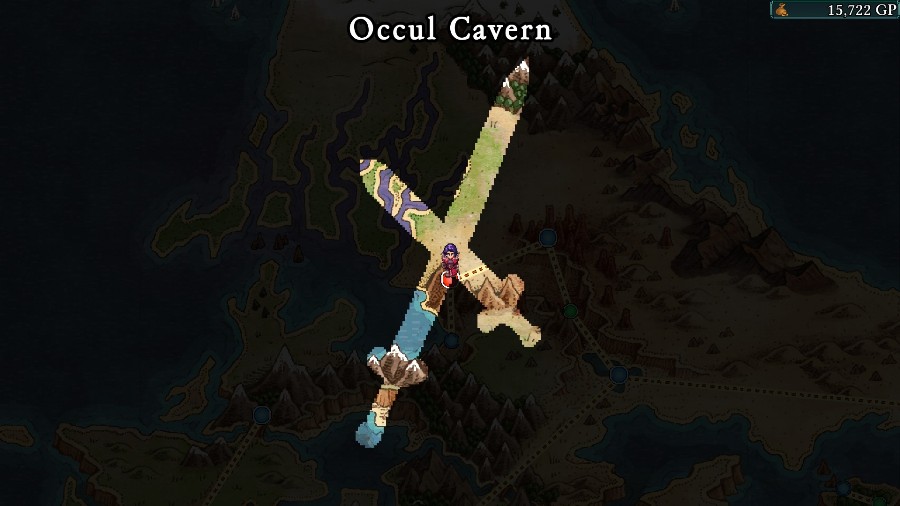 Heading to Occul Cavern triggers a new fight. Interestingly, this is I think the only time in the game where you could potentially get absolutely stuck if you save and then are totally unable to beat this fight. There�s no patrol available in the riverbed, so you could just end up stuck. (Unlikely though, because you could always just turn down the difficult as far as you needed). 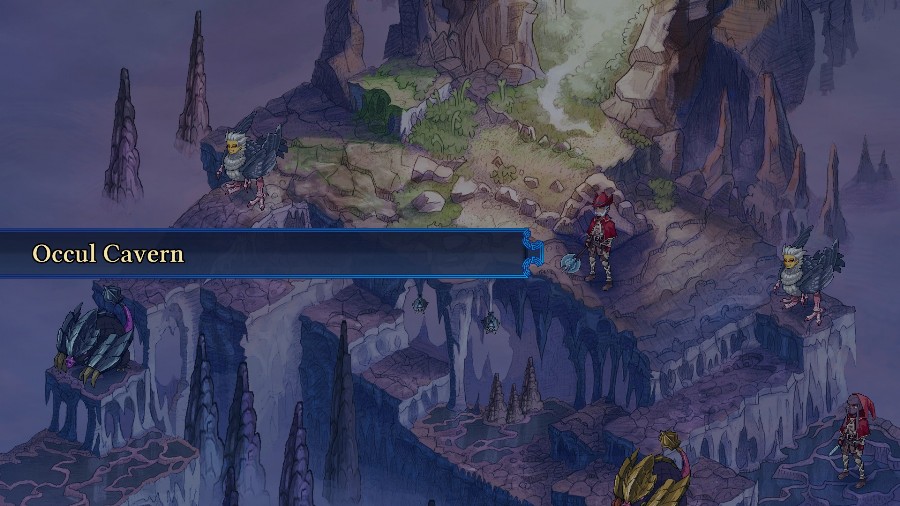 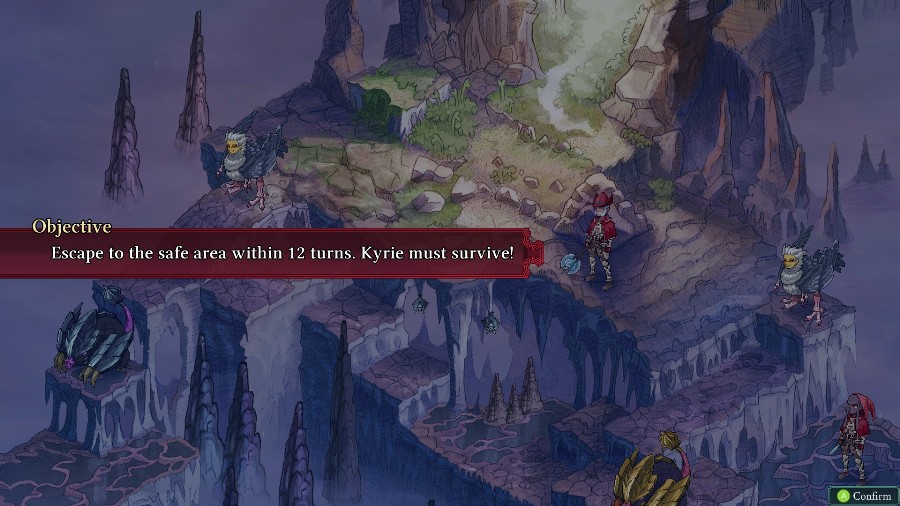 This is another different win condition. Instead of needing to fight or anything, you just need to get every surviving character into a bunch of squares surrounding the cave entrance before 12 rounds elapse. 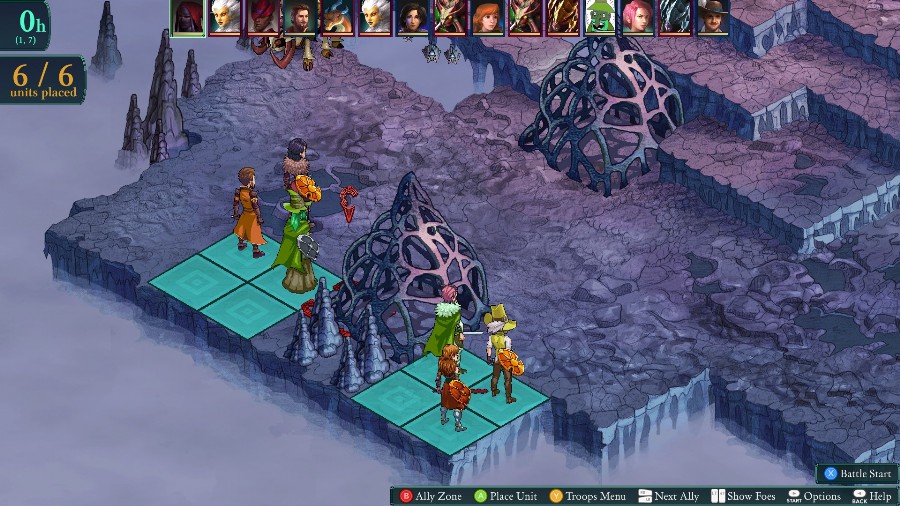 For this, I�m bringing Reiner, Bobby, Hannah, Eustace, Anadine, and Kyrie. My thought process was that I�d need to be mostly mobile to get to the squares before things took too long.     There are a bunch of enemies up against us. 2 Bzzrks, a Zohlmander, an Assassin, a Ranger, 2 Termagants, a Troggle, and an Adamantrog (max level Tangrel)  And here are the exit squares available, as Kyrie explains the concept of this condition.  The enemies start off the fight by hasting others and buffing themselves. 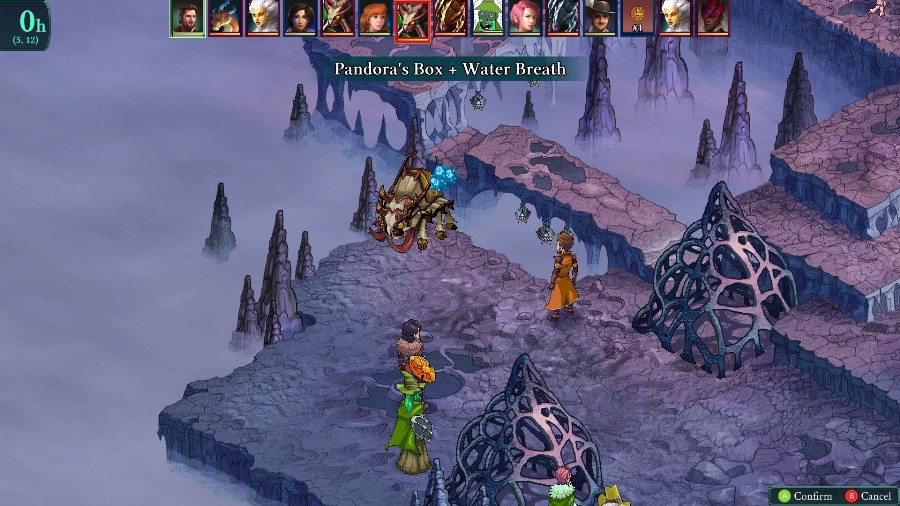 Reiner opens up our side of the fight with a useful random skill that hits the Bzzrk�s weakness.  Though he then gets rammed in the back for a good chunk of damage.  And Anadine advances, buffs up, and then gets charged as well.  After hits from Bobby and Hannah (who�s using a water weapon to hit its weakness), Eustace takes out one of the Bzzrks.  One of the Termagants flys up and throws a rock at Kyrie.  Anadine gets zapped by the zohlmander.  And the Assassin puts both Anadine and Hannah to sleep.  Reiner nearly gets taken out by the other Termagant, but he runs over to keep Anadine up instead of healing himself.  Kyrie puts the Termagant to sleep, since it�ll at least slightly mitigate the incoming damage to my guys.  Still can�t save Reiner from getting rammed to death though. 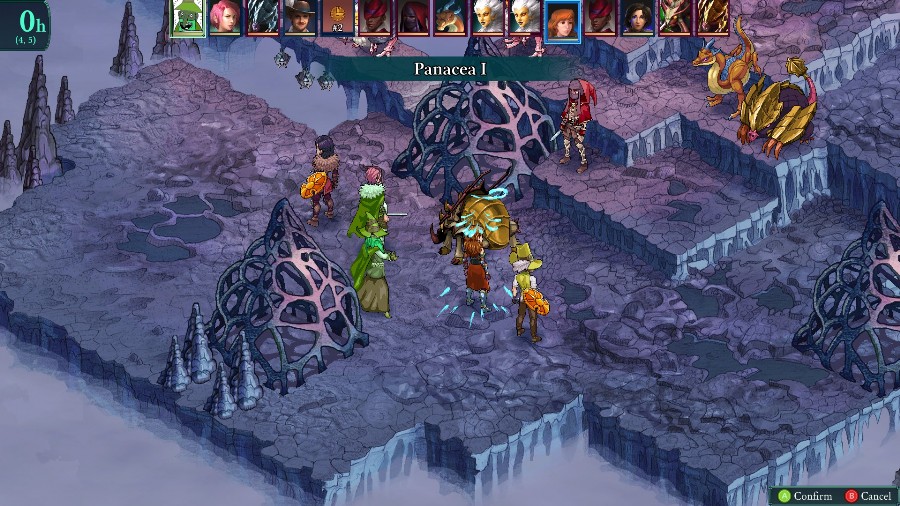 On his turn, Bobby wakes up Hannah and Anadine.  Hannah uses her leap to hit the Assassin and Bzzrk for a good chunk of damage. 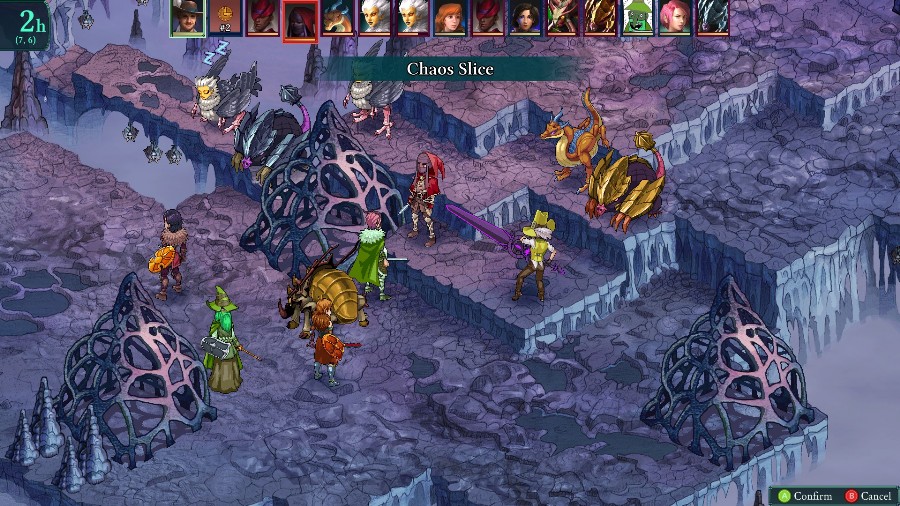 Eustace goes to try and debuff the Assassin, though it just triggers the barrier they had rather than doing anything useful. 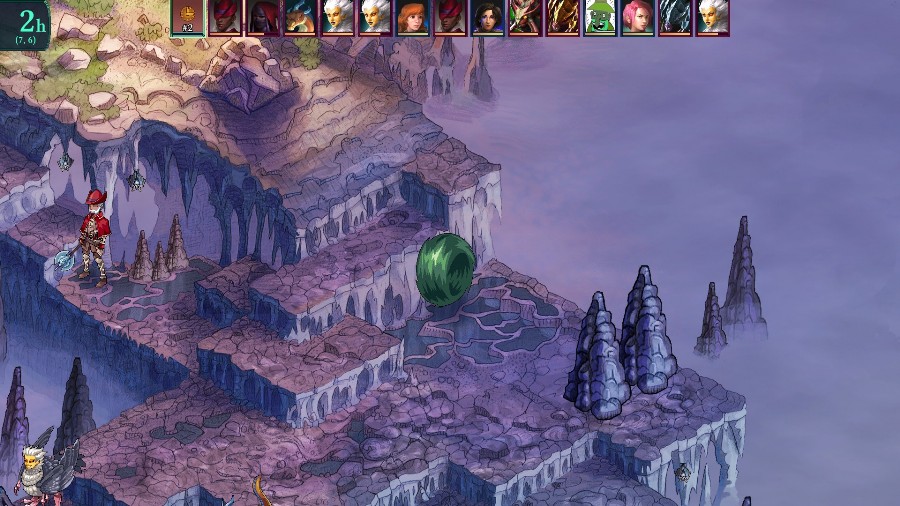 The 2nd round starts and the enemies get a reinforcement.  And the Assassin runs around to stab Eustace twice, but doesn�t kill him. 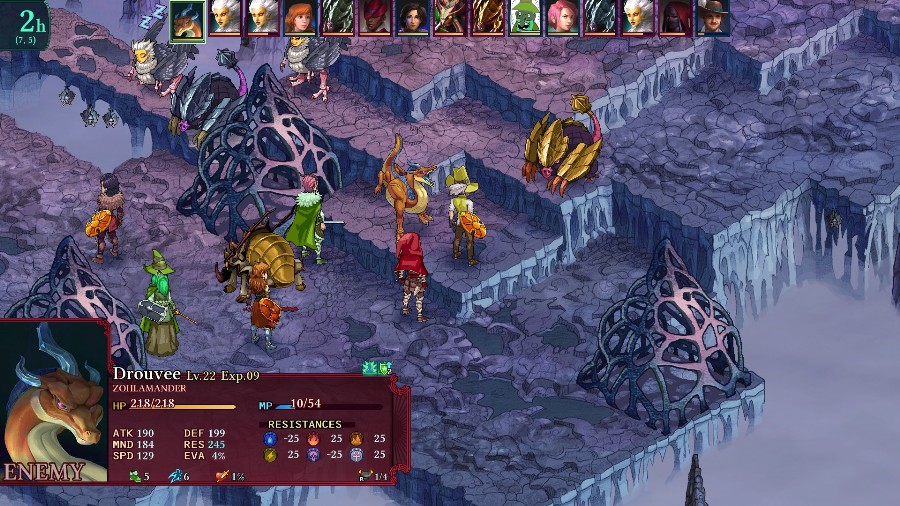 The Zohlmander finishes him off instead. Probably not my best use of a character in a dangerous situation. 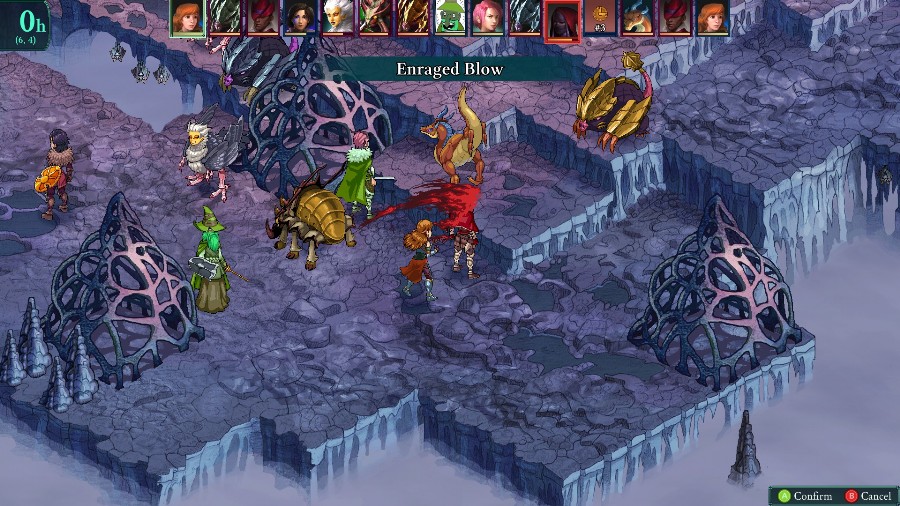 I send Anadine to take out the Assassin and maybe turn the tide, but she misses an 80% shot. 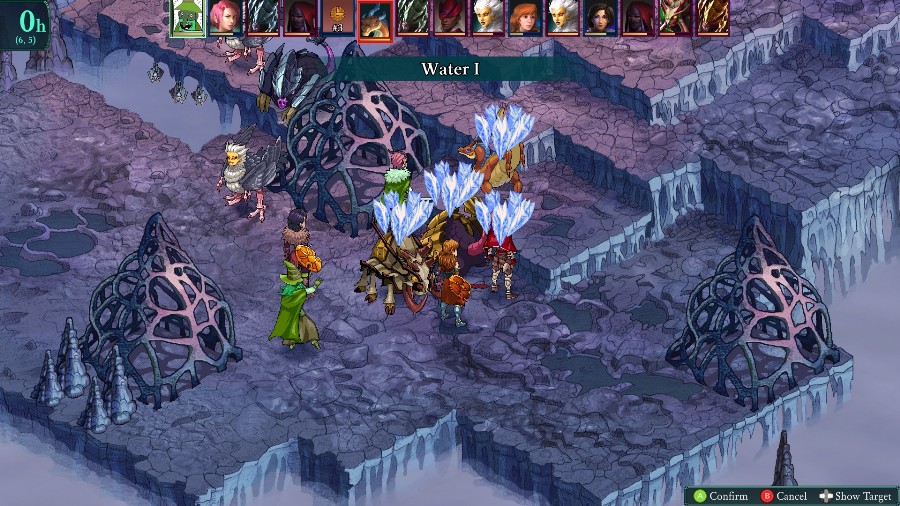 A bunch of enemies come over to hit either Anadine or Hannah, and Bobby punishes that by getting a big cast of water off on all of them. 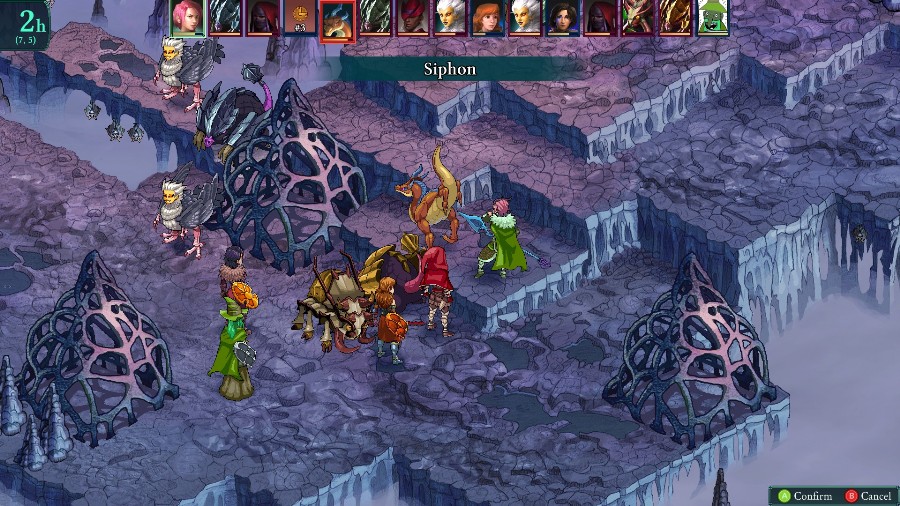 Hannah siphons off some MP from the Zohlmander to keep his damage down (and because she was like 15 damage short of straight up killing it).  The Assassin backstabs her again, and then the Zholmander blasts her and Anadine. 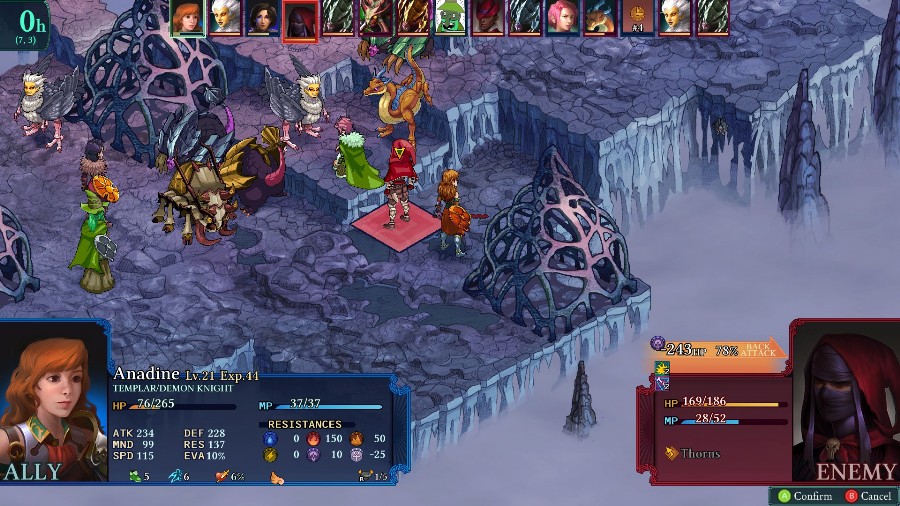 Anadine then takes another shot at the Assasin, and this time she succeeds. I then use cleave to run off and heal a bit to keep her up. 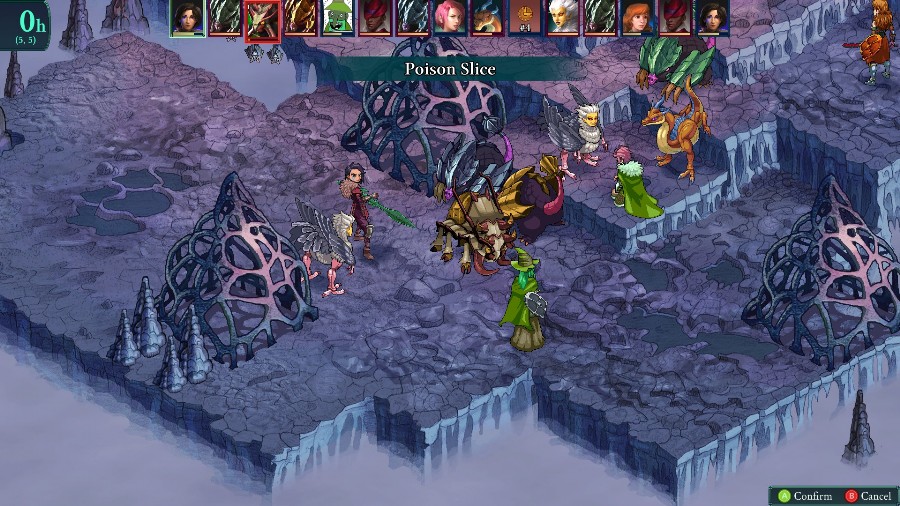 While Kyrie takes out the remaining Bzzrk.  Hannah gets swarmed and taken out once, proccing her reraise.  About now I realize that I have basically no healing in this squad, as I try to have Bobby keep both him and Hannah up. 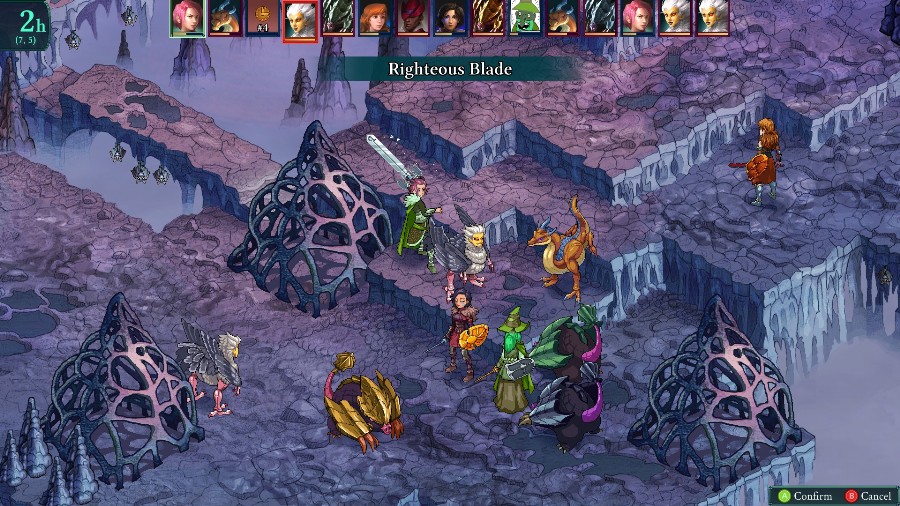 Hannah also takes out one of the Termagants with a righteous blade to the back.  Meanwhile, up top Anadine starts getting swarmed as well. She�s just a bit too low to kill right now, so I have her buff up again. She�ll also heal a small bit thanks to the regen vs the hit from using the move itself. 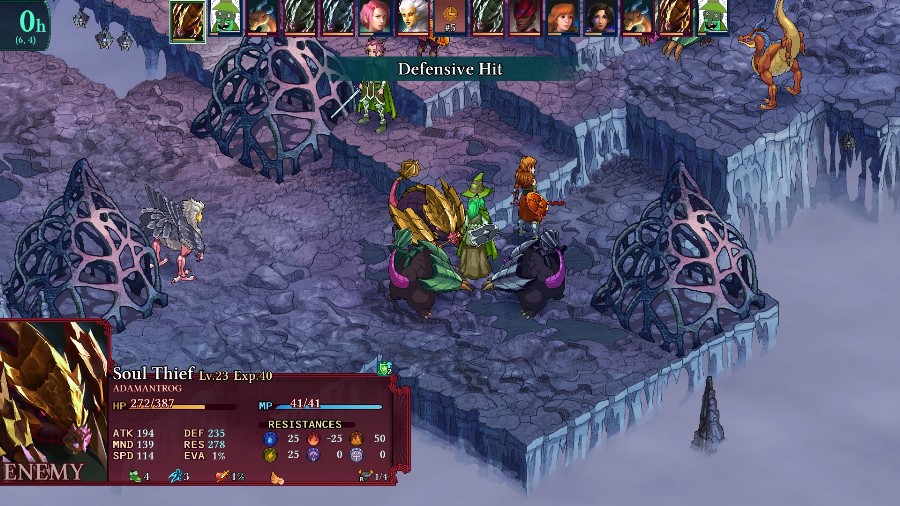 The buffed up Adamantrog takes out Bobby.  And a new Tangrel hurts Kyrie a lot. 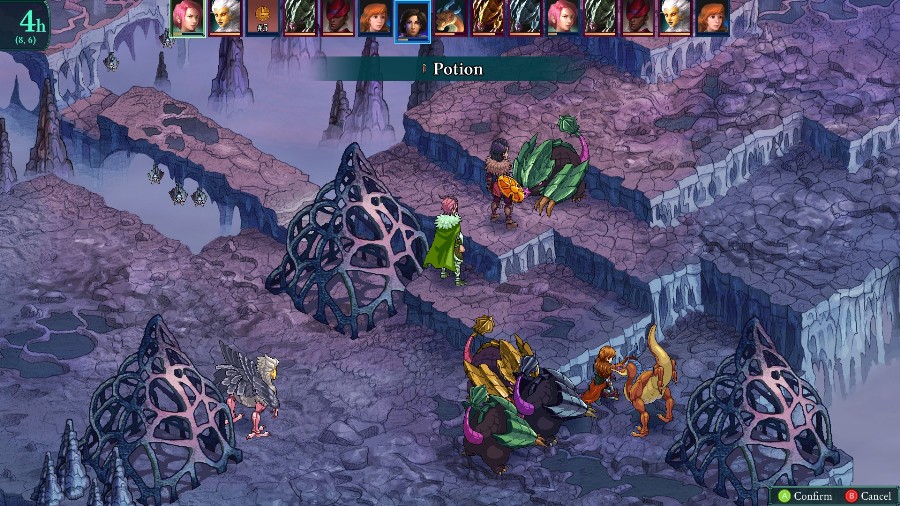 Because Kyrie has to stay up, I have to have Hannah heal her instead of trying to take out any enemies.  The remaining Termagant actually saves my fight by skyjacking Kyrie to the other side of that weird pyramid.  Back in the melee, another Tangrel takes out Anadine.  I decide to just have Kyrie bug out, since I will win as long as she makes it to the entrance. 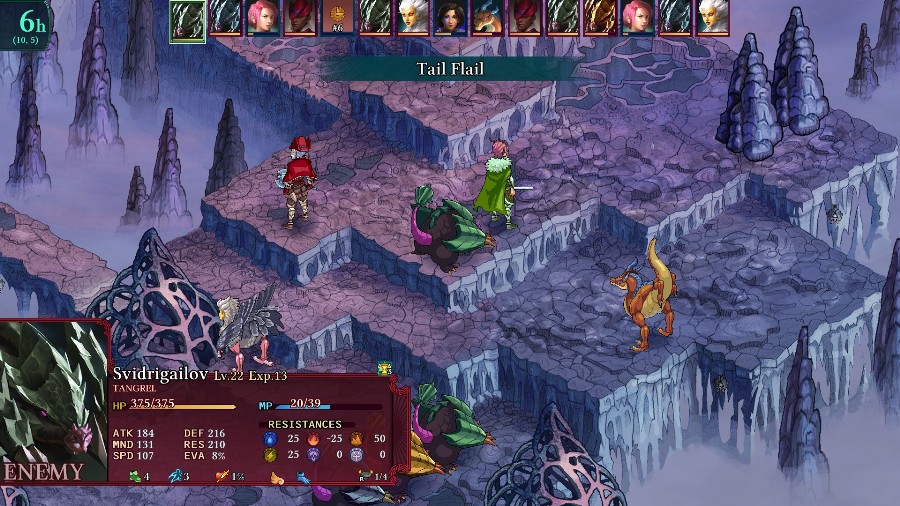 While Hannah is essentially a giant distraction, getting hit by tons of enemies. 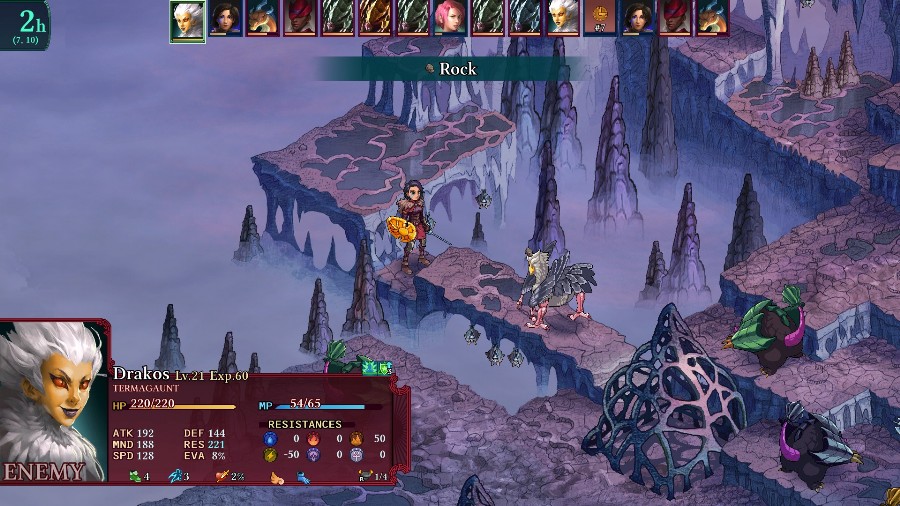 While the Termagant keeps harassing Kyrie with another rock.  She just continues running away and heals up. 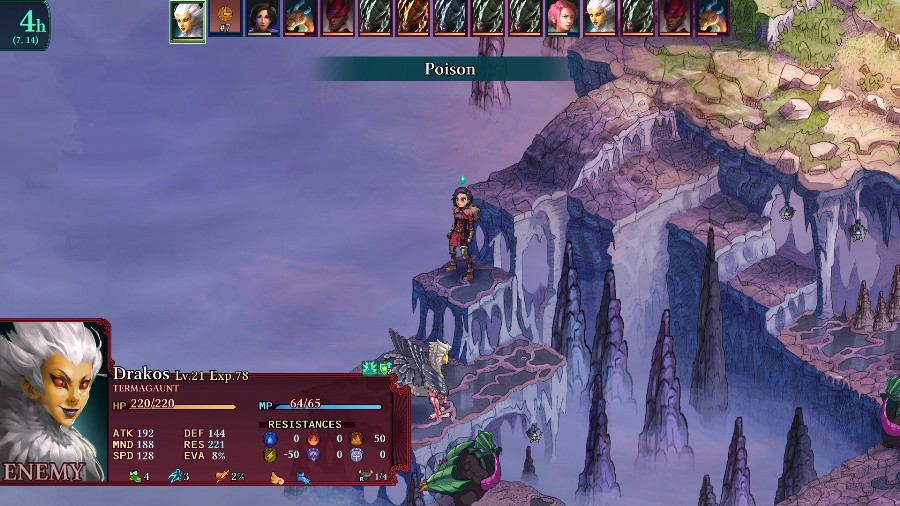 The riveting chase continues on the left side with a cast of poison, while Hannah keeps healing herself with the basic Templar skill on the right side. 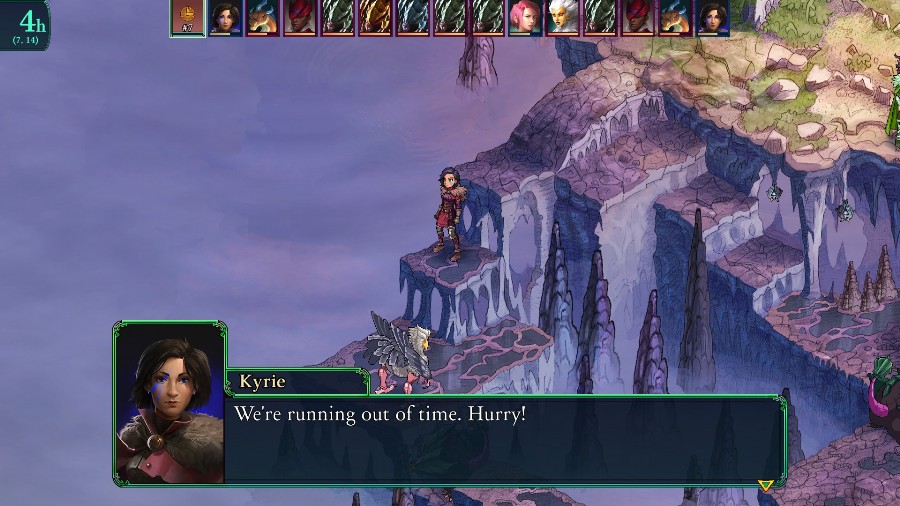 And this lets me know that half of the time has elapsed. I�m at least close enough that this shouldn�t be a problem. She just needs to actually survive. 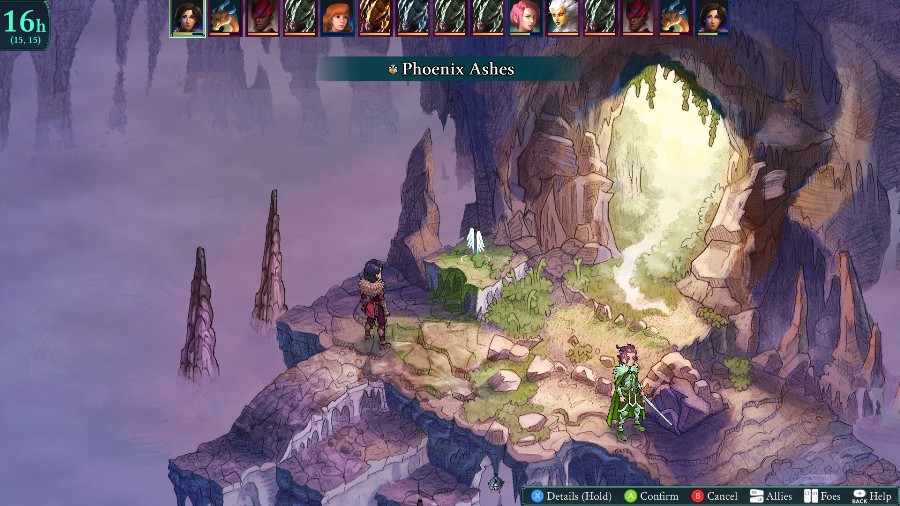 Kyrie can�t quite make it, so I have her revive Anadine up top in one of the safe squares. She won�t do anything but be a warm body to keep a bit of heat off of Kyrie herself. 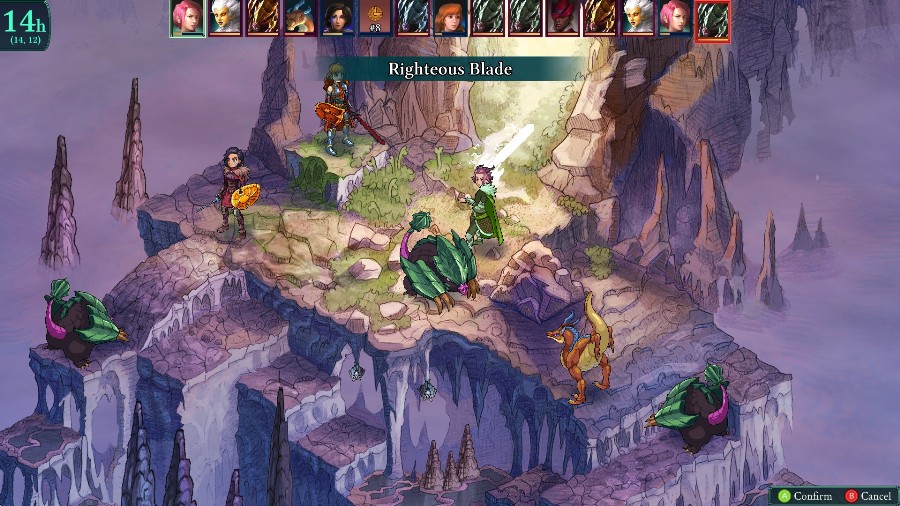 While Hannah moves to another safe square and nearly kills one of the Tangrels. 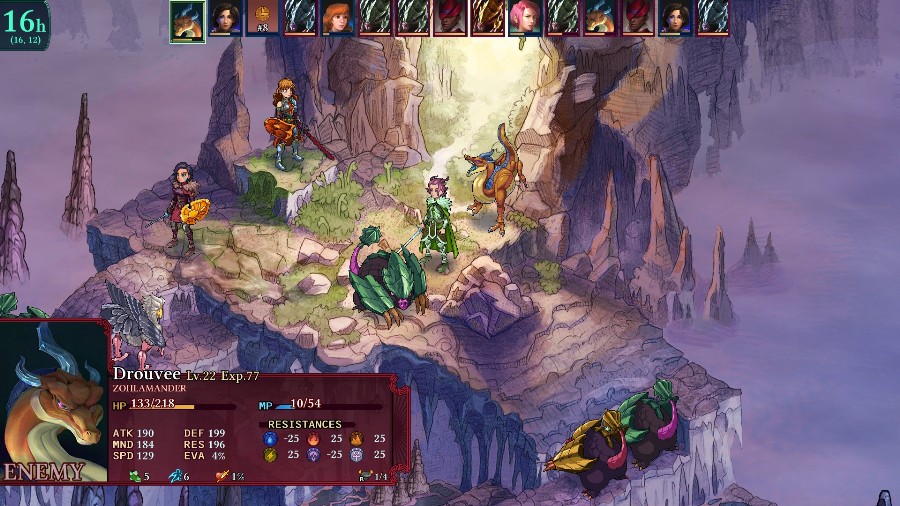 She nearly gets taken out by the Zohlmander.  But Kyrie moves into safety on her turn and everyone escapes. 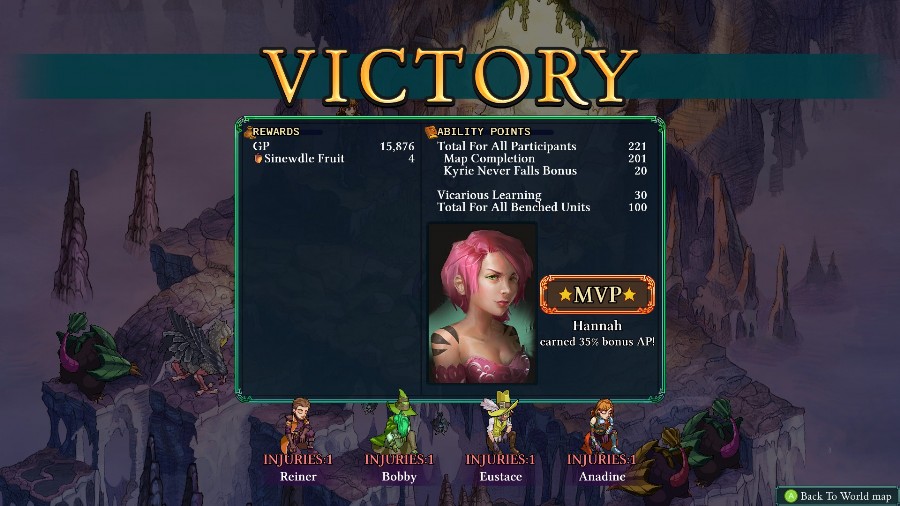 Definitely didn�t go very well, considering nearly everyone died. I could�ve used some more healing, since I couldn�t really keep people up once they started getting hurt. I also really, really wish Anadine had taken out that Assassin on the first try, because he did a ton of damage to the rest of my team. 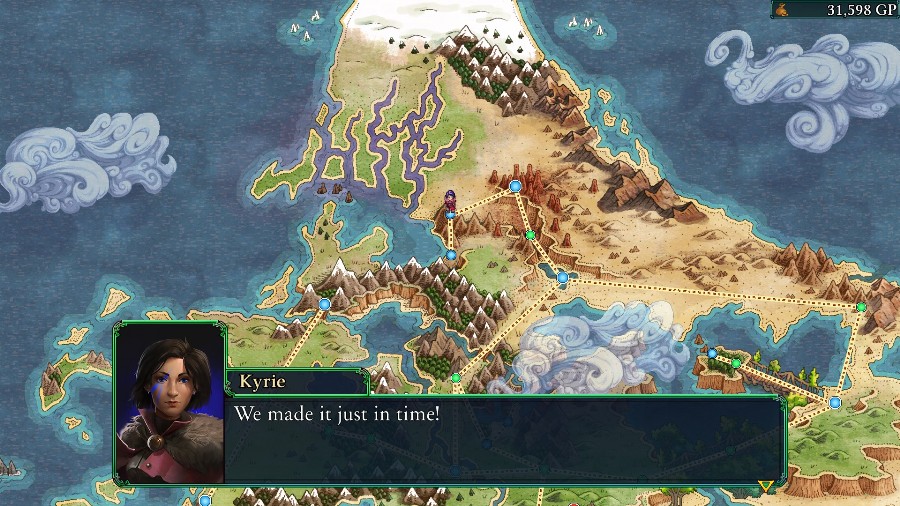 Back on the world map, we discover that we barely escaped.  Turns out we�d put enough explosives in for the explosion to be seen from whatever god�s eye perspective the player has. 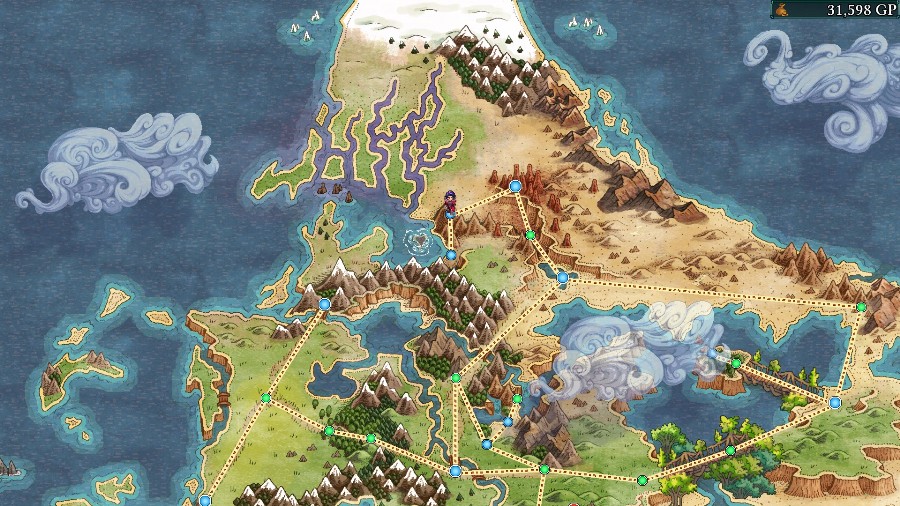 And then an island rises from the waters. 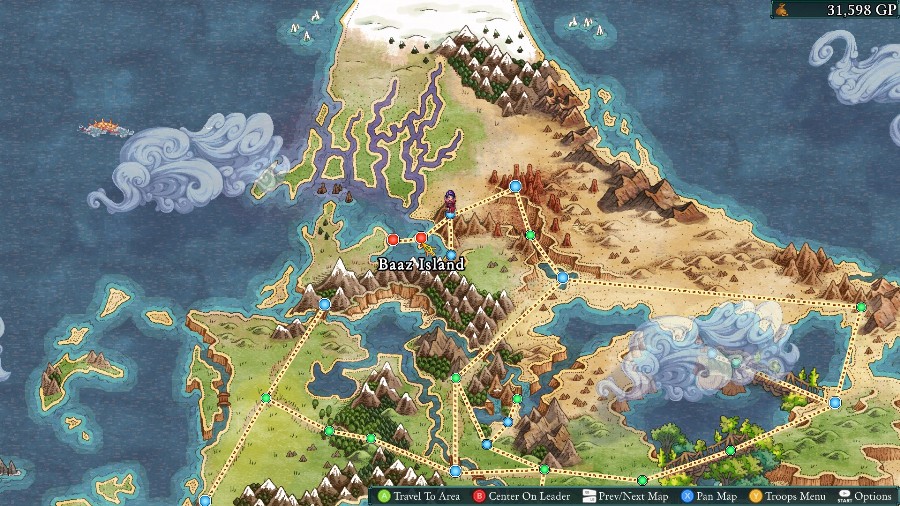 Which leads to the next Temple itself. However, we�re not going to go there immediately. Instead, we�re going to go see a new area that was unlocked right after I got Reiner�s Spymaster job. It�s down in the area as far south as you can go. 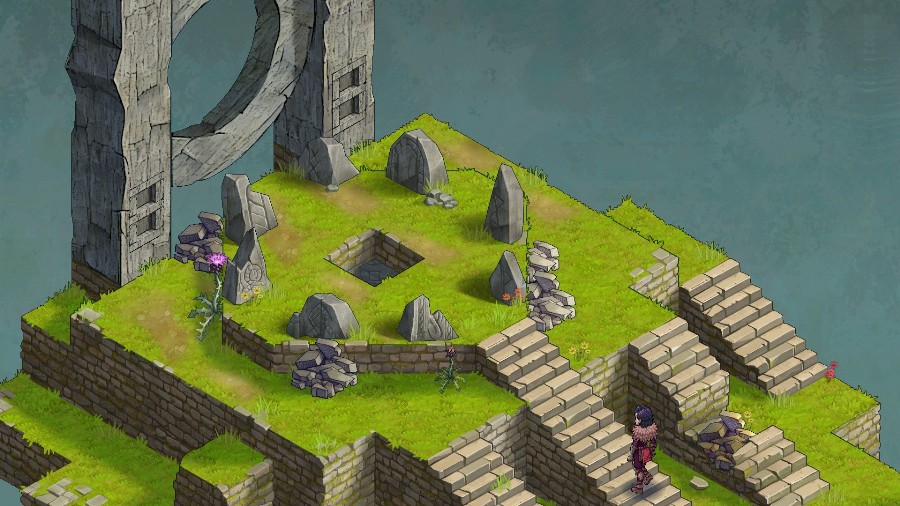 When we arrive, we pop in to see Kyrie walking up to a crumbling ruin. 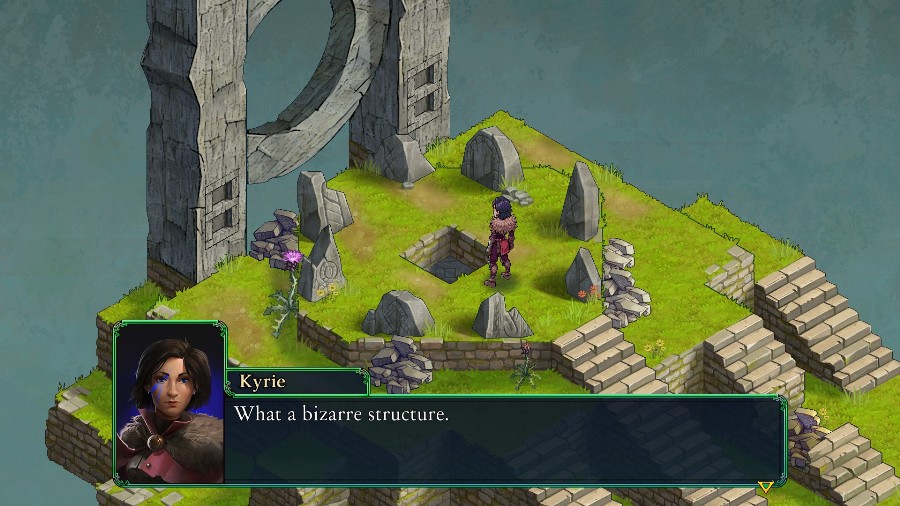 I wonder what it could be for� I wonder what it could be for�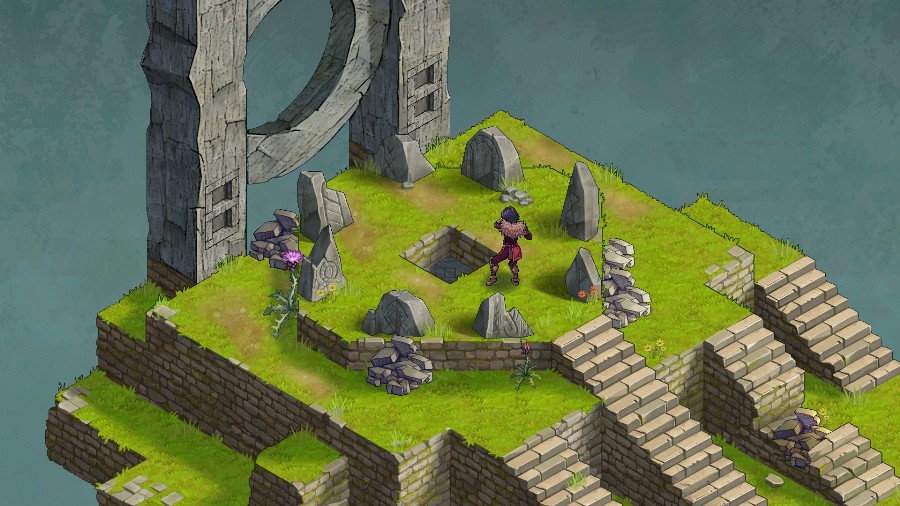 Kyrie suddenly recoils. The Henge Fragment is reacting to it!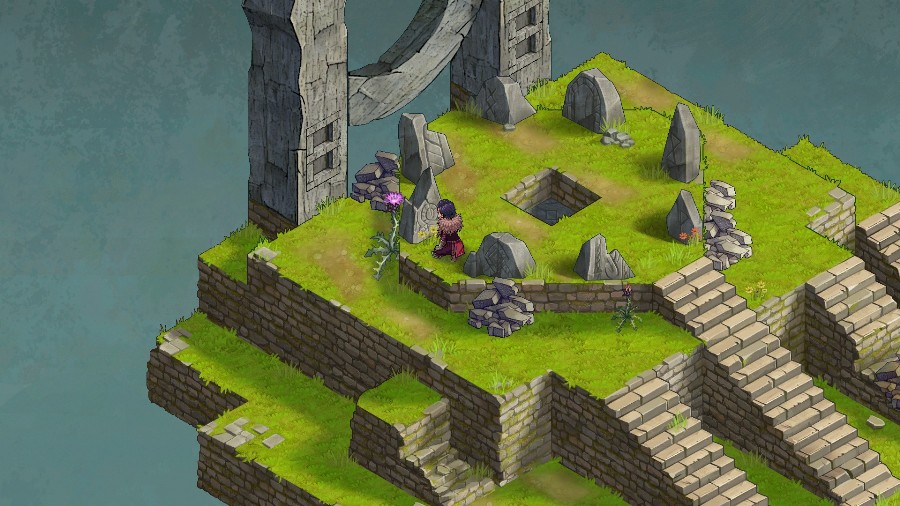  Kyrie pops around to different parts of the ruin. 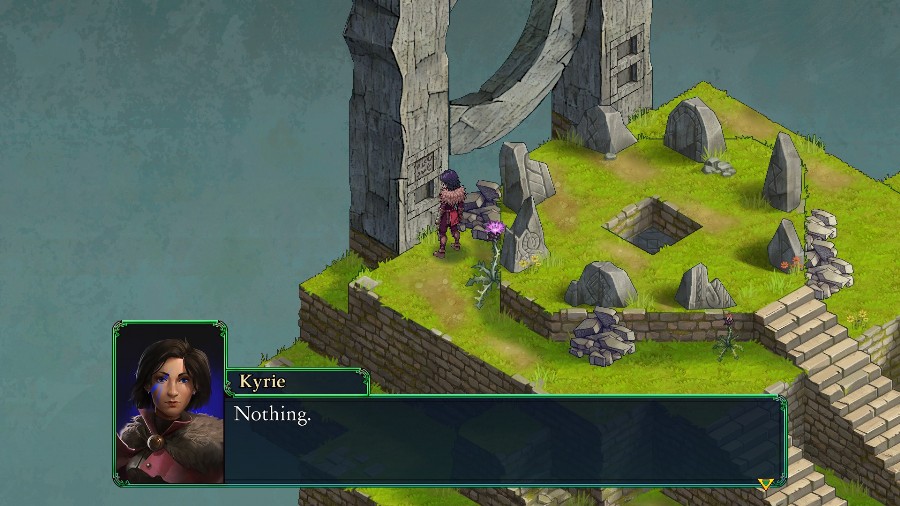 She then inserts the Henge Fragment into one of the slots. There are three more indentations that look as though they would fit more fragments. I have a feeling if we gather the other fragments, something will be revealed. Hint, Hint. There are three more fragments available through a variety of methods. We can�t get all 3 right now, so I�ll hold off for the time being. But it won�t be too long before they�re all available.  But with that, we�ll head back to the Occul Caverns, and then will head towards the Temple next time!
|
|
#
?
Jan 7, 2020 13:43
|
|
|
Since you seem to be rotating characters a lot, does this game have any kind of "catch-up" mechanic for characters that are behind the curve a bit? Last time I played FFT, which admittedly was ages ago, I only used the same five characters over and over for that very reason.
|
|
#
?
Jan 7, 2020 18:50
|
|
|
yeah so we left a bunch of our collapsed and dying friends behind in the caverns to get exploded on but Kyrie got to the exit so they're all fine
|
|
#
?
Jan 7, 2020 22:44
|
|
|
JustJeff88 posted:Since you seem to be rotating characters a lot, does this game have any kind of "catch-up" mechanic for characters that are behind the curve a bit? Last time I played FFT, which admittedly was ages ago, I only used the same five characters over and over for that very reason. Yeah, this game actually has a few pretty solid catch-up mechanics. While units that you don't use don't get any XP, they still earn 50% of the AP from any encounter for their current class. There's also the whole vicarious AP system, where every unit you have gains a small portion of AP in whatever class you deployed (i.e. if you deploy a knight, then every unit in your party will get a bit of AP in the knight job, even if it hasn't been unlocked yet). Lastly, the XP scales up pretty well, so it's not too hard to level up your weaker units to catch up in XP too.
|
|
#
?
Jan 8, 2020 02:41
|
|
|
We're pretty high up the map, where are the other stones supposed to be?
|
|
#
?
Jan 8, 2020 07:02
|
|
|
SSNeoman posted:We're pretty high up the map, where are the other stones supposed to be? Assuming you're meaning the other henge fragments, the other stones are scattered around. One's just from beating a Bandit Kawa in a patrol, one you automatically get when you unlock Spymaster, and the other two require beating the Desert Temple and then progressing a bit more in the story. And as for the rest of the map, we'll end up going back south relatively soon.
|
|
#
?
Jan 10, 2020 01:27
|
|
|
Update 30: Baaz Island Welcome back! Last time we escaped from the caves and raised a Temple from the depths. This time we�ll be proceeding towards said Temple. 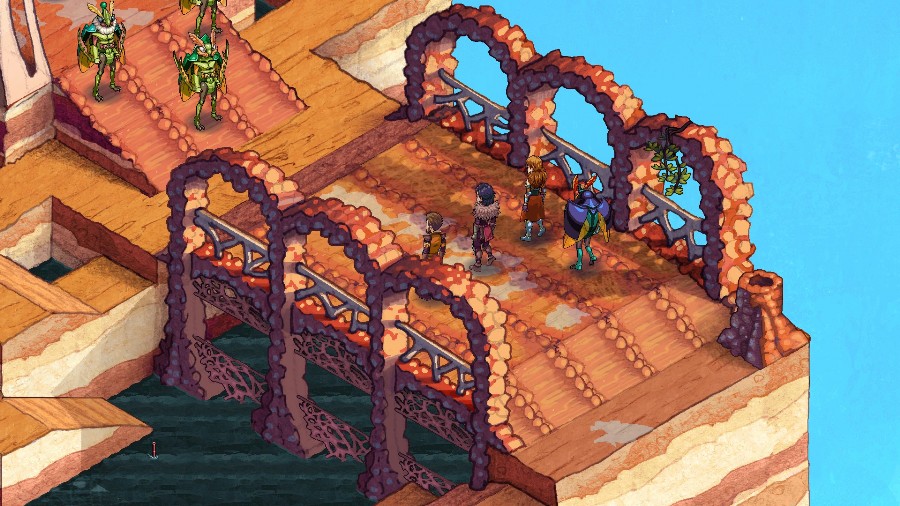 Our party approaches a group of Bzil blocking our path.  Behind them, we see a bunch more people as well as the mysterious Kawa that we saw leaving the Jungle Temple. 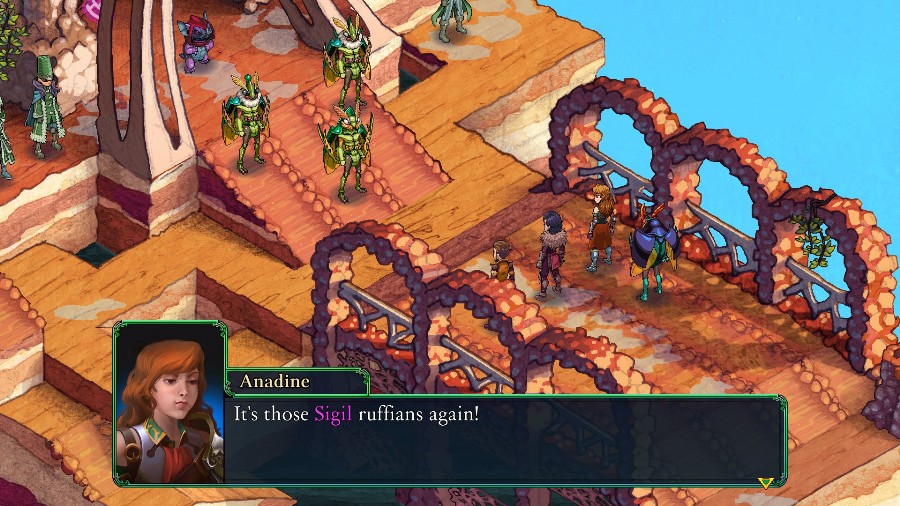 Even though you�re Sigil members, we won�t give you any trouble. We came for the Pilgrimage, nothing else. Even though you�re Sigil members, we won�t give you any trouble. We came for the Pilgrimage, nothing else. 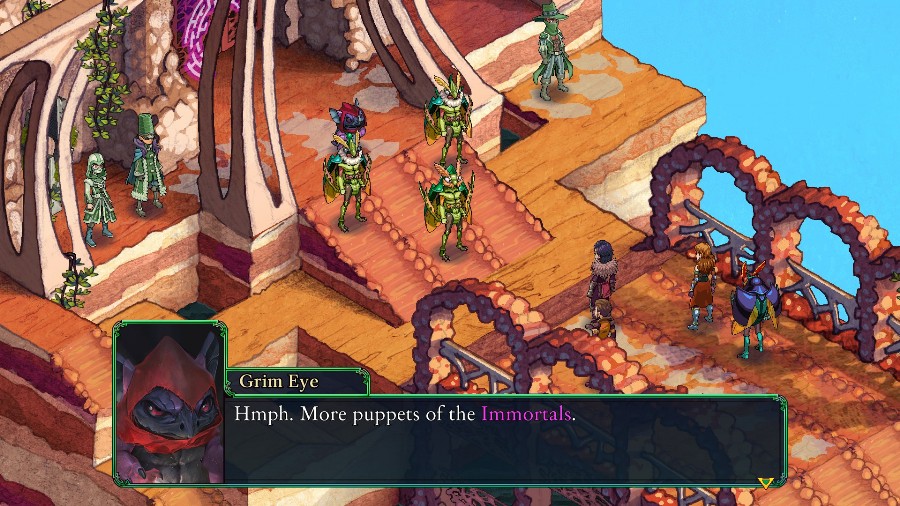 .jpg) Bar them from entering the Temple! I�ll warn Raife. Bar them from entering the Temple! I�ll warn Raife.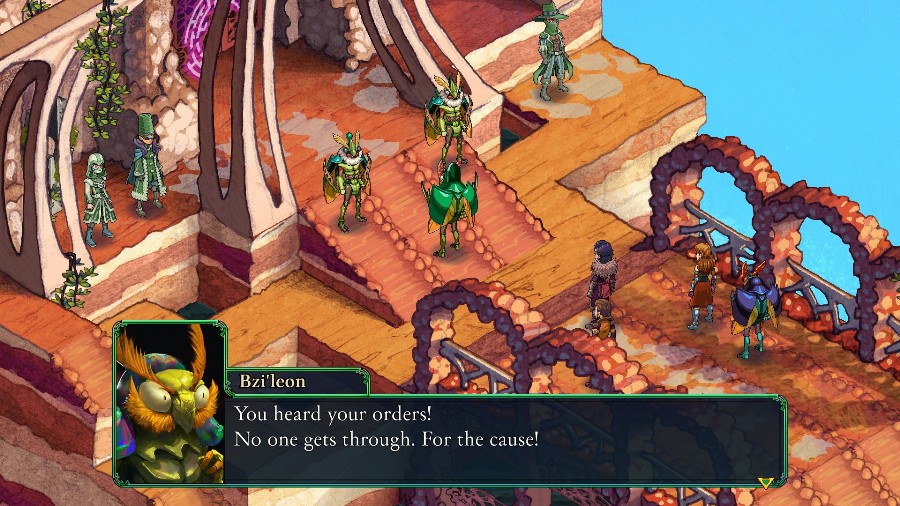  We have no quarrel with you, friends. Walk away from this now. We have no quarrel with you, friends. Walk away from this now..jpg) Ha! You have no friends here, and we don�t take advice from a Bzil who�s sold out to the Council! � Ha! You have no friends here, and we don�t take advice from a Bzil who�s sold out to the Council! �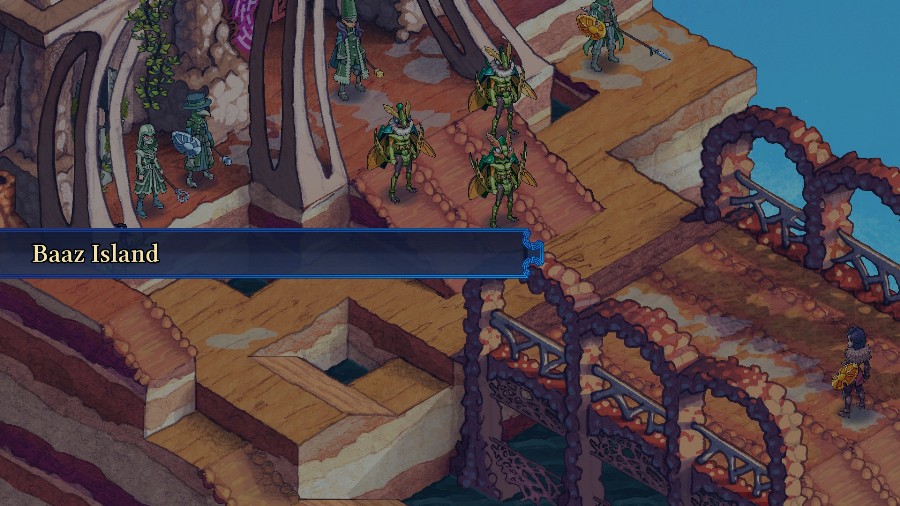 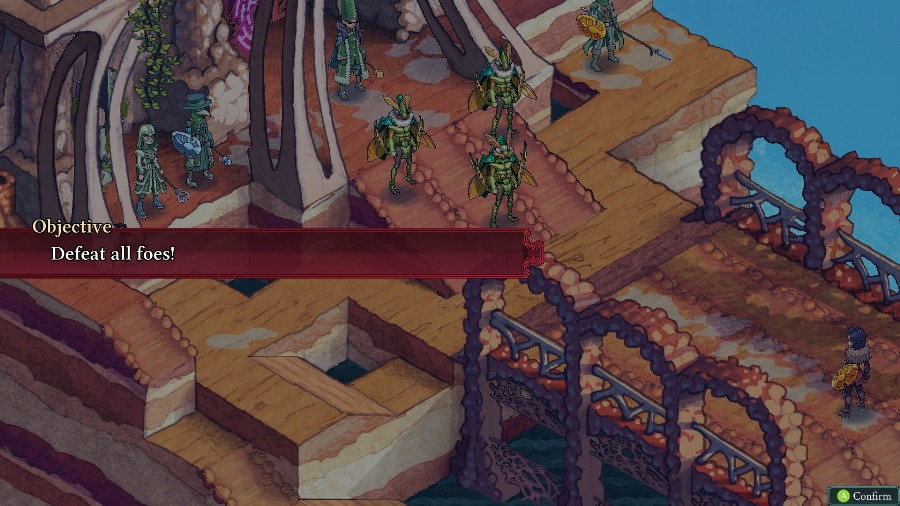 And with that it�s time for a fight.  For this fight, I�m bringing Mongo, Selina, Bzaro, Azure, and Sophia. That way I�ll have a solid mix of bulk to keep the enemies bottled up on the bridge, and then have support to keep them up while we grind them down.  Up against us are 8 enemies. There�s an Alchemystic, a Plague Doctor, a Sorcerer, a Gambler, and 3 different Bzils.  And there�s also this Scoundrel who�d been hiding underwater, who I�d definitely not entirely forgotten. 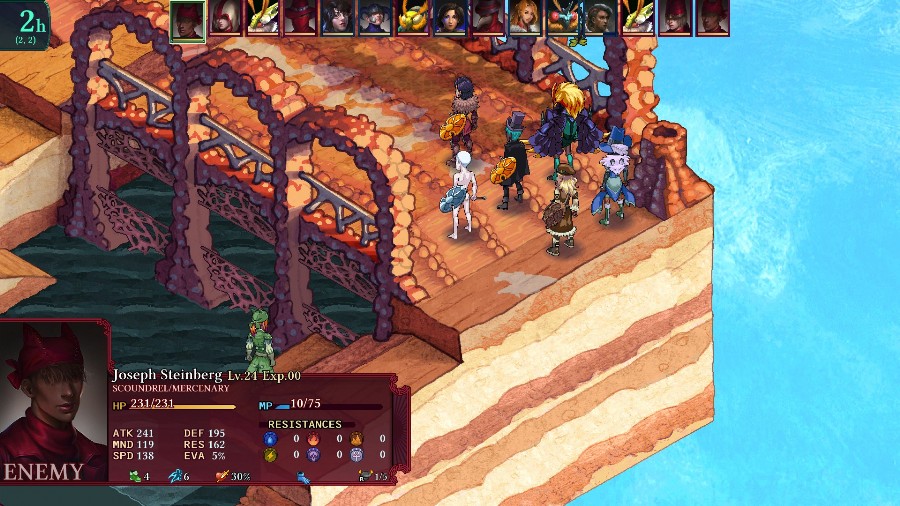 He pops out and hits Selina for about half of her health off of a crit.  While the other enemies buff themselves up, one of the Bzils advances and whacks Bzaro with a ranged push attack. 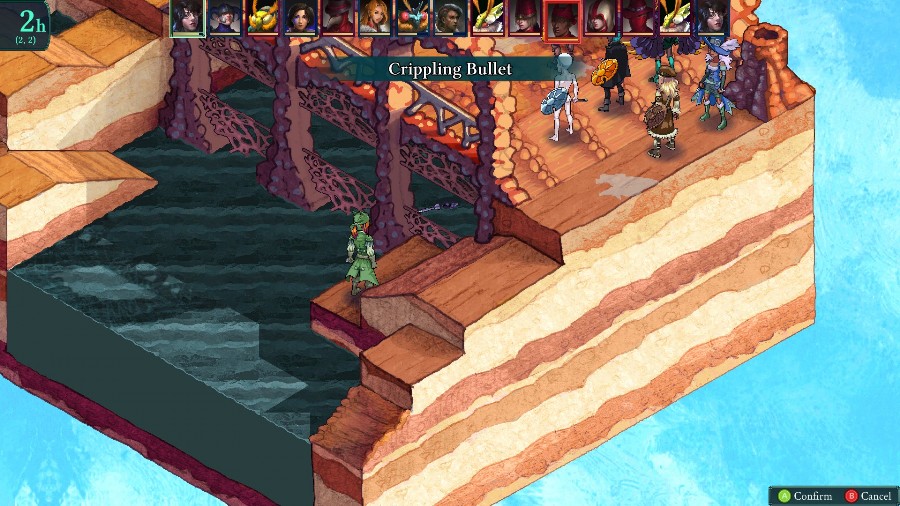 On my first actual move I have Azure cripple the Scoundrel. It does stop him from using any abilities, but doesn�t prevent him from just shooting me in the back (spoiler alert, that�s what he does). 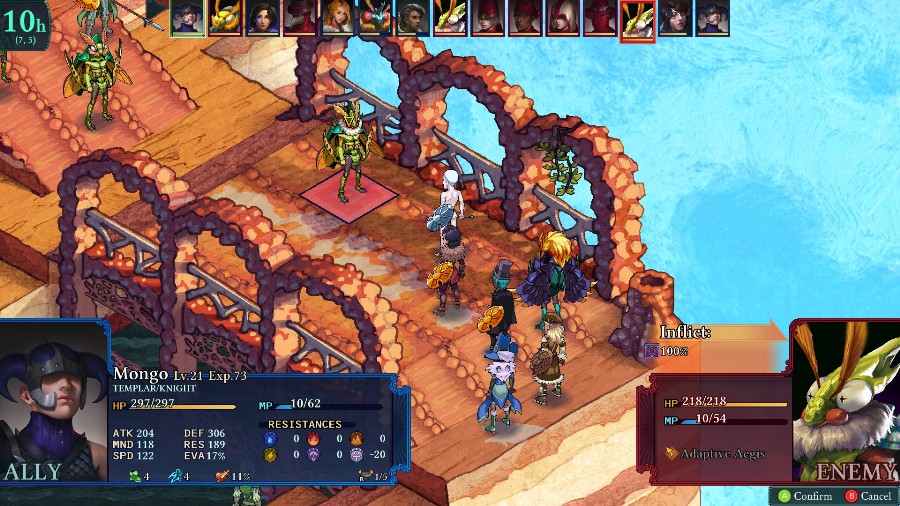 Mongo then berserks the leading Bzil. Being able to essentially take out a threatening enemy with no effort is still so good. 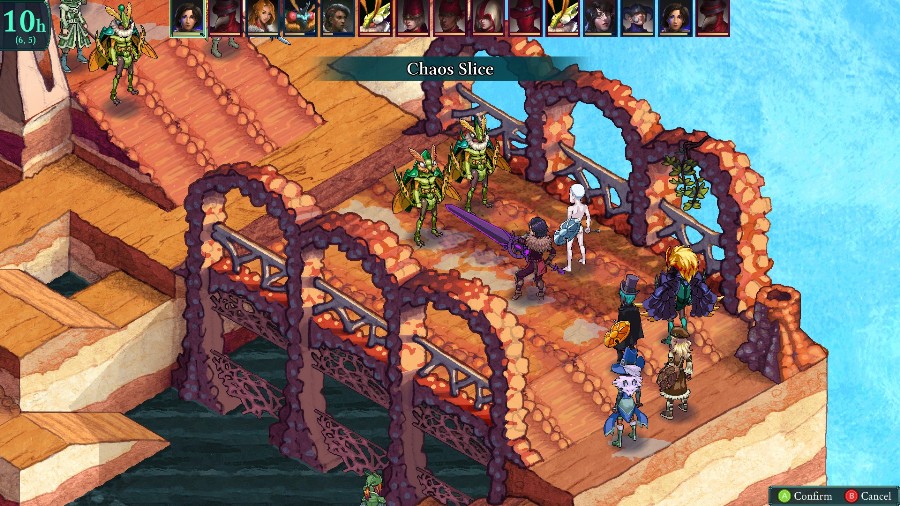 Another Bzil runs up and hits Kyrie with a ranged attack, so she retaliates with a Chaos Slice.  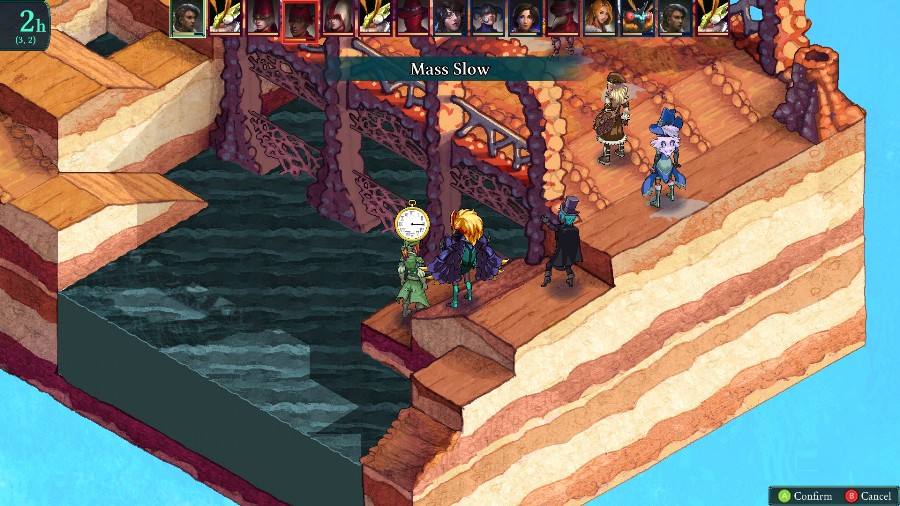 Bzaro and Selina hit and then slow the Scoundrel. 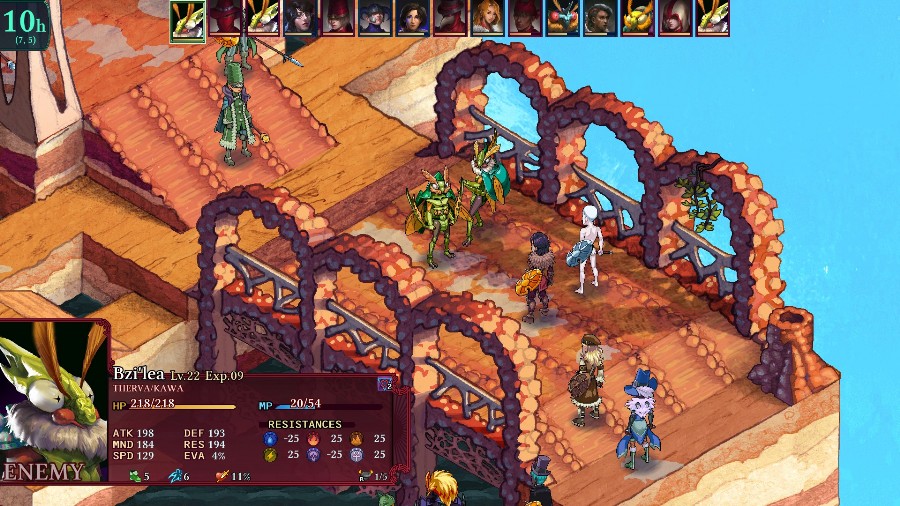 The back enemies keep buffing up, while the berserk Bzil hits his friend and then loses about � of his heal to a counterattack.  The Sorcerer is a pain to take out due to Mystic Shield, but I still have Azure hit him to prevent him from using a sorcery move.  Doesn�t stop him from just zapping my units with a strong thunder hit instead.  Meanwhile Mongo continues his main MO and berserks the gambler.  While Kyrie uses Black Blade�s AOE to hit both the Bzil and the Sorcerer. She even dodges the counterattack from the Bzil! 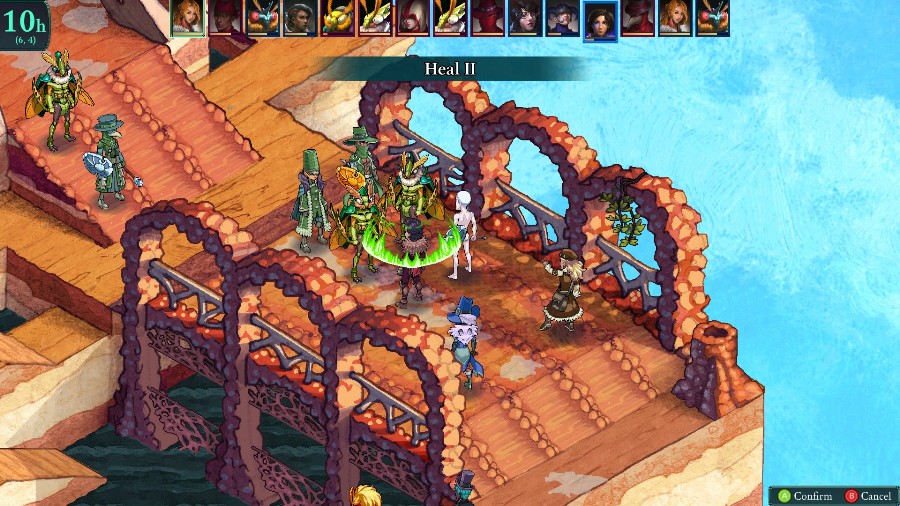 Sophia then heals Kyrie to keep her up. 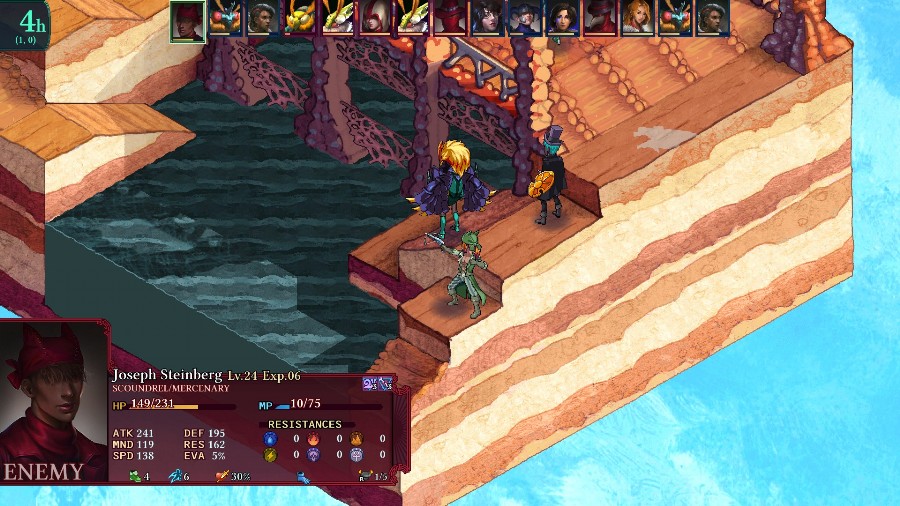 While the Scoundrel nearly kills Bzaro with a shot to the back. 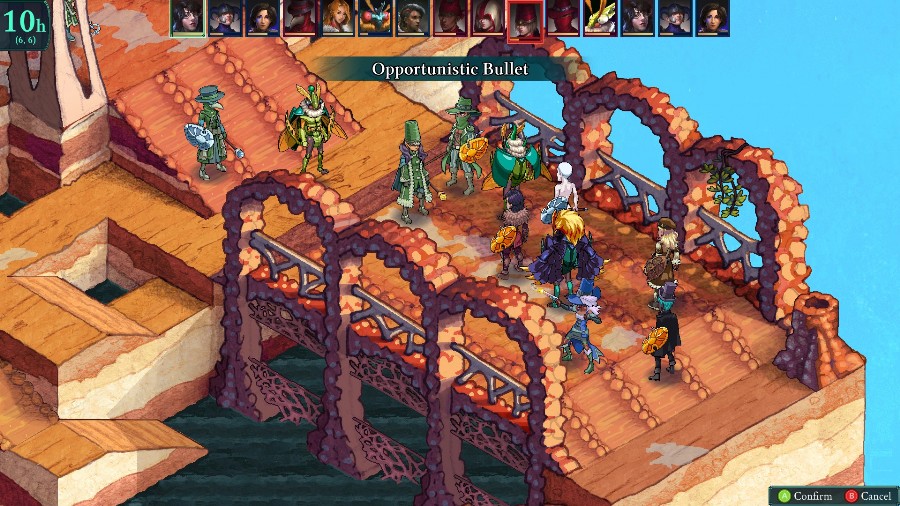 The brawl continues for a bit, with general fighting in the front. Eventually Azure uses an Opportunistic Bullet to kill the Sorcerer.  Kyrie hits the frontmost Bzil with some more debuffs.  And the Plague Doctor hastes a big group of enemies.  After a hit from Bzaro, Selina takes out the weakened Bzil.  The Scoundrel hits Sophia for over half of her health, and then the Gambler snipes Bzaro with his spear.  Annoyingly, the Plague Doctor also has Mystic Shield, so he�ll be a pain to take out. He also has a barrier so my silence attempt just uses it up instead. 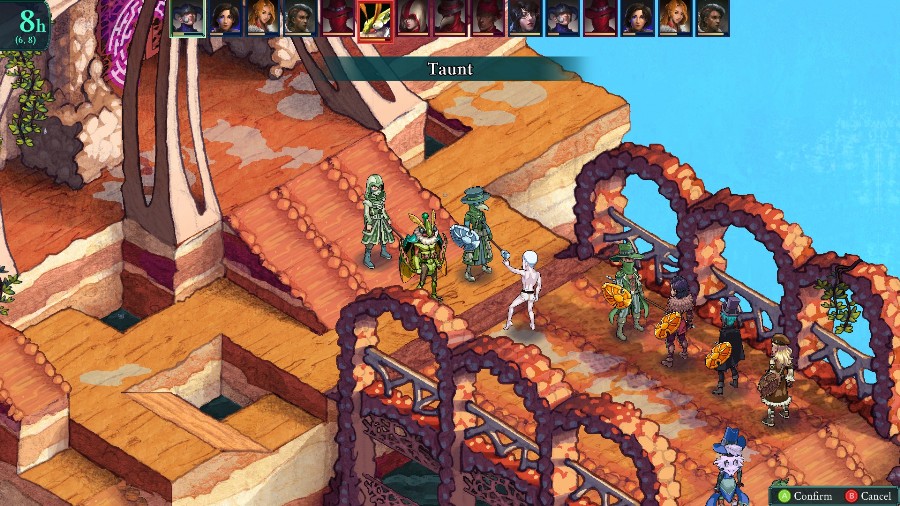 Mongo continues being rude to people and taunts the Bzil. 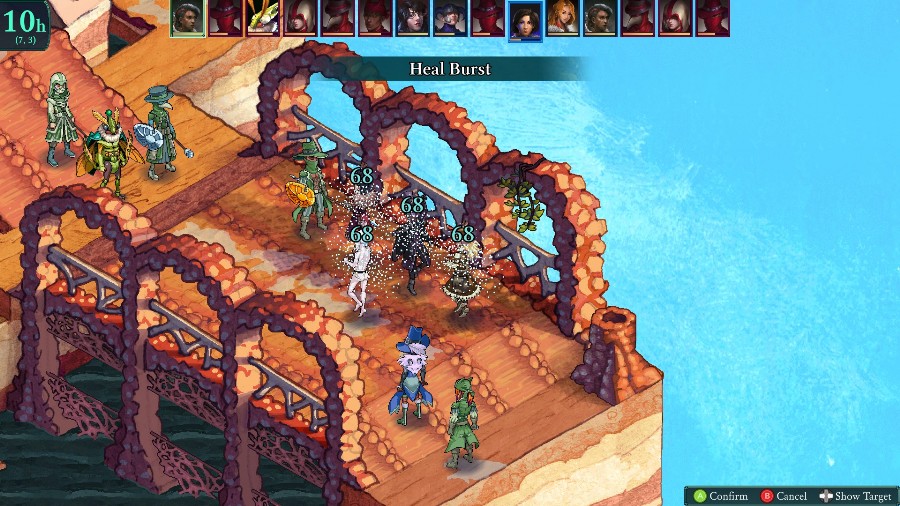 Kyrie hurts herself a lot taking a whack at the Gambler, so I have Sophia and Selina heal her and everyone else up. 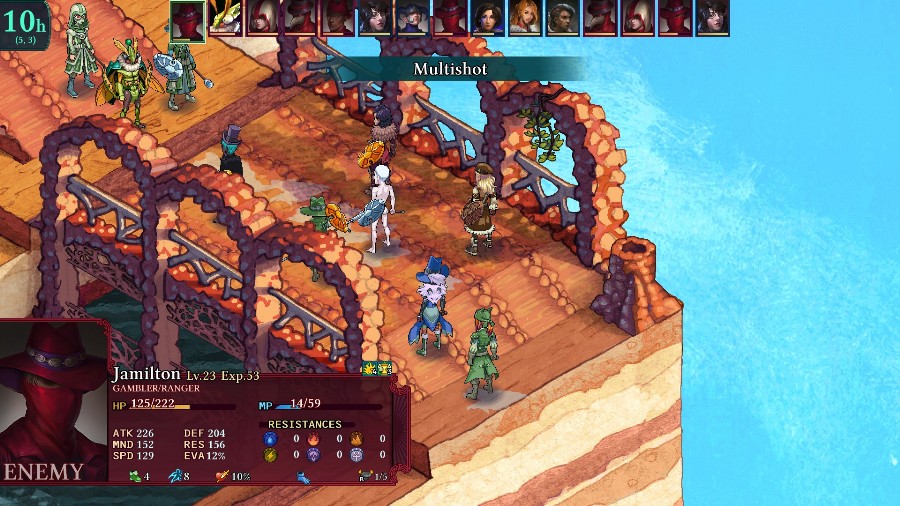 Though the Gambler undoes about half of it with this multishot.  And then the Alchemystic also hits the group and nearly kills Kyrie. The Scoundrel then tries to finish her off but thankfully misses. 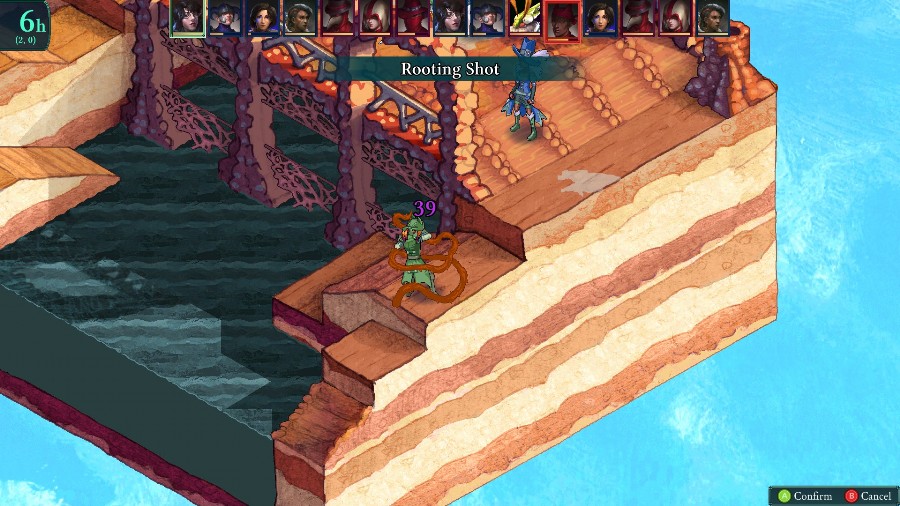 The Scoundrel kills Sophia with another crit to the back and then runs off. He is also the 3rd person to have Mystic Shield (explaining why I decided to just debuff him earlier instead of going for the kill). 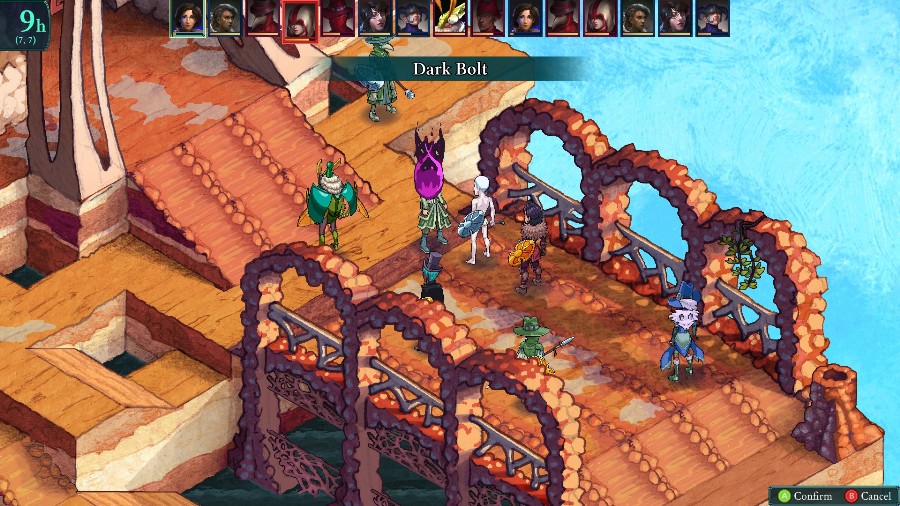 Back on the bridge, Kyrie and Mongo nearly kill the Alchemystic while Selina uses a heavy potion to keep Kyrie standing. 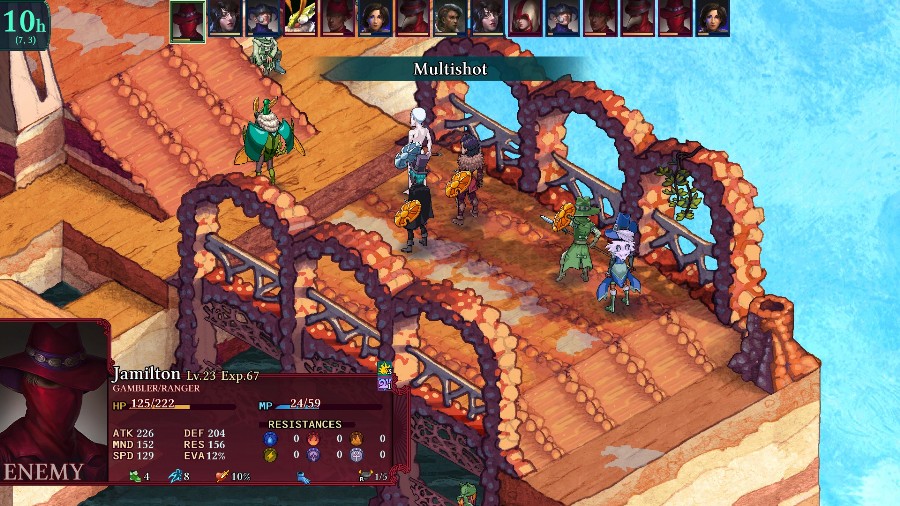 The Gambler and Alchemystic nearly kill both Mongo and Kyrie with more AOEs.  However, Mongo survives just fine and kills the Alchemystic. 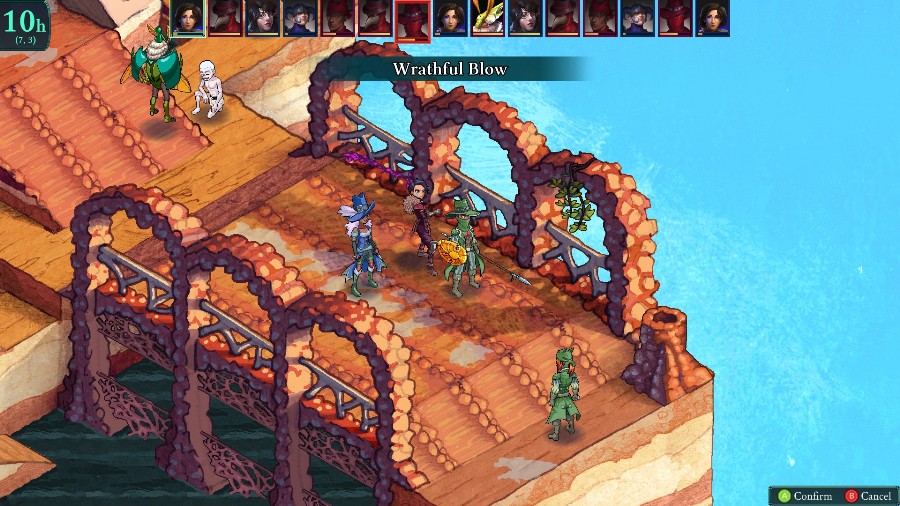 While Kyrie kills the Gambler. 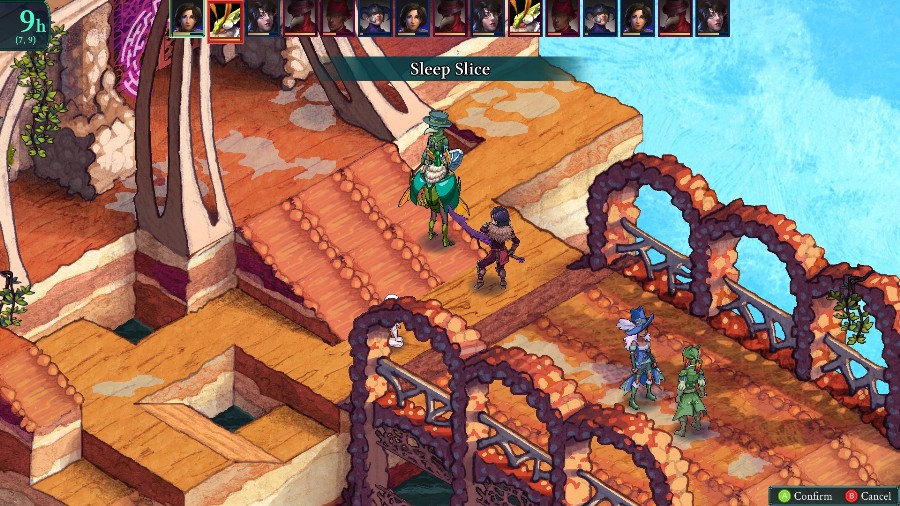 After some more scrambling, Kyrie puts the remaining Bzil to sleep.  And the Plague Doctor finally does something offensively when he kills Mongo. 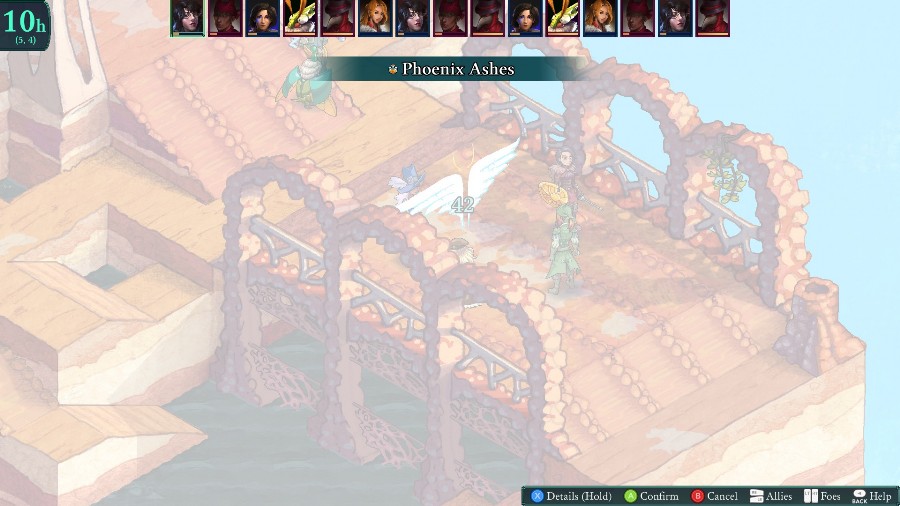 Since it�s 2 on 3 and I have no healing, I have Azure revive Sophia. No one would be able to move any earlier than she could, and on the off chance that she survives I�d be in the clear. 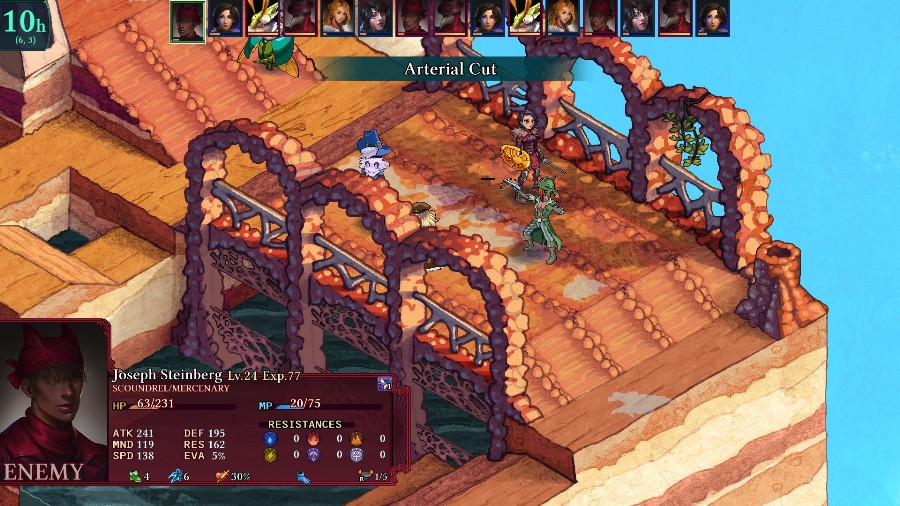 But she doesn�t. 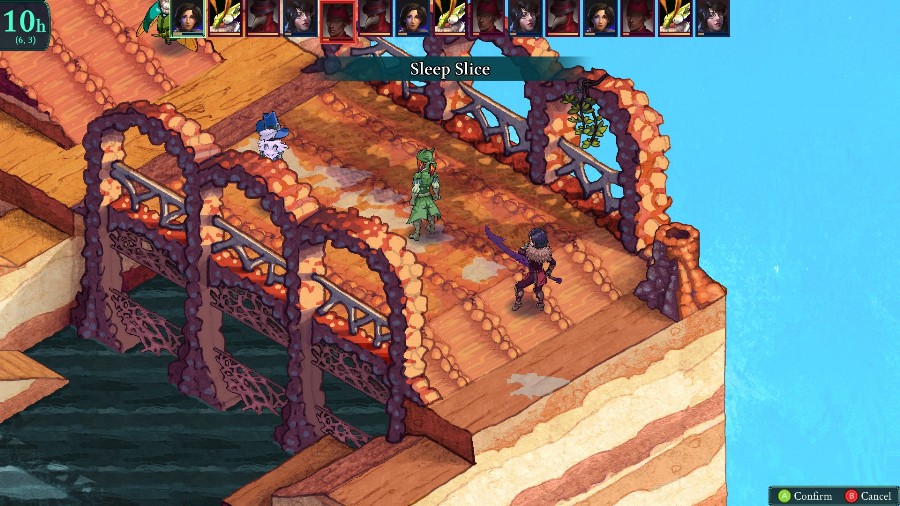 Getting quite annoyed with this Scoundrel, I have Kyrie whack him to get rid of his shield.  While Azure finally kills him with a snipe to the back.  The Bzil is incredibly annoying and revives the Alchemystic.  While I have Kyrie revive Sophia again. She then heals everyone, to pull us a bit back from the edge. 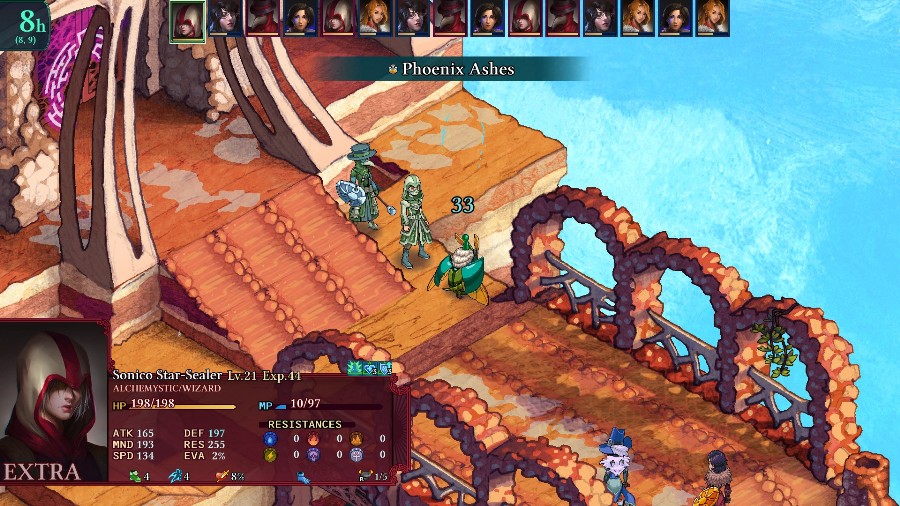 The enemies are also reviving people, getting back one of the Bzil.  After more annoying healing, Kyrie takes advantage of the beam to hit every one of the enemies. 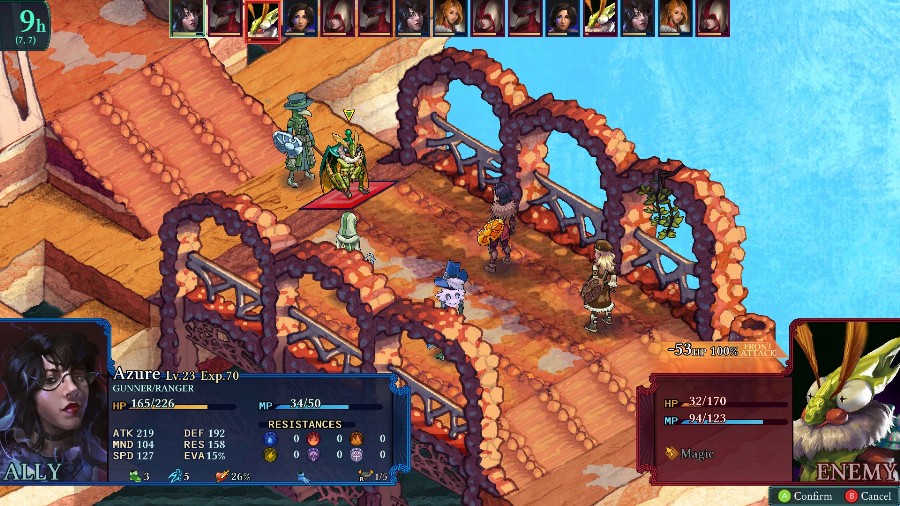 Soon after, Azure kills the Bzil again. After this, there�s just a lot of whacking 2 enemies that keep healing and buffing each other for quite a while. 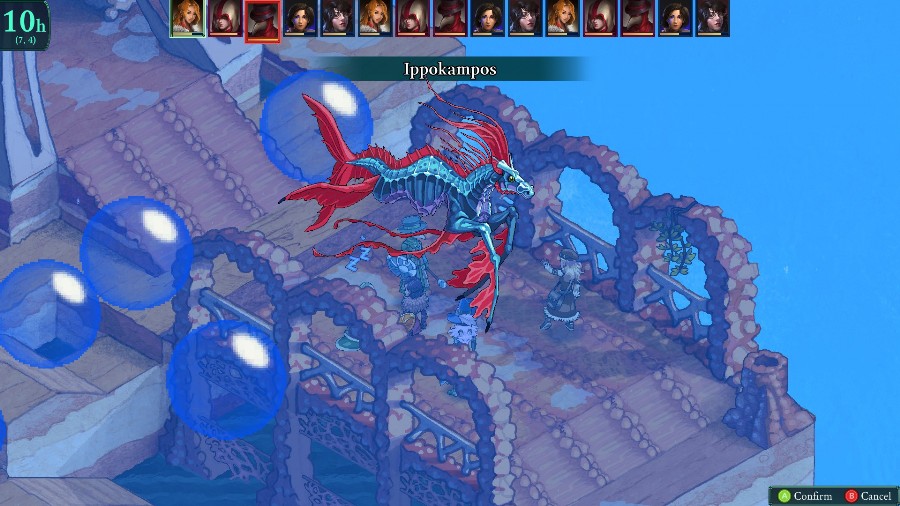 I do get to show another Vessel skill off though.  Eventually Azure is able to kill the Alchemystic again.  And Kyrie kills the Plague Doctor.  Definitely not my best showing. I think I mostly had trouble because so many enemies had Mystic Shield, so I couldn�t thin the field nearly as quickly as I wanted to. Still, I managed to pull it off in the end, so I�m not too miffed. 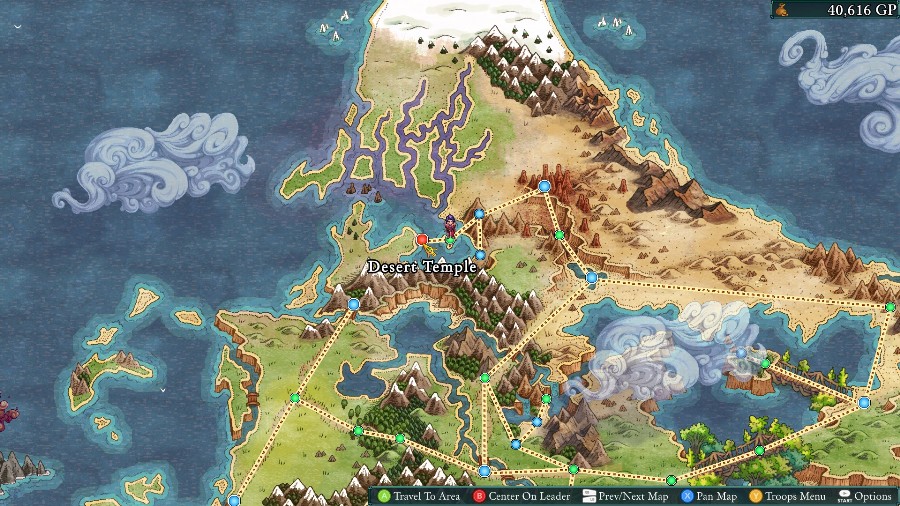 There�s no cutscene afterwards, so we�re just popped right back onto the map. Now that we�ve fought our way to its doors, next time we�ll finally be investigating our third Temple!
|
|
#
?
Jan 10, 2020 14:35
|
|
|
If you have someone drop during a fight, they can't participate in the next because they are wounded - correct me if I am wrong. Assuming that I'm not, can the player go pick a fight in this game's equivalent of a random encounter and then have the wounded character back for an important plot battle? If not, I feel that the game would be encouraging save-scumming to repeat plot battles. Mind you, I'm not sure about this on a practical level. In FFT, random encounters could often be (much) more difficult than story battles, but in this game I don't recall seeing enough of them to judge them next to story encounters.
|
|
#
?
Jan 10, 2020 16:29
|
|
|
JustJeff88 posted:If you have someone drop during a fight, they can't participate in the next because they are wounded - correct me if I am wrong. Assuming that I'm not, can the player go pick a fight in this game's equivalent of a random encounter and then have the wounded character back for an important plot battle? If not, I feel that the game would be encouraging save-scumming to repeat plot battles. You�re totally correct that you can just go and do a random encounter to let your people heal, which explains how I�ve had Sophia in so much despite her going down semi-often. As for the difficulty of the patrols, I find that they vary pretty dramatically depending on the place. Sometimes they�re significantly easier, like in the restful stones where the enemy party is mostly replaced by zombies. On the other hand, I find places like Oldebzar and ZZakander Spires to be way harder as patrols because you lose the easy out of their story win condition, but still have to deal with a generally disadvantageous map. And then some of them are essentially just retreads of the story battle, with similar enemy setups to the original fight. Personally, I usually run a fight or 2 between story missions just to keep everyone caught up. Just due to the big party I rarely purposely delay the story fights to heal a specific person, I�m just more often limited by whoever fell in the last off-screen fight.
|
|
#
?
Jan 10, 2020 16:48
|
|
|
OOrochi posted:You�re totally correct that you can just go and do a random encounter to let your people heal, which explains how I�ve had Sophia in so much despite her going down semi-often. IMO this trivializes the heal mechanic to the level of pointlessness. OOrochi posted:As for the difficulty of the patrols, I find that they vary pretty dramatically depending on the place. ...they are level-locked by place, in addition to the map being generous or not.
|
|
#
?
Jan 10, 2020 19:19
|
|

|
ulmont posted:IMO this trivializes the heal mechanic to the level of pointlessness. I genuinely can't disagree with you, but I personally would rather have it this way because I *know* that the alternative would royally piss me off.
|
|
#
?
Jan 10, 2020 23:07
|
|
|
Yeah I think it's done cause otherwise it's really easy to screw yourself.
|
|
#
?
Jan 10, 2020 23:35
|
|
|
ulmont posted:IMO this trivializes the heal mechanic to the level of pointlessness. JustJeff88 posted:I genuinely can't disagree with you, but I personally would rather have it this way because I *know* that the alternative would royally piss me off. I agree that it's not a big source of difficulty. I'm just a fan of it because it gives you some slight consequences for having someone go down and it encourages you to use more than the same 5 people all game. The best uses of it, IMO, are in the arena tournaments, where you can't go back and heal whoever goes down during them. Really makes me wish there were more sequential battles. ulmont posted:...they are level-locked by place, in addition to the map being generous or not. And you're right, though it does depend on your settings. At least, for all of them other than the beginning few, which have a set low max level to let you train up weak units. I have it set so that there's no max level and everything after Gyaum Tor scales up with me, so the biggest factor in the difficulty for me is just the map.
|
|
#
?
Jan 11, 2020 01:22
|
|
|
OOrochi posted:I agree that it's not a big source of difficulty. I'm just a fan of it because it gives you some slight consequences for having someone go down and it encourages you to use more than the same 5 people all game. I agree with this too, but there is something to be said for the pleasure of developing the same 6-8 characters over the course of a game whose length is 10s of hours. quote:I agree that it's not a big source of difficulty. I'm just a fan of it because it gives you some slight consequences for having someone go down and it encourages you to use more than the same 5 people all game. Also valid, but if the player hasn't been keeping a few extra crew topped up on levels, they'd better be *very* careful to keep clean battles with no casualties.
|
|
#
?
Jan 11, 2020 01:46
|
|
|
JustJeff88 posted:I agree with this too, but there is something to be said for the pleasure of developing the same 6-8 characters over the course of a game whose length is 10s of hours. Oh yeah. There is definitely something to be said for keeping 1 party. I just do that in a ton of other tactics games, so it's nice to actually have a reason to branch out. And for the levels, if worst comes to absolute worst and you absolutely need to bring someone up, you can just run over to the nearest guild hall and hire someone who's the same level as your main party. It's not too expensive, they'll have pretty specialized stats, and will have all of the shared AP that any other character would have.
|
|
#
?
Jan 11, 2020 02:50
|
|
|
BTW is this the last temple we need to hit before Kyrie gets all her Marked skills?
|
|
#
?
Jan 11, 2020 04:33
|
|
|
OOrochi posted:And for the levels, if worst comes to absolute worst and you absolutely need to bring someone up, you can just run over to the nearest guild hall and hire someone who's the same level as your main party. It's not too expensive, they'll have pretty specialized stats, and will have all of the shared AP that any other character would have. loving hell... really?! I had no idea. Unless my memory is *very* bad FFT didn't have this; talk about a (literal) game-changer.
|
|
#
?
Jan 11, 2020 04:39
|
|
|

|
| # ? Apr 25, 2024 22:39 |
|
|
SSNeoman posted:BTW is this the last temple we need to hit before Kyrie gets all her Marked skills? Nope. There's 1 more, a good ways after this. I really have no idea why they only gated the class itself and 1 skill behind the relics. It seems to me that, at least story-wise, they should've been tied in a bit more closely with the relics themselves.
|
|
#
?
Jan 11, 2020 04:51
|
|