


|
OOrochi posted:Me too. I think it helps a lot that only a few classes actually have skills to cure them and even fewer are able to cure multiple people at once. Also that there are very few skills that just inflict a status effect, so there�s not much of an opportunity cost to trying. And lastly they all seem to be at least doubled in strength compared to most other games (I.e. poison does 20% instead of the typical 10%, the stat debuts are all 20-25% instead of like 10-15%). Your update speed is bloody impressive, by the way. I know that you aren't writing all of your own dialogue like some do, but it's still very impressive - mazel tov. It helps me stay immersed when new chapters come out so often.
|
 #
?
Jan 27, 2020 23:59
#
?
Jan 27, 2020 23:59
|
|


|

|
| # ? Apr 25, 2024 05:20 |
|
|
JustJeff88 posted:Your update speed is bloody impressive, by the way. I know that you aren't writing all of your own dialogue like some do, but it's still very impressive - mazel tov. It helps me stay immersed when new chapters come out so often. Thanks! I'm just glad that people are enjoying them. It helps a lot that I don't have to do that much editing or writing of my own. Also, I discovered that at some point they raised the max enemy stat scaling in the difficulty settings from +10% to +50%. I'm just saying now that I'll be sticking with +10% for the hard fight because I am nowhere near good enough at breaking the game to deal with that huge a stat bonus. Everything else will be at the max setting though.
|
|
#
?
Jan 28, 2020 03:01
|
|

|
Update 36: Gelligh II Welcome back! Last time we fought a bunch of monsters on the high seas and then debated about what would happen to Kajta when we returned to Illuster. This time, we�ll be returning to Gelligh on our way to the final Temple. 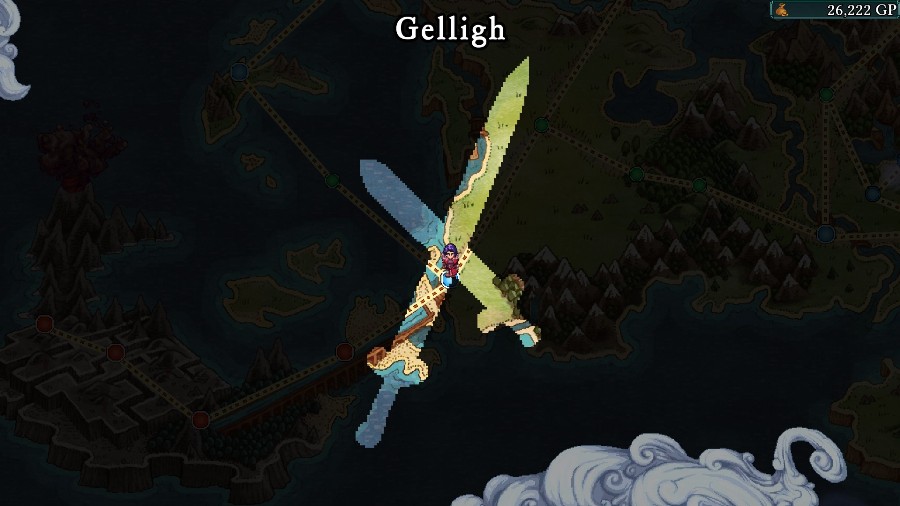 When we approach Gelligh, we�re suddenly thrown into a battle screen. 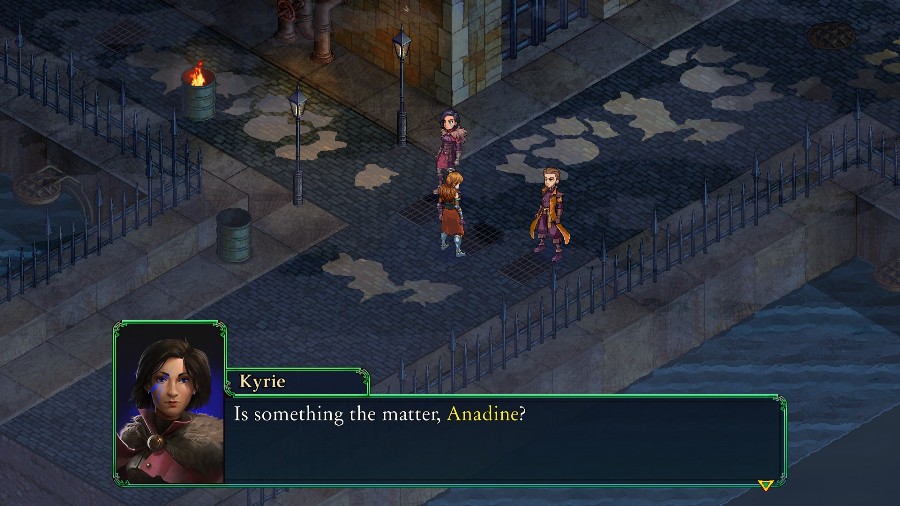 We come in on the party standing in the streets of Gelligh.  Oh. No. Oh. No. It�s just that this place brings back a lot of memories. It�s just that this place brings back a lot of memories. A lot has happened since we were last here. So much has changed. I remember thinking how it felt so lively, even in the middle of the night. With all the new excitement in our lives, it seems very quiet now. A lot has happened since we were last here. So much has changed. I remember thinking how it felt so lively, even in the middle of the night. With all the new excitement in our lives, it seems very quiet now. It IS very quiet tonight. It IS very quiet tonight. And as if on cue, a ton of smoke bombs go off.  Revealing a bunch of Assassins and a Werewolf!  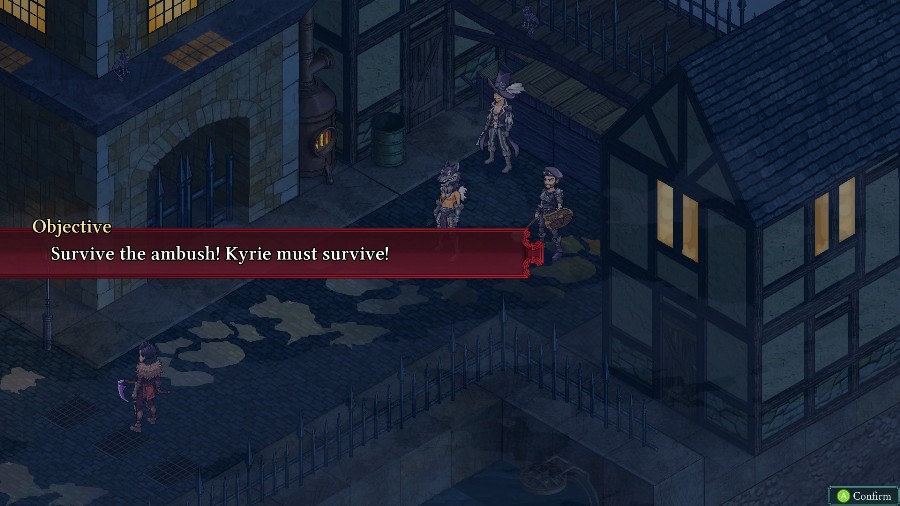 Now we�re put into the battle screen proper. This one is pretty simple, for now we just have to make sure Kyrie survives. 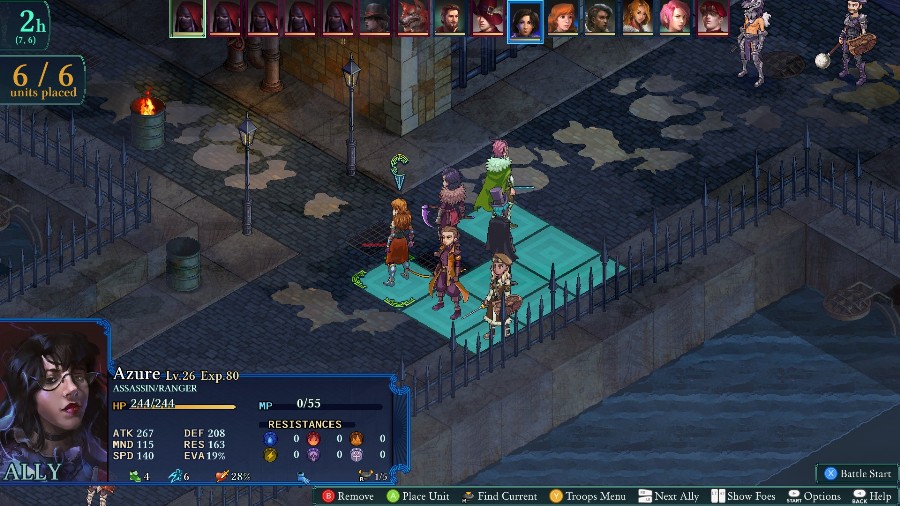 This fight is a pretty tough one. Enemies start on 3 sides of you and are all fast and hit hard. You need to be able to force your way down one of the paths to give yourself some breathing room to deal with the other enemies. To that end, I�m brining a lot of quick damage with Anadine, Hannah, Reiner, and Selina, and then Sophia to support and deal damage as needed.  Against us, we have 2 melee Assassins and a floating Vampire with a bow, 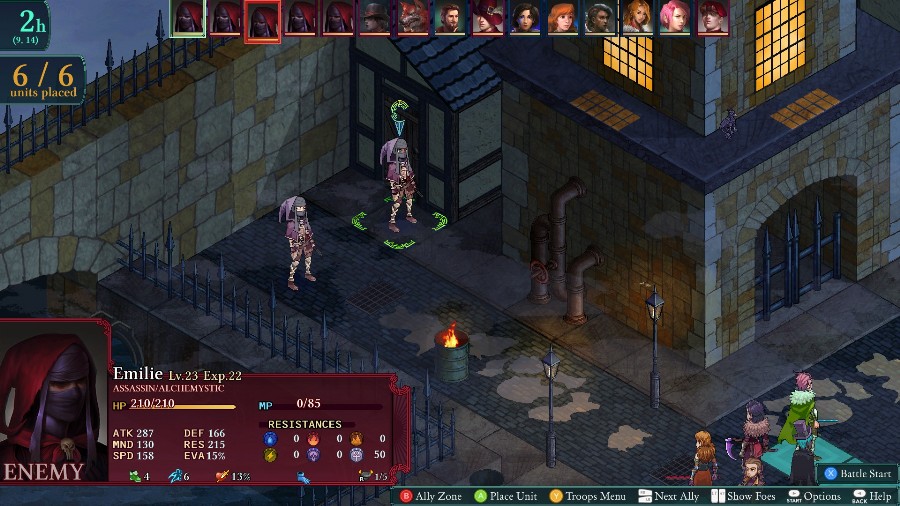 On the side path we have another 2 melee Assassins, 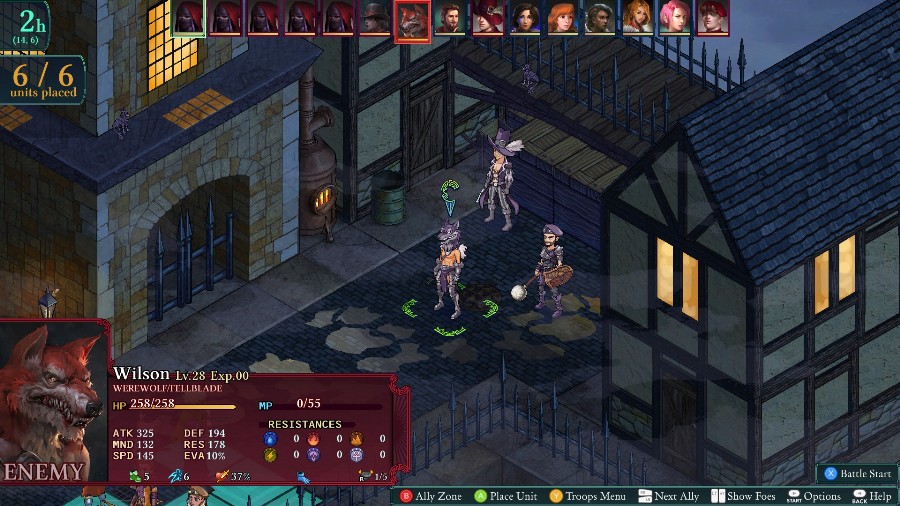 And then up the other end we have a Werewolf, Gunner, and Mercenary. Most of the Assassins are dual wielding, so they will hit quite hard, and their weapons give them a solid chance of inflicting a status effect. My strategy this time is going to be to move towards the 2 Assassins and Vampire. It�s a little harder to fight through, but makes it so that the other enemies have to converge and I�m not dealing with enemies on both sides as I try to move in. 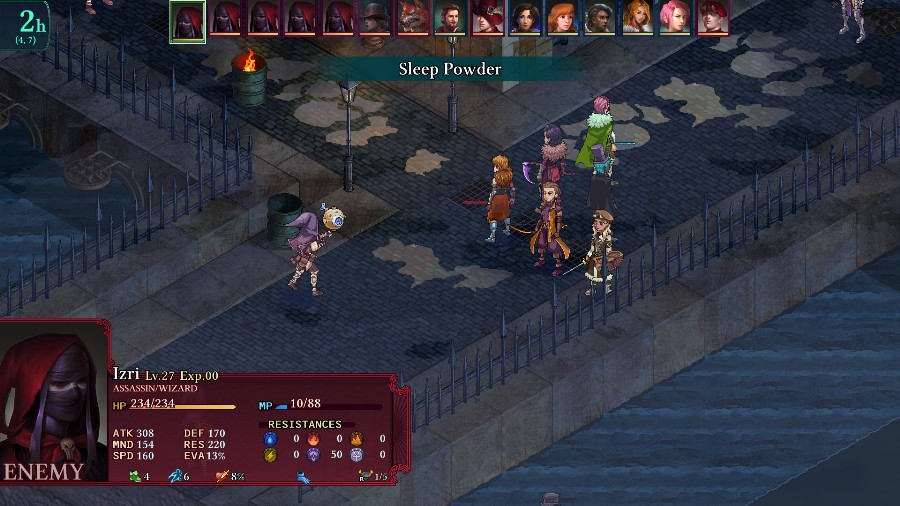 Naturally, as you can see, almost all of the enemies are waaaaay faster than I am, so I have to endure a decent barrage of attacks before making a move. First, an Assassin puts Anadine to sleep. 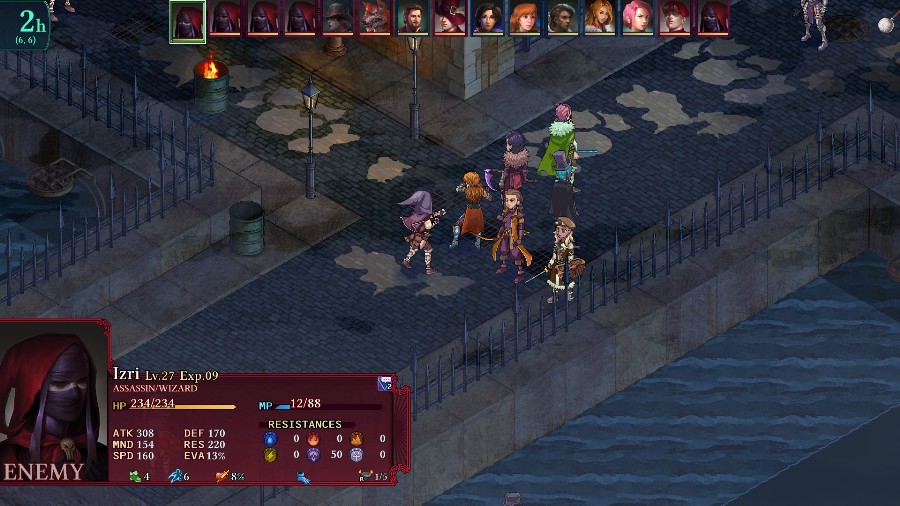 Then, because that first turn was thanks to the Initiative passive, that same Assassin runs up and stabs the sleeping Anadine for over half of her health. 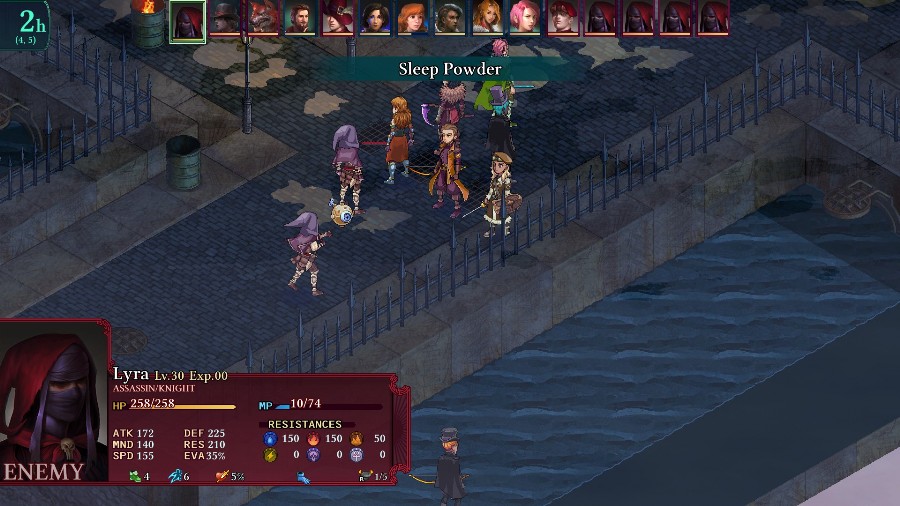 The two upper Assassins buff up and move towards me, while the remaining southern one comes and puts Anadine to sleep again. Thankfully, though Reiner and Sophia are in the AOE, they dodge both the damage and the sleep effect. 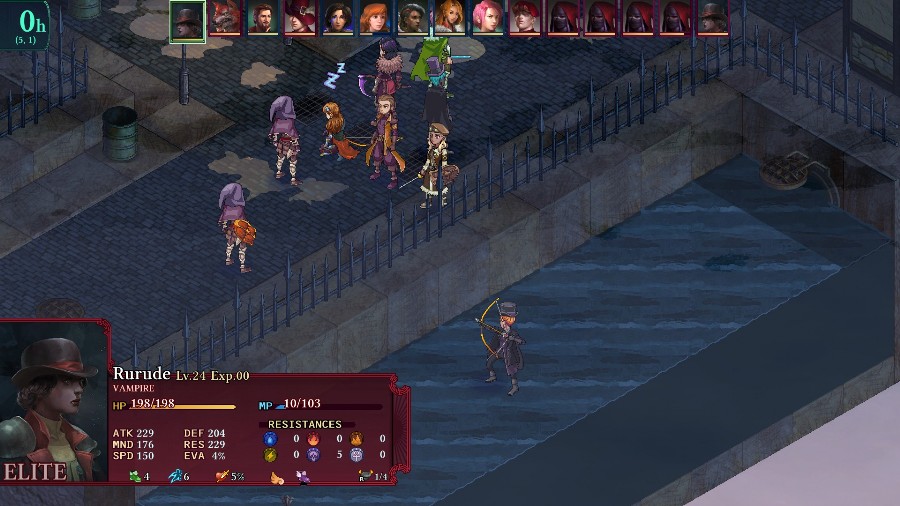 The Vampire takes a potshot at Sophia, which misses as well. 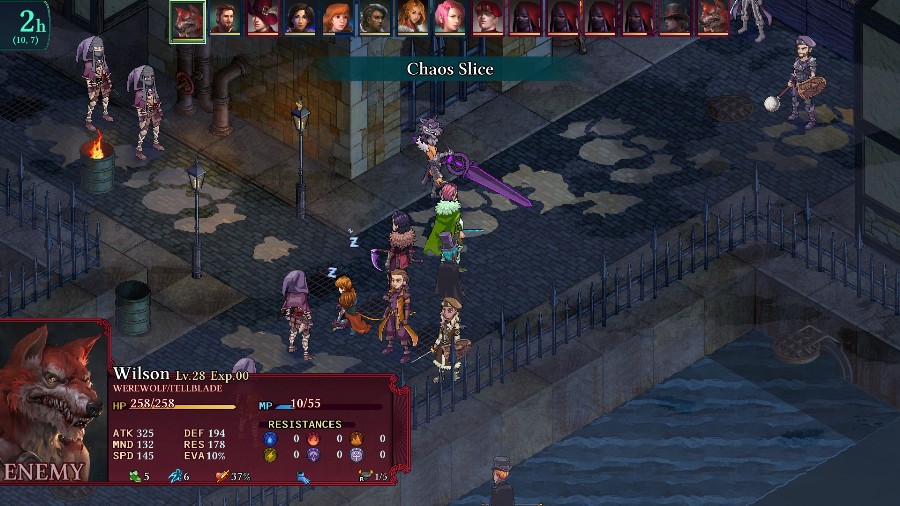 And then to round things off, the Werewolf reaches Hannah and hits for a good bit of damage and makes her bleed. She does retaliate with a cripple, which at least prevents him from using any more skills. 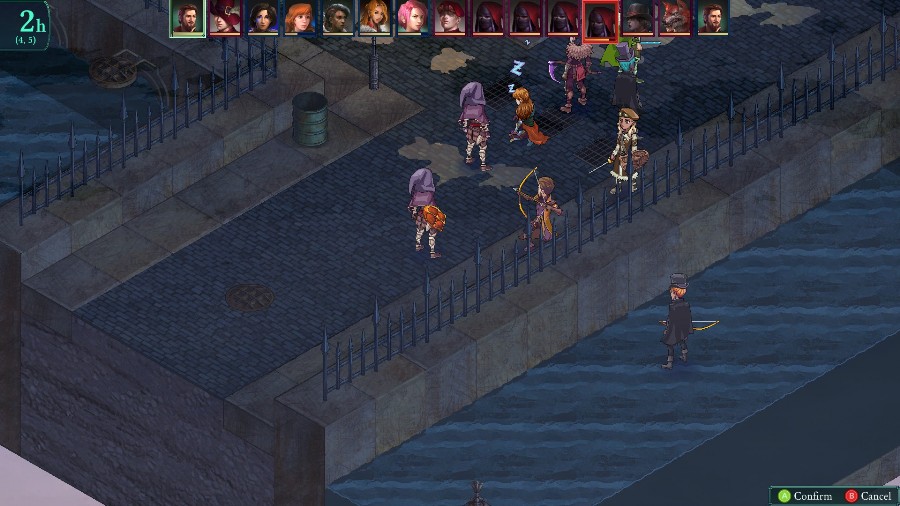 For my first move, Reiner softens up the lower Assassin. 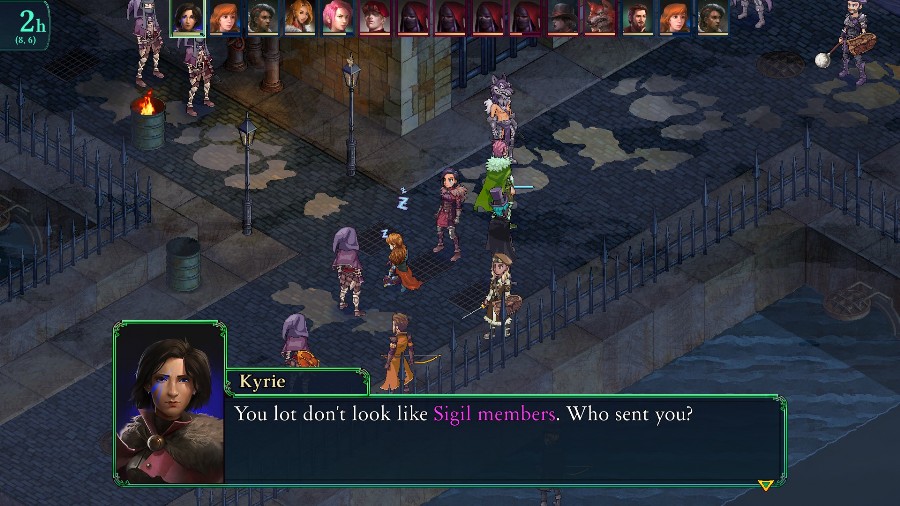 And on Kyrie�s turn she starts talking with the enemy.  As if you don�t already know! Even now you travel to Illuster to stir up trouble for our master, isn�t that right? But you�ll need to get through us first. As if you don�t already know! Even now you travel to Illuster to stir up trouble for our master, isn�t that right? But you�ll need to get through us first. � �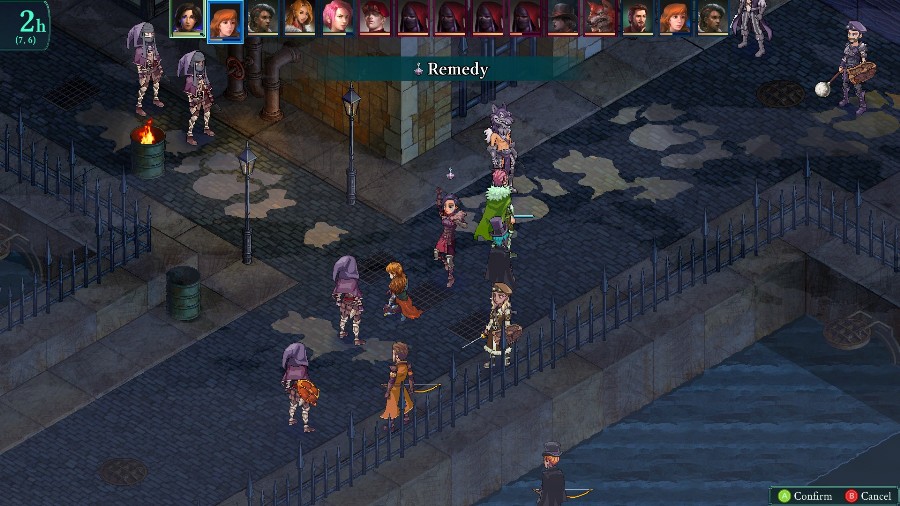 Kyrie then uses her turn to wake Anadine up and then retreat south east. You see, the enemy screwed up by leaving Anadine low on health. Especially because the Assassins are relatively fragile.  Thanks to her passives, Anadine can 1 shot this Assassin. 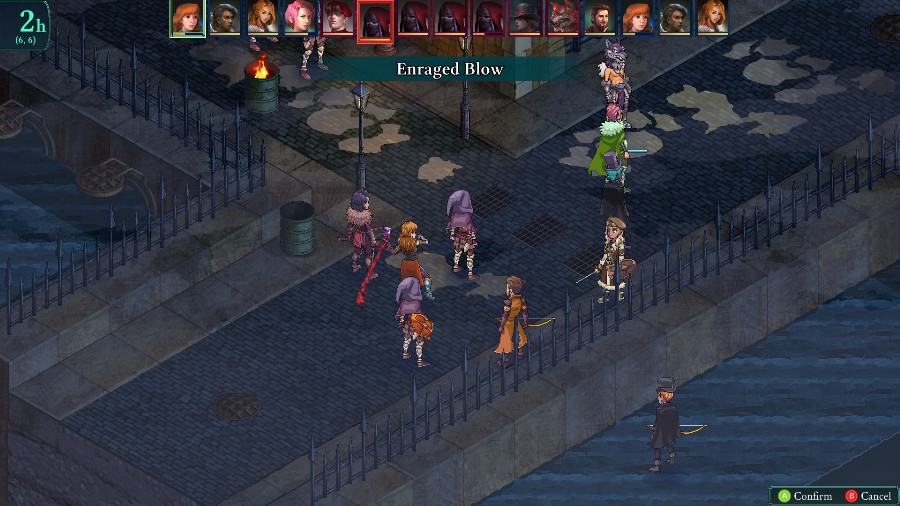 Which she does. 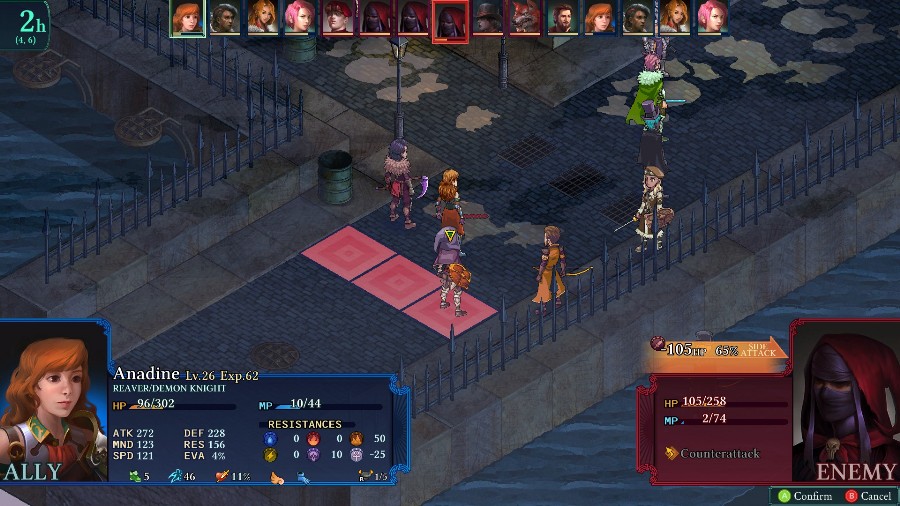 And then, because I am a tactical genius, I decide to have Anadine try and hit this guy from the front to kill him. It doesn�t work, though failing a 65% chance isn�t horrible. I have Selina follow Anadine down and heal her a bit so the Gunner can�t easily kill her. 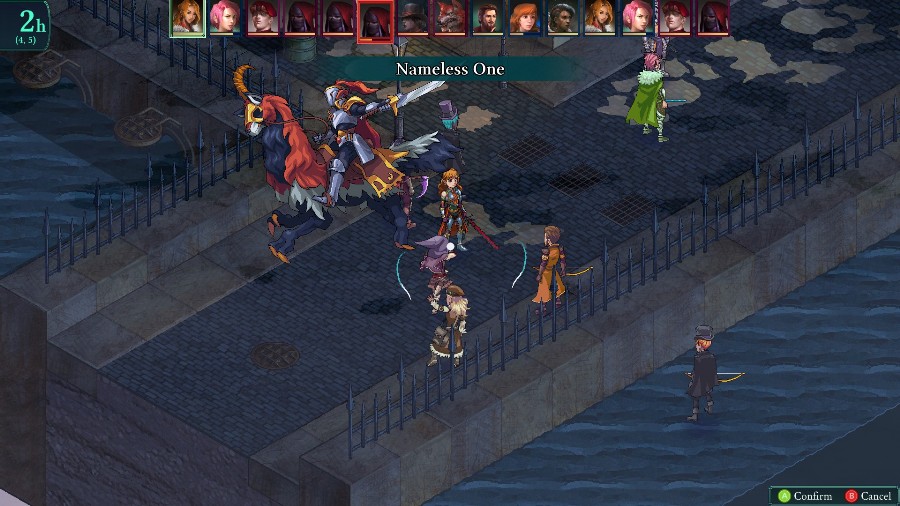 Sophia hits the Assassin with some damage.  And then Hannah finishes him off with the guaranteed damage from a rock. 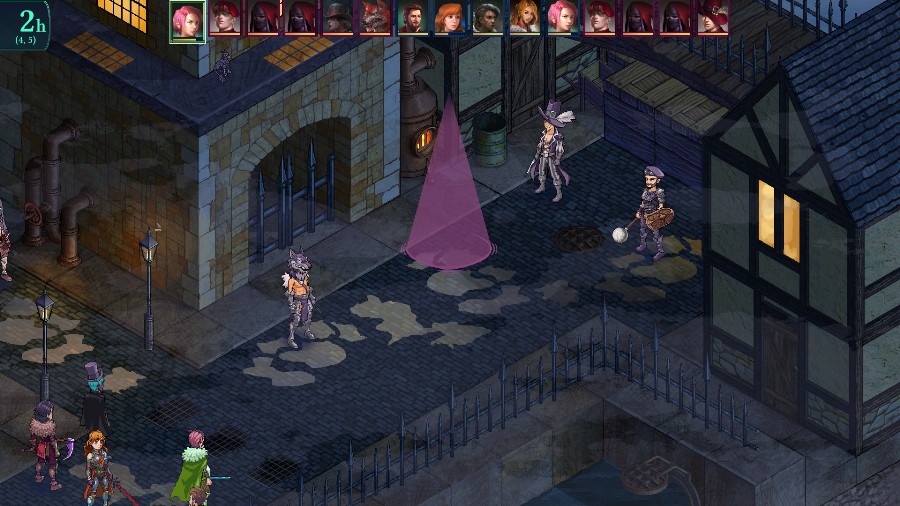 At which point a teleport circle appears 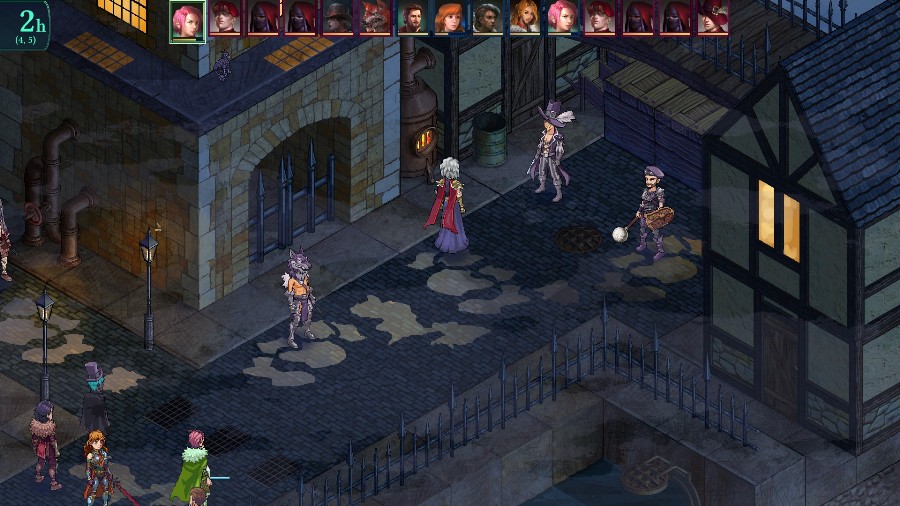 And out pops our favorite Immortal, Septimus! 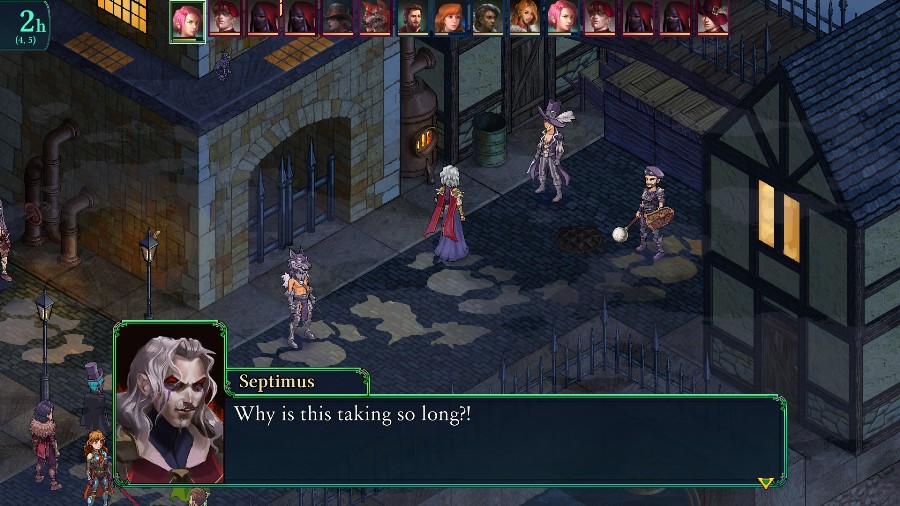  Please Master, you need not trouble yourself! We have them exactly where we want them. Almost. Please Master, you need not trouble yourself! We have them exactly where we want them. Almost.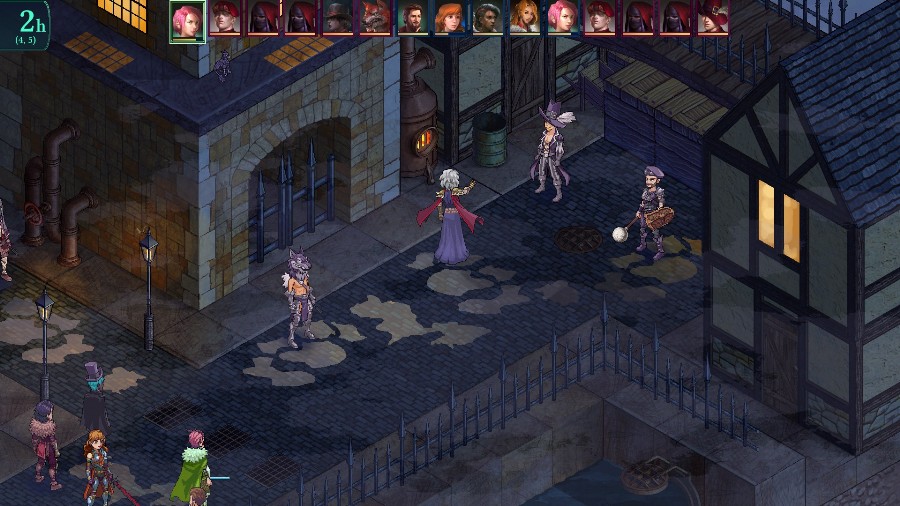 Septimus throws out a hand to stop him from talking further.  Must I always be surrounded by fools?! Must I always be surrounded by fools?! Septimus! Are you taking up arms against us? Immortals are strictly prohibited from using their powers without Council approval. You know your peers won�t stand for this. Won�t they? You and your gang will be reduced to dust so swiftly, I�ll be back in time for the Council session discussing this very disturbance! Septimus! Are you taking up arms against us? Immortals are strictly prohibited from using their powers without Council approval. You know your peers won�t stand for this. Won�t they? You and your gang will be reduced to dust so swiftly, I�ll be back in time for the Council session discussing this very disturbance! Threats are quite cheap, I�ve found. Facing an Immortal is not going to be easy. Everyone get ready! Threats are quite cheap, I�ve found. Facing an Immortal is not going to be easy. Everyone get ready!At which point Septimus himself slots into the turn order. It�s also not stated, but the objective of the fight is now possible: Defeat Septimus. He�s quite powerful, with a mix of Fellblade abilities and then a unique Immortal class that�s very similar to the Vampire class. He�s not quite Alphonse levels of relative difficulty, but he can definitely make your party hurt. 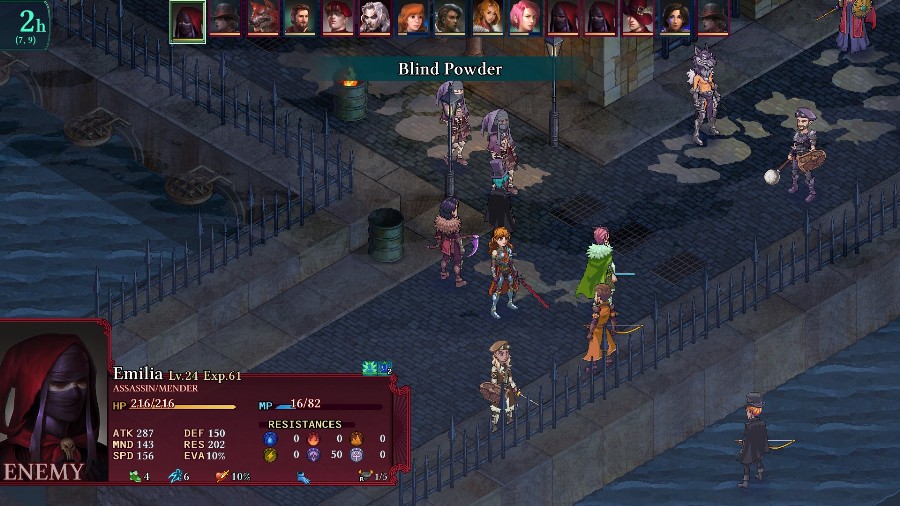 Afterwards, the 2 Assassins blind Anadine 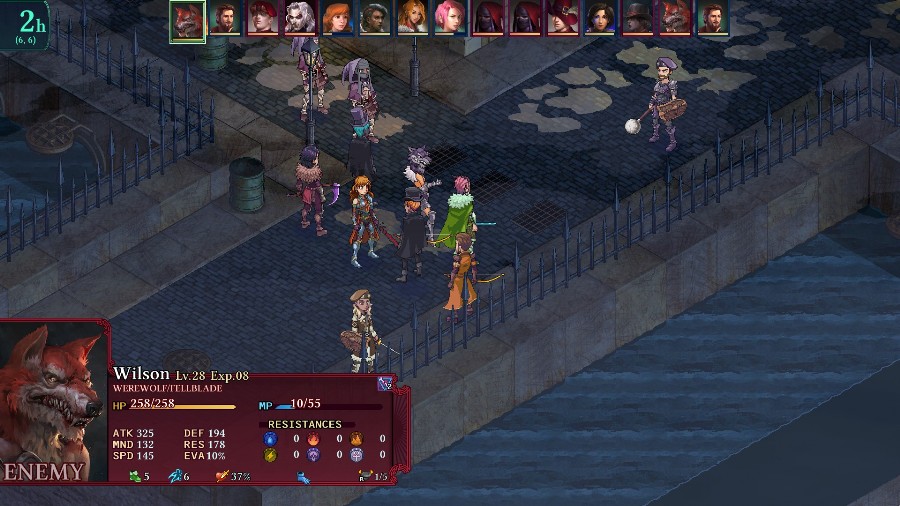 And the Werewolf and Vampire go after Hannah. 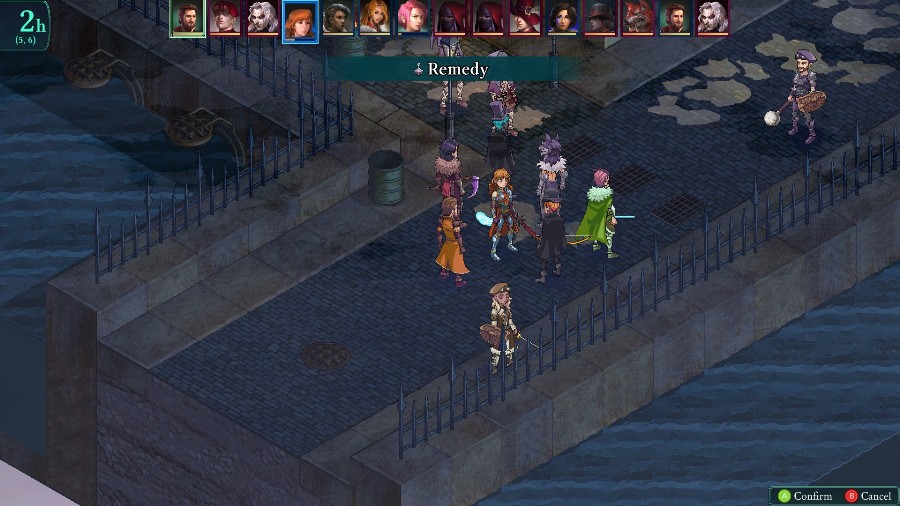 On his turn, I have Reiner cure Anadine�s status�s once again. The mercenary also comes over takes out the very weakened Hannah. 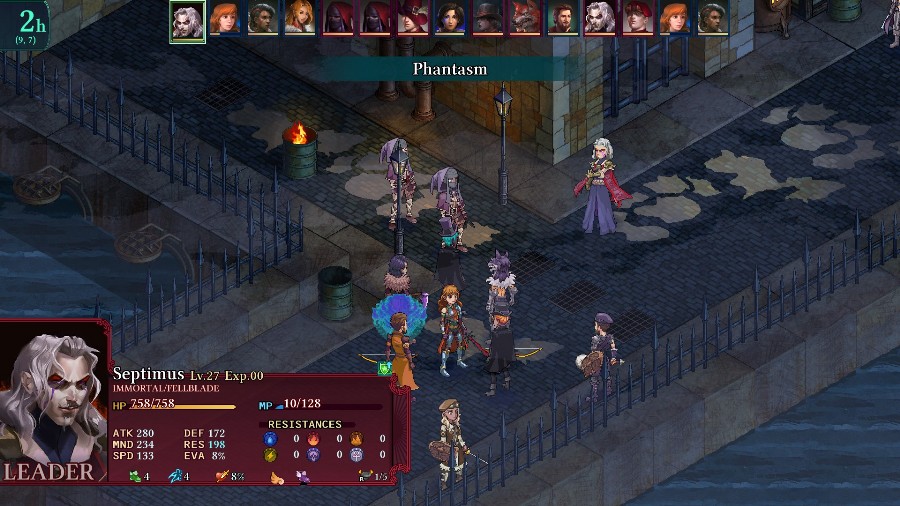 And Septimus uses his first move to debuff Kyrie�s Mind and Res. 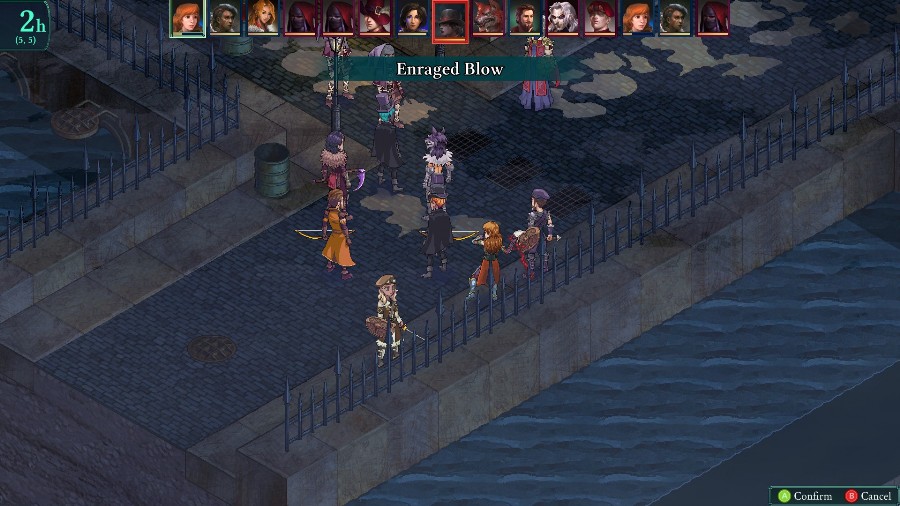 And now, on Anadine�s turn she goes behind the Vampire and 1 shots them. 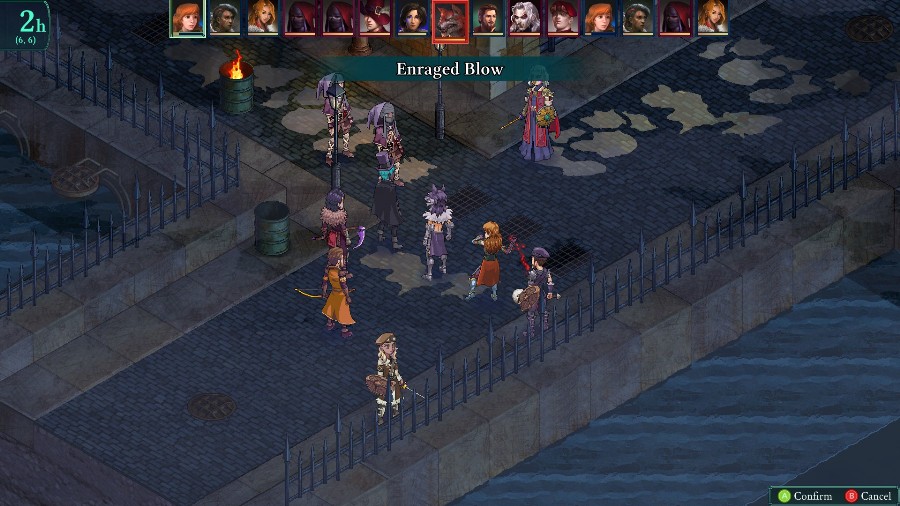 And then does the same to the Werewolf.  Sophia then heals her because Anadine would go down if an enemy looked at her funny right now. 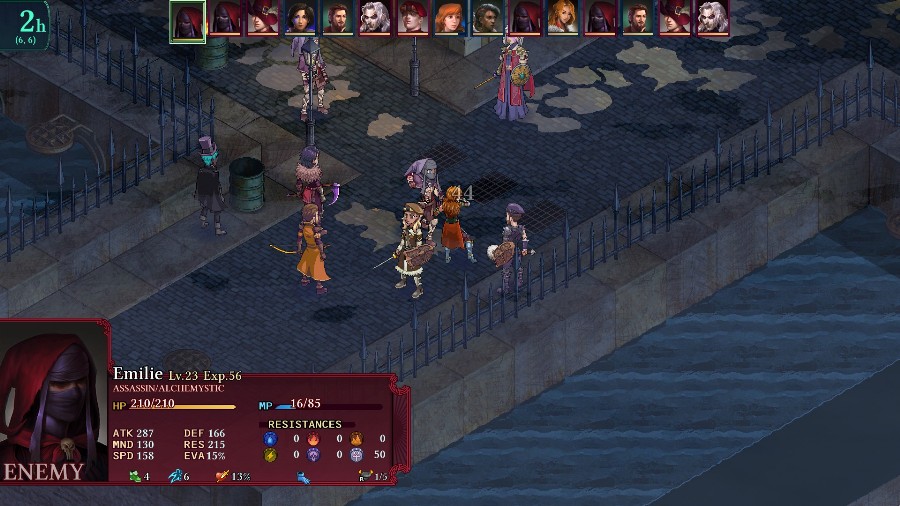 Which was good because one Assassin comes up and stabs her, while the other puts Sophia to sleep. 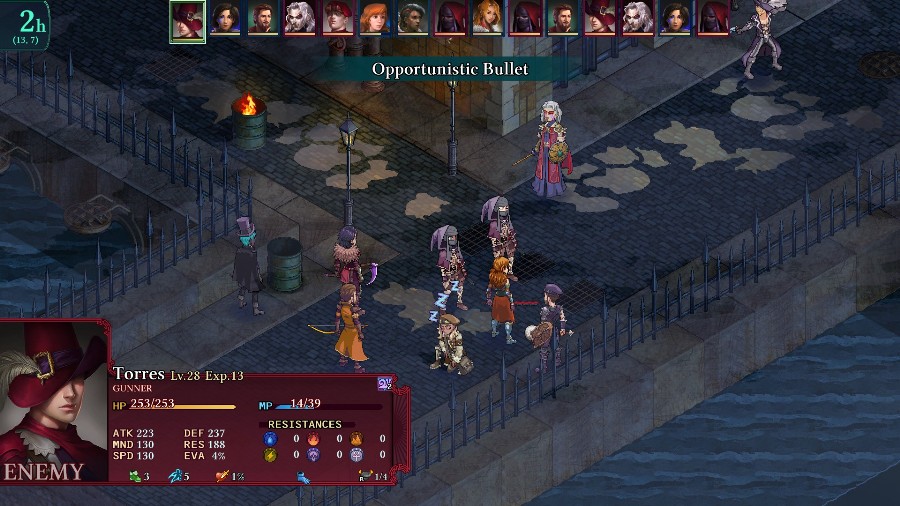 Meanwhile the Gunner takes advantage of Kyrie�s debuffs to deal over half of her health in damage. 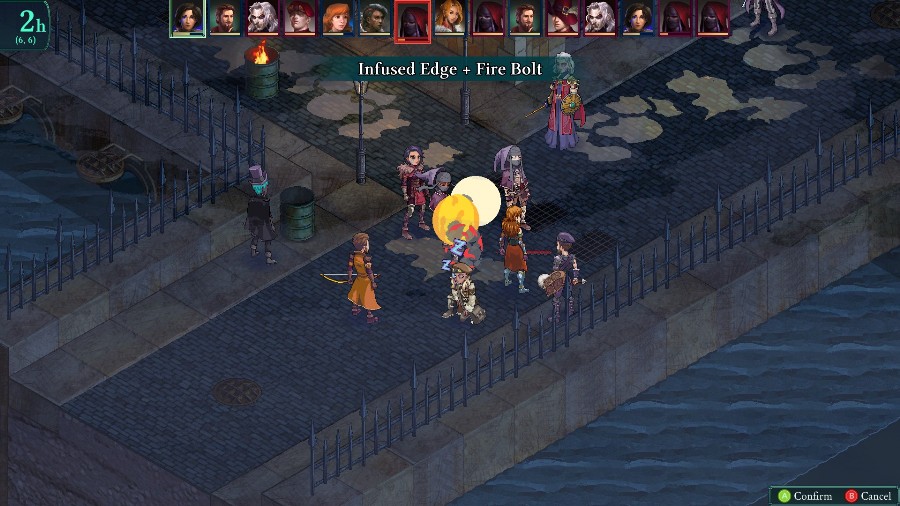 Kyrie responds by critting on the regular attack portion of this, thus killing the Assassin outright.  Septimus teleports behind Kyrie, poisons her, and leaves her very much in 1 shot range. Thankfully, the merc was rooted by Reiner, so he just whacks Anadine instead of killing Kyrie. 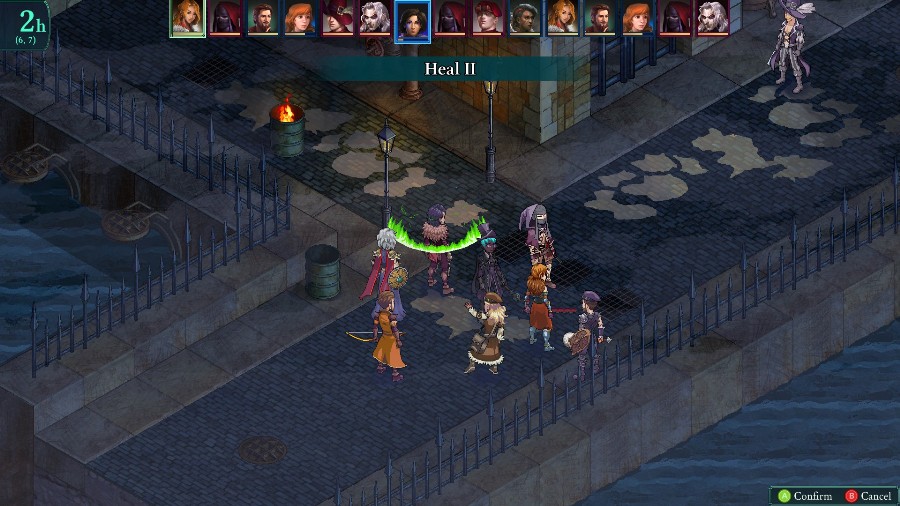 Selina wakes Sophia up, who heals Kyrie to ensure I don�t lose. 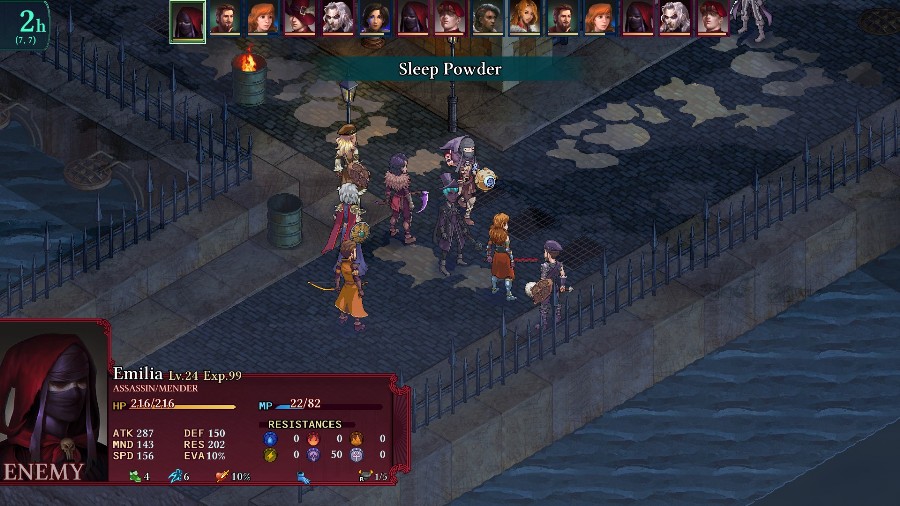 Though the Assassin takes advantage of my poor positioning to put Sophia and Selina to sleep again. Anadine takes offense to that and takes him out too. 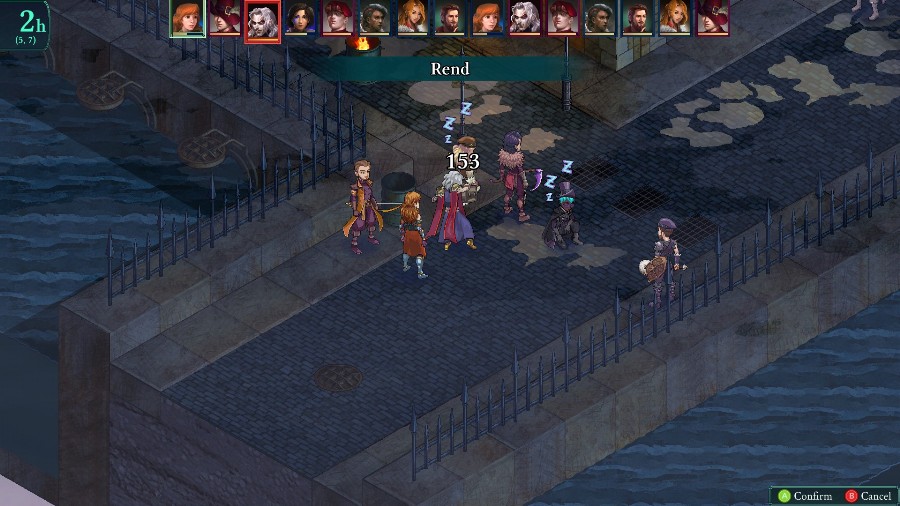 And then she teleports behind Septimus, does some good damage, and debuffs his defense. 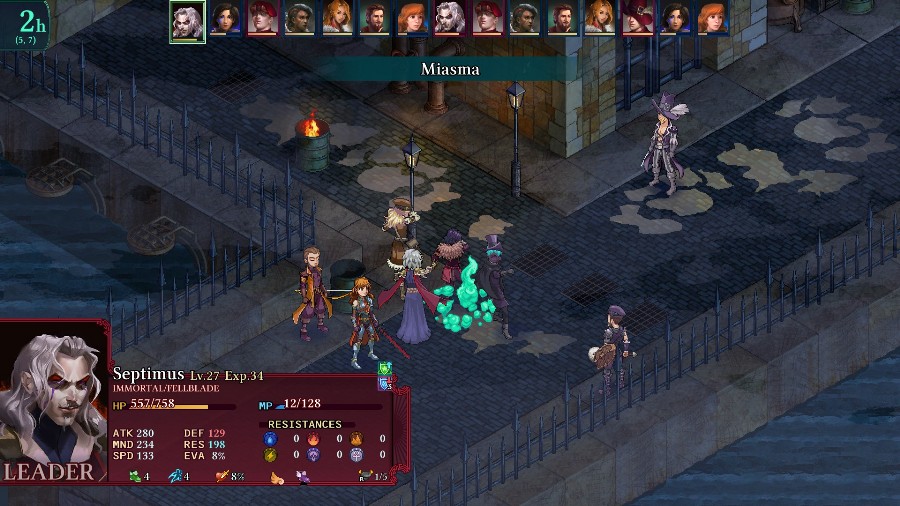 He spreads Kyrie�s debuffs to Selina and Sophia and then teleports away. 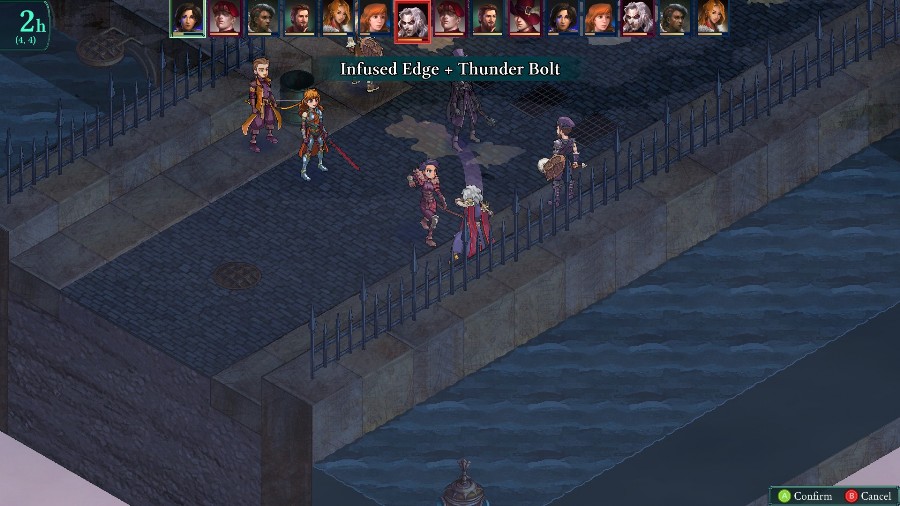 But not far enough to get away from Kyrie  Nor Selina 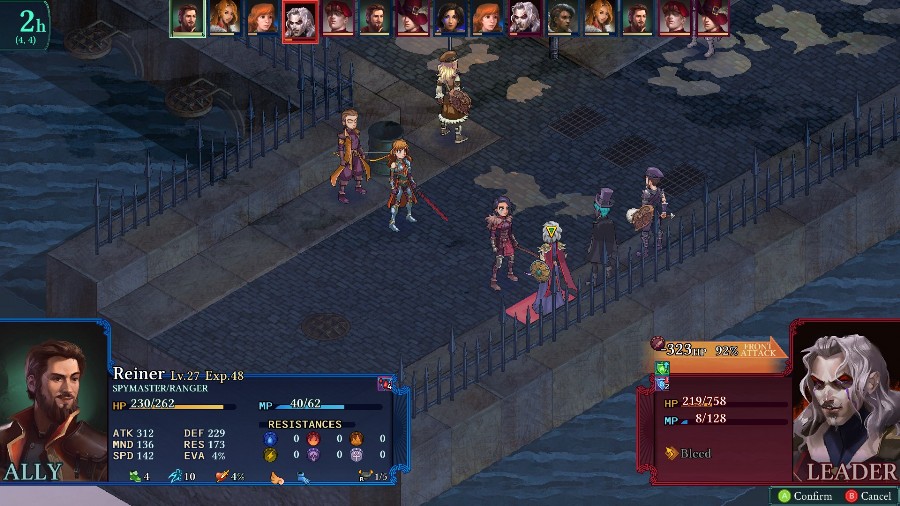 And lastly Reiner is able to finish him off with a Snipe. 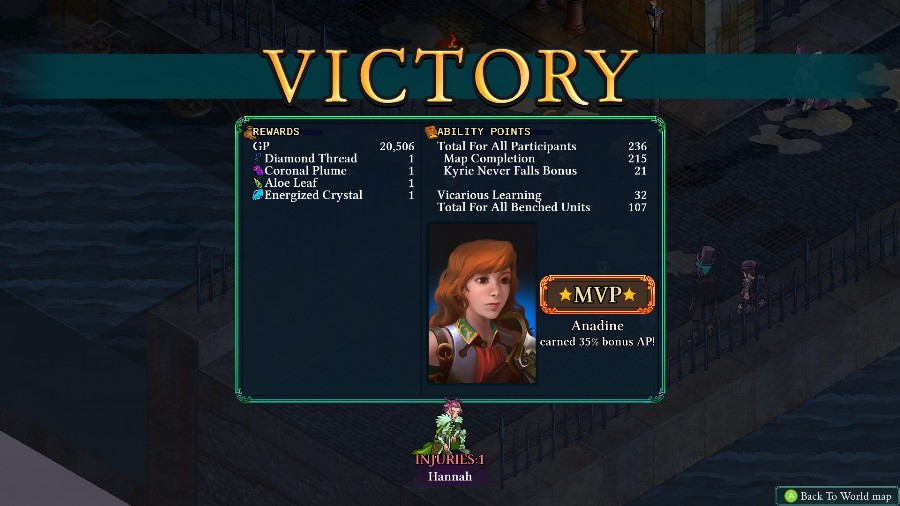 Overall, I�m very happy with how this turned out. It came close at a few points, but only Hannah went down overall, mostly due to Anadine having become death incarnate with the Reaver passives. I also got very lucky that Septimus closed in but didn�t really go for any kills, letting me keep Kyrie up and then take him out relatively easily. In most of my previous playthroughs I had a LOT more trouble with this map than I did this time. 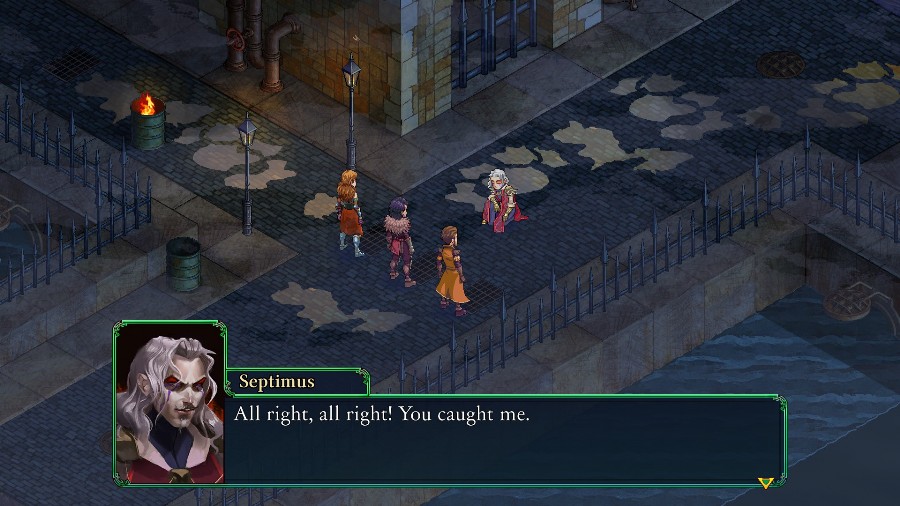 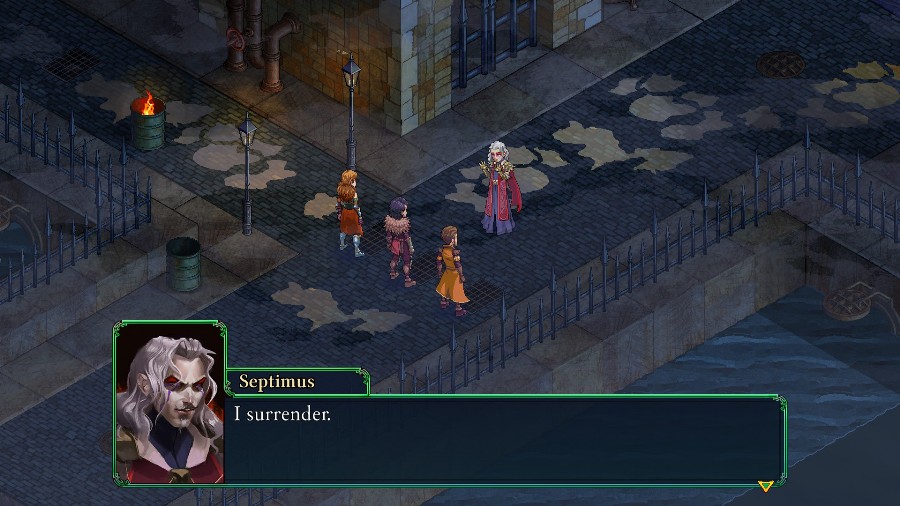 Afterwards, we cut to Septimus admitting defeat. But suddenly two teleport circles appear on either side of him! 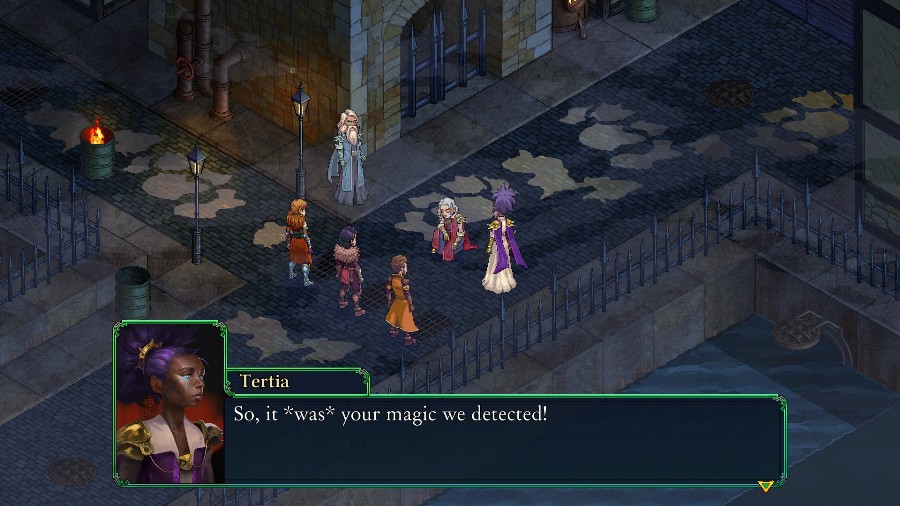  Septimus, we sensed you using Immortal magic without Council approval. Explain yourself. � It was her! She attacked me in town, unprovoked, like a rabid animal! I had no choice but to defend myself. Surely you would not sanction me for that. Septimus, we sensed you using Immortal magic without Council approval. Explain yourself. � It was her! She attacked me in town, unprovoked, like a rabid animal! I had no choice but to defend myself. Surely you would not sanction me for that. I wonder if I understand you correctly. You claim that one of our most stalwart Arbiters came across a member of the Council taking a stroll and decided to attack him, for no reason whatsoever. Is that skepticism in your voice?! How dare you doubt me! Hmm, right. Would you care to speculate as to what would motivate an Arbiter to attack a member of the very Council to which she has sworn her life? What kind of a question is that? How could I guess at this reprobate�s motives! Possibly it�s some side effect of her being Marked. We all know the Pilgrimage is a chaotic time. I wonder if I understand you correctly. You claim that one of our most stalwart Arbiters came across a member of the Council taking a stroll and decided to attack him, for no reason whatsoever. Is that skepticism in your voice?! How dare you doubt me! Hmm, right. Would you care to speculate as to what would motivate an Arbiter to attack a member of the very Council to which she has sworn her life? What kind of a question is that? How could I guess at this reprobate�s motives! Possibly it�s some side effect of her being Marked. We all know the Pilgrimage is a chaotic time.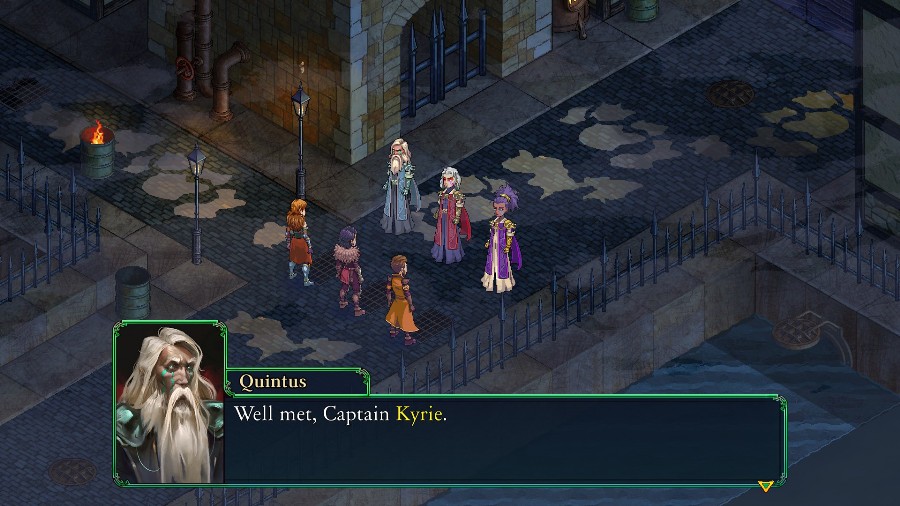 At which point the Immortals turn and actually address Kyrie. Quintus, Tertia. Would you please share your version of this troubling event? Of course. We were on the last leg of the Pilgrimage, on our way to Gogombob City, when we were ambushed. We had eliminated a few of the assassins and the tide had begun to turn our way, when Septimus appeared. He complained that his lackeys were taking too long, and joined the fray himself. As you can see, he failed. What despicable lies! Better for you to confess, Arbiter. My integrity- Septimus! You know the protocol for these proceedings. You had your say, now let the Captain speak. � That is a grievous accusation, Kyrie. What reasons could drive Septimus to attempt you murder you and your team? A fair question, Quintus. During our recent travels, we discovered that bandits who had sacked a number of towns in the region were working hand-in-hand with Arbiters. We later learned they were taking their marching order directly from Septimus. I myself was present and witnessed as much with my own eyes. He was willing to do anything in his power to ensure this information never reached the Council. Nonsense! Lies! All of it. These are very serious claims, Kyrie. This cannot be decided solely on the testimony of an Arbiter, especially when the other party is an Immortal. The Council will investigate the claims on both sides and render a judgment. Considering the gravity of the matter it may take quite a long while to come to a decision. But until a conclusion is reached, you will resume your Pilgrimage. I understand. I would also like to report our findings about the Relics. We uncovered a plot by Sigil to drain the- Primus already told us all about it. Have no worries. I see.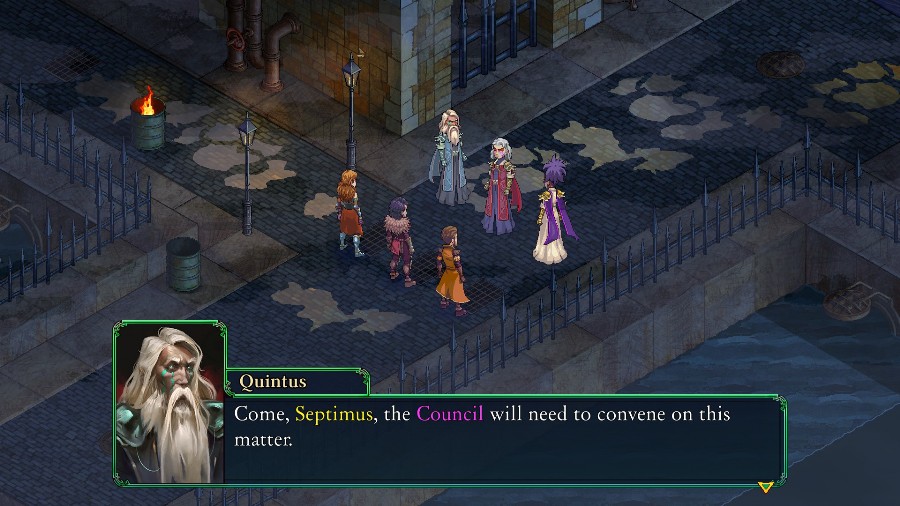  And the Immortals teleport out.   Not a bad result, all things considered. Simply surviving an assault from an Immortal is a small miracle in itself, but walking away afterwards with the Council�s blessing tops even that. I don�t understand. Quintus made it clear they wouldn�t trust our word against Septimus�s. And yet� they�re just letting us go? A child could see Septimus was lying, and badly, but obviously the Council can�t punish him based on nothing but our word. But why let us go? Quintus made it clear the Council�s deliberations would be quite lengthy. Giving us ample time to complete the Pilgrimage. Once the Pilgrimage is complete, Kyrie can be selected as an Immortal. Then it will be the word of one Immortal against another, and since we are in the right, justice will prevail. Not a bad result, all things considered. Simply surviving an assault from an Immortal is a small miracle in itself, but walking away afterwards with the Council�s blessing tops even that. I don�t understand. Quintus made it clear they wouldn�t trust our word against Septimus�s. And yet� they�re just letting us go? A child could see Septimus was lying, and badly, but obviously the Council can�t punish him based on nothing but our word. But why let us go? Quintus made it clear the Council�s deliberations would be quite lengthy. Giving us ample time to complete the Pilgrimage. Once the Pilgrimage is complete, Kyrie can be selected as an Immortal. Then it will be the word of one Immortal against another, and since we are in the right, justice will prevail. You two are so capable in these thorny situations, so wise. You two are so capable in these thorny situations, so wise. I wonder, will I ever become so adept� I wonder, will I ever become so adept� Ha! You�ve a few more years yet to catch up. More experience is all that�s needed. Trust me, I know of what I speak. Come, we should be as quick about this as possible. Let�s go. Ha! You�ve a few more years yet to catch up. More experience is all that�s needed. Trust me, I know of what I speak. Come, we should be as quick about this as possible. Let�s go.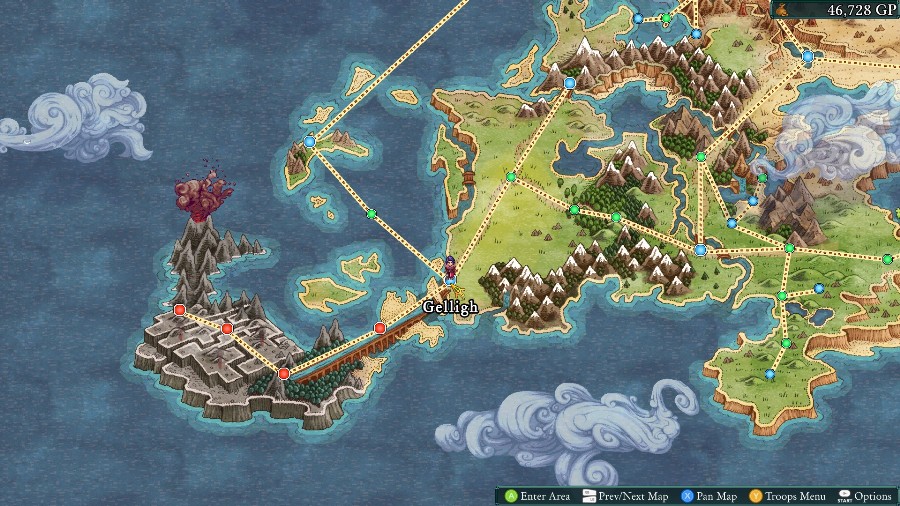 And we�re popped out to the world map, with a whole new section revealed. Next time we�ll start heading down that path towards our final Temple!
|
|
#
?
Jan 31, 2020 14:00
|
|
|
I can honestly say I didn't expect that. drat we're already pounding Immortals into the dirt.
|
|
#
?
Jan 31, 2020 15:04
|
|


|
I'm a bit surprised as well. Then again, Septimus certainly wasn't depicted as a criminal mastermind so his shelf life was always limited
|
|
#
?
Jan 31, 2020 15:52
|
|

|
Reiner really came off as a cocky bastard with that last line. On another note... many of you might disagree, but one small disappointment that I have with this game is that the max party size doesn't seem to growing as the game's plot advances. I know that FFT didn't do this due to technical limitations, but LUCT did and I had hoped to see that became a firm "thing" in this game as well. The reason that I like seeing a growing party limit is that, as the player becomes more familiar with the game and more classes and such become available, it allows one to see and experiment with more tactics and combinations to find clever manoeuvres and synergies, all while making battles feel more epic as we get closer to the dramatic finale. OOrochi might not want to talk about that for various reasons, including possible spoilers, but I thought that this game was going to evolve in that direction.
|
|
#
?
Jan 31, 2020 16:53
|
|
|
JustJeff88 posted:Party battle size talk Nah, I don't mind it. As far as I know, the game does just stick with 6 as the typical party size, though a few fights do pop up to 8 or down below 6. I would have liked to see larger missions from time to time, though with the easy access to map-wide attacks they might be semi-easily cheesed. Still, they'd definitely provide a good bit of variety.
|
|
#
?
Feb 1, 2020 04:09
|
|
|
It's kind of a necessary evil to keep game balance somewhat sane.
|
|
#
?
Feb 1, 2020 04:12
|
|
|
Yeah, I think the real issue, at least for this game, would be the easy access to map-wide attacks. Above a certain size, it wouldn't be too hard to just have like 3-4 casters and enough supports to just explode every enemy at once.
|
|
#
?
Feb 1, 2020 04:14
|
|
|
LUTC pulls it off, but it's apples and oranges. Also, that game has more of an emphasis on single-target damage than AoE. There is an active LUTC LP if anyone wants to read it alongside this one. It's just updated very infrequently because the post-game is incredible in terms of story but impossibly grindy. One LPer originally LPd one of the game's main paths, then passed the post-game off to "waah" who has been updating every some months. I don't want to spoil anything for anyone, but it's genuinely remarkable.
|
|
#
?
Feb 1, 2020 06:09
|
|
|
Update 37: Bardvig Aqueduct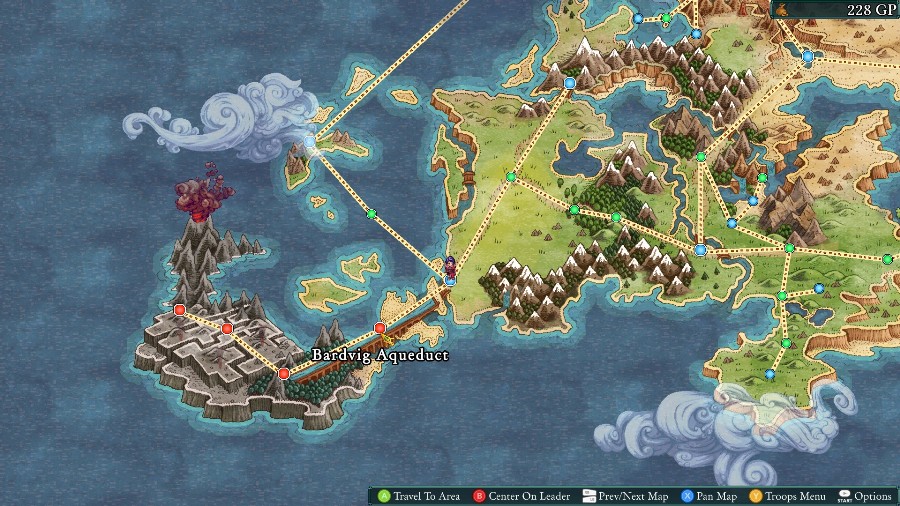 Welcome back! Last time we beat up an immortal god king in a street brawl. This time we�ll be wlking alongside a biiiiig Aqueduct that�s also a bridge. 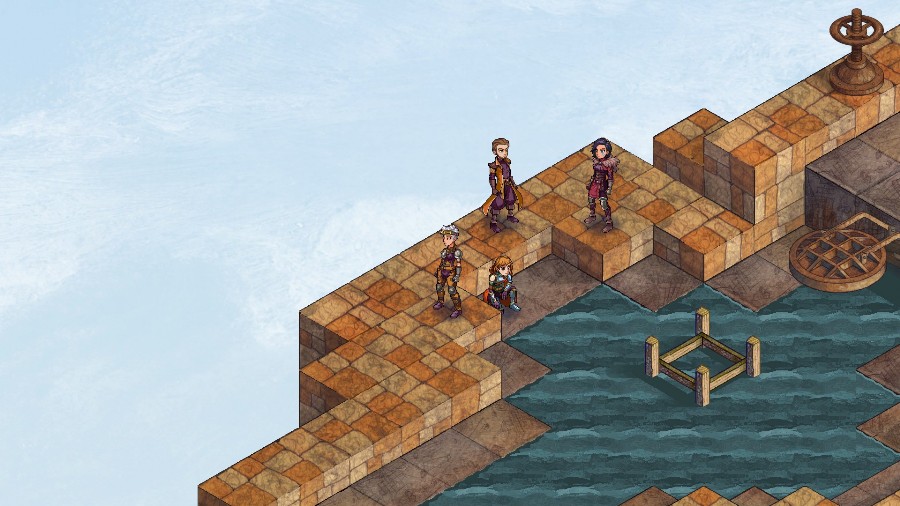 We come in on the party examining their surroundings. 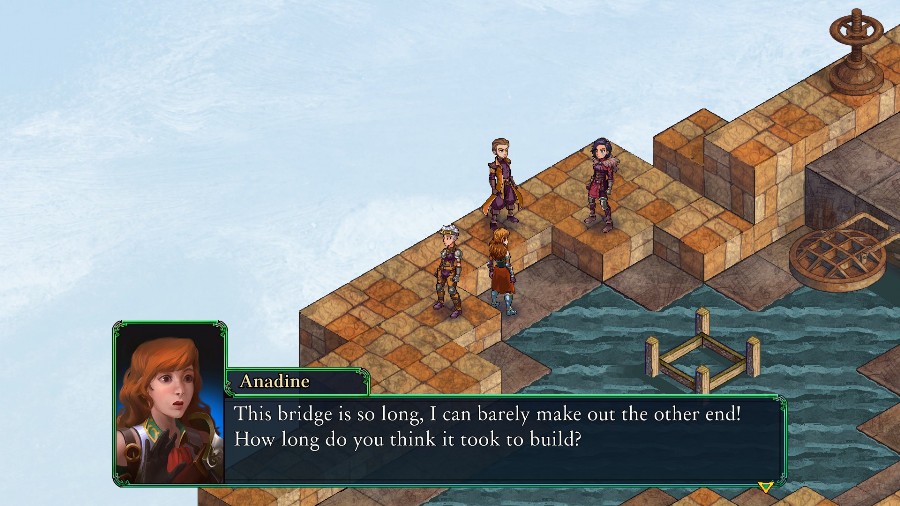 Primus would probably now. It must be as ancient as he is. It�s very impressive. Primus would probably now. It must be as ancient as he is. It�s very impressive.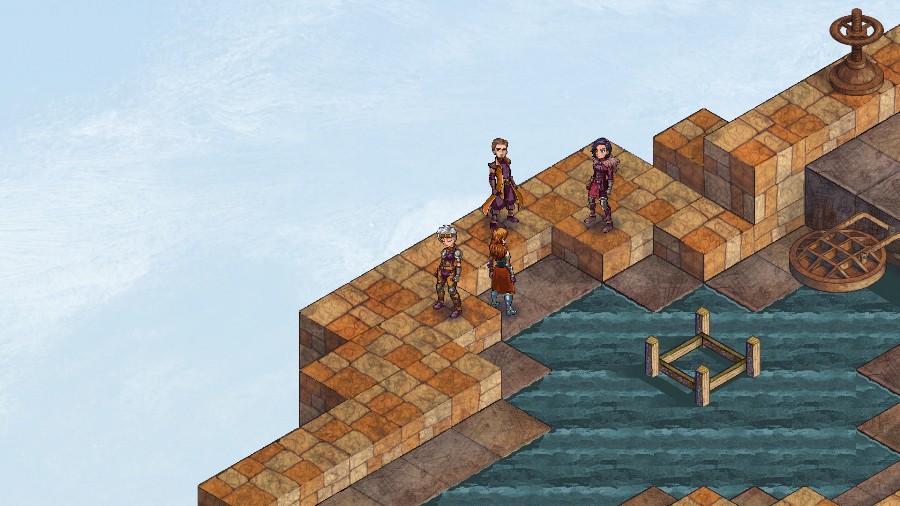 There�s a very brief pause.  When someone calls out to us. 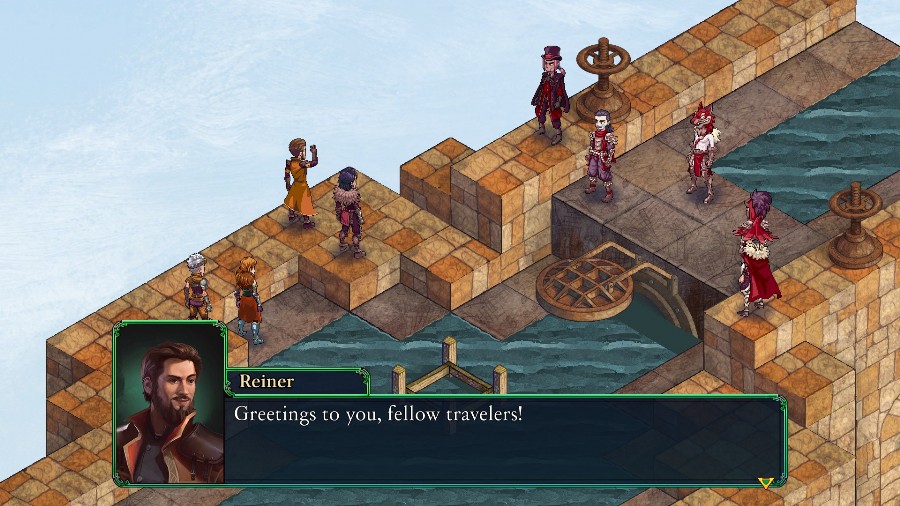 As Reiner greets them the camera pans over to show an ominously colored group of travelers.  No doubt on their way to the Gogombob City Temple. No doubt on their way to the Gogombob City Temple. You�re wasting your time. The Kawas won�t allow anyone to access the Temple. And they are too many to slay. � You�re wasting your time. The Kawas won�t allow anyone to access the Temple. And they are too many to slay. � We have no quarrel with you. Pray that doesn�t change and be on your way. Hahahaha! No. The way I figure it, since we can�t enter the Temple, we�ll simply off every other Marked as they arrive. Then I will be declared the winner of this little game by default! We have no quarrel with you. Pray that doesn�t change and be on your way. Hahahaha! No. The way I figure it, since we can�t enter the Temple, we�ll simply off every other Marked as they arrive. Then I will be declared the winner of this little game by default! I don�t think that�s how it works� I don�t think that�s how it works� Boss. Me former crew went after them bastards before. As ye can see, it didn�t bear the expected fruits. They�re brutal and merciless. Best be wary. Boss. Me former crew went after them bastards before. As ye can see, it didn�t bear the expected fruits. They�re brutal and merciless. Best be wary.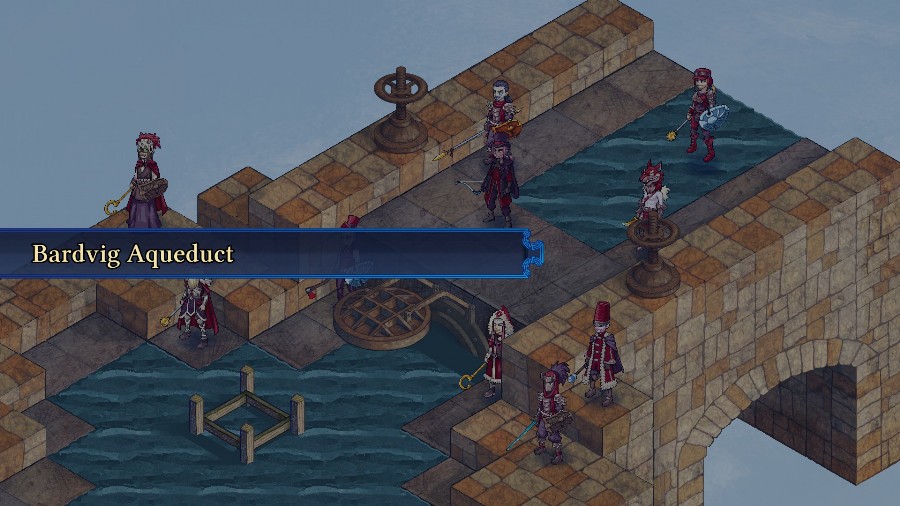 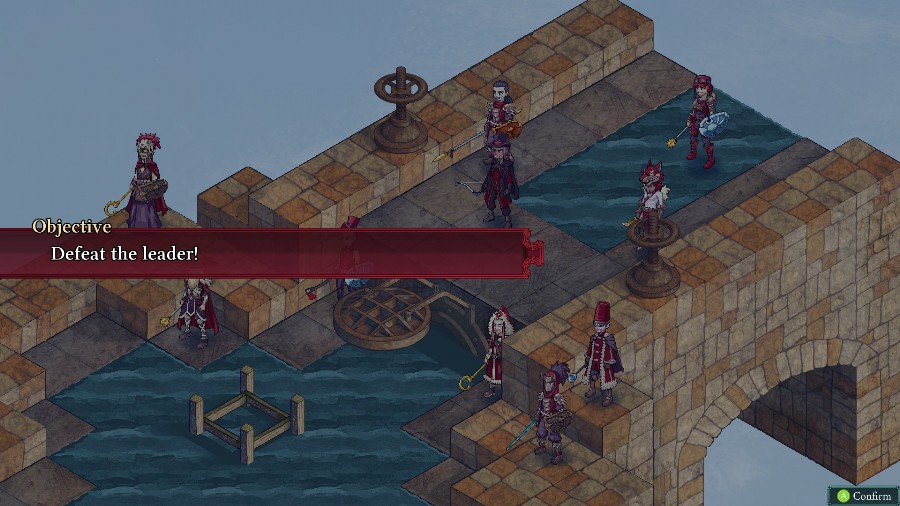 And it�s time for another fight. If you don�t come into this one with a plan, then it can get brutal very quickly. Even though it�s a defeat the leader fight, Draxl�s difficult to snipe since he�s solidly bulky and stays in the back row of the enemy. 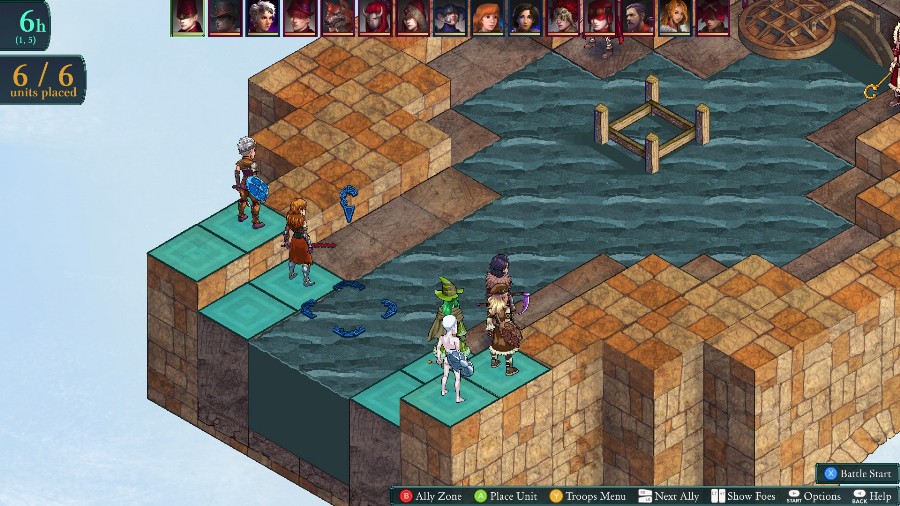 I�m bringing in Katja and Anadine on the left, and then Bobby, Sophia, and Mongo on the right. Both Anadine and Katja can swim, so that�ll let me link up quickly and hopefully take down one side of enemies before the other can really engage.  And I really do need to split them up because we�re looking at 10(!) enemies against us, with a good number of advanced and powerful classes between them. Thankfully, this map has a saving grace in its AI, in that the top 4 enemies (Draxl, the Vampire, the Werewolf, and the floating Merc) will not advance towards you unless you enter their attack range. They will still do things like buff people in range or revive others, but if you hang back you won�t have to deal with them for a little bit. The main downside in hanging back is that it can be difficult to take out the backliners like the Sorcerer and Mender. Still, I think it�s a much better strategy than rushing in. 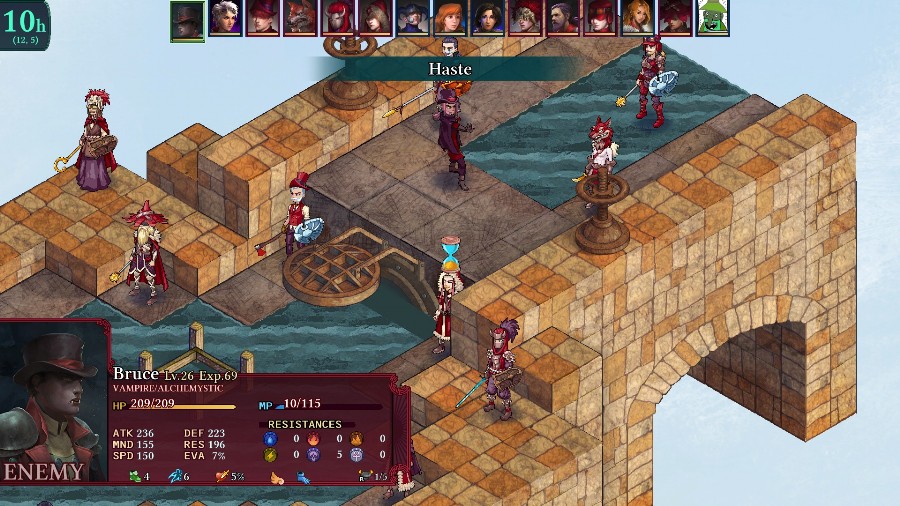 To demonstrate, the Vampire opens the fight by hasting the Mender, but does not move himself. 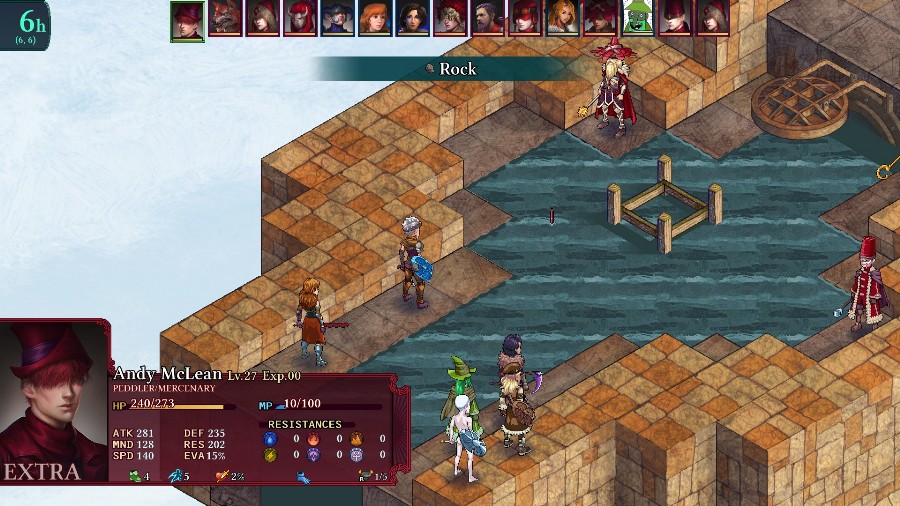 Katja uses her turn to advance and gets brained with a rock for her troubles. 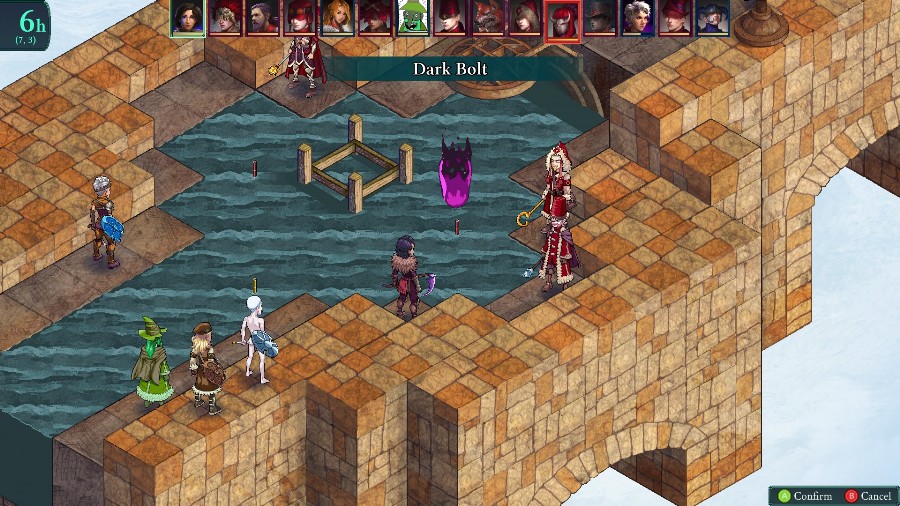 There�s a bunch of buffing on both sides until Kyrie inflicts my first damage with a Dark Bolt on the Fellblade. 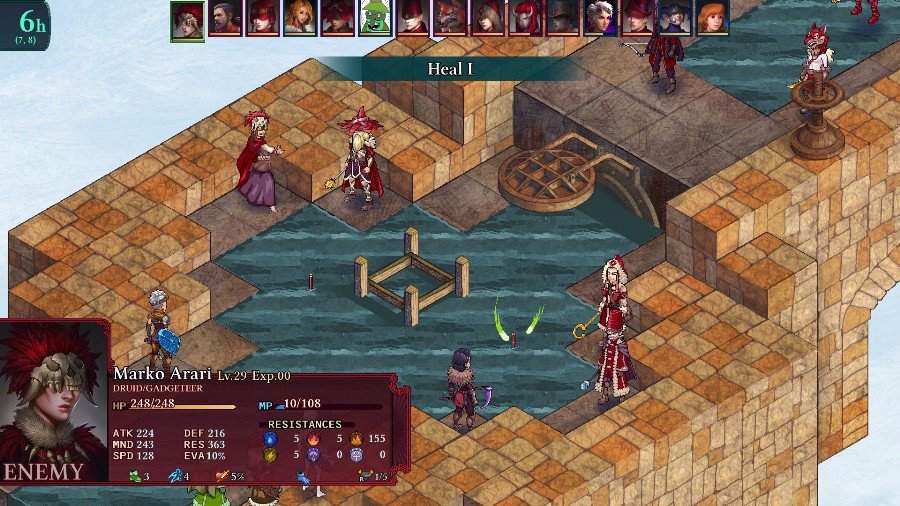 Though the Druid immediately undoes it. 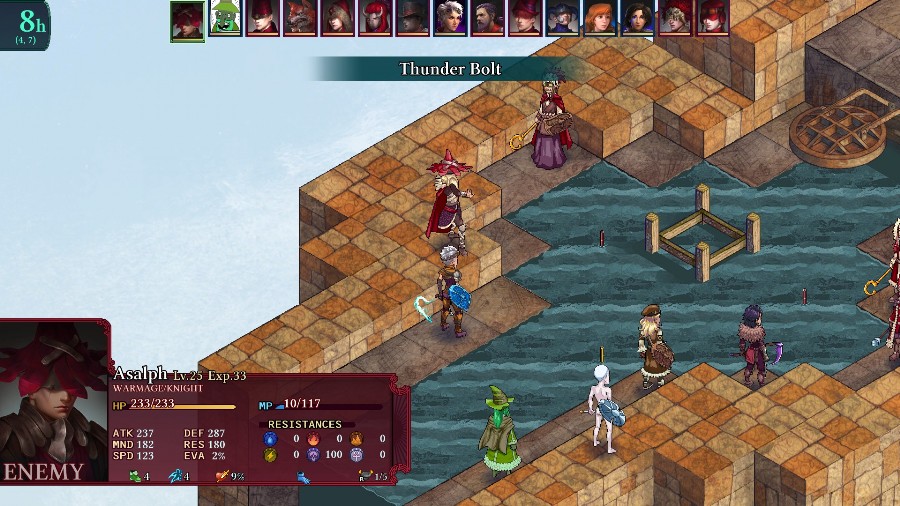 Katja gets healed by Sophia then zapped by the Warmage. 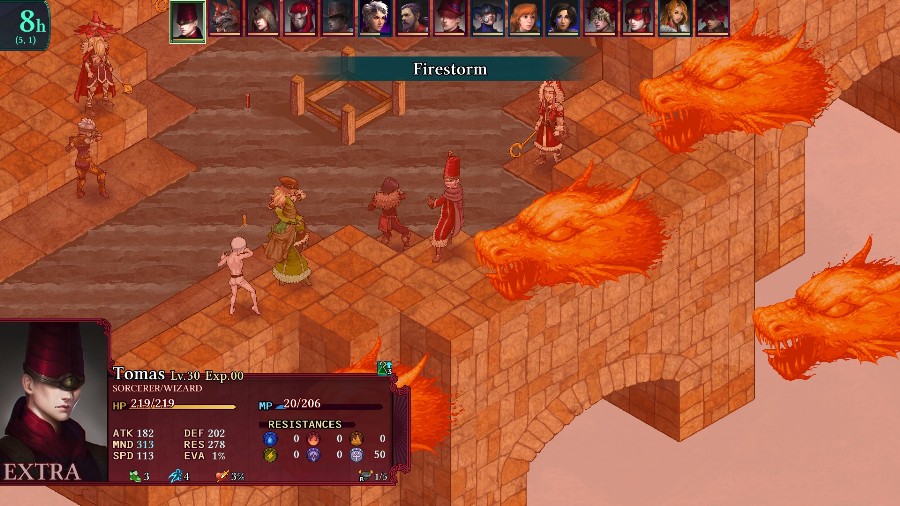 And the Sorcerer advances into the middle of my party to hit everyone for quite a lot of damage. He does get a few statuses from the counters, but the Mender heals those and then retreats to the back. 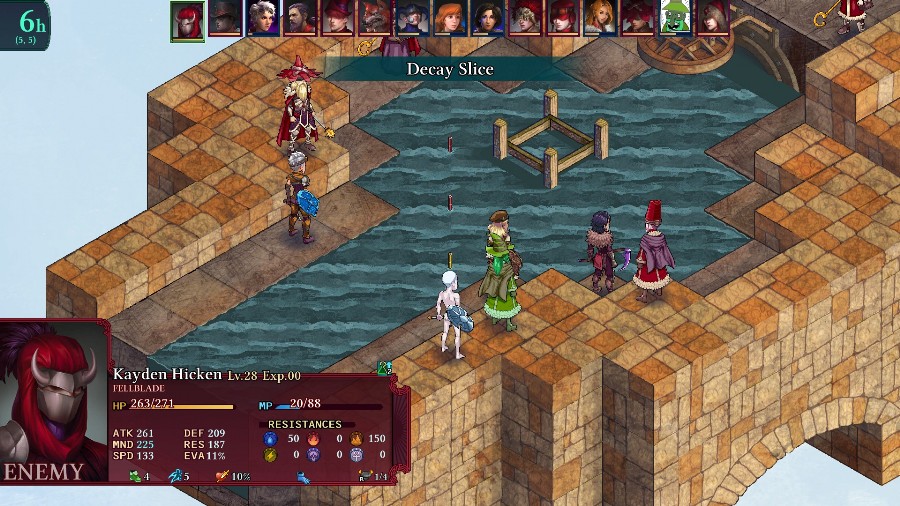 Anadine gets hit with a decay status, which is bad because she ends up with about 80 HP after it. 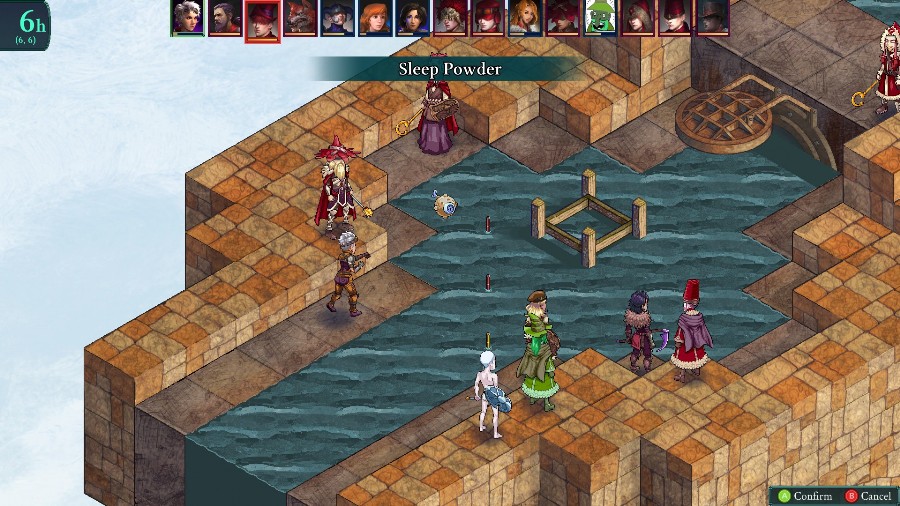 To slow things down and hopefully keep Anadine up, I have Katja try to put the Peddler to sleep. And thankfully it does proc so Anadine will get a turn. 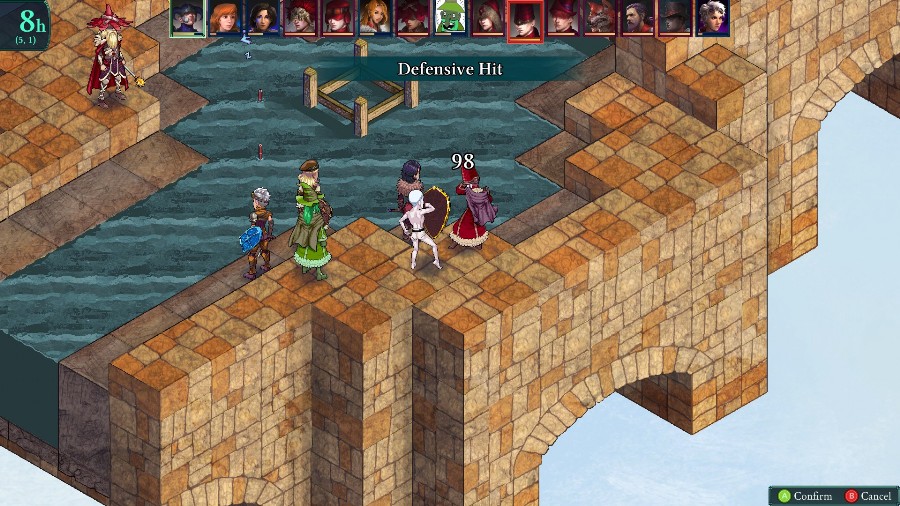 Mongo whacks the Sorcerer for about half of his health. 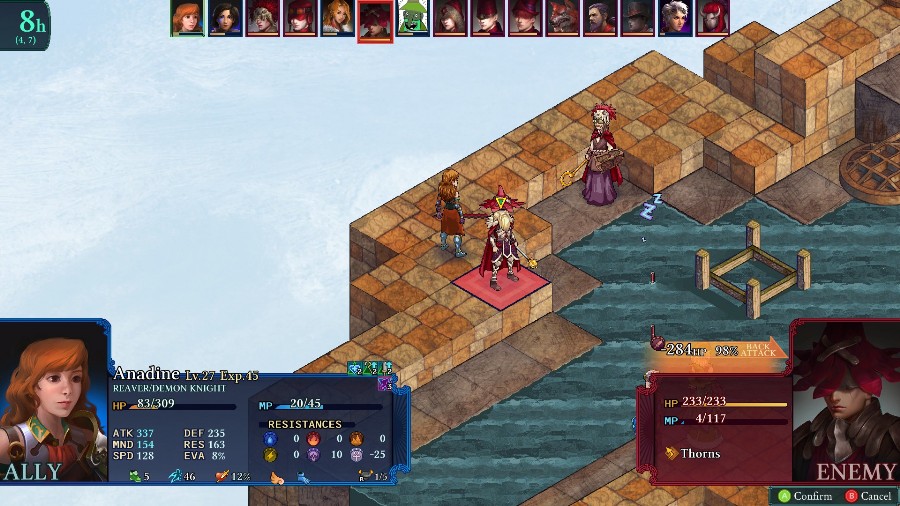 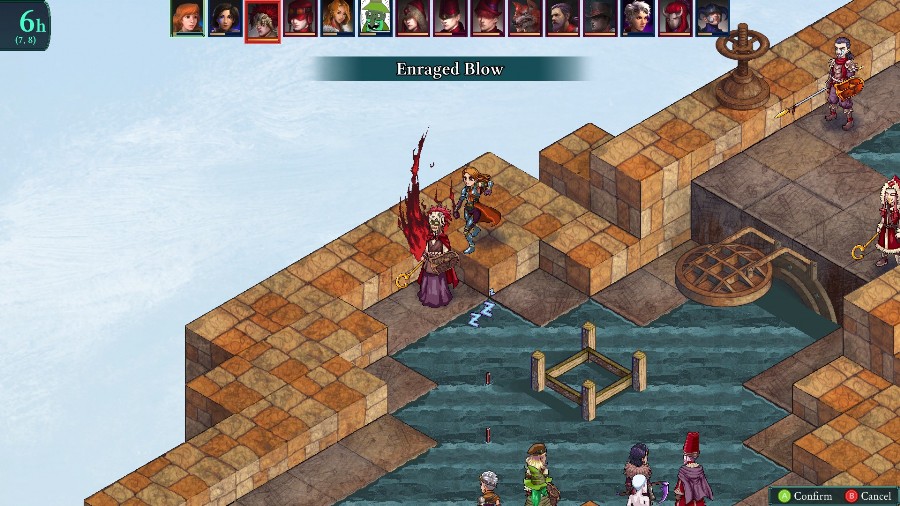 And now that enemies are in melee range, low HP Anadine 1 shots the Warmage, gets a cleave turn and literally does 150% of the druid�s max health in a single hit. 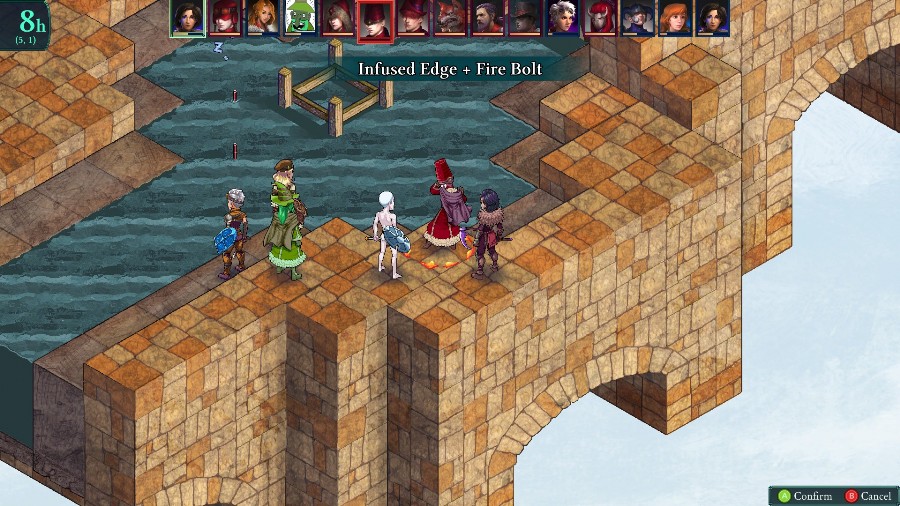 While Kyrie takes out the Sorcerer with damage to spare. 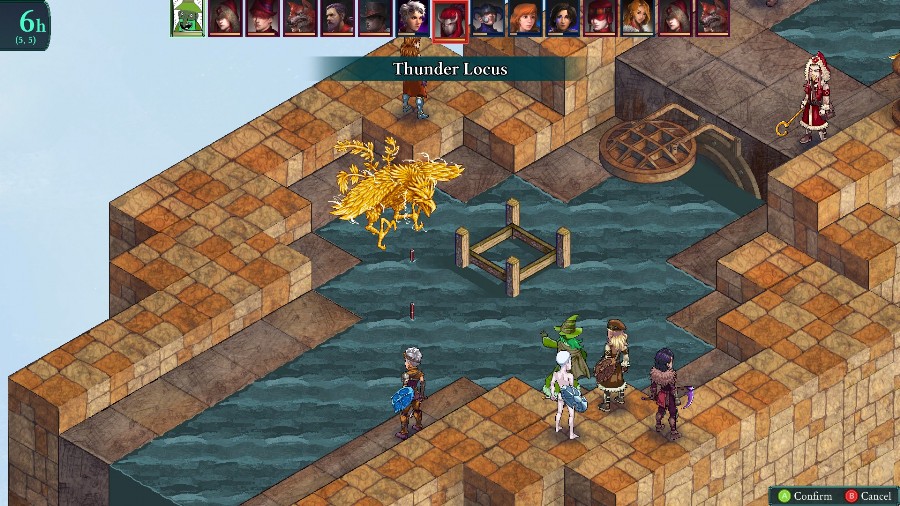 Bobby goes to kill the Fellblade. He his with the locus, but misses the basic thunder attack to actually get it.  Up top, the werewolf revives the dead Warmage. 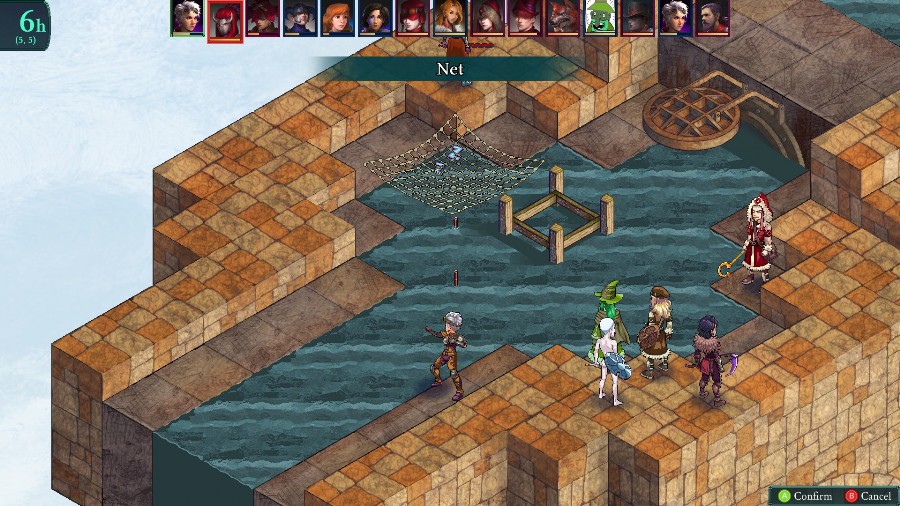 And back in the fray I have Katja net the Fellblade. It does no damage, but is a guaranteed root. Since he has no ranged damage, this�ll make sure that I don�t lose anyone before I can heal back up. 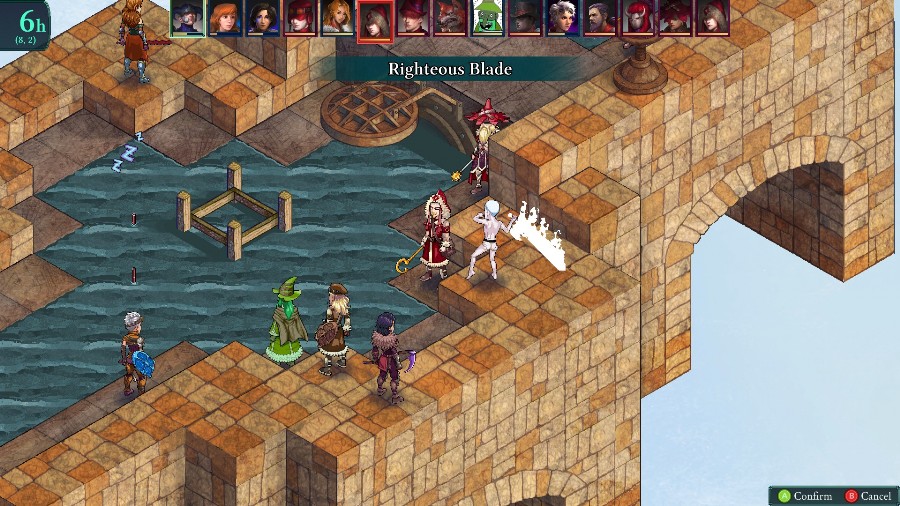 The Warmage uses a full potion and then advances, and Mongo falls just short of killing the Mender. 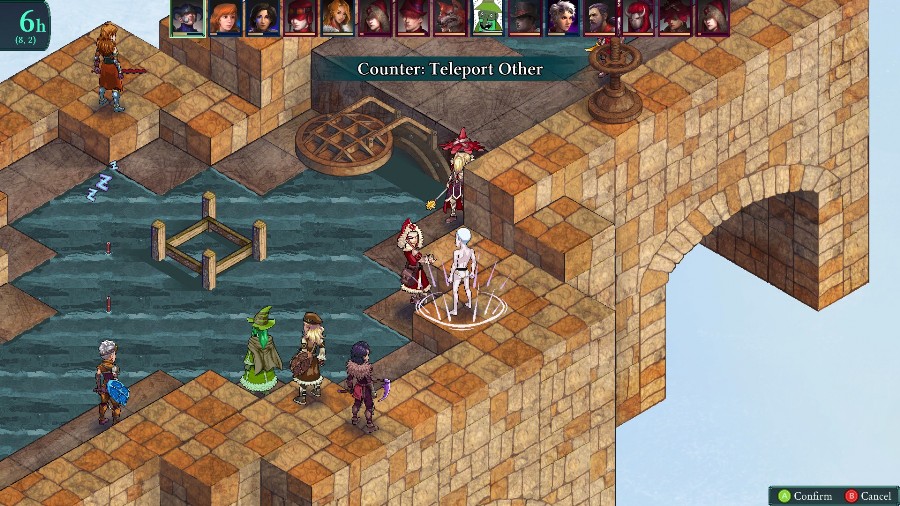 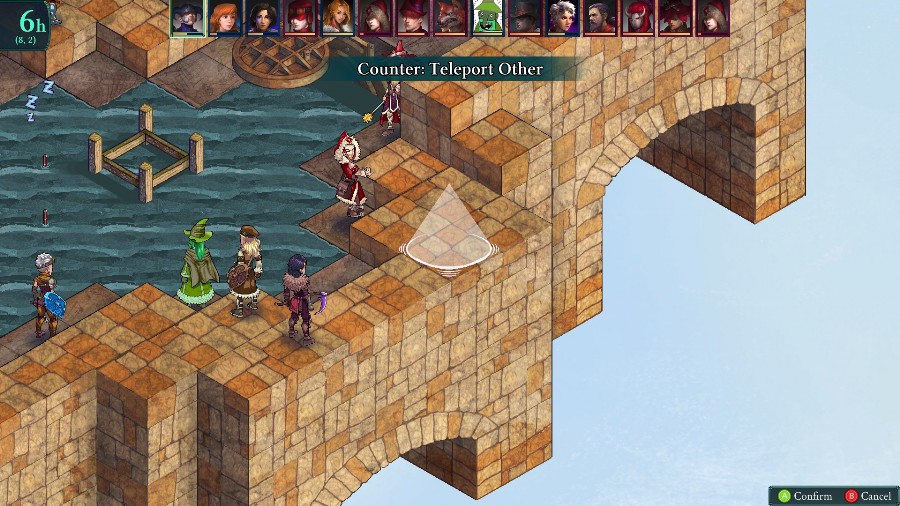 Which also triggers what may be the most impactful teleport in the game. 1 whole square away. 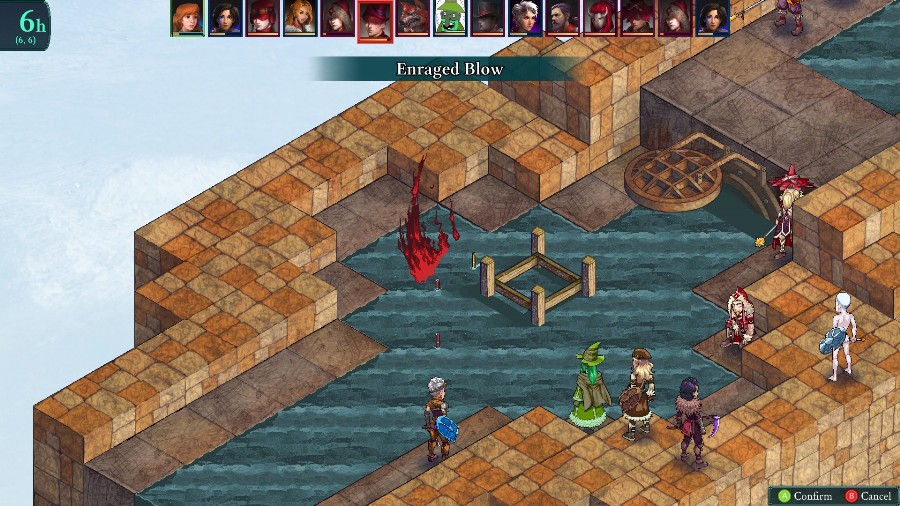  With no one left on the surface, Anadine jumps under water to kill the Peddler and the Fellblade. 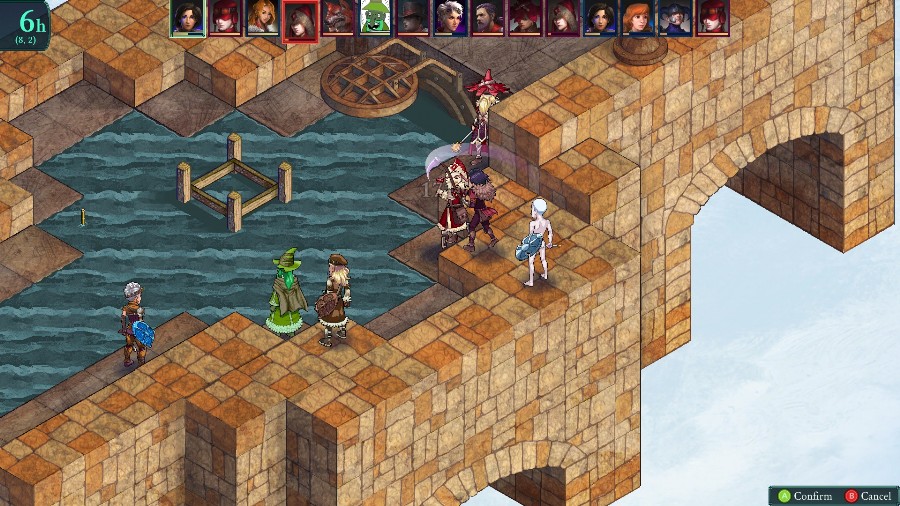 Kyrie finishes off the Mender. 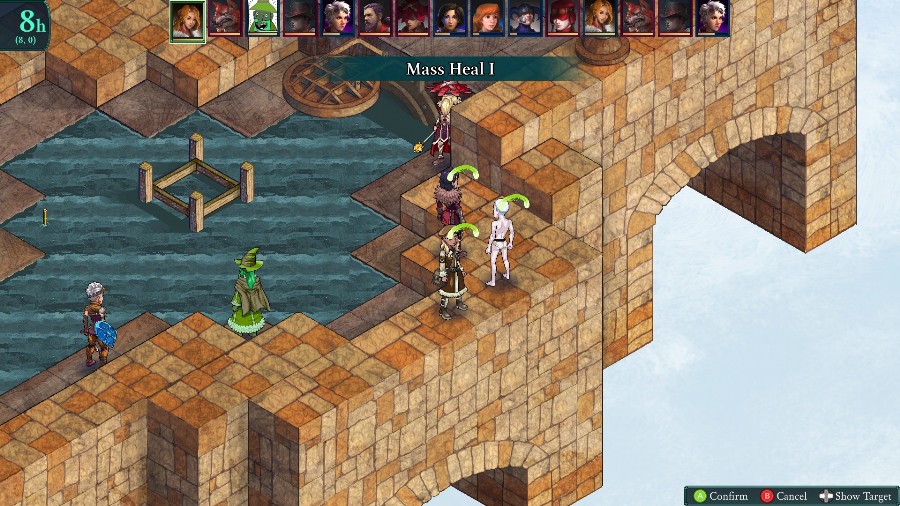 And Sophia heals the front liners back up. 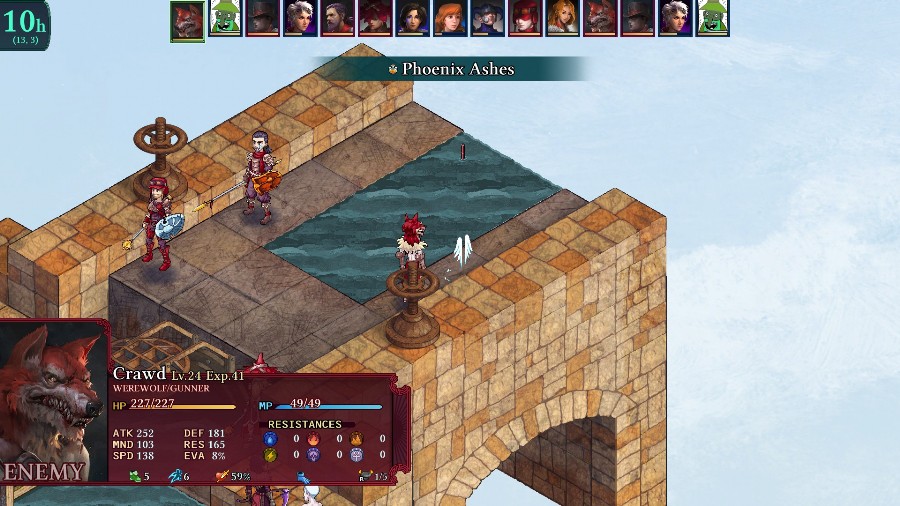 The Werewolf uses their other Pheonix Ashes, though he doesn�t revive the Mender. Instead he goes for the Sorcerer, which is a mixed blessing. Especially after the Vampire buffs the Sorcerer�s Mind. 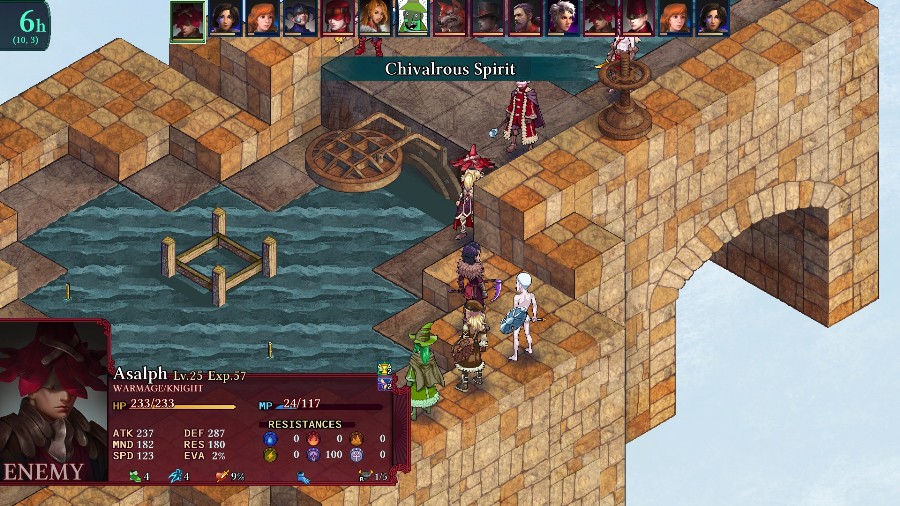 I had Katja net the Warmage on her turn, so because he can�t do anything else, he just gives himself reraise.  Kyrie nearly kills him right away though. 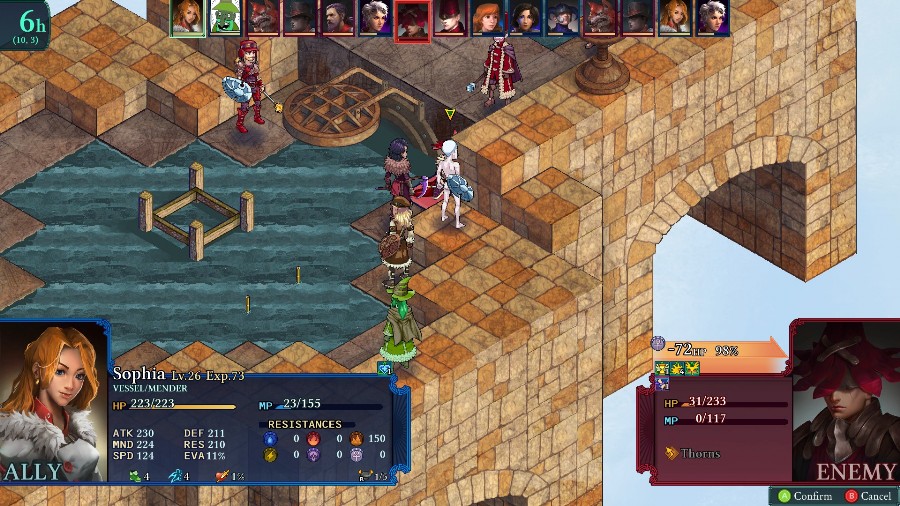 And then Sophia takes him out with a cast of Nameless One. 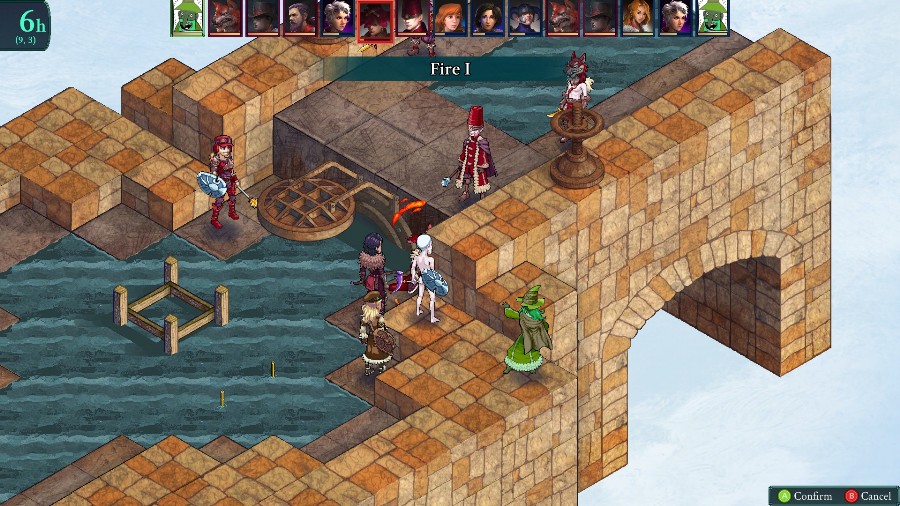 And Bobby finishes him off a 2nd time. 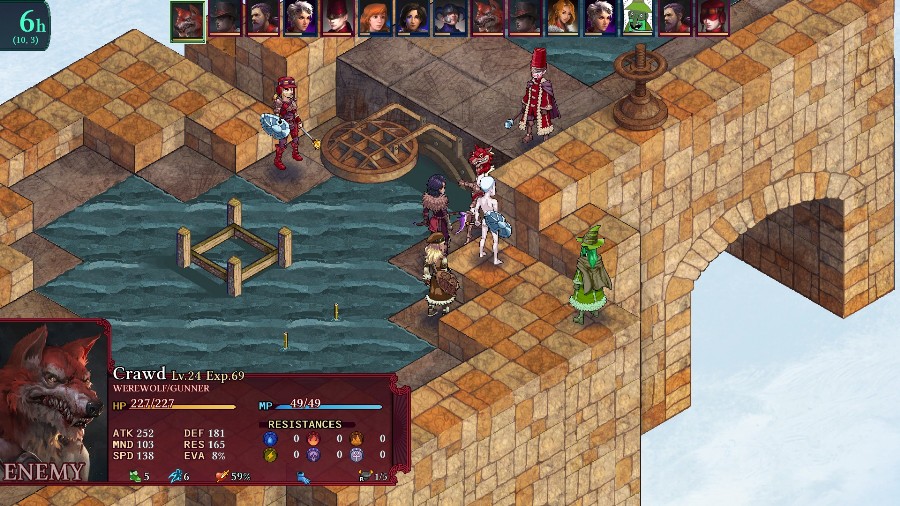 Having advanced far enough forward, the final party is now able to move up. The Werewolf runs up and kills Kyrie. 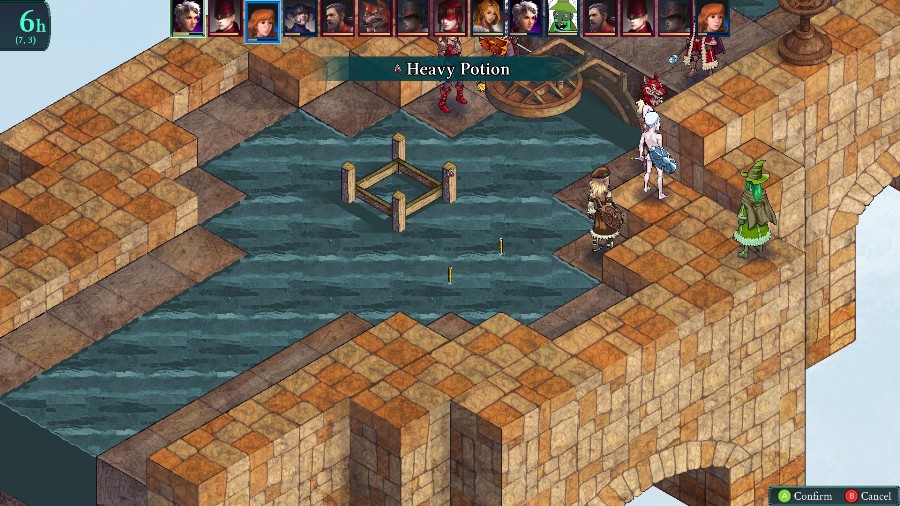 Because the Sorcerer�s turn is coming up, I have Katja heal Anadine so she doesn�t die.  Which was a good idea, because he hits everyone with a big dark blast. It nearly kills both Mongo and Katja, but no one actually goes down.  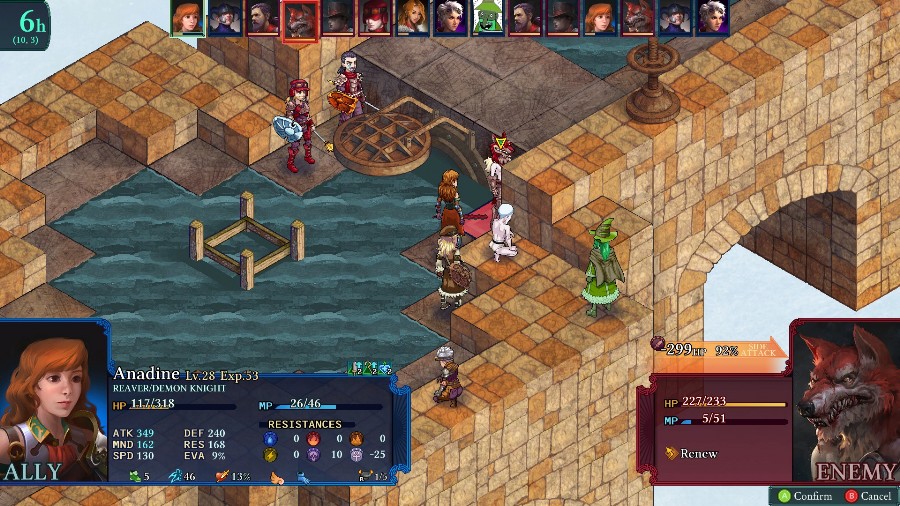 And thanks to the big hit, Anadine gets her damage boosted again and kills both the Sorcerer and the Werewolf. 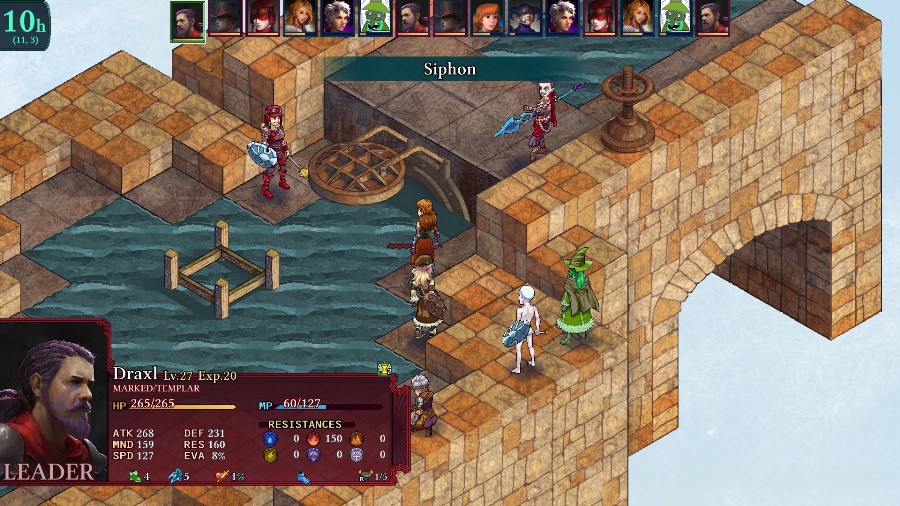  Draxl and the Gadgeteer both go for Anadine, but she barely survives.  Now that I finally have some breathing room, Sophia hits Draxl with Fafnir to start weakening him.  Katja weakens him further. 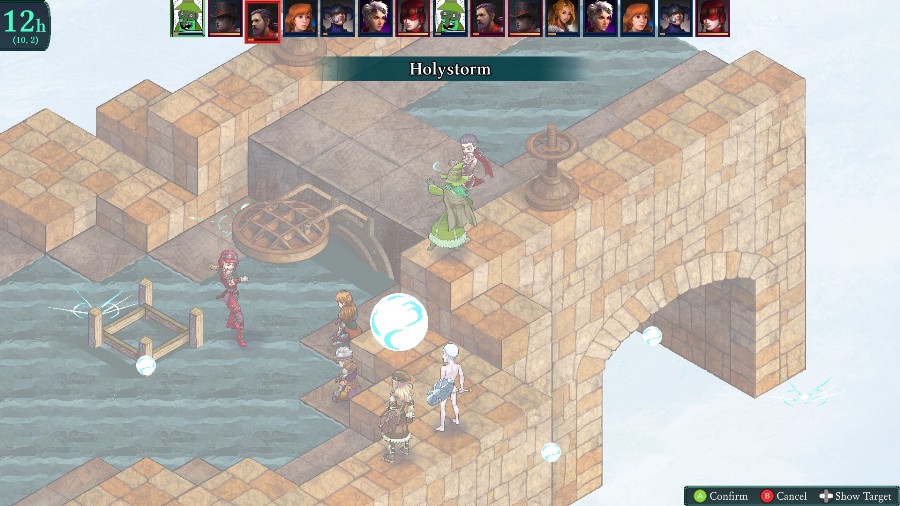 And then Bobby finishes him off with a Holystorm. 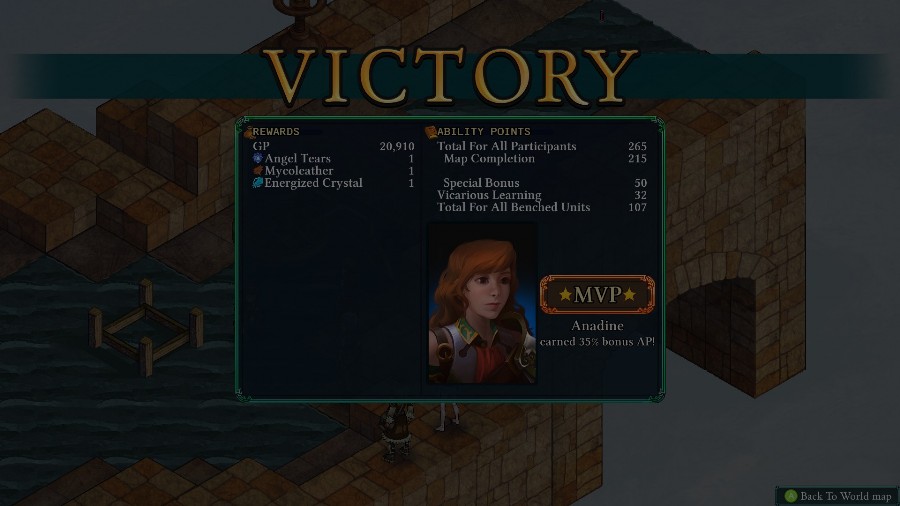 I managed to mistime getting the screenshot so it�s really dark. Still, Anadine definitely deserved the MVP. Overall on the fight, I got really lucky both with people barely surviving hits and with the turn order letting me save them afterwards. It also helped a lot that I knew what the fight was like coming in. If you�re not careful it�s pretty easy to trigger the leader�s party and make things a lot harder. 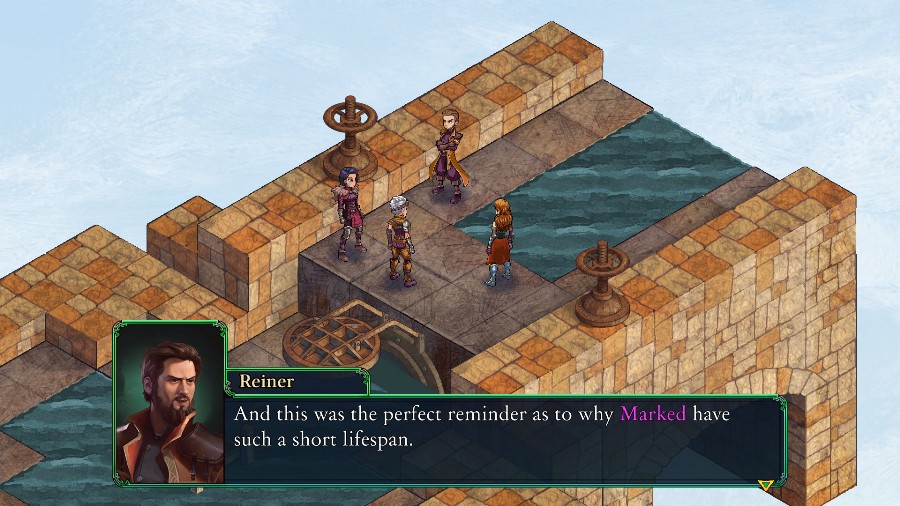 Afterwards, we see that Reiner was not happy with that fight. Unless they become and Immortal, that is. That Marked said the Kawas were blocking anyone from entering the Temple. What are we going to do? I�ve had dealings with the Kawa elders before. I know them to be reasonable. They probably have a good reason for blocking access to the Temple, and perhaps we�ll be able to help. In any event, no use worrying about it, right? We�ll see what it�s about once we get there. Let�s get going.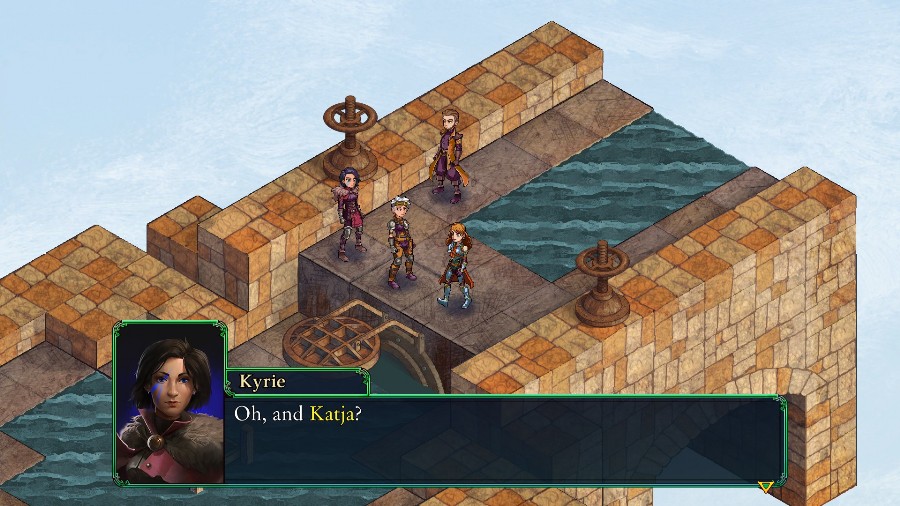 Yes, boss? We might yet make an Arbiter out of you, I think. Hmph. As ye say, boss. Yes, boss? We might yet make an Arbiter out of you, I think. Hmph. As ye say, boss.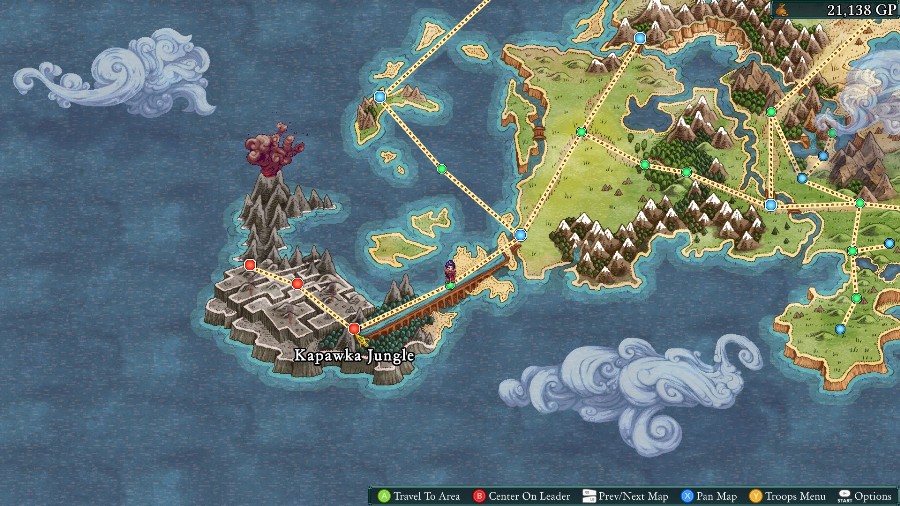 And then we�re back on the world map. Next time we�ll be continuing on our trek and heading through the jungle.
|
|
#
?
Feb 2, 2020 16:25
|
|
|
Job Update: Bounty Hunter  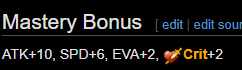 Now that I�ve actually used her in combat, it�s time to talk about Katja�s unique class, the Bounty Hunter. It�s definitely an interesting one, with just about average growths in everything except for Mind and Res (which are just below) and Speed (which is the 2nd highest in the game). It has a solid equipment selection, and is notably able to equip guns. Daggers and spears are solid enough melee choices if you want to keep her close, and armor and shields are always appreciated. For abilities, the class has a one of the rare non-damaging status moves, a ranged push attack (always useful), and a few attacks with different parameters like preventing revivals or doing more damage when the target is isolated. The passives are also great, one is Know Weakness II (The crit boost that stacks), and the other is a gradual speed boost that ends up giving her a 30% base boost by turn 6. Overall, I think it�s a pretty useful class that could definitely be worth using as your primary or secondary. 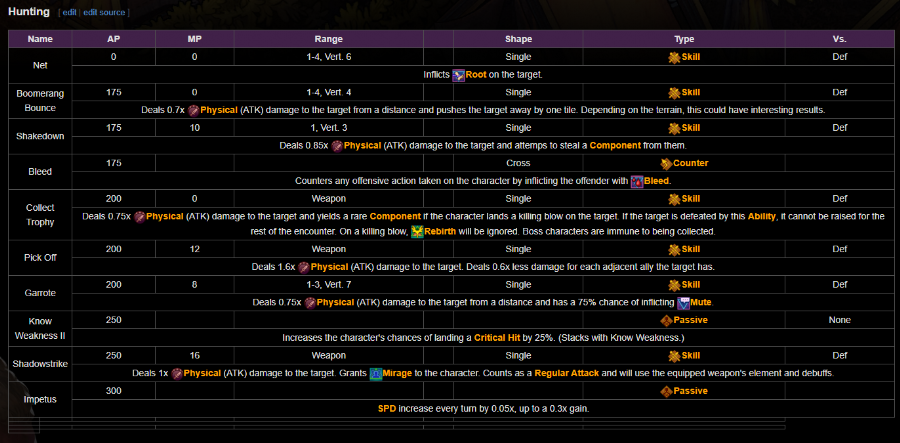 Notable Abilities: Boomerang Bounce: This simply a ranged push attack, similar to forceful shove. However, the range makes it a lot more useful because it allows you to do it from safety, through blockers, and mostly ignoring intervening terrain. If an enemy can�t swim or is on an edge, this makes it incredibly easy for Katja to kill them at will. Net: an ability that has a sort of short range and just guarantees a status infliction. It�s not always the best option, but considering how many times Rooting Shots�s 75% success chance has failed, it�s always nice to have a guaranteed option. Pick Off: A relatively cheap attack (12 MP) that starts off at a base modifier of 1.6x, but decreases by 0.6x for each enemy adjacent to the target. Basically just a boost useful to take out isolated characters, this is a nice easy damage boost. Impetus: A unique passive that slightly boosts Katja�s speed each turn. The boost maxes out on turn 6, with a massive 30% increase, and can really add up quickly, letting Katja move earlier in the rounds and take more turns overall.
|
|
#
?
Feb 2, 2020 16:26
|
|
|
Yeah, lack of being able to bring all your units is something that has always bothered me in these kinds of games.
|
|
#
?
Feb 2, 2020 17:20
|
|


|
It's even worse when the game forces allies into your party so your number of units is lessened by one or two more. I'm playing FFT:WOTL again and it's annoying how often the game does that
|
|
#
?
Feb 2, 2020 17:29
|
|


|
LUCT battles all take very, very long though. I don't mind permadeath or limited party room. What bothers me is since there's permadeath people just vanish from the plot the moment you recruit them. This game seems to have a nice balance of things there. Hypocrisy fucked around with this message at 20:01 on Feb 2, 2020 |
|
#
?
Feb 2, 2020 19:50
|
|
|
Throwing out Marked enemies is kind of an interesting move. Shame that we have so long to go before we finally reach a resolution to all these threads though.
|
|
#
?
Feb 2, 2020 21:25
|
|
|
Side Update: Maximum Difficulty Fight Hello and welcome to a special update, that I�m putting out early because I�m psyched that I managed to actually win a fight at the max difficulty setting! As a reminder, here are the settings, with the notable standout being that all enemies get an extra 50% bonus (after equipment) to all of their stats! 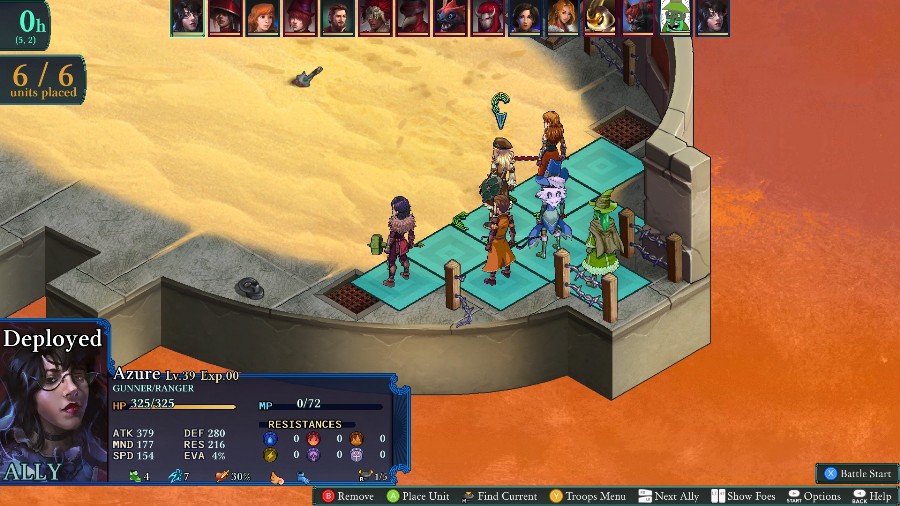 This is jumping ahead a bit, so consider the units you see a sneak preview to what they�ll become later (Though I think Bobby is the only one who�s drastically changed). We have Kyrie as a Marked/Warmage, Sophia as a Vessel/Mender, Anadine as a Reaver/Demon Knight, Reiner as a Spymaster/Ranger, Azure as a dual wielding Gunner/Ranger, and Bobby as a Lich/Sorcerer. 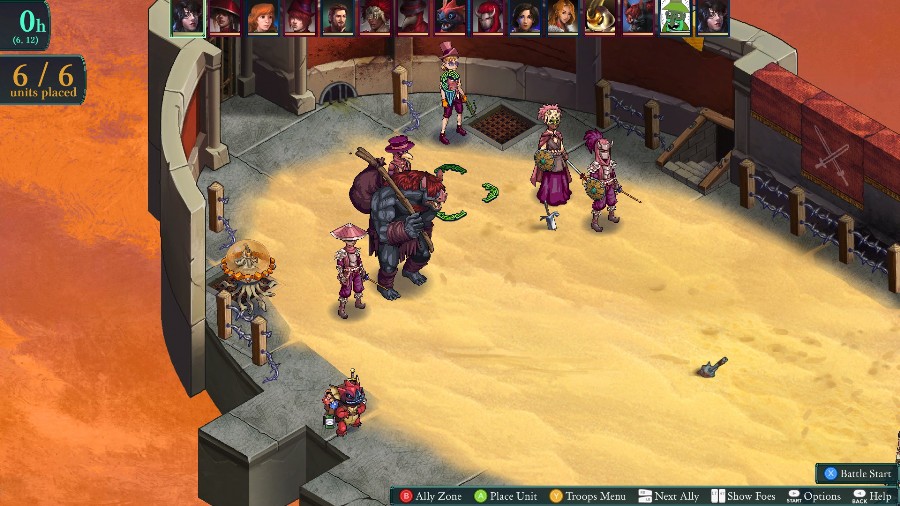 Up against us we have a crew of 7 enemies (8 if you count the bandit Kawa, but I ignore him and he does nothing so I�m not counting him). 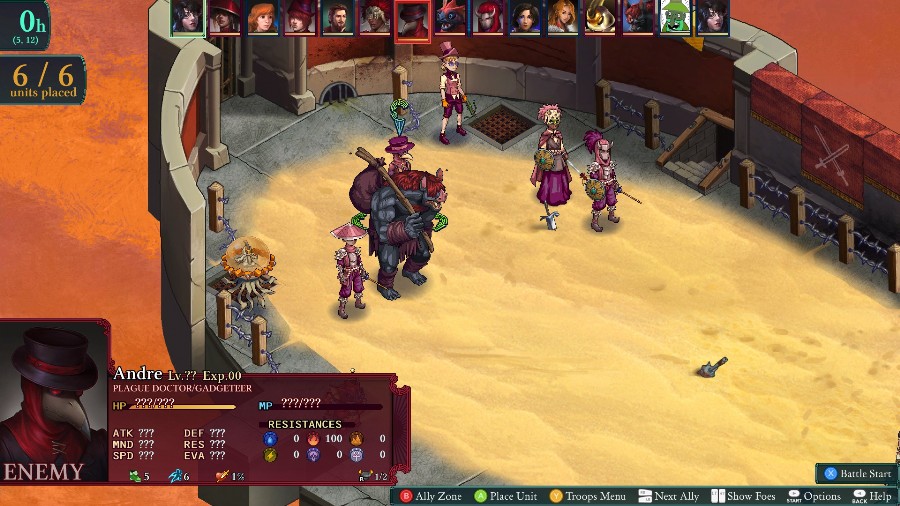 A neat thing about battles in the arena is that enemies� stats, equipment, and abilities (other than classes) aren�t revealed until you start the fight. That�s because they�ll actually adjust to whomever you send in, rather than having a set level. 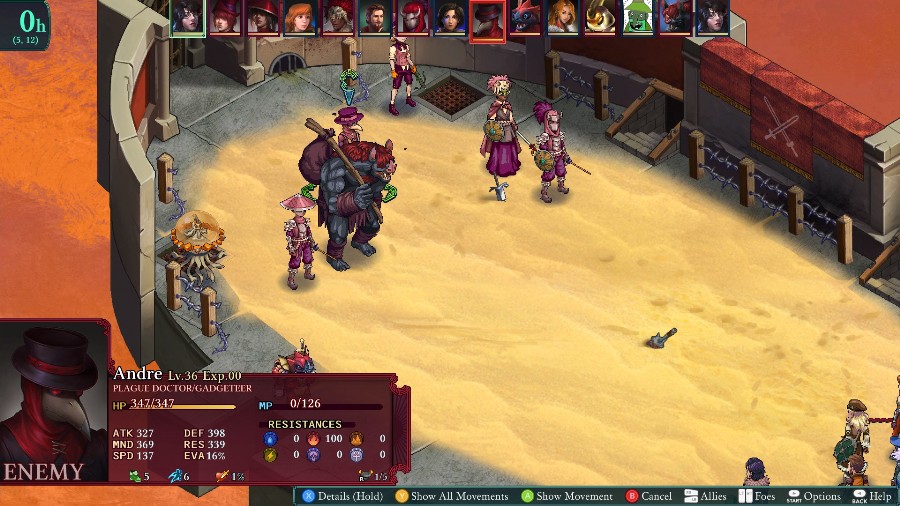 Once I actually start the fight, we see that we have a Plague Doctor/Gadgeteer with somewhat low offense, but defensive stats to rival a buffed Mongo. This guy could be really annoying since he has a pretty wide array of support moves. 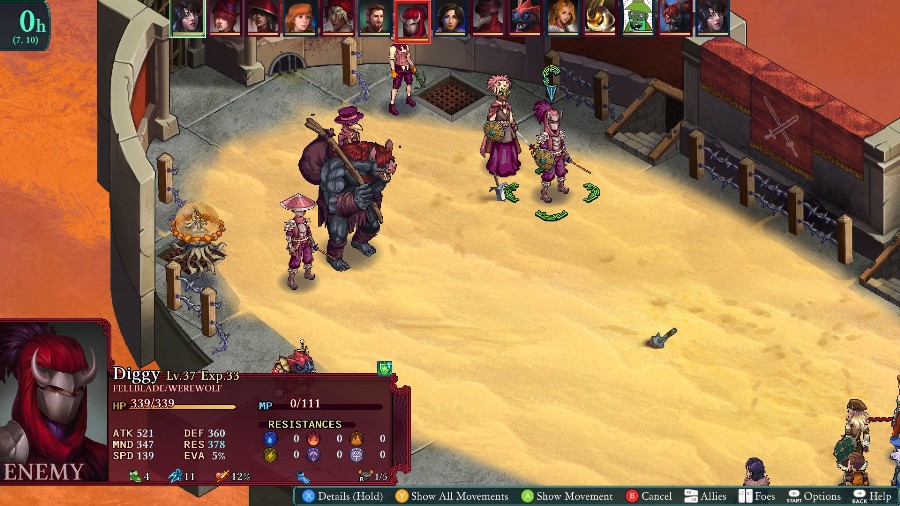 Next up is a Fellblade/Werewolf with an absolutely ludicrous attack stat, as well as quite high defensive stats thanks to his shield. 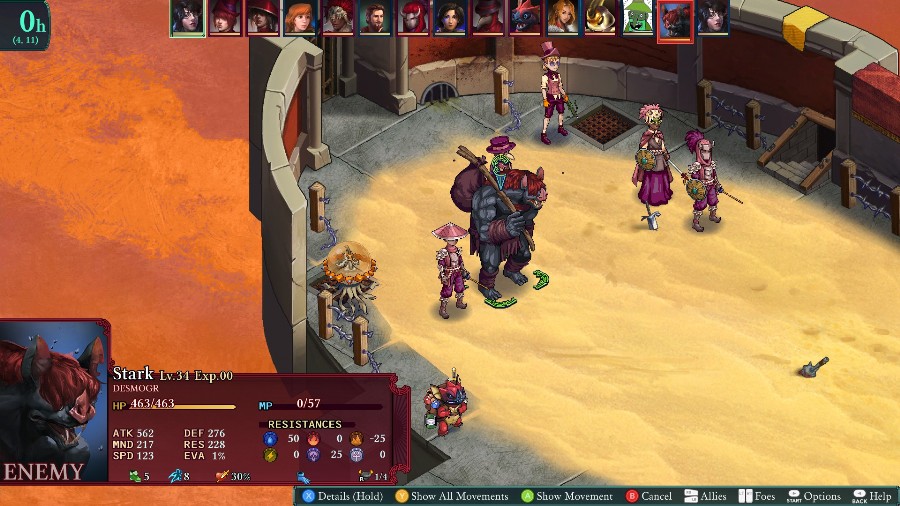 Further left is a Desmogr with an even higher attack stat and high HP to boot. He can most-likely 1-shot or nearly 1-shot most of my people. 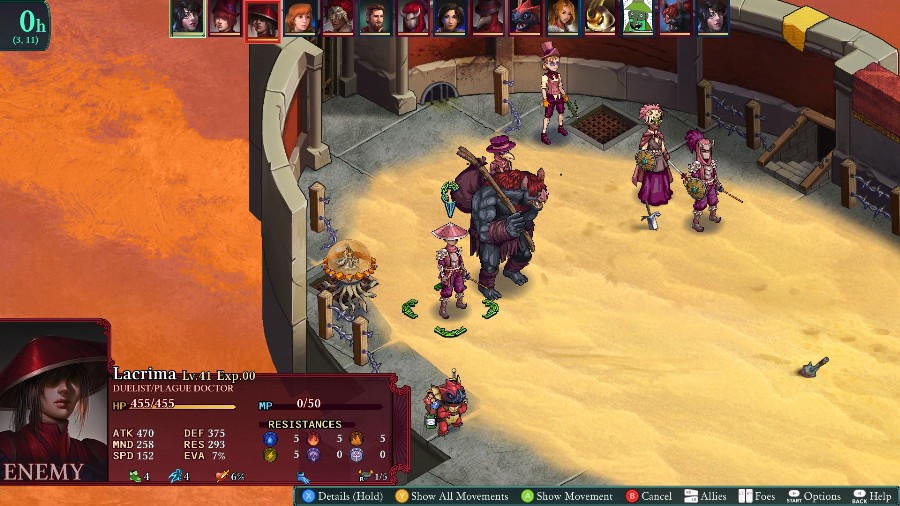 Next to him is a Duelist/Plague Doctor with a bit lower attack, though it is still quite high. Since all of the Duelist abilities have high modifiers, he�s also a major threat. 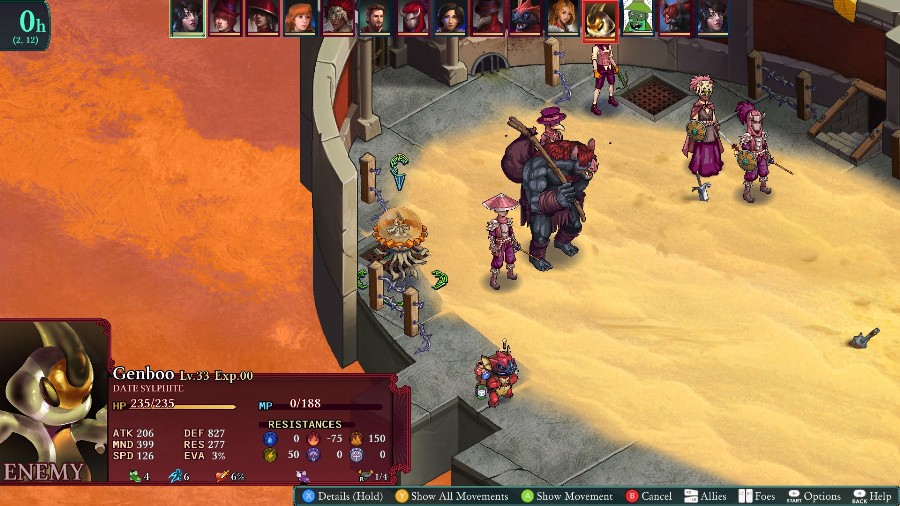 Finishing off the front row is a Date Sylphite (maxed out Earth Pekite). Still has low HP, but its defense means that no physical attacks can even scratch it, and its decent res means it will probably survive a few hits from magic before going down.  In the far back we have a pure Peddler. While his stats are all pretty balanced, they�re all pretty solidly above what I have to work with. Probably not an offensive powerhouse, but Peddler abilities are all about support anyway. 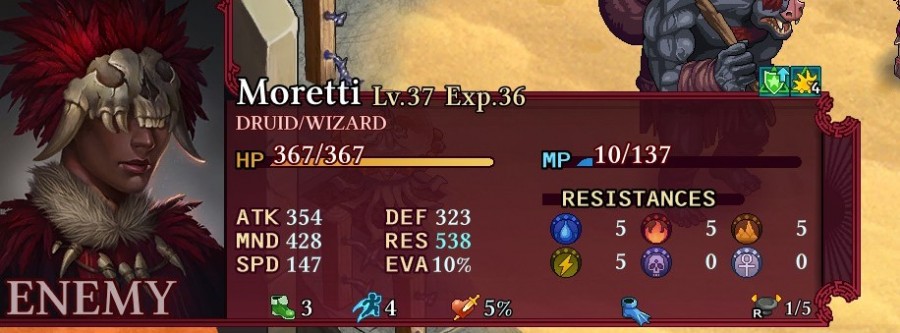 And lastly, there�s the Druid/Wizard who I forgot to screenshot at the start. His equipment gives him the auto-res buff, so magic won�t be doing much. His Mind is also really high, especially since most of my units have pretty low Res in general, let alone against a 50% bonus. 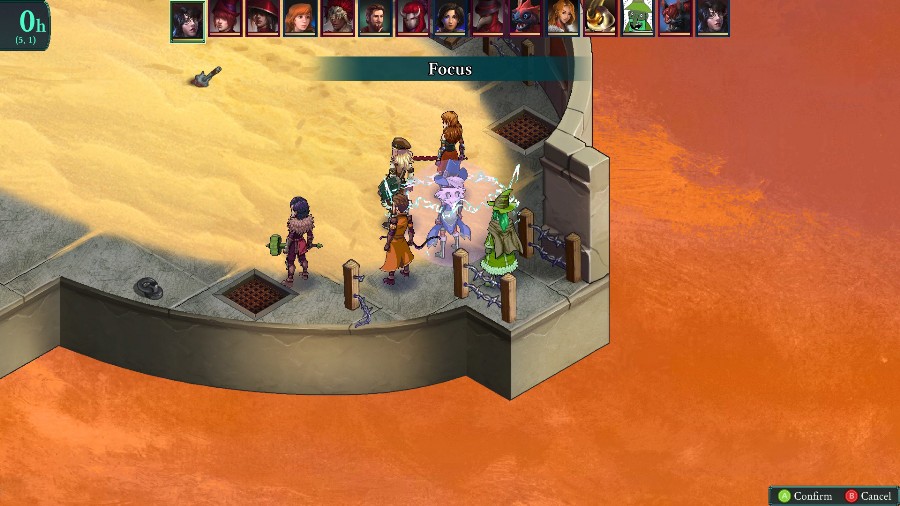 Because we start so far apart, I just have Azure focus to blast whoever�s in range next turn. 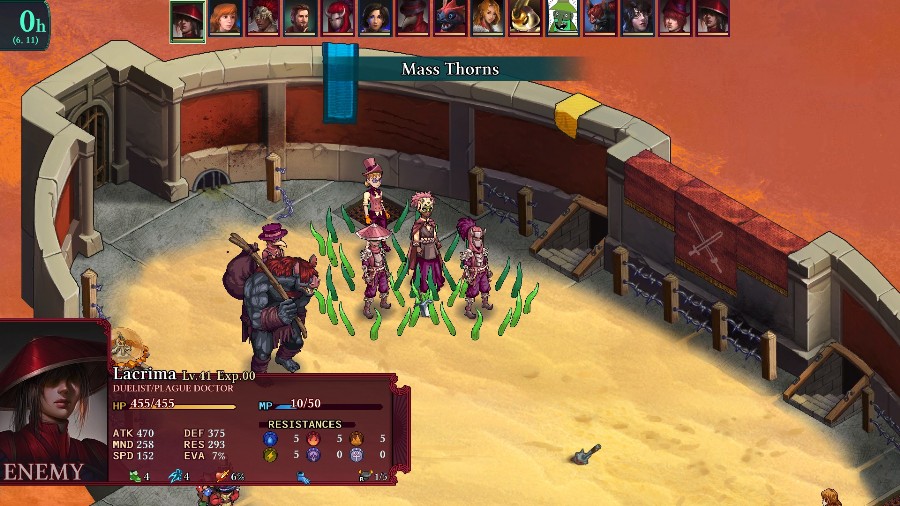 The Peddler buffs the Fellblade�s crit chance and the Duelist puts thorns on a good chunk of the enemy team. 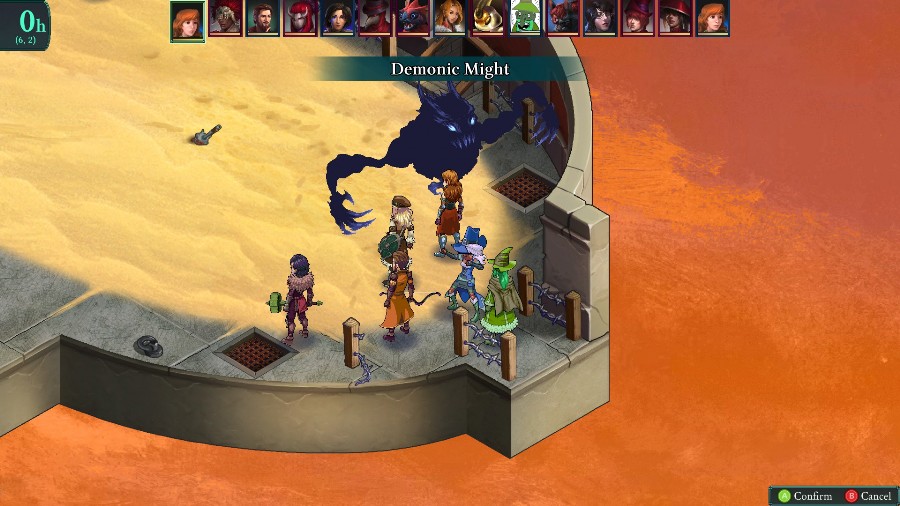 Anadine buffs up, but does not move forward so she�ll act earlier in the round. 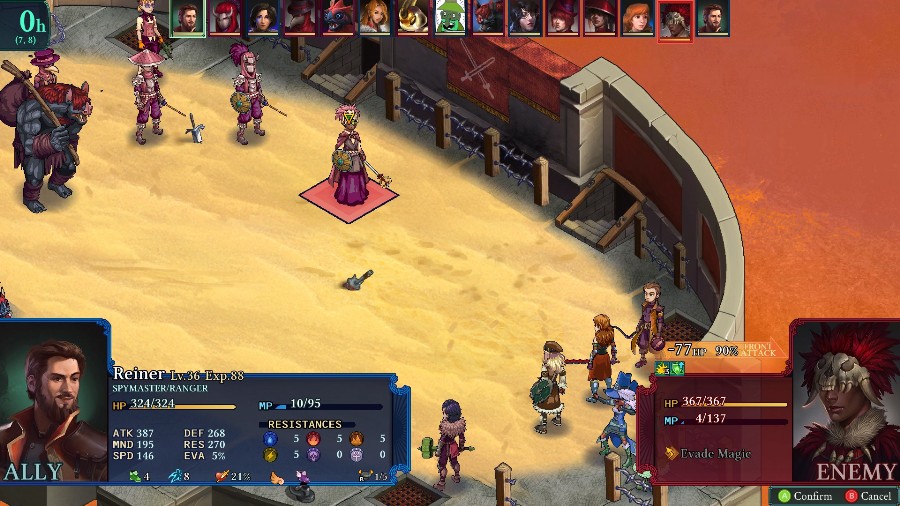 The Druid buffed the Peddler�s defenses and then moved forward, so Reiner opens the fight up with my first bit of damage. 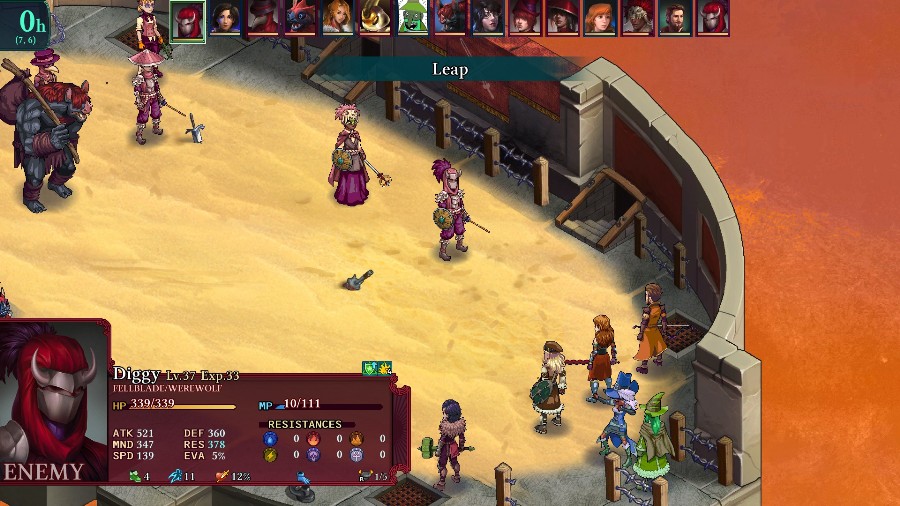 The Fellblade responds by leaping over to Reiner and dealing about 1/3 of his health with it.   Kyrie whacks him and manages to inflict all 4 conditions before being teleported over to the other side of the arena. 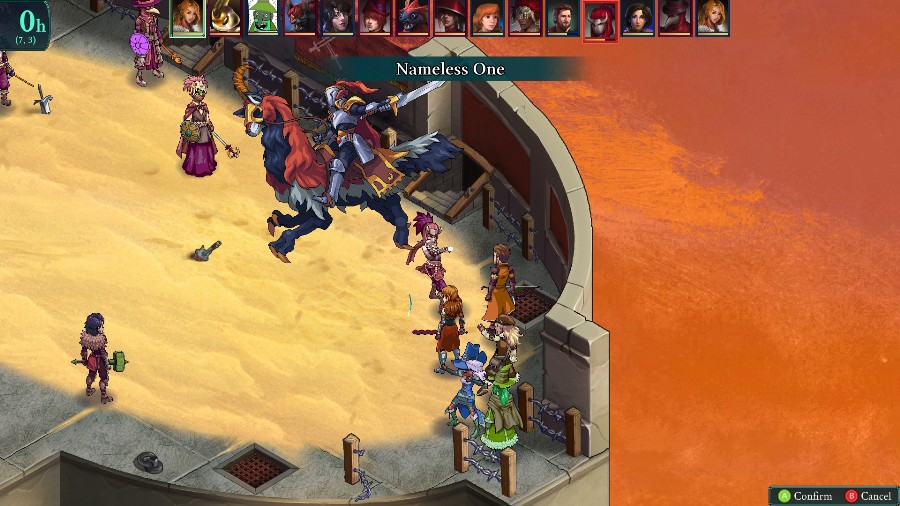 The Plague Doctor used a gadget to heal the Druid and give them regen, while Sophia focuses on weakening the Fellblade. 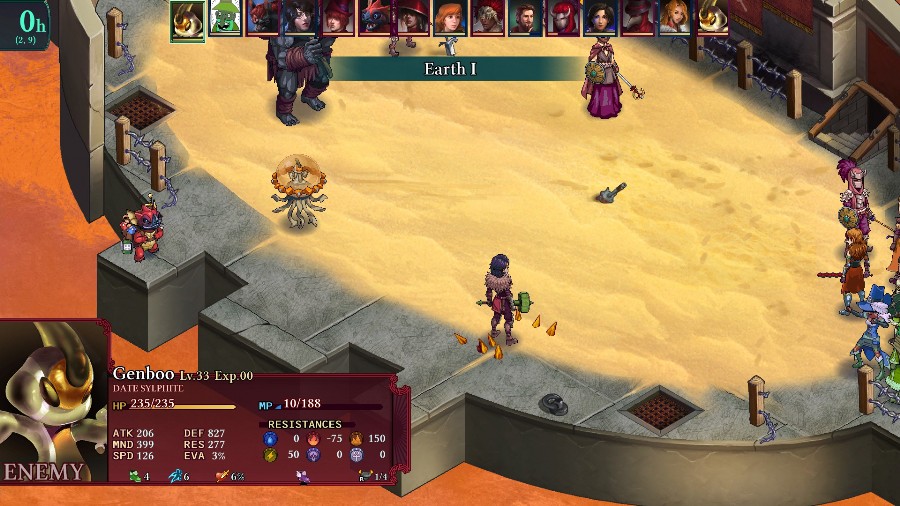 And the Sylphite hits Kyrie for about � of her HP with a basic cast of earth.  As a Lich, Bobby has access to the Blood Magic passive, which makes him use HP instead of MP for casting spells (2% per 1 MP), so he can do things like hit fire off Sorcerer spells turn 1. Annoyingly, both the Duelist and Druid have Evade Magic, so I can�t hit everyone. I am still able to take off about half of the Sylphite�s health while softening up almost everyone else. Bobby also gets hit by all 4 thorns counters, leaving him at about 120 health after the cast. 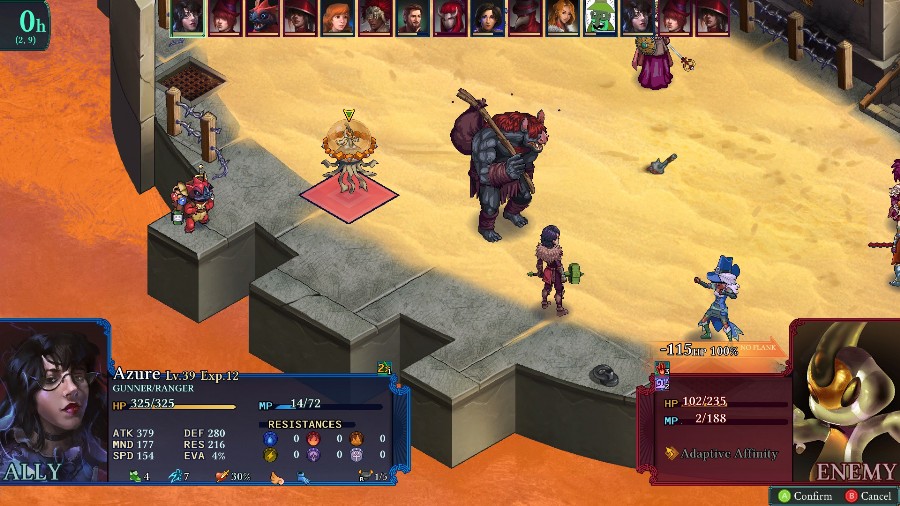 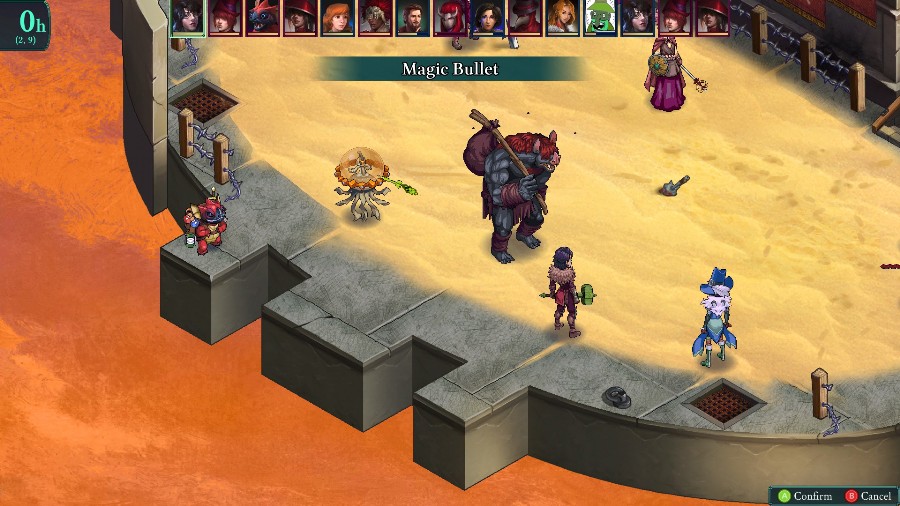 But Azure is able to use the bonus from focusing to take out the Sylphite with a Magic Bullet. 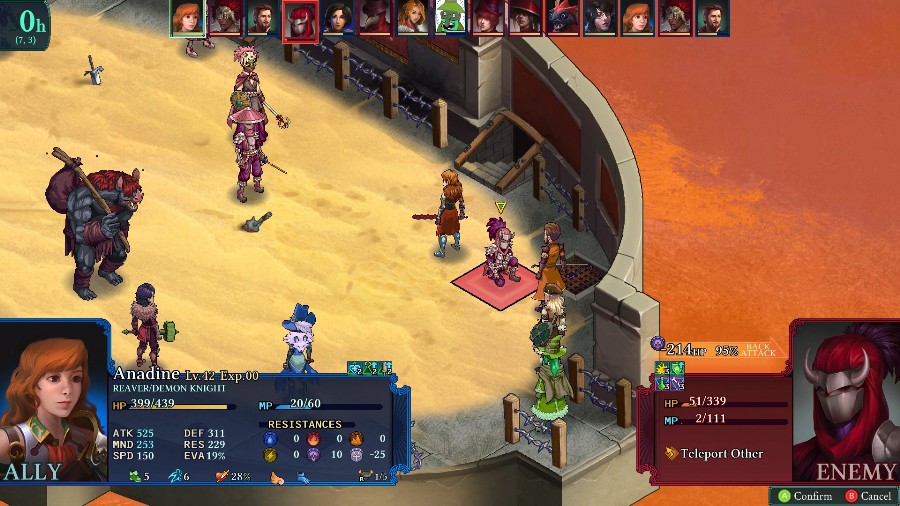 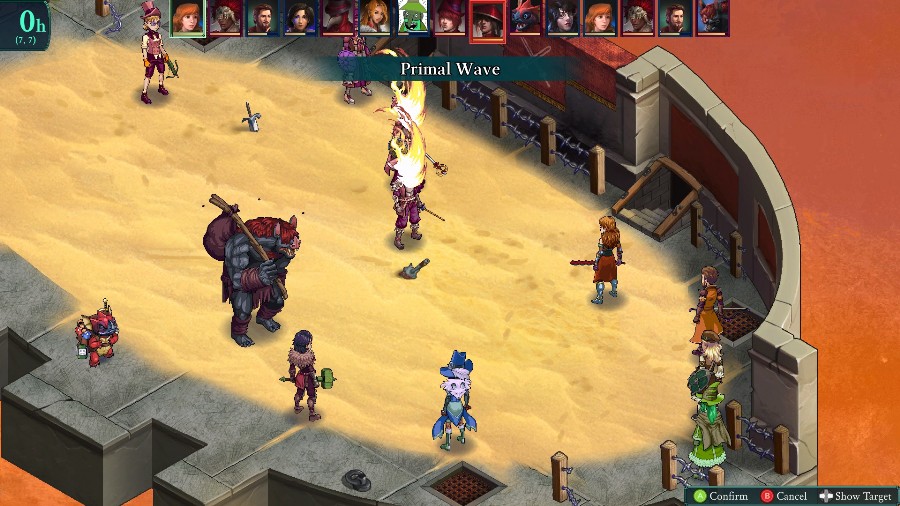 The Peddler hastes the Duelist (less than ideal), and the Duelist heals both of them. Anadine then finishes off the Fellblade, and falls just short of being able to kill the Druid or Duelist. Instead I just have her hit both of them from range and then retreat back so she doesn�t get killed. 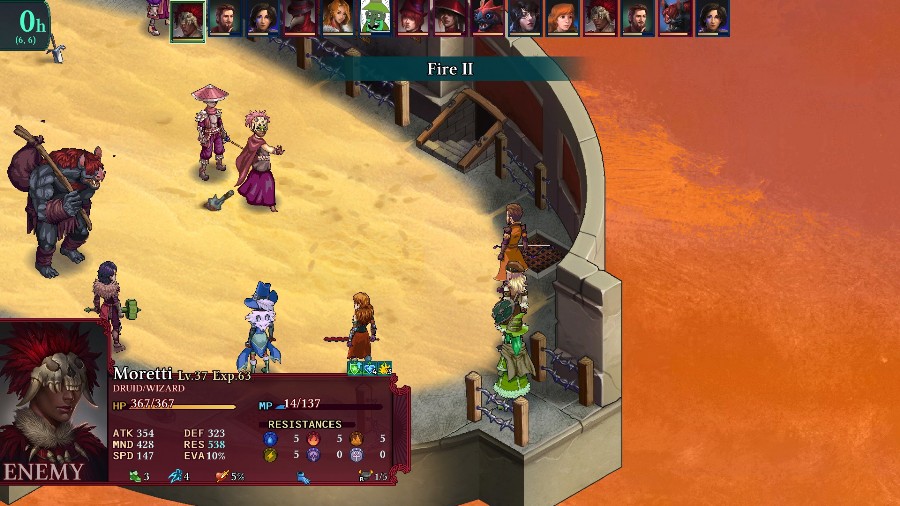 Which was a good idea, because the Druid takes out Reiner and he has a lot more Res than she does. 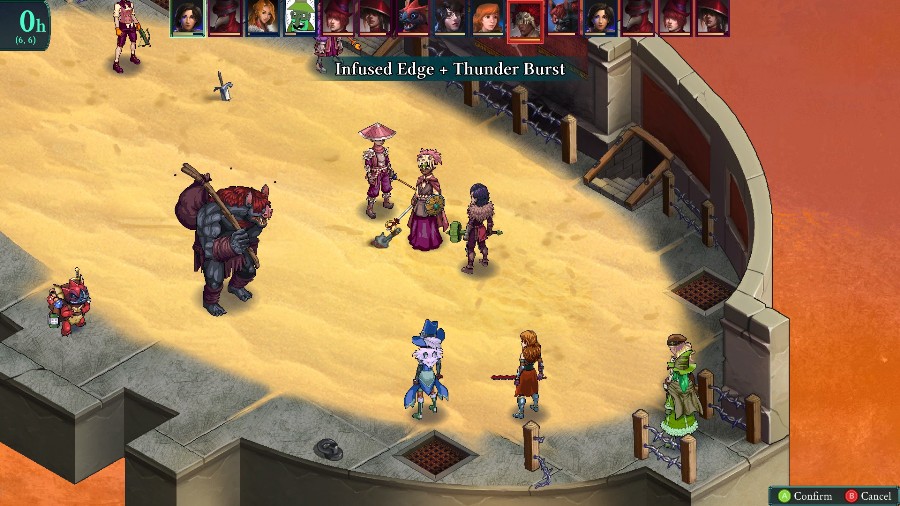 Kyrie goes up and nearly kills the Druid, but the Plague doctor comes up and heals that nearby group back to full. 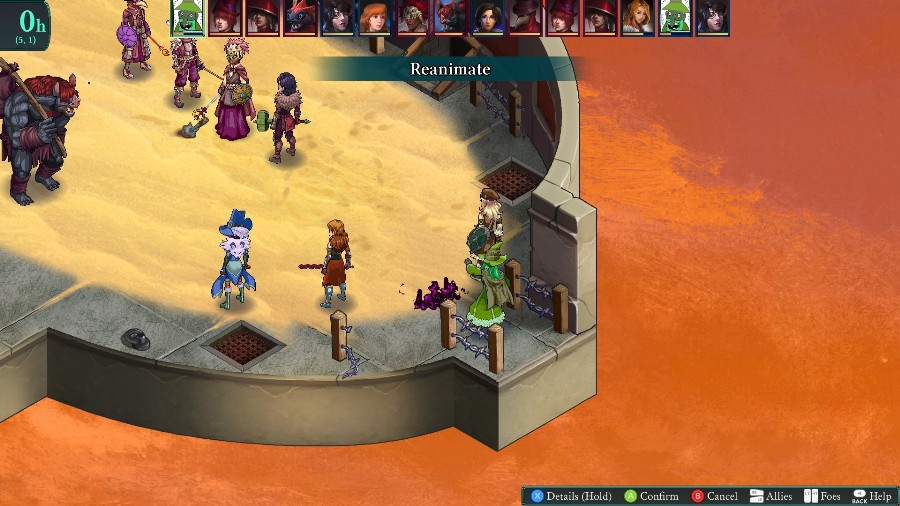 Sophia heals Kyrie, and I decide that casting a map-wide attack would probably get Bobby killed so instead I have him start reanimating fallen enemies before the Duelist can bring them back. 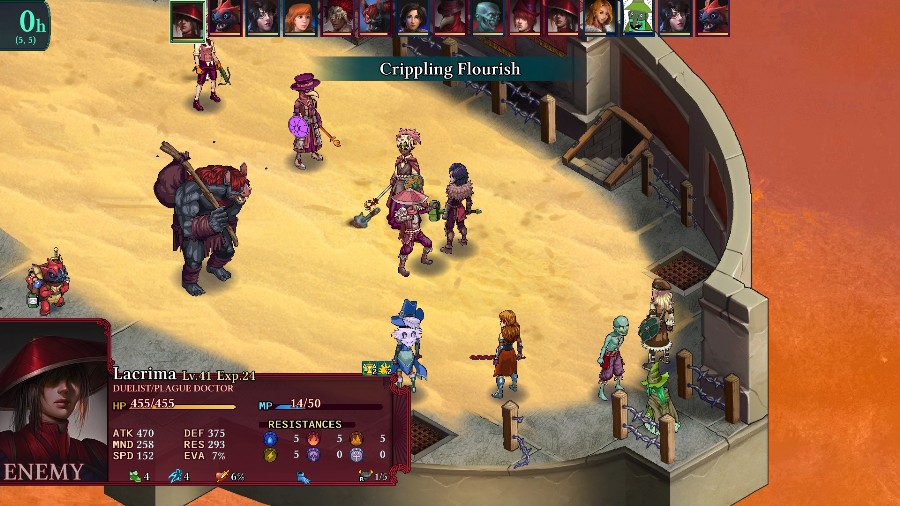 Speaking of the Duelist, they�re very annoying and cripple Kyrie. 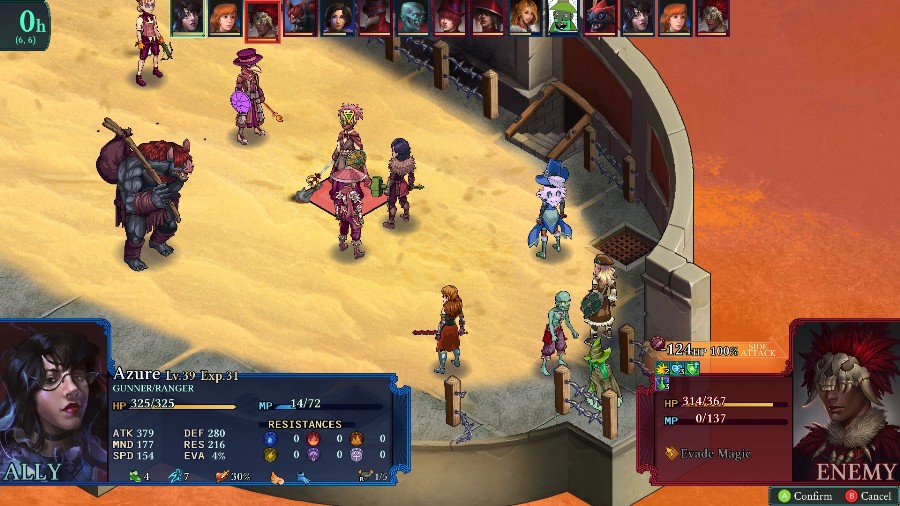 But now that I get to go again, I have Azure weaken the Druid. 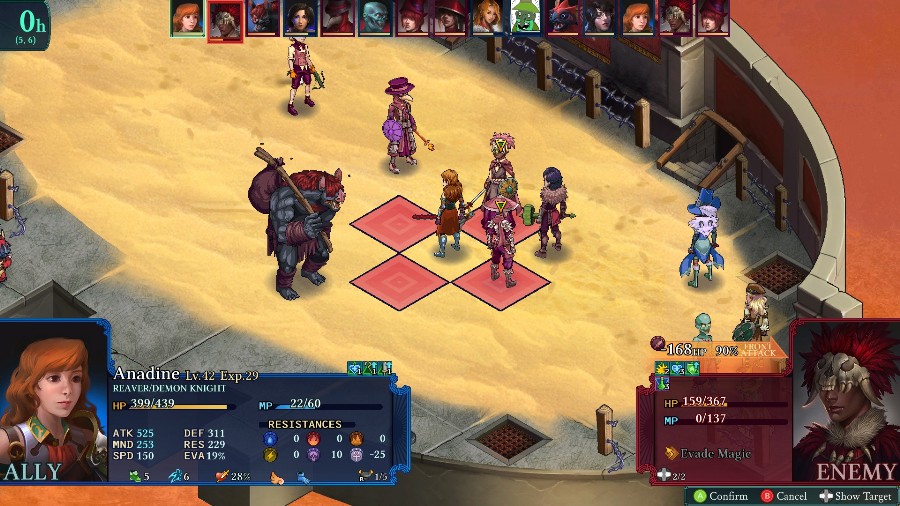 And Anadine takes advantage of boosted damage to take out the Druid with a whirling blow. She has a shot at the Duelist, but whiffs.  In my genius, I teleported her down specifically to try and keep her away from the Desmogr. But I put her just on the edge of his range, so he 1 shots her, dealing about 500 damage with this hit. 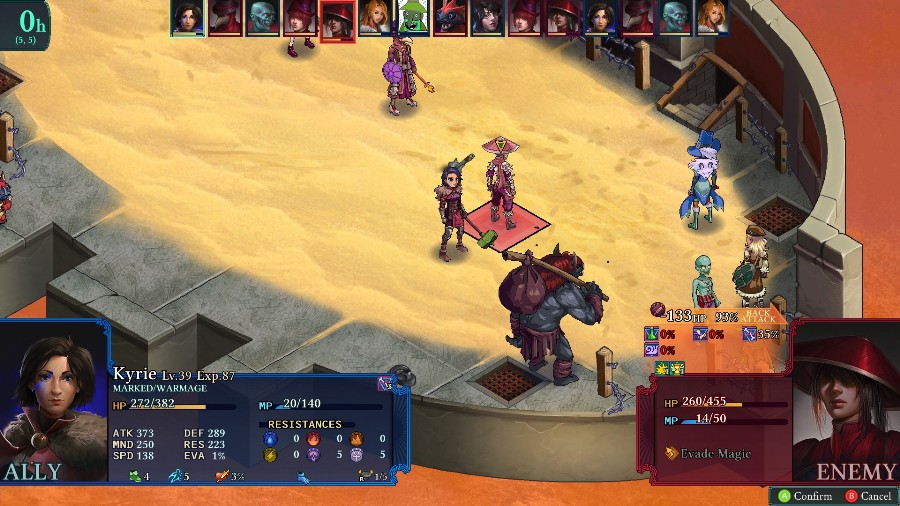 Because she�s crippled, Kyrie can�t kill the Duelist, so she settles for whacking him. The cripple procs, which is nice, but the Plague Doctor just uses a potion to heal him back up.  The cadaver slows the Desmogr, and then the Duelist comes in close, and I think Sophia or Bobby are dead. Instead he just poison bursts, which doesn�t kill either of them. Though Bobby is functionally useless for a turn on 4 HP. 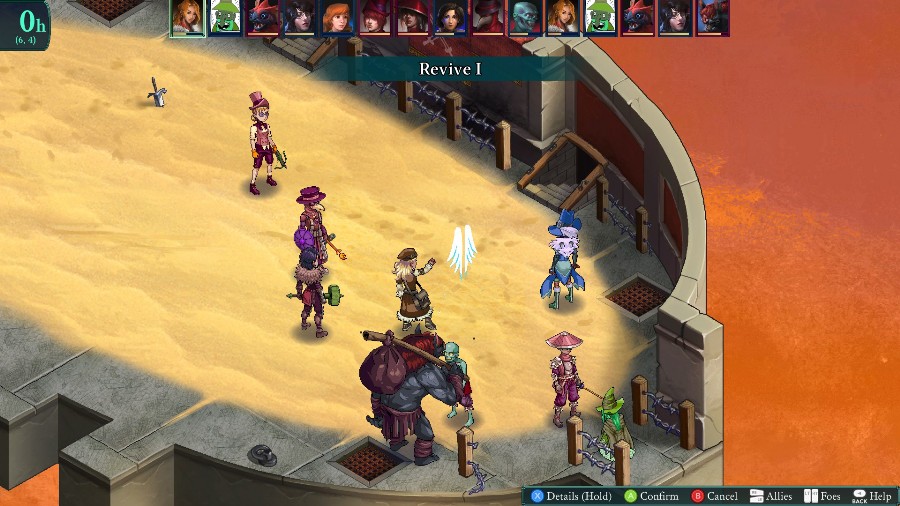 Sophia runs over to the side and revives Anadine. I could do the full health cast, but I revive her low for the damage boost. Bobby spends his turn healing himself with a potion while awkwardly looking at the Duelist blocking him in. 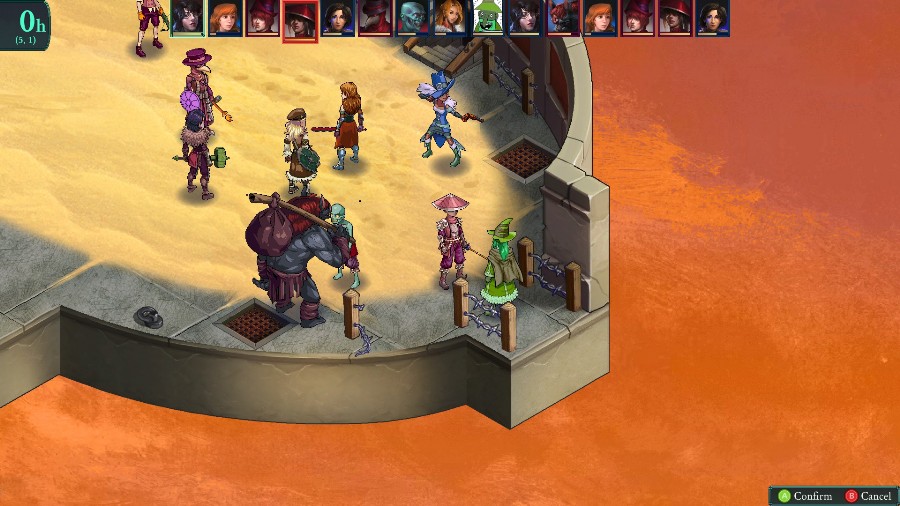 Continuing the combo that�s worked so far, Azure weakens the Duelist. 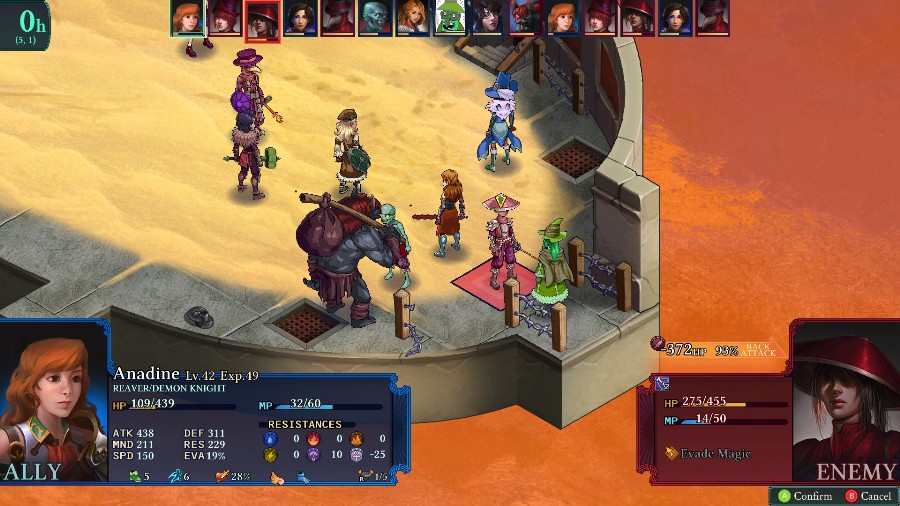 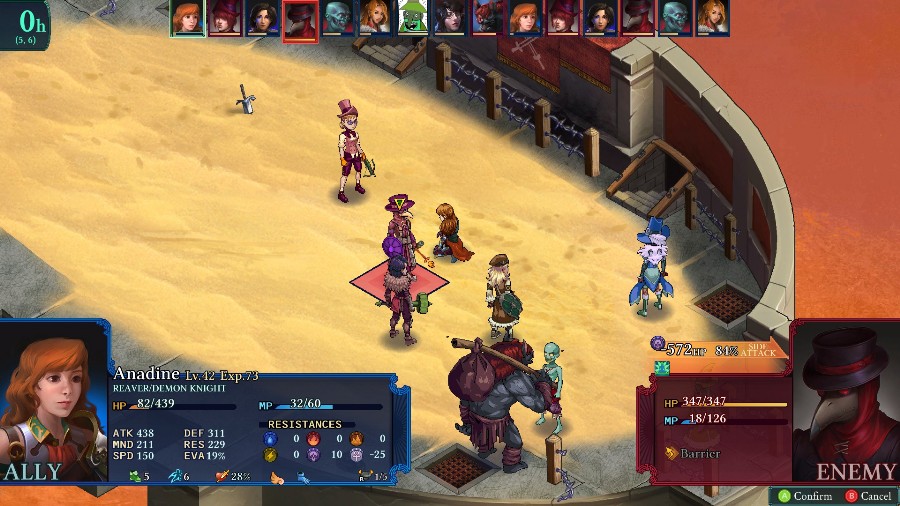 Anadine then swoops in to kill him, and then heads north to absolutely obliterate the Plague Doctor.  But the Peddler undoes some of my efforts by reviving the Duelist, who then kills Anadine with a cast of poison. 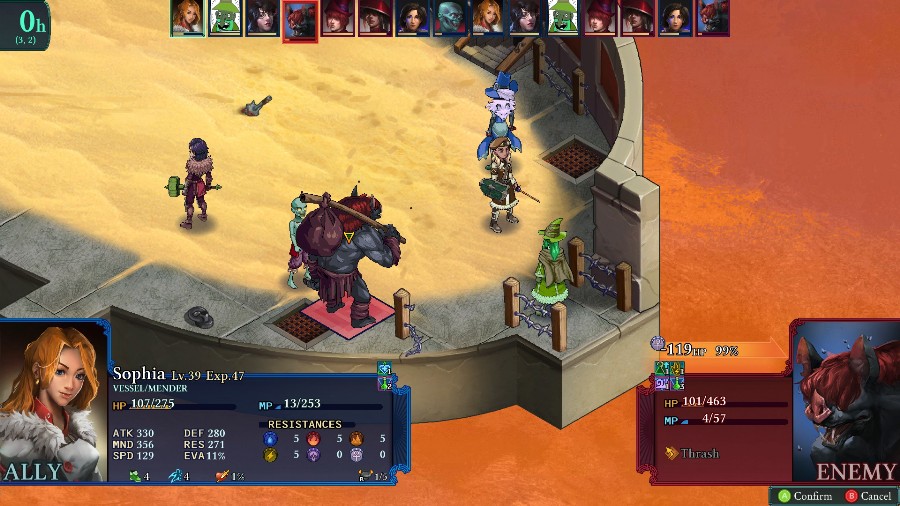 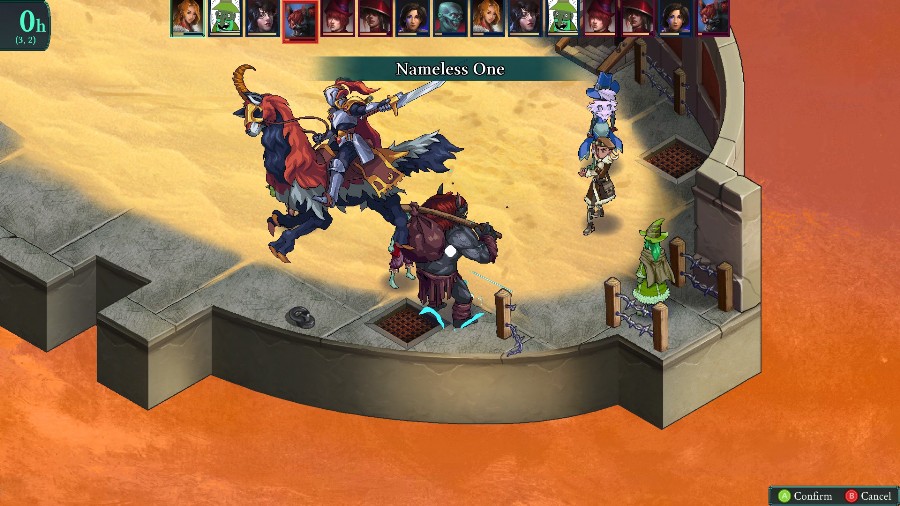 After a blast of magic from the still crippled Kyrie, Sophia kills the Desmogr. 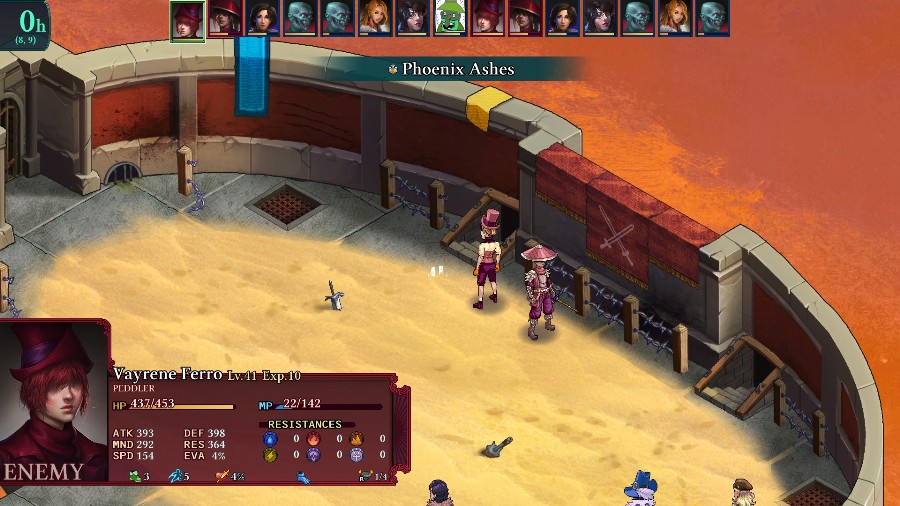 Bobby reanimates someone, I tried for the Druid, but couldn�t remember the name, and the Peddler uses the 2nd copy of Phoenix Ashes to revive the Sylphite. There were definitely worse ones for them to pick, so I�m happy with that. 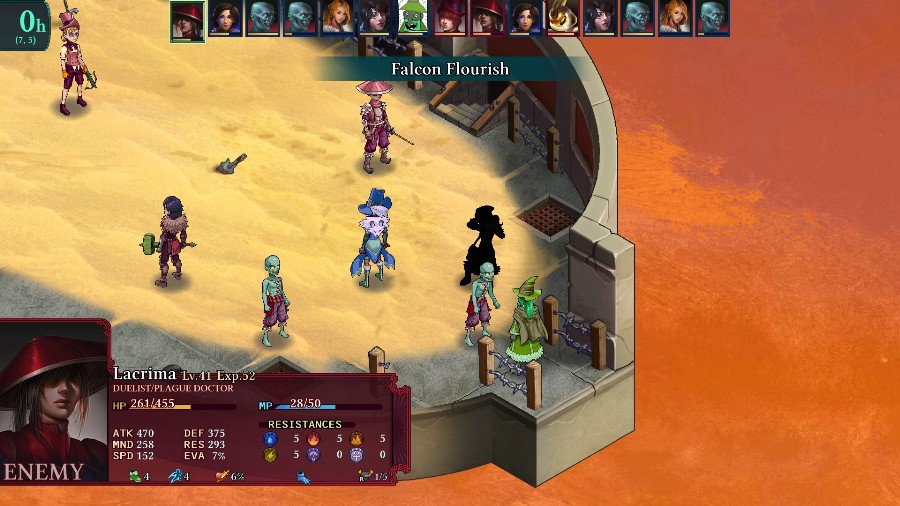 Not too happy with the Duelist deciding to kill Sophia though. 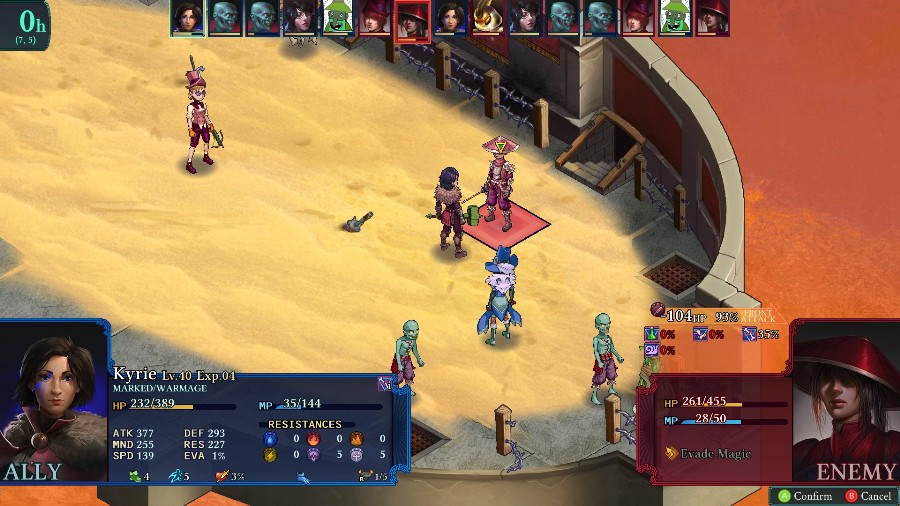 Kyrie continues her streak of landing cripples as she hits the Duelist again. 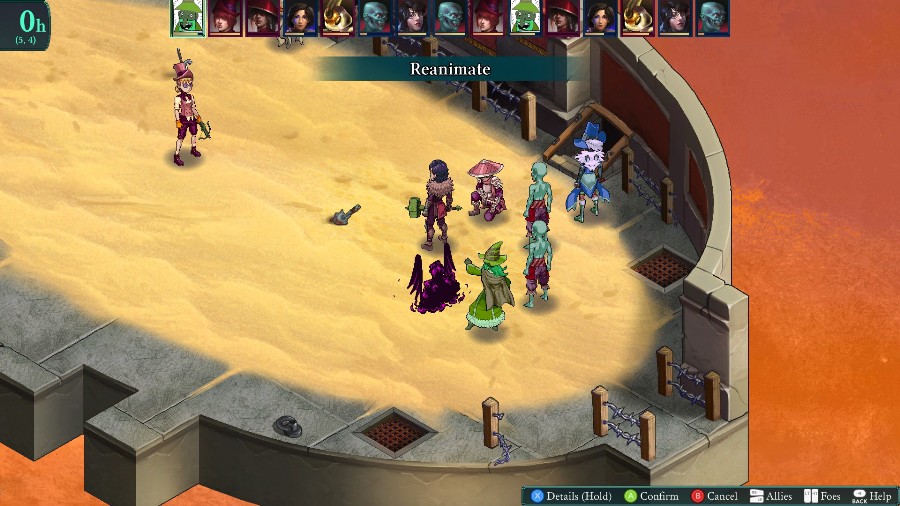 Bobby keeps my numbers up. 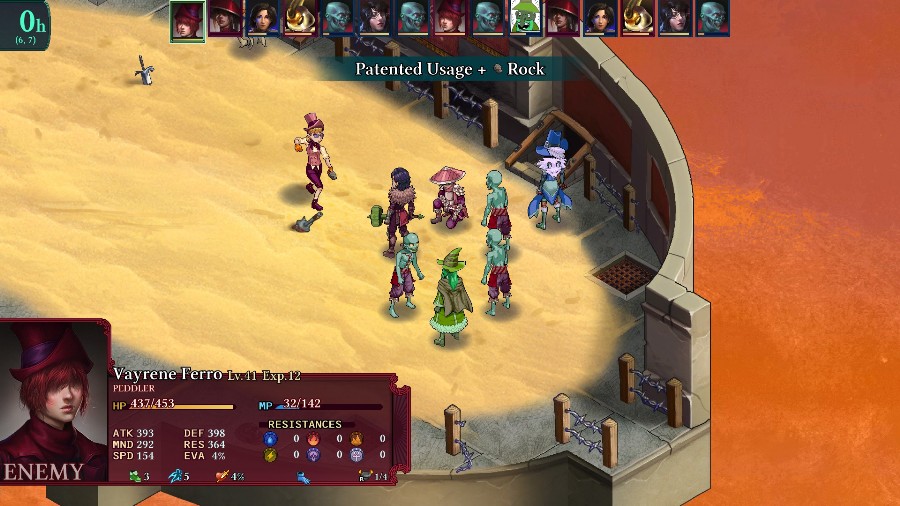 Though my zombies ended up in position for the Peddler to hit them all with a boosted rock. The Duelist then weakens the same group, mostly because he was crippled and thus couldn�t kill Kyrie.  Thankfully he runs behind the Peddler, so I take him out with a beam. The Peddler dodges the blast entirely though. 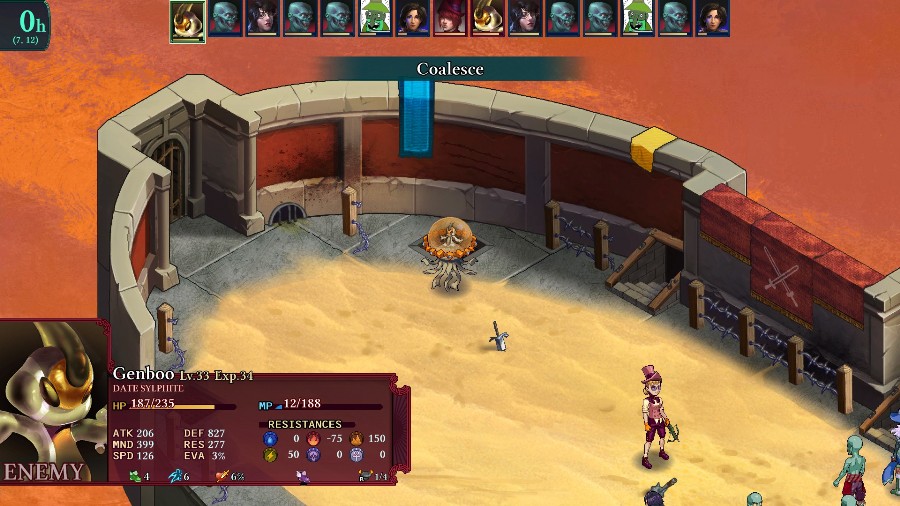 Meanwhile the Sylphite uses its turn to revive the Druid, who I apparently just did not reanimate. 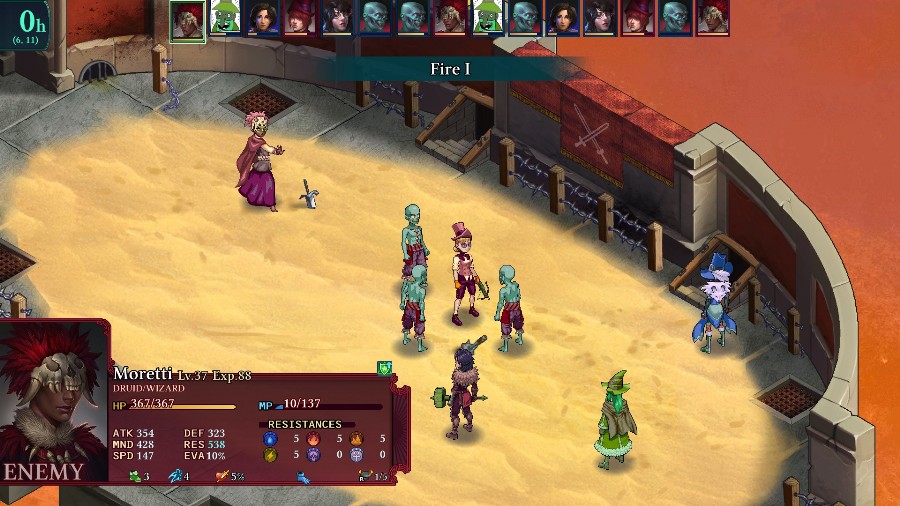 The zombies surround the Peddler, having dealt a total of maybe 40 damage to him. Of course, the Druid decides that 3 enemies for 1 friend is a great deal, and hits all 4 of them for over 200 damage. 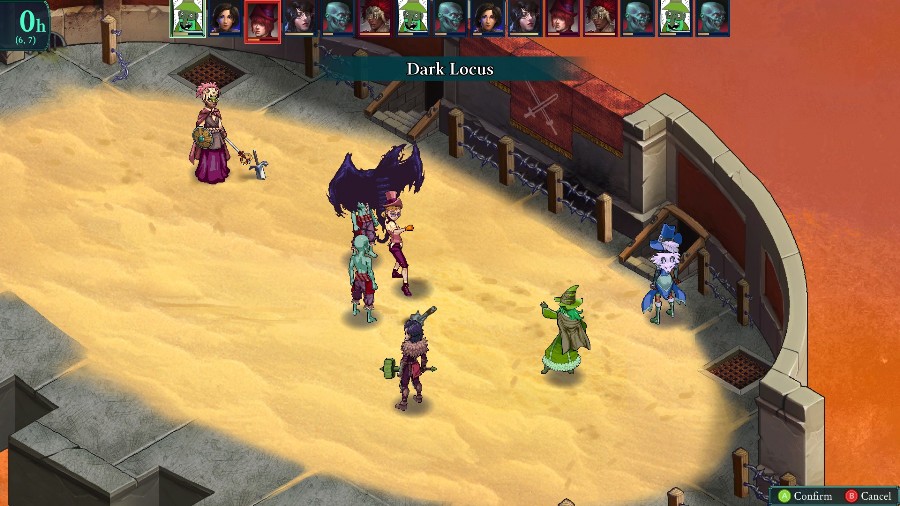 Bobby then kills the Peddler with a Locus cast. 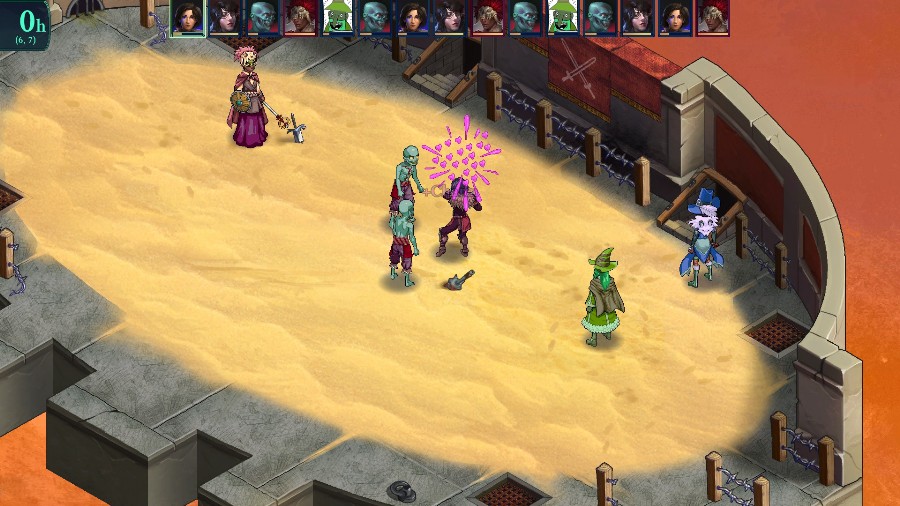 Kyrie gets charmed by a trap left by the Peddler from earlier. 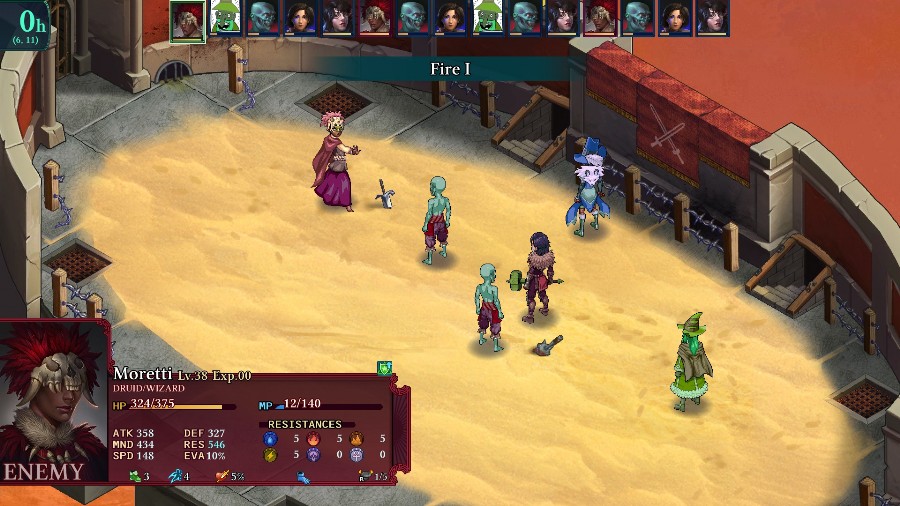 Luckily, the Druid decides to hit her, breaking the charm but not killing her. 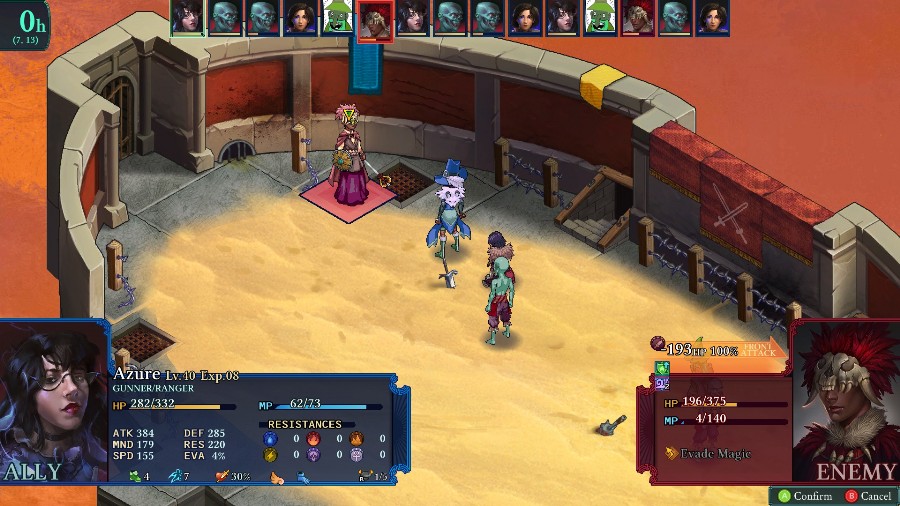 Azure falls just short of sniping the Druid, 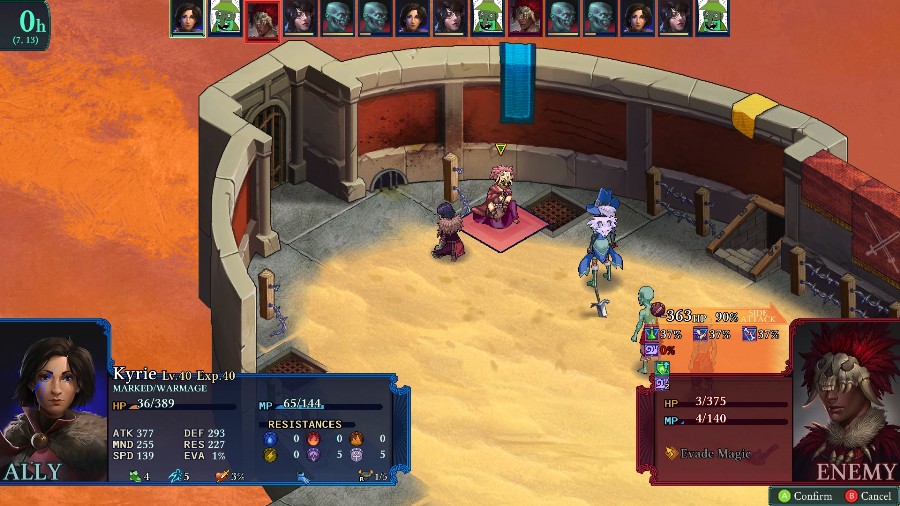 So Kyrie finishes them off with just a little bit of overkill. 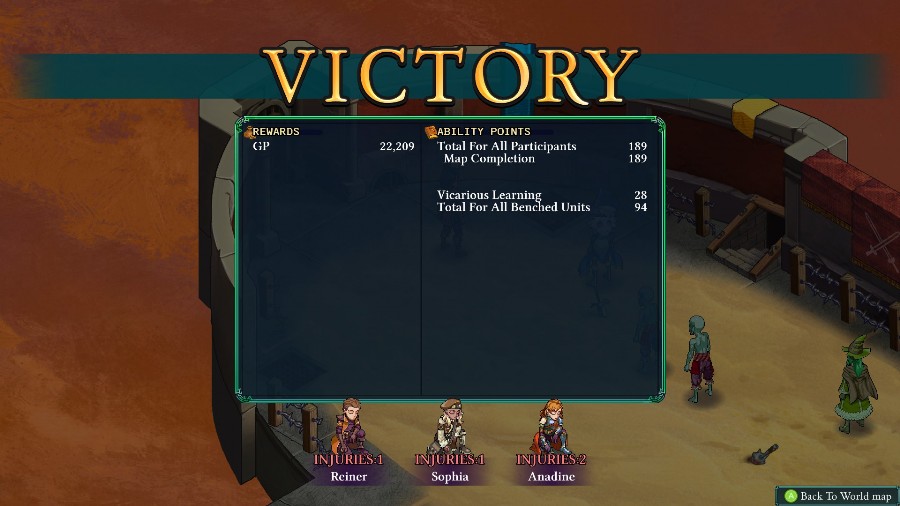 And that�s that! This was definitely a close fight that I only really managed to pull off due to status effects keeping the Duelist from killing my people, which also meant he used spells that drained his MP and prevented any extra revivals. The boosted stats made it really difficult for anyone but Anadine to blitz anyone down, while they could kill me pretty easily. Azure was especially hit hard by the boost, since most of her damage came from attacking twice. The zombies were also helpful because they really seemed to distort the AI�s priorities, acting as big sacks of HP for them to whack instead of hitting my important people. My only real disappointment with this is that it was just on flat ground instead of one of the more interesting arena maps. I tried for quite a while to get one that had both a good enemy team and a good map, but it just didn�t happen. Still, I hope that the fight satisfactorily demonstrated what the max difficulty would be like.
|
|
#
?
Feb 5, 2020 14:23
|
|
|
Awesome fight! Thanks for showing it off. Seems like one of the keys for this difficulty was to reanimate zombies to prevent resurrections by the enemy team.
|
|
#
?
Feb 5, 2020 15:56
|
|

|
I never thought to give a Gunner two guns. I'll have to try that next time, looking forward to that DLC!
|
|
#
?
Feb 5, 2020 18:26
|
|
|
drat, well done. Tough fight.
|
|
#
?
Feb 5, 2020 23:32
|
|
|
HardDiskD posted:Awesome fight! Thanks for showing it off. You're welcome! While it wasn't as much a factor in this fight (mostly because only the Duelist had the regular revive spell), I had a few other attempts where Menders showed up in the backline and controlling what they could revive was absolutely crucial. Whether through zombies or the special kill abilities just depends on what you had available. Doctor Reynolds posted:I never thought to give a Gunner two guns. I'll have to try that next time, looking forward to that DLC! I only realized I could do it after a gunner in an offscreen patrol obliterated Bobby with 2 consecutive crits. It feels surprisingly powerful, especially with some crit boosting abilities. And I'm really looking forward to it too! The new class they showed off and the monster variants look awesome! SSNeoman posted:drat, well done. Tough fight. Thanks! This attempt definitely had a healthy dose of luck involved, but it was still a lot of fun figuring out how to play when most enemies could 1-2 shot most of my people
|
|
#
?
Feb 6, 2020 04:27
|
|
|
OOrochi posted:You're welcome! Oh, yeah. So far one of my favorite combos is a Dual Wielding Gunner with a War Mage secondary--two hits and a spell on top. Consistently one of my hardest hitters--the other being a Dual Wielding mace-using warmage.
|
|
#
?
Feb 7, 2020 19:09
|
|

|
So there's probably somebody out there with an absurd level of system mastery beating the game on hardest right? Seems like there always is with these types of games.
|
|
#
?
Feb 8, 2020 18:14
|
|


|
DMW45 posted:Oh, yeah. So far one of my favorite combos is a Dual Wielding Gunner with a War Mage secondary--two hits and a spell on top. Consistently one of my hardest hitters--the other being a Dual Wielding mace-using warmage. Dual-Wield Warmages are scary. One of my favourite combos outside of it was the Boon Sniper. Having a guaranteed crit on a Sniper Shot means death for pretty much anyone outside of certain passive abilities. Downside is high maintenance with having to supply him with MP and get rid of root to keep the Boon chain going.
|
|
#
?
Feb 9, 2020 12:01
|
|

|
CVE posted:Dual-Wield Warmages are scary. One of my favourite combos outside of it was the Boon Sniper. Having a guaranteed crit on a Sniper Shot means death for pretty much anyone outside of certain passive abilities. Downside is high maintenance with having to supply him with MP and get rid of root to keep the Boon chain going. My favorite combo, I think, is a Dual Wielding War Mage using Dual Blood Axes, they aren't the hardest hitting weapons, attack power of only 80, with a hefty defense penalty of -21, but they are very, very good--100% of attack damage is returned as health--I believe OOrochi should be able to craft those? It was either right after the aquaduct or the map after it that I crafted them, but basically, a War Mage that can dual wield those, with Leech Mana and Counterattack, which thanks to the axes will pretty much return most of the health after any attack in melee range, is pretty much fully self sustaining
|
|
#
?
Feb 9, 2020 18:14
|
|
|
Update 38: Kapawka Jungle Welcome back! Last time we fought off another Marked and learned that the Kawas had closed off the next Temple. Unswayed, Kyrie wanted to continue onwards and this time we�ll be heading through the jungle on our way there.  We come in on our party walking towards a small bridge. As you probably noticed by now, their main city is fairly remote, so not many Arbiters choose to visit it. And this has left them without much Arbiters protection compared to other cities. Which is why Kyrie�s always made it a point to check on the area from time to time. Even though she downplays it, she�s actually quite trusted by the Kawa elders. The party reaches the end of the bridge.  When suddenly a bunch of Kawas bar the way forward. 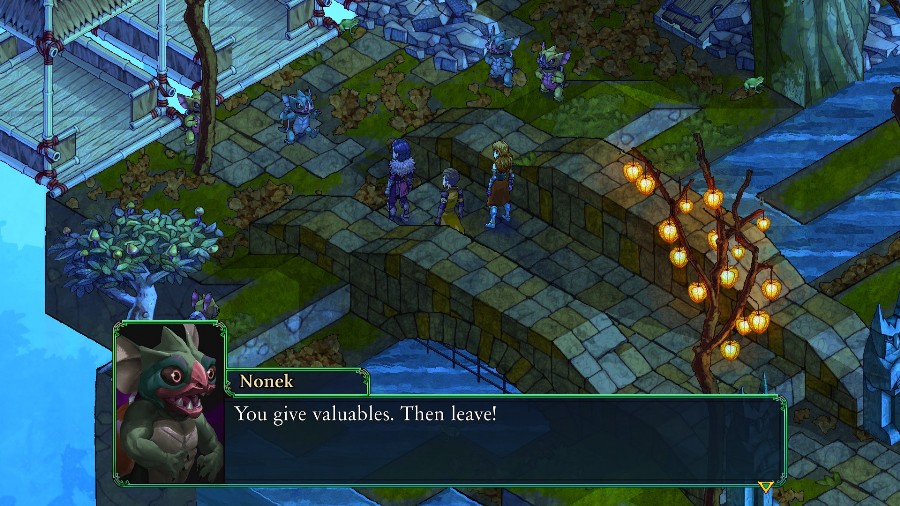 That�s not the welcome I thought we�d be getting. Those are not the Gogombob City envoys, but rather, run-of-the-mill bandits. There�s an awful lot of them, though, and I wouldn�t be surprised if even more of them were on their way. They do like their swarms� If we�re to catch up to Sigil, I think our best plan is to rush ahead. Agreed. Let�s make a run for those lifts ahead. That�s not the welcome I thought we�d be getting. Those are not the Gogombob City envoys, but rather, run-of-the-mill bandits. There�s an awful lot of them, though, and I wouldn�t be surprised if even more of them were on their way. They do like their swarms� If we�re to catch up to Sigil, I think our best plan is to rush ahead. Agreed. Let�s make a run for those lifts ahead.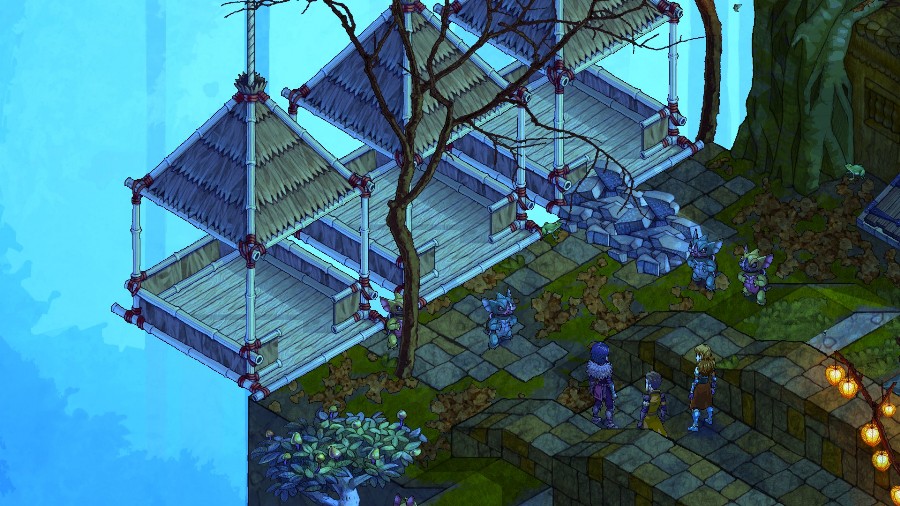 With a camera pan over to the lifts. 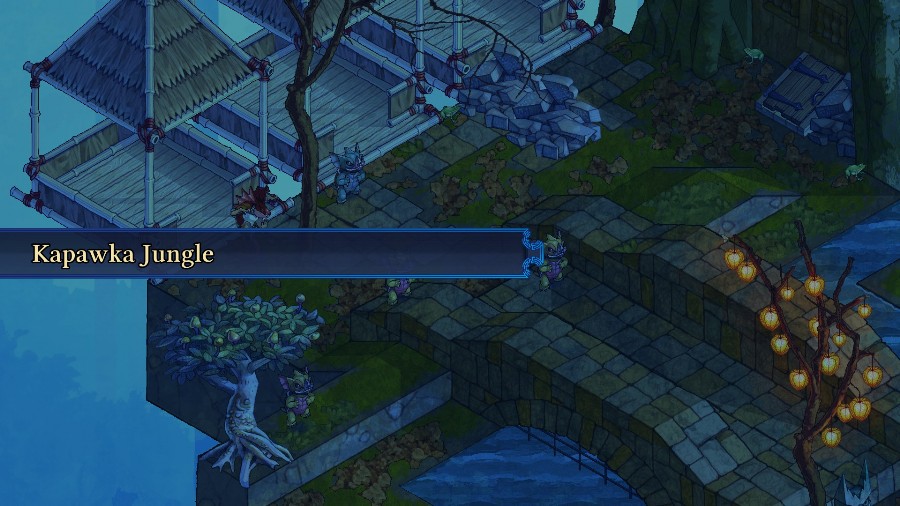 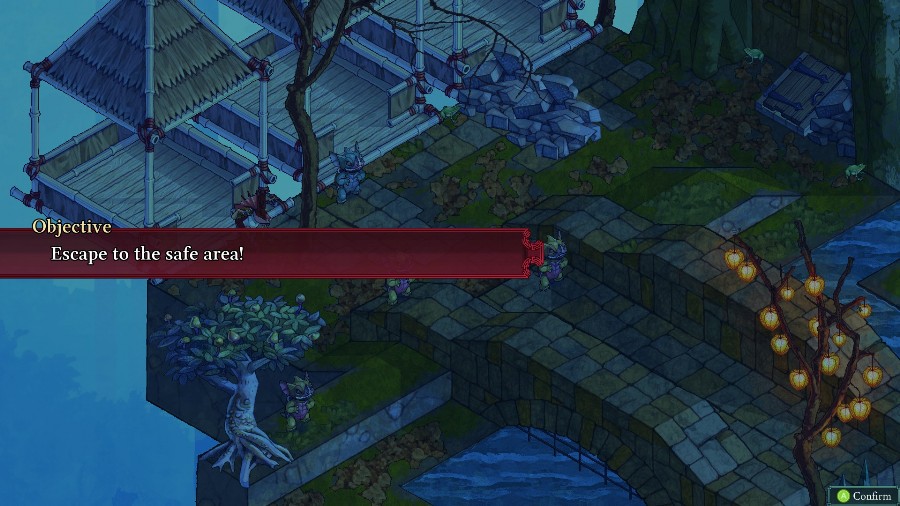 And it�s time for another fight. This one is similar to the escape from the explosion before the previous temple. It�s another one where you only need at least one person to reach a certain area, while constant enemy reinforcements pour in. 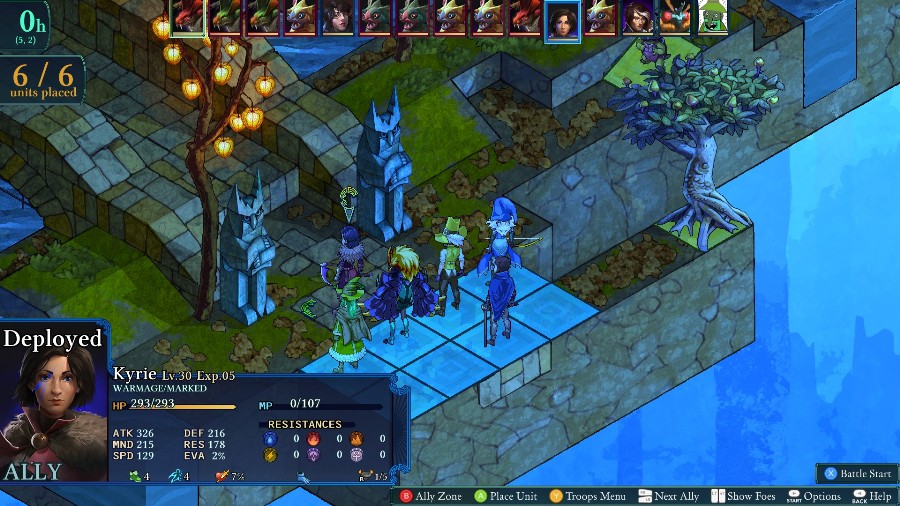 For this fight, Kyrie�s locked in, and I�m also bringing Bobby, Bzaro, Eustace, Azure, and Yates. Everyone�s back to their normal classes instead of the super boosted one they had for the max difficulty fight. 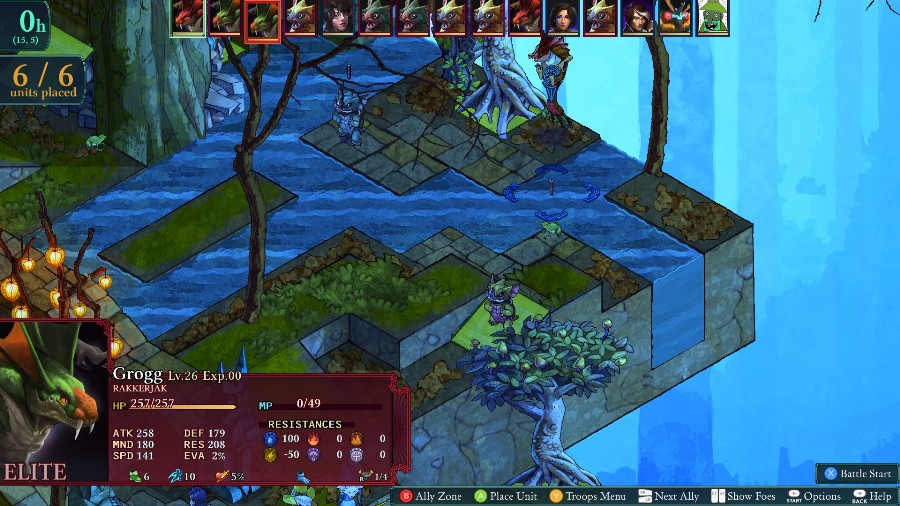 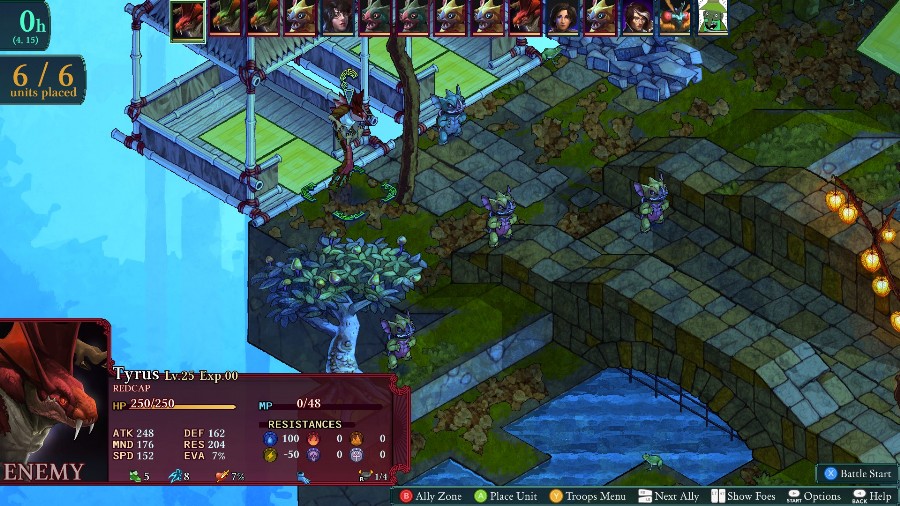 We start off with 6 Kawas and 3 Rakkerjak variants. Howeverm this will grow quickly, as 2 new Kawas will pop out of the trapdoors every round.  The enemies are almost all significantly faster than our units, so they all advance towards us before we get to take a move. 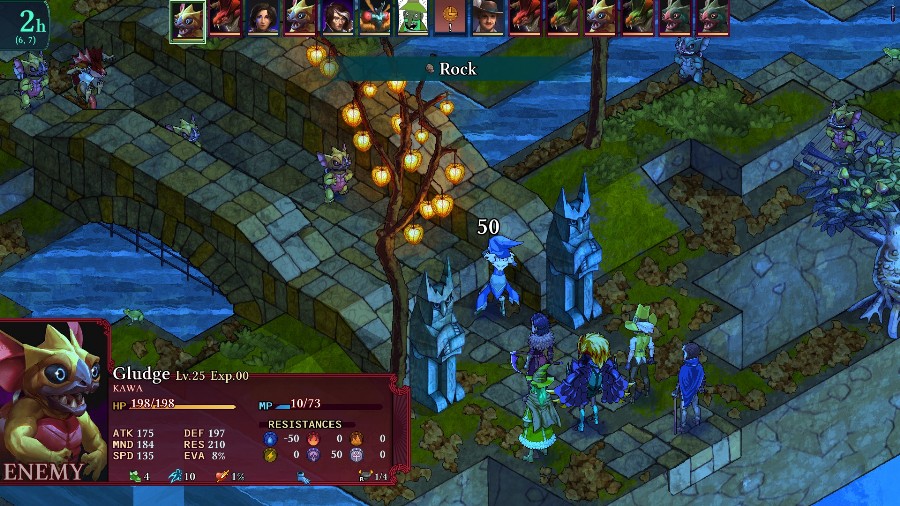 Azure moved closer to scout out any traps and gets a rocked chucked in her face. 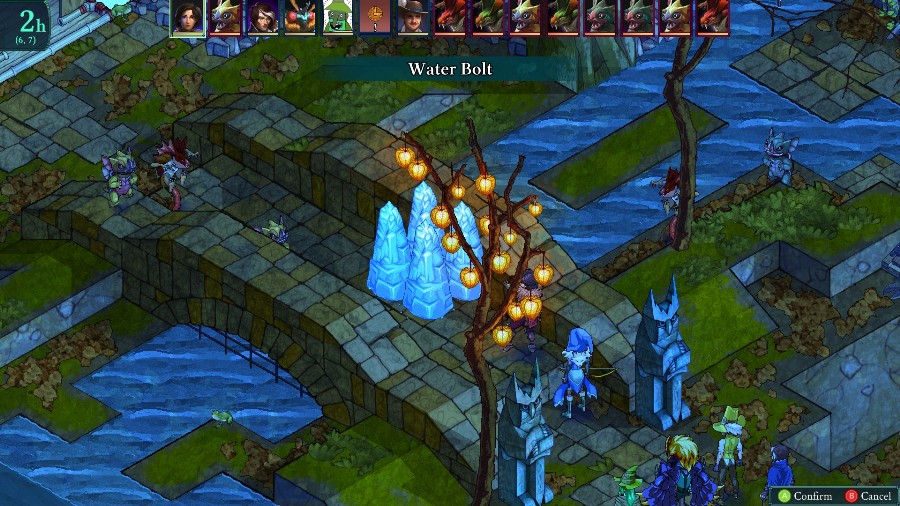 Kyrie falls a square short from actually reaching the Kawa, so she just hits it with a quick water spell. 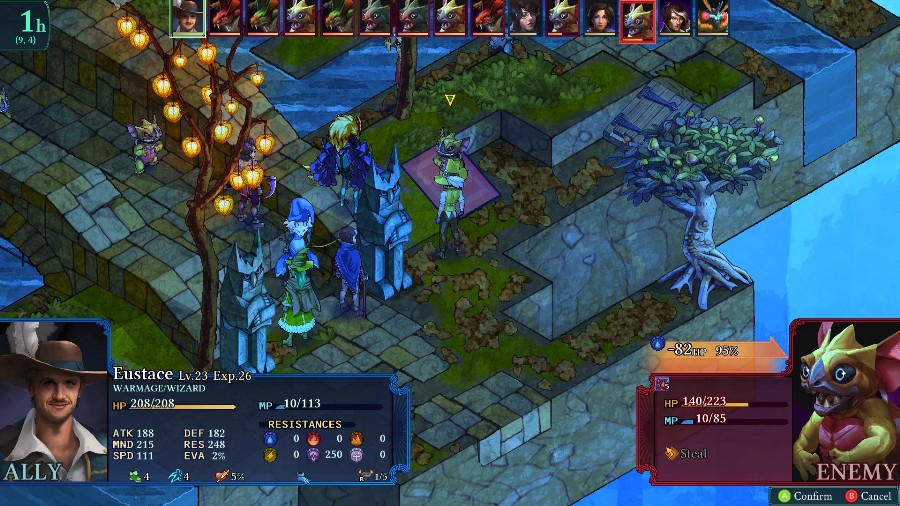 Bzaro and Eustace nearly kill one of the flanking Kawas. 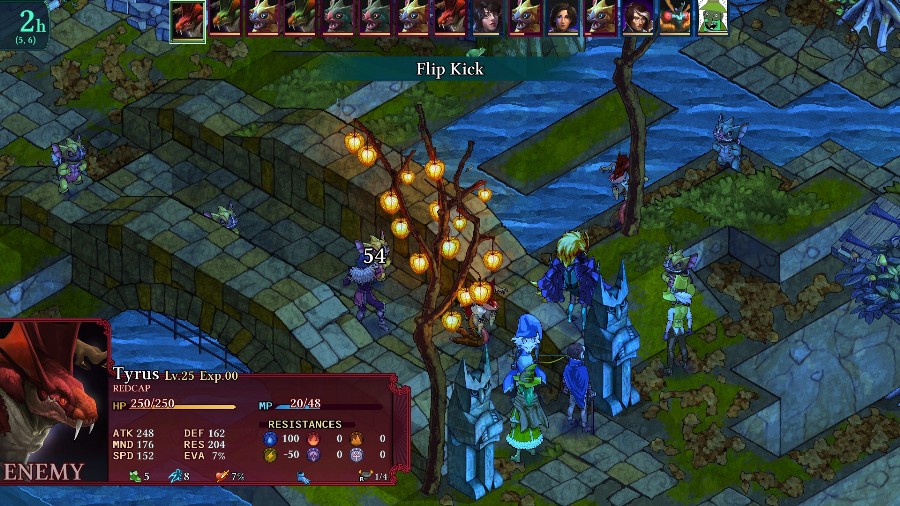 And the Redcap swaps spots with Kyrie, putting her in range of the other Kawas on the bridge. 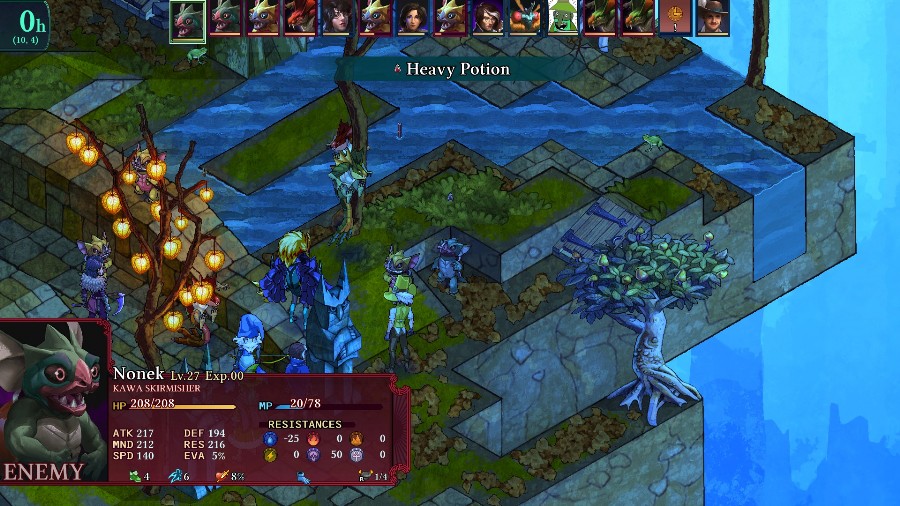 Meanwhile, we can see the enemy forces slowly growing as they mass up and get more reinforcements. 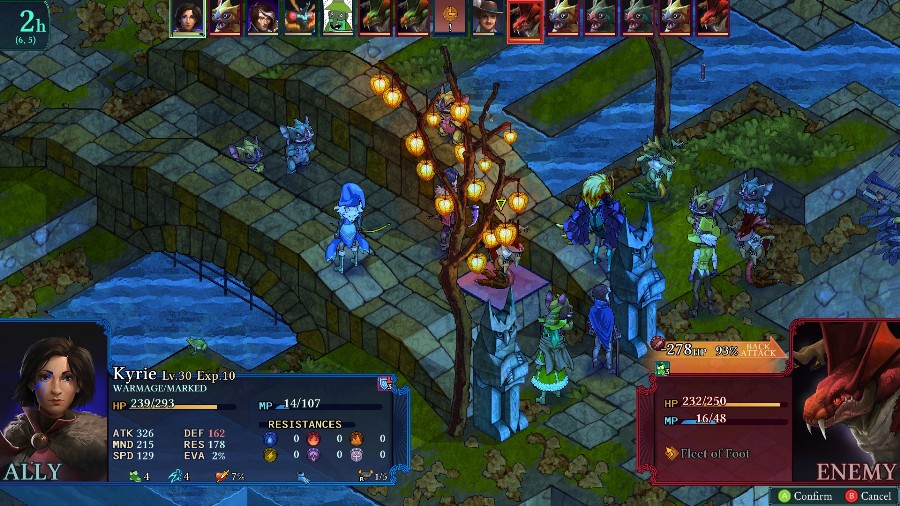 After a bunch of people get slightly hit by the Kawas, Kyrie gets a turn and kills the Recap 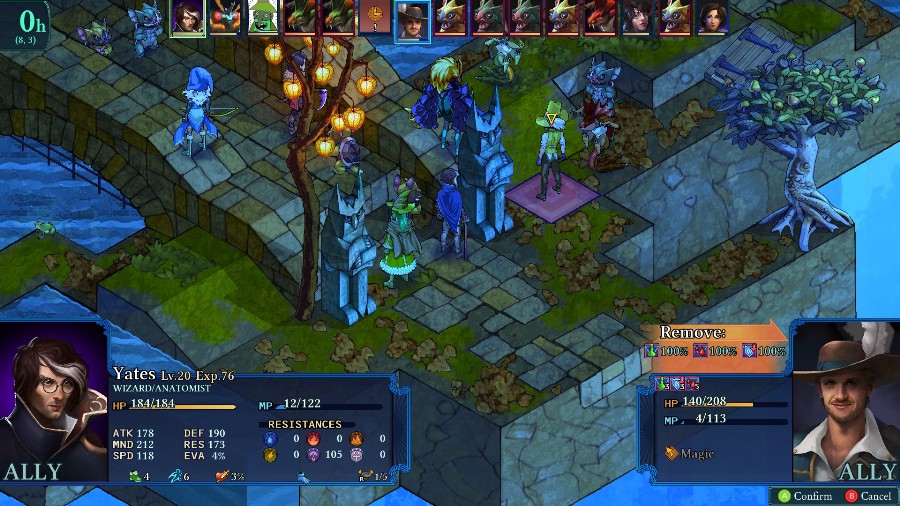 And Yates cures all of the status conditions that Eustace has built up. 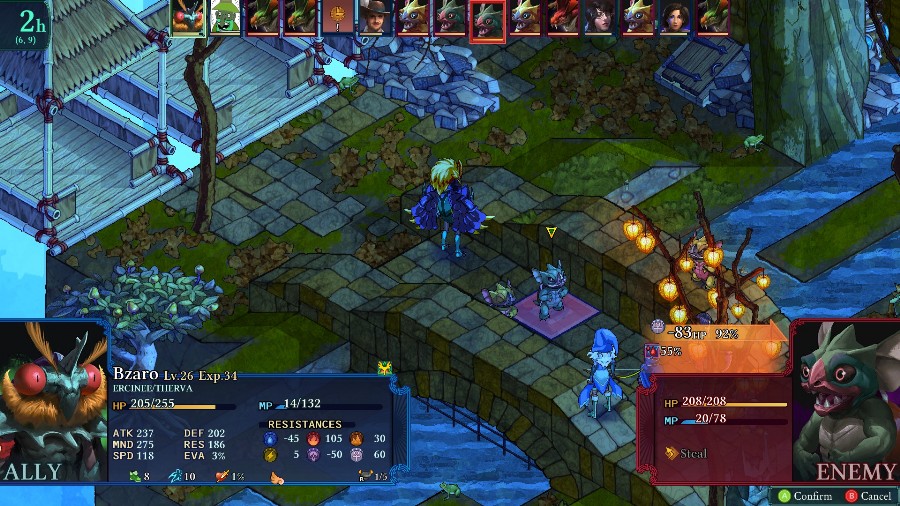 I send Bzaro to the other end of the bridge to hopefully draw a few of the Kawa over there and away from the main fight.  And Bobby throws out a map-wide spell to hit the Kawas� water weakness. I would�ve done lightning to take out the Rakkerjaks instead, but they were all just slightly too bulky to die in 1 hit. Bobby then gets stabbed by a Rakkerjak and nearly dies. 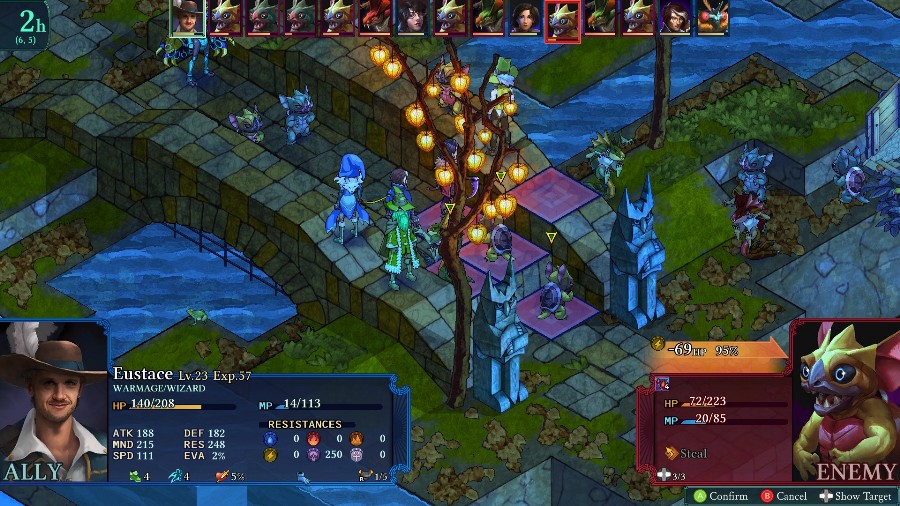  Eustace throws out a thunder, but doesn�t manage to actually kill anything. 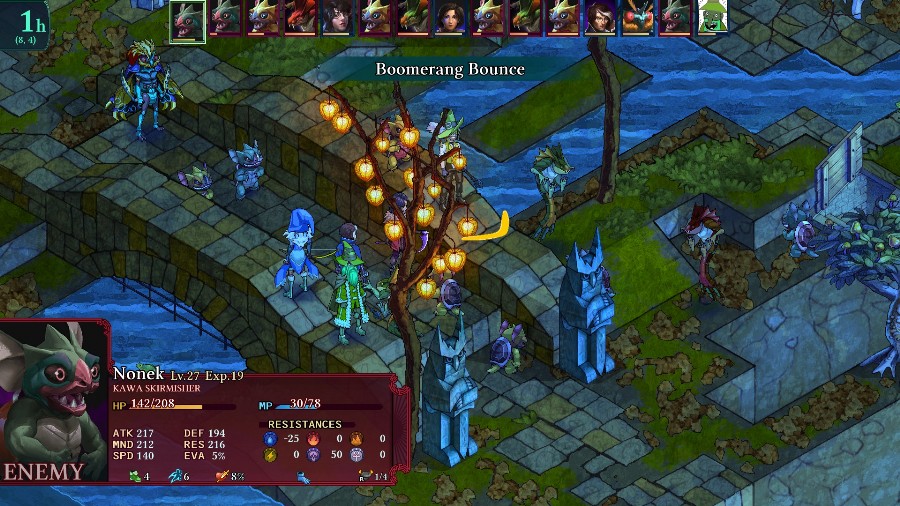 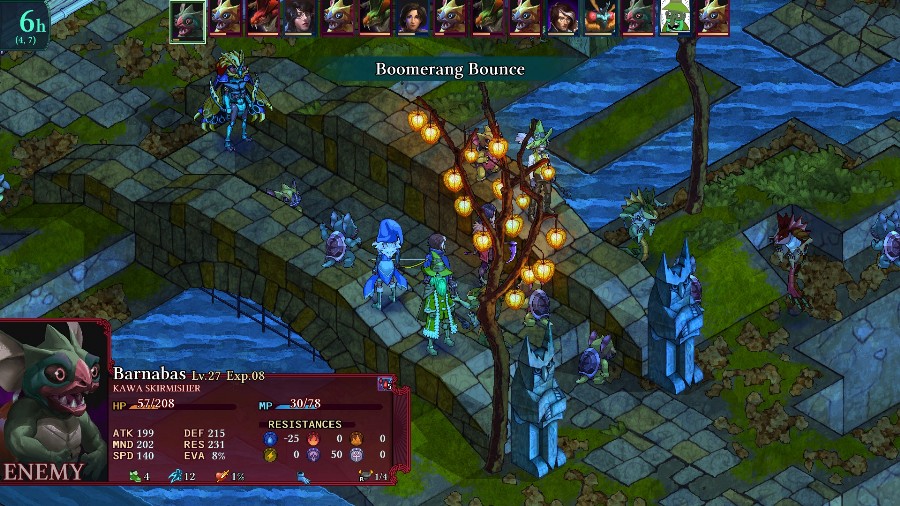 And just like the AI loves Forceful Push, the Kawas love to spam Boomerang Bounce and shove my people into each other.  Azure keeps moving up and takes out a Kawa (no idea why I didn�t multishot to maybe kill the Redcap too).  And she gets a really nice drop for it! This is a crafting material for one of the high-end badges, so it�s really nice to get one off of a random enemy. 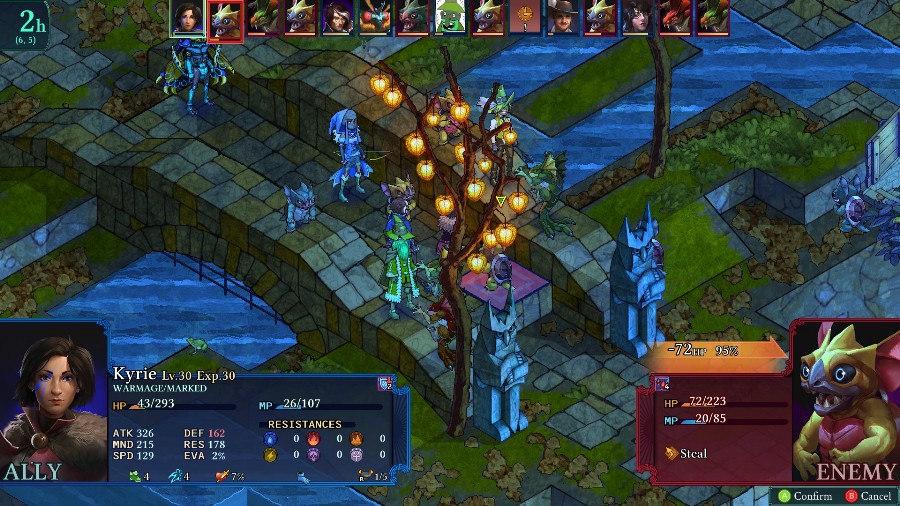 Kyrie�s been getting whacked around a lot, so I have her leech this Kawa�s health. Very lucky that it was an exact kill. 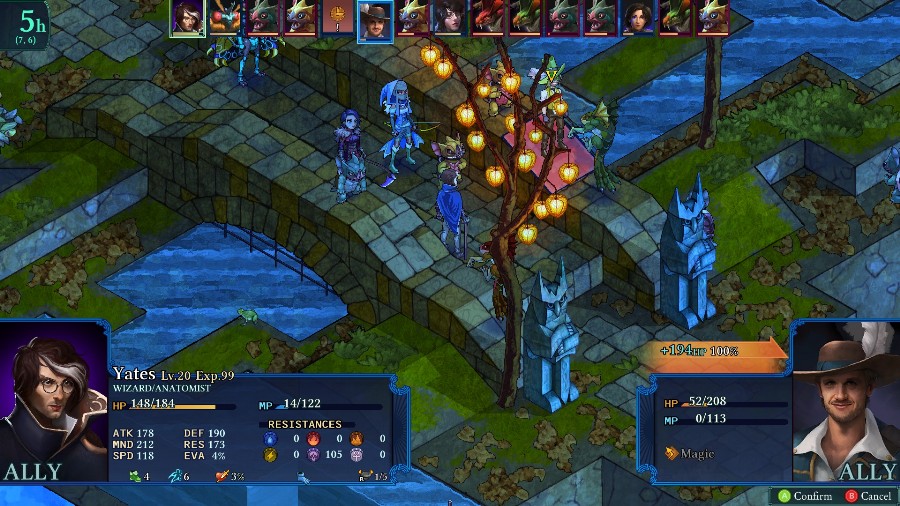 I keep moving up the bridge and have Yates heal the nearly dead Eustace. 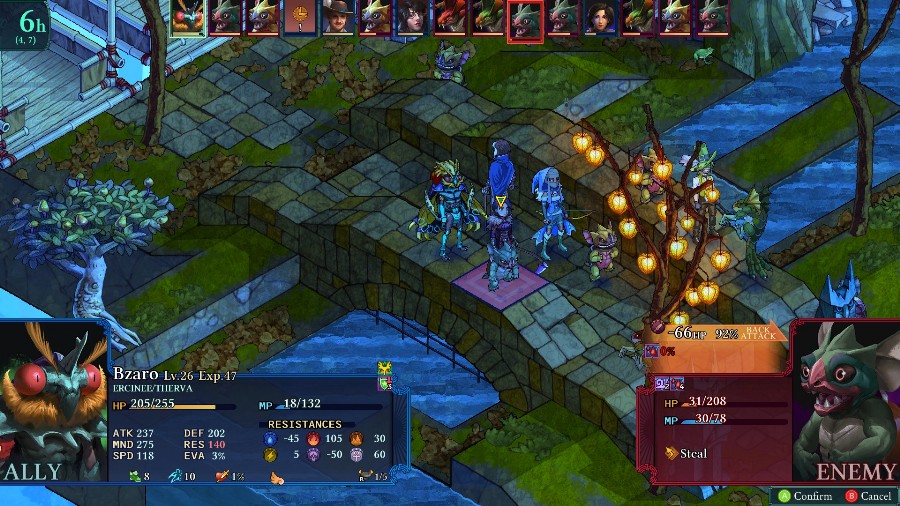 Bzaro takes out another Kawa. 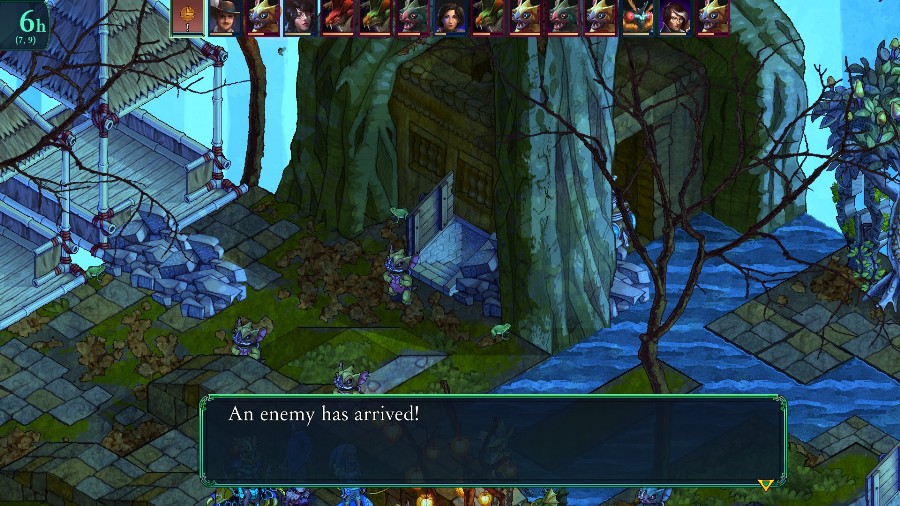 But more show up to replace it. 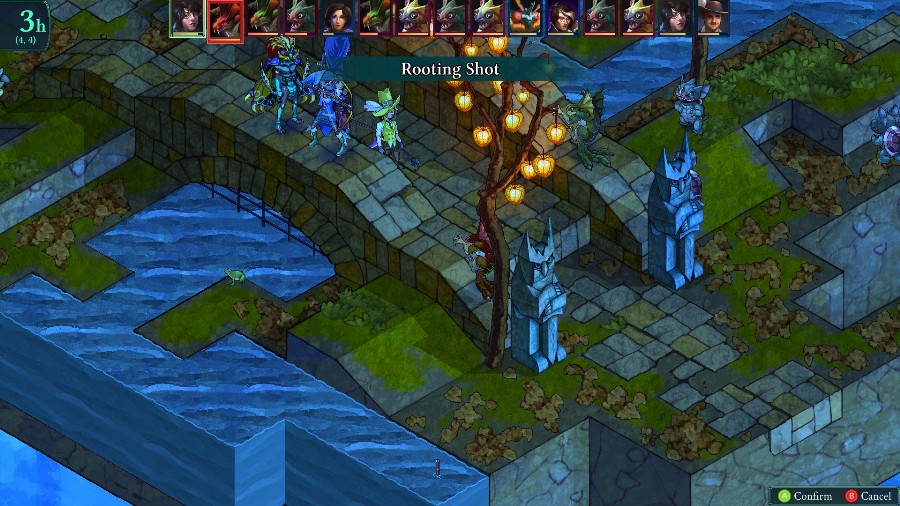 Azure successfully roots the Redcap, preventing it from stabbing more people. 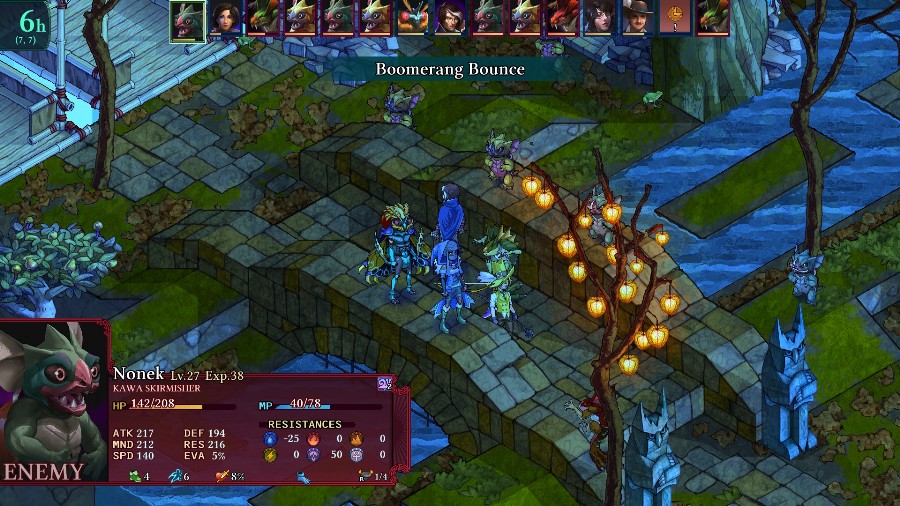 But I forgot that, though he can fly, Bzaro cannot swim. So he gets whacked off the bridge and drowns. 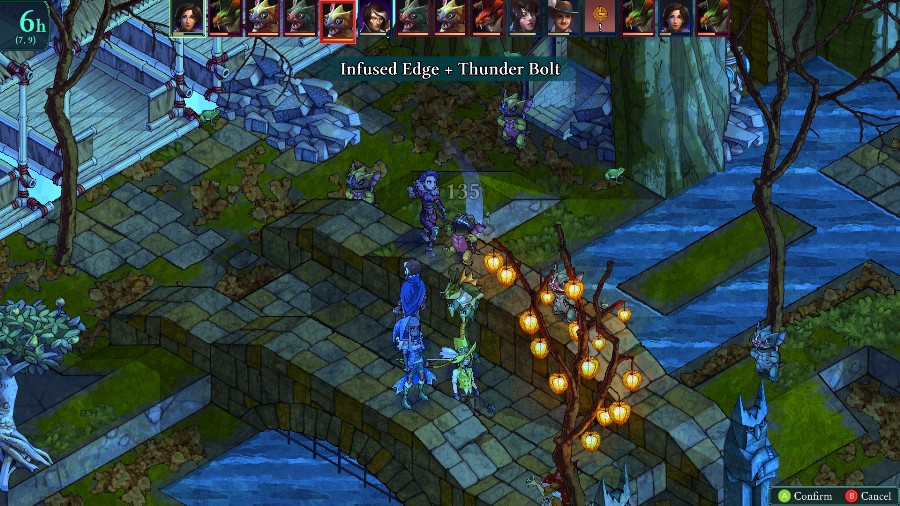 Kyrie gets vengeance as she continues slaughtering waist-high aggressors. 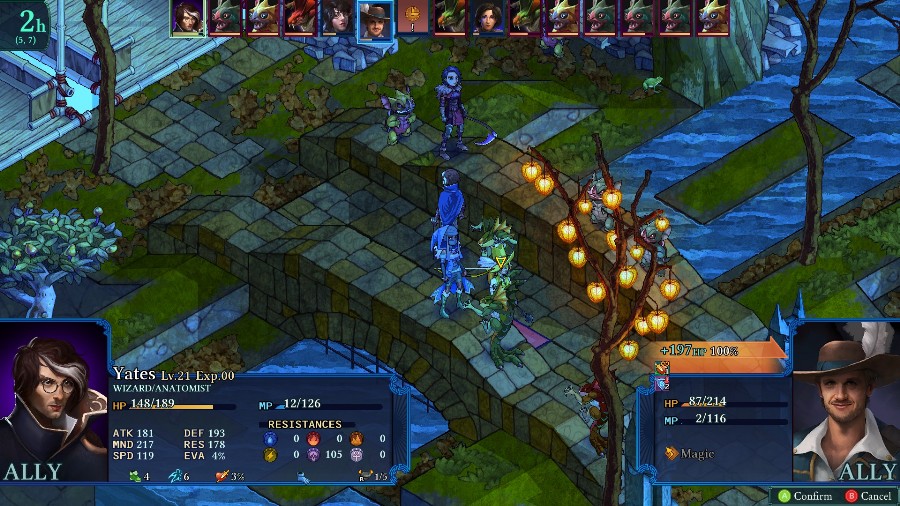 The enemies have been ganging up on Eustace so he gets healed again. 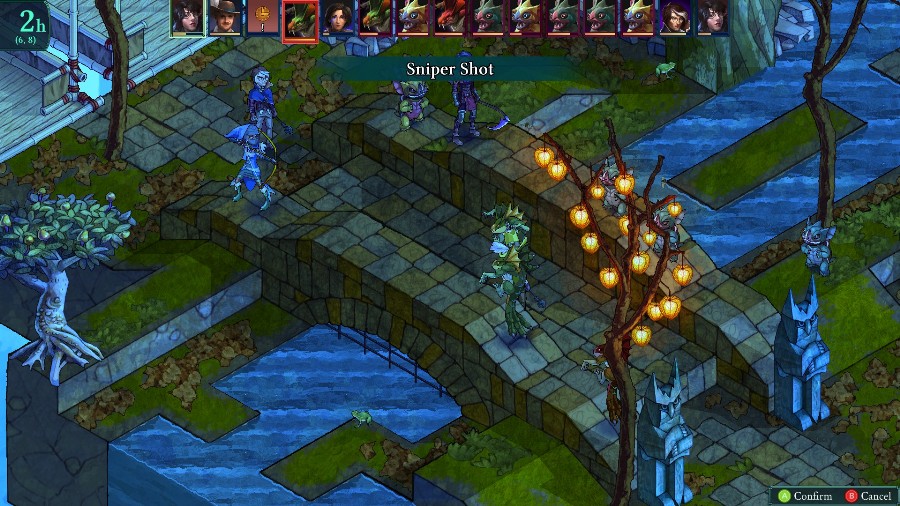 Azure snipes one of the Rakkerjaks and then Eustace uses a potion to keep Kyrie alive. 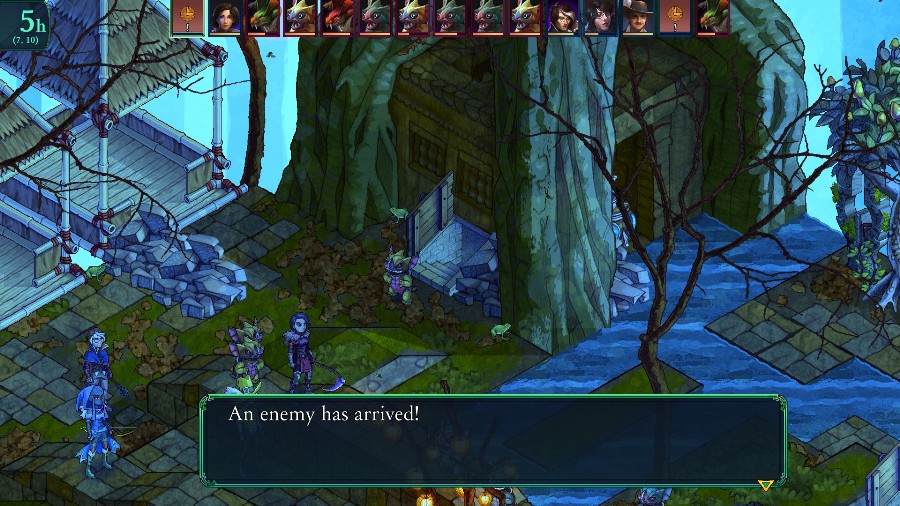 And even more enemies arrive. 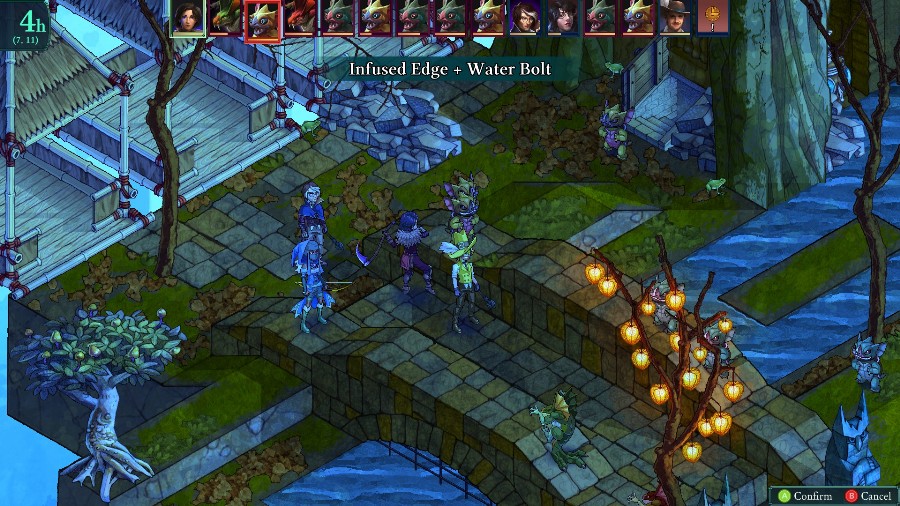 Though numbers won�t save the ones in Kyrie�s range. 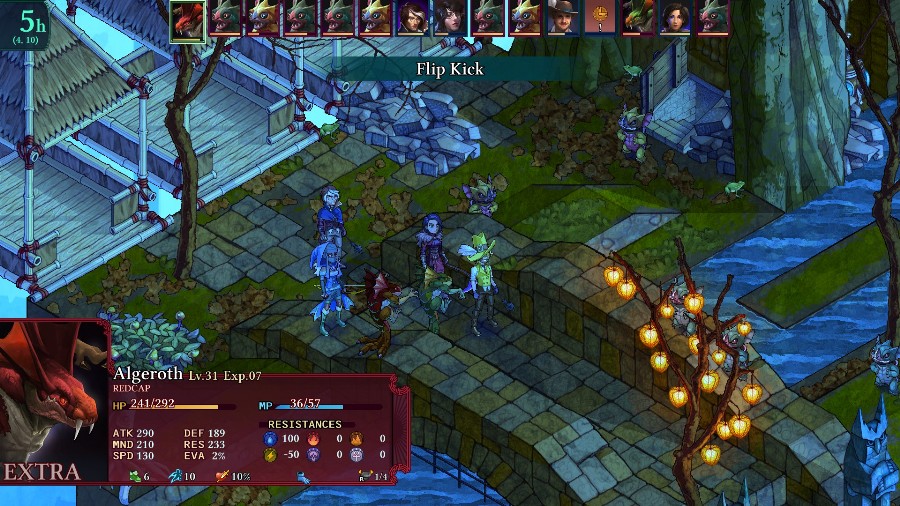 The now un-rooted Redcap swaps Eustace onto the bridge, where a Kawa throws another boomerang at him and makes him drown too. 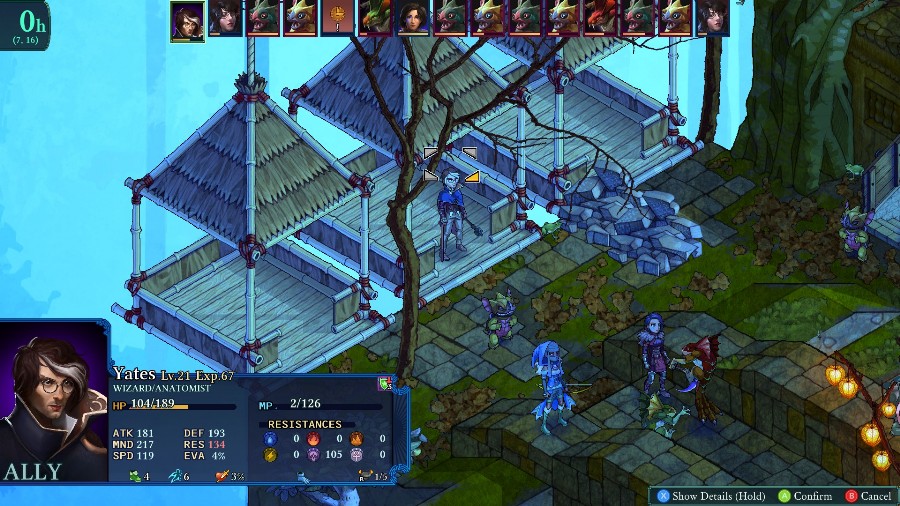 After blasting the Rakkerjaks, Yates is the first one to reach a lift.  Though Azure falls just short of the lift after she finishes a Rakkerjak off 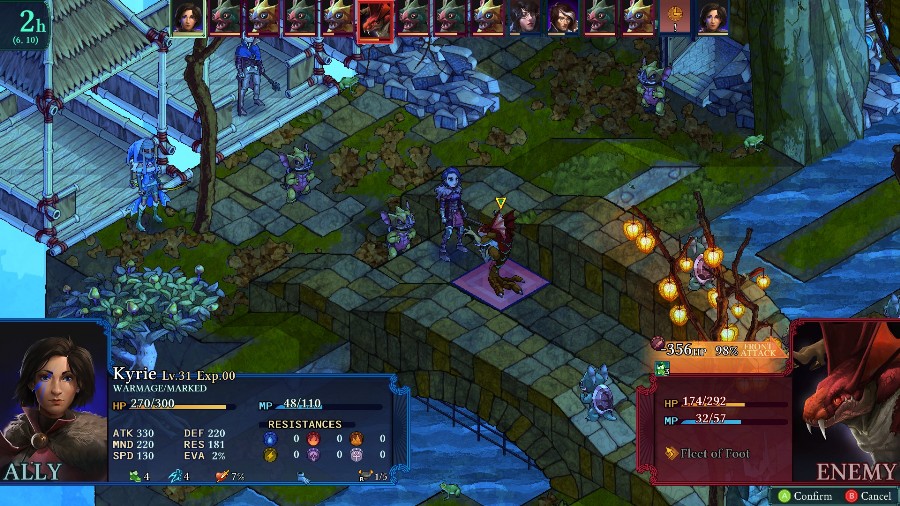 Kyrie finally kills the Redcap and then ends up 2 spaces away from Yates. 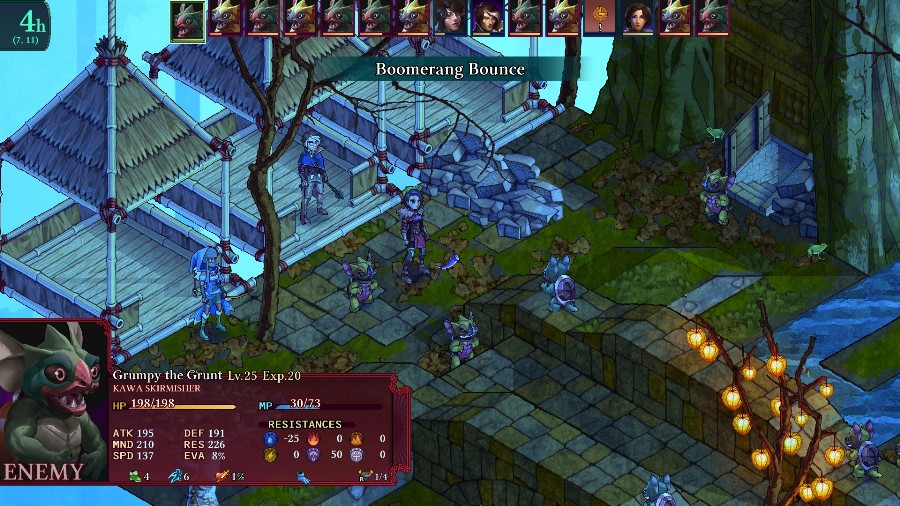 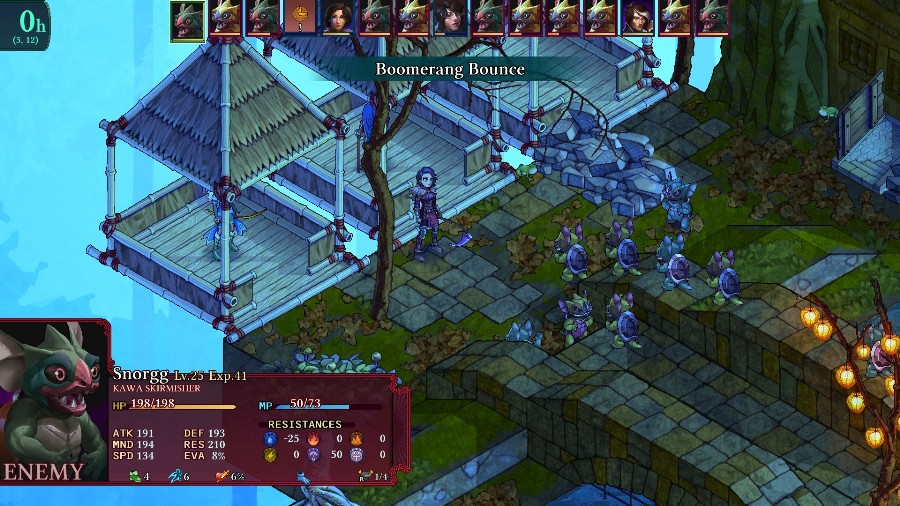 Though the number of Kawas with boomerangs means that she doesn�t stay in any one square for long. 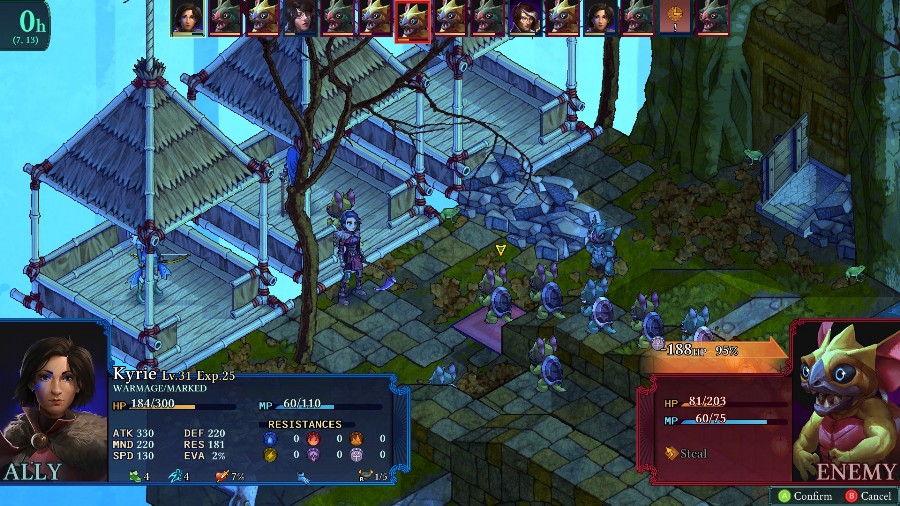 Still, on her turn she�s able to blast one more little monster with a holy bolt.  And then run over to Azure for the win. 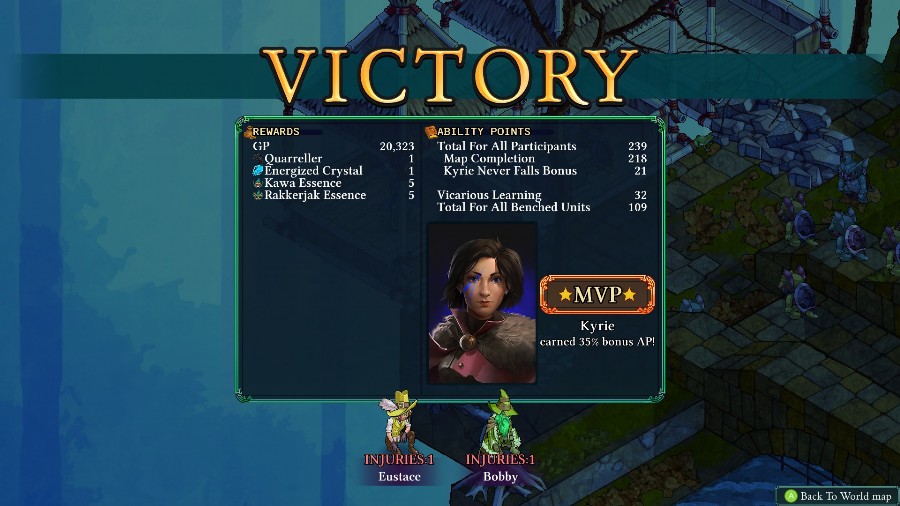 Not my greatest win, especially because all 3 of my deaths came from getting whacked off the bridge. Still, a win�s a win. 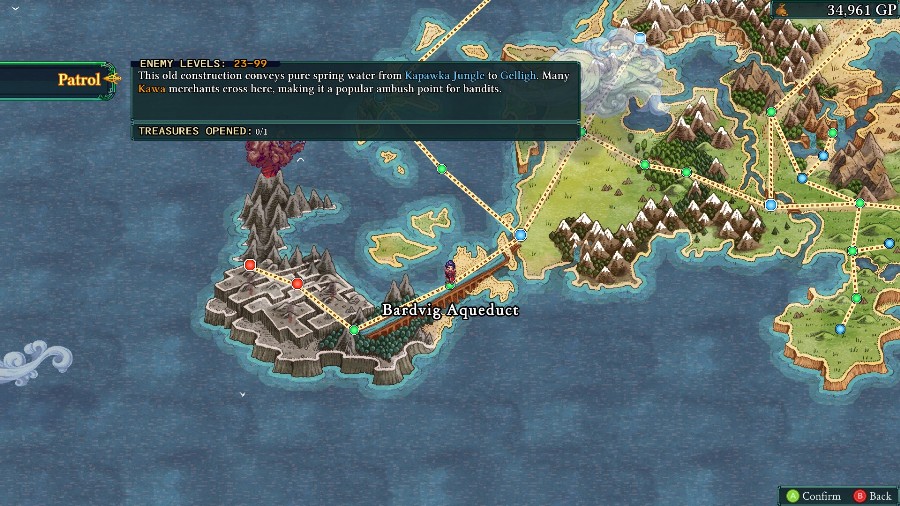 With that, we finish the fight and return to the world map. But before we break off, I want to show off a really neat thing on the Bardvig Aqueduct map that I didn�t do last time.  The fight starts off pretty normally, just that we�re where the Marked�s party previously was. 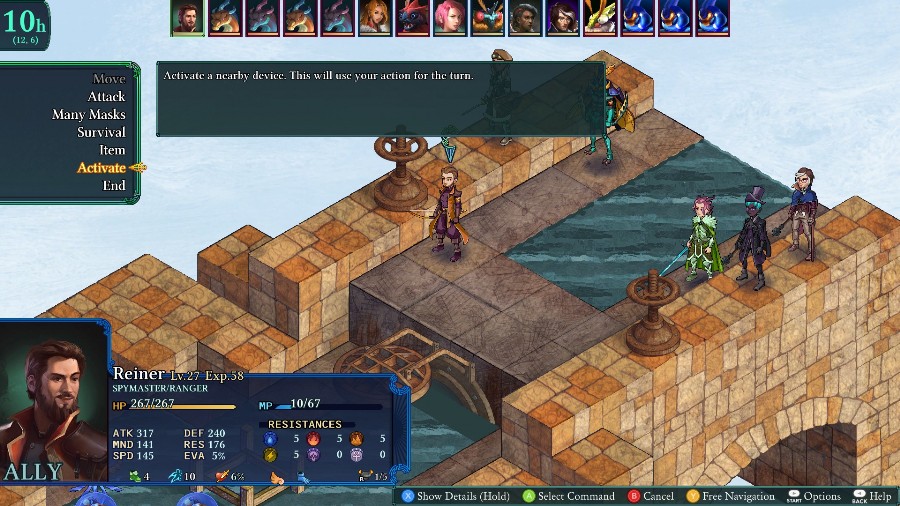 However, if you have a character end their turn adjacent to them you can discover that the giant valves are not just for show. 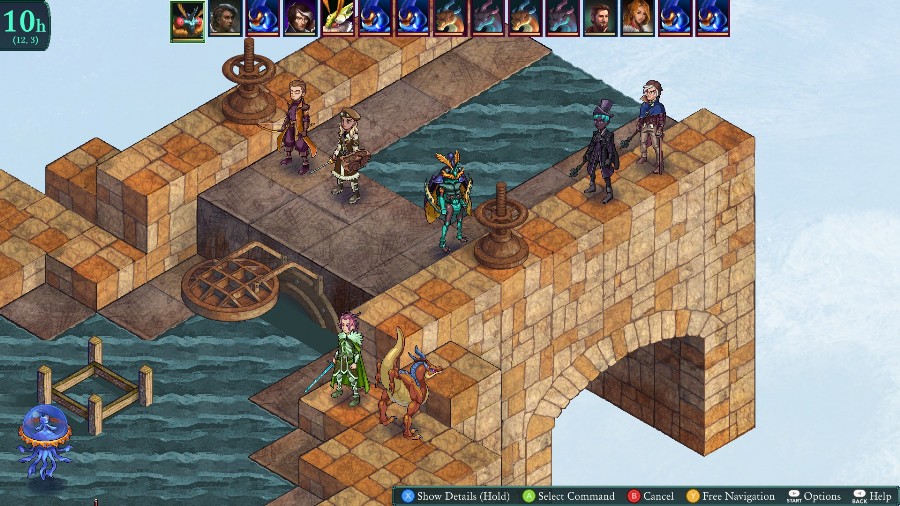 Activate both of them and� 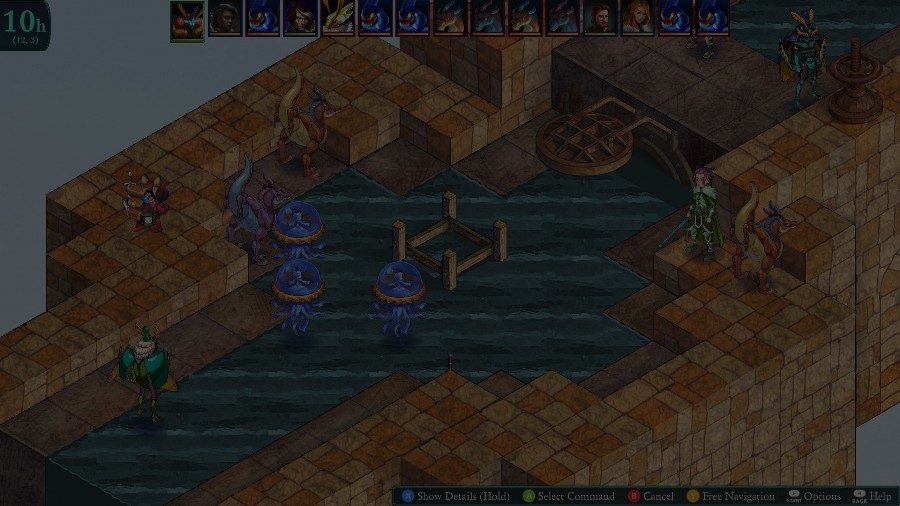 The screen suddenly starts to fade out! 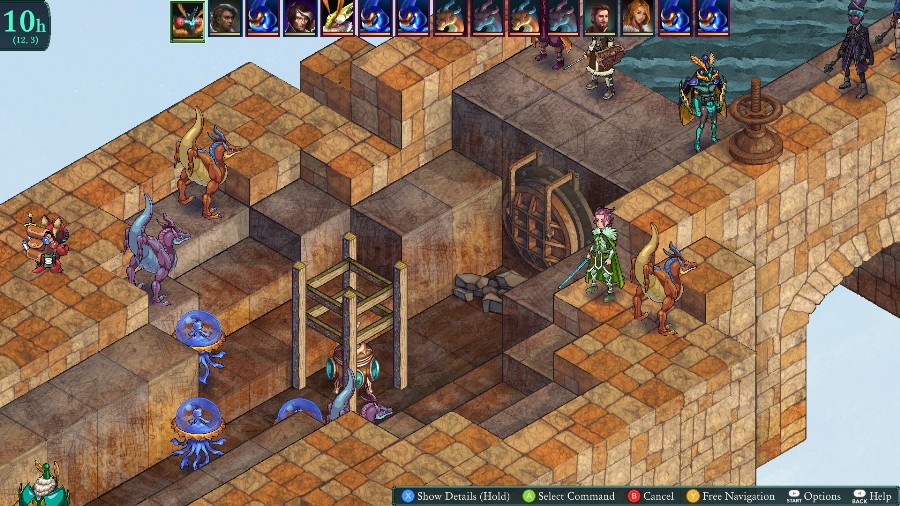 When it comes back in, the water has completely drained out of the lower area, revealing a secret chest! The water drain is permanent, so now all future battles here will have that whole lower area exposed. The chest also gives us a copy of hover boots, which let the wearer hover over any type of terrain. Very nice! 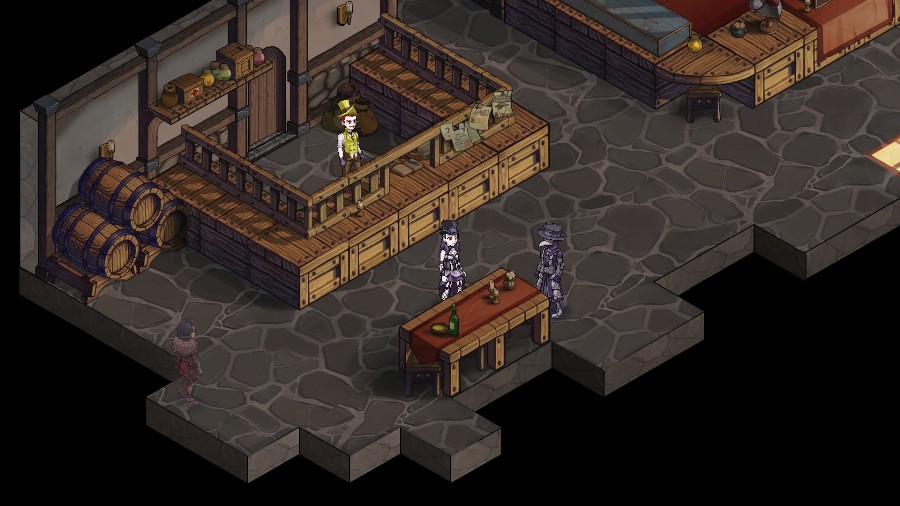 And with that, I will not leave us on the world map, but on the beginning of an unmarked event that I accidentally triggered and is what we�ll be covering next time!
|
|
#
?
Feb 10, 2020 13:46
|
|
|
DMW45 posted:My favorite combo, I think, is a Dual Wielding War Mage using Dual Blood Axes, they aren't the hardest hitting weapons, attack power of only 80, with a hefty defense penalty of -21, but they are very, very good--100% of attack damage is returned as health--I believe OOrochi should be able to craft those? It was either right after the aquaduct or the map after it that I crafted them, but basically, a War Mage that can dual wield those, with Leech Mana and Counterattack, which thanks to the axes will pretty much return most of the health after any attack in melee range, is pretty much fully self sustaining I'm pretty sure I should be able to craft them. I didn't know that it was a full absorption, I thought it was just a portion. That'd make the Blood Axes way better. I might have to try that out on someone. CVE posted:Dual-Wield Warmages are scary. One of my favourite combos outside of it was the Boon Sniper. Having a guaranteed crit on a Sniper Shot means death for pretty much anyone outside of certain passive abilities. Downside is high maintenance with having to supply him with MP and get rid of root to keep the Boon chain going. Oh that's a good one. I usually only think of Boon in the context of magic, probably just because it's on the wizard. WarpedLichen posted:So there's probably somebody out there with an absurd level of system mastery beating the game on hardest right? Seems like there always is with these types of games. There definitely are some people who're just crazy at this. I remember that there was one guy I saw on the Steam discussion pages who complaining that the game was too easy despite playing on the maxed difficulty settings.But they also said that they were playing with units in the 80s and 90s, with a lot of min-maxing to get the precise stats they wanted. So maybe just a bit more dedicated than most people would be.
|
|
#
?
Feb 10, 2020 13:57
|
|
|
Am I the only one a little miffed that Bzaro can fly, but somehow can't just fly over the water what would drown him?
|
|
#
?
Feb 10, 2020 17:07
|
|
|
JustJeff88 posted:Am I the only one a little miffed that Bzaro can fly, but somehow can't just fly over the water what would drown him? Depending on what monster class Bzaro is set at, he can walk, swim, hover, or fly...but it's the same as your other characters: if the class doesn't have the swimming tag or the character doesn't have the swimming equipment, they die from getting knocked into water.
|
|
#
?
Feb 10, 2020 18:58
|
|

|
Ending the cutscene at one end of the bridge but starting the battle on the other is an... interesting design choice, I suppose.
|
|
#
?
Feb 10, 2020 19:31
|
|

|
Looks like we have two more stops for our Marked journey.
|
|
#
?
Feb 10, 2020 22:24
|
|
|
ulmont posted:Depending on what monster class Bzaro is set at, he can walk, swim, hover, or fly...but it's the same as your other characters: if the class doesn't have the swimming tag or the character doesn't have the swimming equipment, they die from getting knocked into water. IIRC Hover also works for avoiding death by liquid.
|
|
#
?
Feb 10, 2020 22:47
|
|
|
Shinji117 posted:IIRC Hover also works for avoiding death by liquid. Yeah, fair; I forgot that non-Bzaro characters could get the hover status. Hover also works for avoiding the poison on those poison water tiles as well as death from lava tiles.
|
|
#
?
Feb 11, 2020 22:49
|
|
|
Update 39: Halloween? (Restful Stones II) Welcome back! Last time we fought some Kawas and then I accidentally triggered an event instead of progressing. This occurs if you return to Port Grendel (the otherwise unremarkable town on the island) after beating the fight at Bardvig Aqueduct. 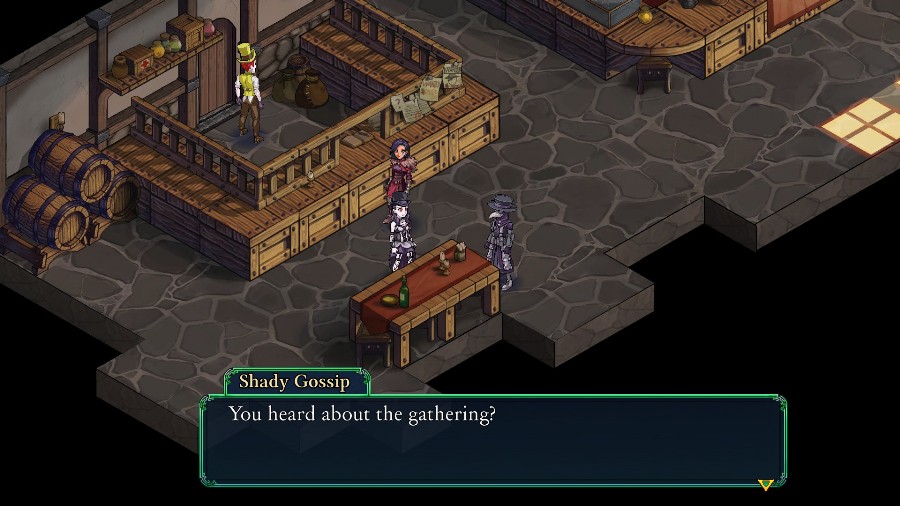 Because they�re sitting by the door, Kyrie feels compelled to eavesdrop on these spooky-looking people�s conversation. Suspicious Gossip: The one in the middle of the night, in that cemetery? Shady Gossip: Shhhh! Not so loud! Yeah, that one. You going? Suspicious Gossip: I don�t know� Those guys are a little intense, even for me. 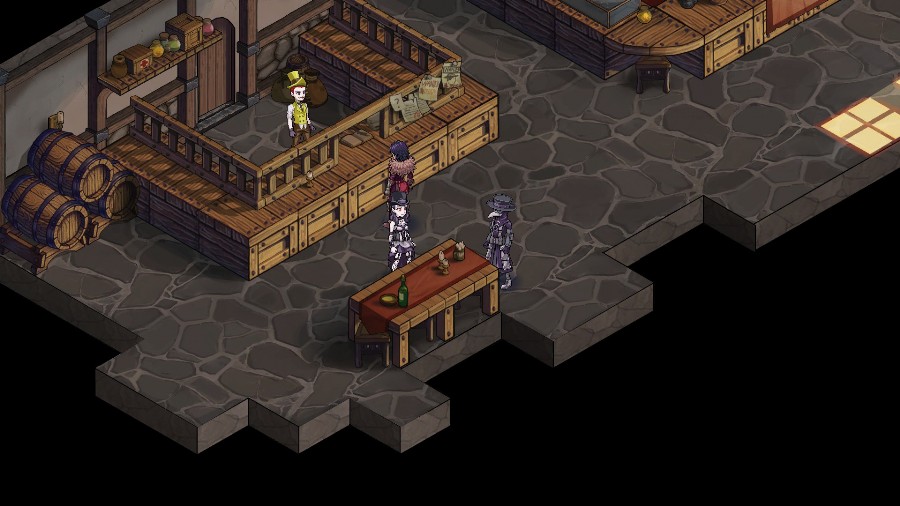 Having snooped on their private conversation, Kyrie turns to finish her business. 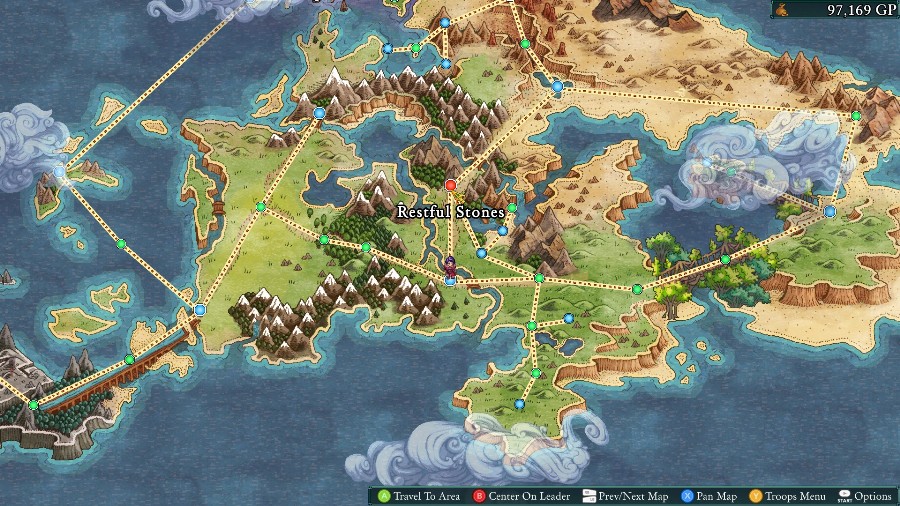 Now, the only graveyard we know of is the one where we fought the corrupt Arbiters and rescued Bzaro, so it�s pretty likely to be there. The red mark on the map helps you figure out if you don�t remember that though. 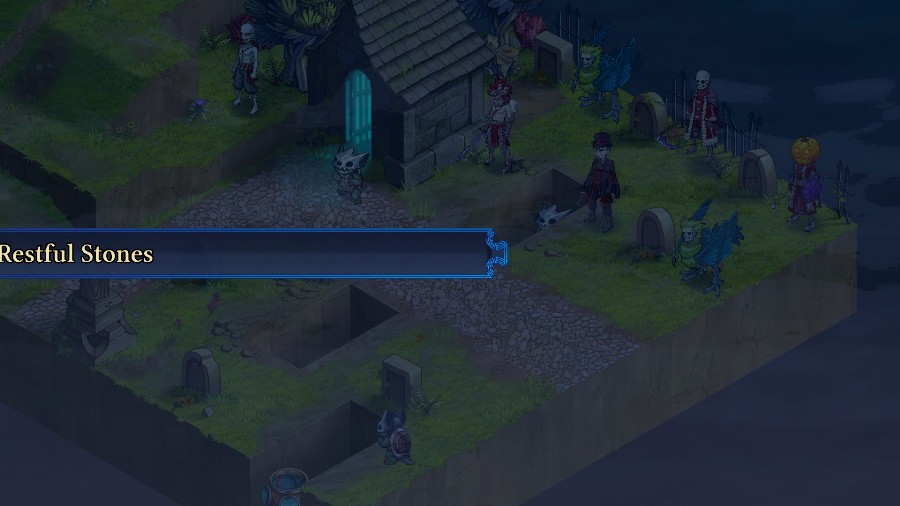  We go in and are immediately thrown into a fight. This one can either be very, very difficult or relatively easy and it depends largely on your gear to determine which it is. 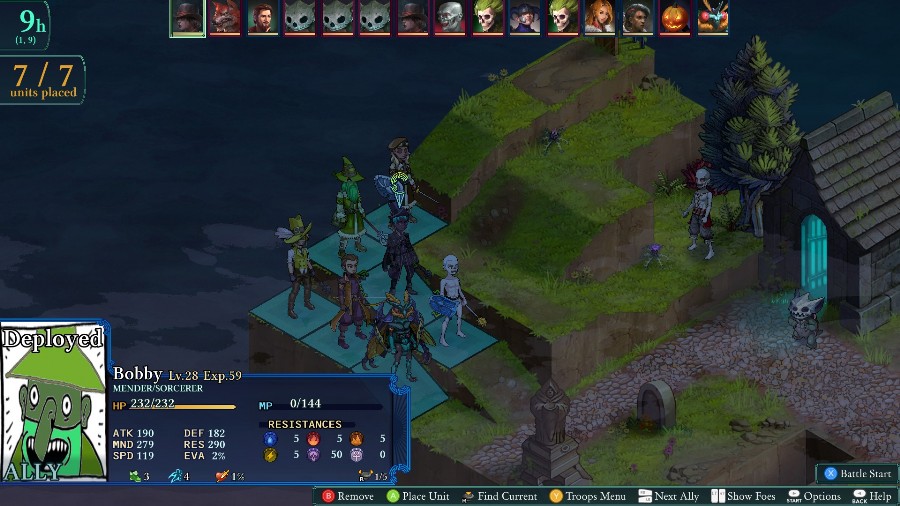 You get 7 people for this fight, so I�m bringing Eustace, Bobby, Sophia, Reiner, Selina, Bzaro, and Mongo. A key thing is that everybody has at least 50% dark resistance, with most having 100 or more.  And that�s because of this guy. He�s a Lich, which is the same class I used for Bobby in the max difficulty fight. If you have low dark res, this guy will kill you with a bunch of double-cast map-wide dark attacks using blood price. And then the Plague Doctor/Mender in the pumpkin head will heal him back up to do it again the next turn. He also has mystic shield, so he�s a massive pain to try and take out even with low health, and life font, so he can heal himself a bit with no support. The only saving grace is that all of his attack spells are dark, so he can�t do too much to people with the resistance. Additionally, we have a Cadaver, 2 undead Kawa, 2 undead Seireens, a Werewolf, and a Vampire. So a lot of spooky guys to deal with. 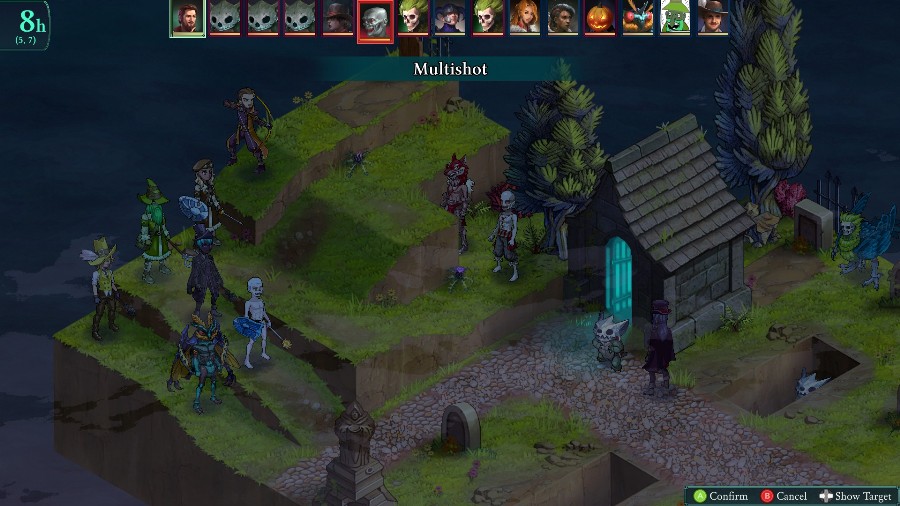 On a cramped map like this, I�m able to draw blood on my 1st move as Reiner shoots the advancing Werewolf and the Cadaver. 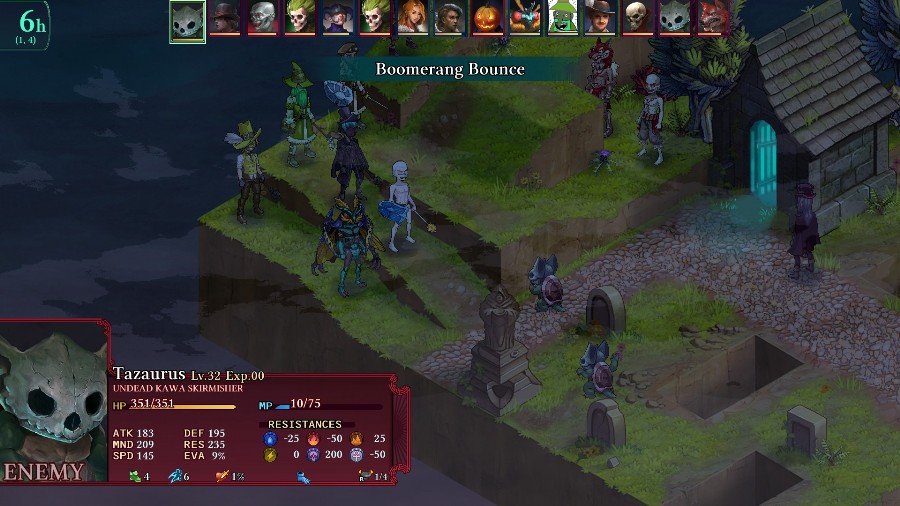 The AI also continues its love of boomerangs, whacking Mongo twice.  The Vampire moves up and does nothing, so I have Mongo run over berserk him. Hopefully he�ll ran back into the crowd of enemies instead of moving towards me. 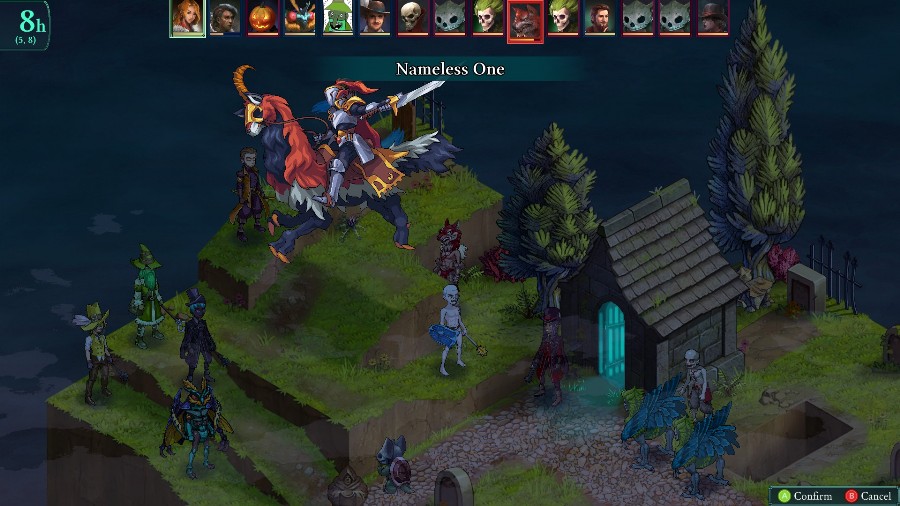 Sophia and Selina whack the Werewolf. 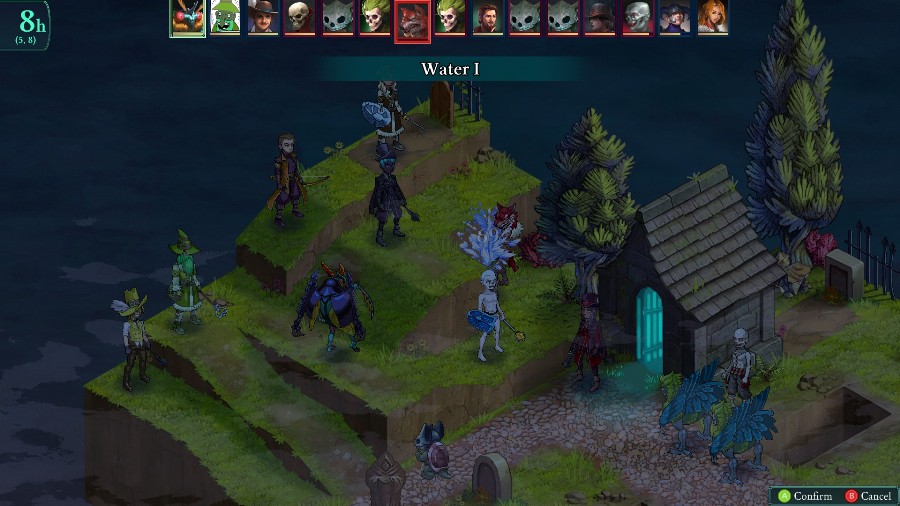 And Bzaro follows up for the first kill. 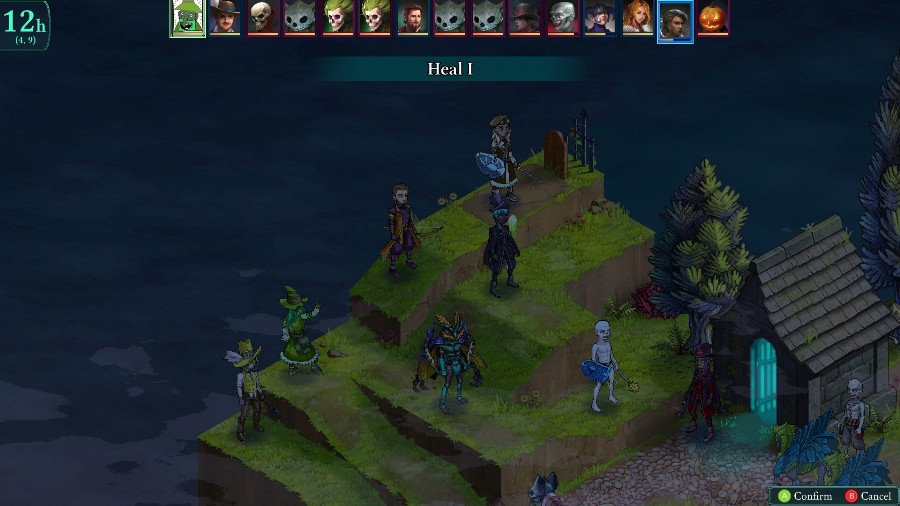 I have Bobby heal Selina back up because she has low-ish dark resistance. 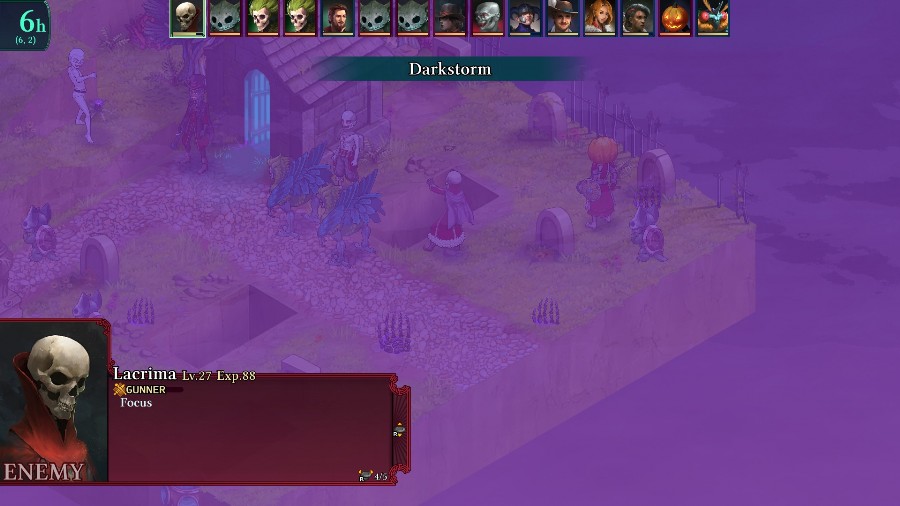 Because it�s time for Darkstorm spam! Thanks to my resistance, these 2 casts don�t do nearly as much damage as they could. 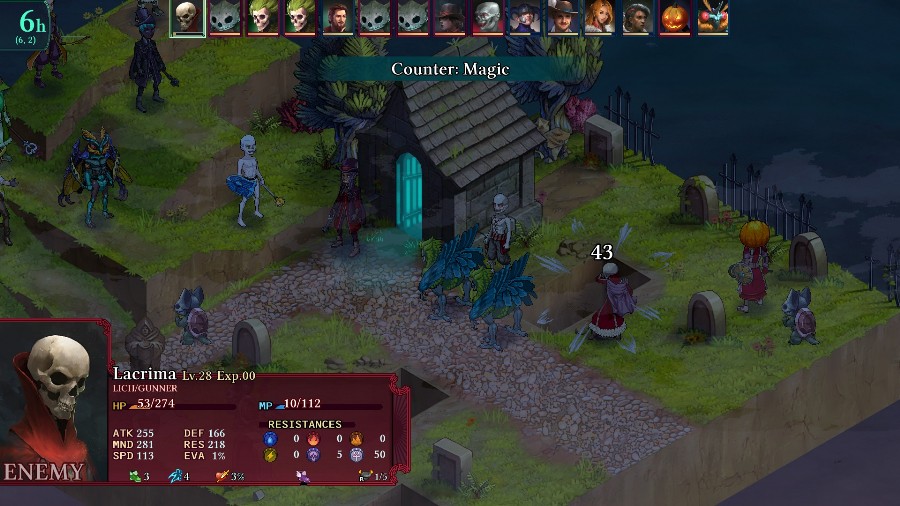 And then Eustace lowers him down to double digits with his counters.  Mongo gets skyjacked about 5 feet from where he started. 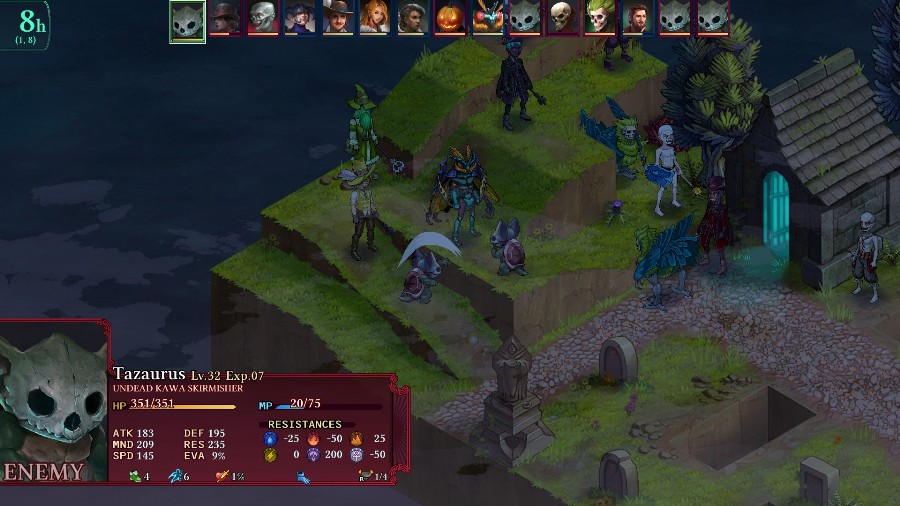 While the Kawas start swarming Bzaro. 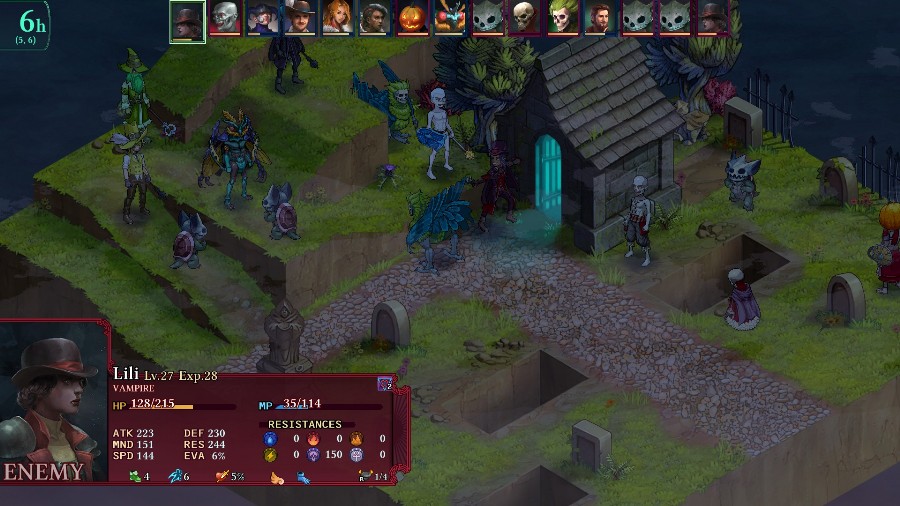 The Vampire takes a shot at the Seireen. 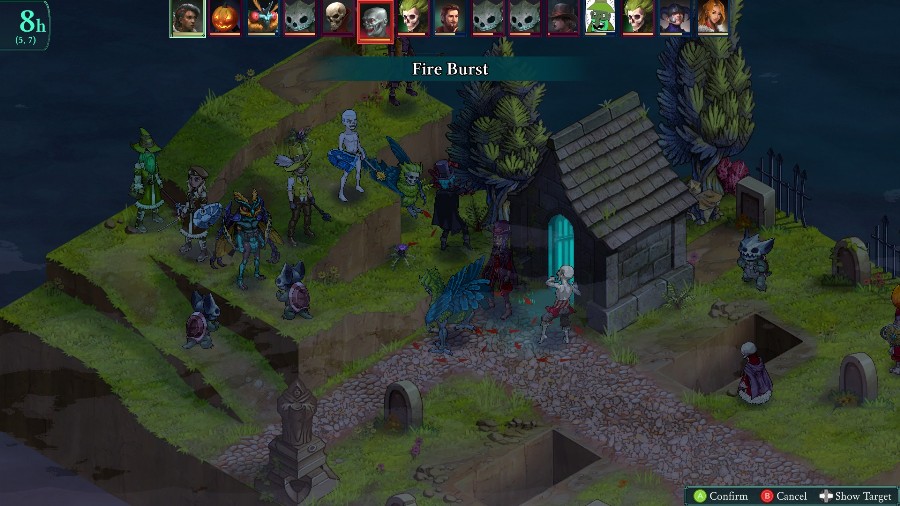 And Selina gets a very nicely positioned Fire Burst off. 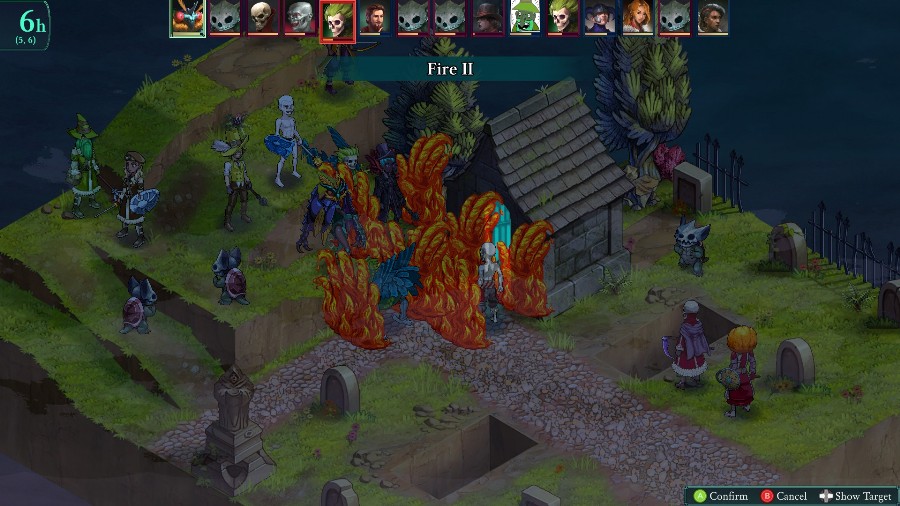 Which Bzaro takes advantage of to kill the Seireen, though the Vampire dodges. 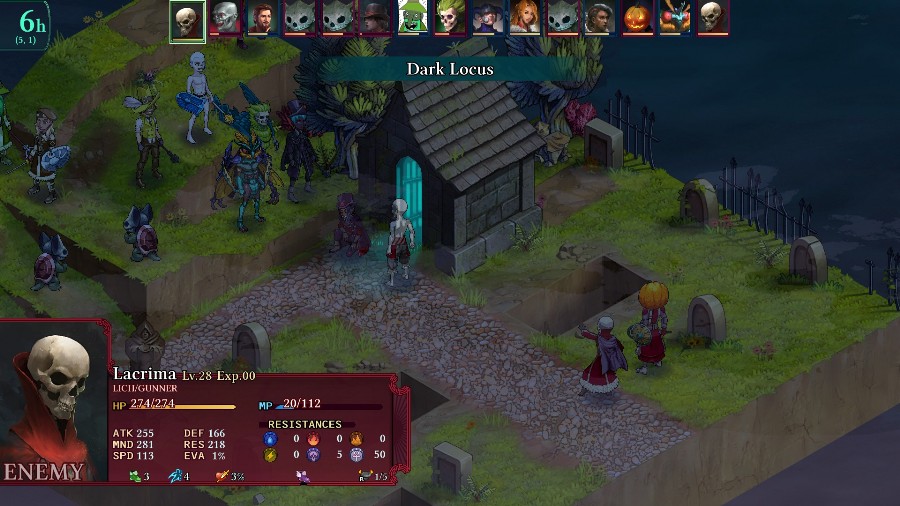 Having decided that Darkstorm didn�t do enough damage, the Lich instead uses his locus casts to heal the zombie. 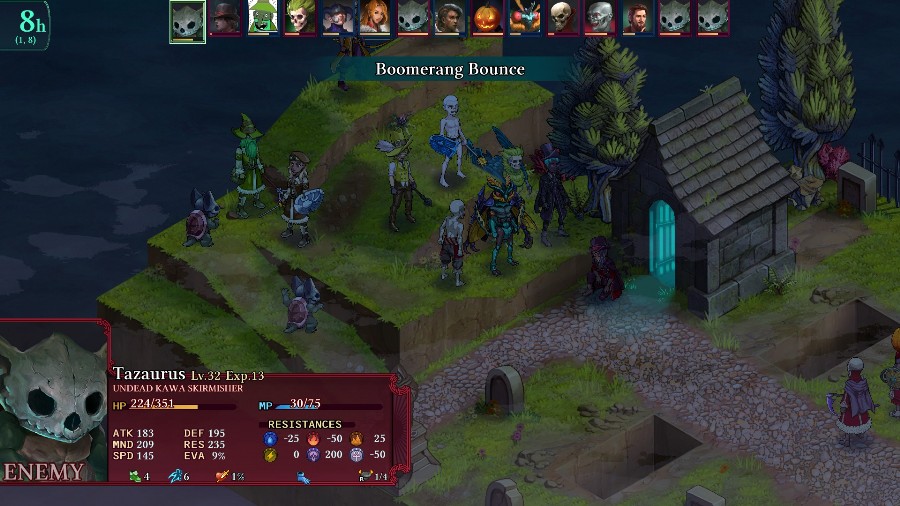 Reiner misses another killshot on the Vampire as the Kawas keep bouncing all of my people into each other. 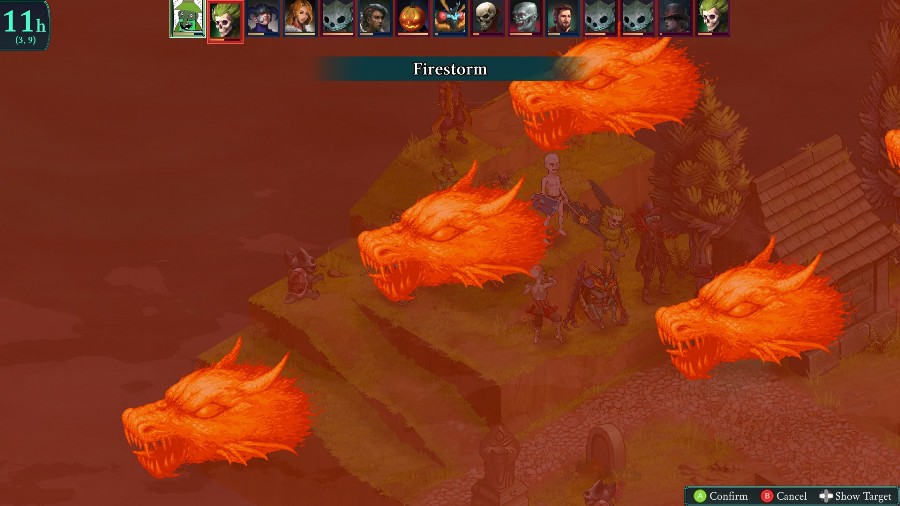 And on Bobby�s turn I have him cast Firestorm to pretty badly hurt most everything on the field. 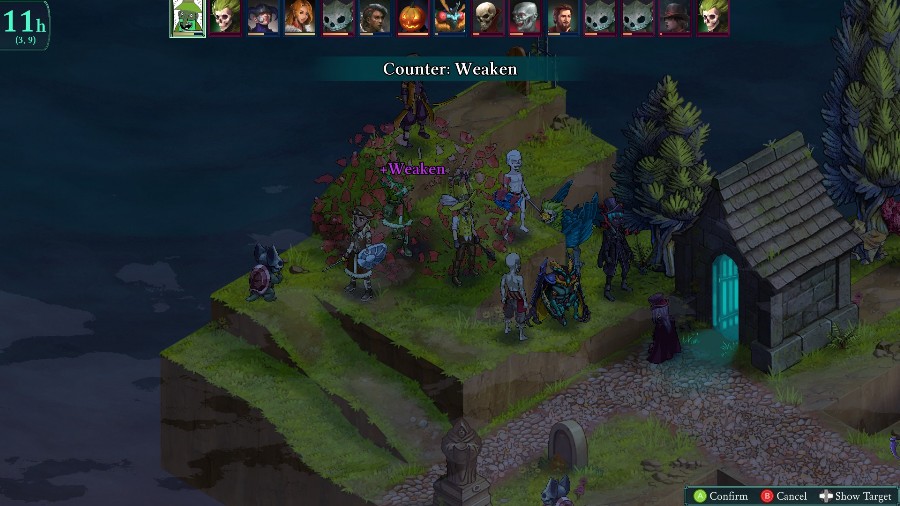 He doesn�t get any actual kills, though, and gets a lot of statuses from the counters. 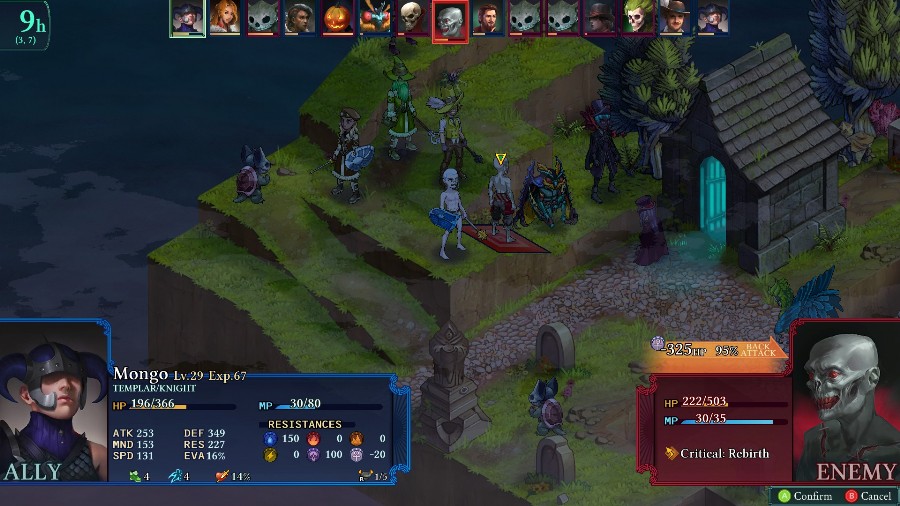 Mongo then uses Righteous Blade to kill the Cadaver  And Sophia finally picks up the kill on the Vampire. 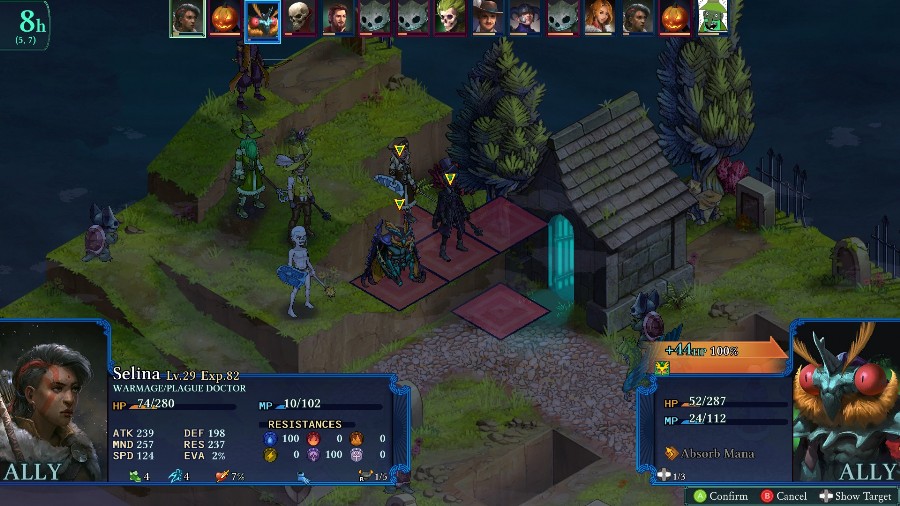 Bzaro somehow survived multiple enemy turns at low health so I have Selina heal the group up a little bit. 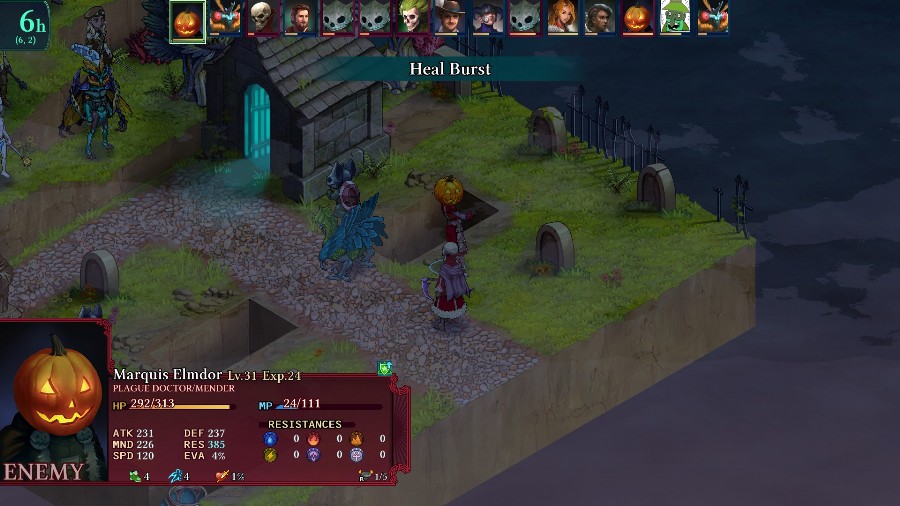 While the enemy Plague Doctor does the same and heals their allies. 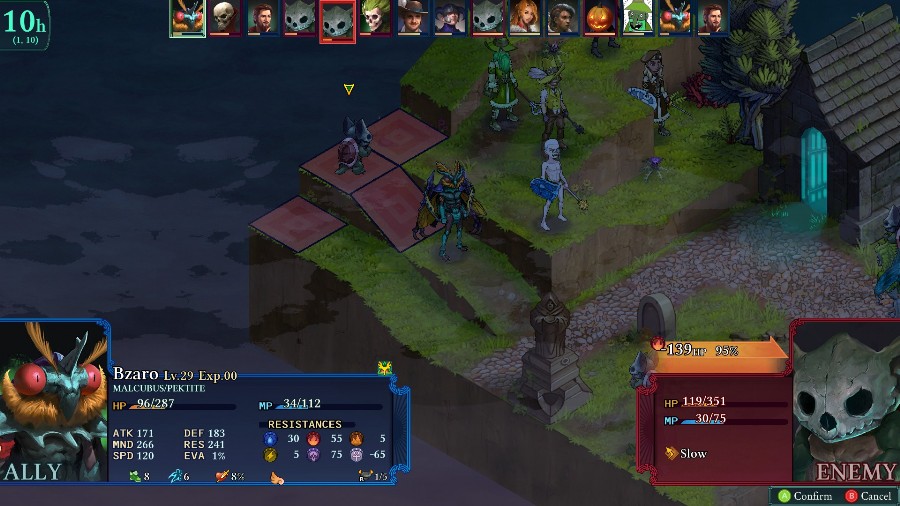 Bzaro kills the last Kawa threatening my backline. 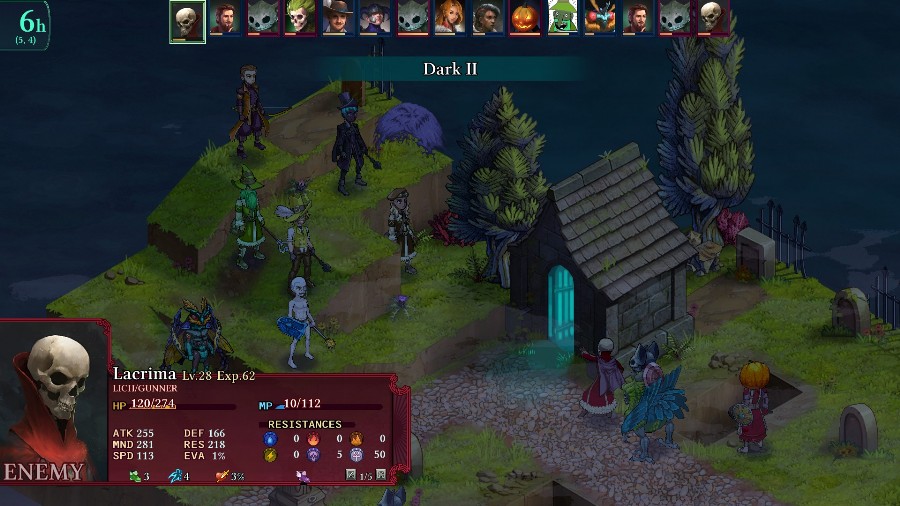 And the Lich uses about half of his health to do about a third of Sophia�s. 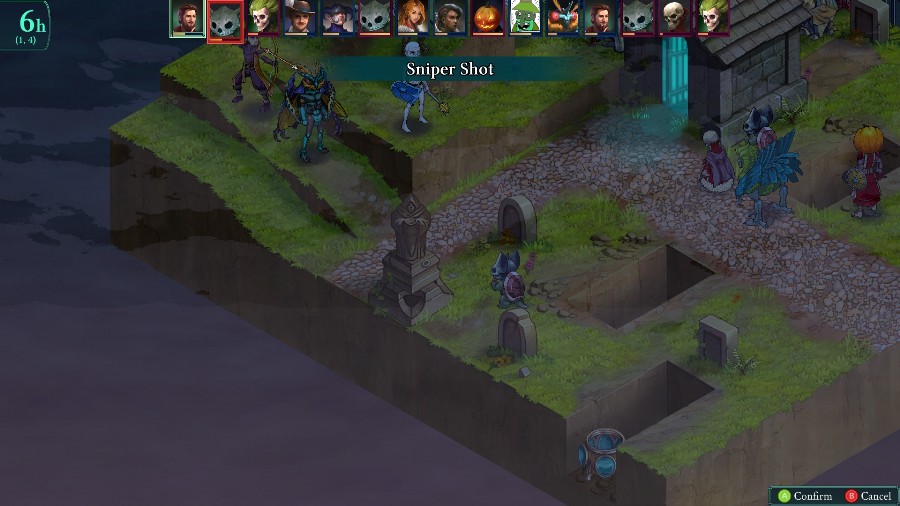 Reiner continues his trend of missing killshots, failing a 95% chance on this. 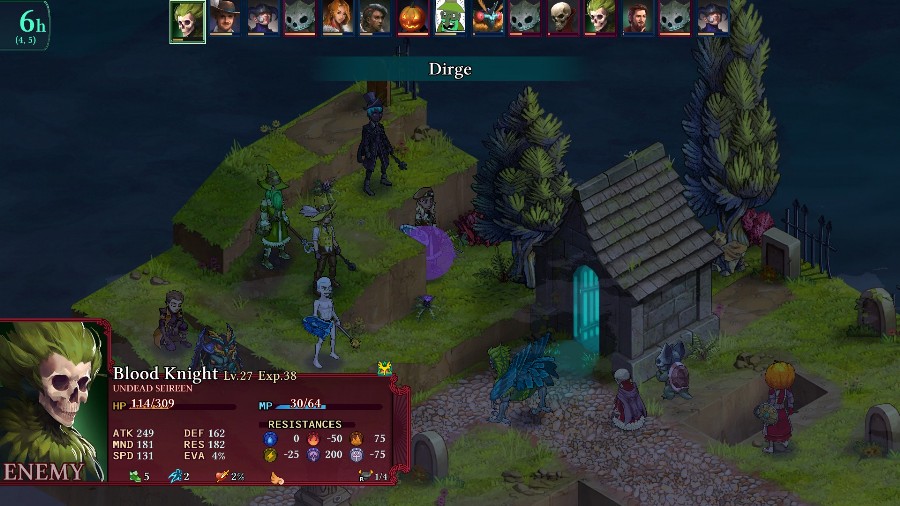 And the Seireen puts a bunch of status effects on Sophia. 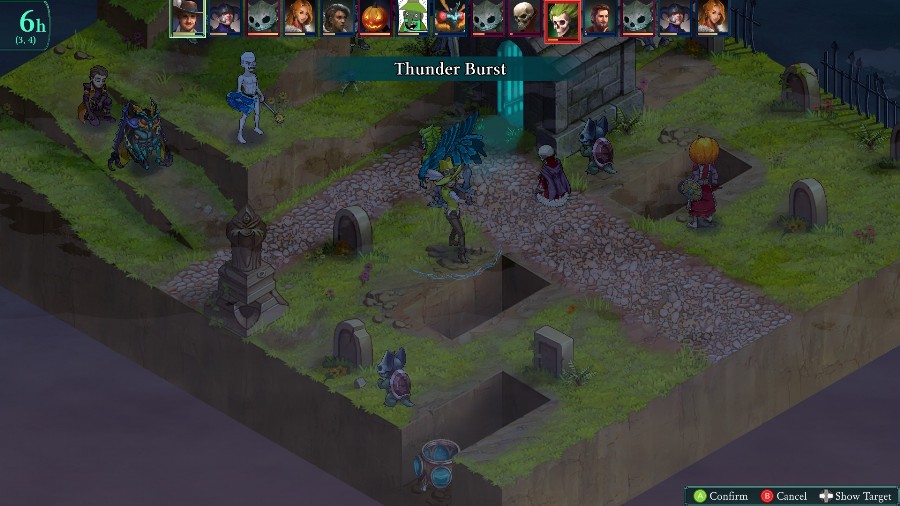 I have Eustace run in the middle to weaken the Seireen and deplete the Lich�s MP with a thunder burst and then have Mongo wake Sophia back up. 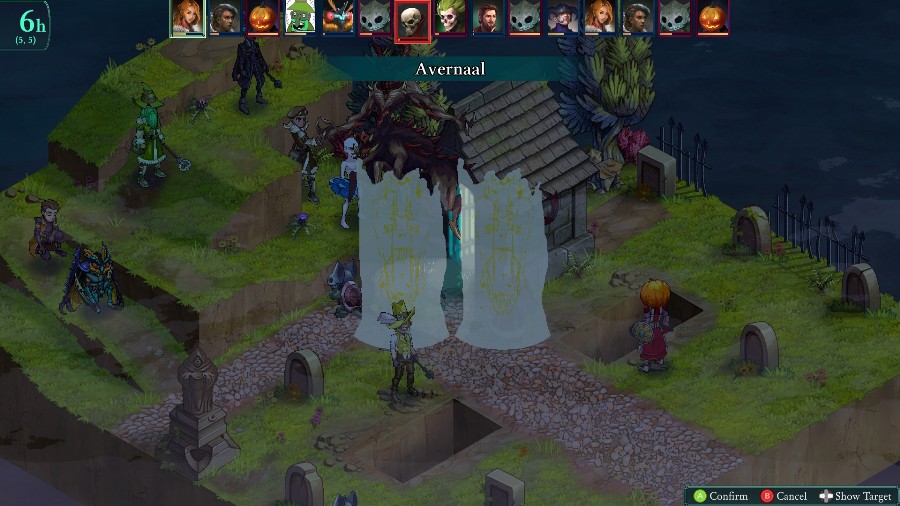 So she can get the double kill with Avernaal. 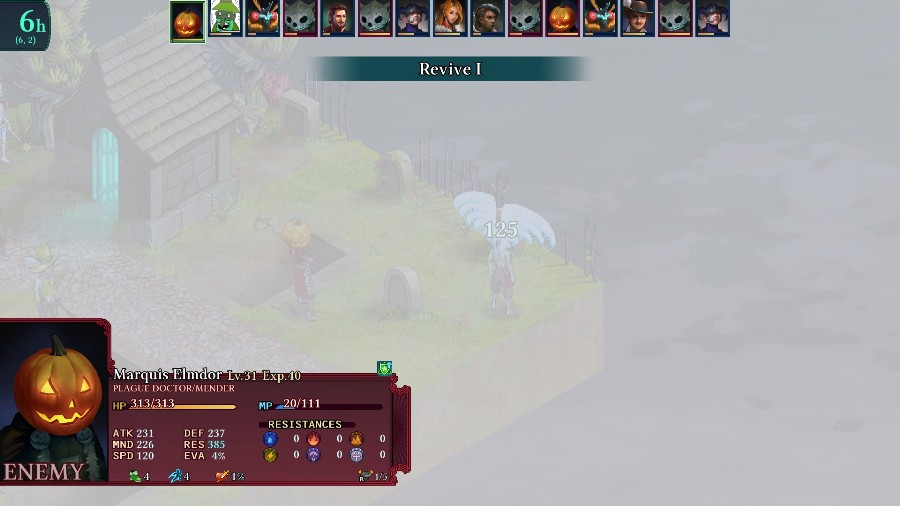 The Plague Doctor revives the Cadaver, but at this point the fight�s mostly just mopping things up. 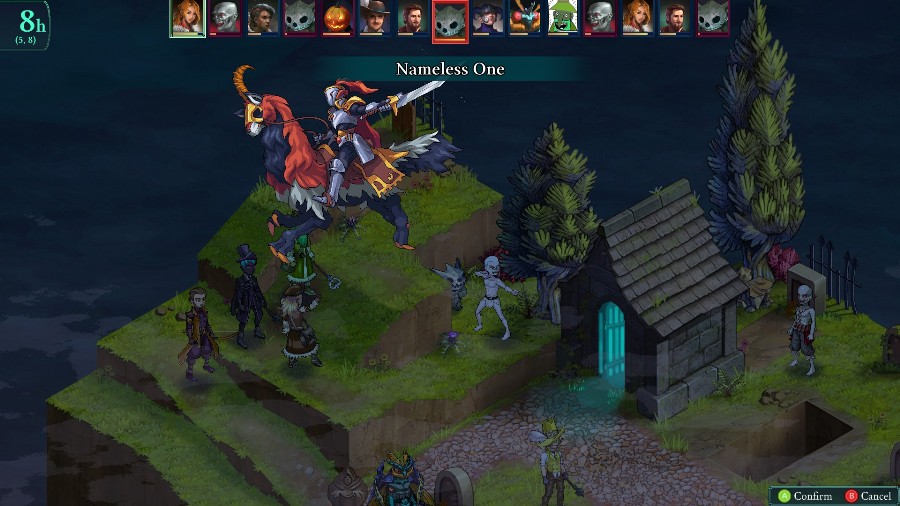 Sophia weakens a remaining Kawa that Mongo finishes off with a hit from All for One. 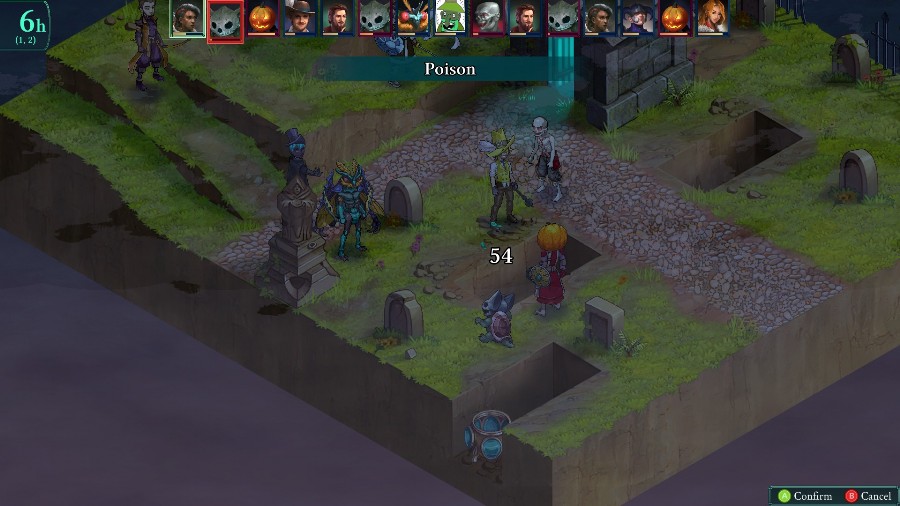 Selina kills another Kawa. 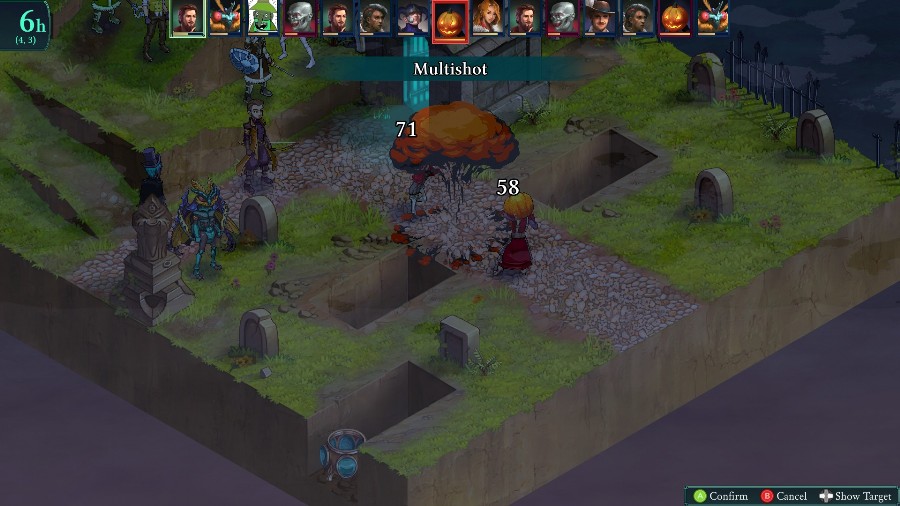 Reiner weakens the remaining Cadaver and the Plague Doctor. 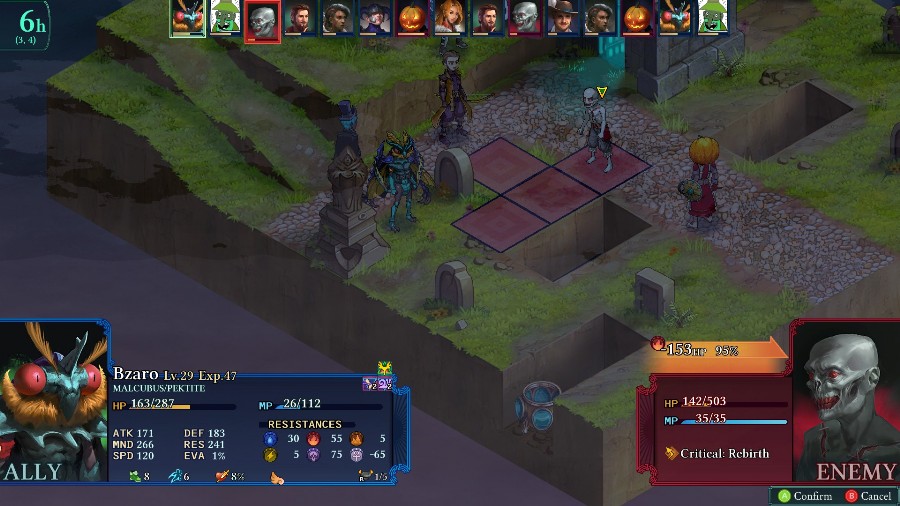 For Bzaro to kill the Cadaver again. 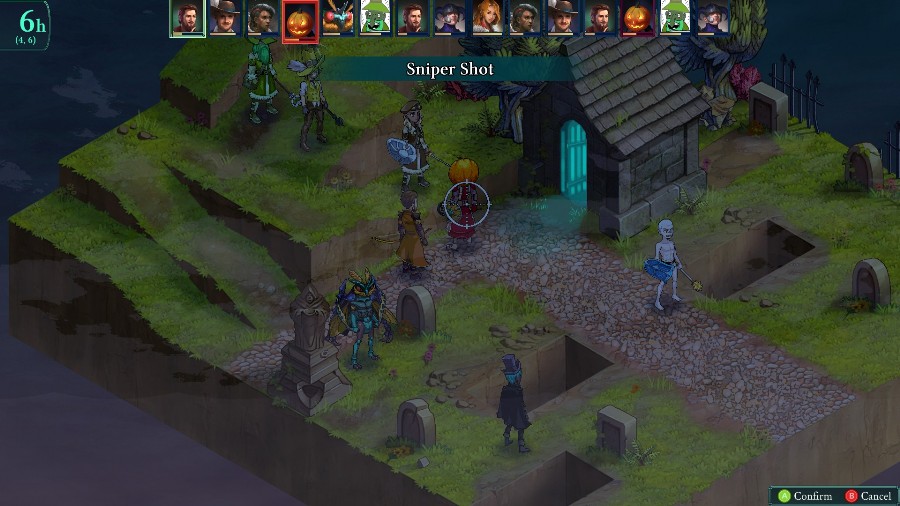 And soon afterwards, Reiner finally gets a kill to finish the fight. 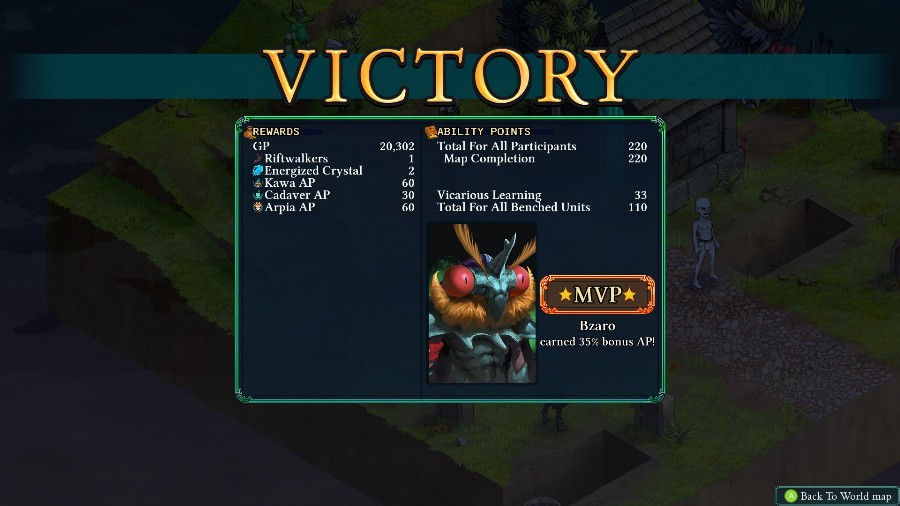 For a reward, we get another pair of Riftwalkers, which let you teleport, and a few other sundry things. Overall, the fight was pretty easy because I came in prepared. I tried it once before, without moving gear around, and got absolutely destroyed. That Lich can do some crazy damage to everyone, and then the fast enemies are really good at ganging up to take out whoever�s weakened by the Lich. 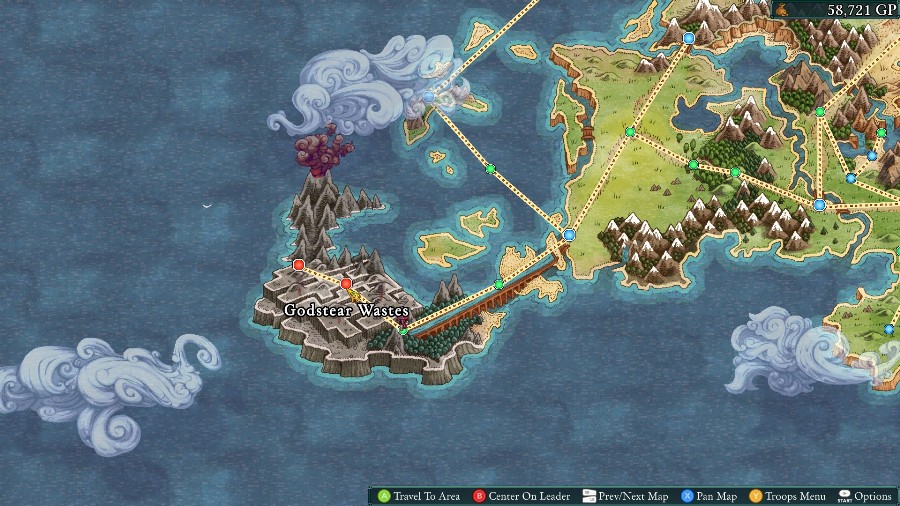 Still, with that quick side event finished, it�s time to keep moving forward. Next time we�ll be going through the ominously named Godstear Wastes.
|
|
#
?
Feb 14, 2020 13:47
|
|
|
Do the Kawas live inside the volcano? Or is that just the place where people decided to put their mystic temple?
|
|
#
?
Feb 14, 2020 21:23
|
|
|
SSNeoman posted:Do the Kawas live inside the volcano? Or is that just the place where people decided to put their mystic temple? You�ll see it in a bit, but their city looks like it�s sorta carved out of the side of the volcano. They have lava as some decorative water feature equivalents. And the temple is almost all the way up, as is video game tradition.
|
|
#
?
Feb 14, 2020 22:13
|
|
|
Payback for what happened at Riovanes.... and my throne room... and my corpse hole.... Fucker took my hat, this is all I could find for vengeance
|
|
#
?
Feb 14, 2020 22:18
|
|

|
Update 40: Godstear Wastes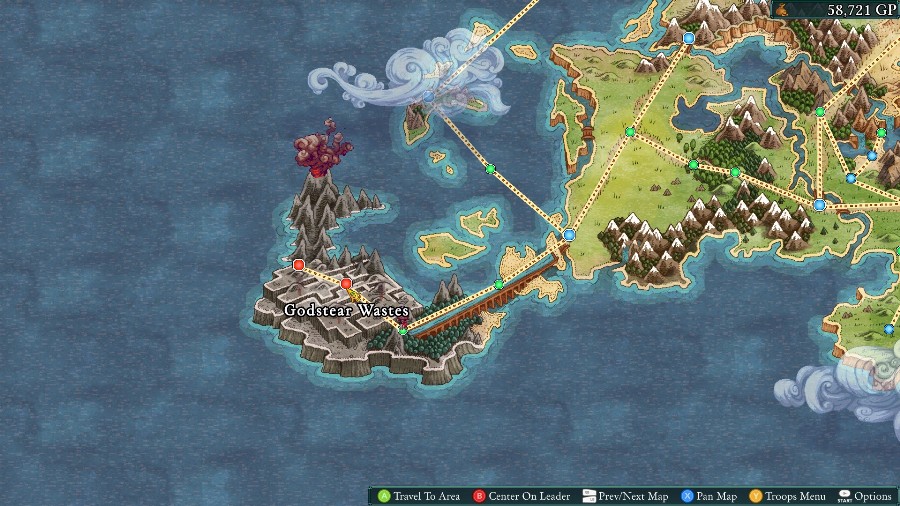 Welcome back! Last time we had an out of season Halloween party in a graveyard. This time we�ll be moving towards the final Temple as we walk through the Godstear Wastes. 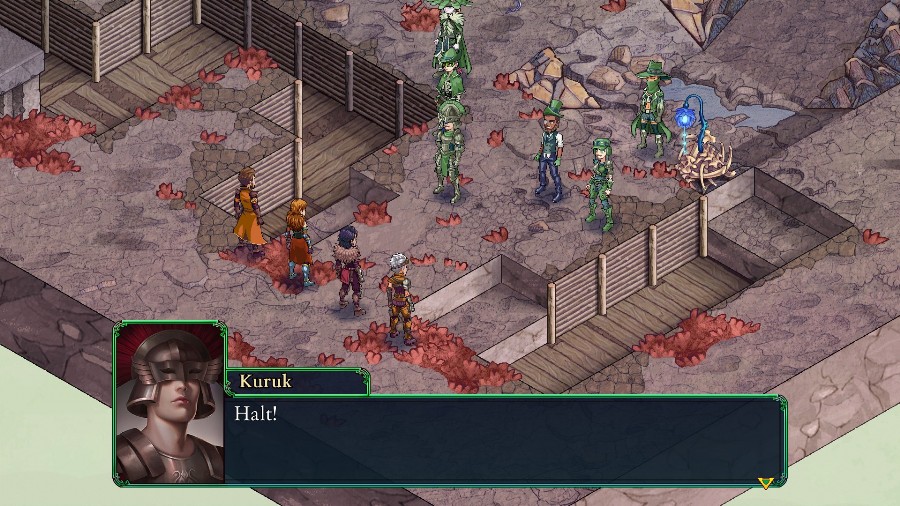 We pop in and are immediately confronted by a group of not-too-friendly looking people. 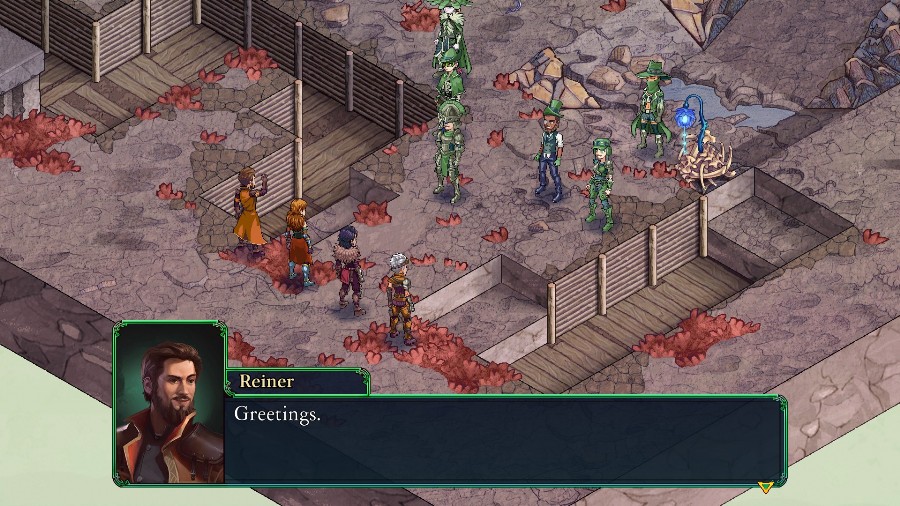 .jpg) Turn around and begone. This will be your only warning. Turn around and begone. This will be your only warning. You know, Reiner, I don�t think that patented greeting of yours is as effective as you think. Sadly, I think you might have a point. Our leader warned us there�d be troublemakers coming this way. Your leader left other Sigil members to block our path, and yet he warned you we�d be coming? Sounds to me like someone might be considered� expendable. Securing a future that isn�t controlled by the Immortals is worth the sacrifice. Something an Arbiter dog like you could never understand! And you, Katja� I didn�t expect to see you amidst the immortals� lackeys. You were a high-ranking member of Sigil! What happened to you? You know, Reiner, I don�t think that patented greeting of yours is as effective as you think. Sadly, I think you might have a point. Our leader warned us there�d be troublemakers coming this way. Your leader left other Sigil members to block our path, and yet he warned you we�d be coming? Sounds to me like someone might be considered� expendable. Securing a future that isn�t controlled by the Immortals is worth the sacrifice. Something an Arbiter dog like you could never understand! And you, Katja� I didn�t expect to see you amidst the immortals� lackeys. You were a high-ranking member of Sigil! What happened to you? As ye say, I was a high-rankin� member of this organization and I didn�t even know the leader�s malicious methods and true objective. What does that say about how much a grunt like ye knows of what�s really going� on? I� I know enough! Enough to know I need to stop you here and now! You won�t be getting in our way anymore! I thought you�d be better at this whole �negotiations� thing, with your ransoming experience and all. I don�t usually parley. That one time was only because ye caught me eye, love.� Enough. Looks like this lot means business. As ye say, I was a high-rankin� member of this organization and I didn�t even know the leader�s malicious methods and true objective. What does that say about how much a grunt like ye knows of what�s really going� on? I� I know enough! Enough to know I need to stop you here and now! You won�t be getting in our way anymore! I thought you�d be better at this whole �negotiations� thing, with your ransoming experience and all. I don�t usually parley. That one time was only because ye caught me eye, love.� Enough. Looks like this lot means business.  And it�s time for a fight. This one can be decently difficult, especially if you let things drag on. 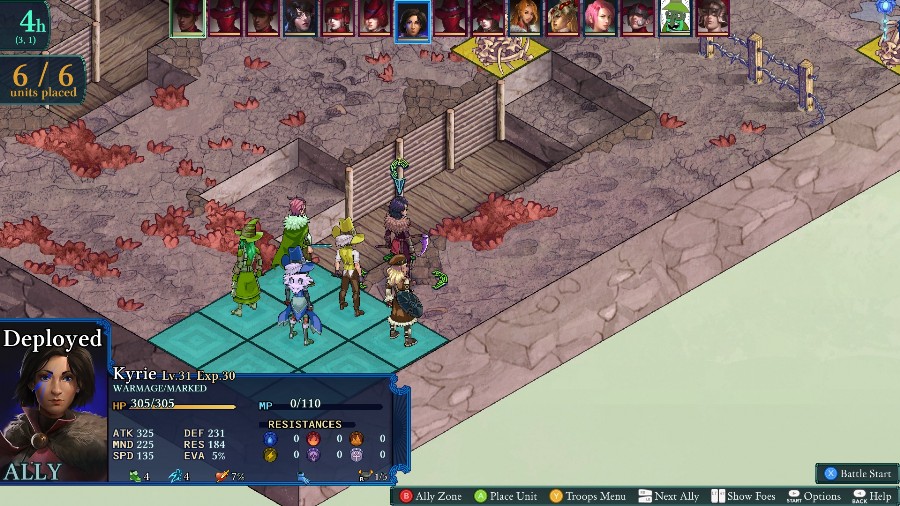 Kyrie�s locked in like most story fights. In addition to her, I�m bringing Hannah, Eustace, Sophia, Bobby, and Azure. 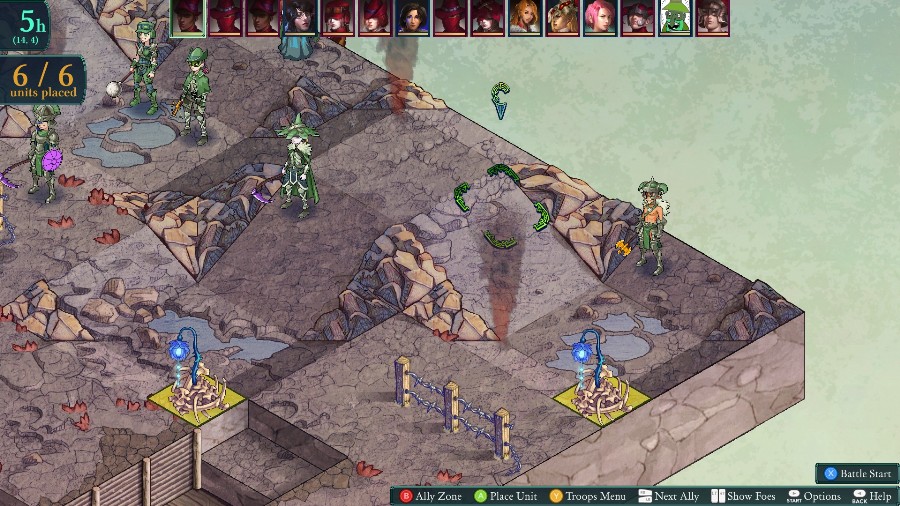 Up against us, we have a Reaver and a Warmage, 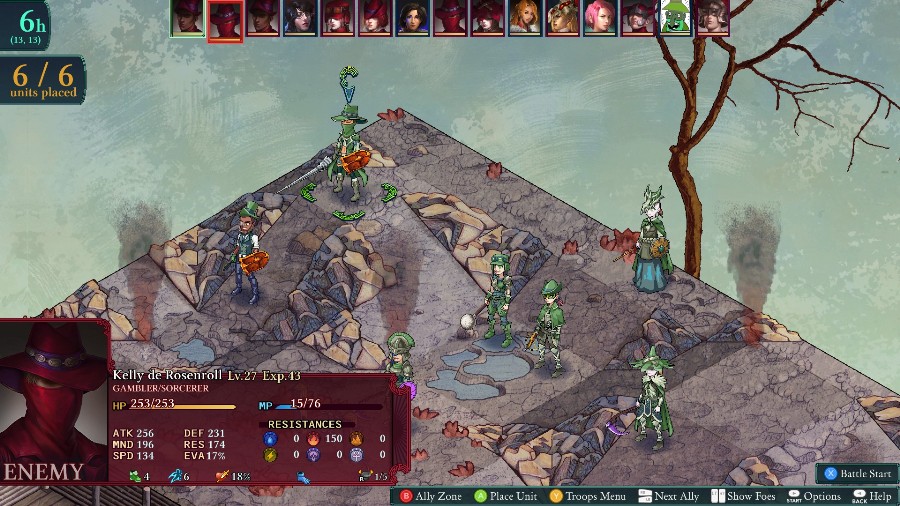 As well as a Gambler/Sorcerer, a Peddler, Gadgeteer, Ranger, Vessel, 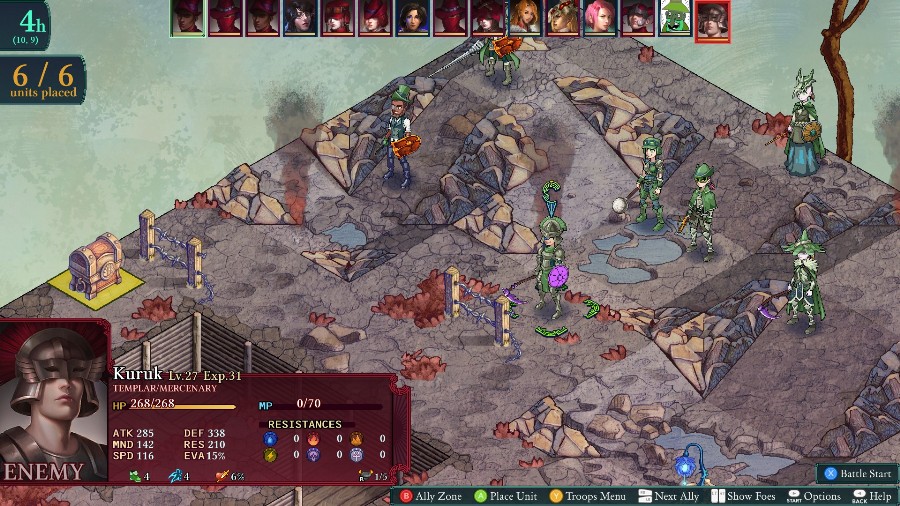 And the leader Templar. This guy is special for this fight, in that you want to avoid killing them if at all possible, for reasons that will be revealed shortly. 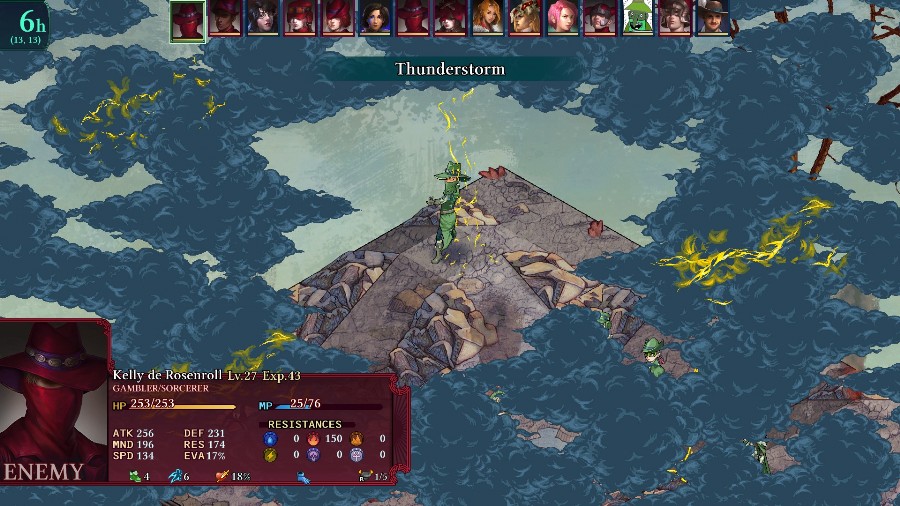 Because of the boosted MP trait, the Gambler opens up the fight with a map-wide attack. Thankfully, he doesn�t have a great MND stat so it doesn�t do *that* much damage. The Peddler then hastes the Gambler, so I�ll probably have more of these to look forward to. 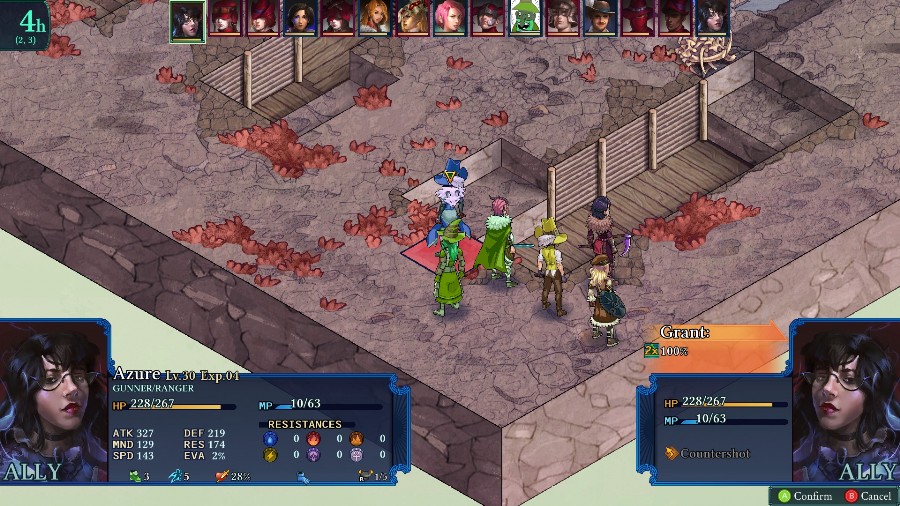 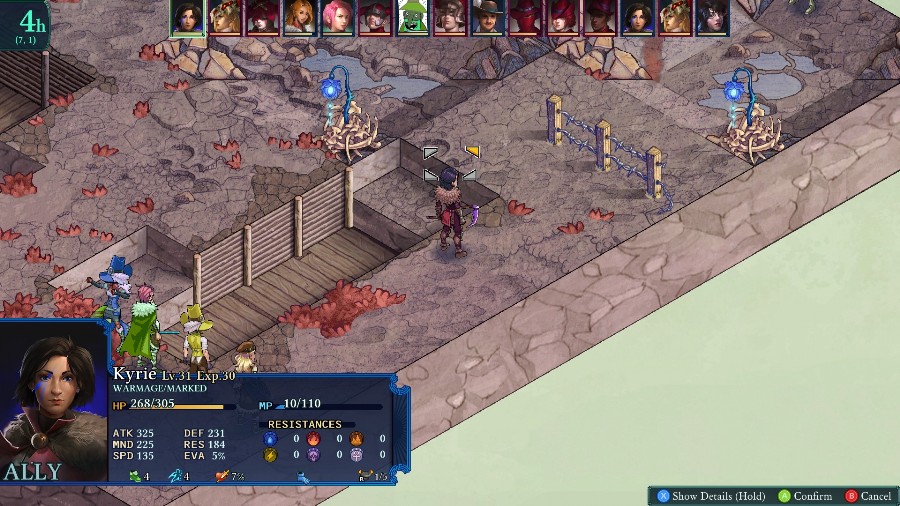 Down low I have Azure Focus and Kyrie advance along the sides. My goal is to draw the enemies over here, rather than trying to deal with them in the center trenches.  The enemy Warmage also focuses and moves near Kyrie, which is quite bad because they will most likely deal a lot of damage off of that. 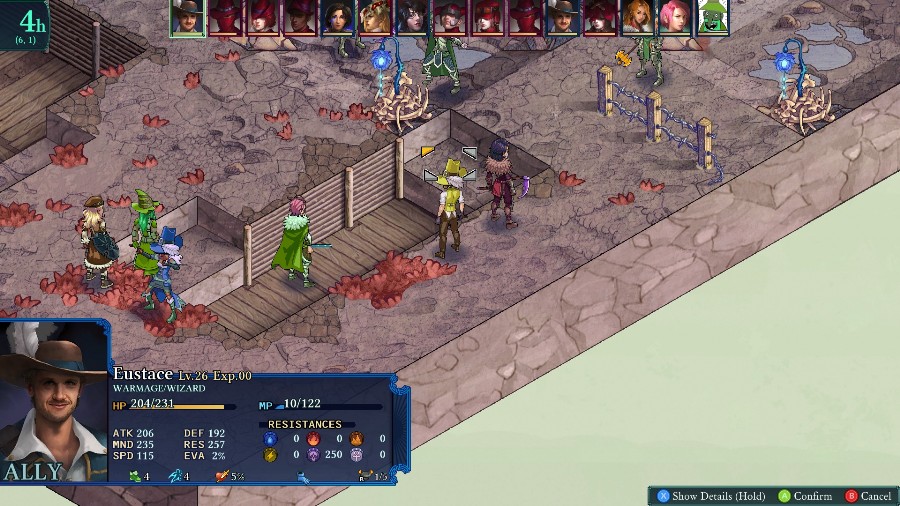 In general, people keep advancing and buffing each other. 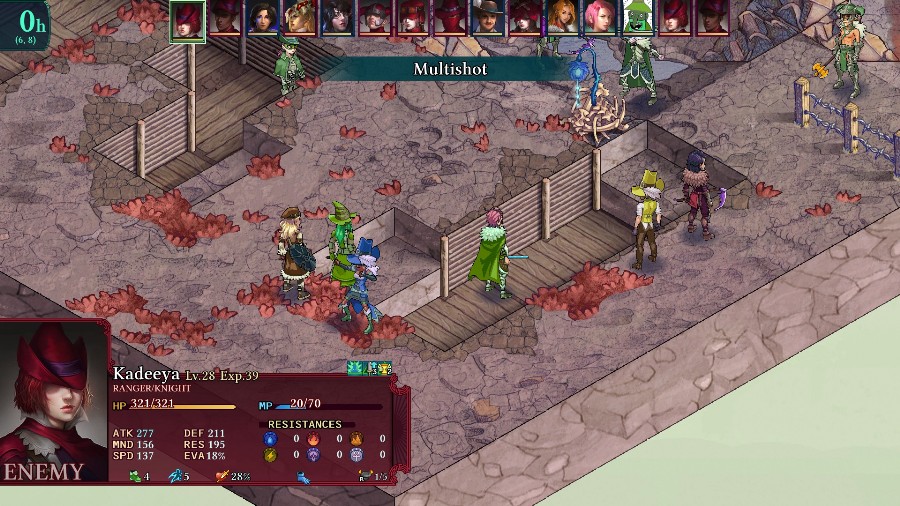 Until finally the enemy ranger starts the close combat with a multishot on my wizards. 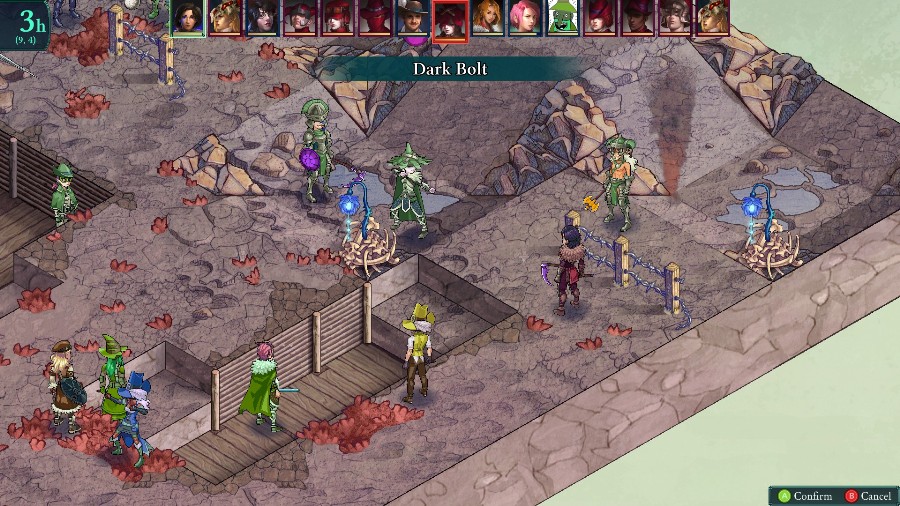 Kyrie hits the Warmage for some good damage, Azure continues hitting the Warmage, and then Kyrie 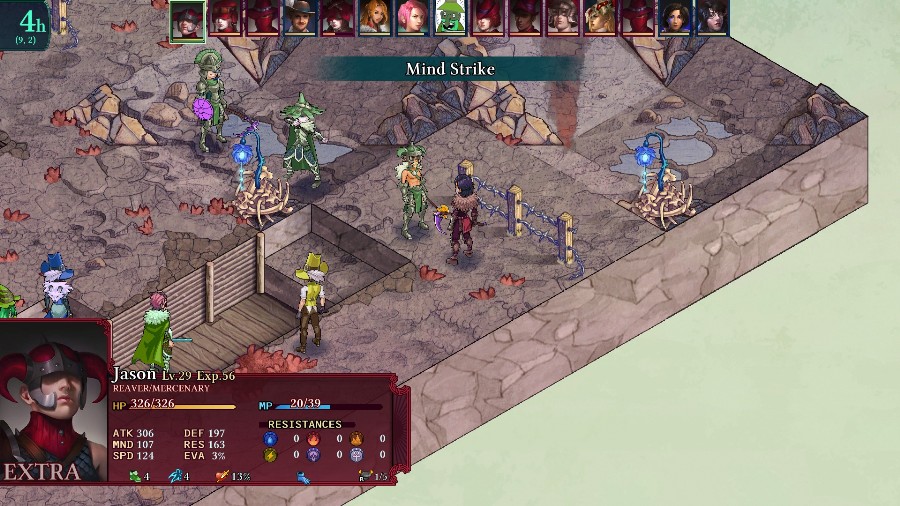 gets MND-broken by the Reaver. This new positioning is actually great, because it means that I can easily hit both the Reaver and Warmage while most of the other enemies are out of range to stop me. 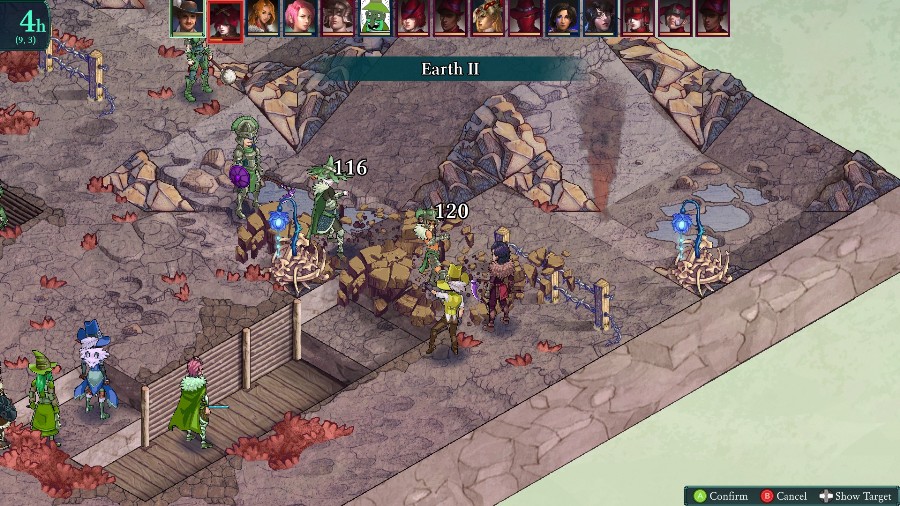 First off, Eustace kills the Warmage and severely weakens the Reaver with a cast of Earth 2. 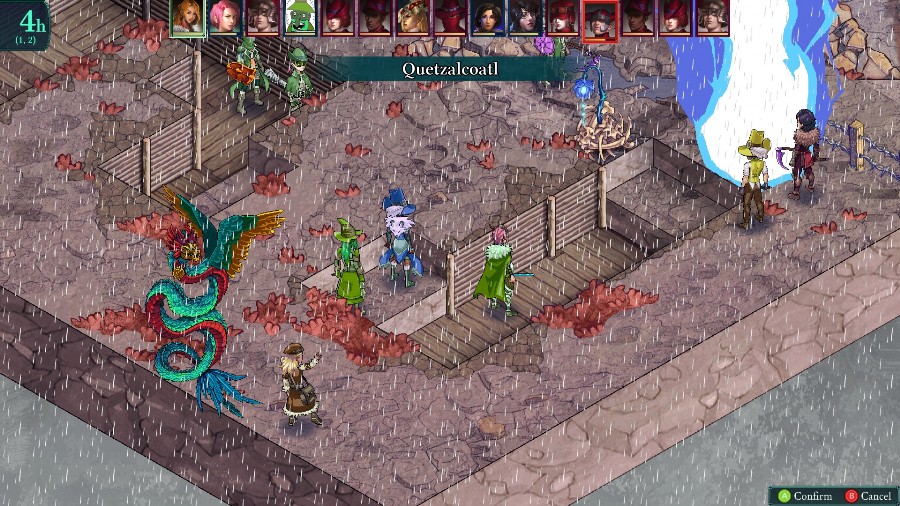 Sophia uses Quetzalcoatl to hit the Reaver from a distance 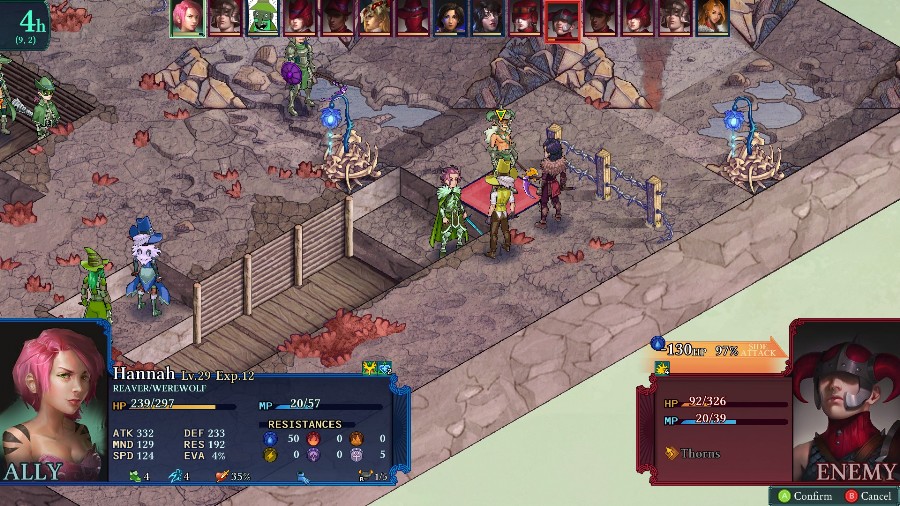 And then Hannah�s able to take them out.  The Templar advances in, which is less than ideal. I�m going to need to figure out how to either root them or keep them away from my squishier guys. 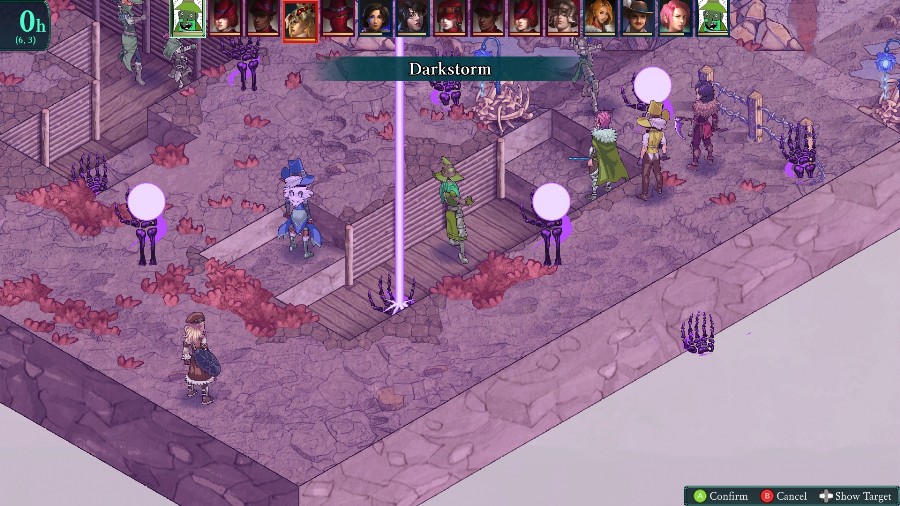 But first I have Bobby hit everyone with a Darkstorm. It doesn�t do a ton of damage, but weakens everyone and will at least get them to use resources on healing before they get close.  The enemy Ranger is apparently also a Knight, and uses One for All in range of both Bobby and Azure, which is not conducive to their survival. 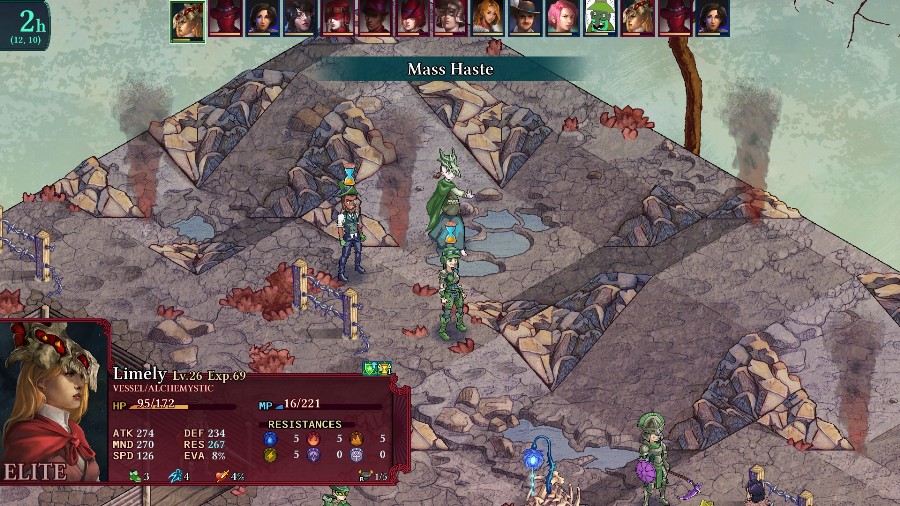 Meanwhile, further back the three enemies continue buffing and healing each other as they approach. 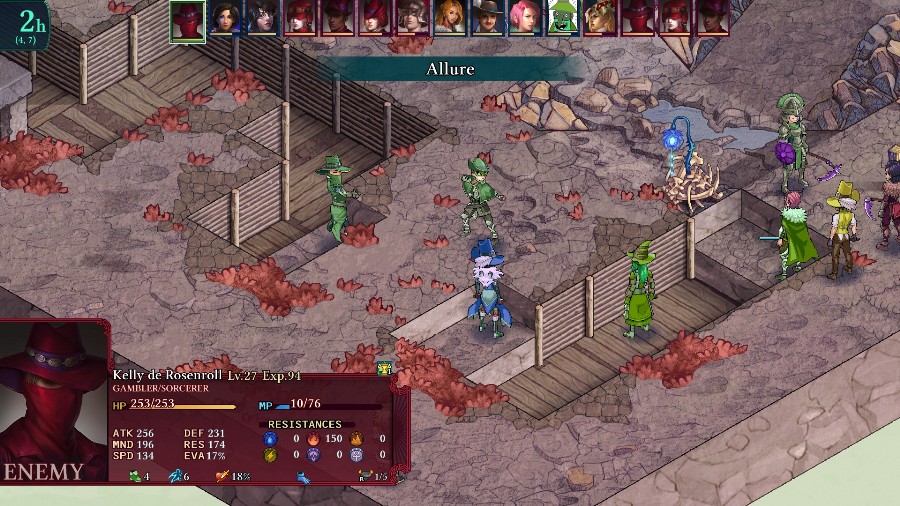 And now, for some questionable decision choices. The AI charms Azure. 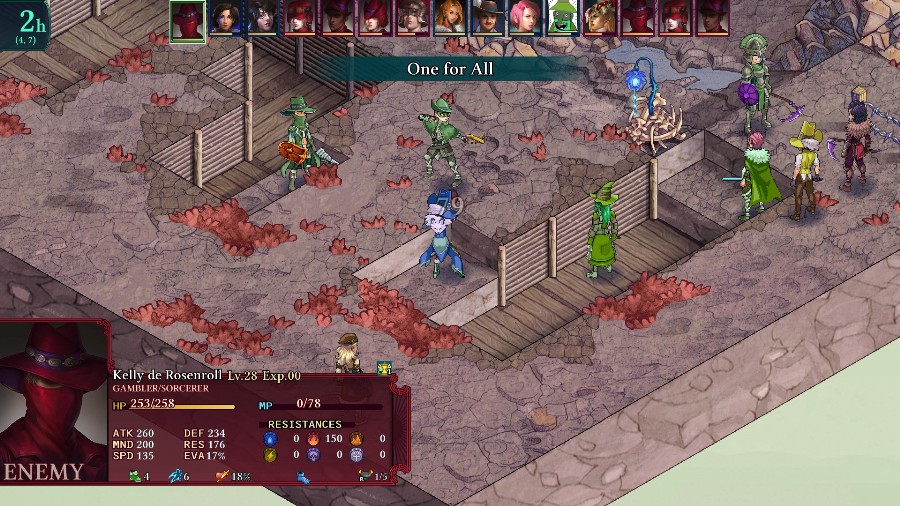 So she gets shot by One for All, which gets rid of the charm. 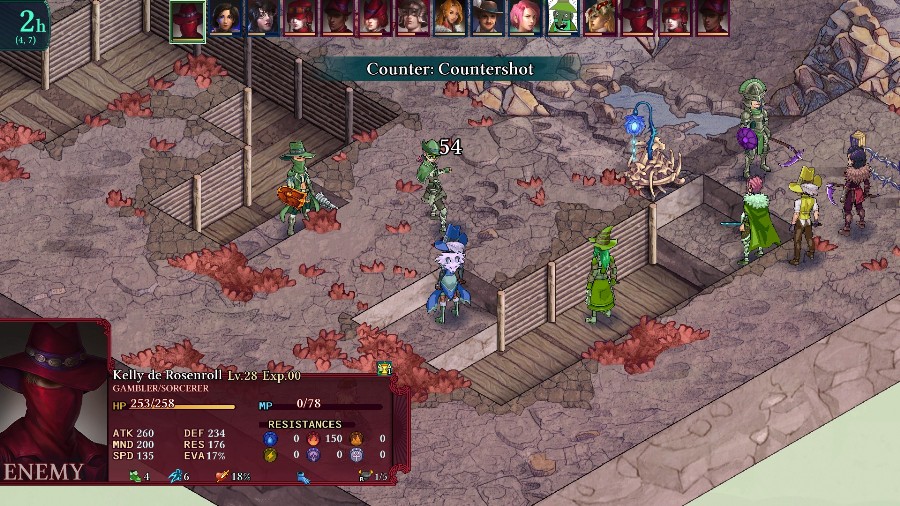 Who she then shoots back for a good chunk of damage too. 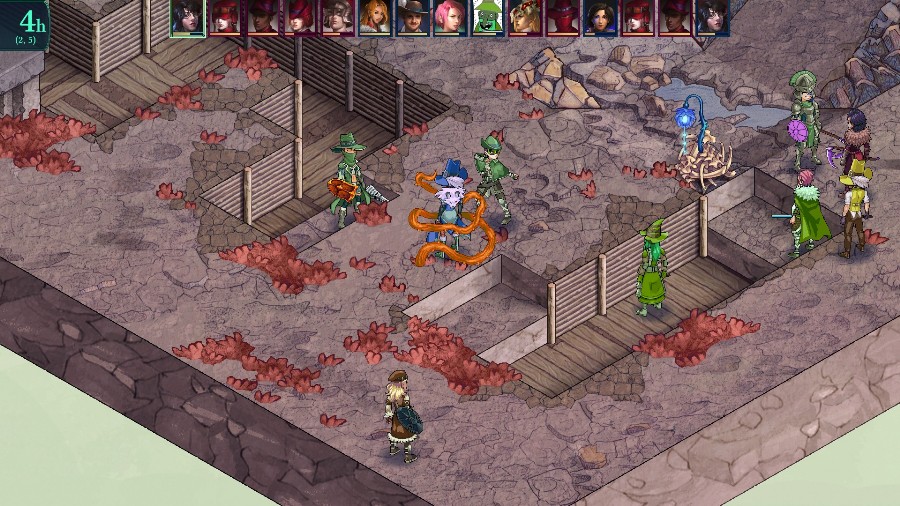 Annoyingly, when I try to move and take out the Ranger, I trigger a trap and lose her turn. Kyrie also lost her turn to a damage trap, taking about half of her health. 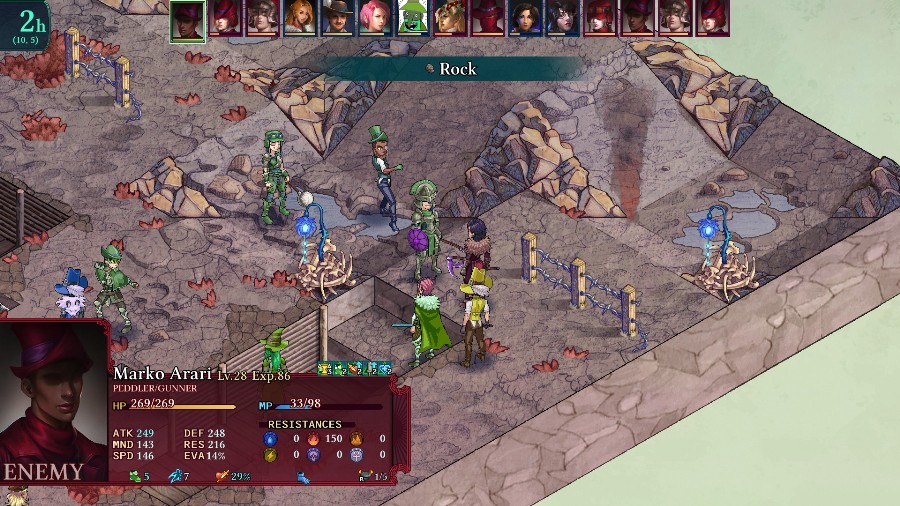 The Peddler comes along and puts her down to critical levels with a rock. The Ranger also moves forward and uses another One for All, now in range of my entire party.  A combo of defense break and the shot takes out a big chunk of Bobby�s health.  And I have Sophia heal up Azure because she�s the only person actually in range.  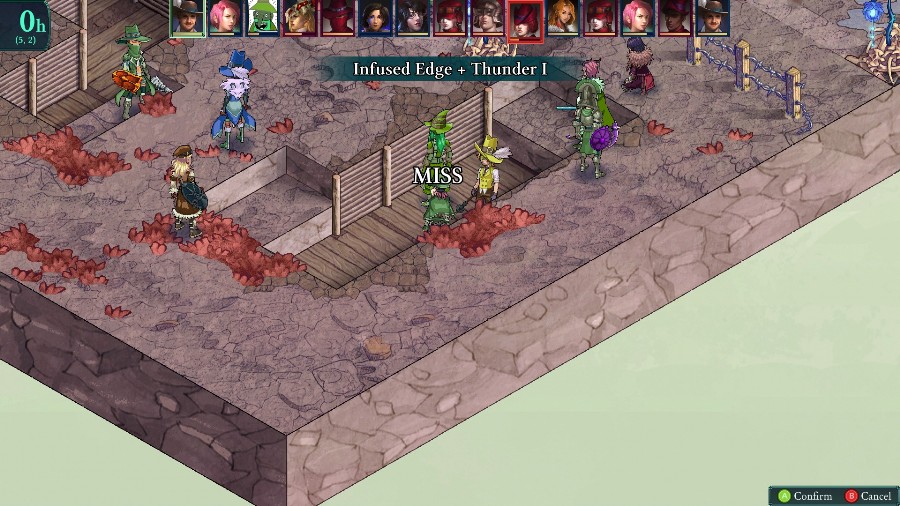 Eustace nearly kills the Ranger, but whiffs on the melee part so they survive. Hannah uses her turn to use a full potion on Kyrie, who had 5 hp remaining. 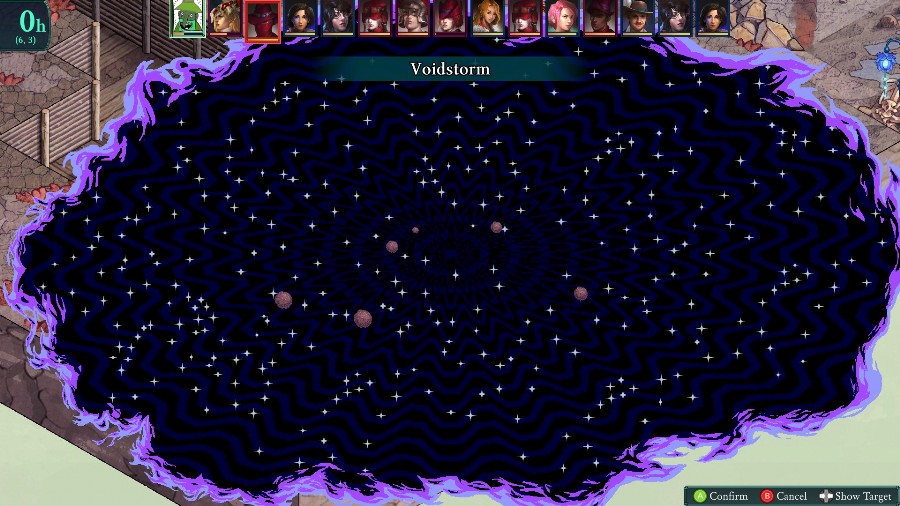 And on Bobby�s turn, he hits the whole map with a solidly strong non-elemental attack.  Which successfully kills the Ranger and nets me another plume for crafting. 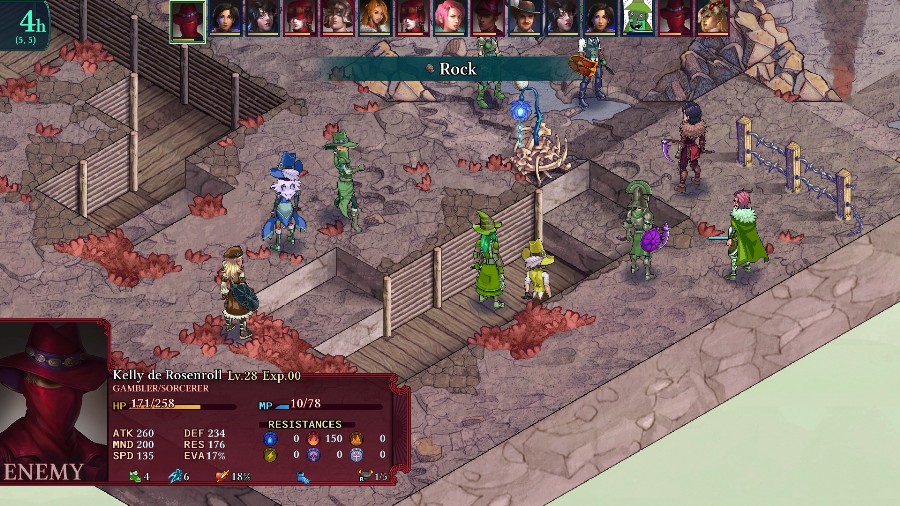 Sadly, the Gambler takes offense to this and brains Bobby with a rock for a kill. \  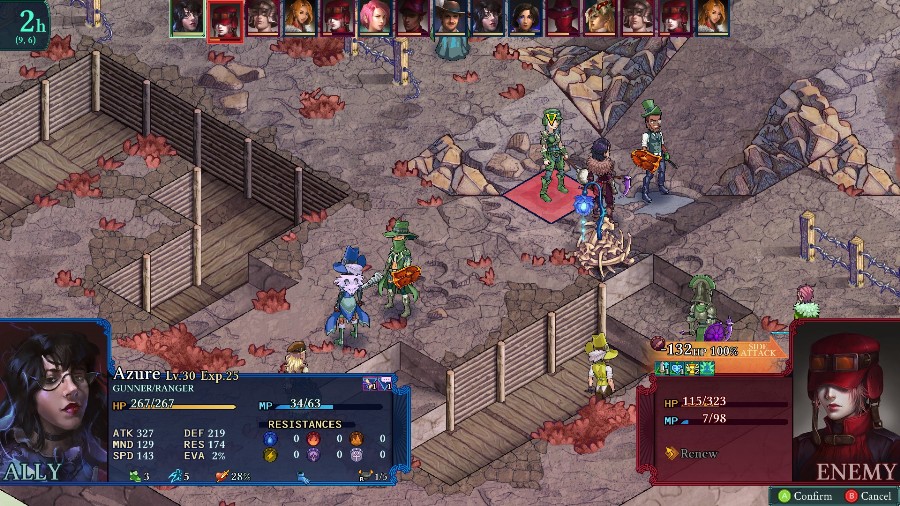 Kyrie whiffs a kill on the Gadgeteer, so I have Azure take them out instead. 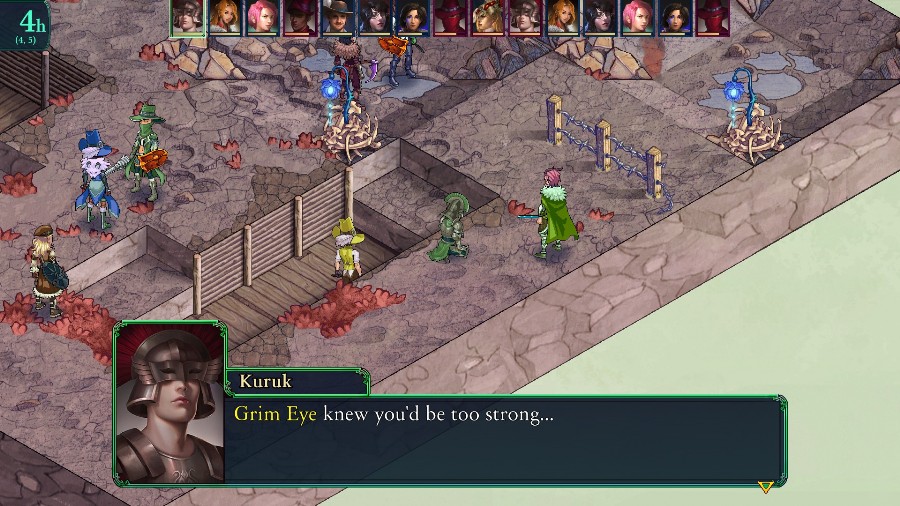 That�s why he left us these summoning stones. That�s why he left us these summoning stones.This has me cross a threshold which triggers new dialogue from the Templar. This triggers either when you take out enough of their allies, or when you take out the Templar them self. 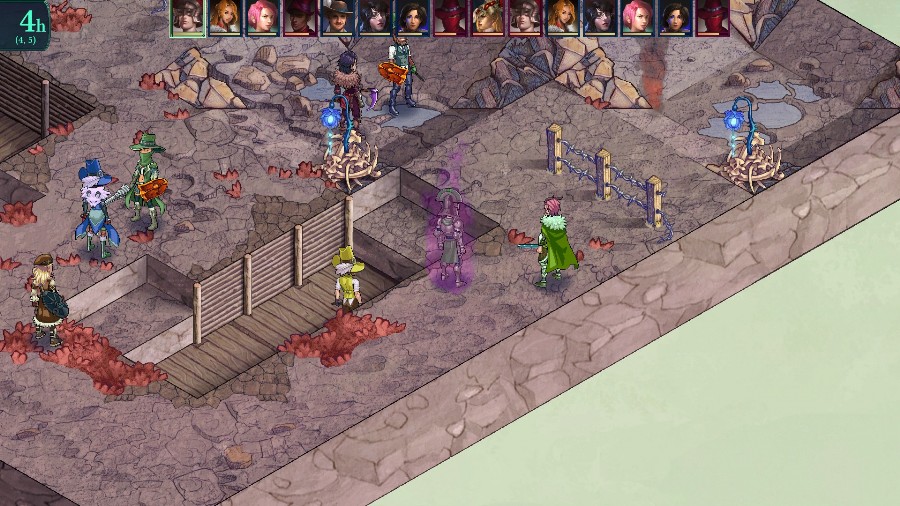 The Templar has a purple flame appear around them 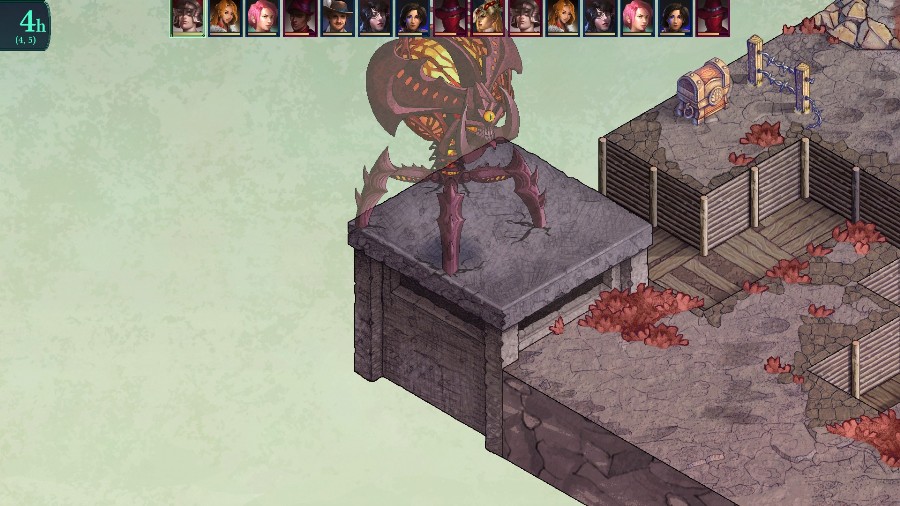  At which point 2 gigantic turret-like demons appear out of the ether. What� is this..? I� Trust in our leader everyone! Fight on!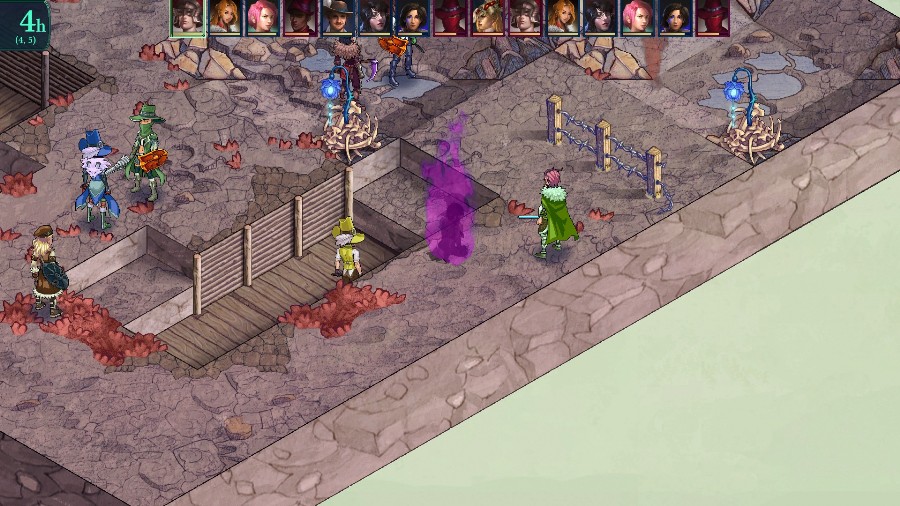 And then they die too. 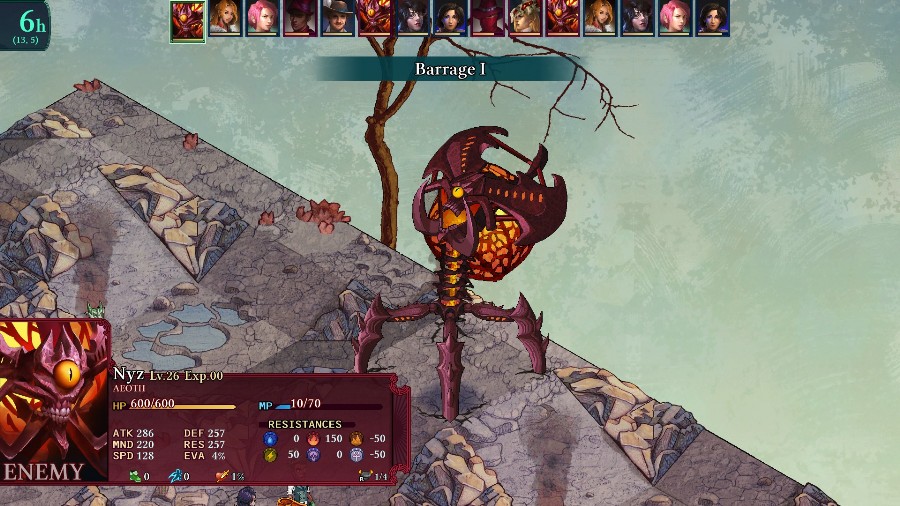 These new enemies, called Aeoths, are pretty simple.  Every turn, they�ll put down a delayed attack area somewhere on the map. On their next turn, it�ll explode in a ton of fire damage and they�ll put down another. They can do a basic AOE cross for free, or larger AOE burst for 20 MP, both of which can neither be evaded nor countered. Additionally, they have the Impetus passive from Katja�s Bounty Hunter, so they�ll slowly ramp up until they get multiple turns to your units� one, and counter any offensive actions with slow, making it so they can hit you even more easily. They can be really dangerous if you can�t focus them down quickly, or at least have to deal with other enemies, which is why I think it�s so important to hold off their appearance to as late as possible.  With them here, I have Sophia revive Bobby a bit back and mostly out of harm�s way.  Eustace gets some good damage off on the Gambler 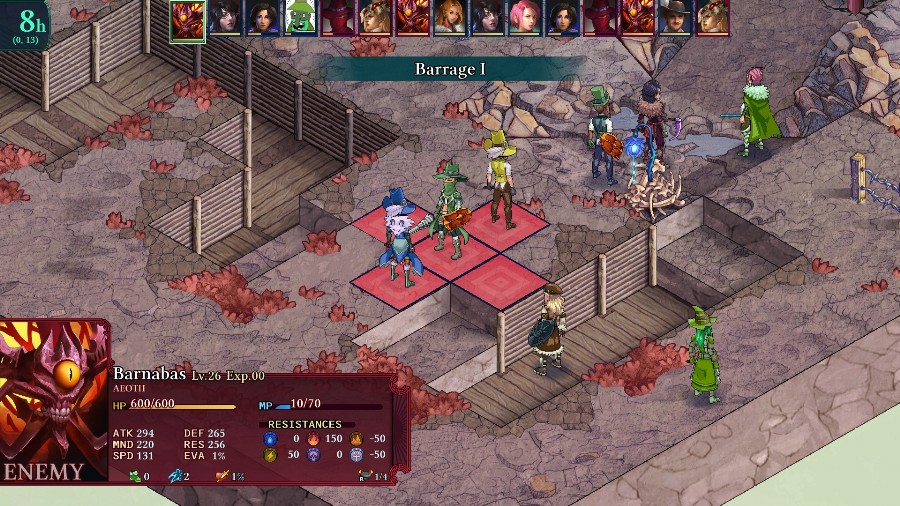 And then Eustace and Azure get targeted by a barrage. 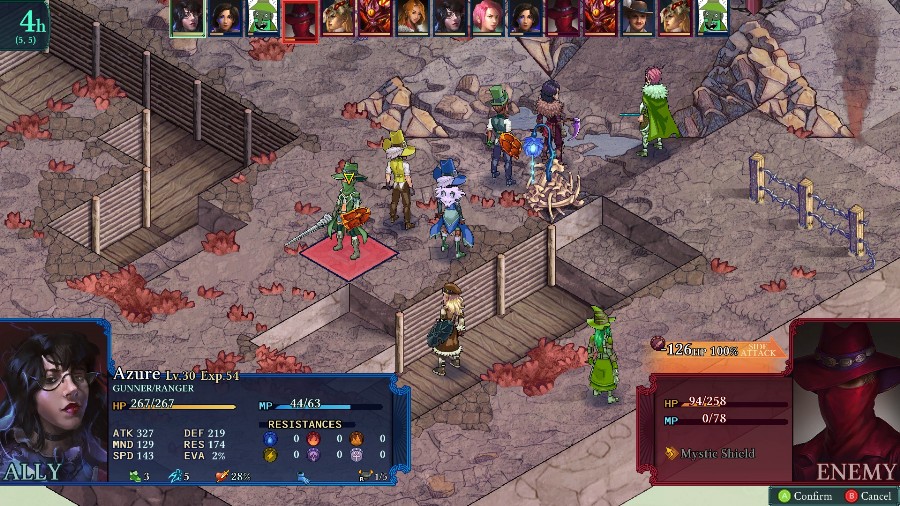 Azure does take out the Gambler as she moves to safety though. 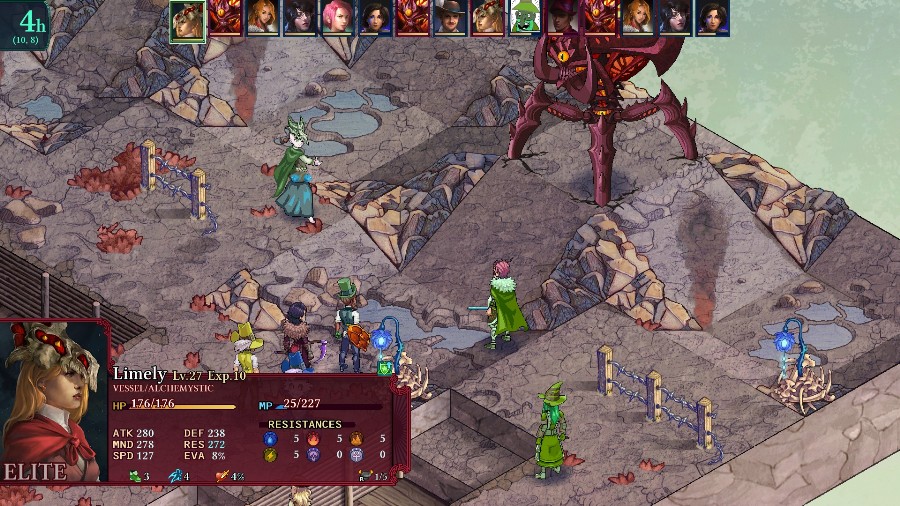 On the Vessel�s turn, we get a preview of the final Vessel skill, Immortal Souls. 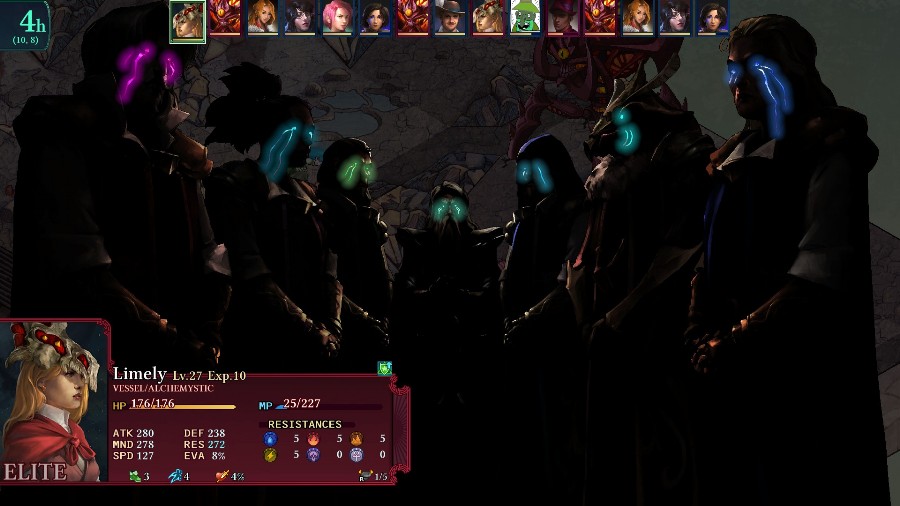 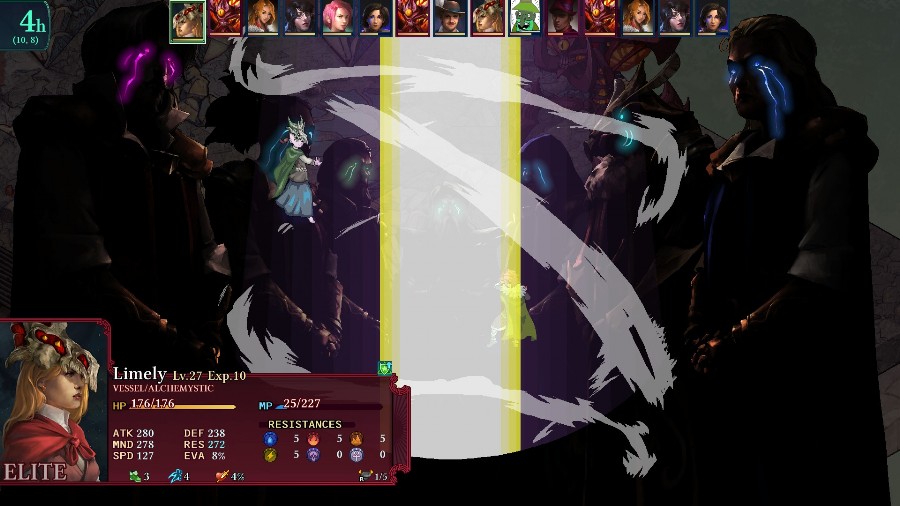 Which she uses to obliterate Hannah 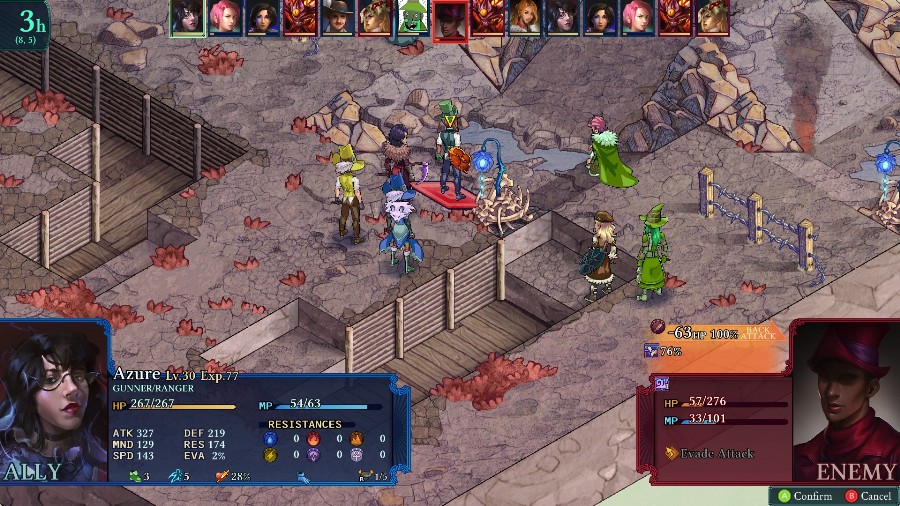 After some weakening from Sophia, Azure takes out the Peddler. 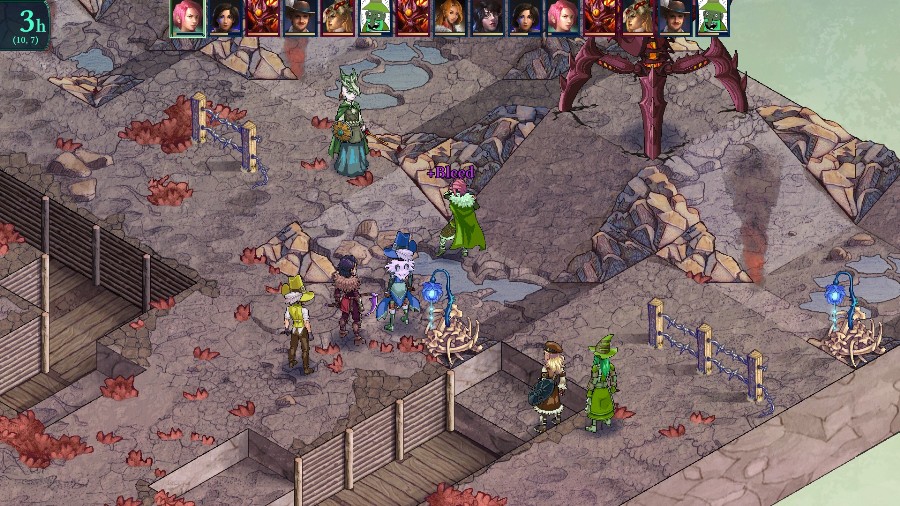 The reraised Hannah goes to kill the Vessel but hits a bleed trap and has to stop. I have Kyrie move forward and heal her with a potion. 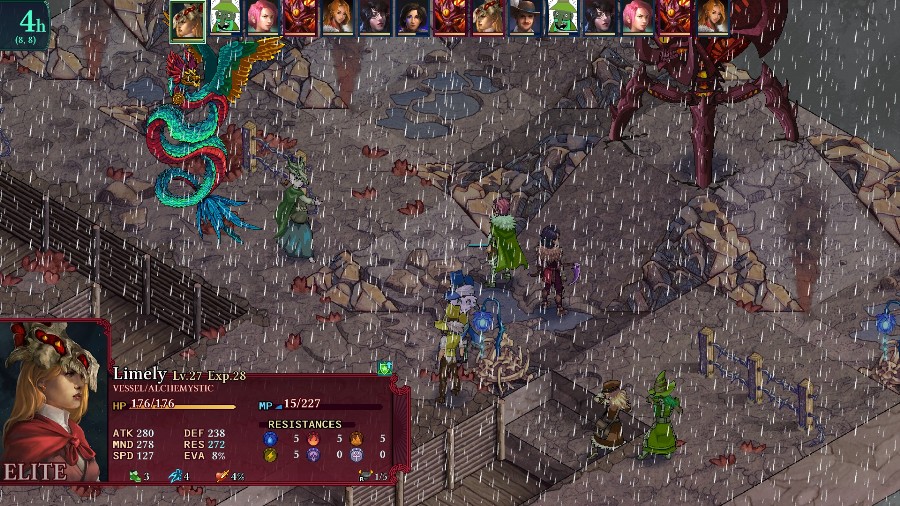 The Vessel hits me one more time with a Quetzalcoatl 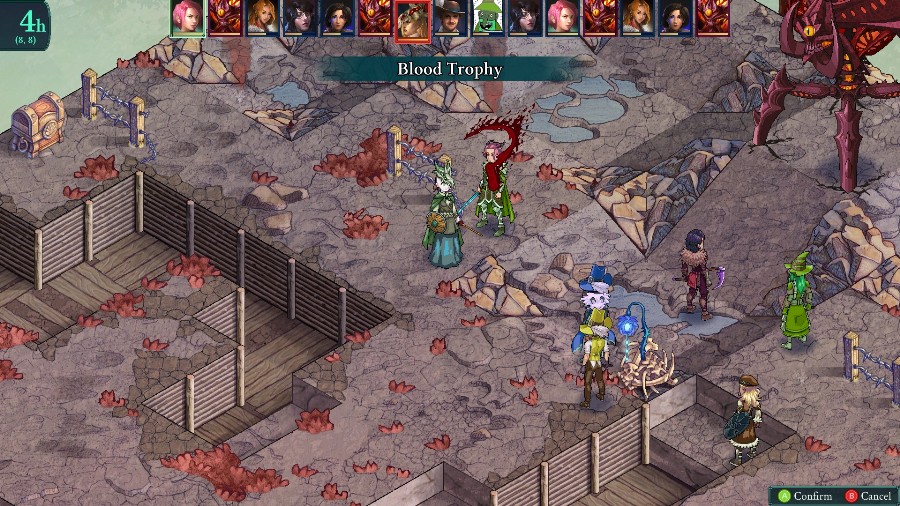 At which point Hannah is finally able to go again and 1 shots her with Blood Trophy, leaving only the Aeoths. 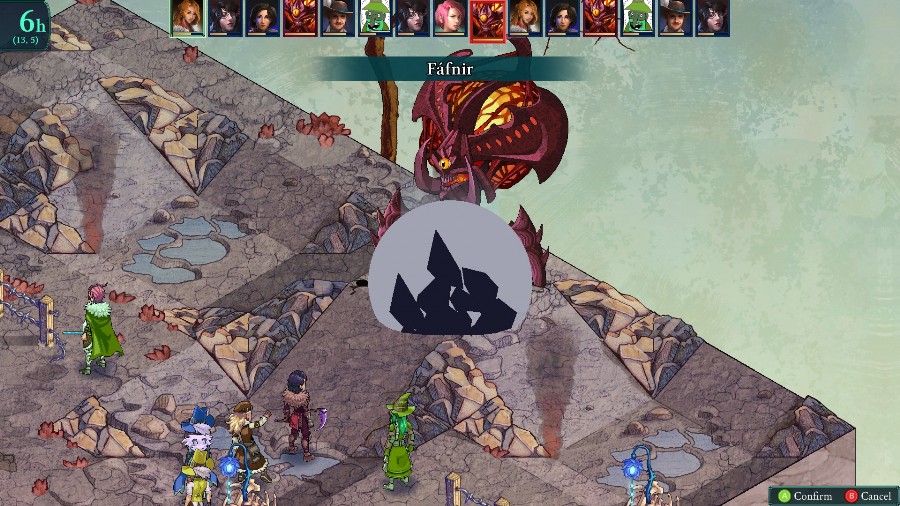 Sophia does 1/3 of the closest one�s HP 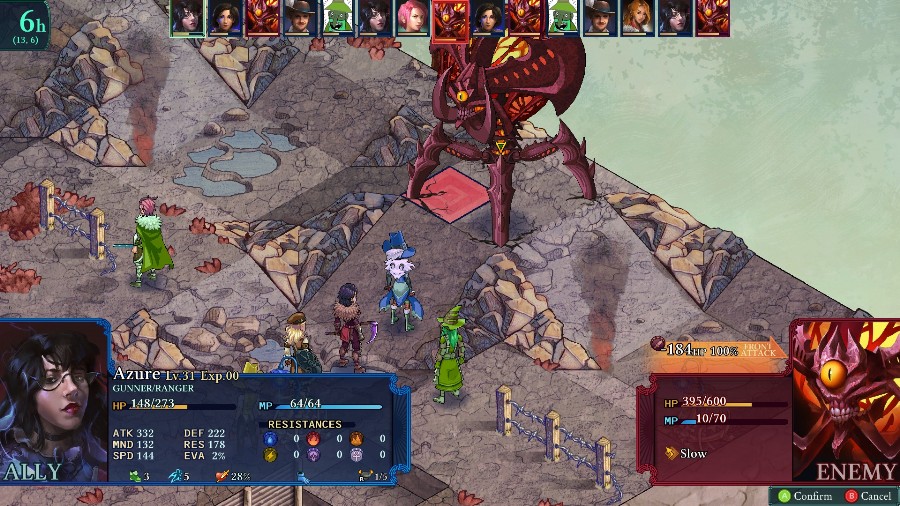 Followed by a snipe from Azure 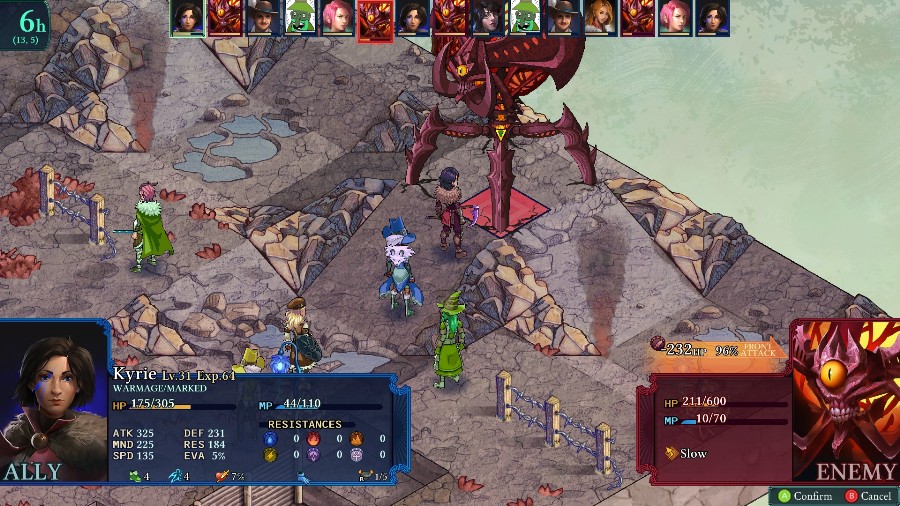 And then an infused edge from Kyrie for the kill. 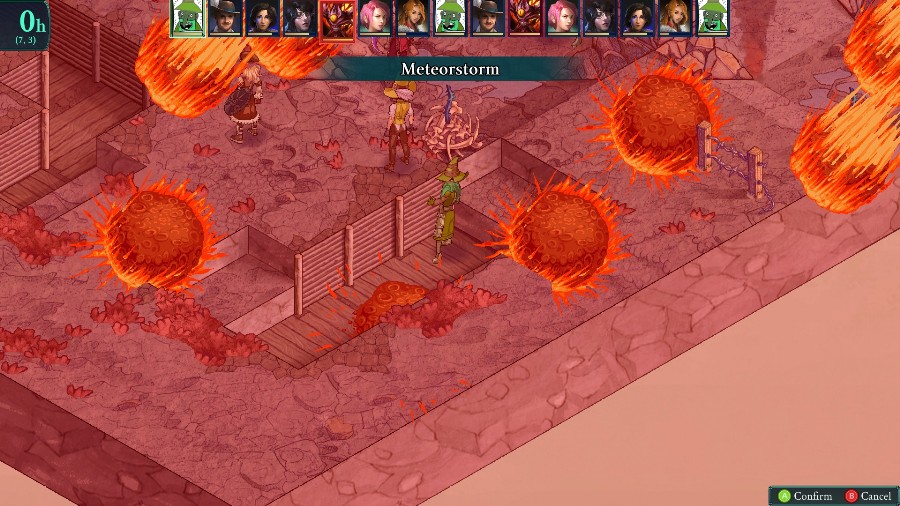 As I run over to the other Aeoth, I take the time to hit some gather spots and have Bobby cast Meteorstorm (mostly because it looks cool). 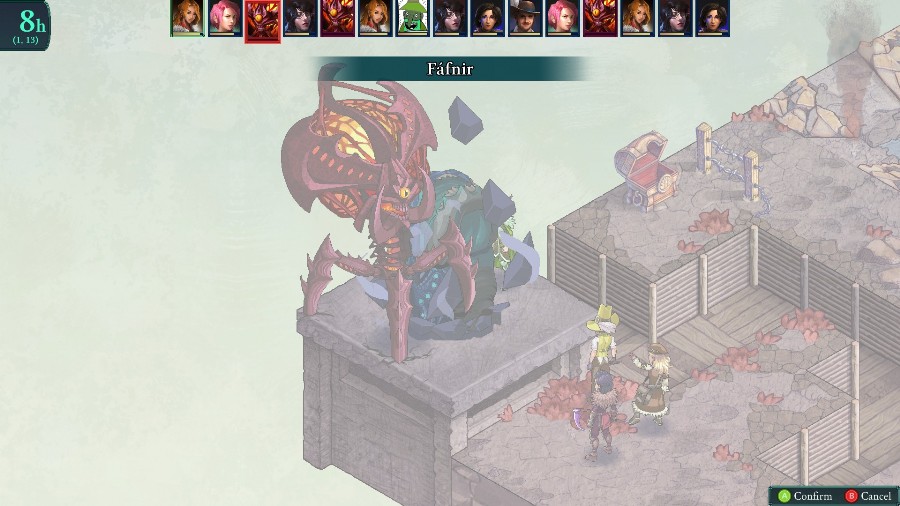 But after a few hits Hannah is able to take it down. 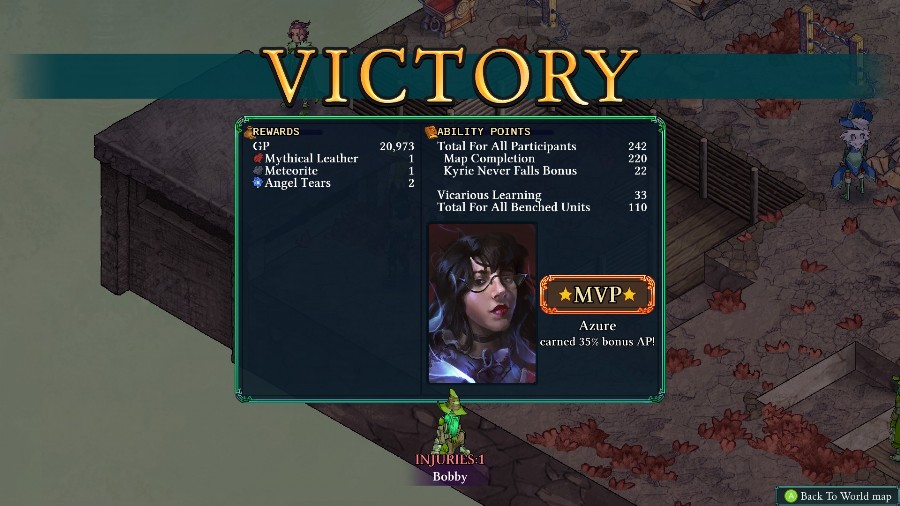 Not too bad a fight overall. In my experience, moving off to the side makes things much easier than trying to fight all of the enemies at once in the center. It also allows you to delay killing the Templar more easily, so that you don�t have to deal with the Aeoths and aggressive enemies at once. Because that is an easy recipe for disaster. 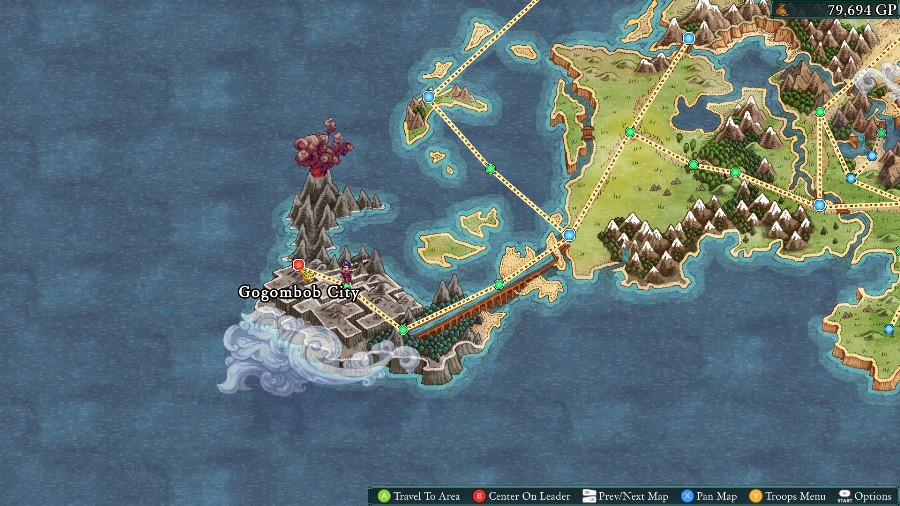 With that done, we�ll pop back out to the world map, where we can see that our next stop is finally Gogombob City!
|
|
#
?
Feb 17, 2020 17:20
|
|
|
Yeah, I went into that Lich fight with bravado my first time. I had never lost a battle before, why would this be any different? And then I get obliterated.
|
|
#
?
Feb 17, 2020 17:45
|
|
|

|
| # ? Apr 25, 2024 05:20 |
|
|
You really don't see too many multi tile enemies in tactics games, probably cause they'll look janky if they try to move into spaces they can't fit in. Is it possible to push those enemies around? I'm assuming no.
|
|
#
?
Feb 17, 2020 17:55
|
|