


|
Mr. Dragoon posted:So what happens if you kill Croc before doing his quest? Is the kidnapped party member forever gone? Naw, you can go yoink your missing PC out of Croc's back room. There's also a chest back there you can loot and no way to get back there without killing Croc to get to it, as far as I'm aware. Still, having Croc around as a merchant is worth more. He occasionally stocks some real good poo poo and was, for instance, where I got Twinkles' new nunchucks.
|
 #
¿
Aug 24, 2020 03:41
#
¿
Aug 24, 2020 03:41
|
|


|

|
| # ¿ Apr 26, 2024 20:59 |
|
|
wafflemoose posted:Definitely keep RFS. Vi is handy to have around too. I did get a Giant's Sword, yeah. The Death Lords each drop one as a guaranteed thing. Unfortunately while they are considerable shitwreckers, they're not quite as good as Fang. If I had a plain Mook Fighter or multiple of them, I would probably have picked it instead. Plus alongside Fang, Chewbecka can keep using an off-hand weapon for extra damage. Her poison dagger HAS been stacking up some decent additional damage over time, especially as it tends to poison enemies.
|
|
#
¿
Aug 25, 2020 20:04
|
|
|
Part 008: The Hell Of Being Trapped In Cubes 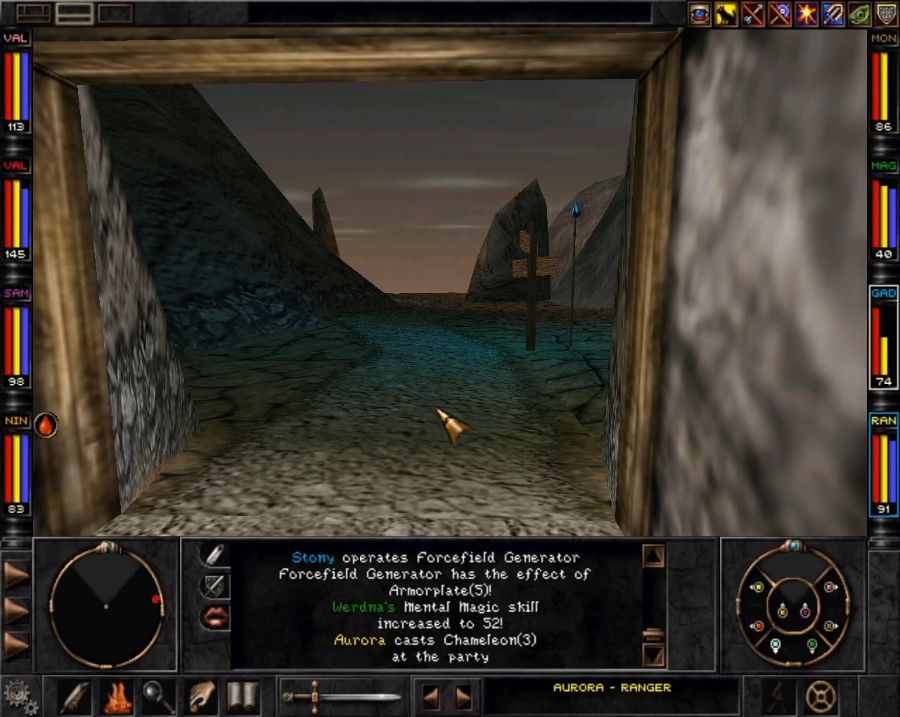 So, the Mountain Wilderness. We've already been there once before, but only briefly as it had very scary enemies, and now we're at the far side of it, and it still has scary enemies. In fact, a lot of areas are now relatively easy to breeze through, like the Arnika/Trynton Road, but the Mountain Wilderness can absolutely still kick the party's rear end if I'm not careful about how I play it. Not counting single boss battles like the Sorceress Queen, I'd say there are two areas that are in my experience nastier than the Mountain Wilderness, but of course that's generally with a more magic-heavy and chopping-light party, so I may feel differently by the end of this run. 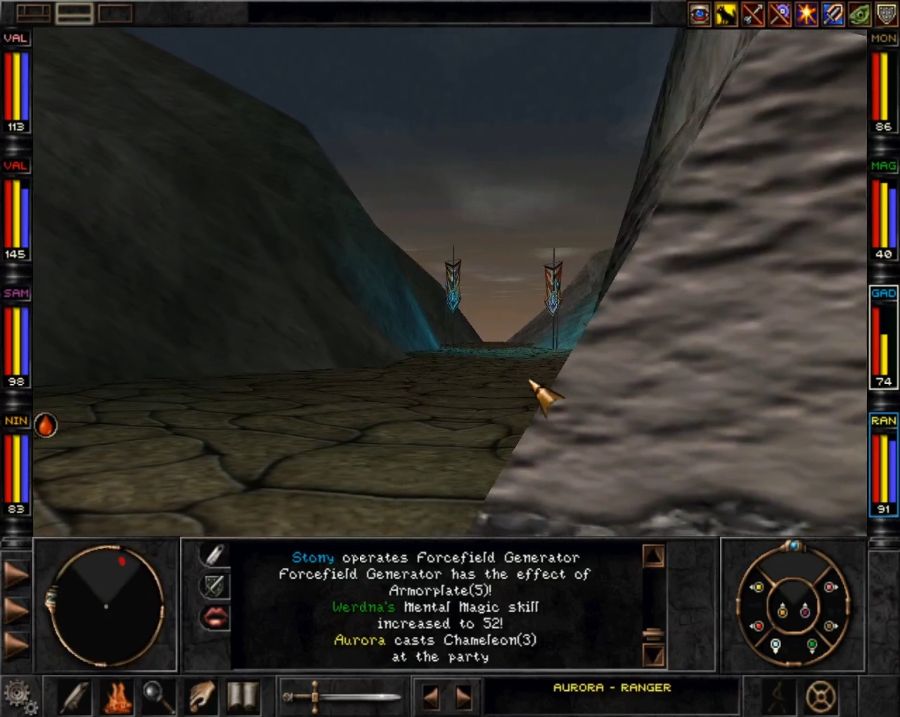 Just around the corner to the right after leaving the tunnel is a narrow pass leading to... 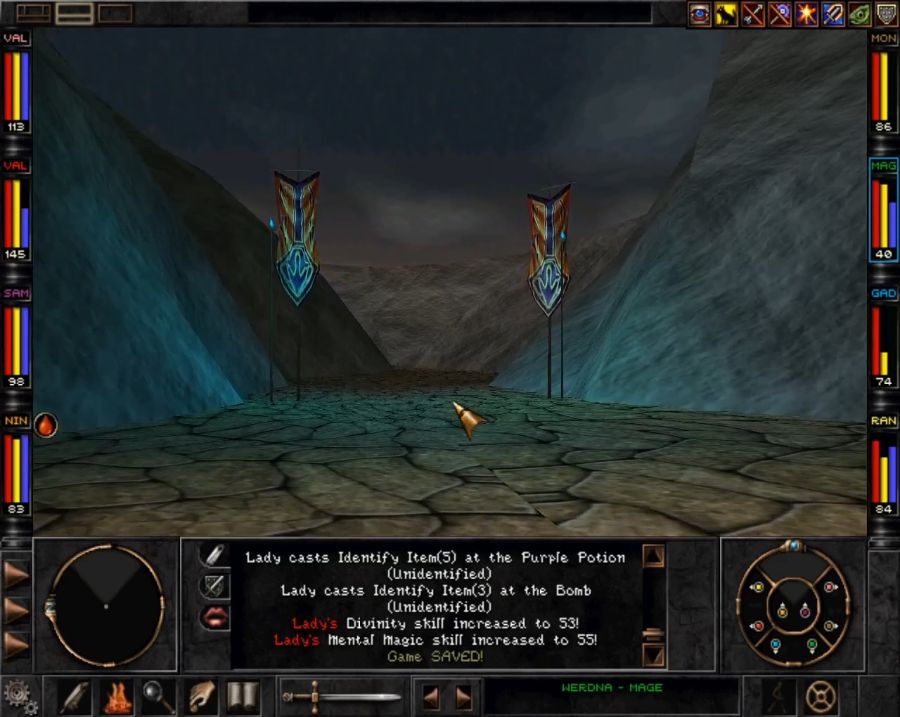 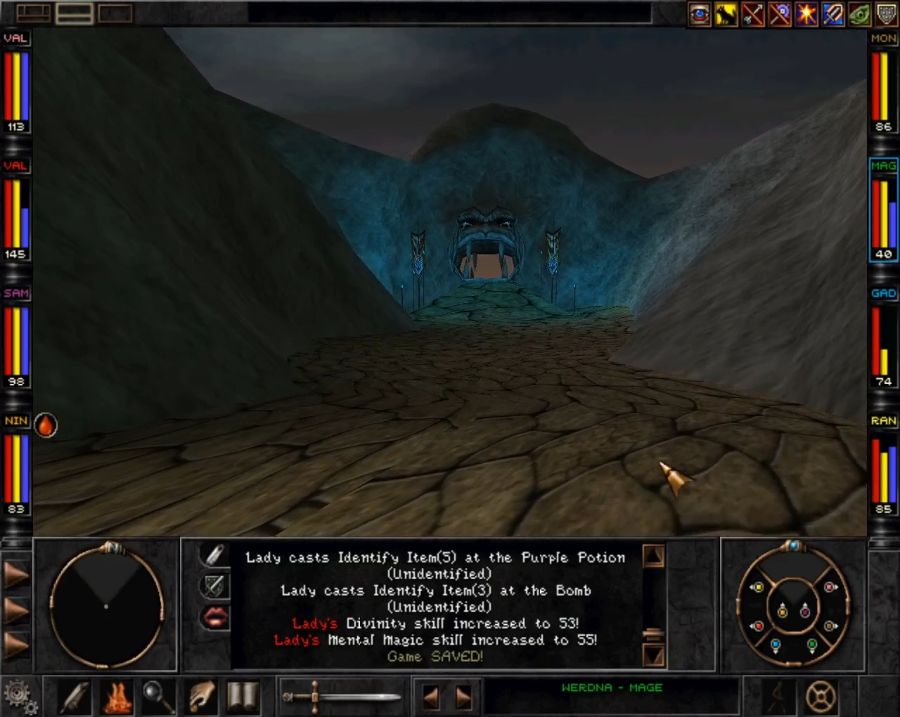 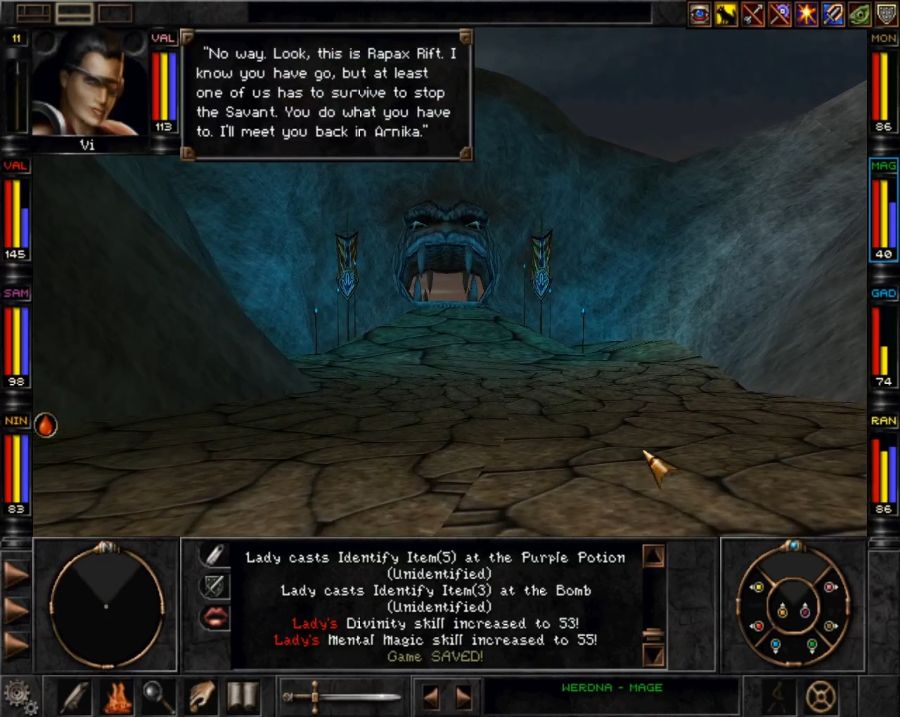 The last of the T'rang teleporter's locations that we couldn't identify. The Rapax Rift is a place you need to go to complete the game and is, predictably, stuffed to the brim with Rapax, including several varieties we generally won't see anywhere else. It doesn't lead back to Arnika, however, so I'm skipping it for now.  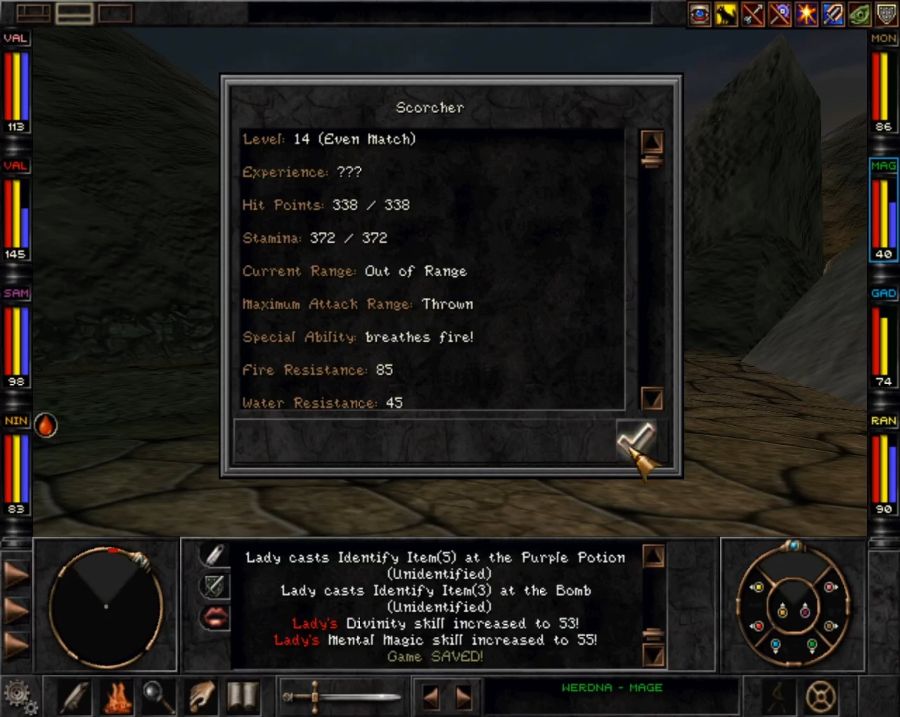 Going the main way, we run into one of the enemies that are primarily only here and the Rapax Rift: Scorchers. 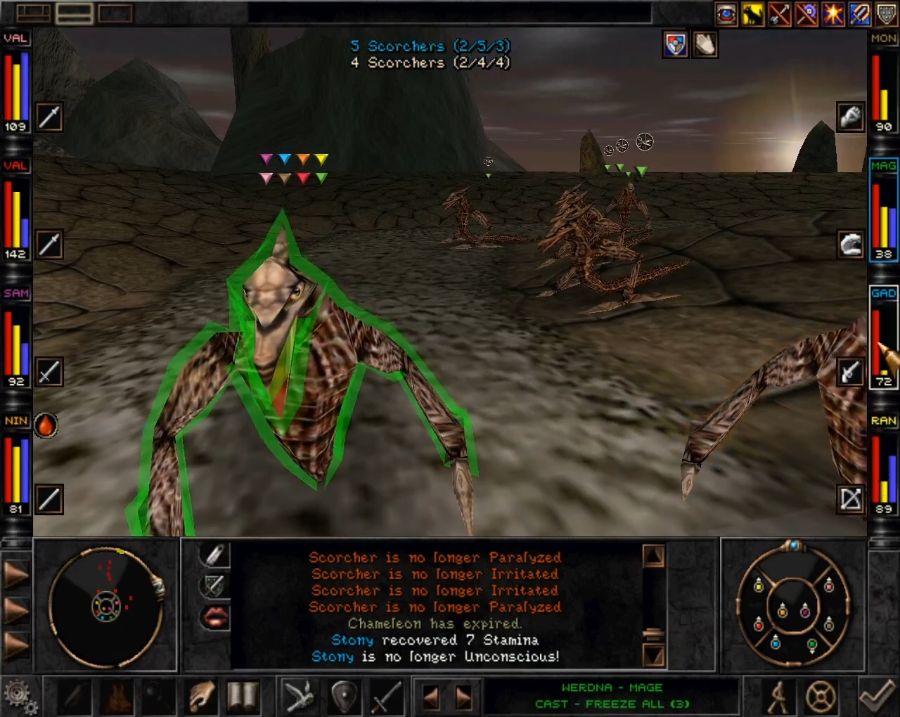 Ugly fellas. They're big buckets of HP that can hit pretty hard in melee, as well as having extended-range punches and thus being able to reach over our front line. I didn't even know this and only learned it when one of them kidney-punched Werdna to death. Their big thing, though, is breathing fire. It doesn't do a lot of damage, especially not with Elemental Shield up, but when you've got an entire pack of ten or twelve of them doing it, it amounts to considerable ablation of HP each round. The MVP of this and many future fights is Stony for using his new gadget from the SE Wilderness to keep everyone topped up. Unfortunately since I've invested primarily in things that make him better with his Omnigun, because it took him so long to get any decent gadgets, his Stamina total is dogshit and just using it or the Invigorator Belt once almost KO's him, leaving Aurora spending most of the fight keeping him topped up with casts of Stamina. It works, but it chews into the party's damage-dealing ability some. 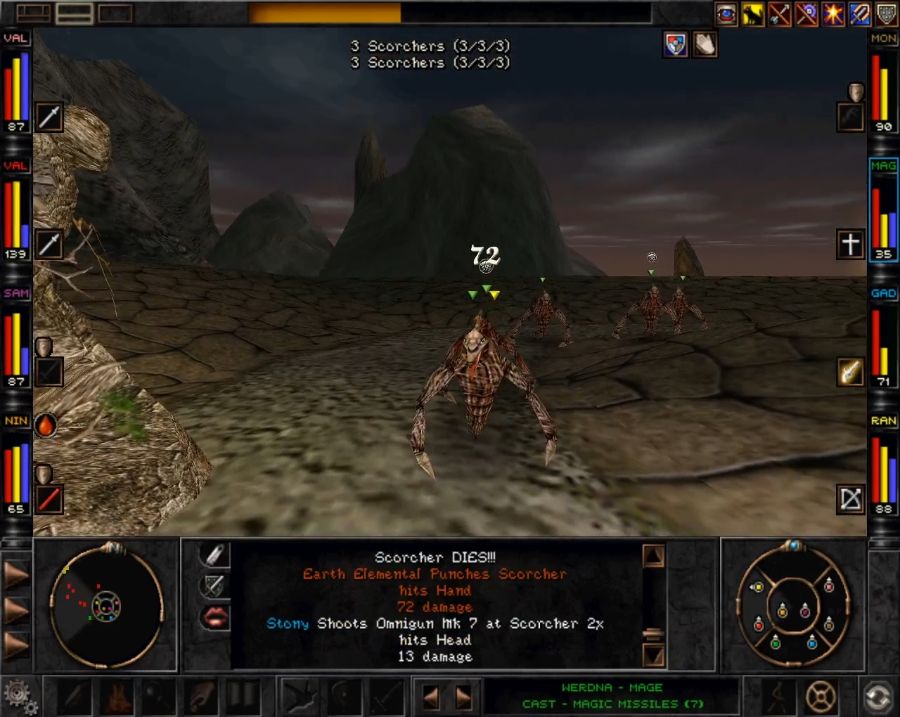 This is also when I start experimenting with Werdna summoning elementals to speed things up. Pure damage-dealing magic doesn't do much against the Scorchers but, perversely, elementals' punches are always physical damage no matter what they're made of, and considering that the elementals he can summon about 80 damage per punch, it adds up, especially as they're also big buckets of HP that don't die easily and this, like any other punching, gets doubled against opponents that can't fight back. The main issue is that they can't be summoned in cramped conditions. You may also notice some yellow markers on the radar, let's see who they are...  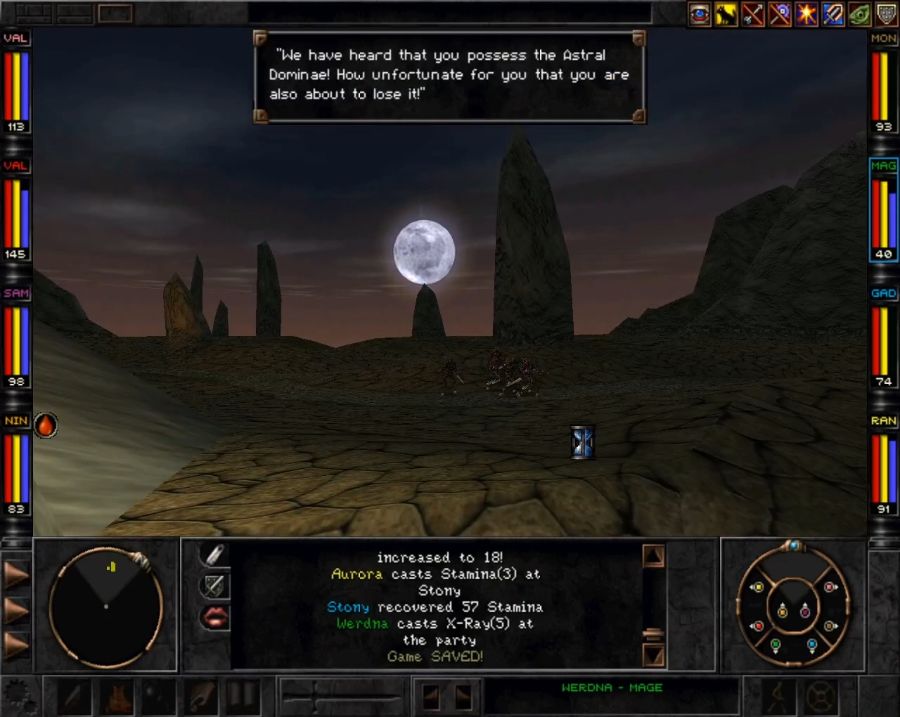 Ah, yes, the Rapax also have their assassin squads, though they mostly seem to be active in this one region of the game. Politely put they are not to be hosed with.  Because the Samurai are, appropriately enough, Samurai. They hit decently hard, but worse than that they cast even harder. They're also usually fast enough to get off a first volley before you can get Elemental Shield up. That one cast of Crush took away half of Vi effortlessly.  And there's almost half of the party not being able to act because of a cast of Noxious Fumes. These fights can very easily go south on me. 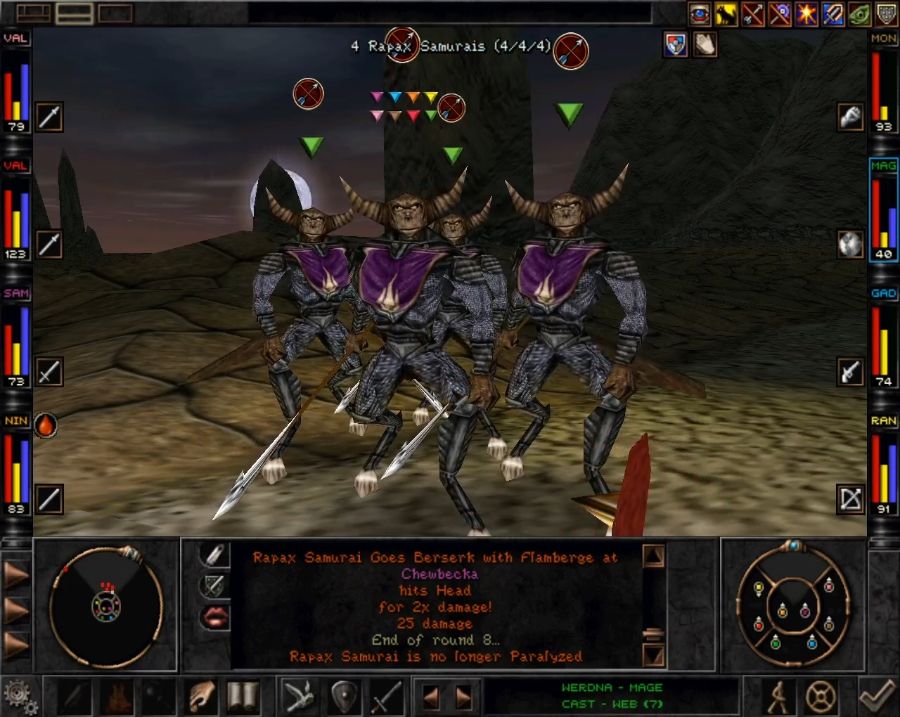 And they're not afraid of self-buffing either. Missile Shield is just as effective on them as it is on us. 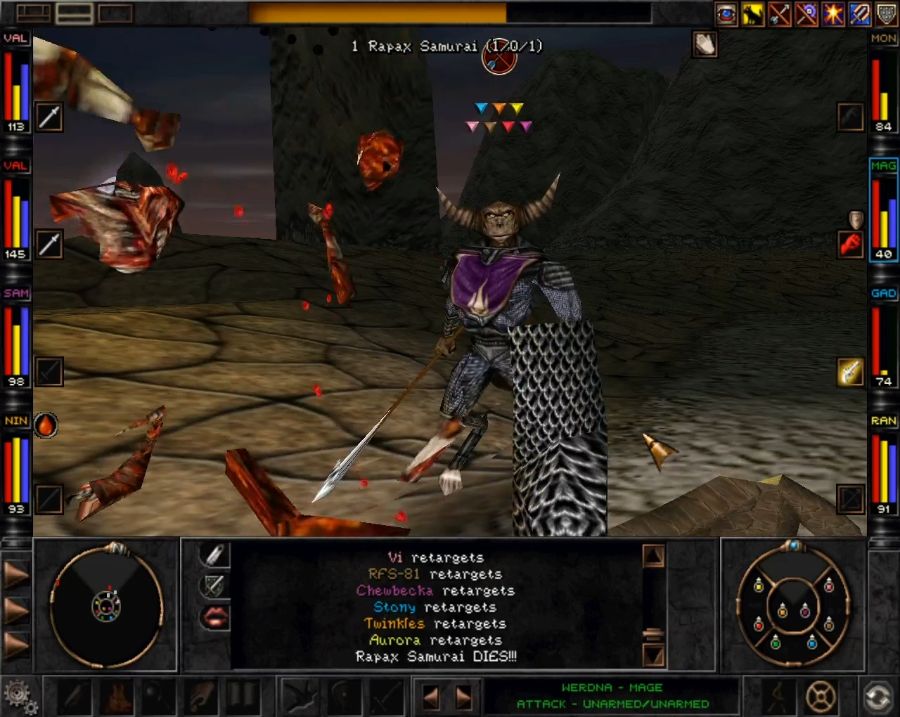 Still, they explode like anything else once Chewbecka and Twinkles get going at them. During rounds where the party doesn't need healing, Stony hits them with the Invigorator Belt, which simulates their suddenly gaining several levels in terms of being able to hit enemies and get bonus attacks. At least Rapax still have a habit of dropping decent gear, this party dropped a pair of Mantis Gloves, which are more or less the best piece of heavy hand armor in the game, and the only type of hand armor that does anything but give better armor class. There are a couple of odd "empty" slots like that which just seem to be there more out of formality than anything else, but Hand/Glove slots get screwed the most, with even "leg" armor having more gear that isn't just +AC. 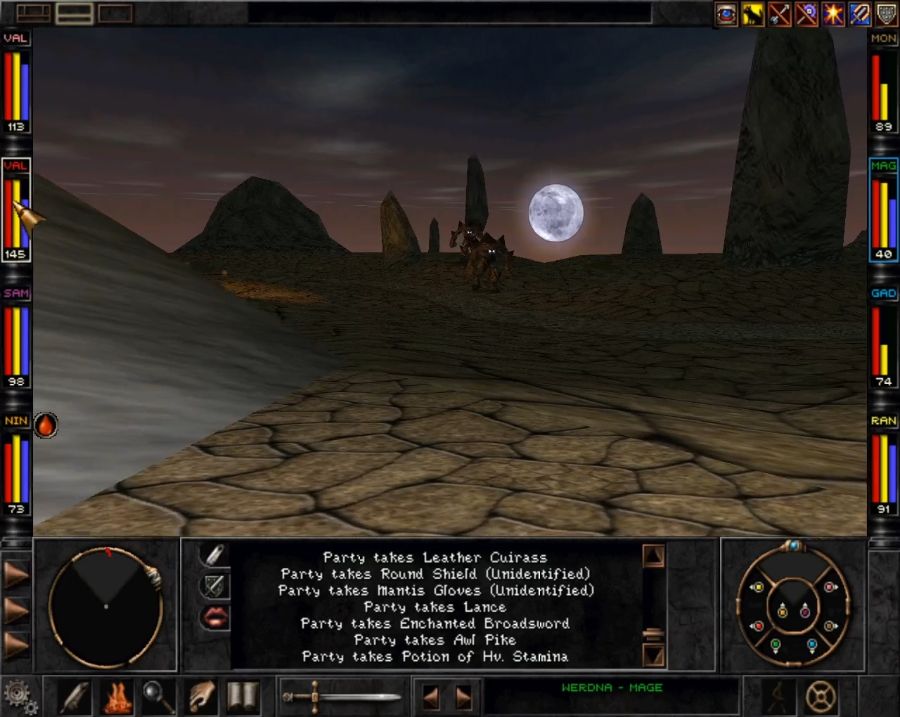 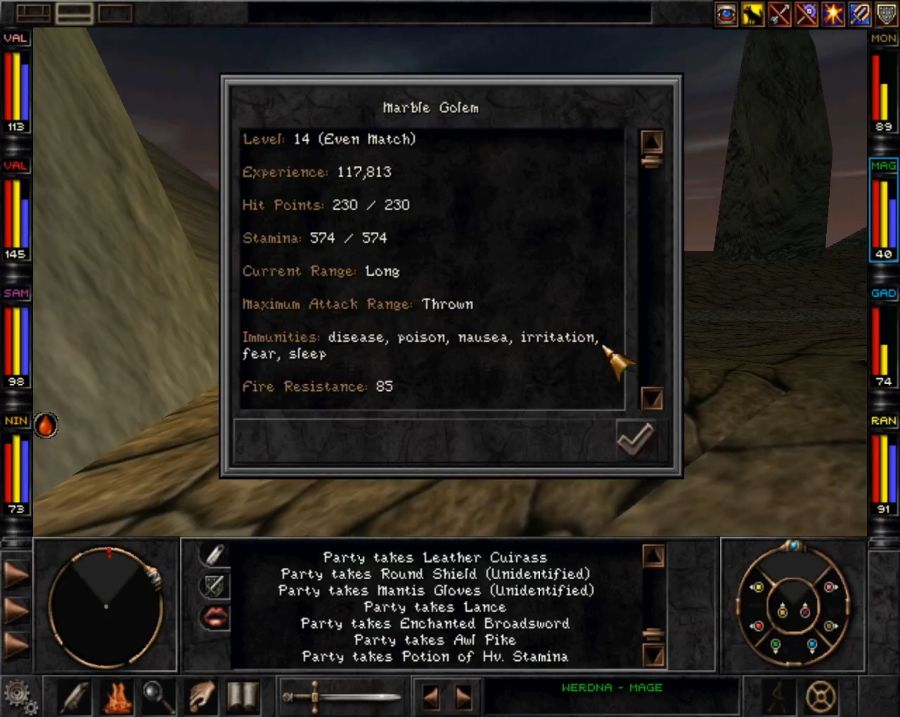 Enemies formerly used as roadblocks are now just casual enemies, but appropriately enough they also go down easily. Now, let's look around for one of the special landmarks of the Mountain Wilderness. It's a reasonably open area, but most of the places worth hitting are all more or less along a single road winding through the place. Including... 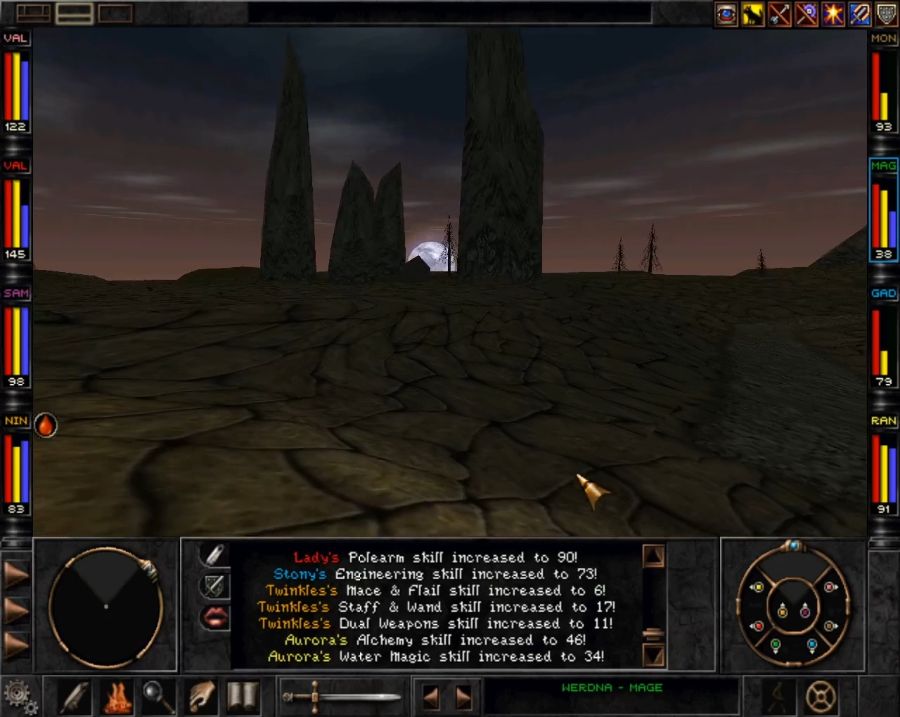 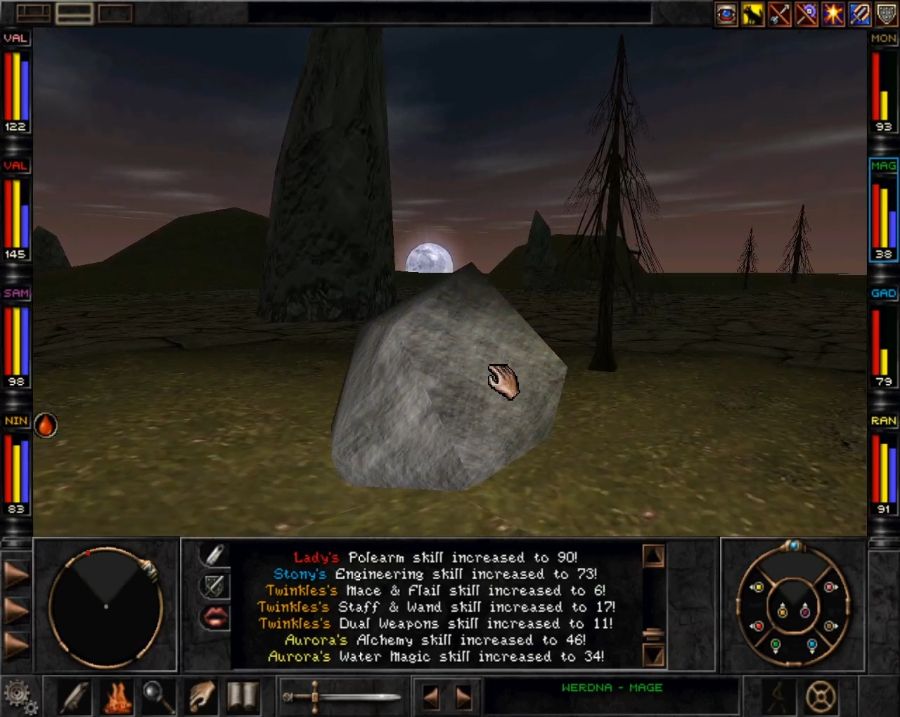 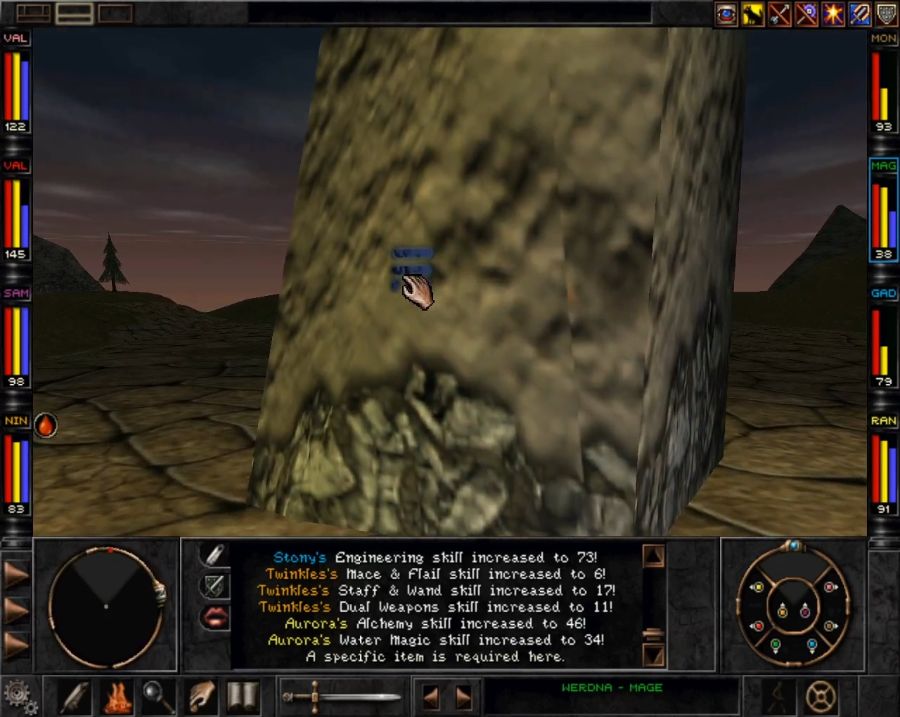 A retro dungeon! I'd argue this is probably the only one people could have found on their own. There's a ring of stones containing all the runes to activate, and the stone in the middle, well, I think that assuming "sword goes in stone" isn't too far-fetched. Still, it's easily activated, which I'll shortly come to regret... 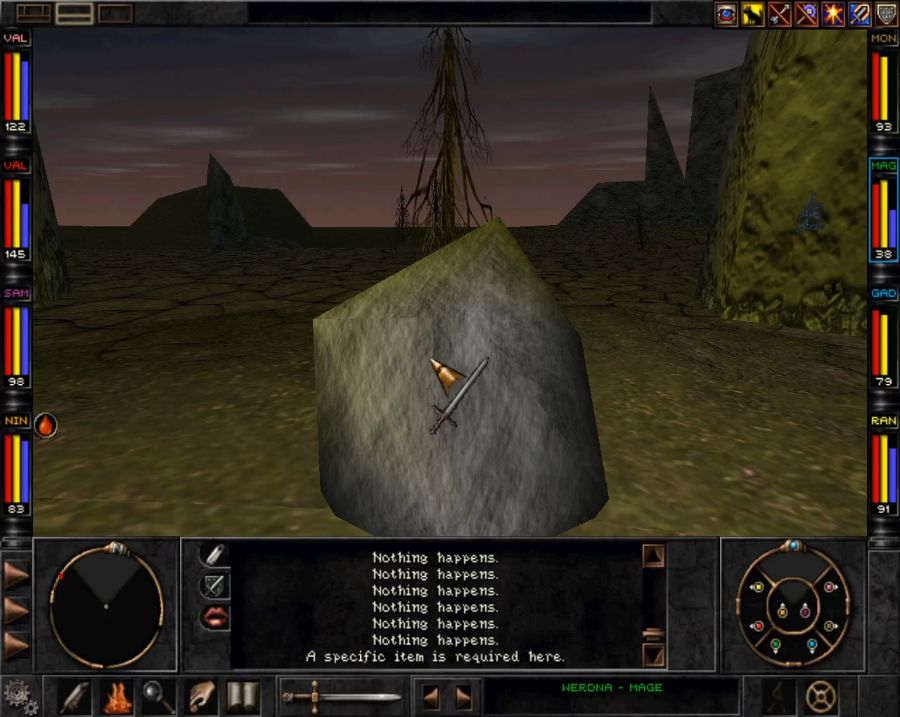  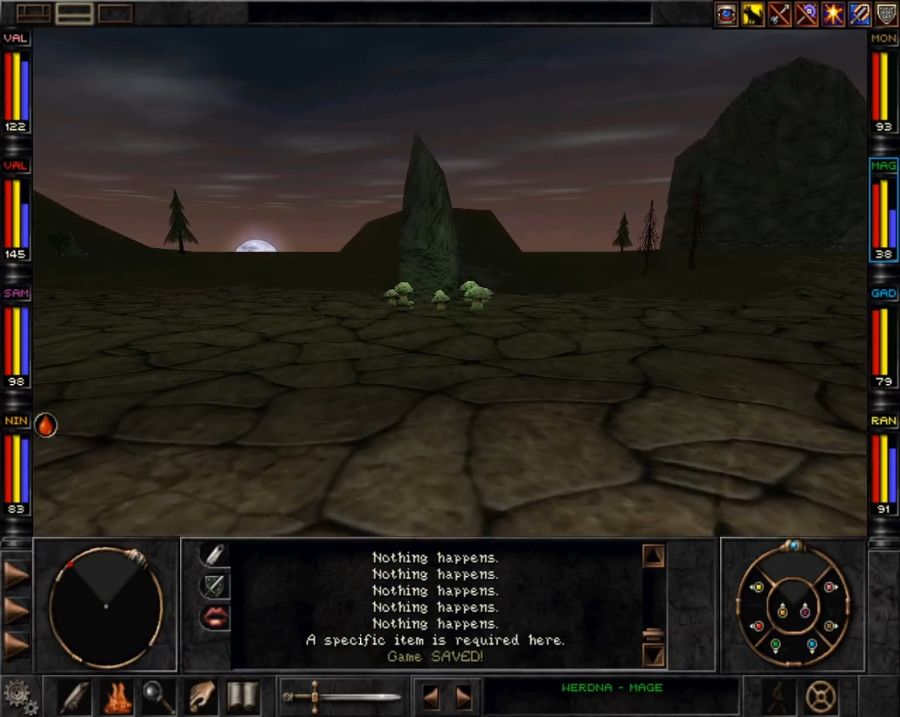 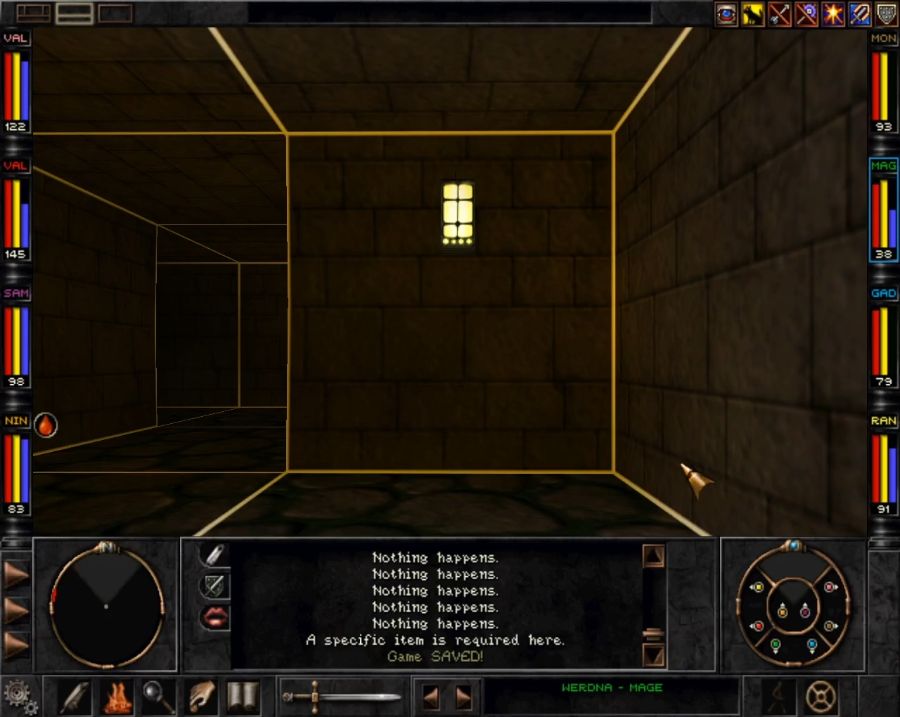 So on the one hand, the Mtn. Wilderness Retro Dungeon is the simplest of the three. Compare the Cemetary dungeon...  With the Mtn. dungeon...  On the other hand... 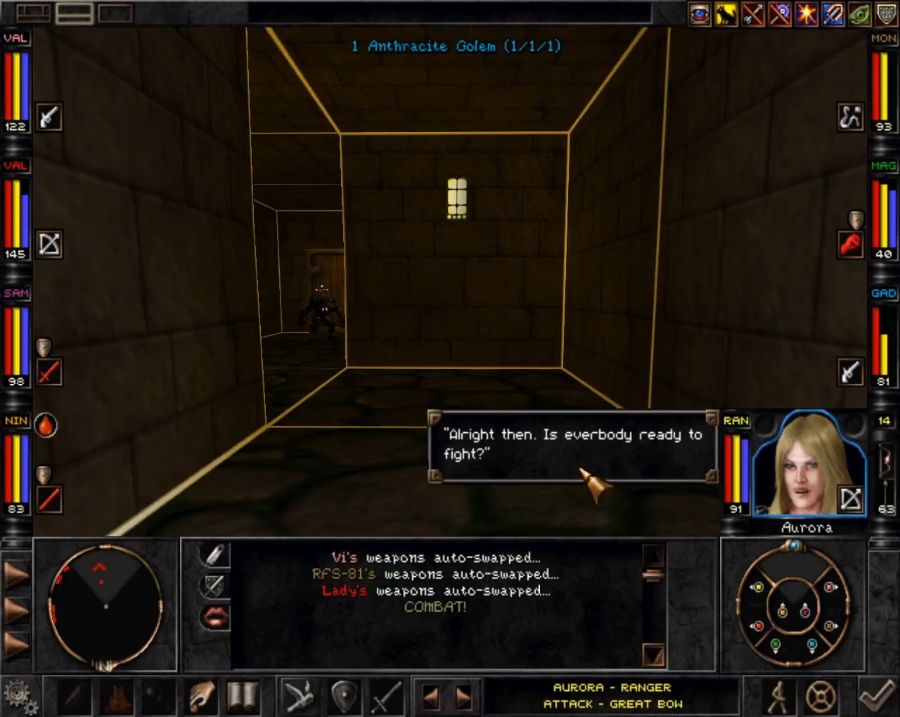 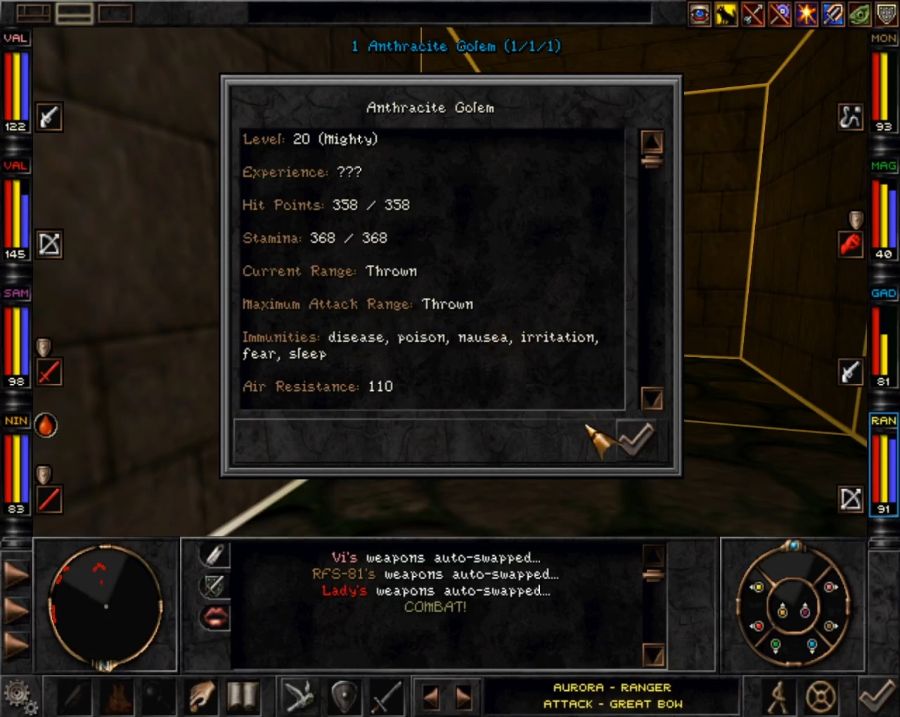 This is the loving doorman!  I may be in slightly over my head here! Thankfully golems aren't the worst, they hit hard, but waste a lot of time throwing rocks that the Missile Shield deflects, and since they have no multi-target attacks(which could hit squishy mages) or the ability to kill a character in a single turn, it's easy to outheal the damage they do. I may be in slightly over my head here! Thankfully golems aren't the worst, they hit hard, but waste a lot of time throwing rocks that the Missile Shield deflects, and since they have no multi-target attacks(which could hit squishy mages) or the ability to kill a character in a single turn, it's easy to outheal the damage they do. What's behind door number one? 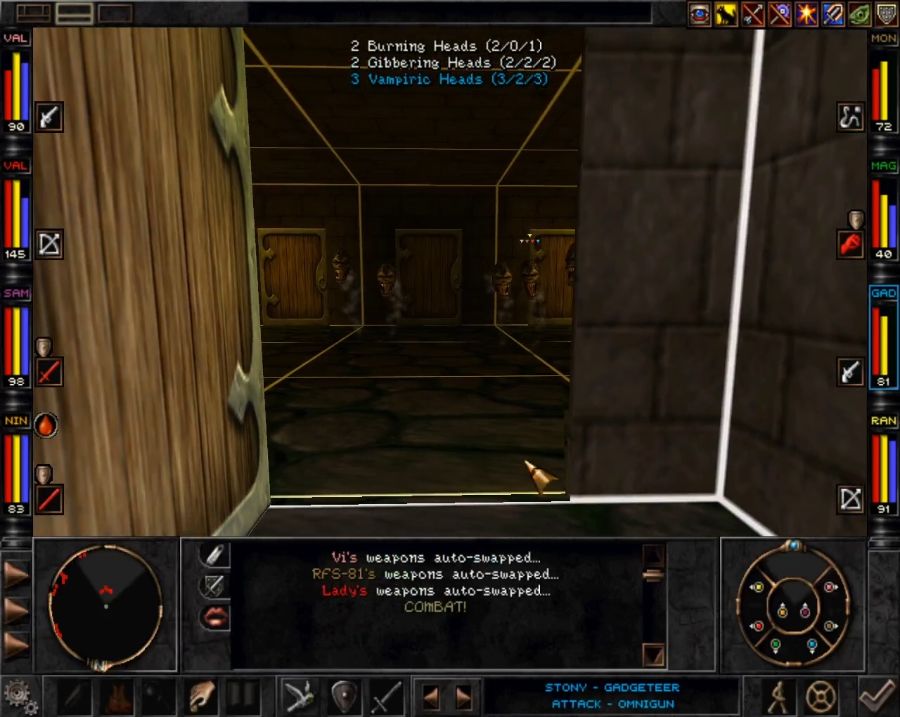 Oh gently caress oh poo poo. 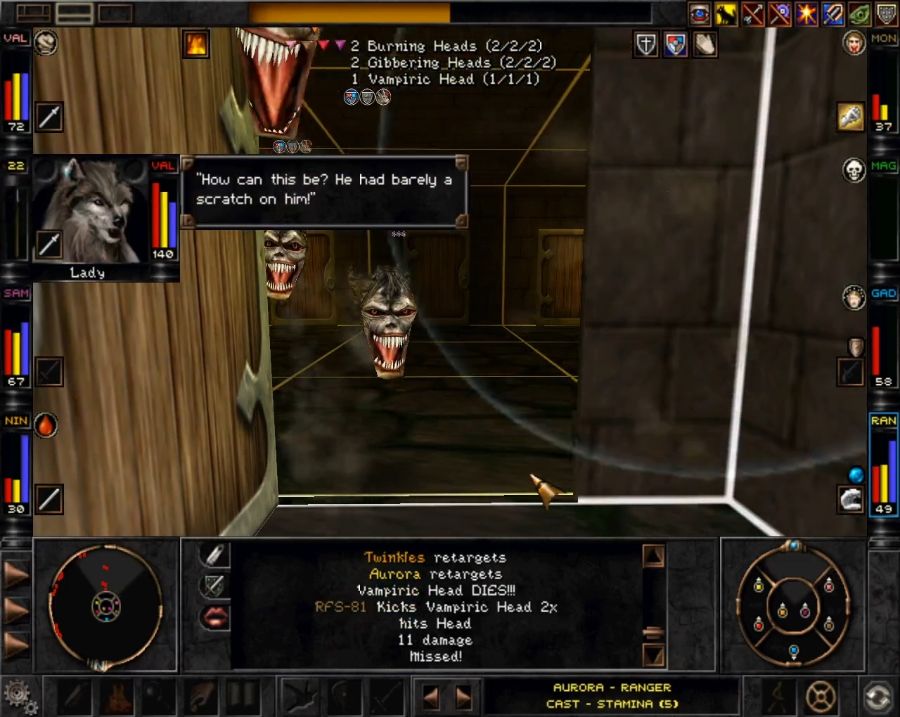 This is how my first shot at it goes. Time to get serious, by which I mean abuse the game engine.  Now, we can't enter combat mode and THEN open the door, as it's locked, but what we CAN do is... Now, we can't enter combat mode and THEN open the door, as it's locked, but what we CAN do is...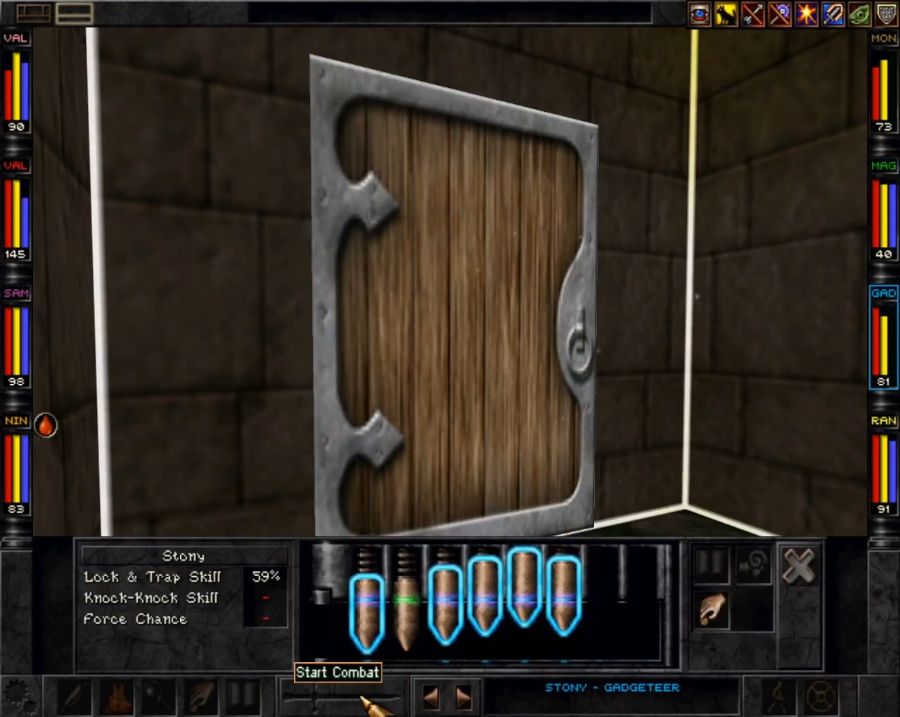 ...stand just like so when opening the door... 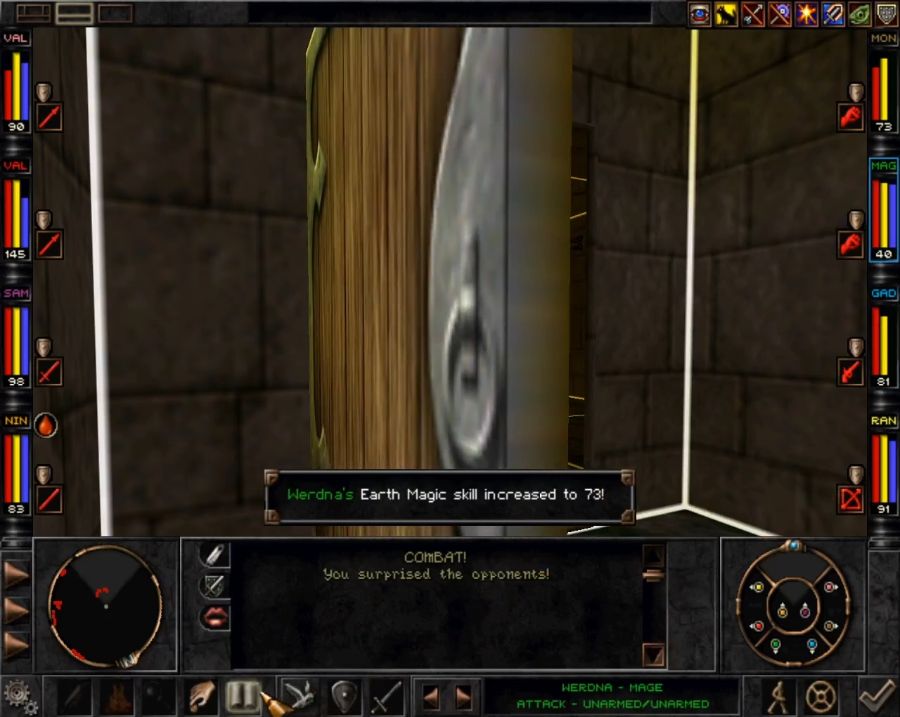 ...thus allowing the door and the doorjamb to block our view of the room... 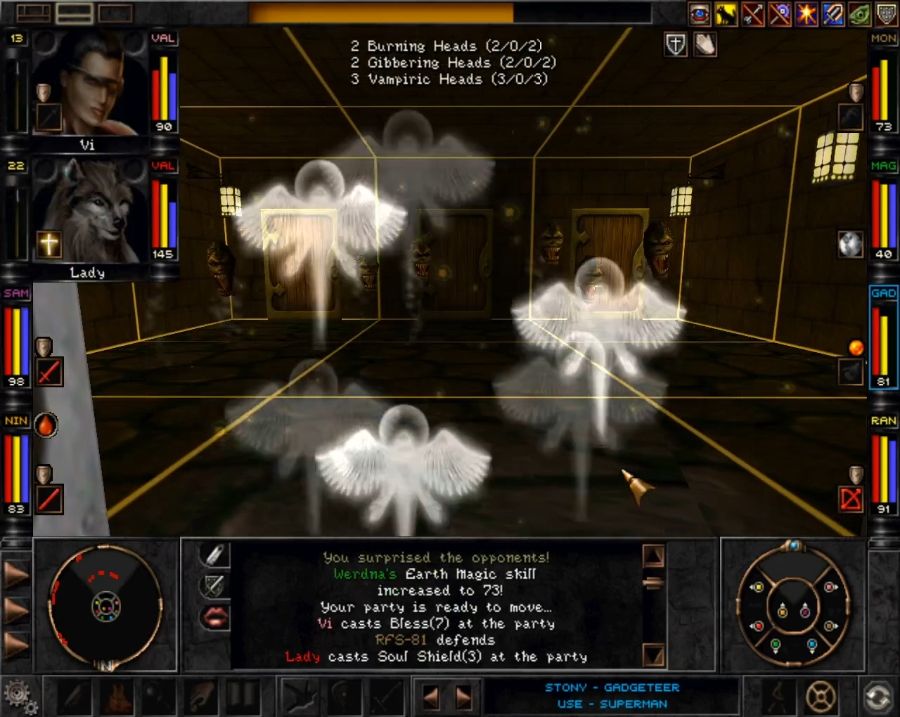 ...while we initiate combat and queue up Soul Shield, Elemental Shield and Bless for round one rather than round two! 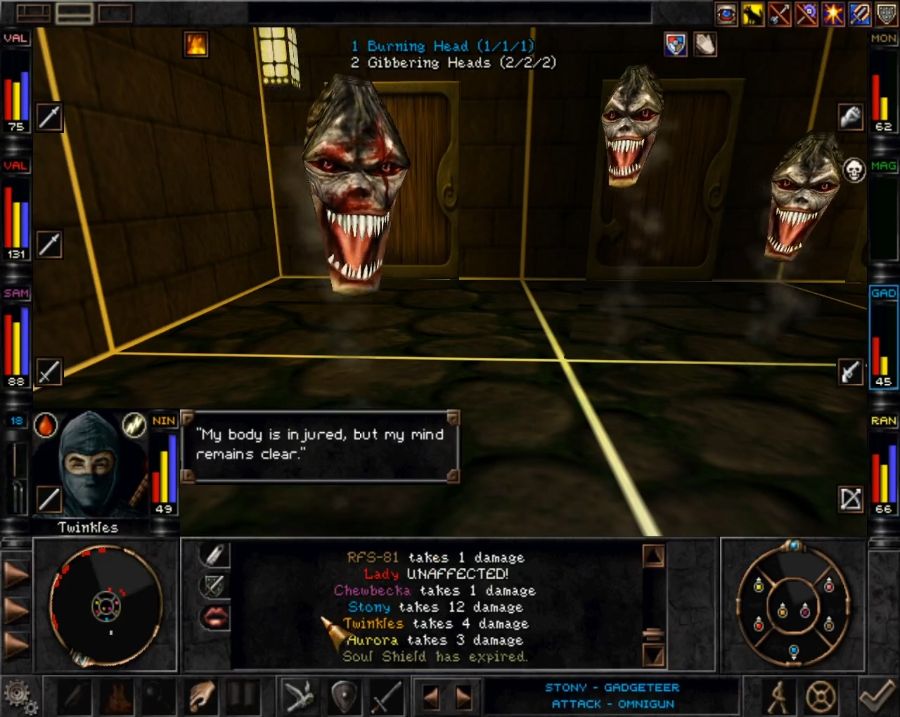 Still not a flawless victory(just before the end of the battle Werdna got hit with Boiling Blood and literally exploded from the damage, injuring the rest of the party), but at least it's a victory. So all three doors have teleporters behind them. One takes us out(glows blue), another takes us further in via a detour with no extra loot(yellow) and the third takes us onwards in the most "direct" way(also yellow). Where does it take us?  A corridor full of teleporters that shove us backwards and forwards until we get lucky and hit the one that takes us out! At least it isn't a loving spinner room, I guess. gently caress those things. But I bet the teleporter takes us somewhere nice, right? Somewhere full of loot and good things? 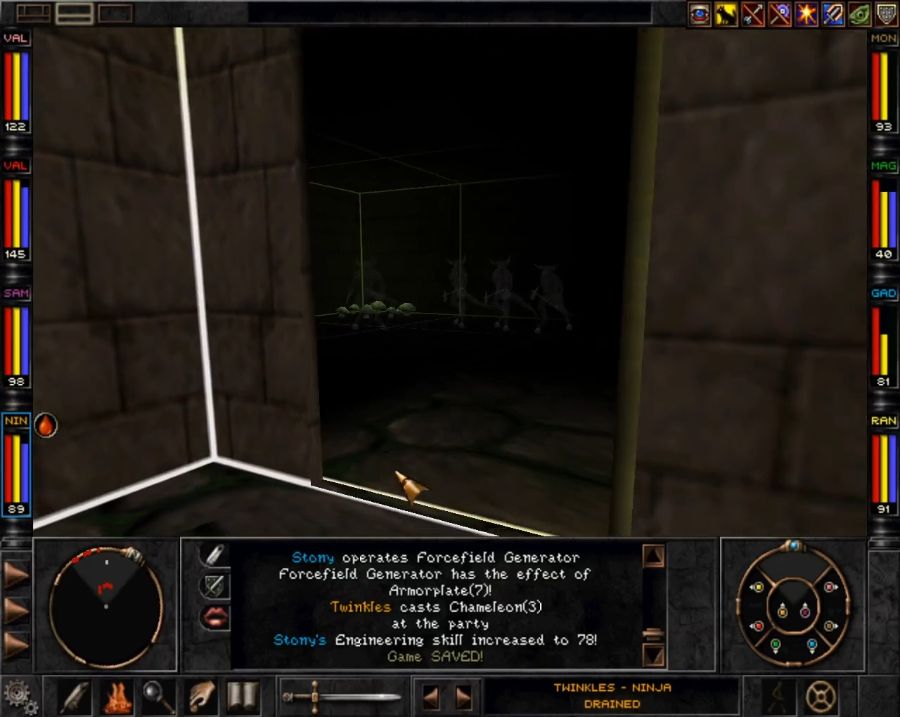 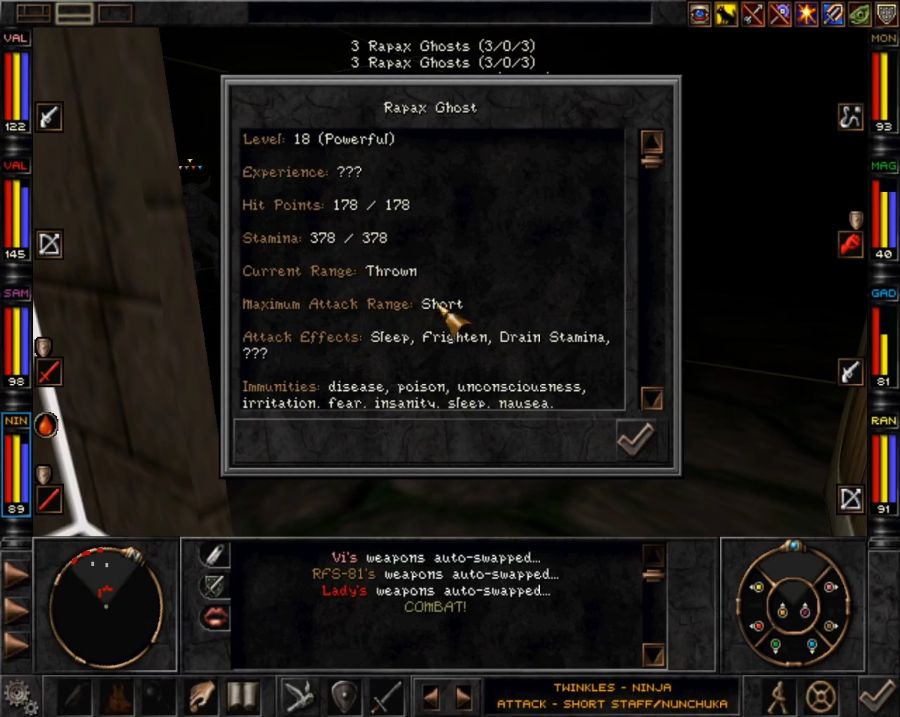 Instead how about a bunch of incredibly hard-to-hit Rapax ghosts that don't drop any loot at all? 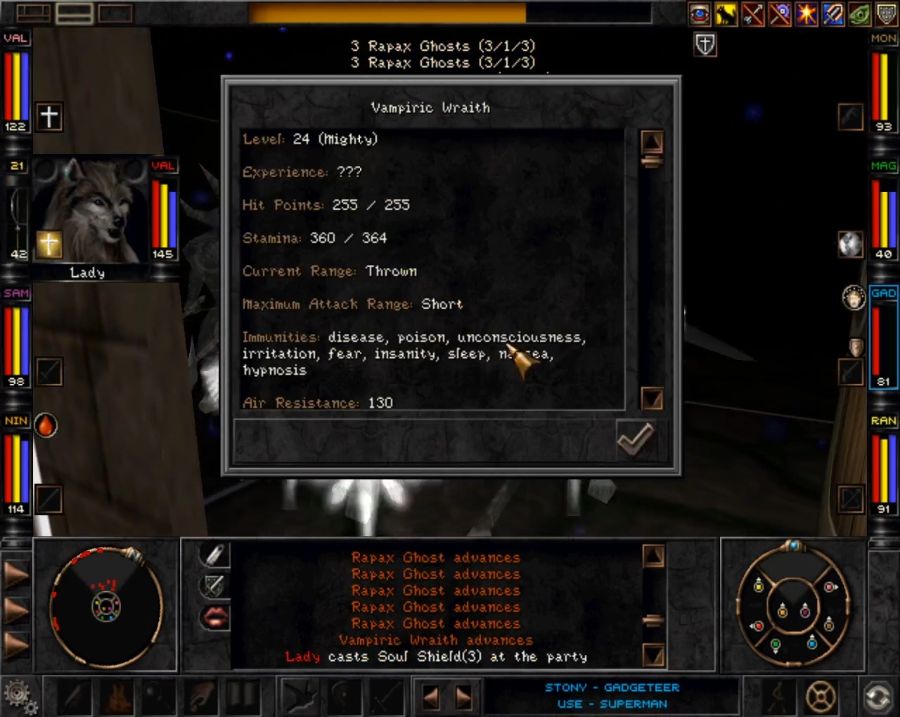 Oh and their leader is a full ten levels above the party and sometimes just decides to hit someone with a drain attack. Still, with sufficient perserverence it's possible to muddle through as they do relatively low damage for how resilient they are to dying and have no casters. Onwards ot the next door and maybe that huge cluster of items I see at the edges of the minimap! 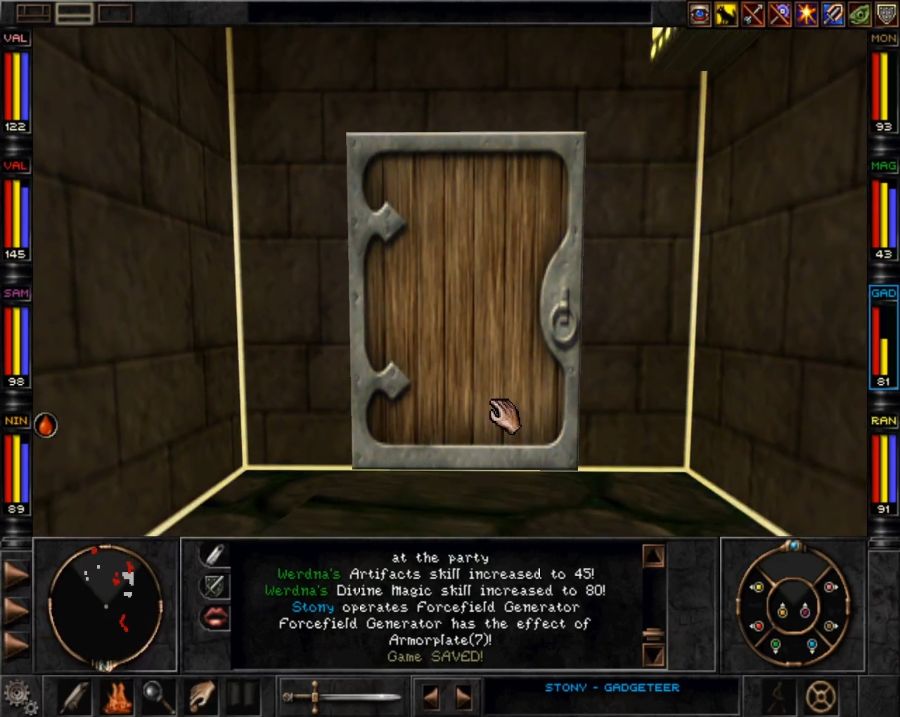 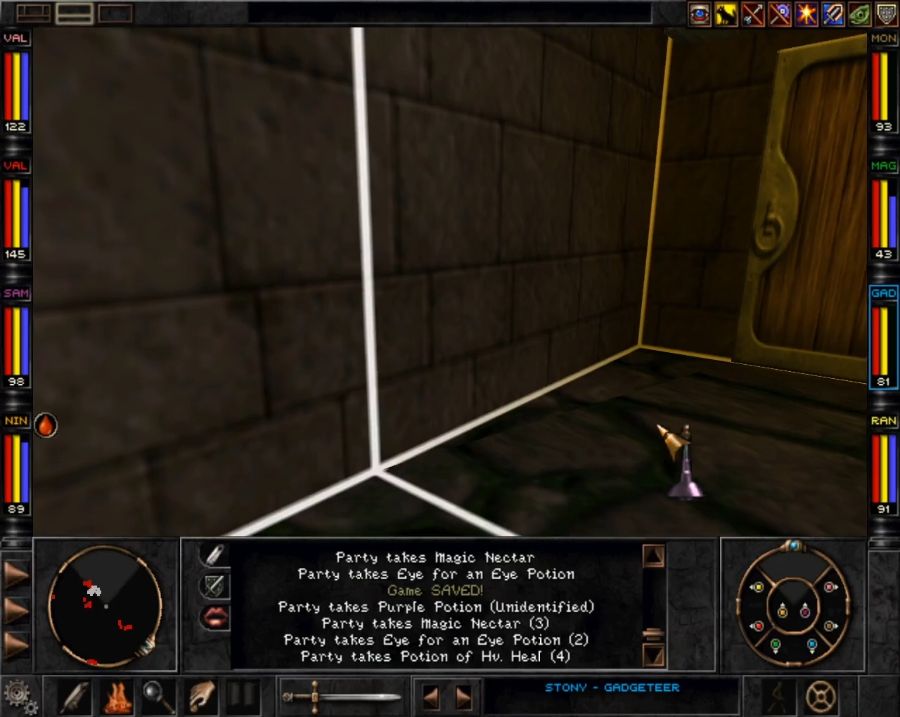 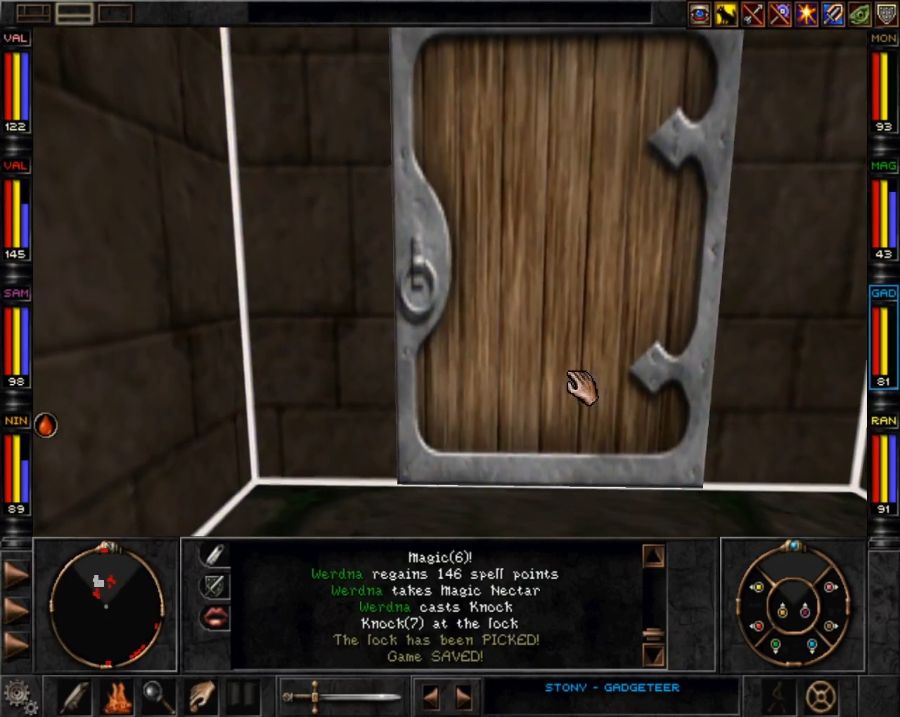 Slowly getting closer, winding corridor after winding corridor... 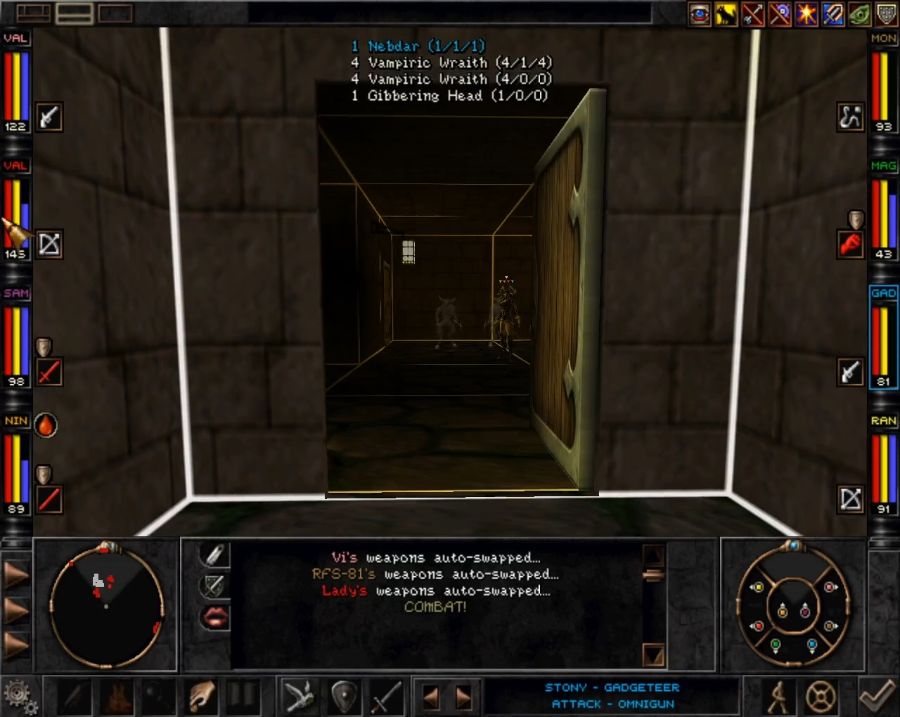 Ha ha, yeah, that's like eight enemies that are each ten levels above the party's. Oh and they've got a Gibbering Head for one type of caster backup and a... Nebdar? What's a N- 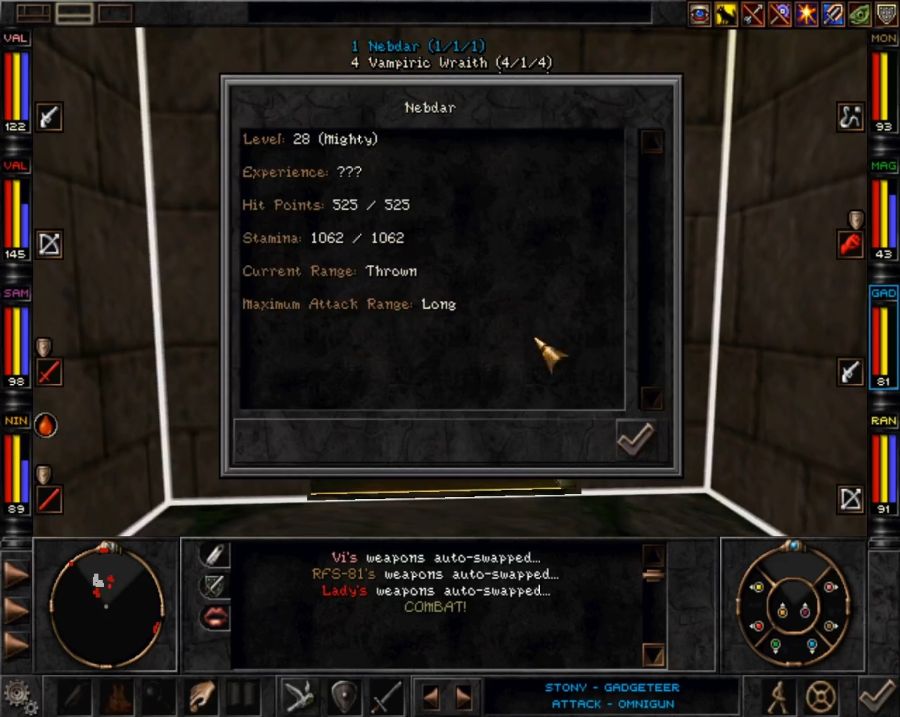 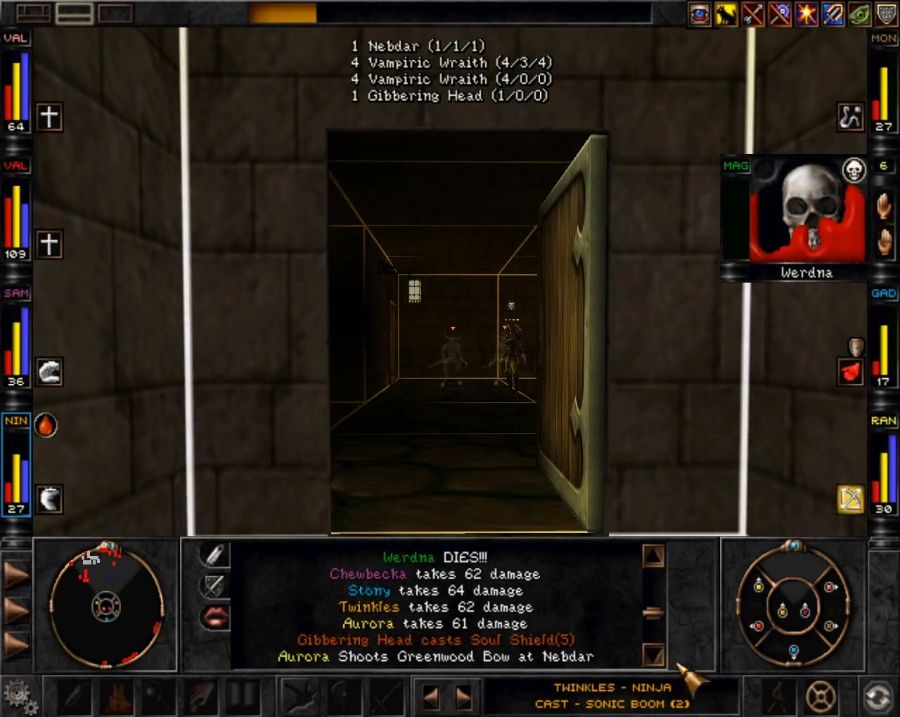 Nebdar starts the fight by casting Nuclear Explosion and wiping out most of the party. Unfortunately, the door opens in the wrong direction, and if I hide to the right of it, I can see the other half of the Vampiric Wraiths and the Gibbering Head on round one even if it keeps Nebdar out of sight. Still, better than getting Tiltowaited, right? 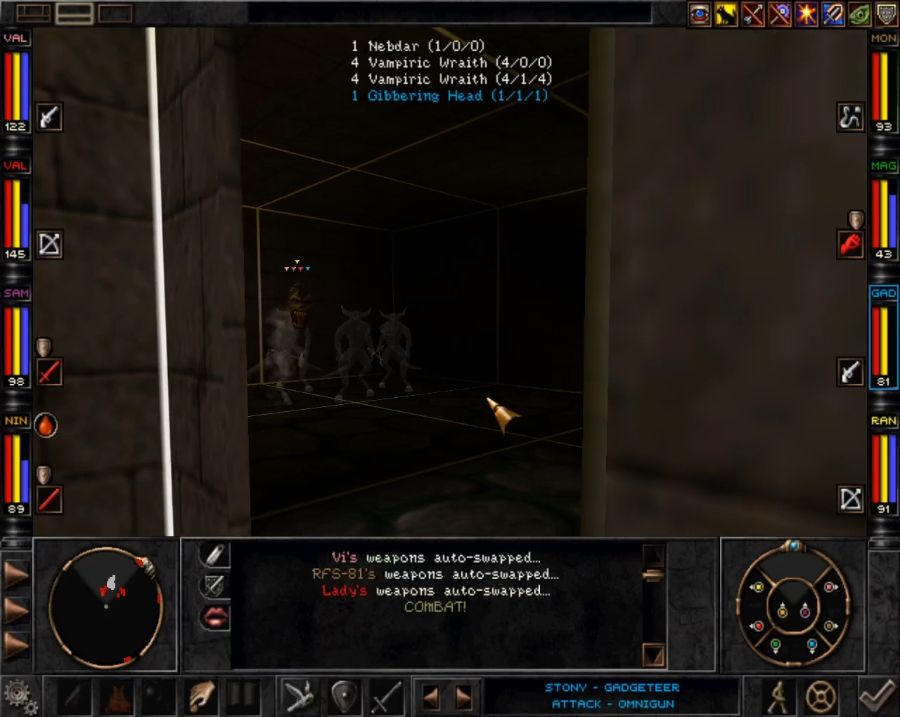 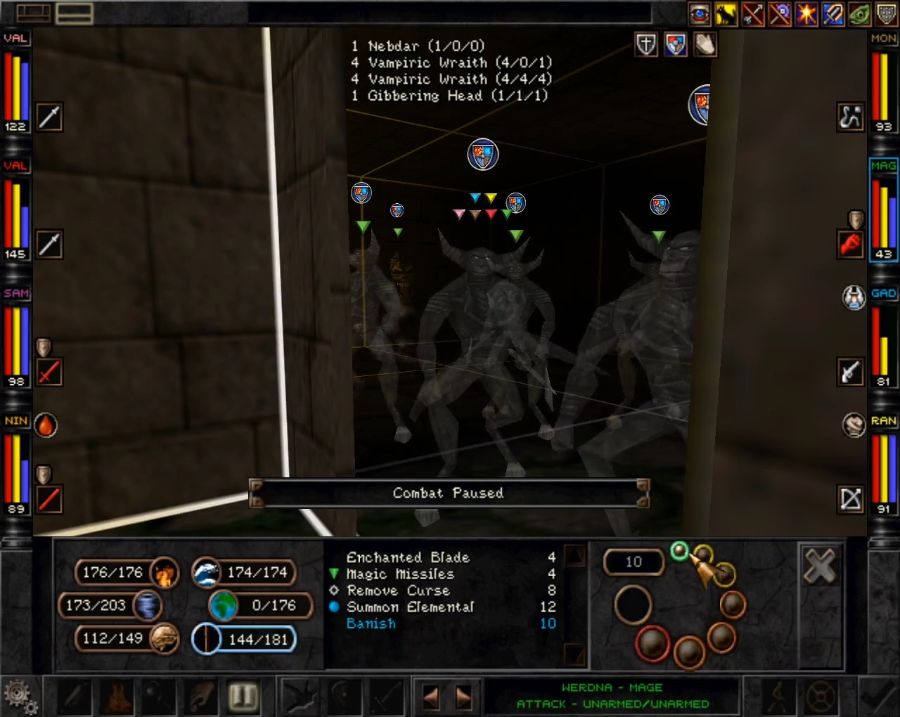 I'm a genius.  From here I can casually whittle down her troops until it's time to engage Nebdar herself! From here I can casually whittle down her troops until it's time to engage Nebdar herself!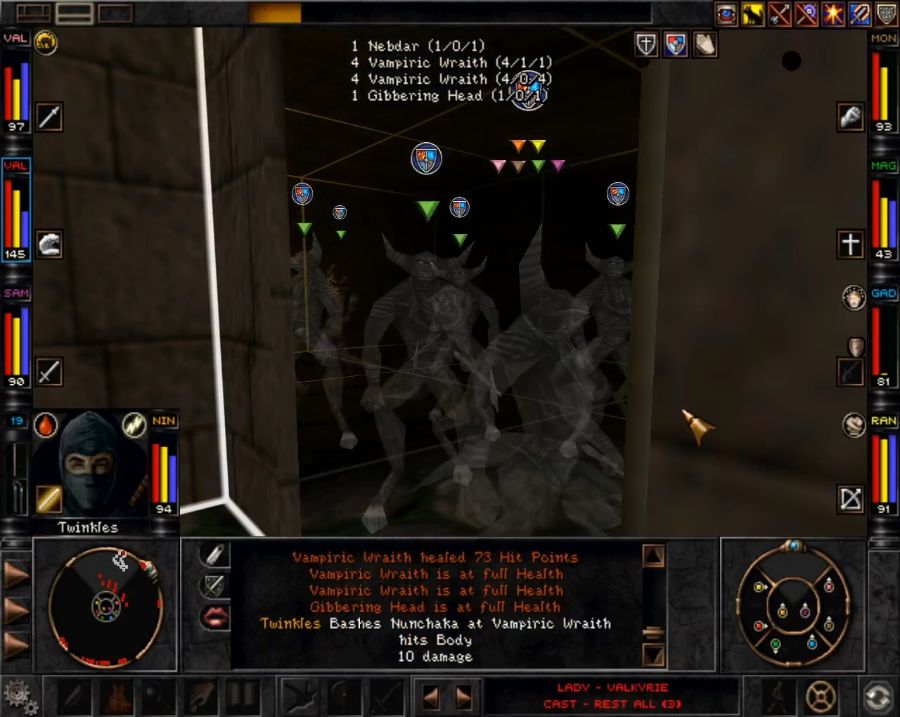 Except that Nebdar is apparently a Bishop since not only can she blast me with Wizardry's equivalent of a Dragon Slave, she can also cast Heal All and buff up her entire army! Well, at least now I have Elemental Shield online, the only thing that'll solve this is literally putting the party in the line of fire, since the enemy AI will generally prioritize blasting you over buffing/healing allies. Of course I only think of doing this after trying to outpace Nebdar's healing(and failing) like five times.  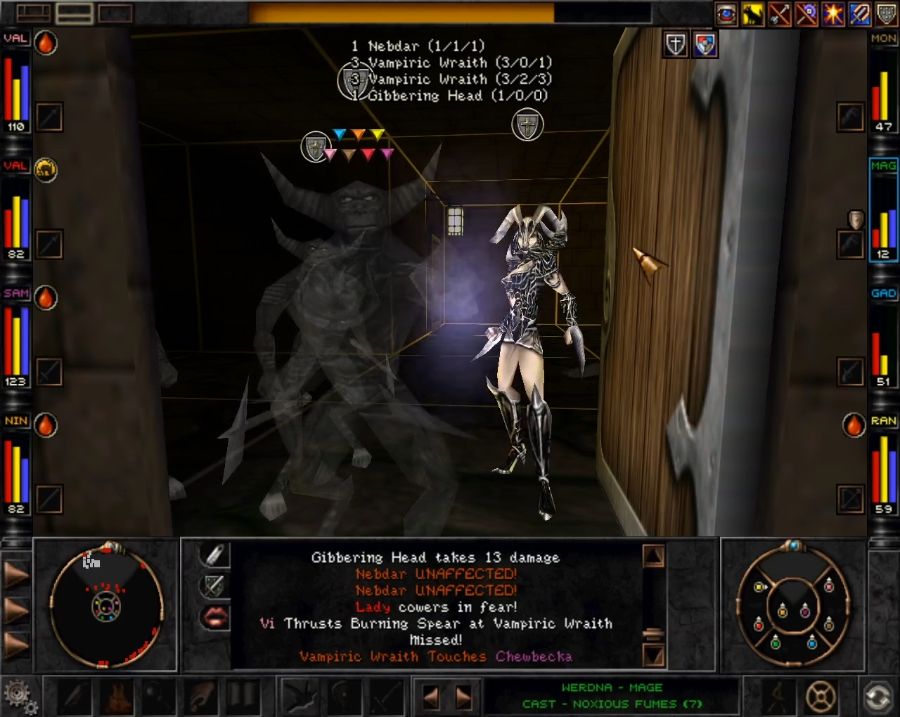 Once again it's an initiative/targeting/stamina regen race of trying to keep Stony well enough to Heal All everyone. I actually need to top up Aurora's spell points with a Magic Nectar just to keep her capable of pumping him full of magic meth. 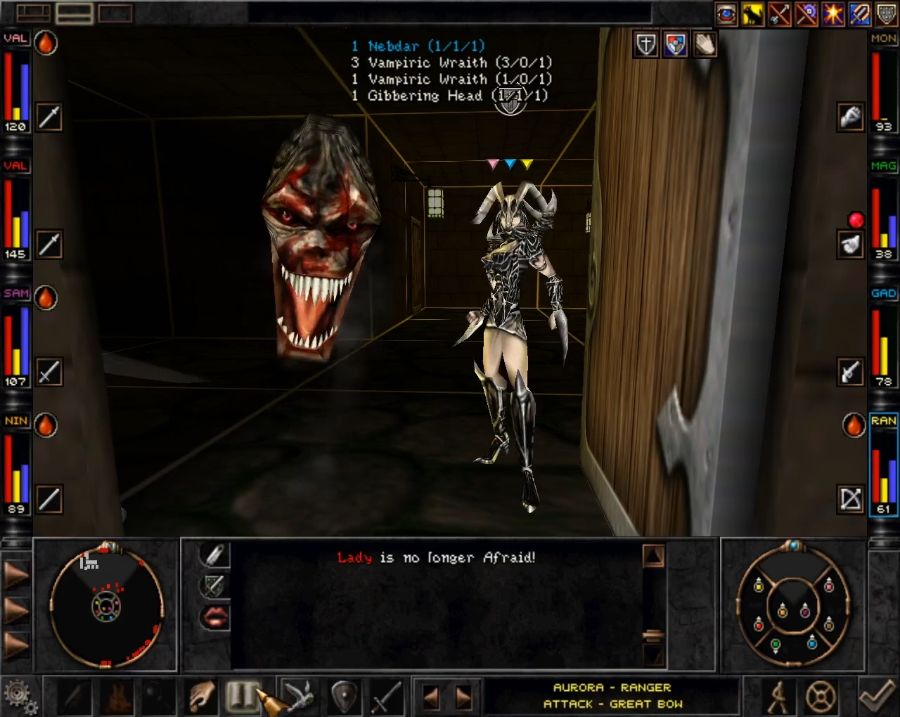 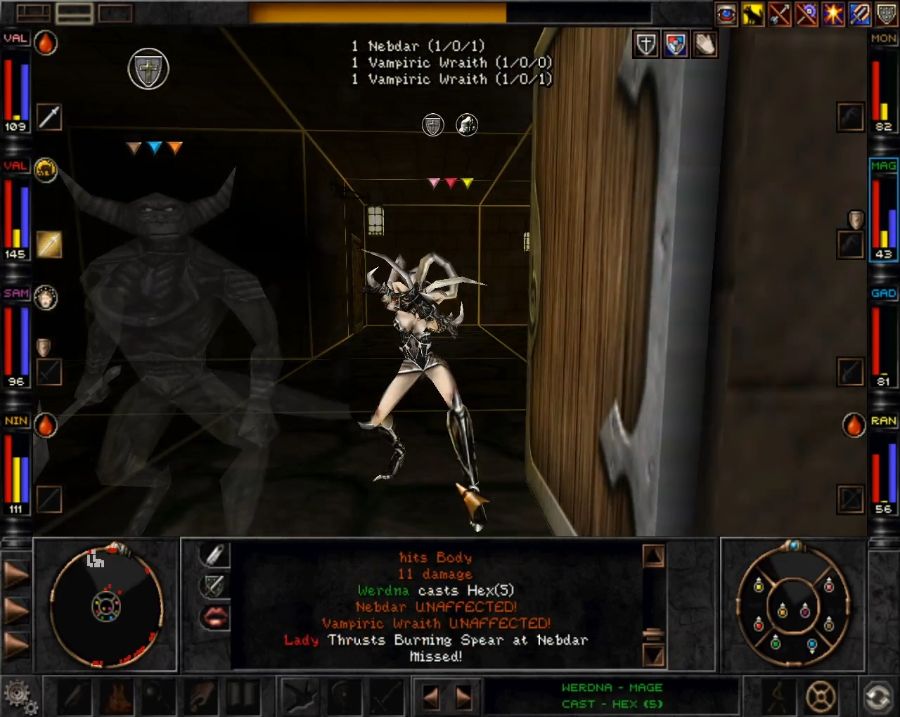 But little by little, the Wraiths get whittled down. The Invigorator belt helps a lot since it feels like it changes Chewbecka, RFS and Twinkles from missing four times out of five to hitting every second time. Of course at this point the stamina management becomes even trickier as the fighters, having spent about half an hour real time(not lying the battle took about that long) swinging away are starting to pass out from exhaustion. Now Lady gets put on casting duty as well since she's the only one who's got Rest All as a castable option. Werdna's mostly there to keep Elemental Shield topped up since both it and Soul Shield manage to tick down I think about three or four times each in the fight, when in most fights once cast is enough to keep them up for as long as matters. 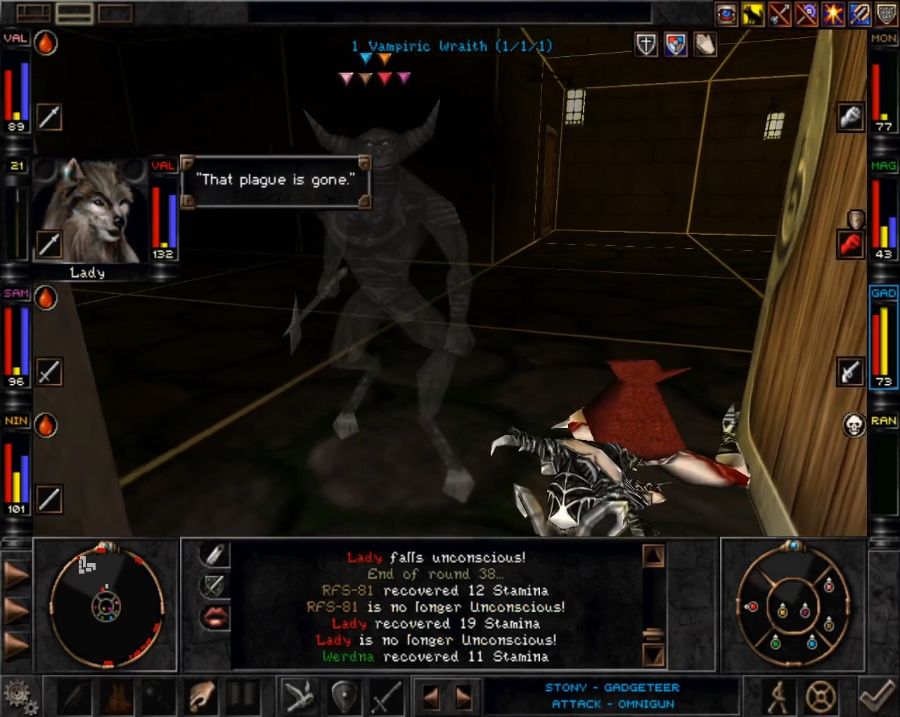 Finally Nebdar goes down, though in the process Aurora managed to get bonked down as well. So was it worth it?  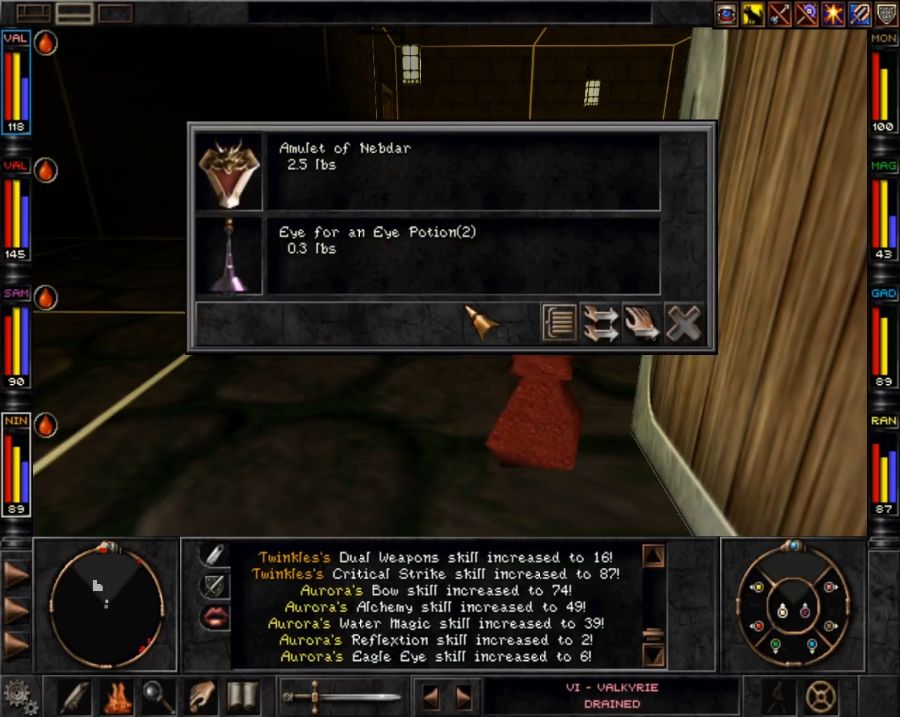 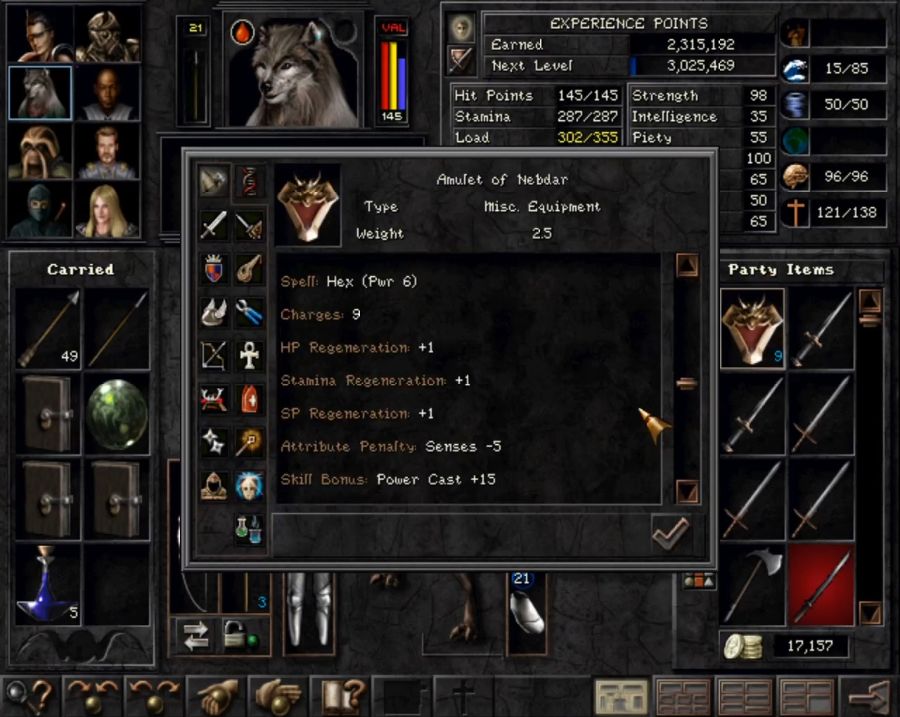 (and also a +4 AC cut off at the top) HELL YES. Look at that, biggest XP reward we've gotten so far, over a quarter of a million XP per character, and an insane caster amulet. HP, Stamina and spell point regeneration and a Power Cast boost and elemental resistances and a huge AC boost. This is going on Werdna and never coming off(which is good, because it's Cursed, though who gives a poo poo? It's one of the best misc. slot booster items in the game if not THE best!). And in addition there's the big loot room in the back... 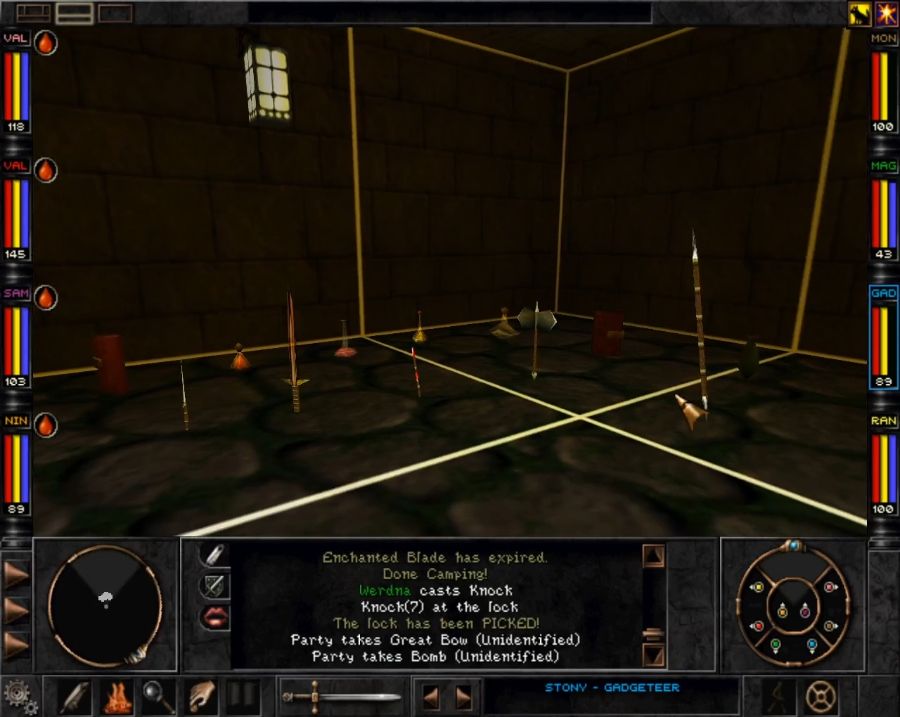 The potions are irrelevant, spellbooks are always nice, the weapons... 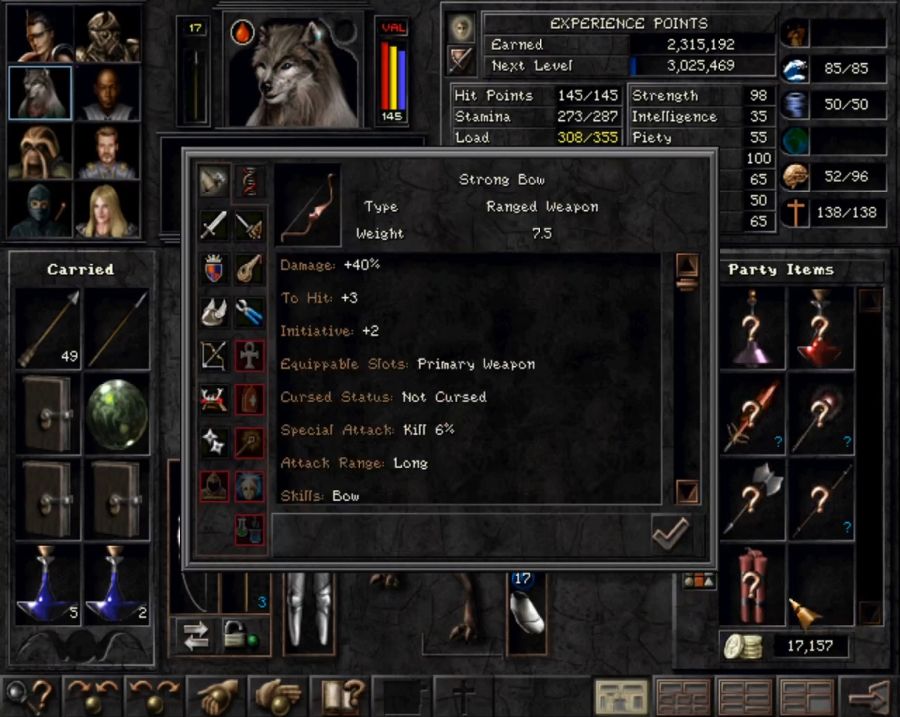 The second best if not best bow in the game, unfortunately Rangers are unlikely to be able to equip it since it requires 85 Strength, but, say, Lady could snap it up with ease. 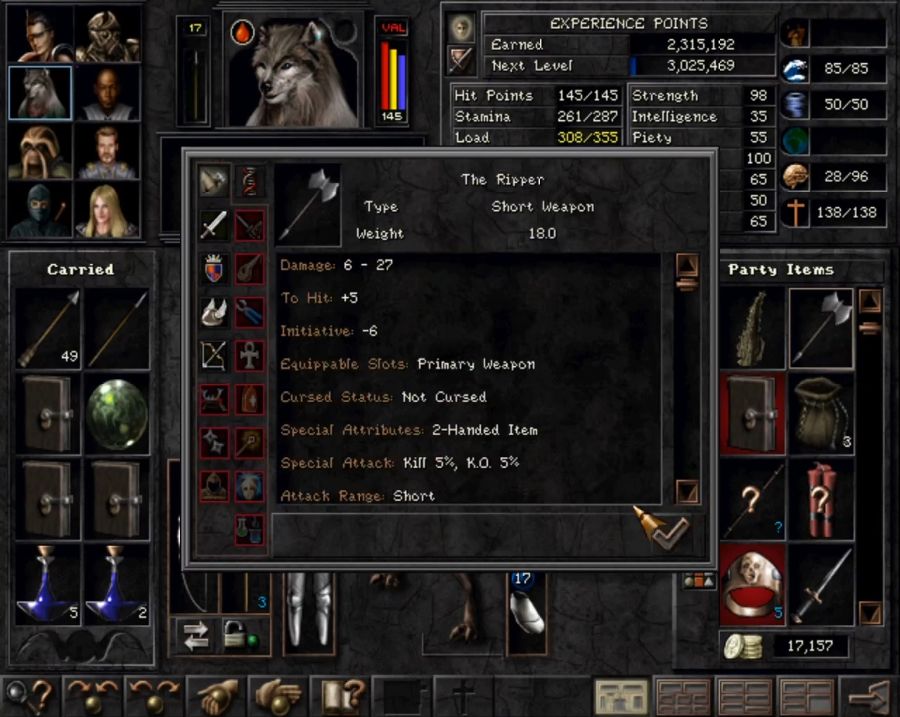 Probably the best axe in the game, but the Giant's Sword is still a better two-hander, so as long as your fighter is a Mook, you don't really care. Alternately just use the goddamn Fang or Bloodlust and a shield.  An eh cursed staff, not sure why it's even cursed. 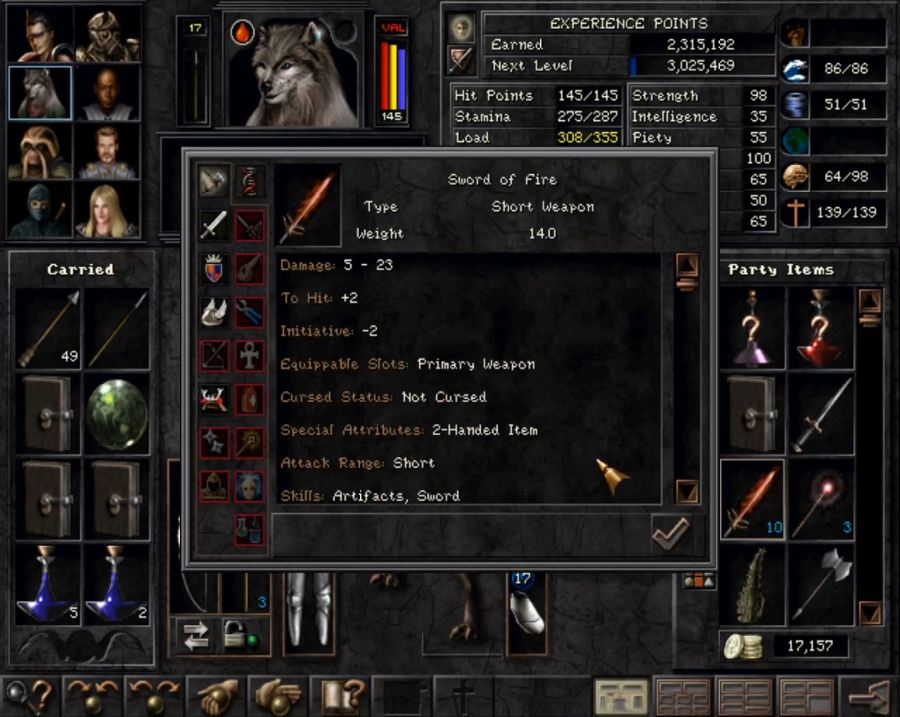 A cool-looking sword which is sadly still not that great. If you can clear this place I'd argue you can clear the SE Wilderness and get Fang, which is a tougher boy than this thing and a one-hander, not a two-hander. Then it's a round of rest for the party and then... 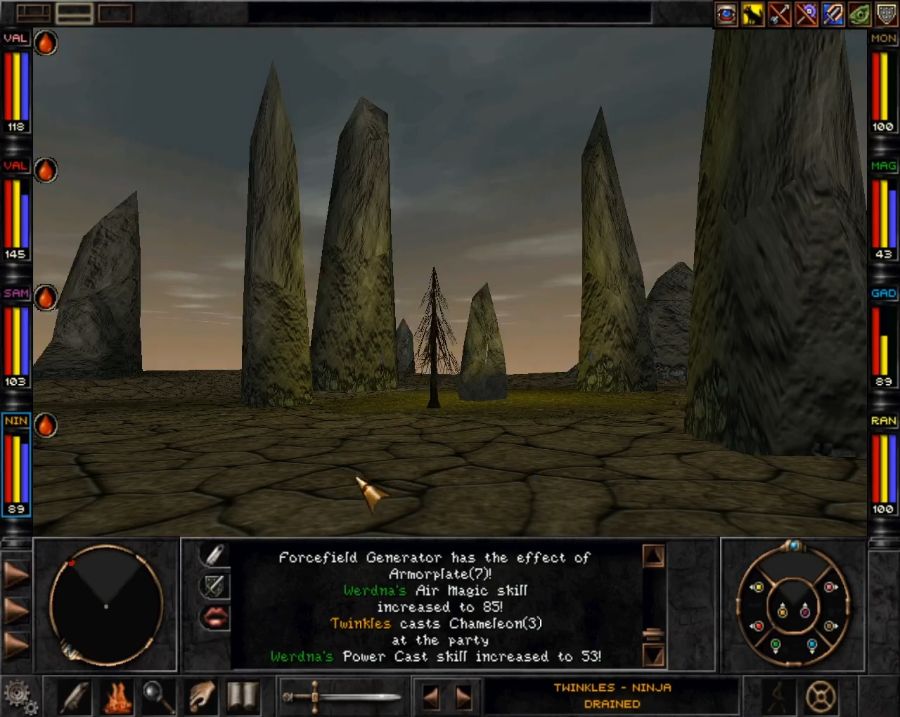 Back to the real world. 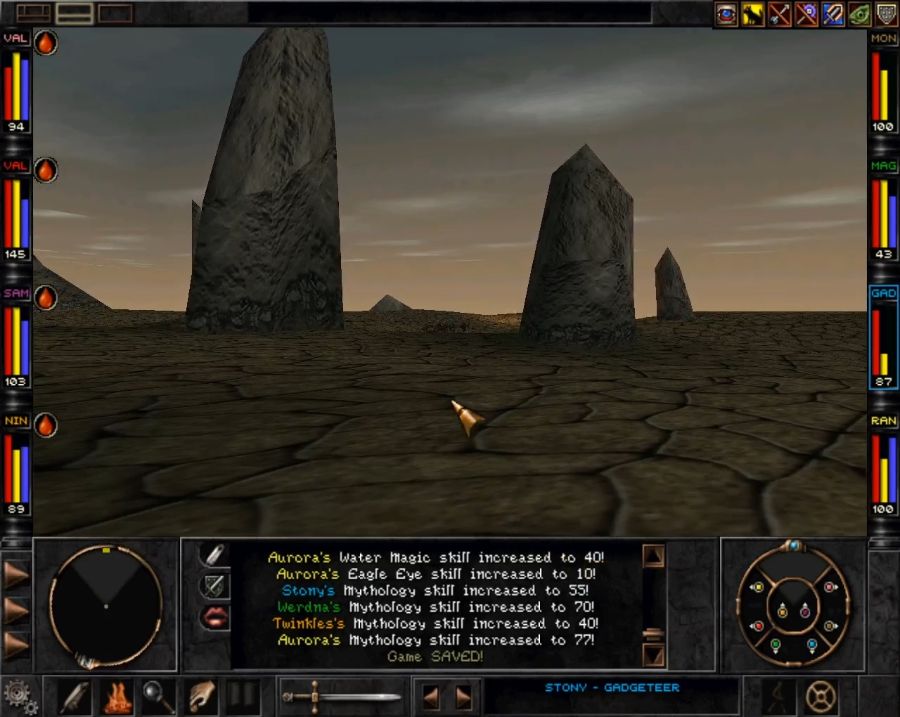 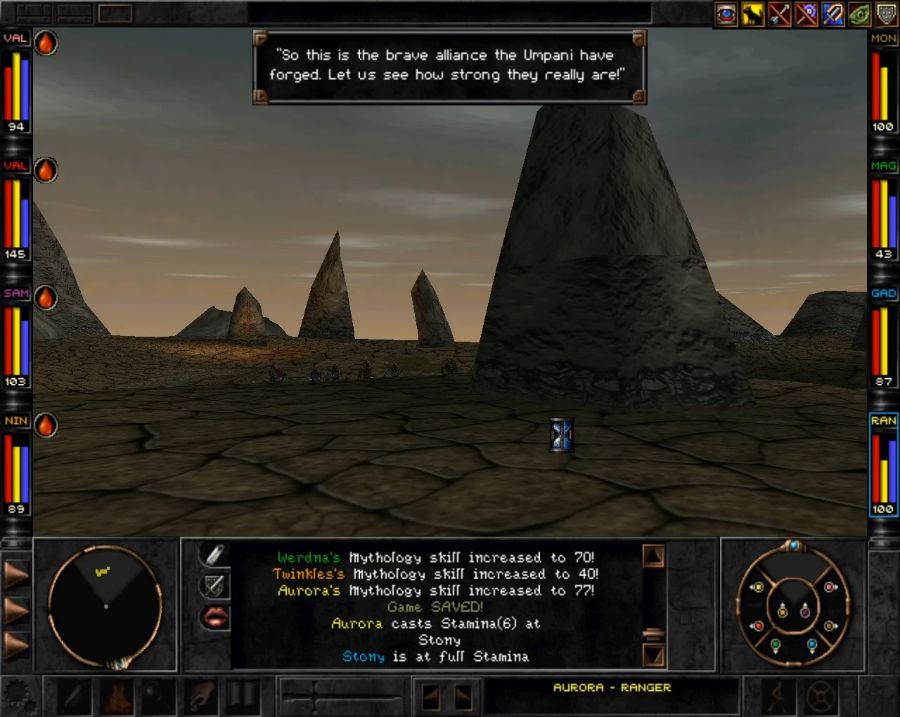 Oddly enough, sometimes hostile factions will just show up to bloviate and threaten rather than to actually attack you. Of course, this just means that I get to get into position and attack them first. They want to see how strong the allies of the Umpani are? They'll get a first-hand demonstration. Get dunked on. 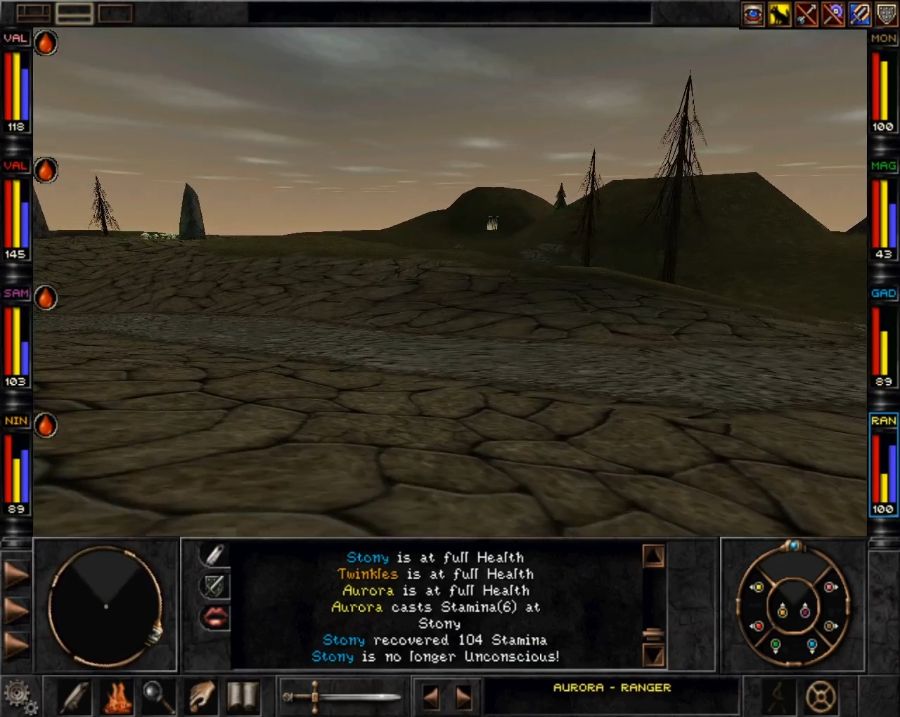 Shortly past the entrance to the Retro Dungeon, the terrain turns more grassy, but not exactly verdant, and if you're following the road the first thing you'll come across is a burial mound. And we all know that tombs = treasure in Fantasy worlds. Time to get our Indiana Jones on. 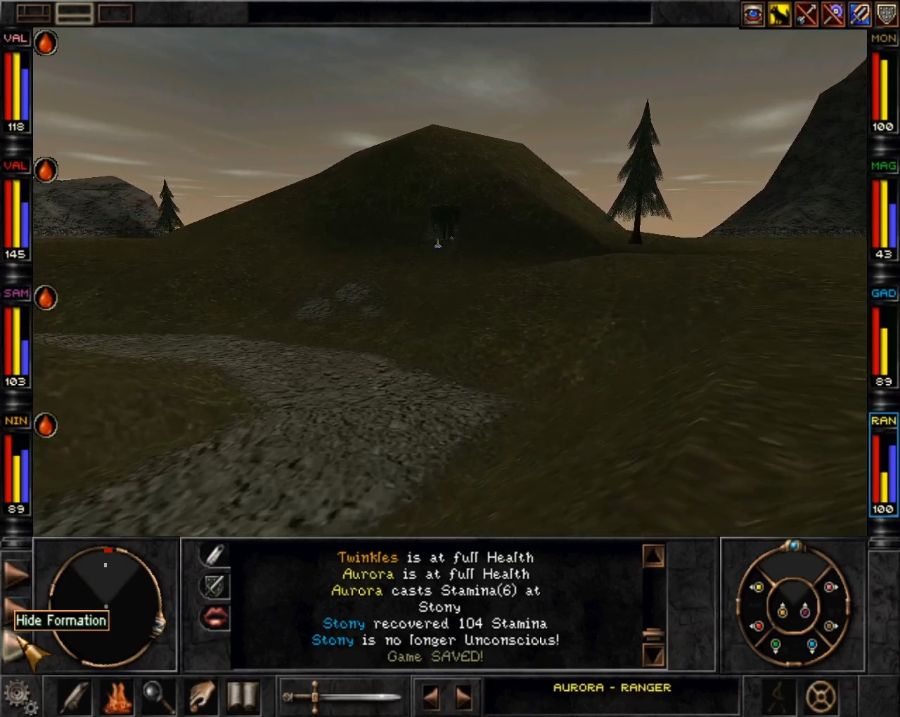 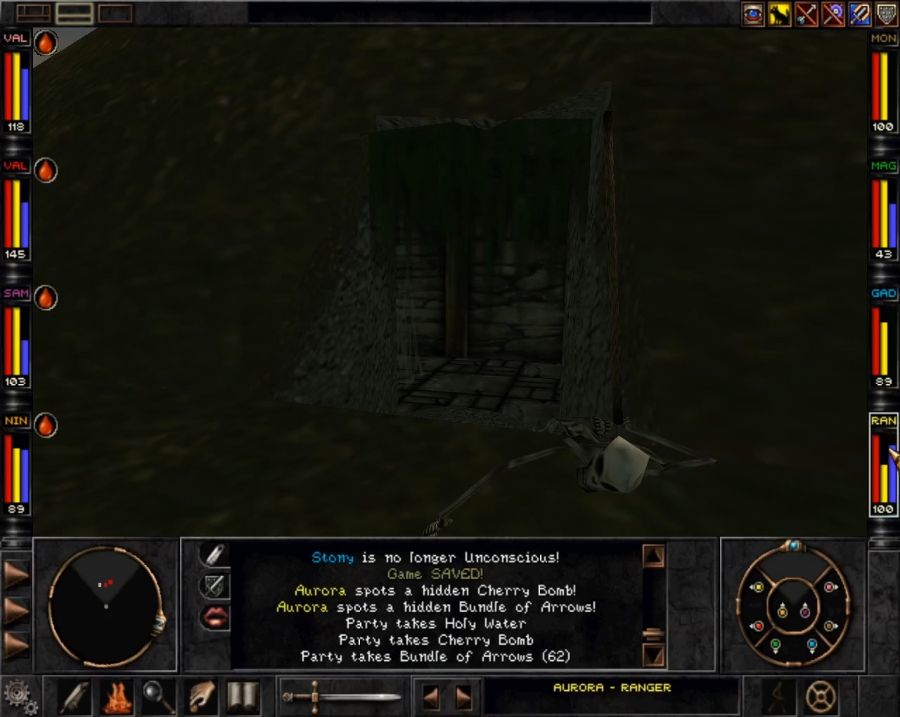 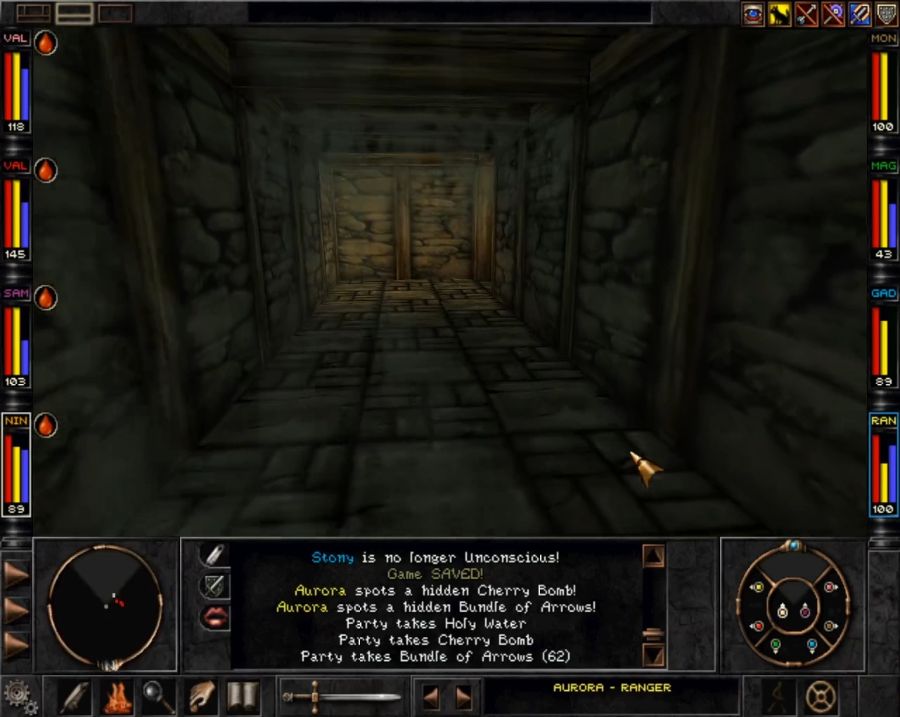 If you didn't have X-Ray on to see that the barrow is inhabited, the skeleton out front is a hint, as is the occasional ethereal moan coming from inside. 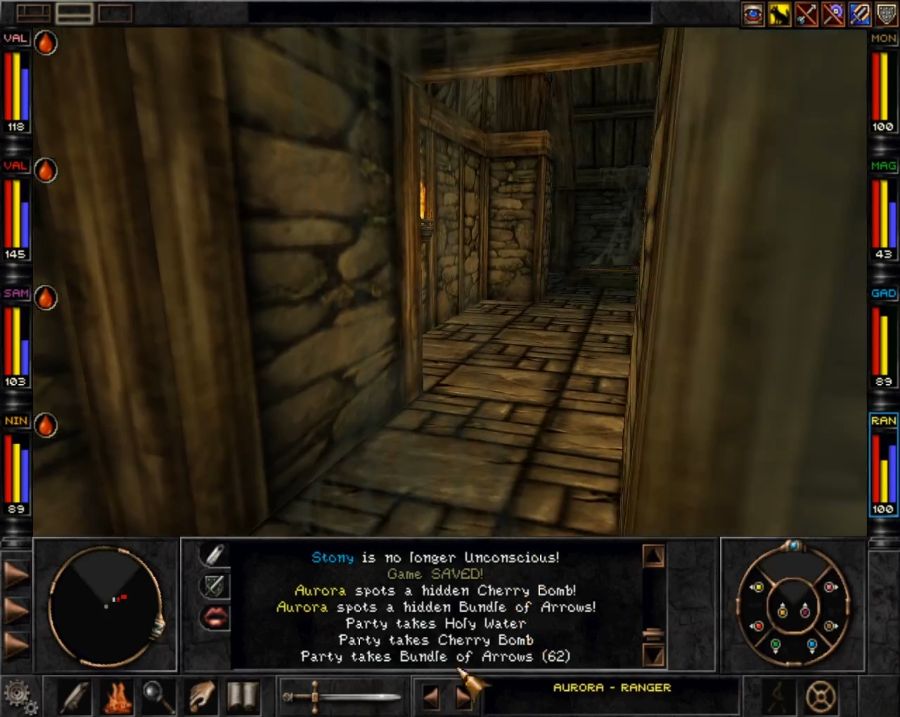 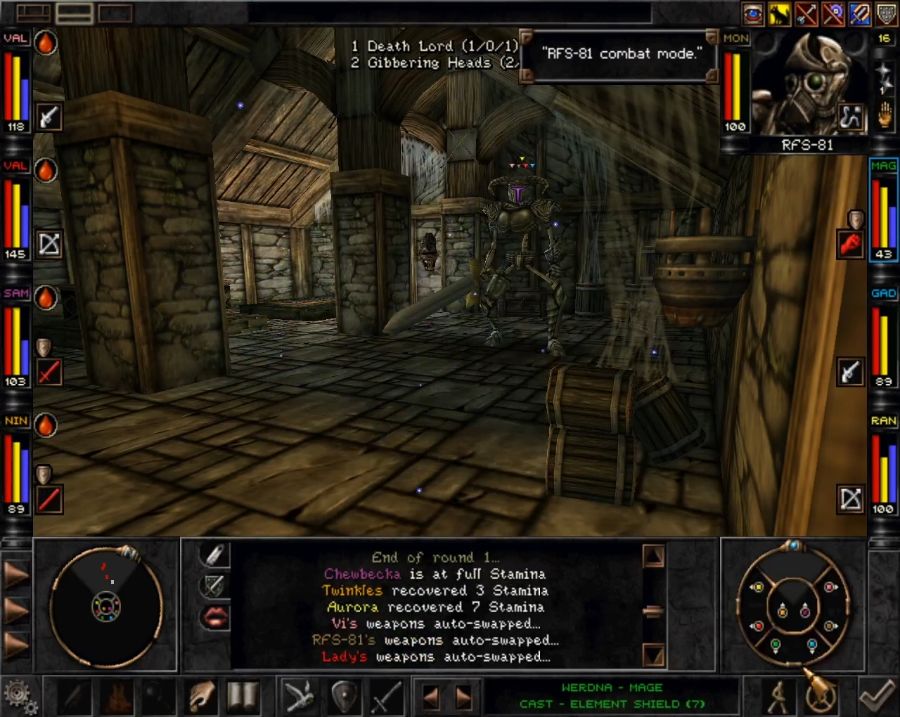 Oh, just one Death Lord? What's this, an encounter for newbies? 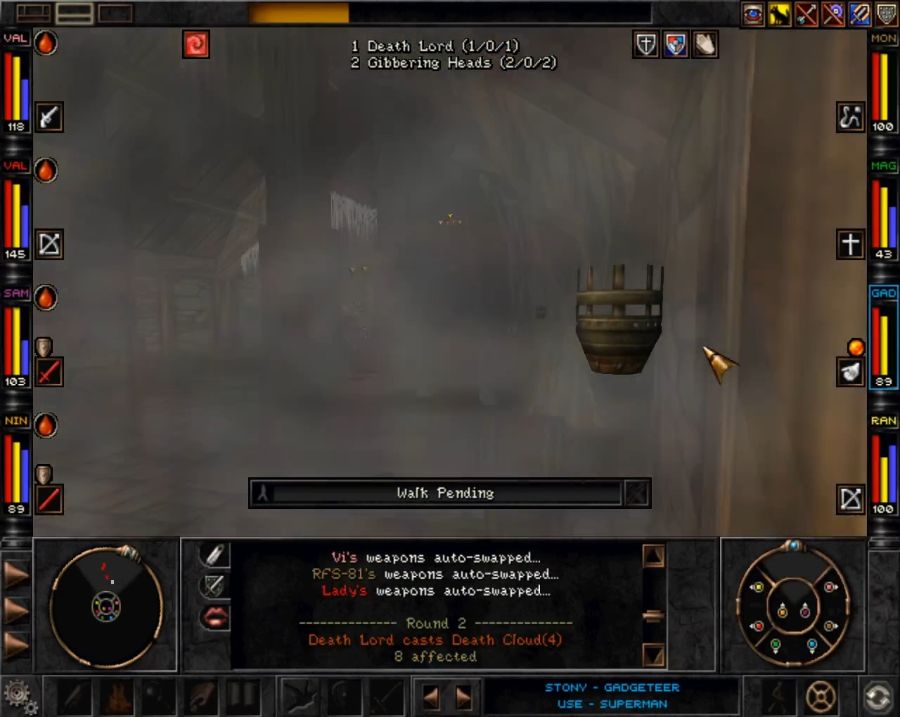 Oh gently caress oh gently caress oh gently caress he cast Death Cloud. I can't tell you how much of a butt clencher that was, because between the Scorchers, the Samurai and the Nebdar encounter I was completely at zero for resurrection items, and Death Cloud means everyone gets a save-or-die once per turn. Hooray! 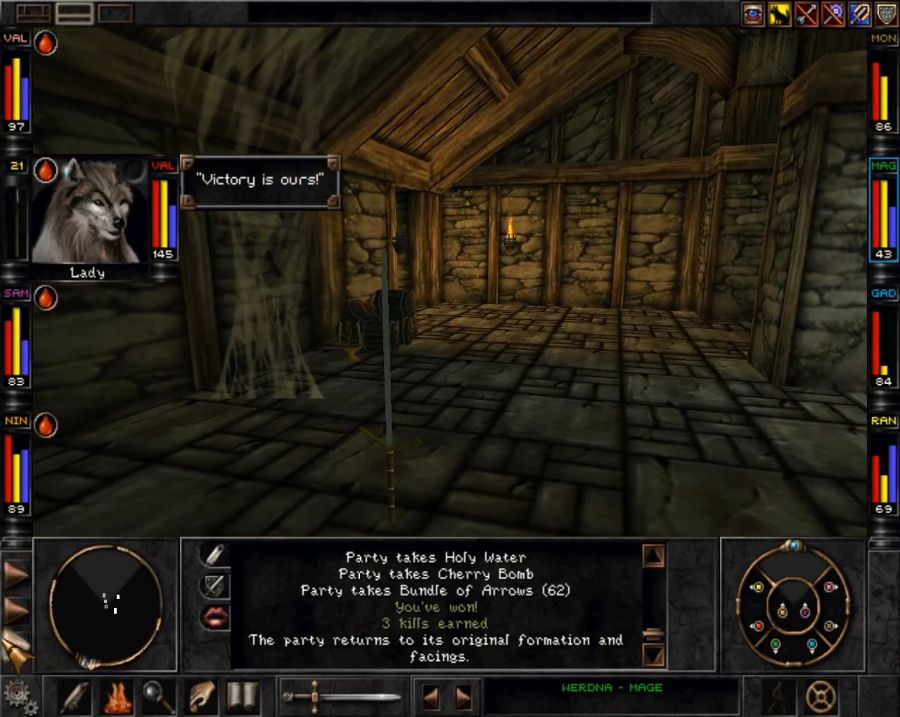 The actual battle was just a numberslam of melee attacks peeling apart the Death Lord and then the heads, though. They never managed to stick any conditions, not even any instakills from the cloud, thank God. It's a shame we didn't get to this tomb earlier in the game, or with a different party setup, because then it would have had a lot of nice things. As it is, it just has a couple of nice things. 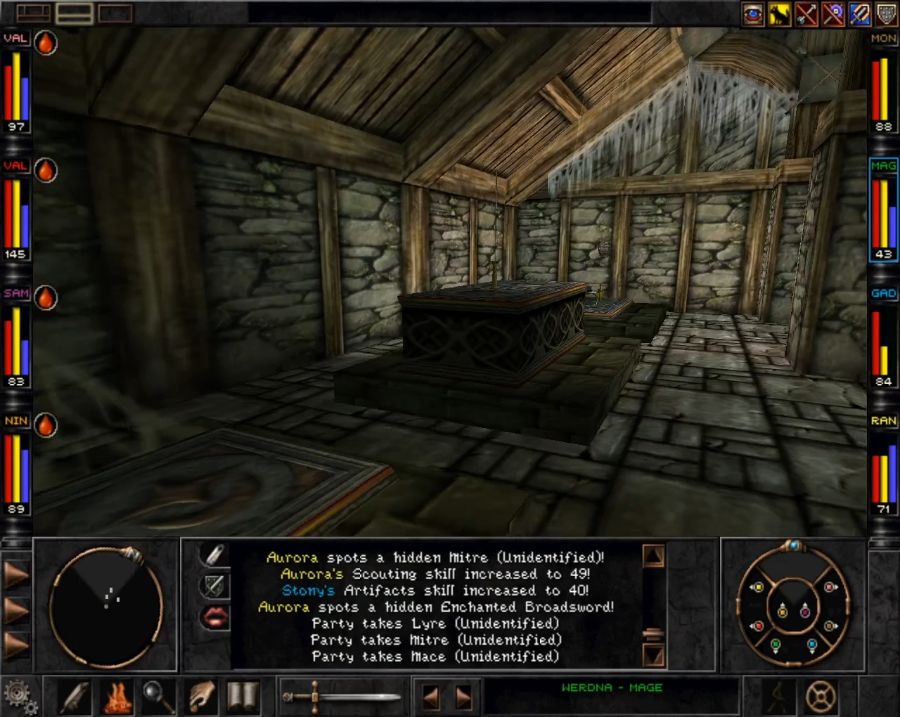 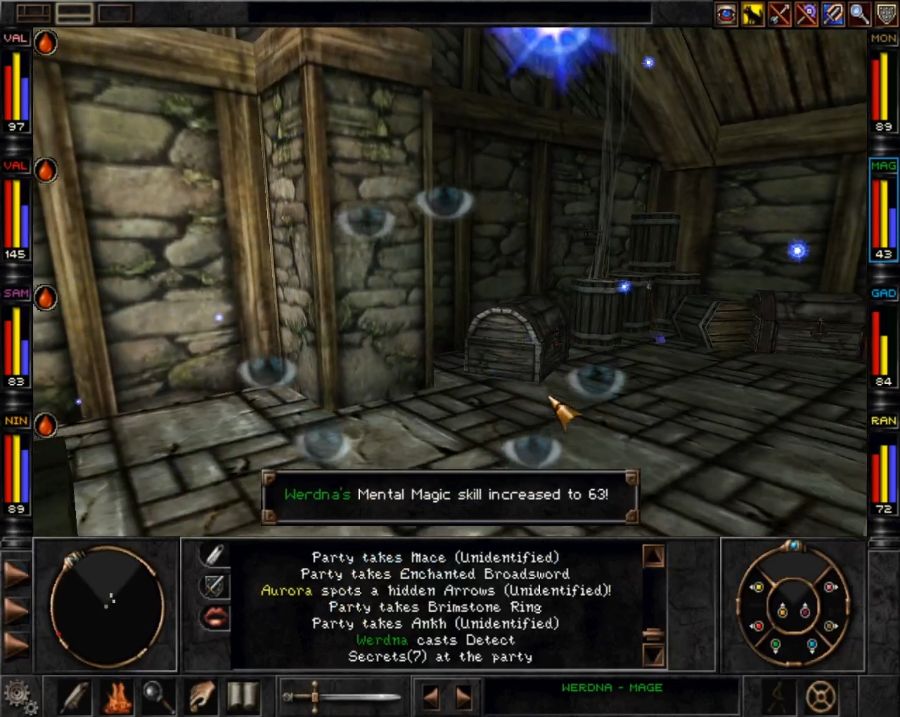 There are a bunch of pre-set item spawns on the floor and two chests with random gear in them. The chests contain little of any real interest, but among what IS interesting is...  A replacement off-hand weapon for Chewbecka. The extra base damage outweighs the loss of the poison considerably. 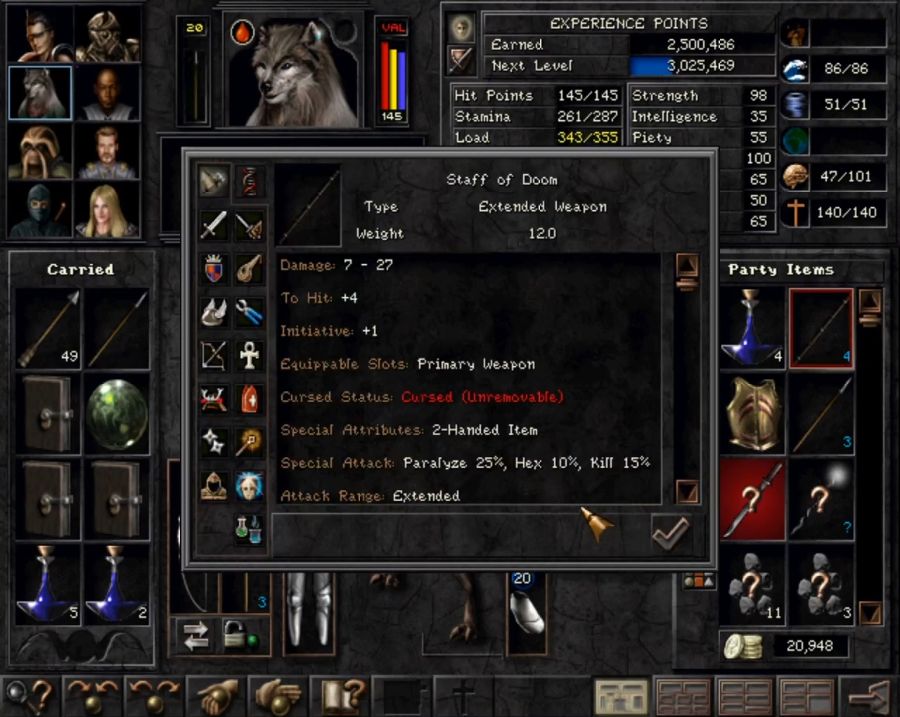 The Staff of Doom has a constant -1 HP loss effect, but if you have a +1 HP regen item it outweighs it, and as far as staff weapons go this is, short of the Mindblast Rod and Cane of Corpus, which are limited by what class/race combos can use them can use them, probably the best one out there, tied with the Zatoichi Bo(which does similar damage but replaces the Hex chance with a KO chance). Unlike the Zatoichi Bo, though, anyone can equip this sucker. I give great thought to slapping it on Werdna so he can contribute in those fights where he either runs out of magic or there's no reason to use magic or the enemies are almost completely magic immune. The extended range would allow him to deck dudes from the back row. 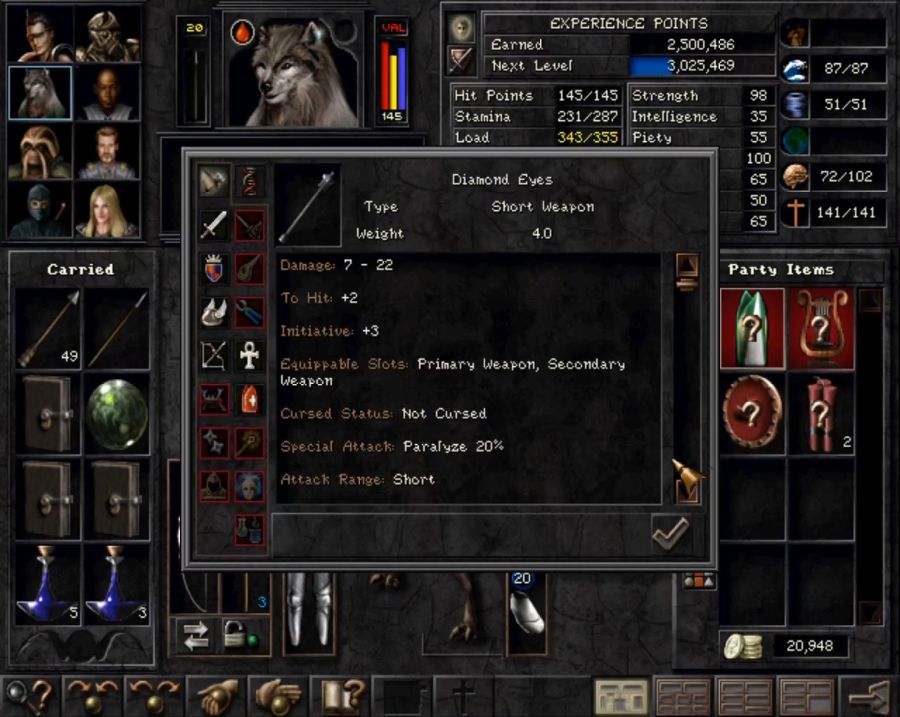 There's also Diamond Eyes, which is... okay, so there are even fewer worthwhile blunt/mace-type weapons than there are axes in the game, and damage-wise they never manage to sidle up in the vicinity of what you can do with swords and polearms, even if there are a couple of interesting extended-range ones and a few that have decent side effects. Diamond Eyes and the Nunchucks, however, can be wielded as off-hand weapons(generally the only other off-hands are daggers and wands). However, only a few classes actually get the Dual Weapons skill to mitigate the penalties for dual-wielding, and of them, the only one that can wield Diamond Eyes... is the Lord. So you'd never really ever use Diamond Eyes without a Lord in your party. Any of the other available classes would wield something else, possibly a two-handed weapon. Which is a shame because the 20% paralyze chance would be great to have added into the general damage/condition mix. If you have a Lord, you'll really want it. If you don't, you'll never care about it.  This... thing. I mean, okay, theoretically it's useful, except using the Dulcimer of Mending to cast Heal All will more or less always be superior in terms of healing, and busting out the Arresting Aria or Siren's Wail will hit more enemies and taking enemies out of the fight with conditions is superior to just doing damage to them.  Anyway, on the far side of the tomb I choose to hug the southern side of the valley, because there's actually something there you can miss.  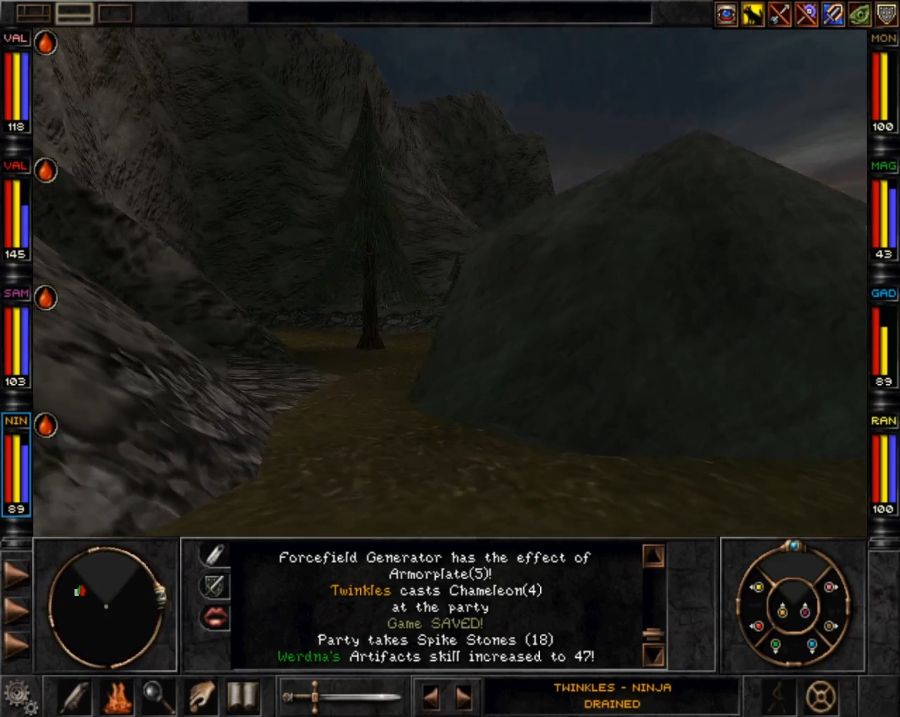 A cave wherein the X-Ray map shows a combination of hostile and friendly characters. The obvious response is to pop combat mode outside and wade around the corner to see what's what. 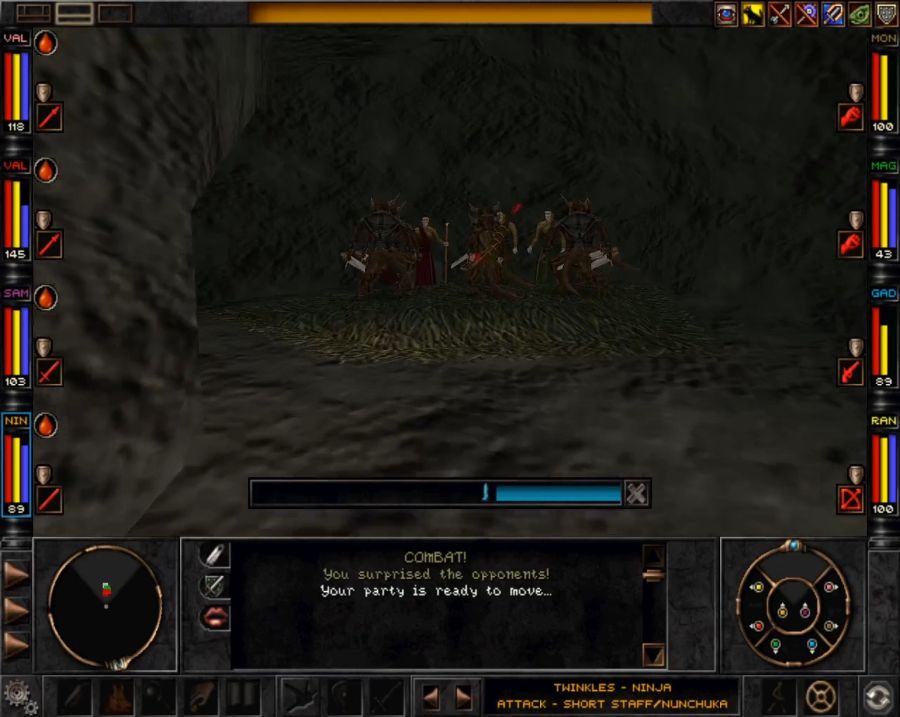 A group of (pre-placed, low-level, around level 9 and 10) Rapax threatening some monks. The monks are pretty badass, honestly, and could probably clear out the Rapax on their own, but I saddle up and kick some rear end to speed things up.  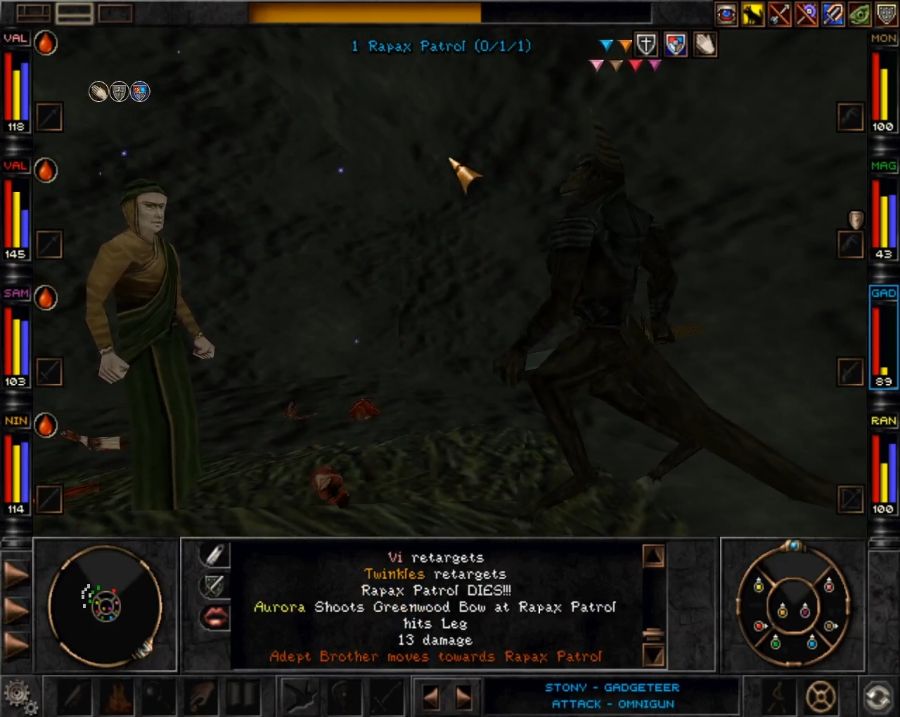 I think it took me like two or three rounds of combat to clear them out. Now let's hassle the head guy and find out what these nerds are all about. https://www.youtube.com/watch?v=uU3ozNGhaQ4 Anselm is... a bit odd, really. He's a big ol' plot dump that again, you're unlikely to meet until a variety of other NPC's have already dumped all of this on you. I could swear I remember there being some way to milk a reward out of him by bringing him the right item, maybe the writ naming you a member of the order from back in the Monastery, but I can't find any mention of it in various guides and walkthroughs. He isn't even a merchant. 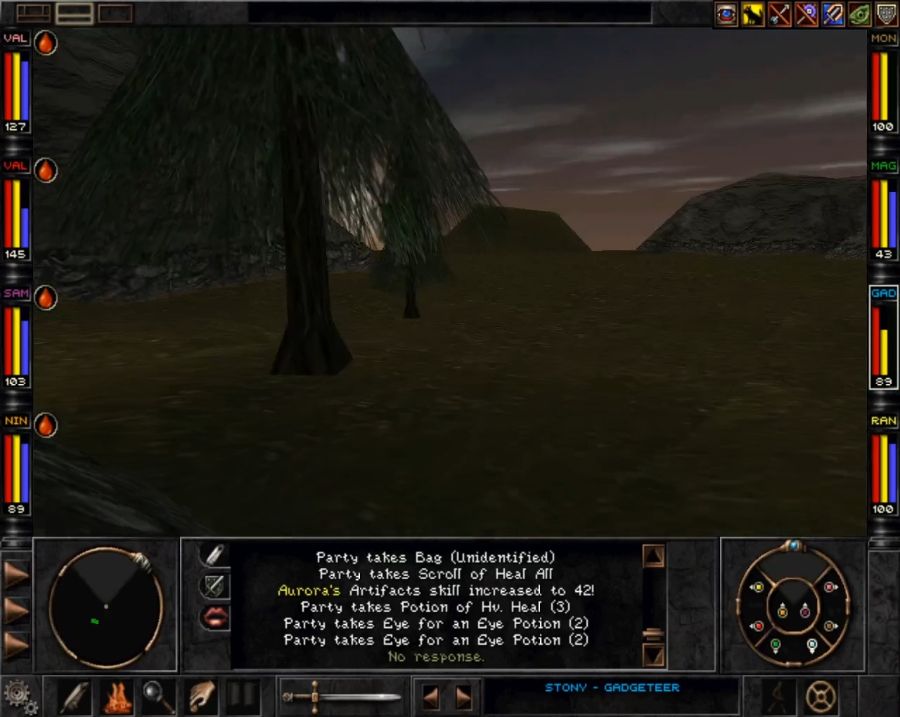 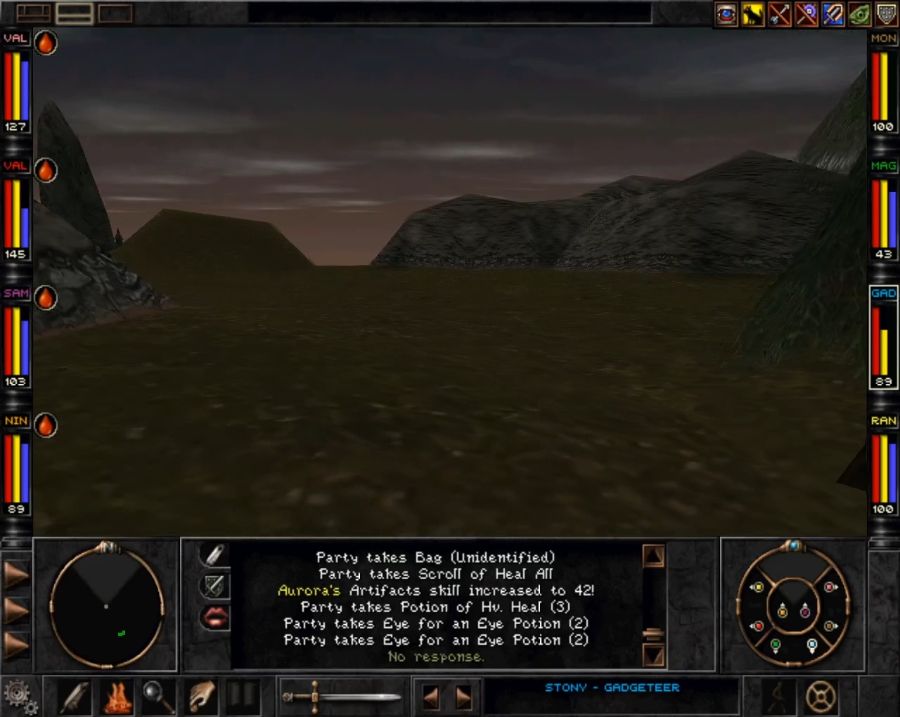 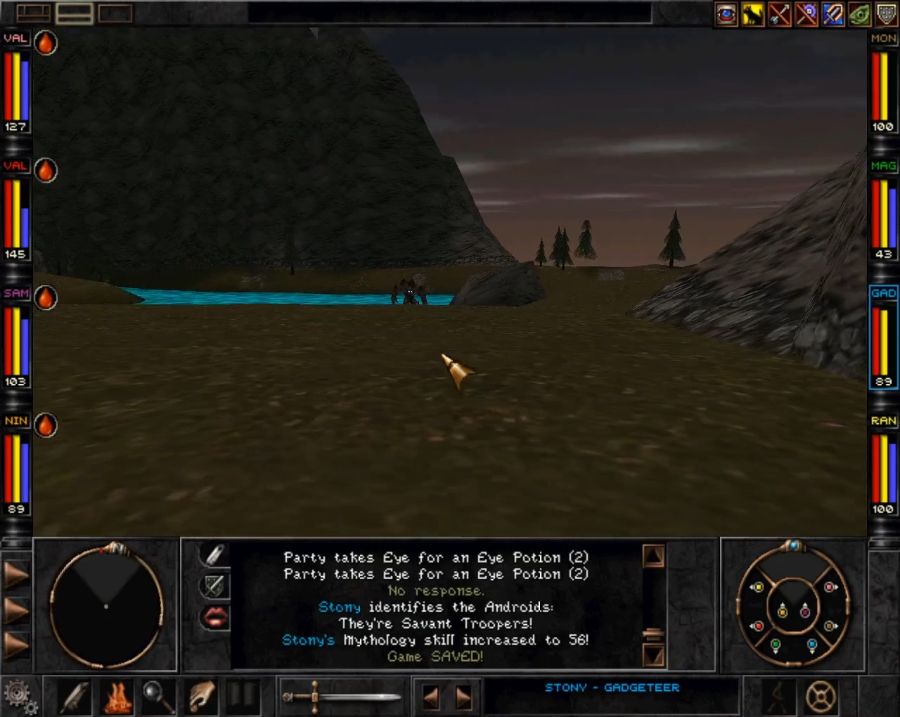 The rest of the valley is more or less empty EXCEPT for a sneakily-hidden stash of treasure guarded by this big golem fella. Again, he's not really much tougher than the one guarding the entrance to the valley from the Northern Wilderness side, so if you can make it down the mountain slope(easier said than done considering it can be patrolled by everything from scorchers to swarms of burning ants to sprites), you should have a decent chance of getting in and looting away. 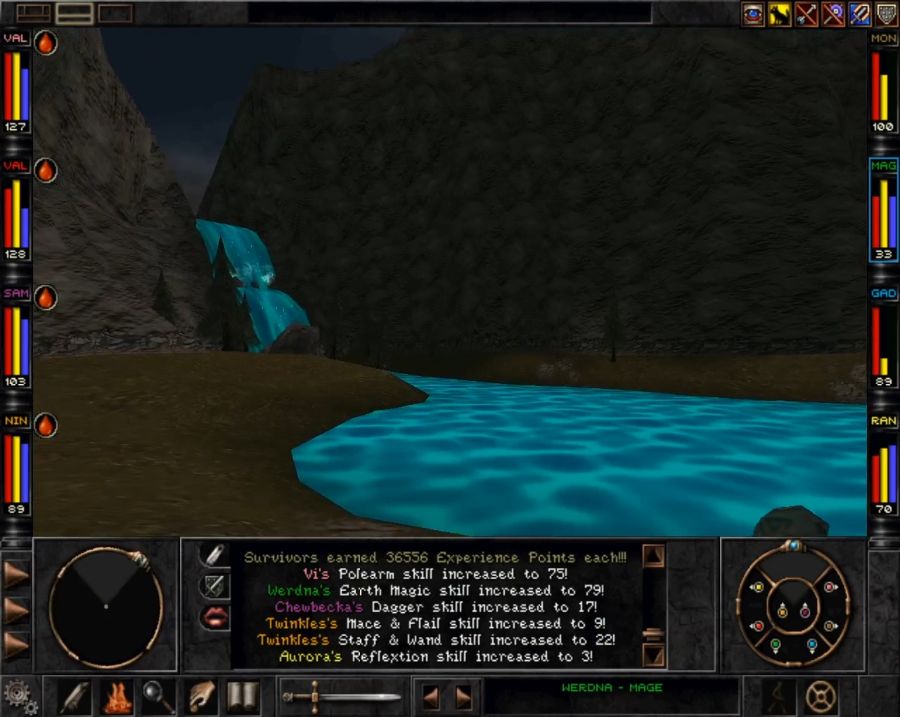 Once he's down, note the waterfall and... 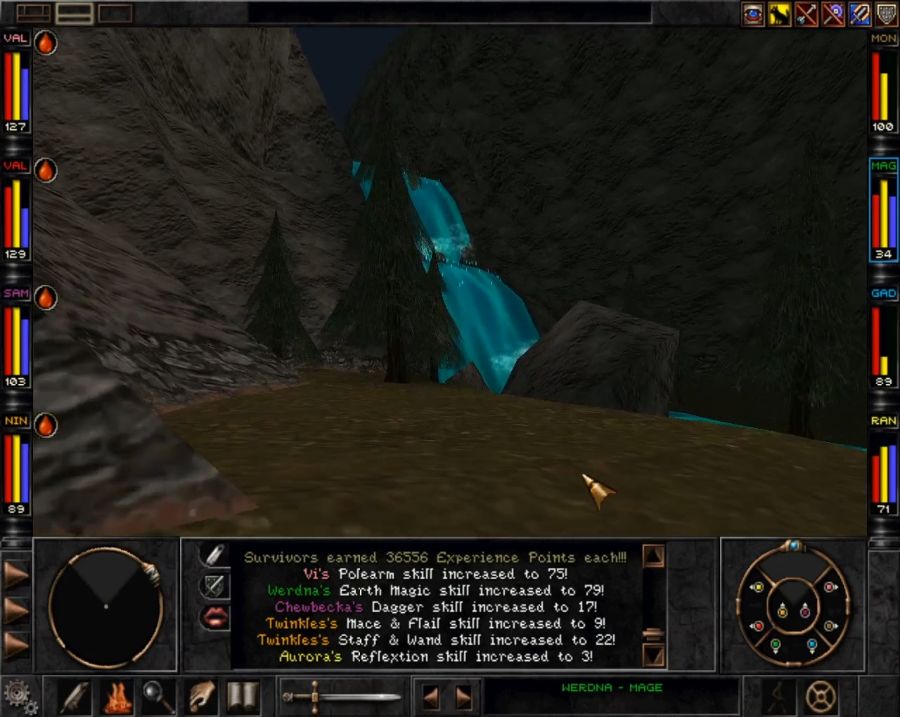 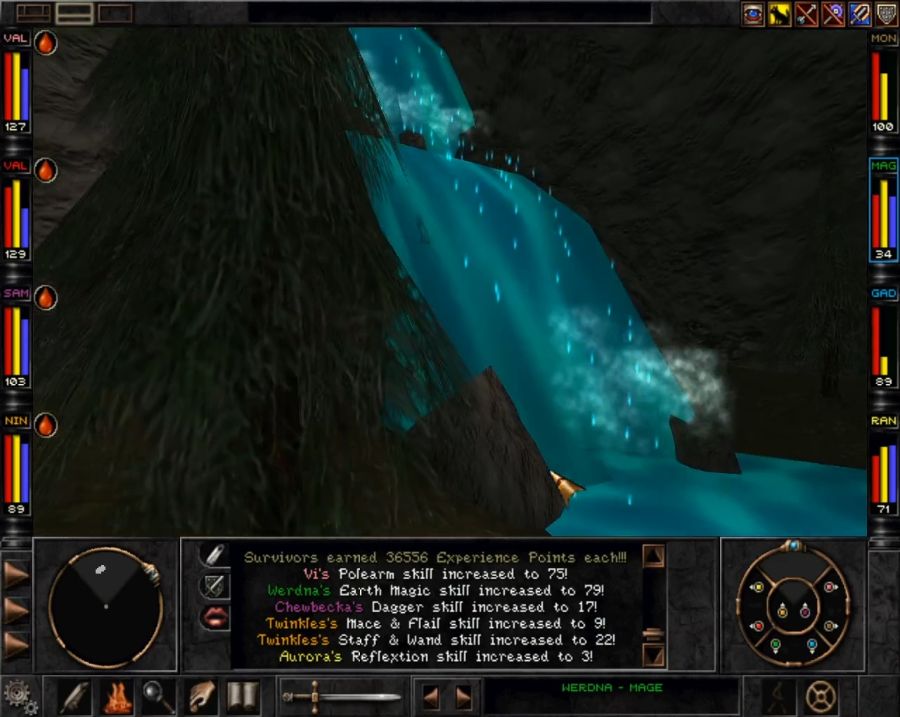 Getting close enough makes X-Ray reveal the loot beyond.  It's... again it would be nice if we got here several levels ago. As it is, most of the equipment slots worth filling up have already been filled up.  I trek up to Bela to unload some gear because the party's combat abilities are starting to be severely impaired by hauling around a small armory's worth of equipment. Sadly he doesn't buy armor or weapons from us, only wands, potions and scrolls, but it still helps. The new windfall also helps me buy three nice items off him.  The Eagle Eye Bow, it has better base stats than the Strong Bow, in fact the best base stats for a bow in the game, but a lower chance of instakill. It'll be Aurora's weapon for the rest of the game, with only ammo getting upgraded and swapped out. 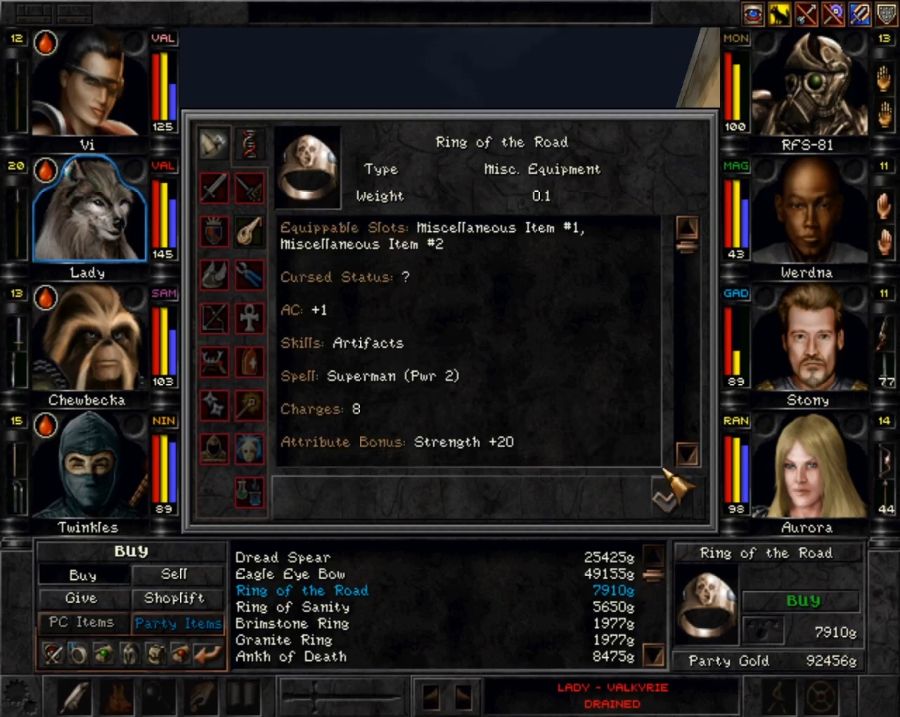 The Ring of the Road, as an upgrade for Saxx when he gets back into the party, a +20 Strength boost is pretty huge. 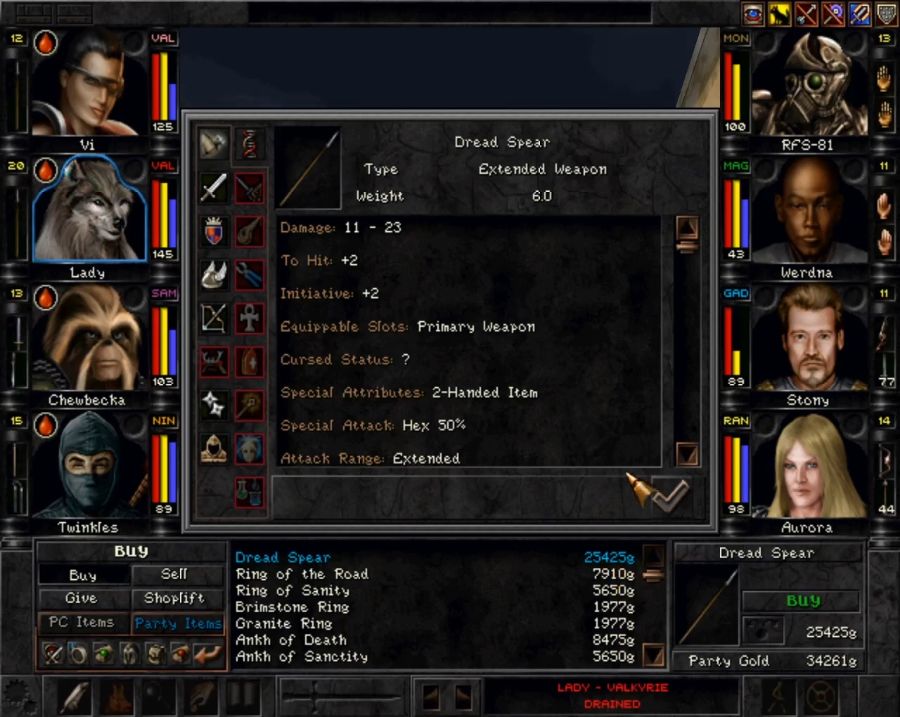 And the Dread Spear for Lady. It's an upgrade in basic damage, and the chance of dropping Hex on enemies isn't to be sneezed at either. It also has a +20 boost to the Polearms skill which further upgrades its murdery potential. The only weapons with better basic stats are the Raven's Bill(not to be confused with the Bec de Corbin which is a wholly different weapon, being the only one-handed polearm-skill weapon in the game) and Faust Halberd, but both are also literally quite cursed with heavy HP drain. Valkyries can't use the Mindblast Rod and aside from that it requires killing the T'rang. And the Maenad's Lance, while in the game data, apparently can't actually be imported from 7 to 8, so you could only have it through using an editor. So unless the internet is wrong (perish the thought!) and the Maenad's Lance pops out of a random chest at some point, Lady has reached the end of her weapon upgrades for the game with this.    Let me know if I'm cutting out too many in-between travel images. I just don't want to bog the posts down with 50 images I don't have anything to add to. In any case, we're back in the Northern Wilderness where I attempt to activate the retro dungeon. I gently caress up and think I've got all the necessary runes activated and... the activation stone just eats my one-of-a-kind short staff. Doesn't drop it on the ground. Doesn't give it back. Doesn't warp it into party inventory. Just eats it, thus postponing the visit since my last save is a way back. I hope no one minds the fact that I'm going to use an editor to re-add the short staff to my inventory because this feels like a bullshit bug. 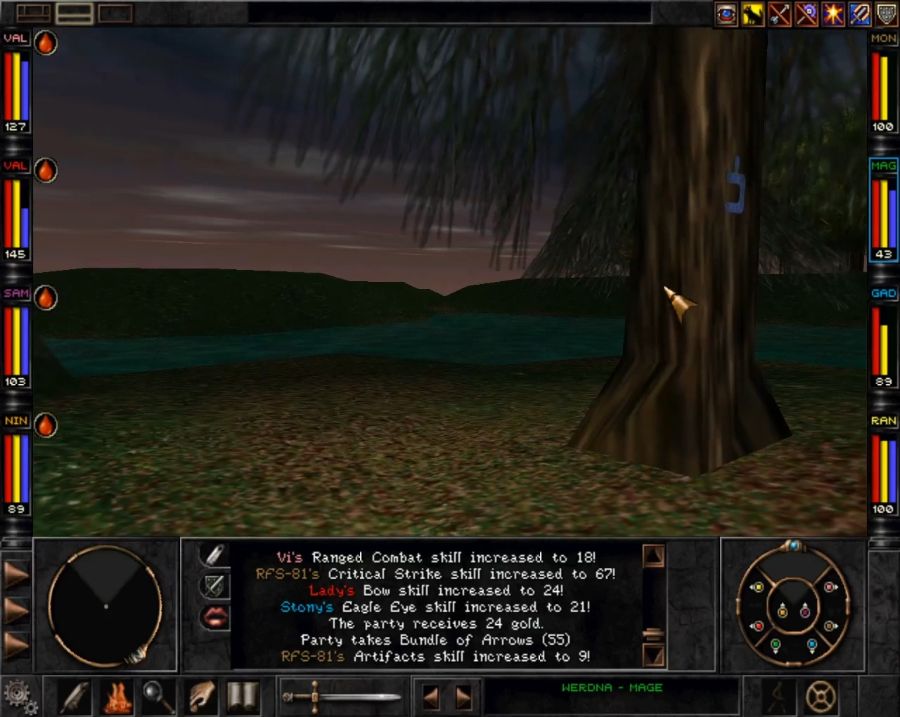 The runes here are also annoying to find, because they're carved into trees. Now, half the trees in this area are the kind made out of two flat planes at right angles to each other, intersecting, so at a distance they kind of look believable. You can rule those out. Only the ones with a pentagonal or hexagonal trunk, can host a rune. Of course then the issue is that there's still 50-something of them in this area. Once you find a couple, though, you know that most of them are arranged in a sort-of straight line, even if they're spread far apart.  While exploring, I also run across another squad of sassy droids. 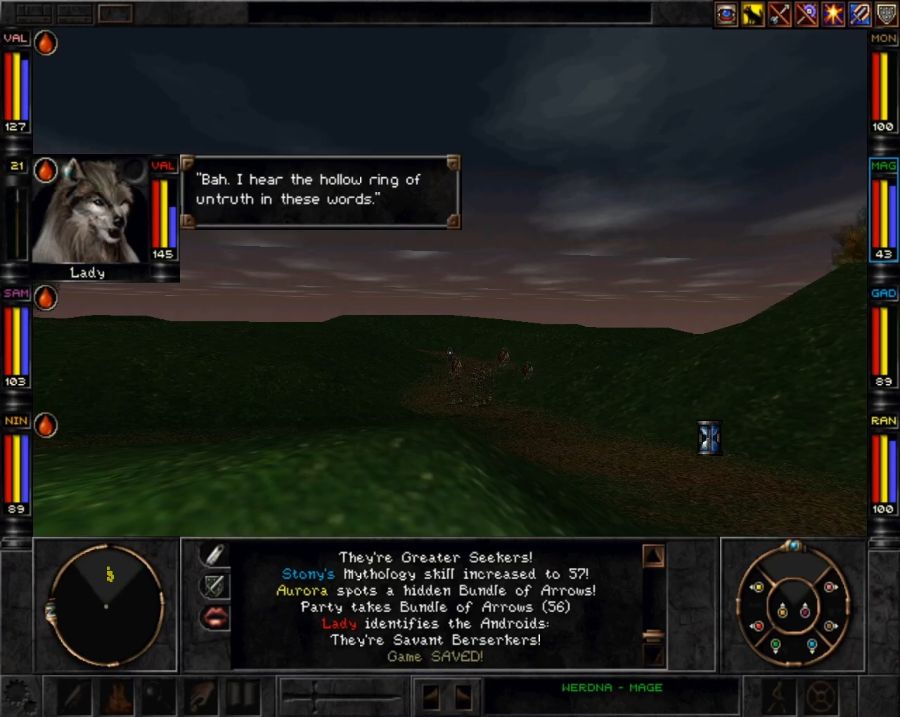 It's amusing to me that the party is never worried by or convinced by these lies. They always call them bullshit right away. In any case, despite having higher levels, the androids still get flattened as they're relatively fragile(other enemies of similar levels tend to have upwards of double the hit points) and not present in the big volumes they need to really give me trouble. If I didn't have Missile Shield, I might feel differently since the orbs' Neuro Bolts can cause some debilitating conditions, but since I do... they're no big deal. 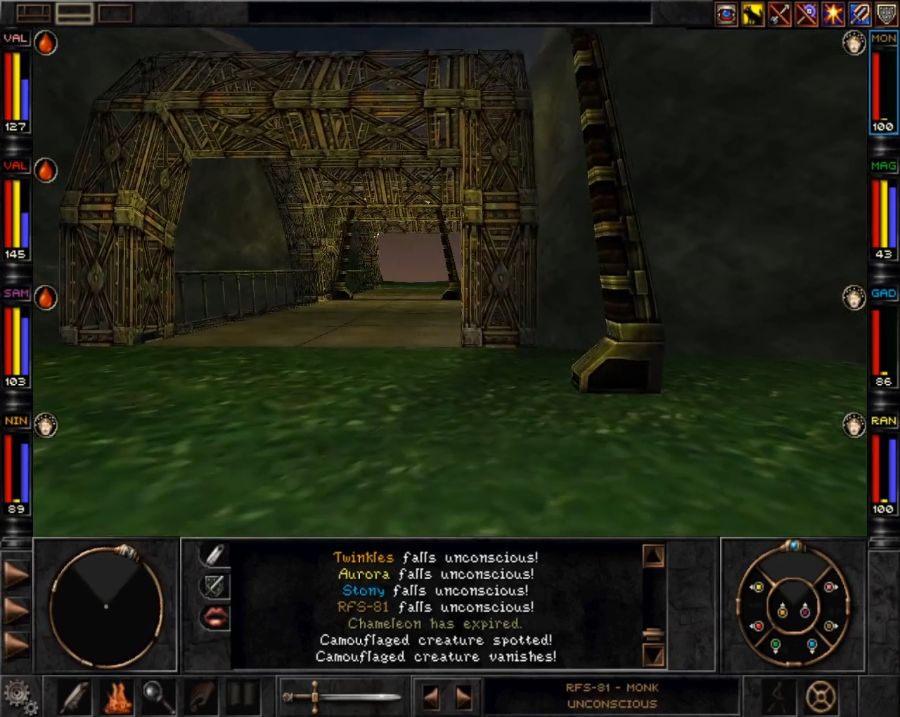 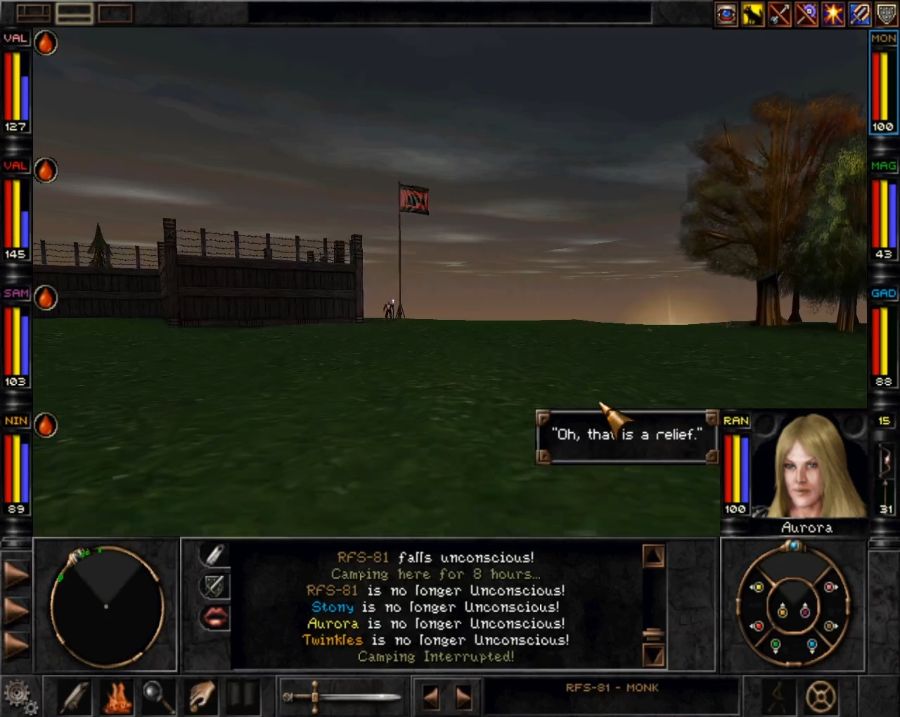 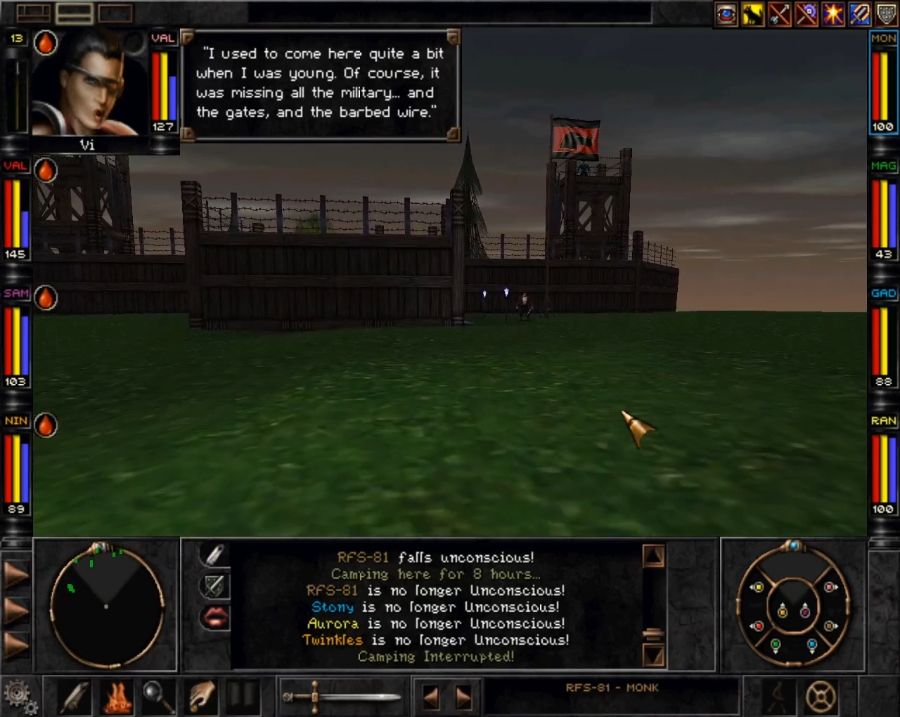 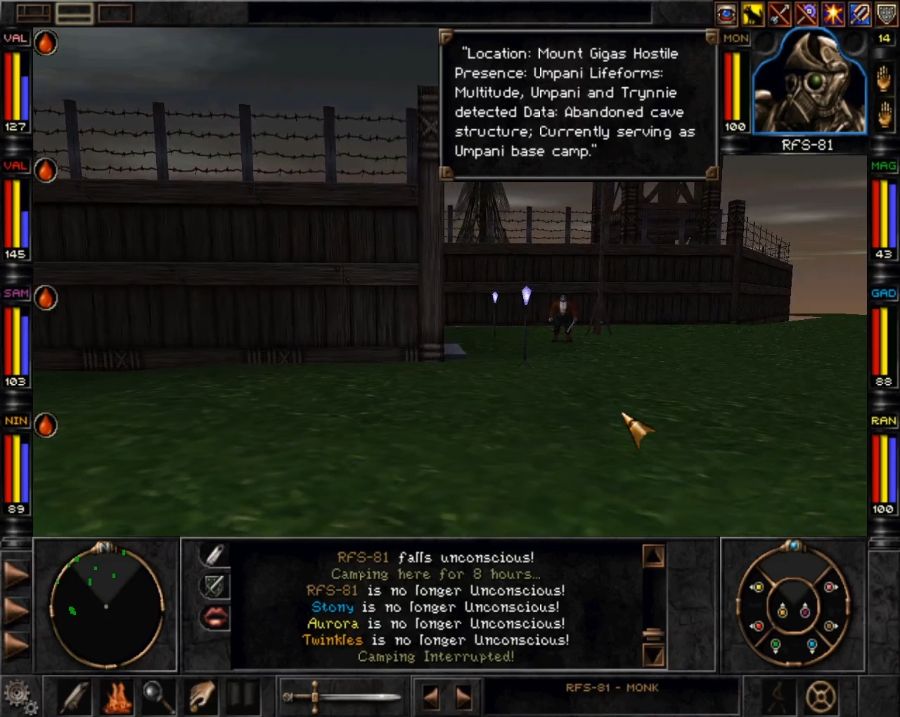 Since we're in the area, I go pick up Saxx. Now, the vote swung back and forth a bit, and while everyone wanted RFS, more or less, the Vi/Saxx vote ended up being in favour of Saxx at the point that I did the recording, during which it swung back to a tie again. So apologies to everyone who wanted more Vi. I did have an odd experience on arriving, though.  Like 10 seconds AFTER I go through, Private Panrack yells at me that I'm allowed to go through. Not sure what's up with that.  And for some reason Vi is hexed after leaving the party. Possibly the game trying to translate her Drained condidition and loving it up?  Saxx bears us no ill will over his temporary liberation and hops back on board, after which I clear some space in the party's inventory by offloading all of our spare gear on Kunar's commissary and go to have a chat with Balbrak. https://www.youtube.com/watch?v=iQpICFAwFcY This gives us access to the interior of Mt. Gigas, thus leaving us with yet another path to explore. But for now, I pop the Return to Portal and use the T'rang teleporter to bring us to the Arnika Mystery House so we can speed things up a bit. 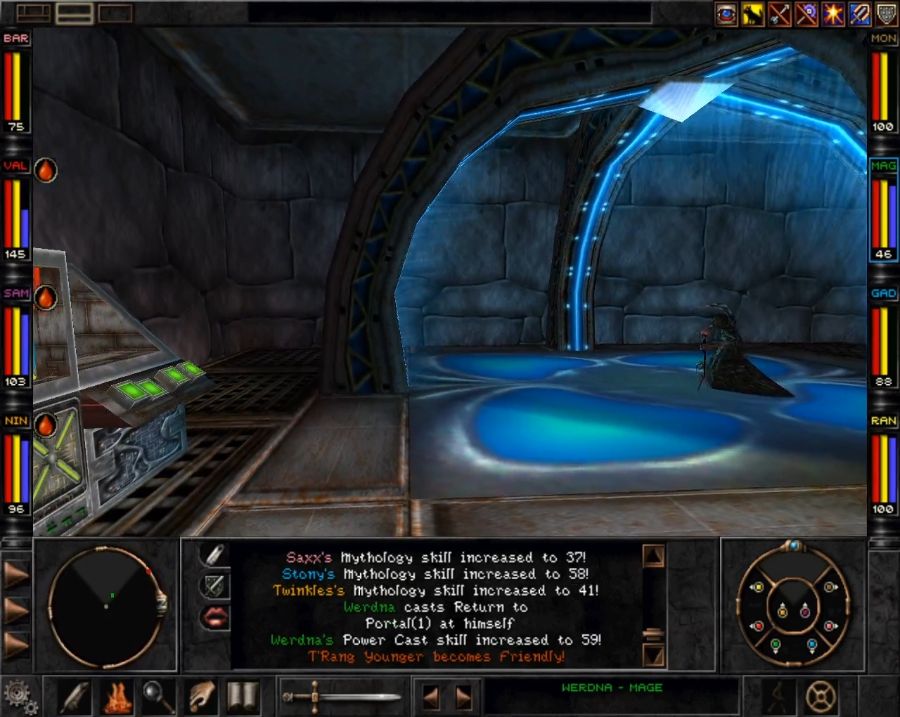 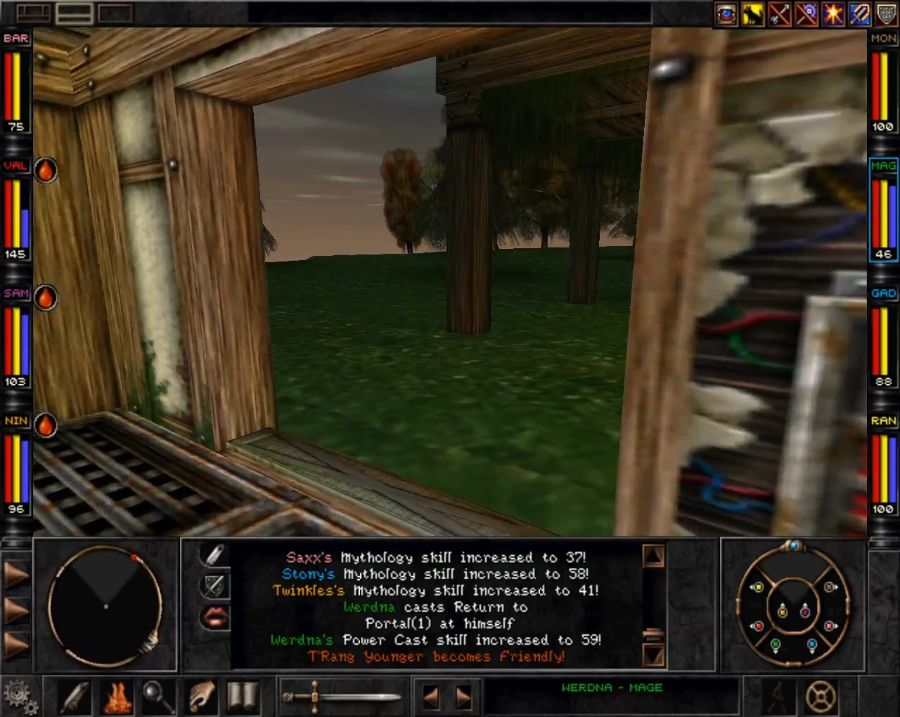 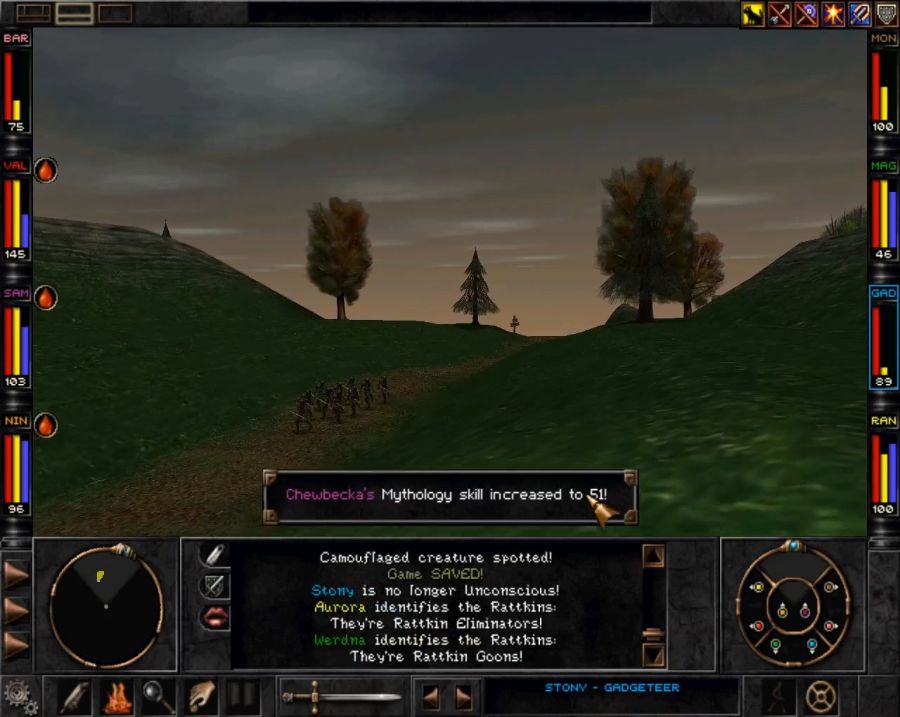 Immediately outside of Arnika we're accosted by some more Rattkin. 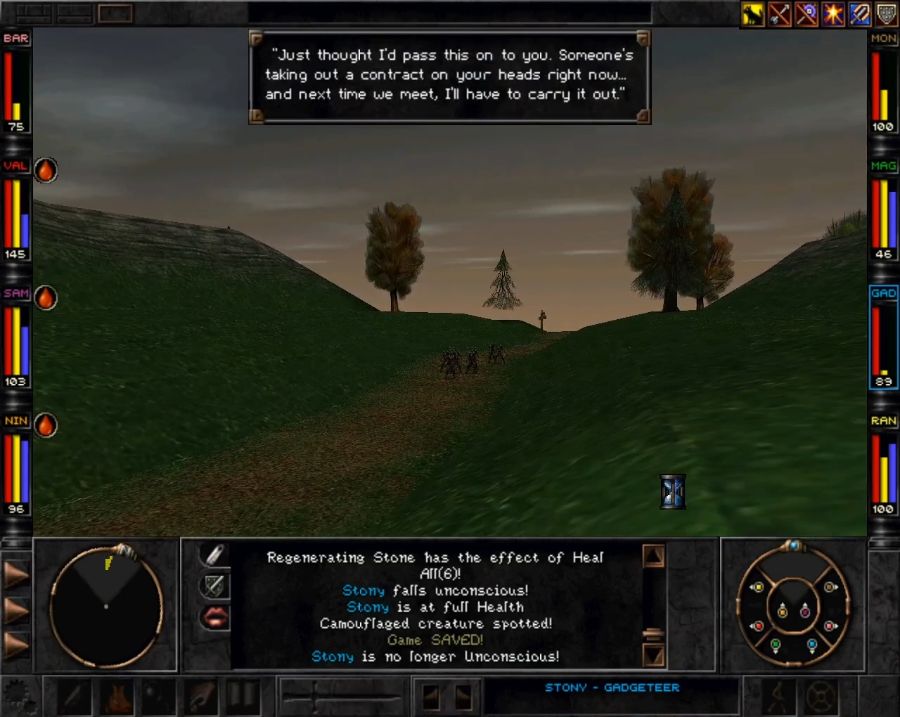 Though they're polite about it and thus I choose not to gut them like fish.  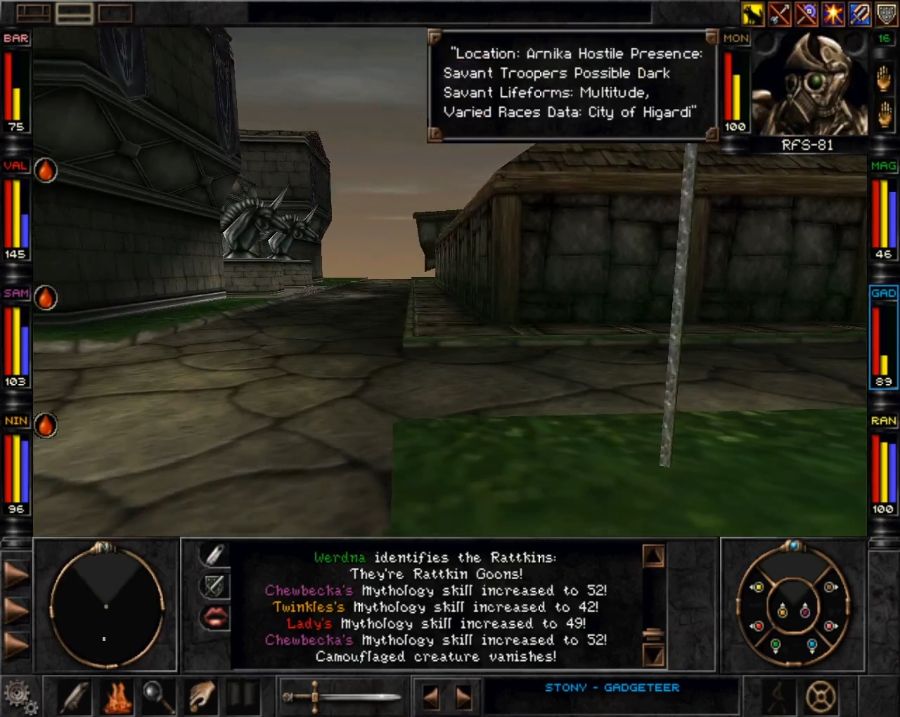 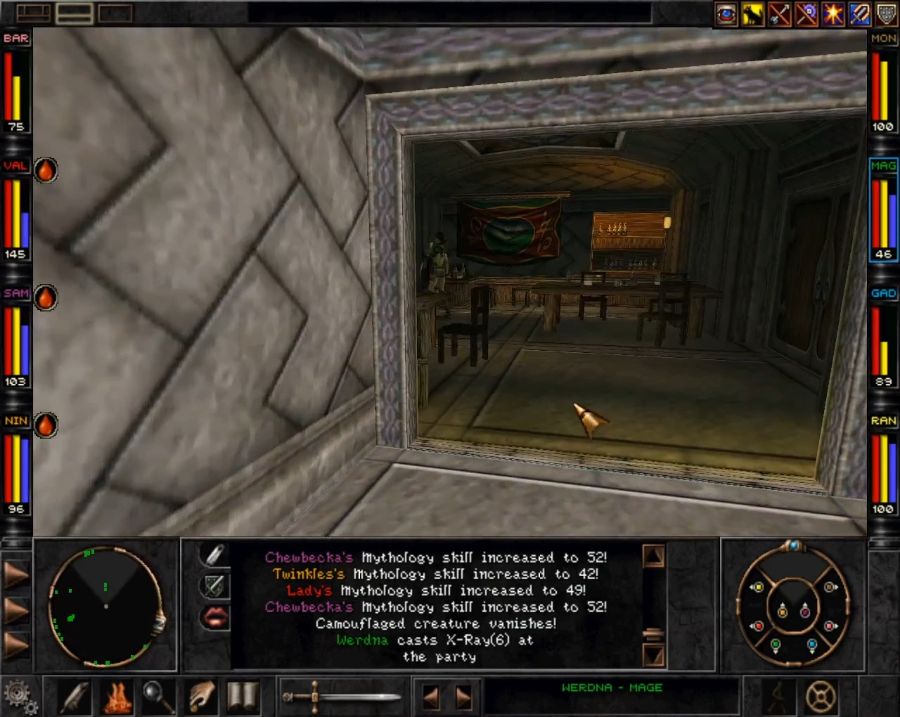 First thing I do is beeline for He'li's bar.  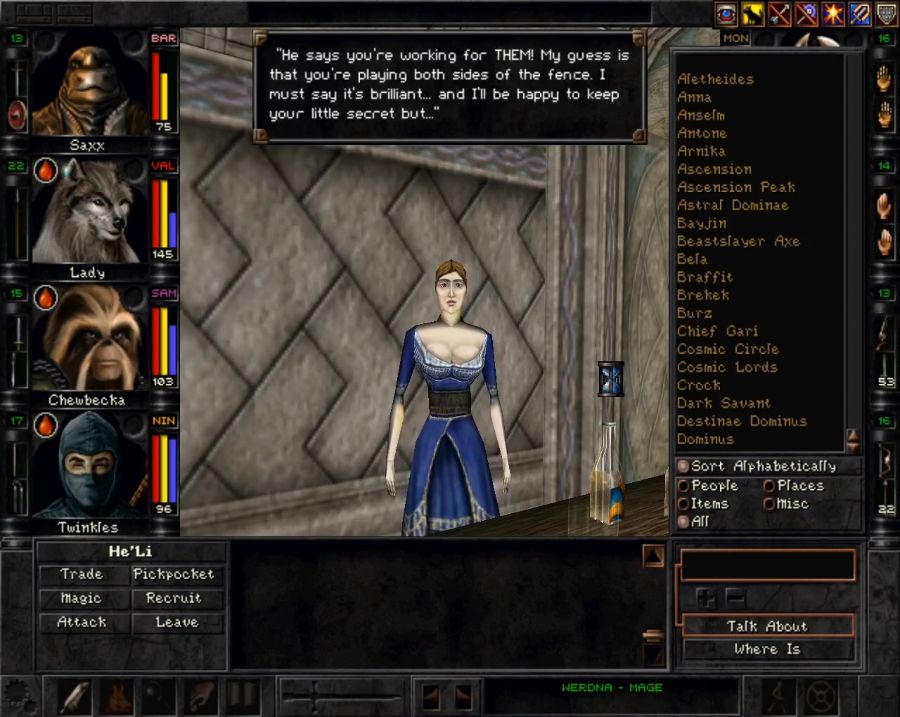 She extorts us for a measly 2000 gold in return for not loving up our alliance quest, which I'll happily pay. Kunar can still gently caress things up, but apparently the only one he'll tip off is Z'ant, and as long as you start dialogue with Z'ant by tossing him something, like a quest object or a pair of old boots, apparently he'll never trigger his "FOOLS. HOW DARE YOU BETRAY US."-dialogue and turn hostile. Still, I figure we'll ice Kunar sooner or later, one way or another. Then I hit up the usual round of merchants to check for any worthwhile spellbooks, any warcrime ammunition and... I actually get a bit of dialogue from Braffit I've never seen before! Apparently the trigger is visiting him with Vi once and then visiting him without Vi again later, and any time I've had Vi along previously she's been a permanent party fixture. https://www.youtube.com/watch?v=9vkiBBDs5zA His small donation to the party's coffers at the end is... irrelevant. Generally anything you'll actually want to buy will be costing between 10k and 20k or upwards for the rarer stuff. Still, we appreciate the gesture. Now let's go defraud the Mook. 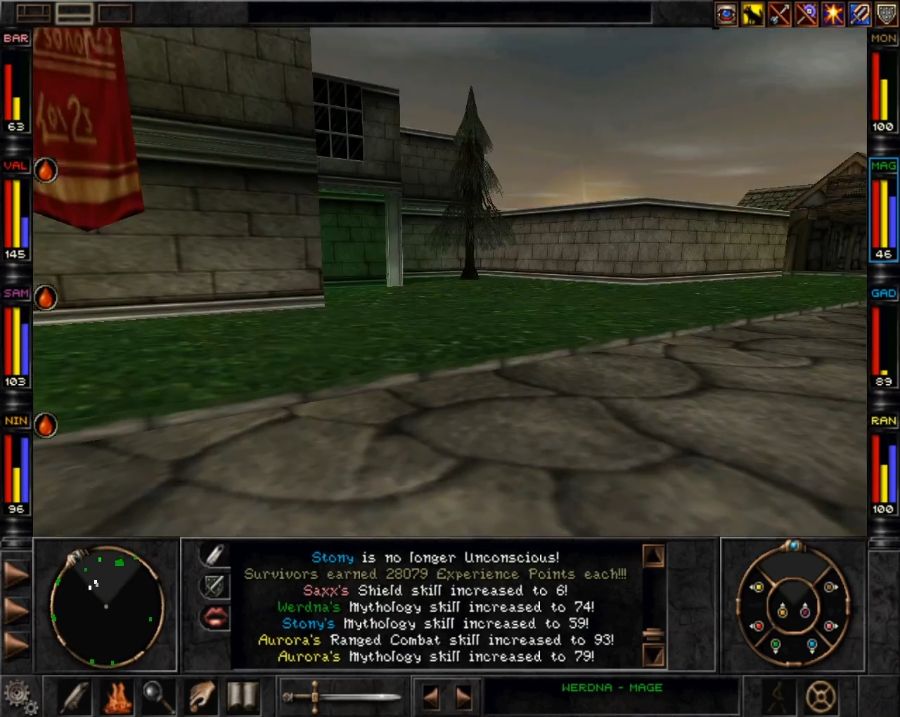 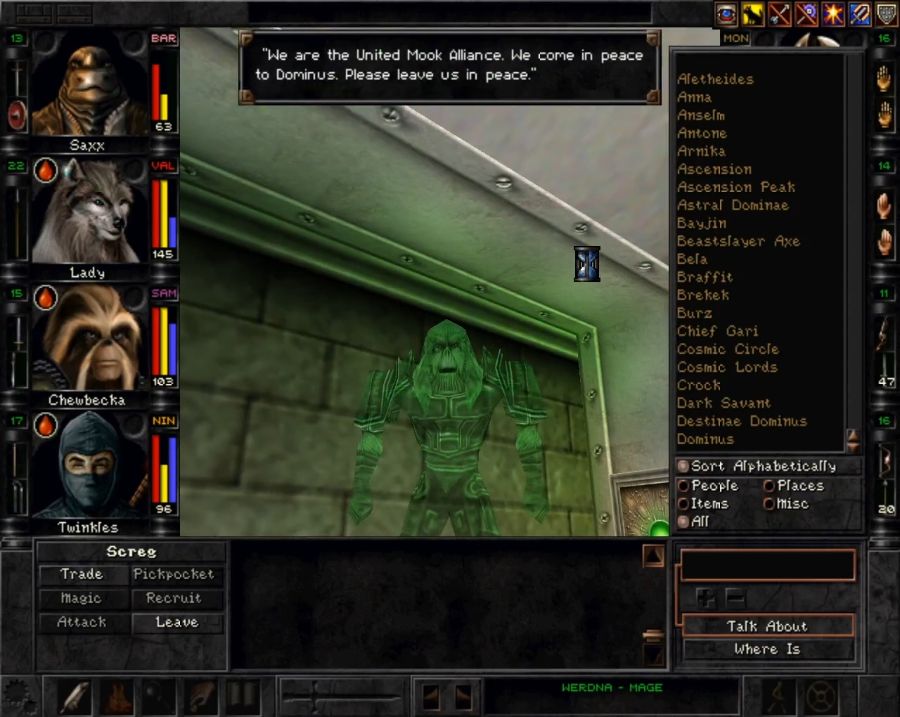 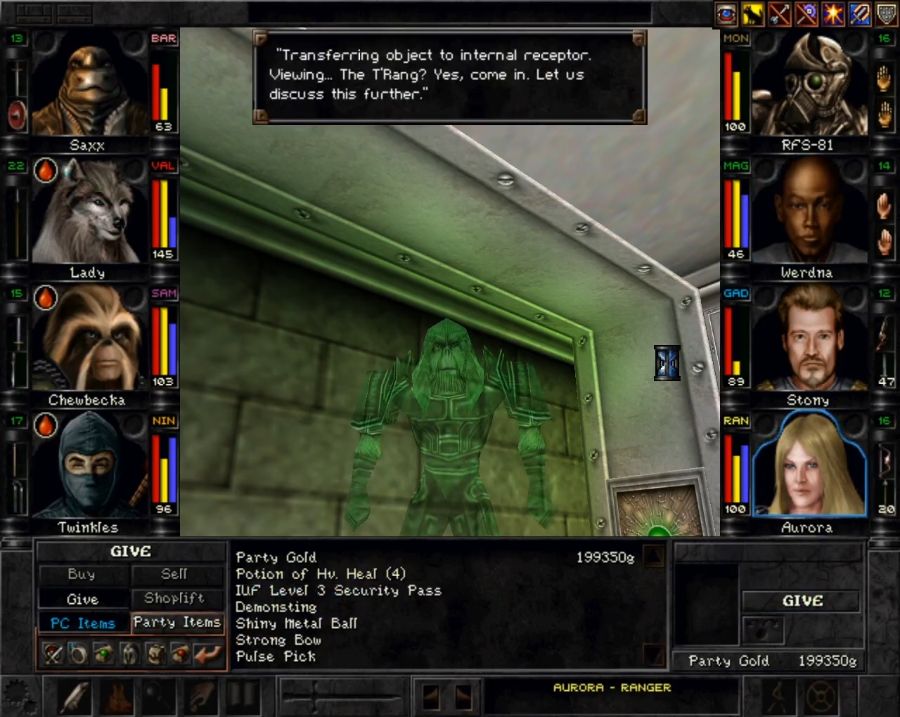   The Mook embassy is kind of lame, sadly, clearly one of the game's areas that could have used more love. https://www.youtube.com/watch?v=OyPGcOFPDNA I'm afraid Aurora is wrong, though, if Screg had been clever he would have bolted the doors and sounded the alarm as soon as we showed up. But for now, we're gonna have a little look around to allay suspicion, as the embassy also has a first floor. 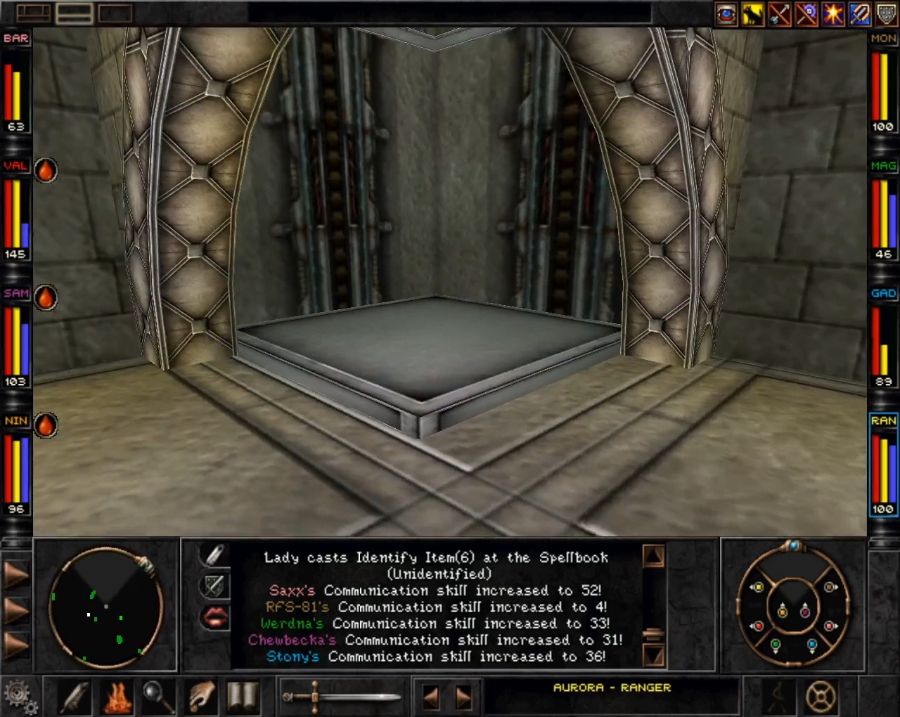 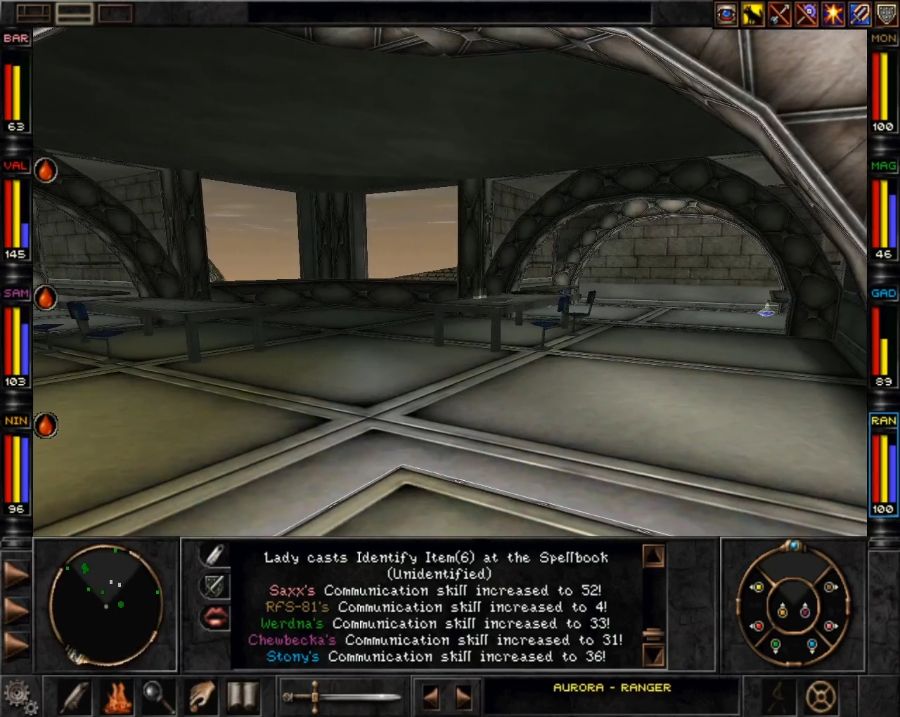 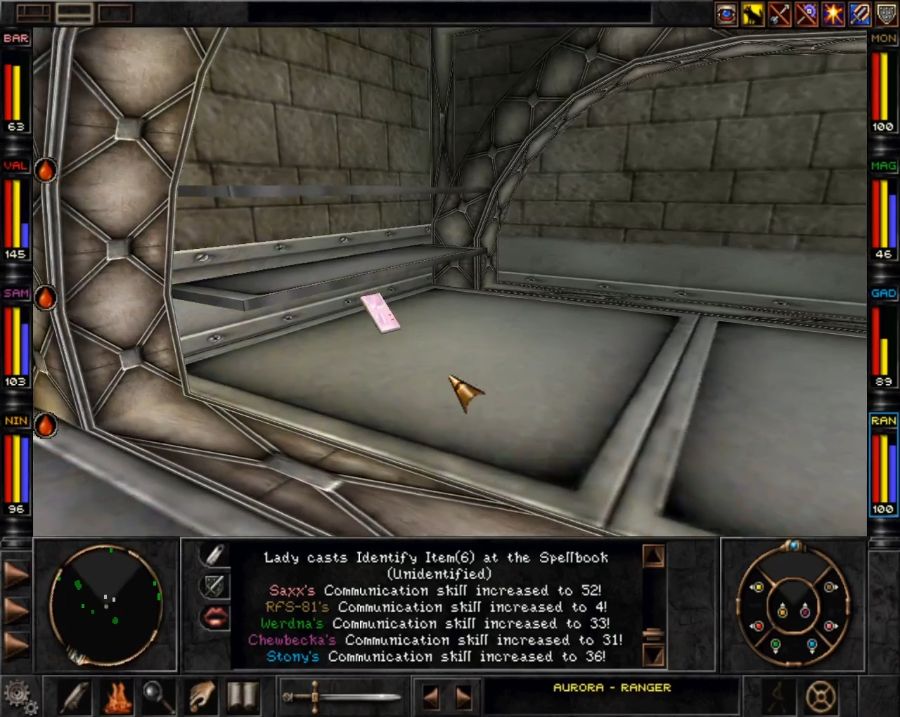 Under one of the benches is the other part of building an X-Ray Scanner, which predictably enough casts X-Ray. If your casters have better things to spend their points on, or you don't have the right type of caster to cast X-Ray, this can be pretty useful. Until Stony maxes out Engineering he'll also be taking over X-Ray-casting-duty. I've also strongly been considering switching Werdna over to a Bishop once he gets any level 7 Mage spells I care about, so I can pour all of the Psionic books I keep picking up into him and also generally broaden his spell selection. 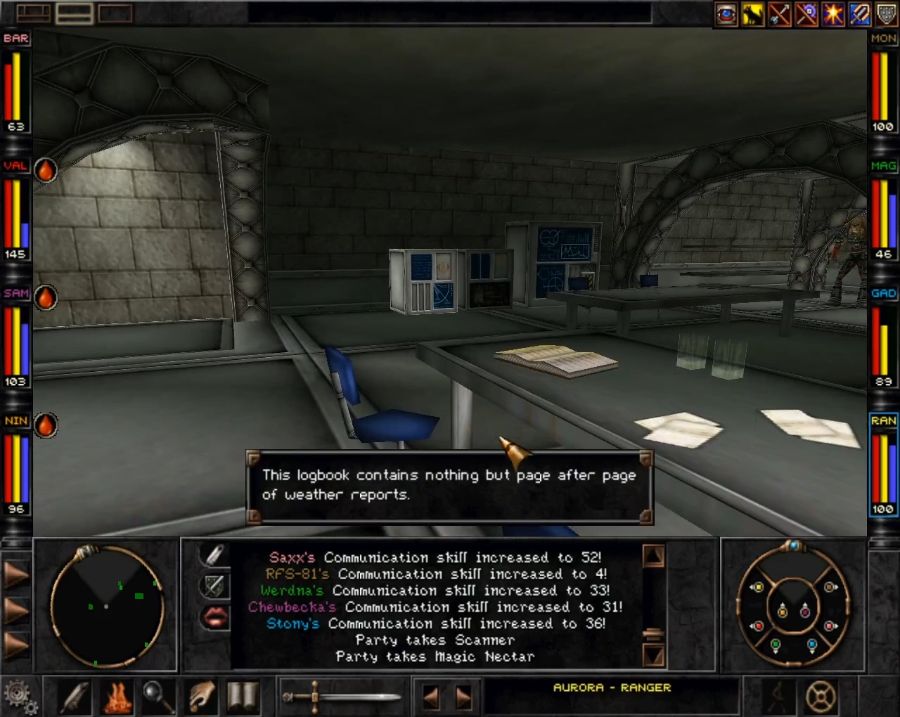 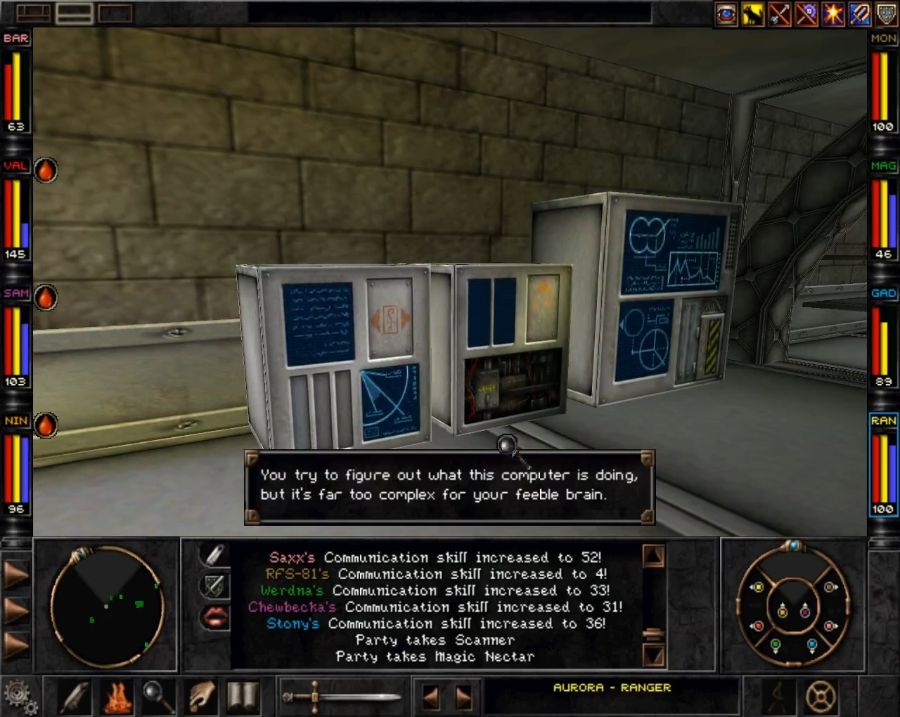 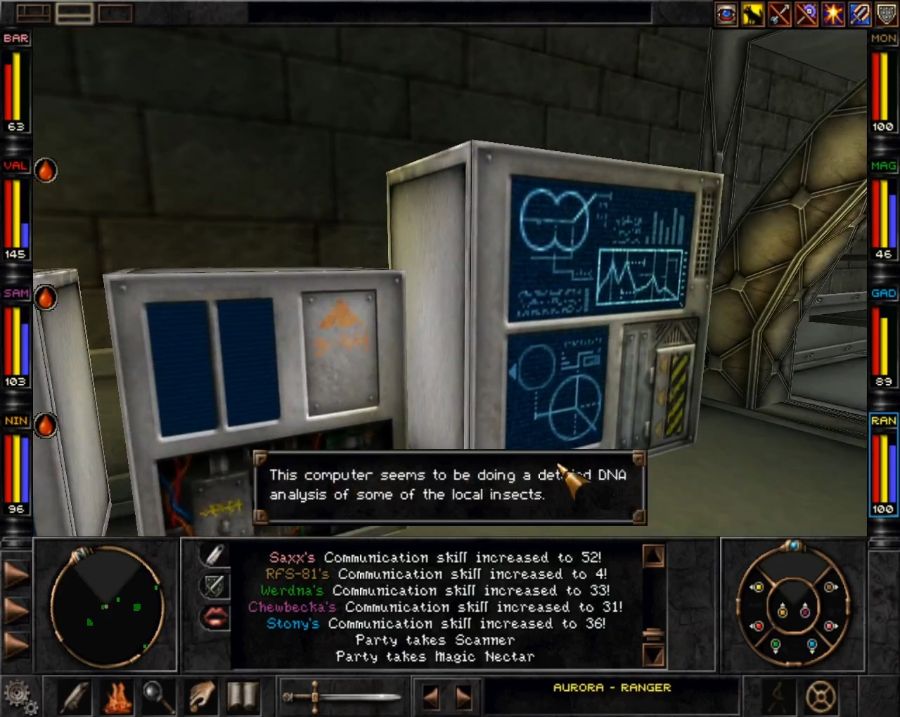 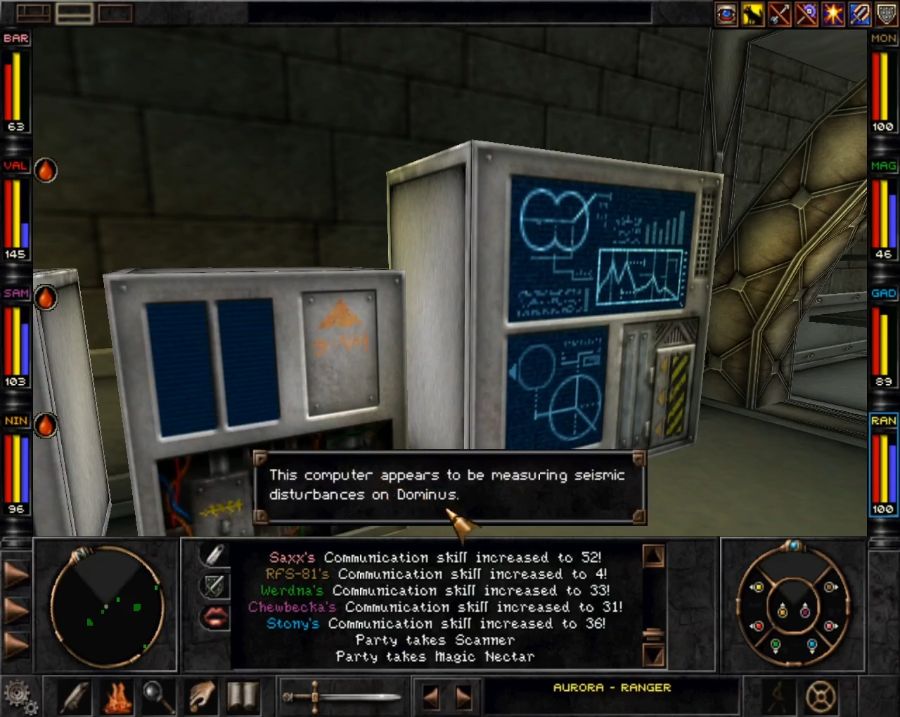 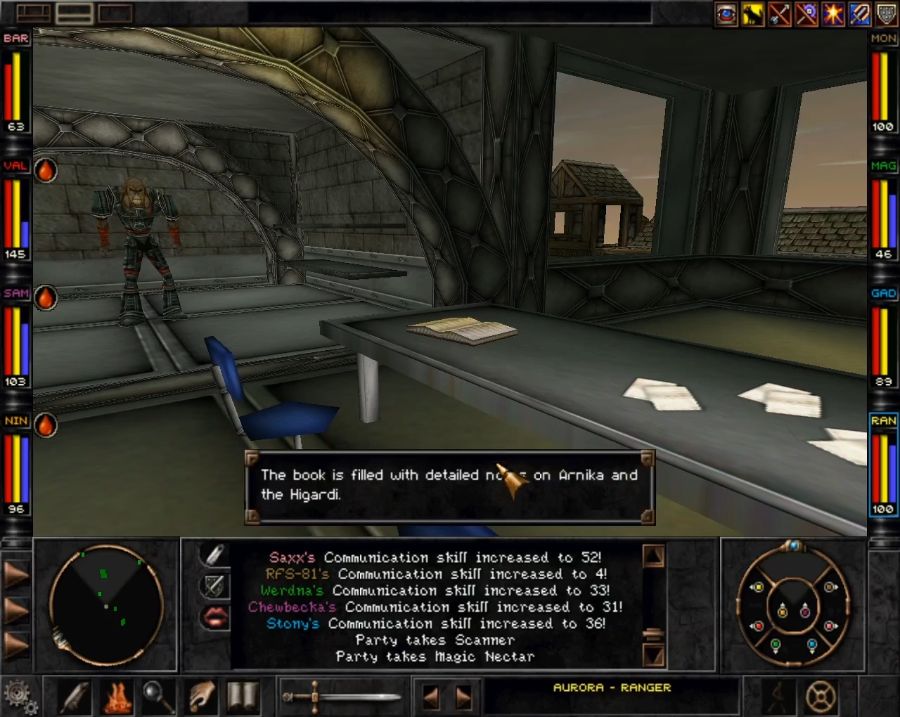 There's also an NPC chilling in the corner up here. https://www.youtube.com/watch?v=hPF7hCzT5tY Urq is... oddly placed. Firstly he starts CRITICALLY underlevelled compared to the party for when you'd get him. Secondly, he'll only visit a staggeringly small variety of planetary locales. Thirdly, he's supposed to be a field explorer you show the various parts of the planet, and each new area you bring him to he gives you... 500 gold. Like, just a single battle in any given area will usually get you more than that. He feels like the embassy should have been accessible as one of your very first locations so you could have brought him along from the start. Mechanically there's nothing wrong with him, he's a plain Mook Psionic, but everything else about him just screams that the embassy was originally supposed to have been accessible all the time and only the Chaos Moliri chamber was supposed to require a faction invite to go take a peek at it. And speaking of, let's go investigate this ancient artifact of raw chaos and change. I'm sure it will be guarded by impenetrable defenses and stealing it will require all my brainpower. 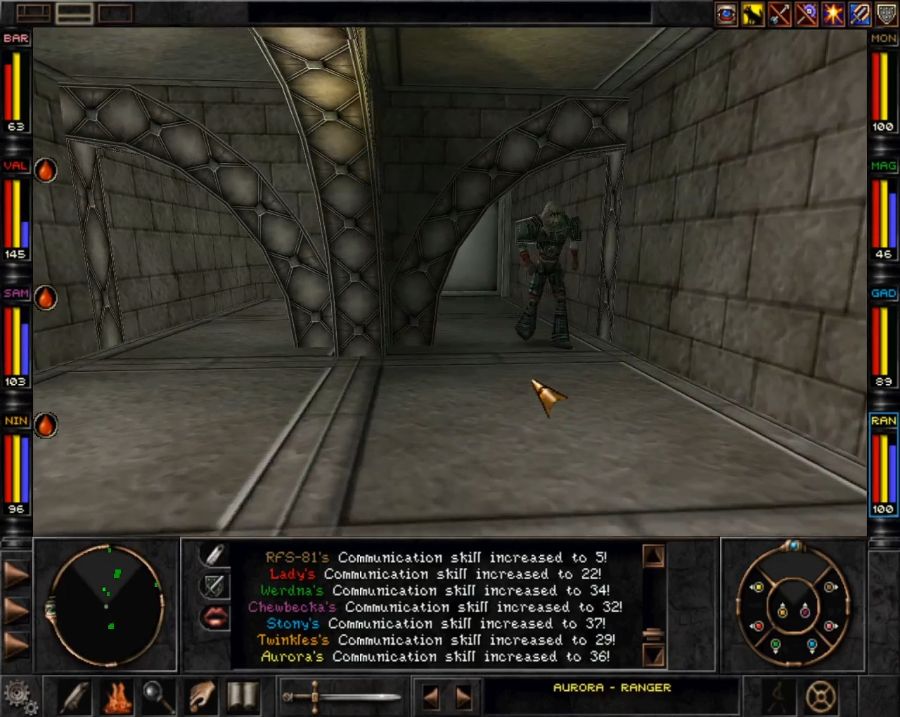 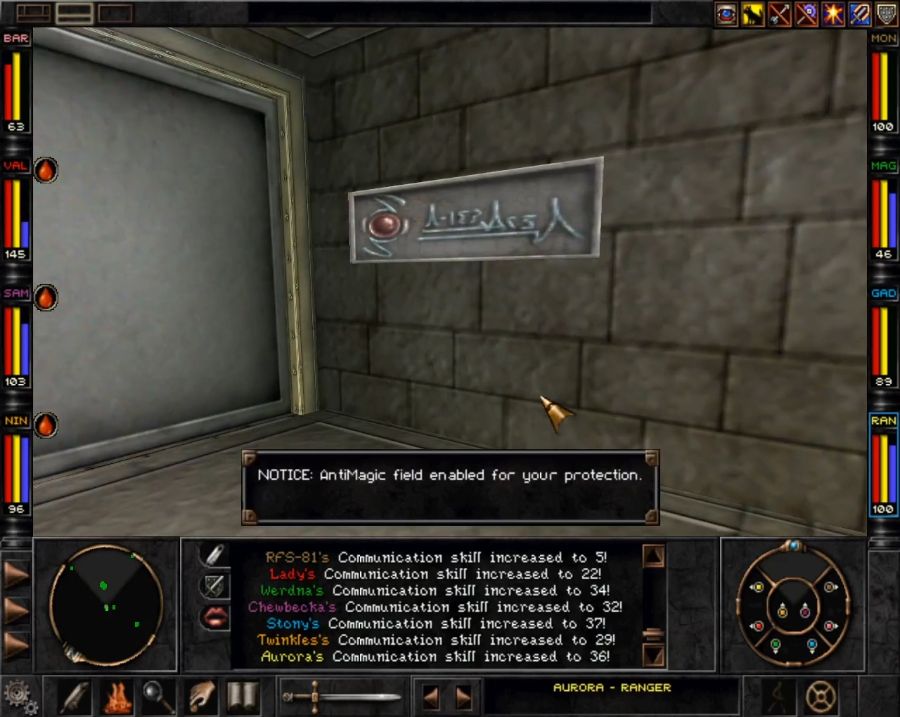 Call me when you invent an anti-Chewbecka field. 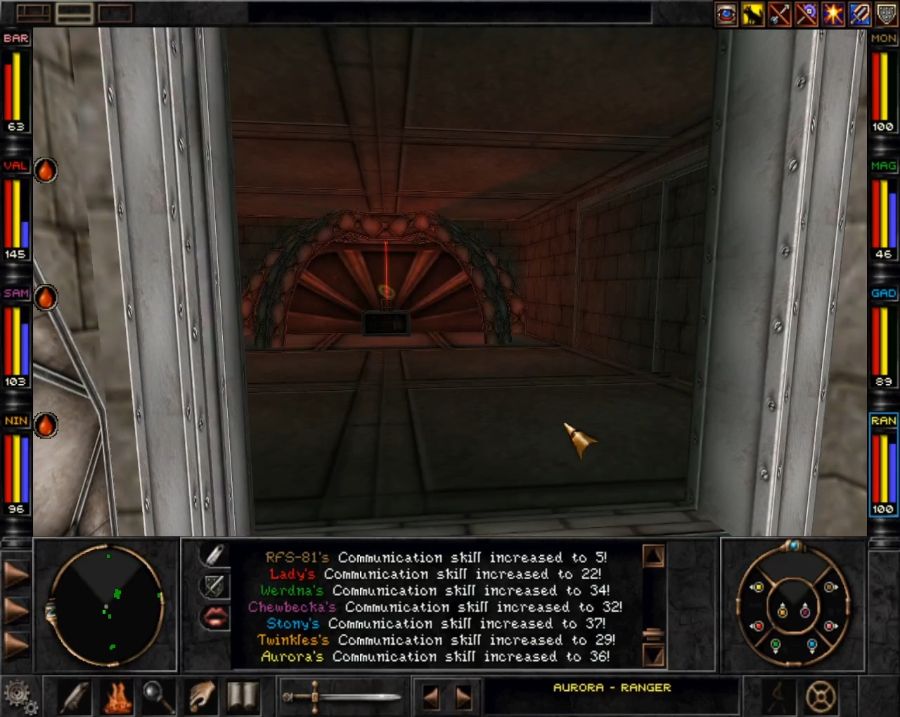 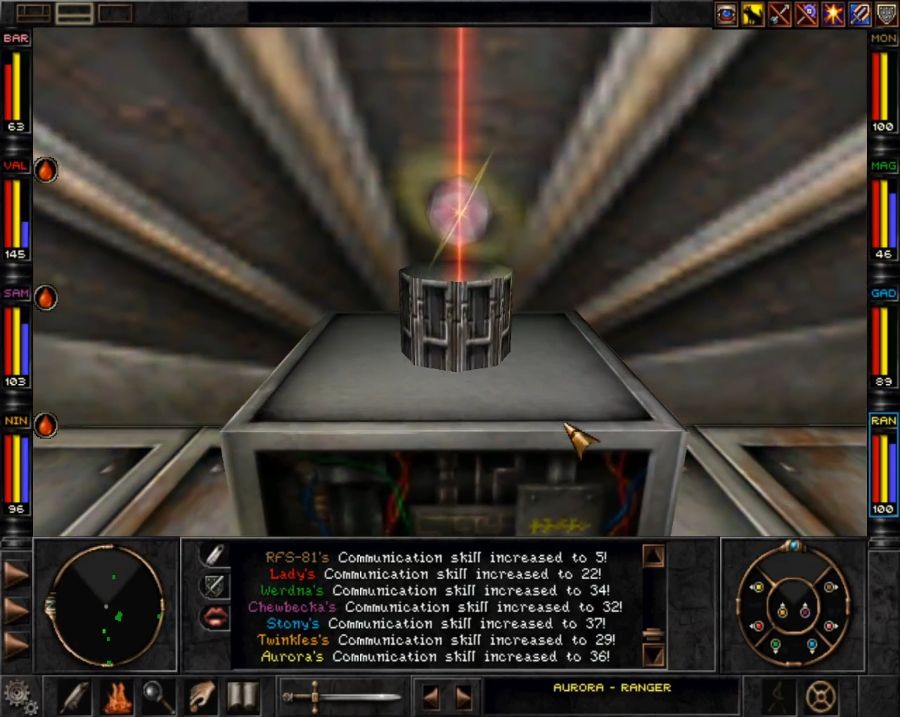 I wonder what happens if we just... yoink it. 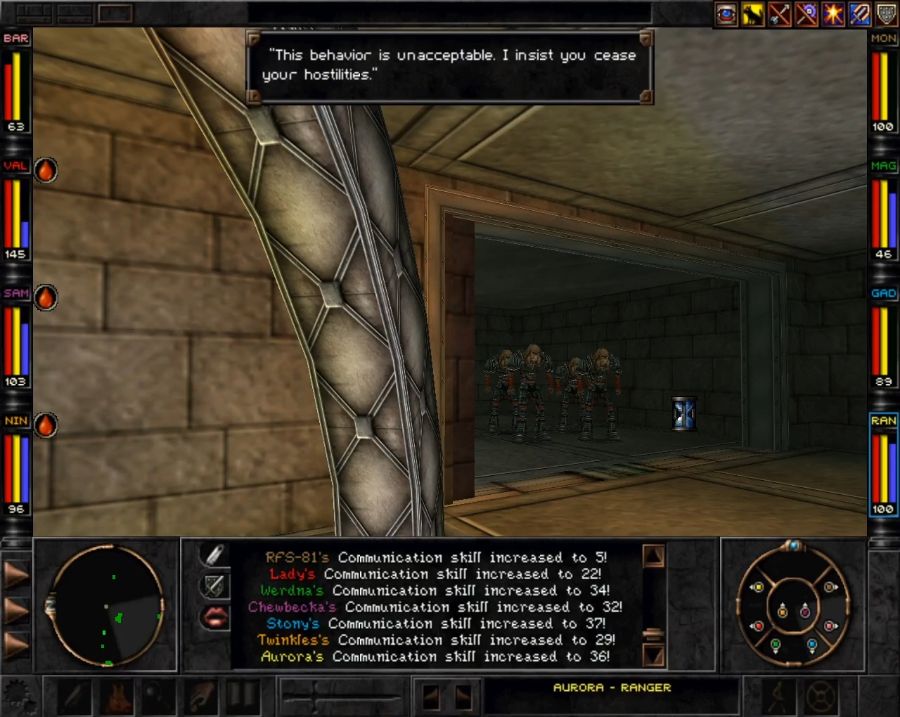 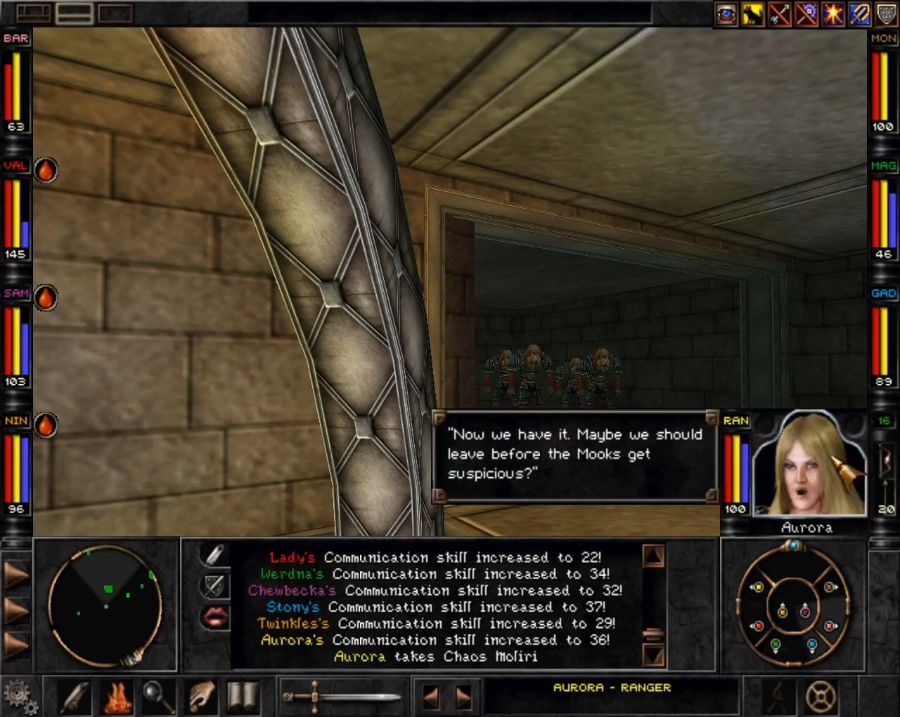 Ah, yes, monster closets for our protection and convenience. On the one hand I want the Chaos Moliri, on the other hand I don't want to have to mangle these Vulcan Wookies. Now... what else do I have in my pack I can shove in the beam... 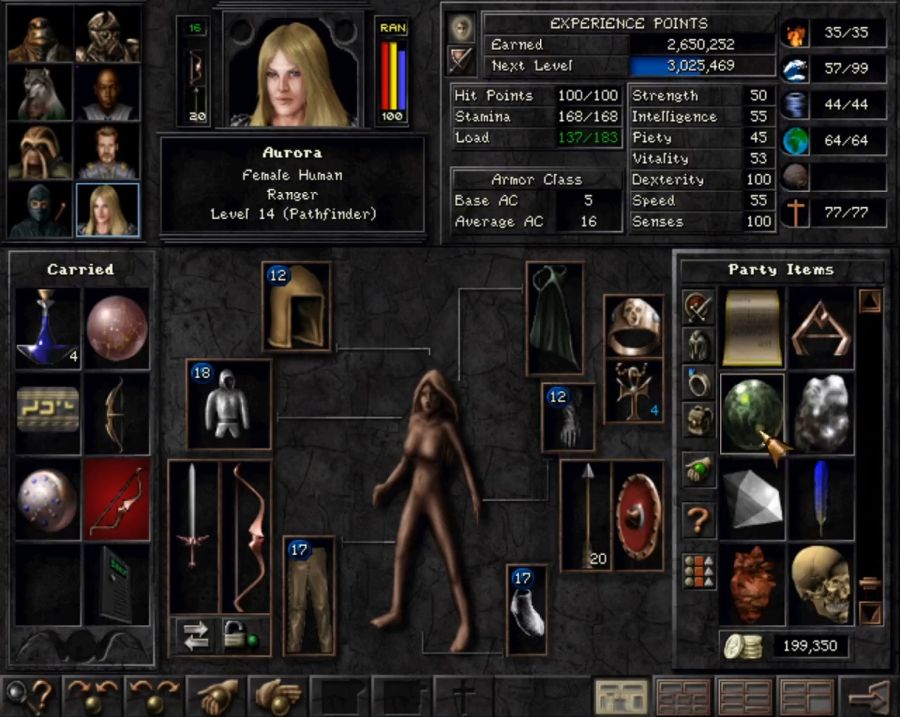 The Astral Dominae? Hm, that's just trading one problem for another. However... 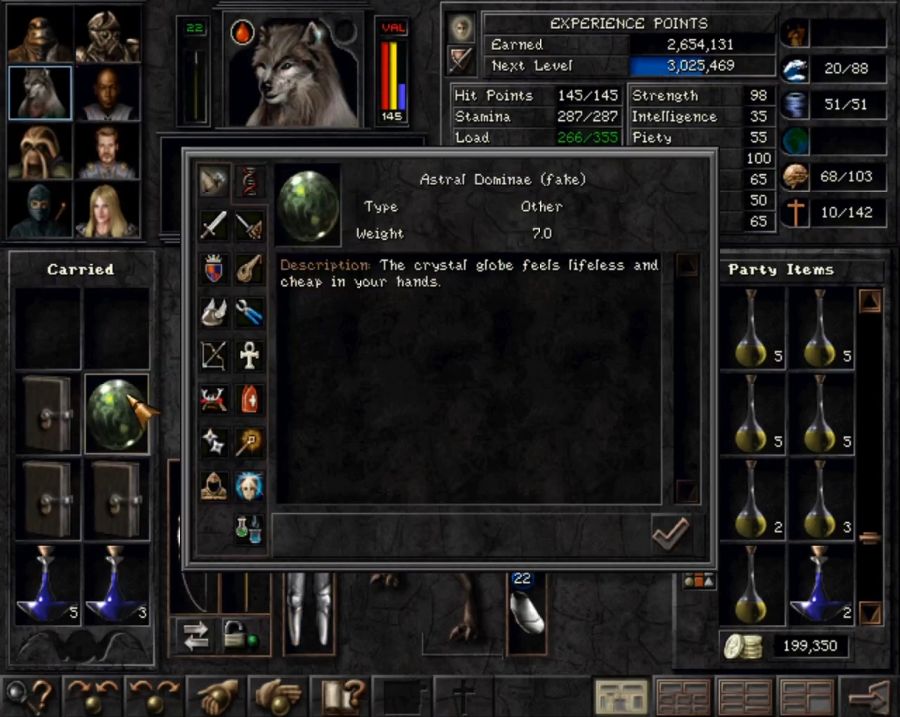 Surely they'd notice. SURELY. They'd notice me switching an artifact of epic cosmic power for a marble. 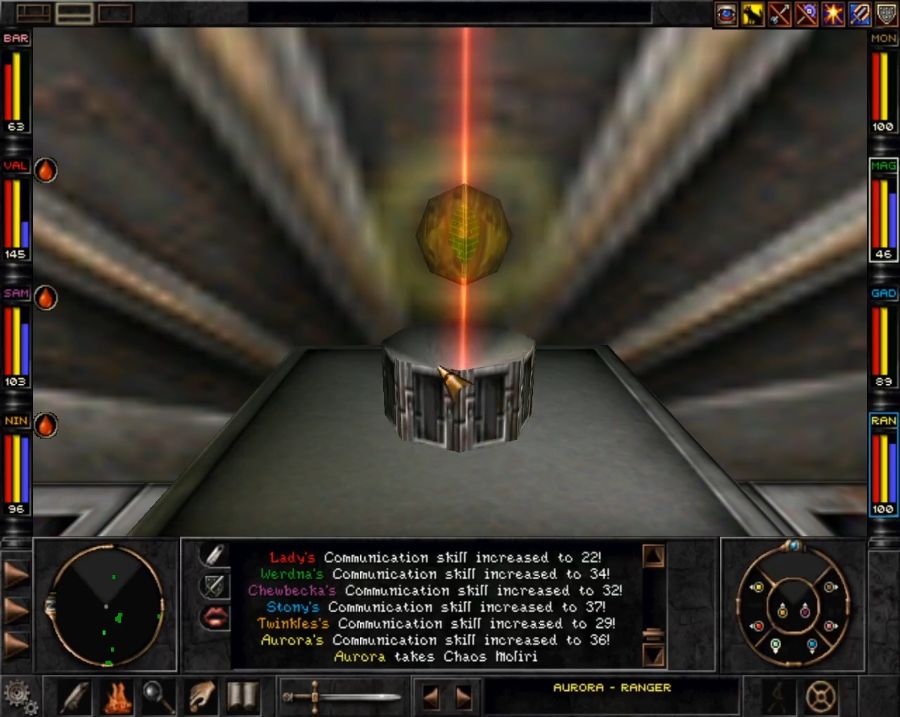 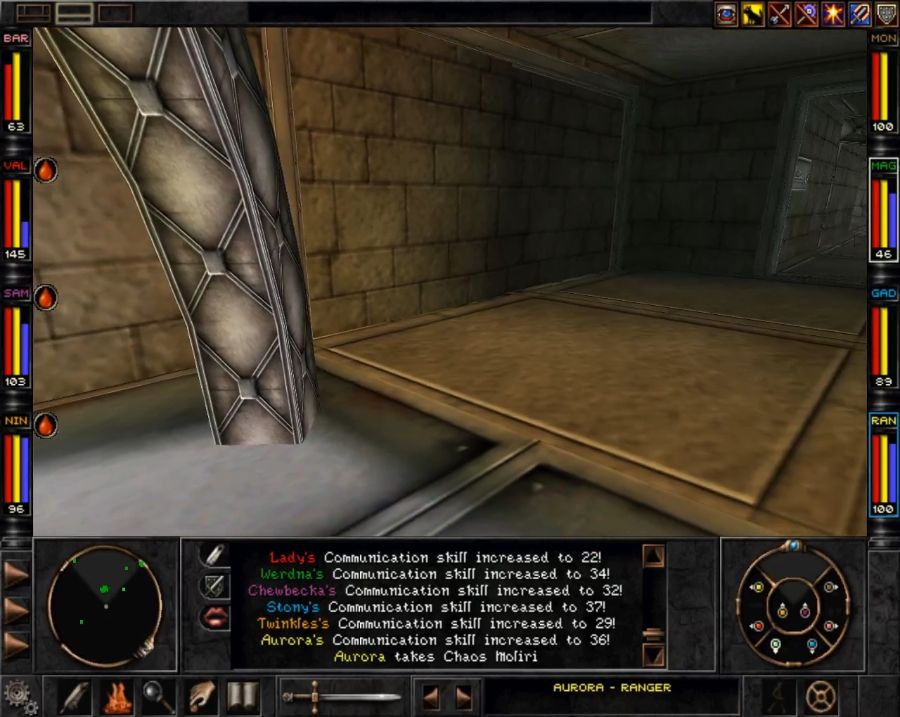 Time to woob woob woob the gently caress out of here before these idiot walking rugs actually decide to check our packs. 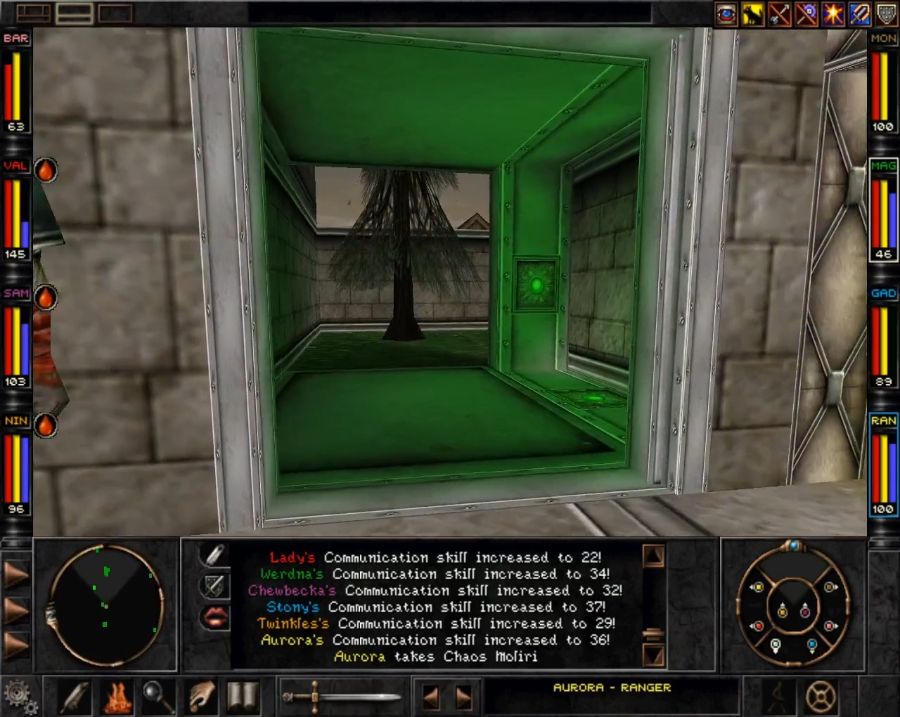 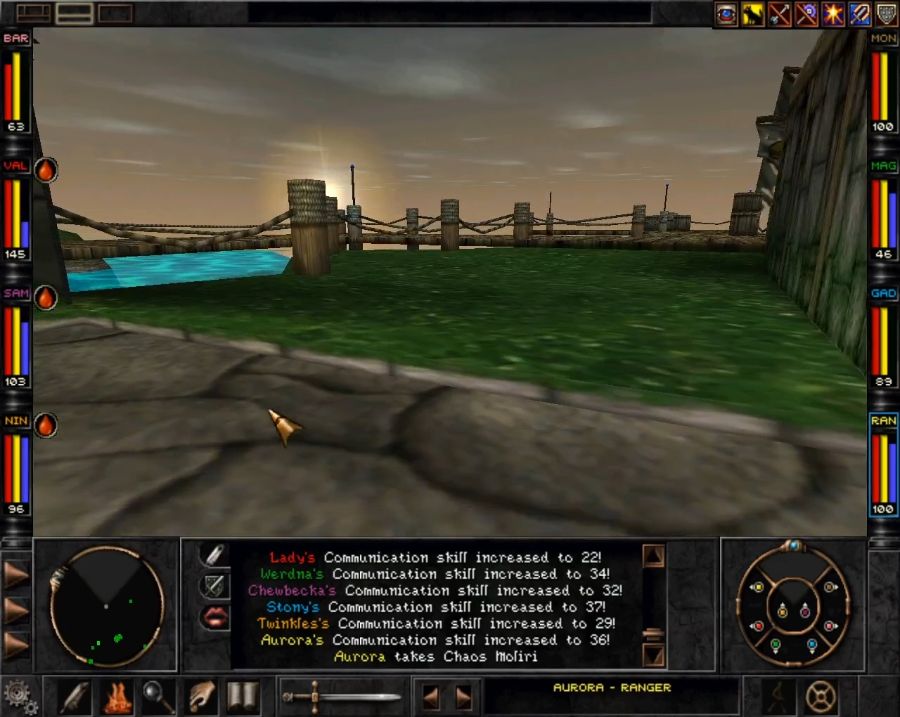 So, we're now 2/3rds of the way towards being able to ascend! With the small issue that if we try to do so, the Savant will blow up the planet, which would somewhat complicate matters for us. So if we consider that to be a fourth, secret, artifact we need to find, we're 2/4ths of the way there. Still, it's progress! Next Destination Let's head to Mt. Gigas and see what exciting quests the Umpani have for us. This will give us access to the interior of Mt. Gigas. Head back to Marten's Bluff, show Z'ant our new toy and get another quest from him. This will take us to Bayjin along the way. Explore some place new. There's still the Rapax Rift to poke around in and get horribly mangled along the way. Class Changing Unfortunately most of the party members would need a lot of fresh gear if they got class changed, with no real practical gains, but there's one that could get a relatively effortless swap... Should Werdna become a Bishop?
|
|
#
¿
Aug 28, 2020 17:19
|
|
|
https://steamcommunity.com/app/245450/discussions/0/2139714324759466927/ Well, assuming this guy's data is right, Power Cast percentage is a MASSIVE modifier, while caster level is the (potentially) biggest modifier (as soon as you're level 14 or above it's almost by default the most important one) and the level the spell is cast at is the second-biggest. Of course then the question is whether dual-classed characters use their total level to calculate caster level, their total caster levels, or the level of their currently active class.
|
|
#
¿
Aug 28, 2020 20:33
|
|
|
Part 009: Mt. Gigas In-Depth  And we're back on the scene, here to clear up some Umpani quests.   A quick portal back to Lower Marten's Bluff to use the T'rang teleporter makes it a quick trip. I really cannot imagine playing the game without having a portal set there, to be honest, it would add a hell of a lot of extra wading around. But before I hit up Mt. Gigas, I decide to get the Northern Wilderness retro dungeon out of the way.  At least the activation rock has a faint purplish glow once you've tagged all the necessary runes, which wasn't easy. Even with a map, some of them are hidden behind 2D sprite bushes and other similar cruel tricks. 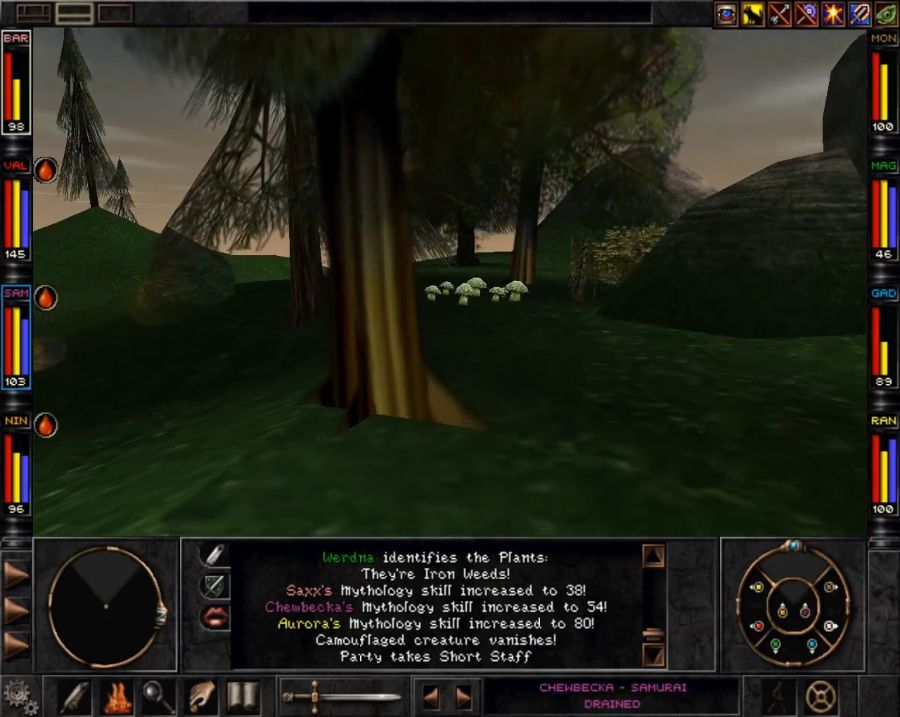  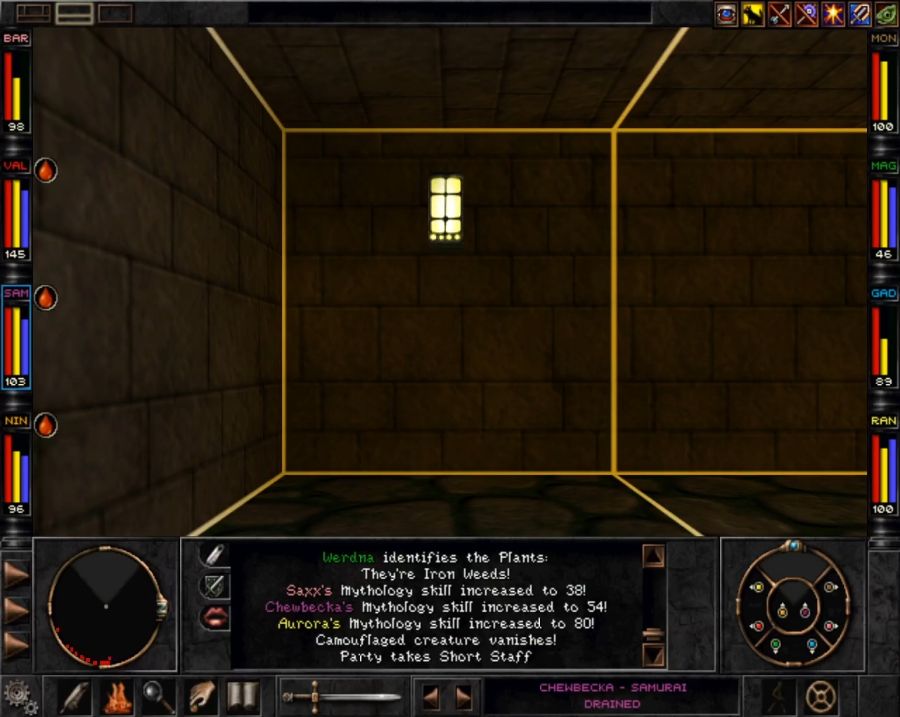 Much like the Cemetary dungeon, this one is rather mazelike.  To the point where I actually end up being lost in it near the end and having trouble finding my way out. This is compounded by, unlike the other two, not really having a "boss" monster guarding a way out, so you never have any real sense of whether you've cleared the place or not. It does contain a few interesting things, though. 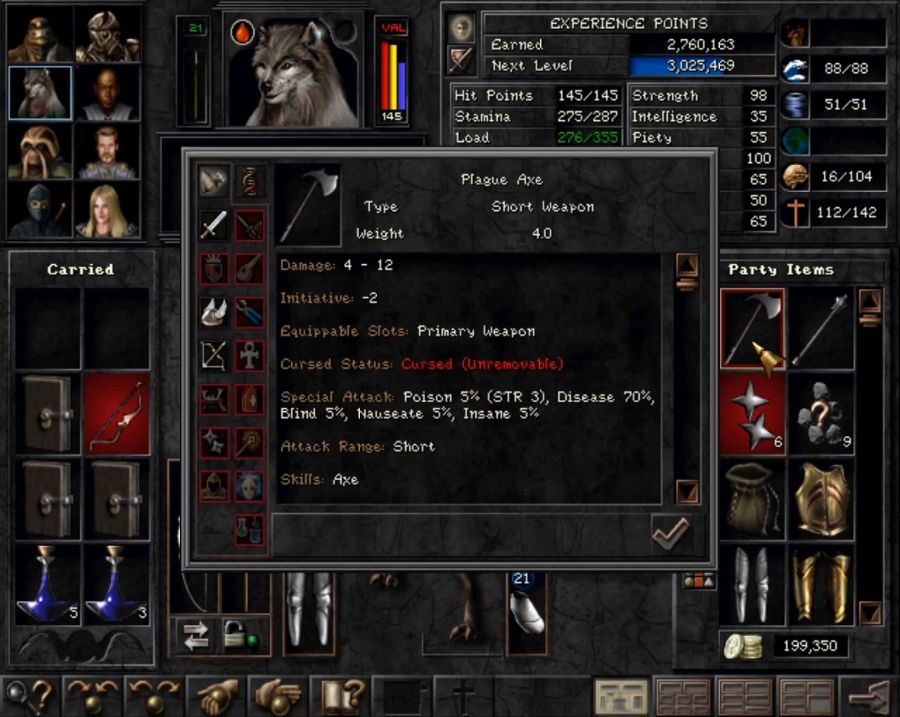 In a dark corner I find the Plague Axe which is, I think, the only way in the game to inflict Disease on monsters. As far as I'm aware it has no real immediate in-combat impact but drains stats over time, so I guess maybe you could tag a nasty monster with it, retreat/portal out of the fight and hang around somewhere while their stats melt to zero? Or you could just be a badass and kill the monster in one go instead. Also, while the Northern Wilderness Retro Dungeon has no pre-set boss monsters, it does have some unique monsters that spawn nowhere else. For instance... 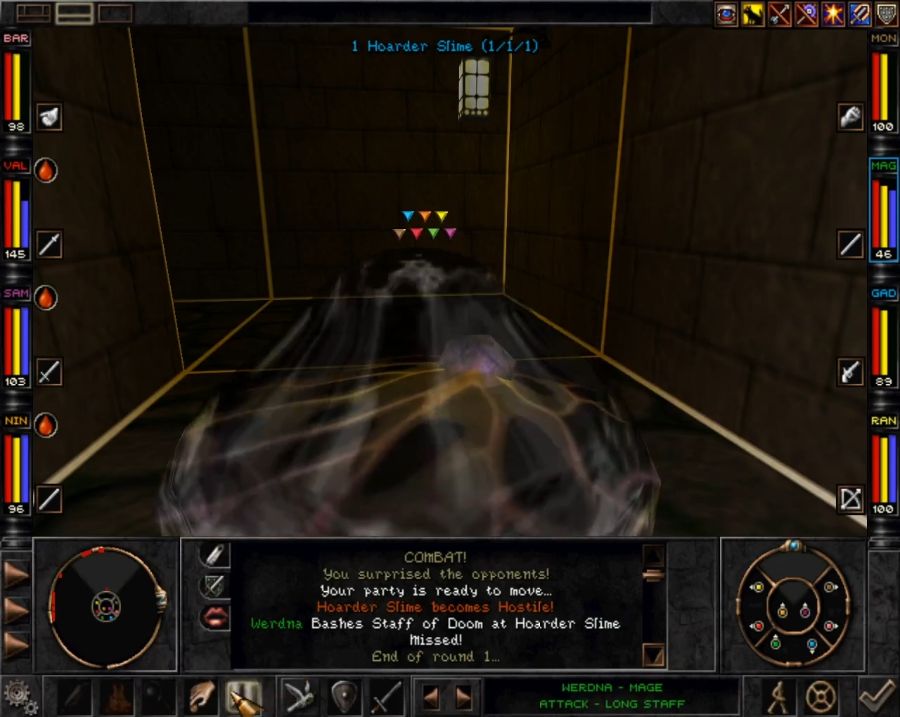 Hoarder Slimes! They're not exactly difficult to beat down, even if they're big blobs of HP, but more importantly they have a unique drop list featuring a bunch of, quite powerful and useful, items that drop nowhere else in the game. I may come back here eventually and grind them for a bit just to show some off. 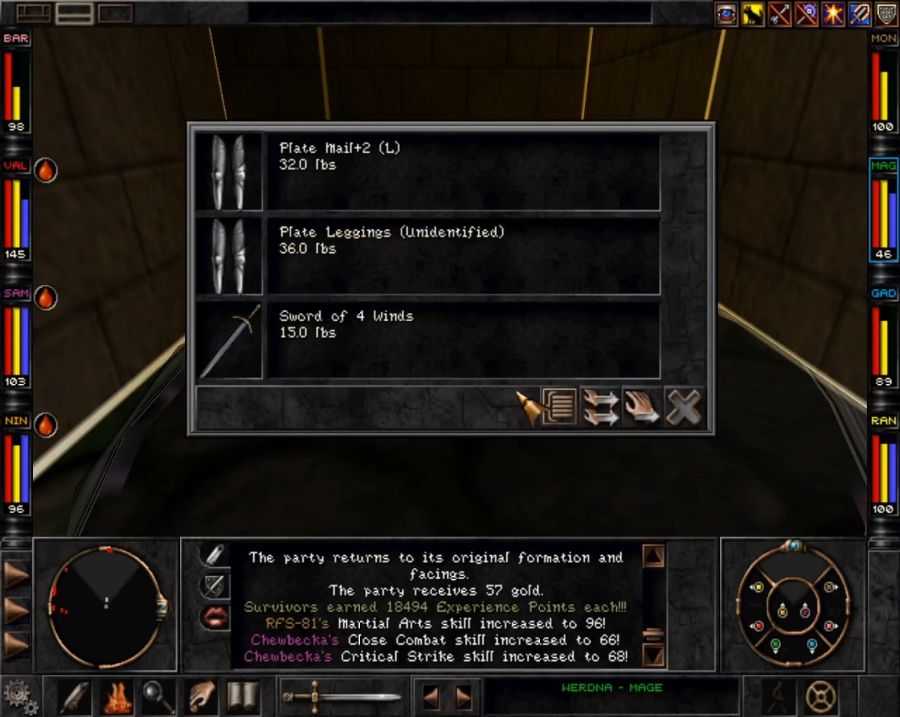 In my case I get the poor end of the drop list. Only Lady in the party can use the armor, and she already has some of the best leg armor in the game from the crypt in the South East Wilderness.  The Sword of 4 Winds is a nice enough two-handed weapon, I suppose. But once again, it's one we've already surpassed. 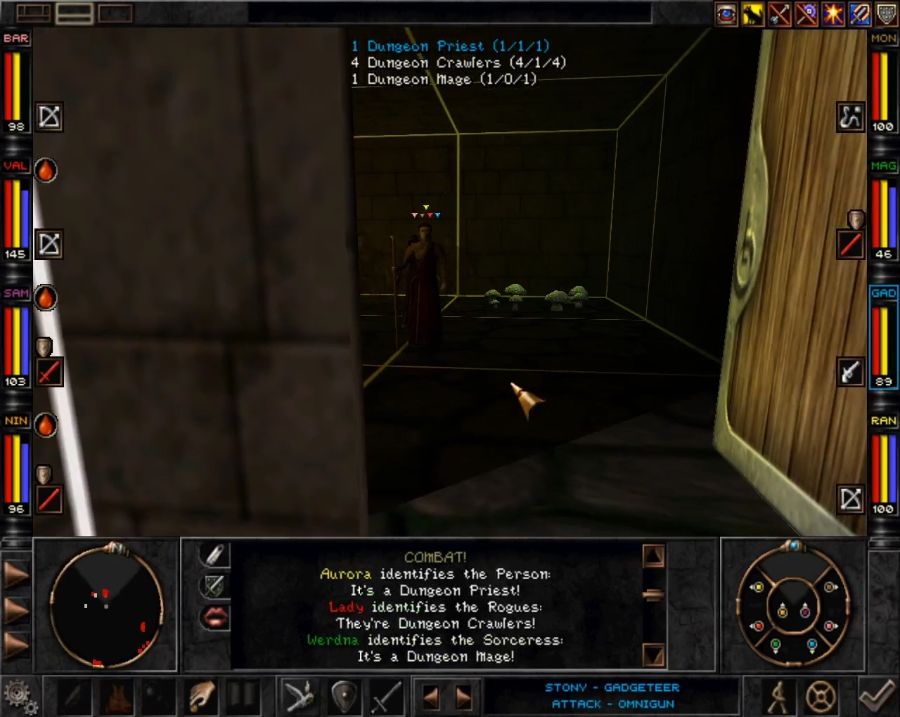 There are also these human "adventuring parties" that can get pretty nasty since they're A) split into 3 groups, making Group-target spells less effective, B) have a dedicated buffer and C) have a meat wall for their mages. They're a lot scarier than "pure" enemy groups, for instance. Of course since we got here late-ish we outpower them considerably. 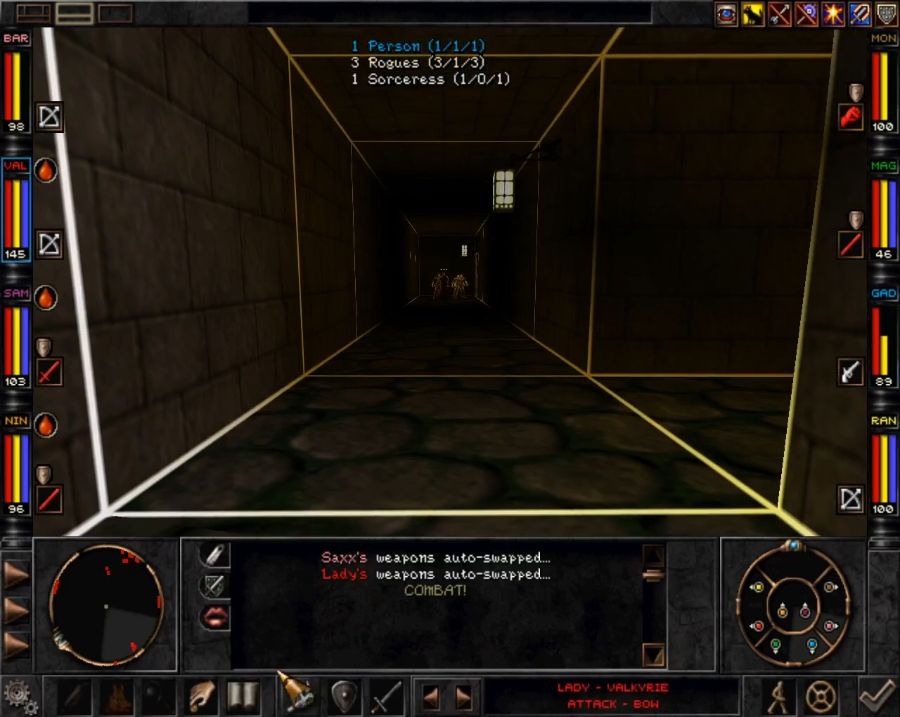 I do have a fun little bug happen with this group, though. 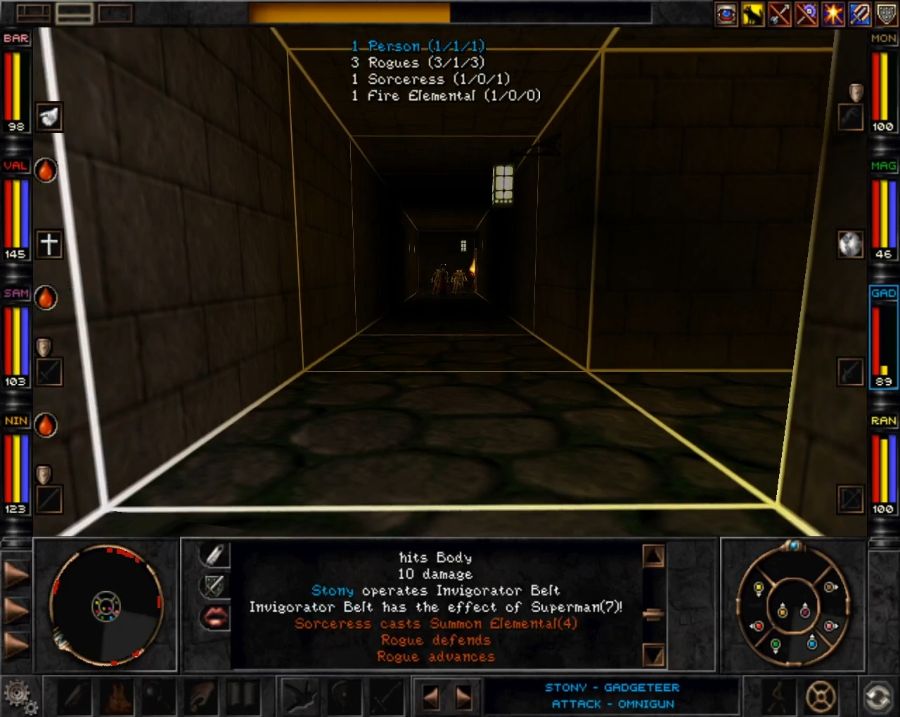 They summon up an elemental and I think it just got placed around a corner and that's why it can't path past the front liners to get to me. But as I get closer... 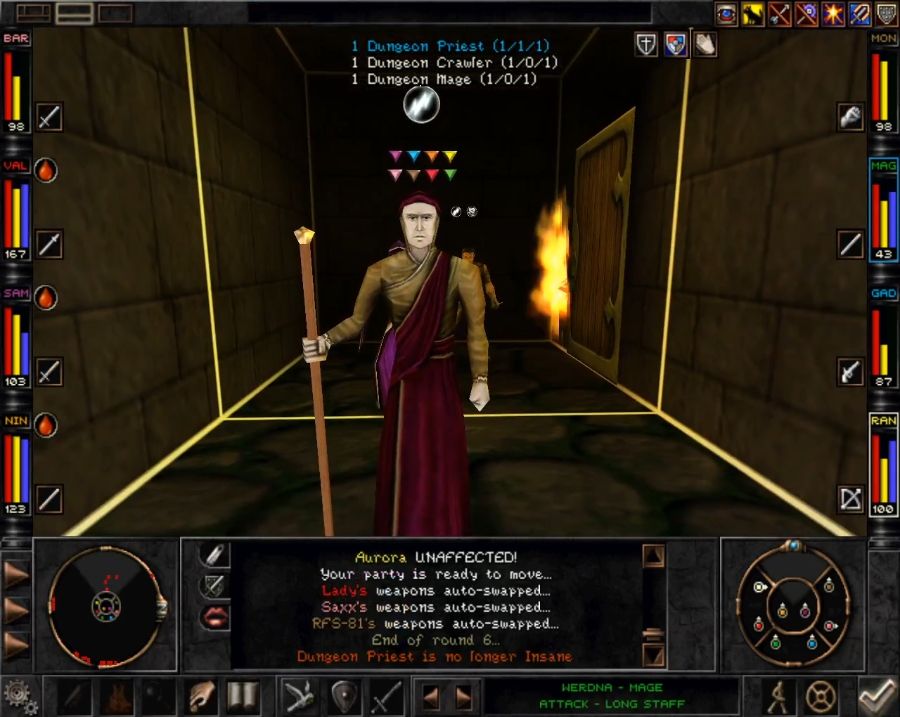 They managed to summon it behind a door! 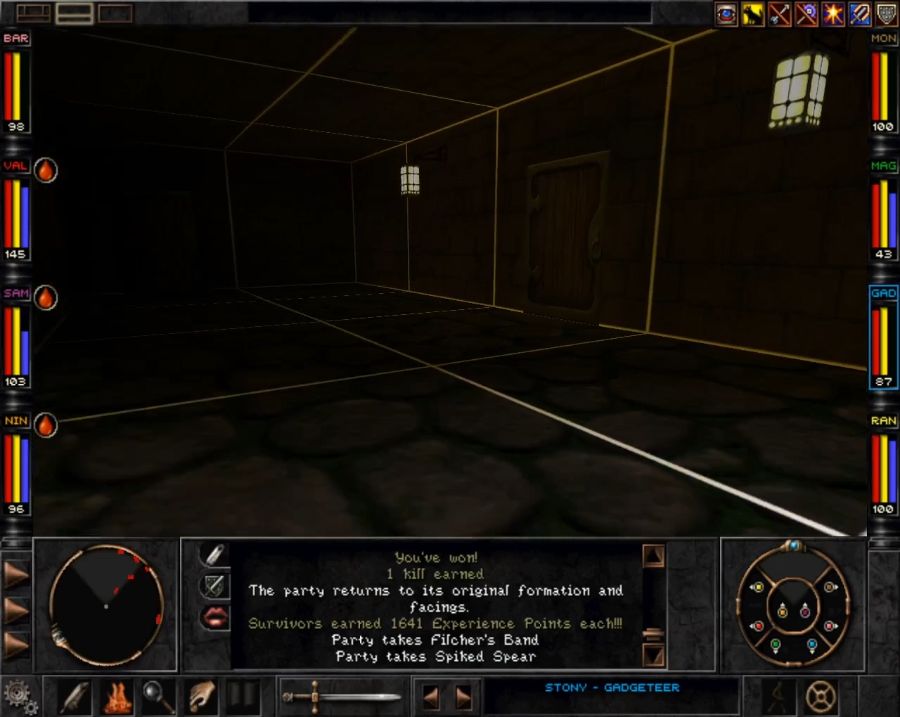 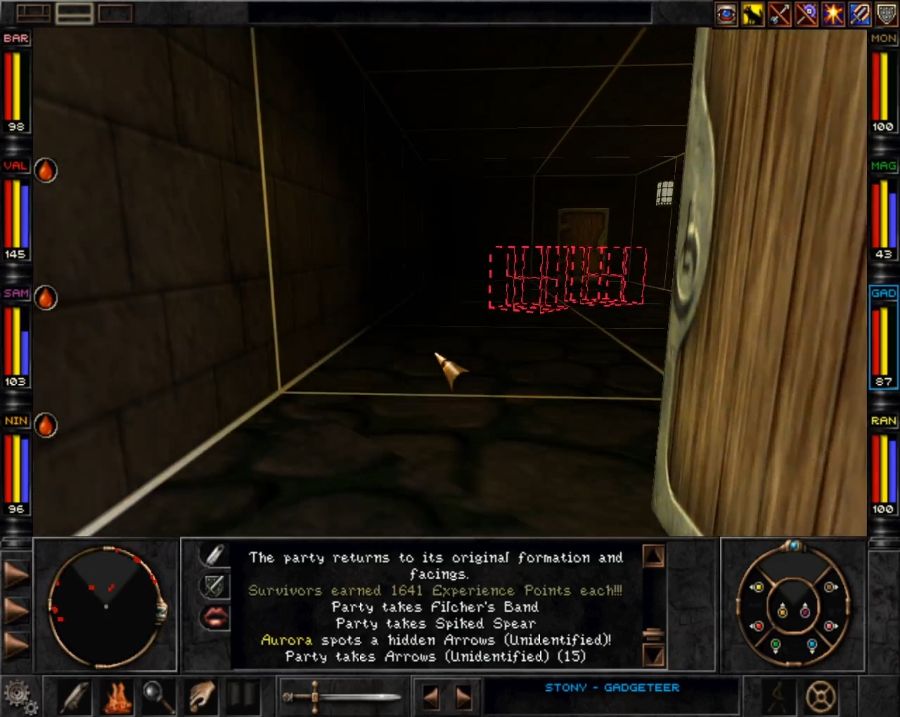 https://www.youtube.com/watch?v=VJzzC00sSw8 As for this one I don't even have any comments. I'm sad that they don't have any special cube-related drops. But they still make me smile.  Anyway, back to the real world. 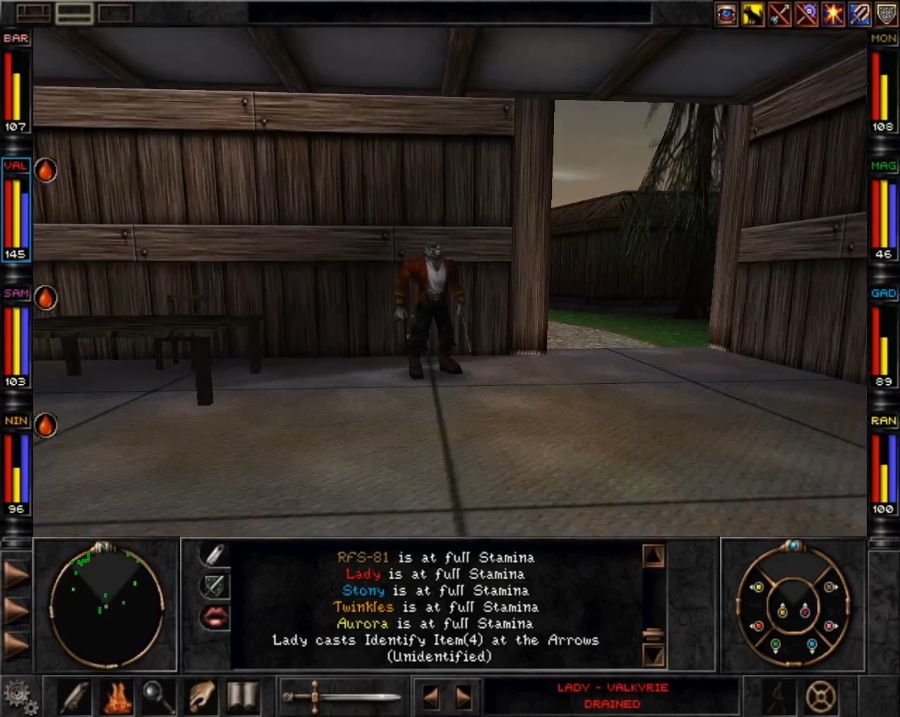 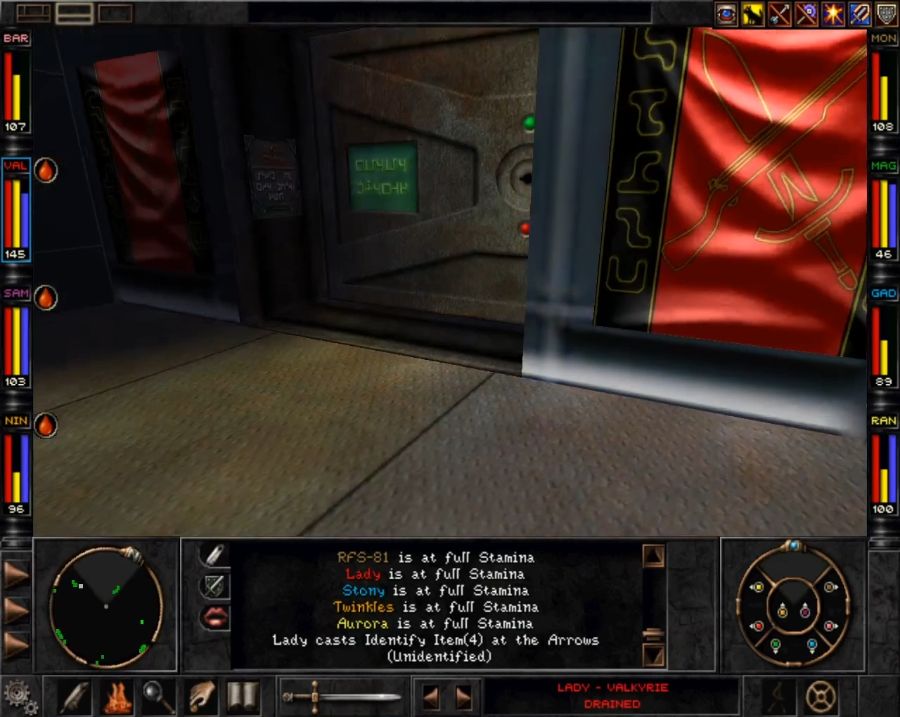 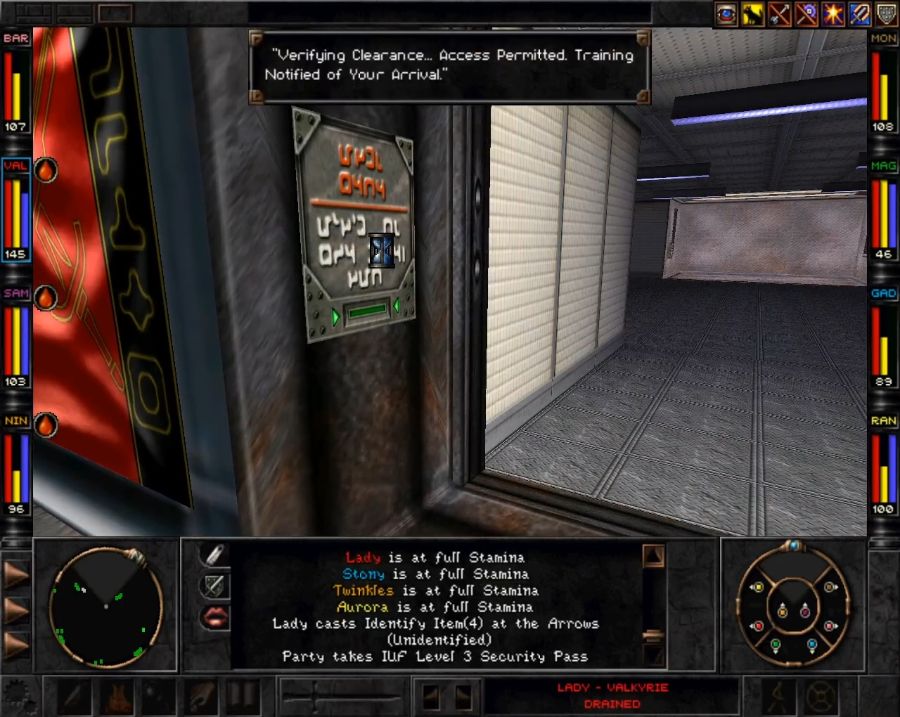 Access level 3 gives us permission to poke our heads into the interior of Mt. Gigas, there are two other ways to get there, but really only one of them is useful. You can also get here via Bayjin, but then you get stuck in a dead end, or if you follow the T'rang questline to its end, Sgt. Kunar will give you a forged full-access pass. You also get said pass if you just murder Sgt. Kunar, of course. 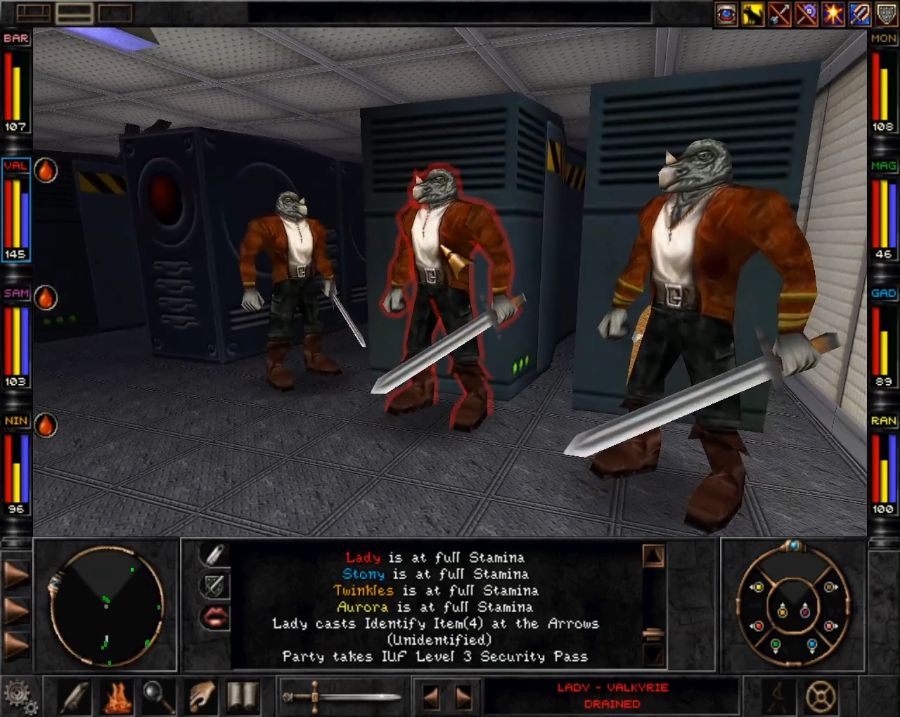 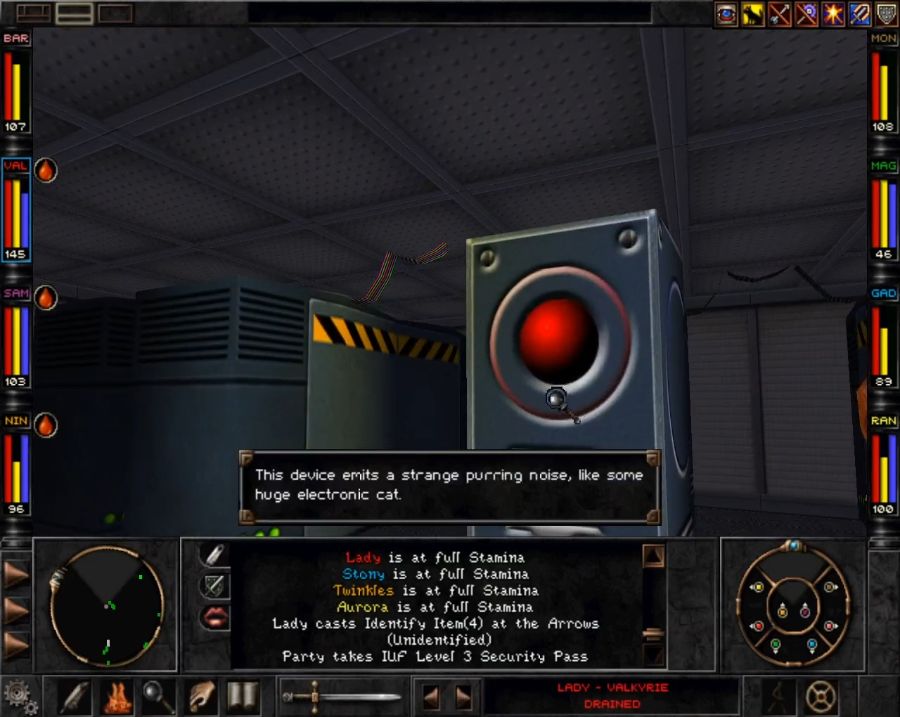 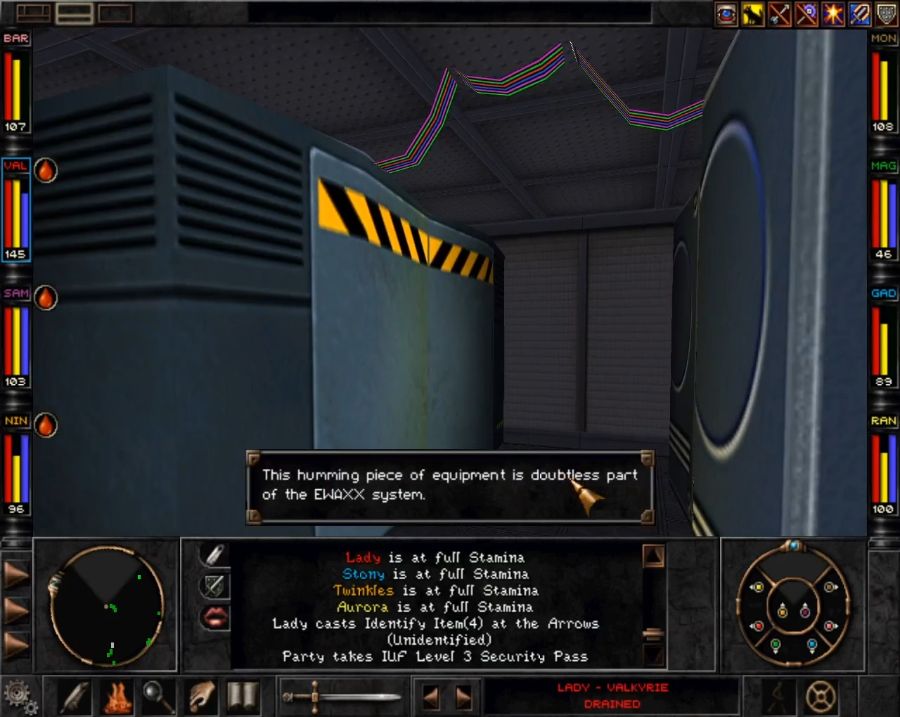 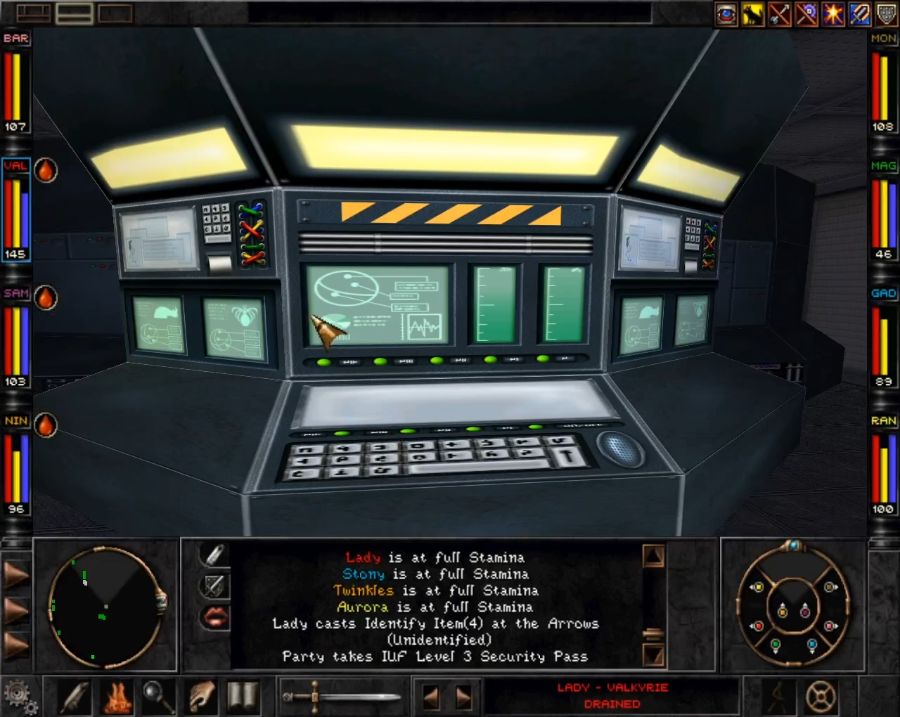 Once we get full access to Mt. Gigas, we'll be able to play with the EWAXX station, but it's a bit disappointing to be quite frank. 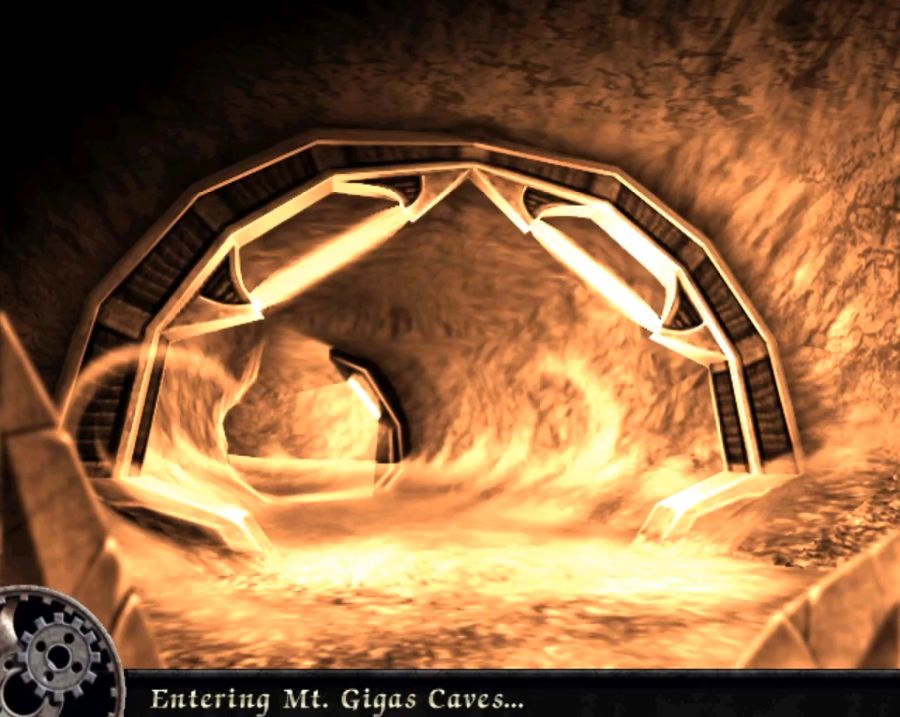 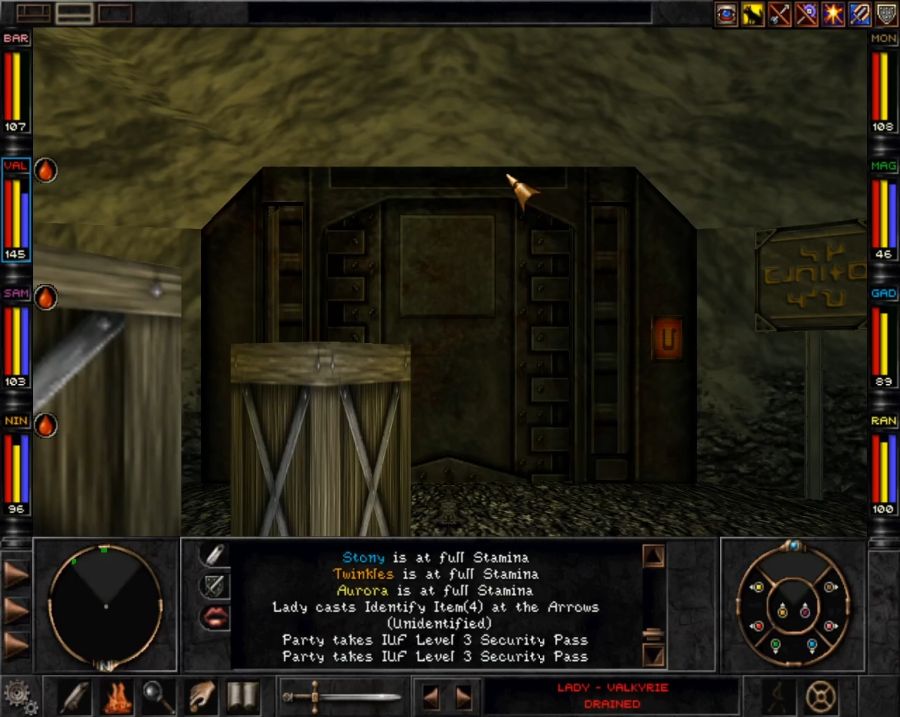 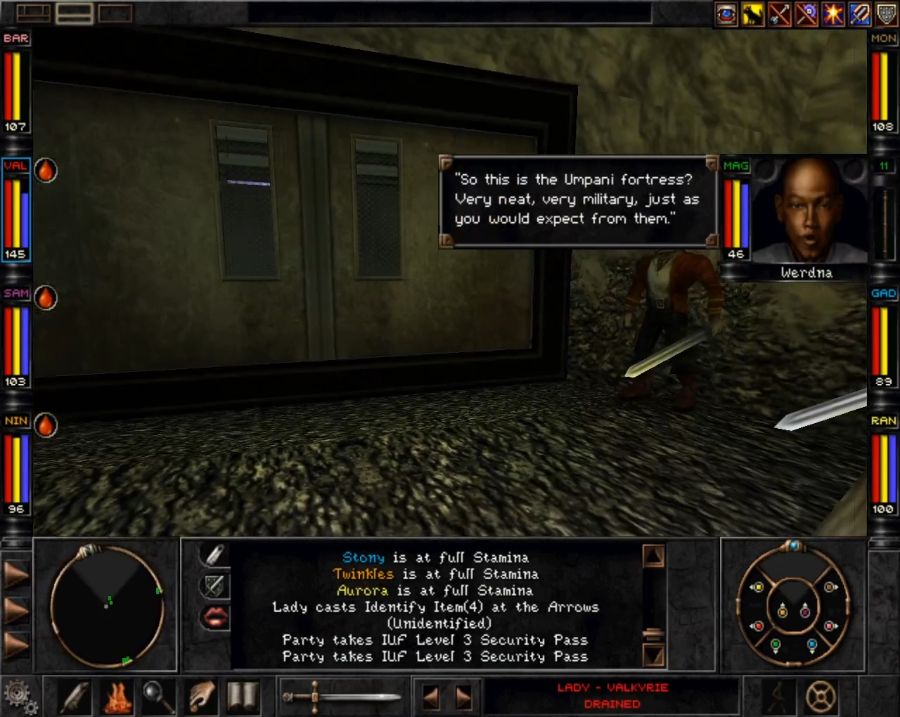 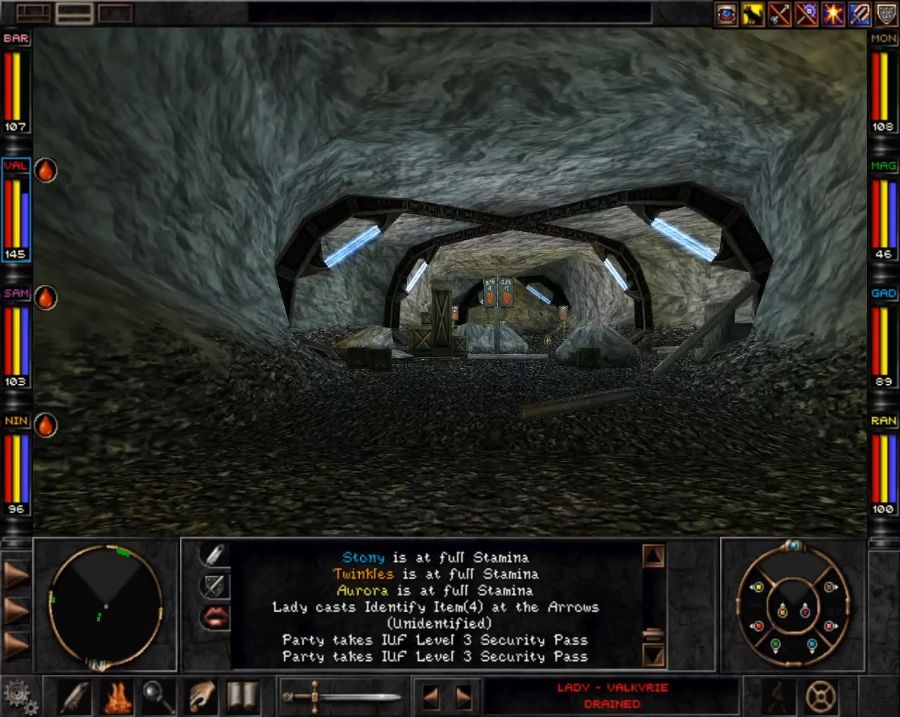 So while the T'rang have set themselves up in an abandoned and haunted fortress, the Umpani have set themselves up in a series of natural caves. They've hung up lights in most of the corridors, but it's still mostly a bunch of boxes dropped in the larger caves, connected by smaller, winding corridors. At least they've also clapped up a bunch of signage, though, to make it navigable. The signs direct us towards the various hubs, and Delta Hub is our target for getting deeper into the mountain. Of course, there are also a couple of non-hub locations, and we'll be hitting those up first because progress is for suckers. 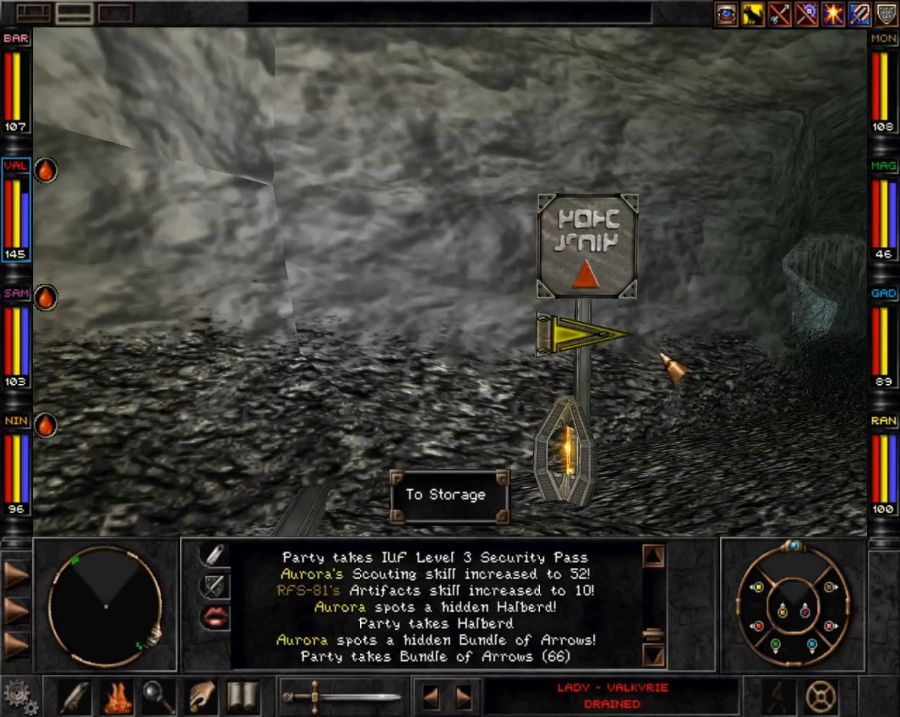 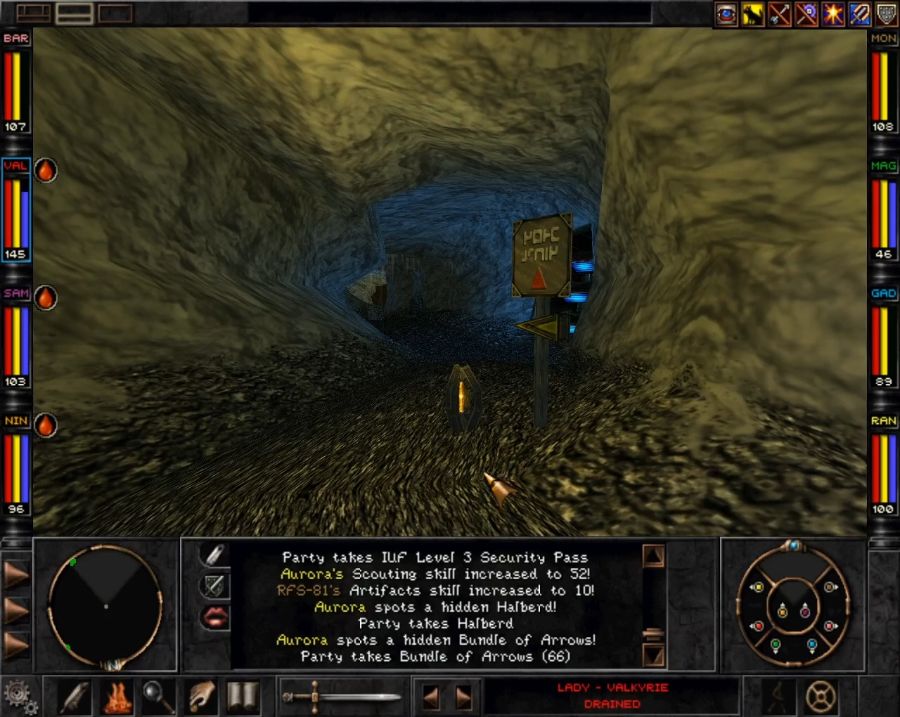 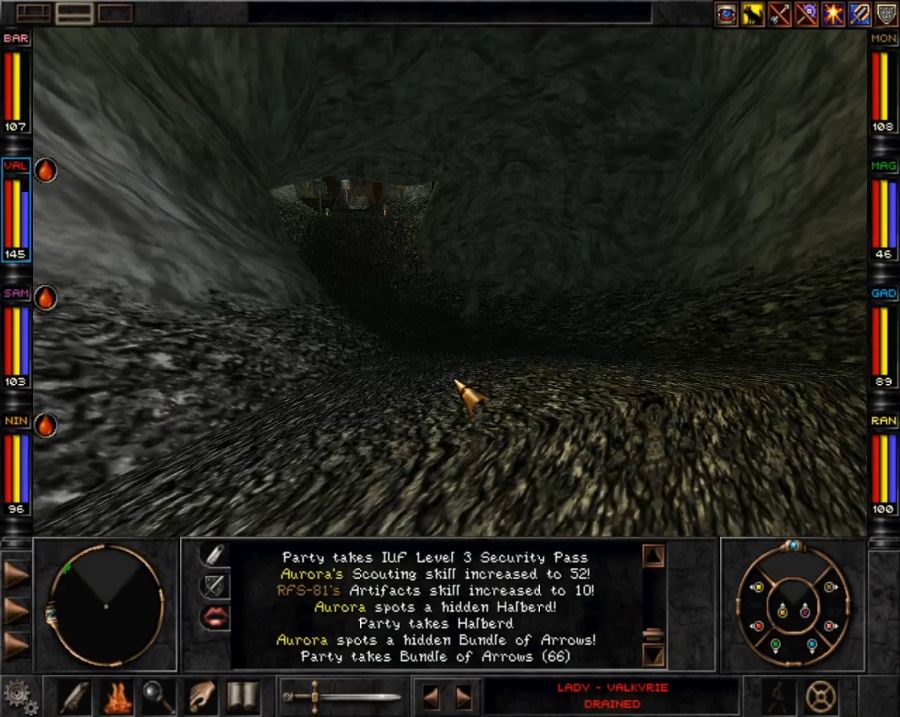 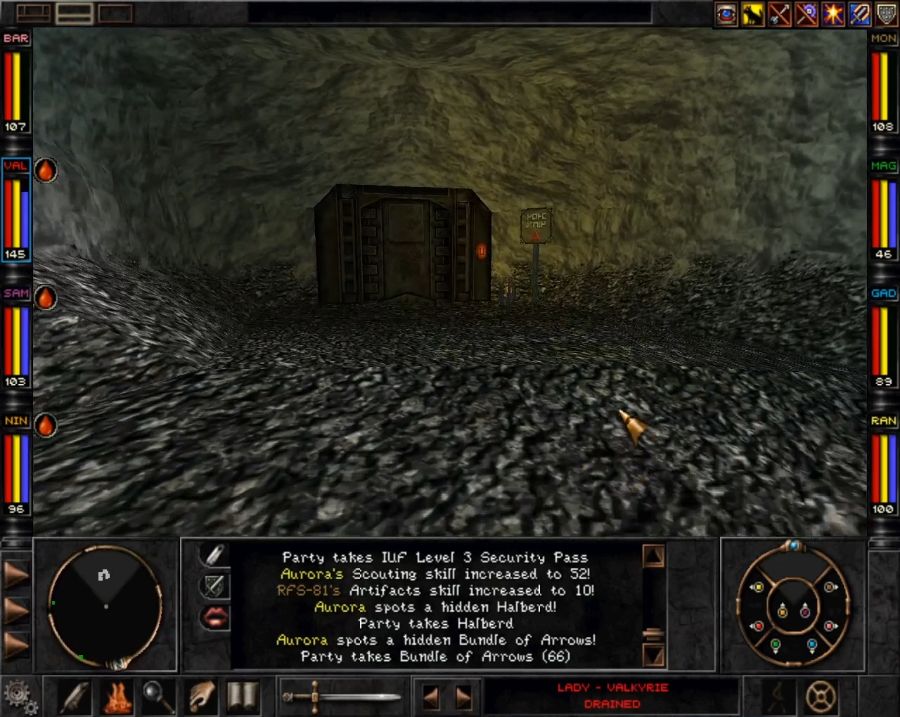 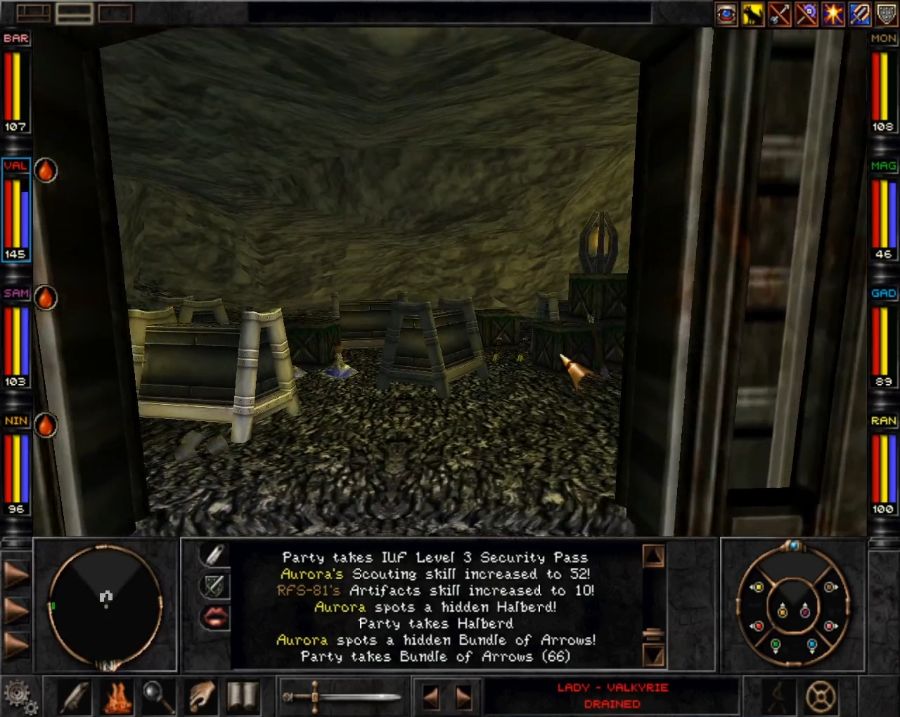 Probably most players will first be attracted by the Storage sign. It's sadly not very interesting, though, just some long-outdated Light Healing Potions and some generic arrows, quarrels and bolts. 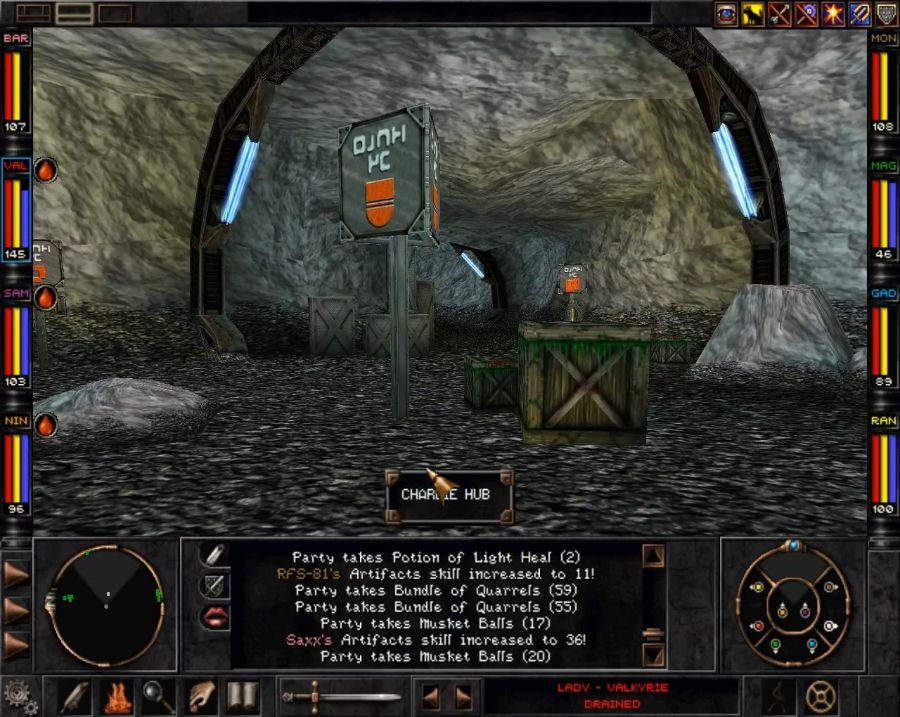 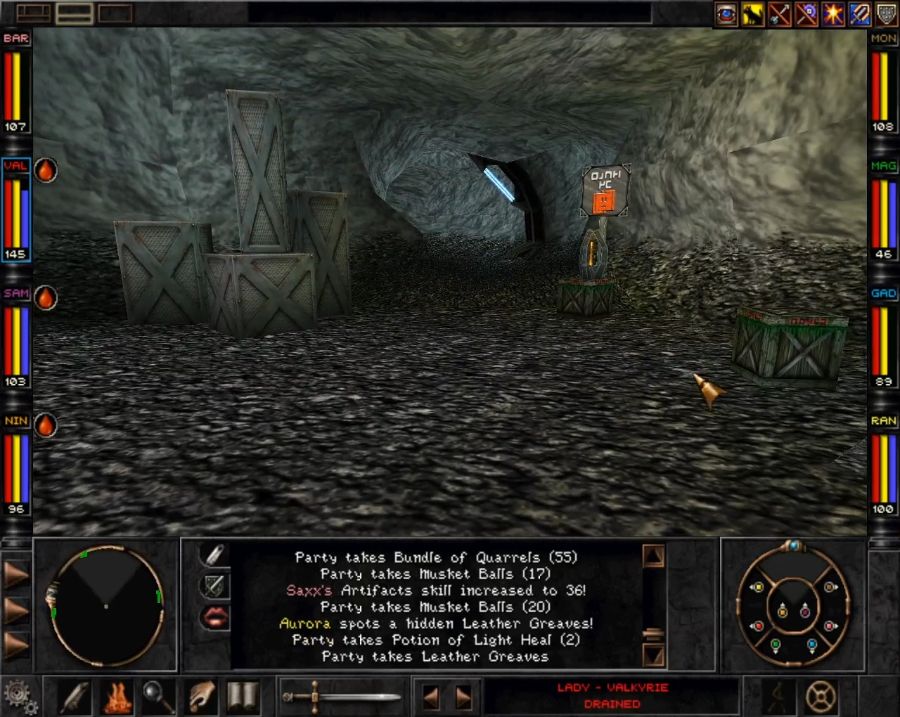  From Charlie Hub, this odd cube-like symbol directs us towards the Power Station.  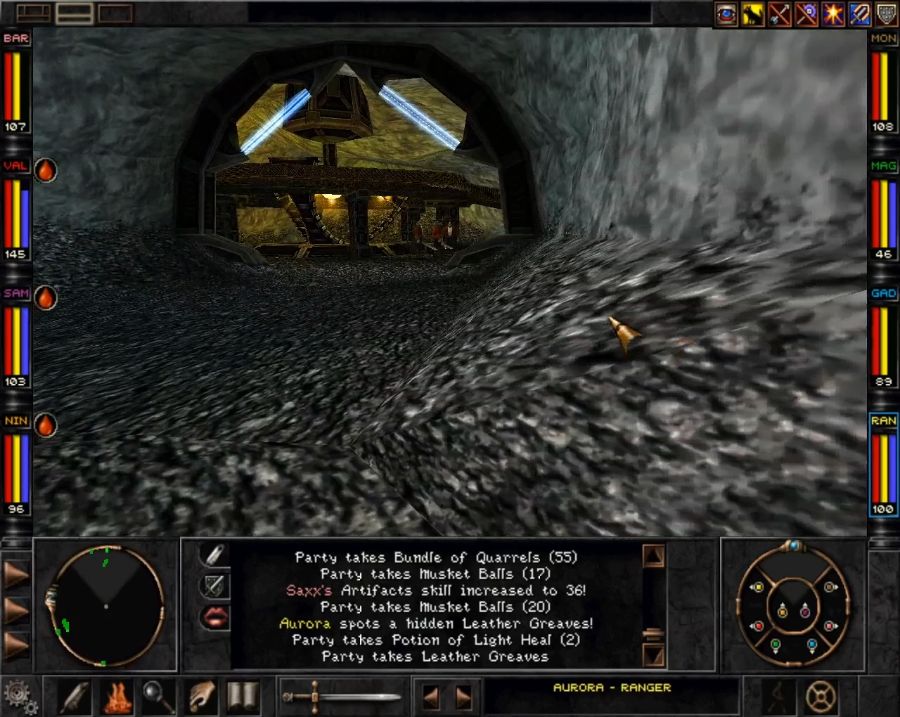 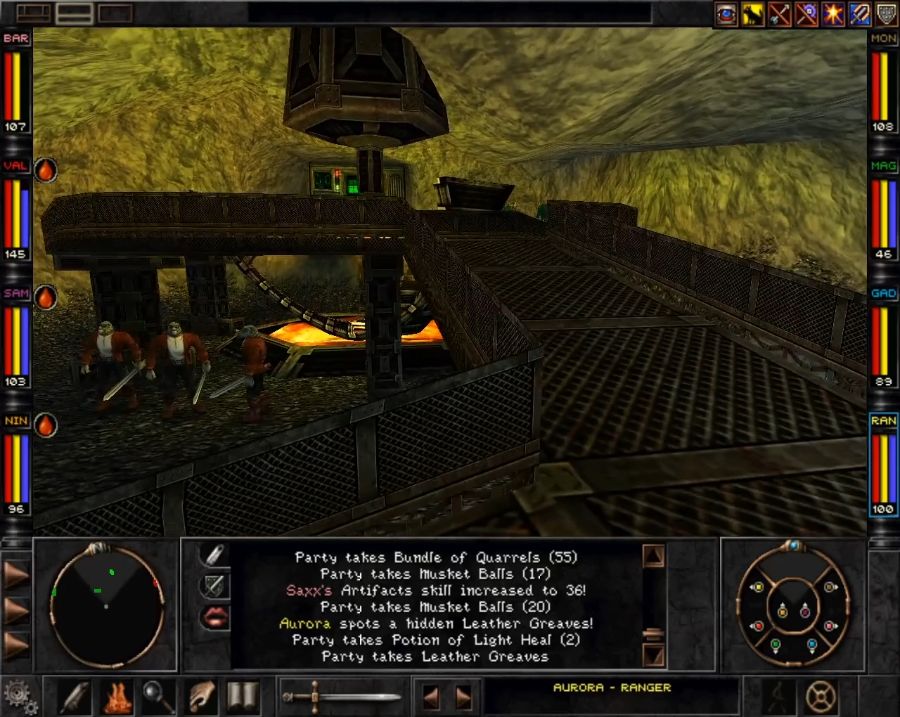 Unlike the T'rang, the Umpani don't care if you go clomping all around their power generator. You also can't do anything here, there isn't even a pile of bullet stones in the corner or anything. It's just a piece of decoration with some guards. 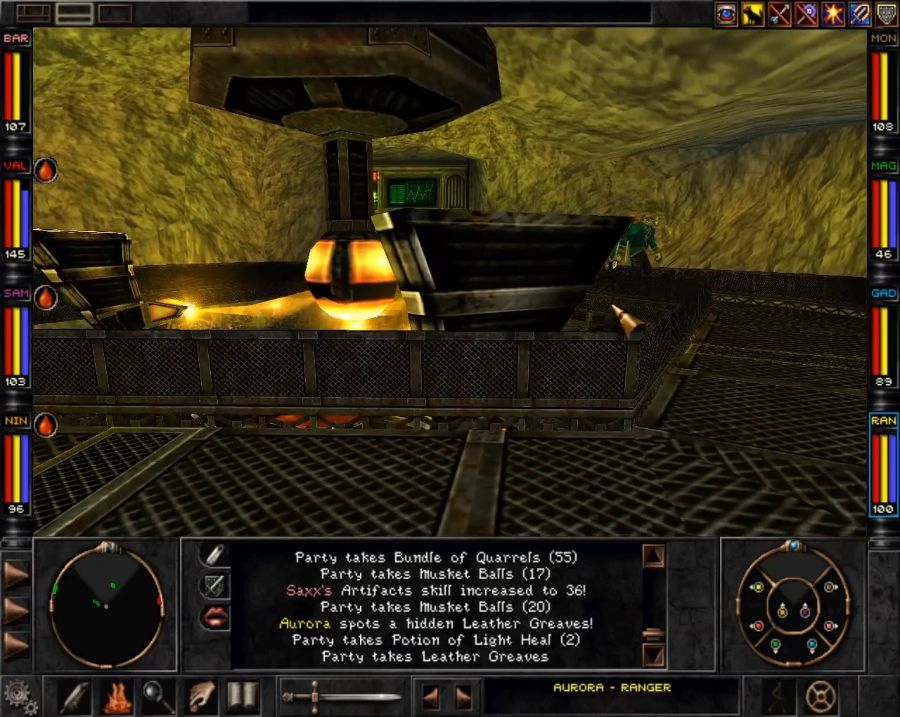 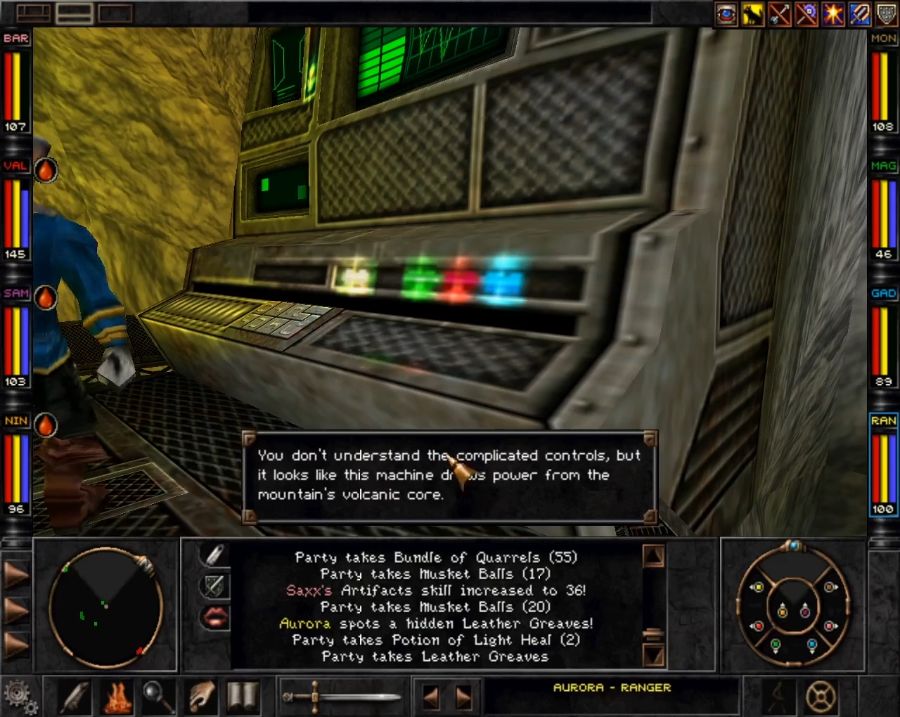 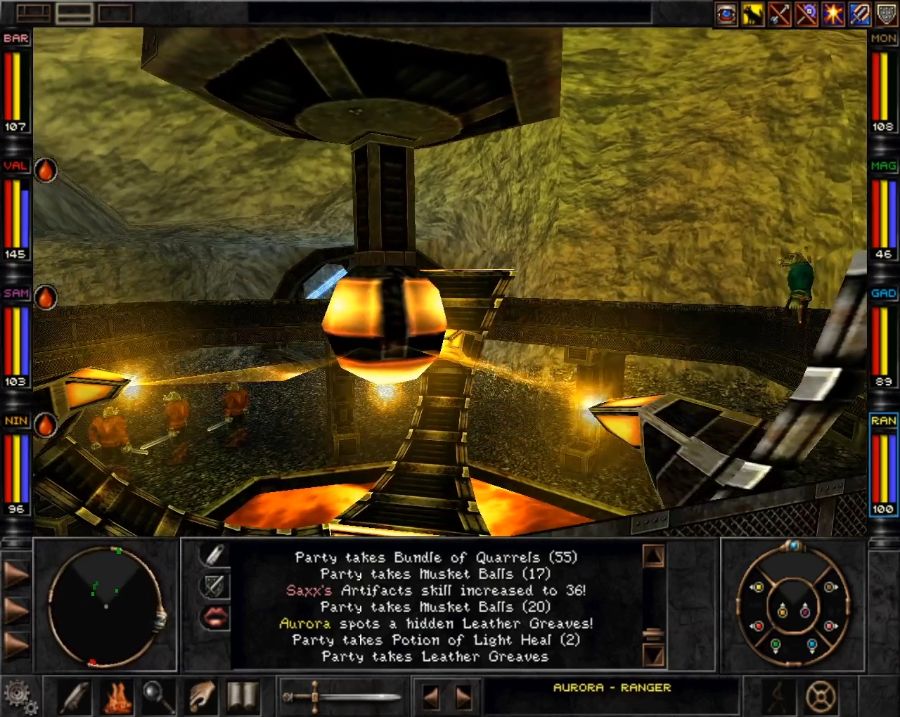 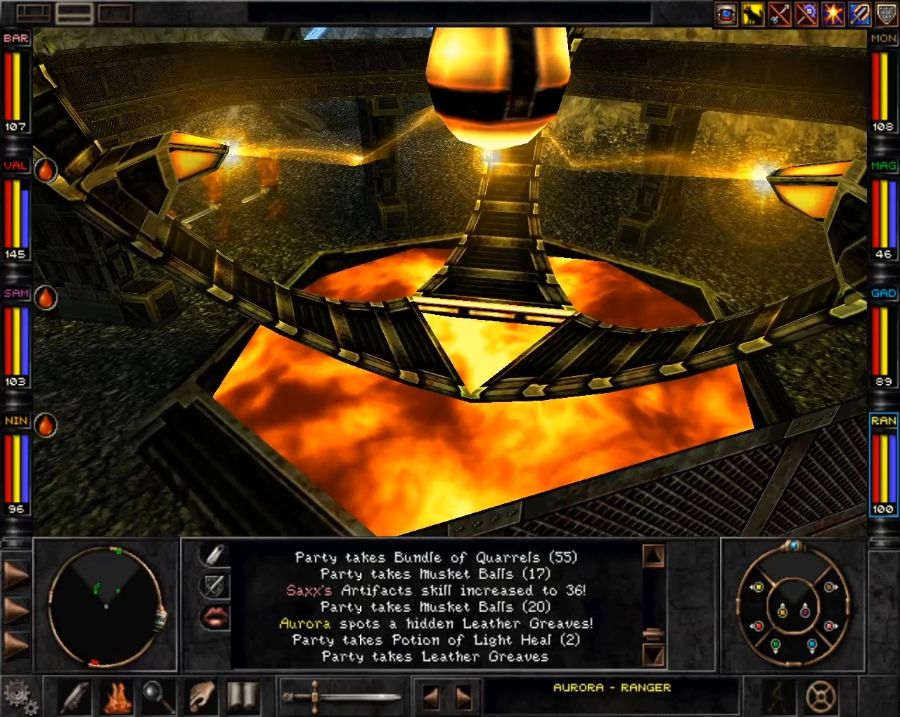 Does look neat, though.  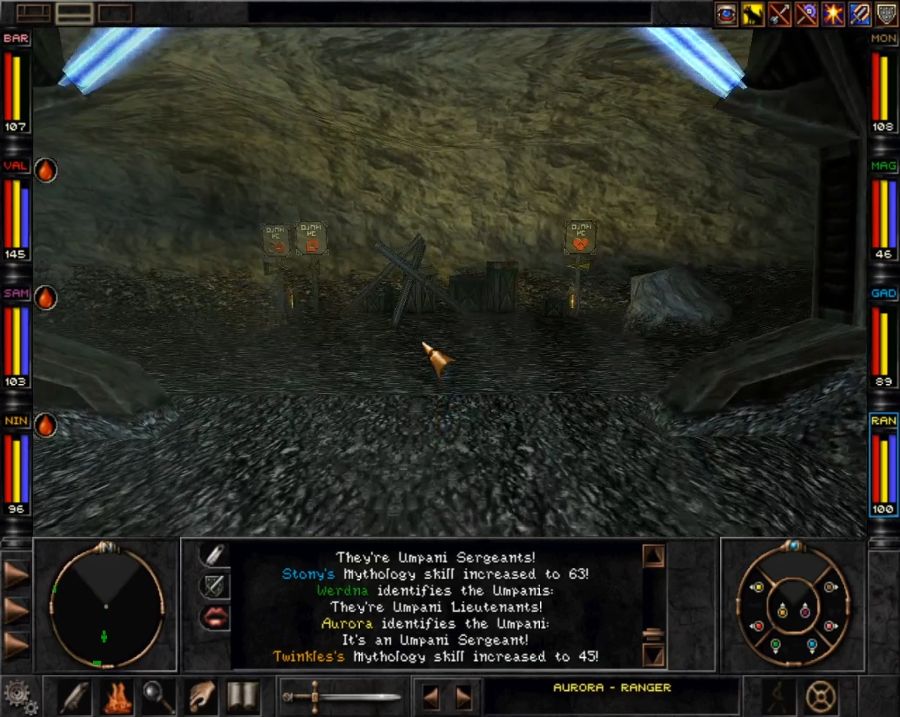 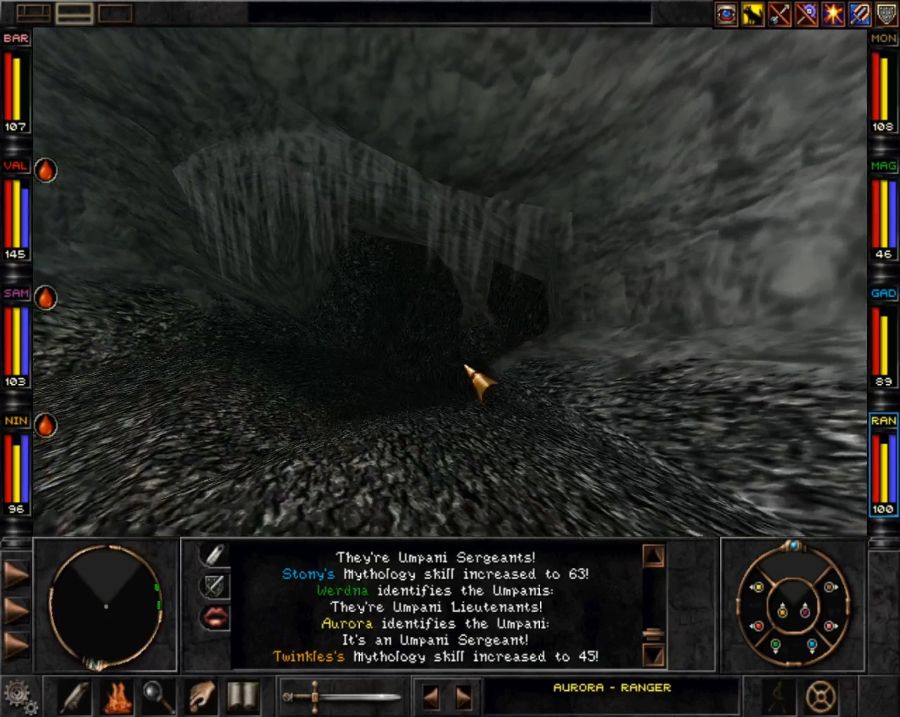 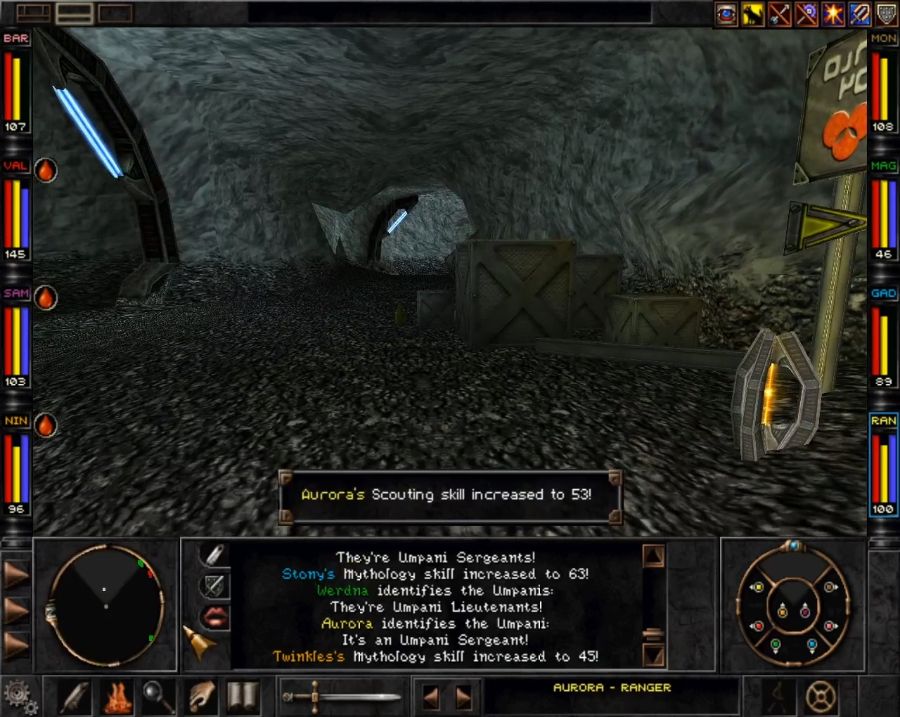 Third one is near Bravo Hub, and is unmarked. Just gotta walk down the corridors until you find a little appendix dead end... 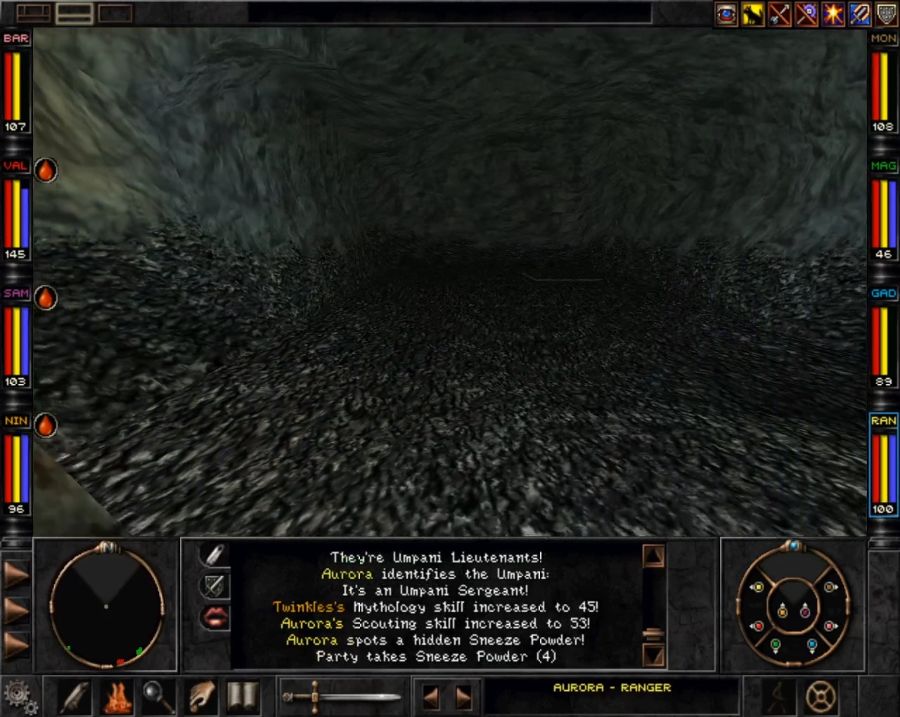 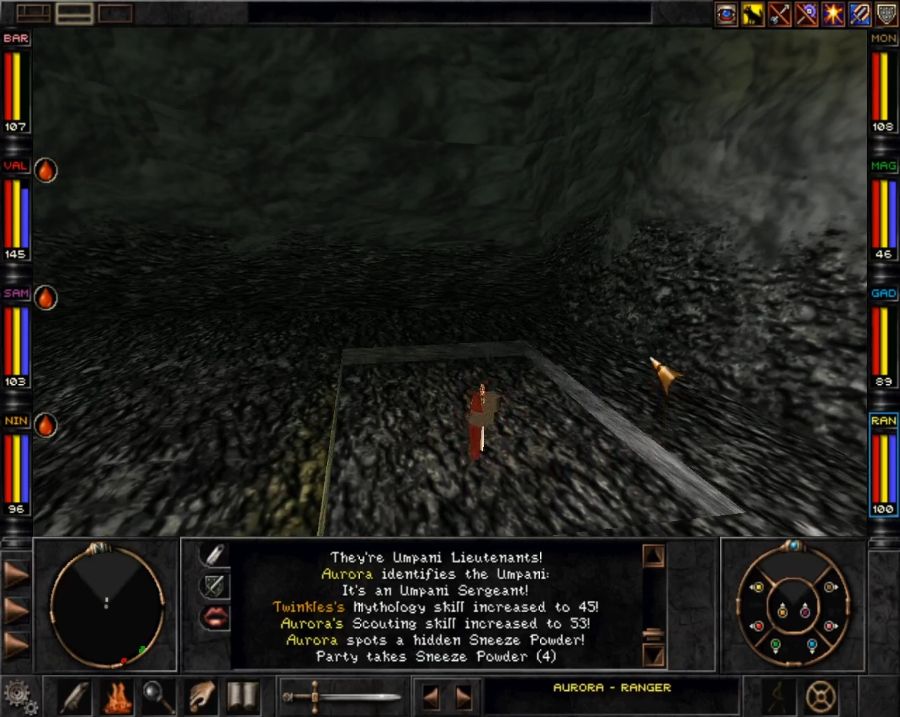 Featuring the only instance in the game of weighing down a pressure plate with a dropped item. 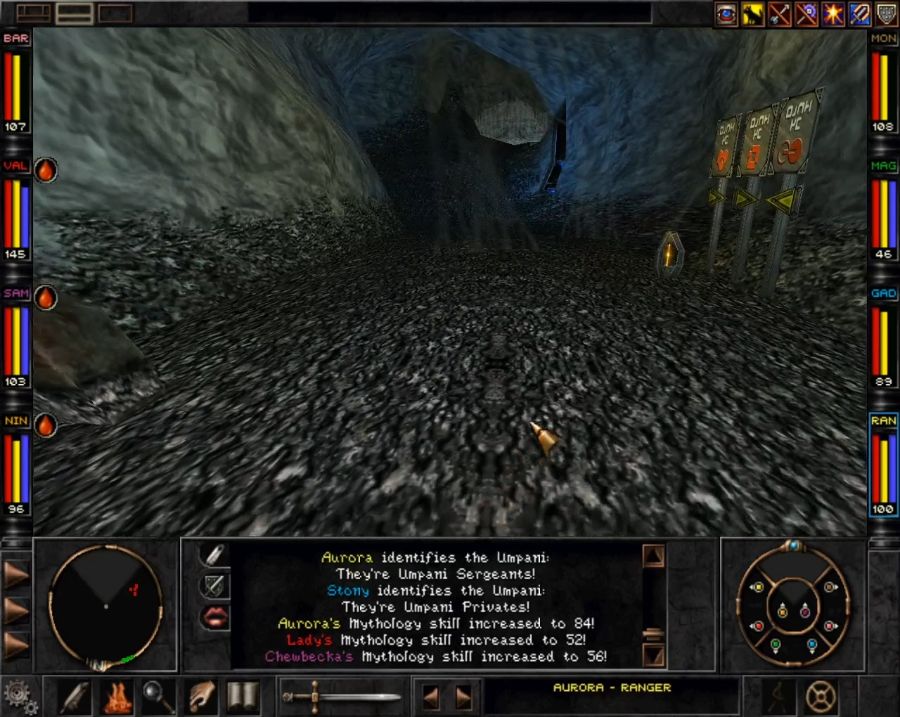 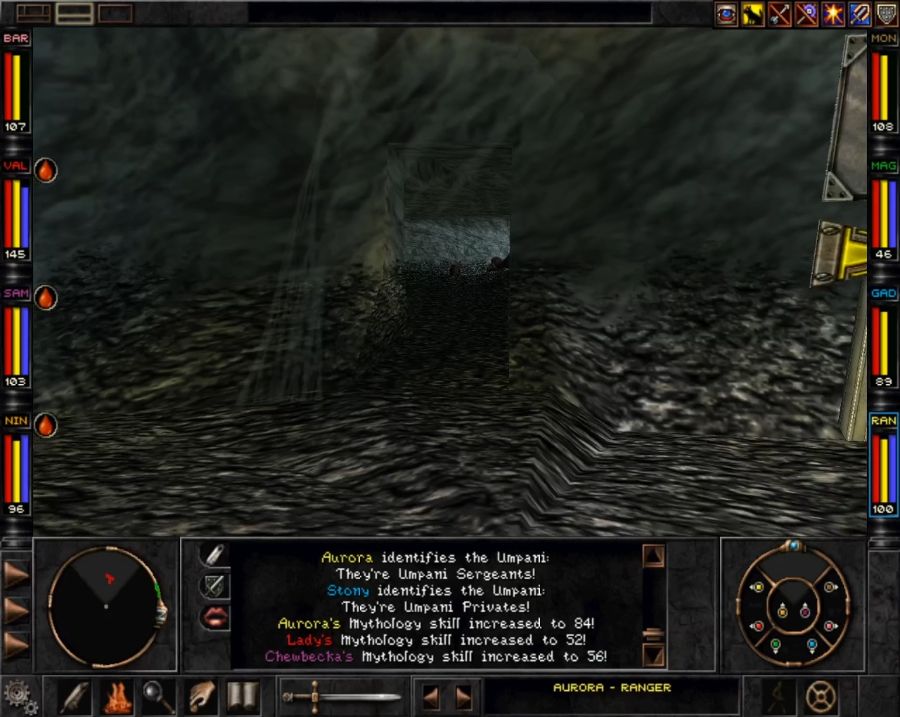 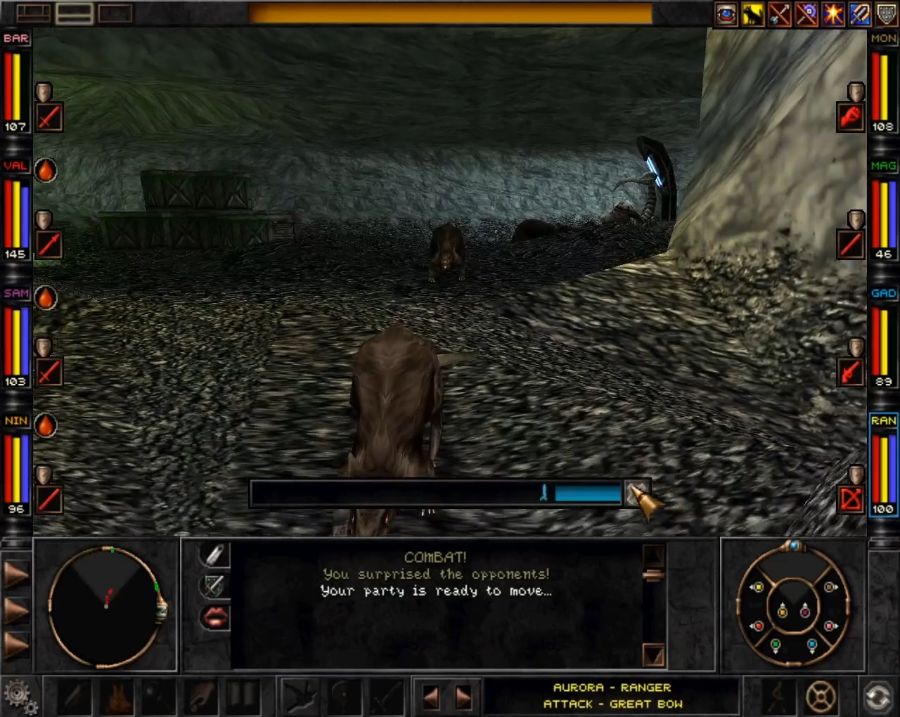 It opens up this secret door a bit further down the hall containing some rats and a chest with some randomized loot which rolls on some tables most likely to give you garbage.  In my case including a perfect copy of the Ring of the Road I paid Bela a bunch of gold for. Starting to feel mildly ripped off! 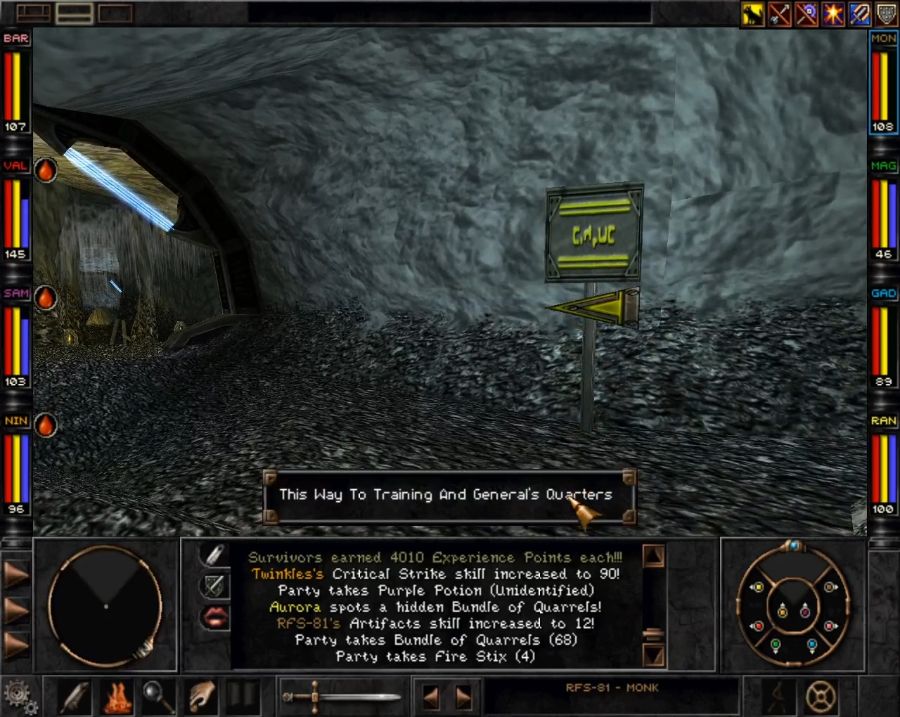  Lastly, at Delta Hub, there's this big cave where there's almost ALWAYS a random spawn of some bats or a morax or whatever. I think this is my only time, ever, playing this game, that there has not been a spawn here. Now, you make your way across the cave...  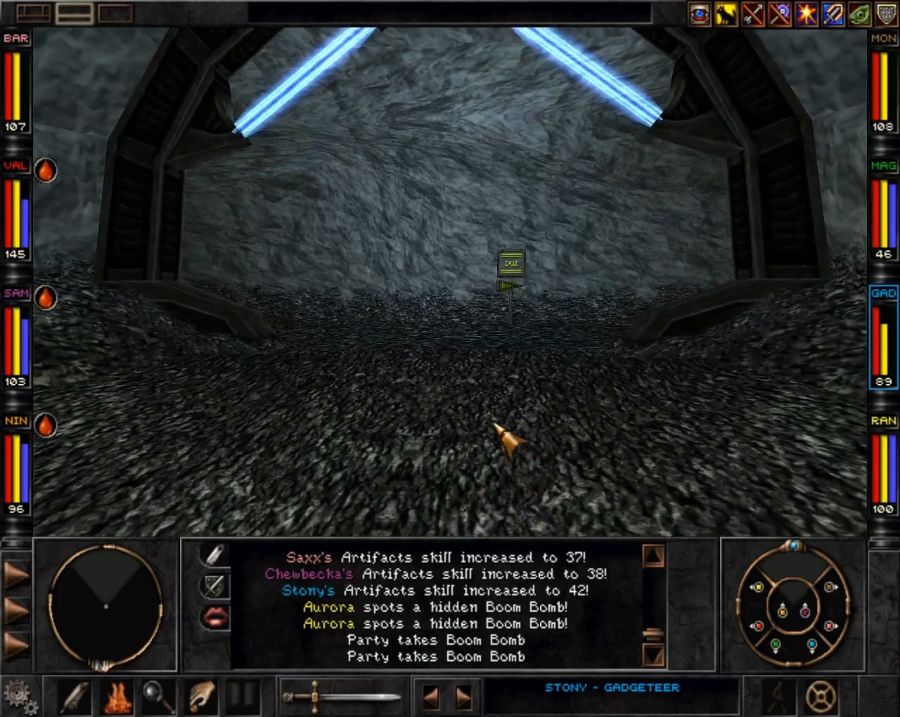 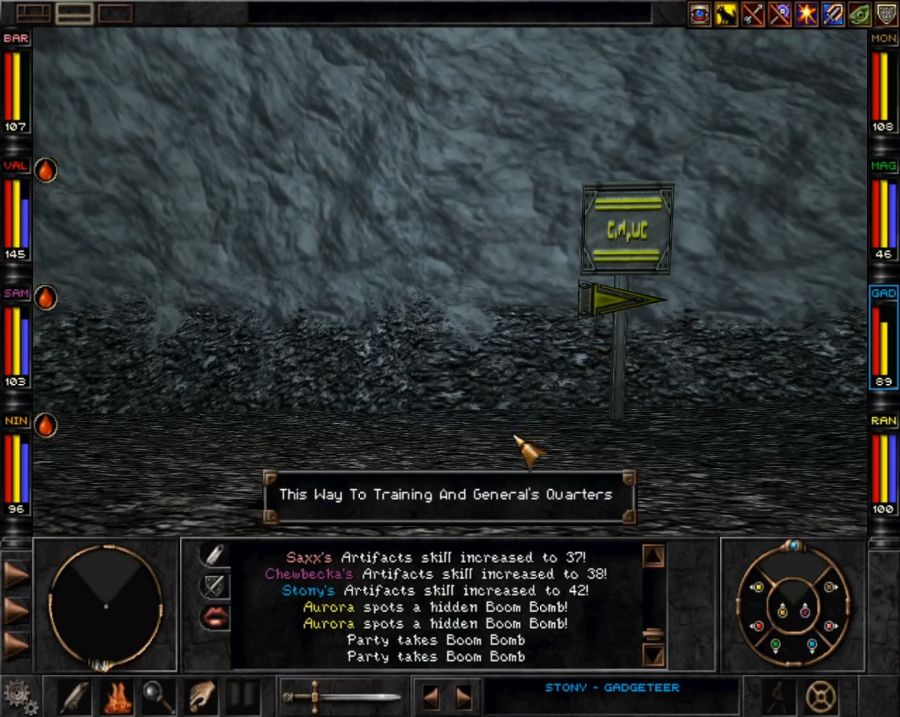 I wonder what's down the other way? 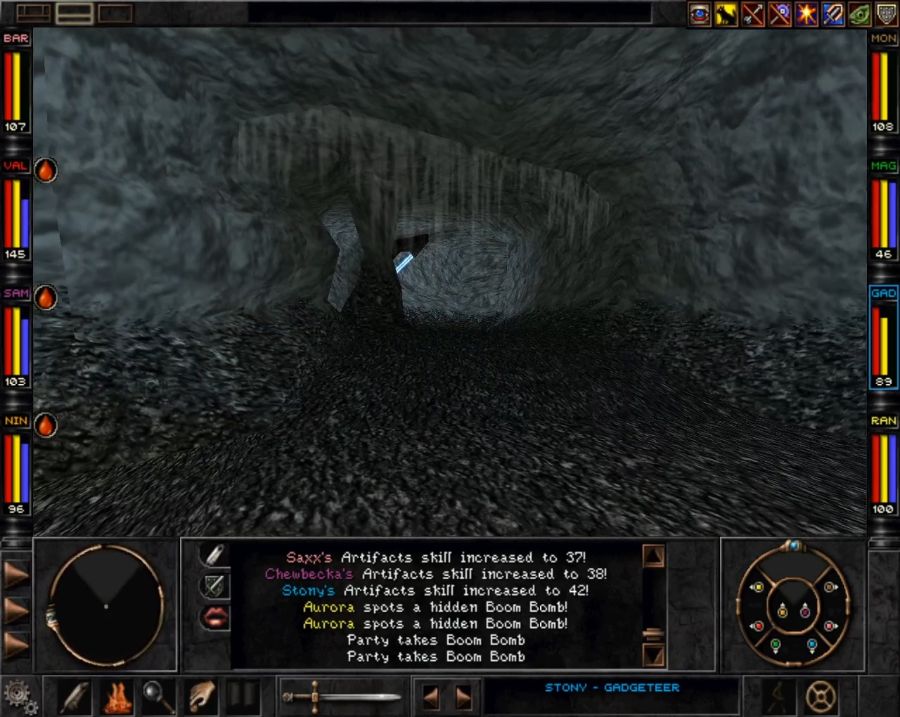 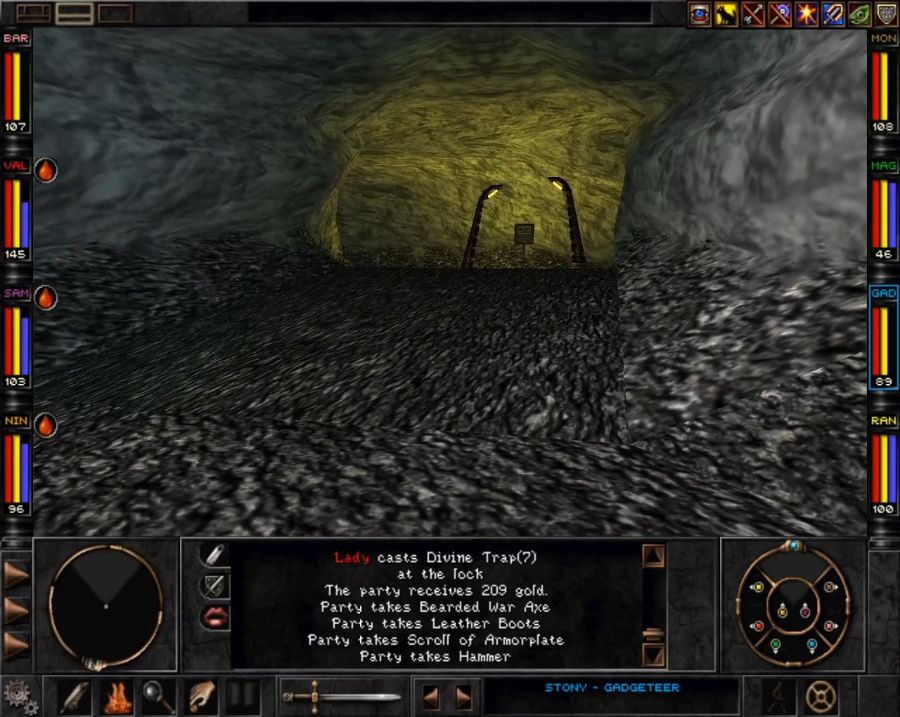  Unexplored treasure, you say? This direction sends you barrelling into a twisty, windy dungeon that almost feels randomly generated. Though thankfully there's plenty of signage to indicate the way out, so you'll never REALLY get lost. Sadly, most of the treasure here is also pre-placed and thus, at the party's current level, there's little reason to go visiting it. Still, there are a few chests that might roll something good. 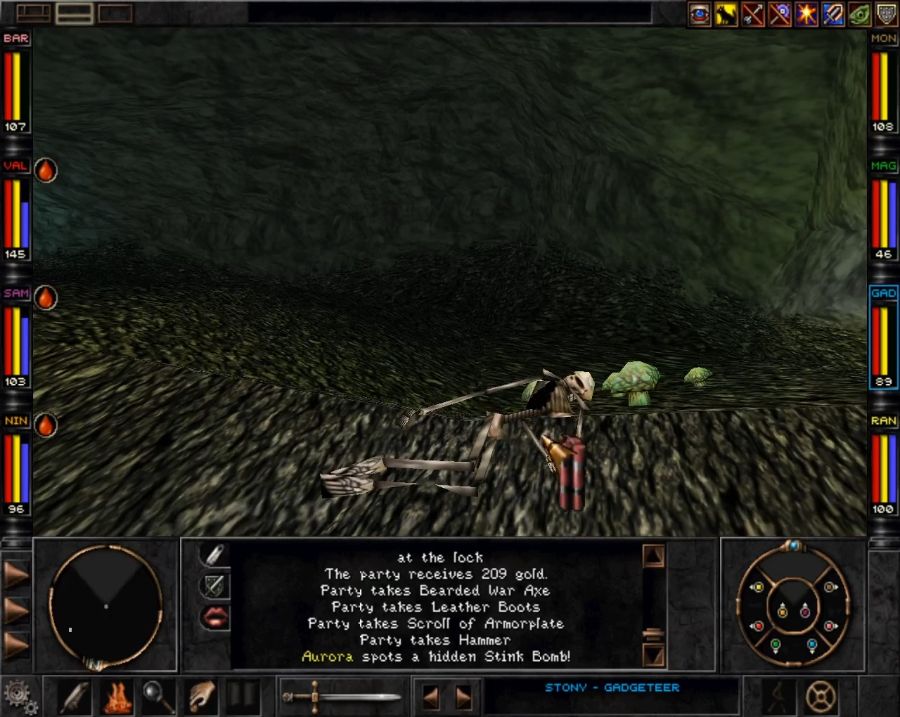 Also it's practically littered with skeletons all over the place.  One oddity about the Wizardry automap is that water planes tend to show up from much farther away than you actually need to be to see them, so you can see a bunch of the water in the corridors ahead of time, and thus have a mental outline of how things twist and turn, since they're often at corners. 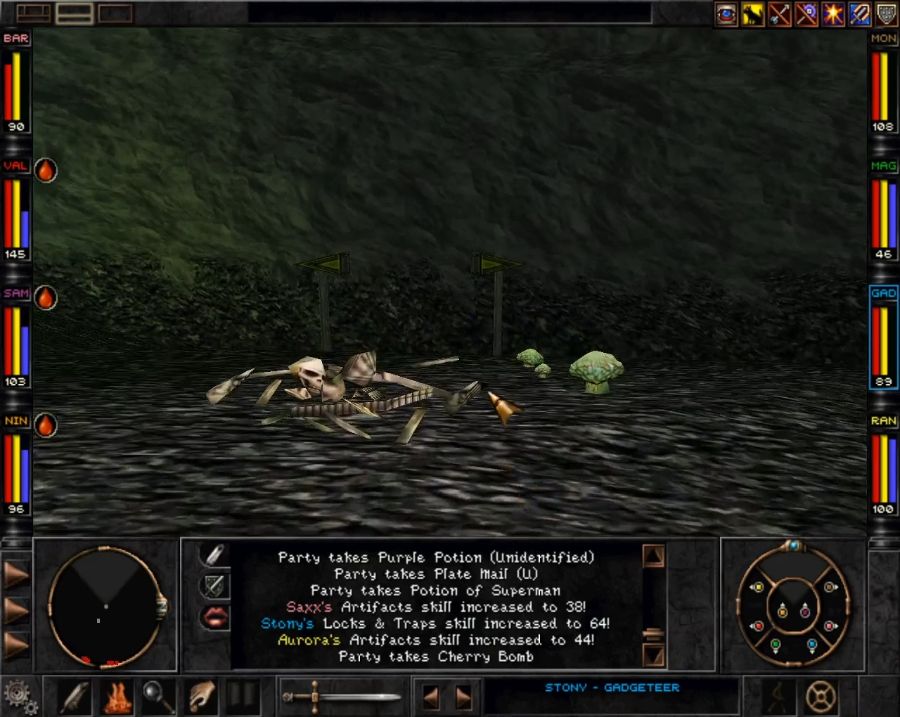 This is the signage, by the way, as long as you follow the yellow arrows you're always headed towards the exit. 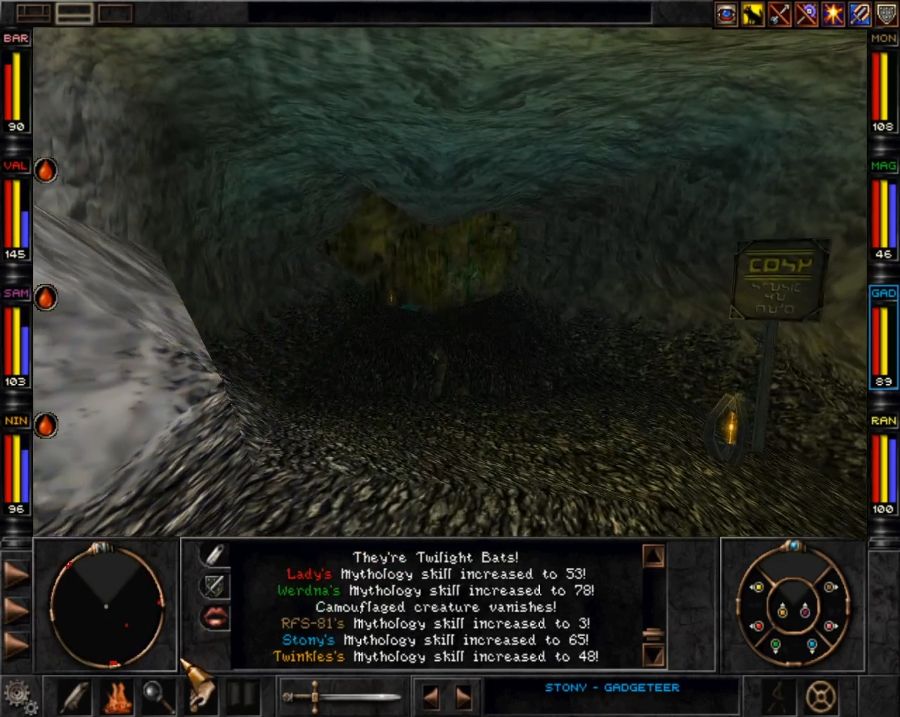  There are also a few cave-ins to watch out for. They're not deep enough to do serious damage, but if someone's already banged up, it could finish them off. However, I'm gonna jump right into this one. 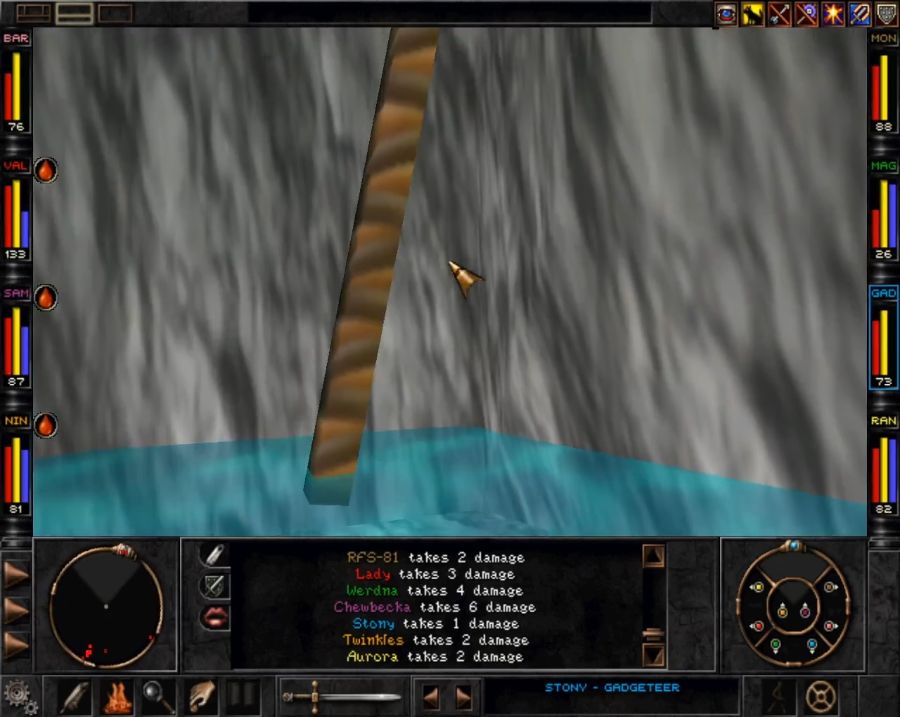 Enemies can't path into the pits, so paradoxically enough the unsafe collapsed sections are also the safest places to rest. And speaking of resting, a not-remarked-upon effect of having a Bard in the party is that resting happens much faster, and the faster you can finish your rest, the less you need to recast buff spells and the less the chance of patrolling enemies spawning and bumping into you. I wasn't kidding about it being a maze. Without the automap and arrows you could get lost in here forever. 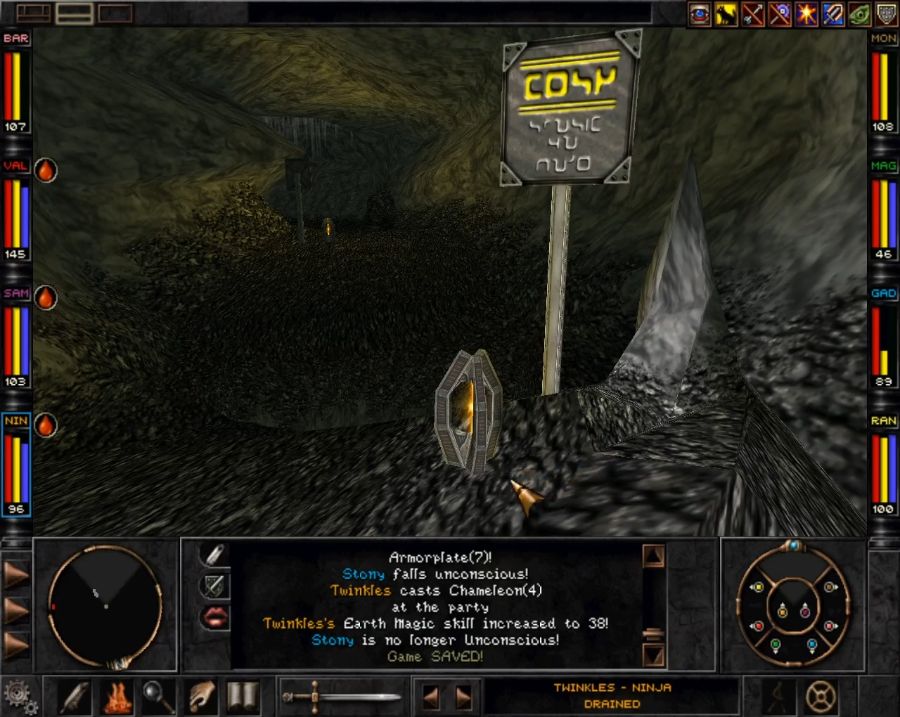 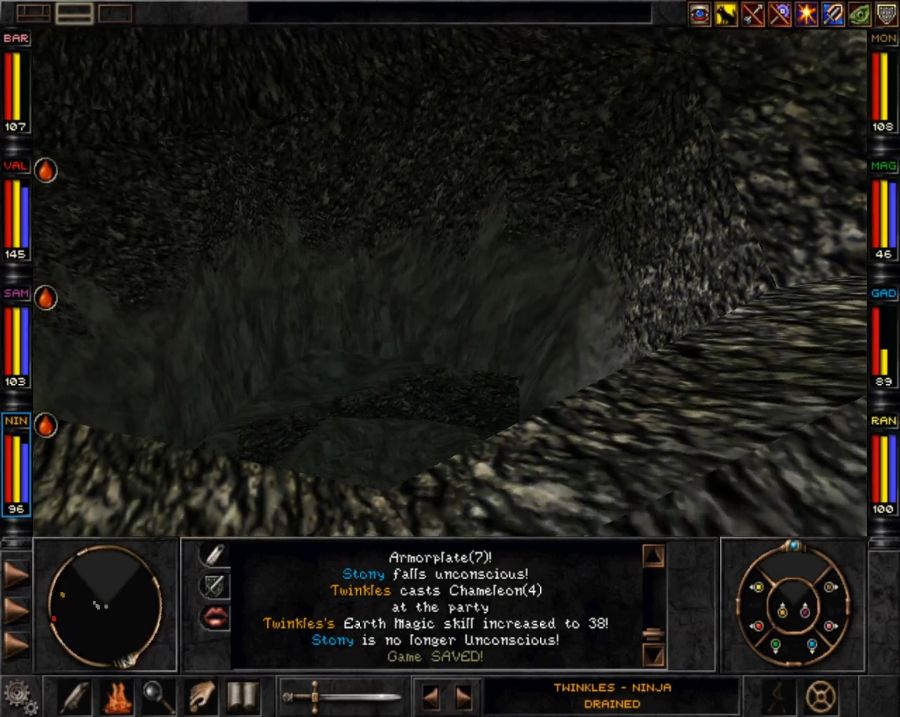 This is what we're really here for, though, this one particular cave-in. 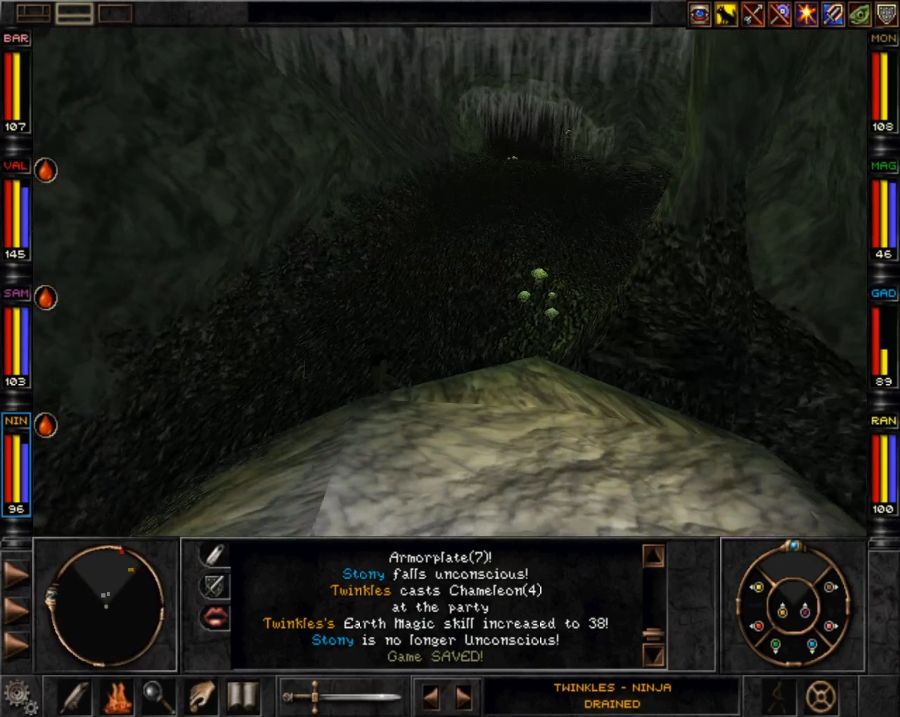  Drop down, fight some jellies. 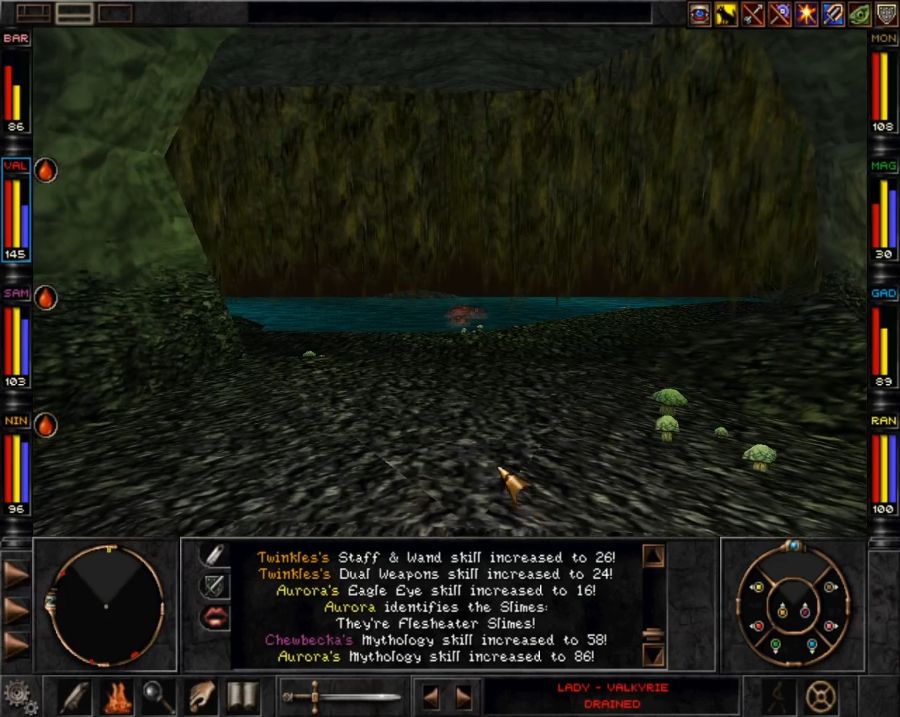 And find this underground lake, with even more jellies. I could swear that sometimes a Djinn spawns down here, but maybe I'm misremembering or I just got unlucky this time. Anyway, there's a chest down here that has a better chance of spawning decent loot than the rest(it gave me trash this time, though), where I've often found some great spellbooks. 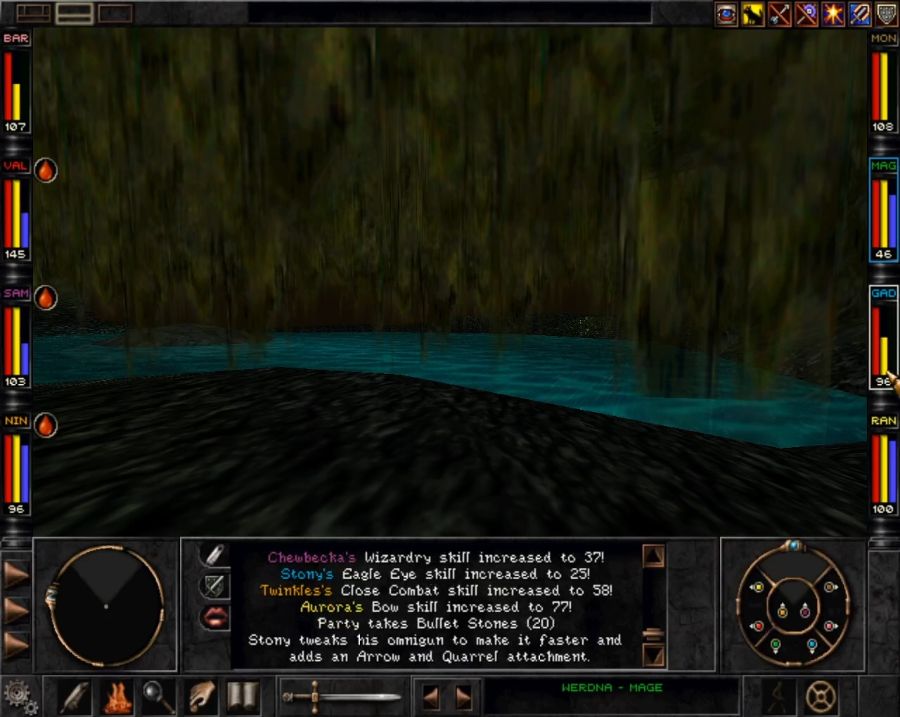 Unrelated to the exploring, Stony also got a level-up from murdering slimes and now his omnigun can fire normal arrows and quarrels. This is a MASSIVE improvement both in terms of damage and ammo types usable, plus it also means I can finally drop all those bullet stones he'd been using and which weigh a shitload compared to other ammo types. 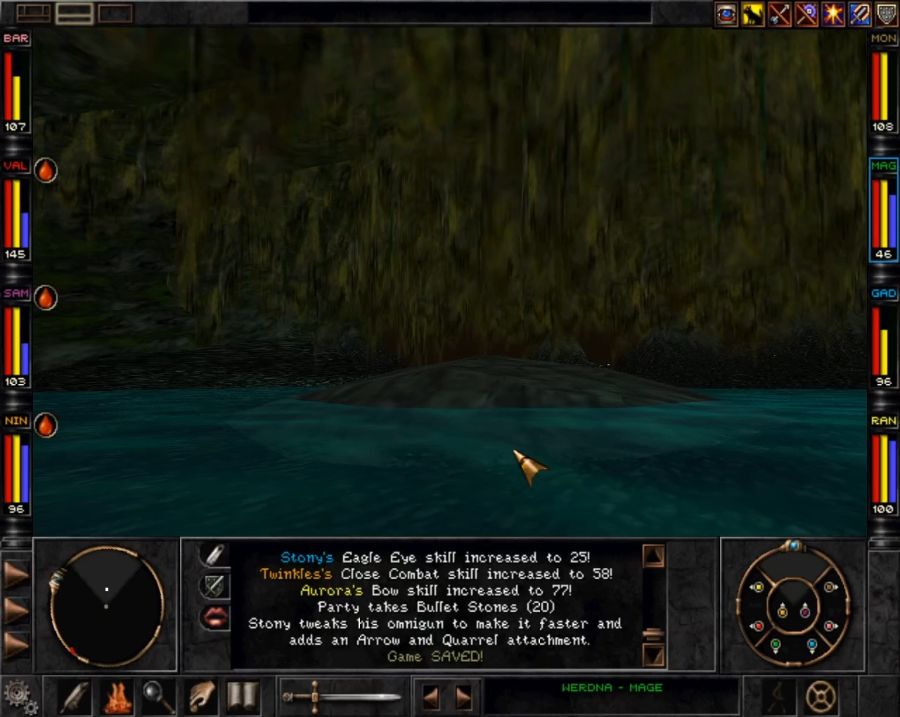 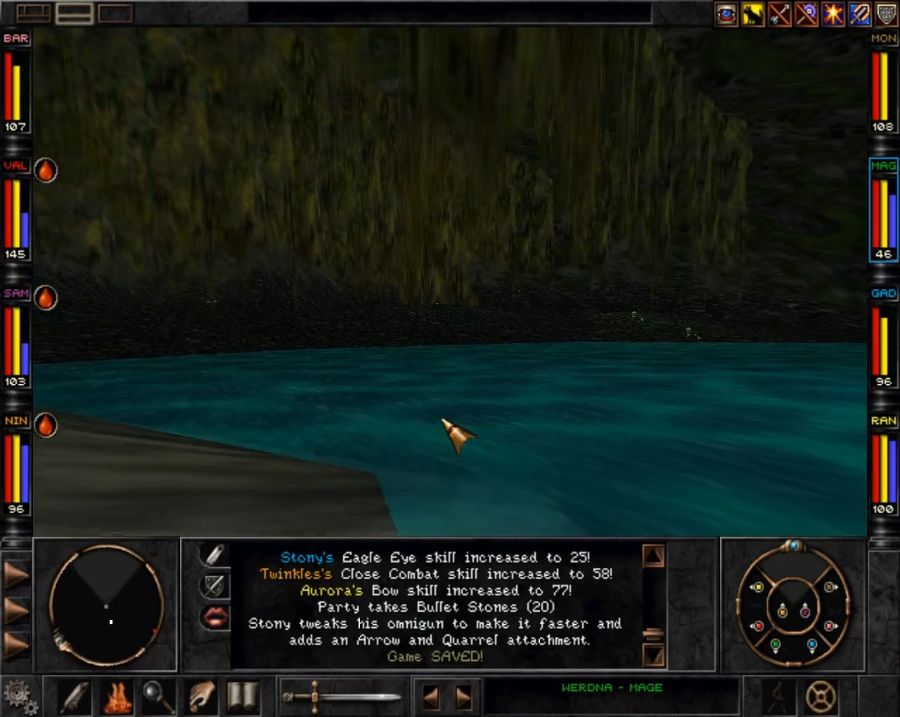 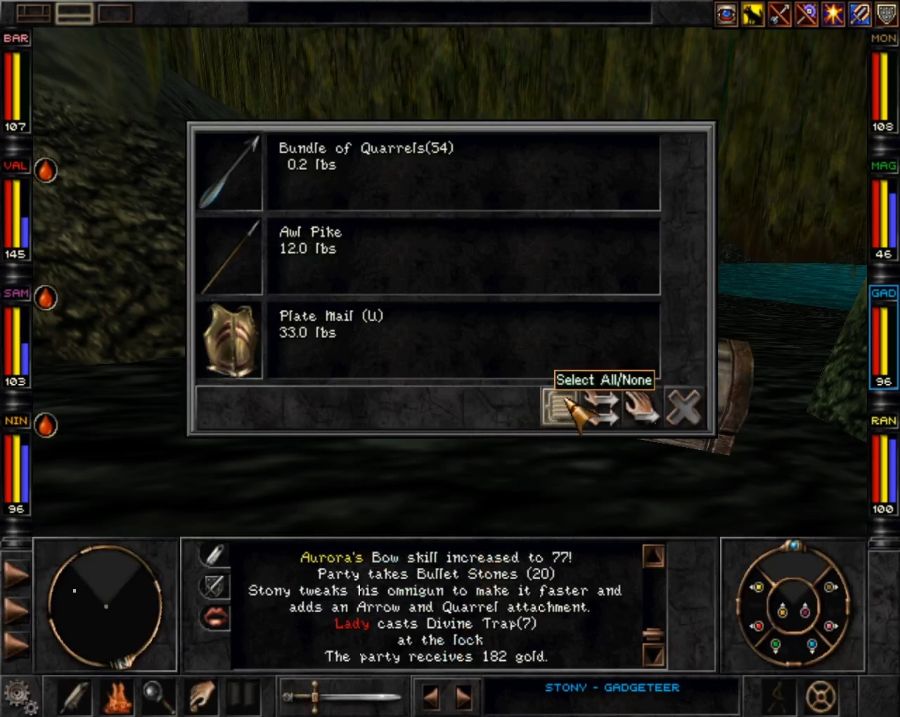 Seriously, look at this trash.  Another chest has yet another Ring of the Road and yet another Sword of 4 Winds. I feel like the game is making fun of me at this point. 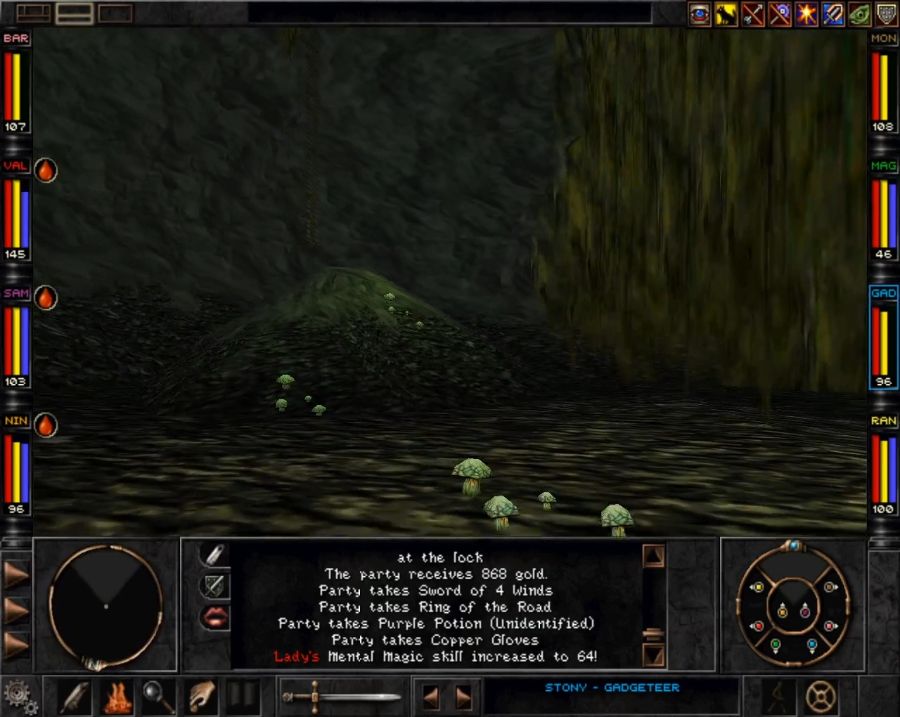 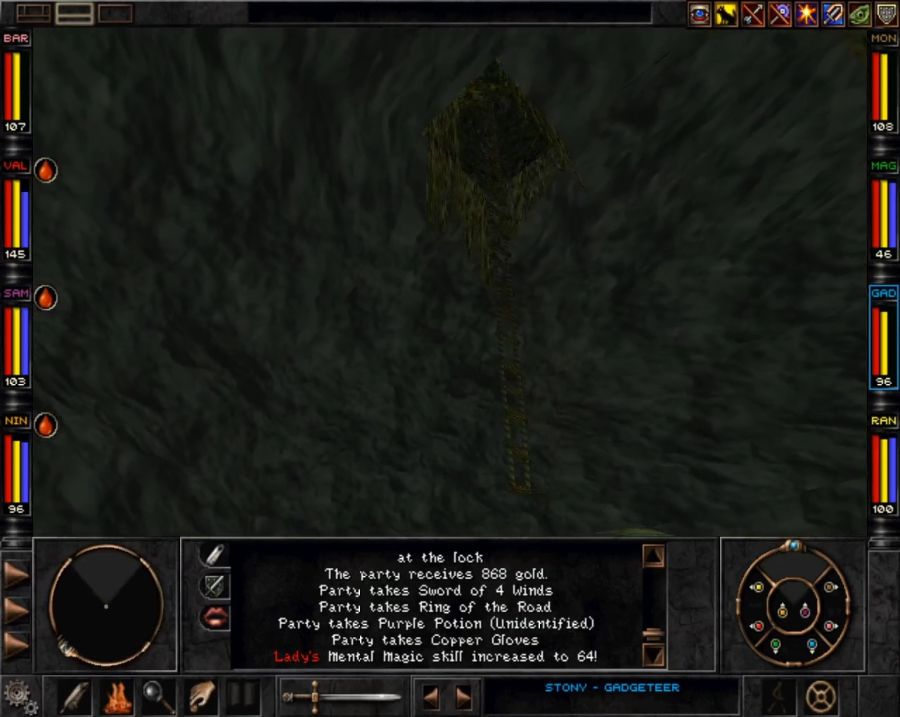 Anyway, let's get out of here. 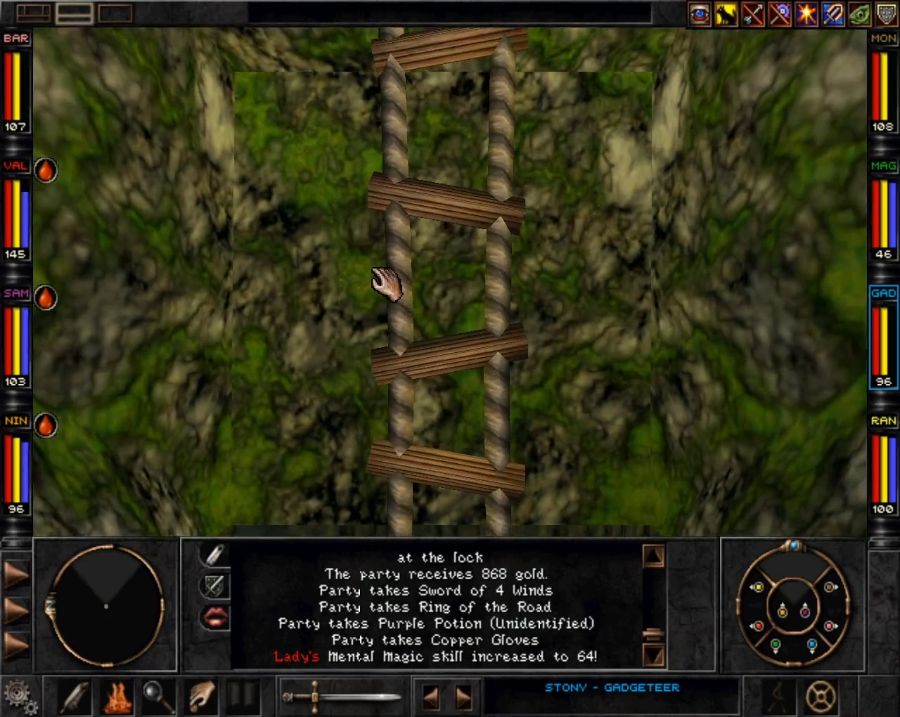 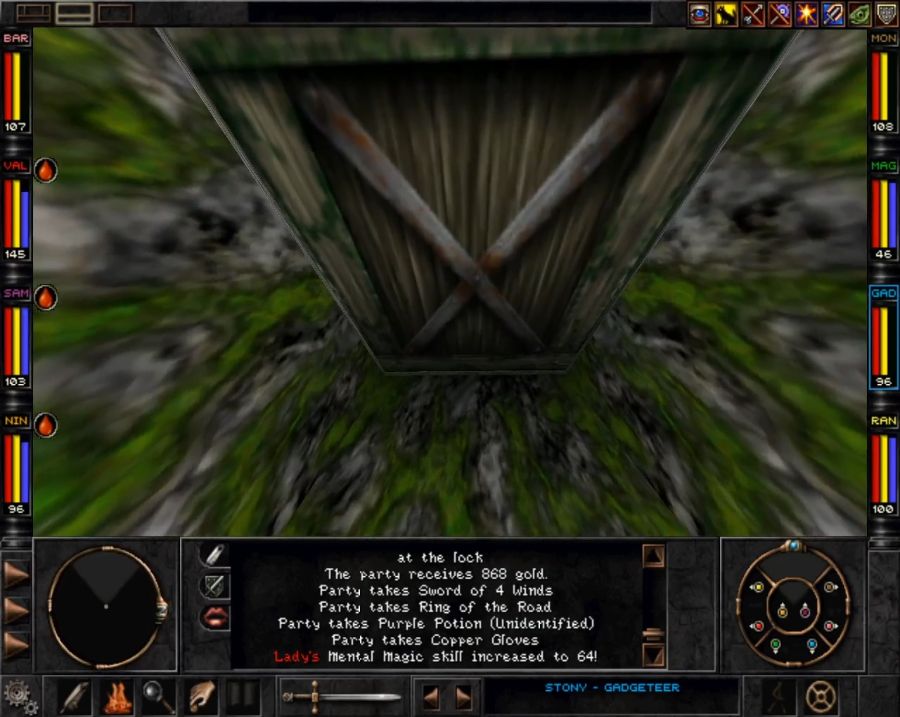 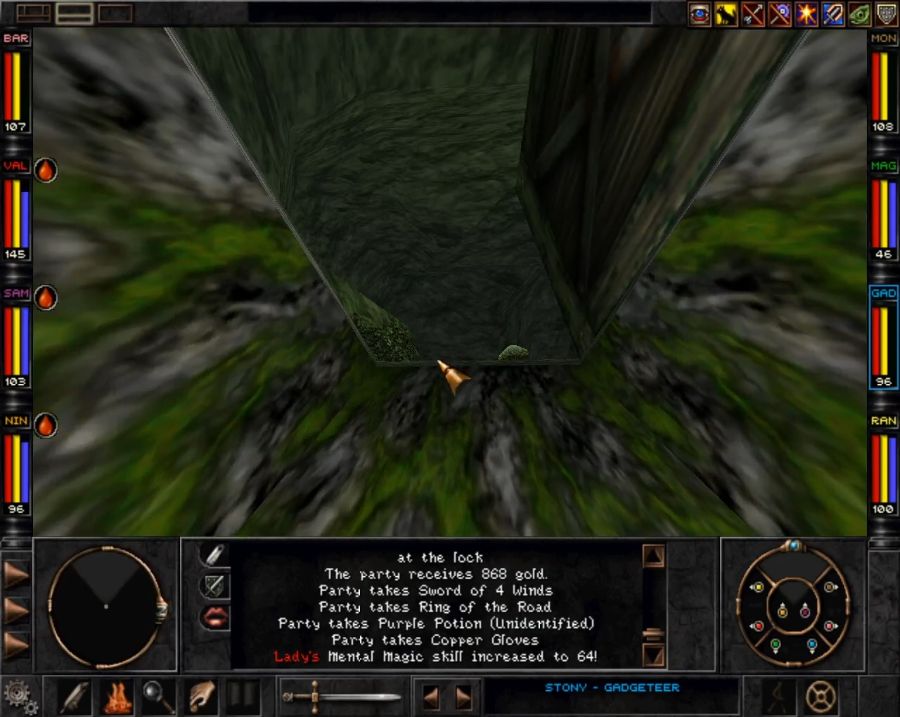  I'm not sure if you even can open this thing if you arrive at it from the top side first. 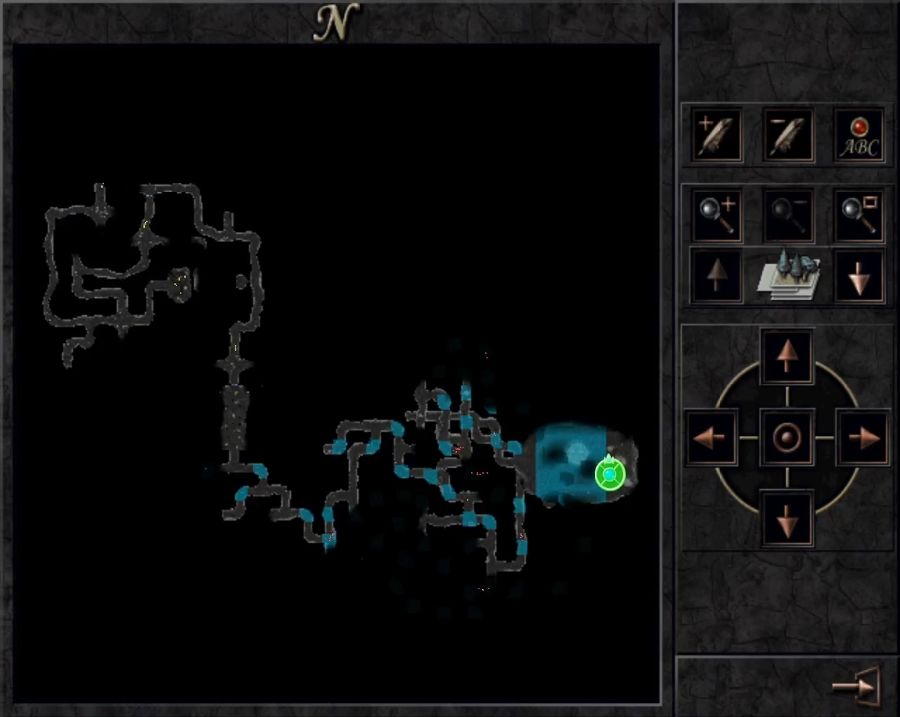 And a final-ish map for a sense of how big the "maze" section of Mt. Gigas is. Now, for the one part of this maze that got me stuck... 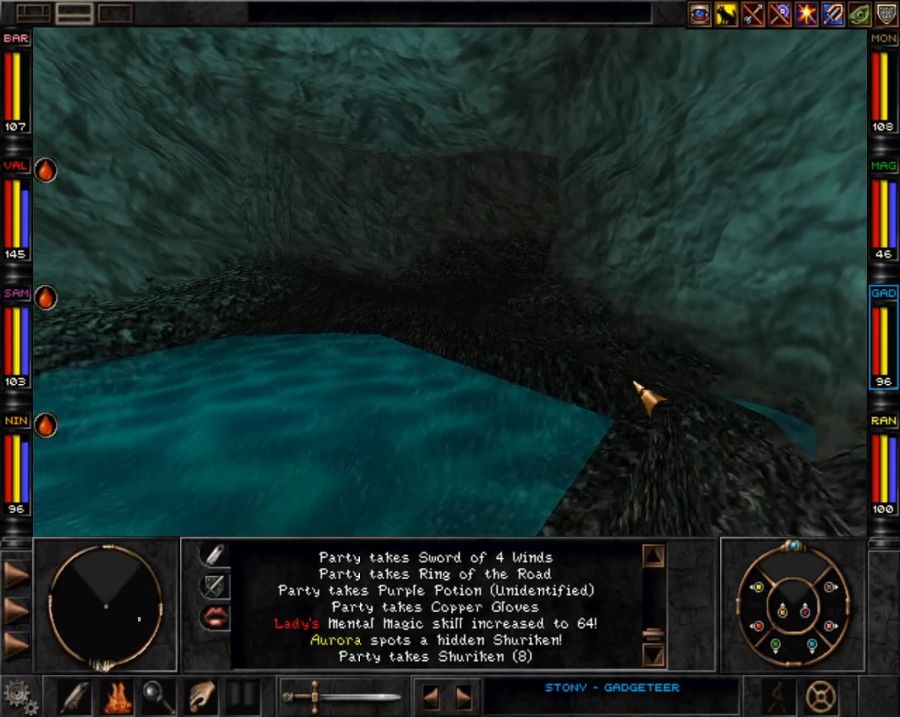 You see this corridor? I always keep to the sides of corridors in case there are traps or anything else, because then the activating part is usually dead center. But in this case, I stepped in that little pool on the right and got goddamn stuck in the geometry. The party just started vibrating and I decided to portal out before the physics engine attempted to launch me out at light speed or otherwise kill me off. 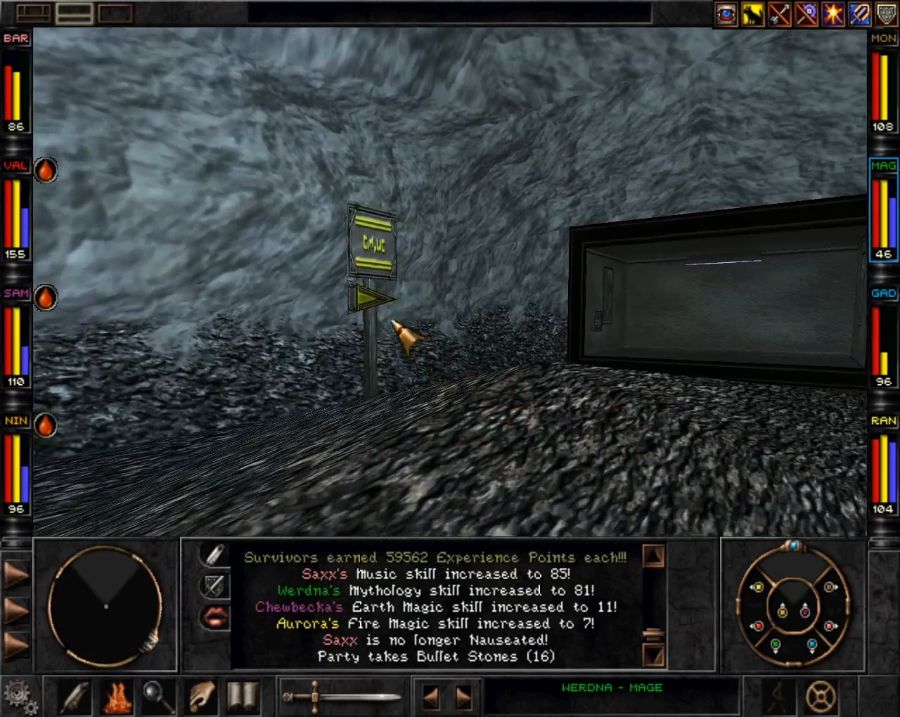 So after a quick trip back to Marten's Bluff via portal, and then a jaunt up through the caves again, I arrive at the elevator I was meant to go to, the one that leads to Upper Mt. Gigas.  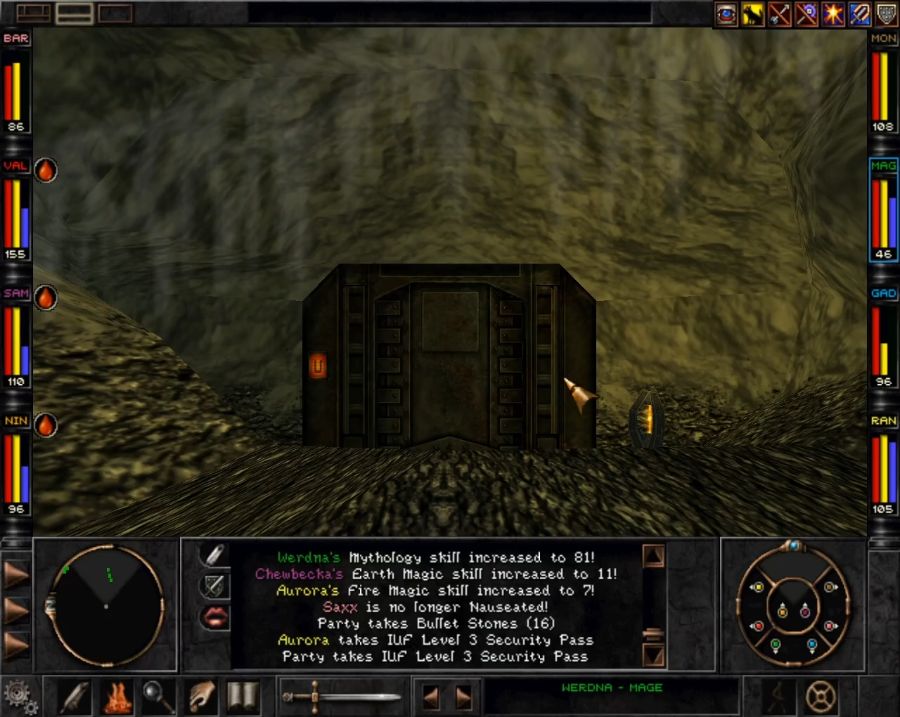 This is where the Umpani have all sorts of fun things like their officer staff, General Yamir(though we can't see him just yet), their own version of the T'rang teleporter, their training section and the way to annihilate their faction(though we can't access it quite yet. Interestingly enough, we don't have to aggro anyone to get to it, unlike the way to finish off the T'rang, which is another point in favour of the T'rang being considerably smarter than the Umpani). 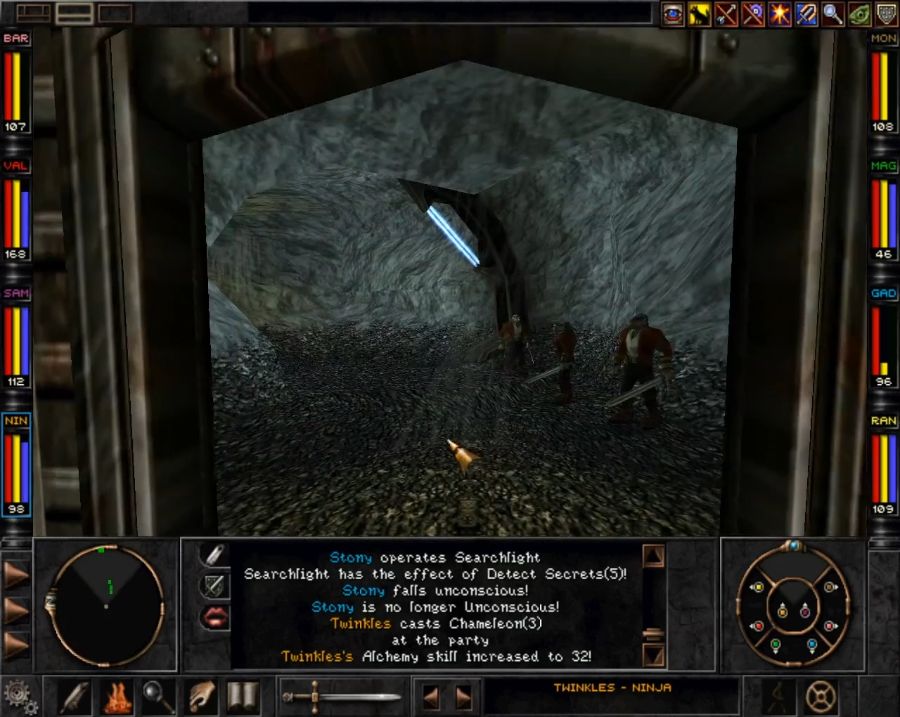  In appearance, though, this level is almost exactly the same as ground floor of Mt. Gigas. 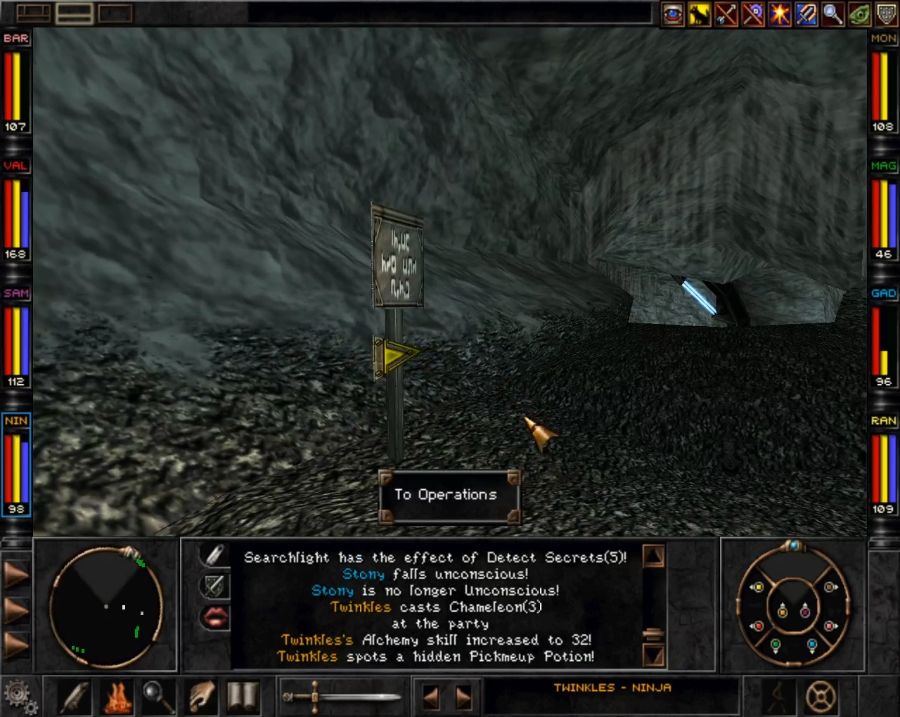 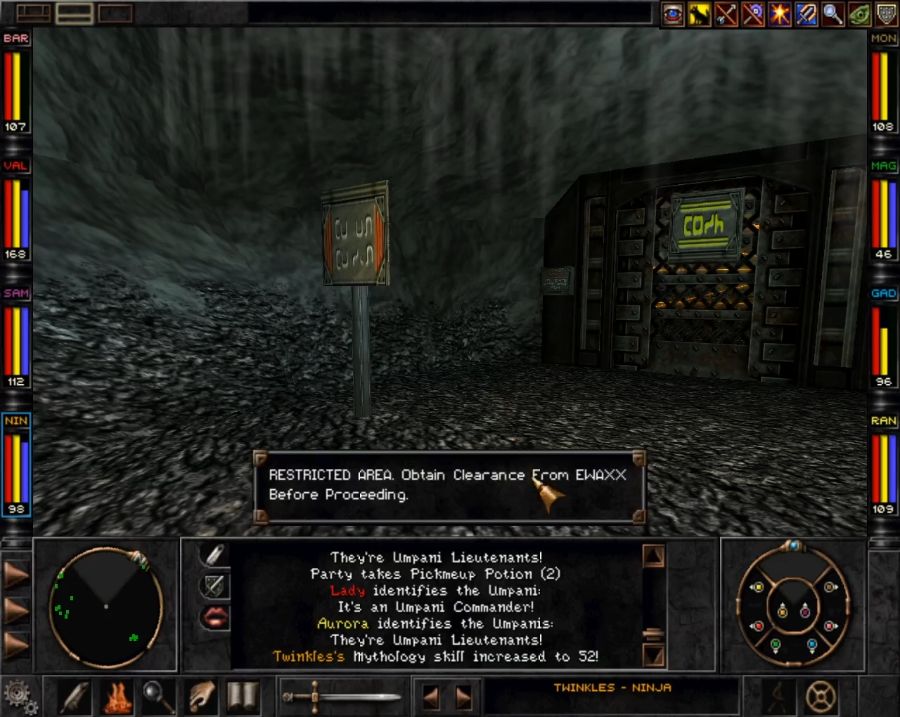  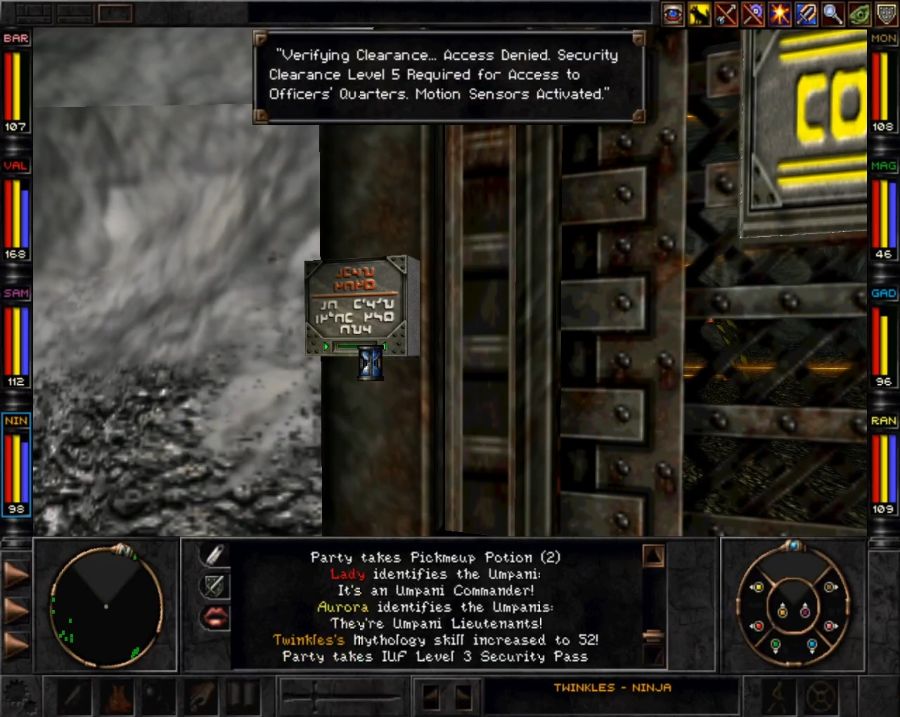 And yes, that IS a room full of lasers you can see through the grating in the door. 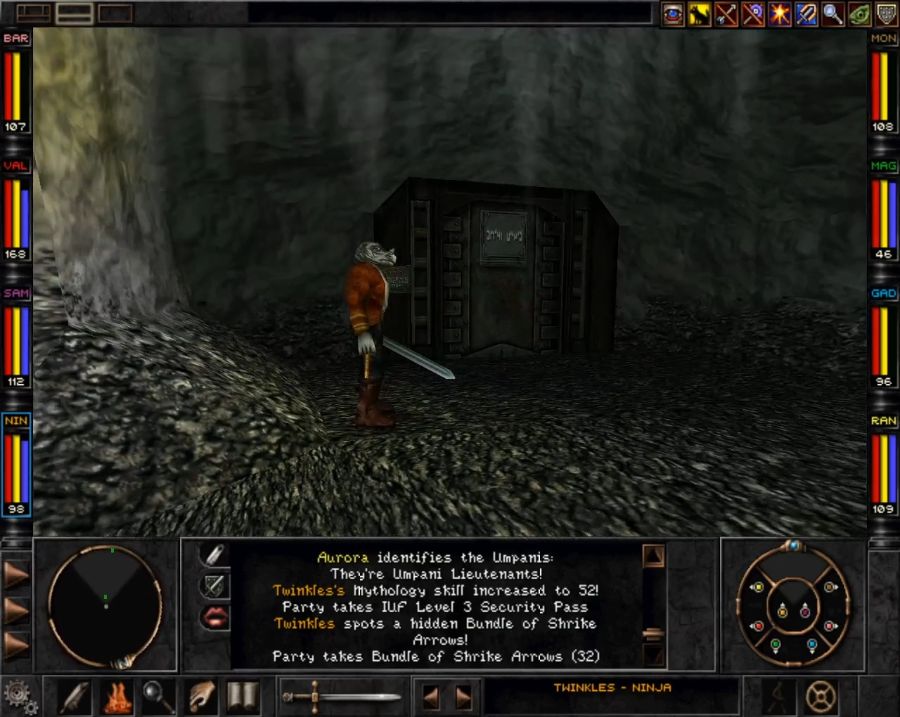 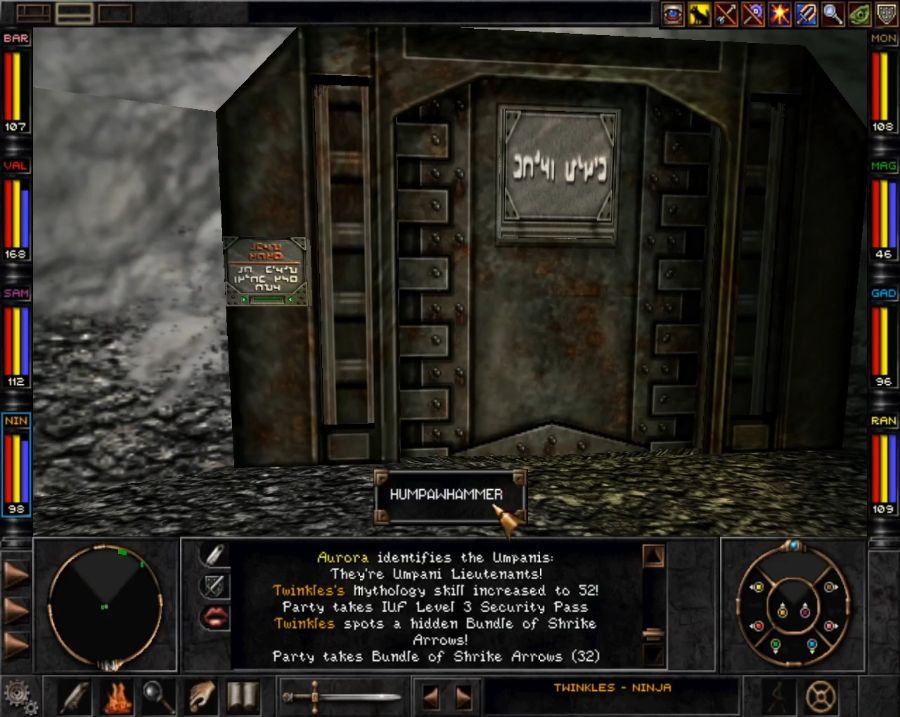 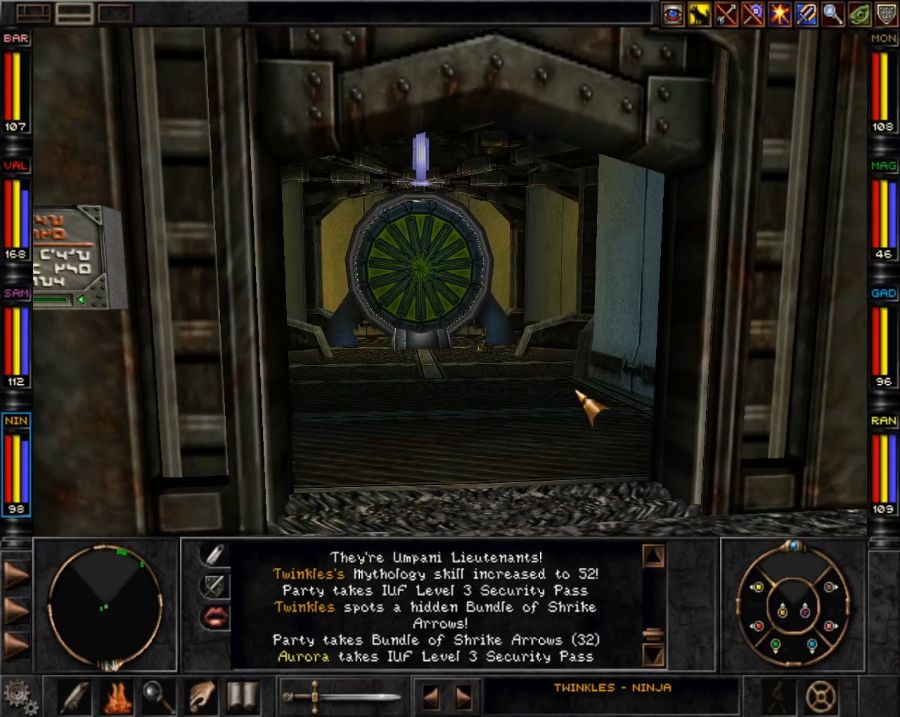 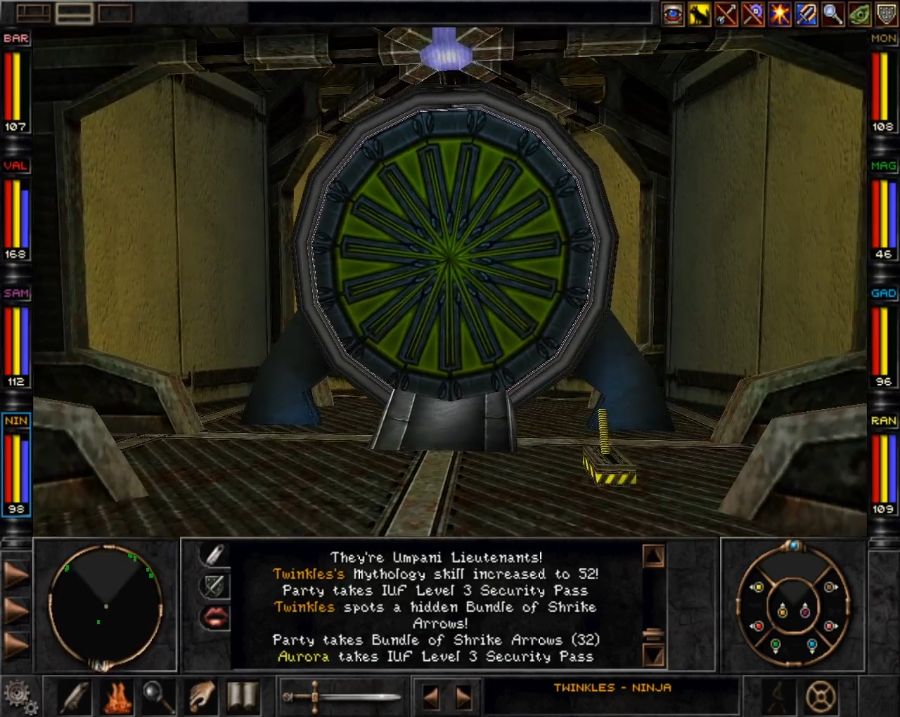 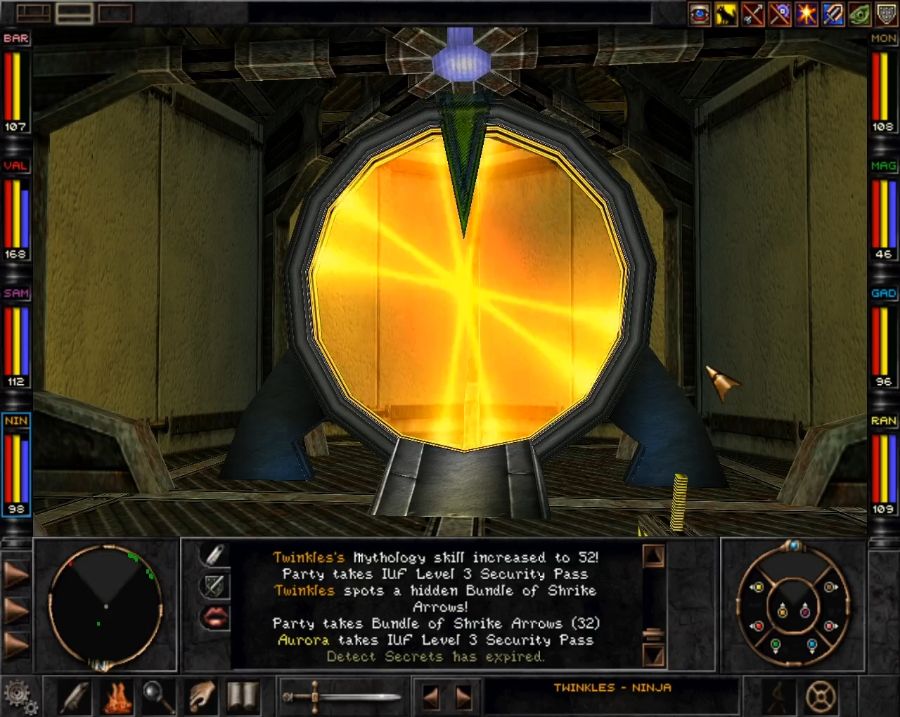 I'm not sure if the Humpawhammer name for the Umpani teleporter is a reference to something, but once you've activated it, it does look a bit Stargate-ish. 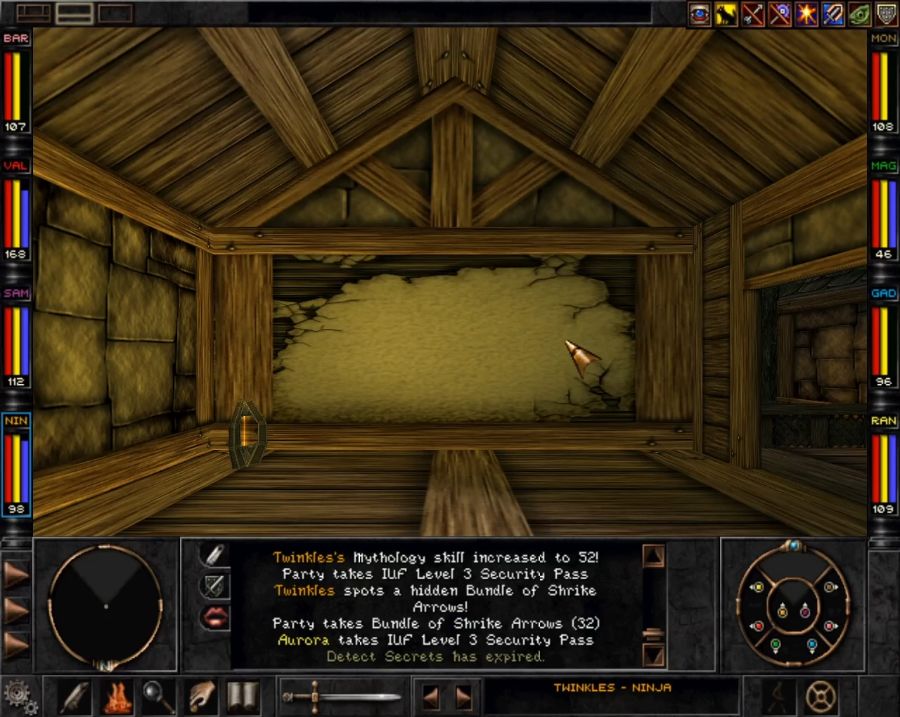 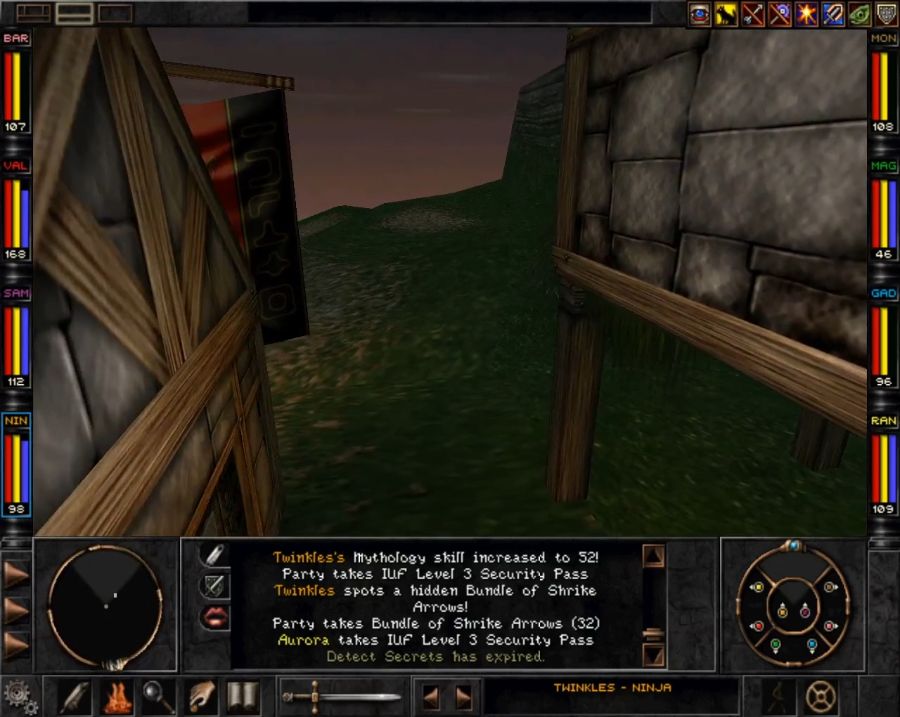 Where it takes us is the first Mystery House we found immediately outside the Monastery. It's... a terrible location for a teleporter. It's not near any merchants, it's not any sort of "hub" area, it only has one destination unlike the four offered by the T'rang teleporter, and while the T'rang teleporter takes you literally across the world, thus offering a considerable time save, the Umpani teleporter absolutely does not. I open the door out of principle, just in case I should need this thing again, and march right back inside.  Now, there are a few things to pick up in the Upper Mt. Gigas tunnels, there are some officers' chests to raid and some lockers to raid(though they all drop trash for me, so I just leave it on the floor considering that I currently have a pleasant overflow of gold). 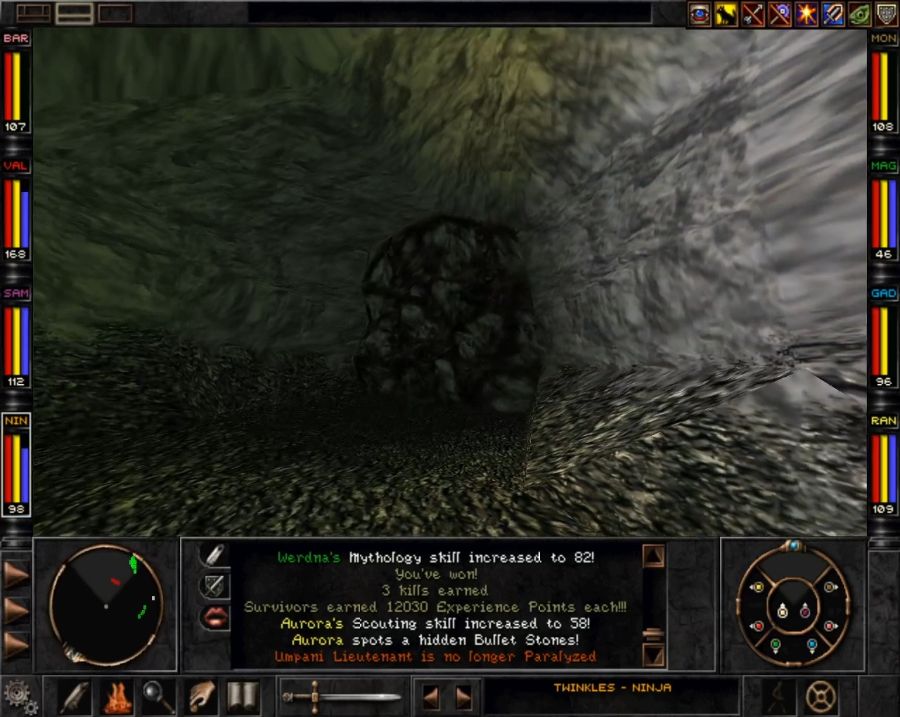 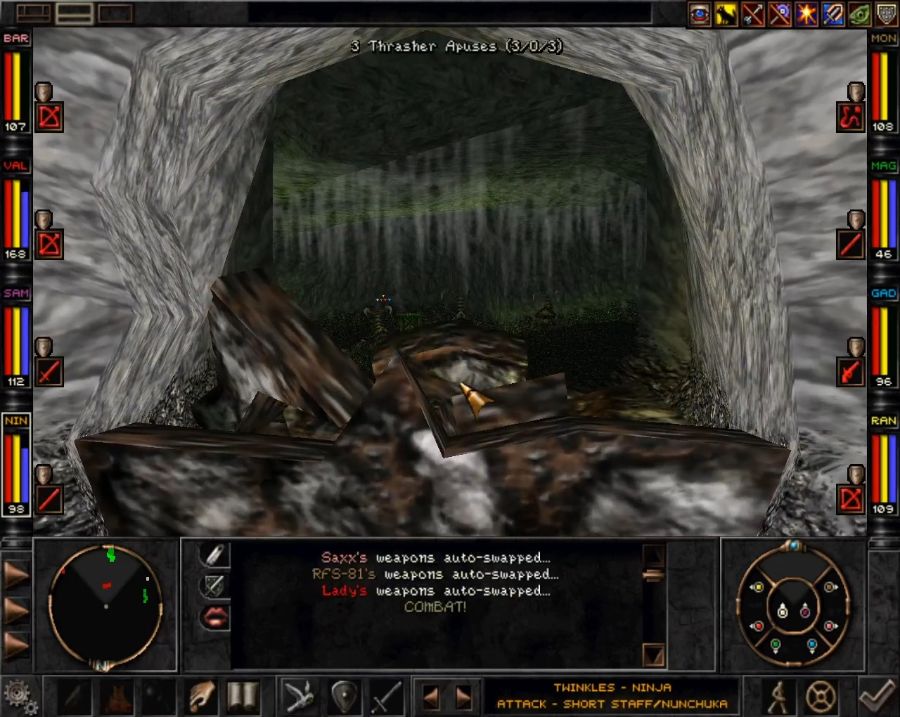 There are also a couple of bricked-up cave entrances you can bust down. Again, usually nothing too exciting in them. But... what's this... 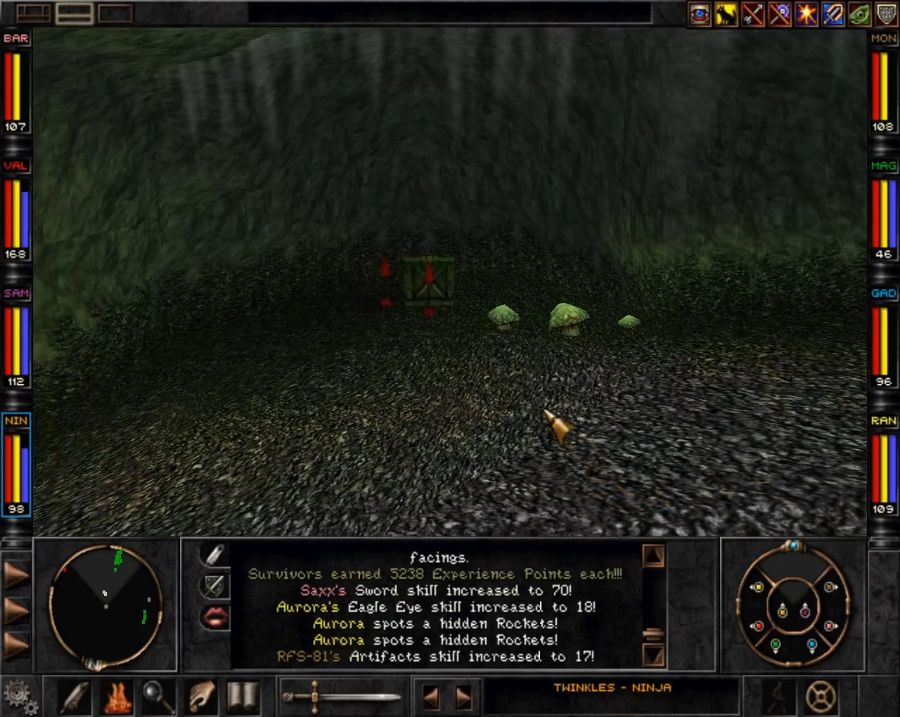 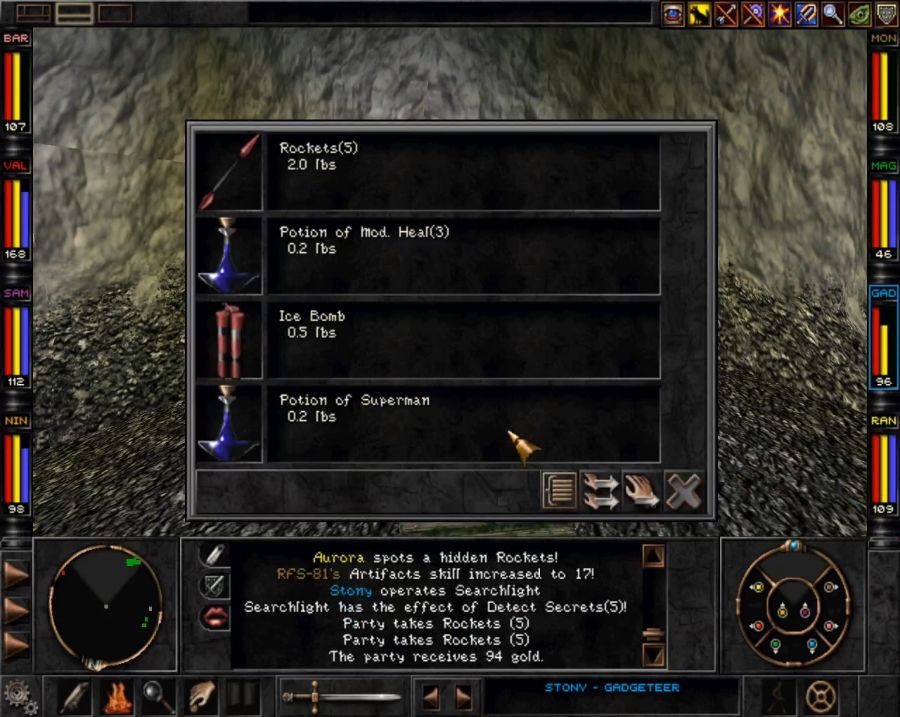 Rockets?! Oh boy, I'm sure that when we get our hands on a rocket launcher, it won't be incredibly disappointing in any way, shape or form! 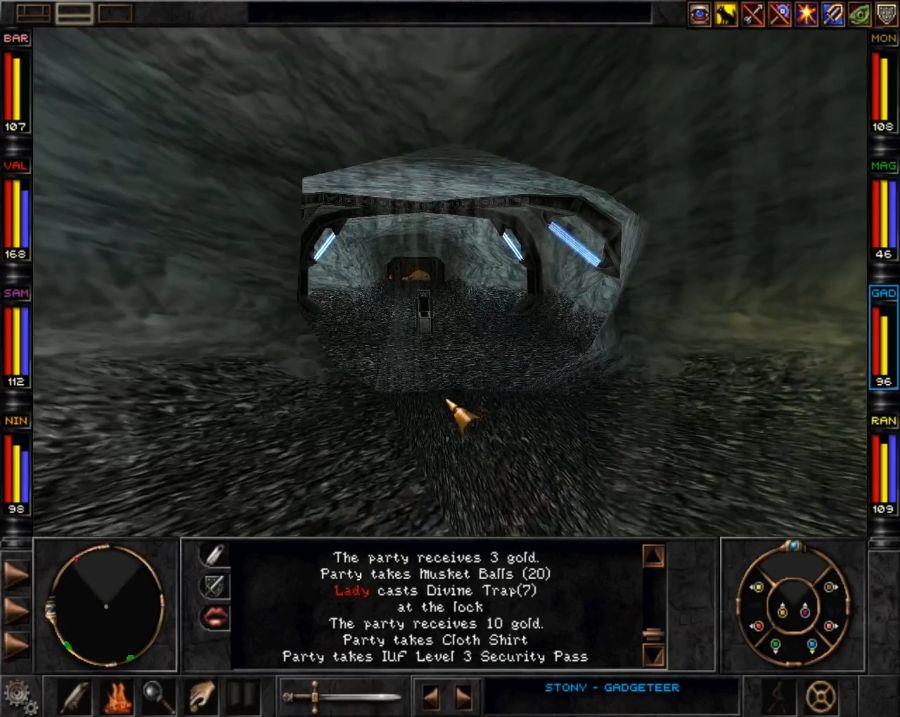 I eventually make my way to the training section. Just gotta plop my keycard on to this reader to open the door and... 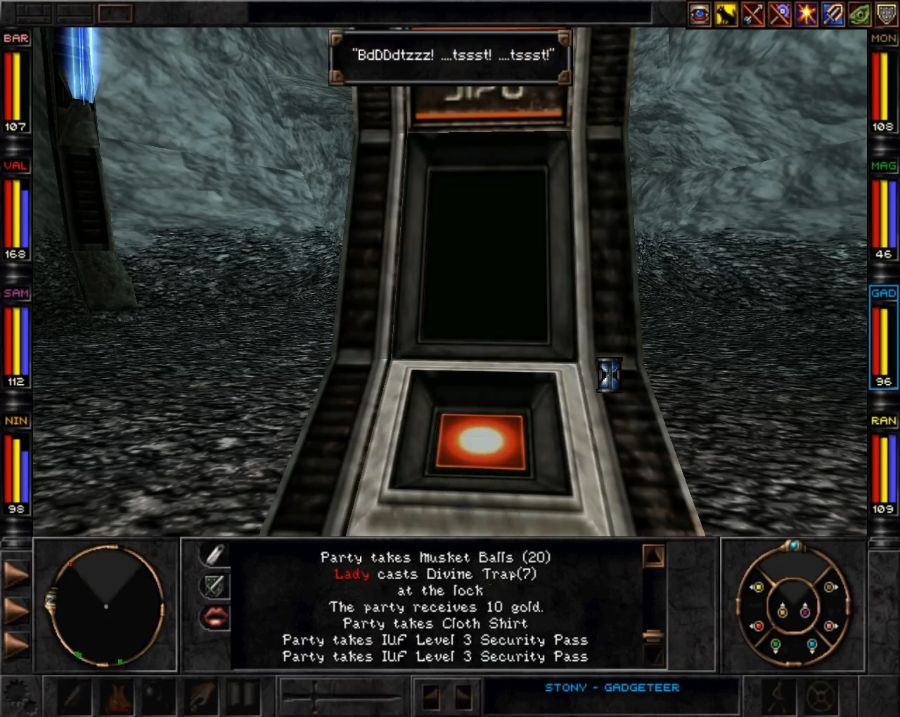 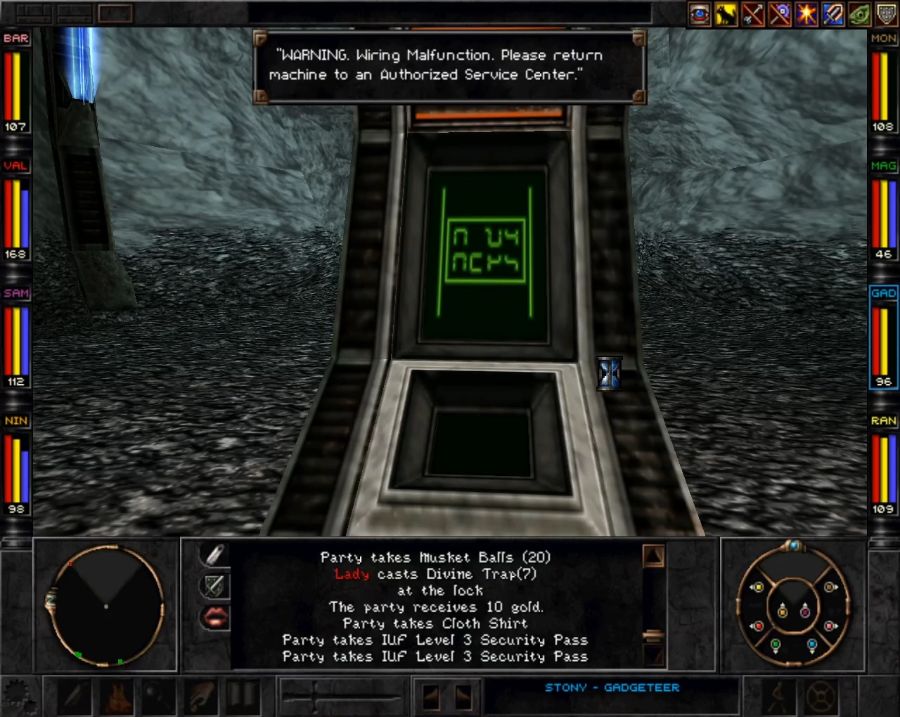 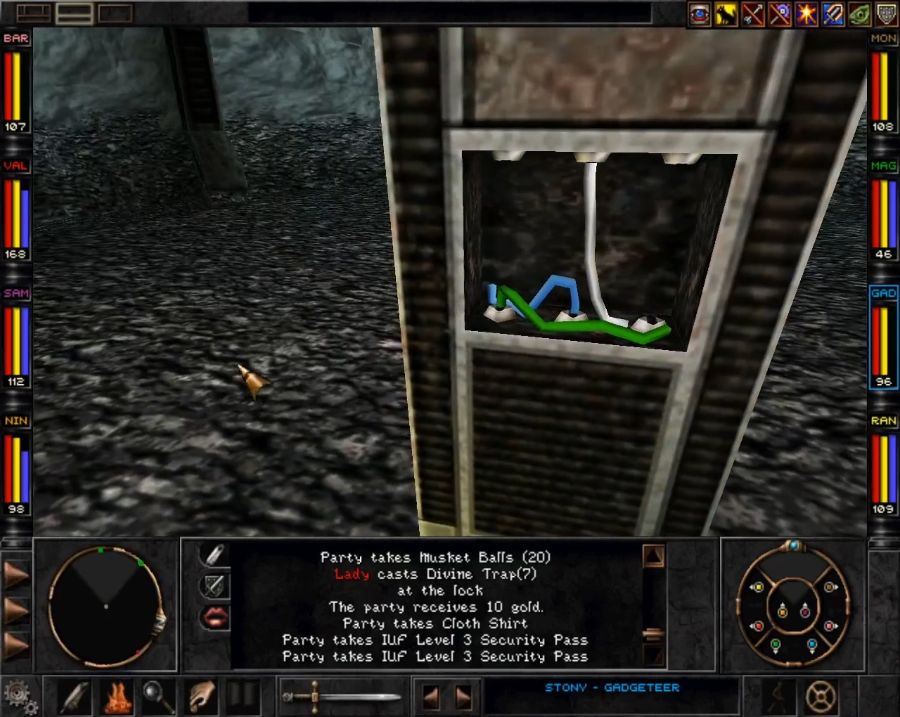 I don't get this part. First time you use it, a back panel falls off exposing these wires, and you just gotta click them to get them back in place and you can use it no problem. Like... I could see it if there was a wiring puzzle to solve, a wiring item to collect, or if it was just, say, to get you to turn your back so you'd spot something behind you or something ahead of you could sneak into position for a surprise.  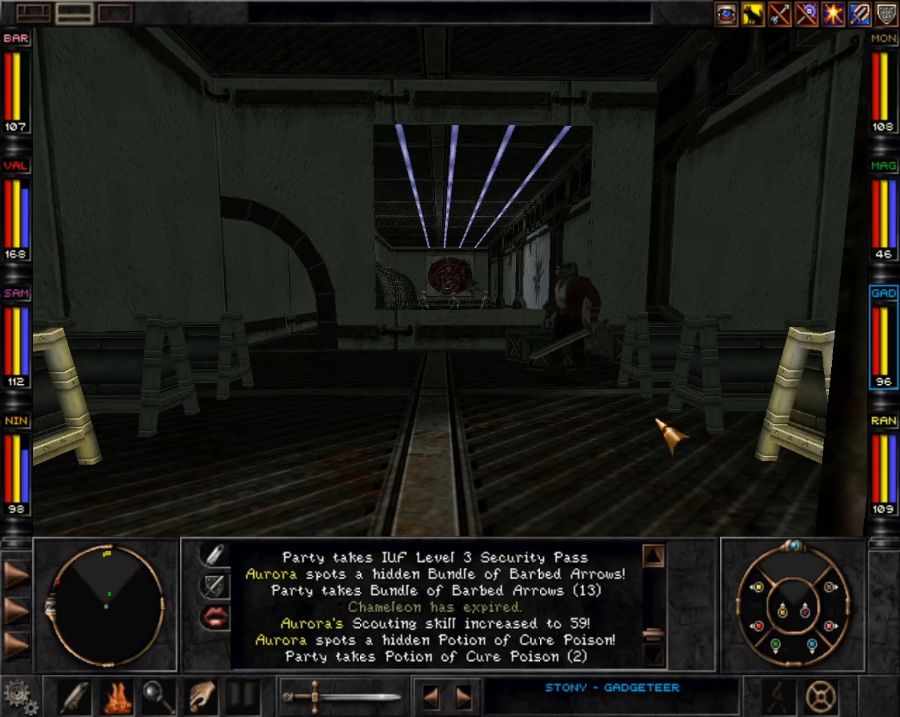 But nope, we just get to walk right up to Sgt. Rubble. https://www.youtube.com/watch?v=alZRNOYLgPc So. The rocket launcher. The goddamn rocket launcher. Yeah, sure, let's throw it on Stony and have him take a pop at those firing targets.  Look at that lovely damage. Now, thanks to their level scaling, it would take like twenty rockets to kill these dummies, not to mention I can't cast spells over the wall, all I can do is fire bows and arrows. I decide not to bother, since it's not a requirement for advancing, and just keep the rocket launcher to sell to Antone or Croc later. Now let's find out where Rubble snuck off to while we were taking pops at the scenery. 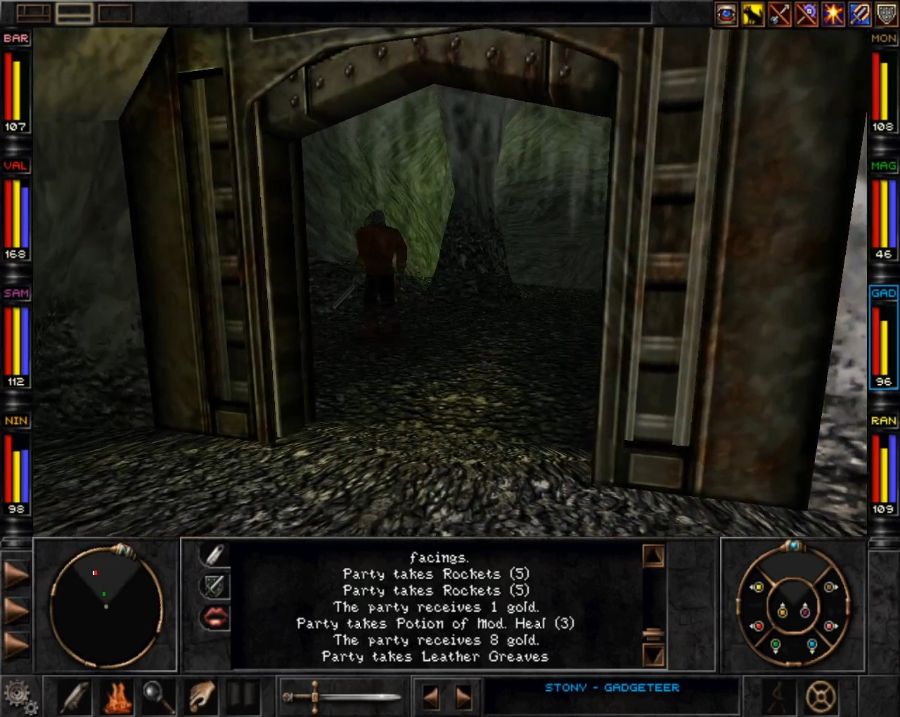 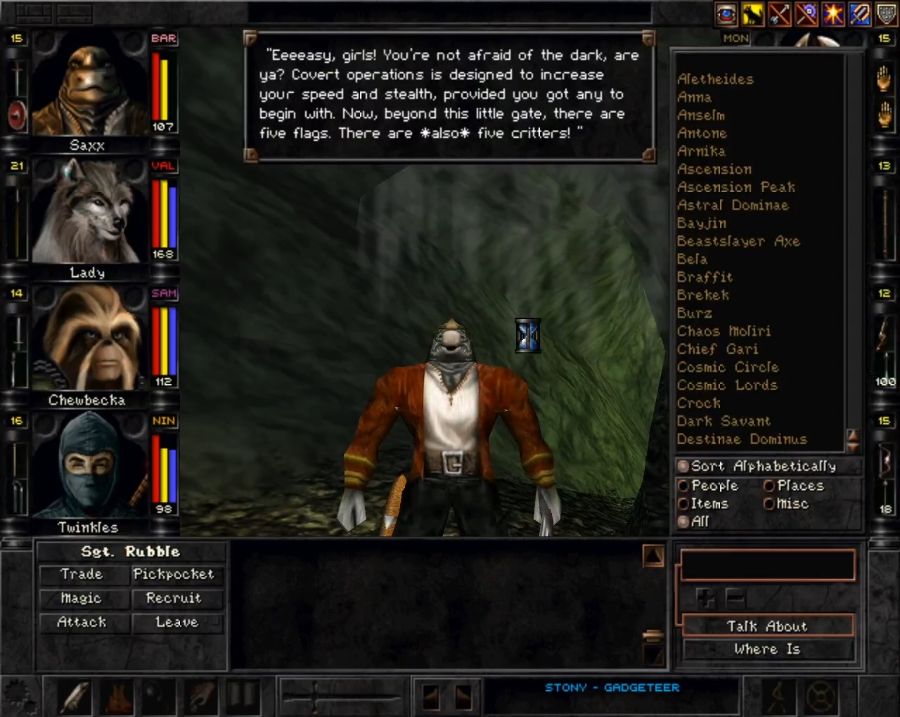  Now, he isn't kidding, all we have to do is kill five monsters that are in no way threatening because, as mentioned before, single large enemies with single-target attacks are rarely threatening unless they massively out-level you and it's early game, and also because they're fixed spawns and now we outlevel them. Let's have a look at the line-up guarding these precious flags. 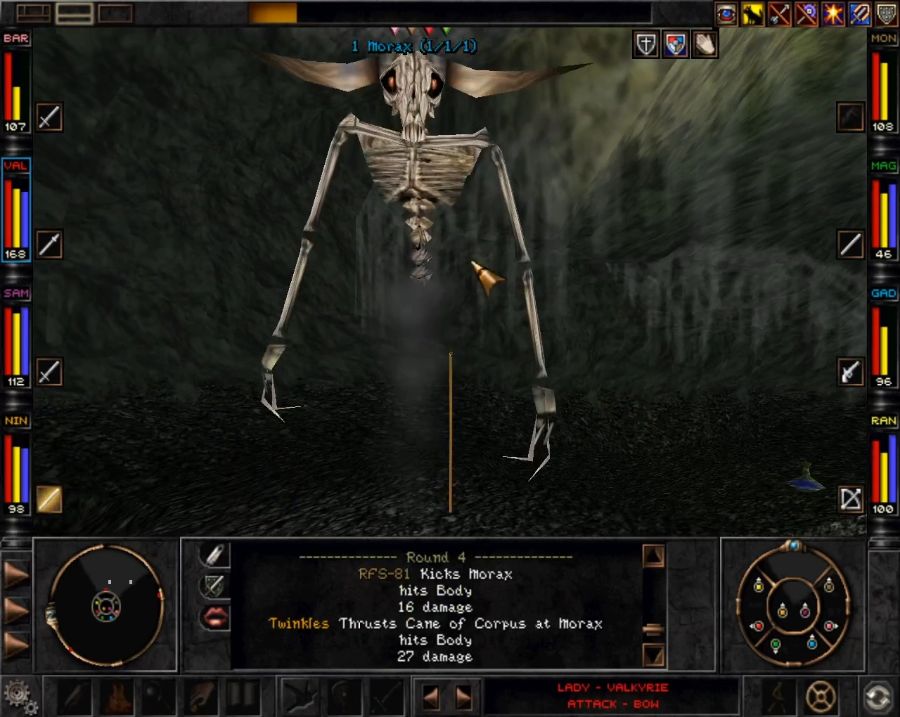 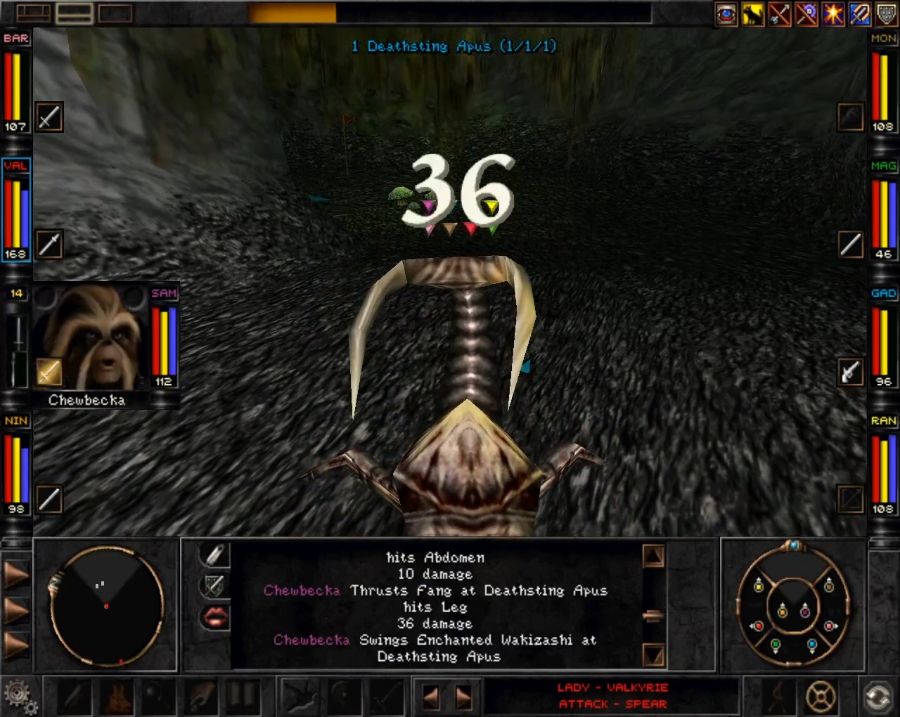 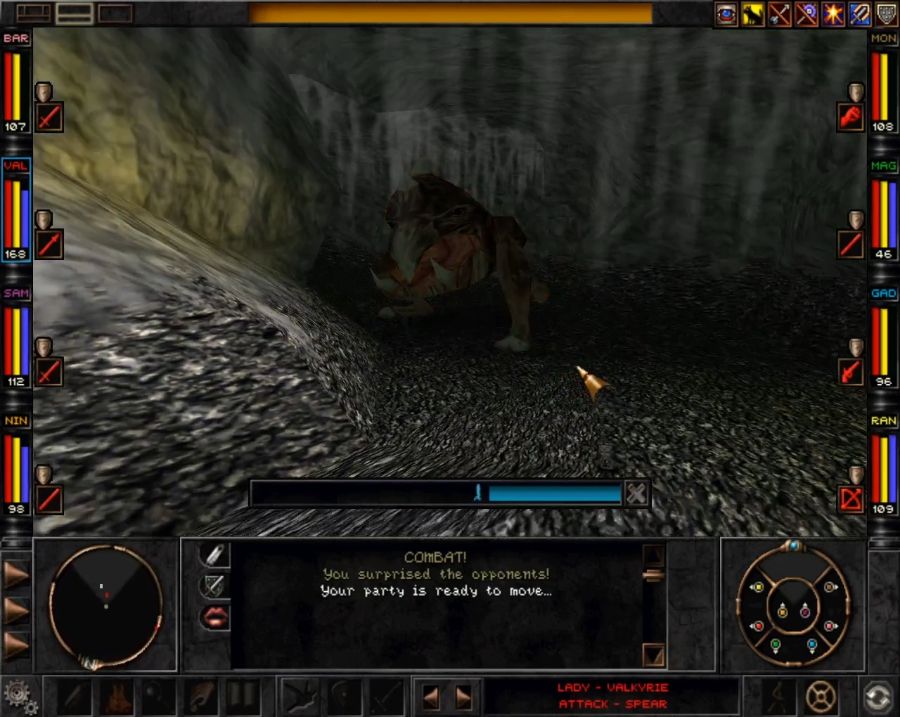 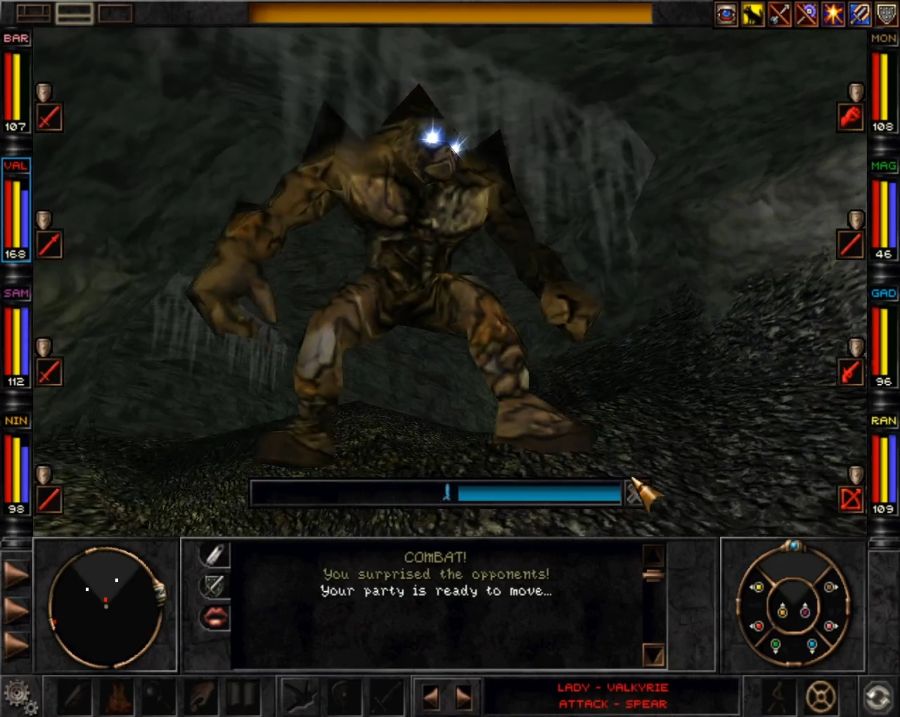 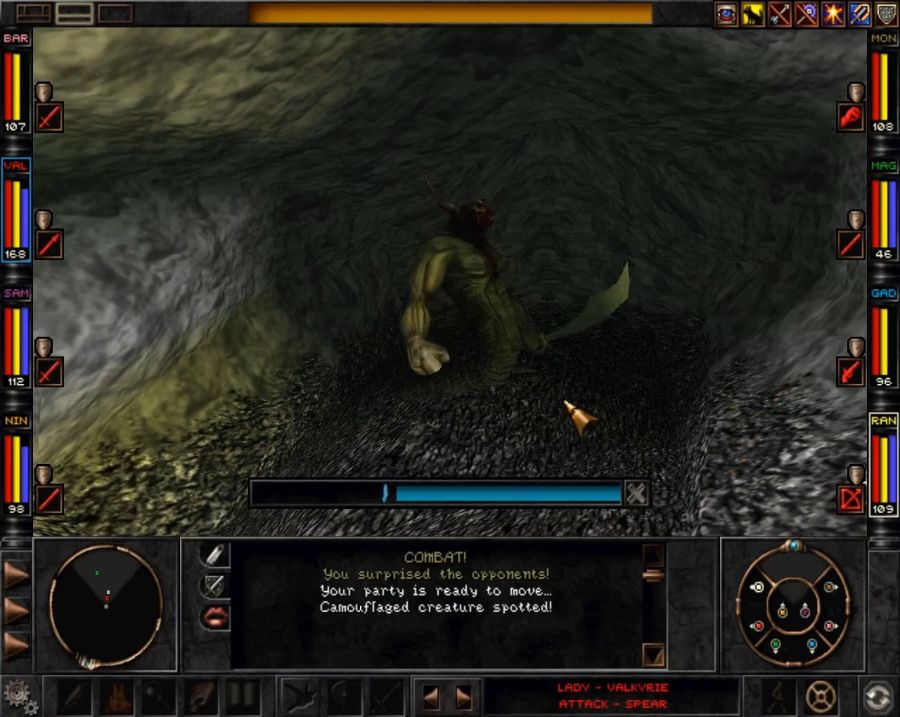 Now, the Morax actually has spells and could be mildly threatening if he cast, say, Sleep or Web or actually attempted to lock down a large amount of the party. The Deathsting Apus might manage to instakill ONE character before getting mulched. Swallower and the Flint Golem are total non-entities. Now the Djinn... 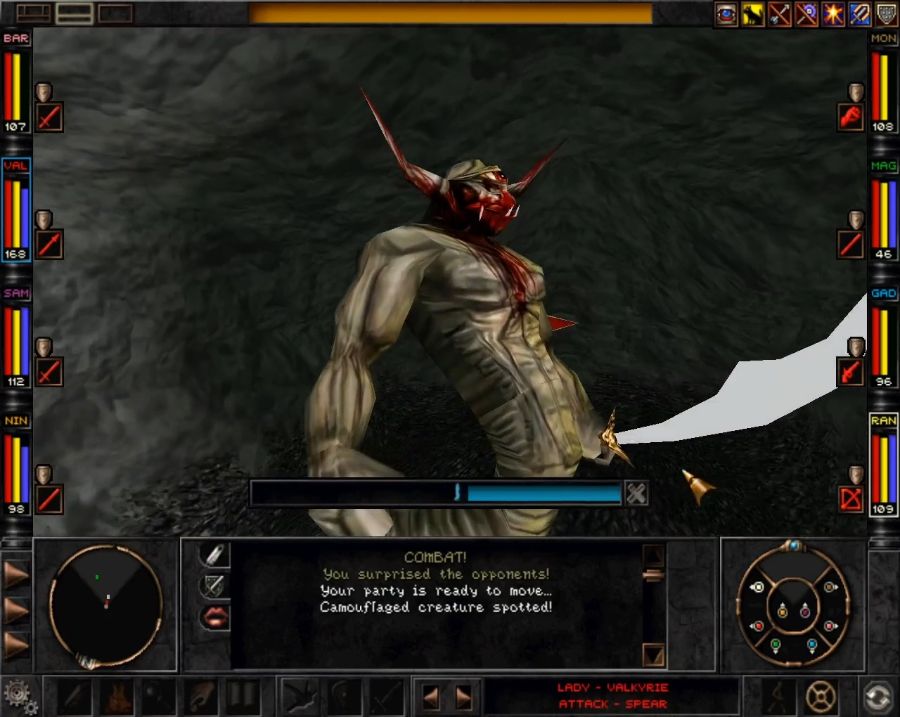 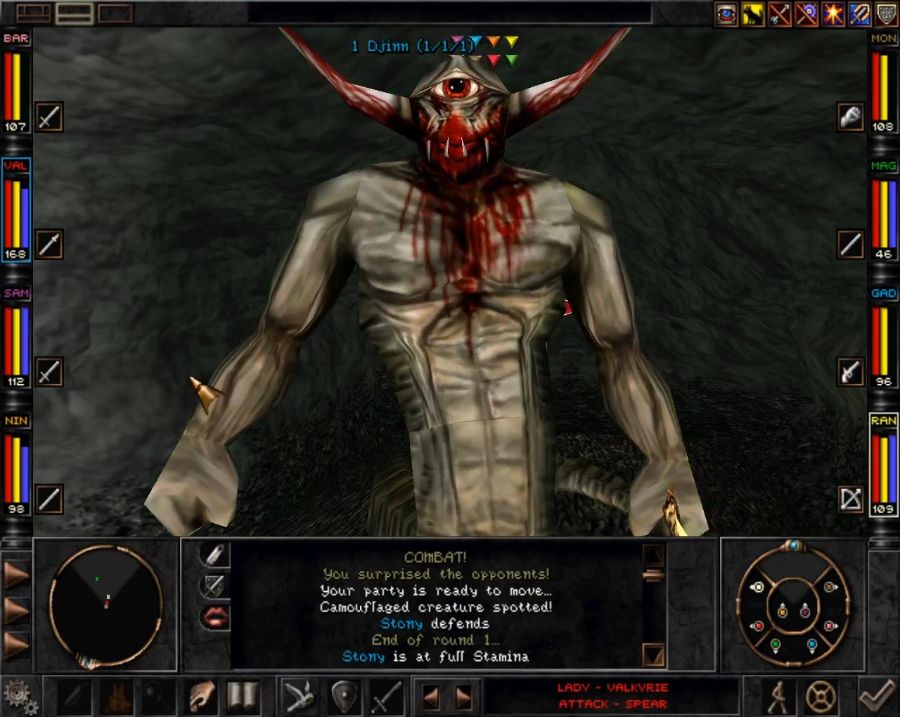 Could very theoretically be mildly dangerous if it used its spells and special attacks rather than just hacking away with its sword because I closed to melee range instantly. I pat myself on the back and congratulate myself for owning this so hard and then proceed to accidentally softlock the quest. 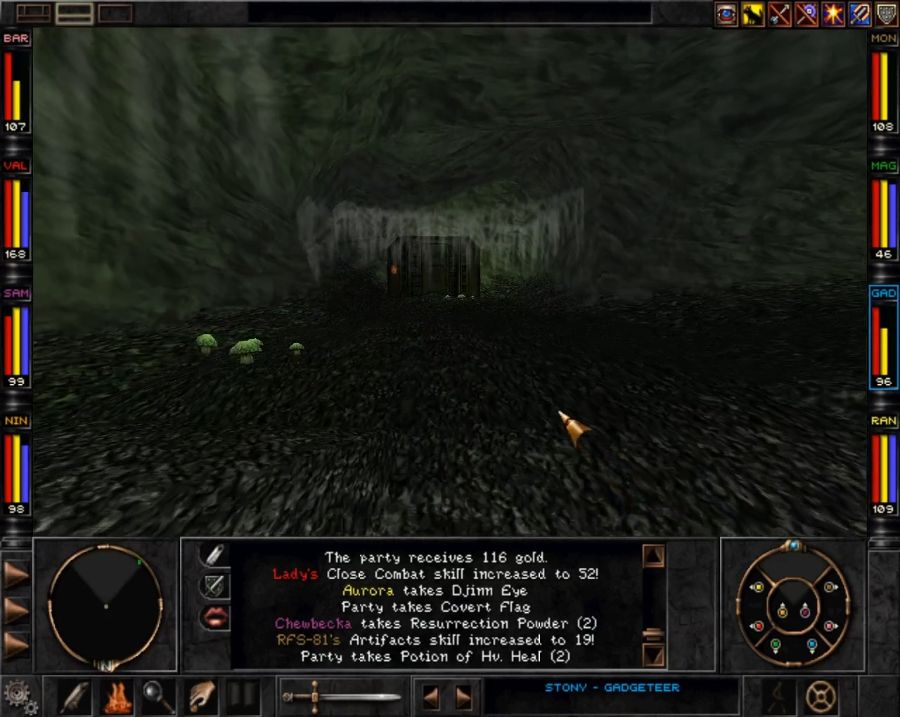 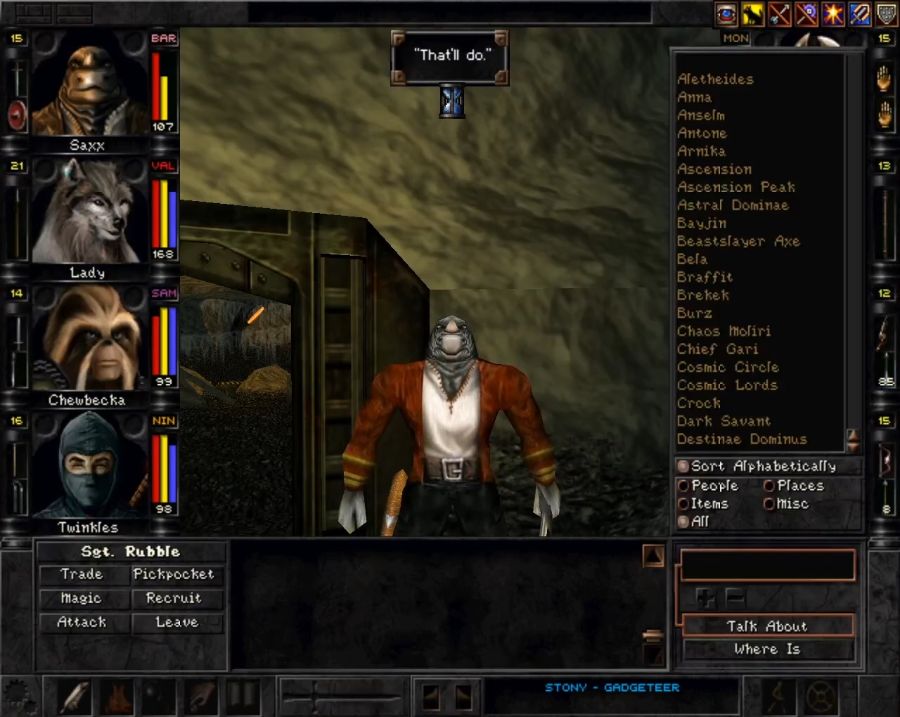 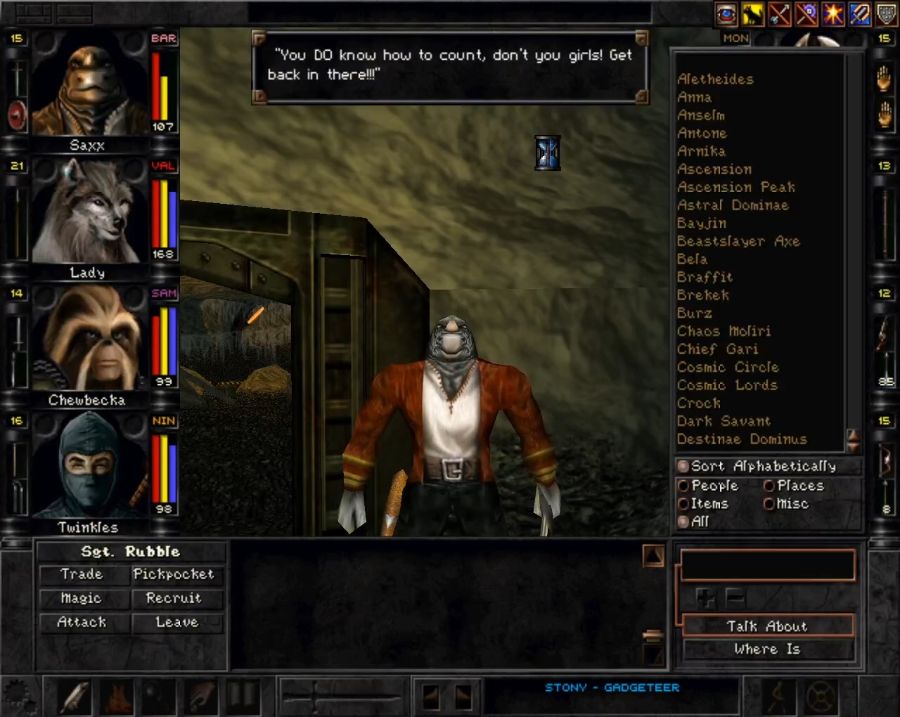 Now it turns out, if you give Rubble one of the flags, like I did, since usually that's how NPC's want their quest items handled, he just eats it and then chews you out for not having enough flags! It happens even if you give him all five! Cue me popping out and editing another fresh five flags into my inventory, and then just talking to this massive dickhead of a rhino. https://www.youtube.com/watch?v=aoZ7GH47ftQ What a dick. Anyway, back to Balbrak! This is more quickly done by teleporting back to Marten's Bluff, warping to outside of the camp via the teleporter, and then walking back inside. Thank God for modern area load times. 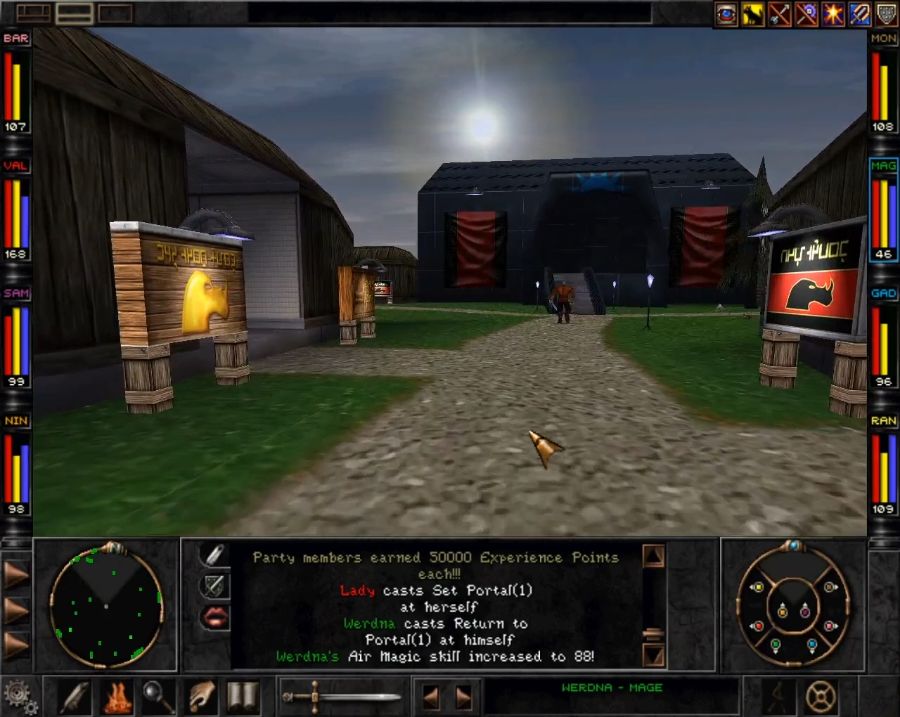 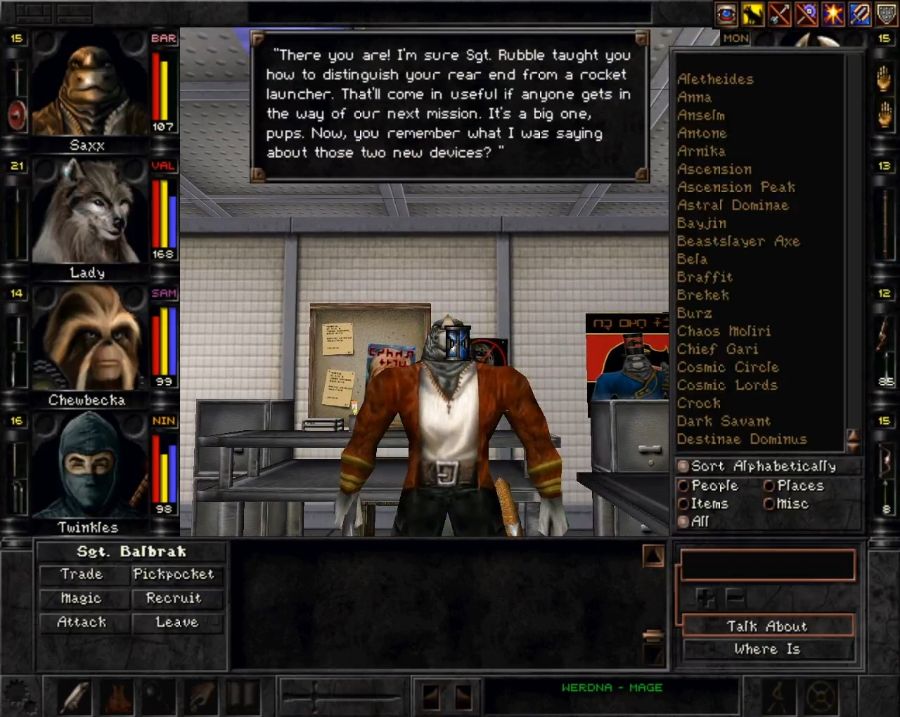  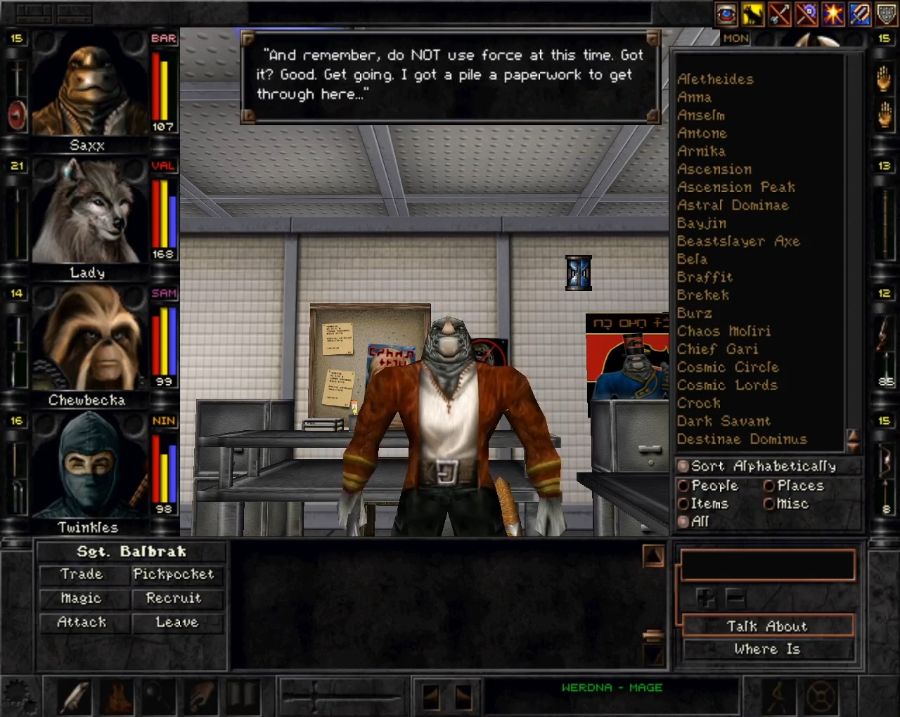 Unsurprisingly both Factions have a "Mook Alliance quest" since otherwise you'd be locked out of getting the Chaos Moliri if you teamed up with the wrong faction.   This "very clever man," in Aurora's words, doesn't notice that he's already greeted us as diplomatic envoys from another faction and also that we swapped out his artifact of epic cosmic power for a green marble made by rats. So, I just hand him the piece of paper and bail. Before I head back to Balbrak though, I do a bit of shopping(that Djinn dropped an eye that was the last part we needed for Antone's Featherweight Armor for Chewbecka, for instance), and Braffit has some new dialogue: 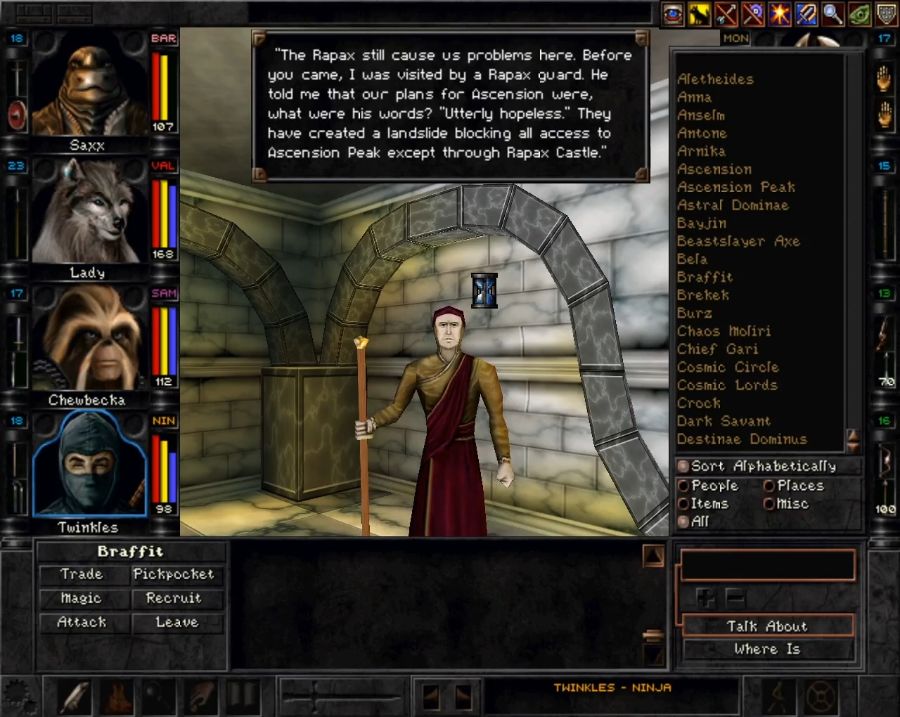 This happens once you have two of the Astral Dominae, Chaos Moliri and Destinae Dominus. Now what you could do, to circumvent an actually quite large part of the game, would be to march up Ascension Peak before you grab the second item, set a Portal, and then head down again. If you did this, then you would literally never need to visit the whole Rapax Rift area of the game. But it would also be boring and limit our ability to do a heist and kill some royalty. Anyway, back to Balbrak and a well-earned reward for delivering one whole letter. 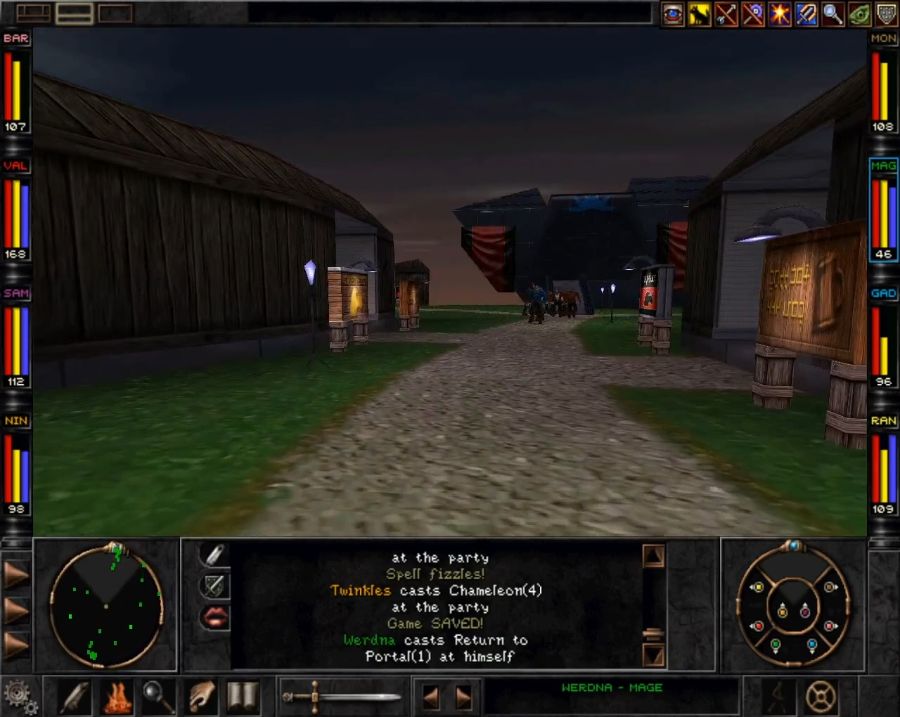 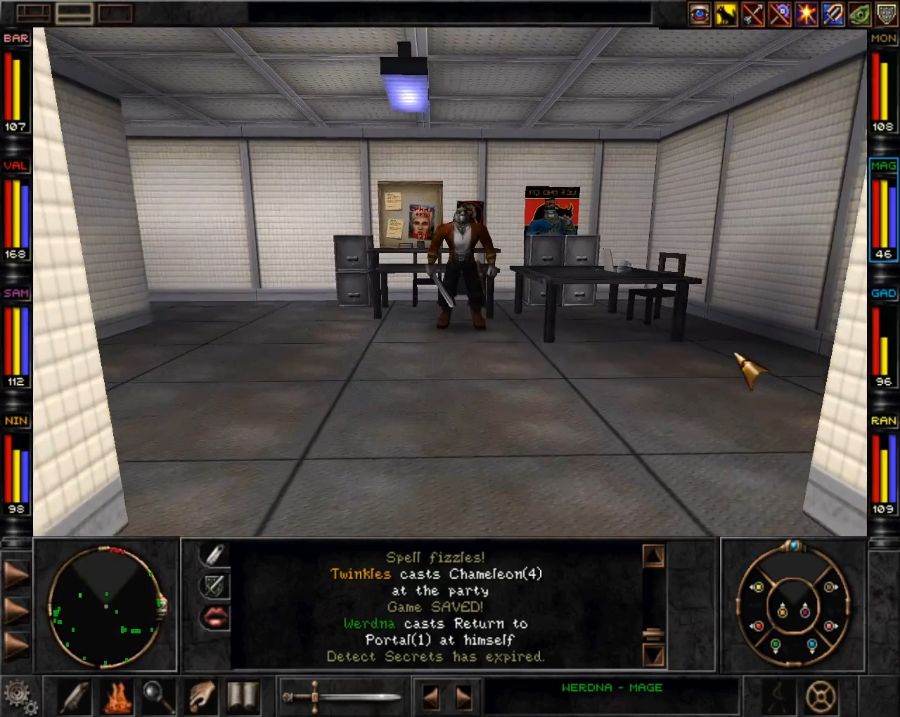 https://www.youtube.com/watch?v=FG5rrMguz-Y Oh boy, now we get to mess around with the CYBERTRONIC MEGACOMPUTER of the Umpani. Let's go google some things before doing what we're supposed to do. 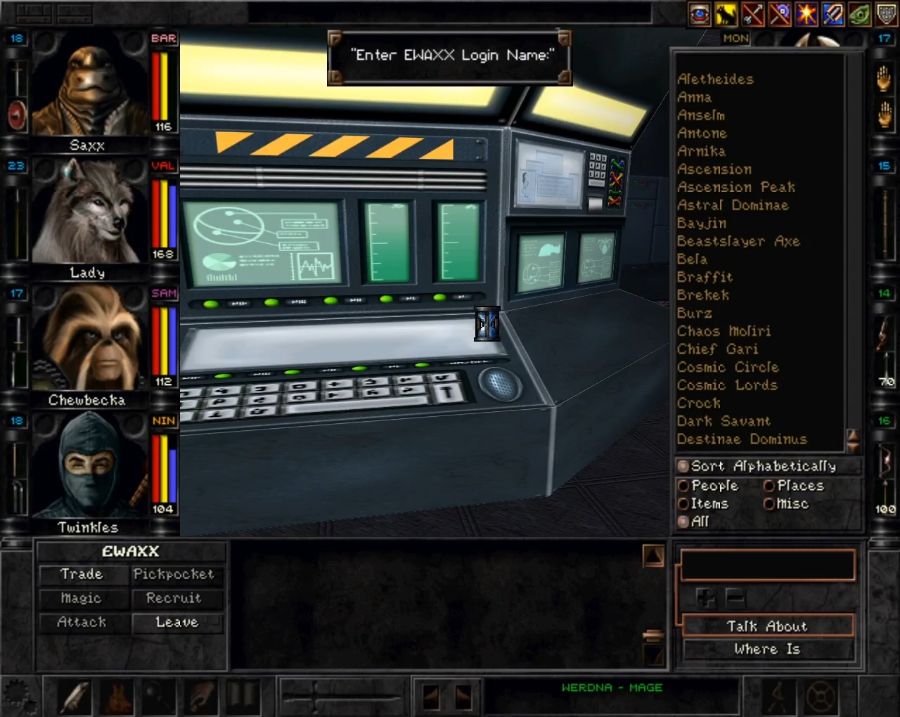 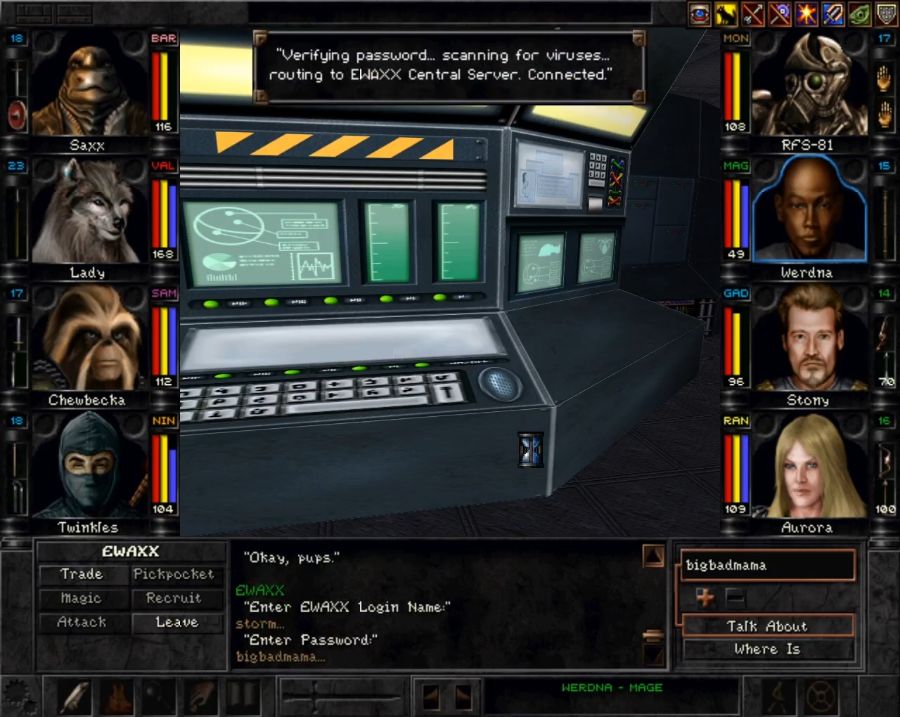 Sadly the EWAXX files aren't voice-acted, not even by some lovely voice synthesizer or anything. 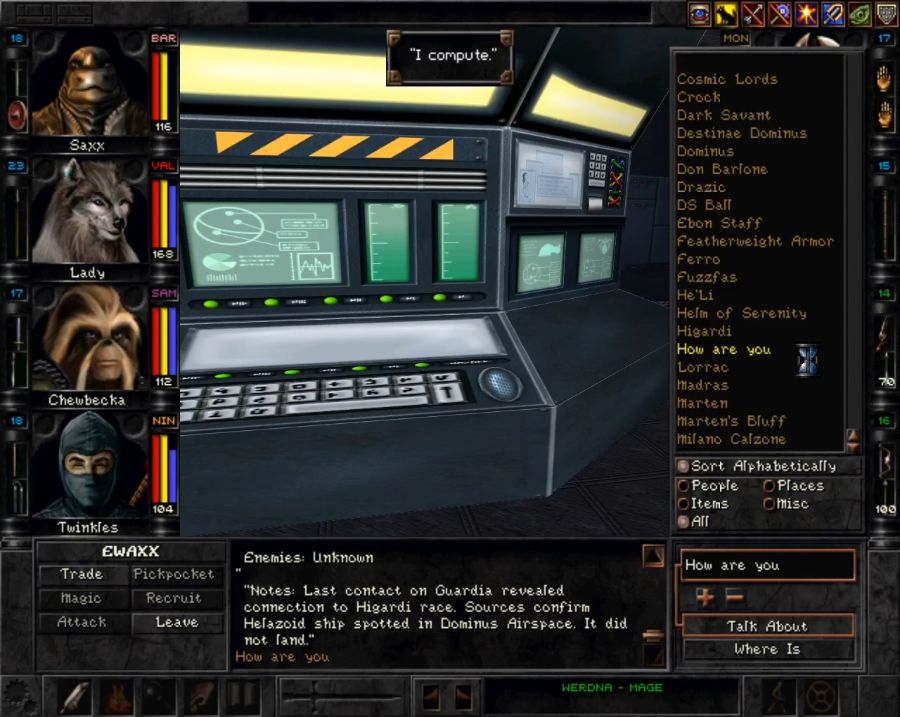 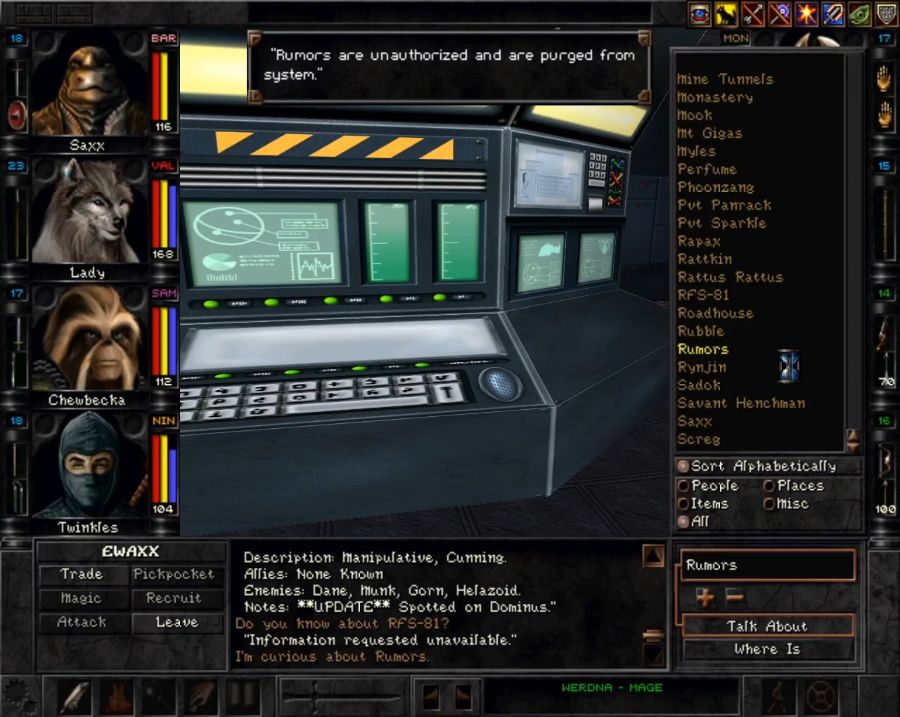  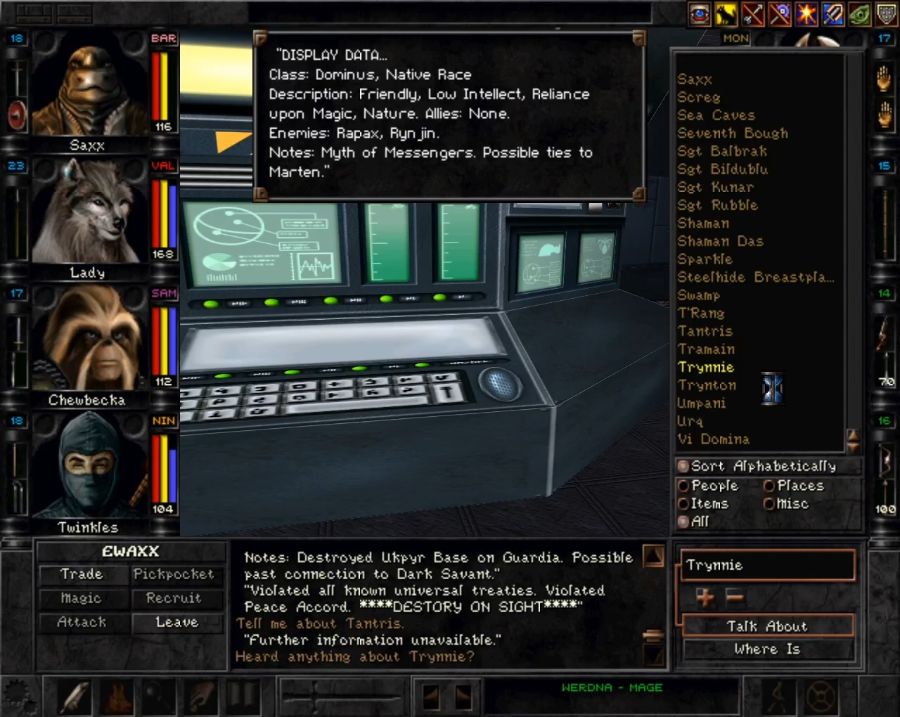 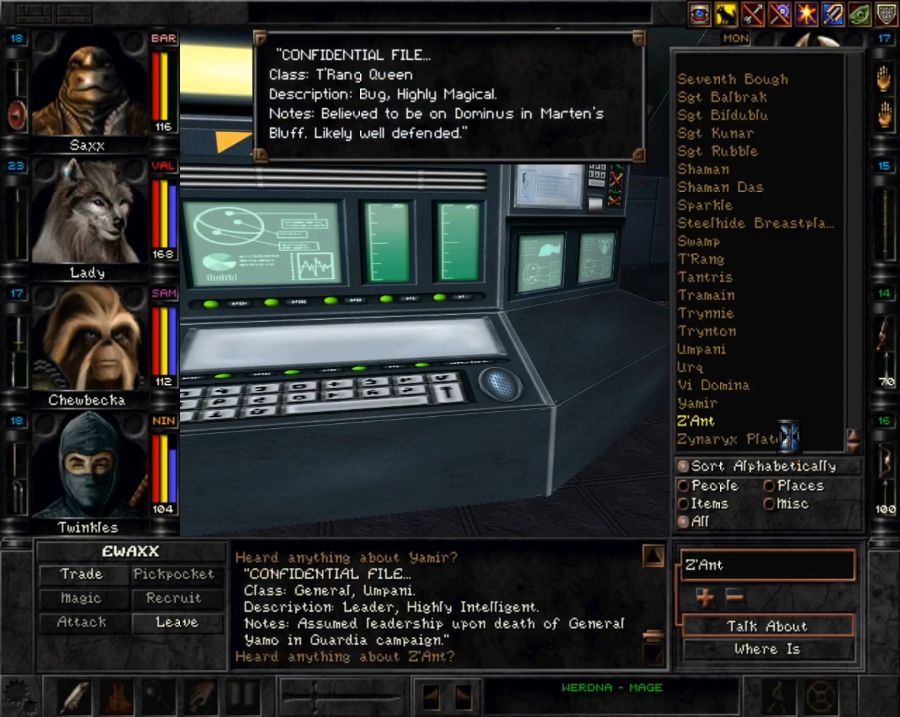 I think literally the only thing in here that we can't just find out by asking some rando on the road is that Z'ant is female. Good on her for managing to break whatever glass ceiling exists for spiderslugs. Time to head up and see what Yamir's got to tell us. 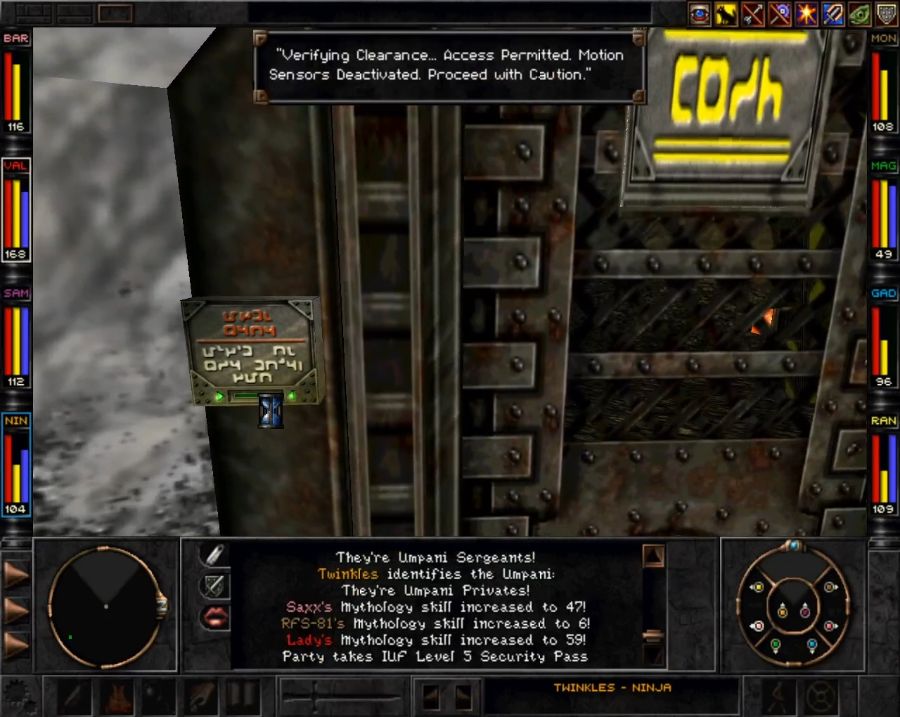 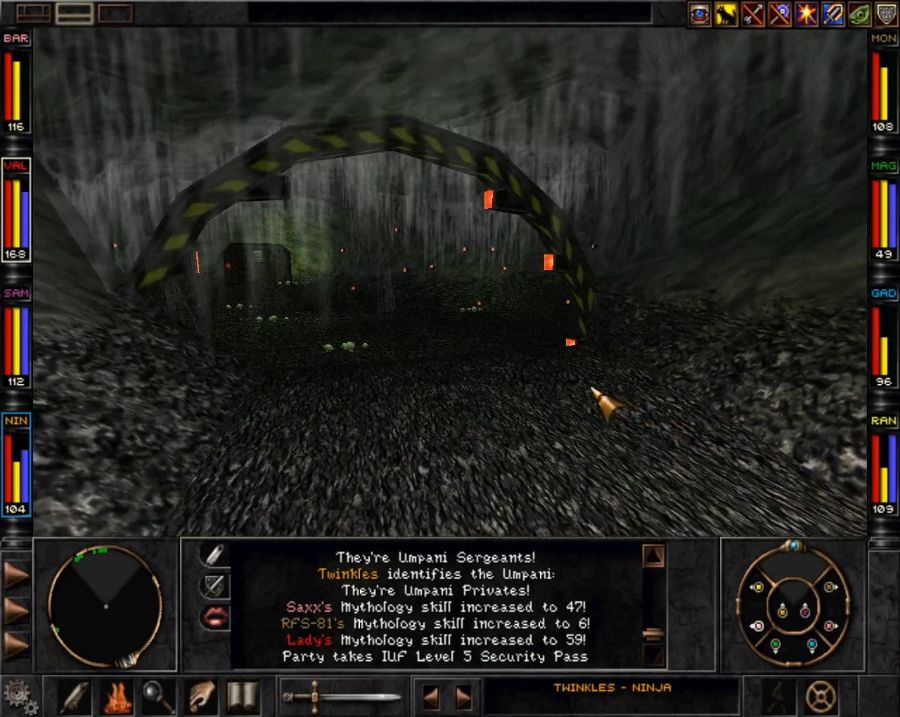 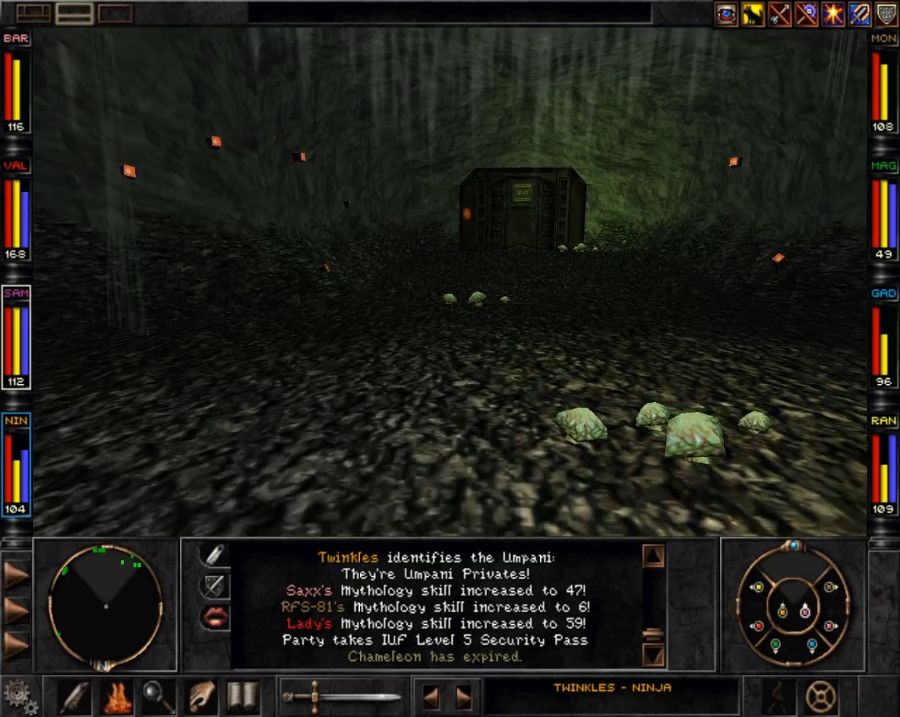 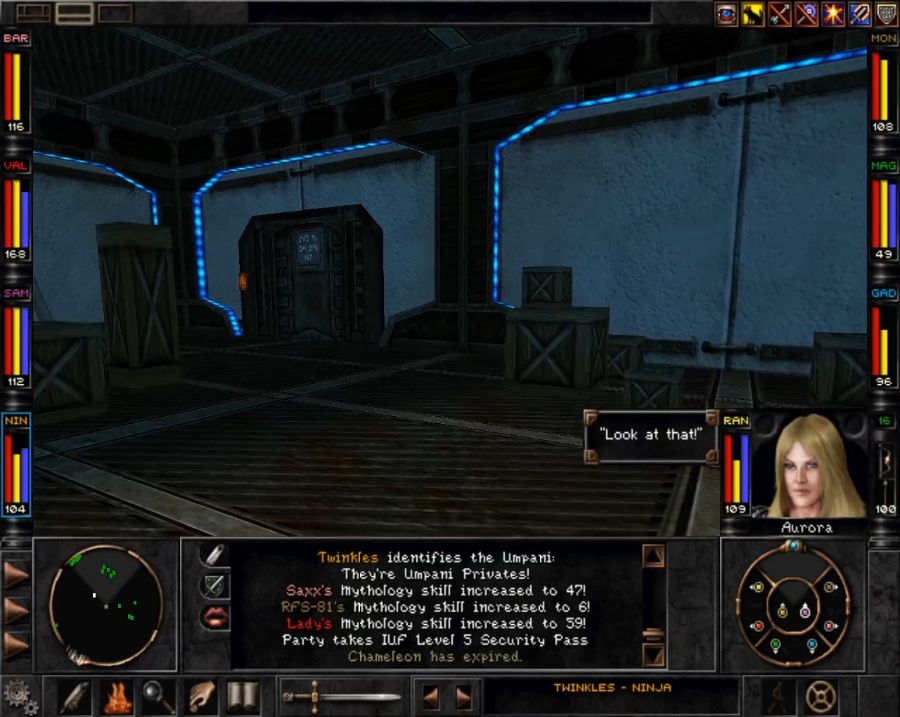 The door on the left leads to Yamir, but there's a door on the right that leads to a bunch of lockers to rifle through. 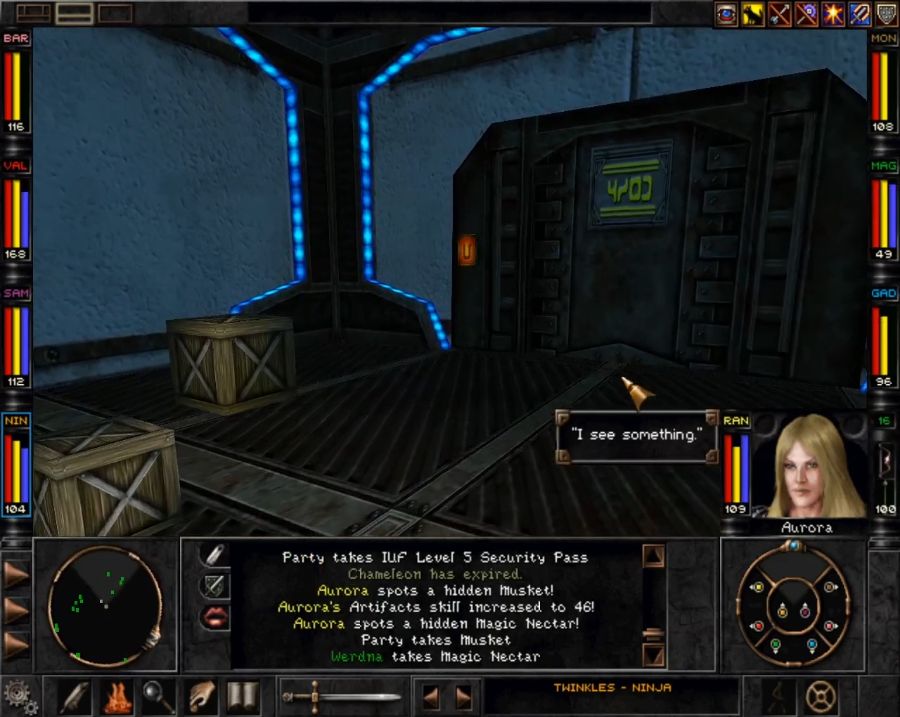 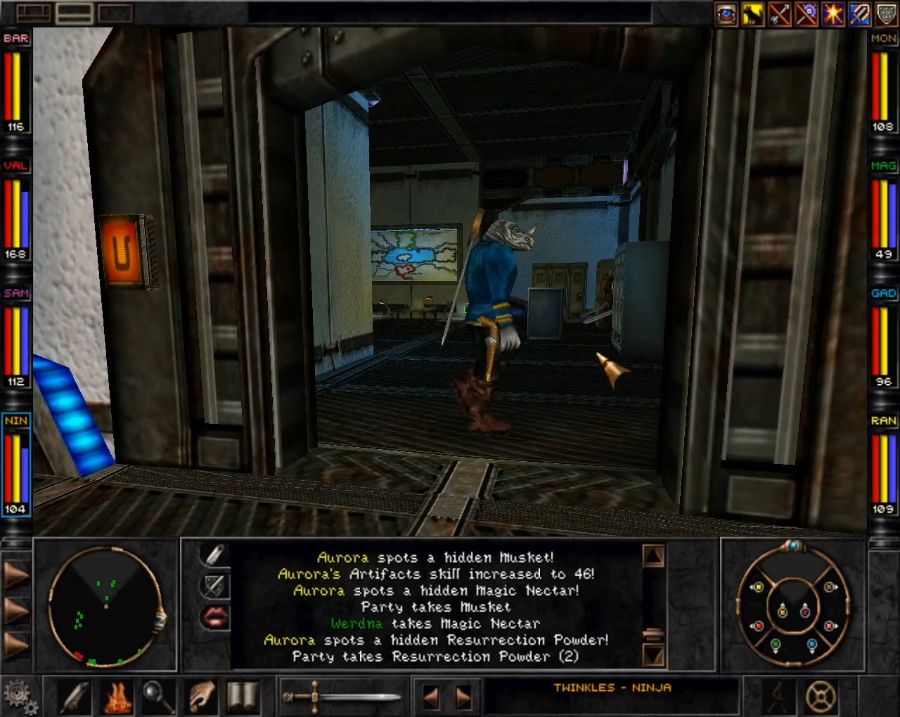 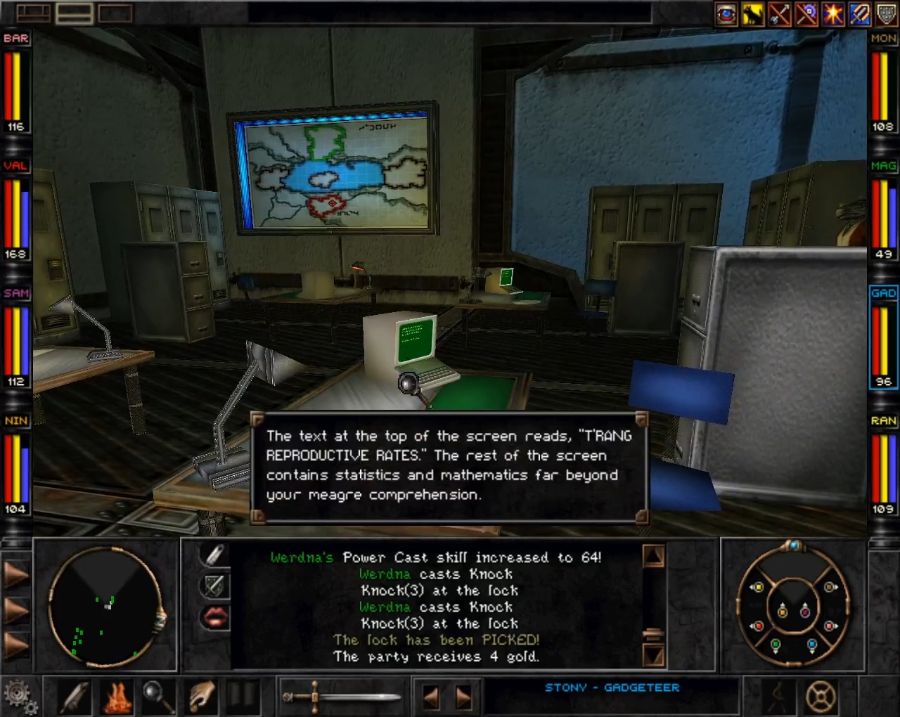 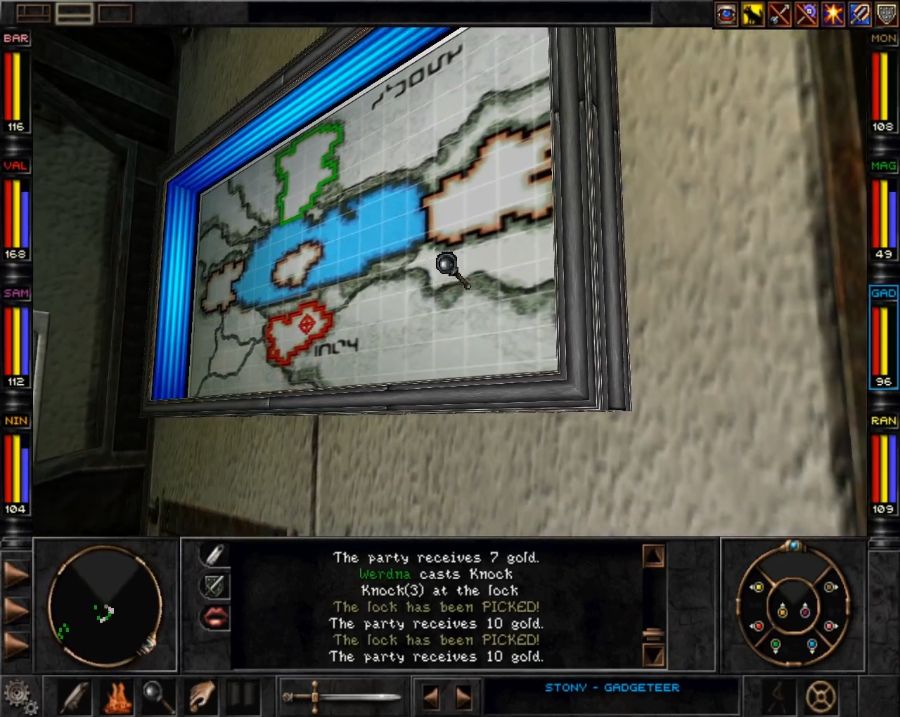 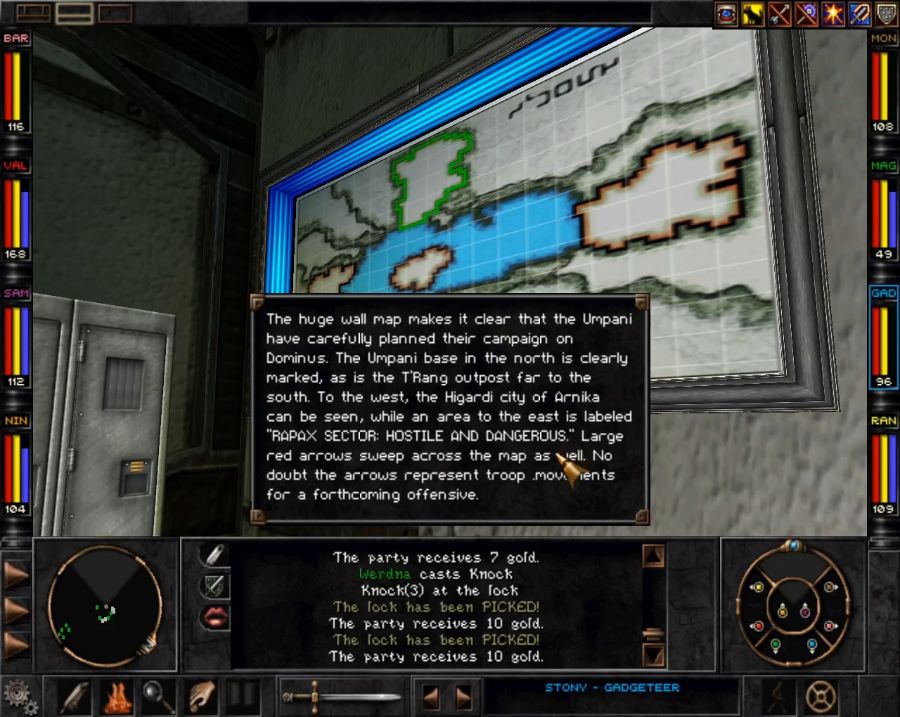 In between ripping open all the lockers and dumping their contents on the floor when they inevitably disappoint me, I also check out the monitors and diagrams in the room, now we can go see Yamir. 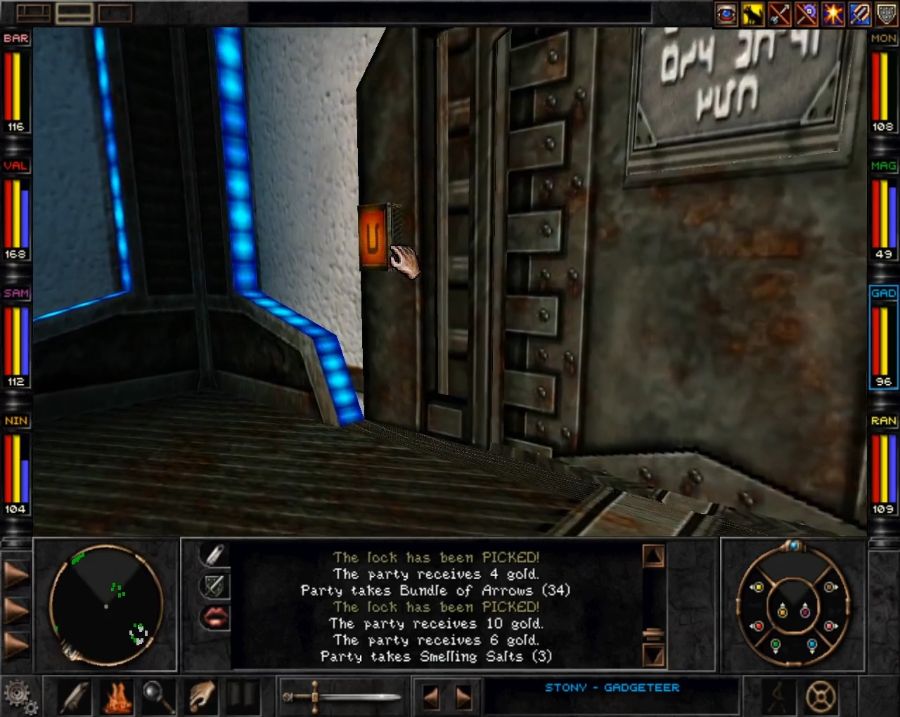 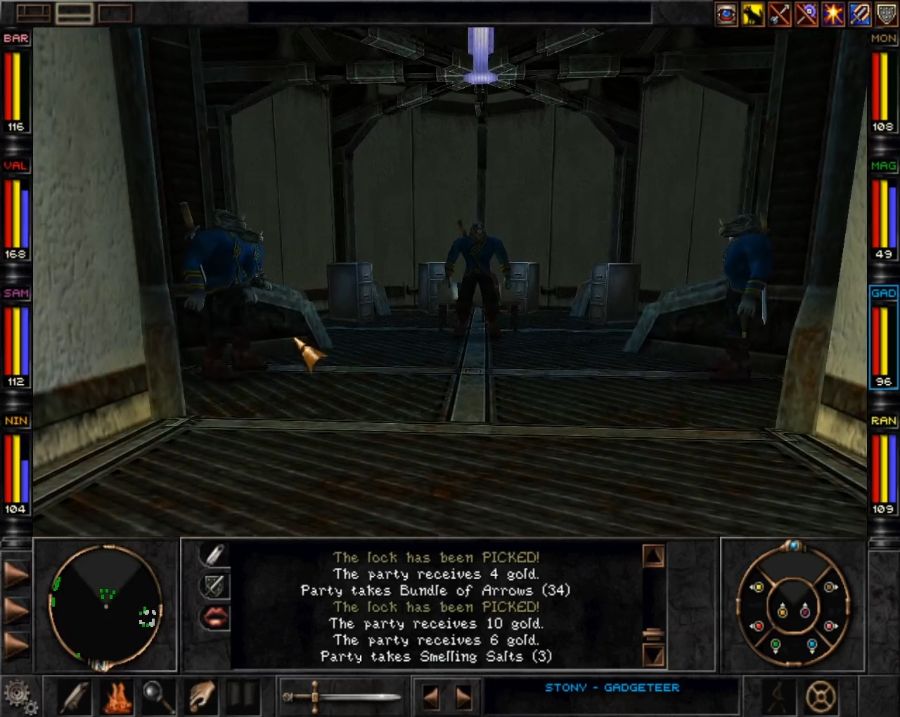 https://www.youtube.com/watch?v=xDN4aQdYtJg Yamir is definitely the nicest rhino we've met so far, but I still like Z'ant and the T'rang more. Especially since Z'ant never sent me to go talk to Sgt. goddamn Rubble. Blah. Off we go! ...after we take a look at the screens behind him. 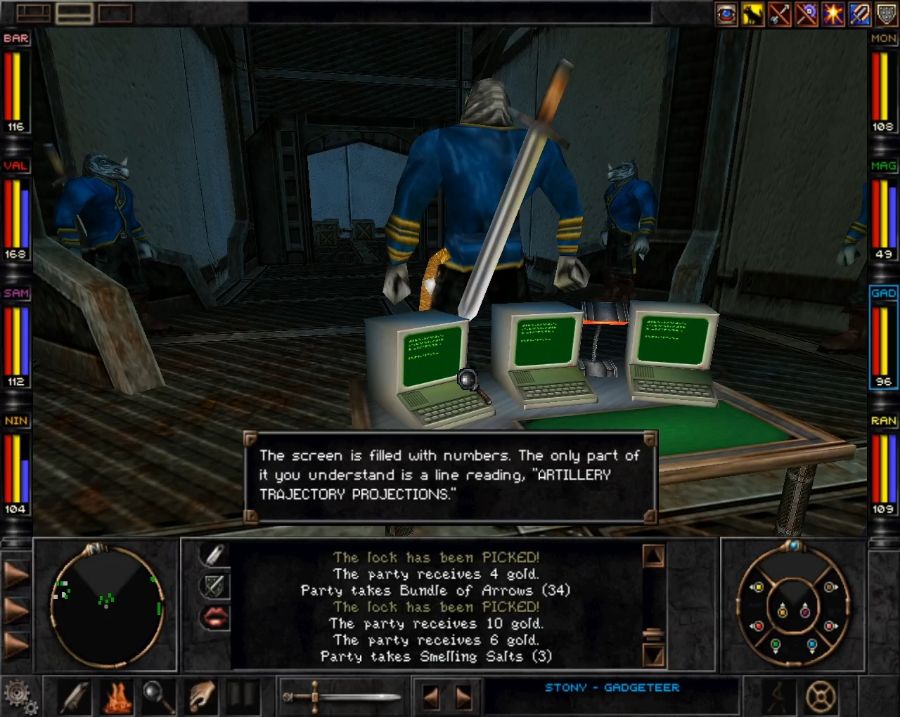   Nice triple monitor setup. Now we go!   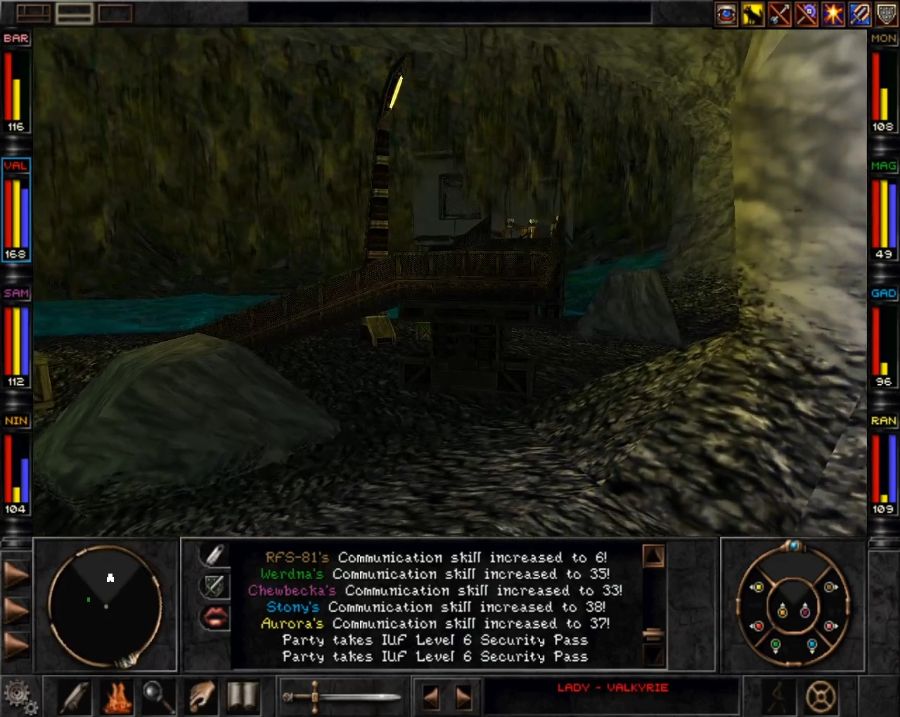 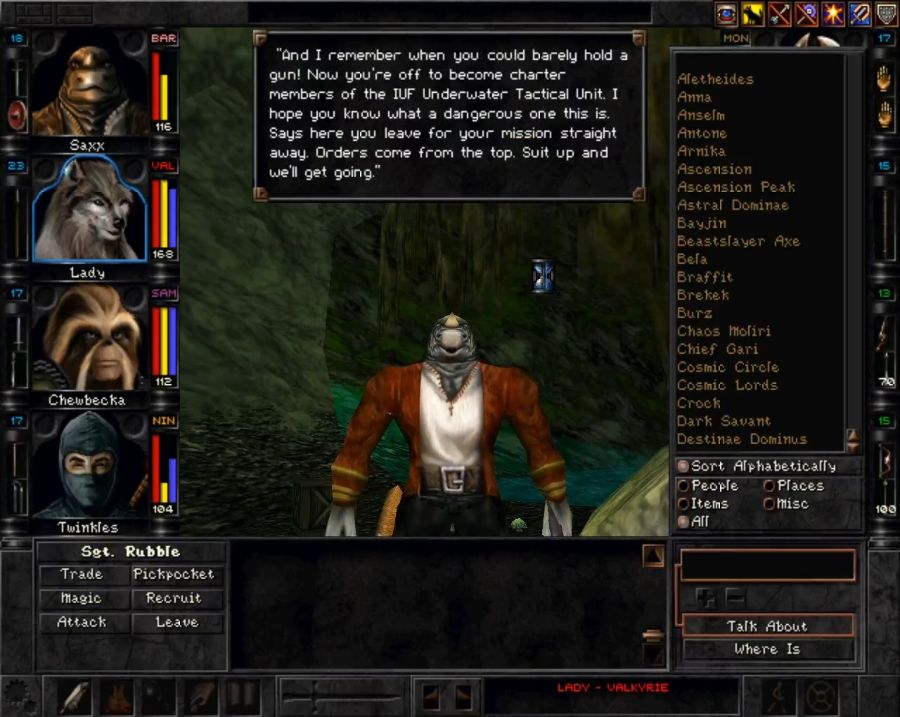 This is the technical alternate entrance. This connects to the underwater section of the game, which connects to Rynjin. So you could come up here after entering from Rynjin, but as far as I'm aware there's no way to open the UTU doors from the inside. Let's put on some scuba gear.  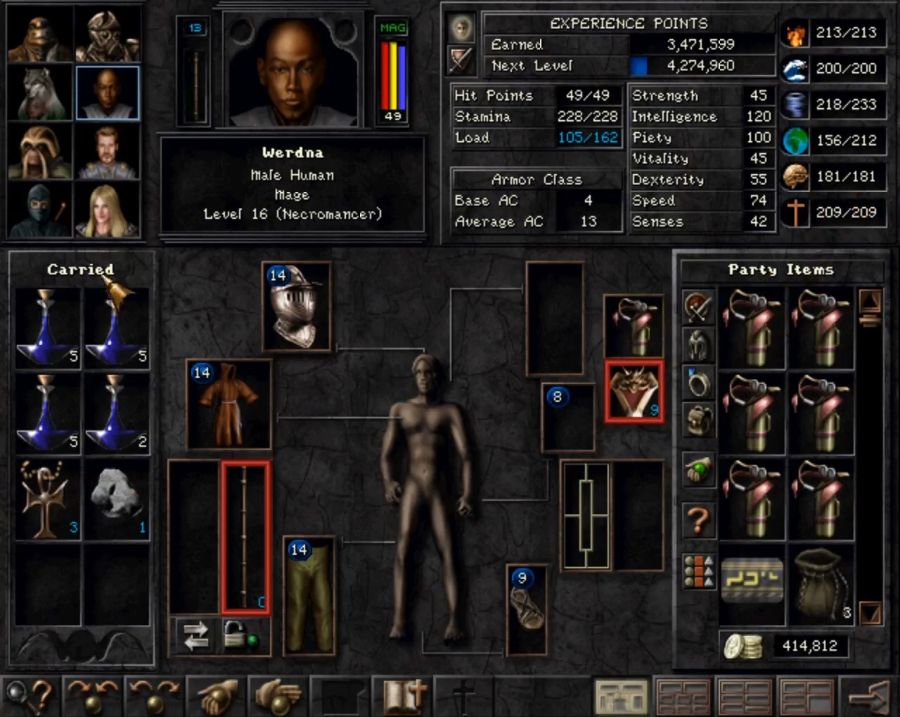  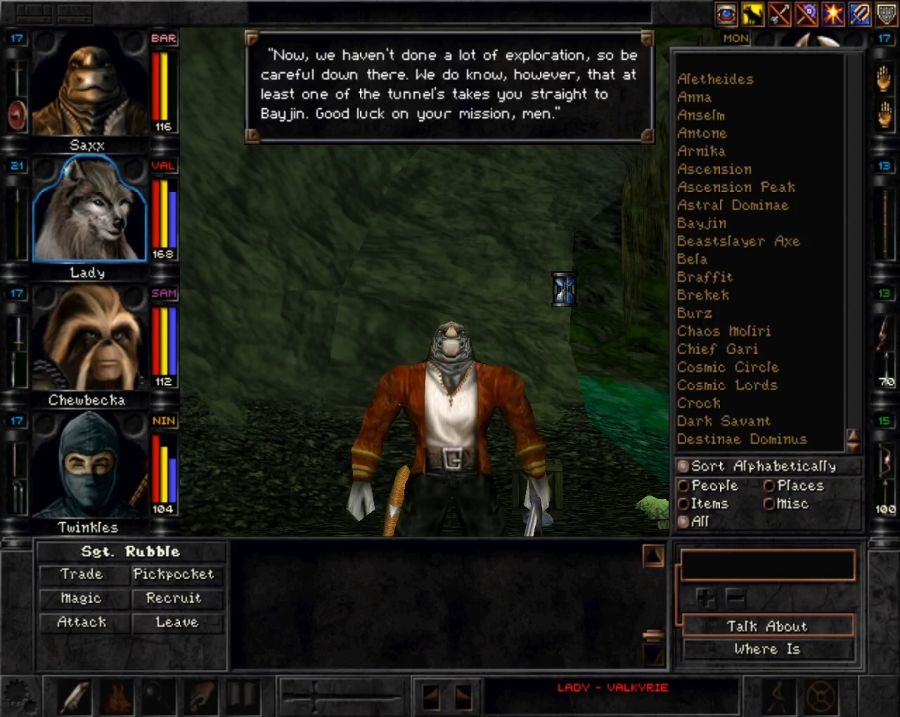 So two things about the water areas. Without scuba gear, characters just die, and scuba gear takes up one of your two misc. slots, thus weakening you slightly. Secondly, all fire magic fails underwater. And of course, the weakpoint of most underwater creatures is fire, so it's a bit oof. 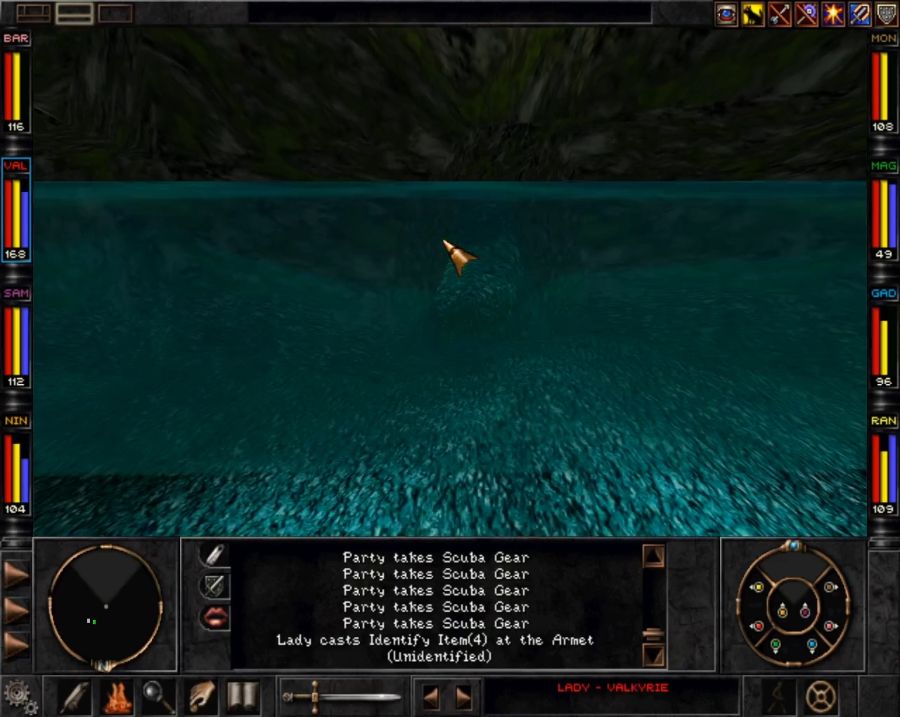 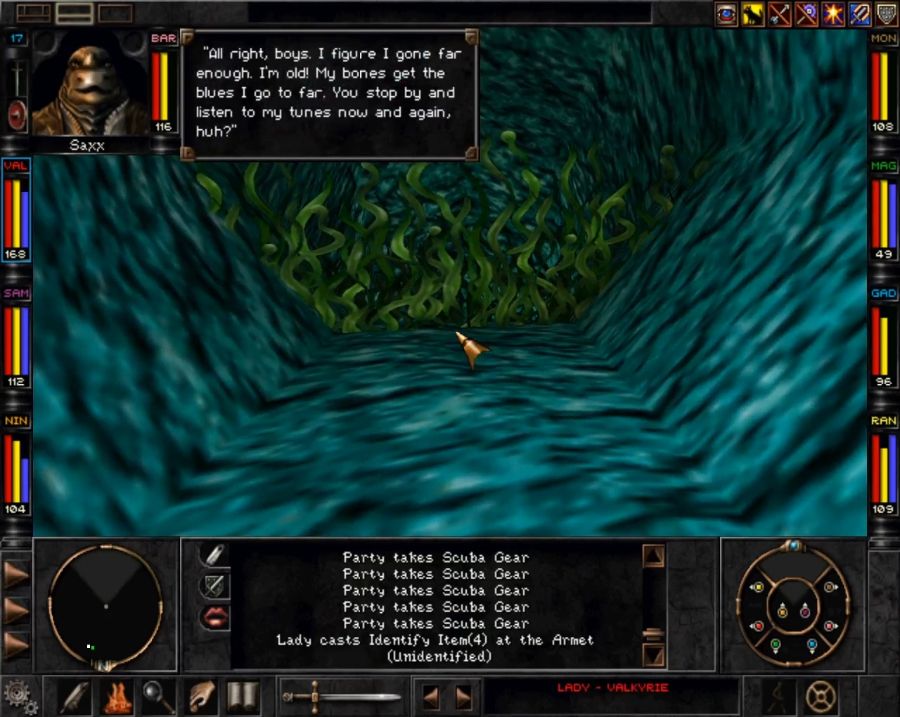  Lastly, Saxx won't go there. But it's alright since we do in fact need an open character slot for this specific mission. When we come back later, we'll just make Saxx take a nap so he won't mind entering. 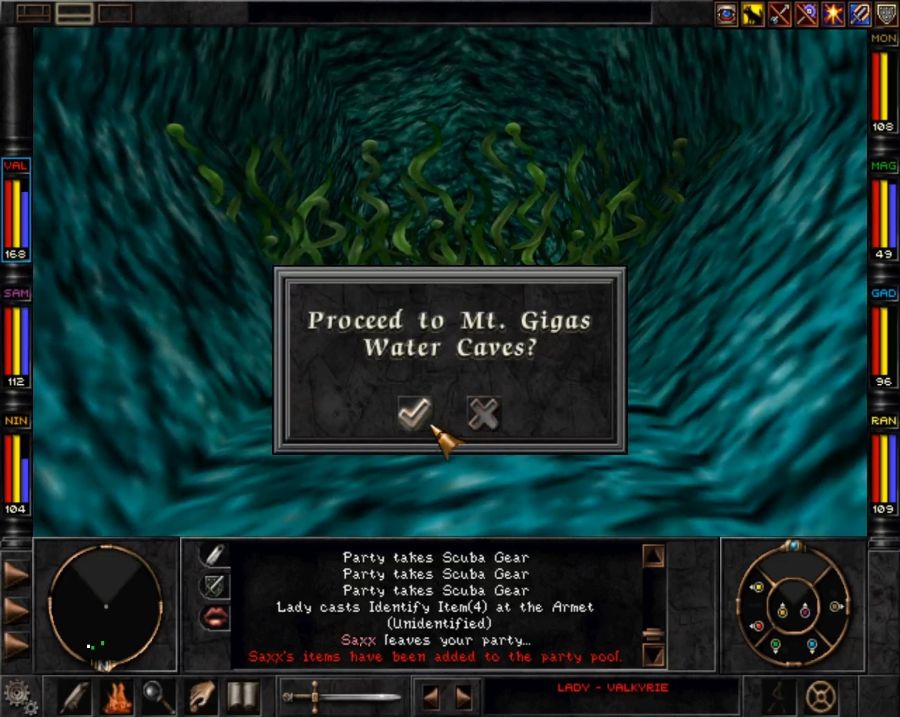 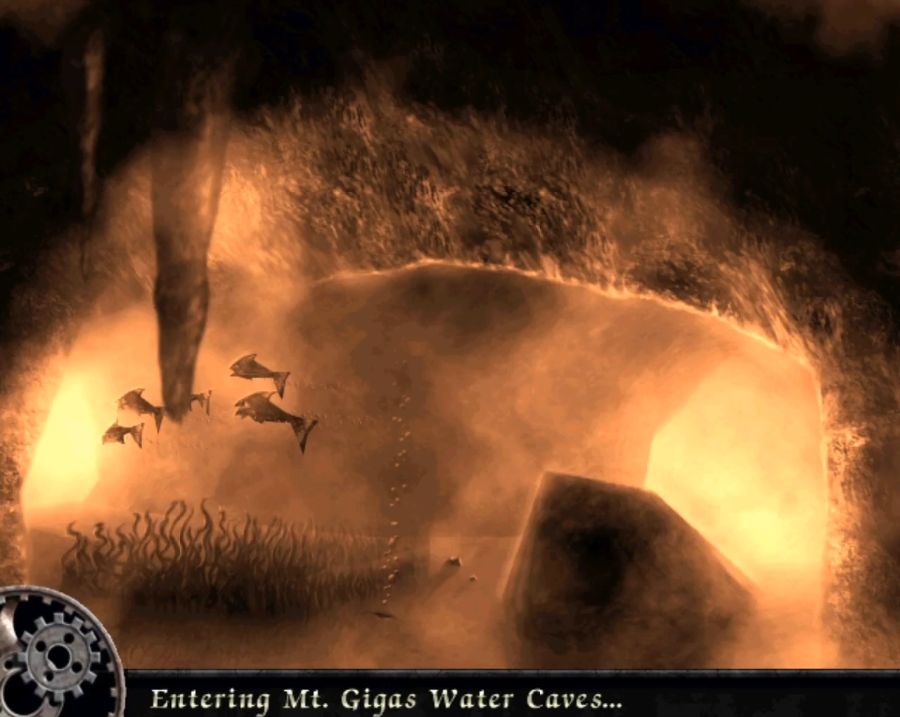 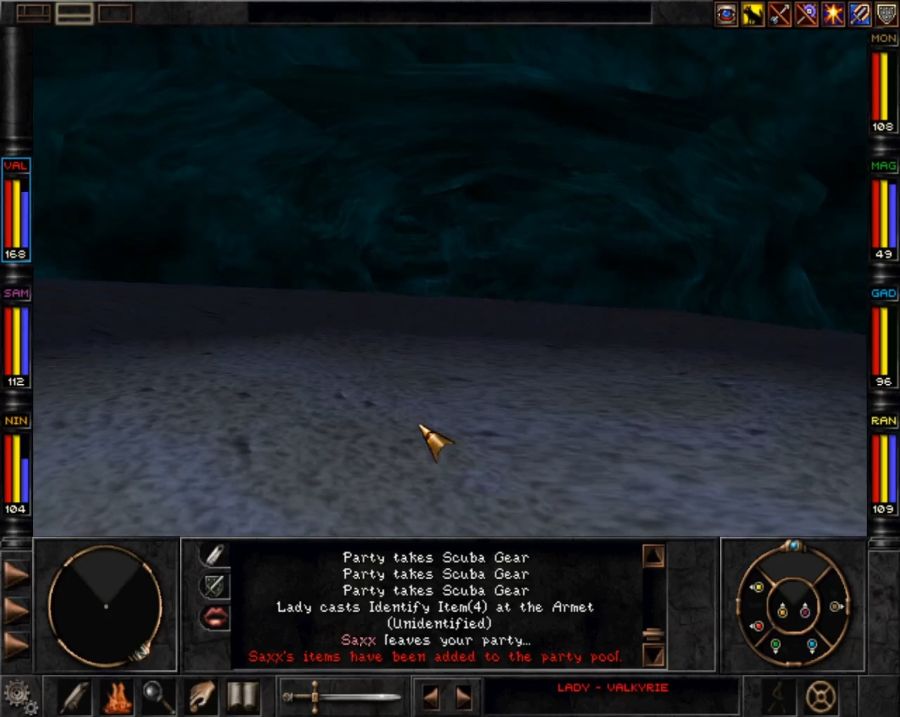 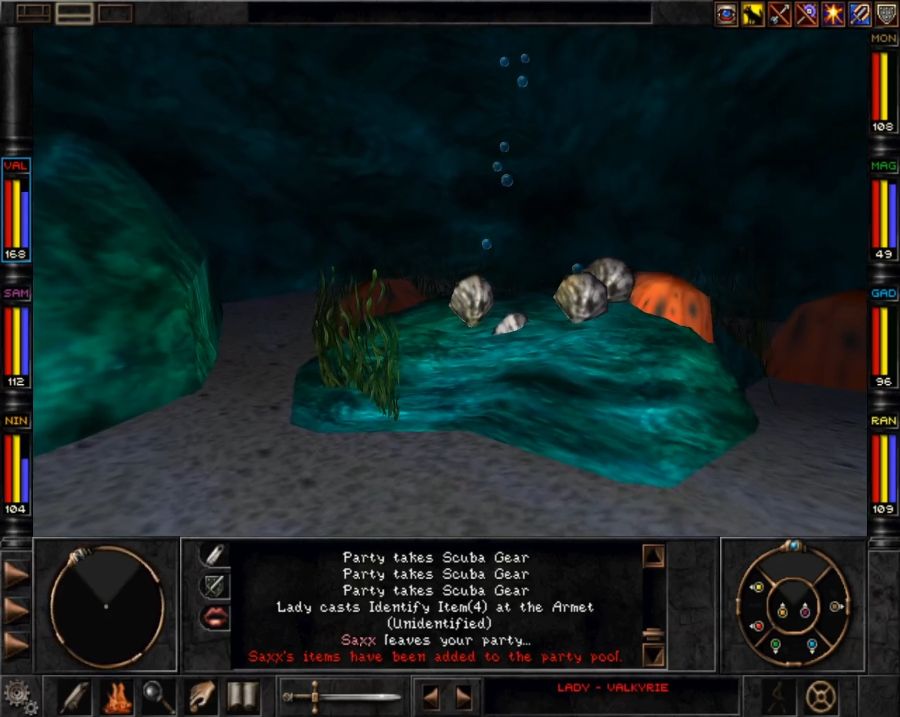   Welcome to the underwater areas, folks, they're probably going to kick my rear end.
|
|
#
¿
Aug 31, 2020 18:17
|
|
|
Zurai posted:Either you didn't mention it, or you missed a Gadgeteer gadget component in the unexplored area of Mt. Gigas. It's at the bottom of one of those pits with the ropes. Oh, yes, the PTorch. Since it just lets you cast "Light" and the upgraded version(slapping a lens on top) lets you cast Detect Secrets, it's one of the least exciting gadgets in the game if you already have a perma-scouting Ranger along.
|
|
#
¿
Aug 31, 2020 18:39
|
|
|
FairGame posted:Are you going to show off any of the alchemy stuff? I have literally never interacted with the alchemy system any of the times I've played Wizardry 8, there are already plenty of potions around for the most part. Supposedly you can bust the economy wide open with it but... most of your really good upgrades aren't purchased anyway, they're found.
|
|
#
¿
Aug 31, 2020 20:00
|
|
|
Nemo2342 posted:The underwater section fills me with dread even after all this time. I remember hitting some nasty (and one VERY nasty) encounters down there. Oh yeah, the underwater section is potentially one of the nastiest parts of the game because a lot of your crowd control is likely to be fire magic. Thankfully this party is exceptionally physical heavy, so that gives me a leg up, but certain high-level psionic enemies are baaaaaaaaad news if you don't rock Soul Shield.
|
|
#
¿
Sep 1, 2020 12:36
|
|
|
Zurai posted:The thing that always, always trips me up about the underwater section is that I never remember that Haste is a Fire spell, so I'll use my bard's Rousing Drums and get a failure message identical to when you just flub a cast normally and be incredibly confused for a round of combat or two. Hilariously enough, however, your bard is perfectly capable of getting the right tune out of a saxophone underwater. Actually now I wonder what instruments actually would, realistically, produce something we could call music underwater.
|
|
#
¿
Sep 1, 2020 20:07
|
|
|
Part 010: The Wet Update  Welcome to the Mt. Gigas underwater caves. As mentioned before, we're locked out of using fire magic, which is of course what most of the locals will be weak to, so the physical fighters will be lifting the heavy load for this one. If you had a magic heavy party, this area could get really gross to fight your way through. 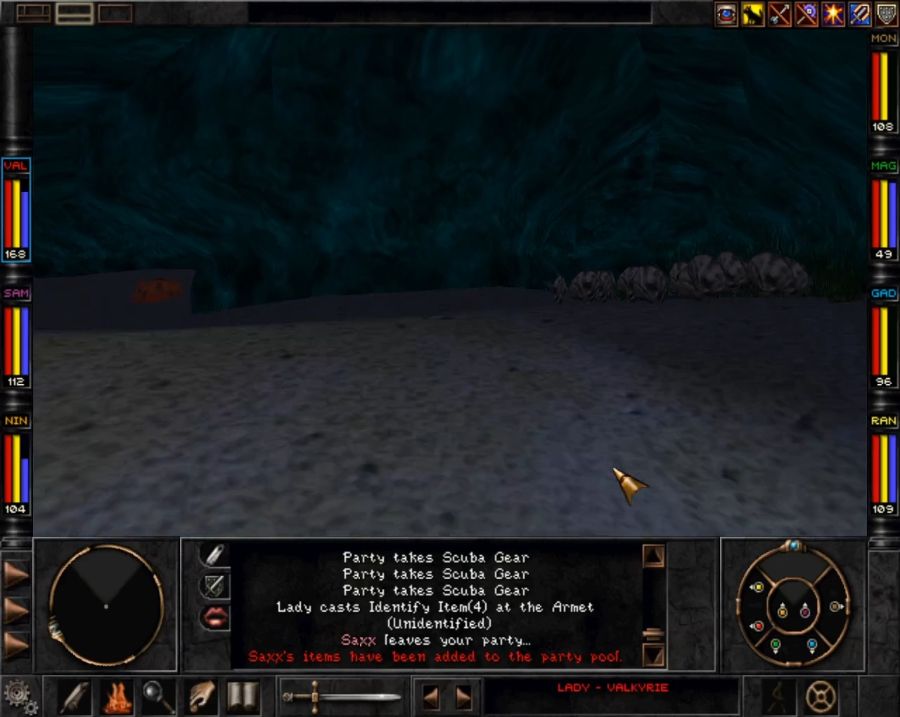   This first section is mostly a same-y looking blue-green corridor with the occasional branch(which always ends up rejoining the main corridor later, so there aren't any actual alternate routes or blind corridors with stuff in them). Mainly what keeps this interesting at all is that there are some exciting new enemies here to try to kick our rear end.  Here's a look at the automap for this area so far. It should give a good idea of what exploring looks like. 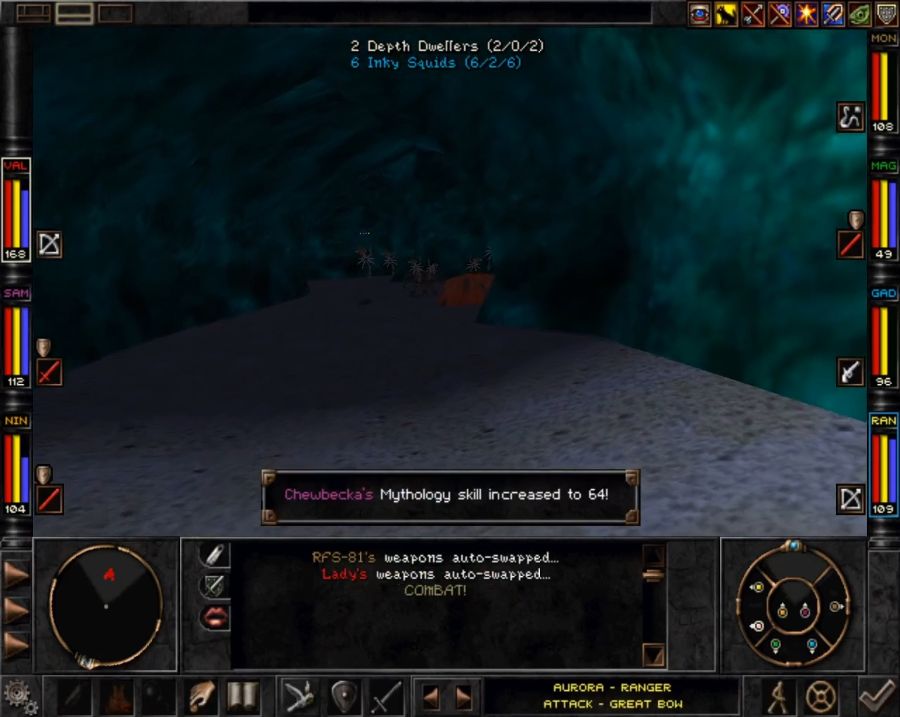 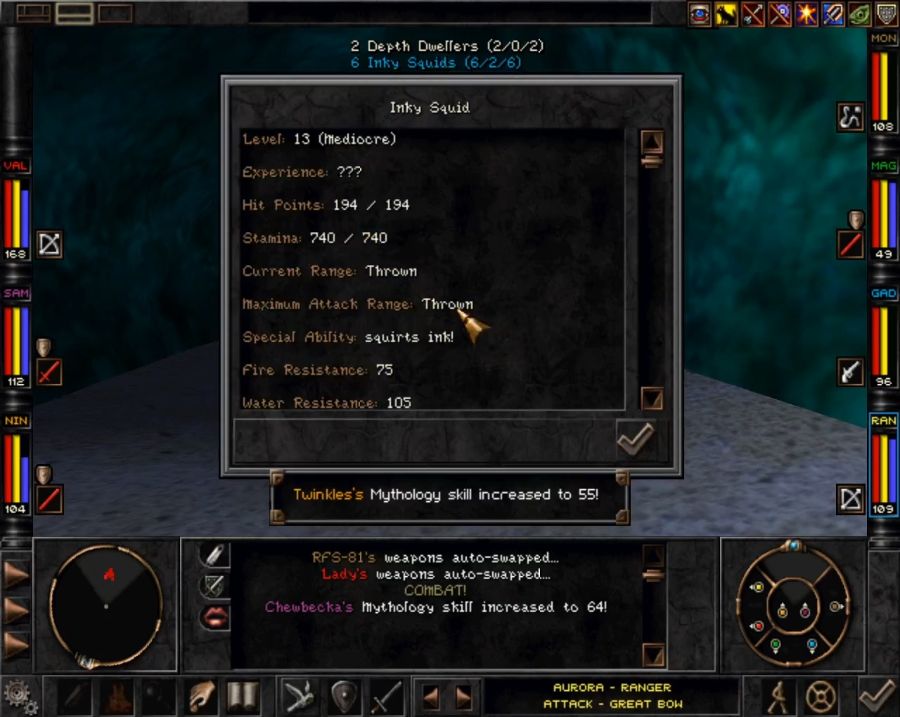 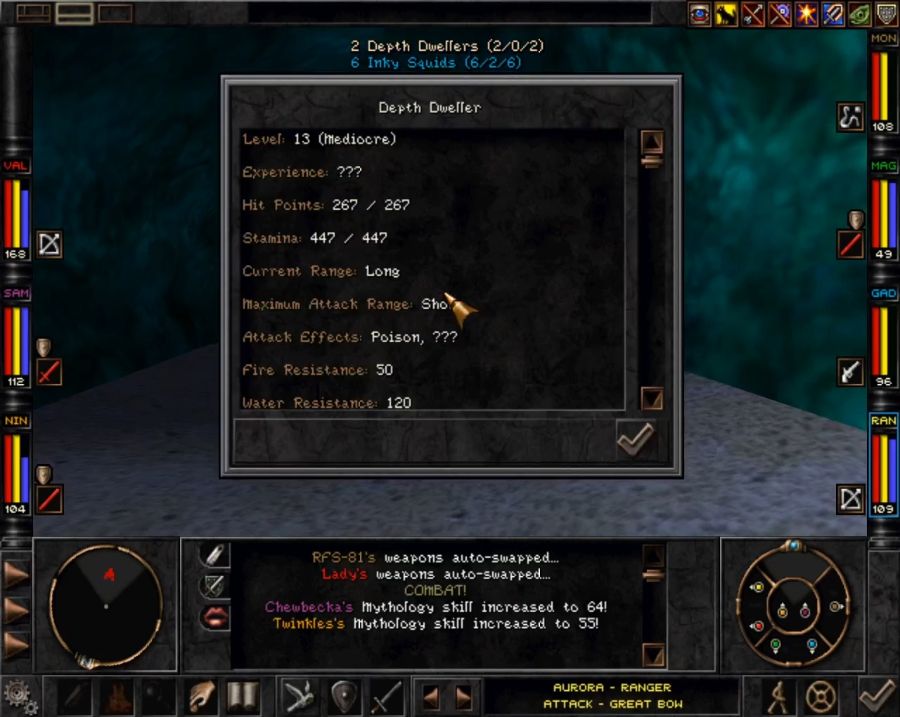 First up, Squids and Depth Dwellers. Squids can, of course, blind us with ink spit(though thankfully our resistances makes it very rare they land it) and have a melee tentacle attack with an odd side effect of "chaining" to other party members if the first hit lands. I don't recall any other attacks in the game functioning like this. Depth Dwellers are mostly just melee goons, but high-level versions of them tend to have psionic spells to add to the mix. 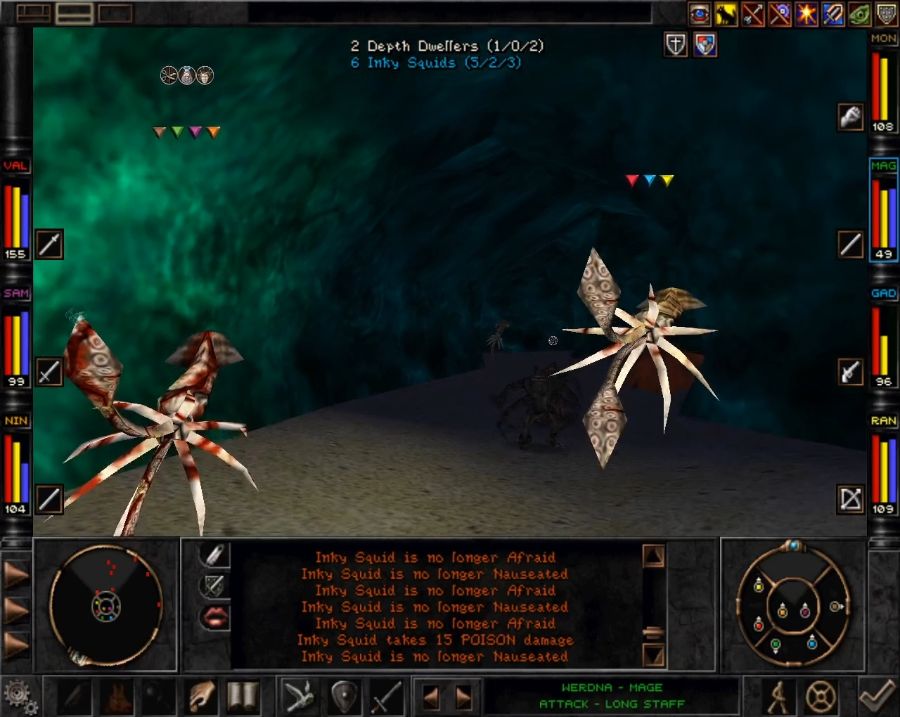 Interestingly, the squid in this game actually move "correctly," that is to say they swim towards us with their heads, then once they come to a halt they flip over and present their mouths and tentacles. 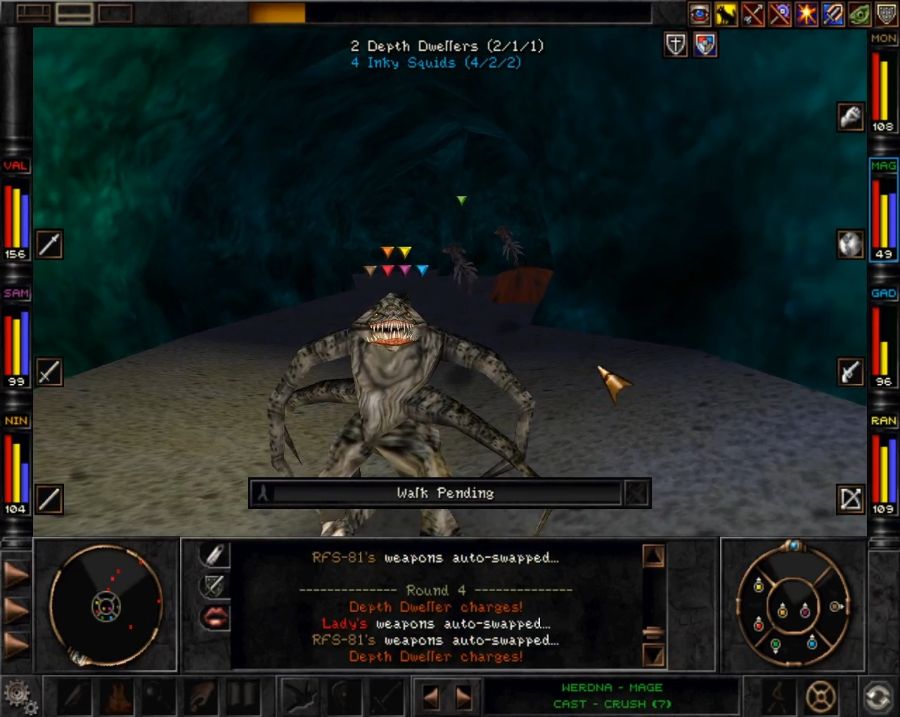 Depth Dwellers are weird mutant fellas. I could swear I remember them being asymmetric with one side having 3 tentacles and the other side 2, so I'm wondering whether I'm misremembering or whether it's just the psychic high-level variants that have that model. I guess we'll see! Because it's not quite the last time we'll see the water tunnels. 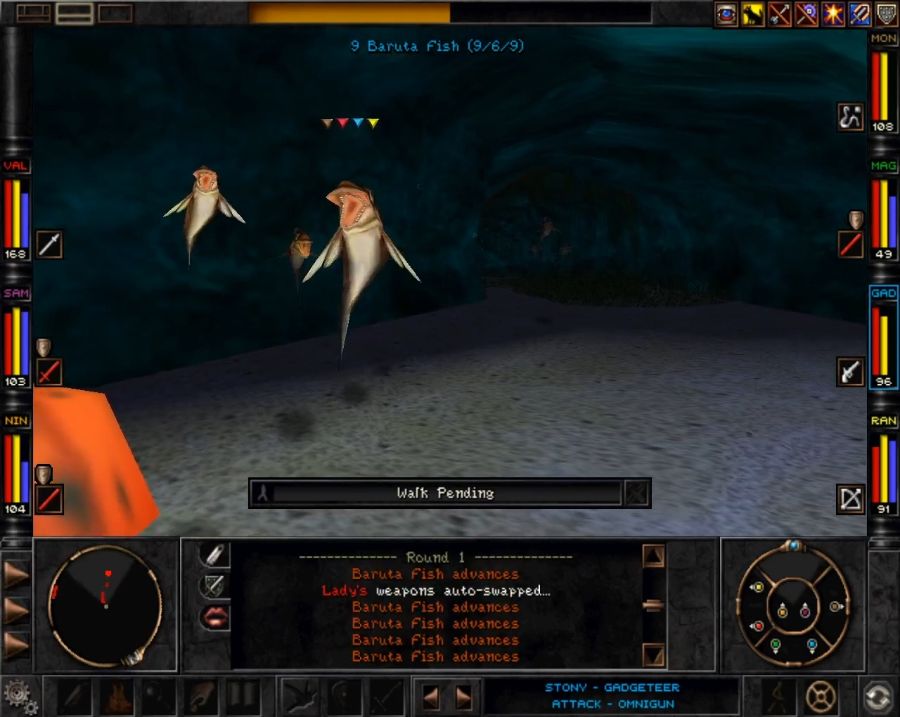 Baruta Fish are generic swarming melee-only enemies. They're somewhat difficult to deal with because of our lack of broad-target spells. About the only thing we can hit them with is Noxious Fumes from Stony and Werdna, and while it helps mess them up with Nauseate and the occasional KO effect, the damage is just small chip damage over time. 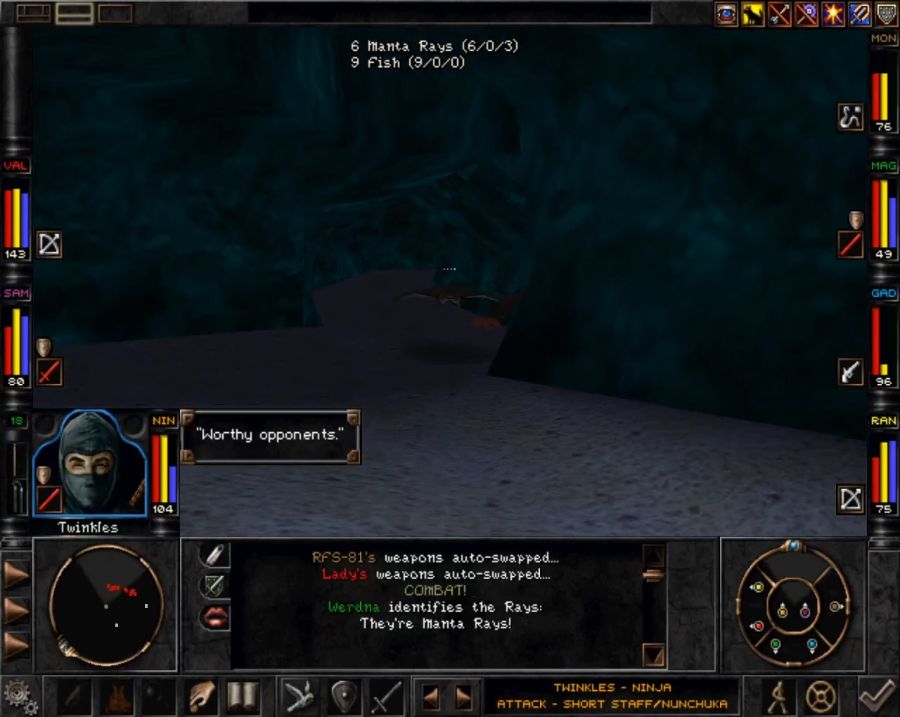 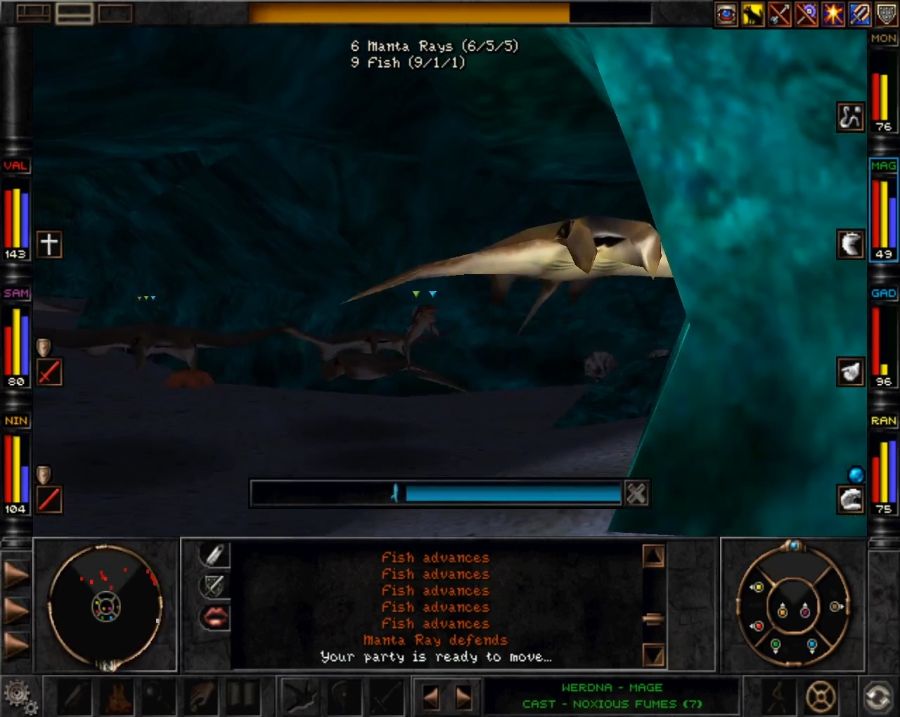 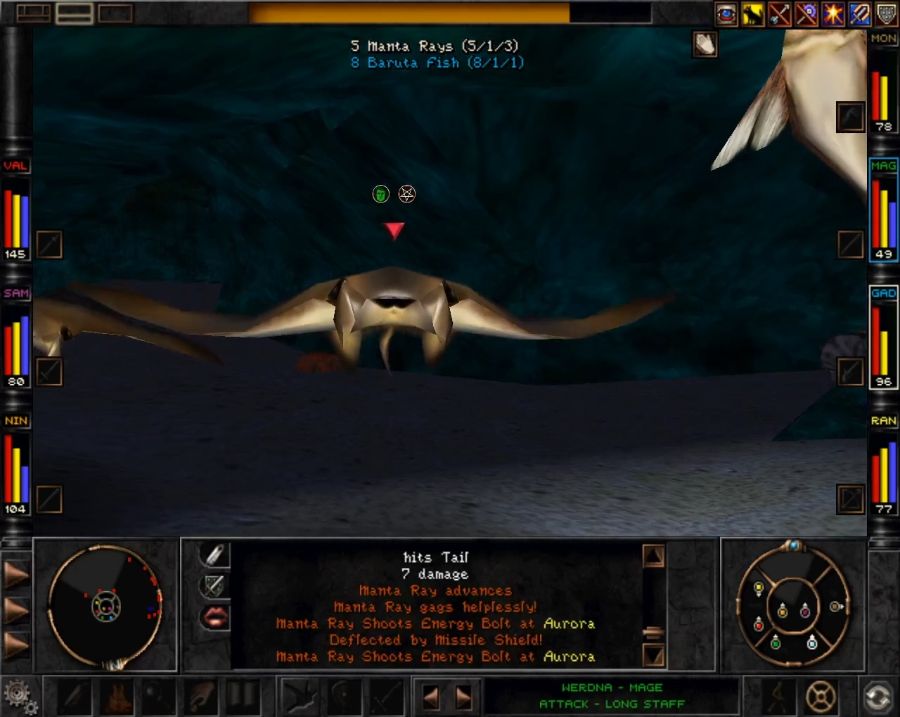 And the one group of enemies I feel bad killing, these cute manta rays. They're like bigger, badder Baruta Fish that can also spit energy bolts at the team. Missile Shield deflects most of them, so they don't really present a real threat, but they do represent a huge lump of hit points to work through. In the end, this place is really just a pathway to... 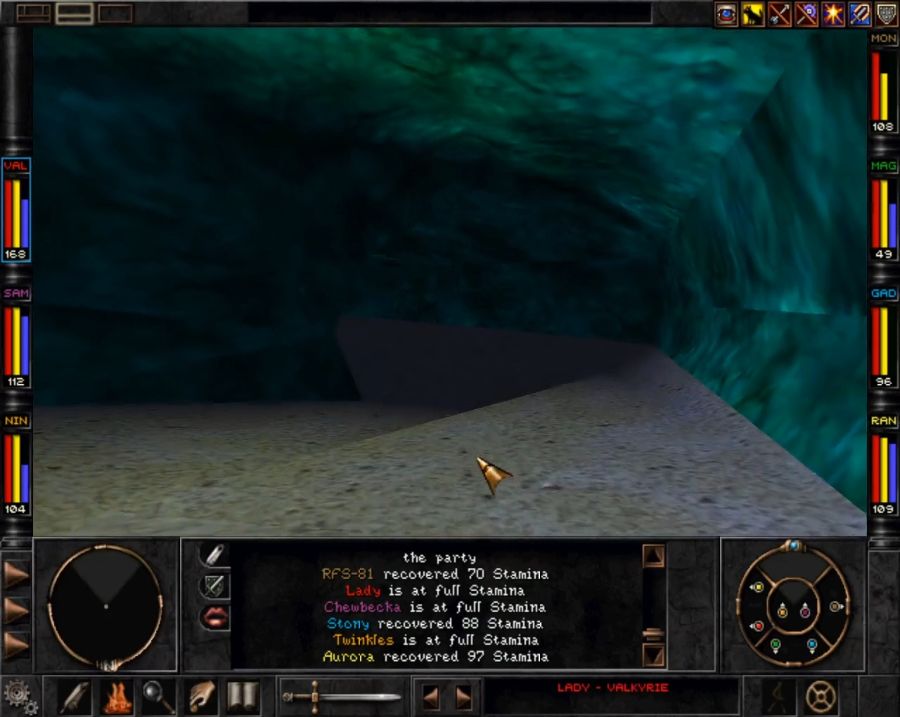   The Bayjin Shallows are where we get the real fun of being underwater. As the name implies, we're now a lot closer to the surface. We arrive on this scenic overlook of... 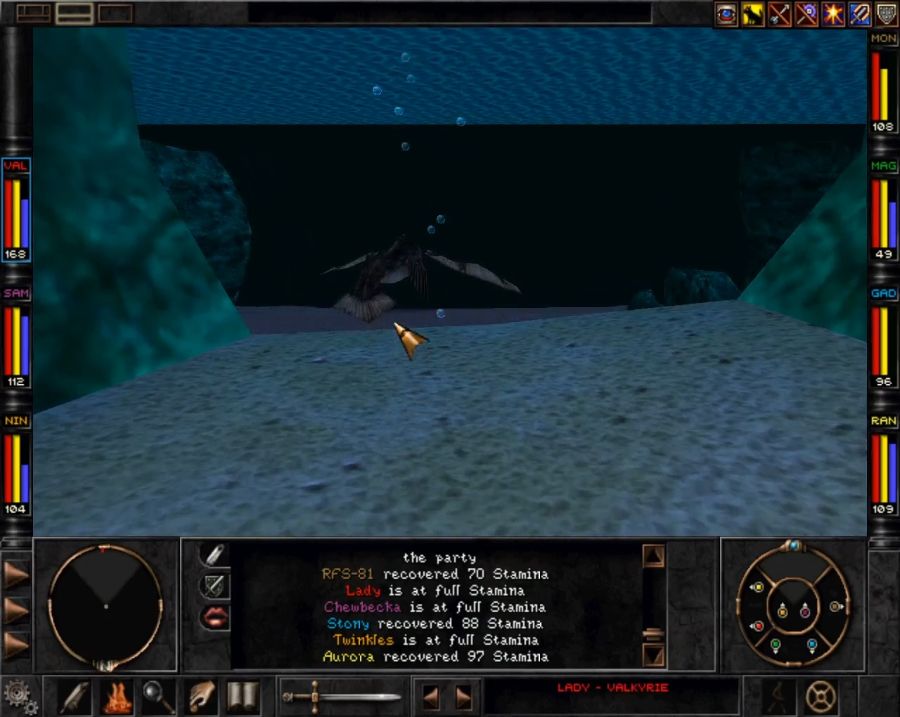 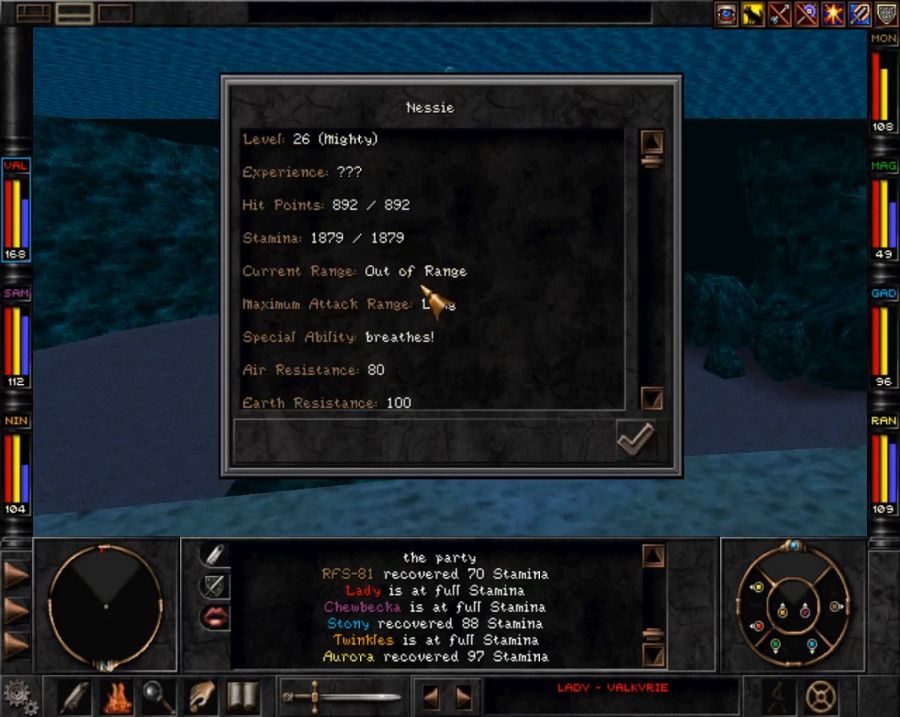 Nessie's Lair. Now, I've said before that single big enemies in this game are rarely much of a threat, Nessie is one of the exceptions to the rule. If the Southeast Wilderness and Nebdar's Crew were the two nastiest group battles in the game, Nessie is the nastiest single opponent in the game. She's also... semi-optional. You have to go through the Bayjin Shallows at some point, but with a bit of luck, a bit of skill and a lot of casting Chameleon, you can dodge around the edge of the area and the worst of it. Of course, I gently caress up and get her attention. 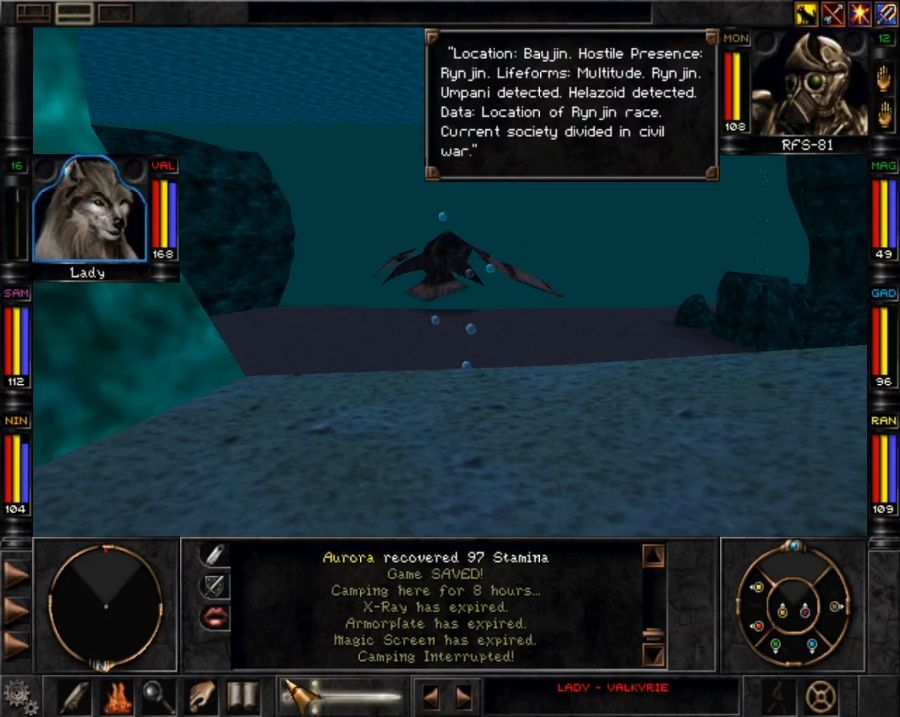 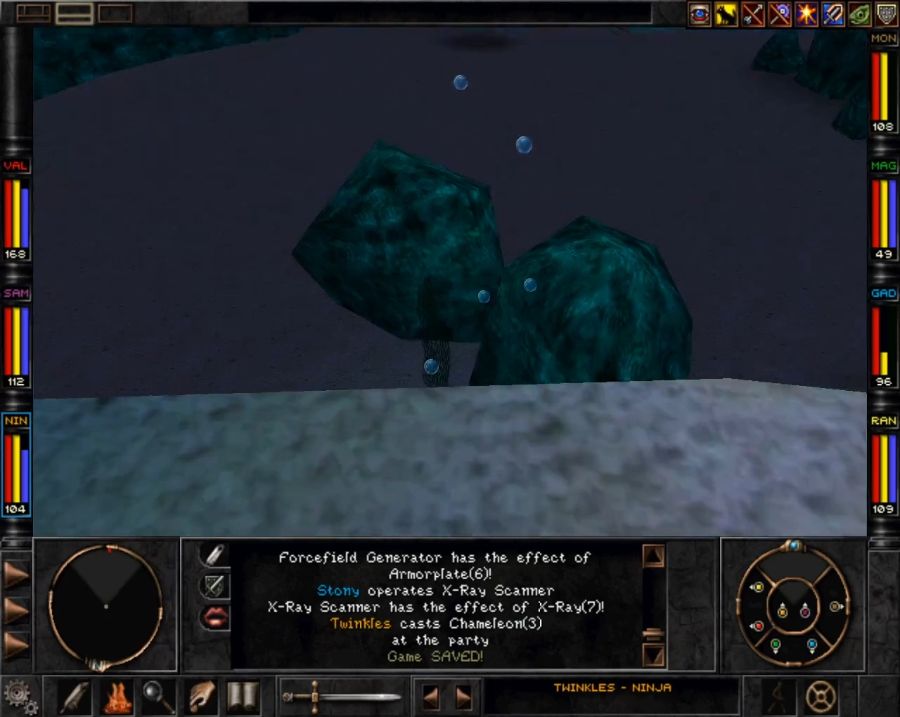  On the bright side that makes her turn around and you can see her lovely face! 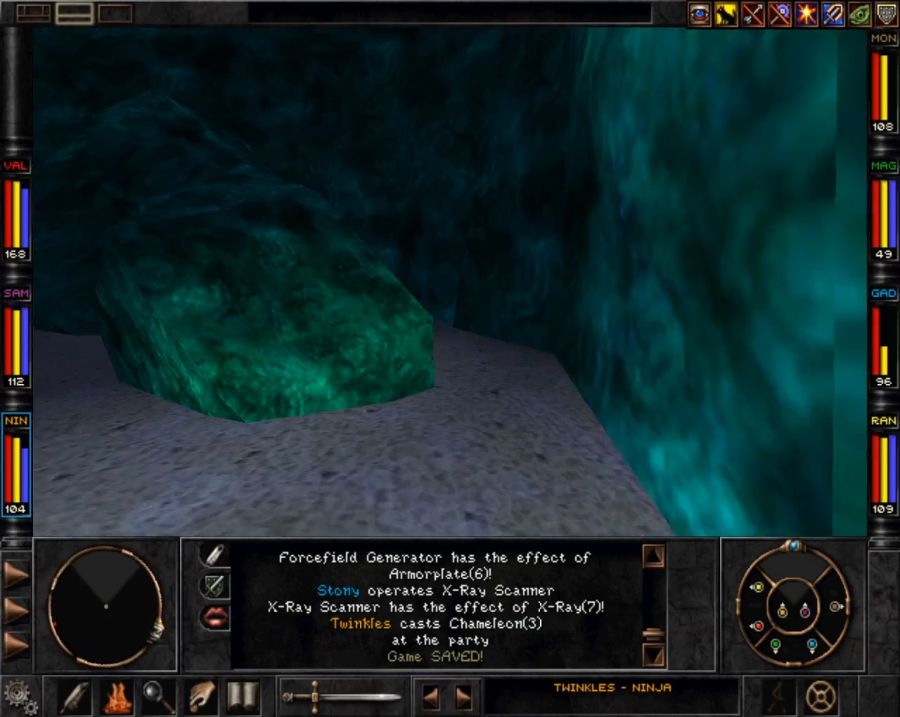 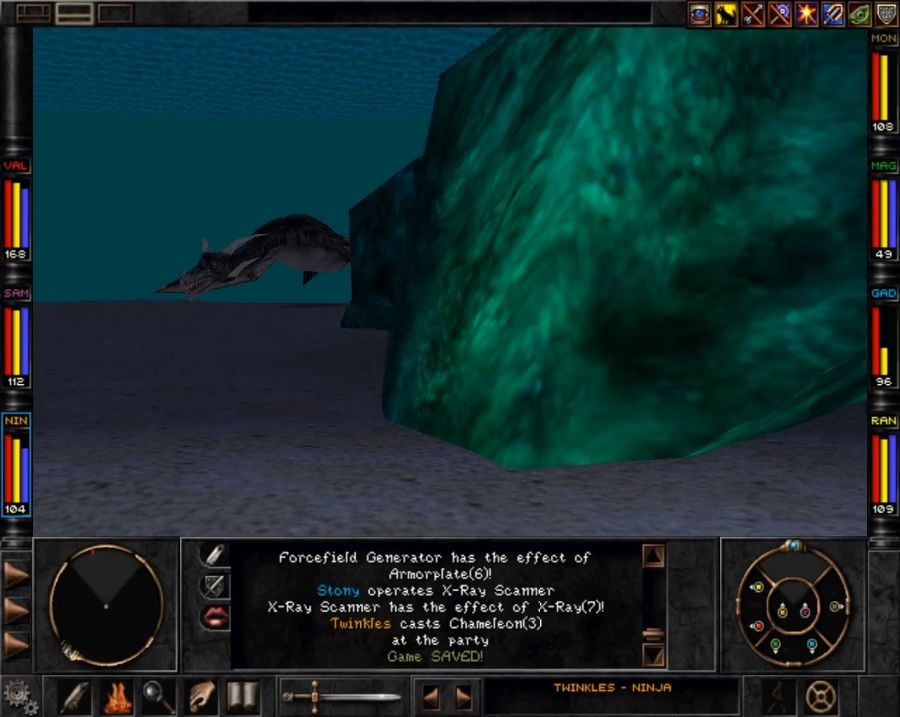 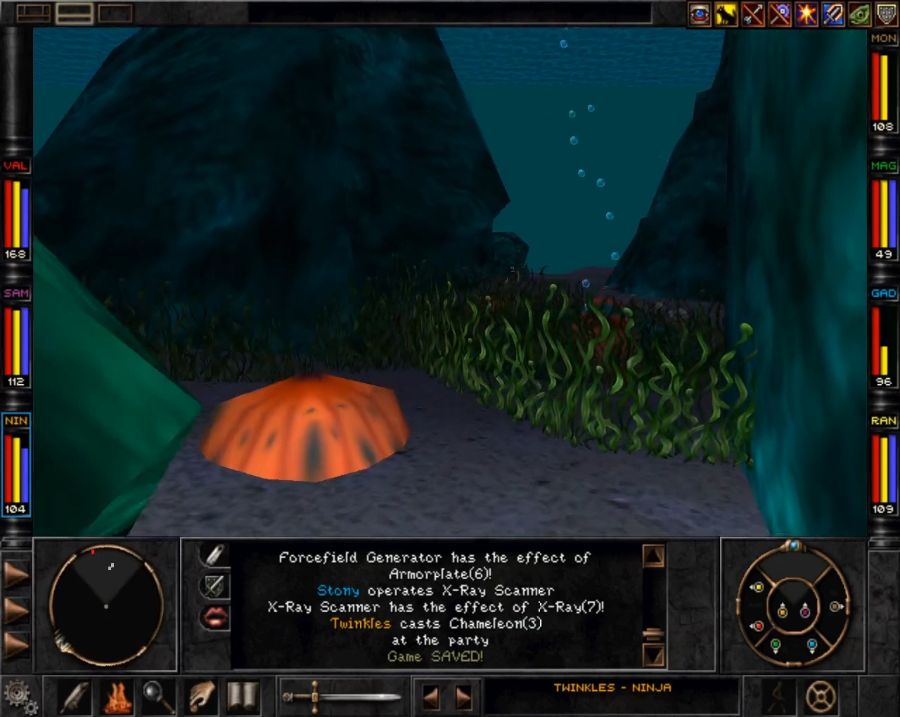 Each of those columns of rising bubbles is a jump pad leading up to one of the area's exits. Aside from the way back to Mt. Gigas, there's a path to Bayjin and a path to the Sea Caves. 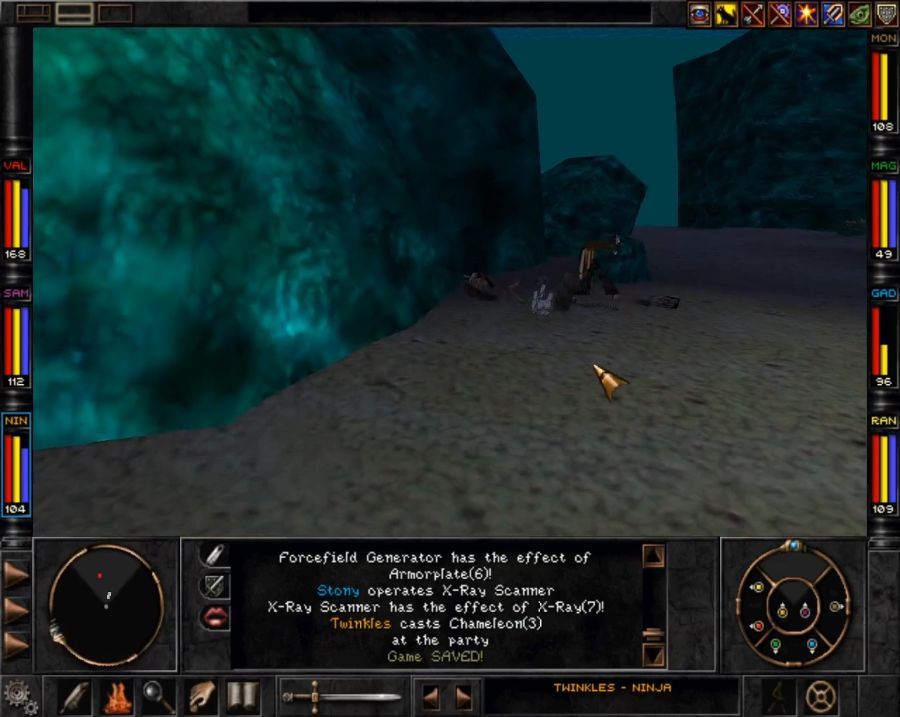 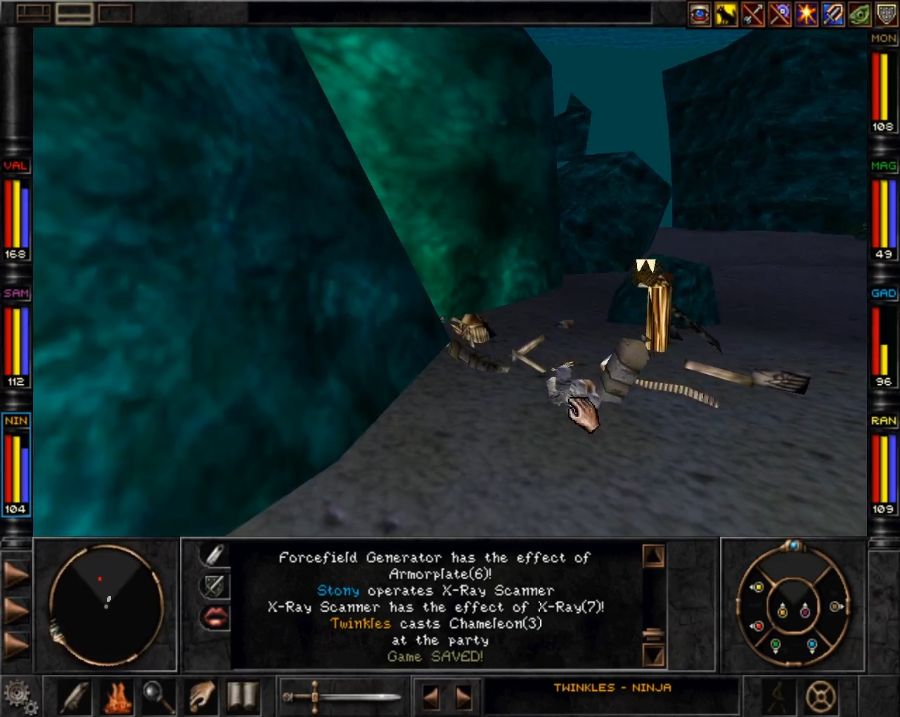 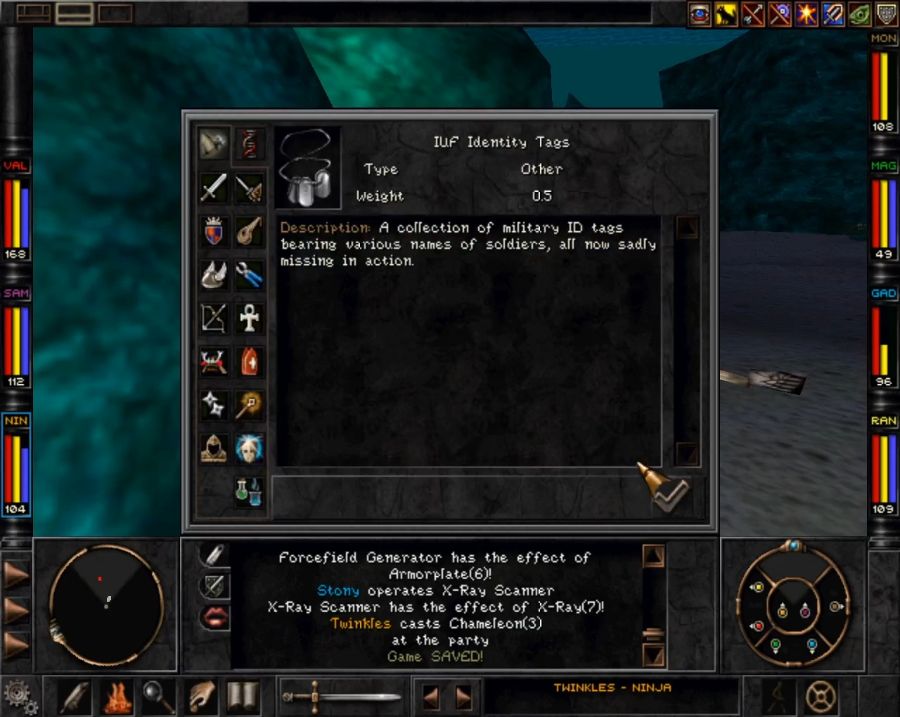 We also find part of the remnants of the Umpani expedition near the jump pad up to the Bayjin path. If I remember right you can turn these in to either Yamir or Balbrak for a sad comment. 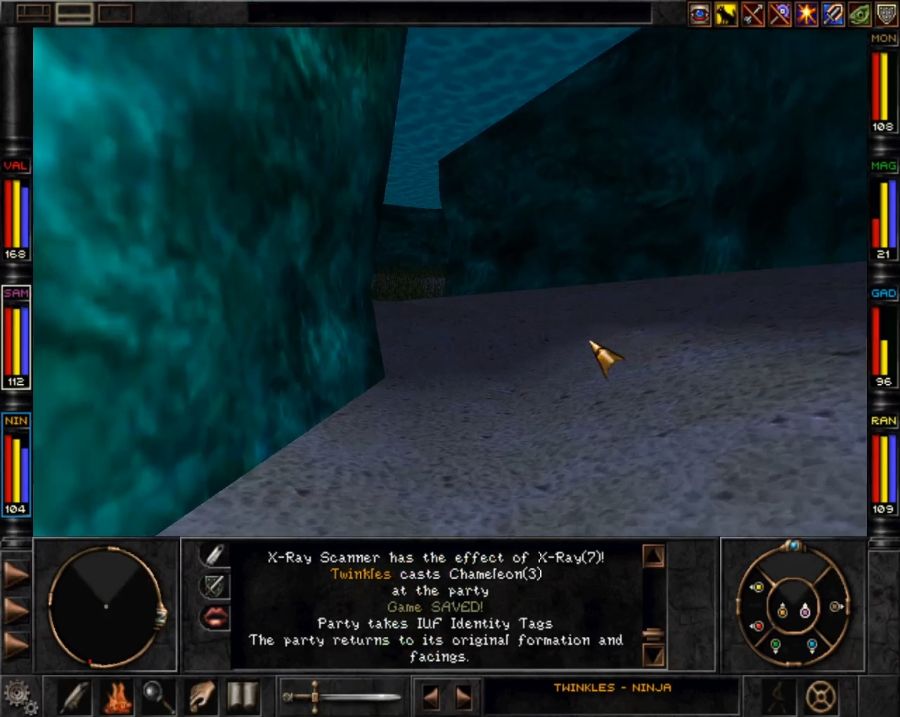 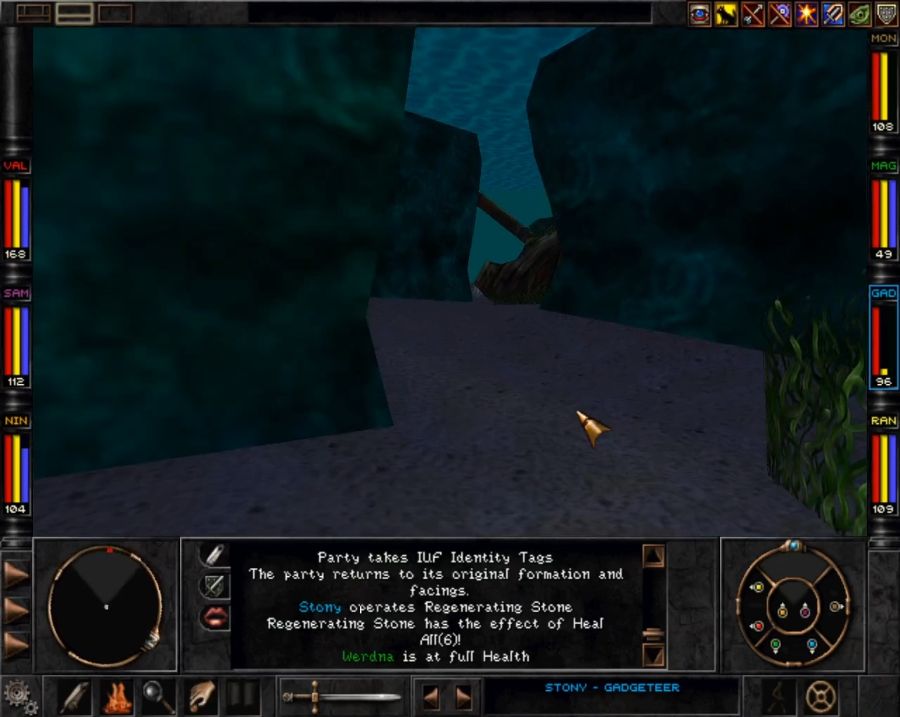 Up top on the Bayjin path we find one of the game's fixed encounters. I'm not sure if these guys respawn, because I've never been back, but I kind of hope that they do because, like the Hoarder Slime in the Northern Wilderness Retro Dungeon, they have an exclusive drop list with several rare weapons you can't find anywhere else, among them lightsabers(or *LIGHT* *SWORD*s) that do double damage to androids and would be nice to have for a certain later area. 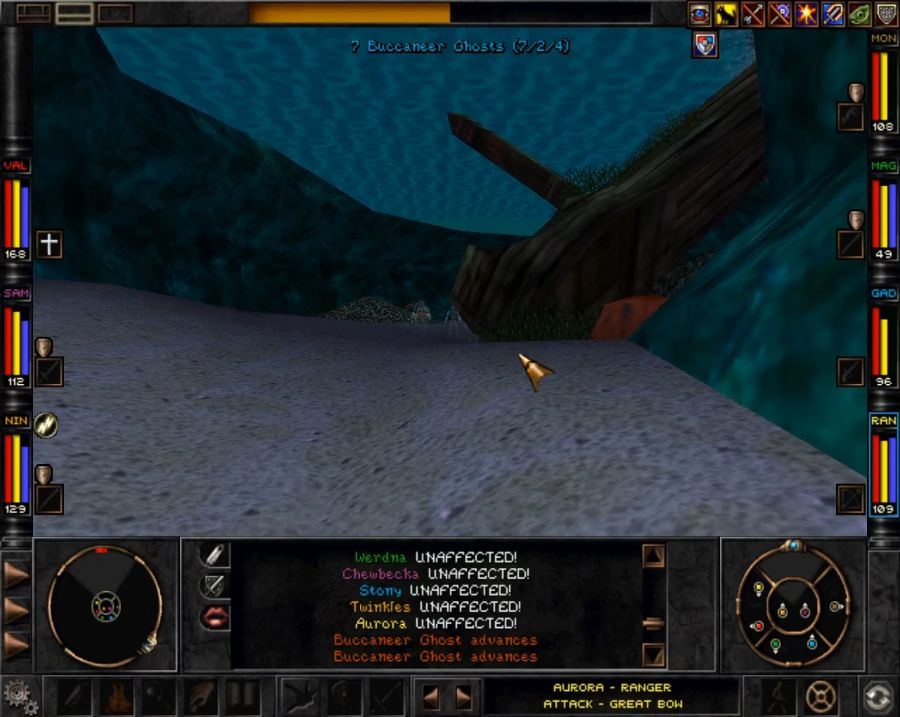 They're not exceptionally scary, though. If you can handle the other ghosts you'll have run into in the past, they have no extra tricks, just higher numbers. Lots of mental spells, putting you to sleep, trying to scare you, etc. 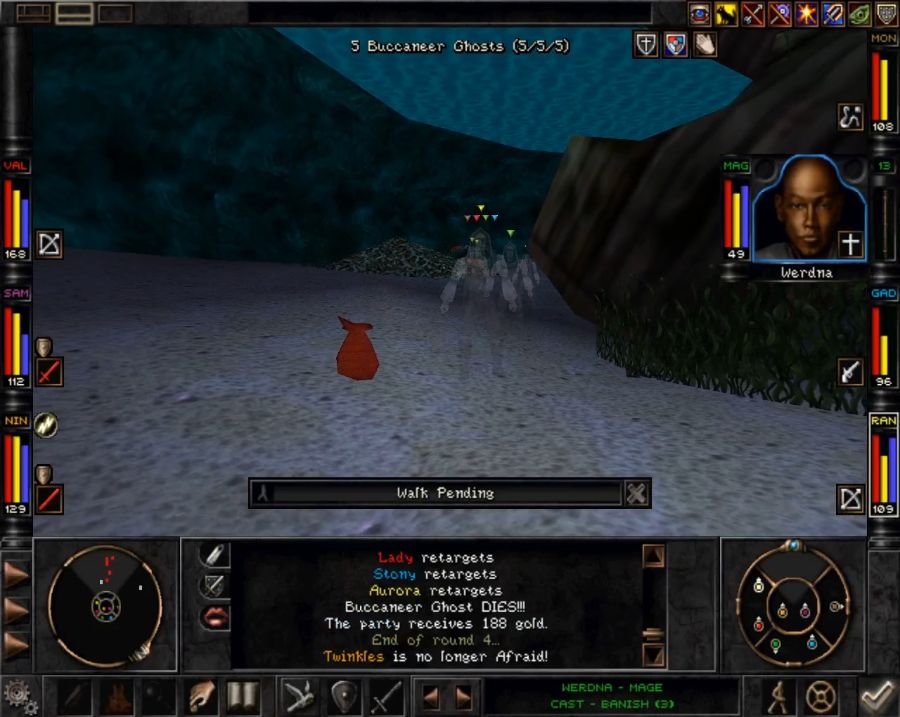 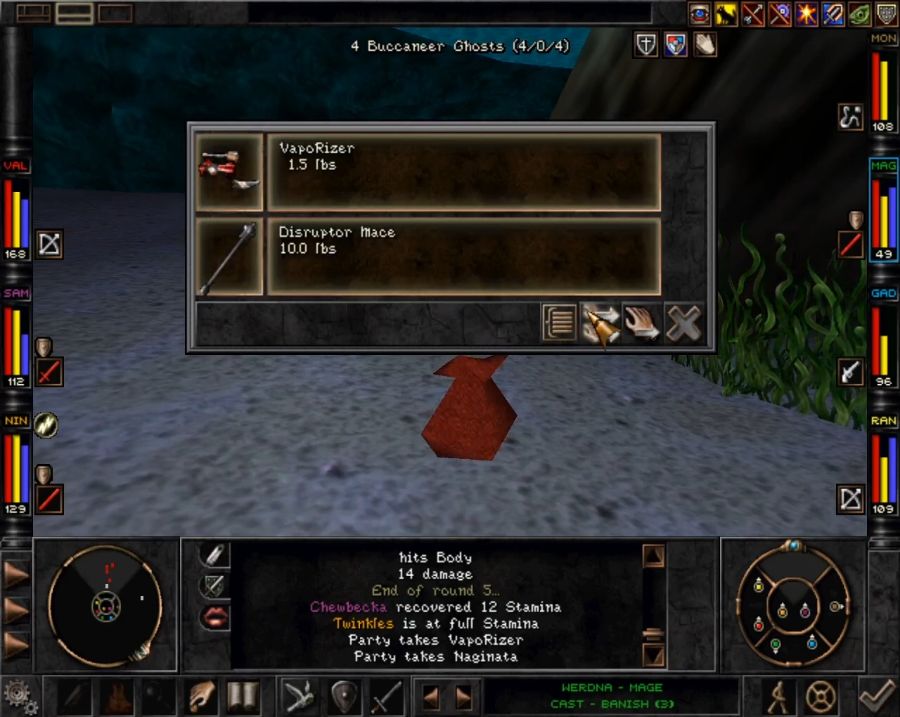 One of their more common drops that I've gotten every single time(this time I get THREE) of them is the VapoRizer, a Gadgeteer gadget that doesn't need assembling, instead coming pre-made. It just tries to cast Instant Death on a single target, which, at this point of the game, is kind of an ineffective thing. A single-target "condition" spell will bounce off a lot of things. Also is it just me or does it look like a cartoony bundle of dynamite with a scope and an "underbarrel" bayonet?  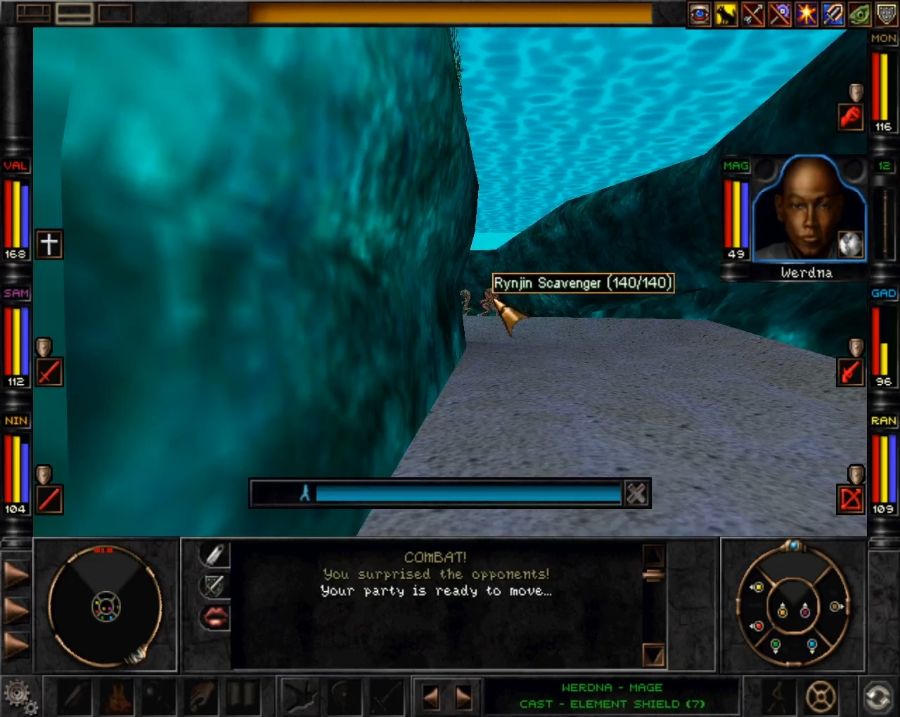 The second thing we run into here is, once again, the Rynjin.  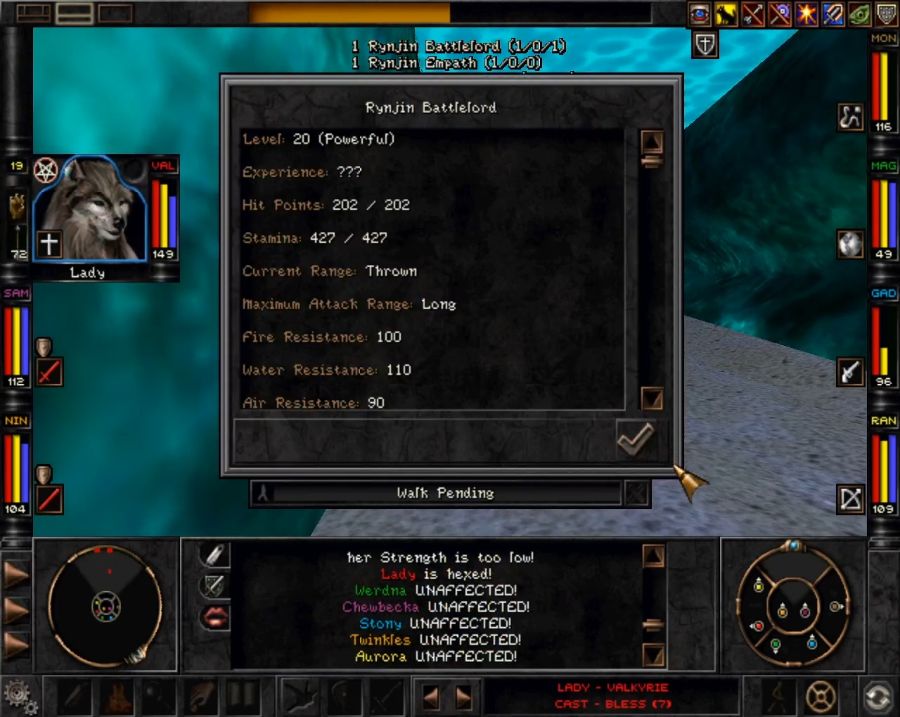 Scavengers and Thralls tend to be the lowest-tier troops the Rynjin have, with the Thralls often starting out neutral and not aggressively picking fights like the rest of them. Battlelords, conversely, are the nastiest thing they can bust out. If you don't have Magic Screen up and put up Soul Shield on the first round of combat, you can expect to get pretty well hosed. 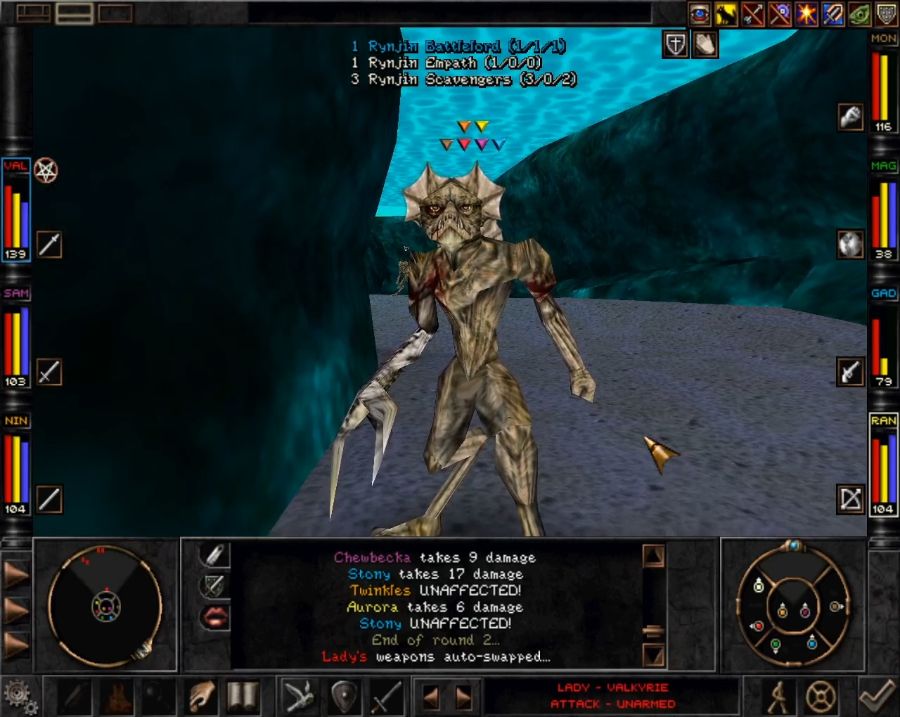 Pretty much anything they hit you with has a chance to cause Afraid or Insane status effects, and I do not want an insane Twinkles or Chewbecka to reduce the rest of the party to paste for a laugh. Still, down here, they're easy enough to meet on your own terms. Trigger combat mode around the corner, queue up Soul Shield and Elemental Shield(plus any other in-combat buffs you want), step out from around the corner, target them with something long-range so you're sure battle's joined and then it's usually a sorted situation. Without their spells to mess you up, the Rynjin usually can't do much.  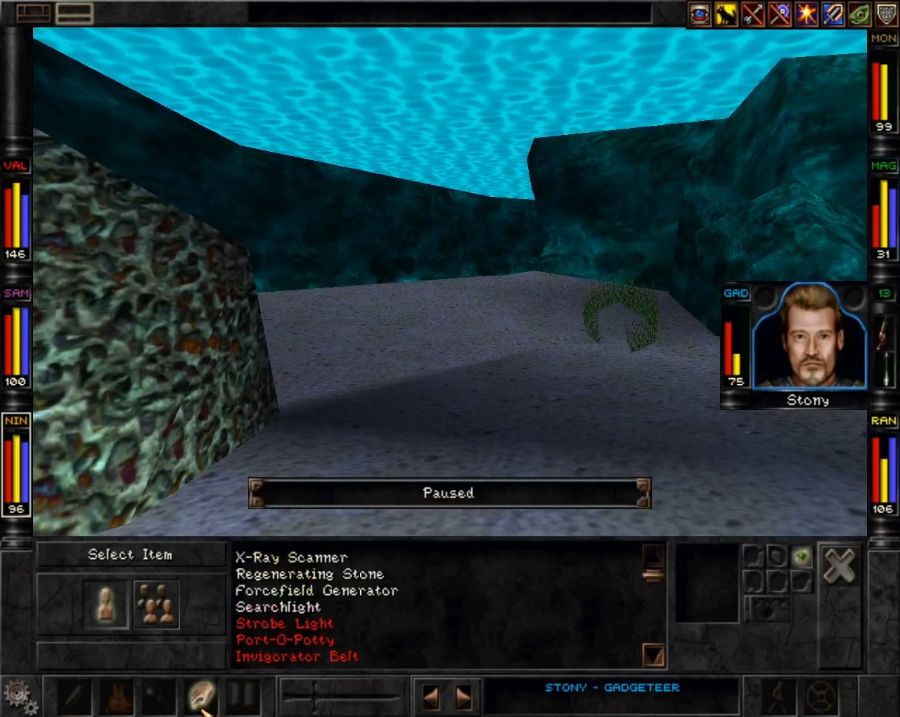  Once the ghosts and the first squad of Rynjin are out of the way, nothing else is in the way of you entering Bayjin proper. 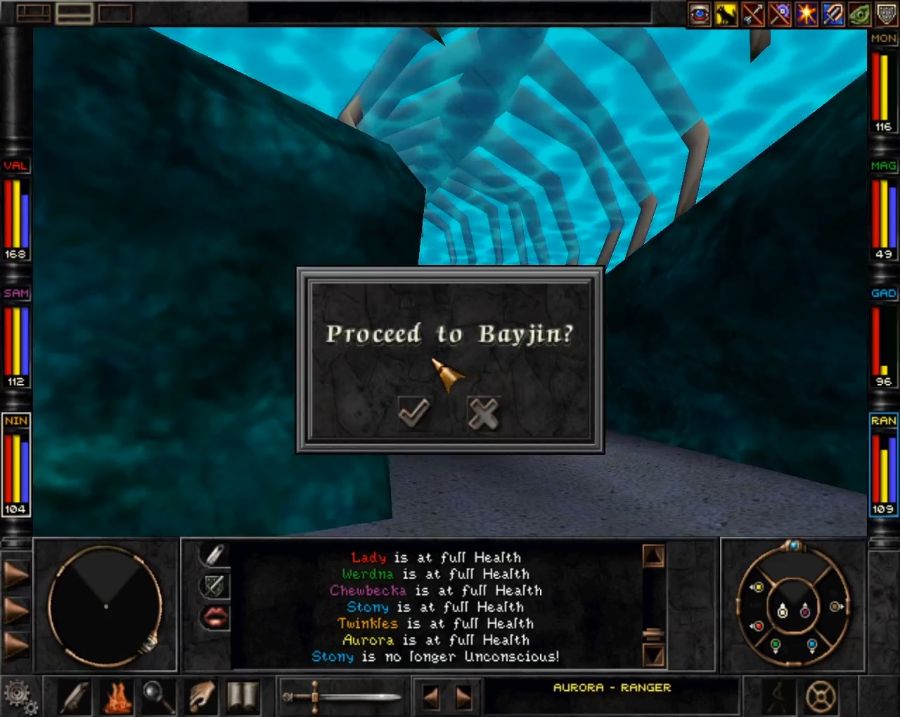 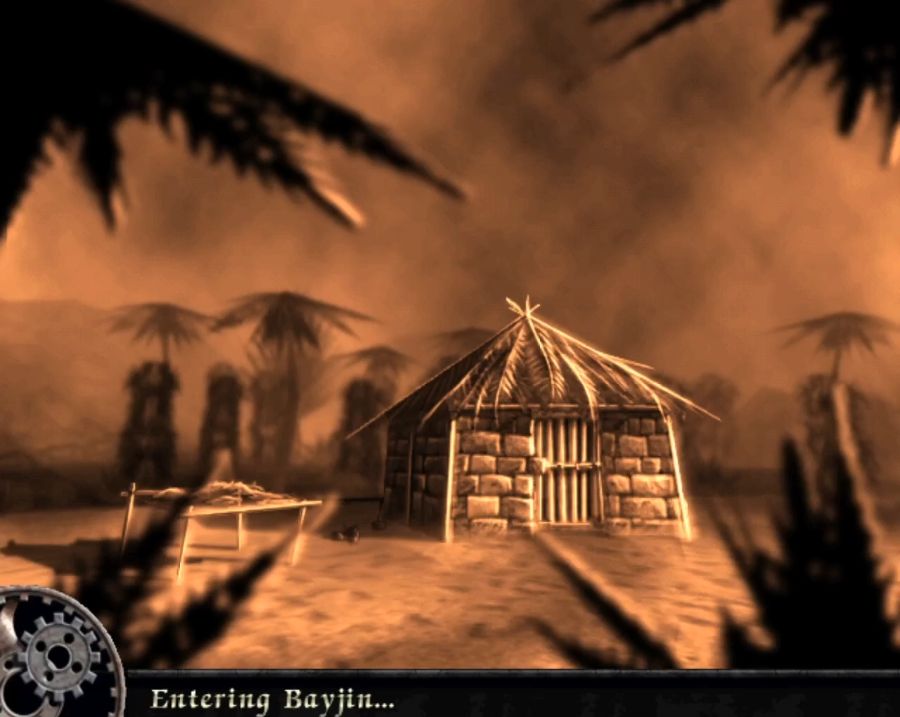 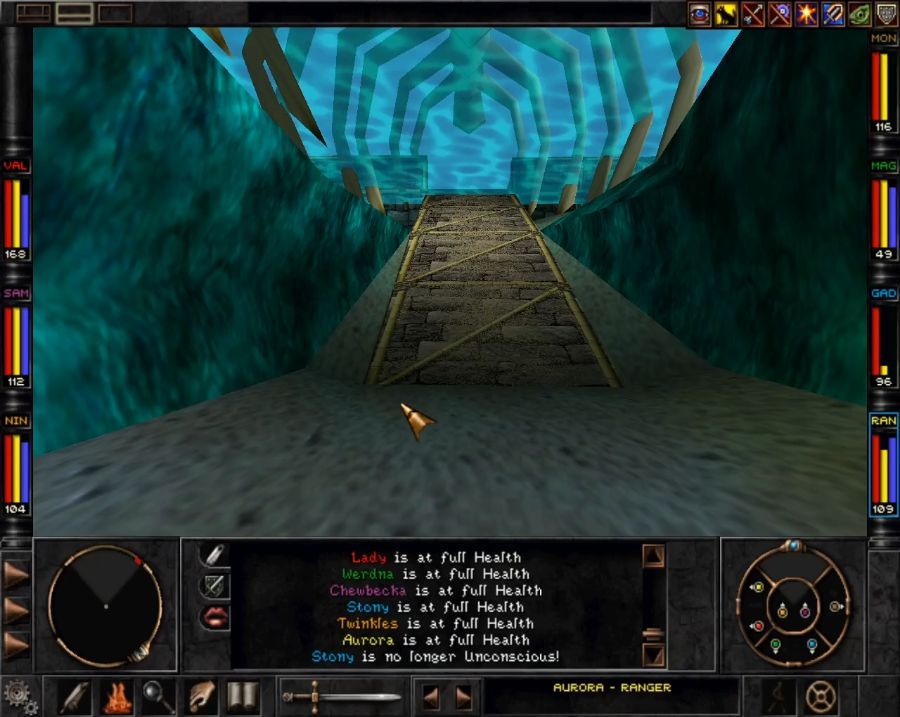 Sadly, the "civil war" that RFS-81 tells us about doesn't actually show up. There are no non-hostile Rynjin NPC's at all, nor any infighting between them. His quote suggests that there was more planned for Bayjin than what we get to see in the end. Still, for anyone arriving here earlier than with us or without Soul Shield, Bayjin nonetheless easily becomes memorable, simply as a result of the absolute hell which it can be. 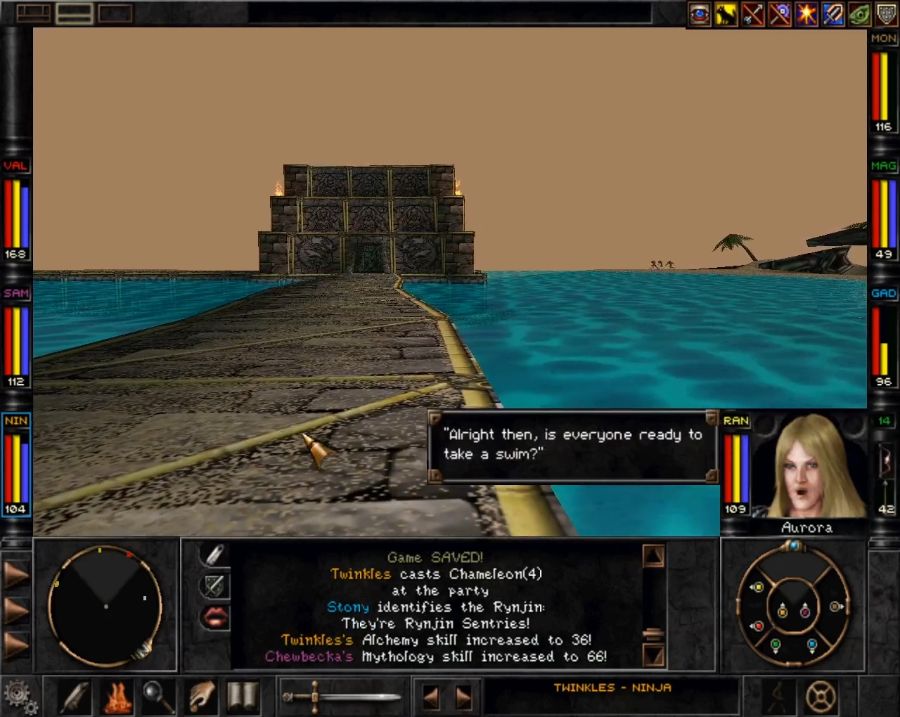 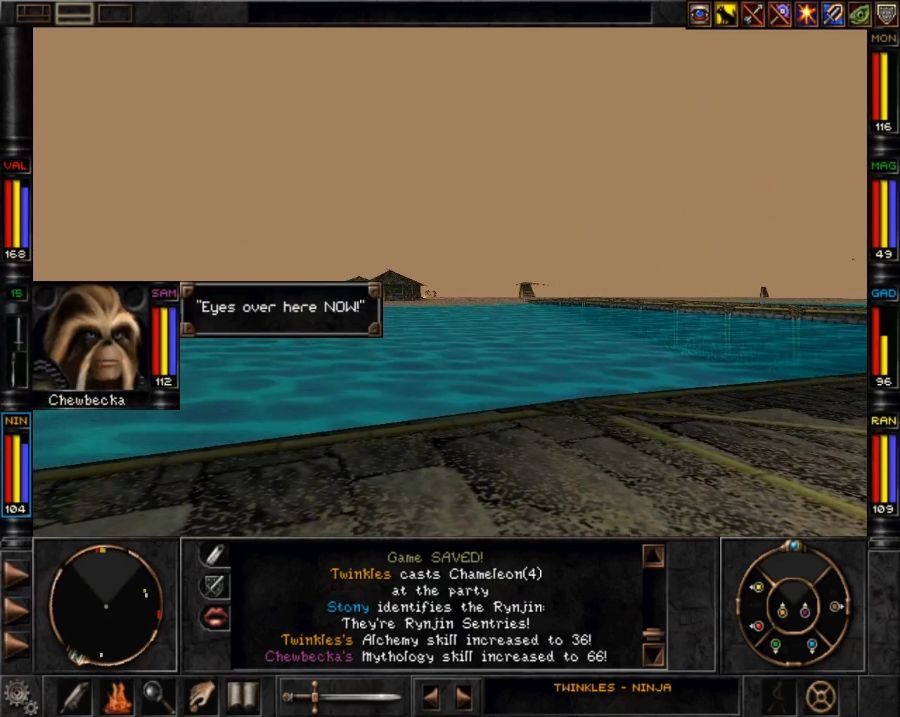 Bayjin is a crescent-shaped island, and when you come from the Shallows you emerge "inside" the crescent while if you come from the Swamp you arrive at the outside of the curve. If you follow the path laid out for you, you'll be walking right up into the middle of the Rynjin settlement, which is a bad place to go. You don't want to head in there without approaching it more tactically. So the smart thing to do is to keep your scuba gear on and hop off the path into the water to your right and arrive at one of the "ends" of the crescent. 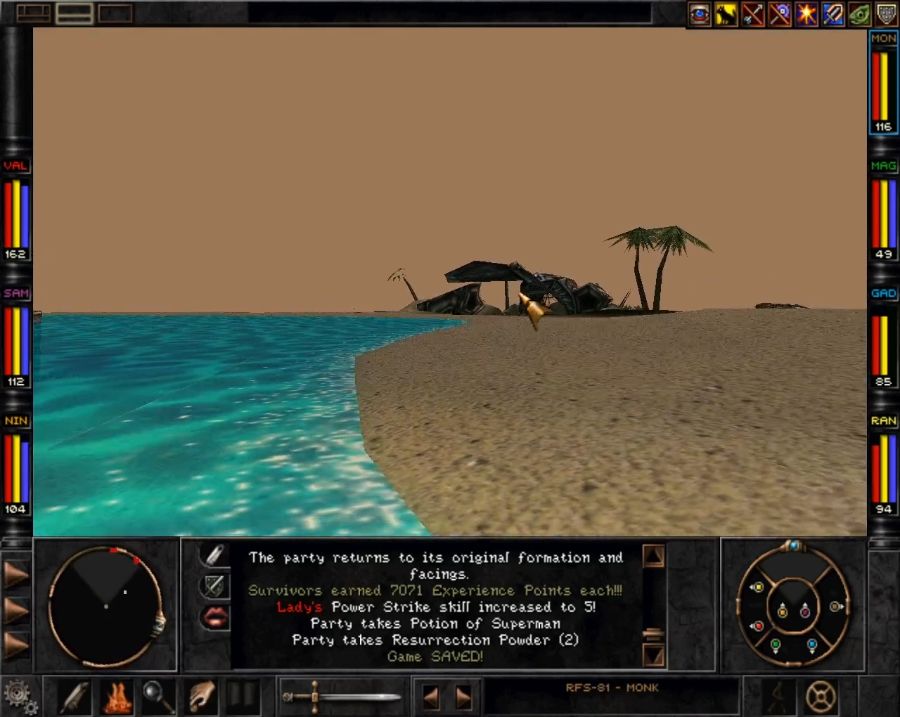 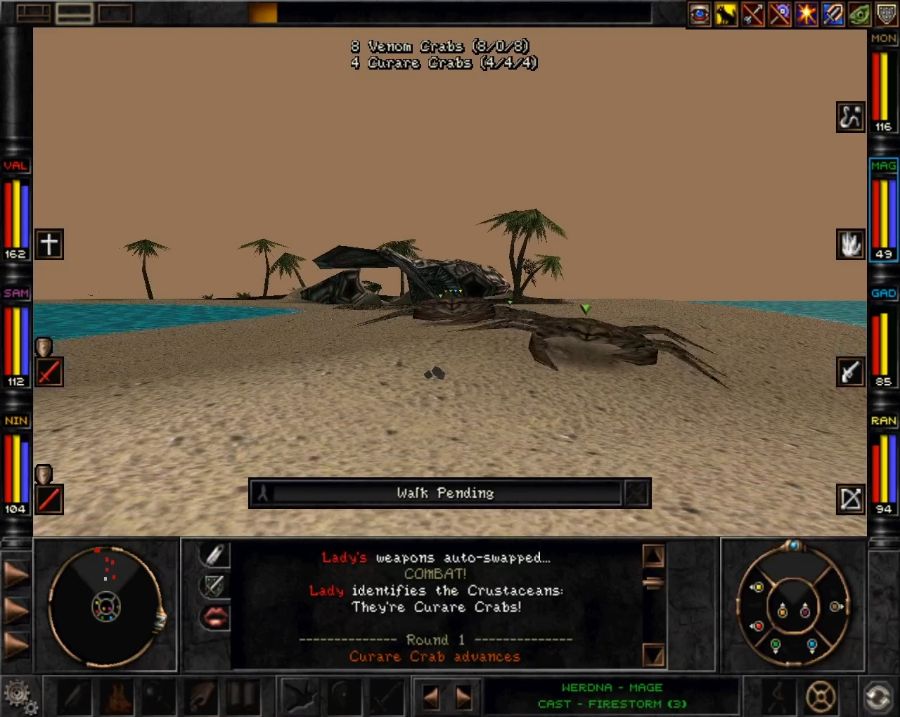 The other main residents of Bayjin are crabs, and one of them is the top-tier type of crab, the Curare Crabs. They're actually quite dangerous because, in addition to being beefy blocks of HP with strong melee attacks, they can also blind, KO and paralyze. For extra laughs, their melee attacks are also Extended rather than Short range, so if you walk up to them to get the melee crew into range, they'll reach over your front line and go snipty snop on your casters. 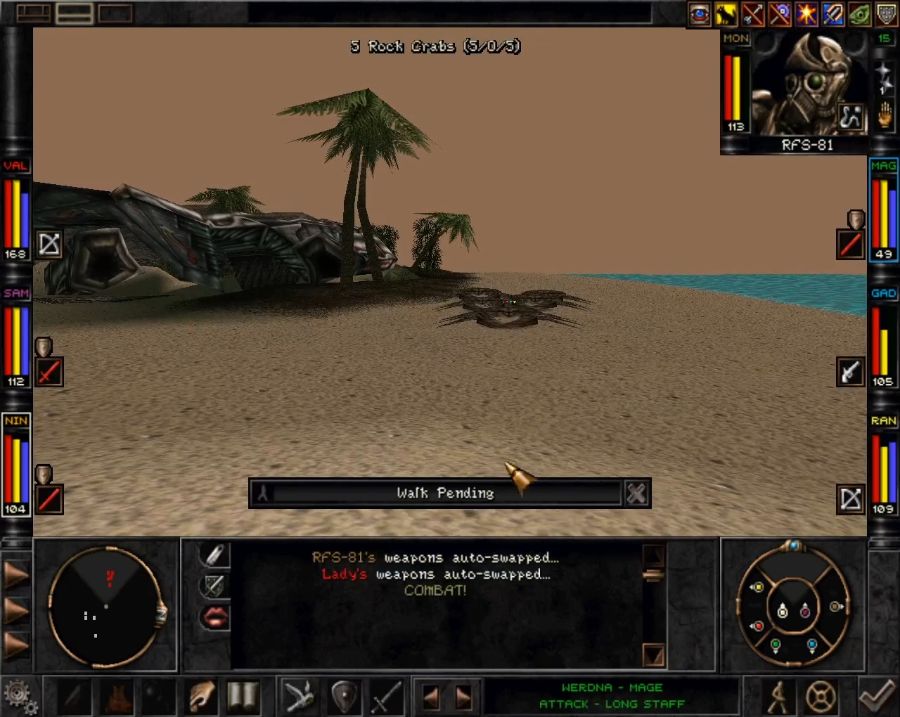 There are a lot of crabs on this stupid island.   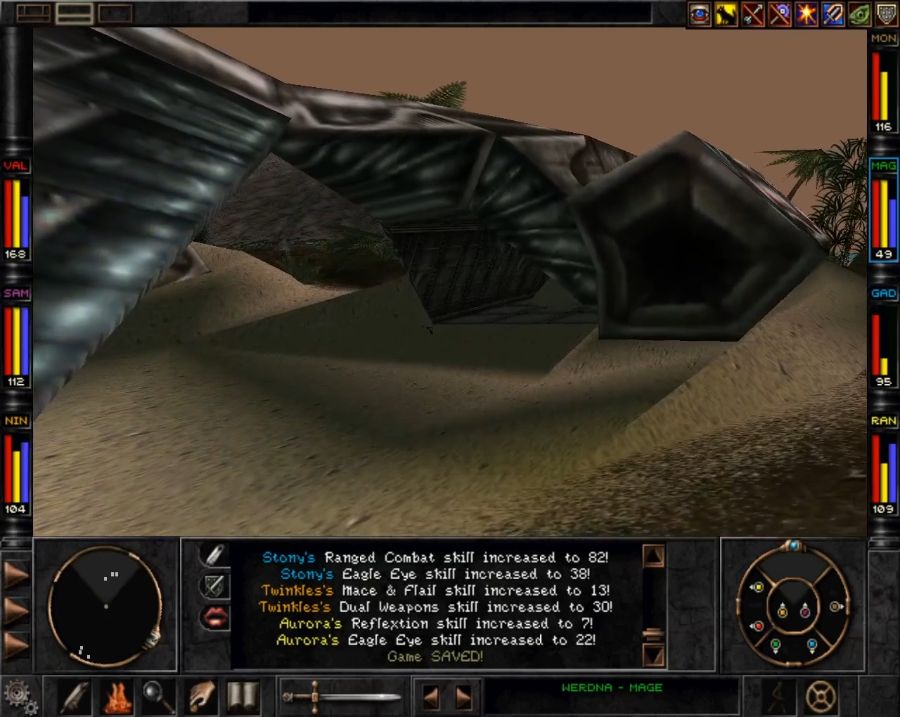 This is probably the source of the wreckage that washed up on the beach in the Swamp. 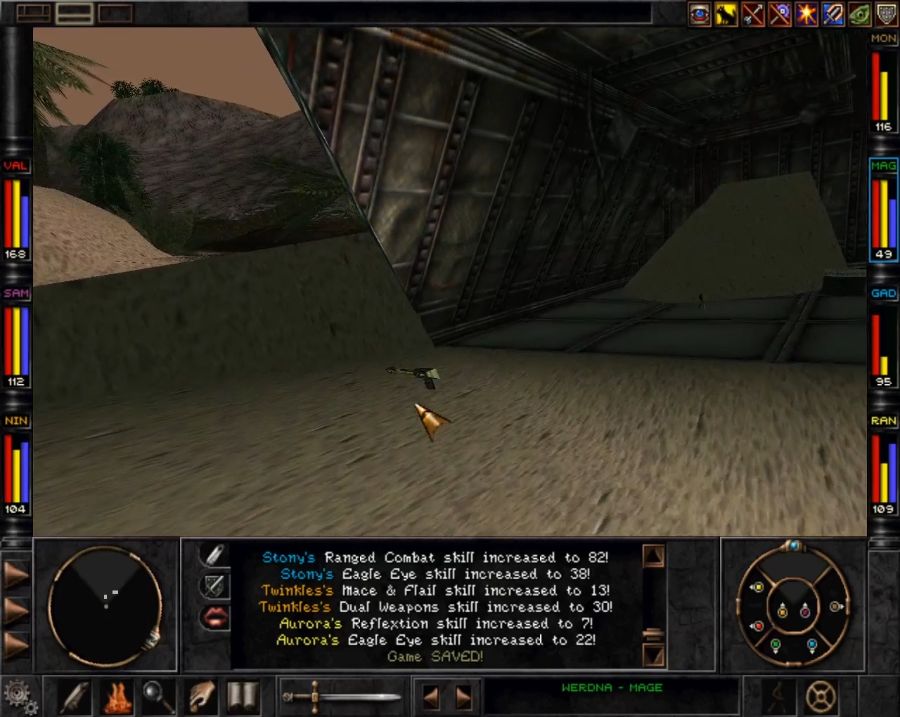 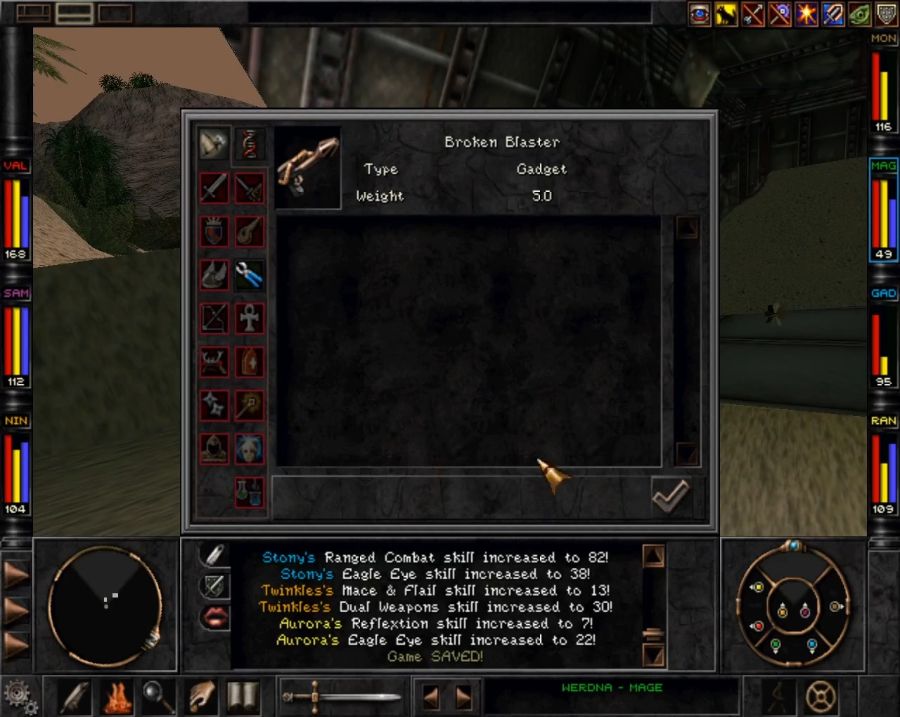 Now this thing we can combine with the Microwave Chip we got all the way back in the Monastery, in the second update, to make... 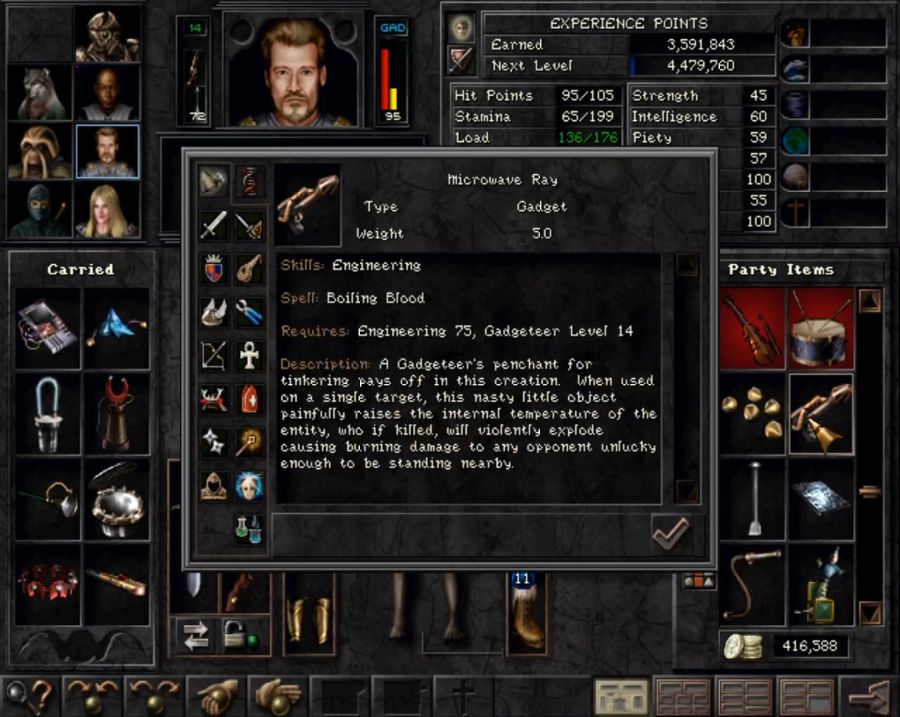 And it's actually pretty decent! It may be single-target, but since it actually does damage, it has a status of being other than yes/no, which means you don't need to punch 100% through the target's resistances. In top of that, fire resistance is in fact the weakness of a lot of the creatures on and around Bayjin.  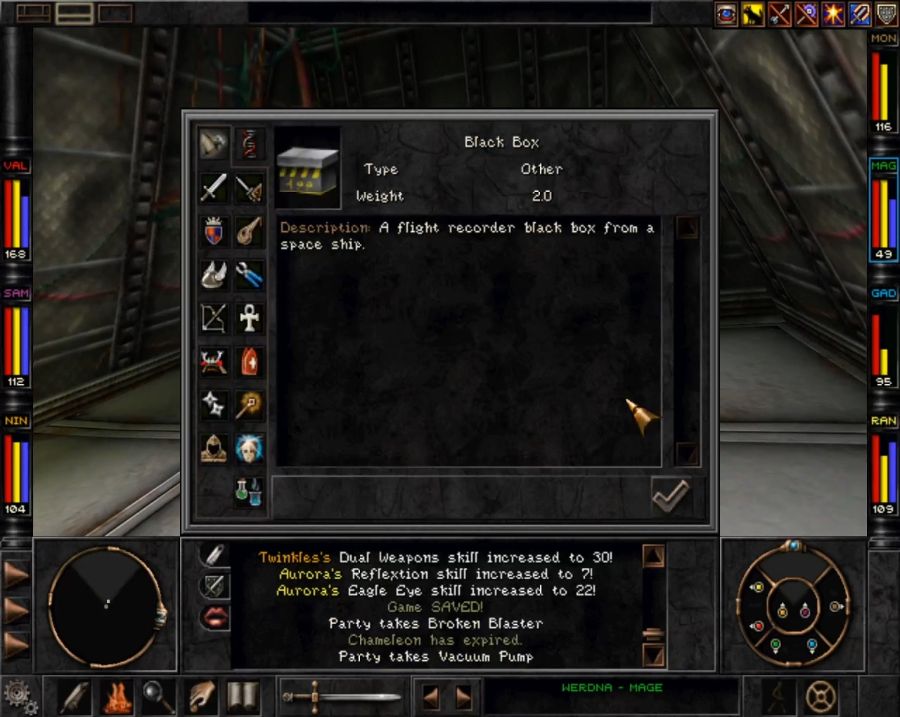 And now we also have an intact Black Box for the reader back at the Arnika spaceport. Sooner or later we'll actually get a reason to go there and plug it in. 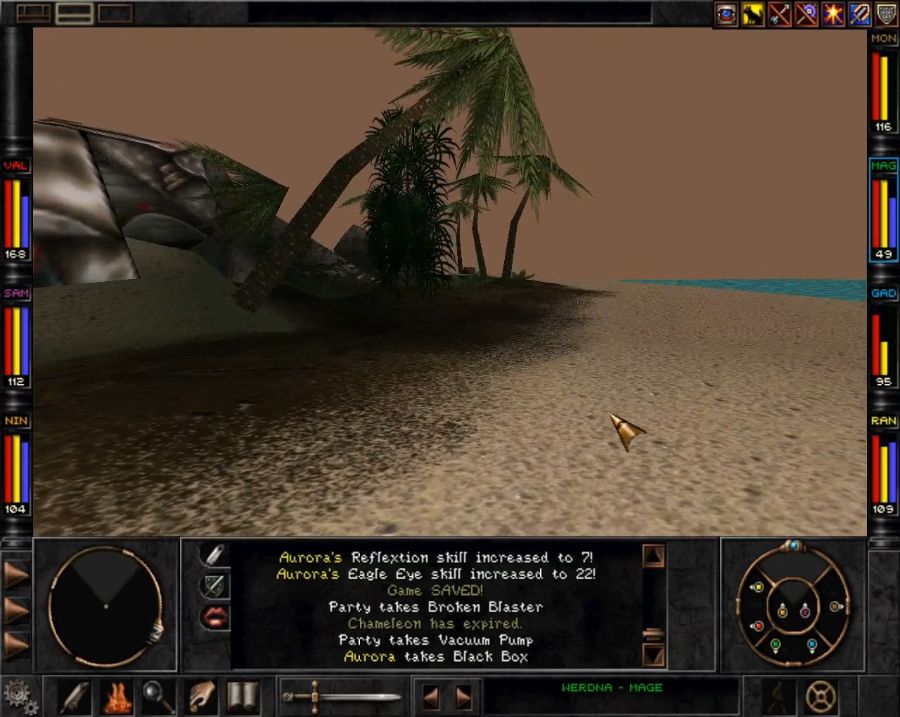 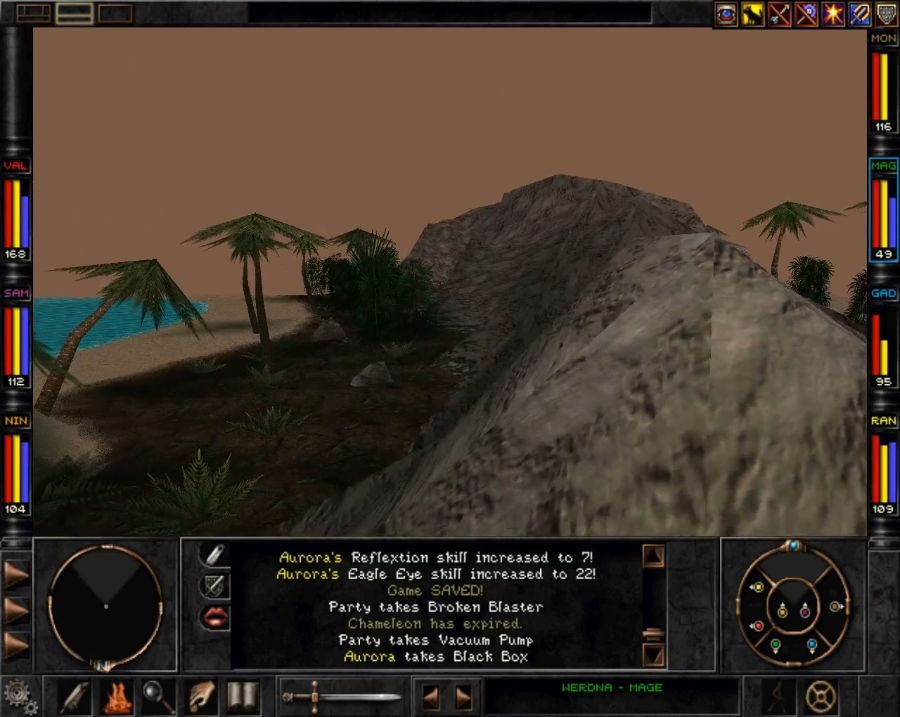  The only real terrain feature of Bayjin other than the water and the sand is this little cliff "range" along the broadest part of the crescent. It is, like every single other bit of raised terrain in this game, populated by sprites. loving sprites. 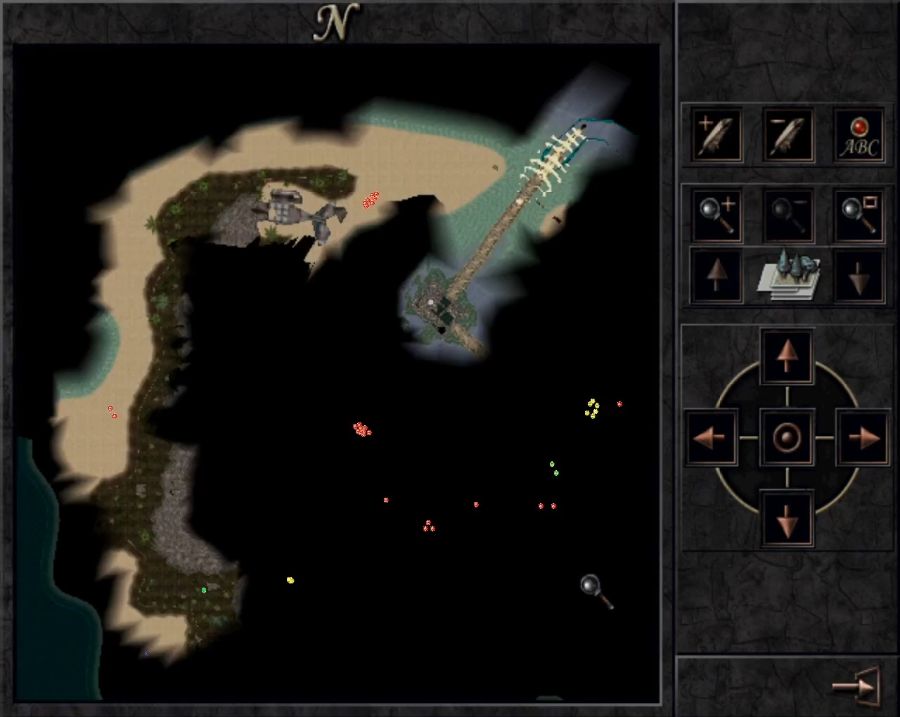 A slight overview of the Bayjin situation. Once you've collected the stuff from the wreckage, the main important thing to hit up in this place is the two green spots, the only two NPC's that'll talk to us rather than click clack or hiss. Unfortunately it's more or less impossible to reach them without genociding the Rynjin. 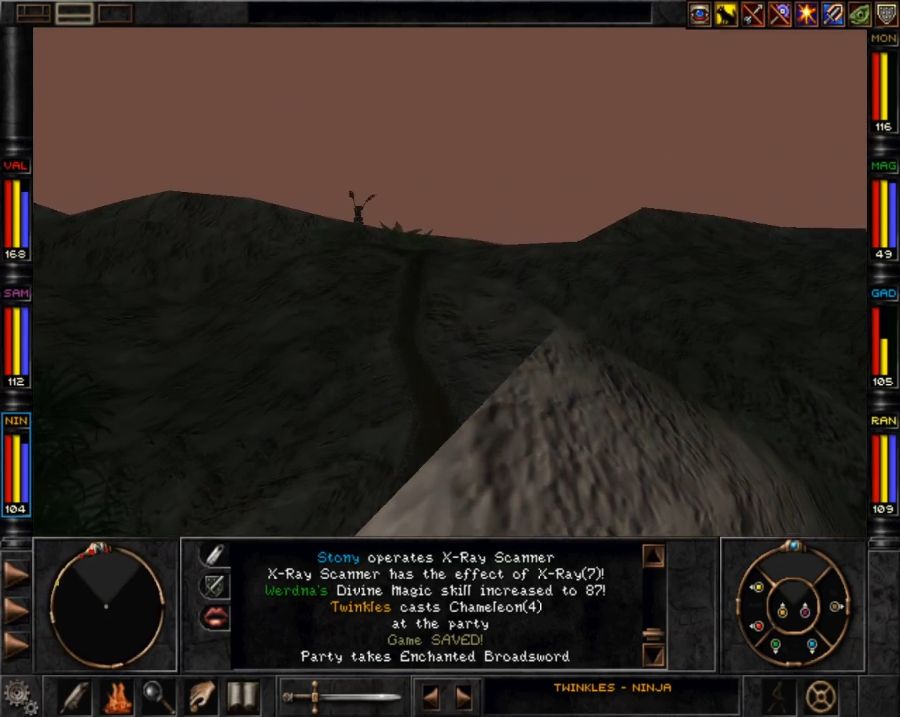 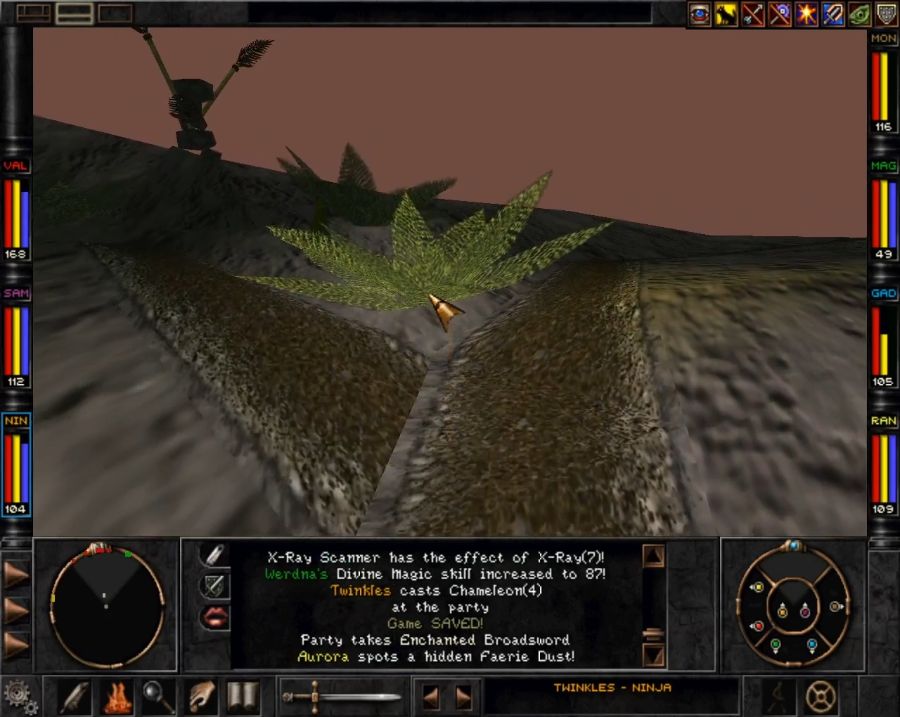 These little idols are all over the place and I presume they're meant to be objects of worship. Probably not Nessie, though, since she doesn't have big floppy rabbit ears. 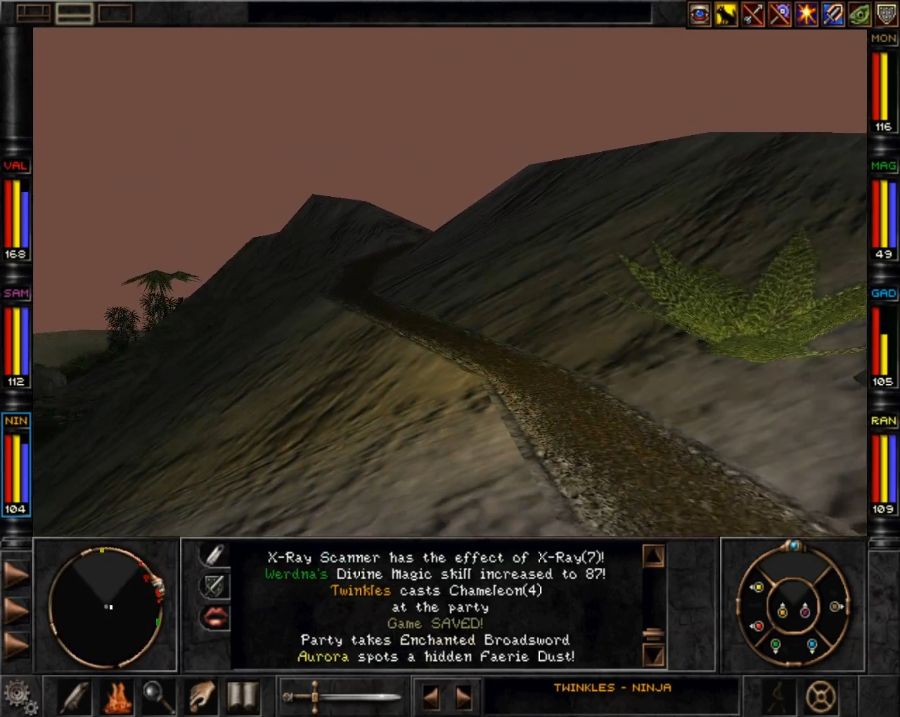 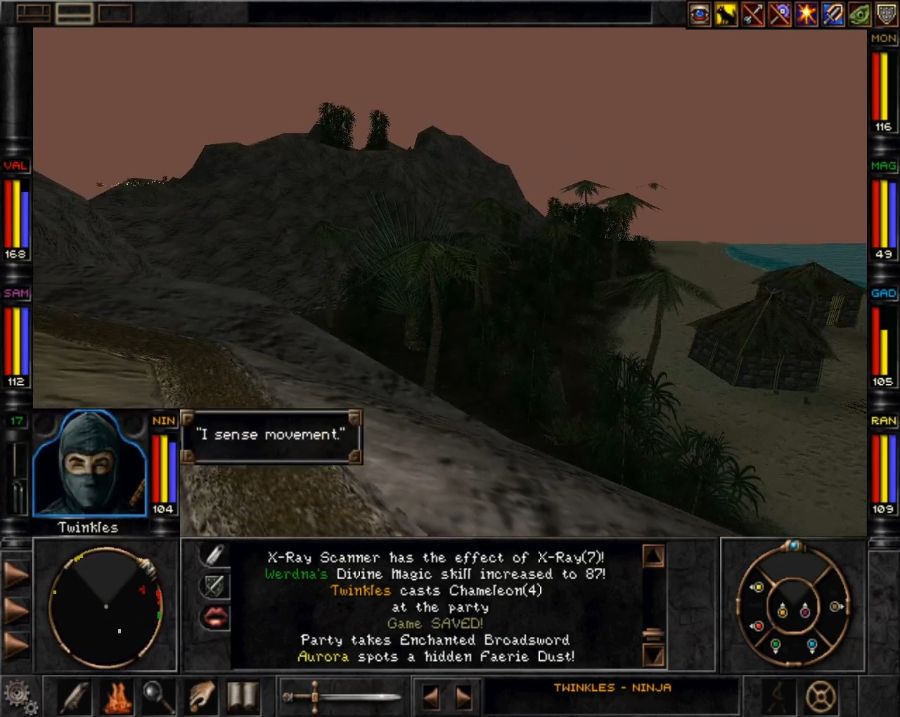 The biggest challenge here is sneaking up on the pixies without anything to really hide behind, but there are a couple of dips in the path that you can sneak into and then when the pixies come close enough you can jump over and bat them into the horizon. Screenshots of it will be absent since I didn't feel like editing out little pixelated pixie tits a second time. Goddamn horny videogame developers. 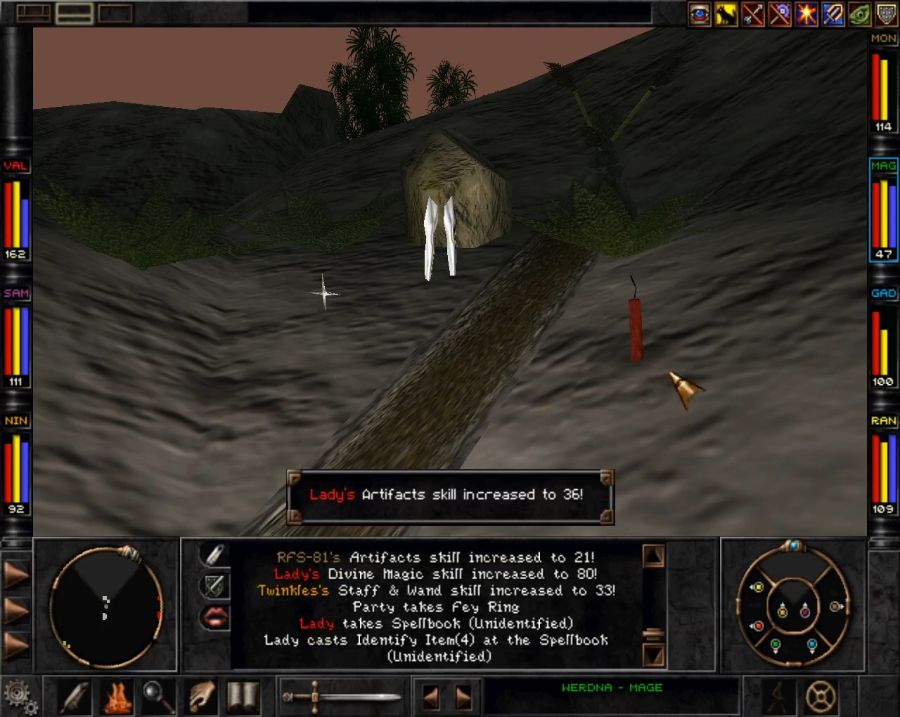 They're guarding a little stash of decent gear which we loot after evicting them. 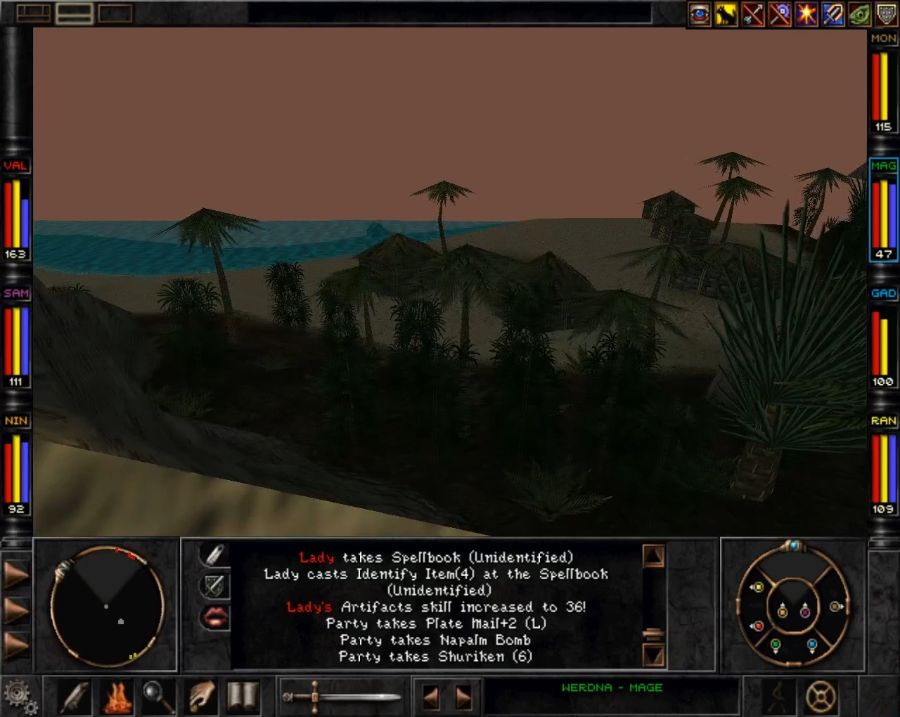 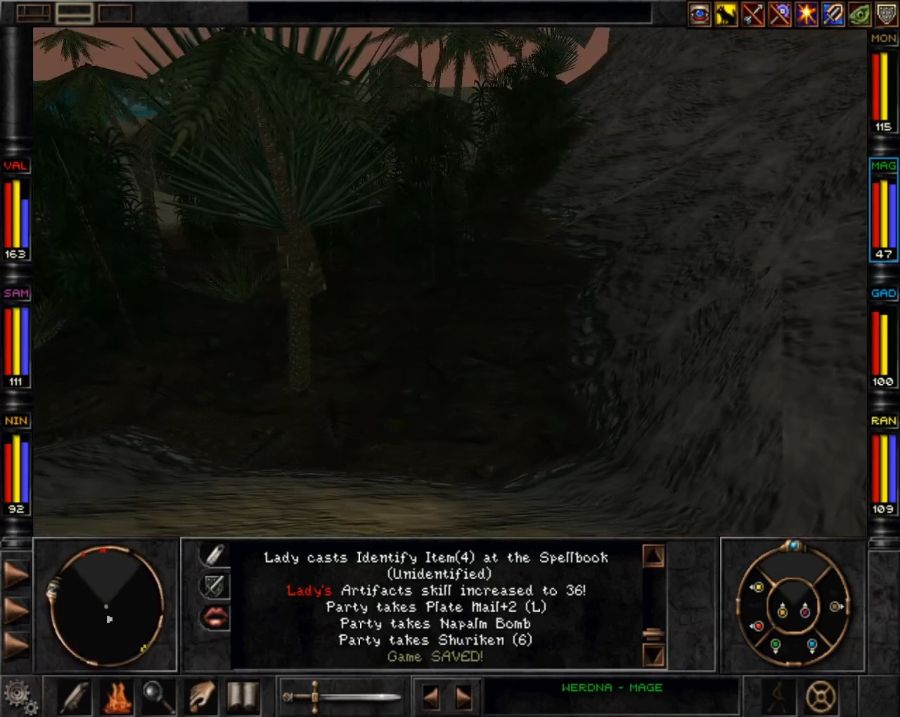 I slide down the side of the cliff to the rear side of the village. There aren't a lot of patrolling Rynjin around, most of them are in their little shacks, so I can step off to the side, open the door, activate combat mode, step inside and gut them like the walking fish they are.   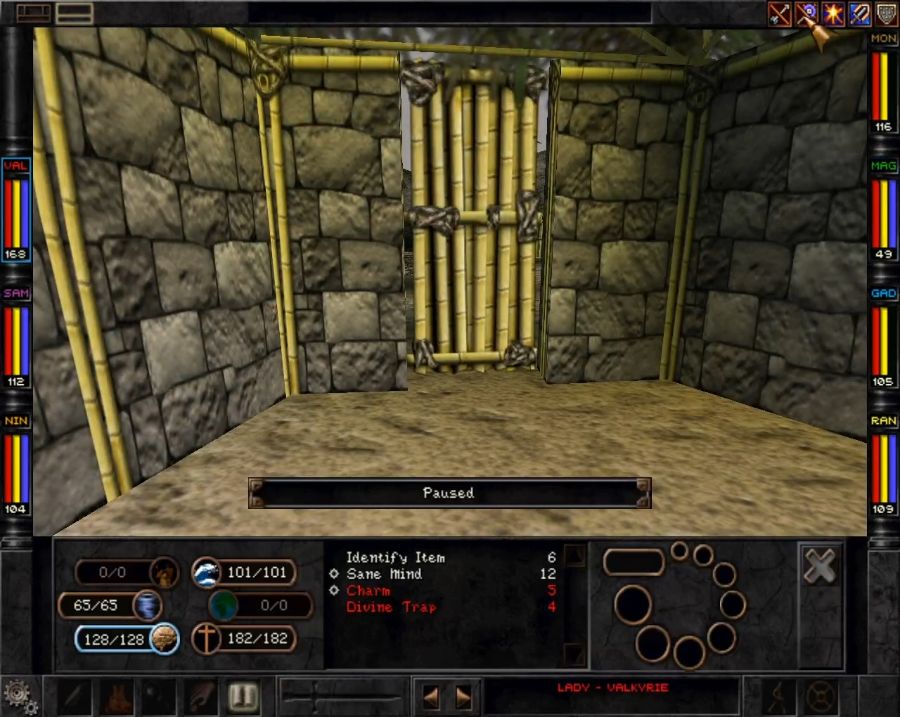 Then I can hide out in their empty houses and rest up between each massacre! Hm, it sounds a bit evil now that I'm narrating it... 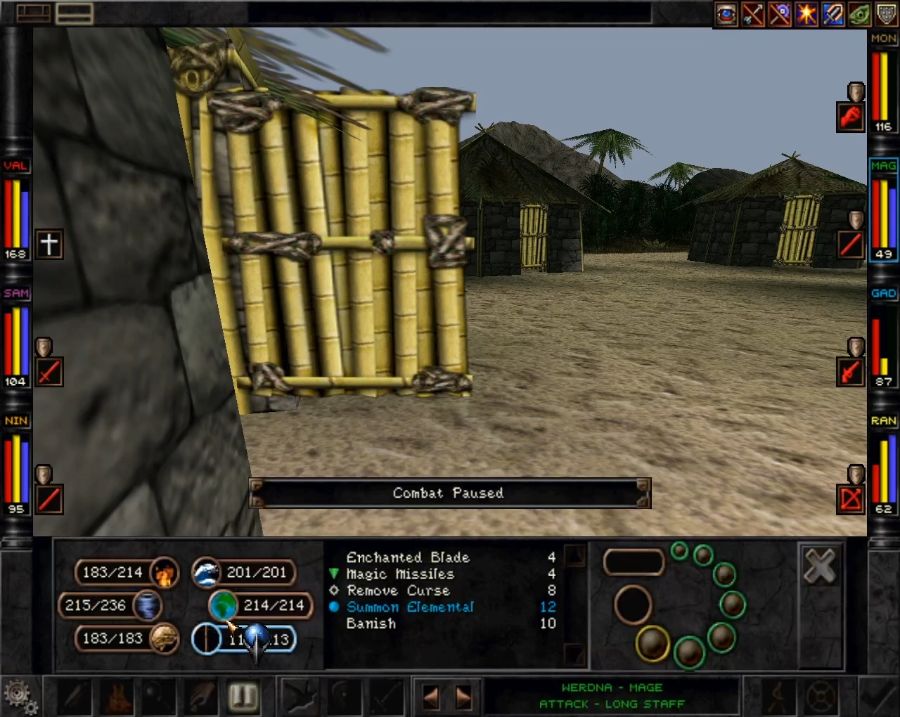 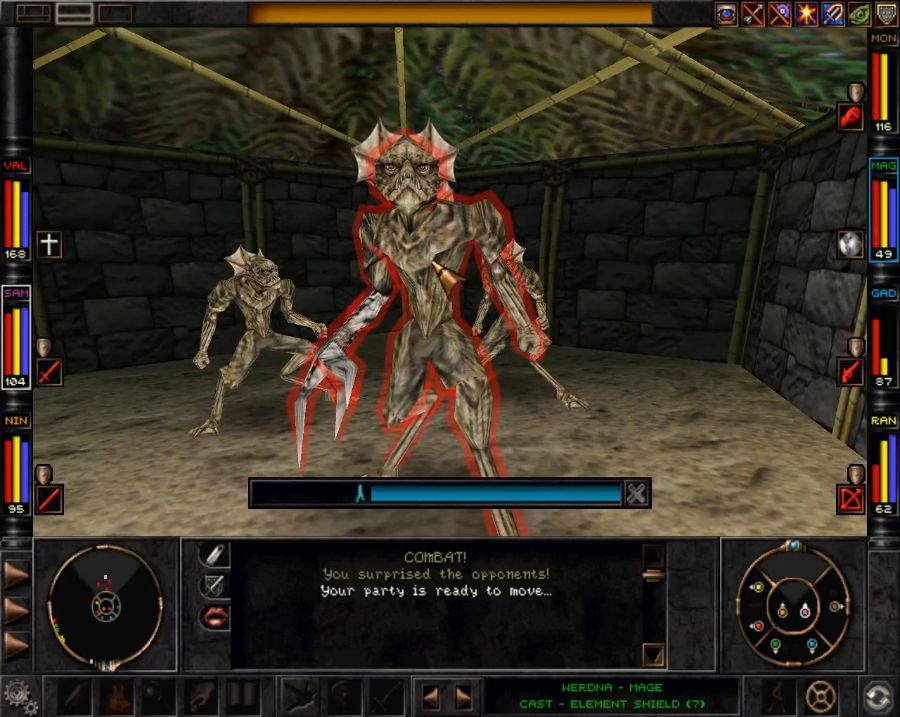 In one of them I gib this Battlelord and his cronies and collect the spellbook behind him, which sets me up with a third Portal caster. Considering that I have an Upper Mt. Gigas portal and a Marten's Bluff teleporter portal, I don't have a good place to put it right now, but once we visit the Rapax Rift I'll have something to use it for. 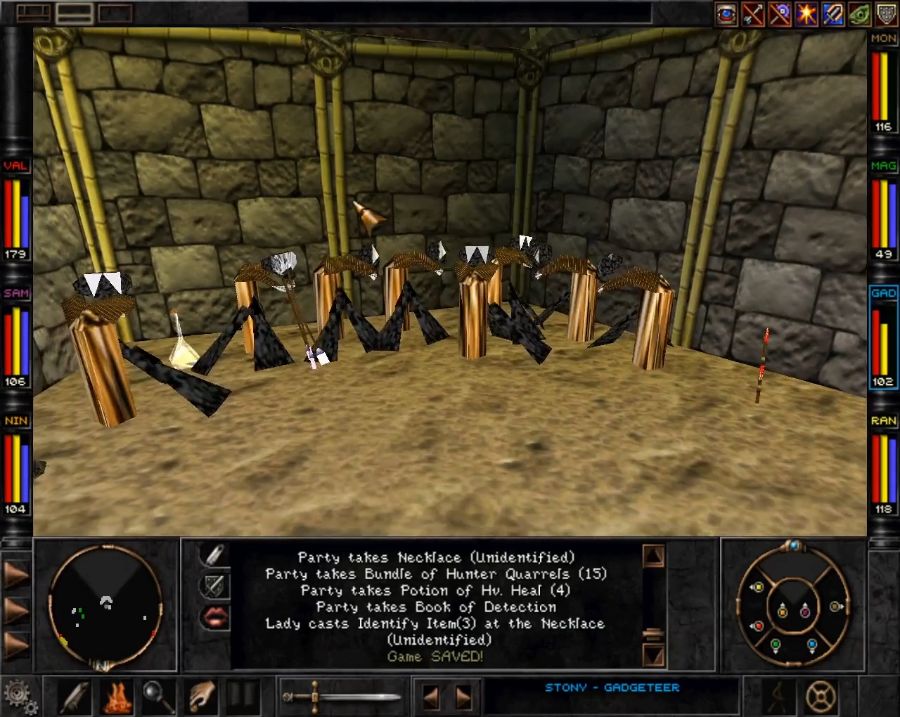 In another hut I find what's presumably the looted scuba gear from the Umpani expedition. It gives you a way into the Shallows and off to the Sea Caves even if you don't align with the Umpani, since without going through the Umpani training course you don't have an access to the UTU.  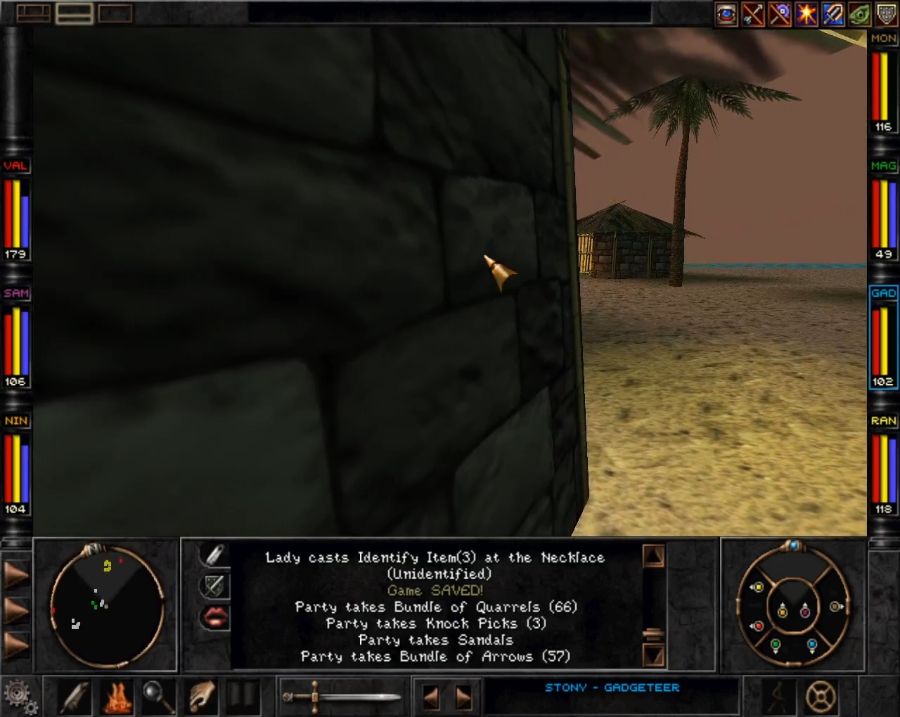 Now, of course the hut with the prisoners in it has its door facing towards the Rynjin Chieftain and his buddies. So I sneak around the back and prepare to ambush them  Anyone watching the minimap better than me can tell that I have completely missed the pair, thankfully only pair, of Curare Crabs sneaking up behind me. They could very easily have made the battle go south. 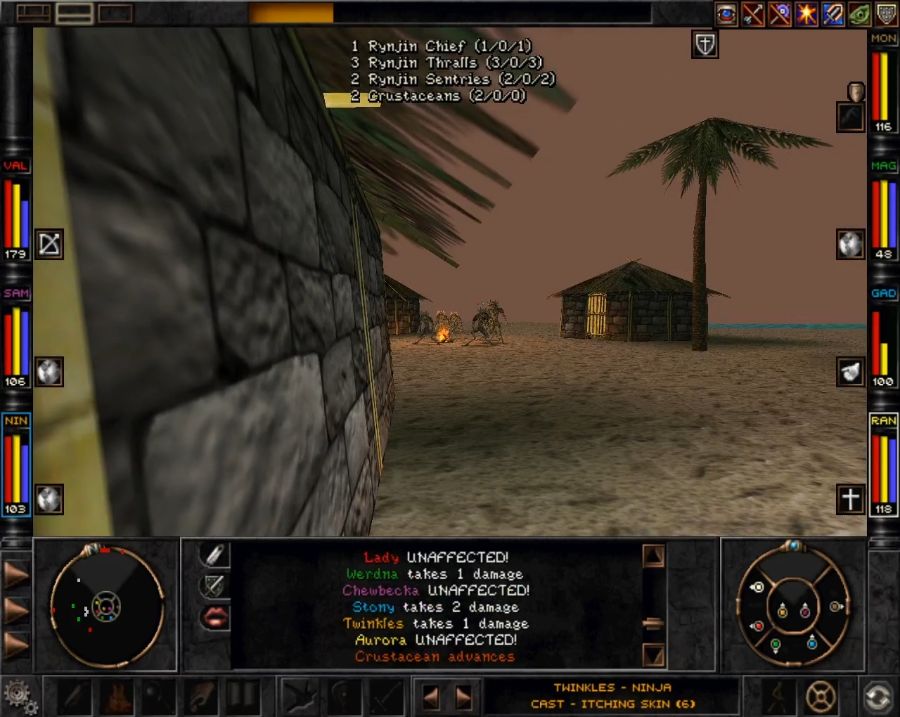  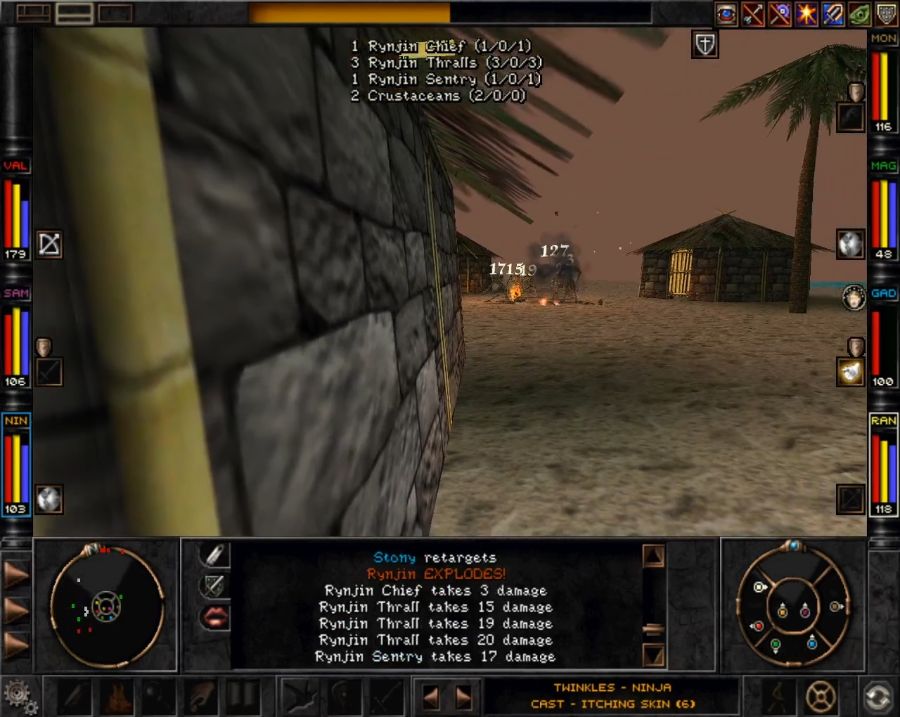 Kills with the Microwave Blaster are appropriately dramatic. 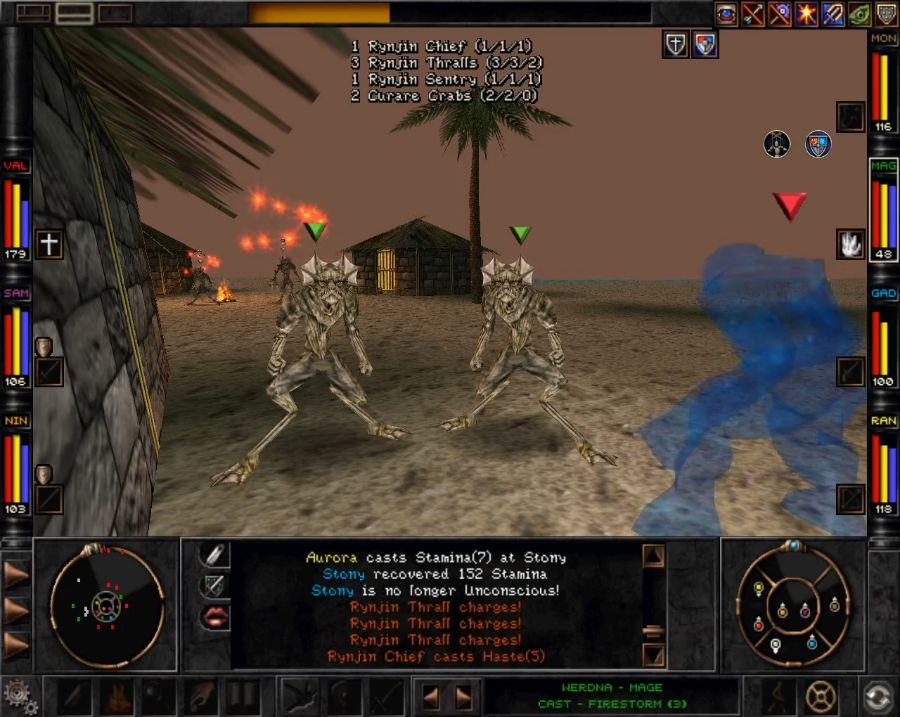 I also even up the fight with an elemental. The reason it's a small one is because Aurora can summon them now, too. Your max # of elementals is one per caster, so having multiple summoners can help even out the game's nastier fights, attract fire, lay down some punches and so on. Still, this is a relatively low-level group of Rynjin, being pre-placed. None of them are even as powerful as a single Battlelord and I've laid the smack down on almost half a dozen of those at this point. The crabs enjoy one whole round on my back lines where they whiff every single swing at Stony and Werdna.  Let's get heroic.   Ooooooooooooh, a cage full of loot! I break into it before I bother to save either of these two losers who got themselves caught. It contains another magic instrument, another pair of Mantis Gloves and an outdated spear. https://www.youtube.com/watch?v=YjlBPHrQJfM Now Jan-Ette doesn't ever actually say it, but the Helazoid Banner she gives you is meant to go to Braffit in Arnika, where it earns you an XP bonus. She also drops a Frontier Phaser, a decently strong gun running off Power Paks that has a chance to one-shot-kill. If Power Paks were more broadly available, it might make a decent off-hand ranged weapon for someone. But as it is, likely your only character with Modern Weapon skill will be your Gadgeteer and their Omnigun is still a better choice.   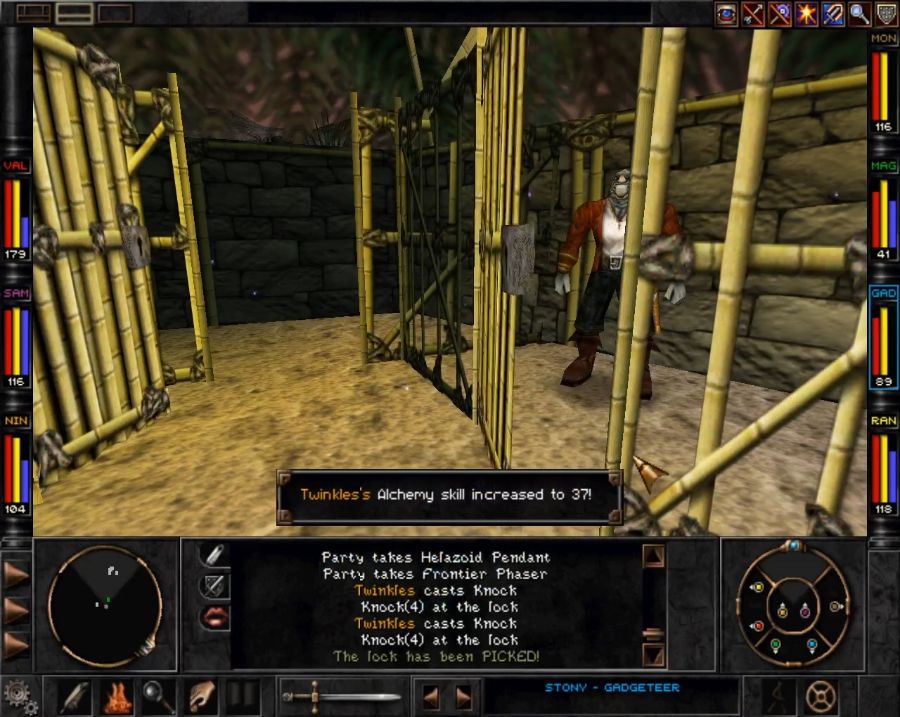 Now for Glumph. https://www.youtube.com/watch?v=HChyxQ3TqpA If you get here without the quest, Glumph just grumbles at you and makes his way back to Mt. Gigas on his own(somehow), not sure how this interacts with later actually getting the quest. Secondly, he'll really only tolerate the most direct path back to Mt. Gigas. If, say, you attempt to head overland with him, he'll eventually lose his poo poo and go aggro on the party. Thankfully returning his dog tags to Yamir also counts as a successful completion of the quest.  However, some clever lad called me has a Portal set up at Upper Mt. Gigas so we'll just warp our way back.  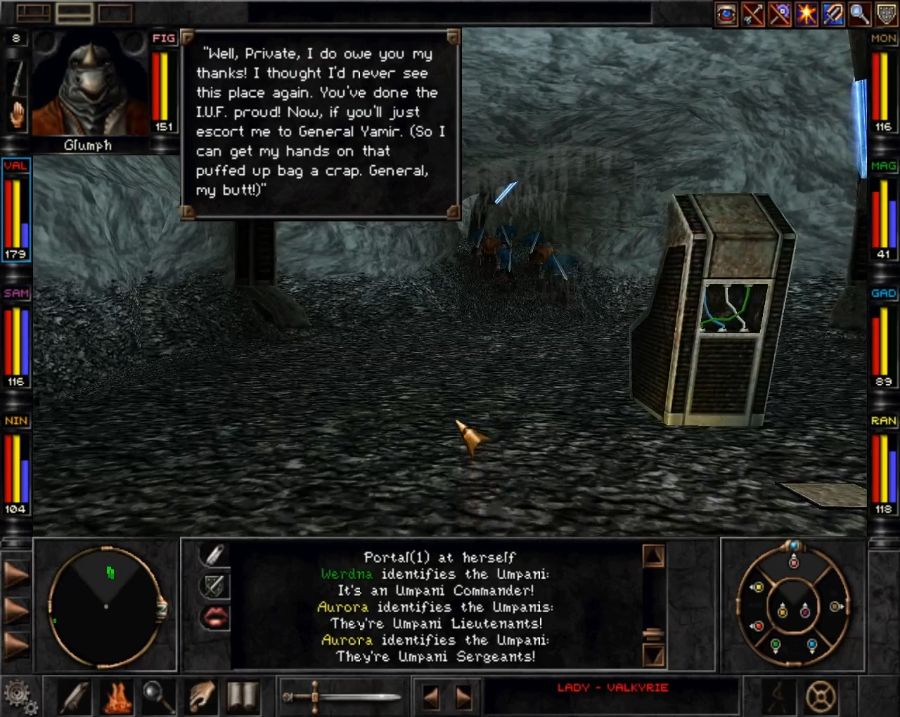 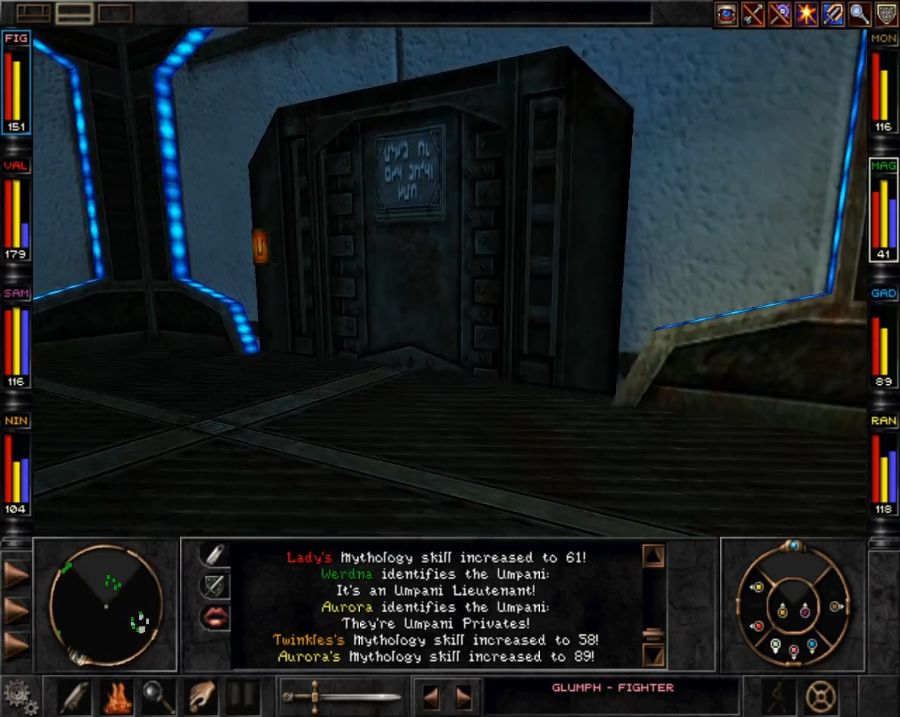 https://www.youtube.com/watch?v=HIEL3seAqwU lol Glumph, what a loving coward. Thankfully saving him gets us a truly MASSIVE XP reward. We will, of course, not destroy the T'rang. Instead we'll teleport back and get Z'ant's last quests. Then we'll see where we stand. 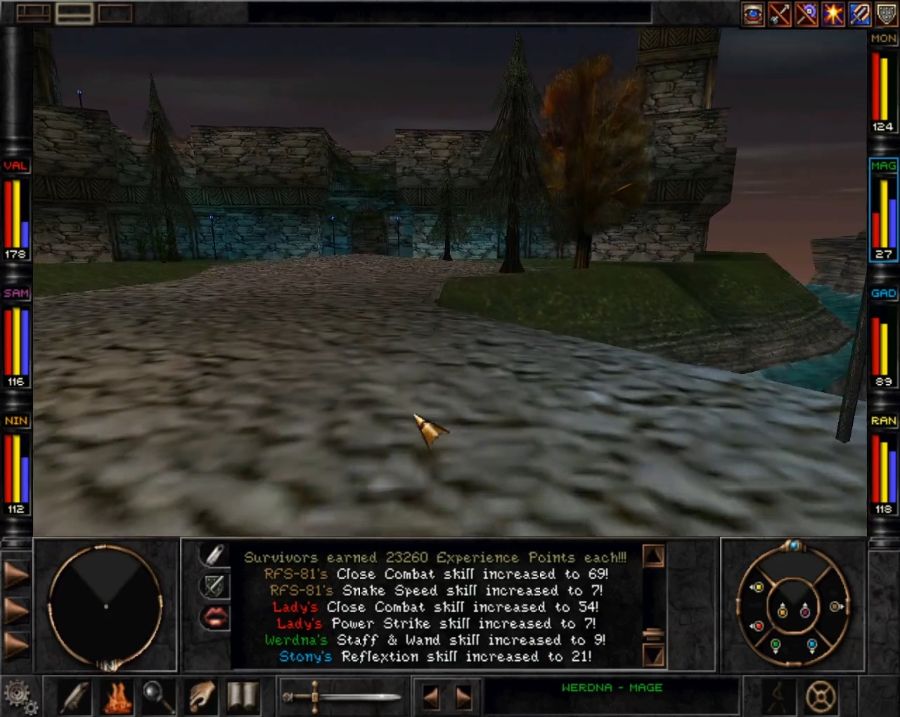 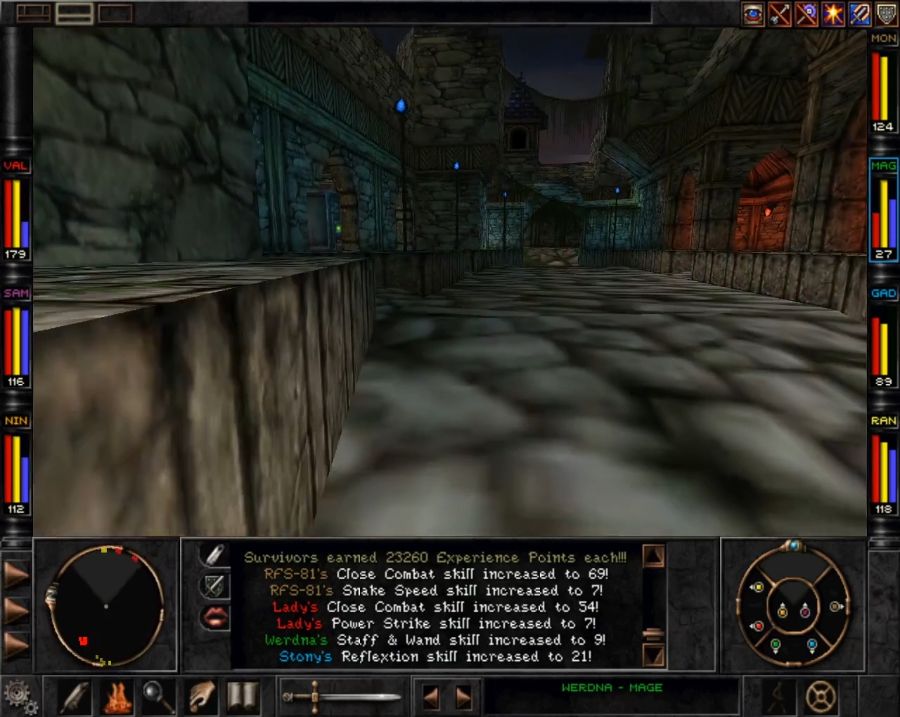 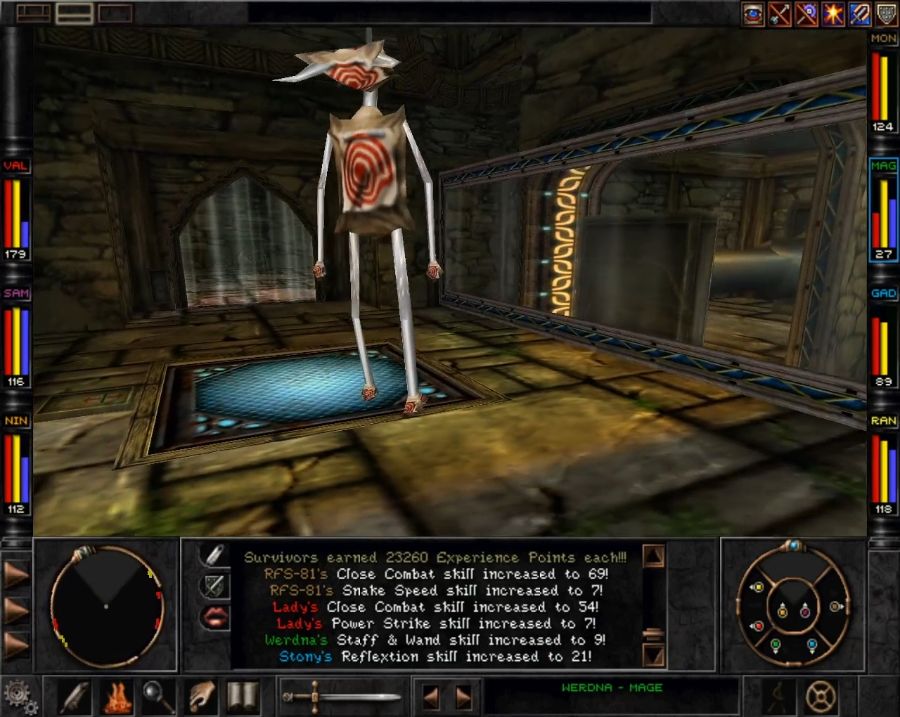 https://www.youtube.com/watch?v=njCIBpkcIxc Now, if we hadn't already done so, we'd need to reach Trynton and get the "shiny metal ball" from the Hogar cage, then tromp off to Bayjin and score the black box from the crashed Helazoid ship. Since we've already done that, all we need to do is pop off to Arnika, though I do a bit of shopping on the way. 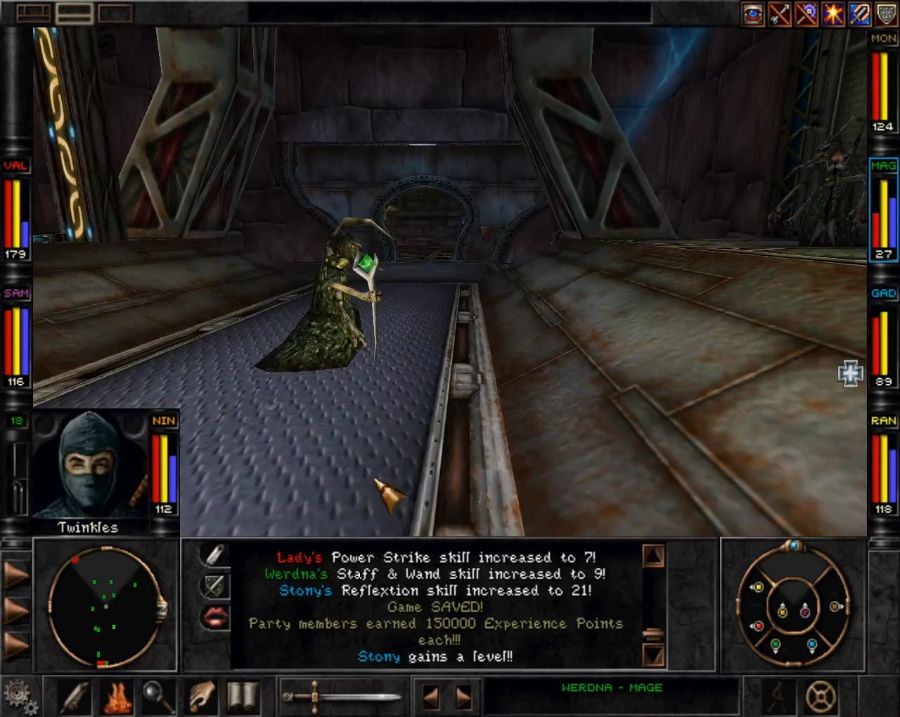 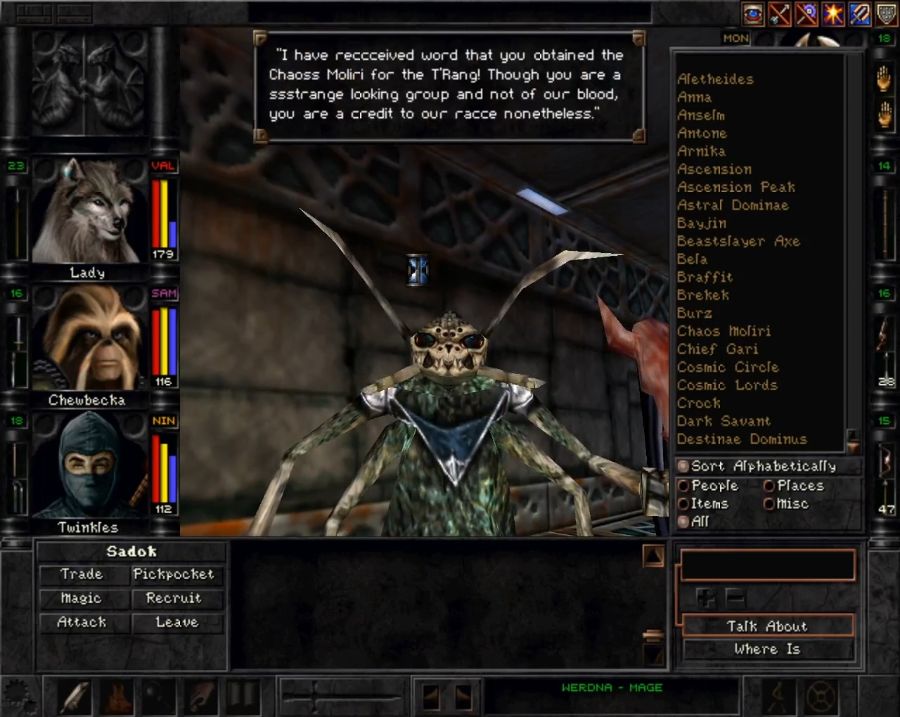 Also I wanted to hear some nice words from Sadok, he's a good spiderslug just like Z'ant. ") 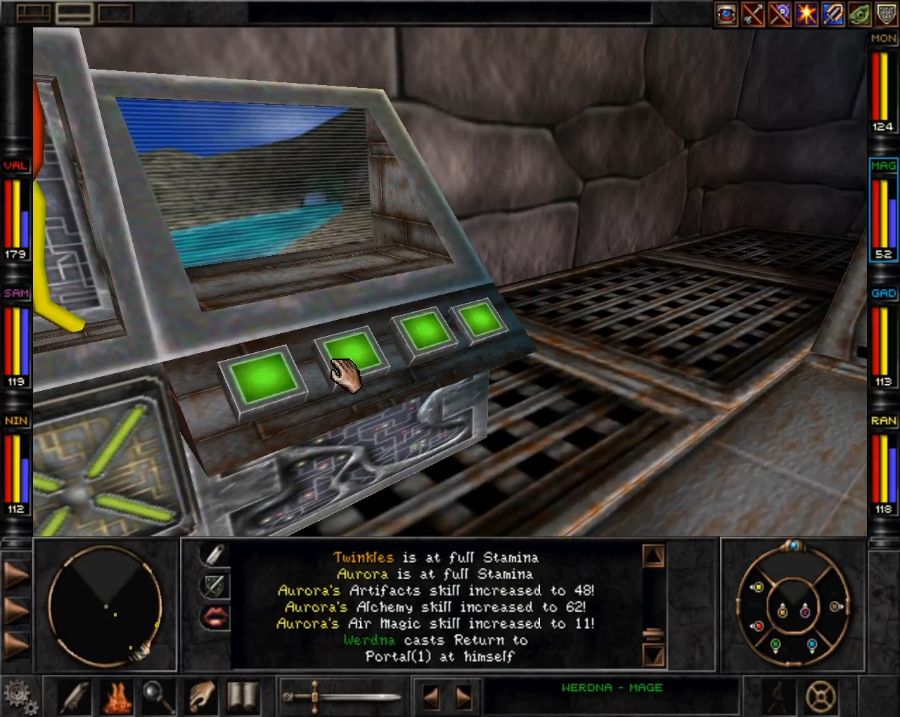 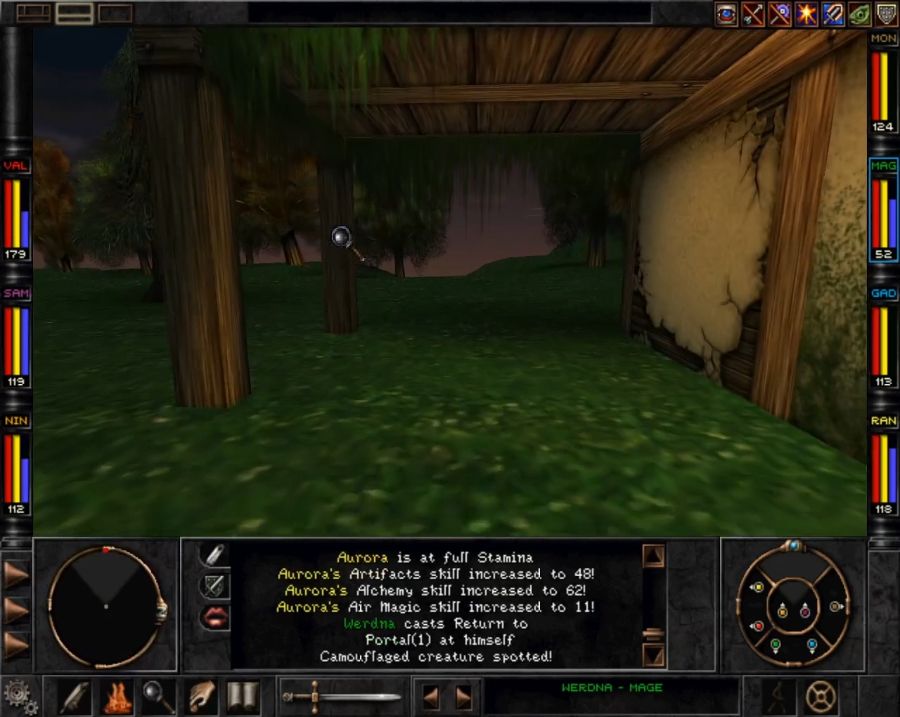 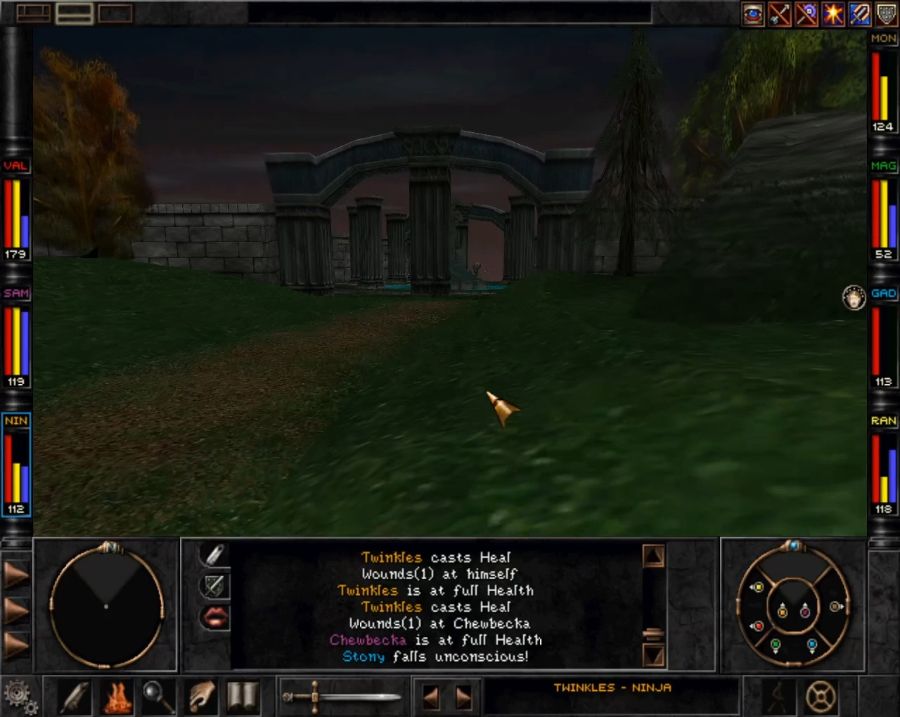 Then the usual teleport to the house and quick skip across the lawn to Arnika(of course with the requisite pummelling of wildlife along the way). 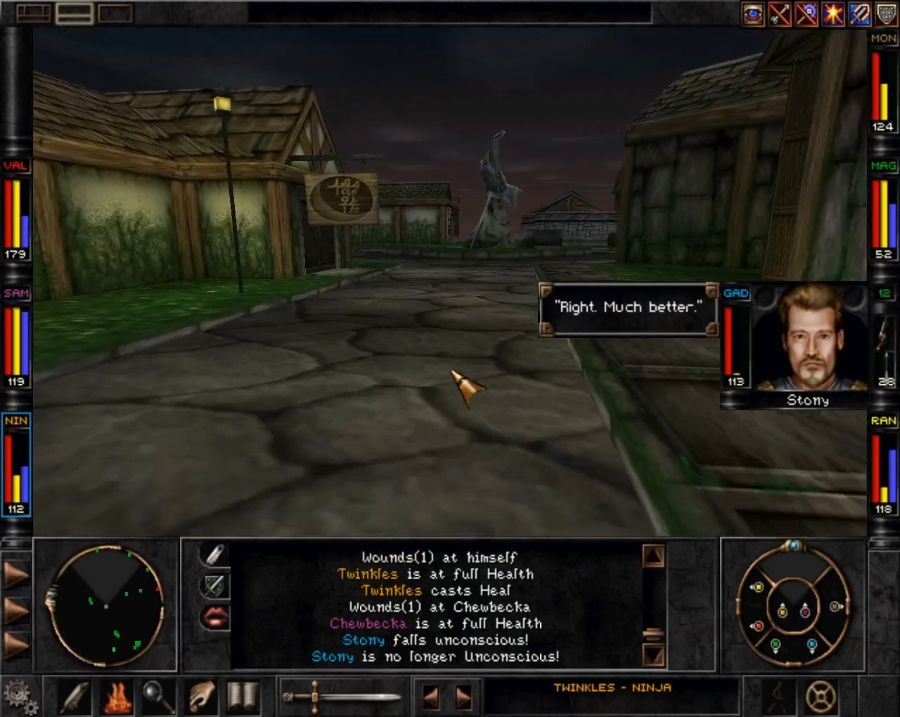  I also stop by He'li's since she's got a brief dialogue bit for us advancing the plot some in various ways. Thankfully if you miss one it doesn't get overwritten, instead it just gets buffered so first you get the oldest blurb, then the next oldest, etc. until you're at the most recent. 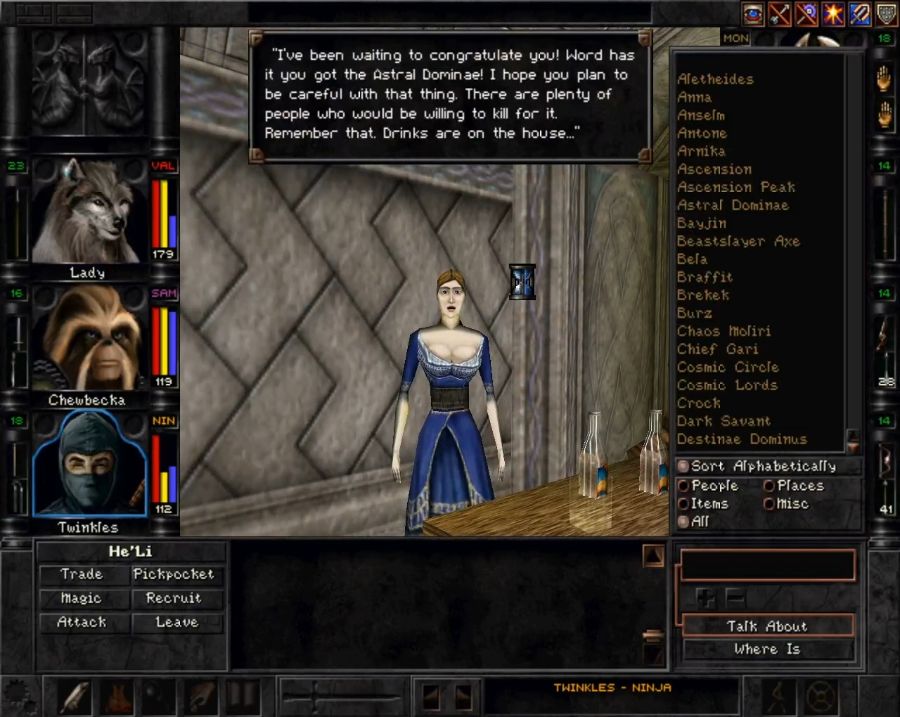 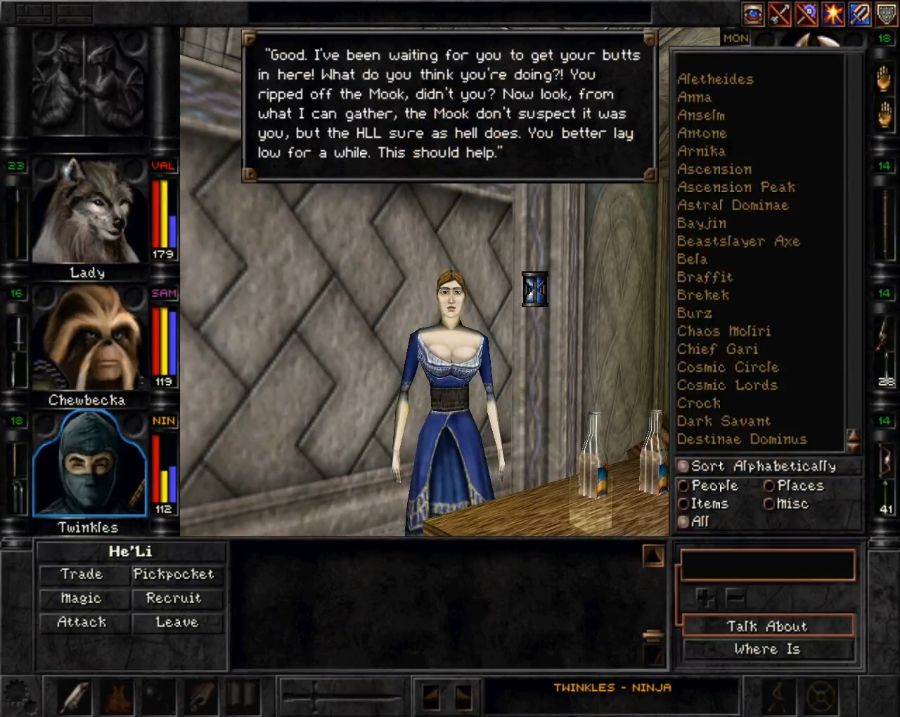 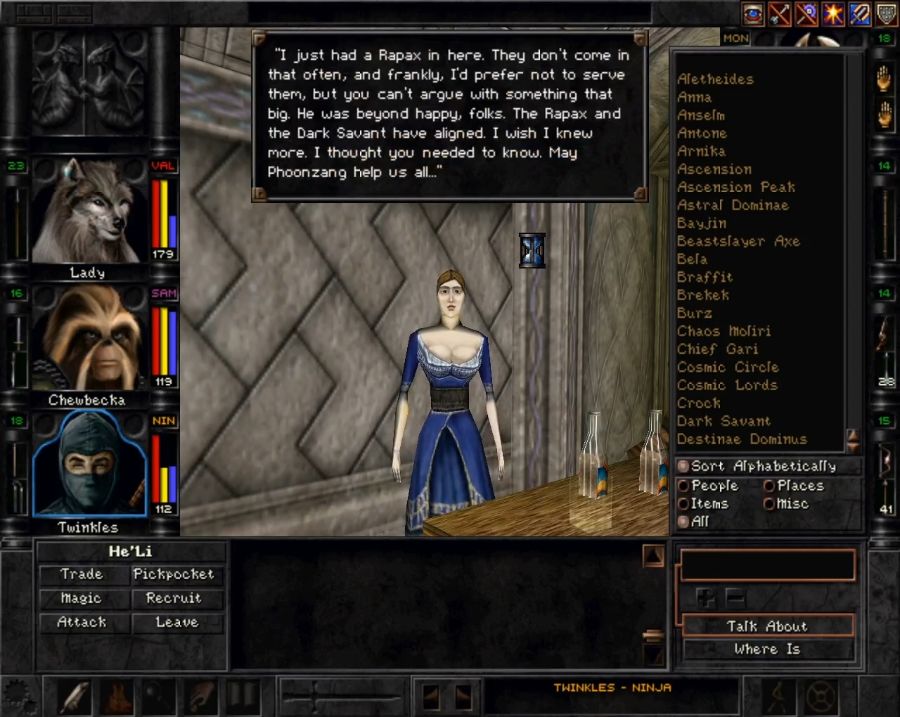 It's a shame that the only NPC's that have updating dialogue like this are often ones you likely won't revisit. For instance, He'li has nothing in her store inventory that'll matter to you pretty much ever, and doesn't give out any quests either. Likewise Braffit's inventory also quickly gets outdated. Meanwhile the few NPC's whose inventory remains somewhat endgame relevant(Bela, Croc, and one we've yet to meet) don't have much updating dialogue. Sadok does, as we see, have a little, though, and while he's not the best merchant he is an unlikely source of some of the nicer bow ammunition that can be purchased rather than found. Someone also wanted me to try handing Rattus Rattus' note to Lorrac, the clerk at the bank... https://www.youtube.com/watch?v=97BH6zSvxw0 It's sadly not all that dramatic, and Lorrac and the bank guards even have their own Higardi Bank faction so murdering them doesn't piss off the rest of Arnika. On the one hand it makes sense to not completely gently caress the player for getting their heist on, on the other hand it also makes sense because who the gently caress likes banks? 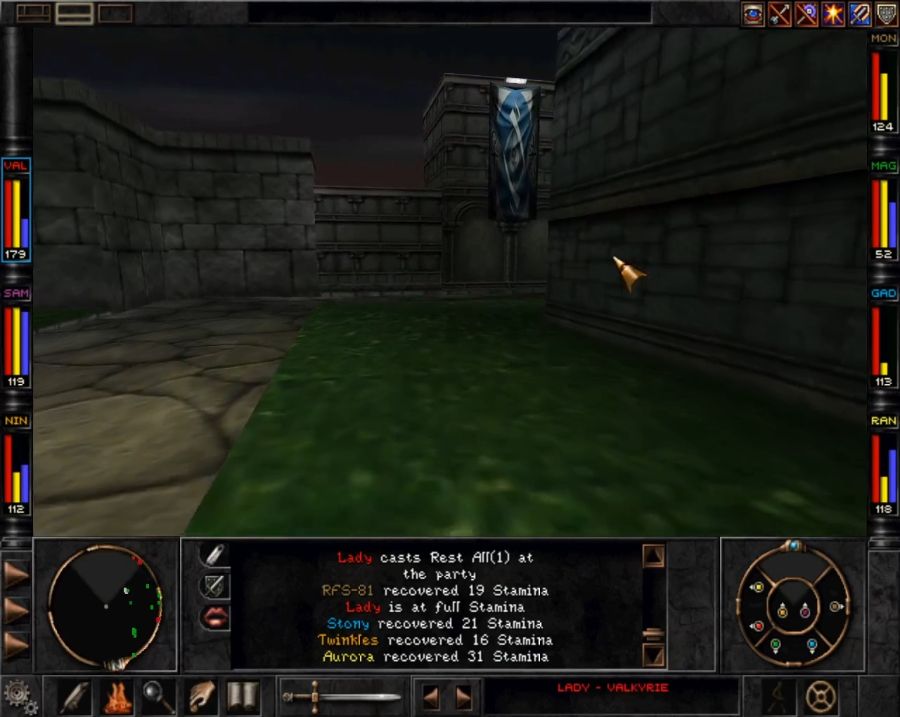 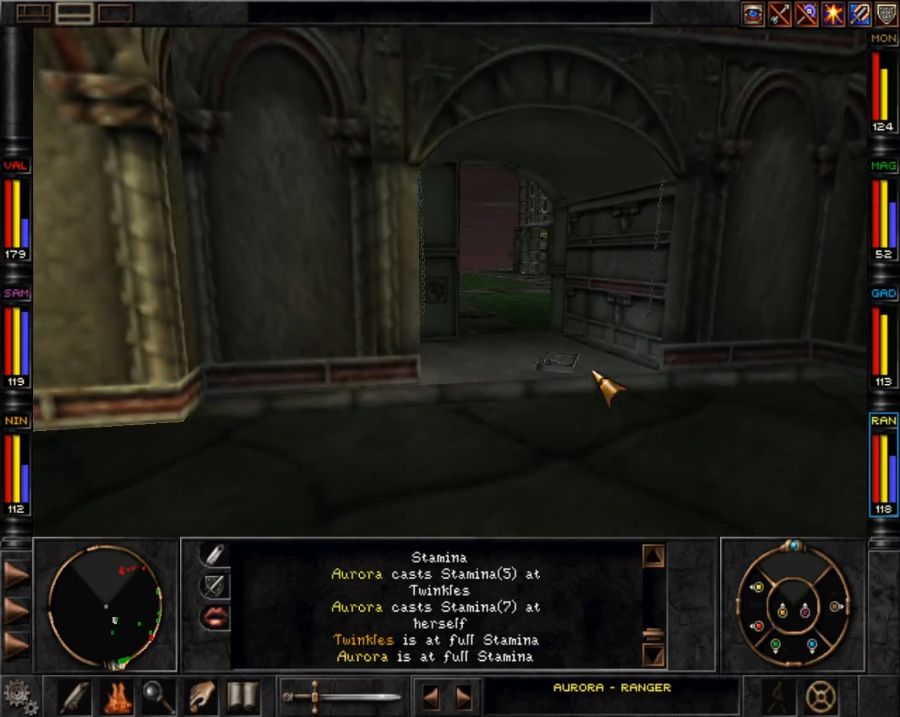 Anyway, let's revisit the spaceport. 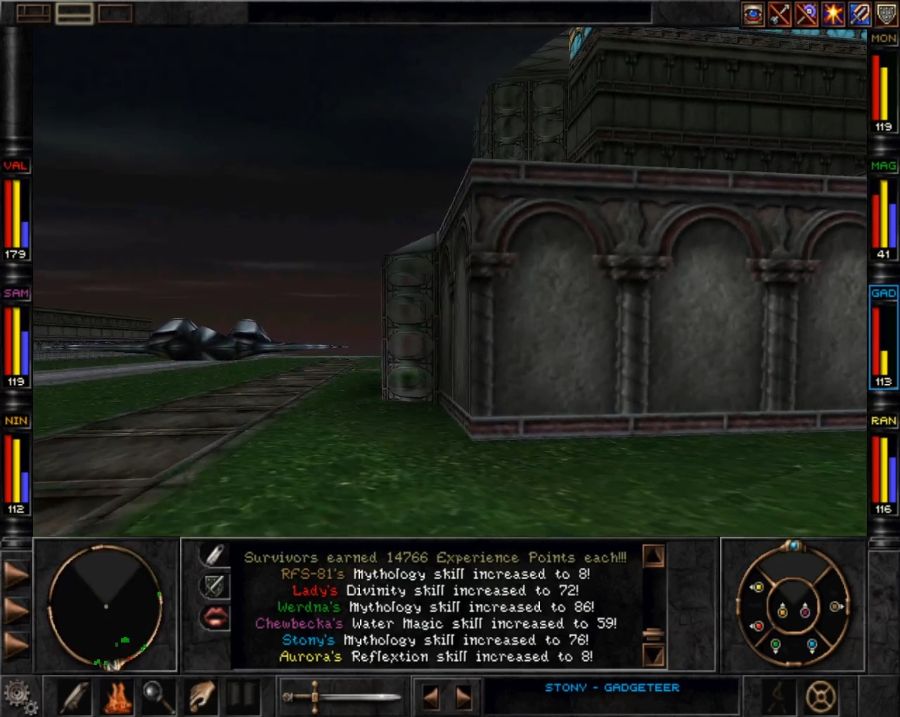 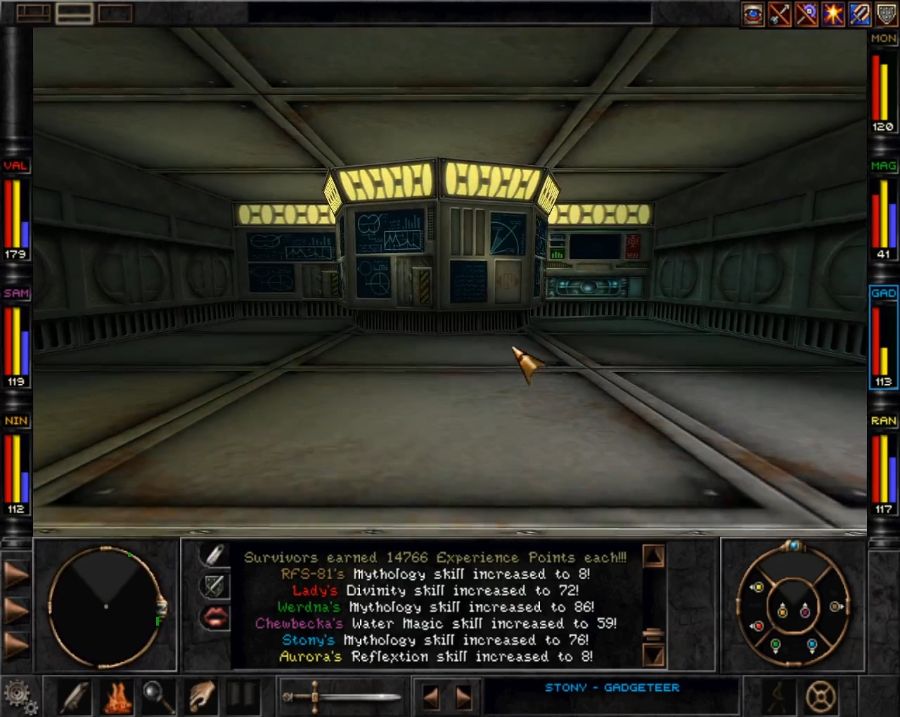 I accidentally do things the wrong way around and pop up the tower first.  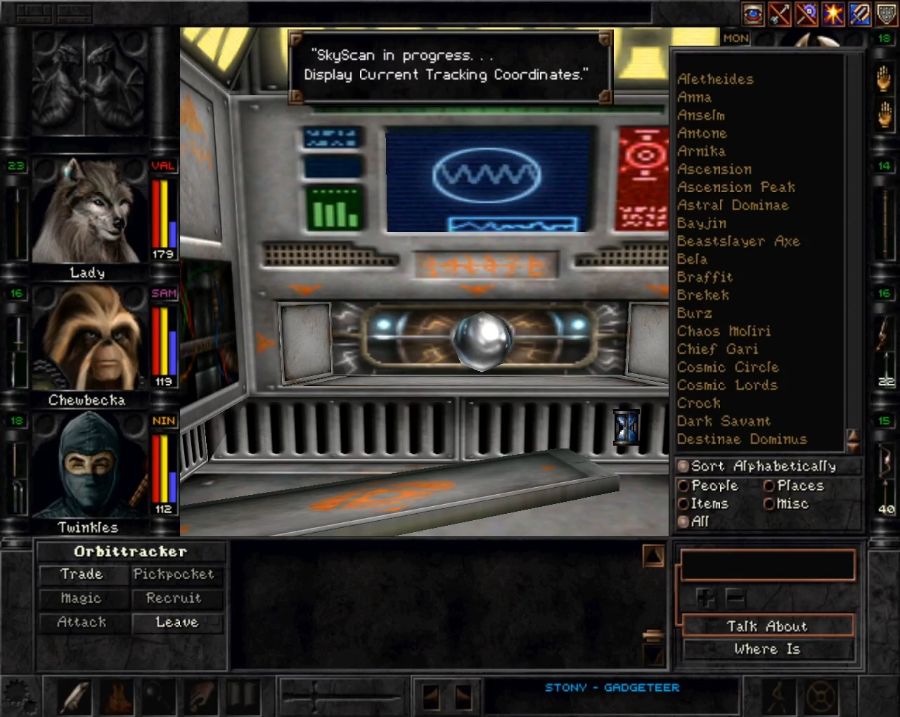 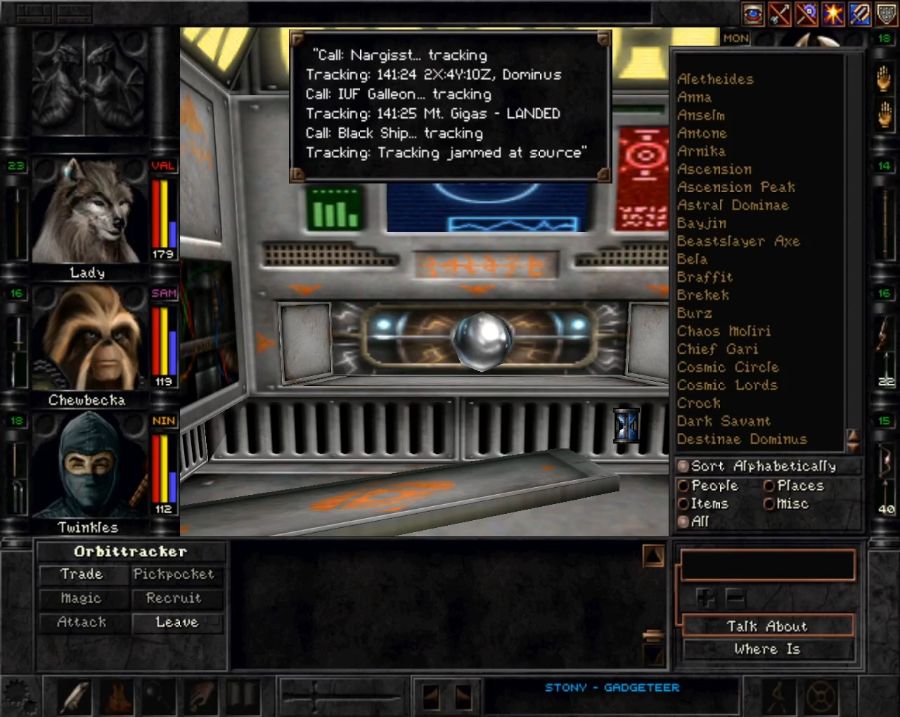 Now it can scan ships' orbital locations based on coordinates we extra from black boxes downstairs. I strongly believe you were originally meant to have been able to visit one or more of these ships, possibly using the Mooks' Callisto to get into orbit, and that's why this functionality exists for other ships than the Dark Savant's.  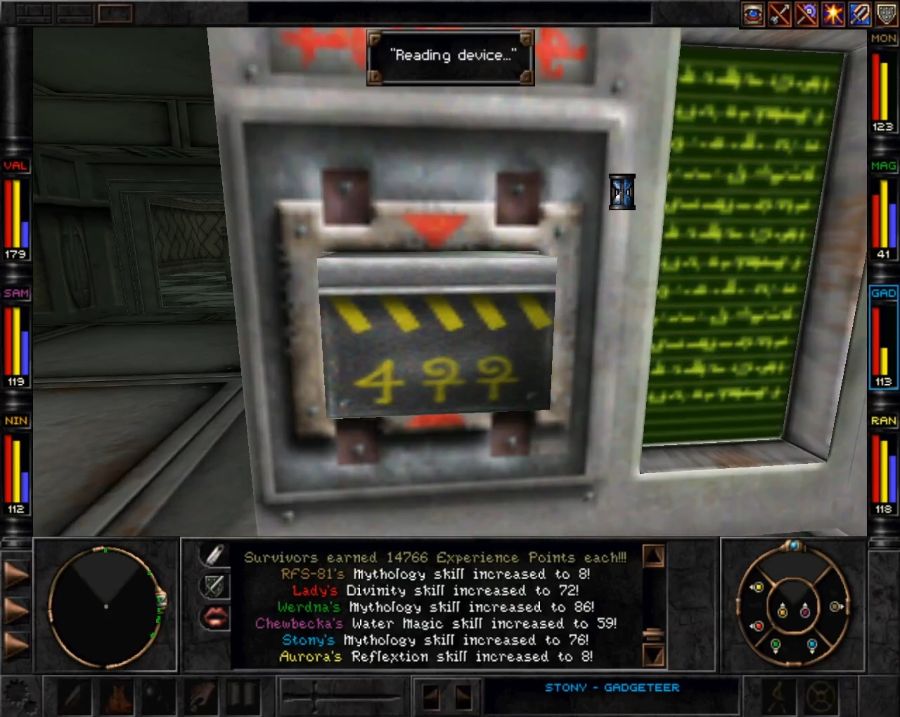 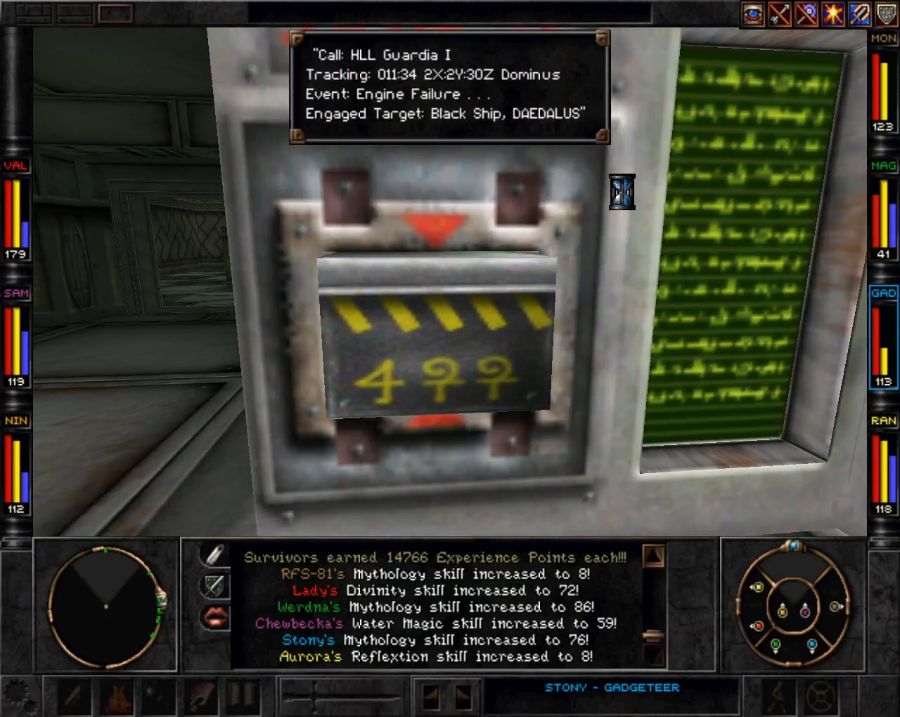 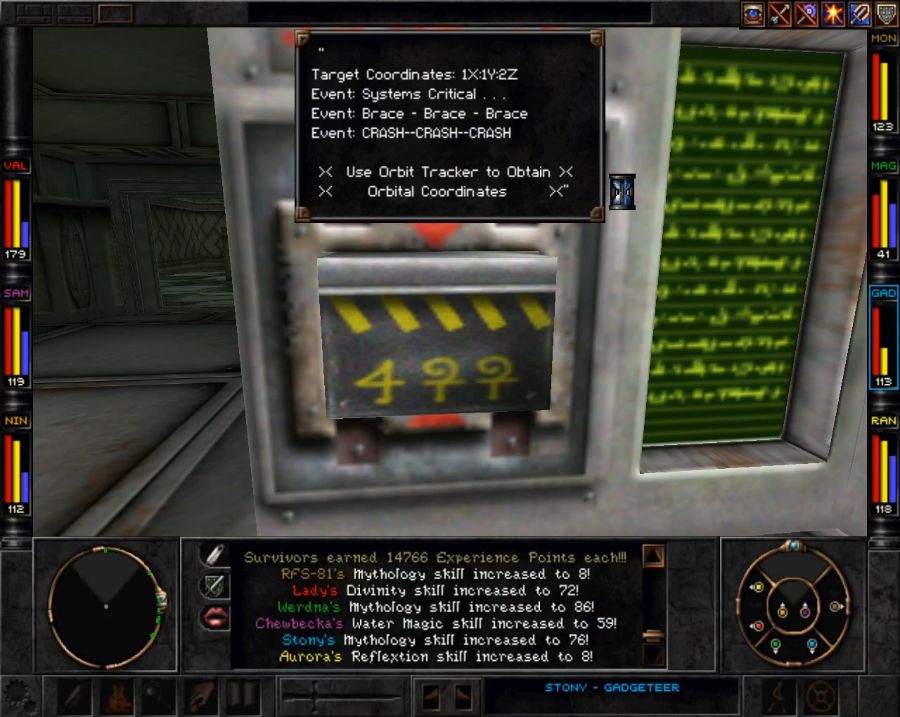 Then we just pop upstairs and enter the complex code "1 1 2" into the tracker... 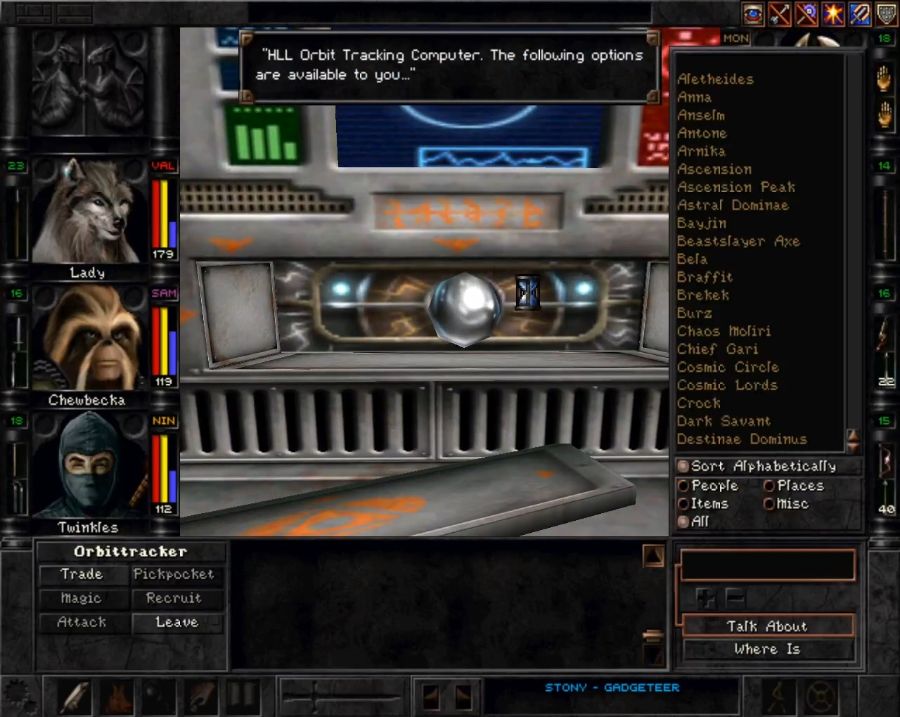 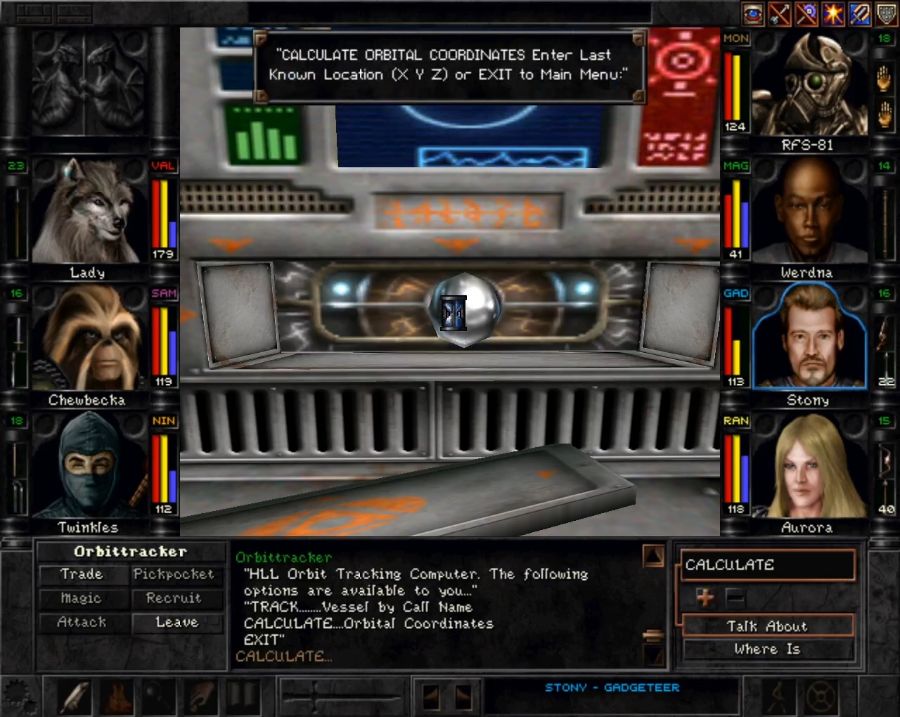  And then back to pass those coordinates to Z'ant. 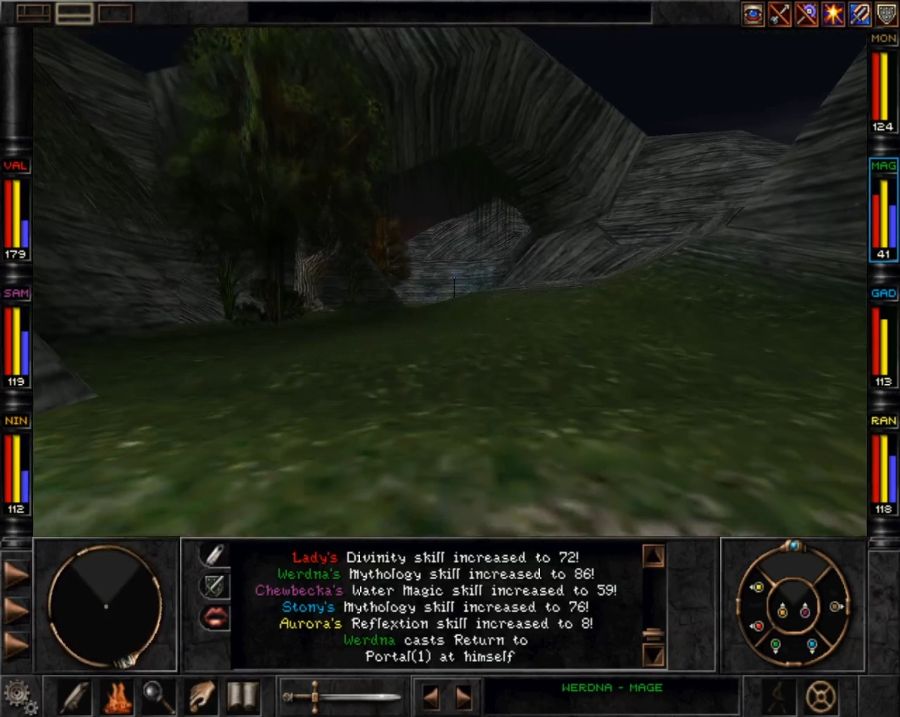 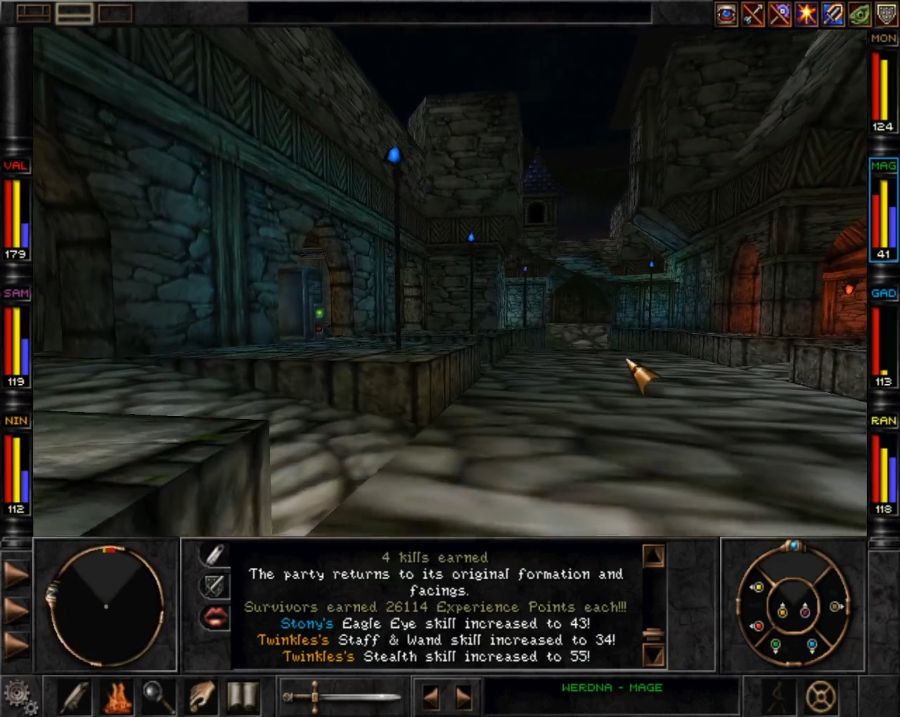 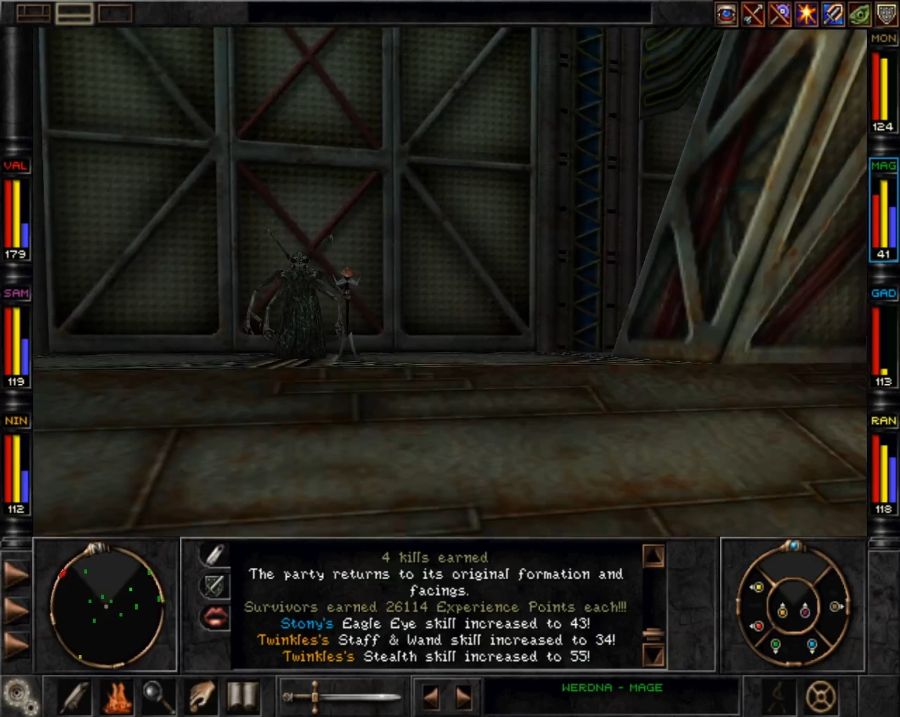 https://www.youtube.com/watch?v=vyy9WROdLFo Of course, we won't actually be destroying the Umpani Galleon atop Mt. Gigas(in a canon update, anyway), since everyone preferred the Alliance ending to teaming up with the T'rang or Umpani(or destroying both). Though once again I feel like it speaks to the T'rang being the smarter of the two forces by the fact that they actually infiltrate the other side and have prepared a way into their very sanctum rather than requiring their recruits to just storm headfirst into the enemy fortress. So it's time to get the endgame ready. Off to pick up Saxx, then next update I'm going to go fight Nessie just to show that I can, before heading to the Sea Caves to recover the Destinae Dominus. After that, it'll be a straight shot to Rapax Rift to get access to Ascension Peak(and accidentally unifying the T'rang and Umpani along the way). Tune in next update to watch a rhino play a trumpet while a robot punches an underwater dinosaur in the face.
|
|
#
¿
Sep 2, 2020 02:10
|
|
|
Zurai posted:Did I miss you looting the Bayjin Good Chest? I mean, half the time it still has junk despite the name, but I was half expecting you to luck into all the good poo poo that I've never seen. It had juuuuuuuuuuuunk, and the only others who roll on the same table are the Buccaneer Ghosts. I try not to waste screenshot space showing off trash drops unless they're hilariously trash. I got like two scrolls and a pair of pants.
|
|
#
¿
Sep 2, 2020 11:52
|
|
|
I like how you can rely on the Japanese. If there's something people could potentially do, never mind if they should or would, one of their game shows will feature it. Thank you for adding content to the thread. New update coming before too long.
|
|
#
¿
Sep 3, 2020 18:39
|
|
|
Part 011: Real Ultimate Knowledge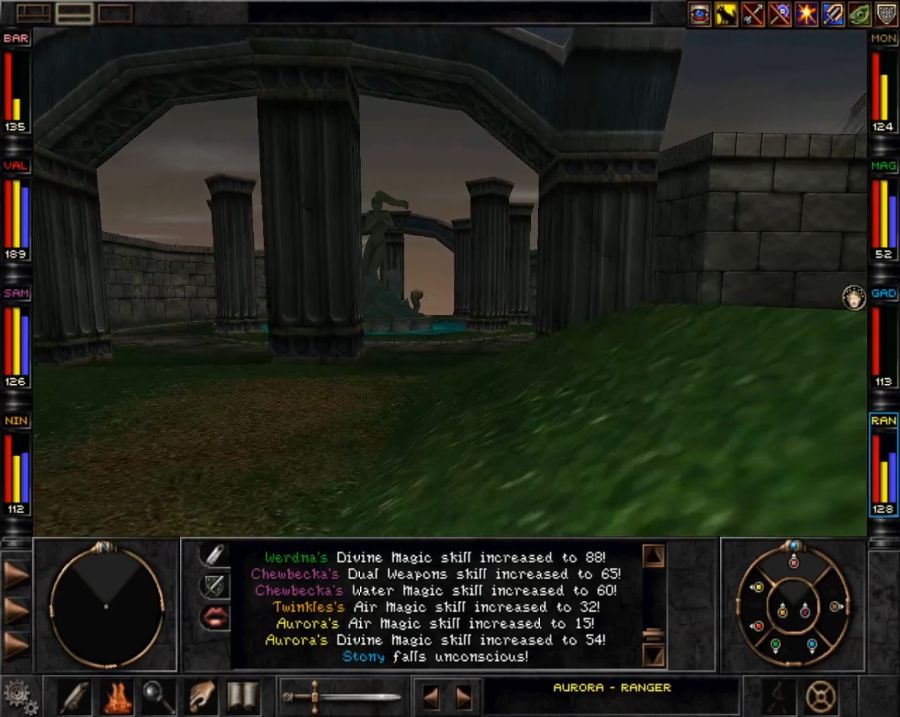 Alright, I've got a quick errand to run in Arnika before we're off to the wet part of the gameworld again. 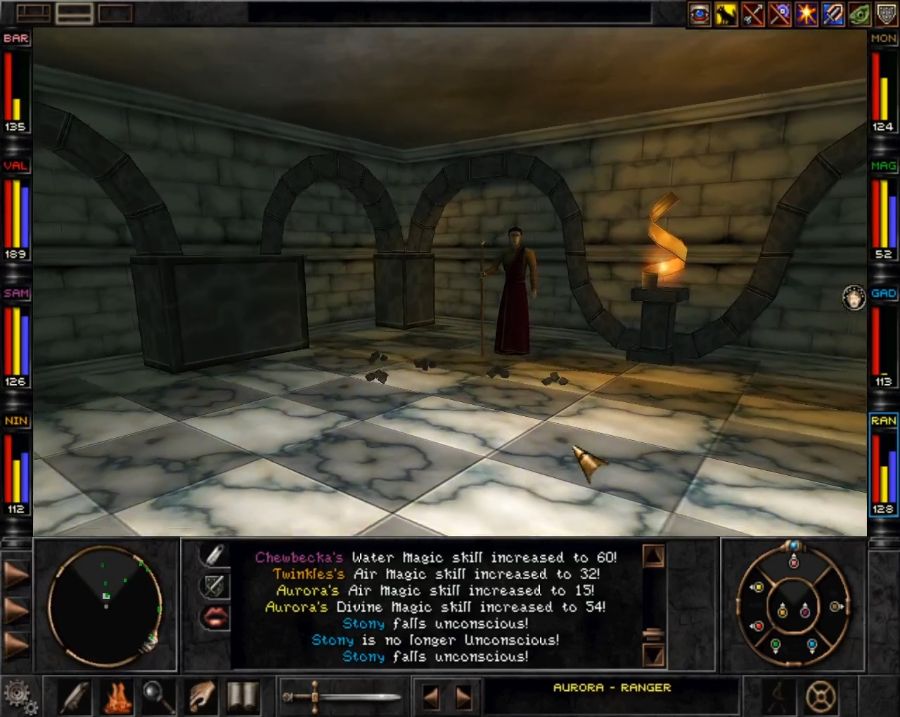 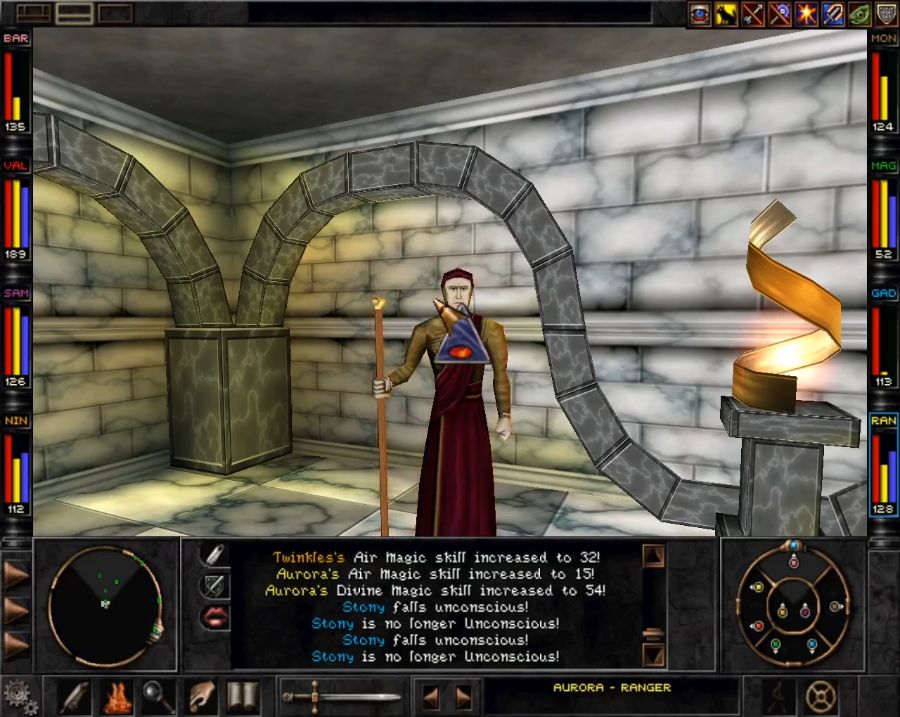 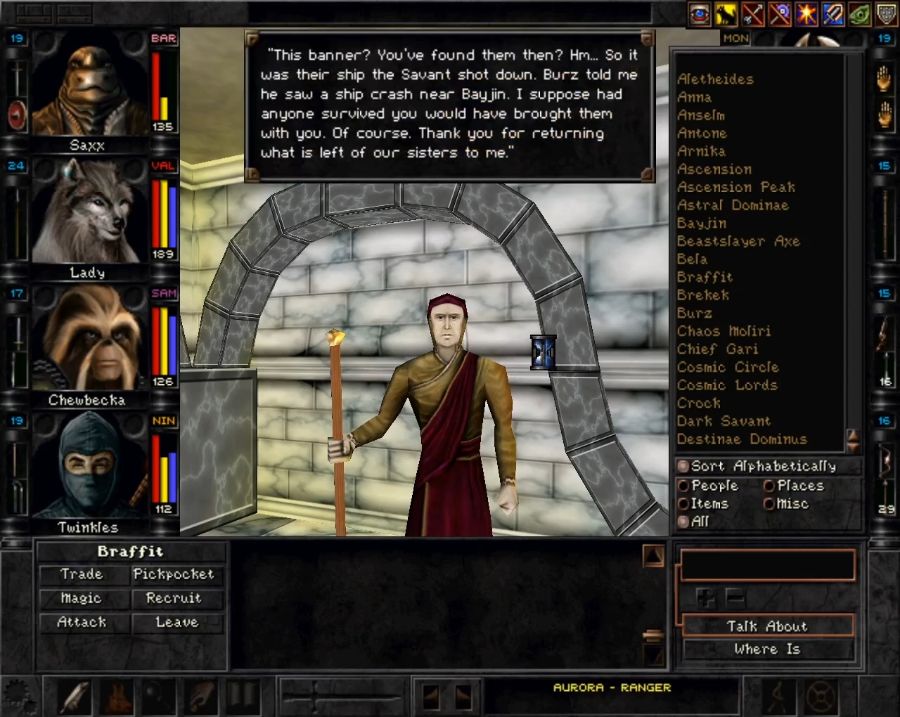 Bringing the Helazoid Banner to Braffit is +30k XP for everyone, which is in the region where it's never a completely forgettable amount, but it's obviously far more if you manage to do it early. Technically you could probably manage it as soon as you have access to Soul Shield and/or Magic Screen, but sequence-breaking is actually bad in some ways, because a lot of chests and other drop lists have "level sensors," i.e. if you crack them open at a sufficiently low level, some of the better gear on the list is just deleted before it rolls for drops. 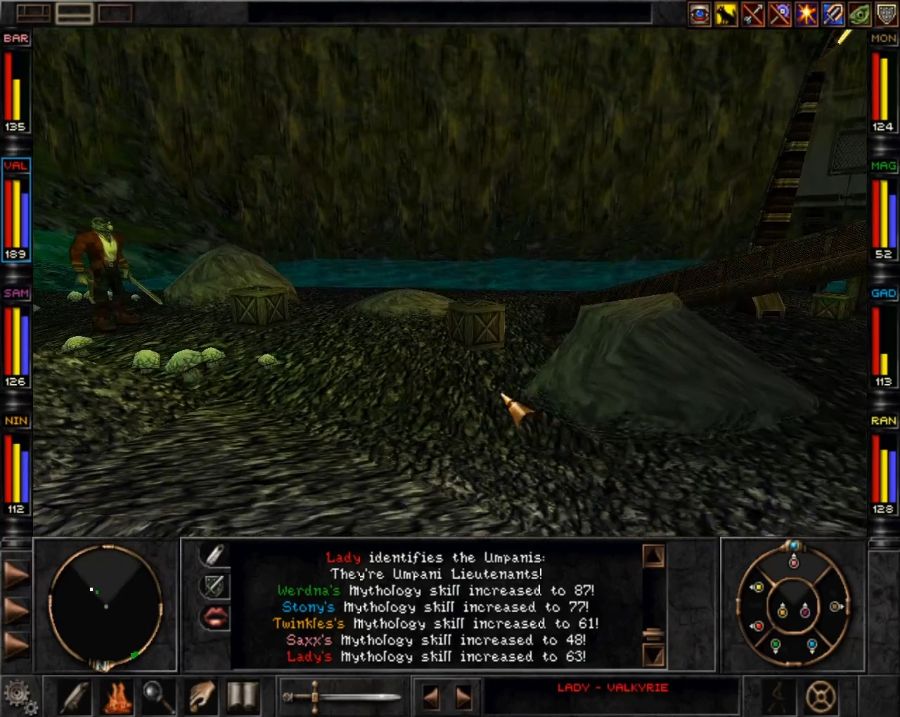 Then it's time to get Saxx underwater. We can't do it without teleporting him in or bringing him in KO'd. I wasn't smart enough to set a teleport marker last I was underwater and I'm too lazy to go back and do that, then warp back out to pick up Saxx. Instead I just make him play the Dulcimer until he collapses from exhaustion, then slap scuba gear on him and haul him into the caves. 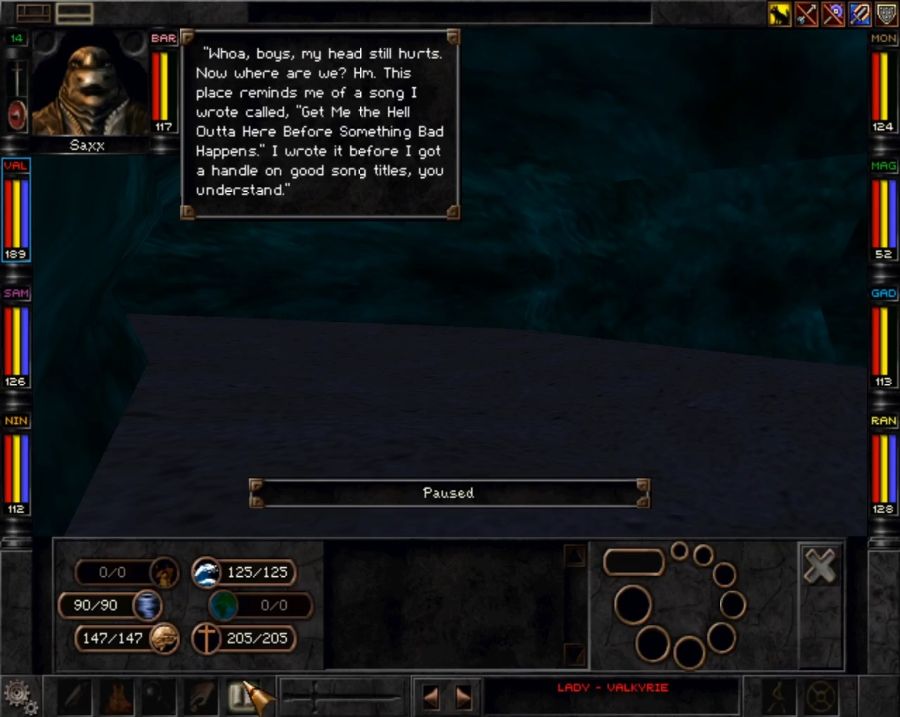 He isn't very happy about it. 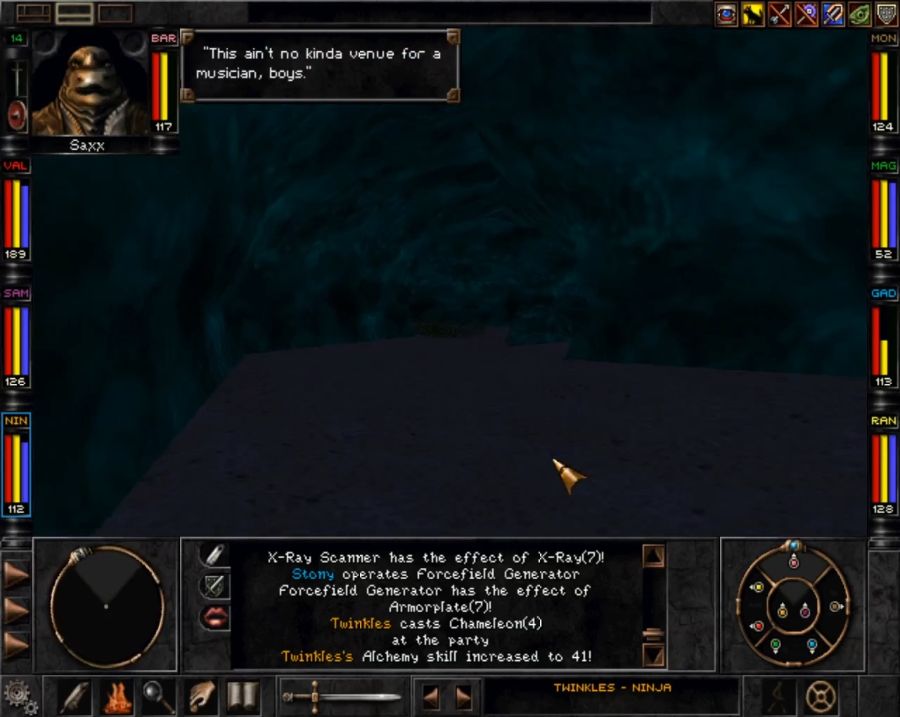 He'll also keep repeating this voice line as long as he's anywhere he doesn't like being, which will be a good deal of the remainder of the game. In any case, the Mt. Gigas Underwater Caves have some updated hostiles to deal with. 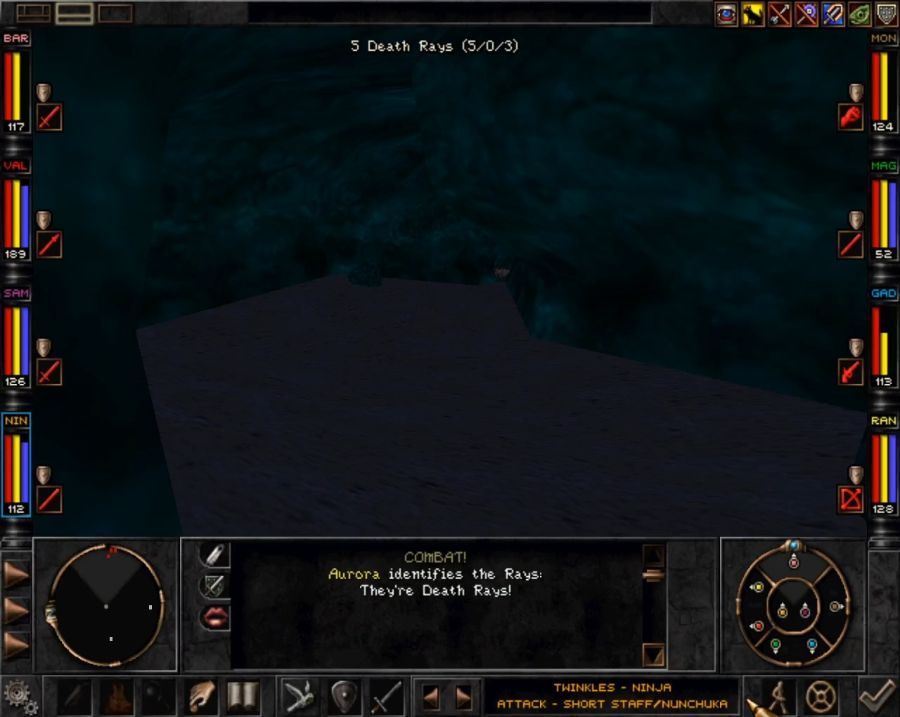 Death Rays. Which are like Mantas except they spit out every single instant death spell in the game at you, more or less. Instant Death and Death Cloud get bandied about quite a lot, and while Soul Shield deflects the former, the latter gets in one lucky roll in one fight and wipes out Aurora and Werdna. 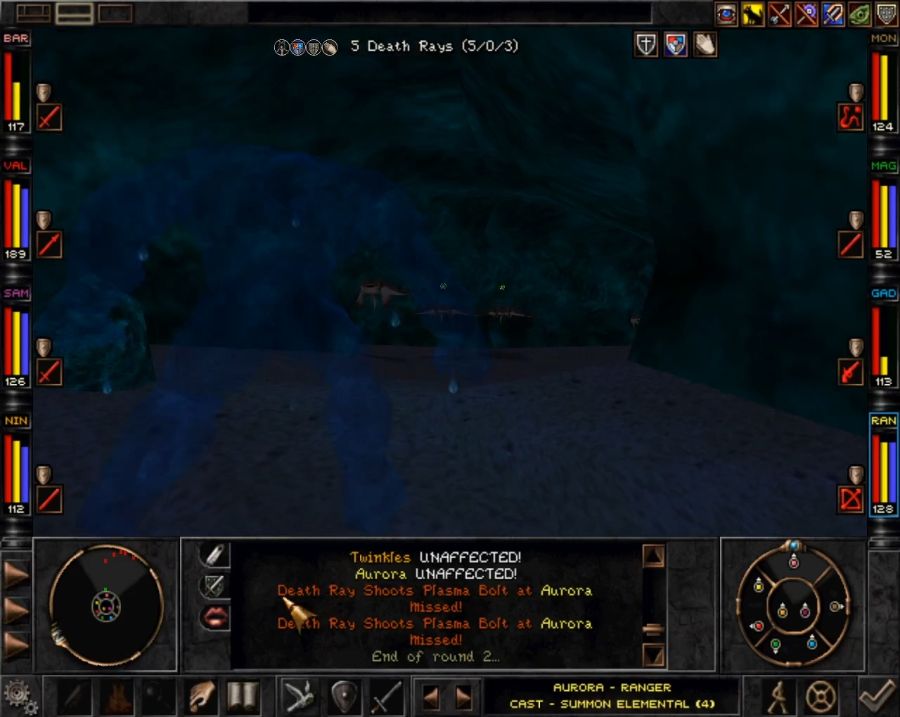 I'm also amused that summoned water elementals still drip water underwater. I end up being a bit disappointed that I never come across the last class of underwater monster, Psi Sharks(and their upgraded version, Omega Sharks), as I wanted to show them off. But fighting underwater is hell so I don't feel like trawling through encounters until I turn some of them up. 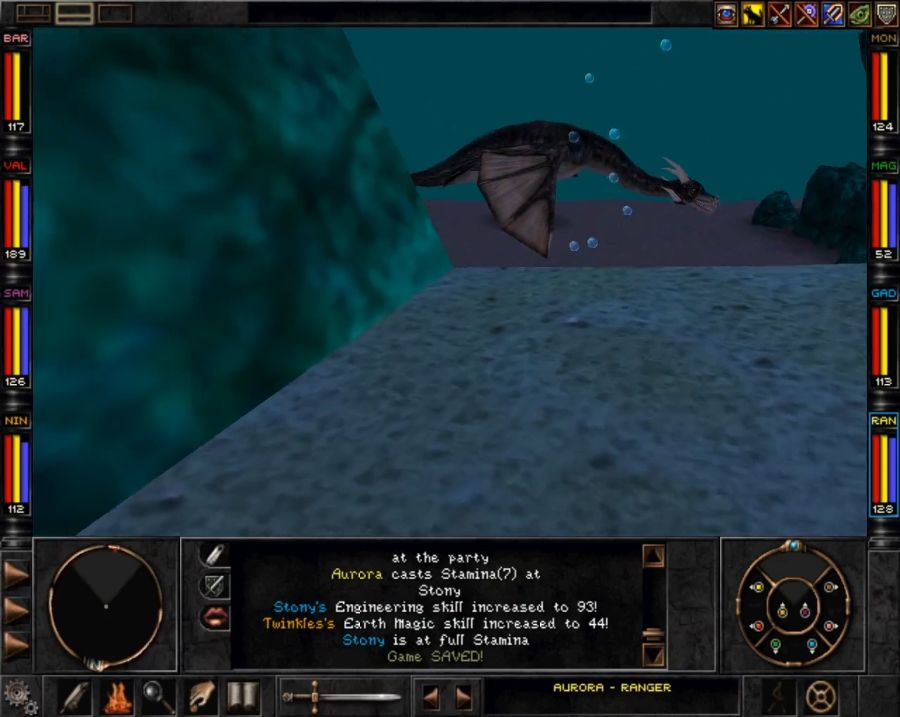 Time to slay us a dragon. 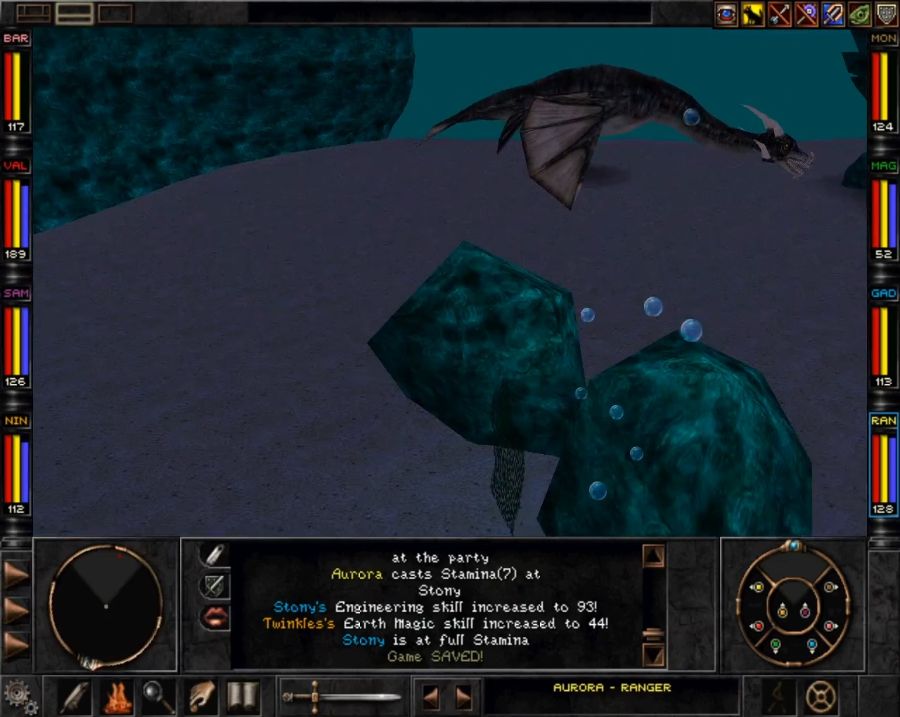 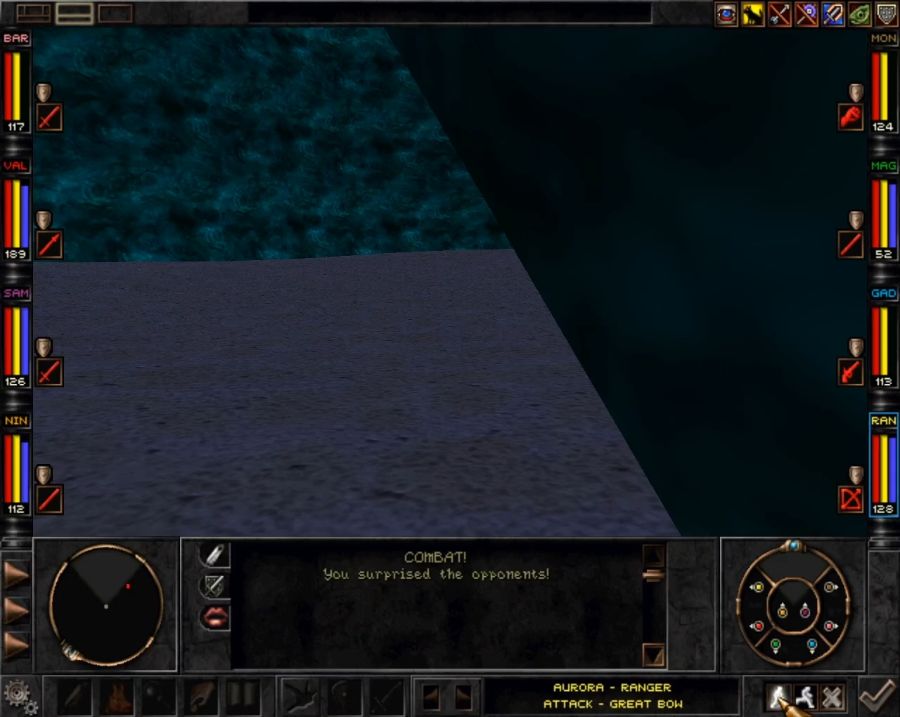 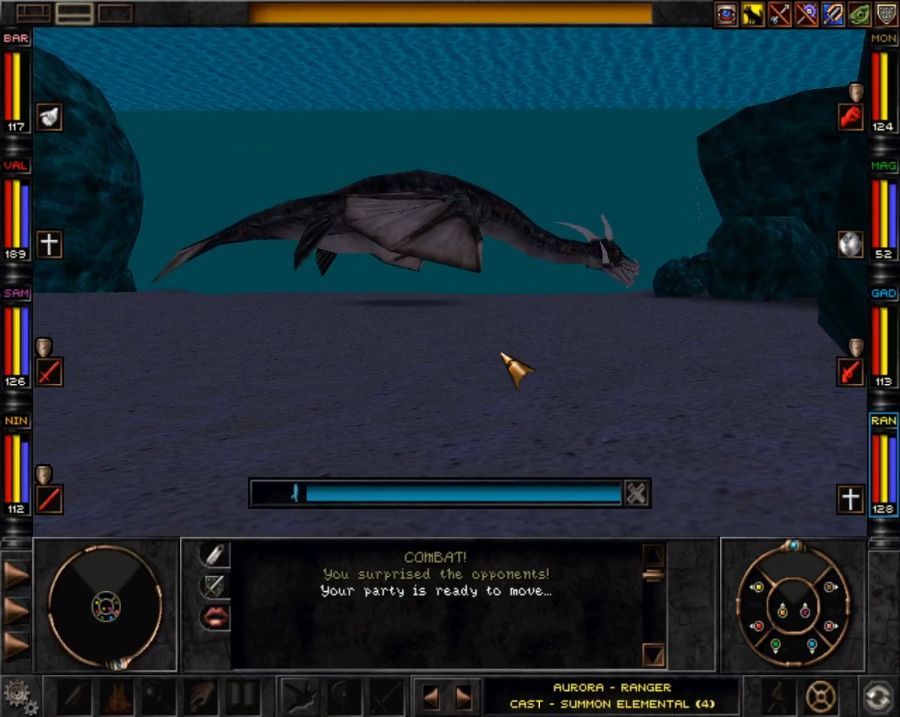 The most important part is to keep Soul Shield and Elemental Shield up all fight, no matter what happens, because while Nessie has a nasty physical attack and breath weapon, her spells are probably the worst thing she can bust out. 50% of her actions will be spells, rolled on the following list: 10% Acid Bomb 10% Armormelt 10% Element Shield 10% Body of Stone 10% Hex 10% Blizzard 10% Draining Cloud 10% Concussion 20% Earthquake Her armor and resistances are already massive, so I don't care much about her defensive casts, but Earthquake and Blizzard are huge target-all damage dealers, and Concussion is a really nasty single-target damage dealer(with a side order of Insanity if not resisted). 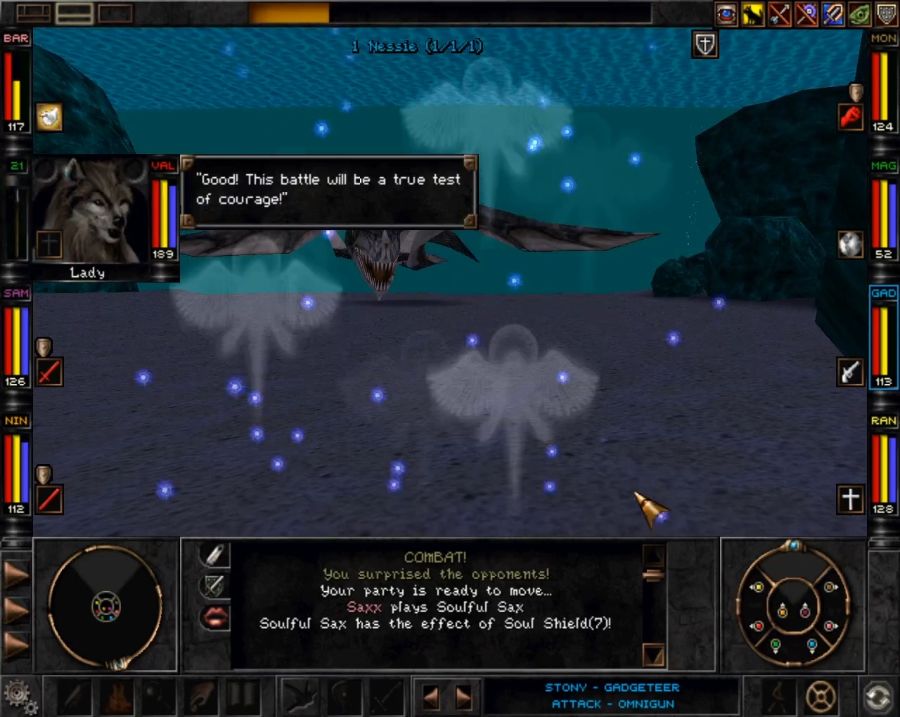 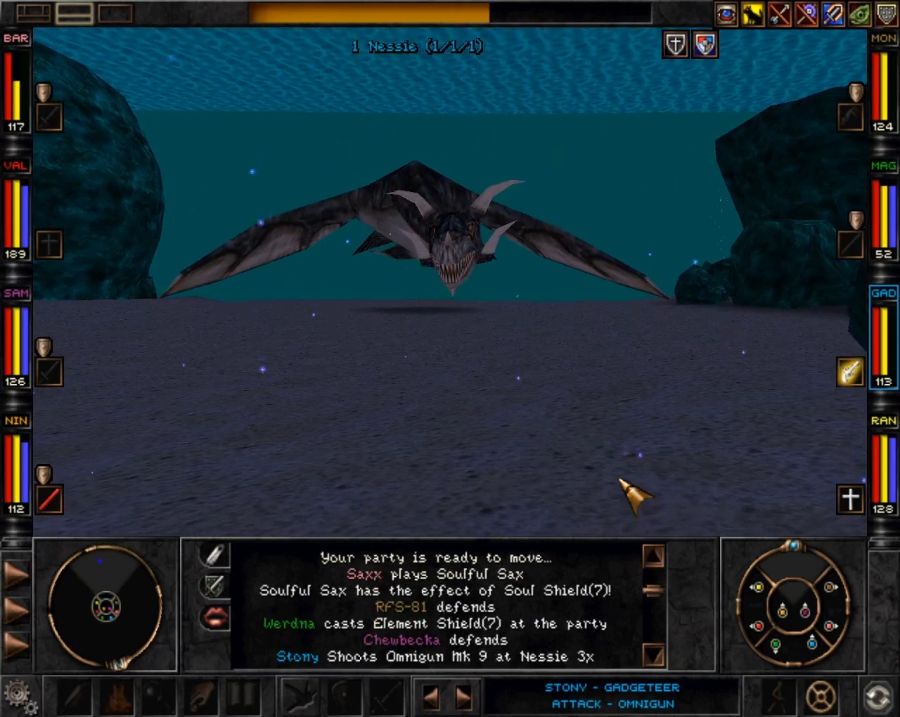 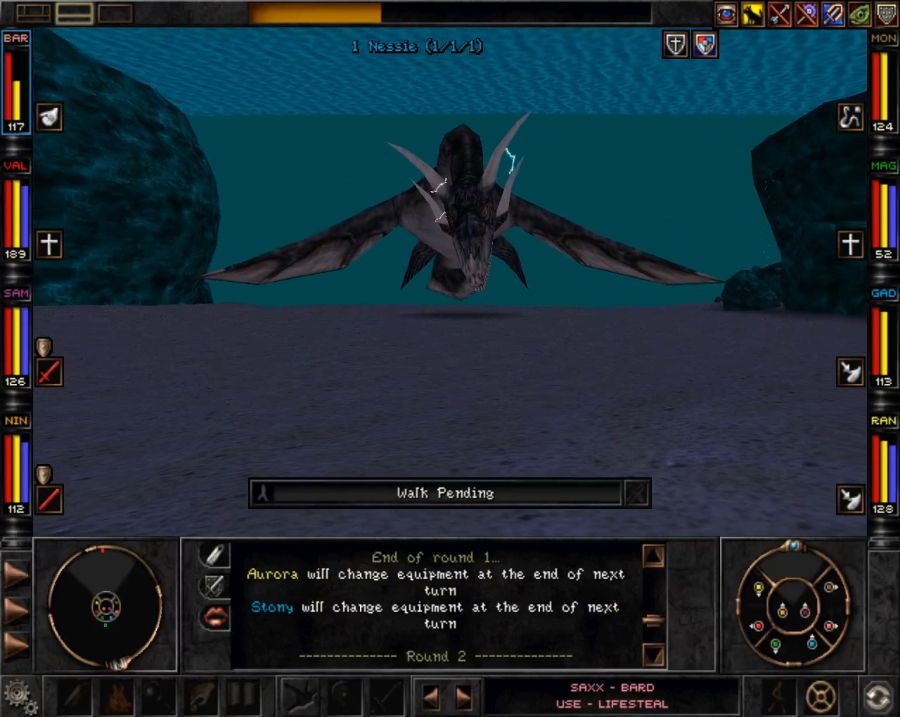 First round is me getting up my buffs and Aurora summoning an elemental, second round I get lucky and Nessie starts the fight by busting out Acid Bomb. Still some annoying damage-over-time, but not the nastiest thing she could bring to the table. 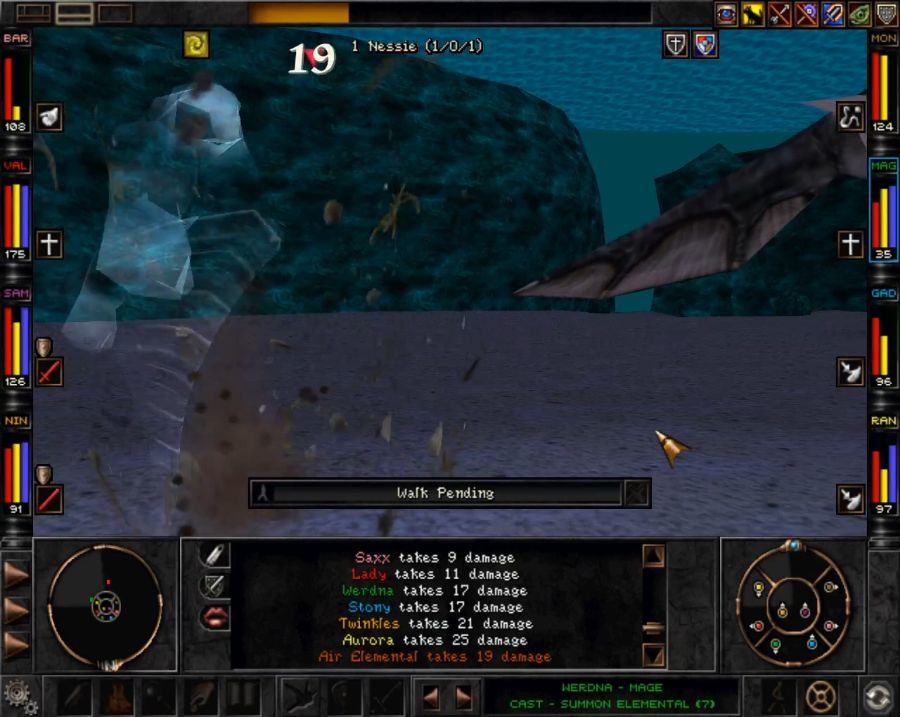 And this is what the damage from her breath weapon looks like. If she'd had just a bit of support, say from a few Depth Dwellers or Death Rays, the battle could have turned out much nastier.  I keep chipping away at her and summon a second elemental, and I think the elementals actually end up accounting for close to half her total health by the end of the fight. 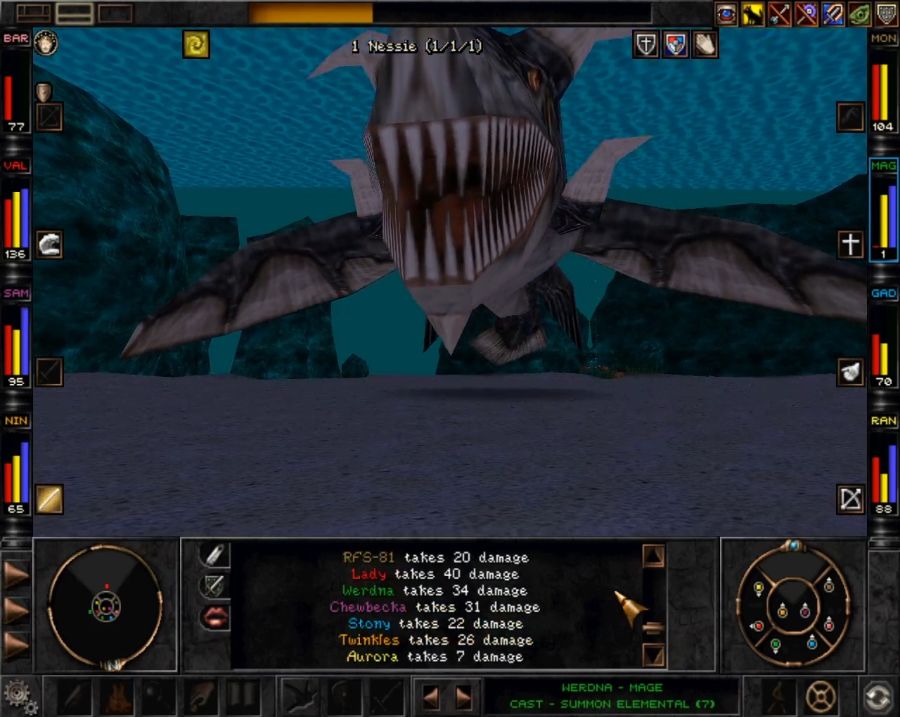 The spookiest moment is when she casts Earthquake. Look what it does to Werdna. If I hadn't already had a heal-all from Stony queued up, the Acid Bomb damage over time would have melted him at the end of the round.  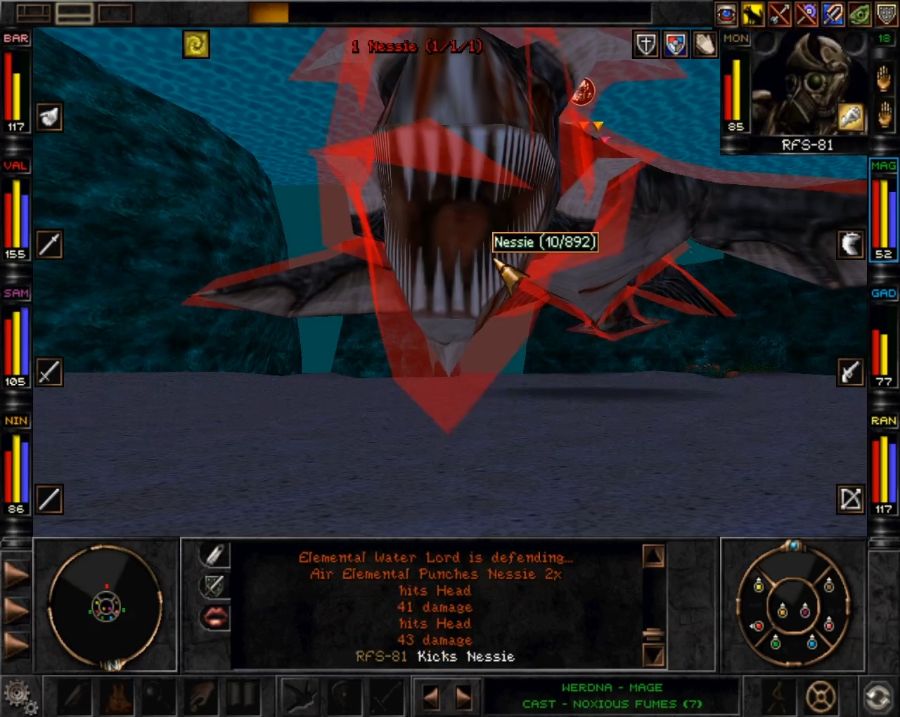 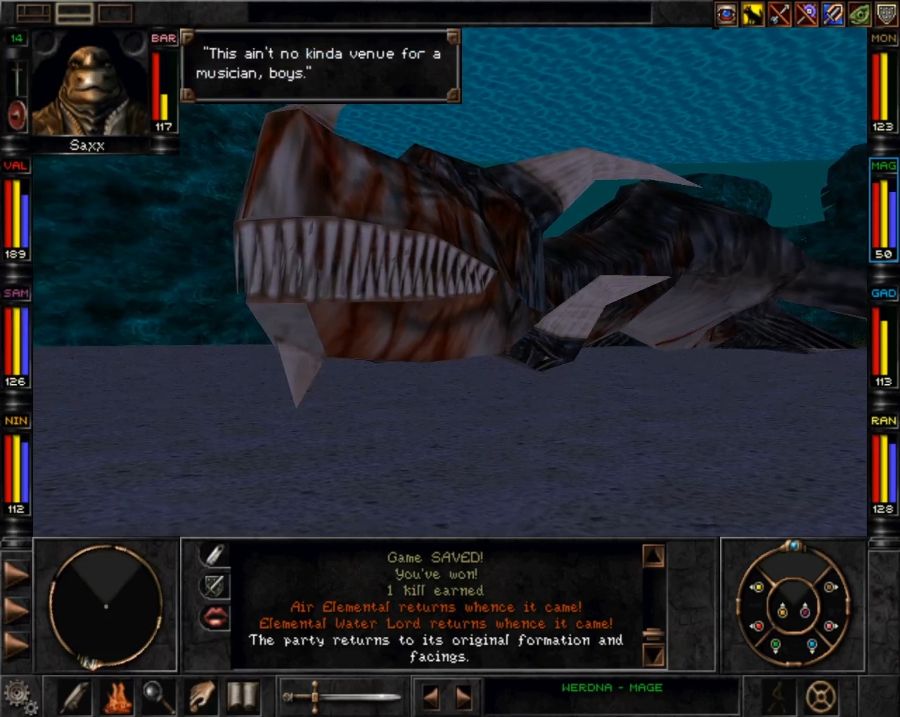 But in the end, RFS lands the killing kick to Nessie's jaw and sends her to the seafloor for good. So what's the big reward for killing Nessie, considering that you can circumvent her on the one occasion when you need to visit her? Well, firstly she's worth a lot of XP, secondly, in a corner of her lair you can't just sneak to lies... 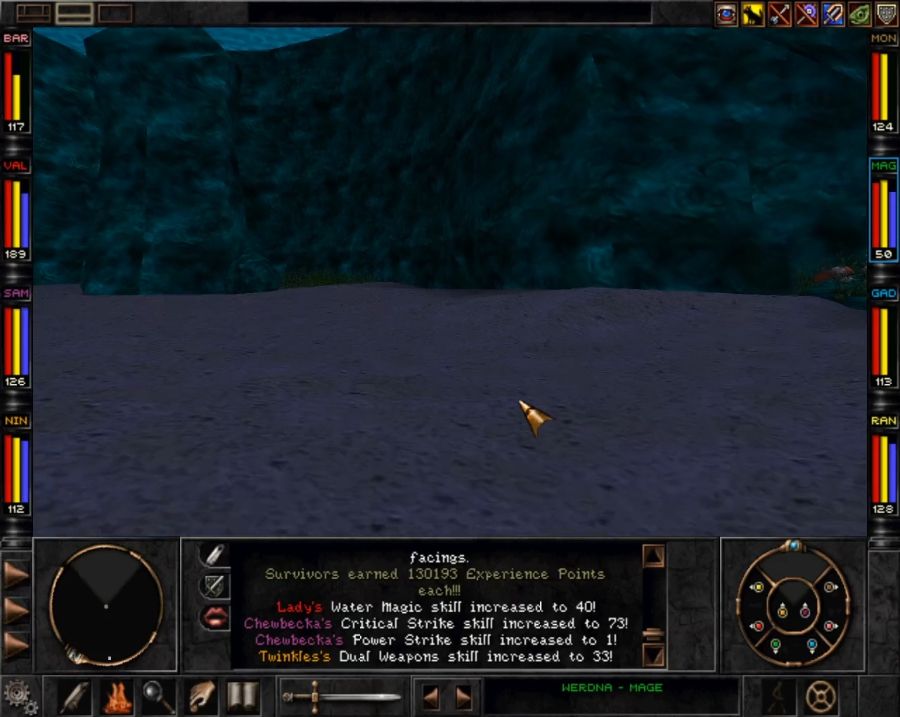 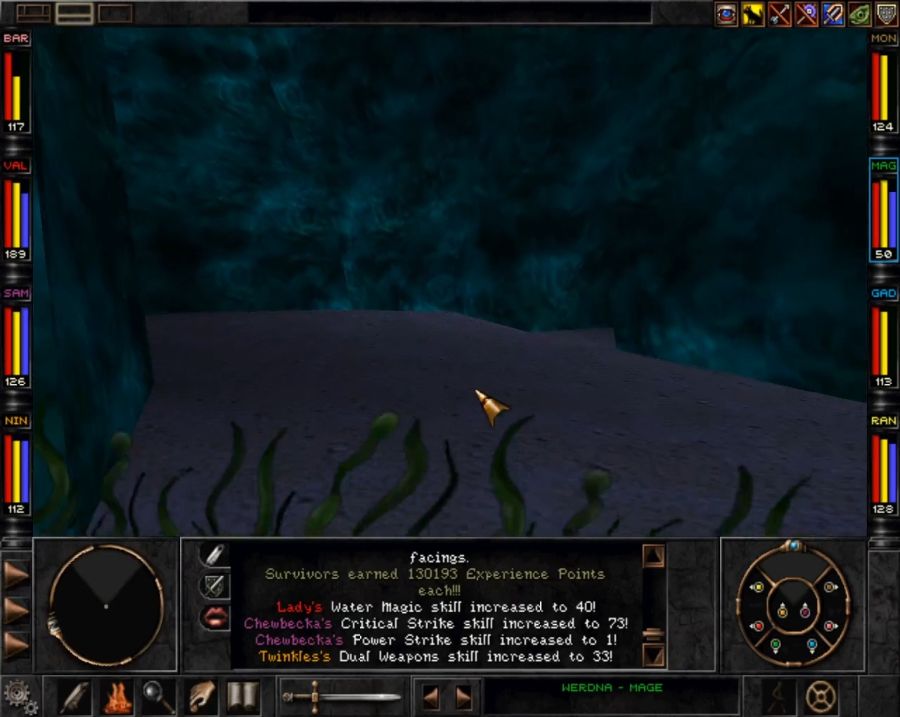 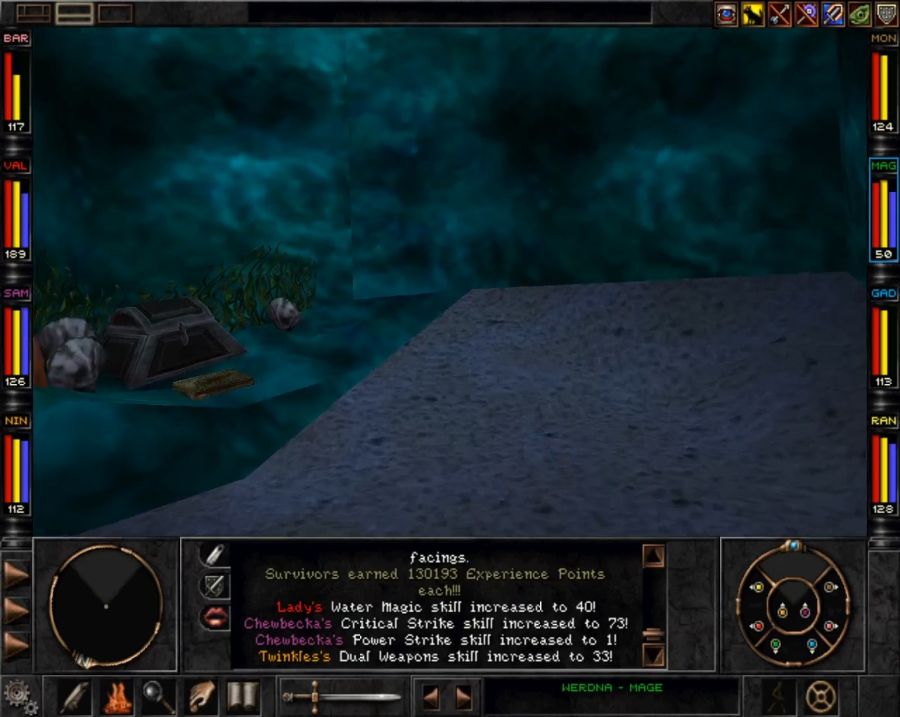 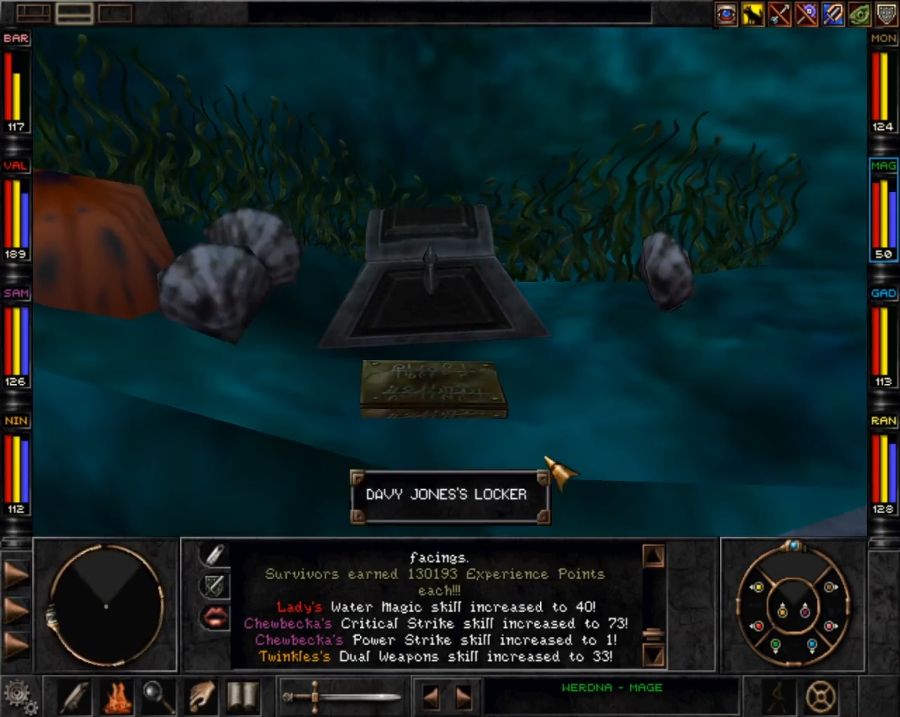 It's a high-level chest with its own chart of what you can roll up, stuff like Excalibur and such. Let's see what I get, because usually I have about the same luck with this chest as I do with the Buccaneer Ghosts. And, sadly, chest drops are pre-rolled when you first enter an area, so they're not gameable like monster drops are(though reading some folks' attempts at getting a *LIGHT* *SWORD* from the ghosts it seems not uncommon for it to take upwards of 40 rerolls). 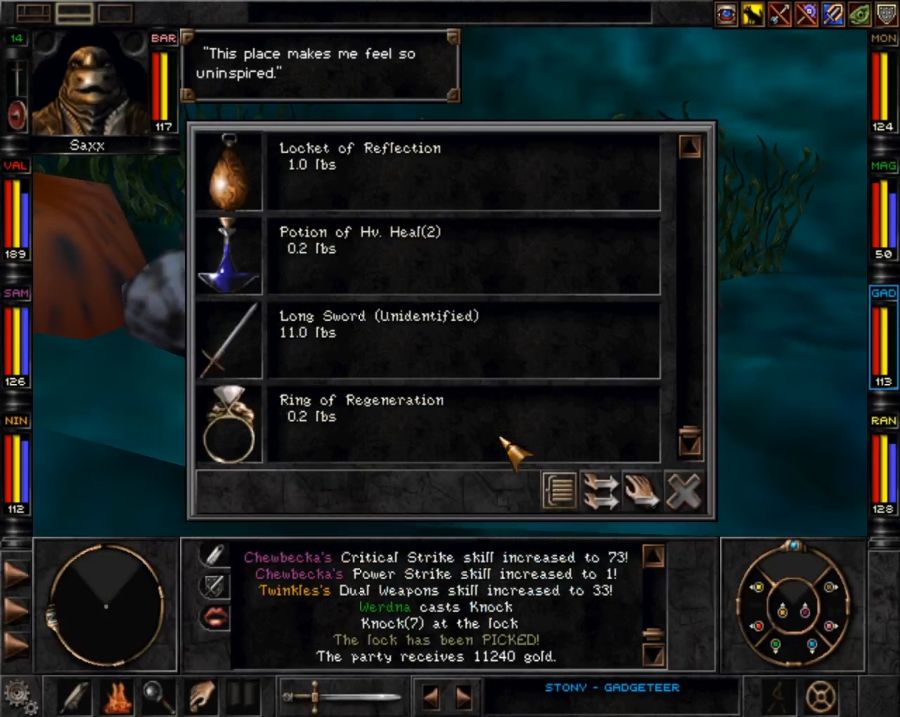 A lot of trash and ONE rare item! 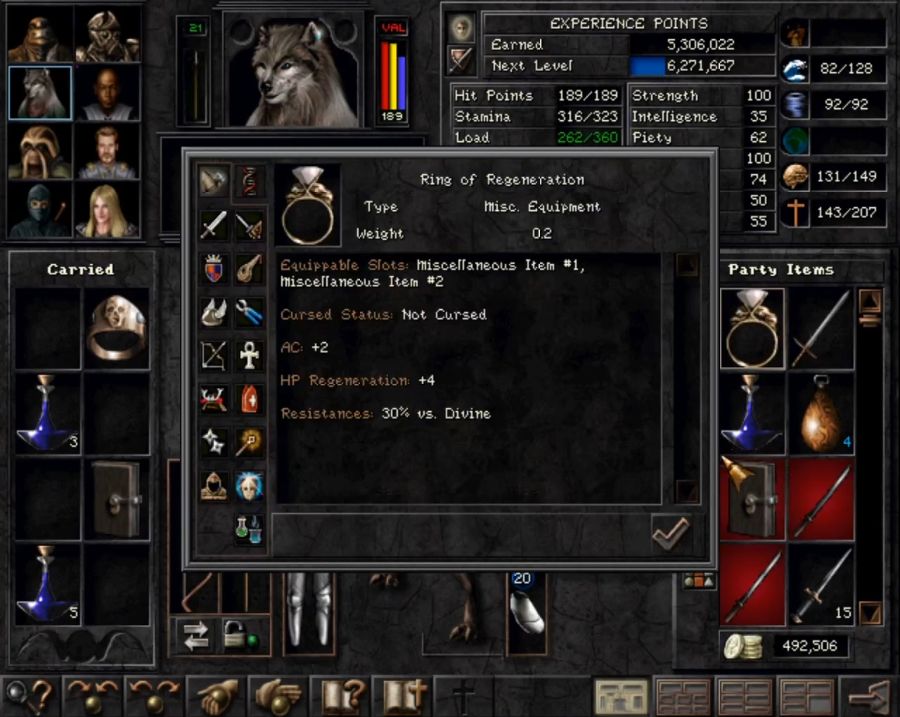 Actually a pretty excellent misc. equippable. 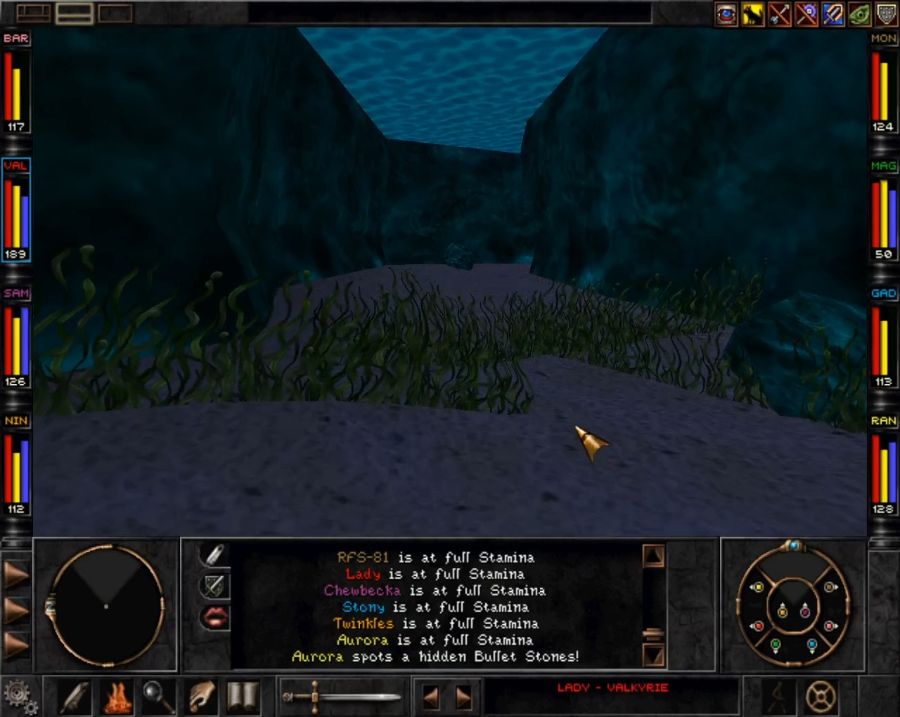 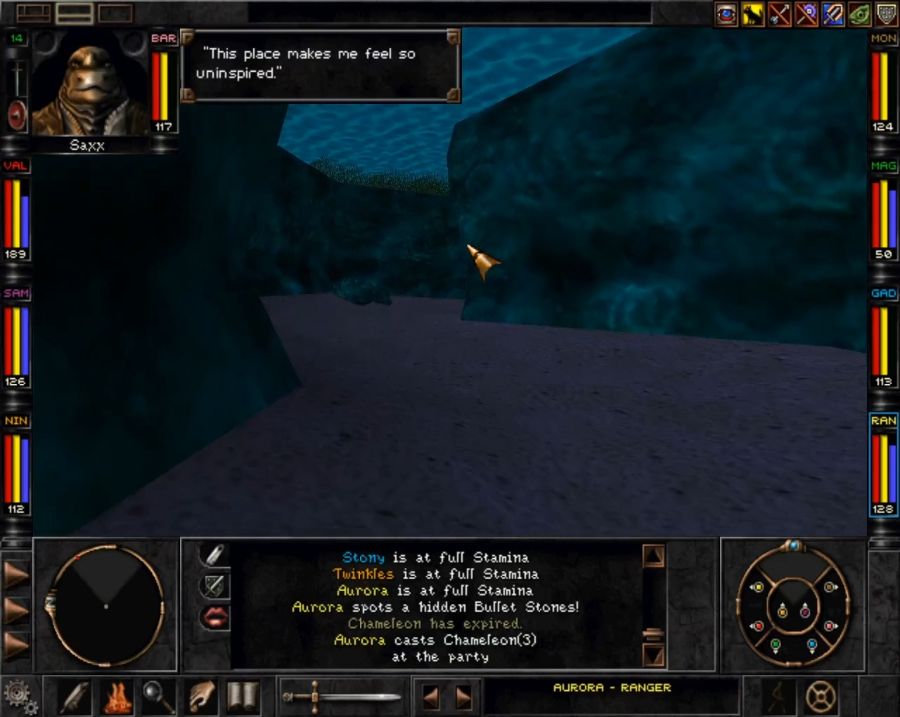 Then there's another shallow path up to the third exit from the Shallows. Nothing exciting happens along the way except that a random encounter finally gets Werdna to his level 7 spells. I've been saving picks so he now knows Nuclear Blast(high Fire damage to all visible enemies), Asphyxiate(attempt to kill all visible enemies) and Concussion(attempt to detonate one very specific enemy's brains to mush). 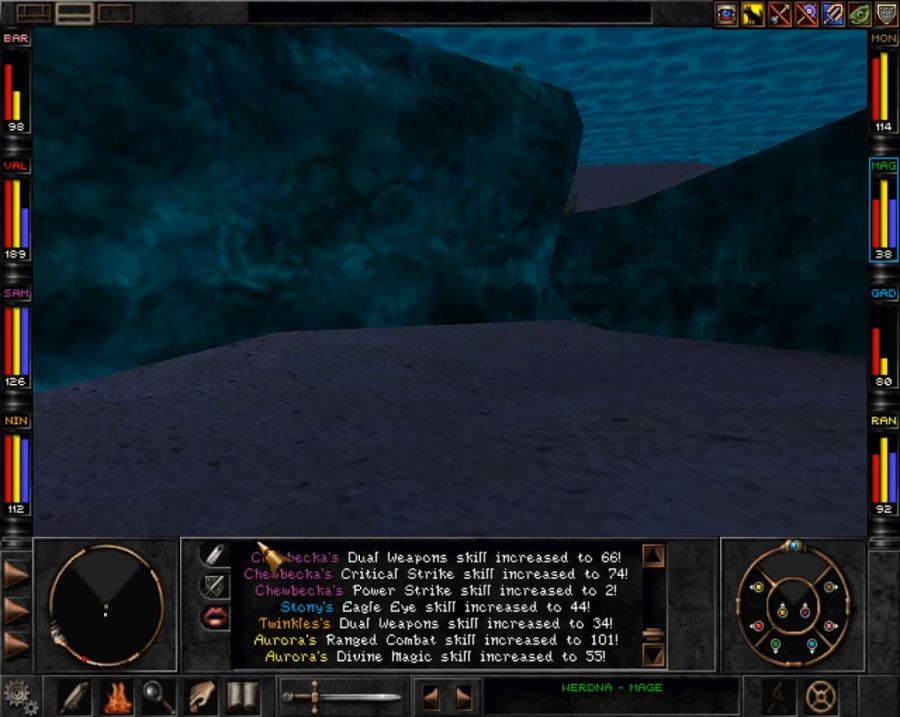 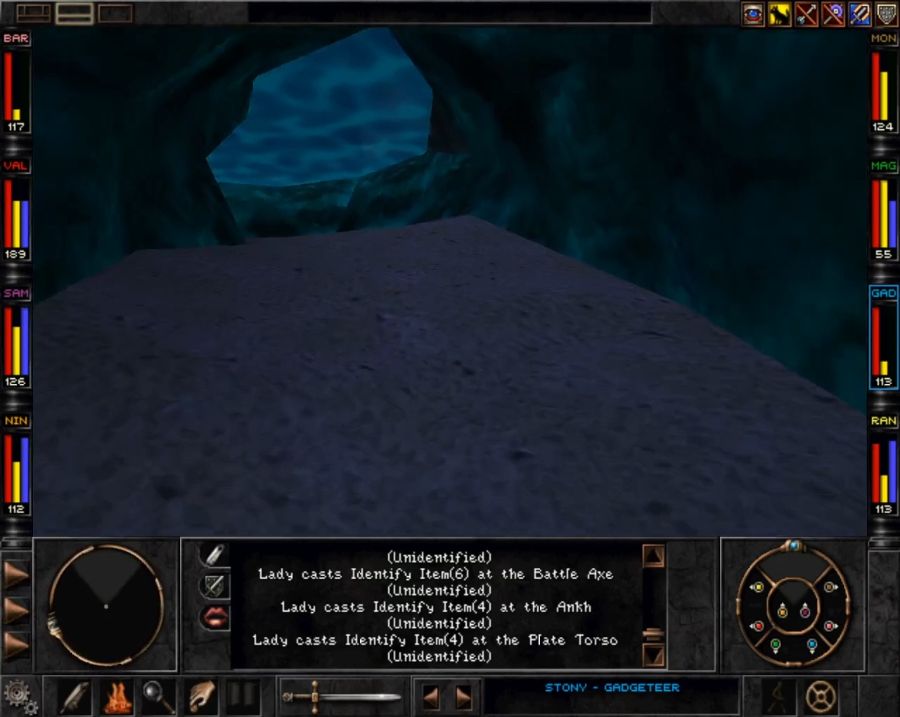  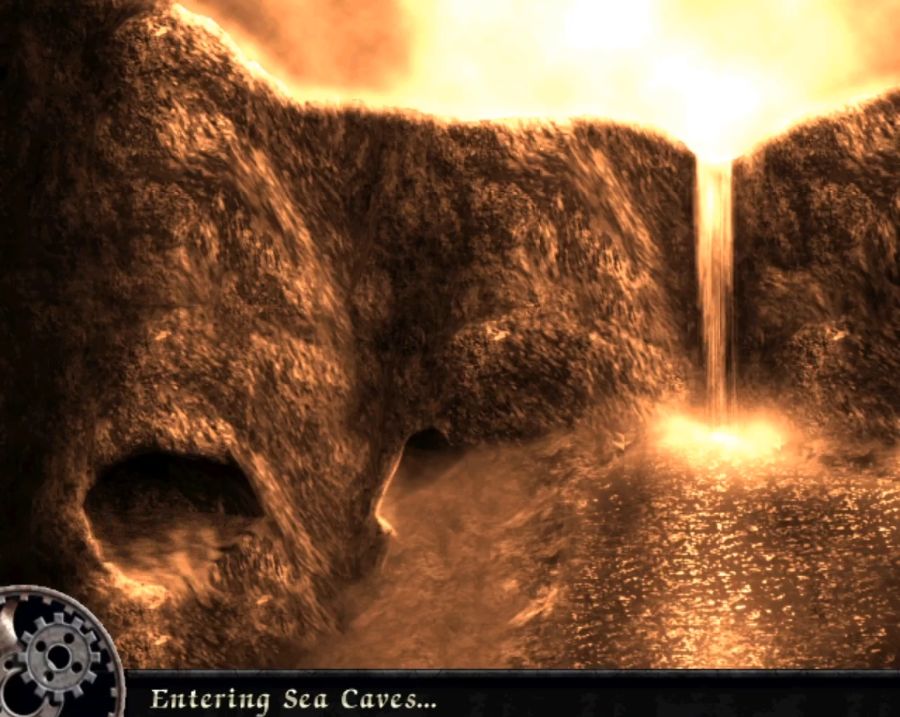  Welcome to the Sea Caves. They're... mostly alright. Now, funny thing. Every single guide, everywhere, says that Saxx will not go to the Sea Caves. This is theoretically correct as there's stuff between the Sea Caves and anywhere else that he does not want to go through. But once he's there? The complaining stops and the maluses vanish. He even has "welcome to the Sea Caves"-dialogue like RFS! 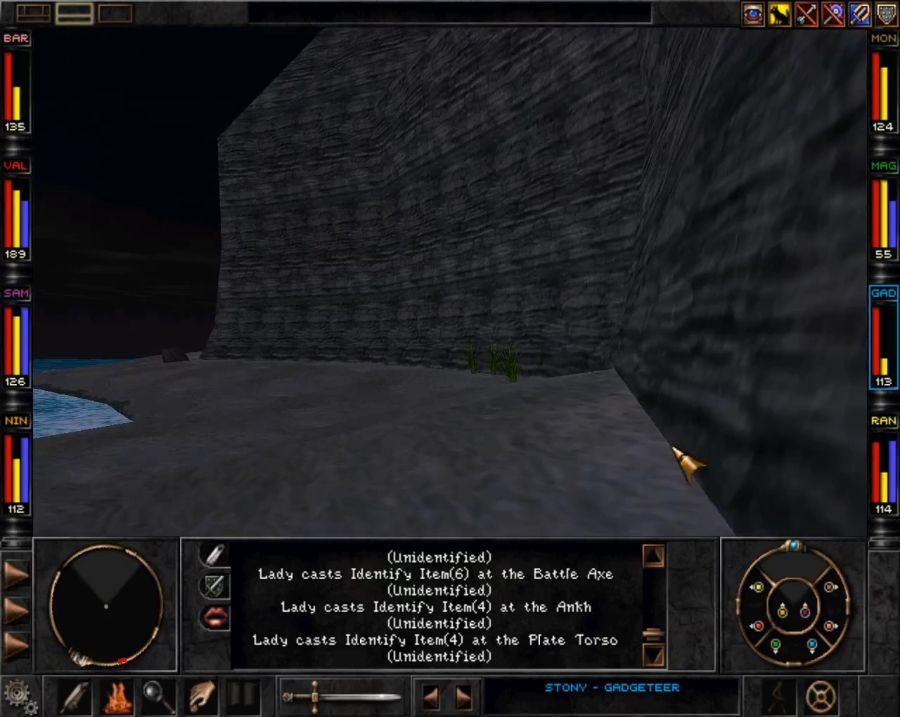 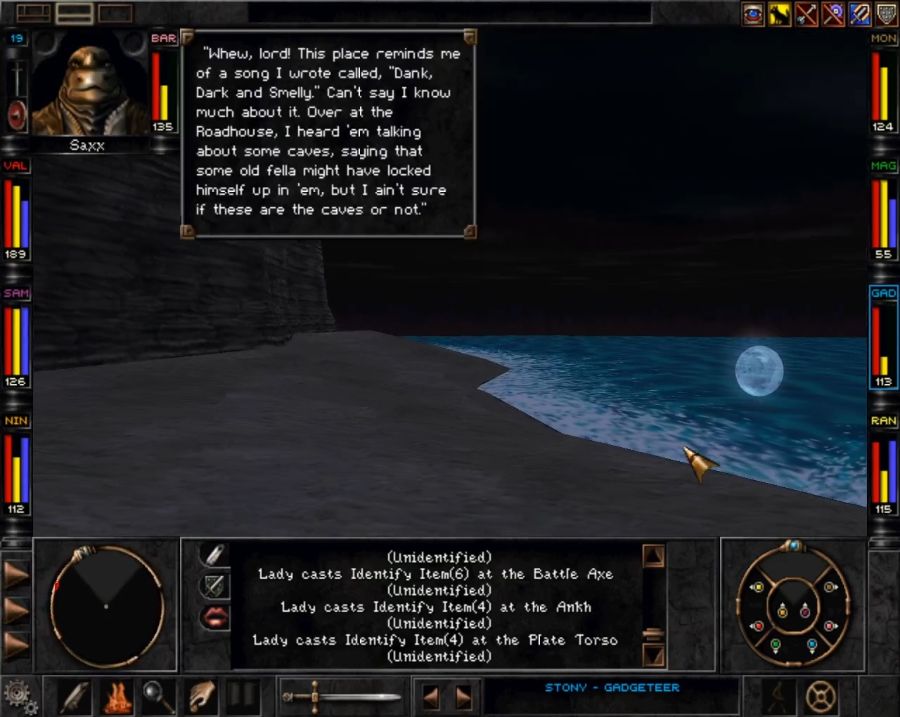 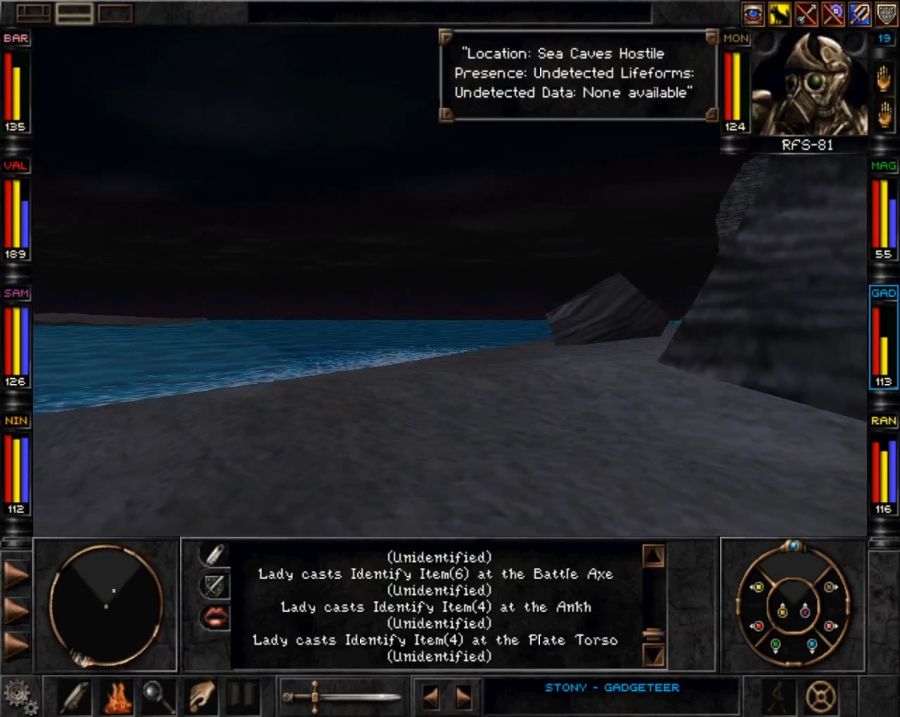 The Sea Caves really consist only of a long strip of beach, winding back and forth, and a cliff wall with the titular caves drilled right into it. If you start at the wrong end, you may well have some running back and forth to do. So go right, and left, and head to the very end of each side, before attacking the middle. 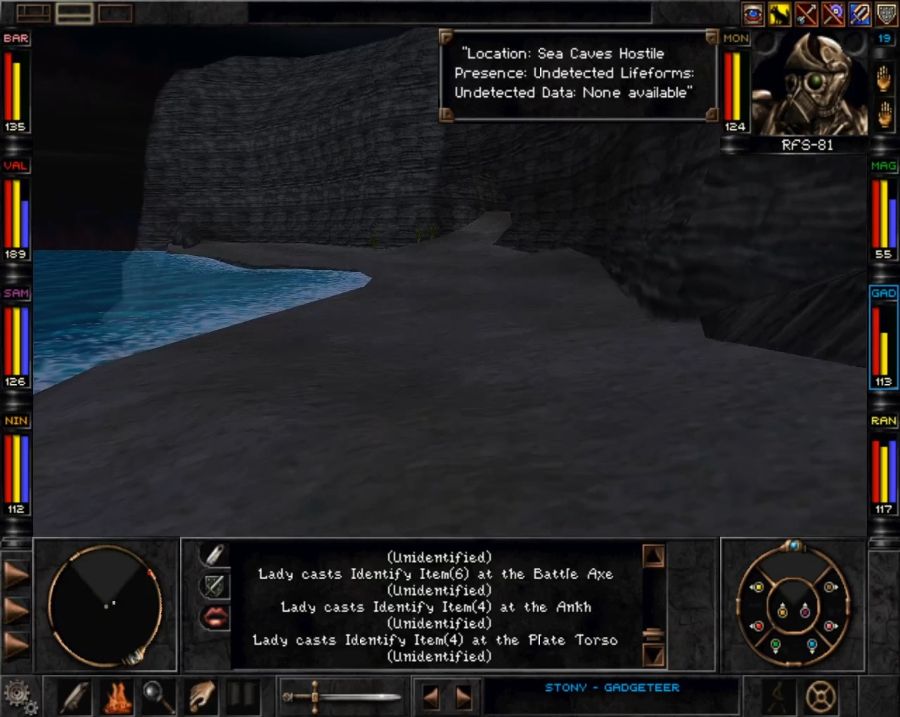 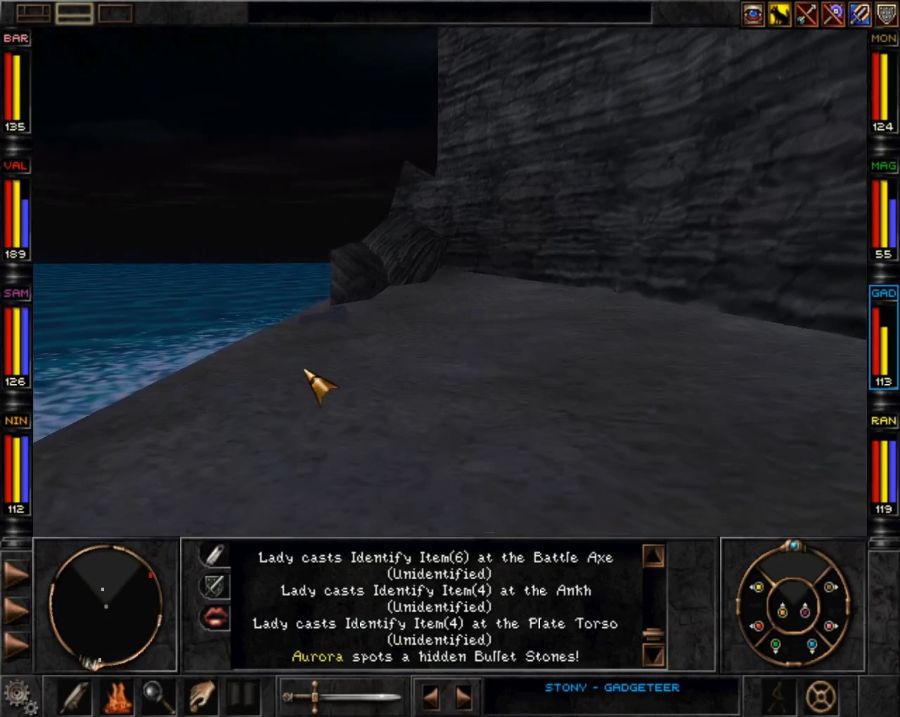 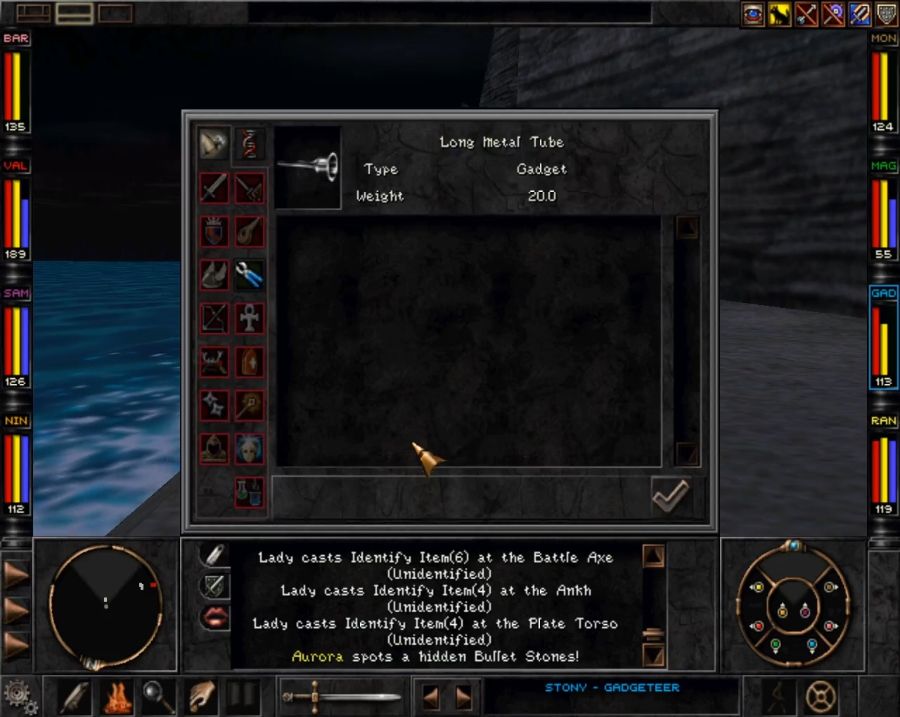 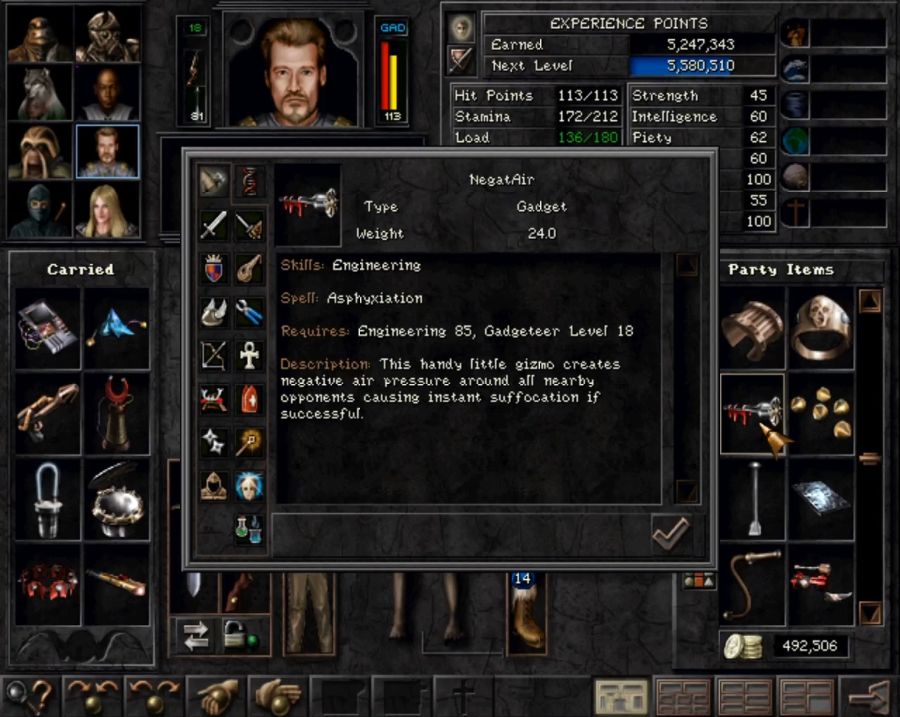 A theoretically powerful item, but I have no idea whether anything in the calculations for Gadgeteer/Bard toys functions as a stand-in for Power Cast. Some of the theoretical equations I've seen consider it to be the case, but I don't, as I've generally felt like their high-level functions are pretty unreliable. 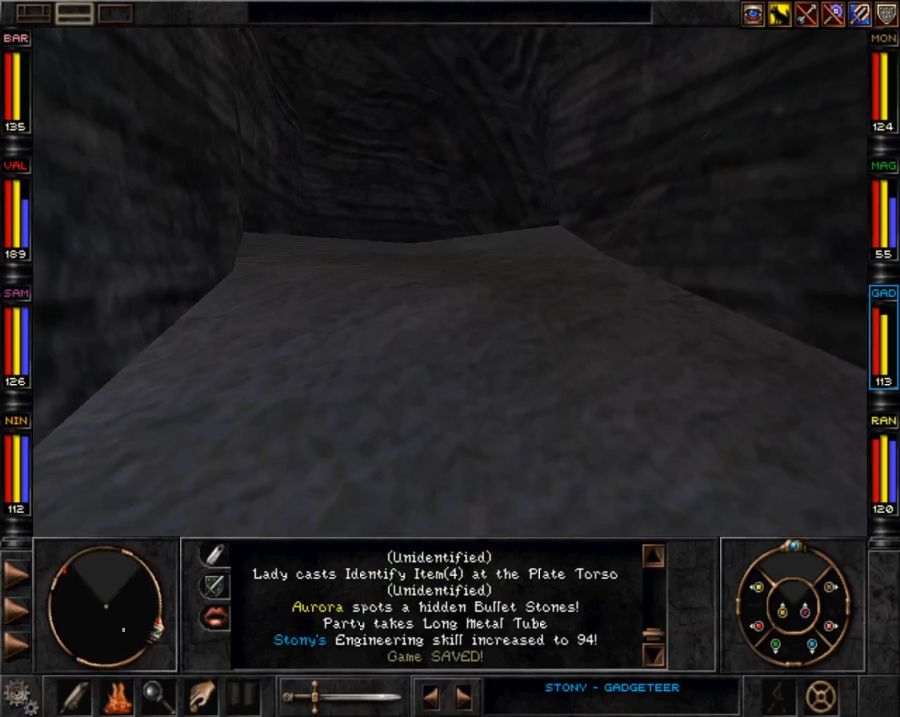  The reason you want to start at the ends of the area is because you'll have to trip back to them before you can finish the middle, as they contain some important puzzle-solving bits and bobs. For instance. 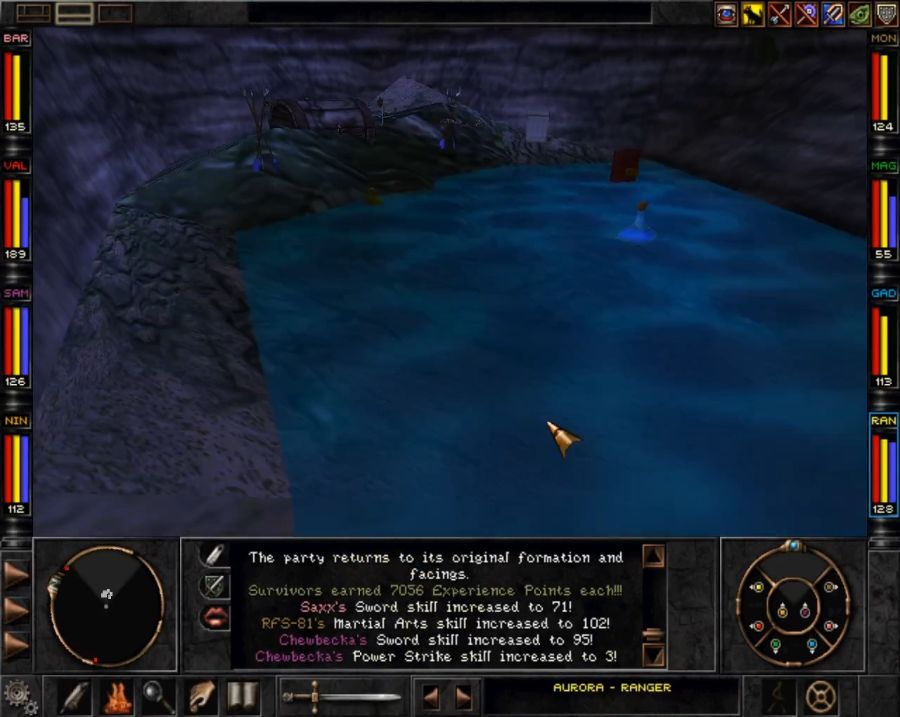 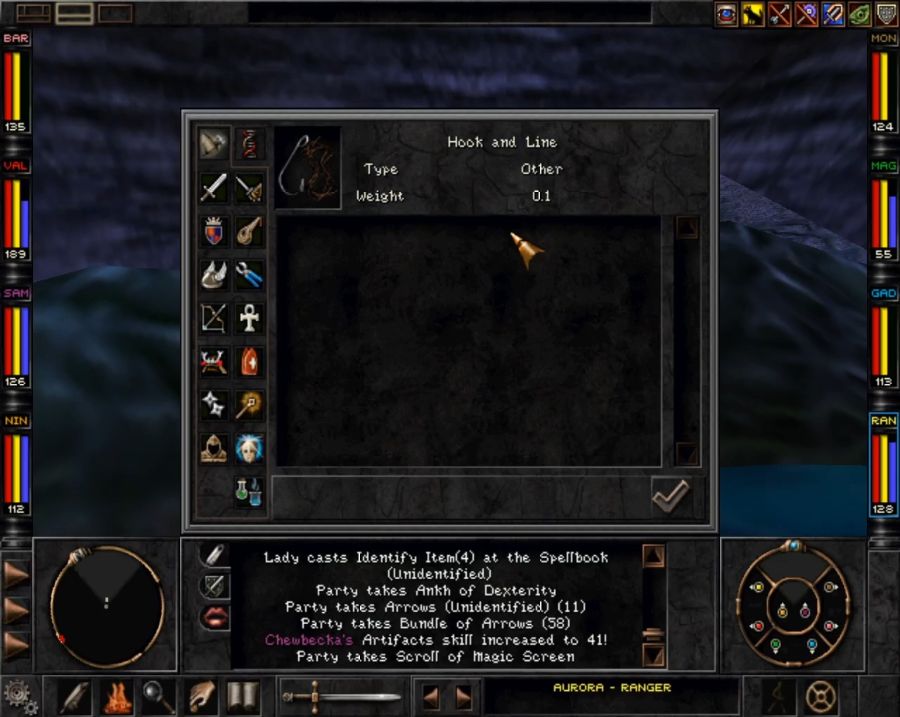 Next to this chest, a hook and line we'll need. 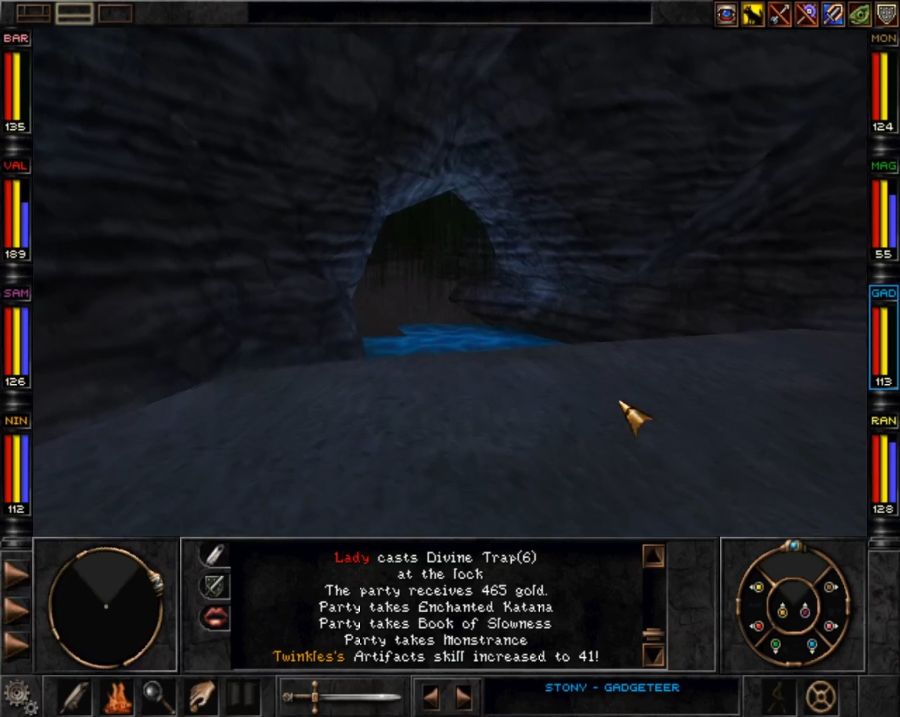  Also take note of these holes in the ceiling as you explore the outlying caves. That should indicate what the fate of the insufficiently supplied is: dropping down pits to start over again. Though in fairness to the game, the drops will generally deposit you near some of the items you need to complete the main cave. 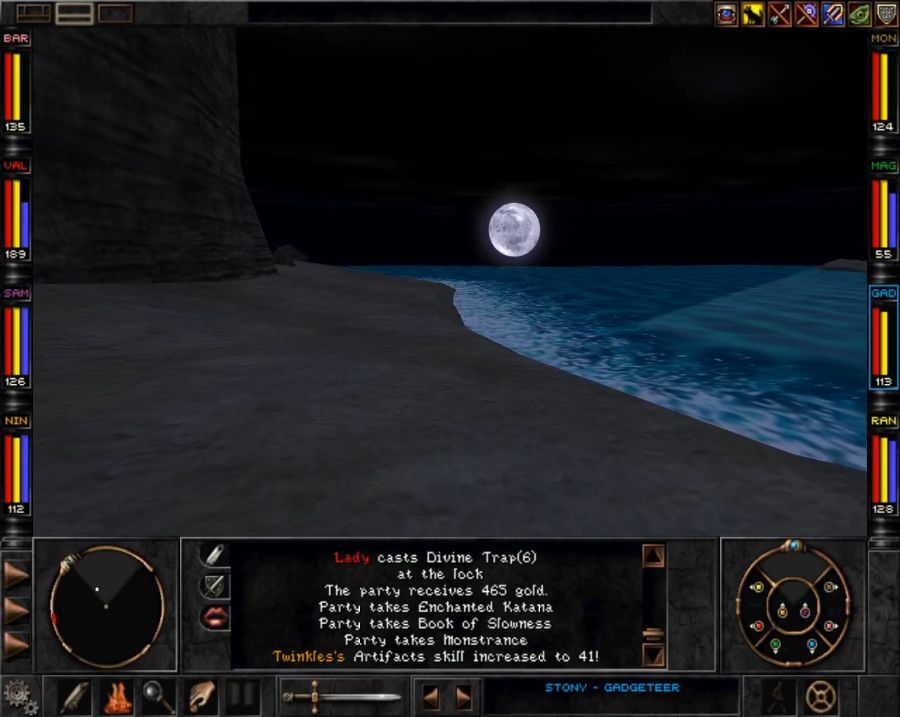 Also for some reason it's always night when I come here. I wonder if that's just a coincidence or scripted to set the time of day when you come up out of the shallows. 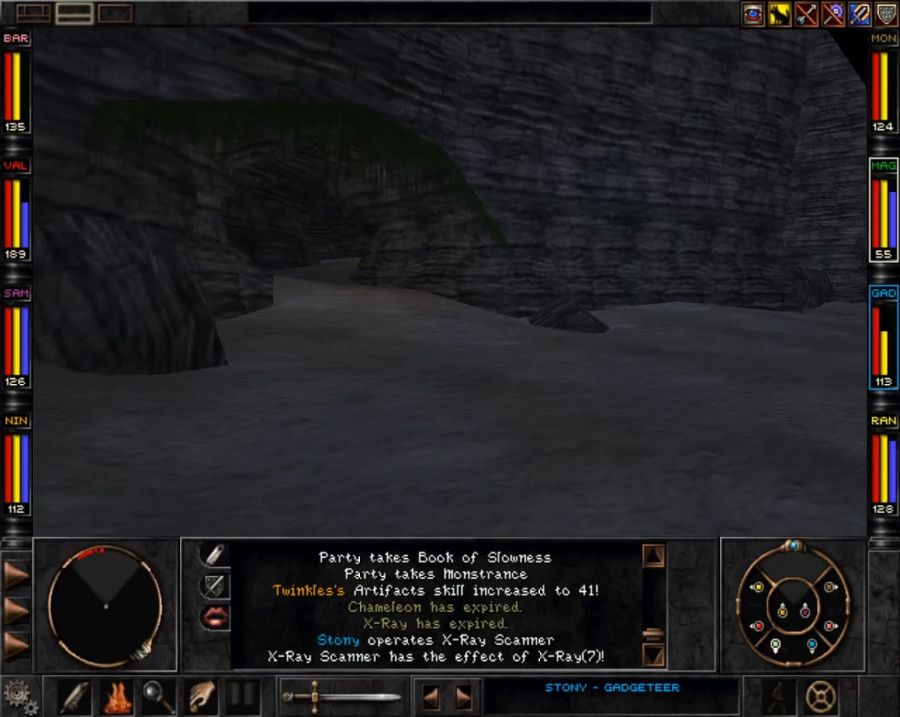  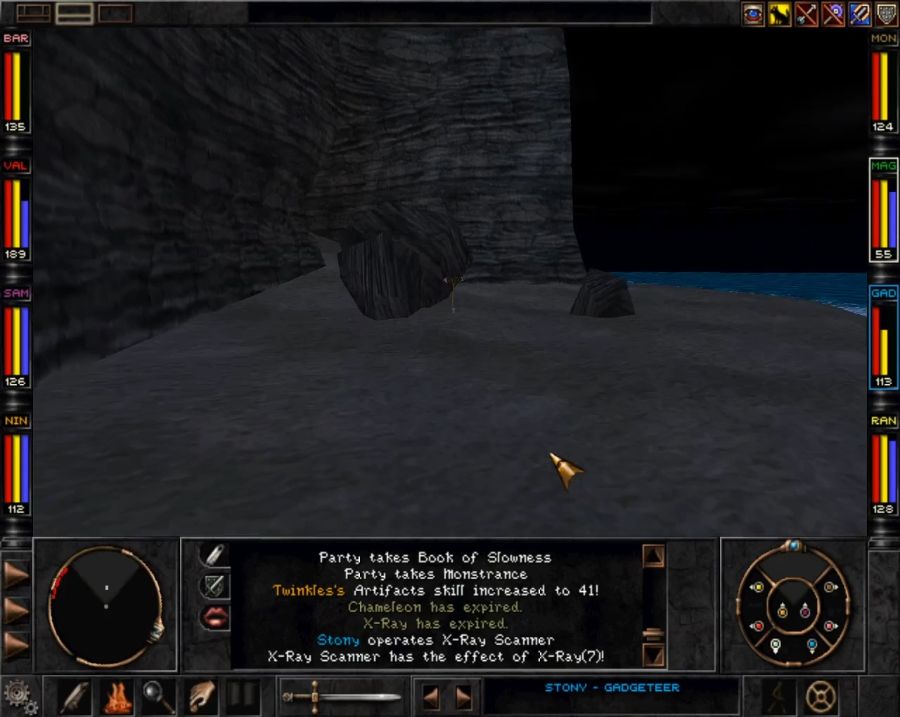 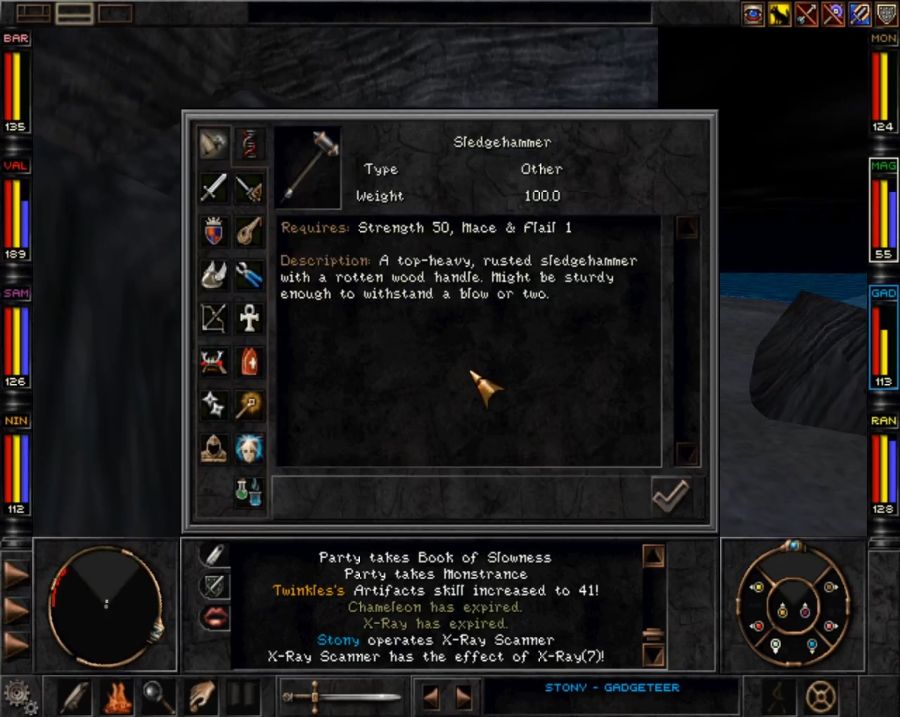 So that's a piece of string with a hook and a sledgehammer. We've just got one more item to collect further down the beach. 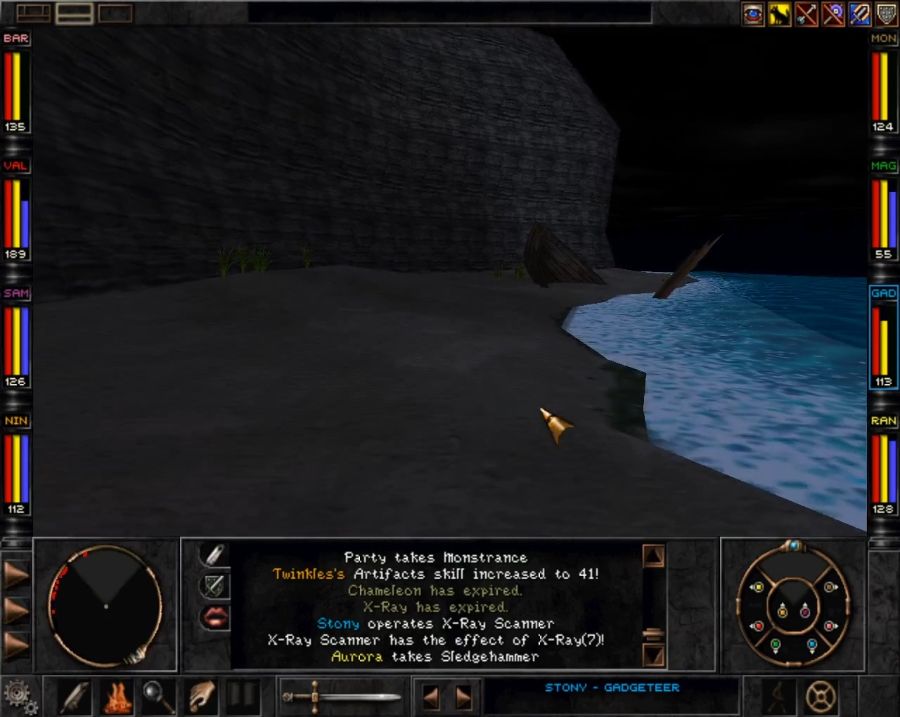 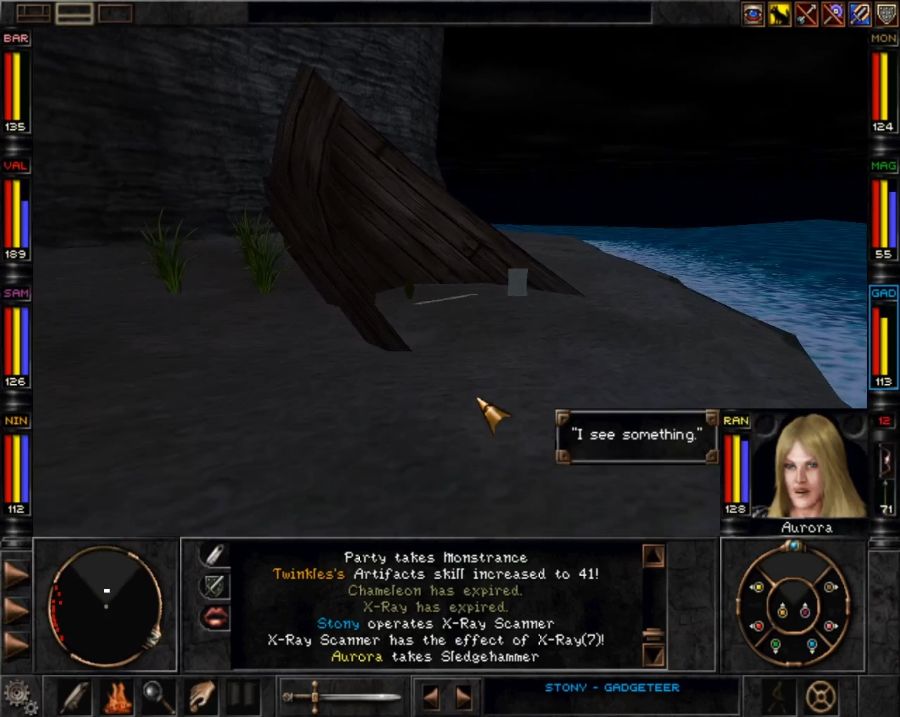 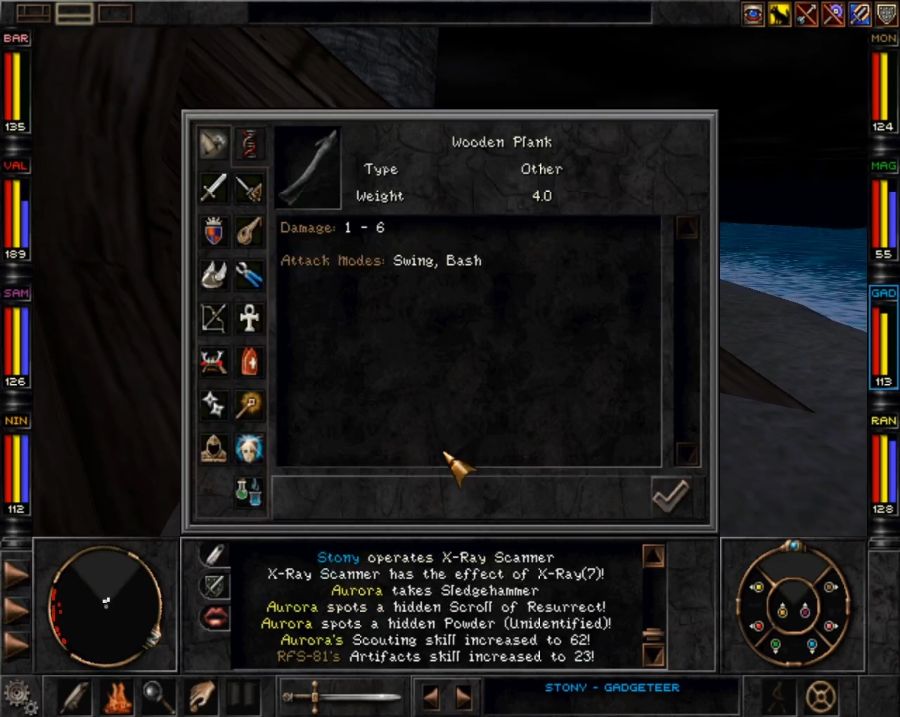 Time for an actually not bullshit puzzle. Which doesn't feel like something I need to praise, but videogames are generally bad at providing the player with puzzles that aren't somehow jackassery.  Reach the end of the beach.  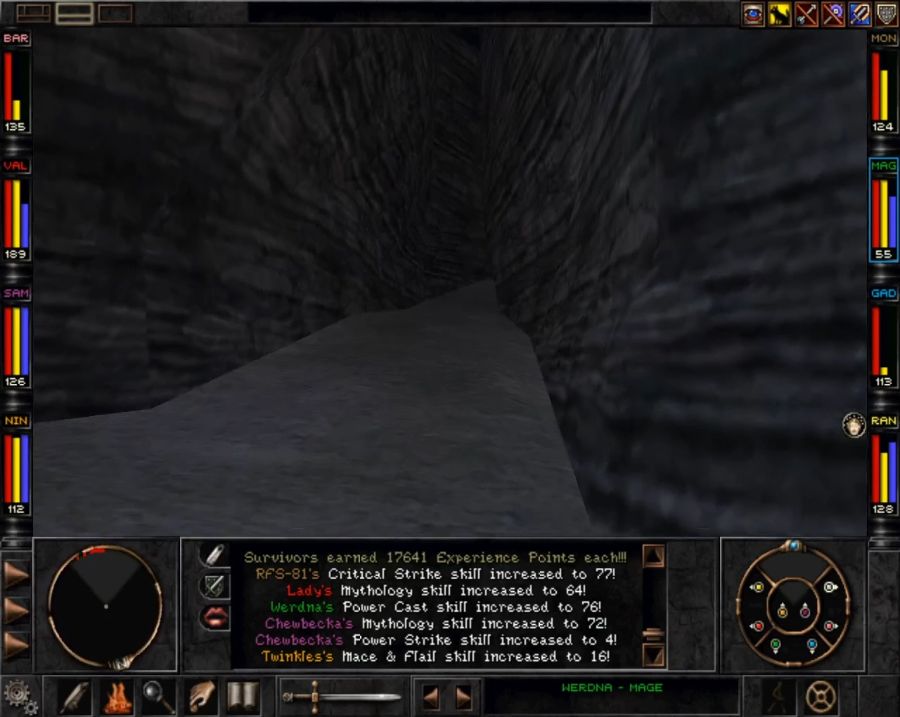 Reach this cave that looks a bit more like a cleft into the rocks than a hole into the rocks, at least at first. 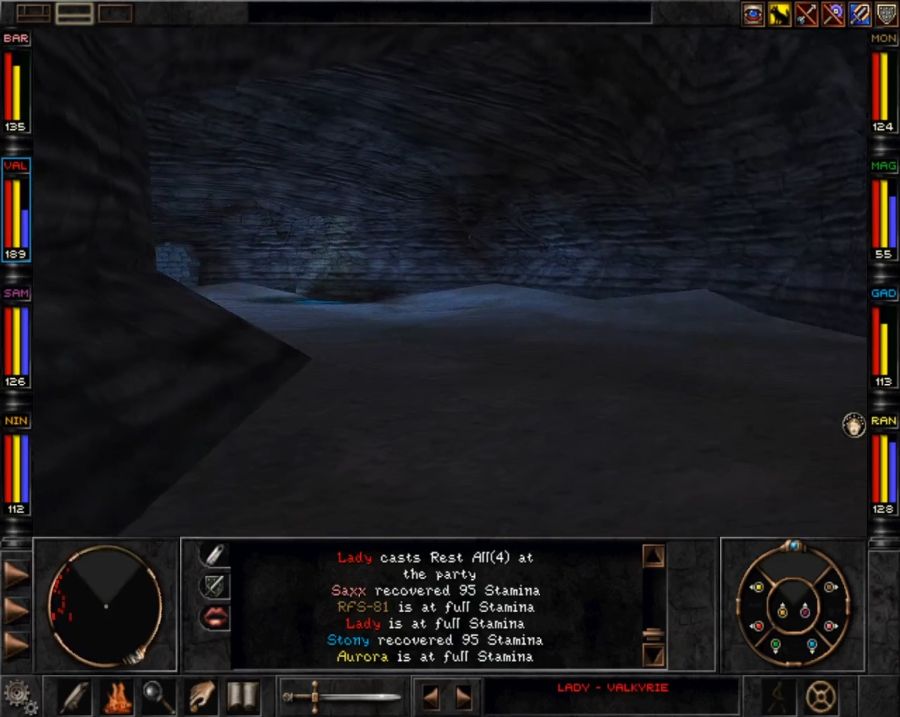 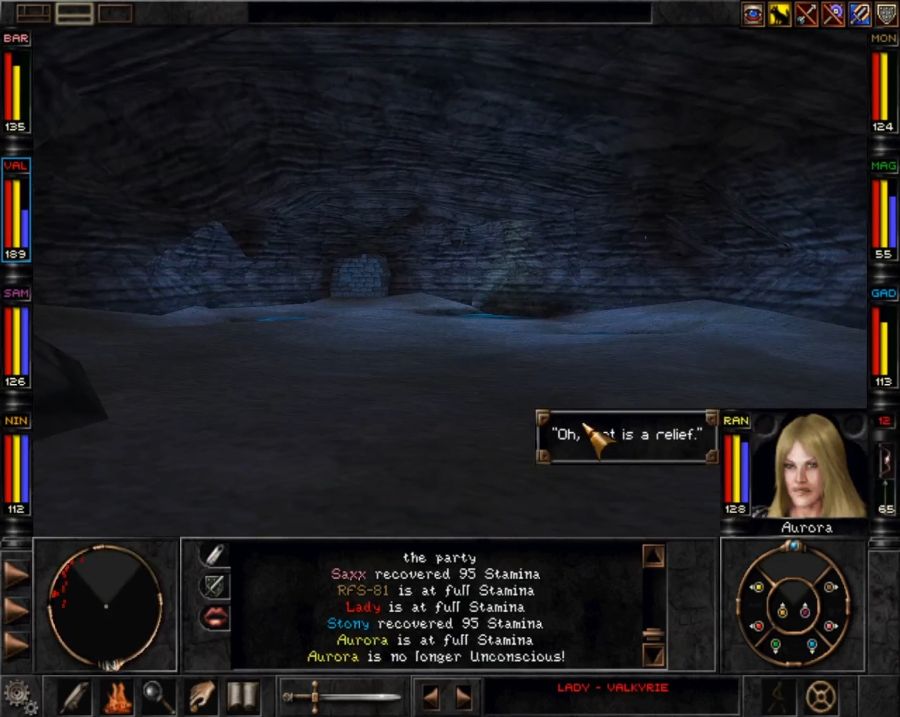  https://www.youtube.com/watch?v=kNiYlFqcwvs So you don't really need to do this at all. In fact there's no purpose to it in any way, shape or form. Though bashing down that wall does feel somewhat cool. 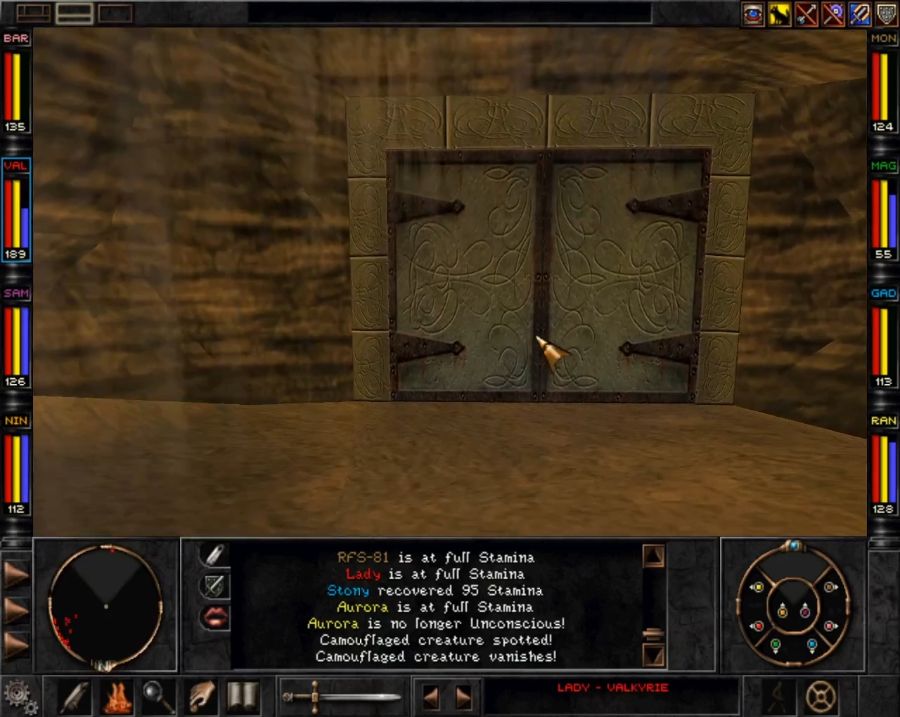  Because you can never go this way. Instead what you need to do is go into the side tunnel and take the first branch... 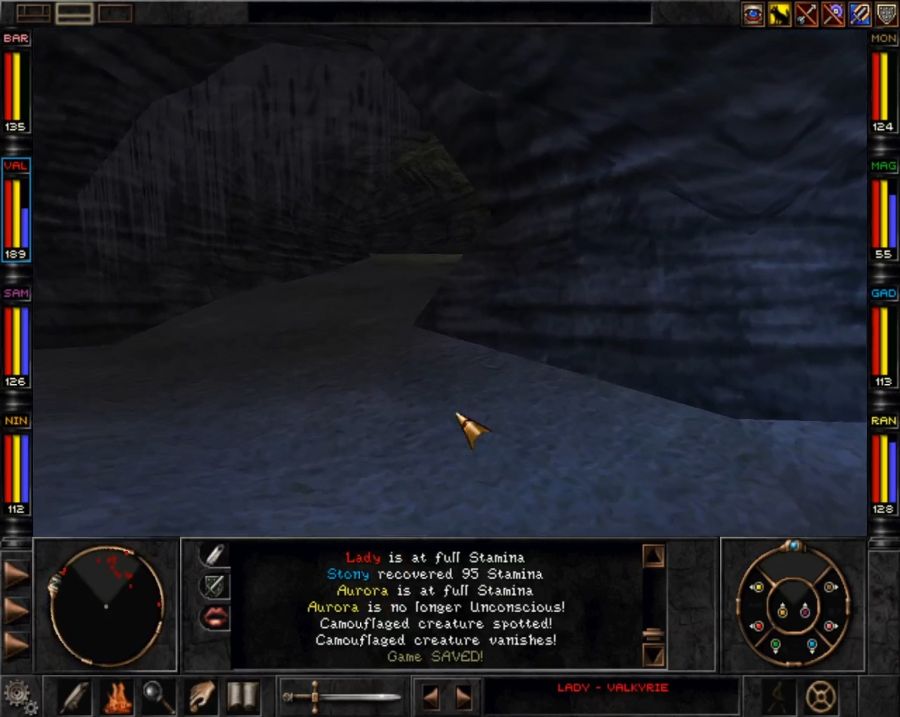   https://www.youtube.com/watch?v=AOlrtgwX0h0 Don't mind me setting a portal as I'm unsure if I remember right. 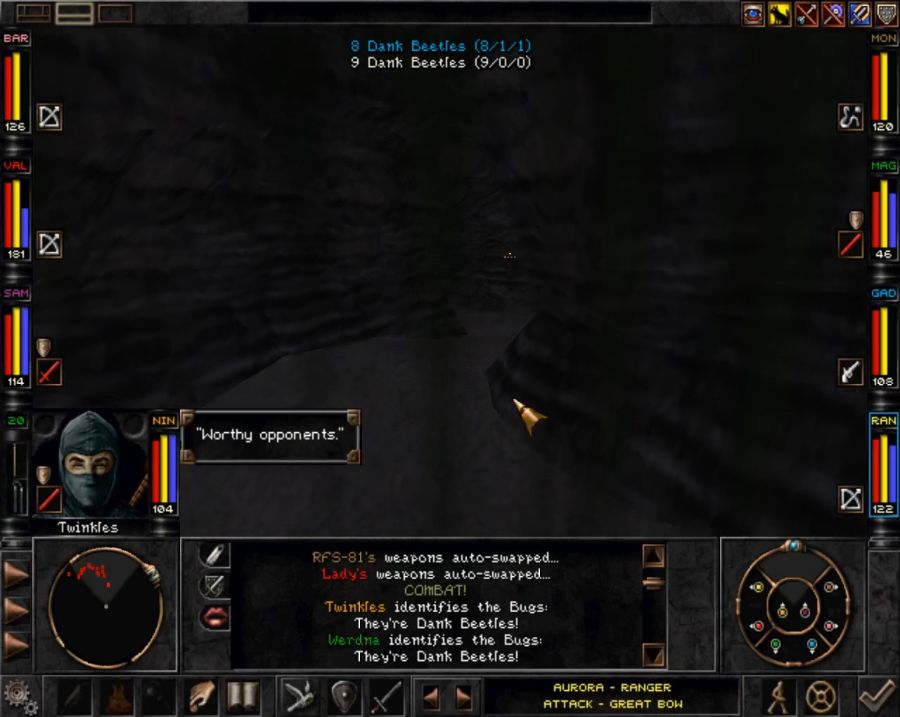 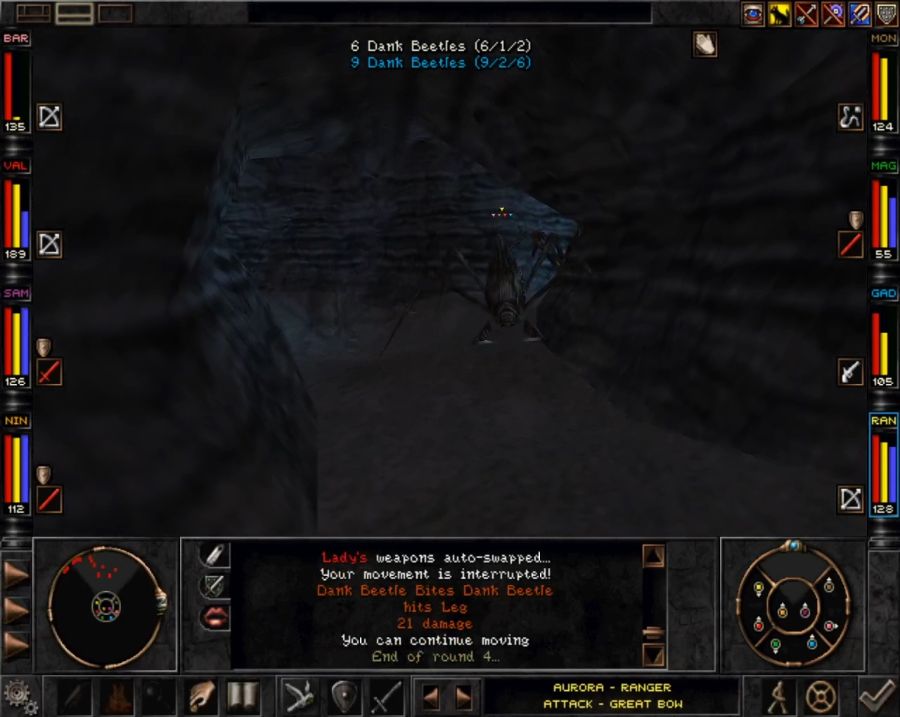 And then fighting almost two dozen Dank Beetles. They're just physical attackers with no real tricks, and, here's the thing: they're too big for the area. Only one of them can attack you at once. If they'd had the size of the small mites and bugs we fought back in Trynton, they could have hit you with multiple beetles and perhaps been a challenge. As it is, Chewbecka, RFS and Twinkles chew through them so fast that often one of the three will have no target in a given round because the other two already flattened whoever was in reach. Meanwhile Werdna and Stony let loose with Asphyxiate after Asphyxiate which takes down three or four beetles in total.  Just look at this! 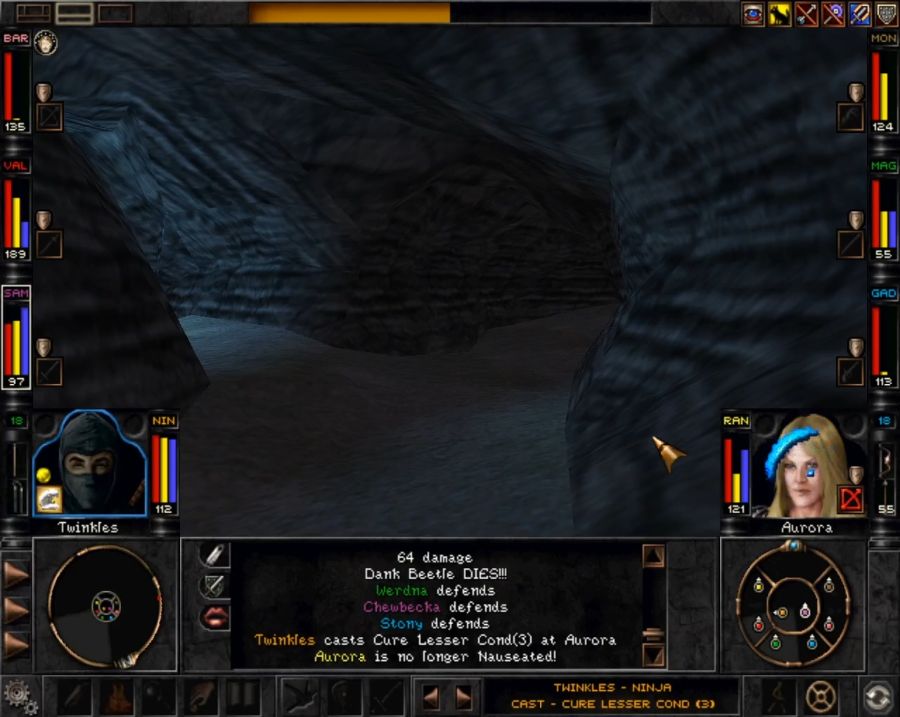 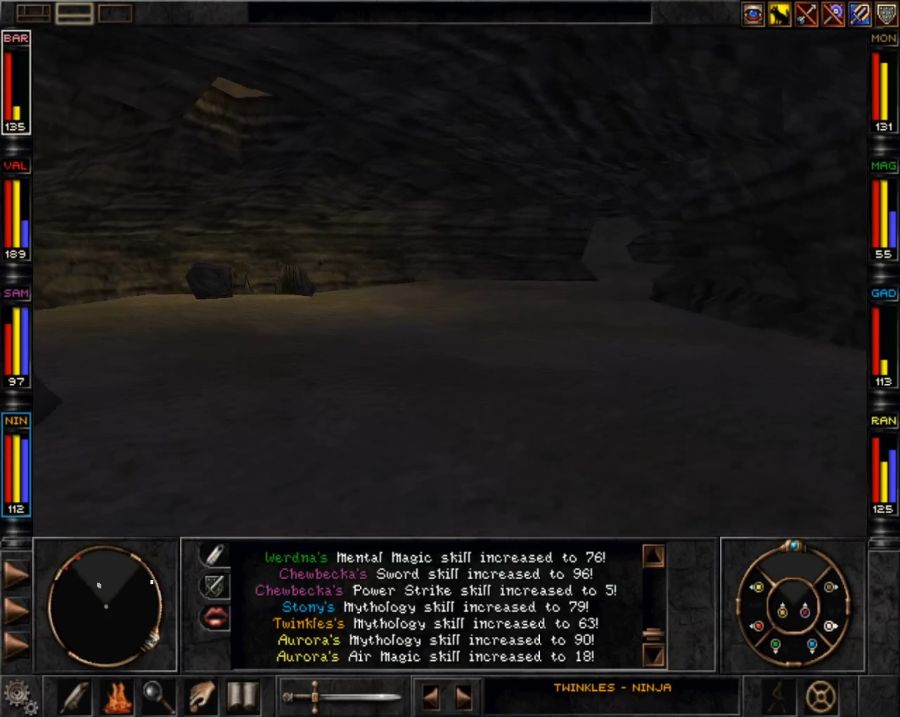 In any case, once I'm no longer hip deep in crushed beetle husks, I enter this little widening in the caves. On the right is a way to hop down to beach level, though it's raised just enough that you can't get up from down there without climbing the previous cave and dropping down. But it gives you a way out if you come here without the string-and-hook. Enter the middle of the room and... 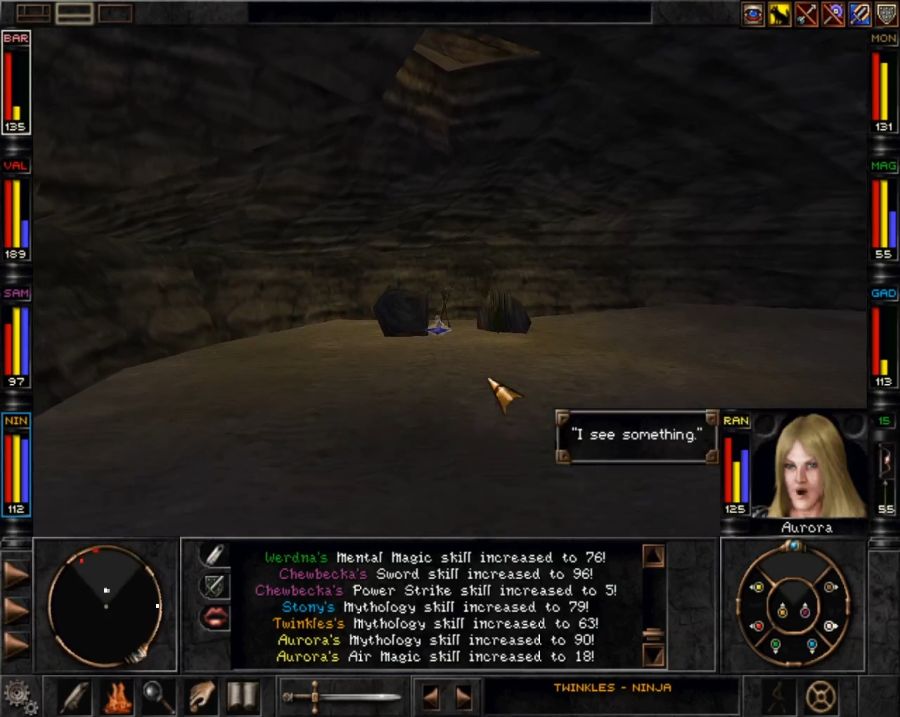 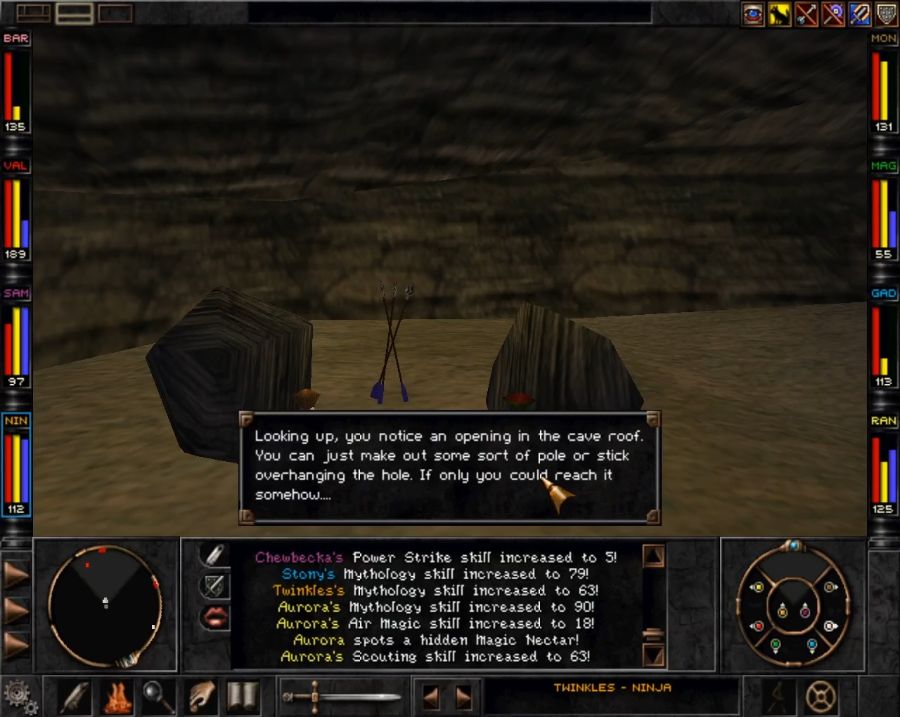 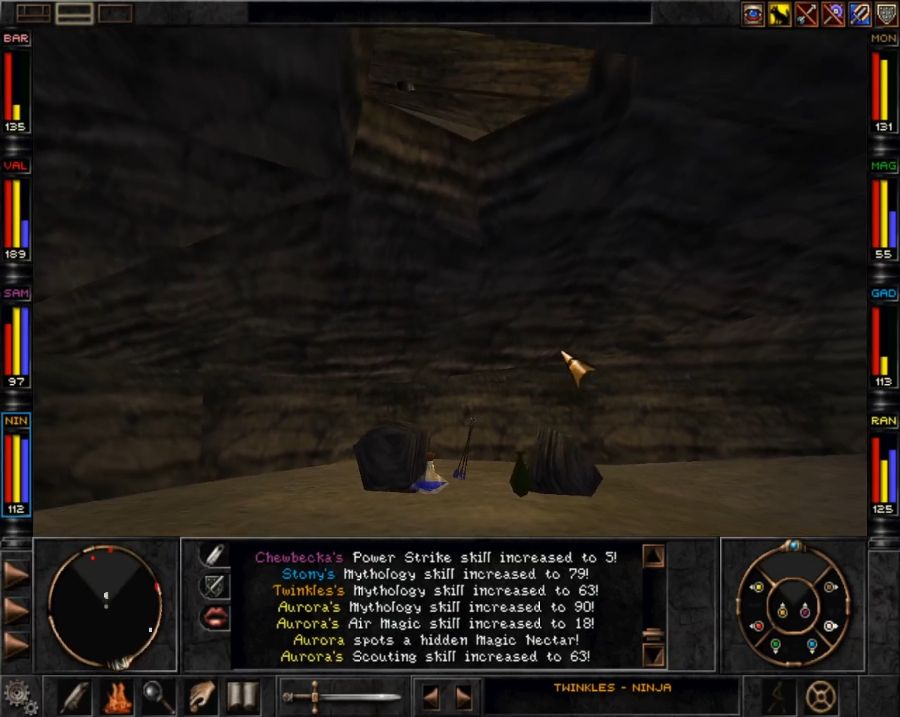 The game is pretty generous about giving you hints. 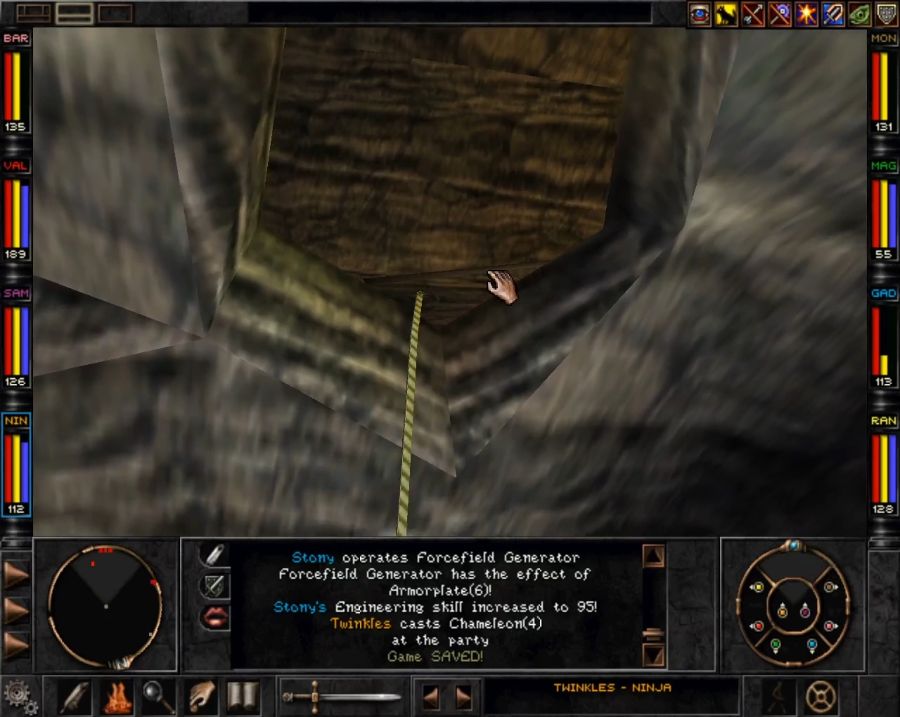 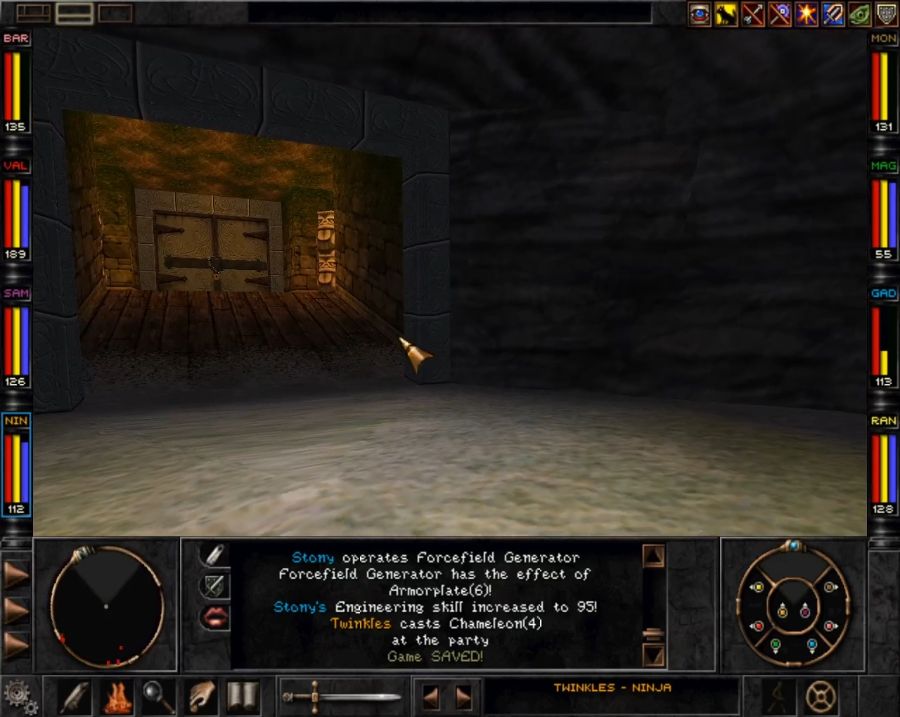 Climb up and you arrive behind the door that couldn't be opened from the other side. 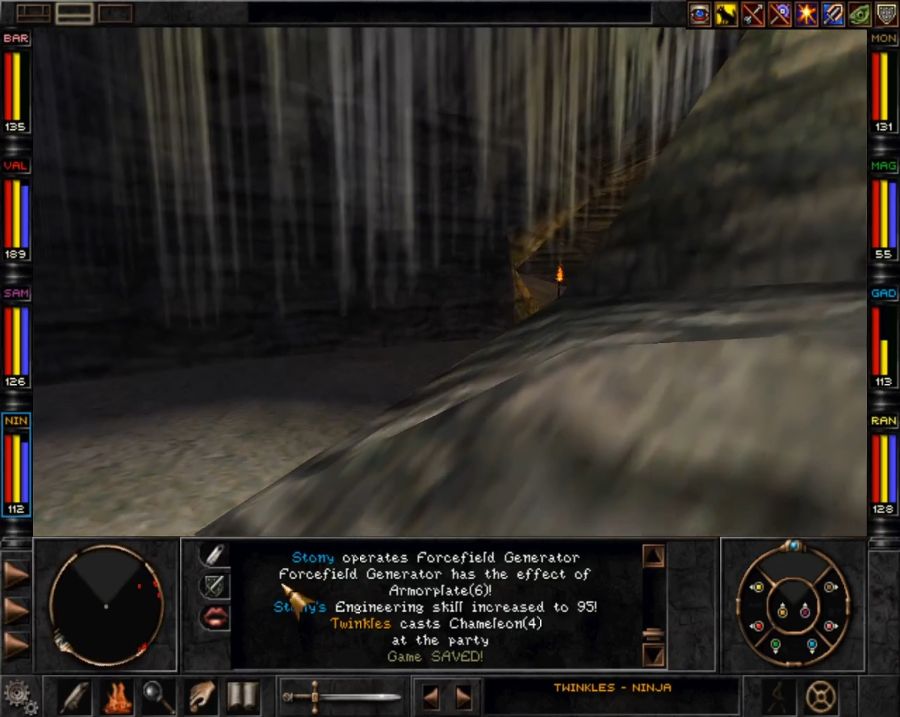 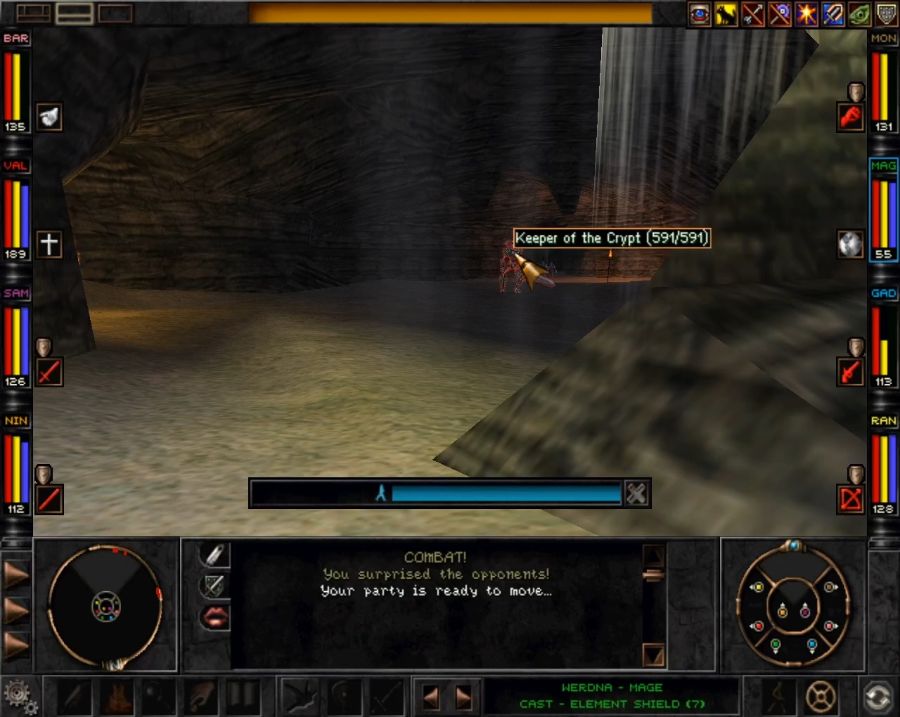 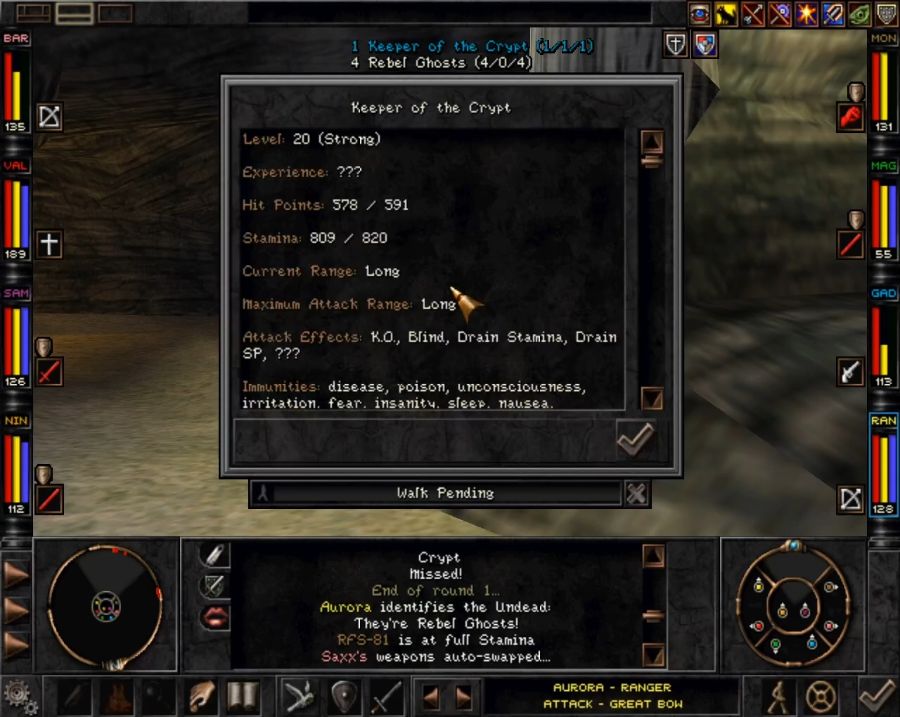 Also the sound behind you is just a powered-up Death Lord called the Keeper of the Crypt. Despite his boosted stats and level, though, he lacks a lot of the nastier Death Lord tricks like casting Death Cloud and Death Wish. Which is pretty fair, considering that as far as I recall all Death Lords in the game are skippable while this fellow is not. He's backed up by a couple of no-account rebel ghosts. This encounter is one of those that would be scary if you beelined here, but as it is, we bop these goons into the afterlife quickly and get to poking at the room. It's got five entrances, counting the locked one behind us and the hole in the floor. So let's look at the remaining three.  One would, currently, just slide us down to where we came in. 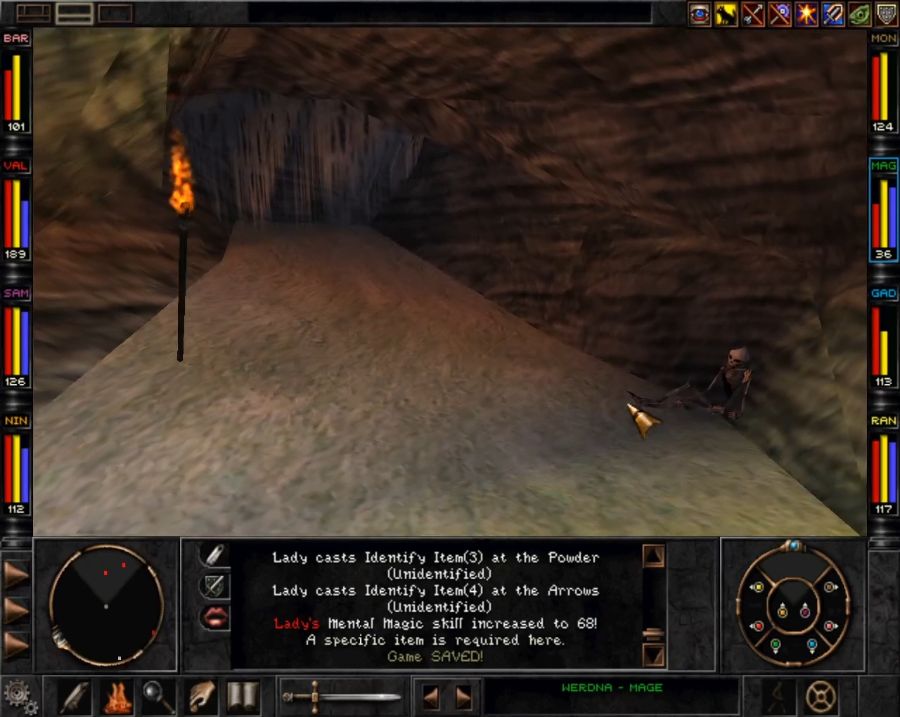 Across from that is the path we need to take, it's littered with these skeletons that contain a few items and spawn a ghost when poked at. Since it's a single ghost of the type we just effortlessly killed four of, it's not very scary, but... 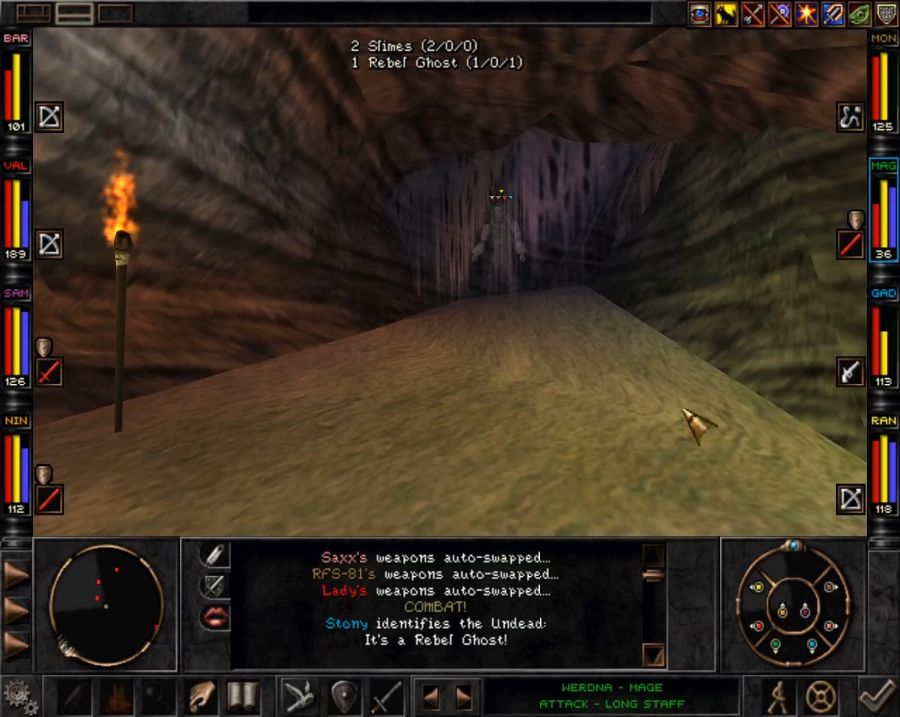 The first one also aggros some nearby buddies. 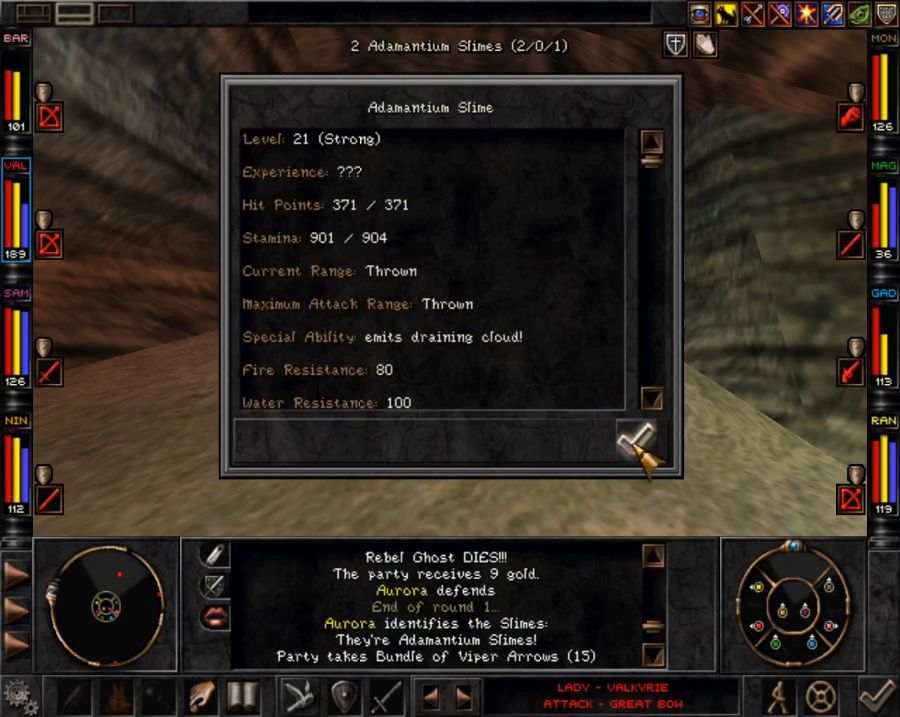 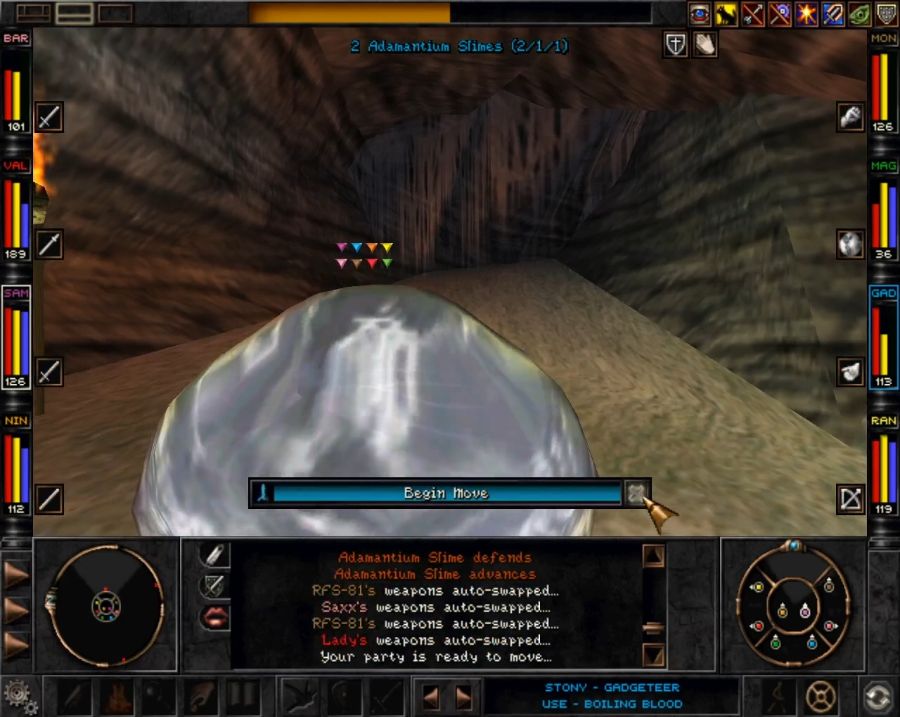 loving Adamantium Slimes. I hate these things so much. They're no real threat, BUT, BUT. They're 100% resistant to all elements except for fire AND they have a hidden 90% resistance to physical damage, too. 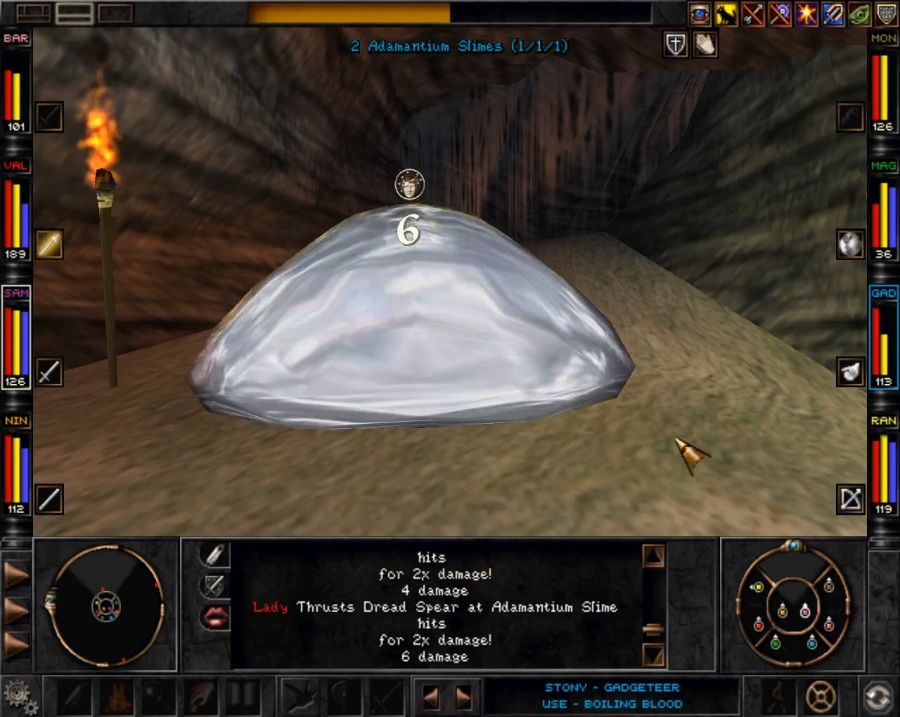 Look at what my beautiful damage numbers have been reduced to! It's a travesty. Really the only way to wear these assholes down is lucky rolls on Boiling Blood from Stony's Microwave Ray or lucky instakill rolls from Chewbecka, Twinkles, RFS and Aurora. Thankfully as long as they're by themselves they're just incredibly annoying, not dangerous. If they came in bigger groups in open areas, or as big globs of HP you couldn't safely turn your back on as smaller enemies flooded around you, they could actually be scary. In any case, there are two skeletons we want to loot. 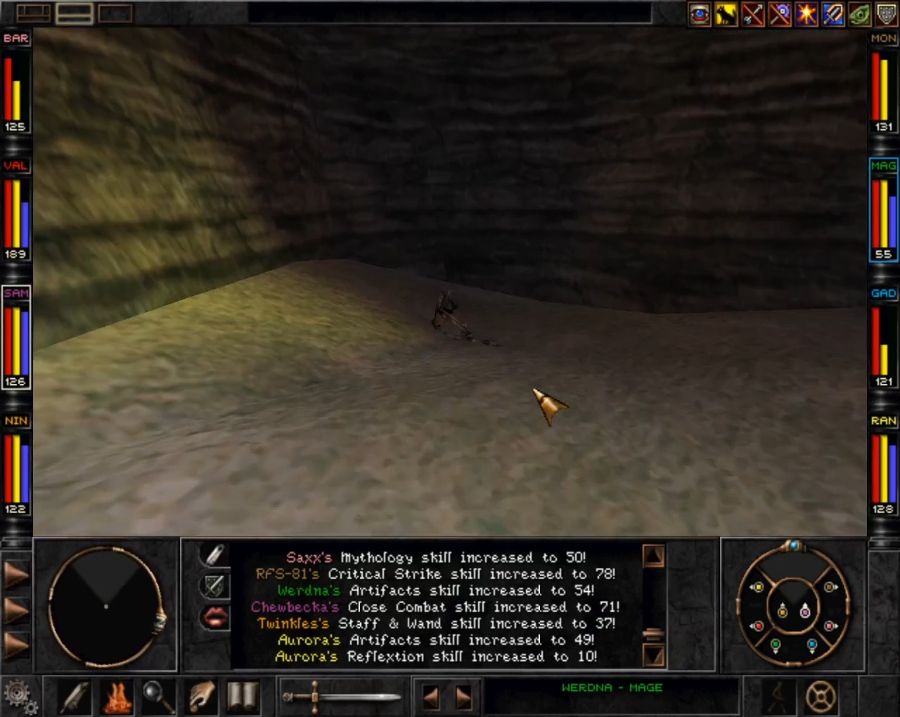  This guy for an important key. 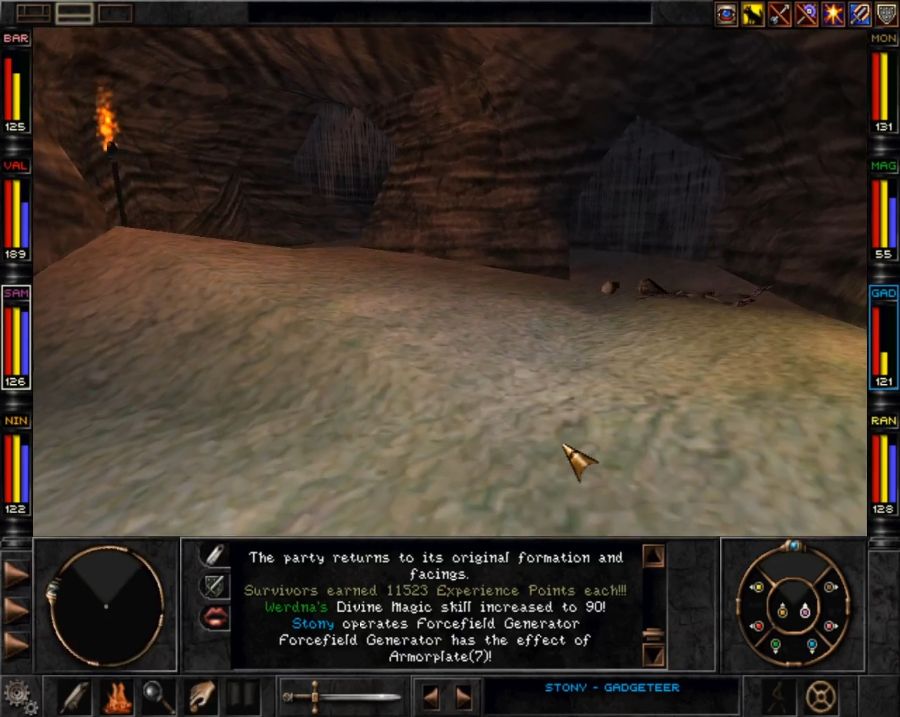 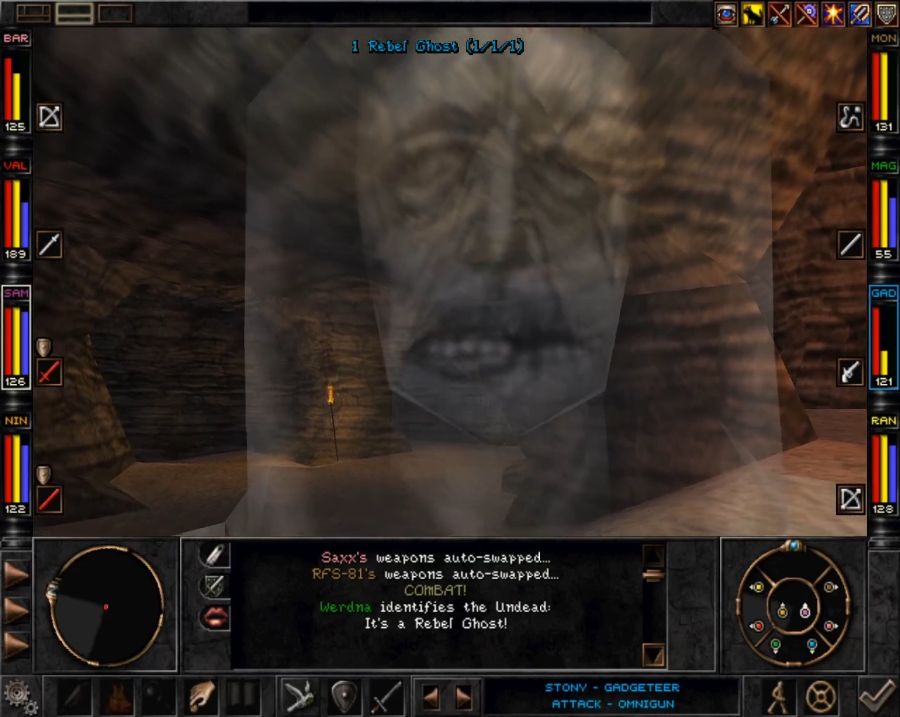 Not this guy, though I'm amused by it spawning the resulting ghost literally on top of me. 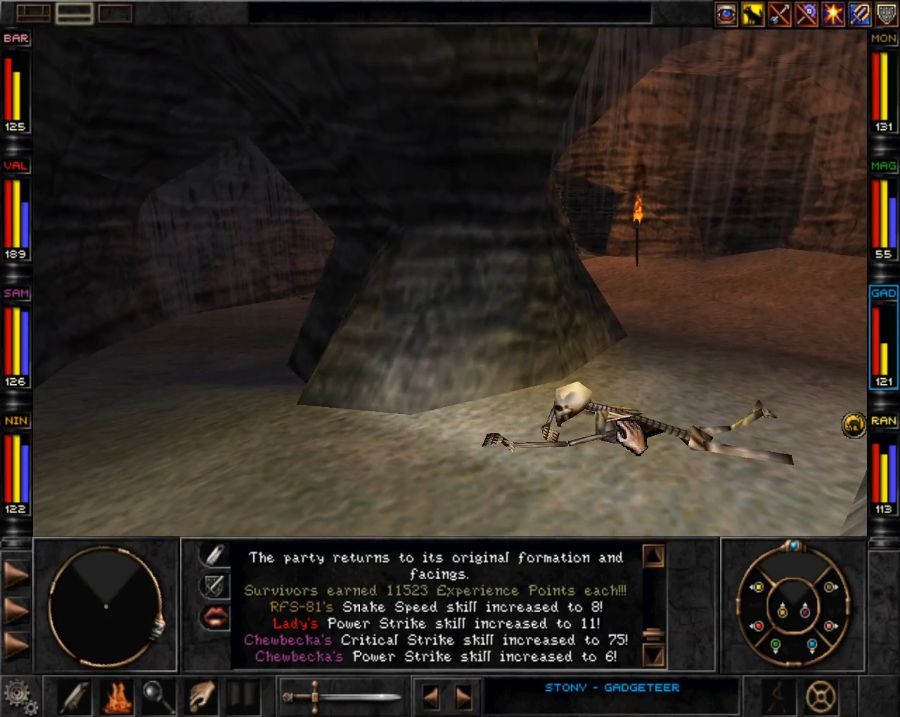 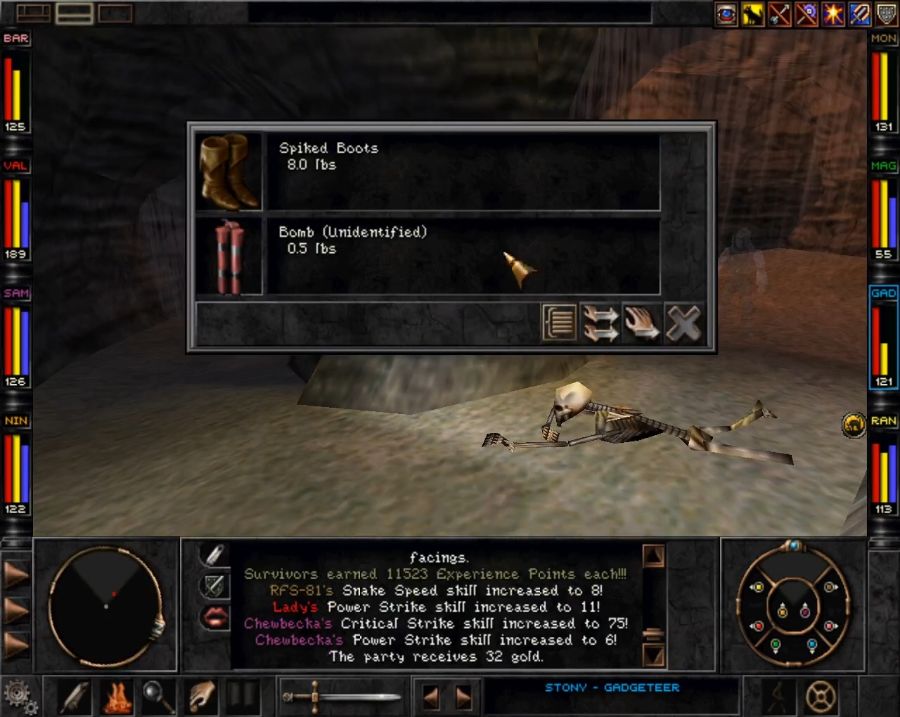 But this guy half-hidden behind the pillars. As long as someone in the party is wearing these boots, the sliding effect on the greenish floor textures is negated and we can walk across them safely. It allows access to a couple of chests(though of course they drop nothing nice for me, great stuff I had a pure Fighter along, though) and to progressing the game. 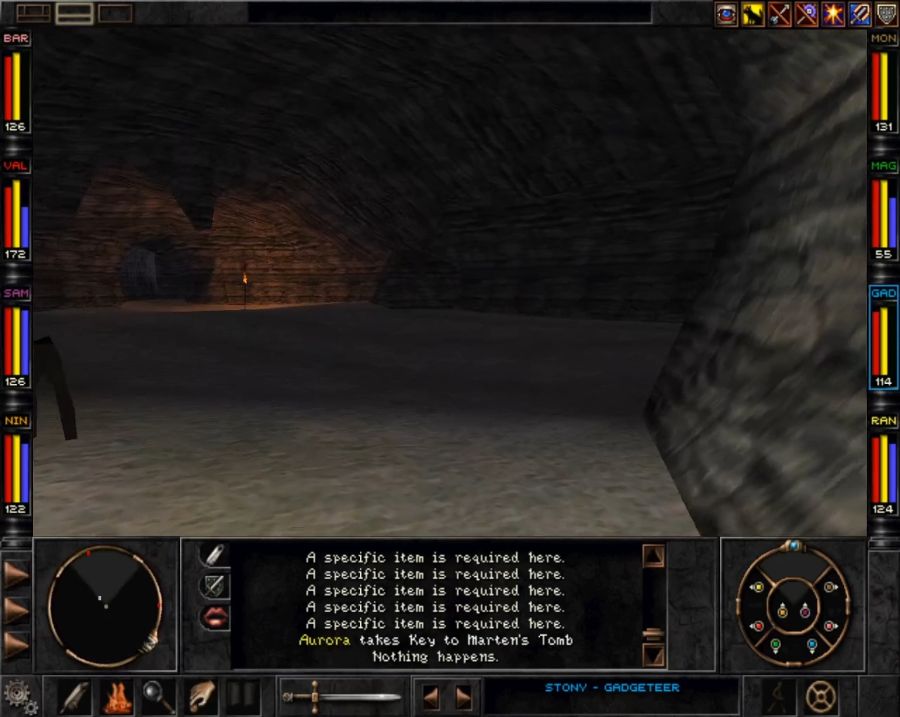 Back in the big room, I check out the last branch before continuing. It contains only one thing of note(though if we came here earlier it would also have had a nice bow upgrade for Aurora), which is another instrument for Saxx. This one casts Restoration, a cure-loving-everything-except-being-dead single-target spell. Great in case one of your frontliners gets piled up with conditions. 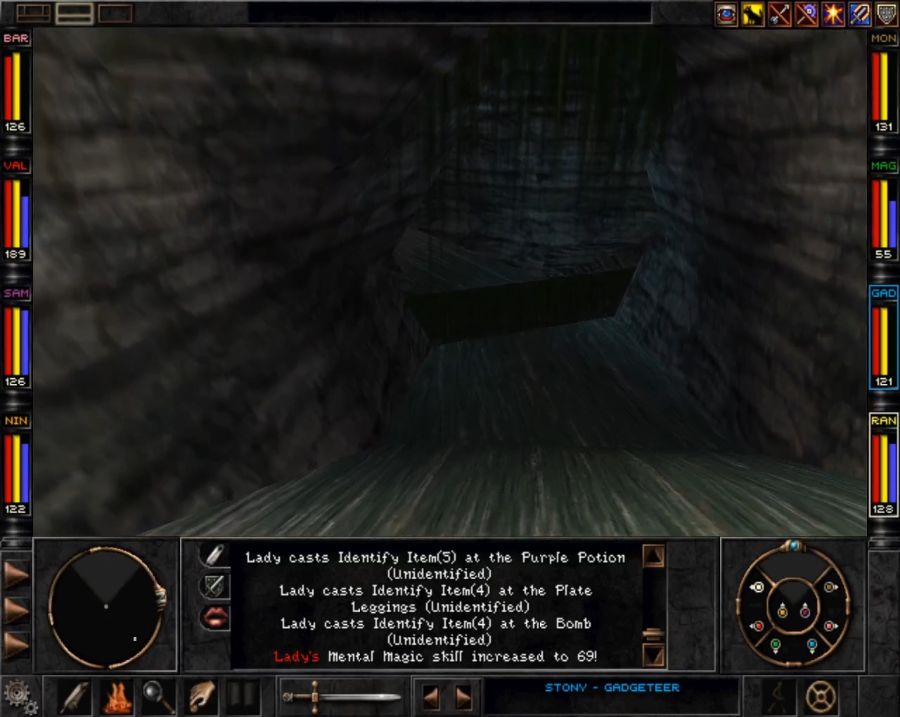 Now that we no longer slide into the chasm, we can carefully walk down to the edge and... 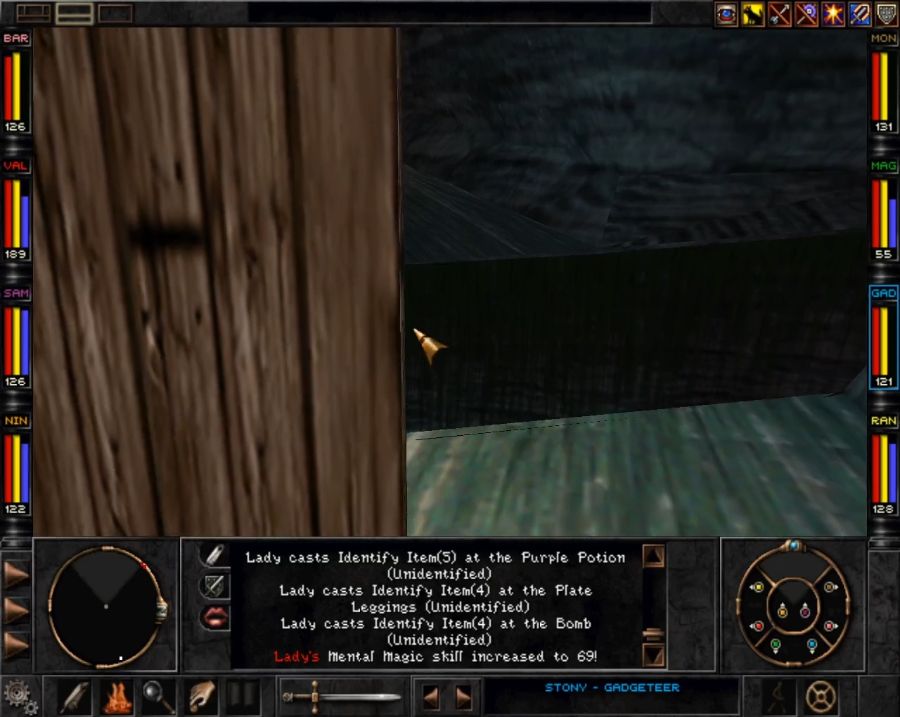 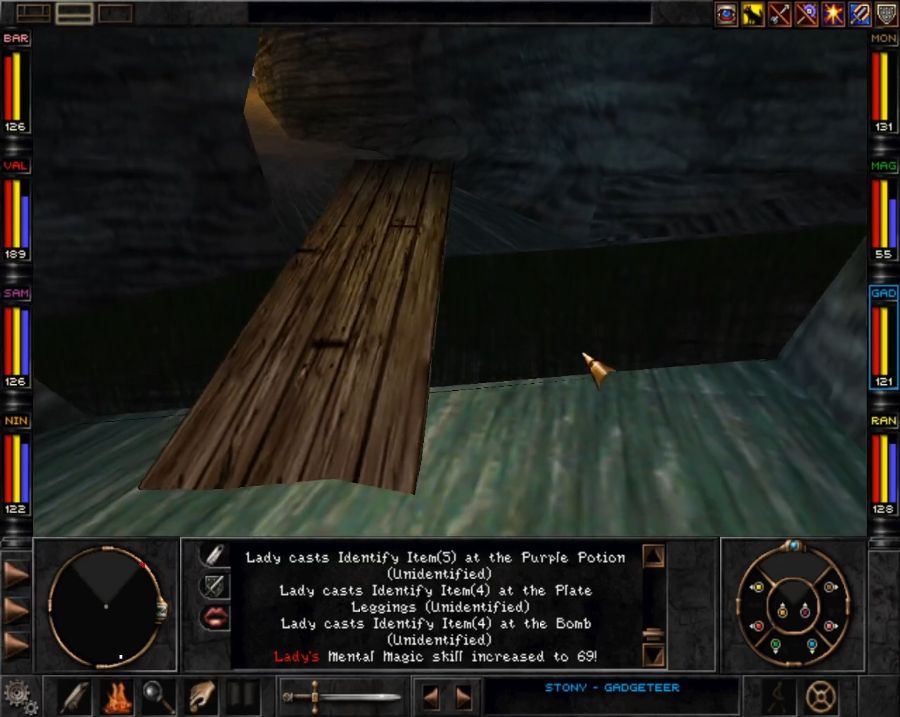 Make ourselves a bridge with the plank, then walk up the other side.  https://www.youtube.com/watch?v=1xnKHOyefbo So this is why you need the Helm of Serenity. If you just drop it in the party inventory, it counts as "everyone" carrying it and everyone thus becomes insane. You could also drop it on a single character who would then become insane. The only person not made insane by it, is the wearer of the Helm. Technically you could come here without it, if you didn't mind one character being permanently insane until you got your hands on it. The key Marten hands us at the end of the conversation is really just for opening the door we saw the back of on climbing up earlier. Nothing prevents us from just dropping down a hole or using a portal to get the hell out of here. Before we do so, though, let's admire the collection. 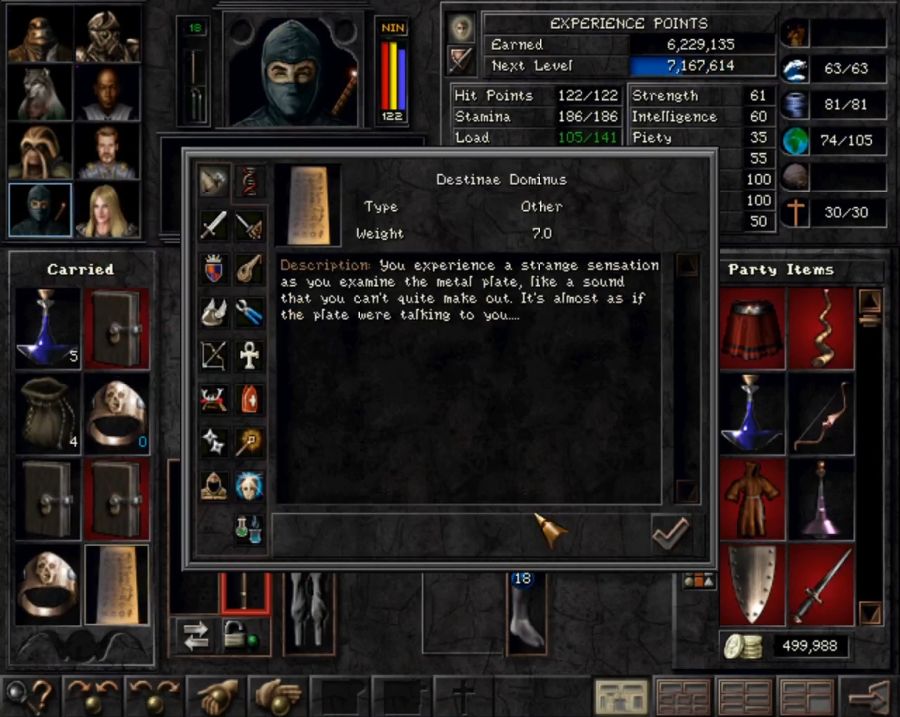 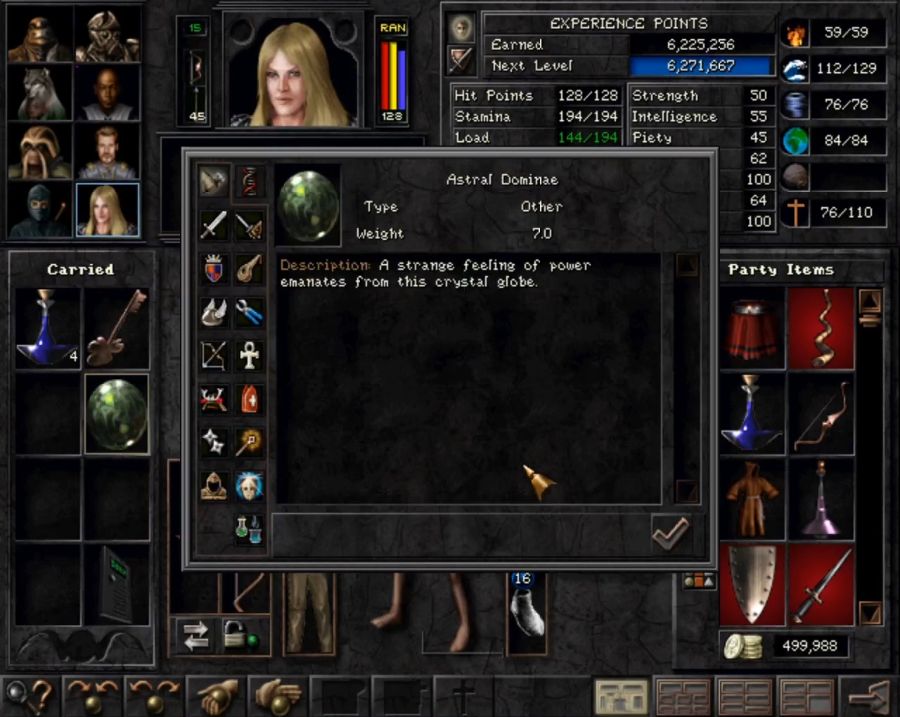 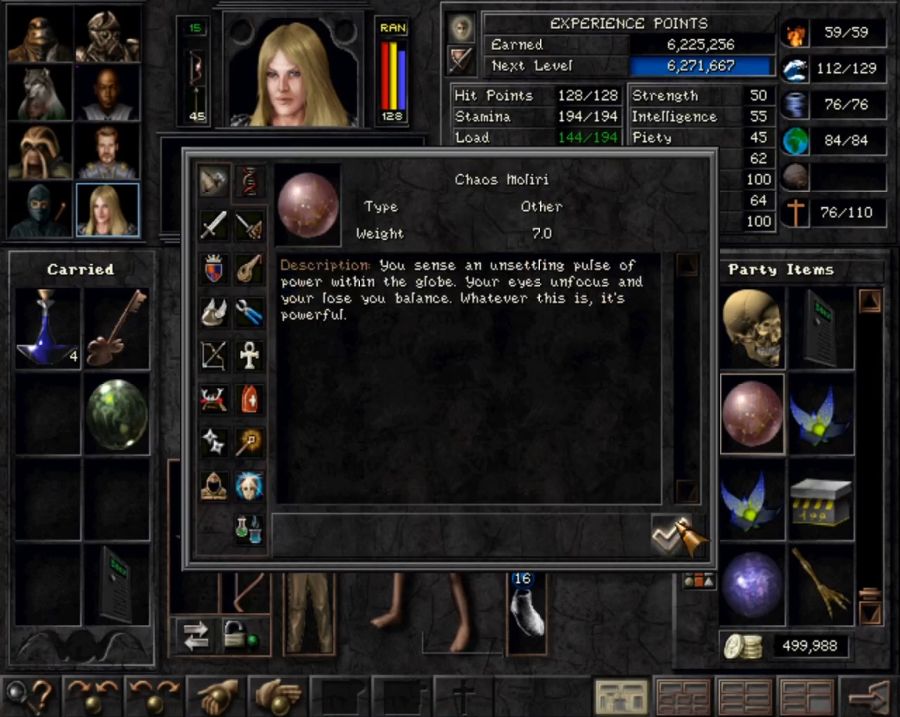 Now we just need to be able to access Ascension Peak. If we've paid even the slightest bit of attention, we know what that means. 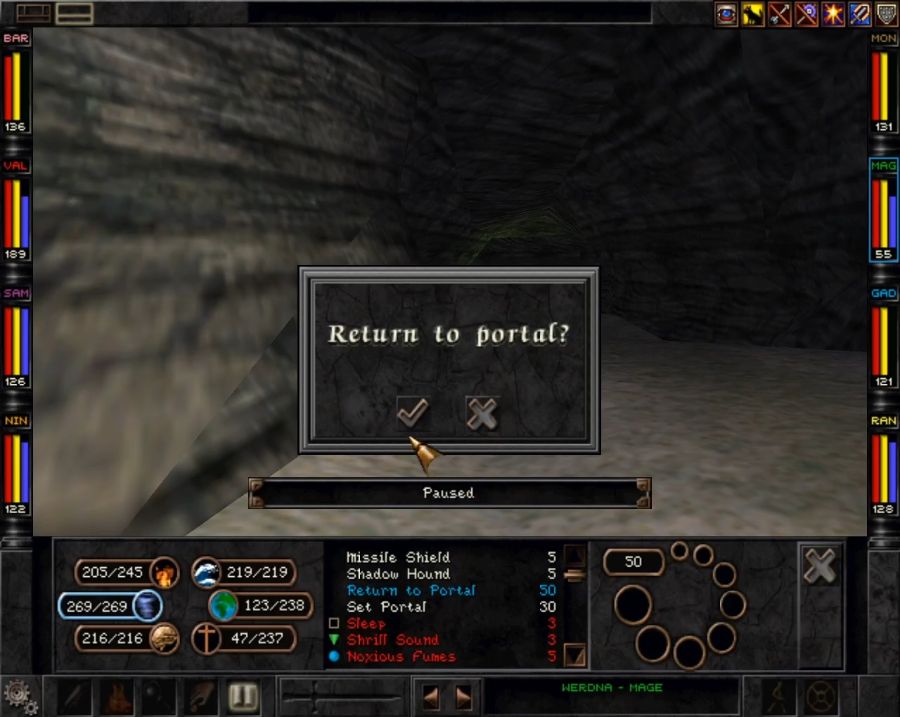 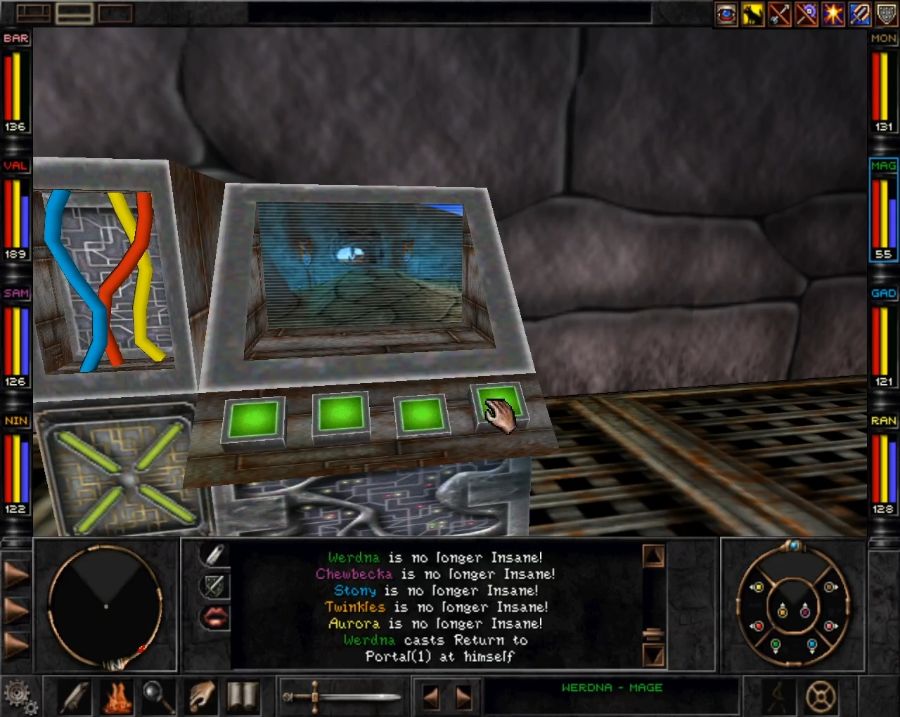 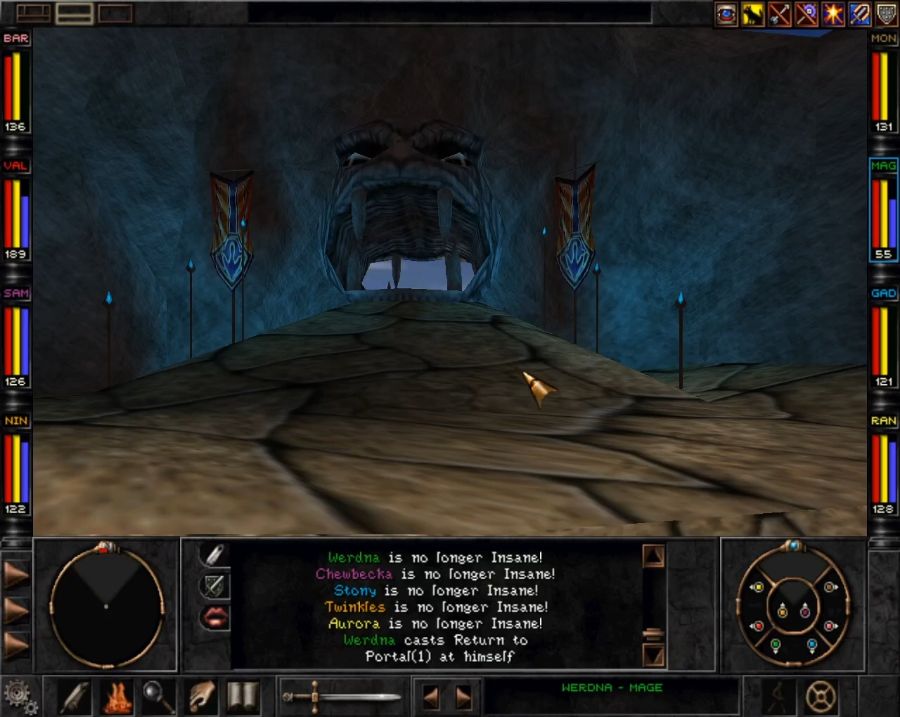 Welcome to the Rapax Rift. The second-to-last major area in the game, though it does have a pretty drat big sub-area attached to it.
|
|
#
¿
Sep 4, 2020 04:15
|
|
|
Unoriginal One posted:Oh, and from what I can recall, Ascension Peak doesn't actually get the blockage until you enter the area with at least one of the three plot items; though maybe talking to He'li with two items counts? I dunno. Fortunately, the Barrows is right nearby, so you can pop by and drop them off in one of the chests to drop a portal first if you want to bypass a certain bit of the game. You still need to go into Rapax lands to take care of something else, but the unsavory bit is skippable(ask me how I soft-locked my first solo run!). What's the matter, aren't you looking forward to when the game becomes UNCOMFORTABLY HORNY in more ways than one? Guess who had to learn how to make censor bars in avidemux.
|
|
#
¿
Sep 5, 2020 05:31
|
|
|
Libluini posted:So if the Destinae Dominus makes the carrier insane, could you circumvent this by bringing a Psionic? Their entire deal is being immune to mental effects, after all. Huh. Hm. [one quick test character and a savegame edit to drop the DD into her inventory later...] It does work, but it lets you skip less than you'd think since A) you need to go through Trynton for the Astral Dominae anyway(unless there's some mad physics glitch to get up the back entrance without going all the way through) and B) you need a letter for the Mook to let you in to steal the Chaos Moliri, which requires you to either do a number of run-back-and-forth faction quests or bust into Marten's Bluff and kill Z'ant for the T'rang version of the letter(guess they did sort-of safeguard themselves against sociopaths softlocking the game). So much for the newest frontier in Wizardry 8 speedrunning strats with an all-Psionic party(and no RPC's).
|
|
#
¿
Sep 5, 2020 14:28
|
|
|
Oh my God that's amazing. I think the only hope that guy has is to save-edit the DD out of his inventory and then re-add with a save editor once he's got the Helm of Serenity. Either that or bouncing off random easy enemies until he gets a win and can cross-class someone to psionic and give it to them.
|
|
#
¿
Sep 6, 2020 21:58
|
|
|
Part 012: The Hell of Being In Hell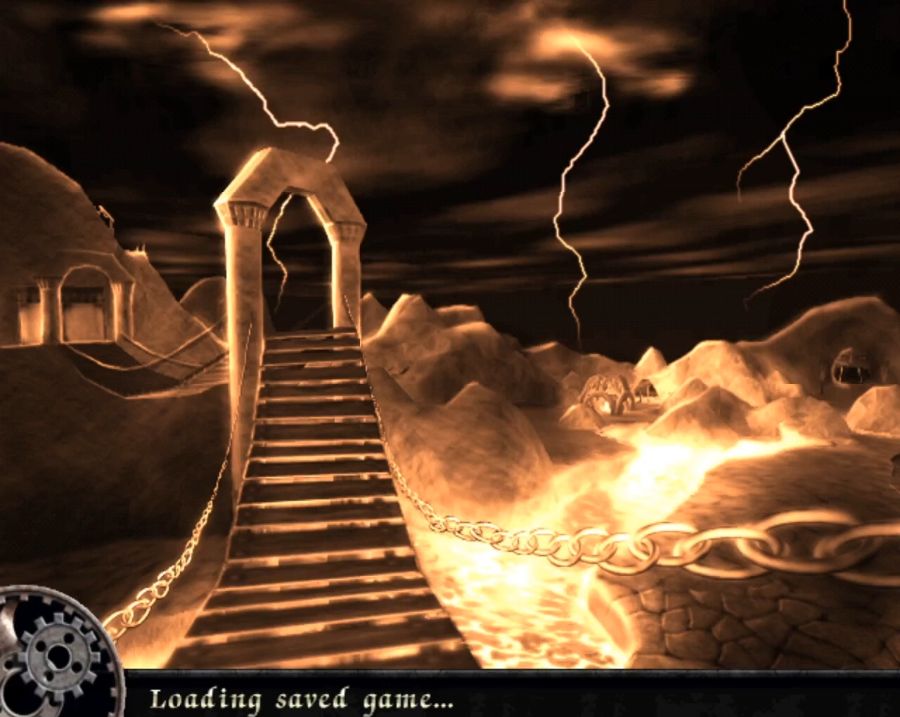 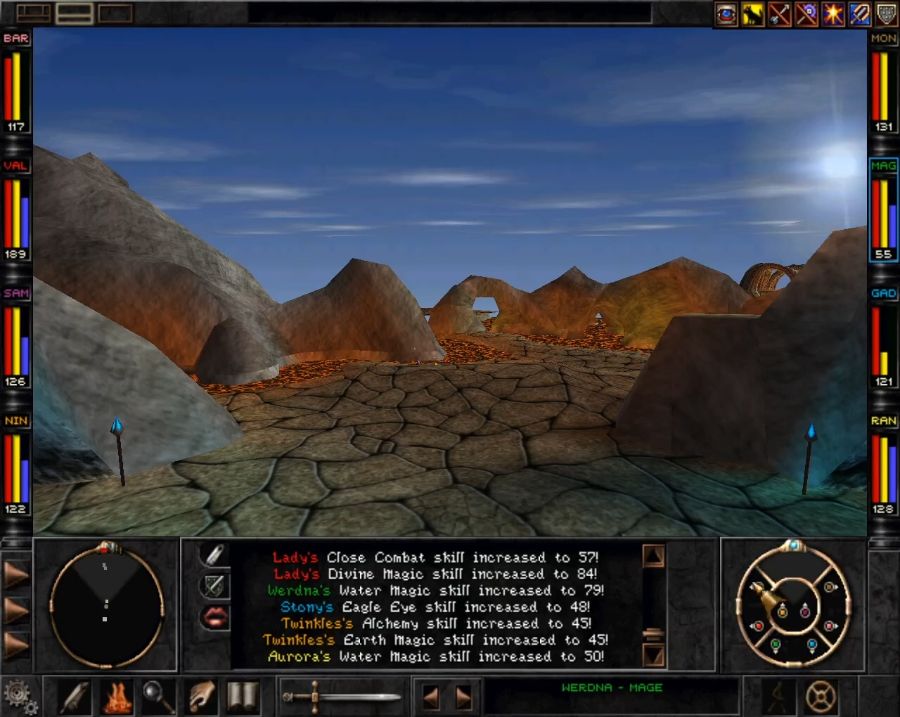 Welcome to scenic Rapax Rift. It's hell, but not for the reason you might think. I mean, yes, there's the lava. And every single inhabitant has horns and is evil. But that's not why it's hell for you, the player. 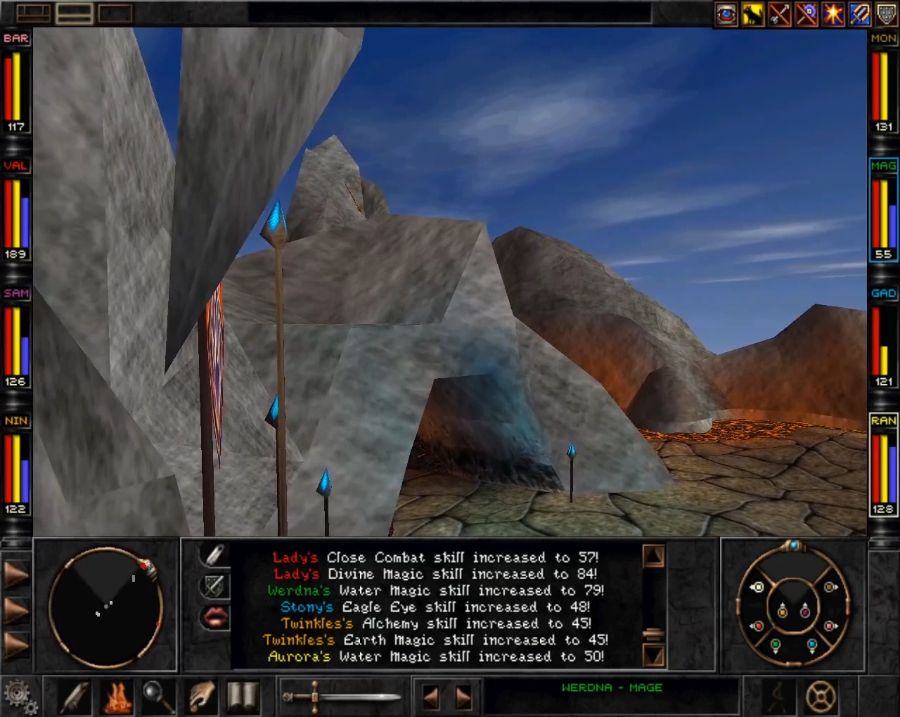 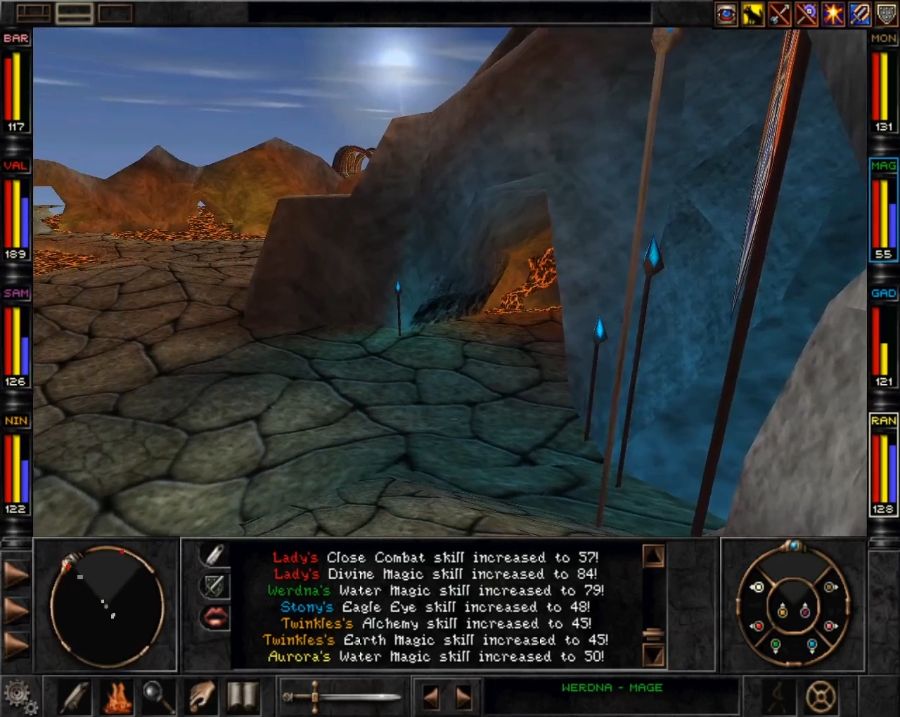  In any case, the path immediately splits left and right. There's nothing you need to the left, but an exciting cutscene and a bit of lore beckon. Also this place is swarming with low-level Rapax patrols that I'm sparing you having to see me chopping my way through. 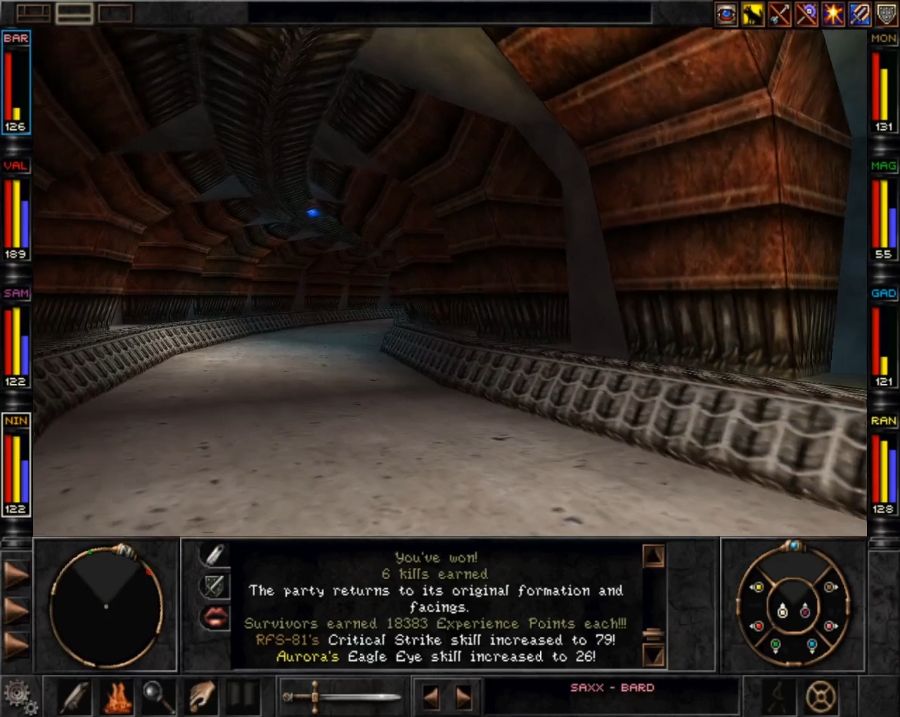 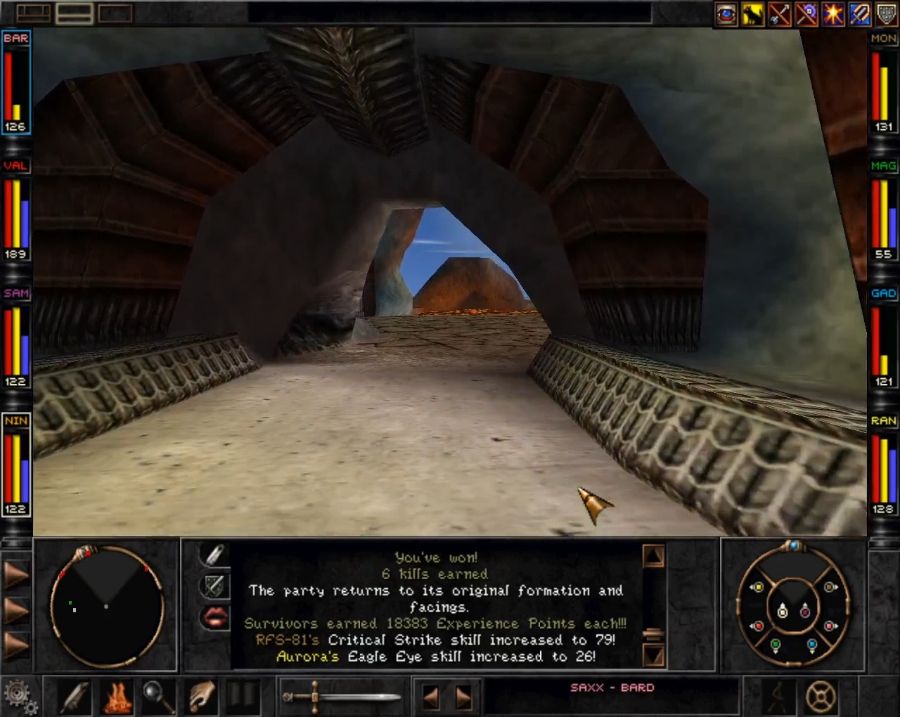 https://www.youtube.com/watch?v=rDbj_kxtUh8 Warning, this video is a waste of your time as a viewer in the same way it's a waste for anyone playing the game. Let's go see what that was all about. 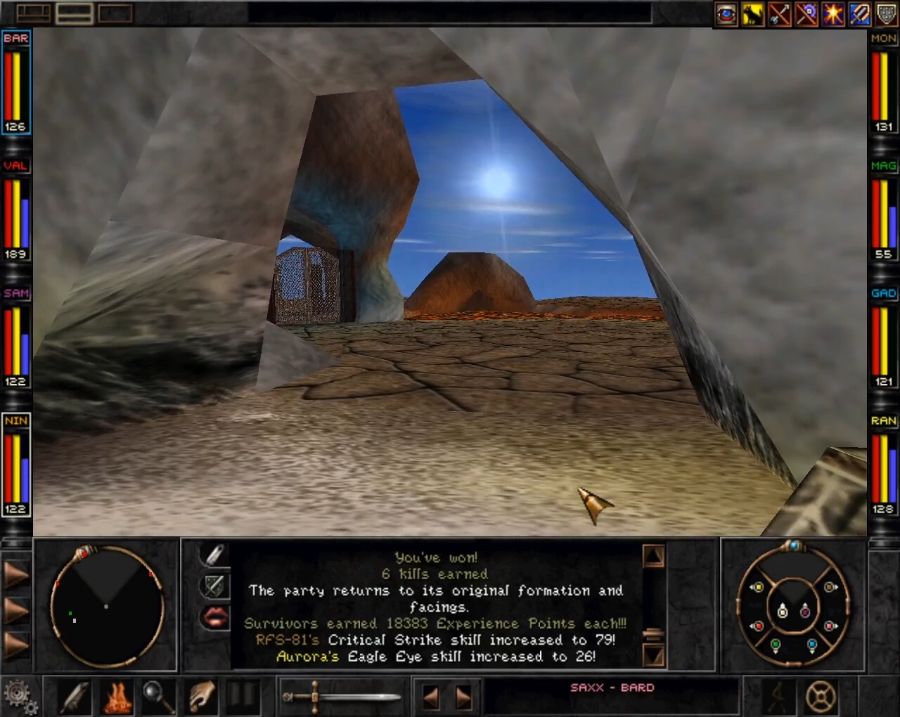 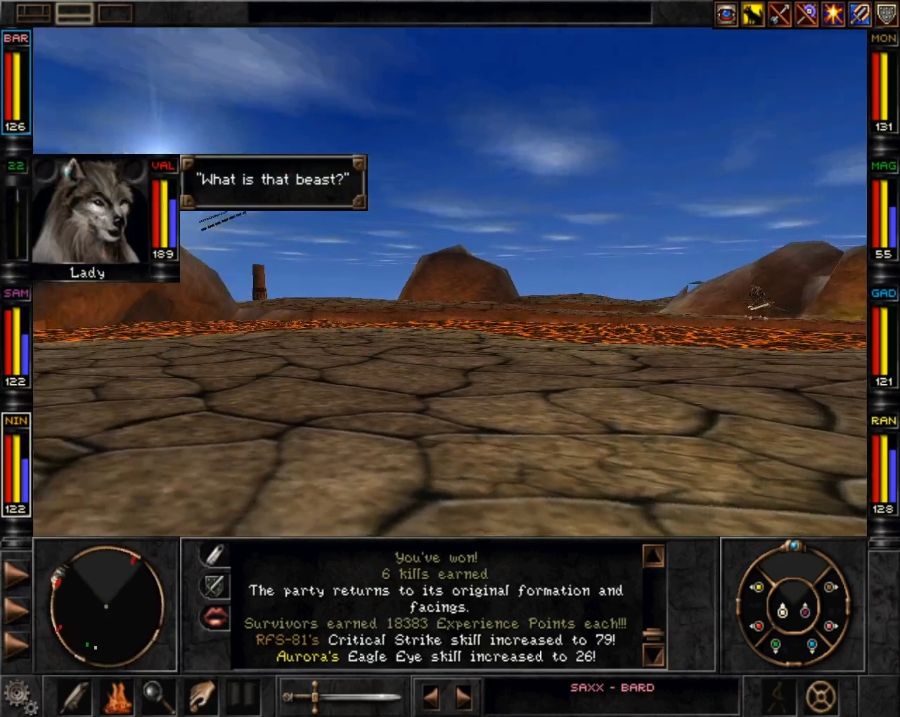 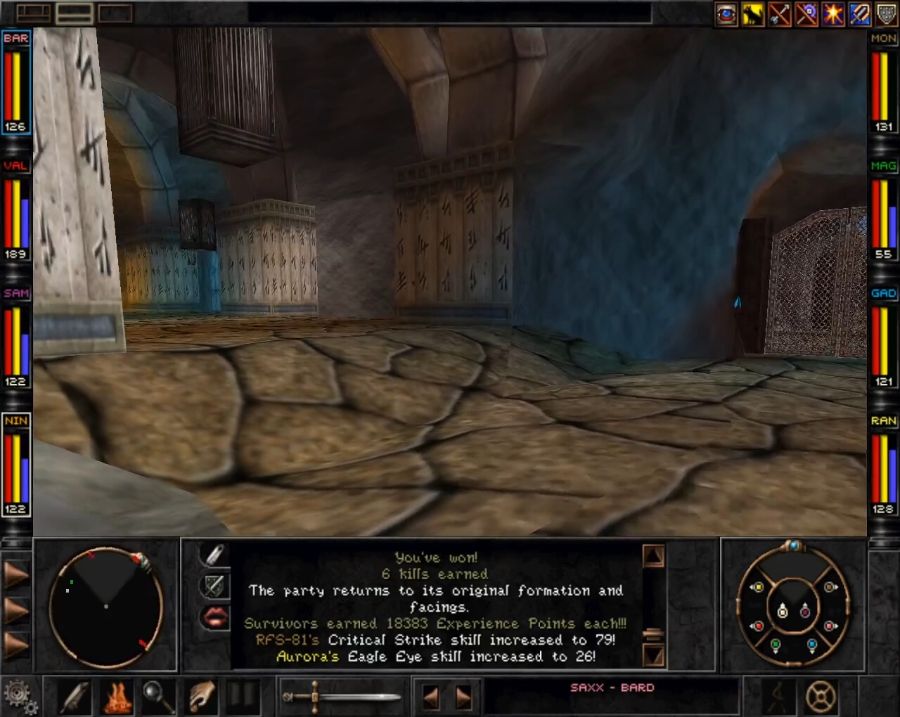 Looks like that guy just arrived from and vanished back into the magma after visiting this prison area. 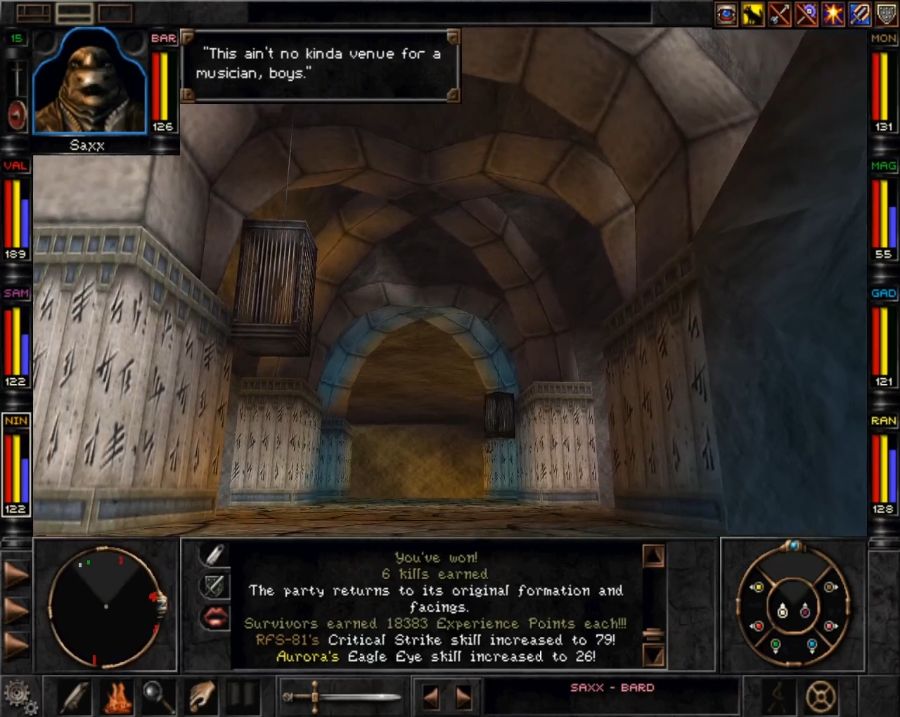 It only has one actual cell and prisoner, however, the room on the right holds monsters instead. 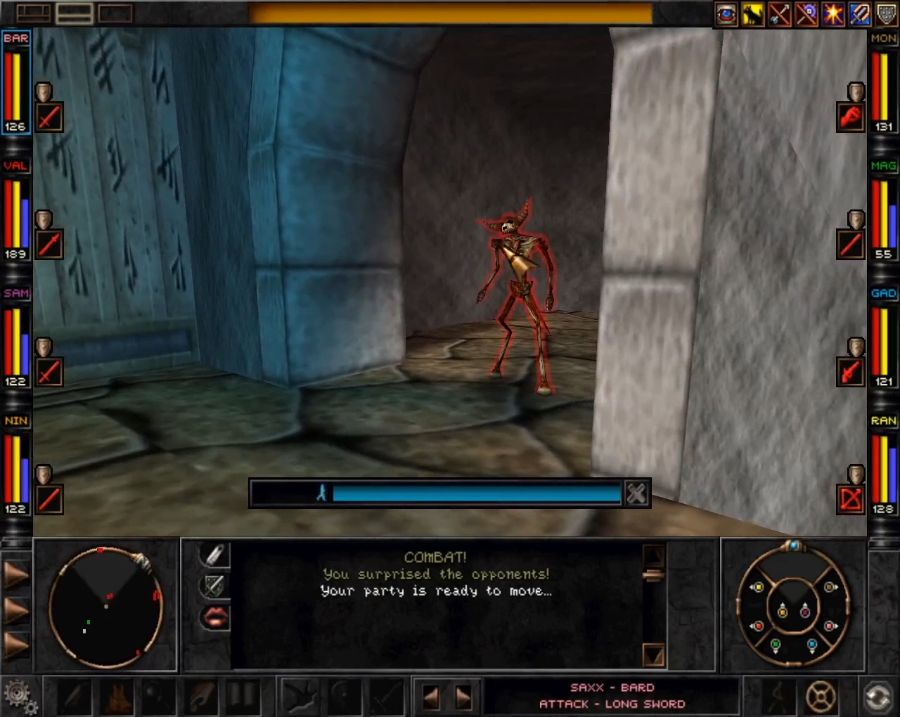 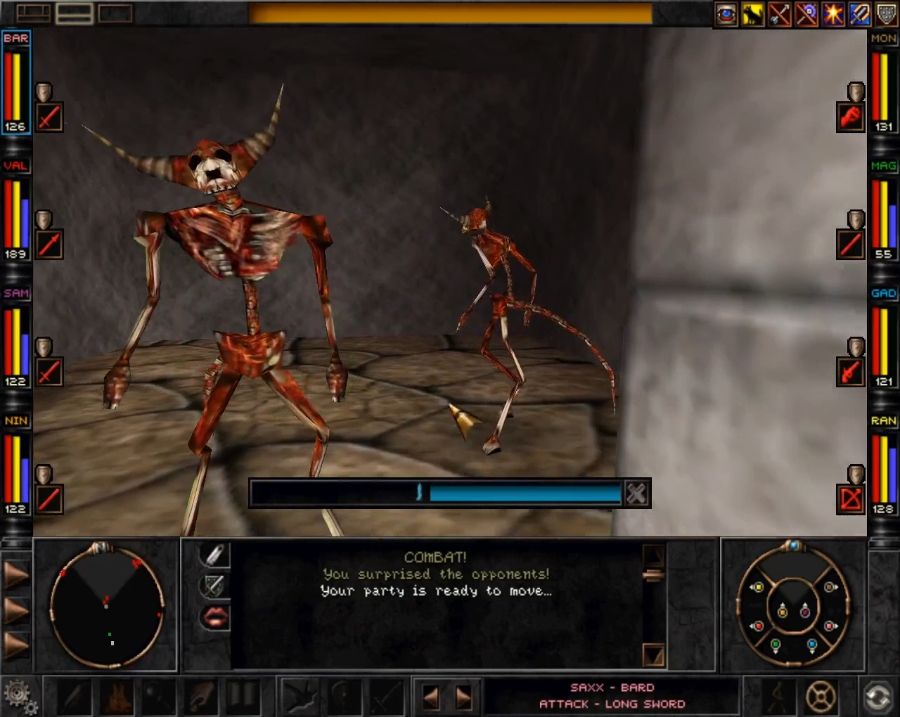 Rapax corpses and revenants are relatively un-scary, but they do have a mild chance of diseasing someone, which sucks if you don't have a disease healer. I do, though, so who cares. They get flattened in like one combat round. 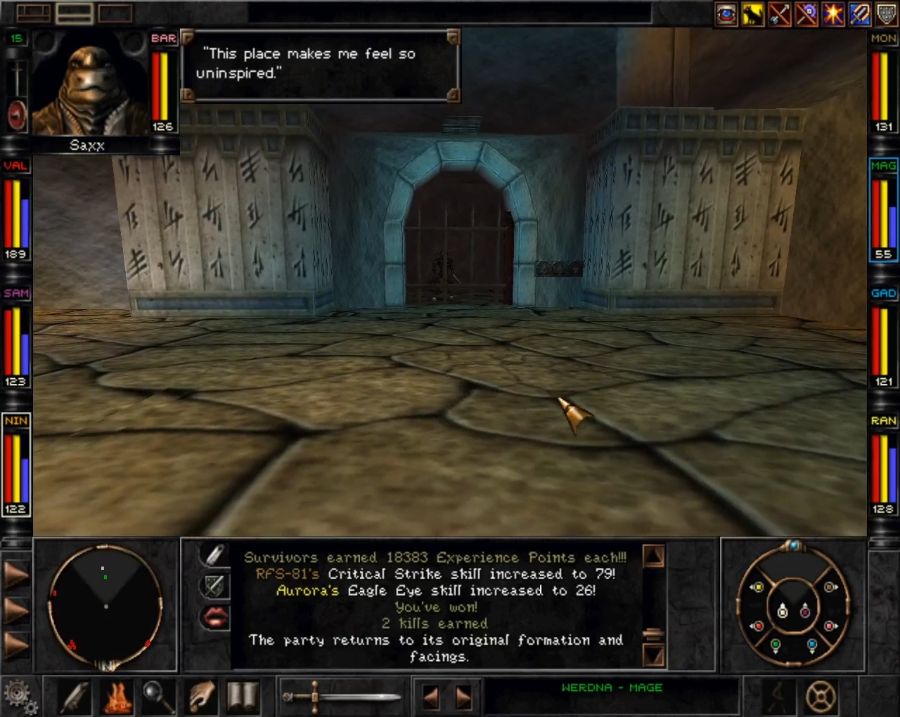 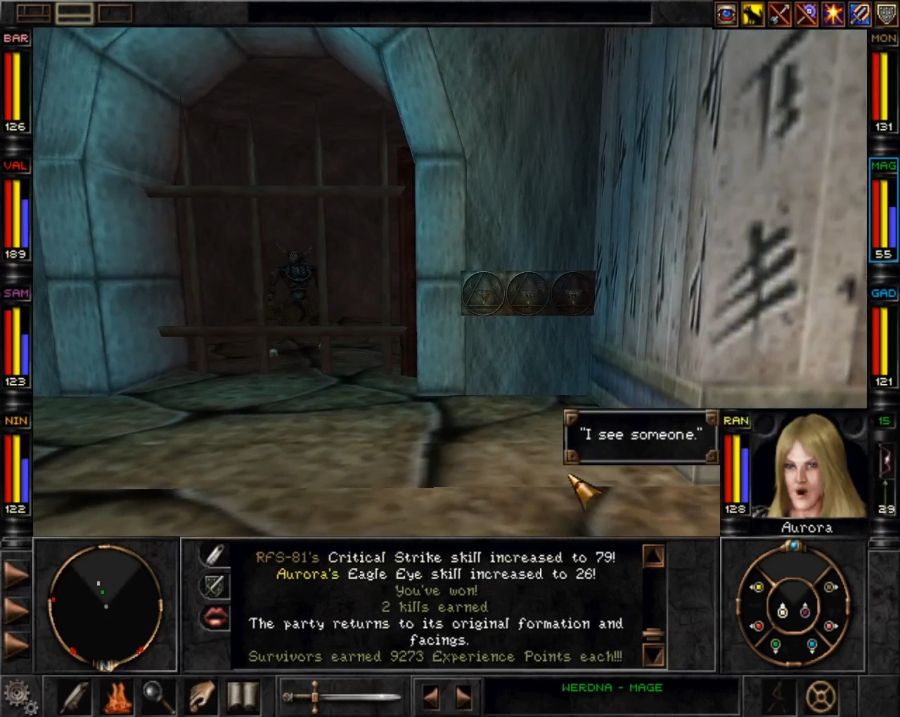 We could bruteforce this code lock easy, but there's no reason to do so yet since this guy can't actually leave at the moment. https://www.youtube.com/watch?v=4nKBLq7_0sA I feel like there was originally going to be more of a storyline about not all of the Rapax being insane genocidal maniacs. Anyway, now we have a subquest for the Rapax Rift, finding the Staff of Ash for this guy. It's actually completely skippable, but it gets us a fat whack of XP(even for this stage of the game), and plus he asked us nicely. 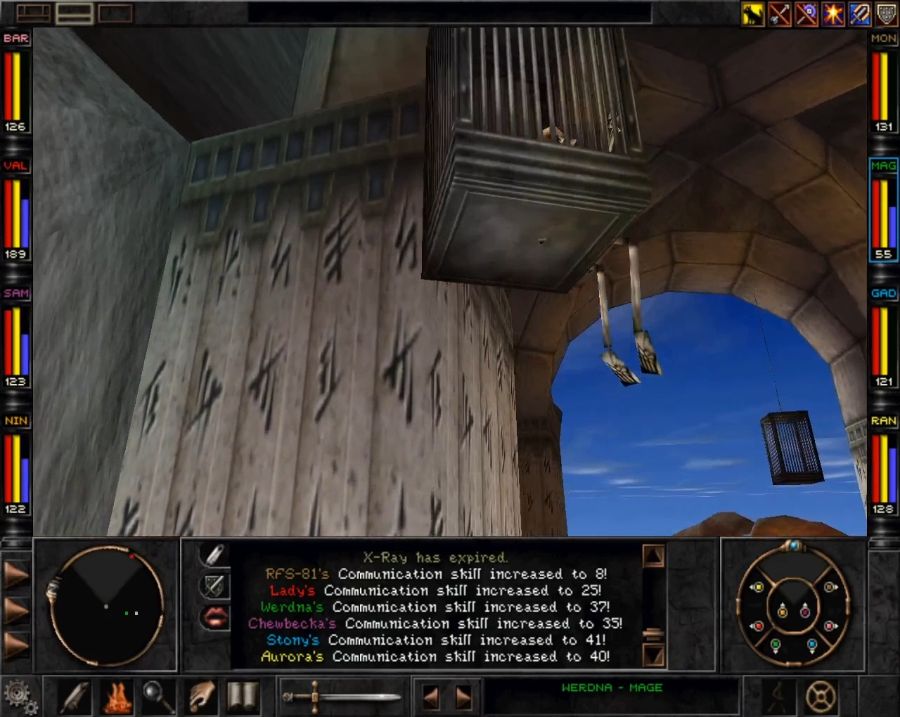 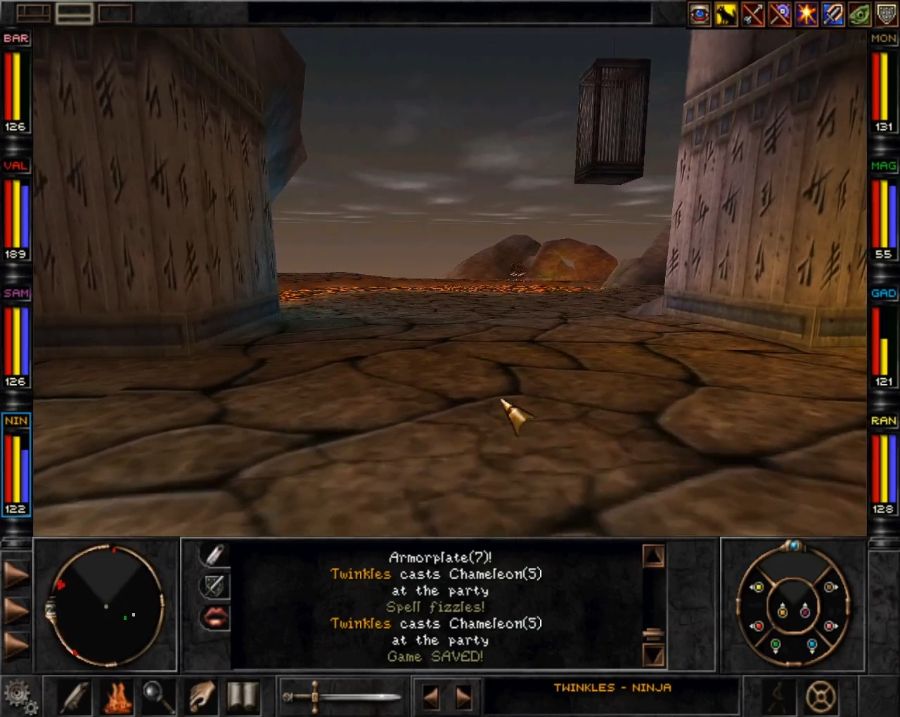 The gate on the far side of the prison I haven't commented on is a shortcut for getting back here quickly later once we have the Staff of Ash. A nice little quality of life thing. Time to take the other path away from the entrance. 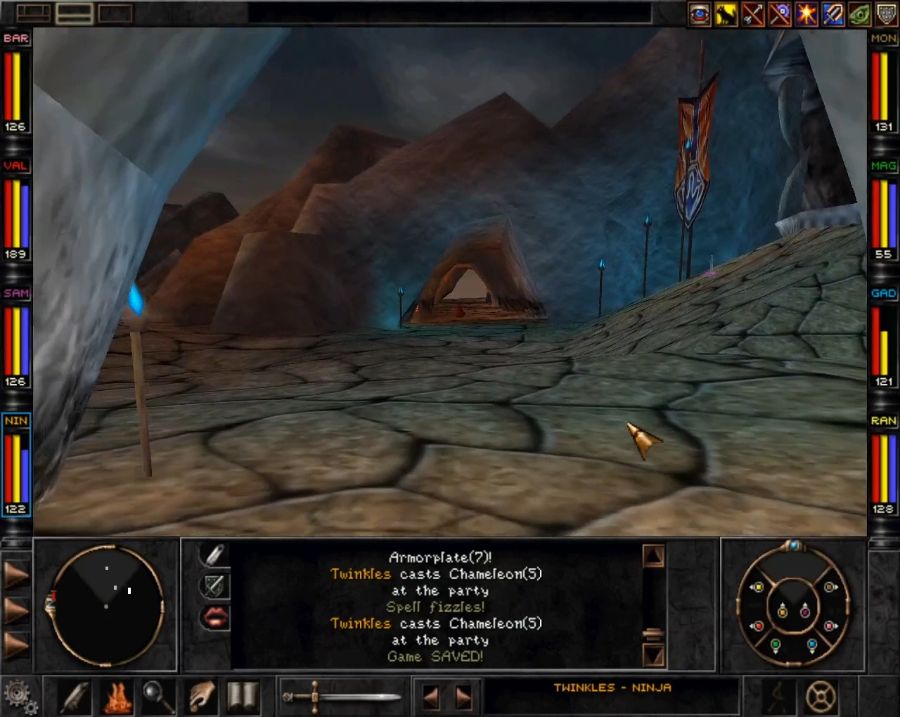 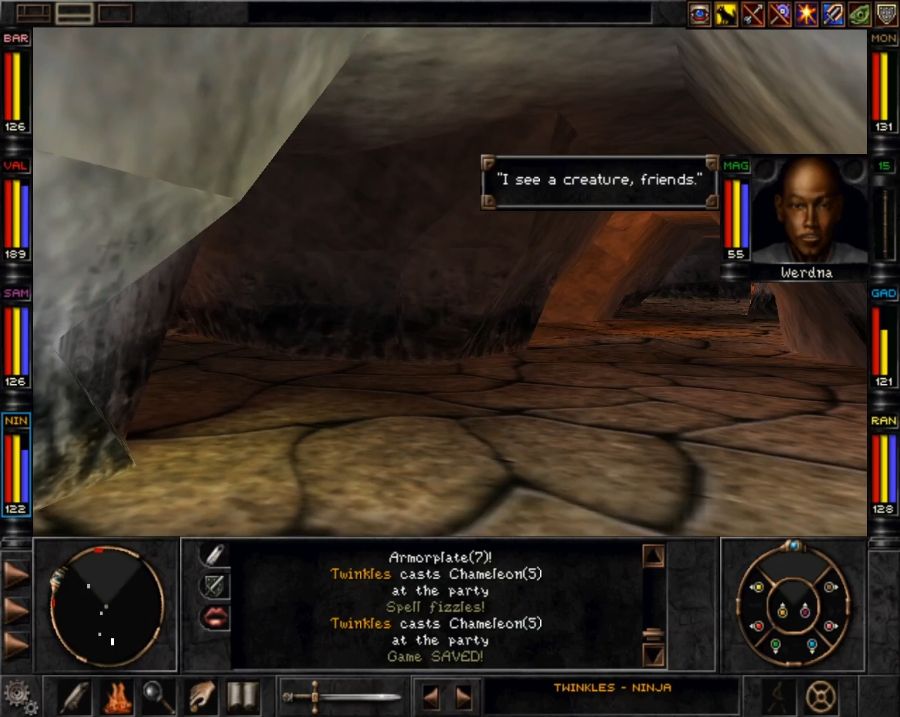 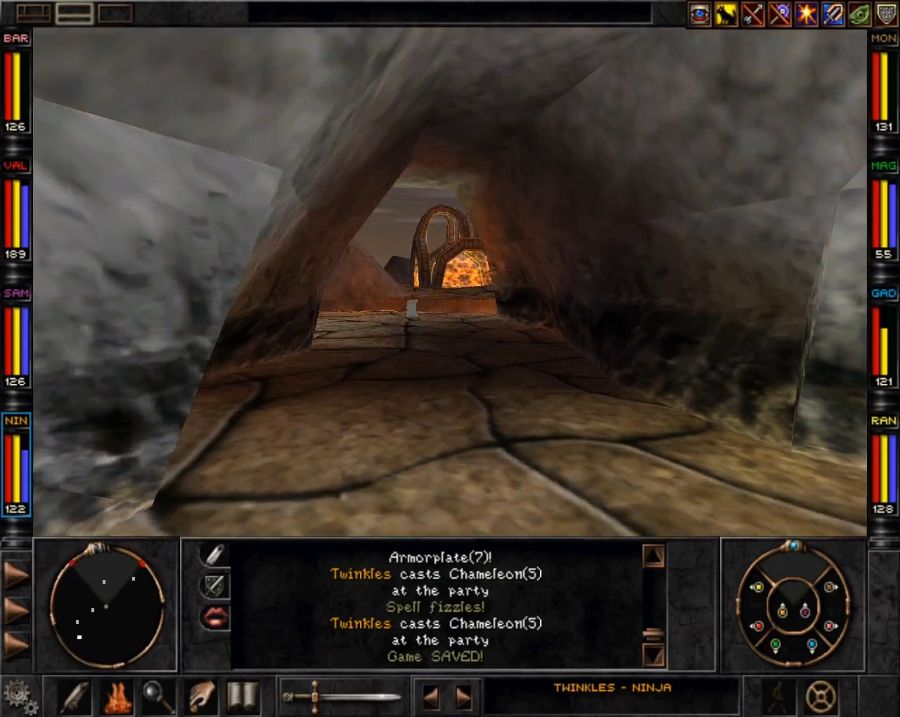 I unwisely decide to do a bit of sightseeing. 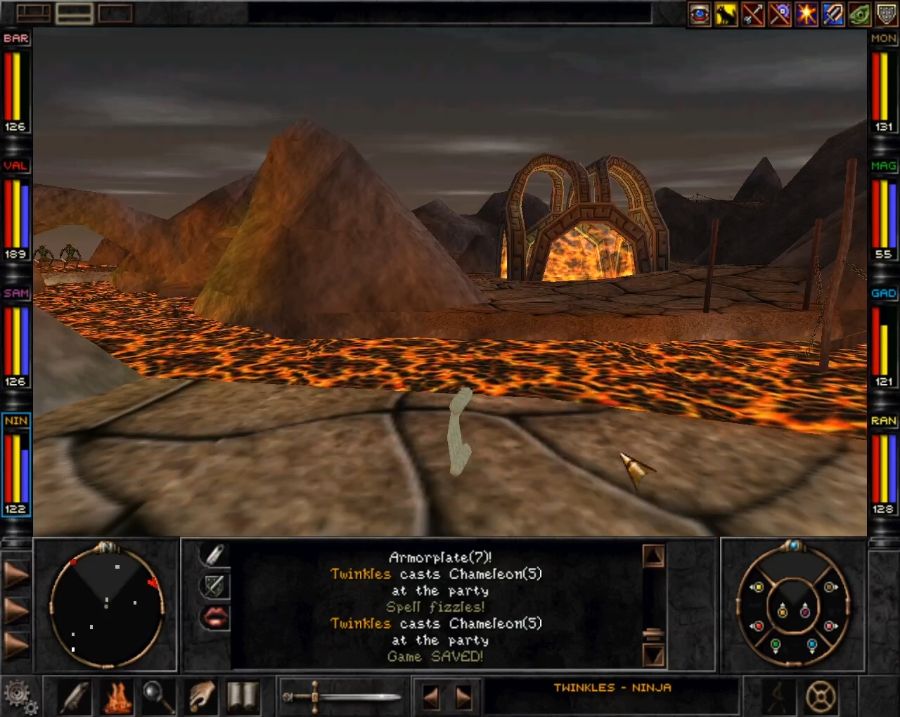 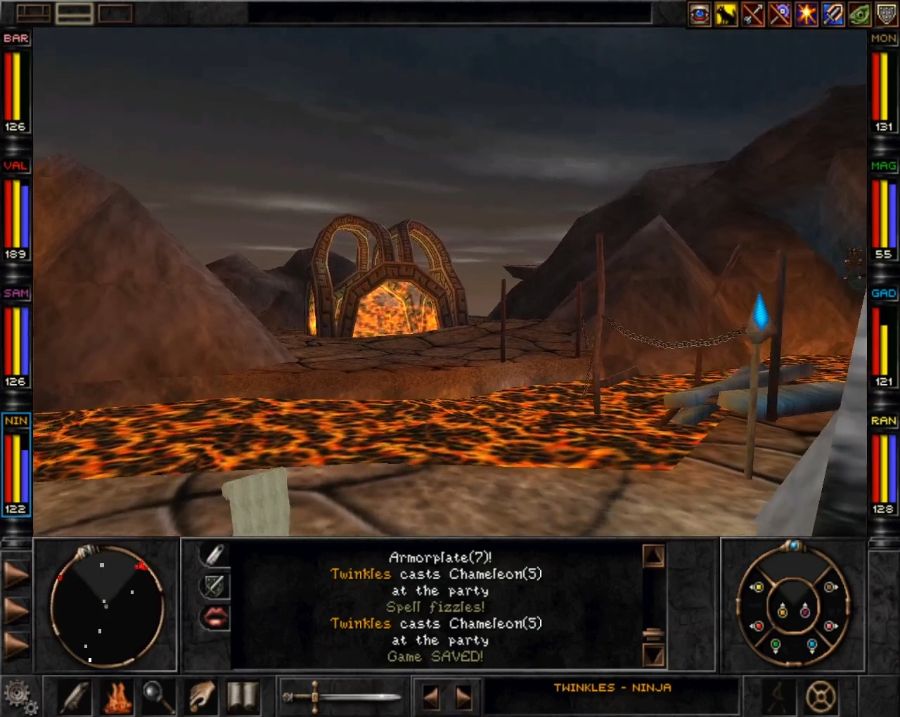 Let's get some nice screensh- 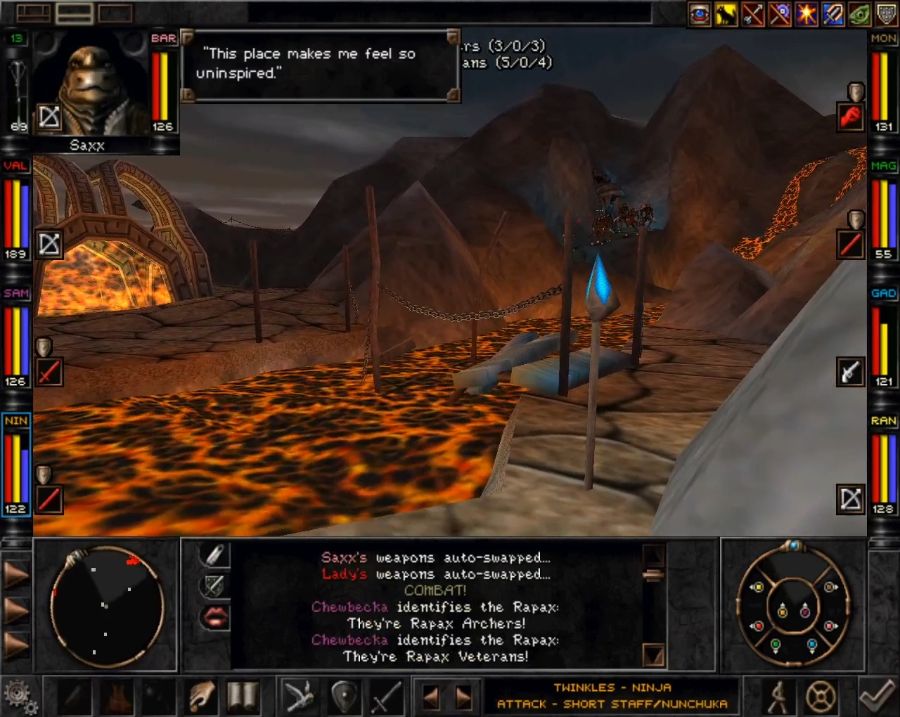 gently caress me. So, let's talk about why the Rapax Rift is really Hell. See, it's got very broken terrain, and in some parts of the game, with broken terrain/height differences, enemies can't aggro across them(like the switchback leading up to Bela in the Mountain Wilderness), but the Rift has no such barriers. Now, this is one of the less annoying ones, because the enemy can still path to us from there and we can actually fight and kill them(we will need to path to each other since killing enemies entirely via magic and ranged attacks takes forever).   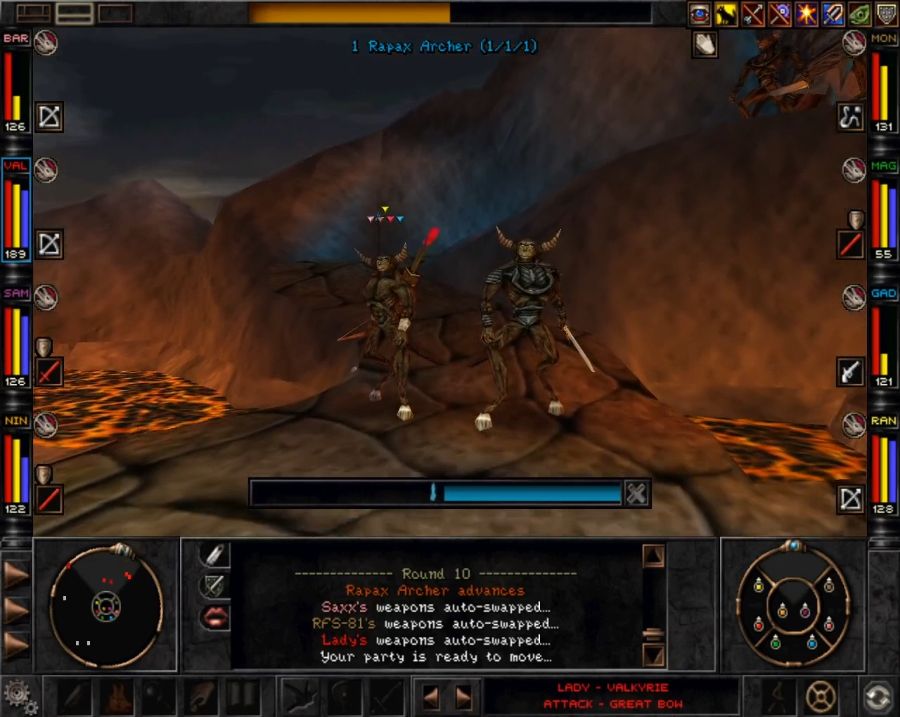 Enemies who can't reach you for long enough eventually de-aggro so you can get out of the fight, but it's very inconsistent. Theses veterans de-aggroed until I reached them, and then re-aggroed.  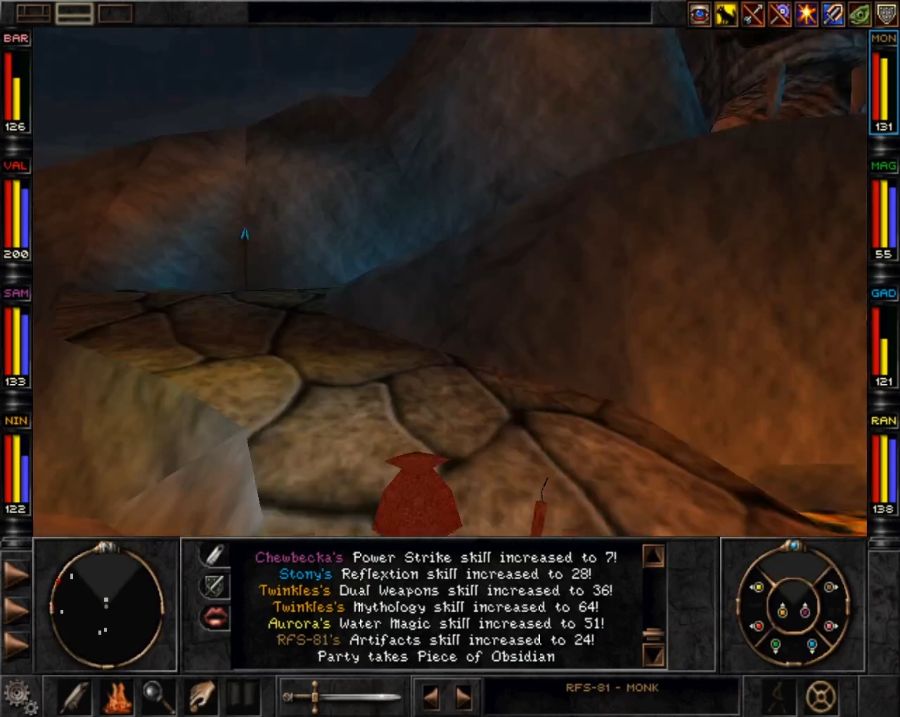 Finally, mulched them. 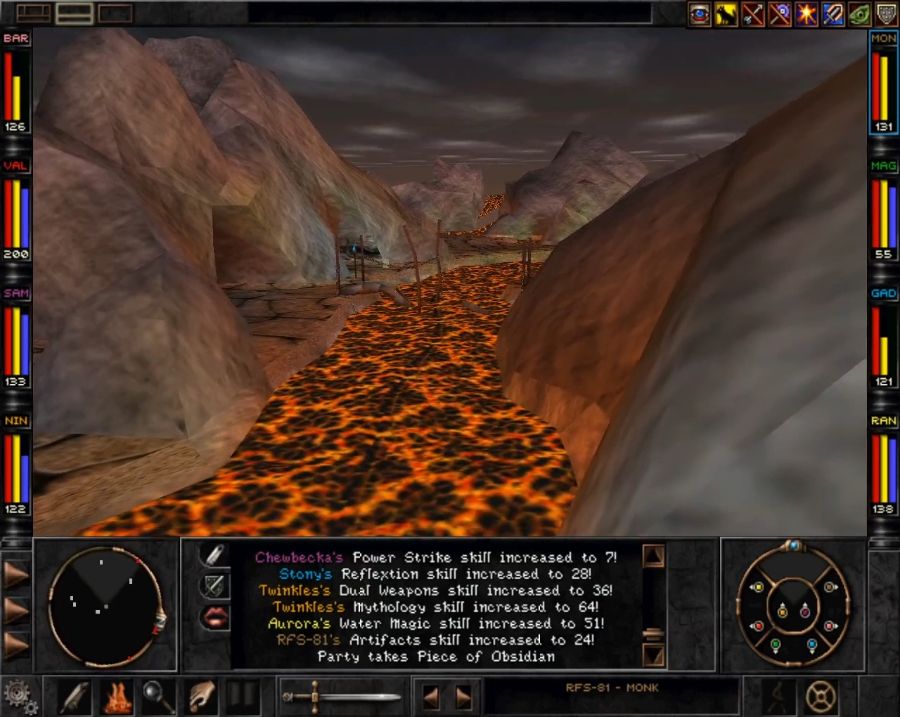 Nice view from up here. 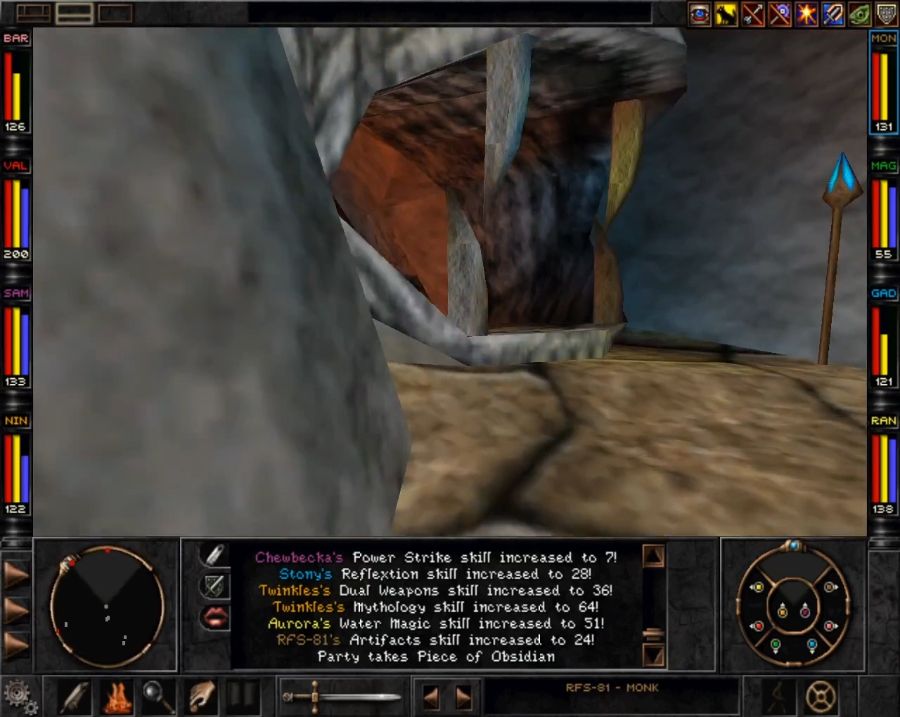 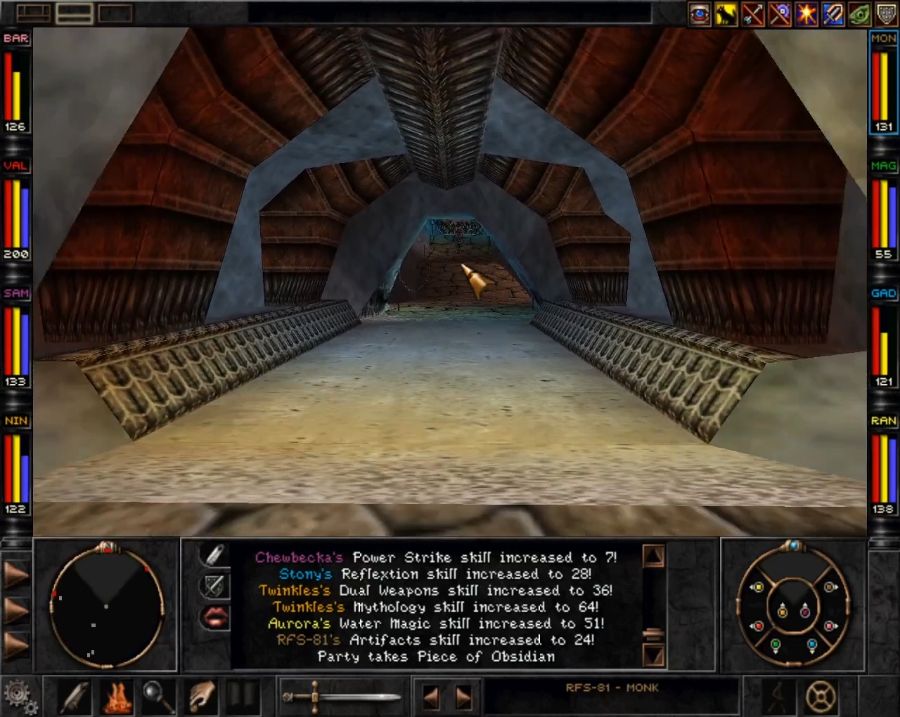 And instantly another encounter. The Rift has EXTREMELY high spawn rates for enemies. 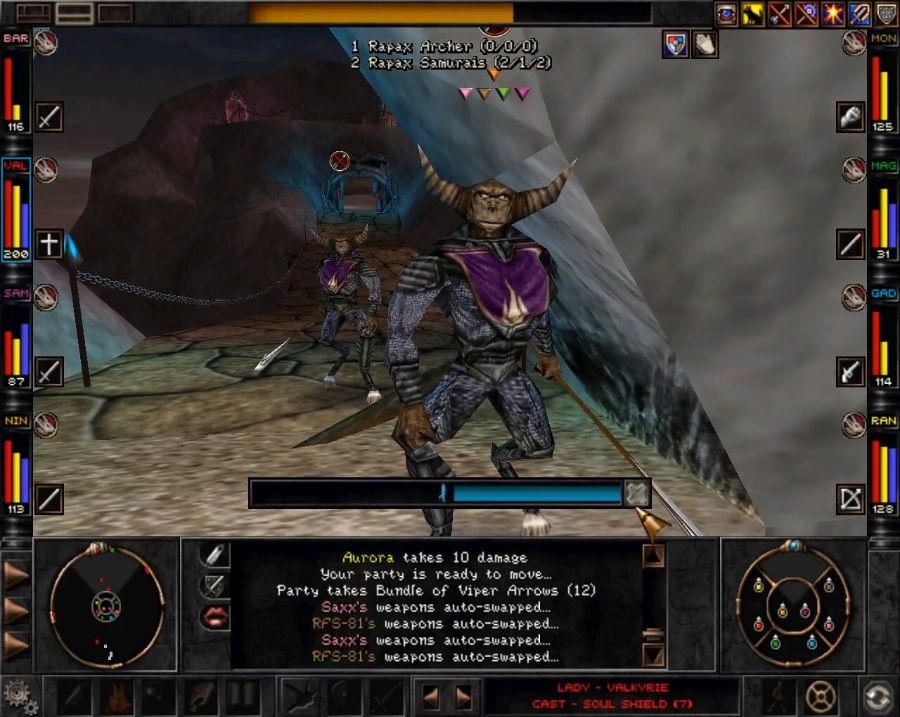 At least this time the presence of a small squad of Rapax samurai adds some marginal challenge and requires me to pay attention to the fight. 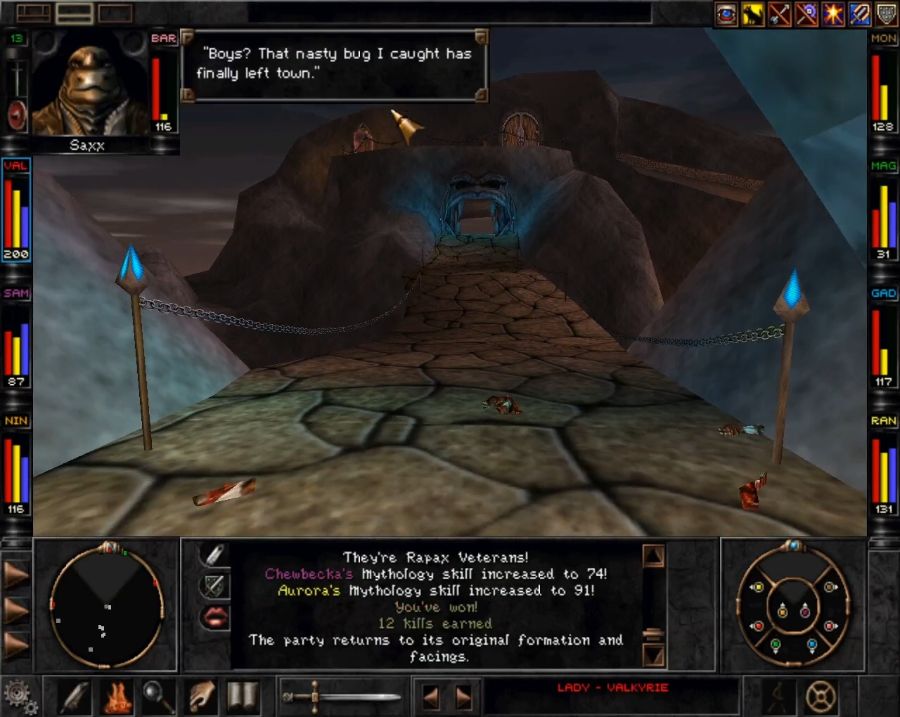 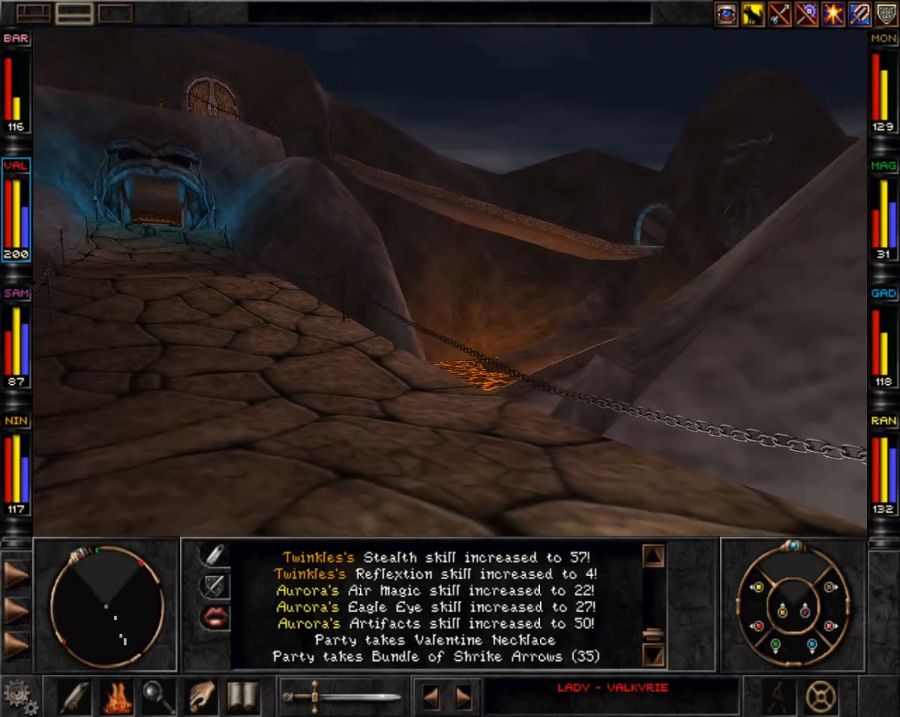 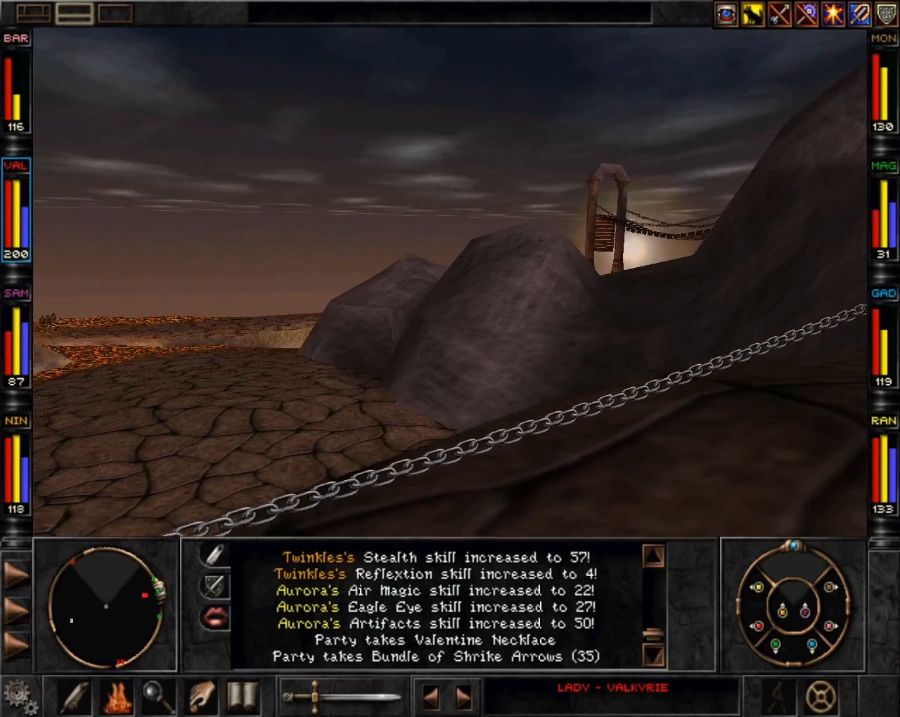 Now we're getting to the real bad parts of the Rift. Because once we aggro someone who's on a differently elevated platform and can't get to us, disengaging is going to take like two or three minutes every single time. 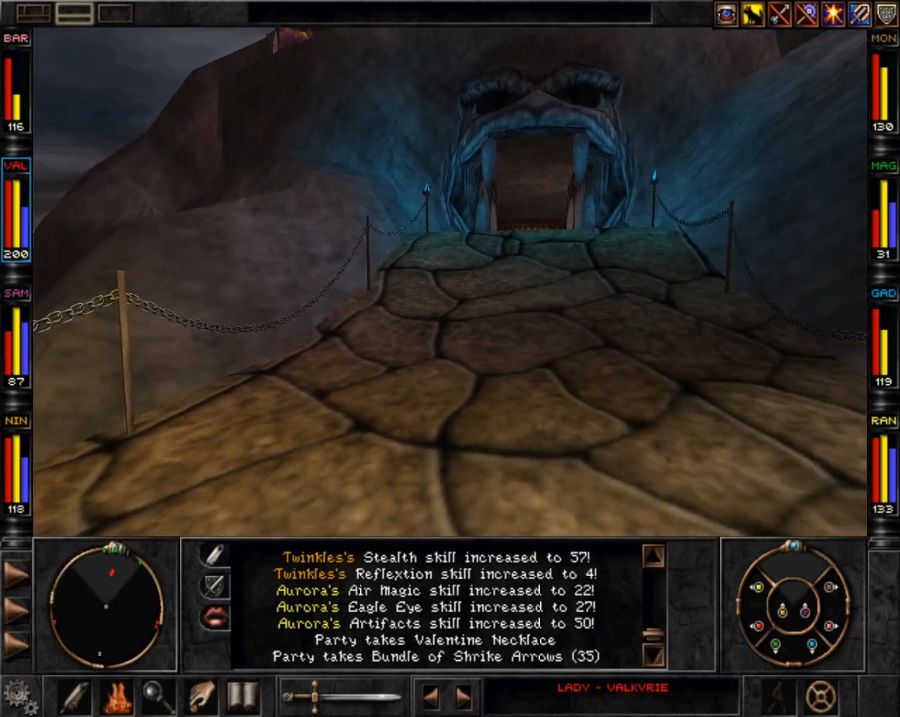 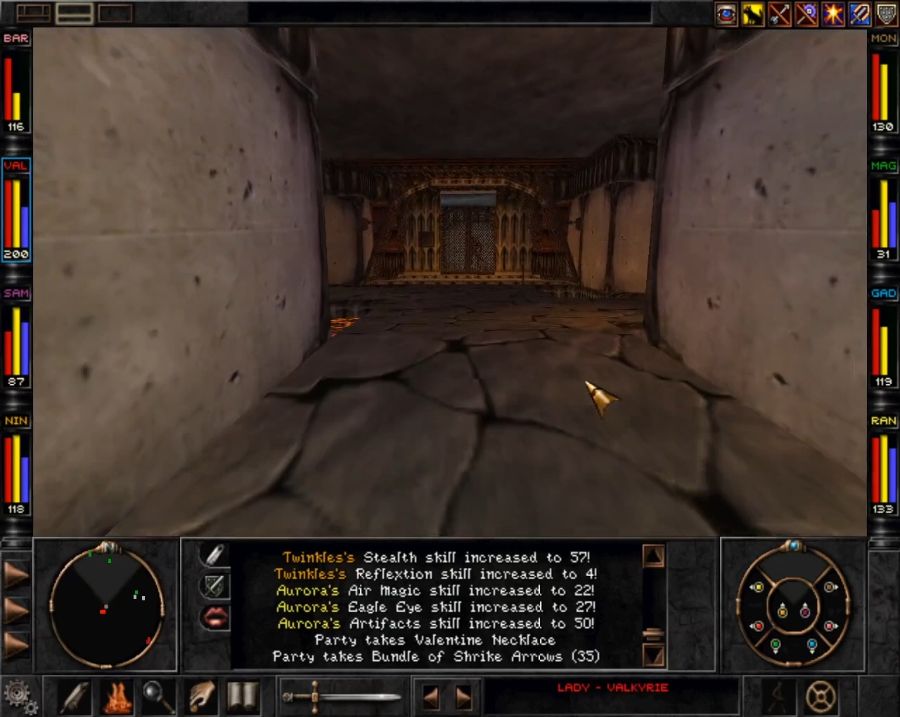 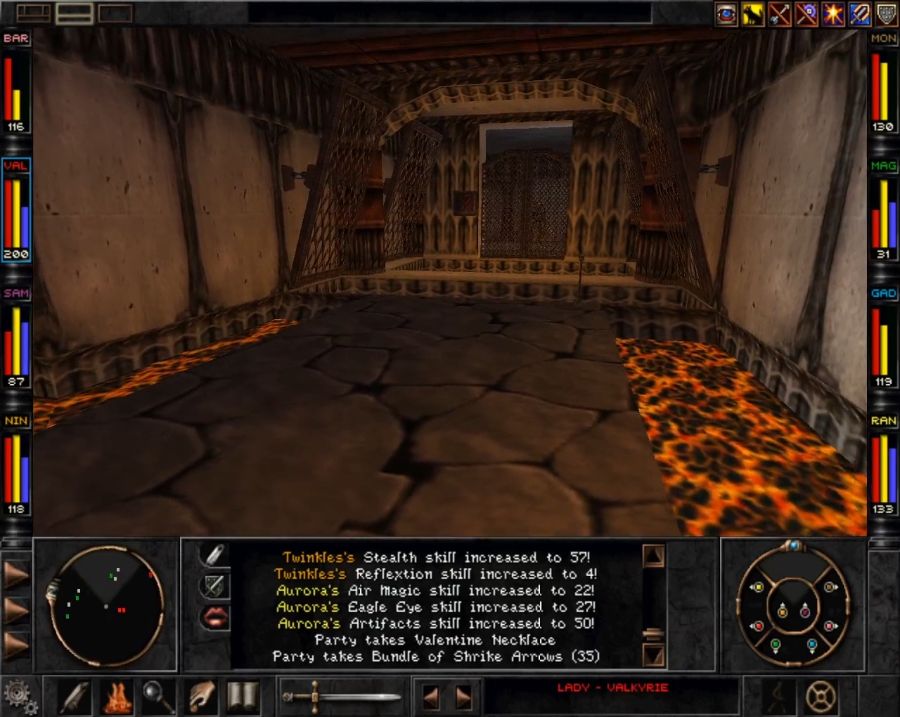 This is another prison, and a competently built one, too. No one's getting out unless they feel like jumping over lava pits or someone comes by and folds down the grated floors over the lava flows. Sadly we can't save the prisoners here, even if we let them out, they just moan about how everything is doomed and Al-Sedexus is going to kick our asses and theirs, too. Not that we actually can let them out from here, the actual buttons for opening their cells are like half a kilometer away. Again, competent security design from the Rapax. 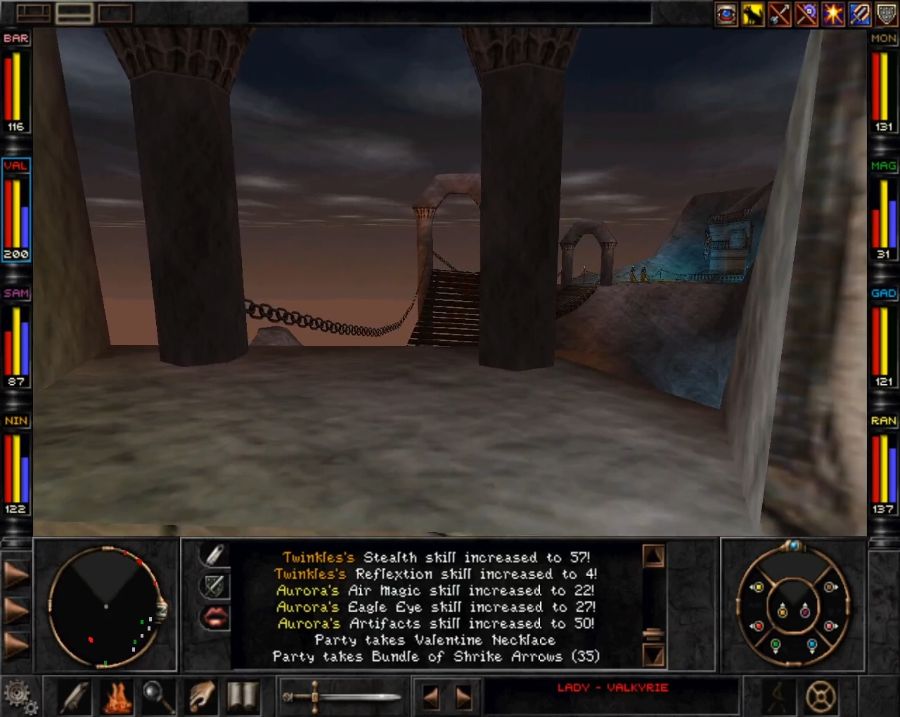 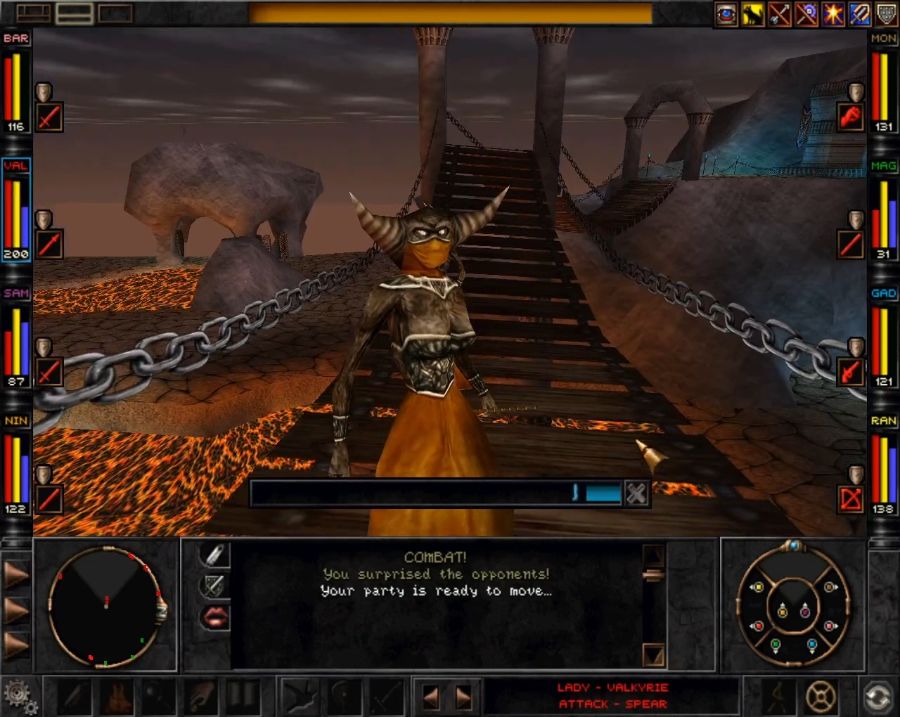 Another type of enemy that's almost unique to the Rift and its sub areas are Rapax initiates and priestesses. They're pretty unscary casters, though, and I think in two hours of stomping around the Rift the worst they managed to do was silencing Chewbecka and Lady a couple of times. 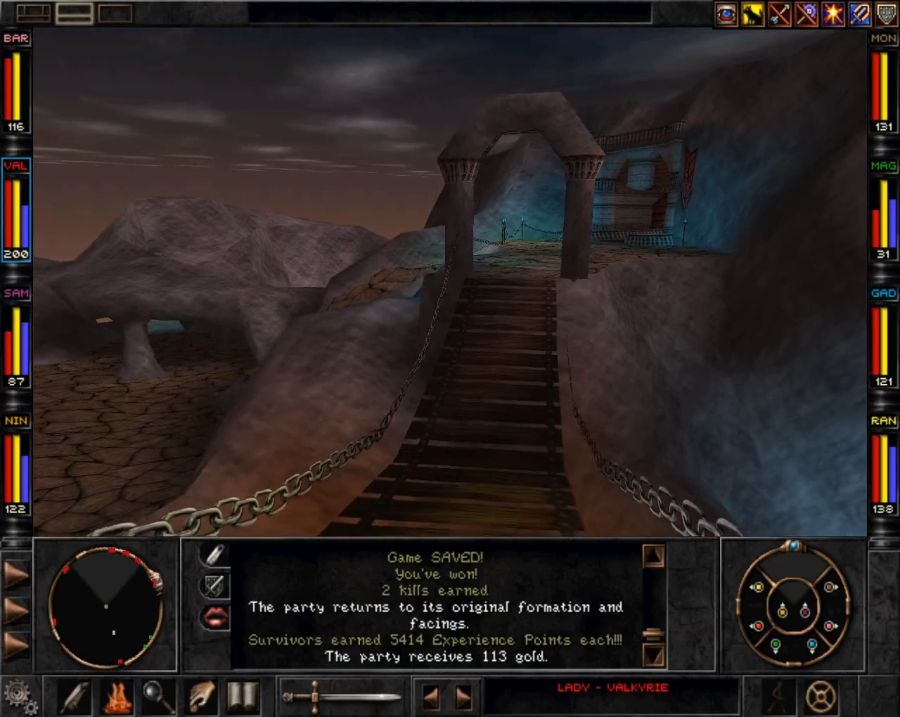 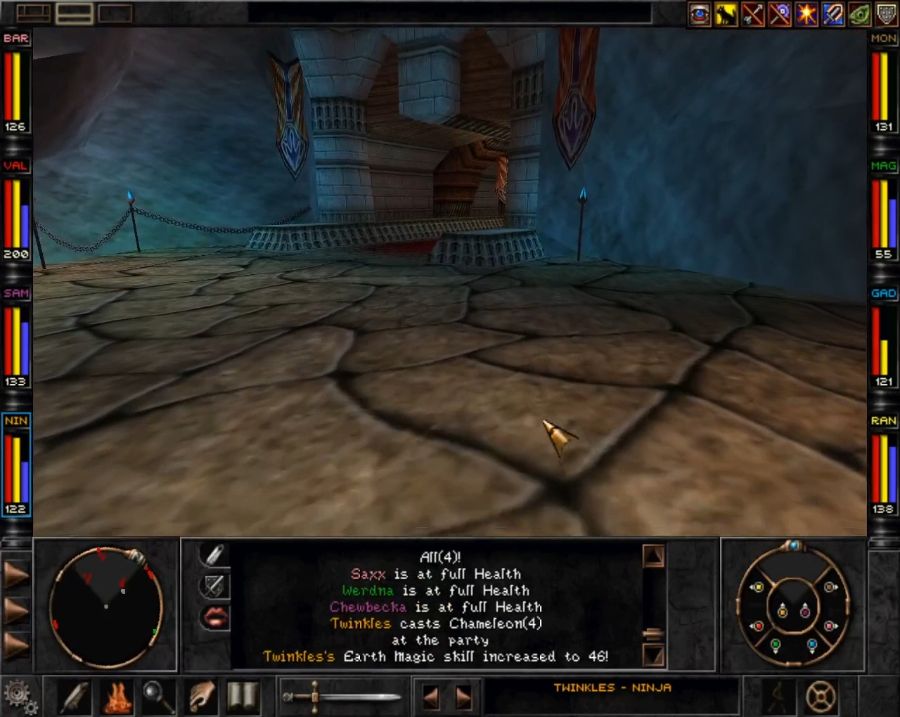 In addition to the constant spawns and borked engagements, the Rift has a couple of small one-way paths that can waste you some time if you take them at the wrong point. Though some of them don't feel like they're intended to be one-way. For instance, the path on the left here is just a little bit too steep to climb again, while I feel like it was probably meant to be climbable. Still, we'll hit this level first. There's actually something here we want. 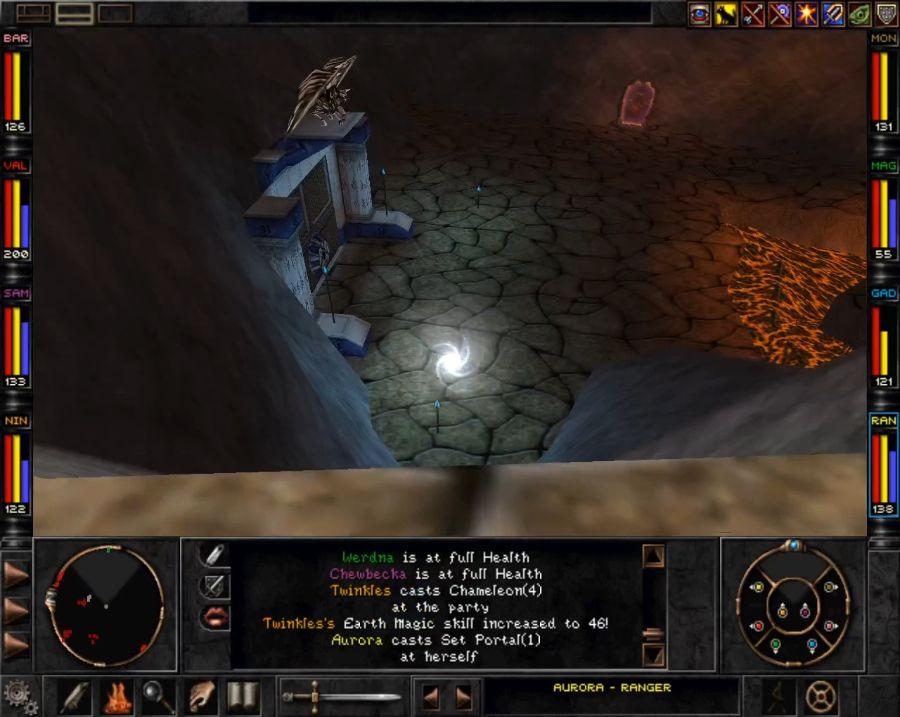 Also looking down the cliff to our right we can see our eventual goal for this area. 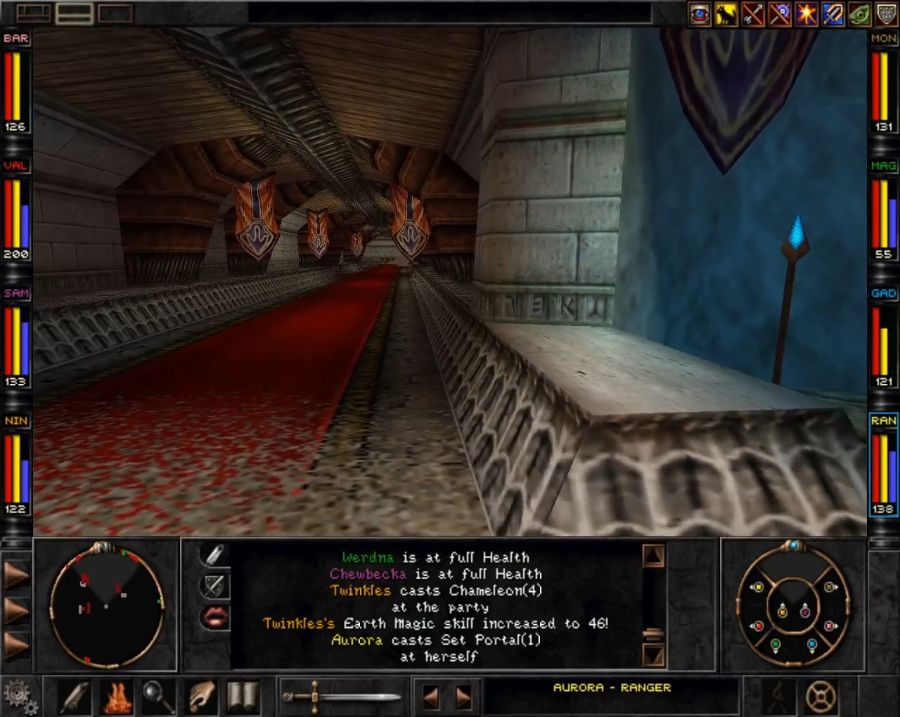  This area has several small rooms and the buttons to open the cells back in the prison. 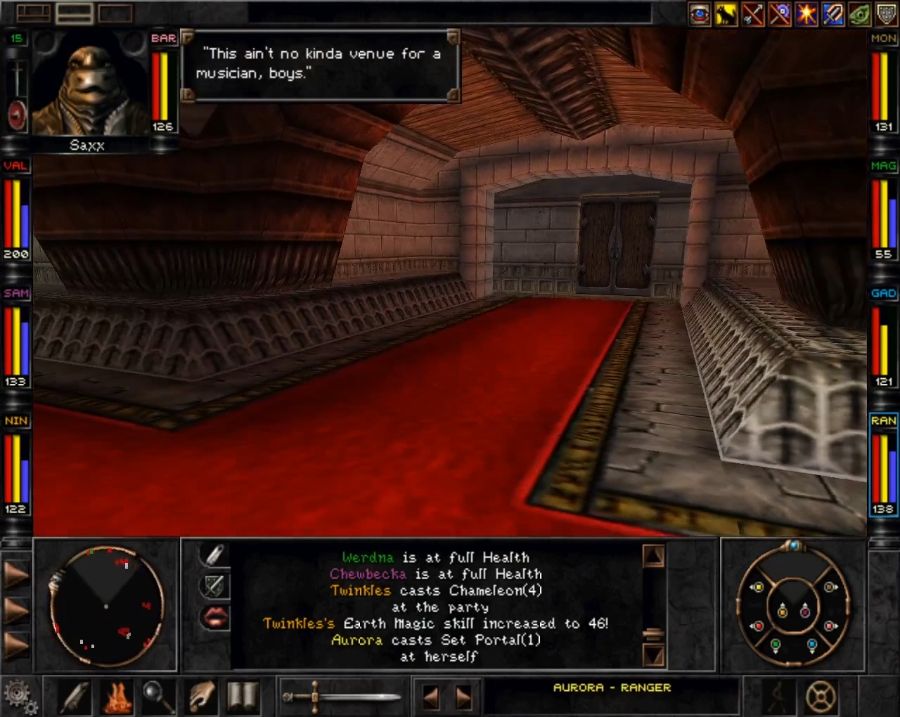 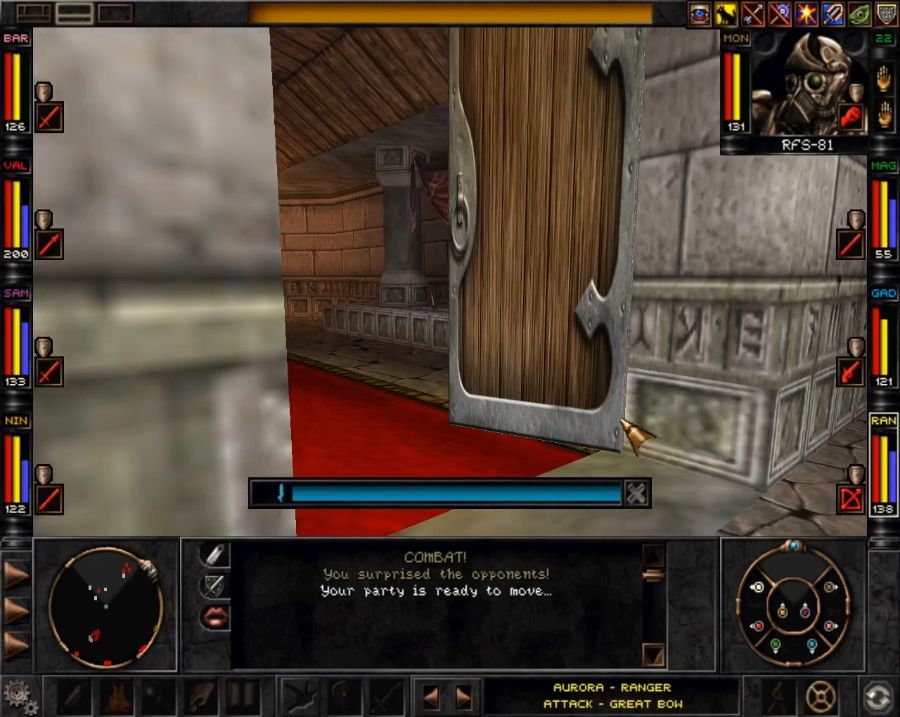 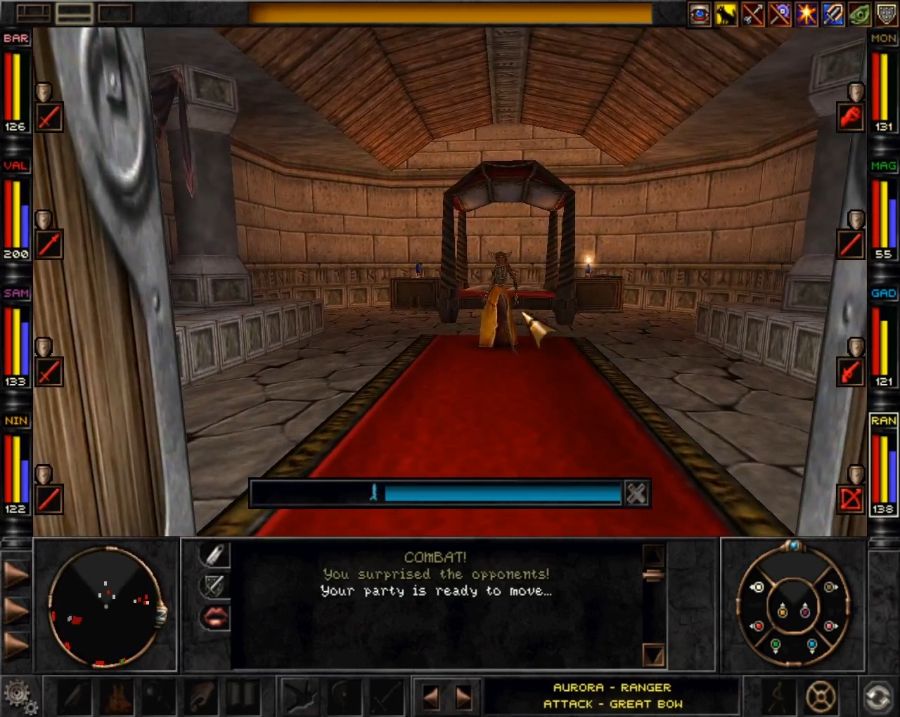 Each room has some combination of Priestesses and Initiates and some pre-placed loot around the edges. Most of this loot is just generic scrolls and potions. 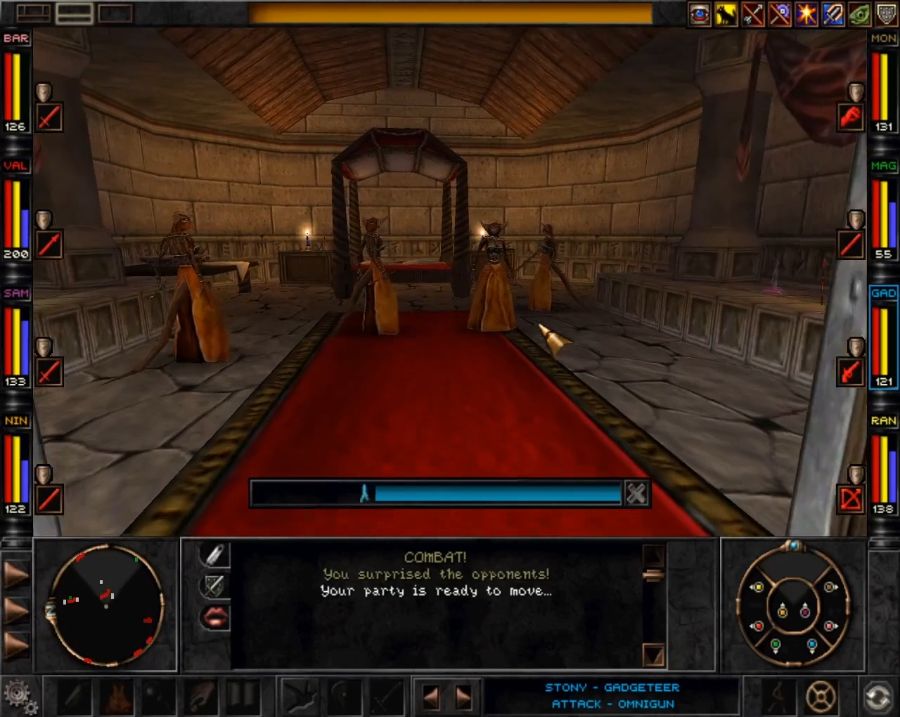 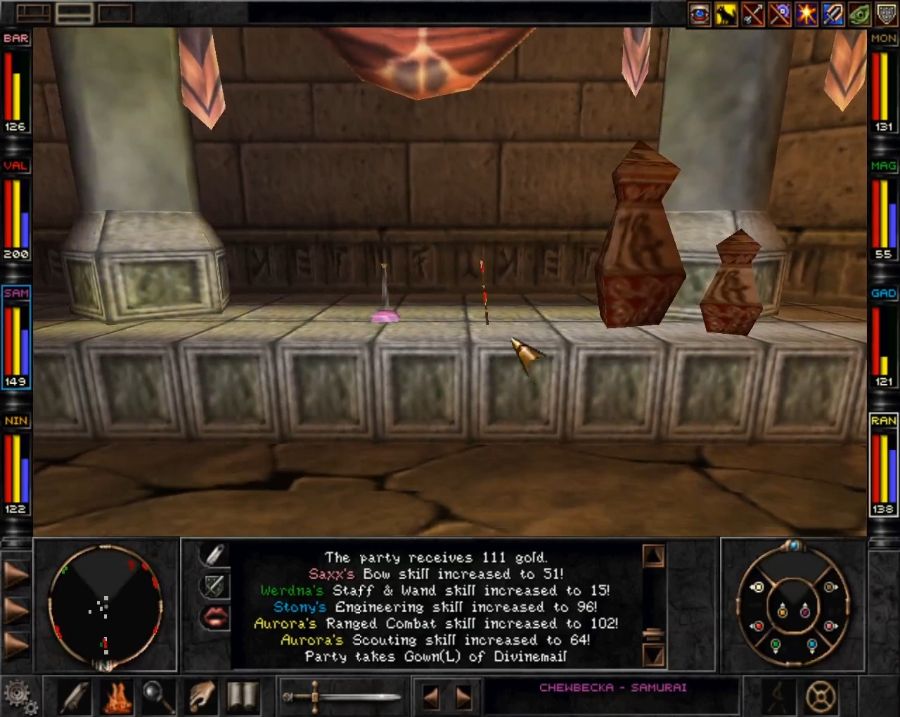 Oh and this wand that has the exact same 3D model as every other generic wand, you'd be excused for thinking it was just a pair of Knock Picks or something. But is it? Nope! 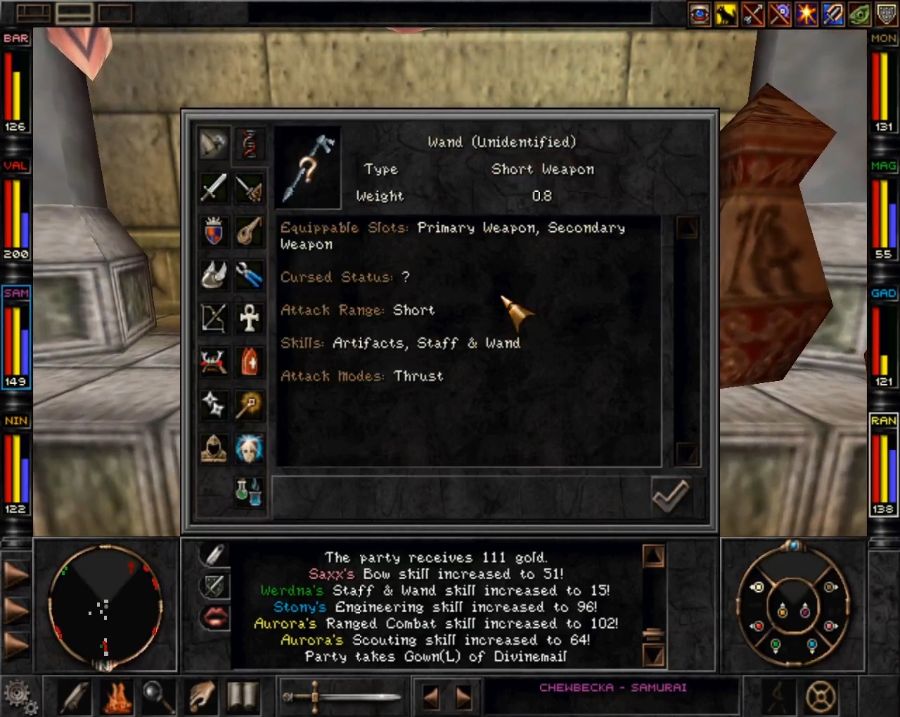 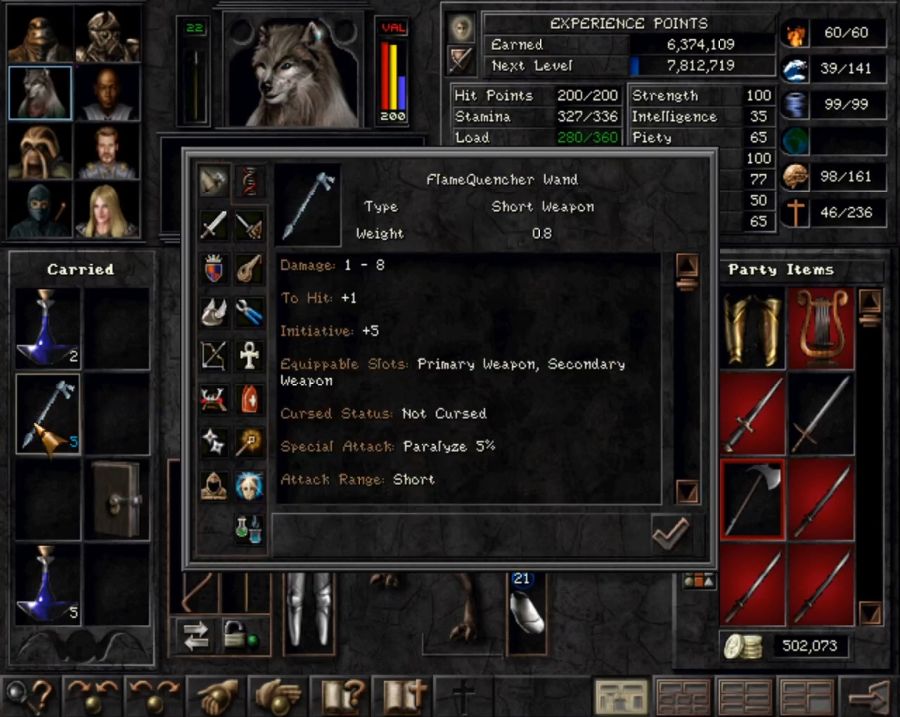 If we want to get the Staff of Ash and free our Rapax prisoner buddy, we need this thing. Also if you were real hard up for a decent secondary weapon, you could do worse. 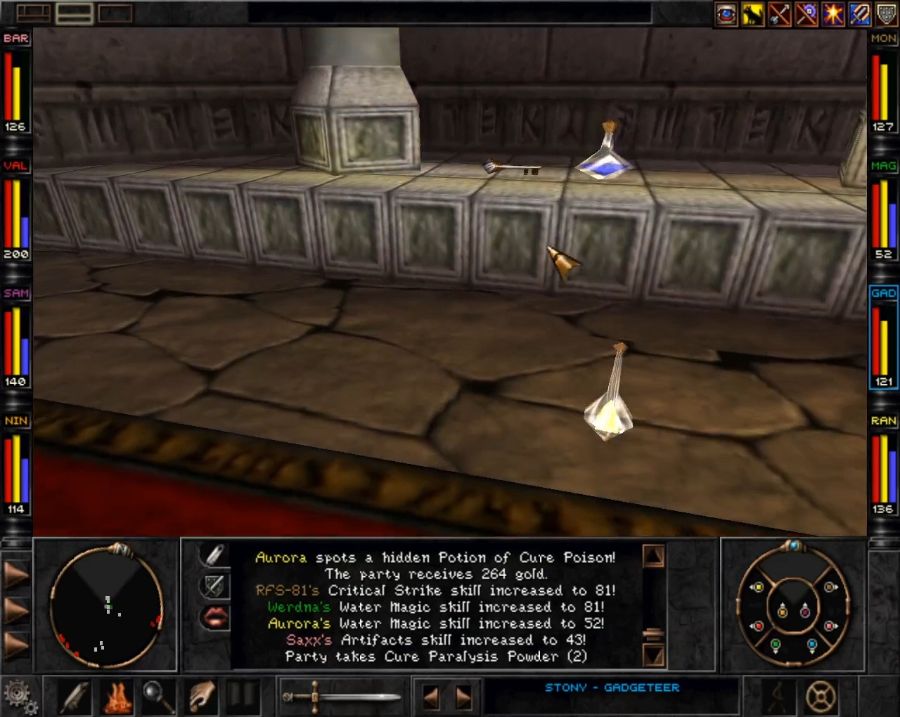 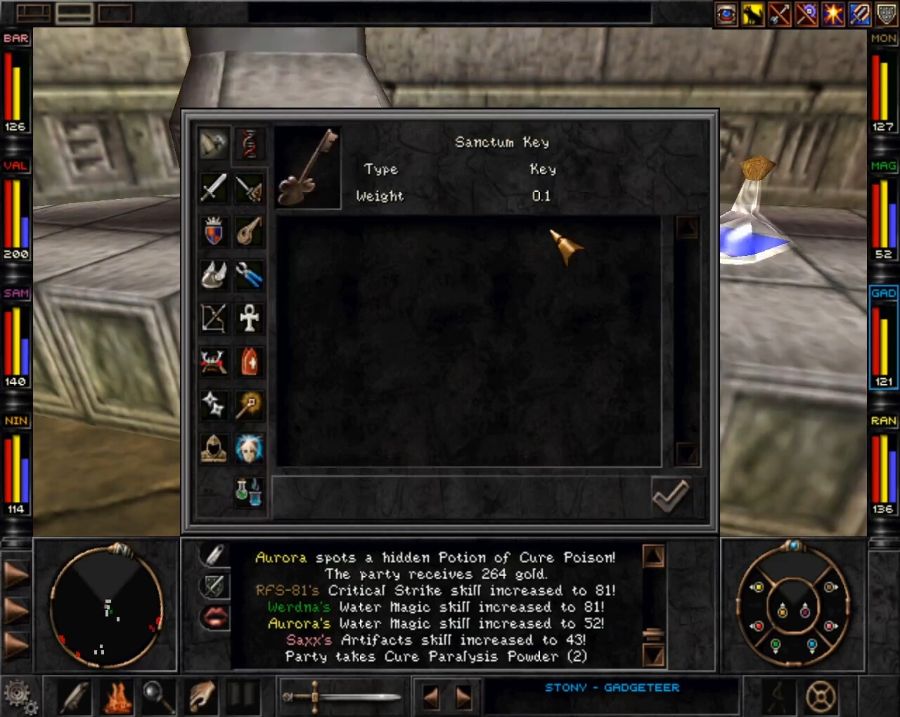 Another room holds another item we'll need if we didn't do the thing where we climb Ascension Peak with less than 2 of the trinity and set a portal in advance. Also we'll want this key because it unlocks some areas where we can potentially get some good loot. I then loop back quickly to listen to the prisoners whine. 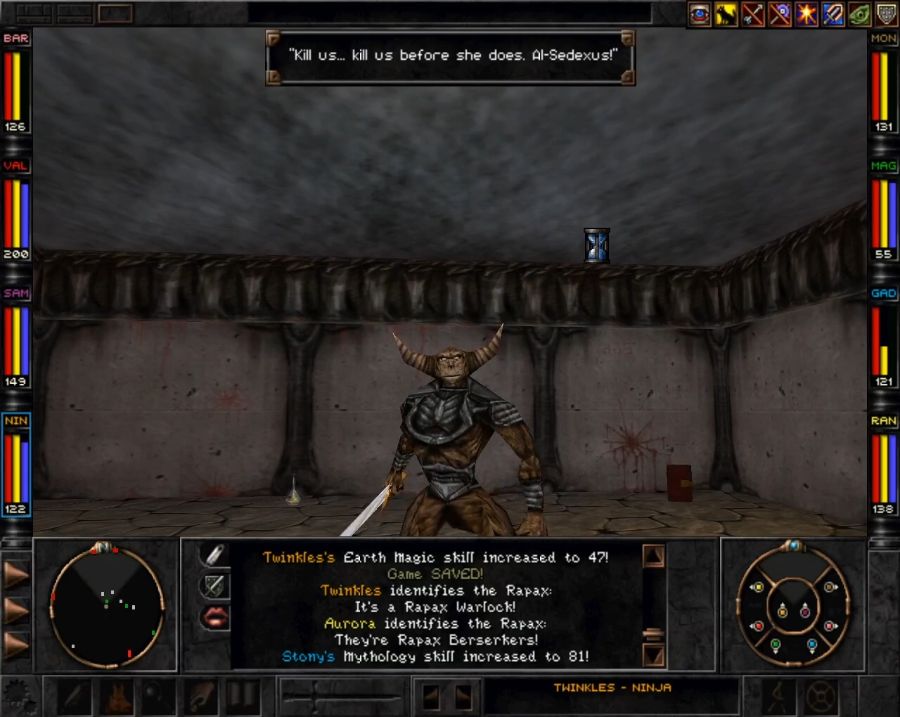 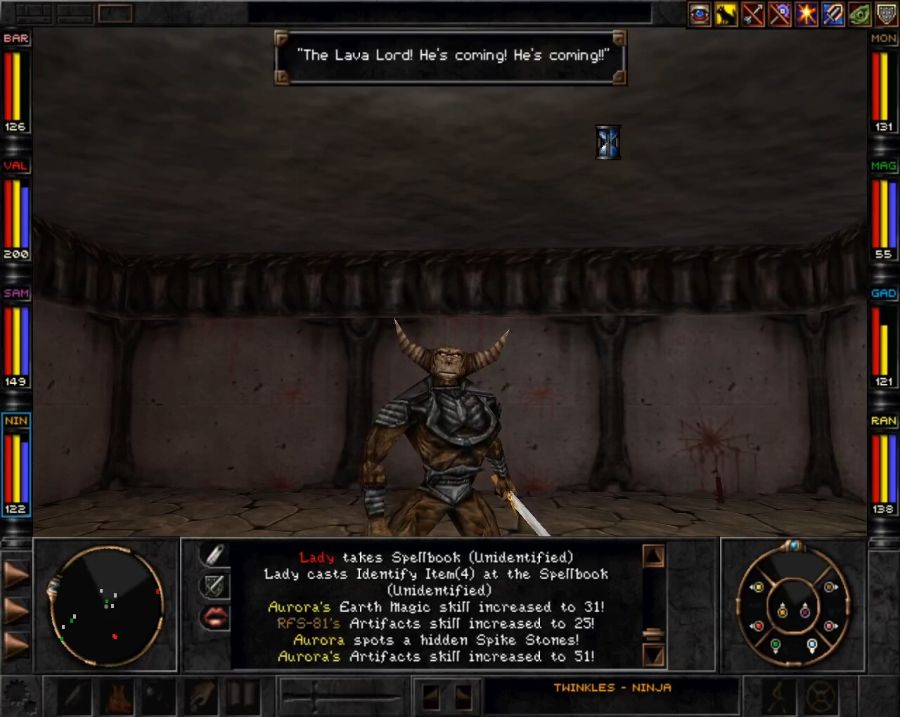 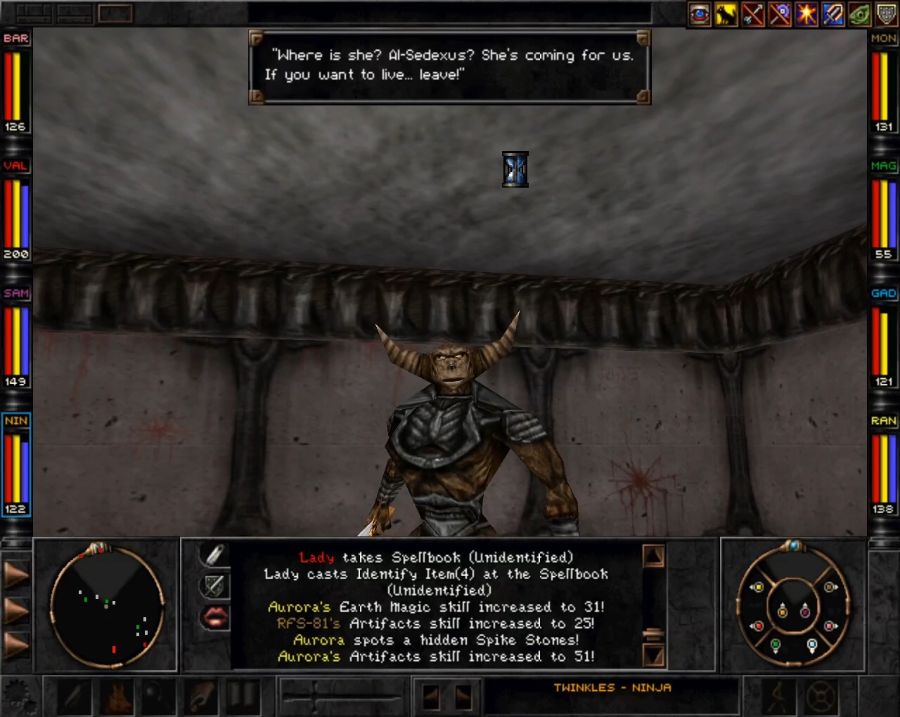 Real bunch of downers. I also hope we don't meet this Al-Sedexus, they don't sound fun to deal with. 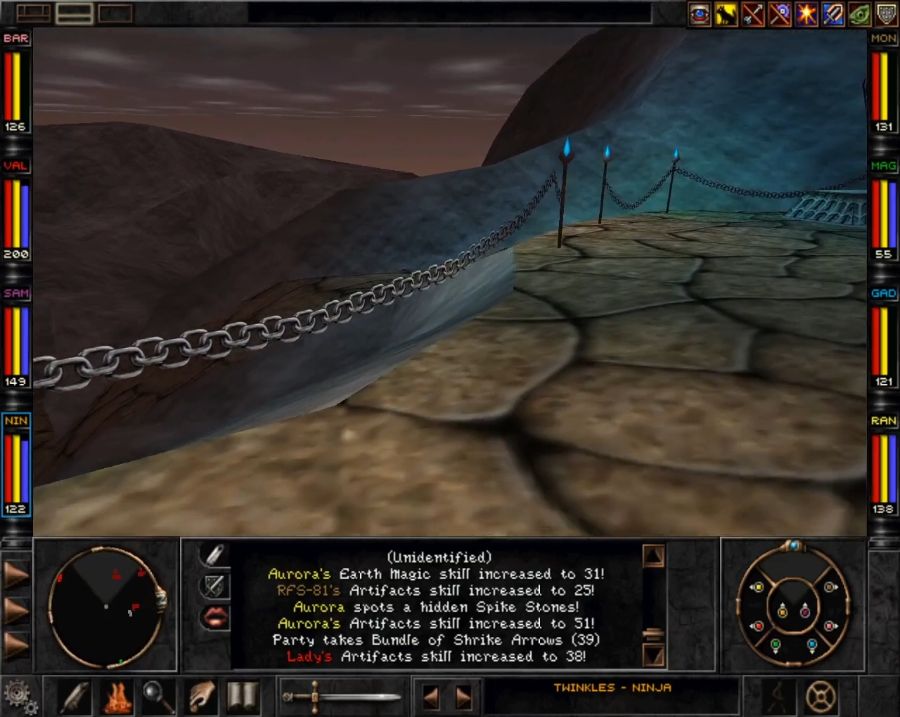 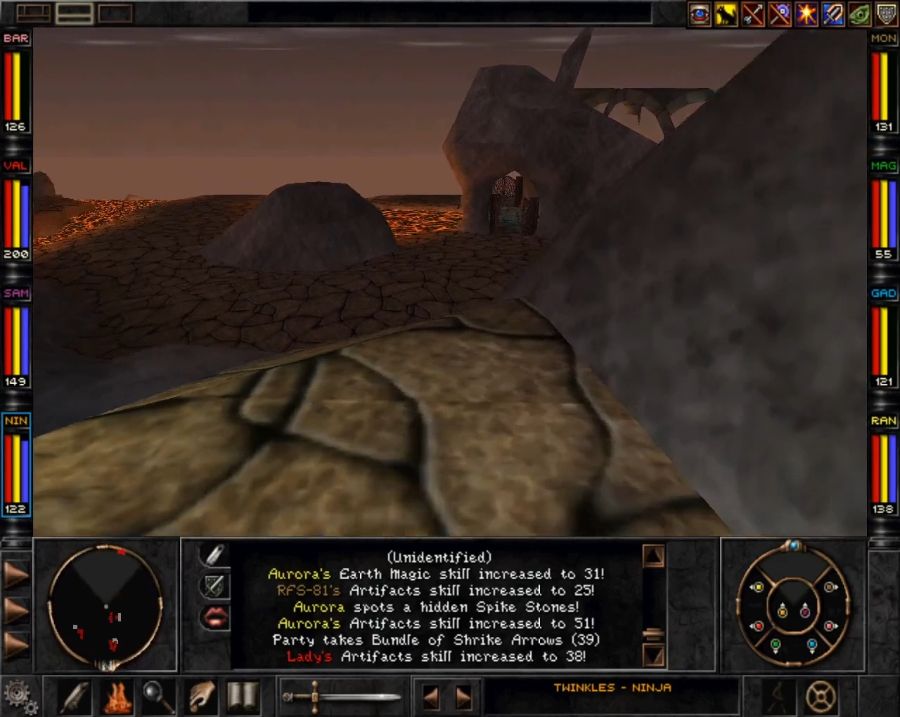 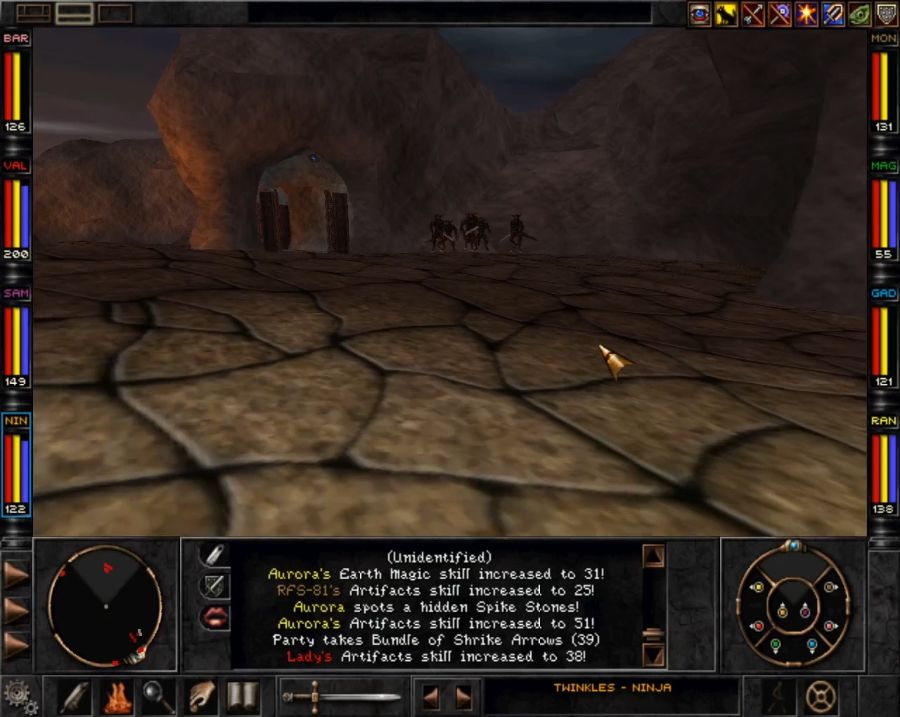 The little slope leads to four paths. The one straight ahead is just the quick path back to our prisoner buddy. 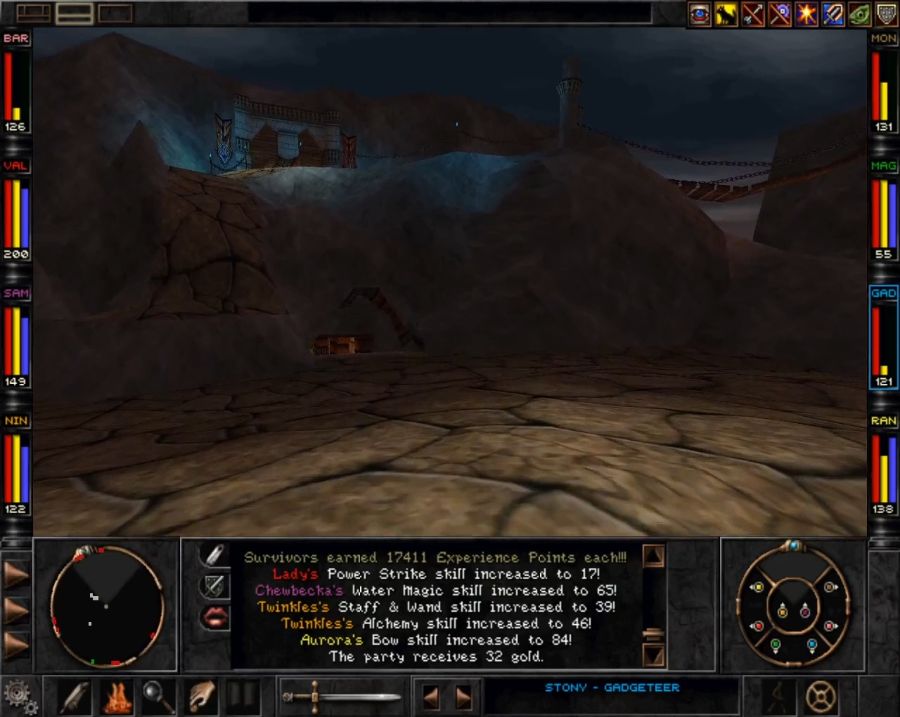 Immediately below the drop-down is a prison containing only Rapax undead. There's nothing important there and the pre-placed loot is garbage, too. 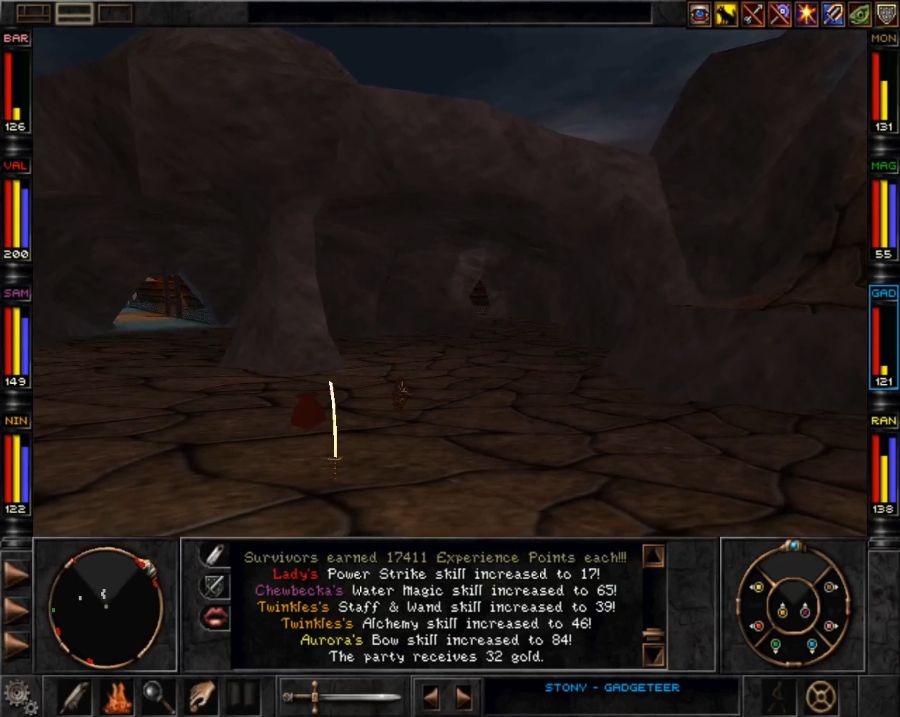 Then there's these two corridors. The one on the right is blocked by a locked door, the one on the left is open. Obviously we have to go where we can. 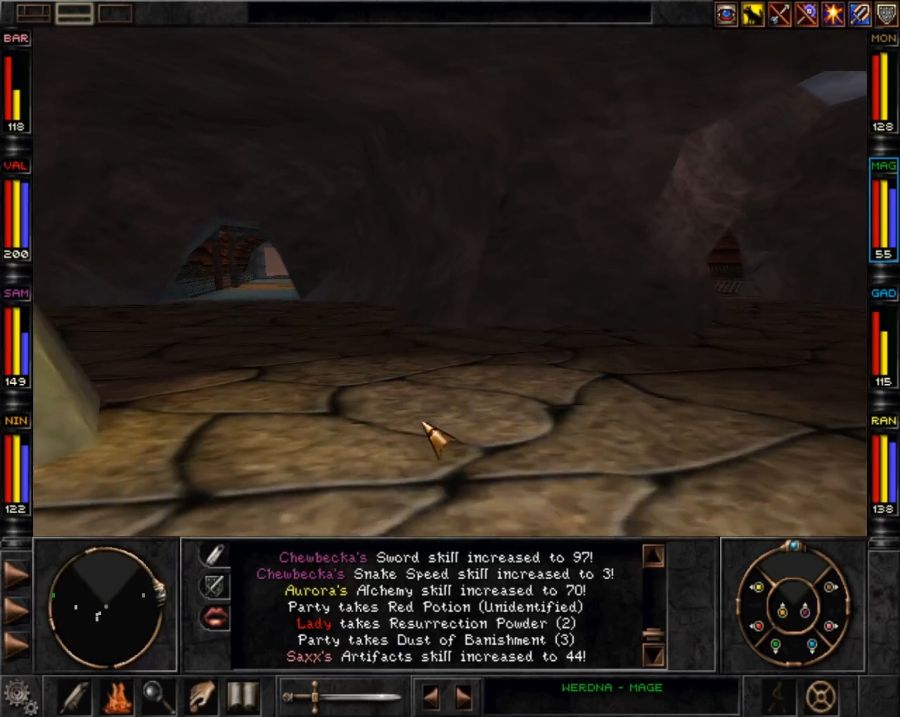  As soon as you get this far the screen starts shaking like crazy and a few small rocks fall from the ceiling. The cleft in the wall on the right heads to the other corridor we couldn't enter, but the bottom of the cleft is full of lava and so it remains uncrossable, for now. Up ahead is a Rapax spa where we murder the customers.  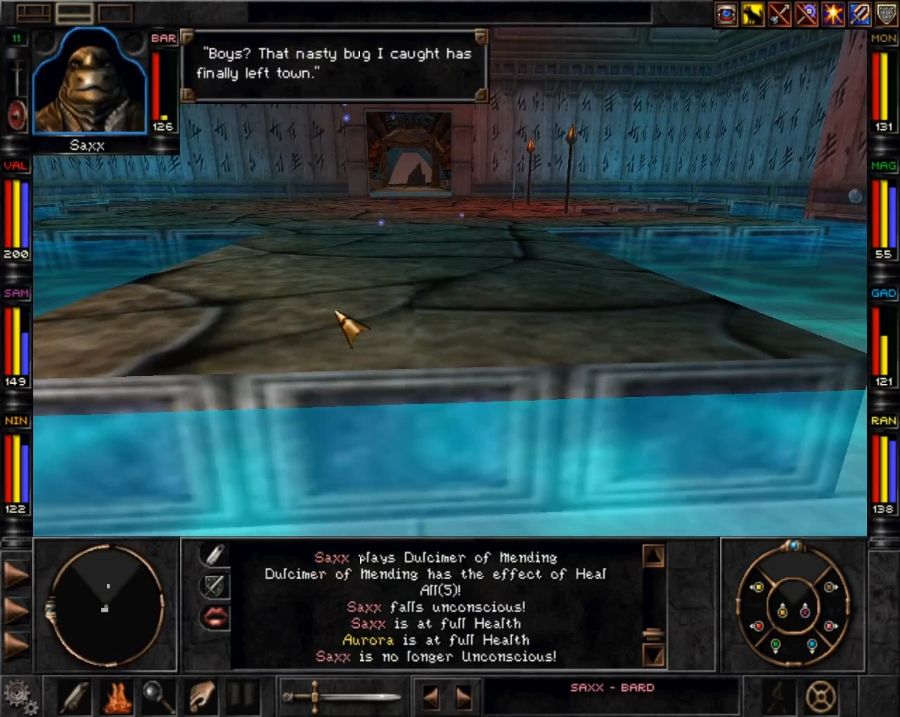 After a quick dip we then realize there was no reason to, as the spa contains nothing we're interested in(except for the delicious, delicious XP contained inside the previous occupants) and start heading back.   If I remember right, you can skip across the magma on the left without dying ENTIRELY if you're real fast. Alternately you might notice that you can interact with the bent support on the right... 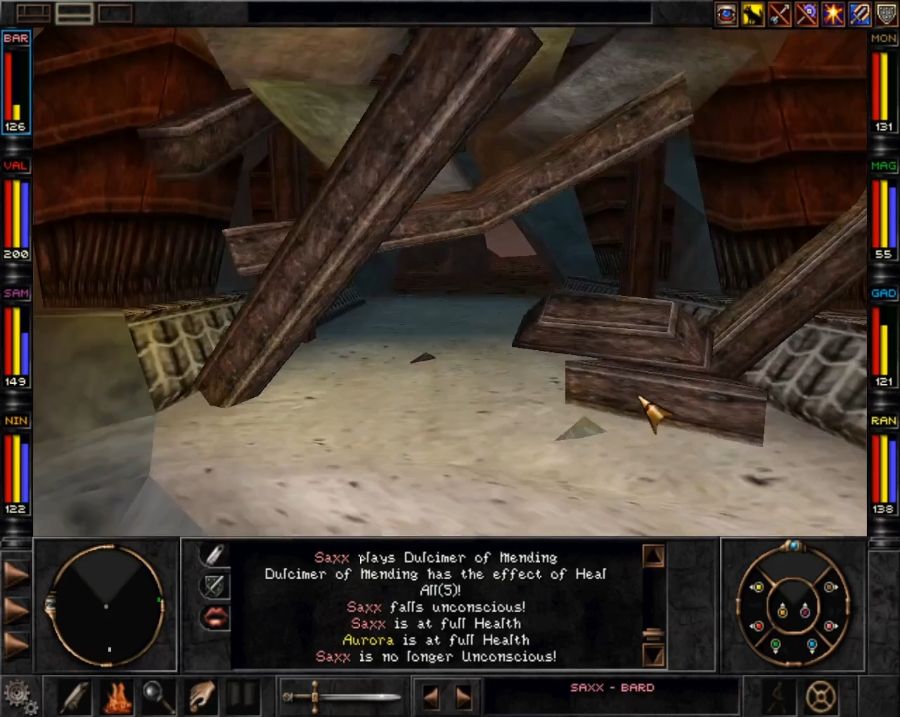 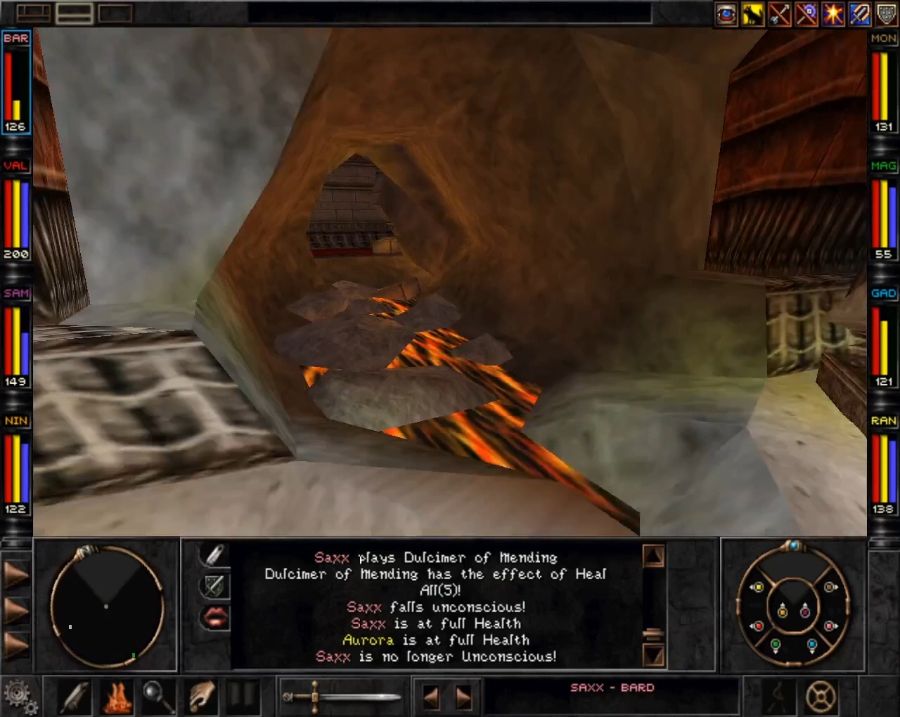 This blocks the passage behind you and lets you easily cross over here. I think you could potentially softlock yourself here if you set a portal behind yourself and teleported out at this point. At the very least you'd doom yourself to having to navigate Wizardry 8's awful slope-related physics as you tried to cross some magma channels to skip ahead to where you were meant to go. I remember once I fell into the magma and it wasn't an instant kill but it took me like thirty seconds to actually wrangle myself out by grinding myself against the sides of the stream. So don't be an idiot, just cross over into the next corridor and continue.  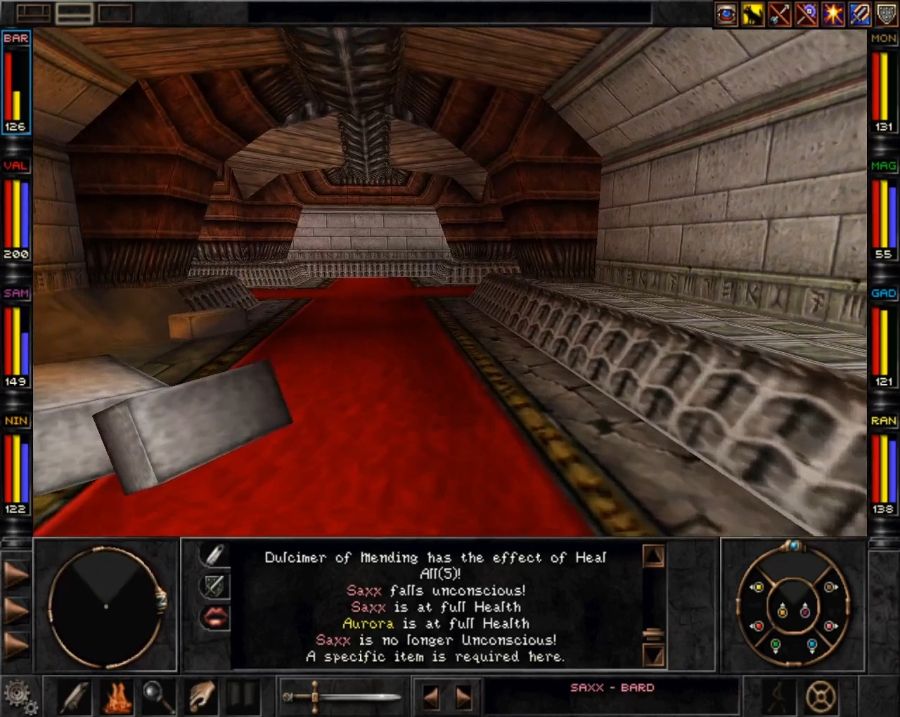 Locked door one way, passage the other way. Obvious choice. 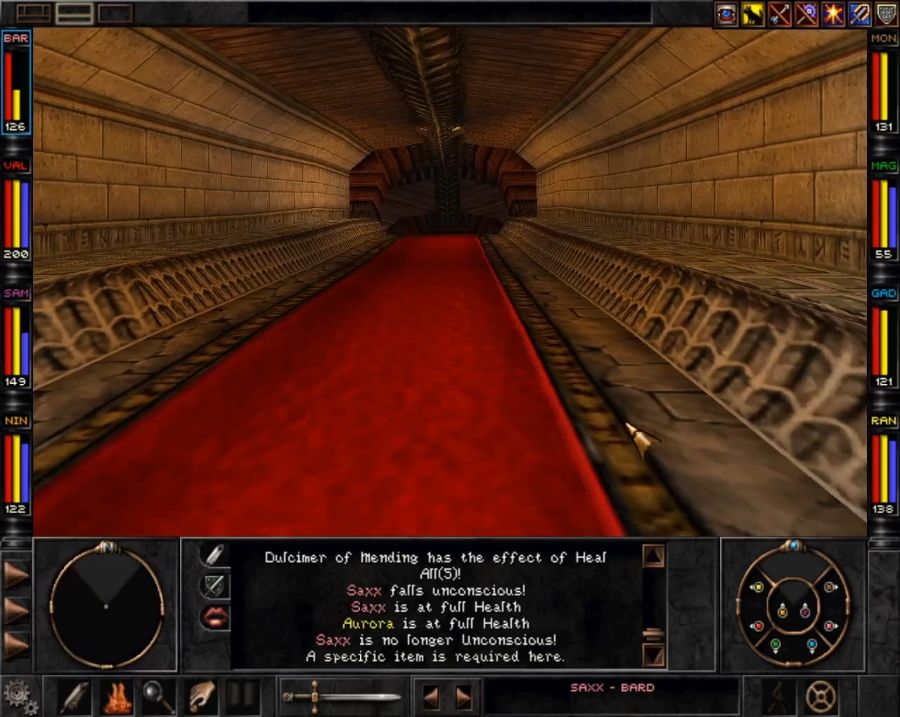 This time, rather than immediately busting into some poor unsuspecting Rapaxes' suites and mangling them, we start by climbing upwards. Windy twisty stairs until we're at the highest point we can reach in this particular area. 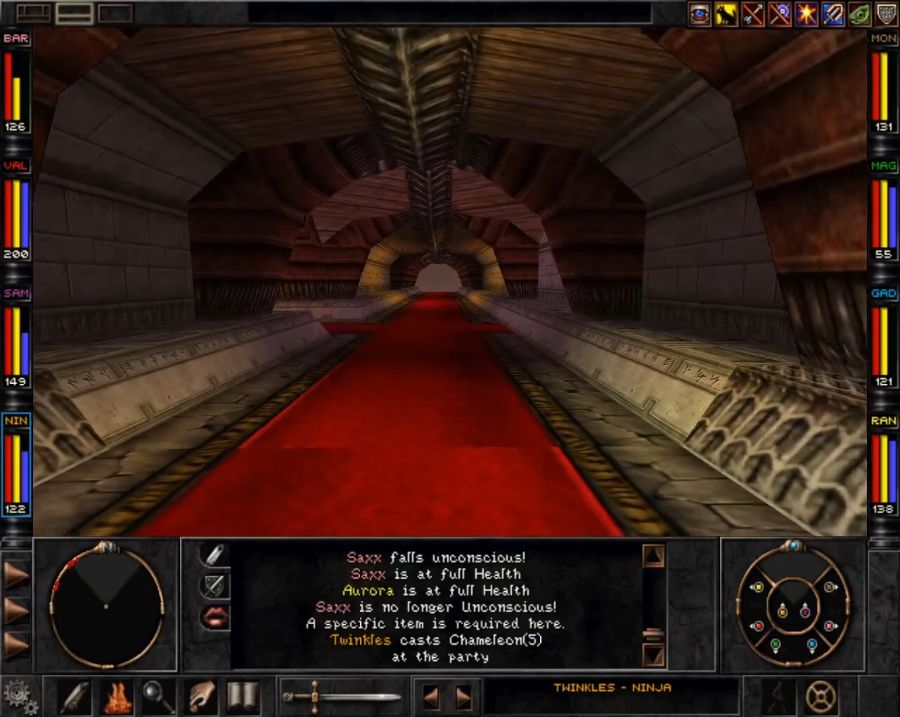 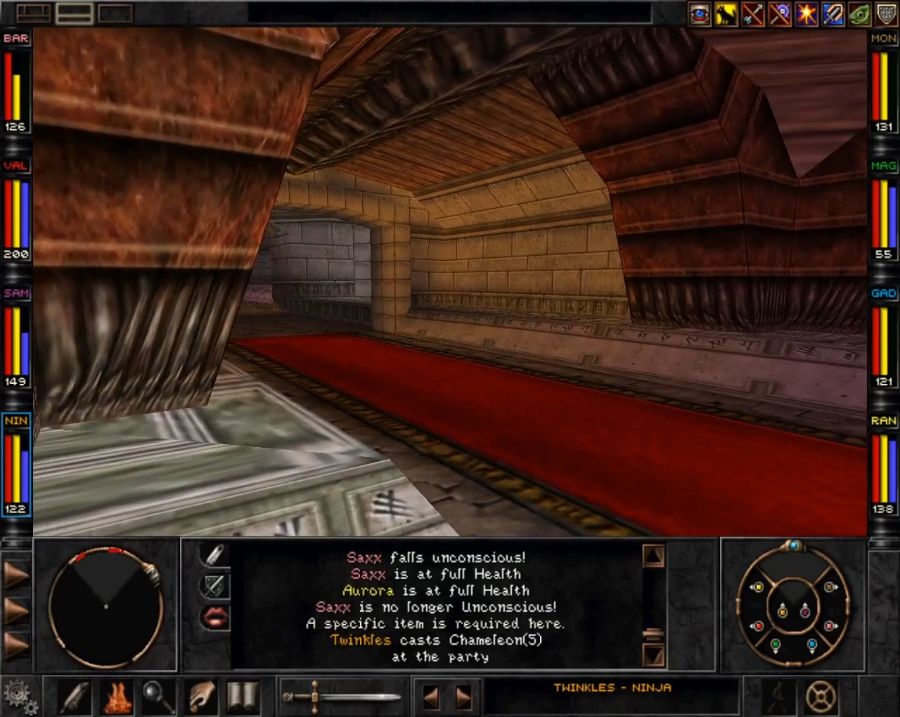 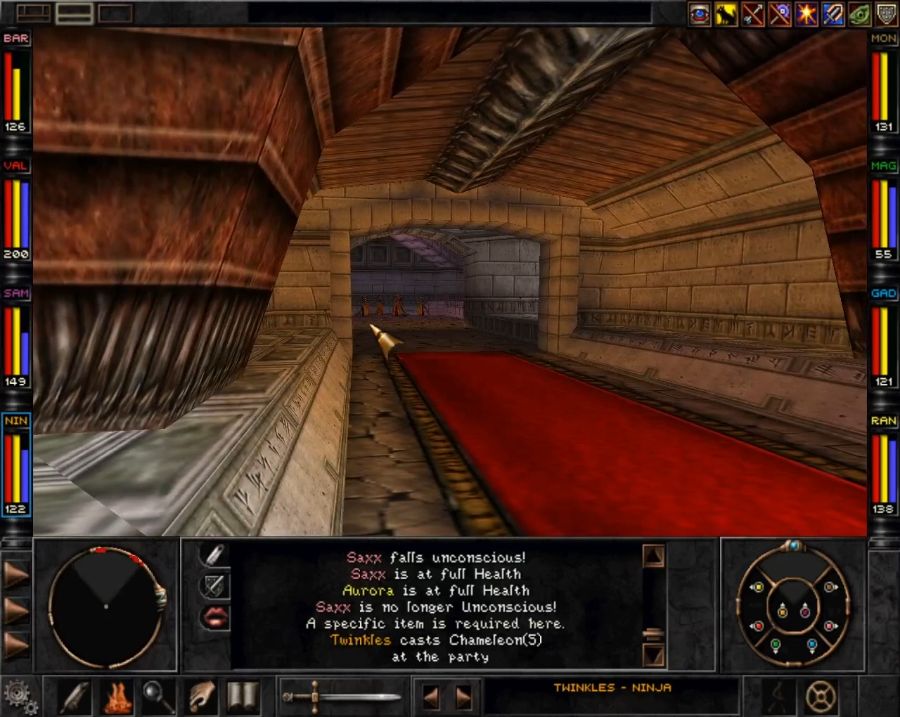 Up here we've got a long corridor to get to the end of, with three rooms on the left, and this time we have(probably) to bust in and murder the occupants as the rooms have no doors and if we just strolled by in the corridor they'd aggro and we'd need to go beat them to a pulp anyway. Once again, they're mixed groups of priestesses/initiates with one small squad of low-level melee rapax assisting the last group as I beat them up. These aren't guarding any important(or interesting) items, however. Priestesses can drop some nice things, they just seem intent on not doing so. 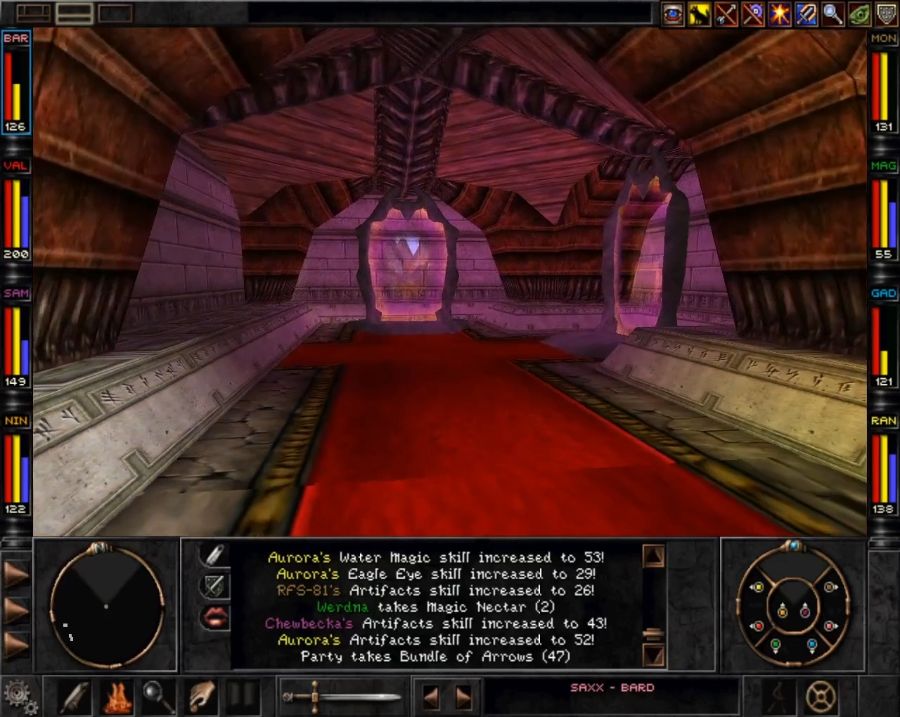 There are two portals at the end of the corridor, both taking us to places we've seen before(from a distance). 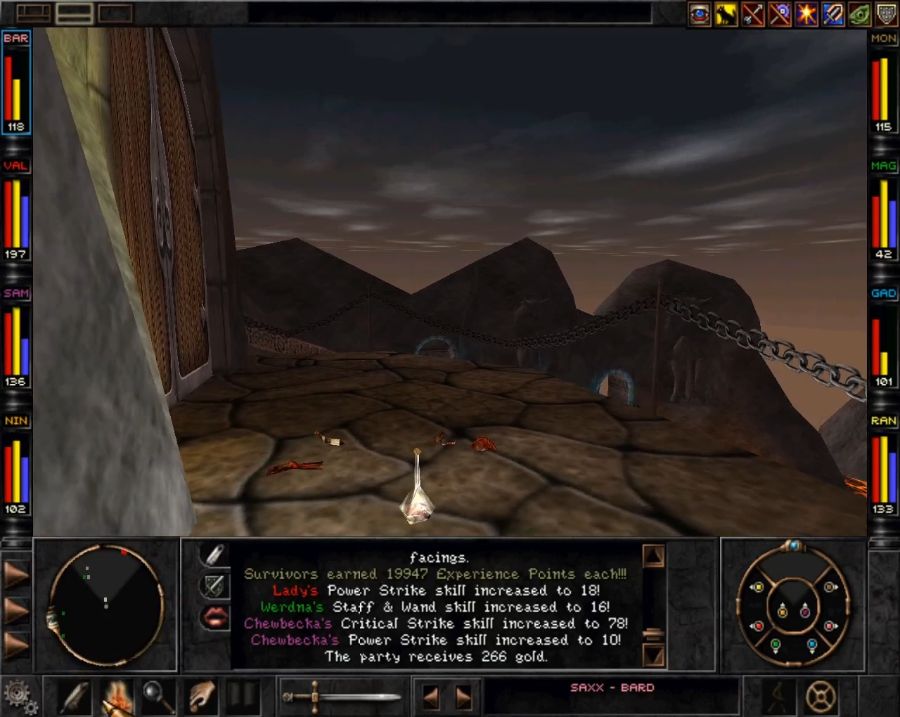 One takes us to a high ledge containing a door(which the key from earlier is for) and the portal we came through. 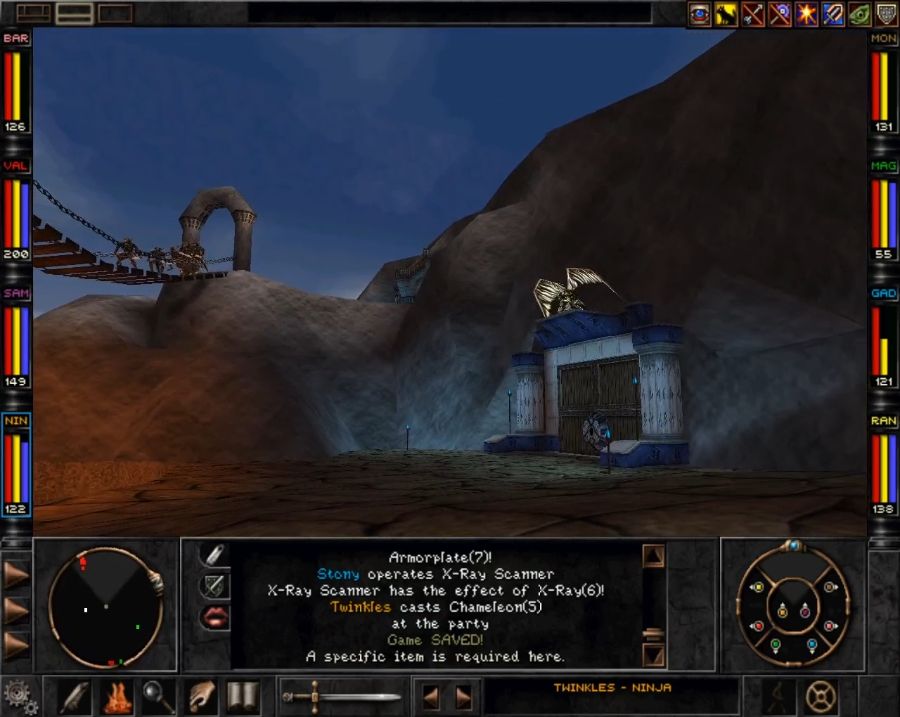  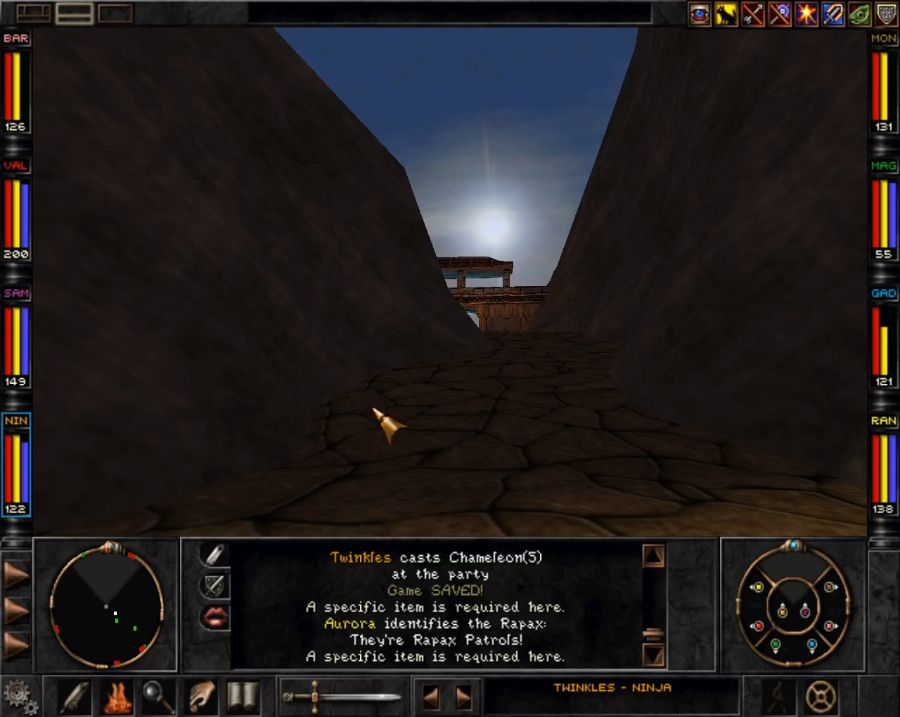 The other takes us to a foreboding portal and a mountain pass(the latter of which being where we need to go to actually progress). So obviously I hop back to the ledge because gently caress progress when there's looting to do and demon hooters to be checked out. 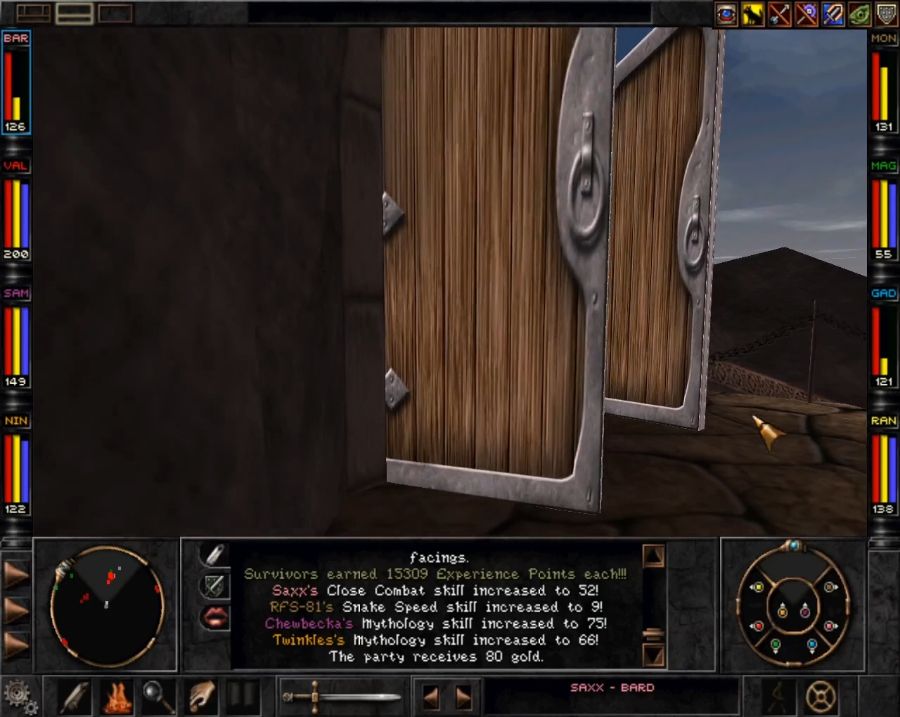 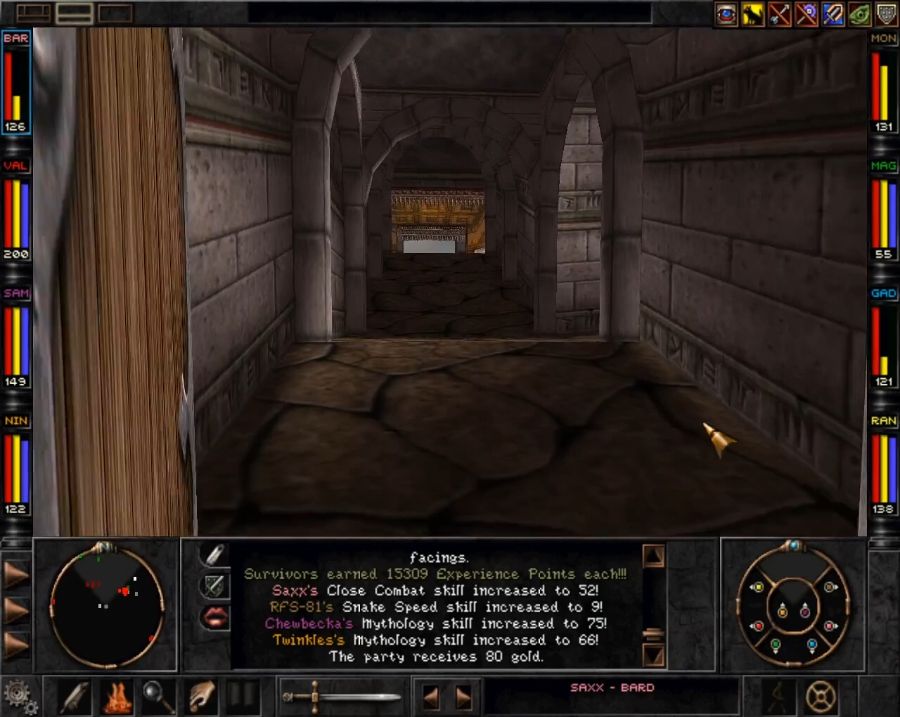 So, one ominous hallway with a side passage where some enemies have spawned. Or have they? 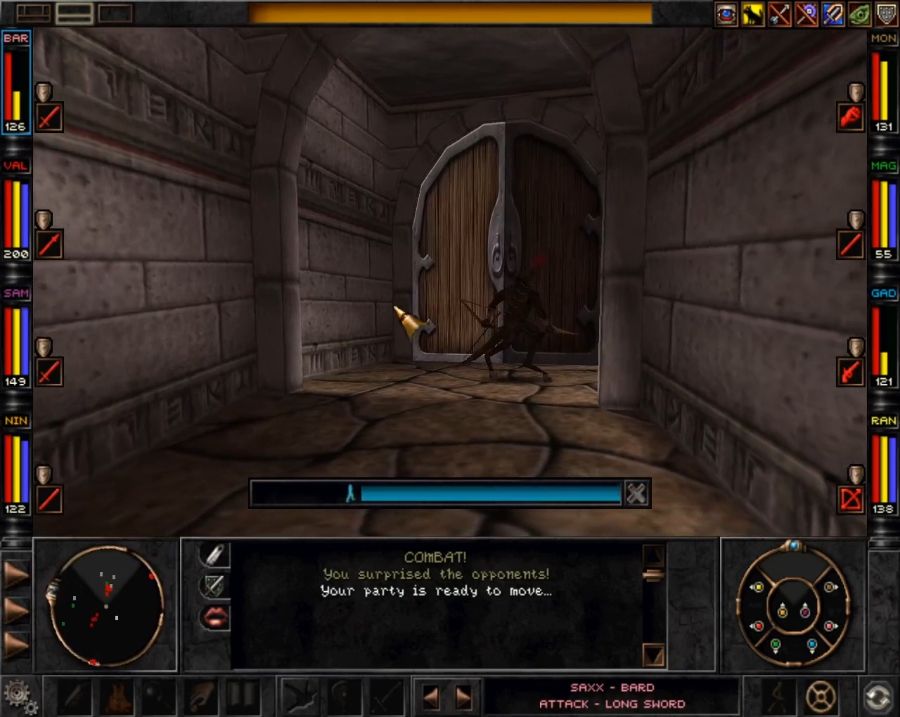 In yet another repetition of the endless Rapax Rift Bullshit, half the squad has spawned on the other side of the door, and after beating the one member on this side to a pulp I need to pass like ten combat rounds before the rest of them gently caress off and disengage from combat. 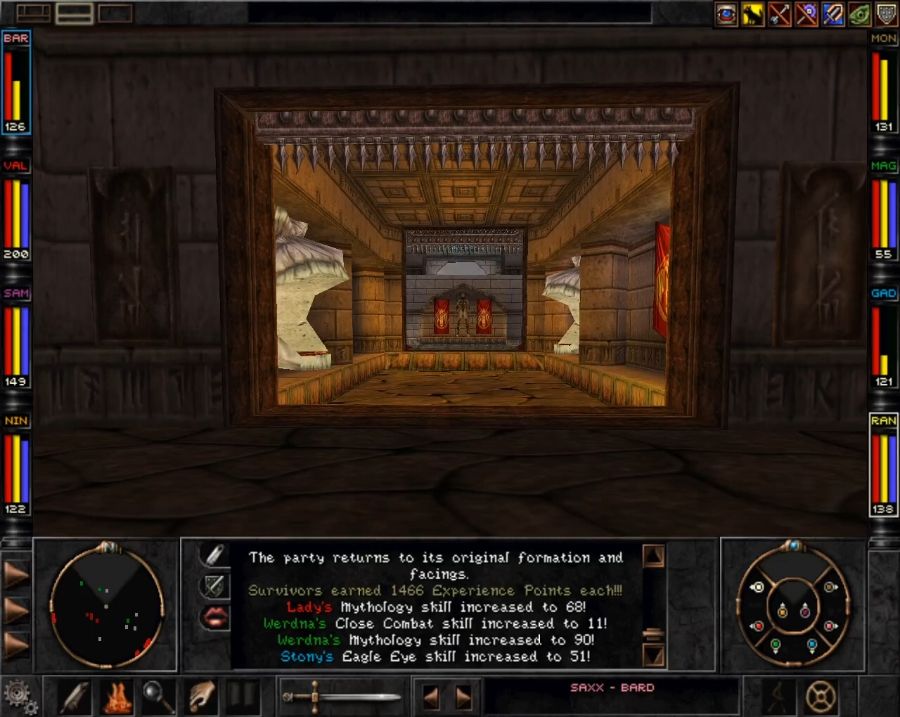   If you don't heed a warning from a party member(and someone with high Senses), those big ol' frog demon heads will spit bullshit at you as you pass by. 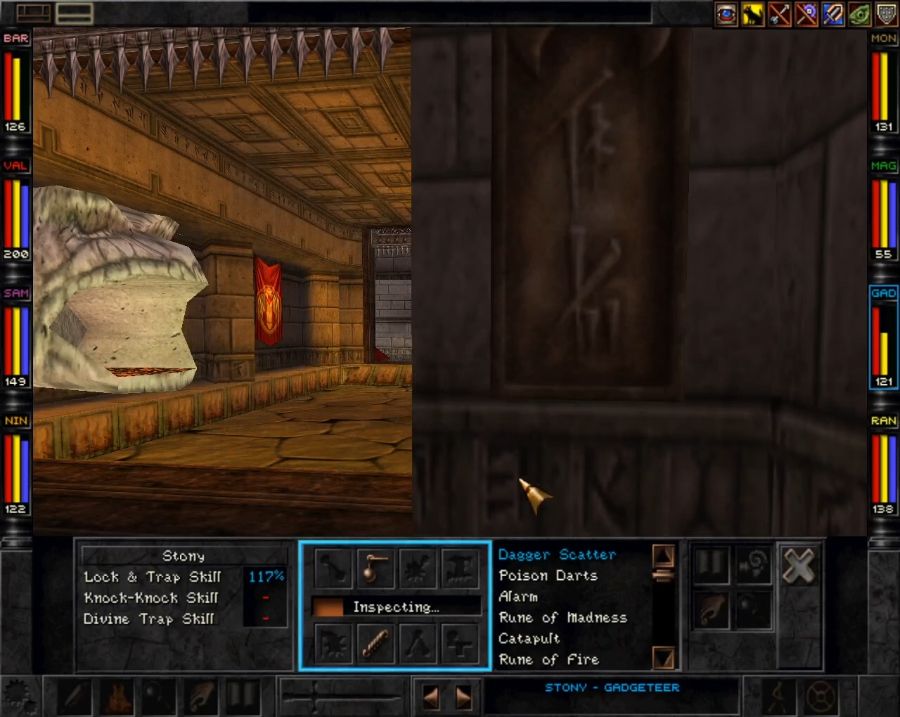  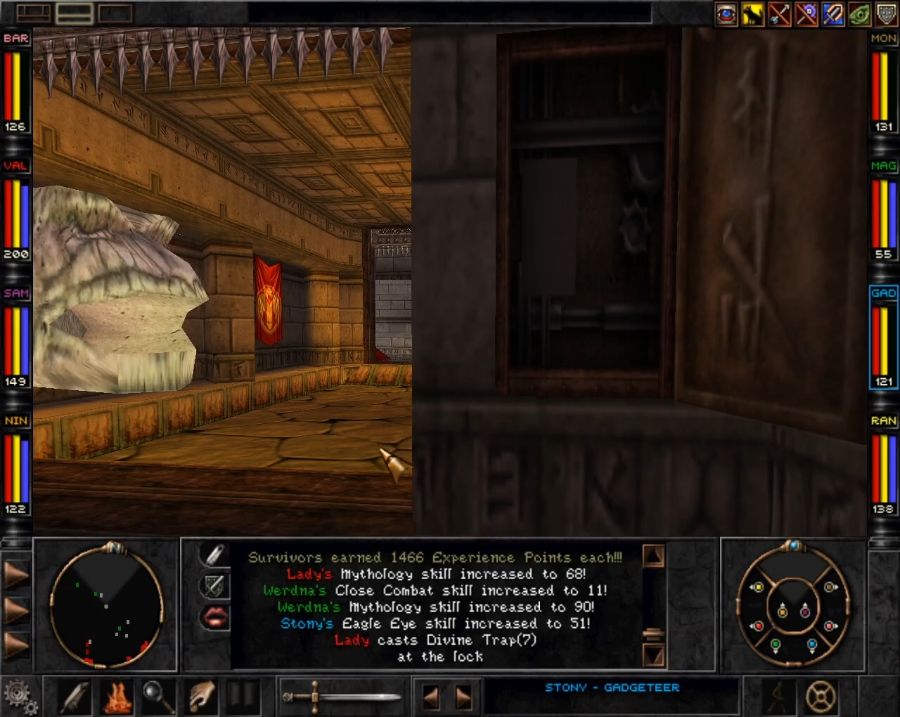 Fiddle with this panel and you can close them up and make progress safe. 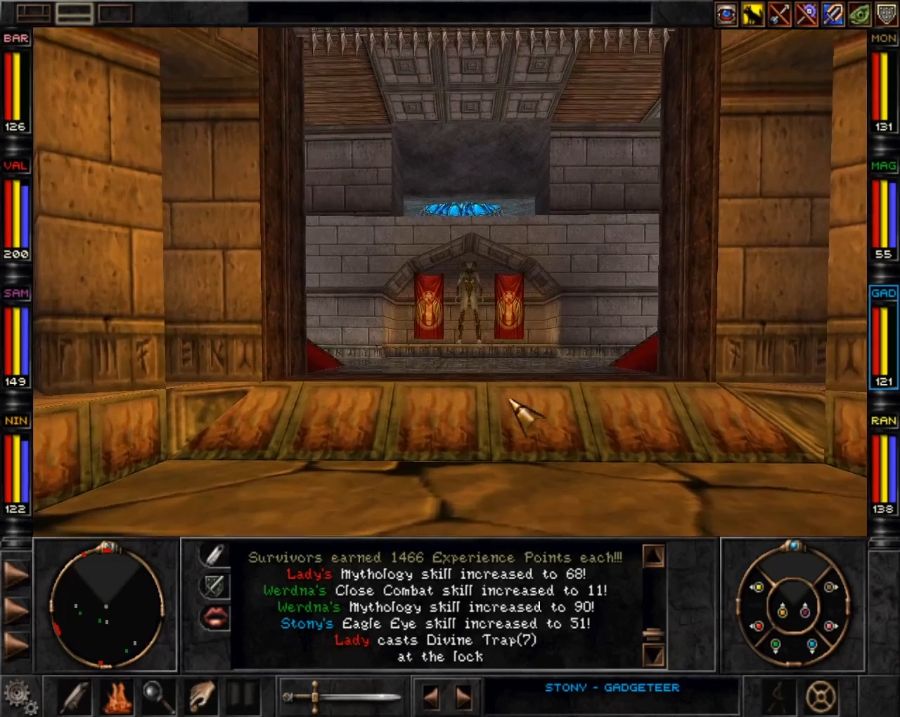 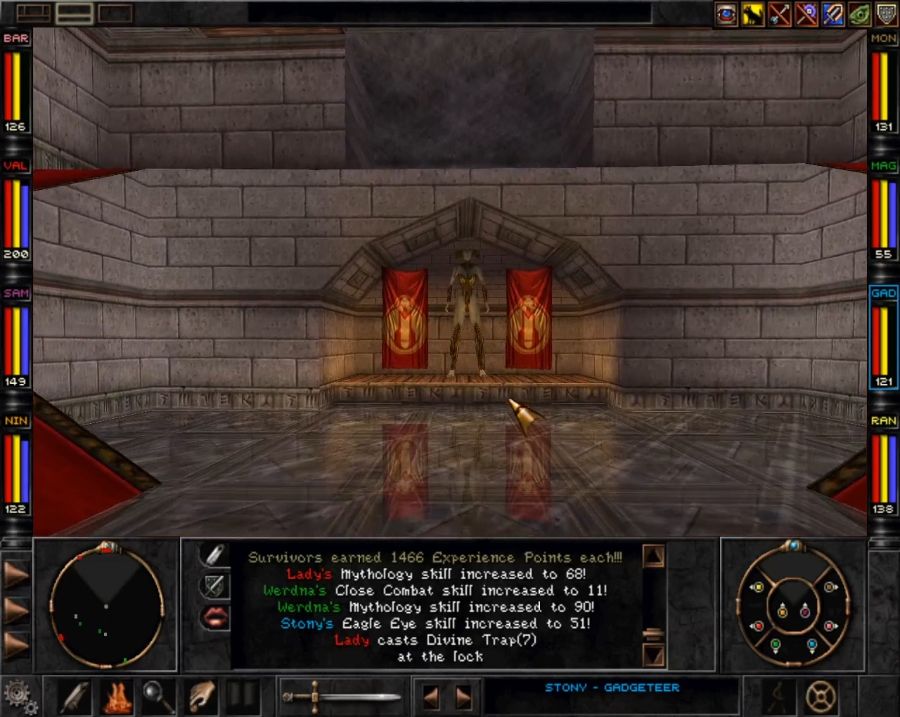 Obviously what we want is upstairs and, before anyone asks, no, all the loot I got from this place was garbage once again despite the number of goddamn chests. I swear this game has it out for me.  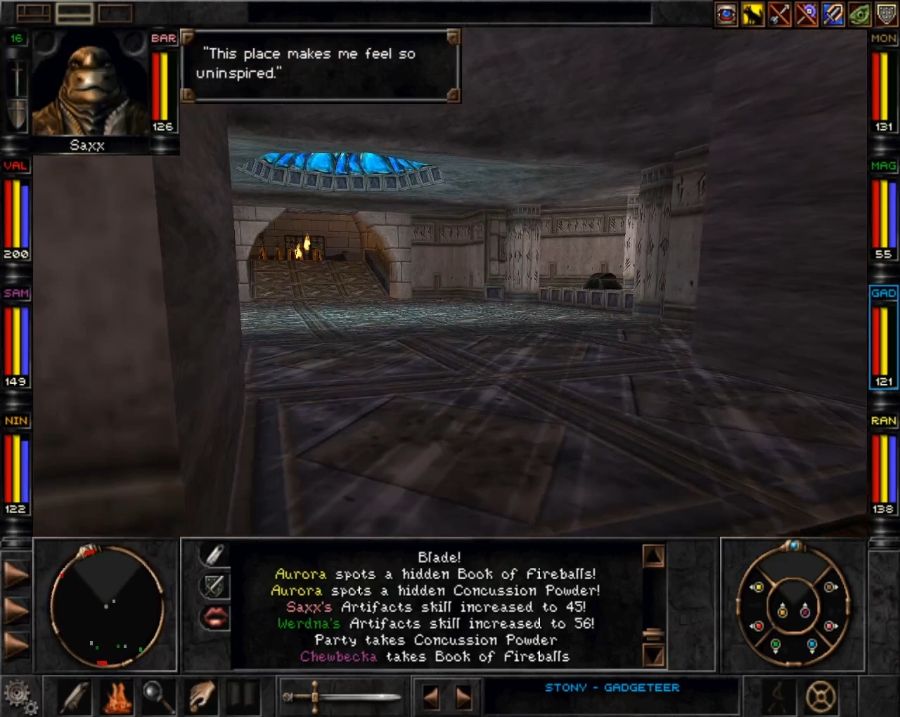 These guys have a unique priestess among them, the High Priestess. She drops a special staff that isn't a quest item, but it is an extended-range 2-handed weapon with a chance to blind and decent damage which anyone can equip, so if you've got someone in the back row lacking a decent combat option, it's a good backup. It could also be a decent off-hand for a Monk so he ran reach into combat when someone's out of punching range. Anyway, let's go pound these guys to dust. 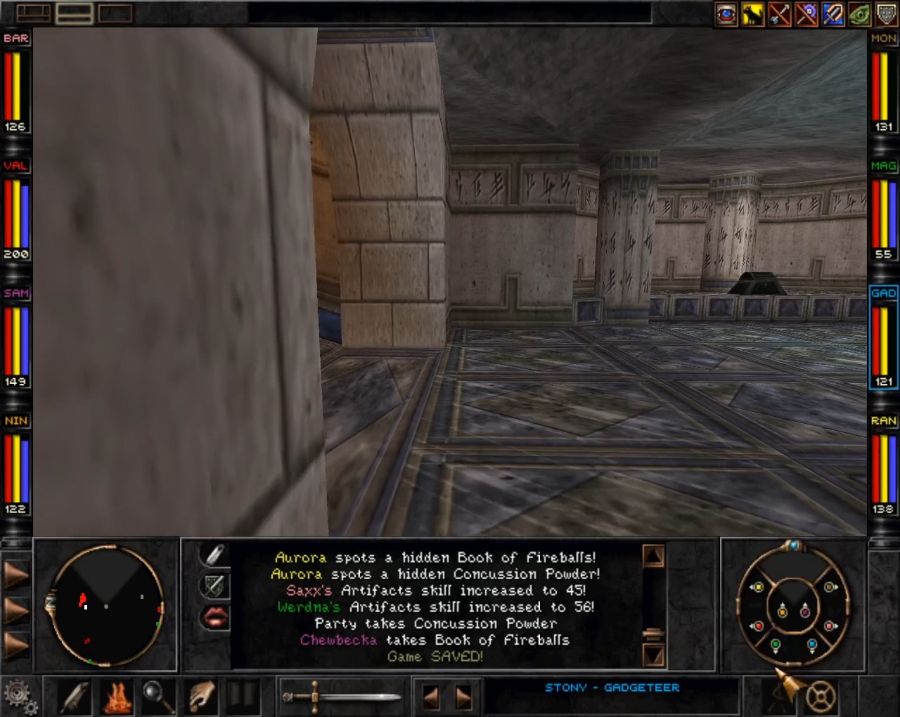 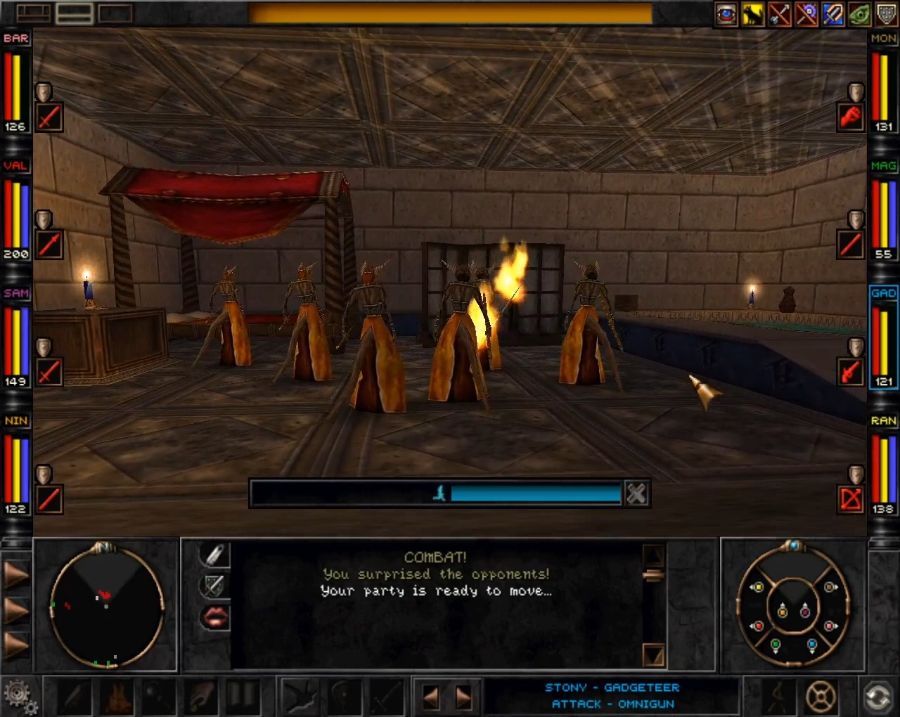 Despite their numbers, it's not much of a challenge. Soul Shield, Element Shield, then let the melee goons go to town and the battle's over in a short number of rounds.  Cumulative chip damage from AoE spells cast by the Rapax do wear the fellows down a bit, but nothing in the dangerous range of things. 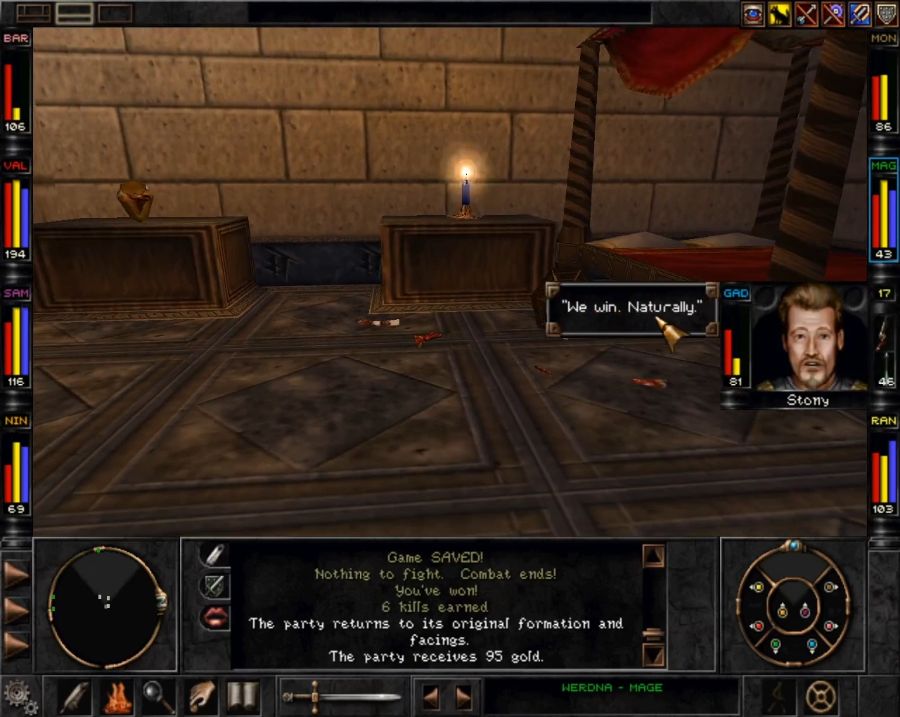 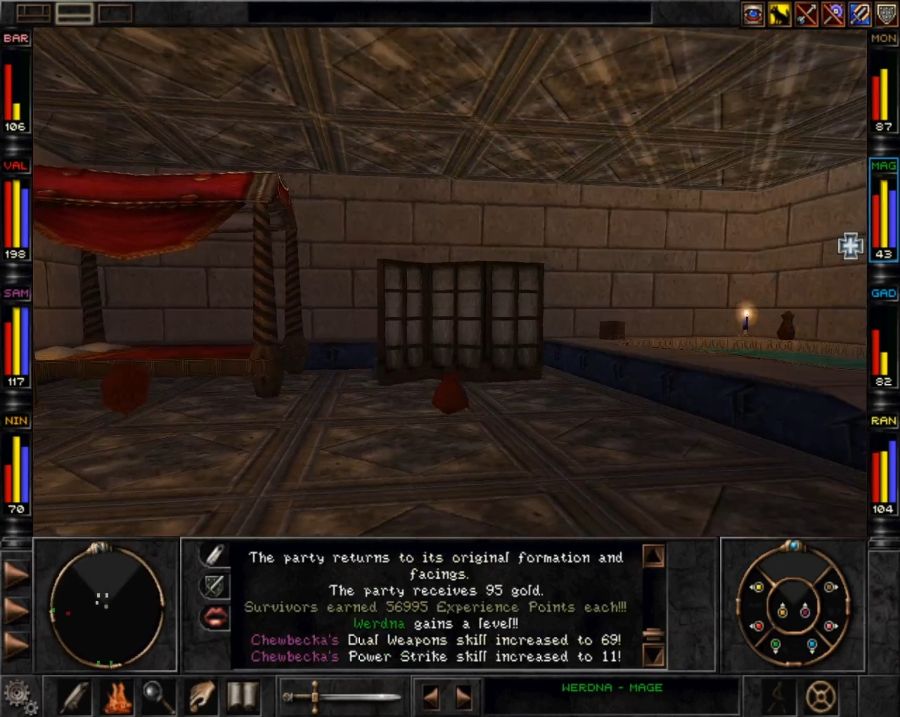 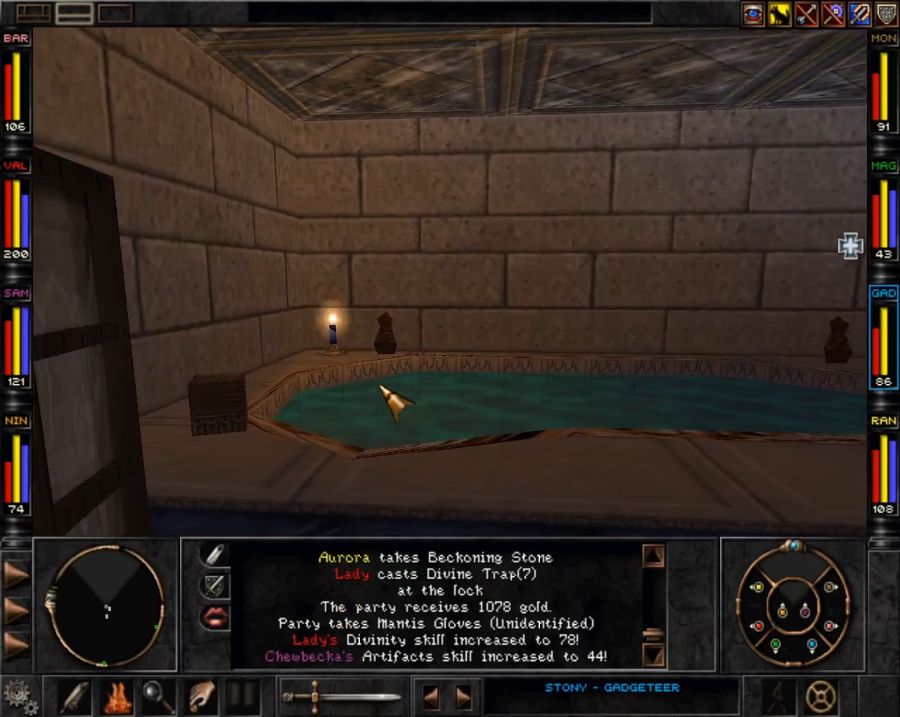 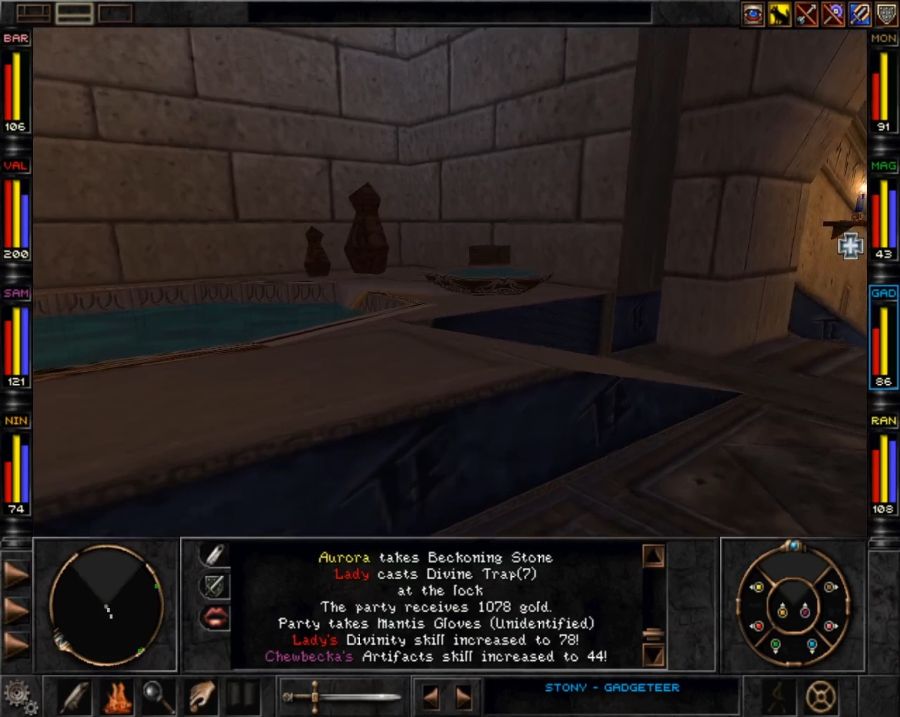 Nice pad, really. Huge tub. Shame we can't go for a dip and wash off all the blood. 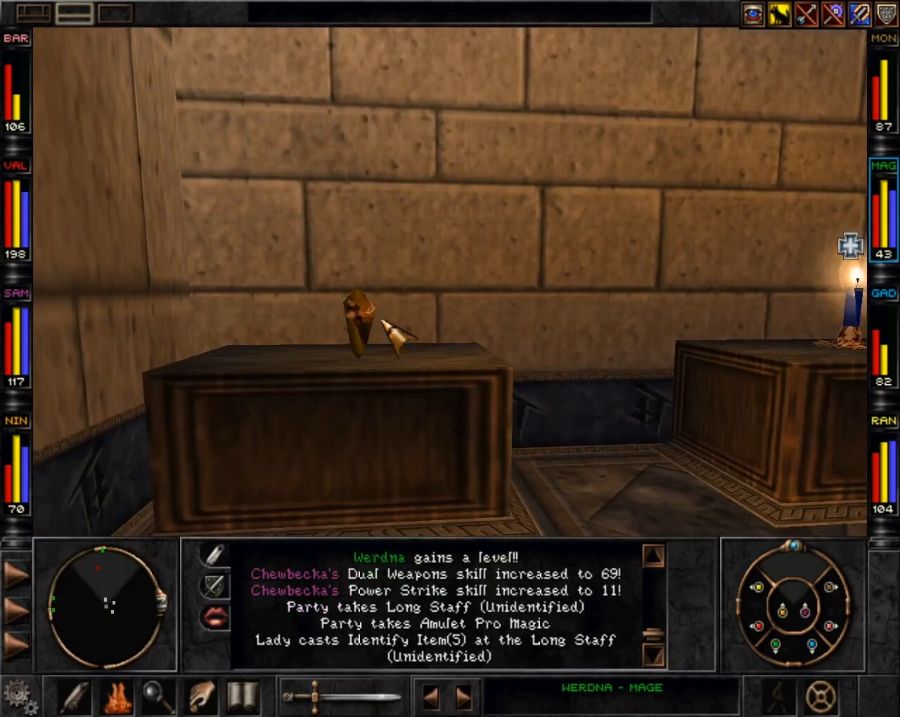 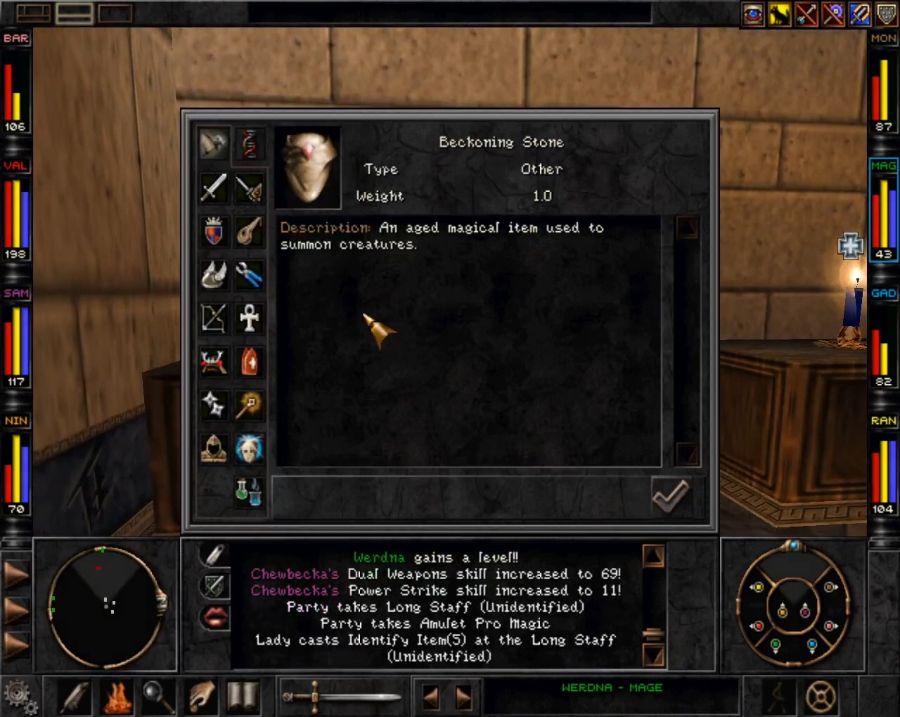 This is what we're here for, though. We've got us a pointlessly complicated magical lock to open in a bit. Two, in fact. Also, because of all the talk about multiclassing I decided that I would in fact take advantage of Werdna's upcoming level-up to see what happened now that he has his max-level spells. 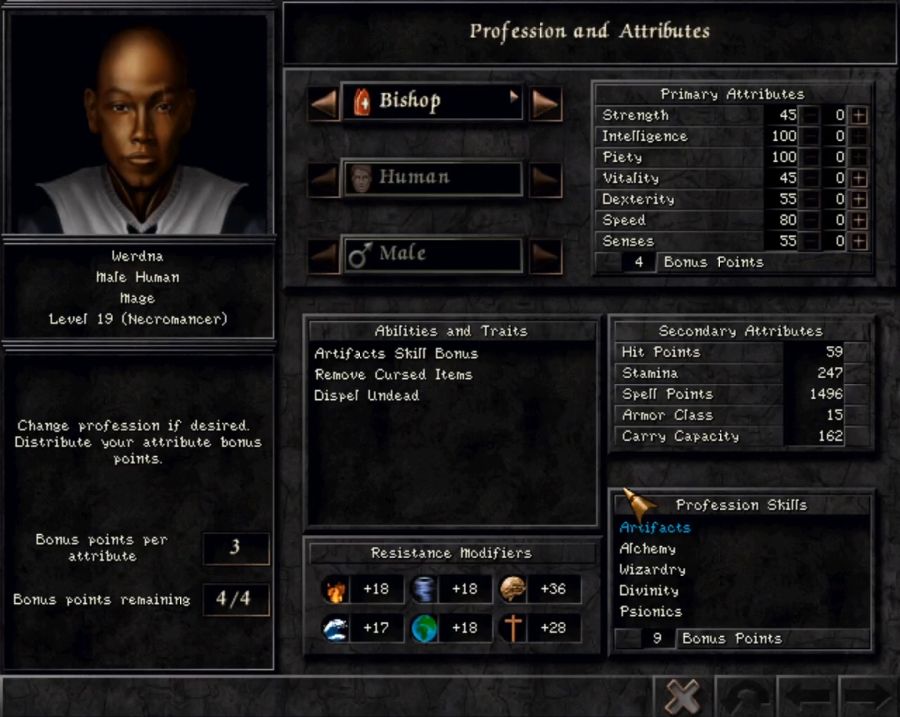 It turns out that he loses zero effectiveness on his current spells when this happens, so that's nice, it's at least better designed than AD&D dual-classing. He probably won't get enough level-ups to get all the level 7 spell access before the end of the game, but he'll pick up some broader access for certain. In any case his increased power before the end was likely to mostly come from training up Power Cast anyway. Plus it'll also slightly broaden the selection of equippable items in case I come across some more nice gear for him before the end of the game. Plus if he wasn't already wearing the Helm of Brilliance he could pop on a stylin' mitre. 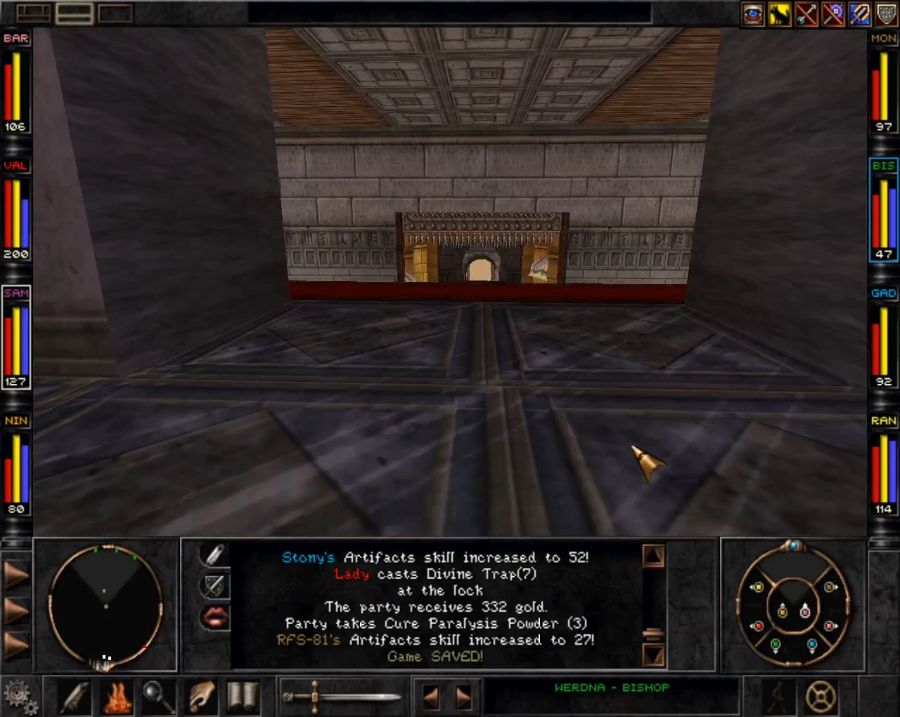 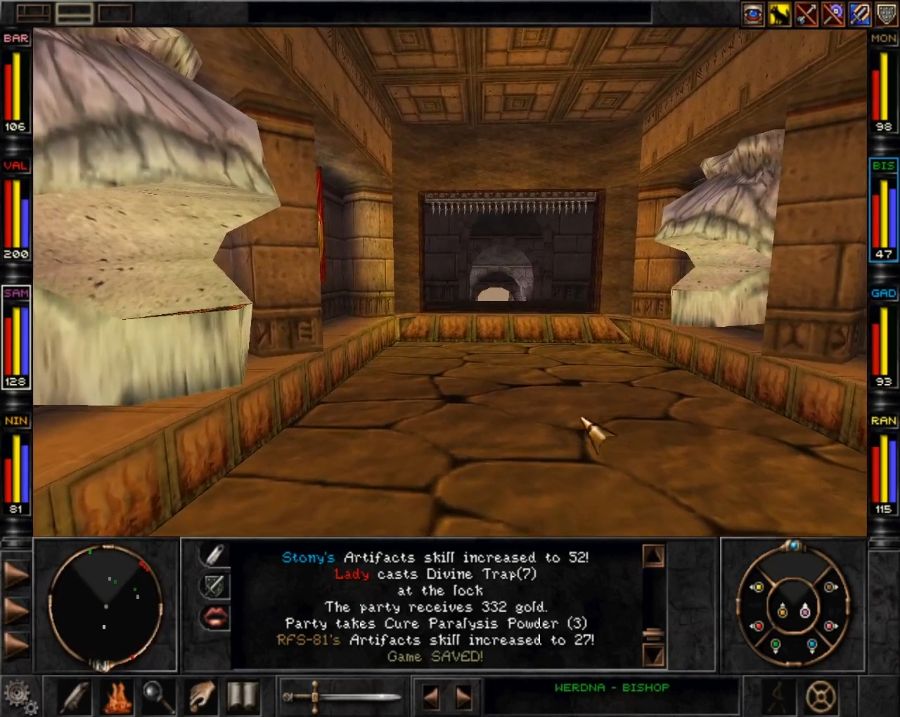 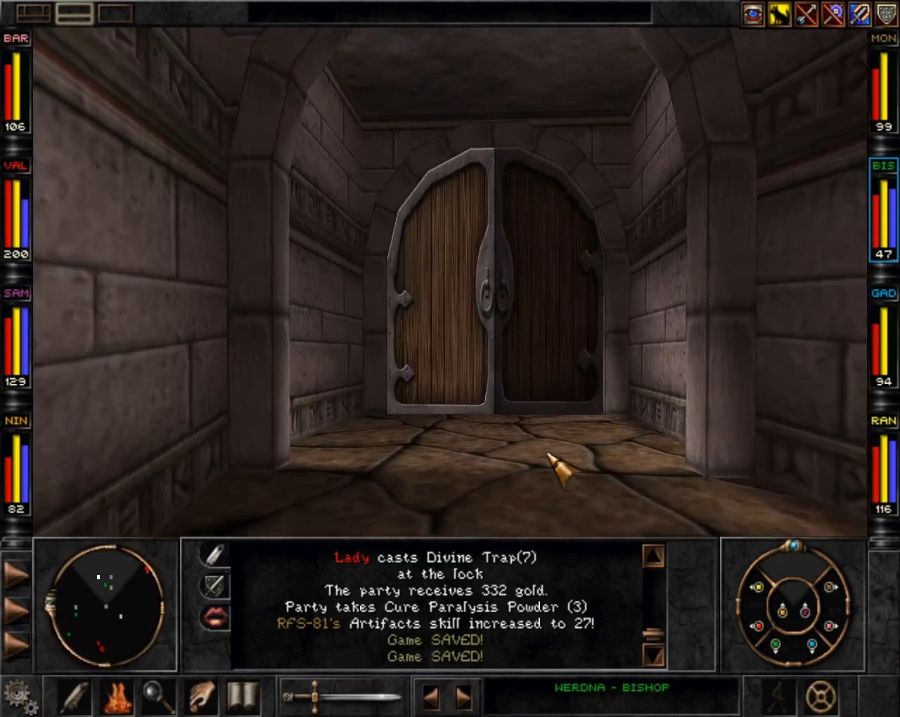 I turn around and head back to the door that the Rapax were stuck in a bit ago. Thankfully they've hosed off by now. 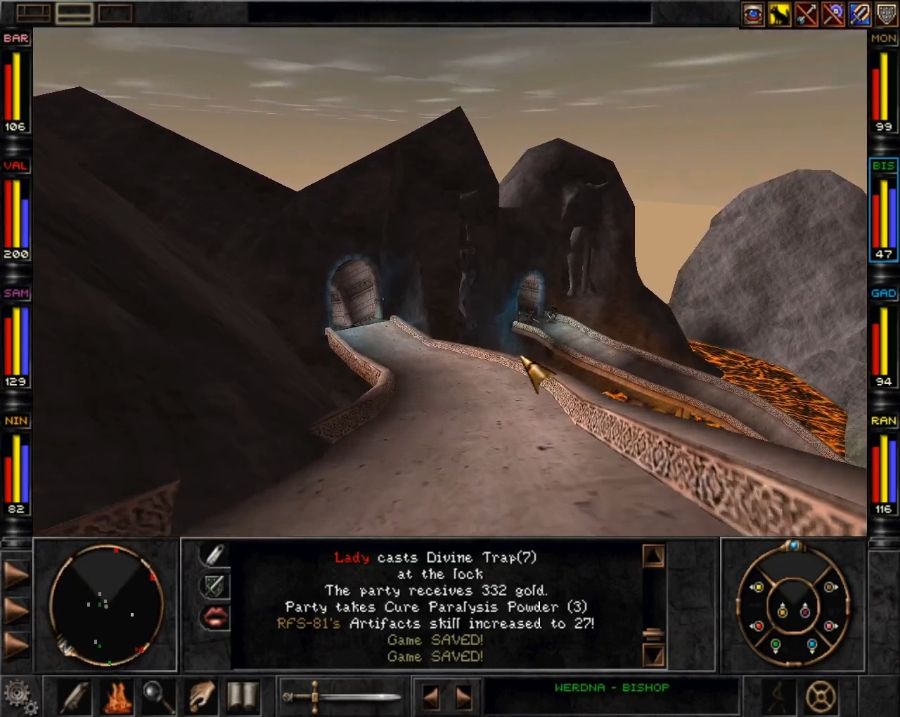 Though at this point the game starts trolling me with getting aggroed by Rapax on a different elevation. I can't take five steps without it happening. 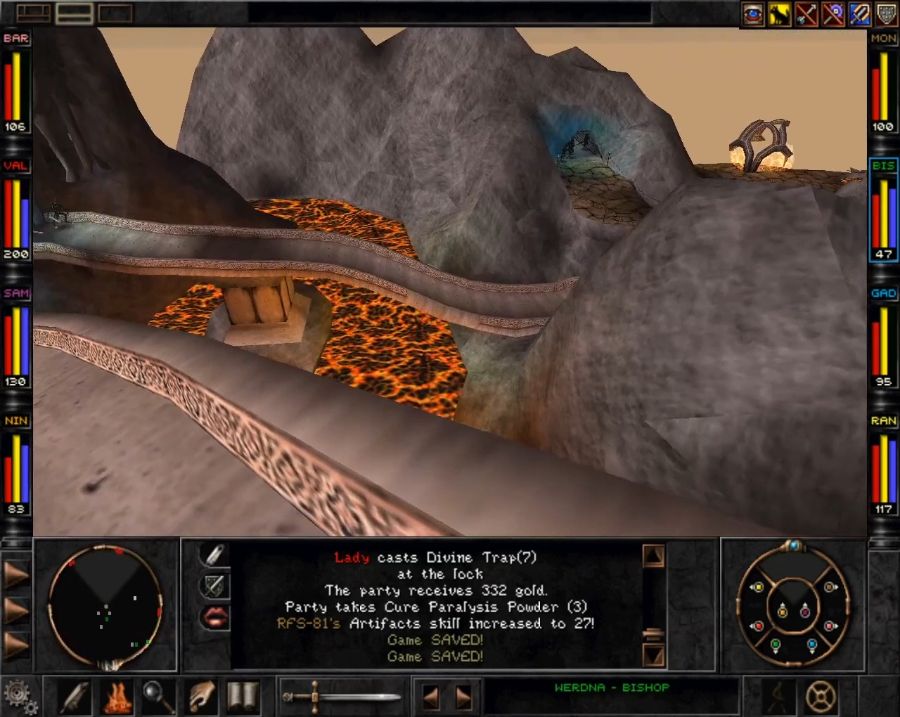 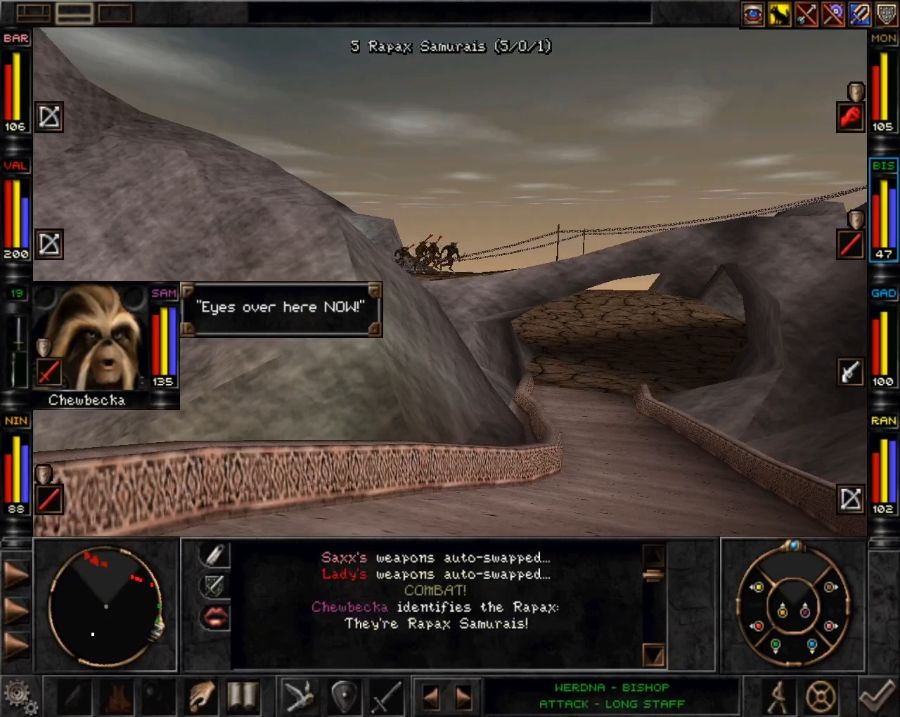 Why couldn't they just have put in a goddamn ladder rather than this loving switchback above the magma. 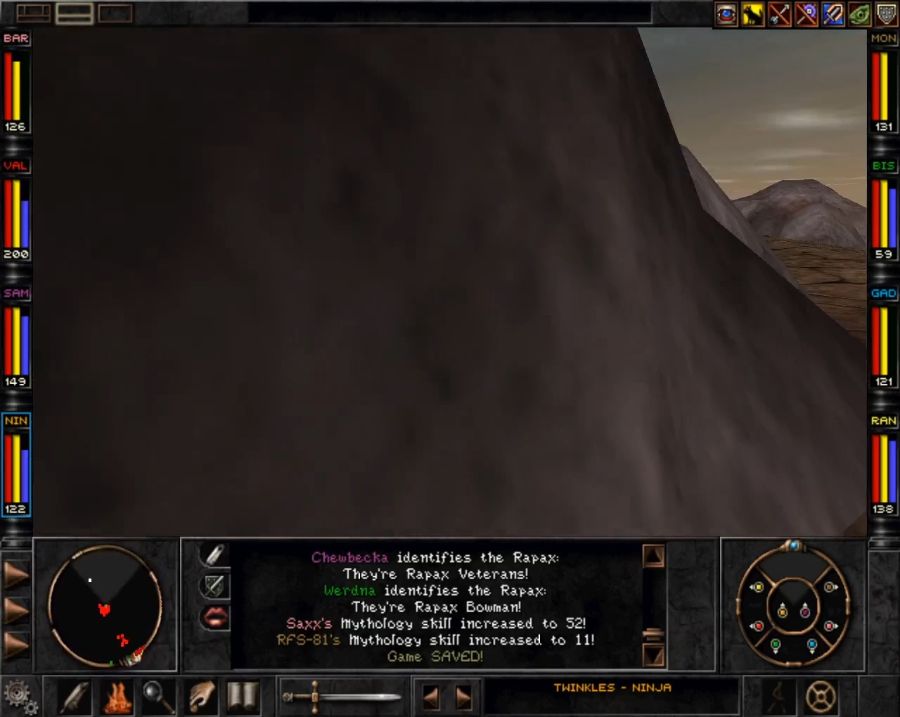 I run down and hide under the section the Rapax are using to cross over. But as soon as I poke my head out... 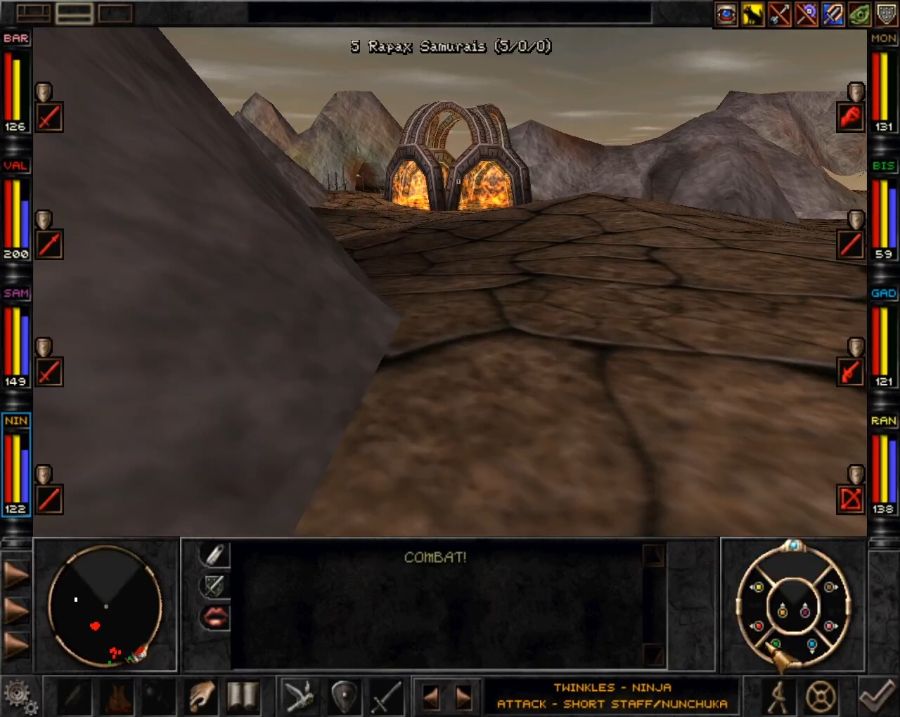 It took me five minutes just to make it down to the fire shack at the end of the switchback because of this. 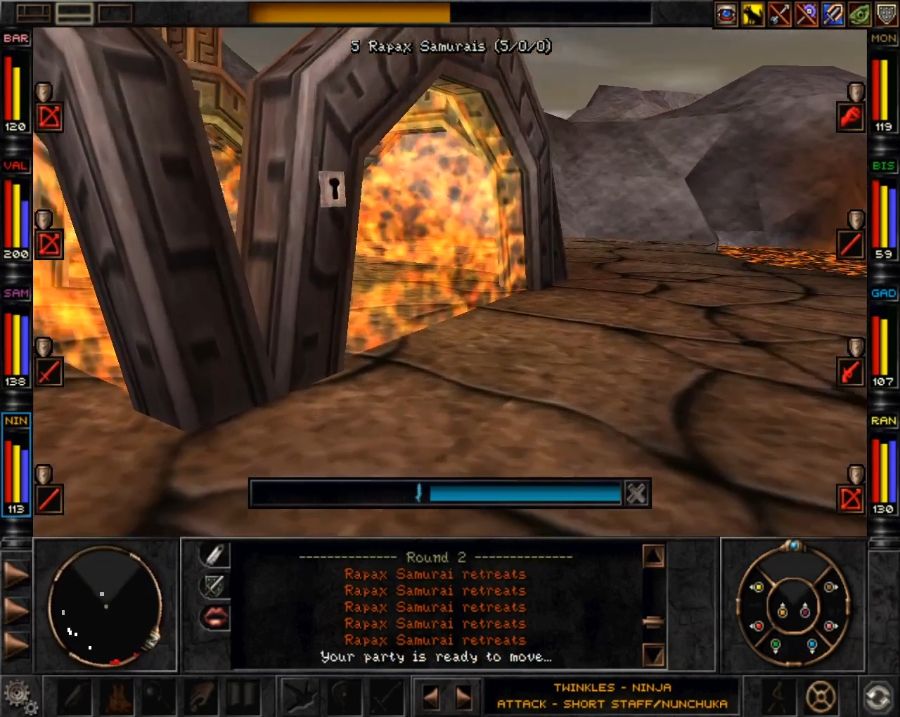 This is what you need the Flamequencher wand to open, by the way. And as soon as you do... 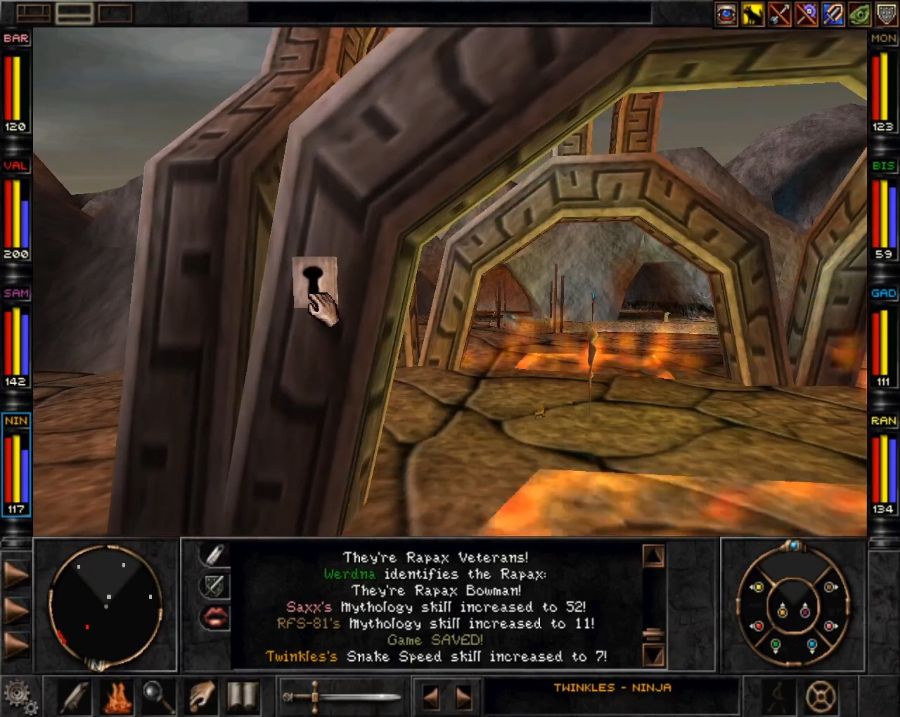 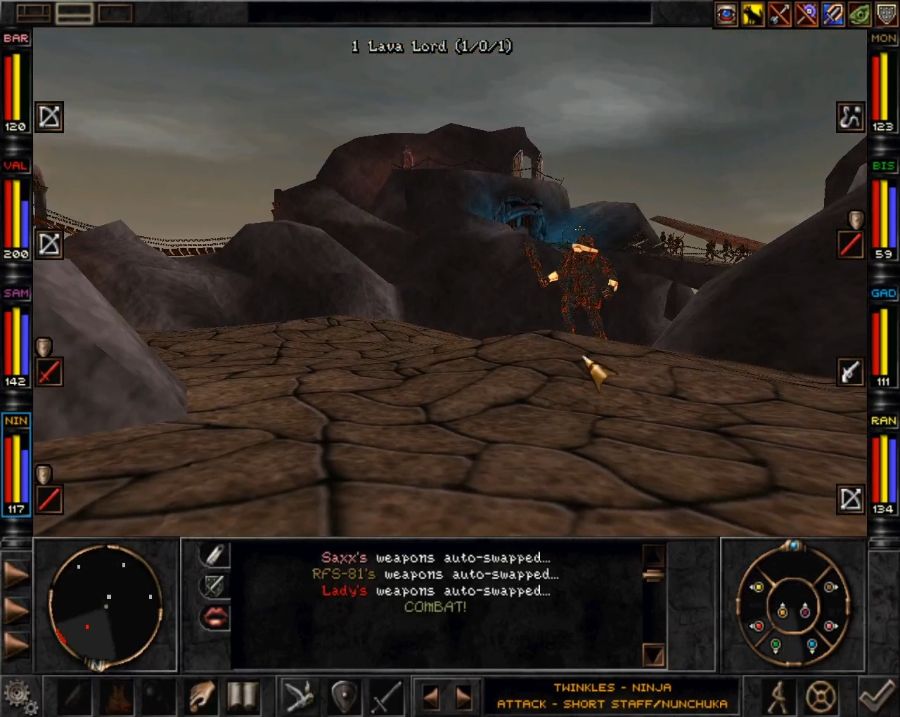 He's thoroughly unscary as he just as the usual single semi-big attack and can summon wimpy miniature fire elementals to back him up. According to data-scraping sites he does have a list of(unimpressive) spells, but spellcasting was apparently disabled in his script. Considering that his spell-list is entirely psionic and doesn't have a single Fire spell in it, I presume it was a placeholder. 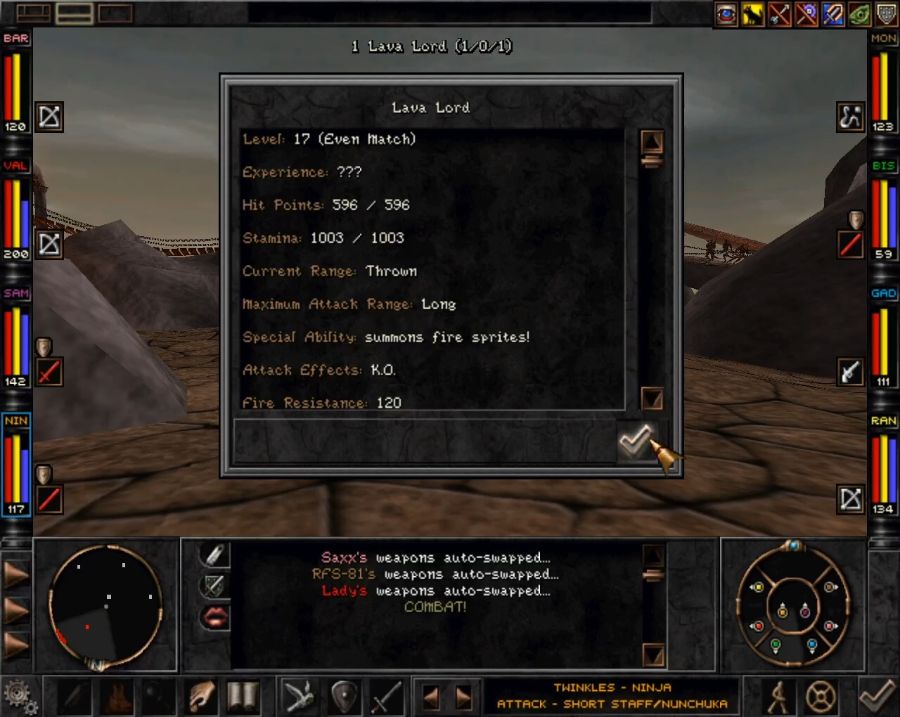 Again, this place definitely feels scaled as you coming here considerably earlier, probably prior to doing the water sections and Sea Caves, maybe even prior to visiting Bayjin and cleaning up the majority of the faction quests.  Big fella, though, certainly looks imposing. 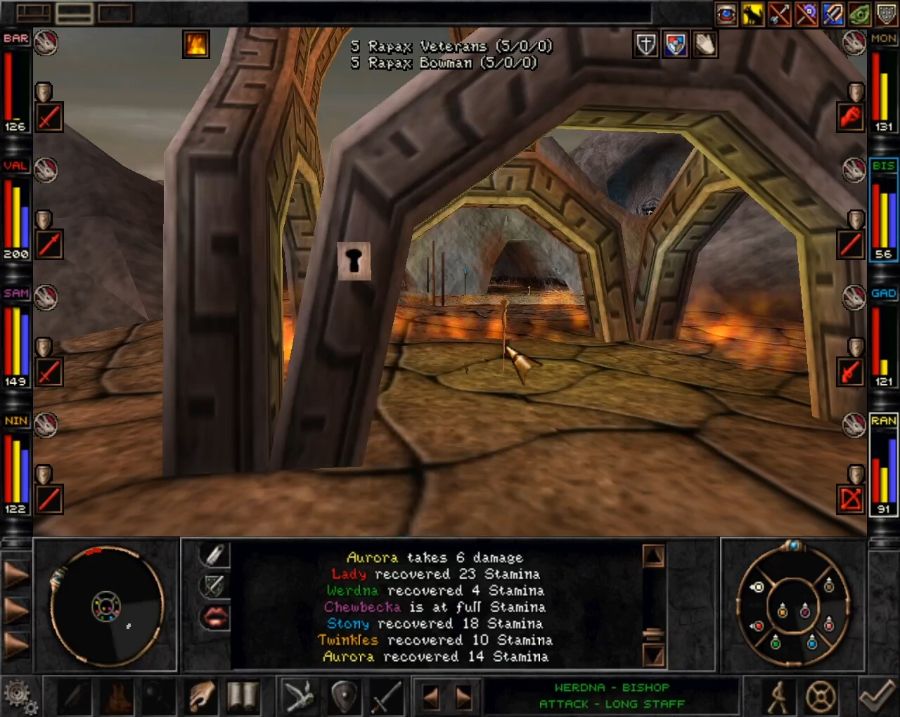 And of course as soon as he's dead I aggro the loving rapax on top of the ridge again are you loving kidding me game. Come on. whatever let's loot this drat hut and then hide behind it until they gently caress off. 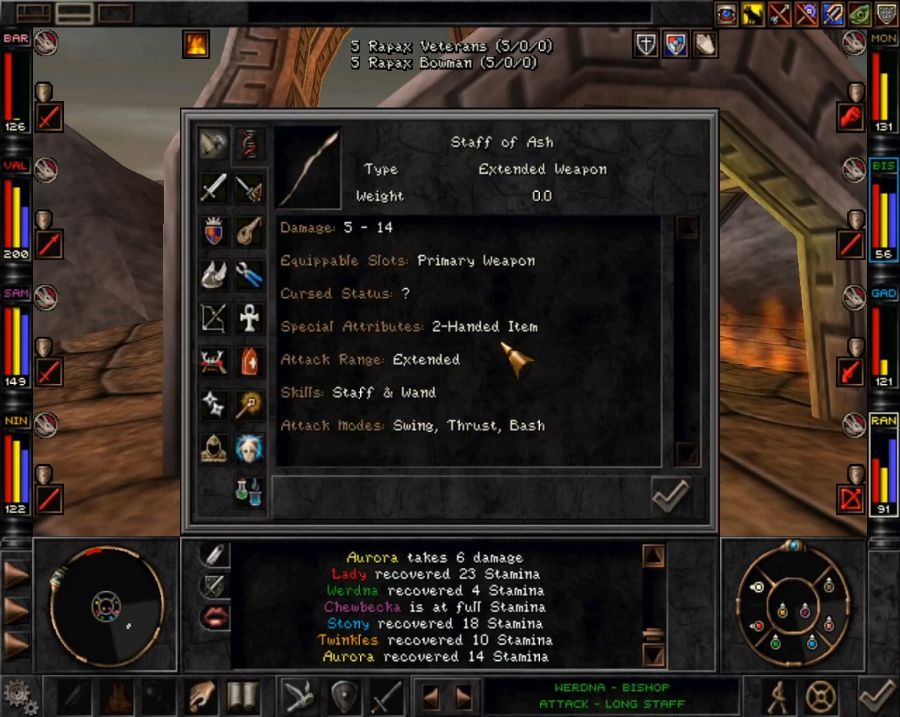 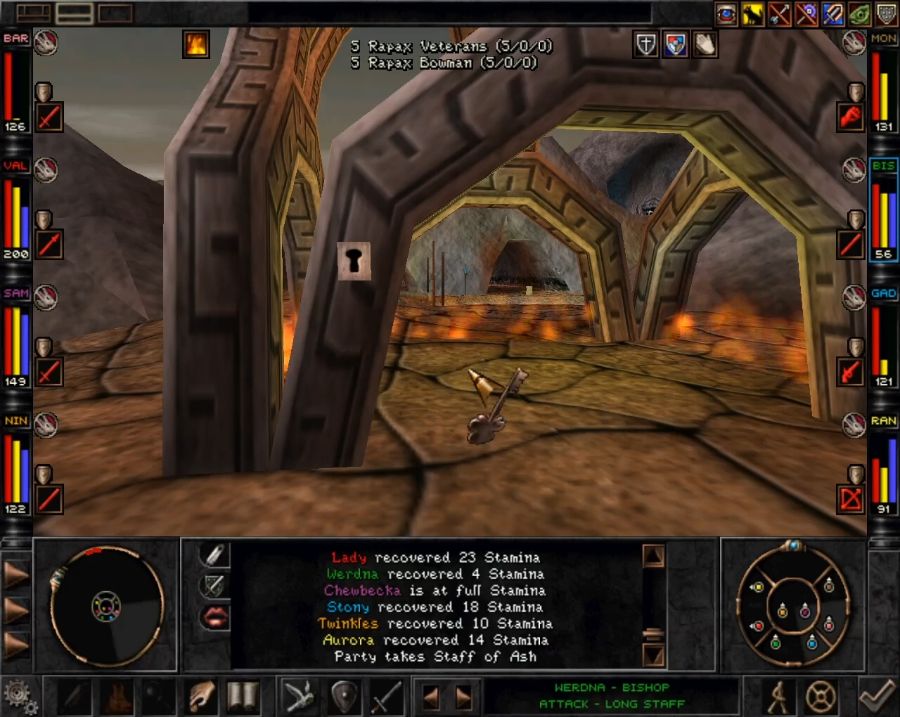 It contains the Staff of Ash, which is only for using on our prisoner friend, and a key. The key unlocks the door we bypassed by walking through the rift between the two passages. I have no idea why it's here since you can't actually get here without using that bypass passage and one of the two teleporters UNLESS you, again, somehow manage to skip across the lava which is very clearly very unintentional. Whatever, let's get back to our buddy. Good thing I set a portal to get around this poo poo. 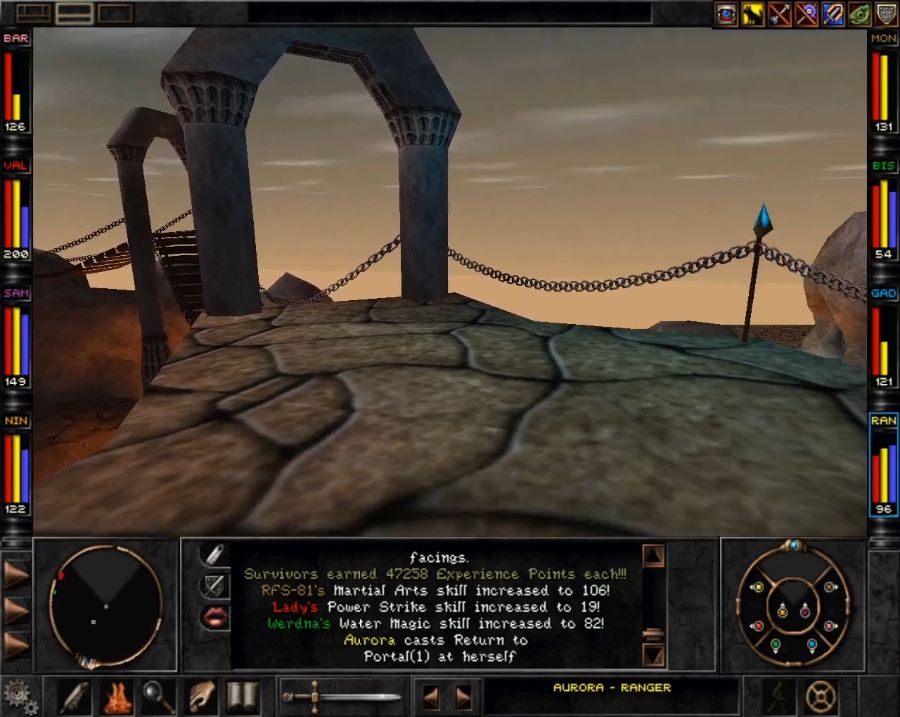 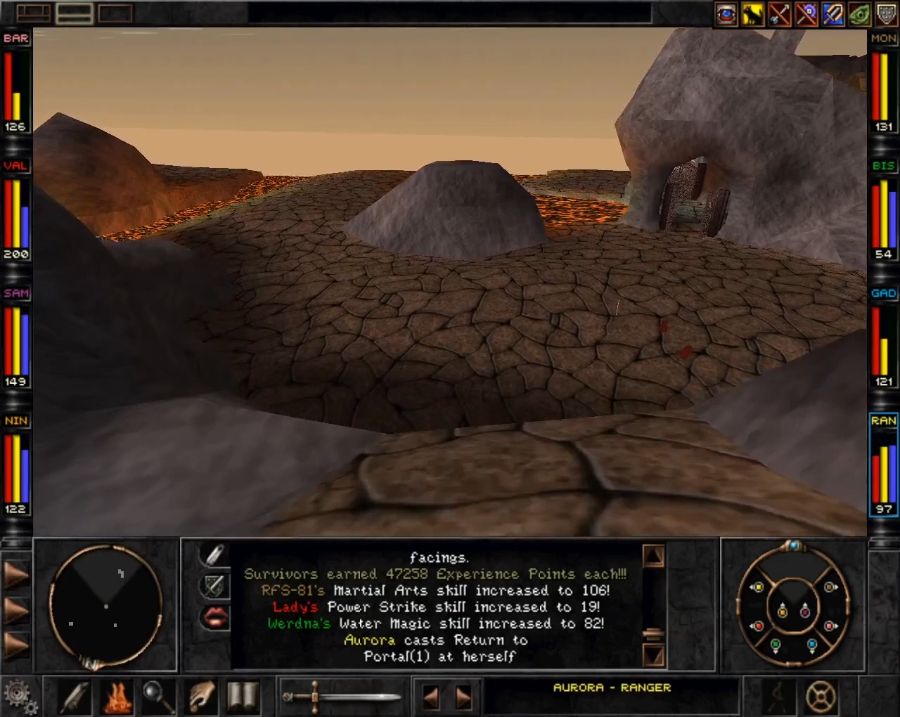 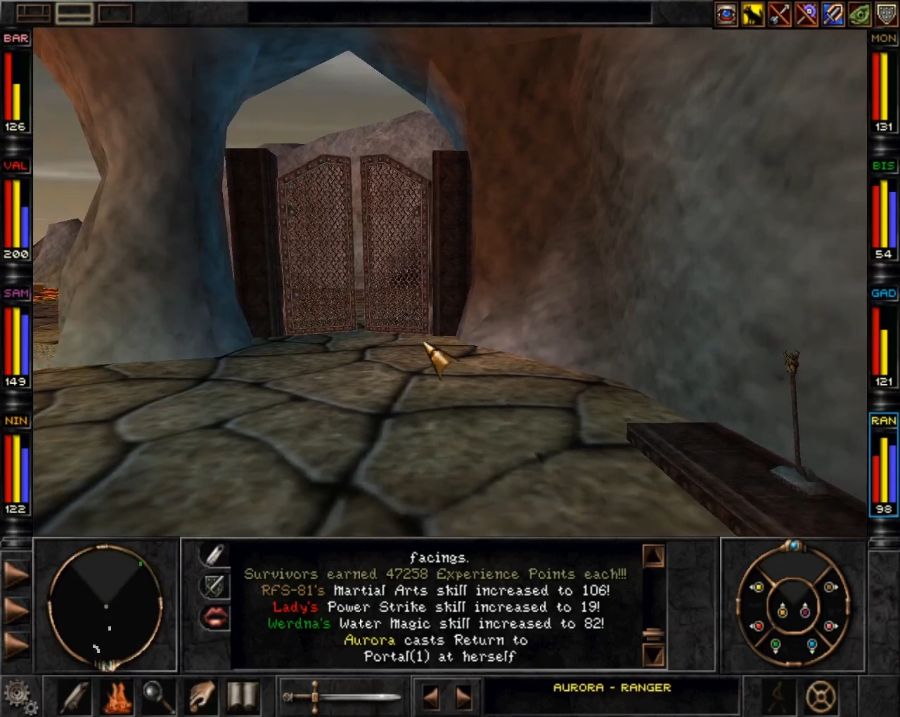 Set/Return to Portal is a godsend. 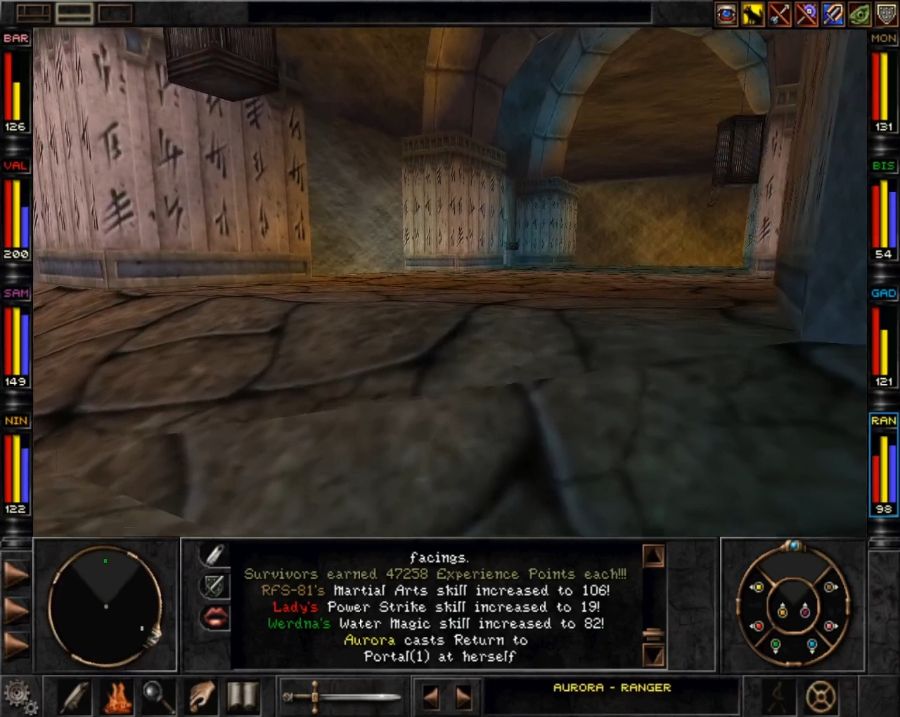 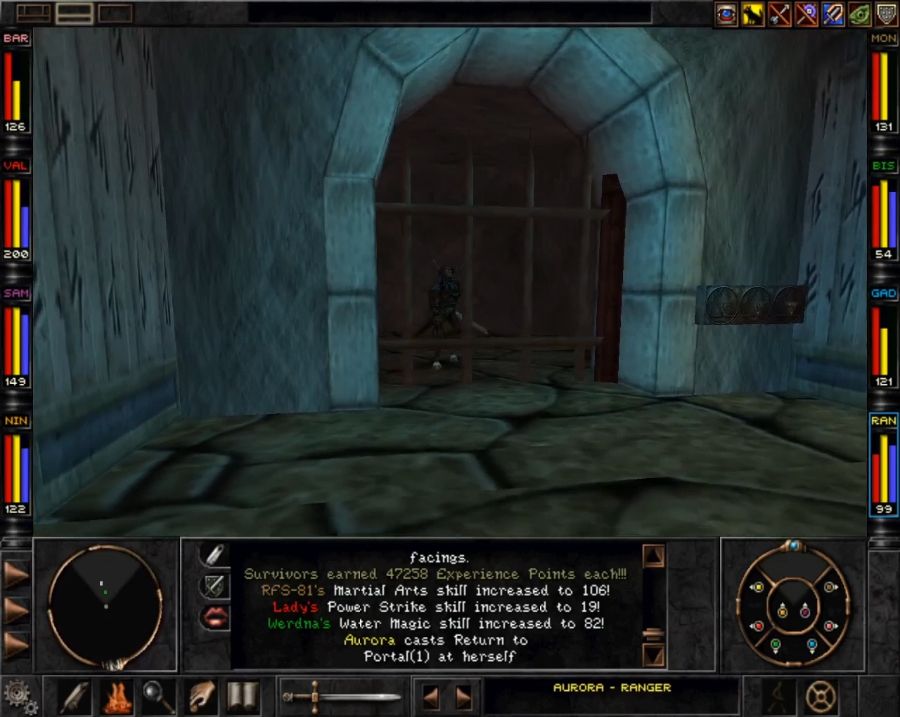 https://www.youtube.com/watch?v=z1A68FwuYCM Altruism is worth fat loads of XP. Hell yeah. Now, one short saunter and several cut murders later...  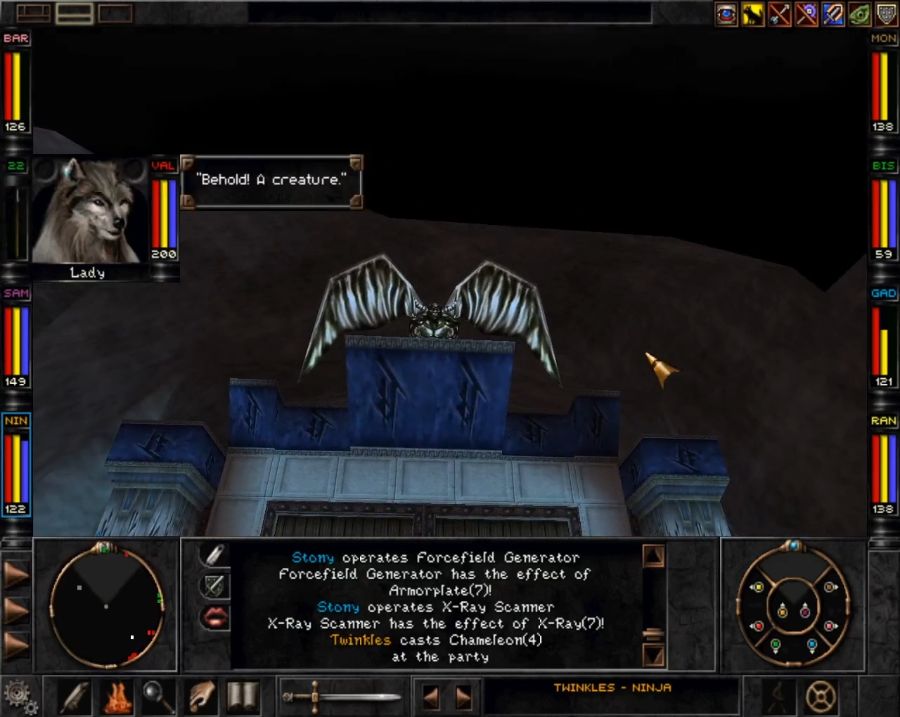 Let's play around with magic! https://www.youtube.com/watch?v=2VrFcdXiqls 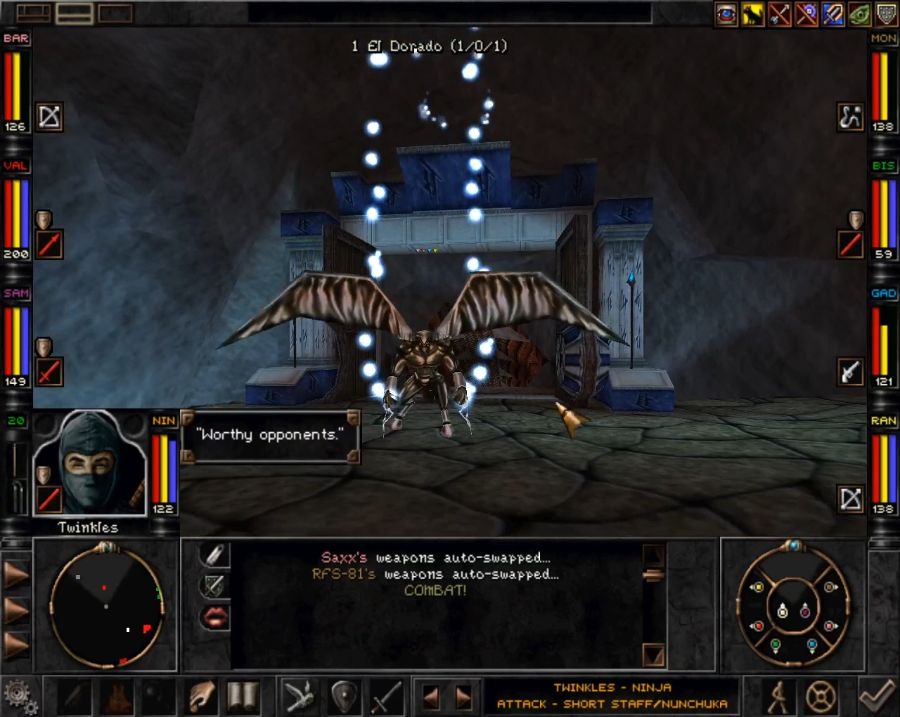 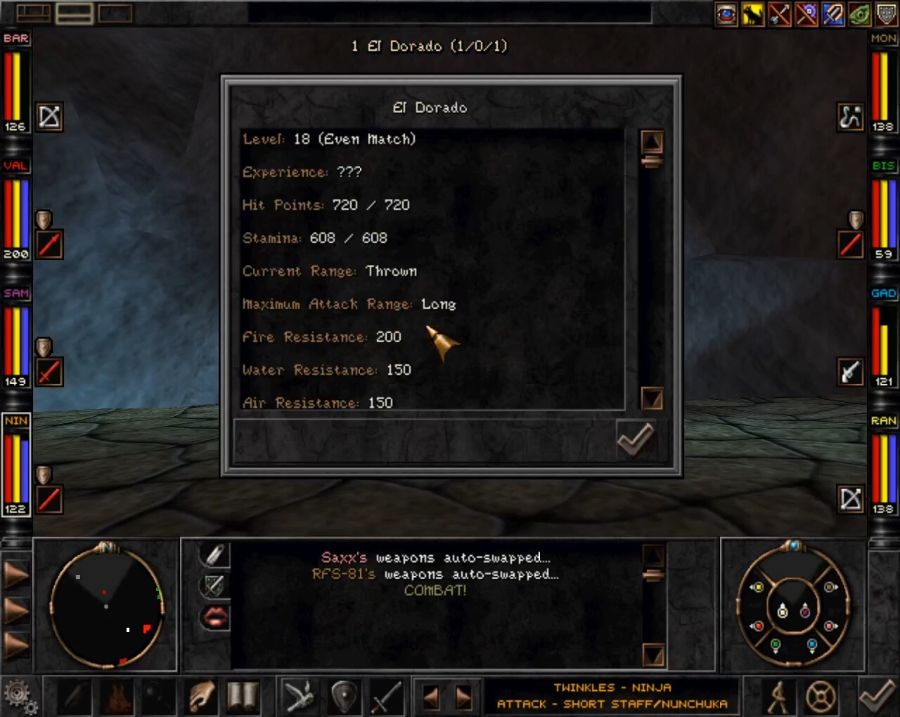 So this guy can actually be moderately scary. He's overpacked on 100+ resistances to all magic, so even Power Cast won't save you this time. 50% of his actions also pull from a potentially nasty spell list: 10% Energy Blast 10% Magic Missiles 10% Crush 10% Element Shield 10% Body of Stone 10% Purify Air 20% Boiling Blood 10% Turncoat 10% Earthquake It's watered down by stuff like Energy Blast and Magic Missiles, but Crush and Boiling Blood can gently caress up a single target good. If he sticks a Turncoat it can really, well, turn the fight around, and as the only thing that can really gently caress him up is physical damage, him casting Body of Stone would make him a lot harder to wear down before he wears you down.  Of course, these badasses can handle him. What we can't handle is the yet another pack of rapax on a high bridge that have been aggroed. So as soon as El Dorado is down, I duck into the tunnel behind him and wait them out. 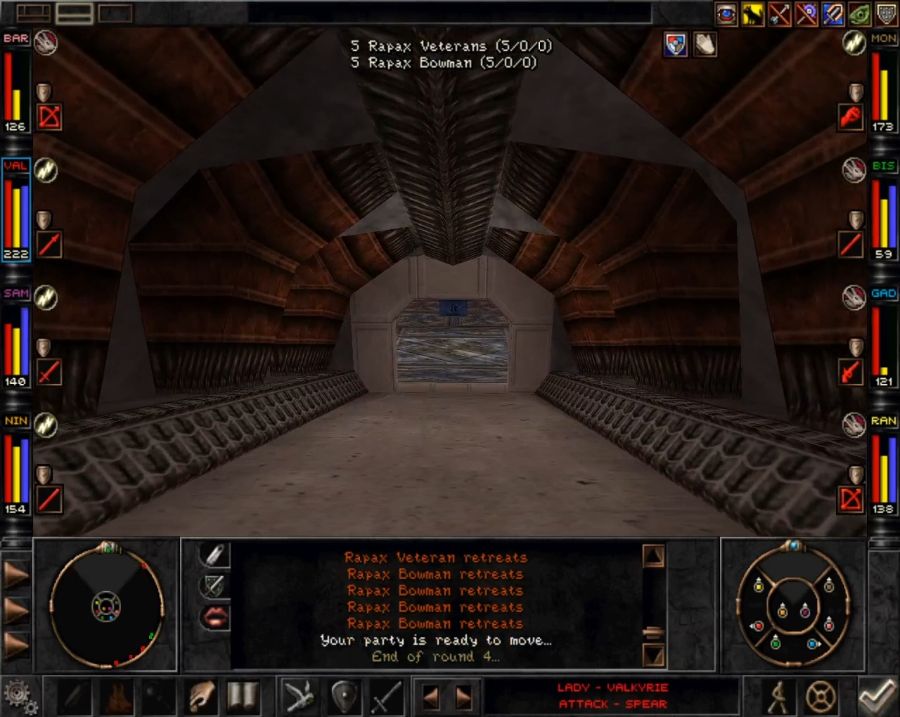 Have to wonder what's down here, anyway... 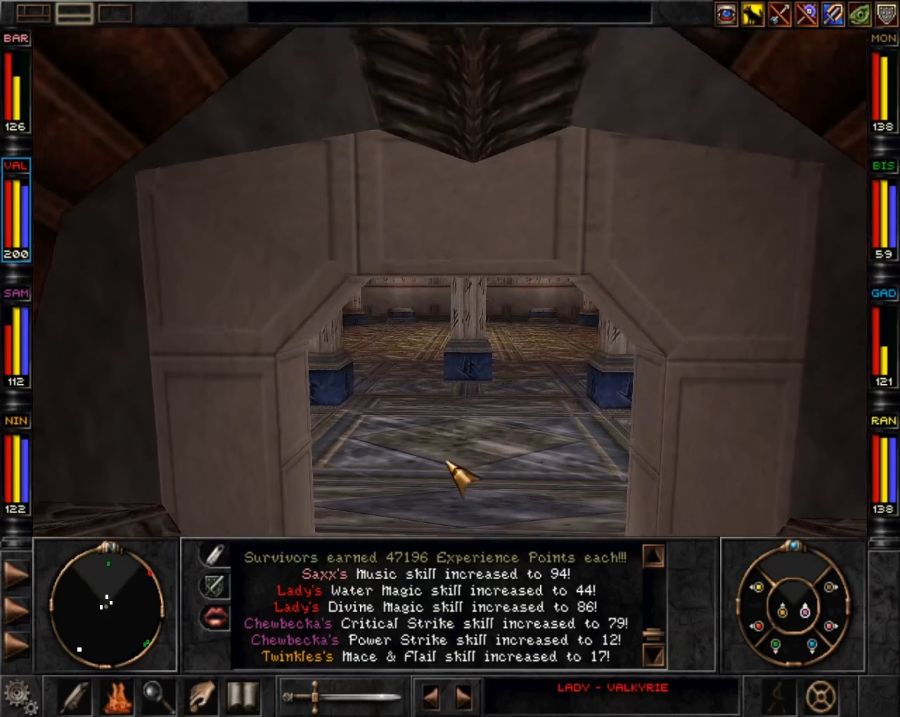 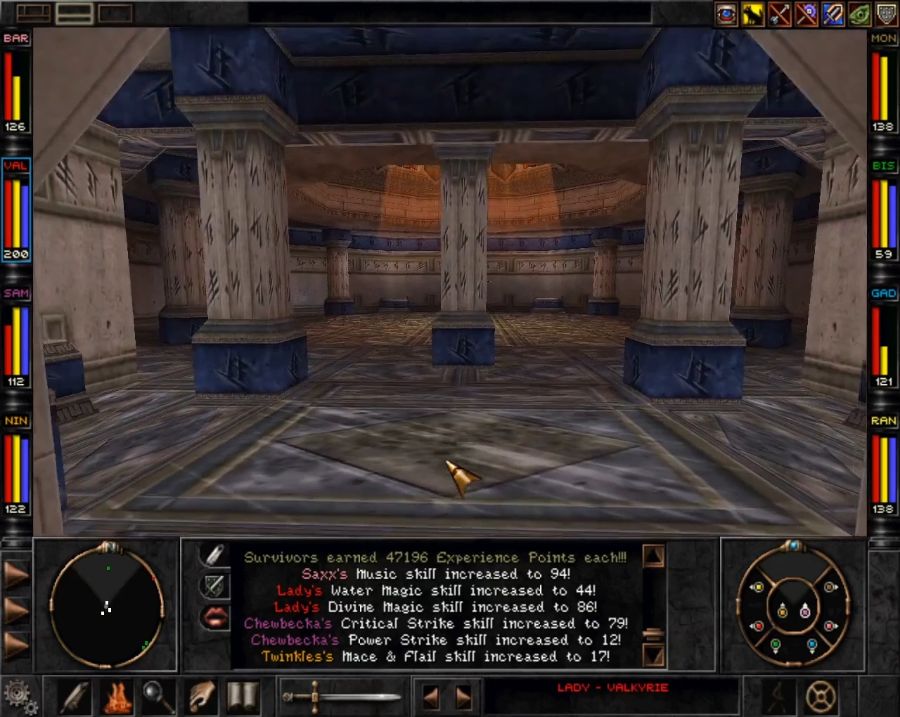 https://www.youtube.com/watch?v=zQA4s2PxKHA I'm sure you'll all live without seeing oversized naked demon breasts. Al Sedexus is, uh, a thing. Like, generally there's nothing offensive about Wizardry 8, but I can absolutely see her putting some people off and understand it. Thankfully we won't be seeing (much more of) her again. 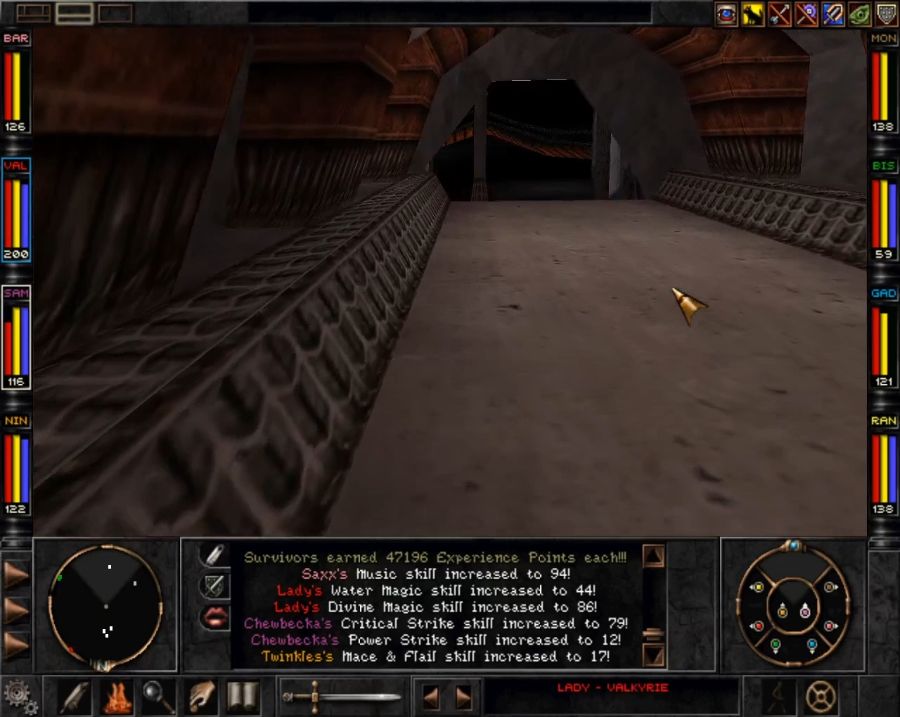 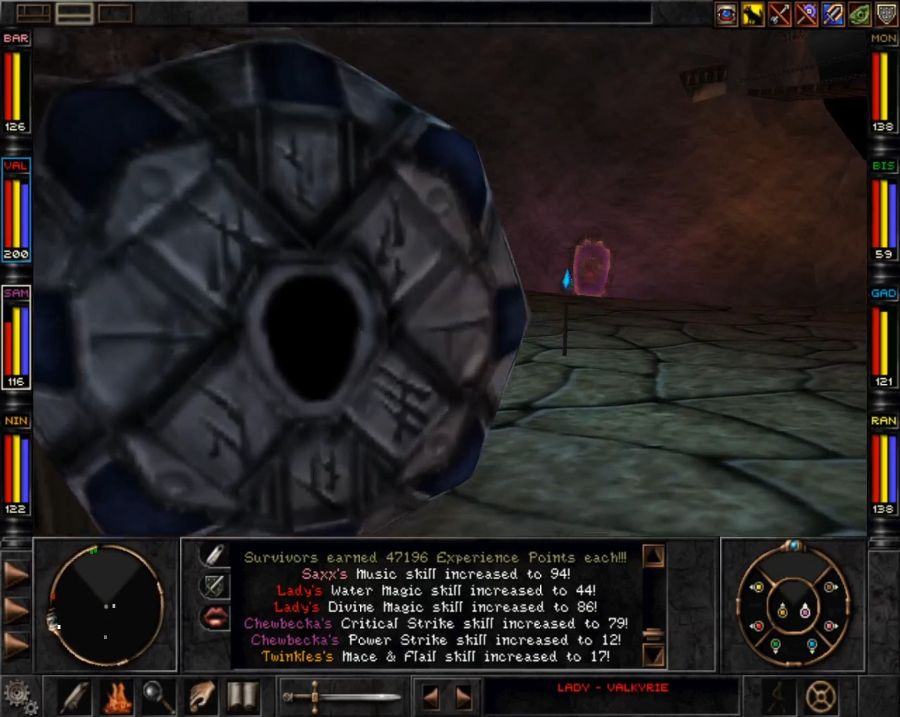 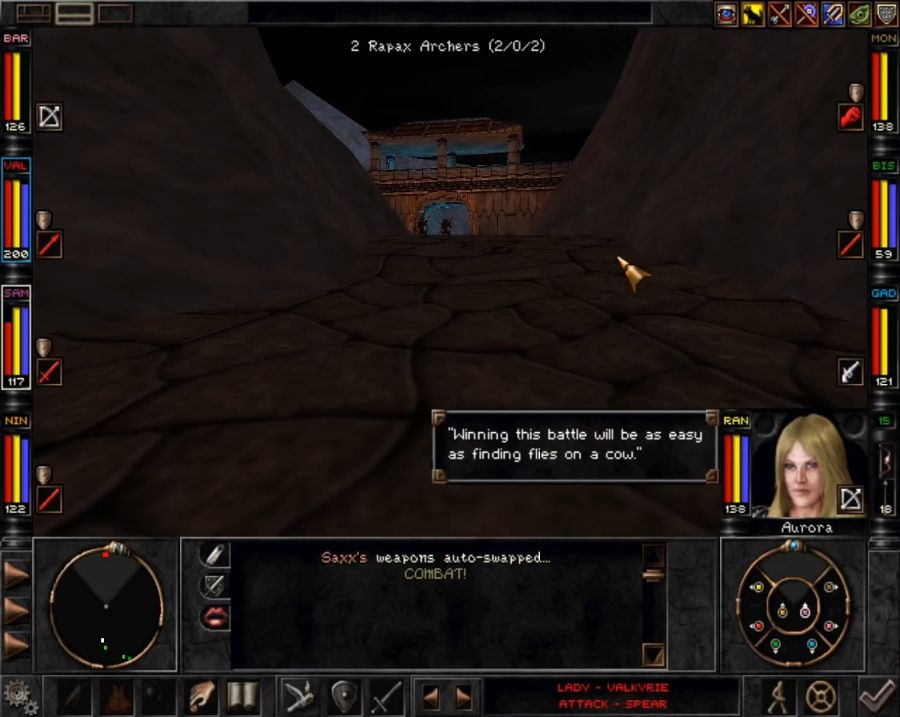 Let's get the hell out of the Rift. We'll only be seeing it one more time in this run. 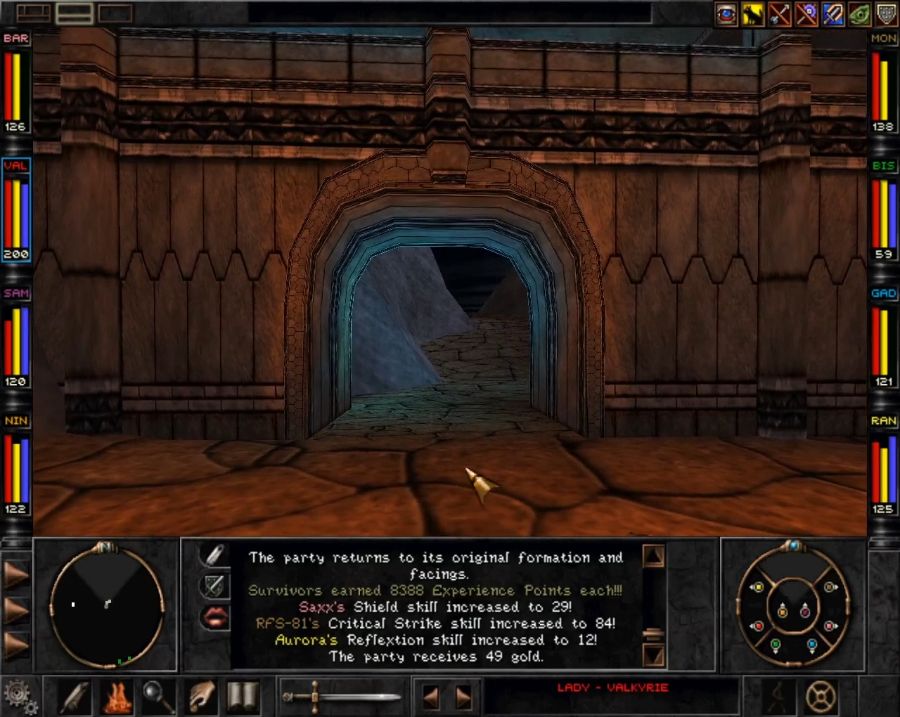  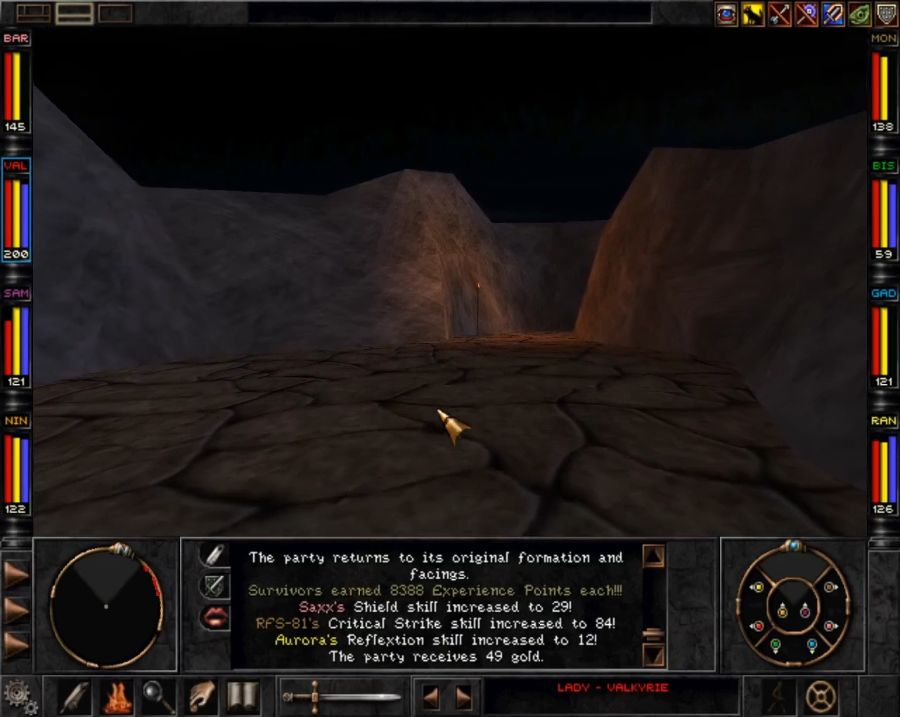 Past those two archers lies the Rapax Courtyard which is one of the slightly more puzzling areas in the game, because of how pointless it is. I suspect it was originally intended to have been more expansive, but it ends up as a sort of weird appendix area that should either have been part of the Rift or of the Castle proper.  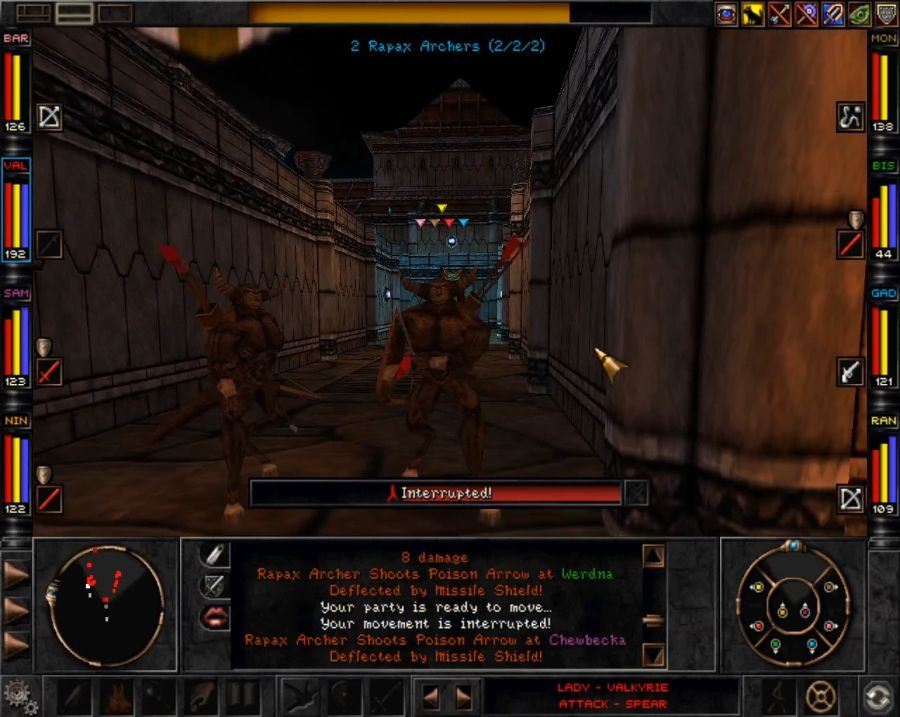 All it consists of is this one Z-shaped trench with a bunch of archers and samurai up top, which will aggro while in positions neither of you can fire back from, while you try to make it to the end and climb up to kill them all. 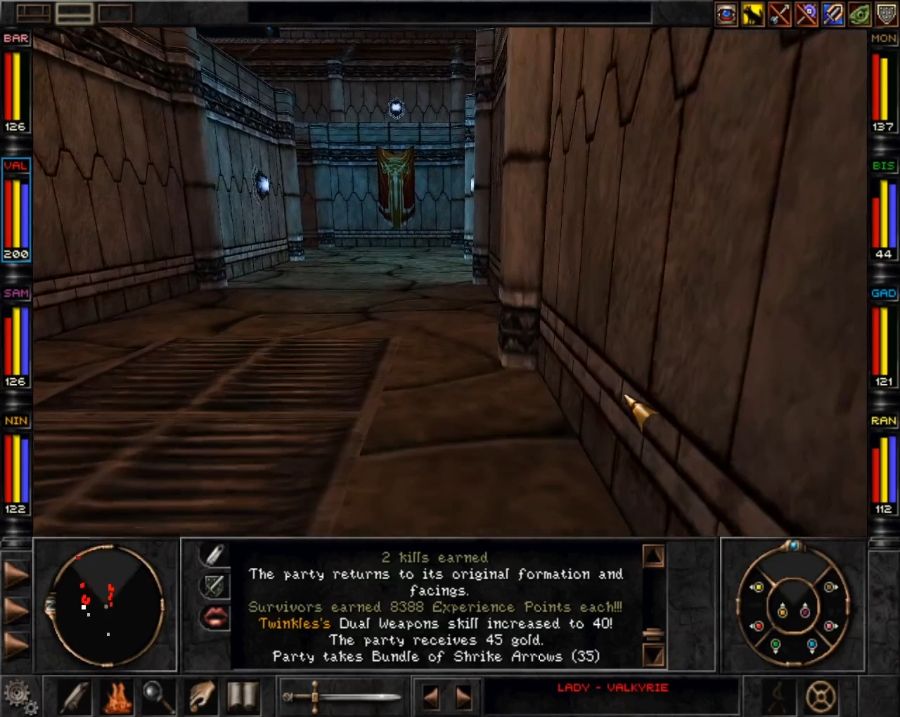 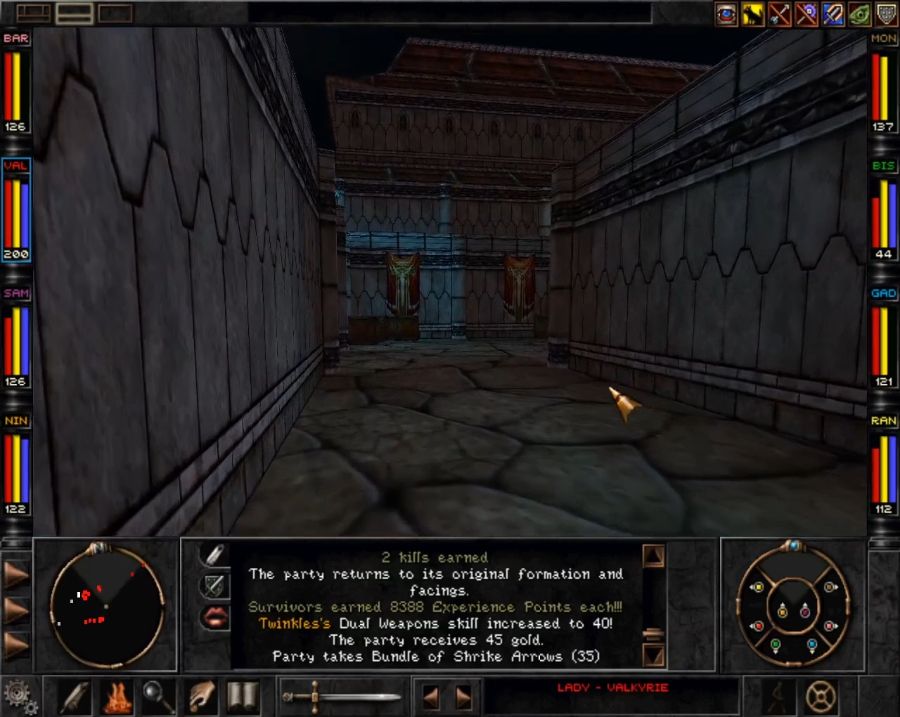 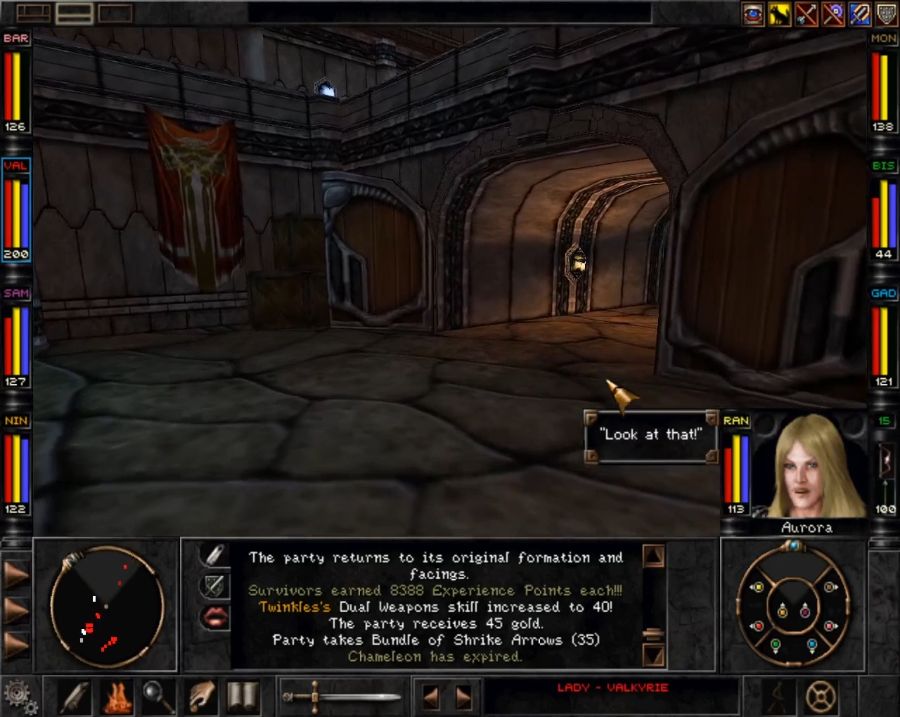 I get lucky this time and Chameleon gets me almost to the end before I end up aggroing someone. 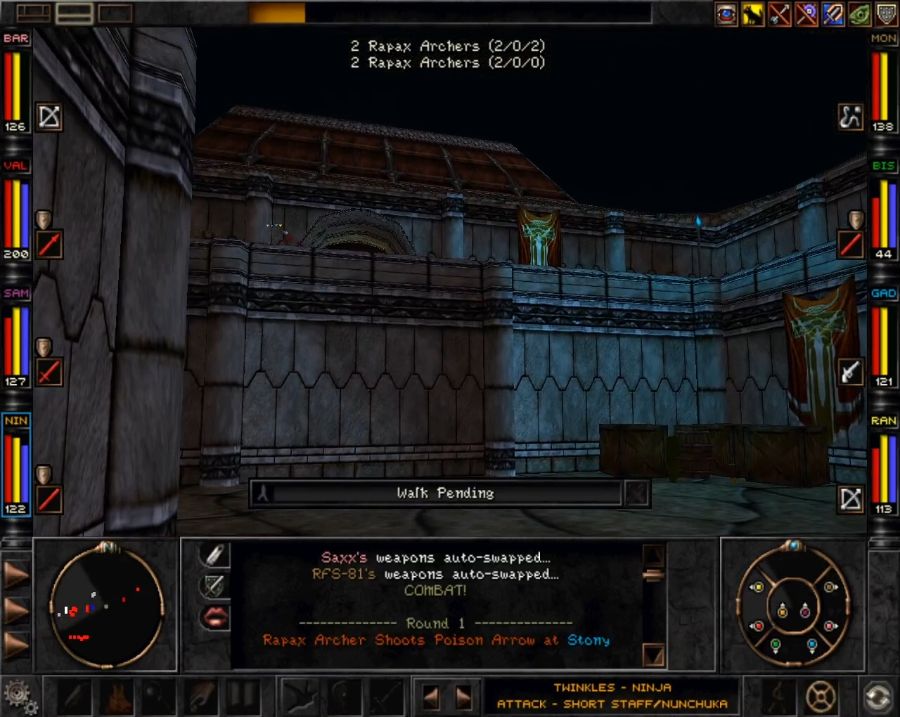 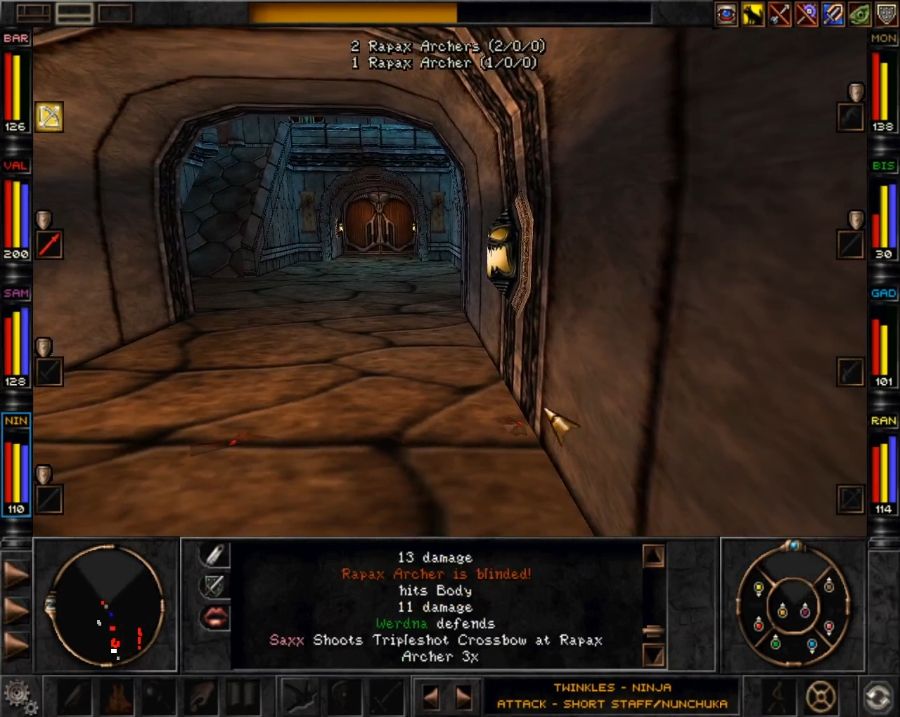 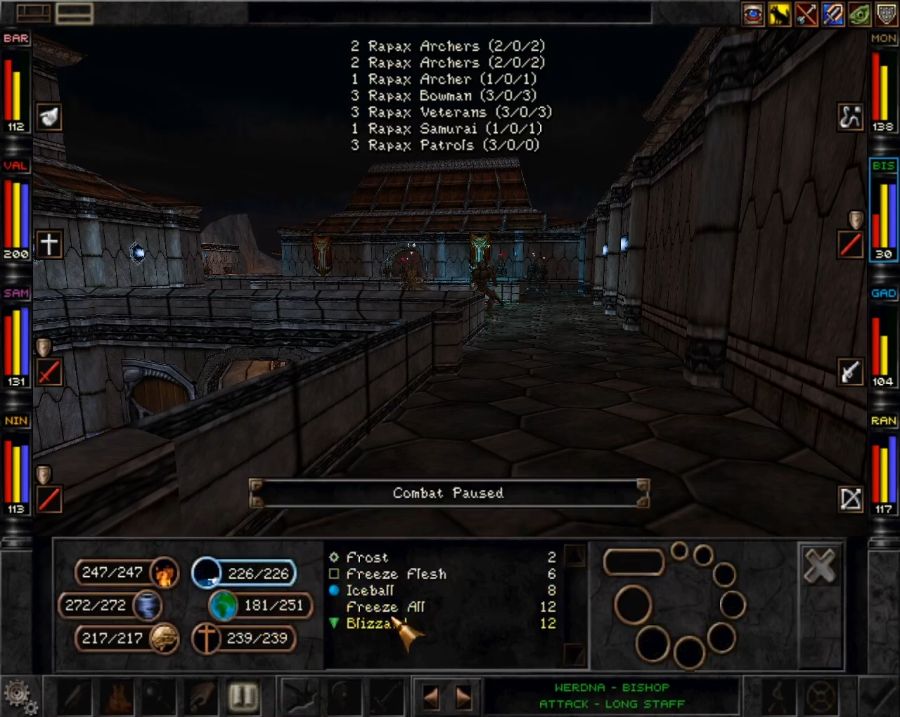 And it's just so much chaff. Asphyxiate and the NegatAir really pull their weight here, though, with the large number of enemies they actually manage to weed out a decent amount of them. 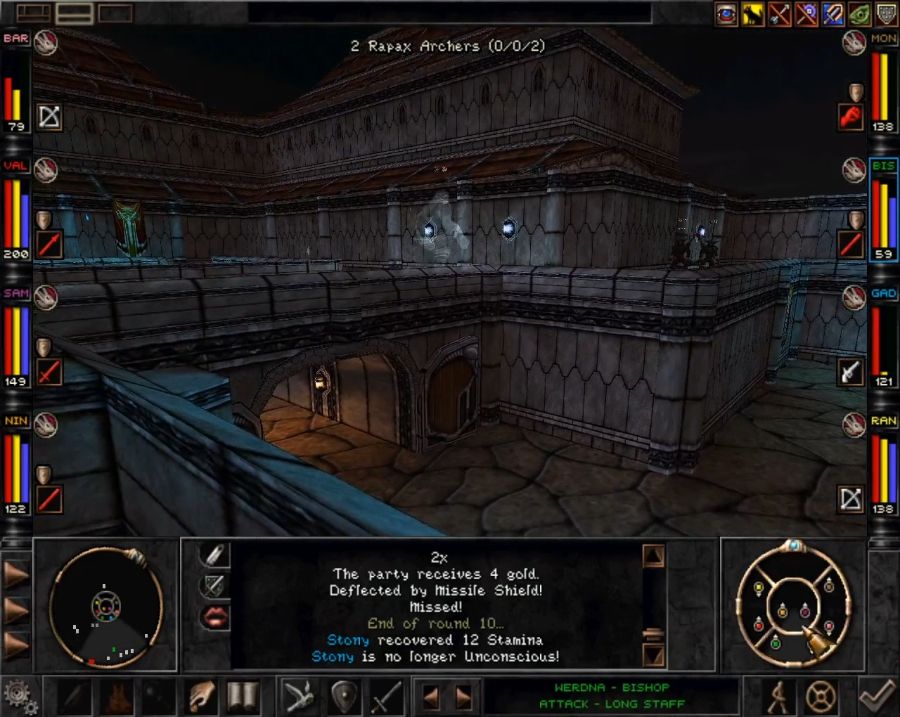 It's always a slog, though, especially as the area has literally no rewards for clearing it out. Even the gatehouse contains nothing of value except a bunch of healing potions which we've long outgrown. 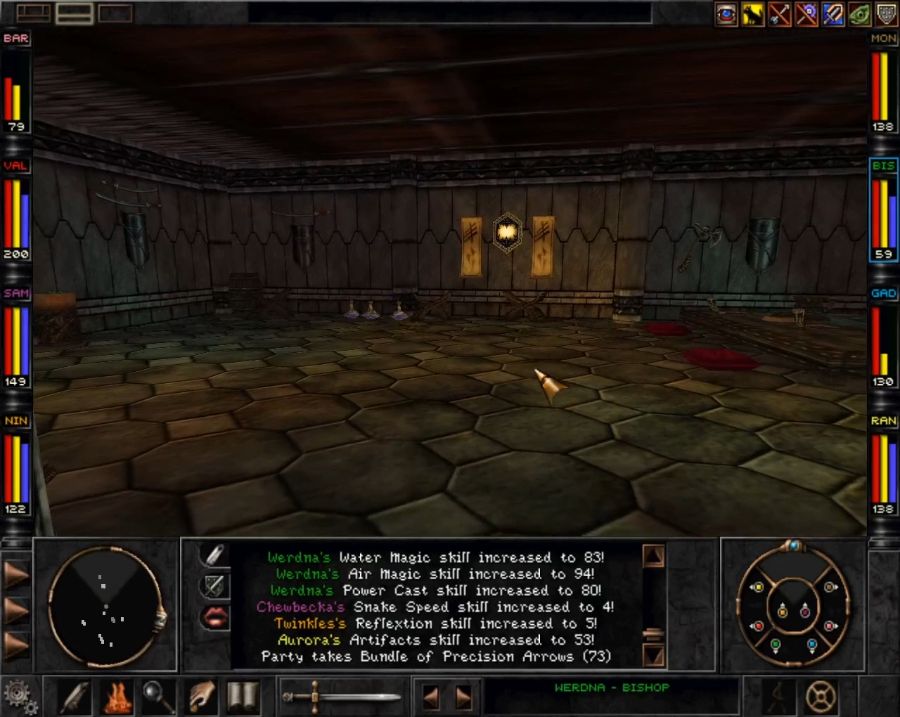 I do wonder if they originally intended for the Rapax samurai aesthetic to go further, though. They've got the katanas, the naginatas and a bit of the architecture, but I wonder whether it was a conscious decision not to carry it any farther or whether they just ran out of time to complete it. 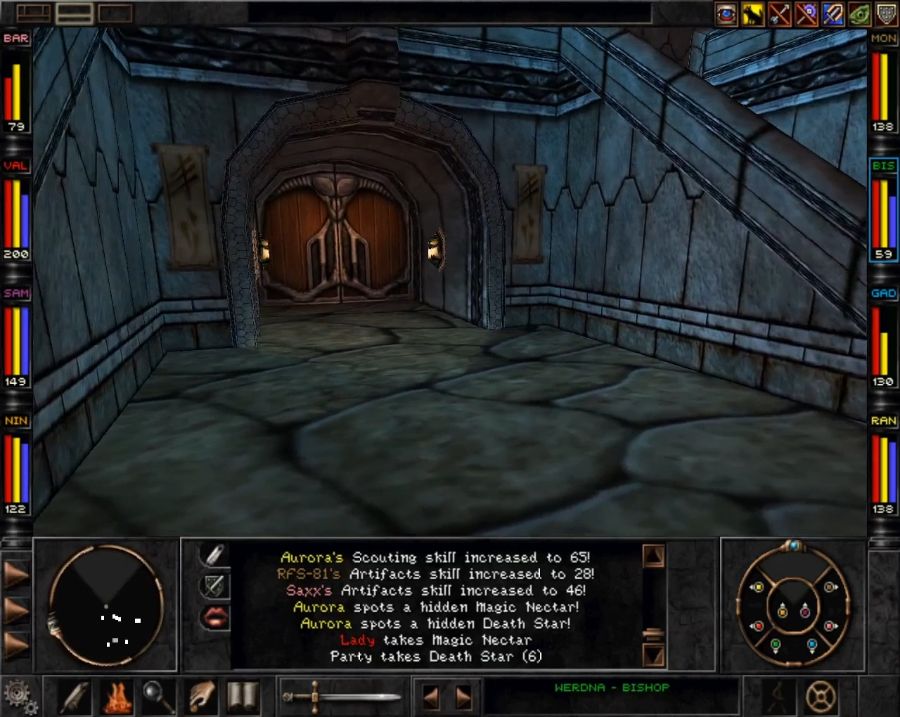 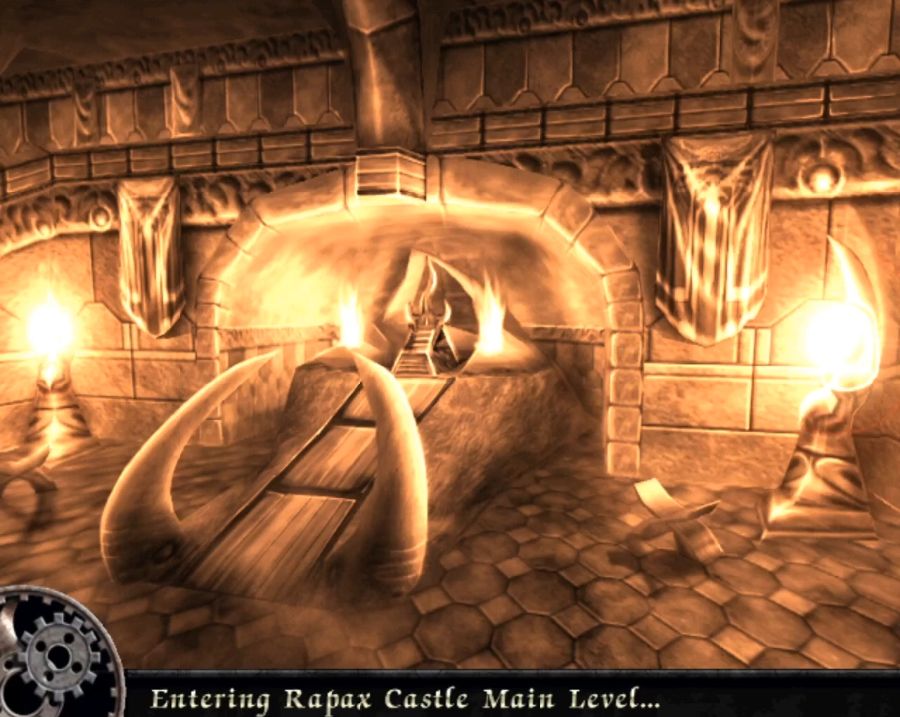 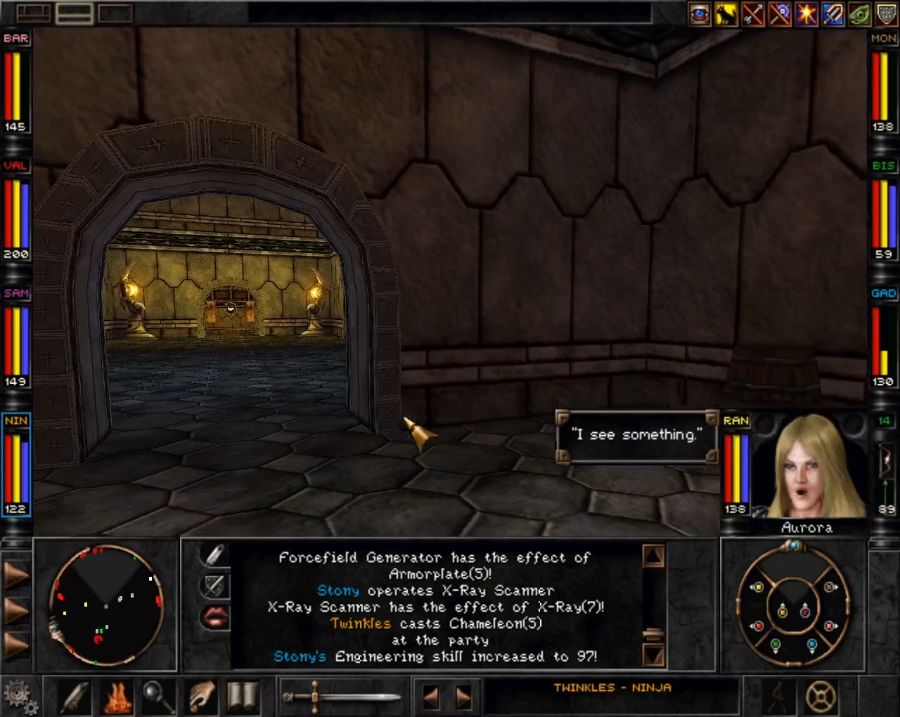 And with that, we're in the Rapax Castle proper. It's at least as big as the Rift itself, plus it has an upper level that's a separate area. It'll definitely fill out an entire update on its own. It's also a lot less annoying to fight through than the Rift, so that'll be great, too.
|
|
#
¿
Sep 7, 2020 10:33
|
|
|
Generally Wizardry 8's biggest sin(aside from the loving Rapax Rift which is a war crime against my patience), is obfuscated mechanics. For instance, nowhere does it tell you explicitly how dual-classing works, or what goes into spell effectiveness calculations. When you tell a character to swing a sword or jab with a spear, you're not told what the odds of a hit are. When a mage dials up a spell, you're not told what the expected damage against a given target is or the chances of resisting once everything is taken into calculation. But most of it's hidden in a way that you don't really need to know it, because you know that bigger number means bigger effect, and you have to be unintentionally obtuse to not know which numbers weigh into a given thing, even if you don't know the exact recipe.
|
|
#
¿
Sep 7, 2020 19:35
|
|
|
Unoriginal One posted:The less efficient but more satisfying way is to mop the floor with her on the way in, skip the quest because ew, paint the castle's interior red as a consequence of skipping the quest, and then bug out and never return once you've wrapped up the other objective. I mean agreed, but for an LP I feel like I should be showing off content rather than skipping it. So fun as it would be... we'll have to get out even more censor bars.
|
|
#
¿
Sep 7, 2020 21:35
|
|
|
EclecticTastes posted:There are workarounds for that, like placing a portal on Ascension Peak before it gets blocked, which is what PurpleXVI did. No, I did not. I just talked about it and how you could do it, but that it would be skipping content, which we aren't doing for this LP. I also don't think anything ever indicates that the path to disarming the bomb is in the Rapax Castle except that the Rapax and Savant announce they have an alliance. Also the scope of the bomb varies from who you talk to, sometimes it's described as blowing up Arnika, in other cases as blowing up the planet. The latter is cooler, but also makes less sense because then the Savant blows up his own path to Ascension. I've also never actually tried to walk up the Peak without disarming the bomb first, so I may set the necessary portals to easily hop back and disarm it, and then try sauntering up the Peak to see what happens.
|
|
#
¿
Sep 8, 2020 10:33
|
|
|
That's a quality post, Araganzar. Also, finally got around to editing the screenshots for the next post. I had so much demon cleavage to remove, as well as about an hour of me getting hopelessly lost because of a bug in the game.
|
|
#
¿
Sep 16, 2020 19:14
|
|
|
Part 013: The Horny Update And not just because the Rapax have horns. 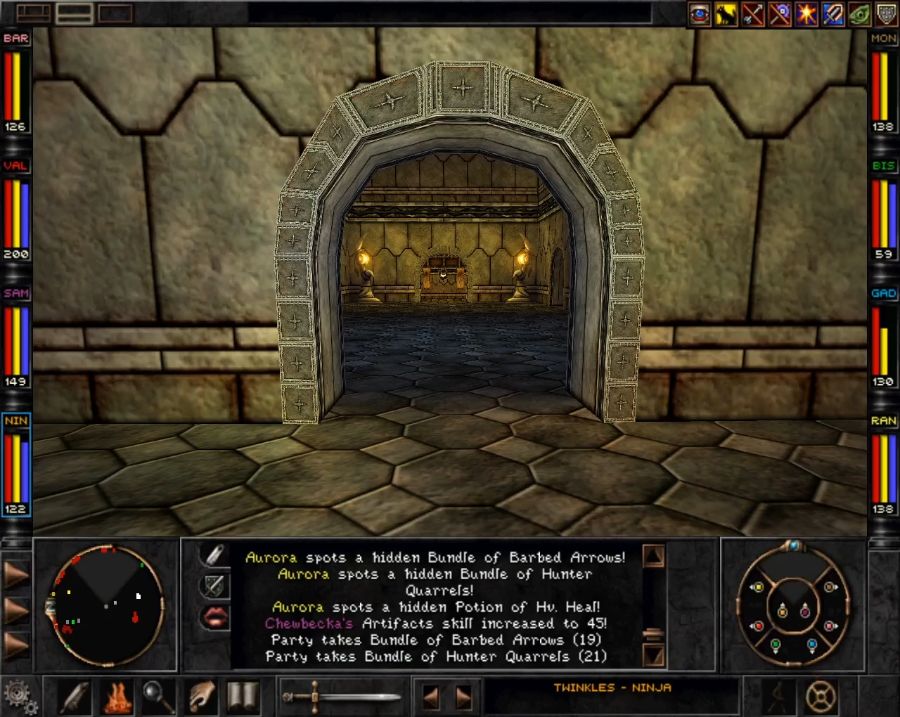 So the Rapax Castle is probably the second-most-annoying part of the game for me every time. Normally I have an impeccable sense of direction, but this place fucks me up utterly every time. It consists of three layers, the cellars, the main castle which we're in now and the upper castle. The cellars are irrelevant and feel strongly like more was planned for them. But let's look at the other two. 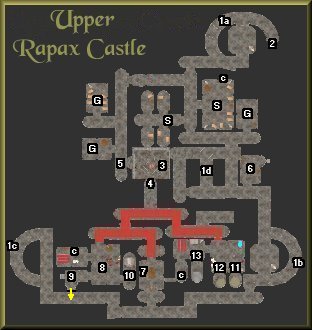 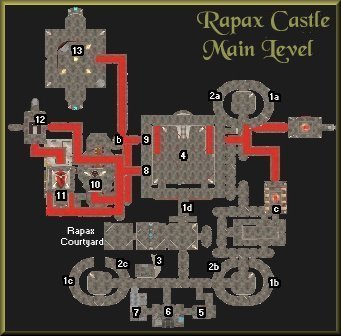 Oddly enough, the main castle is actually the easiest to navigate since most of the silly-looking corridors are because of 3D corridors being layered on top of each other and are actually part of one-way sub-areas. Fundamentally, the main castle floor is just a square with up/down stairs at three of the corners and the Temple of Al-Sedexus at the fourth. The other place of interest is Ferro's forge on the south side. The upper floor, on the other hand, is a total shithole. 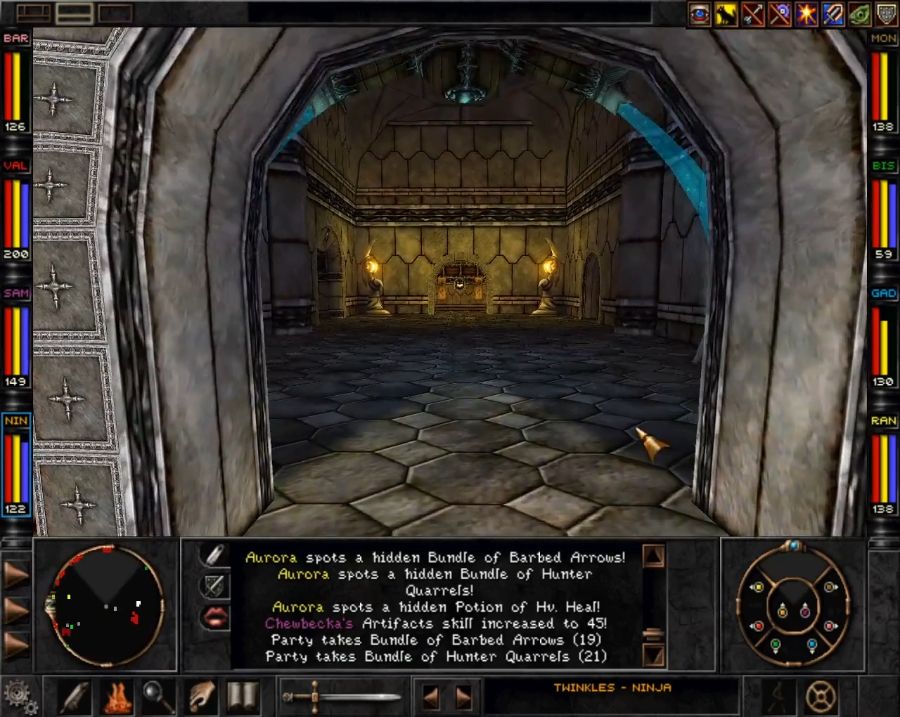 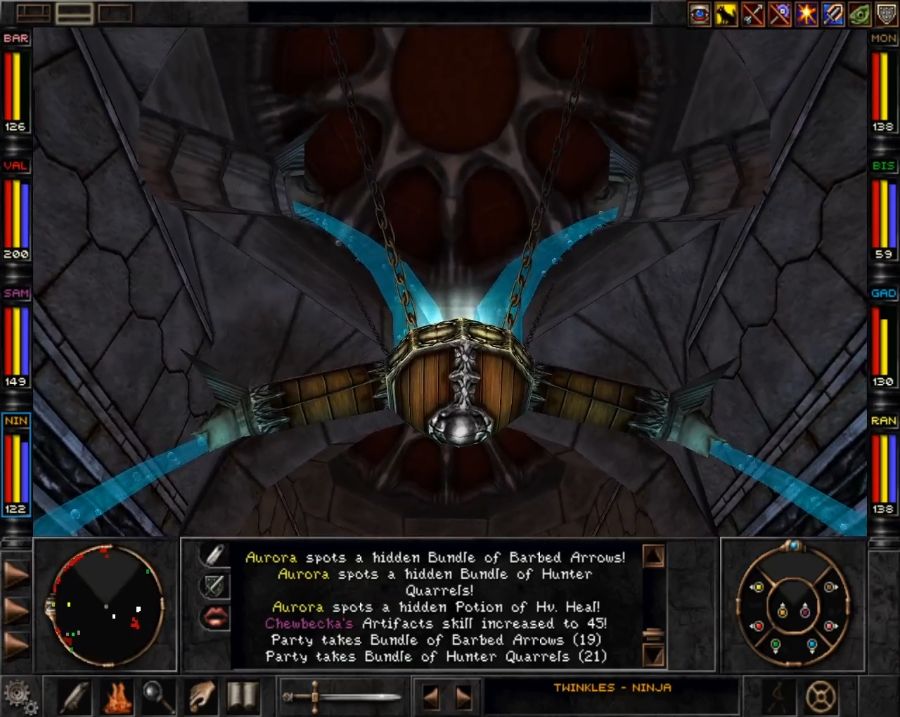 The main floor is oddly void of decorations, with only a few actual rooms and mostly just corridors. First thing I do is set a direct course for Ferro, because he sells some incredible stuff. On the way I, of course, get ambushed by the locals. 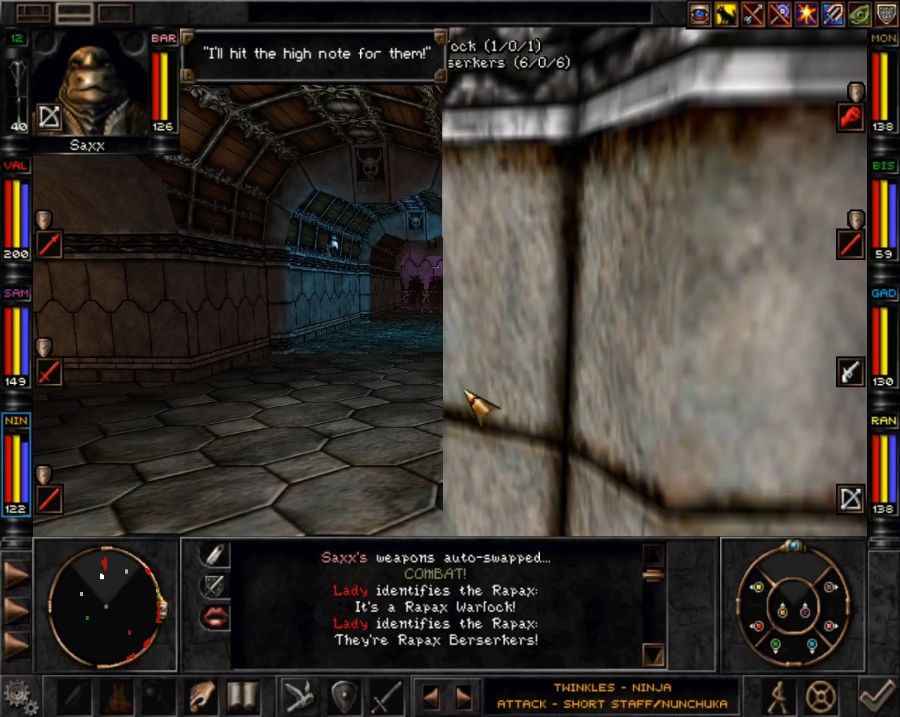  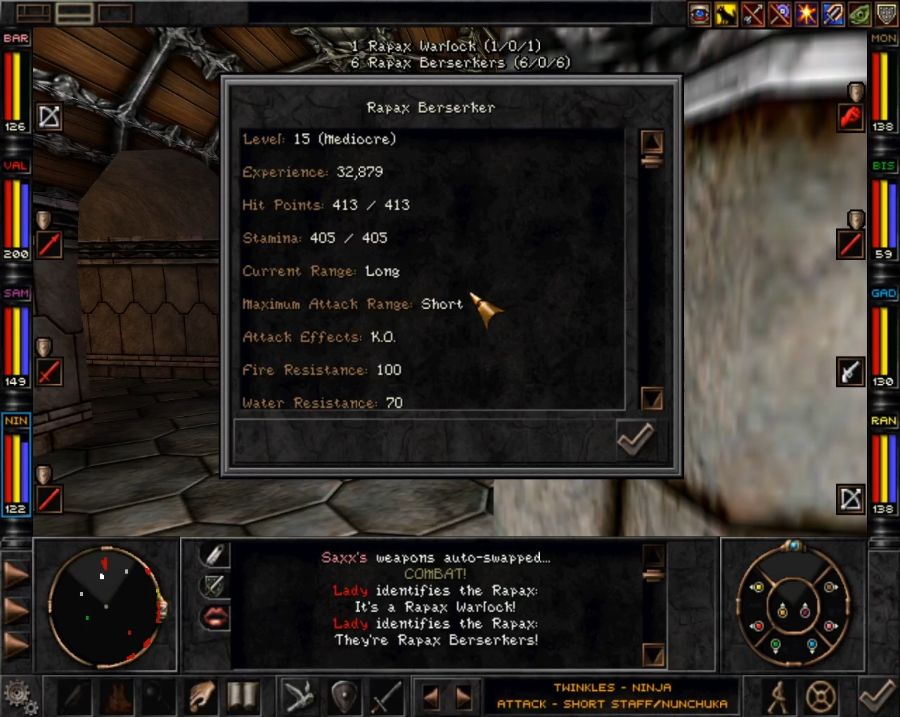 Levels are a bit of a mixed bag since we're starting to hit the top tier of the level cap for some of the locals. Most creature types span a range of 6 or 7 levels, with three variants in there, a low, a mid and a high-level one. Once you start out-levelling an area, the game doesn't really have any tricks for dealing with it. It does not, for instance, keep cranking up amounts or spawn rates as far as I'm aware. You'll just start being free to laugh as you scythe through them.  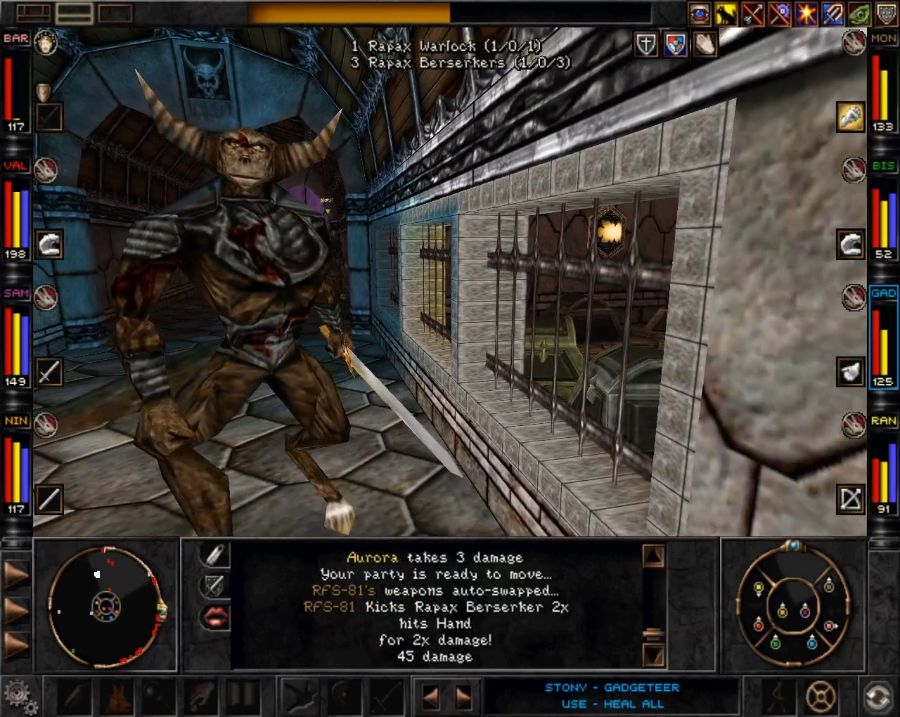 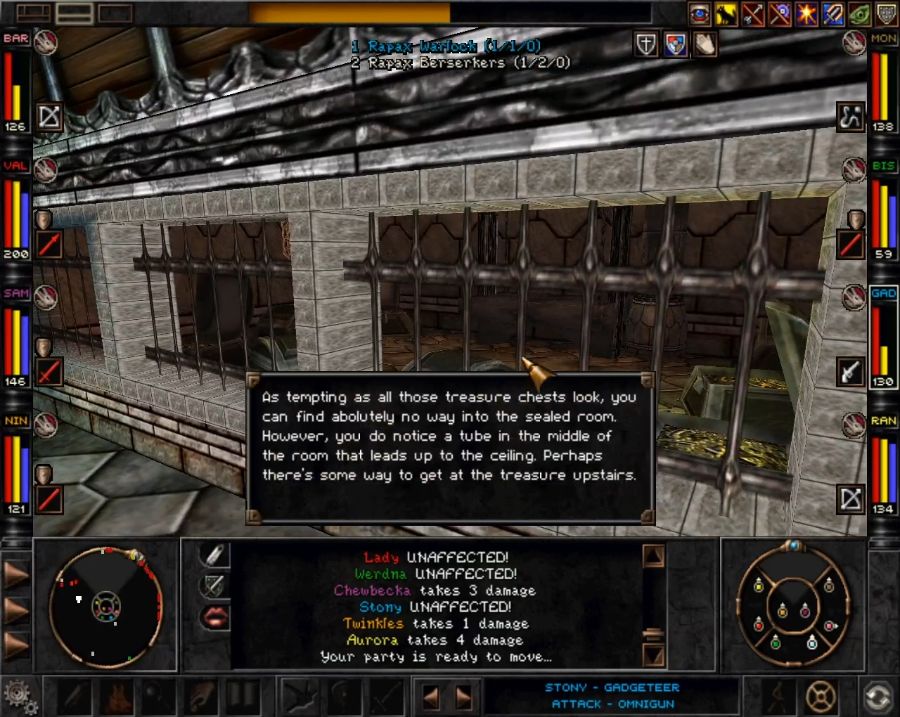 The fighting carries me past this tease of a look into a treasure room which is also one of the biggest dick moves in the game, because there's actually no way to get in there. There is a way to get some stuff out of there, but you probably won't realize that's where it's coming from when you do so, and thus it can lead you on a wild goose chase for a long time. 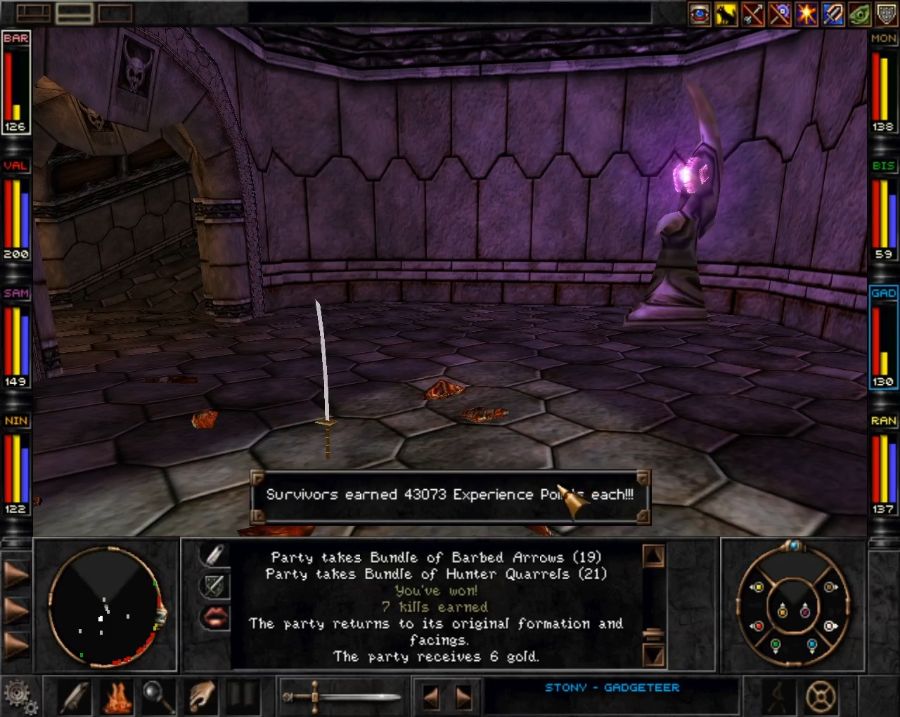 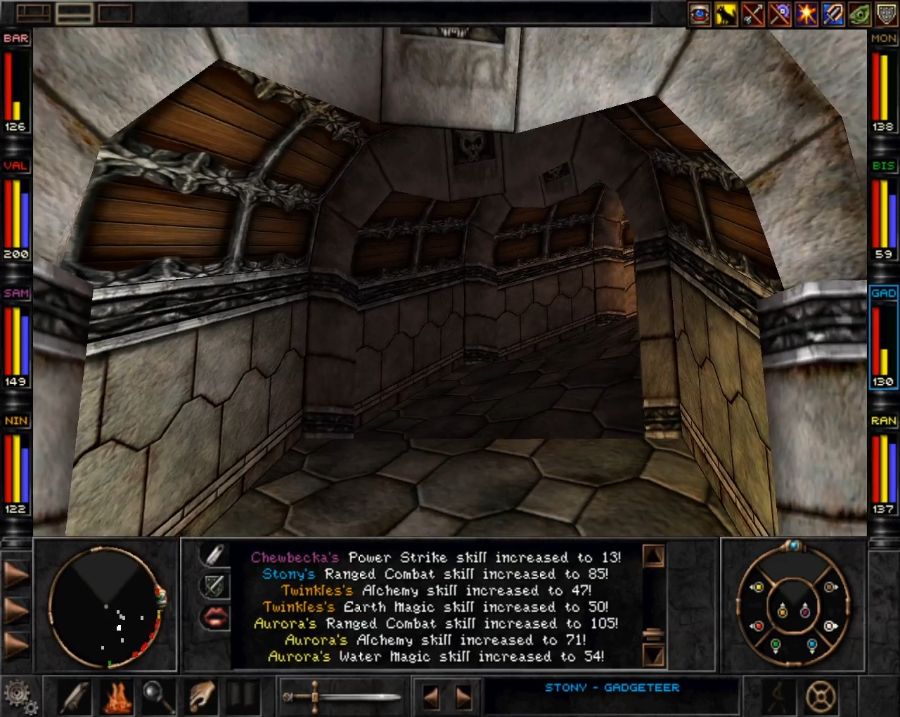 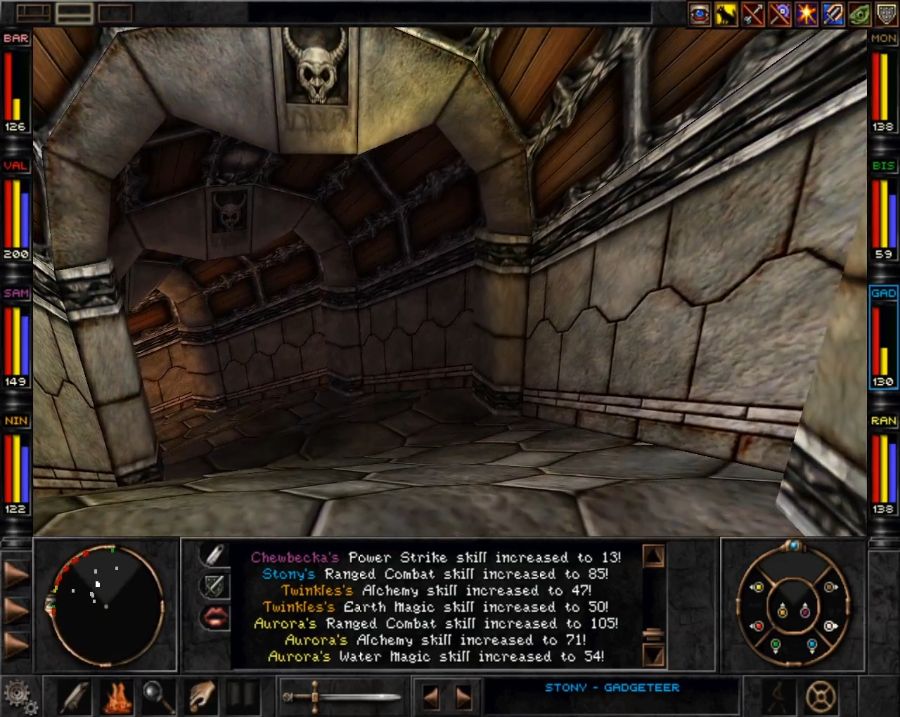 In a decent bit of signposting, these purple lights are explicitly posted at up/down passages in the corners of the castle, making them easier to find. 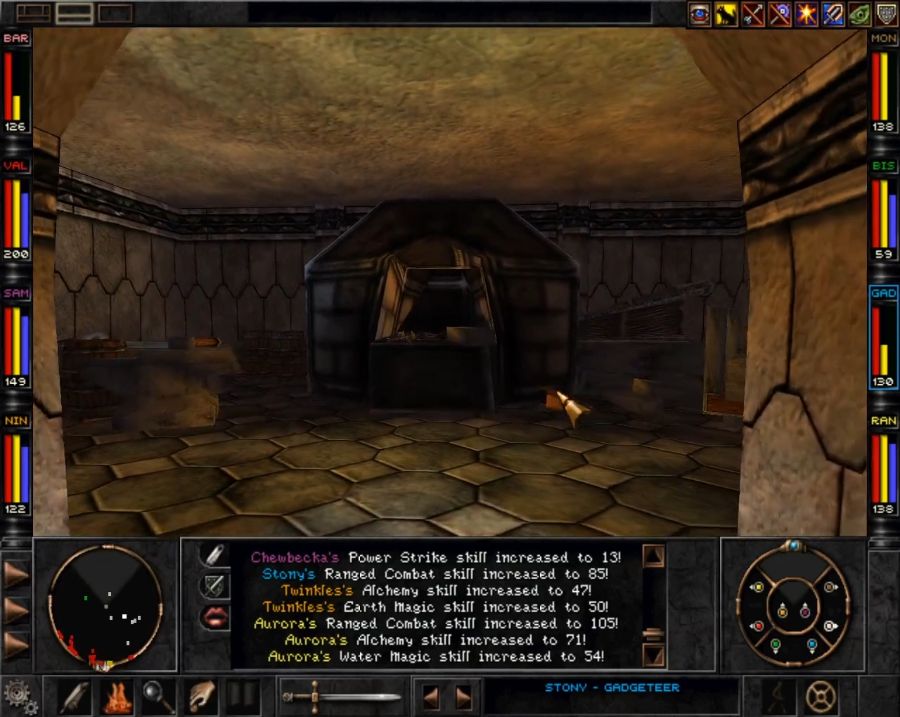 We enter Ferro's forge by the side entrance so we can yoink his bellows for Stony. It gets combined with the hose from the Mine Tunnels to form... 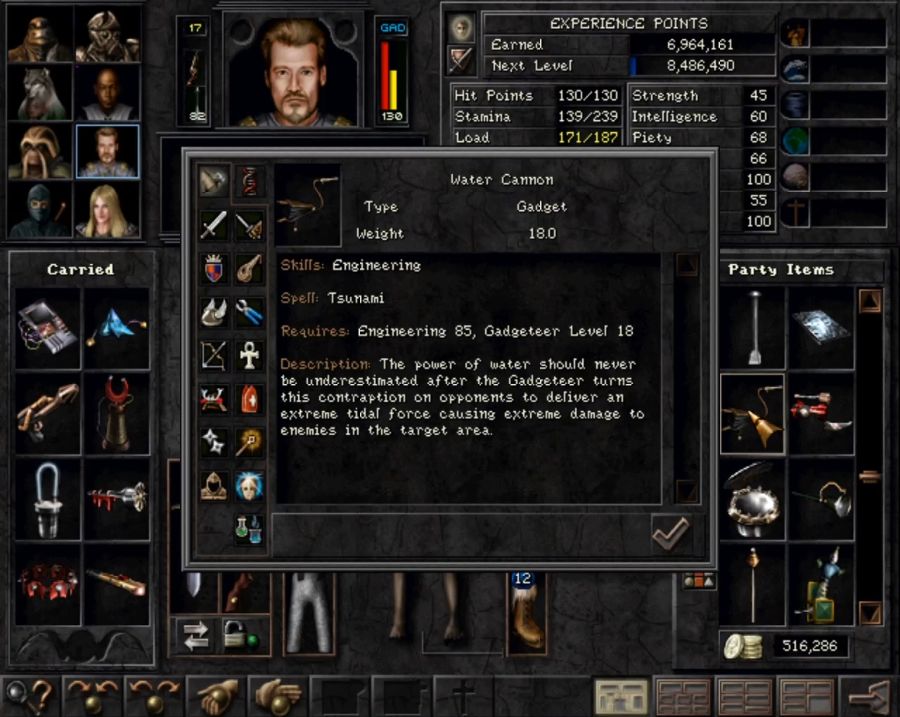 Something that's perfectly ideal for washing away Rapax. 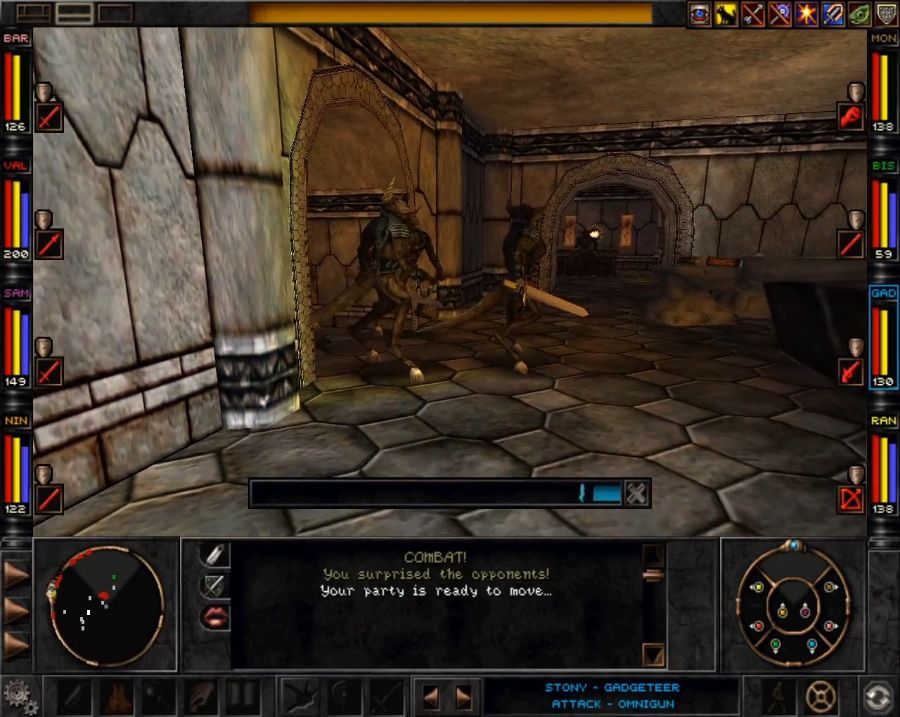 While I'm poking around in the back, a random patrol comes to check up on Ferro who, as an example of great customer service, takes his forge hammer to their heads in our defense. 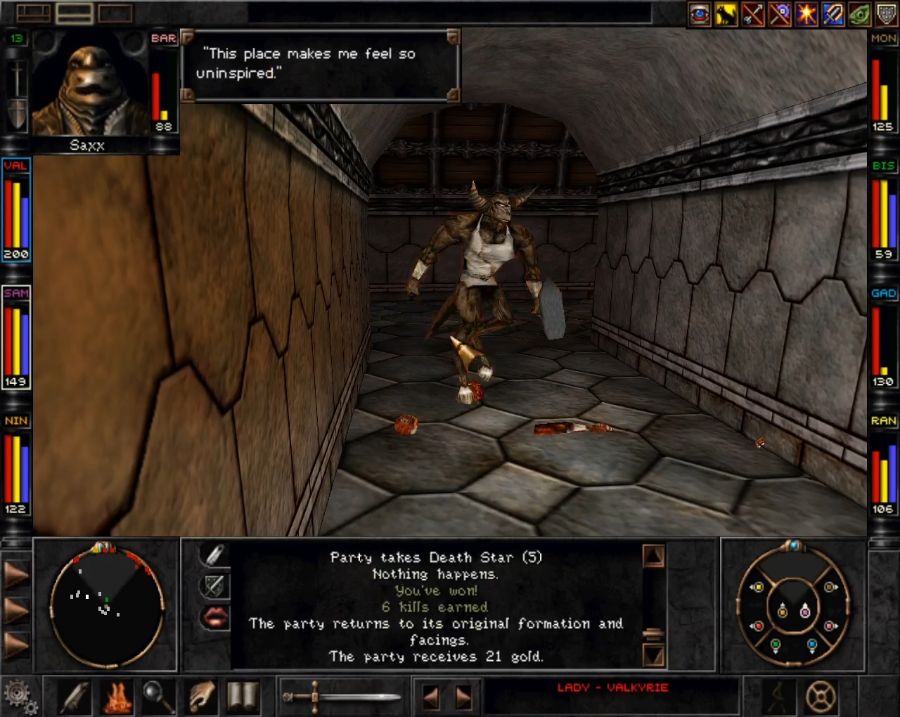 They would have gone down easily enough without him, but he does help speed things up. My biggest worry was that they'd dogpile him and manage to kill him, as Wizardry 8 doesn't really do much in terms of invincible NPC's and we are, currently, in one of the few parts of the game where I believe we can actually softlock ourselves out of progress. 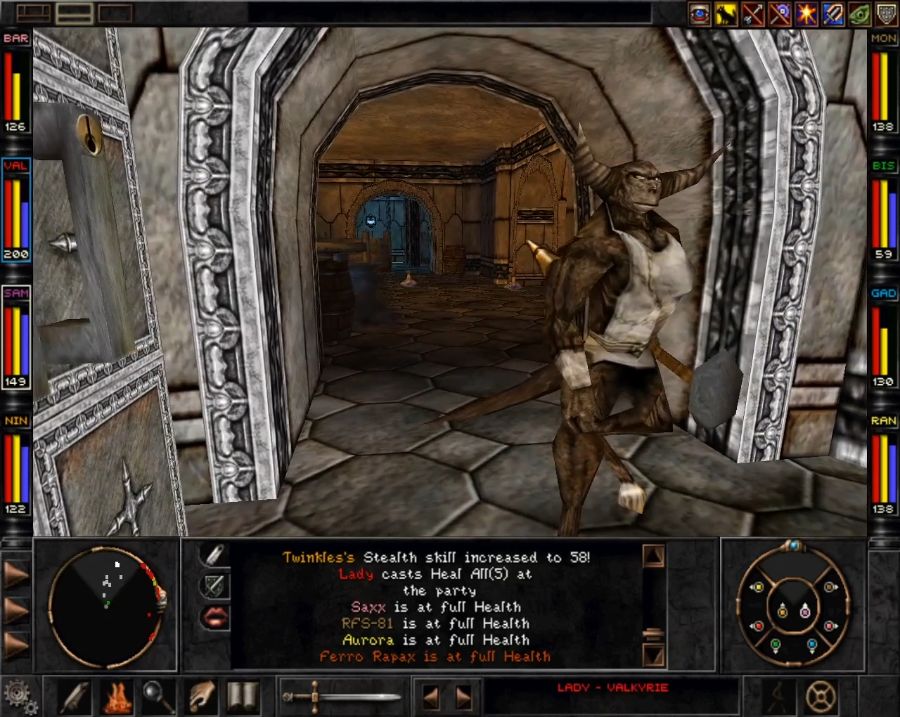 https://www.youtube.com/watch?v=qxZHmBBc2-k So Ferro is probably the last merchant you'll meet in the game, and what he sells is, appropriately enough, very rad. 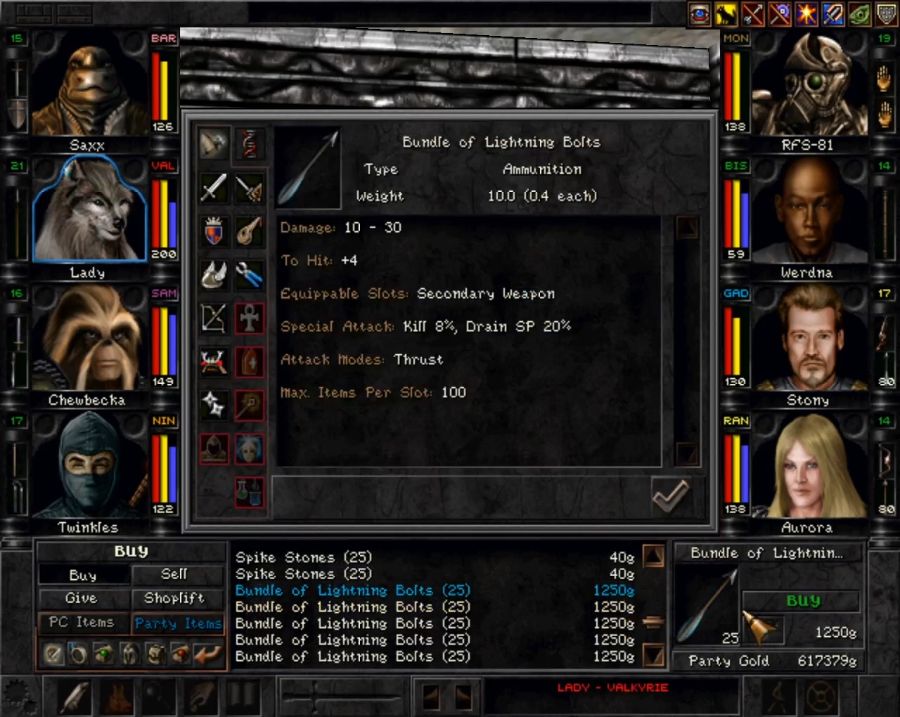 He's got top-tier ammo for your ranged guys and gals. 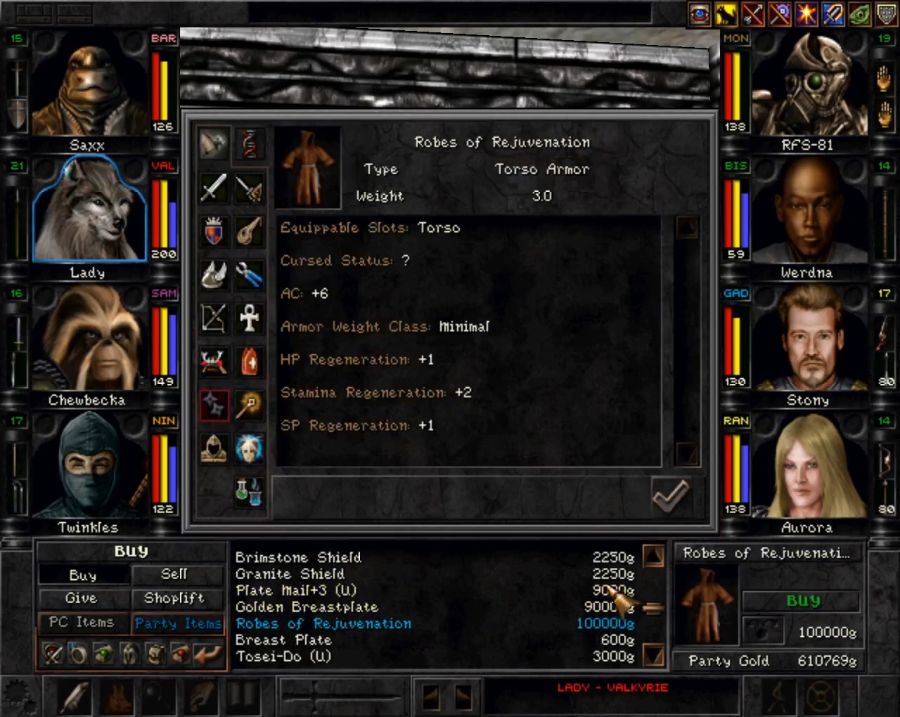 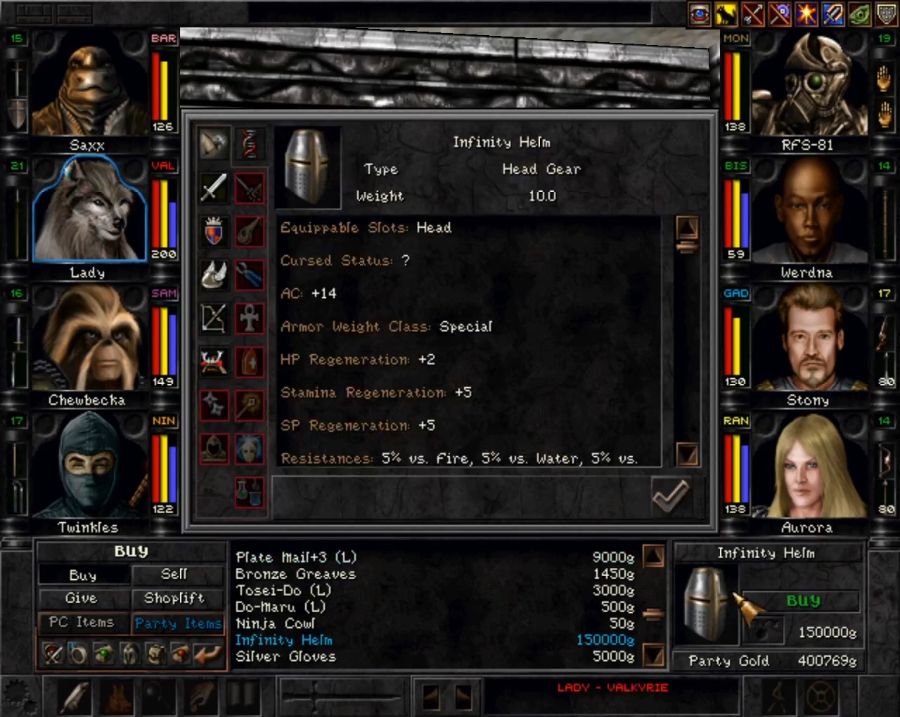 And amazing pieces of armor for just about everyone. The best thing is that "unique" items sold by merchants also get reliably restocked when their inventory refills, which means we'll be able to slap Infinity Helms, Robes of Rejuvenation and the like on every single party member who's actually capable of equipping them. 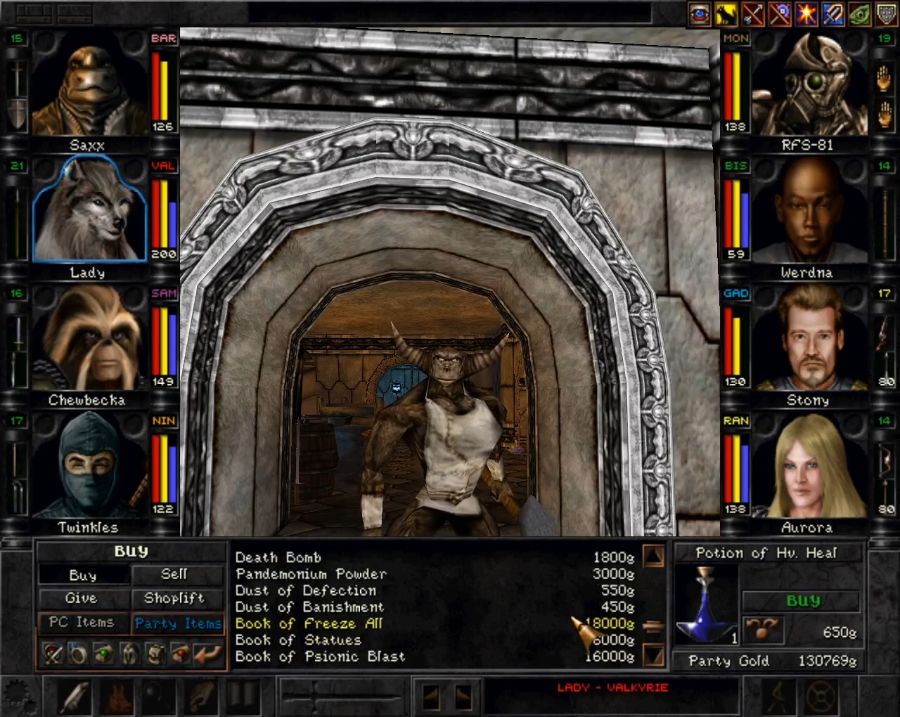 He also sells high-level spellbooks and a single quest item, and has a small selection of custom items, though the only one I'm interested in is the Ivory Blade. We've already got all of the ingredients for all of his custom stuff, one of which is the huge silver nugget we've been lugging around since the mine tunnels and can now finally unload. 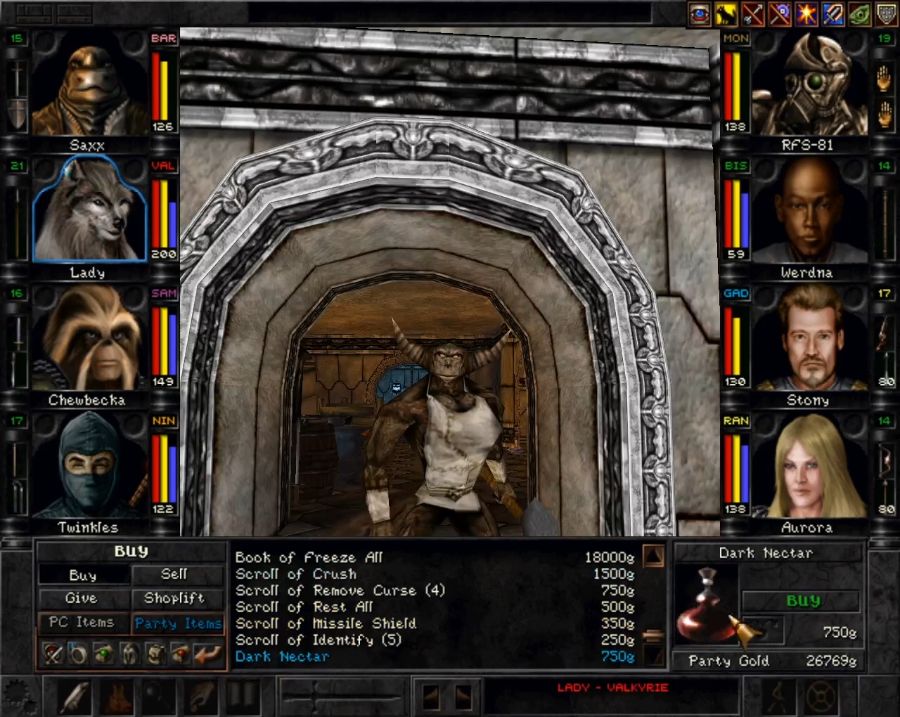 His quest item is the non-descript "Dark Nectar." Anyway, let's go join a weird sex cult so we don't have to butcher twenty rapax just go walk down the hallway. 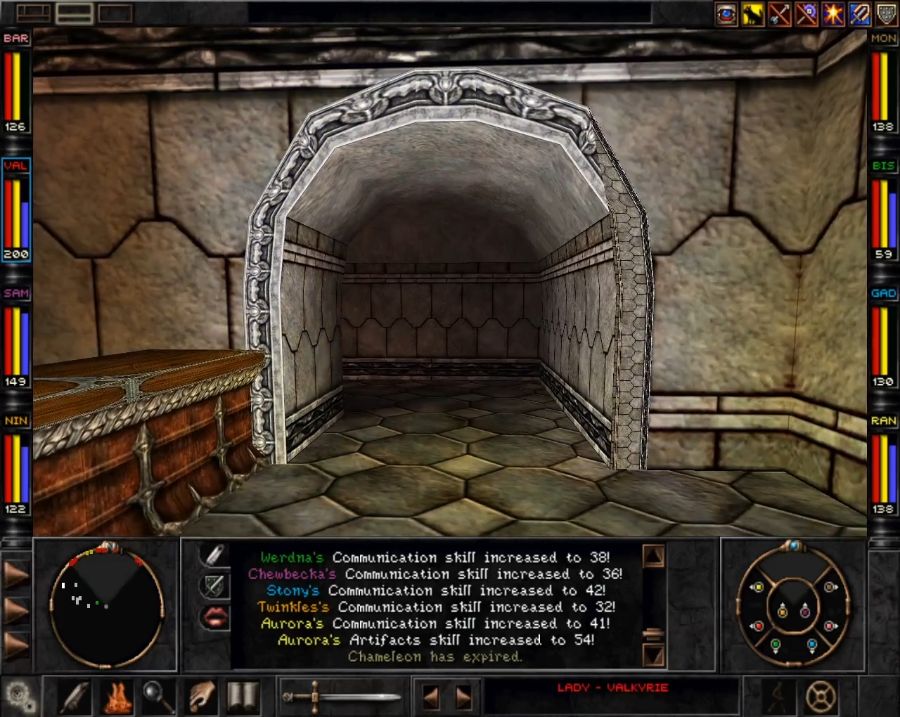 What we're headed for is the two distant yellow(i.e. provisionally non-hostile) NPC's on the far side of the area. 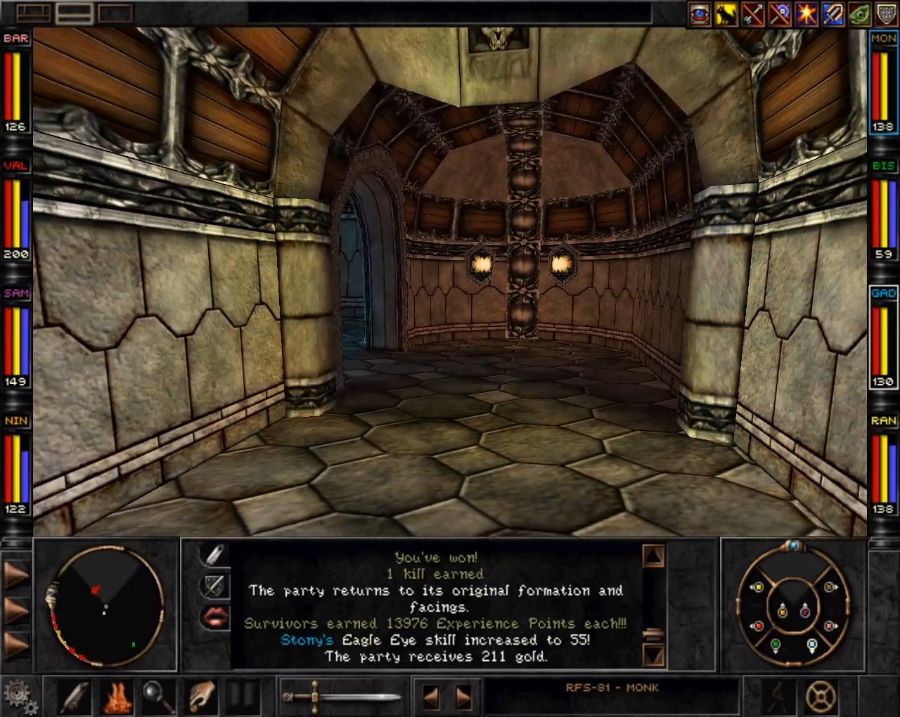 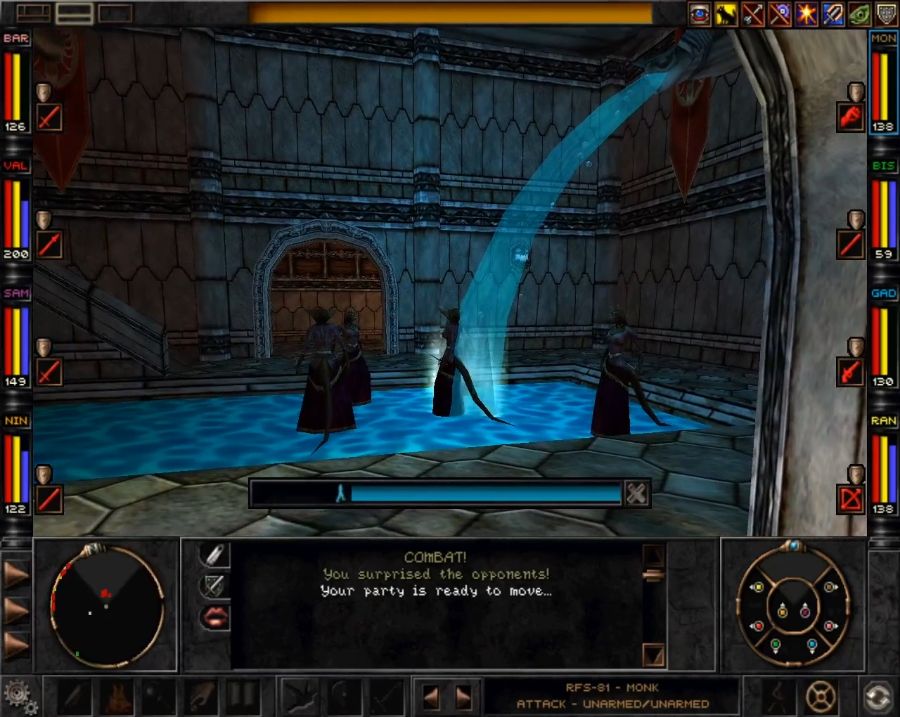 Another new enemy type here are Rapax Courtesans(or Concubines, depending on how they're levelled), who are generally non-entities except they have a non-zero chance to land instant kill hits. Thankfully they're also about as fragile as you'd expect a Rapax armed only with a knife and wearing a wet T-shirt to be. 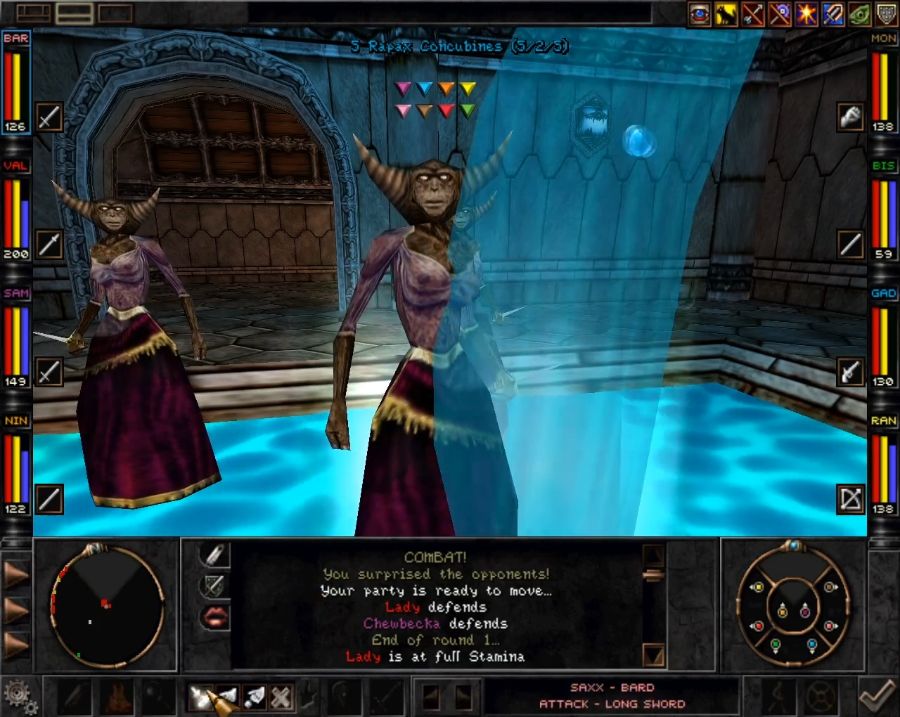 Delightful, by which I mean goddammit you horny artists.  Sucks for the pack of Rapax Janitors who have to go through this place later and clean up the pool. 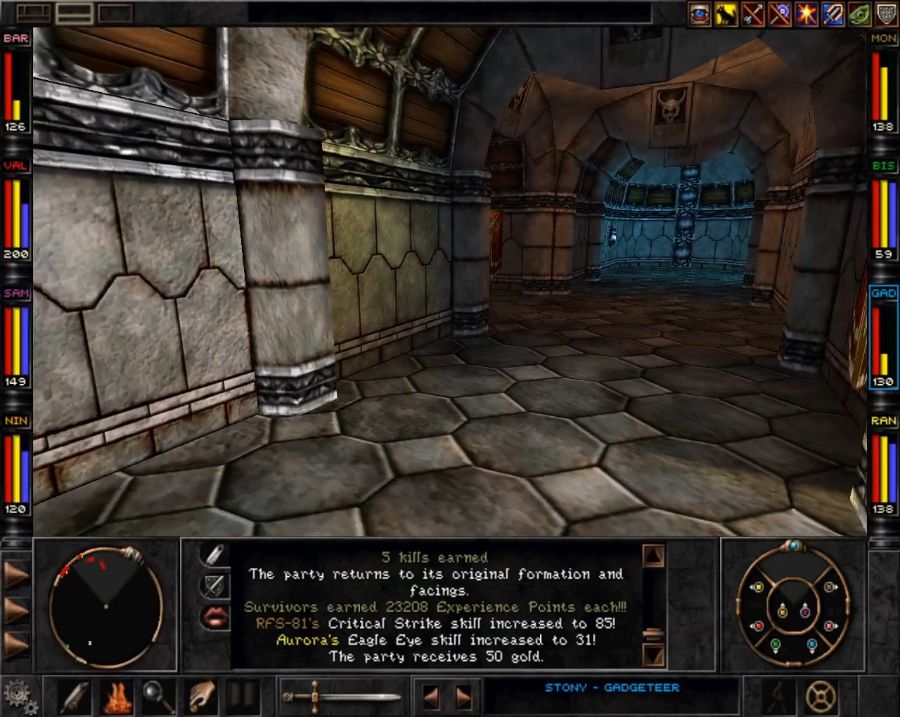 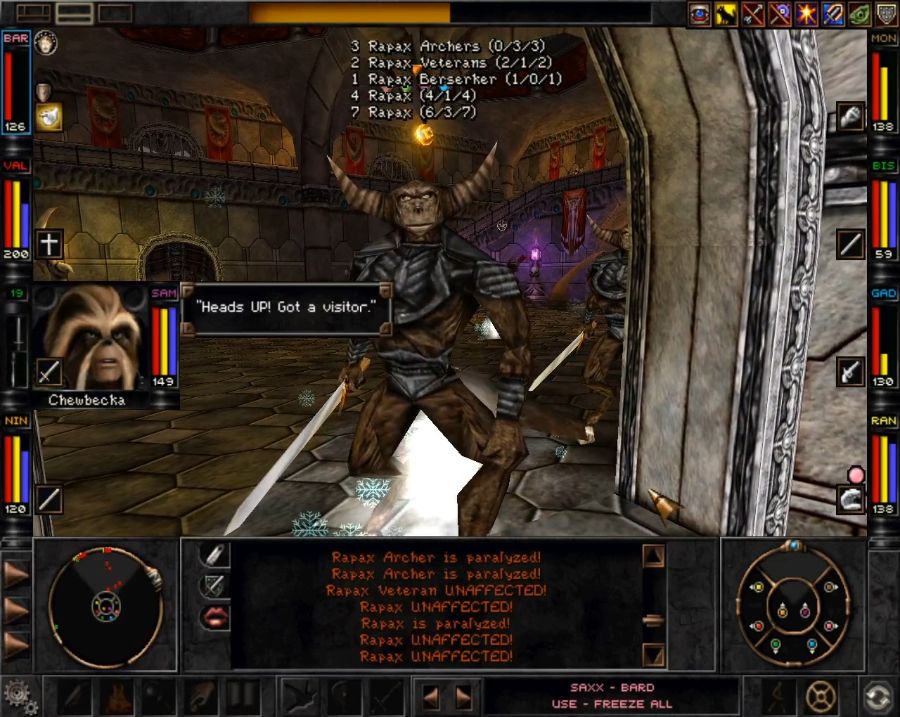 The main roadblock towards reading the semi-friendly cult NPC's is this shoddy throne room where a big pack of enemies seems to consistently spawn. Thankfully, once I fight my way into the throne room proper there's enoguh headroom to start summoning elementals and speed up the cleanup. 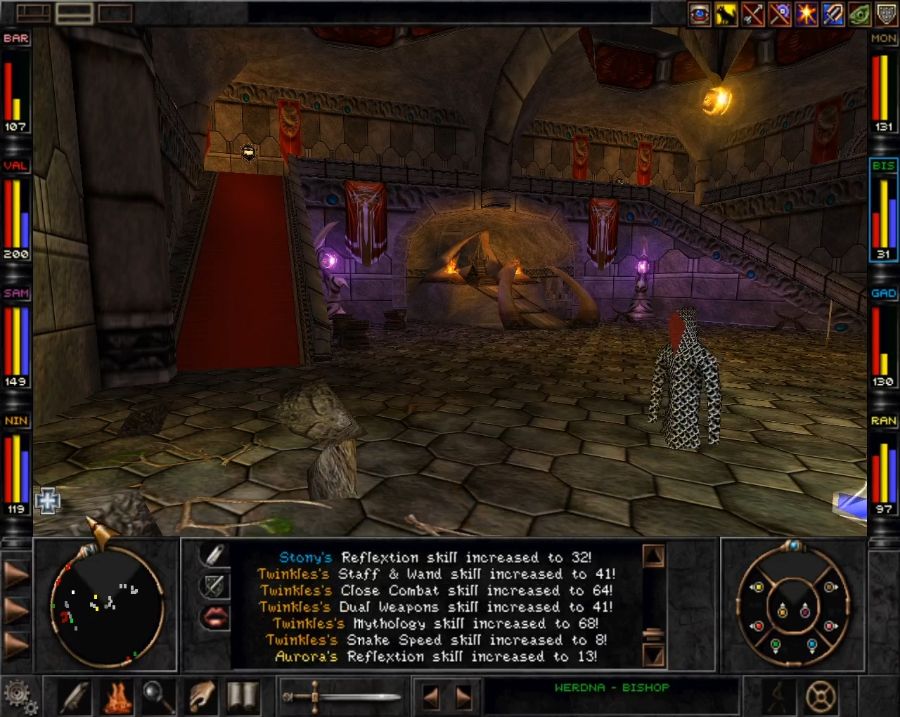 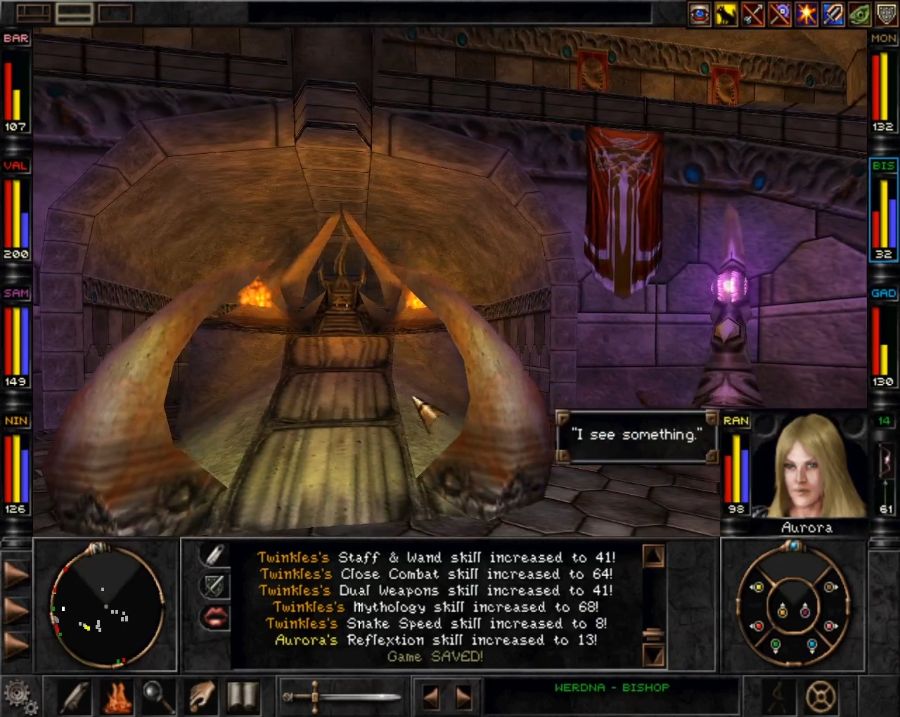 The throne room is always funny to me because clearly there's no way any goddamn Rapax could actually sit on that throne. I also misremember that there's something hidden behind the throne and get myself stuck on the geometry coming back, forcing a reload. Goddammit game. There are two exits to the rest of the castle on the ground floor, the cultists and an exit to the upper castle on the top floor, and a couple of exits to small dead-end areas. One of them is actually interesting.  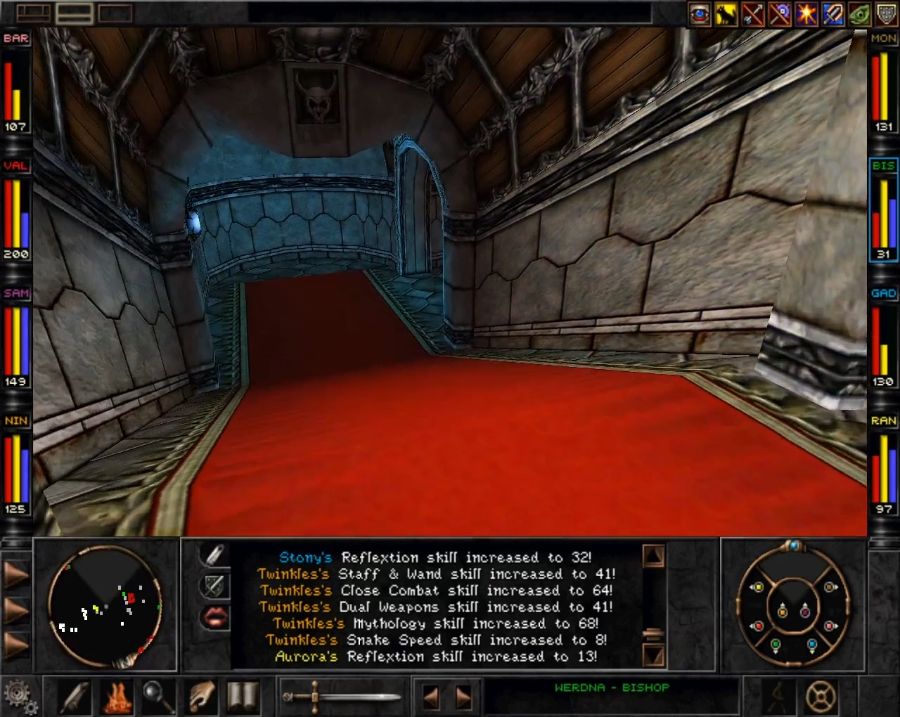 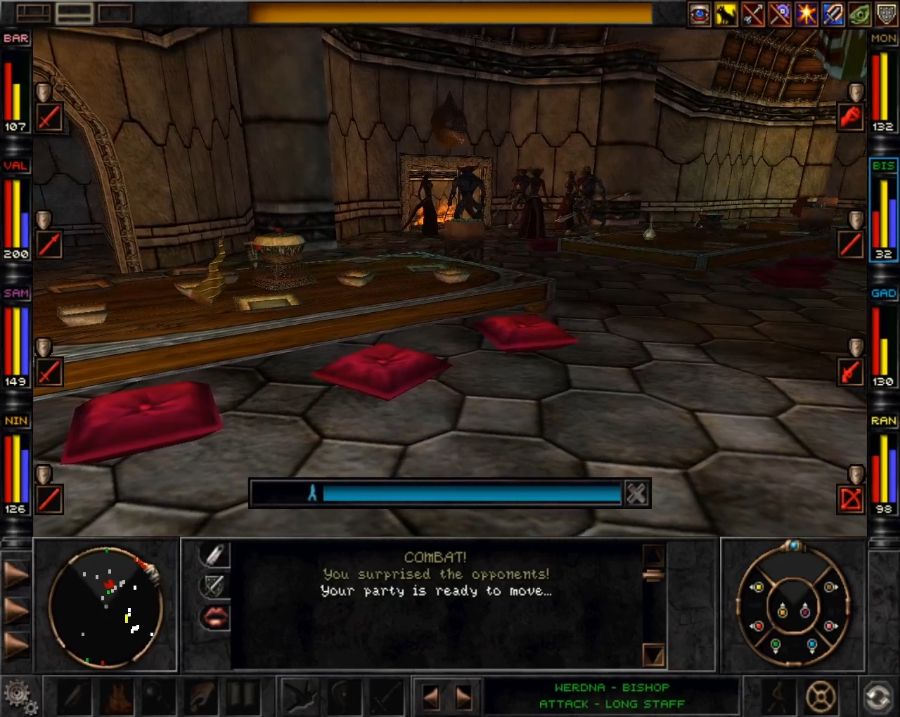 This little lounge area exists for us to pulp a bunch of the locals and collect some nice items.  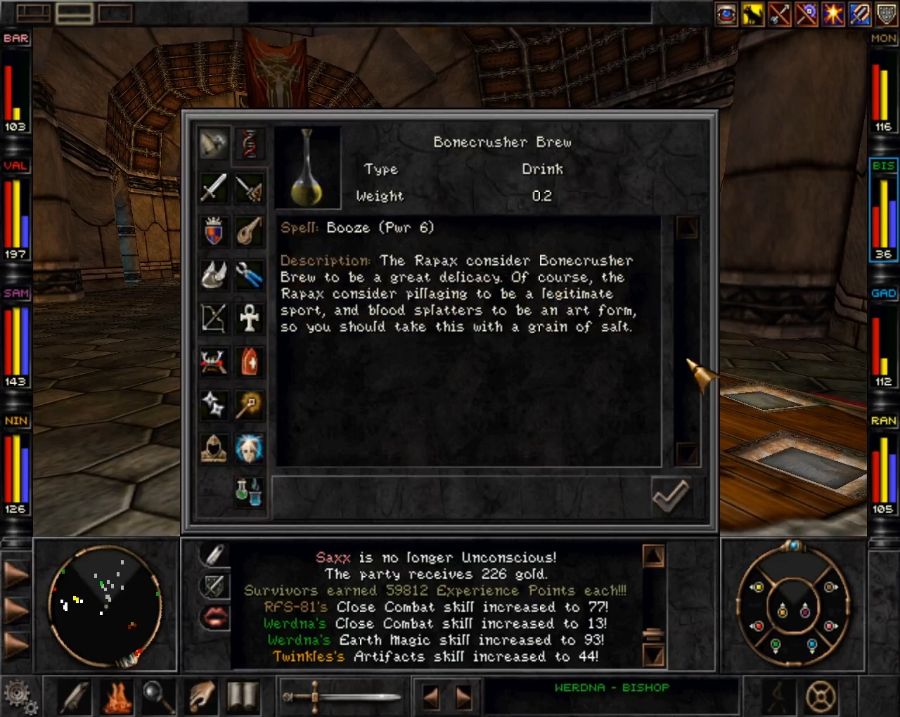 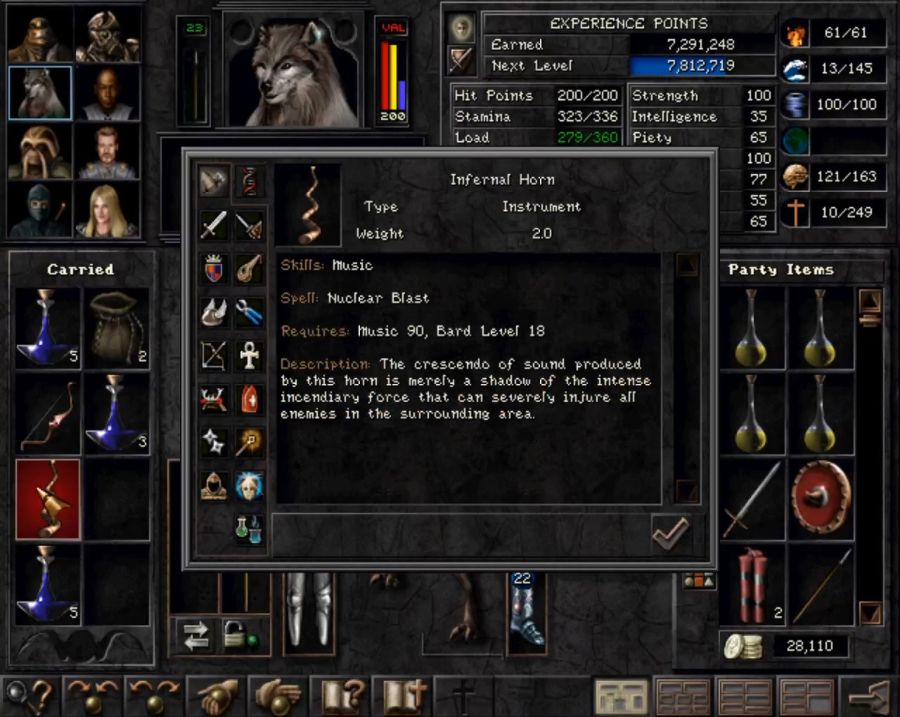 It's a shame this horn is more or less useless in the Rift, but we might still get some use out of it during the last couple of sections of the game.   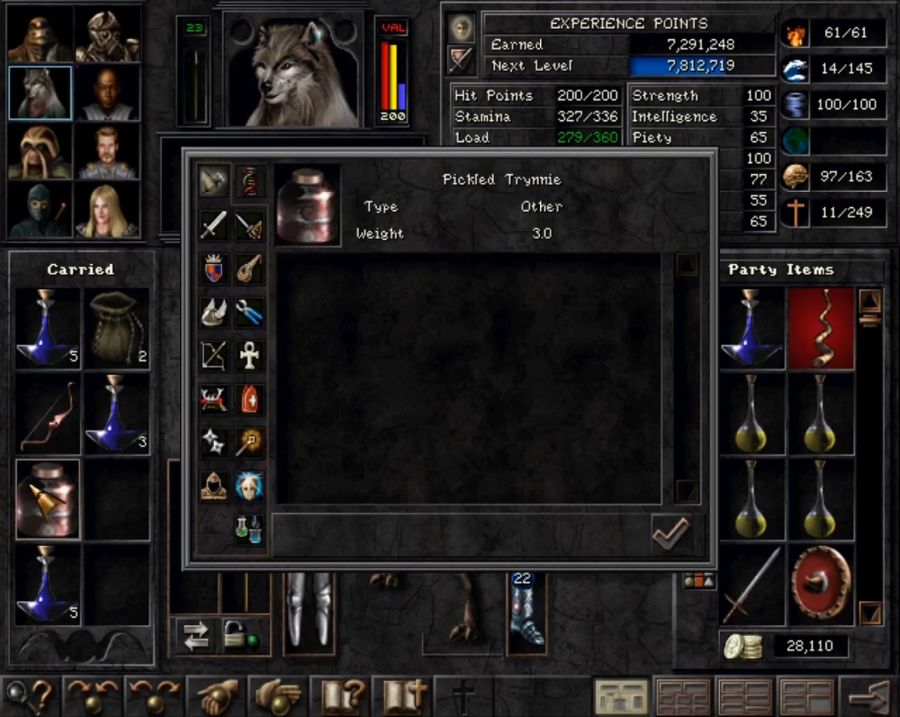 There's also a kitchen at the back of the lounge in case anyone was wondering what happened to those Trynnie the Rapax managed to get their hands on. Gross. Still, there's a reason to palm this poor unfortunate squirrel. If you give it to Ferro, he'll unlock a closet at the back of his workshop for you which contains a number of items we've mostly outgrown, but also a second Brilliant Helm. 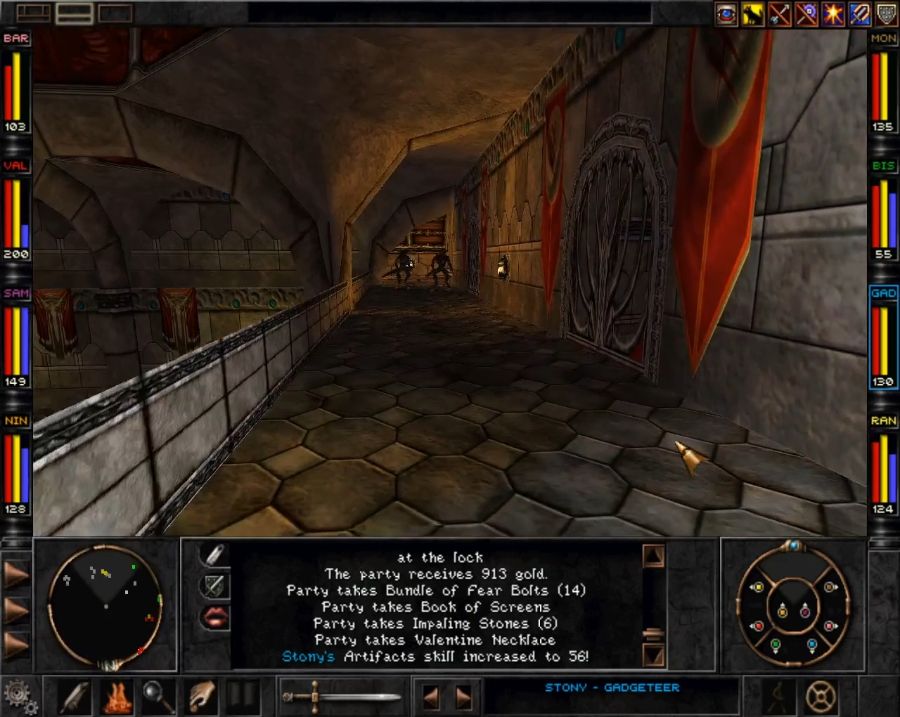 Anyway, what we actually care about is these two dorks up top who've watched us casually skewer a couple dozen of their countrymen down below without giving a gently caress. 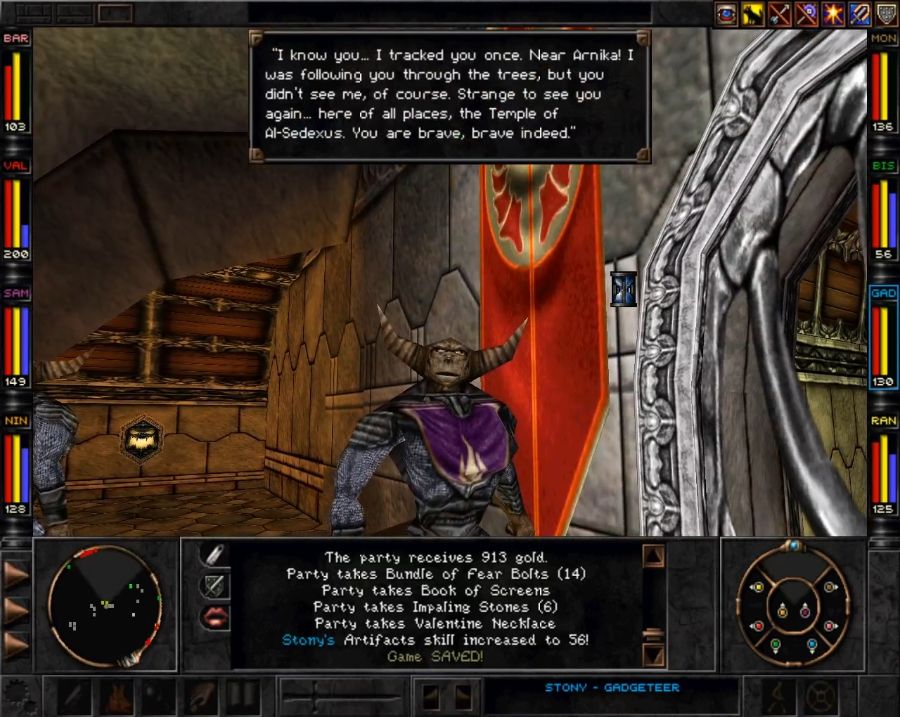 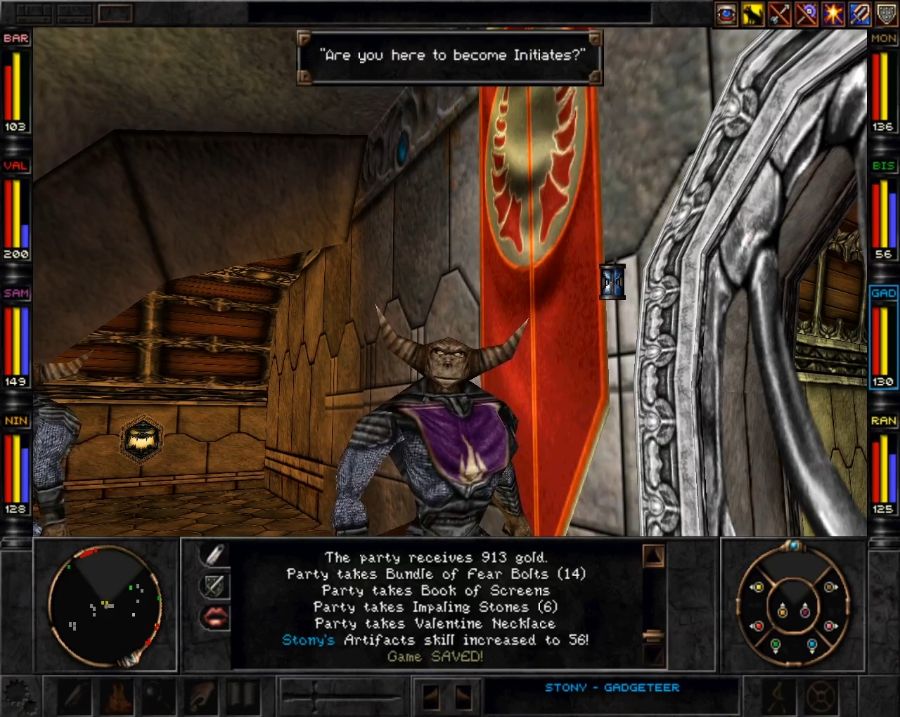 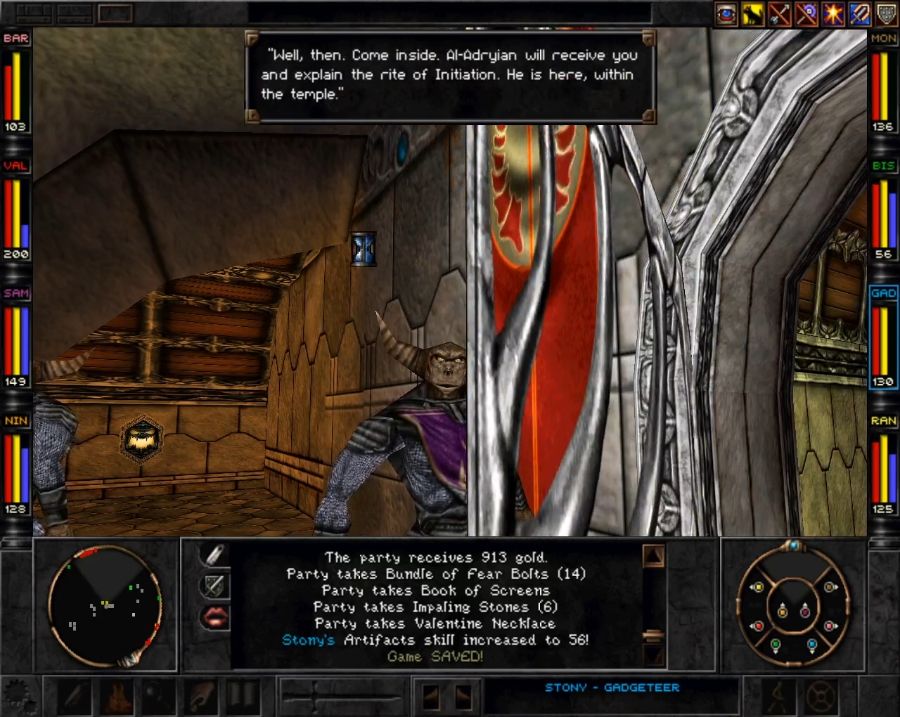 We of course tell him we're here to join his weirdo cult and he lets us in right away. Score. Now, the reason we're joining this cult, aside from it turning every Rapax in the castle friendly so we can explore without getting hassled, is that it's the only way, as far as I'm aware, to access a portal to Ascension Peak, which is necessary once the landslide hits if you haven't set up a portal up there beforehand. I'm honestly unsure what security the game has if you murder Surdan and Saydin, or Al-Adryian, or even Al-Sedexus the first time you meet her in the Rift, before joining the Templars. I personally suspect it just gets you a nice, fat softlock. 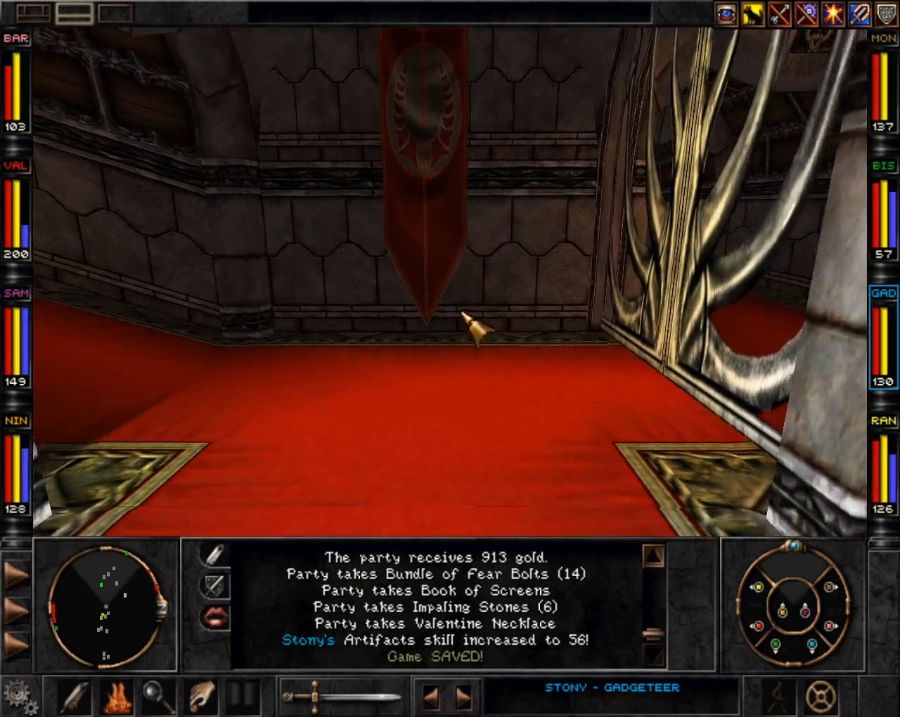   https://www.youtube.com/watch?v=nPr4Gy4MimM Adrian doesn't have a whole lot to say, he's just here to recruit us for the cult. If we tell him we're all aboard, he sends us back outside to talk to the other goon at the entrance. 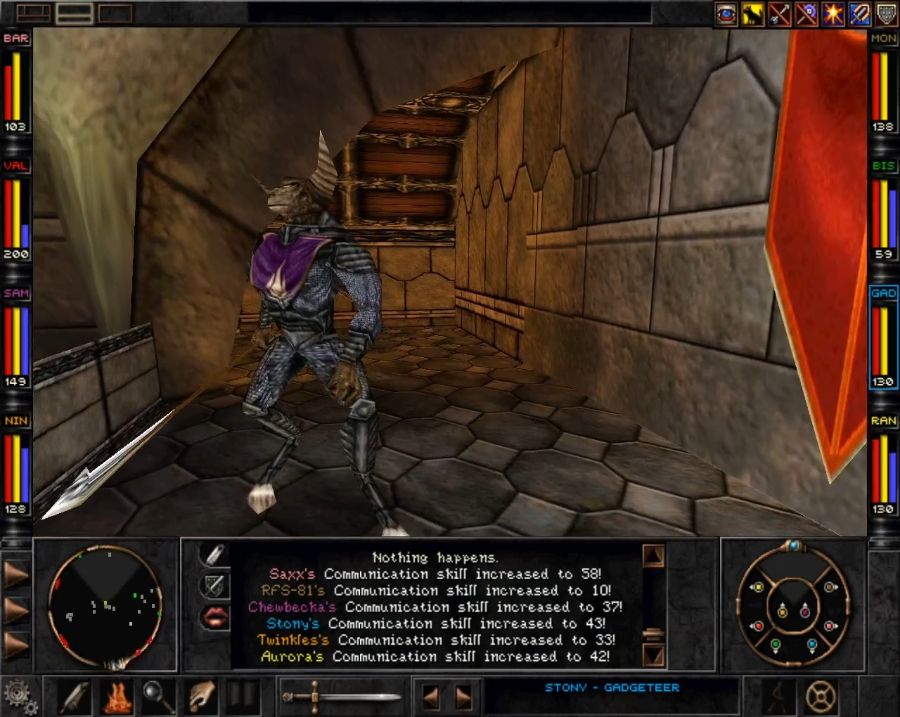 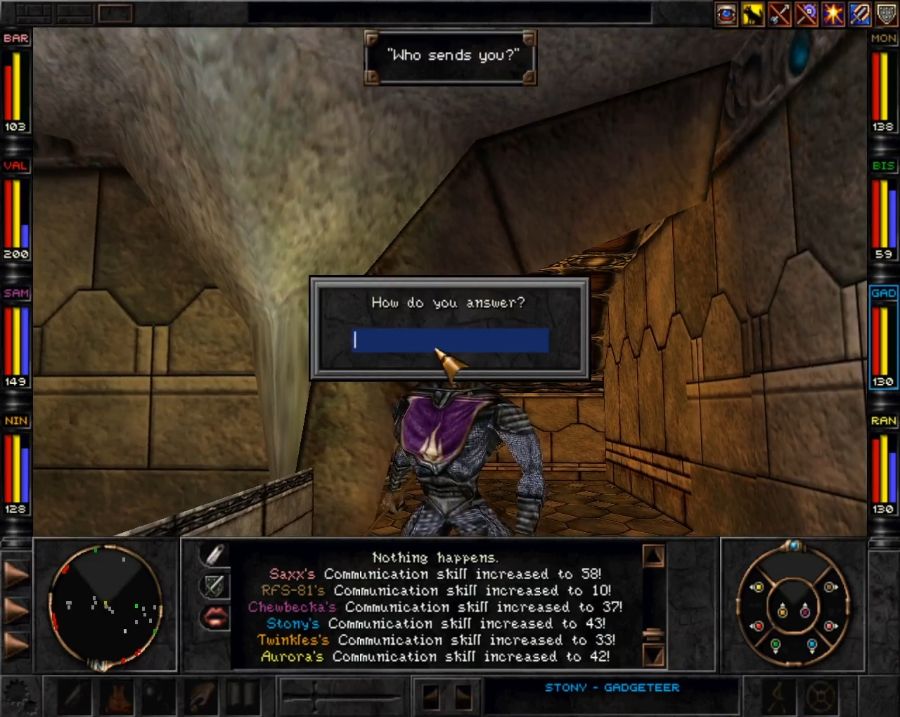  I always gently caress up spelling Al-Adryian's name with this guy. Oh and he also charges us a percentage of our total gold to join, which is why it's deeply important that we spent as much as possible of it at Ferro's before going over here. 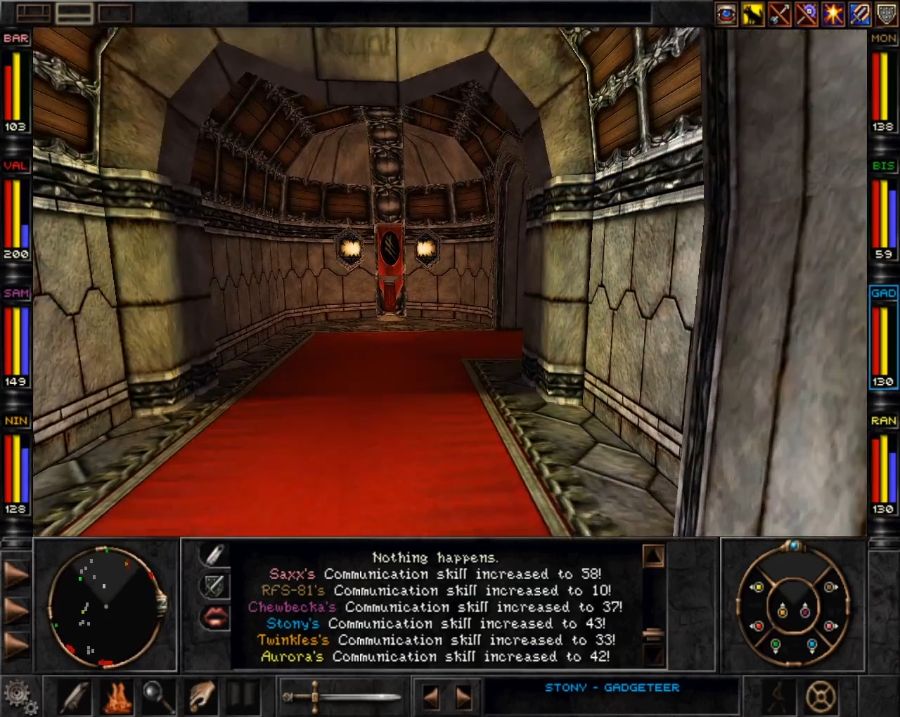 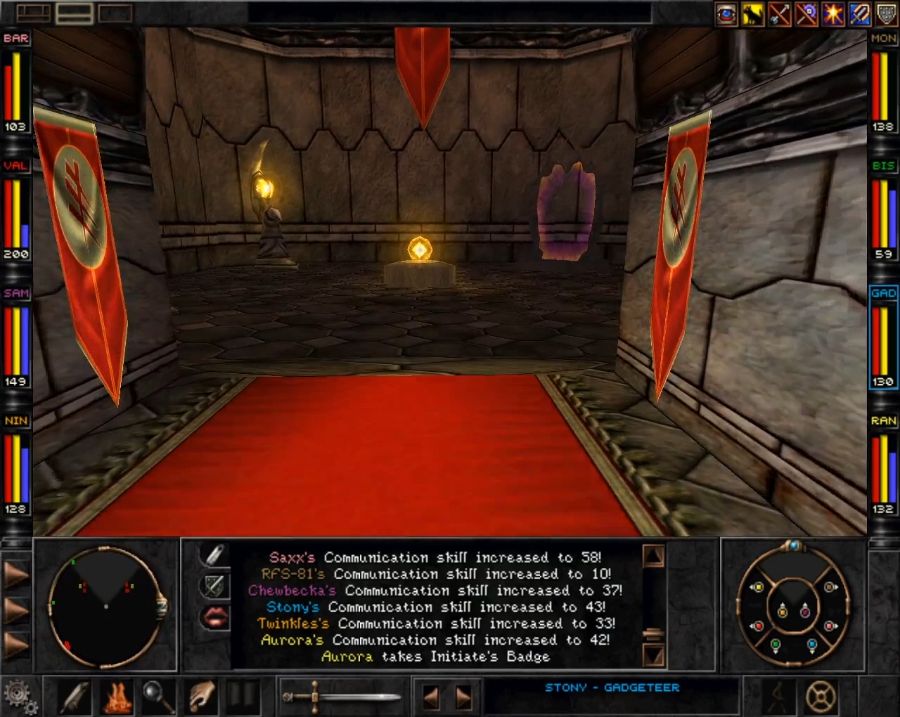 He opens the door to this nice carpeted area which doesn't look suspicious at all by which I mean it looks incredibly suspicious. 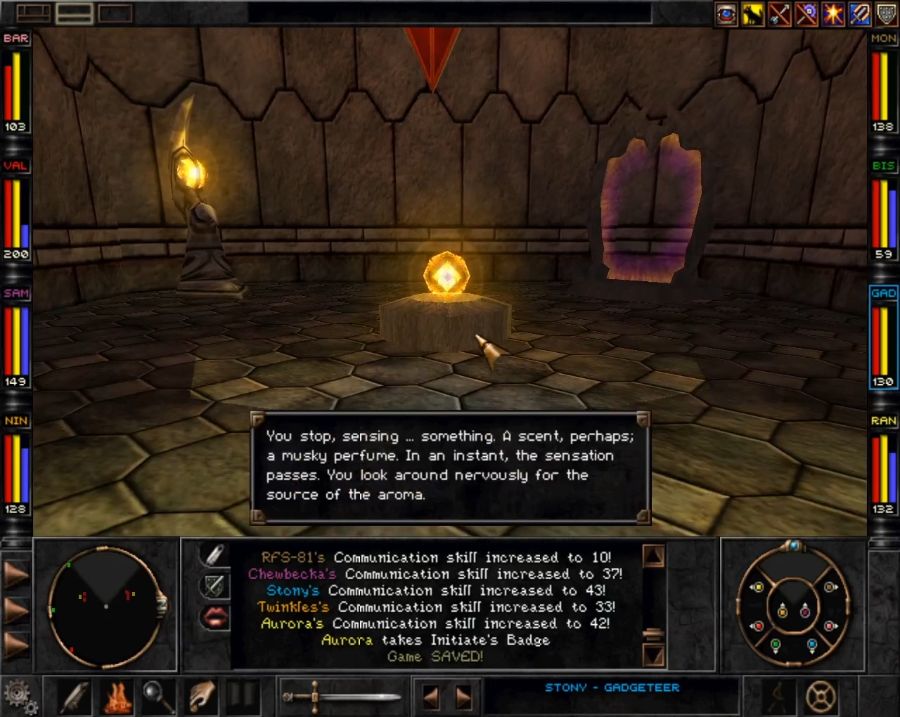  Which it is, because the floor drops out from under you and deposits you in the testing chamber. Or one of the three testing chambers. They share some similarities. 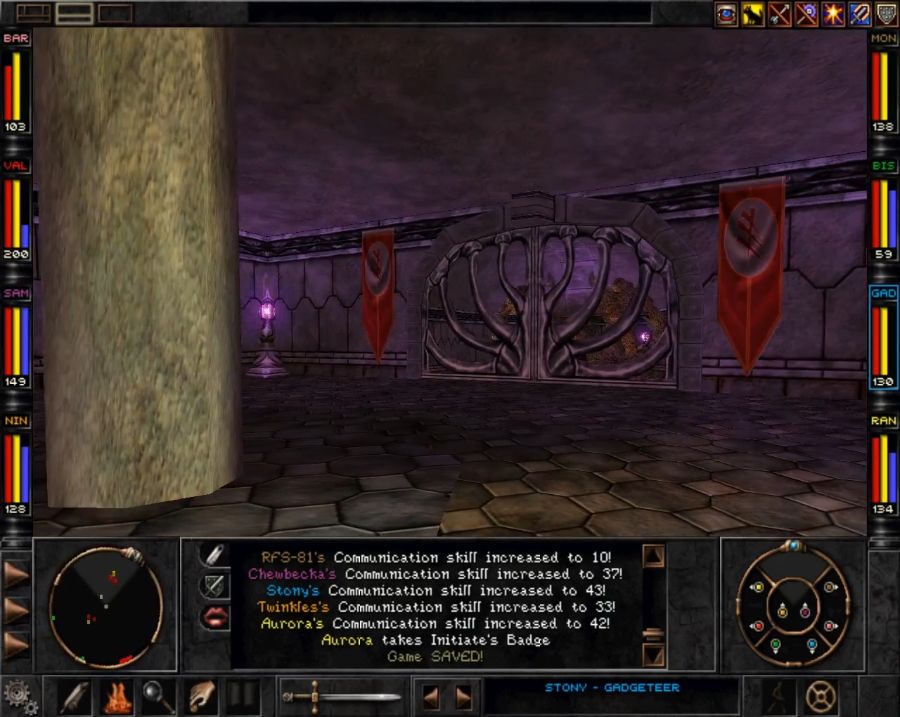 All of them have a pair of big elementals behind a gate. 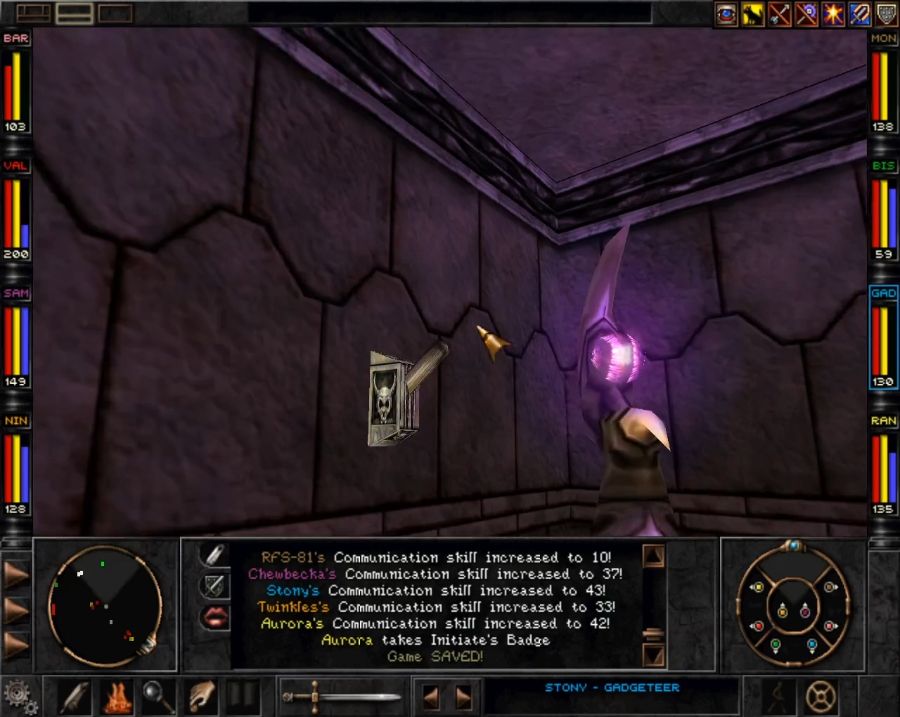 A lever to let them out. 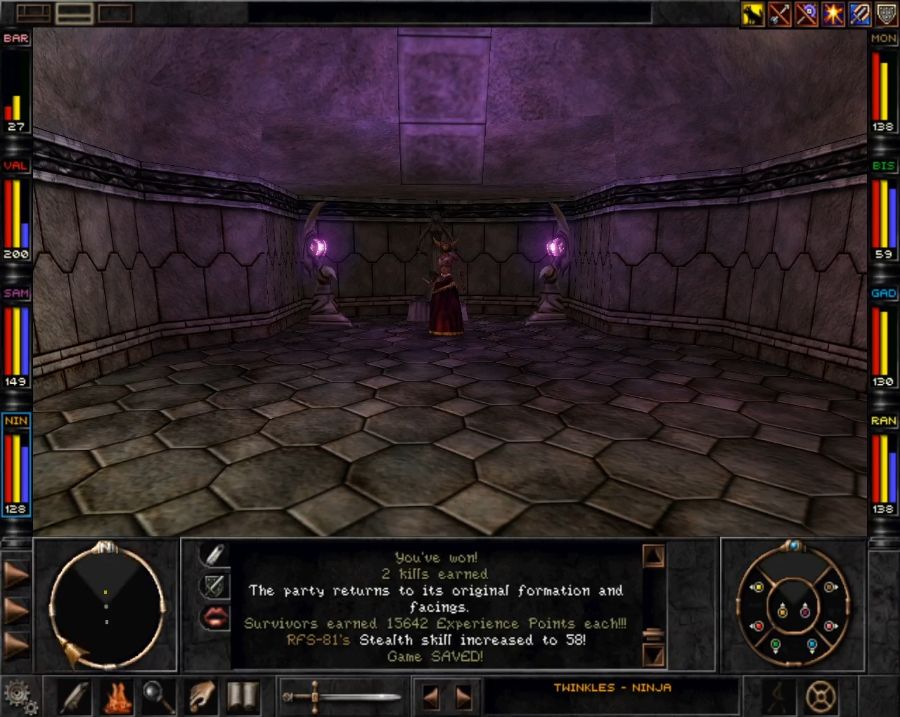 A riddle-dispensing Rapax tart behind the elementals. 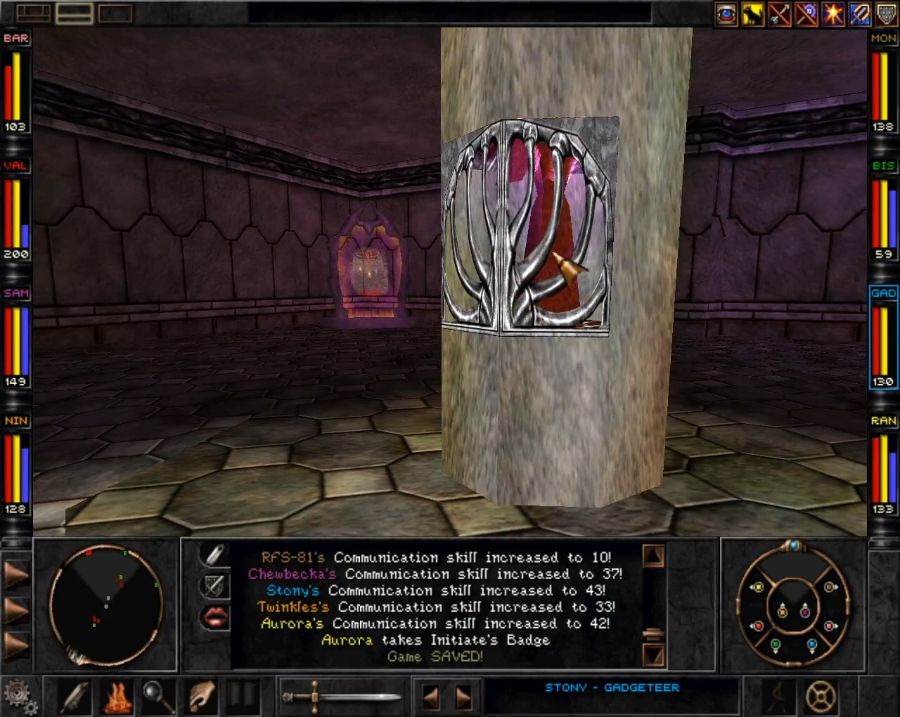 And a piece of locked-away gear, a part of the "Canezou," as a reward for answering the riddle. The fights are all pretty trivial(well, mostly, one of the earth elementals gets off a lucky punch that one-shots Saxx), but the riddles are, I suppose, somewhat interesting. As is the gear we get as a reward. https://www.youtube.com/watch?v=rf4G8mXhwes https://www.youtube.com/watch?v=YgWUKk669x8 https://www.youtube.com/watch?v=sF7vMfElpPg They're kind of basic riddles, but the classics are strong and I like the voice acting. But what does this actually get us besides their approval and some XP? 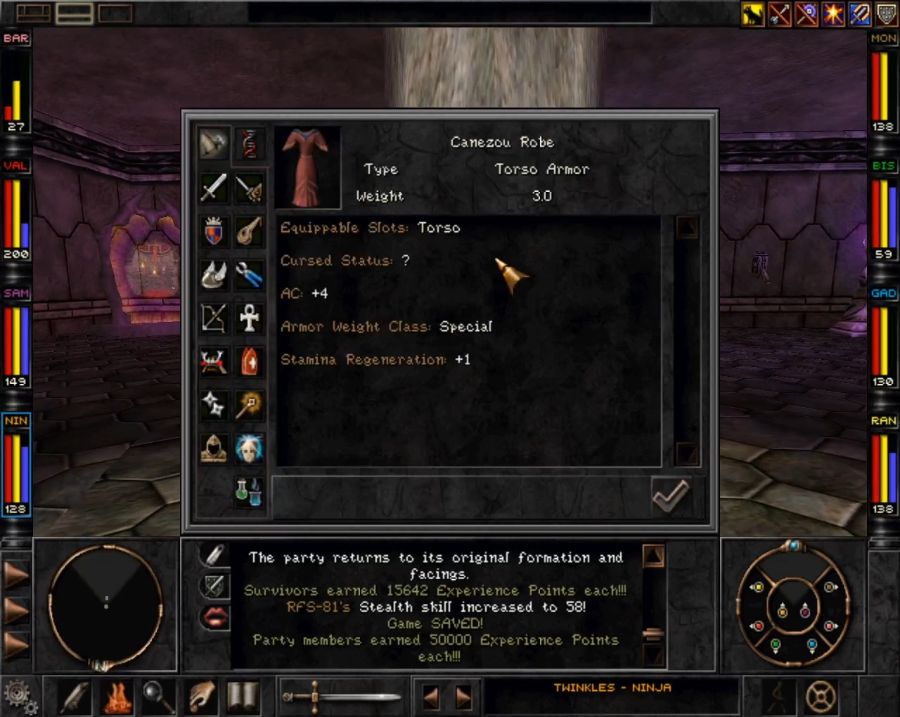 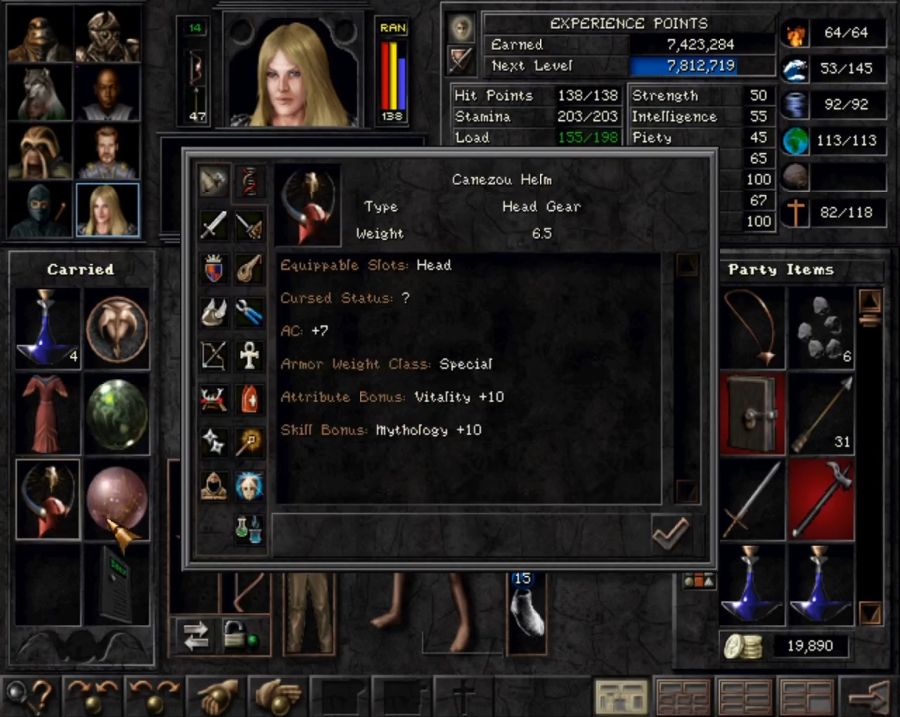 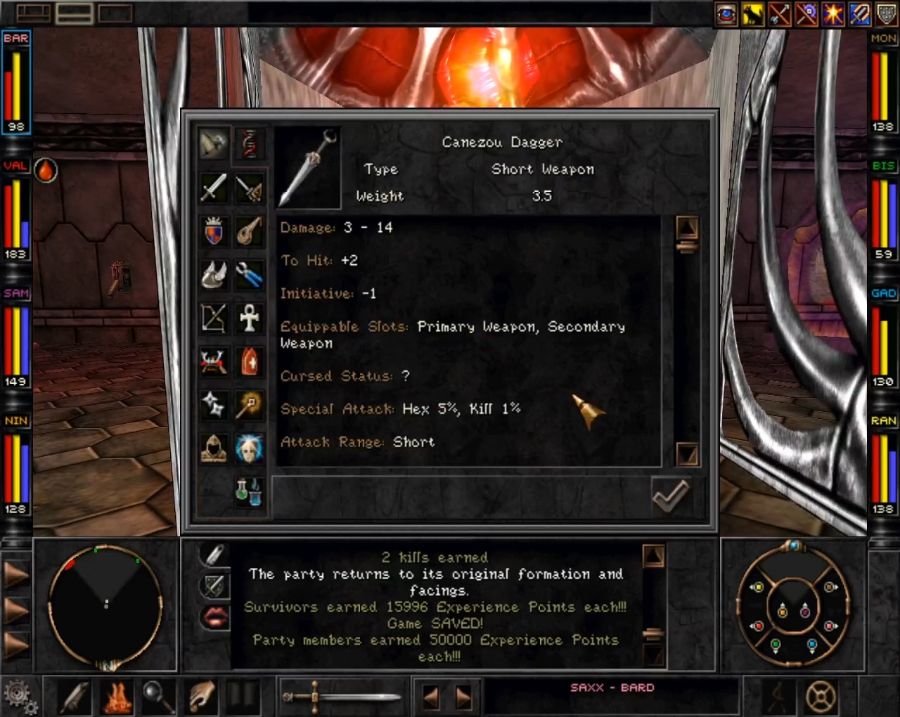 Three items equippable by all classes and all races. So they're ideal for rounding out your Fairy or Monk's gear. The stamina regen on the robe also makes it ideal for a backline Gadgeteer or Bard, likewise the helm as the Vitality ups their Stamina, and the dagger is actually a quite solid off-hand. It's a shame there's no way to join the cult multiple times for more of these. Once we're done, it's time to head back to Adrian to ask him about the next step. 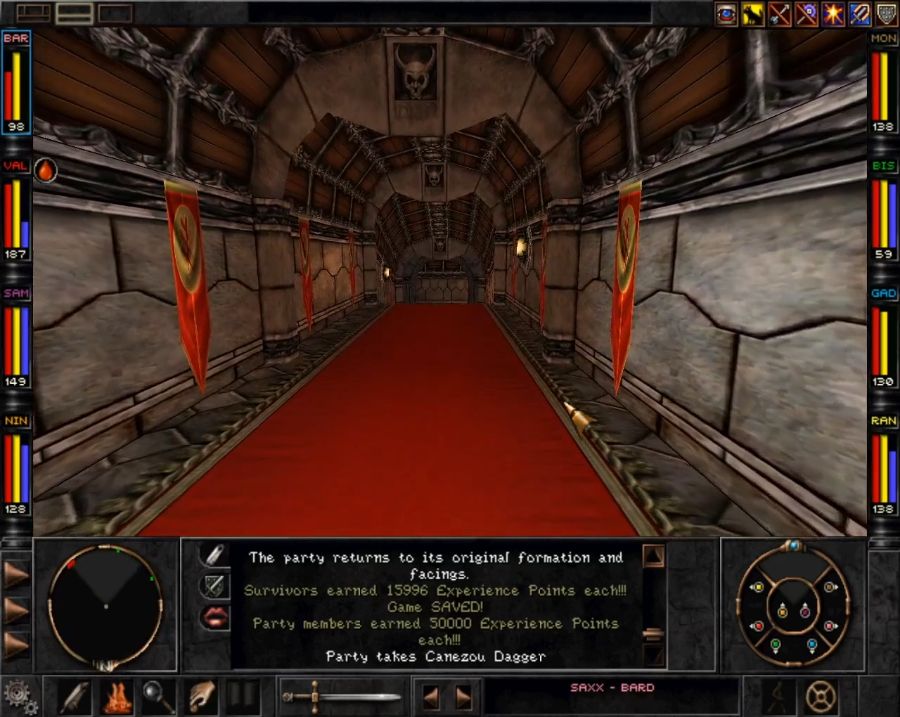 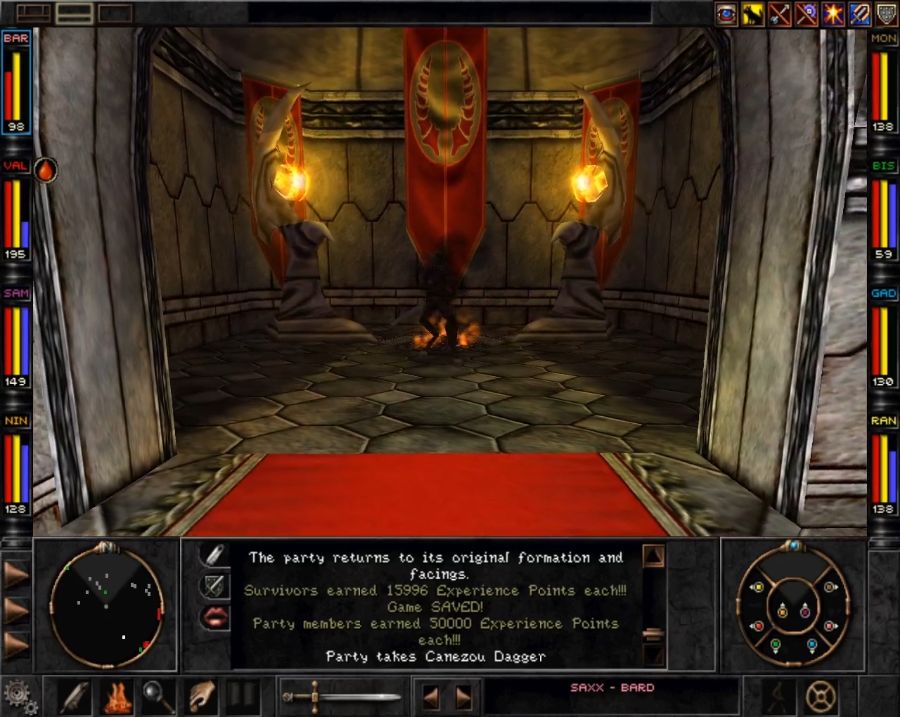 https://www.youtube.com/watch?v=QavZIMtIkHI Sounds entirely safe. I choose to dress Stony in the Canezou because it's funny to me to expose him to whatever weird-rear end initiation we're gonna get. 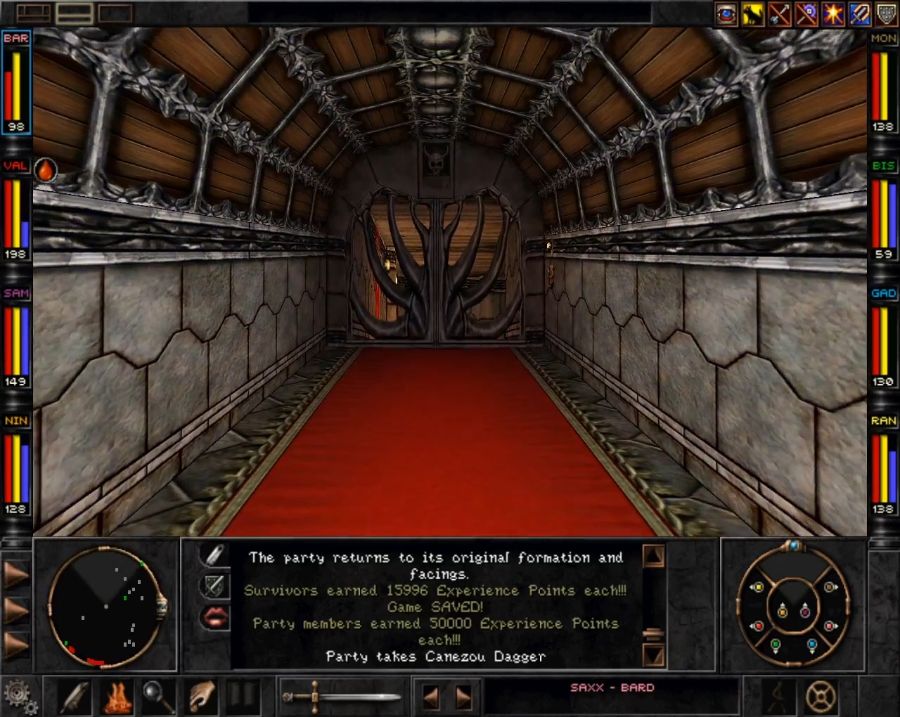 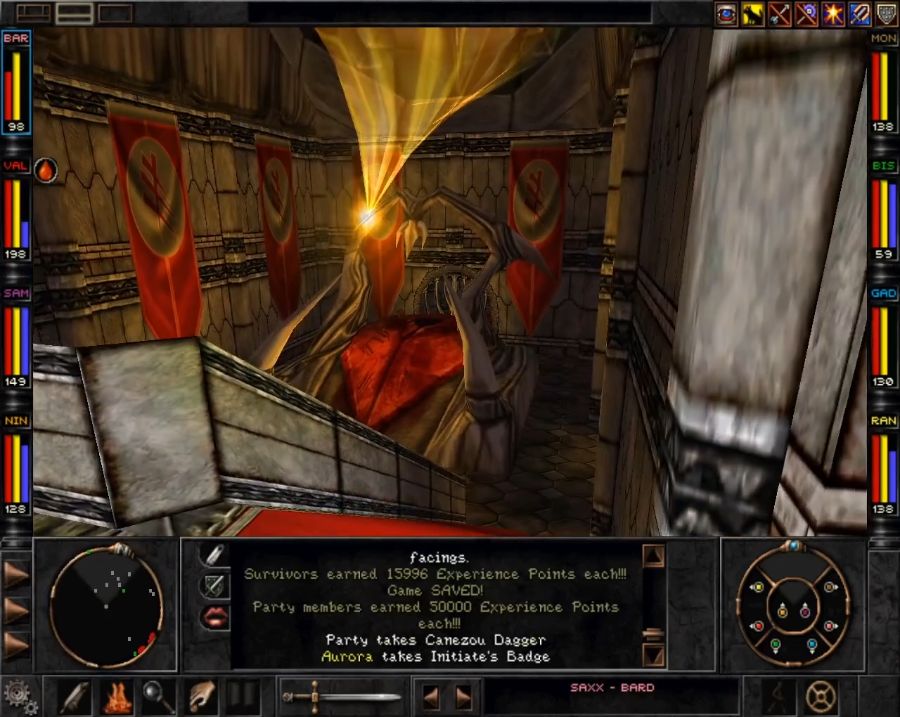 ...I feel like that altar has a slightly suggestive shape. I'm sure it's just my imagination. 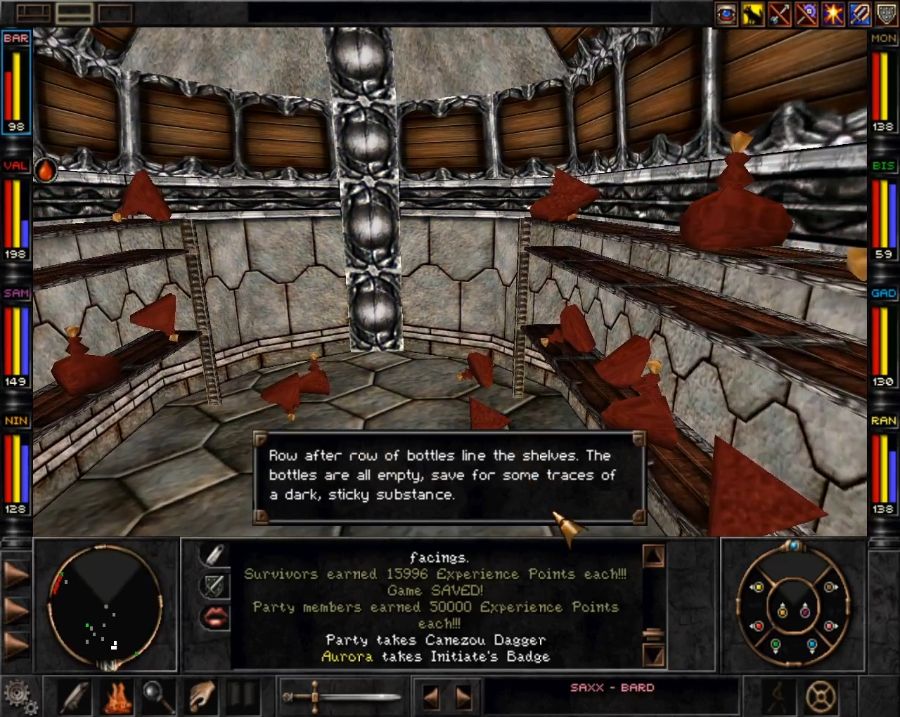 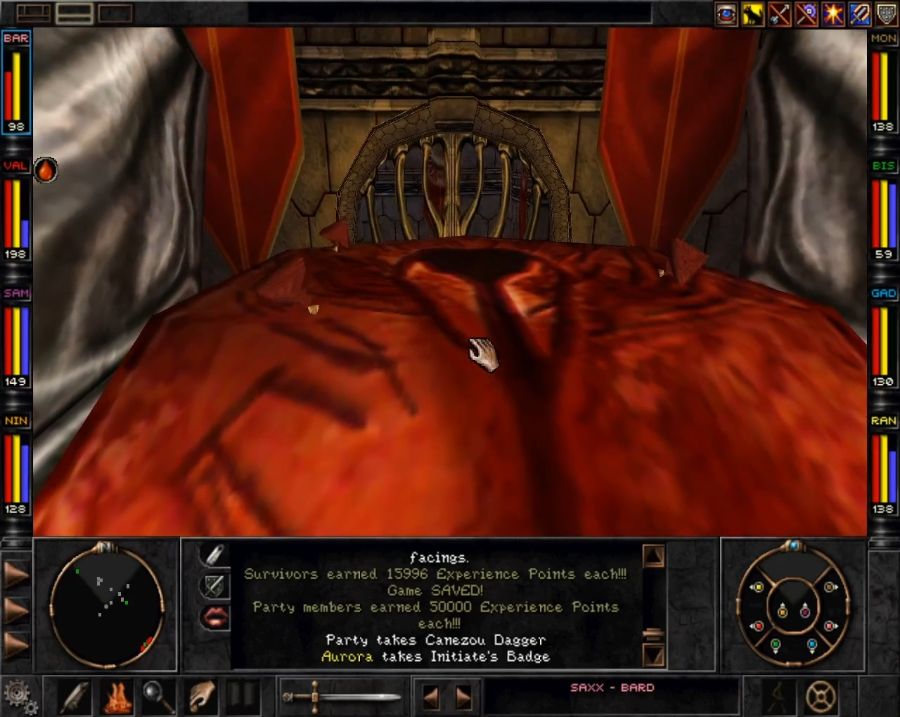 Welp, time to dunk this sinister goop on the platform and see what happens. https://www.youtube.com/watch?v=rElFAxRhqhY Description of the content spoilered below in case someone feels(rightfully) edgy about watching this video. Al Sedexus shows up and quizzes us on the riddles we just had, when we answer correctly she asks for a sacrifice(who must be wearing the full Canezou and be male) and drags them off for some(mercifully fade to black) boning. Surely this will not come back to haunt is in any way. 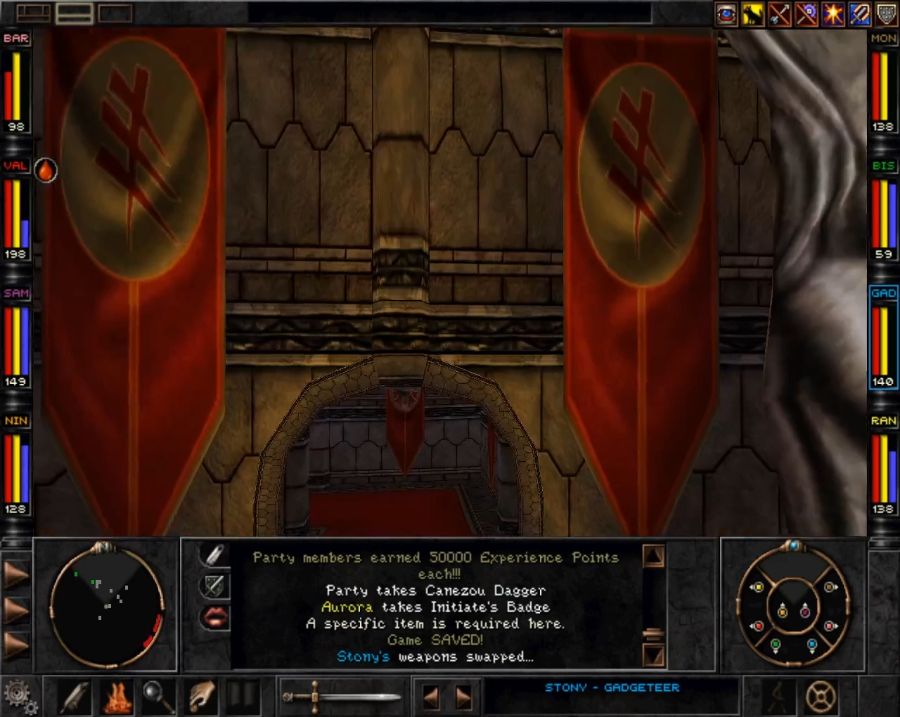 Banging Al Sedexus opens doors for us, literally, as it raises the portcullis on the far side of the altar.  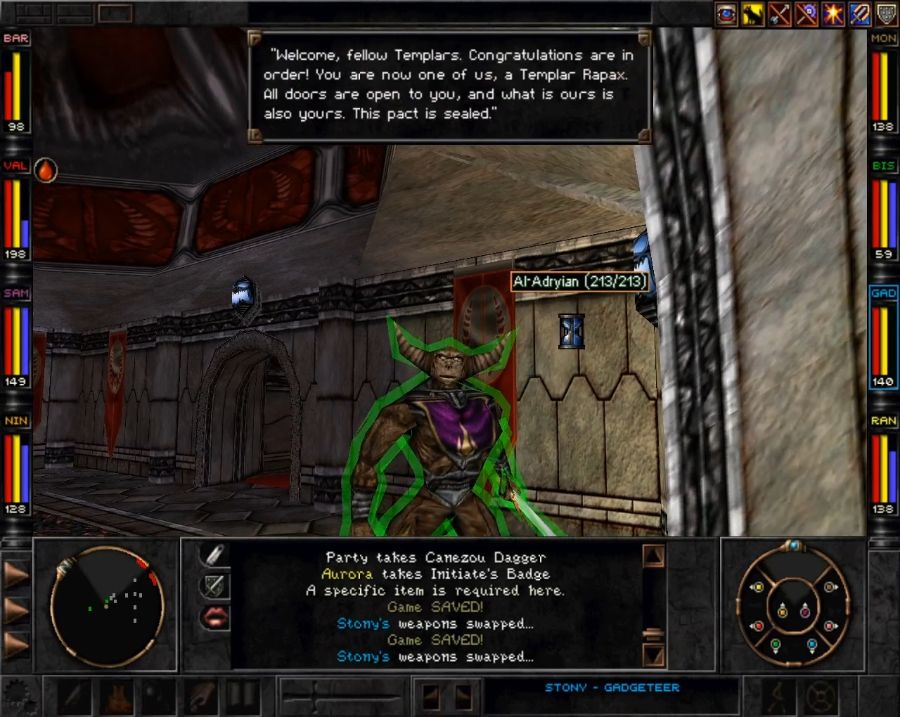 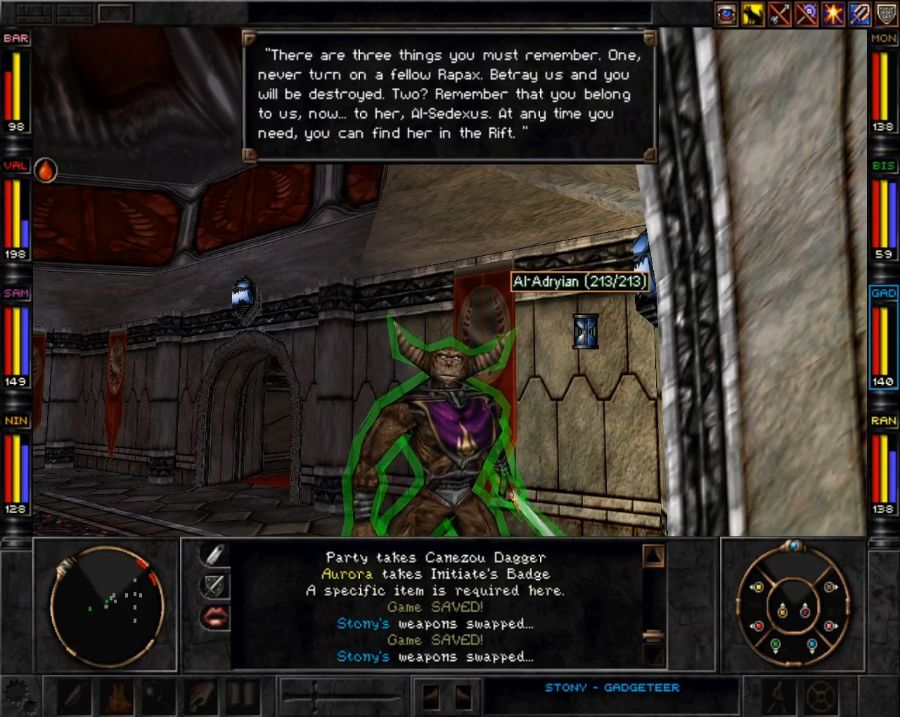 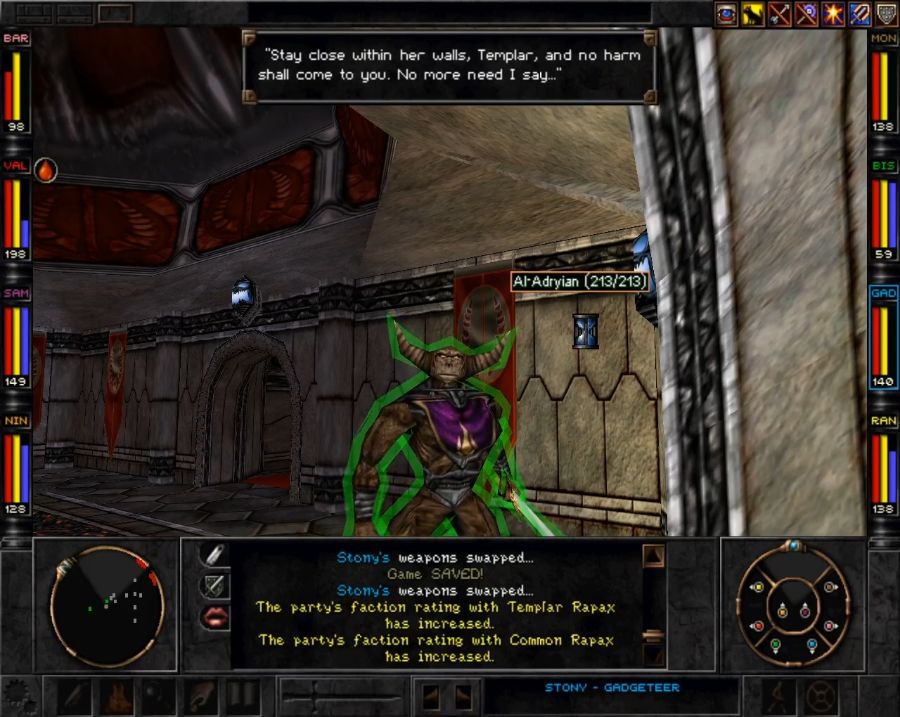 Now every single Rapax is friendly towards us, hooray! Also that portal on the far side of the big book will take us to Ascension Peak any time we're ready. 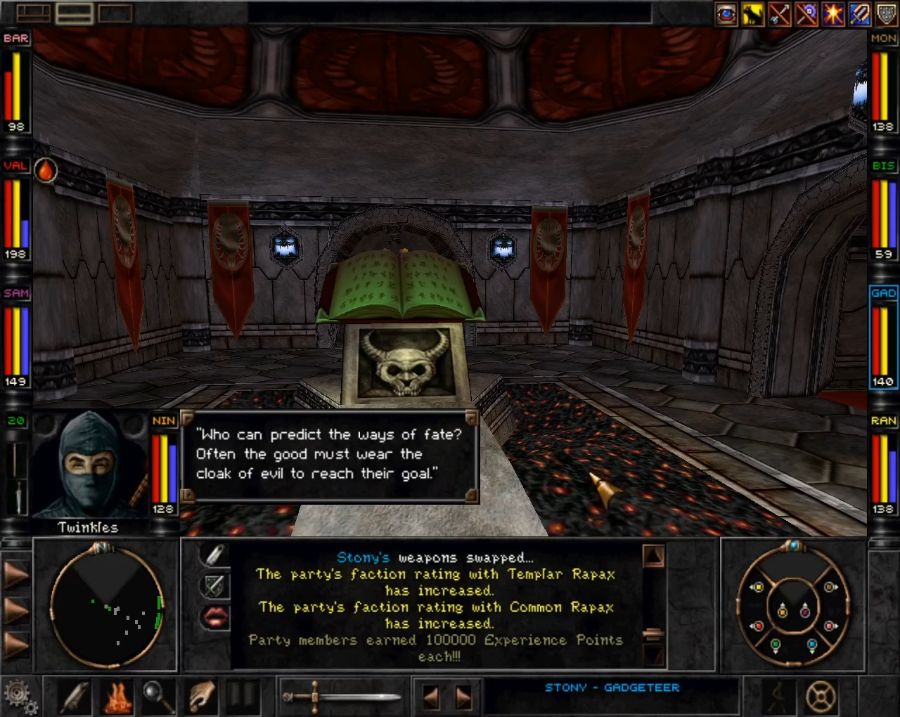 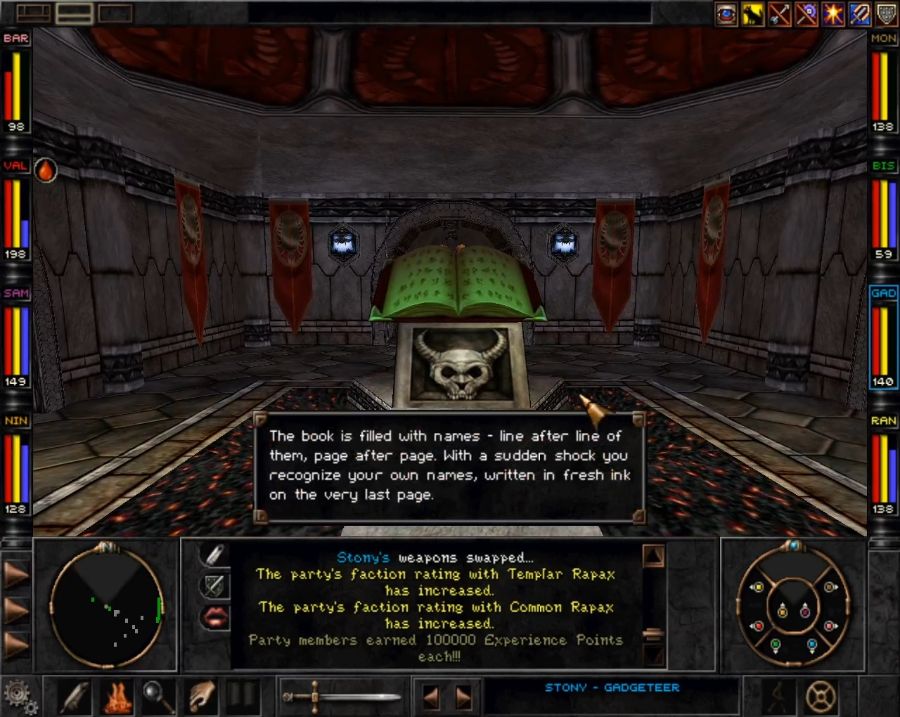 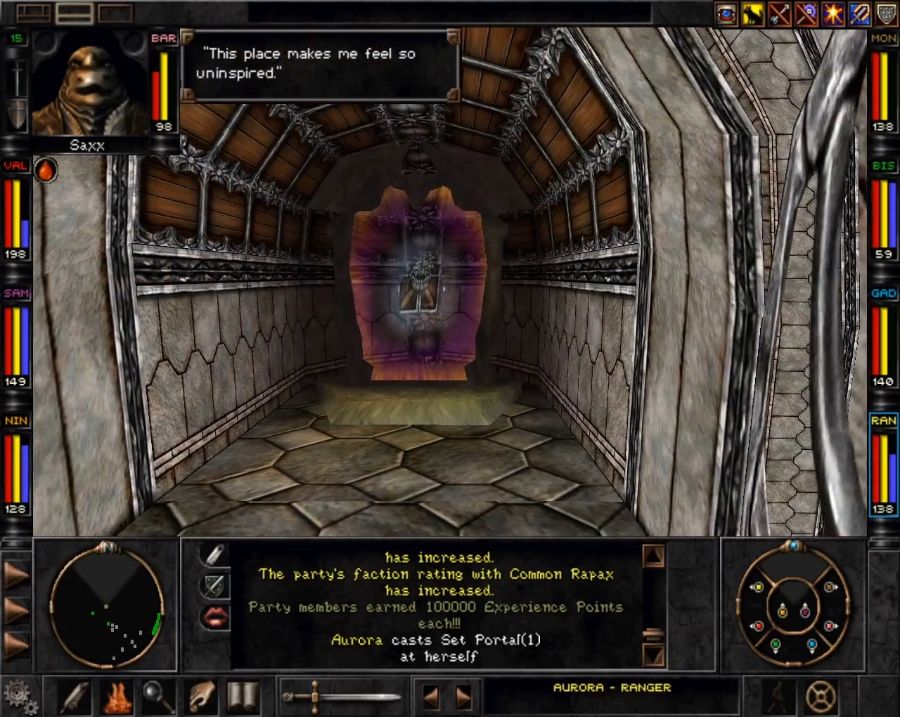 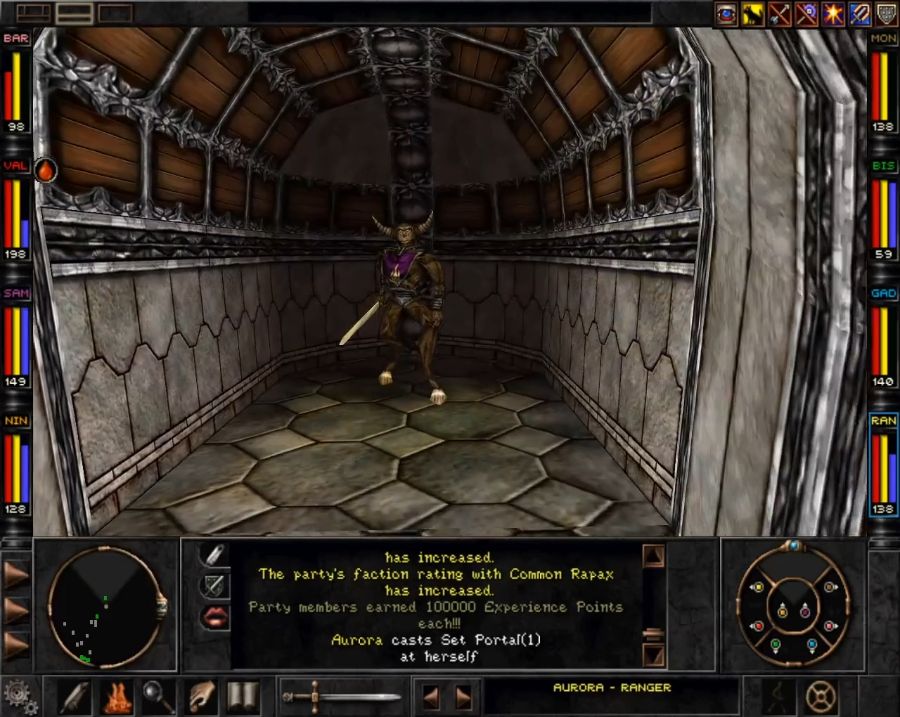 Lurking in the alcove on the right is the game's last recruitable NPC... https://www.youtube.com/watch?v=jRHHJXDD9iM The problem with Sexus is that he requires you stay aligned with the Rapax to remain your buddy. Maybe there was a more in-depth Rapax-aligned endgame at some point or something. But as it stands, killing Al Sedexus pisses off all the Rapax, and as we'll soon learn, killing Al Sedexus is gonna be something we will very much want to do. 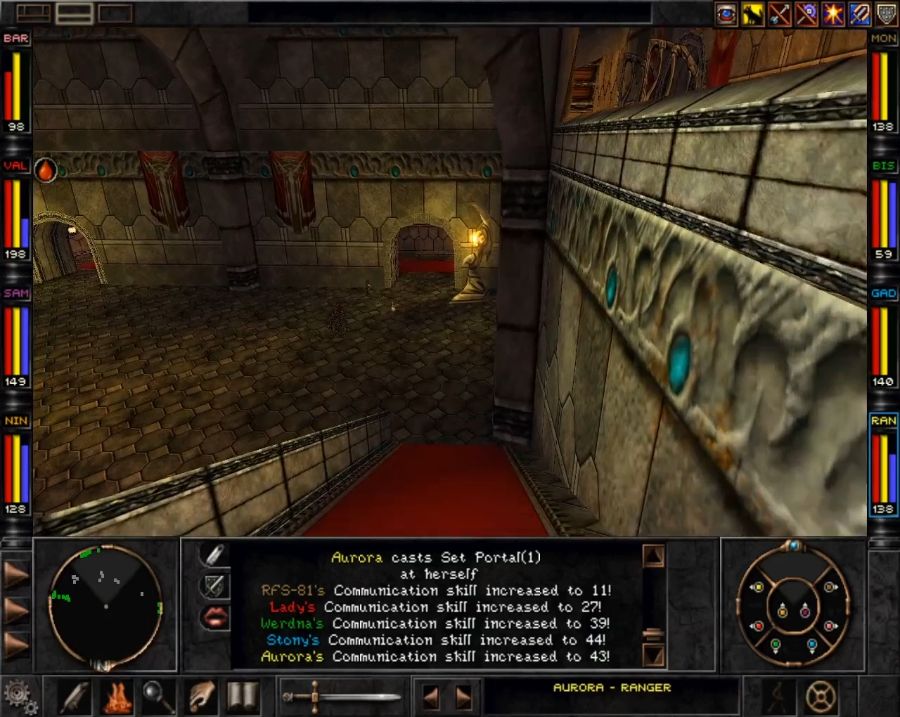 Look at all those lovely green dots. Anyway, now we can really explore the castle without someone trying to kill us all the time. 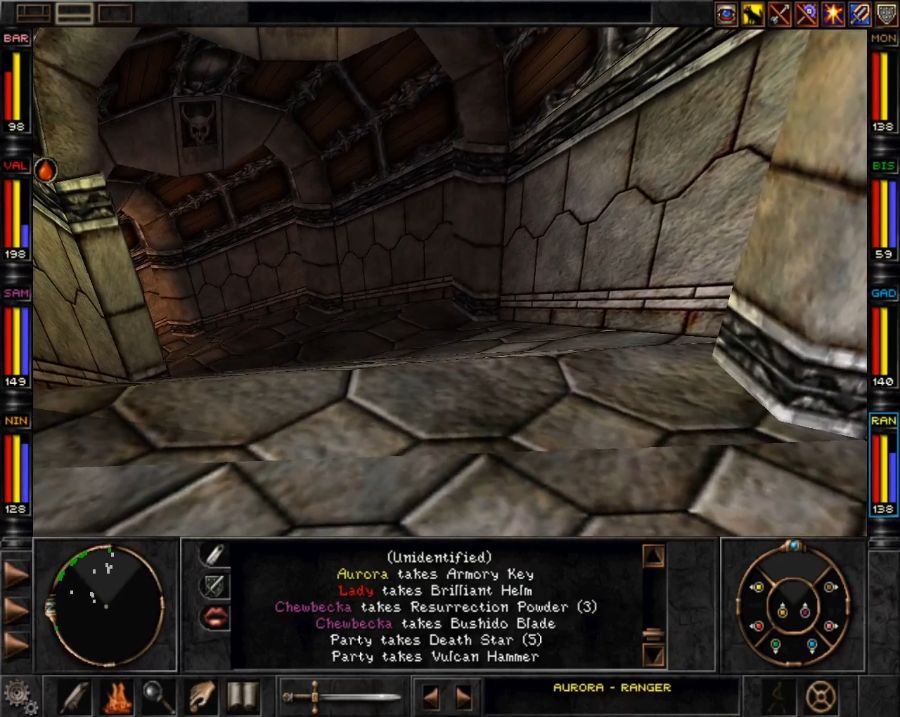 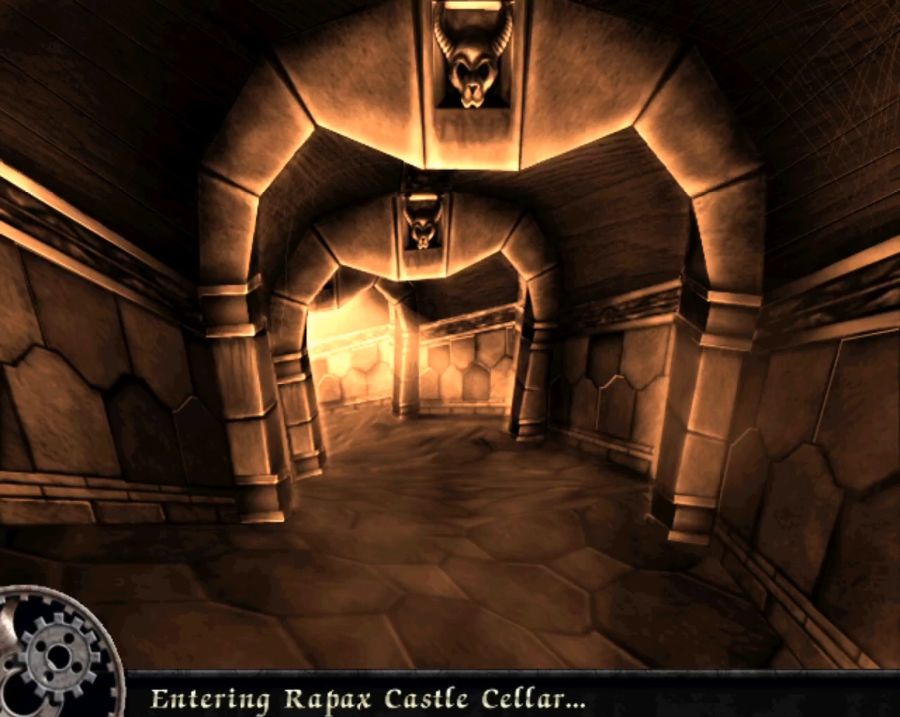 The Cellar has three sub-areas. 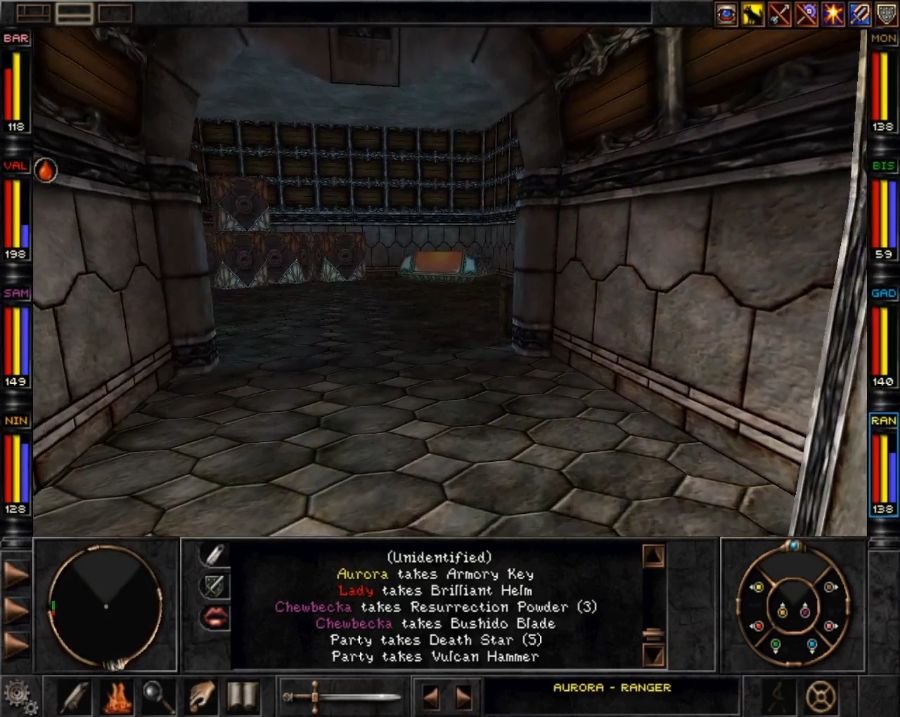 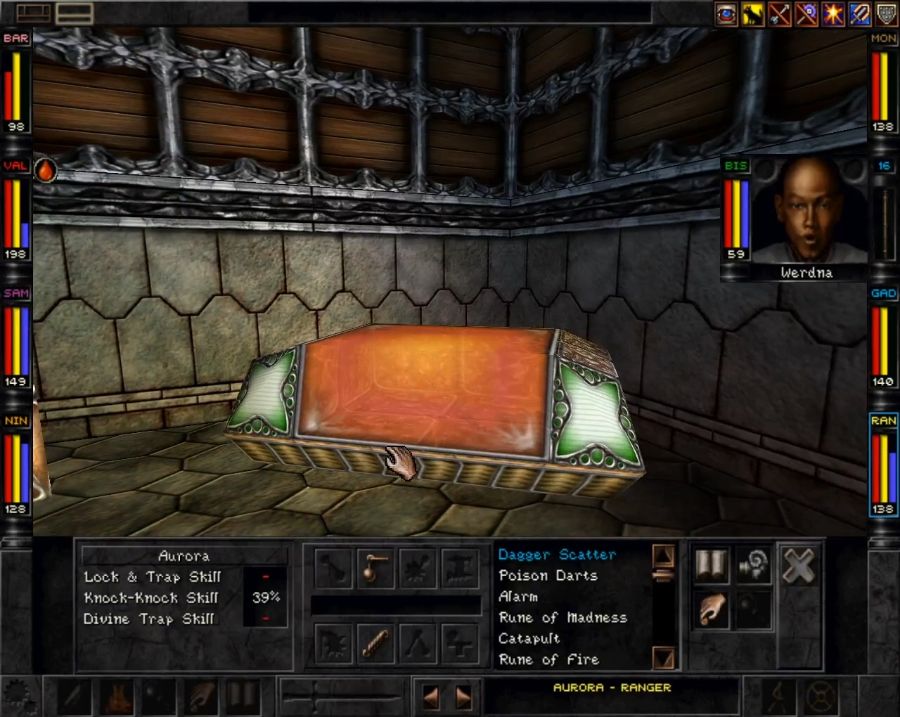 One is literally just a storage closet with a weird goopy chest(it's from the Dark Savant) that always drops garbage for me. 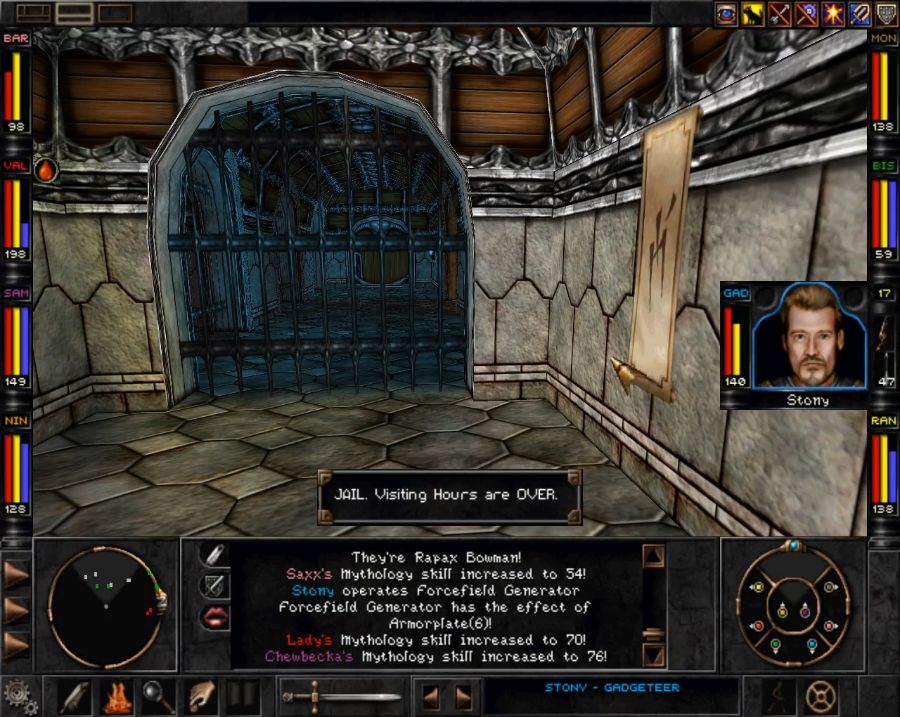 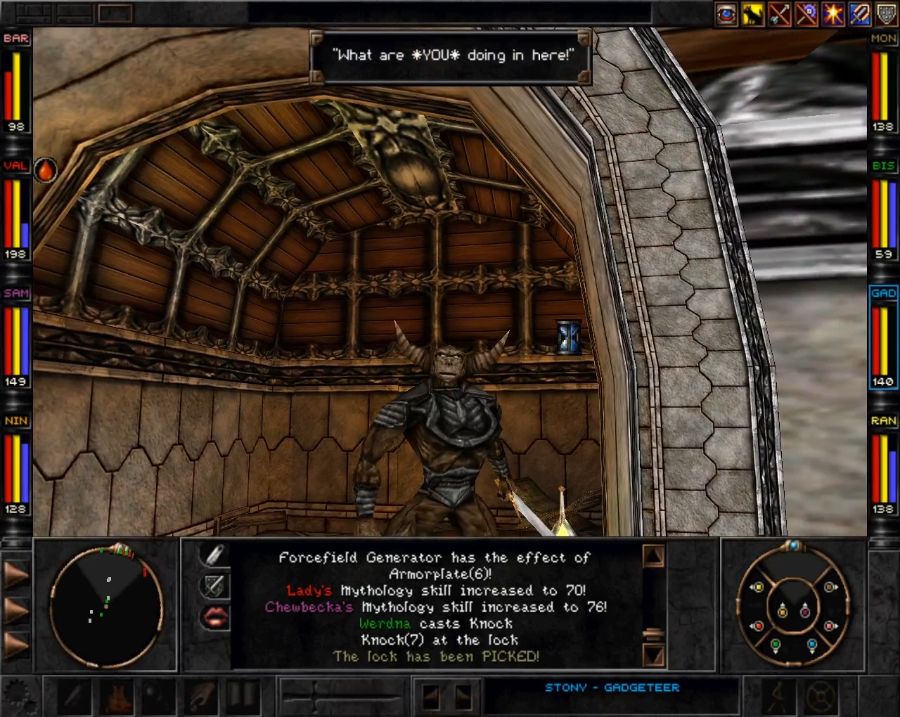 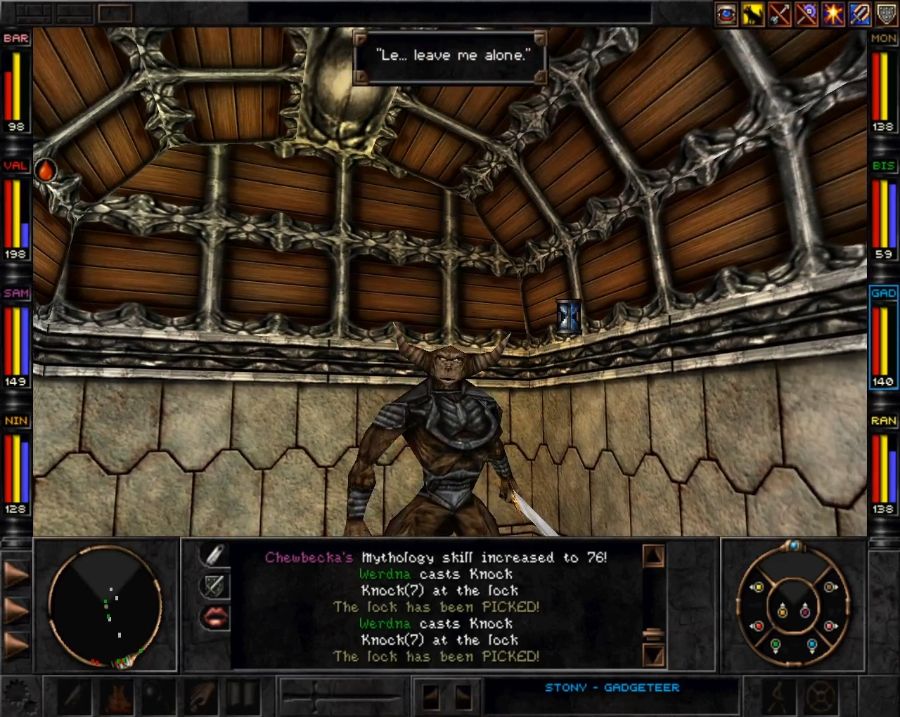 Then there's the jail, which holds a prisoner and a jailer who won't talk to you. Boo. 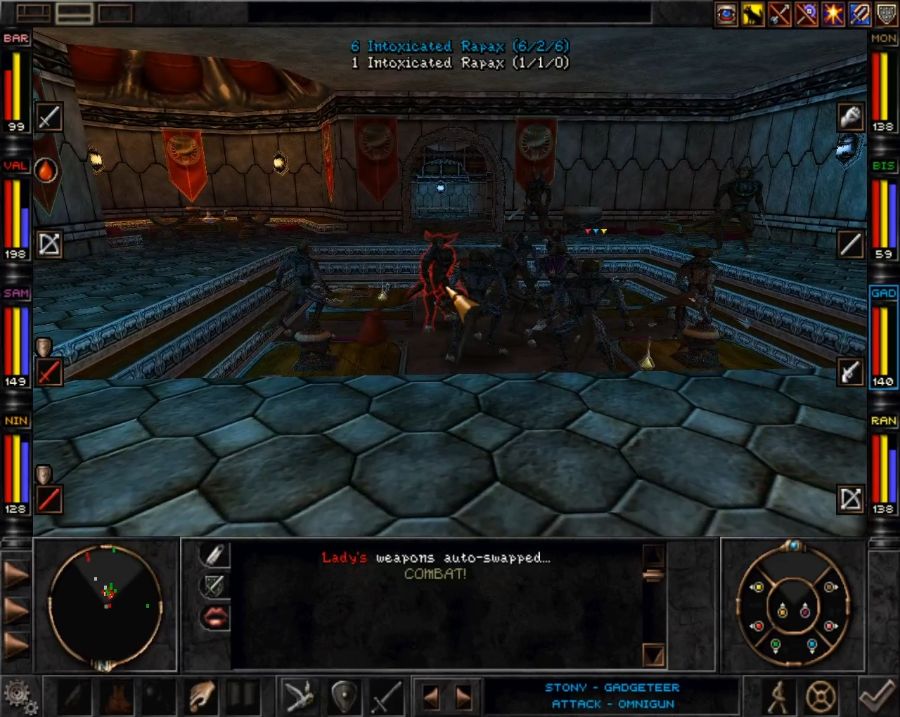 The third one holds a bar brawl where half the participants are allies and the other half are hostiles. It does not go well for Team Intoxicated once Team Drunk has us on their side. 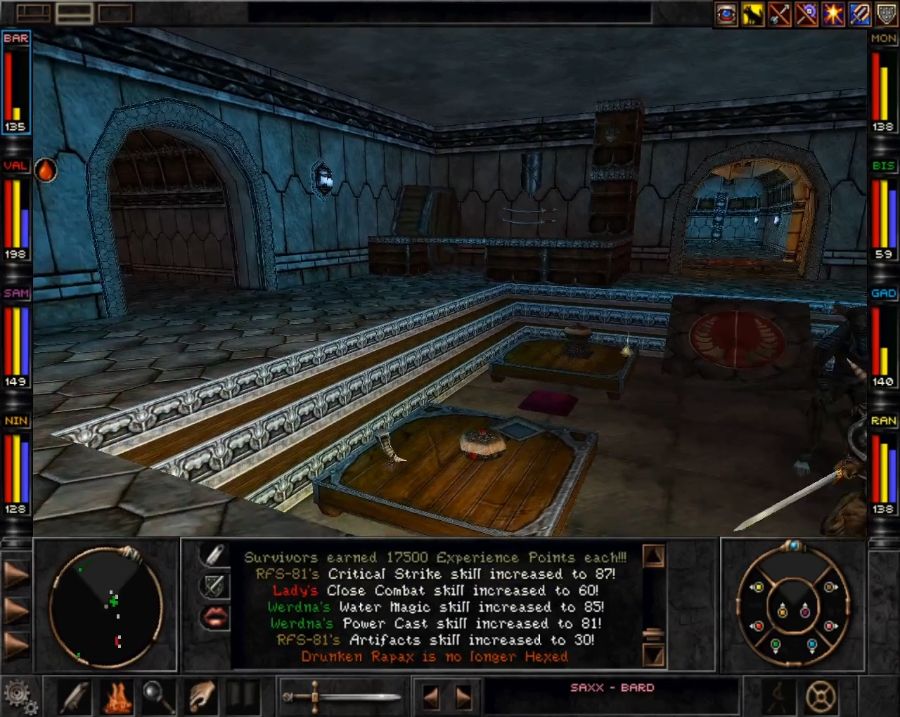 Nice-looking place, though, except for all the blood. There's a single "talkative" NPC off down a side corridor. 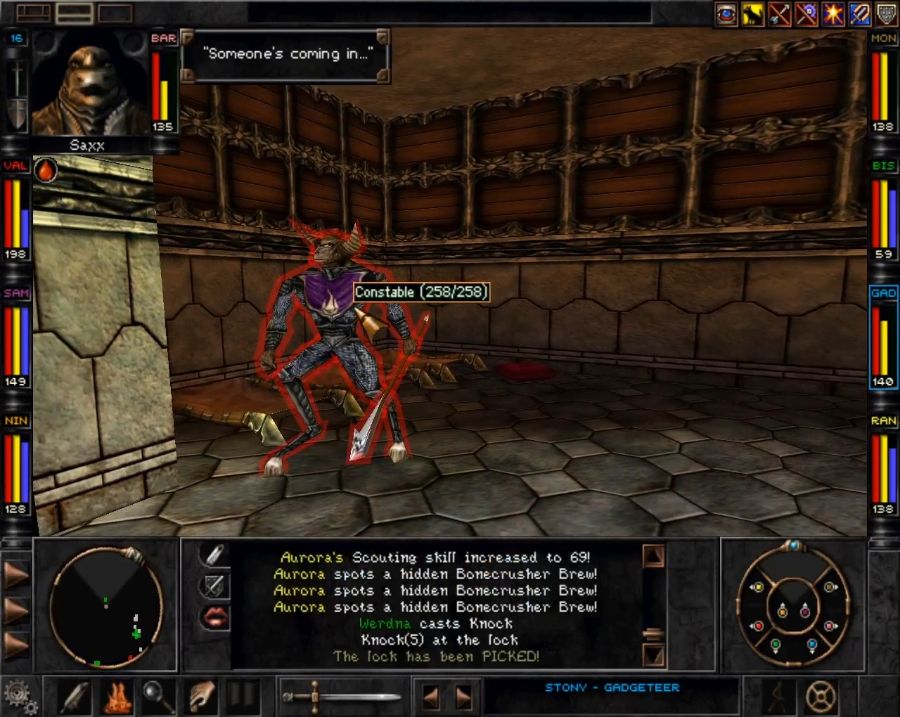 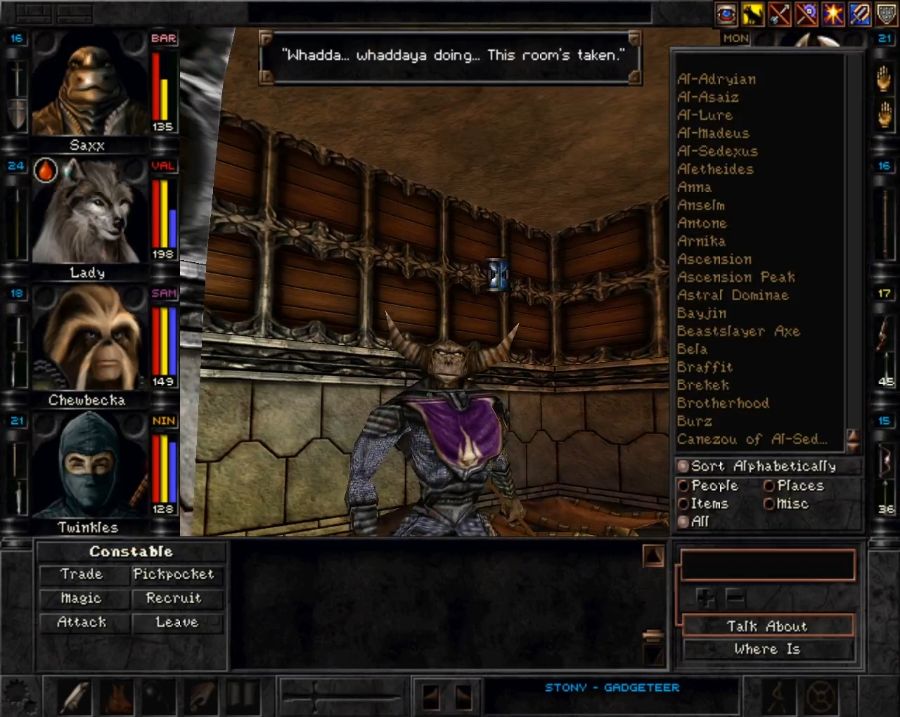 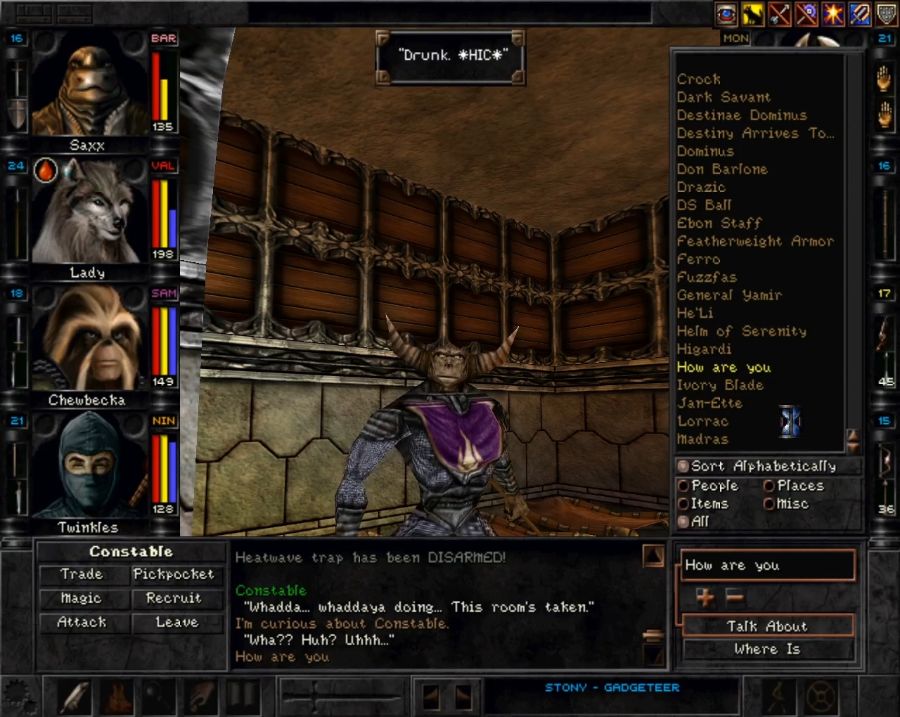  We'll be back to cut this guy into ribbons later because he has something we want, though I will feel slightly bad about it. Only slightly, though. 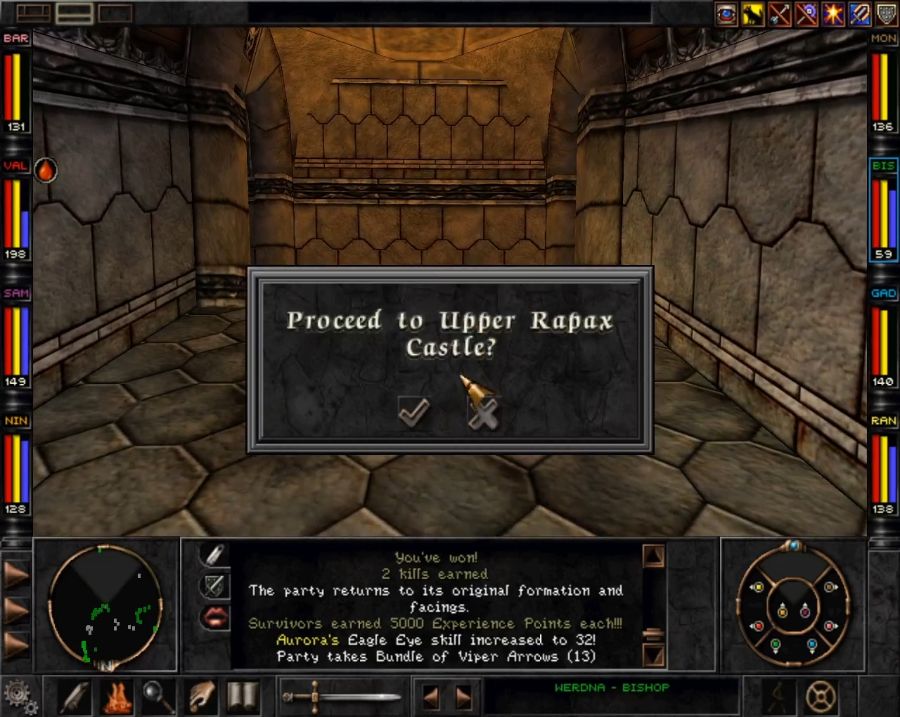 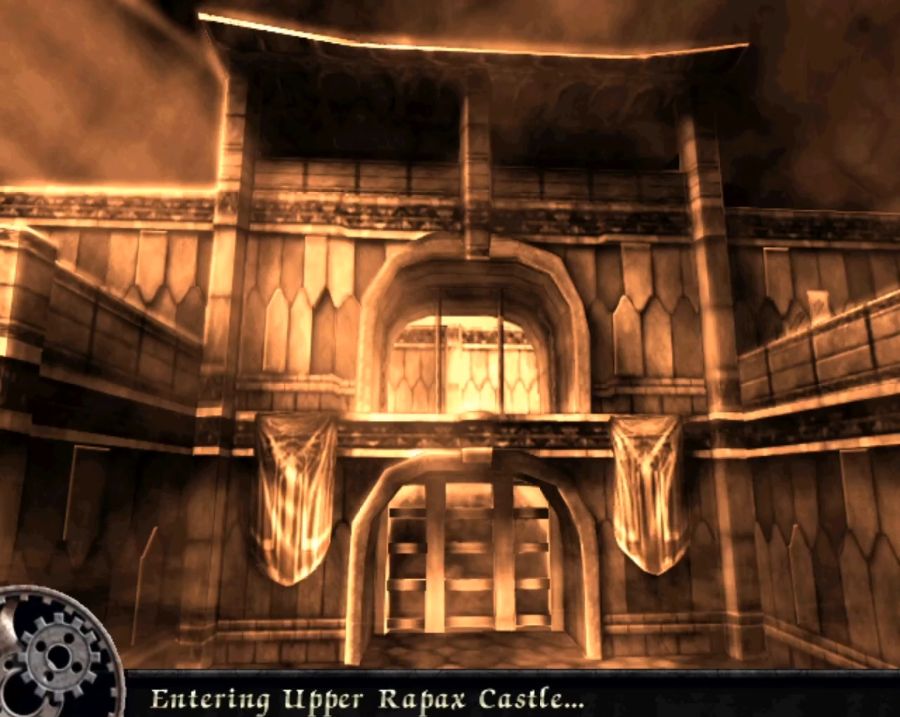 The Upper castle is more expansive and also sucks poo poo because I ALWAYS get lost here. 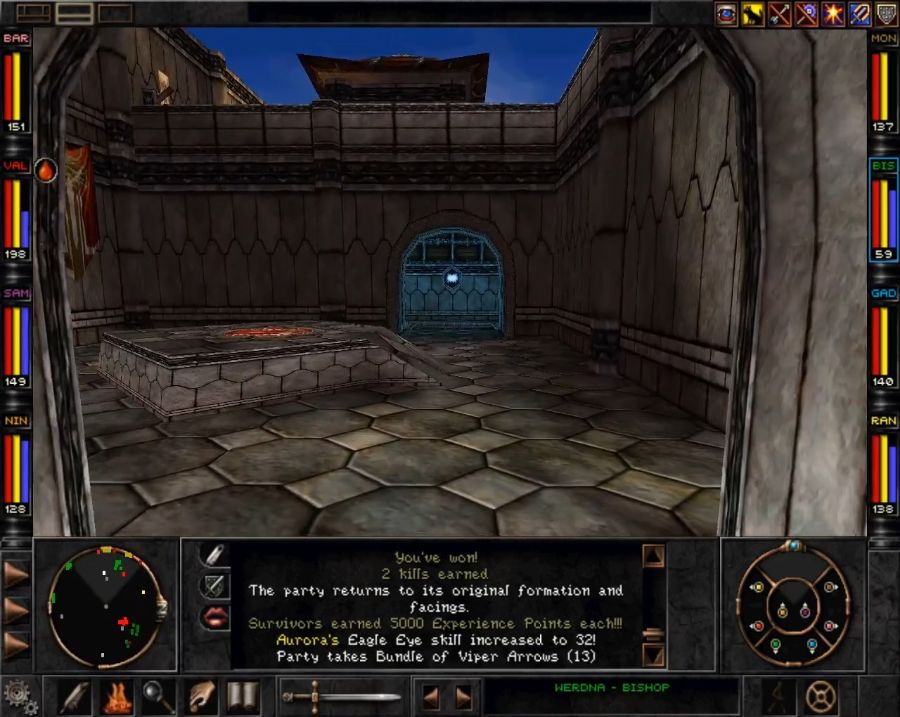 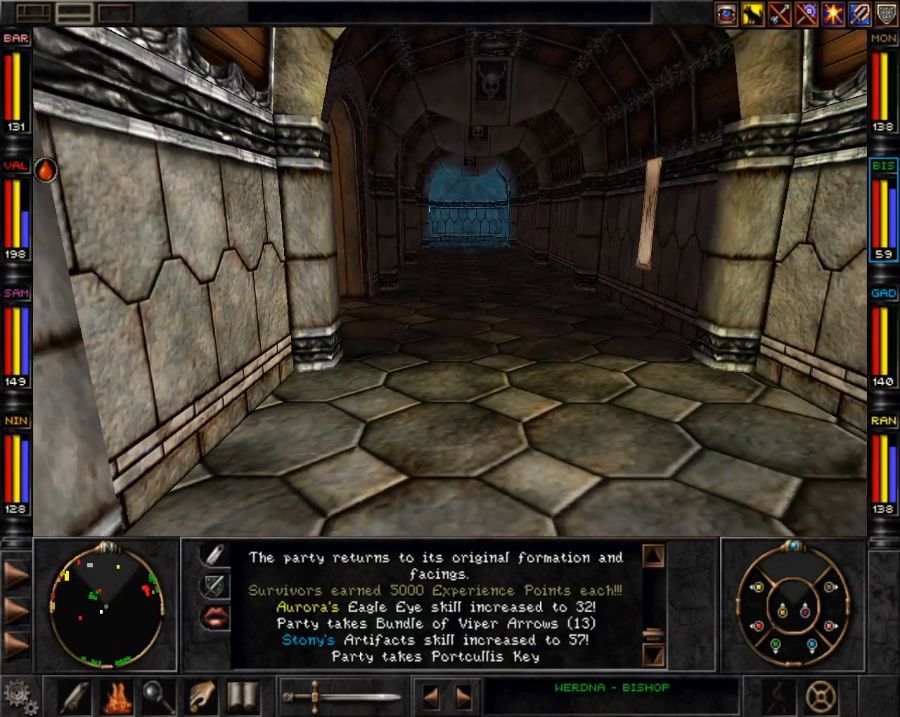 It has a bunch of rooms that are just full of guards and nothing of interest, and a few servants' quarters you can raid, and then a couple of "set piece" encounters. 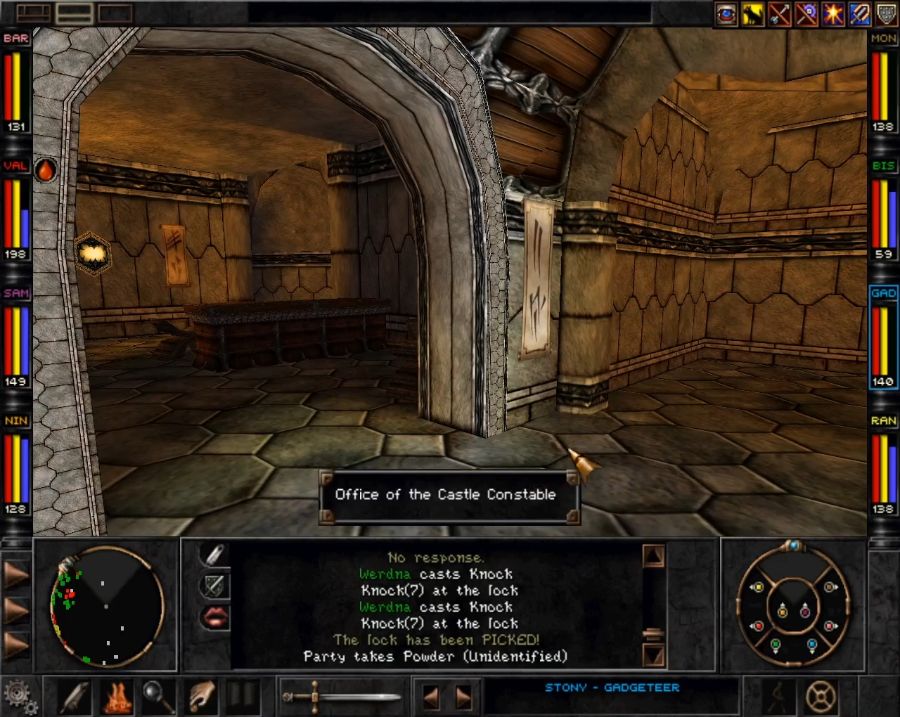 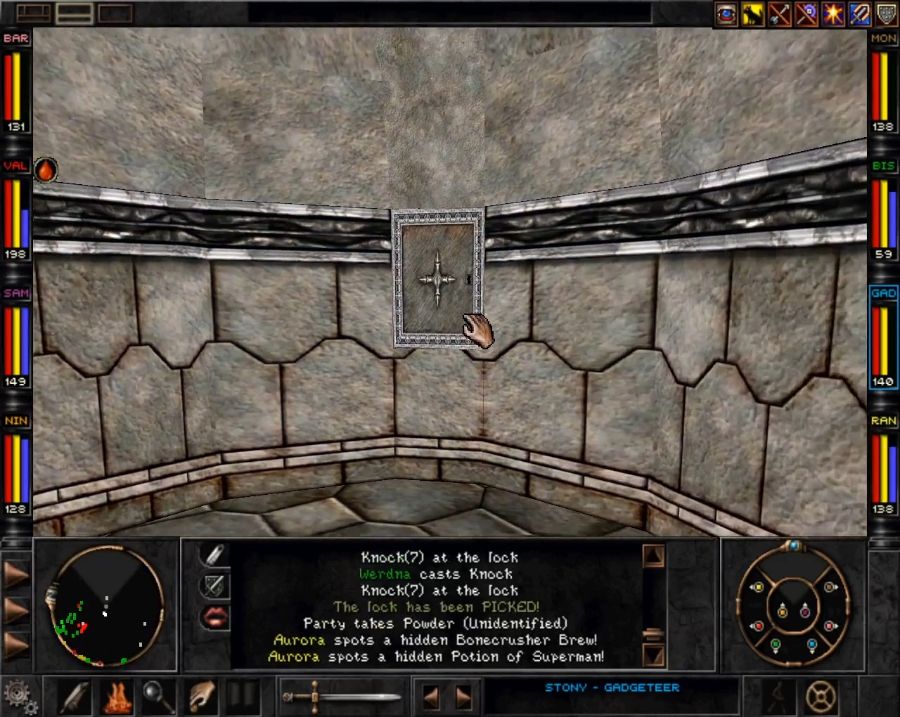 This is why we want to kill the Constable, btw, he has an office and the only way to open the safe is with his key. 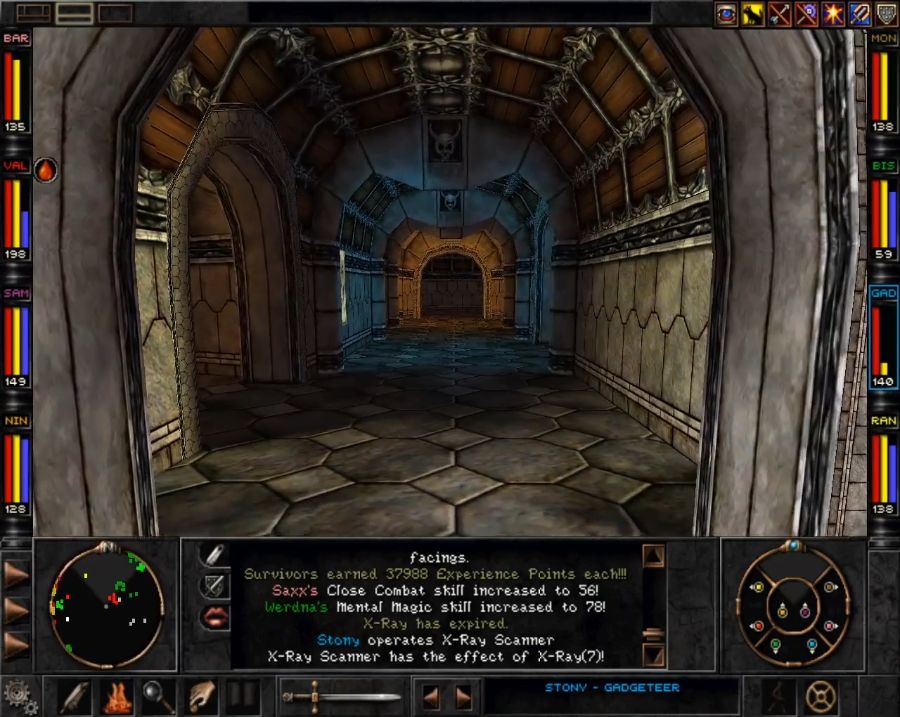 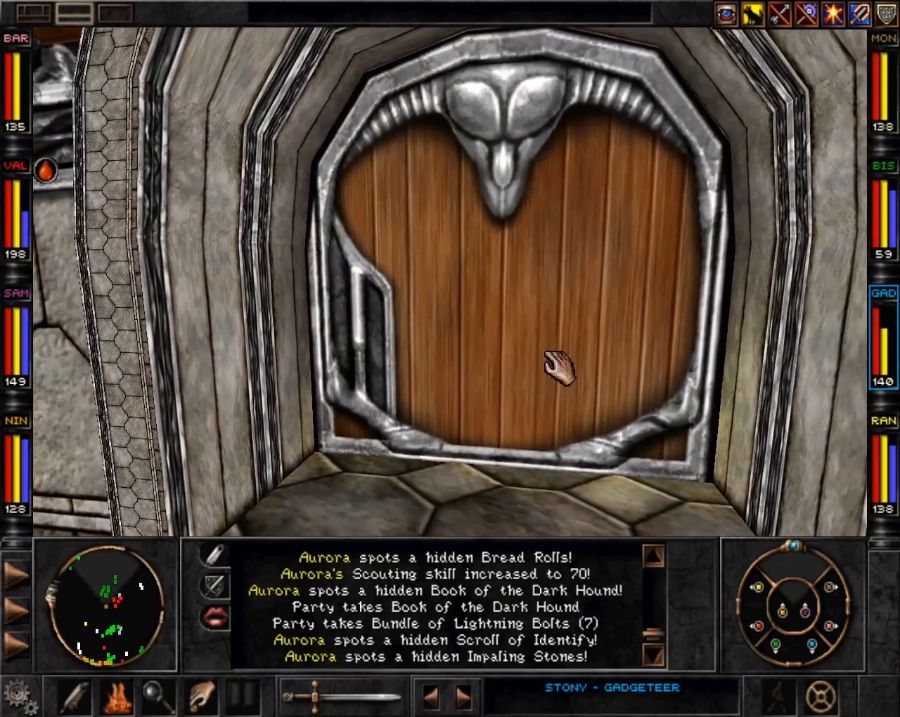 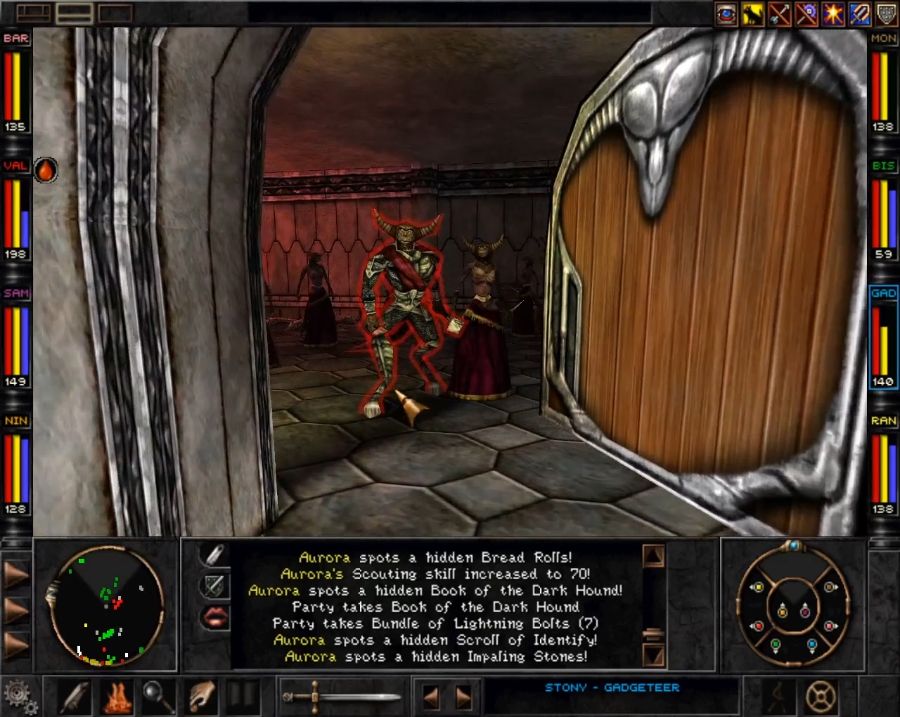 One of the set piece encounters is bumping into the Rapax Prince and his entourage. 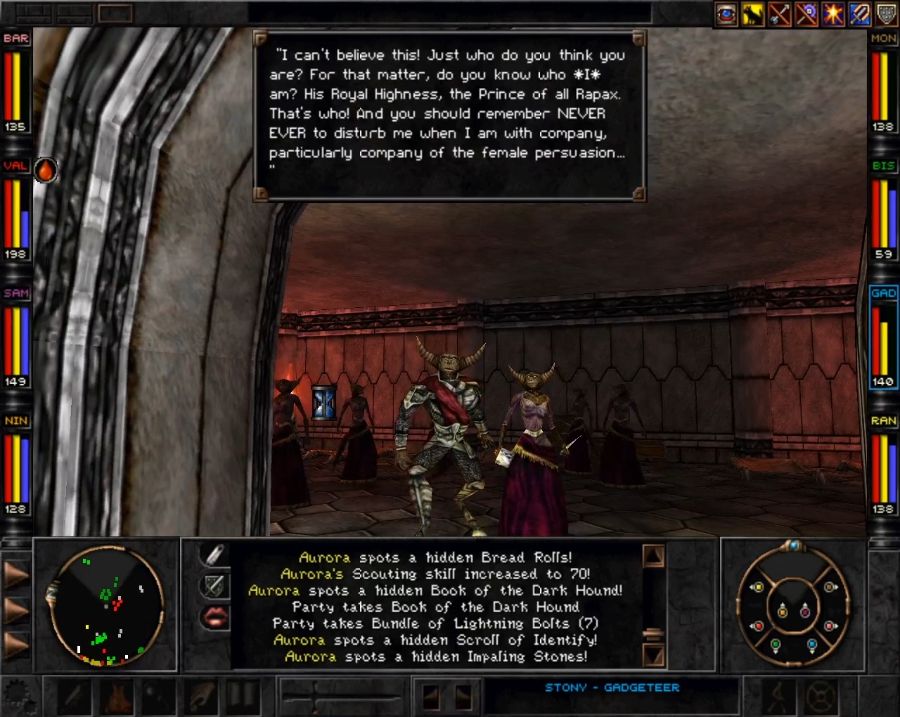  I swear I remember the whole pack of them going aggro as soon as he fades/teleports out, but they don't. I'm not sure if their going aggro in the past was a bug or if this is the bug, either way, they talk like they're not letting me past but in fact I can easily squeeze past them and loot the chests in the room. 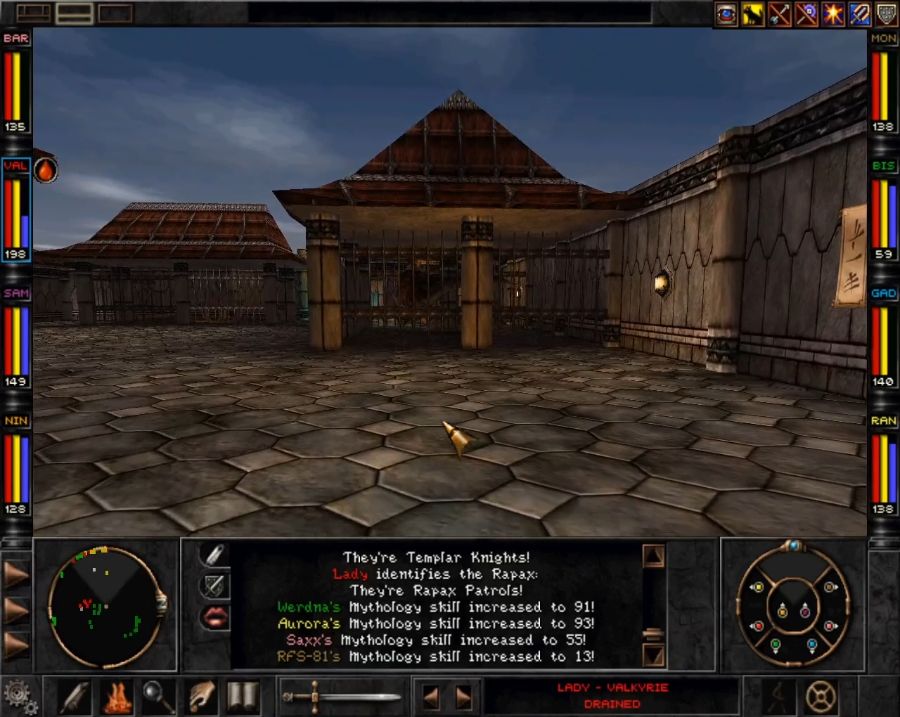 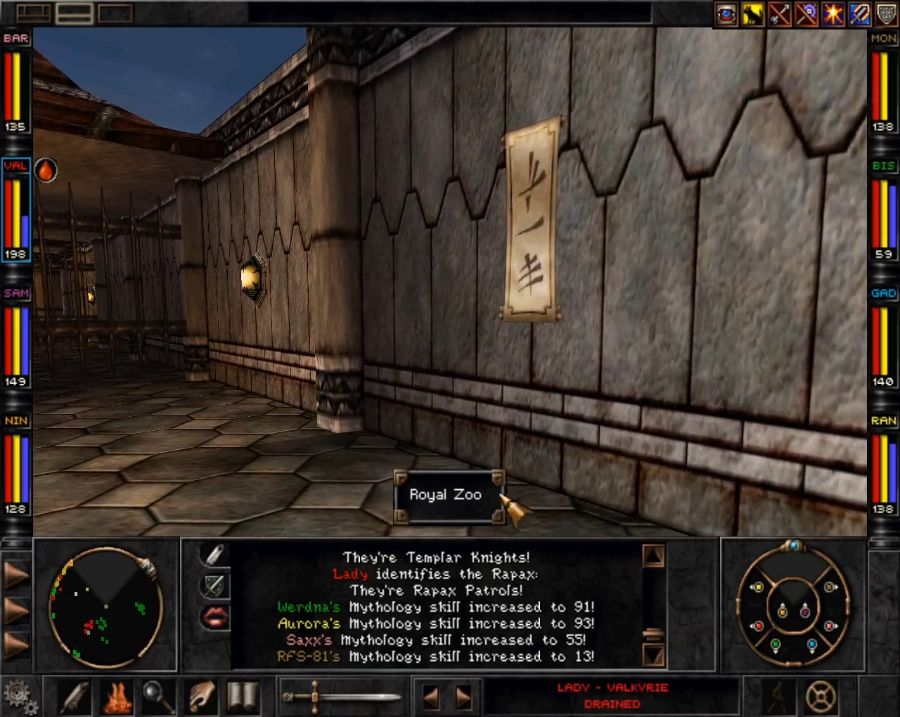 One of the things of moderate interest is this zoo on the roof. It's full of nothing but horrible carnivorous creatures. There's the final piece for the Jackhammer(casts Earthquake, dealing moderate Earth damage to all enemies in view) in one of the sheds, and also you can open the cages and kill all the animals. A side passage leads to the Prince's old room on the roof. 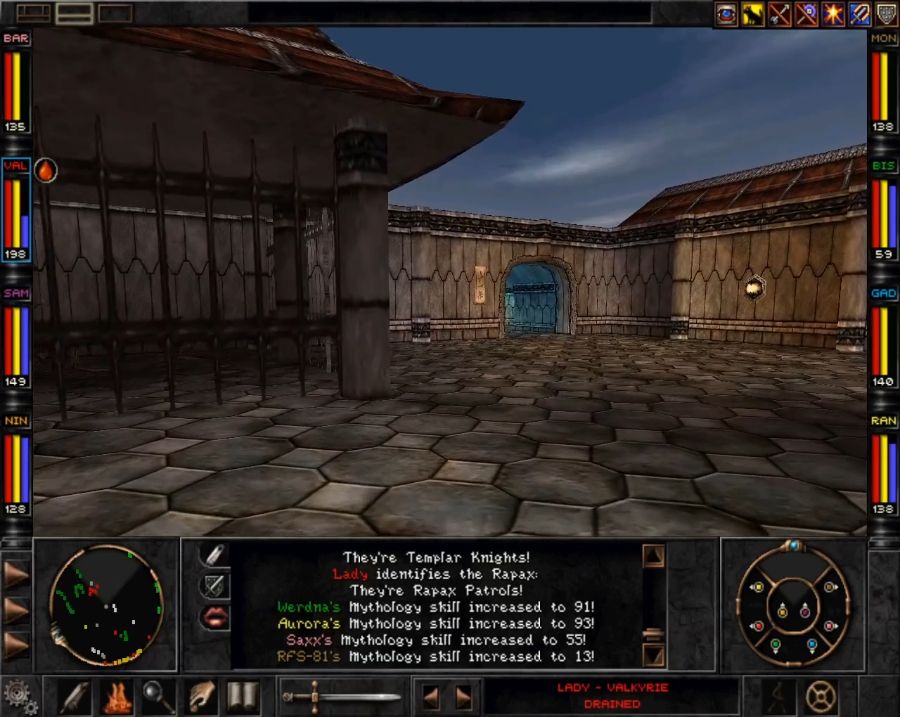 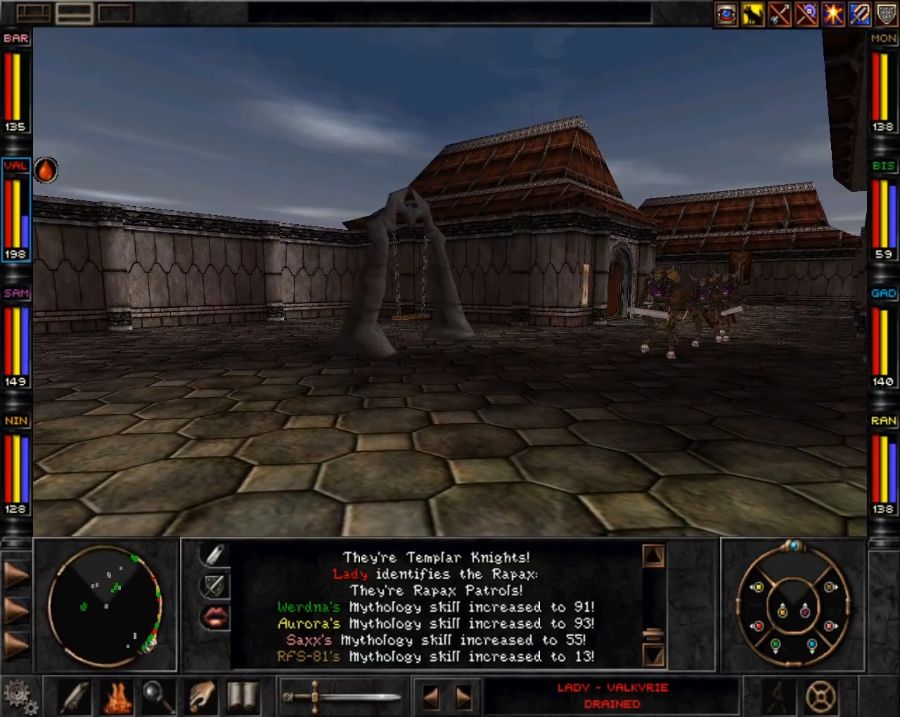 Considering how bleak the Prince's playground looks, it's no real surprise he grew up to be an rear end in a top hat. 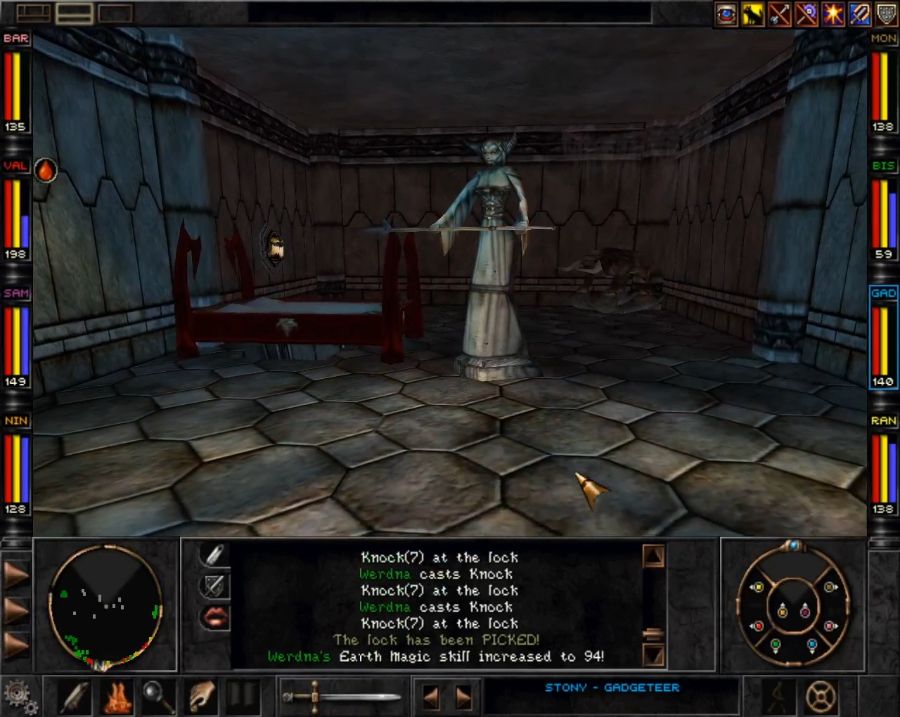 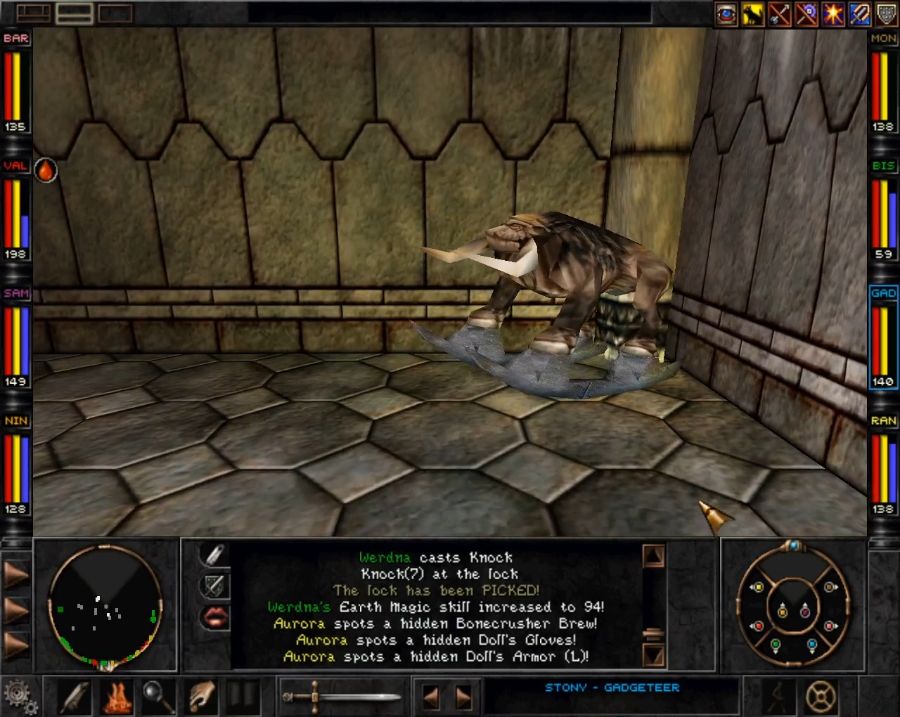 Also if you for some unholy reason made a Fairy Fighter/Lord/Valkyrie and never got the Zynaryx Plate from Ferro, this is the first and last chance you'll get all game to dress them up in something other than robes, as there's a collection of platemail for dolls lying in the corner that you can equip them with. 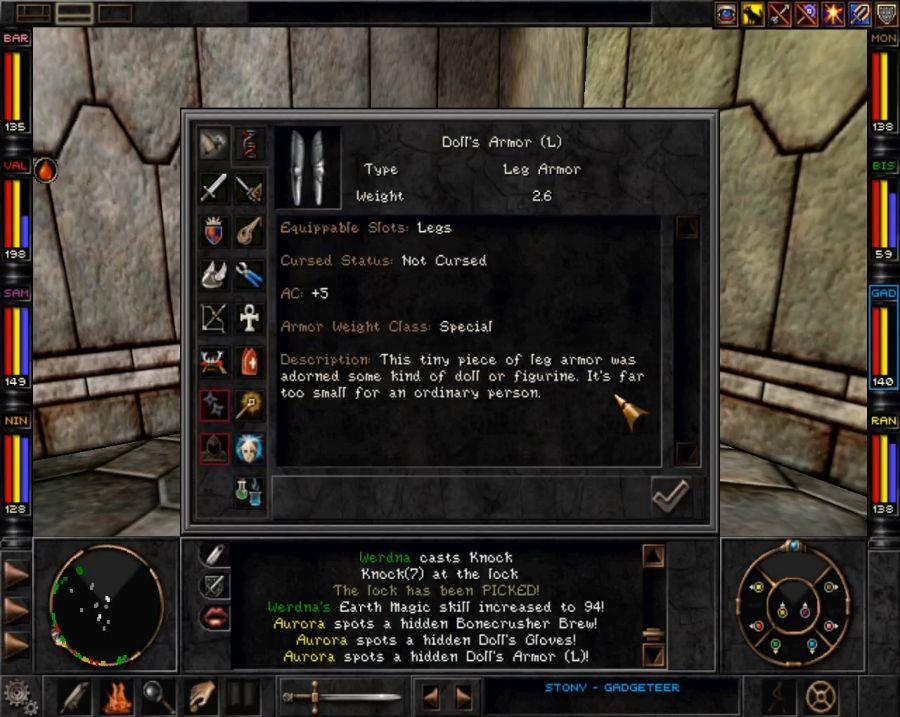  There's also a really unsubtle secret passage under the bed. Now, you might wonder, how do you access it? You can't just do the logical thing and push the bed aside. 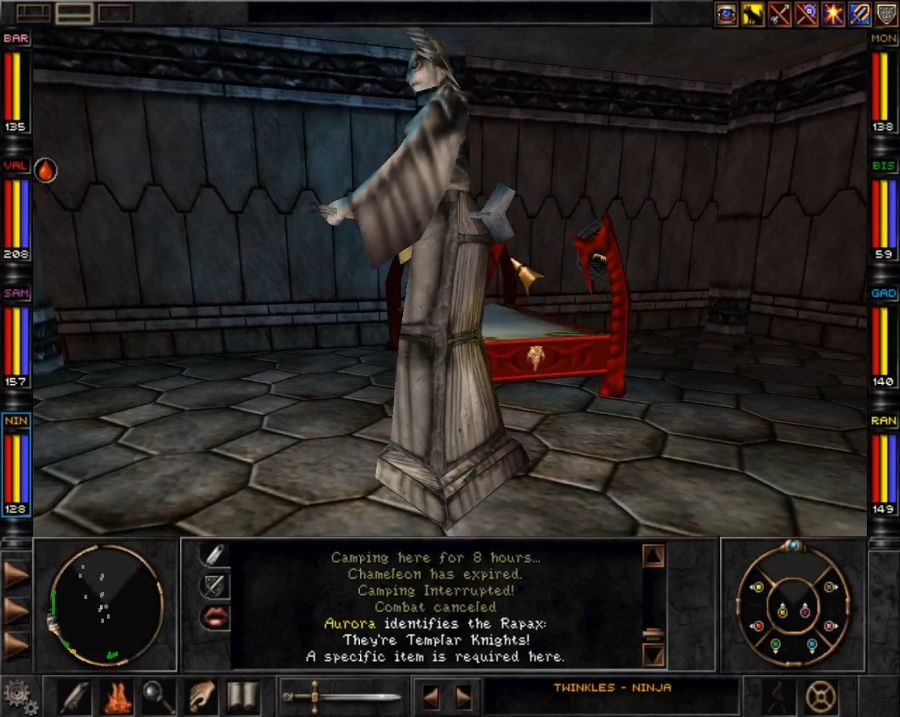 Instead the statue next to the bed(of course holding a pike at head-height, great idea for a kid's room) is a wind-up statue. So you wind it up... 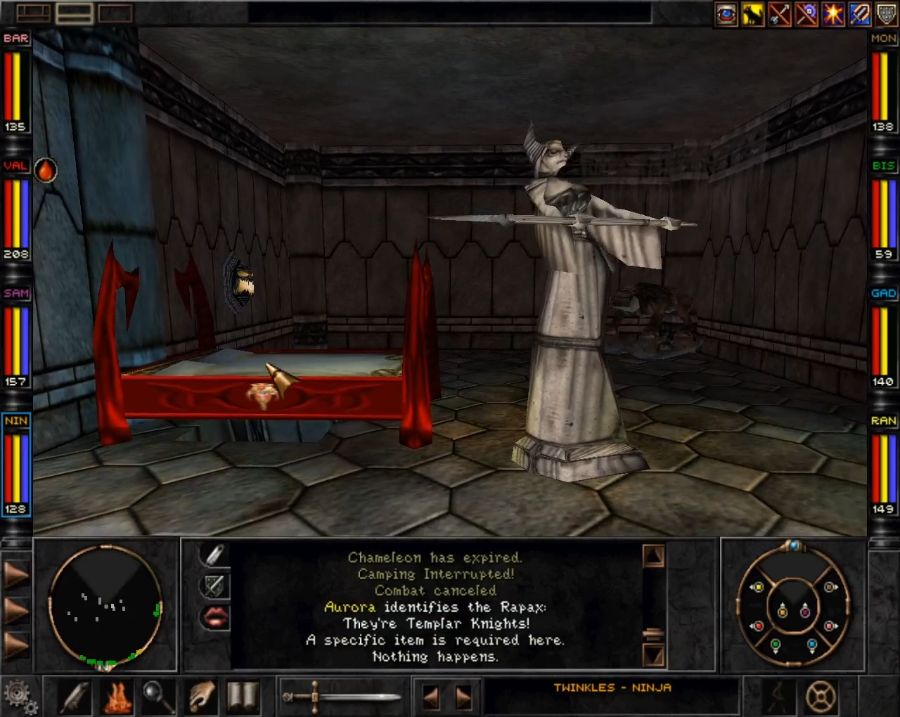  And it swings the pike and knocks the bed aside. I stand by saying that this is a demented puzzle and that if it hadn't all been contained inside the room, it would have been outright cruel because who the hell would have figured that out. Anyway, obviously the response is to jump down the tunnel and land in... 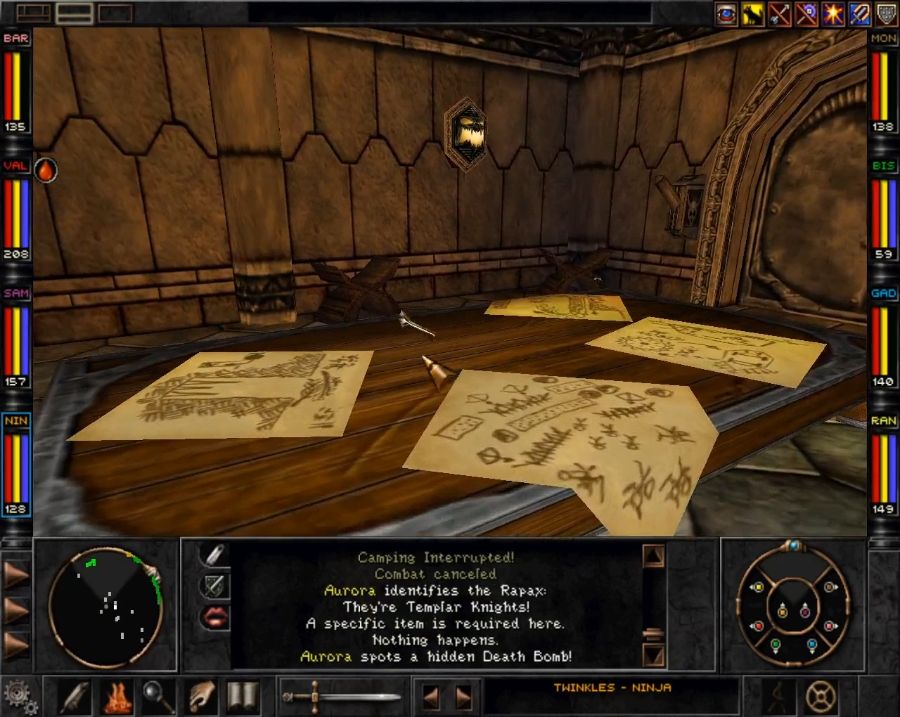 A Rapax war room. 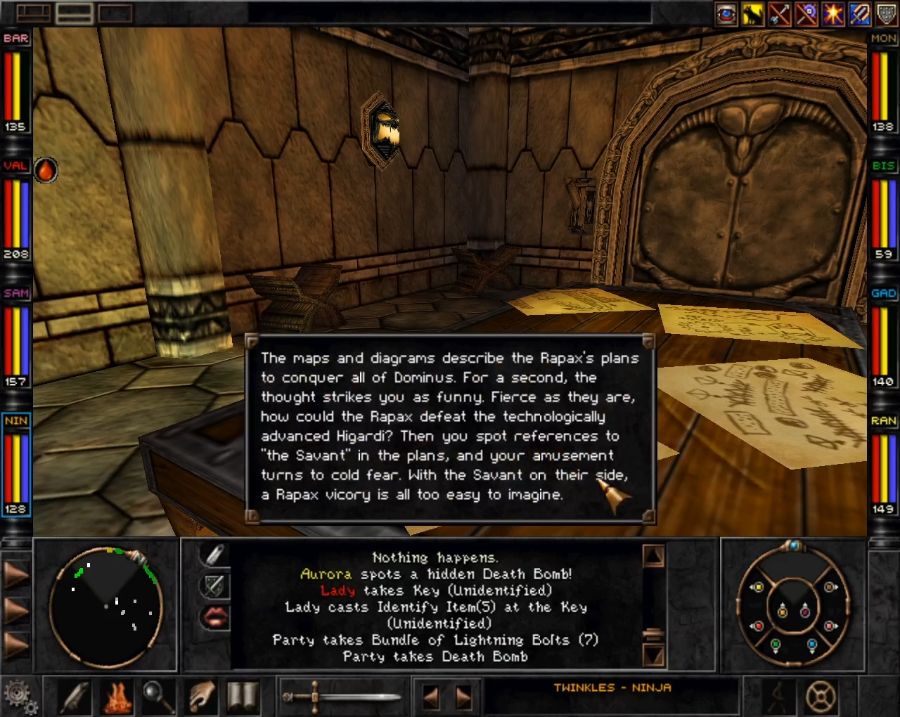 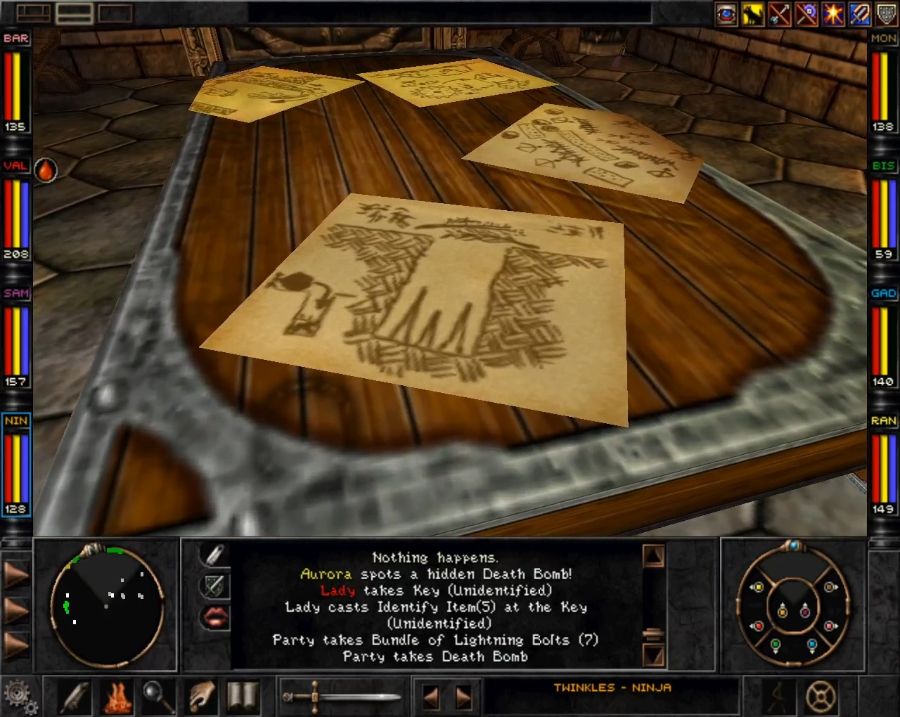 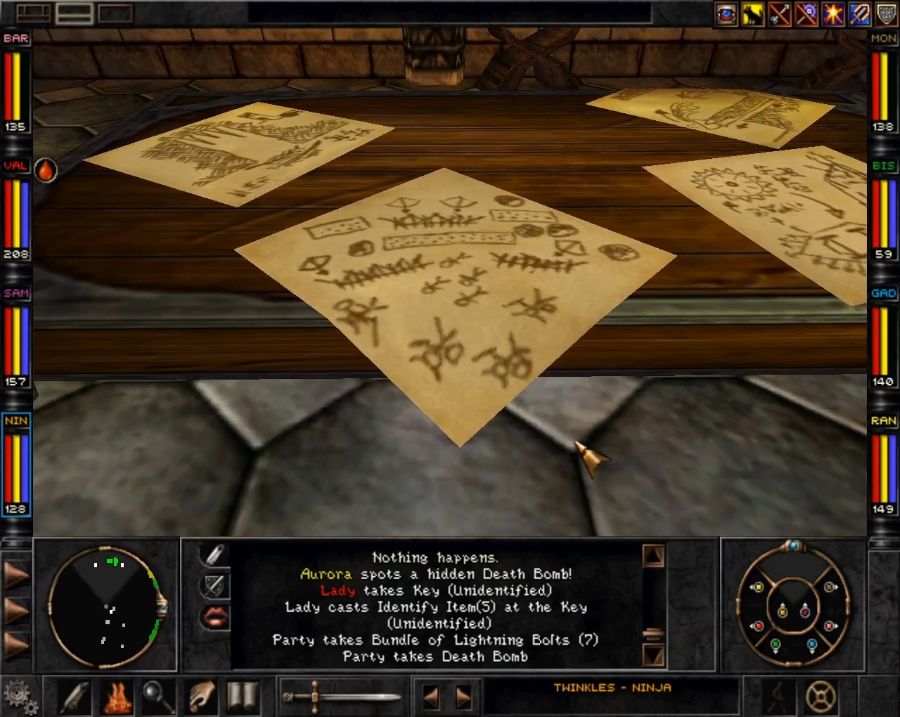  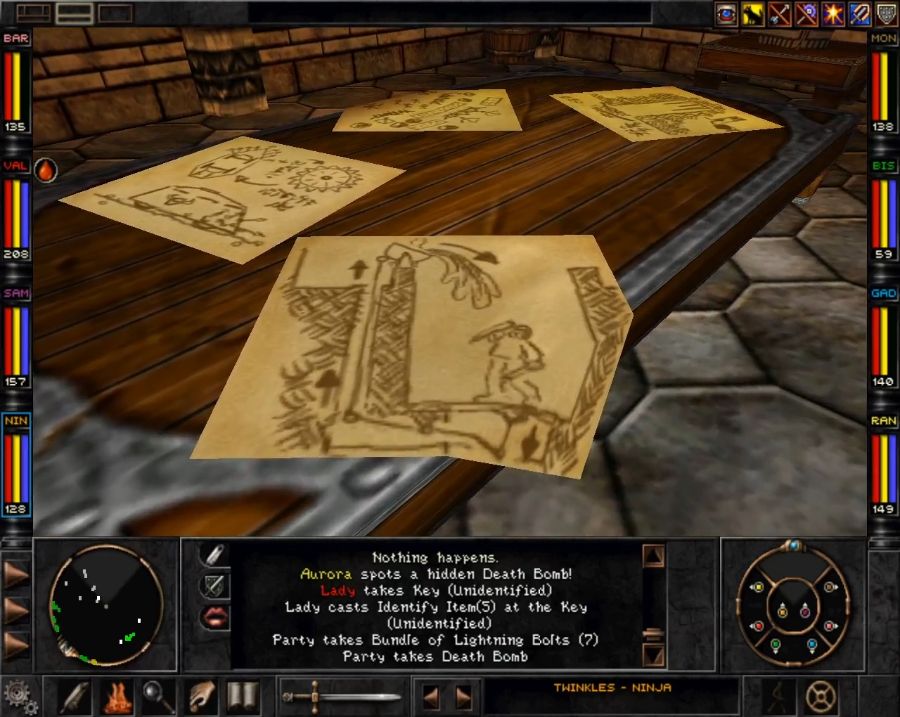 The drawings on the table are amusing to me, though I'd be worried if we had to meet that Rapax tank. 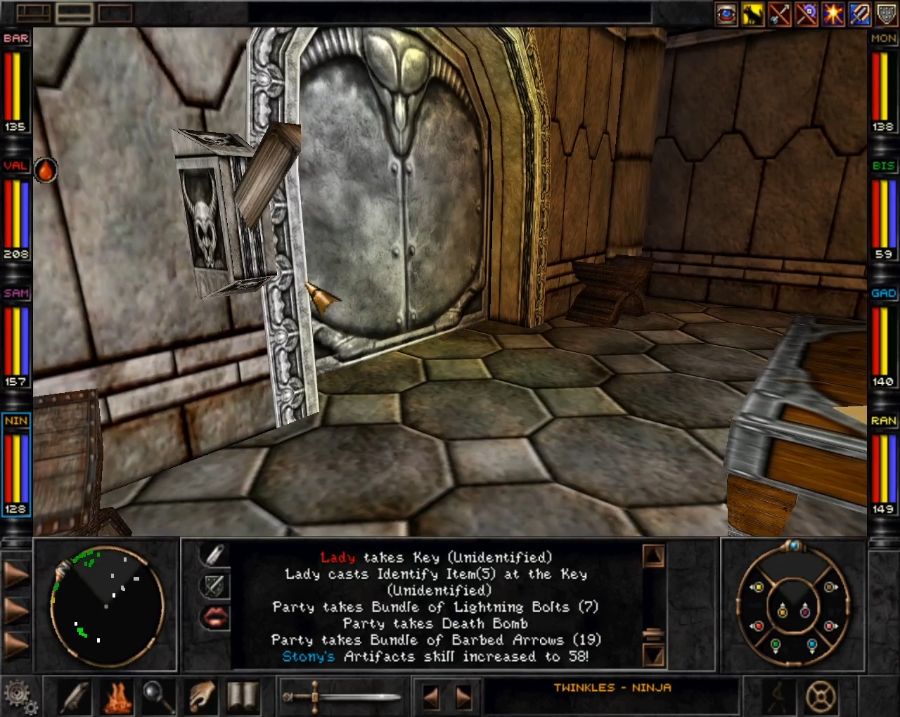 And now we reach the bane of my existence, because despite this next section consisting of only three corridors and like four doors, I somehow always manage to get lost here. Don't ask me why. Don't ask me how. 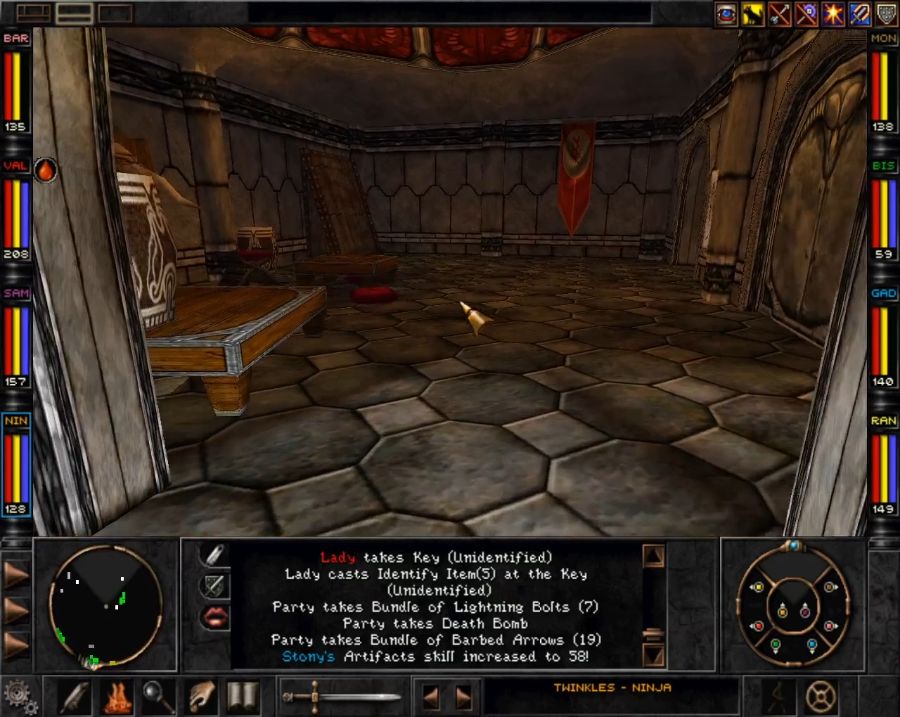 It should theoretically be simple enough. You've got the Queen's chambers, the King's chambers, the war room and this little torture/leisure(?) room, and that's it. 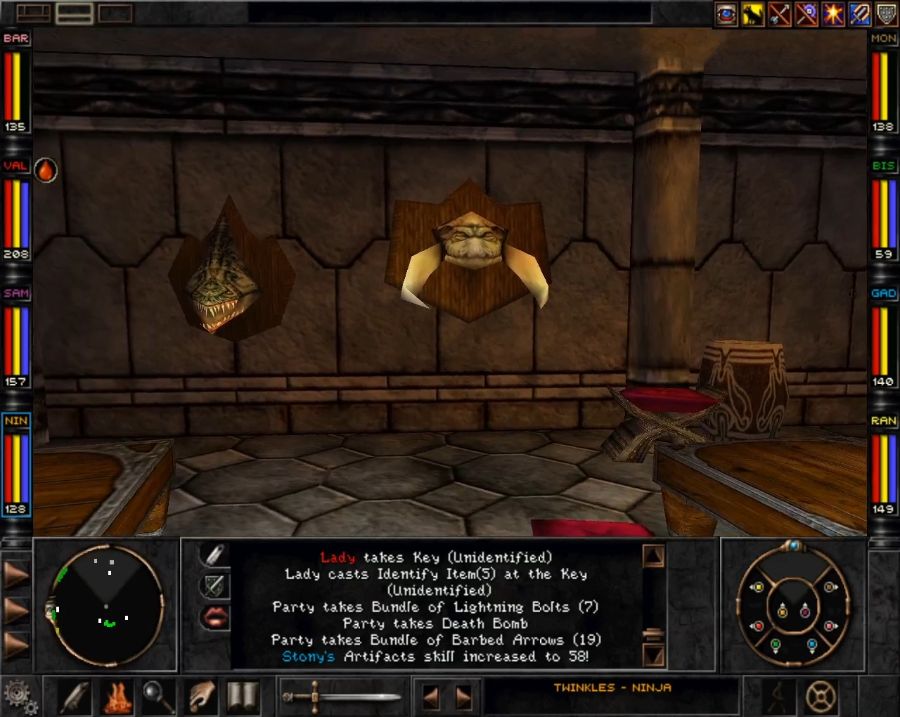 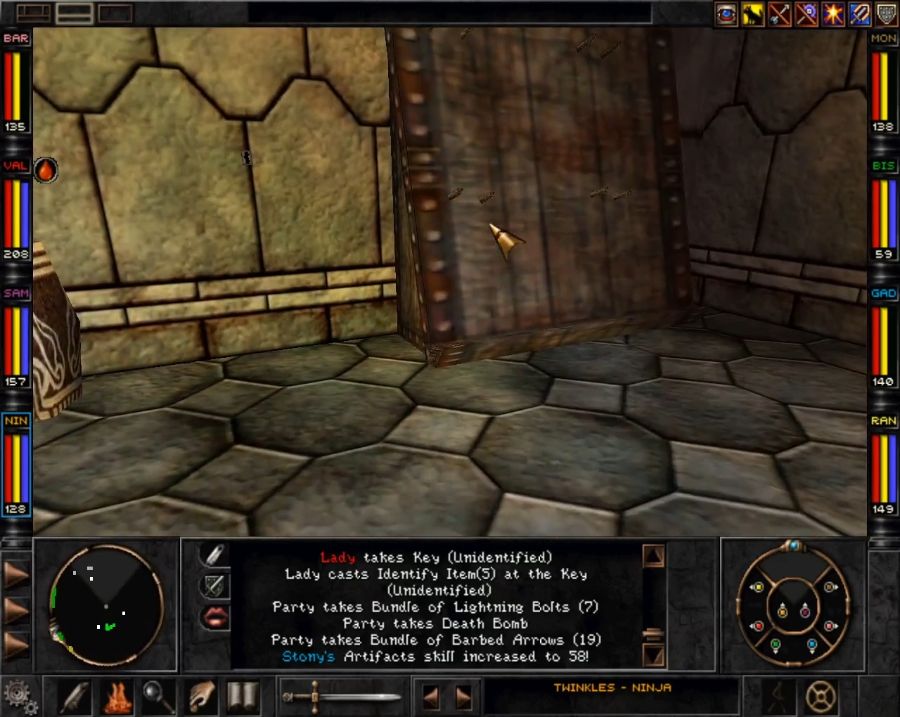 Part of what fucks me up is always that little keyhole you may be able to see next to the rack there. 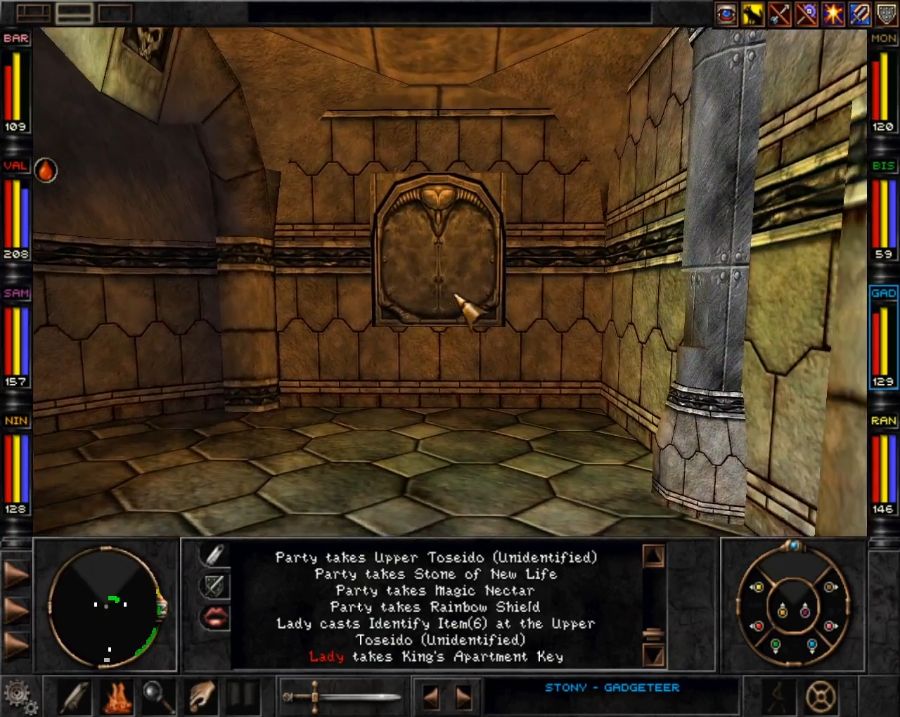 Oh and remember the treasury downstairs? This is the "access" to it. You drop vouchers for treasure into the pneumatic tube on the right, and they pop out of the doors at the end there. There are only a couple, one up here and the remaining three in the constable's safe, hence why you'll want to gib him. And I maintain again that anyone who can figure out that this is actually coming from the treasury downstairs is a big-brain hyper genius. 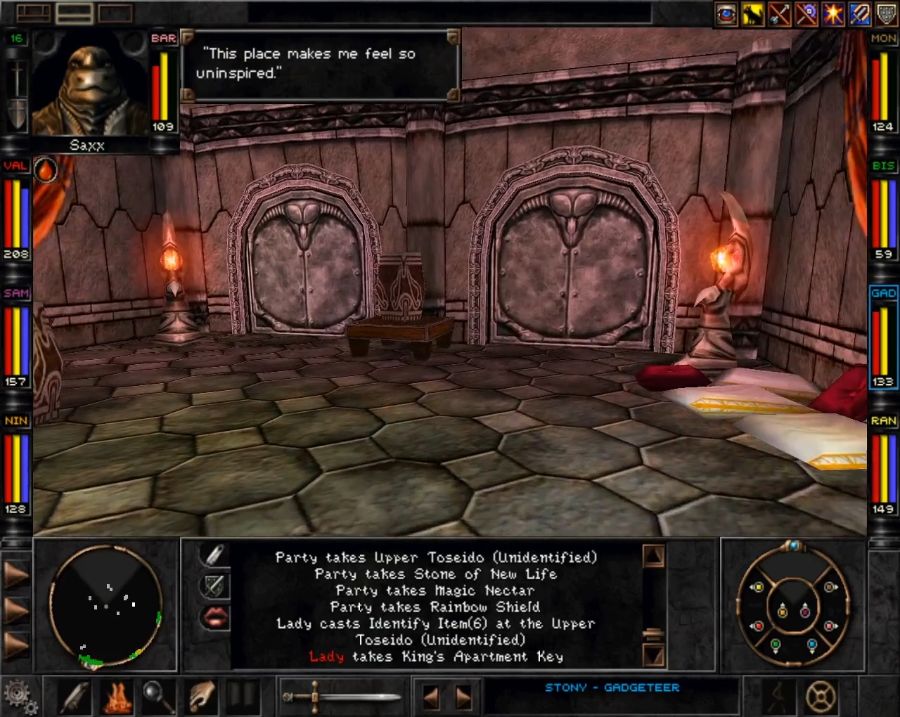 I think part of what gets me lost is that there's no central room at any point, literally ONLY corridors, running parallel to each other with little connecting bits. 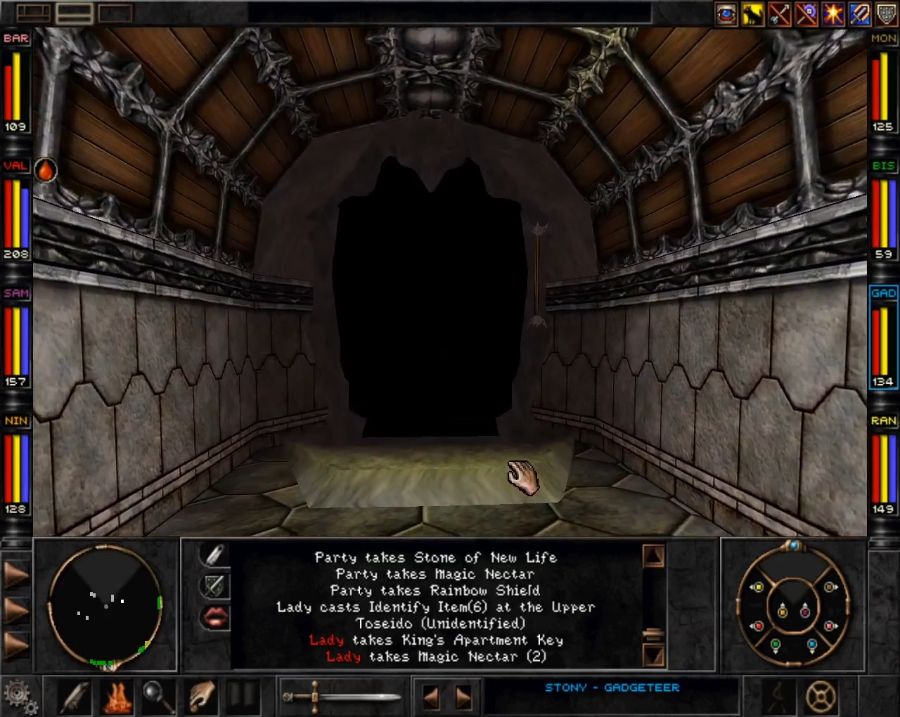 One of the chambers also has this ominous portal, which you might think is very important but is it ever not. 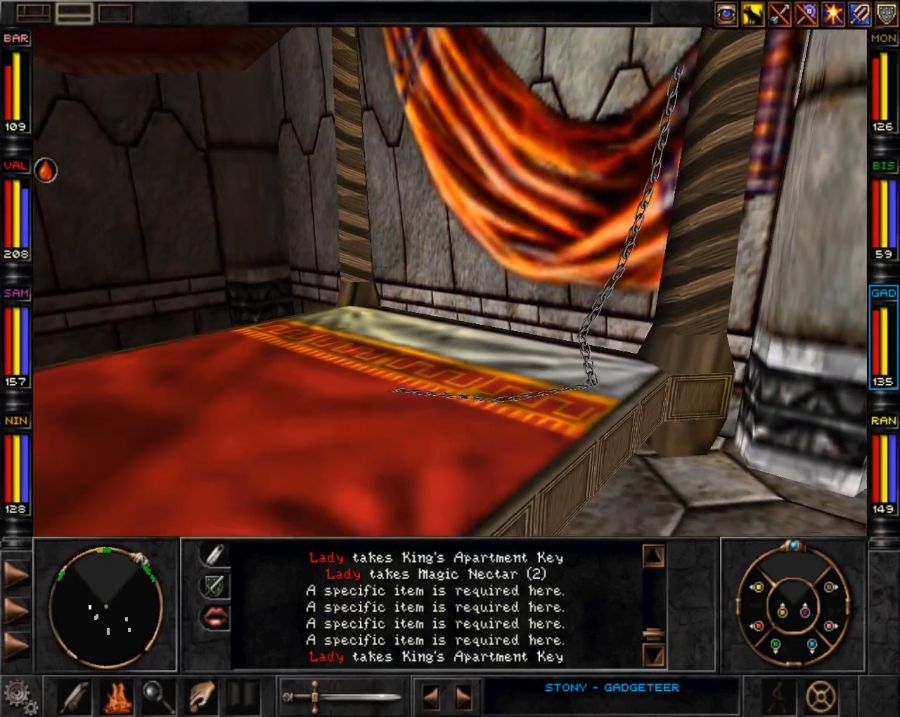 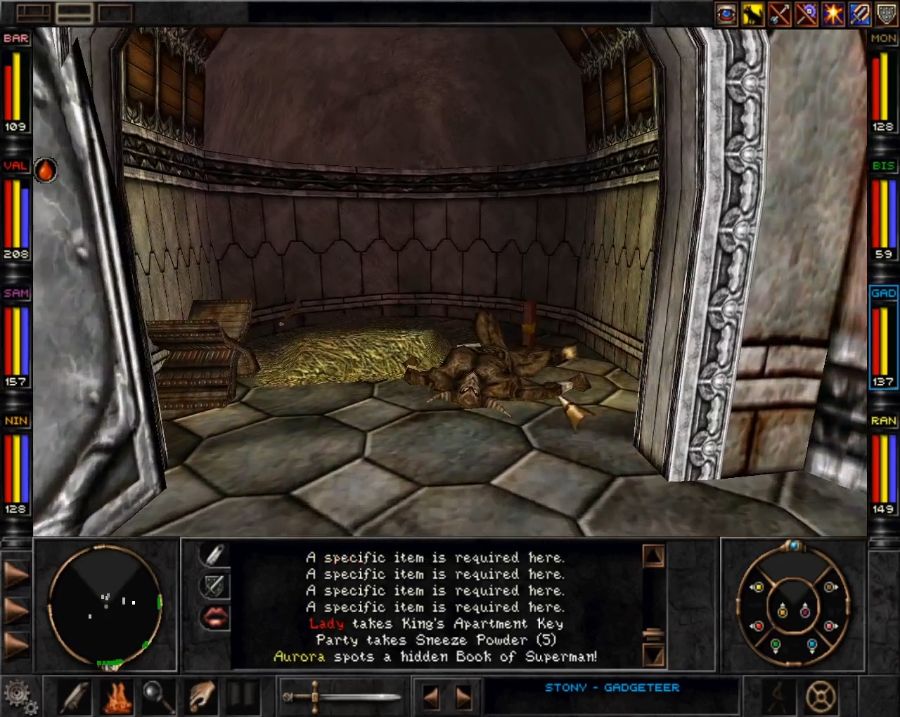 Chains on the beds and a cat o' nine tails next to a corpse. The Rapax aren't subtle about what they like. Also the dead body has the first of our vouchers. 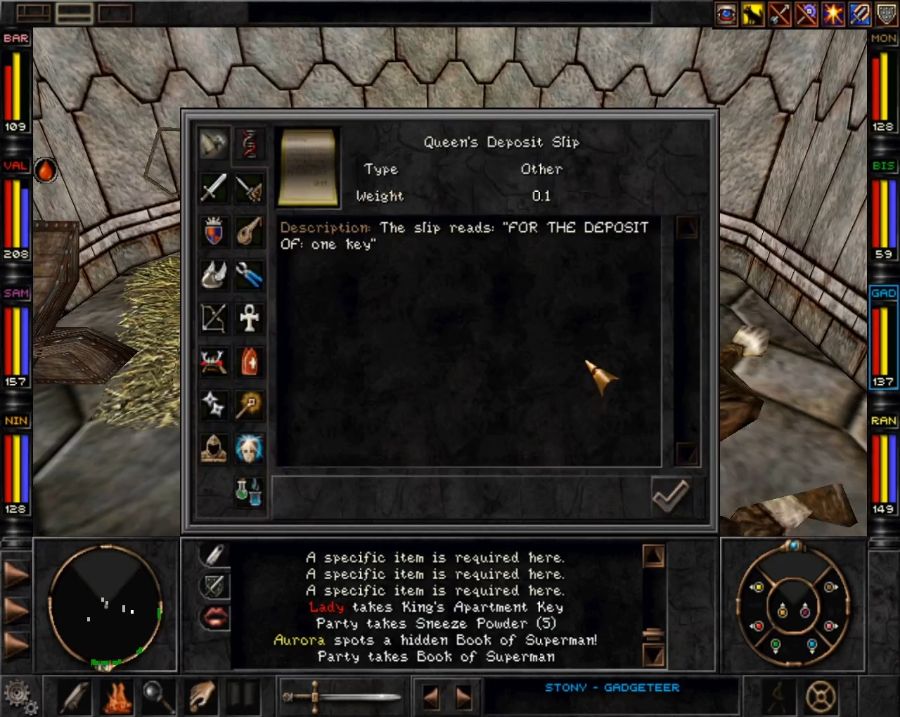 Also really the least interesting of them. 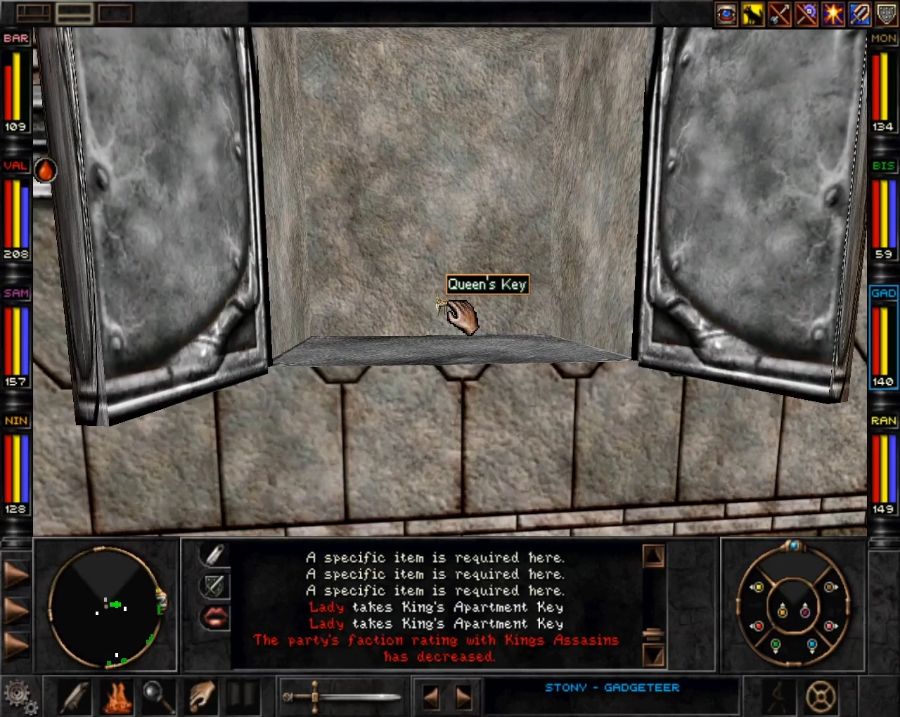 Getting the key makes the "King's Assassins" pissed at us but, as far as I can tell, and as far as the internet at large can tell, there are literally no Rapax in the entire game that belong to this particular faction. They were probably part of some cut content related to the queen. 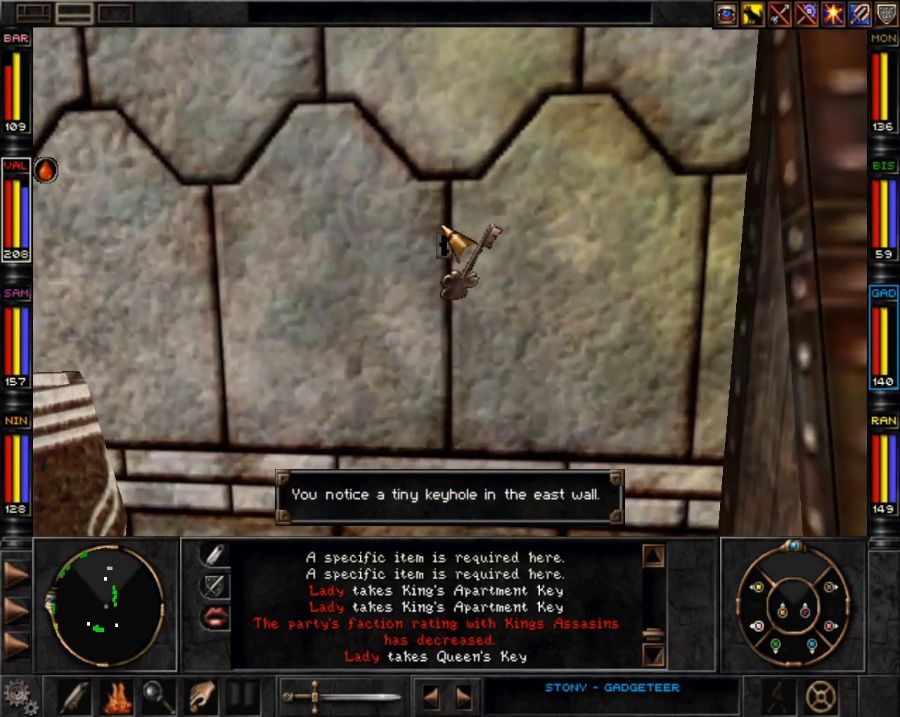 The key doesn't open this keyhole. In fact, what opens it is the key that was on the war room table earlier. I've tried that key, though, with no luck. What's up is that a couple of items in the later game have incredibly fiddly interaction points, like padlocks we'll see shortly that can only be interacted with from the side, not from the front. So after trying five times, I give up, assuming I remember wrong, leading to my confusion and running in circles being convinced I've missed something. 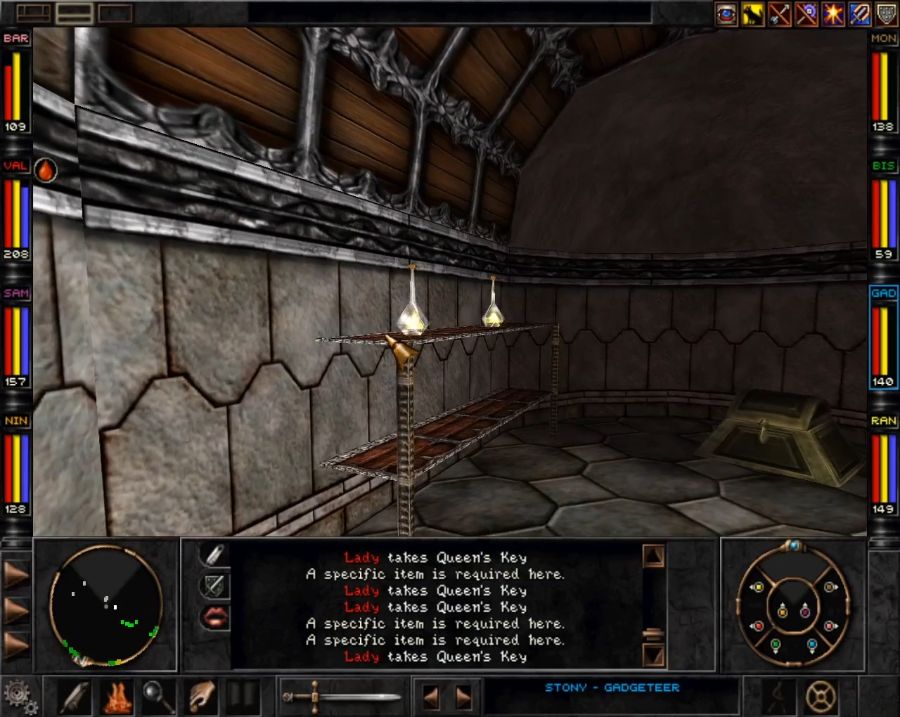 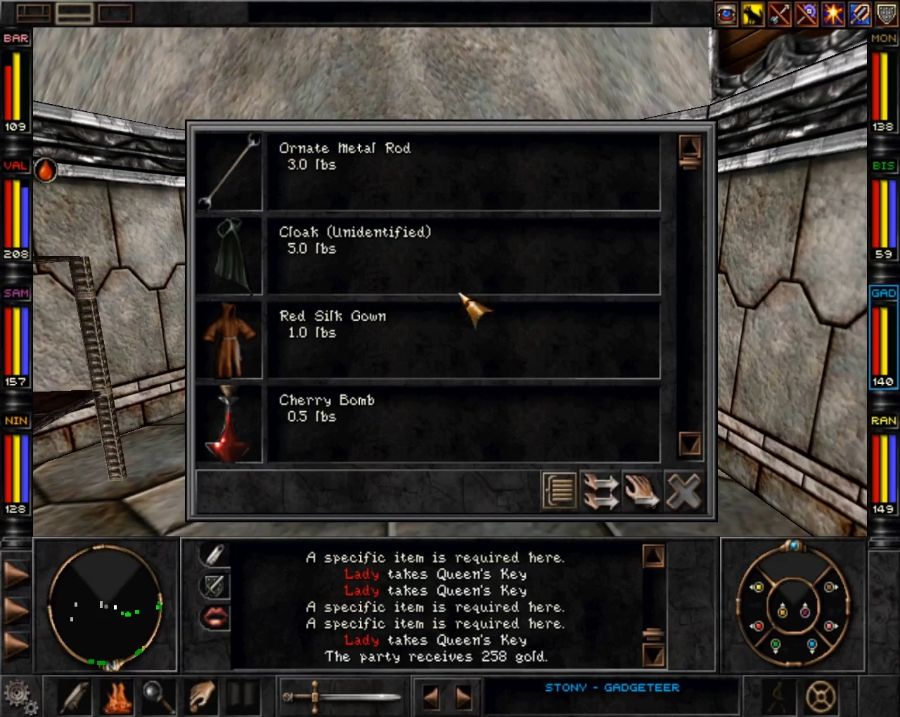 What the Queen's key unlocks is this little closet with the metal rod for the ominous portal earlier. 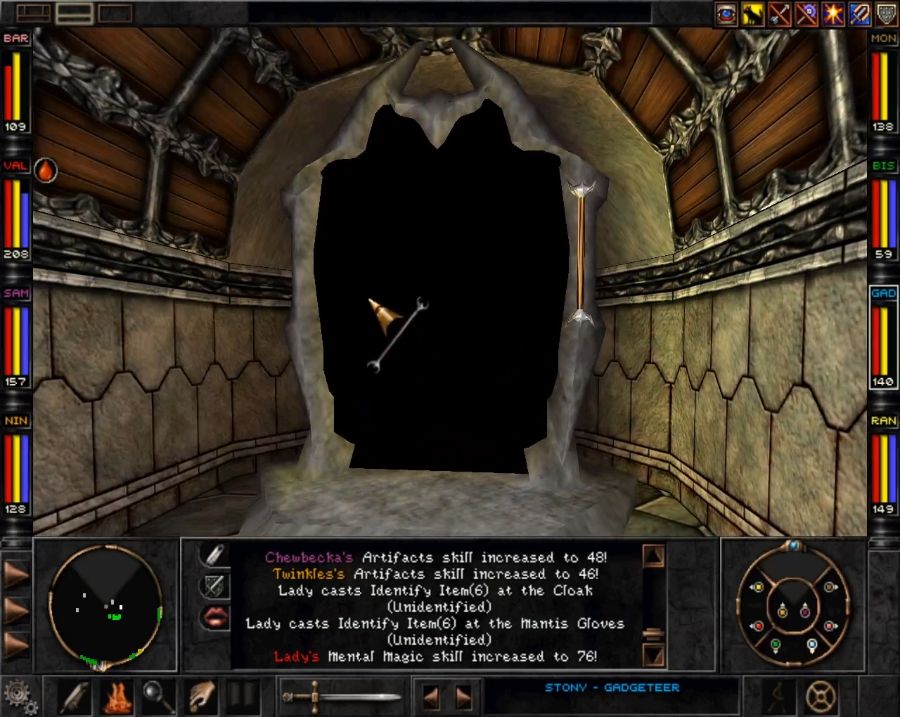 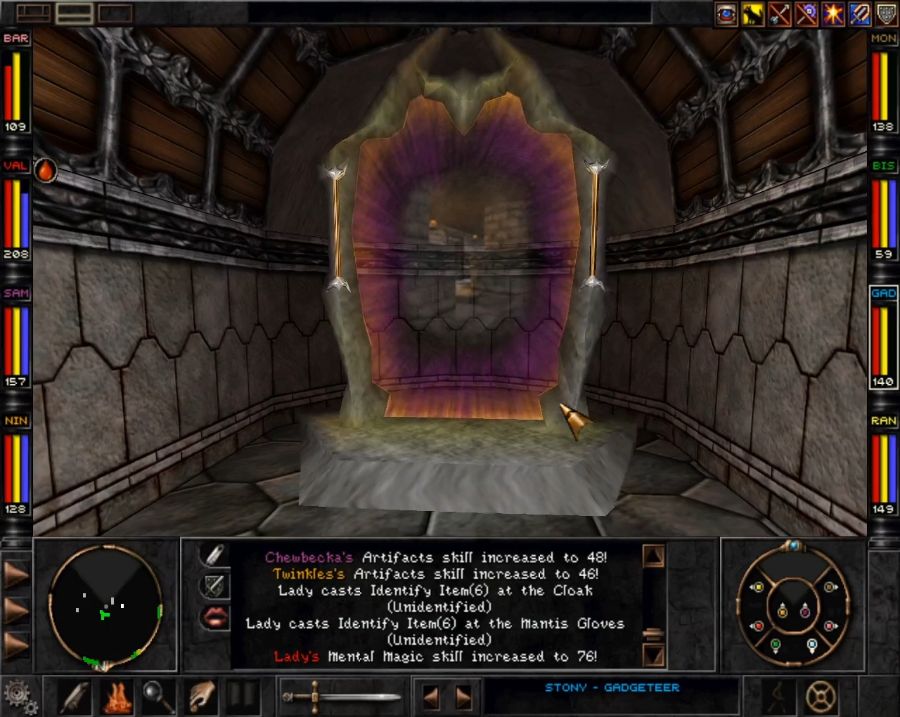 Now, you see where it takes us? The temple in Arnika. Imagine if you didn't recognize that and hopped through without a portal set up here. You'd feel like a real goofus, as there's no portal leading back from there. You also have to wonder why the queen would have a portal to Arnika, capital of her people's supposed enemies. 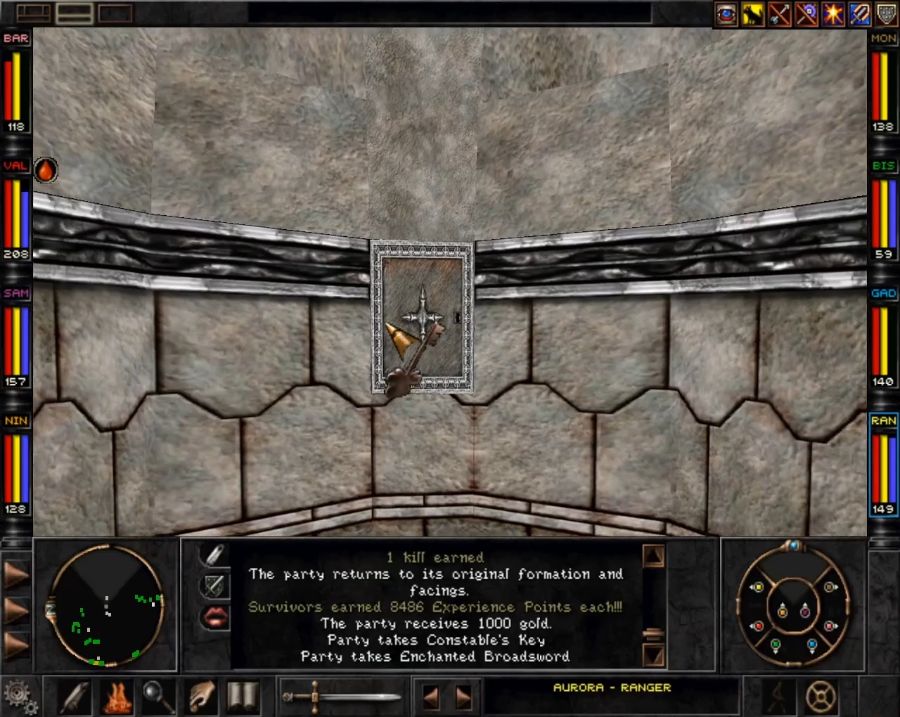 After a quick visit at the constable in the basement, I return with his key to grab his vouchers. 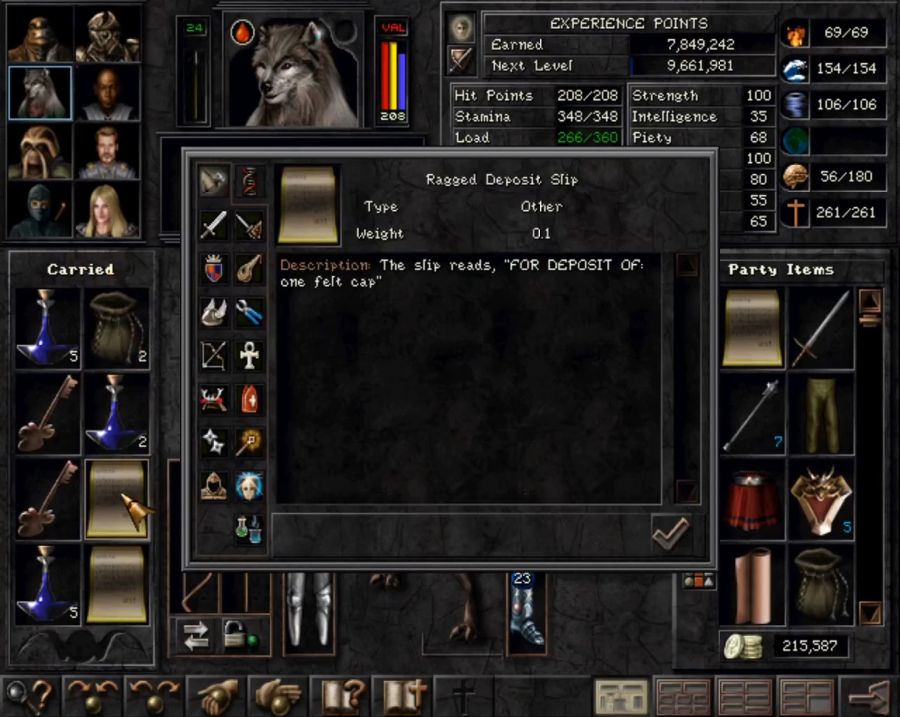 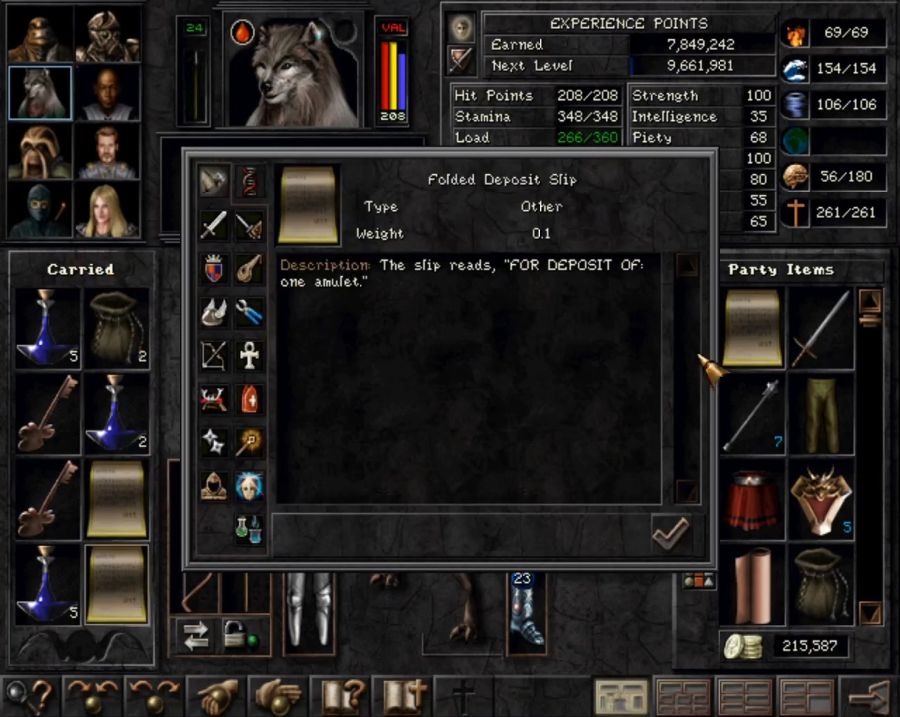 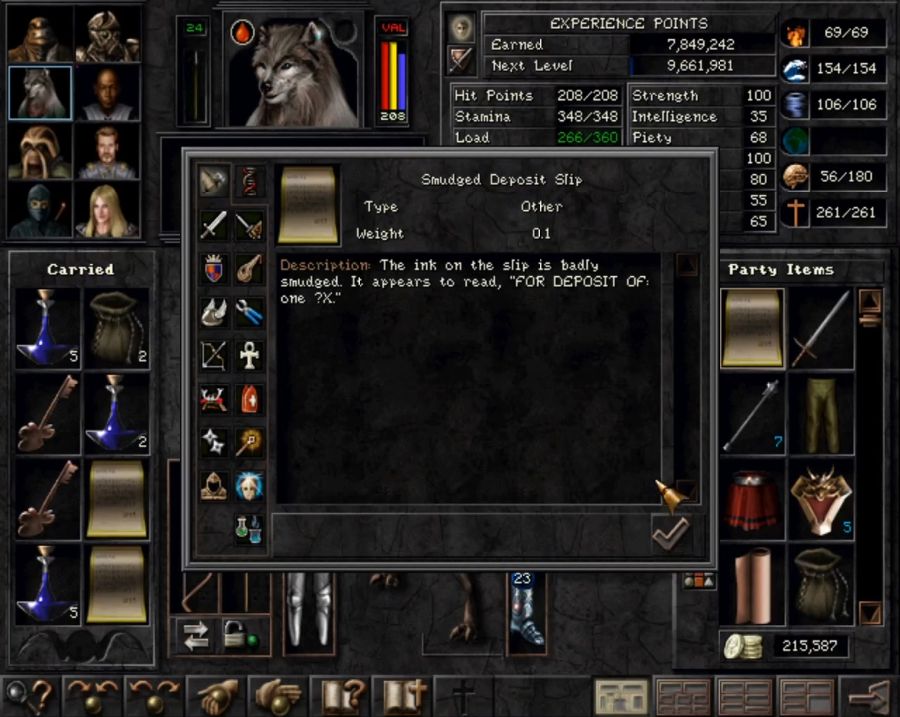 Which get us... 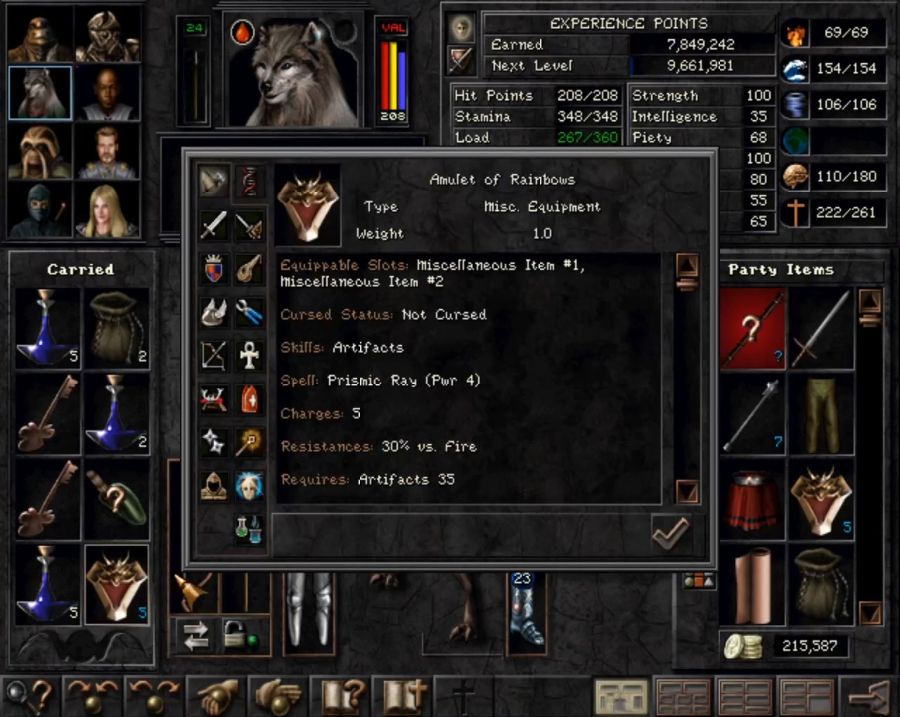 A kind of lame amulet. 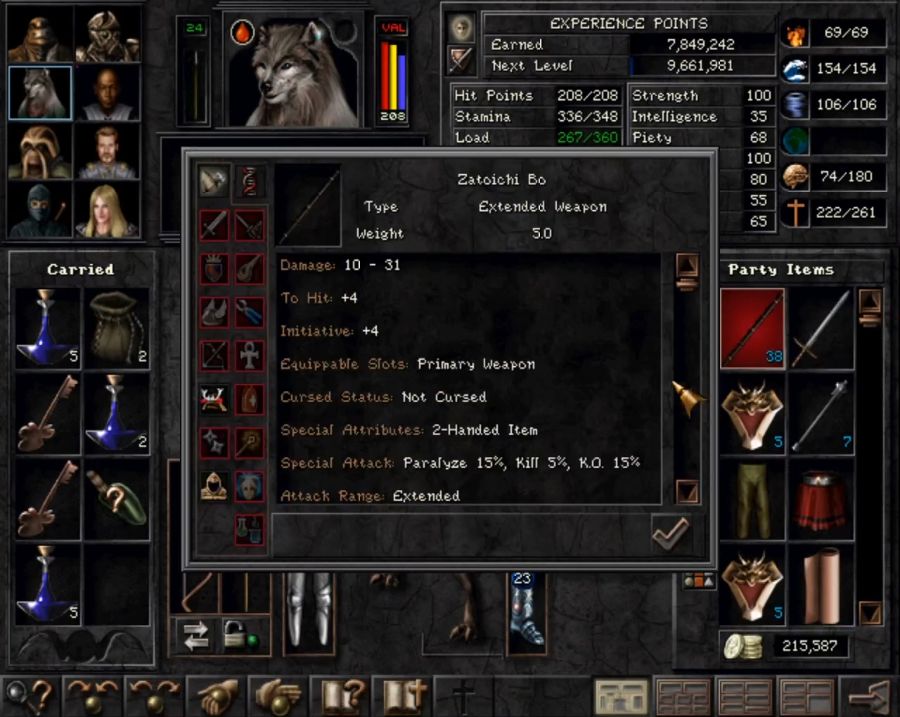 An absolutely rad staff that RFS will be bonking enemies with for the rest of the game. 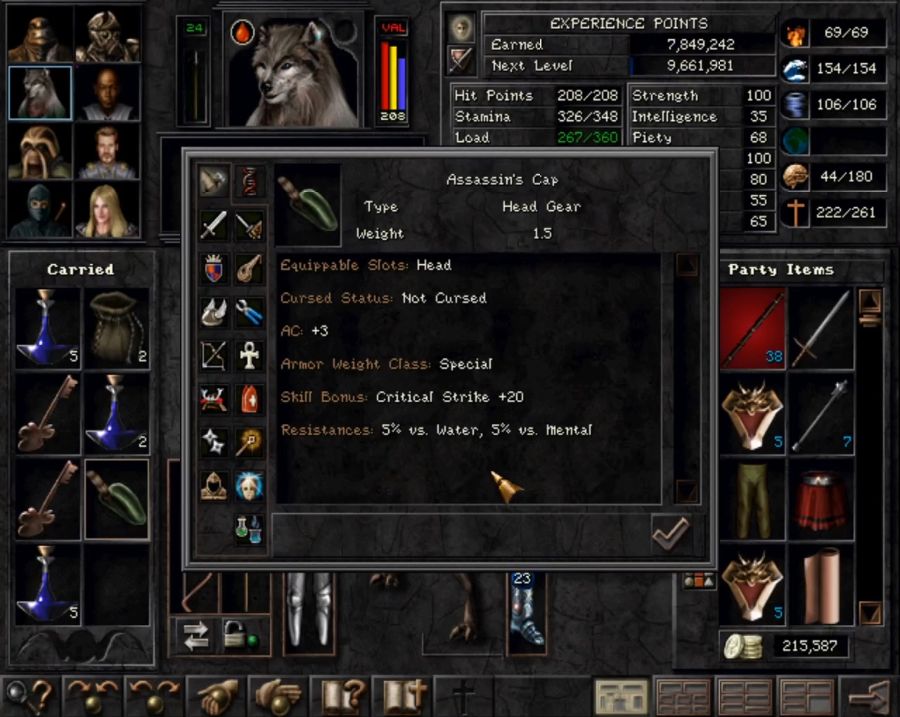 And a hat that will up someone's chance of instakilling quite a bit. Sadly instakill chances are apparently capped, no matter how many attacks you have per round there's only one check for it and it caps at about 4% or 5% per character, and the monster still has a chance to resist it like any instadeath effect, which is strongly affected by compared levels, which makes it much stronger in less-than-full parties as XP gets split less ways. Still, for now we've done what we can at the Rapax Castle(I think) and it's time to go investigate the Rapax Away Camp which I happen to know where is. 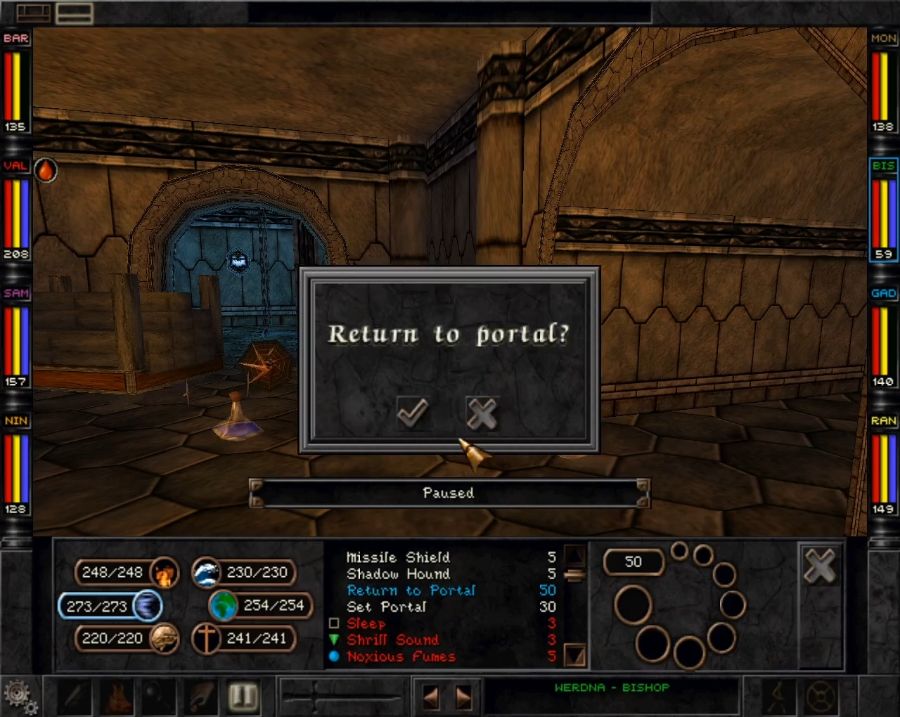 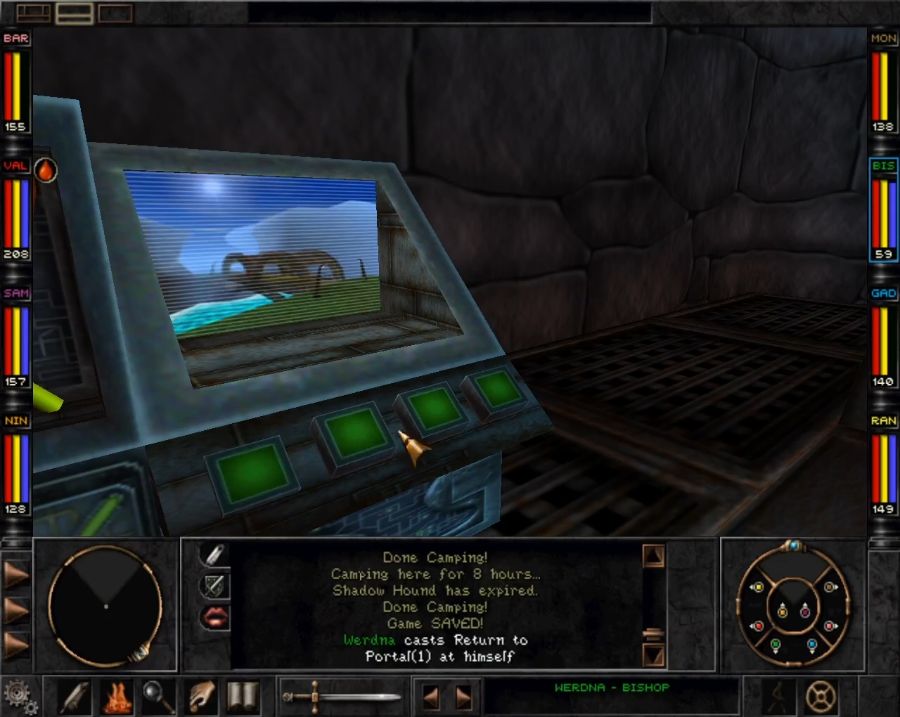 Also since Purple Has Played The Game Before, I take a detour to the Umpani camp to park RFS and Saxx first(I wouldn't have to, but since RFS stays where he's put, leaving him where Saxx will return to simplifies matters). But as I do so...  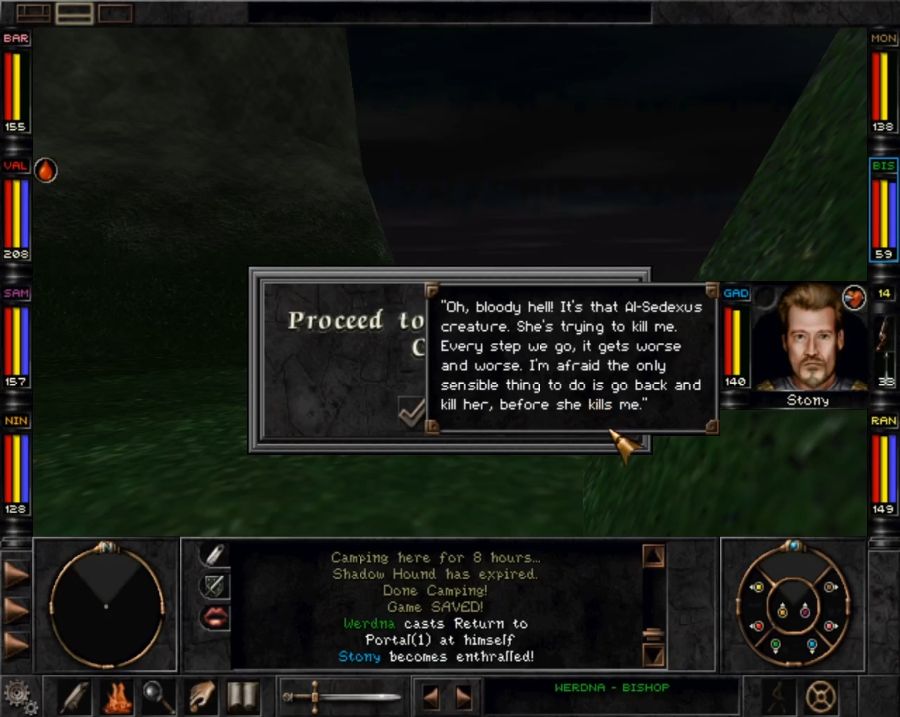 Apparently Al-Sedexus has left Stony with a demonic STD. Now, this one sucks. Firstly it has a very minor HP loss effect(you likely won't even notice it, as even a single point of +HP regen counters it, and at this point you should be drowning in that kind of gear), but a second later it Hexes him, a condition that will persist until Al-Sedexus is dead. As a refresher, Hex applies something like a flat -30 Malus to all skills and stats. This means that he can actually no longer use his top-tier gadgets and is all-round a much bigger loser now. Normally I'd be tempted to go flatten Al-Sedexus right away, but this time I need her to stay alive for a while, because I want the Rapax to stay non-hostile for a while. 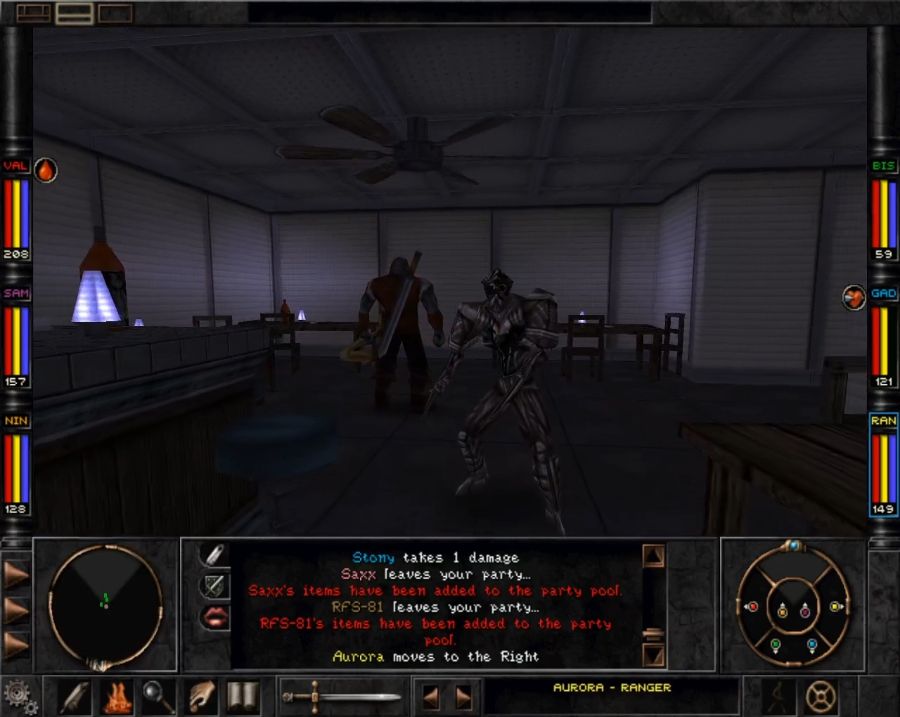 Parking the boys. 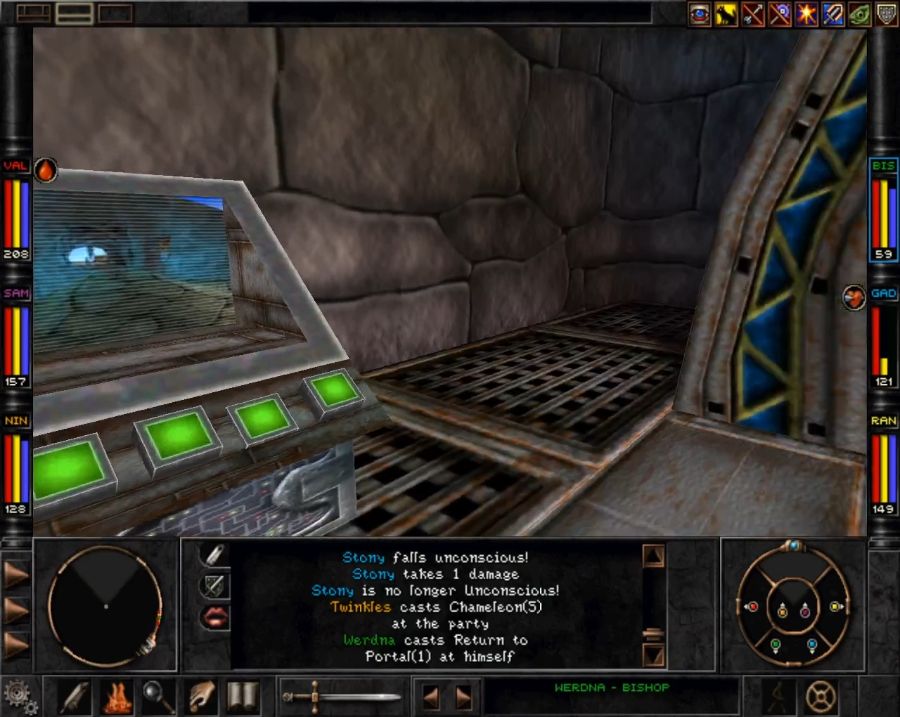  Then return to the Southeast Wilderness by way of the portal to the Rift(since it drops you right at the Rift/Mountain entrance, and said entrance drops you right at the Mountain/SE Wilderness entrance). 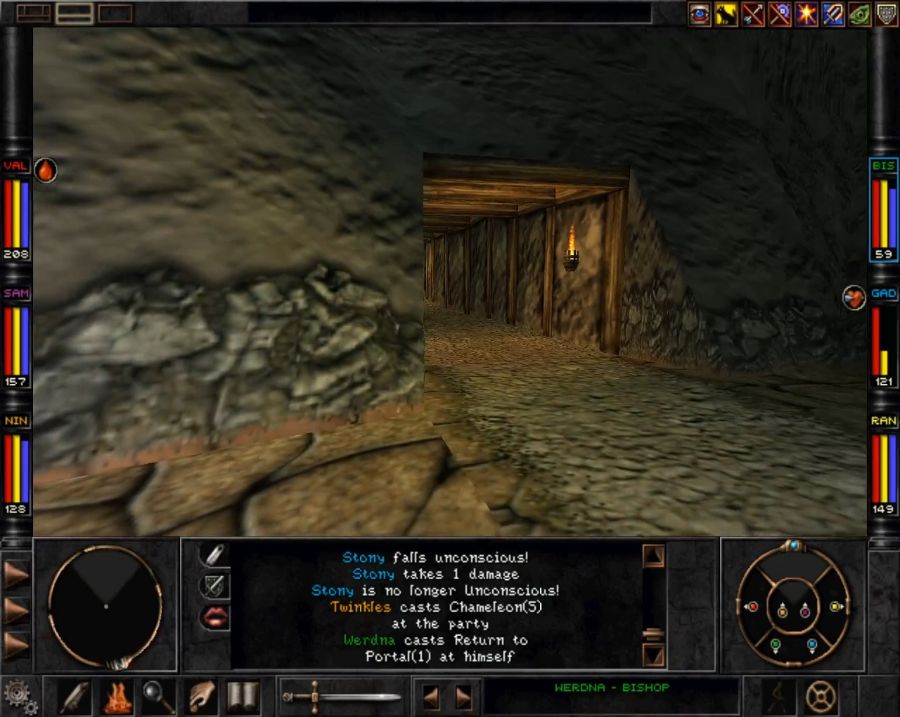 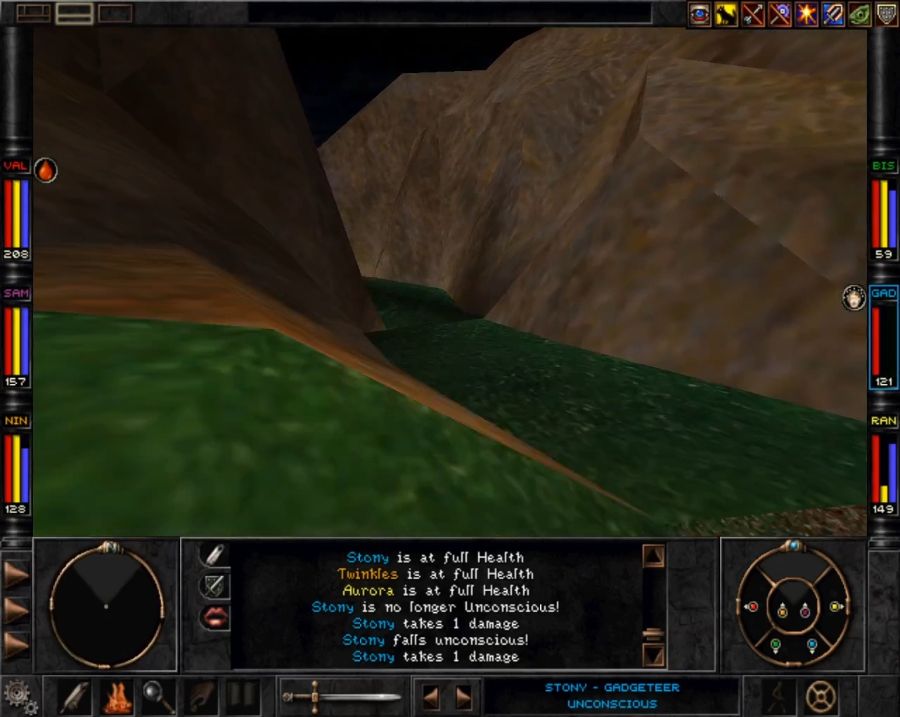 Since the formerly pristine Wilderness Clearing is where the Rapax King and his team have set up shop for the conquest of Dominus. 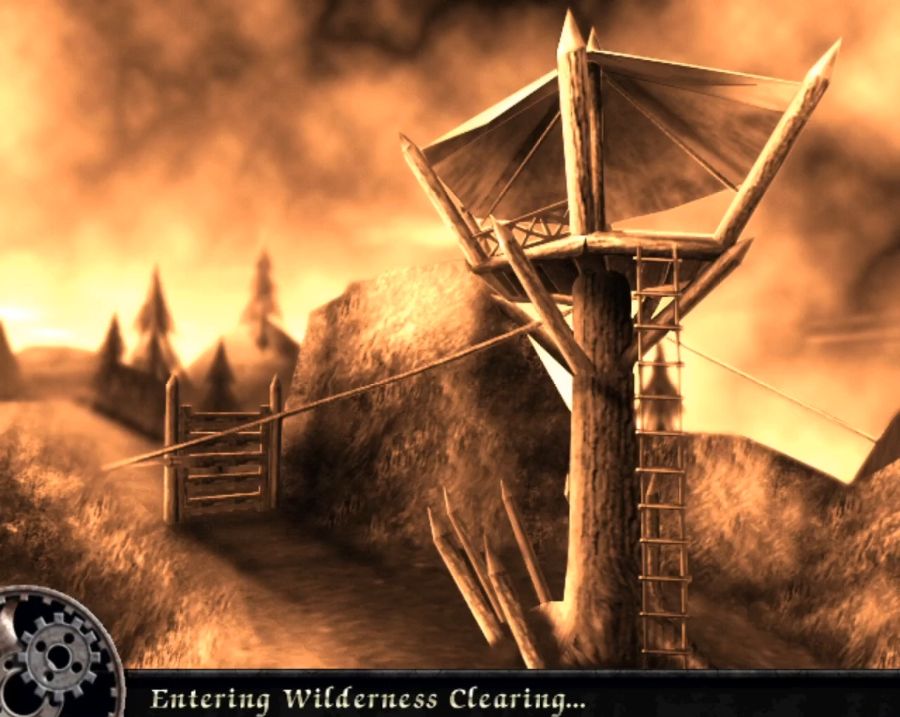 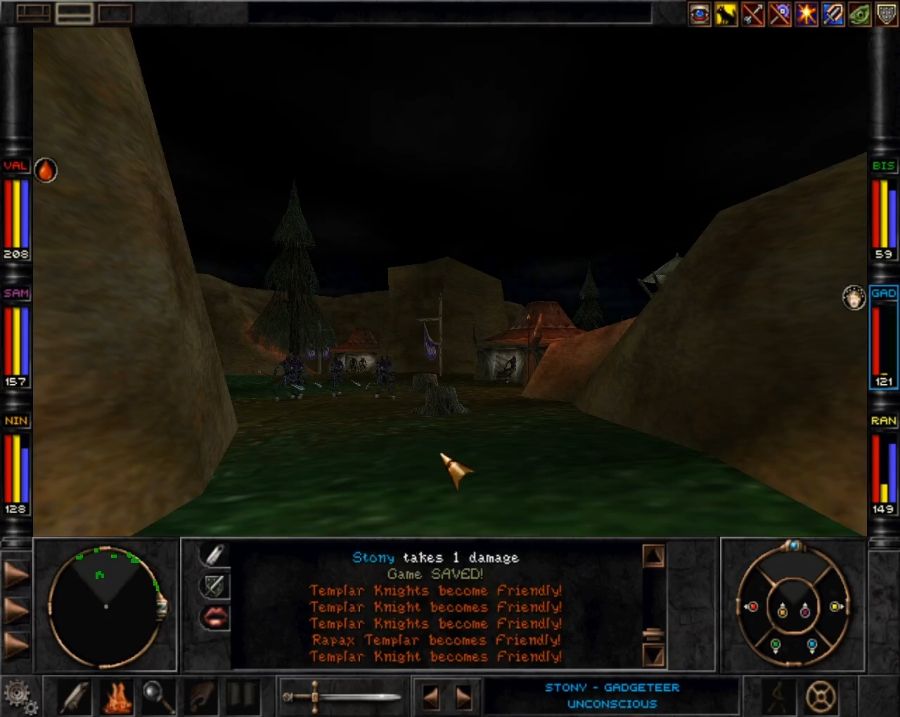 Everyone here is friendly... for now. That's gonna change. 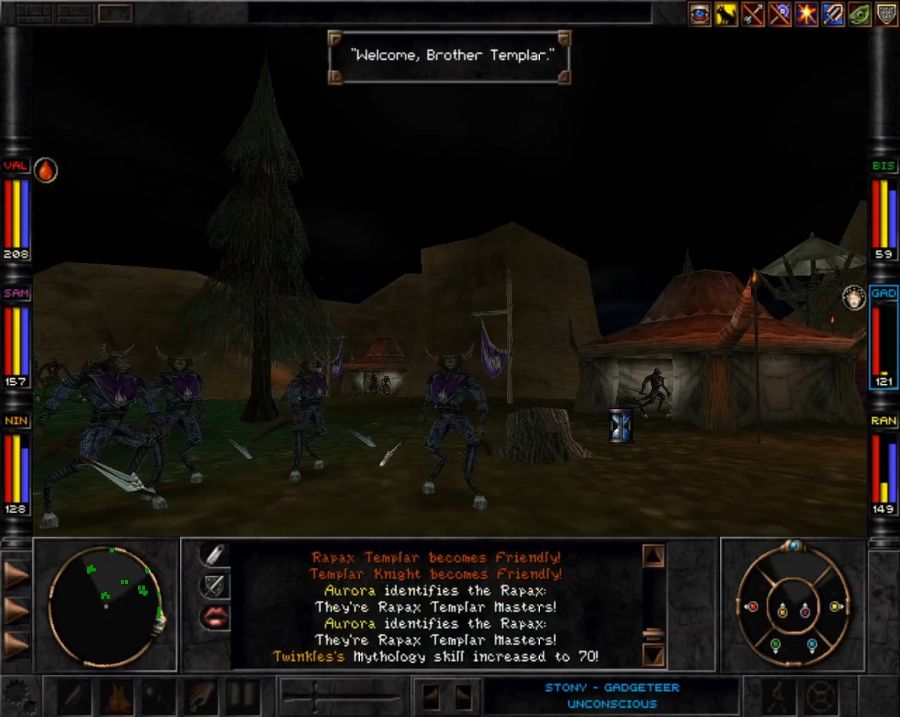 Most of the tents have mid-level chests in them which I constantly gently caress up busting the traps on because Stony is, of course, also my lockpicking "expert" who manages to, over the course of all these chests: melt the party's gold, get everyone drained and get us attacked by elemental lords. Twice. Goddammit Stony. 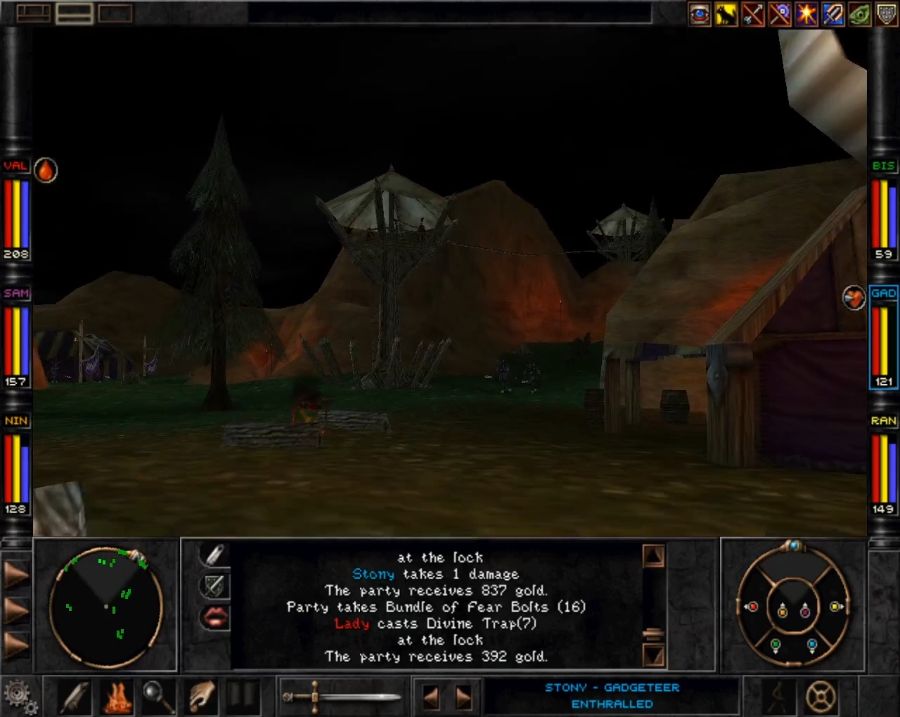 Now, it's not gonna be a surprise for anyone that we'll butcher everything in this camp(bar three people) before we're done here. So take notice of those towers. See what they're missing? Stairs. There are ladders you can interact with to climb up them, but only when not in combat, which means every tower has two archers you can't reach to instantly pulp, leaving you relying on low spell or ranged damage to take them down. In any case, there are three locations of interest here at the ground level of the camp. 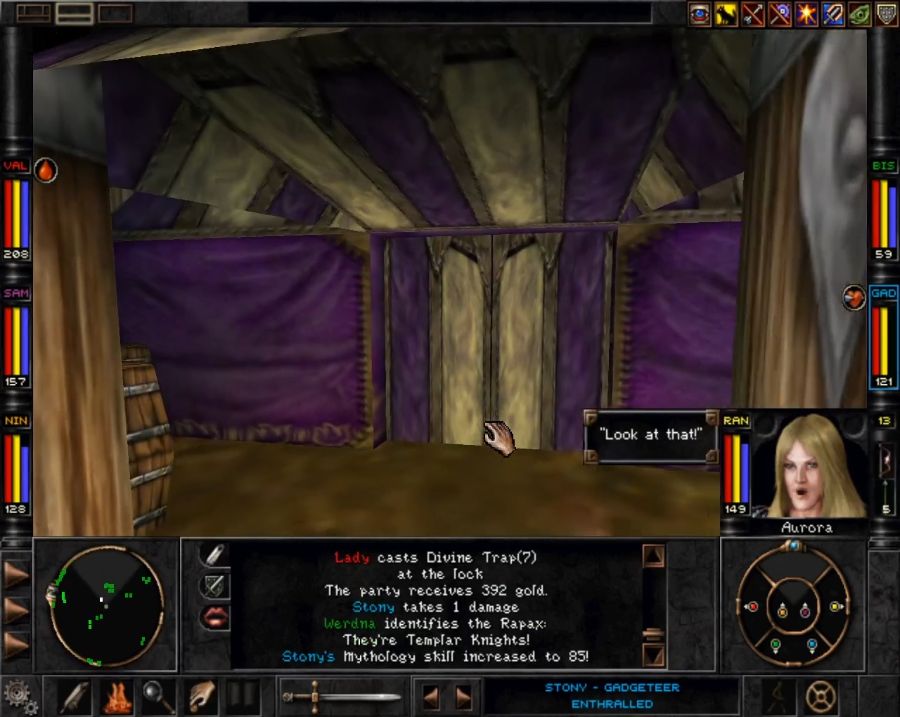 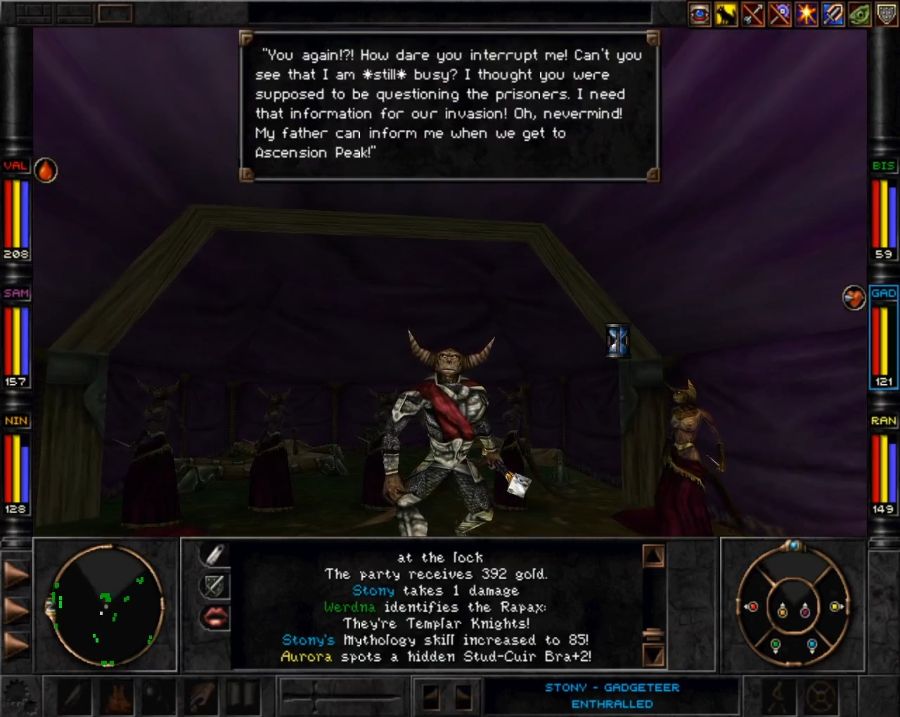 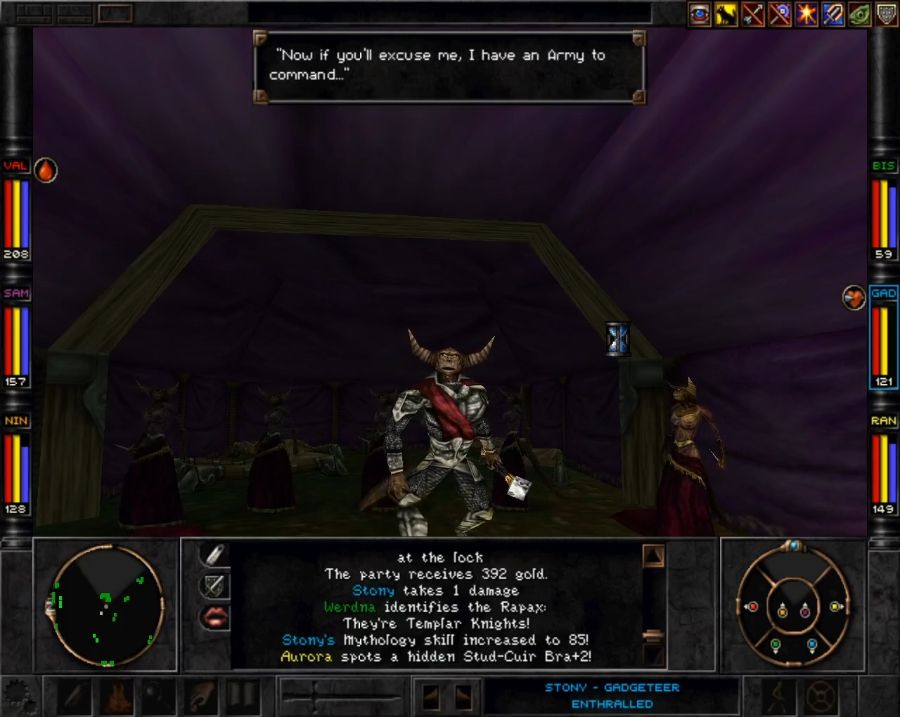 First, we can piss off the Rapax Prince again.  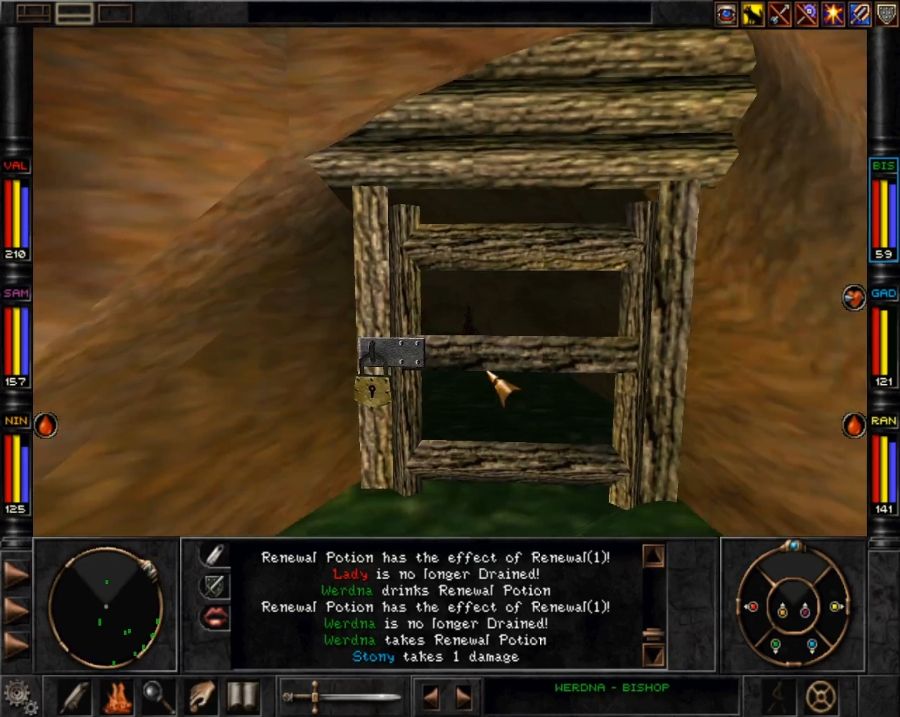 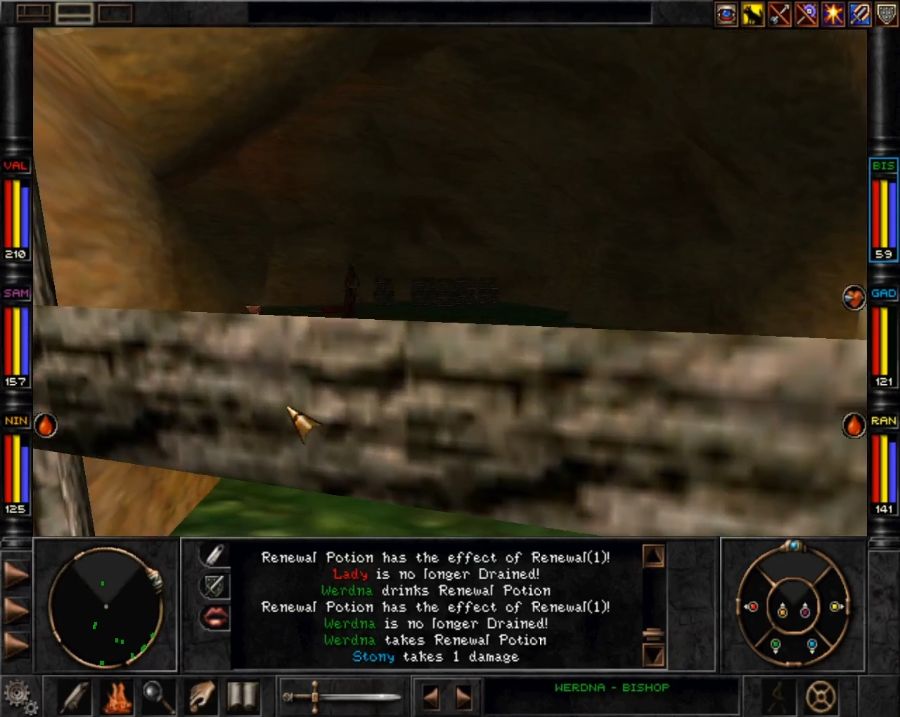 Secondly, this cave behind the king's tent holds the Rapax Queen. Sadly we can't bust her out just yet, but she'll be one of the camp's three survivors. 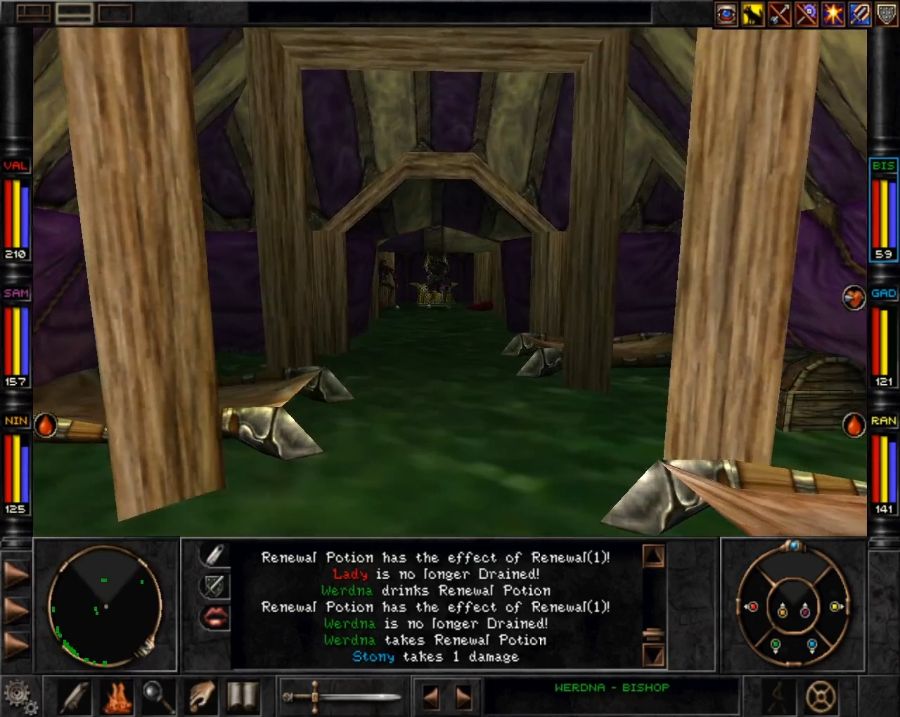 Lastly, there's the king's tent. 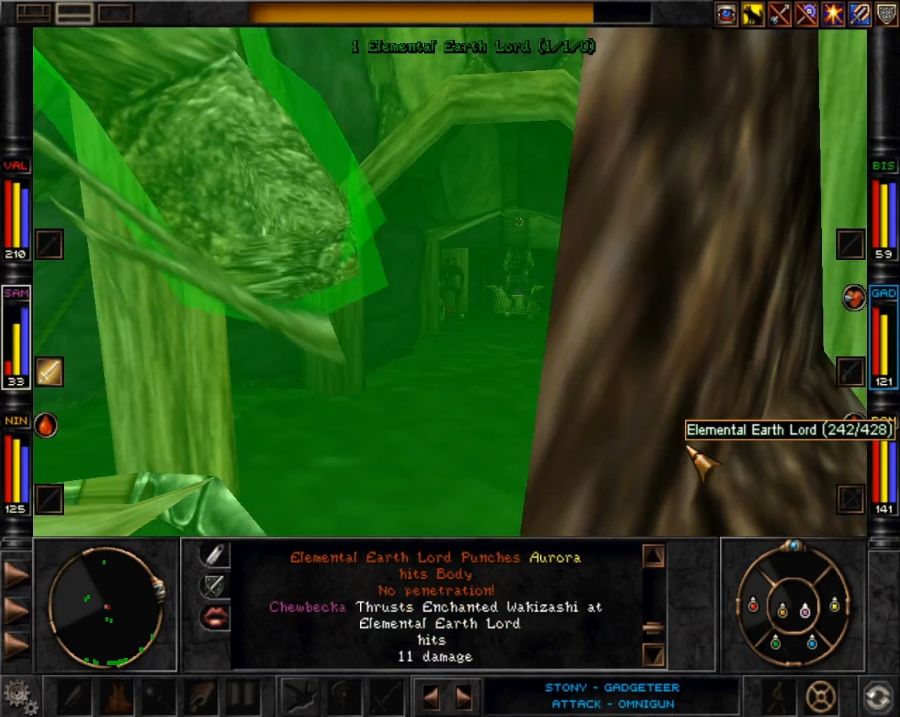 Cool guy, he just watches and laughs while I bust open his chests and murder huge elementals too big to fit in there each time. Let's go see what he has to say. https://www.youtube.com/watch?v=Yl8iWHF3GGQ Real funny guy. Also a real huge rear end in a top hat. You're on our list, buddy. 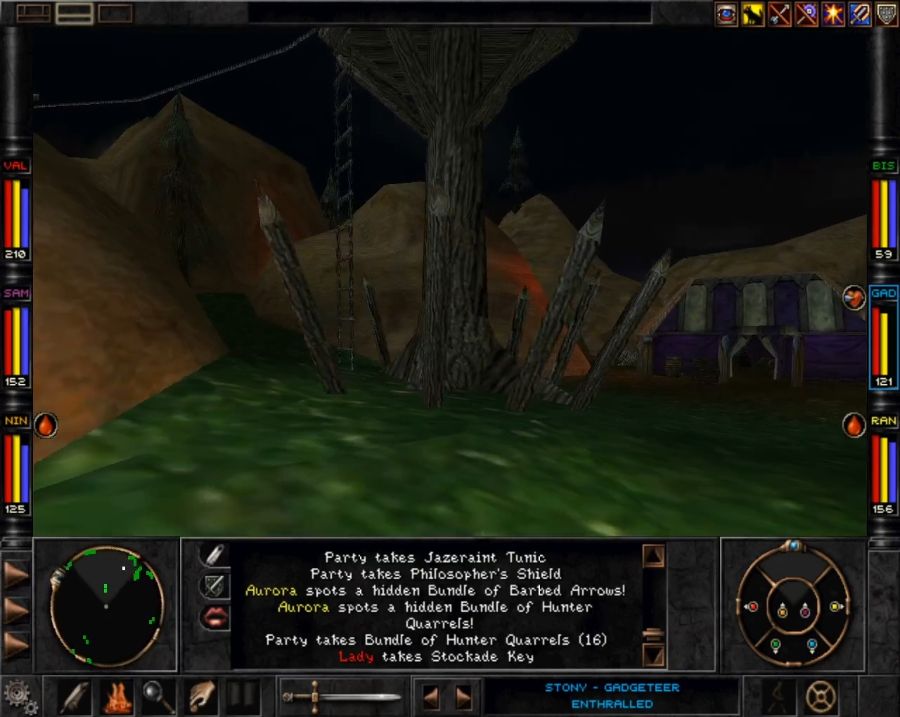 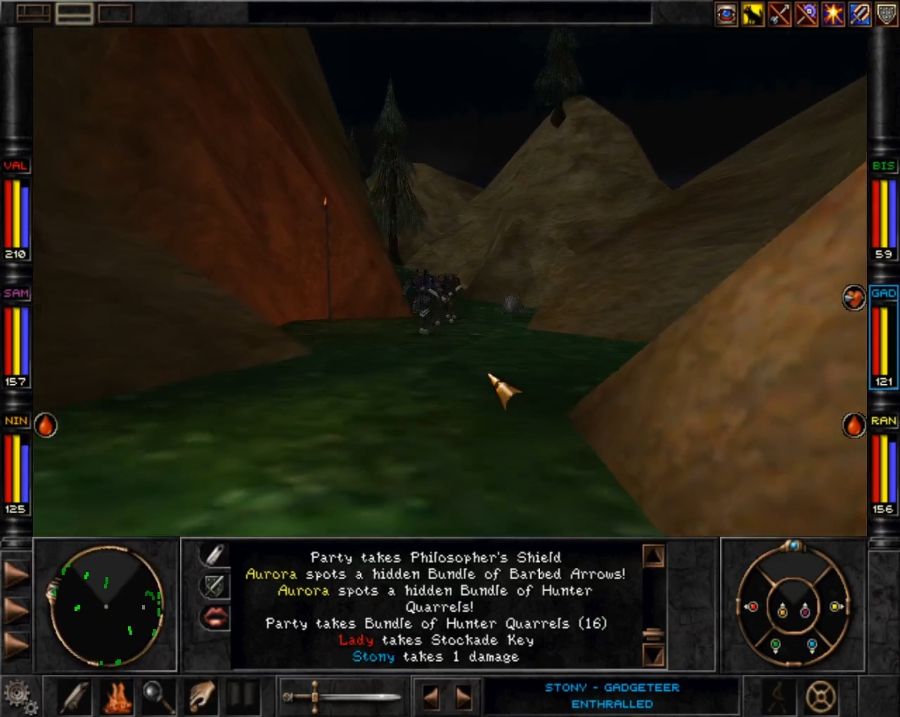 A broad switchback path leads up the side of the hill to where the Rapax are keeping their prisoners. It's worth noting that at the end of the first "switch" there's actually a semi-hidden path leading right up to the cells. With the archer towers being on the main path, taking that path once things get hostile can save you some amount of grief and having to deal with two of the three emplacements. 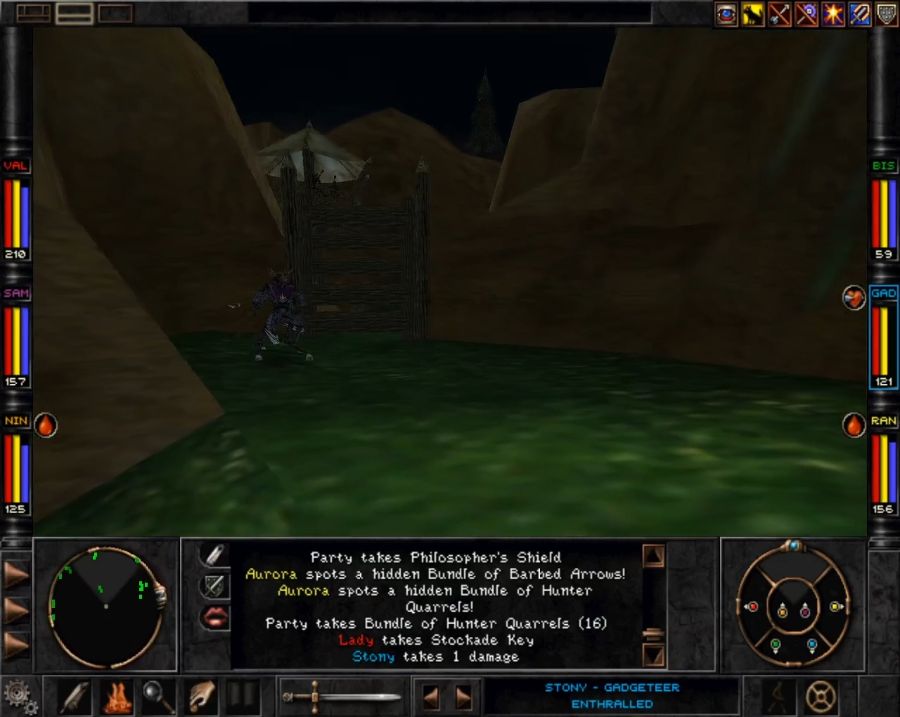 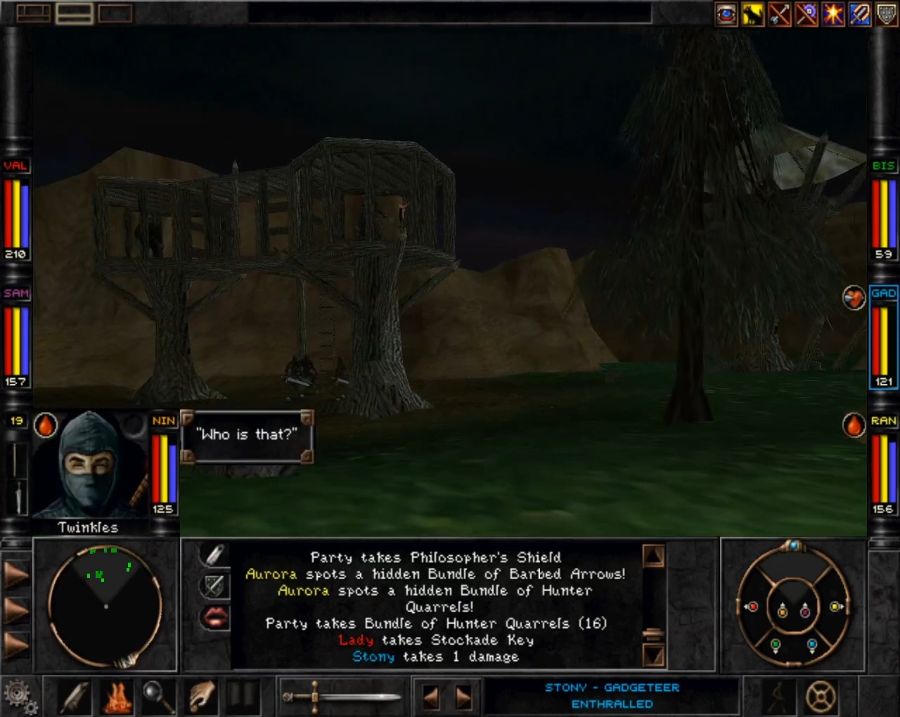 Once they're denied access to magma, the Rapax become a lot less clever at designing prisons. 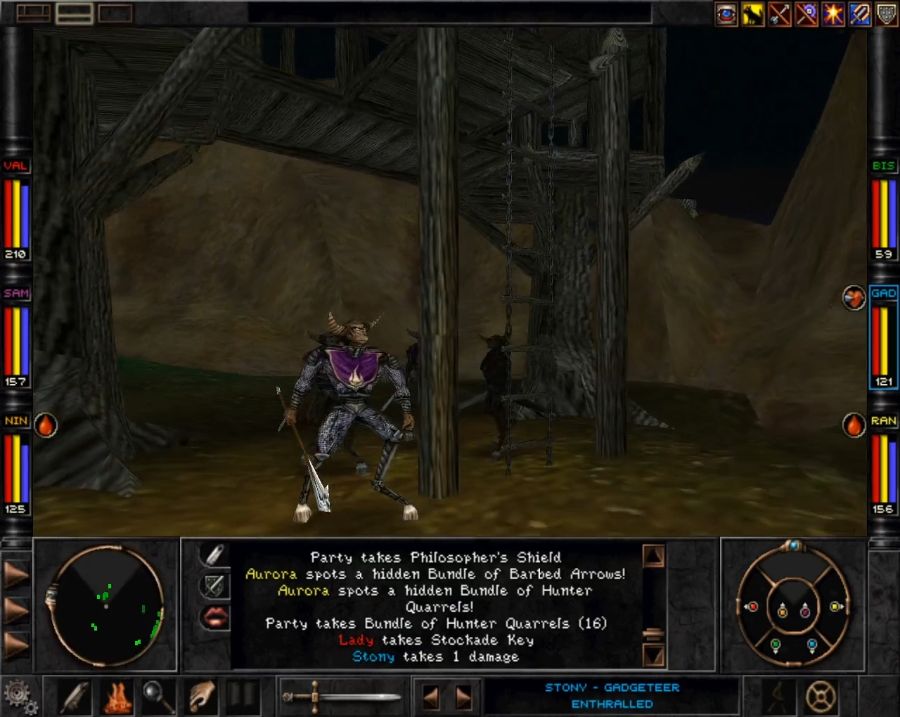 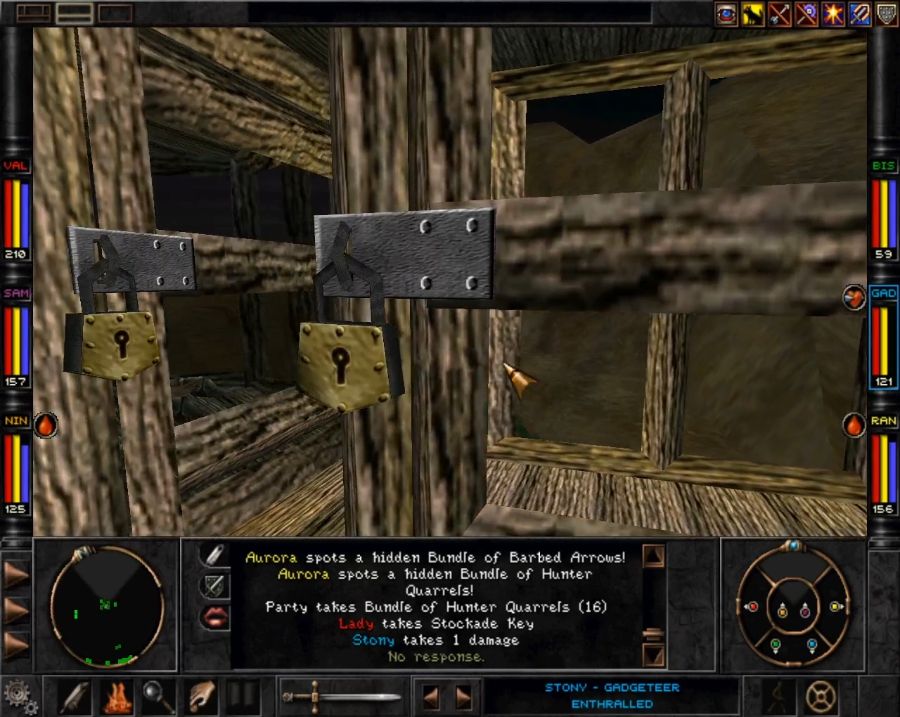 Also as mentioned before, gently caress these padlocks. You cannot interact with the front face of them at all, only the dark "side" on the right side of them, and depending what angle you're standing at, it may be impossible to find an interactible facet at all. Consider this to be another thing that had me completely stumped for like ten minutes before I finally found a place where I could nudge it open. Anyway, the reason I left Saxx and RFS back at Mt. Gigas is because the only way to actually get these two imprisoned idiots out is to recruit them as RPC's. 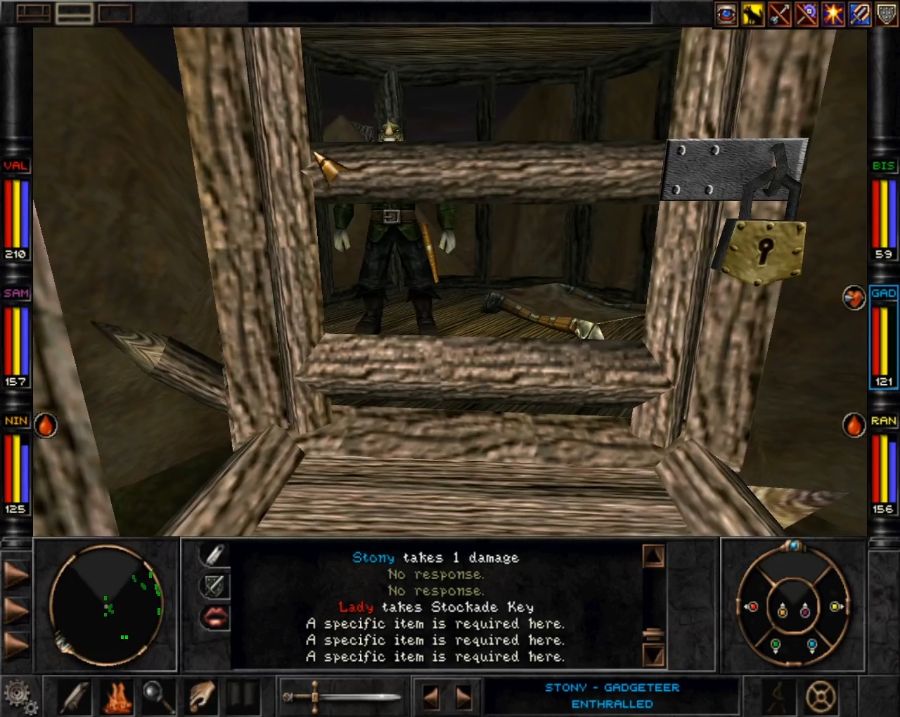 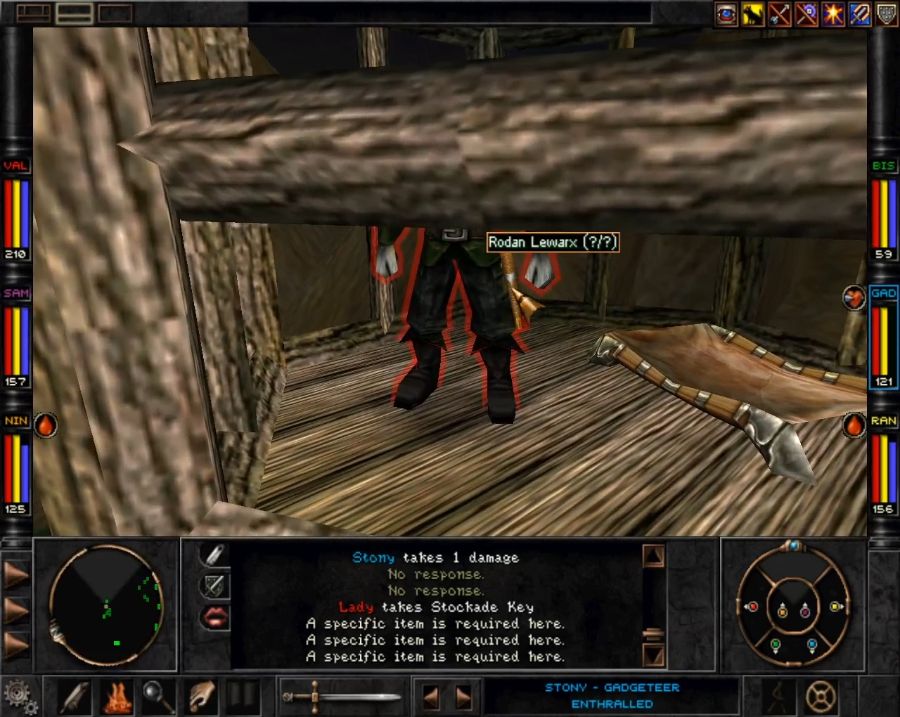 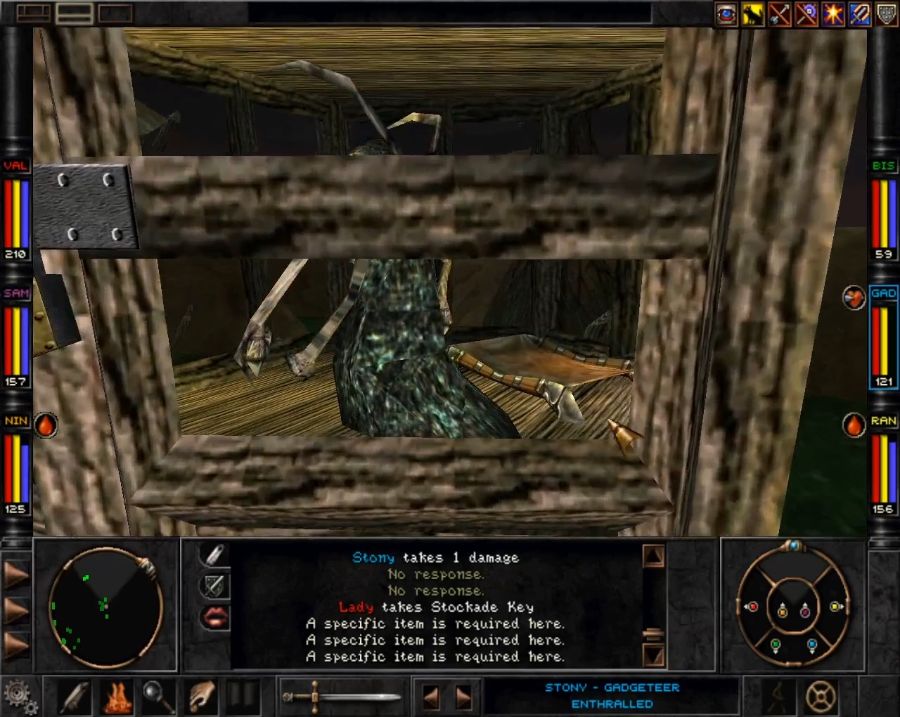 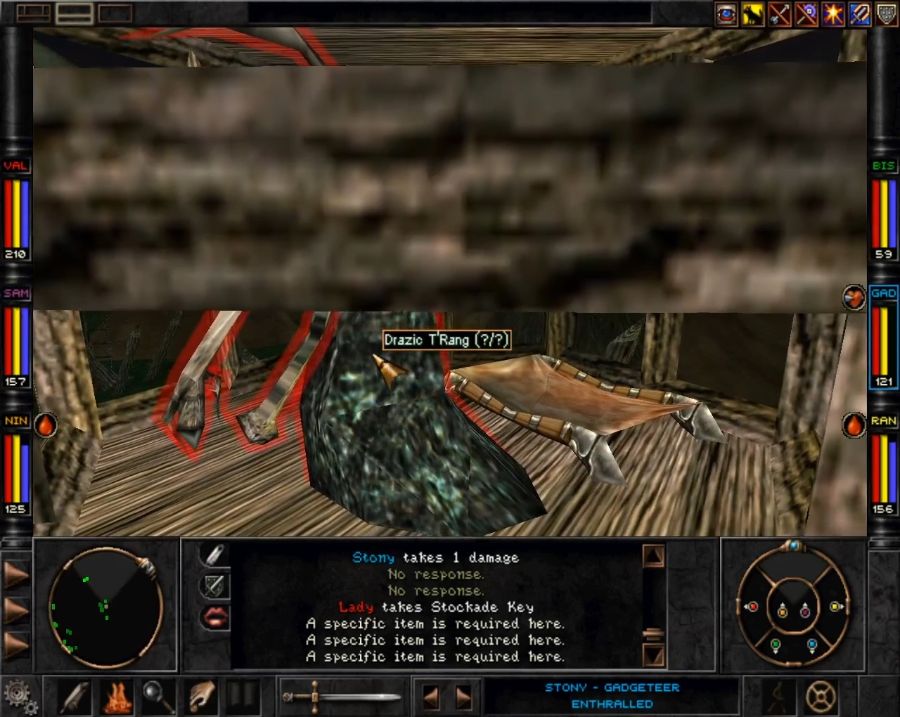 They also have quite a lot to say when you bust open their cells. https://www.youtube.com/watch?v=0fqXLtVIZrk https://www.youtube.com/watch?v=aB2ZXuzMfts 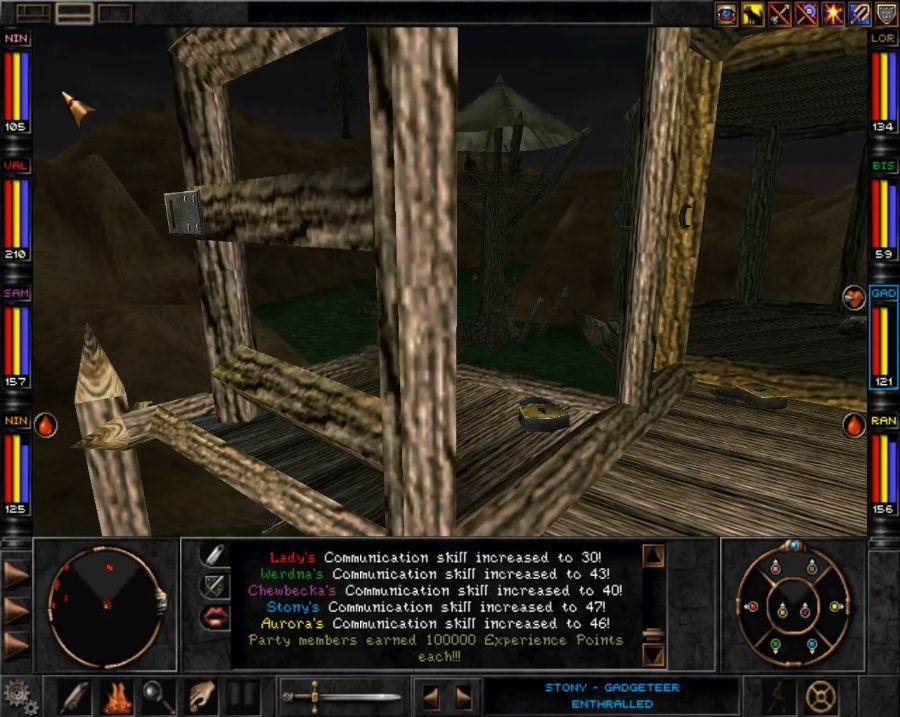  At least they're decently levelled and the Rapax have been dumb enough to leave them with all their gear. Unfortunately their gear isn't actually... very good and they don't have a great spell selection. So mostly they're dead weight, except you want to make sure neither of them actually dies. Because if one of them dies(or even just gets KO'd), the other is apt to lose their poo poo and run away from the party screaming and howling and tanking the alliance quest. 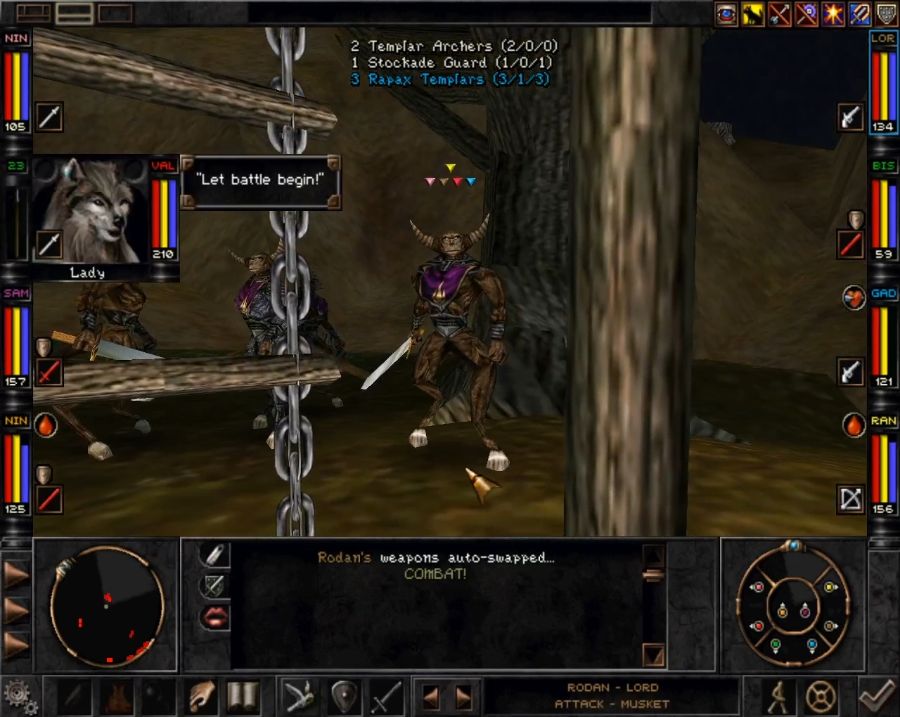 As soon as you're out of the stockade, you're in a fight. The guards at the bottom aren't too great a threat, and will go down pretty quickly, but the archers up top will prevent you from getting away too quickly. 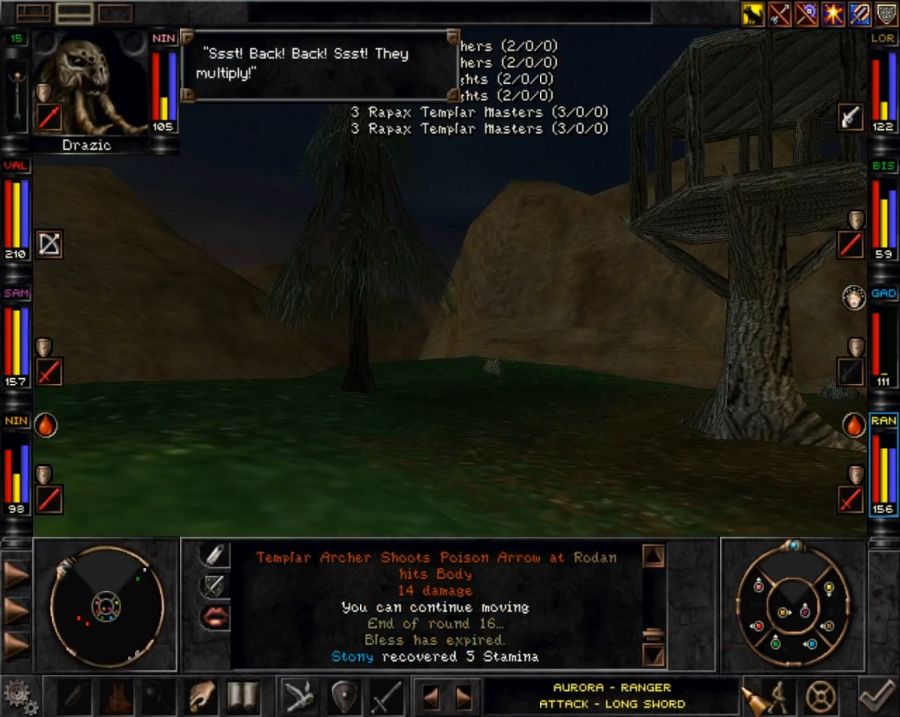 As soon as the immediate danger is cleared, I bolt for the back door as the aggro has "spread" and pissed off pretty much every high-level Rapax in the camp. How high-level? I find out when one of them catches up to me. 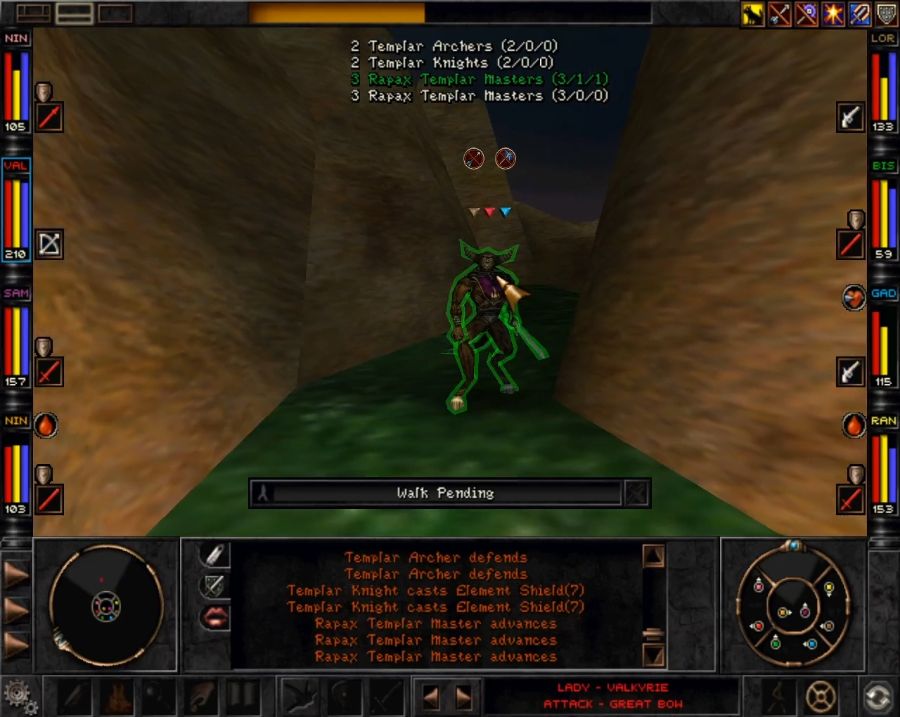 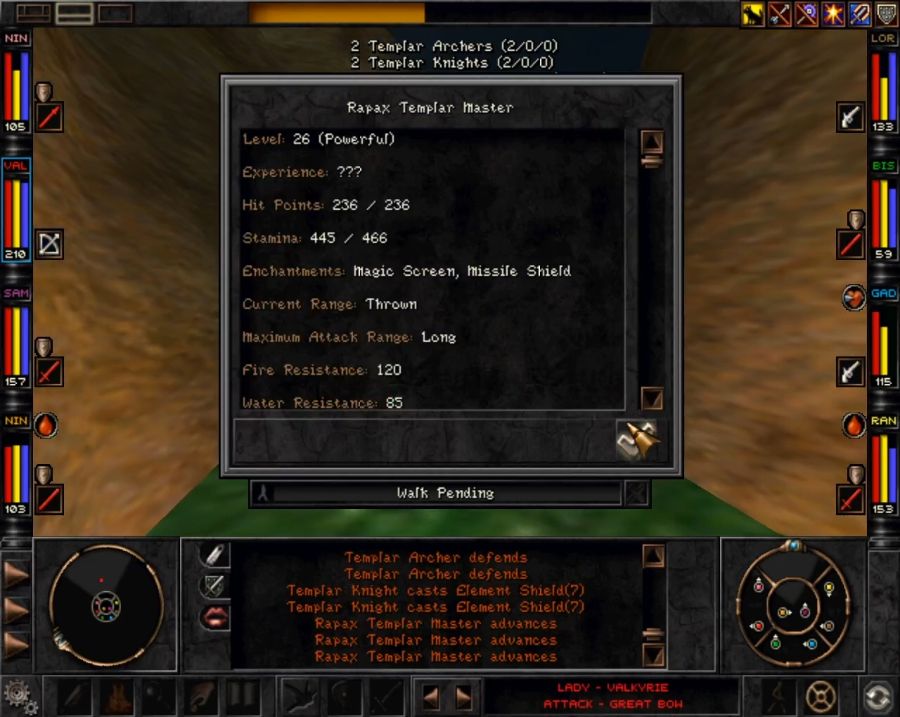 Pretty much as tough as Rapax can be. They have a 90% chance of casting spells, and a 20% chance of that spell being Nuclear Blast. If they catch you without your magic defenses up, they could very well cause a full party wipe. 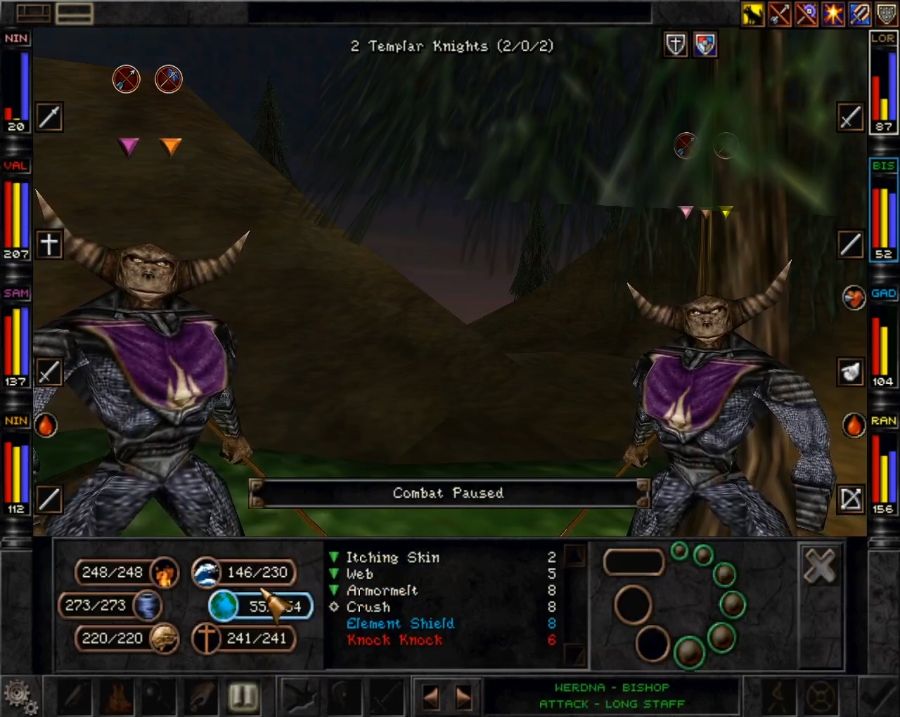 When more than one of them is on scene they can do some considerable damage even through the various magic buffs, especially if the beat the party on initiative and get off a shot before Elemental Shield goes up. 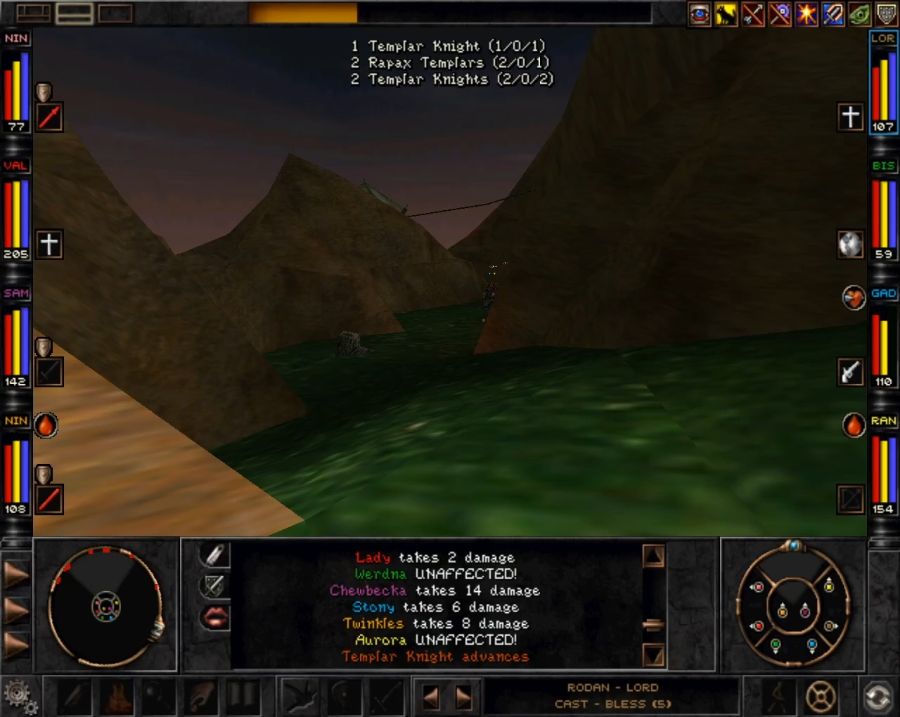 Slowly but surely, though, the fight carries downhill. Technically I could have warped out of there the instant I freed them and before I fought the stockade guards, their chatter about needing to kill the King is, as far as I can tell, just chatter. But I'm not letting him live, and also I'd like to liberate the queen since she doesn't deserve to be stuck in a dank hole in the ground.  Reaching the bottom I have the problem that there's an archer platform overlooking the entire area and thus impossible to fight anyone else without aggroing.  So first I run right into the middle and aggro everything that's not inside a tent and some things that are(like the Prince's concubines). Then I summon up elementals and get murdering. 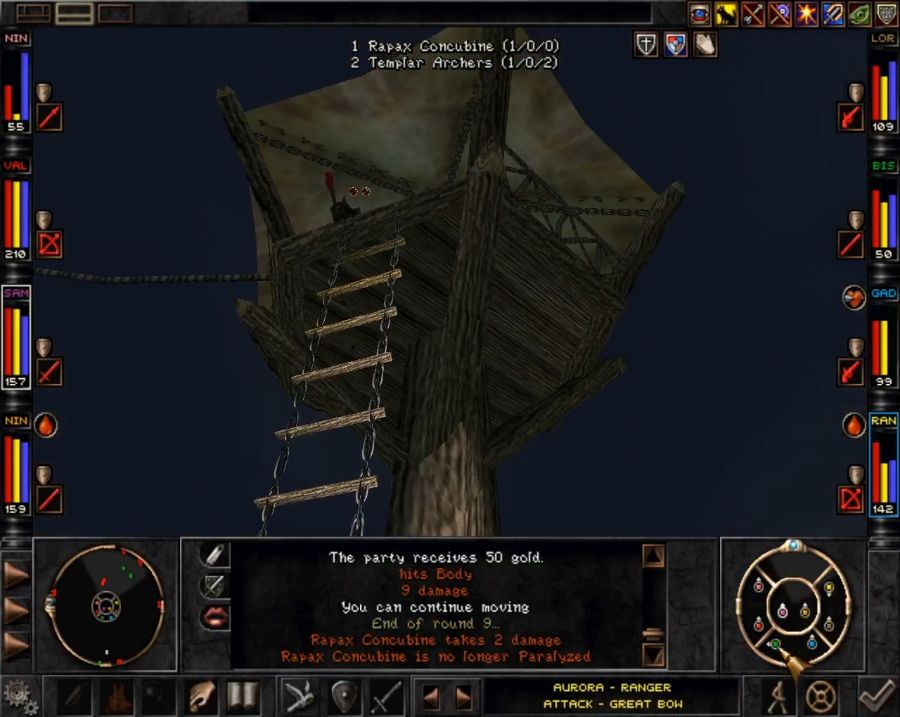 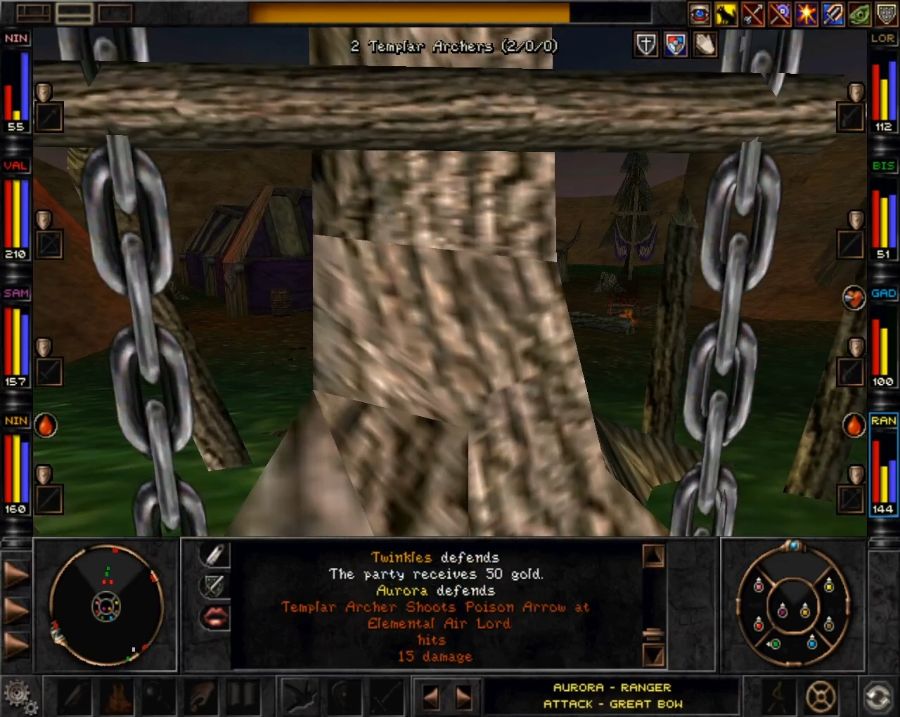 Then I hide at the bottom of the ladder where the archers can't see me until they forget about me, because Rapax have issues with object permanence. 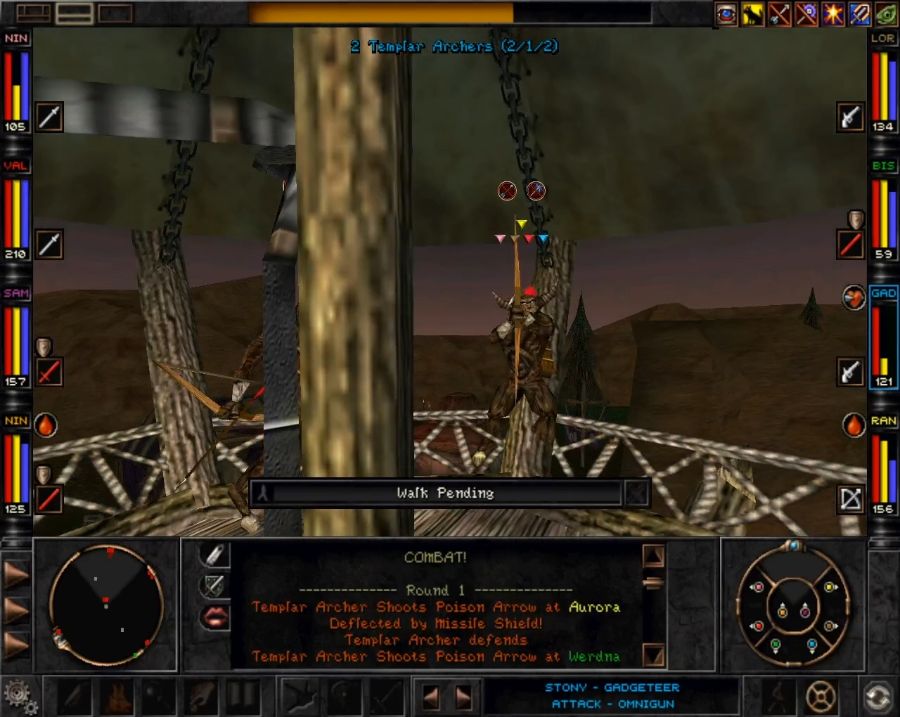 Then I haul rear end up the ladder and brutally evict them from their treehouse. Now I can deal with the king at a calm, sedate pace without these idiots wasting my time or putting arrows into the back of Stony's head, guy's got enough to deal with after his new demon girlfriend gave him demonic crabs. 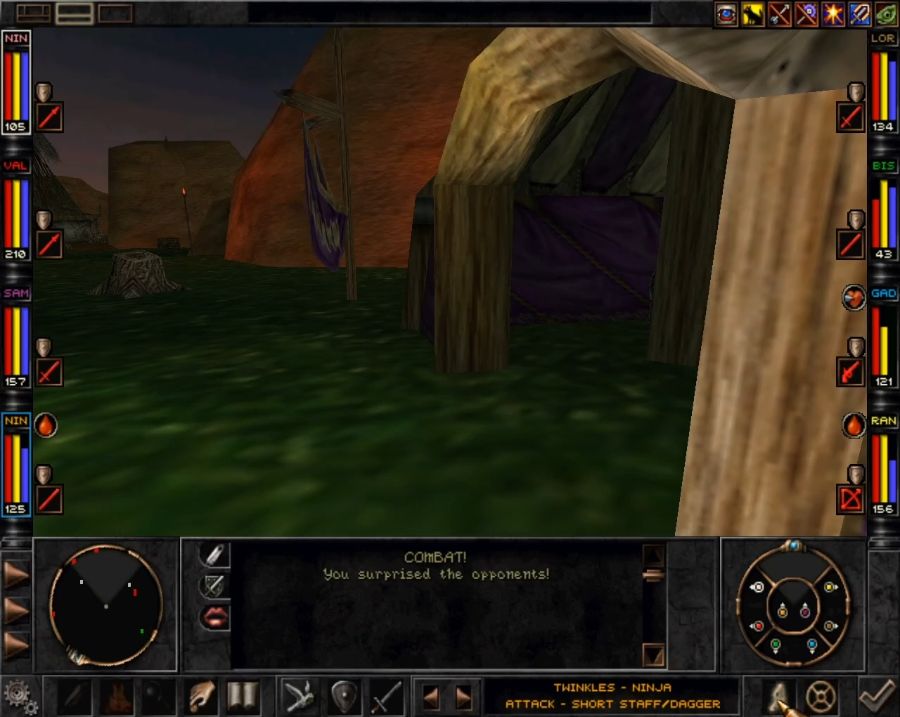 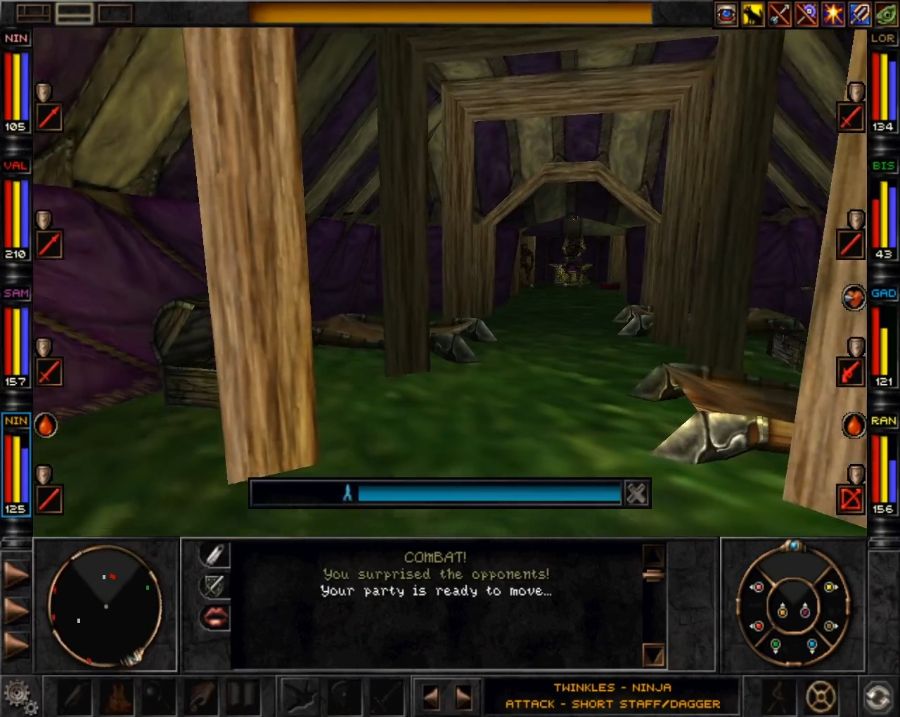 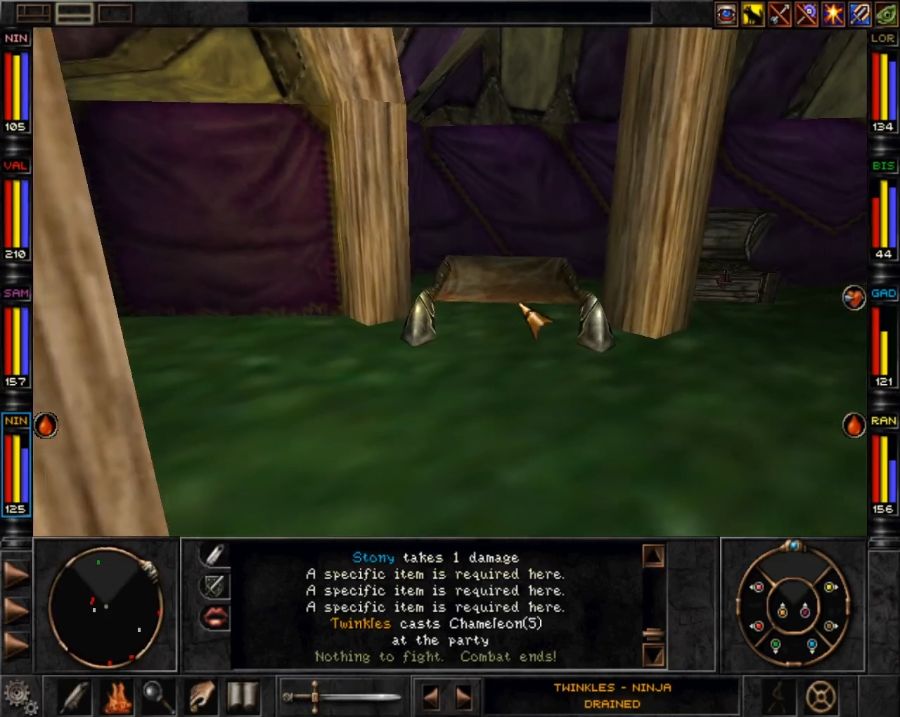 In all honesty probably the biggest thing to learn when playing Wizardry 8 is how/when to trigger combat without aggroing anything so you can use it to reposition. I can just barely manage to slip through the front of the King's tent and ready myself right next to the entrance to his crappy little throne room in the field, meaning I get to go in with all my buffs up without wasting a turn being at range. 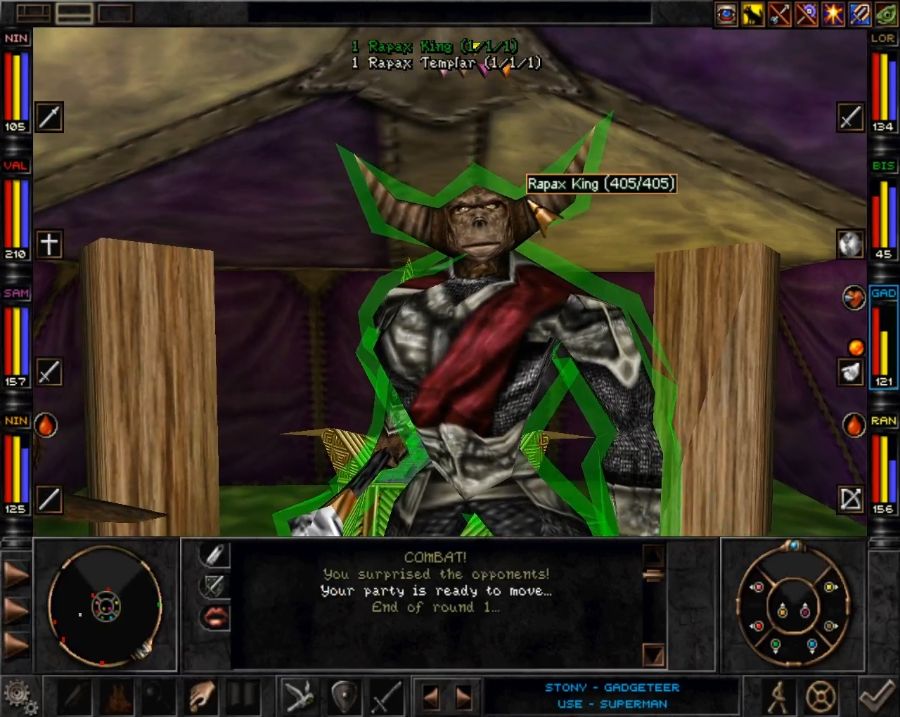 The king is frankly kind of chumpy. He's only got a single guard inside with him and isn't much tougher than the Master Templars we've been wading through for the last twenty minutes. Though something funny does happen. Normally monsters are very respectful of each others' personal space, no clipping and such, but here... https://www.youtube.com/watch?v=esV2OYl_4xI 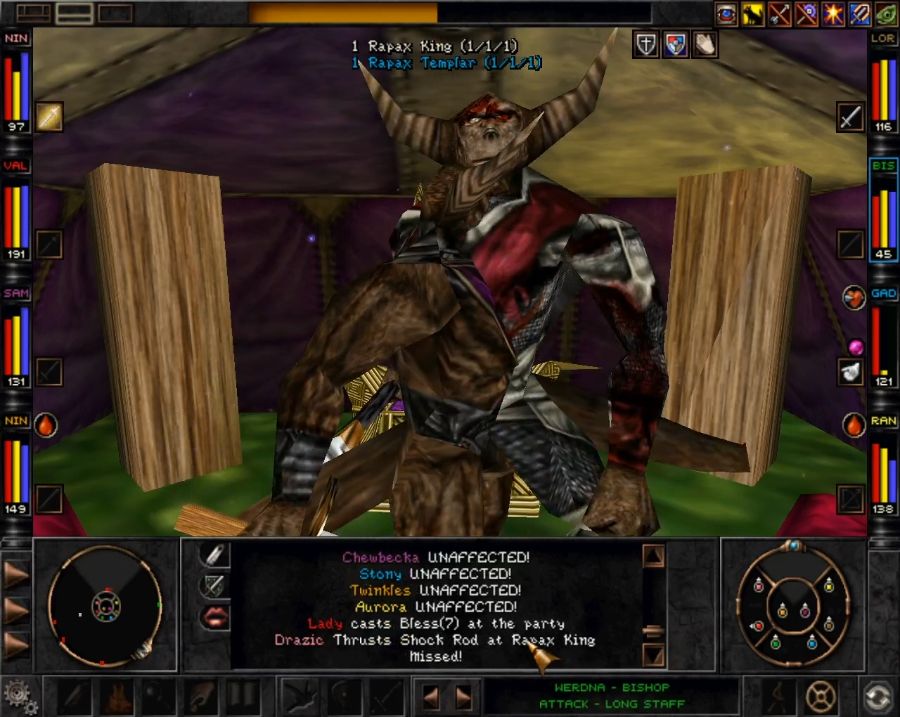 The King either has a very devoted bodyguard or a bodyguard who watched too much DBZ and wanted to do a FUSION. Doesn't help them, though, they get splatted. If the King was outside so he could summon elementals and maybe had the backup of the camp, he could actually be scary, but in this case he really was not. Now let's rifle through his pockets. 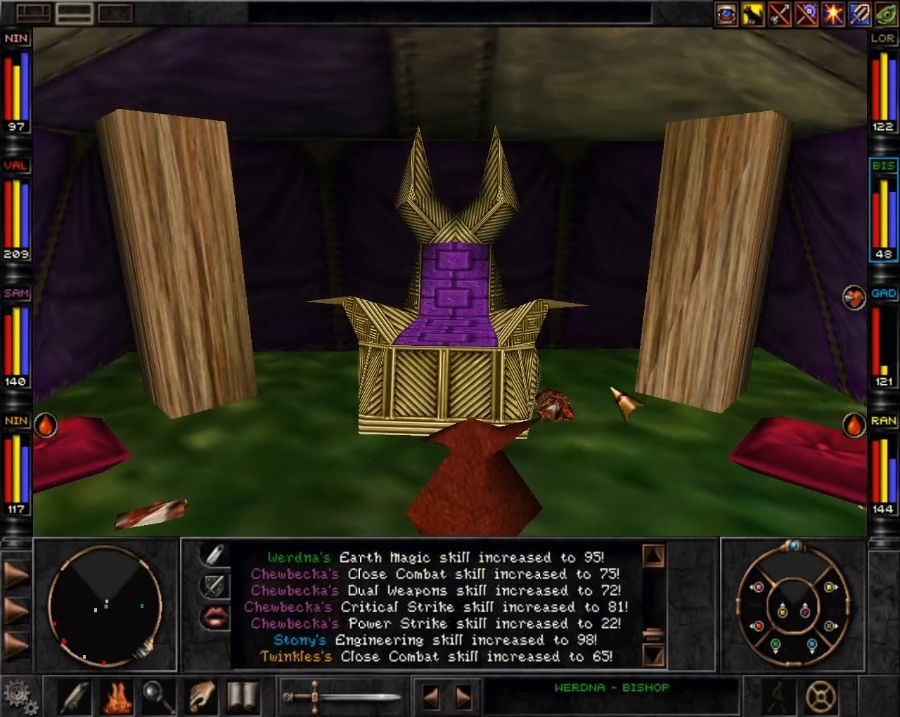 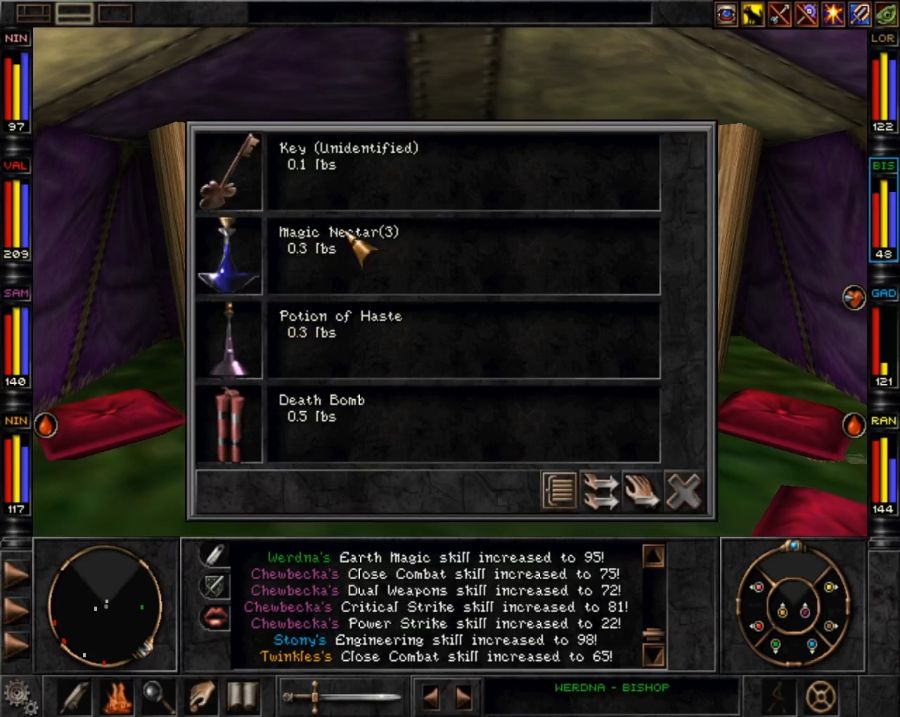 Again, the King can drop nice stuff. He just doesn't for me, but he does drop the key for opening his ex-wife's cell out back. So let's go let her out. 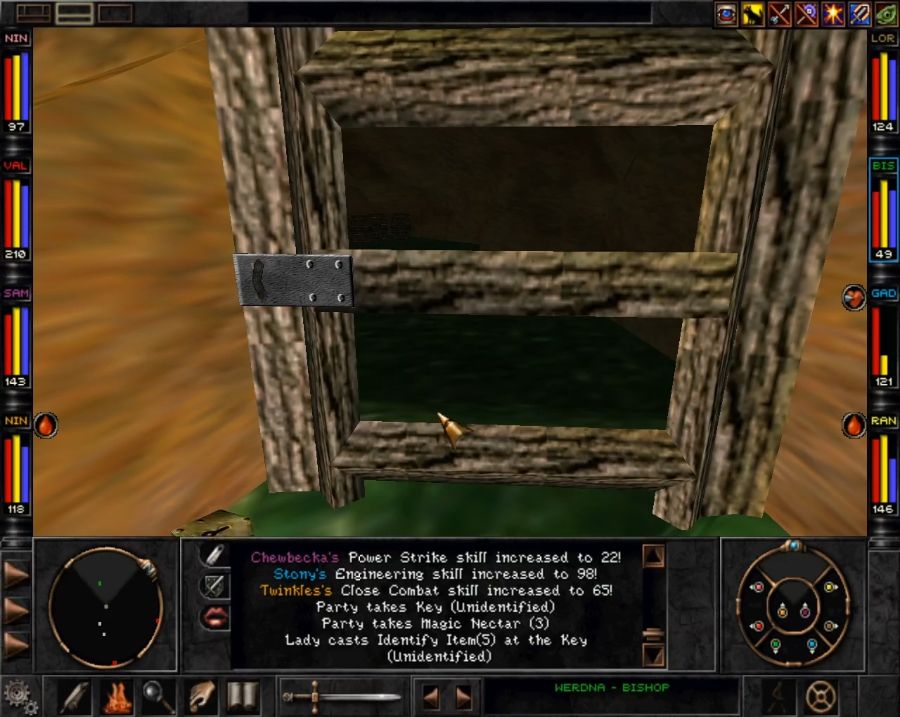  https://www.youtube.com/watch?v=RYCJHOBUy8A So she's saner than her husband, and considering the portal to Arnika in her bedroom, probably friendlier to the planet in general than he is. Sadly, there's no payoff to opening her cell or anything. It feels an awful lot like a cut quest. Likewise, if we had actually talked to Drazic and Rodan without recruiting them and returned to the King, there would have been nothing more for us there. Still, we can probably assume she has some kind of happy ending, especially considering what's coming up in a bit. For now... let's take advantage of placed portals and scoot back to Mt. Gigas with our new friends.  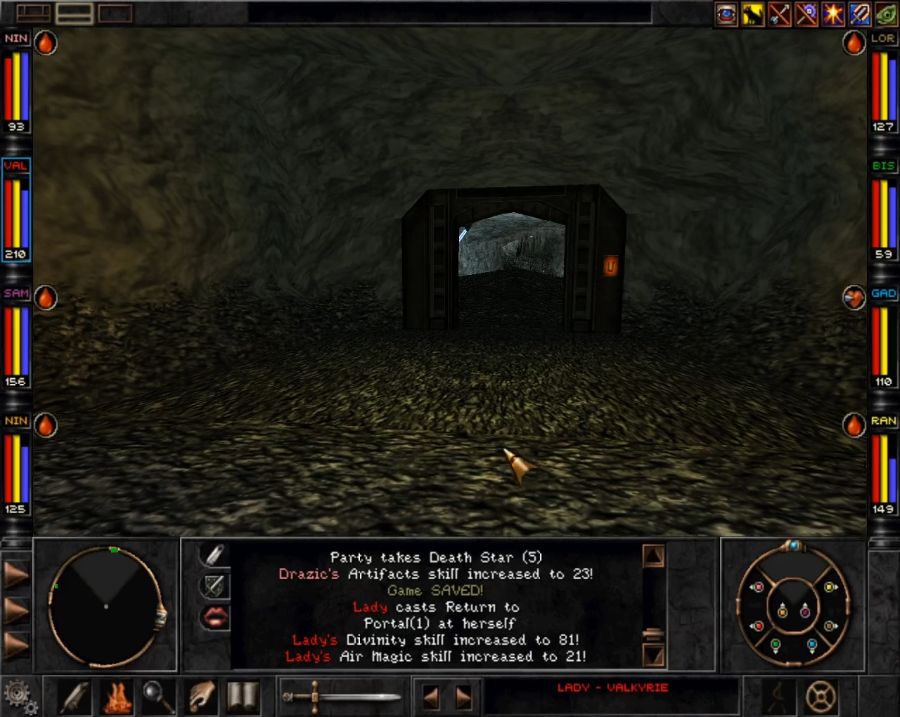  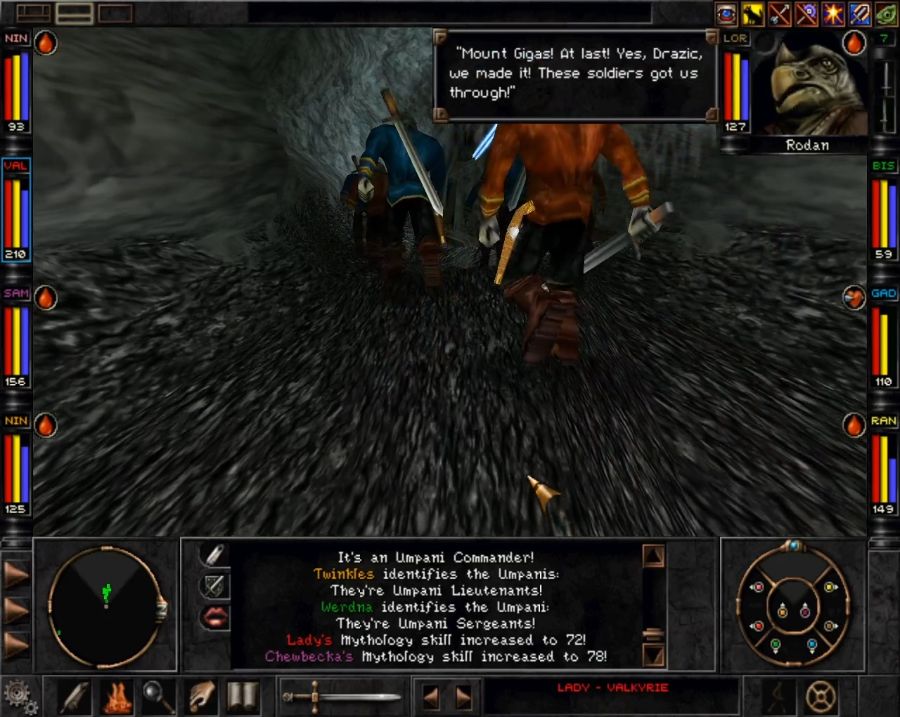 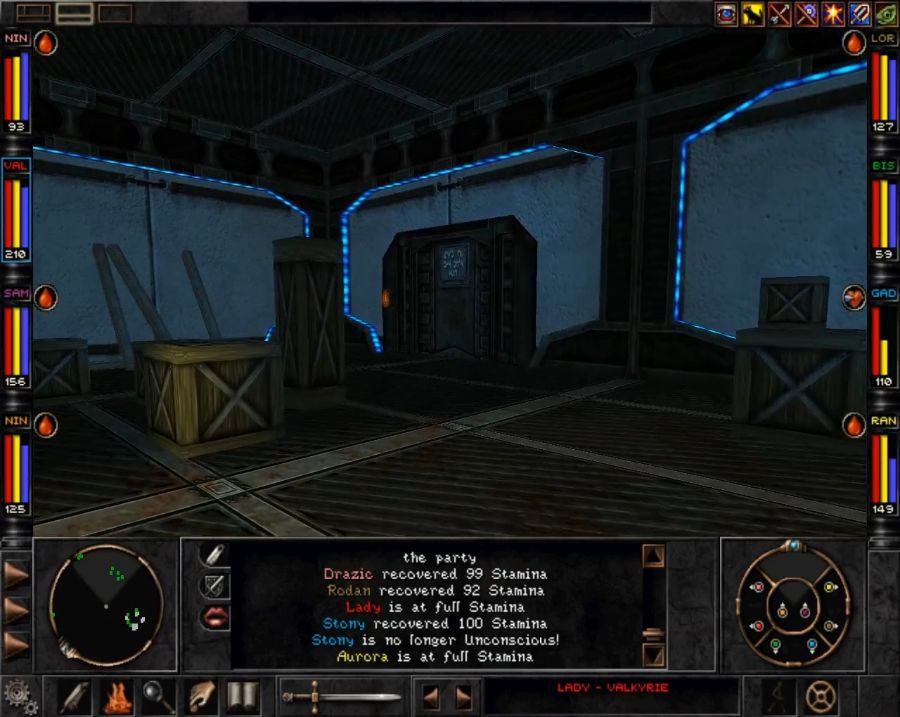 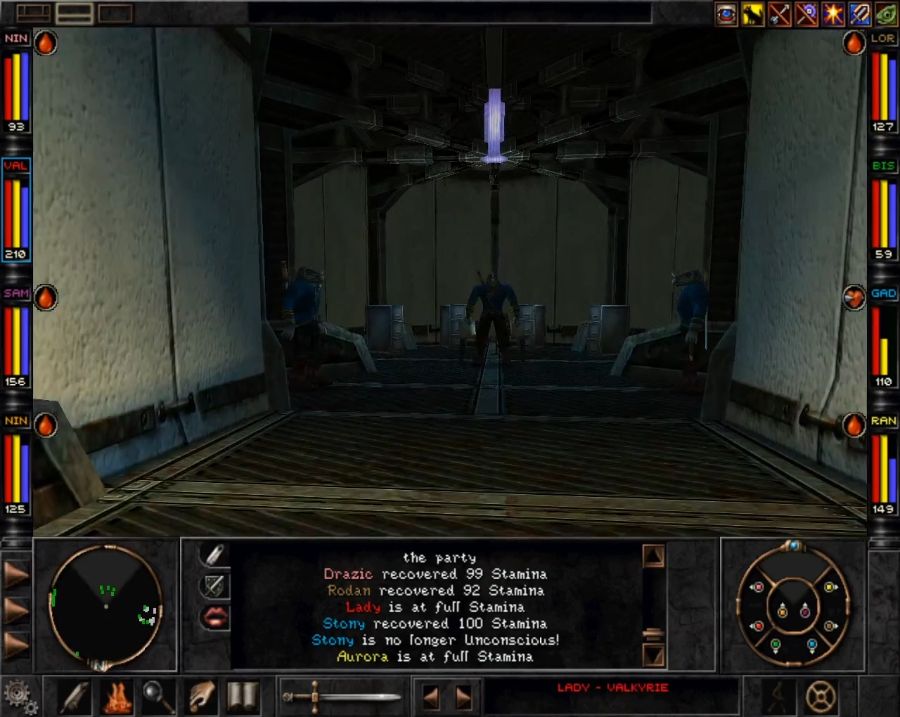 https://www.youtube.com/watch?v=i6j1y_IVqsI The next part is mostly just portalling back between Mt. Gigas and Marten's Bluff. If we hadn't gotten the Dark Savant's coordinates before now, we'd have had to go clean that up with Rodan and Drazic in tow, not that it would have taken awfully long. 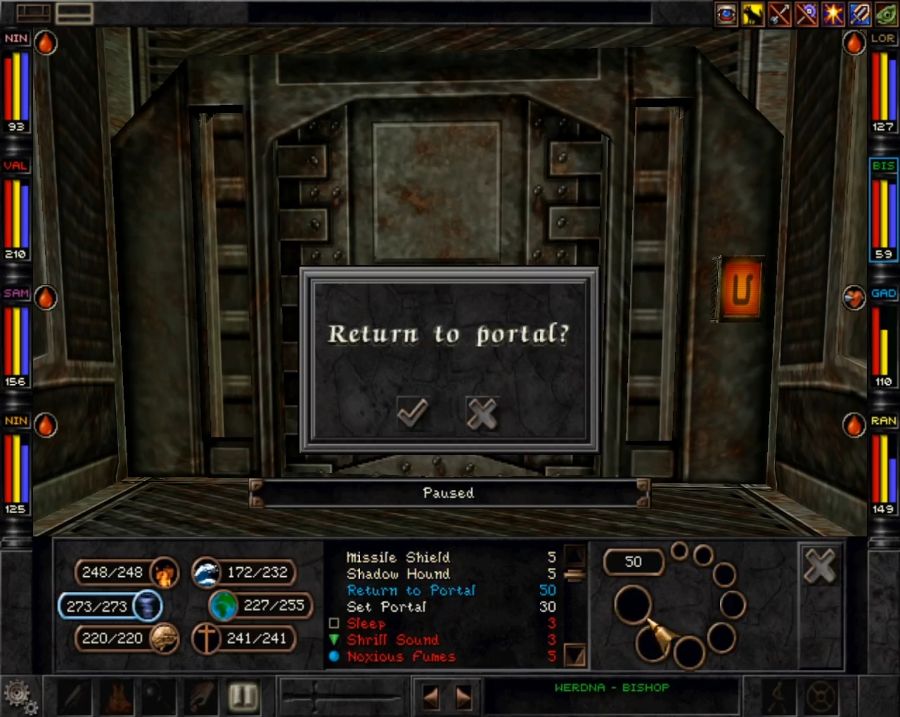 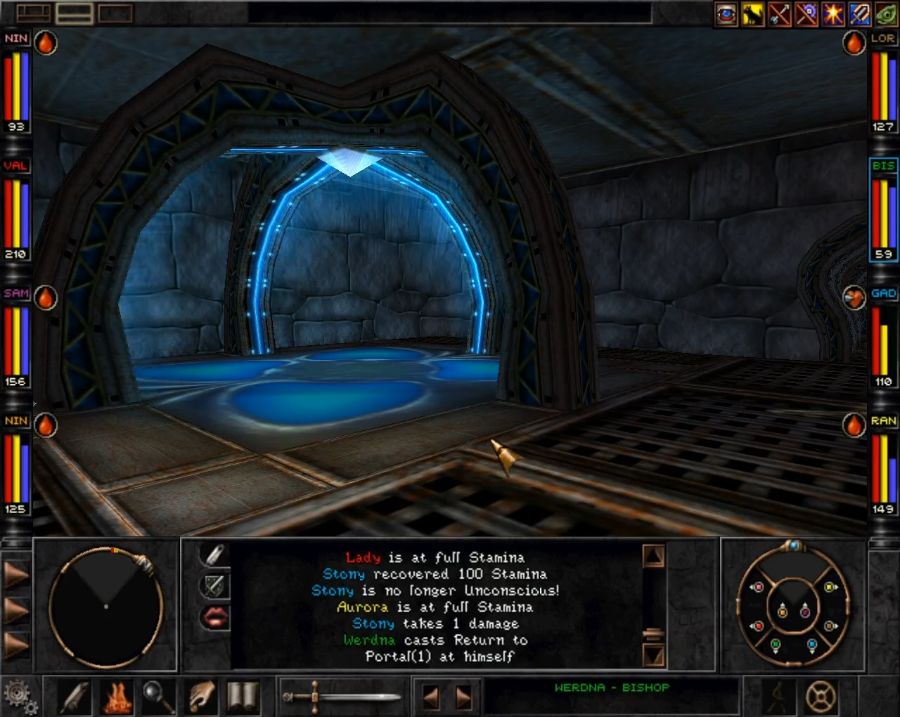 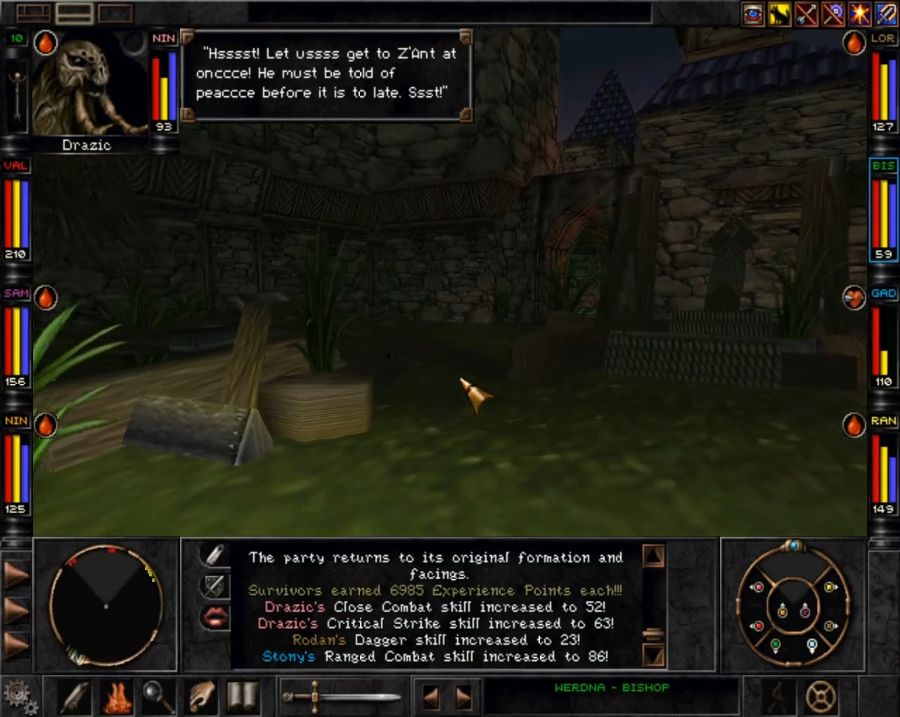 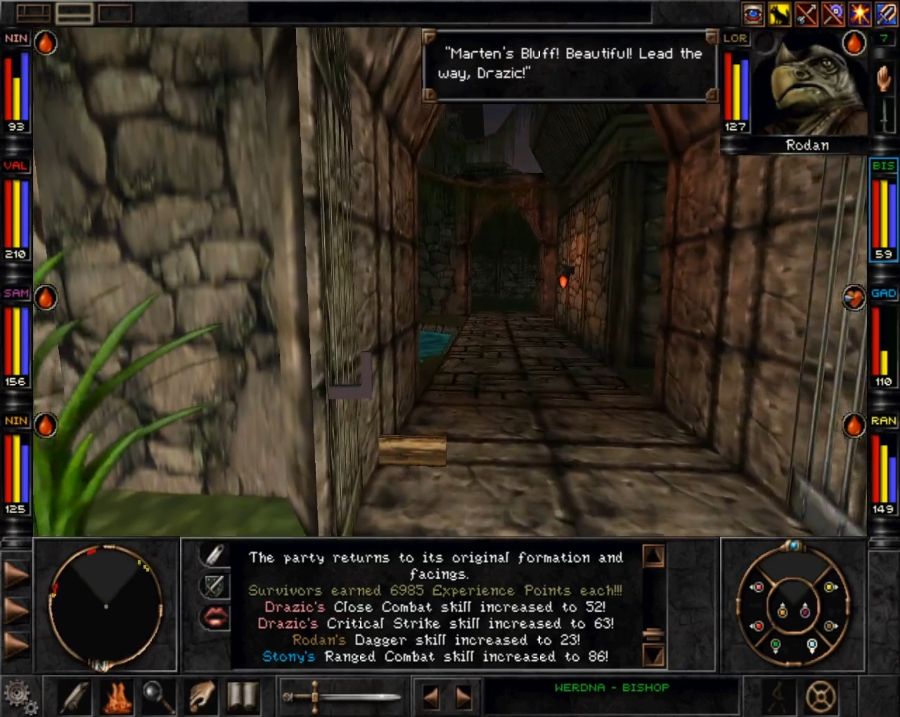 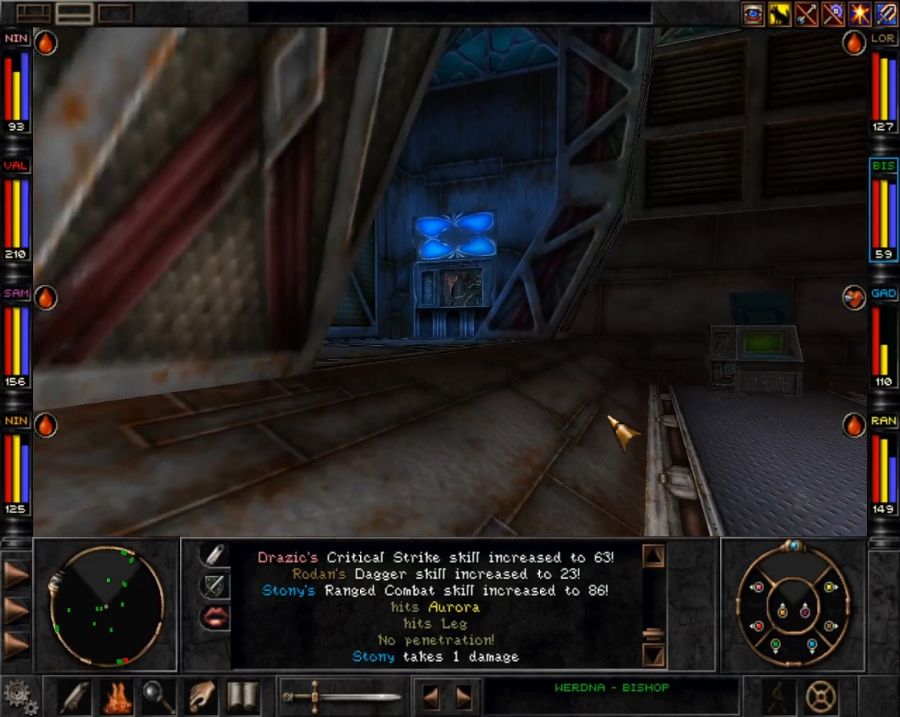 Imagine how long this would take without Set/Return to Portal. https://www.youtube.com/watch?v=lk4VtD398Ls And with that, we've got the basics of the alliance down. Now we just need to make it accomplish something. What Z'ant just gave us was a tracking device to allow Umpani weapons to locate the Savant's cloaked vessel and blast it out of the sky. This is going to be very satisfying. I also drop by Sadok to see what praise he has for us. 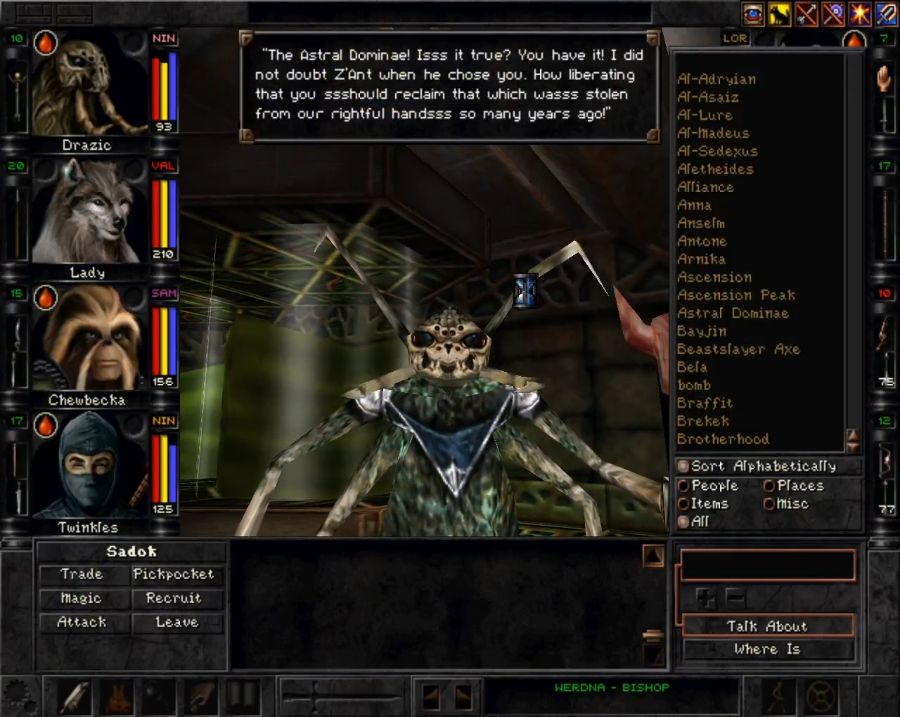 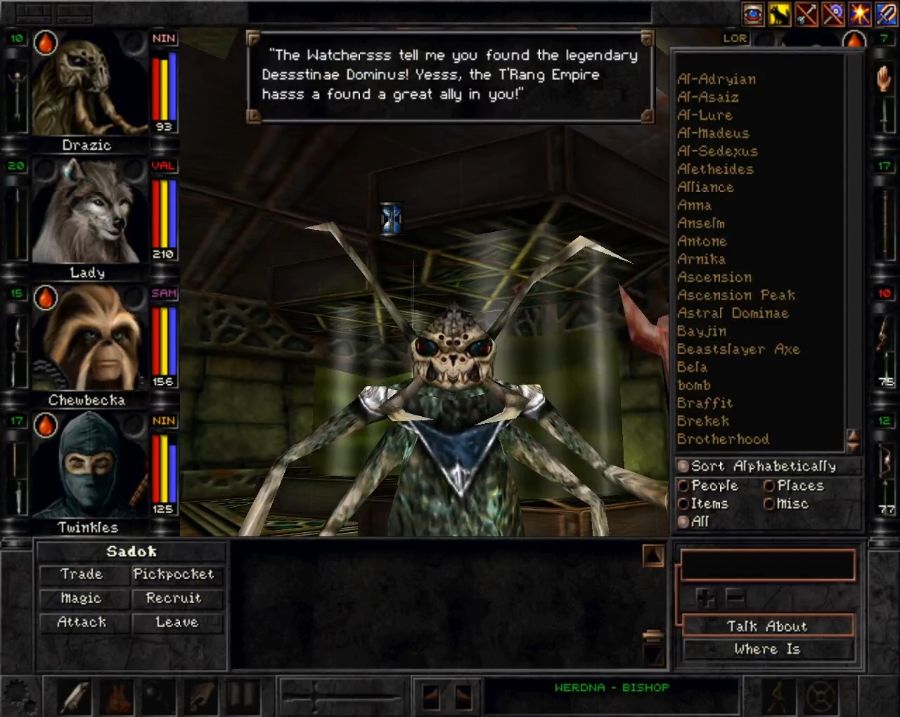 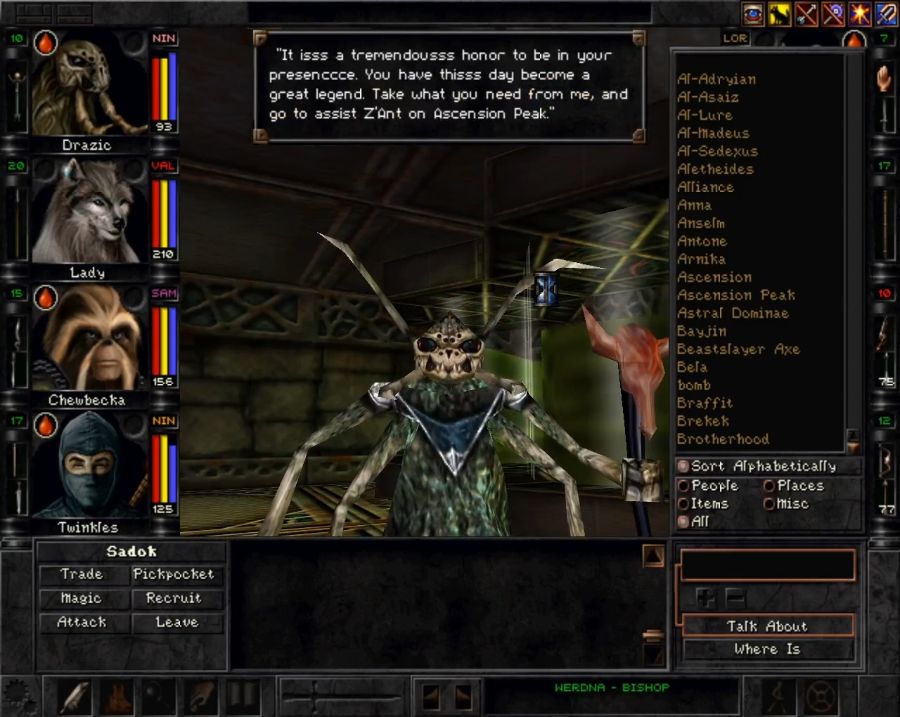 I love these friendly weirdos. I'm generally charmed by the weirdest, most villainous-looking faction in the game being super reasonable and appreciative of you. Anyway, back to Yamir with the good news. 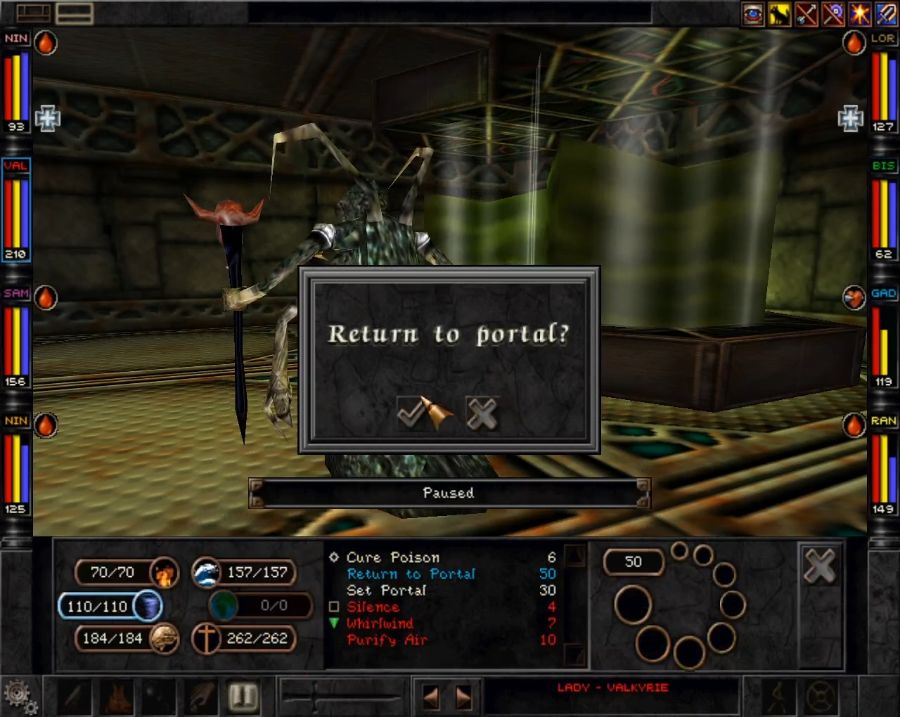 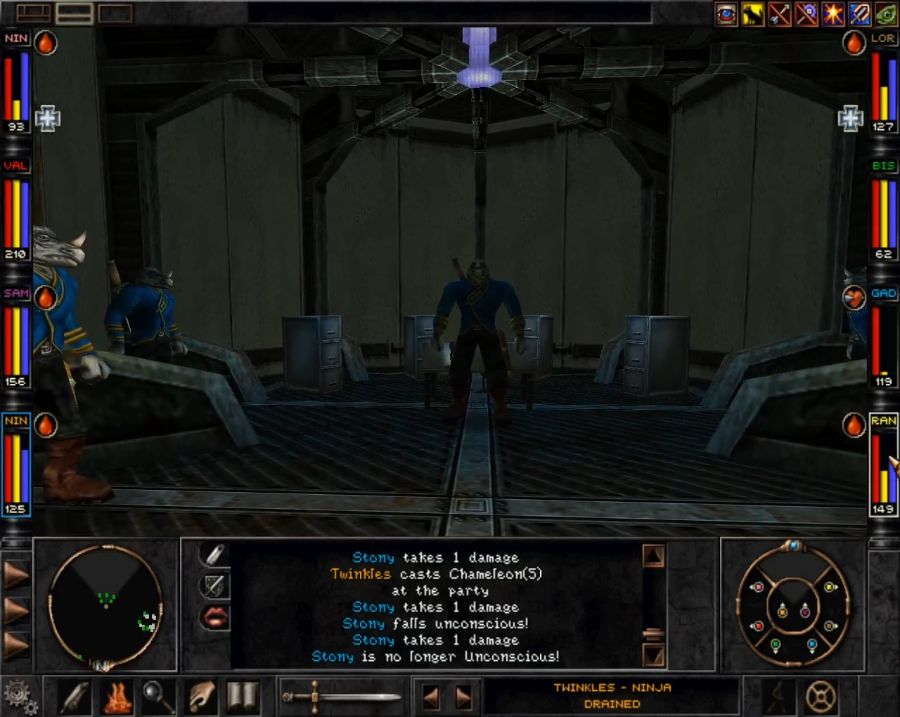 https://www.youtube.com/watch?v=YRkSVB0icmI Though I'll be honest, the portalling also makes it kind of anticlimactic. It could strongly have used some intermediate questing and maybe some attempts by the Rapax and Savant to gently caress up the alliance by ambushing you or whatever. Anyway, Yamir has now given us access to the top of Mt. Gigas, where the BIG GUNS are. 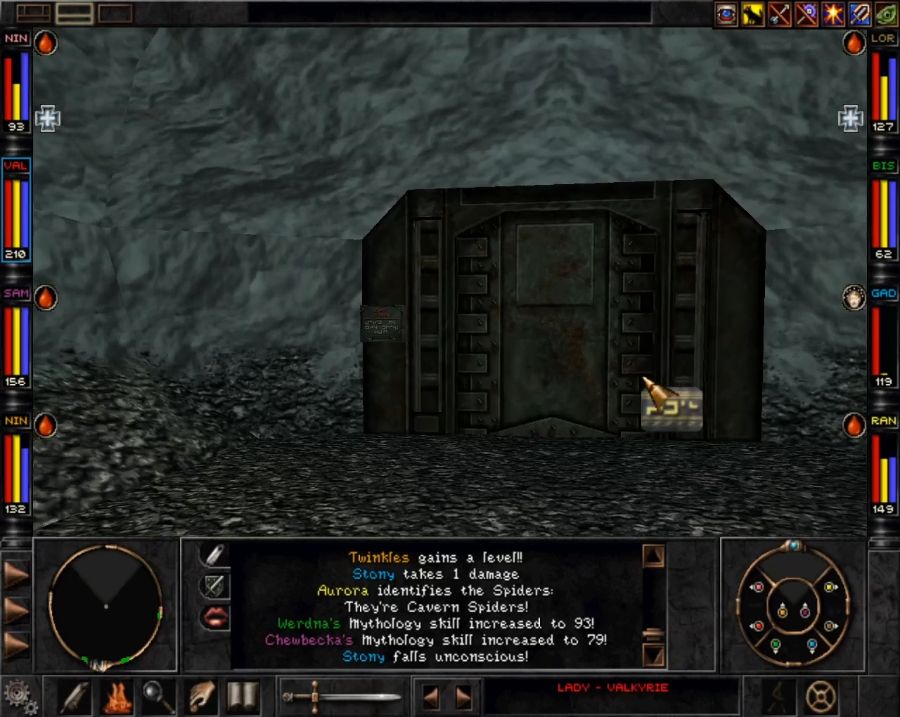 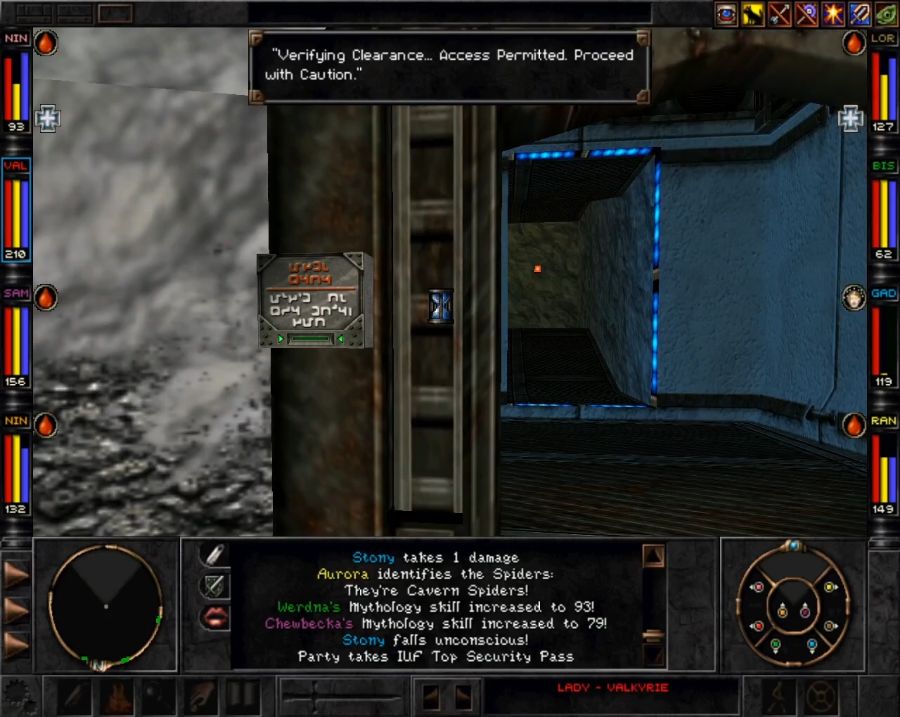 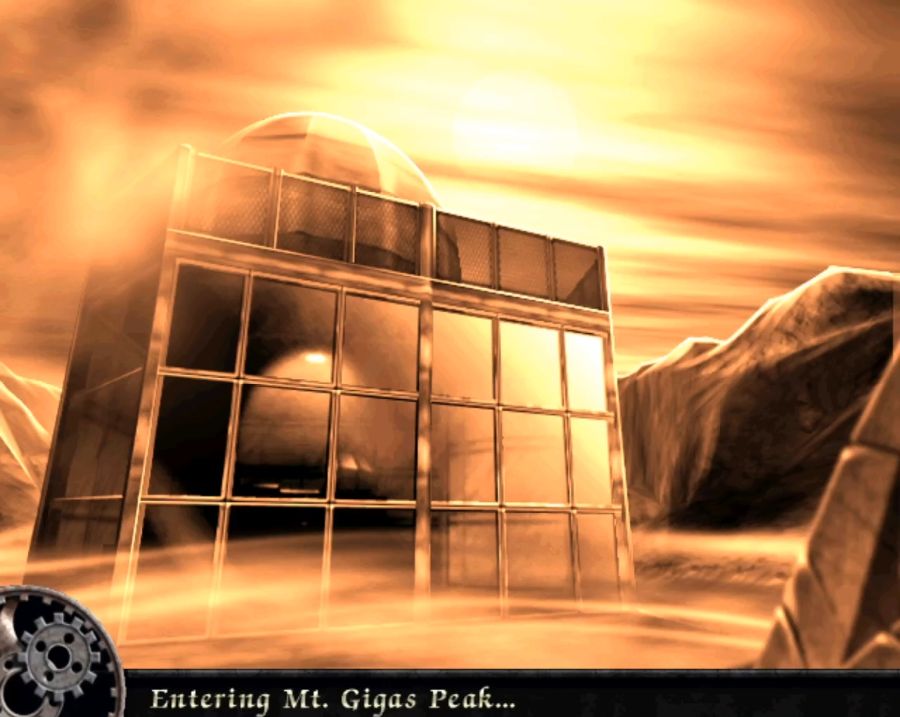 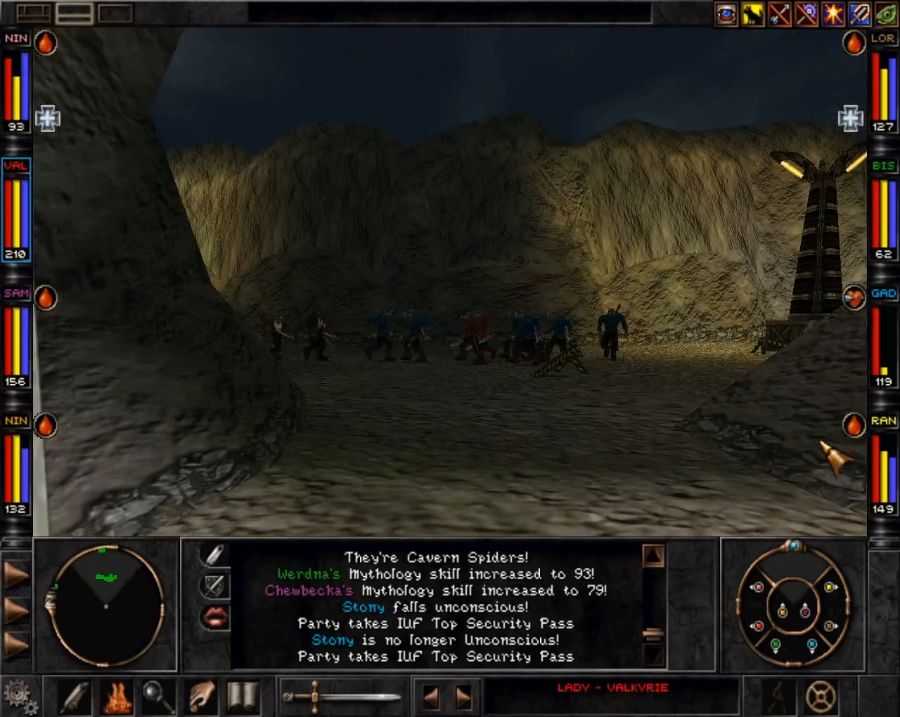 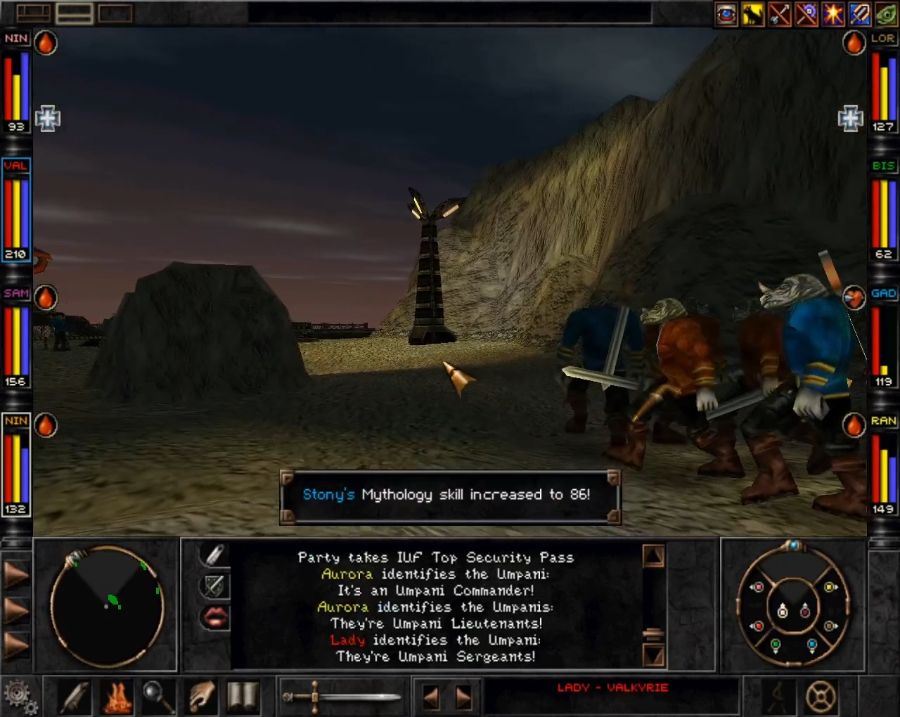 Honestly I would kill for a Wizardry 8 remake just to patch up these holes and to add stuff the original engine couldn't handle like giving you an amazing view of the lands of Dominus from the top of Mt. Gigas. 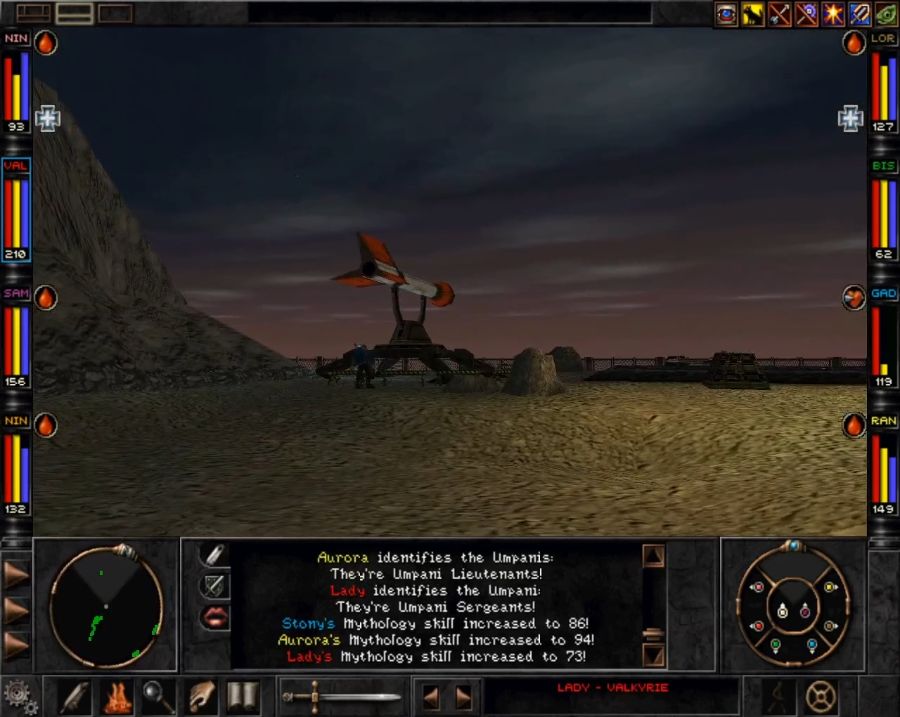 BIG BOOM. So what the Umpani have up here is a couple of huge missiles(not sure why everyone calls them guns)- 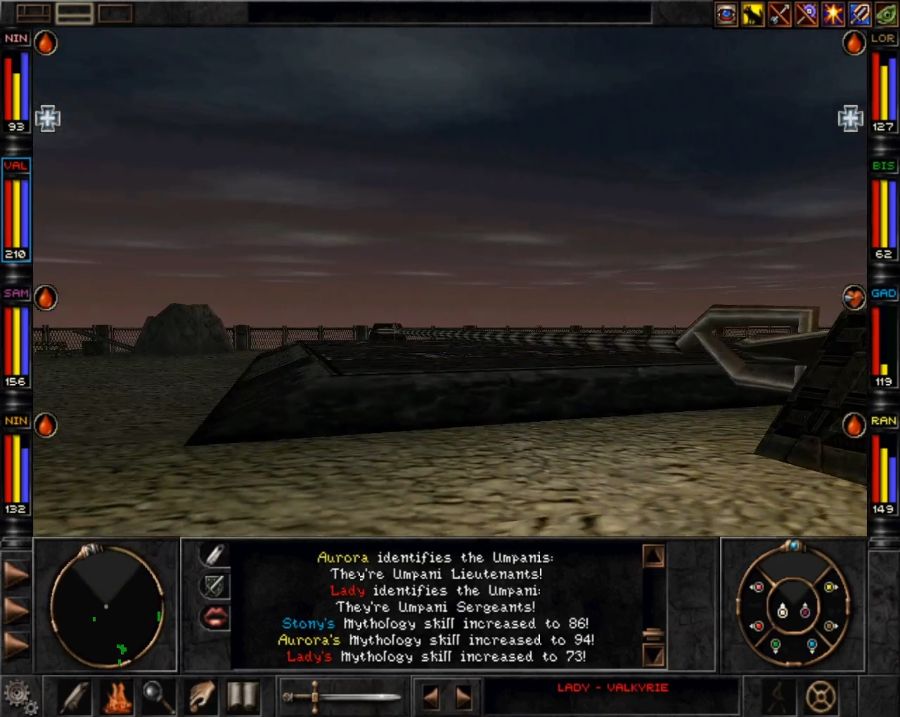 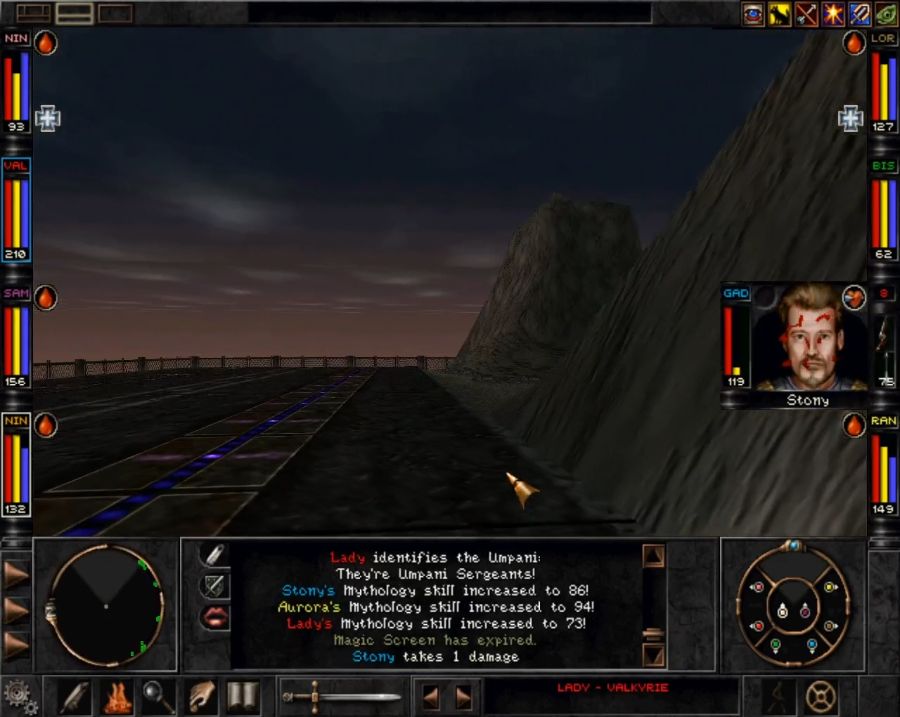 -a short runway for their mothership. The way you destroy it if you side with the T'rang is that you sabotage the runway and then call it in for a landing and it crashes and booms- 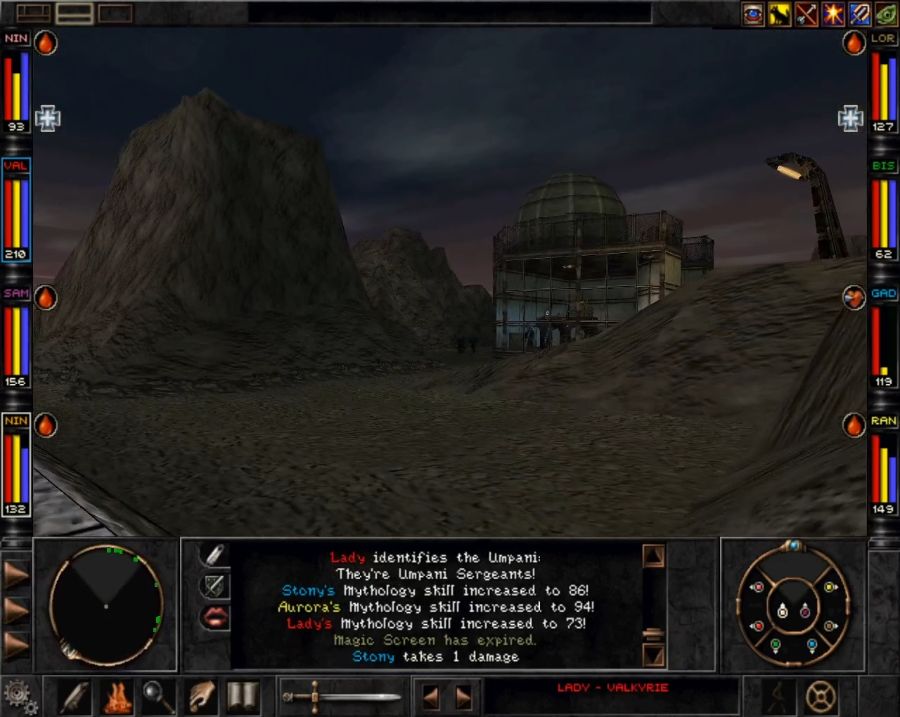 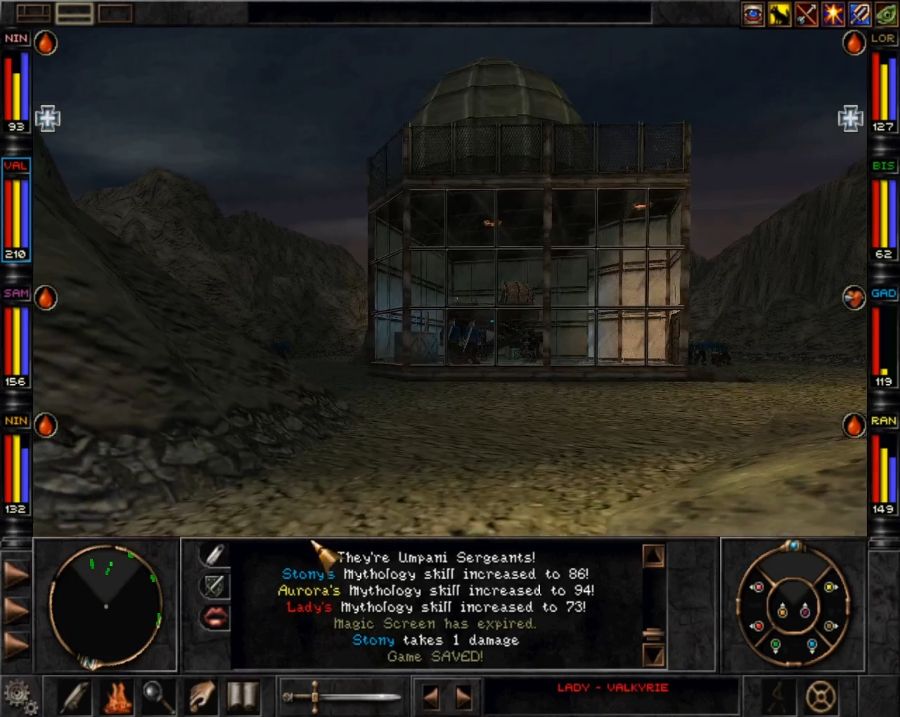 -and this little observatory/traffic control structure. 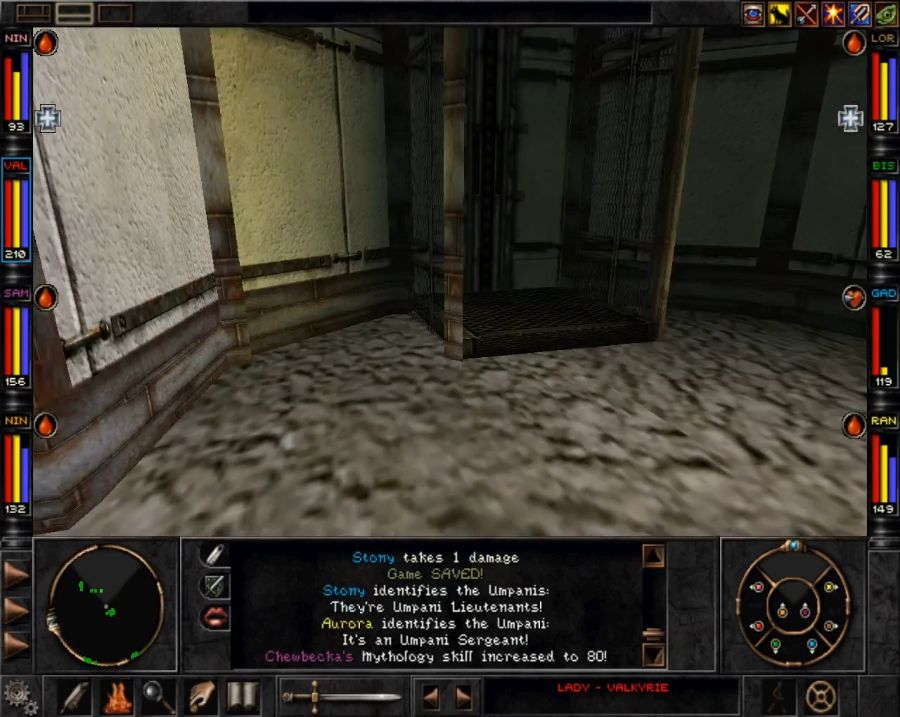 It has an elevator around the back to take you to the roof. 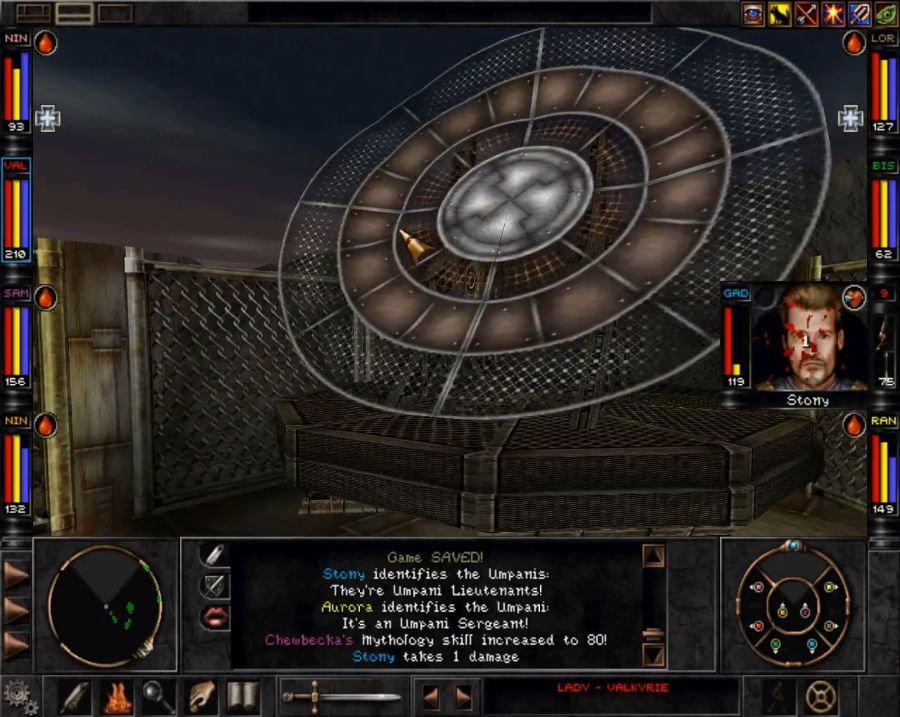 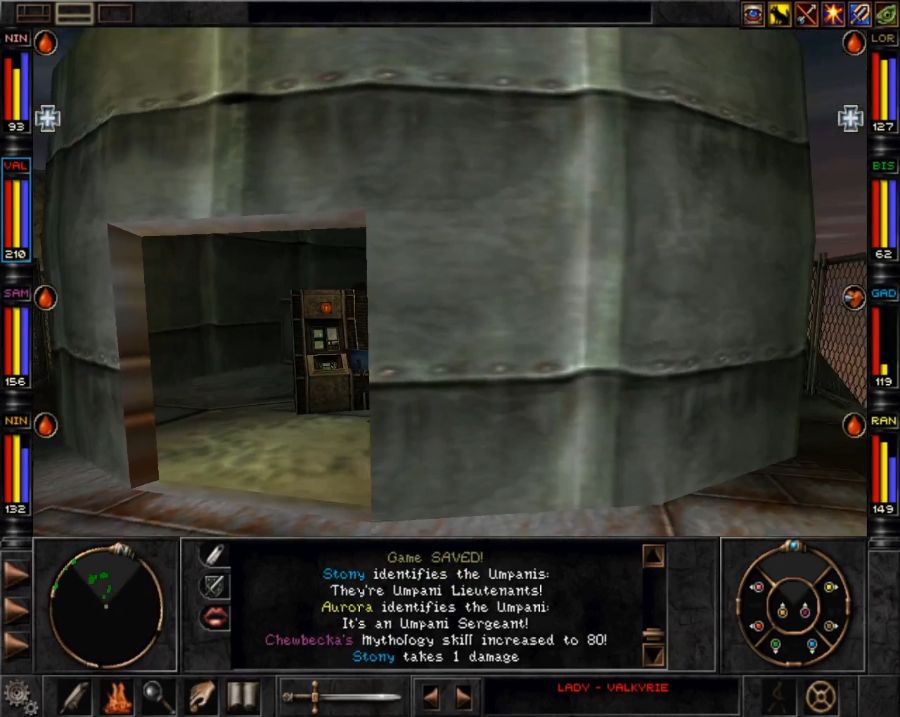 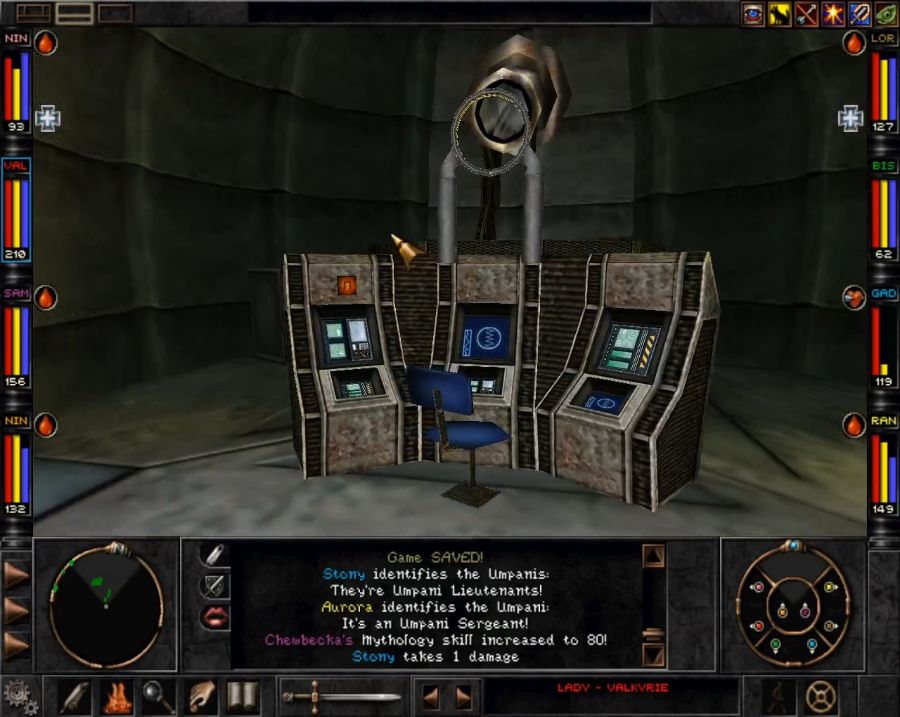 Press the button and the roof opens up... 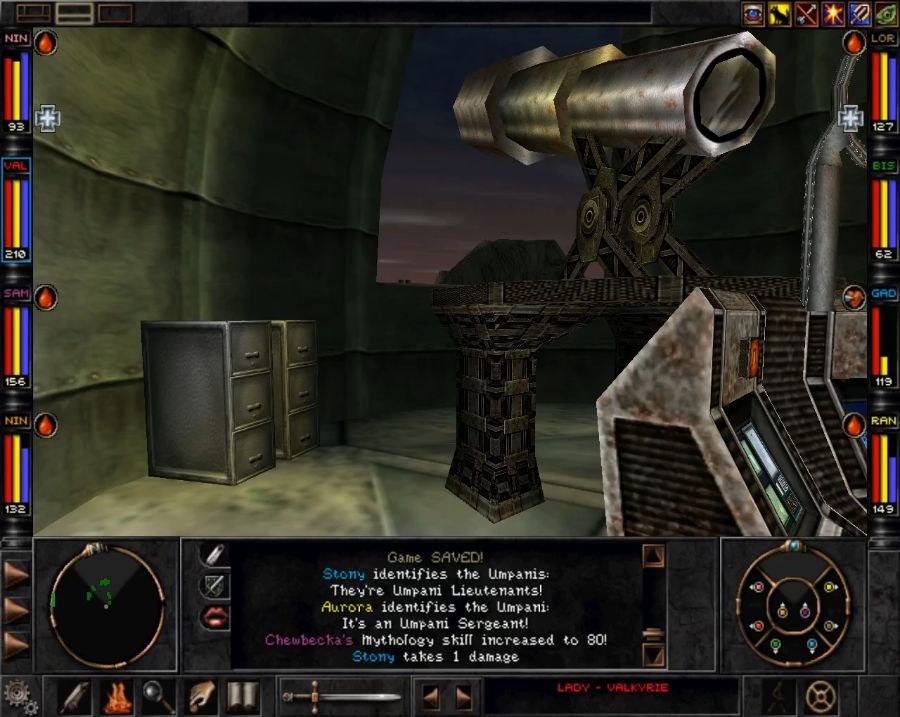 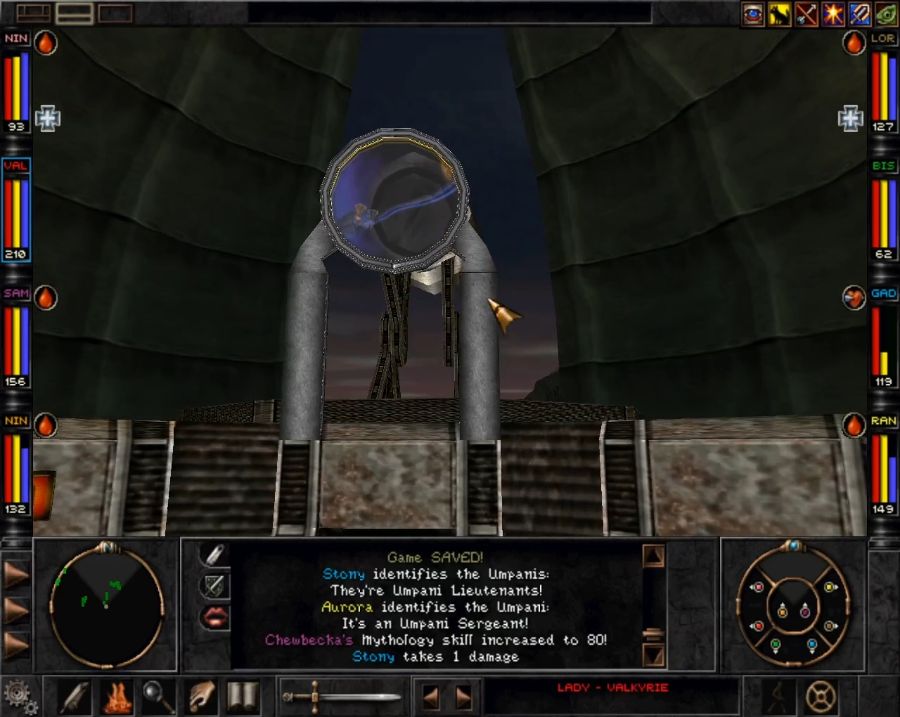 Huh, you have to wonder what that is they're scoping out in the sky. We'll find out eventually, but, mind you, it makes hilariously little sense that they can actually spot it through a telescope. 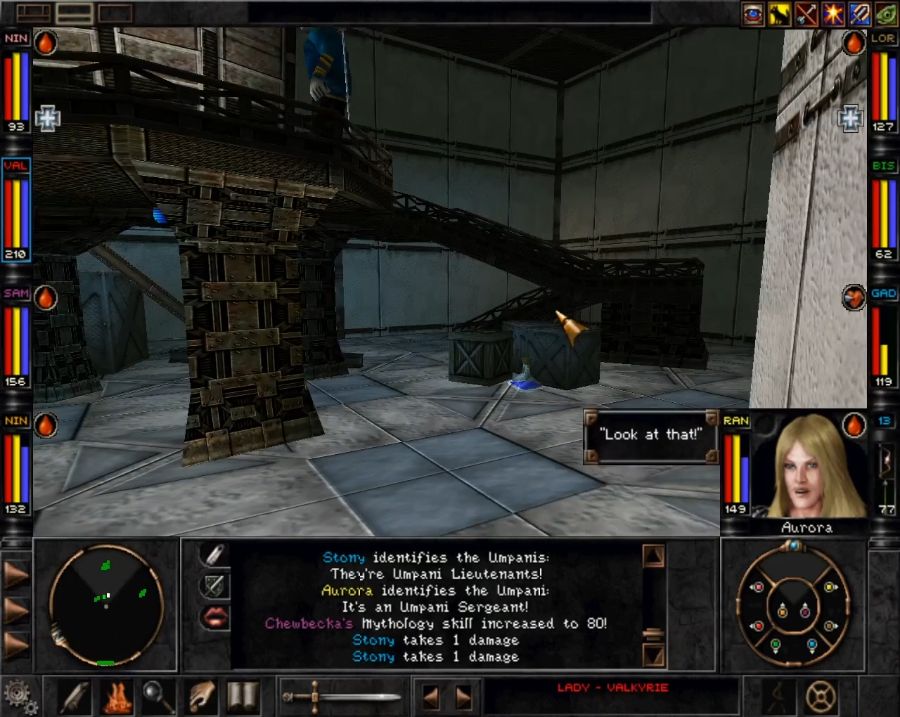 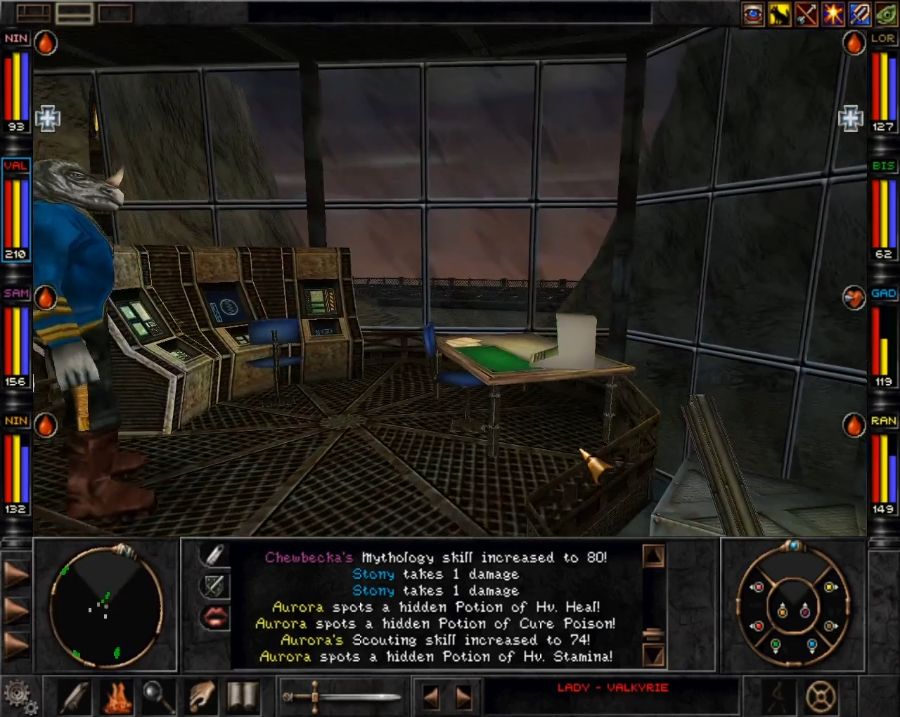 The inside is pretty spartan and serves little purpose unless you want to gently caress over the Umpani. Nothing really interesting to look at. 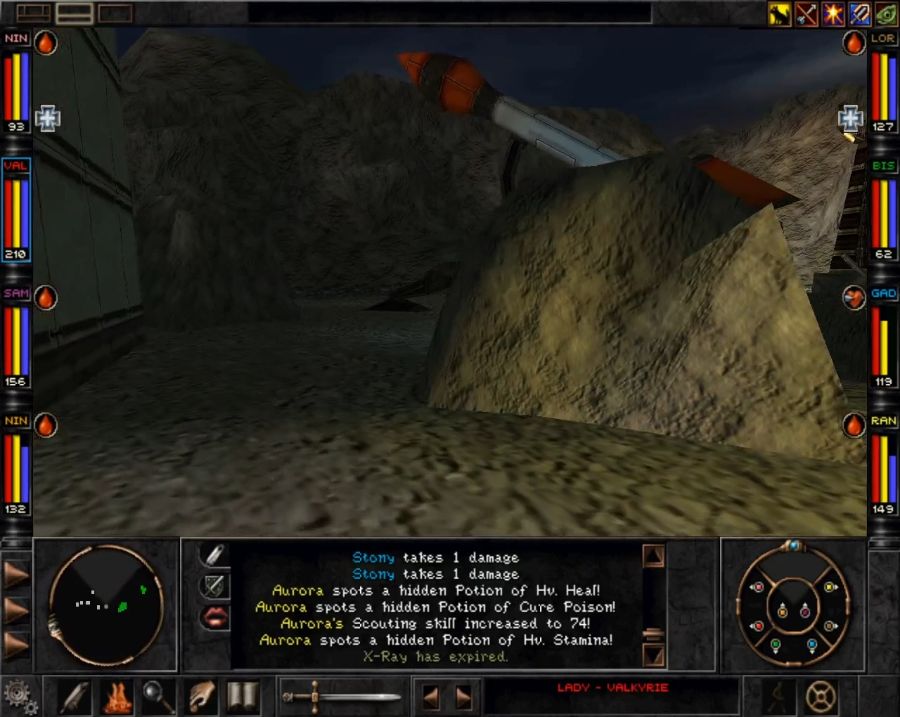 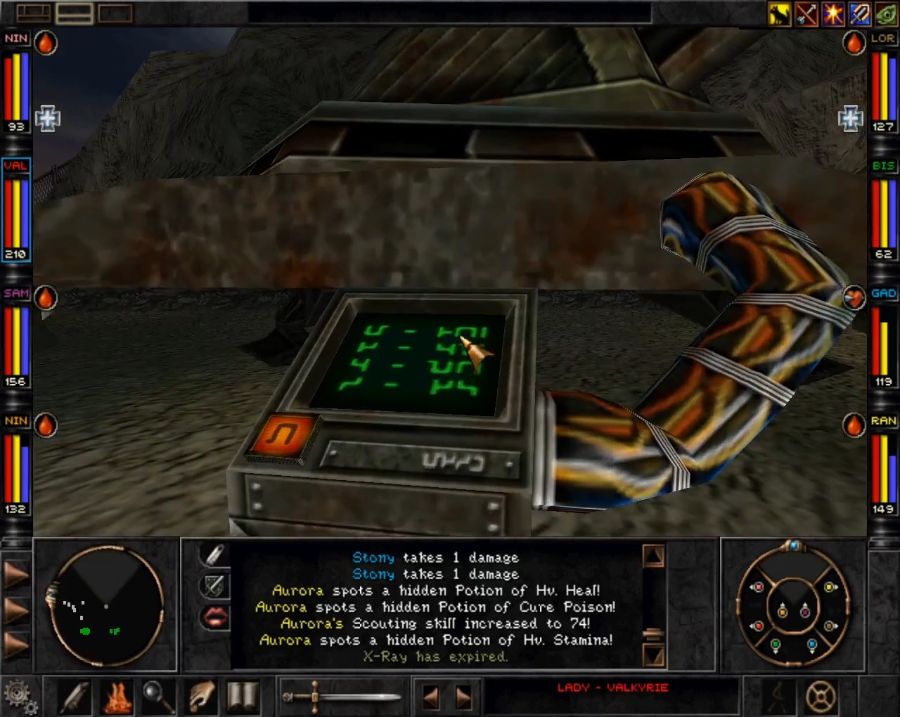 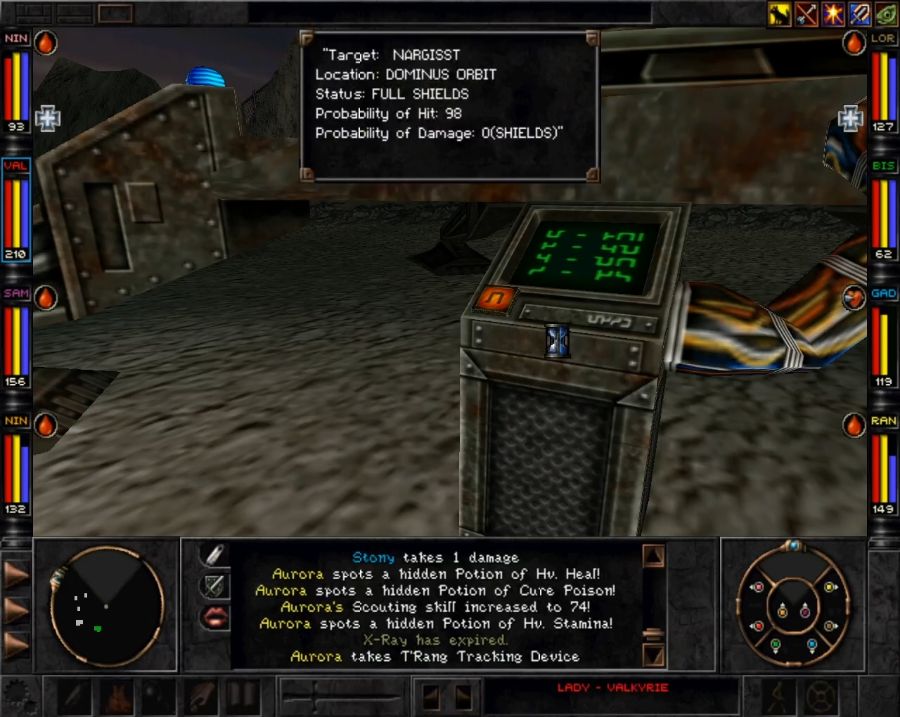 Out back is the missile aimed at the T'rang mothership. We will, of course, not be firing it. In fact, it isn't even how you take them down. Instead you call them up and tell them to maximize breeding output and then shut down the teleporter so they literally overcrowd their own mothership and die in orbit. Brutal. Let's go back to the other missile, that's the one we get to play with. 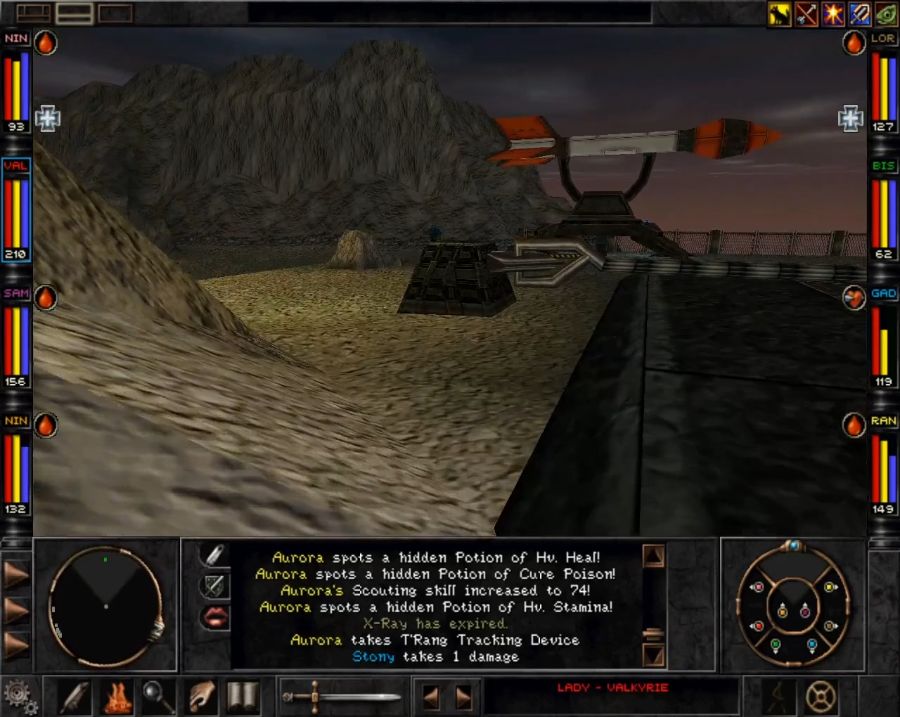 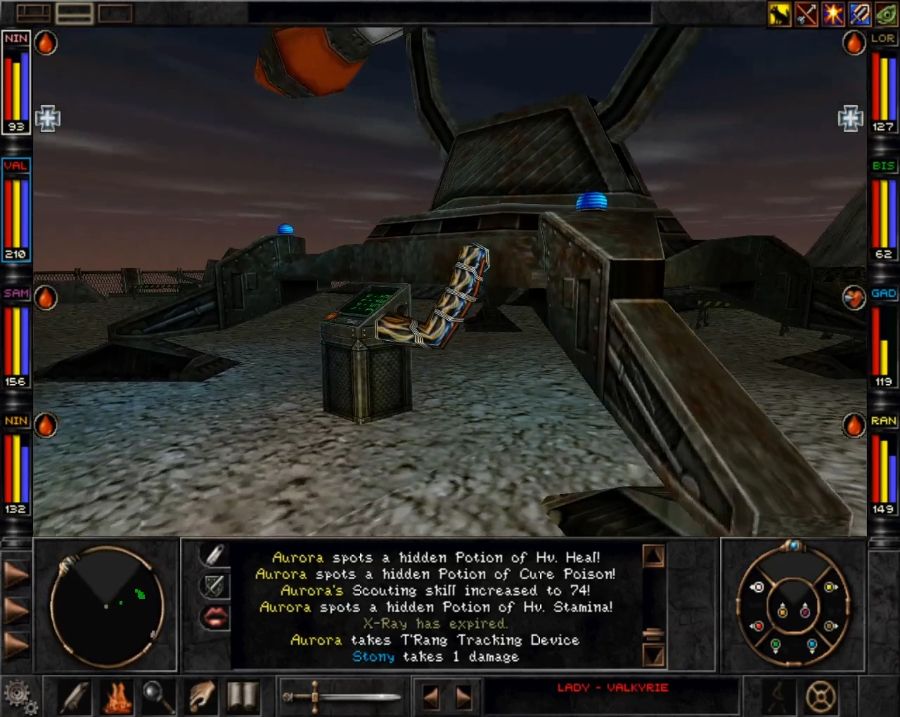 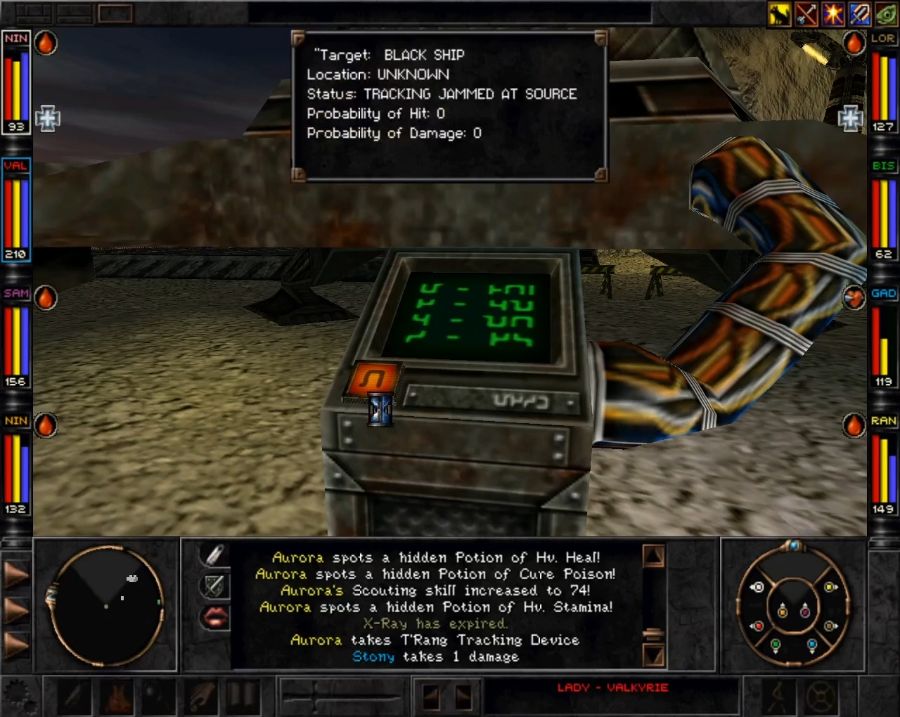 Zero percent hit chance until... https://www.youtube.com/watch?v=I0xw5ivAiP8 Chewbecka with her usual finely tuned sense of humour. Let's go tell Yamir the good news. 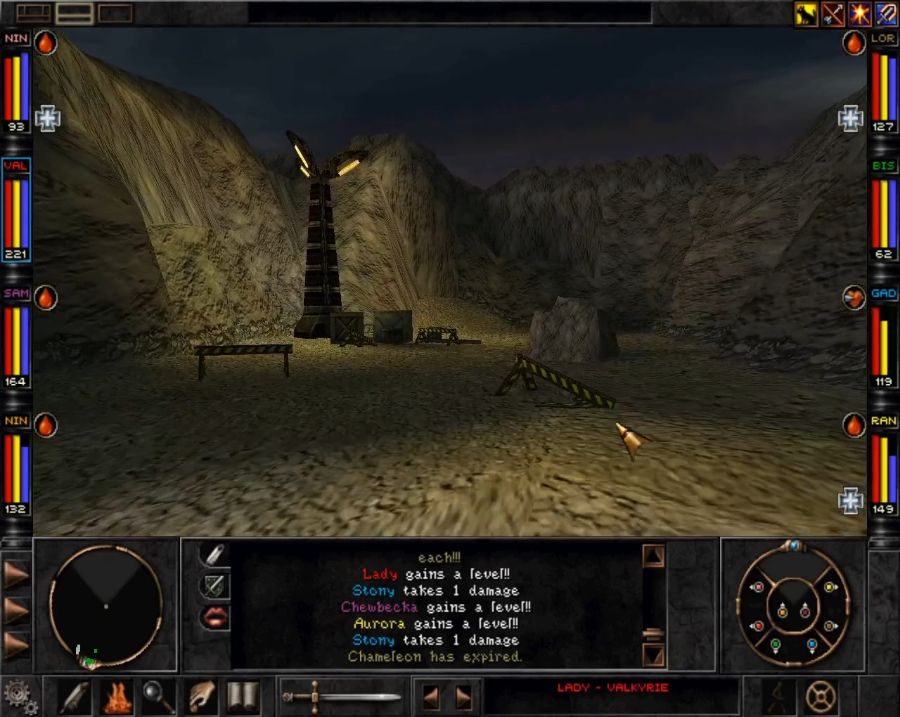 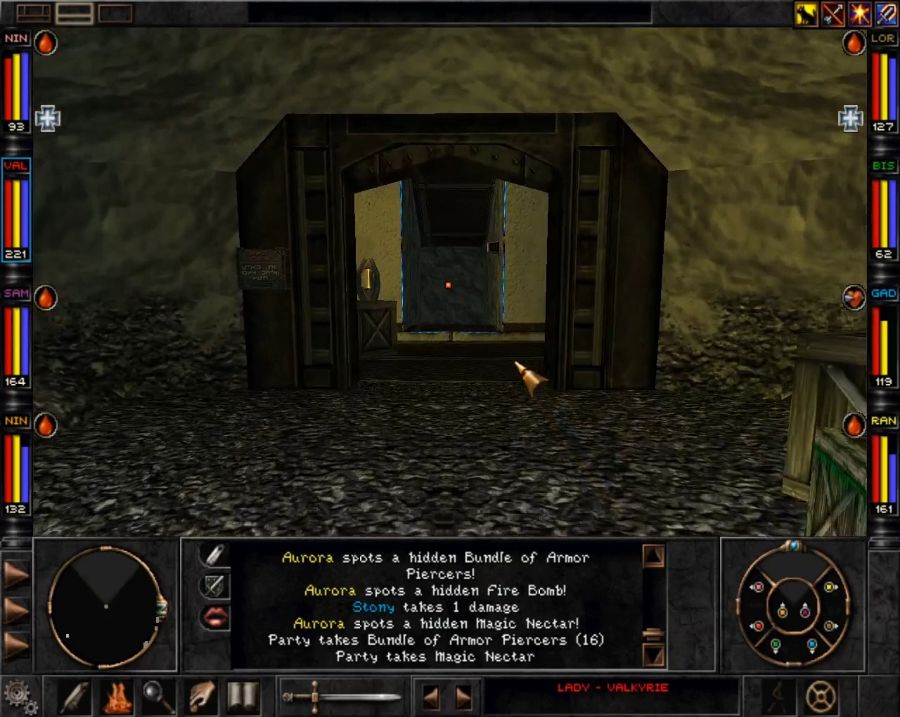  https://www.youtube.com/watch?v=KxjbFZrgzp0 And that also finally expends Rodan and Drazic's usefulness. Sadly it also doesn't change a lot of things, like, Saxx and Tantris will still refuse to go to each others' home bases, and Yamir and Z'ant will not in fact show up at Ascension Peak. On the one hand, it sucks, on the other hand, I cannot imagine dealing with some of the later-game fights if I also had 20 Umpani and T'rang taking their turns. Now, time to go get the crew back together and fix up Stony. 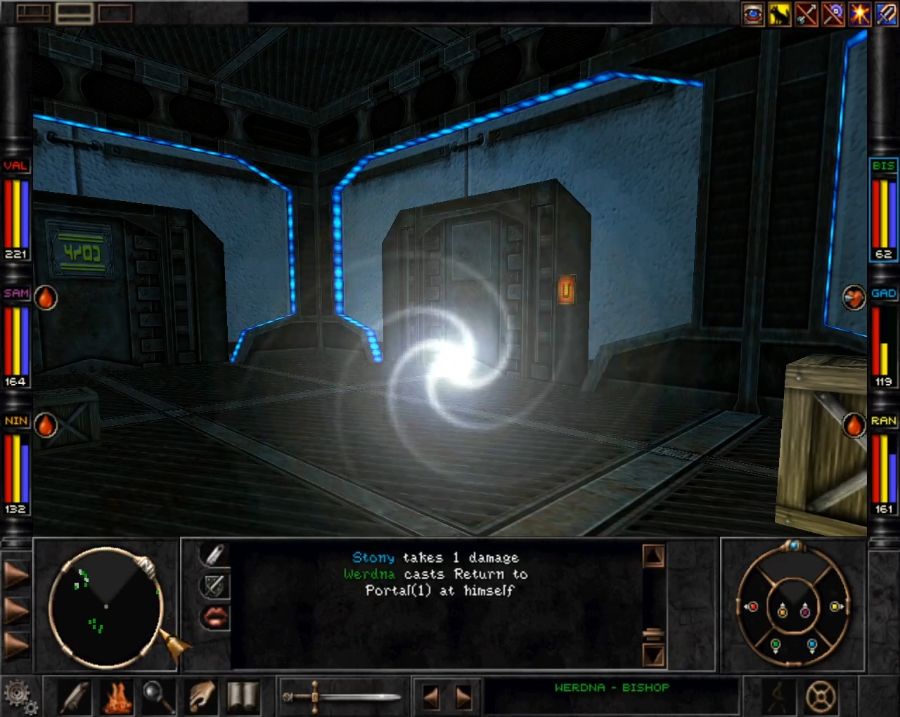 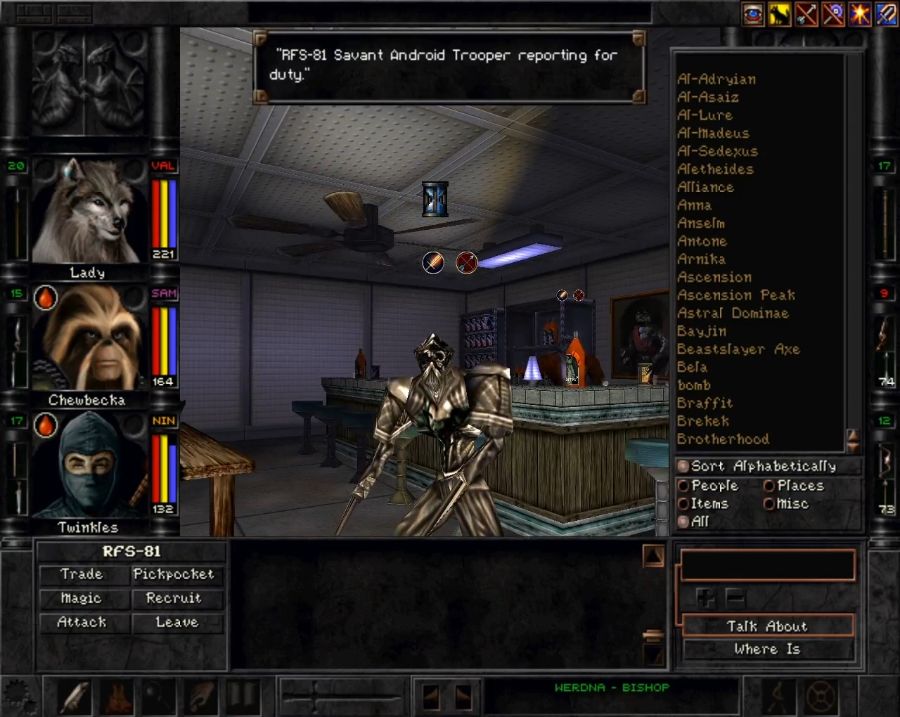 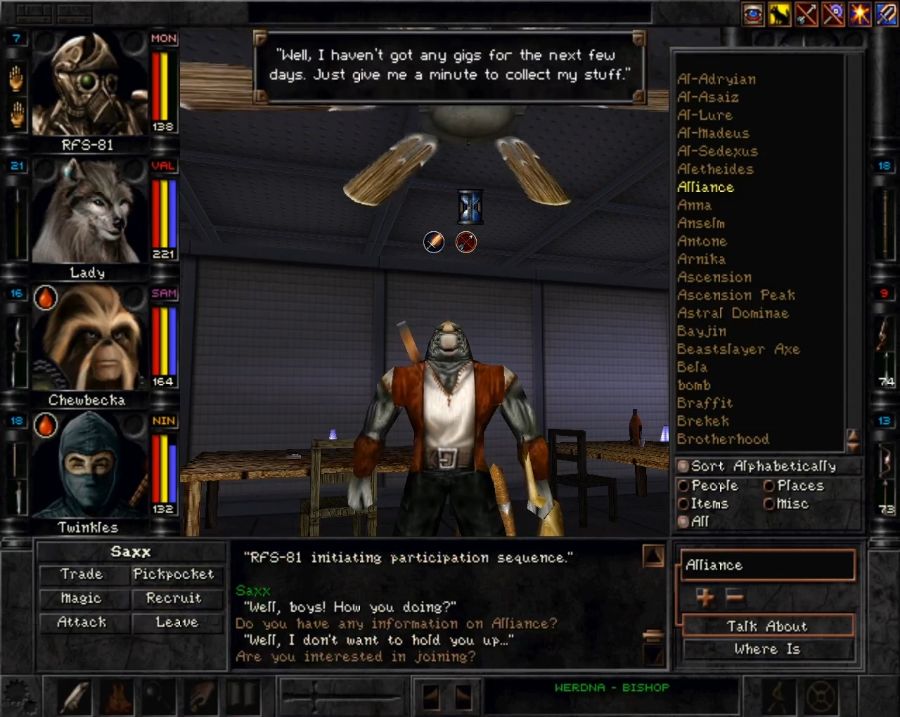 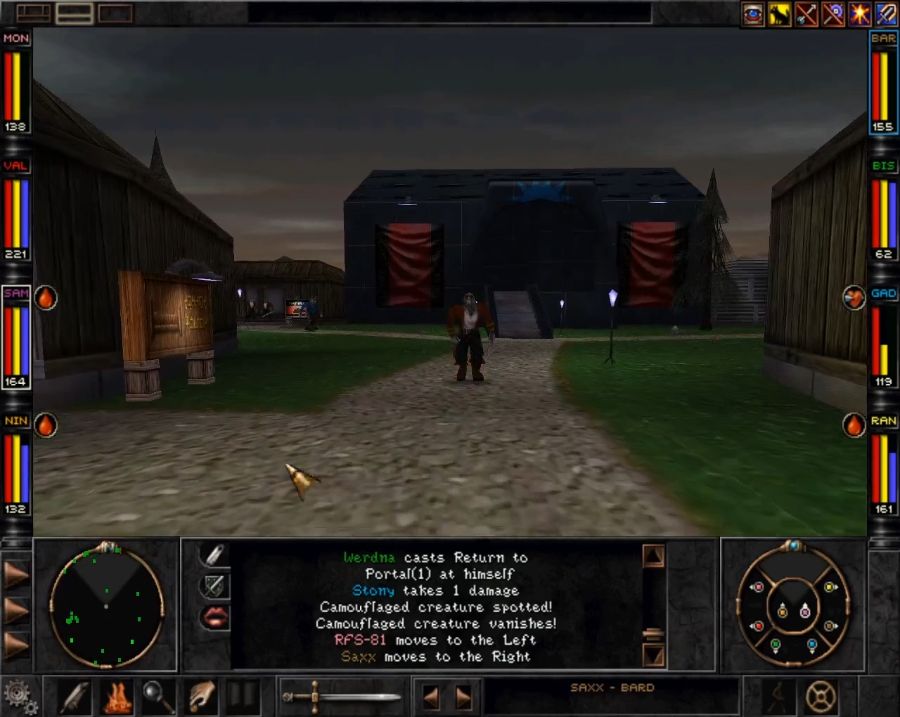 And the team's back together again, though one thing worth noting is that because this quest requires leaving your RPC's behind, it'll create a pretty decently-sized XP-difference between your PC's and RPC's, which is a crying shame. I wish catch-up XP was part of the game's mechanics. 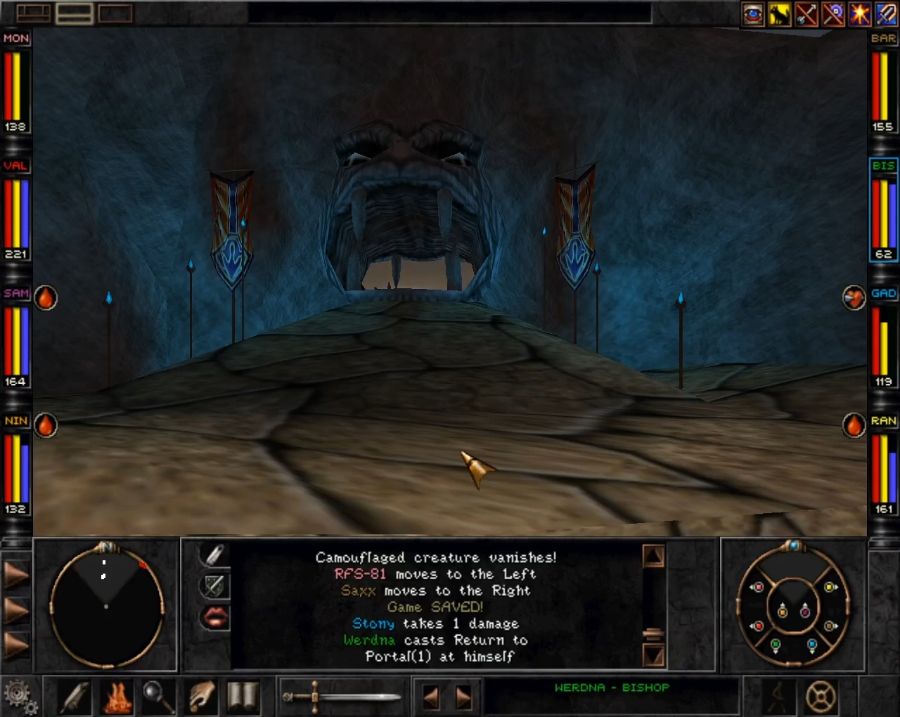 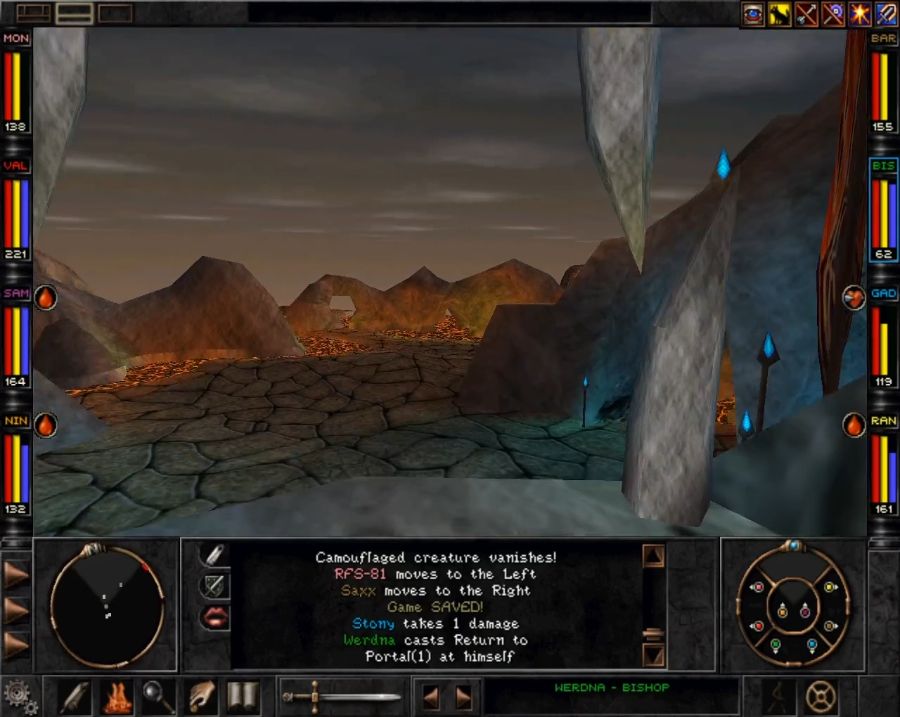 Time to go deal with Al-Sedexus. At least this time we have all the keys and other gubbins and it's a straight line. 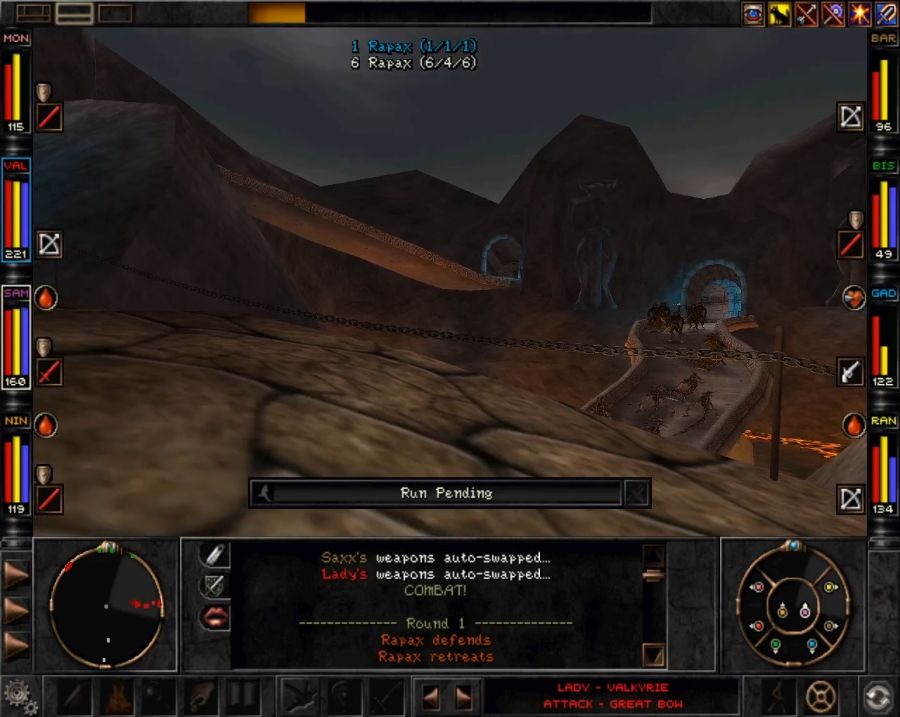 Of course we still get this happening every five minutes so it still sucks.  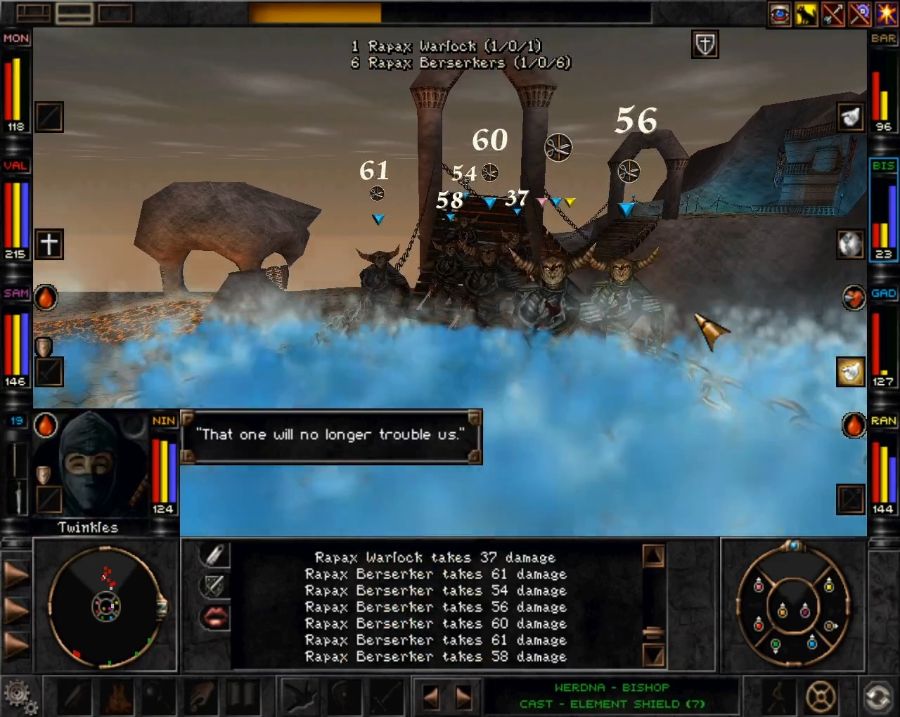 At least it gives Stony a chance to get a bit of exercise with his water pump gadget. Suck it, Rapax nerds. 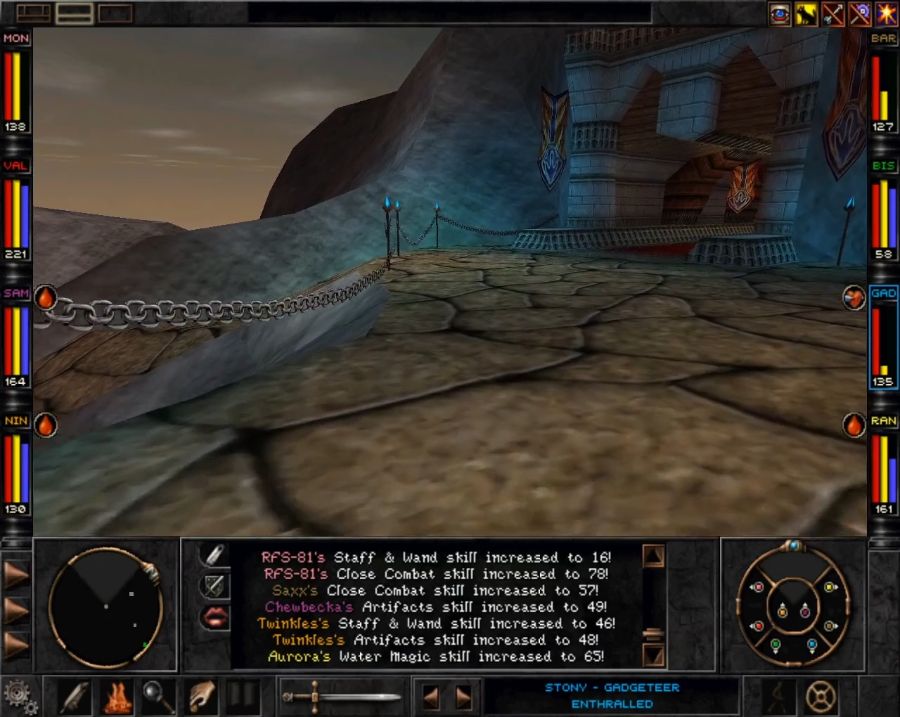 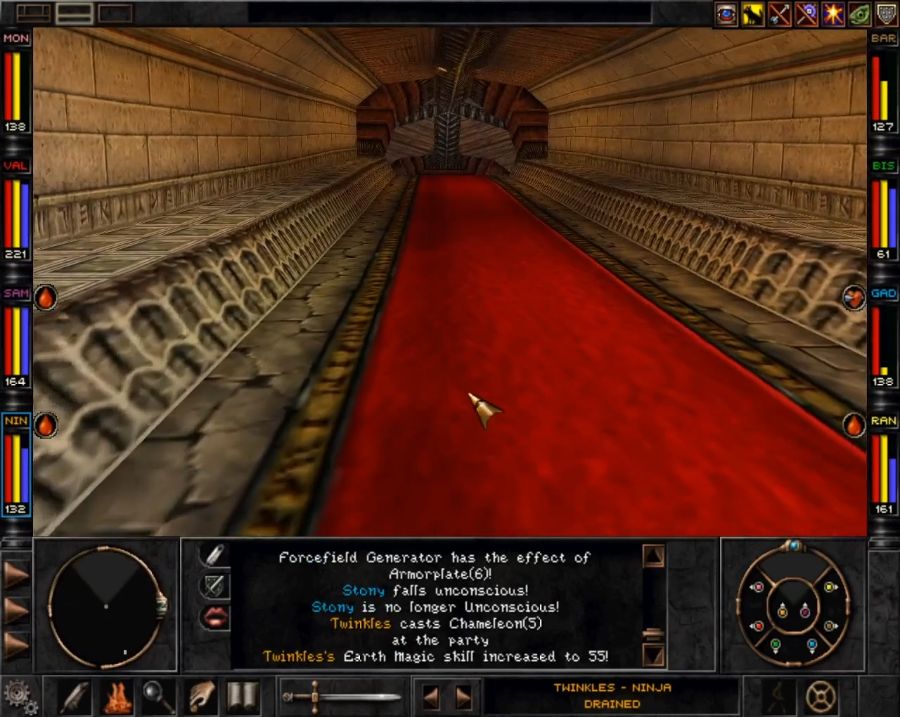 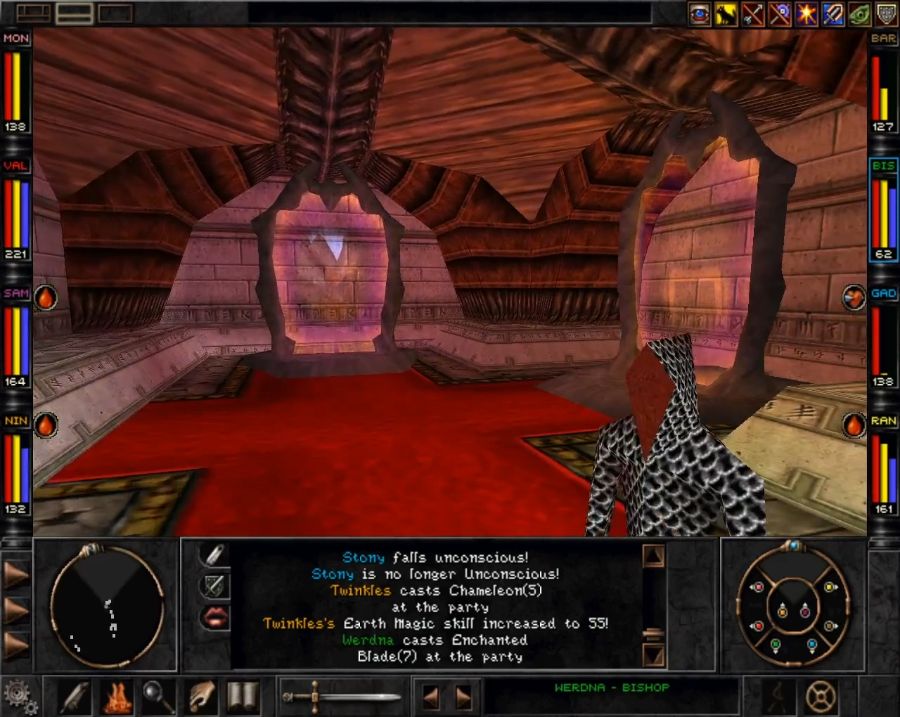 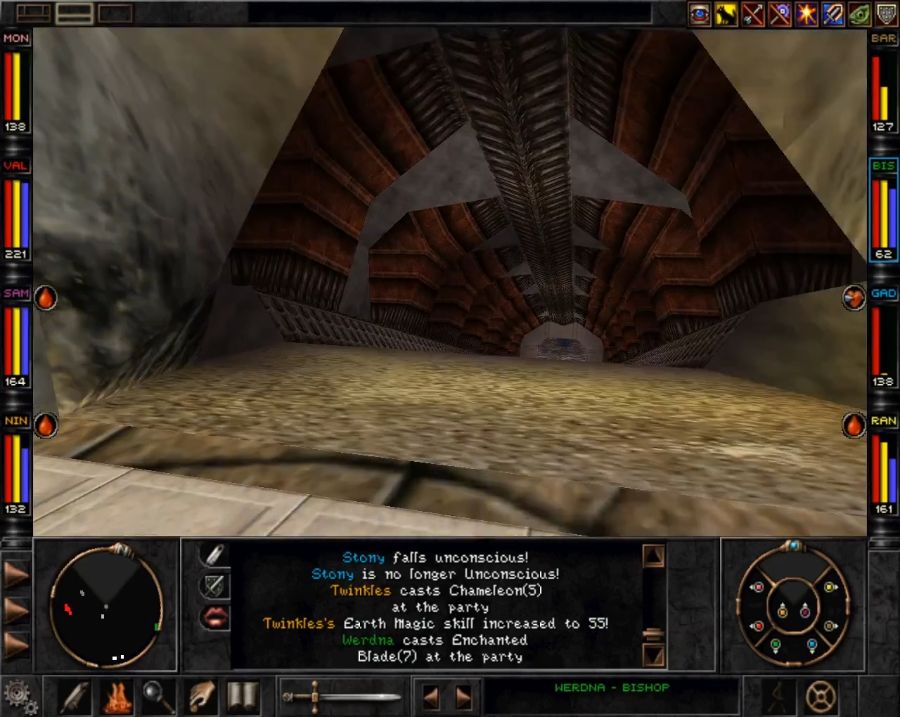 So, Al-Sedexus as a boss. 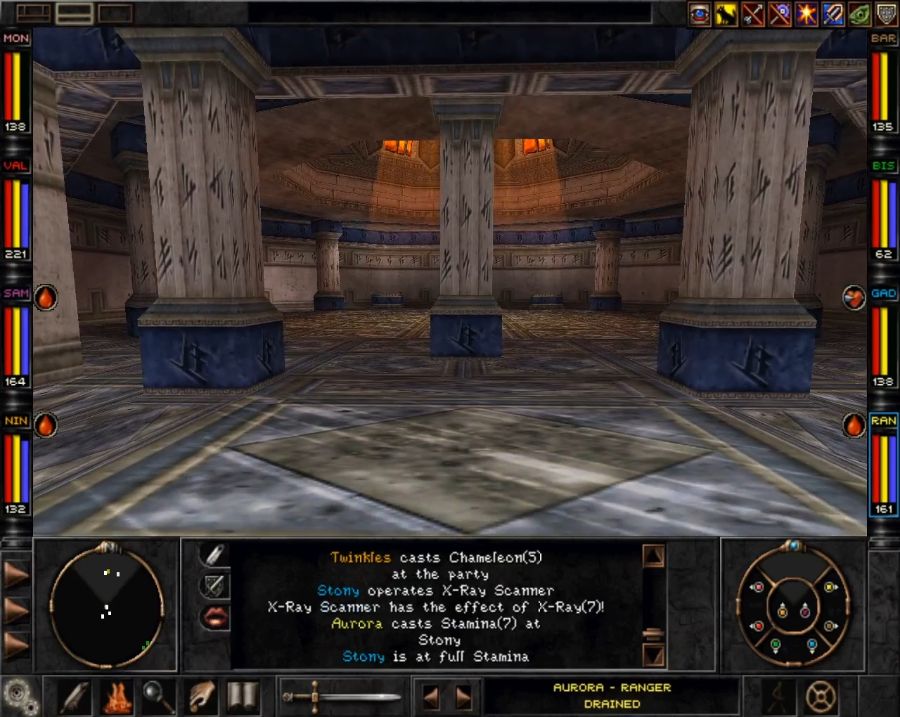 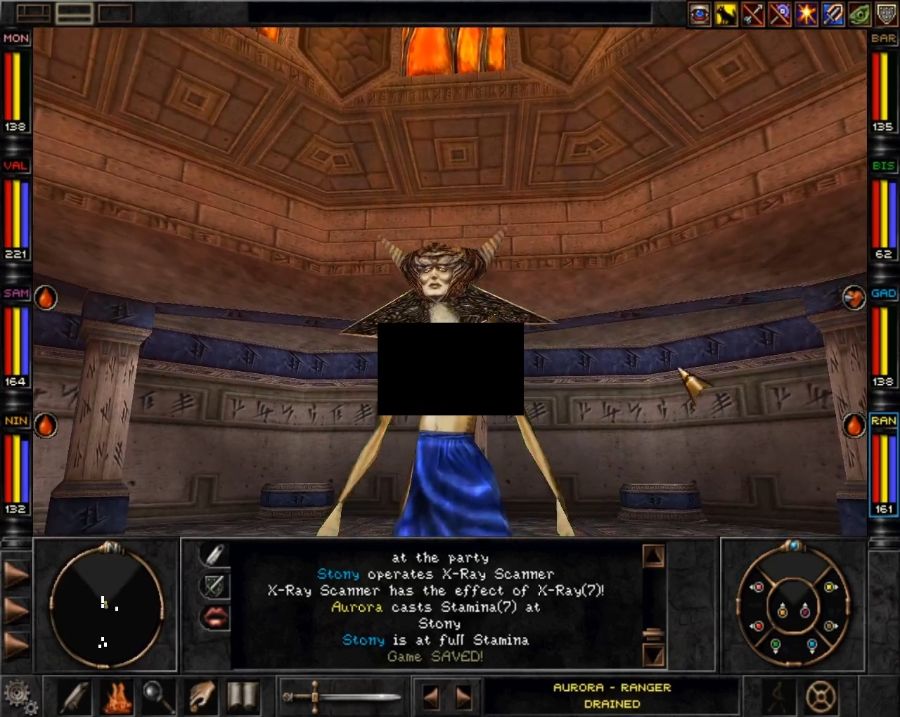 She's got some beefy-rear end resistances, with only Water and Divine being slightly below 100%. She's got a 70% chance to spawn Rapax aid every turn. And a 30% chance to whip out a selection of very nasty spells including a Heal All or a Nuclear Blast. 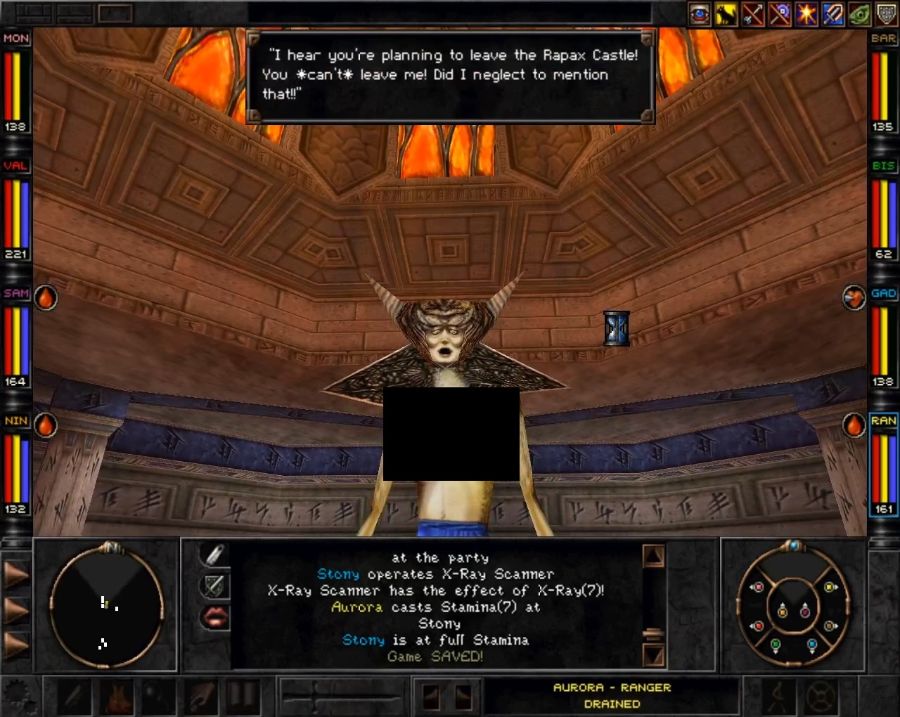 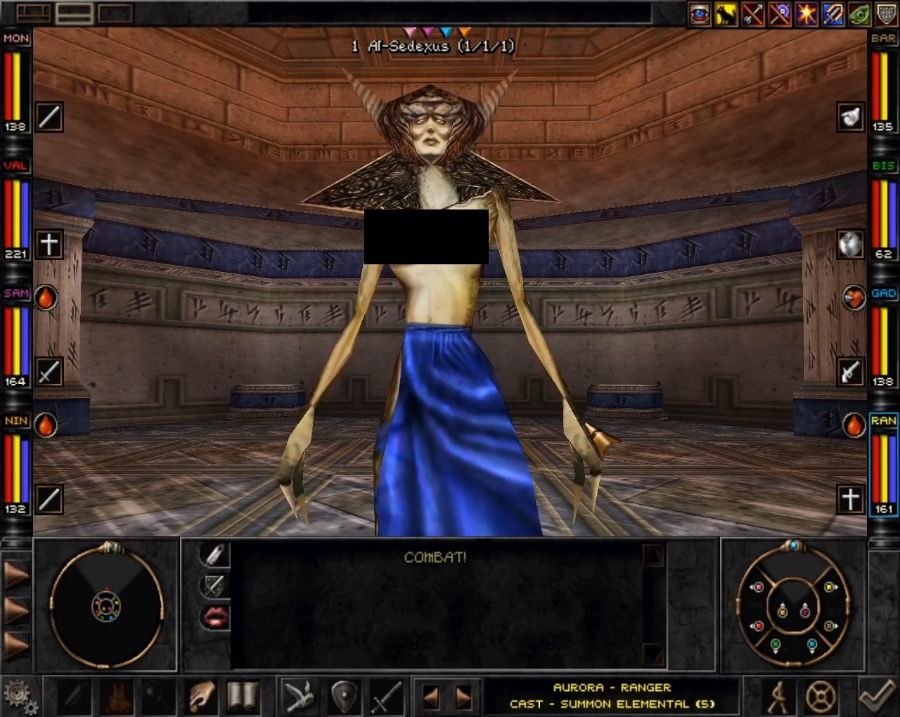 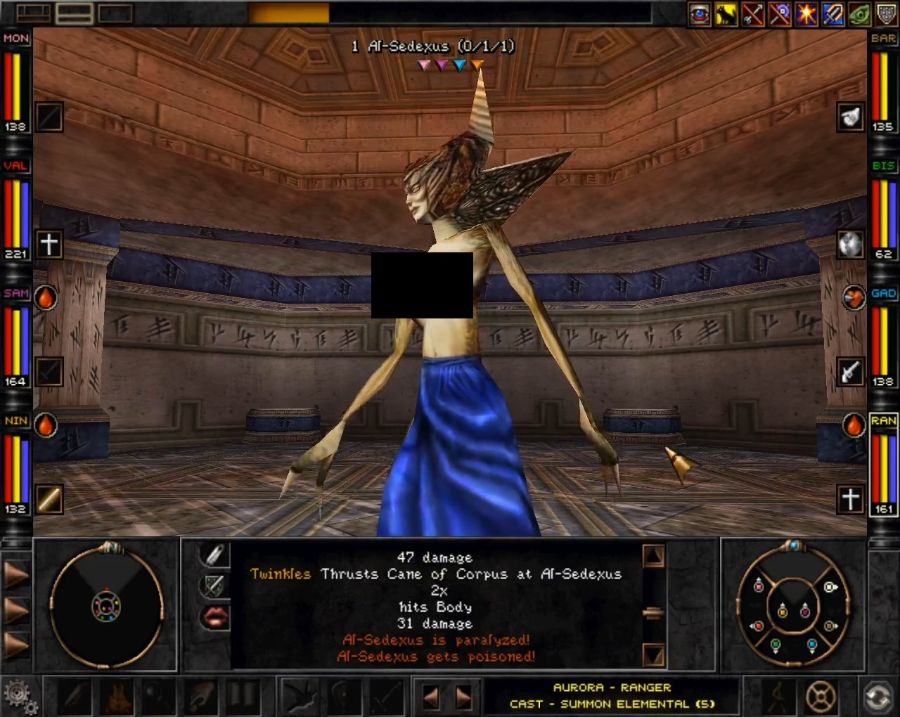 Theoretically she is thus a quite nasty boss encounter if your Fairy Ninja doesn't paralyze her with the Cane of Corpus on round 1 of the fight. 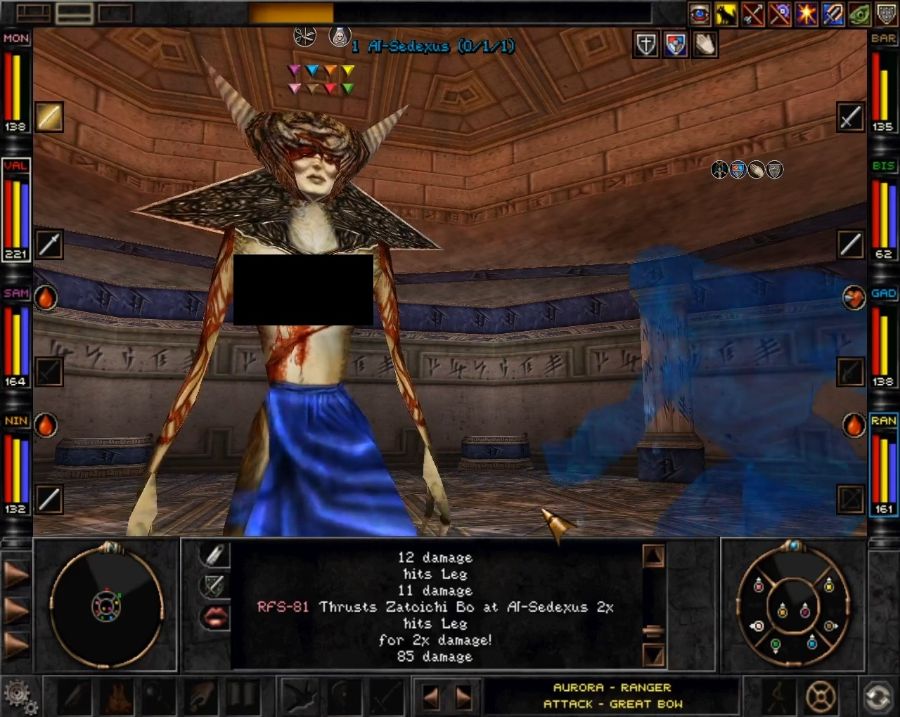 She literally doesn't get a single action in before the party splatter her all over her own temple. 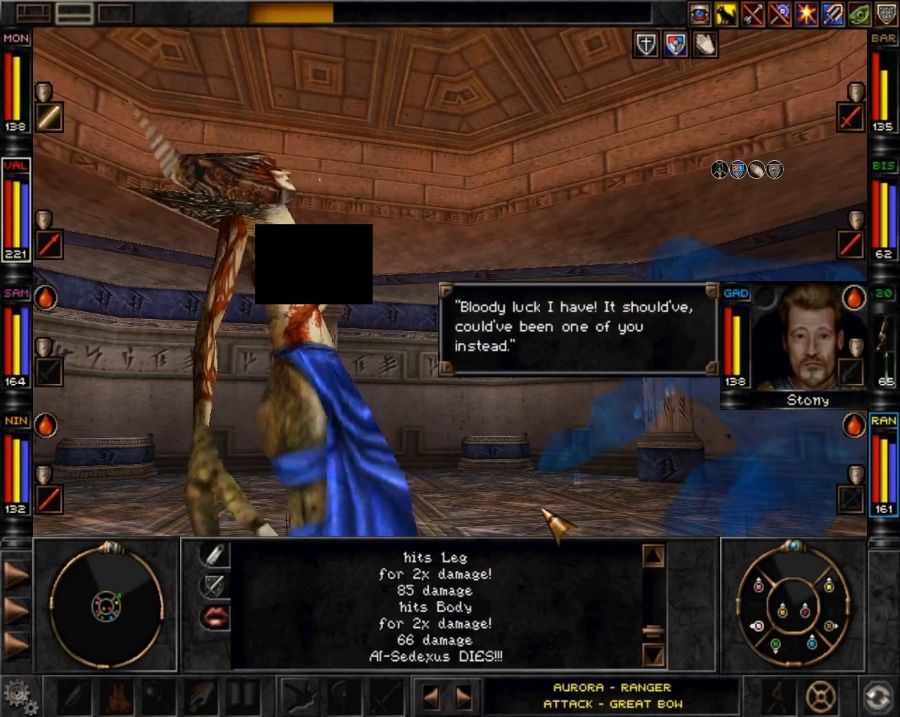 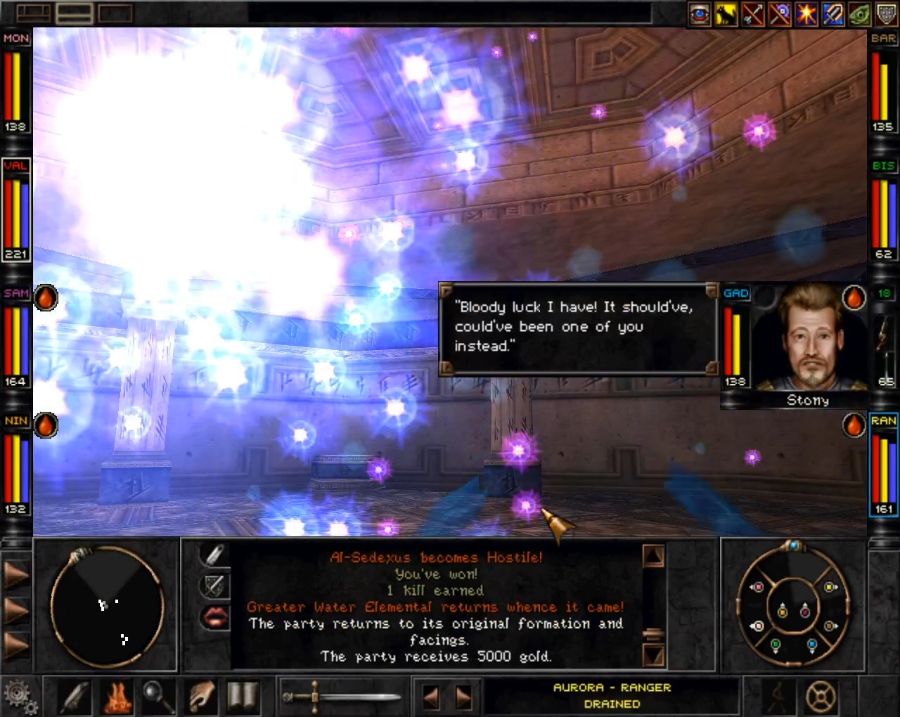 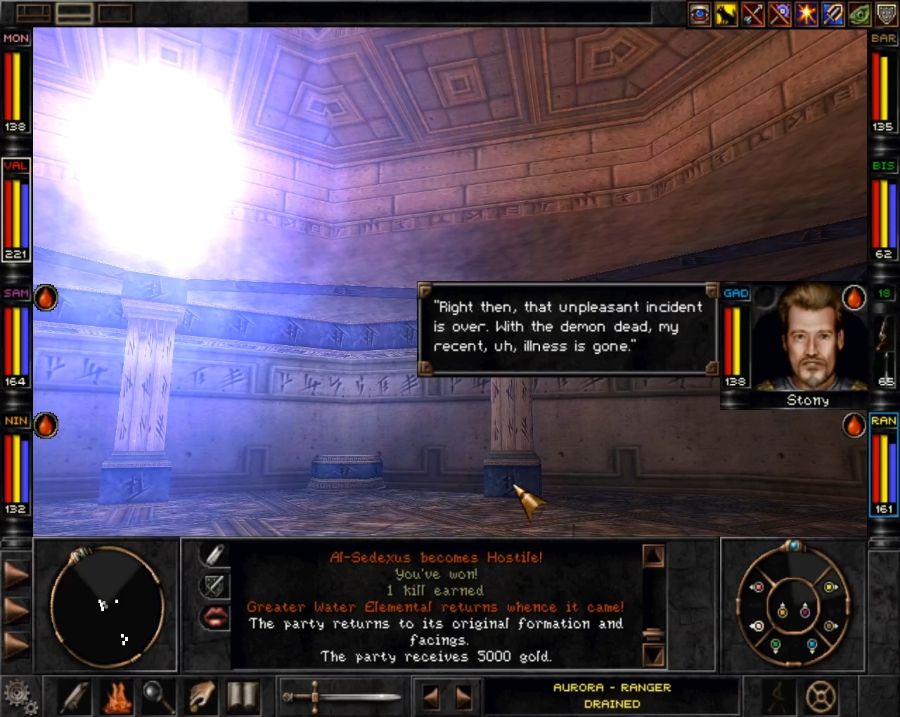 Good thing that isn't what it takes to cure all STD's. So the big upshot of this is that now the Rapax are quite unhappy with us, but that's a them problem, not an us problem, since we can own them easily. 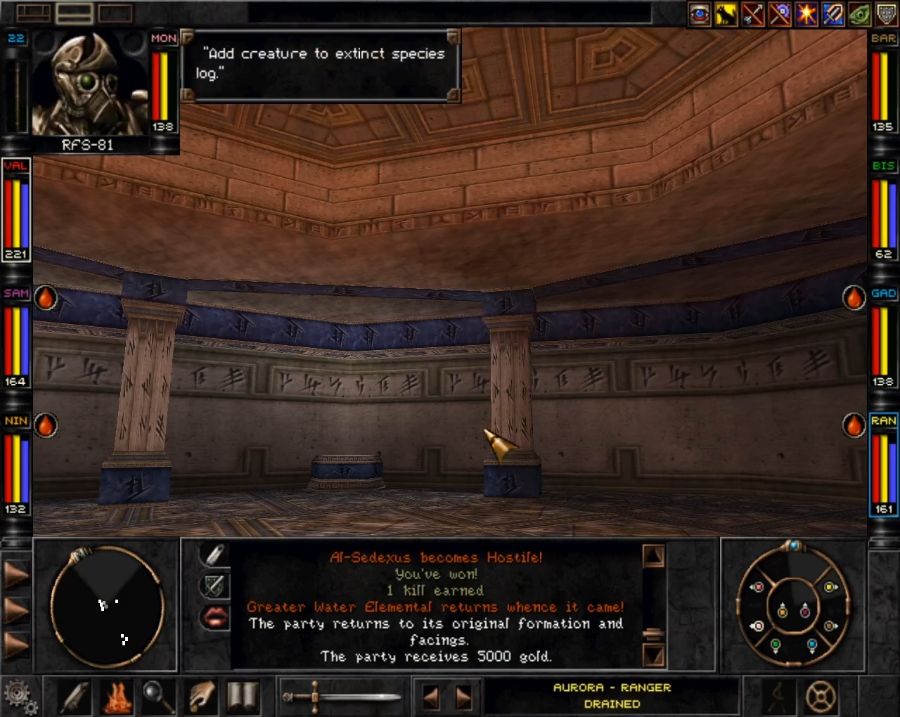 Good boy, best robot. 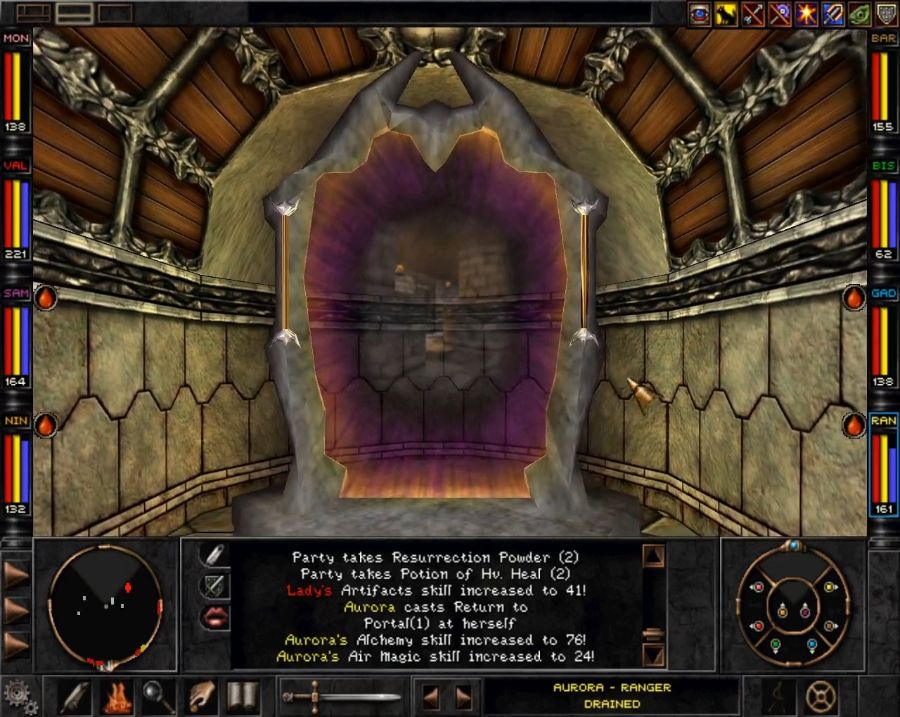 I portal back to the Rapax Castle and prepare for the last stage of the game. At this point it's one, at most two, updates and it'll be sorted, assuming I can get the "hitbox" on the goddamn hidden keyhole on the wall of the King's apartment to work as intended. Which might be asking a lot.
|
|
#
¿
Sep 17, 2020 22:50
|
|
|
RFS is actually the only character in the game noted as genderless. So I strongly suspect that's just a rumour.
|
|
#
¿
Sep 17, 2020 23:29
|
|
|
Unoriginal One posted:Speaking of solo runs, Stealth is another skill that doesn't really shine in a normal playthrough. It's not really noticeable unless you're really paying attention, but one of the effects of Stealth aside from the rather nice AC bonus is that the character gets targeted less. It doesn't lower the chance to target the character on some RNG table, it just straight up prevents the character from getting targeted at all. In a solo run, this means that you eventually hit a point where you're basically immune to melee, ranged, and single-target spells, and everything is forced to just sit there and defend while you bash them senseless. See, I did not in fact know this and it's hilarious to me. "Well SOMEONE is making us all explode. But I can't SEE anyone. Let's stand here and keep staring at the wall, guys."
|
|
#
¿
Sep 18, 2020 05:47
|
|
|
Arzaac posted:Wait, couldn't you in theory do a full party of stealthy characters for the same effect then? Depends on how the mechanic works. If it's just "if Stealth Check passed, no attacky," then yes. If it's, "if Stealth Check passed, attack someone else, if no someone else, stare vacantly," then it only works with a single character.
|
|
#
¿
Sep 18, 2020 06:46
|
|
|
Araganzar posted:So I know I played this and Wiz 7. I remember abusing the hell out of portals. I remember all the fuckery required to start a fight without your guys having variously bad things happen to their body and brains before anyone can do anything. But I do NOT remember areas of the game being this much of a slog. Maybe it's the kind eye of memory, maybe I save-scummed a little too much? Honestly, the only part of the game that's an annoying level of slog is the Rapax Rift because of the battles you have to wait your way out of since you can't actually fight them or it takes enemies ages to path to you so you can actually throw down. Then in the Rapax Castle, you face reasonably-sized battles... but because of the corridors your big wipe spells can't target all of them at once because half the enemies are around a corner or pathing through a quarter of the castle to get to you from the other side, so they can sometimes drag out. Lastly, you have the Wilderness Clearing where the archer towers are somewhat badly thought out and cause the same issue as the Rift. Most other areas aren't annoying or slog-y, but clearly the devs needed some extra work/testing time to find out the sweet spot where fights didn't drag out too long but were still a reasonable challenge, and obviously the later parts of the game got less testing and love before SirTech melted.
|
|
#
¿
Sep 20, 2020 08:48
|
|
|
Rip_Van_Winkle posted:This LP is compelling me to replay this game with a party all Rawulf Monks that only used unarmed combat. Literally Just Six Regular Wolves solve the world's problems. Gotta get that portrait editor downloaded I guess. So a Six Wolf Monk playthrough? Narsham posted:My memory is having parties with stronger ranged capacities and often preferring to fight Rapax at range where their attacks are often less effective while your spellcasters can wreck their days. But yes, a more close-range group has more issues. The problem is that ranged combat scales worse than melee combat, and is generally very reliant on high-level ammo which you'll run out of fast if you're using your Mystic Arrows and Lightning Bolts for every battle, especially with multiple users. Magic, on the other hand, has the problem that rising enemy resistances takes a good bit of the bite out of it towards the end, while it's very strong in the midgame where it's your melee combatants that are largely irrelevant. Additionally the end-game melee weapons also tend to come with things like instakill chances, paralyze, hexing, etc. to take enemies out of the game faster. And while you have to do a lot of running between clusters of enemies at times, having Soul Shield, Magic Screen, Element Shield and Missile Shield up will make a lot of ranged attacks irrelevant unless they're in a truly overwhelming volume. wafflemoose posted:I dunno, I felt like the entire game was a slog, because even the most basic battles with trash mobs can take upwards to 20min at a time. I still find Wiz8 a great game but the tedious battles do drag it down some. I'm not sure what could have "unslogged" Wizardry 8. Probably smaller fights with tougher enemies, something similar to fighting other parties like yourself, or perhaps enemies moving more simultaneously once their moves are plotted(to prevent them banging into each other).
|
|
#
¿
Sep 20, 2020 19:47
|
|
|
EclecticTastes posted:Don't have the battles out in the world with free movement. Sure, it feels neat to have everything be organic like that but we've seen how maddeningly slow it is. Instead, keep the old style where it was purely turn-based with no free movement. Anachronox showed that PC RPGs can handle that sort of battle engine, and it would be a lot faster. The problem with that is that "line up and bop each other"-fighting like an ancient jRPG is... really hard to have any real tactical depth in. Like, any game I've had where fighting required thinking and not just a big ol' numberslam, it had positioning of some kind. In Wizardry 8 as it is, for instance, picking the right place to fight is huge. Like there are fights where the difference between a wipeout and an easy win is whether you put your back to a wall or engage in a corridor where the enemy can't swarm around you and hit you from behind.
|
|
#
¿
Sep 20, 2020 20:55
|
|
|
EclecticTastes posted:The only other solution I could see maybe working (but probably requiring too much processor power for a game as old as Wiz8) is just input the party's actions, and then have everyone move simultaneously. You still end up losing a lot of tactical depth since you can't set actions to go off in order, but battles don't take forever to finish. I mean, a lot of the movement of enemies could easily happen at the same time, really the only time where timing matters is attacks and spellcasting.
|
|
#
¿
Sep 20, 2020 22:09
|
|
|
Part 013.5: Mental and Divine The last update is going to take me a bit of work, so in the meantime, have the last spellbook update to ride you over. Predictably, these will cover a lot of the ground where Psionics and Priests distinguish themselves. Something interesting is that there are only two Mental spells that aren't Psionic spells. Mental Charm (Level 1, Psionic, Divinity, Single Target) Welcome to a spell that I've never, ever cast. You'll likely only pick it up by mistake or because you got a spellbook for it and learning an additional spell of a given "element" adds spell points to said element. Ostensibly it attempts to make a target like you more, which can be relevant if you've accidentally annoyed a friendly NPC into being ambivalent and not wanting to talk to you until you bribe them. But this pretty much never happens and usually you can just pay them weregild(literally, bribe them) to make up for it anyway. Between this and Communication I feel like the originally envisioned social and faction system was going to have played a larger role. Mind Stab (Level 1, Psionic, Single Target) Probably the best of the level 1 single-target attack spells. Firstly, mental resistance is rarer than the others. Secondly, unlike the others that just do damage, Mind Stab has a chance to inflict Insanity and is thus a potential gamechanger if you land it, being surprisingly relevant even into the mid-game. Terror (Level 1, Psionic, Wizardry, Group AoE) Probably your first group battlefield control spells... but you'll likely try to cast it as little as possible. See this is because, obviously, it inflicts the Afraid condition. And Afraid is 50-50 whether enemies do nothing or run away. In a lot of areas, an enemy running away gives you a hell of a lot of extra work catching up with them, and disrupts their formation so radial AoE's and cone AoE's don't hit all of them any longer. It can still turn around early battles, but you'll come to hate it. Detect Secrets (Level 2, Psionic, Wizardry, Party Buff) As far as I can tell, all this does is emulate the Ranger's Scouting skill, by auto-searching for items. It has a painfully short duration, though, and you'll probably never think to cast it where there's anything to find. Just bring a Ranger. Divine Trap (Level 2, Psionic, Divinity, Special) So when your Ninja, Rogue or Gadgeteer is trying to disarm a trap, Divine Trap gives them a potentially very large buff. Probably you'll want this, since by the endgame, once Stony was hexed, even with a max Divine Trap cast, he was capable of loving up traps. It seems like high-level chests have some kind of malus to actually picking them, since apparently a 99% chance of disarming each stage of the trap still means you can fail them four or five times in a row. But yeah, you want this unless you want to look at all those locked chests for the rest of your playthrough. Identify Item (Level 2, Psionic, Divinity, Special) Again, another spell you want unless you have a FAQ open all the time, because it's impossible to have sufficient level of Artifacts to passively ID all items. Also a great way to level your Psionic's Mental spell skill passively. Especially since a lot of potentially great items have the exact same sprite as some utterly garbage items. Insanity (Level 2, Psionic, Group AoE) Your wonderful replacement for Terror. Well into the endgame this spell is great and useful. Even chance of enemies doing nothing or attacking their allies. It's great poo poo, Insanity is literally the best condition you can land on an enemy(because you'll never land Turncoat on them, don't even bother). Mindread (Level 3, Psionic, Single Target) Any NPC you can talk to, you can hit with Mindread, which gives you some of their internal monologue. A lot of it's just fluff, occasionally entertaining. But in a few places it lets you skip ahead or gain an advantage. Not on the level of Dragon Knight Saga, where reading people's minds could get you XP and skill points. But, for instance, you can learn that Kunar is a traitor and things like that. But again, in a game with as relatively little NPC interaction as there is in Wizardry 8, it's not a game-changer. But it IS the only level 3 Mental spell in the game. Ego Whip (Level 4, Psionic, Cone AoE) A workhorse cone damage spell. It does decent damage and, as per all mental spells, few things will resist it utterly unless they're mindless golems or something. X-Ray (Level 4, Wizardry, Party Buff) Another one of those buffs you'll have up at all times. Letting you see enemies around corners is great for planning ambushes, which as mentioned is probably THE biggest tactical thing you have to master to have an easy time with Wizardry 8. If it's your first playthrough it also lets you spot not-in-a-chest loot on the ground, and where friendly and neutral NPC's are, which will be points of interest in most areas. If nothing else, keeping this up will help your Gadgeteer level his Engineering once you've got the Mook Alliance Letter. Hex (Level 5, Psionic, Wizardry, Radial AoE) I really can't gauge how well Hex works on enemies, since you can't see their stats, but I know it's totally crippling for PC's. It might be great to make spellcaster enemies constantly backfire and fizzle their spells if you could land it on them, though. By the time you have it, however, landing status effects on enemies is difficult, and good as it is... paralyzing an enemy or making them go insane is still better. If it dropped elemental resistances, too, it might be worth applying as a first step but... it doesn't. Only cast when my Wizard ran out of everything but Mental mana. Psionic Blast (Level 5, Psionic, Group AoE) This spell is like casting Mind Stab on an entire group, with the same chance of causing insanity on everyone. In practice it replaces Insanity since you now have a version of Insanity that also does a good whack of damage even if it doesn't land the condition. It's an absolutely kickass spell. Sane Mind (Level 5, Psionic, Divinity, Single Target) It cures Insanity and Turncoat, but you get it so late that you'll almost never suffer from them since a combination of Soul Shield and Magic Screen will almost guarantee you never get hit by them. Turncoat (Level 6, Psionic, Wizardry, Single Target) Turncoat is like the Insane status effect, except it guarantees they attack an ally every turn. Again, it has the issue that a single-target condition effect in the endgame is a bit... anyone who it'll matter to convert will be resistant to conversion, so instead you'll just hit an entire group with Psionic Blast instead. Plus Single Target spells are just... generally not worth it. More on this after we're done summing up the spells. Cerebral Haemorrage (Level 7, Psionic, Single Target) Attempts to blow up a single target's brain, does insane damage, can cause Insanity. Concussion (Level 7, Wizardry, Single Target) Attempts to blow up a single target's brain, does insane damage, can cause Unconsciousness. Mind Flay (Level 7, Psionic, All Enemies) Does a big chunk of damage to all enemies, but doesn't cause any conditions. You will be casting Pandemonium instead. Generally from level 6 up, you won't be using the Mental spell school. Divine Bless (Level 1, Divinity, Party Buff) Bless is a general no-duh spell to put up on the first round of all fights as it increases your odds of hitting enemies. In the early and mid-game, enemies can still dodge your swings, so it makes for a big overall change in how much damage you can do. Heal Wounds (Level 1, Psionics, Divinity, Alchemy, Single Target) Fixes up a character's hit points. Early on what you want to do is to never rest until you've poured all your Divine spell points into casting Heal Wounds, since it's easy training, and for some classes(like Alchemists), one of the few ways they have of training it up. Make Wounds (Level 1, Divinity, Single Target) If you keep your priests on the back lines, this is how they'll be doing damage early on, since ha ha at the idea of using slings for any kind of real damage. Enchanted Blade (Level 2, Divinity, Wizardry, Party Buff) It's like Bless except you can keep it up constantly. Once again, something you should have up at all times since it guarantees a bonus to hitting enemies, and also a bonus to the nebulous step of "penetration." See, attacks have to both hit AND penetrate. So you might think that characters and enemies have both an armor and a dodge stat? No. They just have an Armor Class stat. And pretty much everything that makes you better at hitting things(like being strong) also makes you better at penetrating, but sometimes attacks just don't "penetrate." Enchanted Blade should make that happen less, I guess. Anyway, cast Enchanted Blade, keep it up. Guardian Angel (Level 2, Divinity, Single Target) Adds a layer of ablative HP on top of a character. If you've already got someone else casting a heal, casting Guardian Angel instead of another heal can make sure you don't waste spell points. Additionally if you know there's some dickhead enemy who can hit your fragile casters(especially if they're fairies), you can use this to protect them ahead of time. Once you've got all the defensive spells up, it becomes less of an issue, but pre-Magic Screen, it can be what saves you from having your mages constantly wiped out by dickhead pixies and treants with their Whipping Rocks poo poo. Magic Missiles (Level 2, Wizardry, Cone AoE) I never really cast Magic Missiles much. It does okay damage and few things resist Divine damage as well as other types, but it's kind of in this weird gap where you almost always have something better to cast and there are only a couple of levels where it's relevant before you get Fireball. Magic Screen (Level 3, Divinity, Party Buff) KEEP. UP. AT. ALL. TIMES. Unlike Soul and Element Shield, this buffs all six resistances, and it's one of those out-of-combat casts that remain up at all times. When you get it, it'll probably account for 50+% of your total elemental resistances. Generally items, stats and racial bonuses don't give you all that much, and your buff spells account for the majority of your elemental resistances. Eye For An Eye (Level 4, Divinity, Single Target) Also known as the game that gets you killed because you missed one enemy casting it. See, if you hit an enemy with this spell with an AoE spell, it loops back and hits your entire party with it, not just the caster. At the very least it repeatedly kills your casters. Your first experience will probably be when a pixie in Trynton casts it and gently caress you up. Theoretically it's a good cast, but you're better off buffing your elemental resistances and just retaliating with offensive/status spells. Remove Curse (Level 4, Divinity, Wizardry, Single Target) If you accidentally or purposefully equip a cursed item, this will let you unequip it. It's good for once you eventually get Fang or a Bushido Blade to replace your Bloodlust sword, but generally you shouldn't be equipping a lot of cursed items because by the time they really start popping up you can cast Identify Item before putting them in someone's hand. And then once you have it, curses are totally irrelevant so it kind of feels like they shouldn't even have been in the game. Soul Shield (Level 4, Psionics, Divinity, Party Buff) AKA "how you prevent the entire party from being killed by Death Wish when fighting the Sorceress Queen." Resists Divine and Mental damage and their associated conditions. If anyone can beat the game without this one, I will give them a prize. Elemental casters are mostly just shitloads of damage, and sufficient grinding will deal with that. But the Mental/Divine casters in the later game will usually either turn everyone Insane or just straight up kill them if you gently caress up your save rolls. Heal All (Level 5, Divinity, All Allies) If you don't play with either a Gadgeteer or a Bard, this is a great spell, but if you play without both a Gadgeteer and Bard, you're probably some sort of deviant who should be in an asylum somewhere. Both of them get access to items that cast this spell. I guess a pure Priest could be casting this, but Lords and Valkyries should be laying down a smackdown instead and casting as few spells as possible. Instant Death (Level 5, Divinity, Psionics, Single Target) See every other complaint about high-level single-target spells so far. Enemies can barely ever manage to stick this, so you shouldn't even bother. Summon Elemental (Level 5, Wizardry, Alchemy, Special) The main obstacle to learning this spell is that Alchemists and Wizards have little Divine access to level up with and Bishops have a hard time reaching the relevant level to learn it. But it's absolutely worth your time. High-level elementals can deal out over 100 damage with a punch and get two of them per round, which can help accelerate later battles, especially if you've got someone paralyzed or otherwise helpless and the elemental gets to double up on the damage. Non-boss enemies rarely get over 400 health even in the latest parts of the game. They also draw some hostile fire. Sadly, they require a certain amount of space to spawn, and a lot of areas in the game have too low ceilings for them to be summonable. Their AI also seems buggy, sometimes they just defend even when they're perfectly able to attack enemies. Banish (Level 6, Wizardry, Divinity, All Enemies) Attempts to blow up all Undead and Demonic enemies in the area, a purpose for which it's great. It deals out fat assloads of damage and sends them right back to hell. Unfortunately... by the time you have it, you're past most areas that actually contain undead in any real amounts, and the list of demon-type enemies in the game is incredibly short, and they generally show up as single large targets(like al-Sedexus) rather than anything that would benefit from an area wipe effect. Draining Cloud (Level 6, Alchemy, Radial AoE) So, Draining Cloud. It hits enemies' health, stamina and spell points, the latter of which can be really annoying when it hits you rather than them. However... it deals less damage than Acid Bomb or Toxic Cloud, the latter of which can also poison, nauseate and knock out. And... enemies don't actually use spell points as far as I can tell. Instead their spellcasting is entirely based on random rolls their AI script goes through. If enemies actually used SP, it would be great for dealing with hostile mages, but as it is... just cast Toxic Cloud instead. Lifesteal (Level 6, Divinity, Single Target) Hits a target for big damage and heals the most wounded party member. Which... you know the drill by now. Just cast Heal Wounds or Heal All or have the bard play his dulcimer. By the time you can cast this you almost certainly won't do enough damage to make the healing OR the damage-dealing worth it. Might to Magic (Level 6, Psionic, Single Target) Like Lifesteal, except it deals more damage and restores spell points rather than hit points. Actually sometimes worth casting, though... your casters will probably be swimming in magic nectars and mana stones by the time you get this far. So real mana outages are unlikely to happen. Still, could be situtationally useful. Resurrection (Level 6, Alchemy, Divinity, Single Target) Cures being dead. It's a useful thing to have in your toolbox, but again, by the time you have it, you'll probably have tons of Scrolls of Resurrection and Powders of Resurrection, enough that you could feed pigs with them. Especially since spells get disadvantaged in terms of init, and you probably want to pick up your dead guy early so he'll benefit from a Heal All in the same round and doesn't instantly go down again, using an item for it would probably be beneficial. Death Wish (Level 7, Divinity, All Enemies) Attempts to instakill all enemies. The same story as Asphyxiation and to a lesser extent Quicksand. I mean, yeah, there are a couple of late-game fights where you might as well roll the dice. I think there's a limit to how likely enemies can be to resist things, like an 0.1% chance of something slipping through even a 200% resistance, so if there's like 30 enemies, roll them bones and see how many of them explode. If it's even one, you got a return on your investment. Restoration (Level 7, Divinity, Single Target) Cures all conditions(bar being dead or drained) and fixes up a huge amount of hit points. Yeah, it's alright if someone's both hurt and insane and you need to fix both at once. But once again, the Bard gets a Rennaissance Lute that casts the same spell, so let him handle it instead. There are worse things to get with your level 7 spell picks, I suppose. Wizardry 8 Magic Post-Mortem So magic in Wizardry 8 kind of sucks, which is funny because it's called Wizardry. How do you make magic suck in a game literally named after it? Mostly it's down to how the game handles resistances. In most games, the flat default for an enemy is to have 0 resistance to a thing, eating the full effect, and then being resistant, immune or sometimes vulnerable to certain things. In Wizardry 8, the flat default resistance rises as the game goes on, and there's no such thing as an actual weakness, until by the endgame the flat default is 80 or 90 resistance to most things. Which, for all intents and purposes, means that they eat very little magic damage and ignore most conditions inflicted by magic(I don't trust claims that, say, paralyze from weapons still runs off water resistance since I see the weapon effects sticking far more often than the spell effects). It means that in the early game, magic is okay. In the mid-game it rules because it's your big battlefield clear artillery. And then in the endgame your wizards are better off summoning elementals and casting buffs, then bringing out their beatsticks. Secondly... potentially high-level magic is worth more than I give it credit for. But I don't know. Why? Because the system is obfuscated as gently caress. Consider that two decades after release, people still aren't sure how resistances and the spellcasting system actually work. Now, I don't believe a system needs to be super-simple, but if it isn't, then the game should tell you the end result. I point a Fireball at someone? Tell me the damage or damage interval for the targets. I ready up a Freeze Flesh? Tell me the rough odds of affecting each target. Either make the calcs simple enough that they can go in the manual, or tell me the factors and the end result. But Wizardry 8 does neither, so usually you stumble on what's actually effective by accident rather than on purpose. Like... a balanced party sucks poo poo. You want a Bard, a Gadgeteer, at most one full caster and the rest should be hybrids and pure beatdown guys. You don't want half casters and half choppers, because the casters will be useless by the endgame. Lastly, there's the issue of splitting things up between four schools and six realms. I love the idea, honestly, but there are just some huge gaps. Like, it's fair that the Mental school is most important to psionics... but at the same time wizards have a couple of spells in the top there that they'll almost never be able to cast because they have no real low-level spells to get in the training with unless you grind by spamming Detect Secrets and resting over and over again. There are also some spells you just can't beat the game without: Magic Screen, Soul Shield and Elemental Shield, because of the way the magic is "balanced," i.e. that you more or less have to be completely immune to it by the end game or get mercilessly annihilated. There's no easy fix towards unfuckling all this, but goddamn, it's probably the game's biggest weakness. Imagine if magic didn't suck poo poo, suddenly all of those huge mobby end-game fights and hard-to-reach enemies could actually get blasted down to a respectable size in the first few rounds. PurpleXVI fucked around with this message at 15:28 on Sep 23, 2020 |
|
#
¿
Sep 23, 2020 15:26
|
|
|
RabidWeasel posted:So are spellcasters just suboptimal to use overall, or are they still good for doing CC / buffs / healing while the wall of meat punches everything to death? You need them for buffs, like, by the end of the game you have a list of like 8 buffs you want up at all times: Missile Shield, Magic Screen, Enchanted Blade, Light, X-Ray, Chameleon and probably Shadow Hound. On top of that, end-game fights that don't start with you casting Soul Shield and Element Shield usually ends in instant death. Mid-game, you need them for area clears because there their fireballs, noxious fumes, etc. will speed up combat a LOT. And there are tons of good mid-battle buffs: Haste, Bless, Superman, Body of Stone, etc. and then the elemental-summoning. They DO still have a role, but their damage spells rapidly stop being it, and are what 90% of their top-tier setup consists of.
|
|
#
¿
Sep 23, 2020 20:31
|
|
|
Straight White Shark posted:There's apparently some weirdness in the resist formulas where more expensive spells are more effective at penetrating resistances than cheaper ones, so the resistance creep isn't as bad as it sounds. Lategame enemies with triple digit resistances except a "weakness" of 80% resistance still take a decent beating from lategame spells, especially with Power Cast. And then sometimes it still bounces off. No one knows how this works and no one ever will. If the stuff posted on Steam was real, then Werdna should have been owning through all resistances, no probalo, but in practice he was largely incapable of doing any magic damage to anyone at the end. Somewhere between 80% and 90% resistance, the ability for the party to punch through reliably with conditions and damage just vanished.
|
|
#
¿
Sep 23, 2020 20:53
|
|
|
Narsham posted:Either you�re exaggerating or something strange is going on, because the high level single target spells will reliably do over 100 damage in the endgame. Yeah, that is confirmably not the case. Unless I encounter an underlevelled enemy, they did like maybe 20 or 30 damage tops from a cast of Concussion, assuming it stuck at all. For curiosity's sake, though, how high level were you generally in the endgame? Because it's like, I feel like I was at the intended level for the endgame, i.e. roughly on par with most enemies I encountered or slightly below, but you could certainly hammer your way up higher if you wanted, like if say you didn't use the portals to skip out on tons of on-the-road encounters.
|
|
#
¿
Sep 24, 2020 15:31
|
|
|
Narsham posted:I�m unsure if I have an endgame save archived somewhere. My furthest seems to be at Ascension Peak. Everyone is level 23 except for the bard at 24 and the bishop at 22. The bishop has 90 in Power Cast and is in the 80s on magic skills. I suspect that party was my one Wiz 6-8 attempt. I�m thinking back when the game was first released that I was more willing to grind magic than I am now, although my willingness to try a solo faerie run in 2017 gives the lie to that. So it looks like you had lower magic skills than me for the most part and similar levels. As for managing stamina, once I had Infinity Helms and Robes of Rejuvenation on everyone who could wear them and wasn't reliant on big heavy armor(Lady and Chewbecka, mostly), the only characters I had who ever ran low on stamina were Saxx and Stony, at least once hitting the endgame. There were a couple of midgame fights that dragged out and really wore the party's stamina down, but that was about it. Stamina mostly handles itself because your female fighters get Amulets of Rejuvenation, and then a variety of other options crop up for everyone else as the game advances. Bards and Gadgeteers who eat up 30% to 50% of their stamina pool per "cast" are the only ones who need some babysitting in that regard.
|
|
#
¿
Sep 24, 2020 17:50
|
|
|
Part 014: Apotheosis 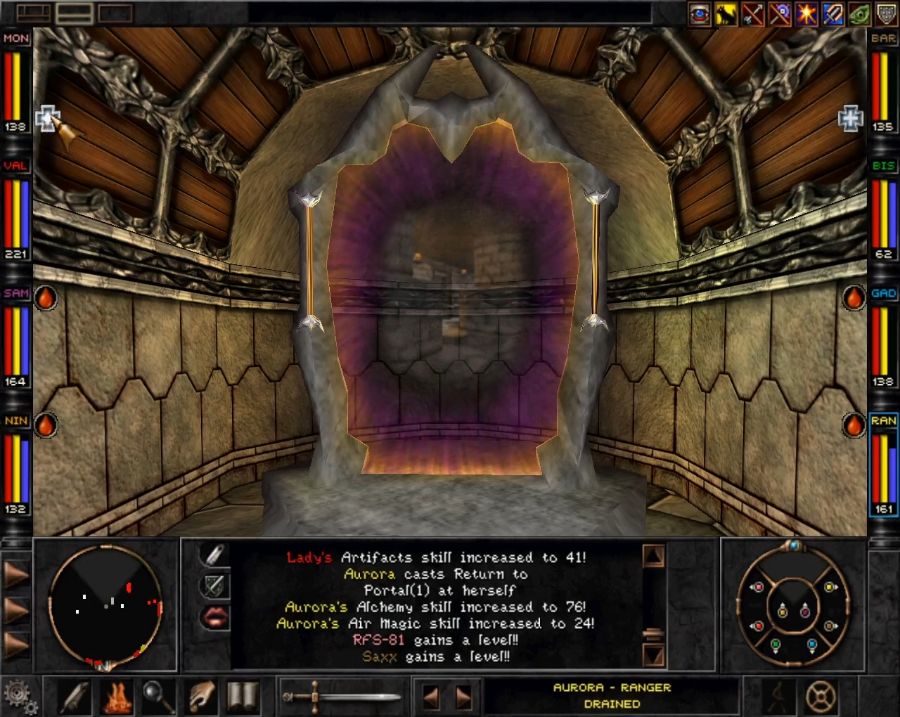 Alright, let's finish up this game. Back in the Rapax castle after having killed a demon masquerading as a god, ending centuries of prejudice and warfare and also having guillotined a noble. A pretty good day's work, now it's time to make sure it actually lasts and the Dark Savant doesn't gently caress it all up by becoming a god. 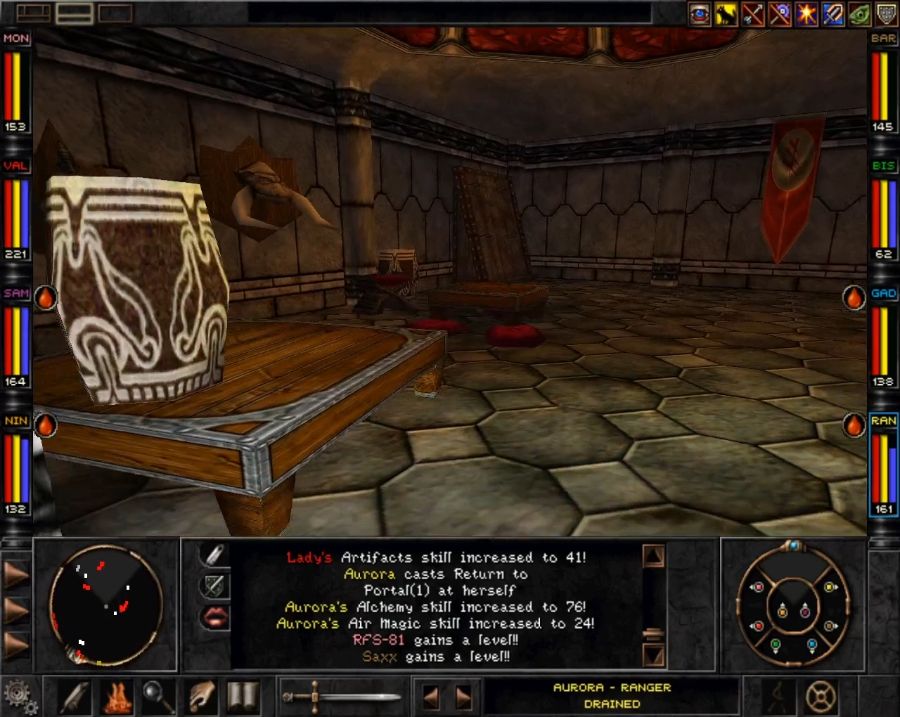 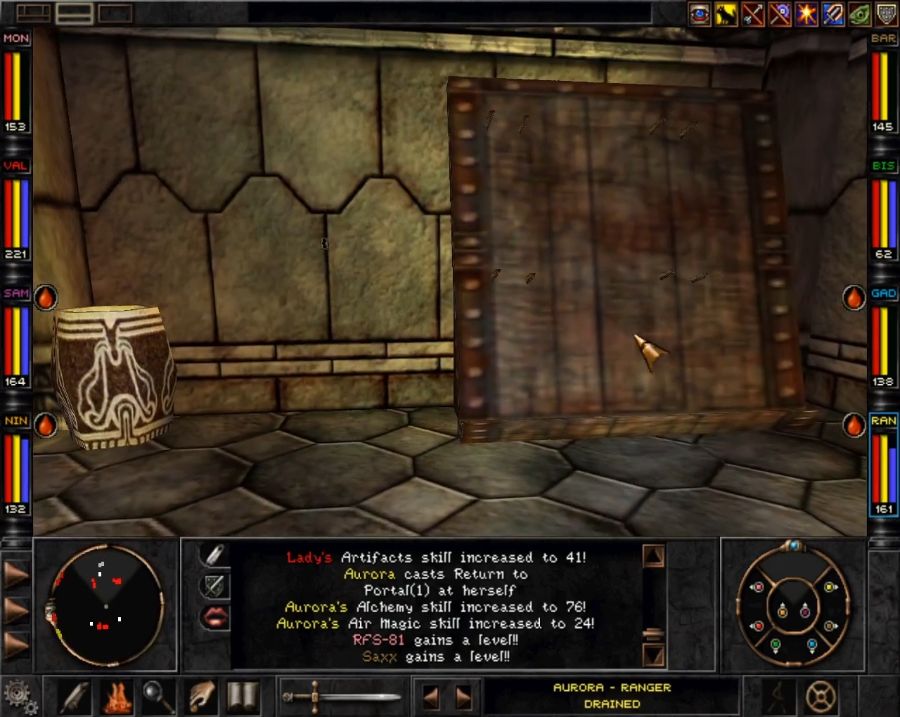 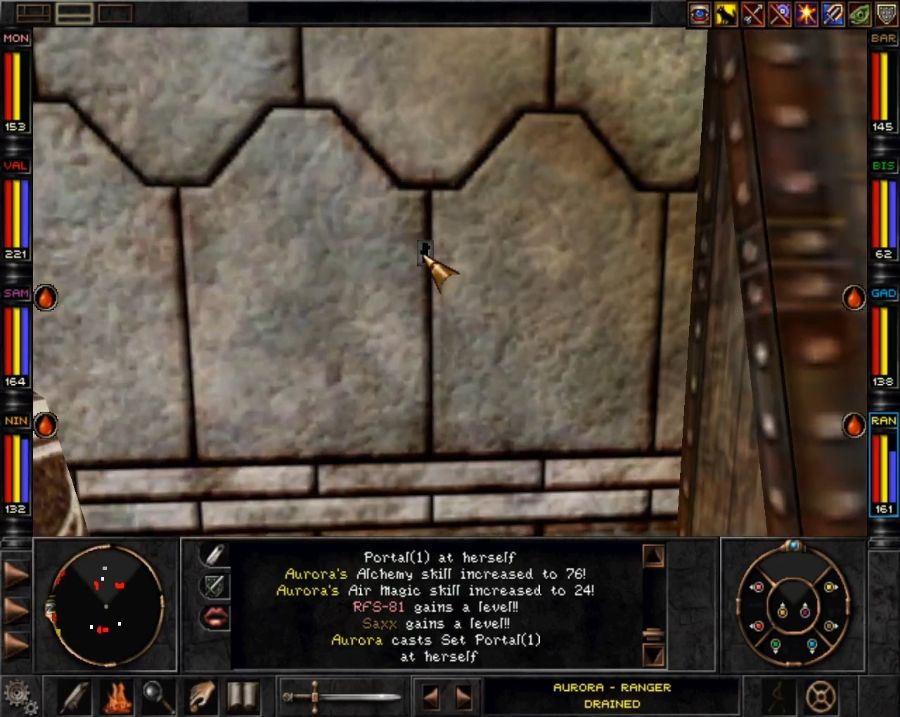  This is how close I have to get to the drat keyhole in the king's playroom before it'll accept the keyhole as being interactible and something I can put the actual key in. 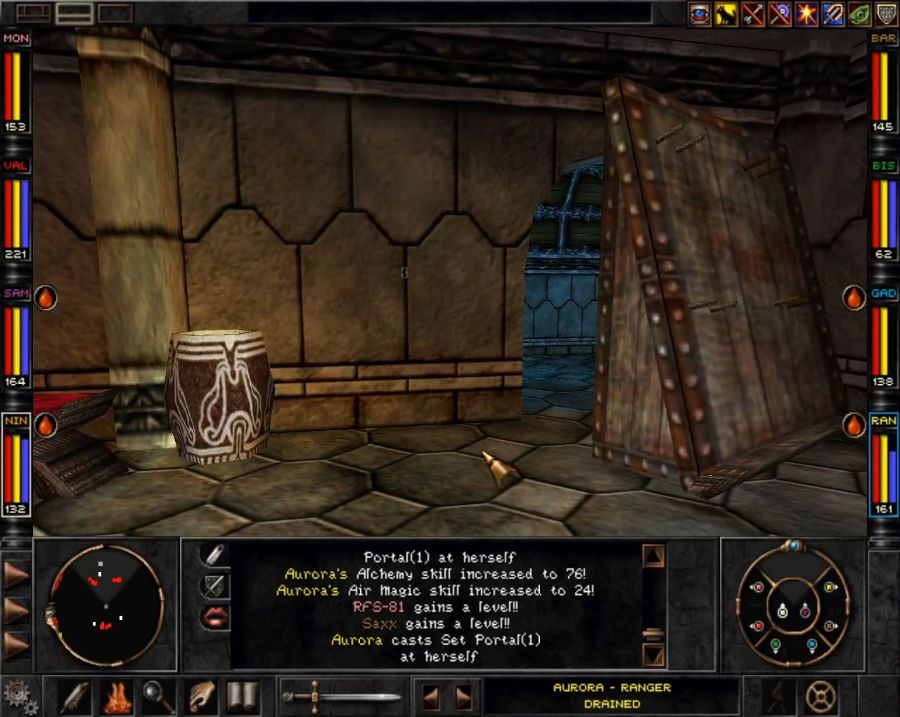 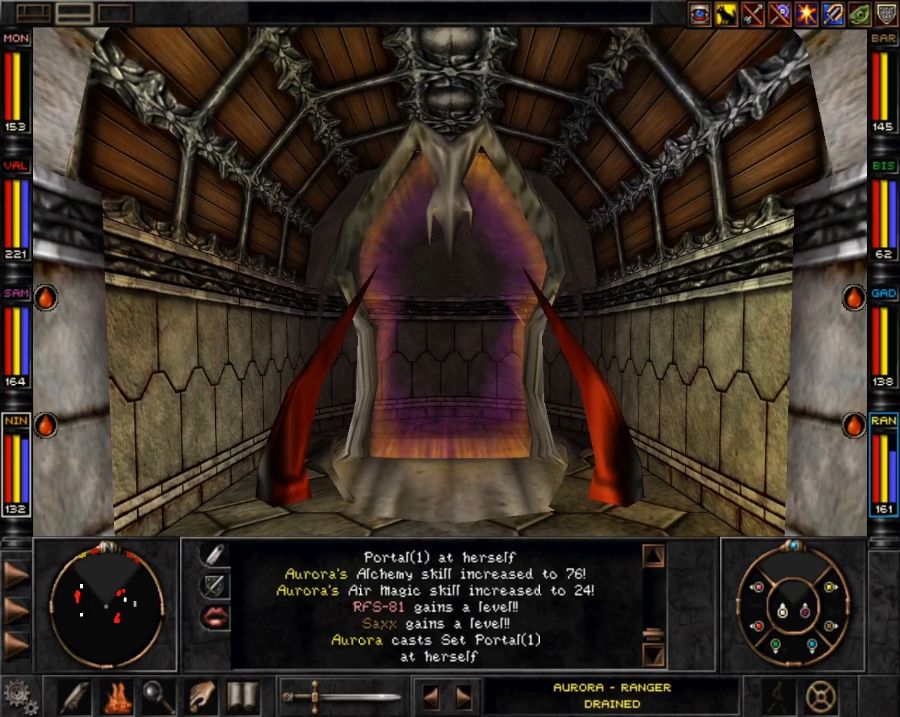 This causes the rack to move aside and expose a very sinister portal which, unlike the other two in the castle, don't display the terminal location. I'm sure it's perfectly safe to dive right in, though. 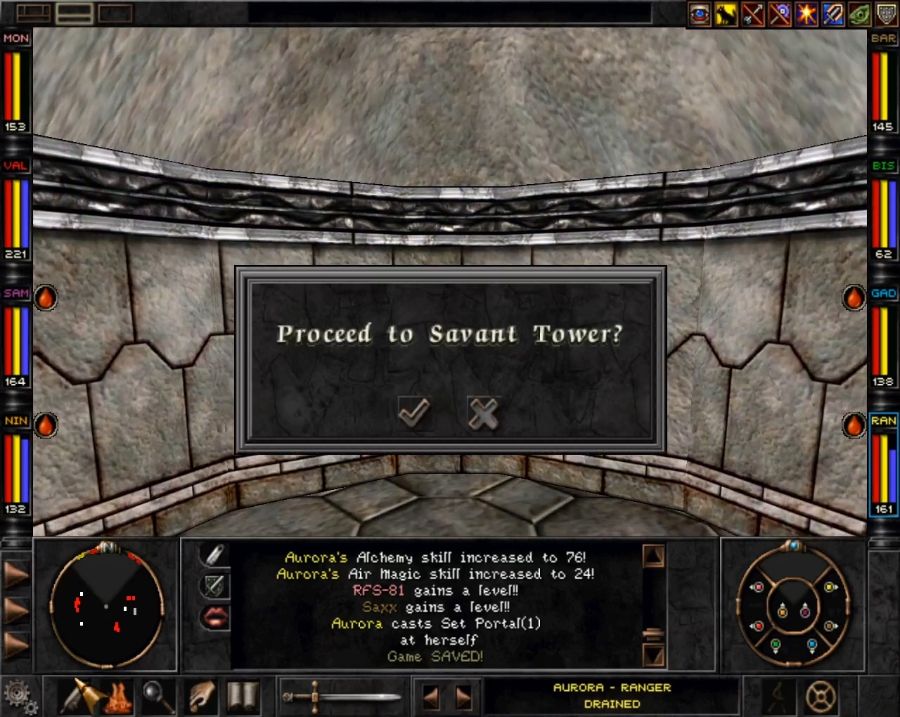 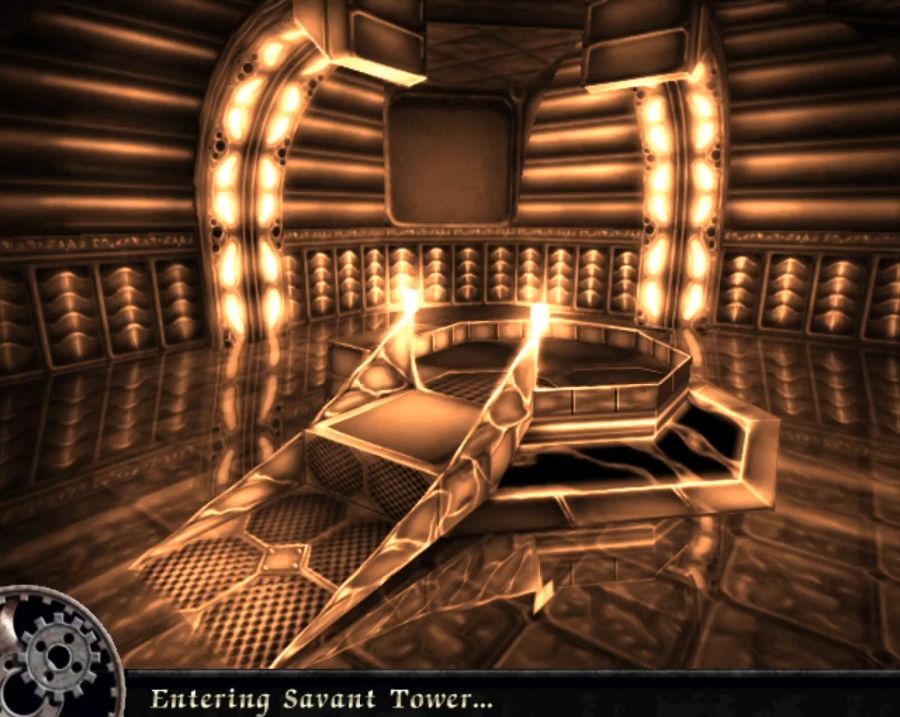 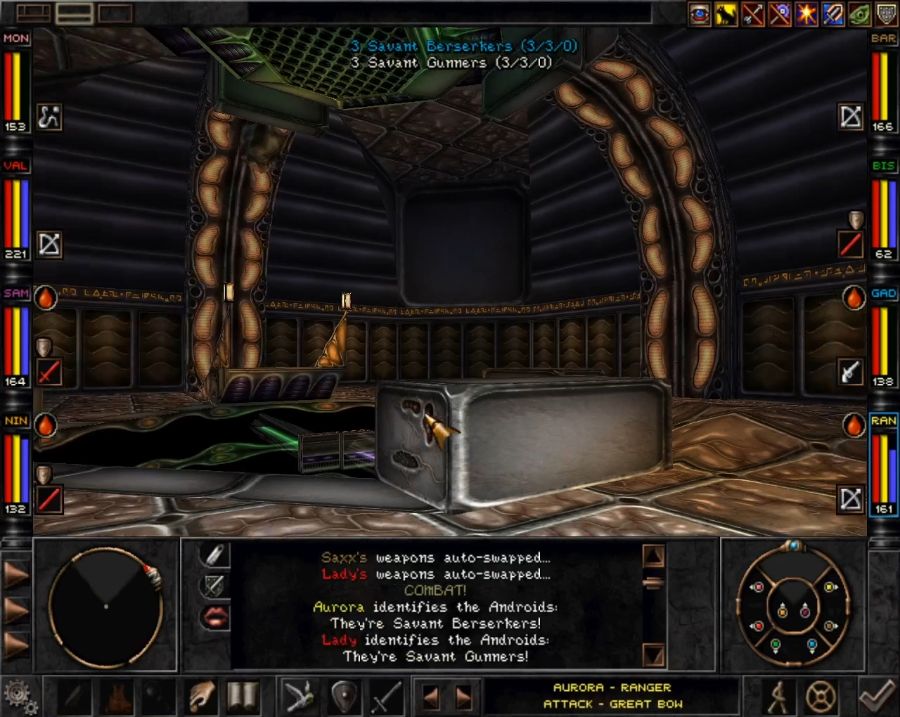 I have to wonder why the Savant decided to put in a portal to his big tower in the Rapax castle rather than just having the other end on the Dark Ship in orbit or something so only he could access it. What an idiot. Anyway, welcome to the Savant's tower! 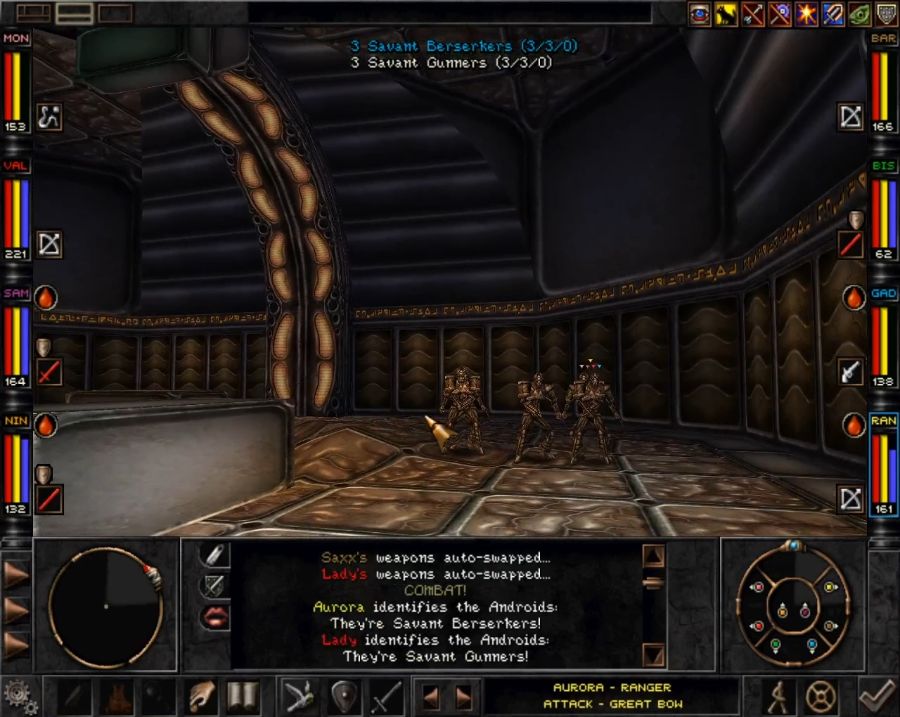 On your right is scenic "a bunch of mooks about to get gibbed while I yawn because they're all underlevelled."  Straight ahead is the Rave Pit, also known as "lame puzzle hole" to the locals. 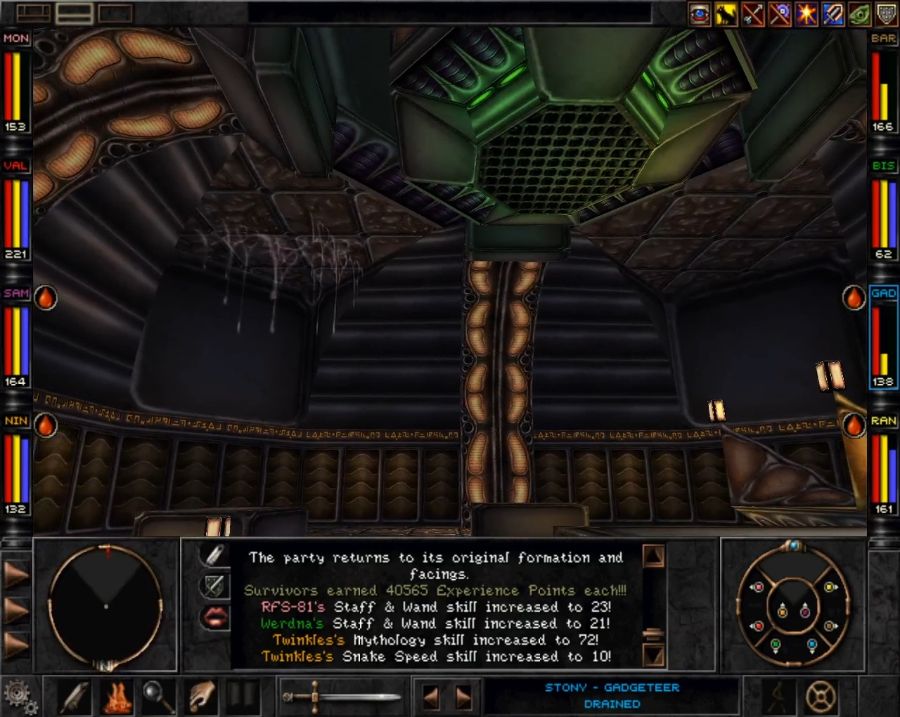 Above you is some slime that makes the interior of the tower feel like someone's nostril. I also can't help but feel like more Savant-centric locations were planned, like maybe a visit to his ship or an android stronghold or something, considering the Savant chest we only ever see used in the basement of the Rapax castle and this entire tileset that sees no use anywhere else. 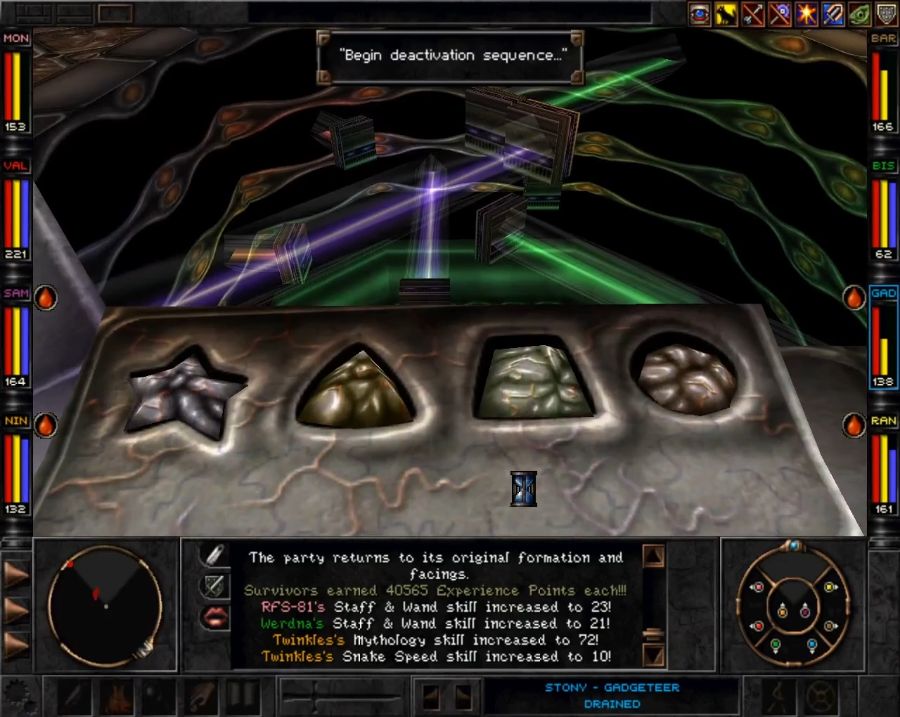 Anyway, mosey over to the edge of the pit and you'll see this goopy Fisher Price toy. It's one of those classic "press a button and some bits will go in and others will go out." The point is to withdraw all of the bars in the pit, but part of the problem is that because of the angle, you can't really see them very well. So just press the first and fourth and solve it in two moves.  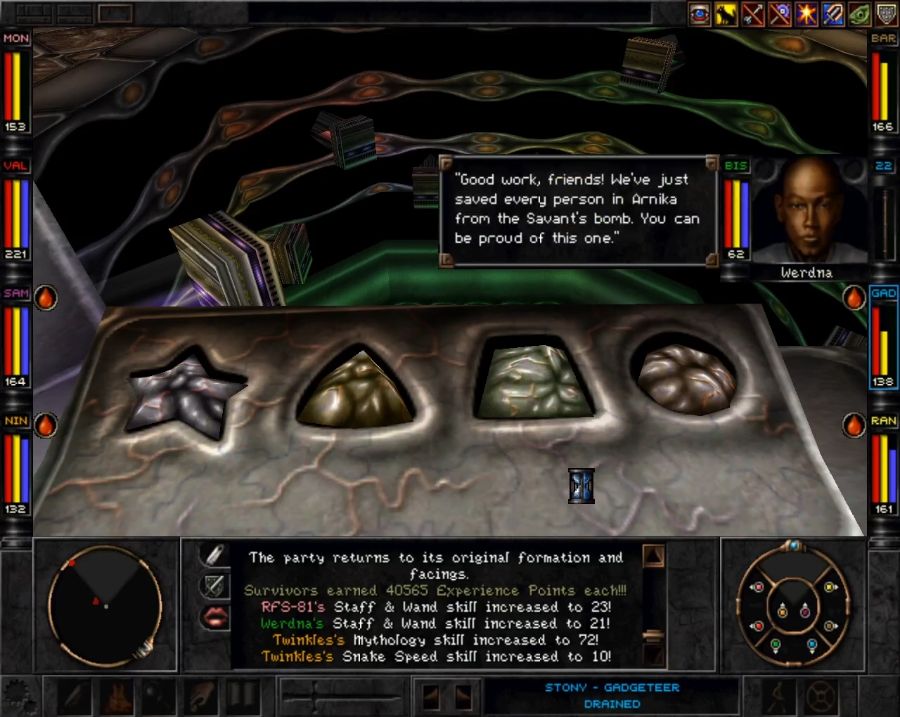 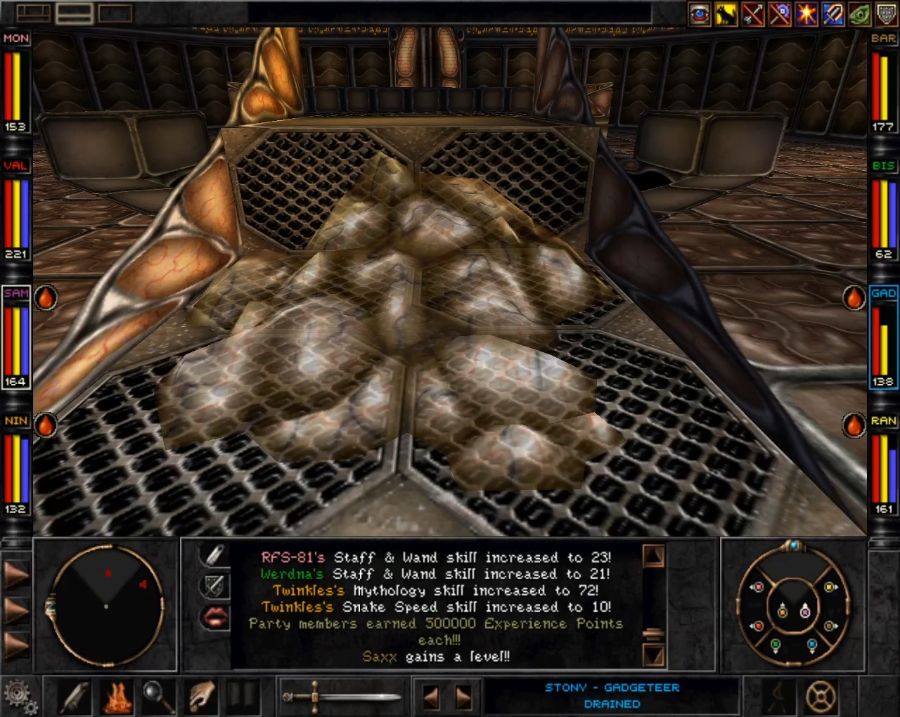 Aside from presumably raising the Savant's blood pressure, this raises a squodgy set of stairs leading up to a platform that's descended on top of the pit. The platform is an elevator we can ride down into the pit. 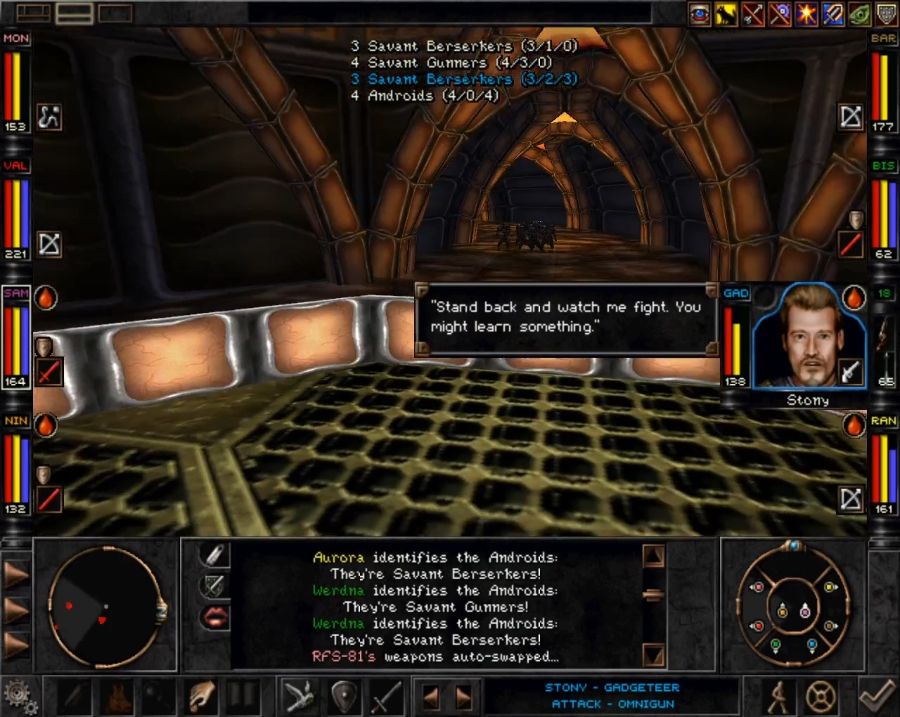 It contains more pre-corpses. They go splat. 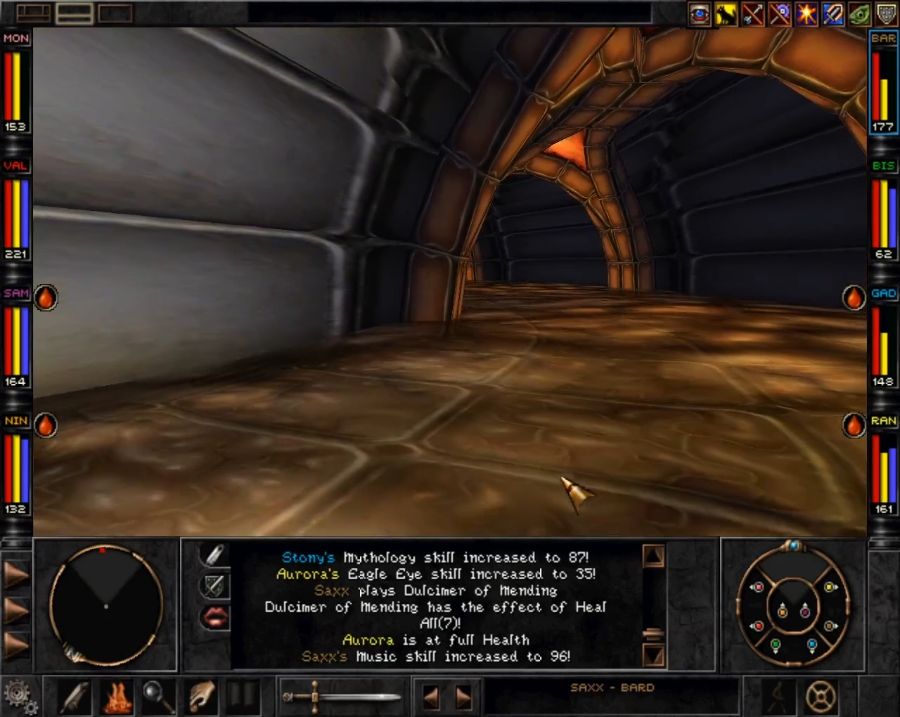 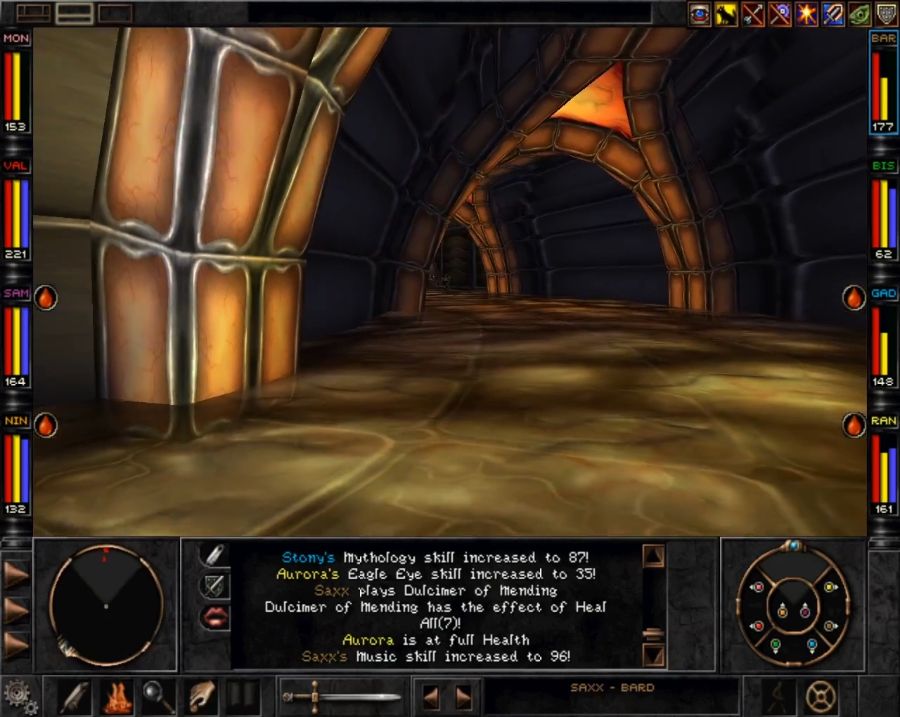 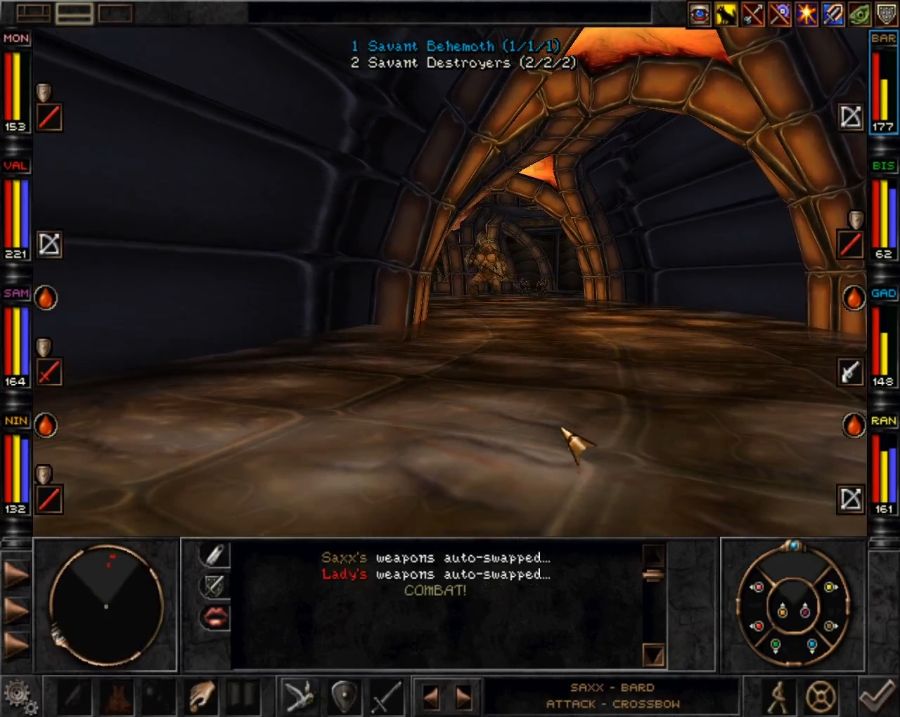 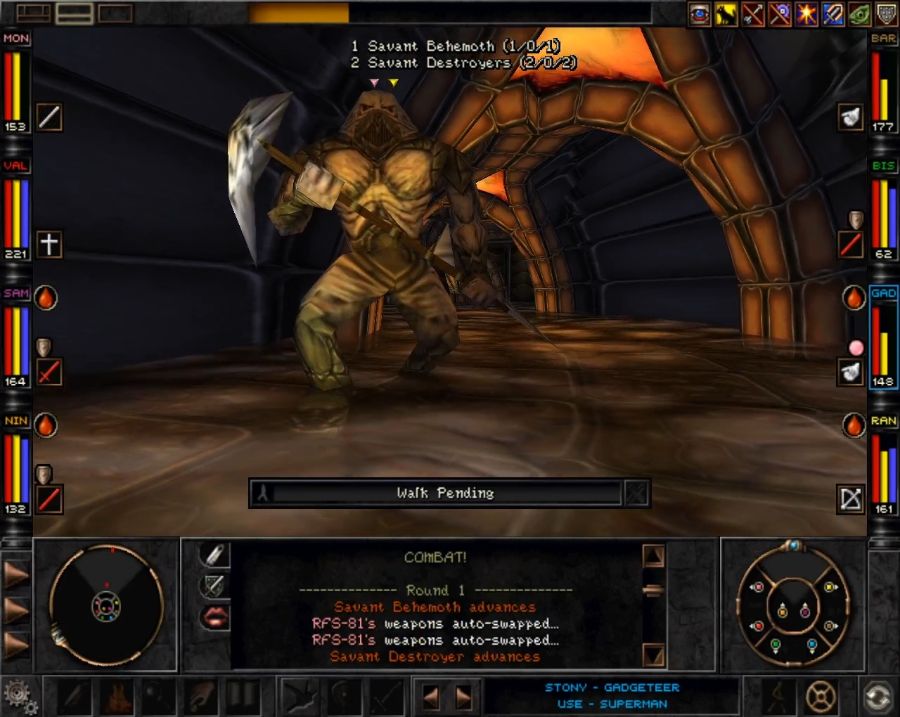 You wade through the knee-deep slime until you meet the SAVANT BEHEMOTH, a unique super-big android that's still lower levelled than the party. 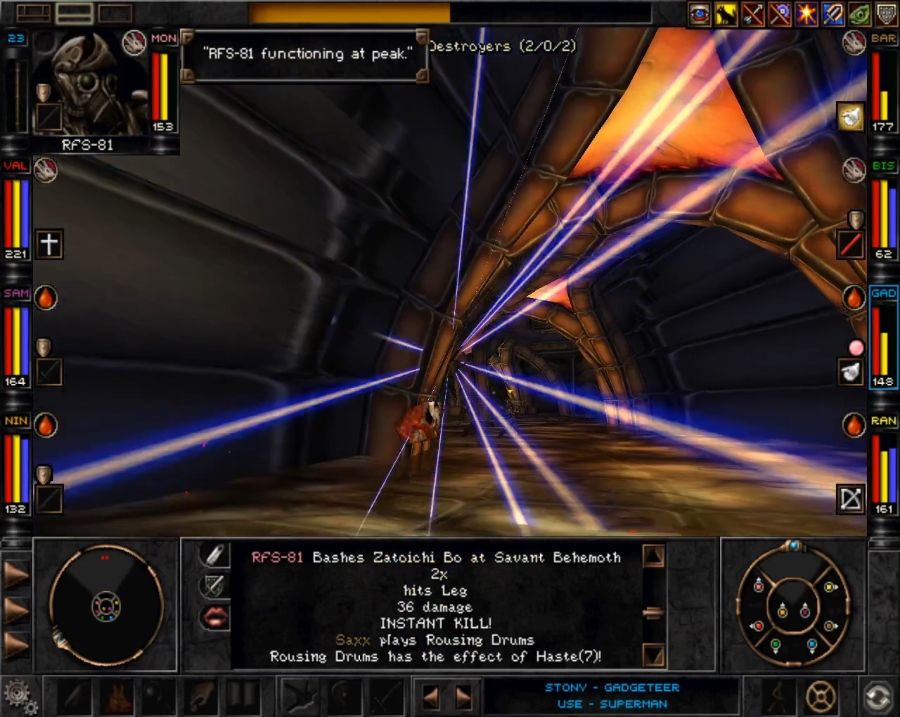 RFS is unimpressed. 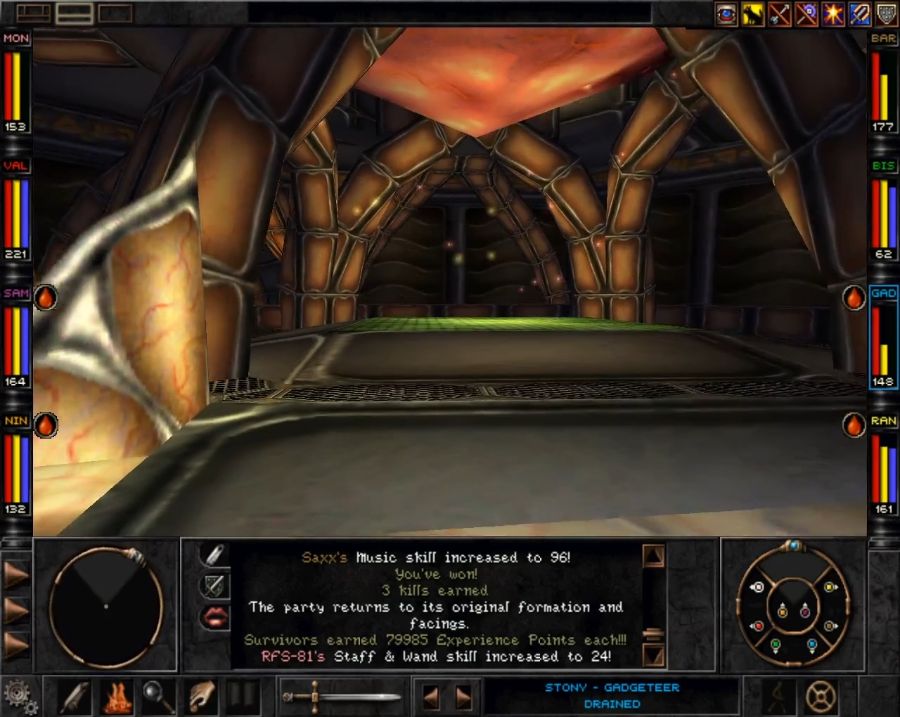 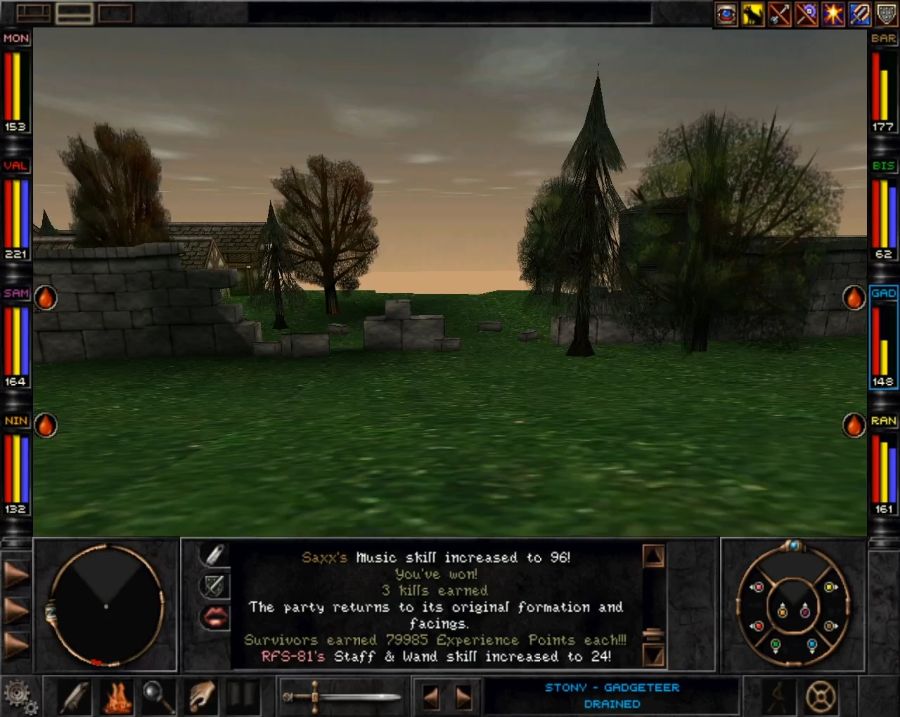 And then you get unceremoniously dumped in Arnika by a teleporter. No locals will comment on this. Despite He'li commenting on a lot of other stuff, even she won't care about this. This does, however, actually make it possible to finish the game. (Don't worry, I made sure you'll also get to see what happens if you don't do this) Time to get back to the Rapax Castle. Consider me to be cutting out a lot of corridor-wandering, a final shopping spree at Ferro's and a good chunk of dead Rapax patrols. 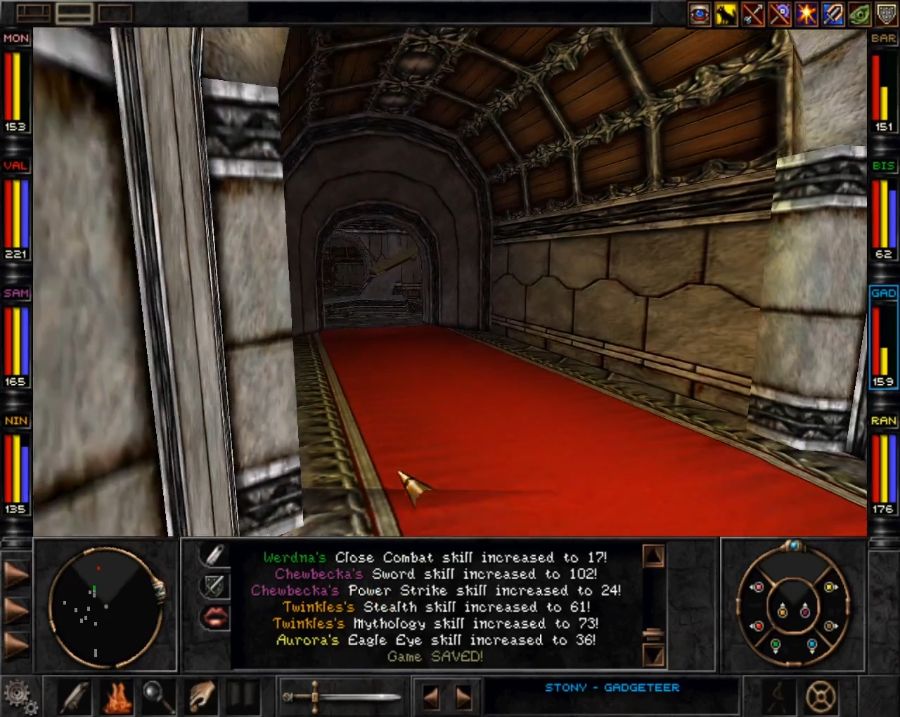 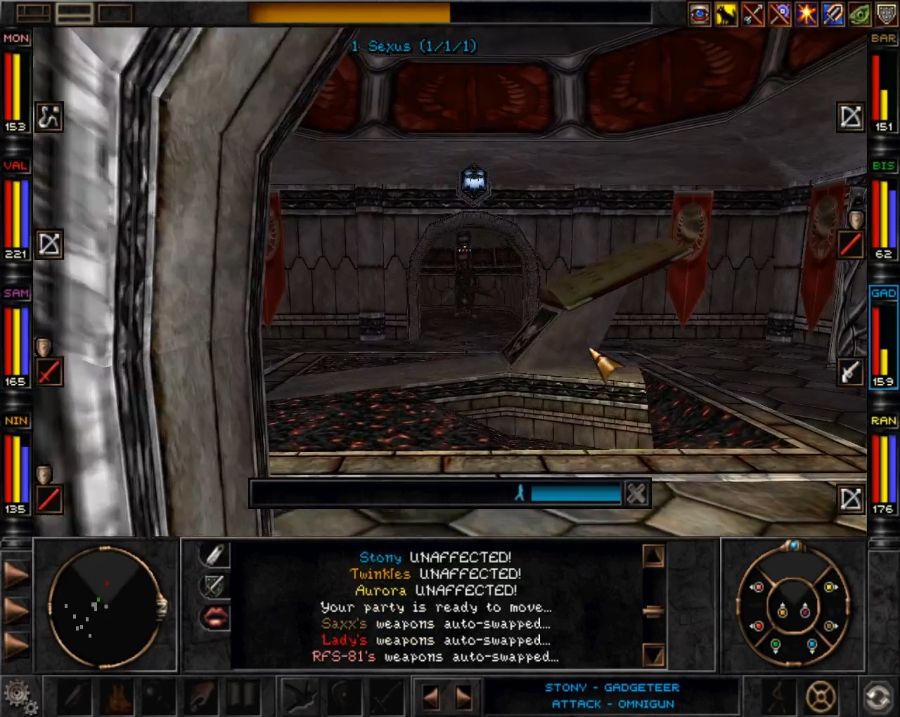 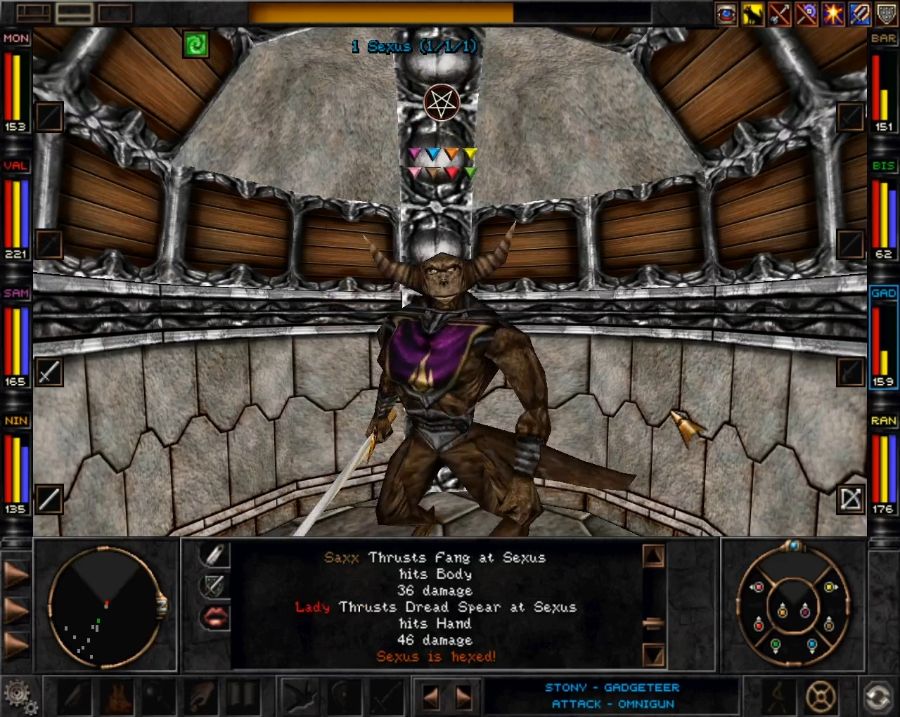 Coming back to the Templar shrine, Sexus is hostile and gets flattened by the party. He drops a unique weapon, the "Rapax Mageblade," which is a pure Mage-only sword that baffles me since it's still weaker than the dozens of staves and wands I could have on Werdna by now. In fact weaker than the Staff of Death Werdna is already wielding. Why would anyone ever use this? Anyway, it's funny that Al-Adryian neither cares we've killed his king or his god or one of his colleagues right next to him. He just gives us a nod as we walk past, possibly because he knows exactly how it would turn out for him if he gave us any static. 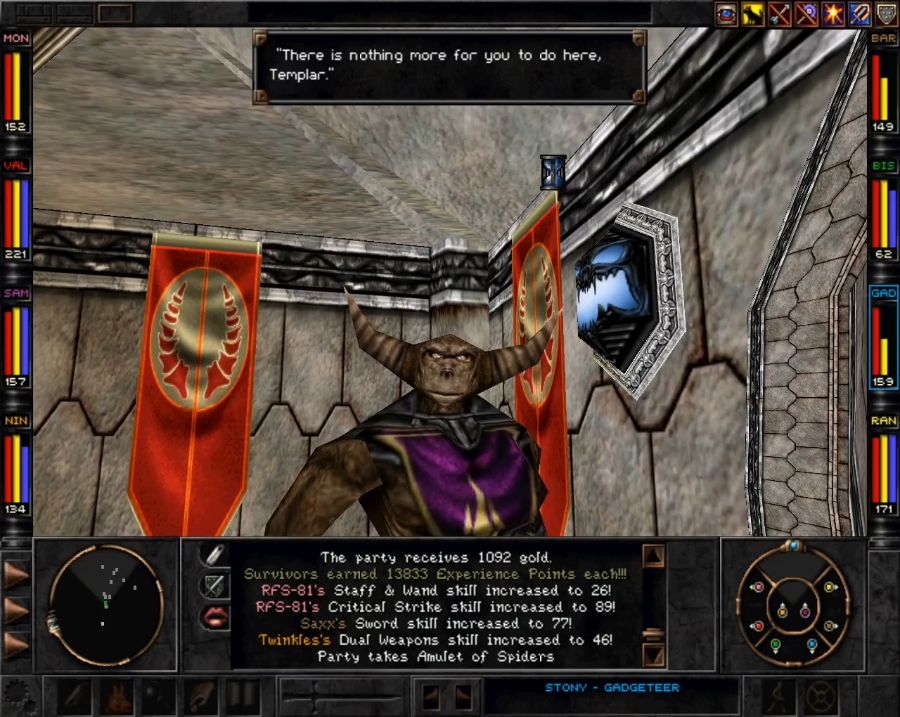 Pictured here: The smartest Rapax in the castle. 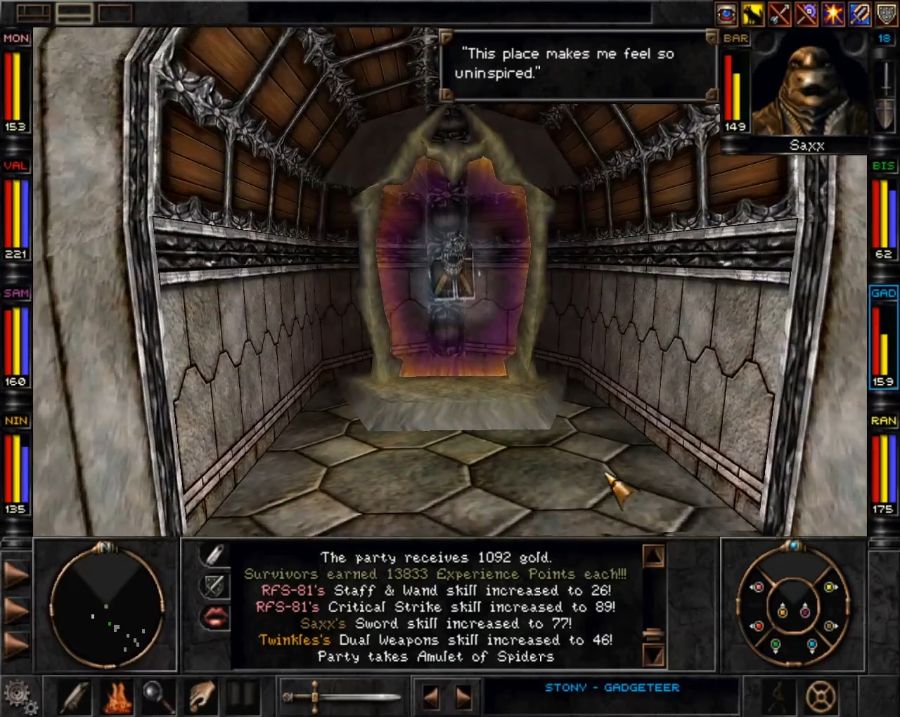 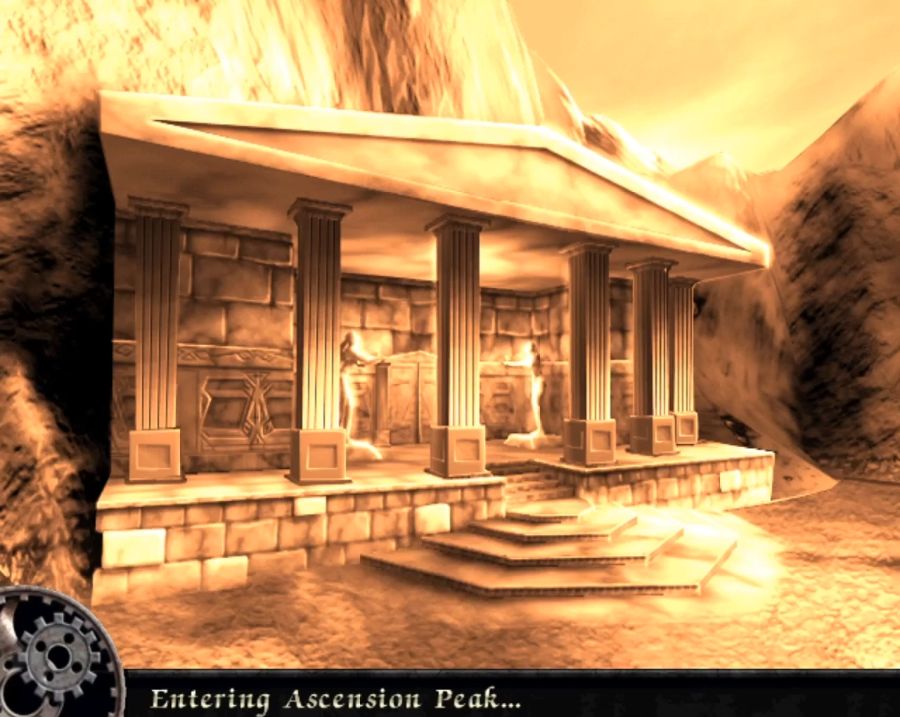 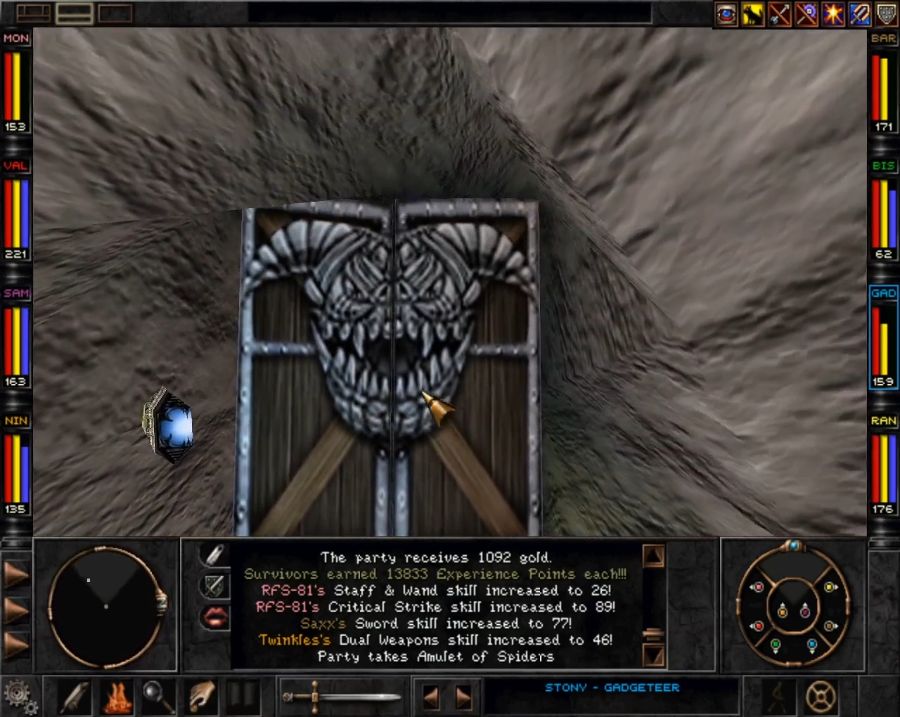 I like that the Rapax thought to put in a fancy gate but not to, say, post a guard, or ten guards, or put down an alarm, or even lock the door. Idiots.  Anyway, welcome to Ascension Peak. It's all jagged rocky walls, cracked wasteland ground and the occasional unhealthy-looking pine trees clustered around the edges of clearings and in little nooks and crannies. It feels blasted and desolate, but also like it wasn't entirely intended to be that way and instead was a bit of a rushjob. 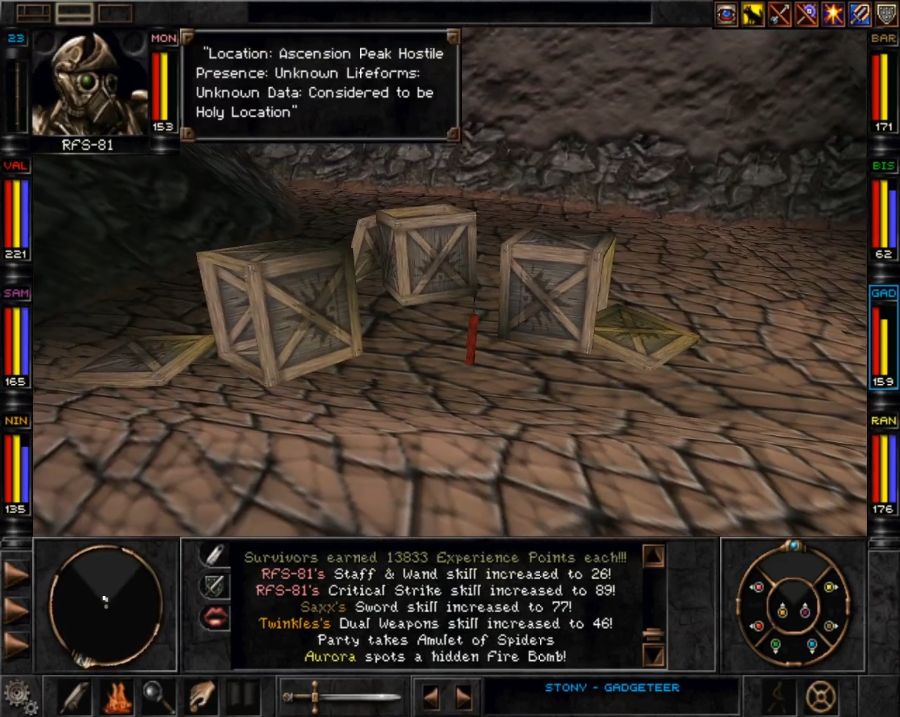 There's also precious little environmental detail around, though at least it shows us how the Rapax collapsed the pass. 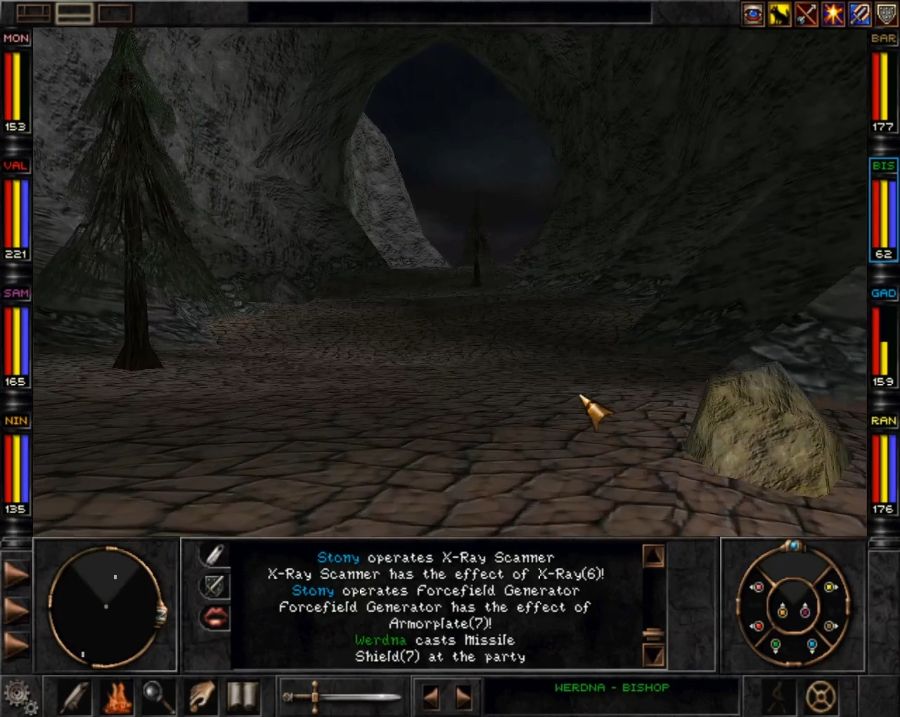  Which is that rockslide on the left. It looks climbable, doesn't it? In fact it IS climbable, from the inside, which I figured out when I tripped over to the bottom side and had to teleport back to the Rapax castle and walk back through the portal. On the far side are a few Rapax which you're meant to bump into if you're coming up from the Mountain Wilderness. 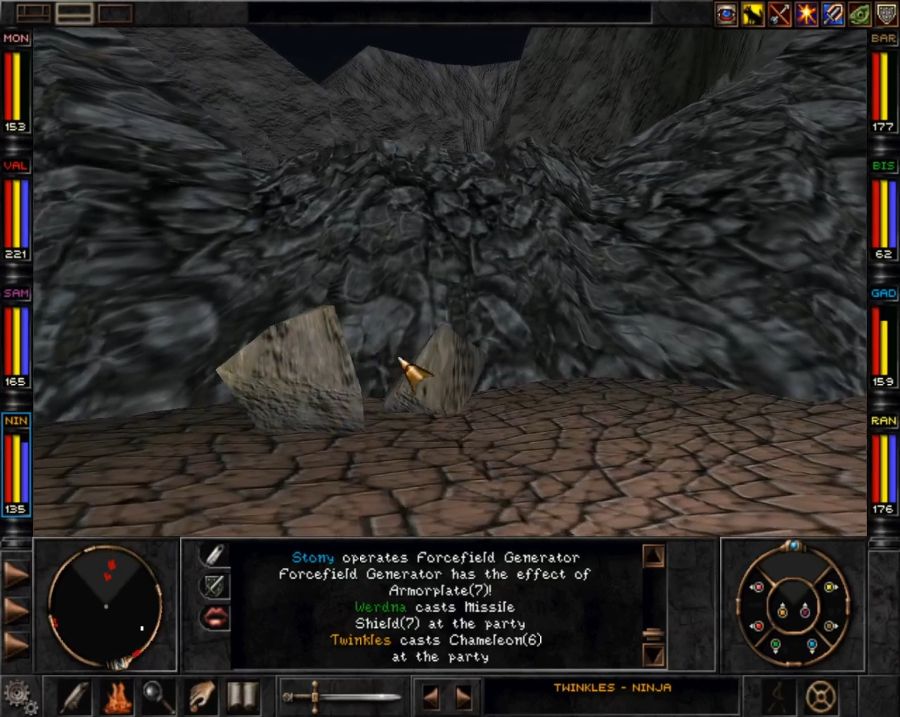 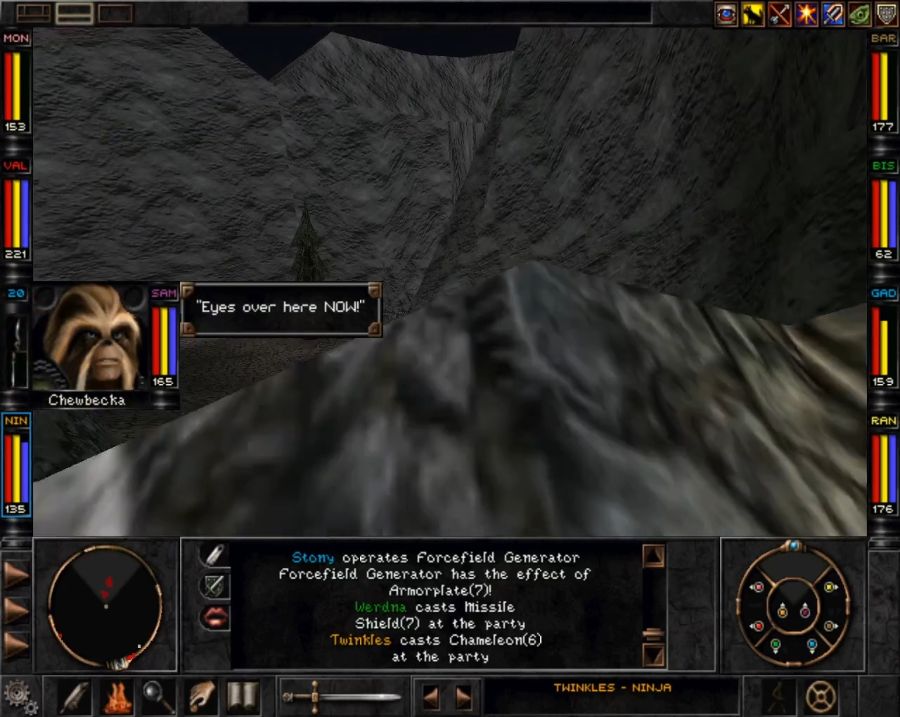 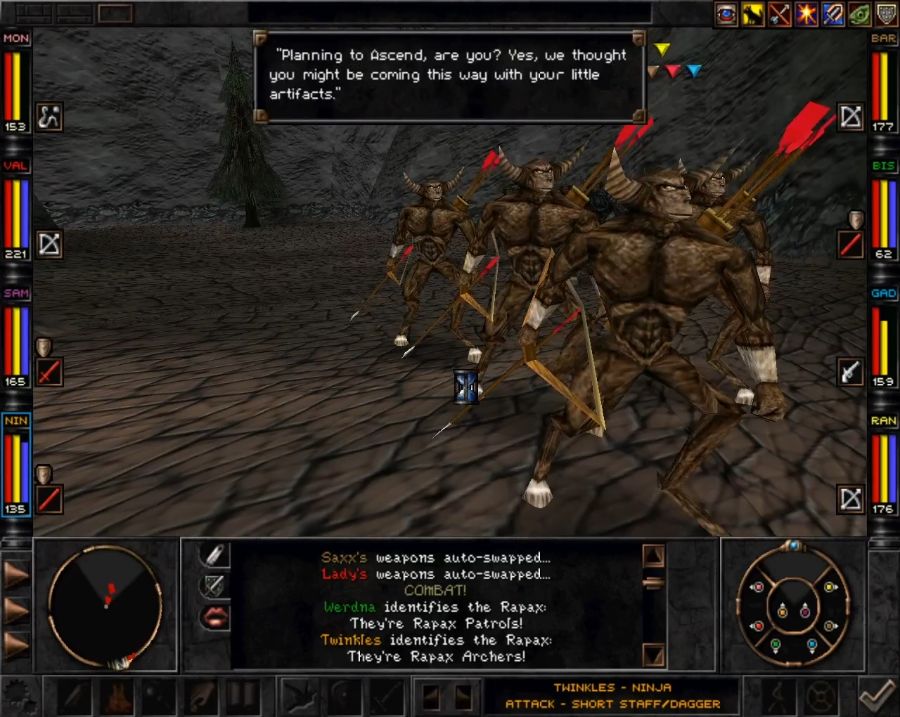 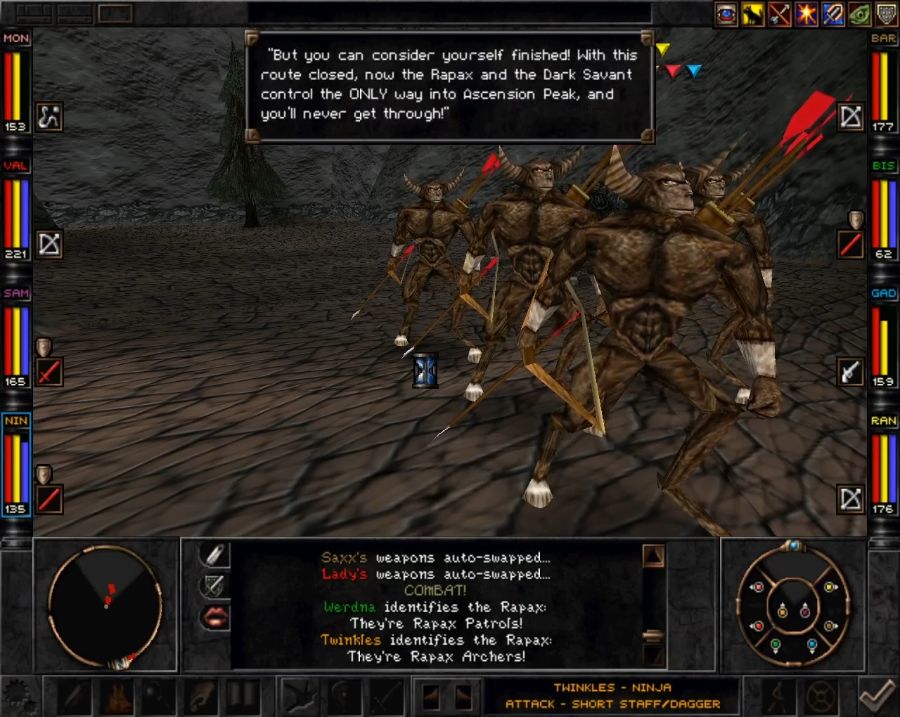 Anyway, they get beaten to a pulp, predictably. And then back to the castle. And back through the portal. 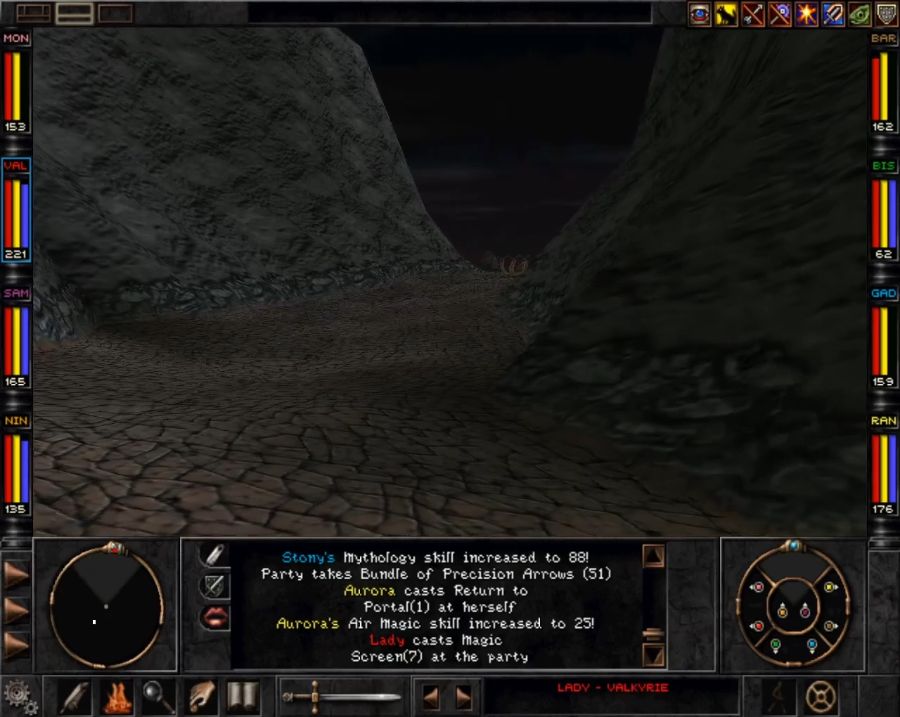 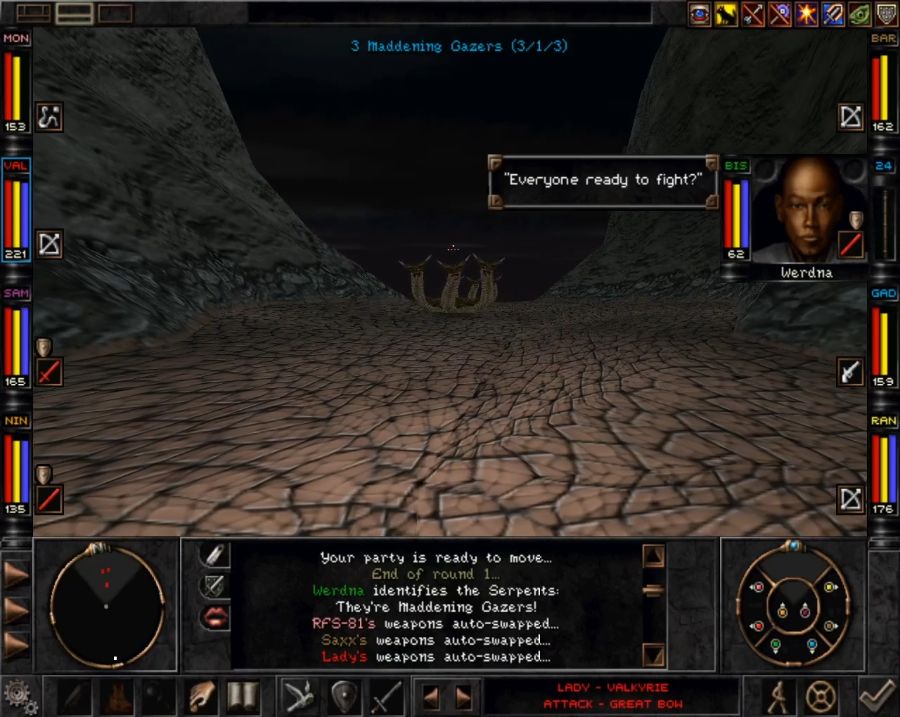 One of the more common enemies on Ascension Peak is Maddening Gazers. They're high-HP mages who can bust out something similar to unicorns' rearing attack, where it just attempts to throw a grab pack of mental conditions on everyone. They also outlevel the party enough to occasionally stick insanity on someone at which point it's a rush to cast Sane Mind or Restoration on them before they ventilate the party member next to them. 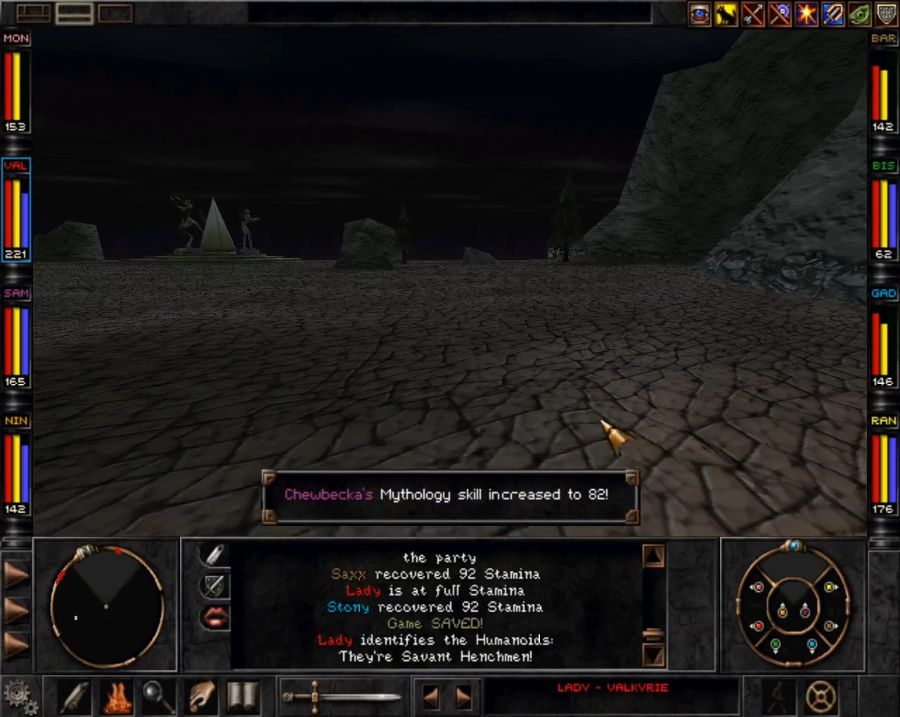 Immediately behind these three is the "hub" of Ascension Peak. 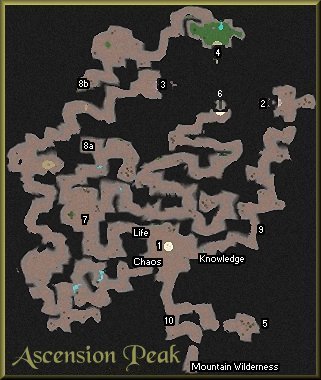 That puts us at 1, with the gates of Life, Knowledge and Chaos each leading off to their sub-area(all of them very linear, except for Life, which has a single large side path). I make a right turn and head for Knowledge, the only guarded one. We'll check out the big monument in the center when we get back. 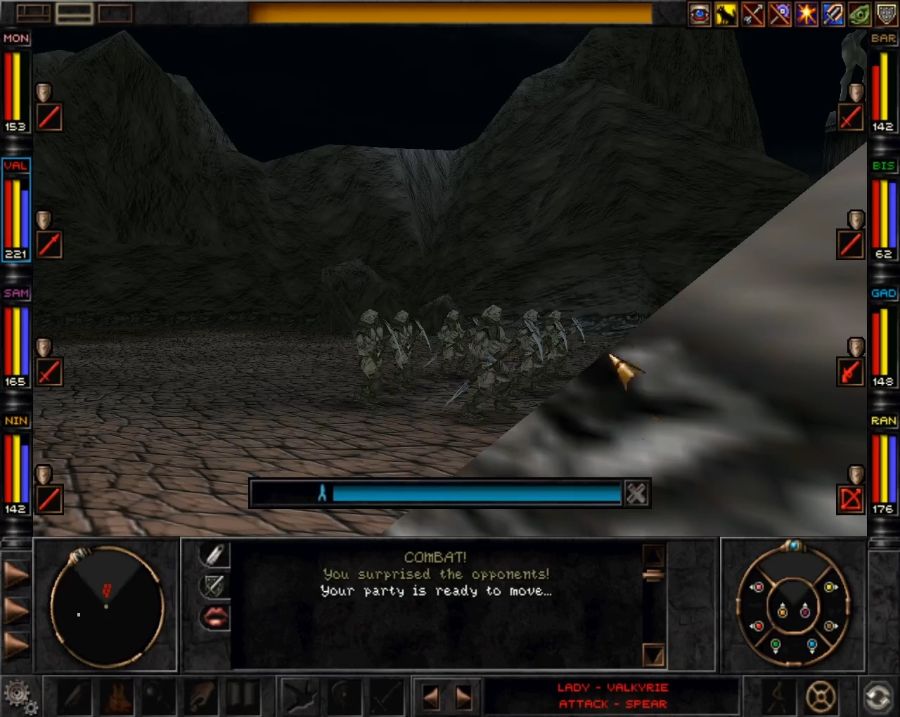 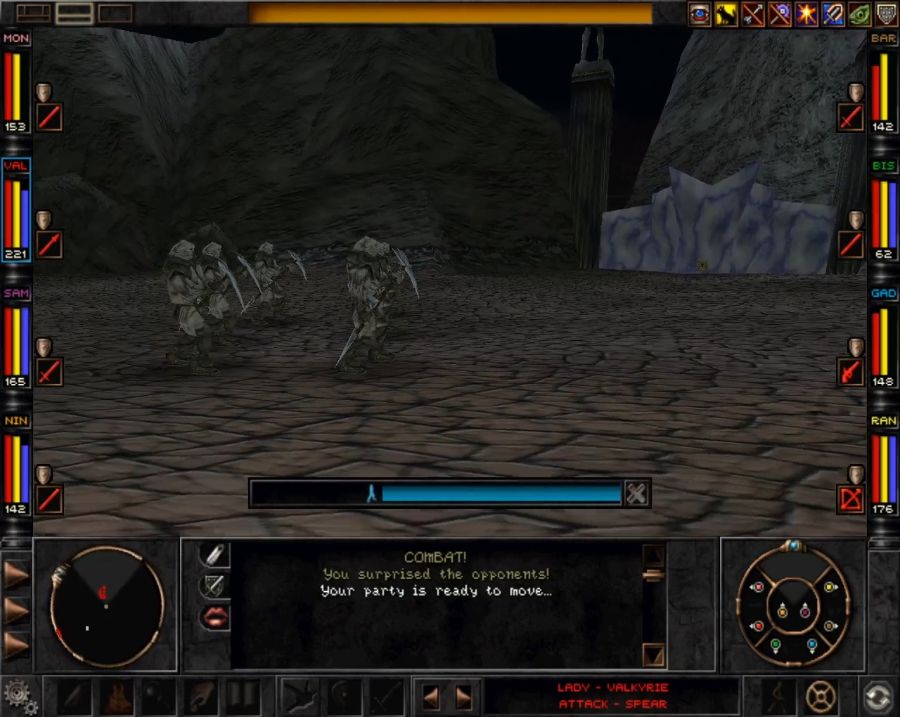 Yawn, just a bunch of Savant goons. They go splat. Now, let's have a look at the gate itself... 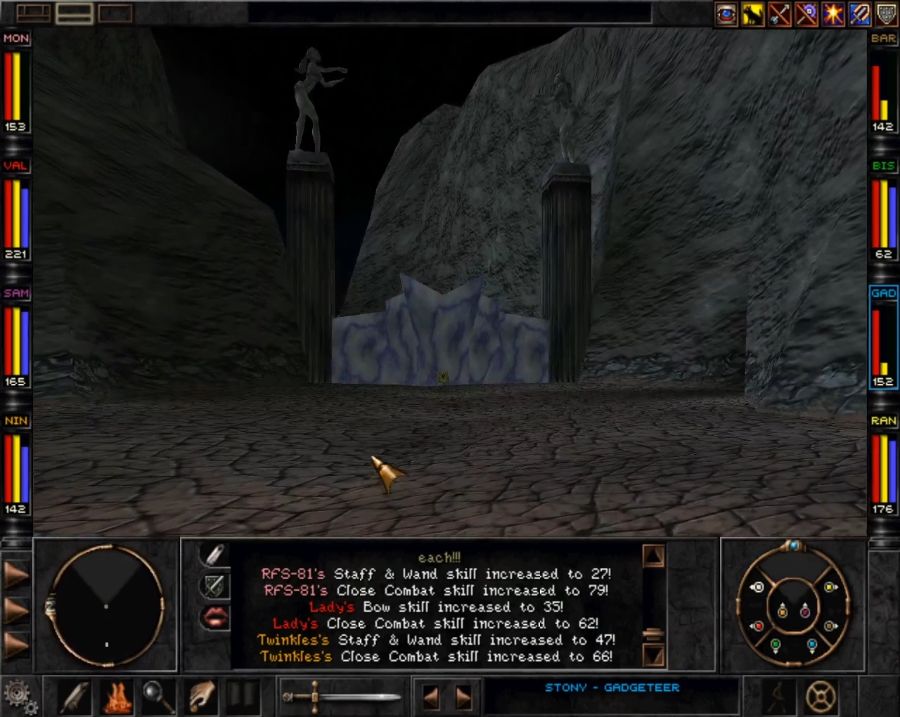 A big crystal barrier flanked by pillars and statues is pretty cool, I have to admit but... 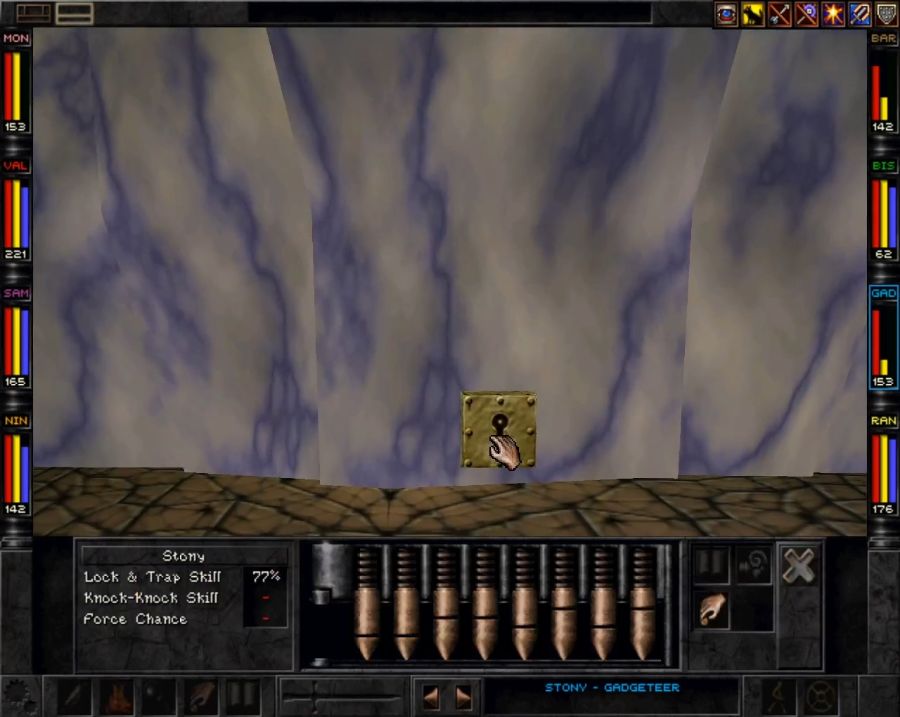 A big ol' clunky brass lock right in the middle of it? Also note that there are no keys for these locks. Apparently the Chosen Ones of prophecy have to be larcenous bastards, or at the very least know Knock Knock and have a decent earth mage with them, unless they want to sit here for ten hours re-rolling attempts to force the lock. It's like this for all three gates, not just Knowledge. Each of the three paths has one little quirk, and we need to get to the end of each one of them. The path of Knowledge is probably the least quirky of the three. 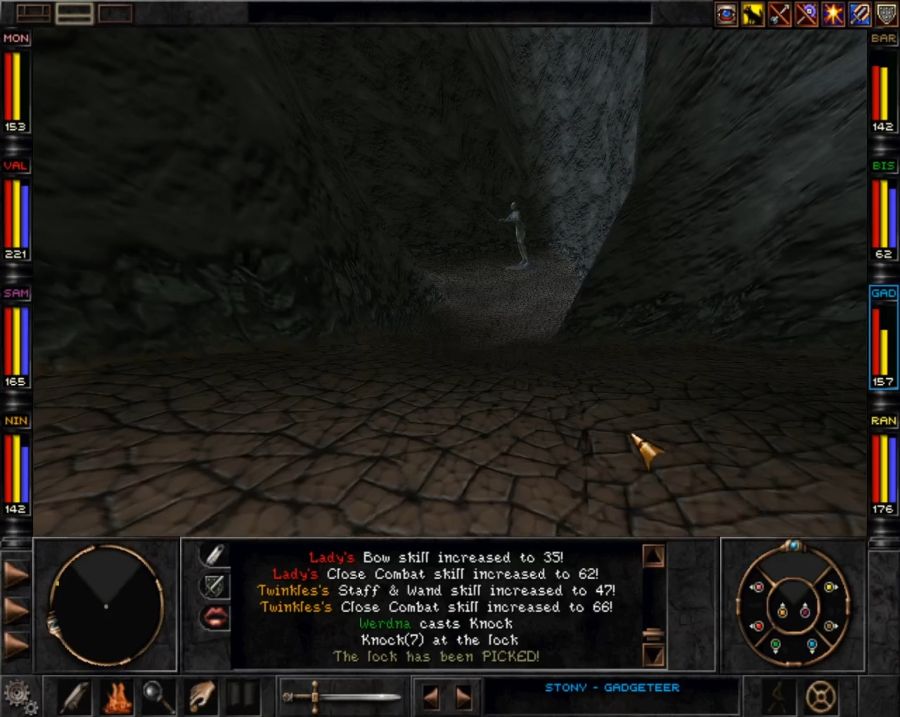 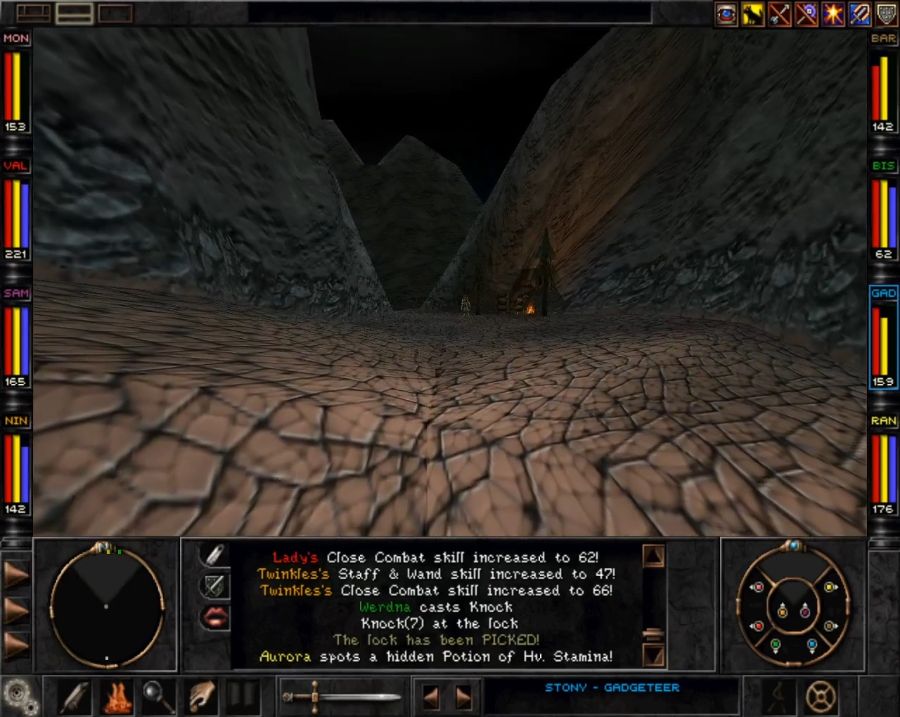 Because this is its quirk, this guy up ahead, Amit. https://www.youtube.com/watch?v=dF8Kqmggv6E His protection money is scaled by level rather than how much you actually have like so many other payments in the game, so it's entirely possible to not be able to pay him. If you can't, he sics "Pee Wee" on you. Amit himself is a level 12 chump and explodes after a single round of combat, as for Pee Wee... he comes around the corner a moment later. 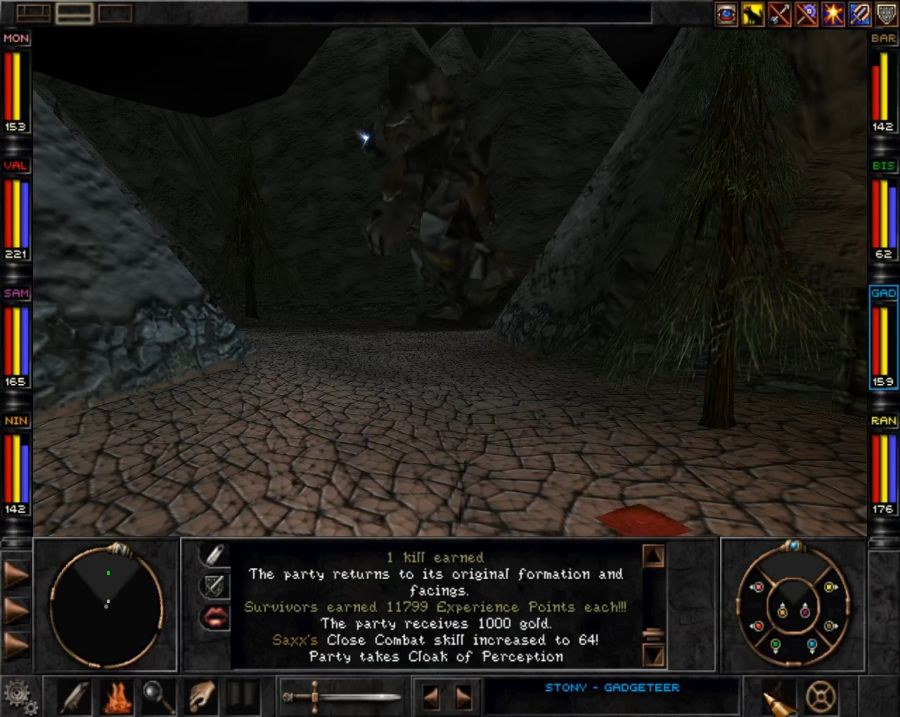 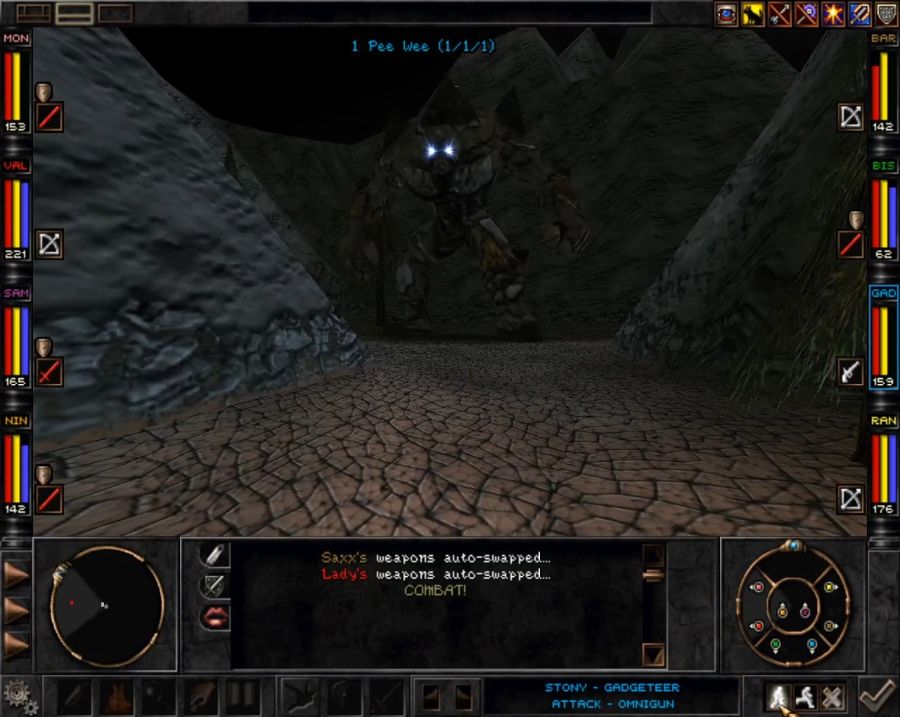 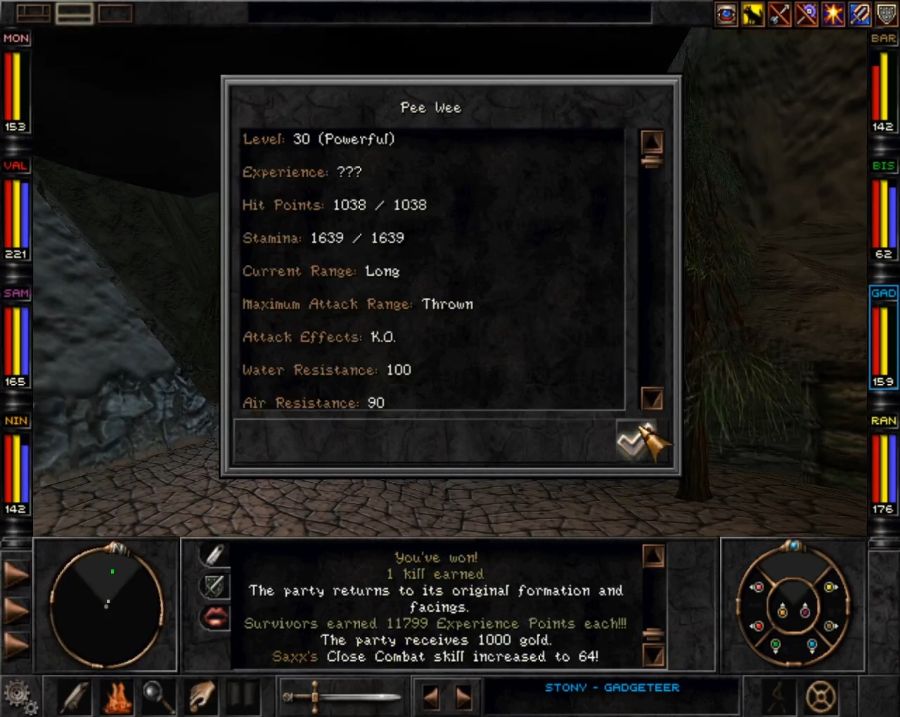 A bit scarier. If he lands all his attacks, he can kill 1 or 2 PC's per round, but like most golem-type enemies half his attacks will be throwing rocks(which Missile Shield deflects), meaning he only rarely uses his murderous stomp attack(it does upwards of 70 damage per hit, "overflows" to other PC's like tentacle attacks and he gets two or three of them per round if he focuses on them). 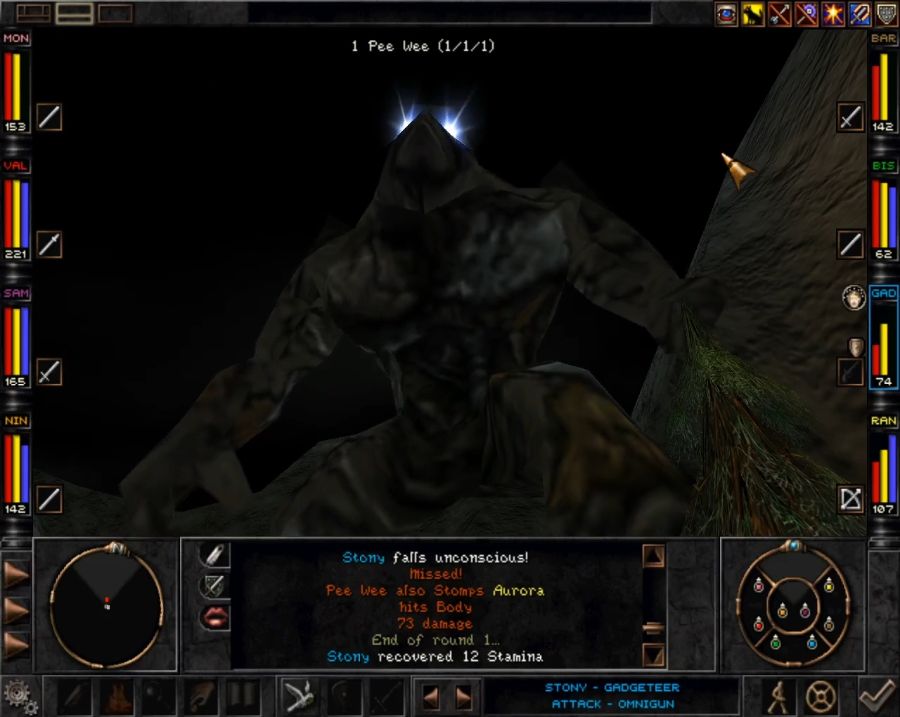 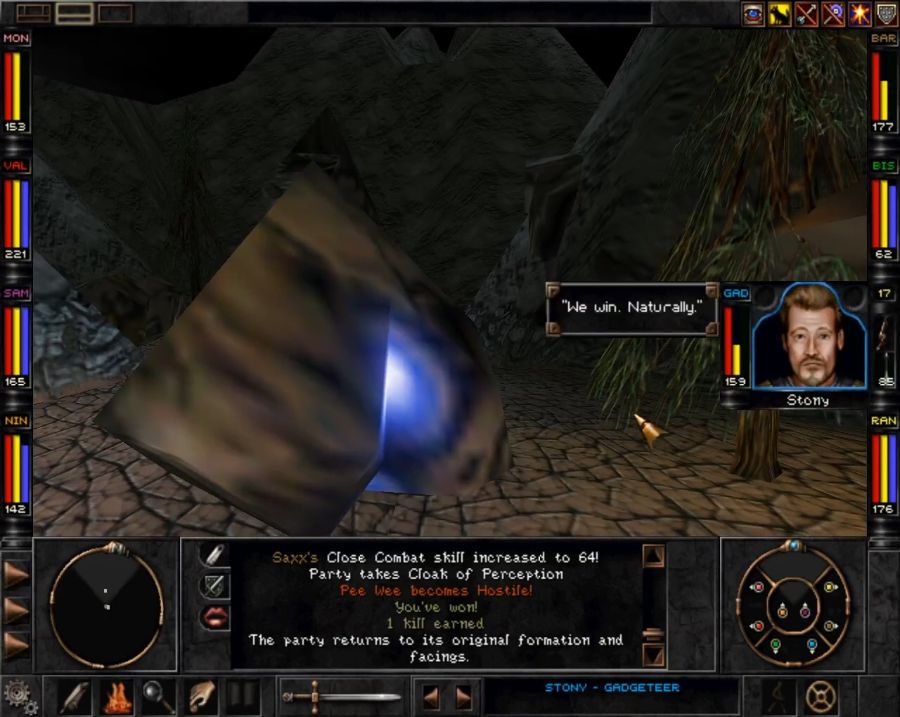 He's not all that hard for us. What happens if you CAN pay Amit, though? 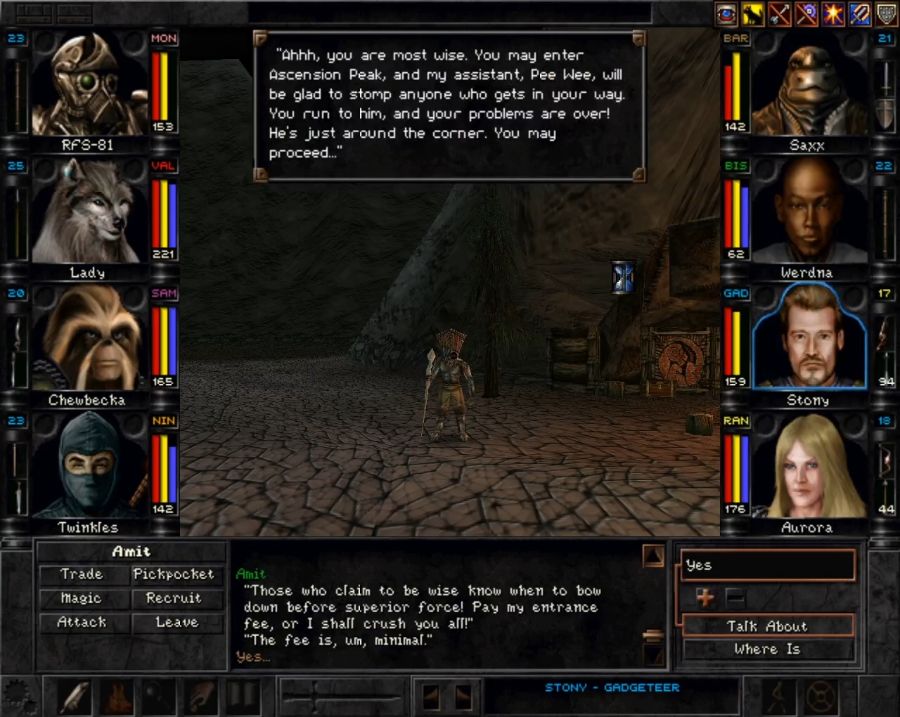 Theoretically, yes, if you have a fight near Pee Wee, he'll help you. But practically there will never be a fight in range of Pee Wee, and actually hauling enemies back to him would take forever, plus with the increased spawn rates on Ascension Peak, new enemies would have spawned before you got back to their original location anyway. Still, let's pay him off and be nice. 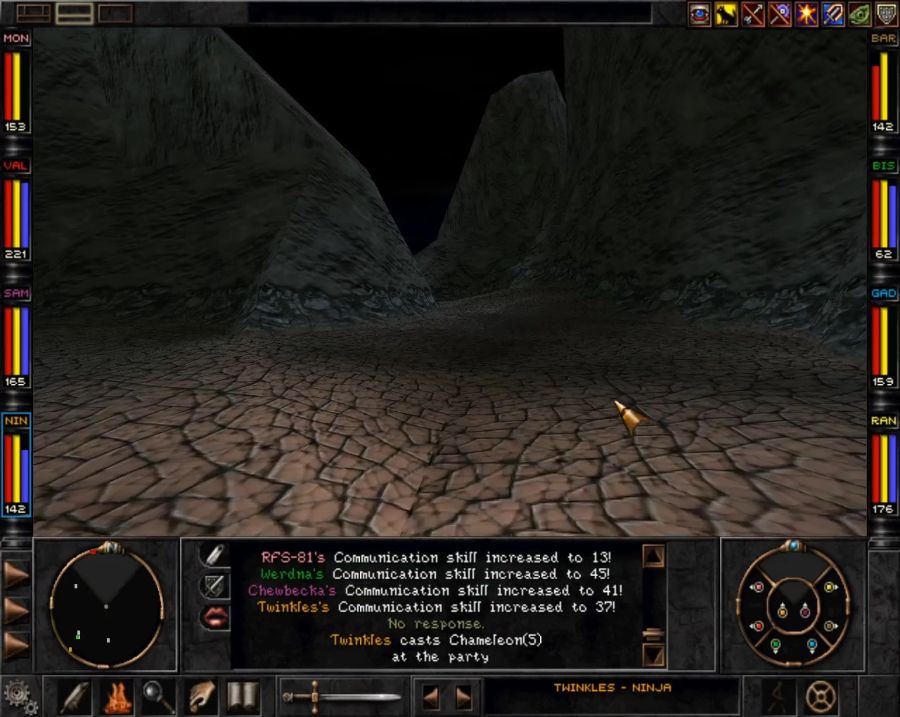 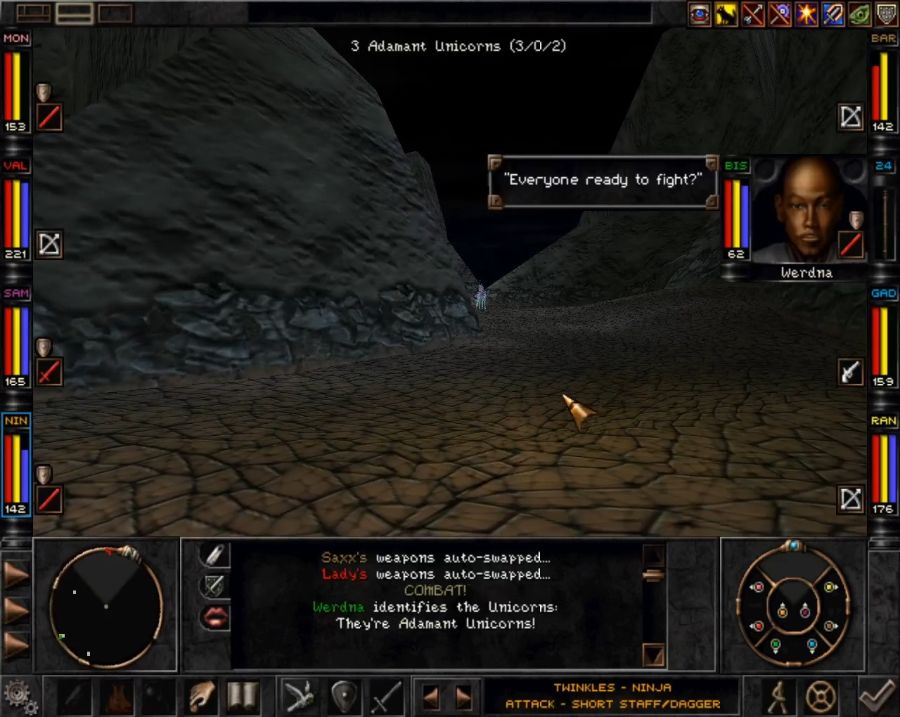 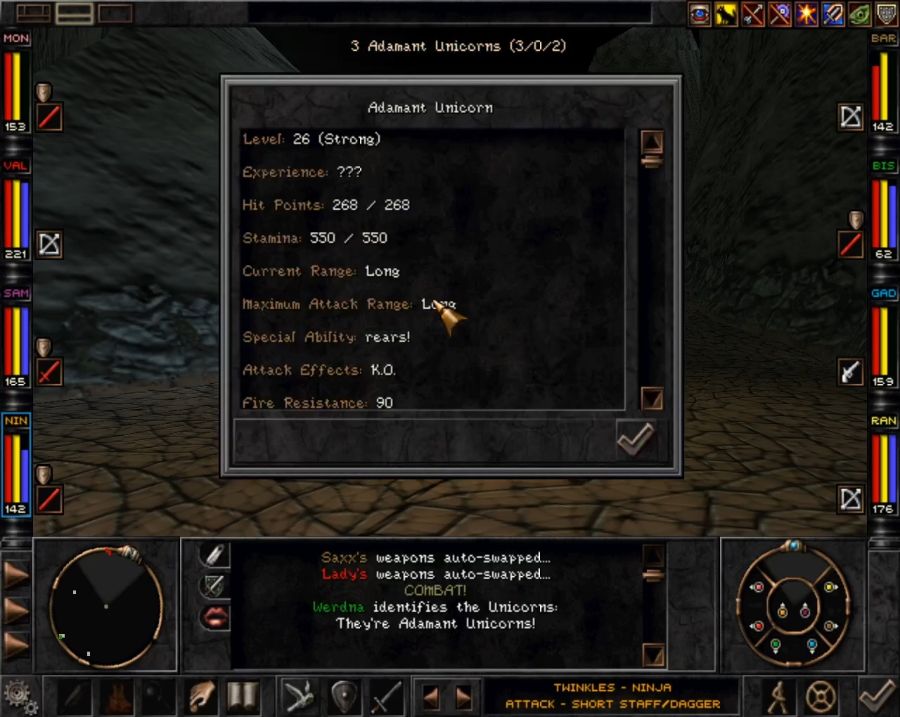 Adamant Unicorns are the unique enemy of the Knowledge Path. Like all unicorns, they're made to gently caress up your characters' spongy brains so they kill each other. They'd quite dangerous if you don't get your defensive spells up on round one, and even if you do, they managed to land several Turncoats on the party over the course of the path. They can also cast Quicksand and thus attempt to instant-death your entire party at once. Also, they have a unique death animation. 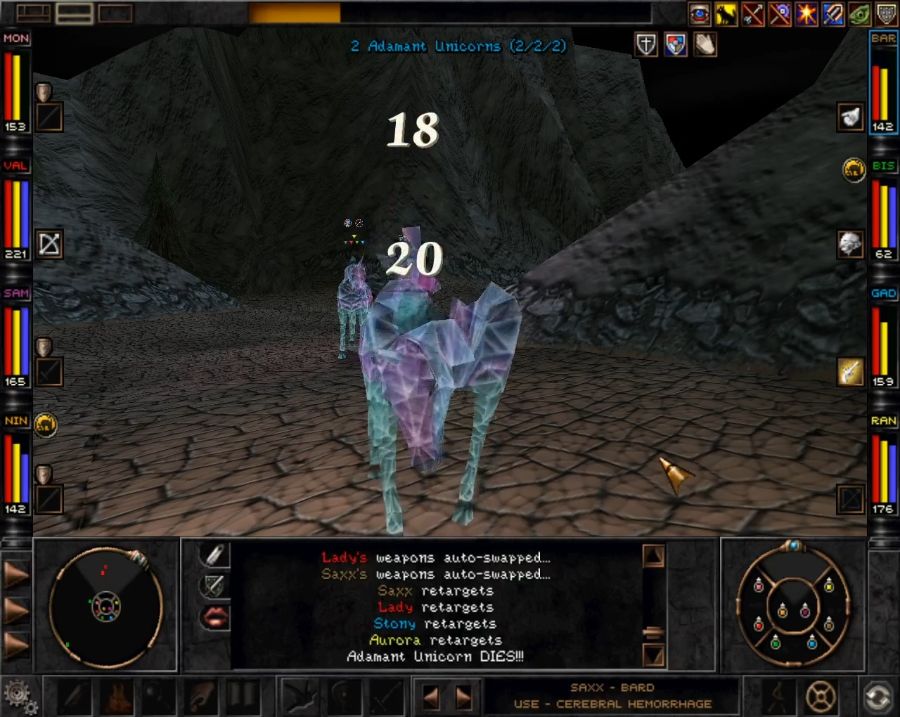 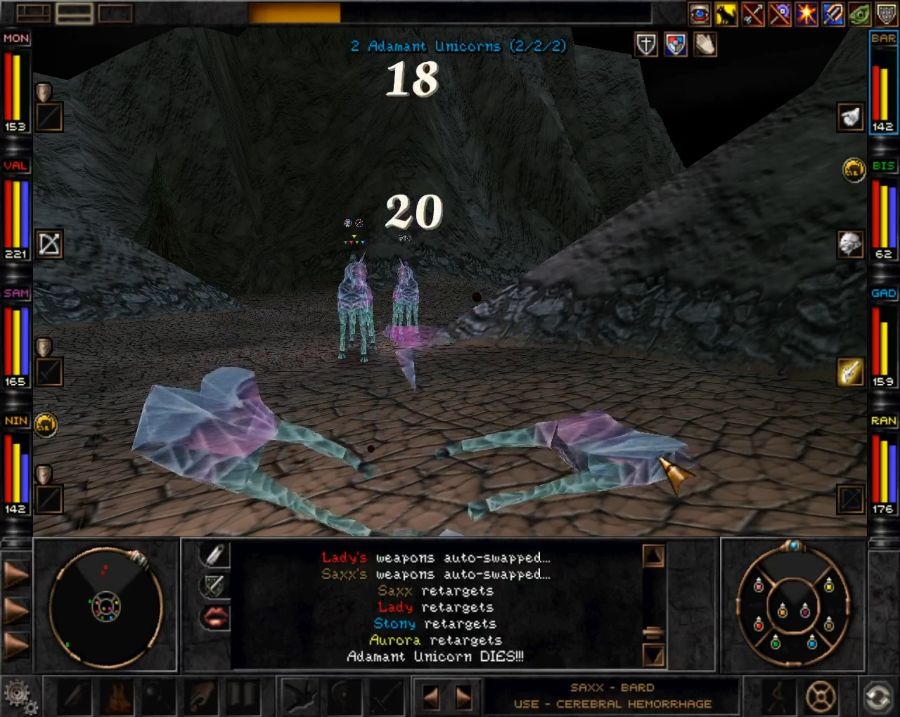 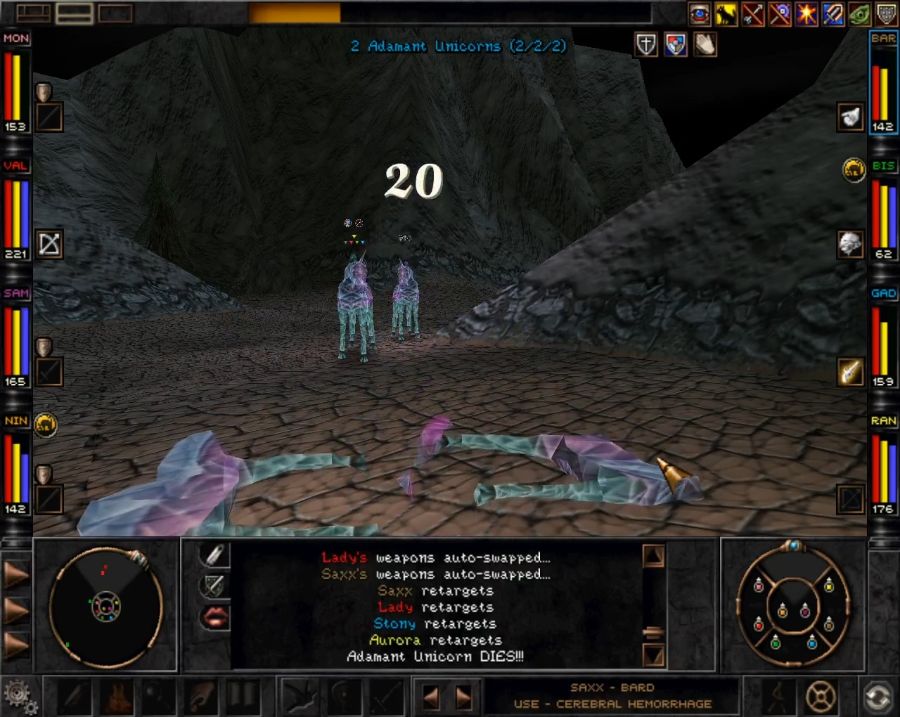 My personal theory is that they intended unique death animations for all enemies but ended up using the placeholder gore explosions for most of them in the end when they ran out of time and/or budget, and considering how good the non-generic ones look, I'm really sad that was the case.   Eventually the path leads to this little vale. 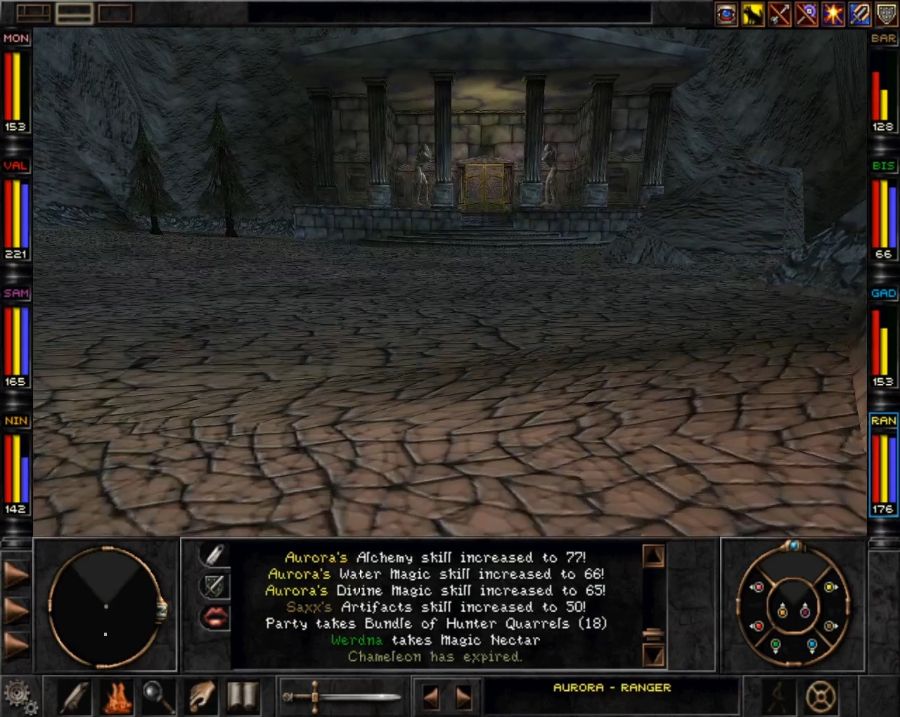 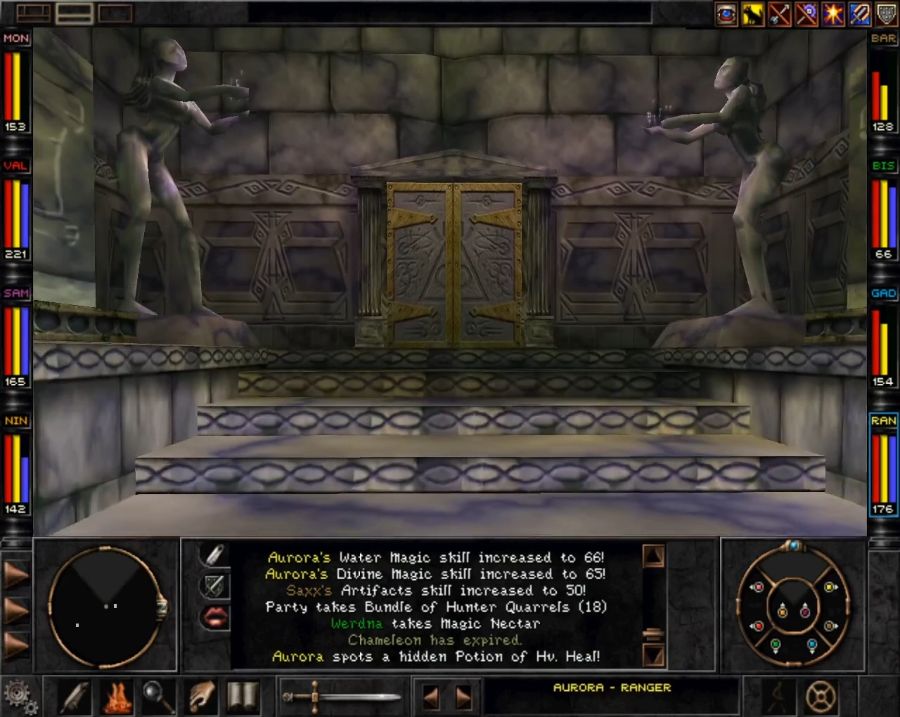 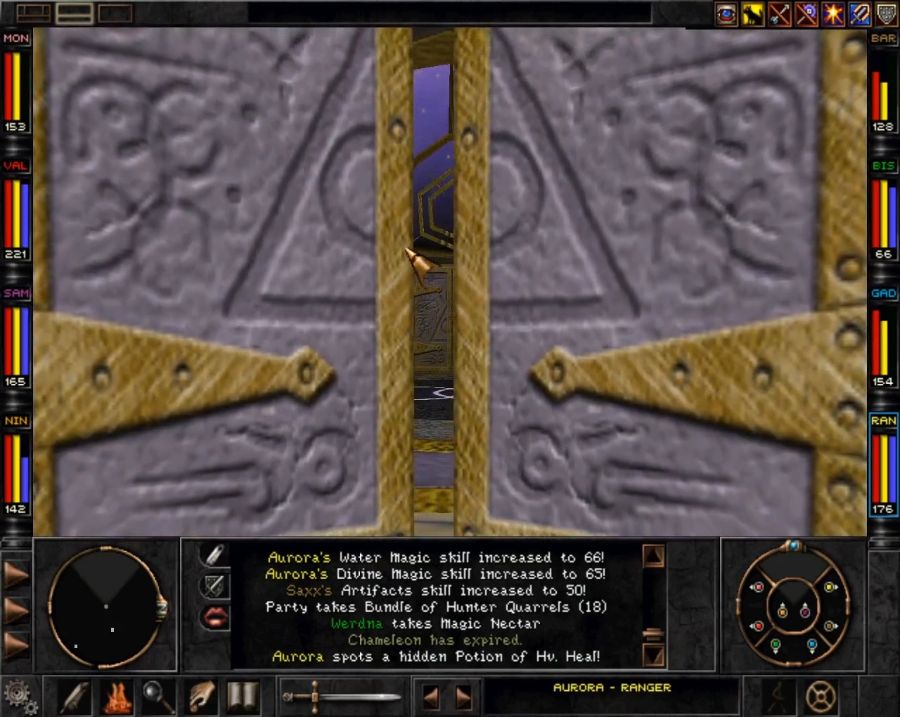 The doors glide open as you approach them.  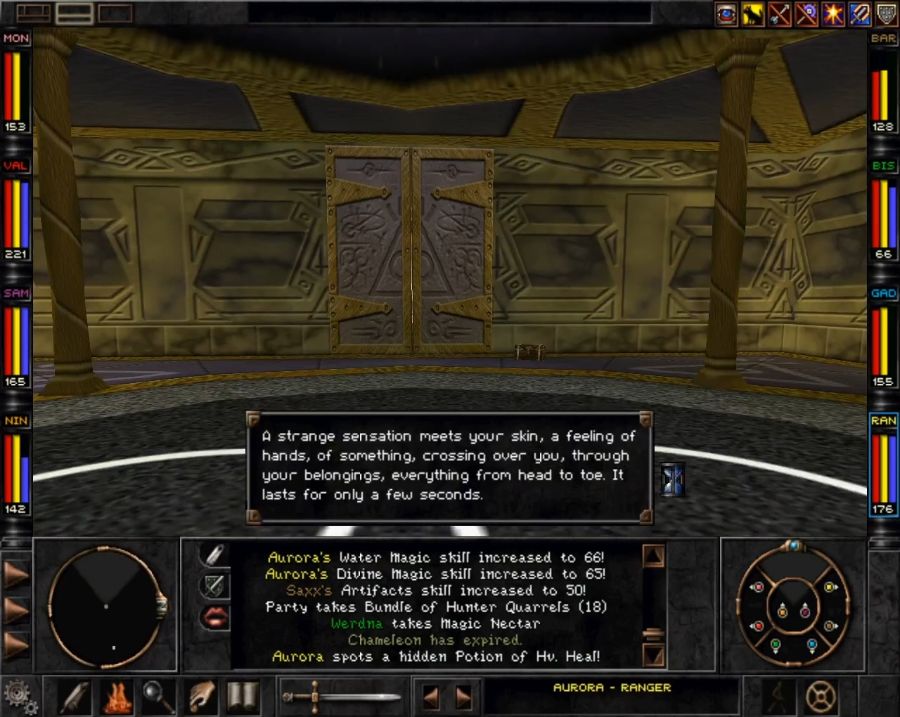 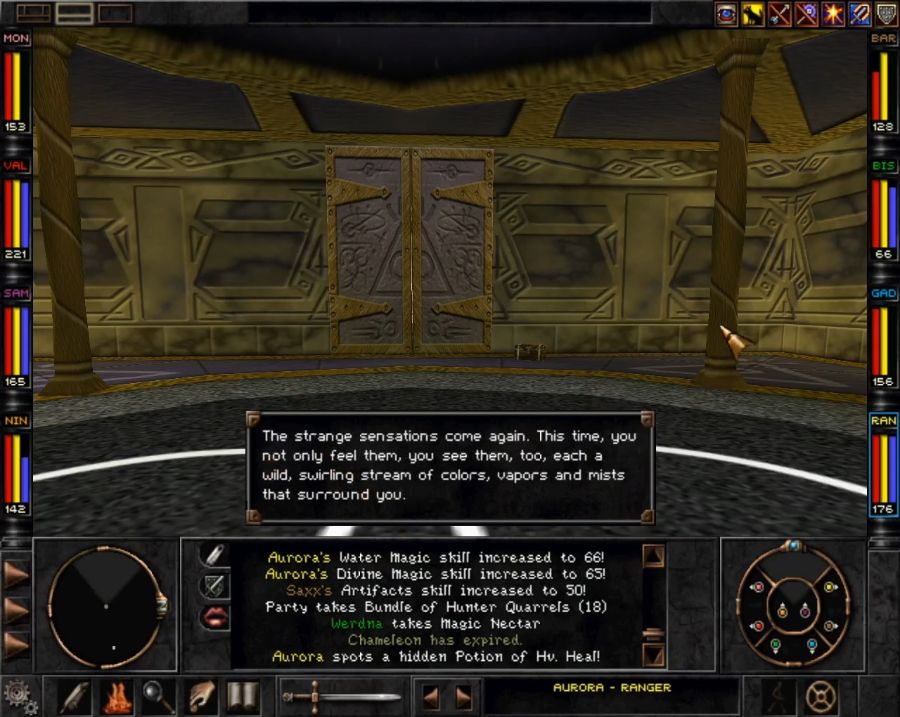 After a bit of getting groped up by ghosts(considering that the game prevents you from moving while displaying this dialogue, I wonder if it was originally intended to be accompanied by a voice-over or some animation)... an old acquaintance pops up out of thin air with no fanfare. https://www.youtube.com/watch?v=WPEzJOImr5s 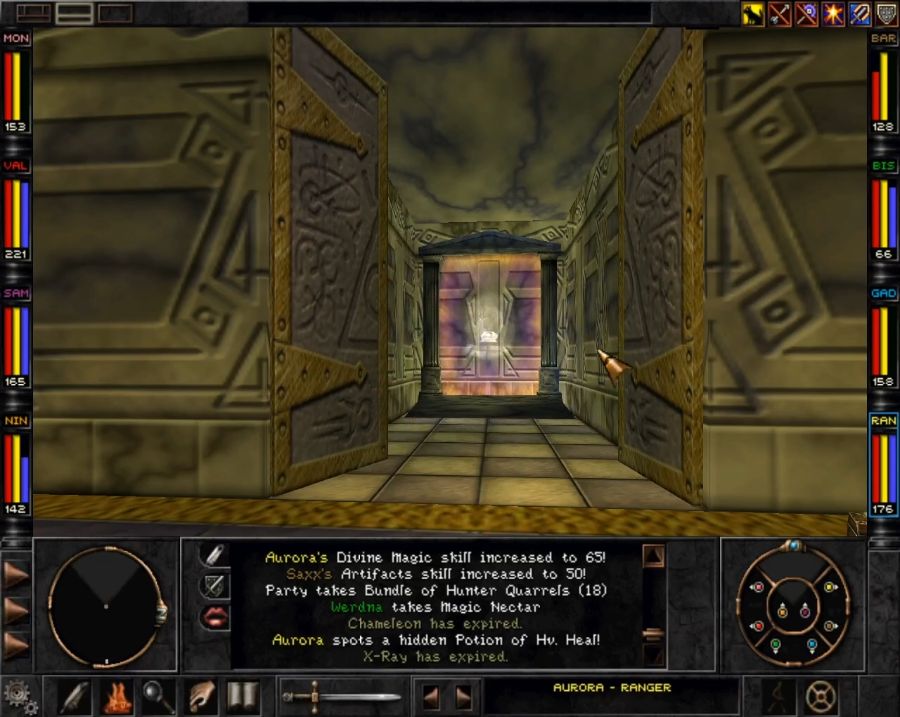 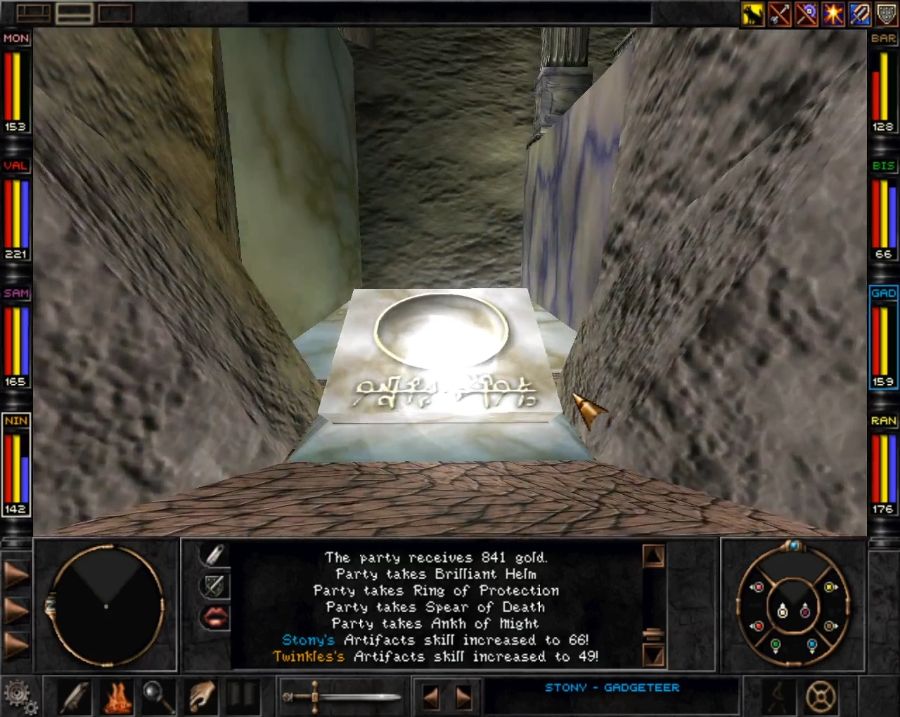 Pop through the portal behind him and you arrive at a receptable for the device which he's just riddled you about. 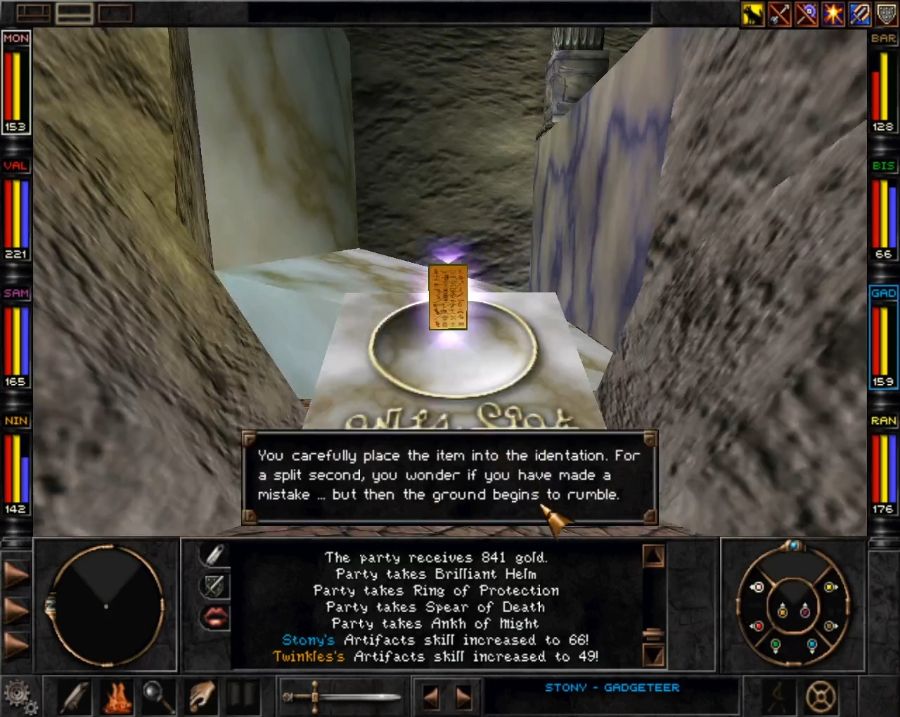 Slap the device in to the receptacle, the ground shakes, a bit of geometry in front of you moves... but it's unclear what just happened. It'll make sense later, however. Behind you, a portal takes you back to the "hub" valley. 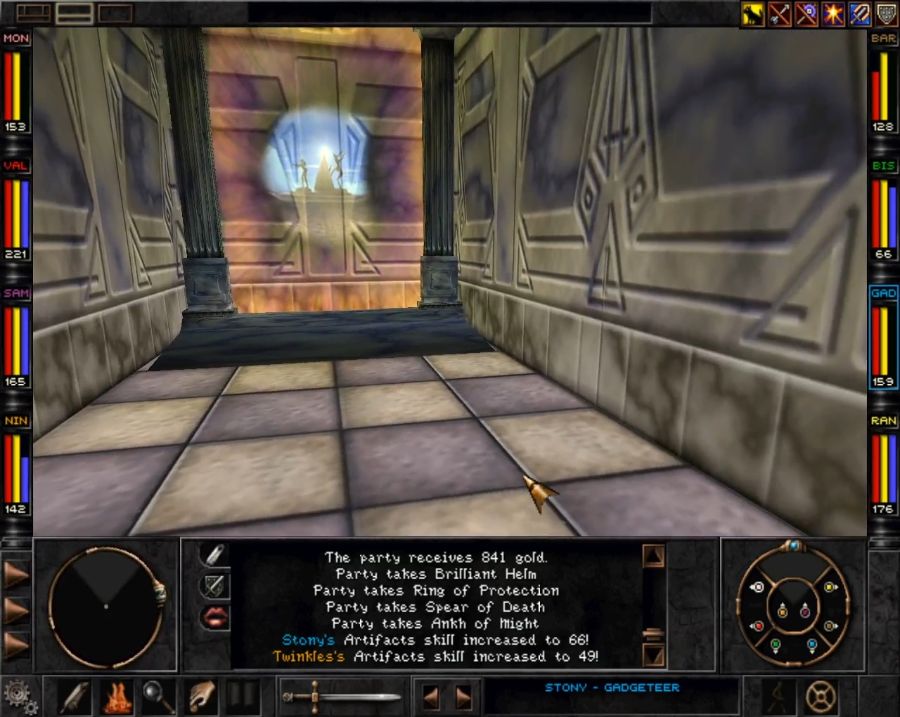 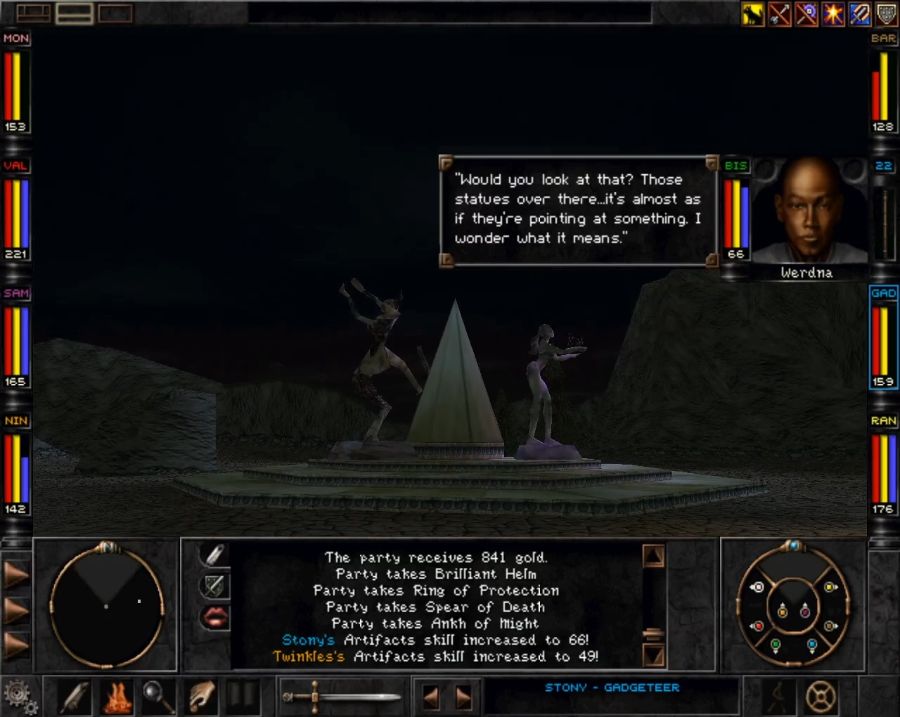  So the monument contains a Higardi, Trynnie and Rapax statue. Hard as it may be to tell, there's now a glimmer over the Higardi statue because we've handled the Destinae Dominus down the path of Knowledge which she points at. Next is the path of Life, which the Trynnie statue indicates. 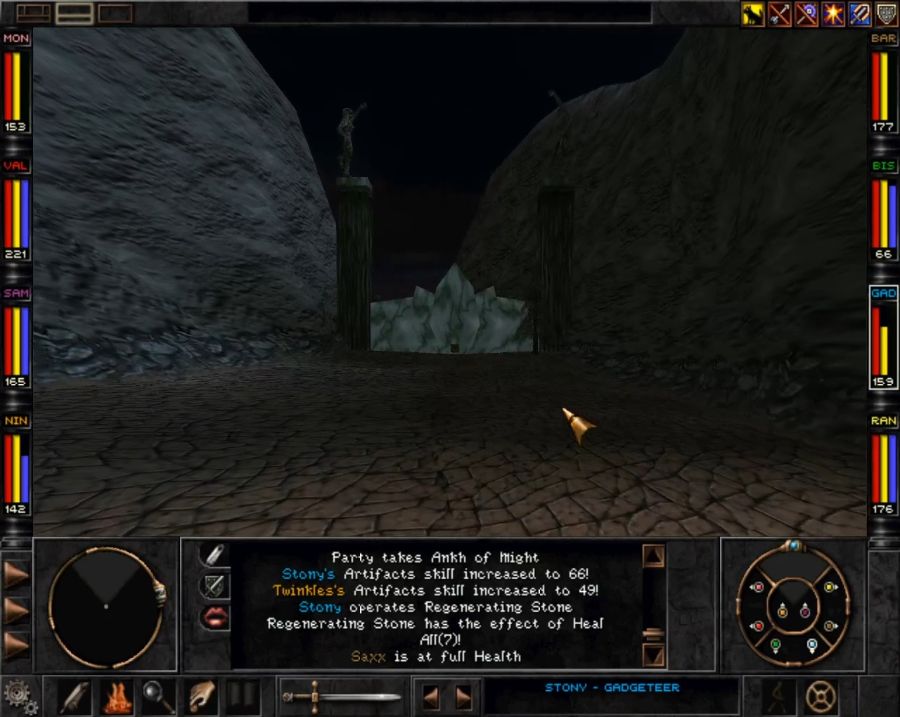 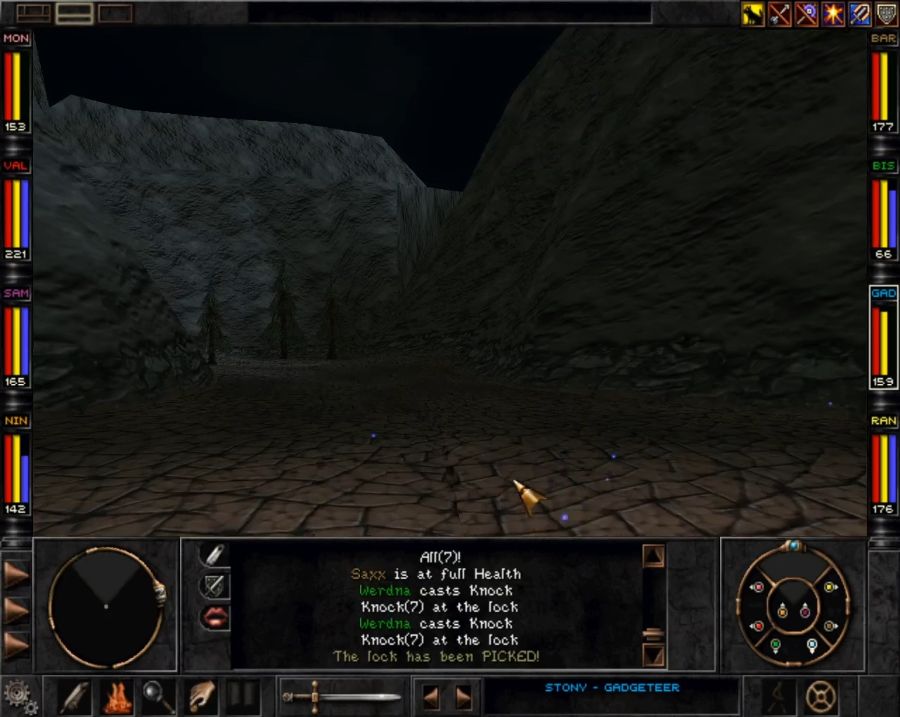 Said path is slightly more lush than the other two, but that's about it. It also has one of the bigger unique features and probably what most people remember about Ascension Peak more than anything. 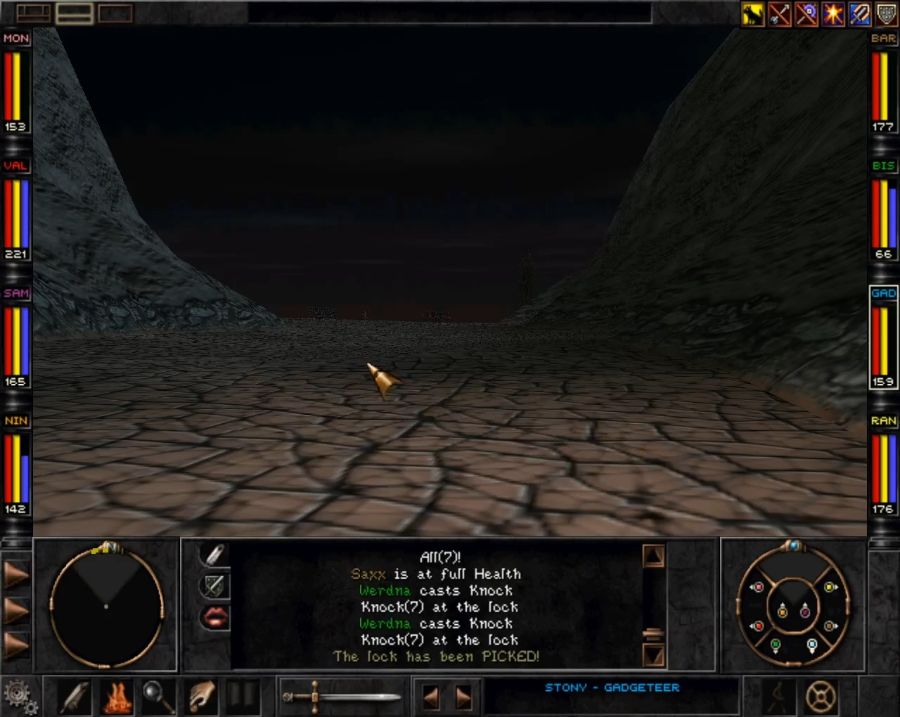 See, you round a couple of corners and then you spot figures in the distance. A LOT of figures. 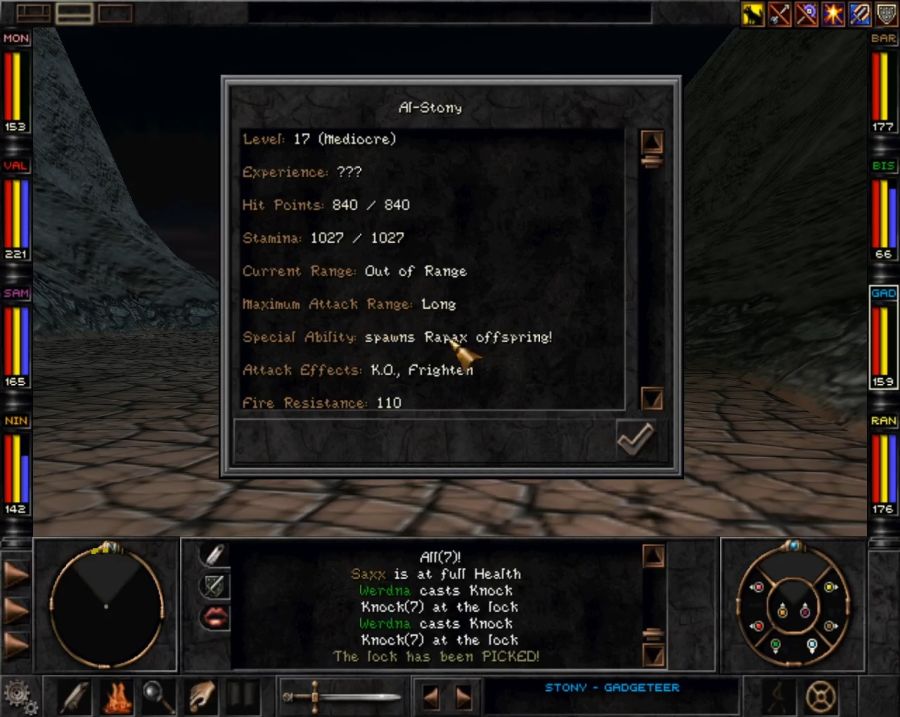 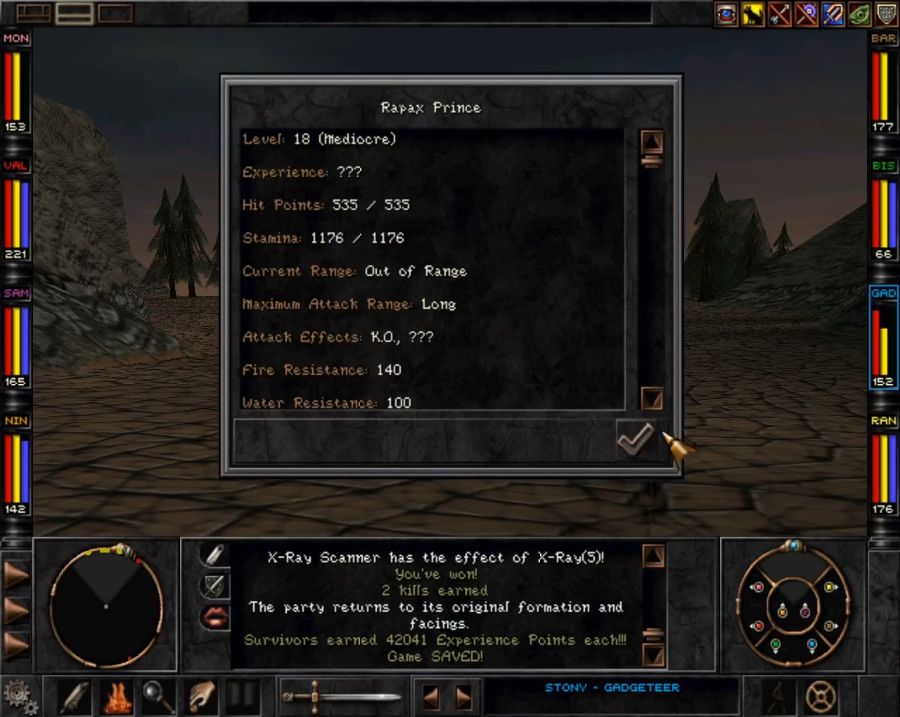 Looks like the last of the belligerent Rapax nobility and Stony's illegitimate half-demon child have shown up to party. Also the jump in time is because the one crash of the playthrough happened here. 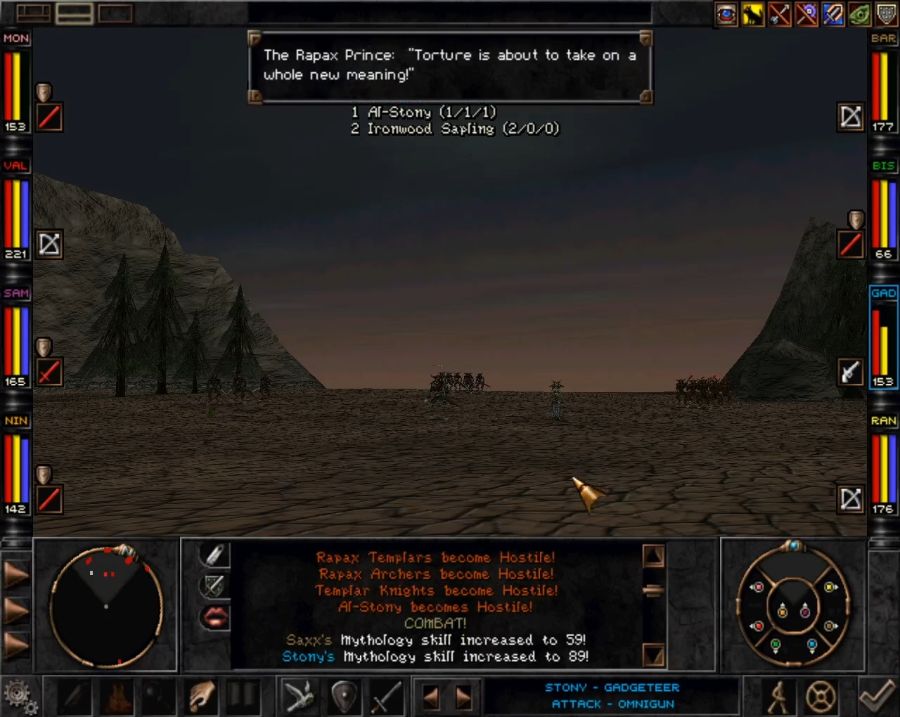 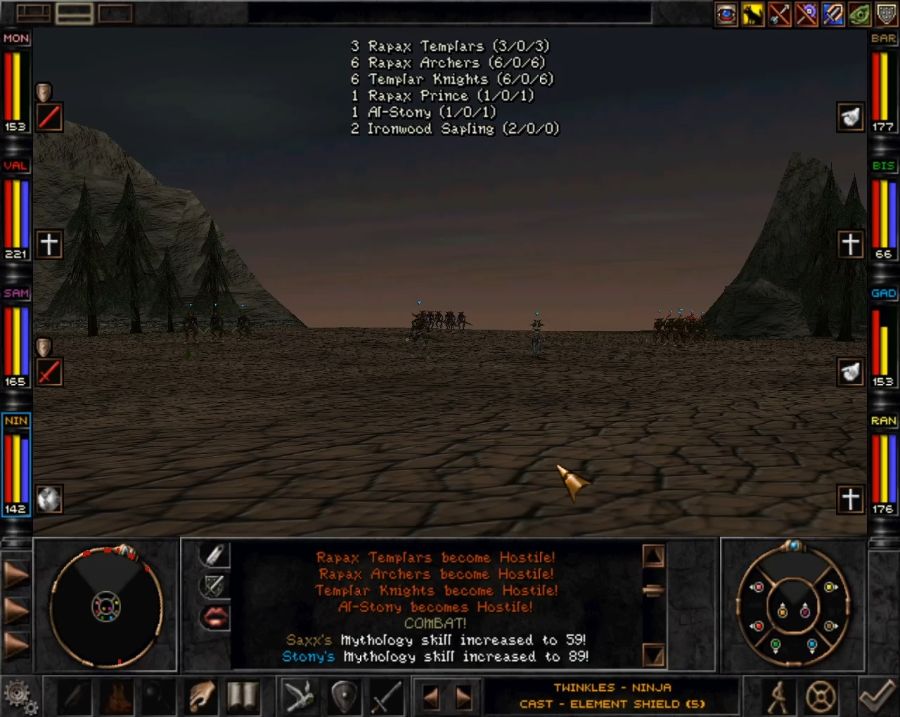 So let's analyze this battle. You start at long range and have no way to sneak closer. First range WILL need to be self-buffing, during which most of the Templars will also self buff with stuff like Magic Screen, Missile Shield and Element Shield, making your job even harder. The archers are the main weak link for getting chipped away by stuff like Tsunami. On top of that, the Rapax have a nasty trick up their sleeve. Watch the radar in the following screenshot. 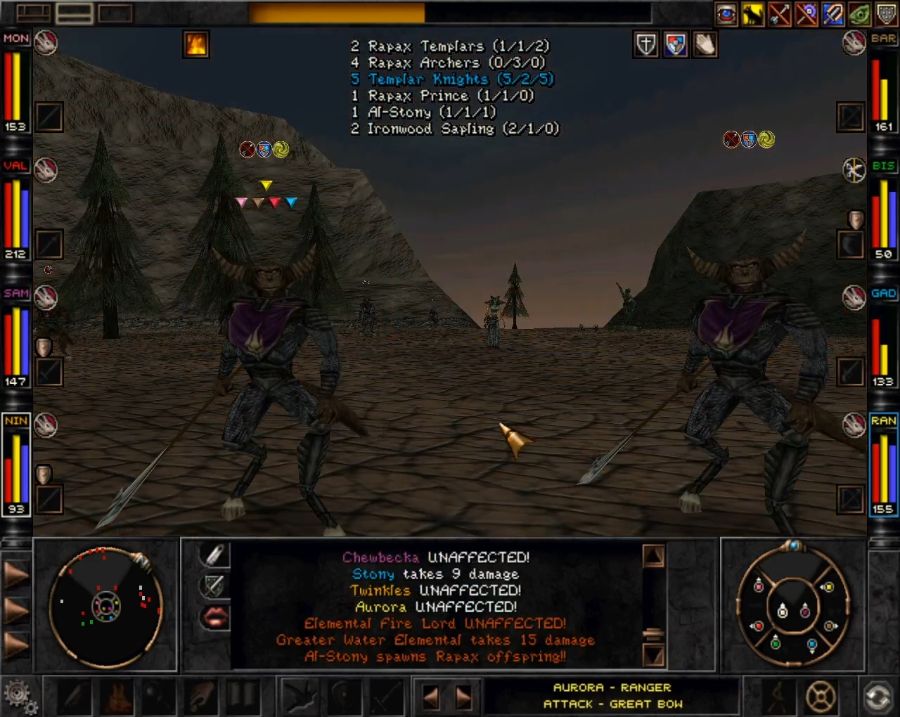  Your Rapax child can spawn offspring, which she ostensibly has an 80% chance of doing per turn, but I only saw her do it once when I tried(both for the try that crashed and the one that worked), but the thing is that what she spawns is more Templars, not chaff, and she spawns them centered on you, not herself, so you're instantly getting back attacked. On top of that, I got unlucky and some treants spawned off to the side and cast Eye For An Eye on themselves. This means any time I try to cast Asphyxiate or Freeze All, I also hit the entire party with those spells. That interaction seems to have been what crashed the fight the first time around, but aside from that it strongly encourages me to be careful with how I toss spells around. The battle wasn't exciting and didn't involve any unique tactics but, crash aside, it took me thirty goddamn minutes to hack my way through all these idiots. Jesus Christ.  They don't drop anything worth looting, either. In any case I just want to forget the drat fight exists. Time to get on with it and hand off the Astral Dominae. Of course, I take the wrong turn on the way there, finding the one way to get lost. Which is hilarious because in real life I have an unerring sense of direction and never get lost anywhere, but in some games I'm just like a confused fly bouncing off window panes and taking every illogical turn and twist. 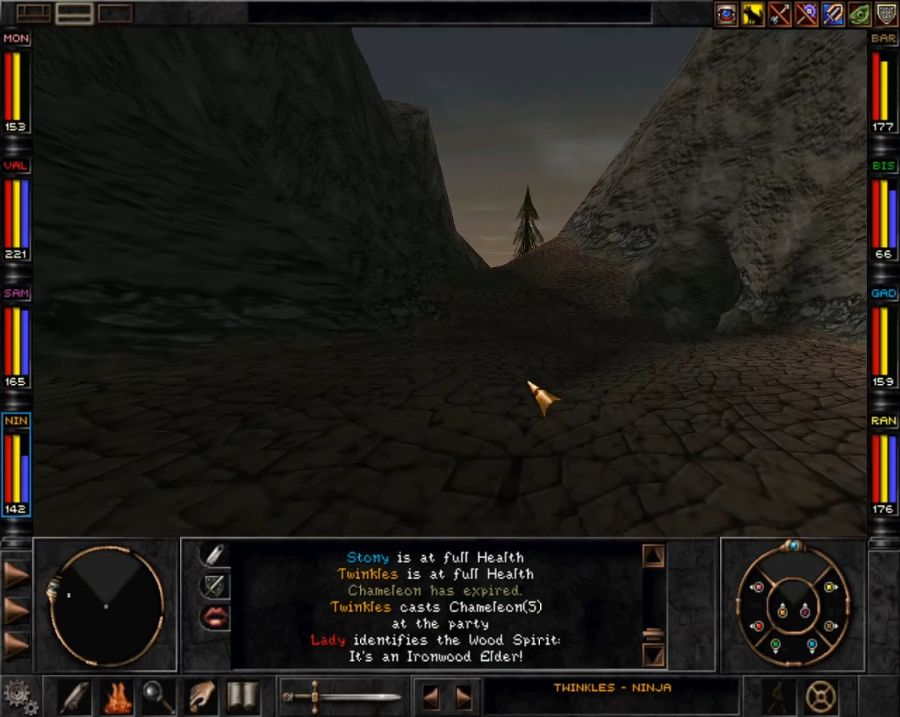 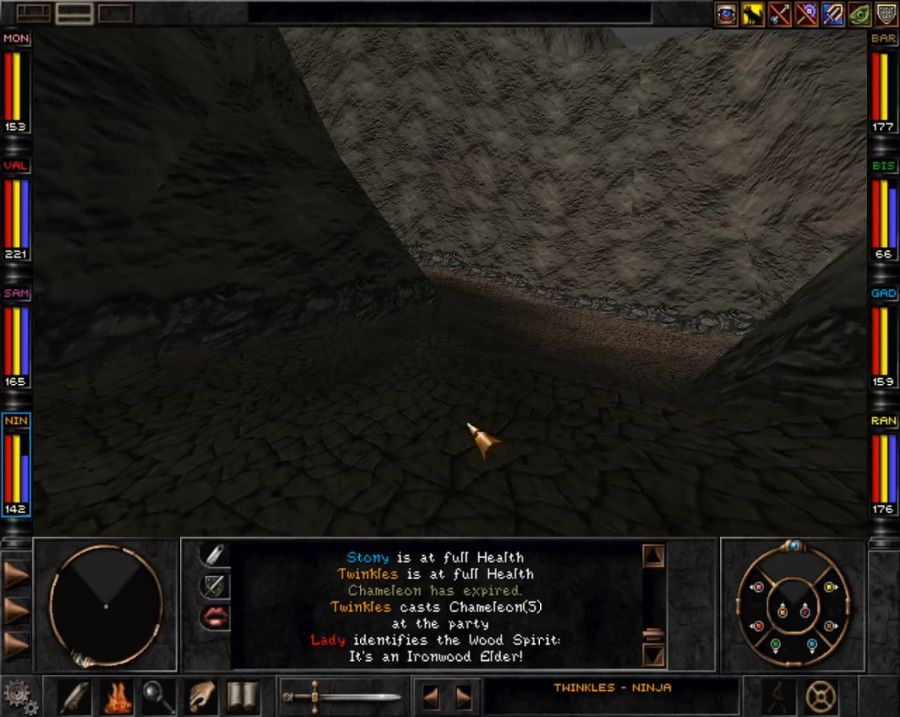 I find this path that switches back and forth, going up and up and up. 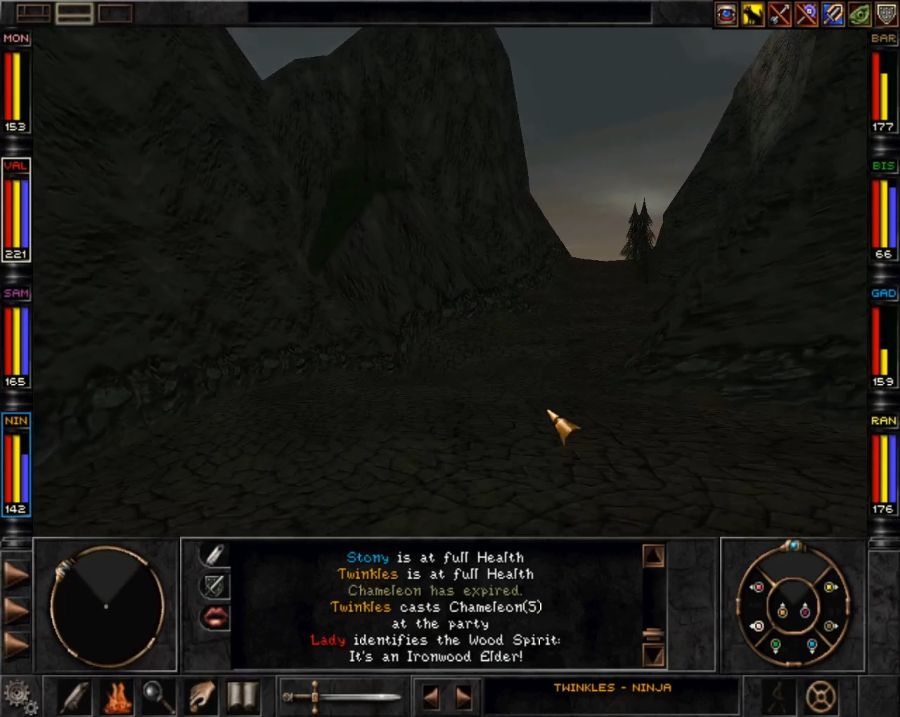 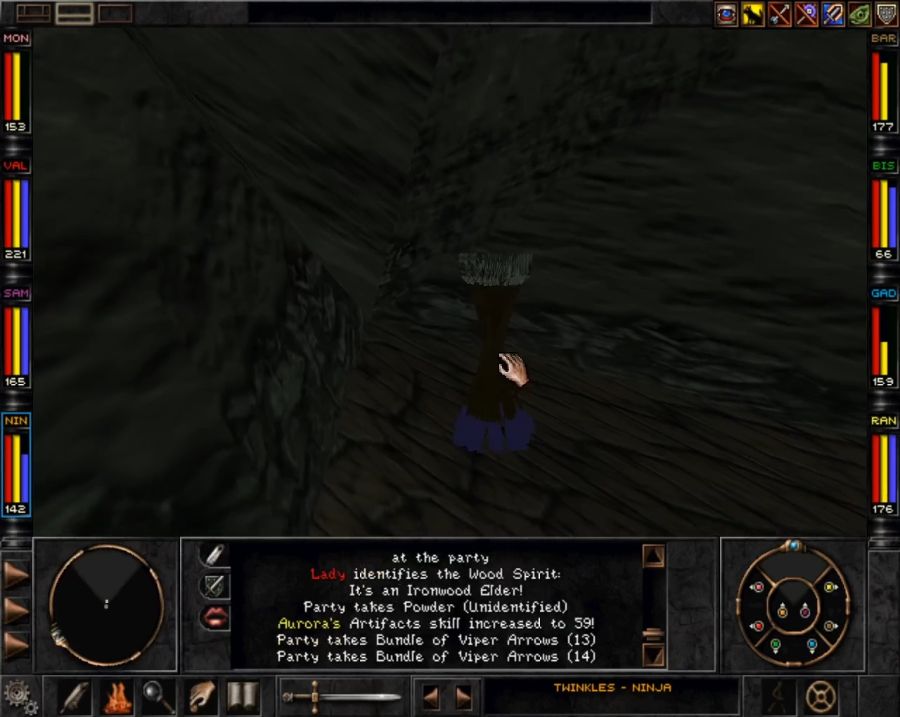 In an alcove there's also this bugged bundle of arrows, I think someone mistyped how many were meant to spawn there. It's like 20 or something stacked on top of each other. 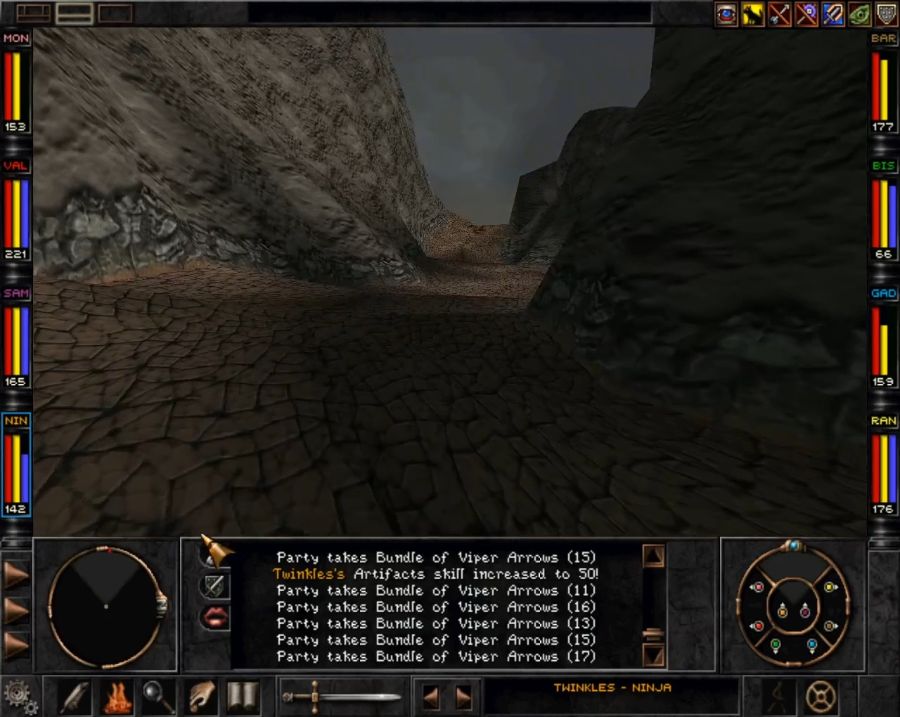 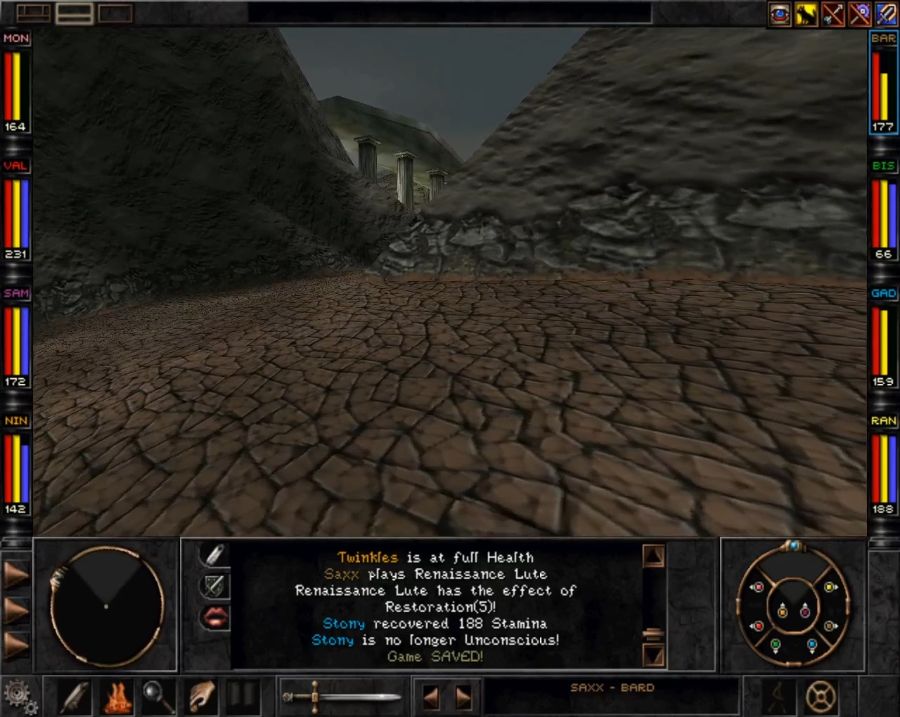 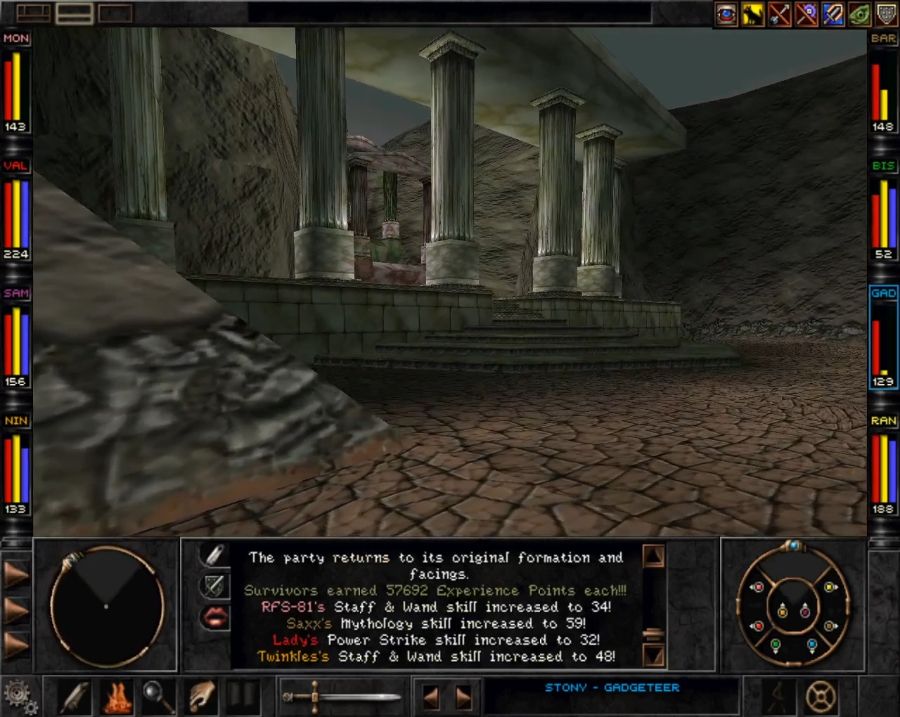 I end up on the path leading to 6 rather than 8a on the map. This is actually the last place we need to go. 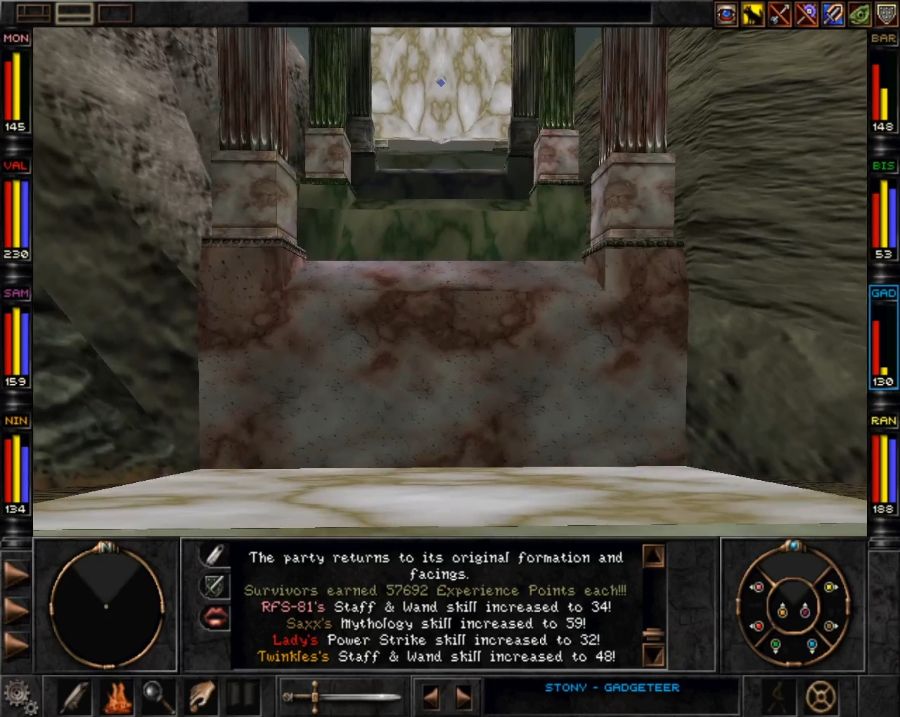 Each inserted item raises part of the stairs so we can get to the top, because we're too dumb to build a ladder or use a grappling hook. Anyway, back to the right path, we'll be back here again later. 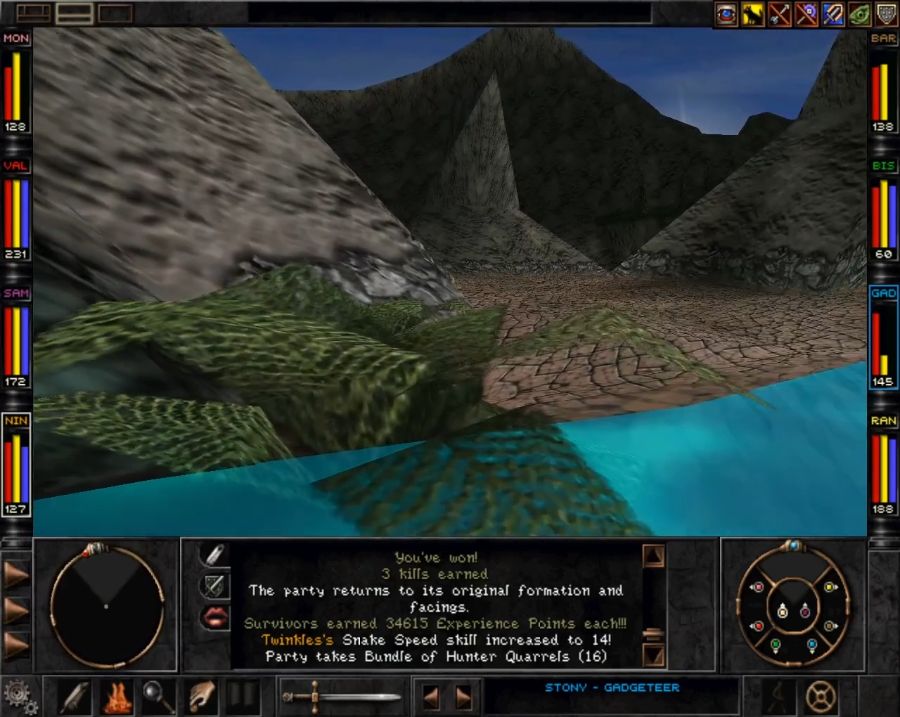 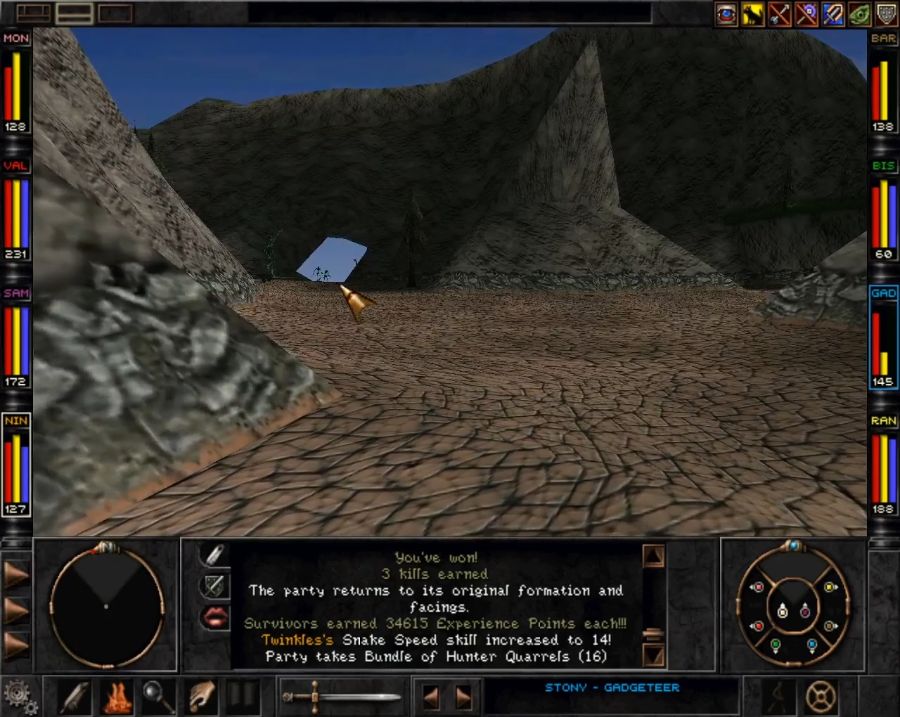 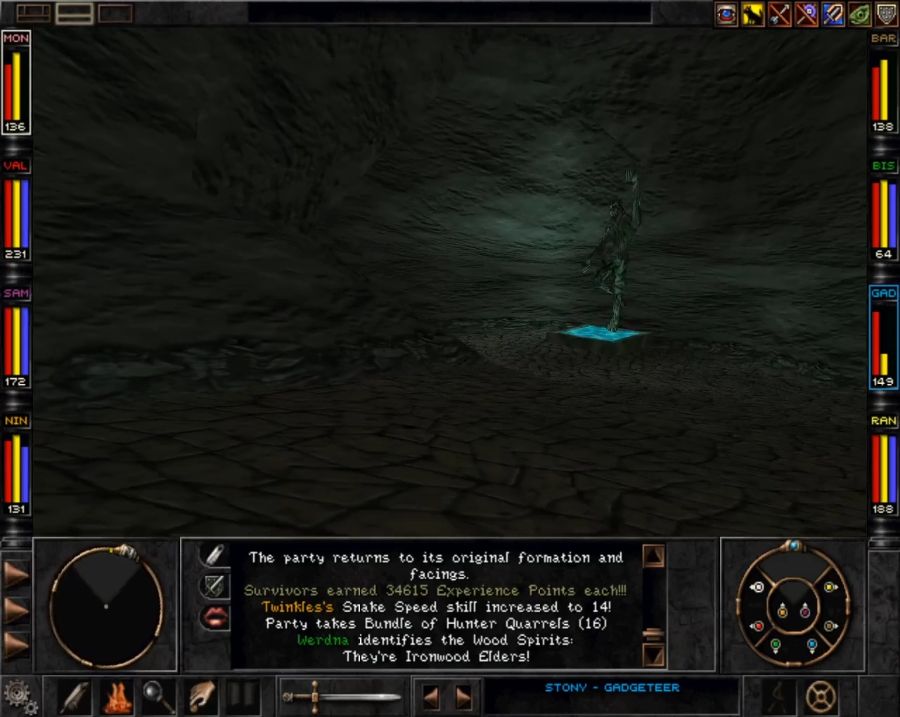 Over creeks, down caves. 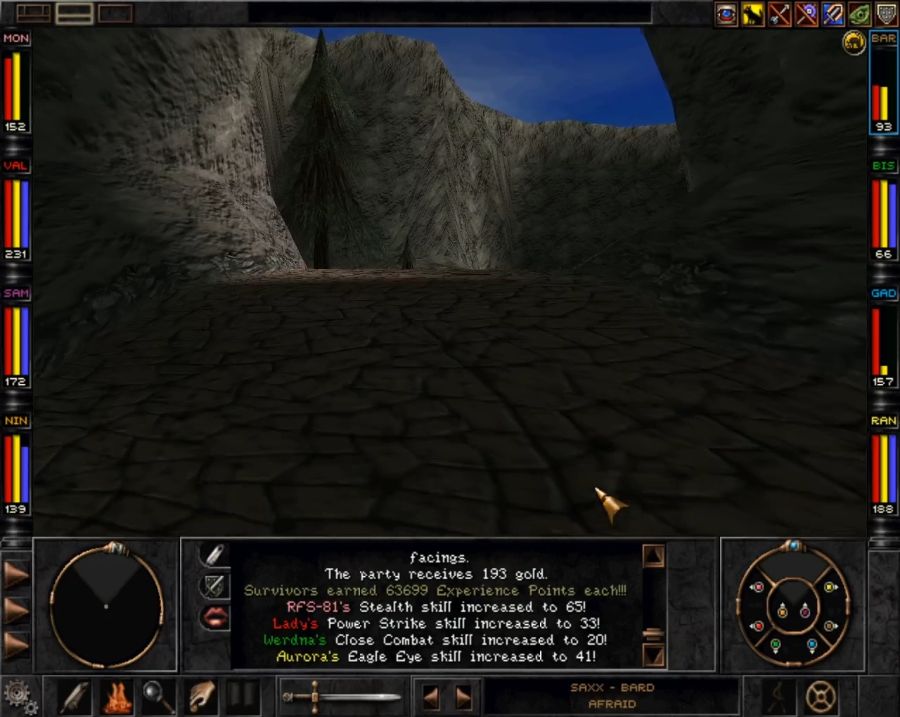 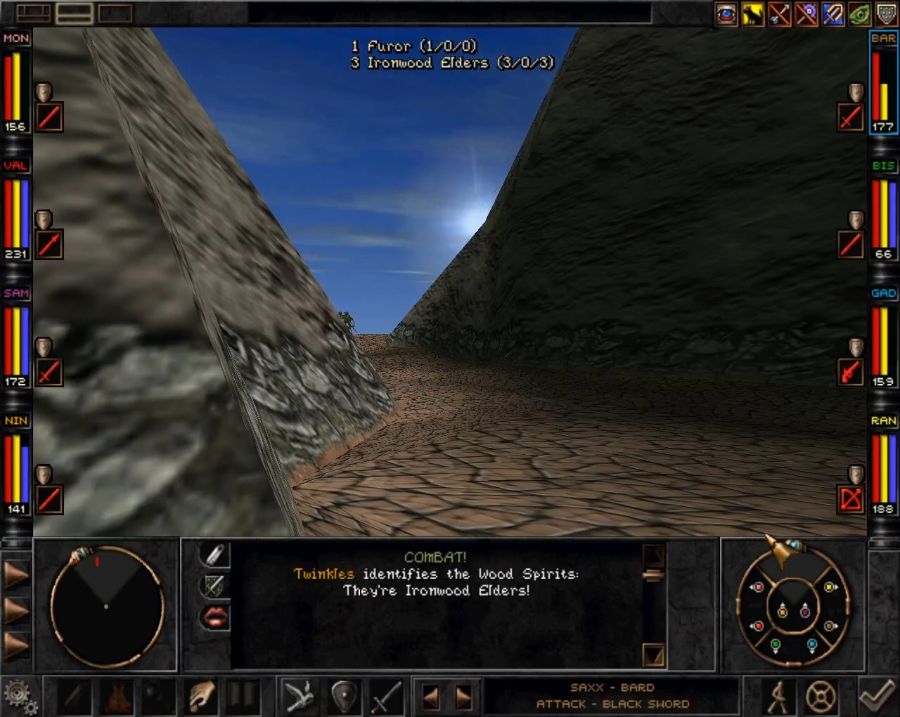 Up caves, into battles. The Furor is a unique big boy. 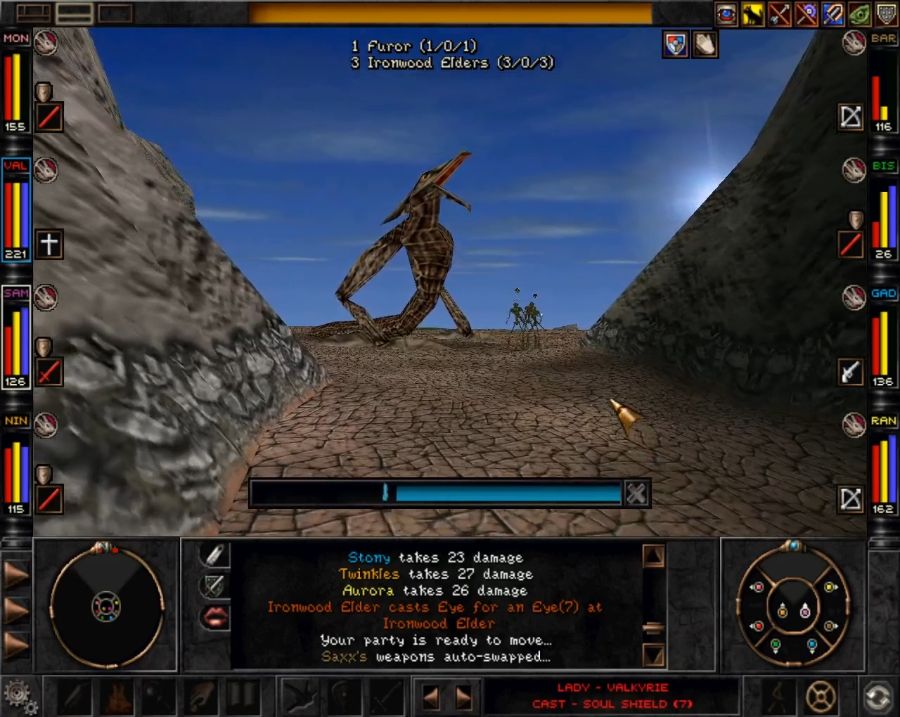 Just a plus-sized Scorcher. Keep your elemental shield up and he's a non-issue soon turned to chunky salsa. He guards progress and a small cave full of pre-placed gear that would have been outdated ten updates or so ago. 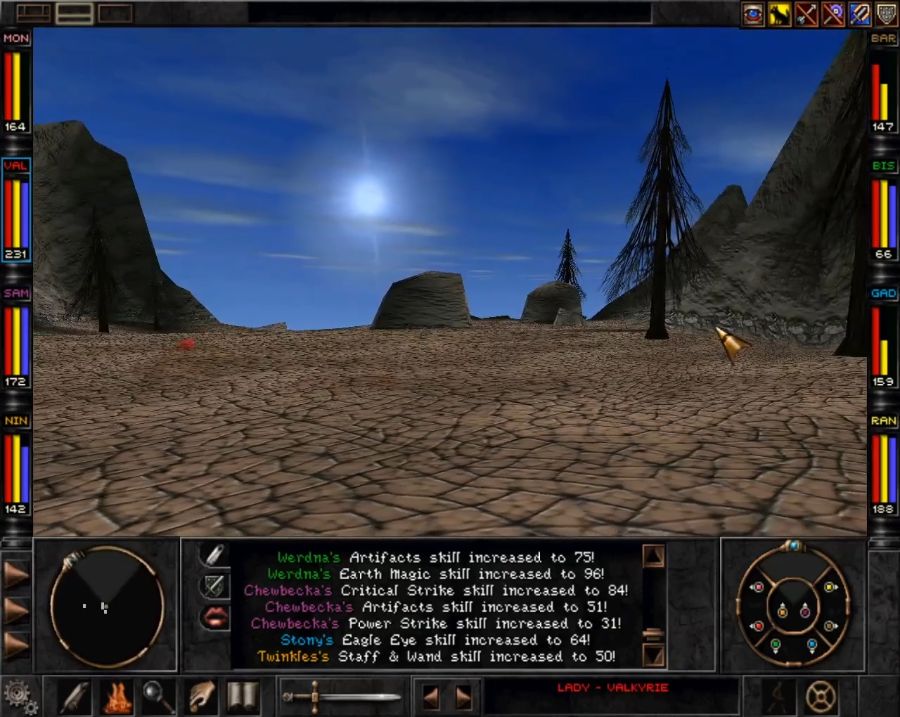  Things get slightly more lush as we approach the end of this path... 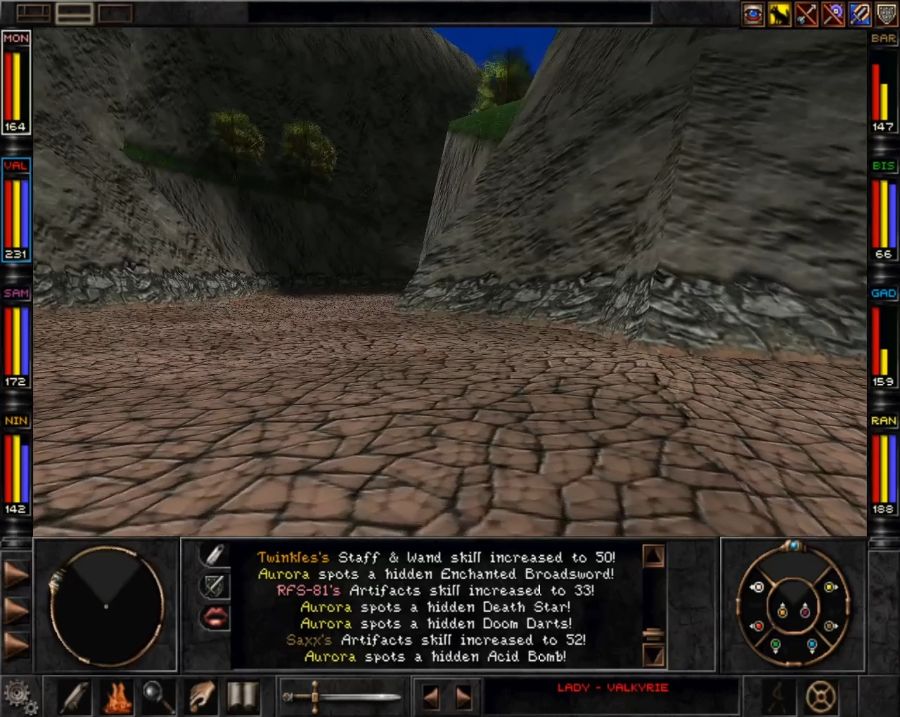 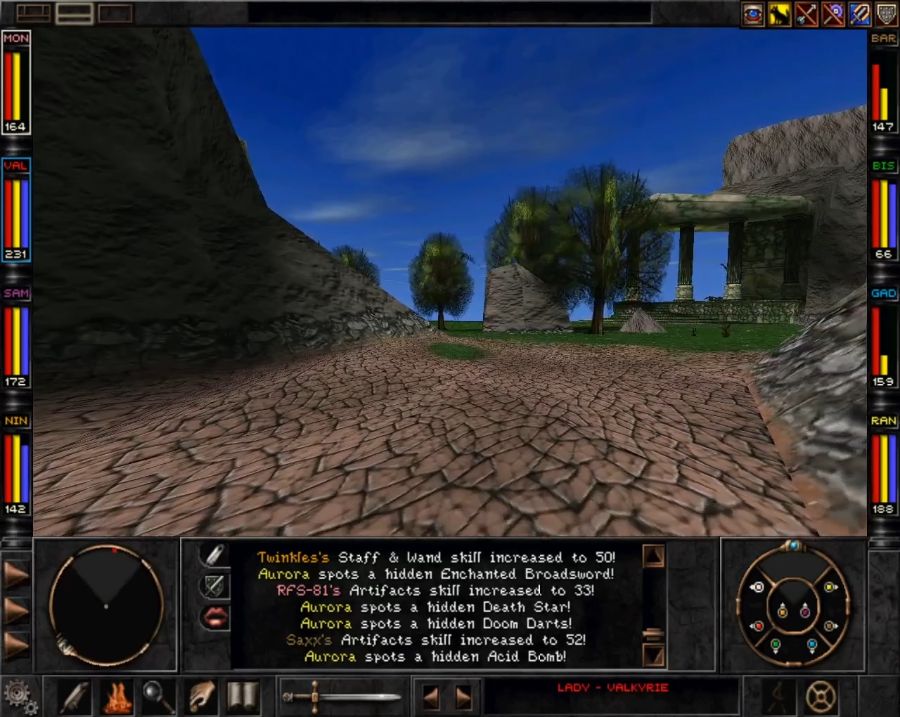 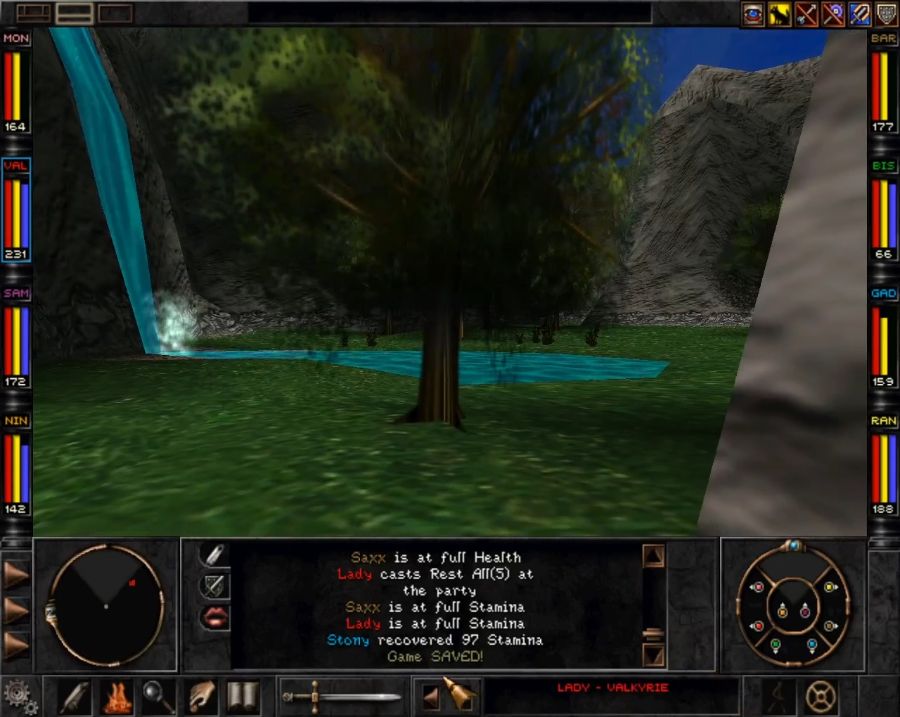 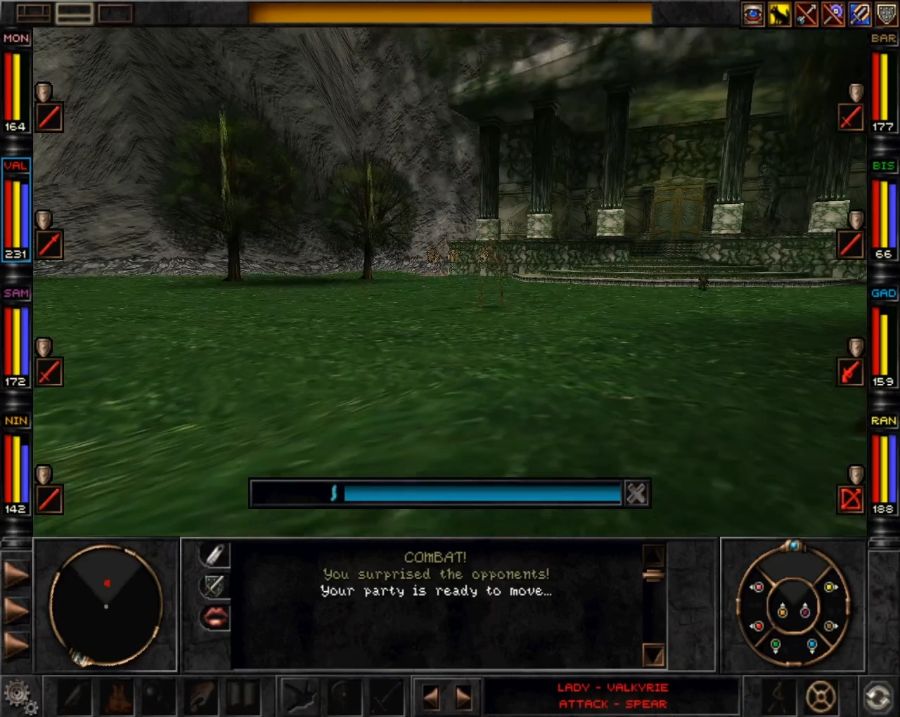 The shrine of Life is guarded by a few fairies and a treant, once again, they go down like chumps because I can hide behind a boulder to charge straight into melee with the fairies and whack them around like little baseballs until their wings come off. 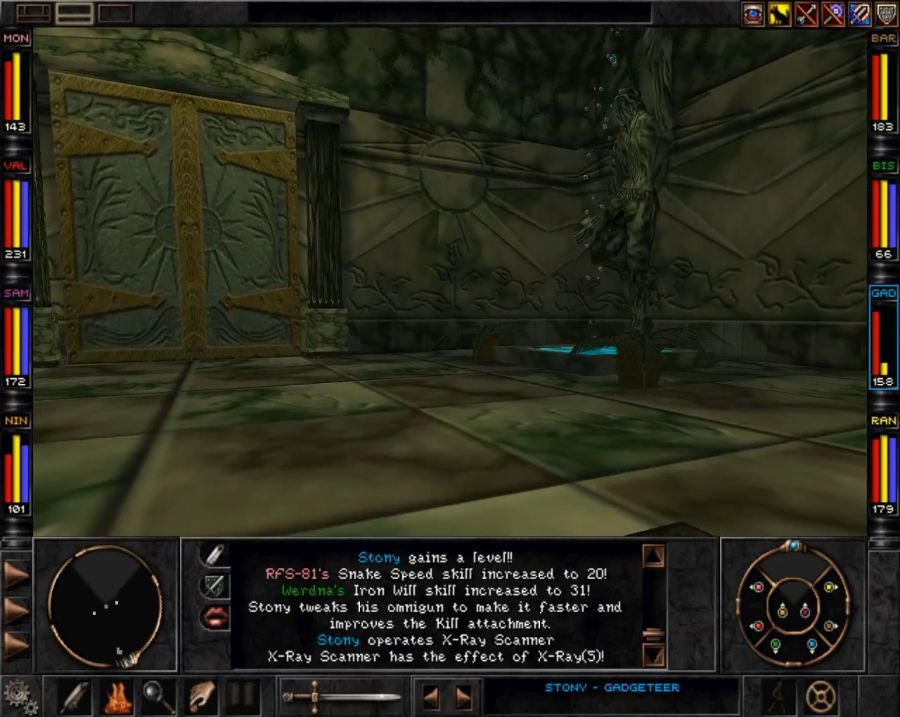  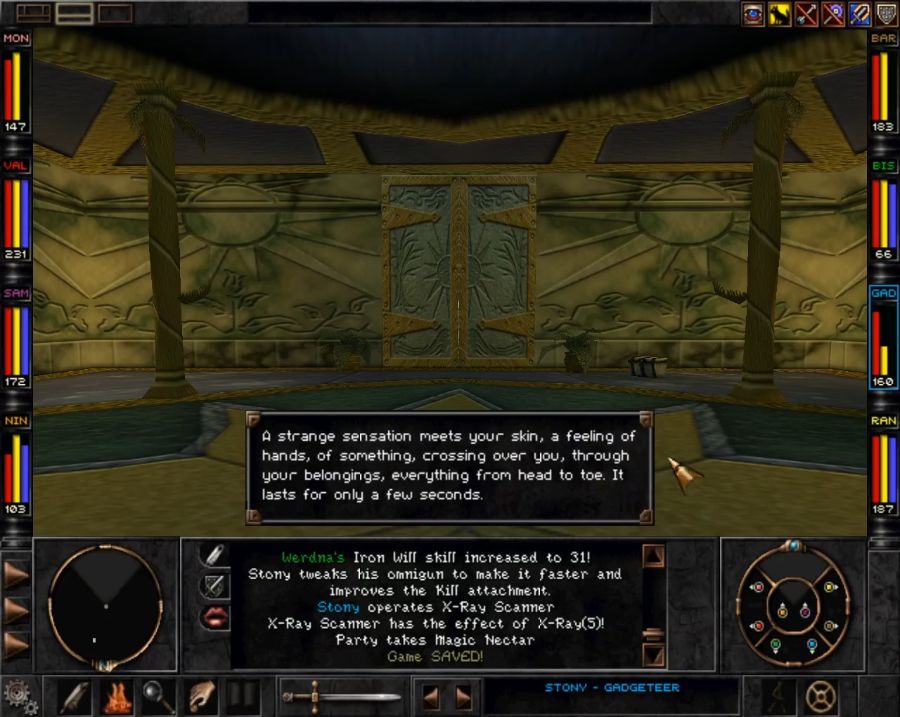 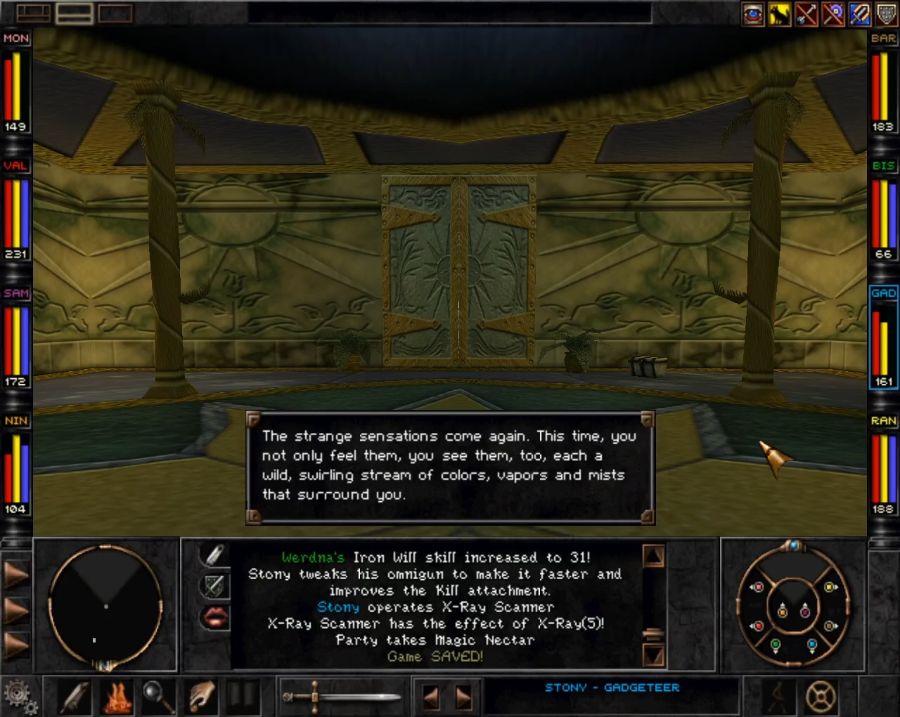 Once again, we get groped up and... https://www.youtube.com/watch?v=X7QptxSP7RI  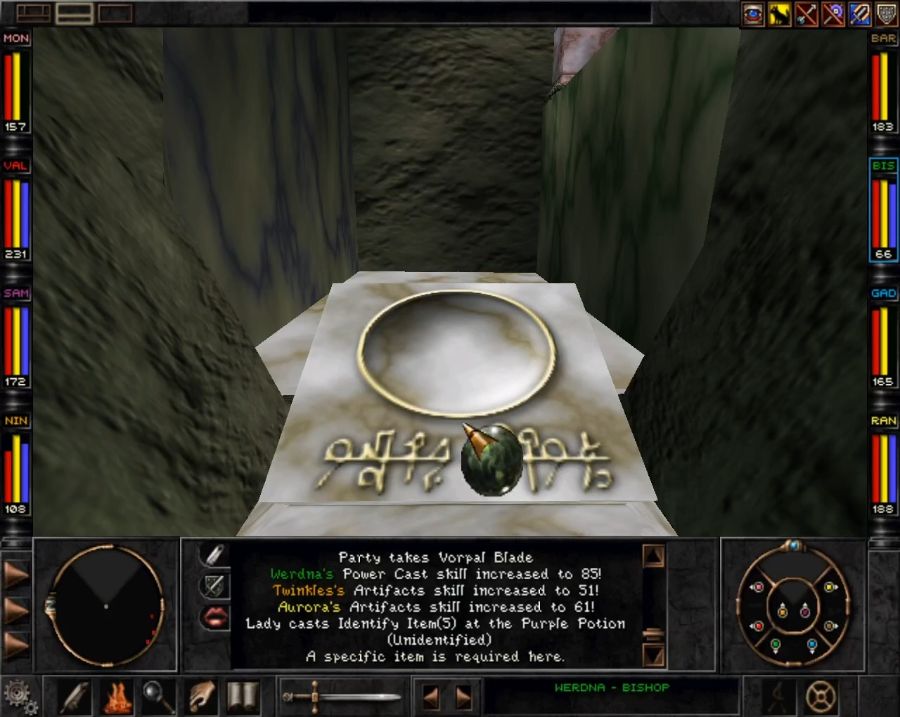 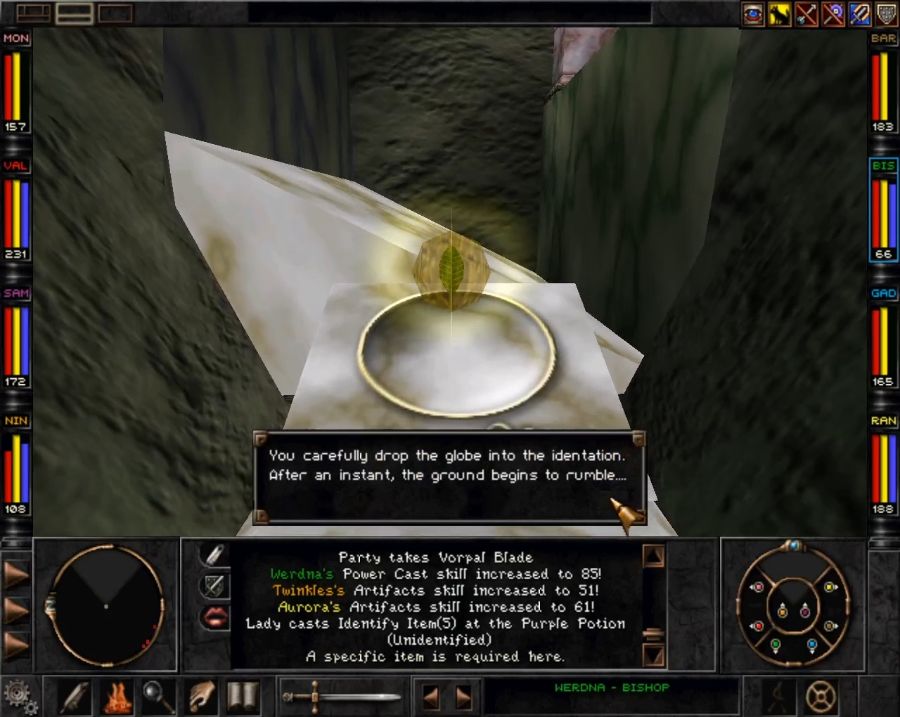 And with that, we have only the path and shrine of Chaos to get through. 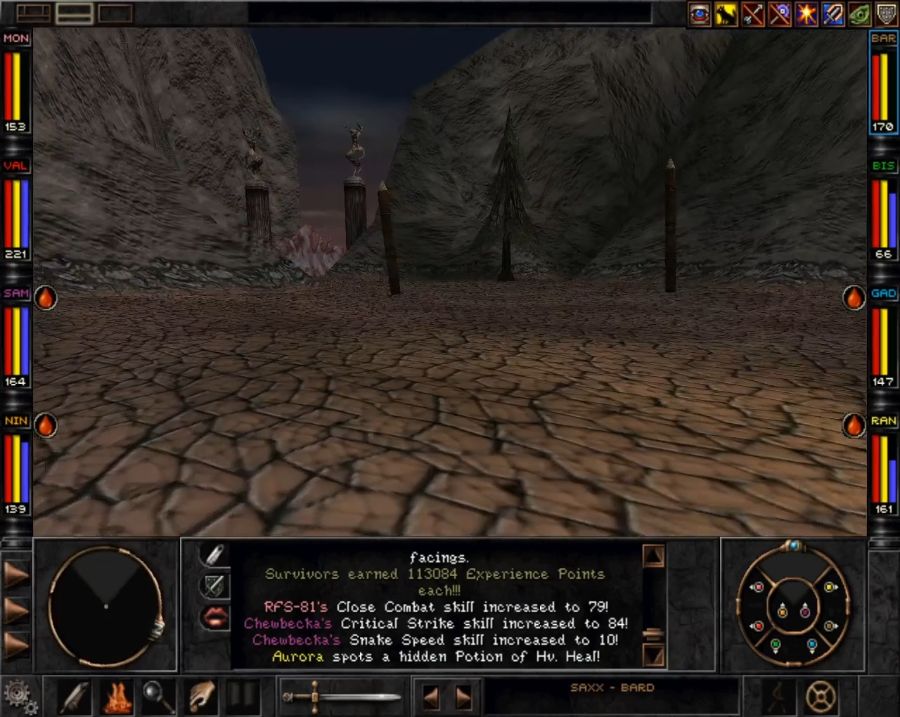 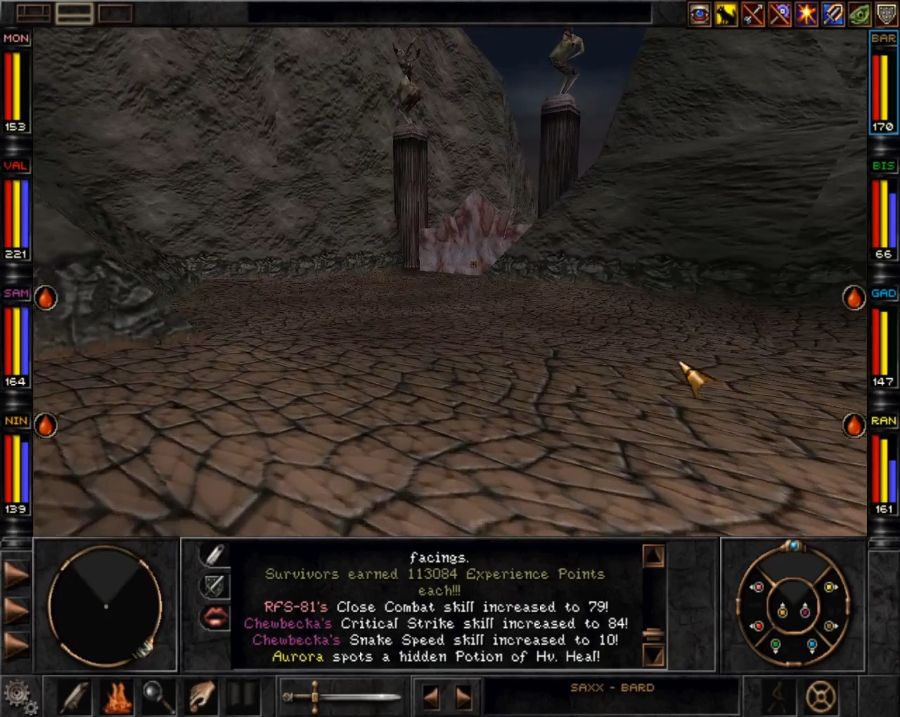 Of the three paths, it's probably the one that's the most decorated, but also the least unique. 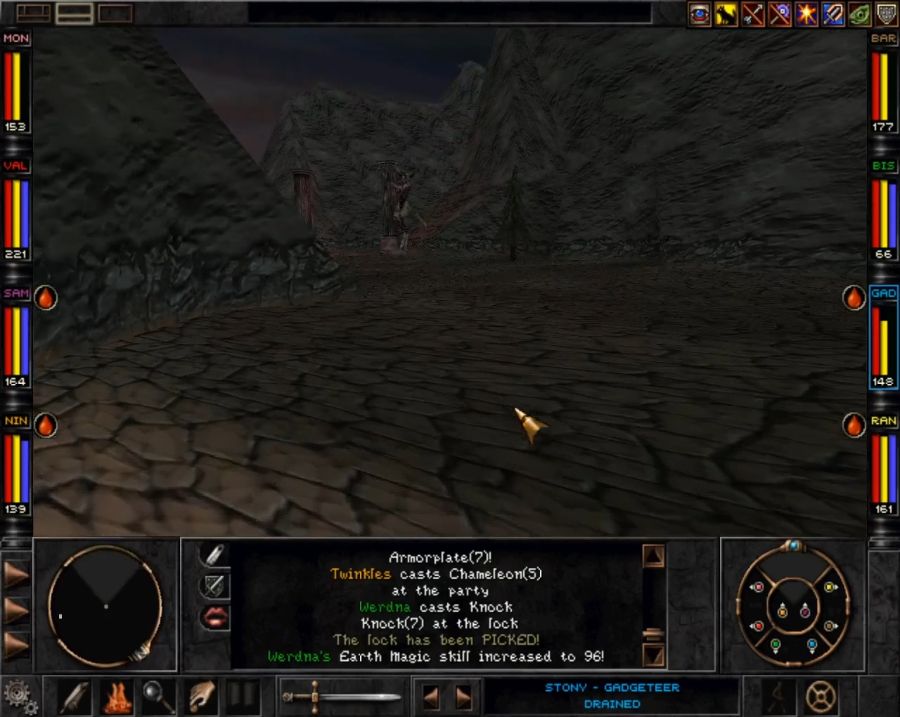 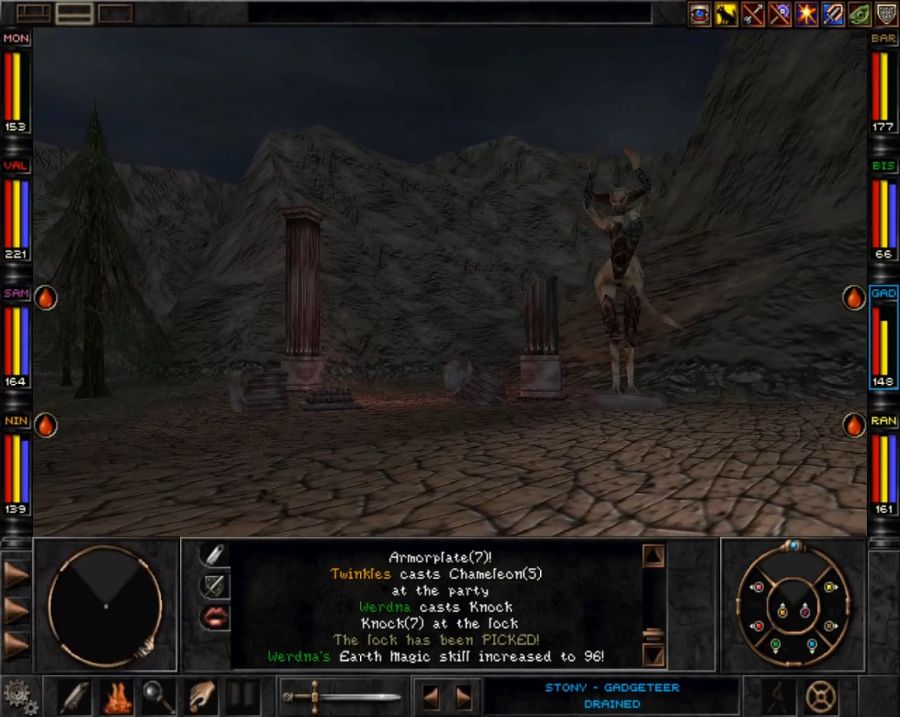 It has monuments that collapse as you draw close. 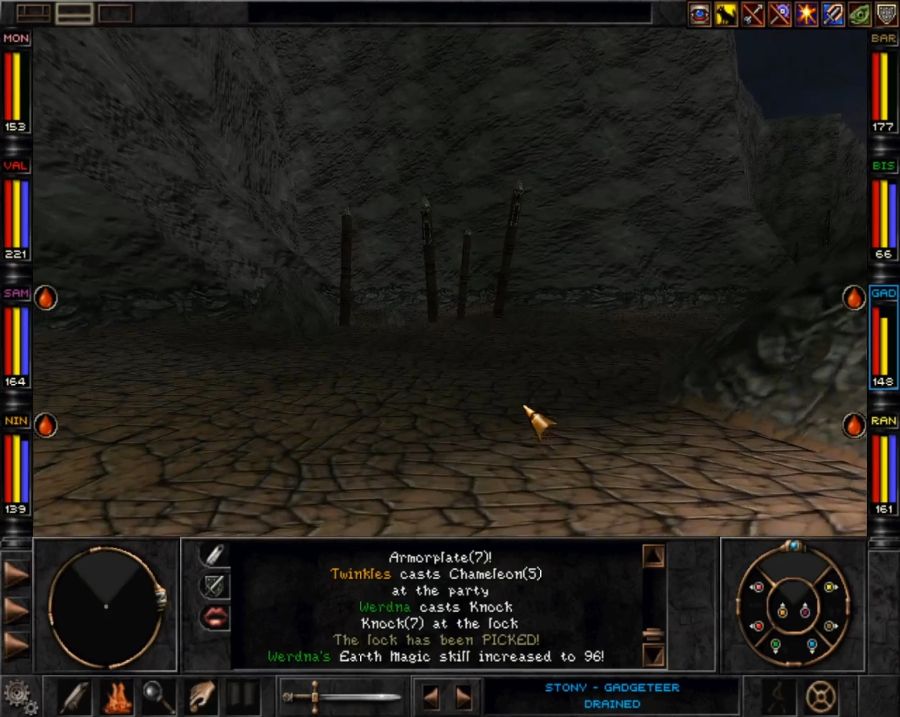 Corpses tied to stakes, and similar signs of chaos. Like the other paths, it has a couple of unique encounters, but they're less unique than, say, Amit or the Rapax prince. 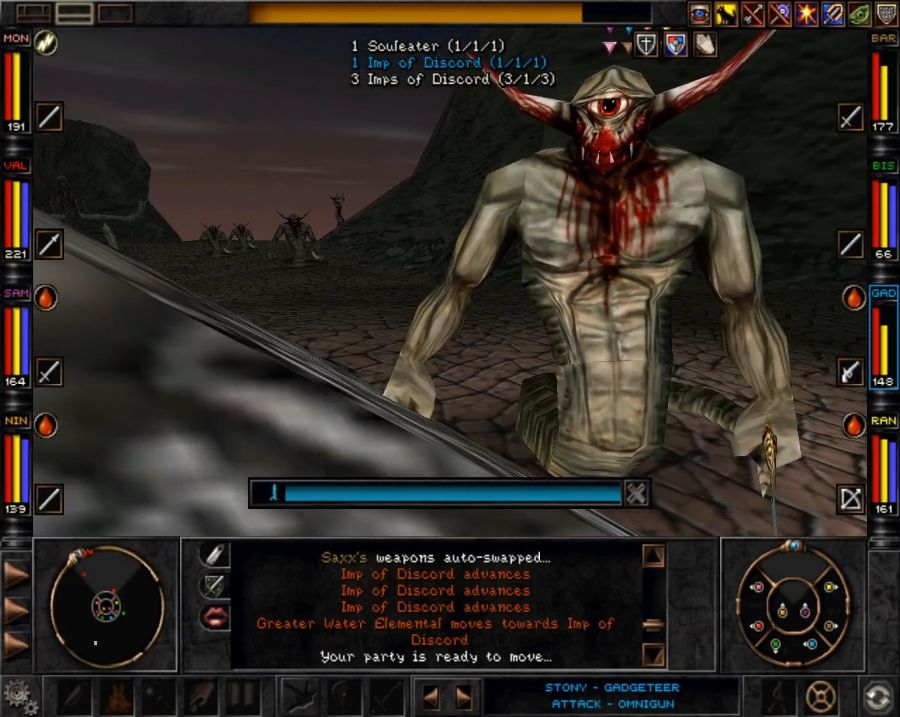 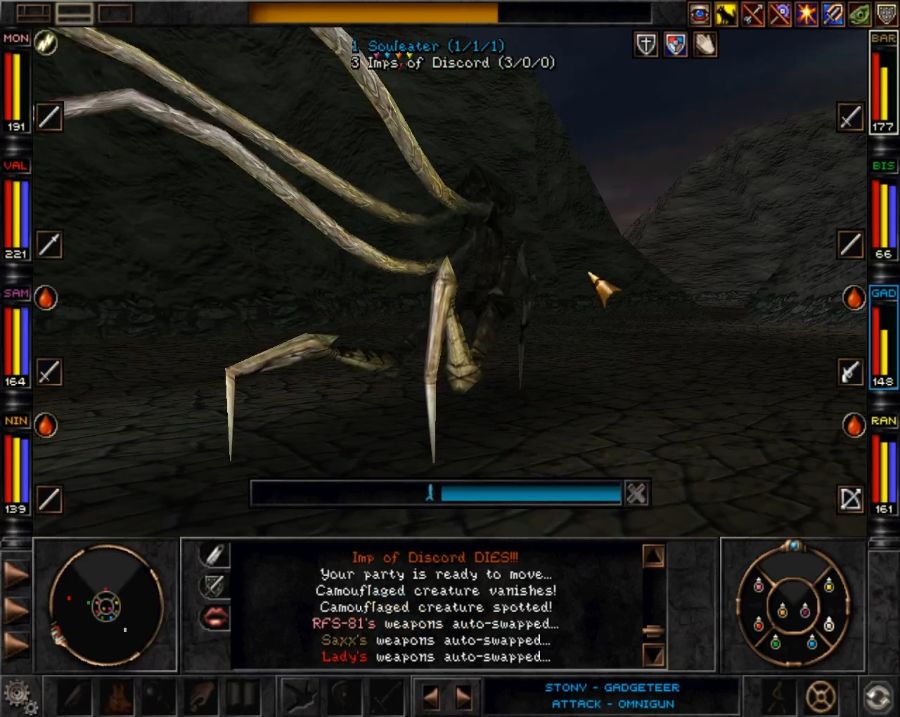 Like 90% of the game's actual demon-type enemies are located on this path. I don't think Djinns, other than the one in the Umpani training course, actually spawn anywhere else, and all other demons are uniques, like Al-Sedexus. Also no, like usual, the Soul Eater gets KO'd and beaten to death before he gets a chance to even try his special soul-devouring attack. Neat design, though.  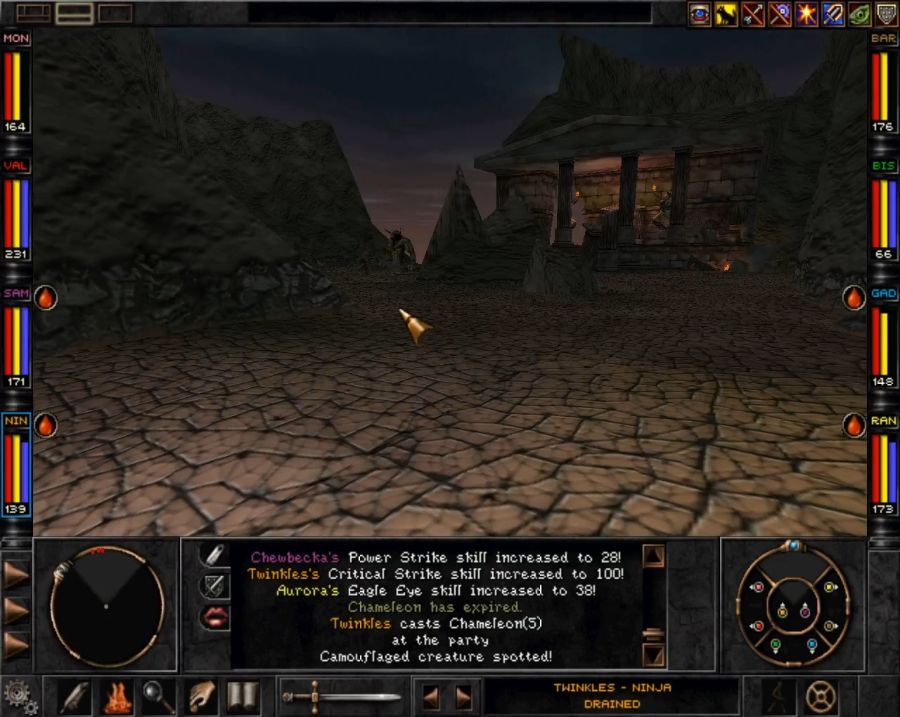 At the end of the path, the shrine of chaos is guarded by a few more djinn that get beaten to paste in moments. 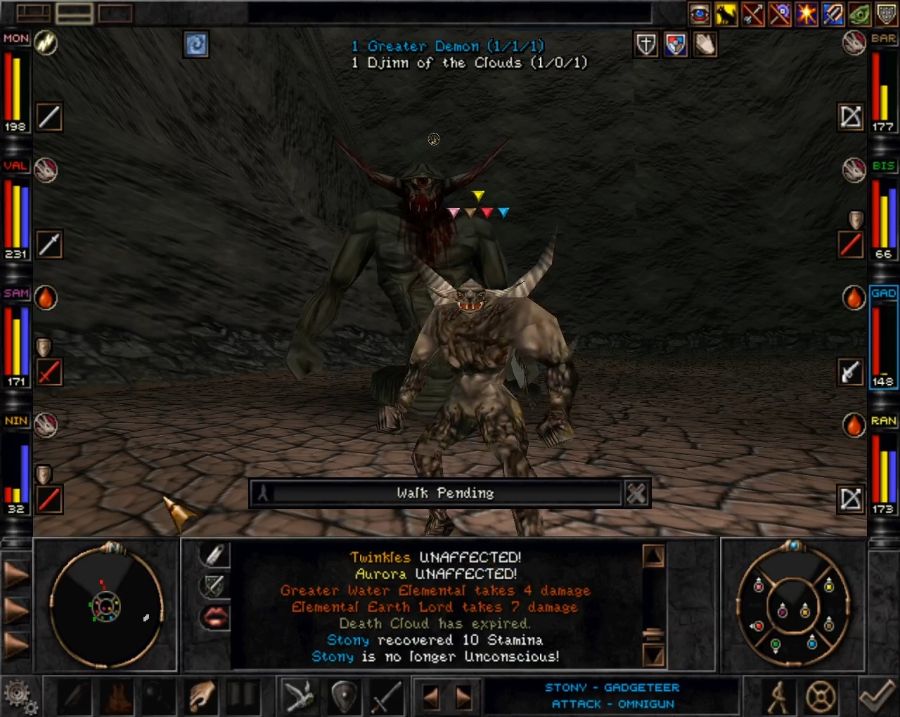 They have this one unique demon with them just called a Greater Demon. Not very threatening but at least it's another unique design? There's apparently a whole tier of demons and djinns we don't get to meet because I didn't grind my way up to, like, level 36. 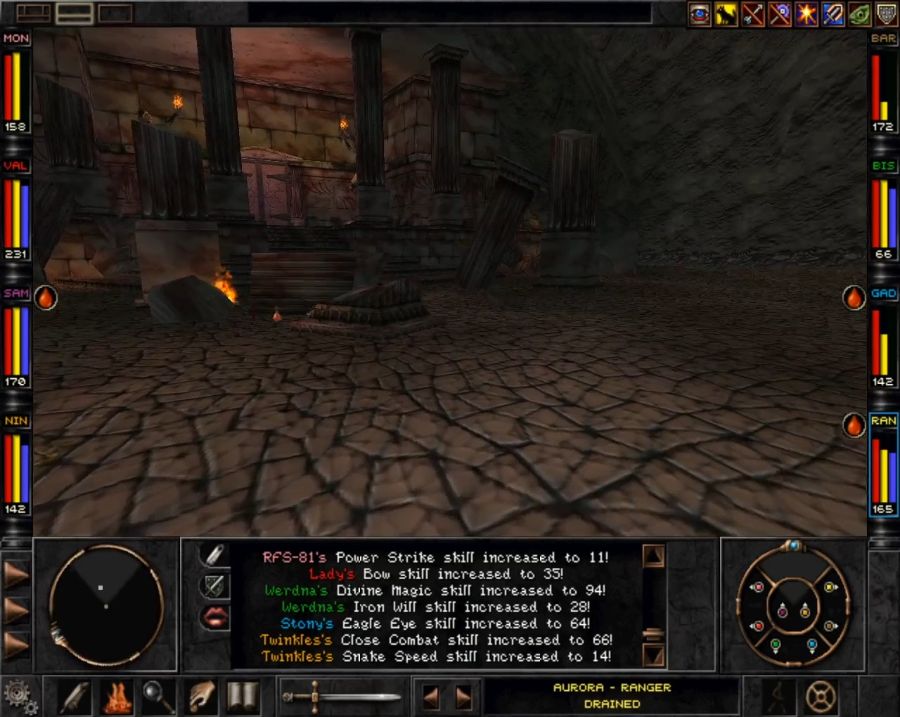 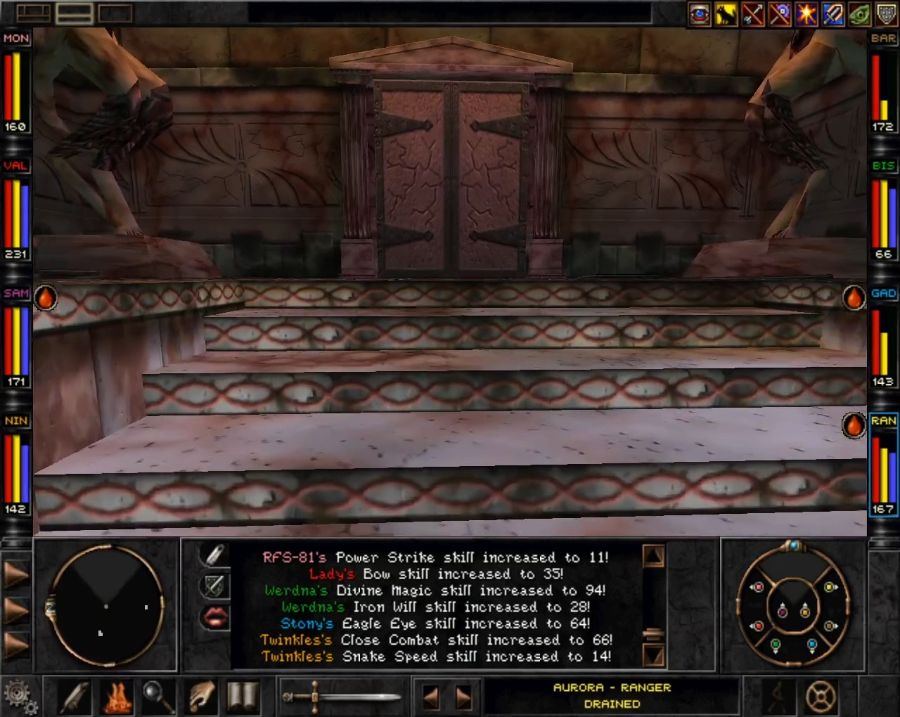 The Shrine of Chaos is in a decent bit of disrepair. Though, one thing that stands out to me is that Ascension Peak has statues of Higard, Trynnie and Rapax, like, the Rapax are a natural part of the planet and ostensibly the ascension process as well, the Rapax Queen even mentions that they were supposed to ascend with the rest, not apart from them. I wish it was something that was dug into a bit more, the Savant and Al-Sedexus twisting the Rapax from a force of chaos and change to a force of cruelty, etc. Anyway, let's go in. 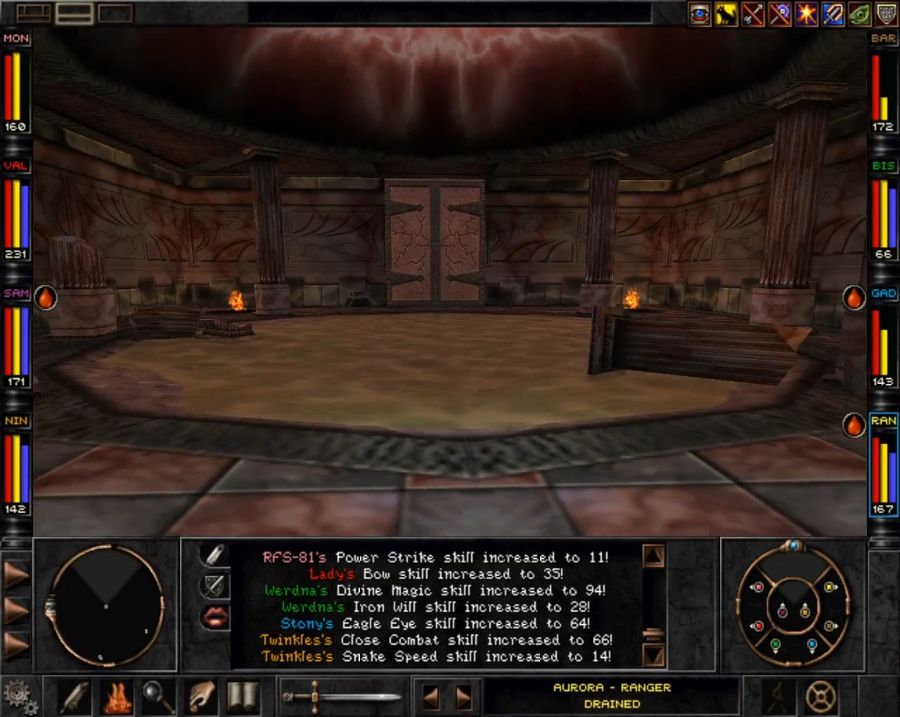 https://www.youtube.com/watch?v=WBuQ1d5qAXU And there goes the third riddle. 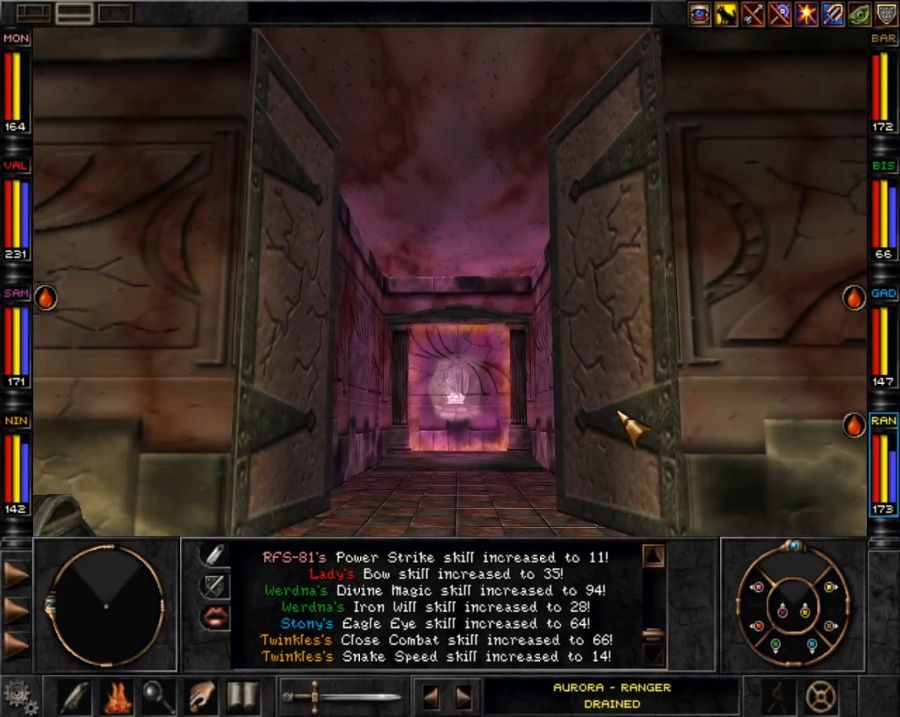 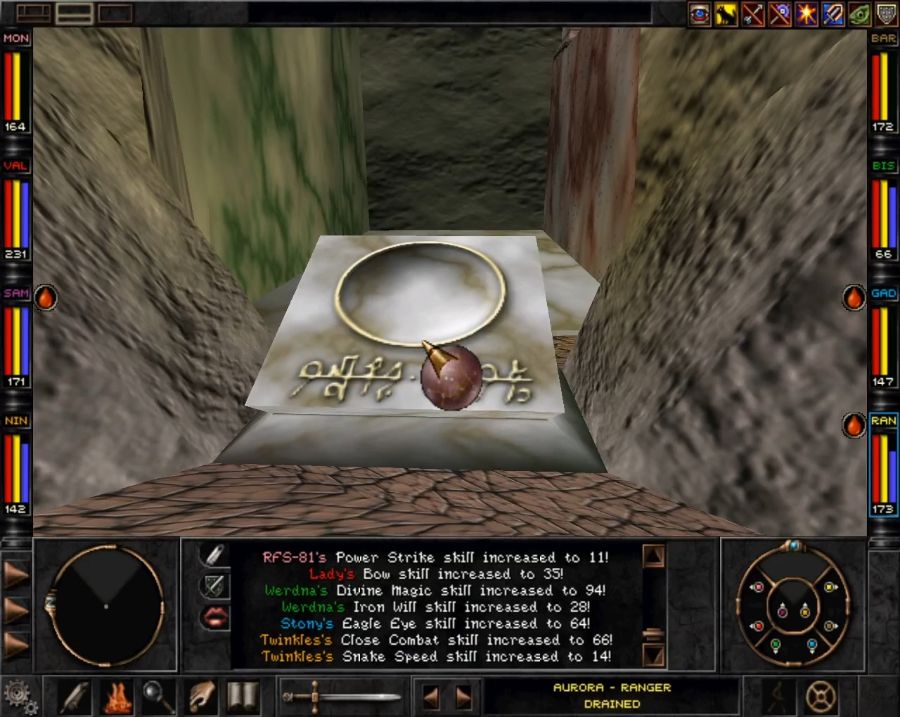 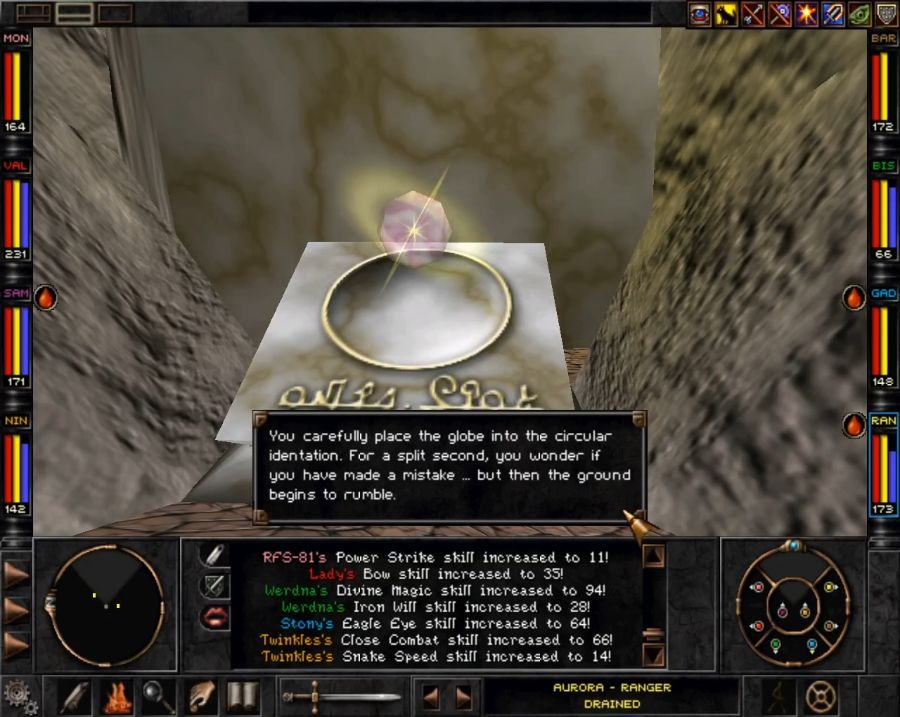 And as is obviously evinced, now the steps at the final shrine are raised all the way to the top. Time to hoof it over there and show you what happens if we do this without disarming the bomb in Arnika first. 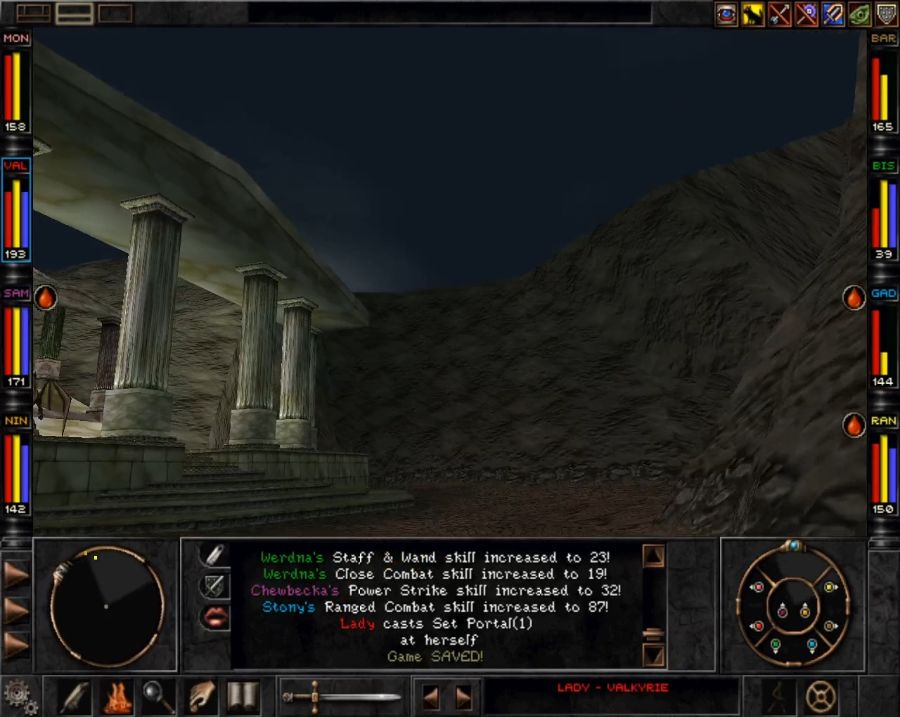 As soon as we get near the apex of Ascension Peak, the game takes over our camera and... https://www.youtube.com/watch?v=p9KINTEIUH4 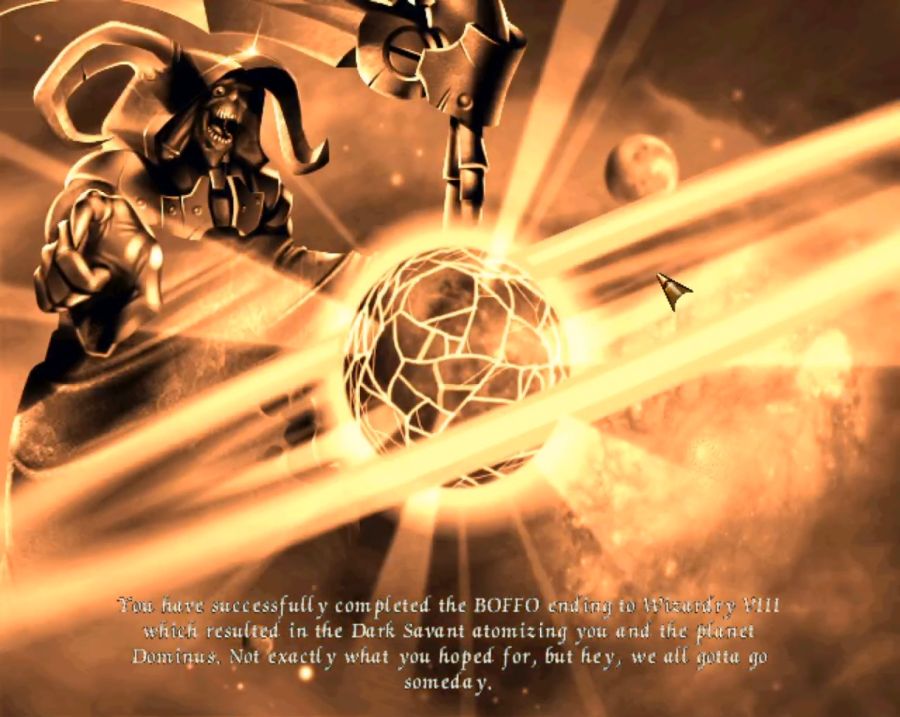 Whoops! So what if we weren't forgetful goofs and remembered the tower? Well, it goes mostly the same... https://www.youtube.com/watch?v=PLCGwHc0NPI Skip to 44 seconds in if you want to dodge the repeated material. I really recommend watching this bit because the Savant VA's take on this bit is pure genius. 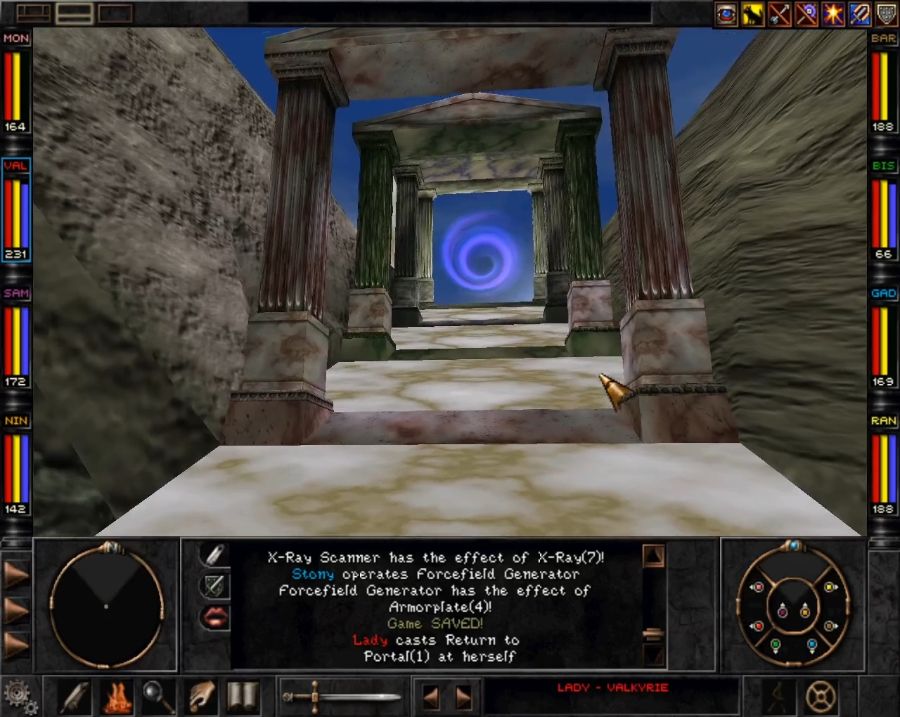 So uh, I guess we follow them and... 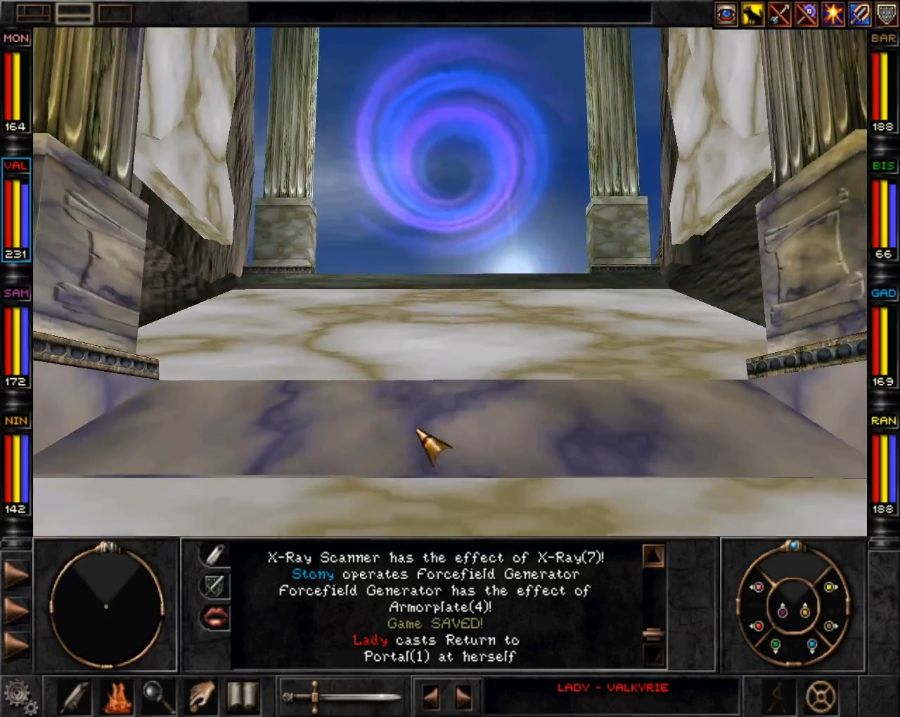  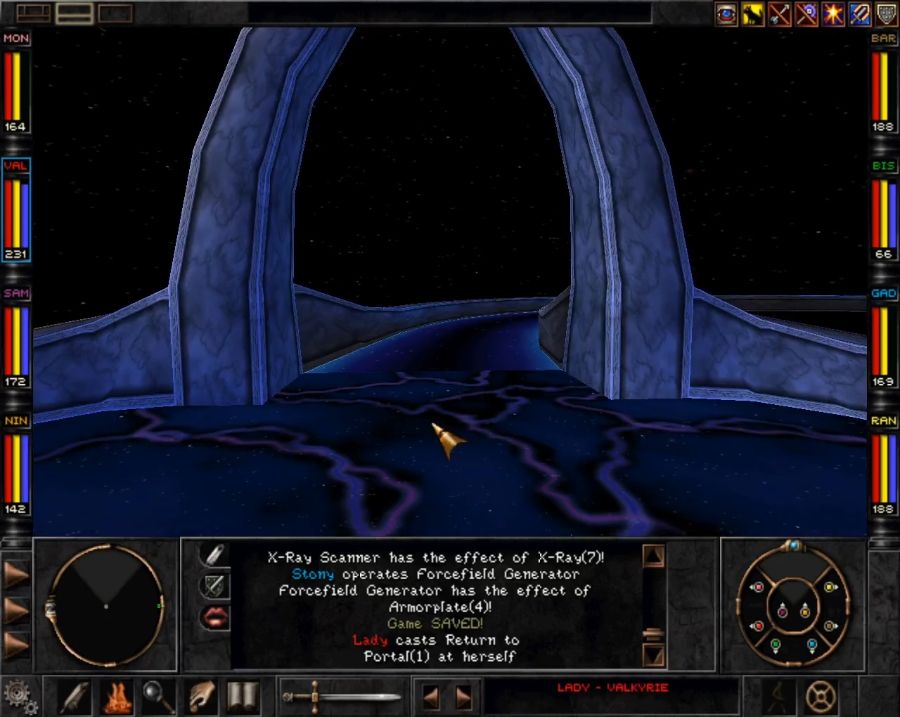 https://www.youtube.com/watch?v=BsgP-IFAHss I love this little track, it's short but sweet and really sets the ATMOSPHERE of setting foot in a new, weird place. Also, recognize this place from somewhere? Here's the map of the Cosmic Circle...  And here's the Umpani telescope from the last update... Update 13 posted:Apparently it exists in real space and can be seen through a plain telescope, meaning the Umpani, T'rang and Savant could've just flown a spaceship here at any moment! Anyway, we're here now, and that's what matters. Let's have a look around. 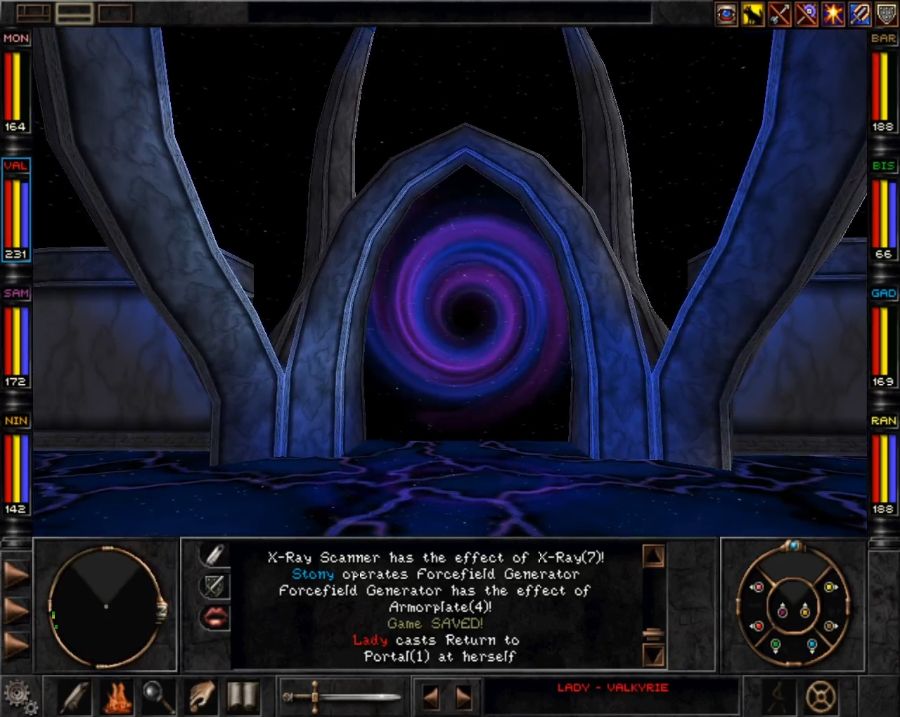 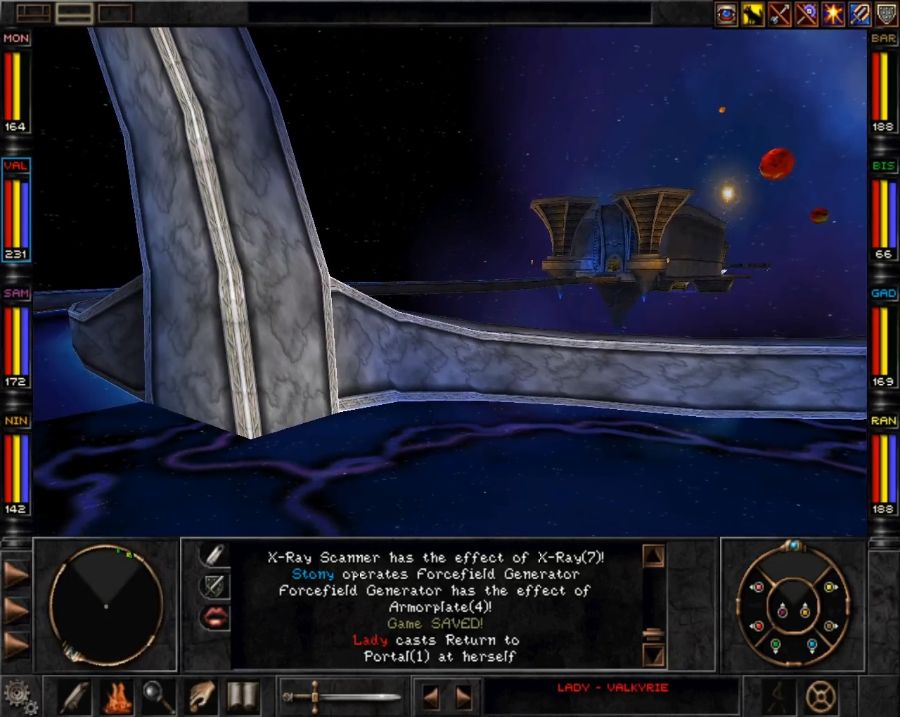 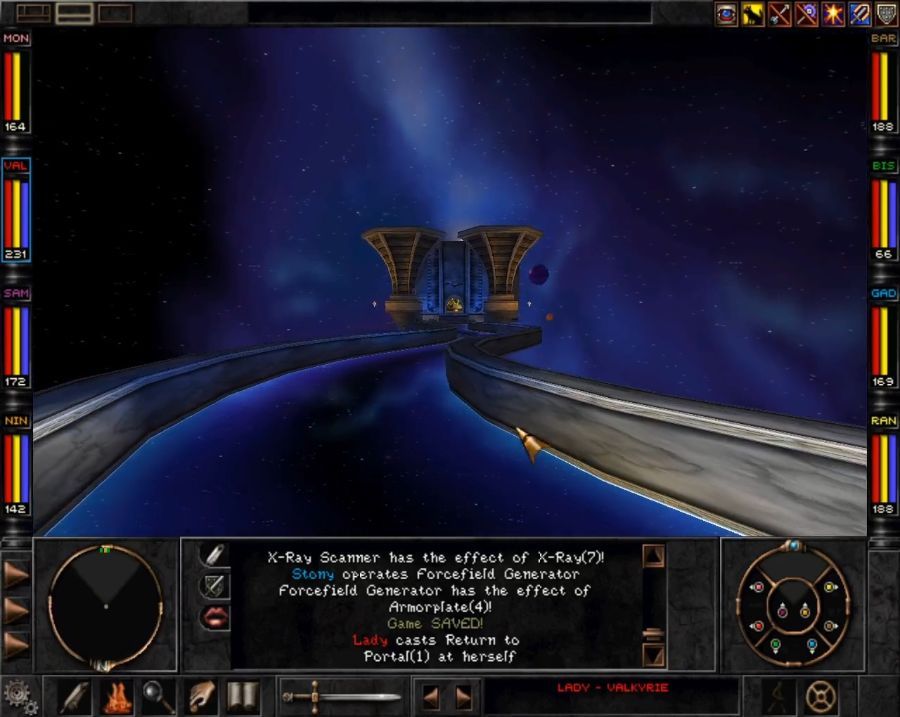 It's primitive, but I really love the design of the Cosmic Circle, though I strongly suspect it's a smaller version of what was originally intended. 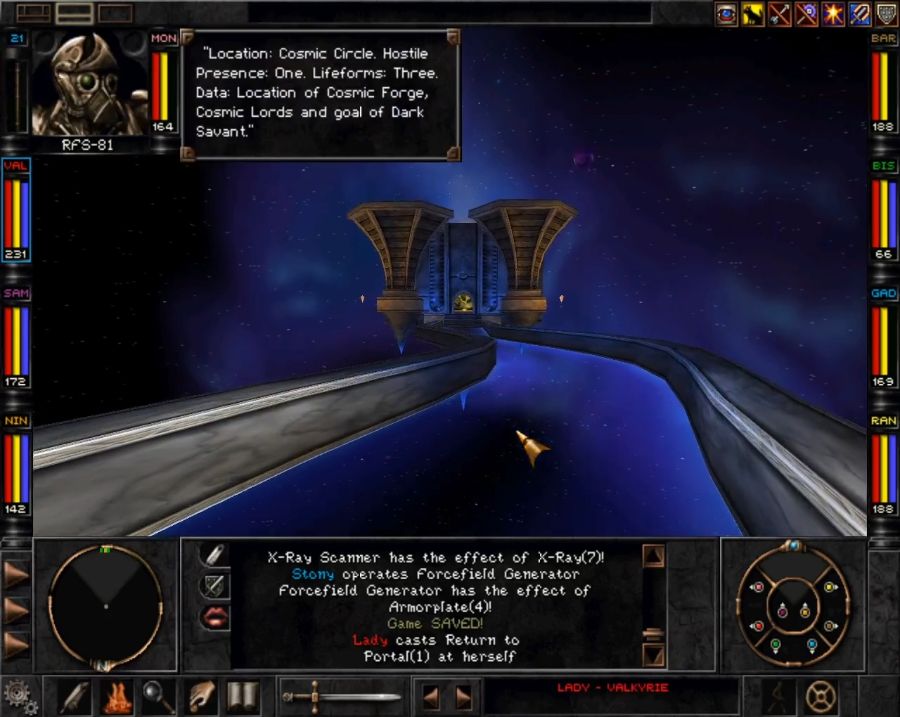 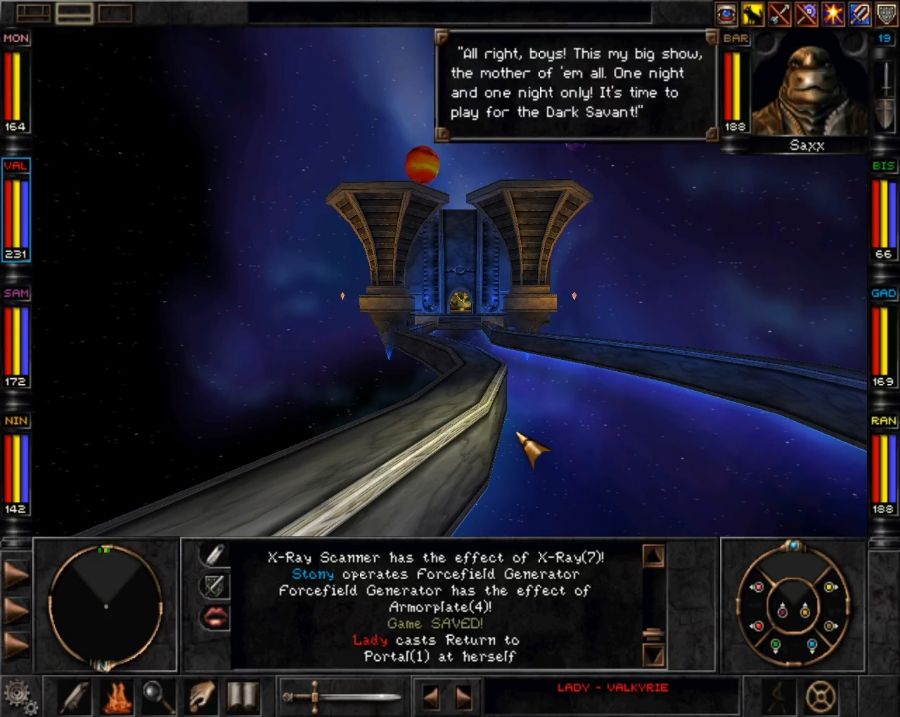 The fellas are ready to beat some villainous faces in. 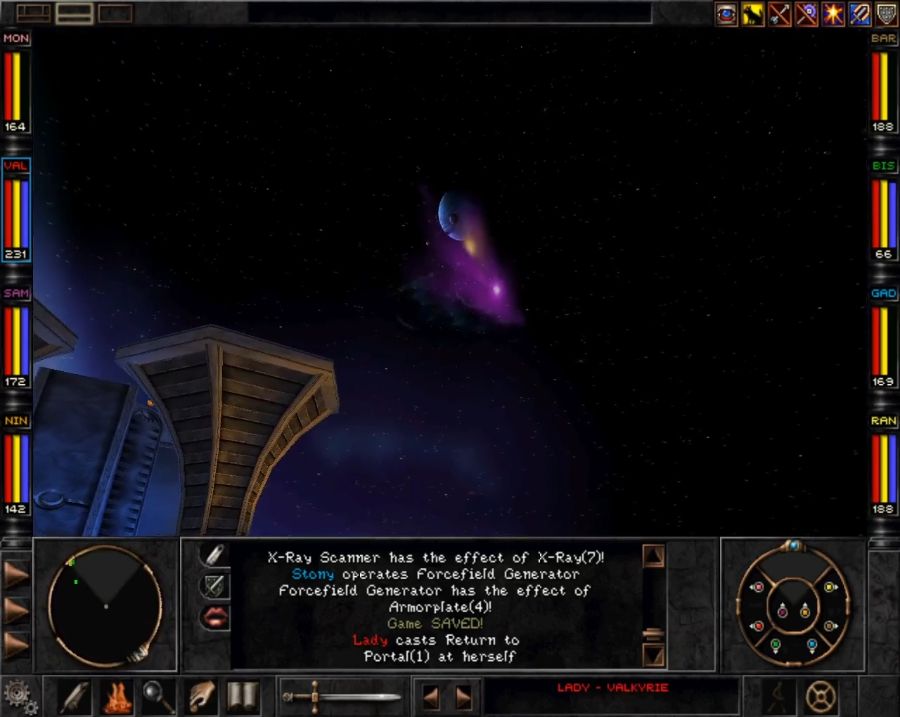 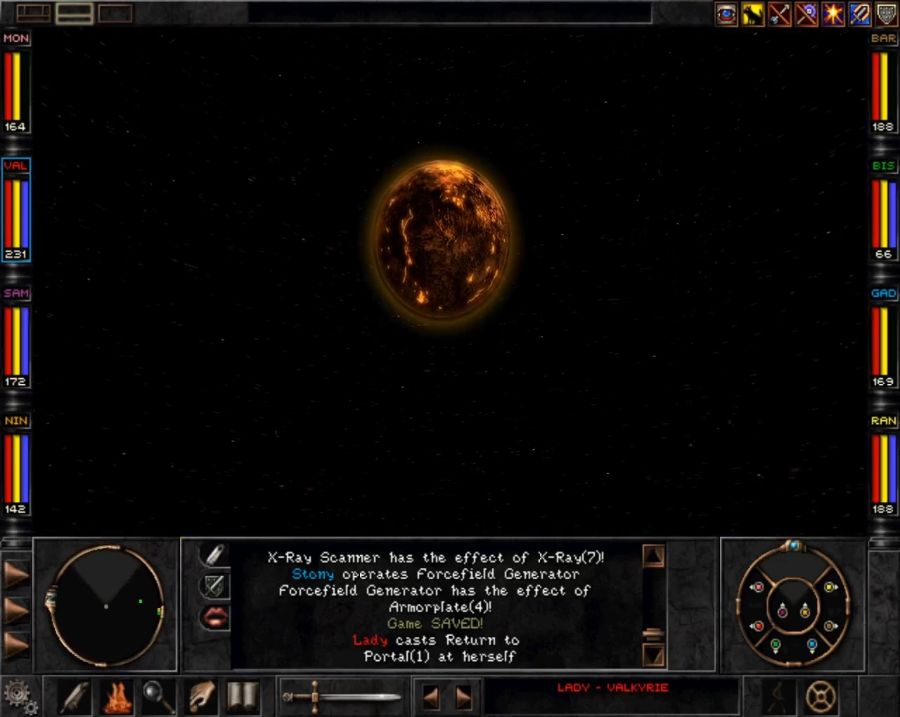 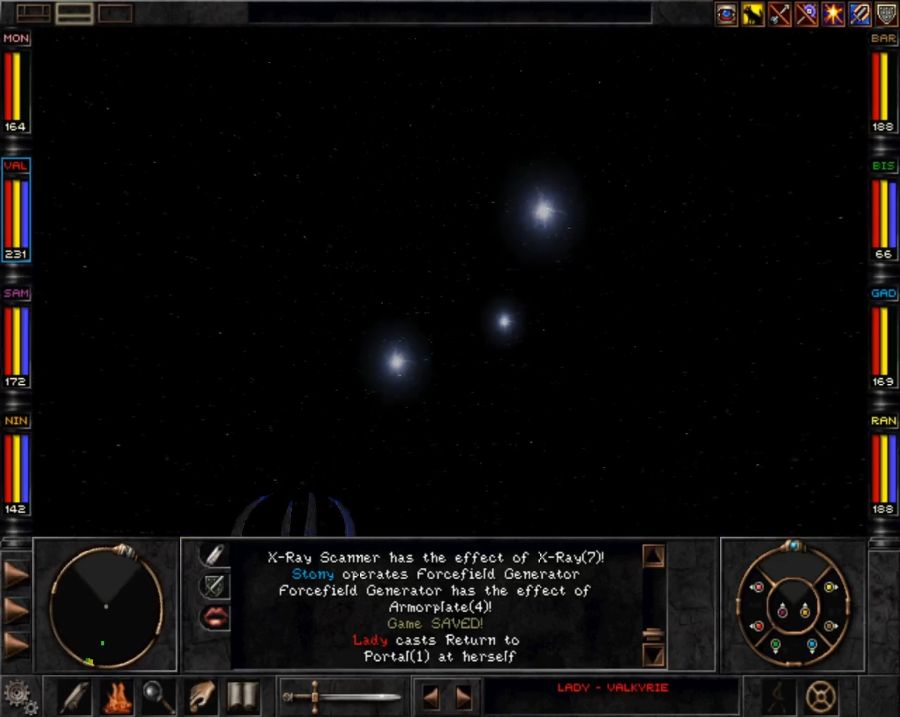 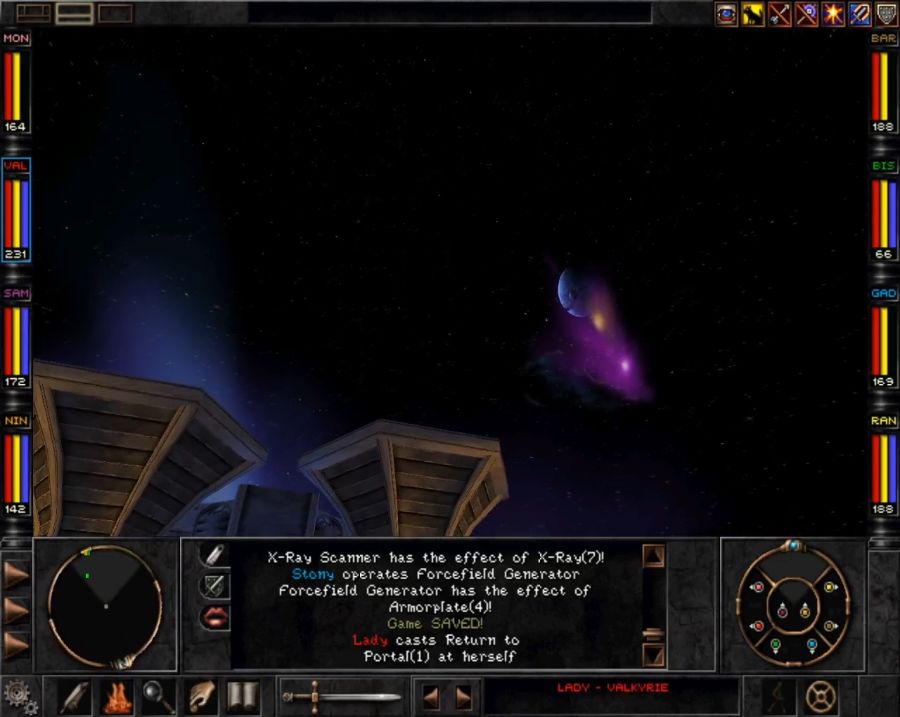 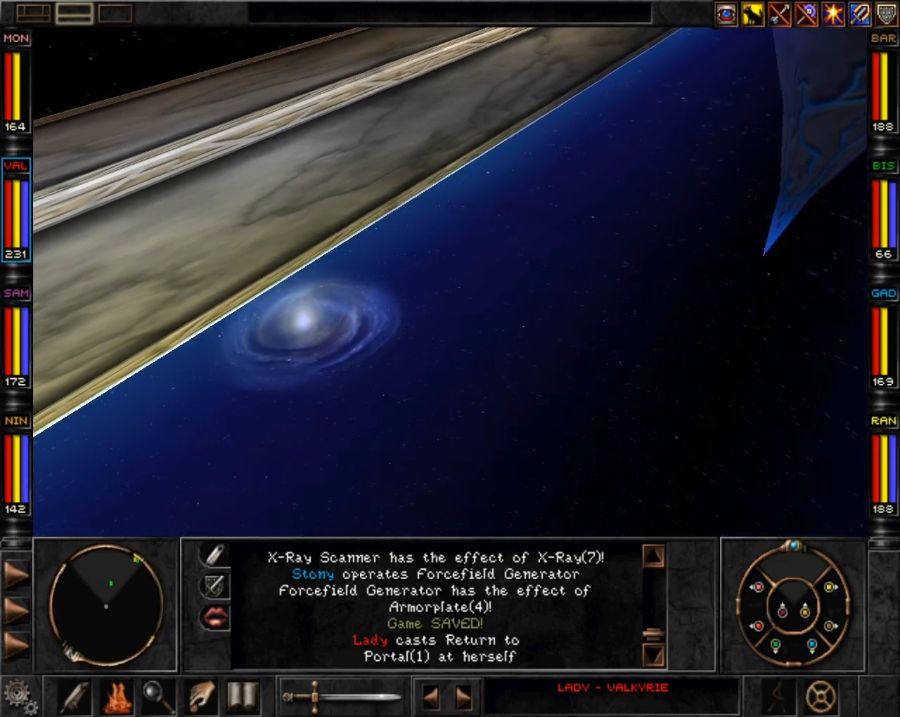 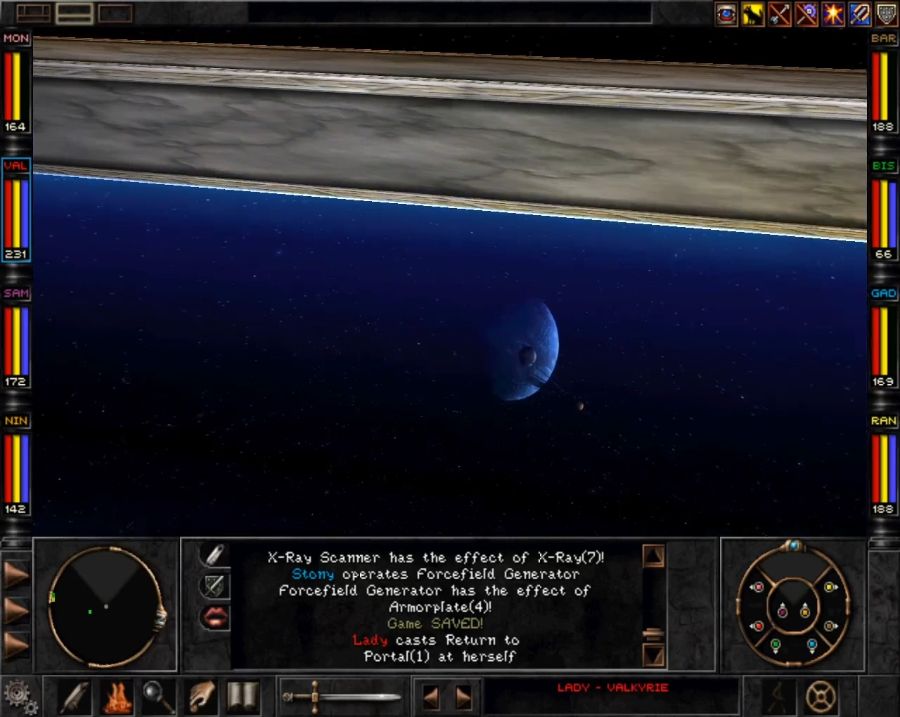 Something about this whole situation just screams "80's album cover" to me. I love the cosmic skybox. 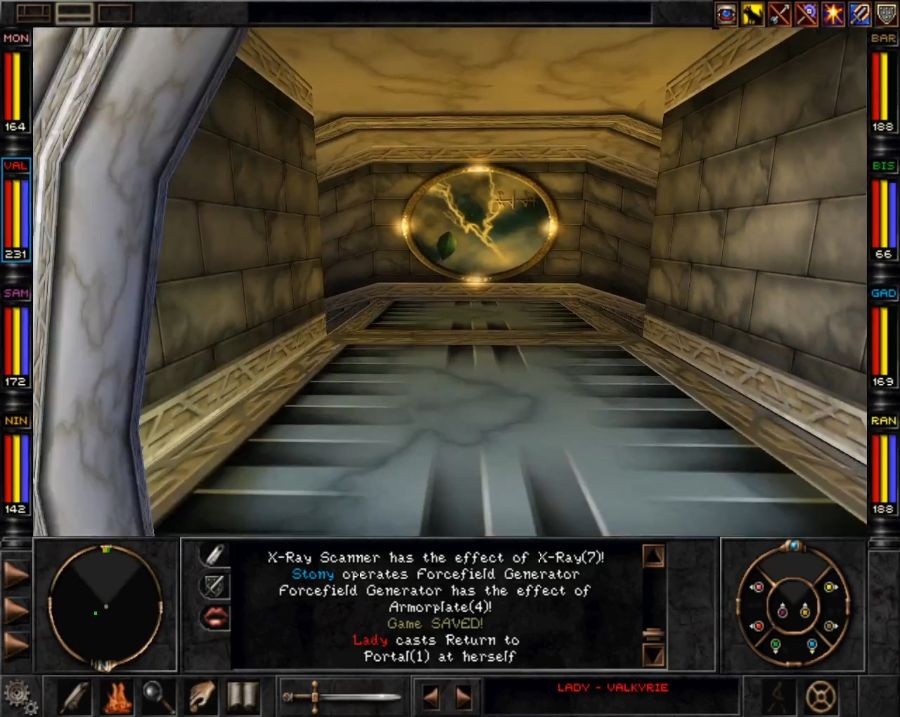 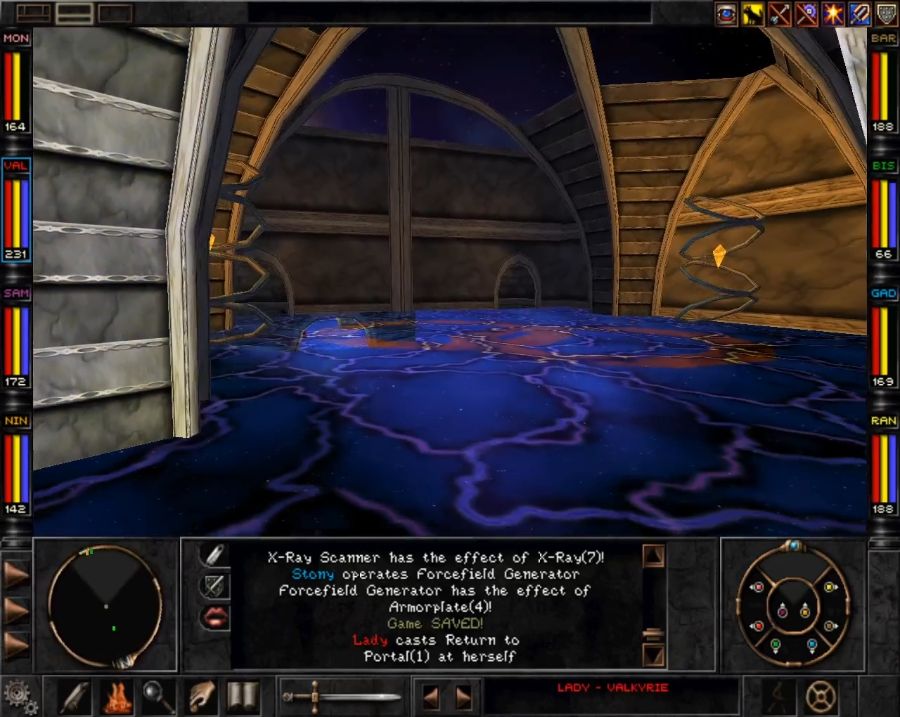 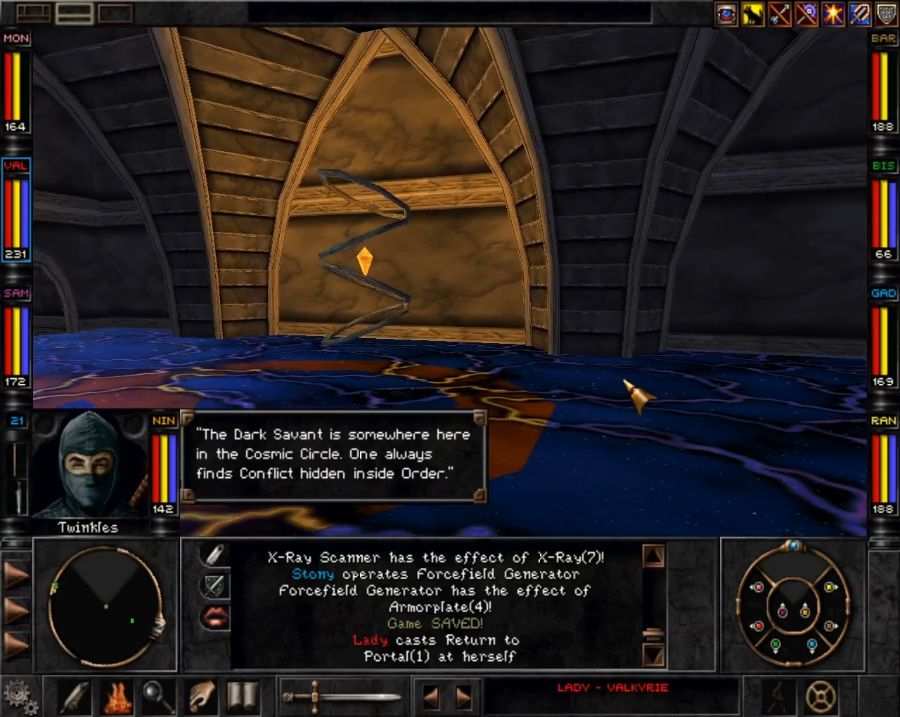 The interior is spartan. I feel like more must have been in the original design specs, but as it is, it's really just a breather before the final showdown, and speaking of which, it's only a couple of steps away... 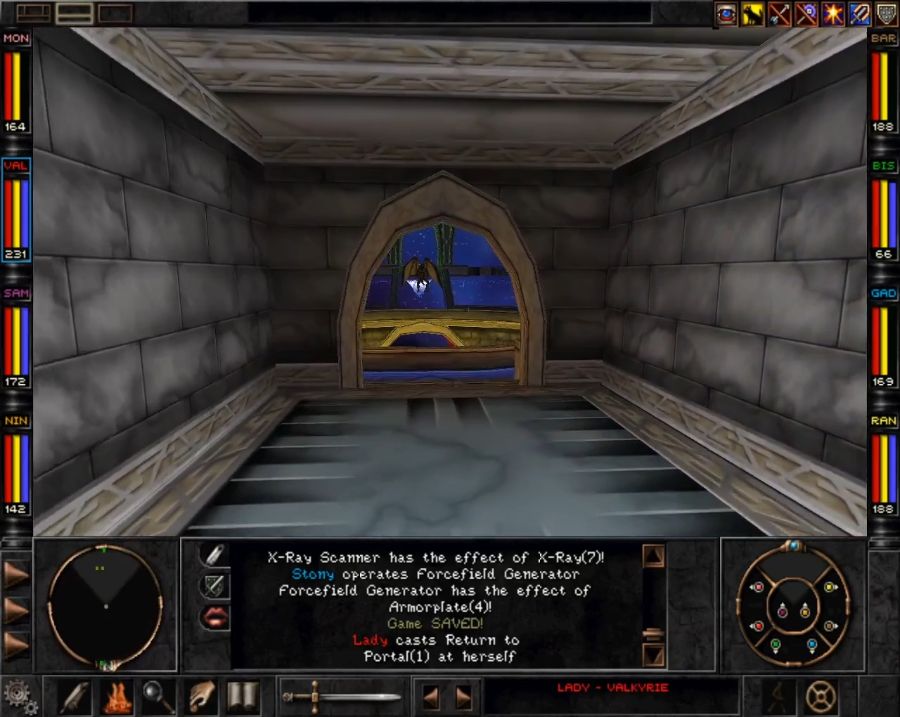 https://www.youtube.com/watch?v=WUt8zt3SfDY I'll note that I absolutely love the narrator VA as well. But good question. What do we do? 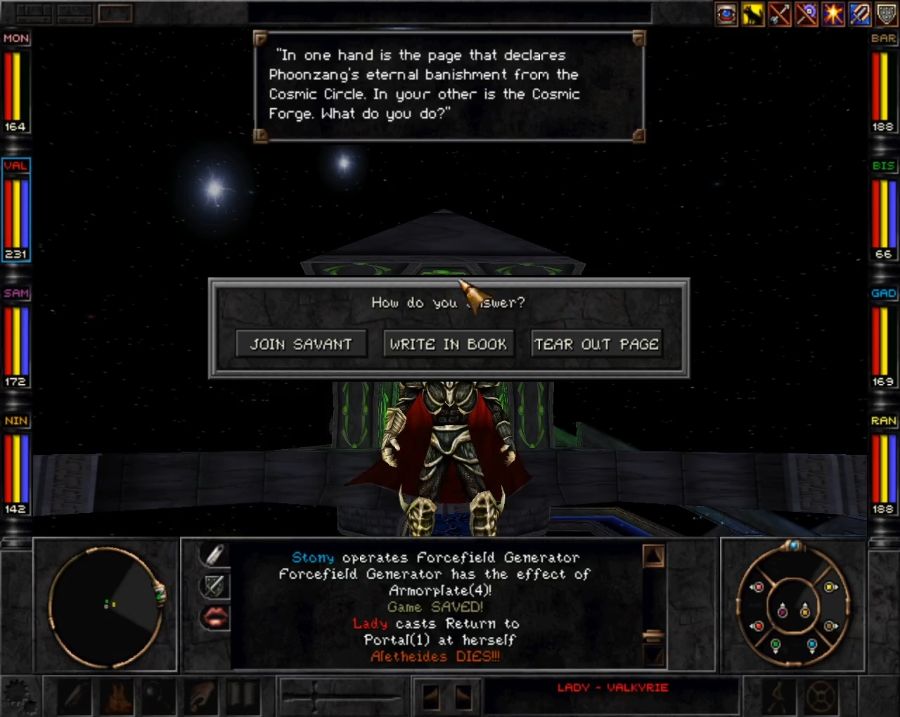 Well, the answer is, of course, we do all three. Let's start with the most obvious one, we grab the pen and write: "the Dark Savant suddenly turned into a duck." 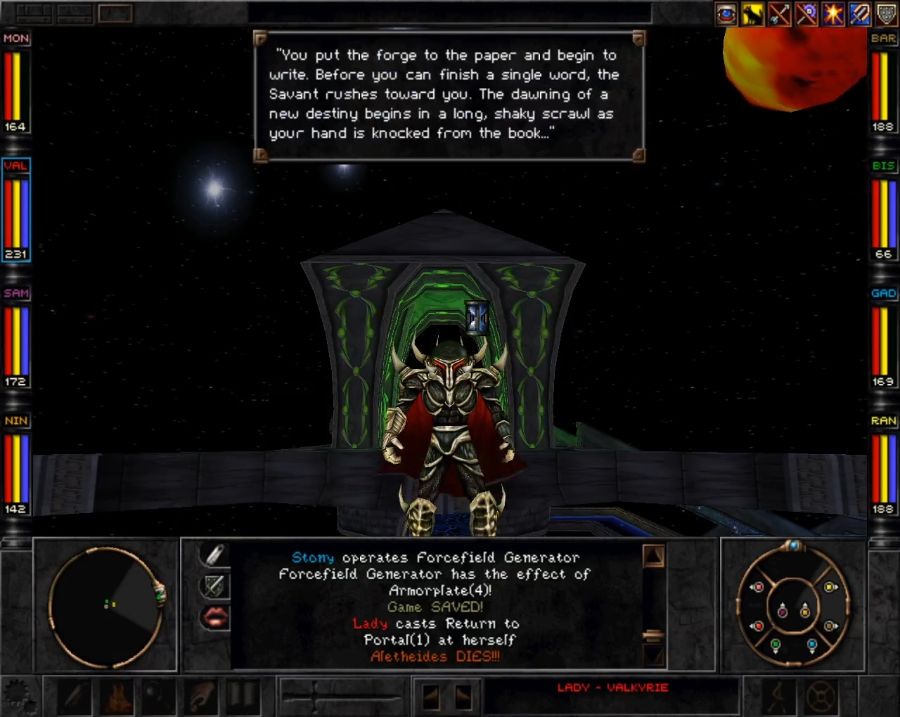 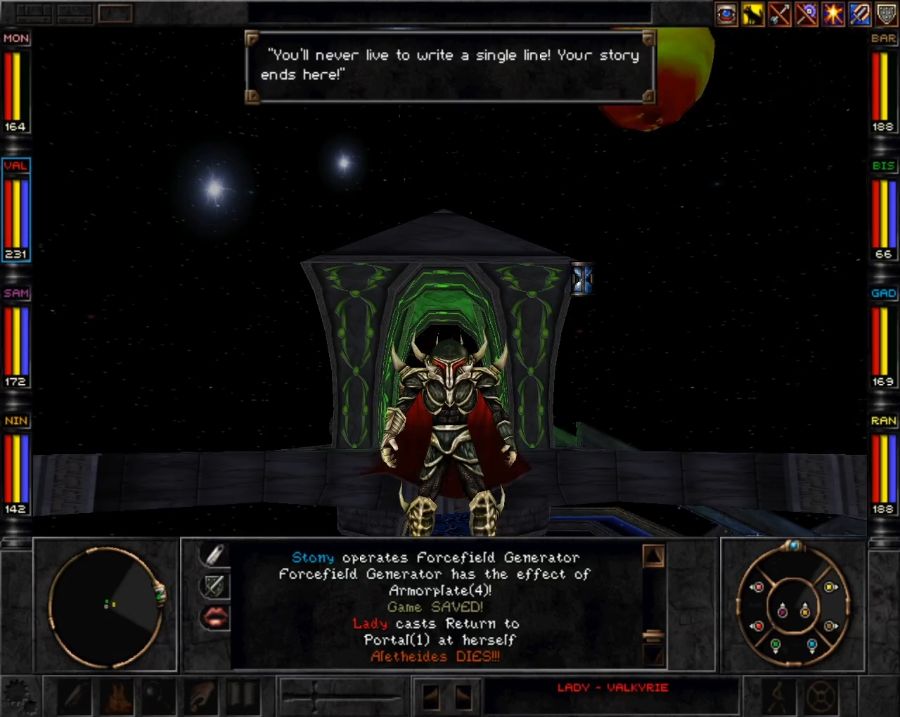 Sadly, the Savant isn't an idiot and ninja kicks the book out of our hands before we can delete him from reality. 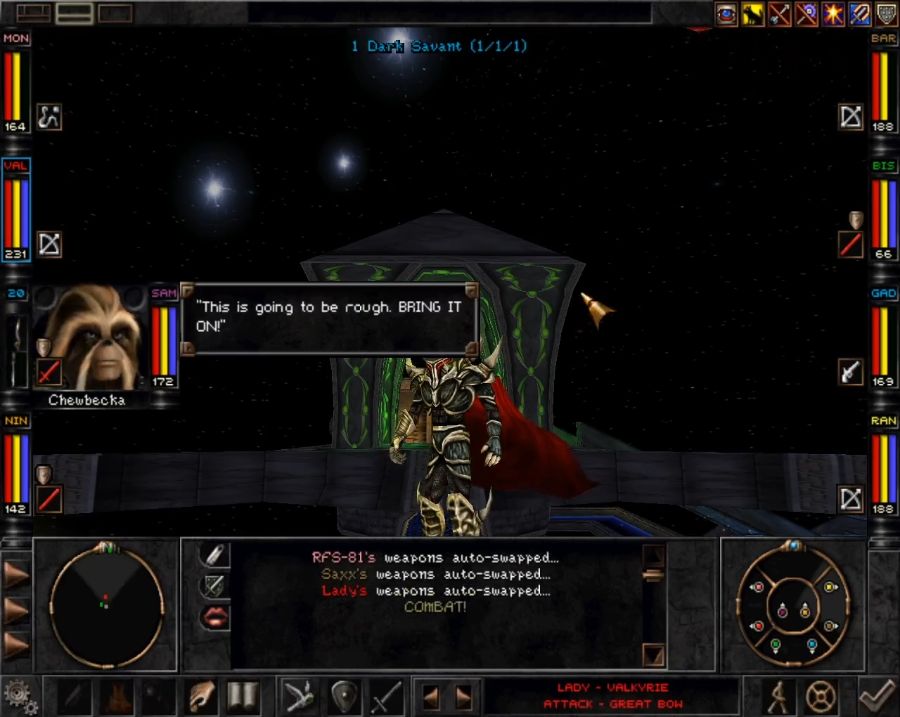 So, the final battle. We've got Bela on our side, and I think he shows up no matter what. I'm actually not sure what happens if you instead kill him in the Mountain Wilderness, or if he's even killable. If we had Vitalia along, she'd hop out of the party at this point and join the battle independently rather than as an RPC. I think she'd also have a few lines of dialogue to contribute. 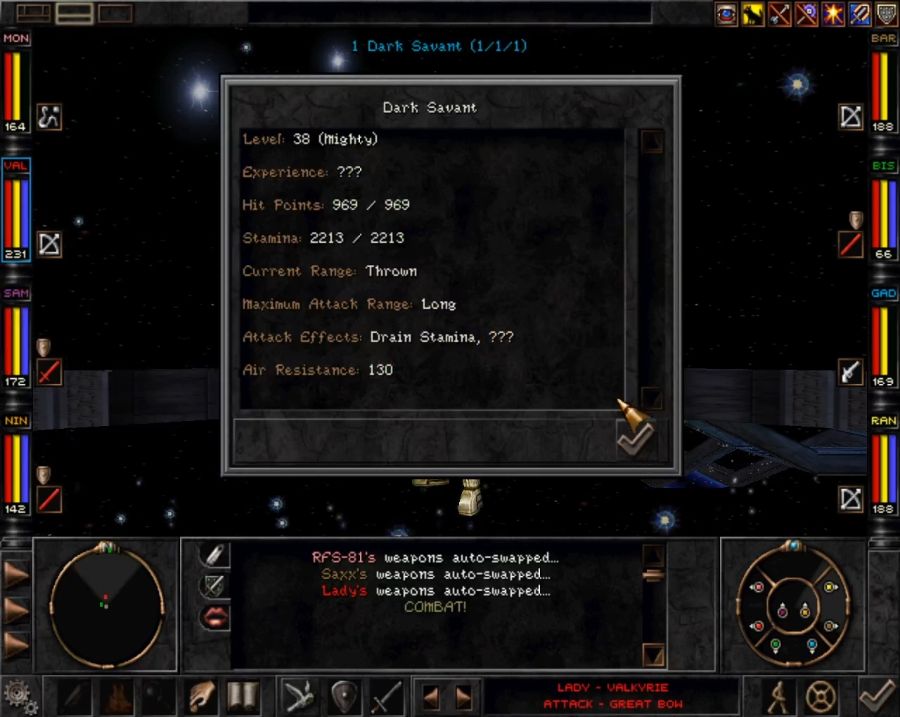 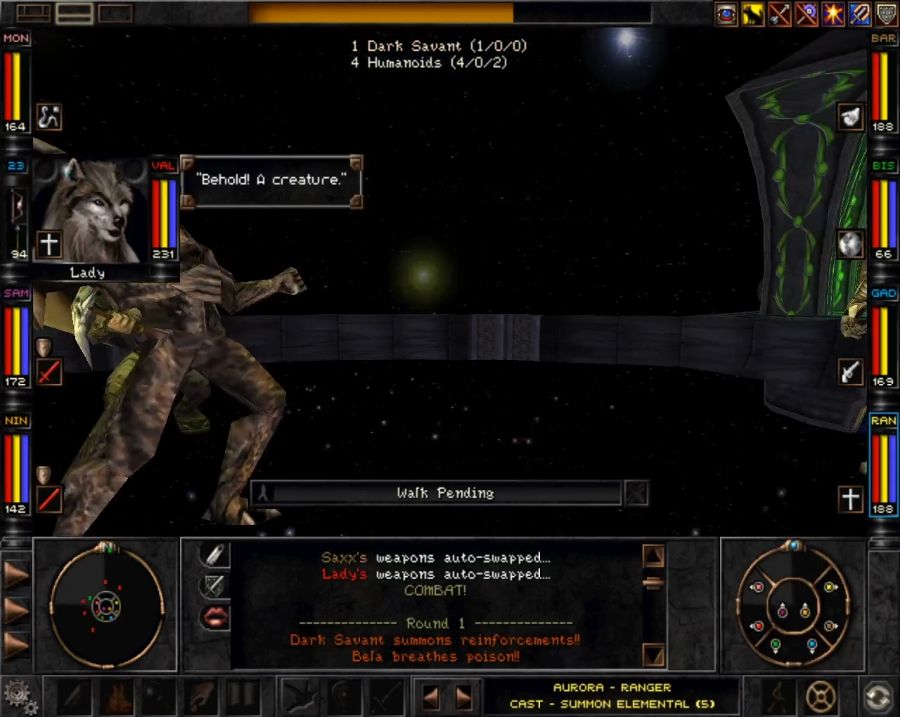 The Savant's first move is always to summon three henchmen. Because our backs are literally against the Forge they can't ambush us and we can mostly ignore them, because if the Savant goes down, so do they. I summon two elementals and we get to work. Bela's no slouch either. Oddly enough he's a level lower than as a Mountain Wilderness vendor, but he's still beefy, highly resistant to most things, can cast high-level spells and he has three volleys of three physical attacks that each have a 25% chance to instakill. He mulches through the henchmen while we focus on the savant himself. 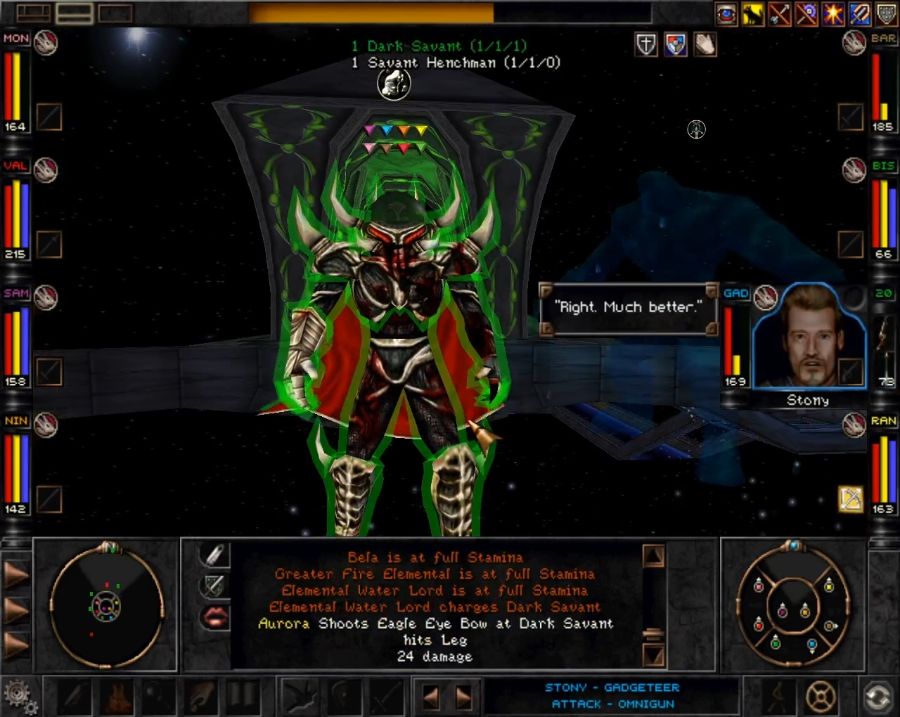 His level means we can't stick any conditions, but between Haste from the Rousing Drums, Bless, defensive spells and Stony dropping Superman on the frontliners so they're hitting several levels above what they normally would(in hindsight it occurs to me that dropping Superman on casters should potentially have superpowered their ability to blow through defenses, drat.), we lay into him with just raw damage. It's not even a challenge, he can't damage us since he mostly uses spells, but we can certainly damage the hell out of him. In the end... https://www.youtube.com/watch?v=-Fl850cEYGY The drop back on to the Forge platform is a known issue. I think it happens because the animation starts as soon as people start talking, but the level-up alerts take up some of that time, so if they persist just a second or two too long, you get the float up, up, up... hitting the boundary and dropping down. Another kind-of issue with the ending is... Bela. He's just... there to explain a bit of the plot and not much else. It feels like he should have participated in the storyline at more points, perhaps even been an RPC. But, enough of that, we have another two endings to go through! This time, let's be smart. We tear out the page proclaiming Phoonzang's banishment, thus unravelling the entire timeline and doing immense amounts of damage to causality itself. 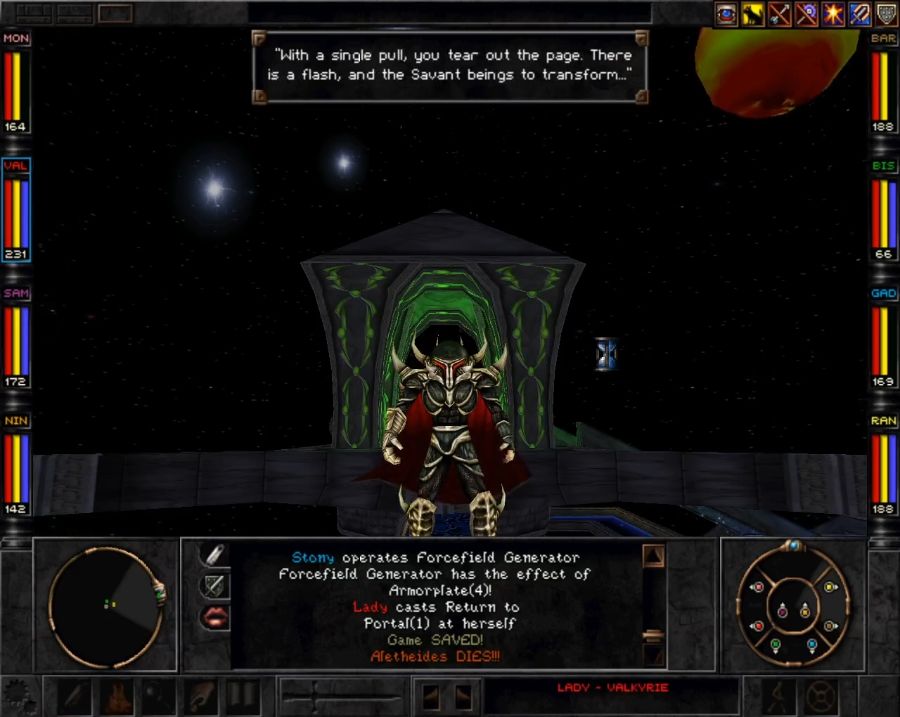  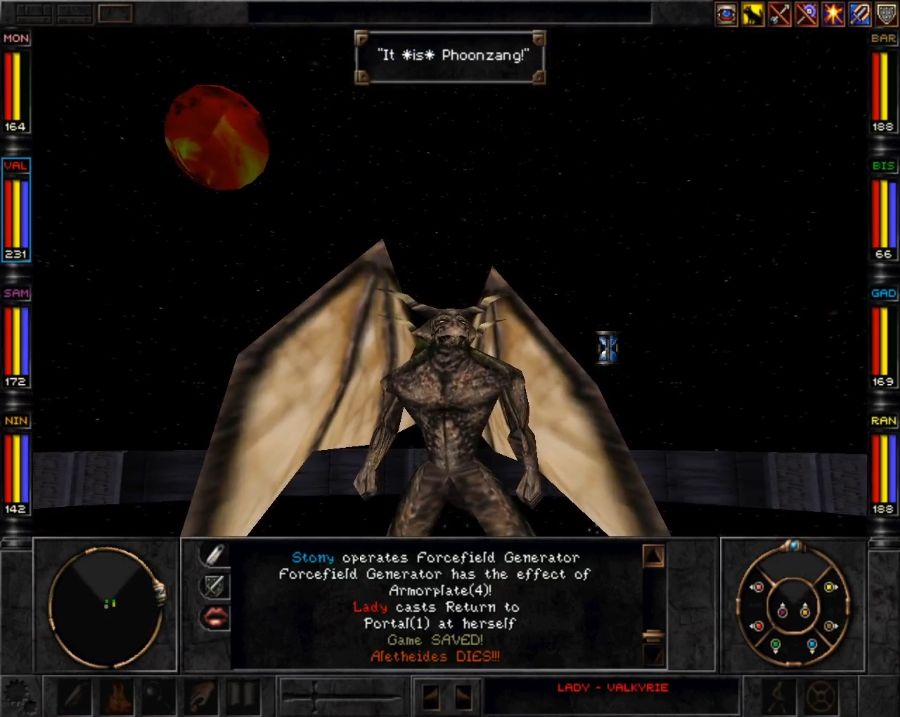 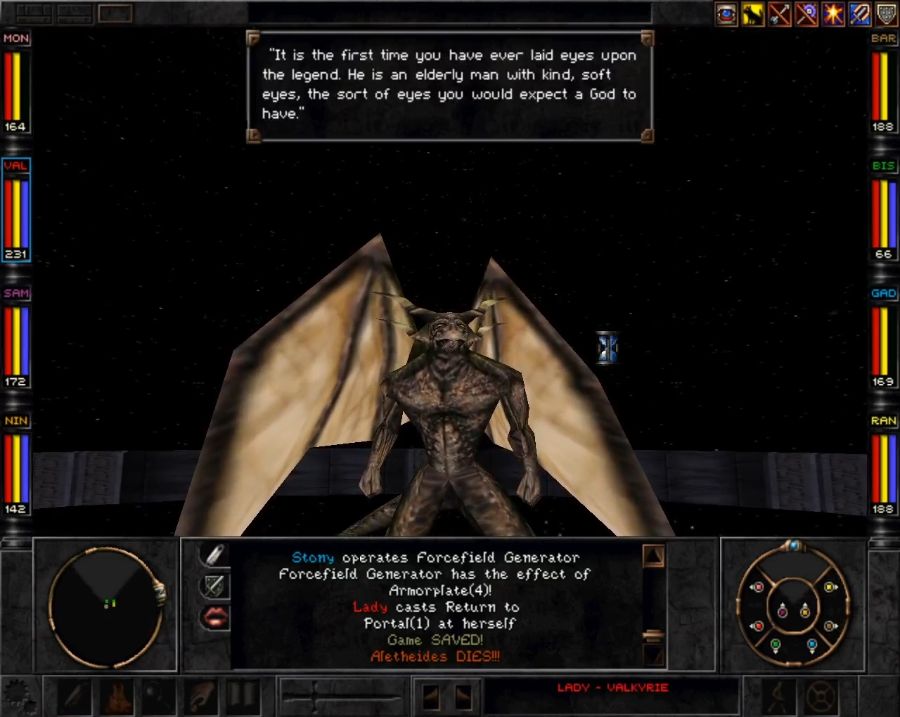 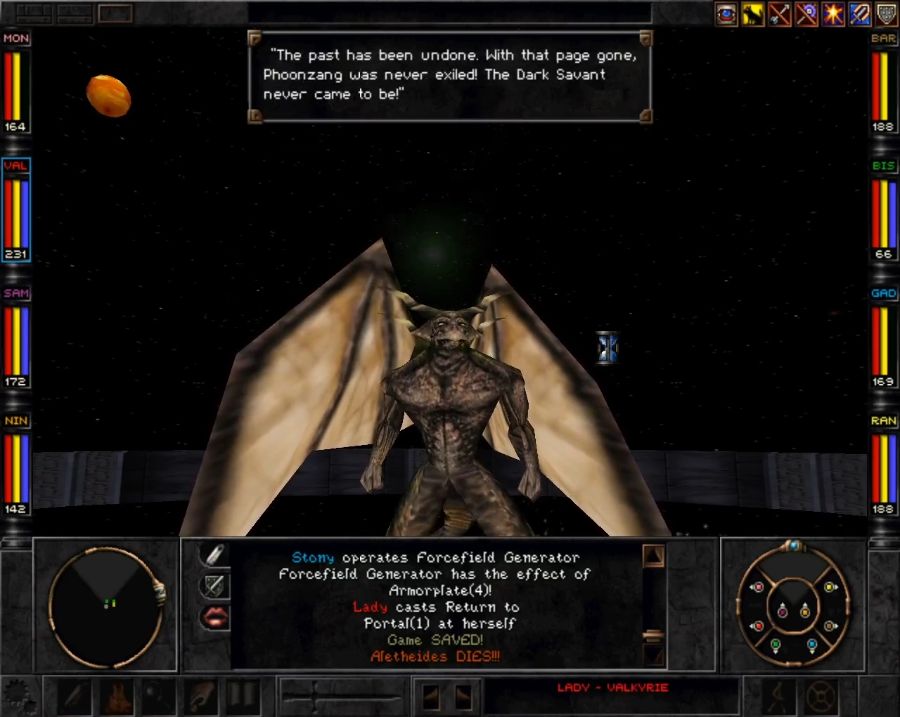 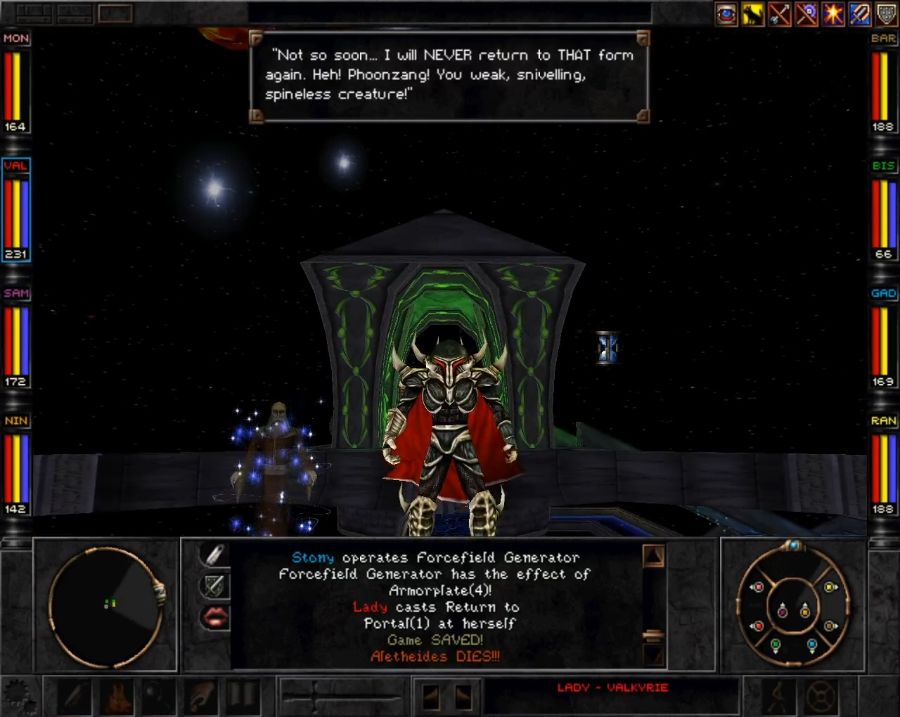 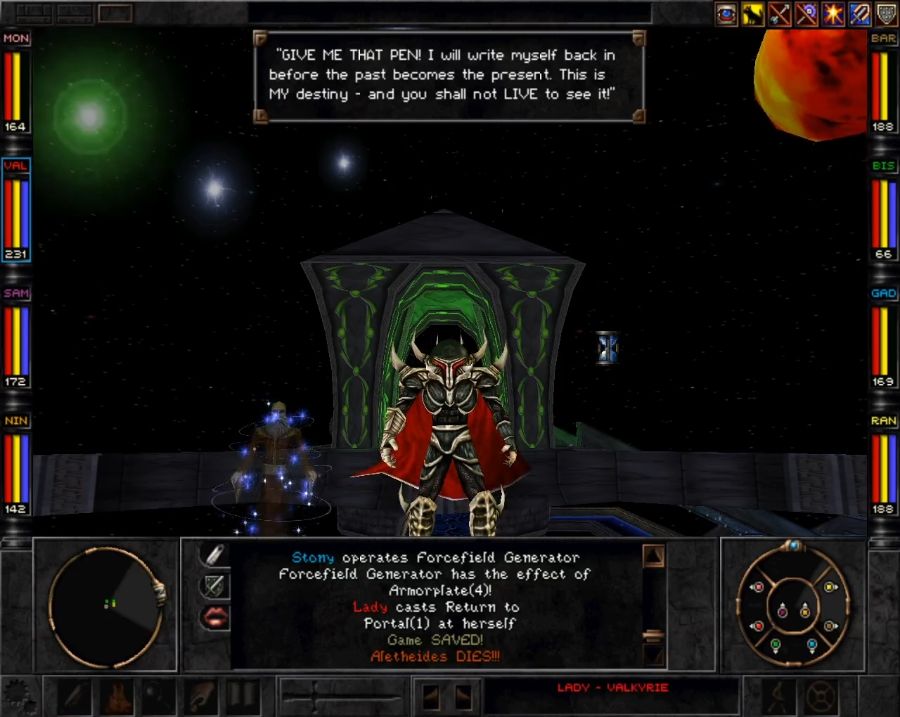 And battle is joined once again. I could swear I remembered spectral Phoonzang joining in on our side, but maybe that only happens if you have Vi Domina along. Either way, the Dark Savant gets his second savage owning of the night and... https://www.youtube.com/watch?v=1TsBA8cOGnI Frankly, I feel like I preferred it without him. He's kind of patronizing! Also having just one book that someone could mangle with their hands as the literal foundation of all reality sounds like poor OSHA practices. But what about the third option? 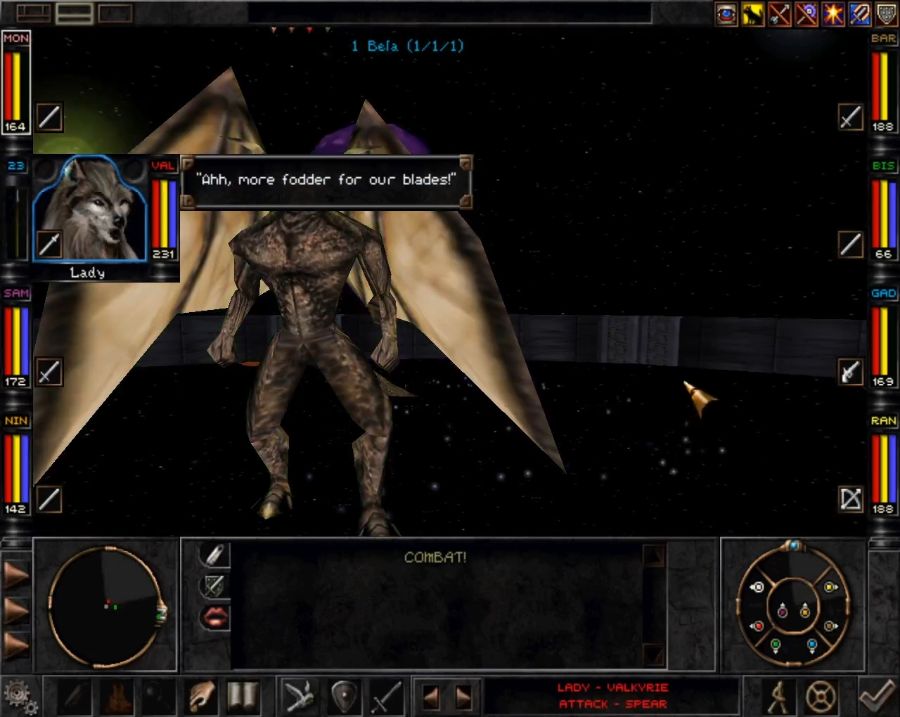 In this case your only opponent is Bela, and Vi too if she's here. Vitalia wouldn't even rate a comment in terms of challenge, but Bela can be surprisingly nasty. If you managed to fight your way here at a lower level, certainly he could wreck you, with his high number of potential instakill attacks. I also wonder what would happen if Bela should happen to kill the Savant here, whether the ending would act like he survived or just keep rolling to the first ending. But, either way, Bela isn't long for this world with an angry former deity and a bunch of career kleptomaniacs seeing their chance to steal a universe bearing down on him. So where does that leave the universe? https://www.youtube.com/watch?v=CrOTAynACxs 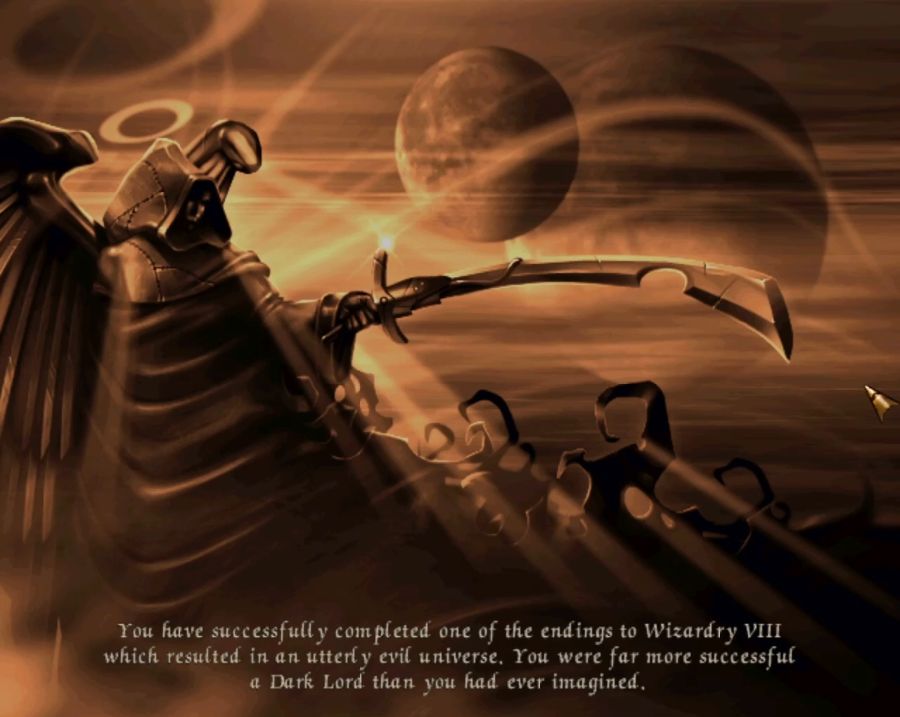 So that was Wizardry 8. The last Wizardry game by the original developers(mostly, DW Bradley among others had jumped ship shortly before, apparently a lawsuit of some sort was part of it). The Wizardry game that tried to do things differently and... managed to do some good things, but lacked the polish to be truly legendary and a fitting cap to the series. The first voiced Wizardry game, and a very well-voiced one at that. Sadly none of the game's credits, IMDB or manual, indicate who voiced what, so I don't know who to applaud for as Saxx, the narrator and the Dark Savant. But they were all good, not a single one of them was a bad or lazy performance, even if some of the T'rang took "sibilant" perhaps a step too far. Whatever flaws it has, it's one of those games I'll return to every so often, because there's always another party combination to try out, and enough paths to take through the game that you can always do things a bit differently than last time. Part of it is probably having it as one of my formative RPG's, I played it back when the demo was first out, getting to the end boss over and over until I could do the Lower Monastery in my sleep. With a powerful tool like the Cosmic Forge editor, it feels like if it was released today, it might have been one of those games that spawned endless mods. In any case, thank you to everyone who joined one of my first forays into LP'ing, as always it's having an audience that makes it a fun thing to do. For everyone who hasn't played Wizardry 8 I hope you had some fun reading/watching it, and for everyone who has, I hope you enjoyed the nostalgia trip as much as I did.
|
|
#
¿
Oct 1, 2020 19:11
|
|
|
So I've been thinking of doing another LP, and I'd like to roll two options past people... Wizards & Warriors: When DW Bradley broke from Sir-Tech between Wizardry 7 and 8, he decided to make Wizards & Warriors on his own. It's, uh. It's a terrible piece of jank. I played it as a kid and never finished it. Closest I got was the final island one time when I put it down. I guarantee it'll be a game most of you haven't seen before. The main risk of this one is that I may not be able to make it work, though it's been released on GOG so the worst of that should be overcome. The other risk is that it may simply crash repeatedly or that I may hate myself so much that I fake a total computer meltdown to get out of finishing the LP. Divinity: Original Sin 2: Conversely, DOS2 is an amazing RPG that everyone should try. I'd love to LP this, especially since it'll have huge amounts of thread interactivity. I would unironically, with zero hyperbole, put it on my top 10 of RPG's ever made, probably my top 5, potentially my top 3. The main risk here is that the huge amount of dialogue means it'd either have to be an insanely long video LP, I'd need to break every two lines for a video OR I'd need to find a script dump which doesn't seem to exist. Still, a video LP could be entertaining and give me an excuse to work on my sick video editing skillz. Either way I'll probably review a pen and paper RPG or two for the FATAL & Friends thread first, to avoid burning out by doing three LP's in close succession.
|
|
#
¿
Oct 1, 2020 19:35
|
|
|
EclecticTastes posted:So, it was the fight with the Rapax Prince and Al-(party member) that I totally trivialized via the NegatAir and other kill-all spells. I didn't get any Treants in the area when I hit that fight, so I just popped both and not only did just about all of the Templars die, so did Al-(party member). The Rapax Prince was essentially left alone on the field, which, as one might expect, was not much of a challenge. So, I actually did the fight twice because first time I was a moron and did the bomb defusal before going up, so I needed a second climb without it, and that time had no treants and... I think despite spamming the NegatAir every round, it ate like three or four enemies, tops. Though one of those was the Rapax Prince. I guess you're just luckier than me.
|
|
#
¿
Oct 1, 2020 20:51
|
|
|
kw0134 posted:So is it just me or is the game, once you strip out the tedium of the combat system and the running around, actually pretty short? Well you really have four goals that need completing. Get all three artifacts, and disable the tower. Getting the Astral Dominae requires visiting the Swamp and/or killing the Rattkin, or gathering a ton of gold. Getting the Chaos Moliri requires allying with one or both of the factions, or genociding the T'rang. Getting the Destinae Dominus requires finishing up the Trynnie questline to get the Helm of Serenity(or having a psionic, I suppose), and cleaning out Bayjin OR allying with the Umpani to get diving gear. Disabling the tower requires busting into the Rapax Castle, and if you don't have a portal set up at the Peak beforehand, you'll also need to join the Templars. If you know exactly what to do it does seem simple, but if you don't know everything 100%, don't know what areas to avoid at the start, etc. you can spend a lot of time getting to know the gameworld before you dash for the ending. kw0134 posted:And when did Bela get introduced? Originally at the end of Wizardry 6. I don't believe her re-occurs at all in 7. And then he pops back in one of the early updates where I visit the Mountain Wilderness after dropping by the Umpani base camp.
|
|
#
¿
Oct 1, 2020 22:47
|
|
|
Narsham posted:It suffers in comparison to some modern RPGs because the core mechanics have since been done better, and I�d probably pick the 3d Might and Magics over Wiz 8 if you wanted to play an older 3d RPG. On the other hand, you can import a party from Wiz 6 and 7 into this game. Personally if I wanted to play an early-3D FPS game I'd just play Blood instead. Don't mind me I just hated how the superior choice in those games was almost always circlestrafing with ranged weapons and spells rather than using the turn-based combat.Also, just to loop back to the comment that Wizardry 8 was a short game: I completed it in 14 updates, and on average each update took me between 3 and 4 hours of playtime(the amount of fighting I cut out probably contributed to making each update feel shorter in actual playtime). Erring on the side of shortness, that would still be 42 hours of playtime from someone who has a pretty good idea of what the optimal path through the game is and didn't loiter or waste any time. For a singleplayer game with no real randomized elements aside from enemy and loot spawns, that's not a bad showing, in my opinion.
|
|
#
¿
Oct 2, 2020 19:47
|
|
|
|
| # ¿ Apr 26, 2024 20:59 |
|
|
Deptfordx posted:Rock Paper Shotguns Youtube playthrough of DOS2* was pushing 100 hours, it seems impractically long. 100 hours for ONE PLAYTHROUGH? How? I think even going pretty completionist, I capped out at about 30 or 40 hours for a single playthrough on Tactician difficulty. I can only imagine 100 hours if you keep bouncing off multiple encounters or just love wandering in circles purposelessly.
|
|
#
¿
Oct 3, 2020 08:33
|
|