


|
Part 23 Take 2 Tablets and Call Me in the Morning The Land Unknown (Pixel Remaster) 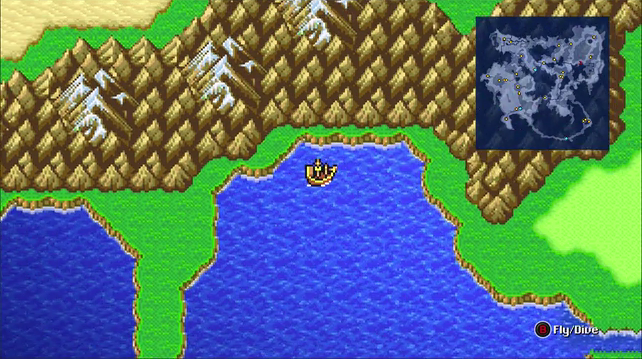 So next thing to do is to go sailing in this little bay to the southwest of Carwen. Without being able to exploit the US FFV GBA quicksave trick this will take some time wading through Sahagins and other low level sea fights. The Battle (Pixel Remaster) 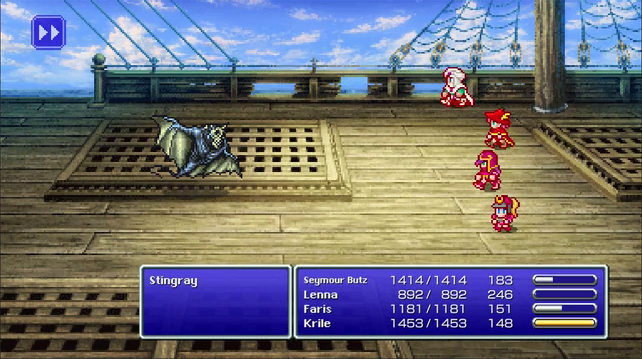 Finally we find him. 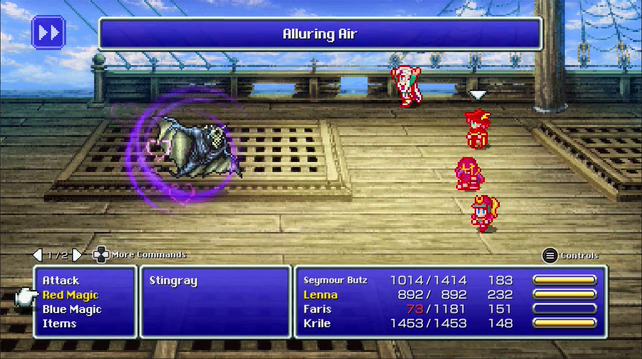 ...I forgot to put on !Control so this is going to be slow and annoying. 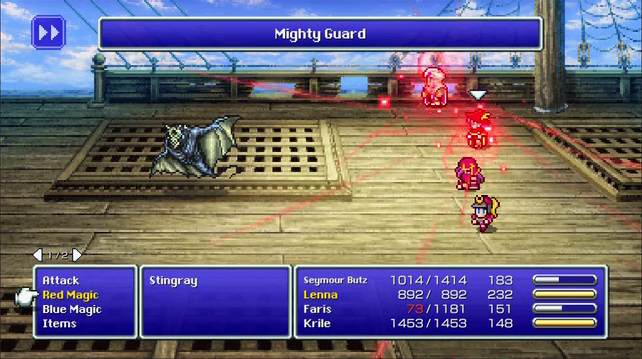 This is one of the best blue magic spells. Aeroga can be substituted by other high level damage spells. Death By Math from now on would require more setup than it would take to simply kill the enemy. This... 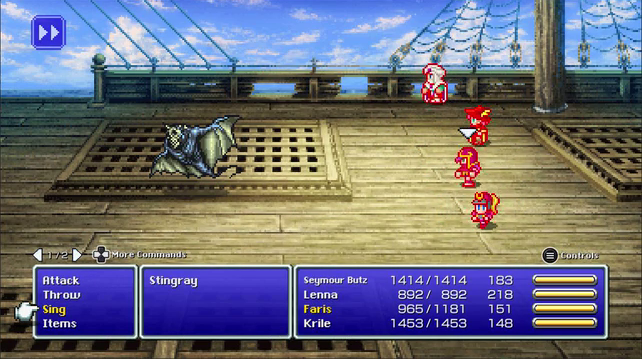 Is a partywide shell and protect, and float as a bonus. Shell and Protect are only single target spells, so the only way you can compare with this deployment is using quick and !Dualcast at great expense, and it still wouldn't protect everyone in a single turn. 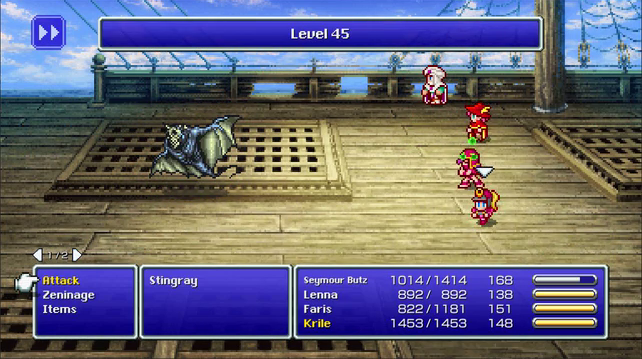 This is just me scanning Seymour as the battle has dragged on long enough that Hero's Rhyme has boosted his level about 10 points. 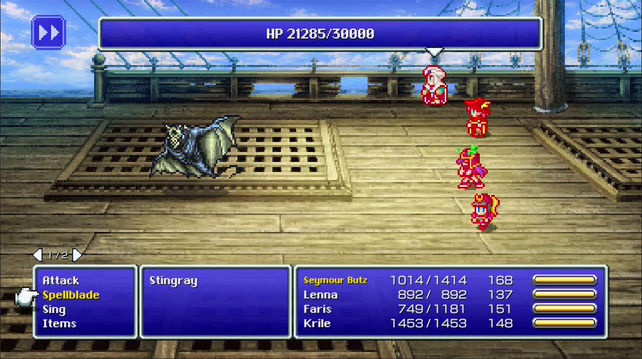 The Sting Ray can cast Tidal Wave on itself when confused, which heals him and prolongs the fight. 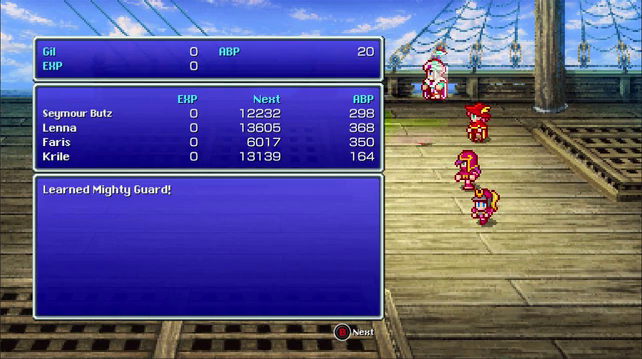 But eventually he falls. Mighty Guard and a boat load of ABP is ours! ...sadly the game's best whip didn't drop. 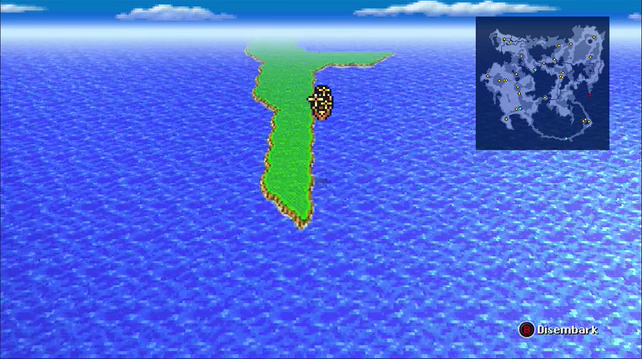 For those who haven't played the game too many times the next dungeon is one that the scholars didn't have any guidance on, what with the party having the only submarine in existence no one knows what's going on underwater. Near where Walse was is a finger pointing towards Donut down is probably the best frame of reference. Beyond the Deep Blue Sea (Pixel Remaster) 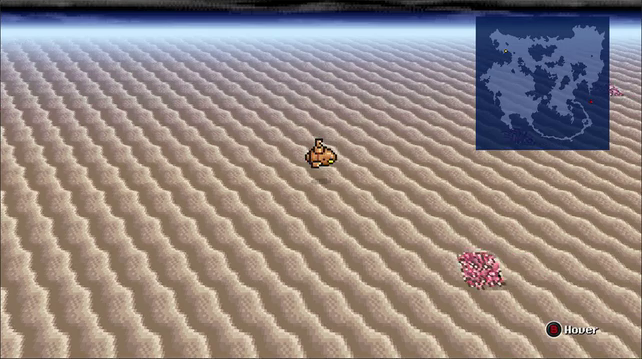 Submerging there will bring you around some coral reefs. 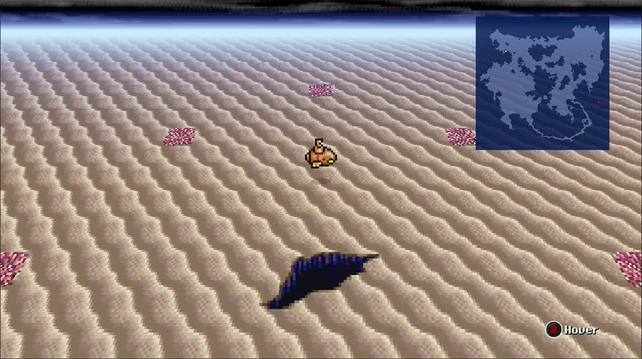 In the middle of the ring of coral is the trench. 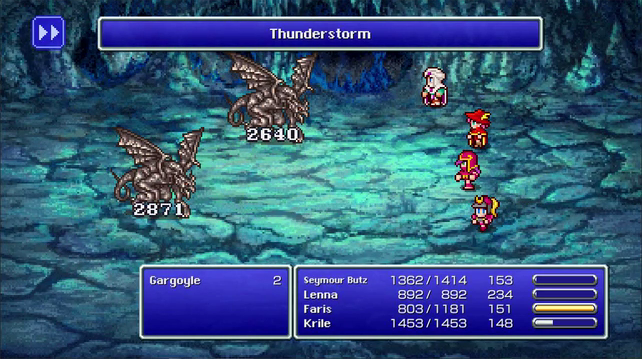 The Gargoyles are the same as the last 2 times, and the party hasn't done much new in terms of multi target damage so its not particularly special to describe again. 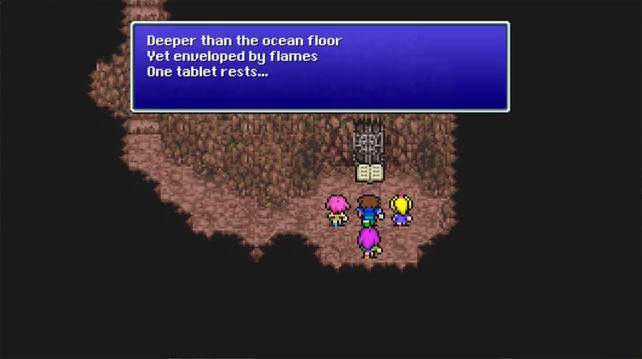  The gimmick here is that everything is undead, not just mostly undead. 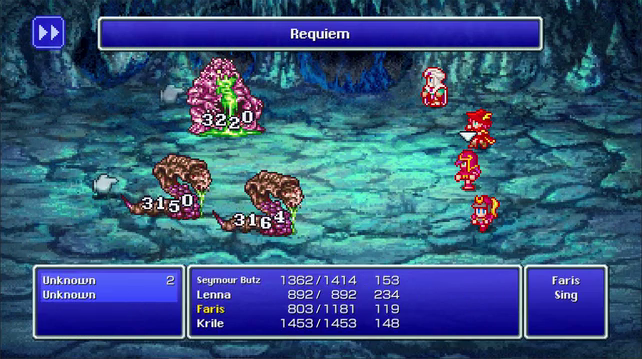 The intestine looking Unknowns are the only ones that don't have an interesting trick. 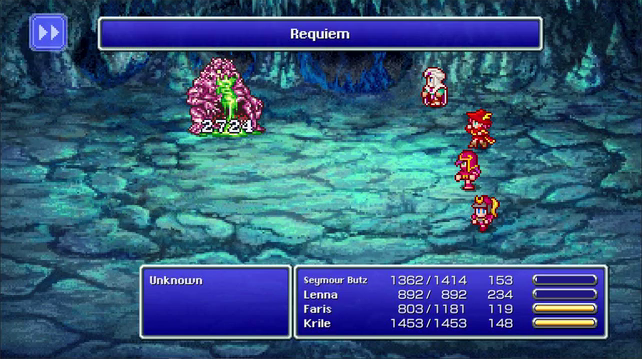 The stomachy looking thing here if I were to poke it would counter with Possess, which just ejects the character from battle like Encircle but also kills the Unknown. 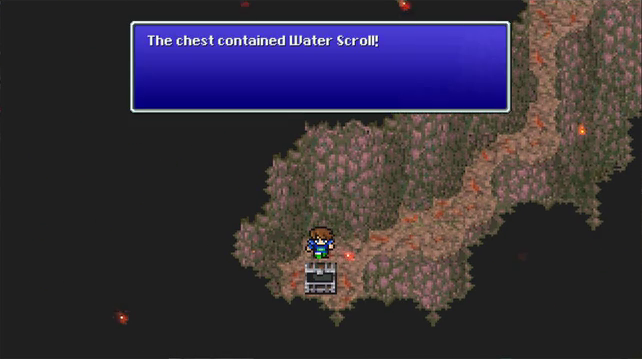 The first room of the trench is just a long winding path with this one detour. 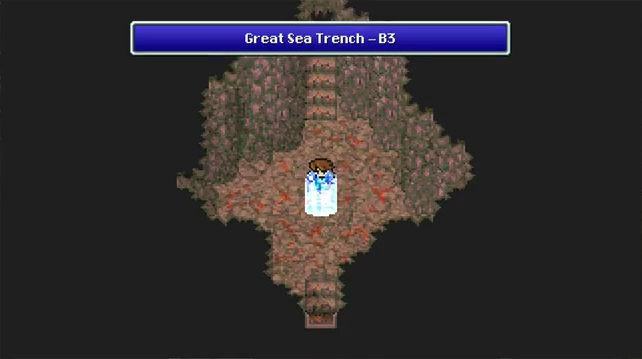 For some reason, despite this dungeon being pretty short it has a save point early on. 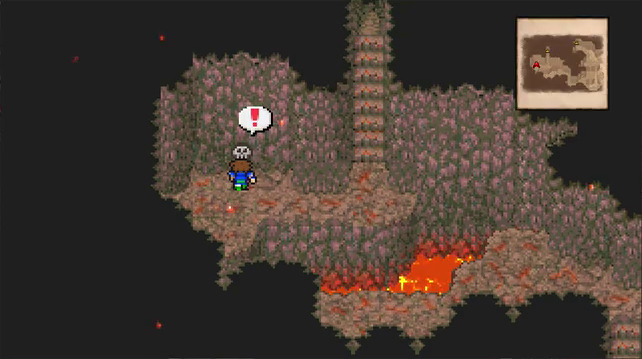 Next room in and we have switches to deal with. 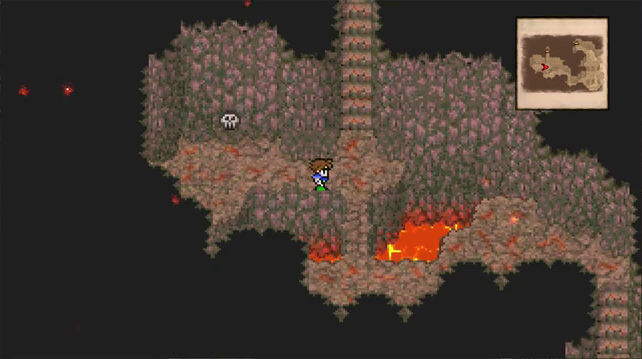 Only way forward is to use it. 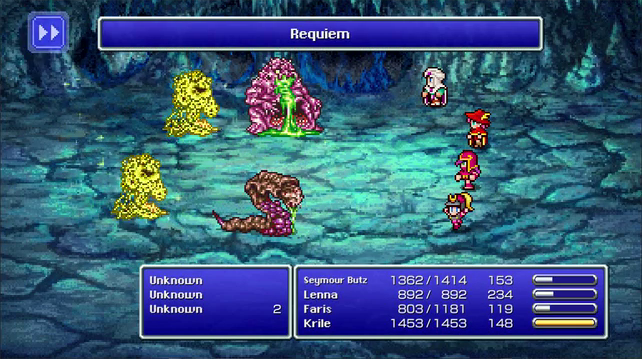 These polyp like globs in the back will revive like the gargoyles do. I think they only do that with other polyps on the screen but might reform if any Unknown is on the field. Requiem kills them in a single hit anyway. 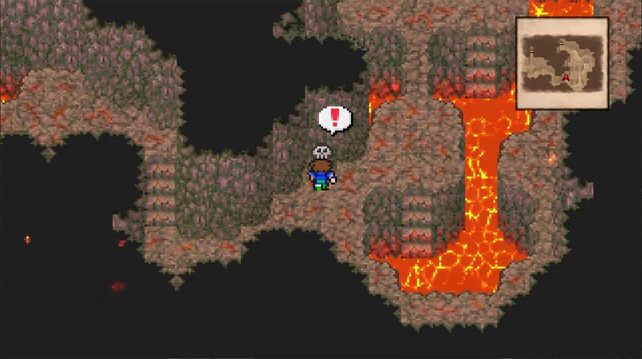 Don't throw this switch, or do. I'm not your dad unless my daughter does read this some day. If you do flip it, you'll have to wade through the magma to the right to proceed. Either Geomancer or Time Mage's float will stop the damage and the only penalty to doing so is more steps to trigger the encounters. 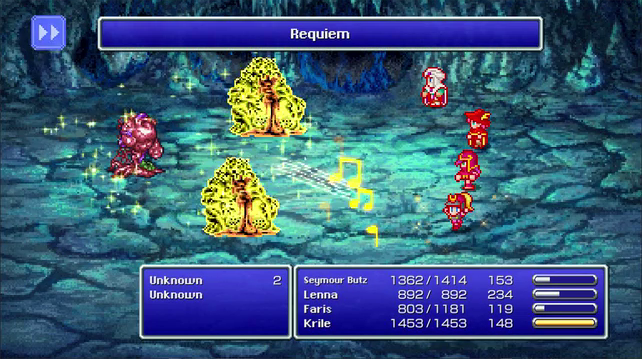 A better view of the polyp Unknown, because that's important?  New room, new switches.  This switch is the one to throw to lead to treasure. 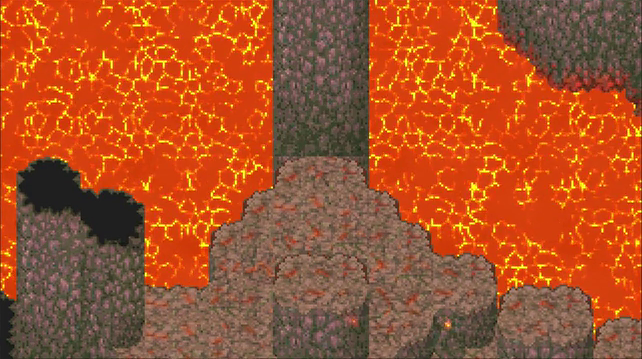 Older versions would just jiggle the screen and expect you to notice or hear the rumble. Here it pans over to show what you did.  The game will provide one of each of the expensive Istory rings from dungeon exploration, any more will cost you. 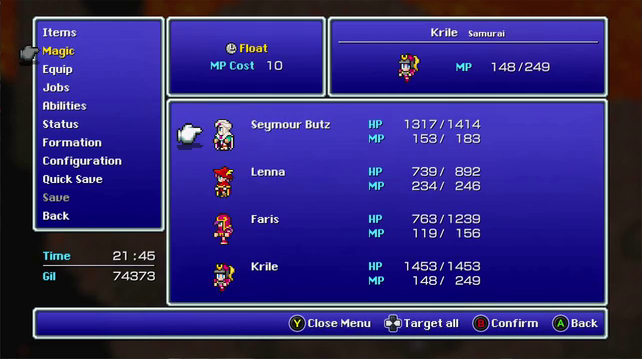 Going forward we really do need Float or a Geomancer. 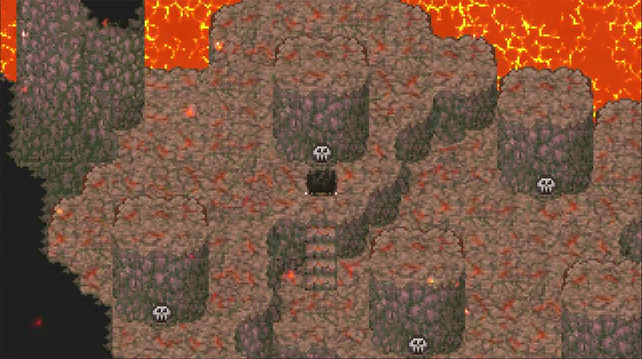 The other switches are pits that drop you into the next room. Here I did it to save the walk to the stairs. 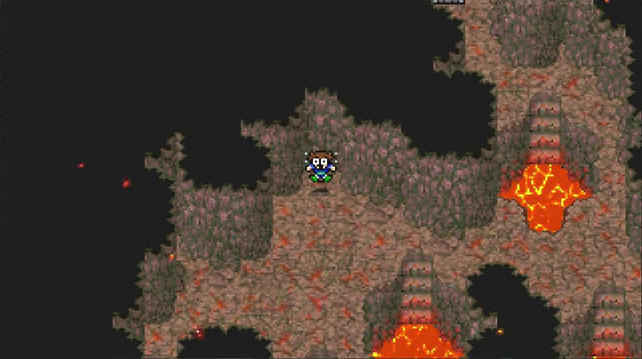 Other pits would have dumped you straight into magma. 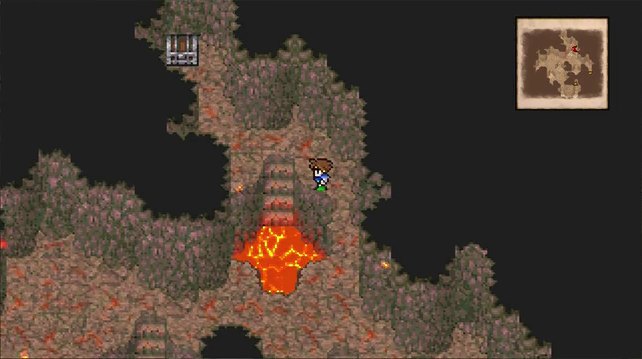 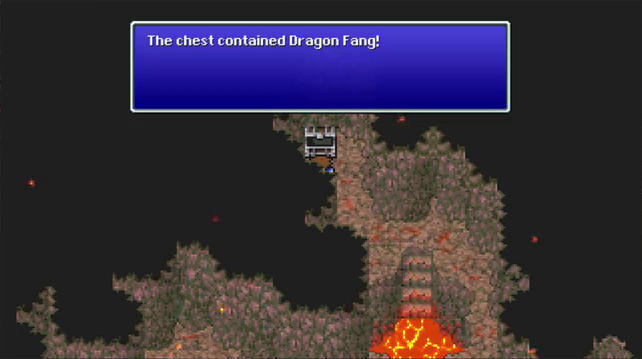 Good stuff. Some day I will use !Mix for some real fun. 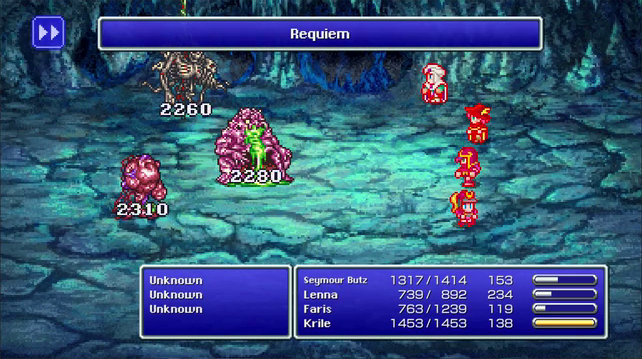 The final Unknown is this skeleton mass. 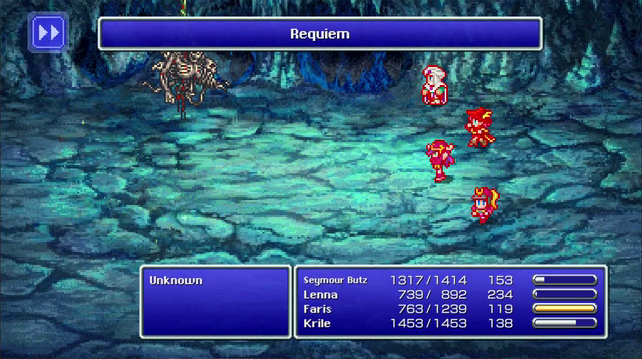 His claim to fame is really high HP that requires 3 or 4 Requiems to finish off. He can also teach Doom if you want or need it. 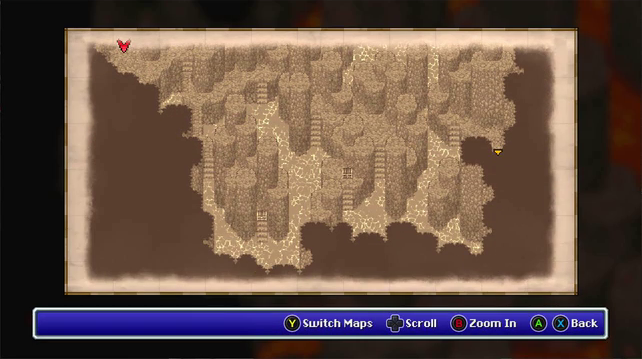 This room is almost completely filled with magma. 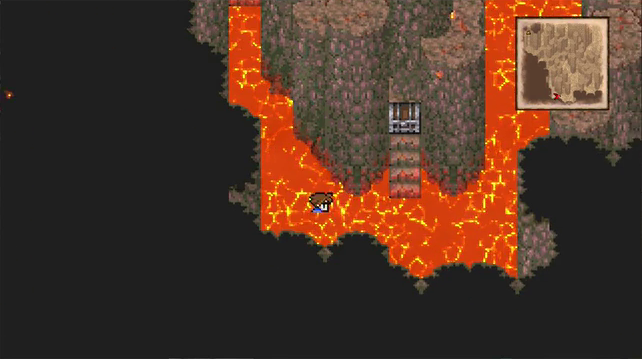 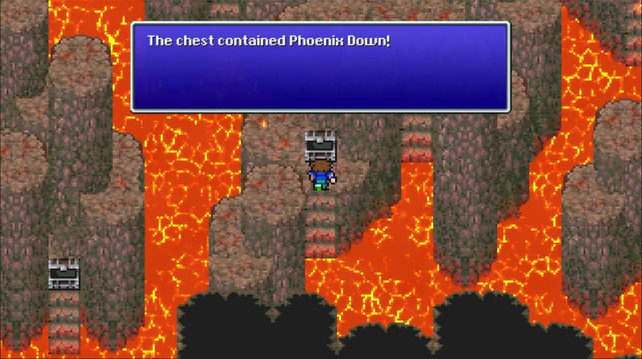 There's a few treasures but only worth it if you're going for completion sake. 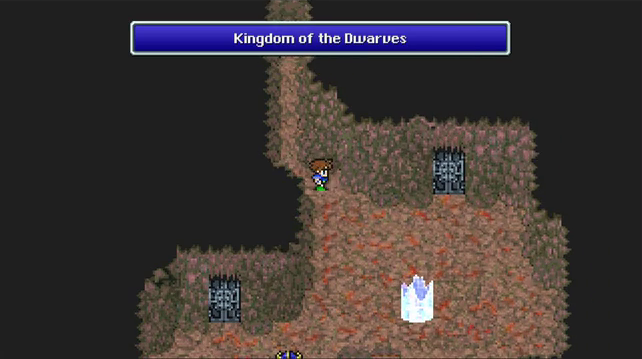 Past this room is the actual pit stop for this dungeon. 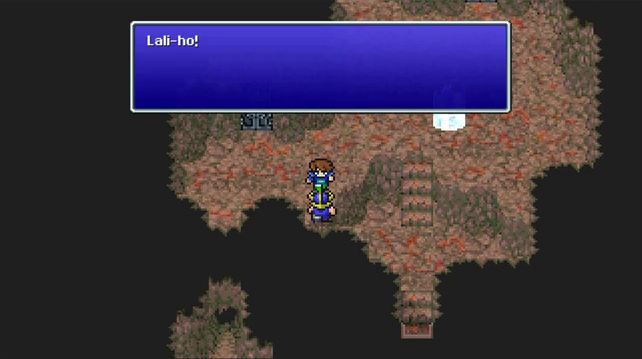 We've finally found the dwarves!  There may be only five of us, but we welcome you to the great Dwarven Kingdom all the same! Lali-ho! Rallybo is digging a tunnel. He said it would let us go around the world, but why would anyone want to do that? Lali-ho! There may be only five of us, but we welcome you to the great Dwarven Kingdom all the same! Lali-ho! Rallybo is digging a tunnel. He said it would let us go around the world, but why would anyone want to do that? Lali-ho!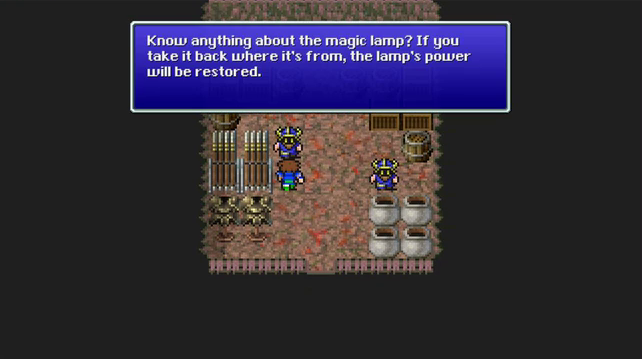 While the Mirage Vest guy is the one to hint at the Magic Lamp, here's where you learn it can be recharged. 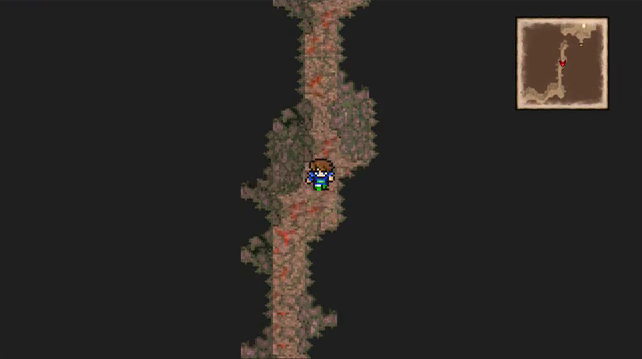 That's 60% of the kingdom, let's go find Rallybo.  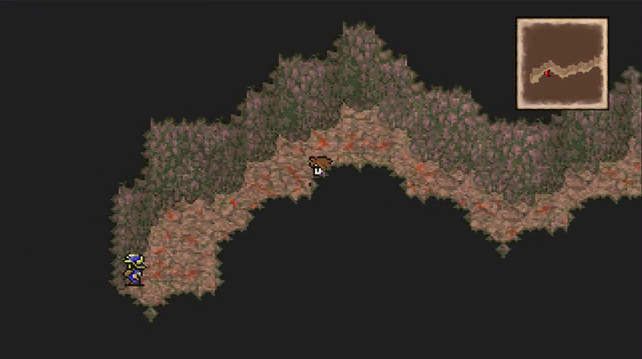 It's a fairly long but uneventful walk. 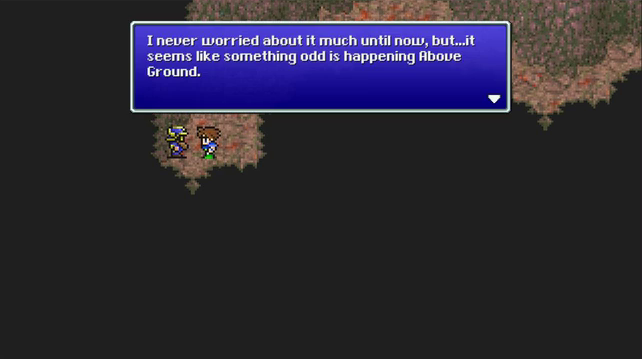 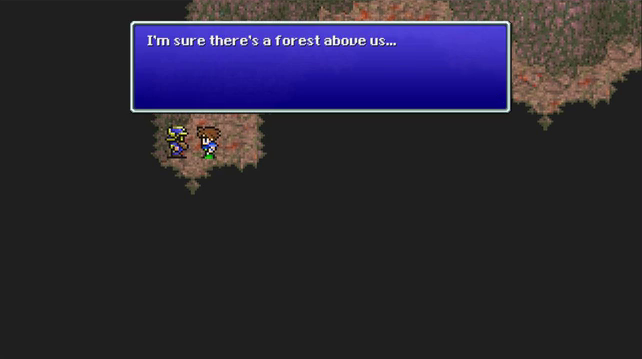 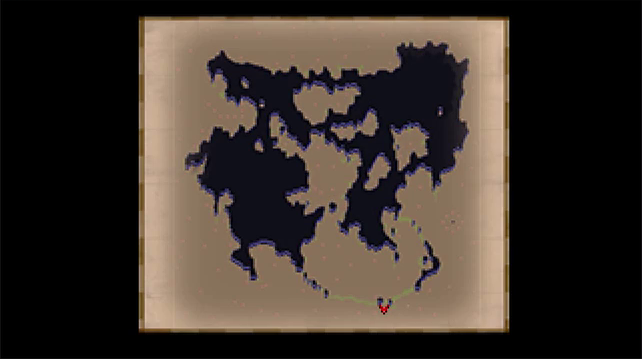 And we get this strangly compressed jpeg of the map. It looked like this at full resolution too not just scaling the image down interpolating wrong. Graphical critique aside this is the official hint to look for Mirage in the middle of the isthmus. 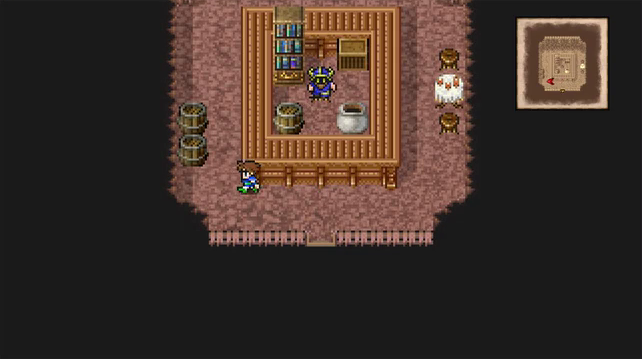 The last of the five dwarves is a shopkeeper. 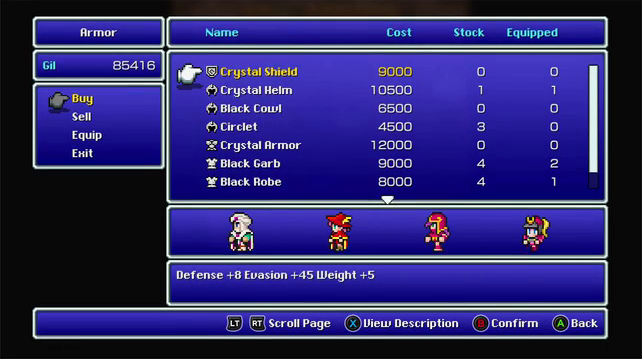 If you approach from the north or south he sells most of the stock from the obvious Mirage armor shop. From the sides he'll sell a limited set of Mirage weapons.  Just a little bit left in before we reach the tablet. 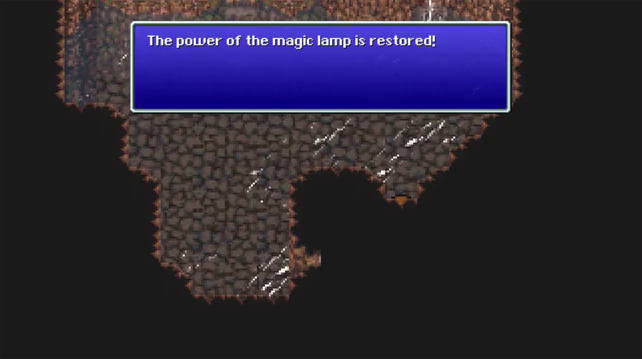 This little nub here (you can barely see Seymour's head poking out) is an extra place to recharge the lamp. I guess these are Norse mythology based dwarves who can make some kick rear end enchanted items. 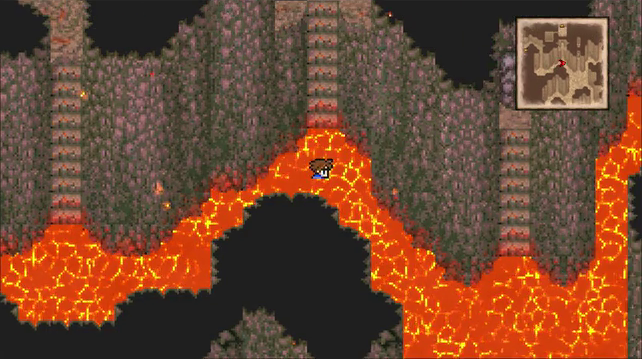 Final real room of the dungeon. If you used the Dwarven Kingdom Savepoint to heal remember to recast float. 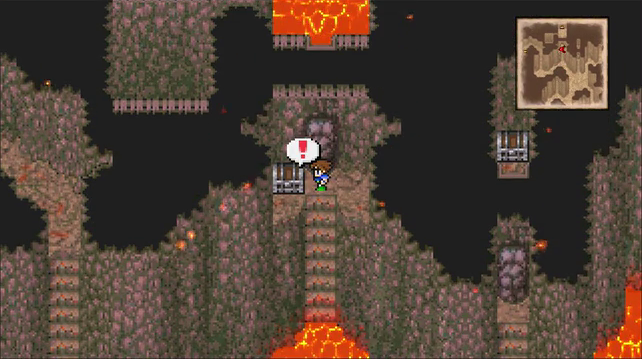 This chest seems ominously easy to access. 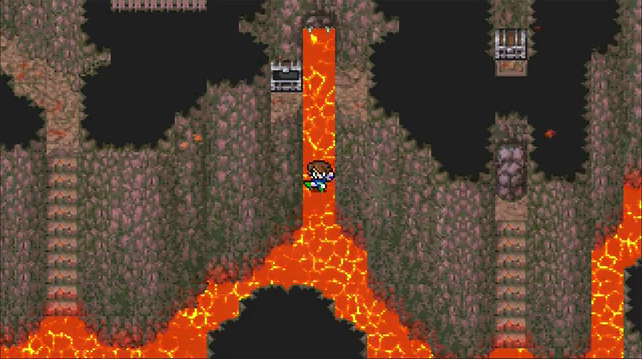 Trying to open it right away just dumps you back in the pool. 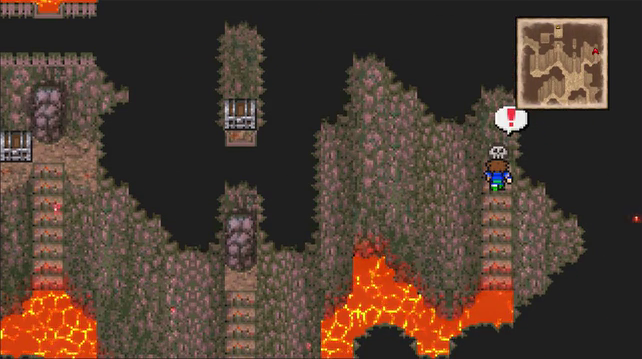 There are four switches in the room.  This one grants access to the last chest of the dungeon. 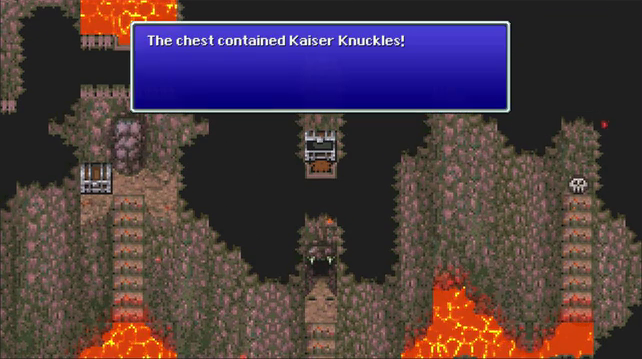 Despite the implication of their name and how future games in the series treats them, these are an accessory for monk boosting the damage of unarmed combat to values that might be in parity to other mundane non legendary weapons. This would be at the expense of Hermes' Sandals. 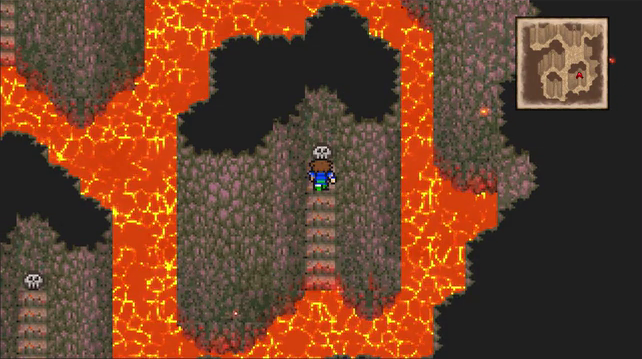 So what switch is the right one? 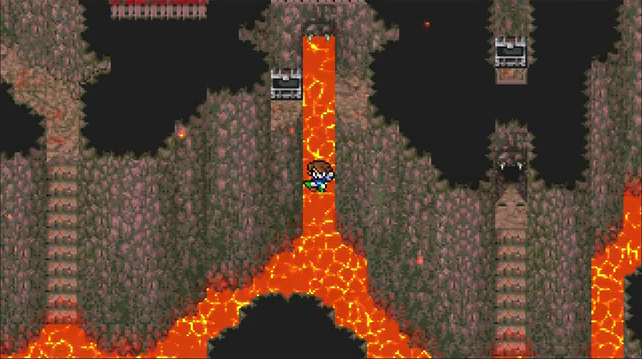 The right answer is not which one. The answer is all of the above. Sealed Book (Original)  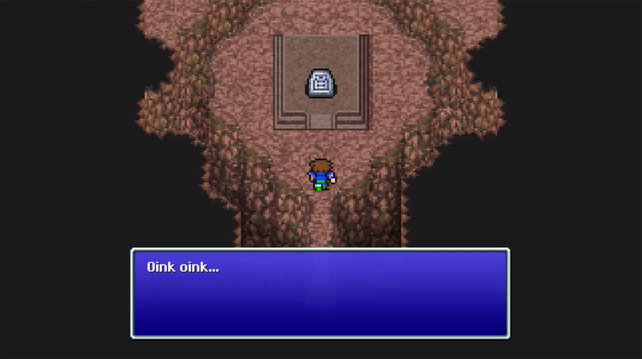  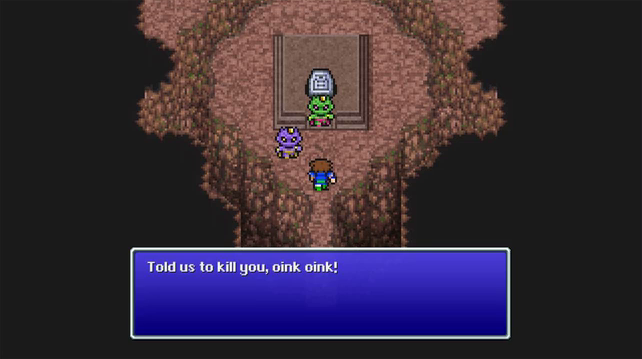  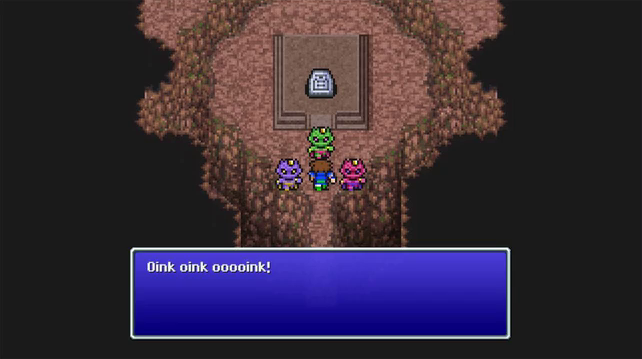 ...I got nothing. The Fierce Battle (Pixel Remaster) 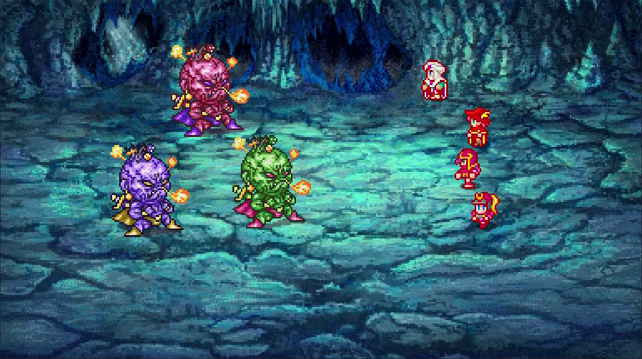 We fight the toughest fight in awhile. If only because I wanted to give them a fair chance. They've got two tricks, first they all have different elemental weaknesses and absorptions so you can't spam Firaga like you'd want against undead. Syldra would be okay however.  Second, and this is the kicker due to their elemental attributes: They're like the gargoyles and must be killed together. 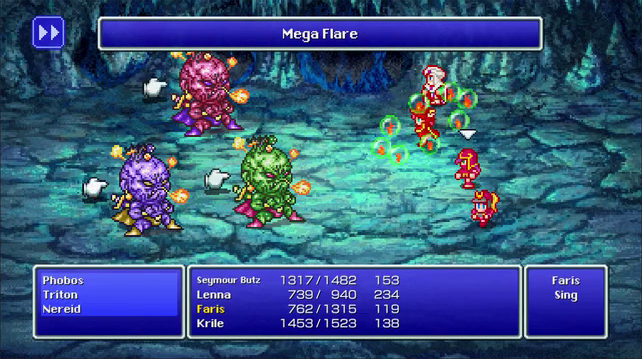 After a few Requiem vollies I begin wishing for ultimate power. 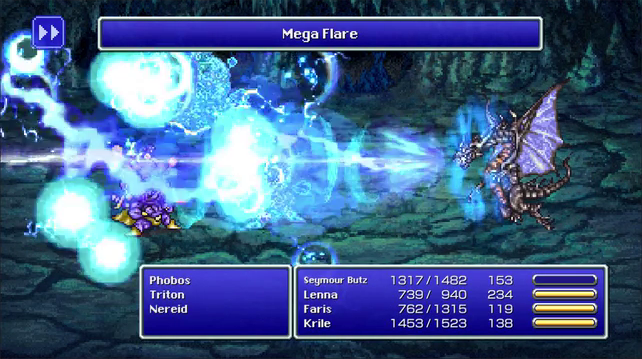 Bahamut here looks horrible like the map that Rallybo showed us, it's not just on encoding or scaling down. Not as endearing as jpeg artifact skull.  Respectable damage no doubt about it. But the thing is that Bahamut can't be boosted. So when casting Bahamut instead of using it from the lamp means an expensive spell for barely any more damage than a boosted Syldra. 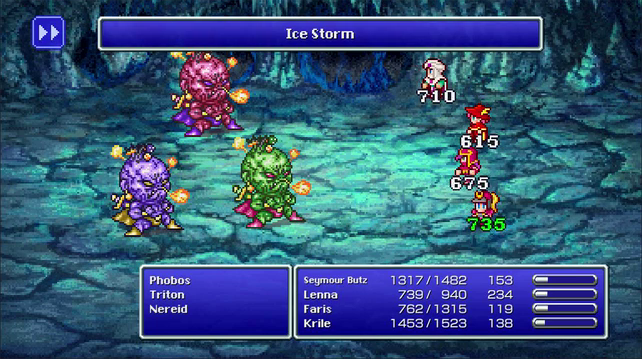 It's here where overconfidence and going all out on the offensive causes some problems.  Really poorly. 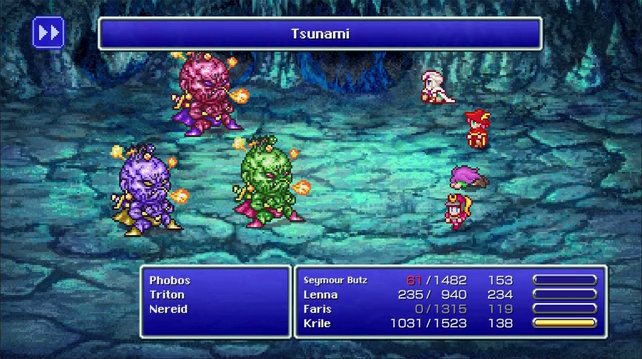 Leviathan is the second wish on the lamp. 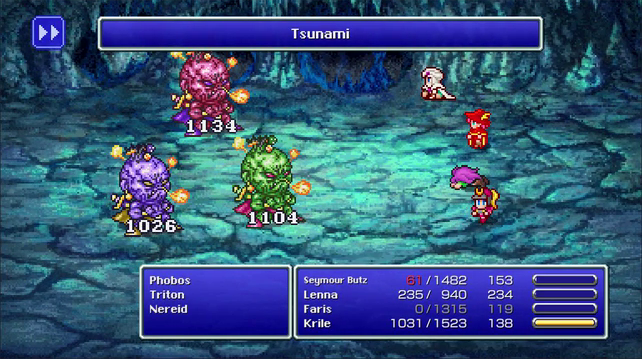 Don't think poorly of Leviathan, Krile has a lousy magic stat as a Samurai while Lenna had the power of !Blue giving Bahamut a little kick. Leviathan technically could be the strongest damage in the game, but the Magus Rod doesn't boost water damage, even in this version. There is a means to boost water but Syldra's still a perfectly good choice for balance between output and MP economy. 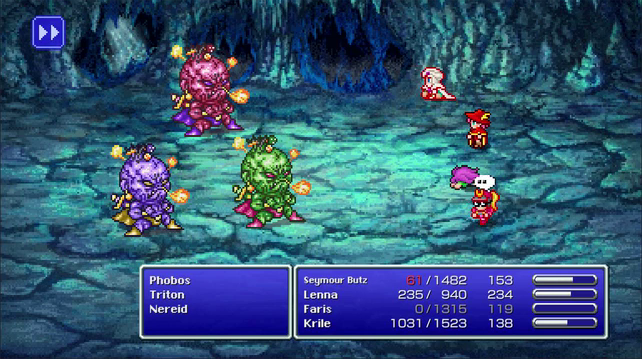 One of the little pigs used Rainbow Wind, an ability that sets blind and silence. 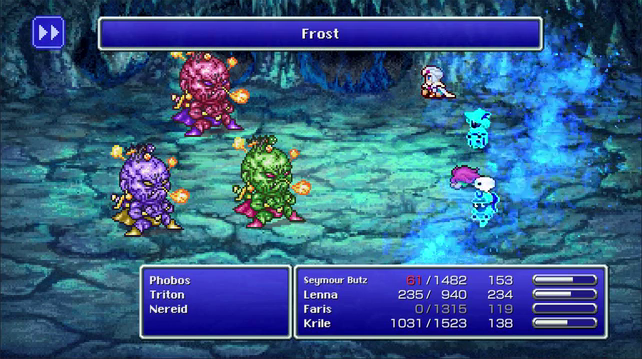 Frost is the same as it was with Stoker, so Seymour and Lenna are dead. Also apparently Frost pierces shell, as Seymour had that kick in due to Mystic Knight's automatic Magic Shell ability. 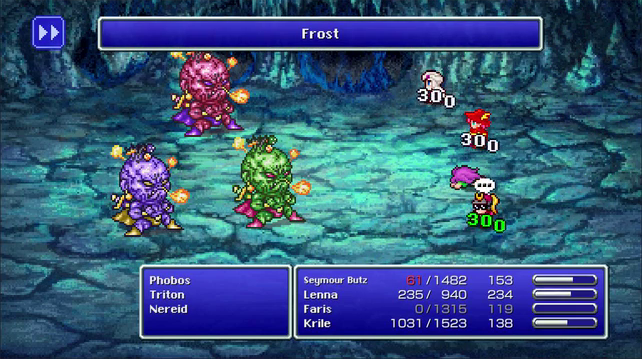  Silence prevents you from wishing. 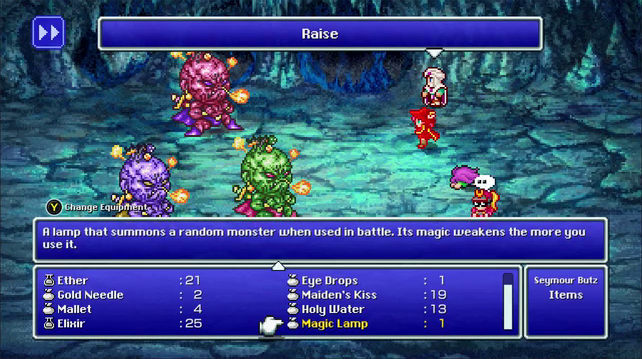 Picking everyone off the ground to get them ABP. 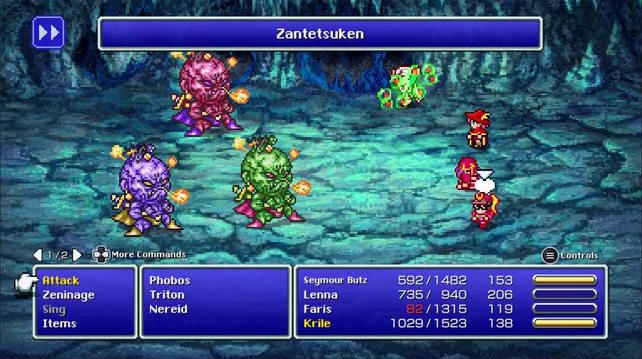 The third wish is for Odin. 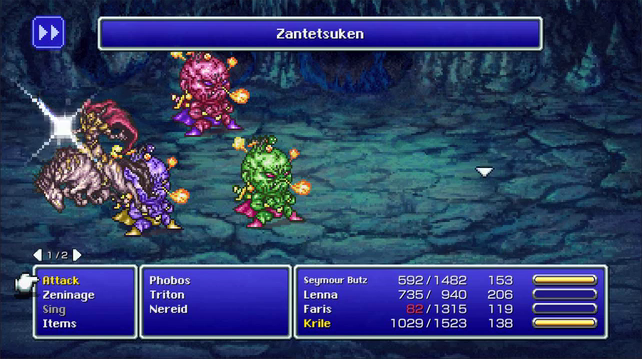 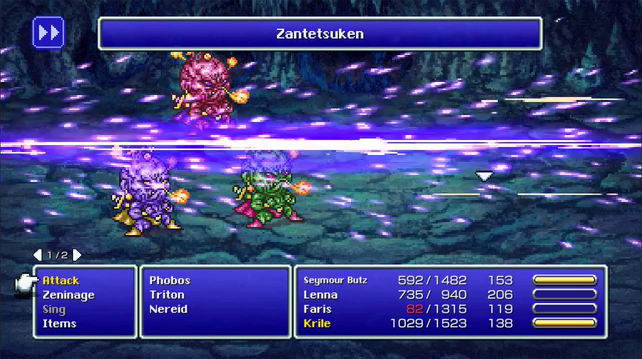 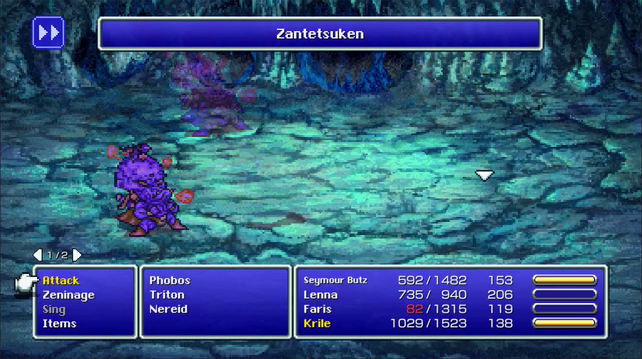 Odin sets dead, indicated here by the sprites shearing into several pieces. The third use of the lamp will always deploy Zantetsuken. If you cast Odin it might use Gungnir for a single target attack if anyone on the field is immune. Beyond the Deep Blue Sea (Pixel Remaster) 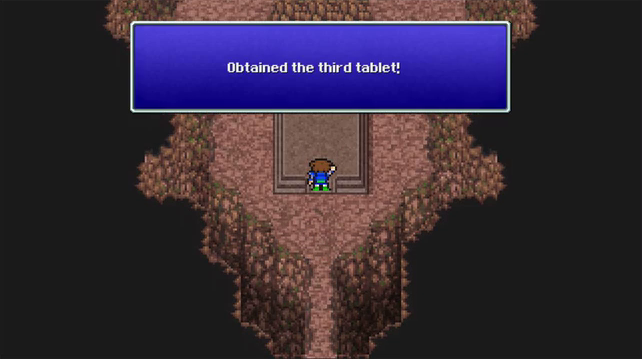  Something's written on it... Something's written on it...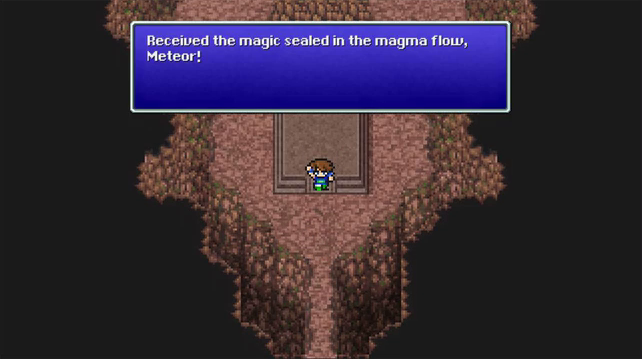 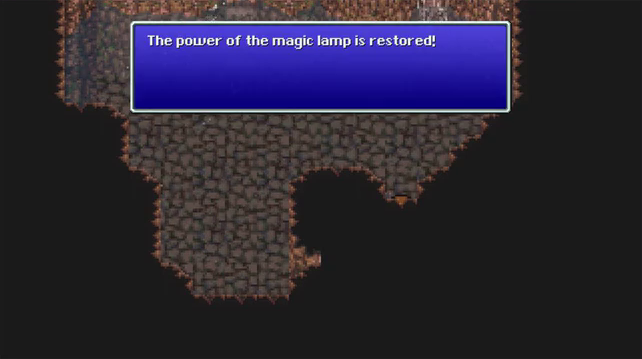 The magic lamp still has one more very important role to serve so we'll recharge it here. If you're in a Fiesta team needing to level before the endgame but lack Requiem access you can use the magic lamp to grind. You'll want oh... somewhere about 1600 HP eventually. 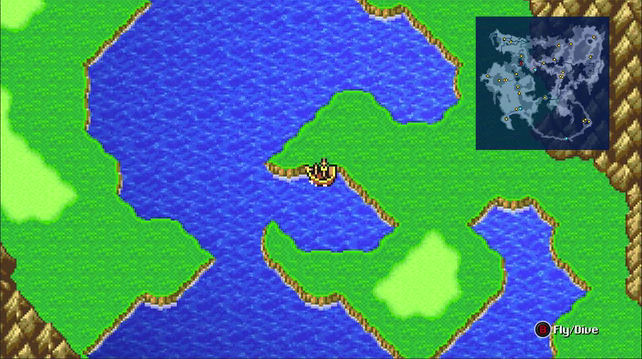 On the way to the next tablet there's one more stop to make. This mouth shaped peninsula is between Surgate and Karnak. 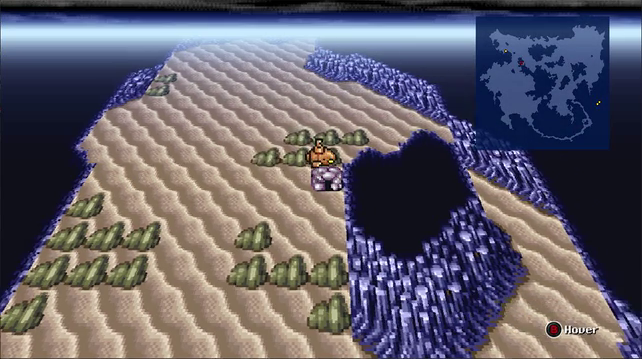 This cave is completely optional for any reason besides the map locations achievement.  I'm sure that people were groaning at my taste in music a few updates ago. If it makes you feel any better I'm annoyed and jealous that there's a generation out there that probably doesn't get this reference.  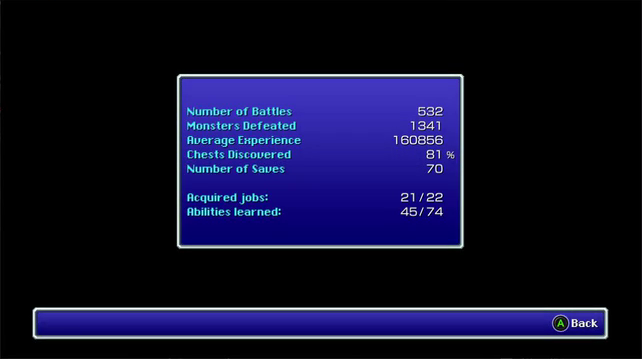 Chests discovered can be known easier by paying attention to the map function. We've got one more job to get and could get right now... But I want to see if I can break that fight. 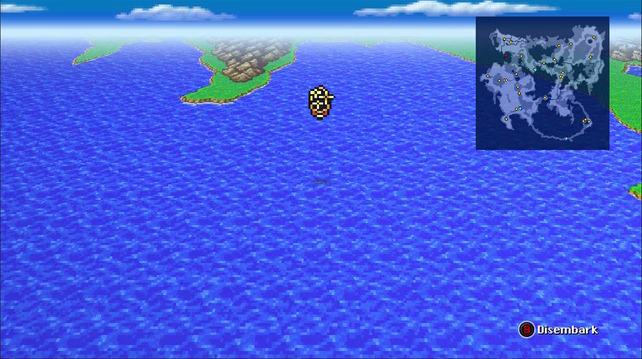 Next up is Istory, we need to submerge west of Karnak. 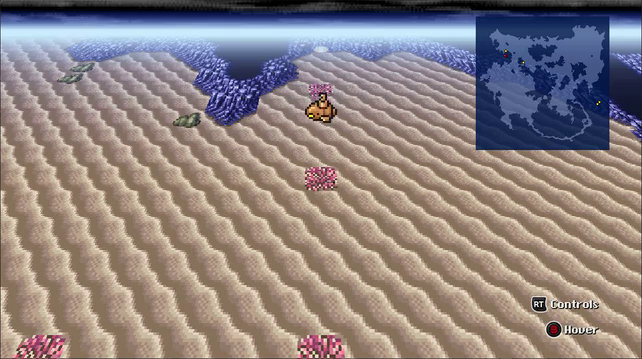 This is the same cave we had to snake through to get to Catoblepas and Koko. 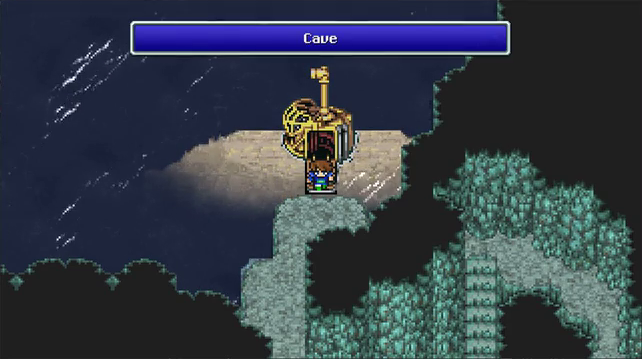 Same encounters and enough steps to guarantee at least one fight if not two each time you try and pass through. 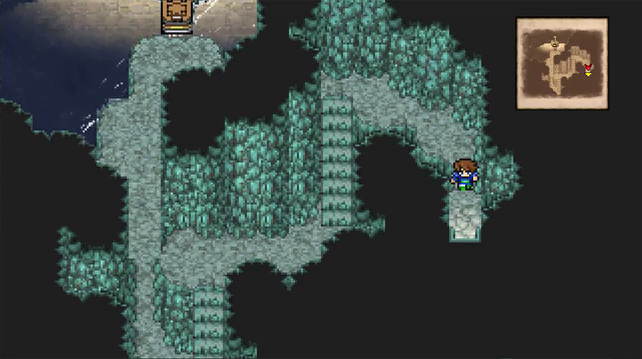  We can finally see natures raw power up close. Fate In Haze (Pixel Remaster) 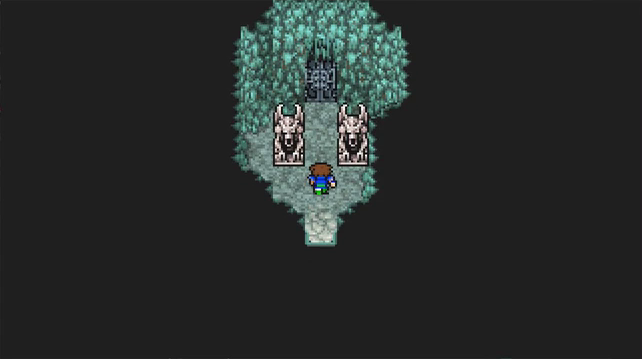 Last pair of Gargoyles 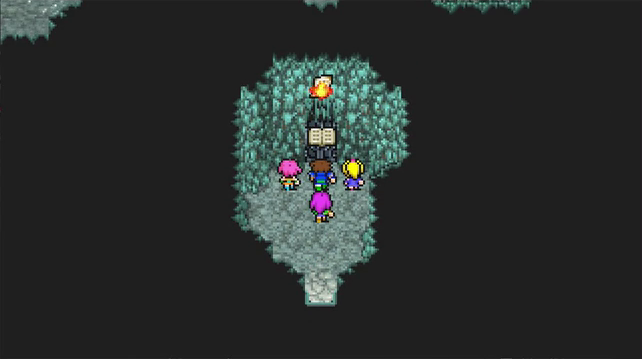 It was thrilling I assure you. 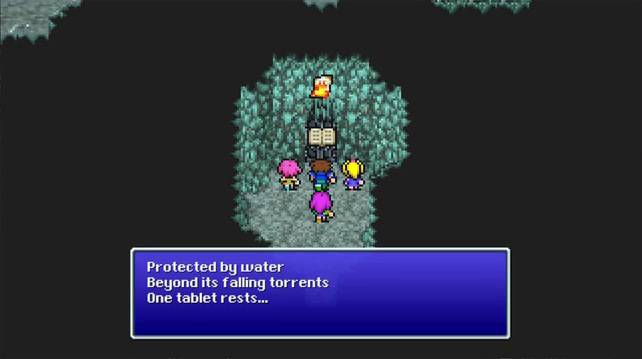 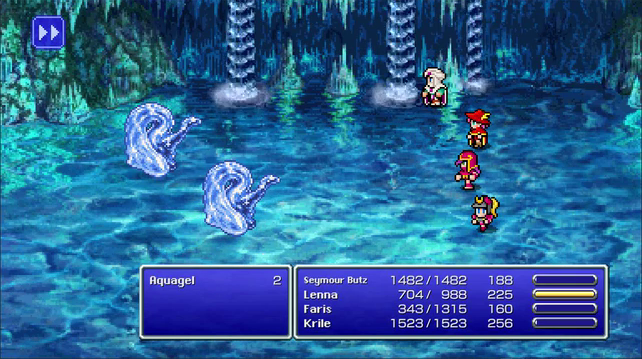 I also assure you I didn't immediately destroy an Aquagel before taking this screenshot. 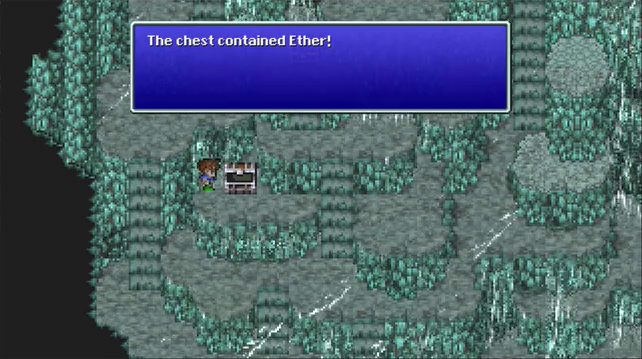 The encounter rate is big enough that this ether will see use in the dungeon to keep Syldra storming.  I'll use Turtle Shells in the final dungeon. 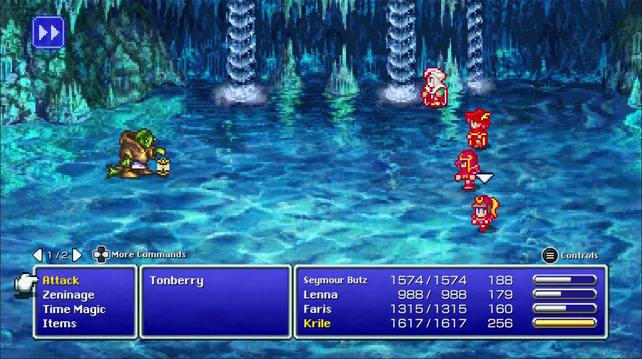 Ah, the Dinglberry. Of all the ridiculous names the PSX release screwed up, this is the most inexcusable. At least the SNES release of FFVI Woolsey had the excuse of "we have no idea what this thing is... pug it is!" but this was years after FFVII and VIII came out. I guess it was maybe when translating they saw "ton(e)" as the sound of a bell and thought "ding!"  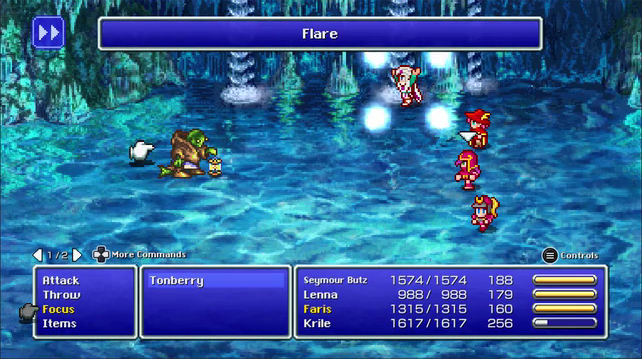 Dinglberry has no elemental weaknesses and the fight is sort of on a timer so let's see what Flare does in sword form. 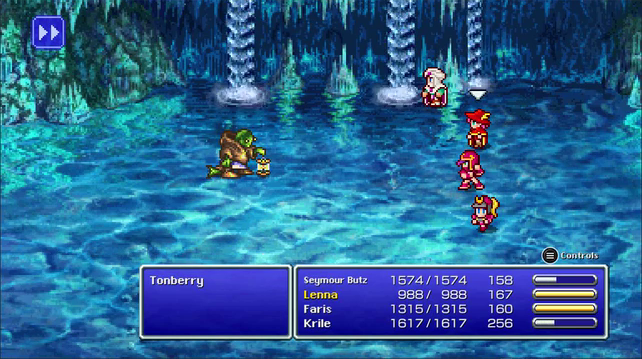 Every turn the Dinglberry steps closer. 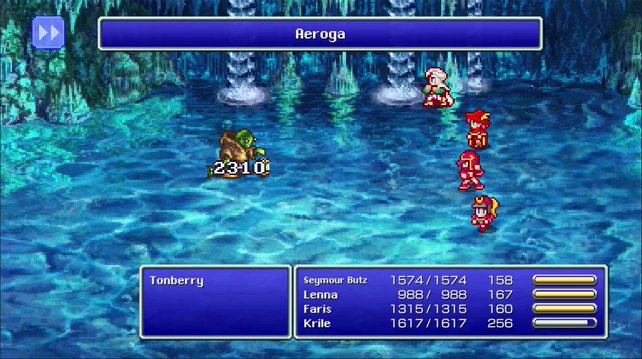 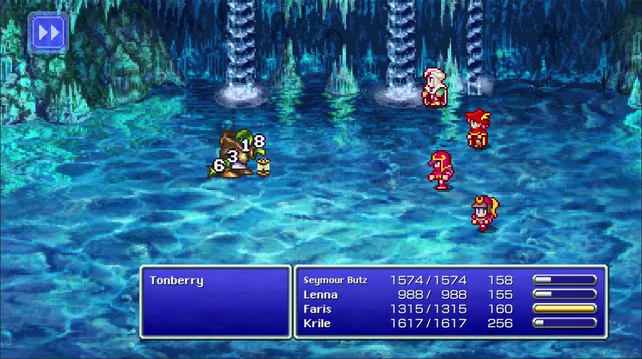 This is the focused Chicken Knife. 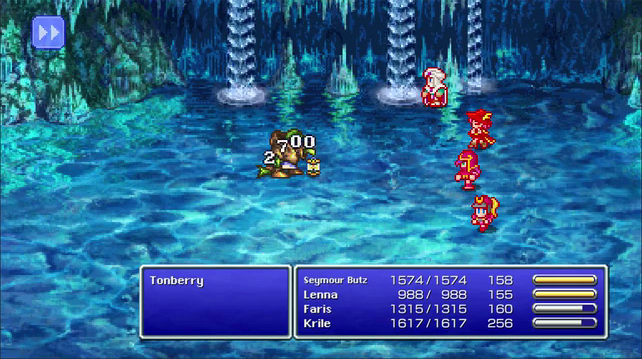 This was an assassin dagger flare blade. It doesn't look impressive but the damage is almost triple what it'd be usually. Flare blade also ignores most of the enemies defenses, but Dingleberry here doesn't have much. 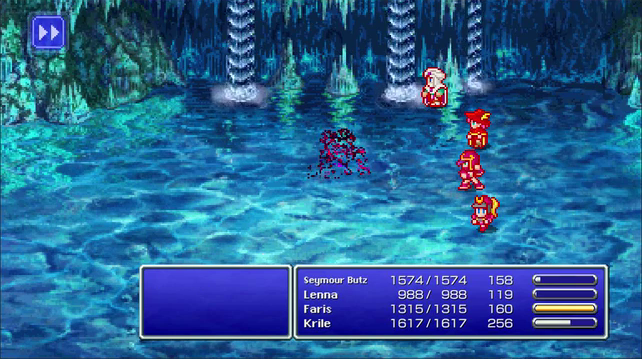 If he got much closer he'd start stabbing.  If he wasn't the rare encounter in the falls he'd be a good source of ABP without grinding levels that much. 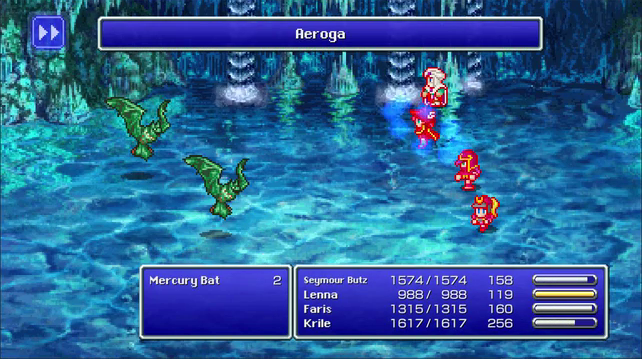 Mercury Bats I guess are named that way in honor of the god, since they can outspeed even our Hermes' Sandals. 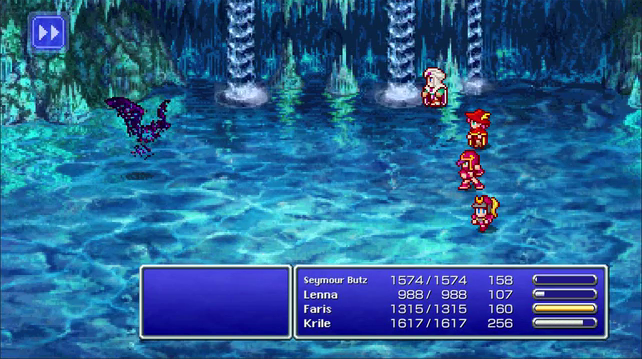 They have a pittance of health so basically any attack will take them out. 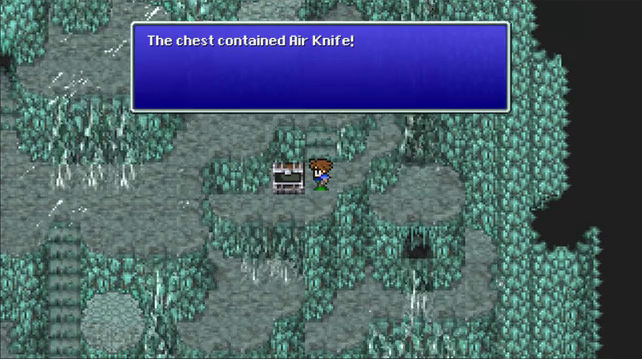 Cash to fuel our inevitable consumable addiction. 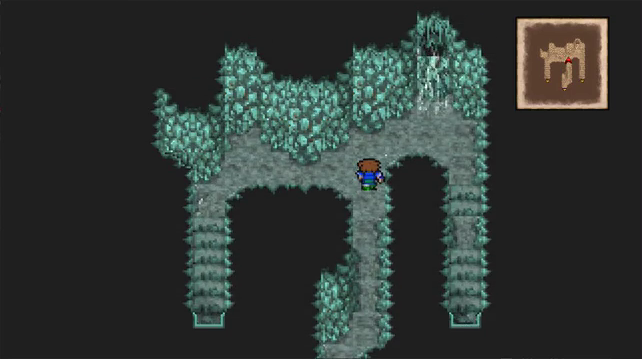 There's nothing to the left path, we want to head down the right path. 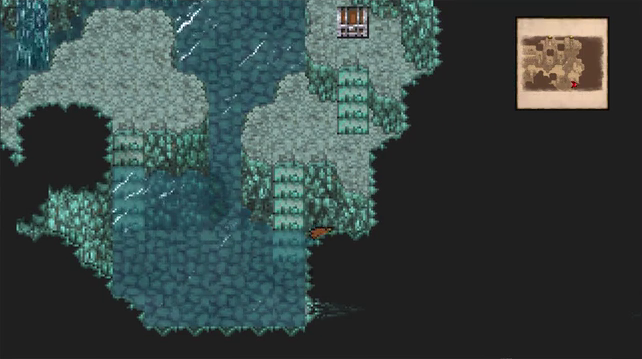 There's a few chests in this room.  The third chest in the room pops into view when you go to pick this one up. 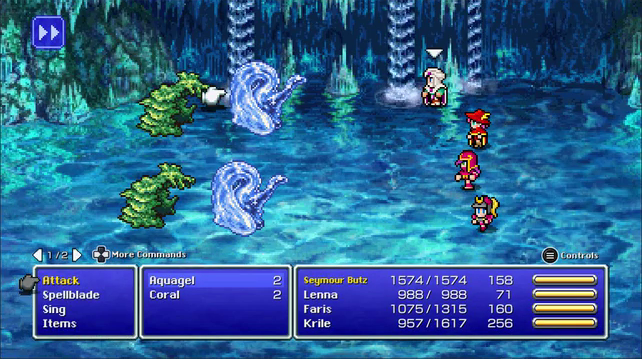 New enemy, these guys can poison you with their hose.  Experience is good in this area but not quite as free as the Trench is. 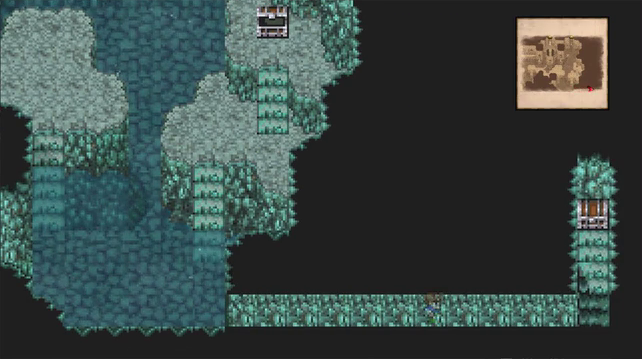 That crack a few images back hints at the secret path to the next chest.  You'd think this would be a sword cool like the Rune Axe, but it isn't. 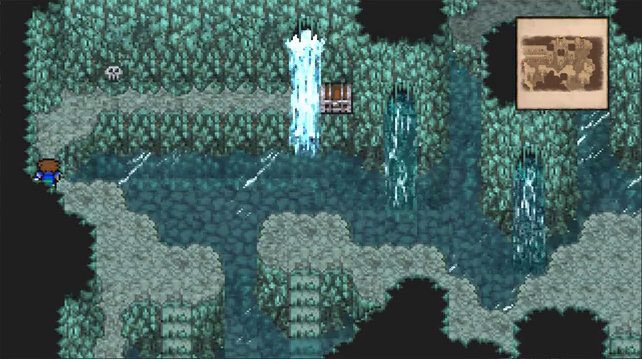 The last chest in the room requires a physical challenge.  Push button... 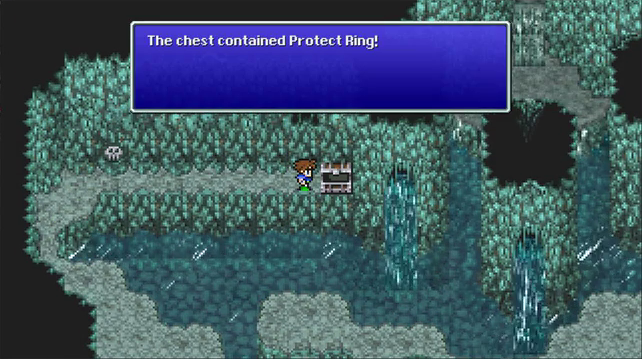 Turn off the water that would push you back into the water below. The timing on this seems more generous than it is on the GBA. 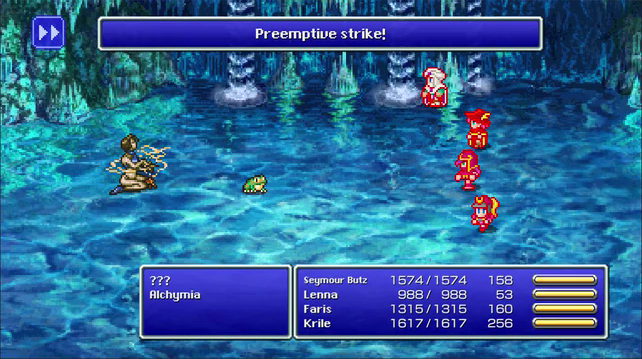 Alchymia is an easier fight than her sister Zephyrus. 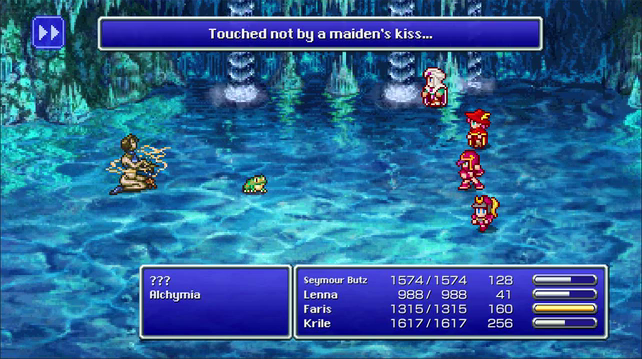 She spends a couple turns chanting. In the PSX version this is "NRRRRRRRRRRRRRR TRRRRRRRRRRRRRR" followed by "KRRRRRRRRRRRRRRR SRRRRRRRRRRRRRRRRRR" I think the second turn she chants is maniacal laughter but I don't give her the chance. 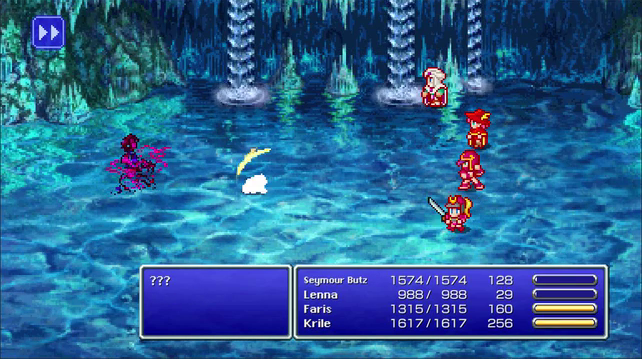  I didn't mean to kill the frog yet but didn't expect Alcymia to collapse so fast. 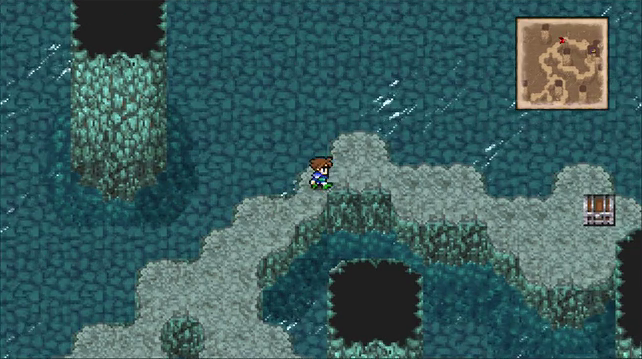 Next room contains a few chests as well, but instead of puzzles or secret passages they're just put at the end of long winding paths.  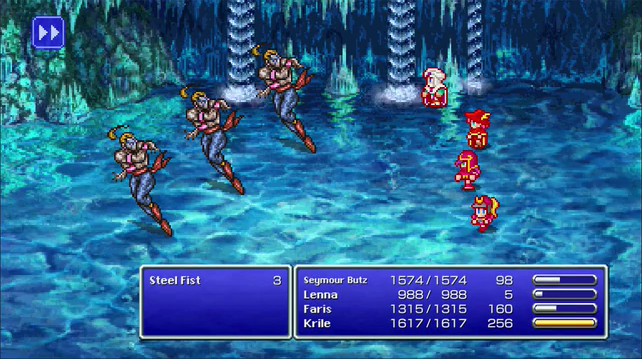 Steel Fists return from the Pyramid chests, they're probably the most dangerous enemies here. 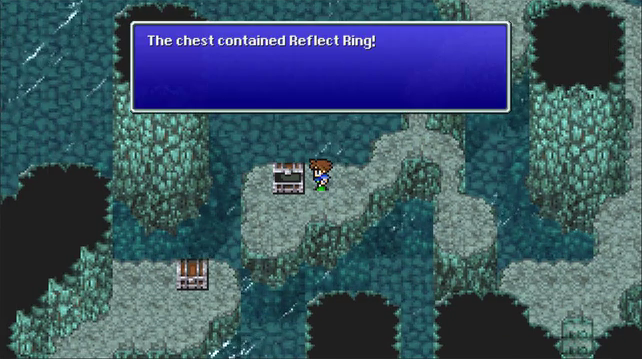 We can get a reflect ring for free here without needing to steal or pray for a random drop. 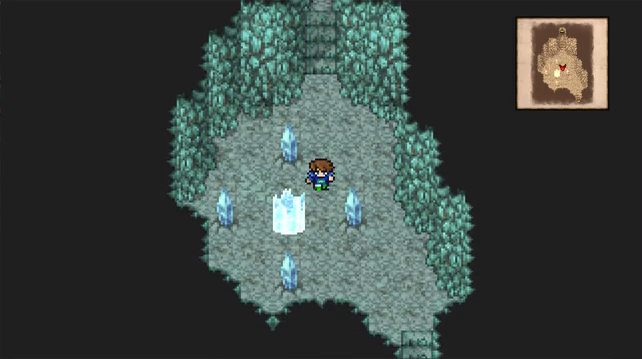 Even with the gold hairpin Lenna has been running on fumes with spamming Aeorga so a place to rest is welcome now. 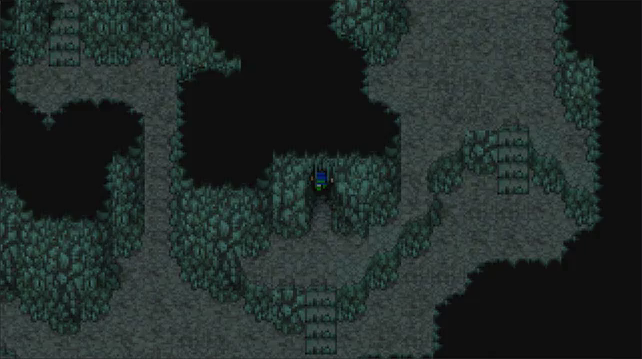 The room beyond has a couple exits, this one leads to treasure. 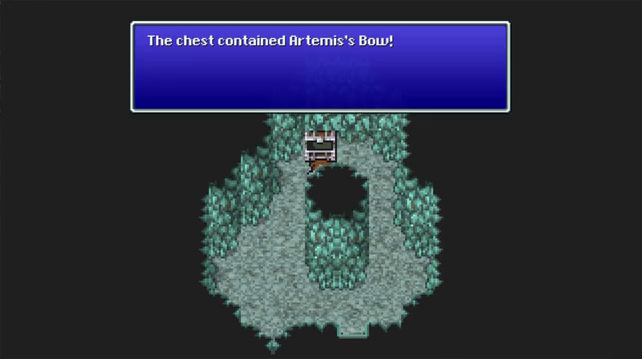 I haven't been back to Kuza yet since all the other weapons are either absolute trash or merely incredibly narrow in their use. This here has a better attack value than the Ultimate bow. There are a few weapons that we can find that are more ultimate than legendary. The Stingray can drop a stronger whip for example. 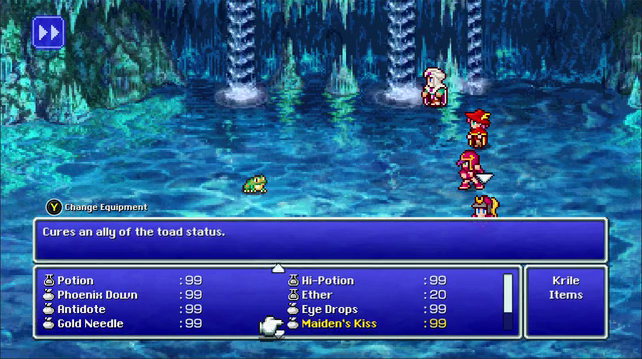 This time I knew my own strength and held back so I can do what Alcymia was going to do to the frog myself.  Alcymia pals around with one of a few different dragons in toad form. In this case I healed a very surprised Ghidra. 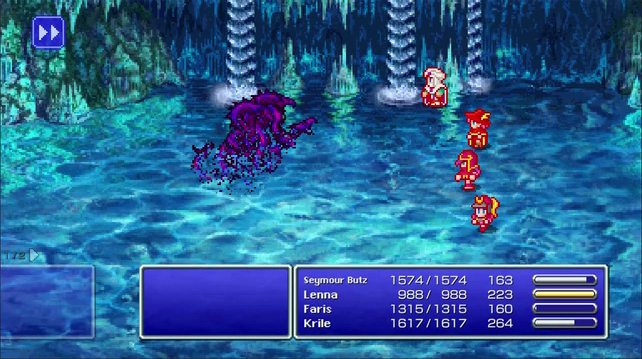 Faris destroyed it with a !Focus before it could even blink. 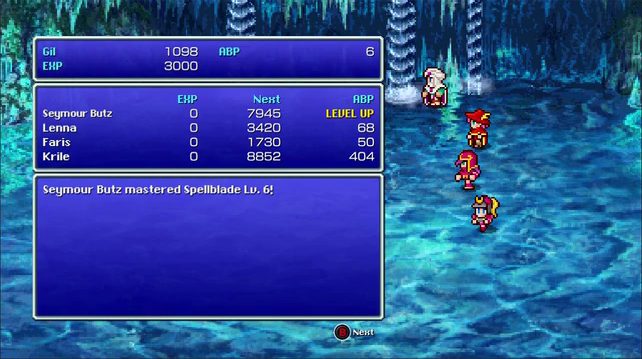 And with that Seymour has mastered 1/3 of the ultimate technique. Faris is close as well. 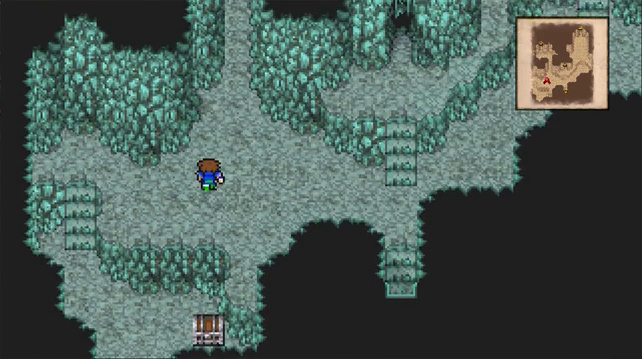 The room before the last save point had one more chest in it, but it was on a peninsula that was inaccessible without coming up here. Beware though, there's a hidden hole in the floor so hug the left wall here. 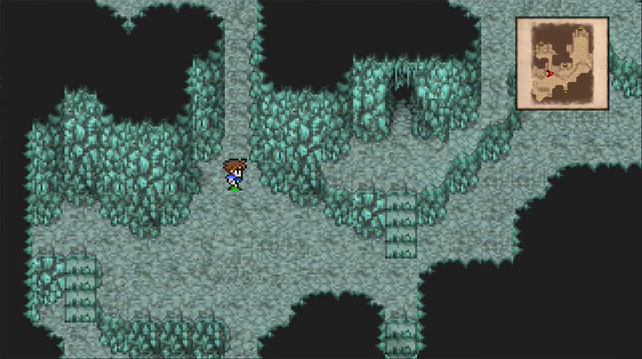 We'll be coming back to that hole later. 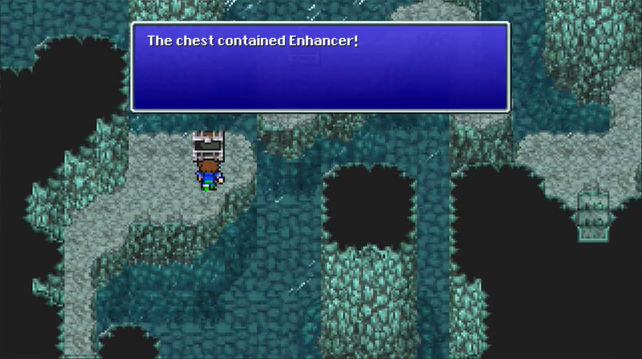 Here's the best plain non-Knight sword in the game. 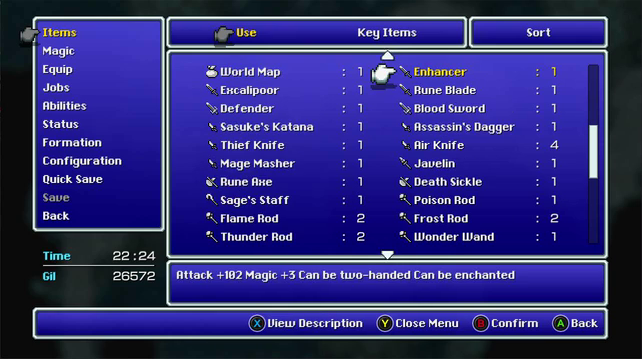 +3 magic is nothing to sneeze at. 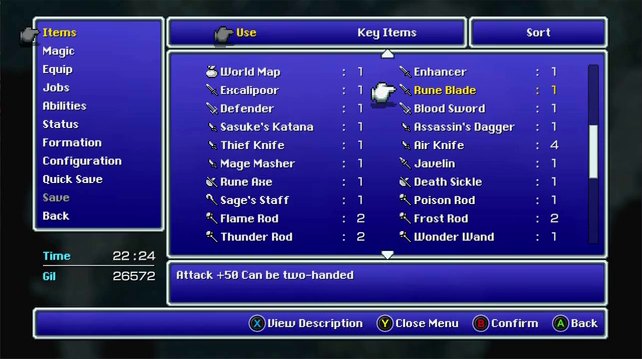 Compare this to the Rune Blade, what a piece of trash. 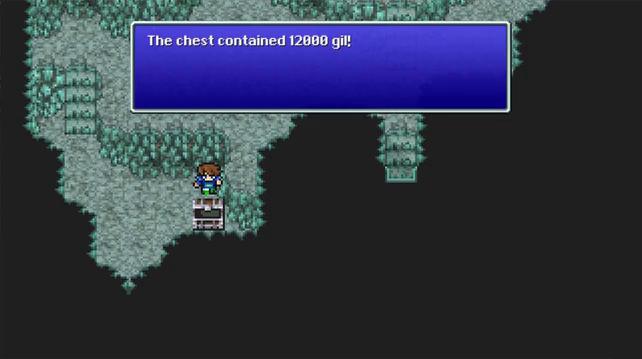 I should have picked this up after the Artemis Bow and then got the Enhancer. Oh well. 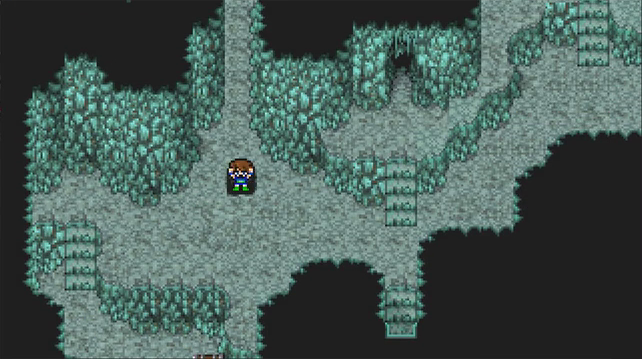 The stairs down to the right lead to the same room this hole leads to but I always prefer to drop here. 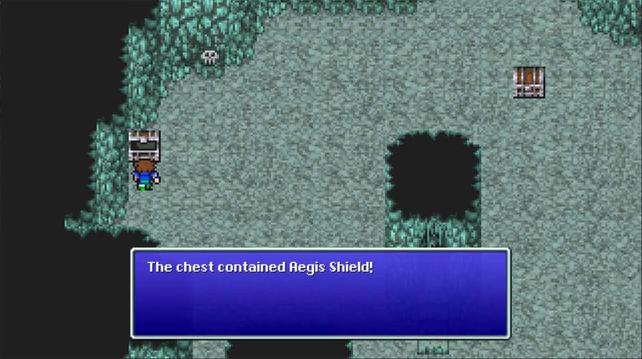 A second Aegis. 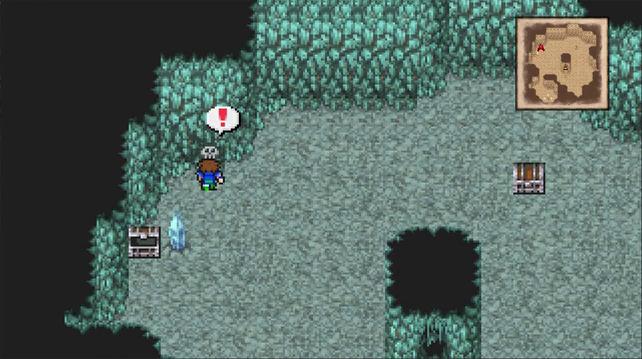 Note that I took the shield from head on. If I were to come from the side Seymour's Butz would hurt. 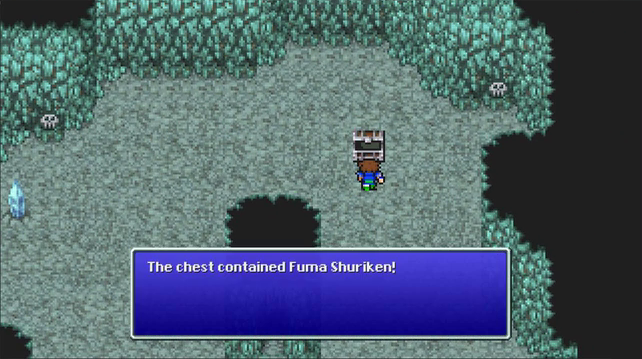 Same thing with this chest, the switch to the right deploys this ones spikes. 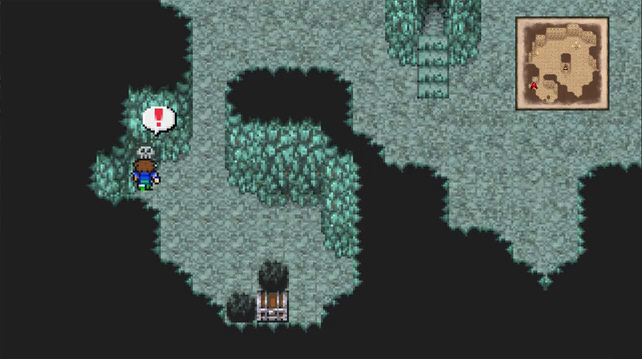 This switch removes the spikes from around the chest. The holes are a one way trip to the last room of the dungeon so make sure you've done all you want before falling. 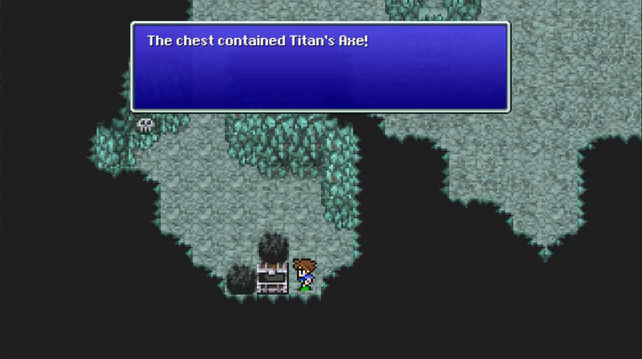 Just a big rear end axe, nothing special with this. Sealed Book (Original)  We get the last tablet without interruption. 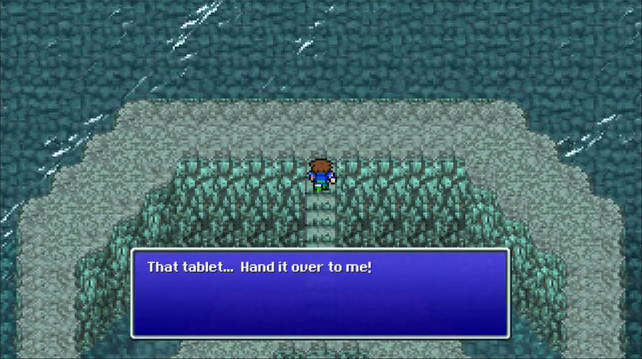 I spoke too soon. 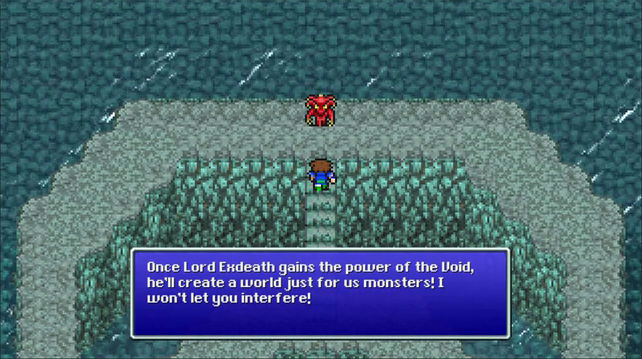 This is the last guy who stepped forward after we cashed in the first tablet. I heard someone say that if you don't get the first set of weapons Stoker will still appear but this guy and the pig triplets won't. 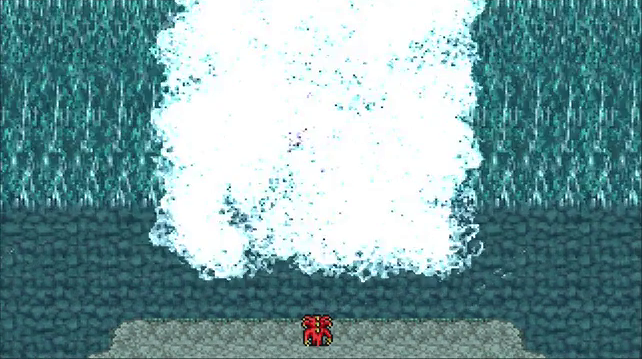 Something tells me this guy isn't causing the water to do that. 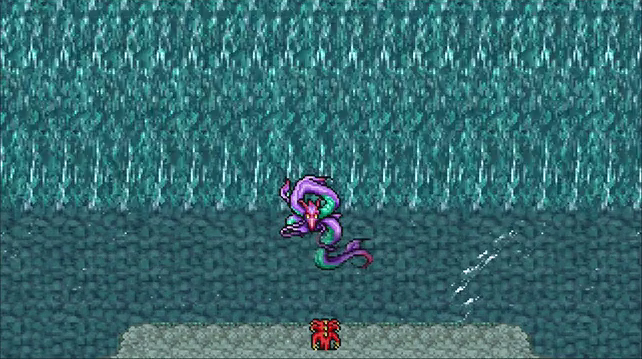 Leviathan is here and she's pissed. 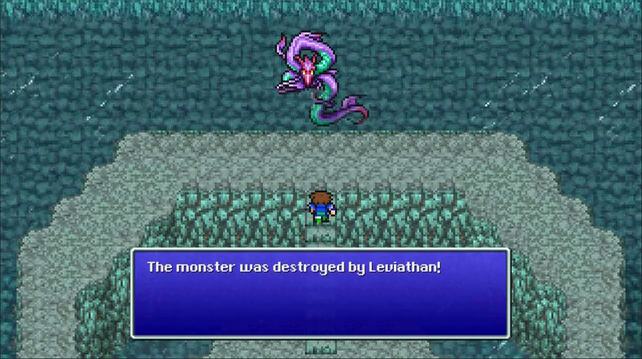 Leviathan killsteals our boss fight.  We could walk right out here.  If you talk to Leviathan she challenges you to fight, but if you walk past her she lets you leave and makes no effort to stop you. The Fierce Battle (Pixel Remaster) 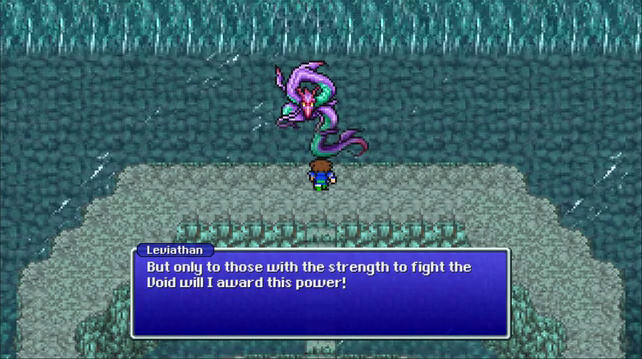 Of course I'm going to beat her into pulp so she can sit on the bench and watch how a real sea monster works. 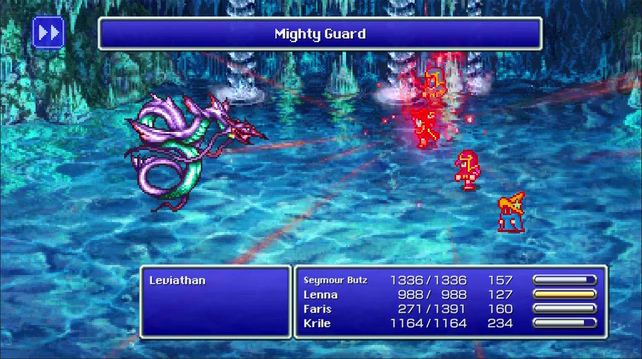 First step: Mighty Guard. Leviathan hits hard both physically and magically. 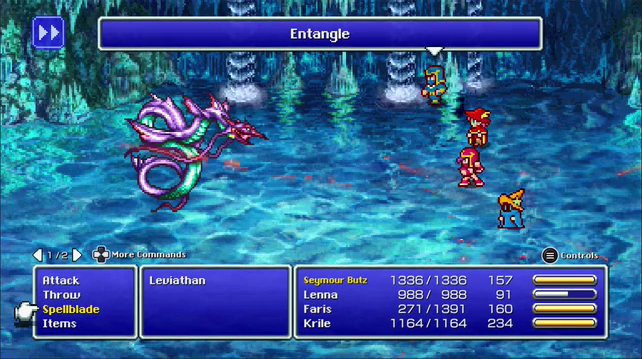 Without Hermes' Sandals this would paralyze, instead this is a wasted turn. 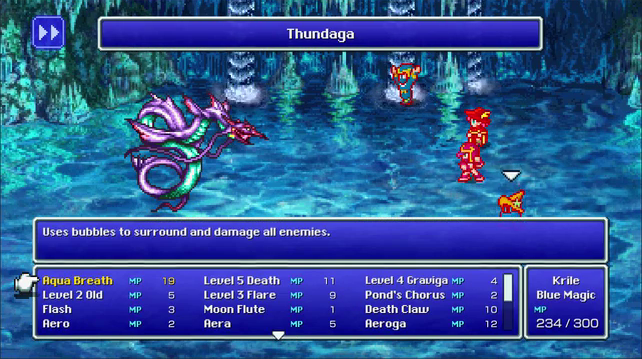 Seymour is charging up his knives. 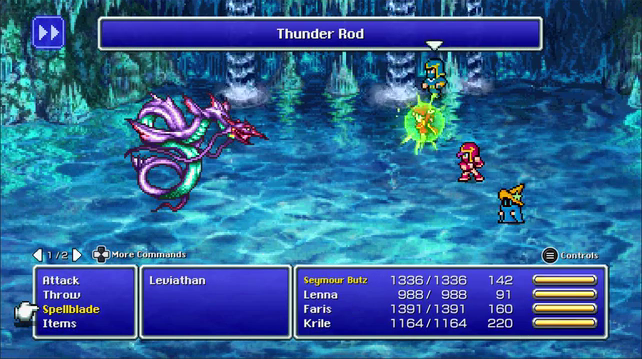 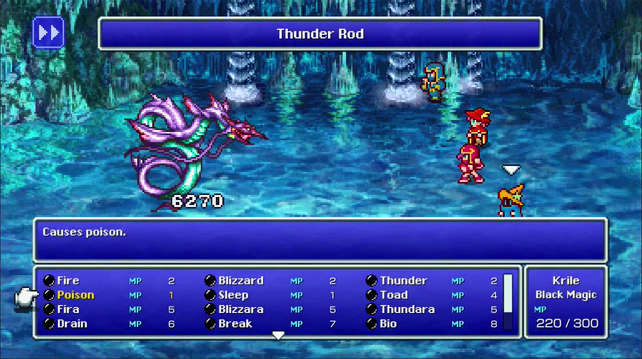 I had one Thunder Rod left and this seemed like a good time to use it. 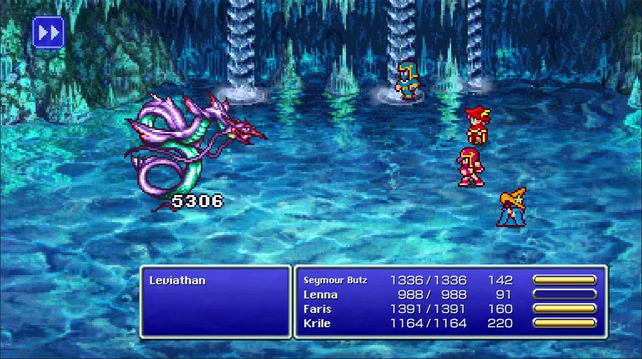 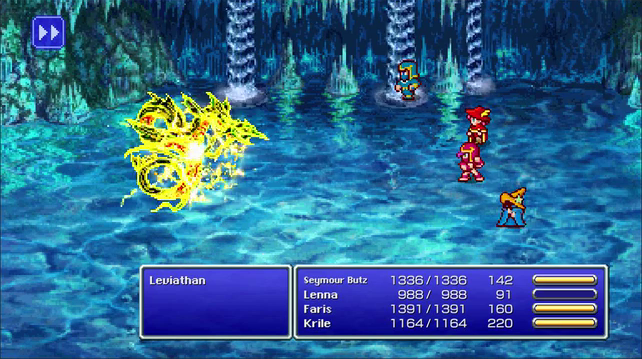 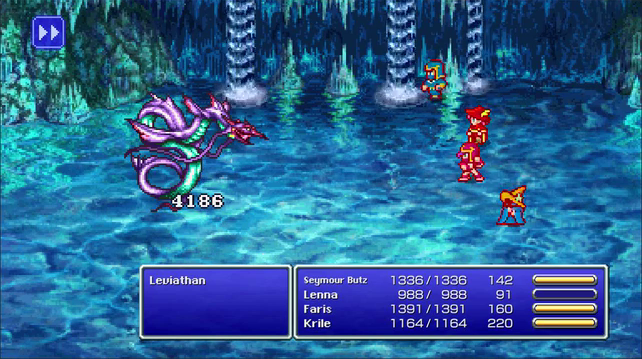 Here's Thundaga Blade doing numbers. This isn't even with the chicken knife. 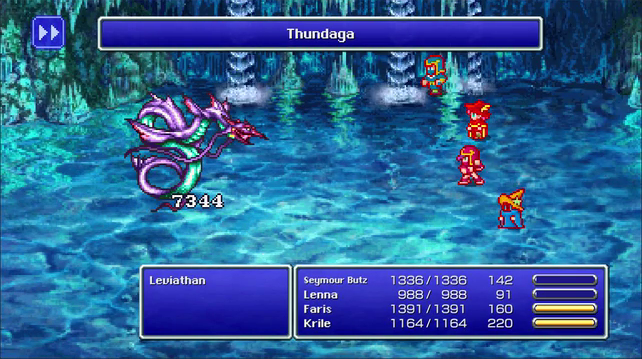 And Krile with Thundaga with a magic stat to back it up.  Leviathan actually managed to hurt the party. 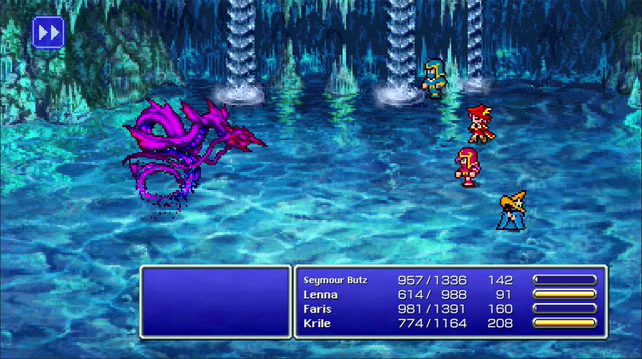 She died for that slight. 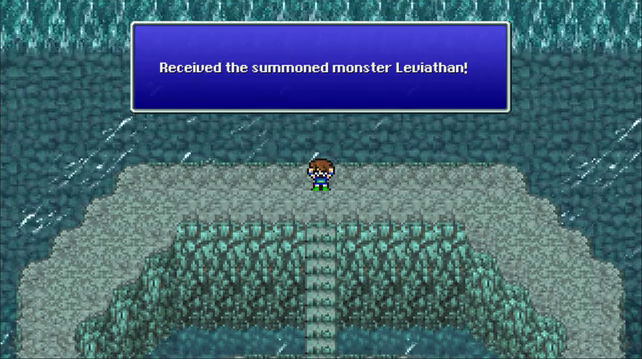 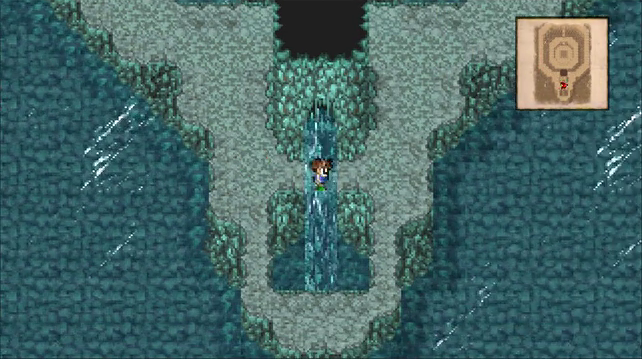 Nothing left to do here, we walk down to the south of the room to leave.  Stepping in front of this waterfall returns us to the world map. 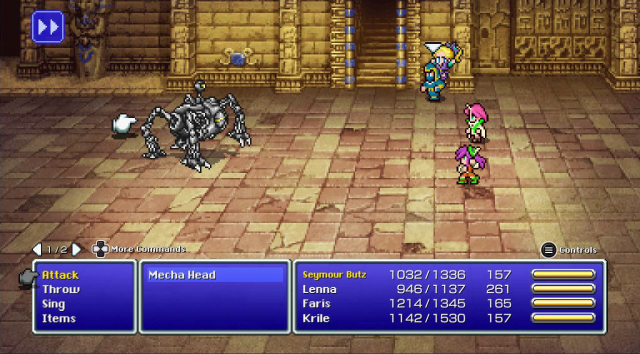 Jump cut back in the pyramid. Why? Because I failed to take enough screen shots of the maps to make the maps for a few updates ago. 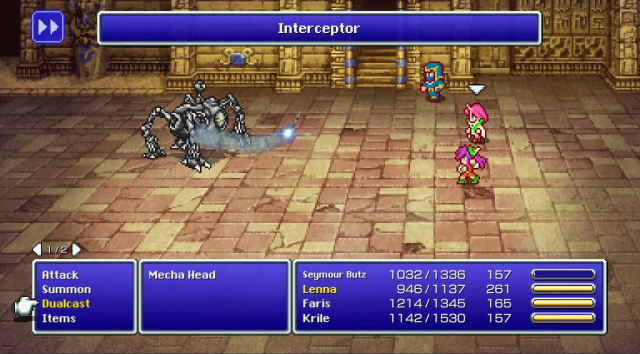 So since I'm already in the area I wanted to show off that it isn't just the Fiesta community that hates on Dragoons 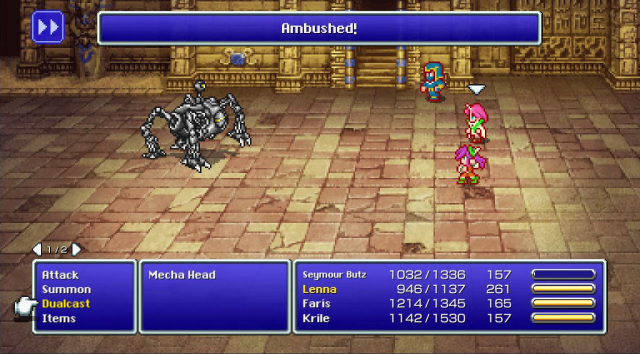 The game has a specific "screw you, Dragoon, in particular" button that it deploys with this one enemy. 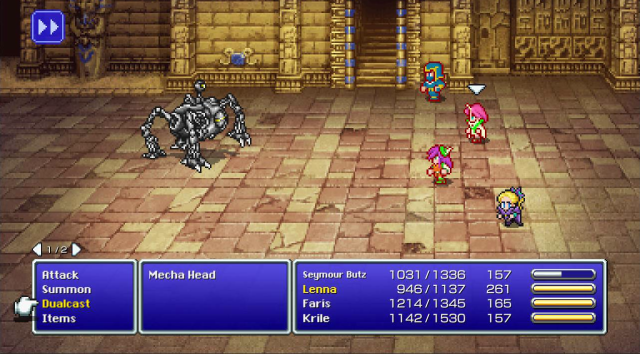 And all it does is swat the Dragoon out of the air. No damage done, just the waste of time in the air.  So long ago when we first got the fire powered ship I mentioned how anything beyond Thunderpits or the other enemies that you'd fight sailing directly between Karnak and Crescent Island didn't provide experience and only gave Gil and ABP. Now I'm going to do a brief detour because this was the first session I played after the April patch was released. 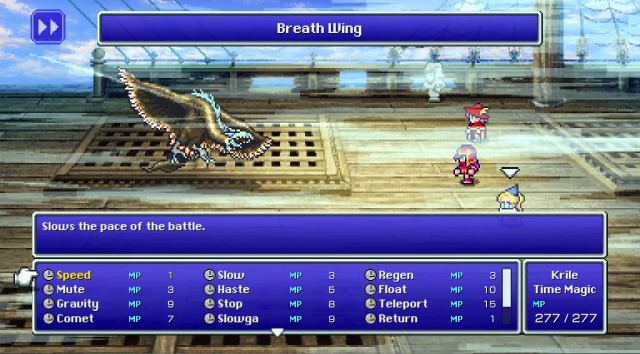 I wanted to go to this particular section of the ocean west of Jachol because Rukhs are my preferred place to get ABP when I was playing to get the Master all Jobs achievement (all jobs on one character which for all intents and purposes means you may as well master all jobs on everyone since Lenna is just ~150 ABP behind everyone else).  But I wasn't grinding here for long this was just to squeeze out the last few ABP for !Dualcast. I just wanted to test something out because the patch notes had a very ominous sounding and ambiguously phrased line about reducing the damage from reflected attacks.  So when you multi target magic the damage done is halved. 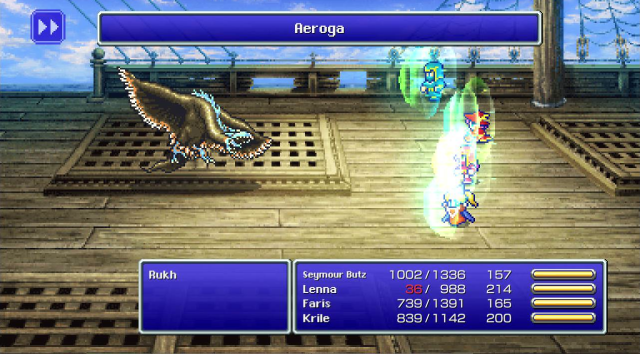 Right now everyone has the reflect rings to bounce Aeroga off of. 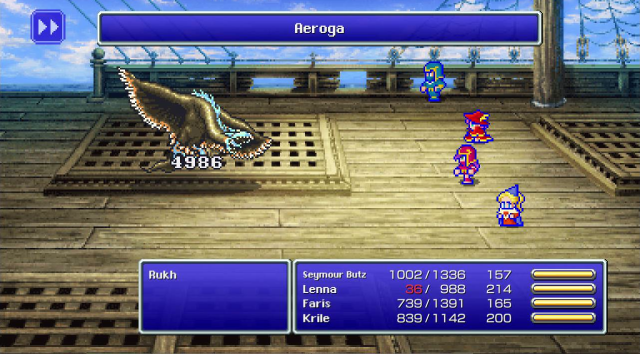 That looks to be the double damage I'd expect from 4 half damage spells focusing on one point. 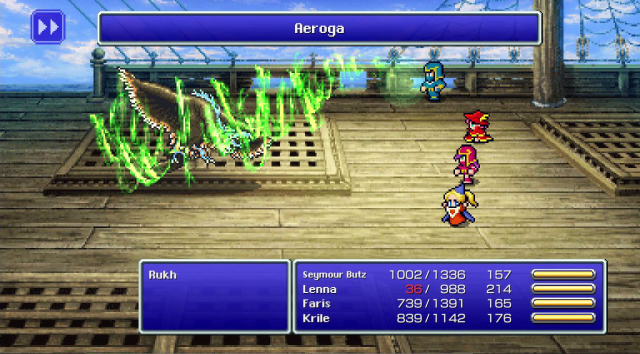 But just to be absolutely sure let's see the control group of one single cast.  So the patch note about the damage being too high was a legitimate bug and not someone thinking that this was a problem. Good to know! 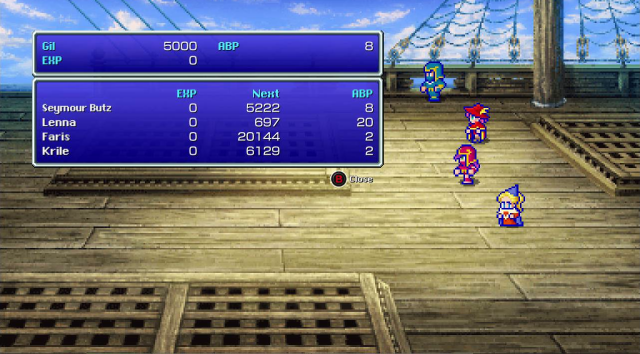 While the section of ocean south west of Jachol technically has a better ABP rate on average than this one the best ABP fight is rare and everything else is worse. So my preference is to kill a surprisingly weak bird for 8 ABP than killing 3 Aeriths.  And for completion sake let's get the last 6 weapons. 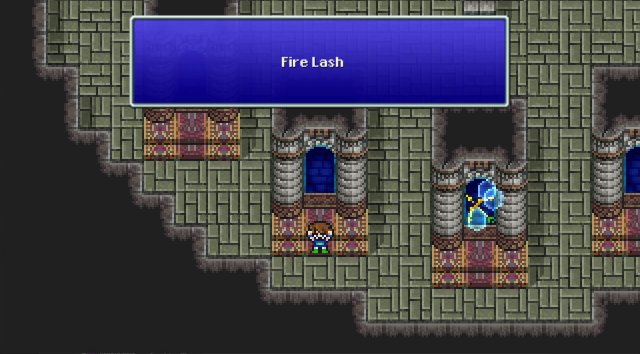 The Fire Lash randomly casts Firaga on the target. In Fiesta settings this probably means a medicore bit of bonus damage. In casual play with the right masteries (say... Krile with mastered Berserker with !Summon5 as her secondary ability) it would be pretty good. Even better if I had her master Ninja to put the Magus Rod in her off hand. 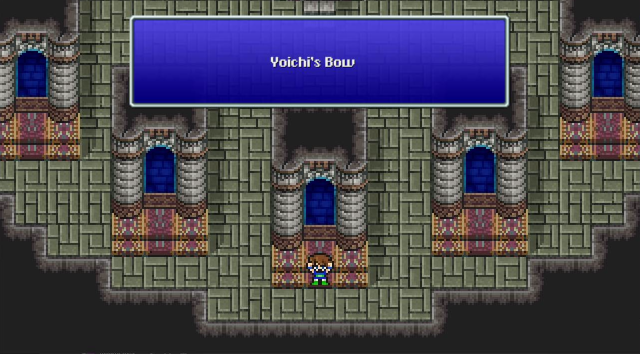 Yoichi's Bow is one of the rare weapons that can actually land critical hits. So even with Artemis having a bigger base number this will probably outperform.  Its a spear that has the holy element. Pass. 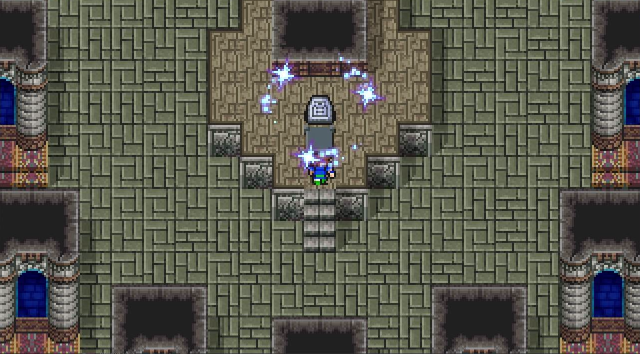 You have to walk up to the tablet and make it shatter to set the last one up and grab the last weapons. 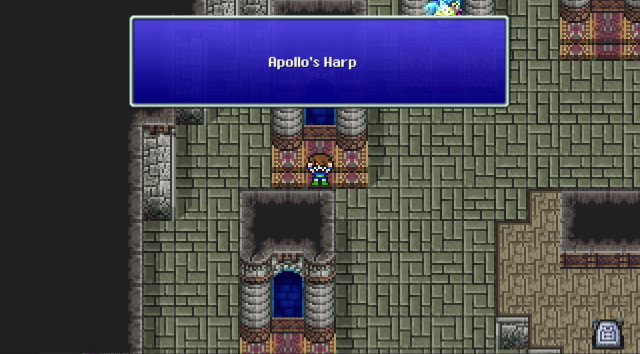 Bards finally have a weapon they can use on bosses. This harp does bonus damage against the undead and dragons. Obviously the undead bonus isn't that useful when Requiem exists. But there's 2 dragons in the endgame. Wait, did I say 2? I mean technically anything can be a dragon and will just have to deal with 8x damage. 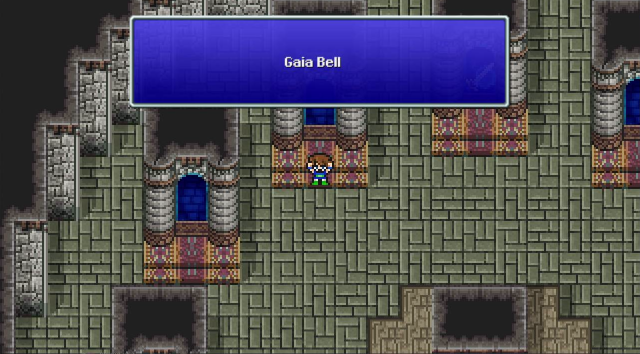 As much as I love Geomancers I just can't abide by this. Probably the only weapon that makes the Holy Lance look adequate. The Gaia bell boosts earth element attacks and randomly casts quake. It technically uses the axe formula for damage, so its pitiful attack stat isn't quite that bad. But you know what does all that? The Gaia Hammer. 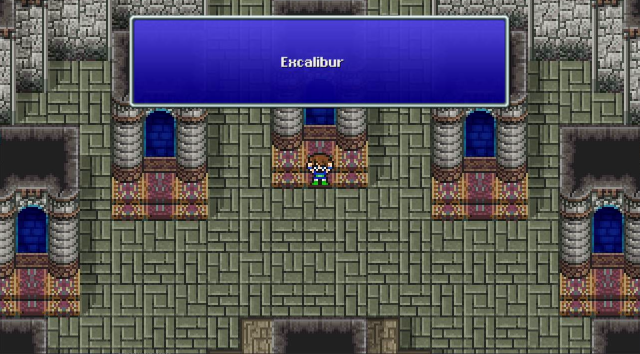 We finally get the weapon Greg thought he was wielding. It's a knight sword that's holy element. 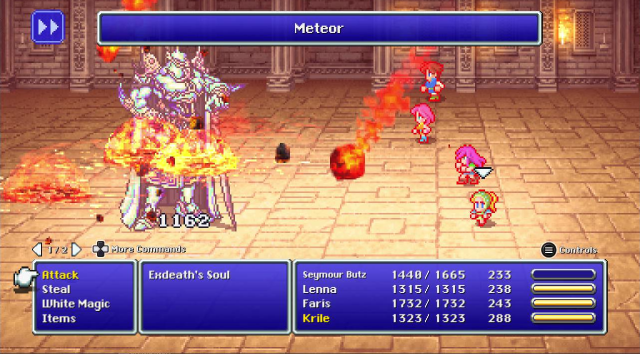 And then I drop Meteors on Exdeath to pay him back for how he treated Galuf. 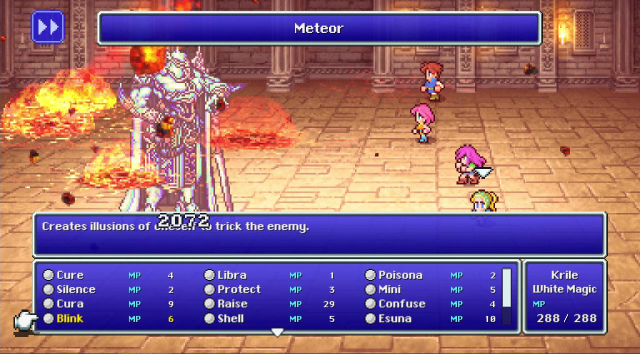 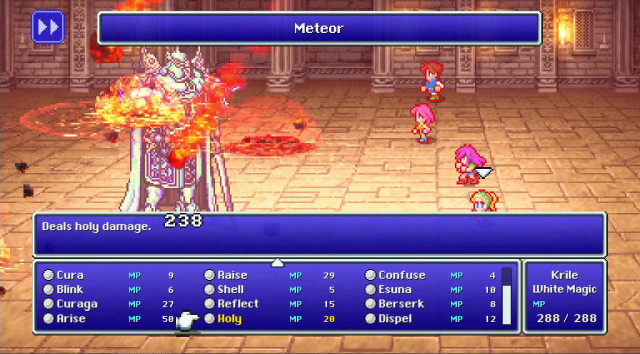  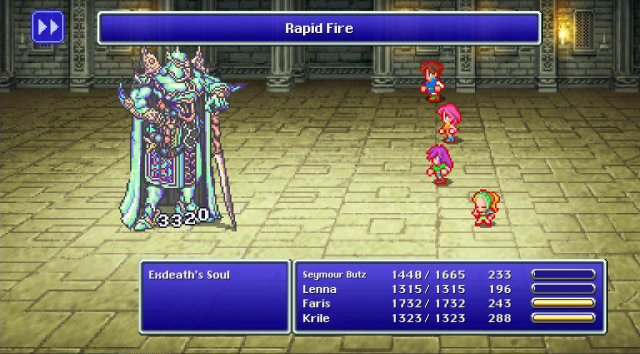 With all the weapons unsealed let's just tear into Exdeath's Soul with a Rapid Fire Apollo's Harp solo. 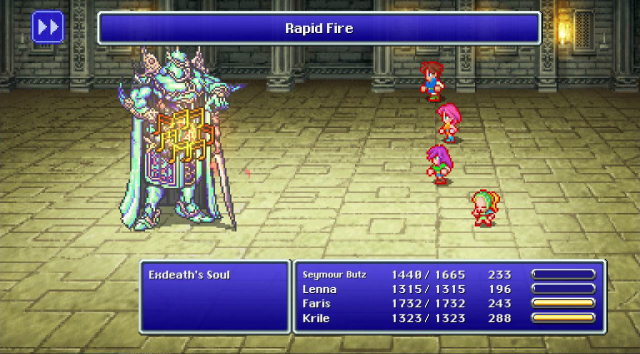 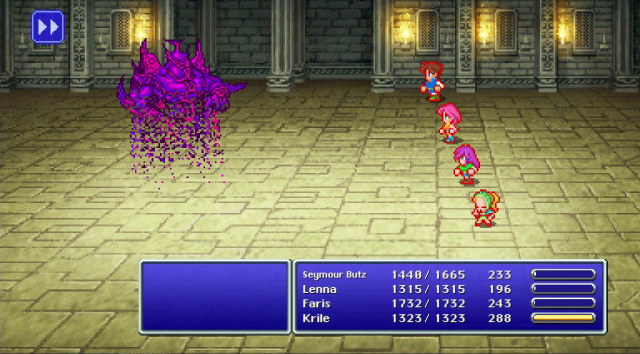 It's net weaker than Chicken Knife Rapidfire because its 2 handed but still there's a simple joy to be had murdering a shard of our mortal enemy with music. Next time, the last sidequests.
|
 #
¿
May 4, 2022 23:09
#
¿
May 4, 2022 23:09
|
|


|

|
| # ¿ Apr 25, 2024 05:16 |
|